
Set up for RHASS non-staff Email Access
NR for WST
By Nick Renwick
In this guide, we'll set up an external, non-staff RHASS user for outside access with restricted permissions. The focus is on ensuring the user, who is not a staff member, has web access only, and MFA enforced.
Because they are getting access to a previously set up mailbox we'll go through the steps of resetting authentication methods and configuring email app permissions to allow access solely through Outlook on the web. This process involves using the Entra Admin Center and Microsoft 365 Admin centre.
1
Log into https://entra.microsoft.com/ with the RHASS O365 Creds
2
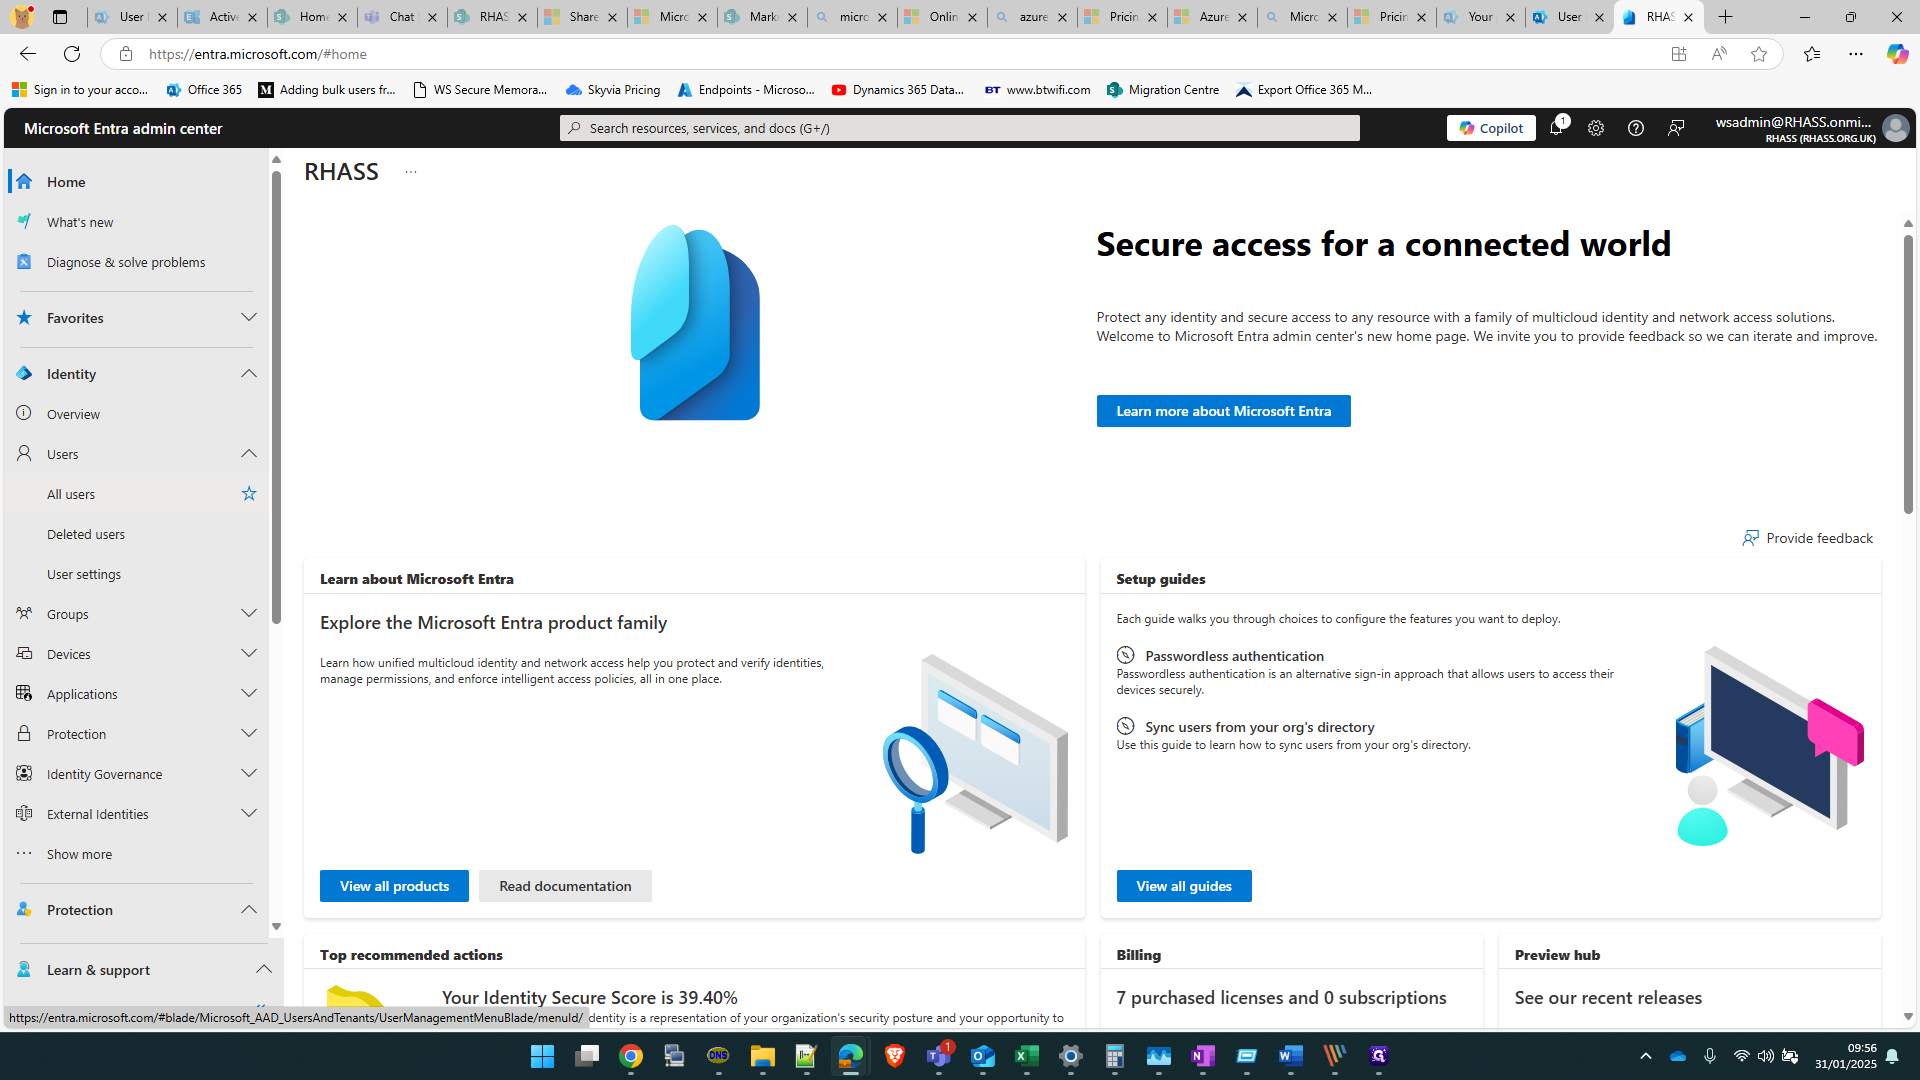
Click on "Microsoft Entra admin center"
3
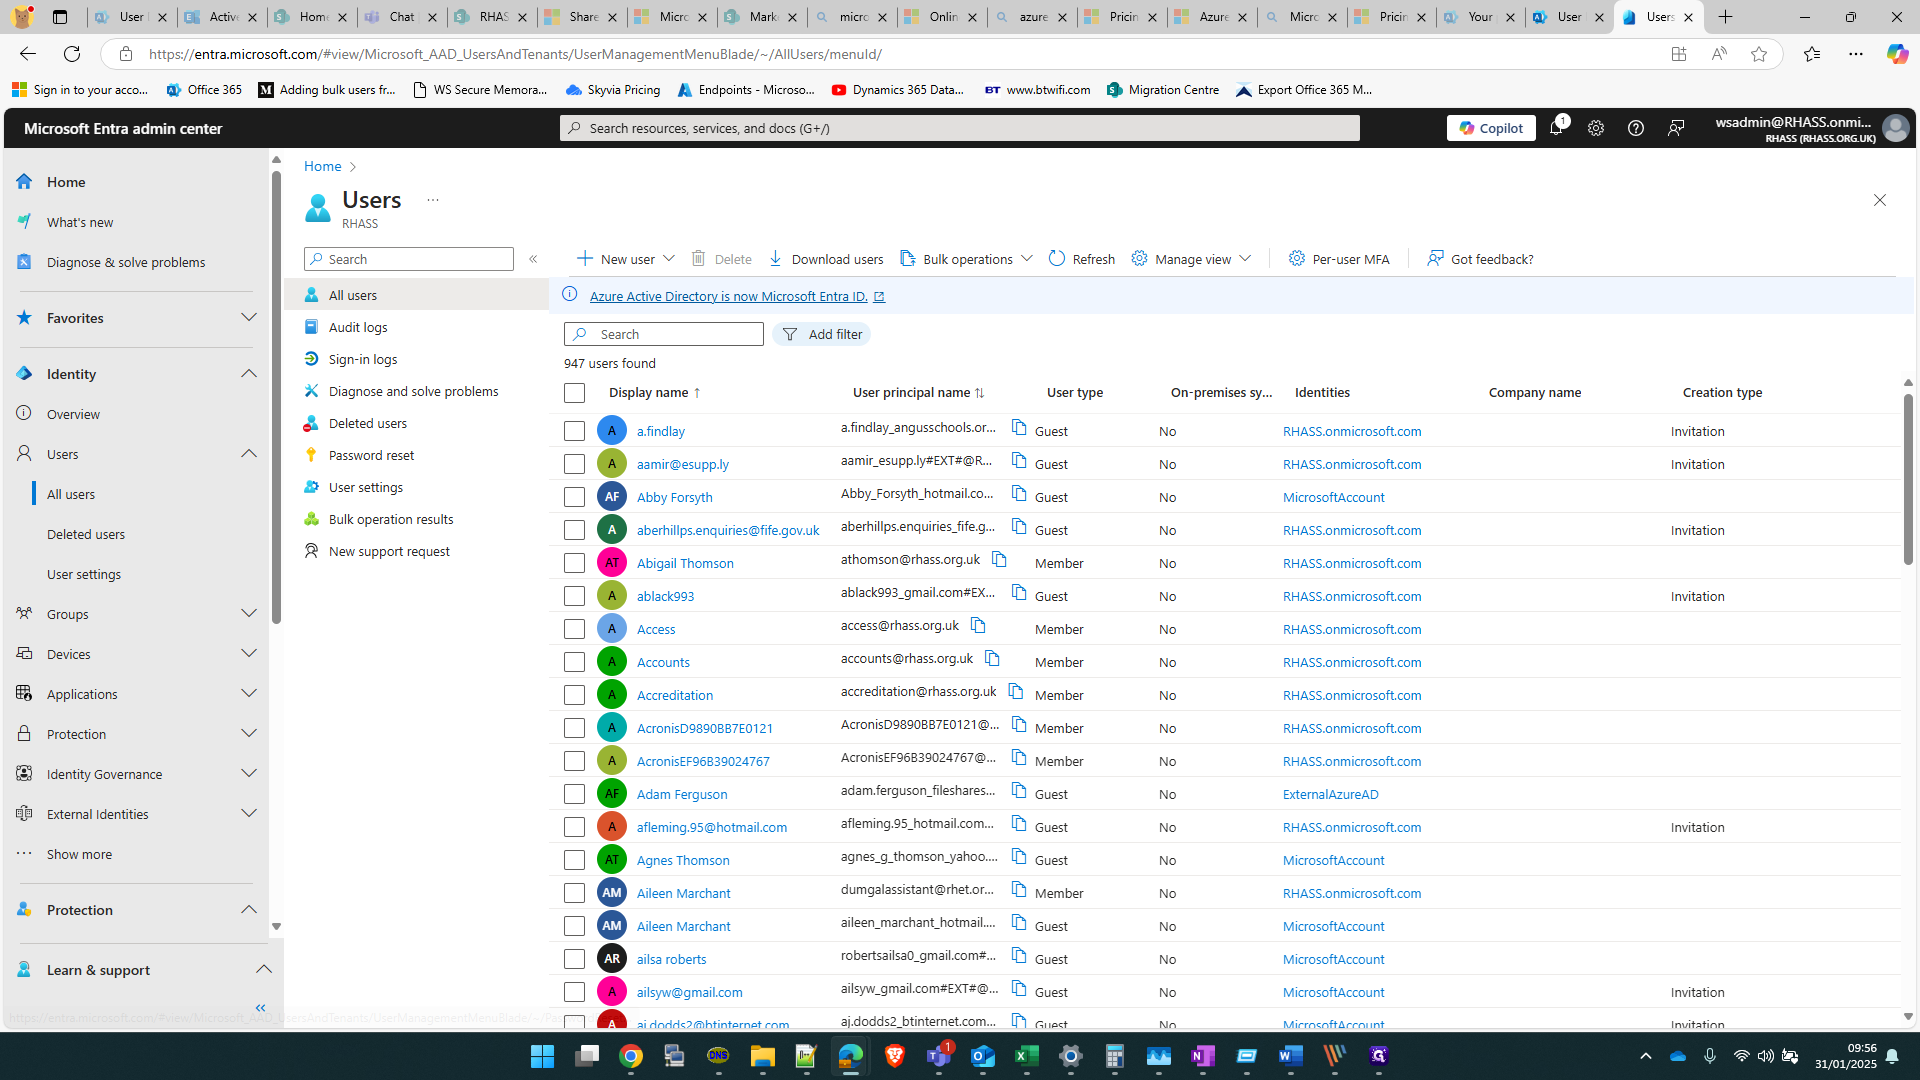
Click All Users
4
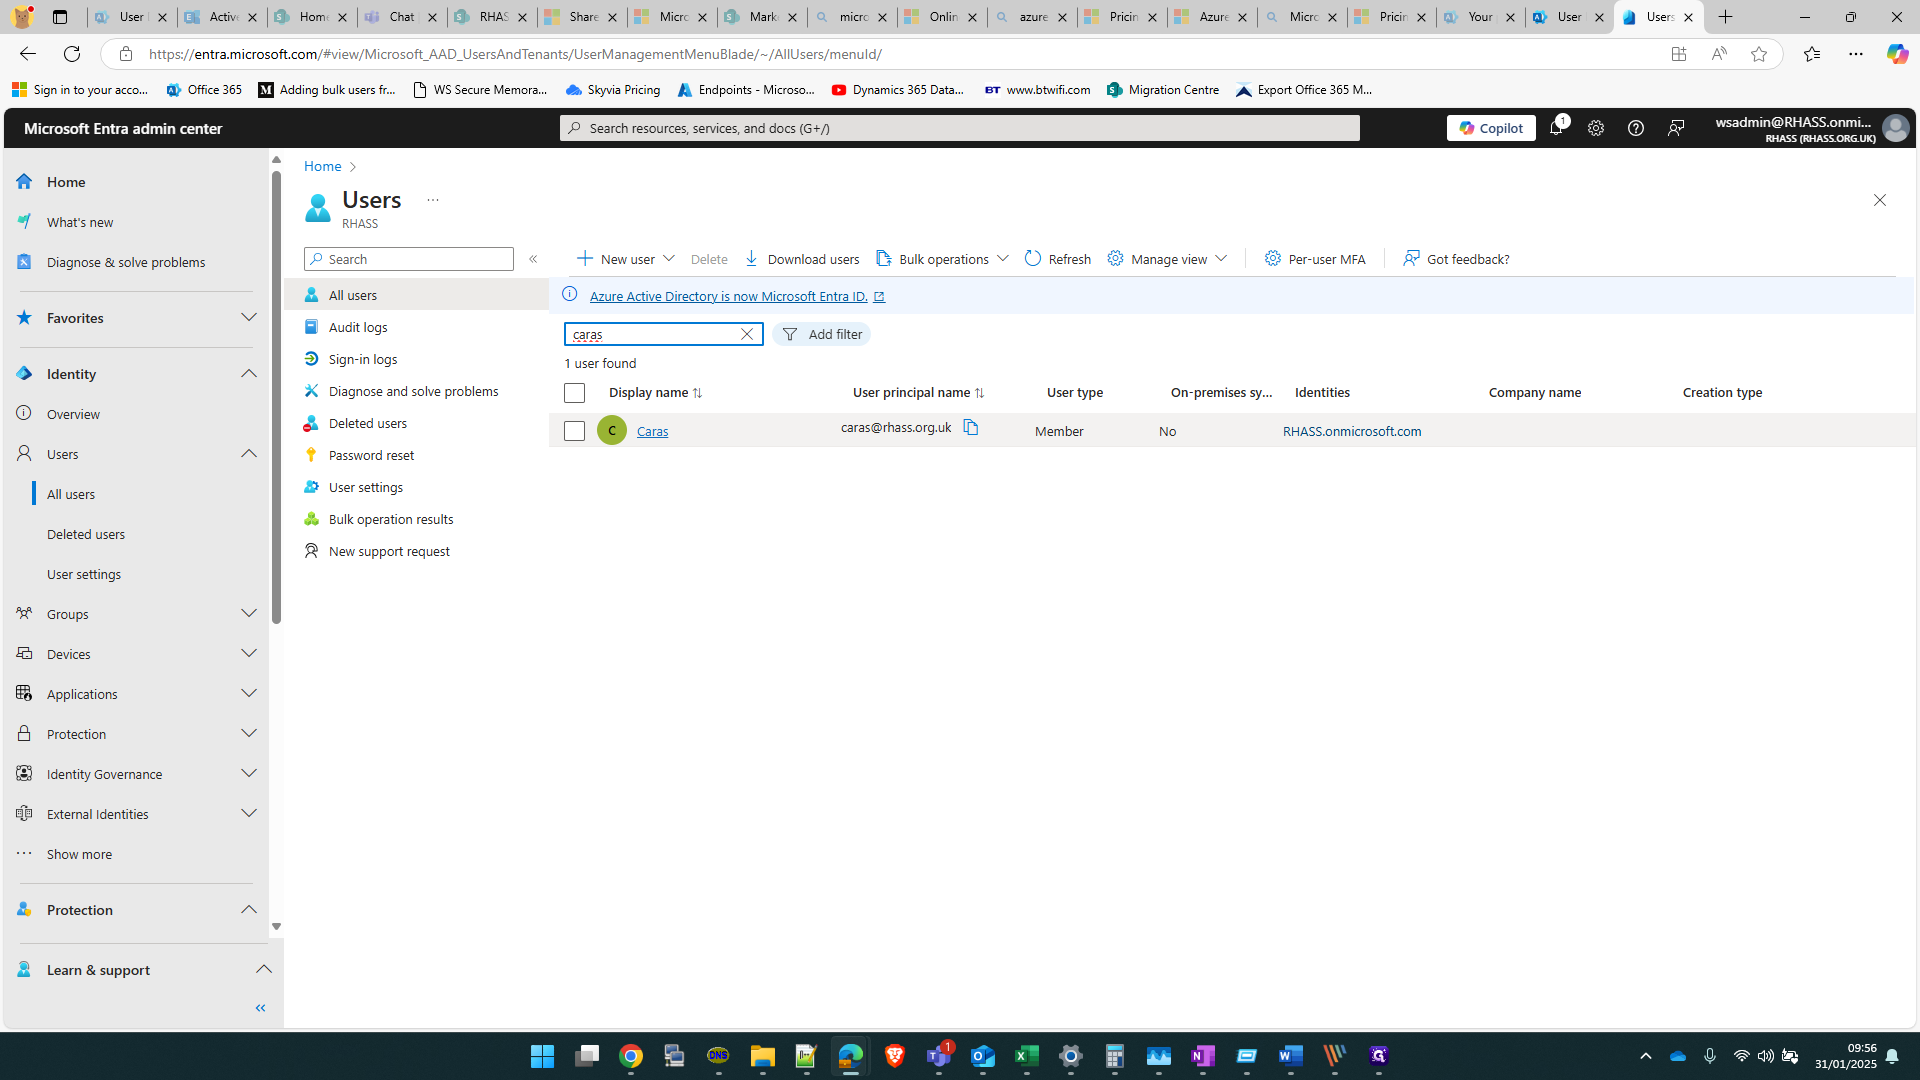
Search for the user
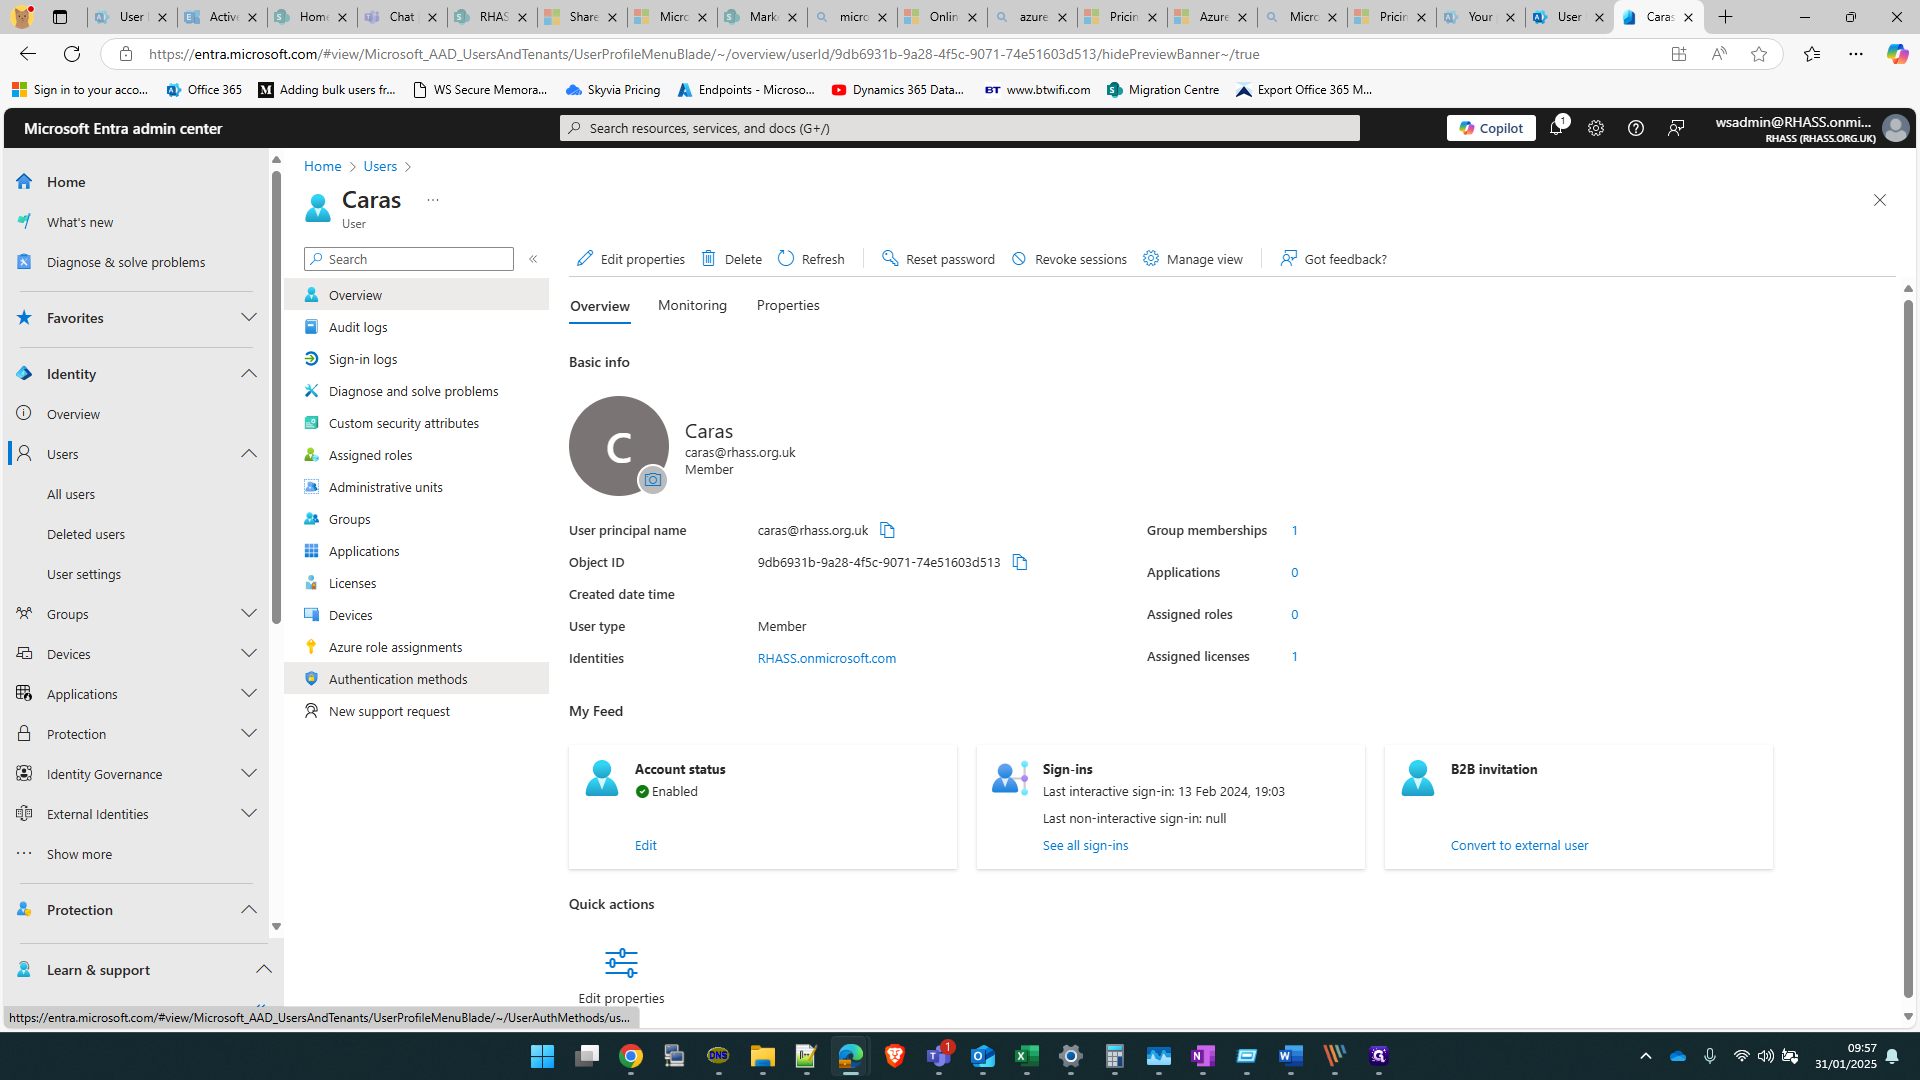
5
In this case click on "CARAS"
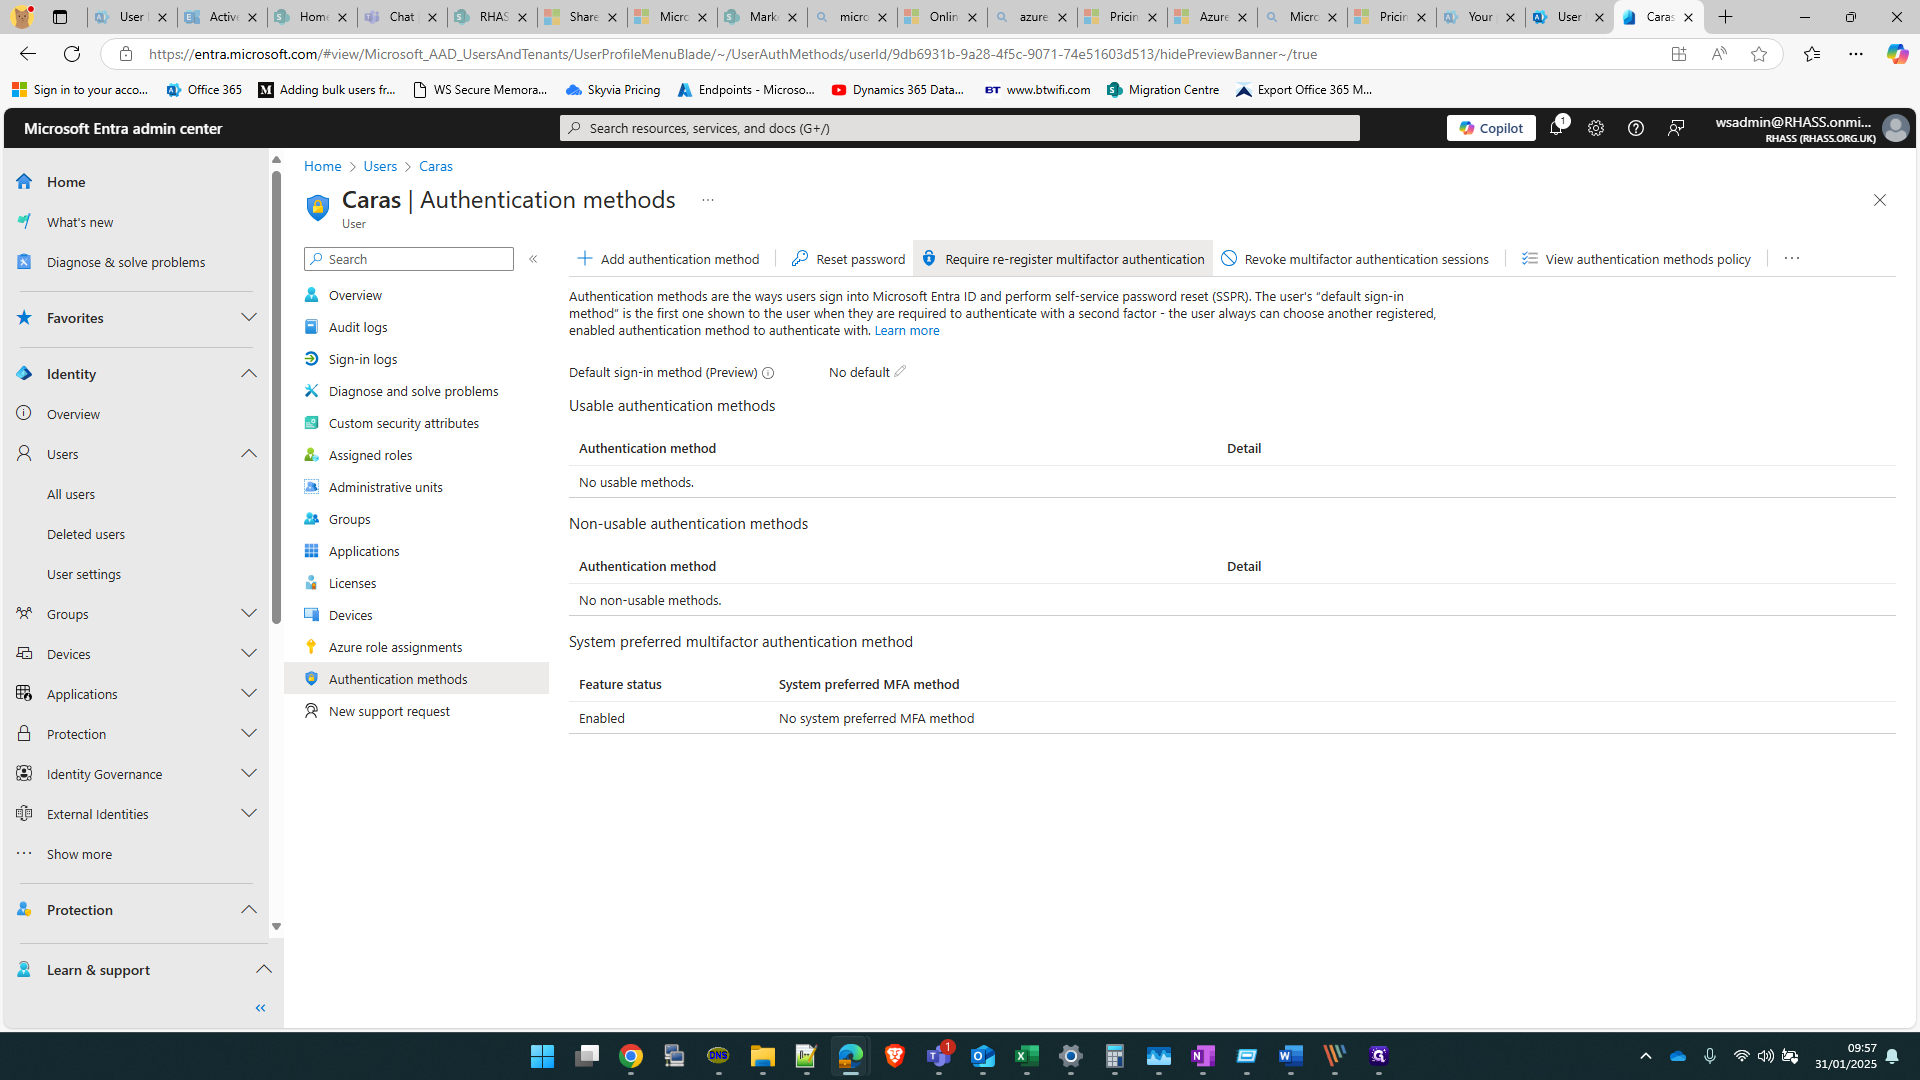
6
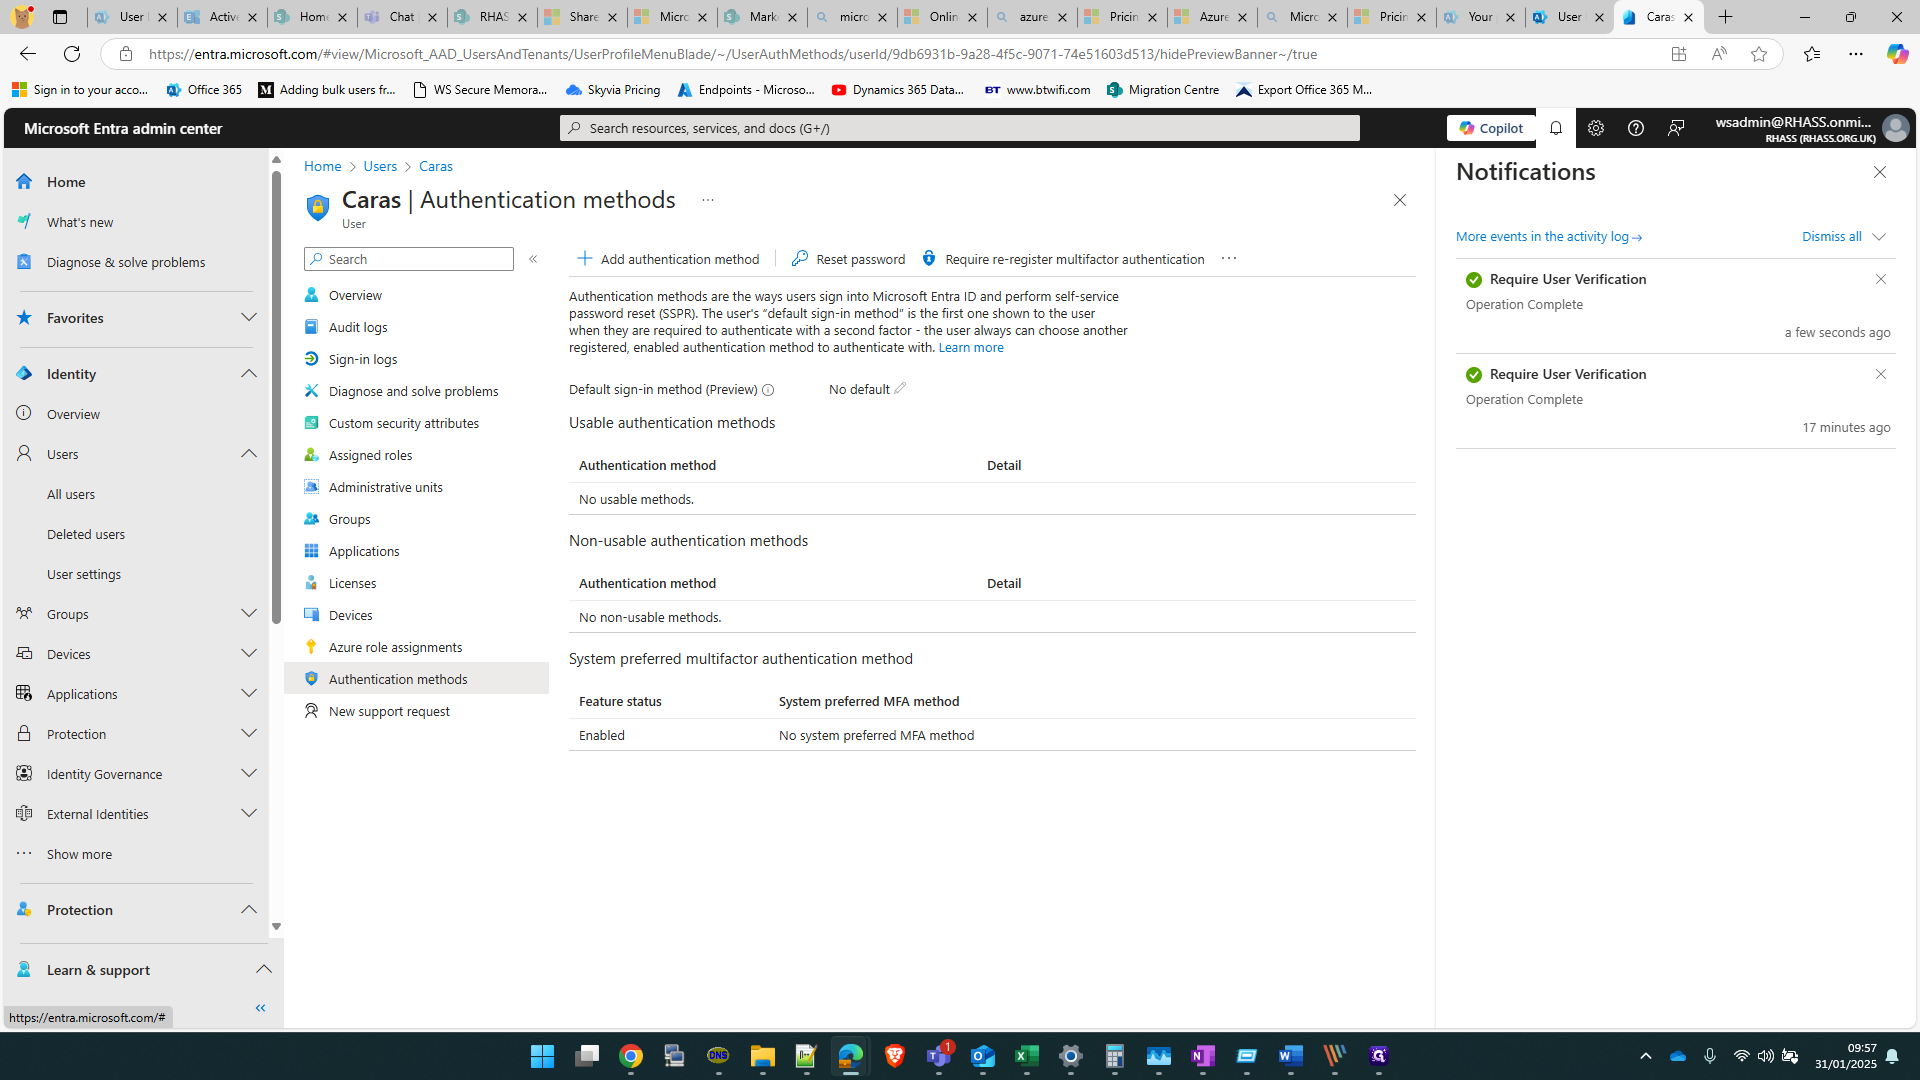
Click on "Authentication methods"
7
Click on "Require re-register multifactor authentication"
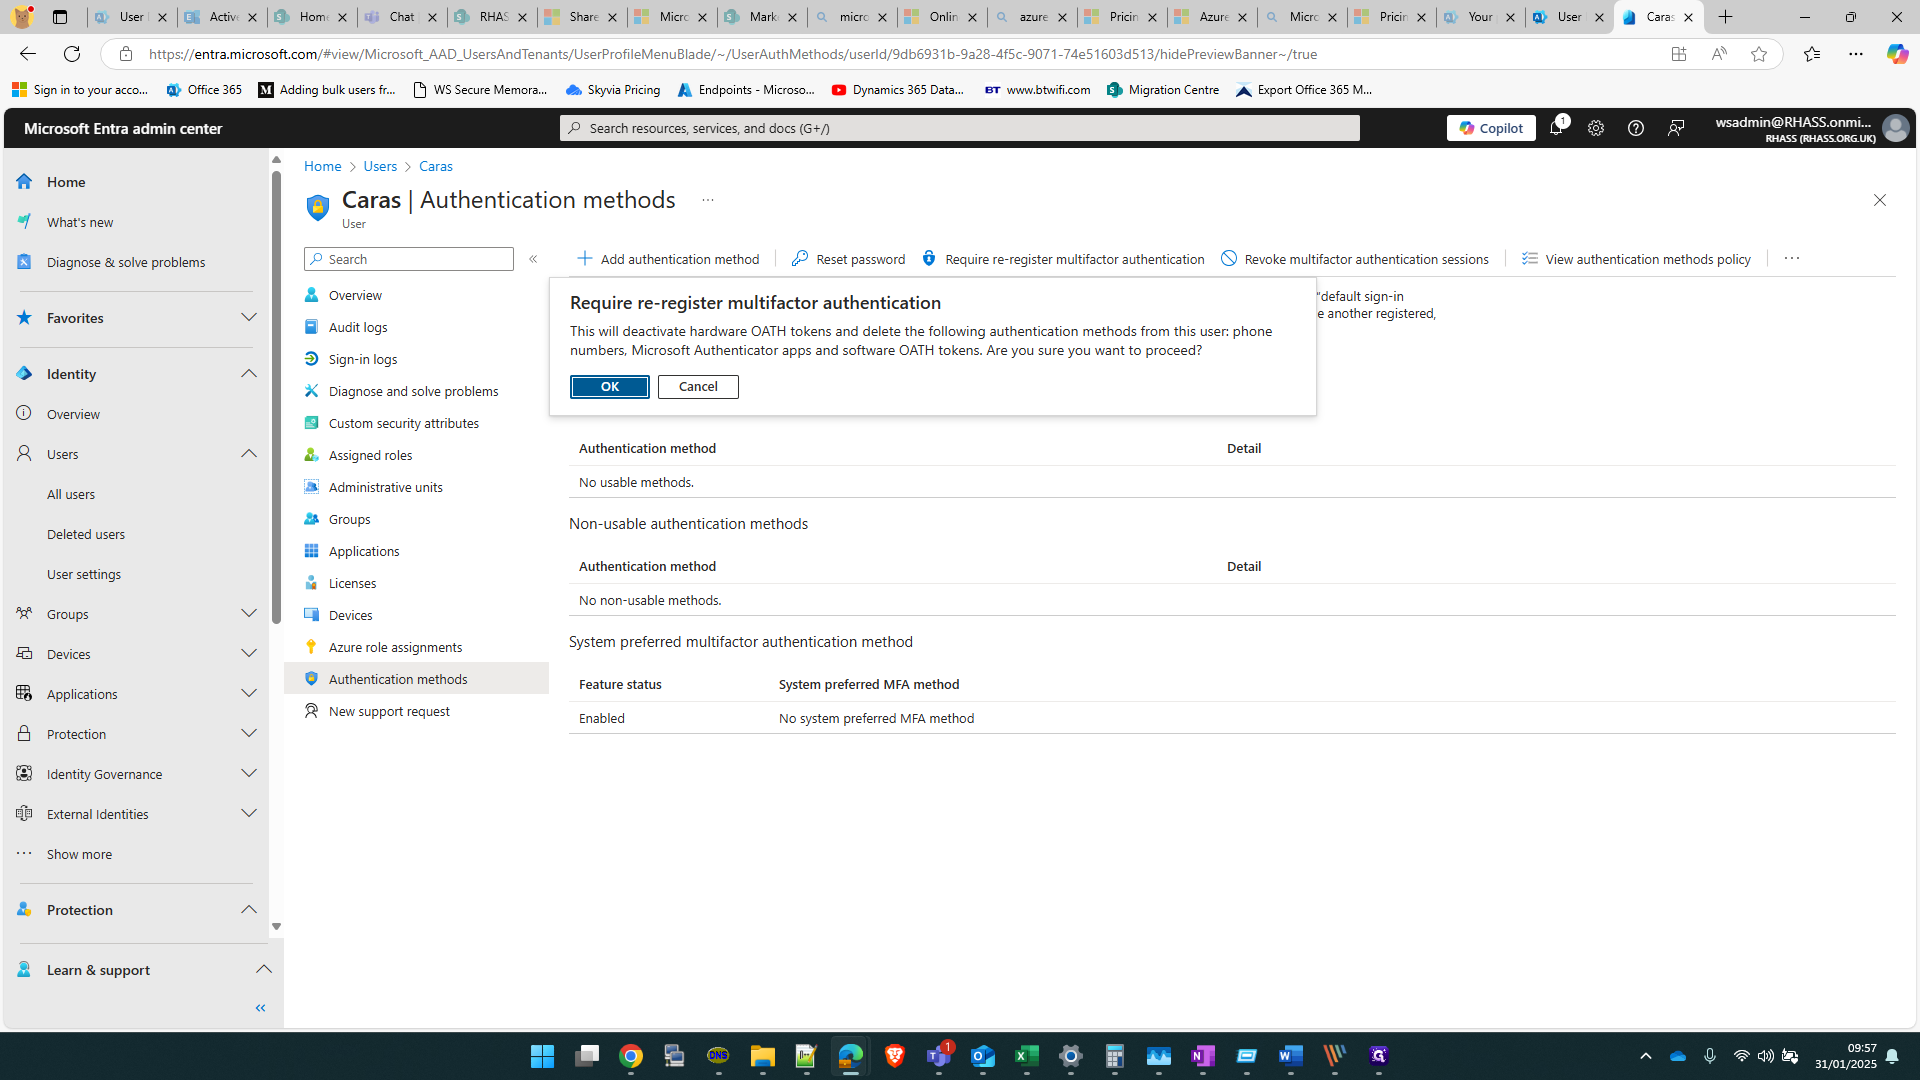
8
Click on "OK" to delete all previous authentication methods and re-quire it to be re-set up.
9
Wait for it to say 'Operation Complete'
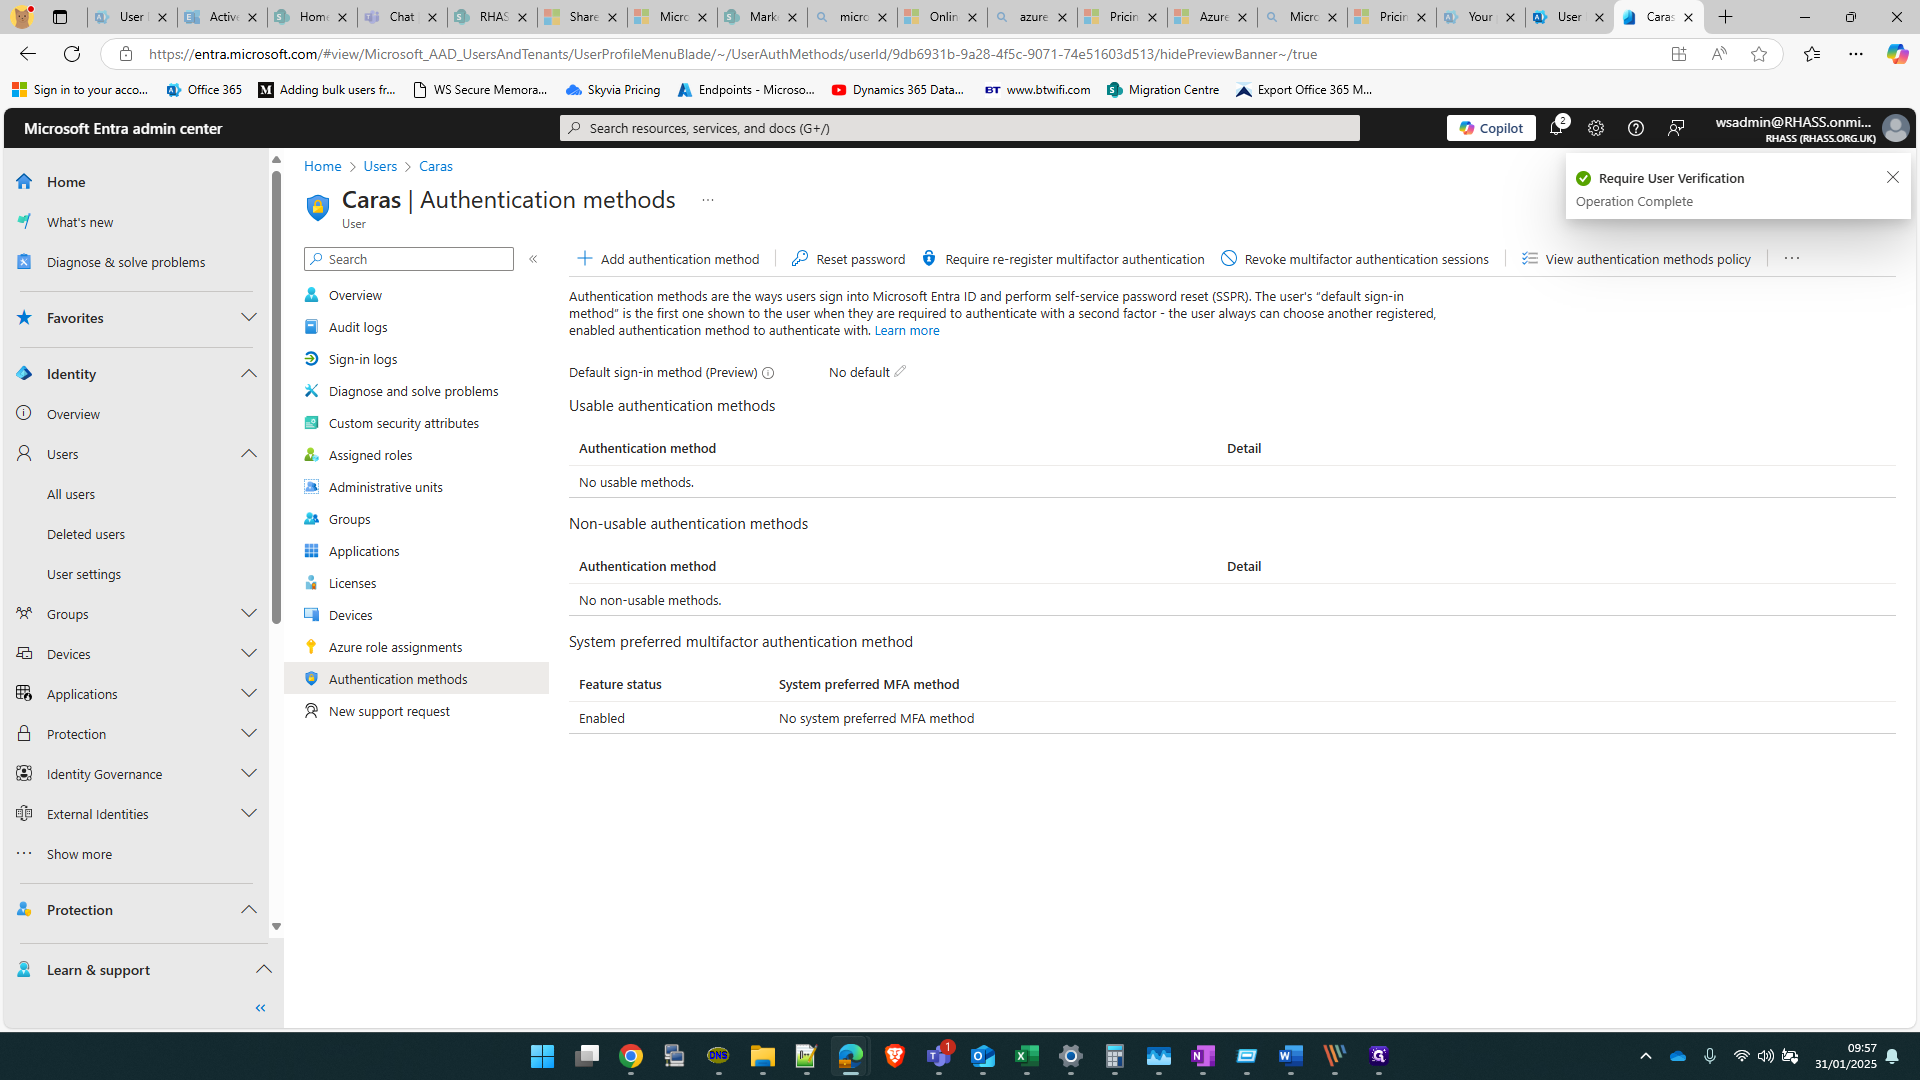
10
If the popup does not appear, click the 'bell' notifications icon to check its status.
11
Navigate back to https://admin.microsoft.com/

12
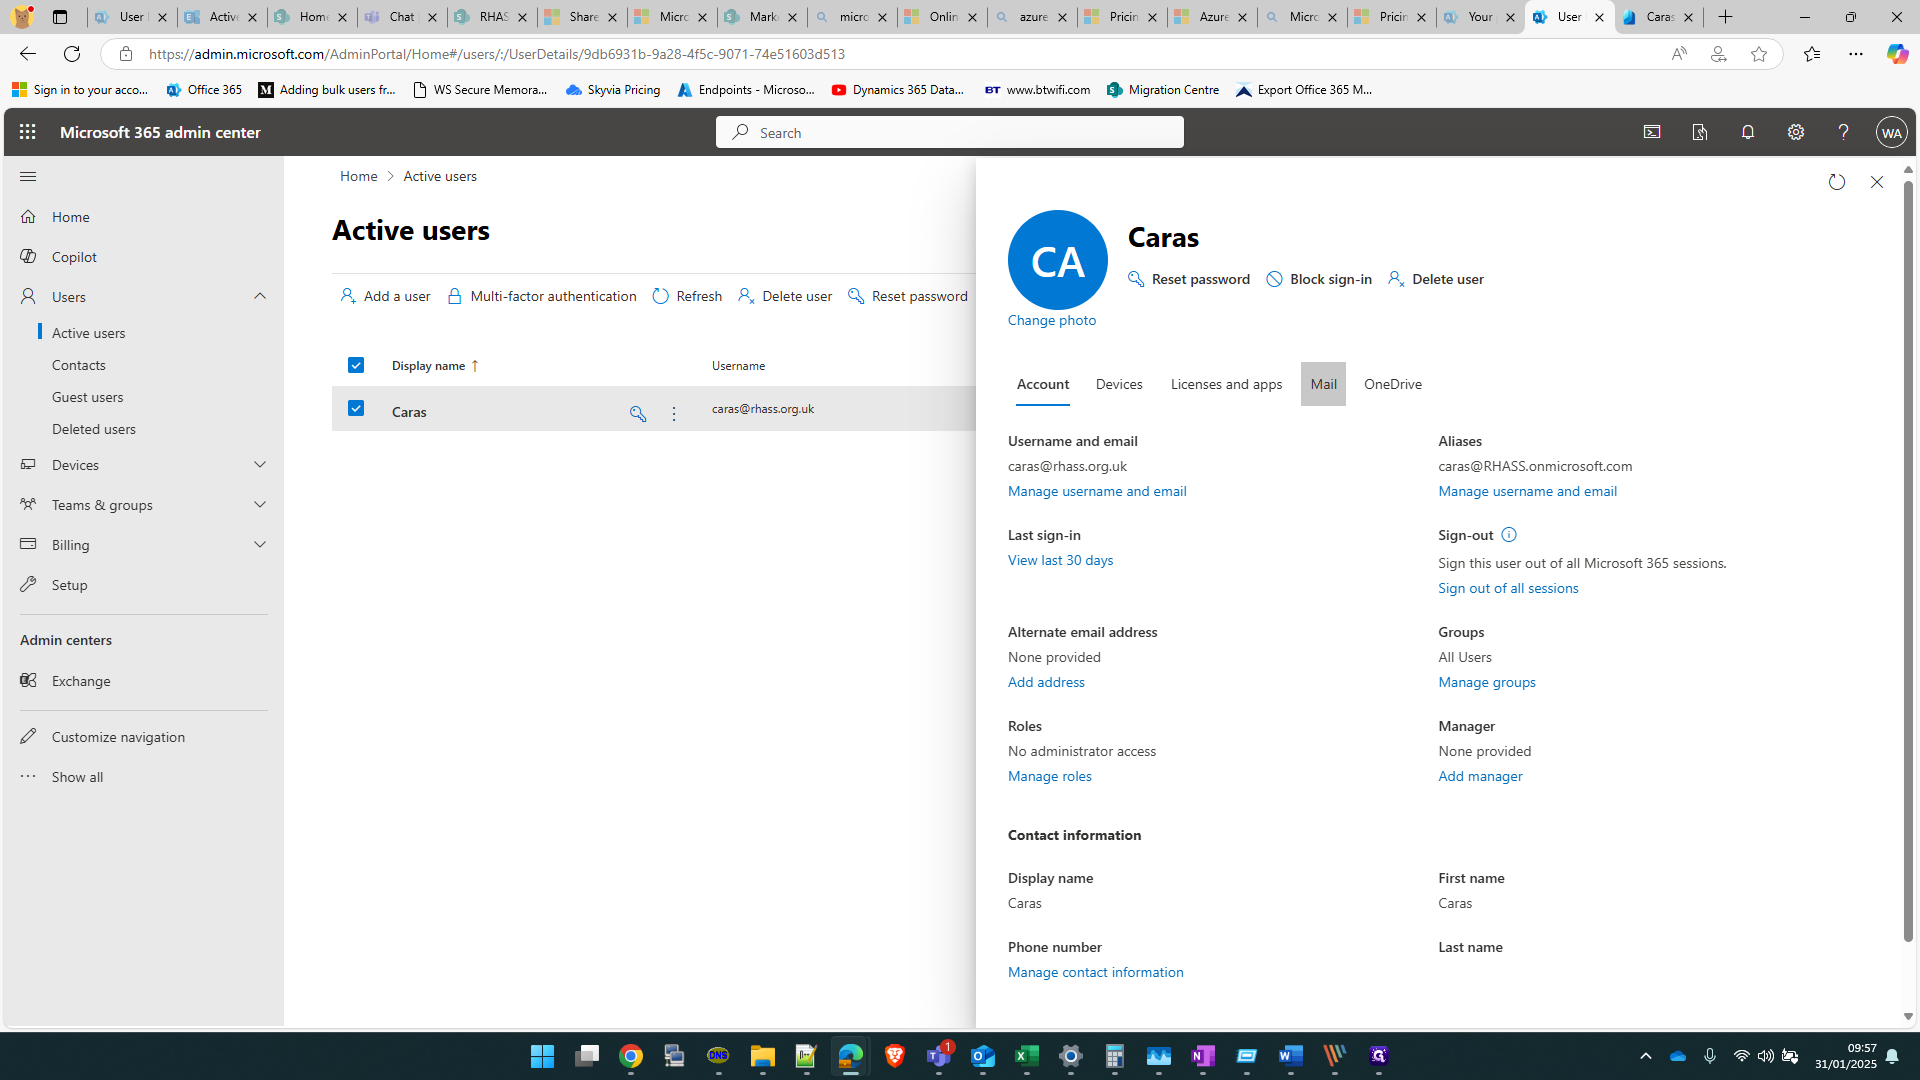
Select the user - in this case "Caras"
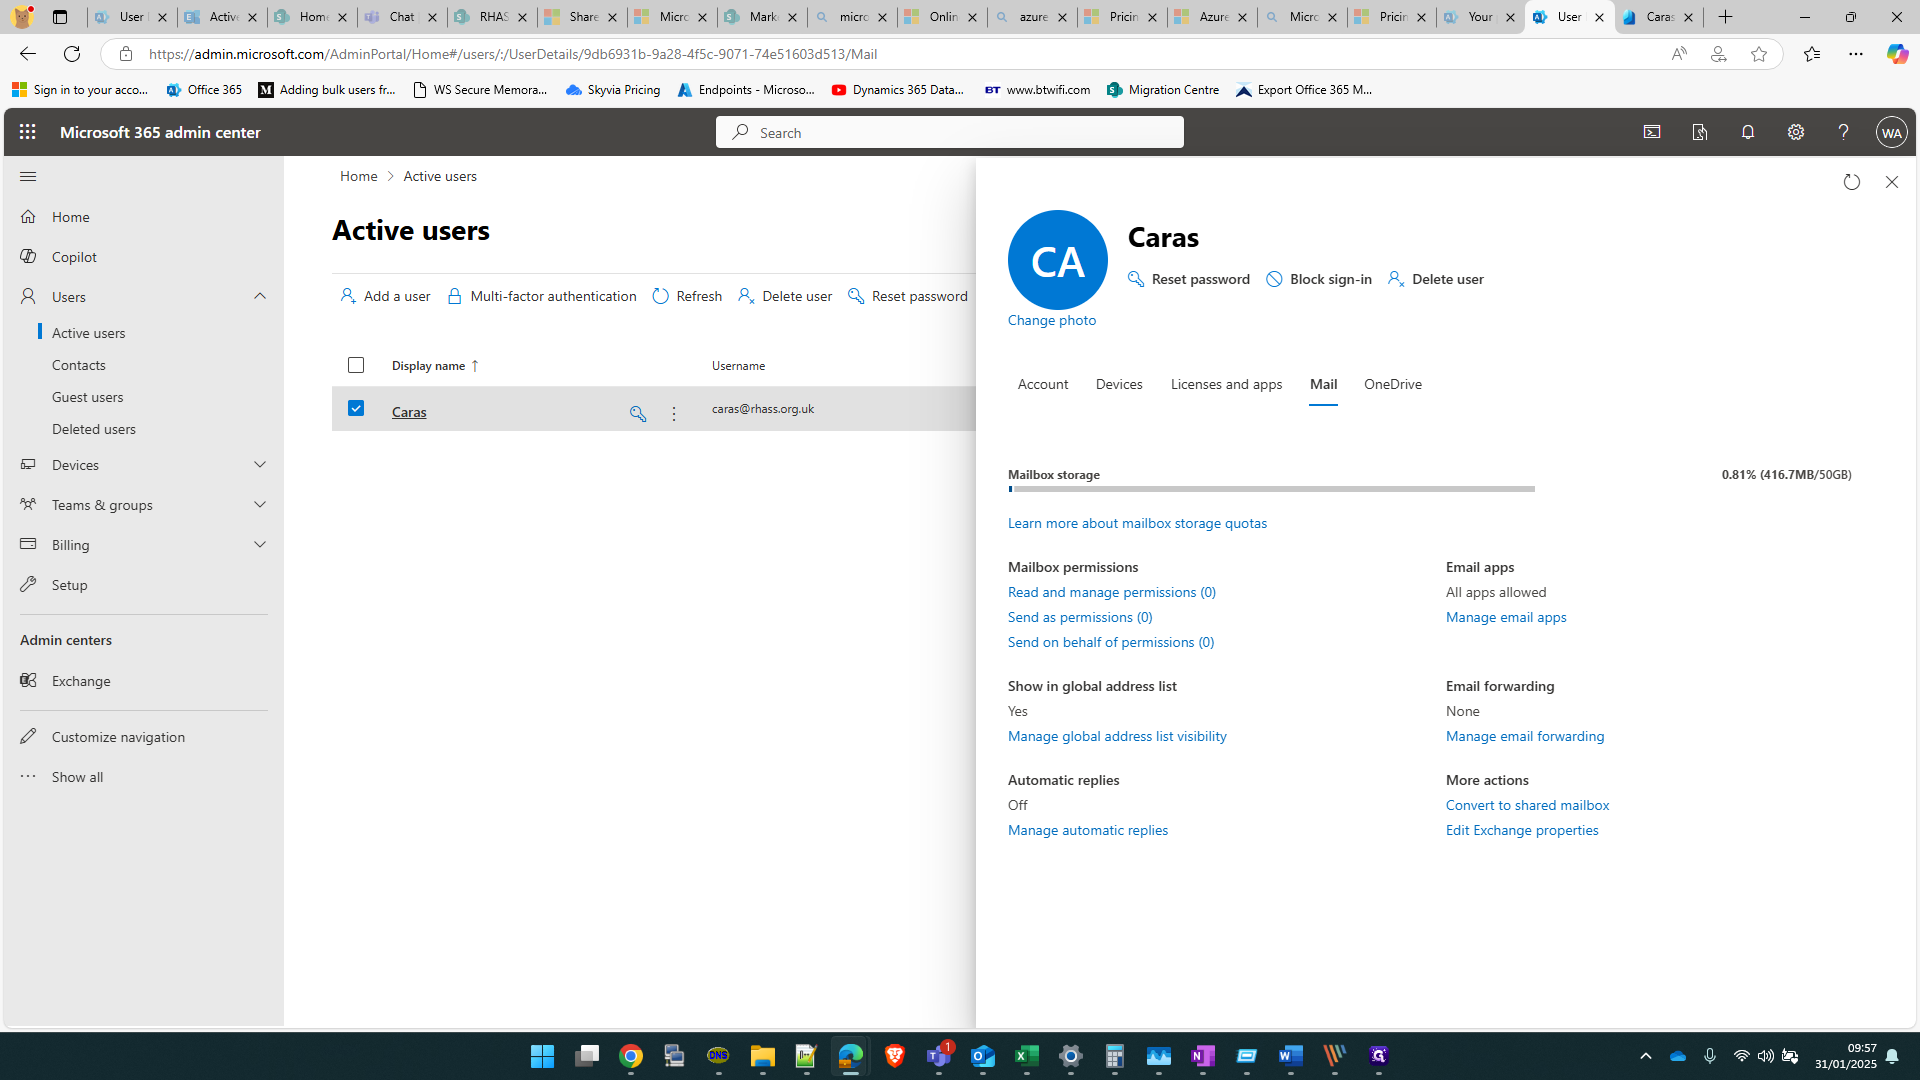
13
Click on "Mail"
14
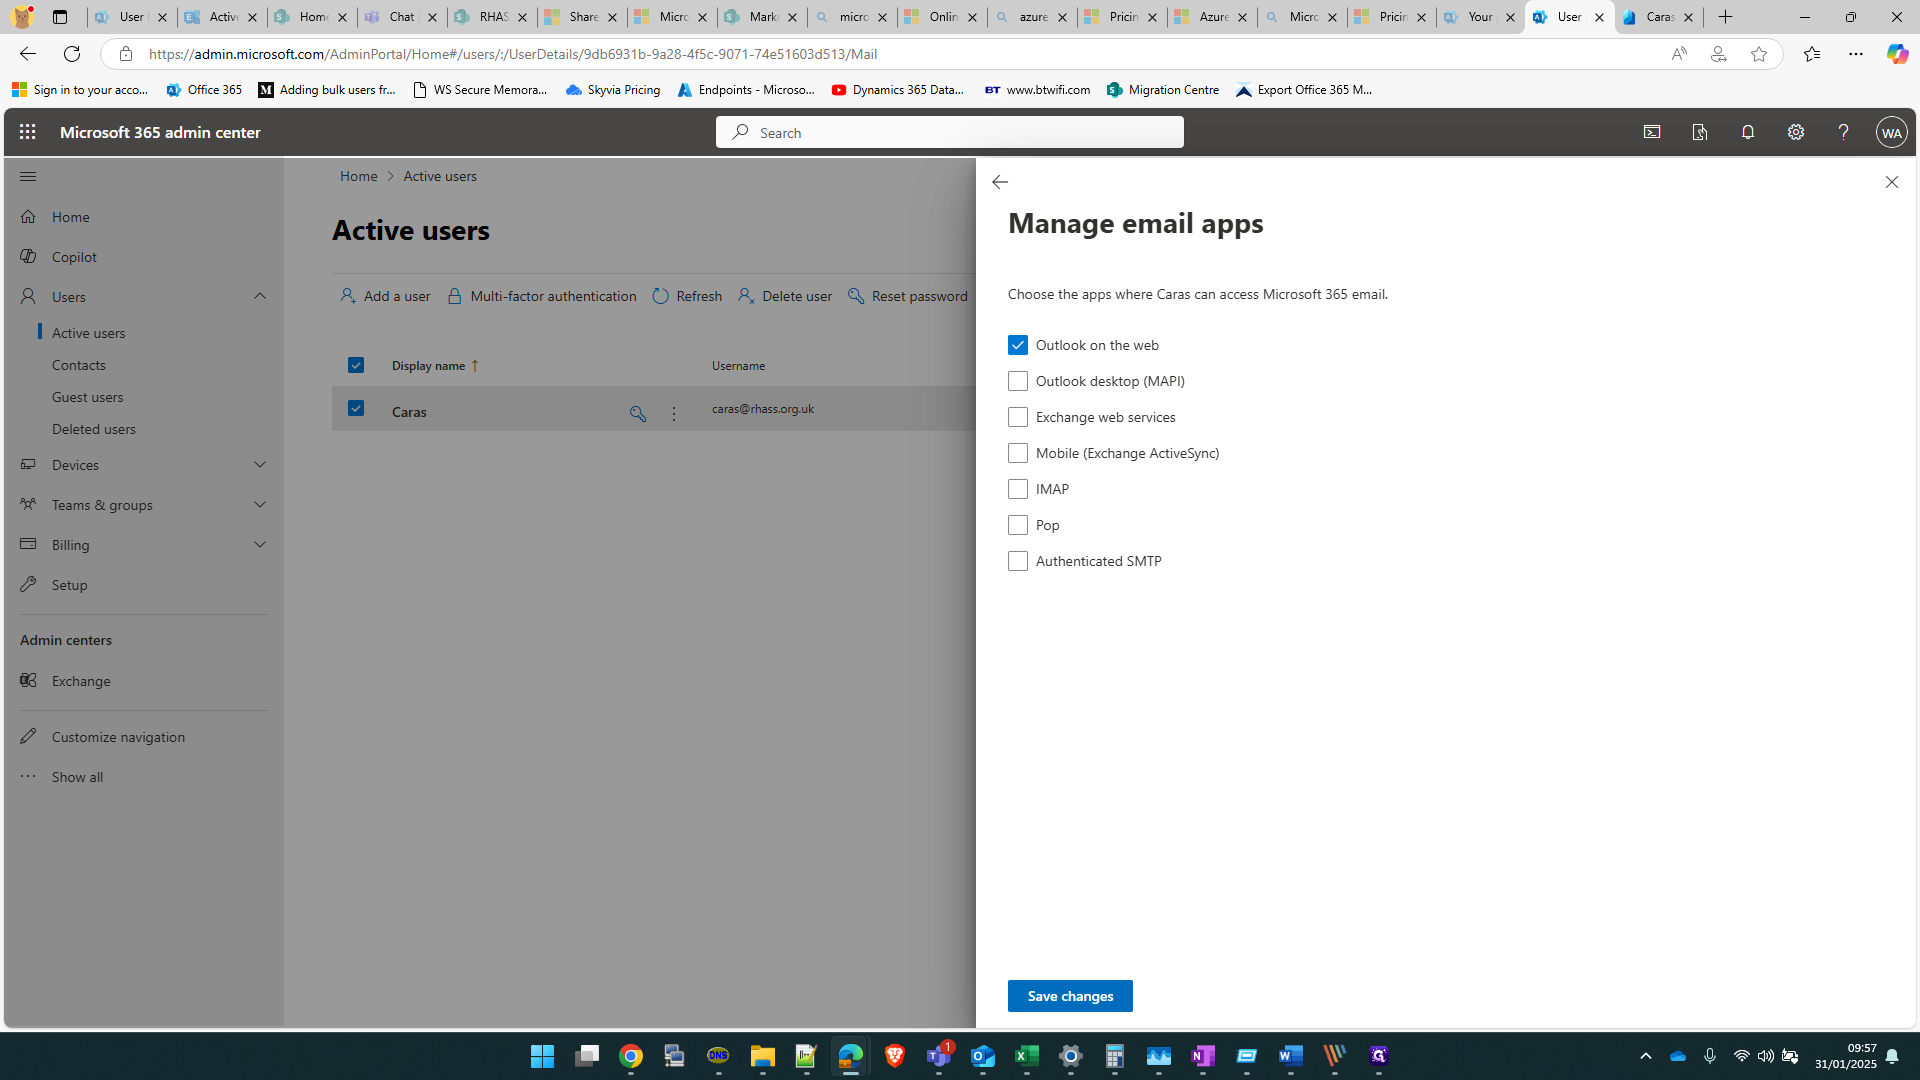
Click on "Manage email apps"
15
De-select ALL other than 'Outlook on the web'

16
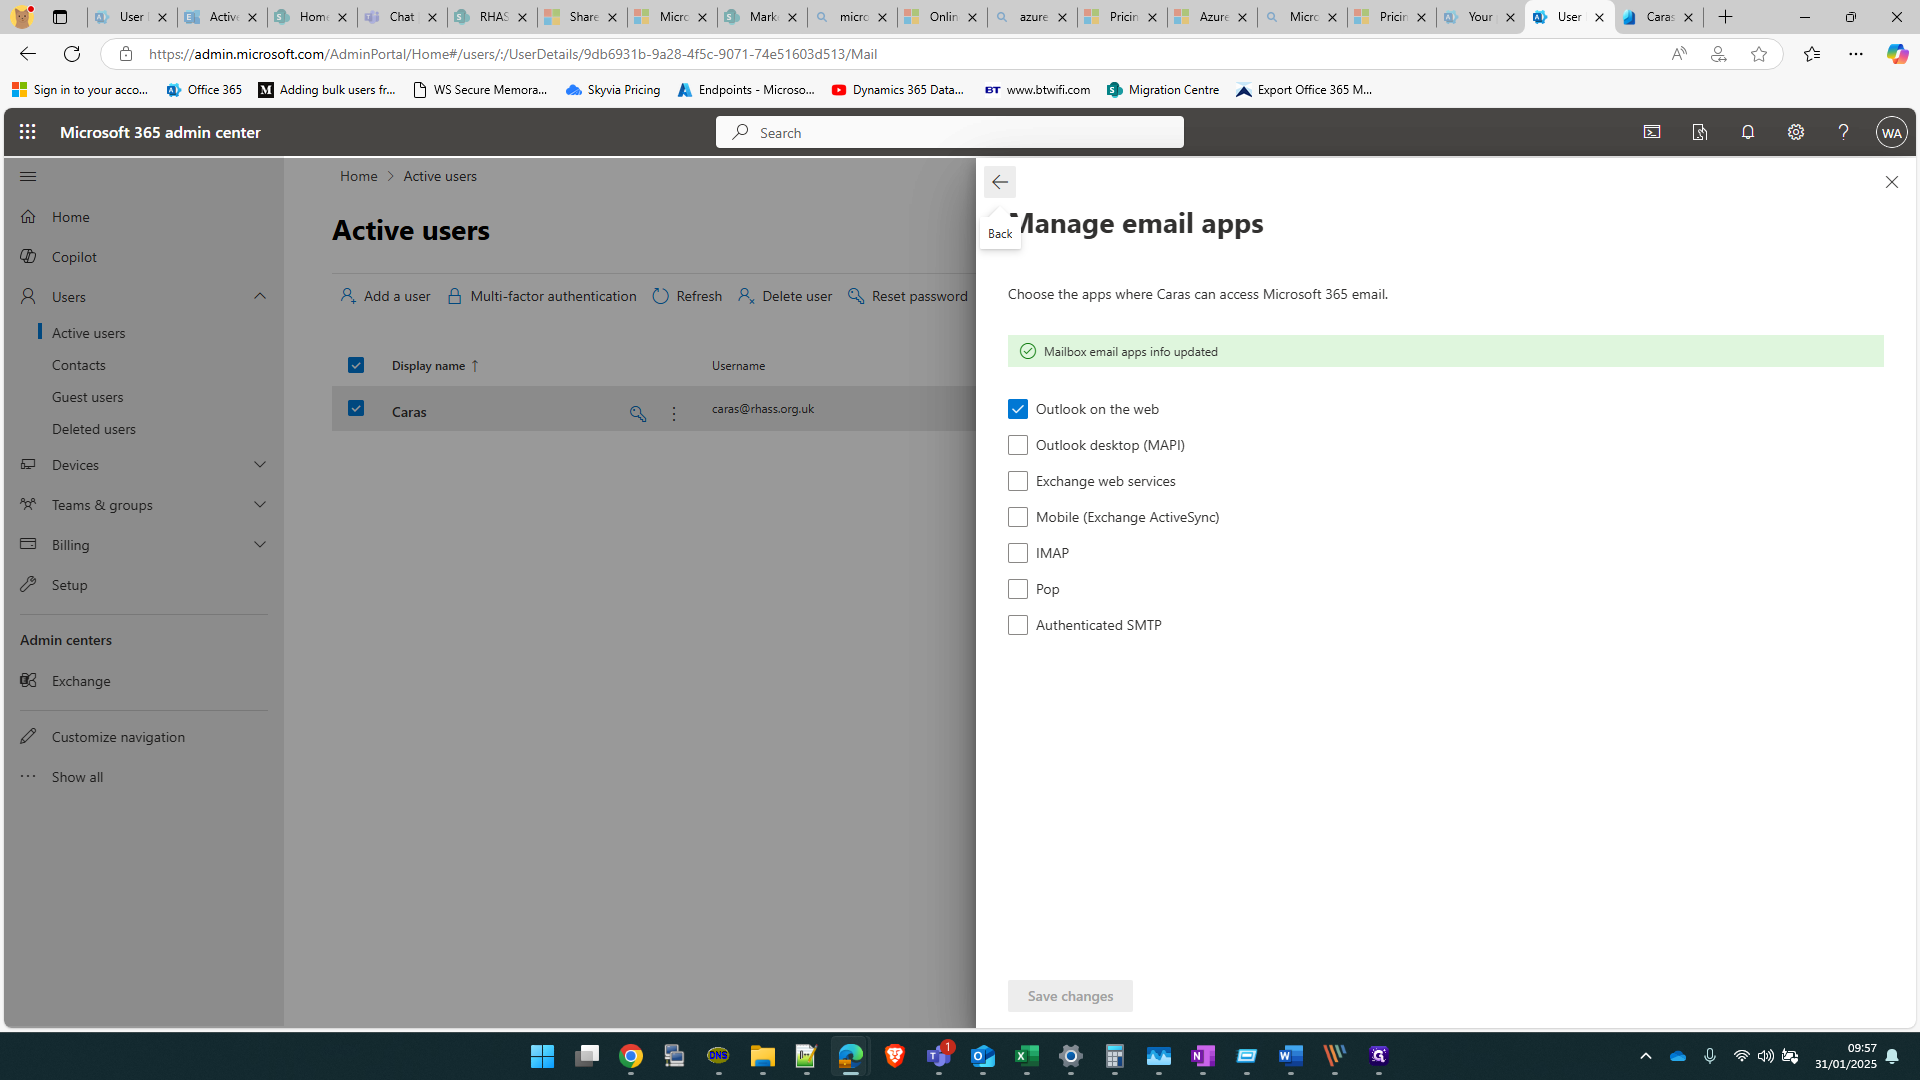
Click on "Save changes"
17
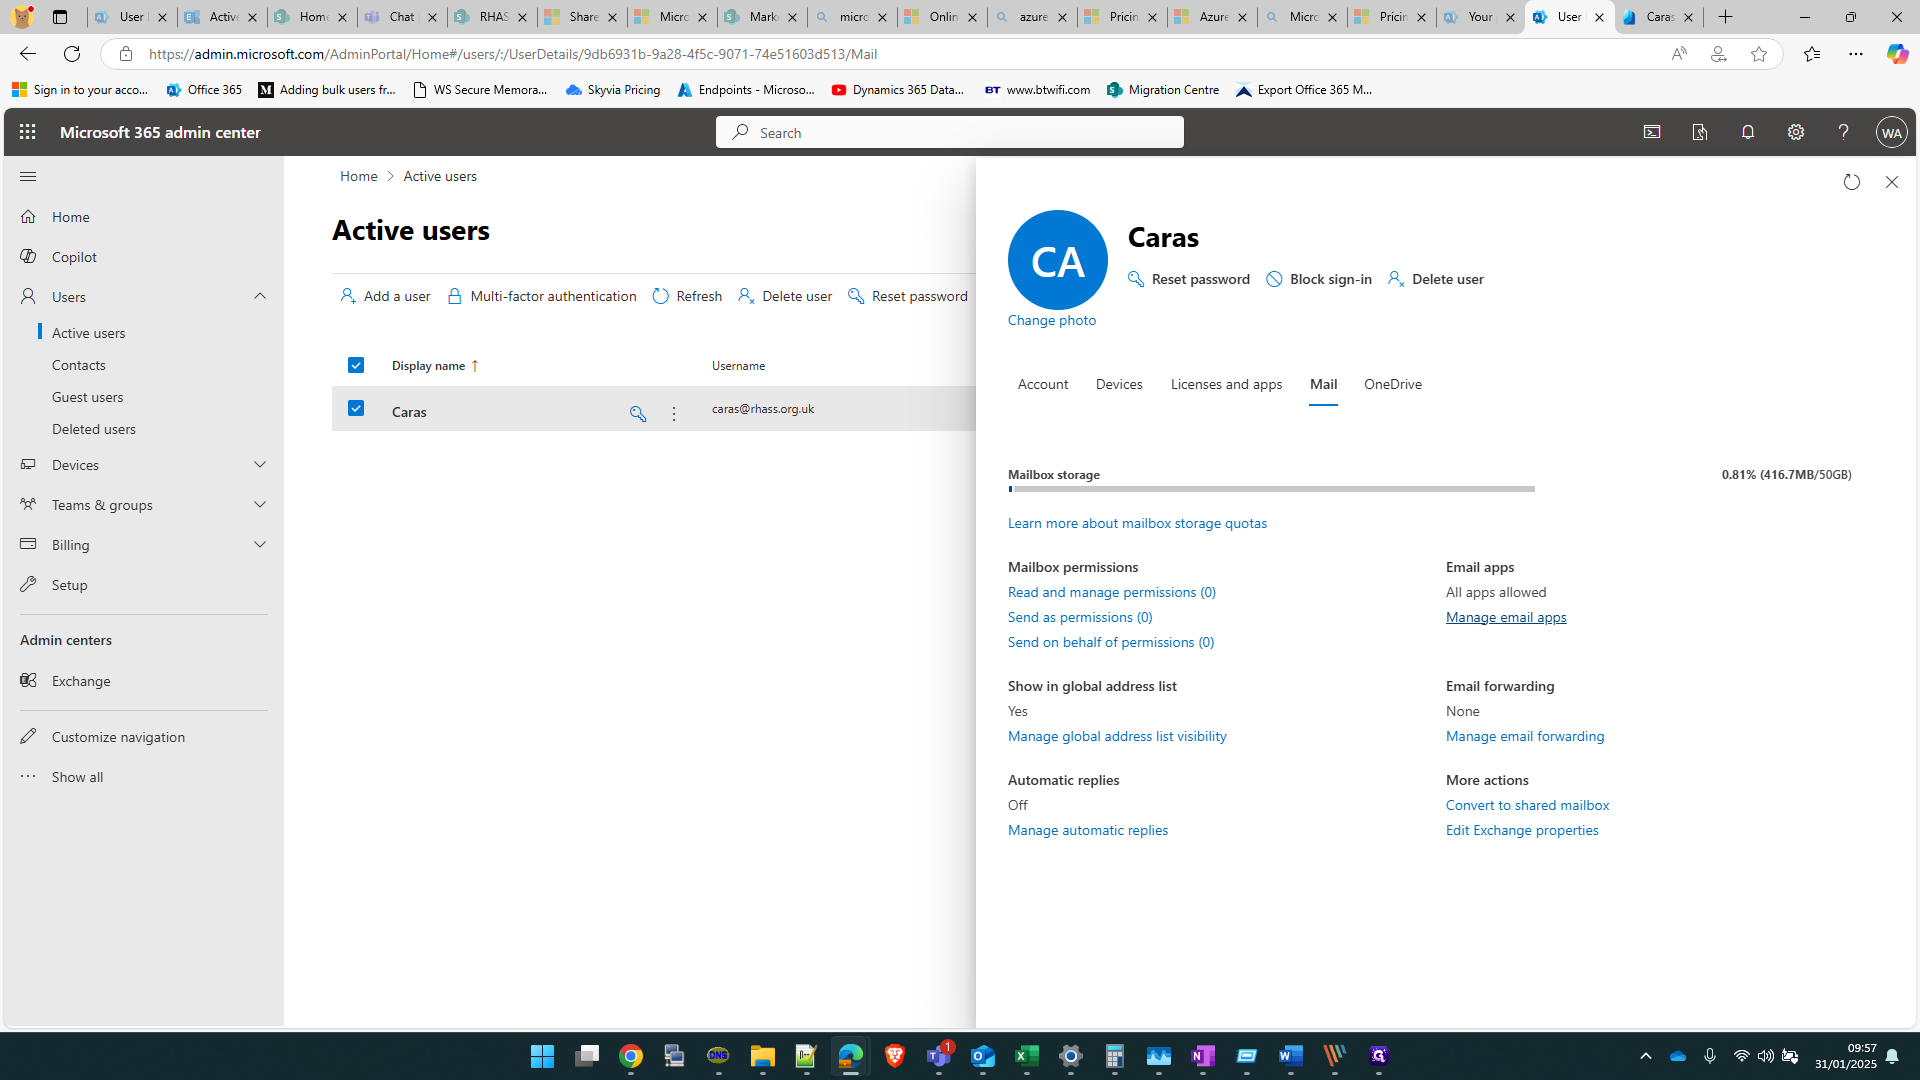
Go back and close fully the the user once it has confirmed it has 'updated info'
18
Confirm settings have taken effect by going back into the Mail tab and checking under 'Email Apps'
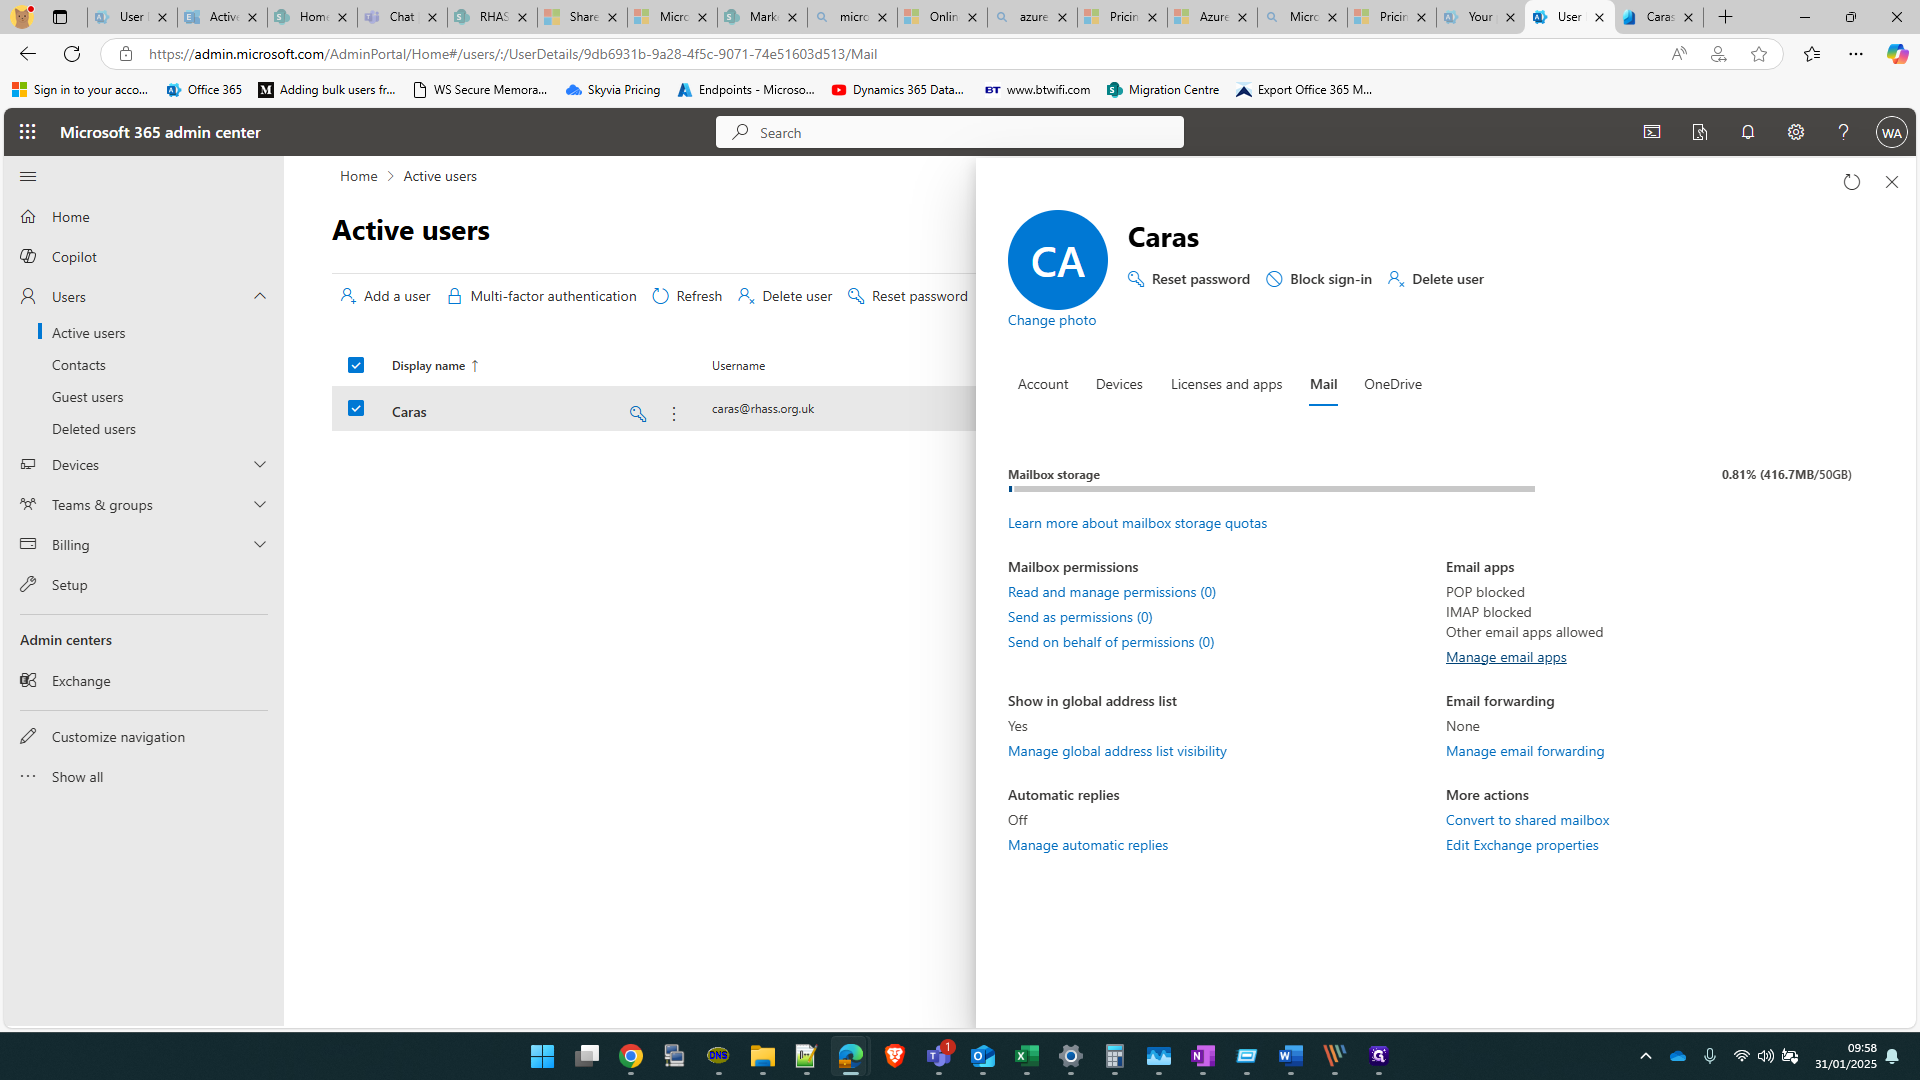
19
Confirm and make note of user email address "caras@rhass.org.uk"
