
Change Form Name and Donation Levels
This is a step-by-step guide for Donation Management - Cal State East Bay Educational Foundation, Men's Baseball - Cal State East Bay Educational Foundation, and Cal State East Bay - Calendar - Week of January 26, 2025
By Nyiema Bayfield
1
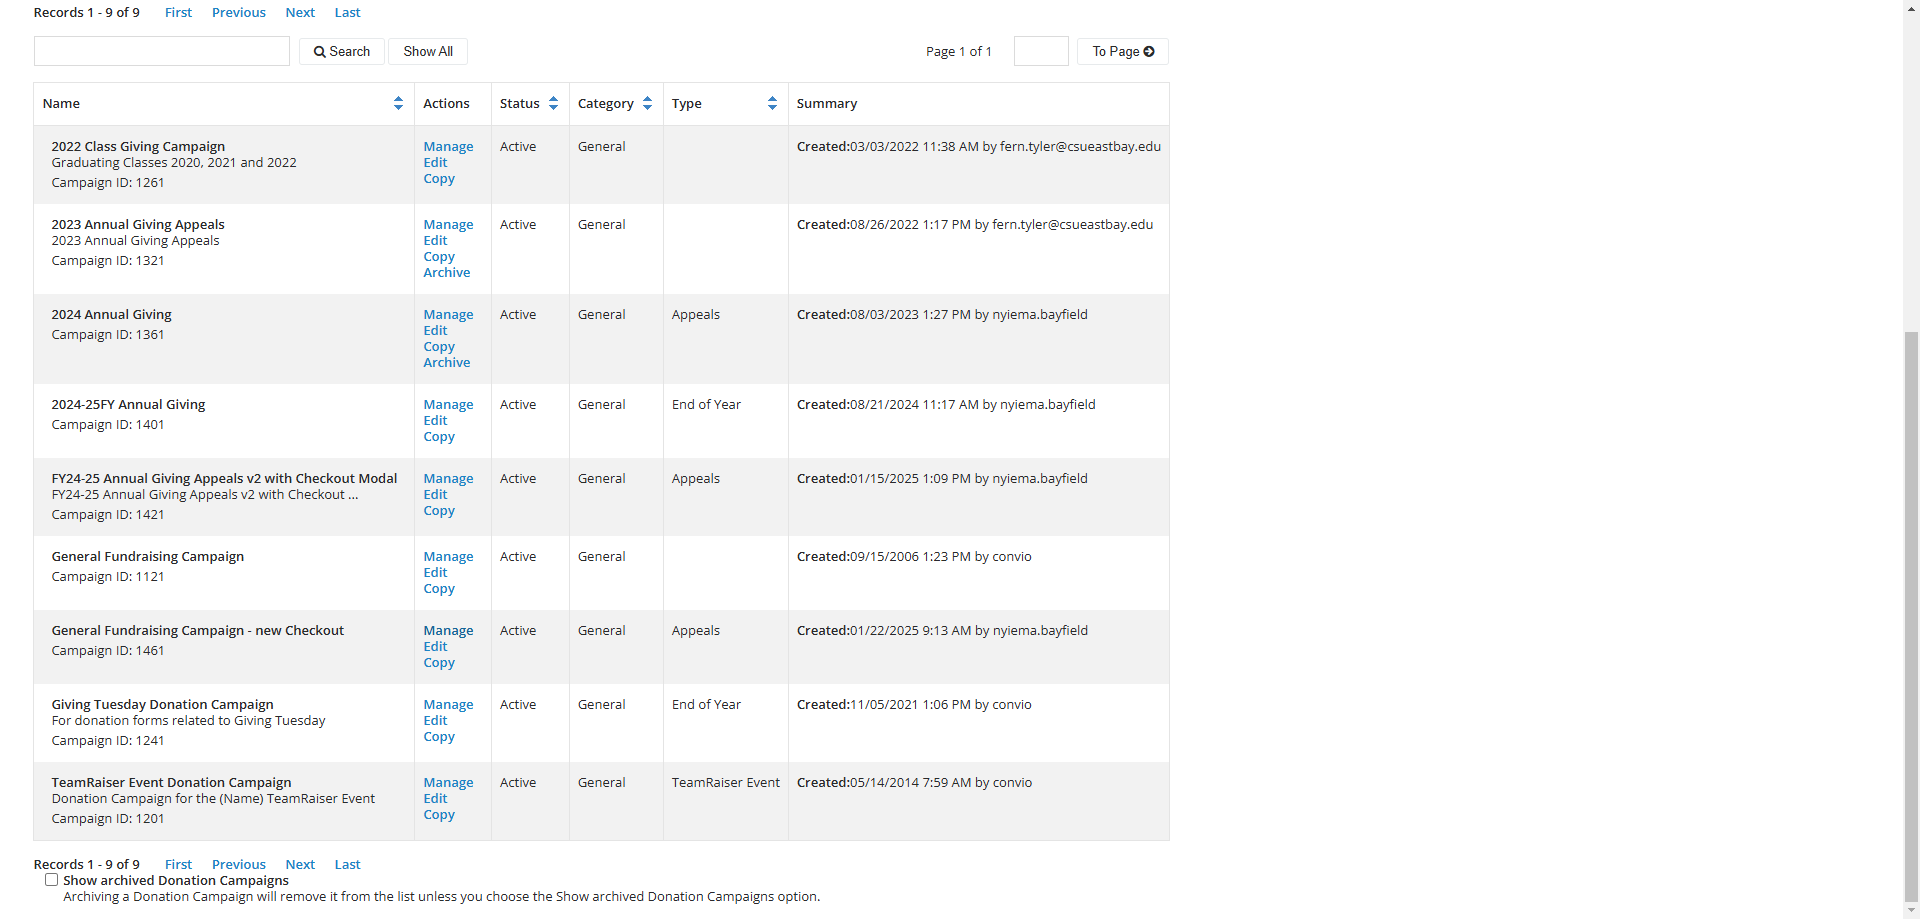
Find the Campaign named "General Fundraising Campaign - new Checkout" and Click on the Action "Manage".
2
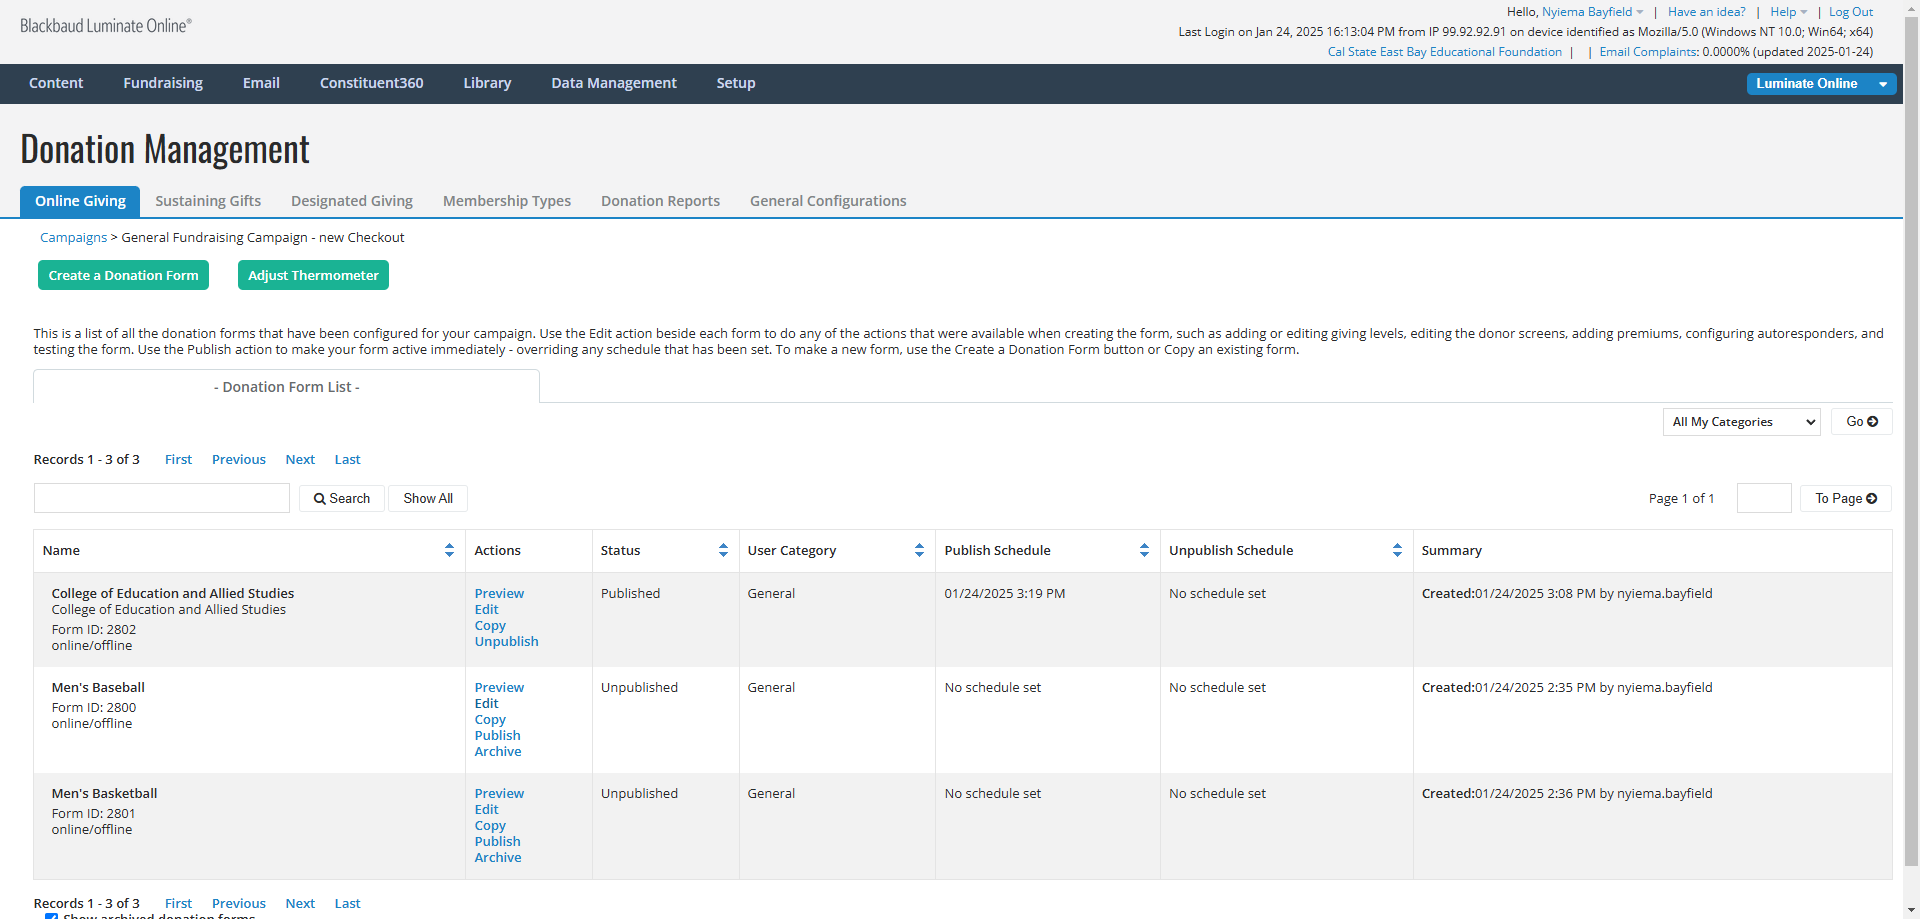
Click on the Action "Edit" next to name of the form you created in Part 1.
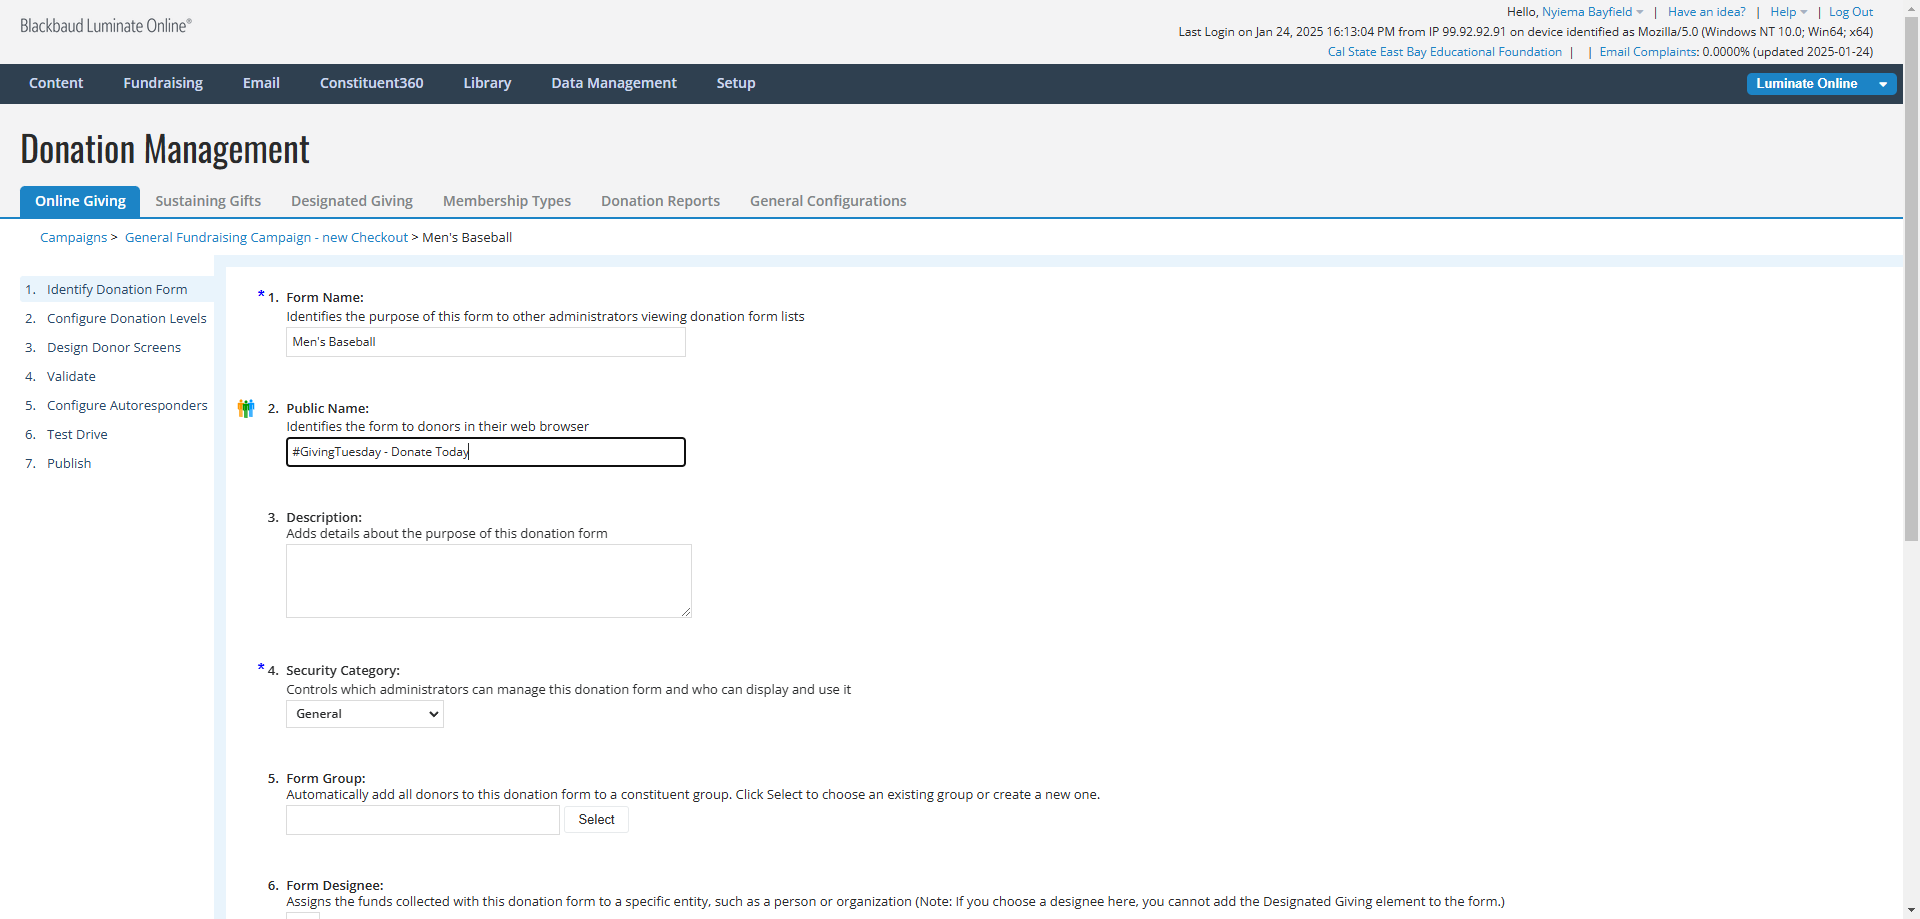
Instructions for the 1. Identify Donation Form Screen
3
Click on 1. Identify Donation Form
REVIEW THE FORM NAME AND THE PUBLIC NAME
Check that the Form Name clearly identifies the purpose of the form and/or the Designee/Fund that will be associated with it. The form name is only visible internally.
Update the Public Name of the form if it does not clearly identify the purpose of the form or if it references Giving Tuesday. The Public Name is visible externally to donors when viewing the form through their web browser. For example: "#GivingTuesday - Donate Today" => "Men's Baseball - Cal State University East Bay".
4
Click on the [Next] button.
![Step #4: Click on the [Next] button.](https://di8mn0rali2ic.cloudfront.net/uploads/1bd0150b-9e4b-46bd-80c0-0f51bcba1d1f/b6be882f-d639-4b98-b268-a58c420fc49c.png)
Instructions for the 2. Configure Donation Levels screen
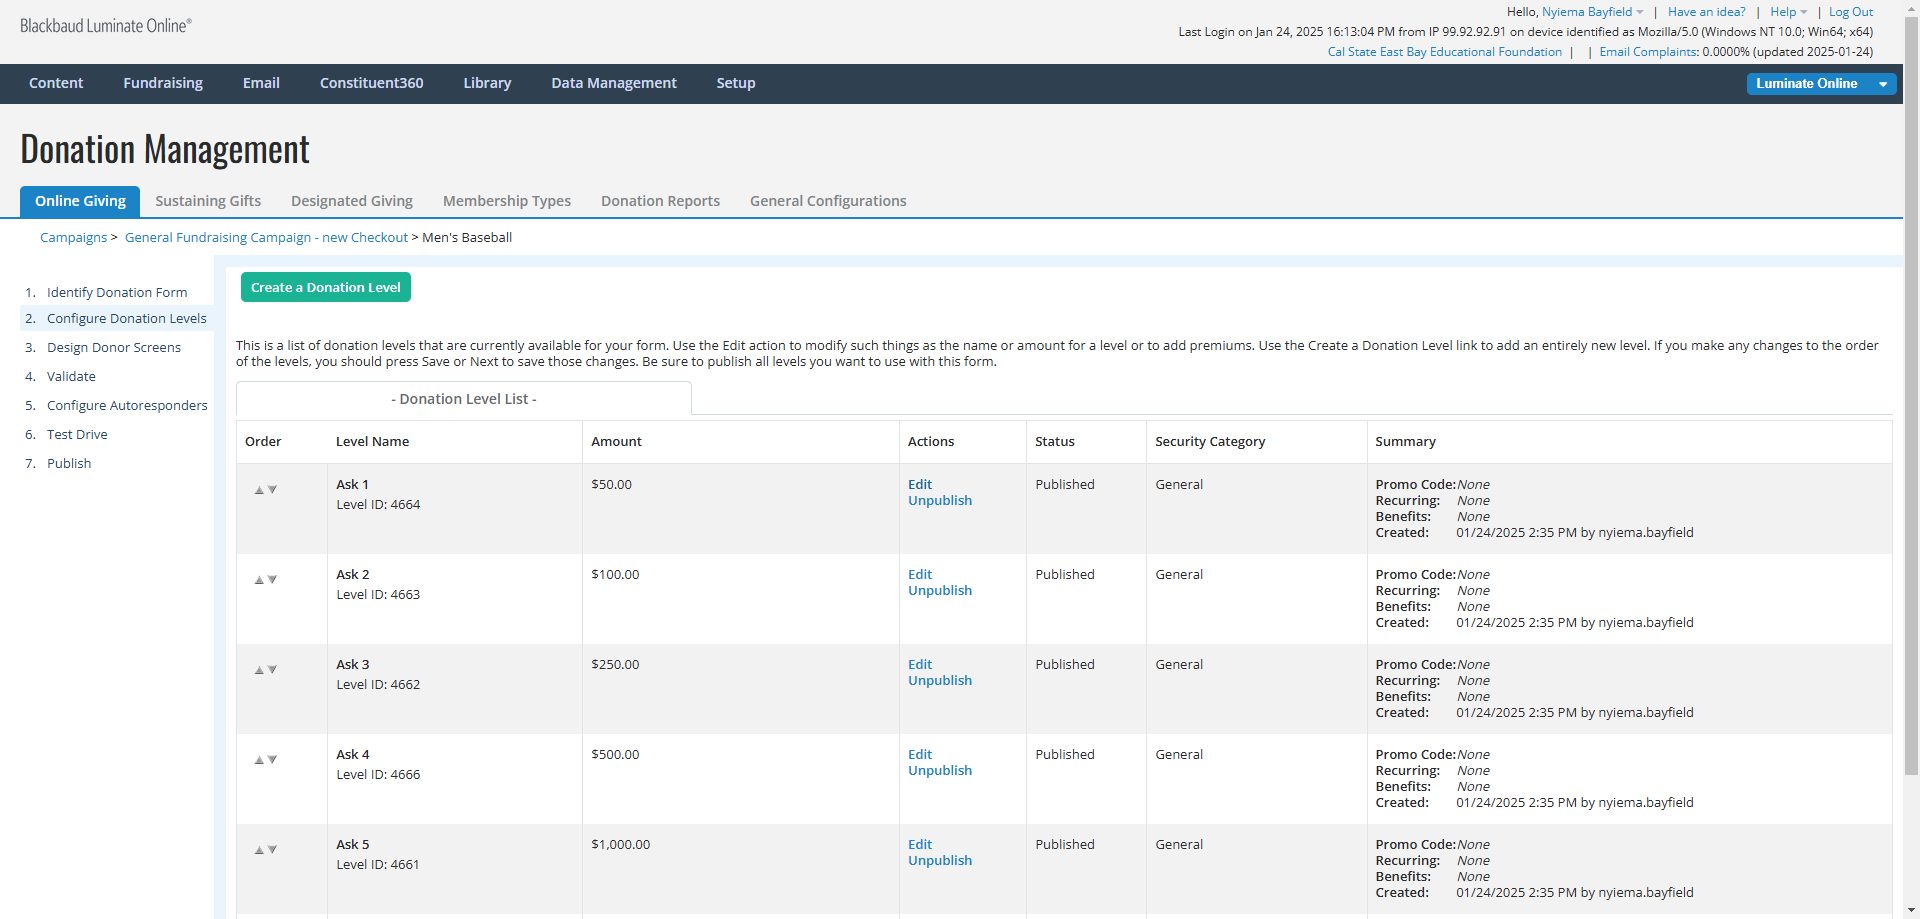
5
The original amount of each Ask Level is shown in the image below.
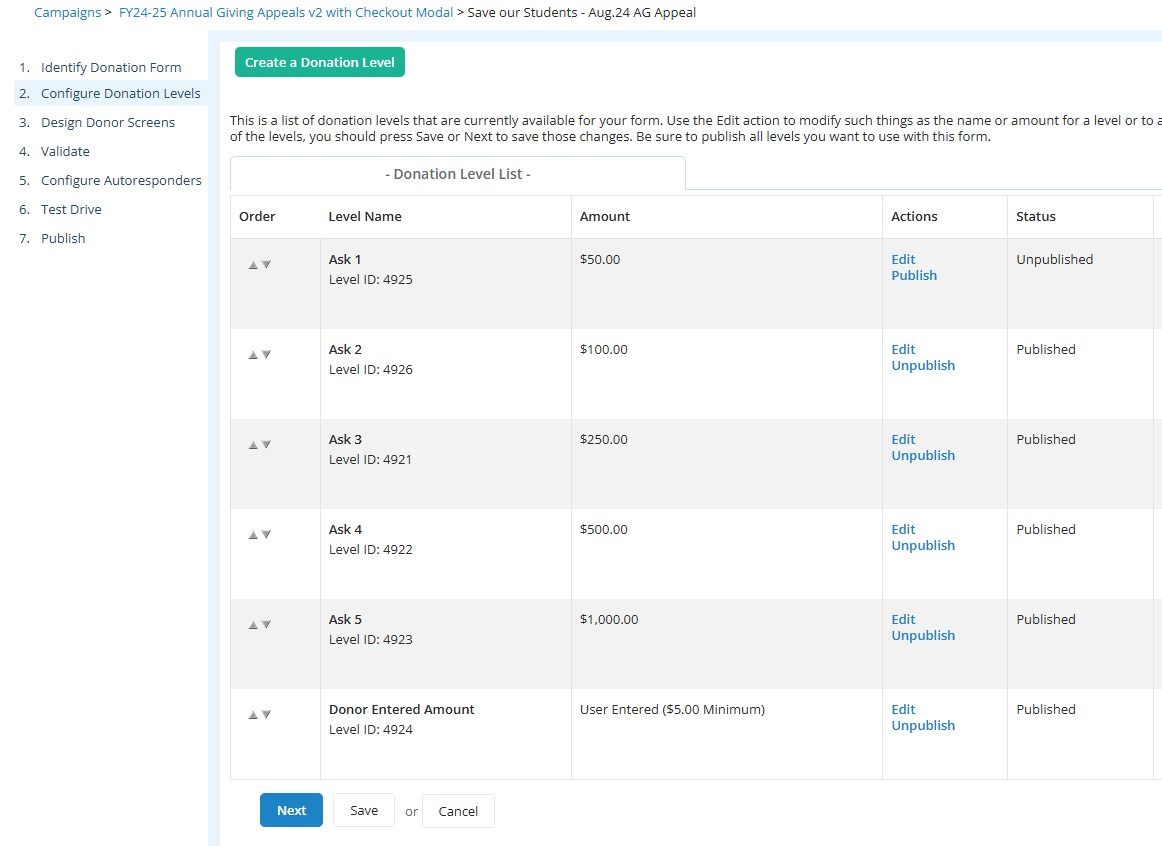
6
The amount associated with each Ask Level needs to be updated to the values shown below.
NEW ASK AMOUNTS
Ask 1: $50.00 becomes $250.
Ask 2: $100.00 becomes $500.
Ask 3: $250.00 becomes $1,000.
Ask 4: $500.00 becomes $2,500.
Ask 5: $1,000.00 becomes $5,000.
To change the amount associated with an Ask, click on the Action "Edit" next to its amount.
NEW ASK AMOUNTS
Ask 1: $50.00 becomes $250.
Ask 2: $100.00 becomes $500.
Ask 3: $250.00 becomes $1,000.
Ask 4: $500.00 becomes $2,500.
Ask 5: $1,000.00 becomes $5,000.
To change the amount associated with an Ask, click on the Action "Edit" next to its amount.
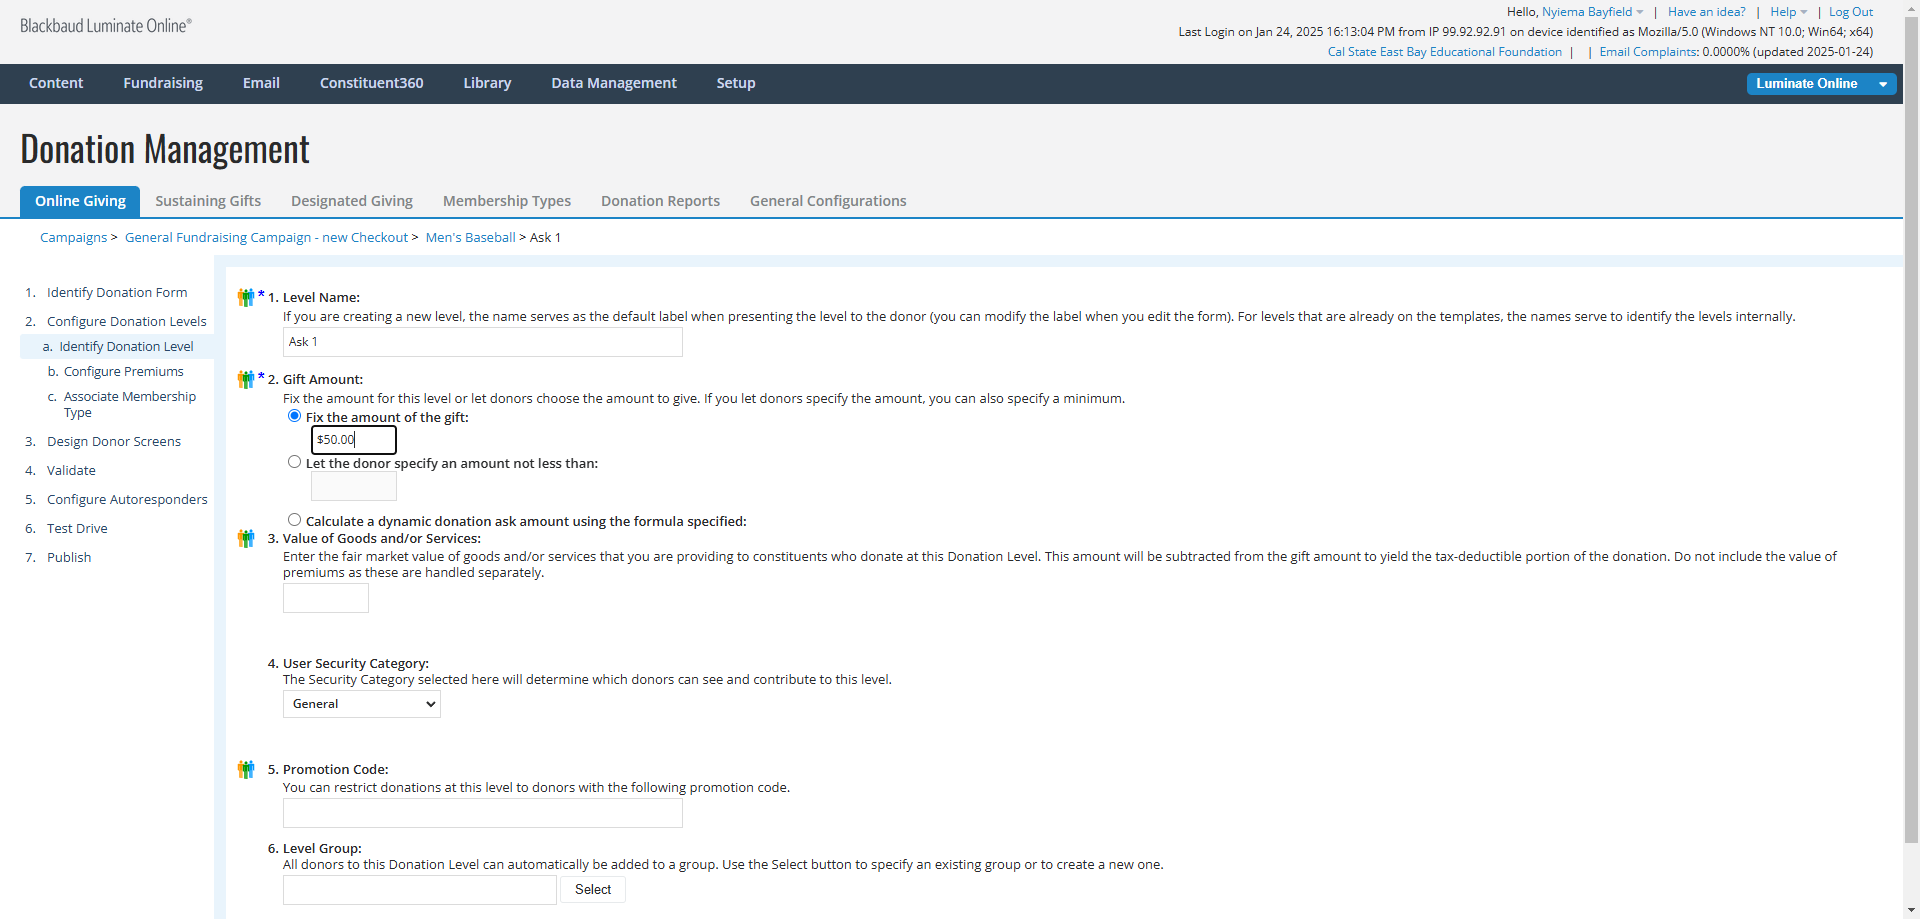
7
Click on the box below Fix the amount of the gift: and replace the existing amount with the new value.
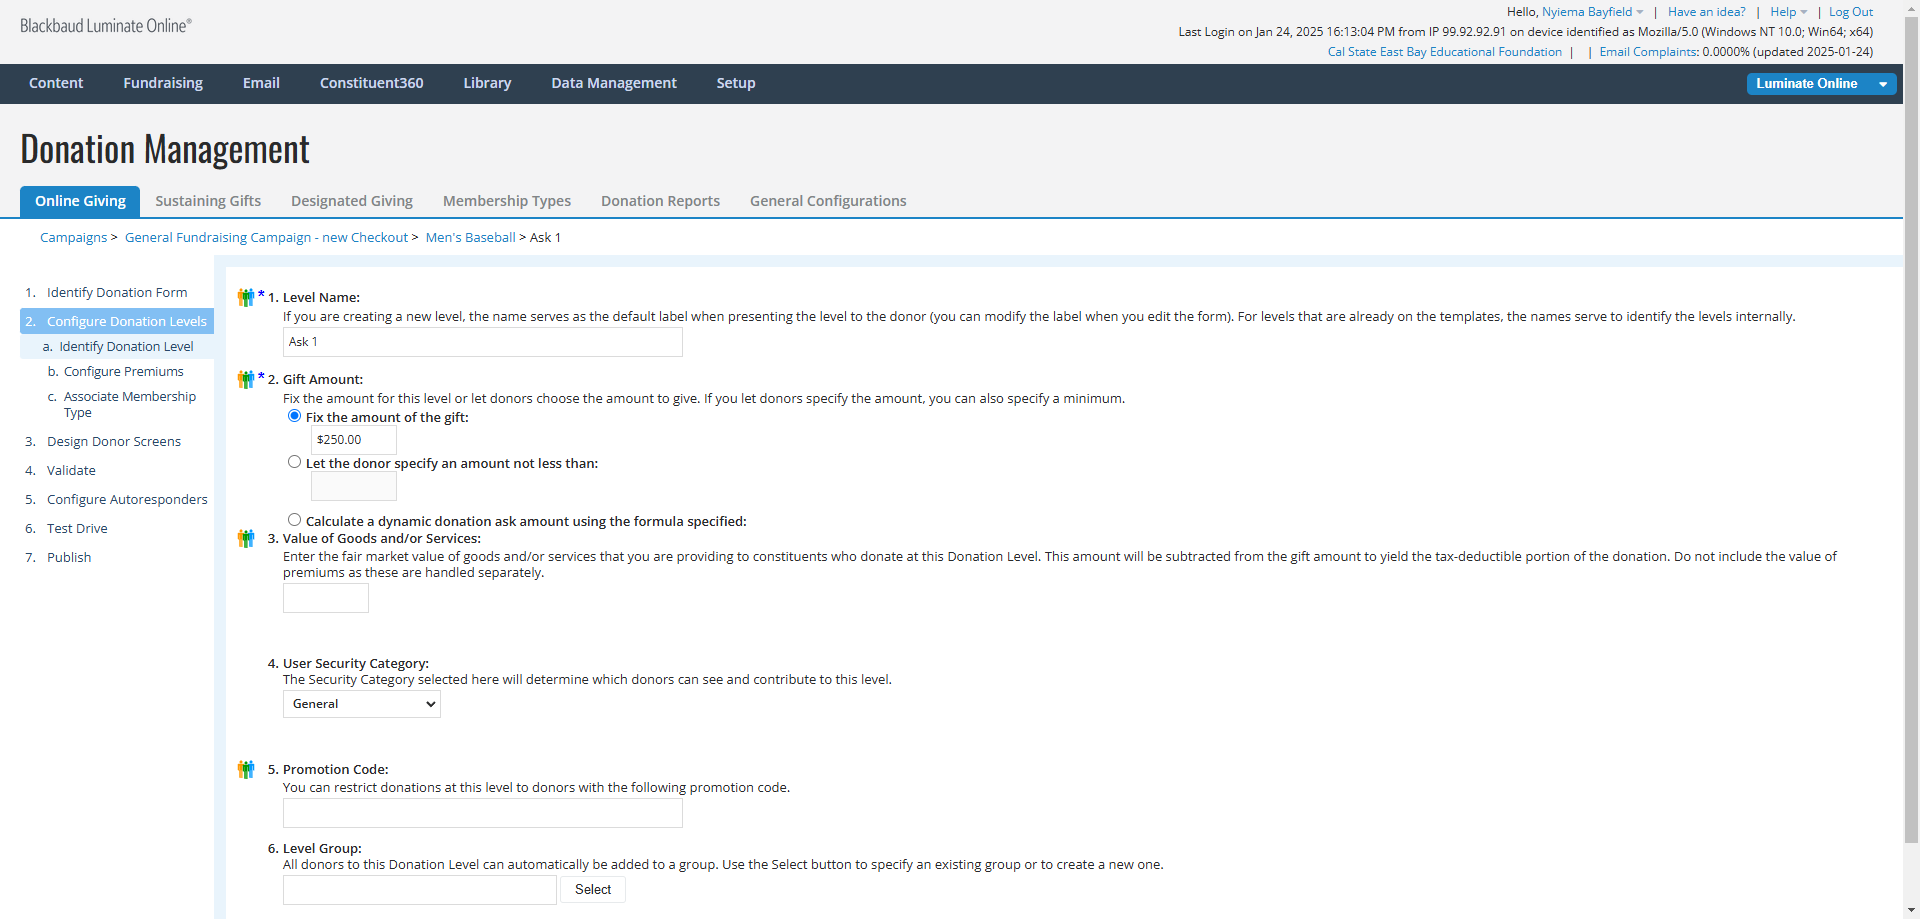
8
Click on the [Save] button.
![Step #8: Click on the [Save] button.](https://di8mn0rali2ic.cloudfront.net/uploads/1bd0150b-9e4b-46bd-80c0-0f51bcba1d1f/afef44b5-3882-47de-b8dd-23c8d6e5a3a8.png)
9
Click on 2. Configure Donation Levels to return to the list of all Donation Levels.
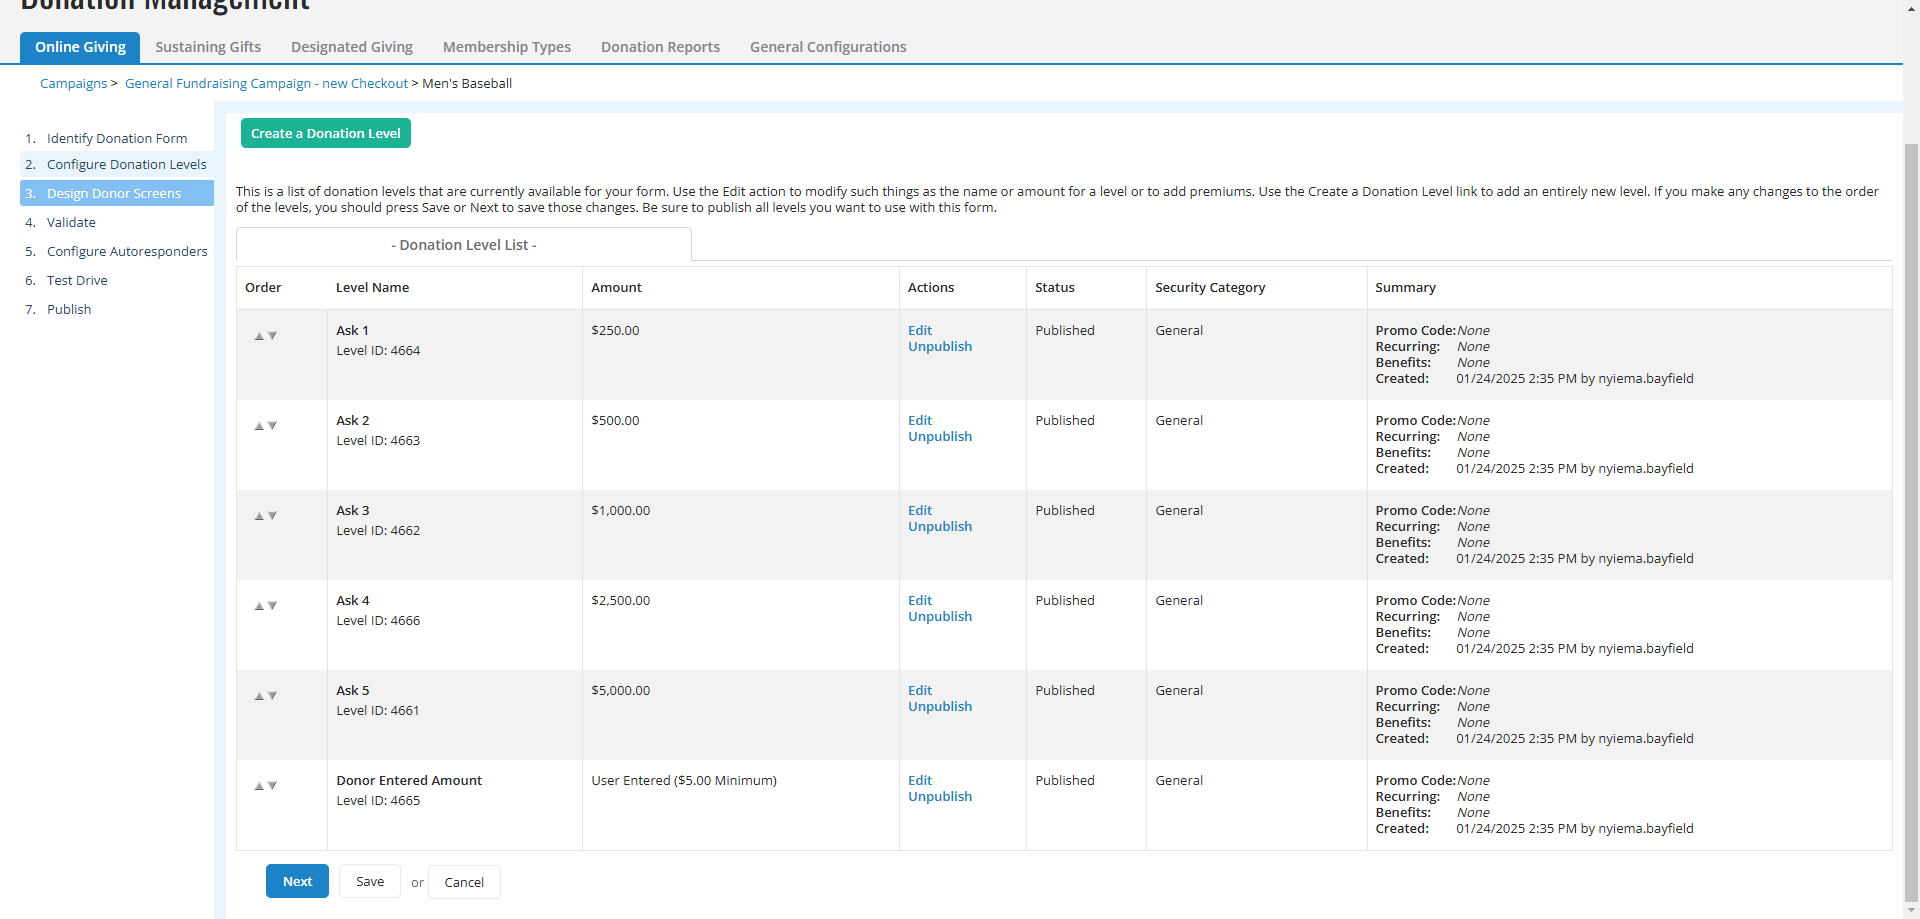
10
Repeat this process for each of the other Ask Levels on the list.
PROCESS: Click "Edit" next to the Amount associated with that Ask Level. Click on Fix the amount of the gift: and change the amount displayed for that Ask Level to the one shown in the table below. Click on the [Save] button. Click on 2. Configure Donation Levels and move to the next Ask Level on the List.
Ask 1: $50 -> $100.
Ask 2: $100 -> $500.
Ask 3: $250 -> $1,000.
Ask 4: $500 -> $2,500.
Ask 5: $1,000 -> $5,000.
Once all of the amounts have been updated, verify that the status of each level is "Published". If any of the Ask Levels has a status of "Unpublished", click on the Action "Publish".
![Step #10: Repeat this process for each of the other Ask Levels on the list. PROCESS: Click "Edit" next to the Amount associated with that Ask Level. Click on Fix the amount of the gift: and change the amount displayed for that Ask Level to the one shown in the table below. Click on the [Save] button. Click on 2. Configure Donation Levels and move to the next Ask Level on the List. Ask 1: $50 -> $100.Ask 2: $100 -> $500. Ask 3: $250 -> $1,000. Ask 4: $500 -> $2,500. Ask 5: $1,000 -> $5,000.Once all of the amounts have been updated, verify that the status of each level is "Published". If any of the Ask Levels has a status of "Unpublished", click on the Action "Publish".](https://di8mn0rali2ic.cloudfront.net/uploads/1bd0150b-9e4b-46bd-80c0-0f51bcba1d1f/5e729d5b-829a-4a68-9280-aa27fcc2246e.png)
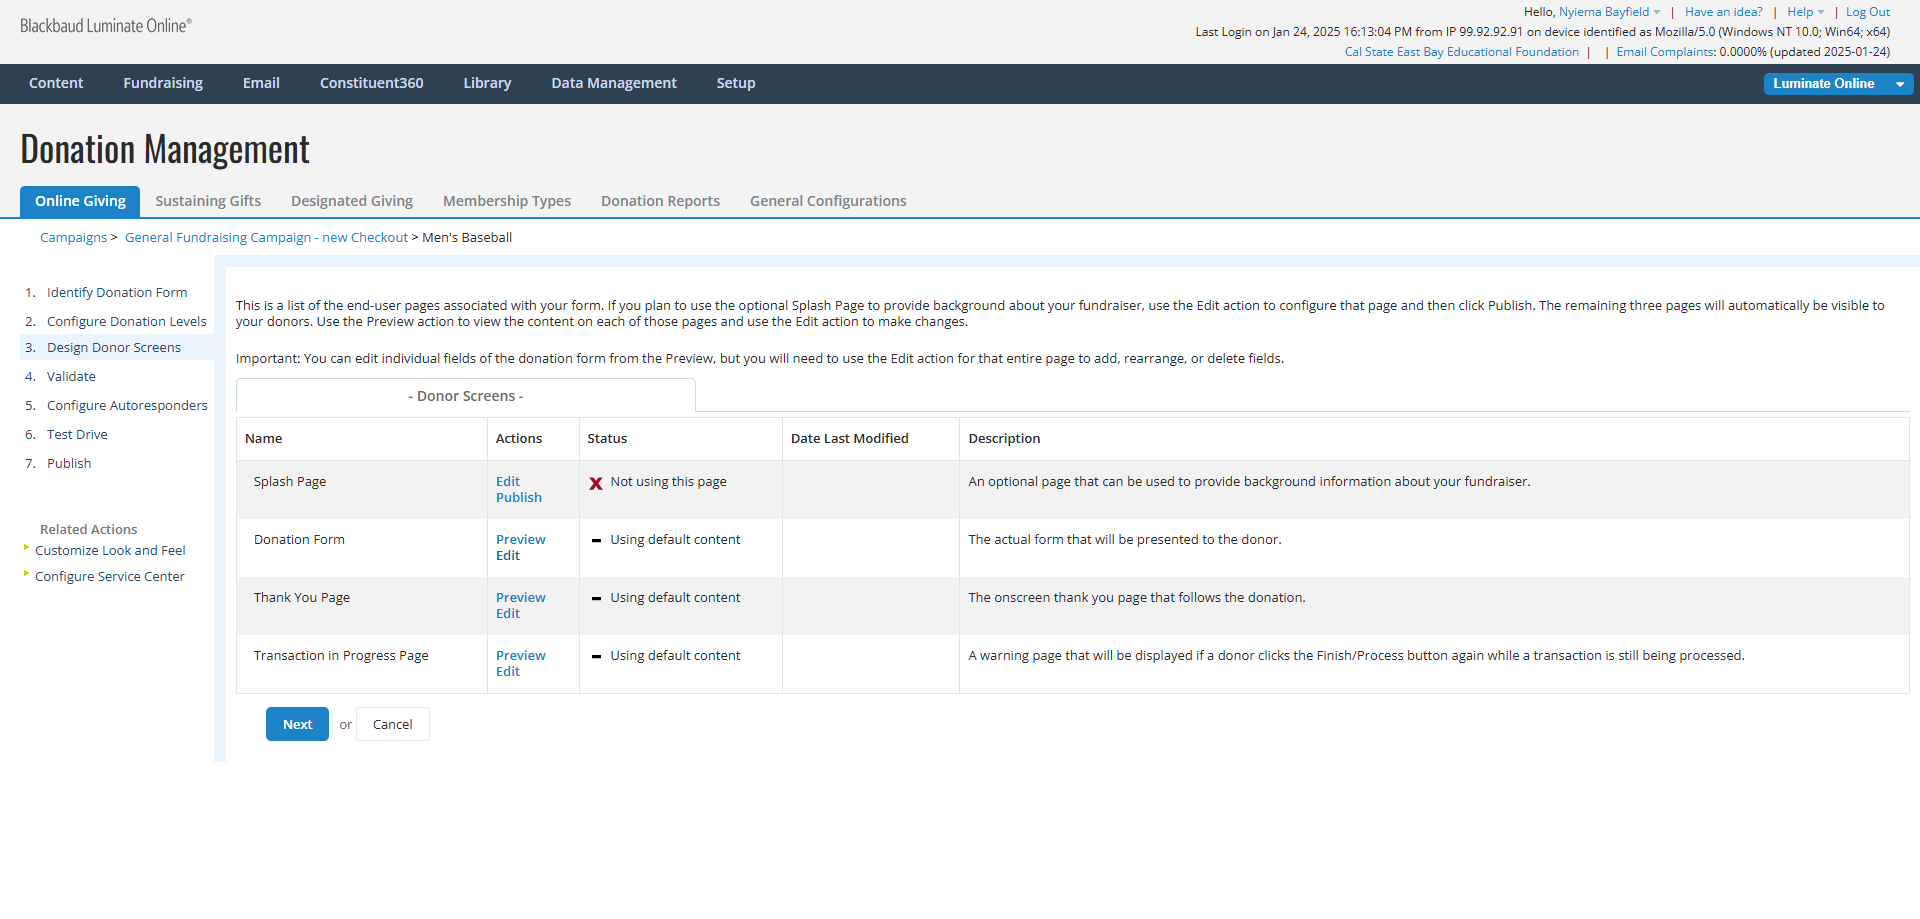
11
Click on 3. Design Donor Screens
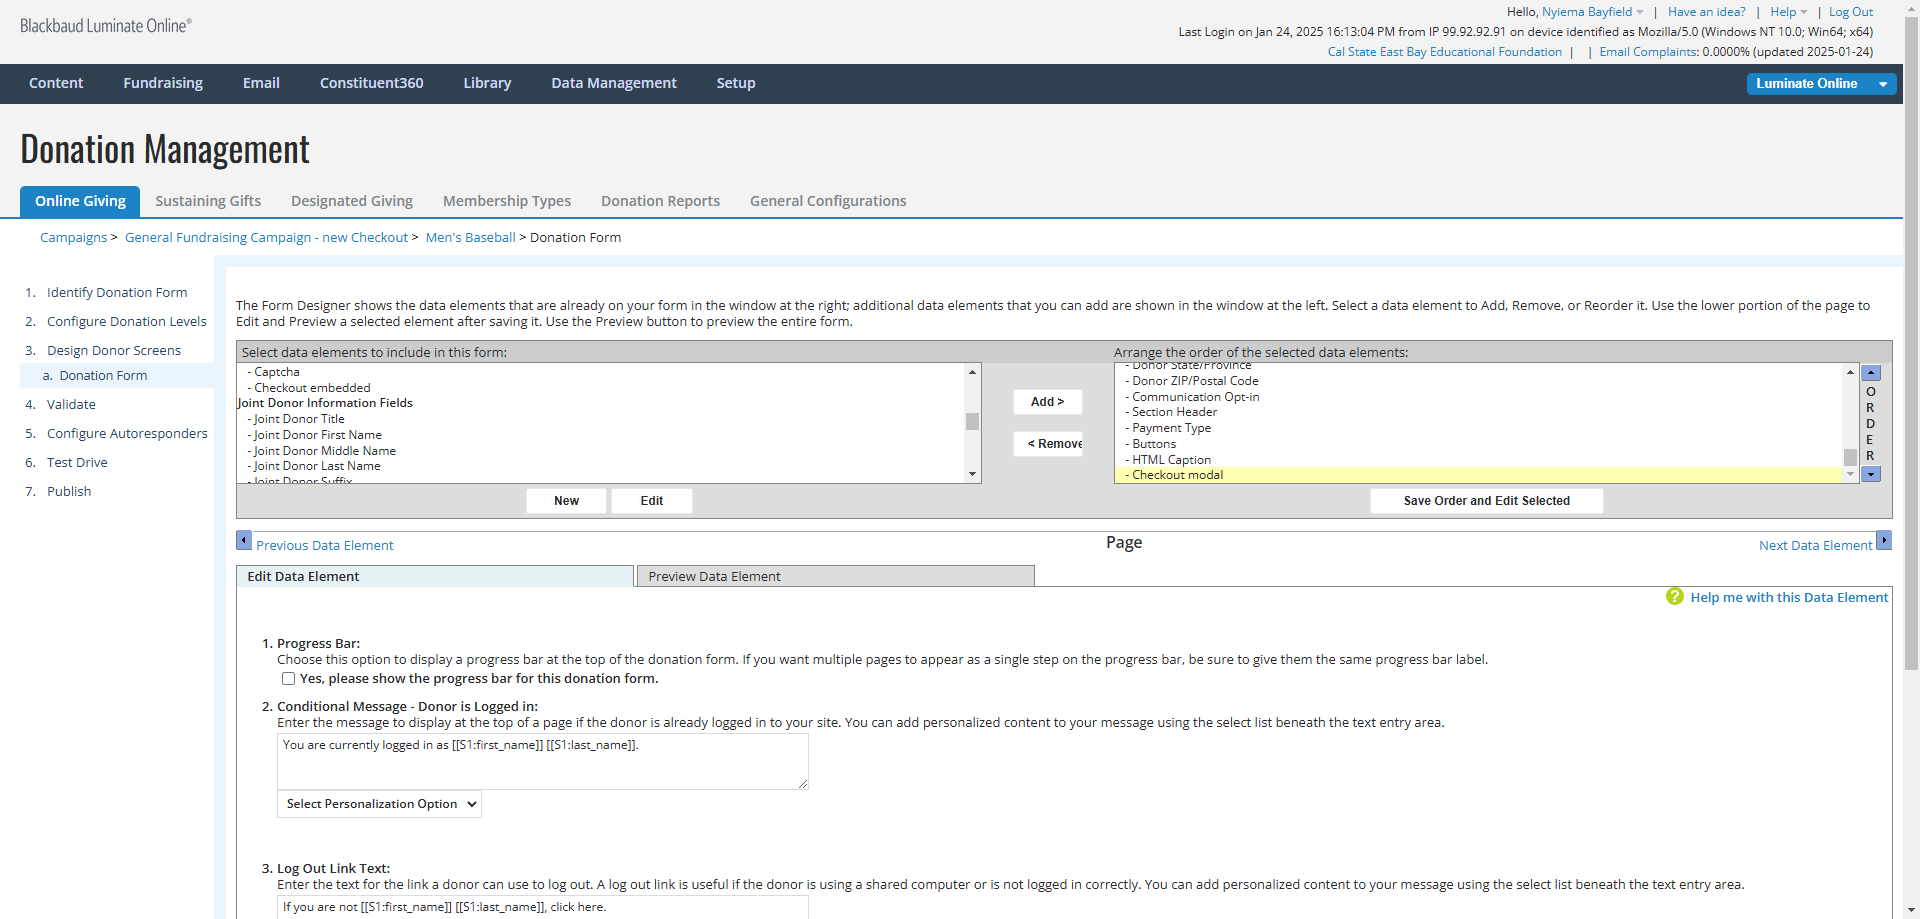
12
Click on "Edit" next to Donation Form.
REMOVE THE "CHECKOUT MODAL" ELEMENT
13
In the top right panel, Click on "Checkout modal" to select this element.
14
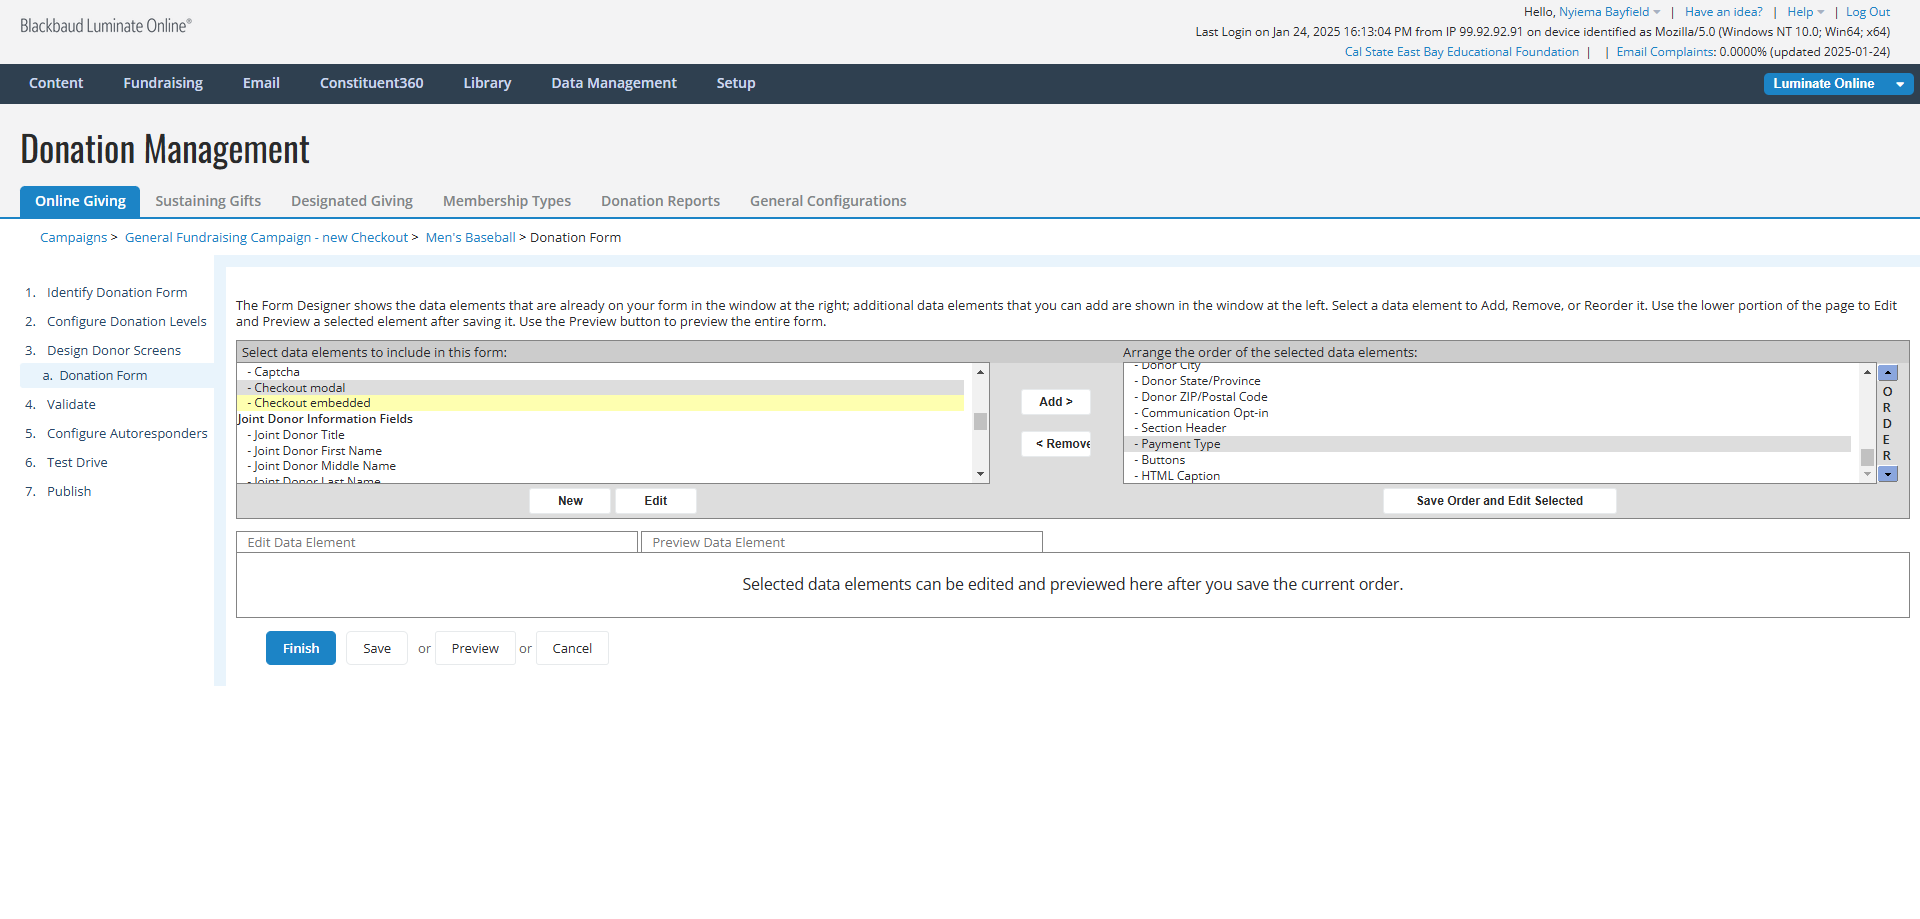
Click on [< Remove] button. This will remove the "Checkout modal" element from the donation form and it will now appear in the top right panel as part of the Payment Fields category.
![Step #14: Click on [< Remove] button. This will remove the "Checkout modal" element from the donation form and it will now appear in the top right panel as part of the Payment Fields category.](https://di8mn0rali2ic.cloudfront.net/uploads/1bd0150b-9e4b-46bd-80c0-0f51bcba1d1f/059e509d-a893-4f60-ab54-99308efaa277.png)
ADD THE CHECKOUT EMBEDDED ELEMENT
15
In the top left panel, click on "Checkout embedded".
16
In the top right panel, click on "Payment Type" to specify where you want to insert the "Checkout embedded" element into the donation form.
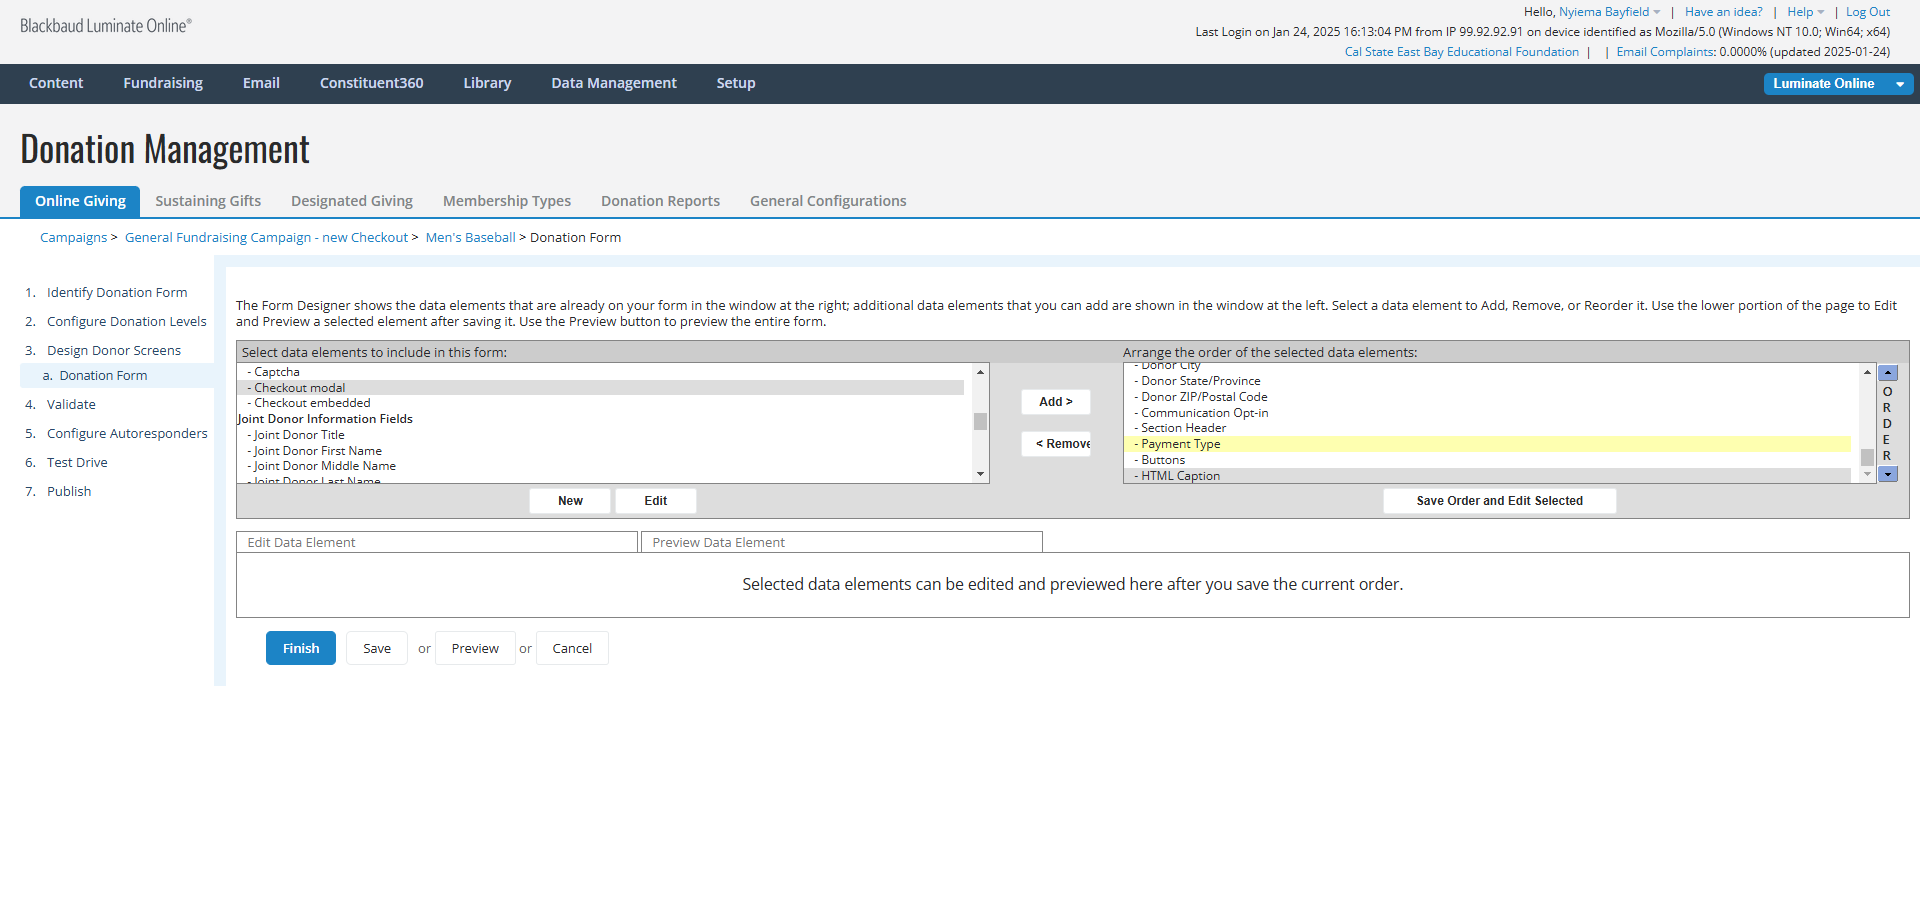
17
Click on [Add >] button. The "Checkout embedded" element should now appear in top right panel, and it should be located directly underneath "Payment Type".
![Step #17: Click on [Add >] button. The "Checkout embedded" element should now appear in top right panel, and it should be located directly underneath "Payment Type".](https://di8mn0rali2ic.cloudfront.net/uploads/1bd0150b-9e4b-46bd-80c0-0f51bcba1d1f/f90753b8-ed17-4380-a9de-9fa412936f67.png)
18
The "Checkout embedded" element should now appear in the top right panel below "Payment Type" and above "Buttons". Click on [Save Order and Edit Selected] button.
![Step #18: The "Checkout embedded" element should now appear in the top right panel below "Payment Type" and above "Buttons". Click on [Save Order and Edit Selected] button.](https://di8mn0rali2ic.cloudfront.net/uploads/1bd0150b-9e4b-46bd-80c0-0f51bcba1d1f/00953dab-9da7-45be-87d2-984d8894bd30.png)