Guide to LPN based Picking
This is a step-by-step guide for Stockone and STOCKONE
By Shipsy
In this guide, we’ll walk through LPN-based picking and order processing using the Stockone Neo mobile app. From generating a picklist to scanning SKUs and verifying LPN details, we’ll cover each step to ensure an efficient and accurate picking process. Let’s get started!
1
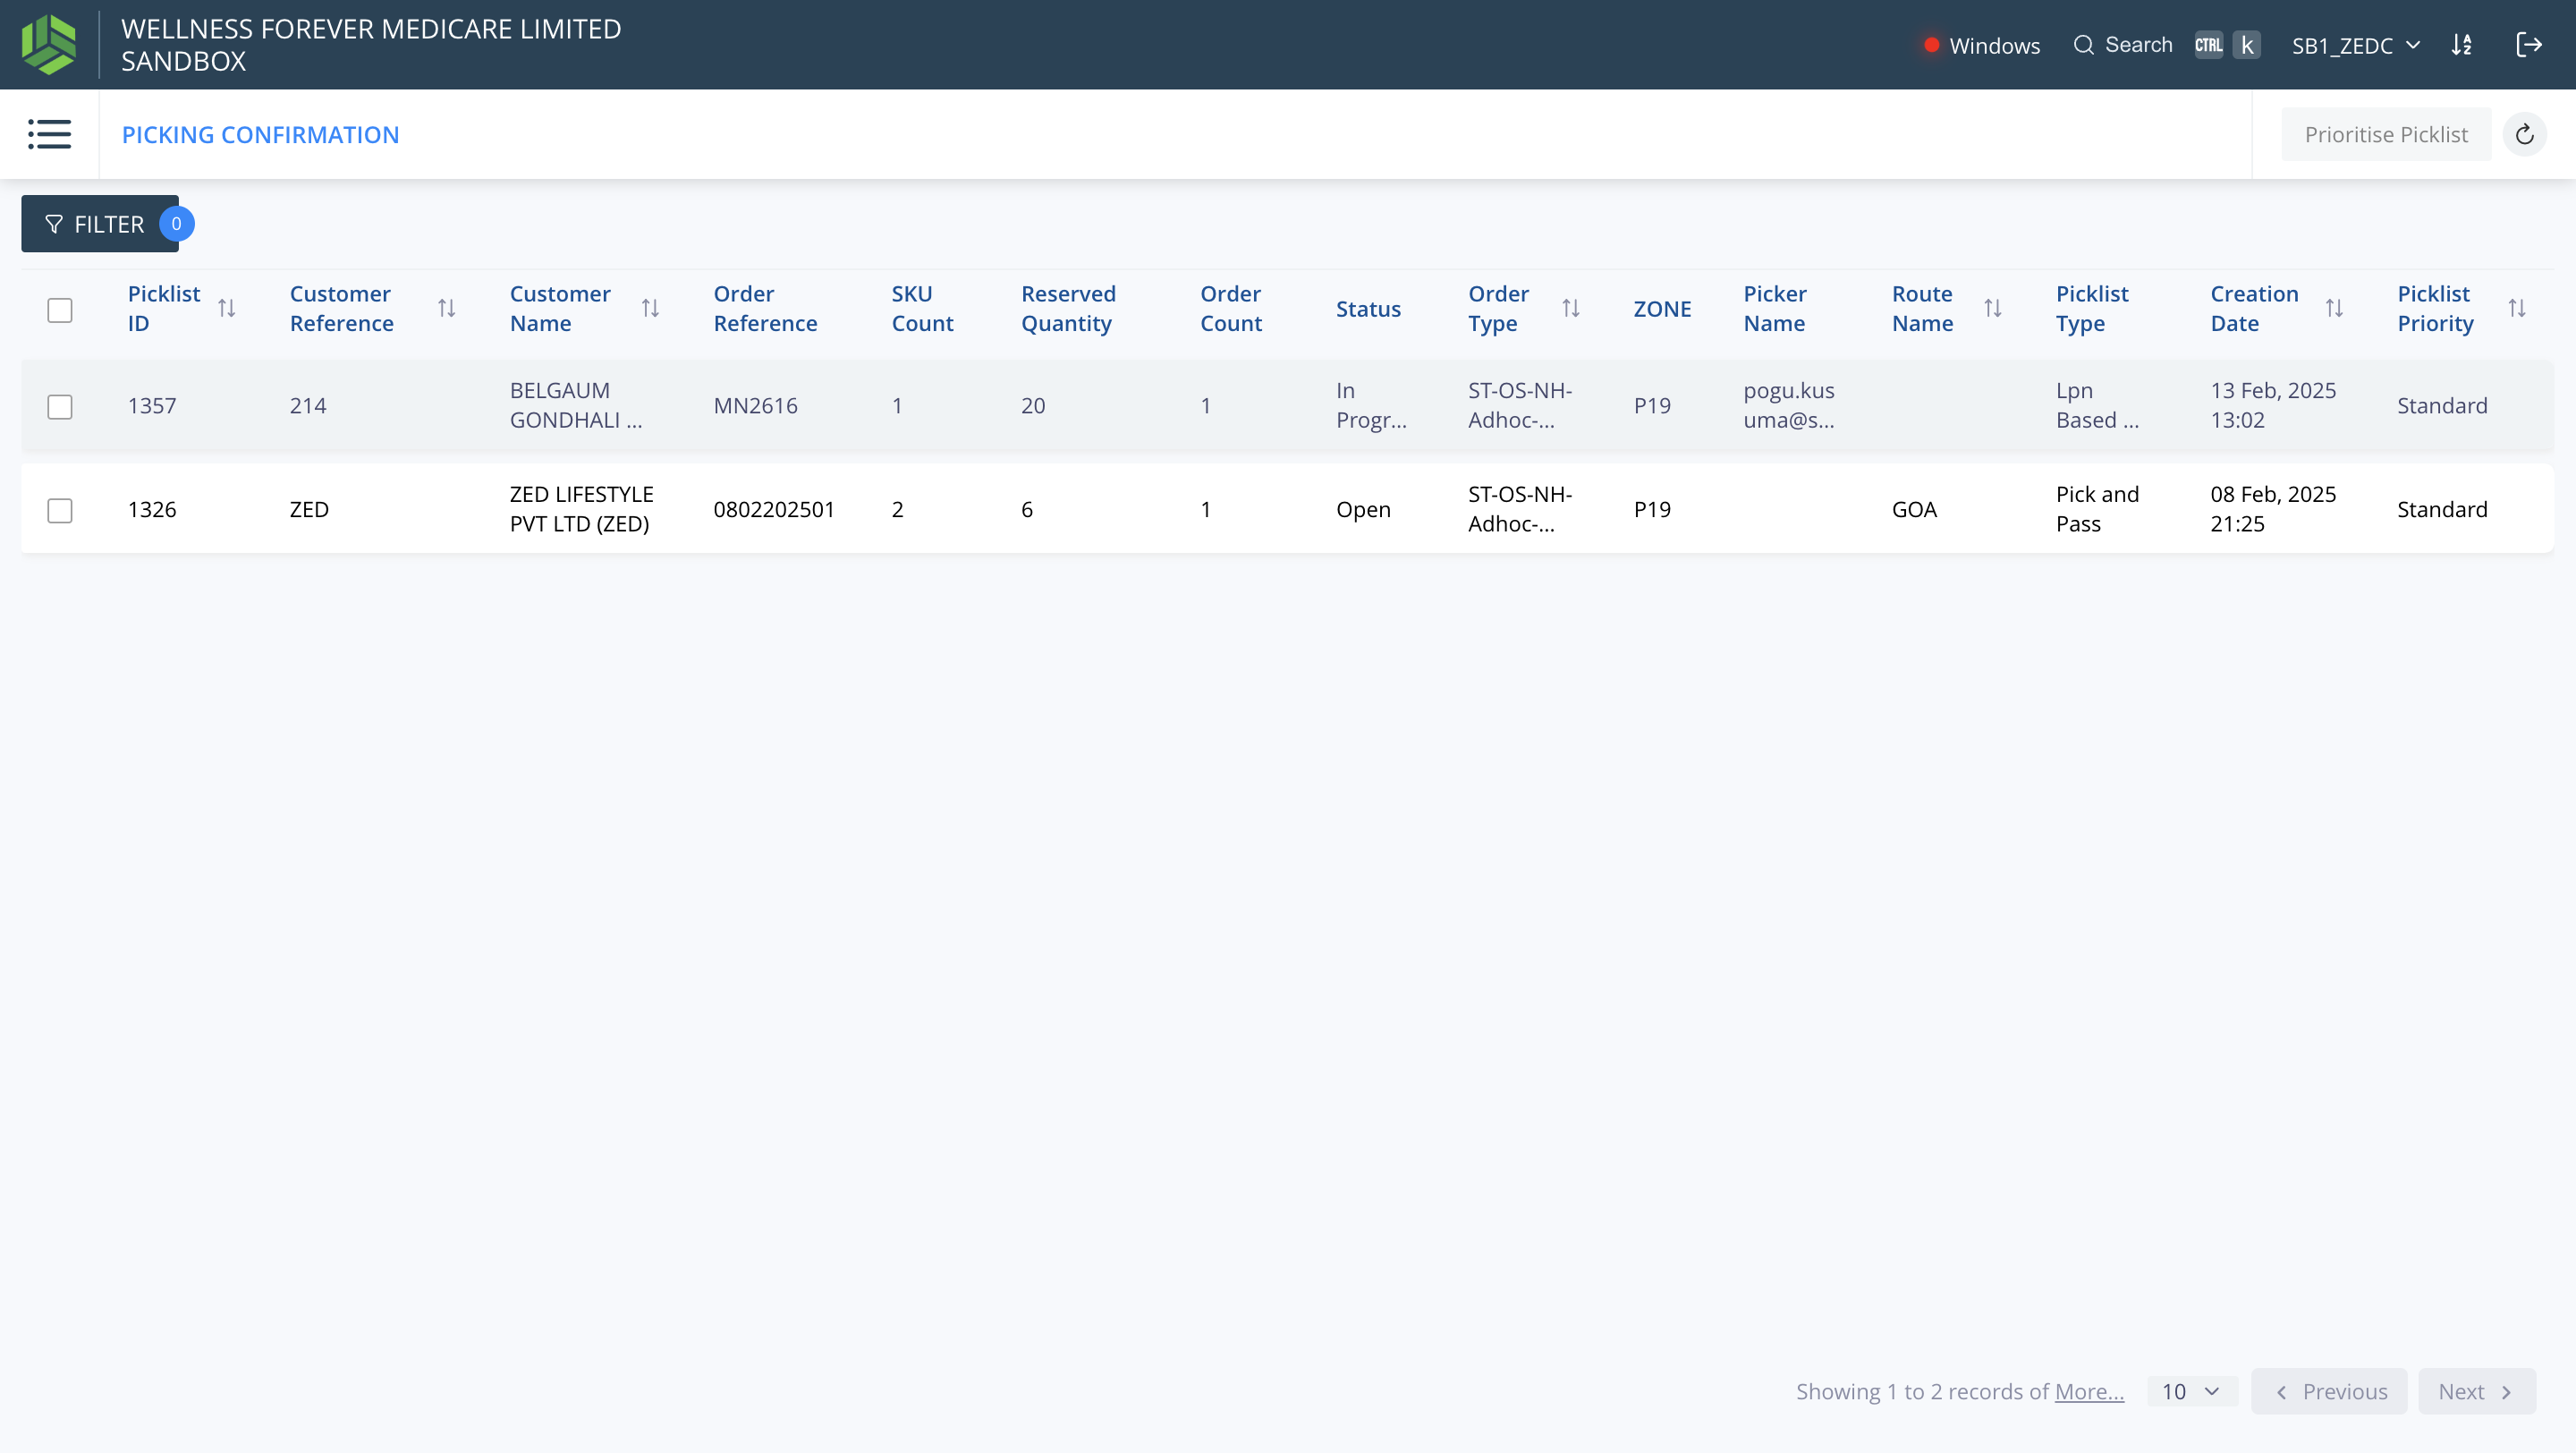
Here we can see an LPN based picklist of Picklist ID "1357".
2
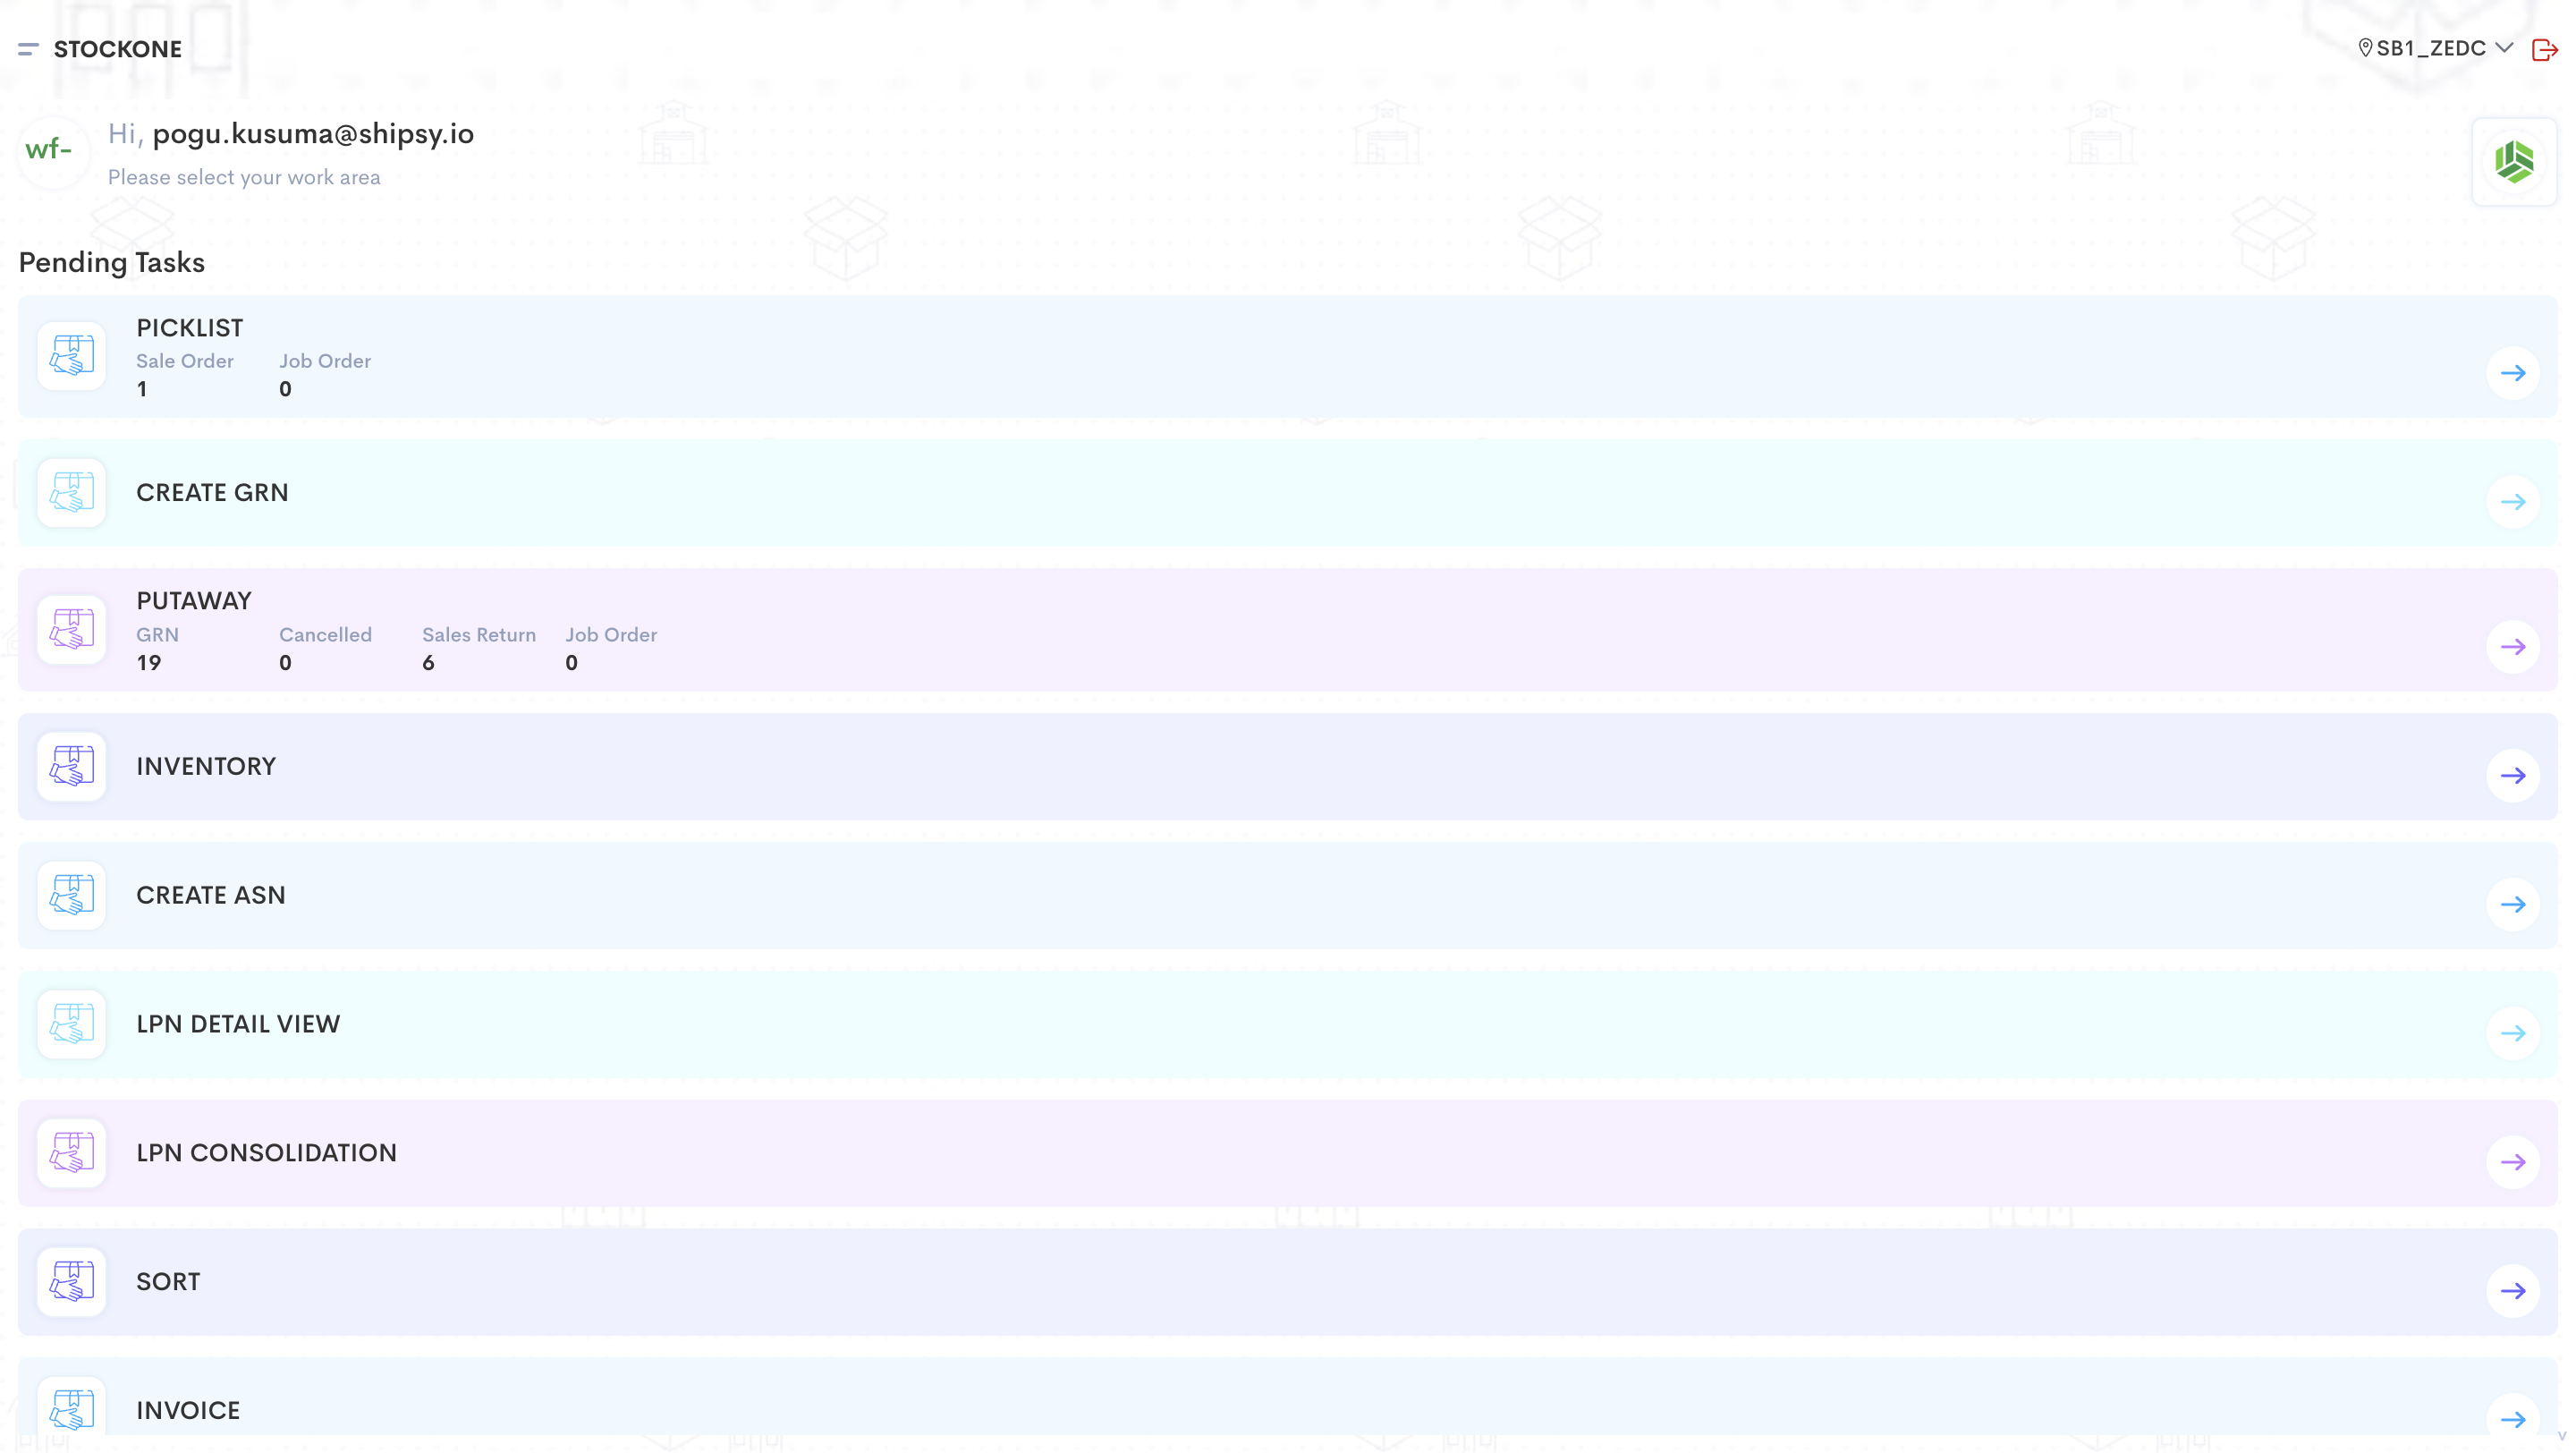
This is the picker screen which shows if any task is available to them. We can see a picklist task. Upon clicking on "PICKLIST", the picking starts.
3
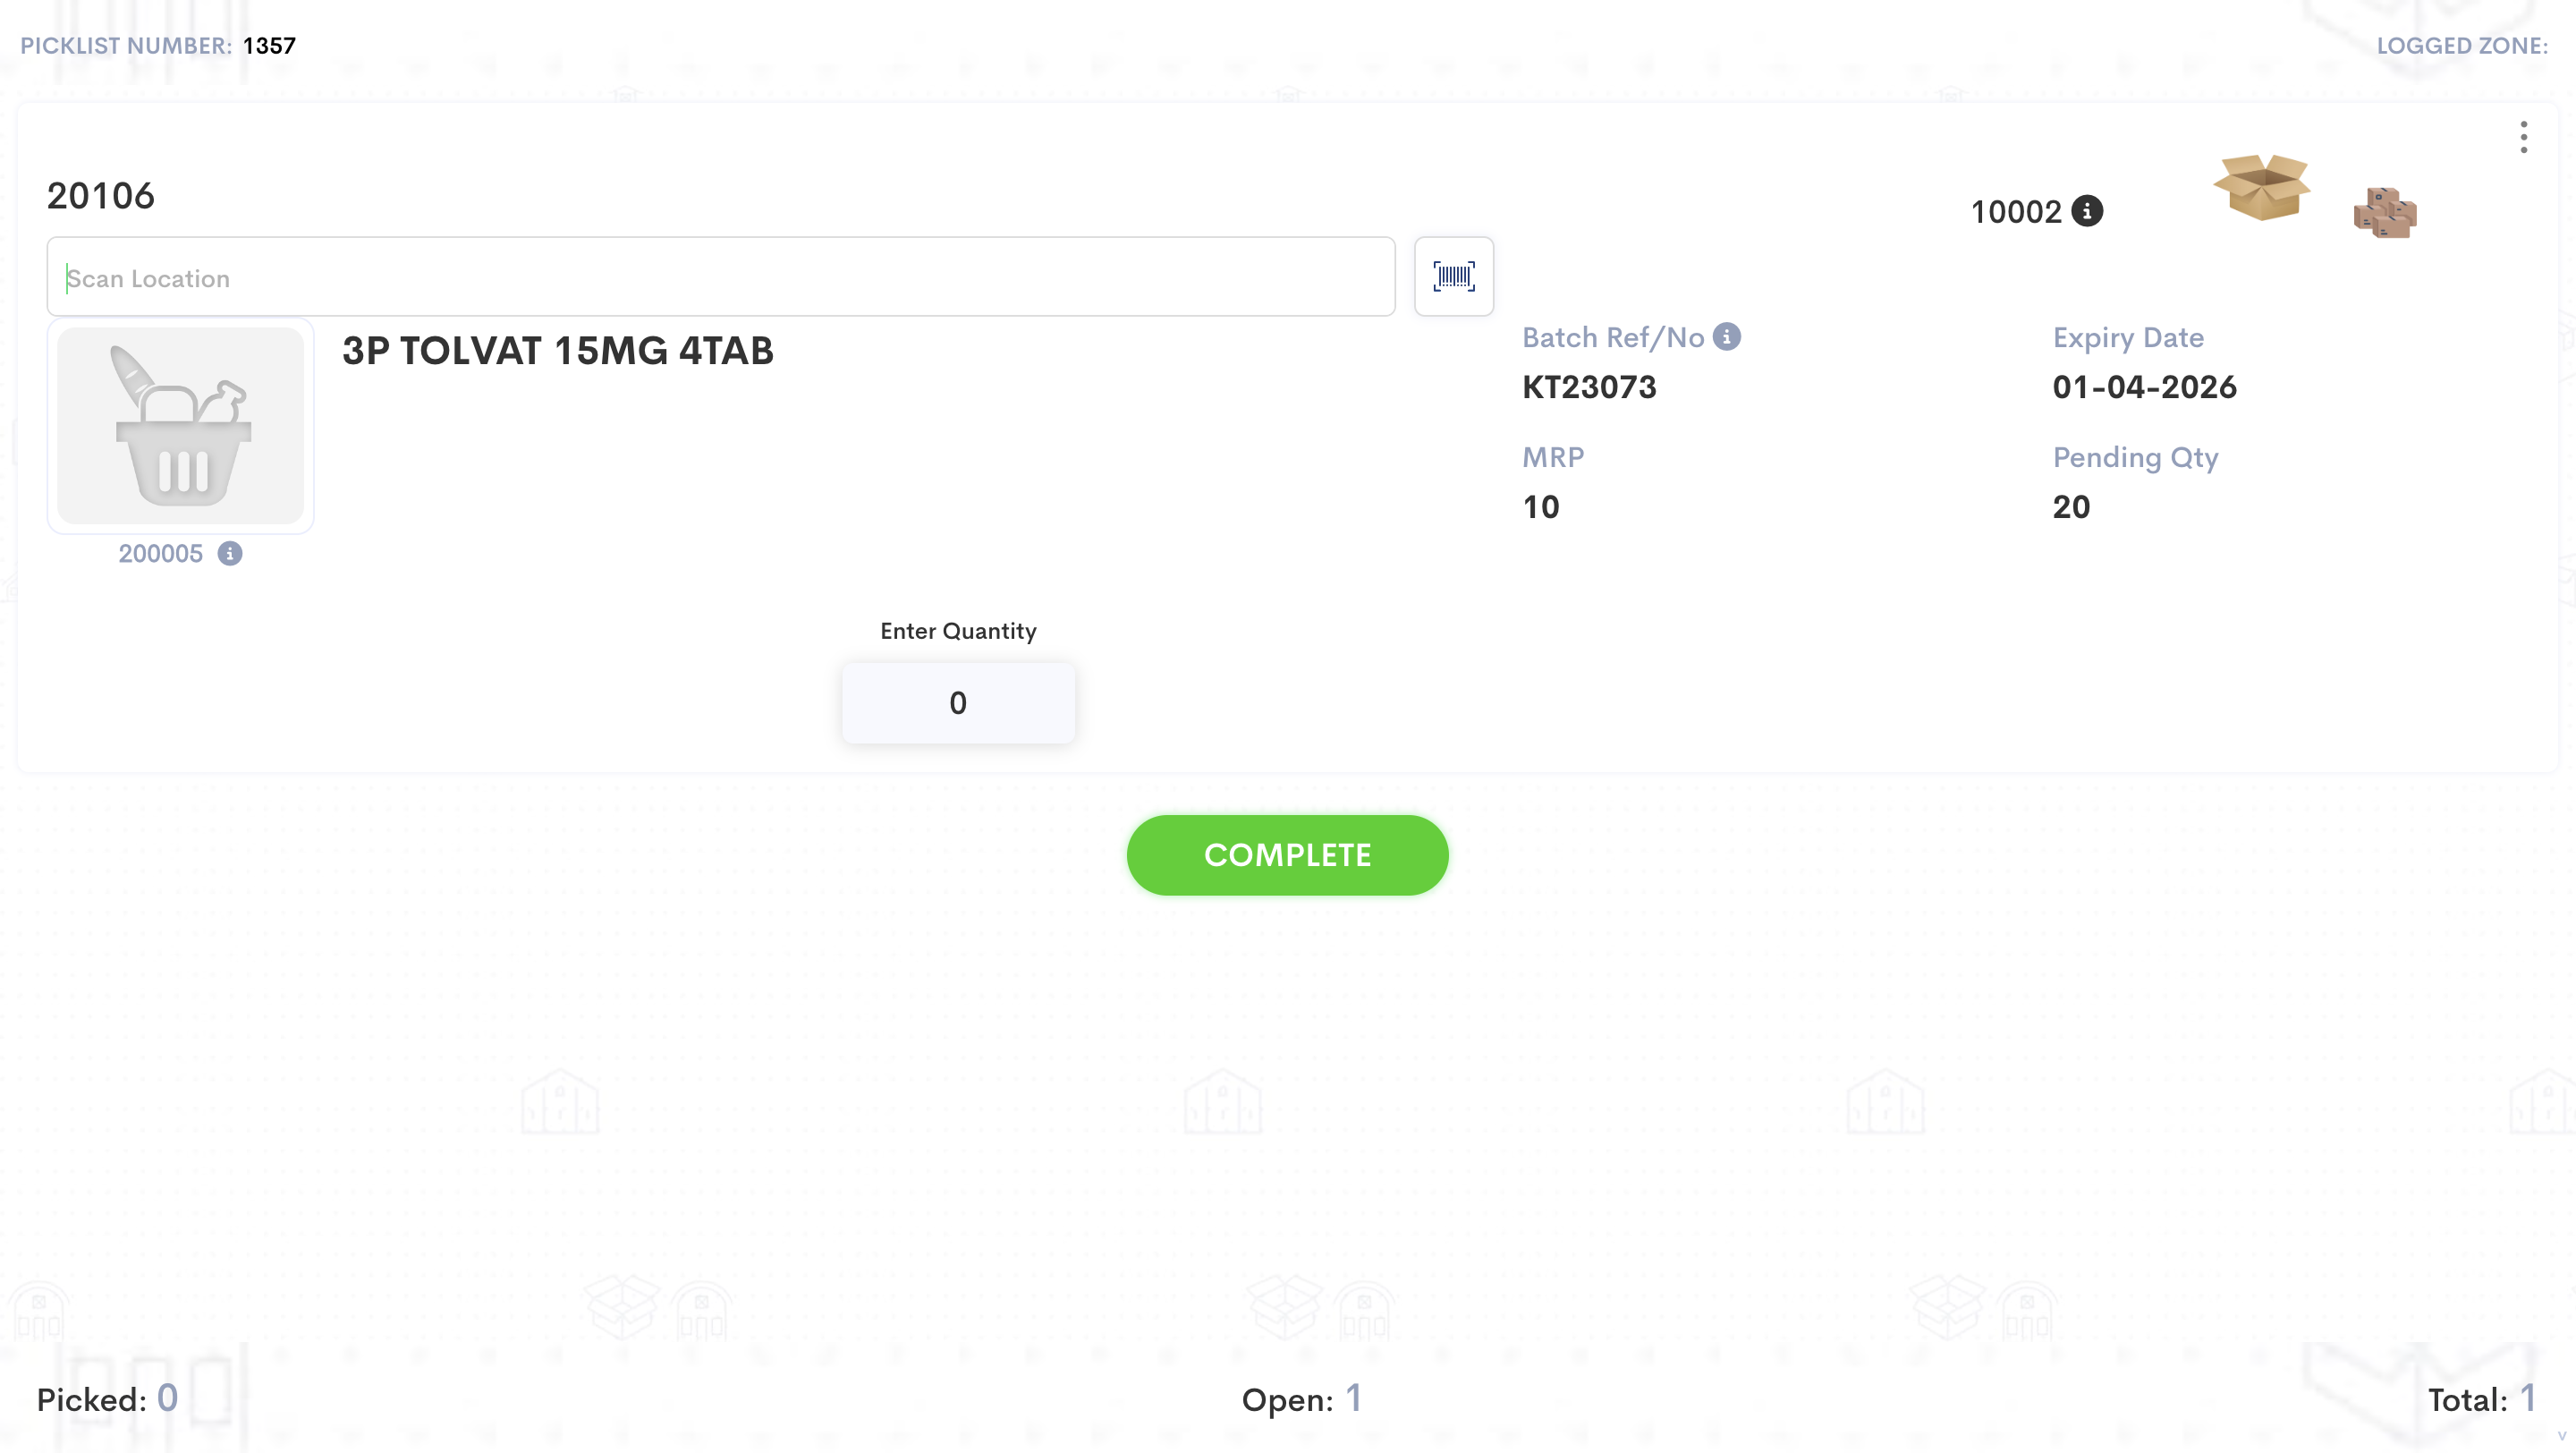
The picker will navigate to the location of the SKUs and scan the location first. Here it is "20106".
4
Then SKUs will be scanned until the quantity is fulfilled. It is 20 here. It is a configuration that either they have to scan each and every item or just increase the quantity on screen.
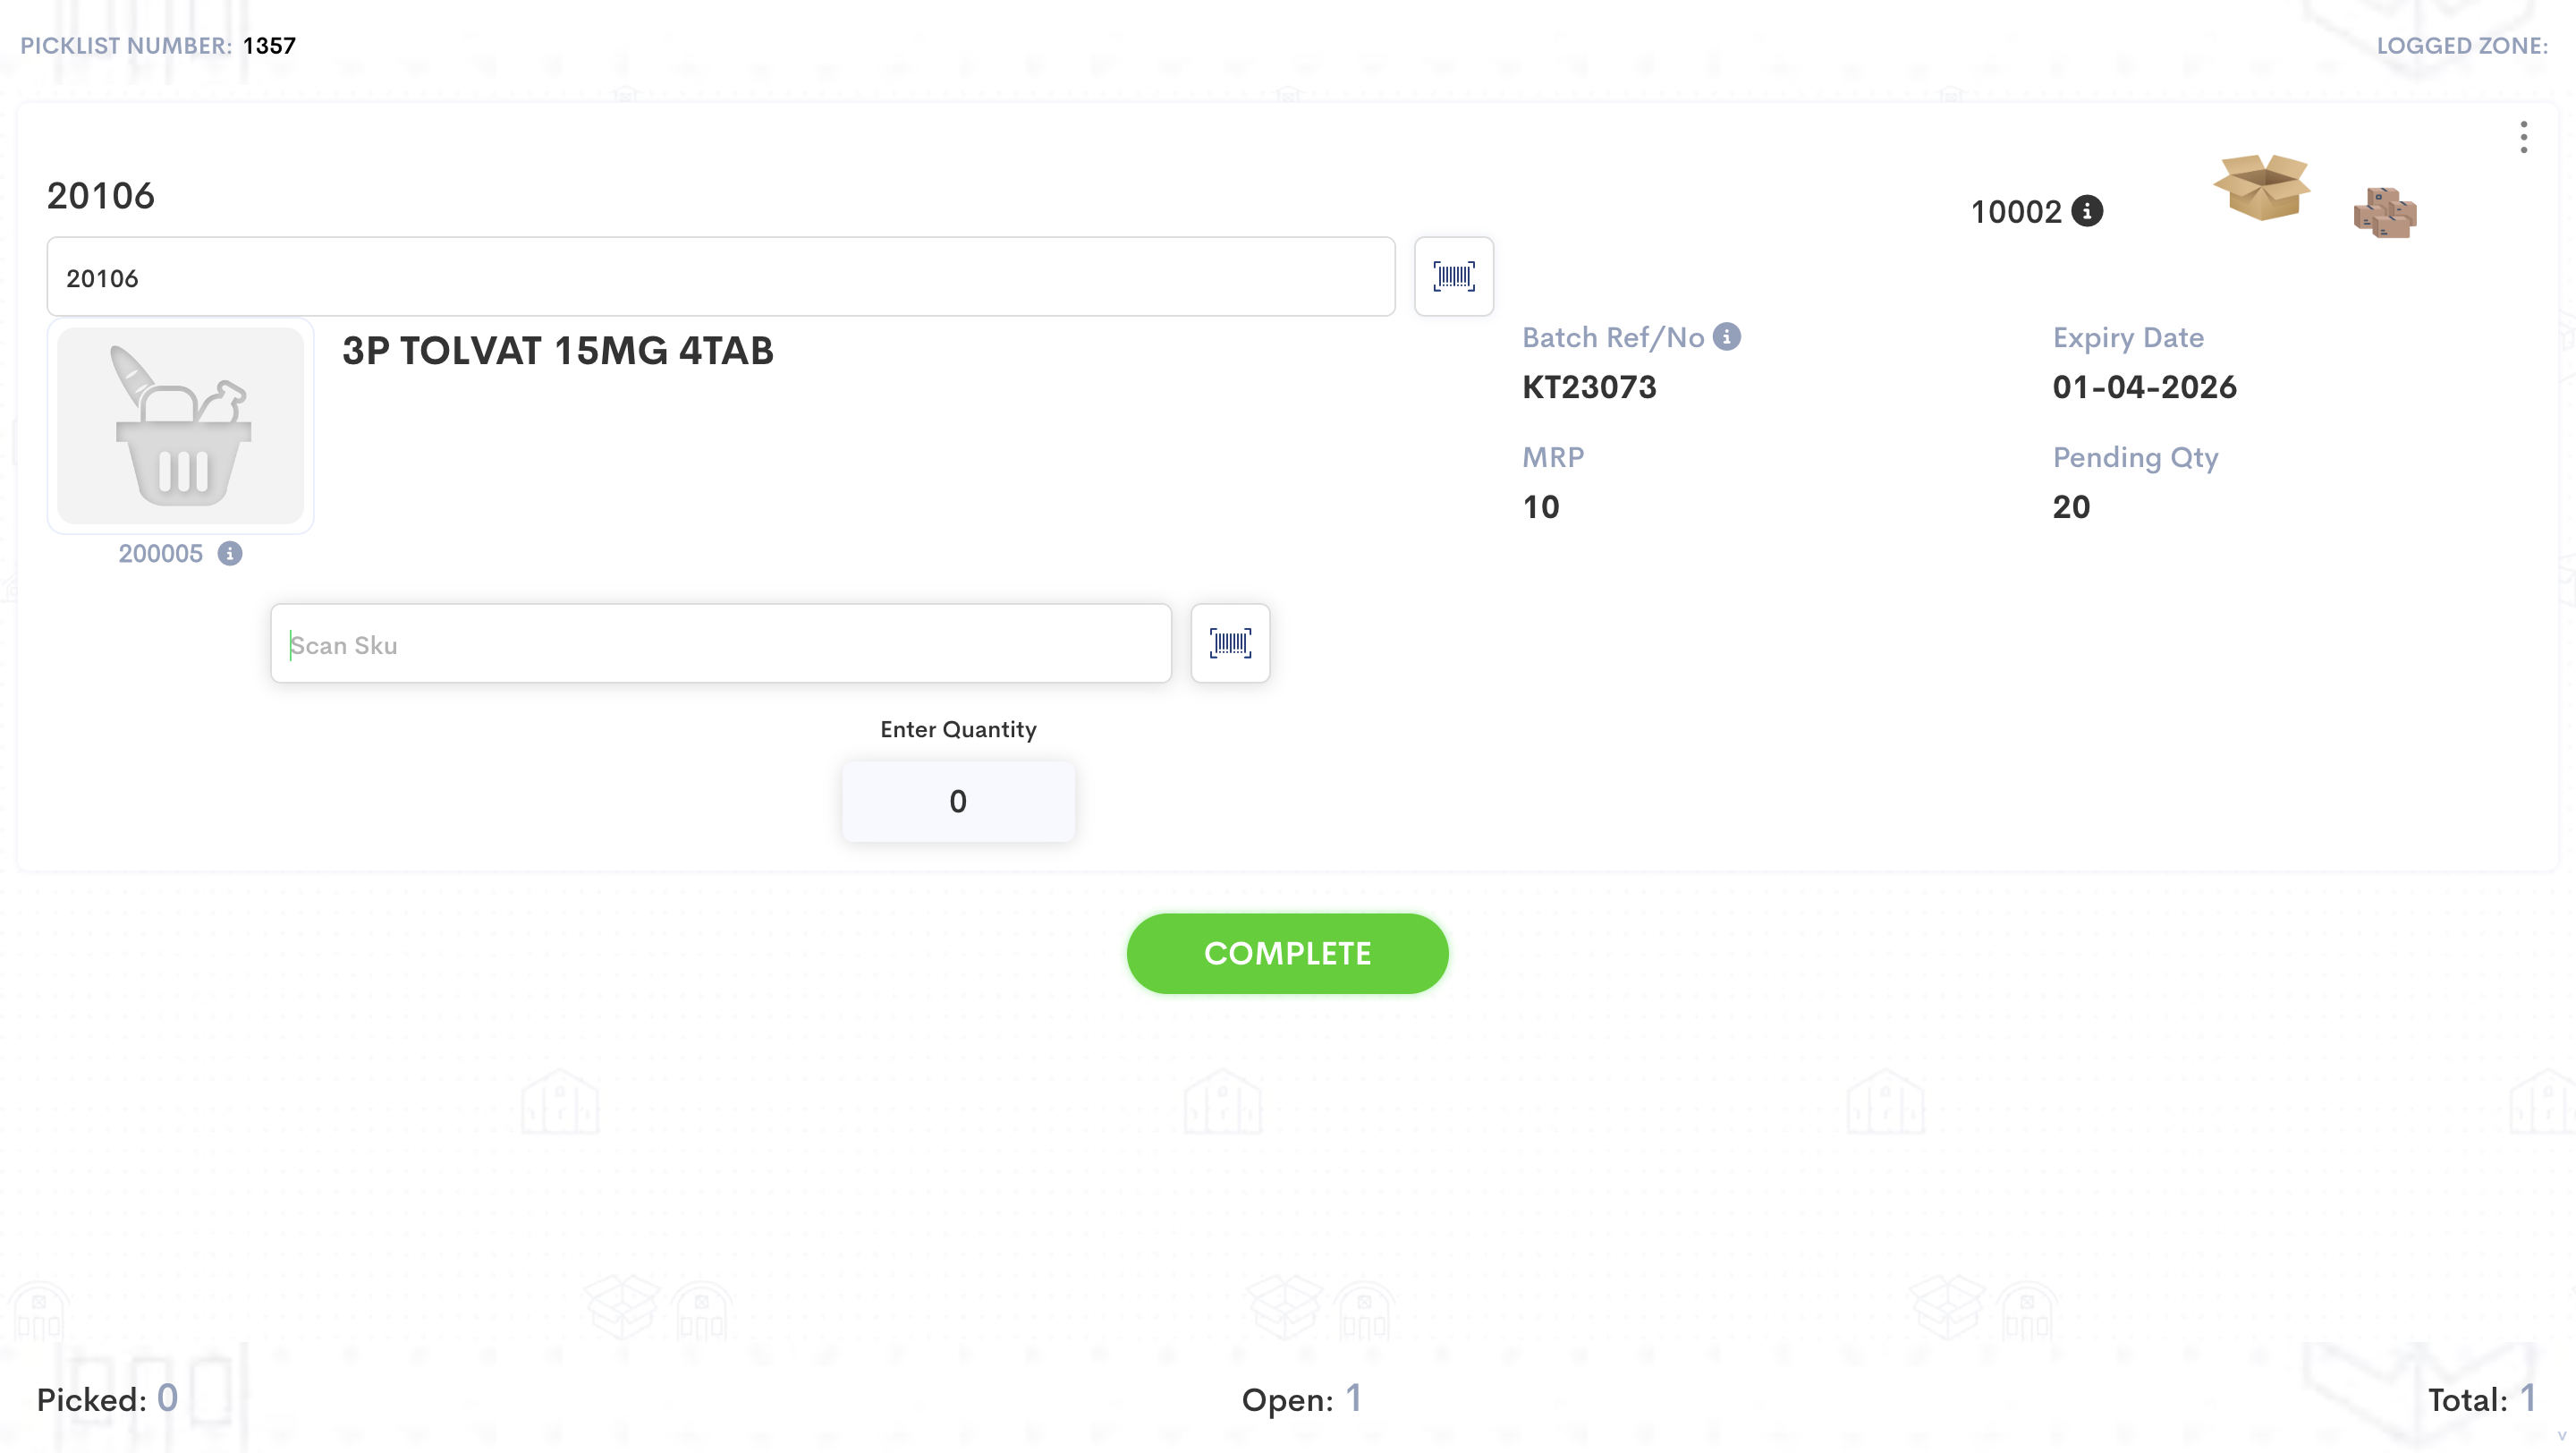
5
The quantity of the SKU increases as we scan each item.
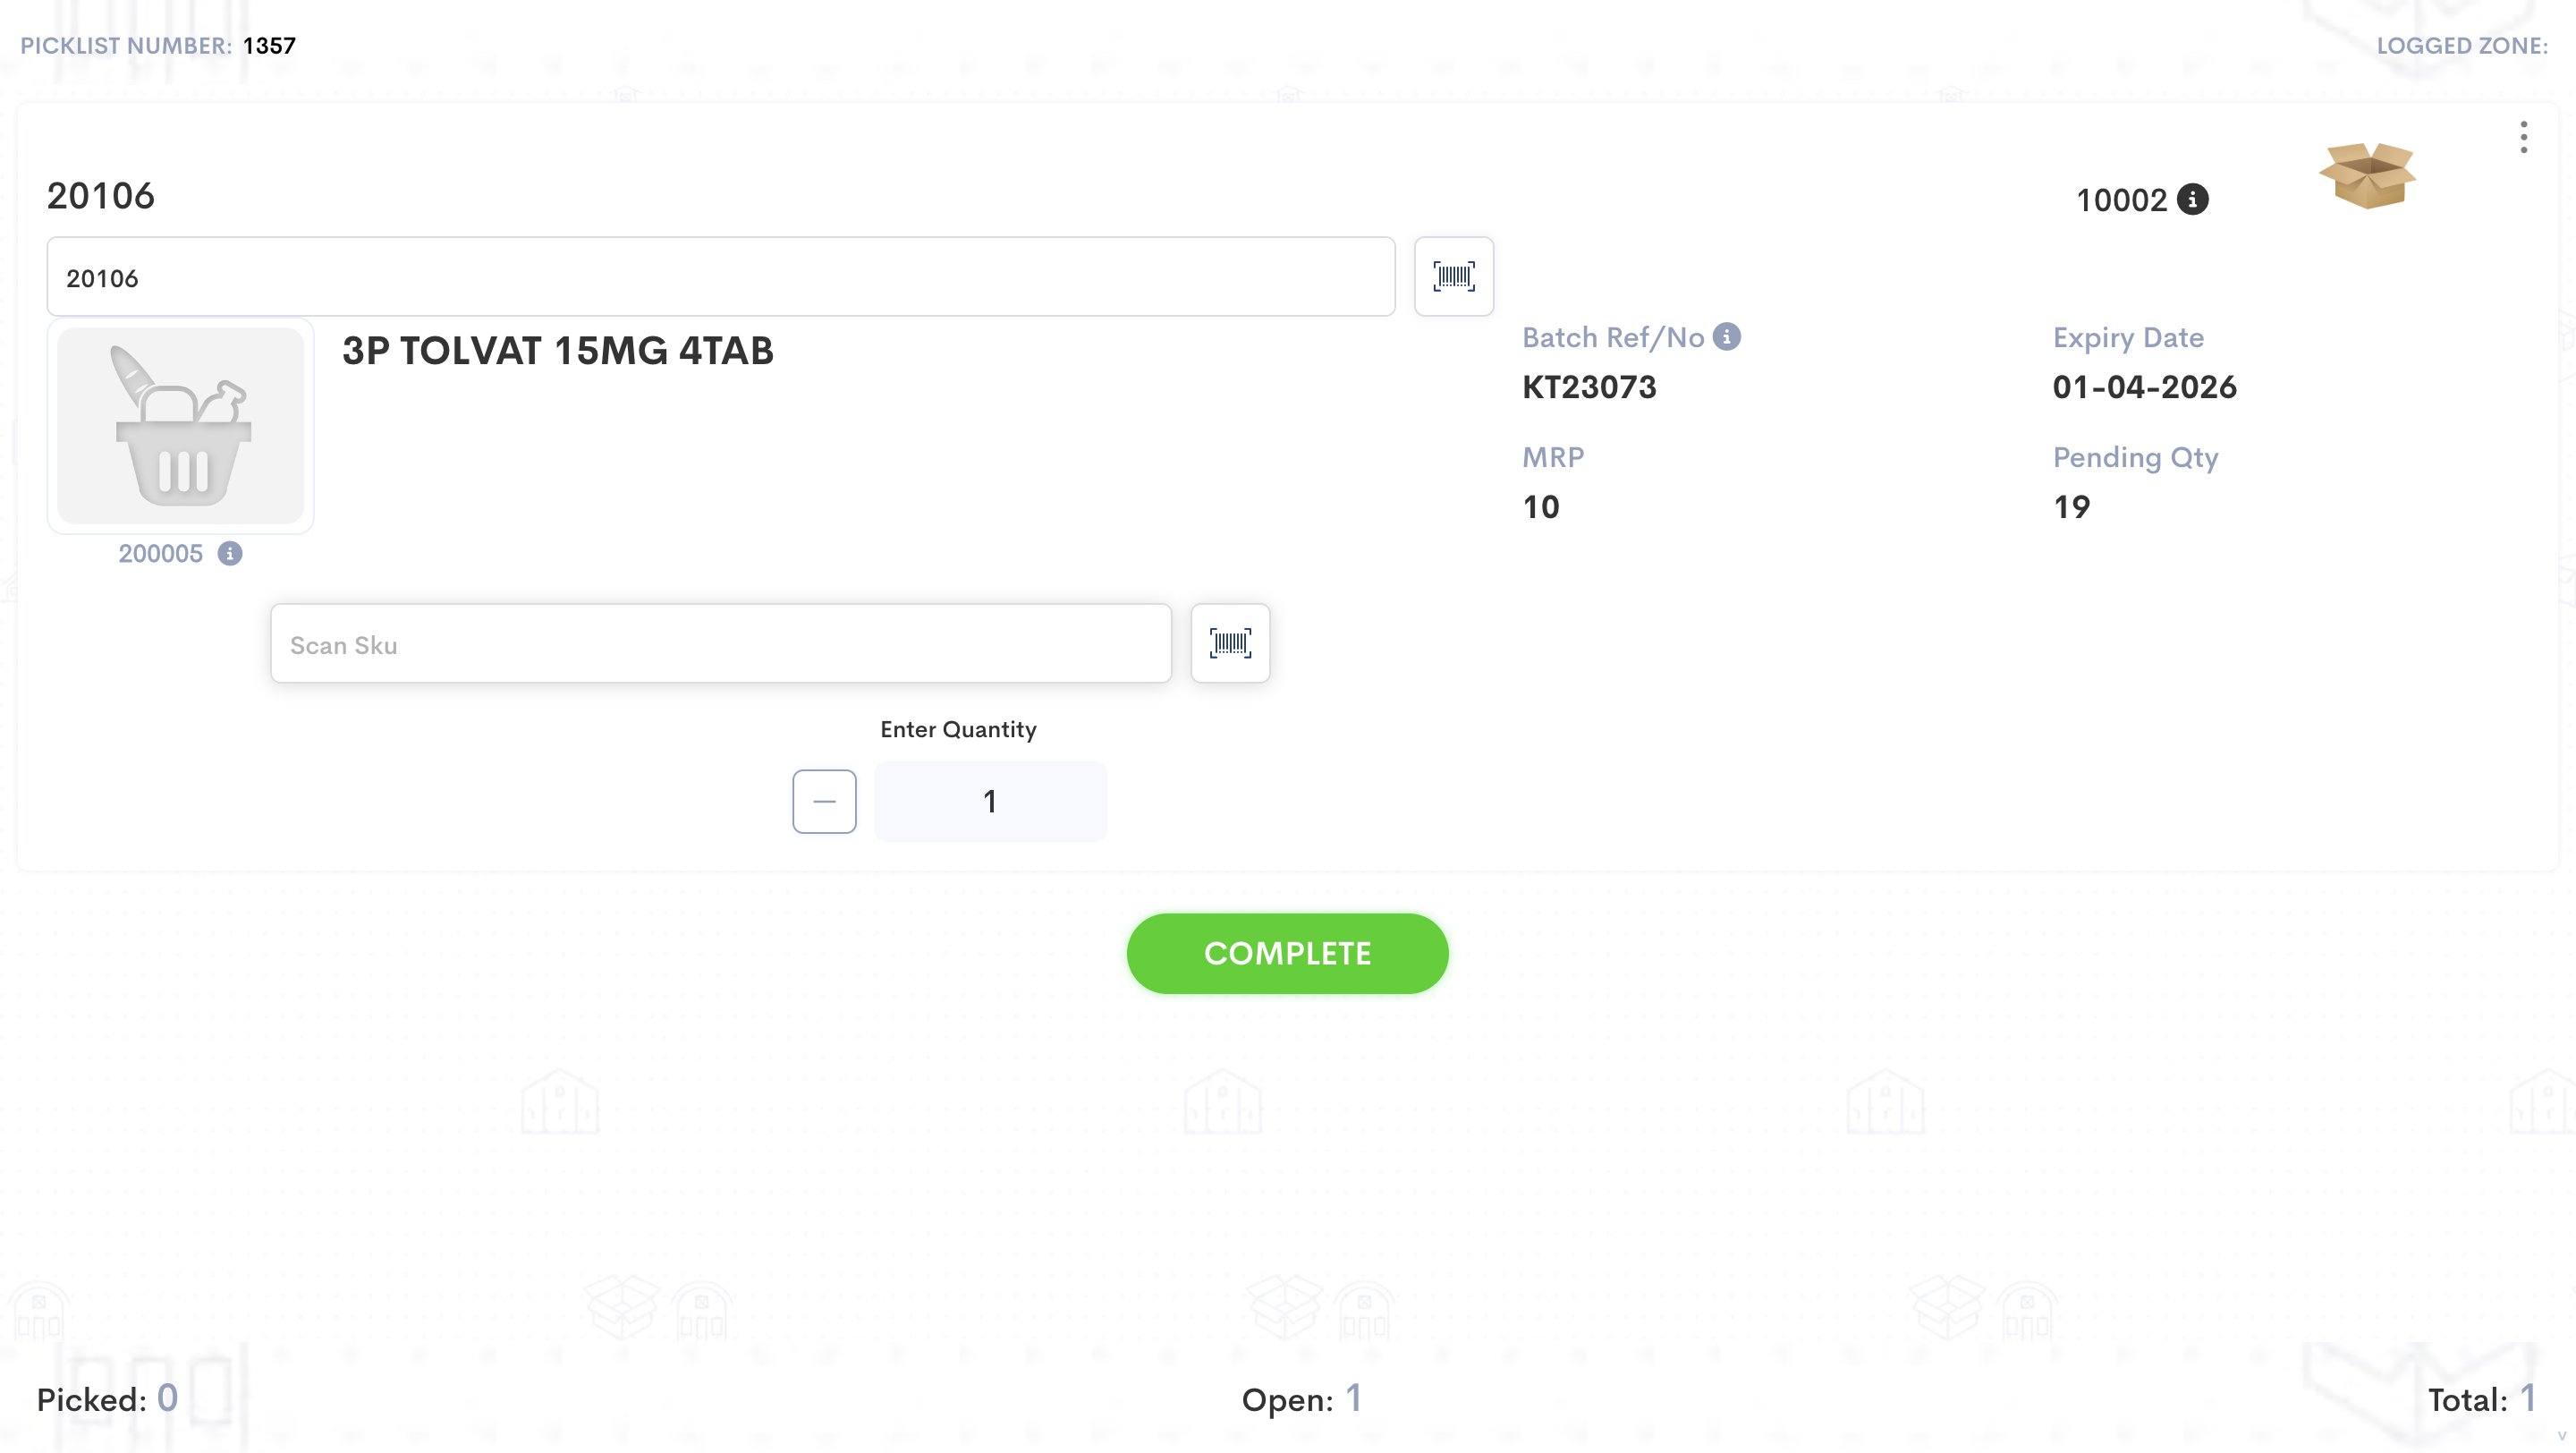
6
Click on "COMPLETE" after scanning all SKUs in the picklist.
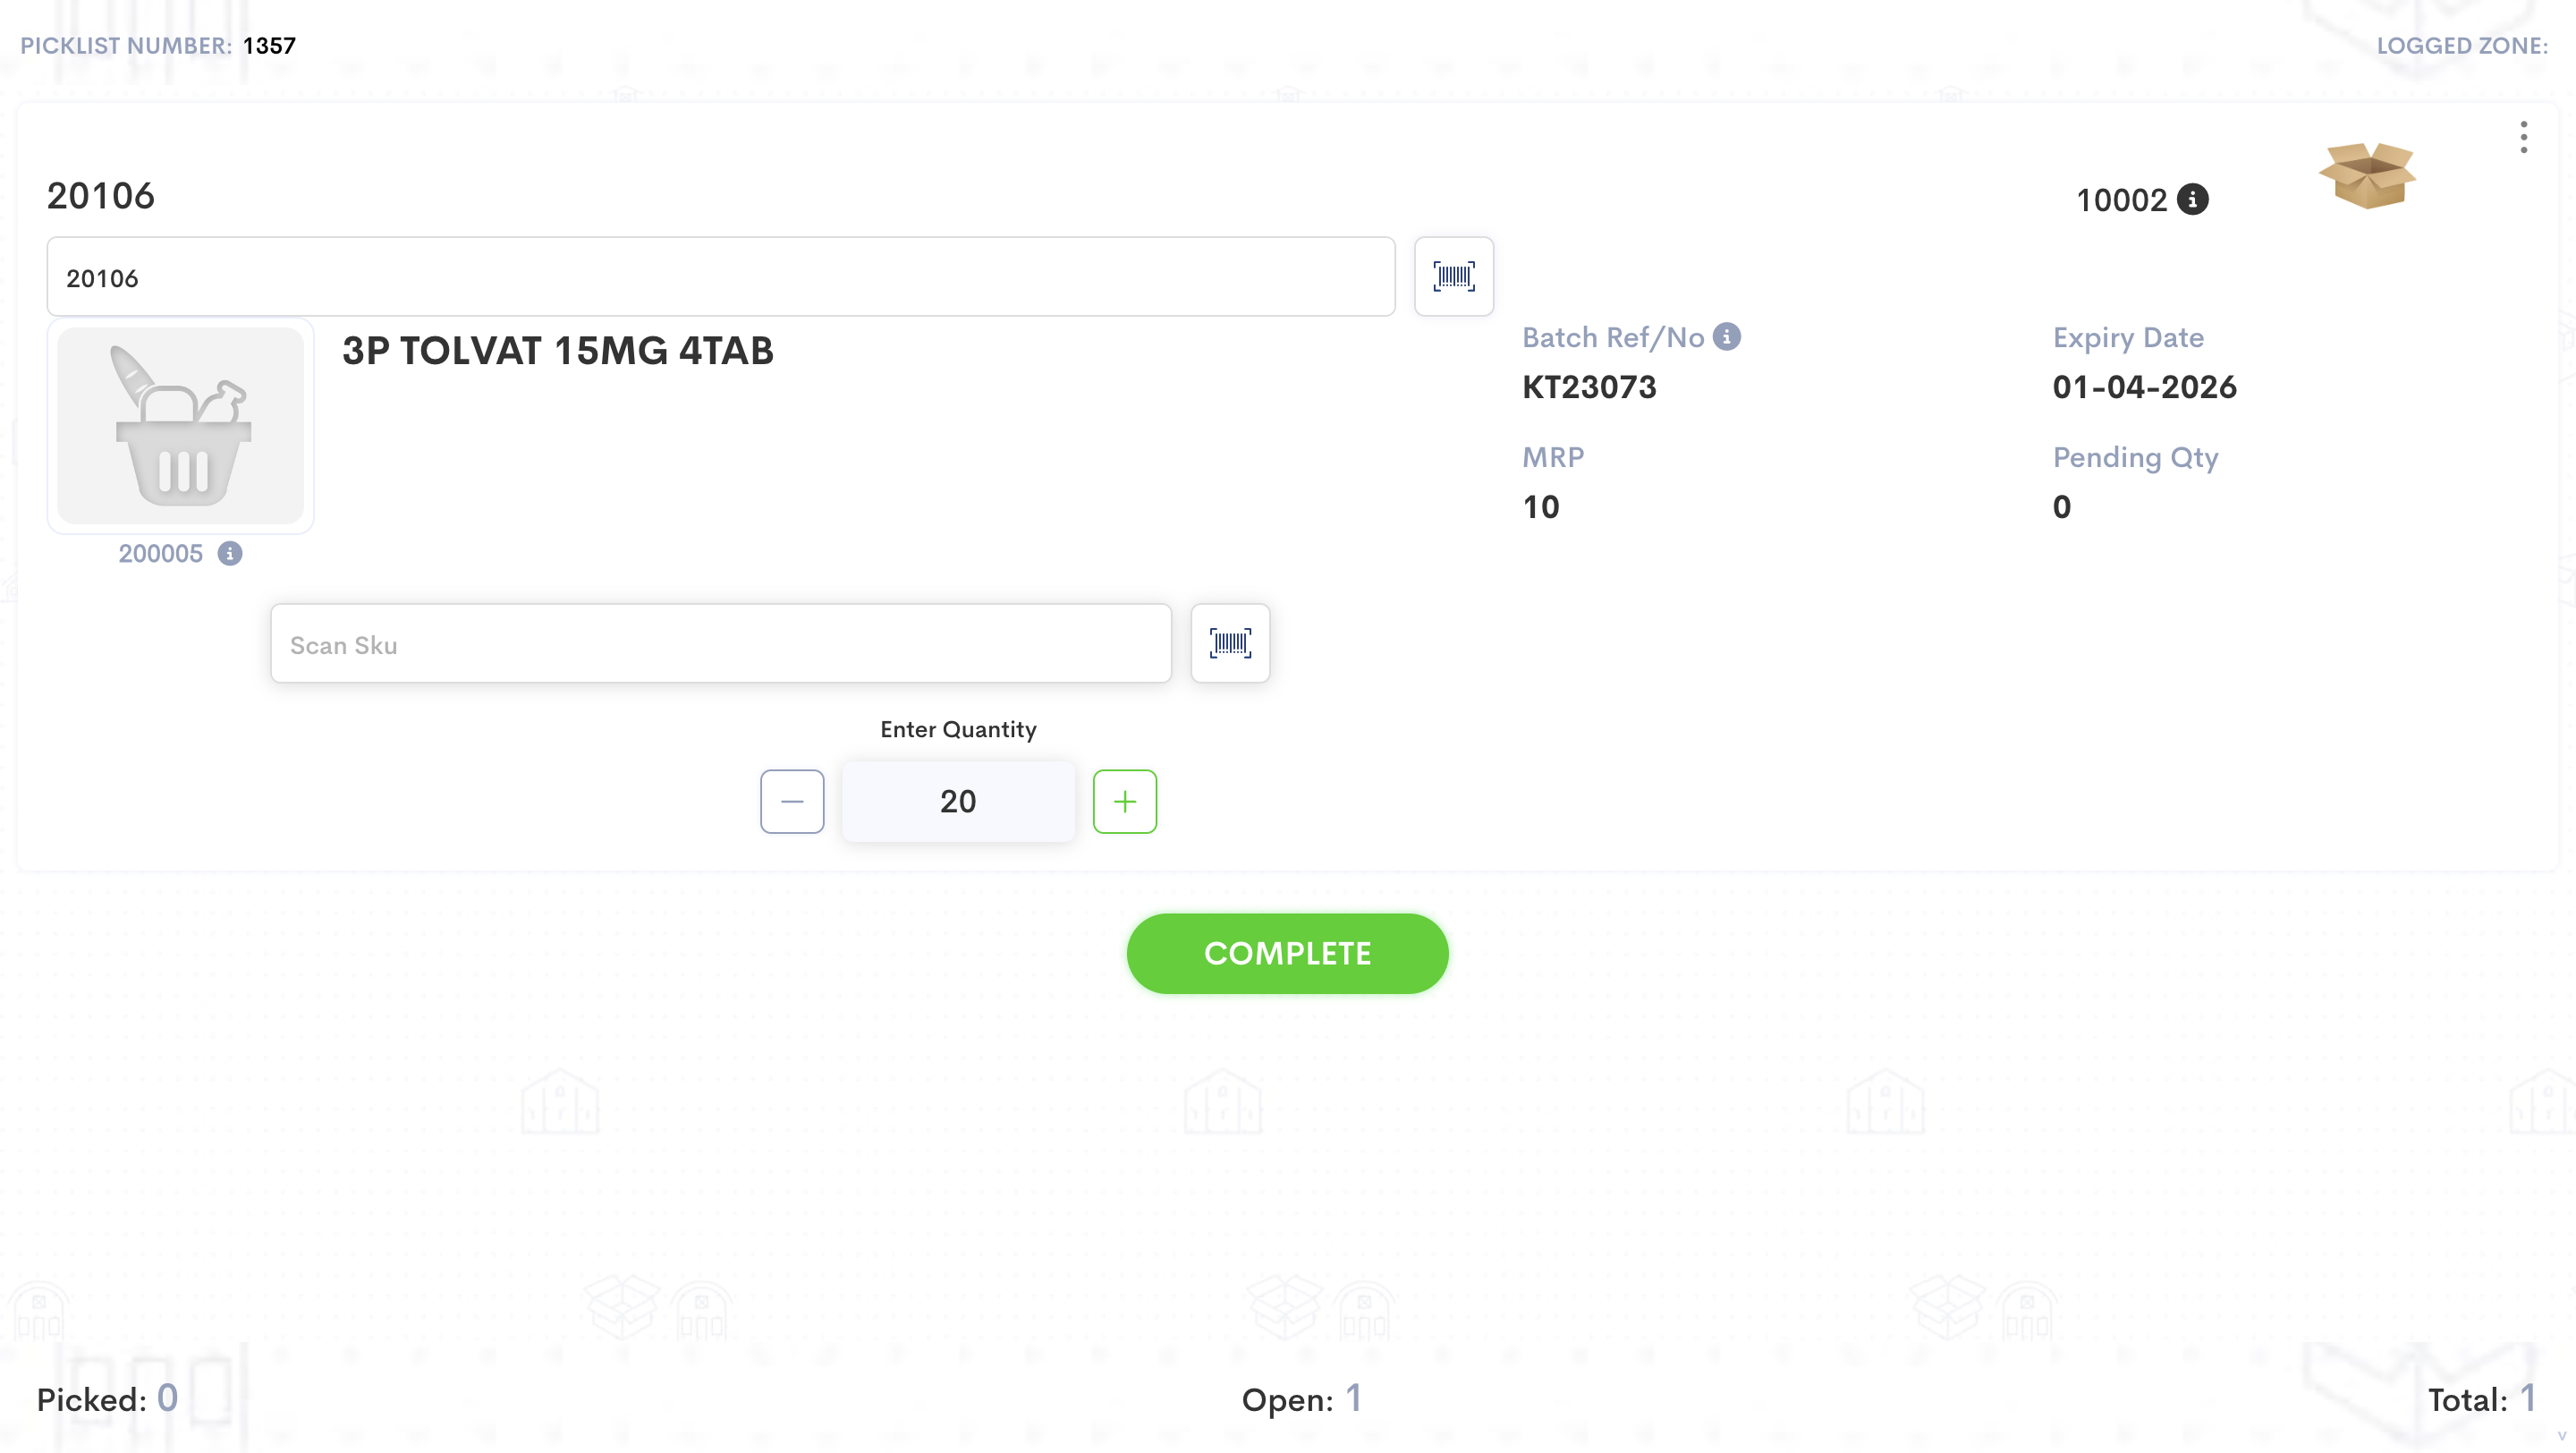
7
This is picklist summary and it shows the quantity of items that are picked into the LPN.
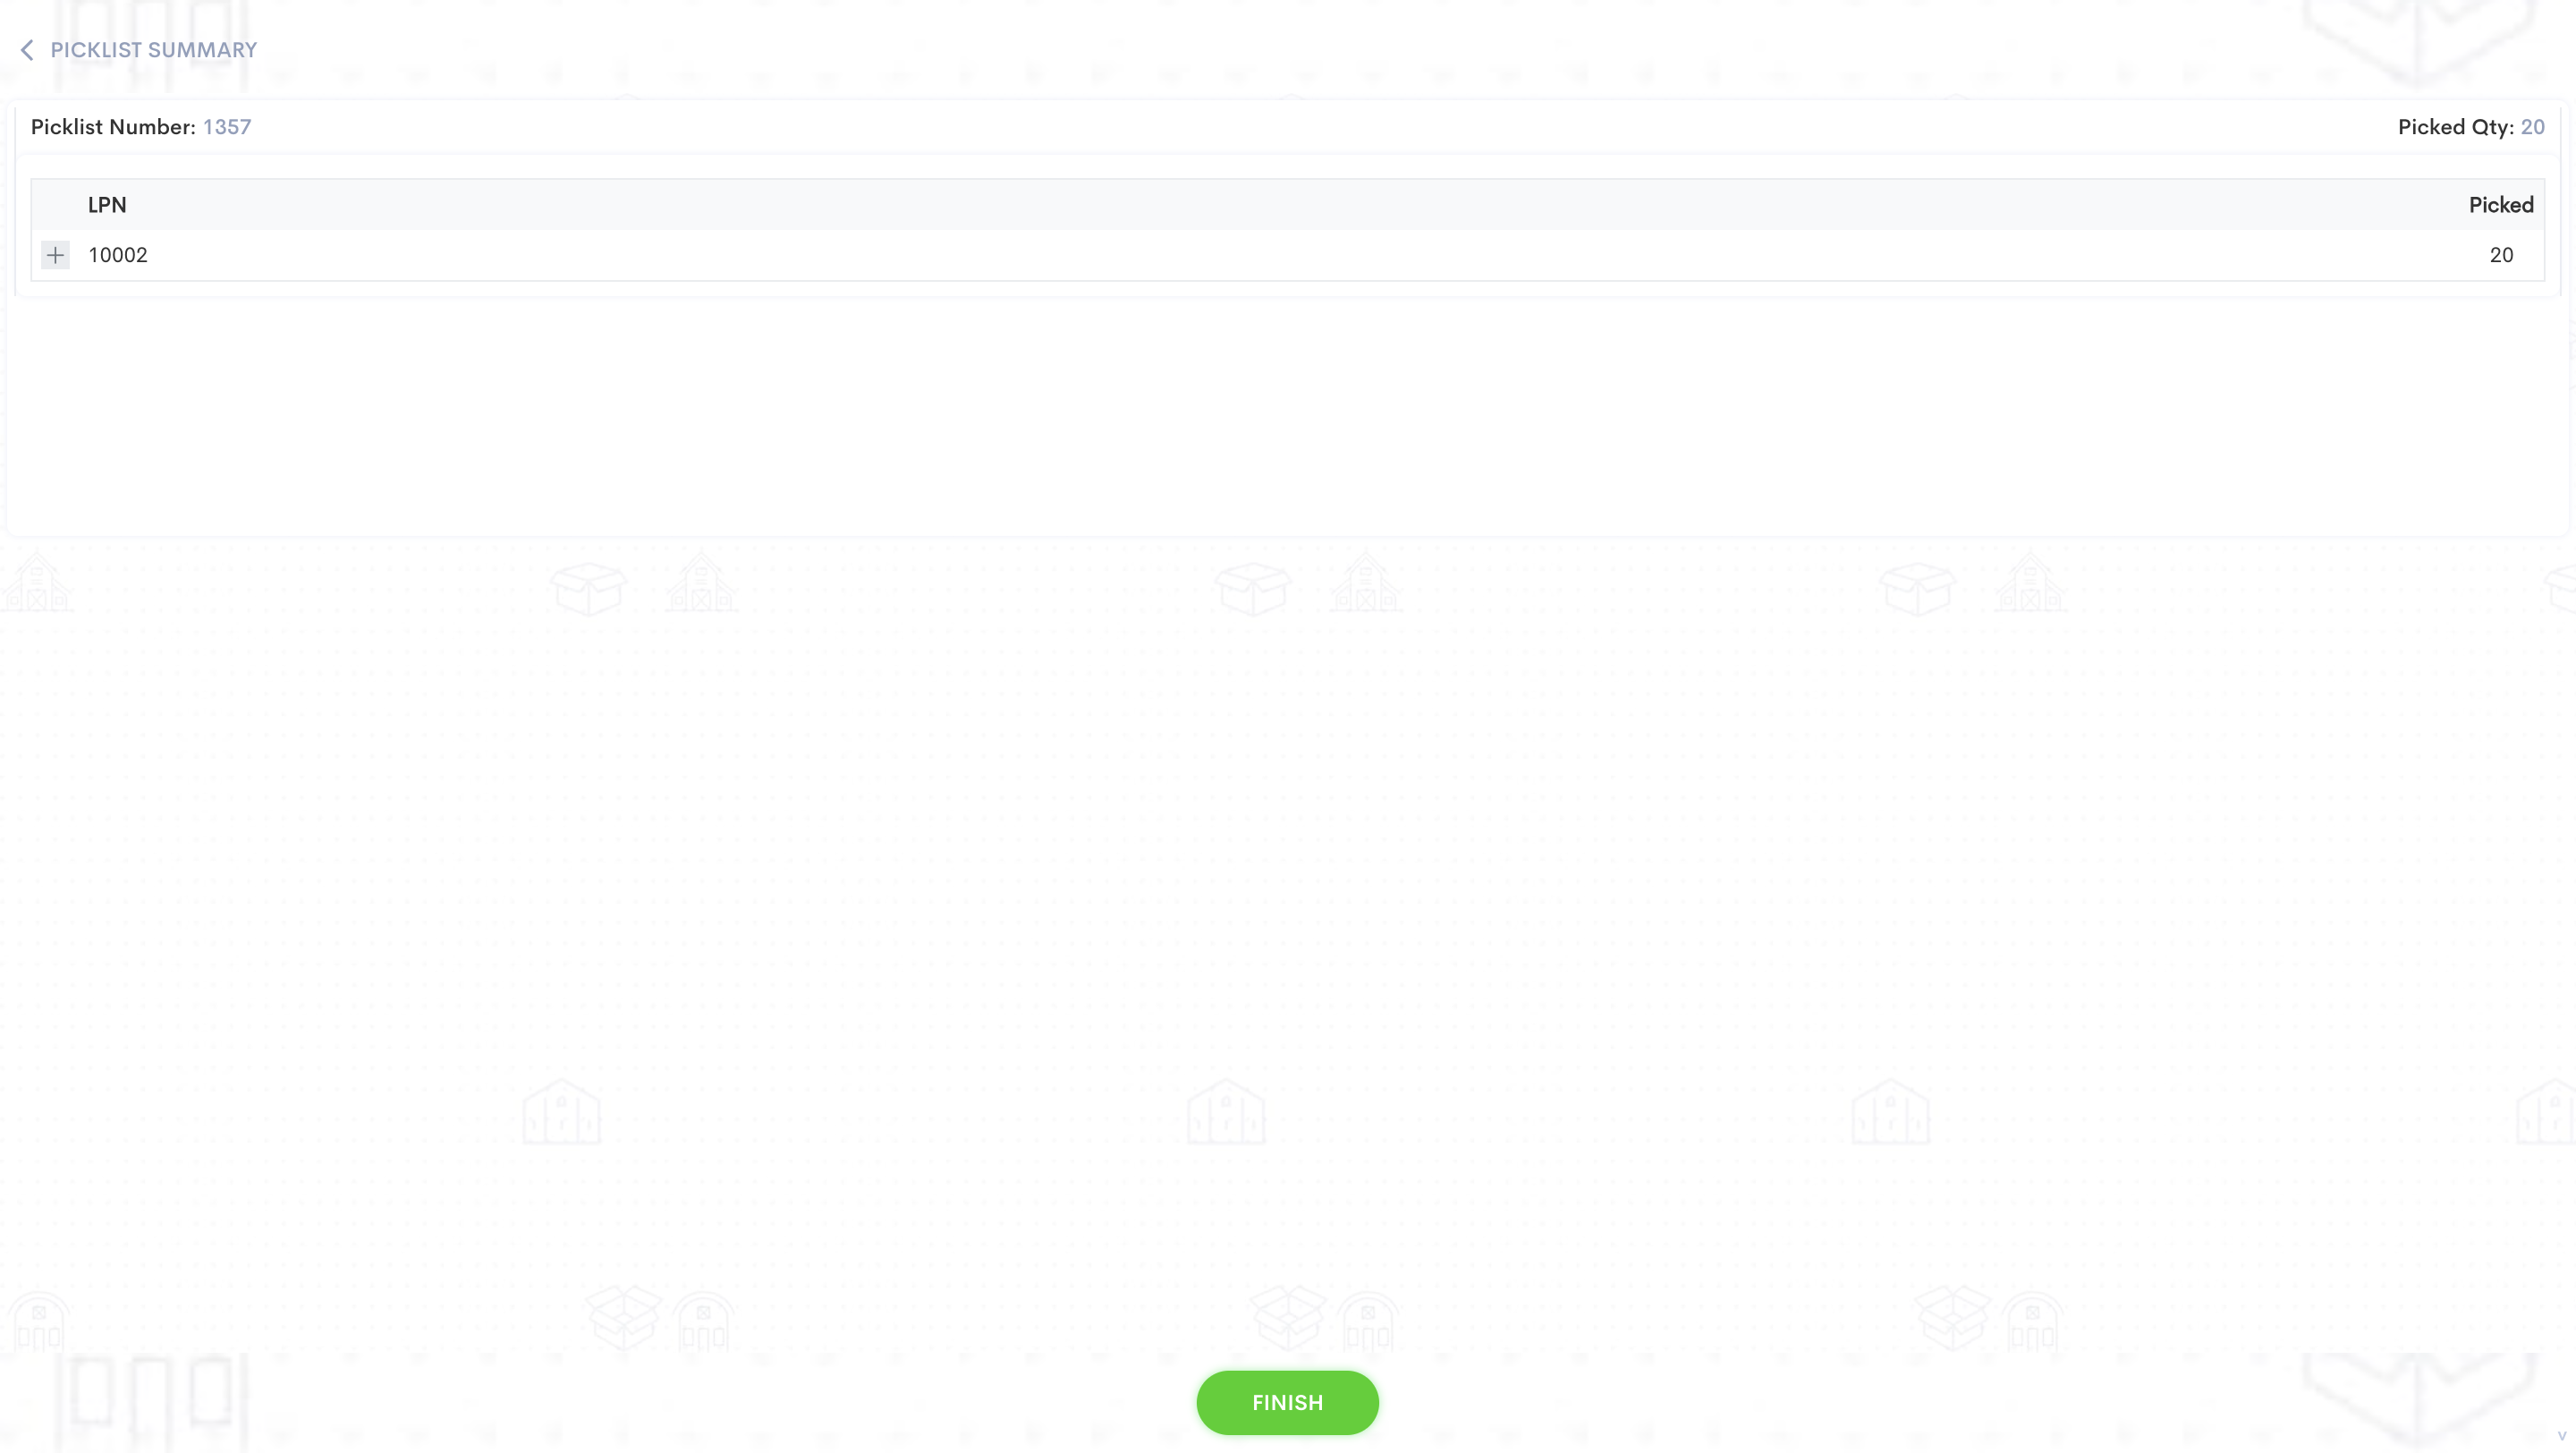
8
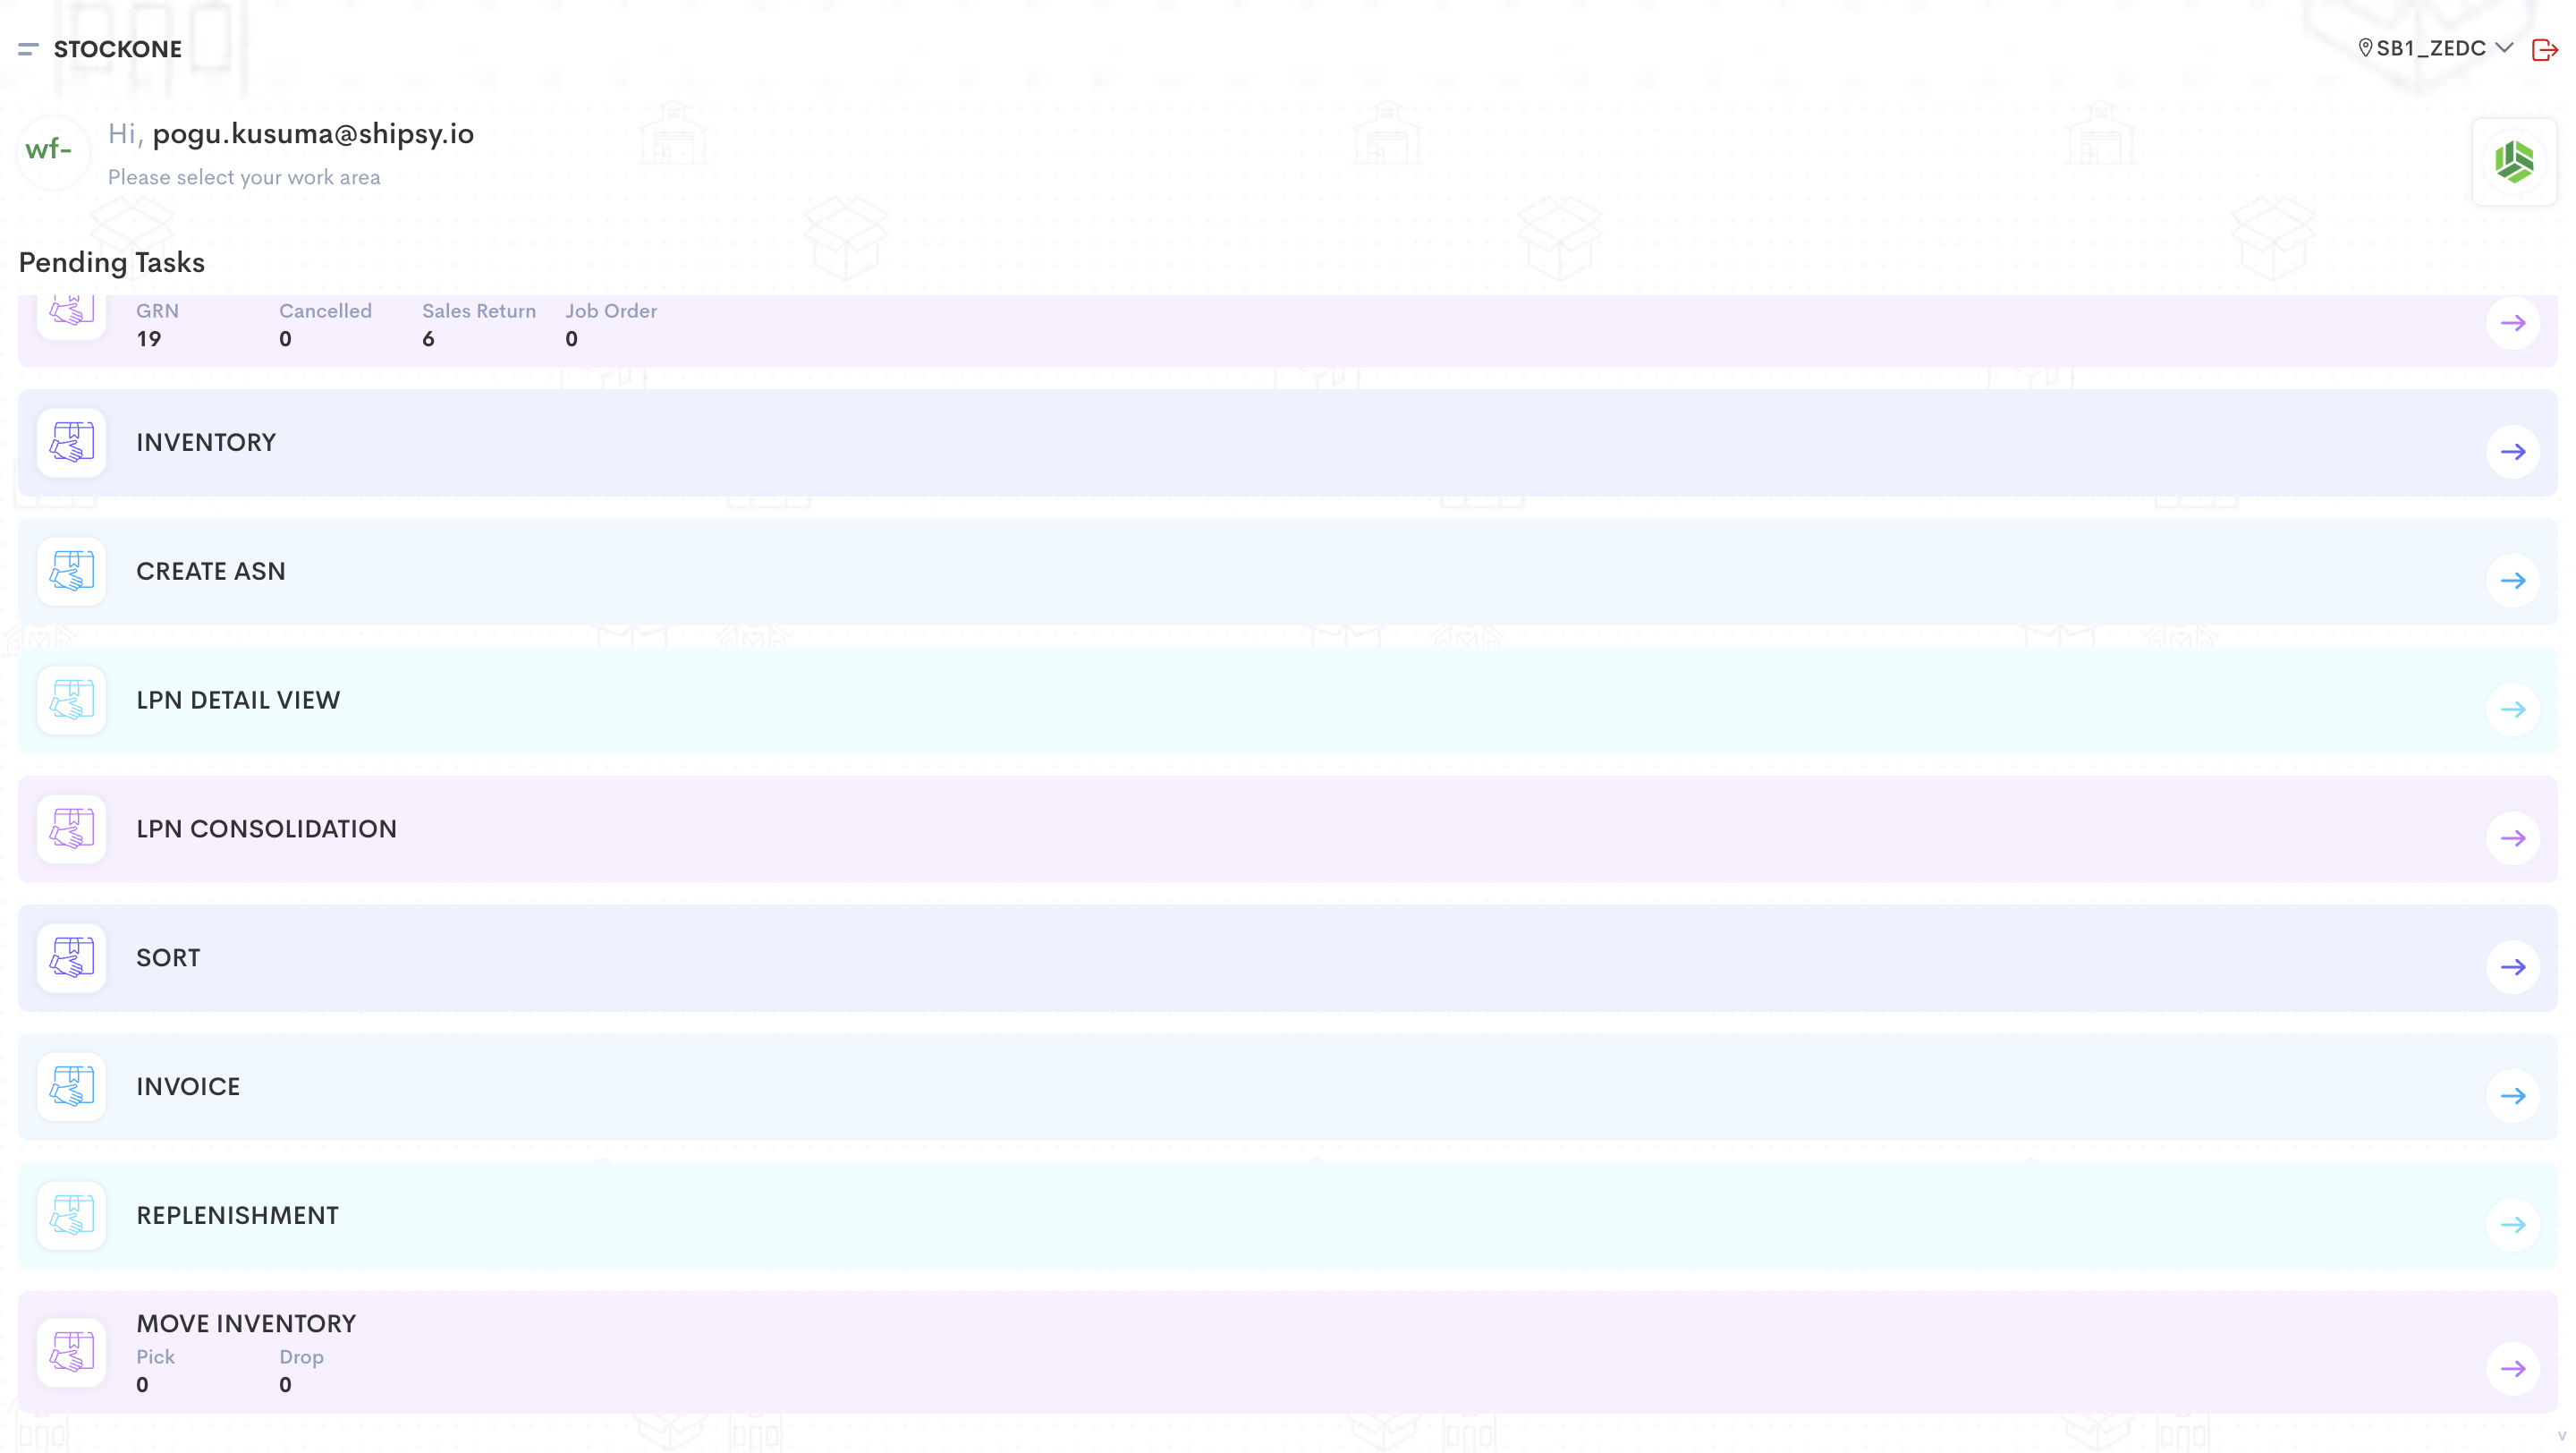
We can check the LPN details and status in "LPN DETAIL VIEW"
9
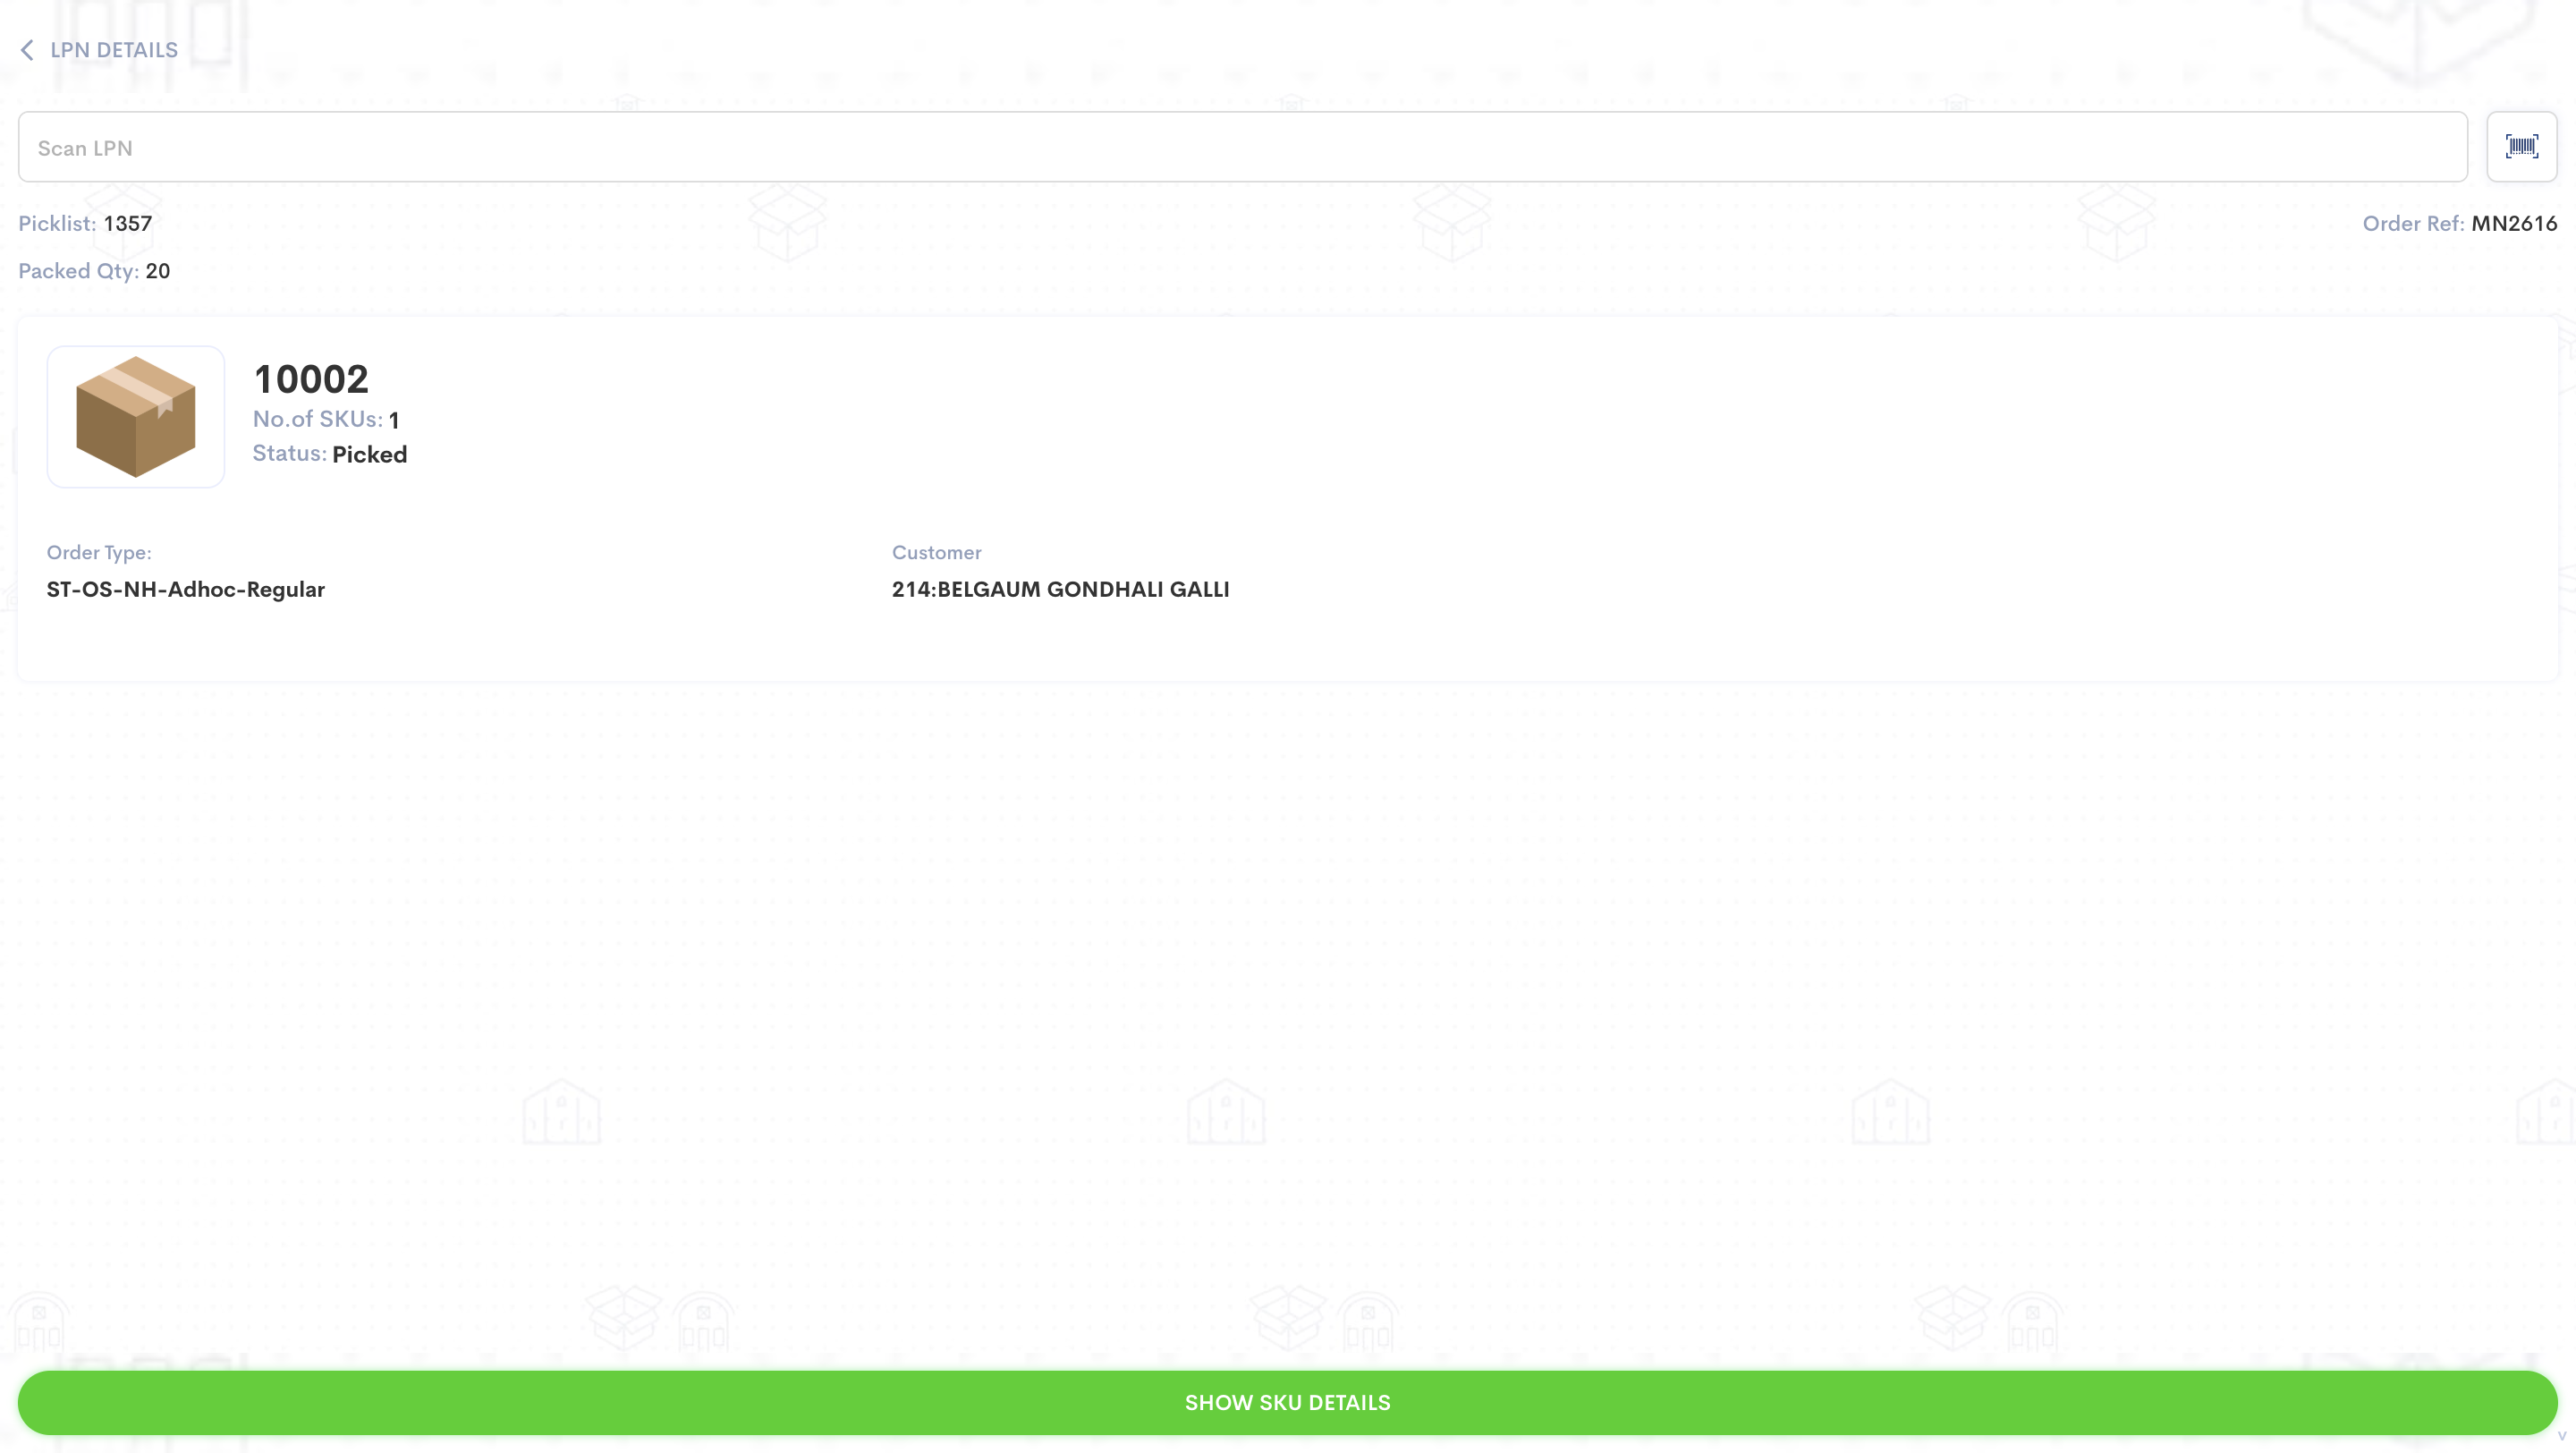
Type the LPN number to be checked. For example here we can check "10002" which was used for picking.
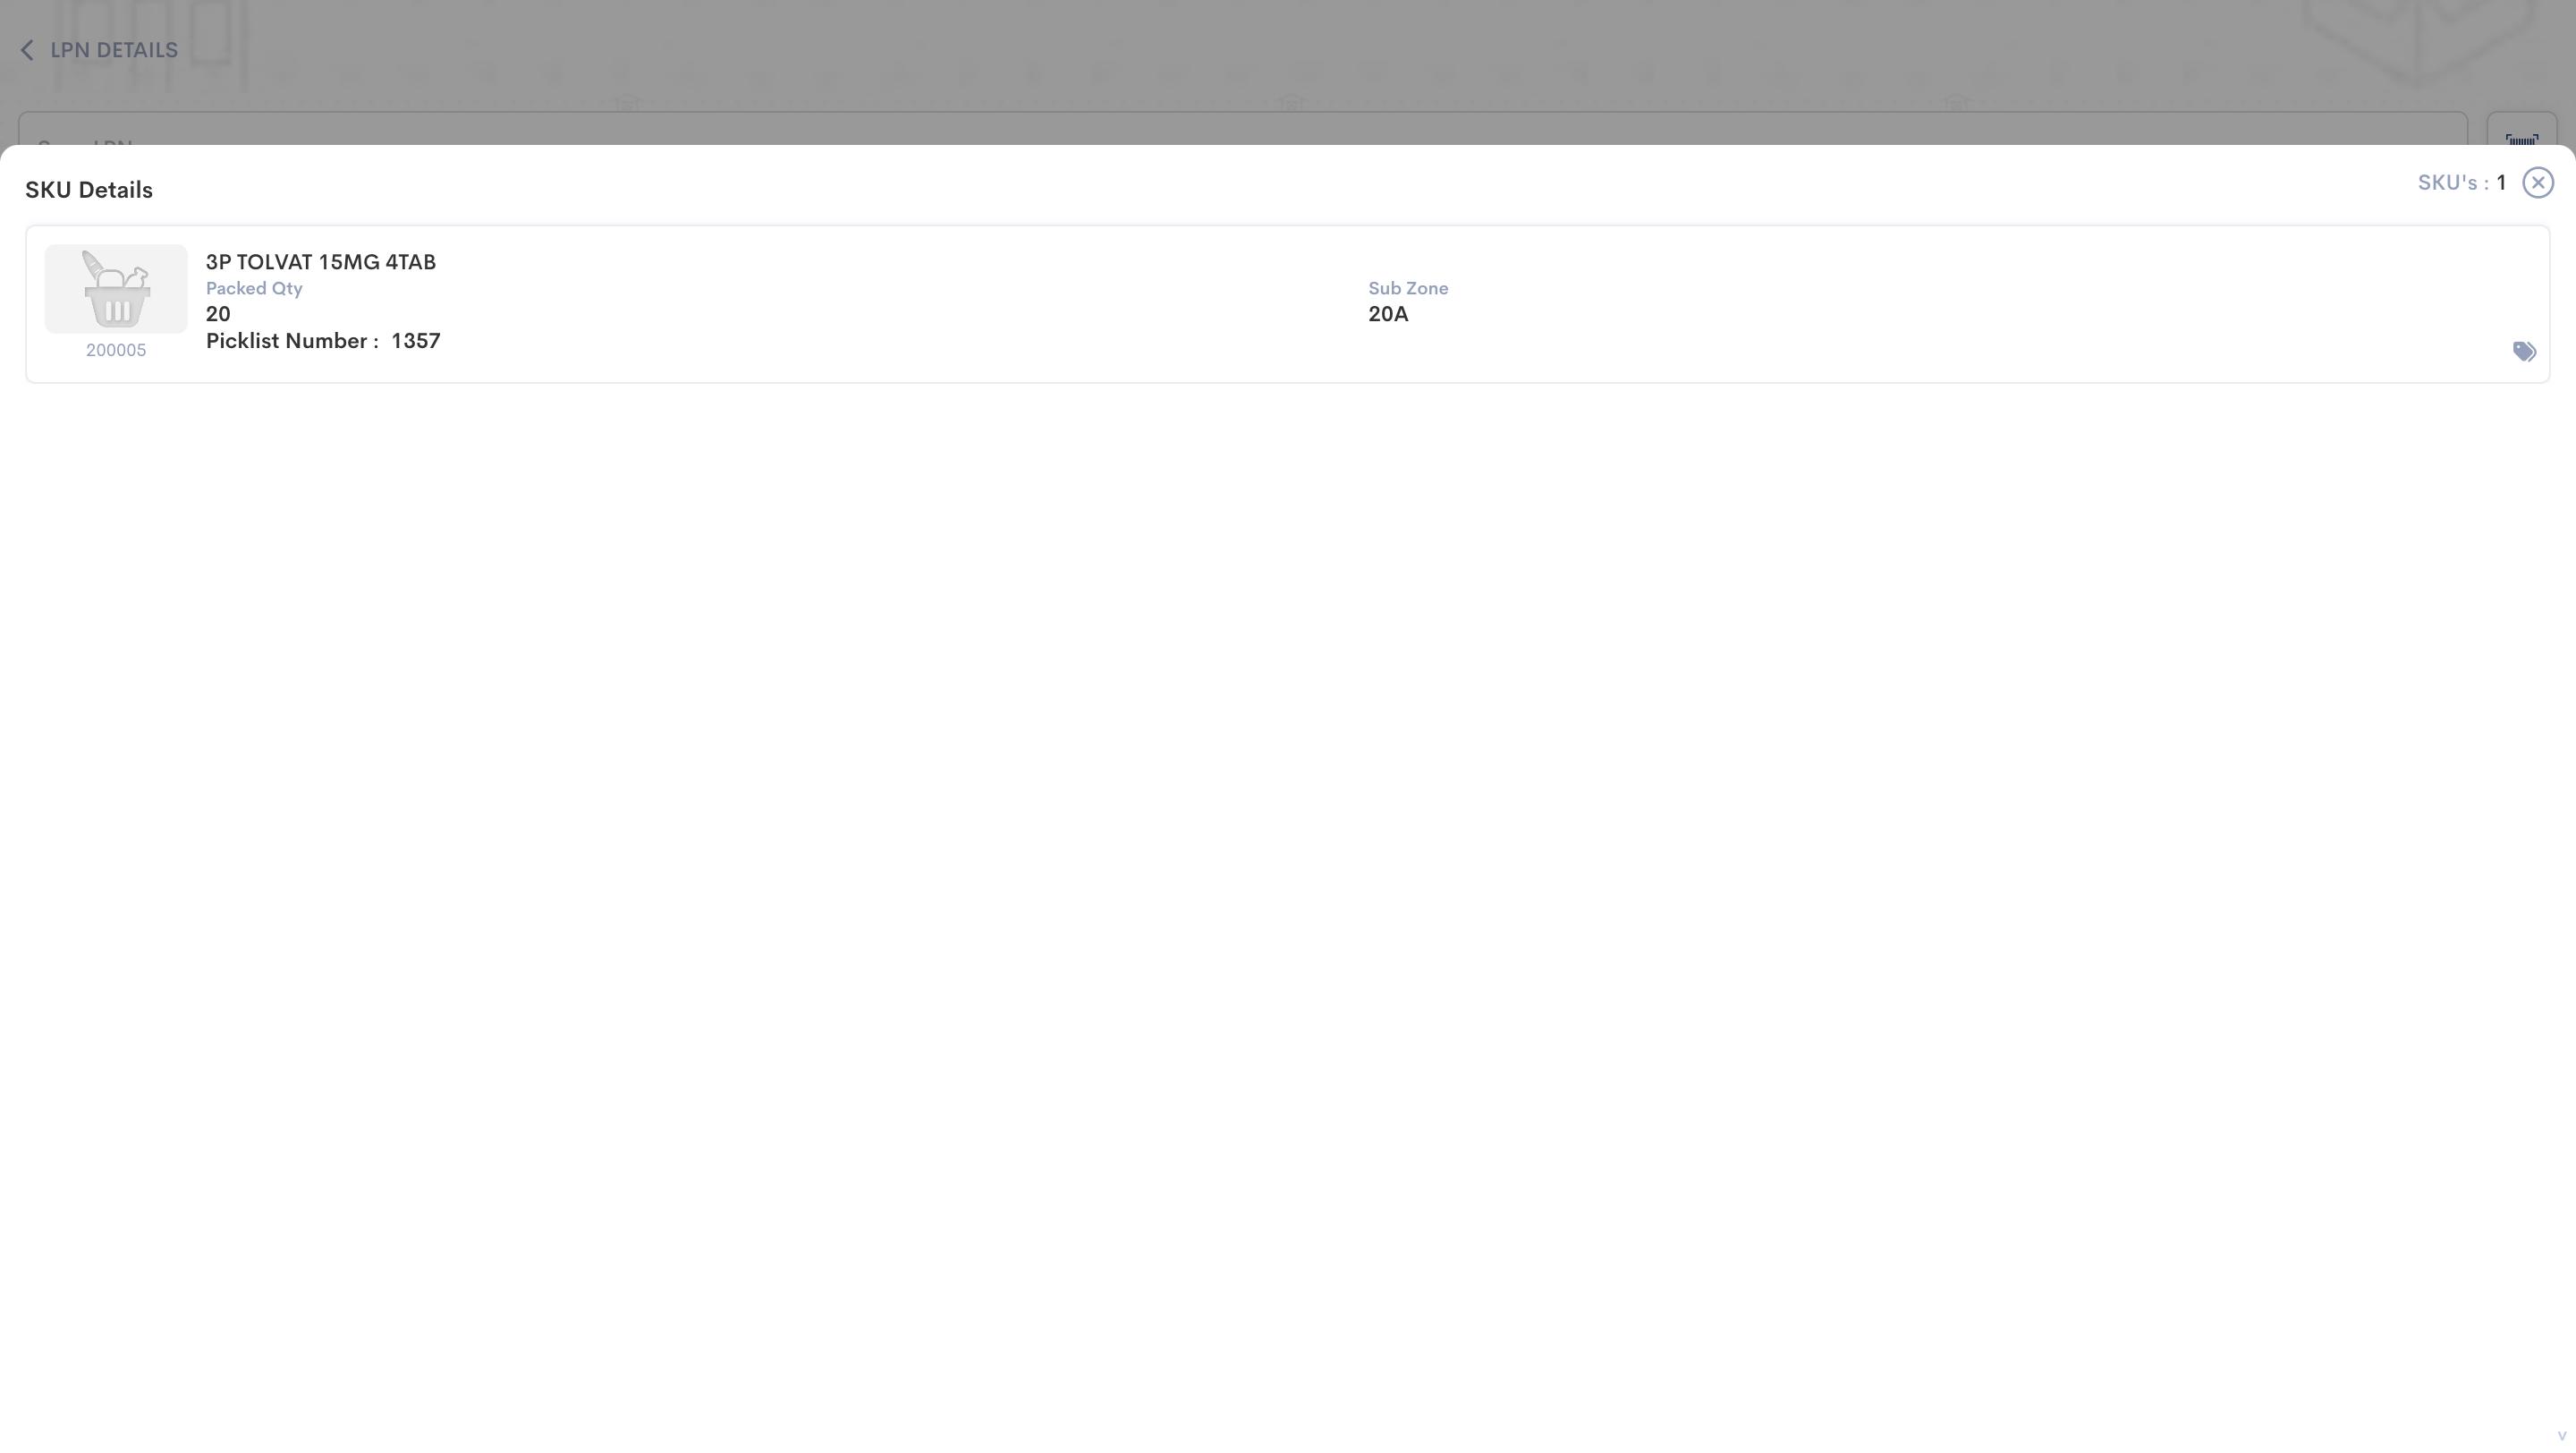
10
To see the details of SKUs stored in the LPN, click "SHOW SKU DETAILS".
