Removing a user from O365 and AD
This is a step-by-step process for removing a user from O365 and AD
By Nick Renwick
In this example we are going to use a RHASS test user.
To delete a user in O365 we need to; remove licenses, convert the user to a shared mailbox, assign permissions to that mailbox, configure auto-replies, rename user, remove them from any groups.
Then in AD, we need to; remove any groups from the user, 'un-protect' the object, disable the user and move the user to the disabled users OU group.
1
Log into O365 and search and click on your user.
2
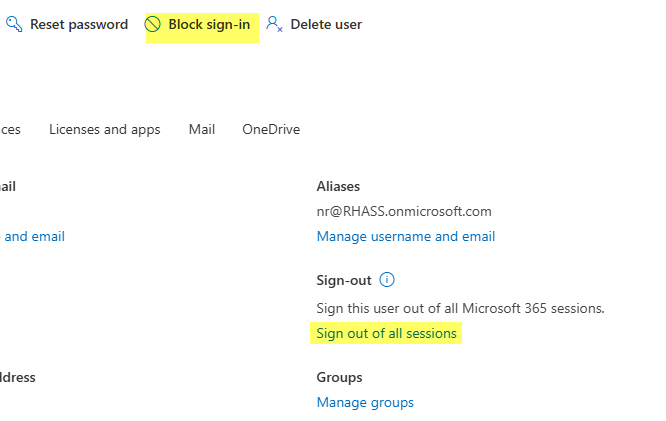
First Click on 'Sign out of all sessions.'
Then 'Block sign-in'
Then 'Block sign-in'
3
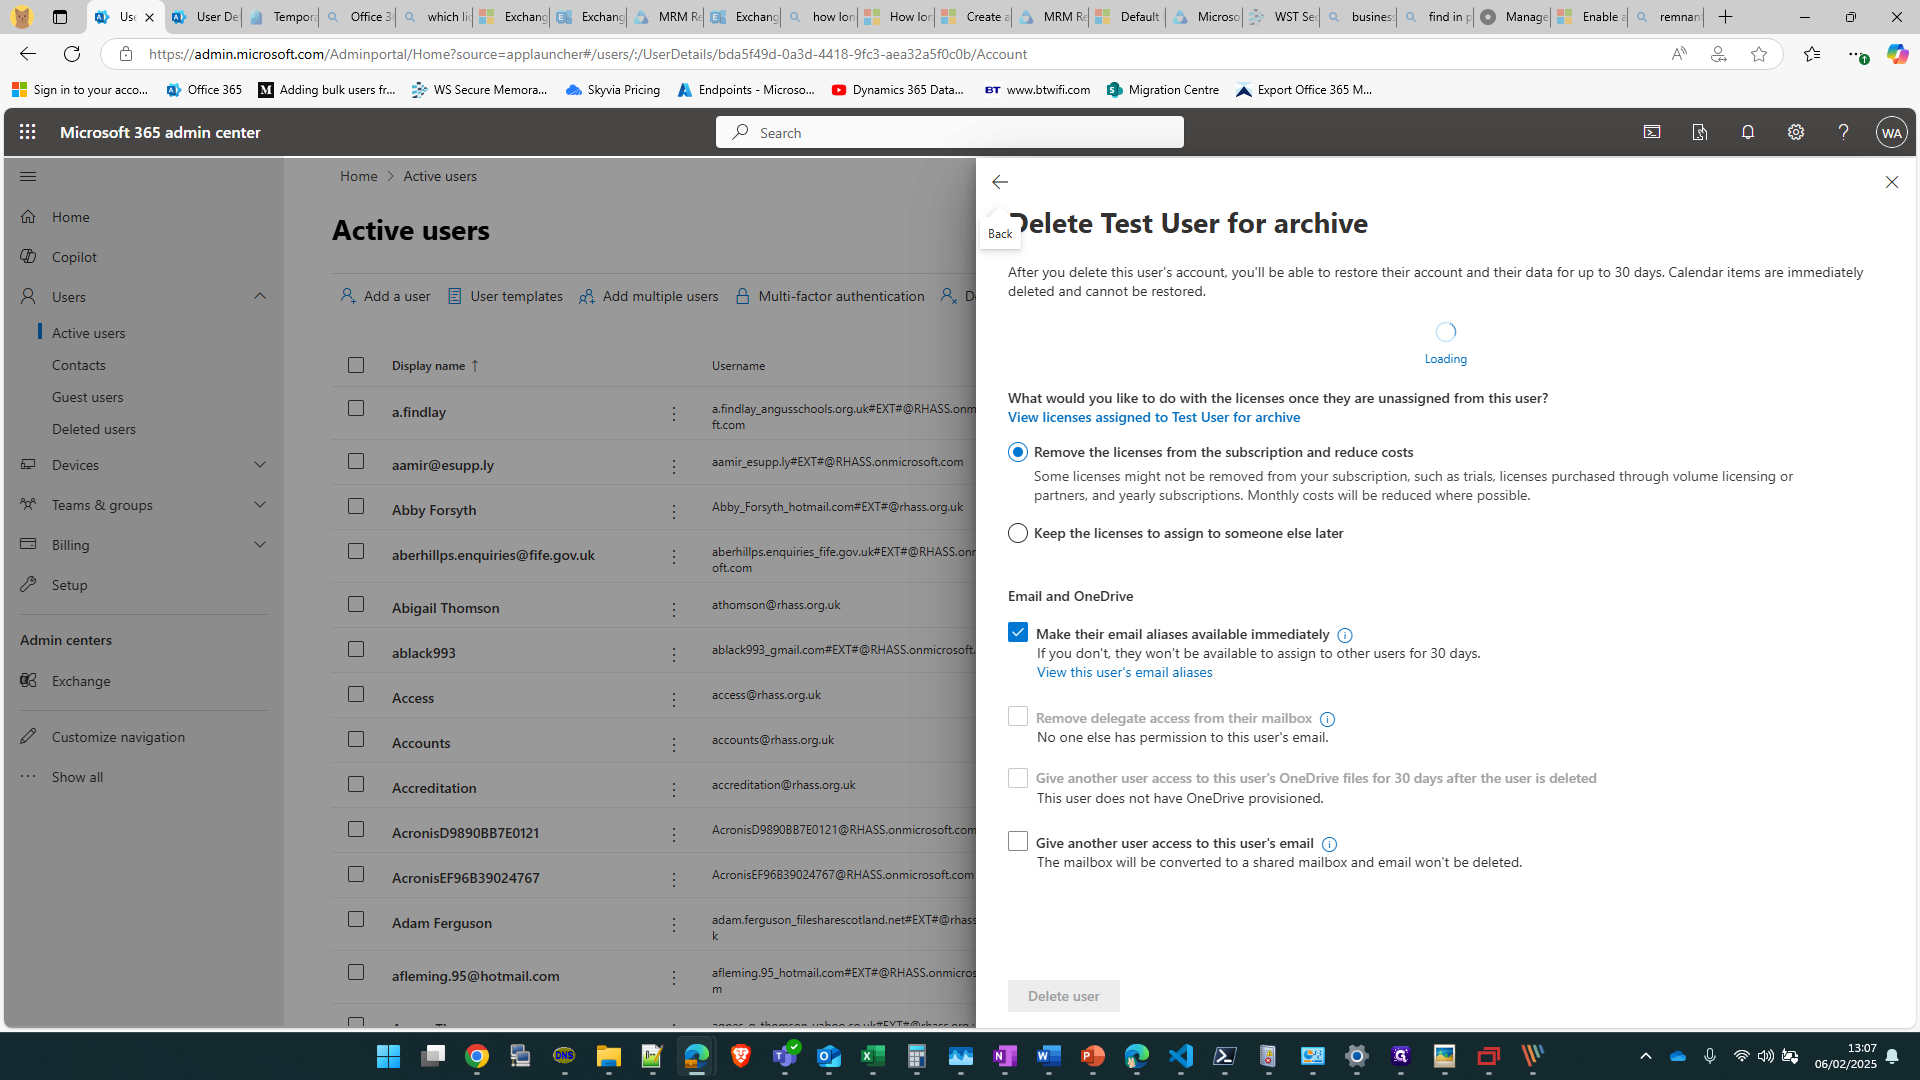
Next click on "Delete user"

4
Depending on how licensed, by default select 'Remove the licenses from the subscription and reduce costs'
5
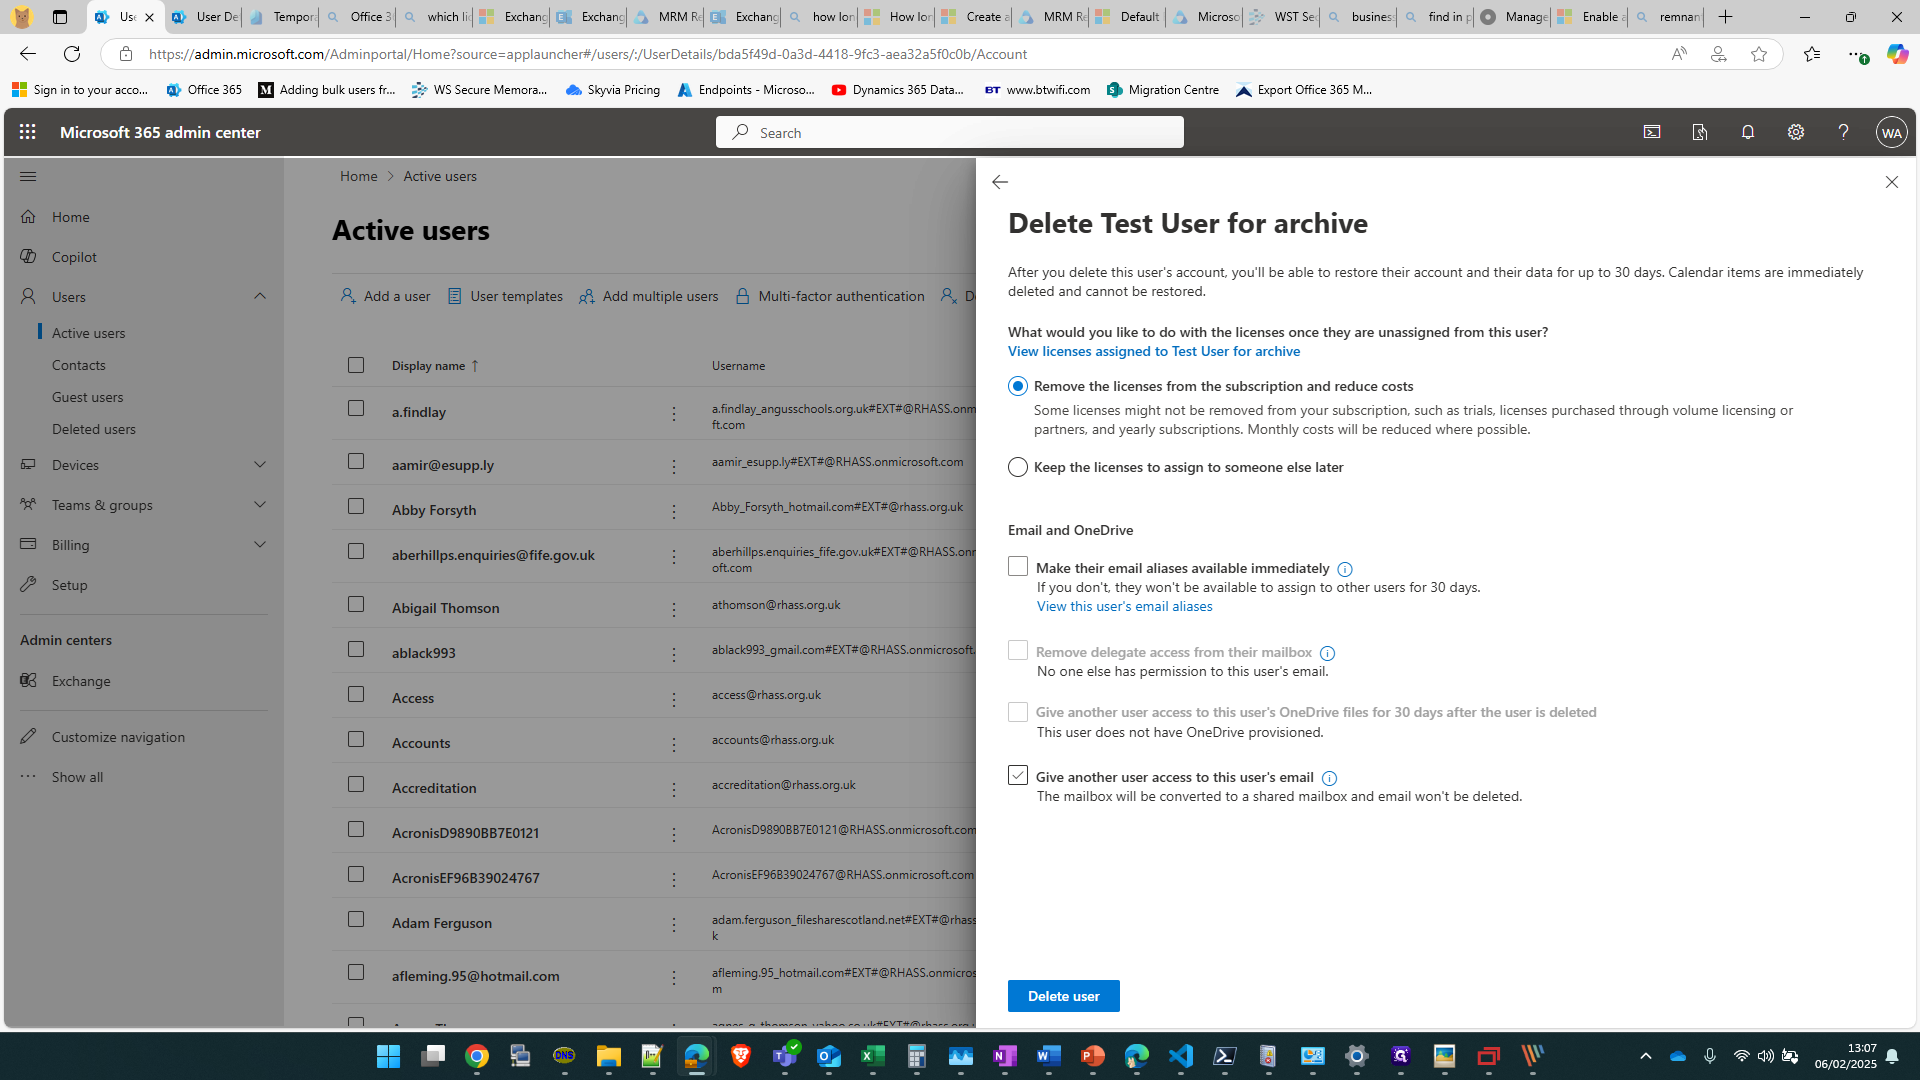
Untick "Make their email aliases available immediately"

6
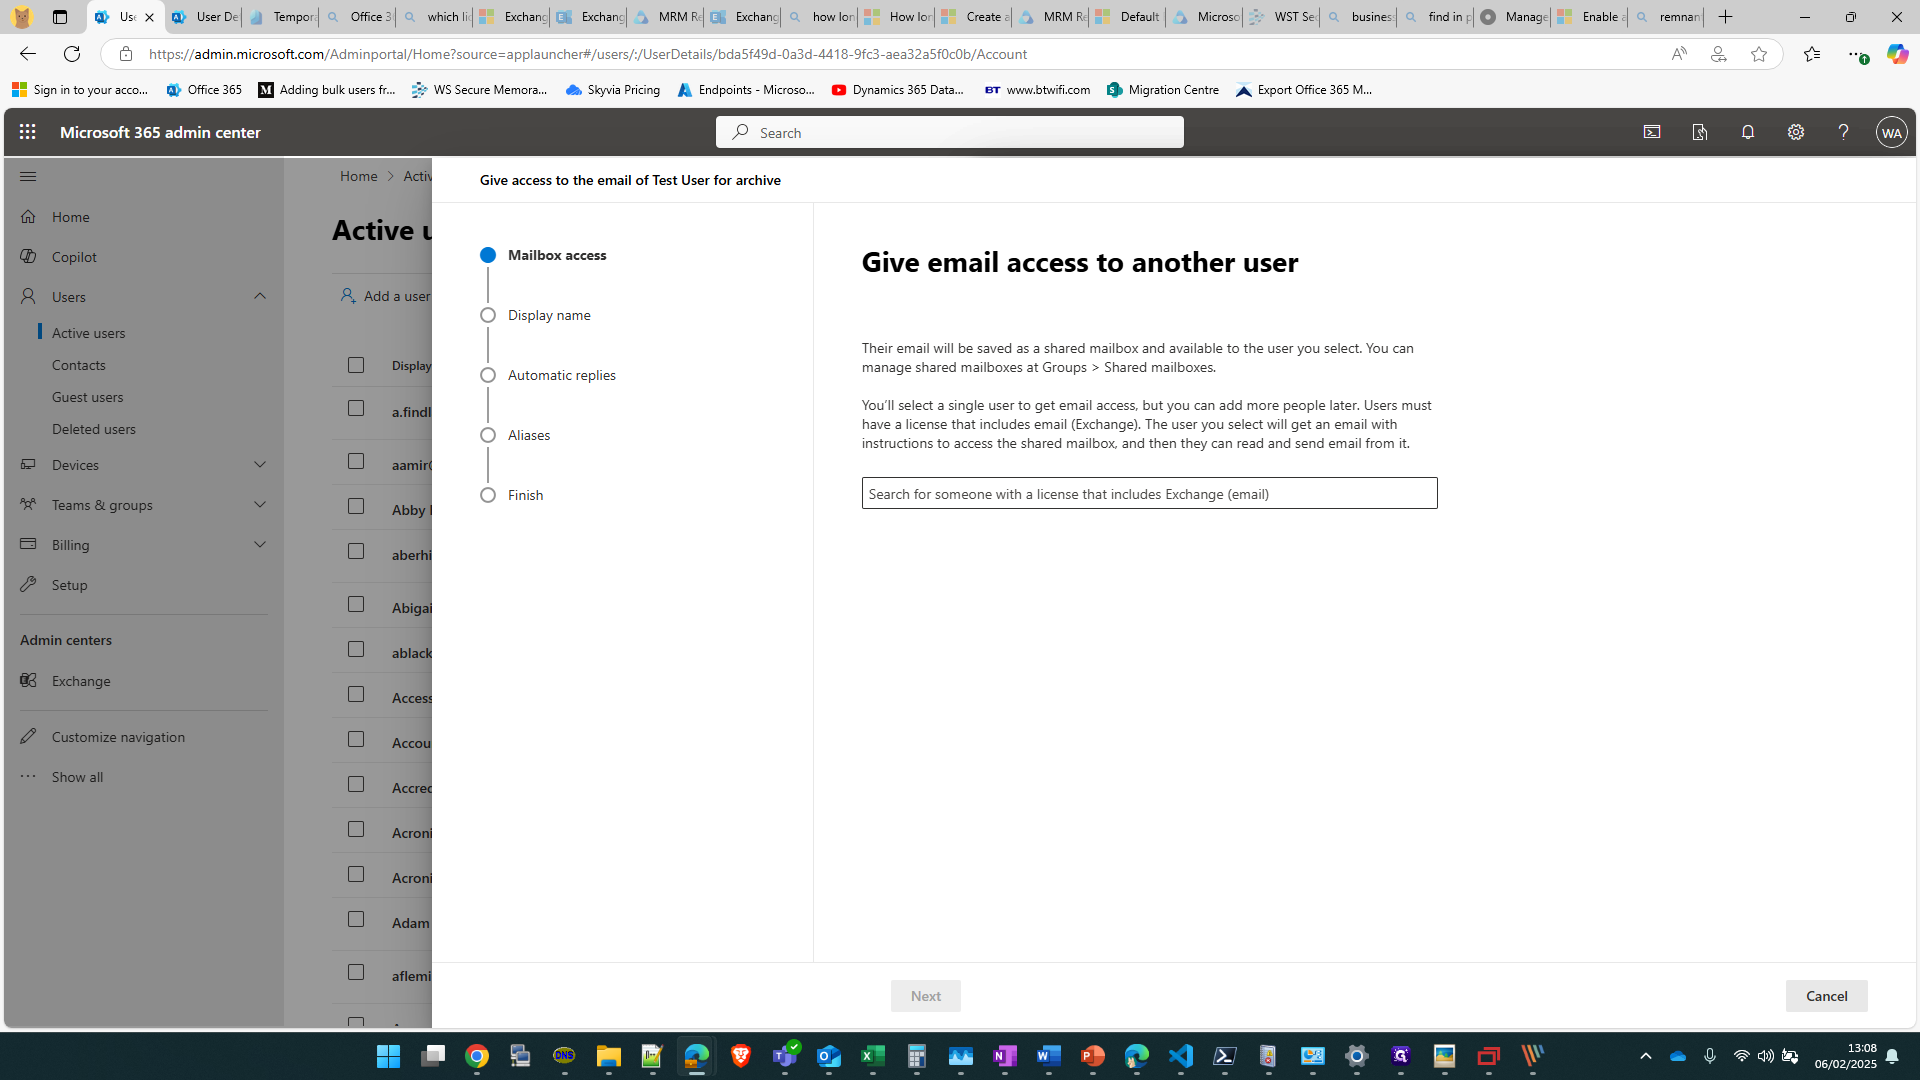
Select "Give another user access to this users email"
7
Select "Required : Give email access to another user"

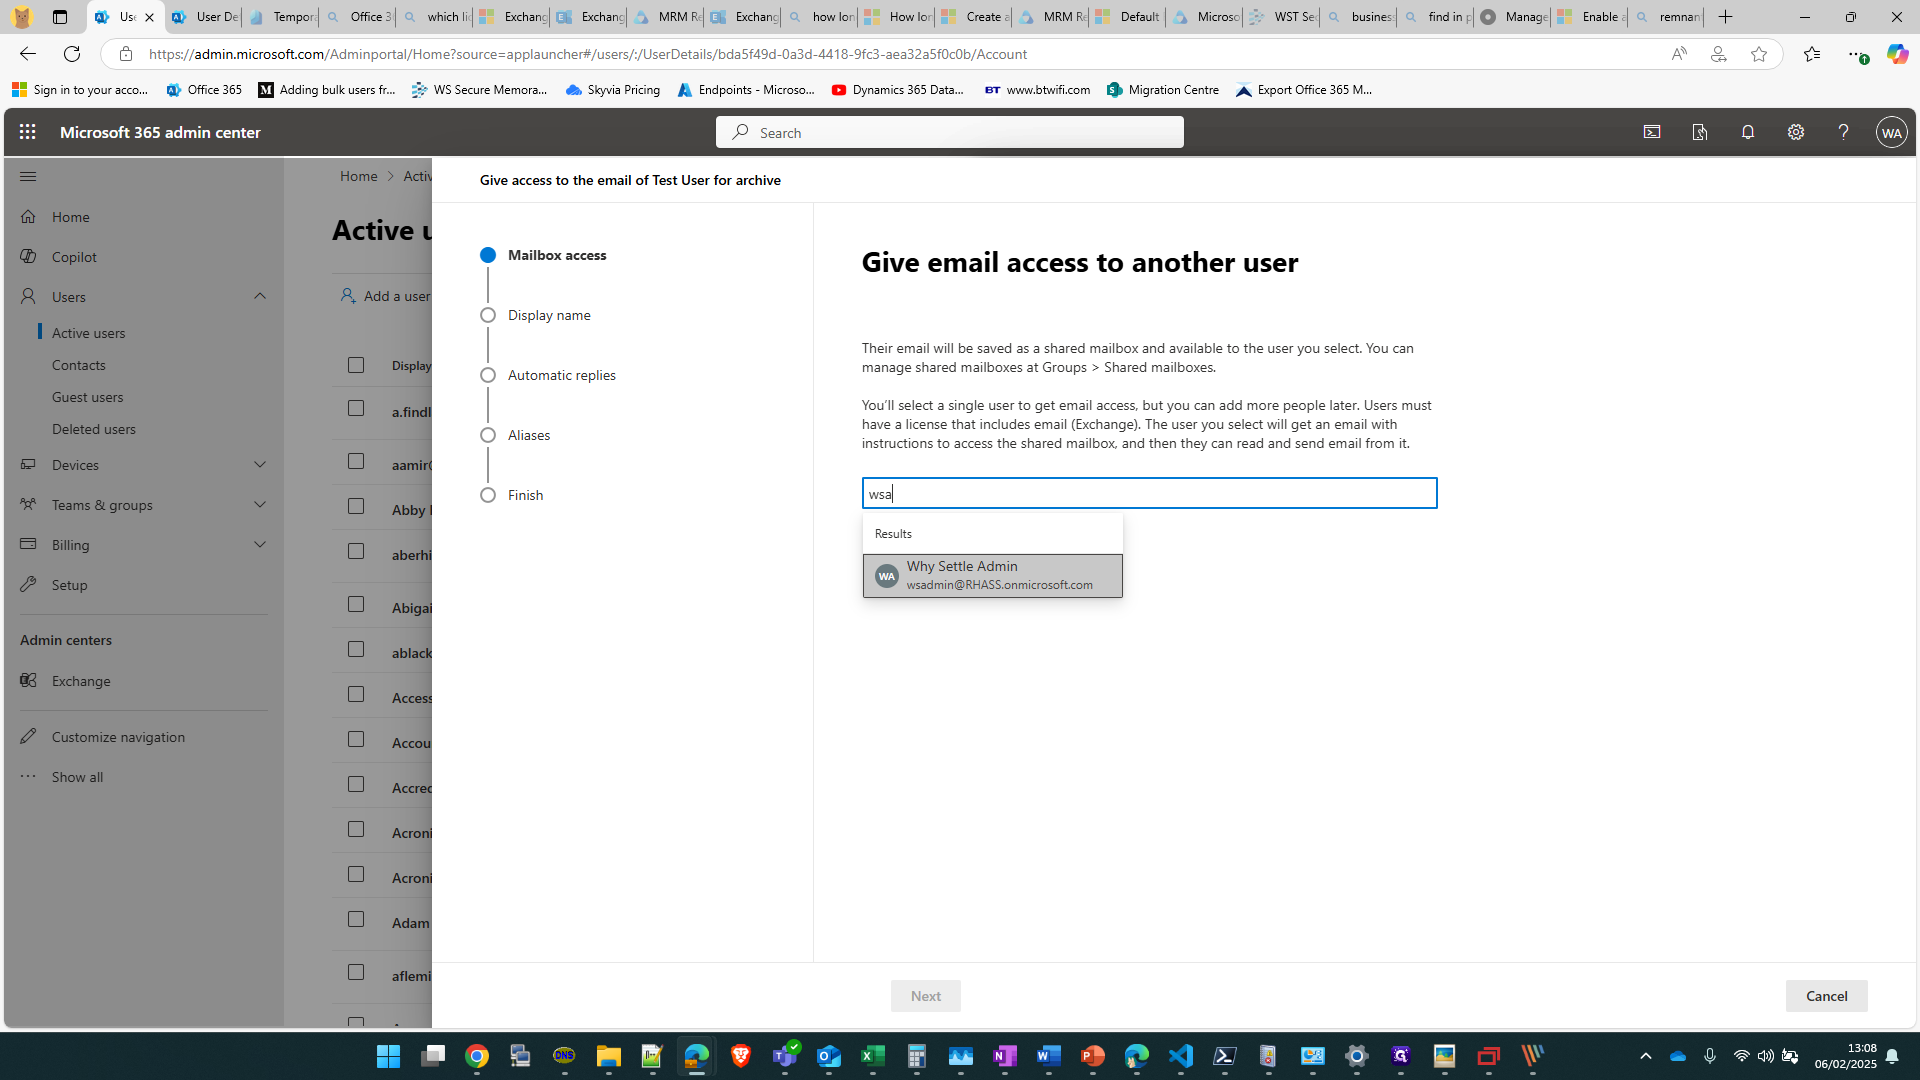
8
Search for wsadmin
9
Click on "Why Settle Admin"
10
Click on "Create a new display name"
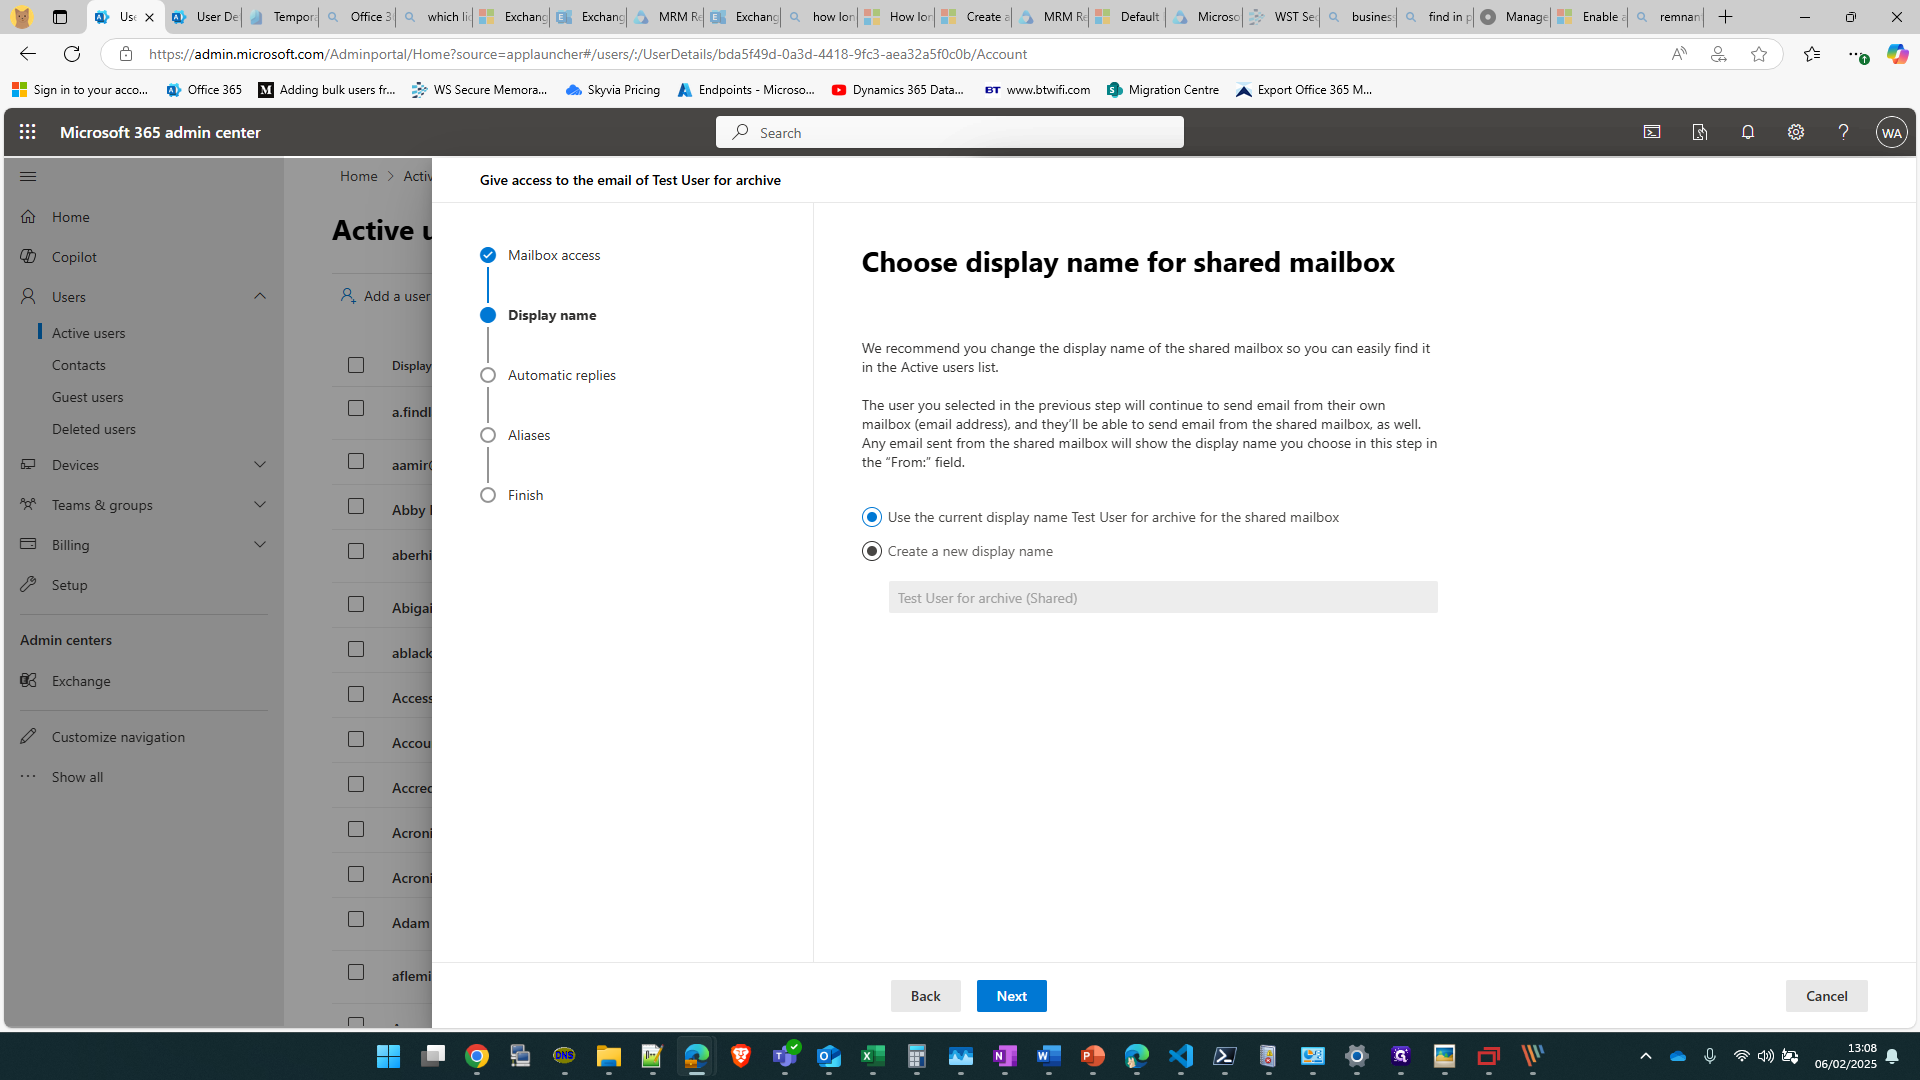
11
Add "(Archived)" to the end of their username

12
Click on "Next"

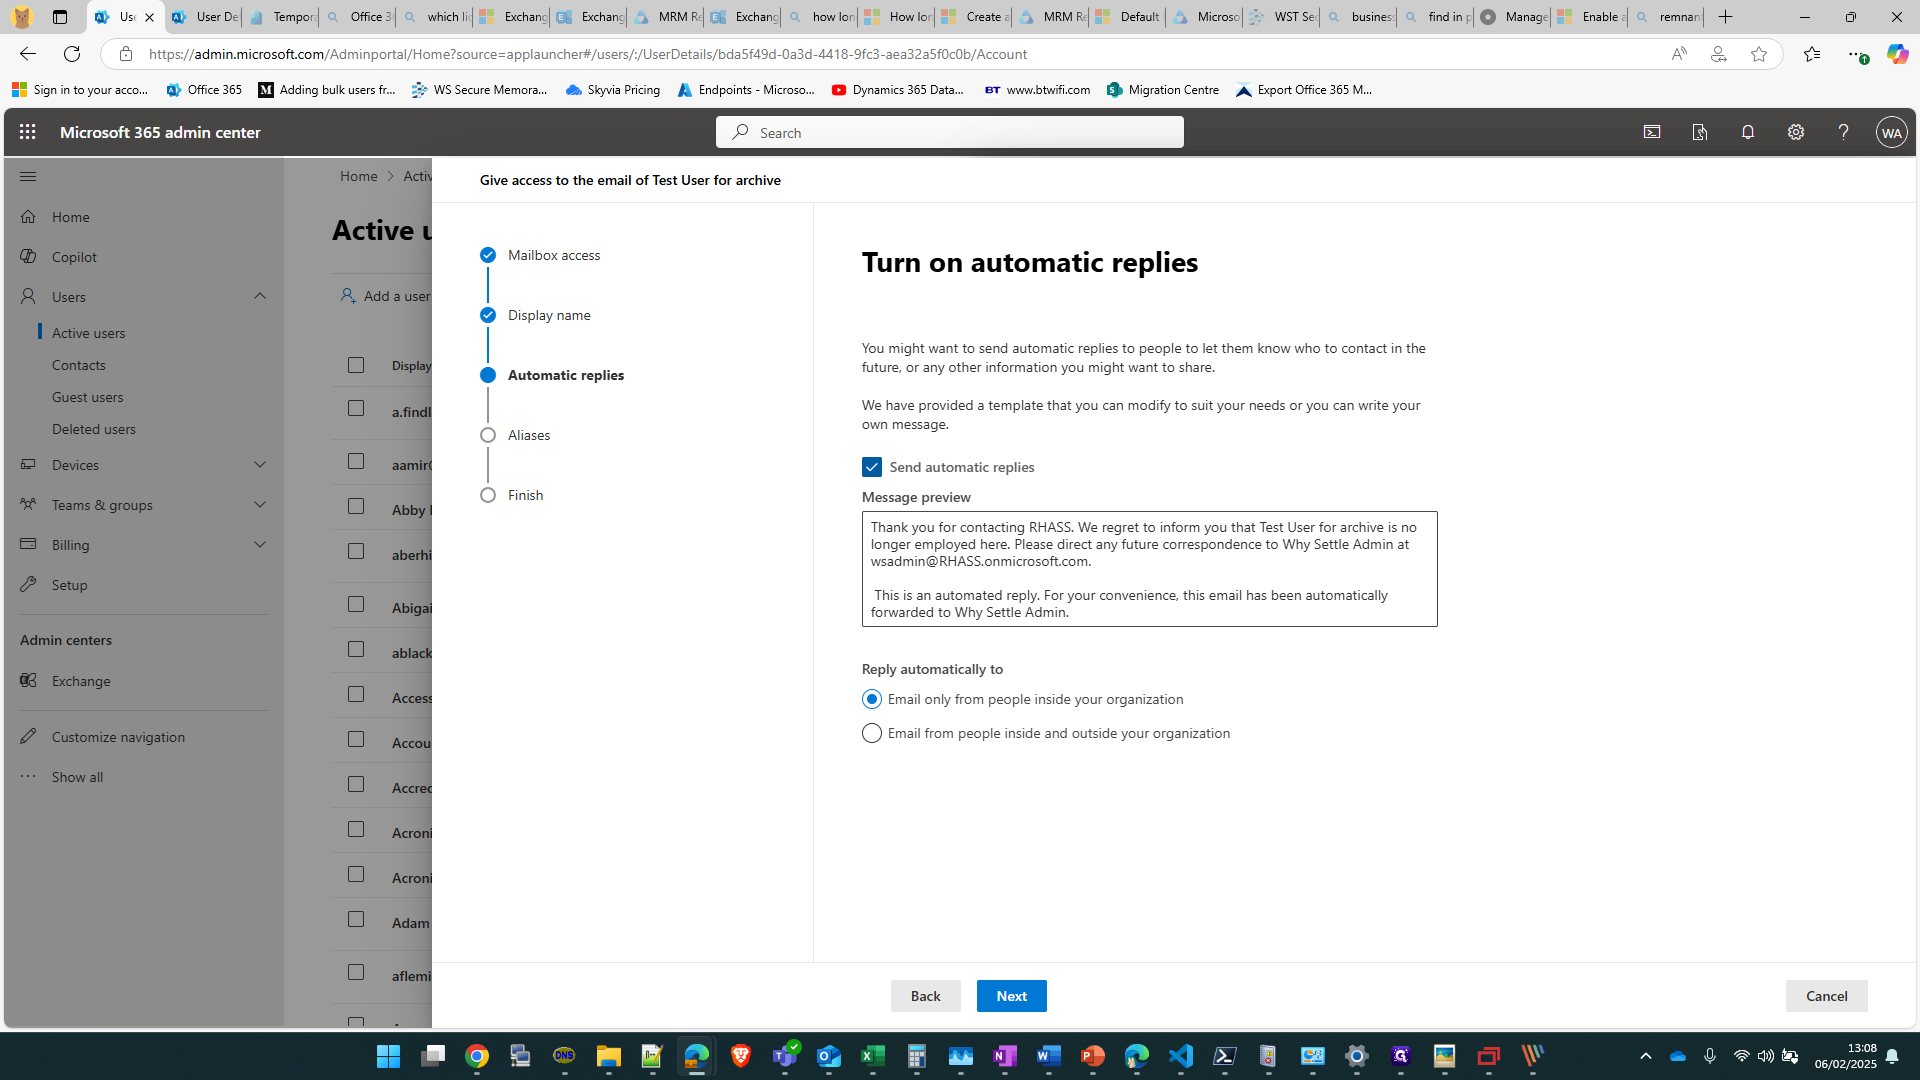
13
If they've requested automatic replies, you can enable this feature.
14
We will keep the email aliases as they are. This ensures that if someone external emails an alias previously set up, it will still work and go to the shared mailbox unless it has been requested to be reassigned to someone else or removed.

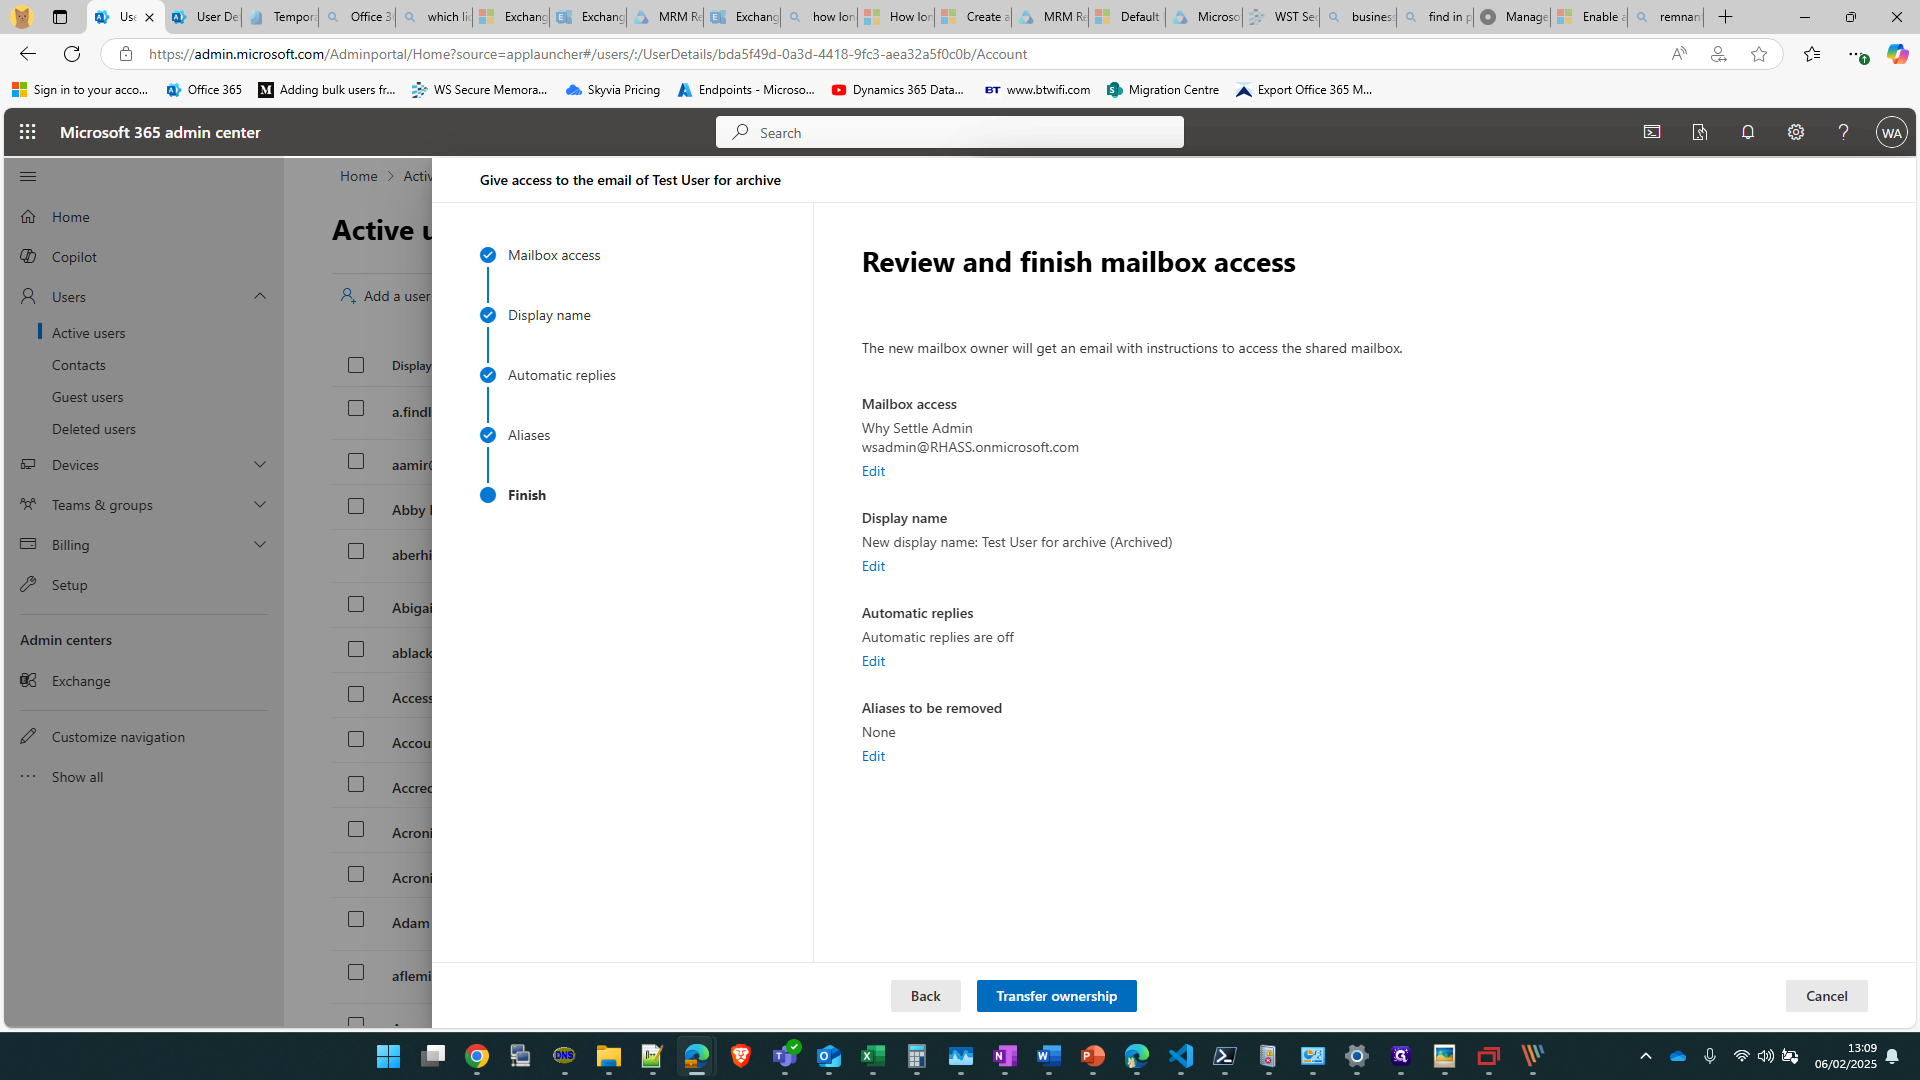
15
Review steps
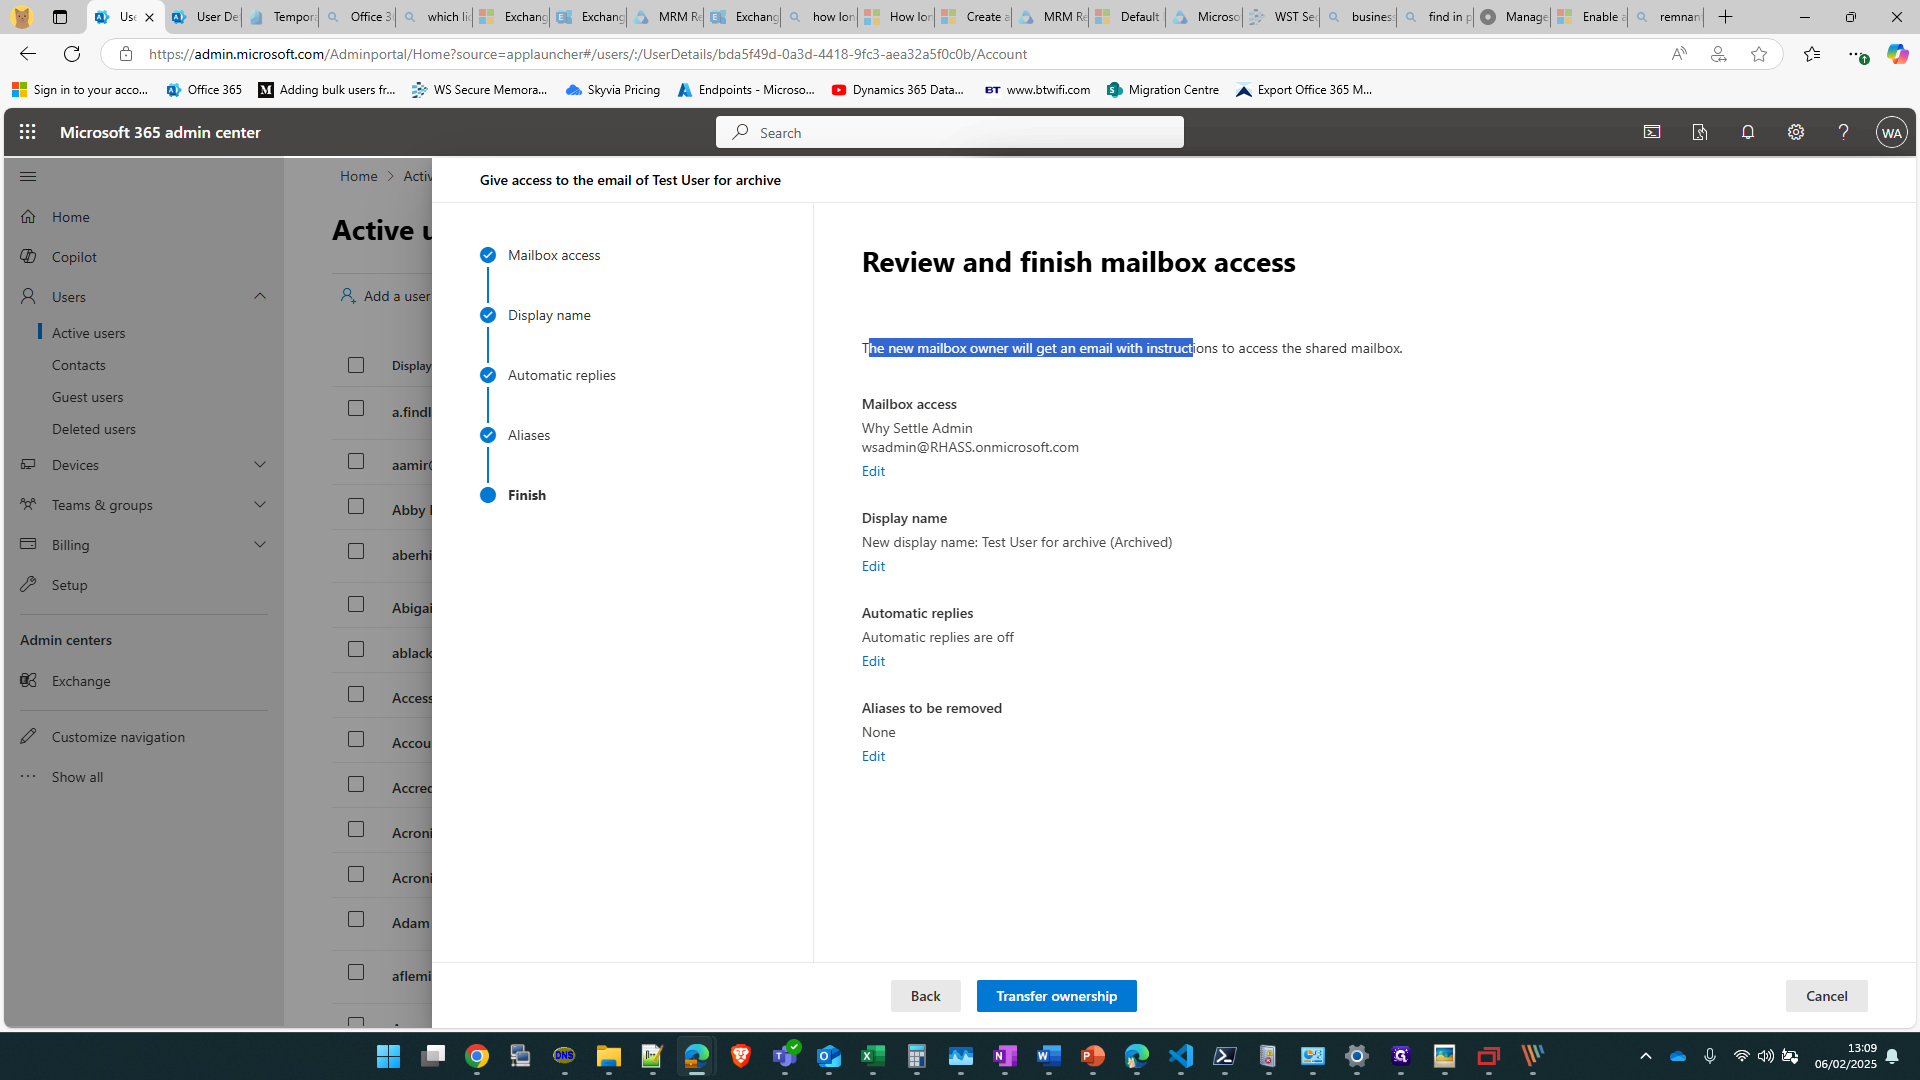
16
Click on "Transfer ownership"
17
Click on "Assign and convert"

18
Wait for it to complete
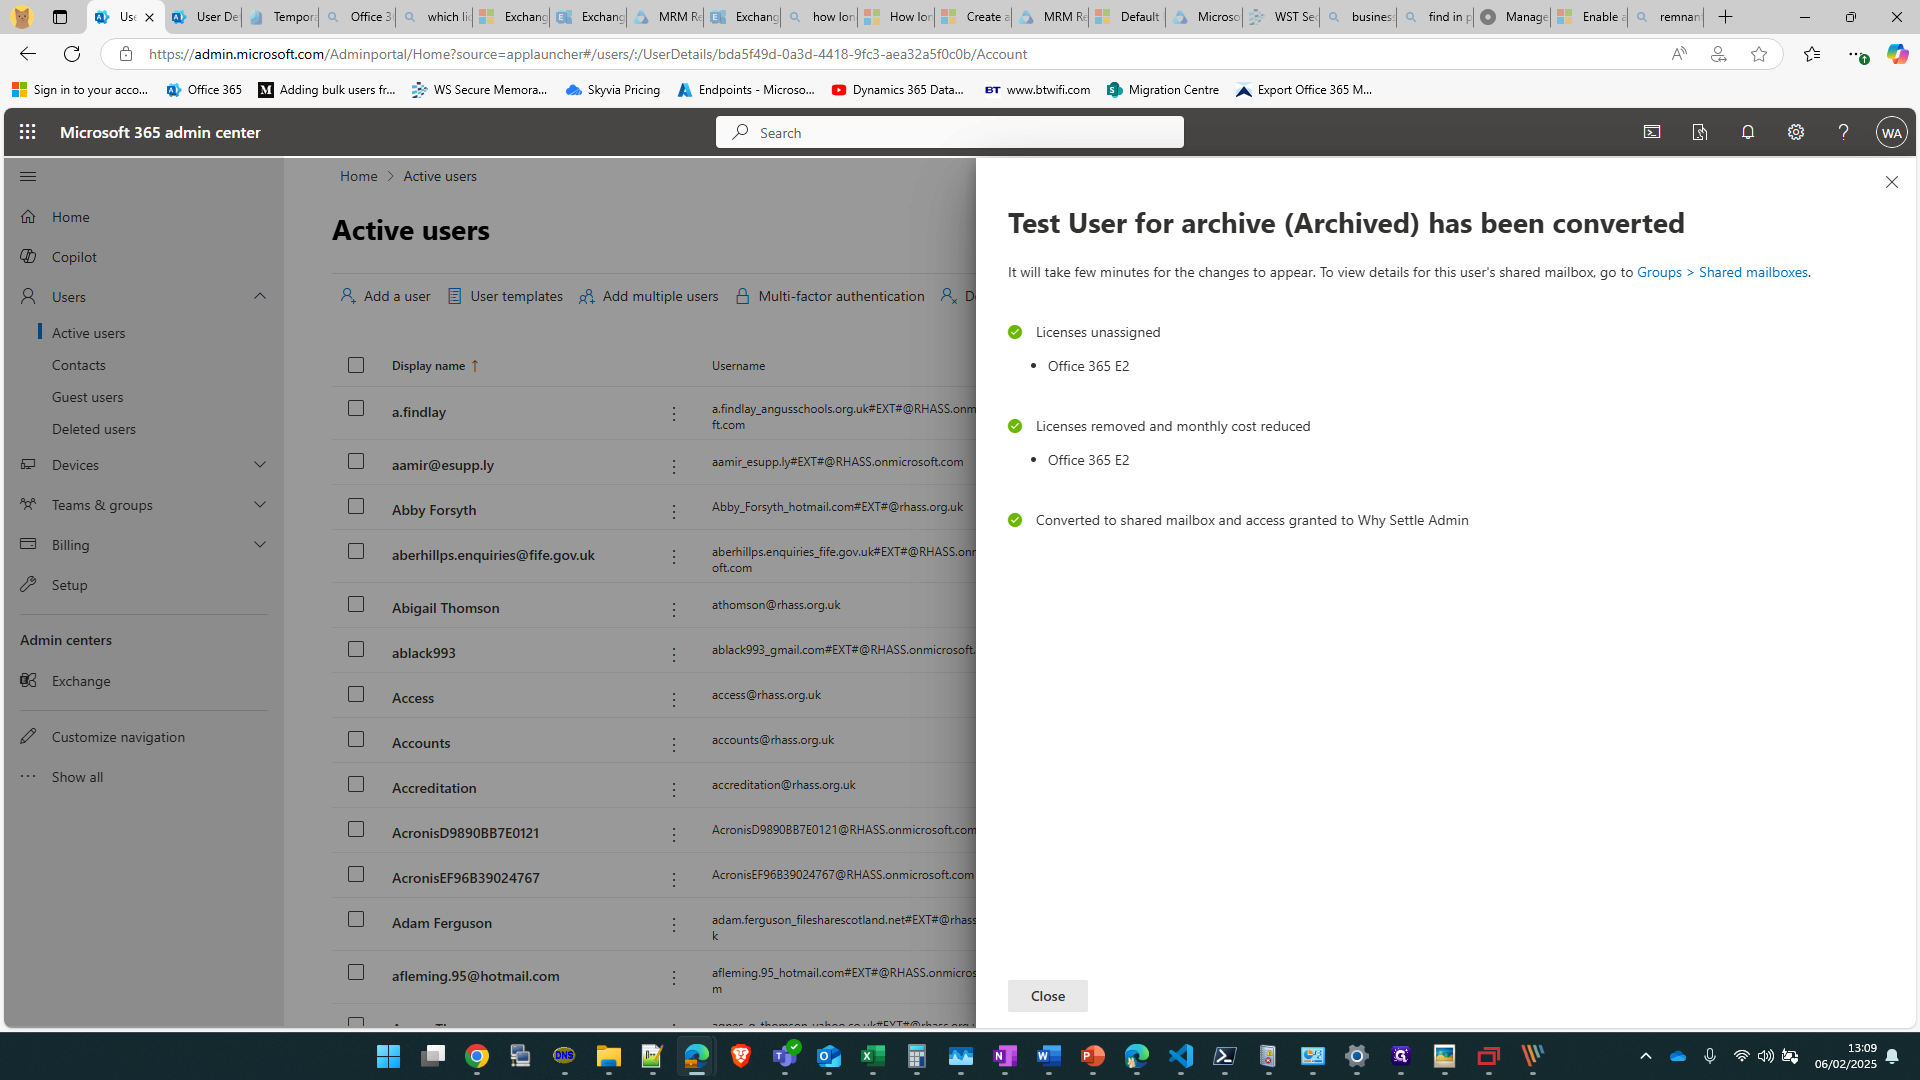
19
Refresh the page, and click back into the user, which should now say '(Archived)
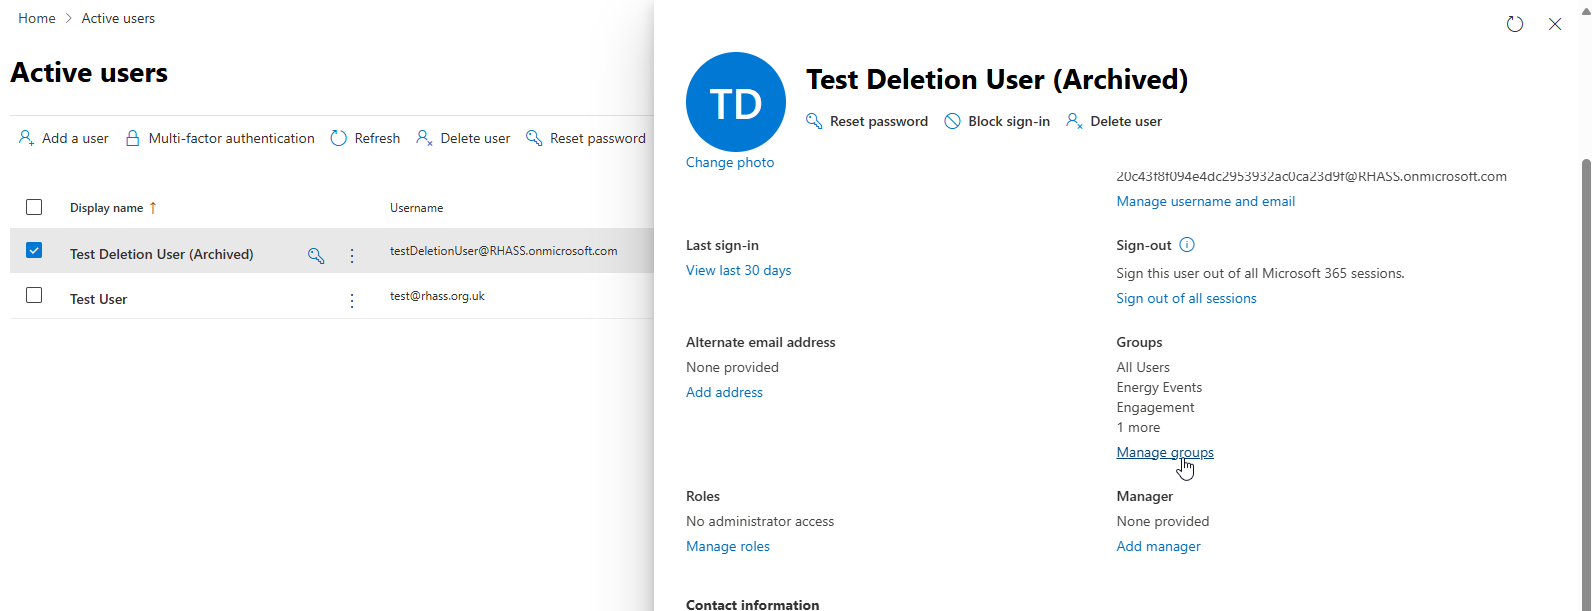
20
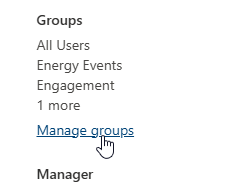
Select 'Manage Groups'
21
Take a screenshot or note of any groups the user is a member of to put in Autotask ticket.
22
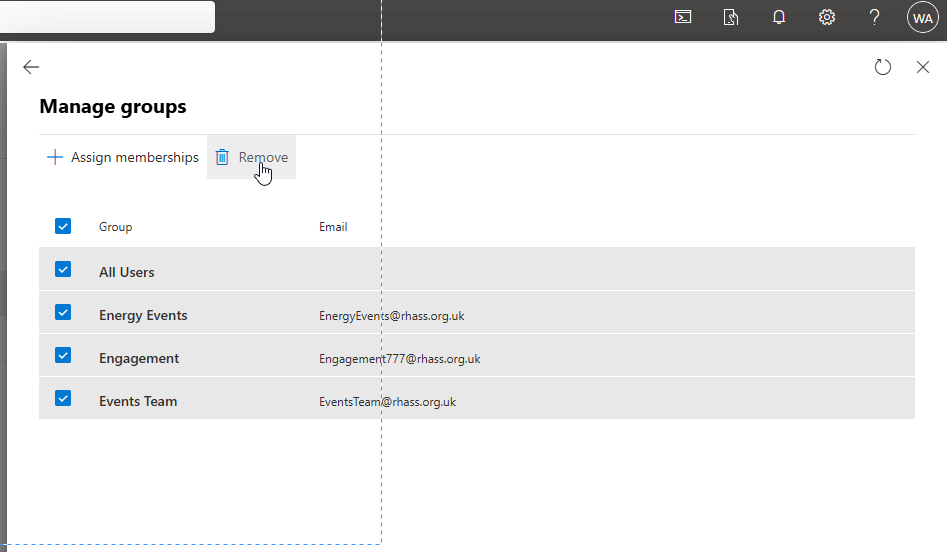
Select all groups, and click 'Remove'
23
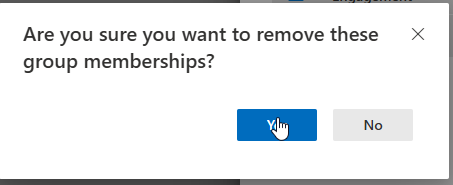
Confirm removal, Click 'Yes'
24
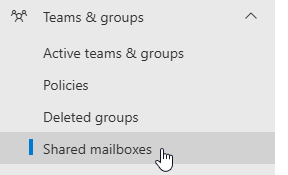
Navigate to 'Shared Mailbox's'
25
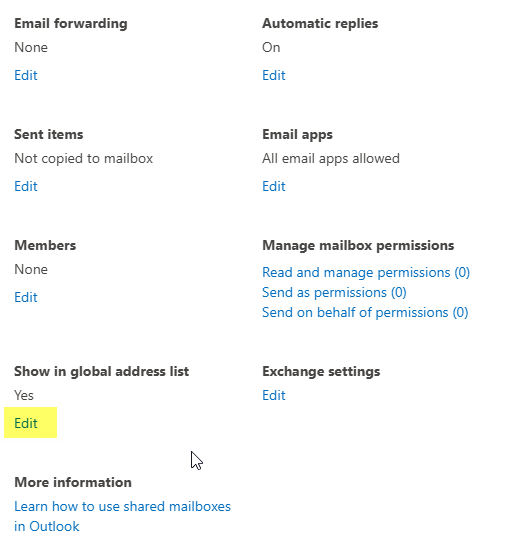
Find and click on your user
Select 'Edit' under 'Show in global address list'
Select 'Edit' under 'Show in global address list'
26
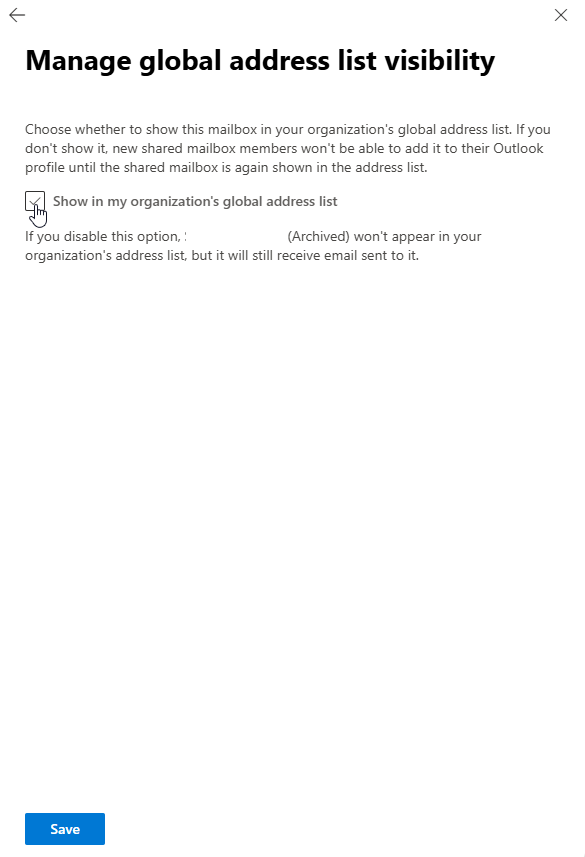
Untick 'Show in my organization's global address list
Click 'Save'
Click 'Save'
27
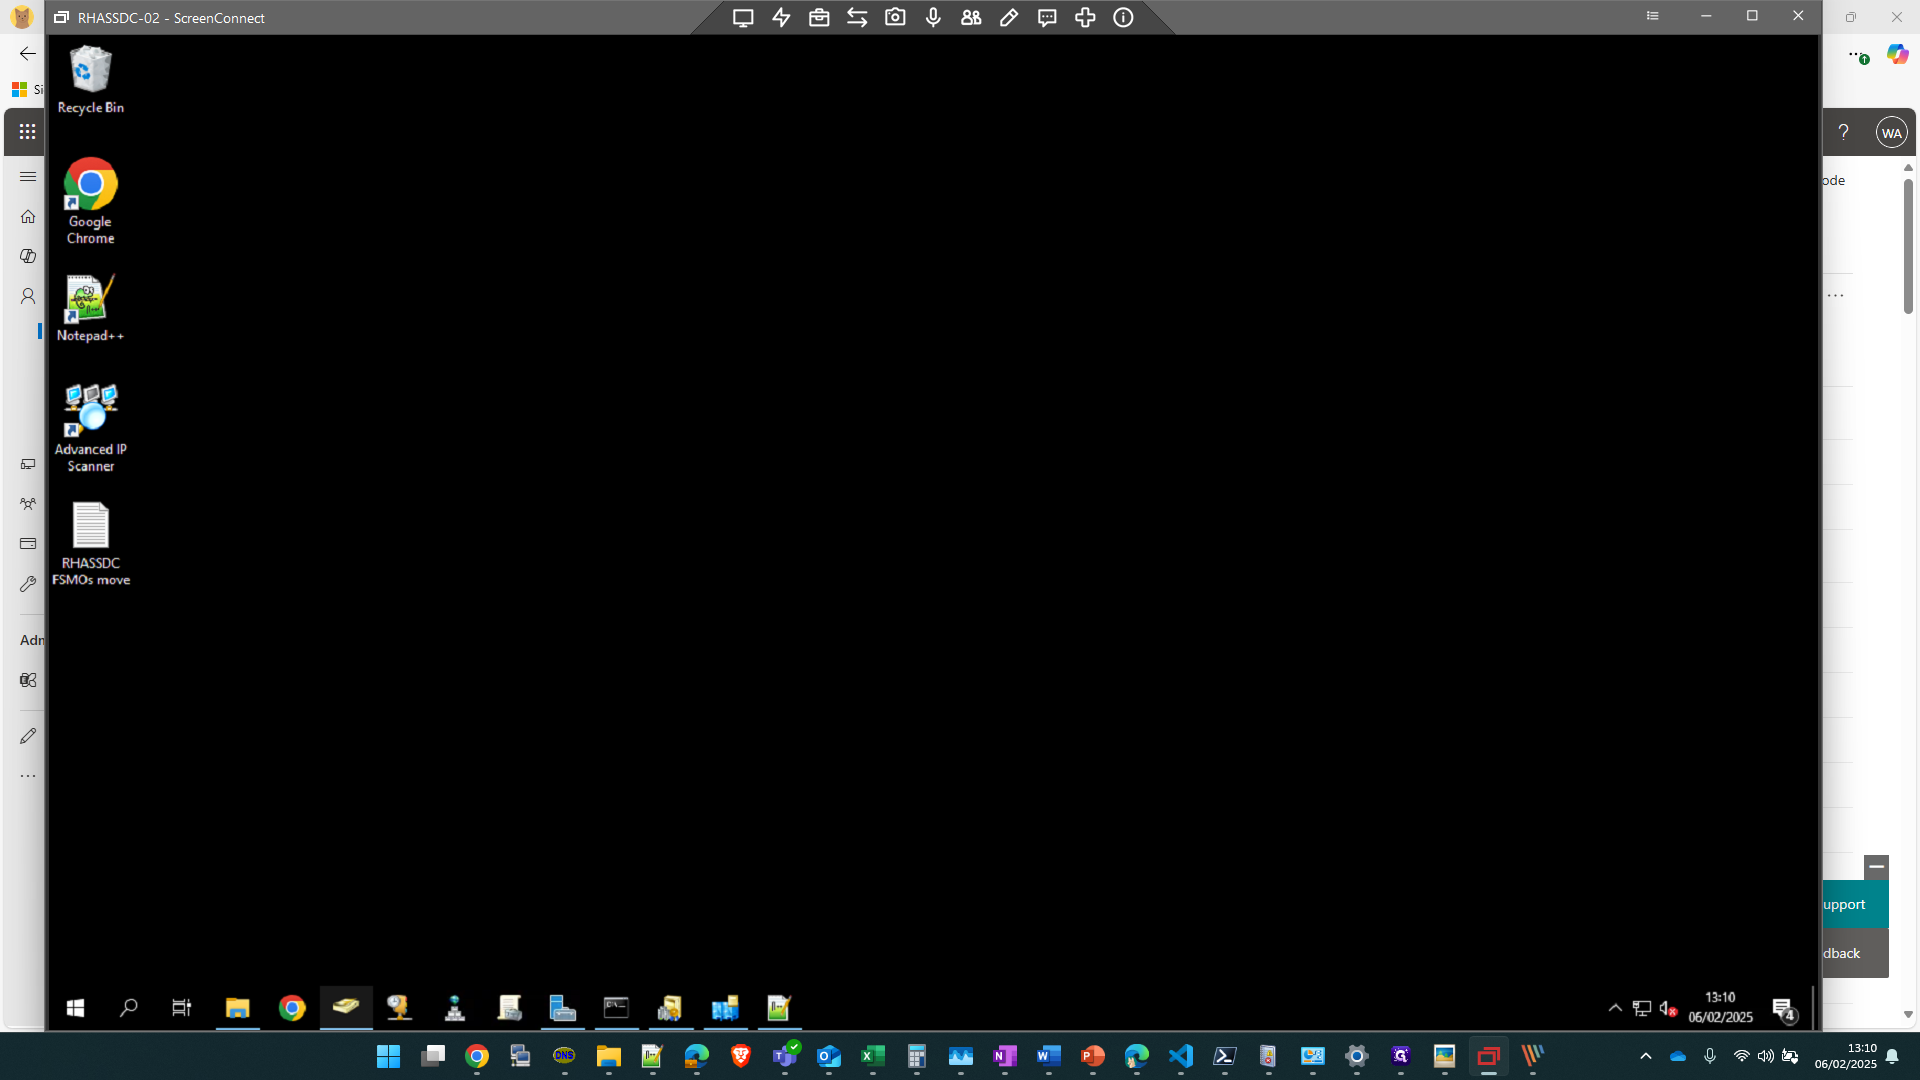
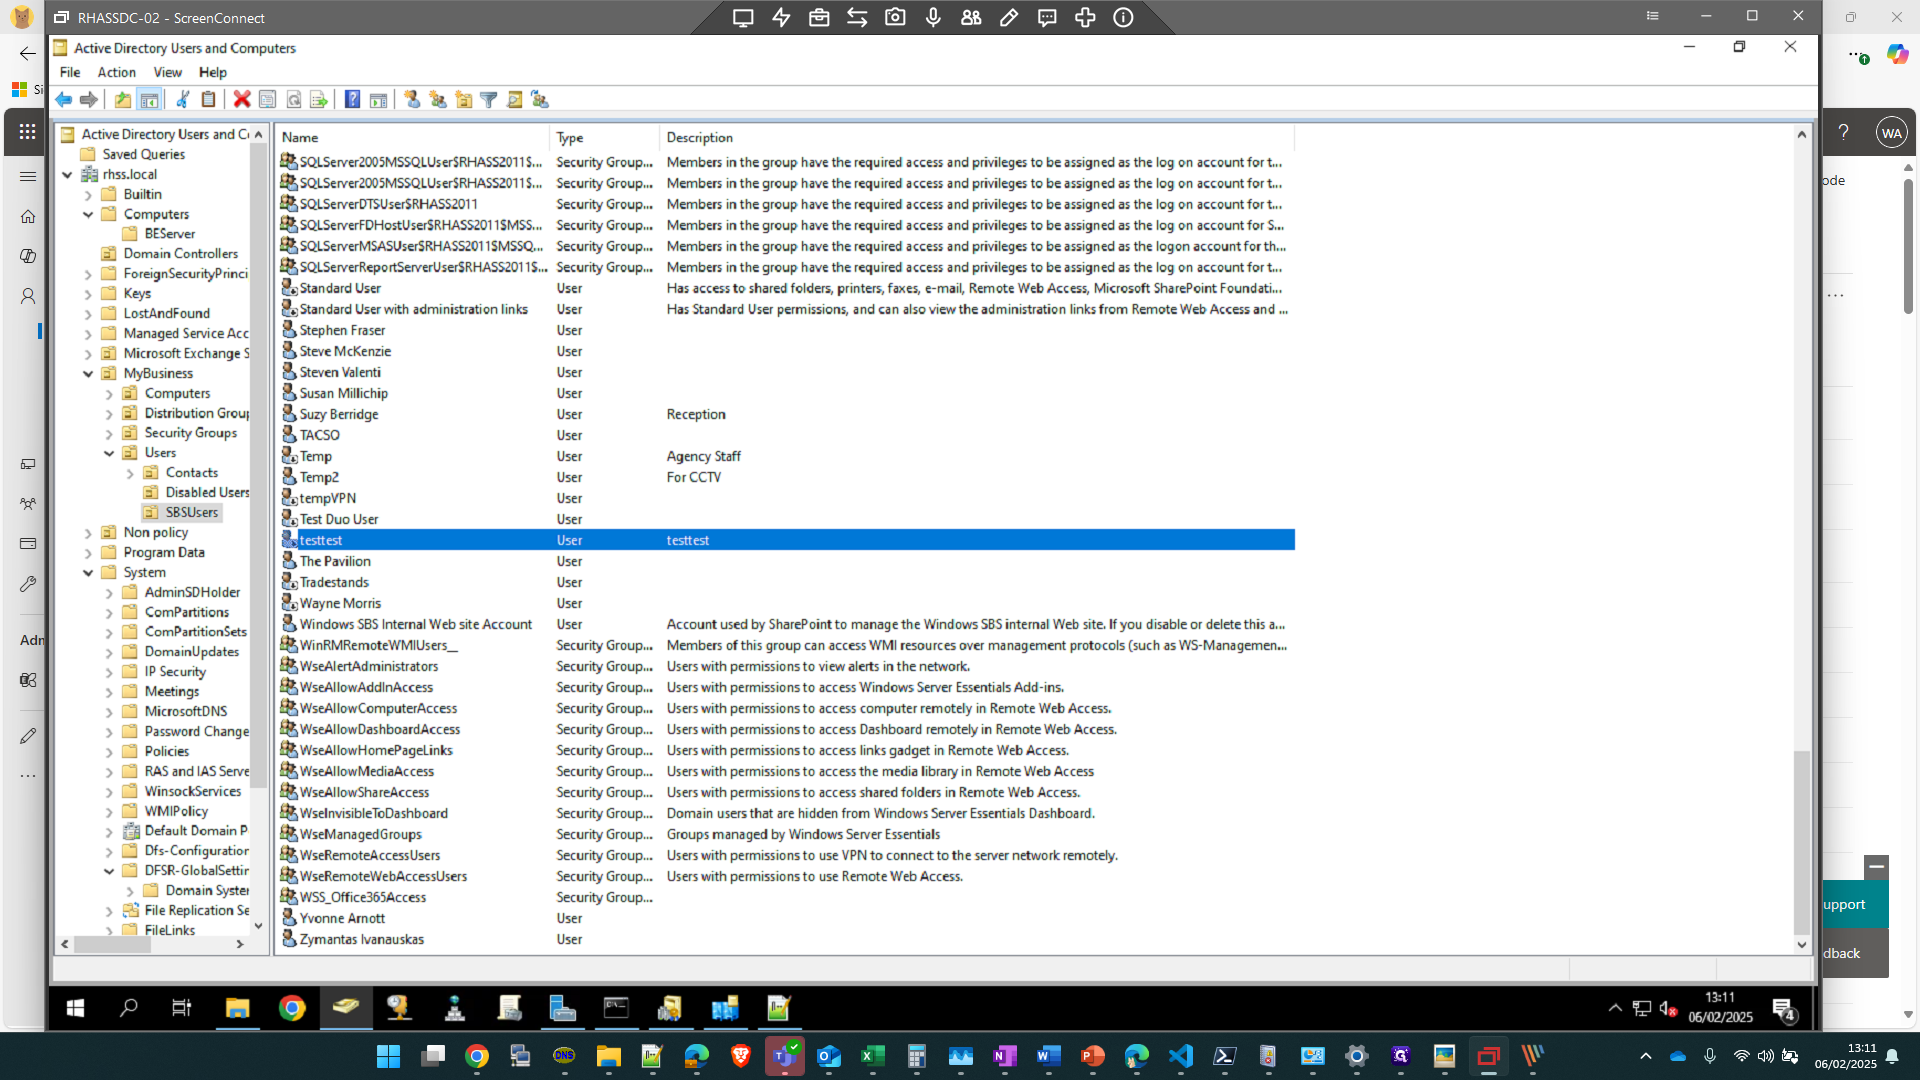
Hop onto the sites Domain controller, in this case RHASSDC-02
Open 'Active Directory'
Open 'Active Directory'
28
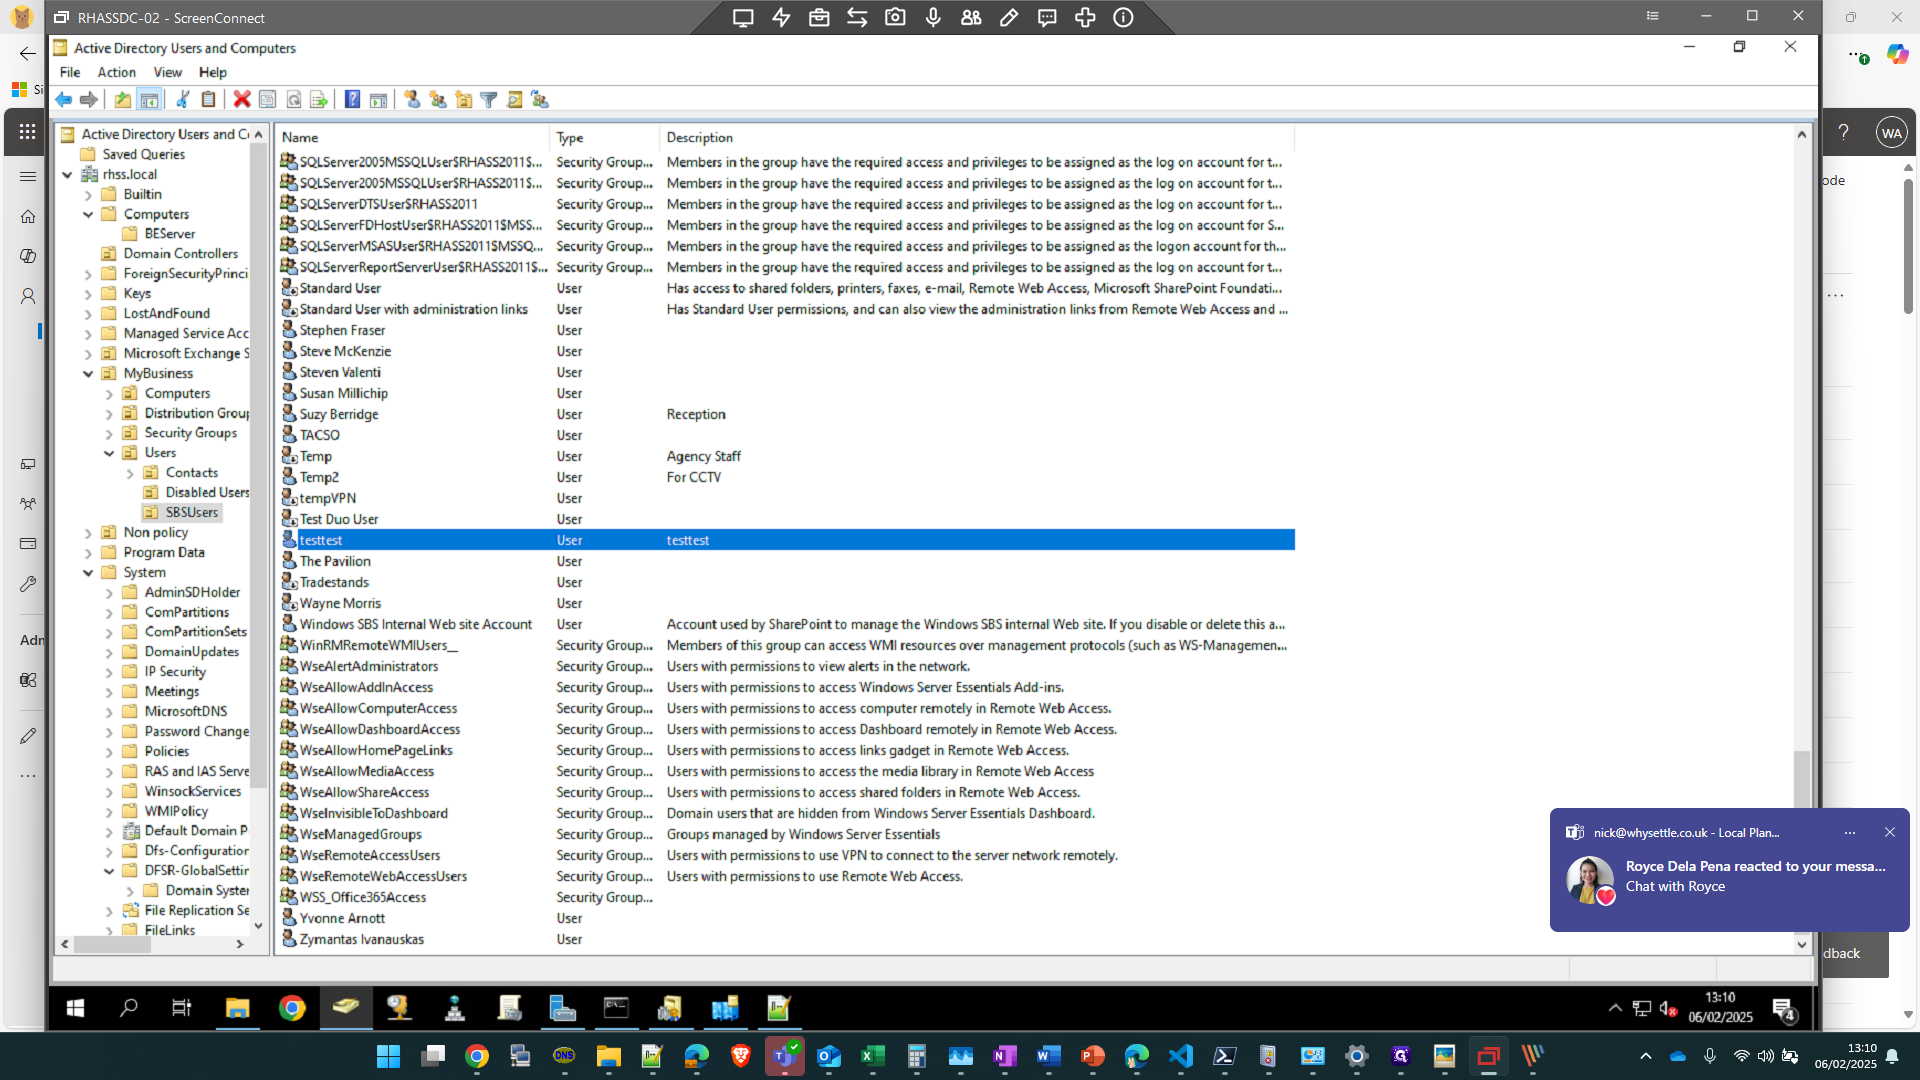
Find the user in AD
29
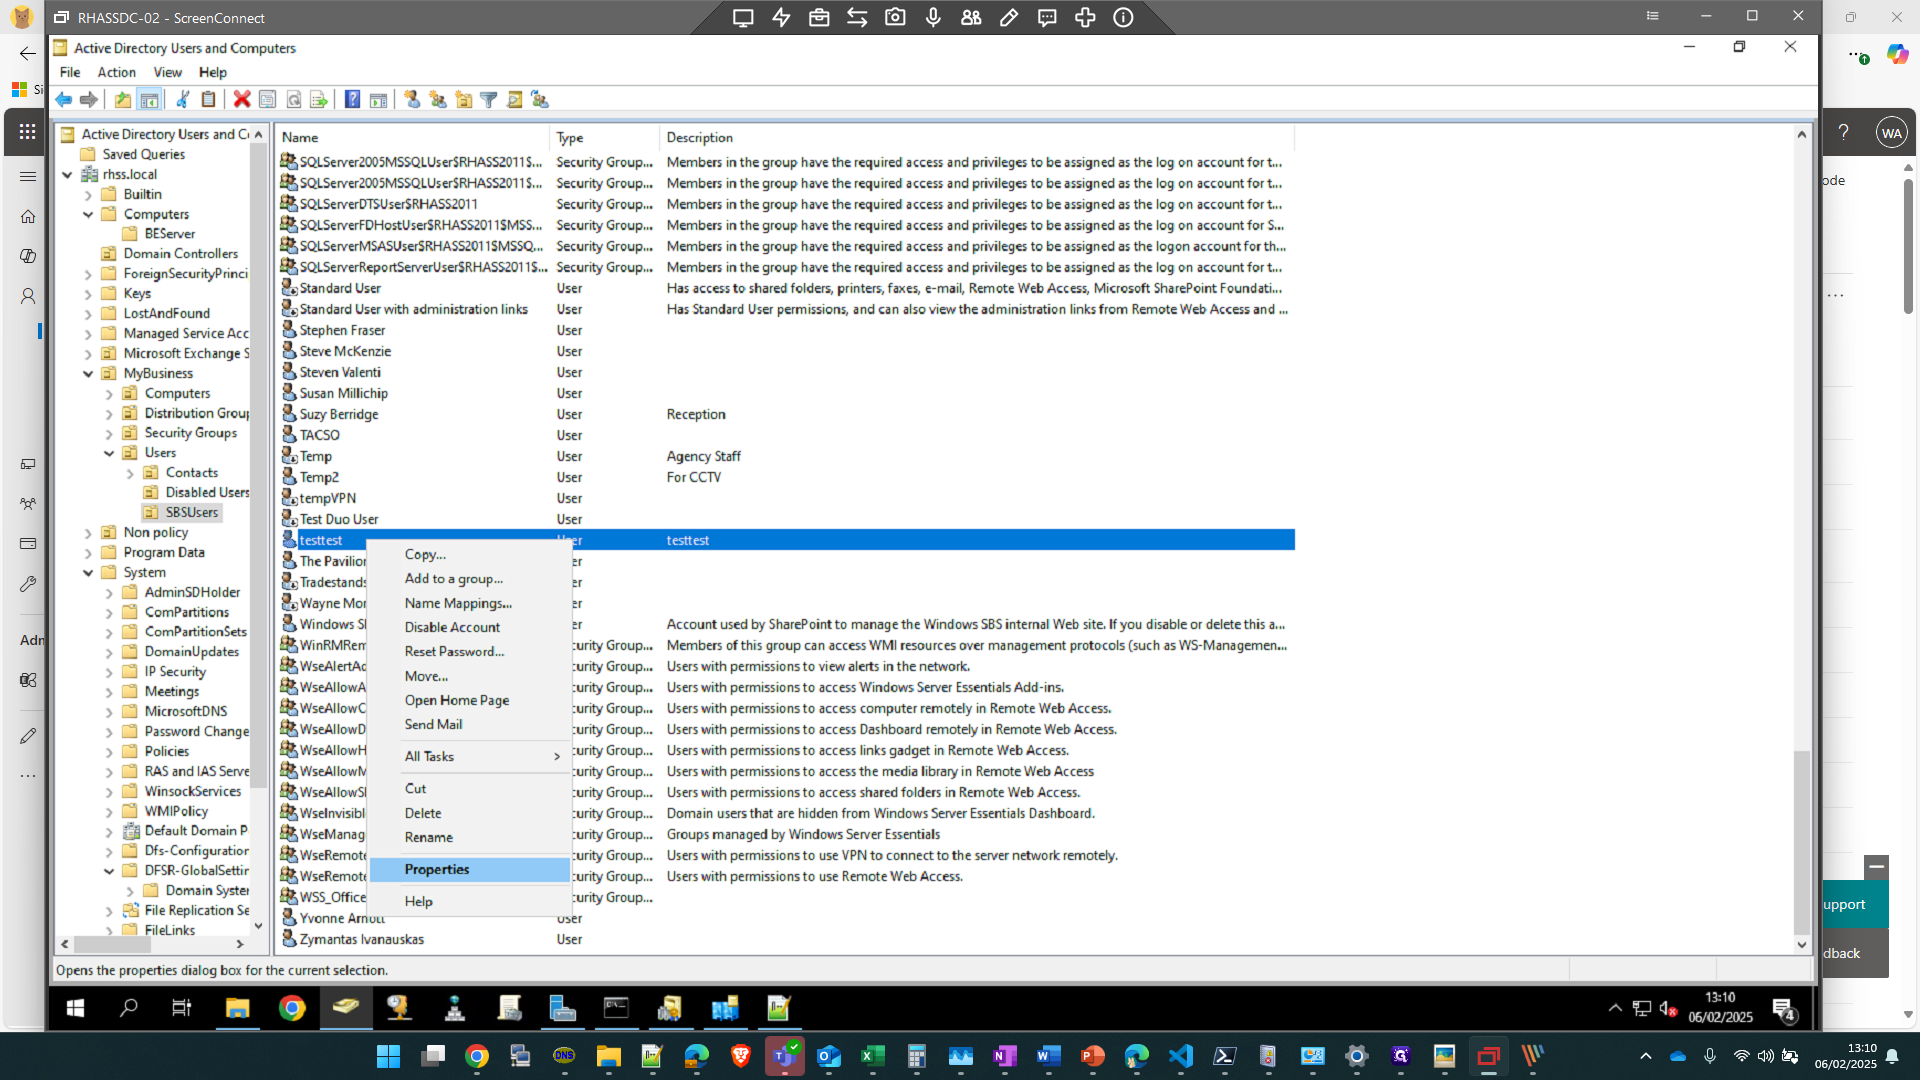
Right-click on user

30
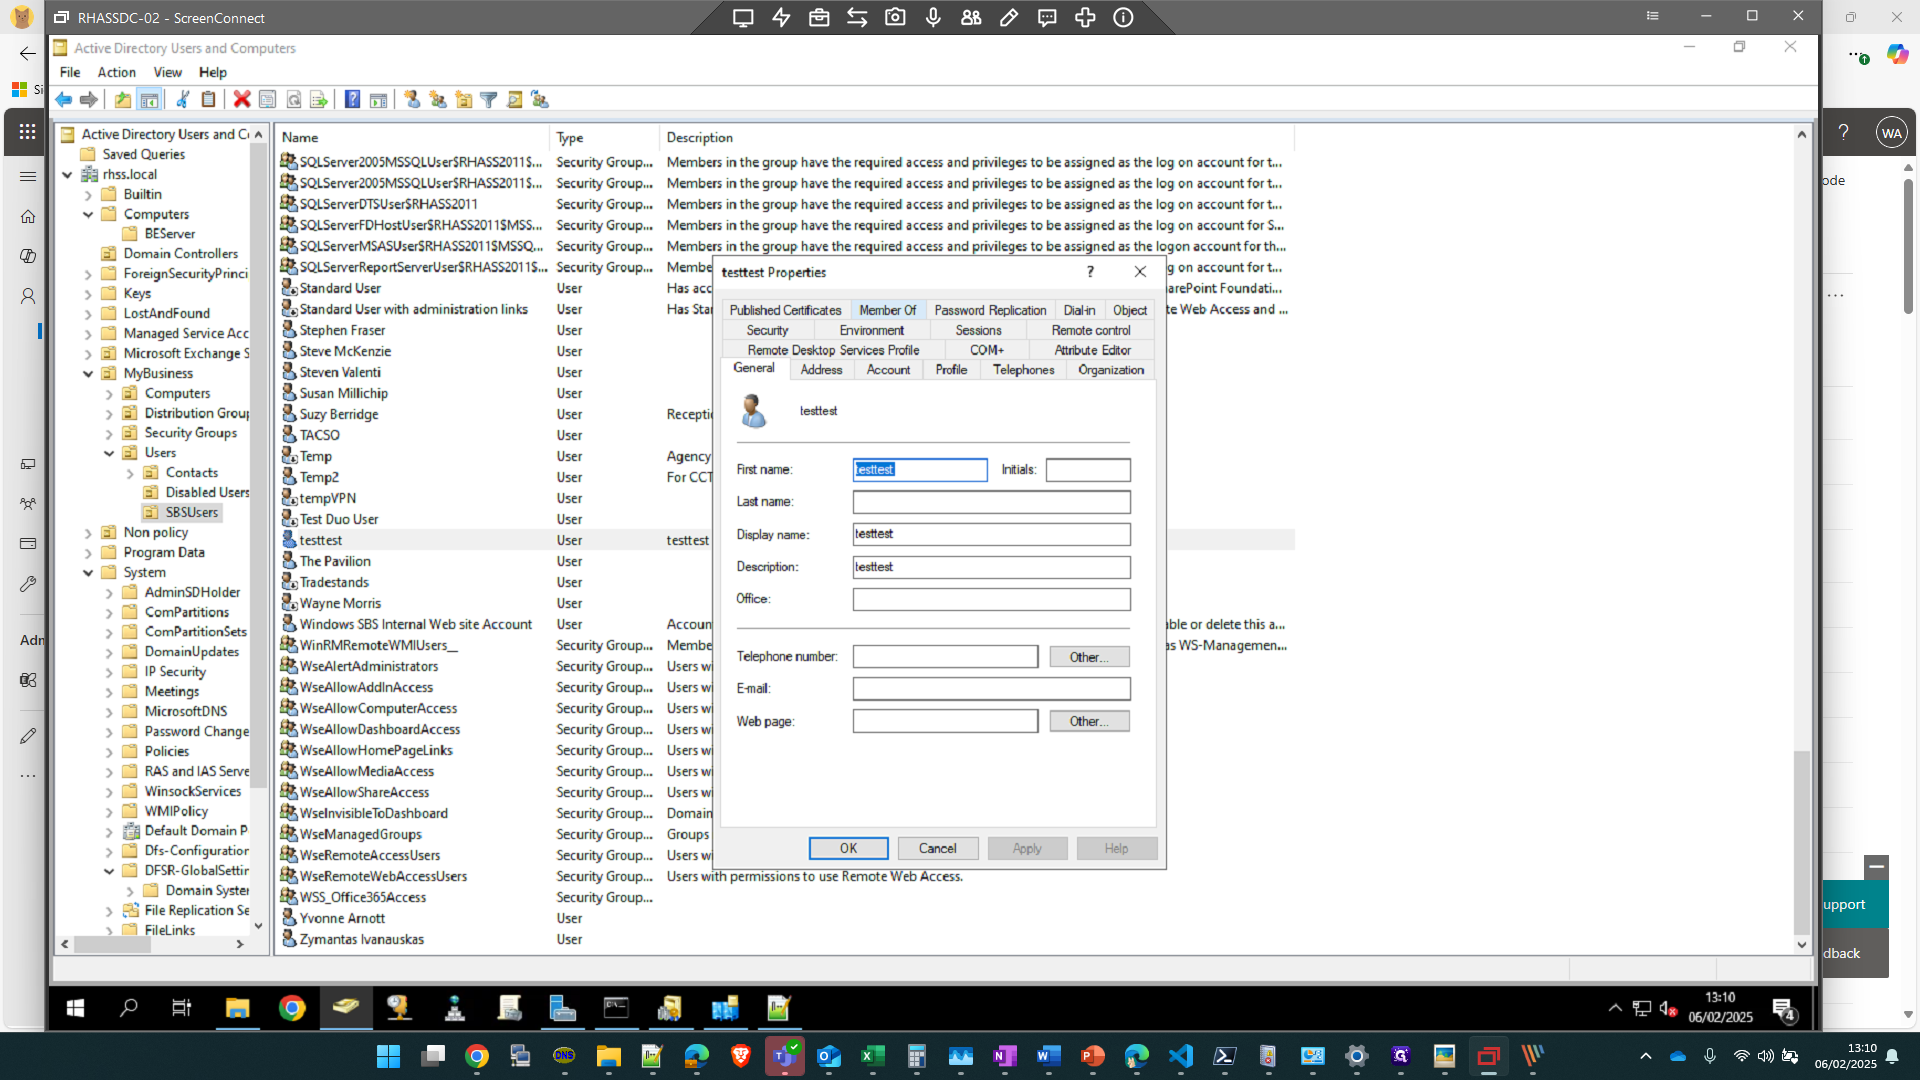
Click on "Properties"
31
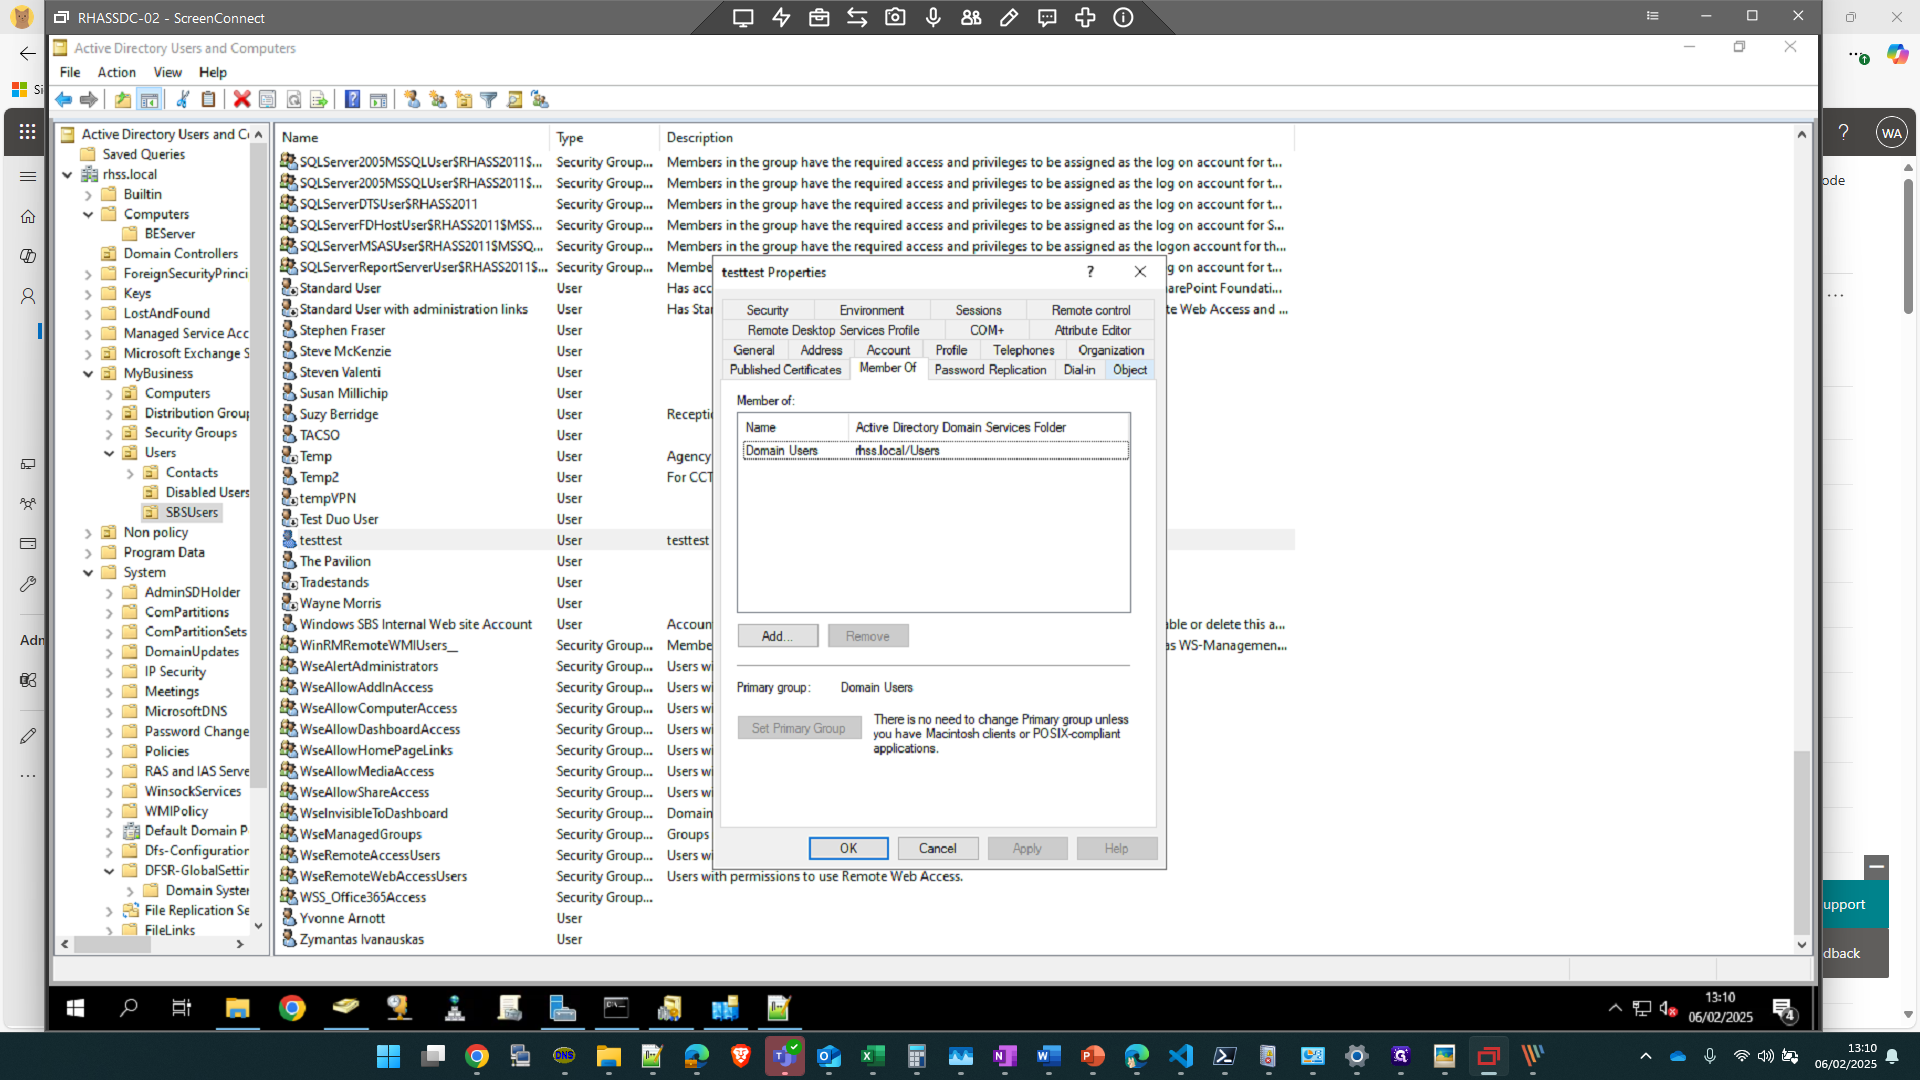
First, if they are a member of any groups, we need to remove them.
Click on "Member Of"
Click on "Member Of"
32
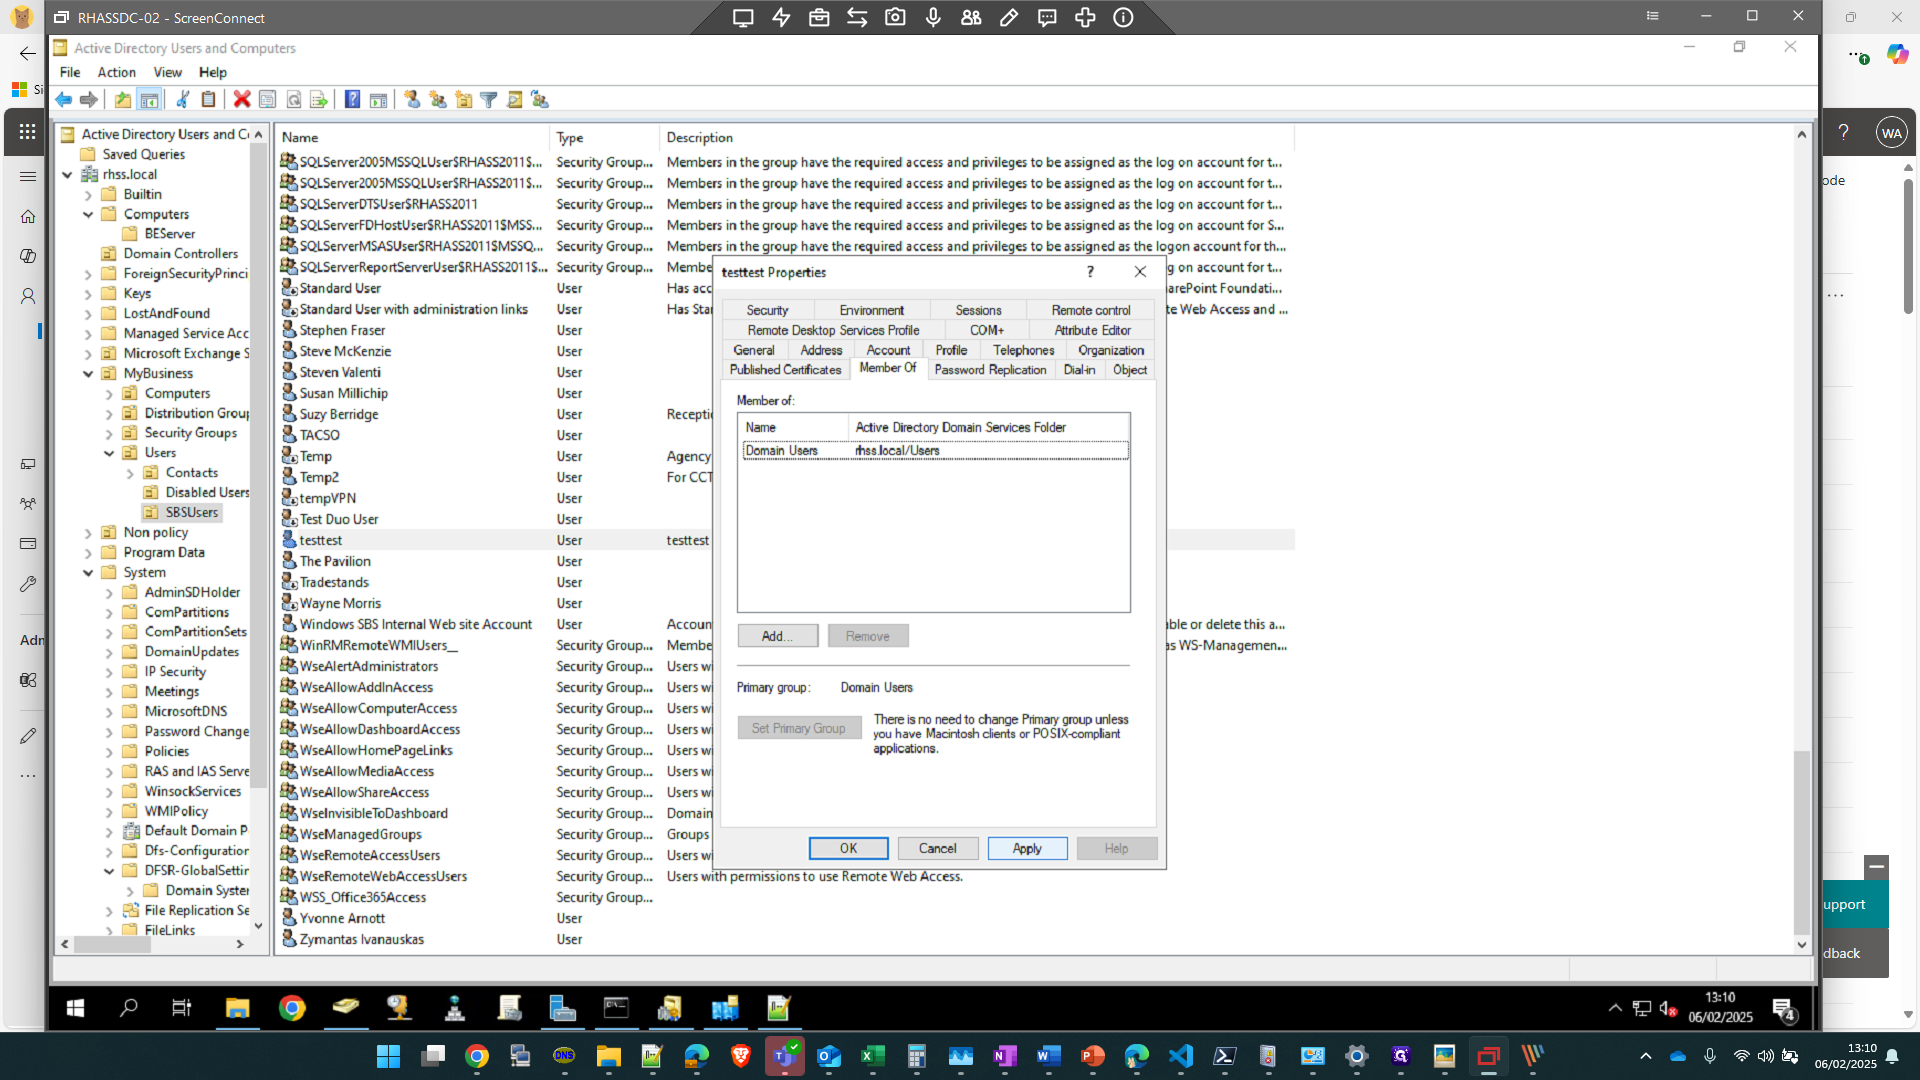
Take a note, or screenshot of the users groups. Add this to your Autotask ticket for reference.
33
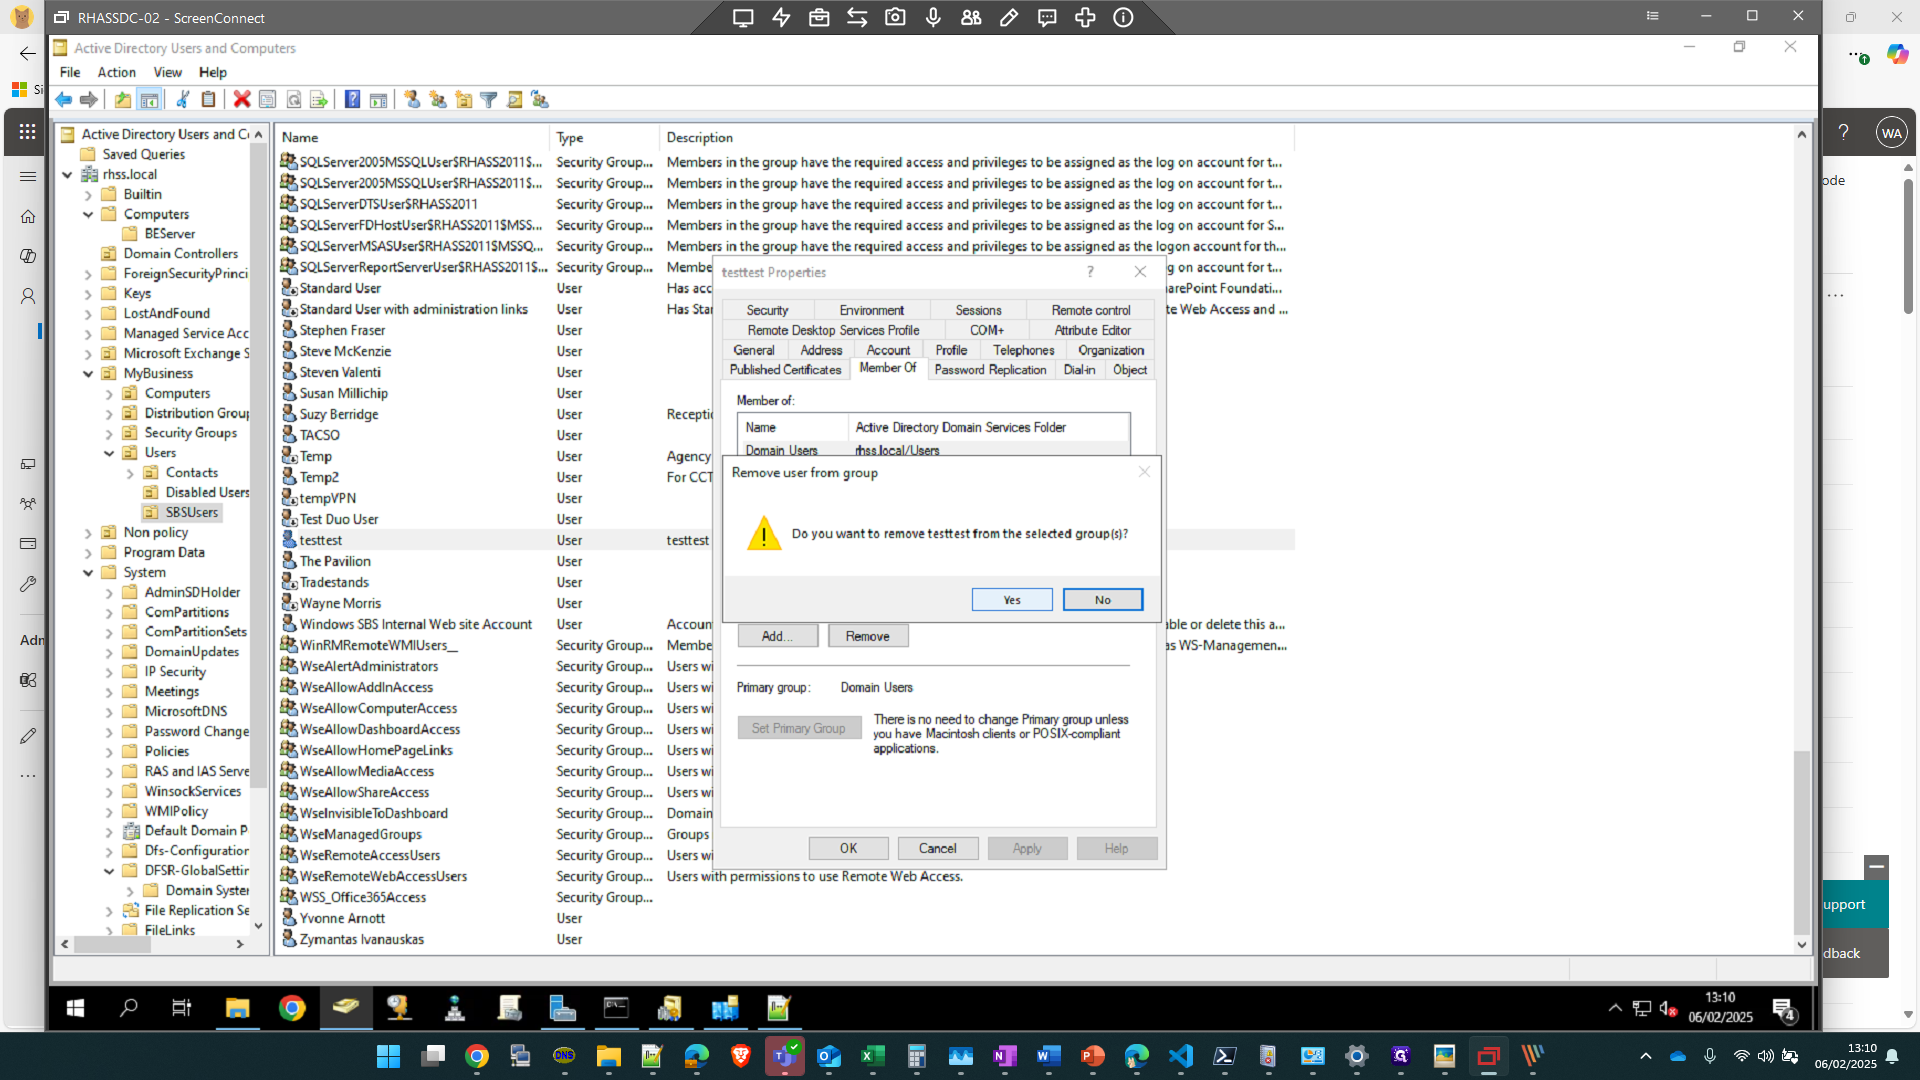
Select all groups (other than domain user), then Click on "Remove"

34
Click on "Yes"
35
Click on "Apply"
36
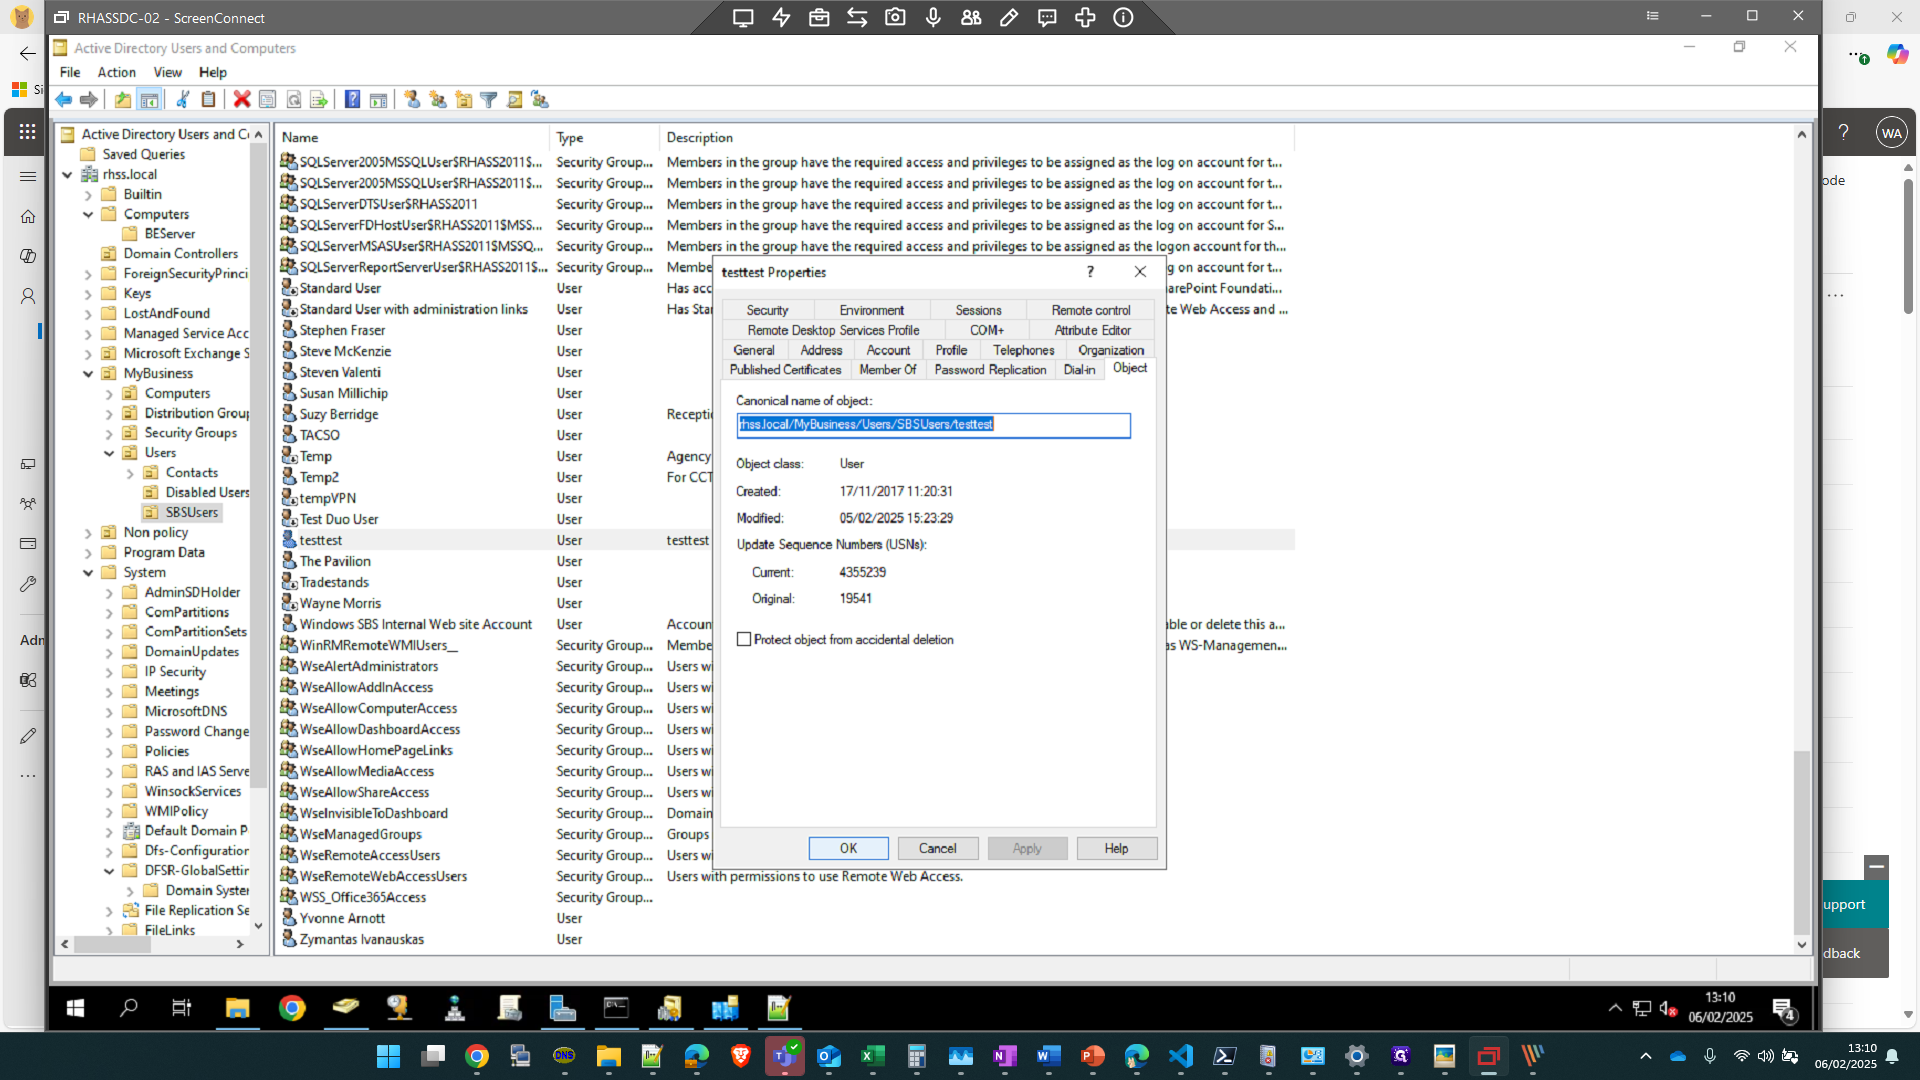
Then, go into 'Object'
37
Uncheck the 'Protect object from accidental deletion.'

38
Click on "OK"
39
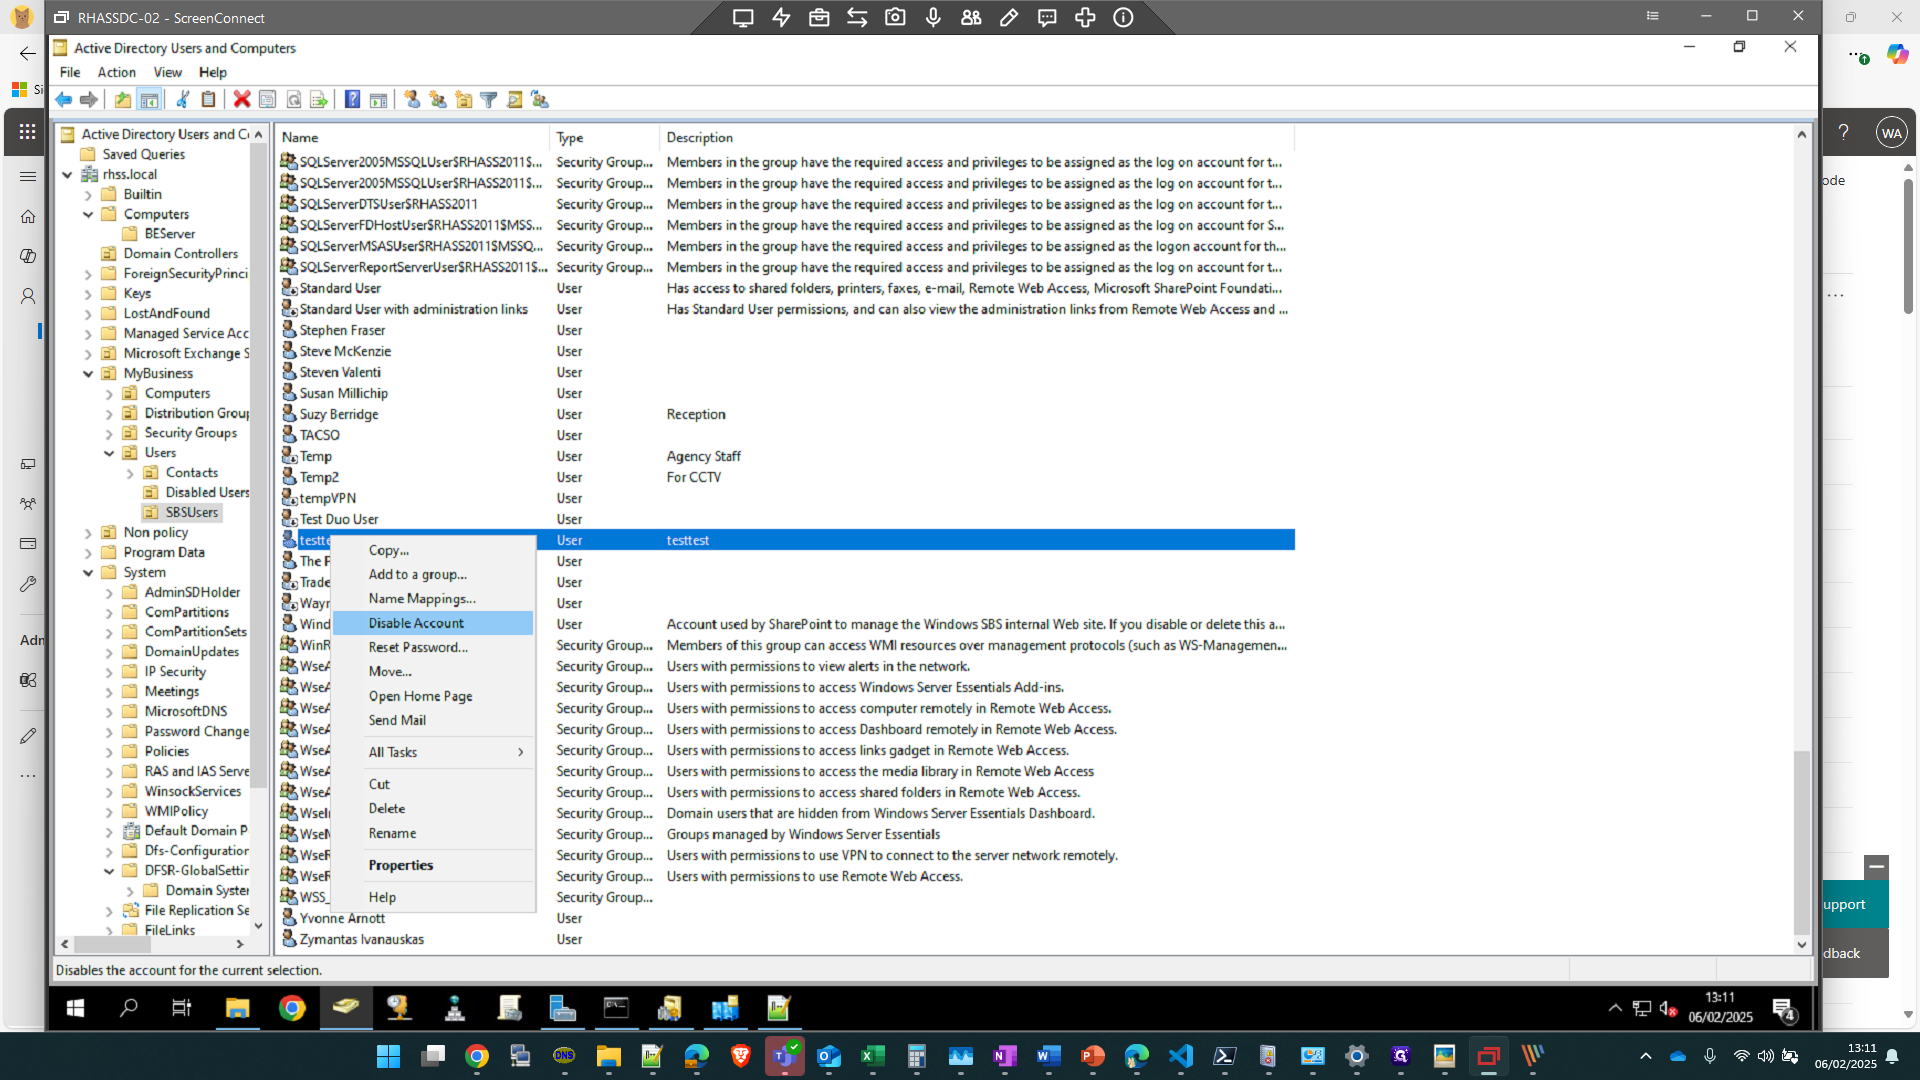
Right click on the user and select "Disable Account"
40
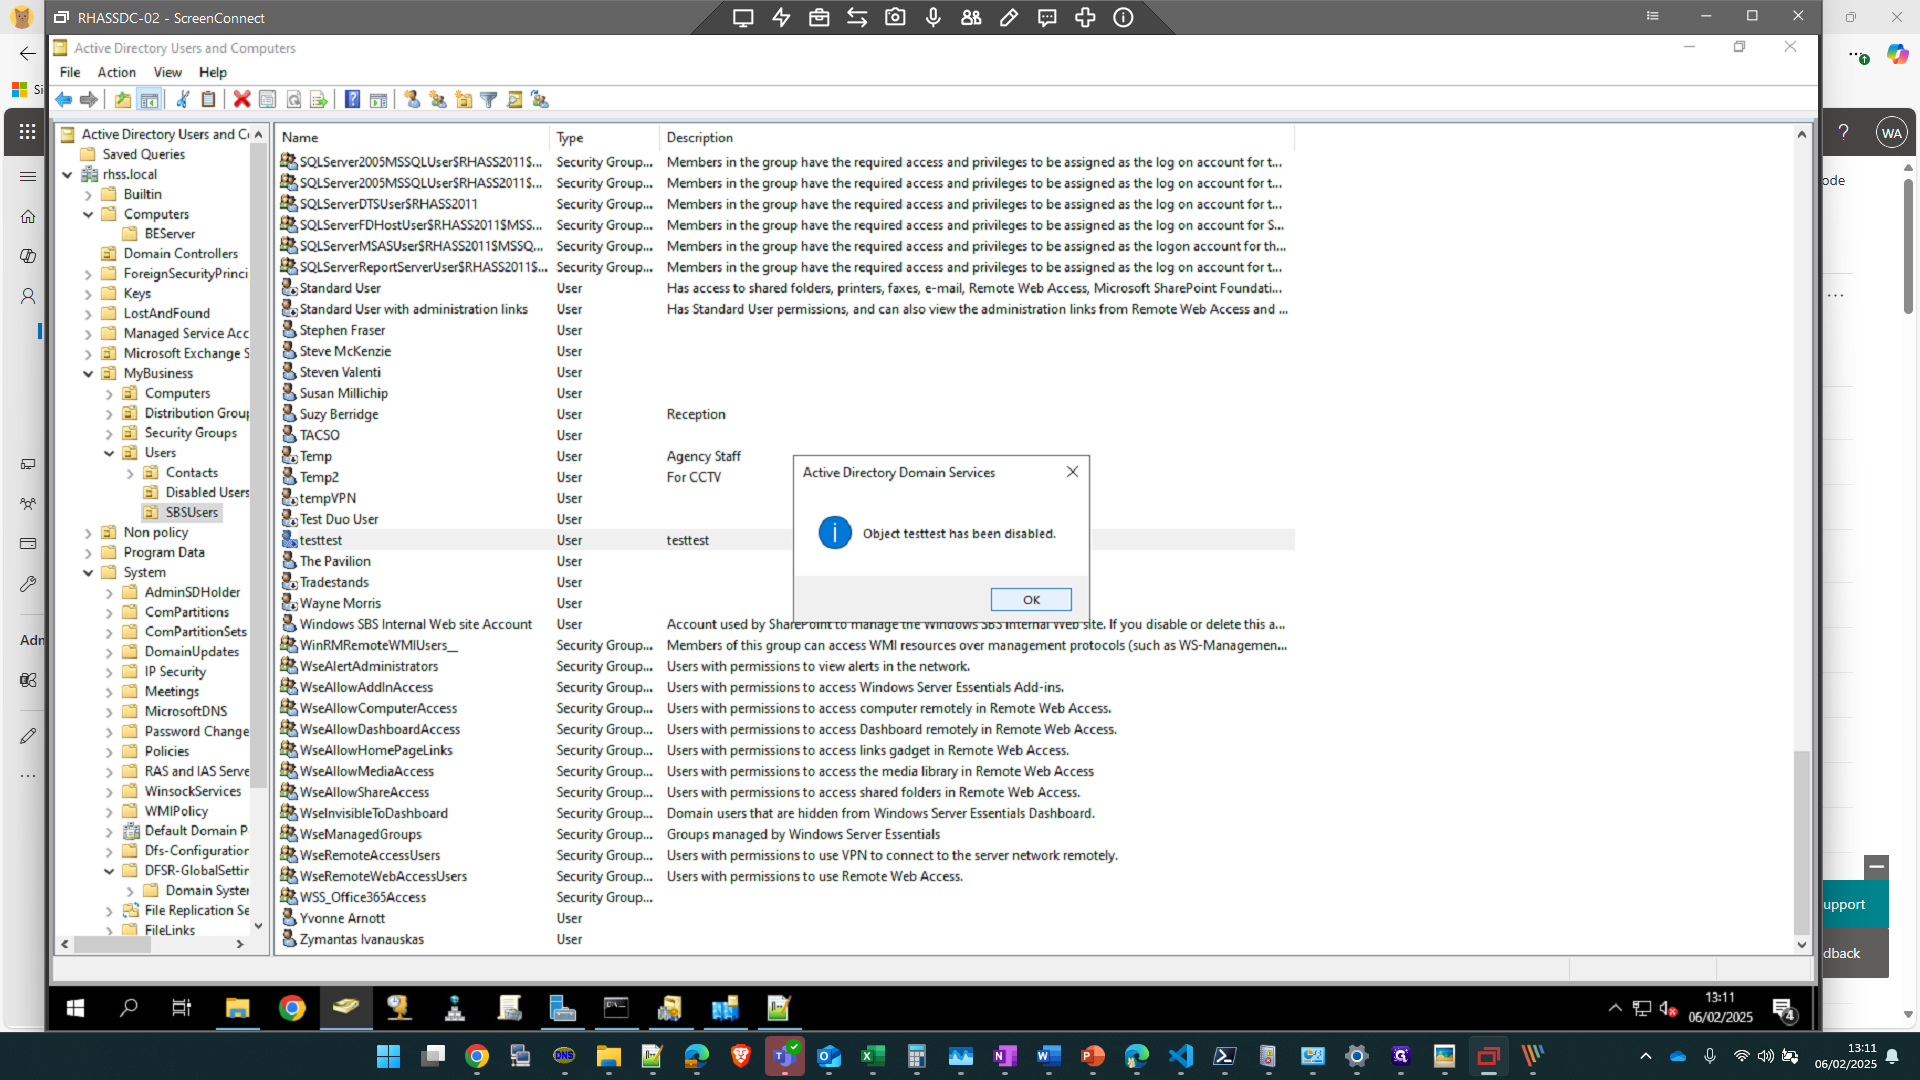
Click on "OK"
41
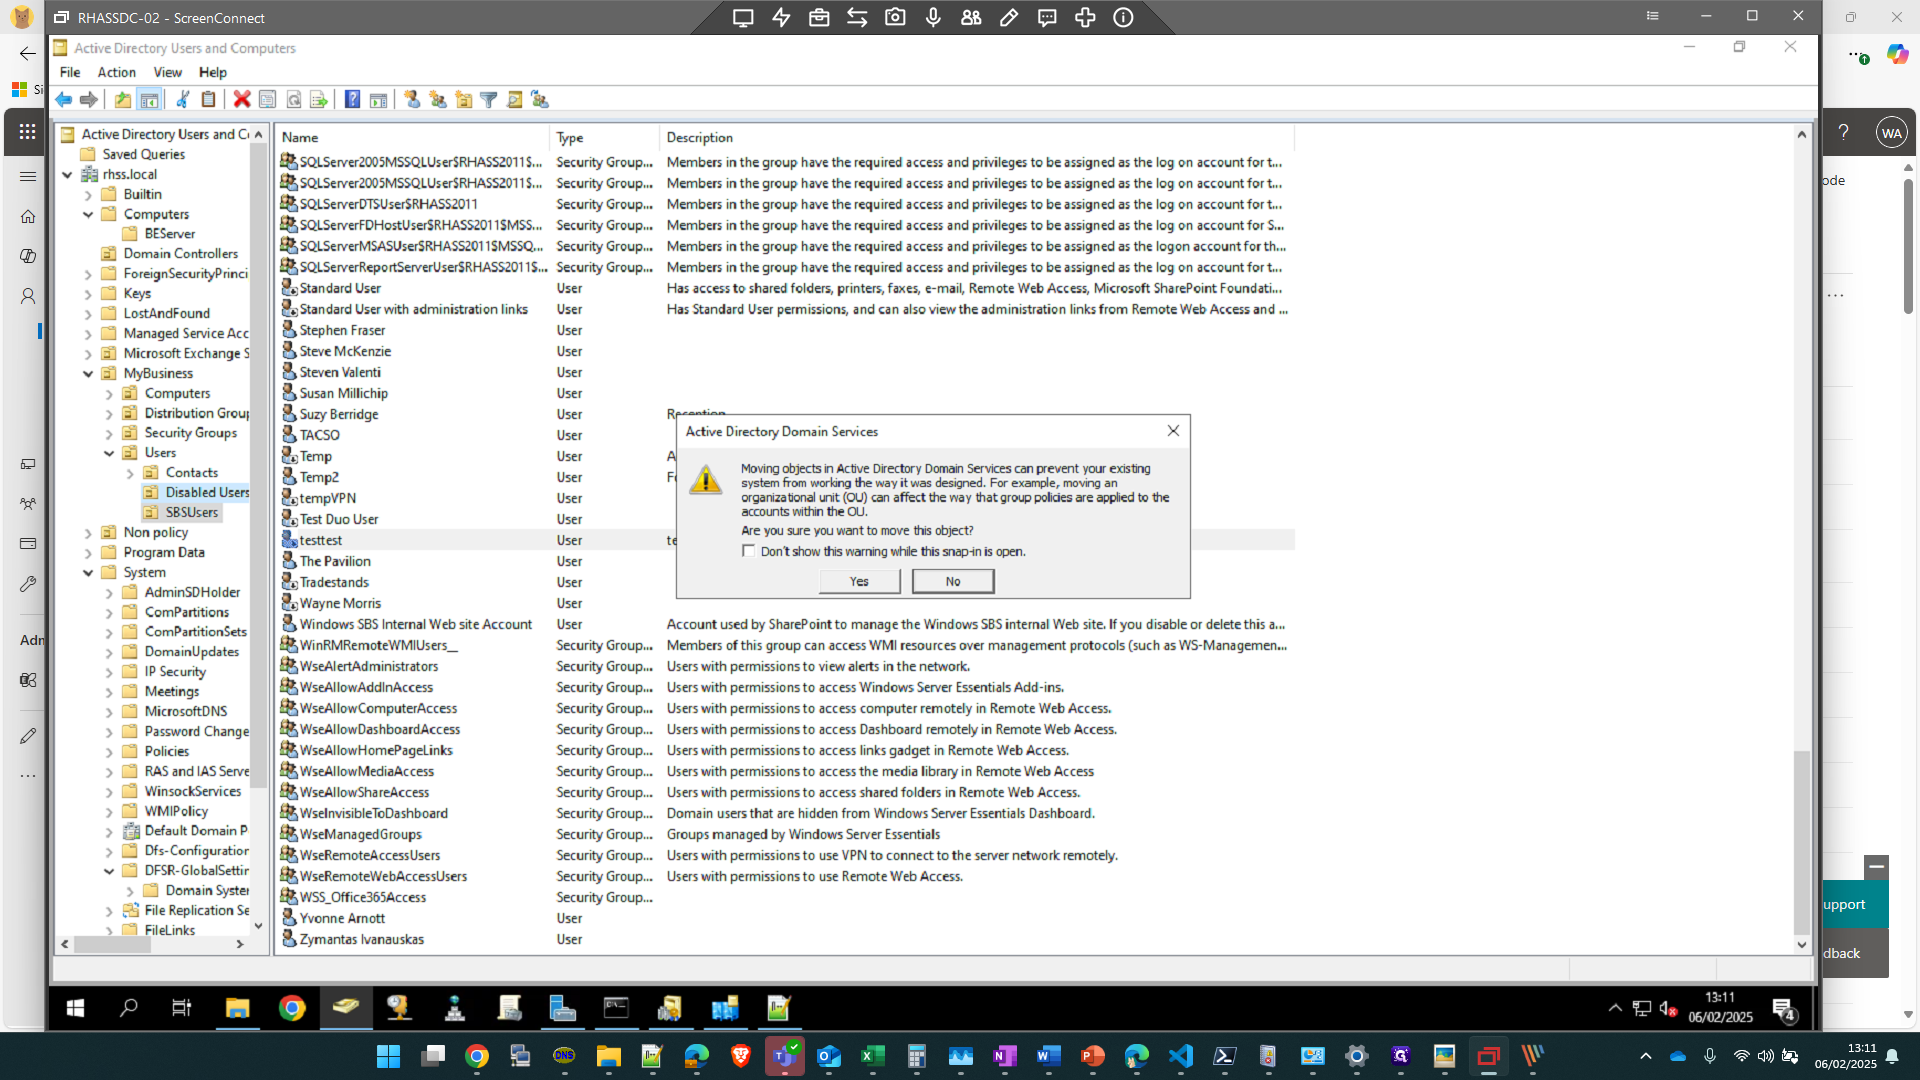
Finally drag the user into Disabled Users OU folder.
42
Click on "Yes" to move.