Untitled Video Guide
By Vikas Patil
1
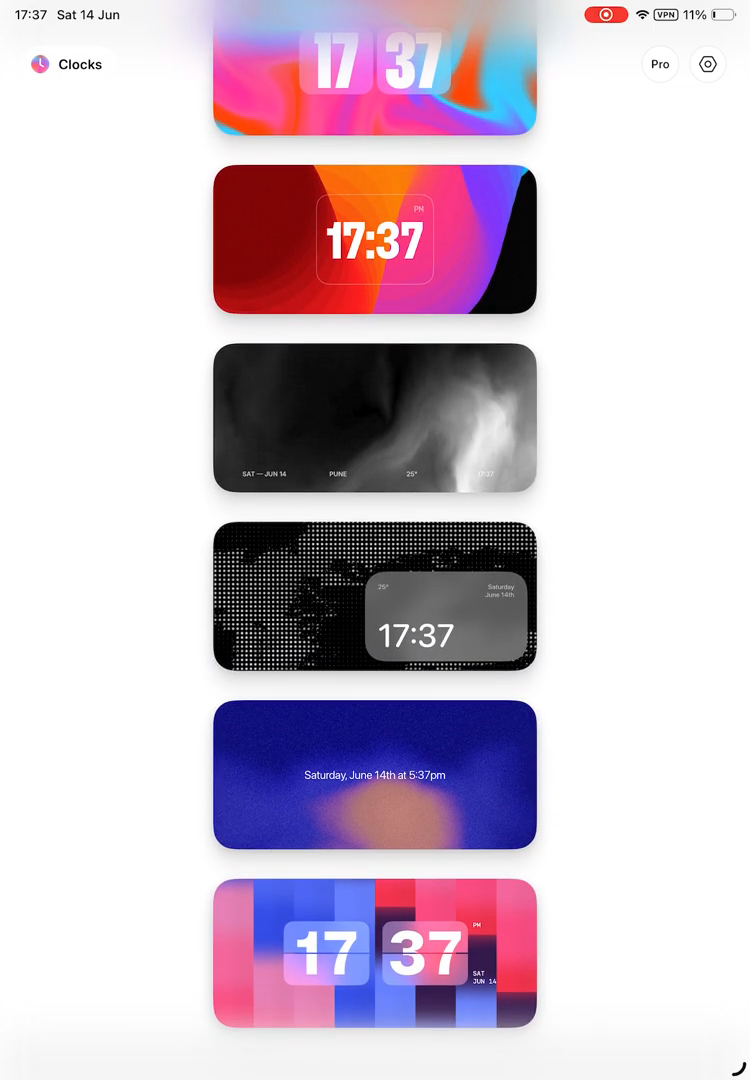
Tap on the clock style displaying 'Saturday, June 14th at 5:37pm' from the vertical list of clocks.
2
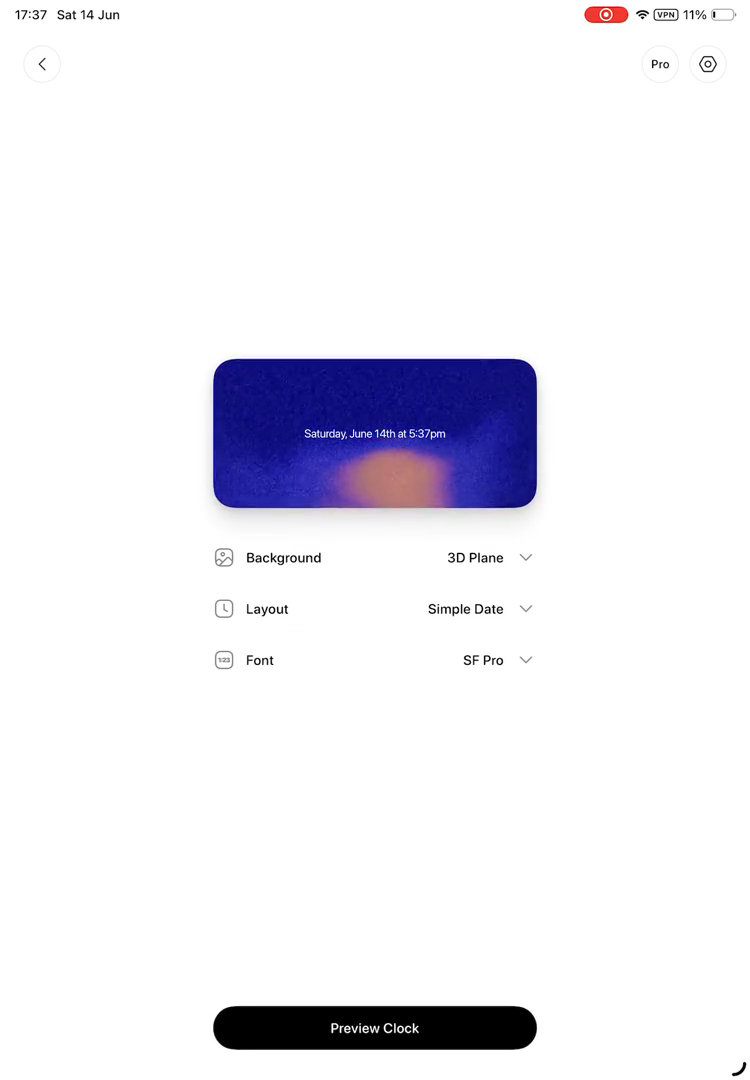
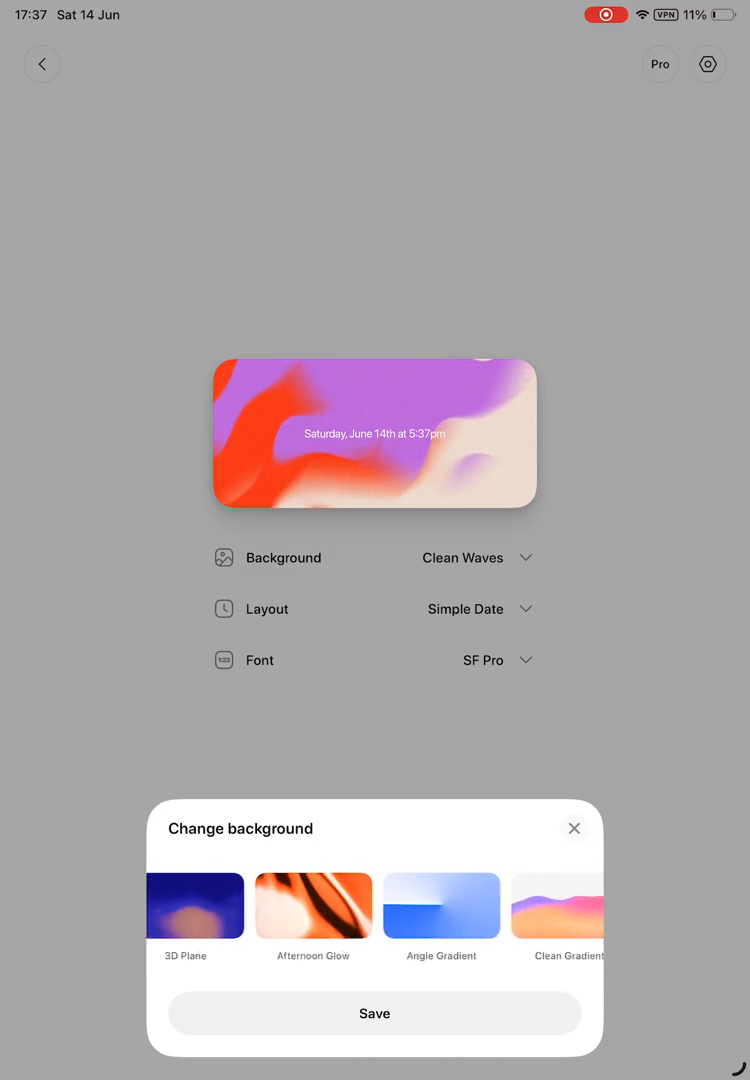
On the clock customization screen, tap the 'Background' setting, displayed with its current value '3D Plane'.
3
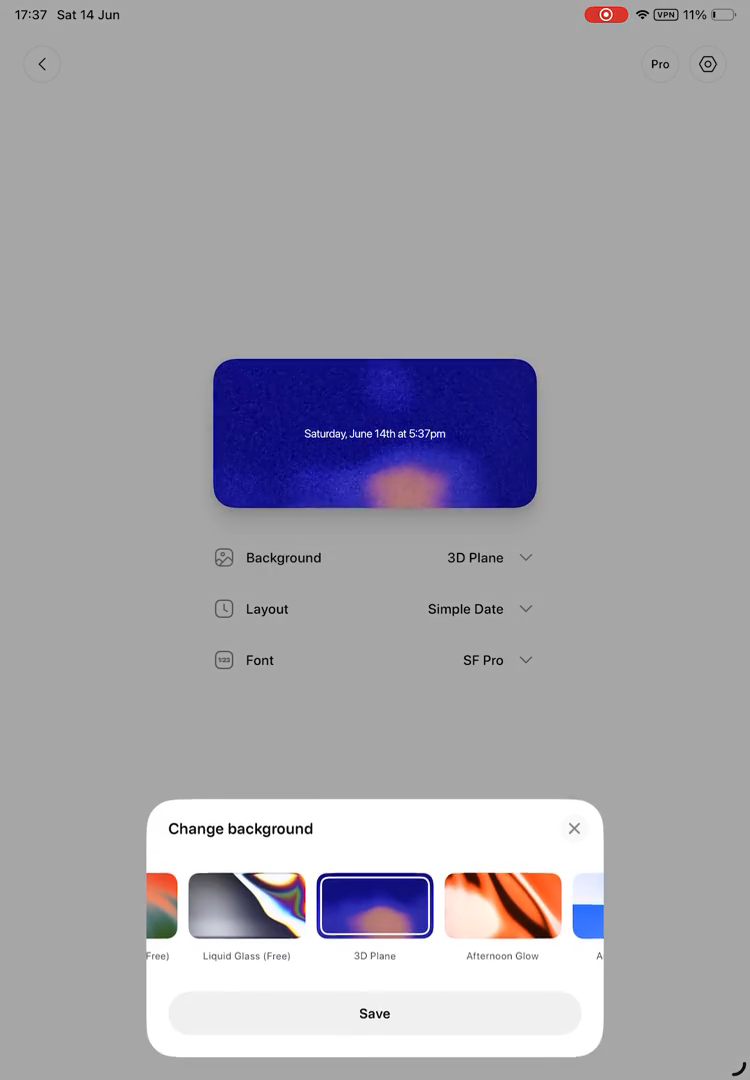
In the 'Change background' pop-up, tap the 'Afternoon Glow' background option from the horizontal list of themes.
4
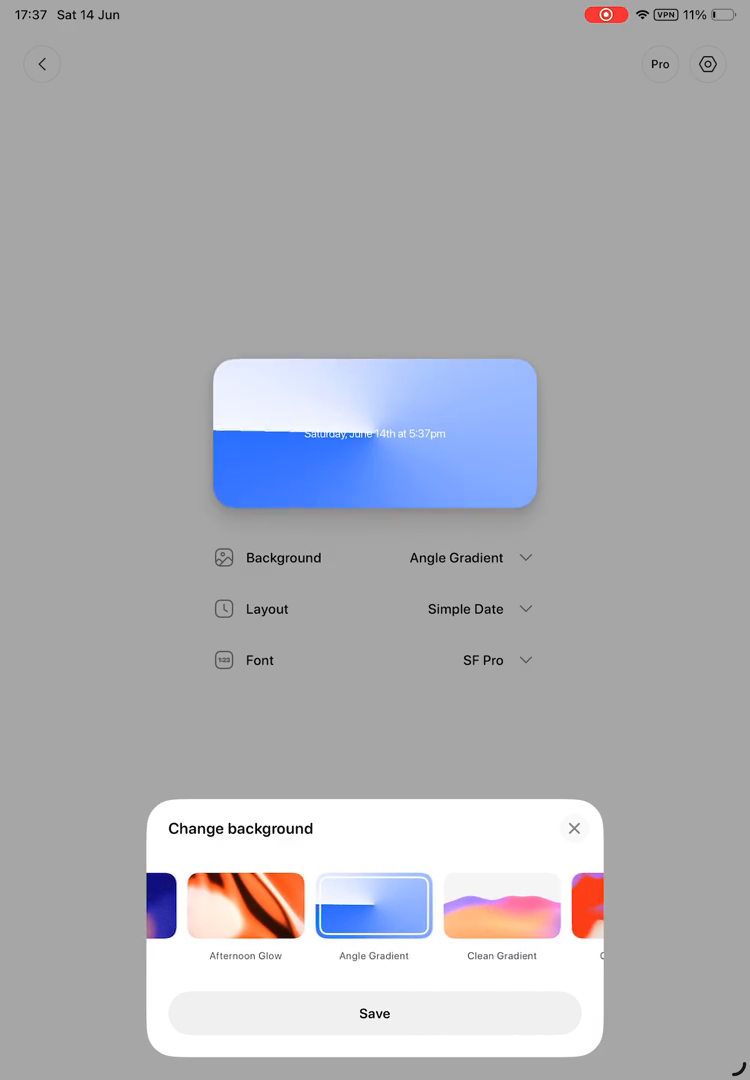
From the horizontal list of themes in the 'Change background' pop-up, tap the 'Angle Gradient' background option.
5
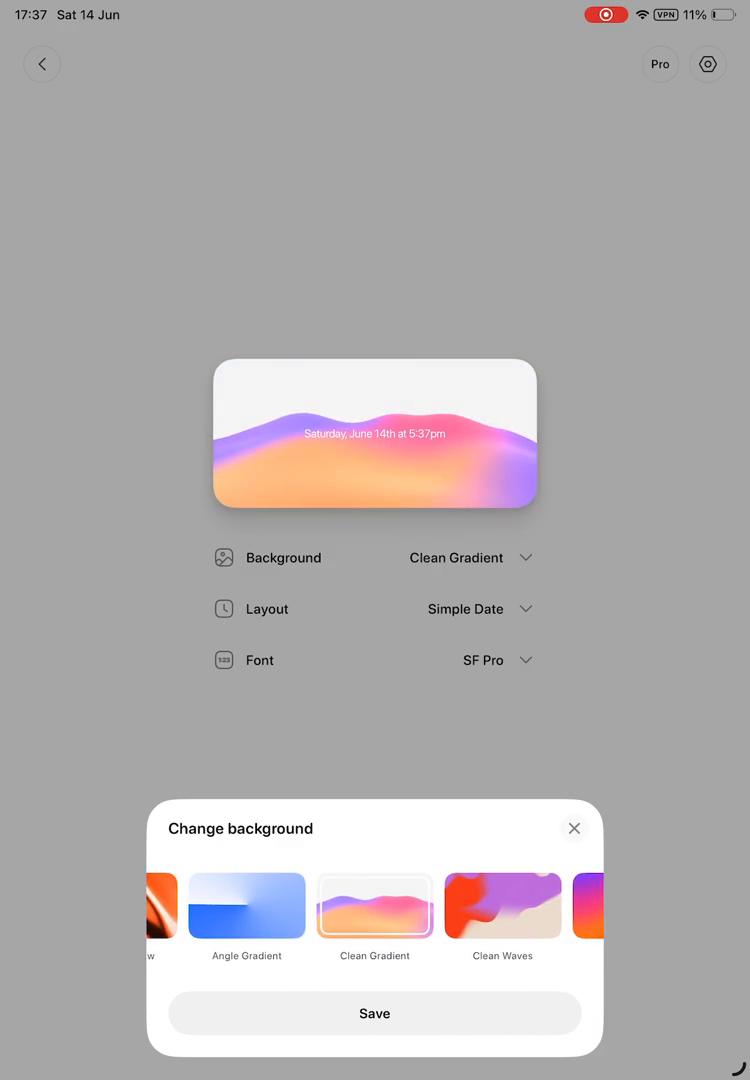
From the horizontal list of themes in the 'Change background' pop-up, tap the 'Clean Gradient' background option.
6
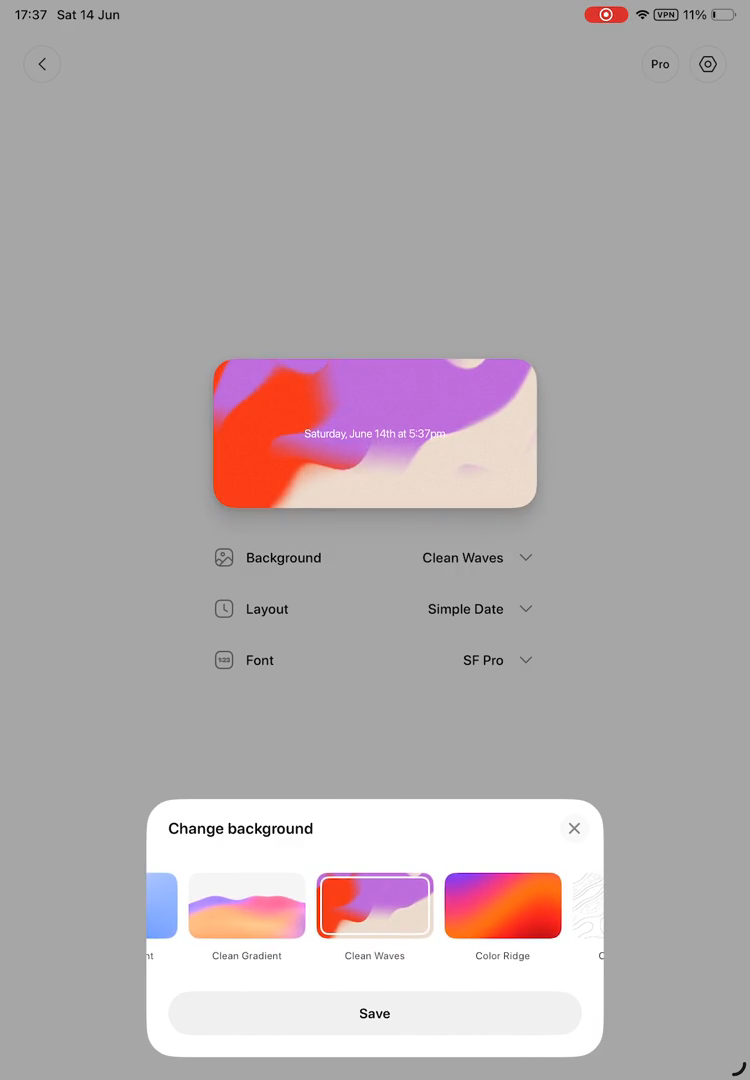
From the horizontal list of themes in the 'Change background' pop-up, tap the 'Clean Waves' background option.
7
From the horizontal list of themes in the 'Change background' pop-up, tap the 'Gold Ridge' background option.

8
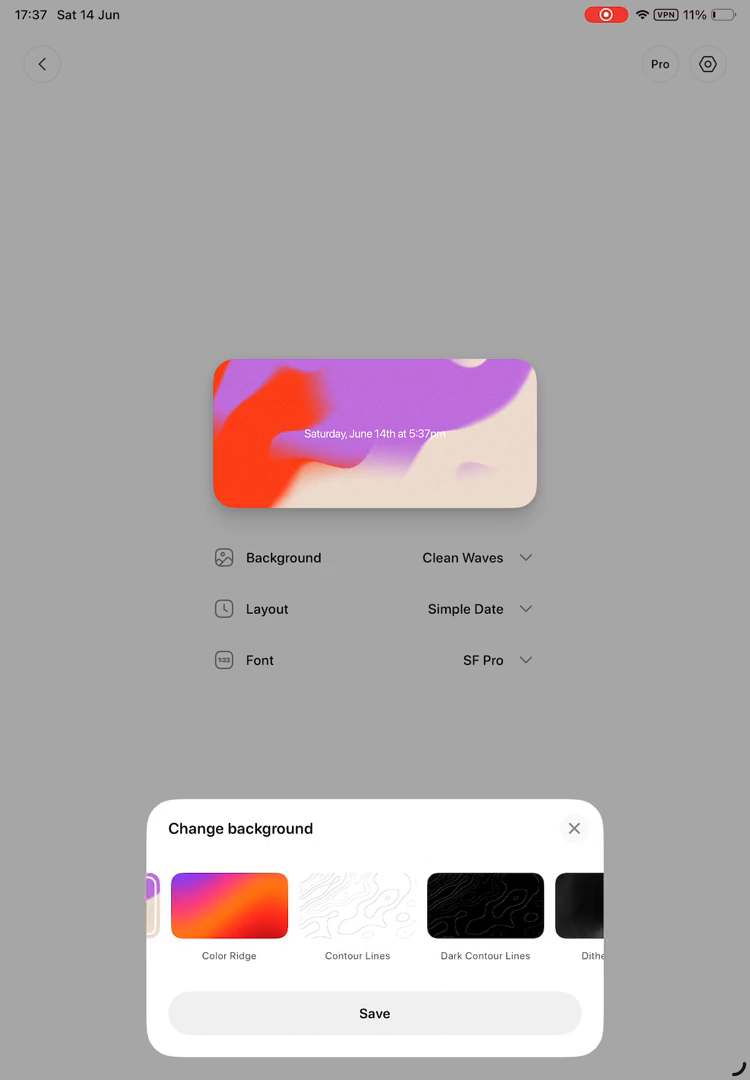
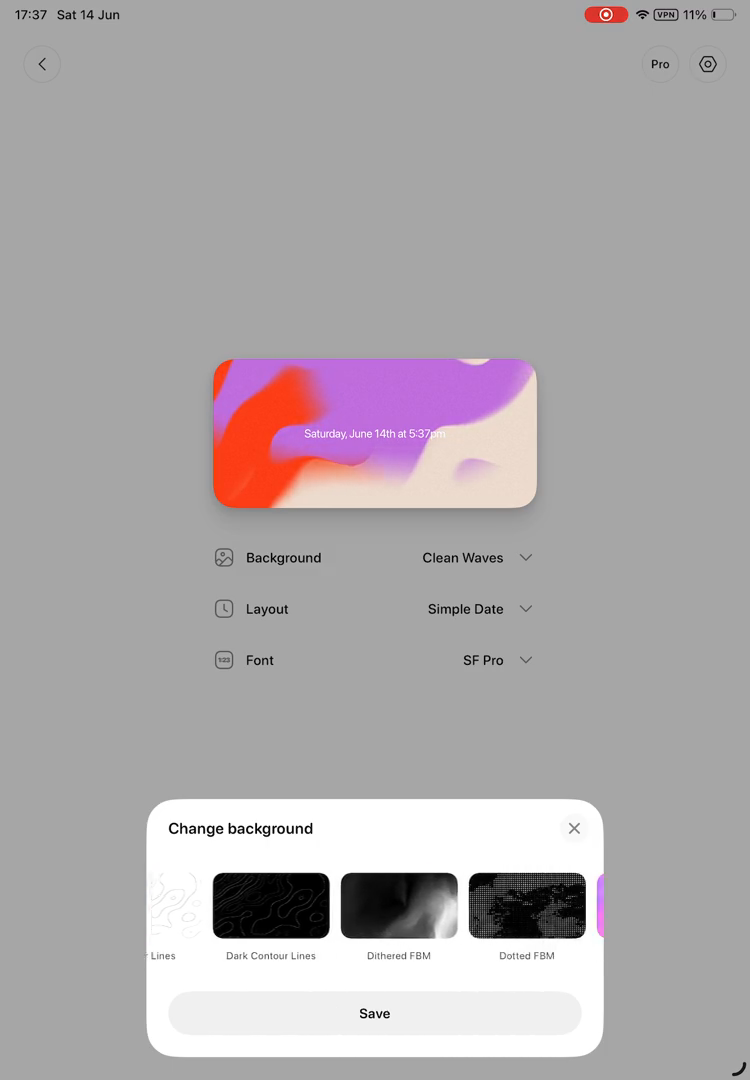
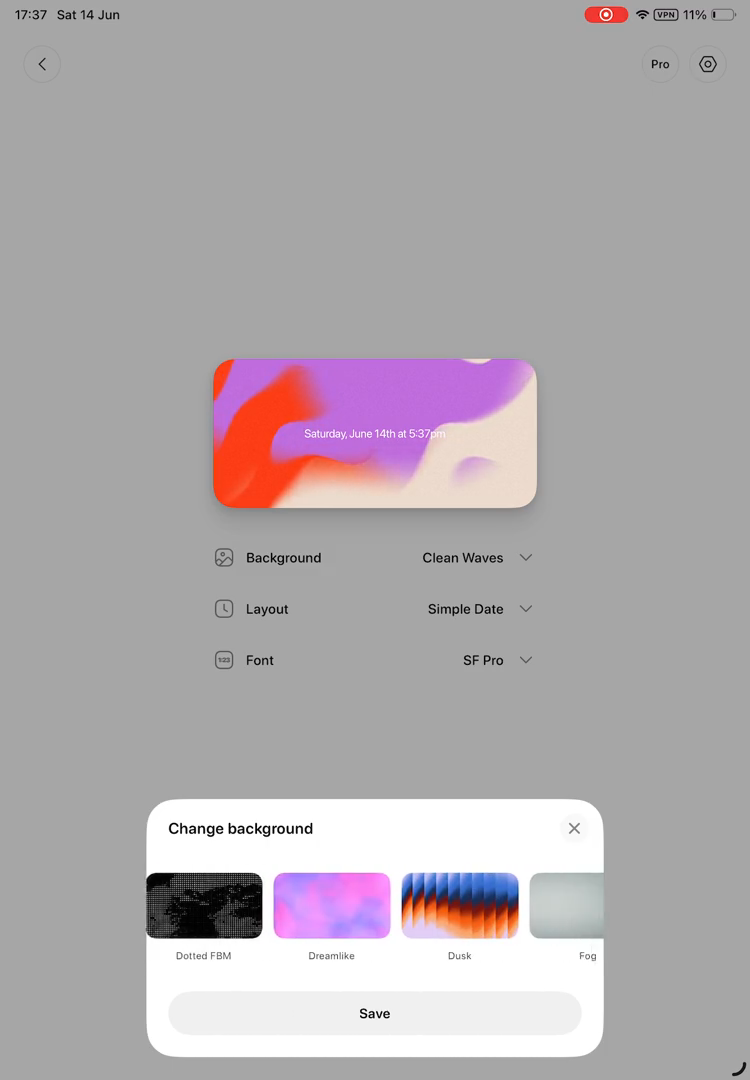
In the 'Change background' pop-up, swipe left across the horizontal list of background themes to reveal more options.
9
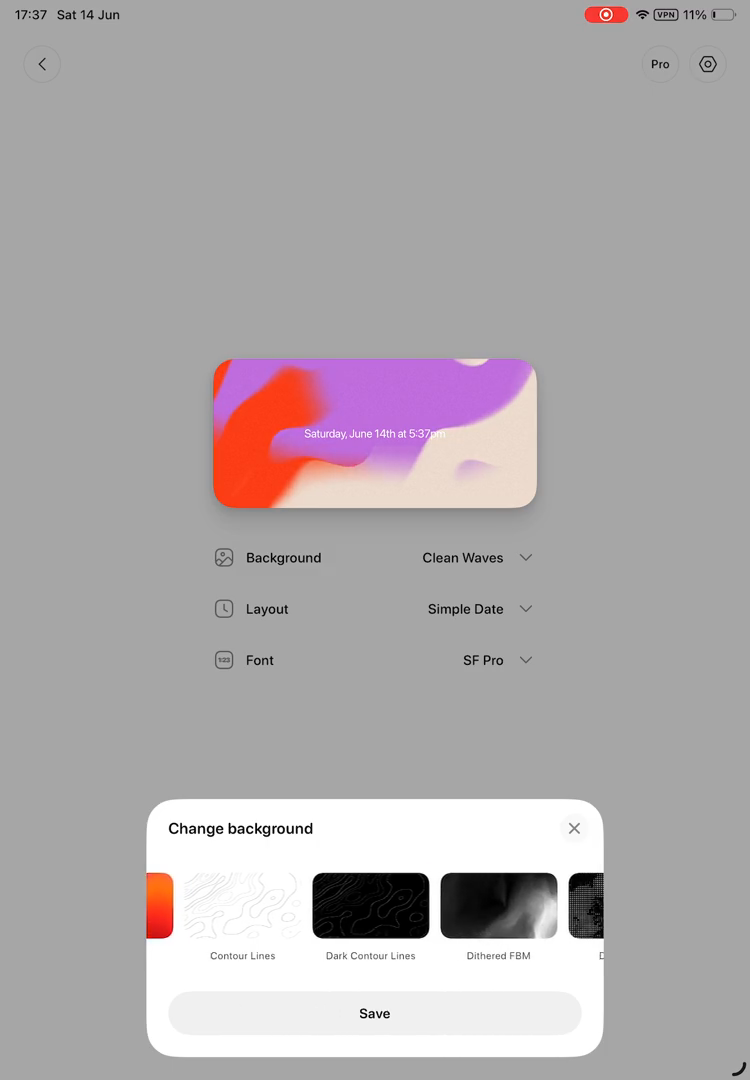
From the horizontal list of themes in the 'Change background' pop-up, tap the 'Dark Contour Lines' background option.
10
From the horizontal list of themes in the 'Change background' pop-up, tap the 'Universal FBM' background option.
11
From the horizontal list of themes in the 'Change background' pop-up, tap the 'Distorted FBM' background option.
12
From the horizontal list of themes in the 'Change background' pop-up, tap the 'Iridescent' background option.
13
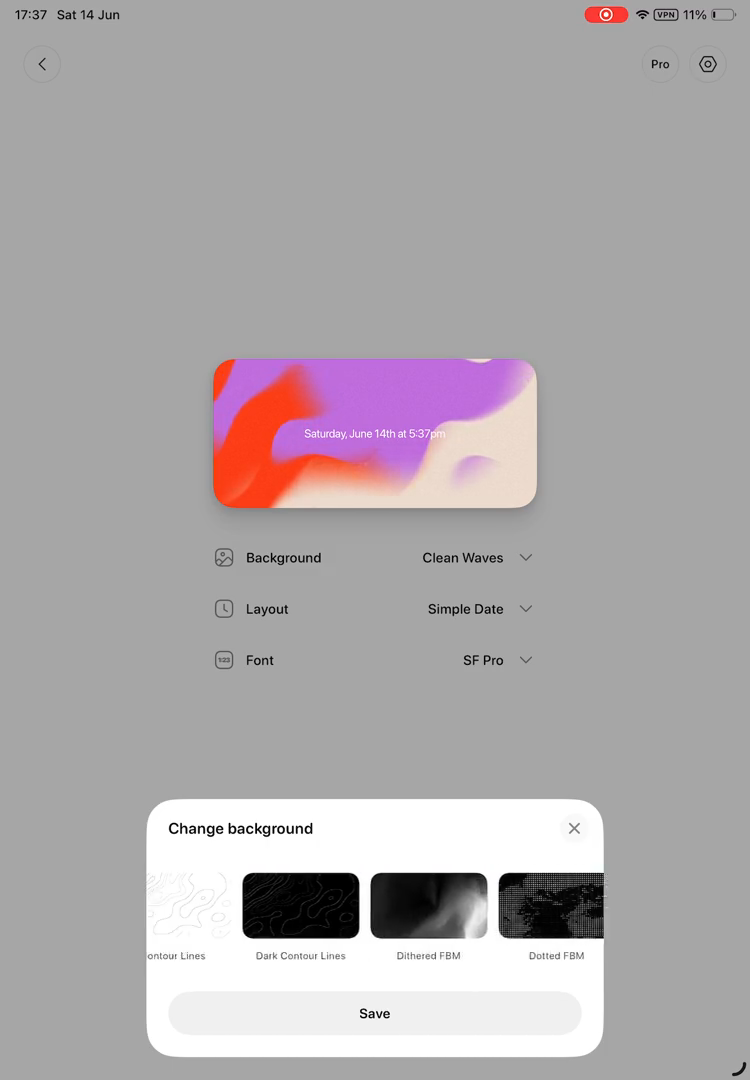
In the 'Change background' pop-up, swipe right across the horizontal list of background themes to reveal previous options.
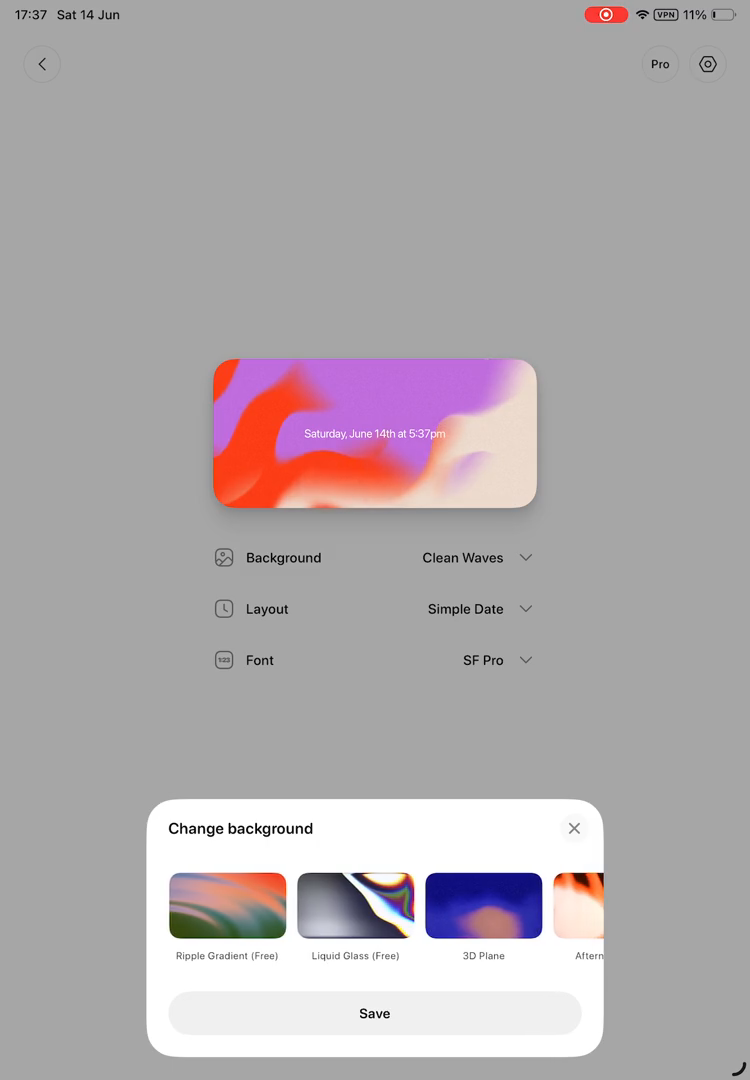
14
From the horizontal list of themes in the 'Change background' pop-up, tap the 'Liquid Glass (Free)' background option.
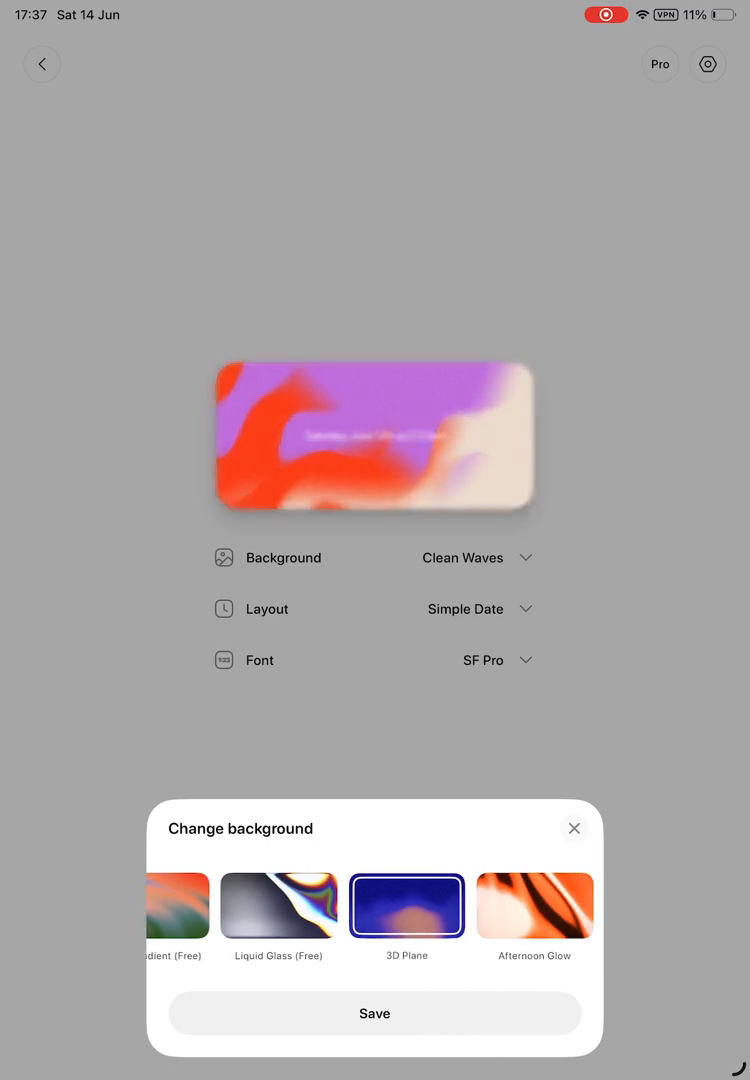
15
From the horizontal list of themes in the 'Change background' pop-up, tap the '3D Plane' background option.
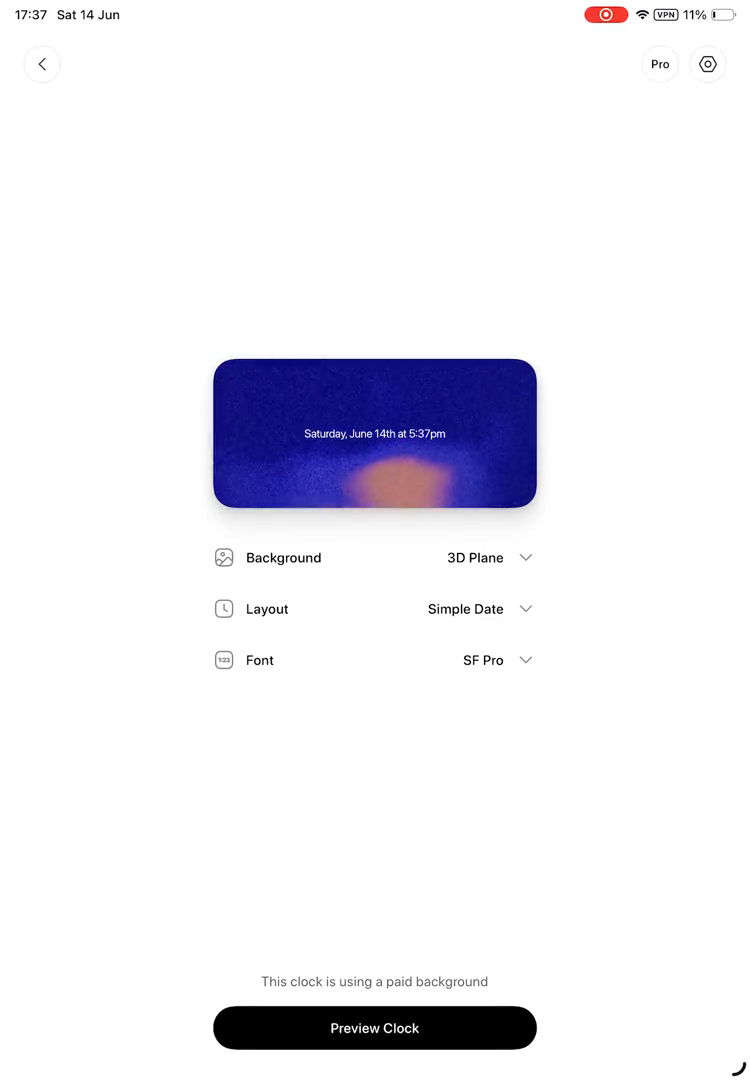
16
Tap the 'Save' button, located at the bottom of the 'Change background' pop-up.
17
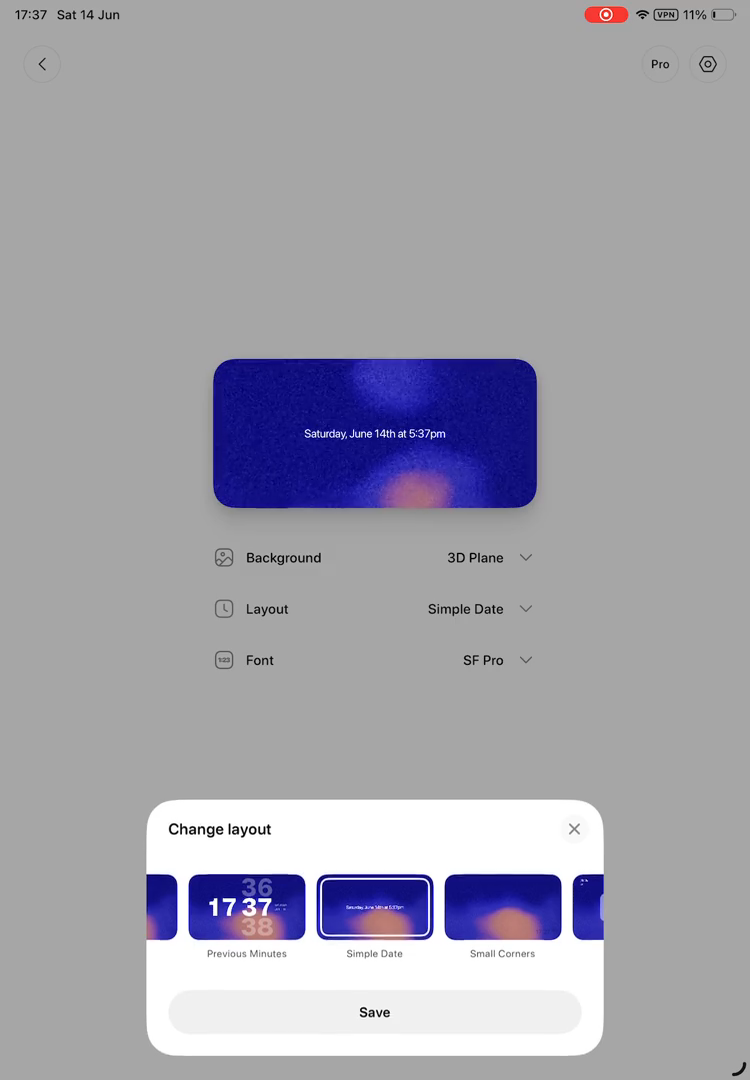
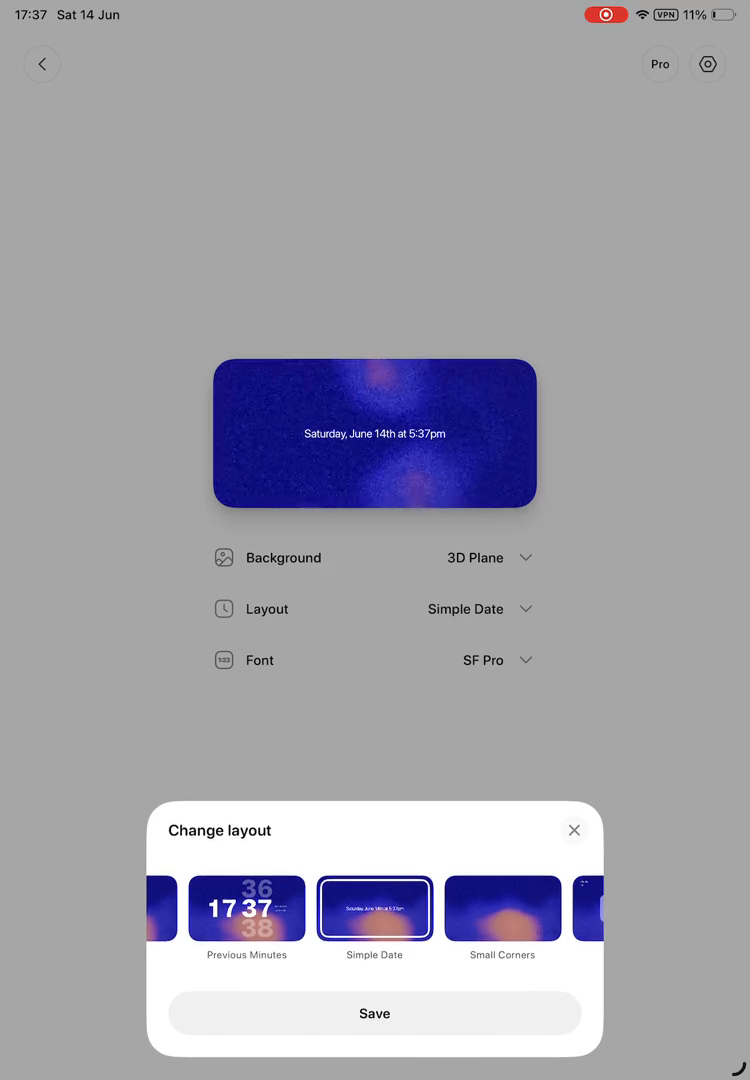
On the clock customization screen, tap the 'Layout' setting, displayed with its current value 'Simple Date'.
18
In the 'Change layout' pop-up, tap the 'Plainout Minutes' layout option from the horizontal list of layouts.
19
In the 'Change layout' pop-up, click on the 'Previous Minutes' layout option.
20
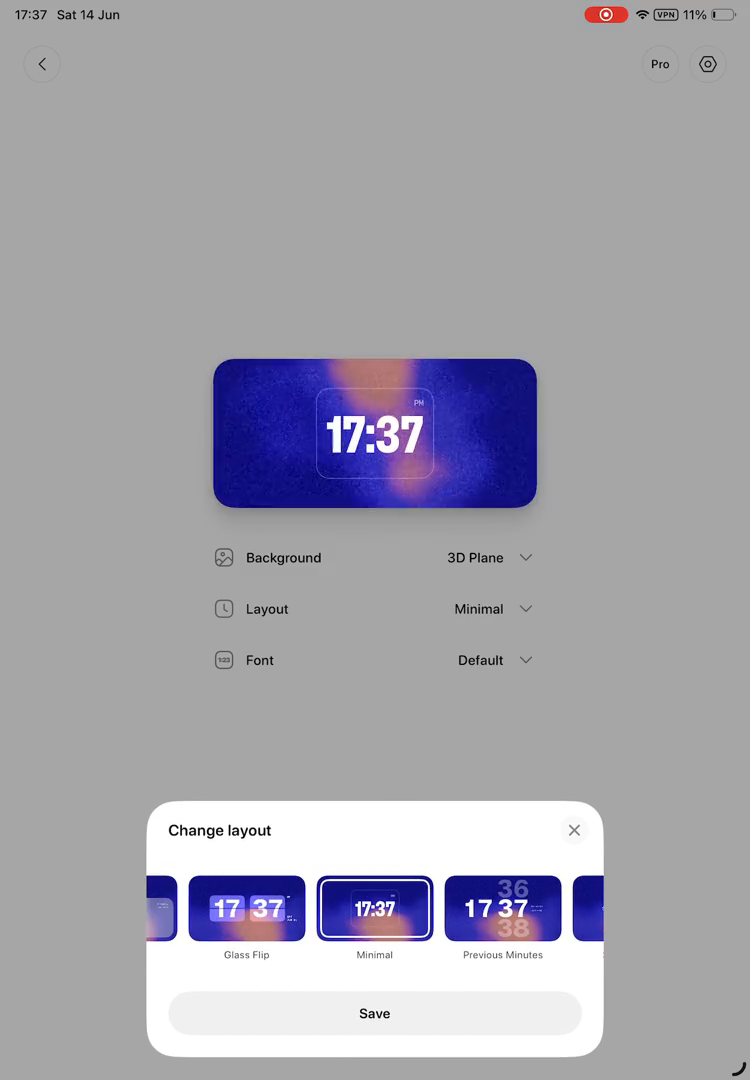
In the 'Change layout' pop-up, click on the 'Minimal' layout option.

21
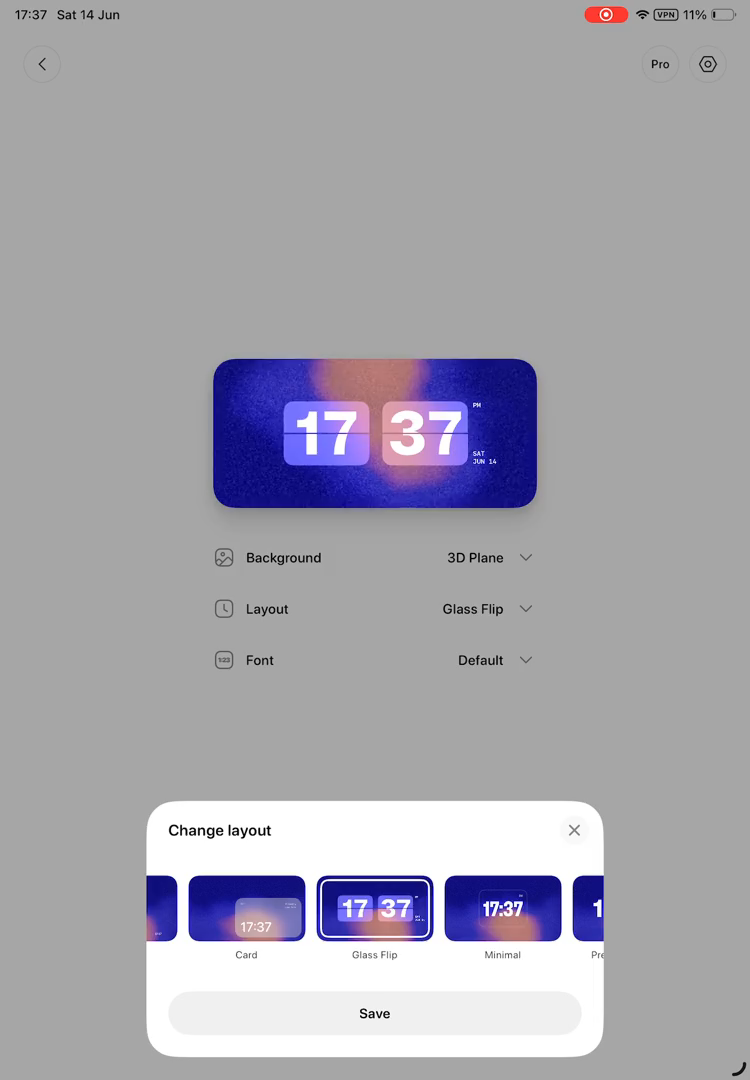
In the 'Change layout' pop-up, click on the 'Glass Flip' layout option.
22
In the 'Change layout' pop-up, click on the 'Card' layout option.
23
Click the 'Close' button on the 'Low Battery' pop-up.
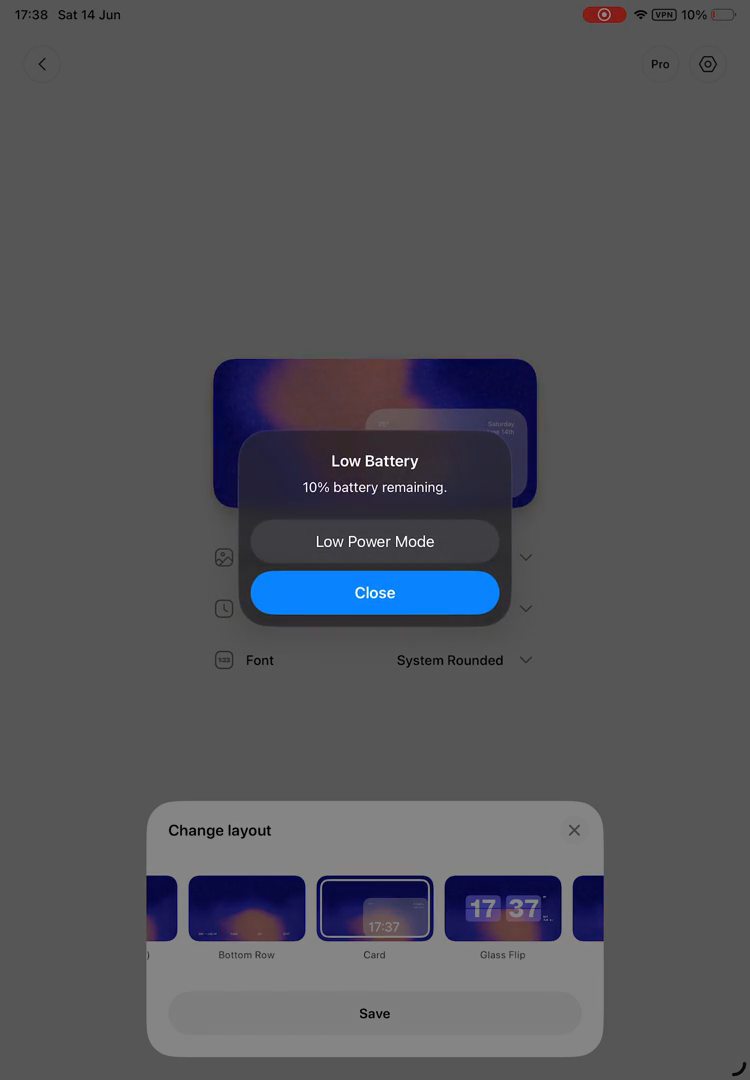
24
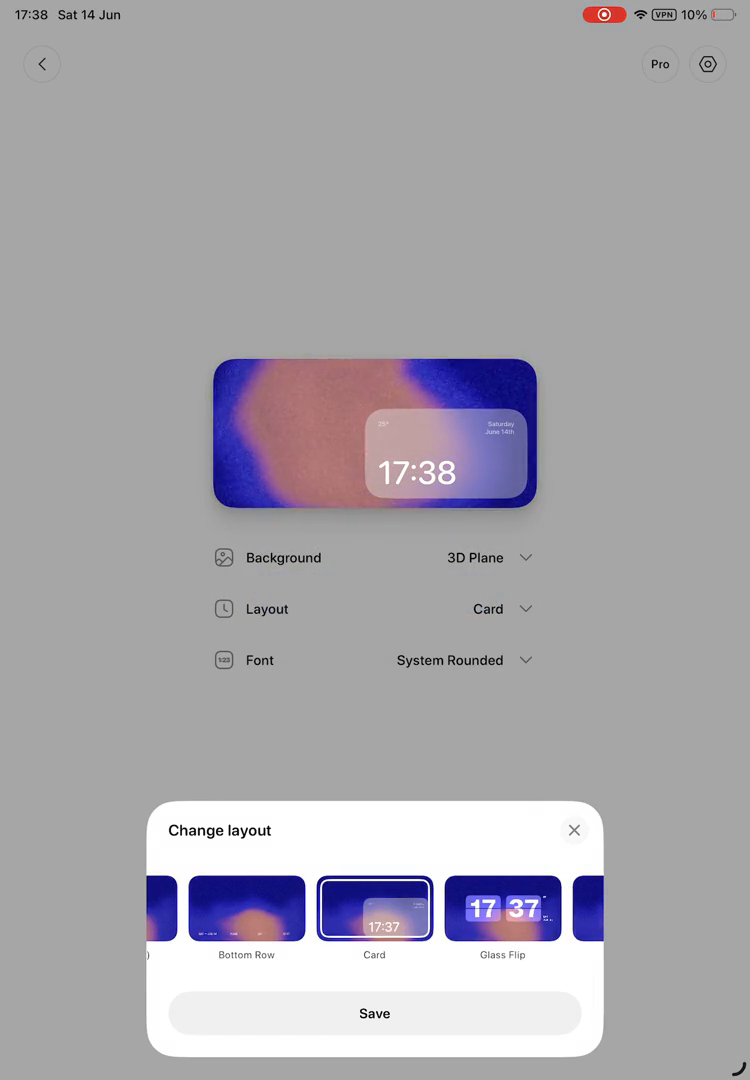
Click the 'Save' button at the bottom of the 'Change layout' pop-up.
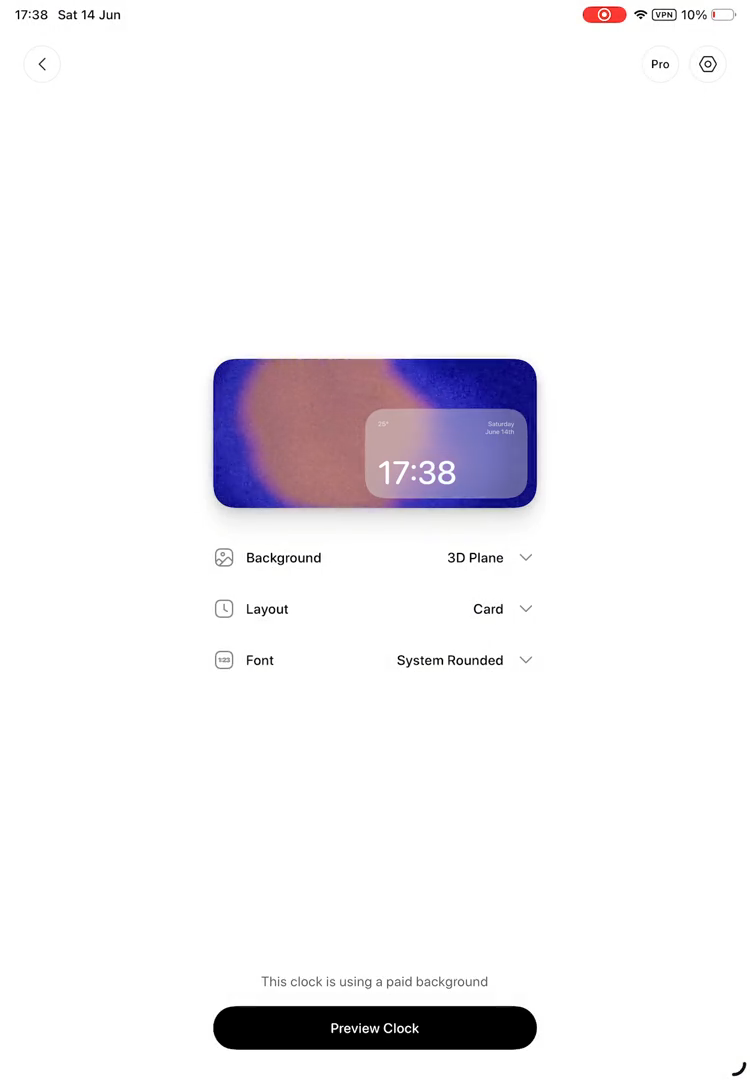
25
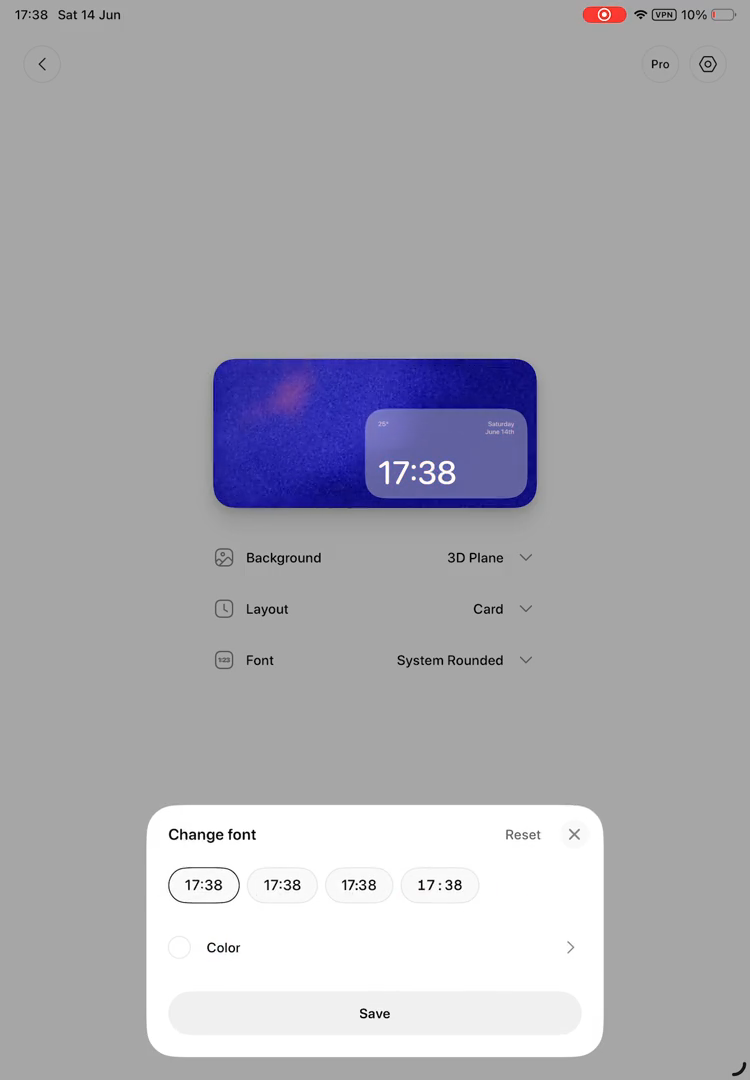
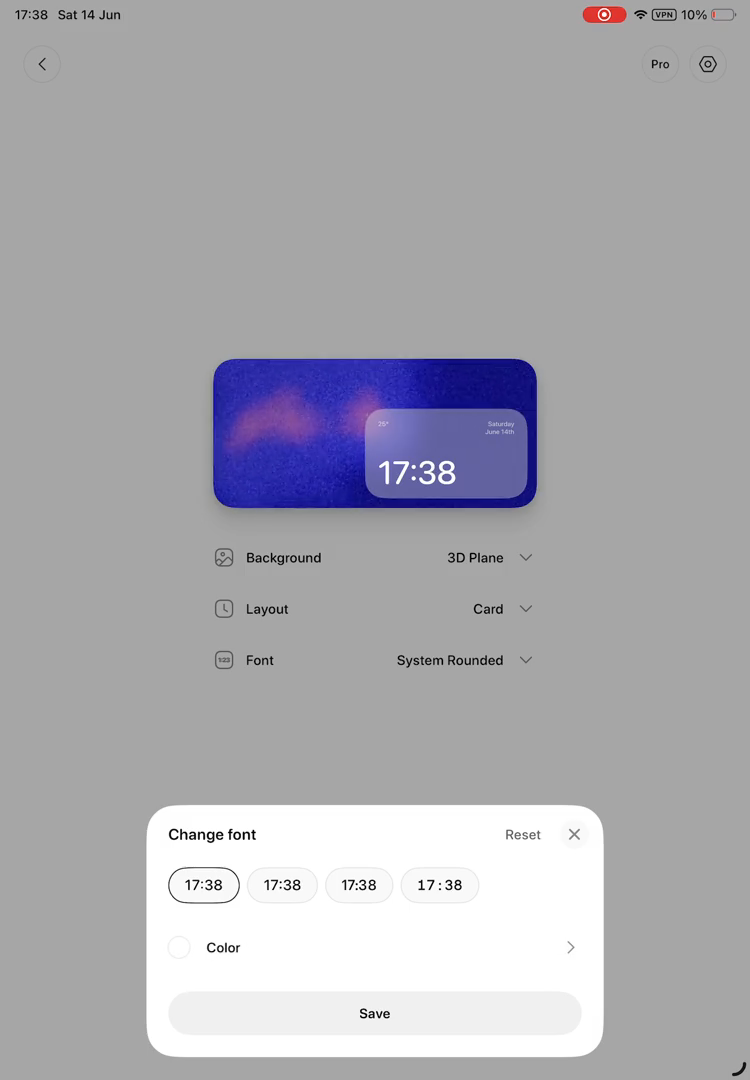
Click on the 'Font' menu item from the settings list.
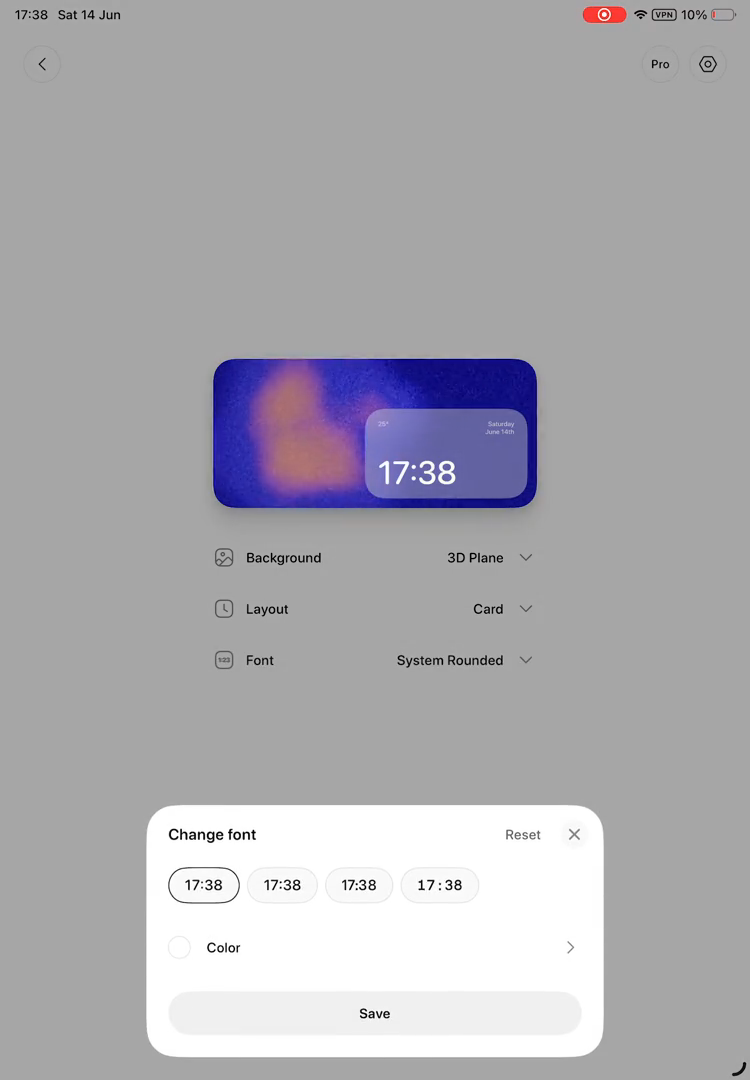
26
In the 'Change font' pop-up, click on the 'Color' option.
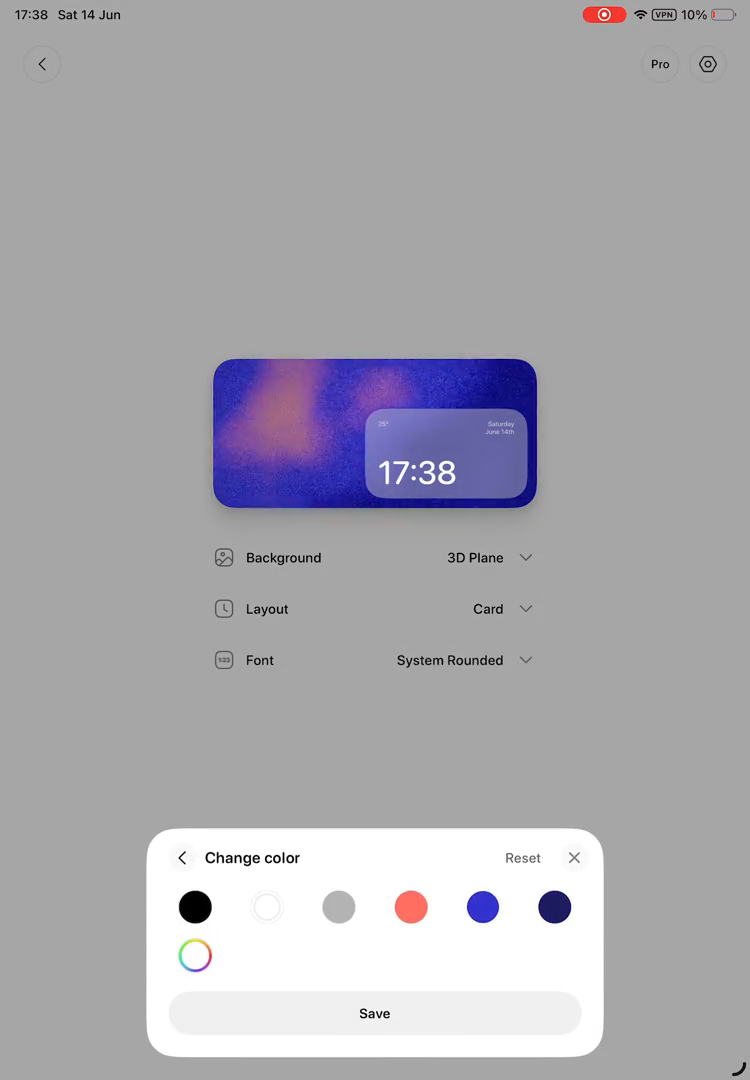
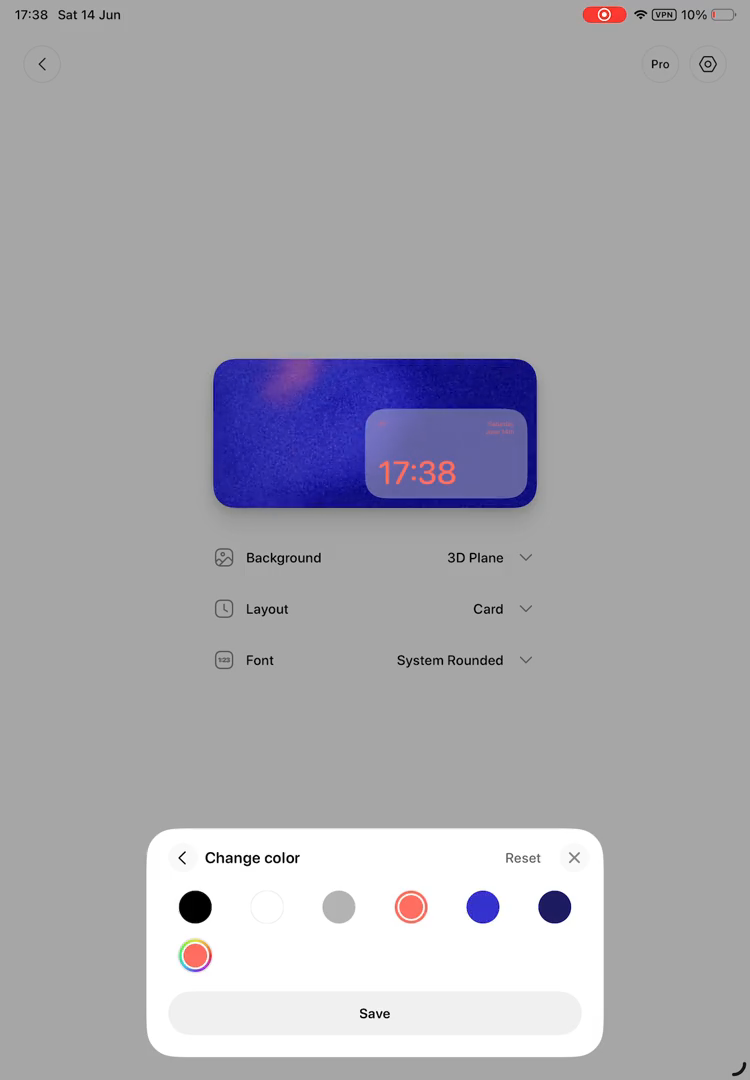
27
In the 'Change color' pop-up, click on the red color swatch.
28
Click the back arrow button labeled '< Change color' at the top-left of the 'Change color' pop-up.
29
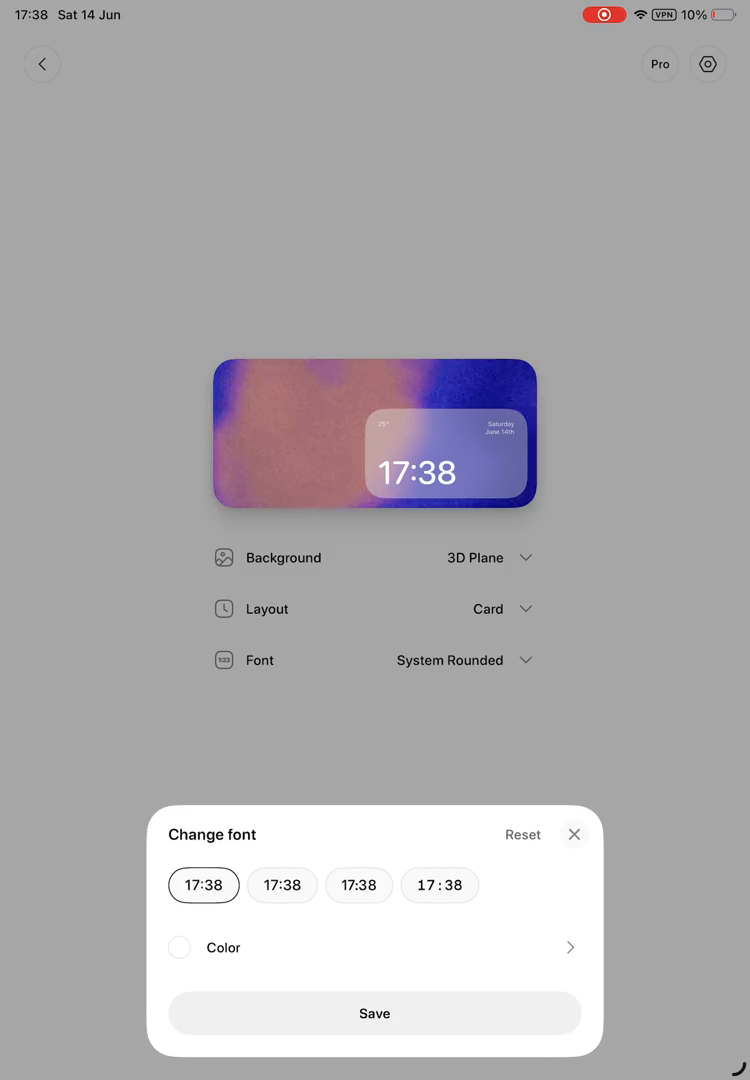
In the 'Change font' pop-up, click on the second font style preview from the left.
30
In the 'Change font' pop-up, click on the third font style preview from the left.
31
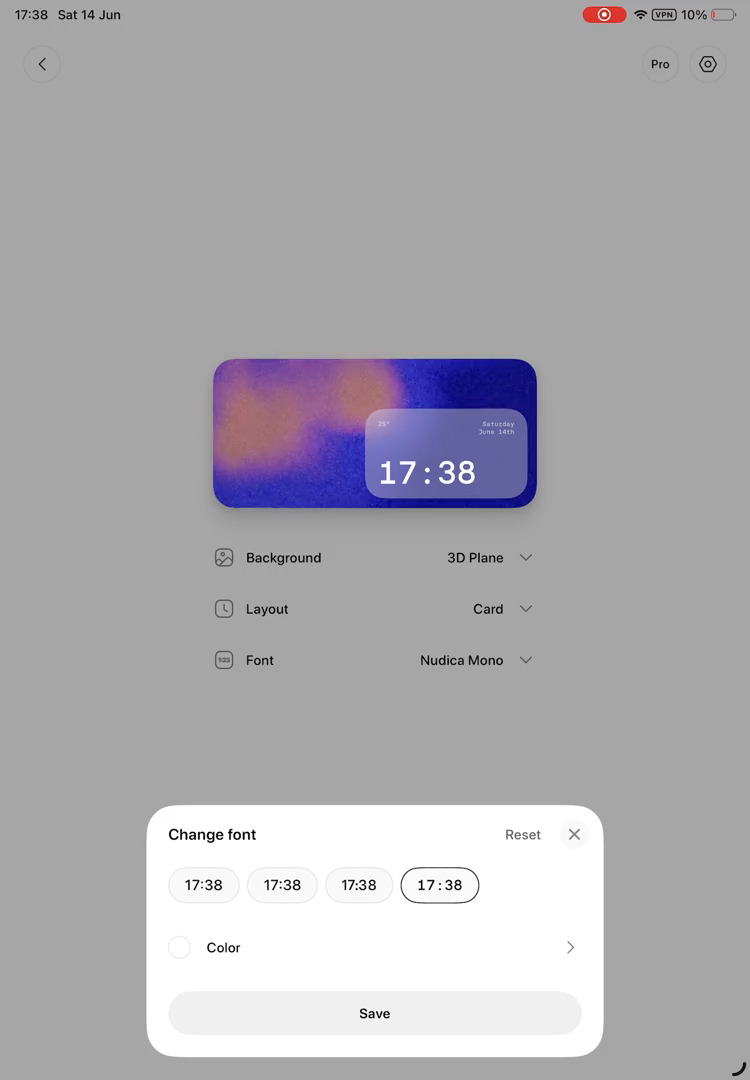
In the 'Change font' pop-up, click on the fourth font style preview from the left.
32
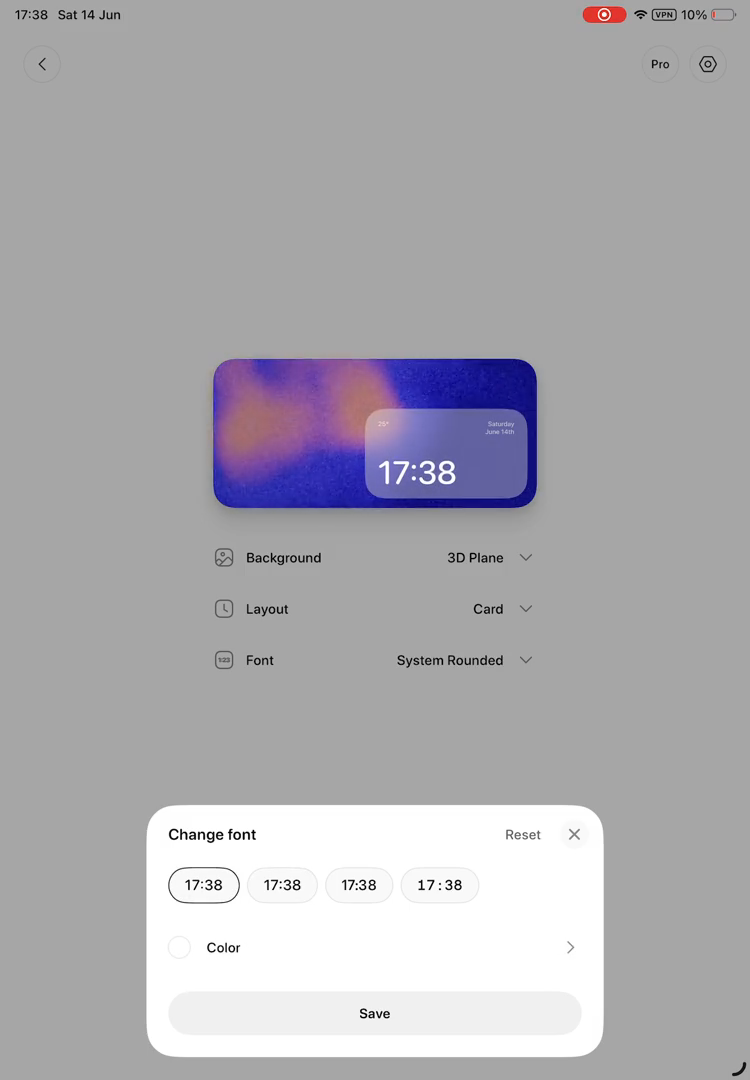
In the 'Change font' pop-up, click on the first font style preview from the left.
33
Click the 'Save' button at the bottom of the 'Change font' pop-up.

34
Tap the 'Layout' setting.

35
Tap the 'Save' button in the 'Change layout' dialog.

36
Tap the 'Preview Clock' button at the bottom of the screen.
37
Tap the screen to exit the clock preview.

38
Tap the 'Pro' button in the top right corner.

39
Tap the toggle switch next to 'Use 24 hour time' to turn it off.

40
Drag downwards to scroll within the Settings dialog.

41
Tap the toggle switch next to 'Use F° for temperature' to turn it on.

42
Drag downwards to scroll further within the Settings dialog.

43
Tap the 'X' button in the top right corner of the Settings dialog.

44
Tap the 'Preview Clock' button at the bottom of the screen.

45
Swipe right on the screen to exit the clock preview.
