Kimbal<>Shipsy WMS: Inbound Forward Flow
By Shipsy
1
Go to Stockone
2
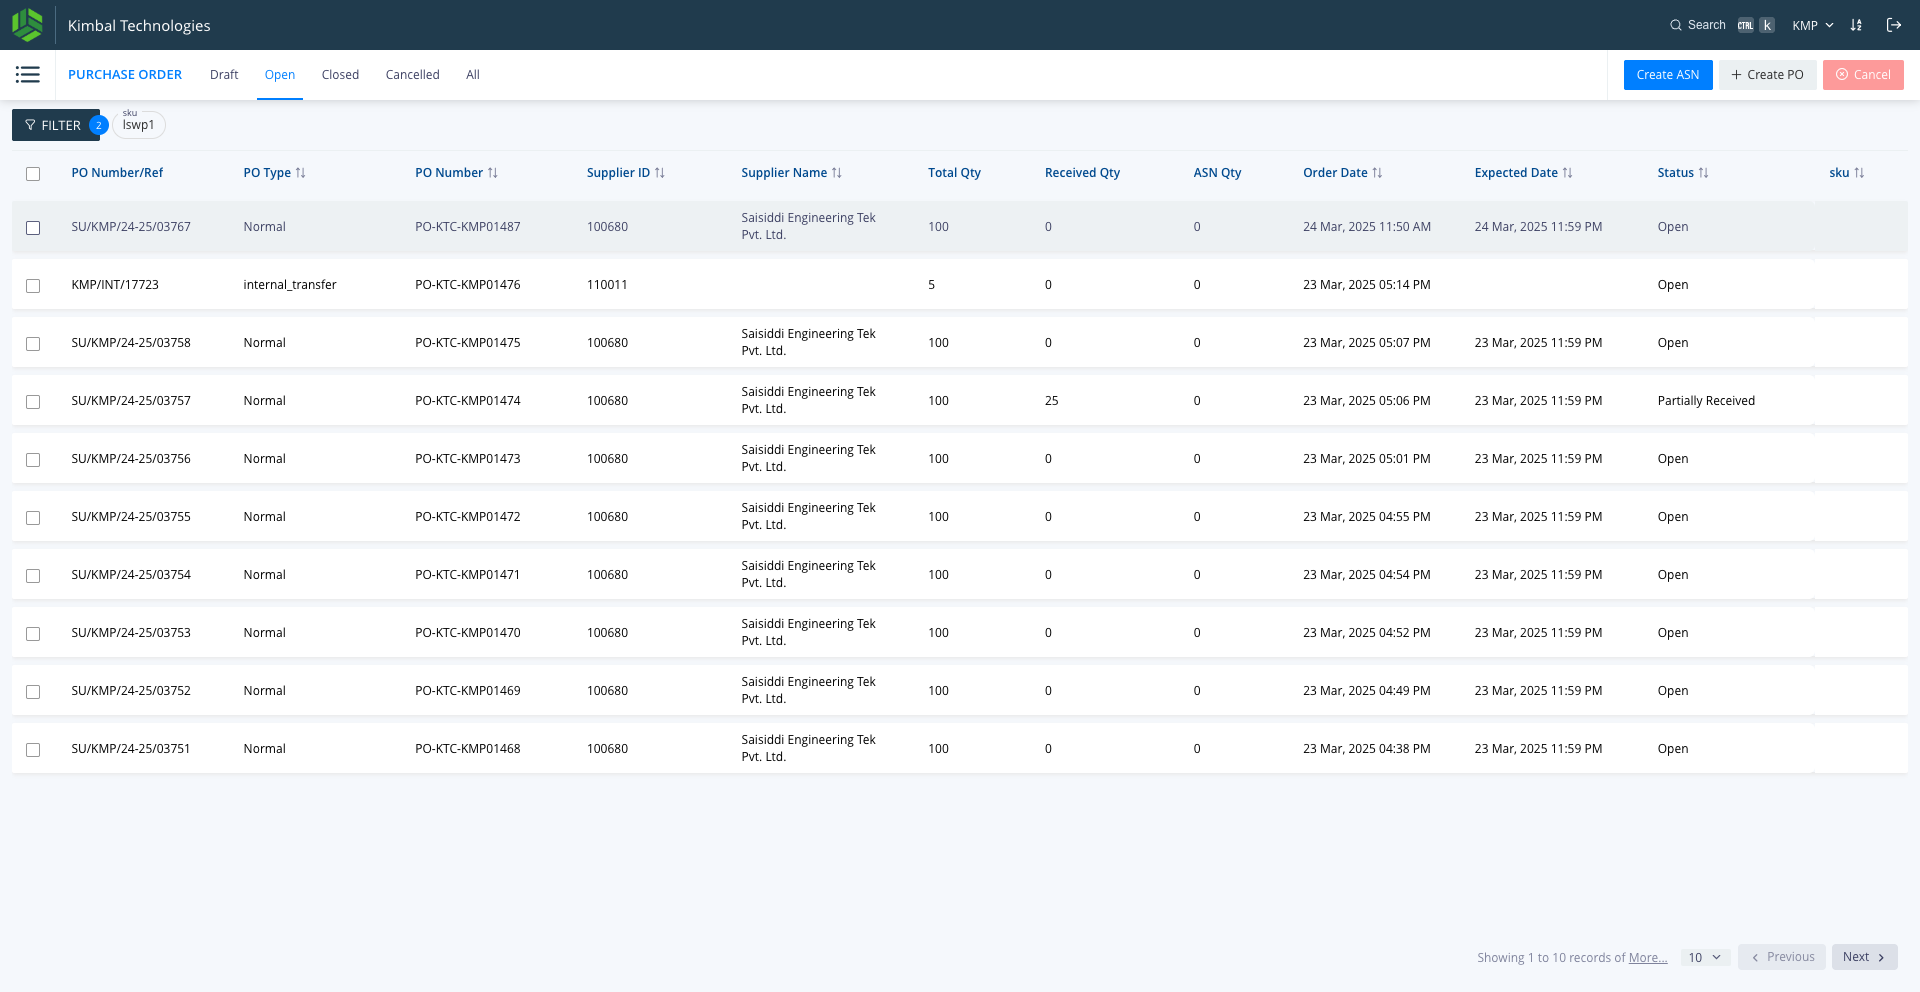
Click on "☐" against the PO Reference for which ASN need to be done. The filter box can also be used to filter the PO Reference
3
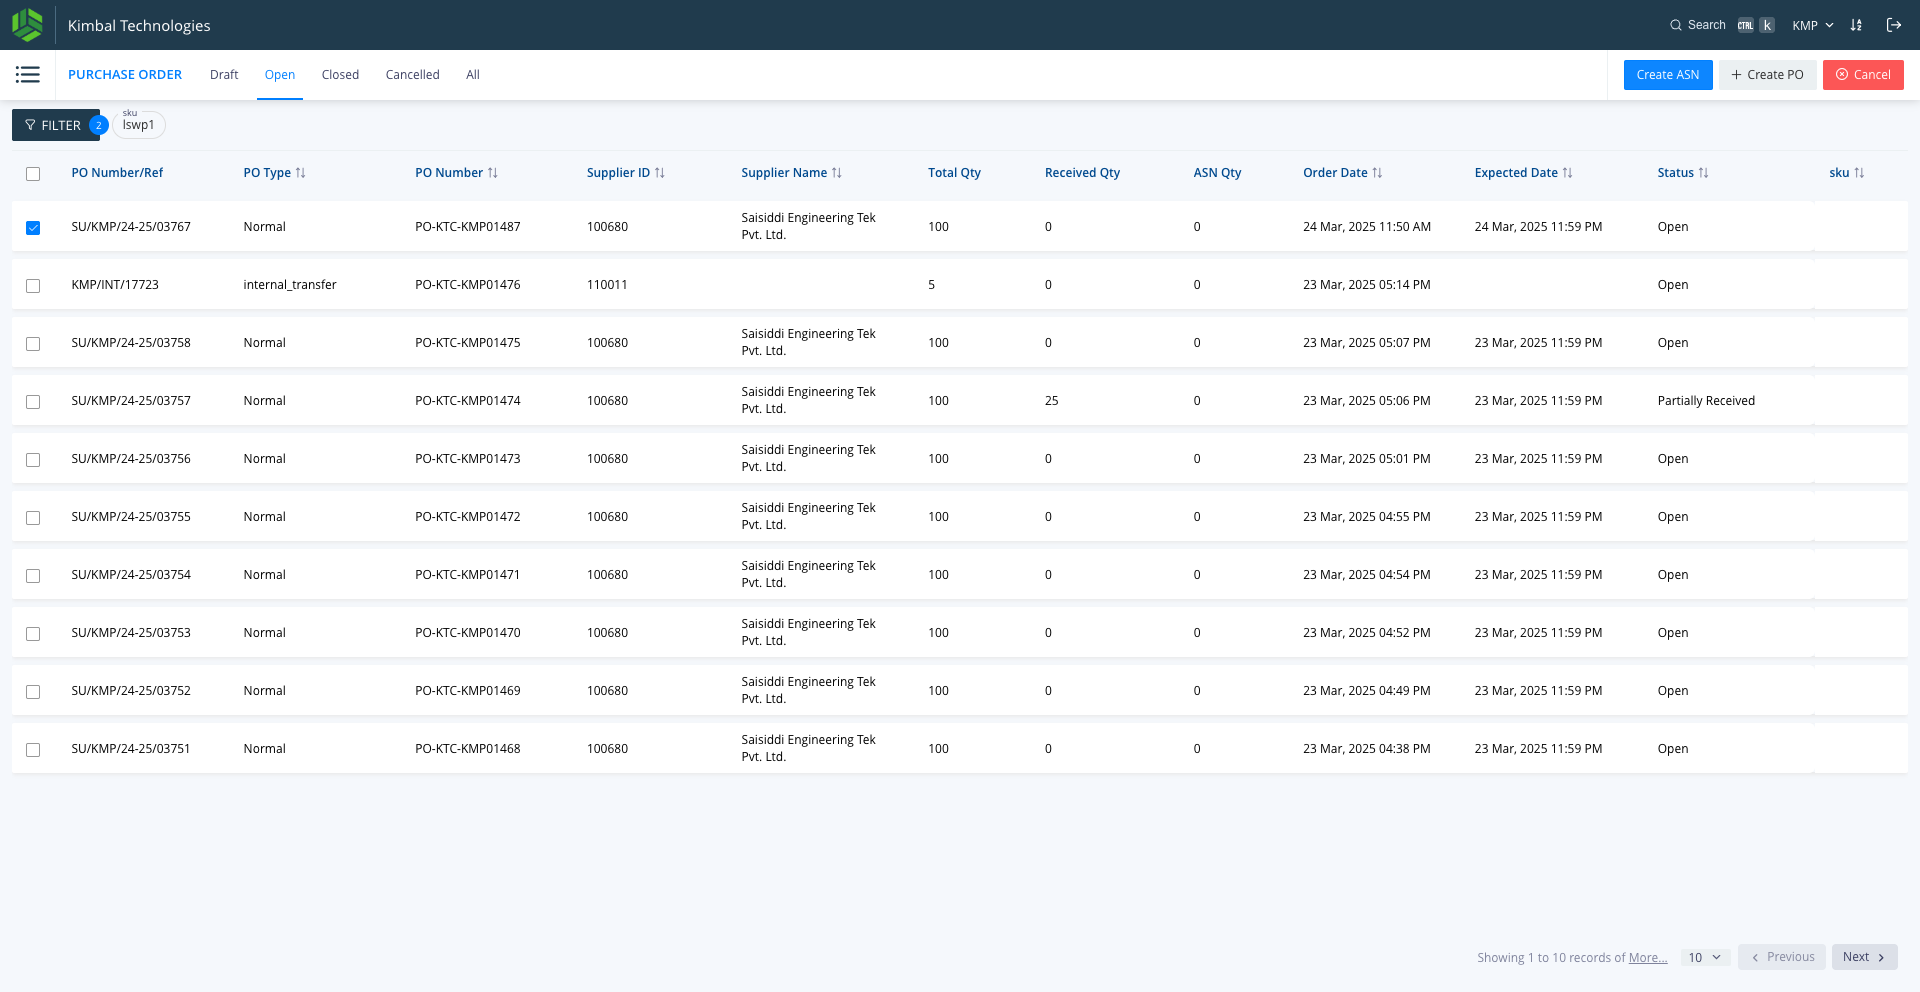
After selecting, click on "Create ASN"
4
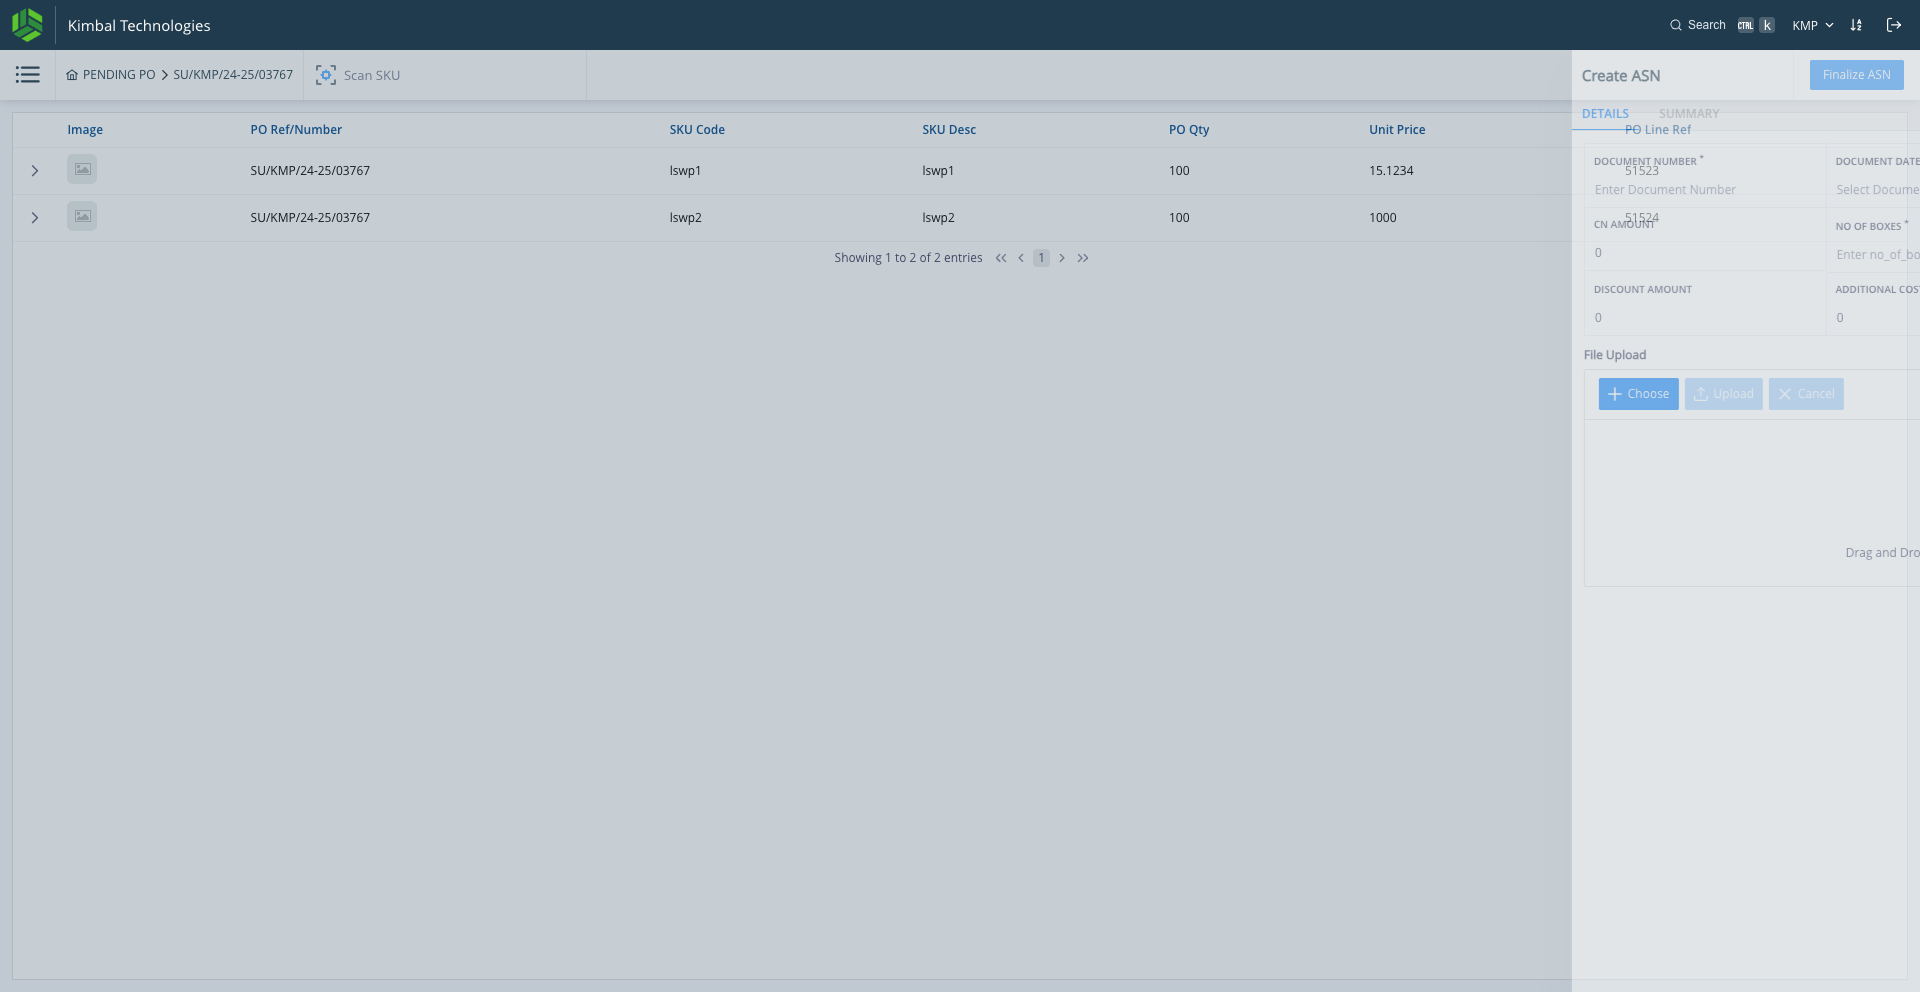
Click here (outside the pop up) to close the pop up and to fill the SKU level details
5
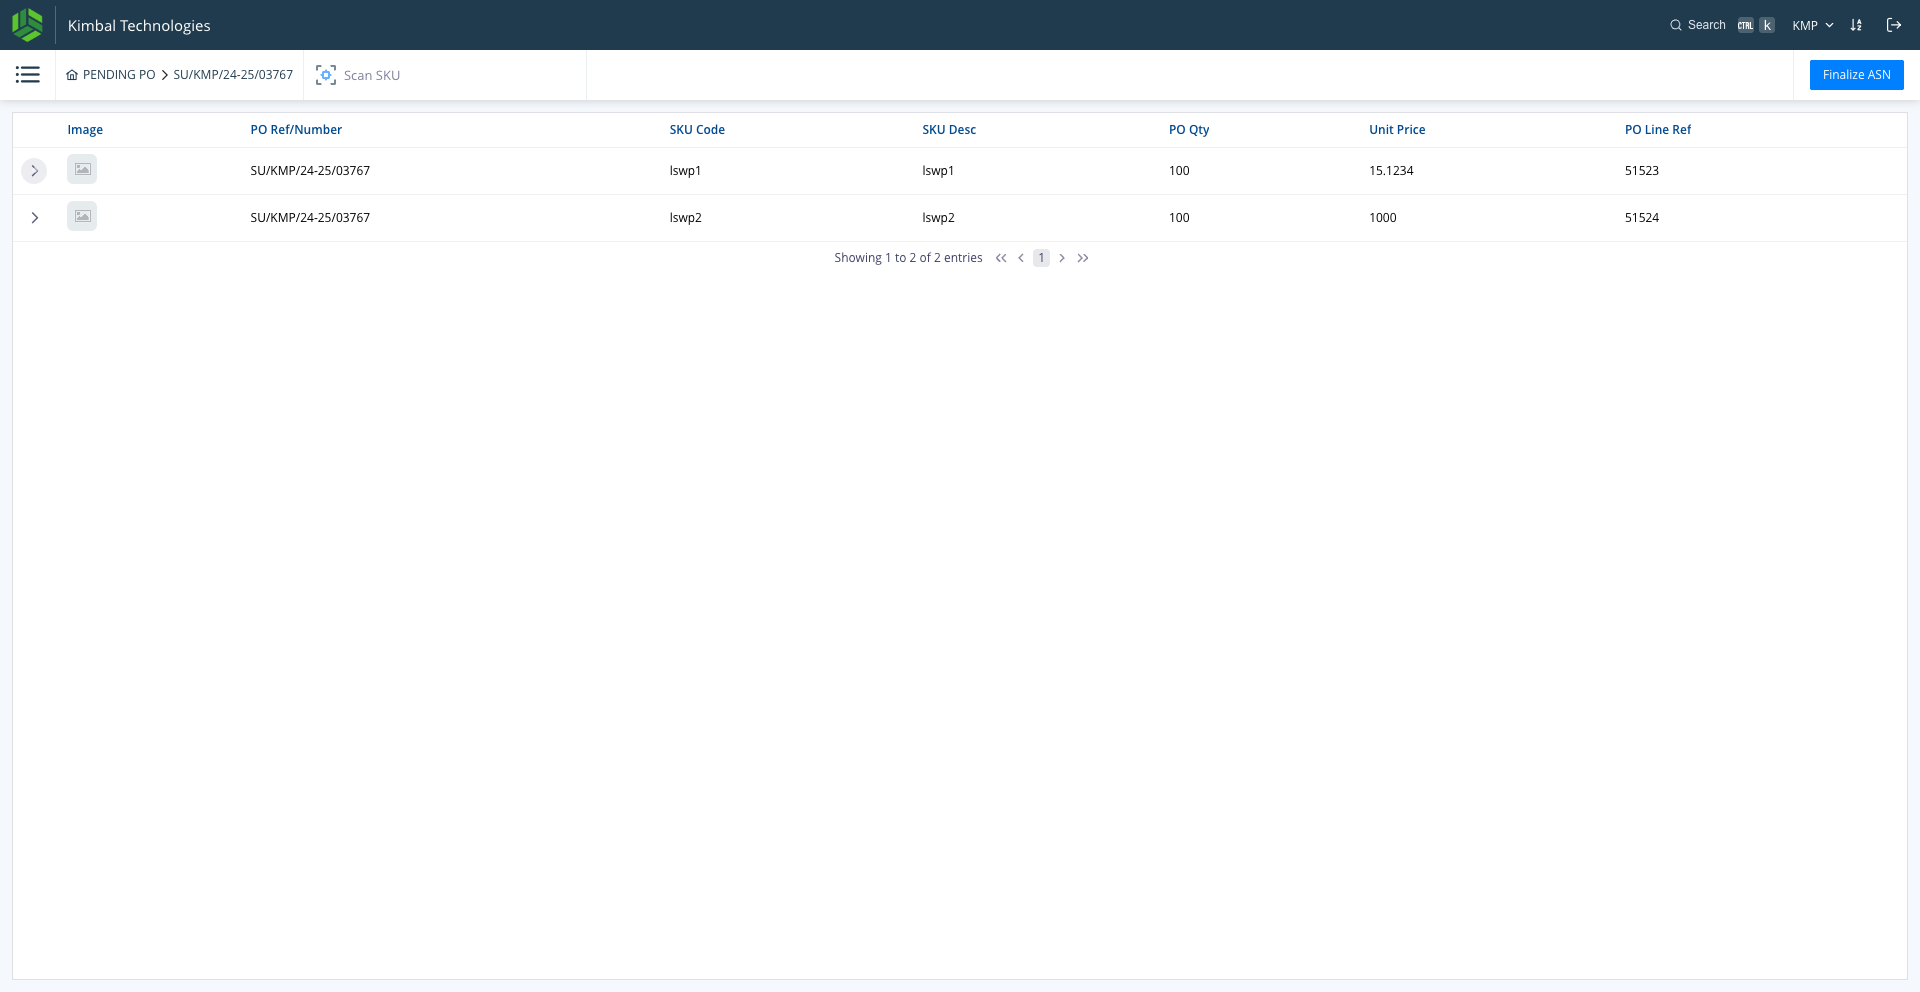
Click on the respective SKU for which the entry need to be made
6
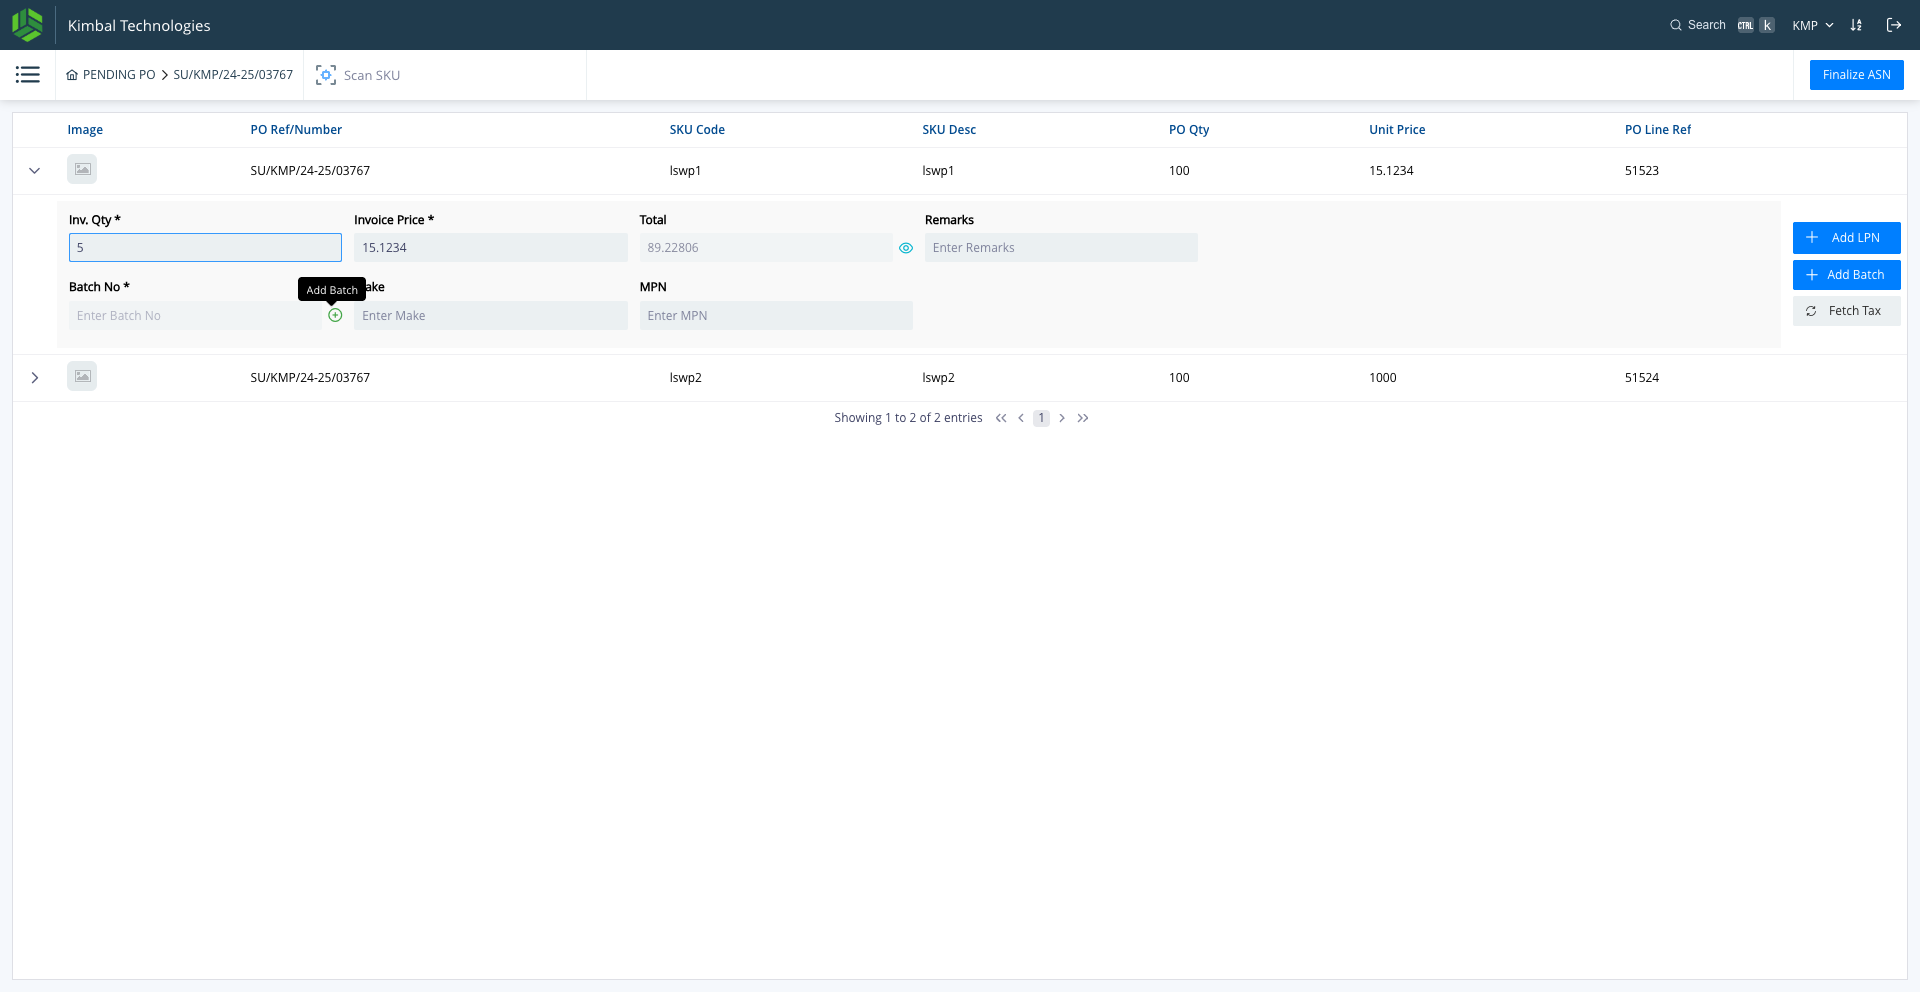
Click on "+" to against the Batch No so that system will populate the incremental Batch number
7
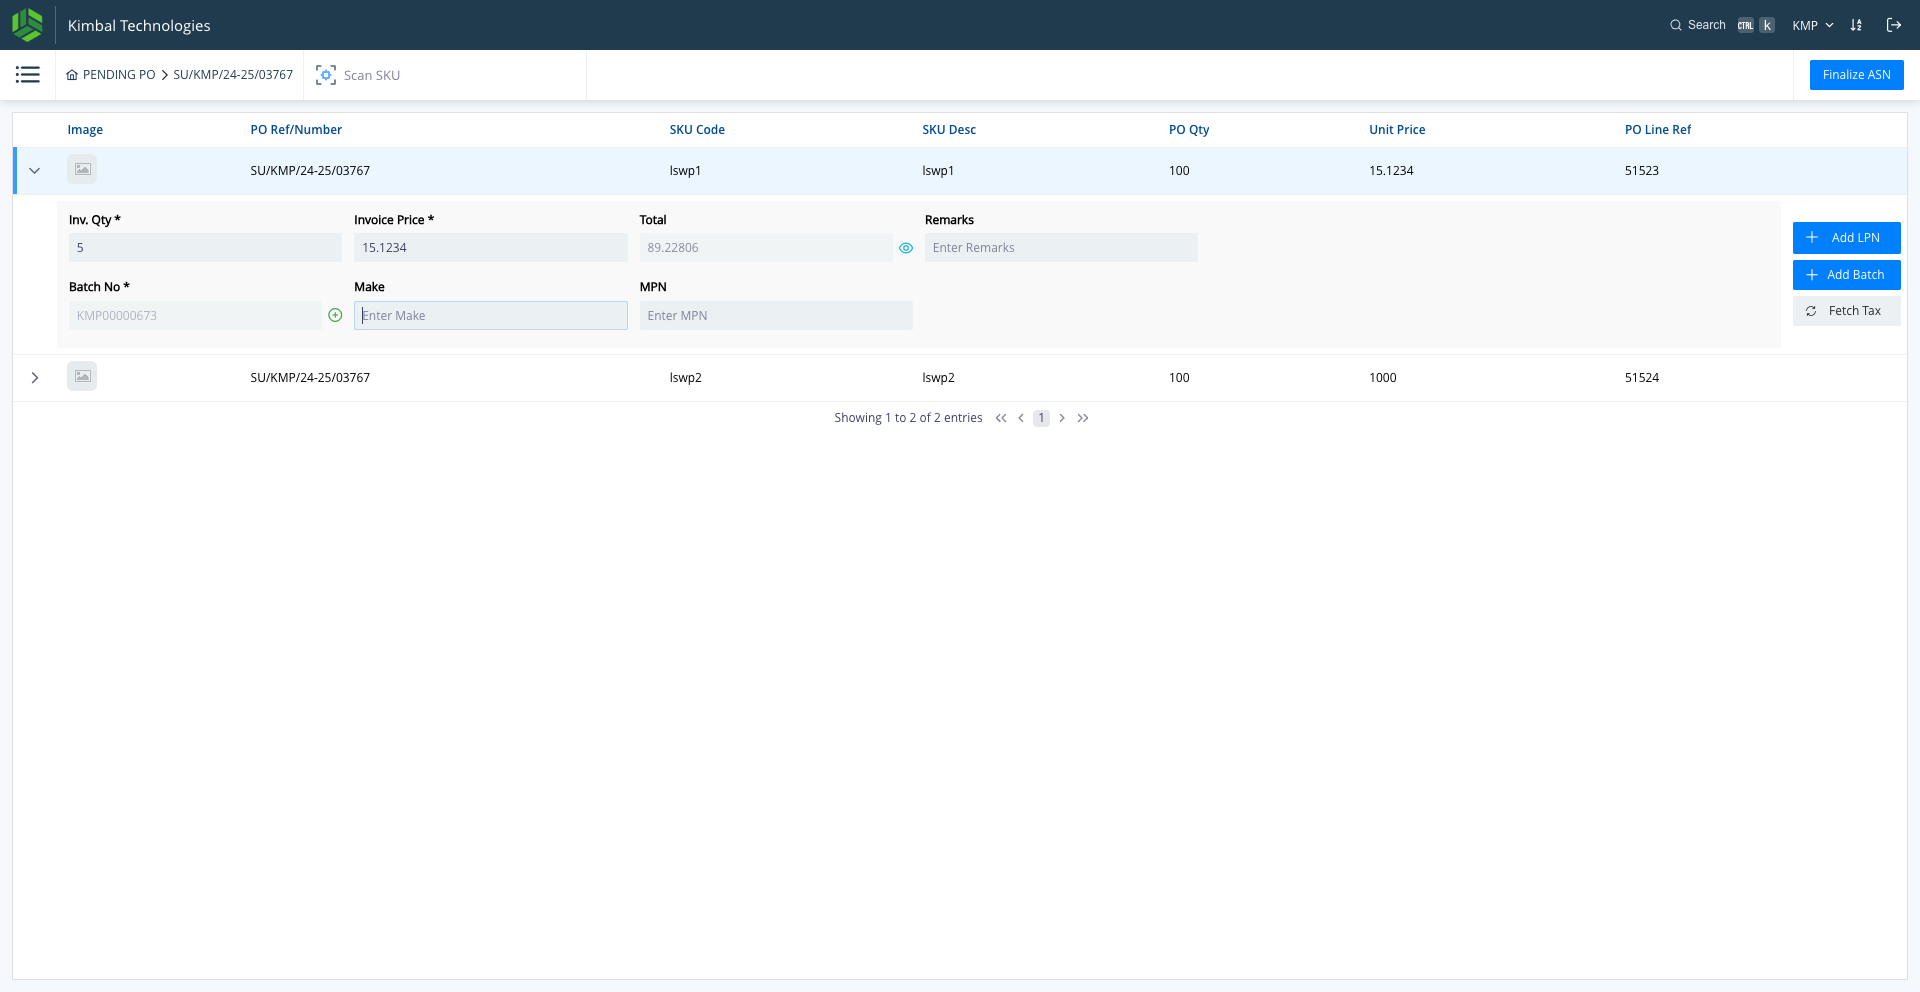
Click on the Make field entry for inputting Item Make
8
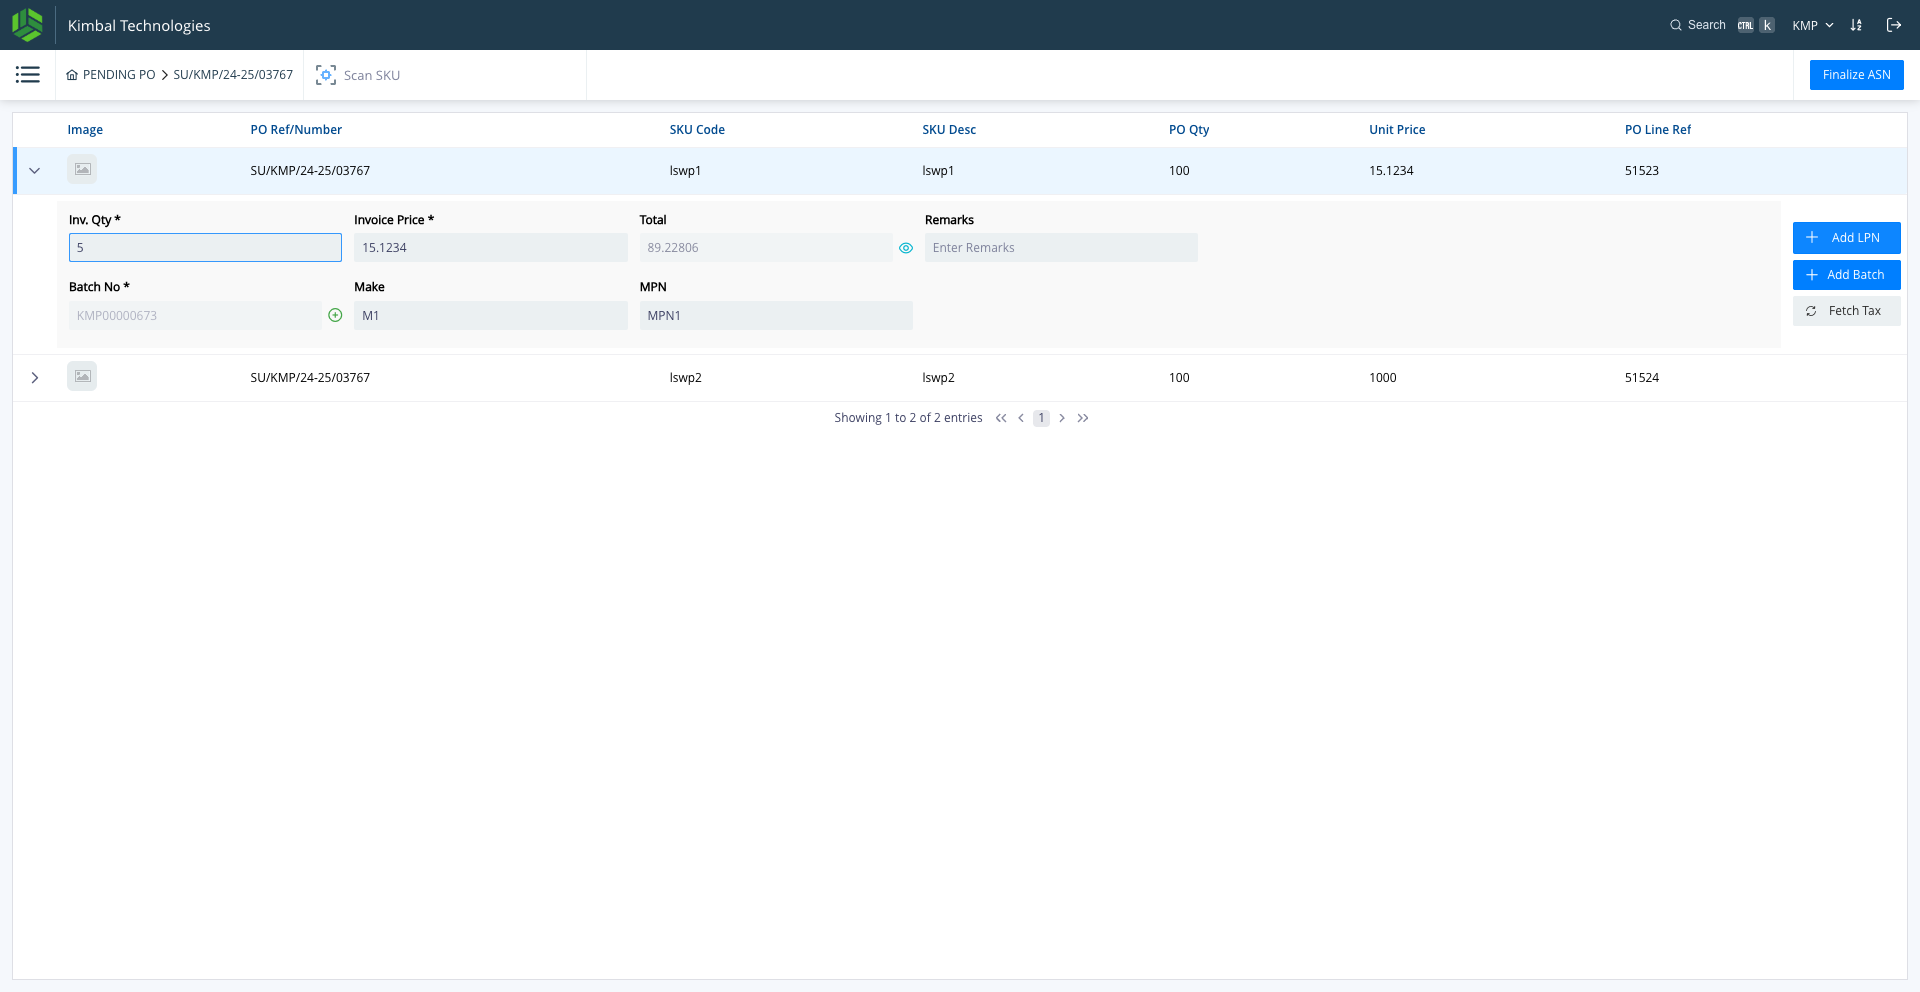
Click on "+ Add LPN" to do the packing for the SKU
9
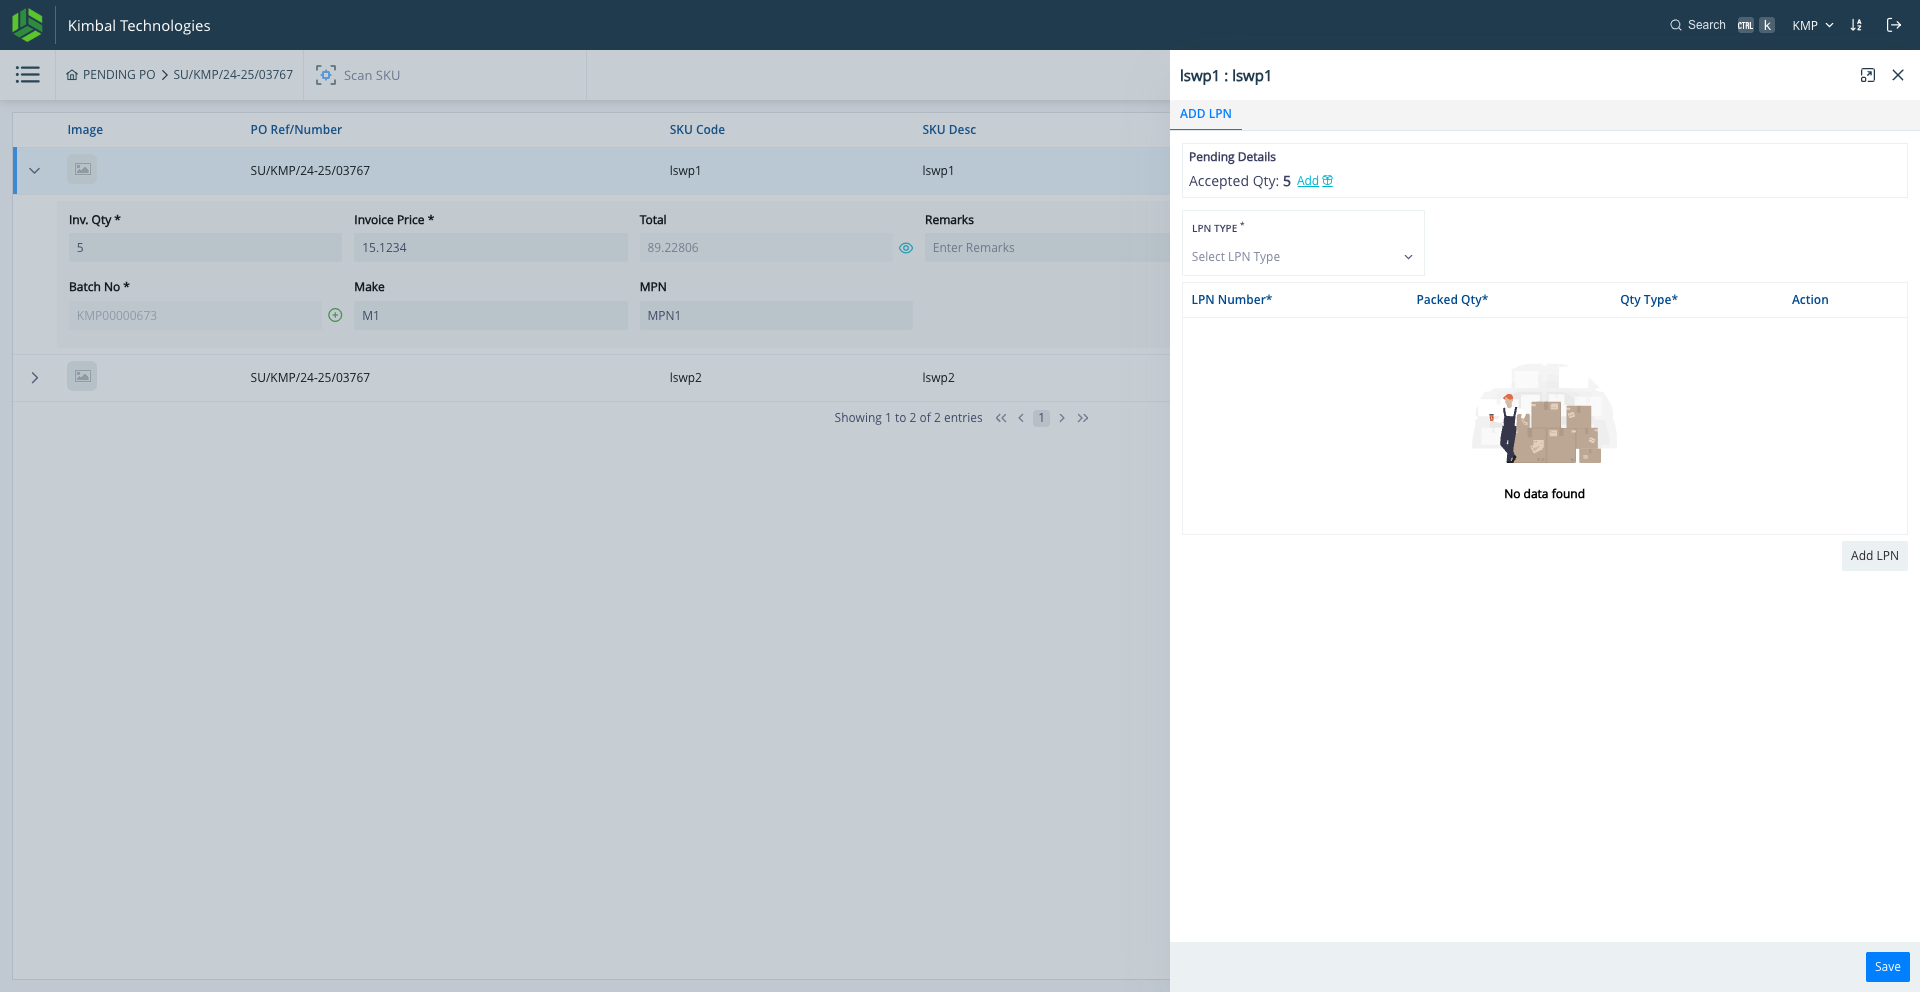
Click on "Add"
10
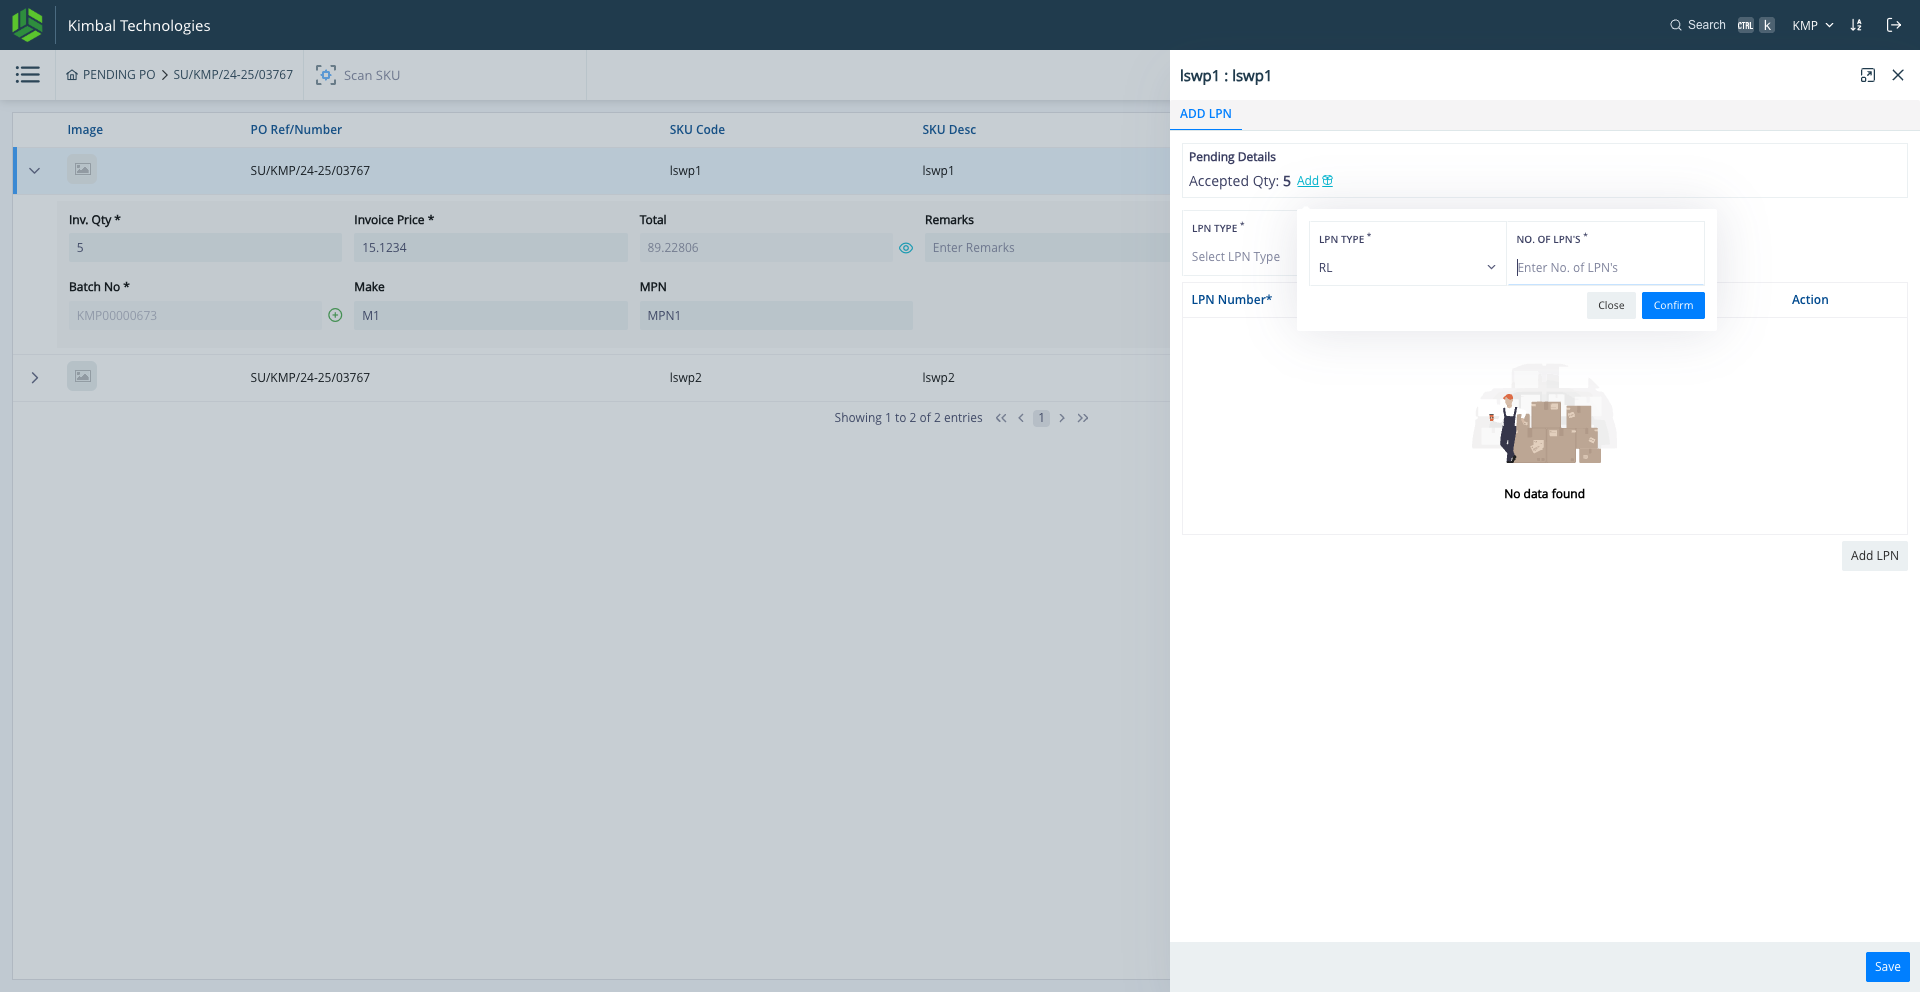
Click on "Enter No. of LPN's": Here the user can mention how many LPNs they need to make
11
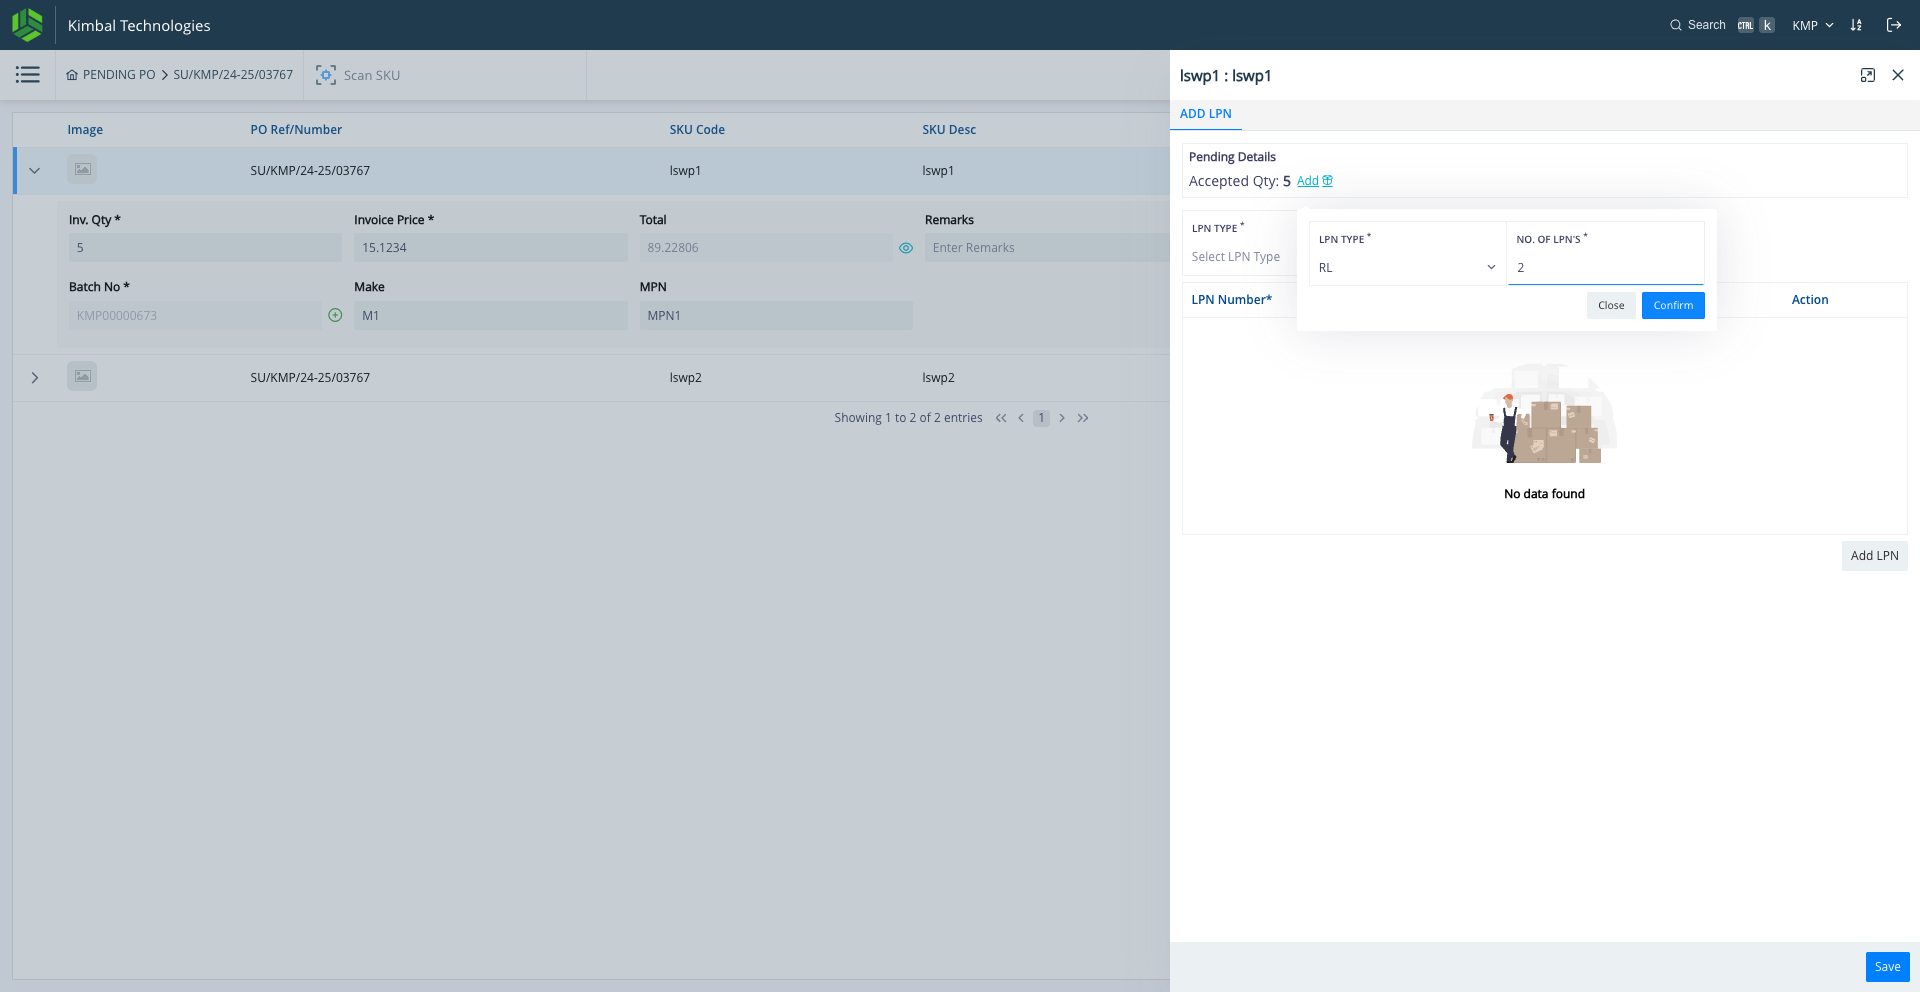
Input the number (eg. 2) & Click on "Confirm"
12
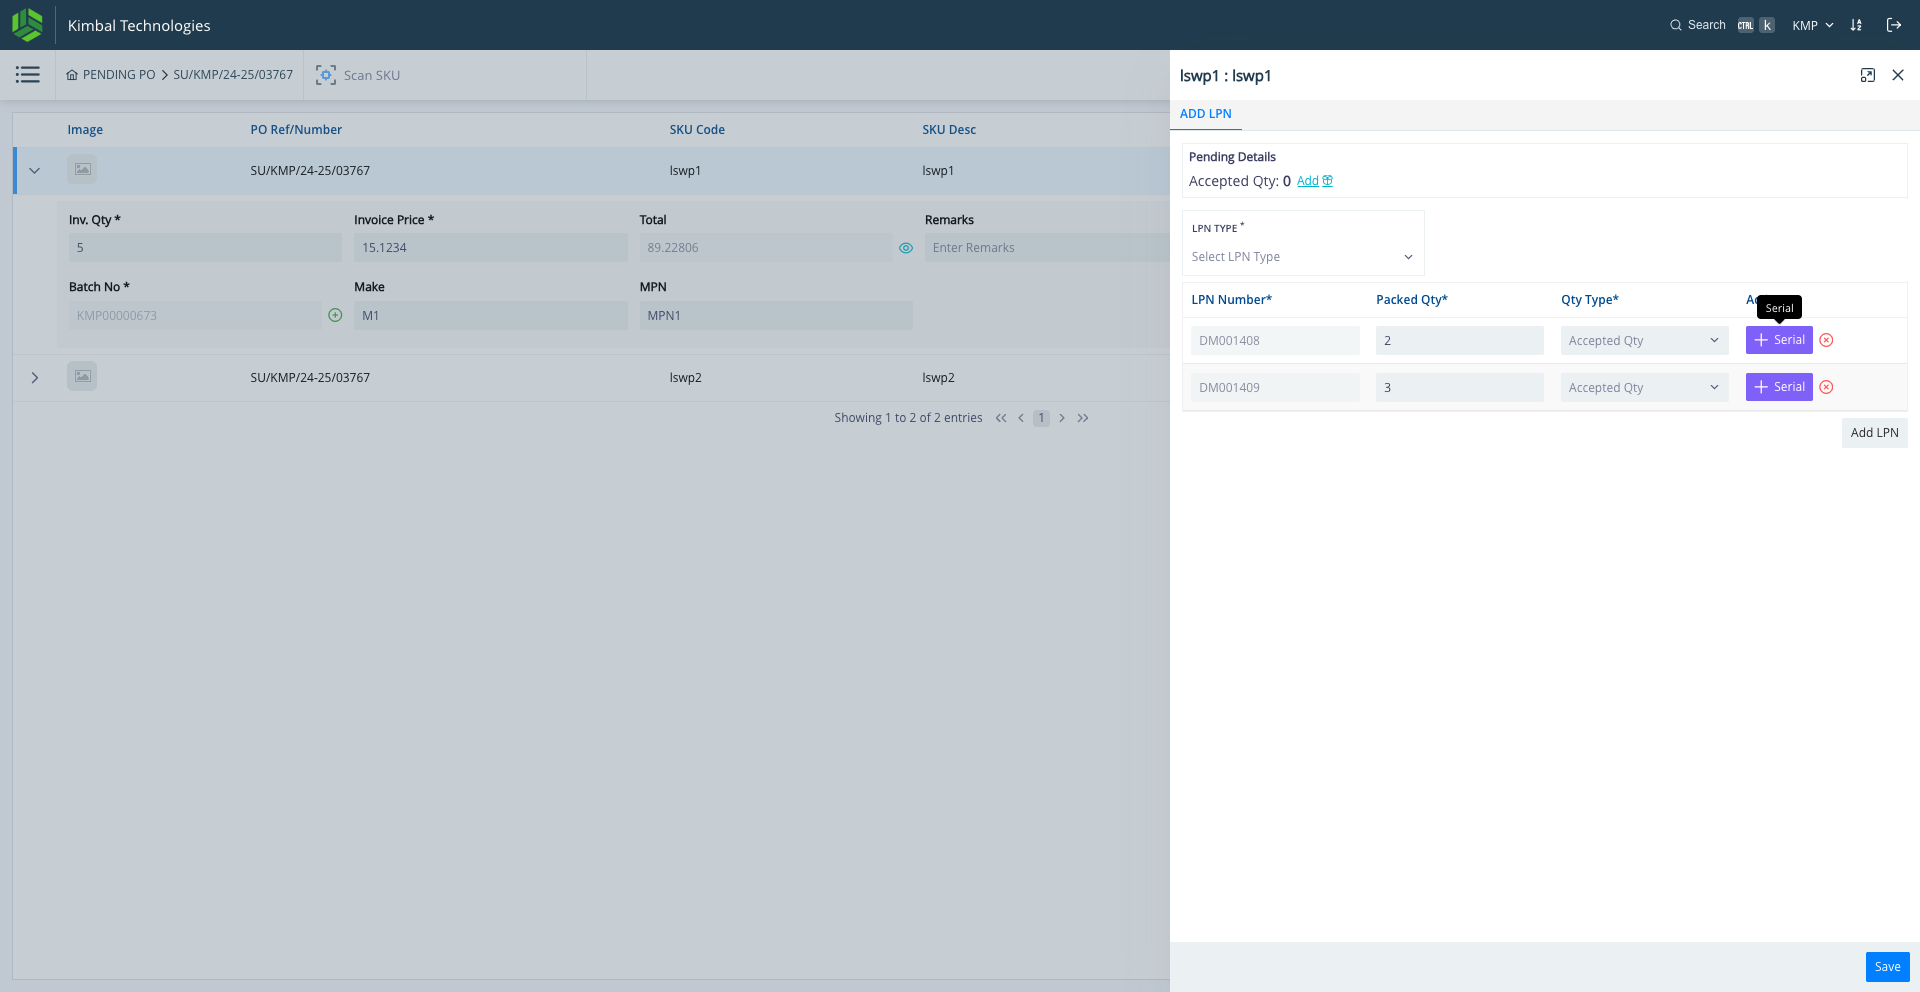
System has created two LPN entries as per the input, Click on "+" against each to mention the Serial Numbers
13
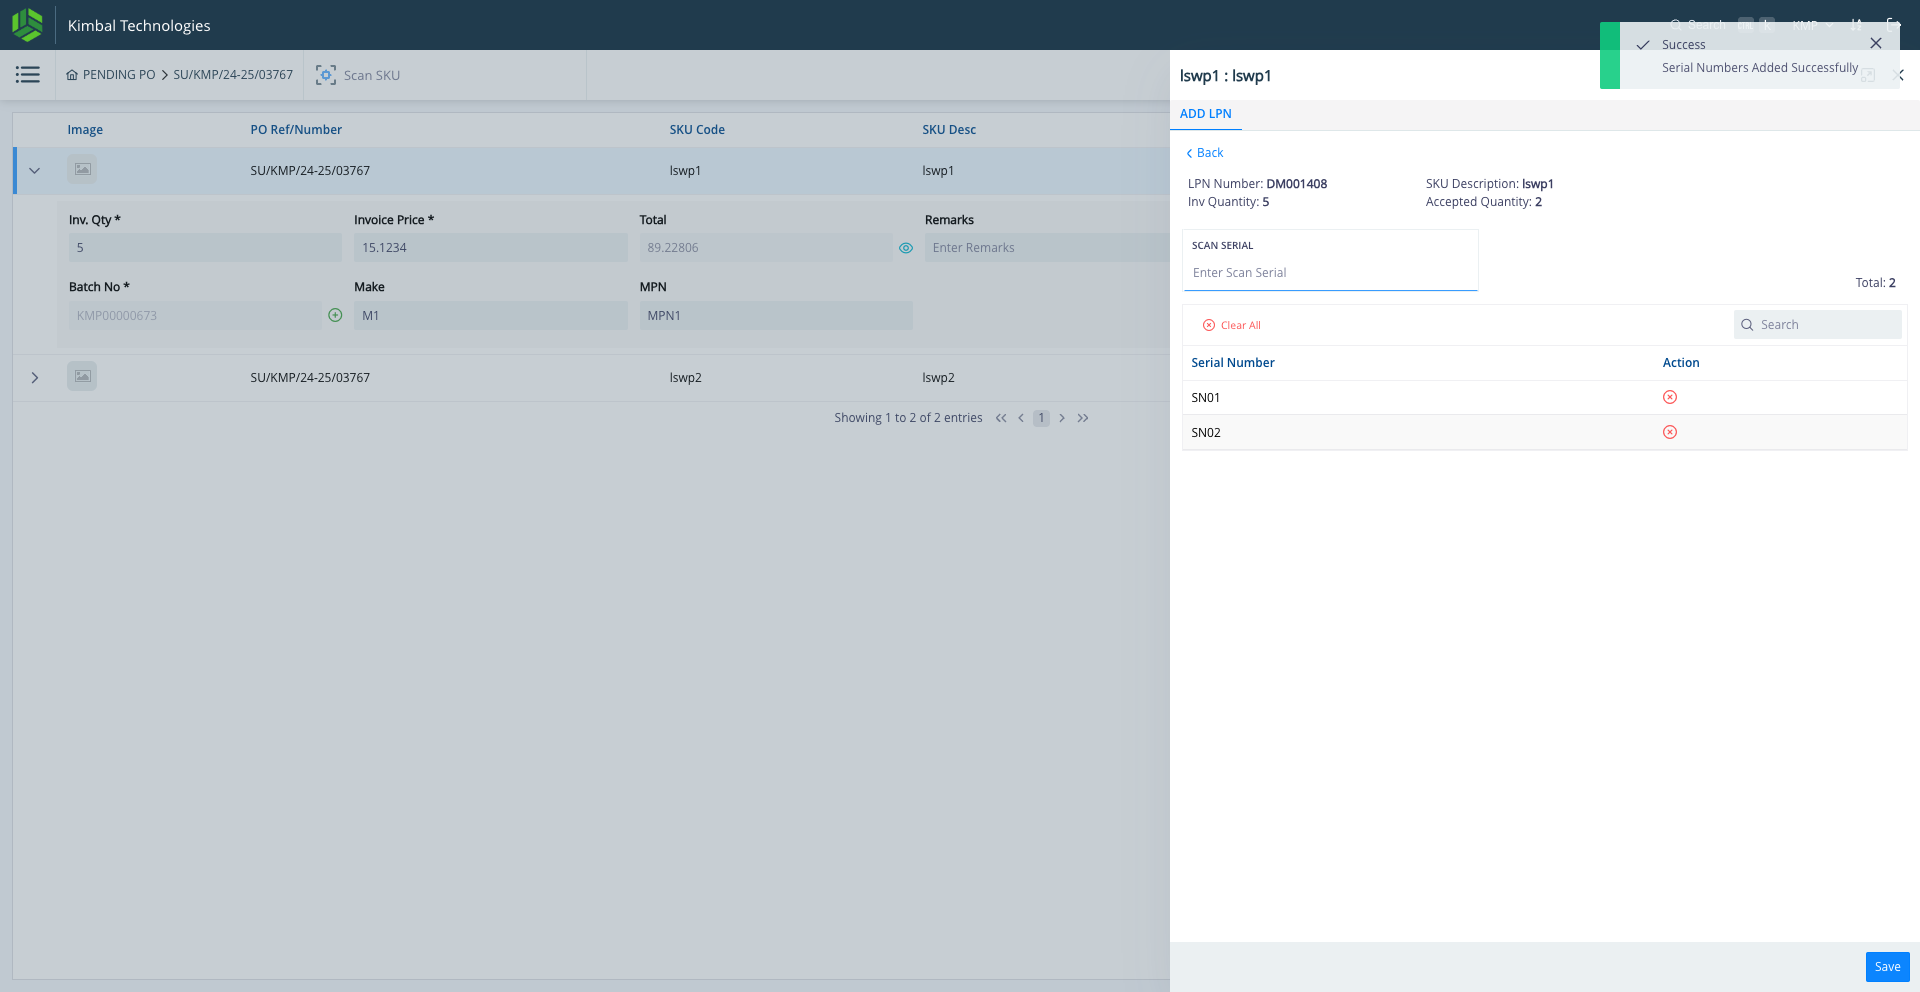
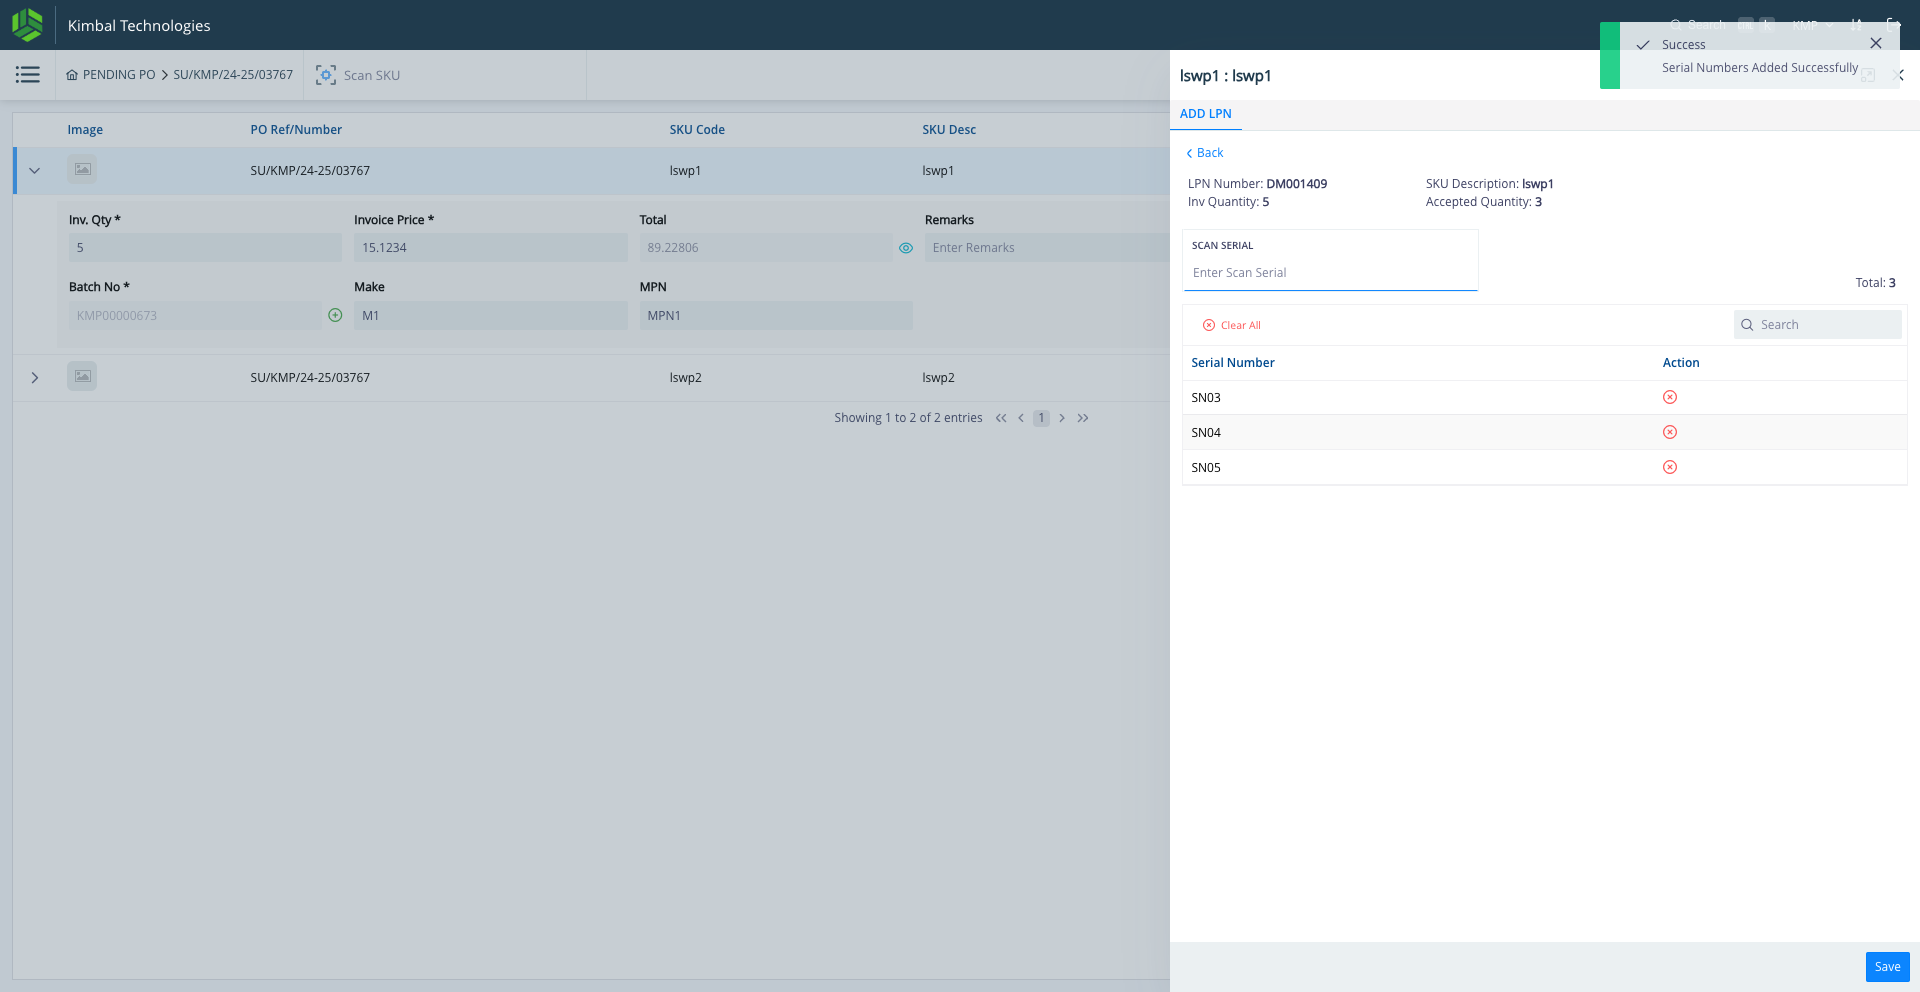
Inside the LPN, enter the SNs & click enter for each SN, then finally Click on "Save"
14
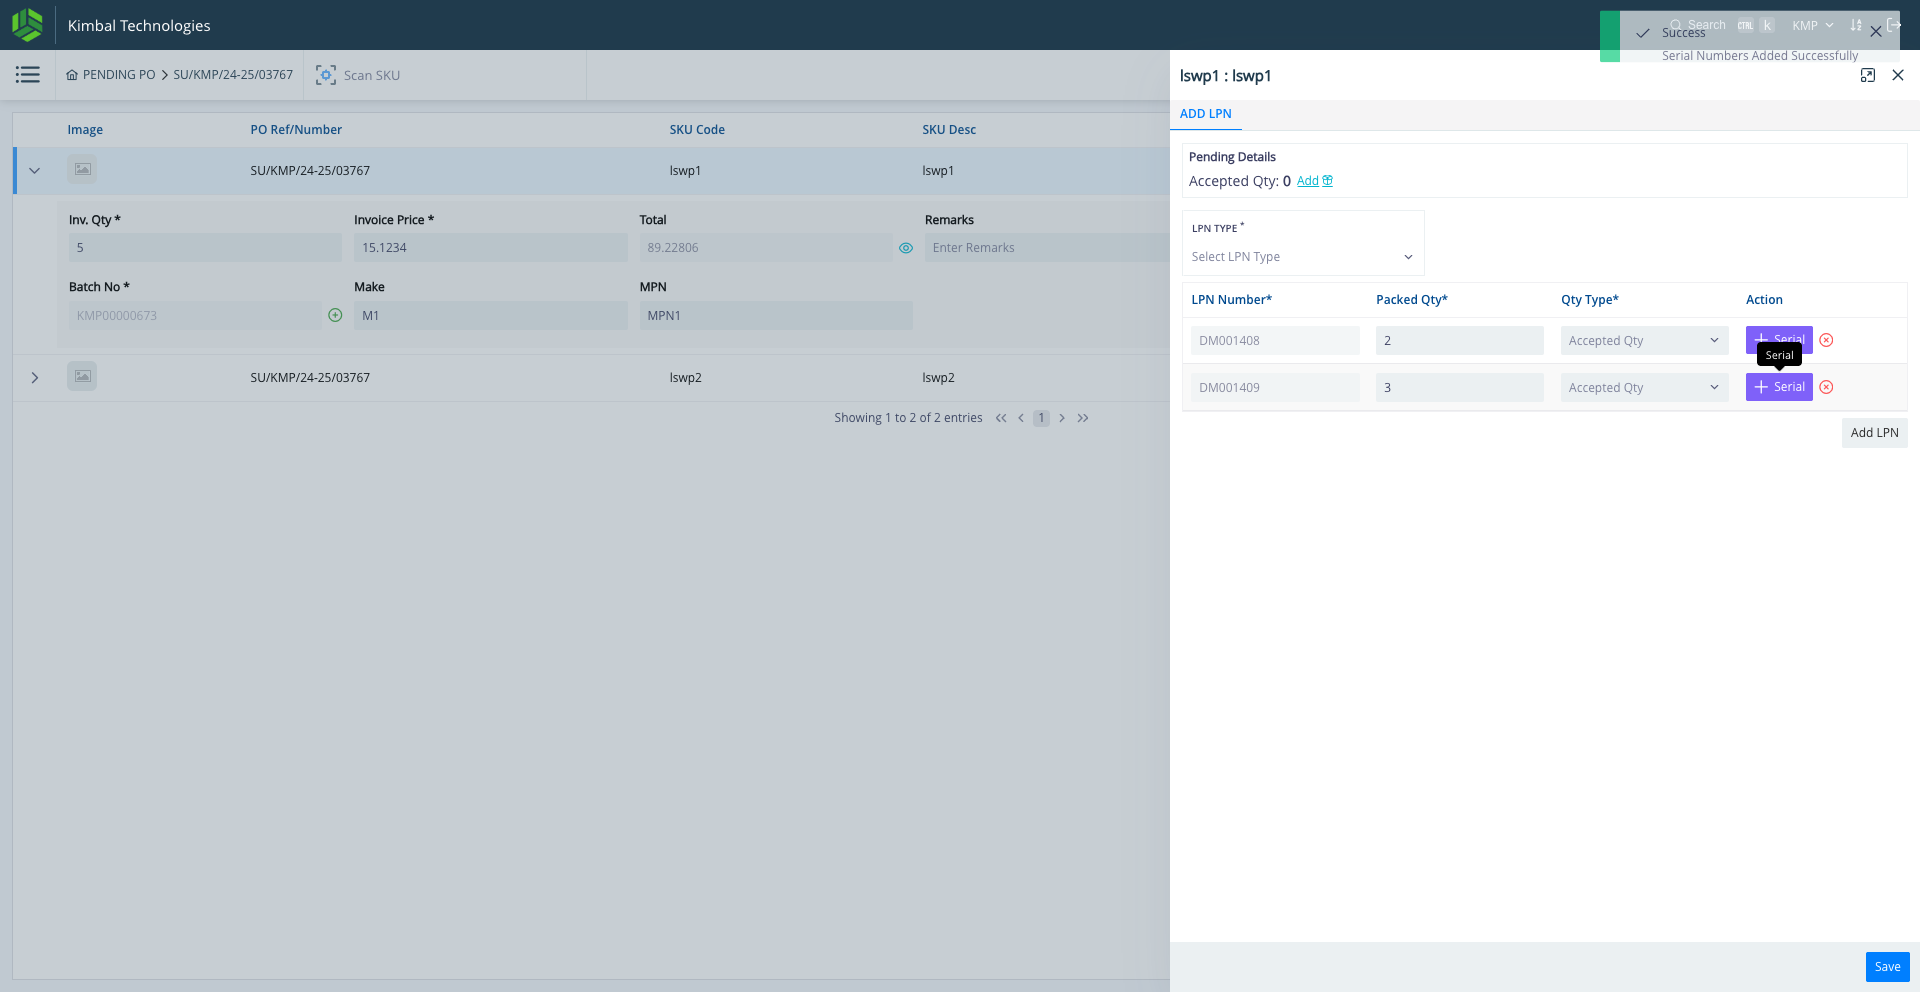
Click on "+ Serial" for the remaining LPNs (one by one)
15
Click on "Save" for the LPNs
16
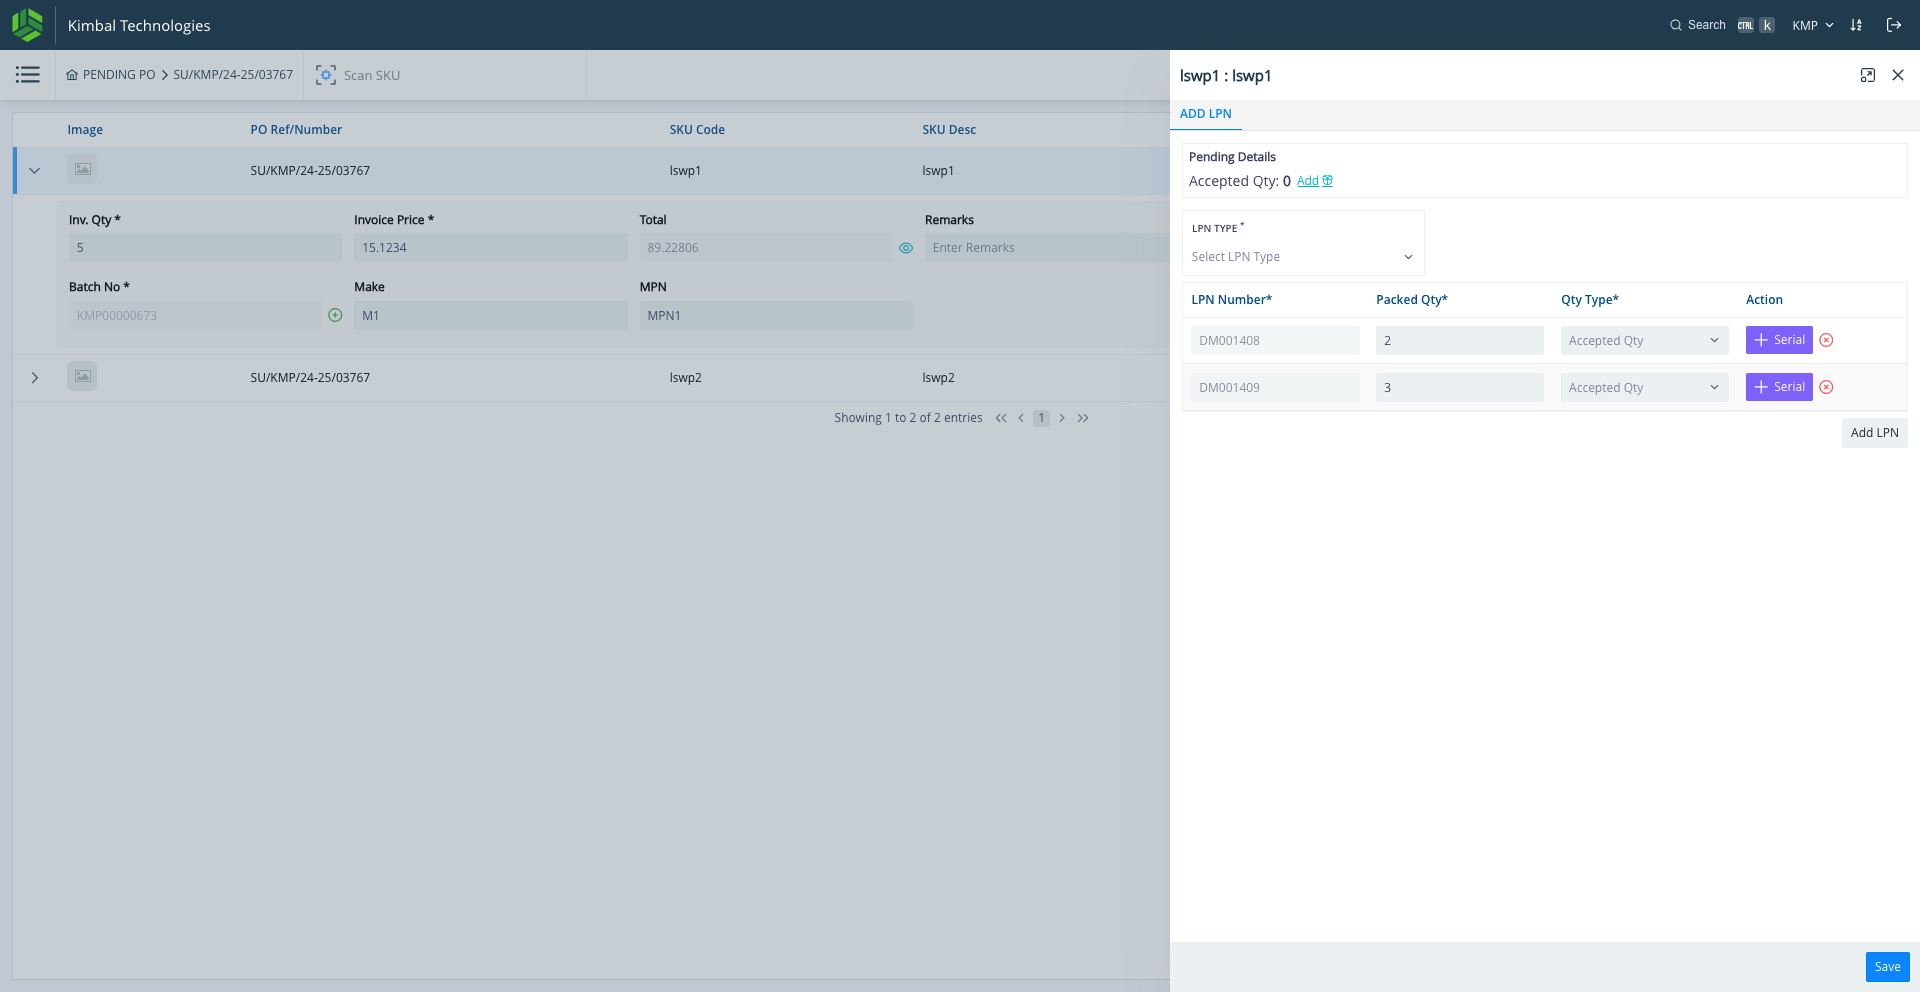
Click on "Save" for saving all the LPNs entered data
17
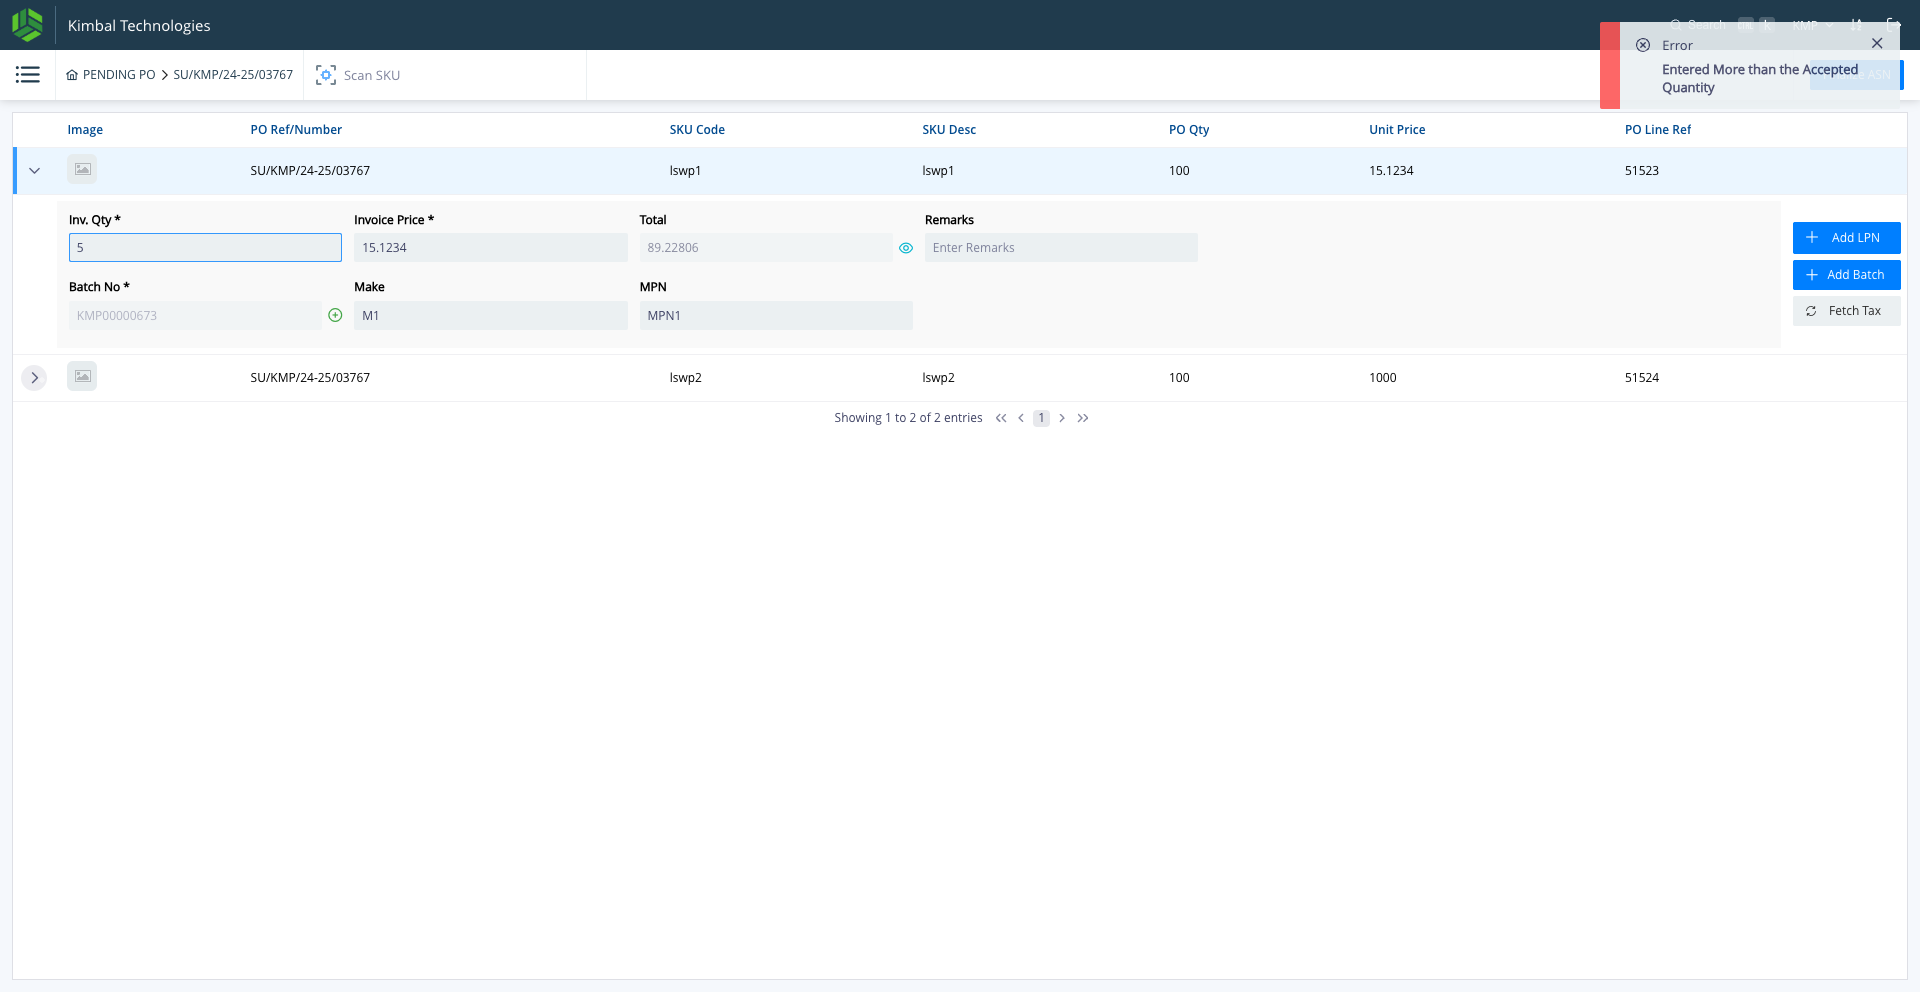
Click here against the next SKU for making the ASN entry & follow the same process as is done for the first SKU
18
After filling in the details of all the SKUs, Click on "Finalize ASN"
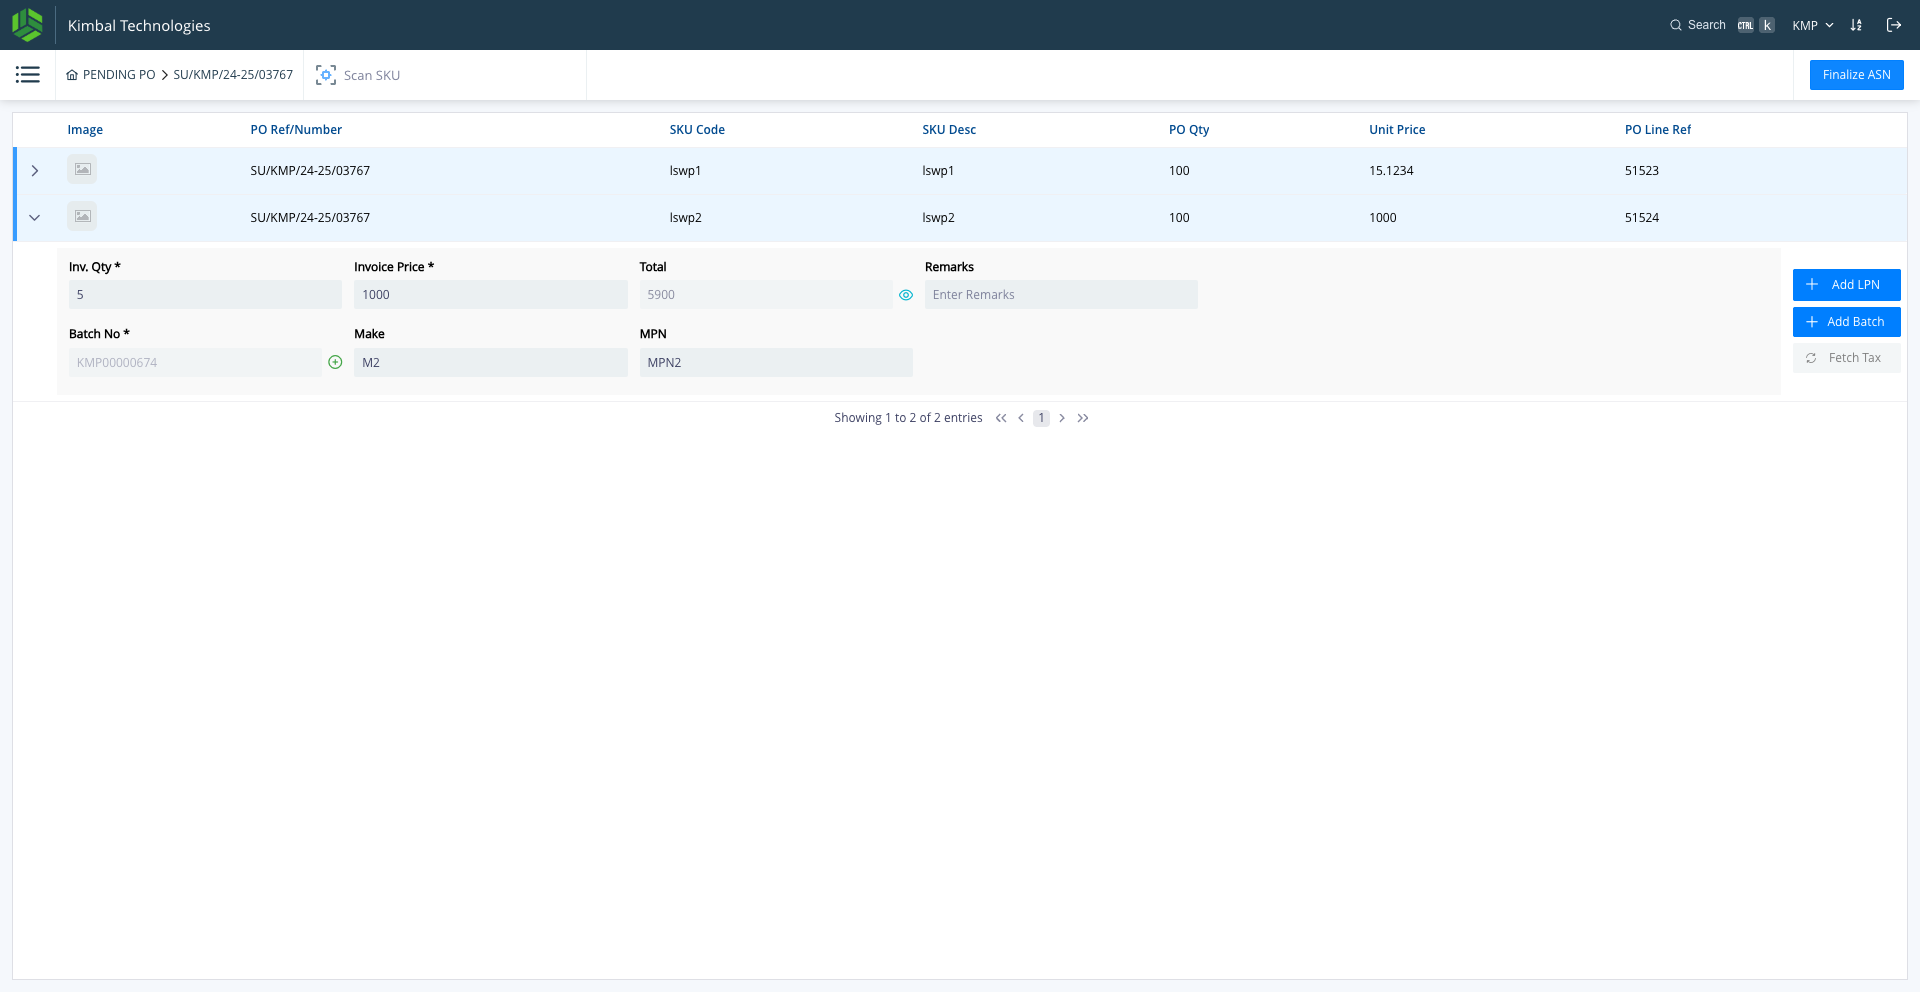
19
Click on "Select Document Date"
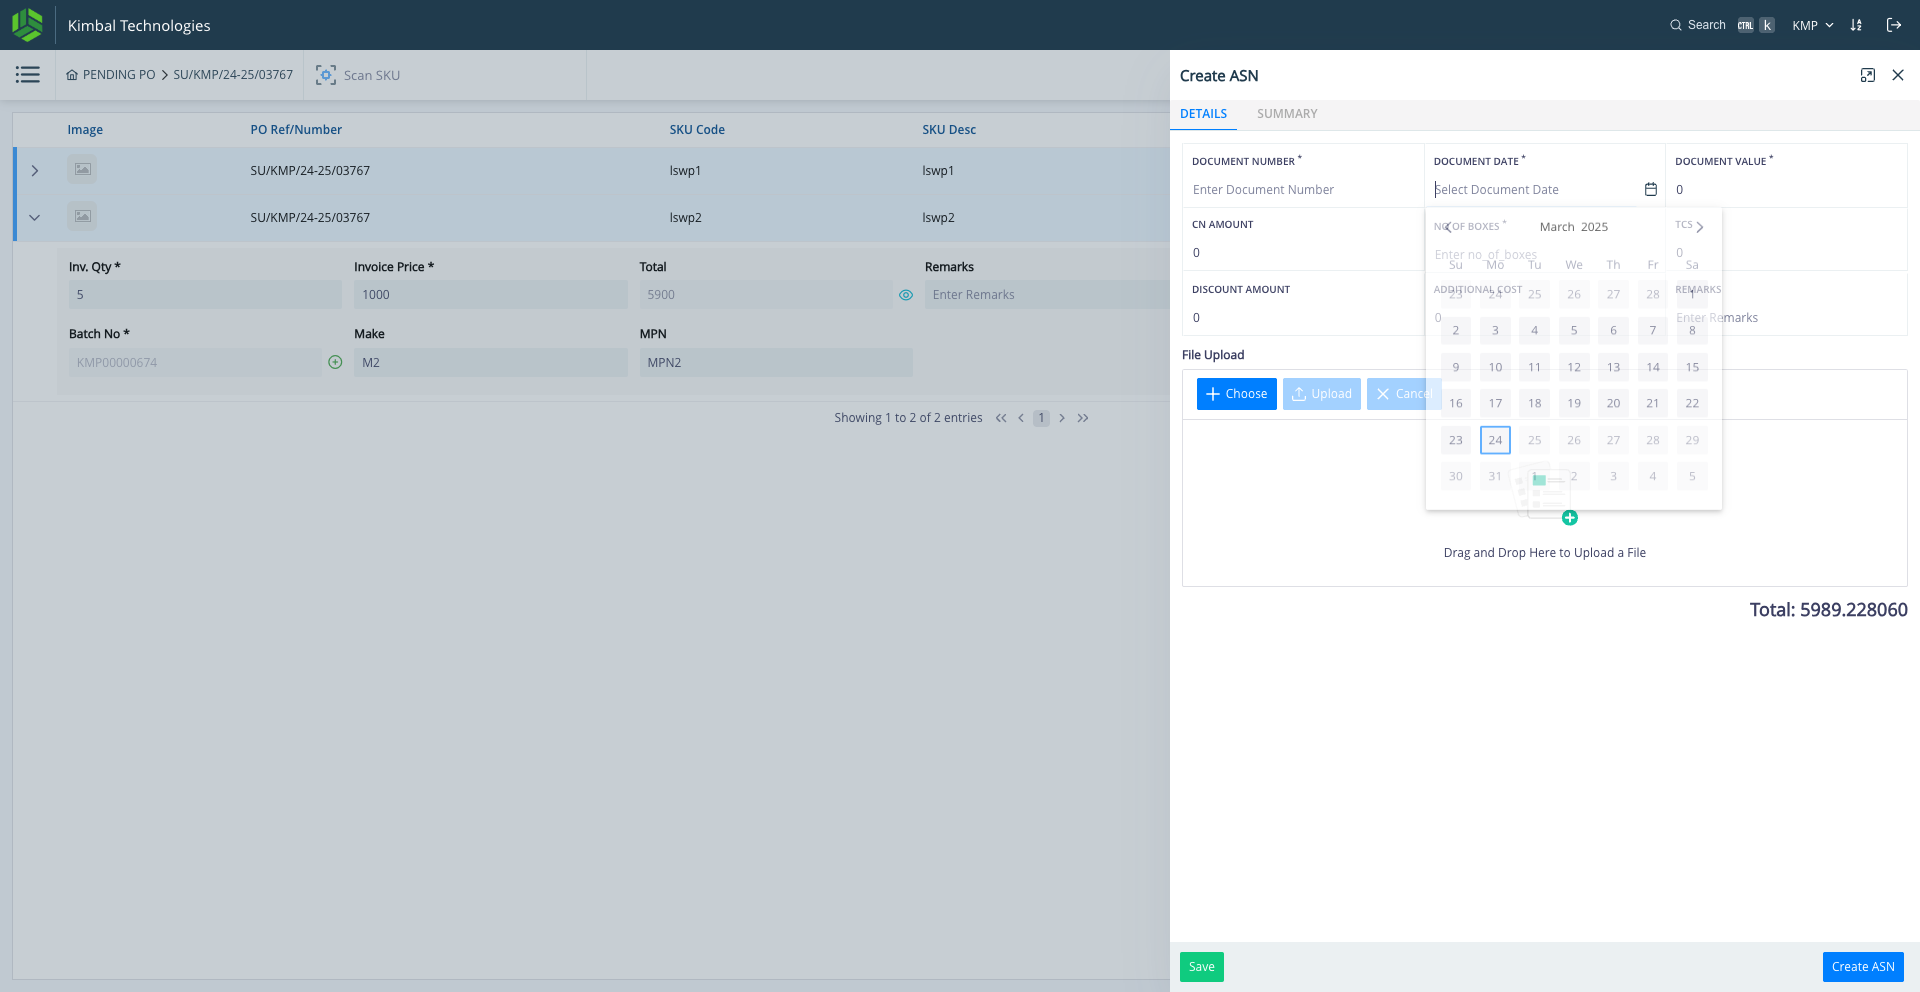
20
Click on "24" (or the respective date as needed)
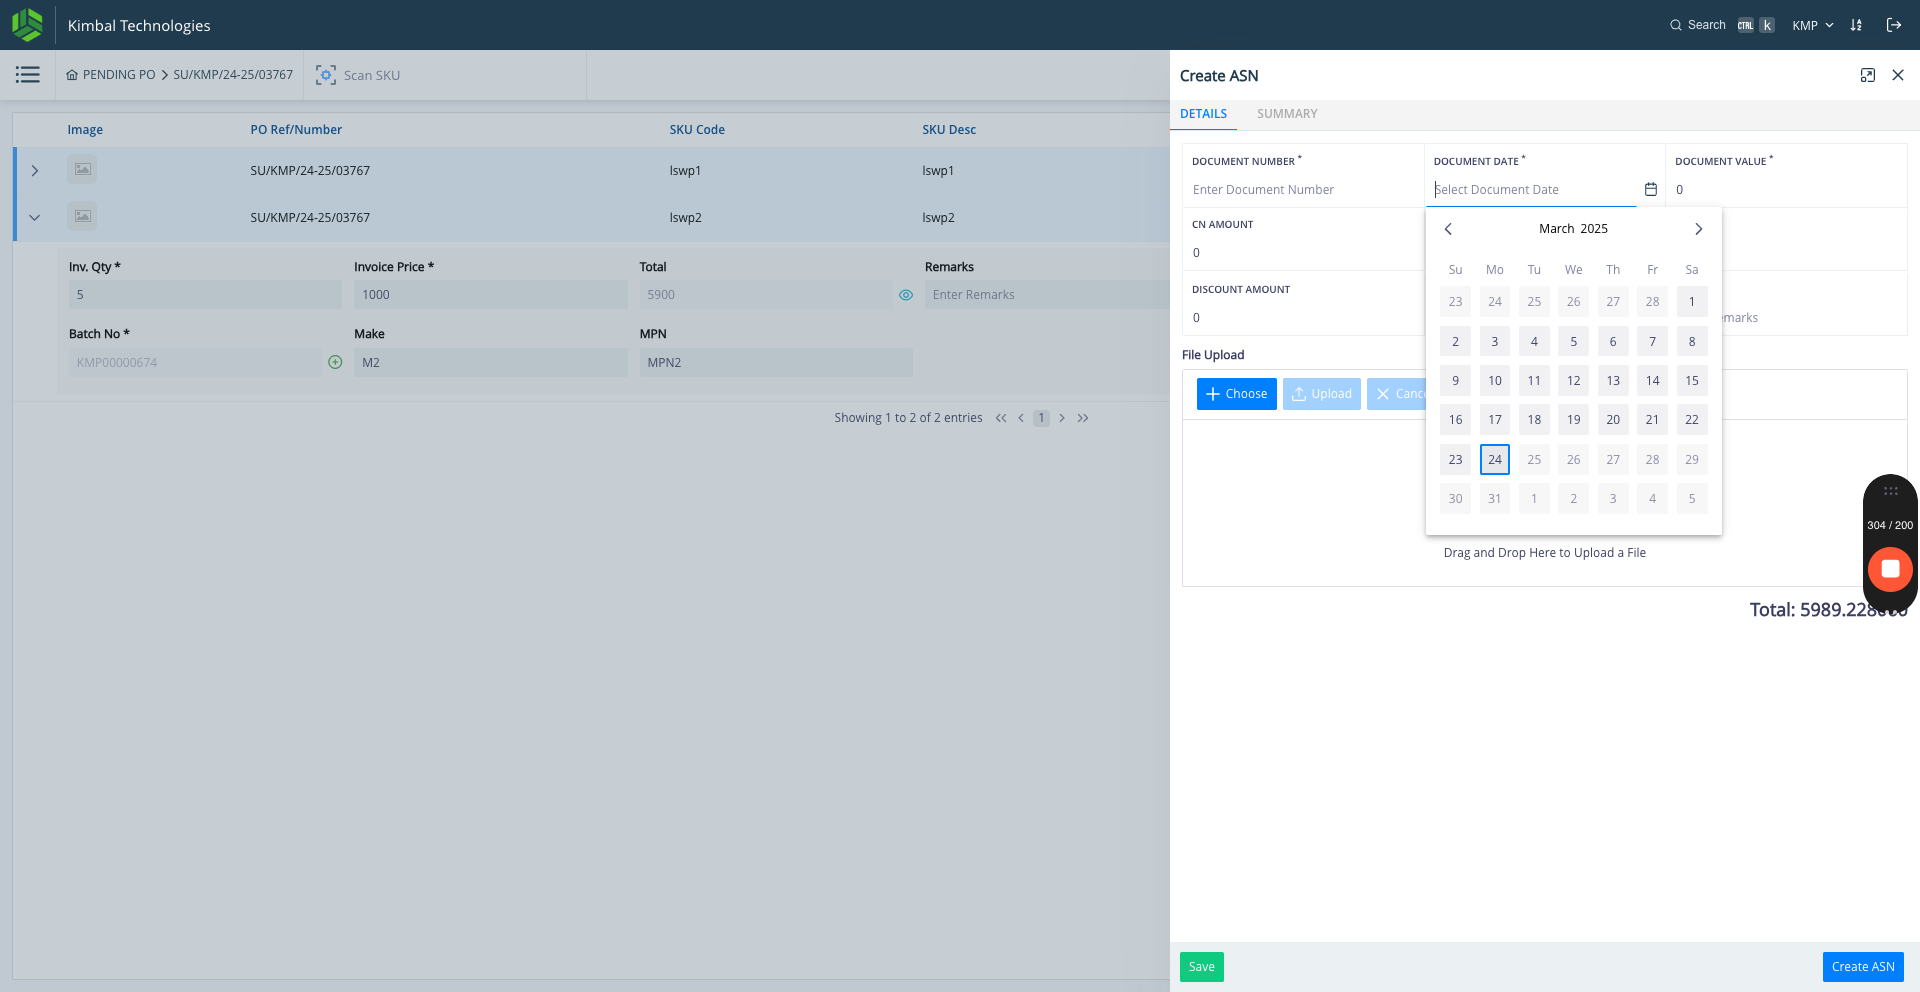
21
Click here to mention the Vendor's Invoice Number
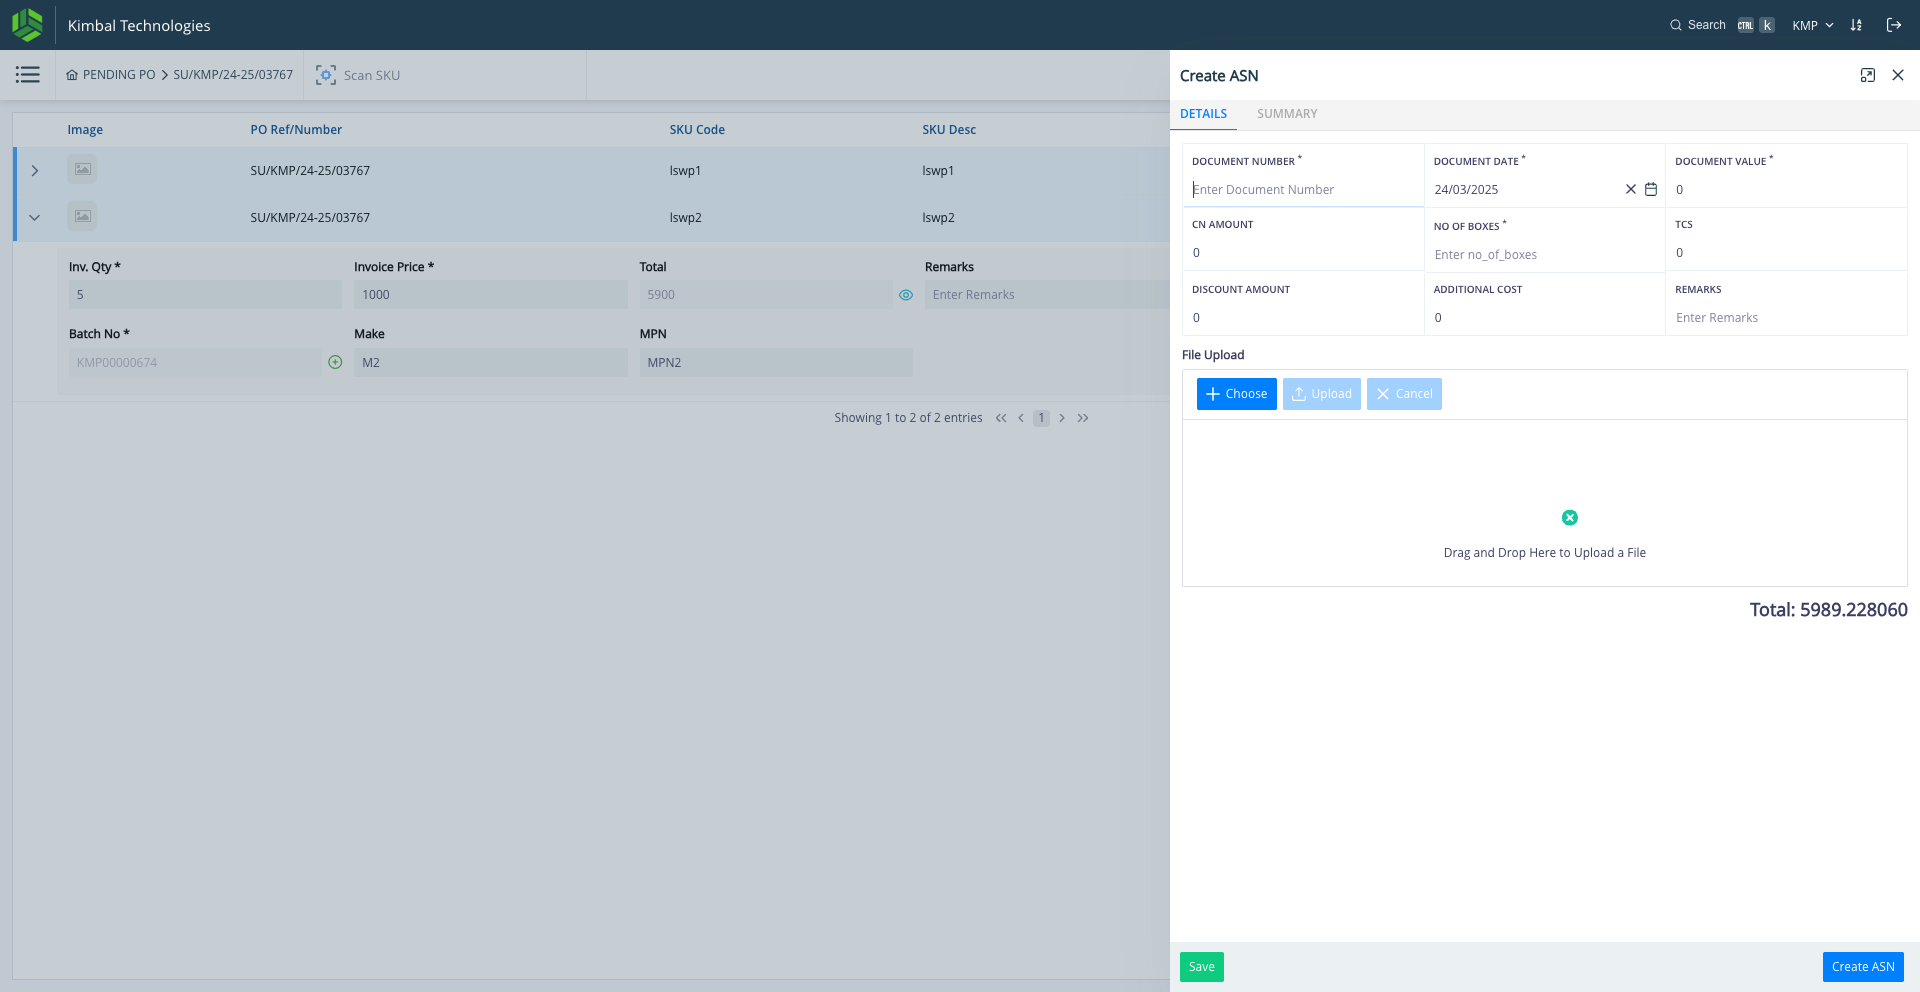
22
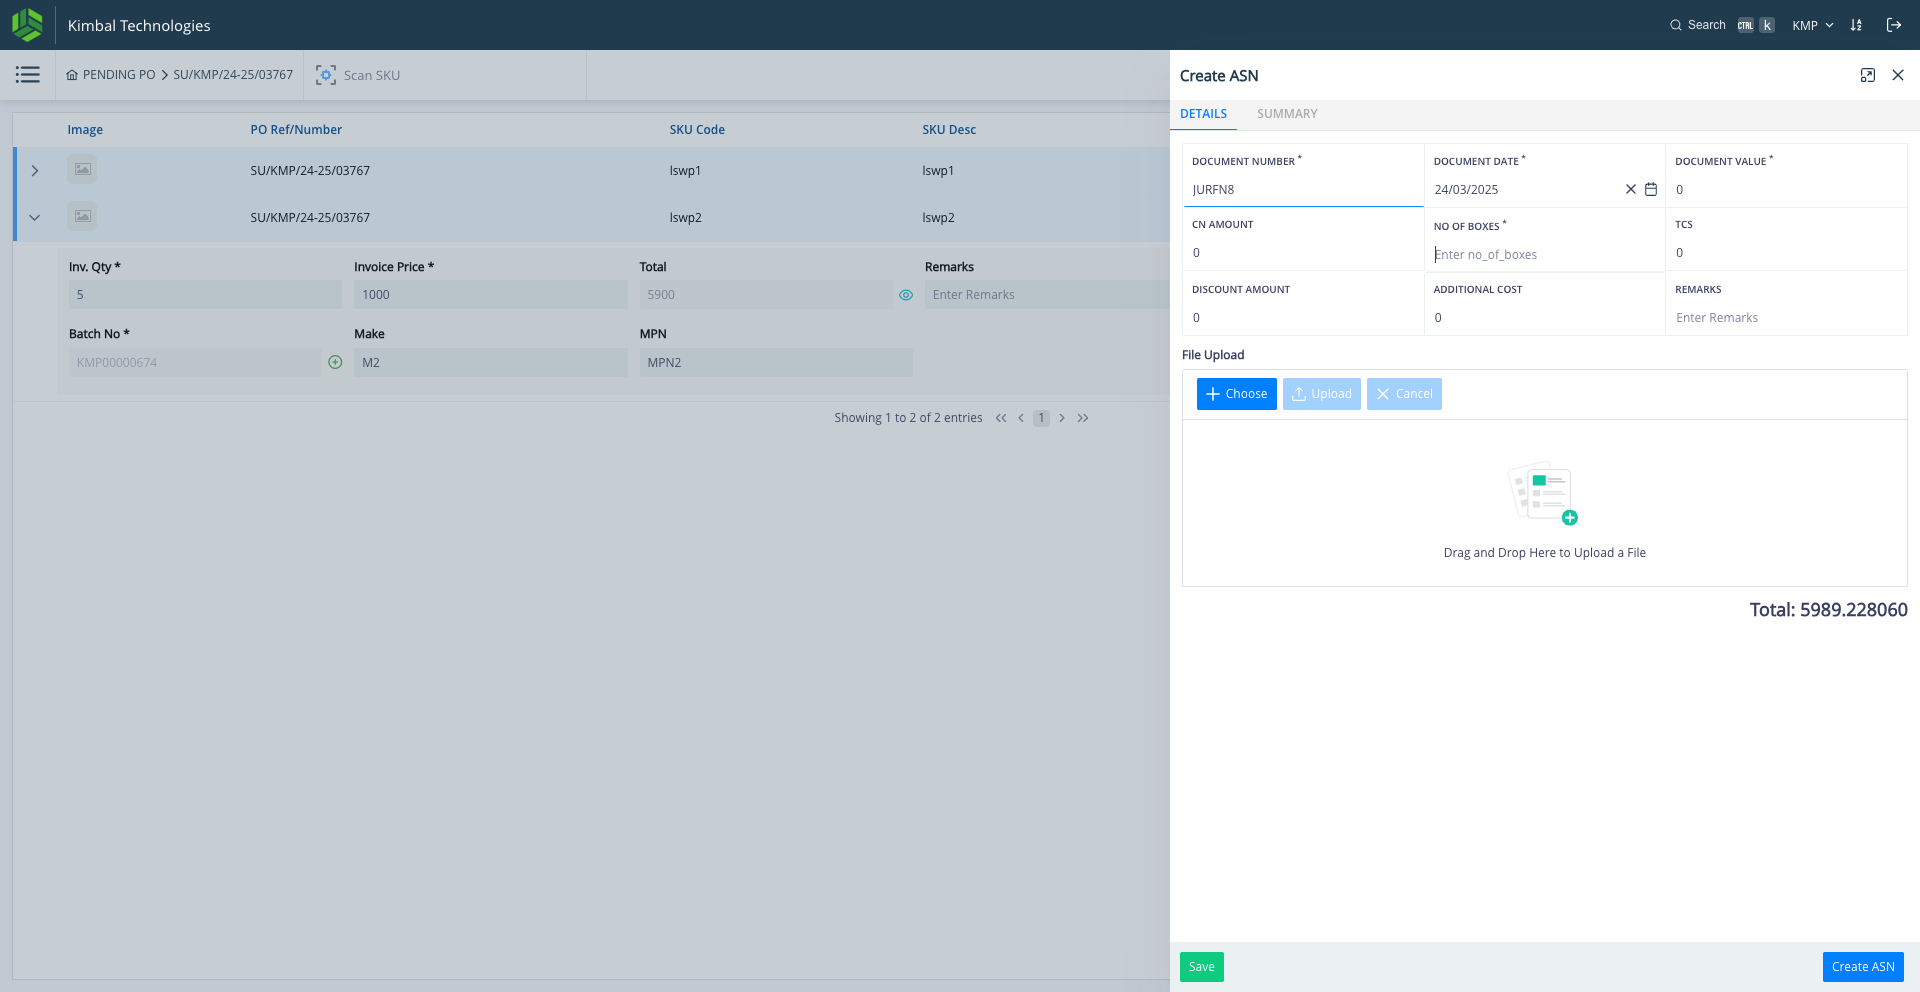
Click here to enter the number of boxes supposed to be received
23
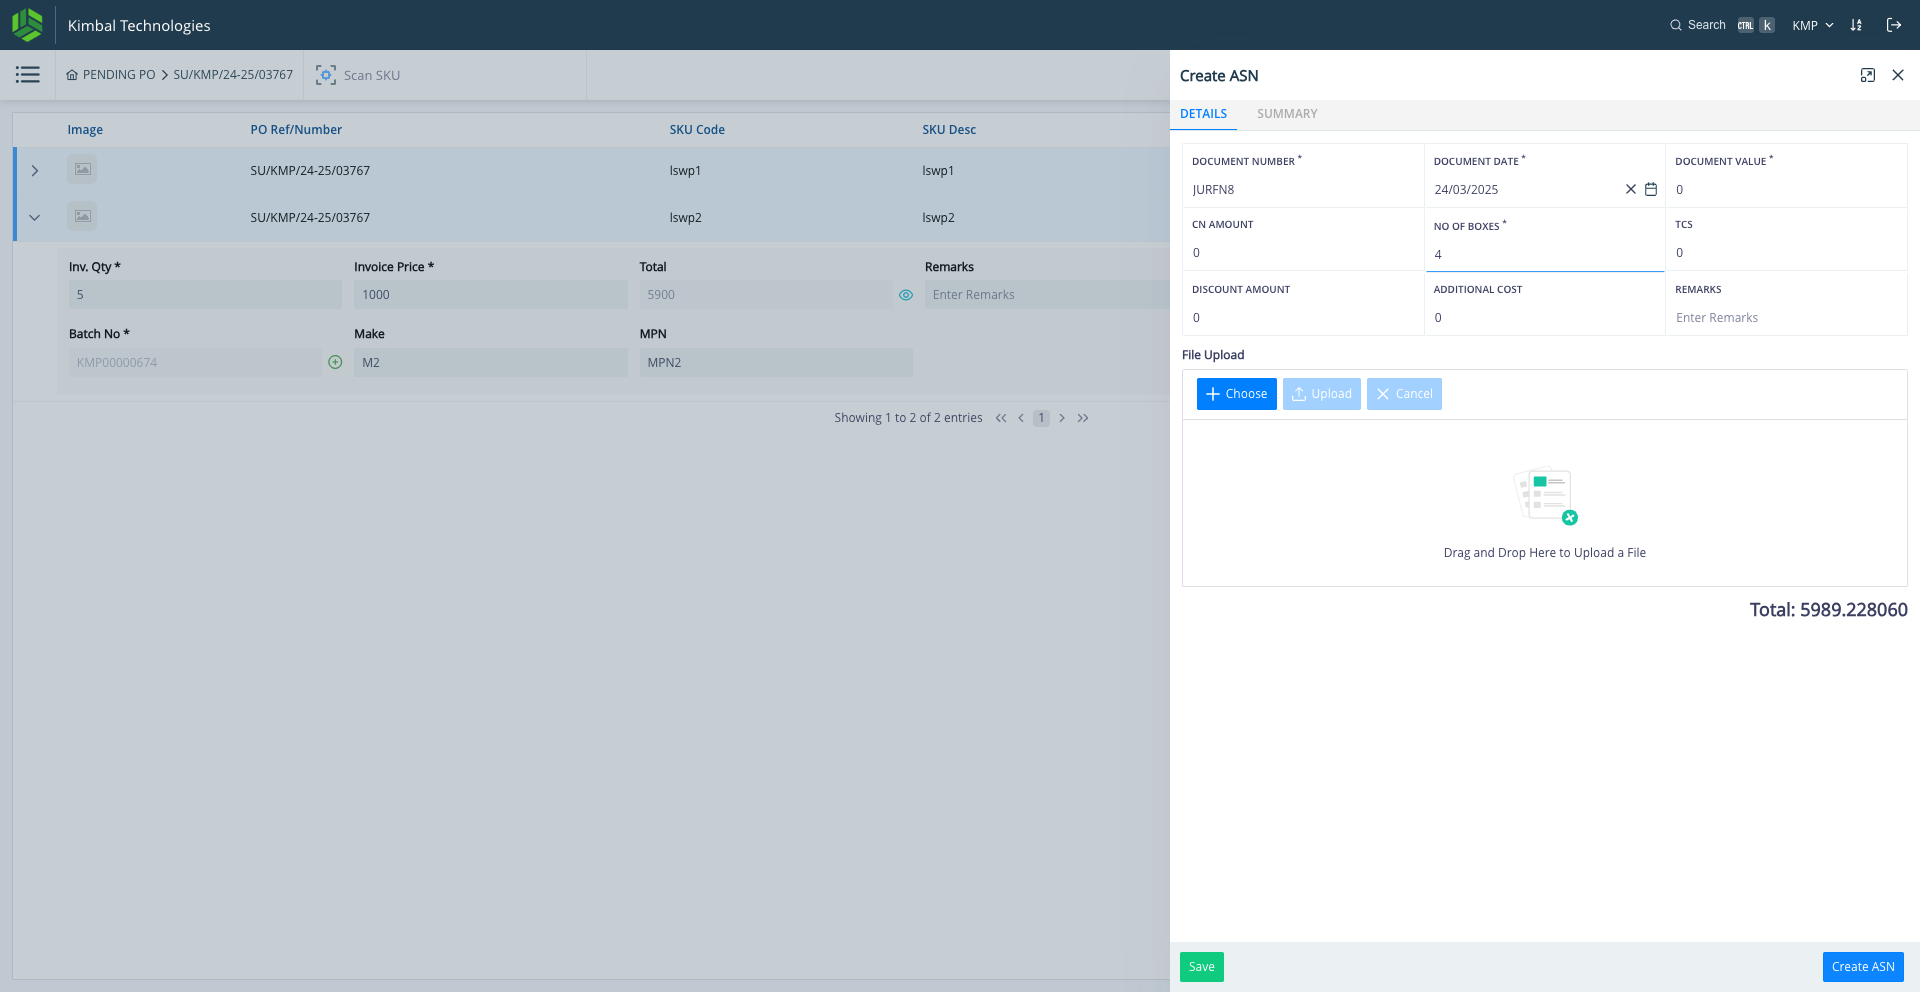
Click on "Create ASN"
24
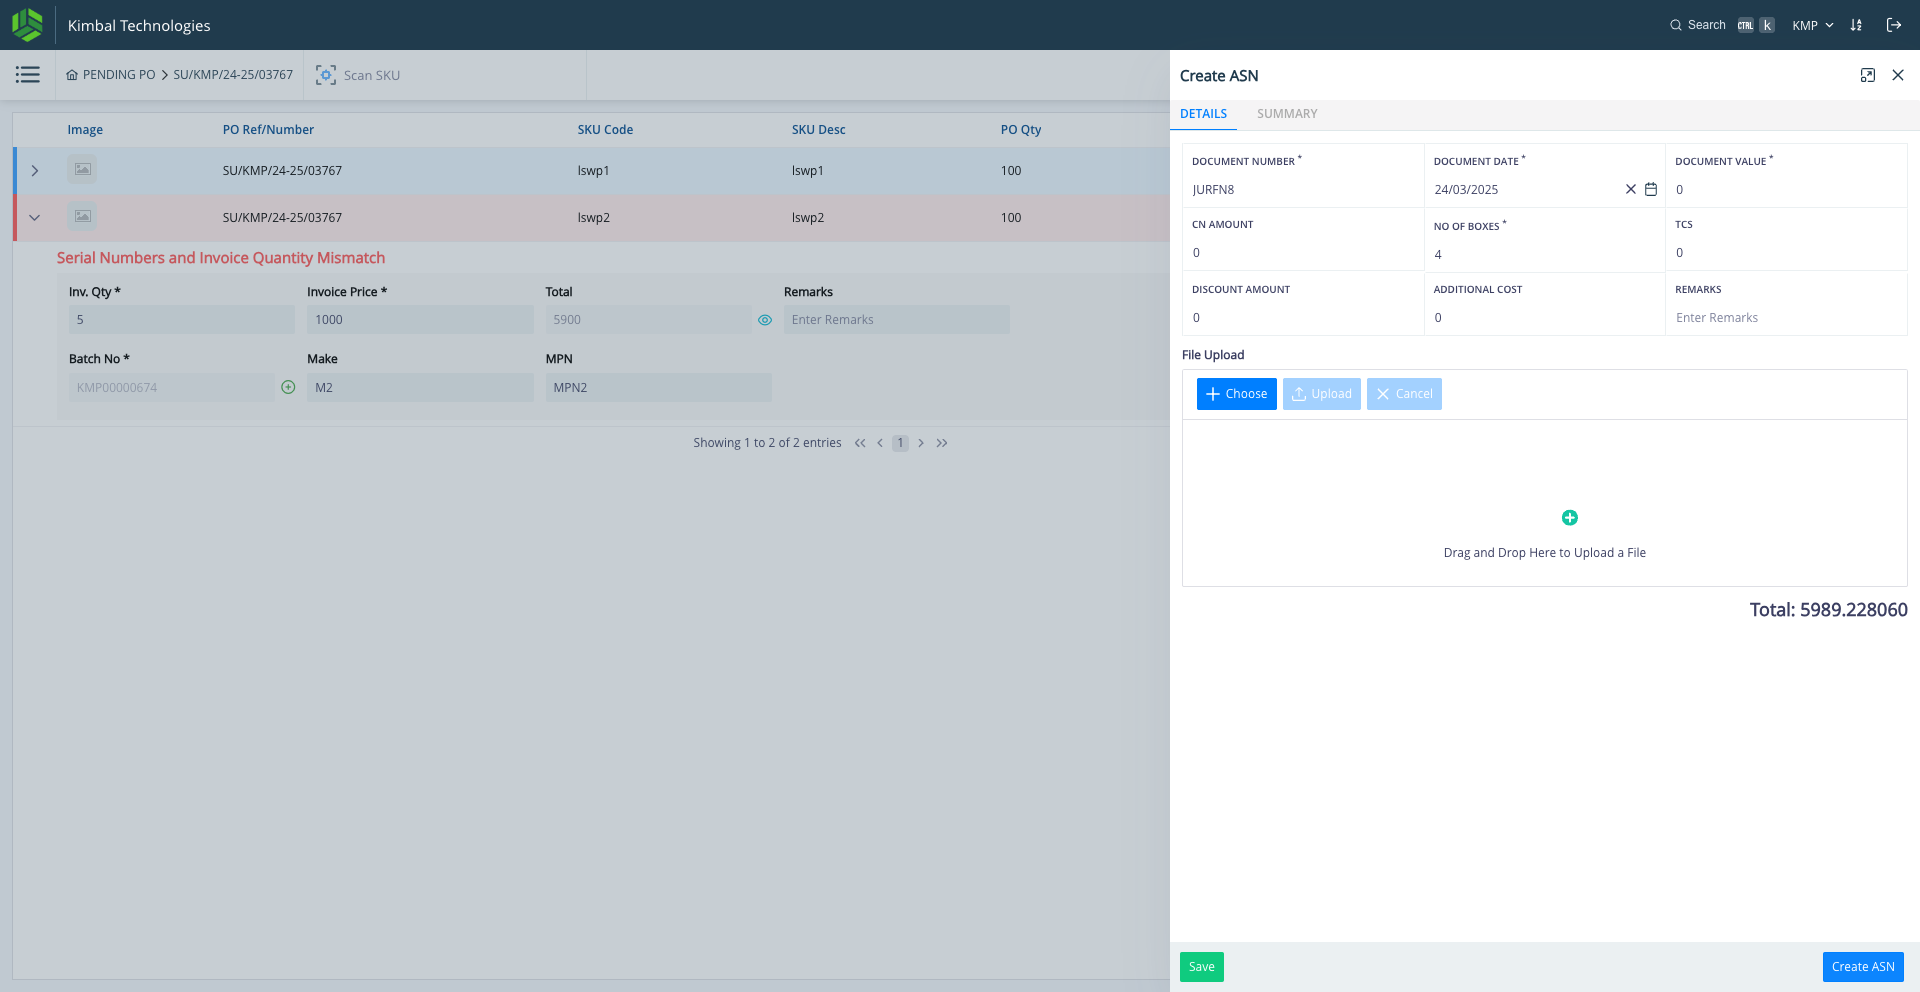
Click on "Create ASN"
25
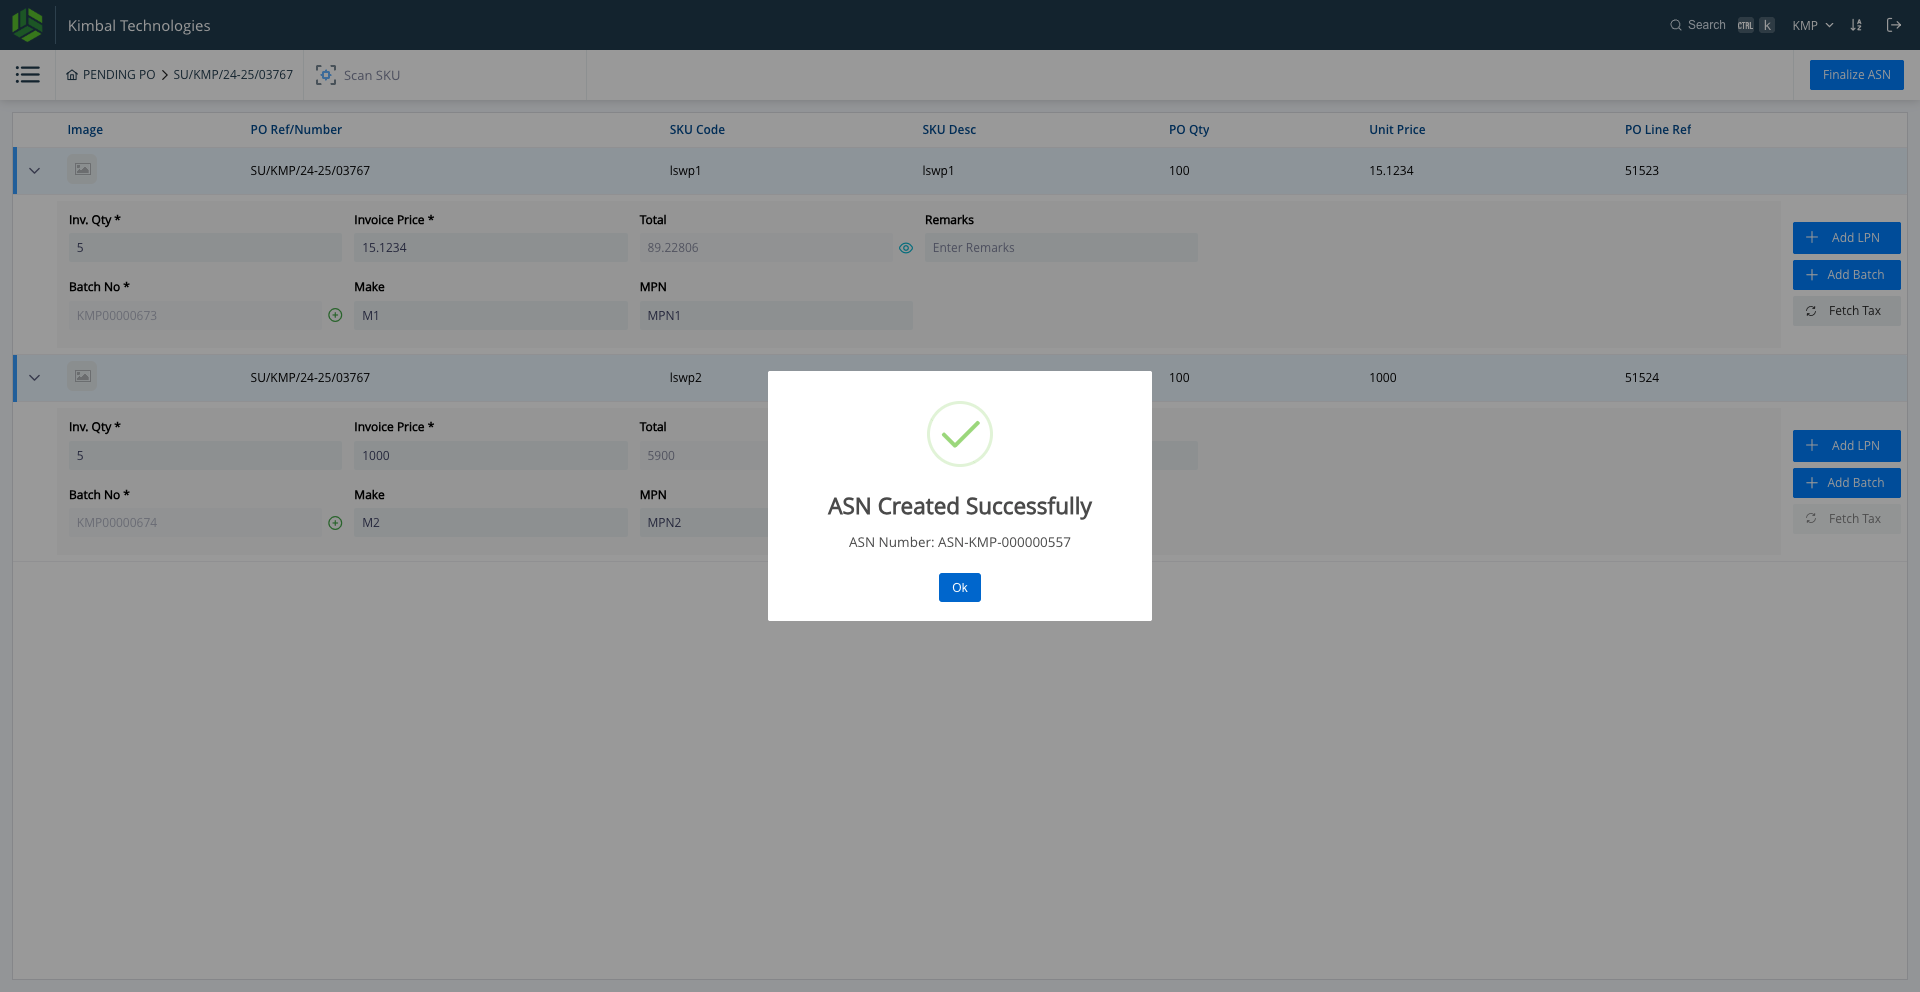
Once the ASN is created, the ASN number is displayed, Click on "Ok"
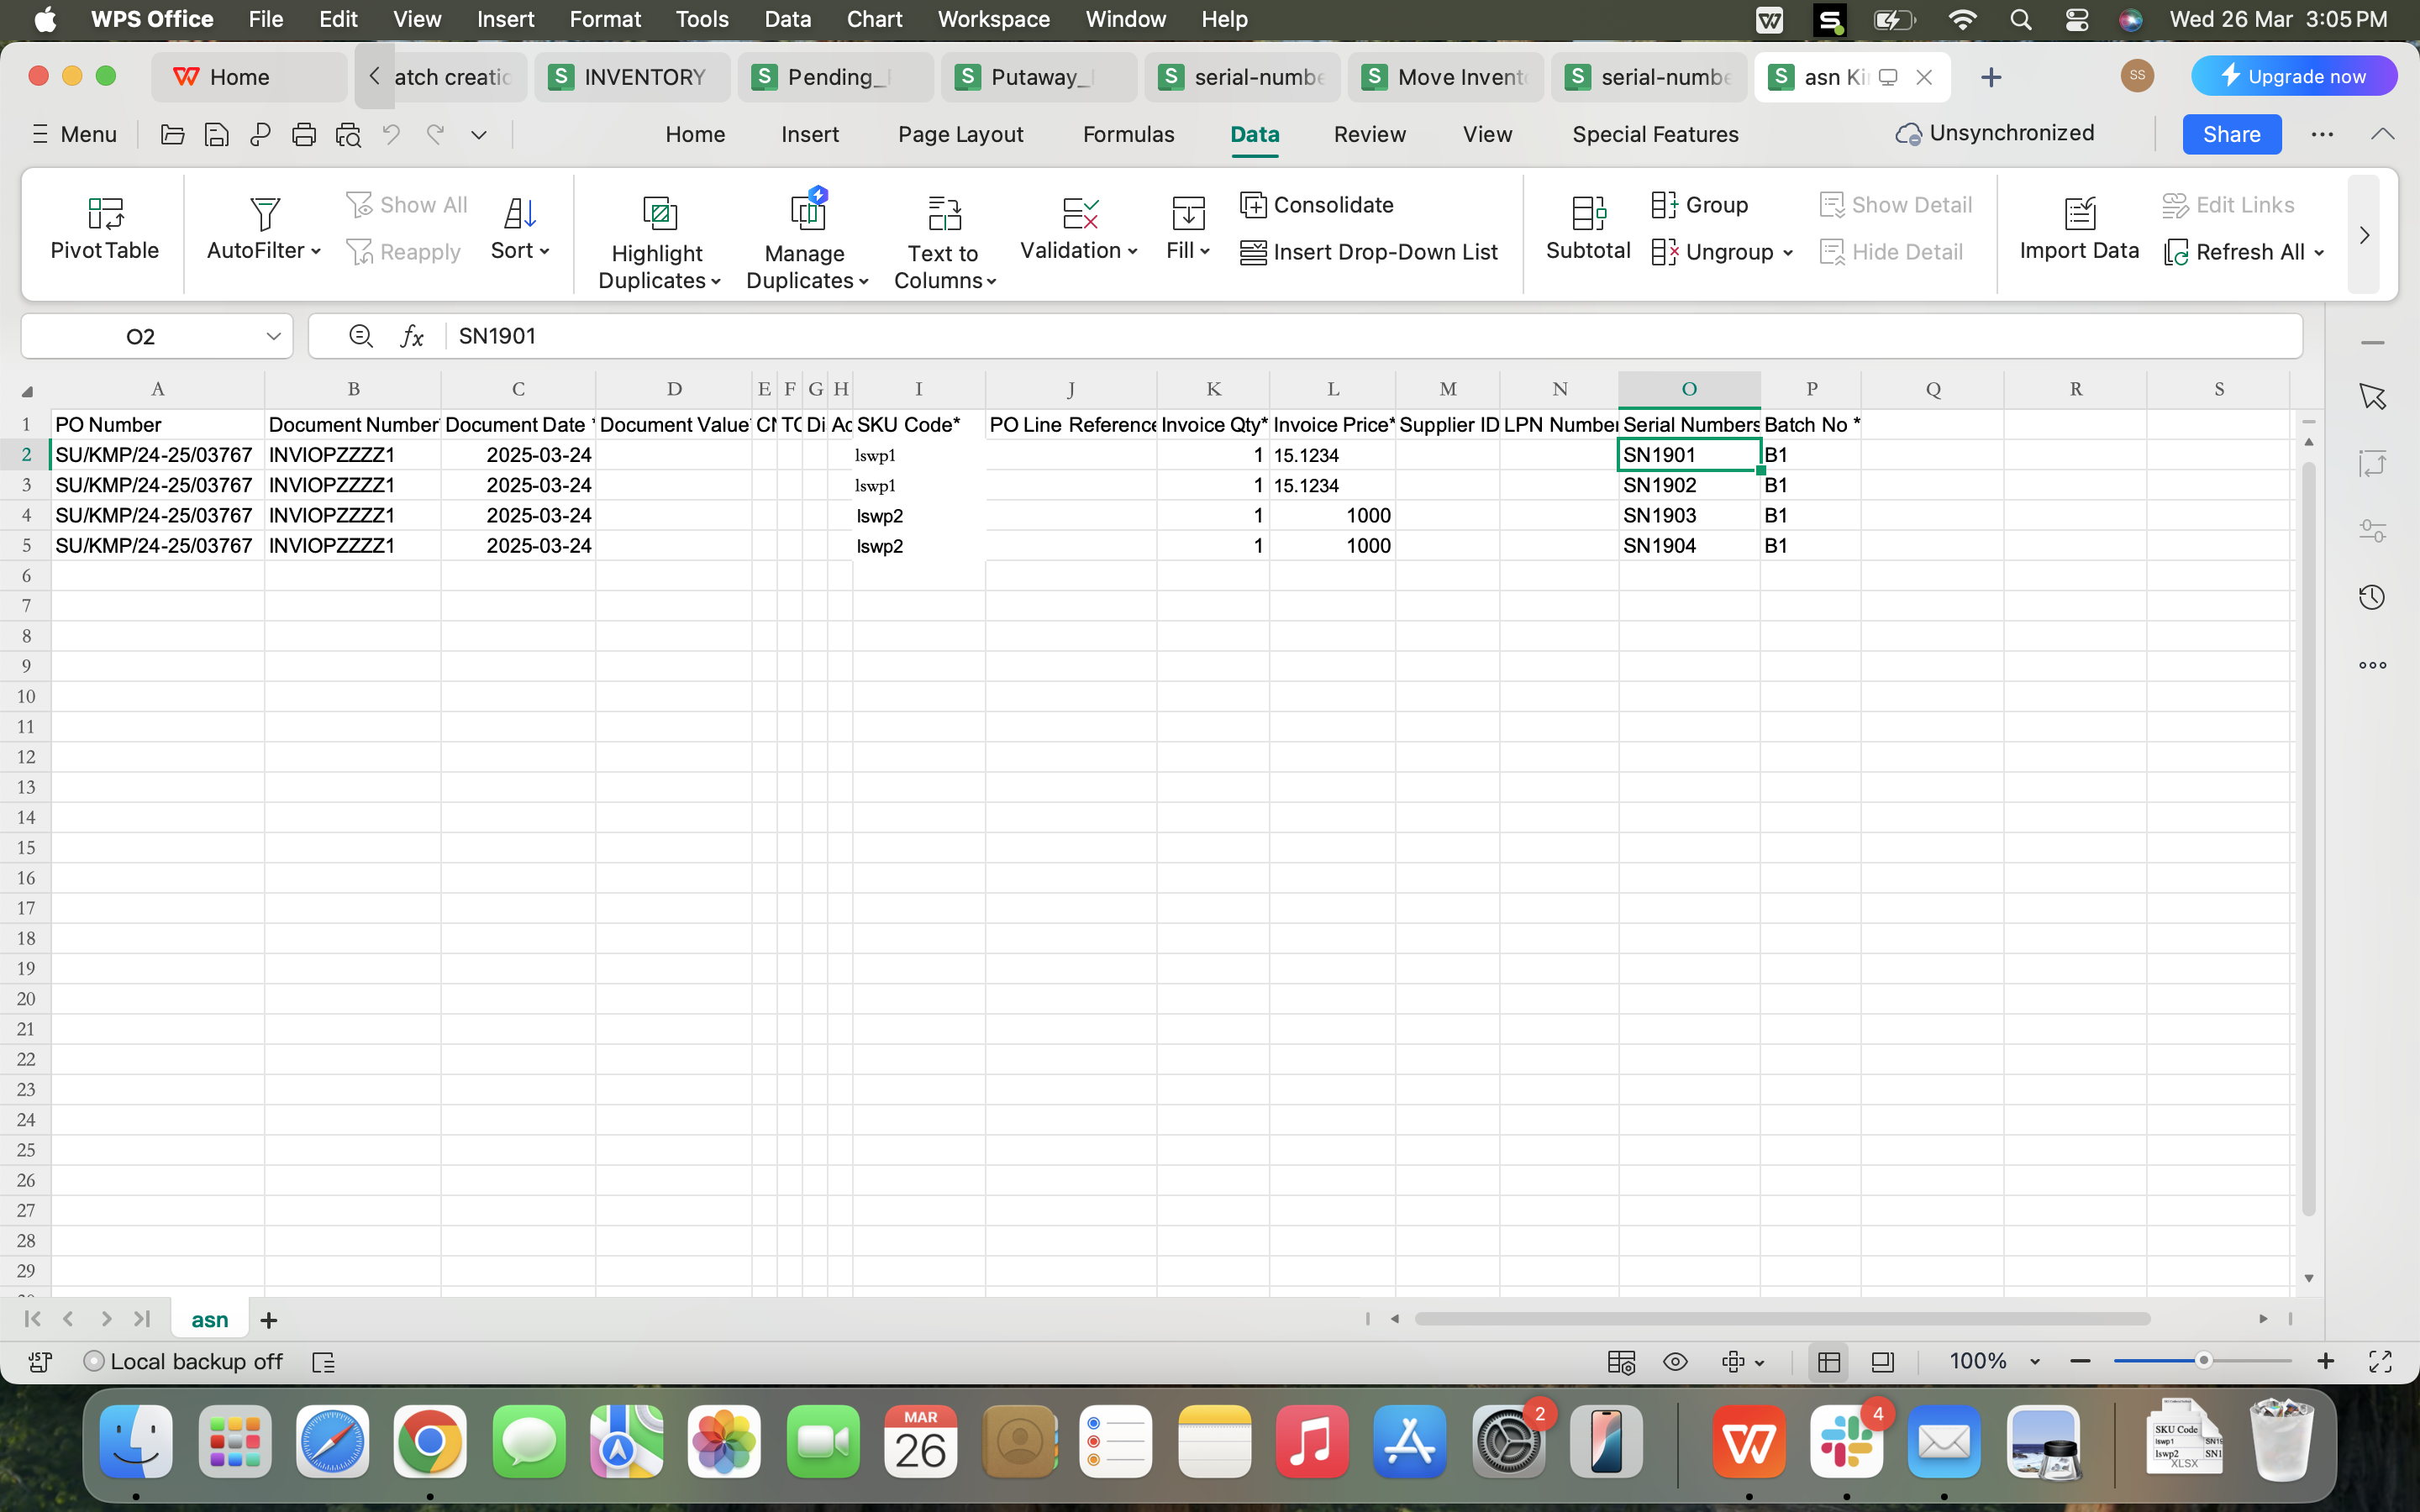
ASN could also be done with help of uploading an excel file through upload. Download the "ASN Form" from uploads section under "Extra" menu
26
The ASN form has these fields which need to be filled
27
After successful upload the completed message will be displayed as shown
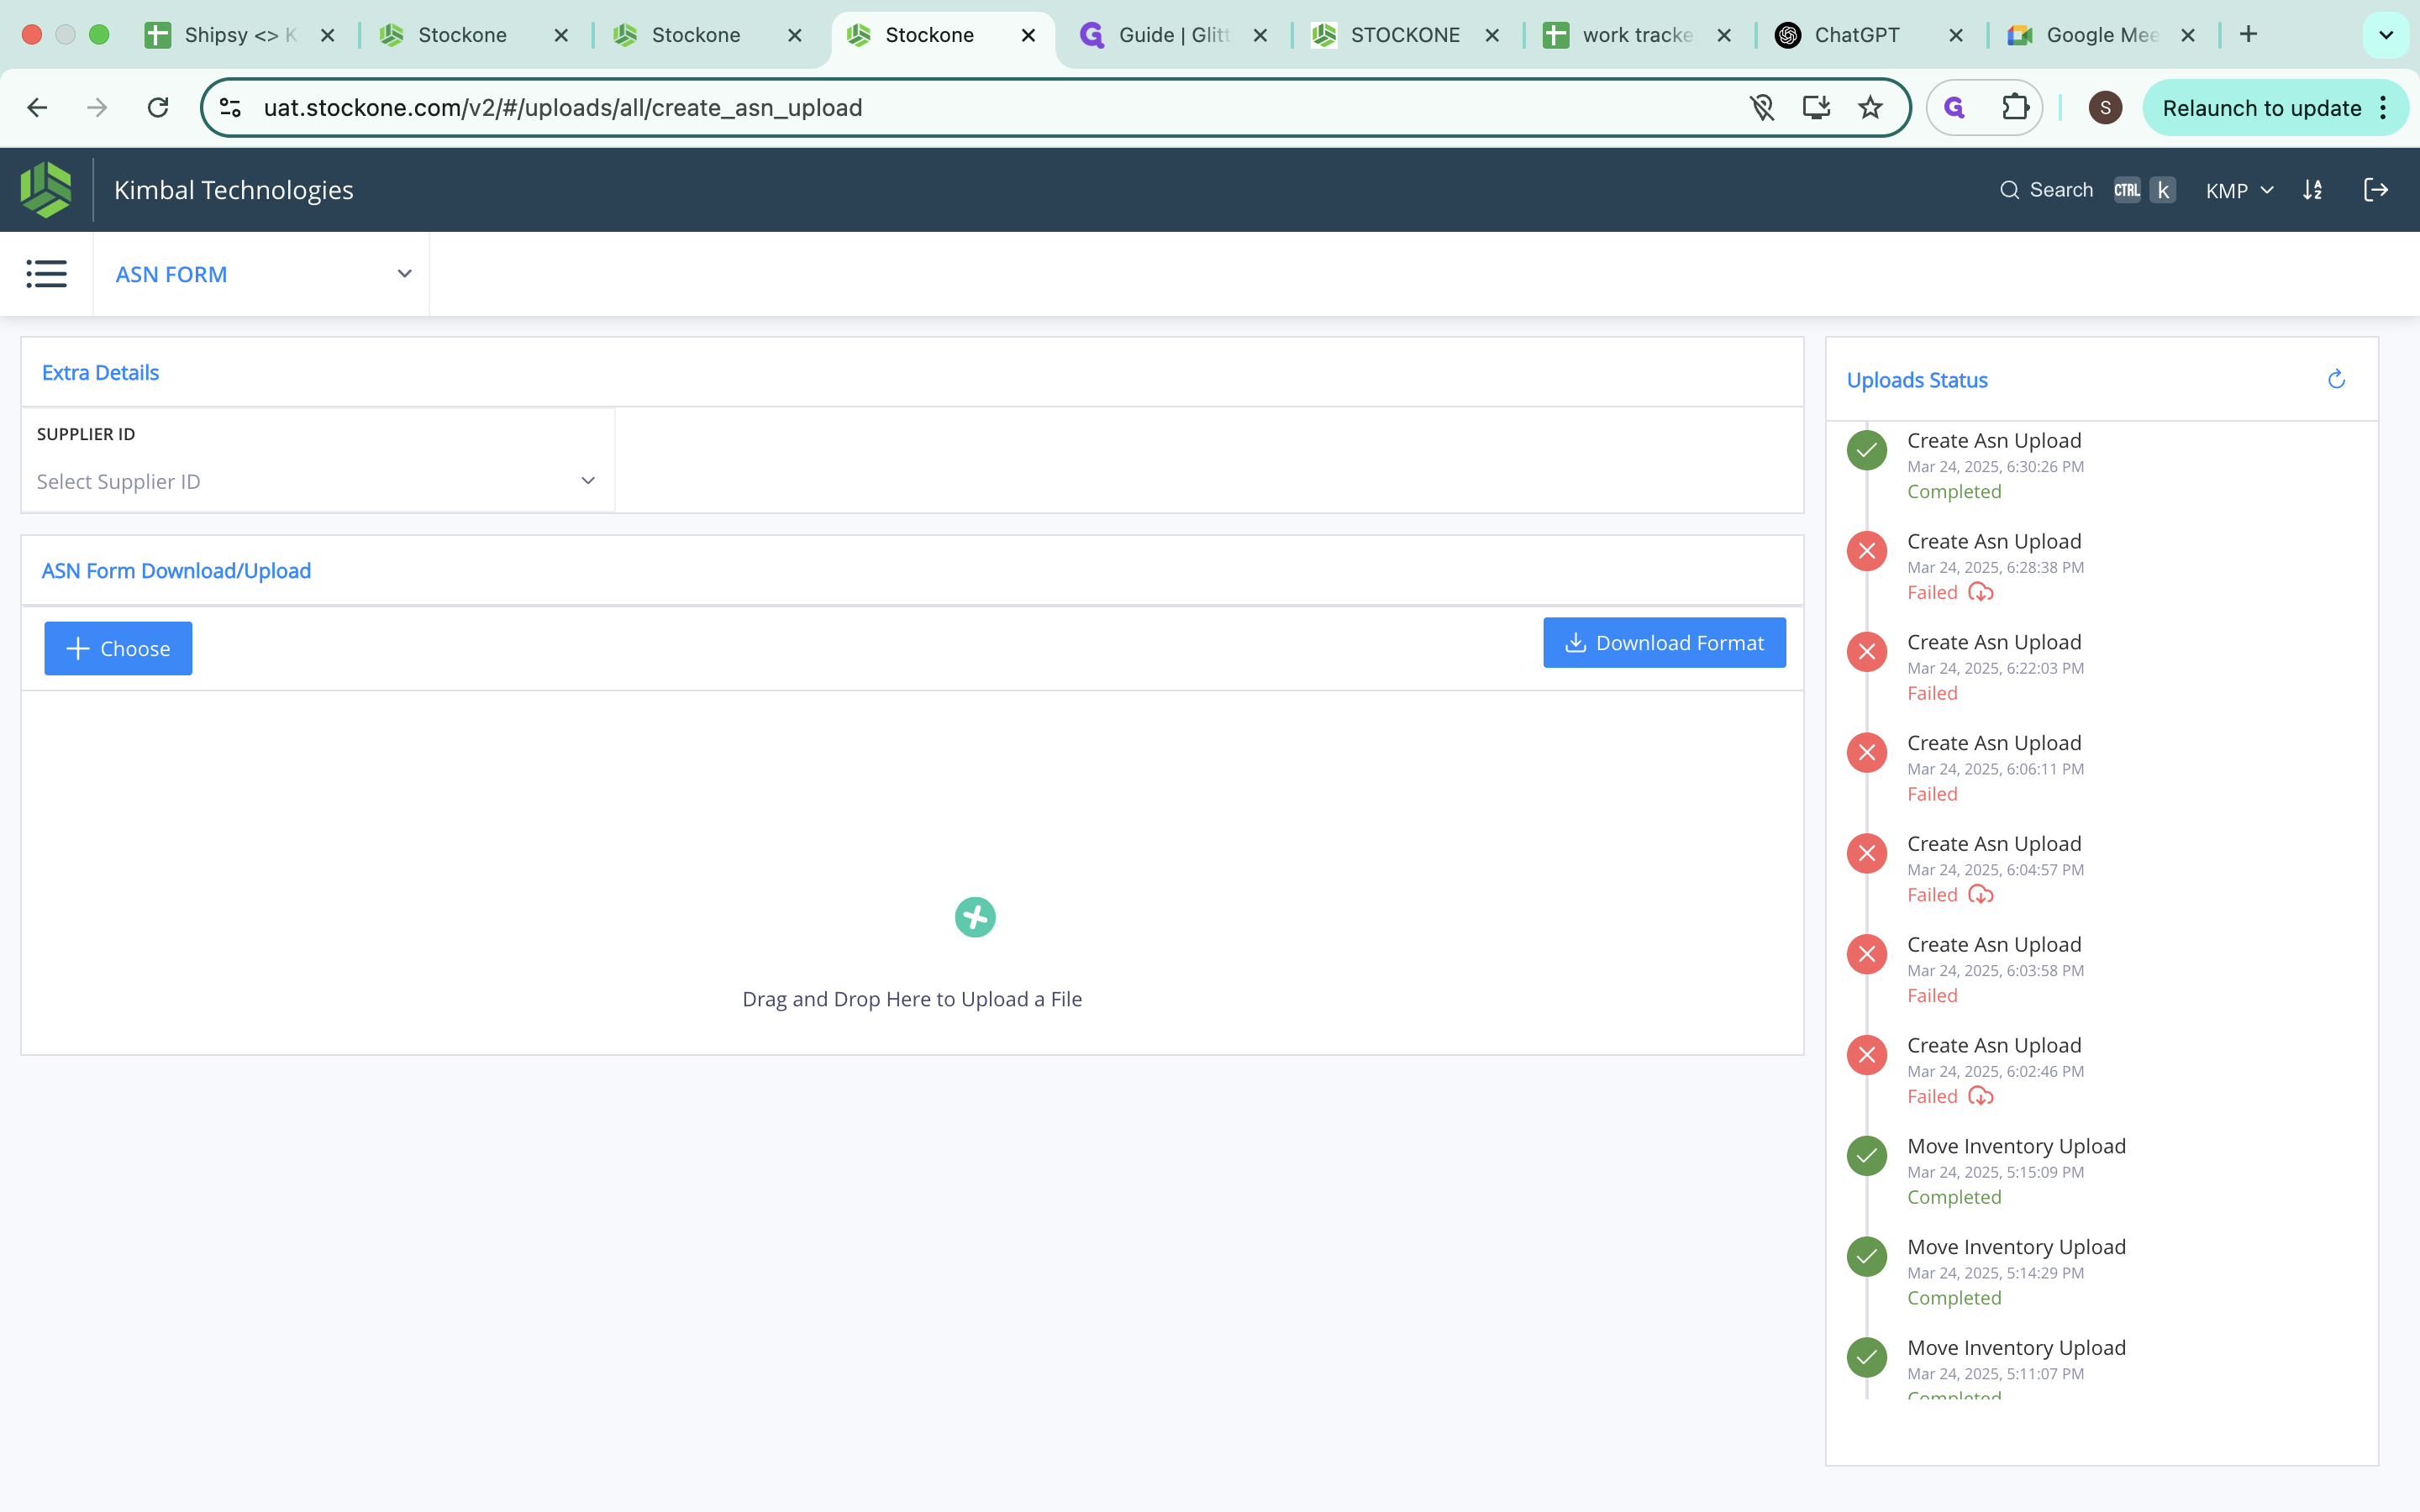
Now, we will move on to doing the GRN on the ASN
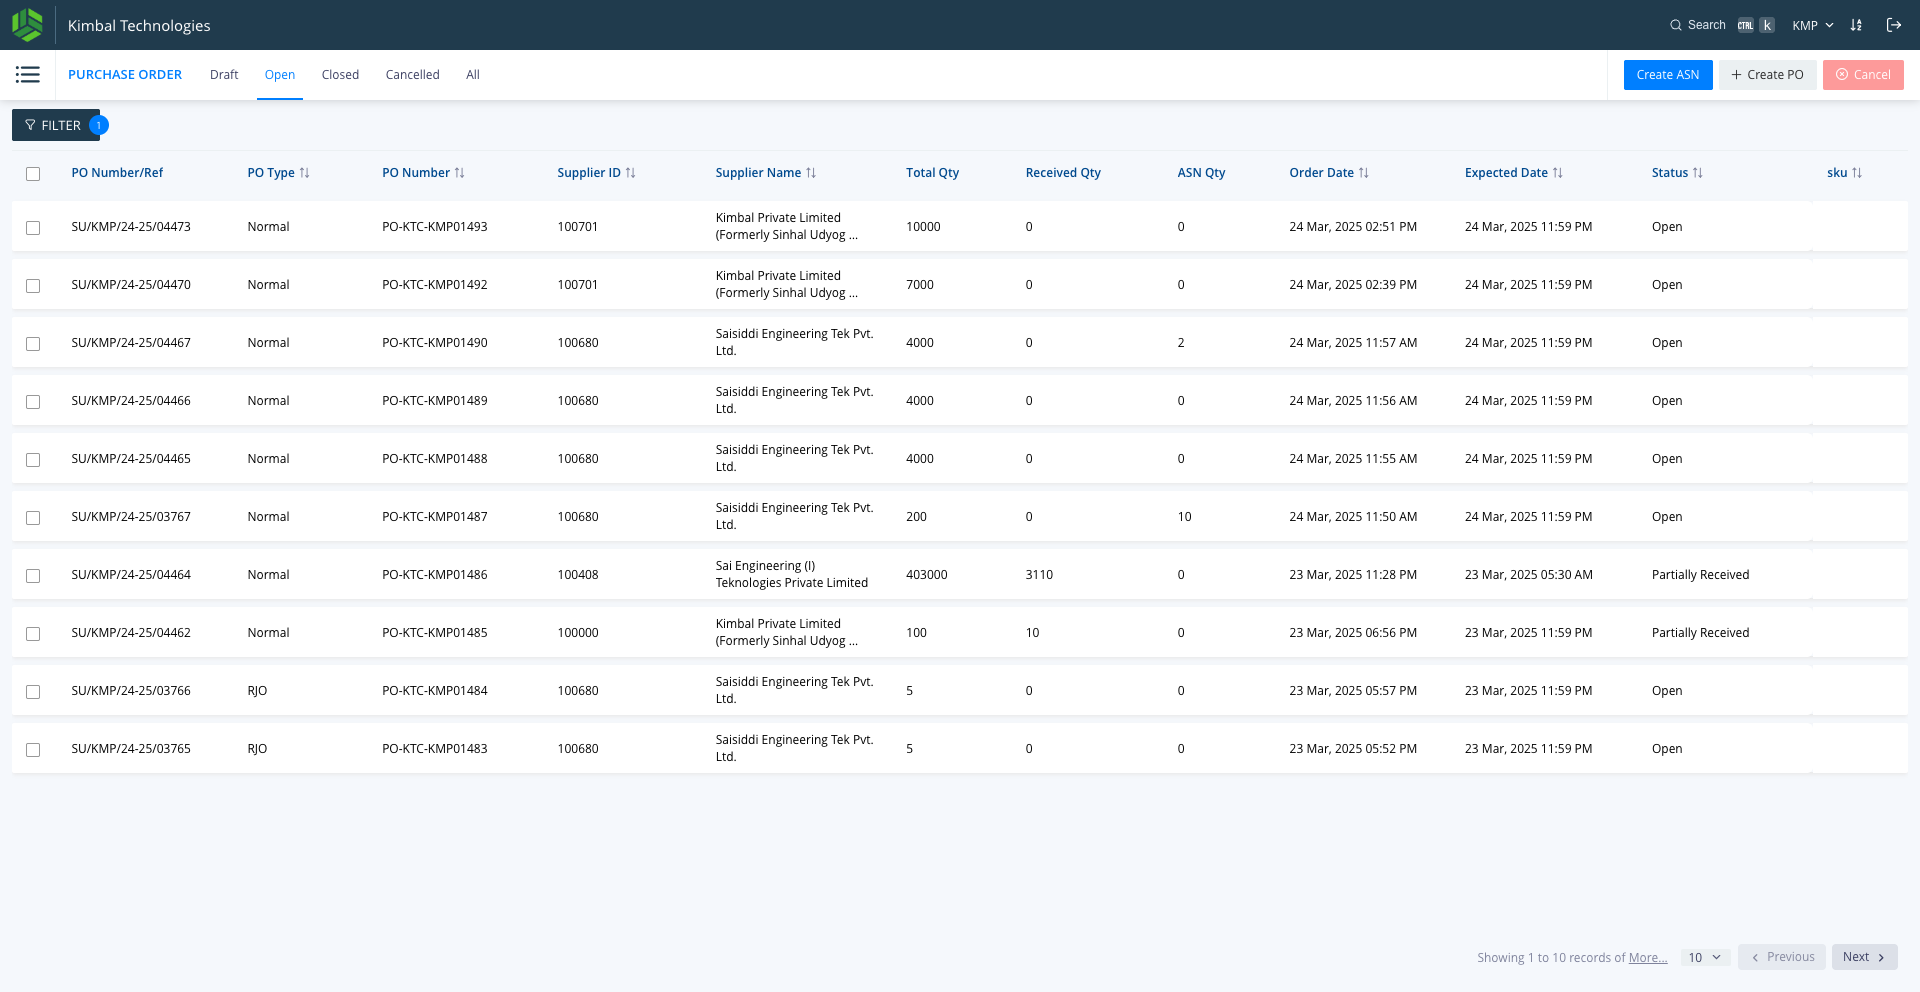
28
Click on the main menu & go to "Material Receipt" menu
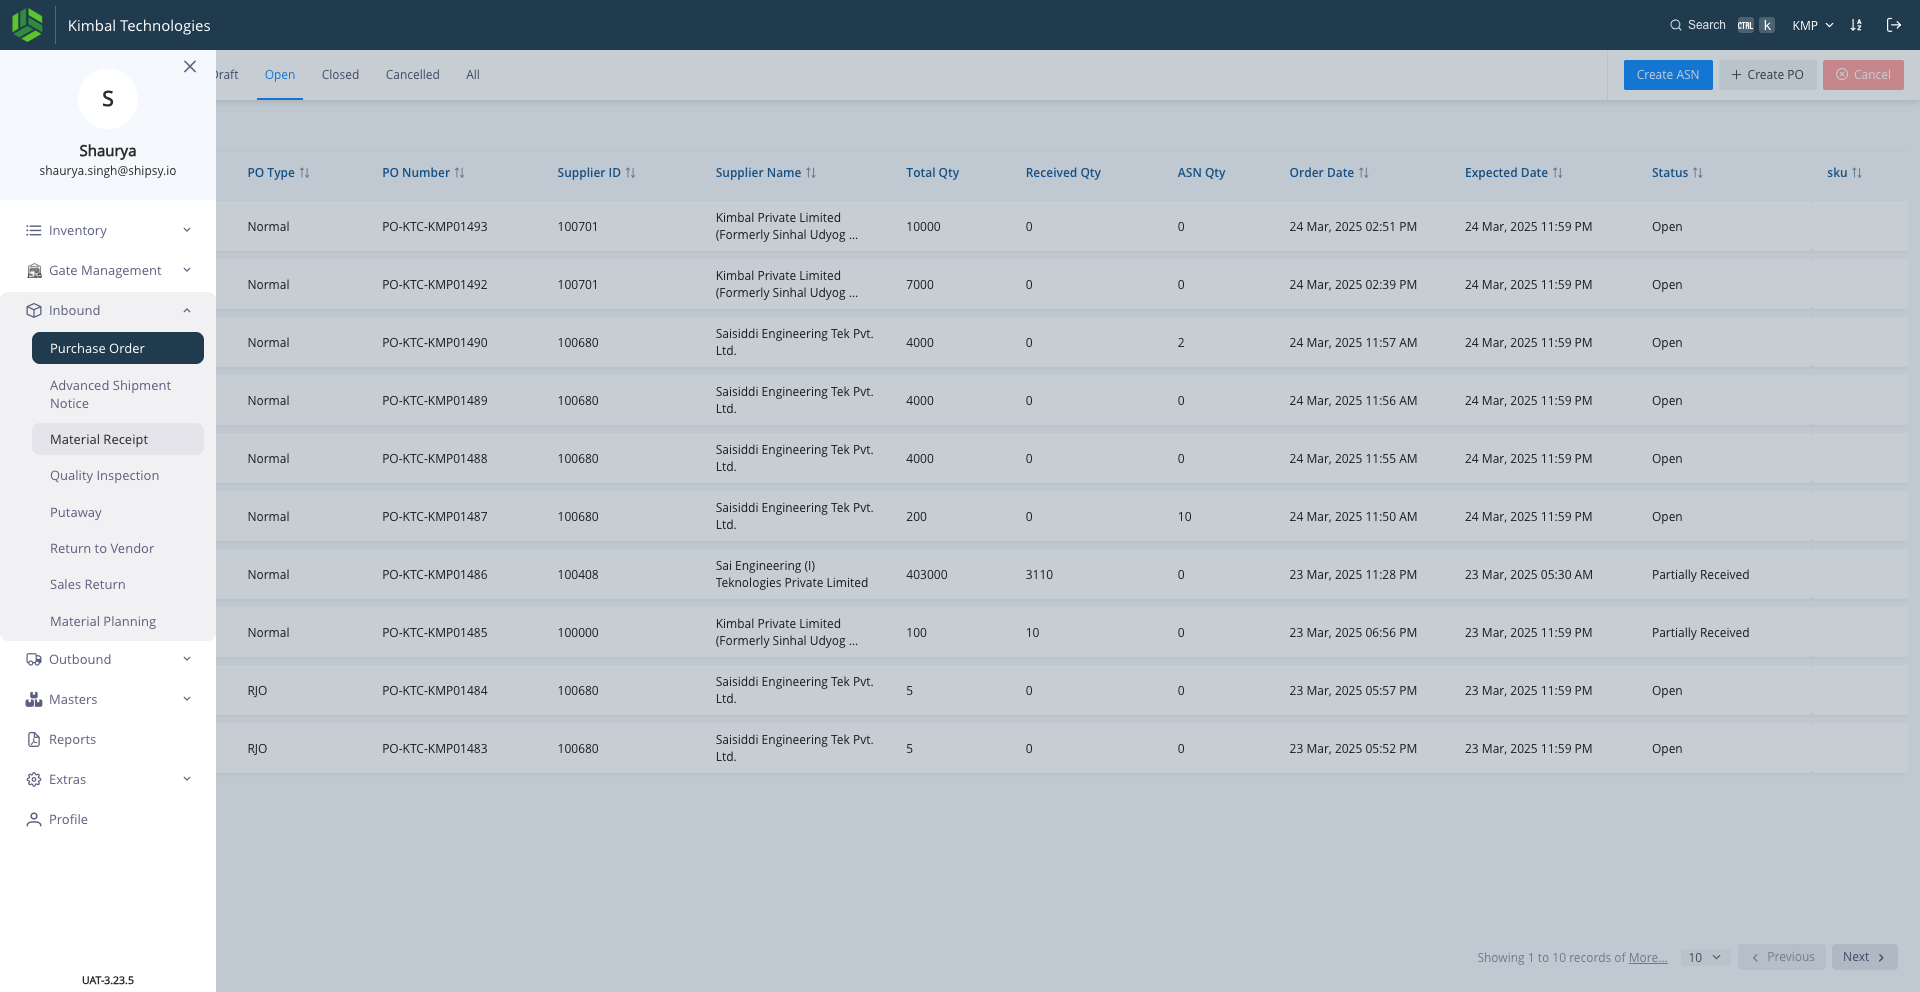
29
Click on "Material Receipt"
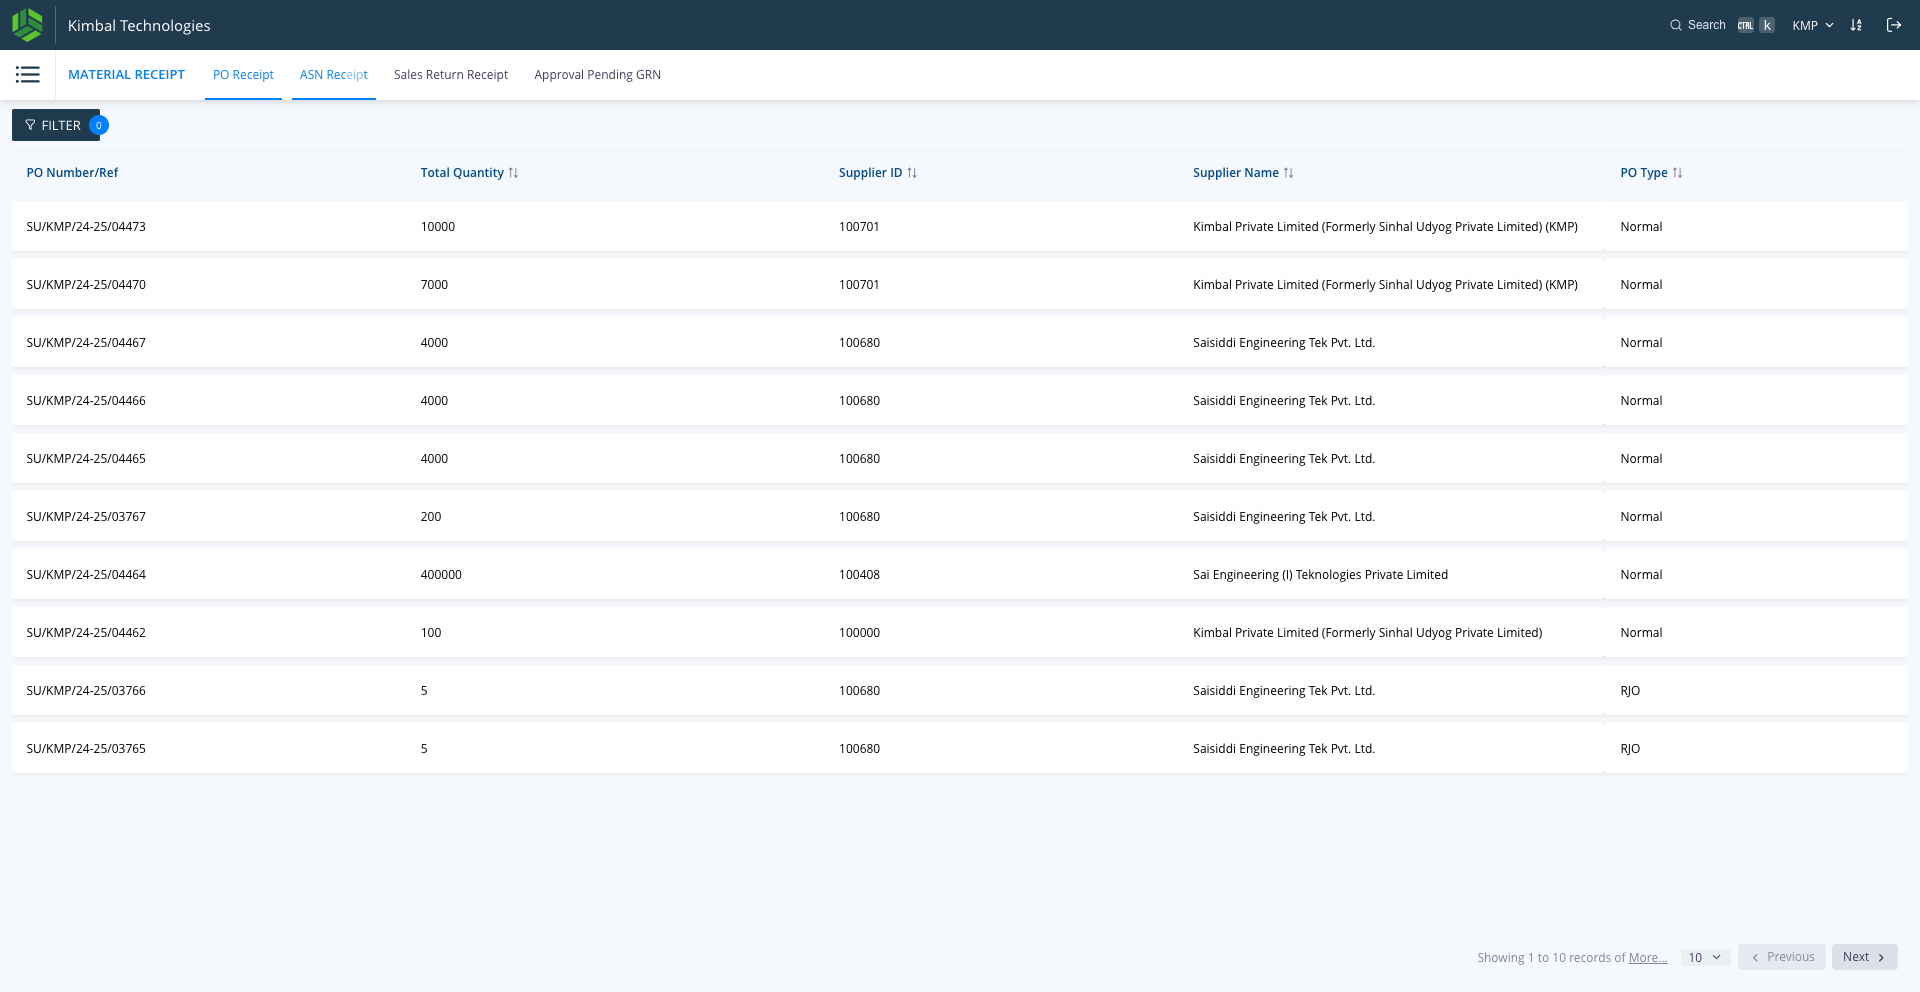
30
Click on "ASN Receipt" to create the GRN
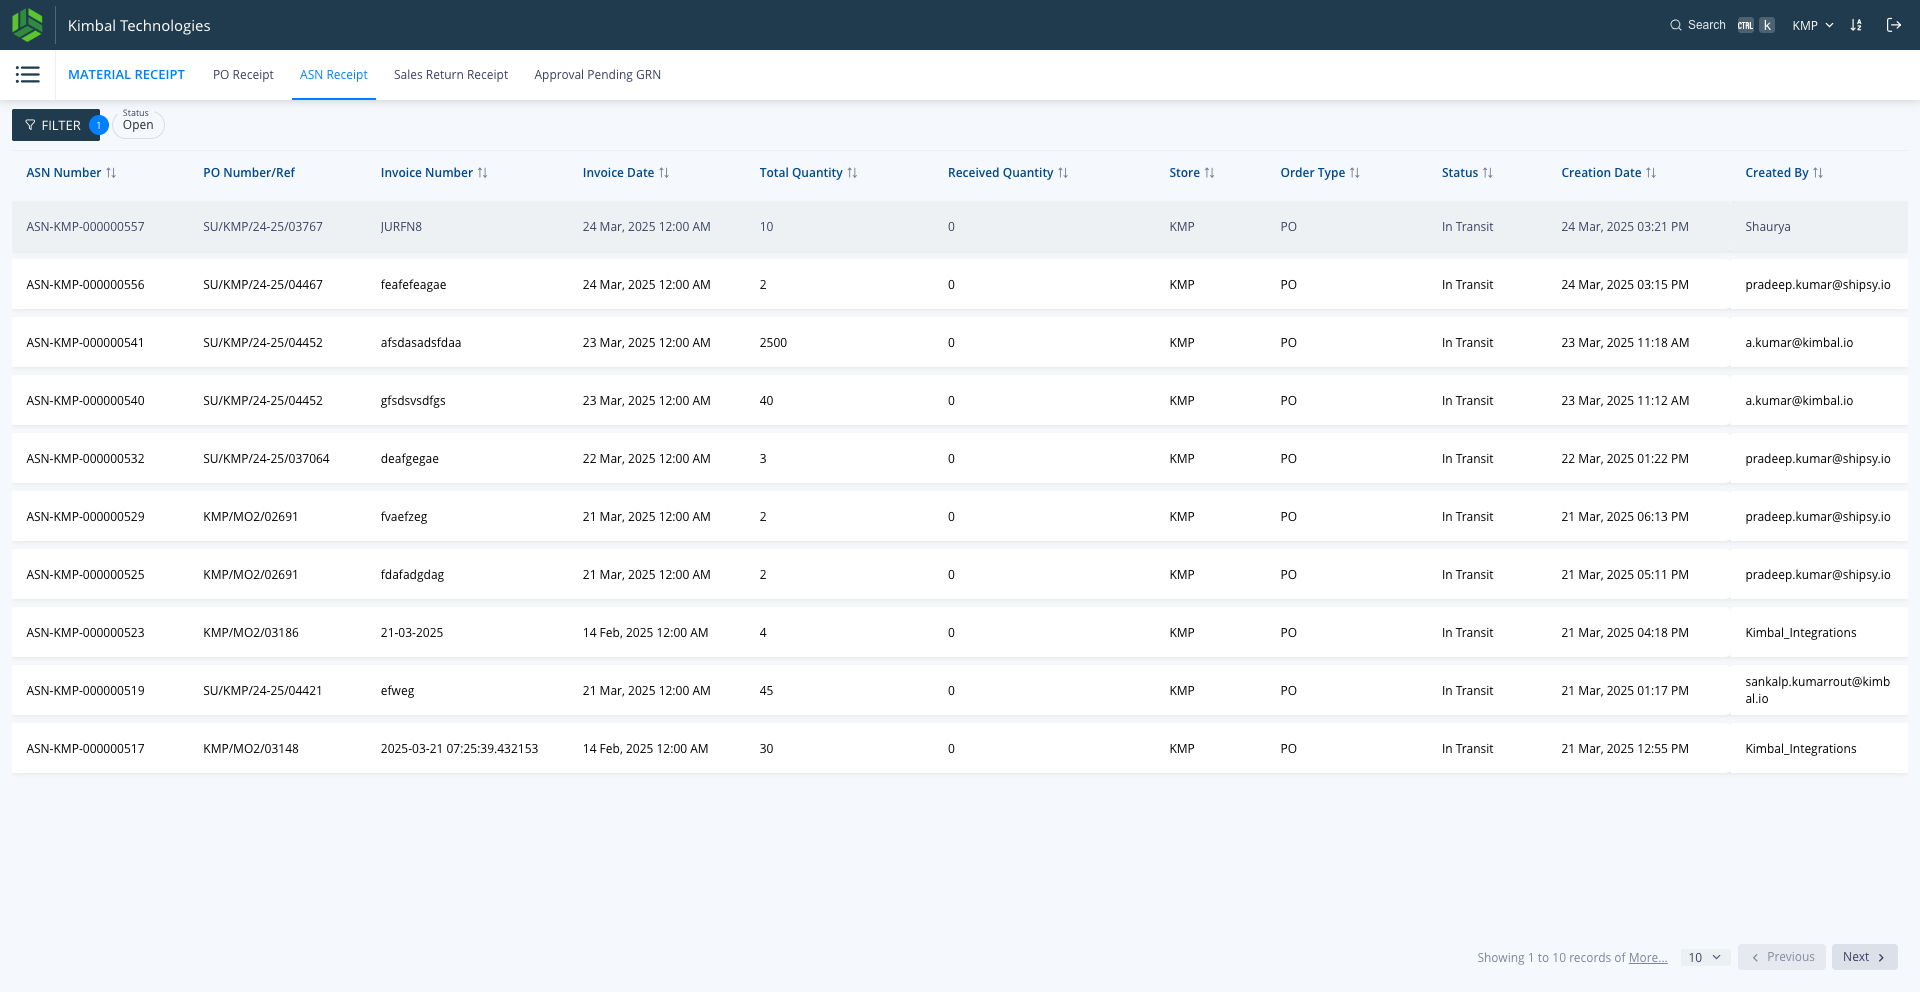
31
Click here respective ASN for which GRN need to be made
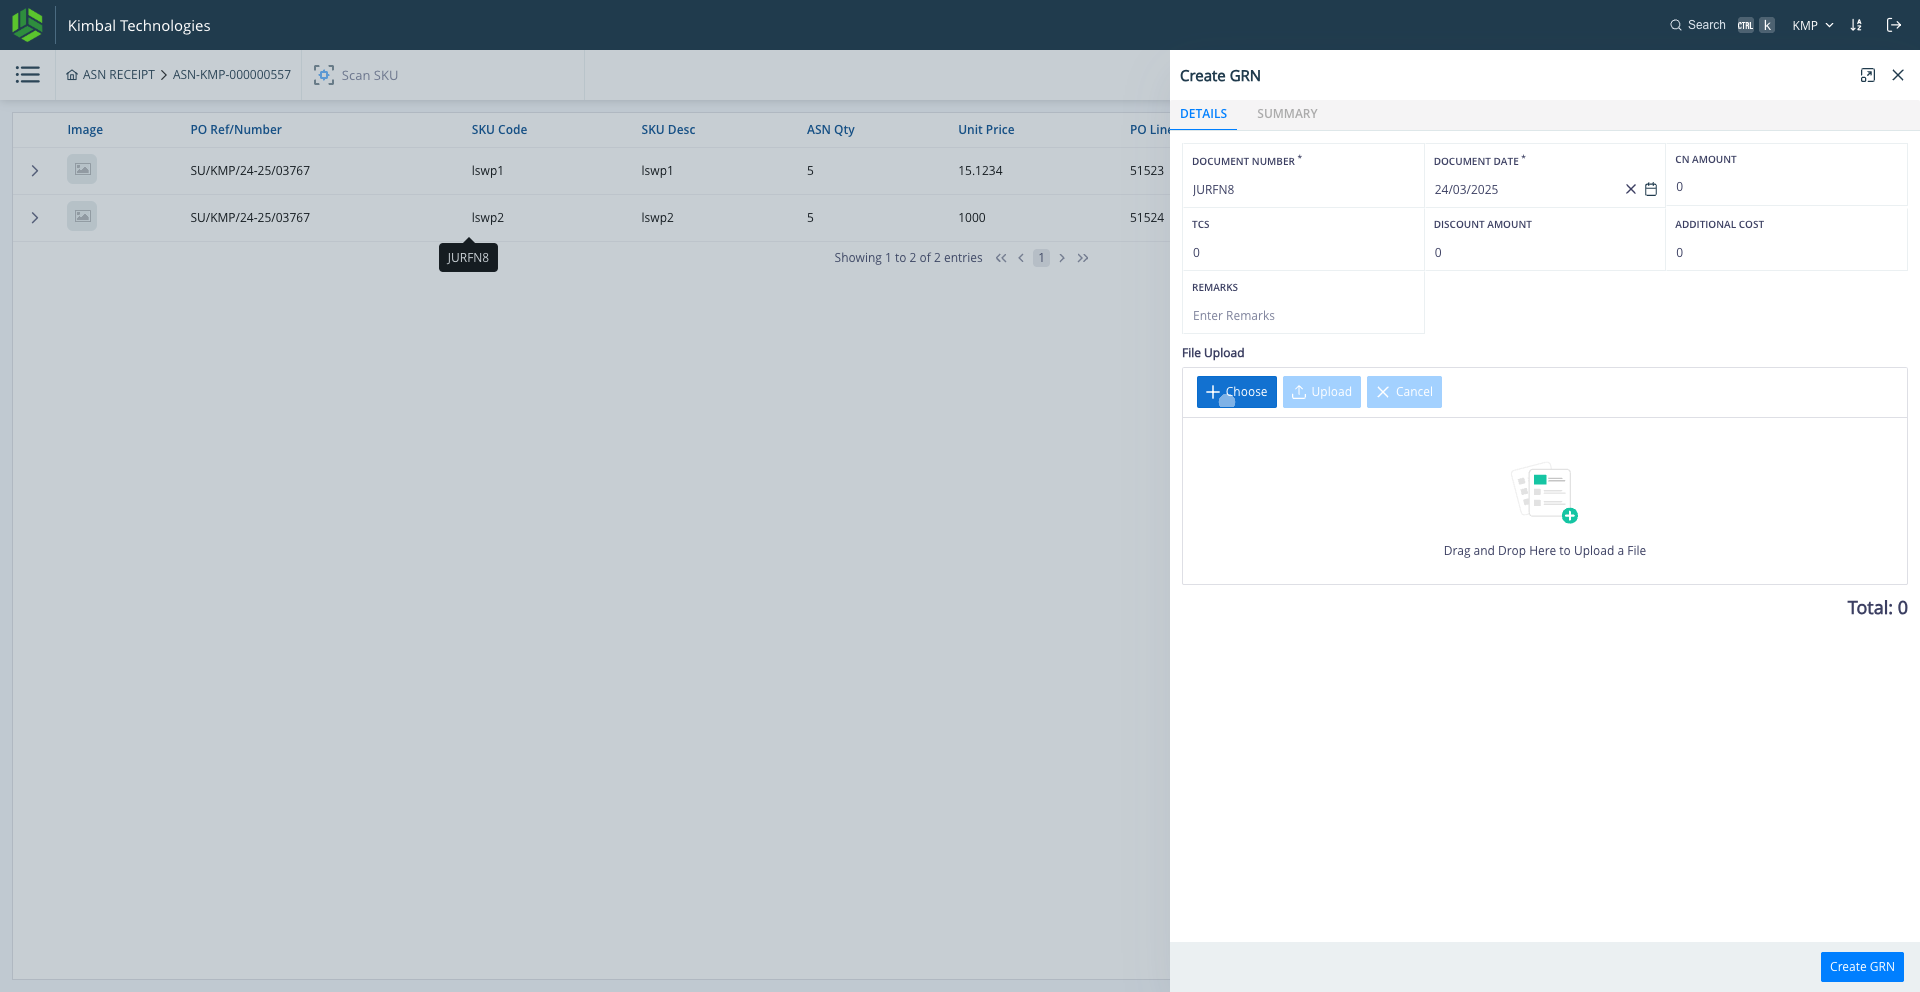
32
Click on "+ Choose" to upload a copy of vendor's invoice
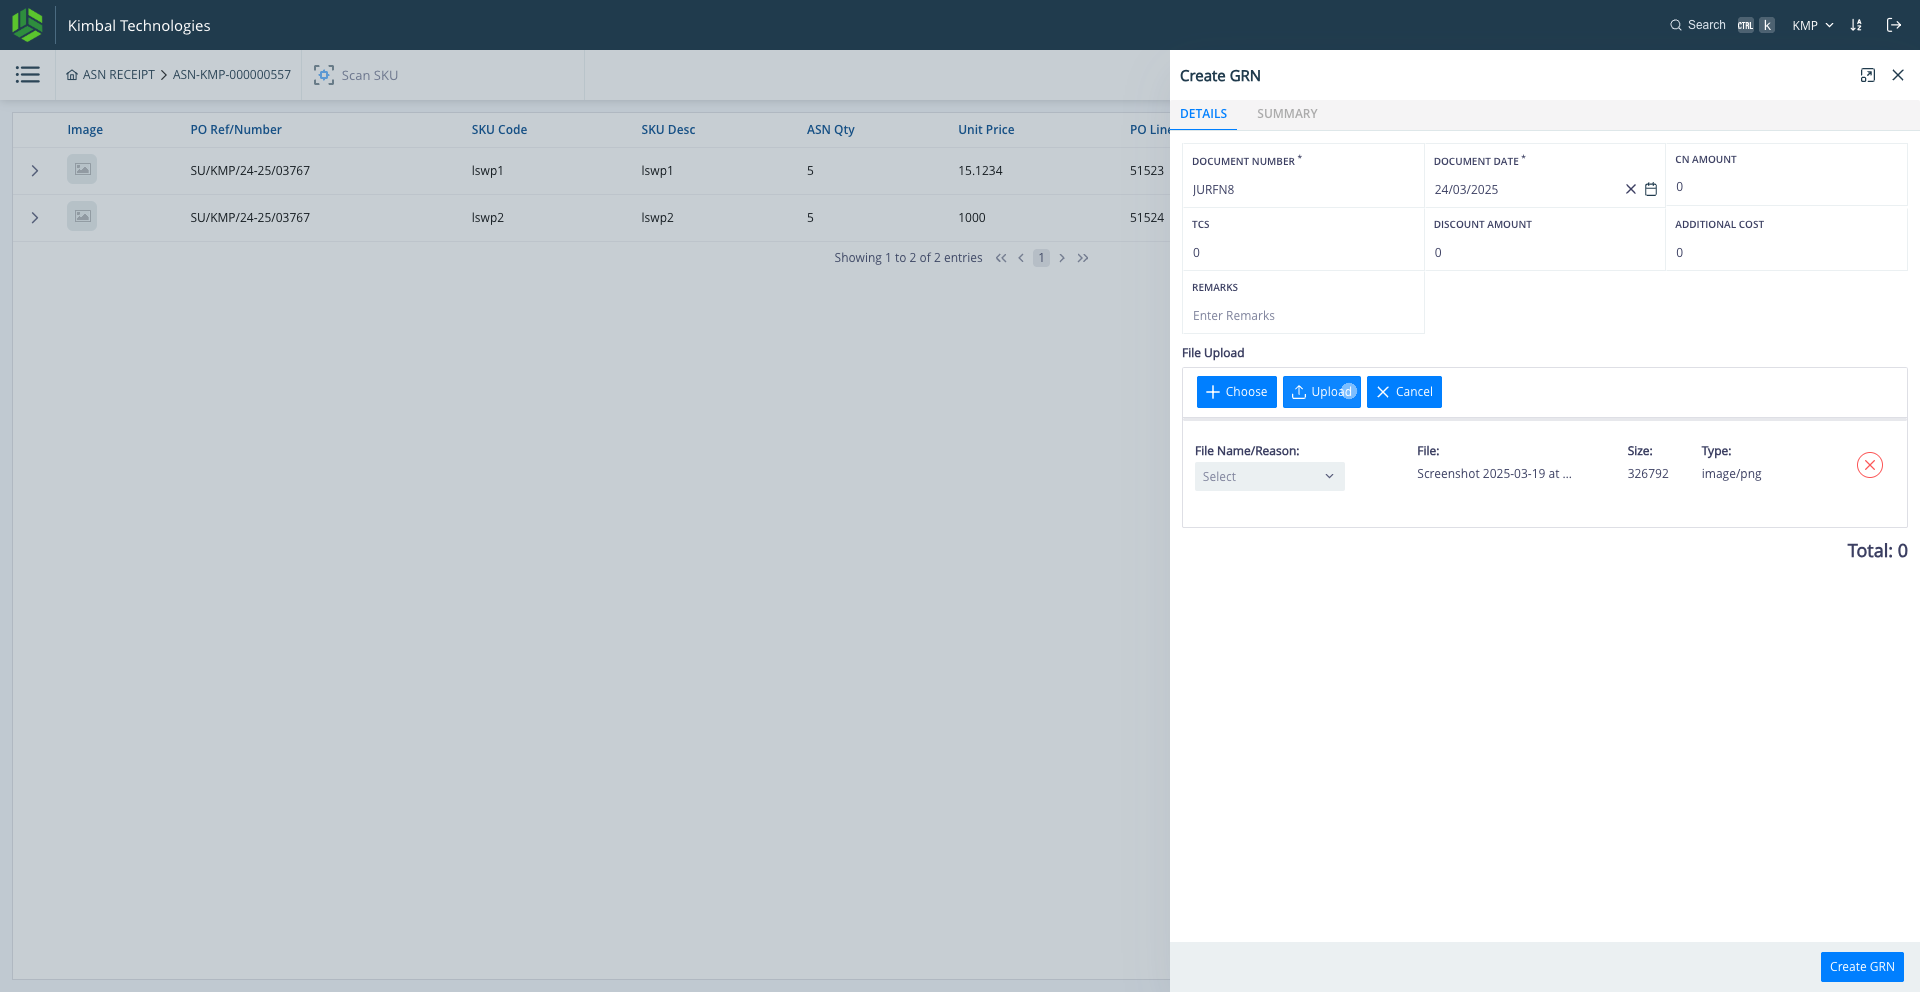
33
Click on "Upload"
34
Click on "Create GRN"
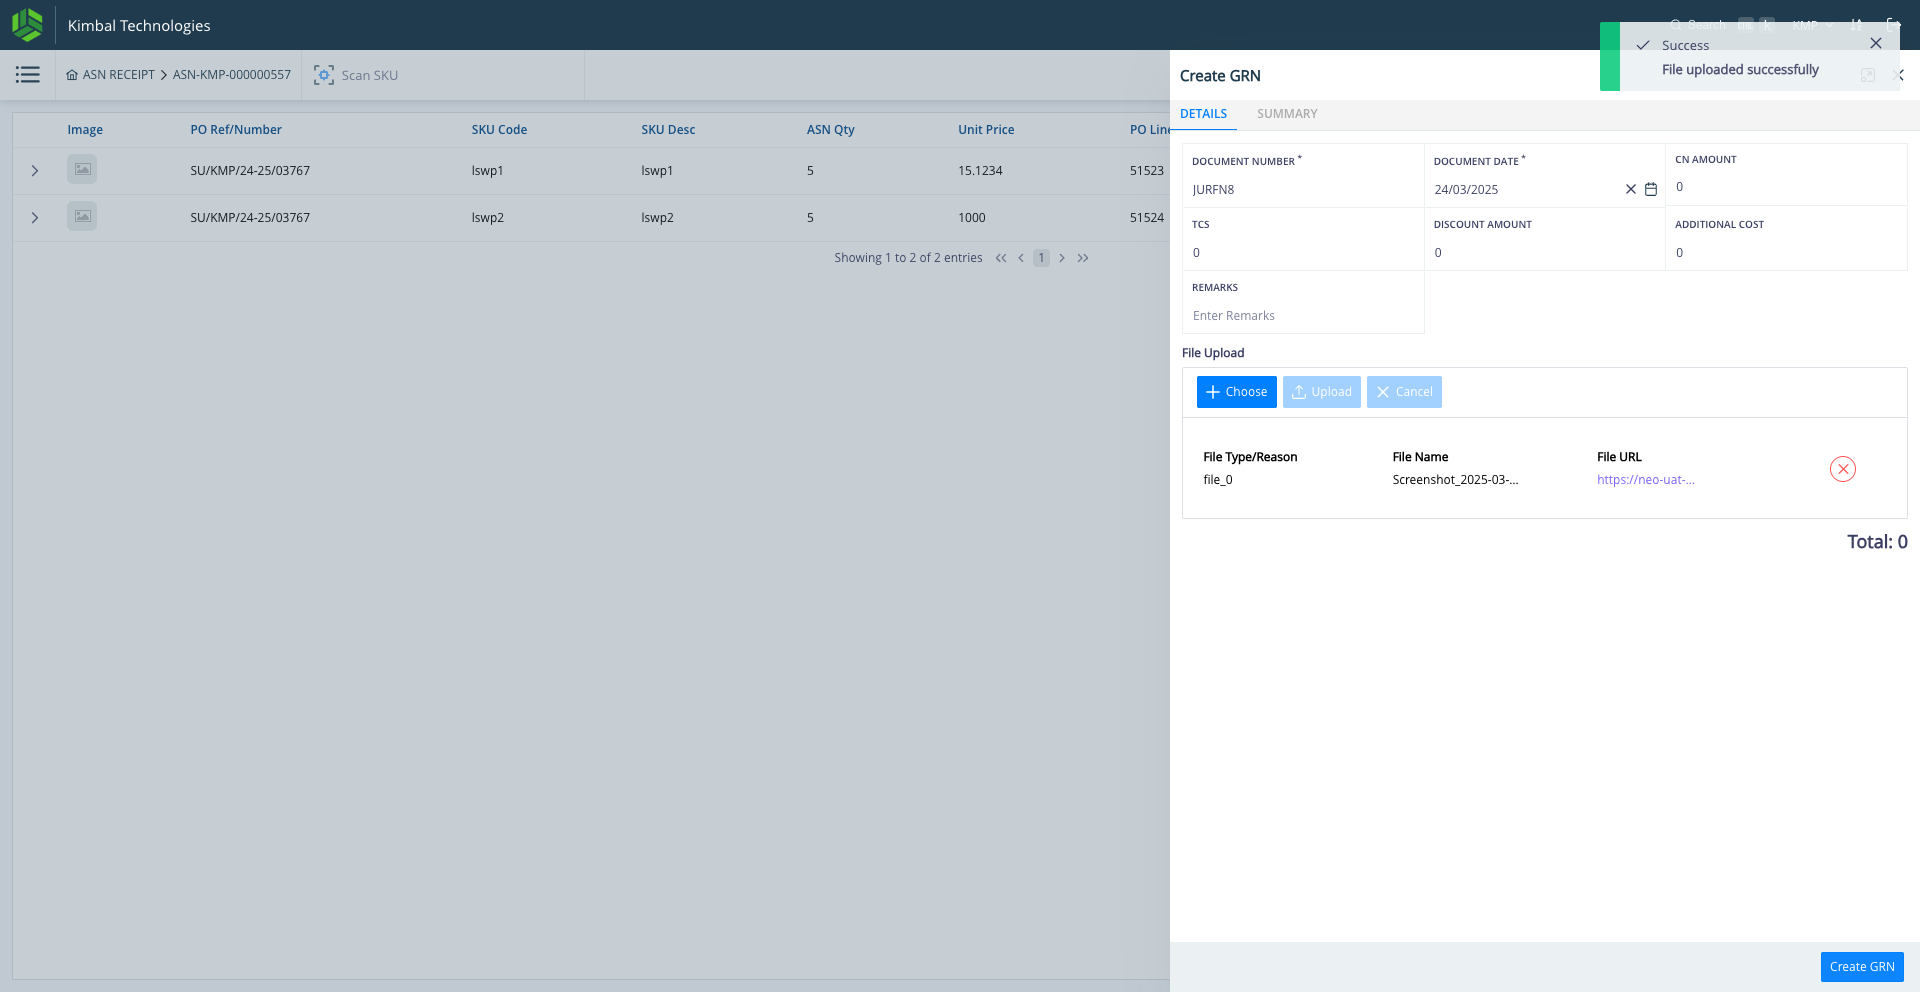
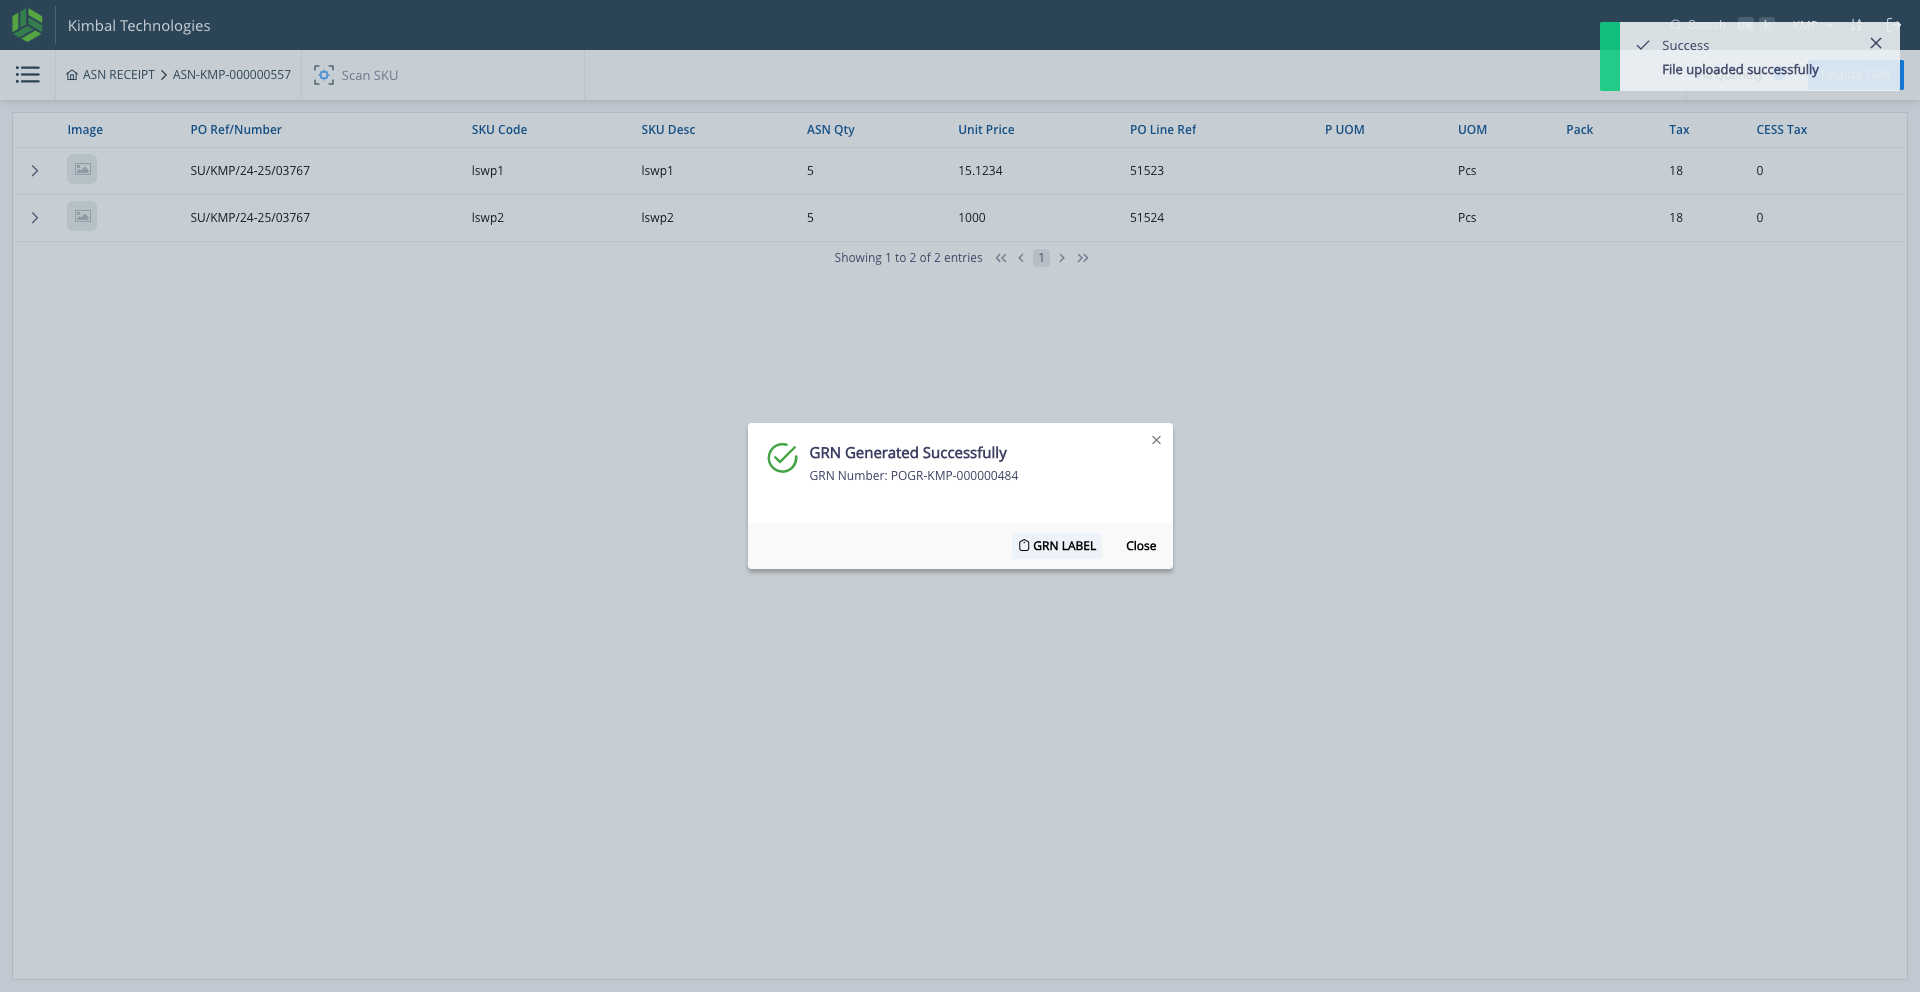
35
Click on "PRINT GRN LABEL". The Label for each LPN will be printed & need to be pasted on the boxes.
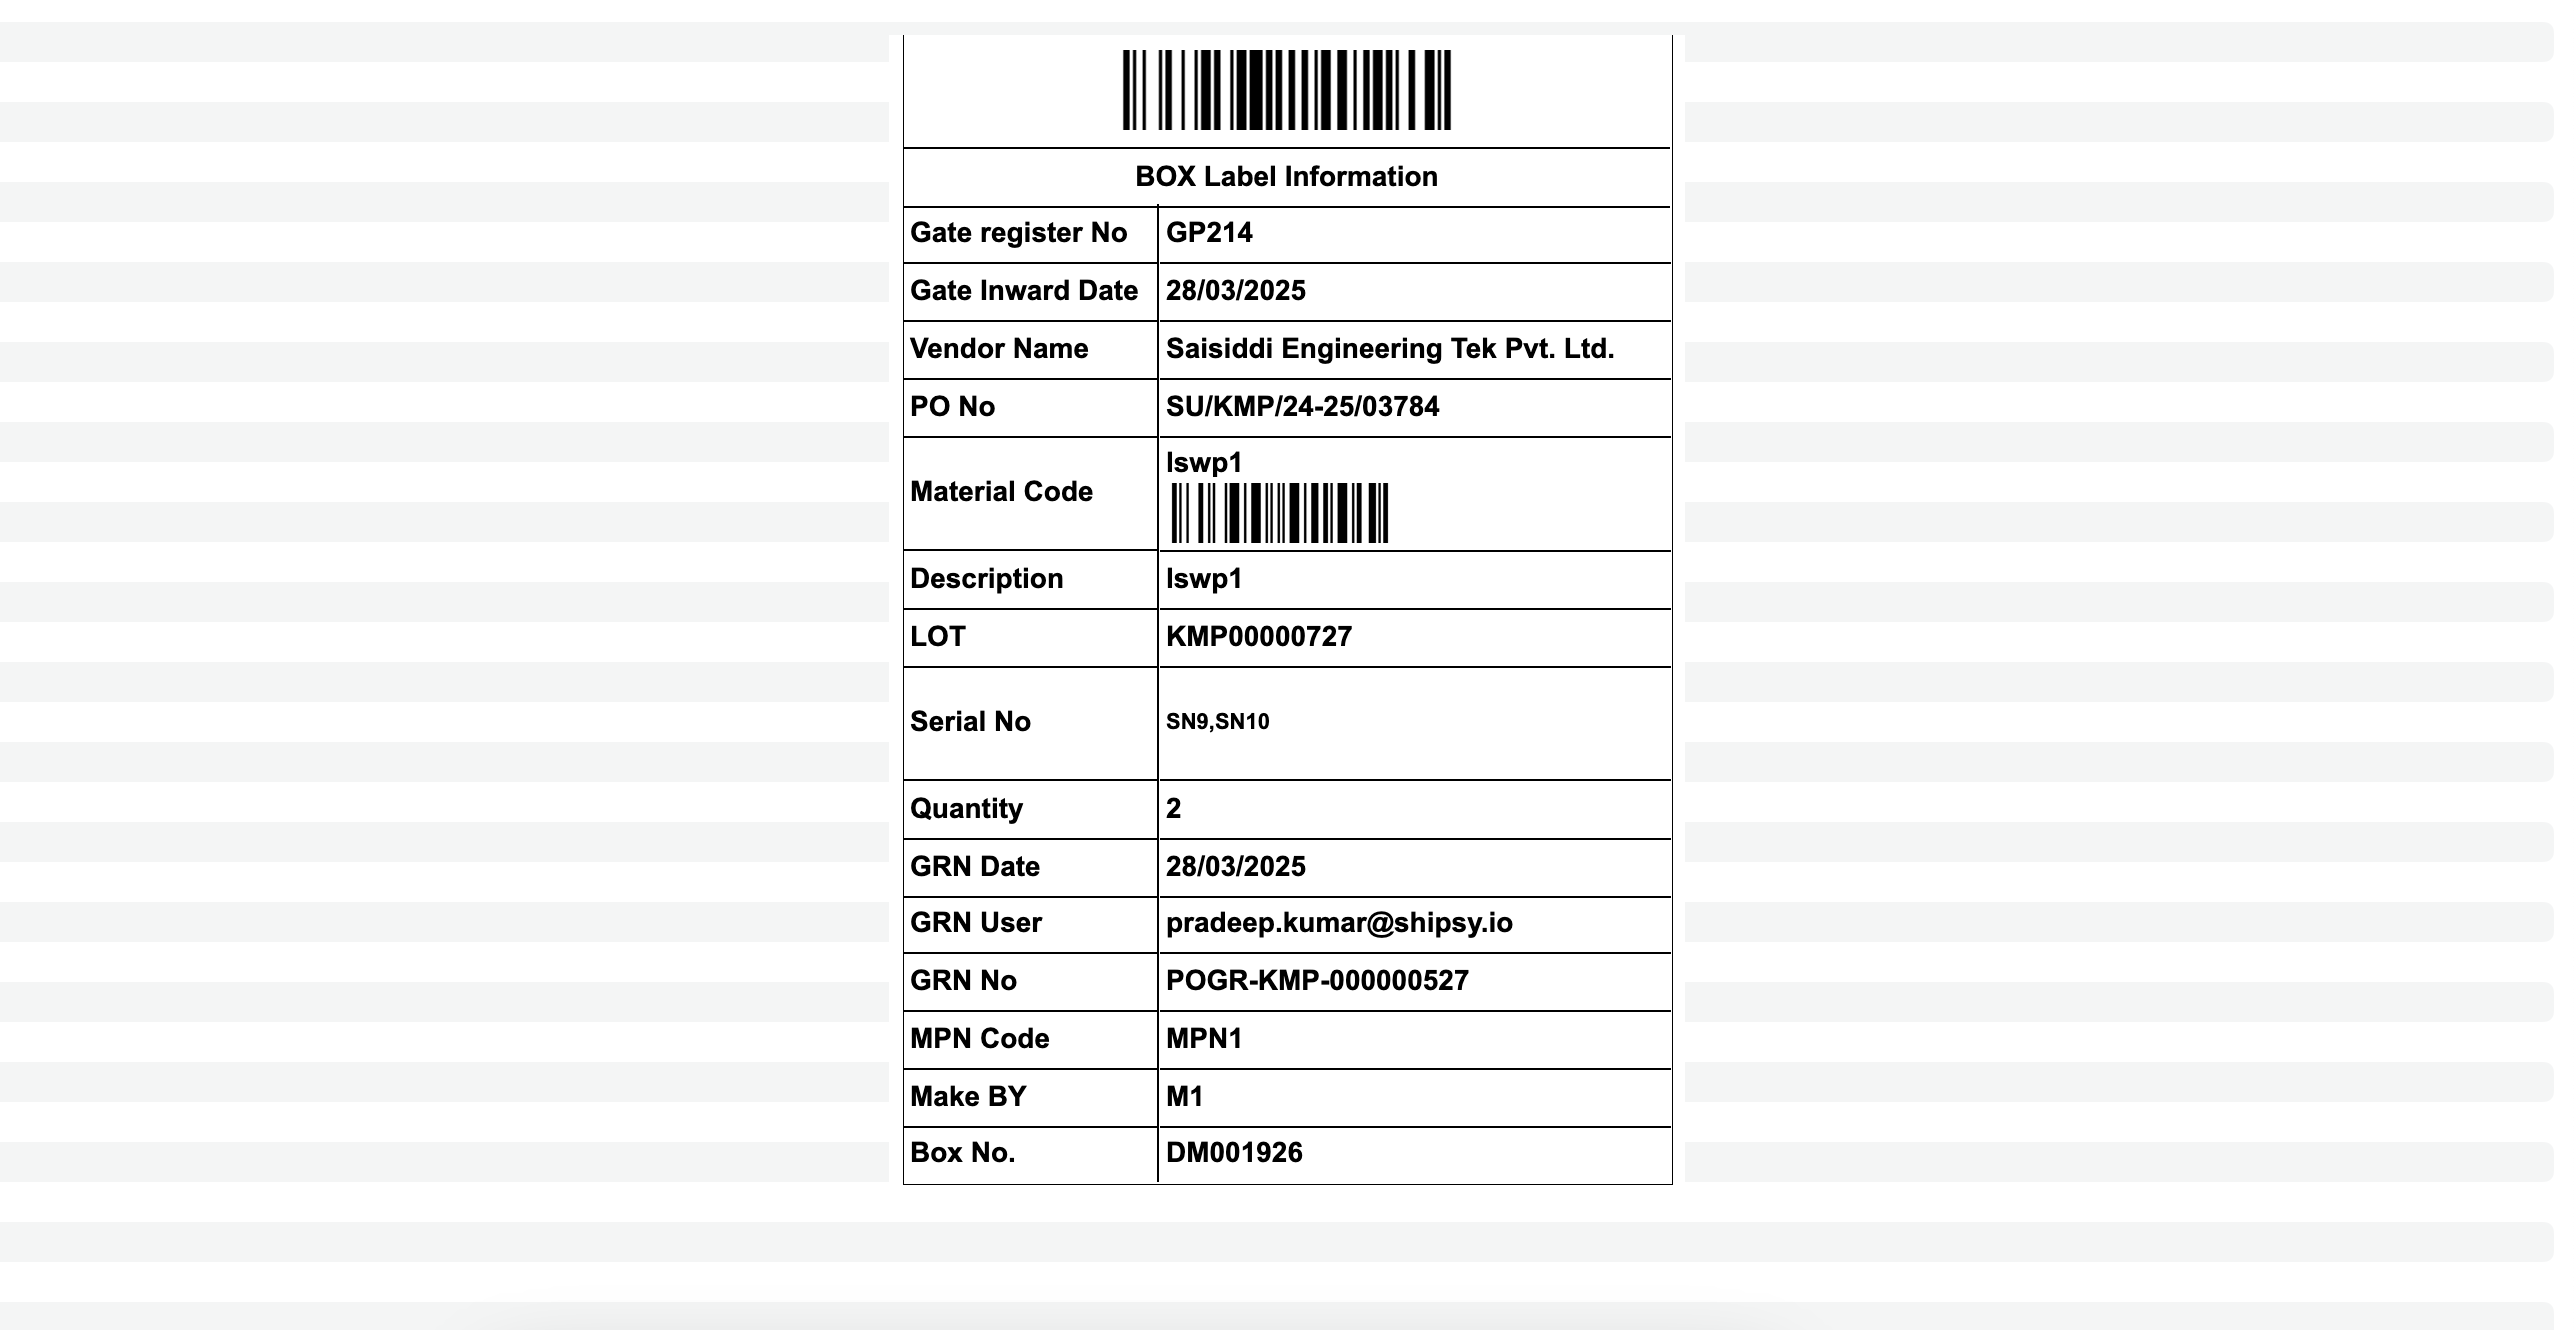
36
The Label will be printed as shown below
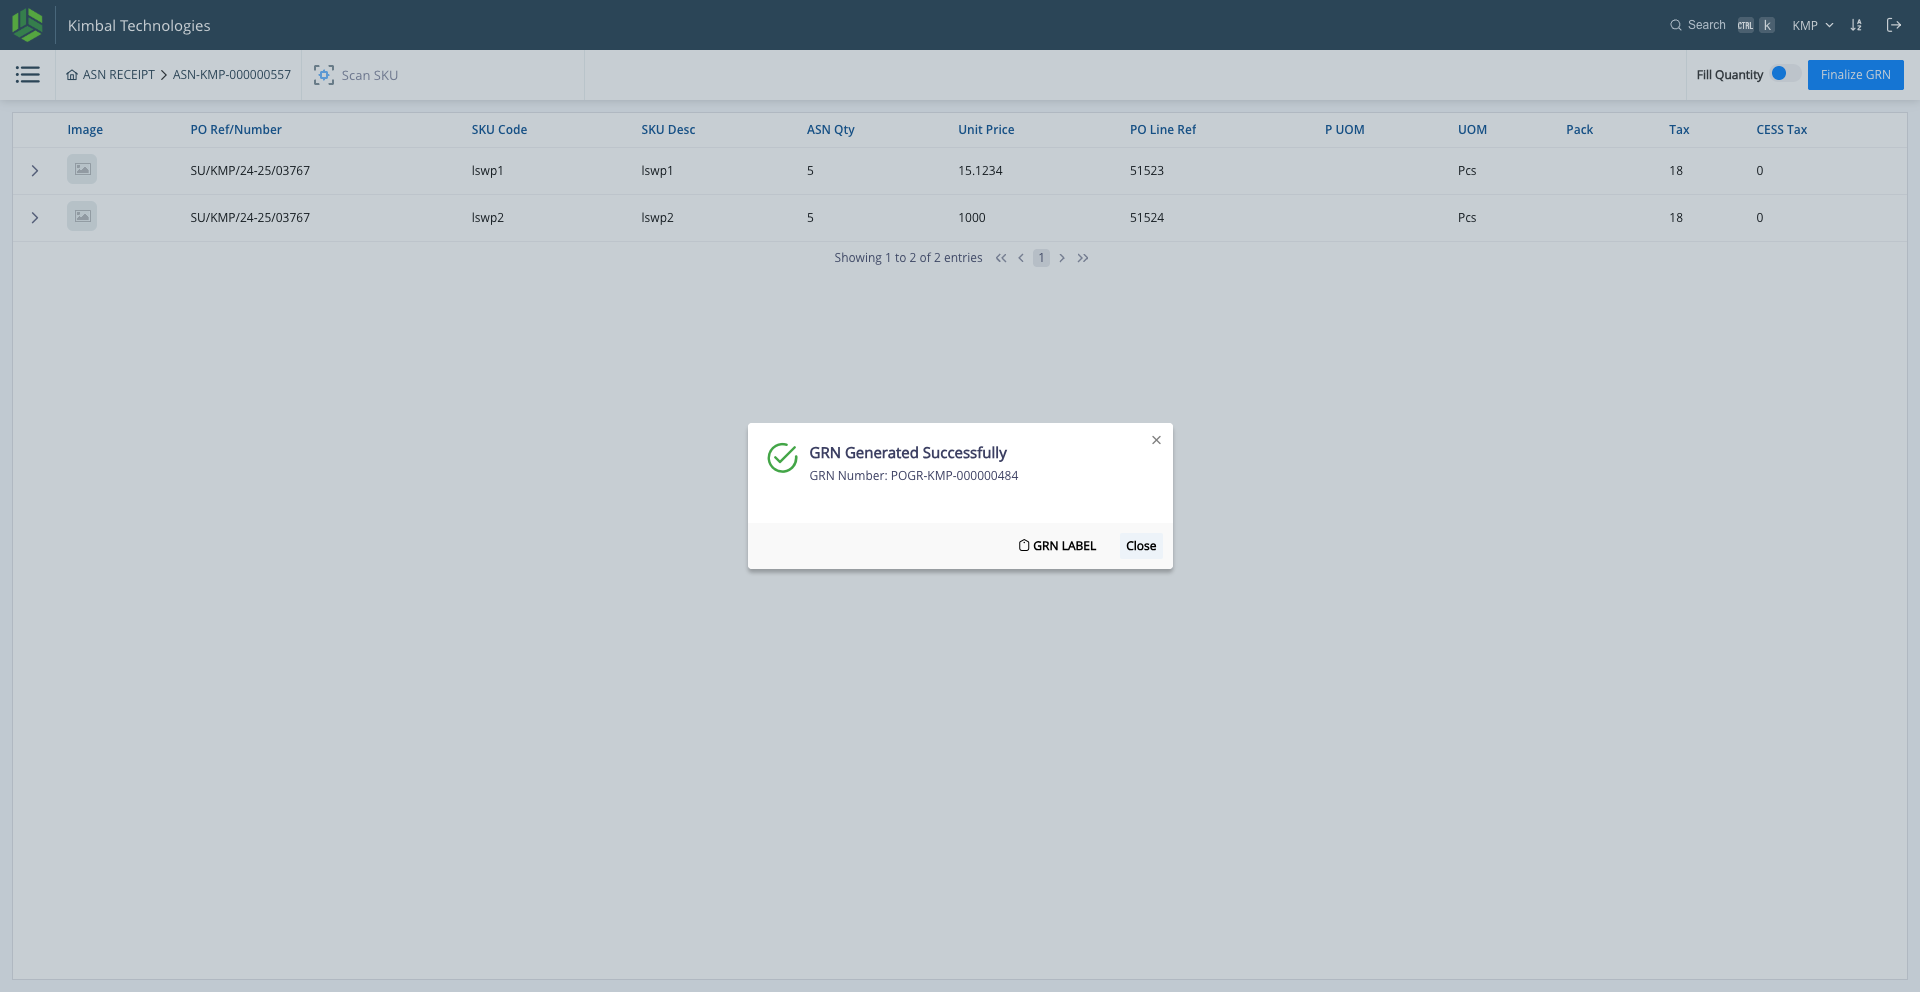
37
Post Label printing, Click on "Close"
38
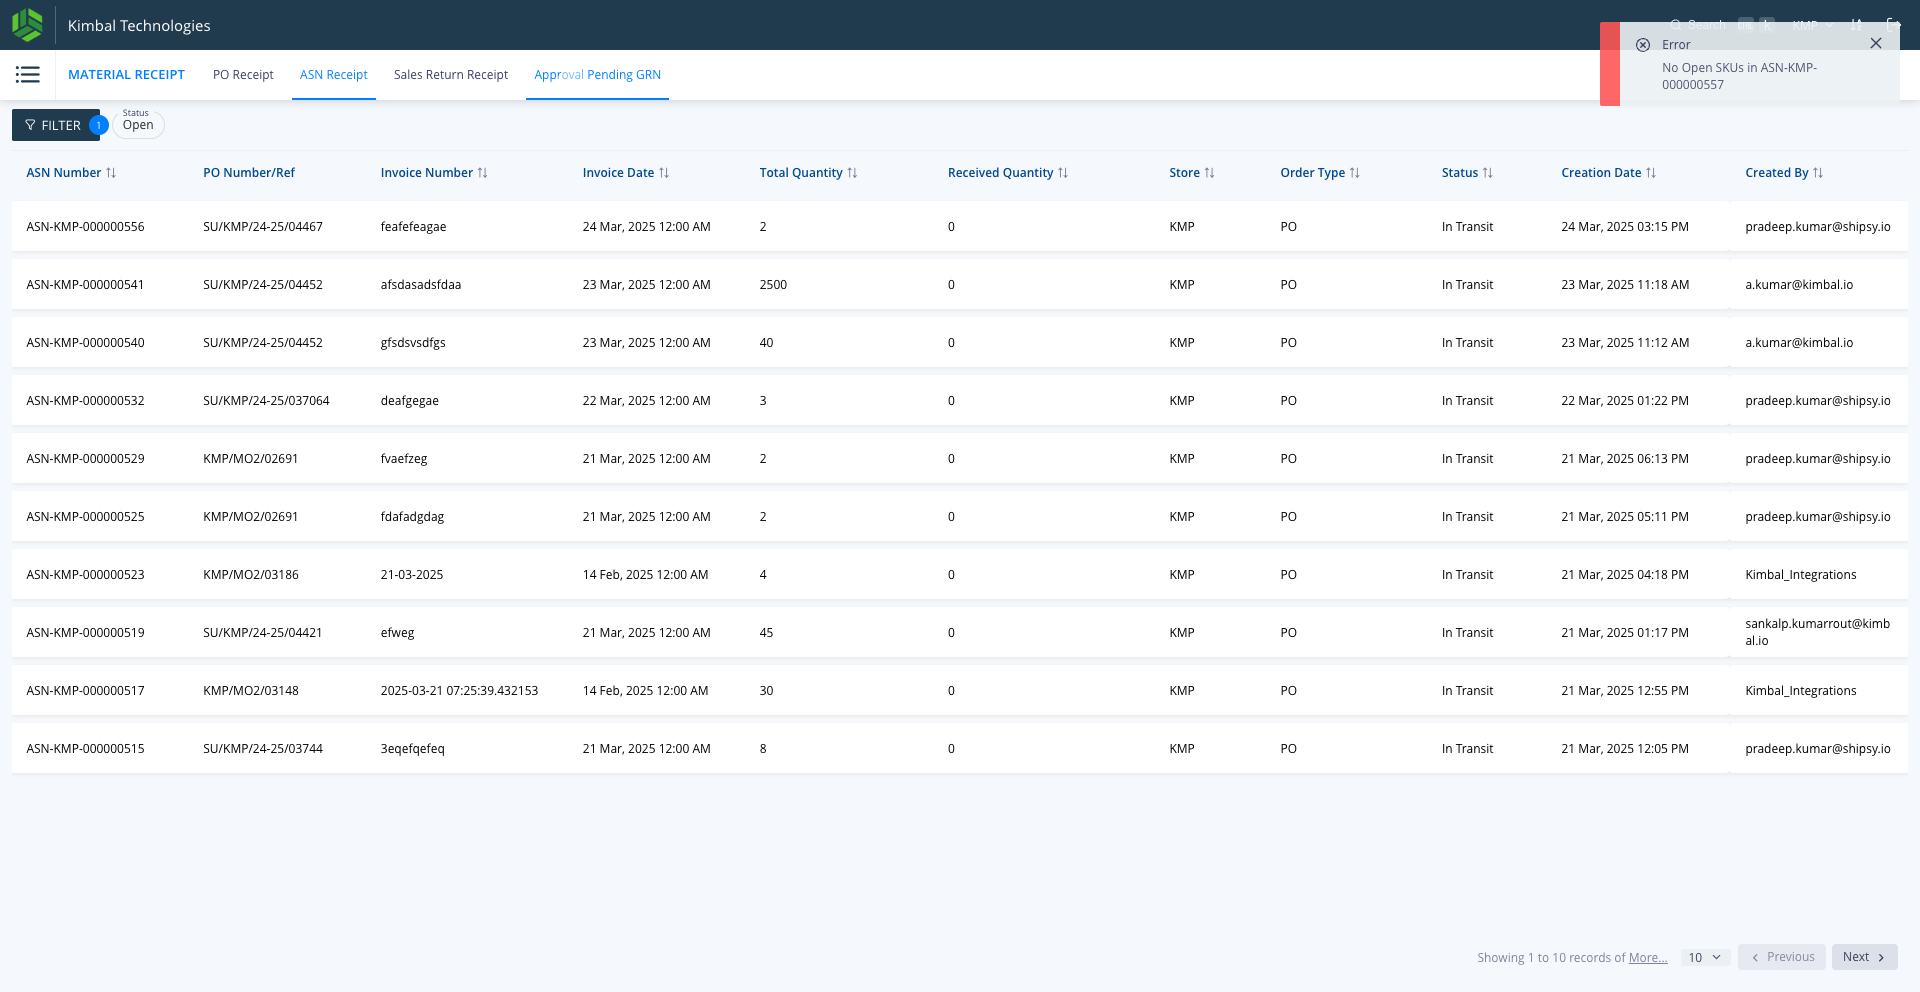
Click on "Approval Pending GRN", the pending GRNs waiting for GRN confirmation from ERP will be visible here. Note: manufacturing order PO types will not be visible here since they are directly GRNed & Putaway
39
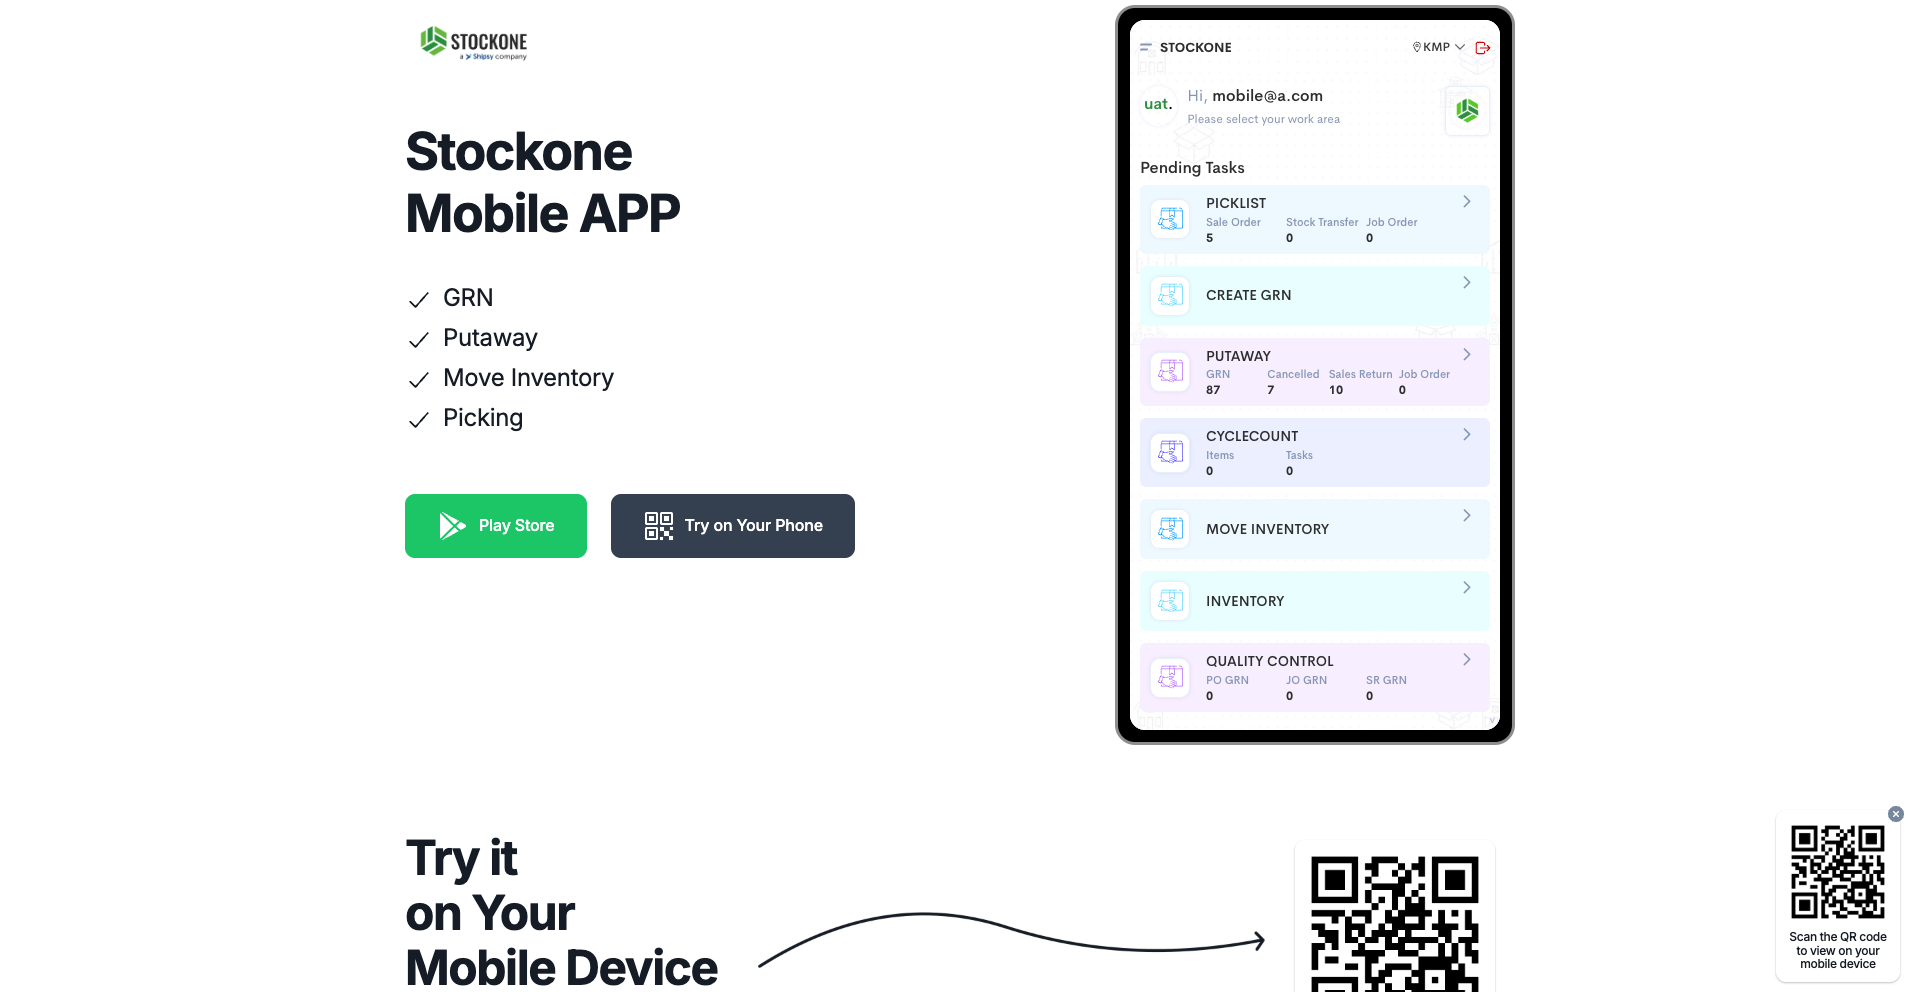
Go to STOCKONE mobile app for doing the Mobile based Putaway
40
Go to the Mobile Application and the Main Menu & Select Putaway
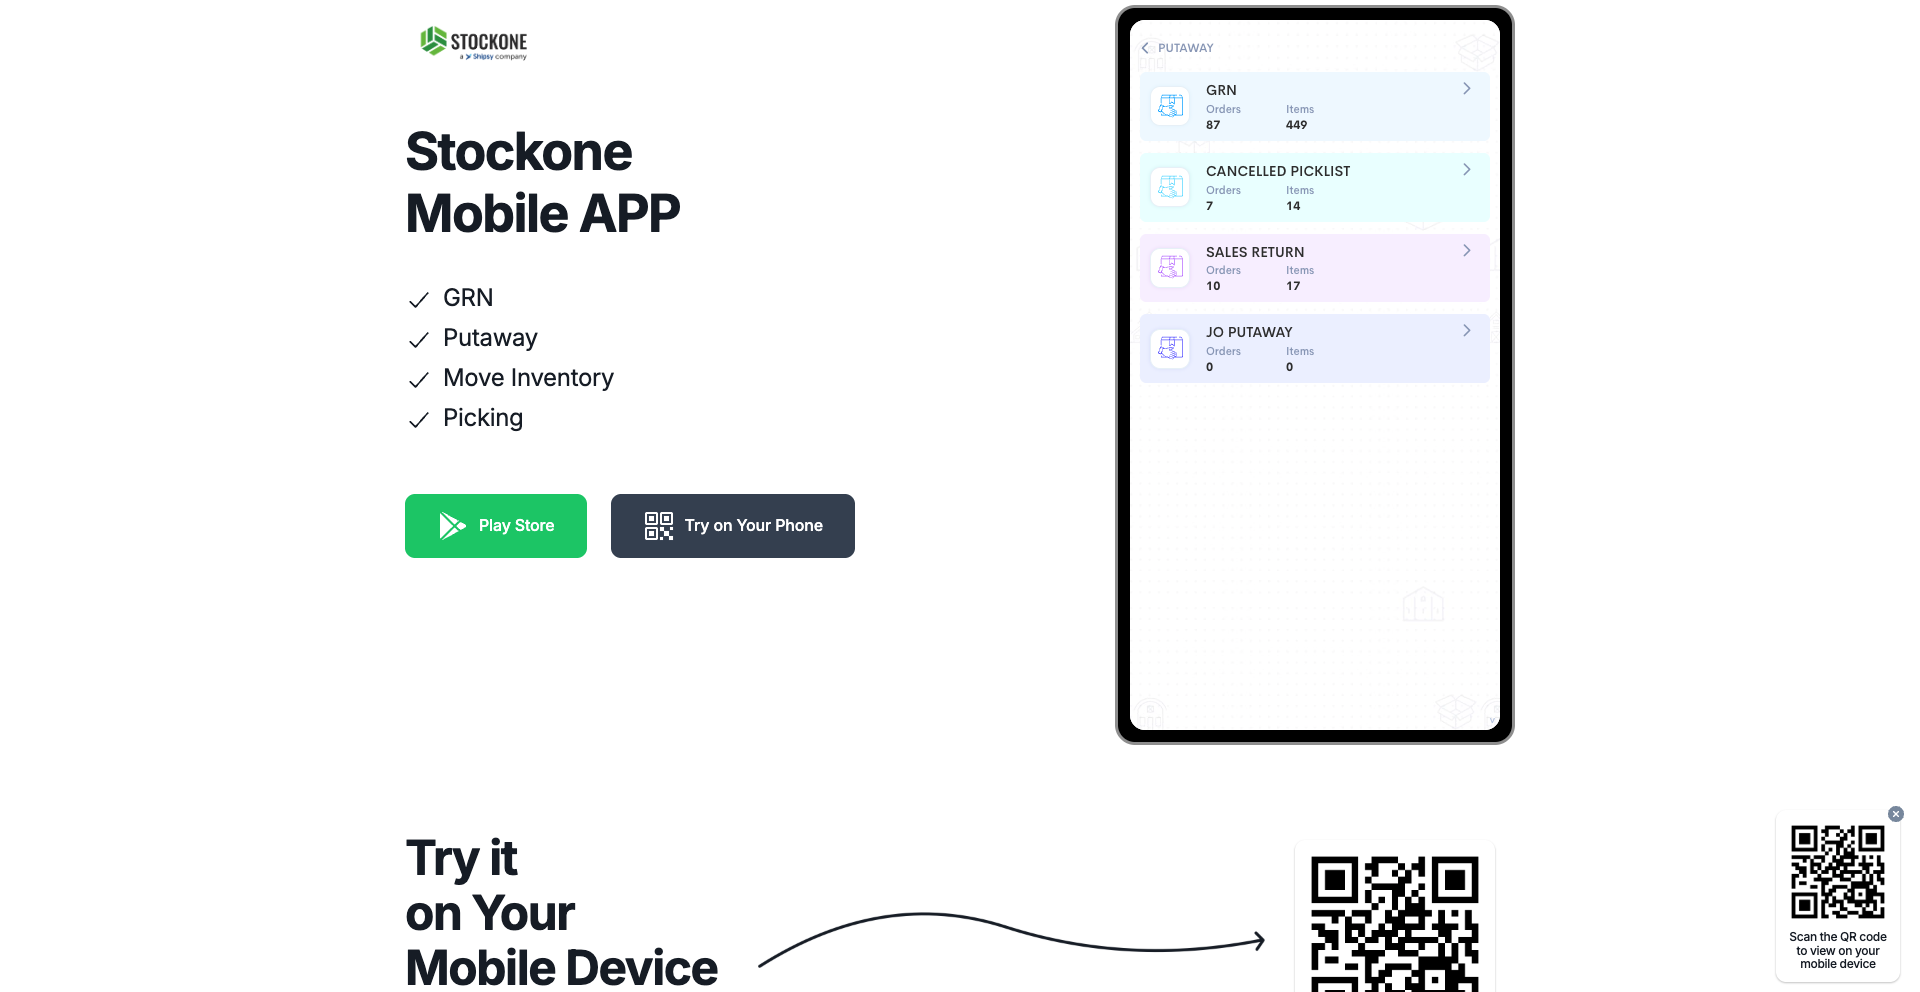
41
Inside the Putaway Menu, click on "GRN" menu
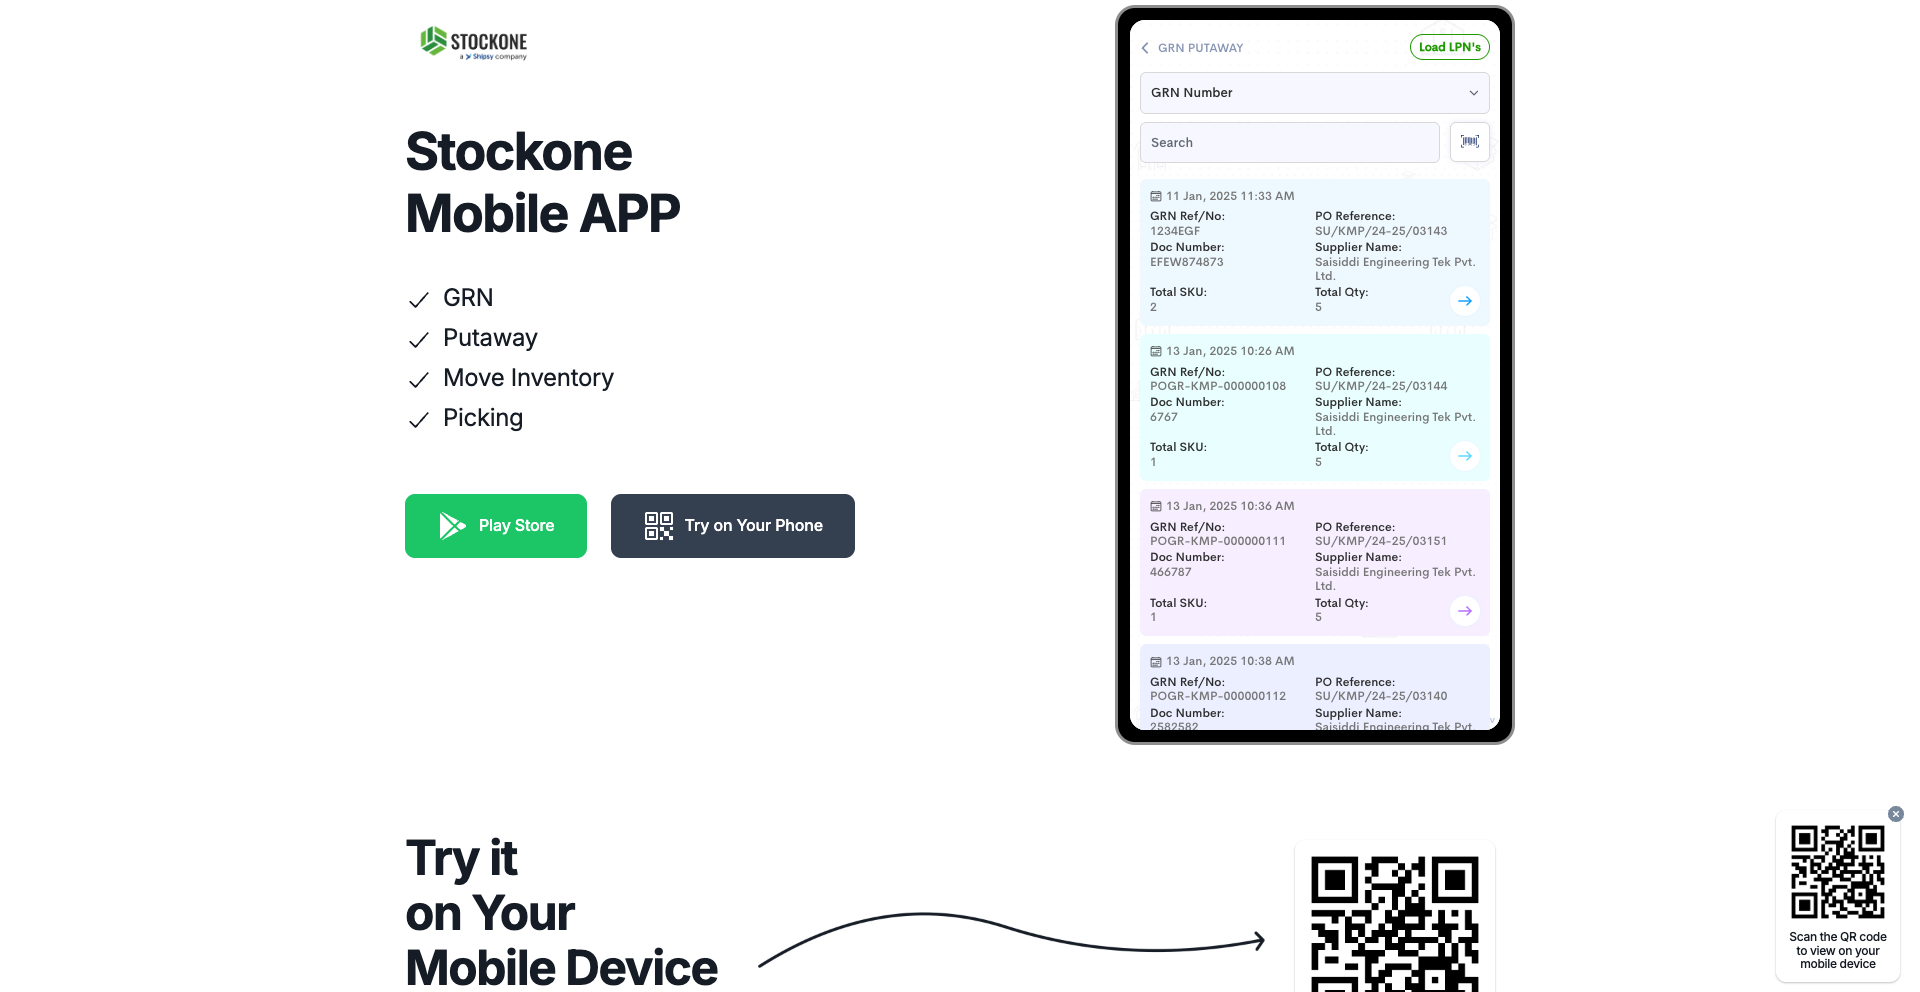
42
In the GRN menu, the GRN Number click on Load LPNs to collect the LPNs needed to be putaway
43
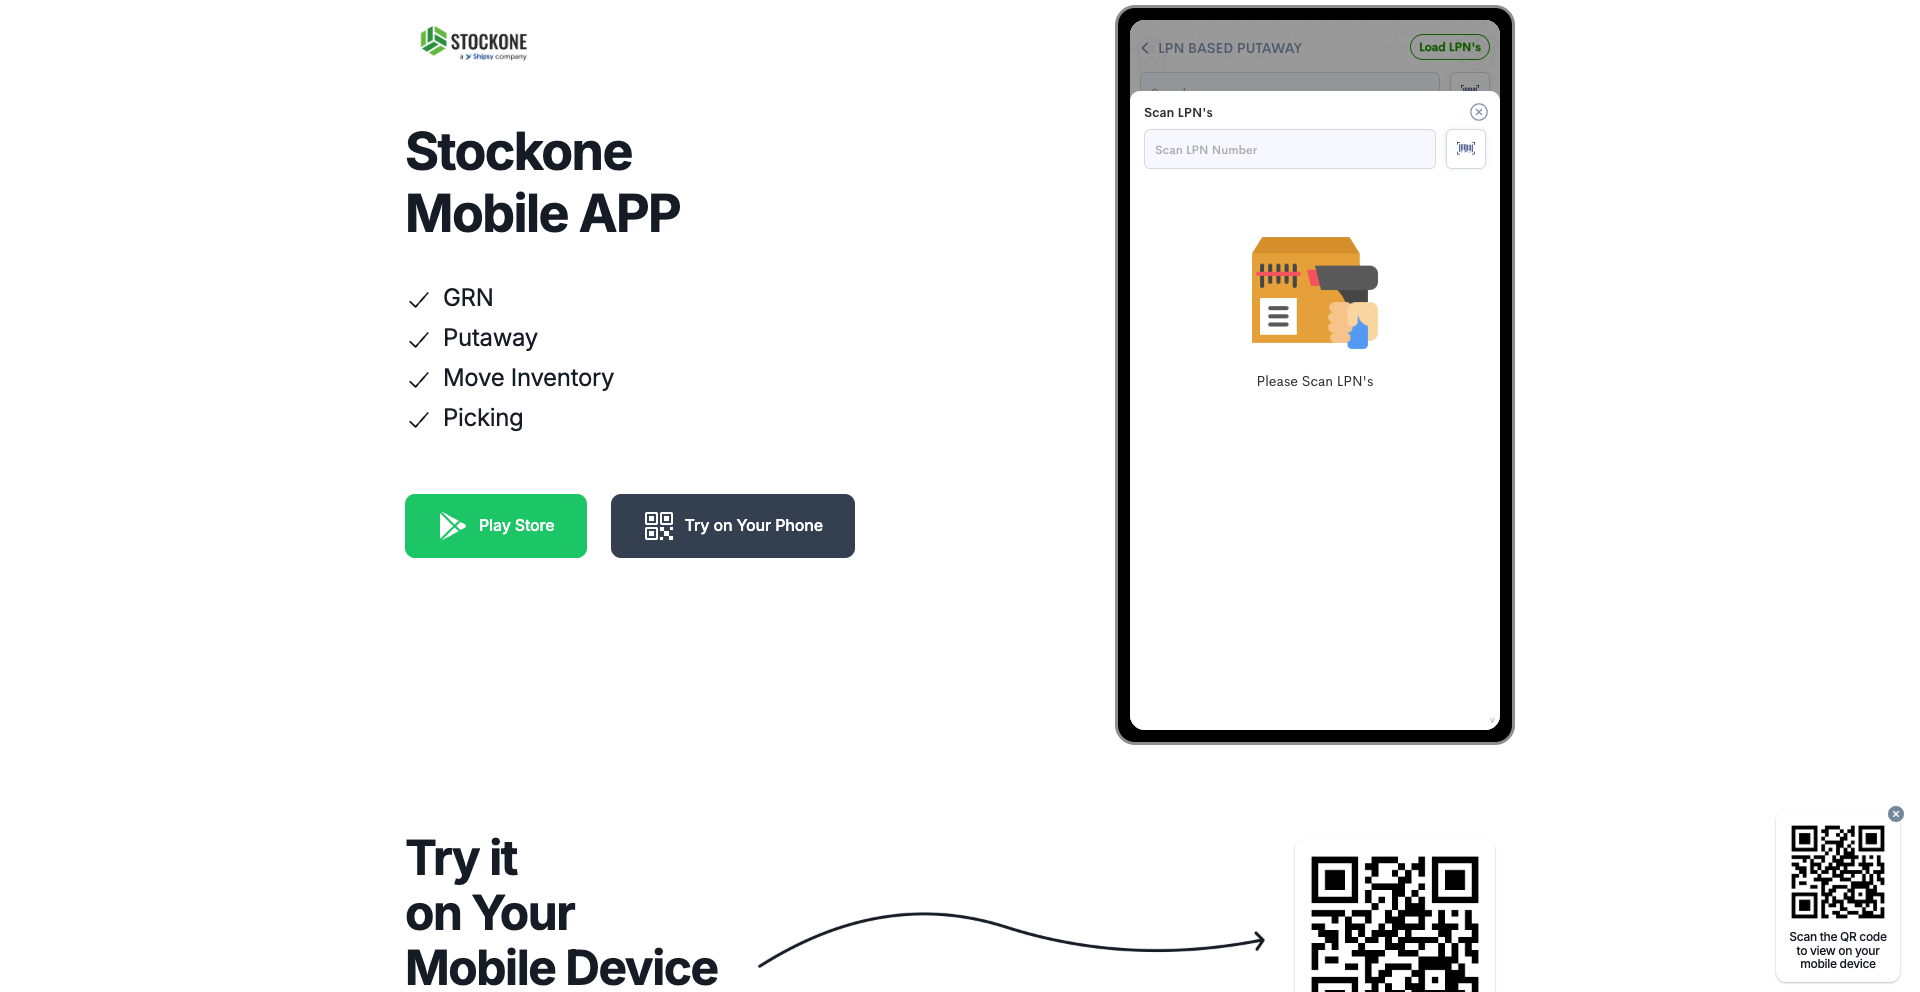
Click here on Load LPNs, the pop up to enter LPNs will open
44
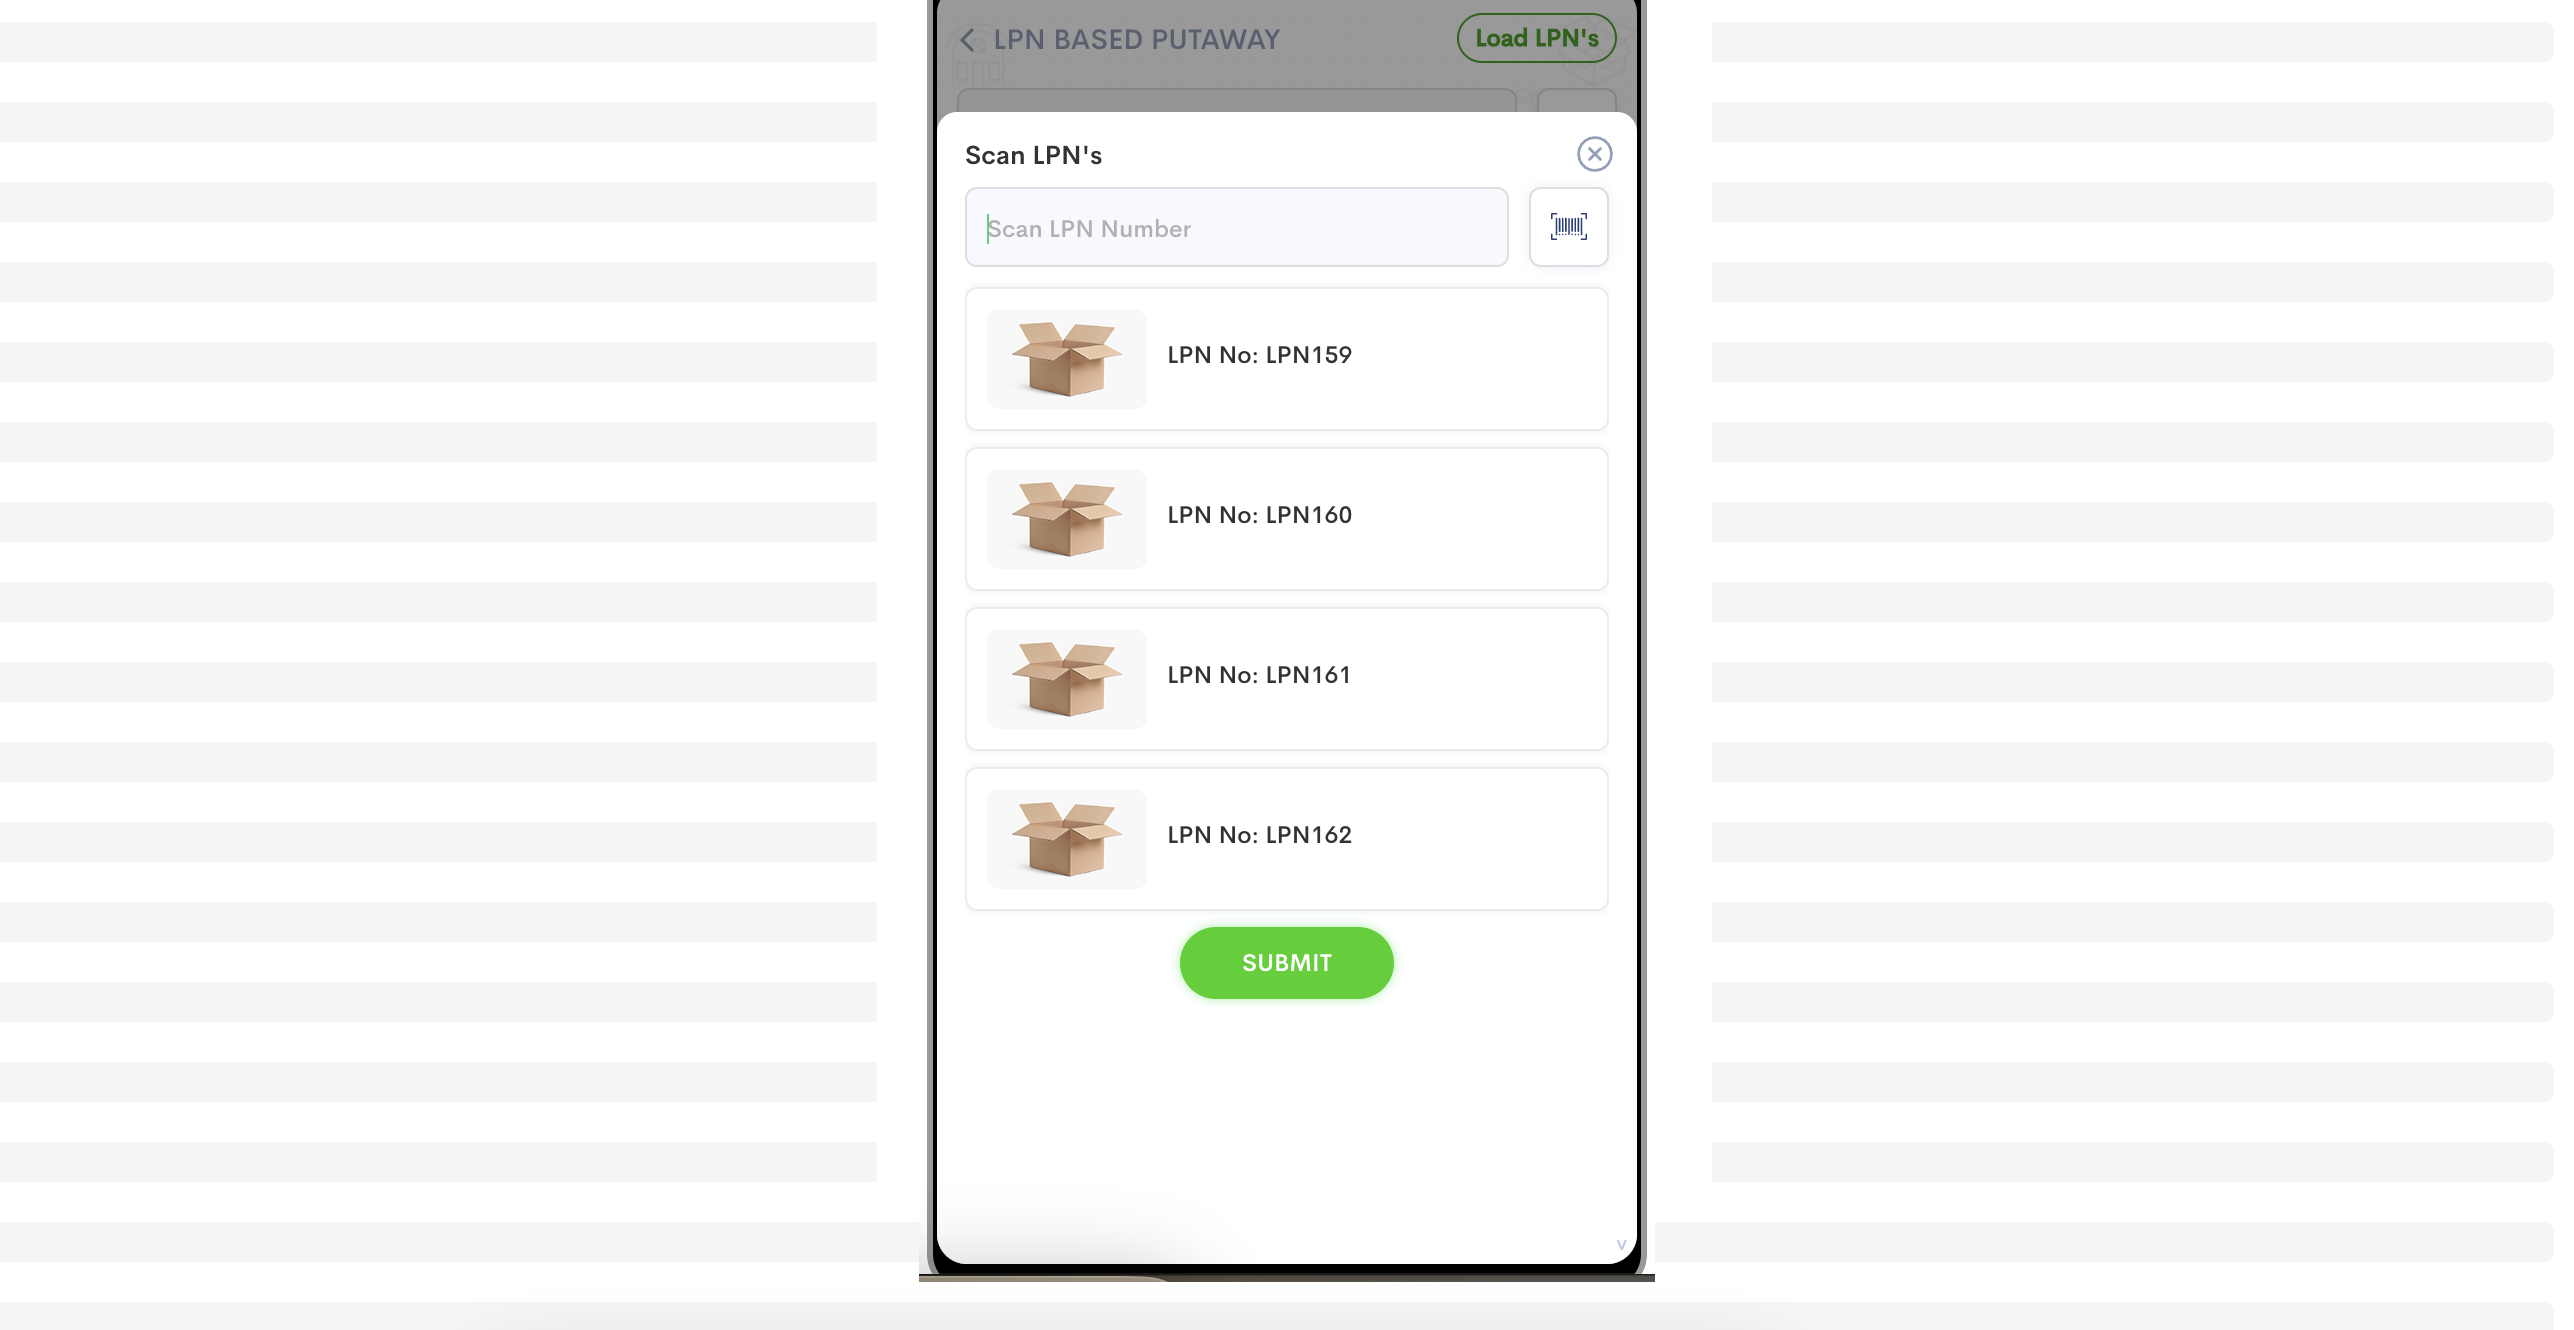
Collect the LPNs needed to be putaway by scanning / entering the LPN number & then click on Submit button
45
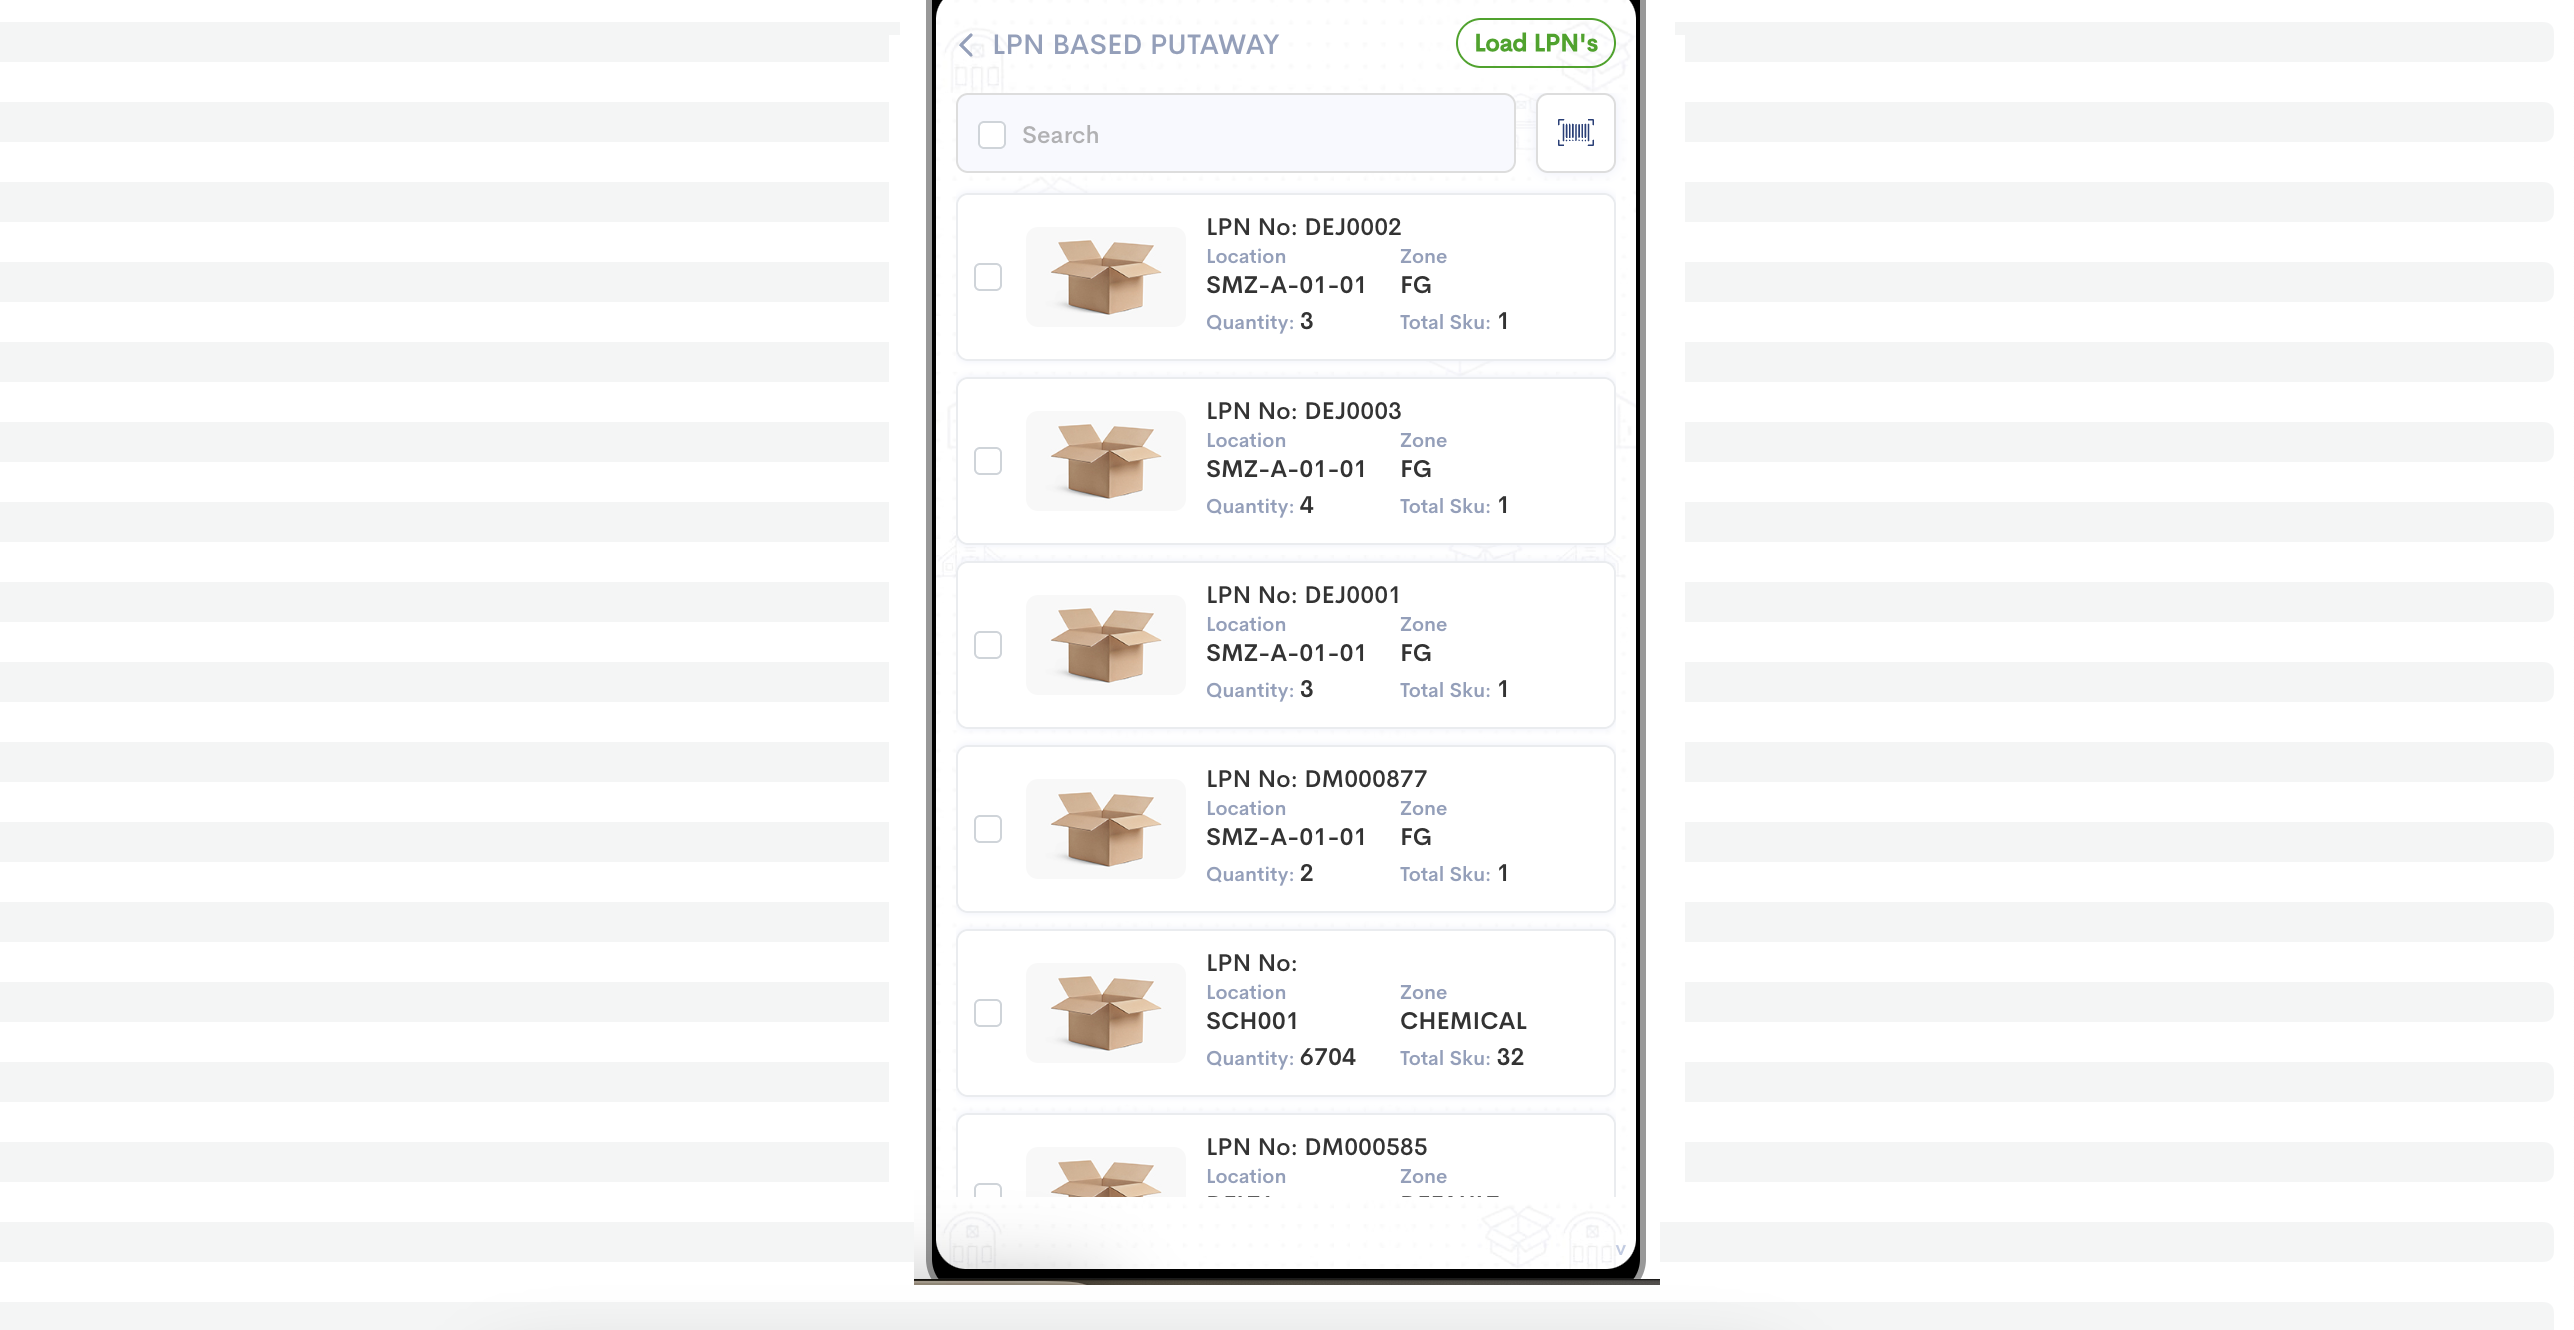
Once submitted, all the LPNs collected are shown inside & we can do multi selection
46
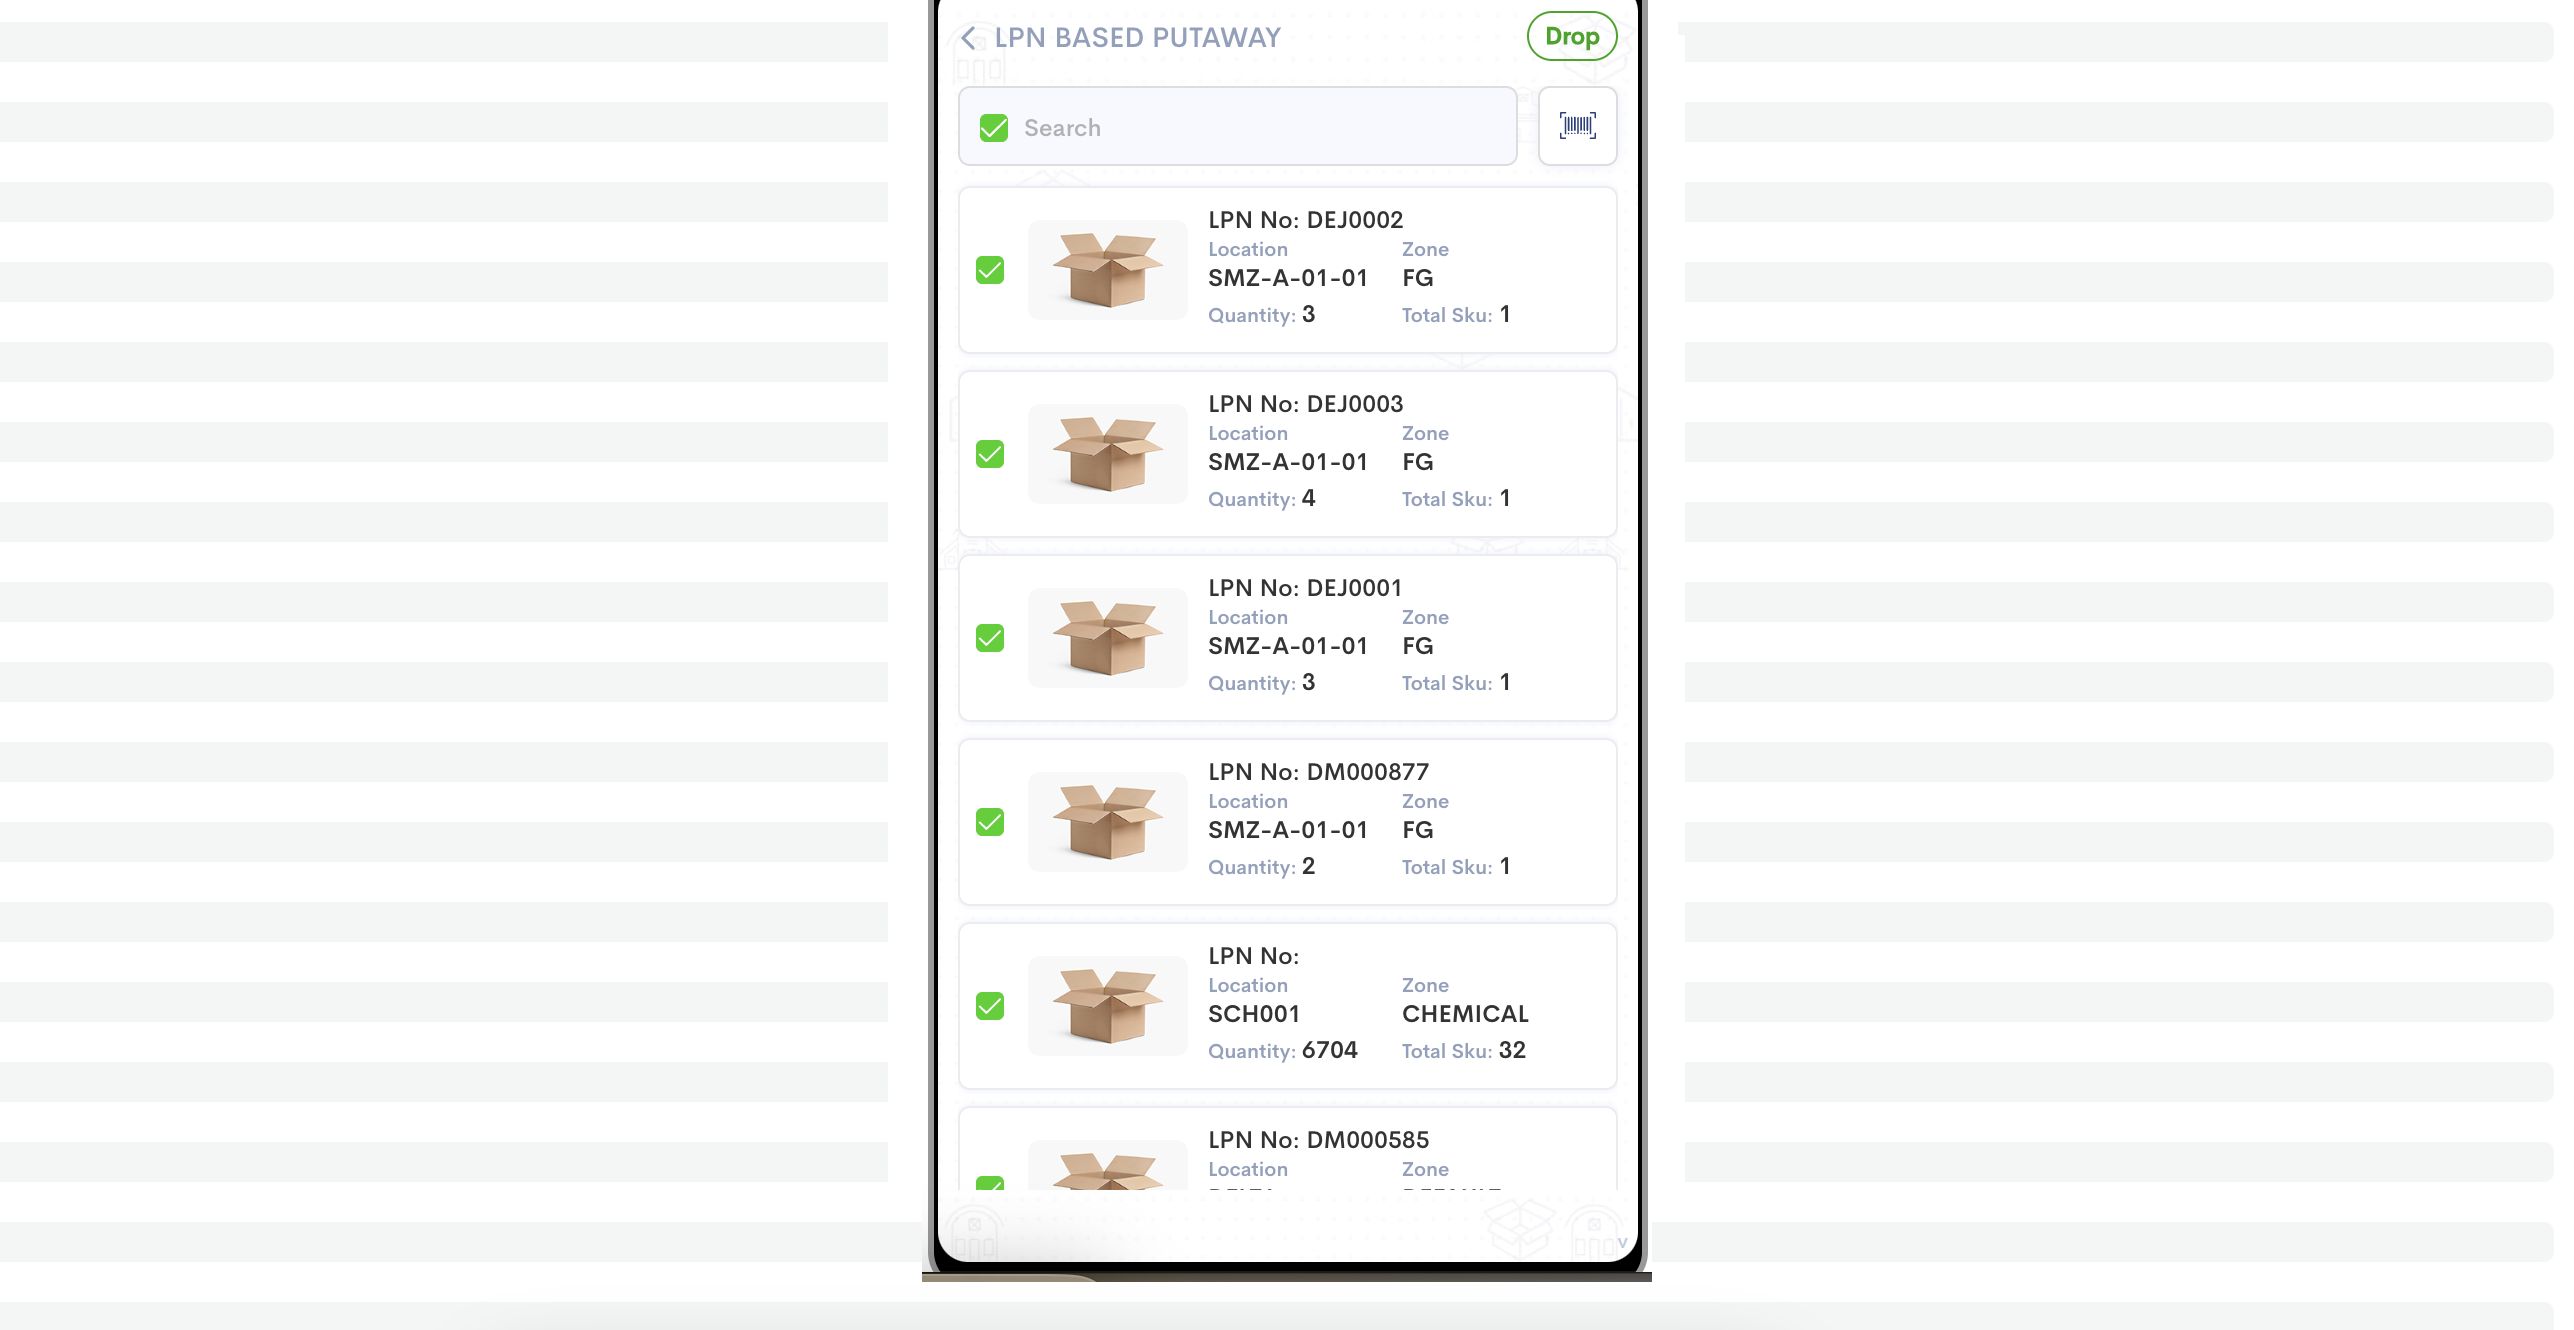
Once LPNs are selected the "Drop" button is displayed. Click on drop to drop all the LPNs to the location
47
At successful message the LPNs are added in stock
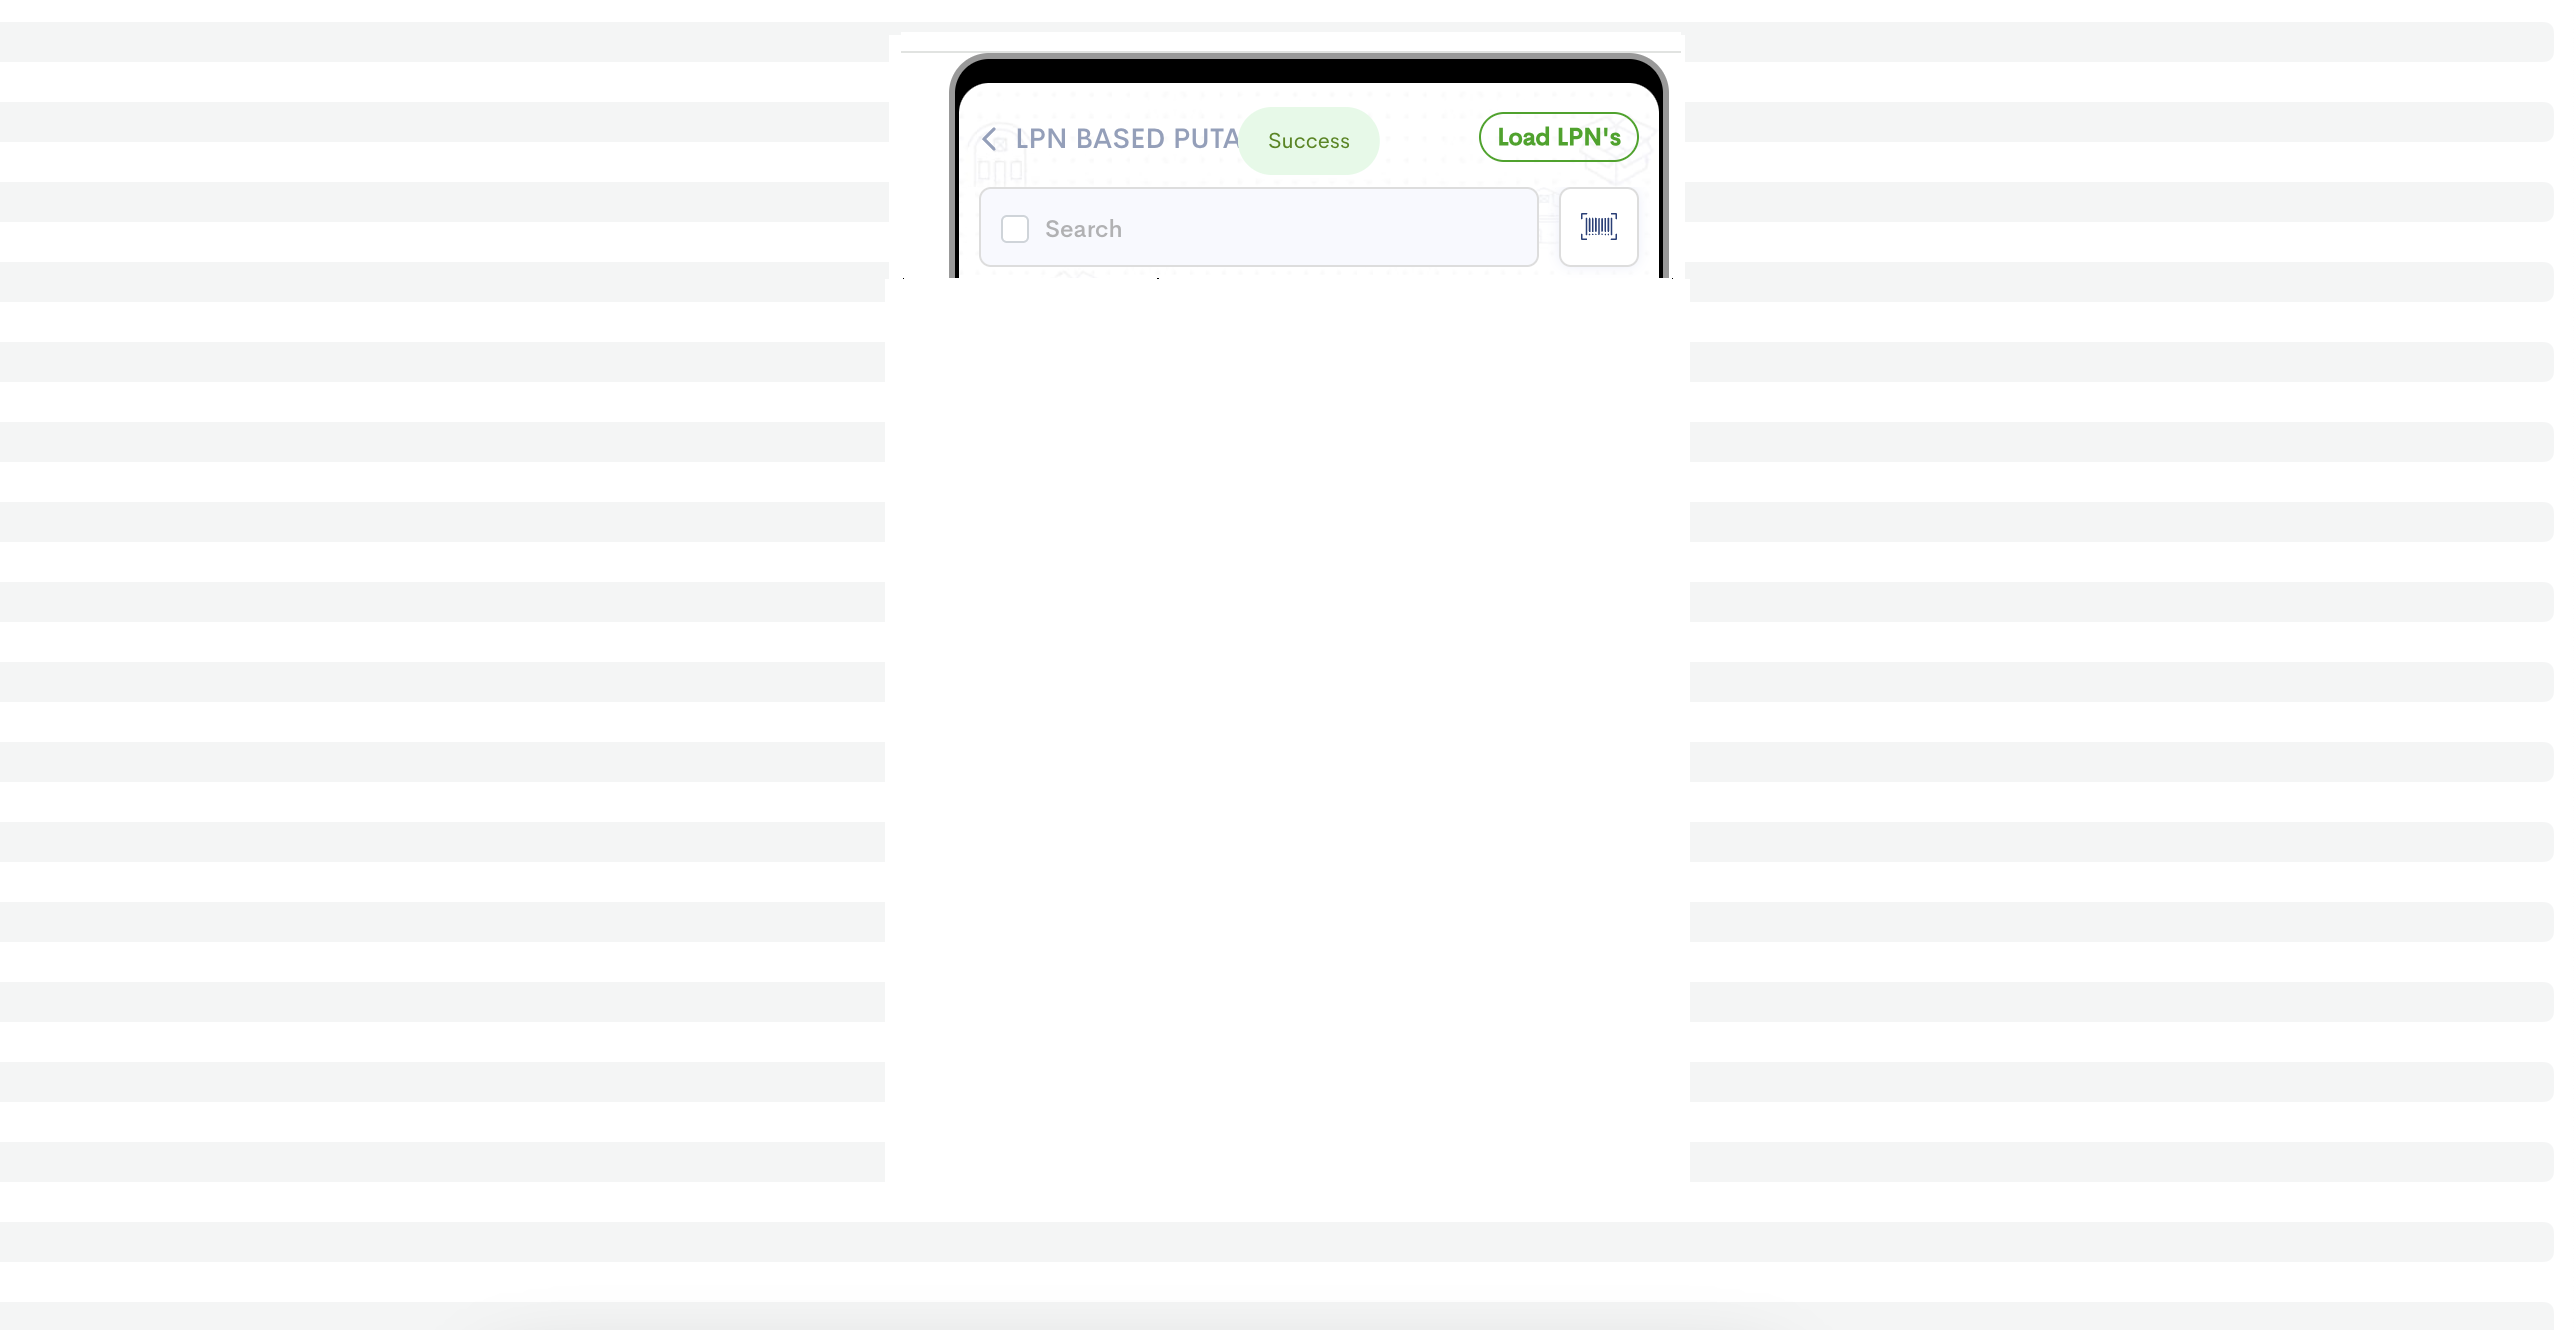
48
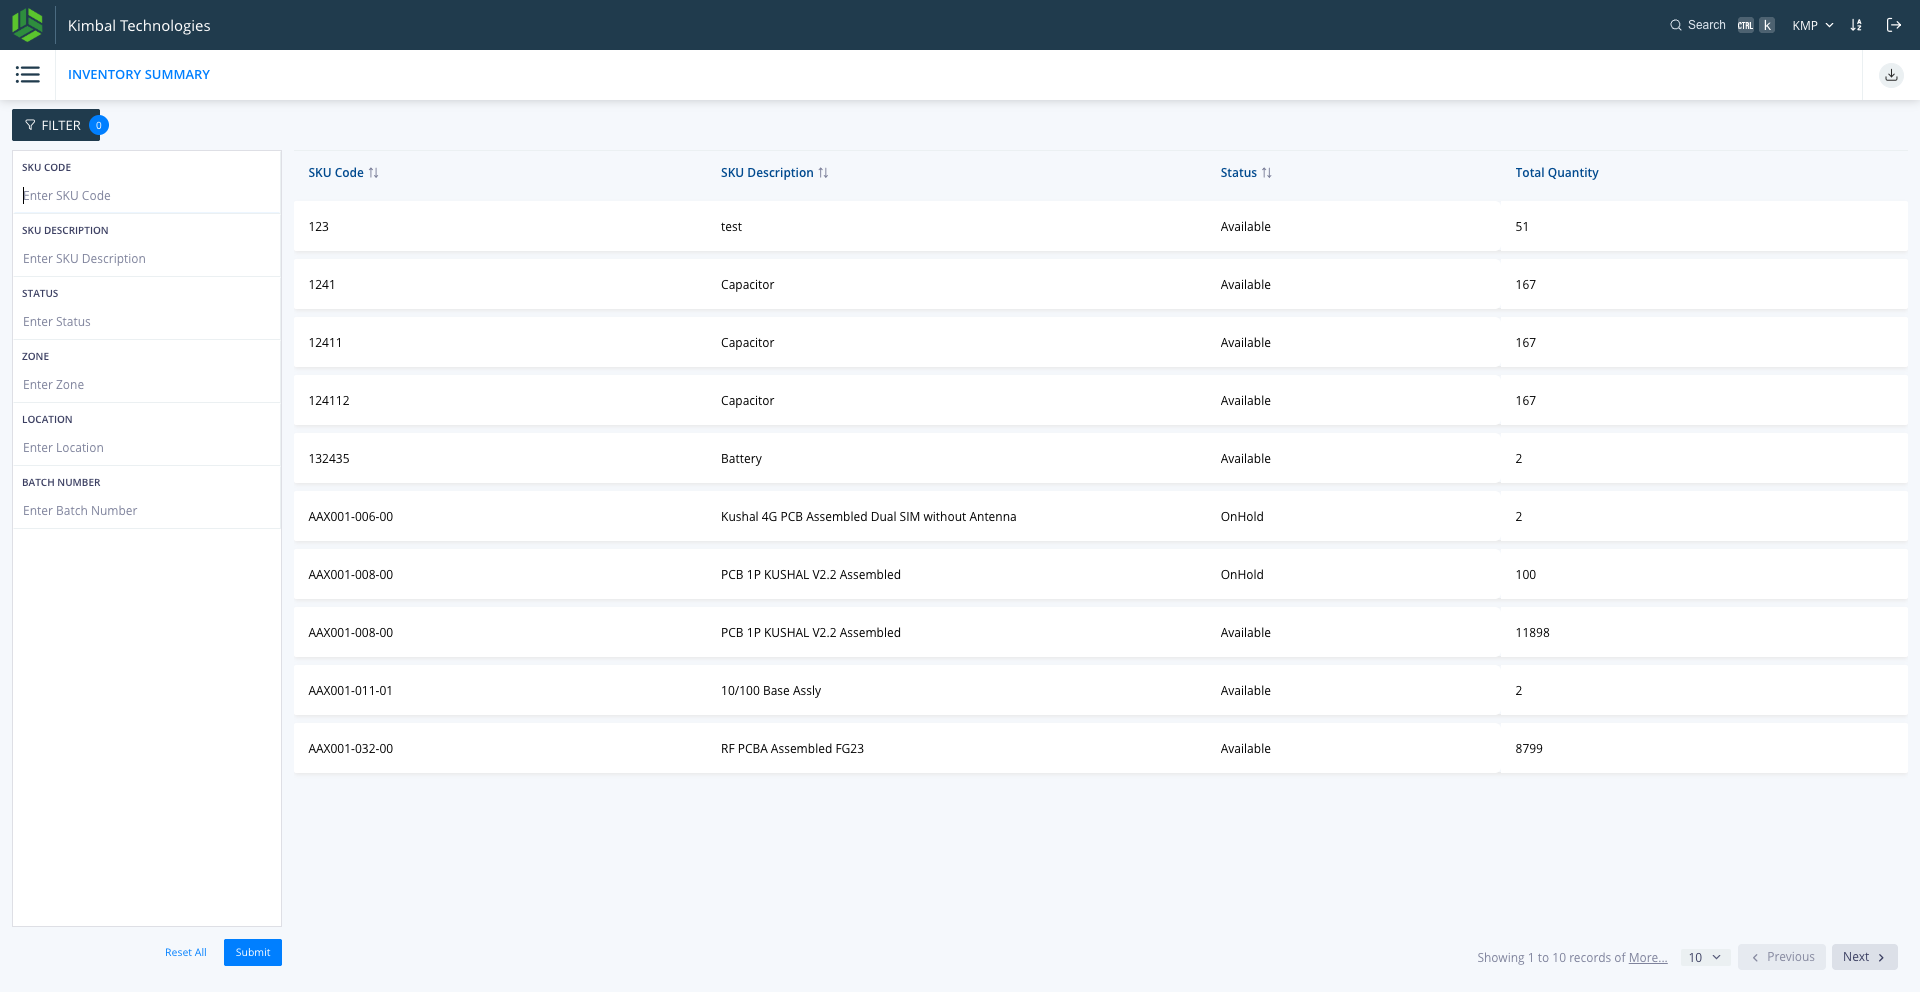
Stock can be checked from the Inventory > Summary menu
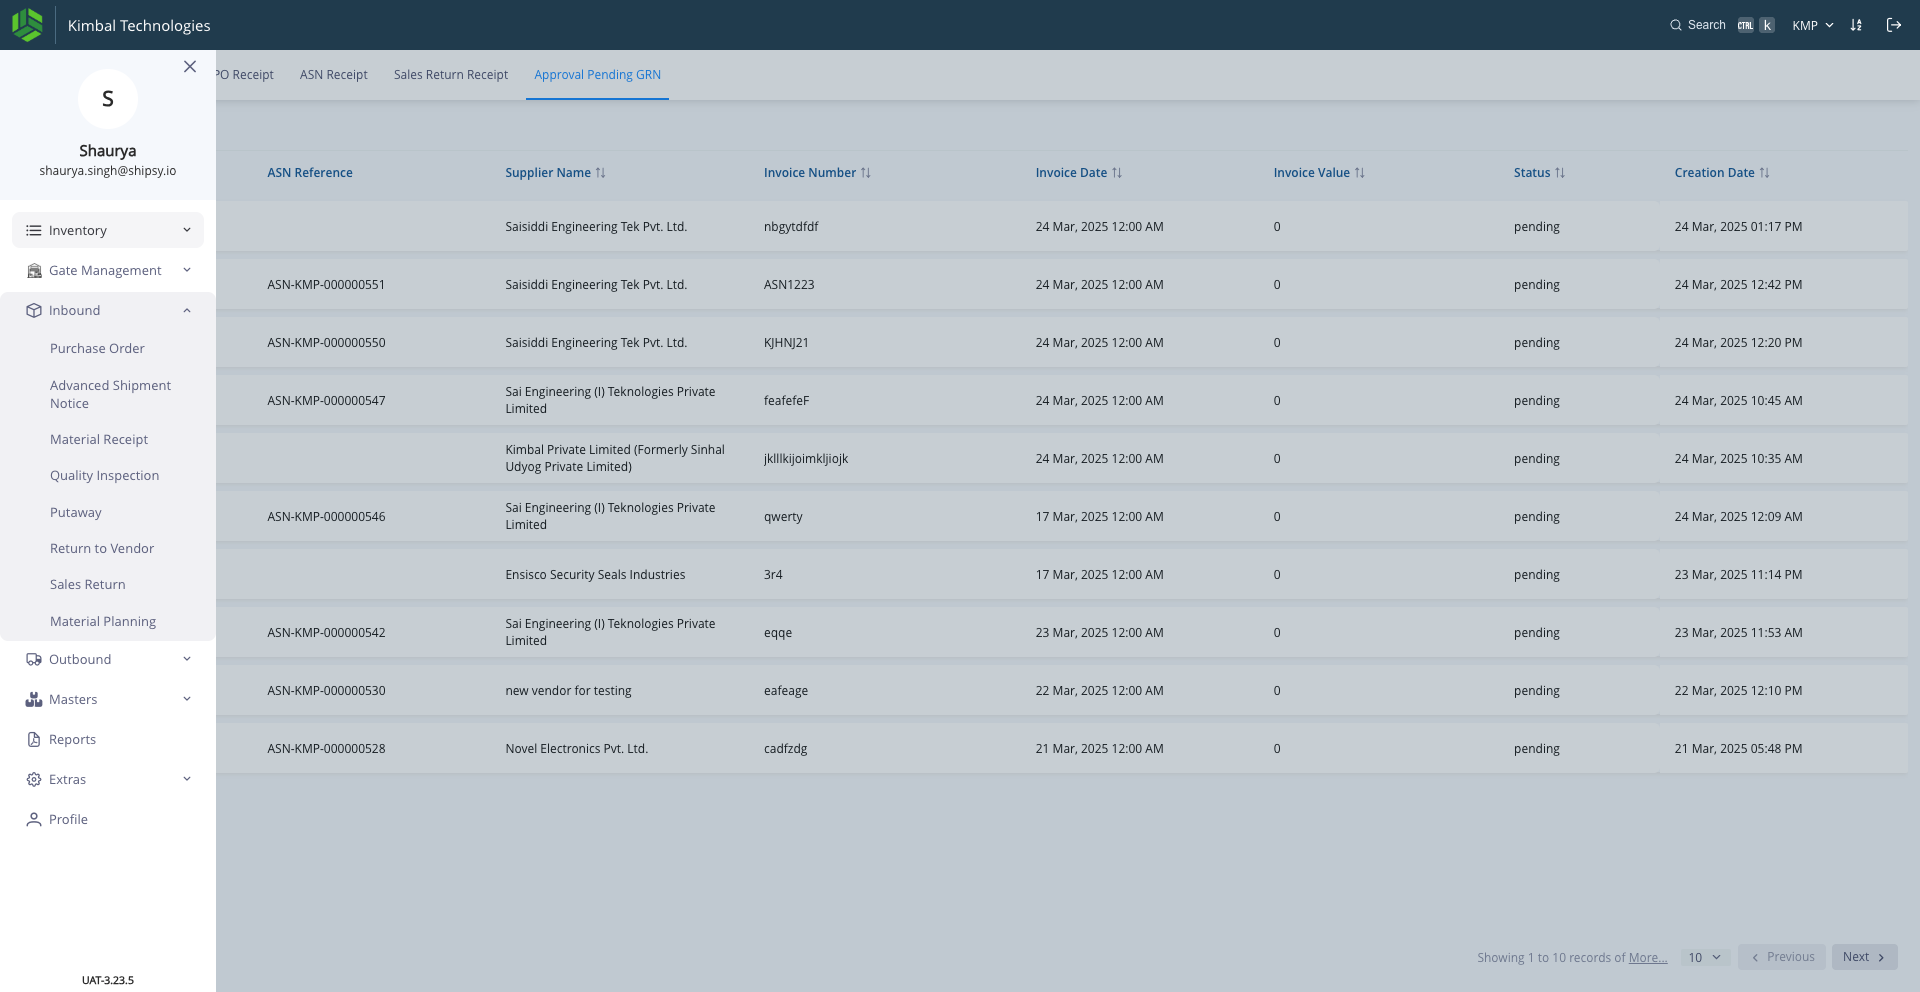
49
Stock can be checked from the Inventory > Summary menu
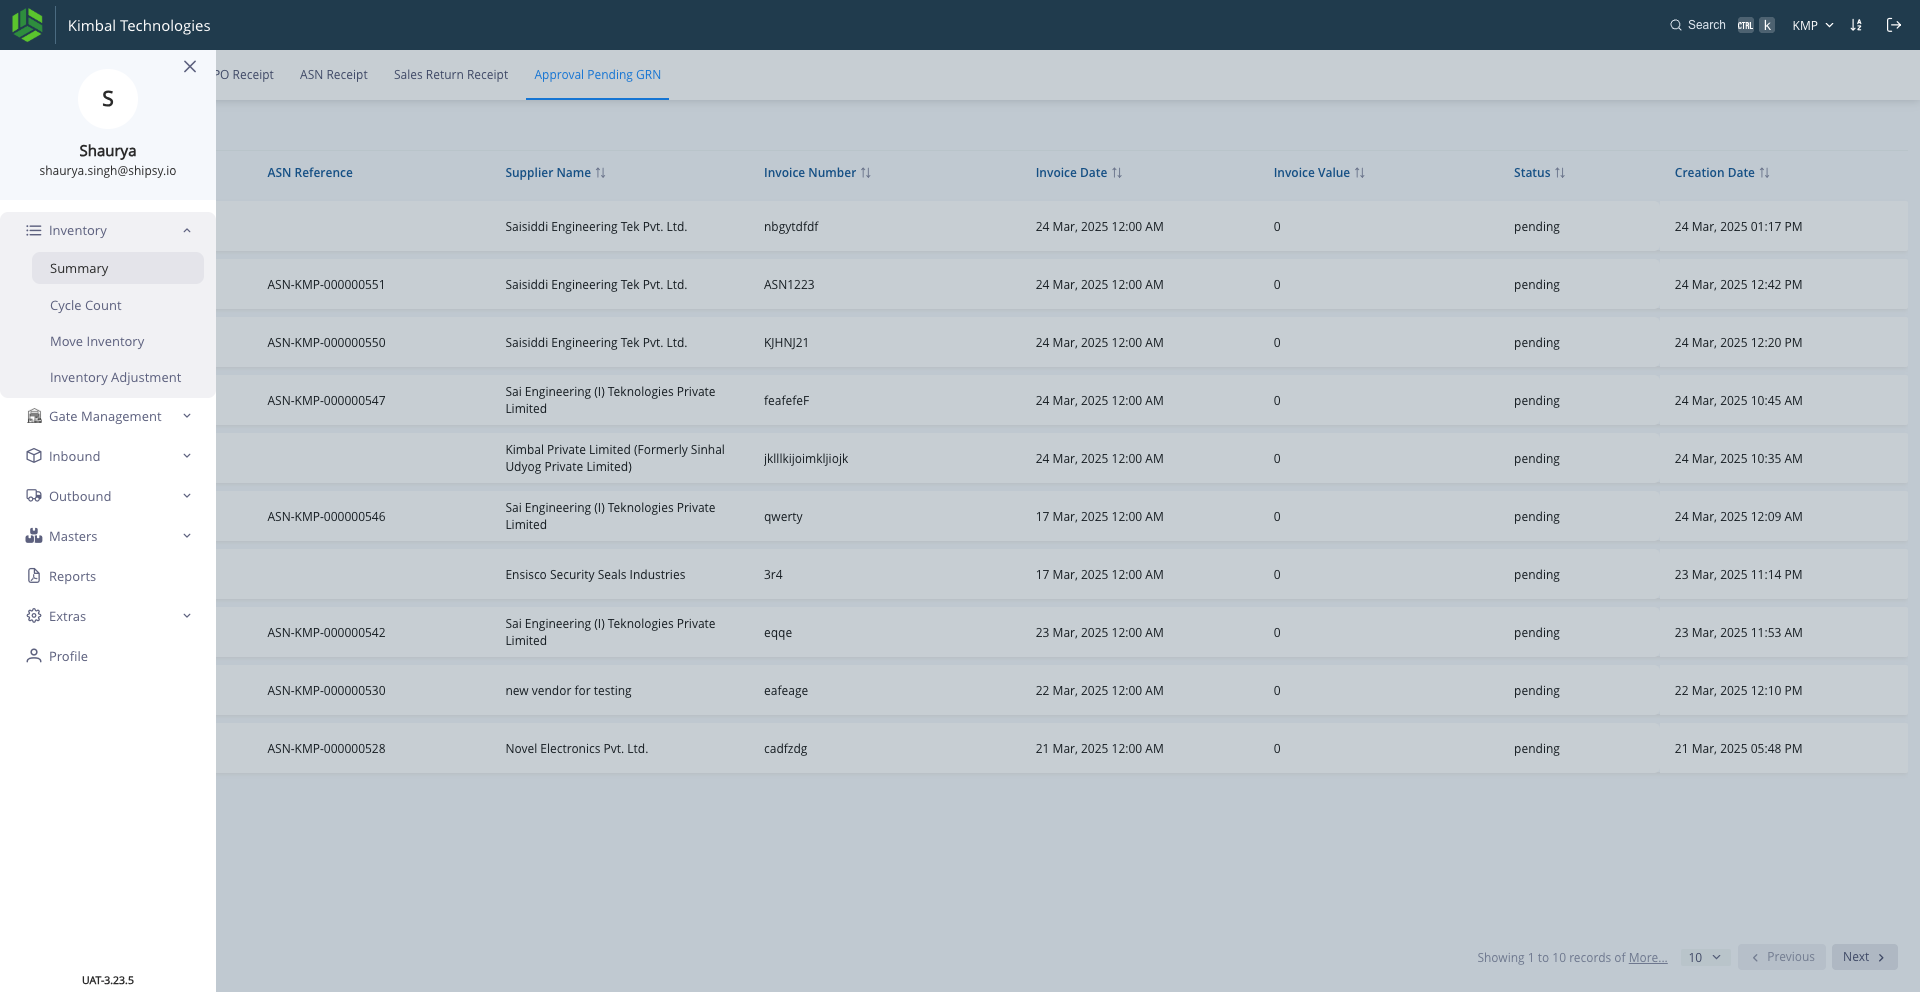
50
Stock can be checked from the Inventory > Summary menu. Click on Filter & enter the SKU needed to be checked
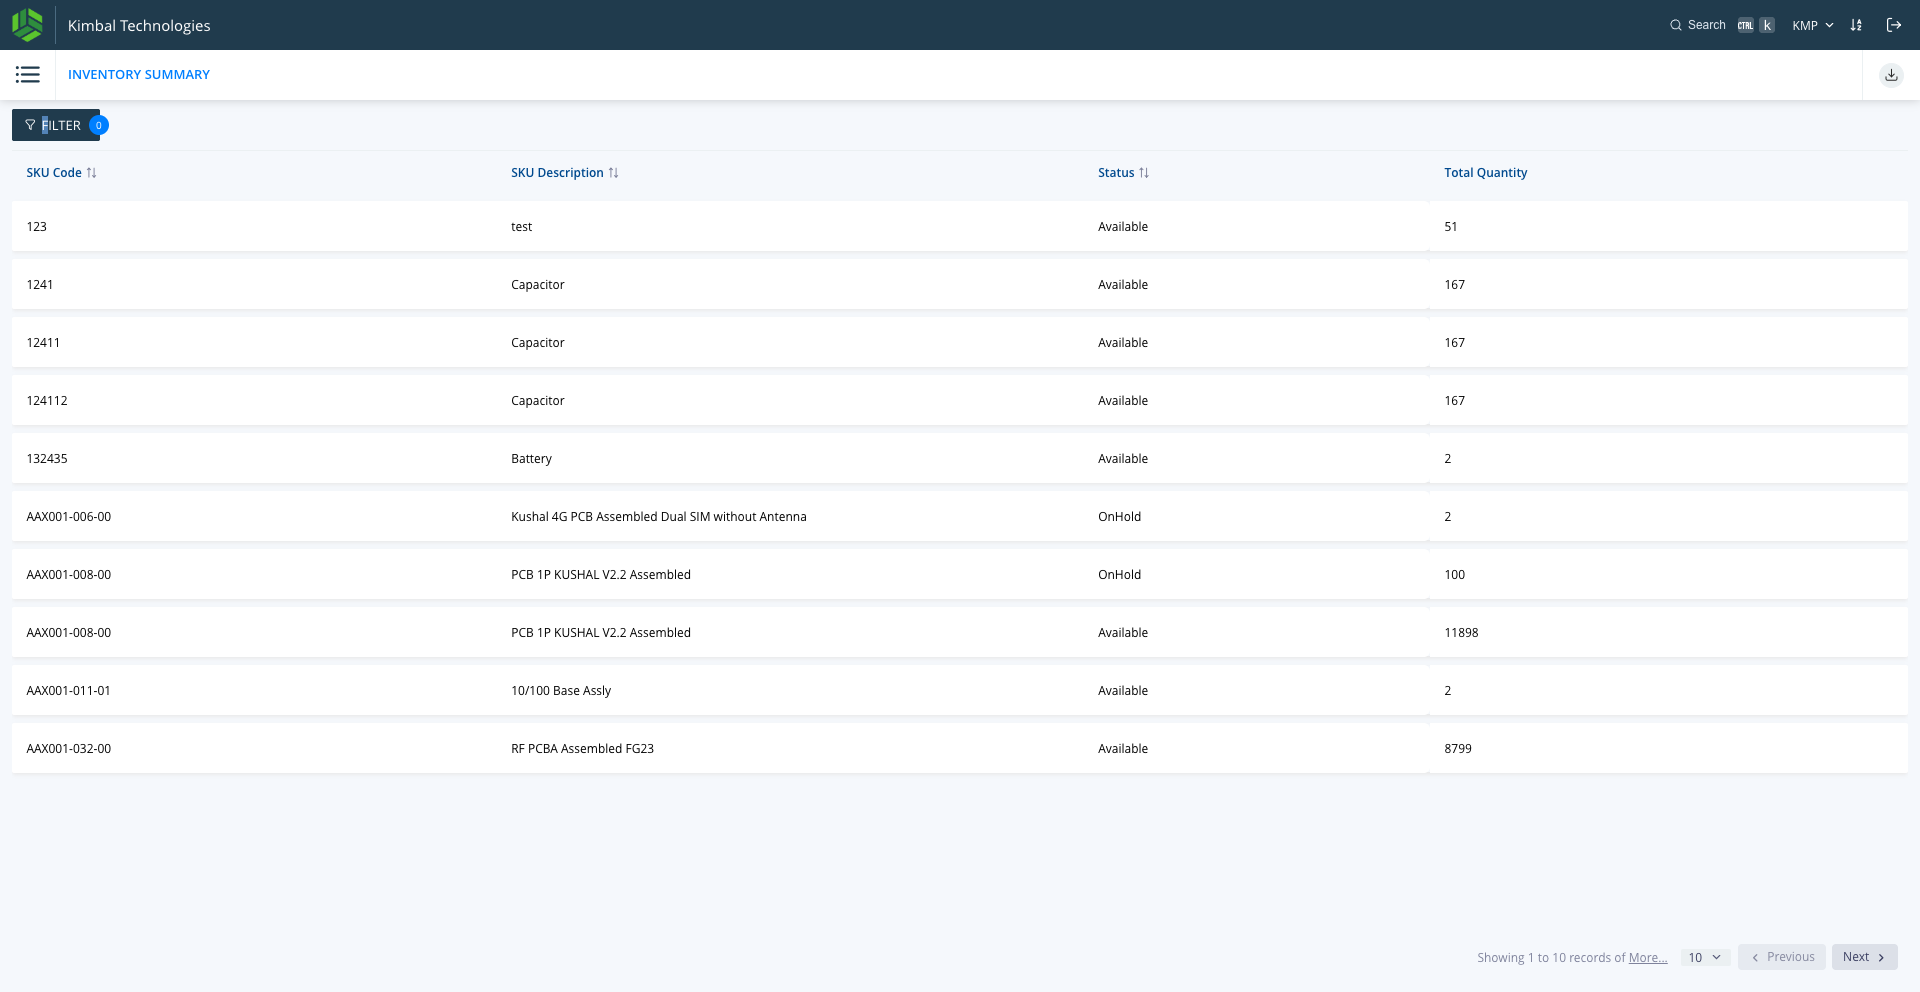
51
Stock can be checked from the Inventory > Summary menu. Click on Filter & enter the SKU needed to be checked
52
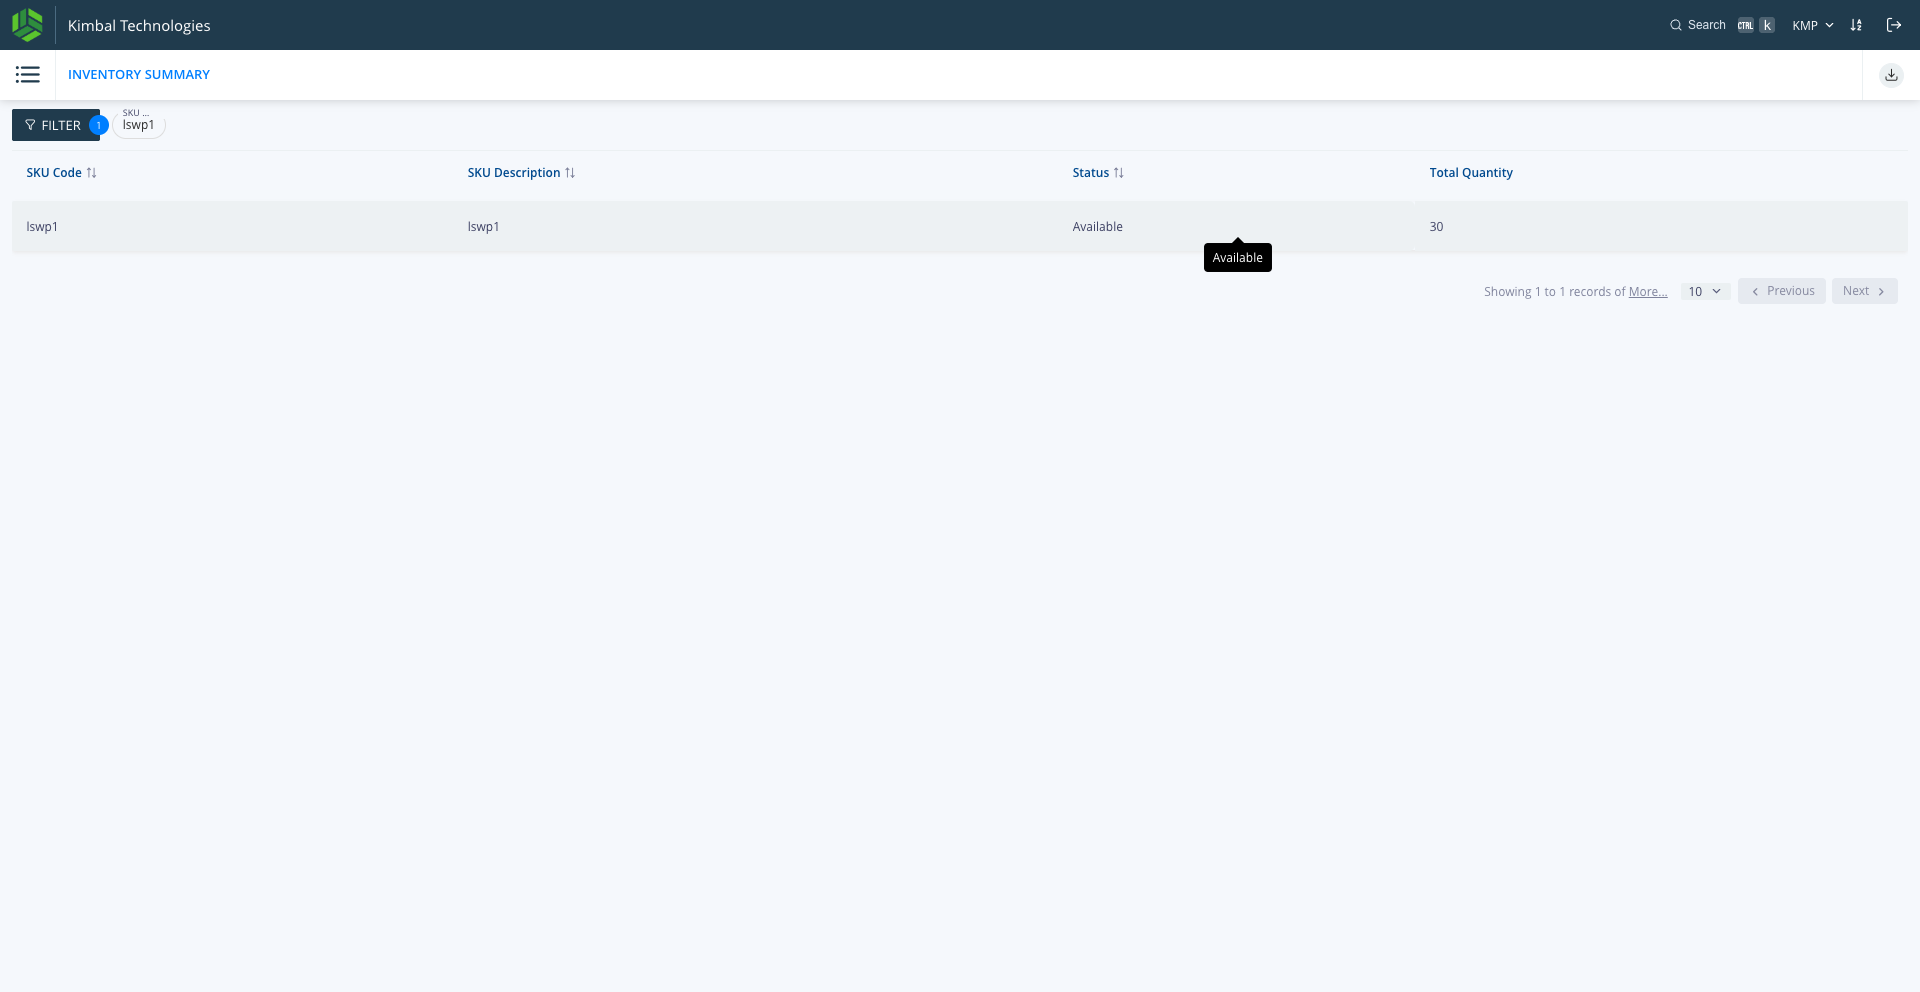
Click on the result to see inventory details view
53
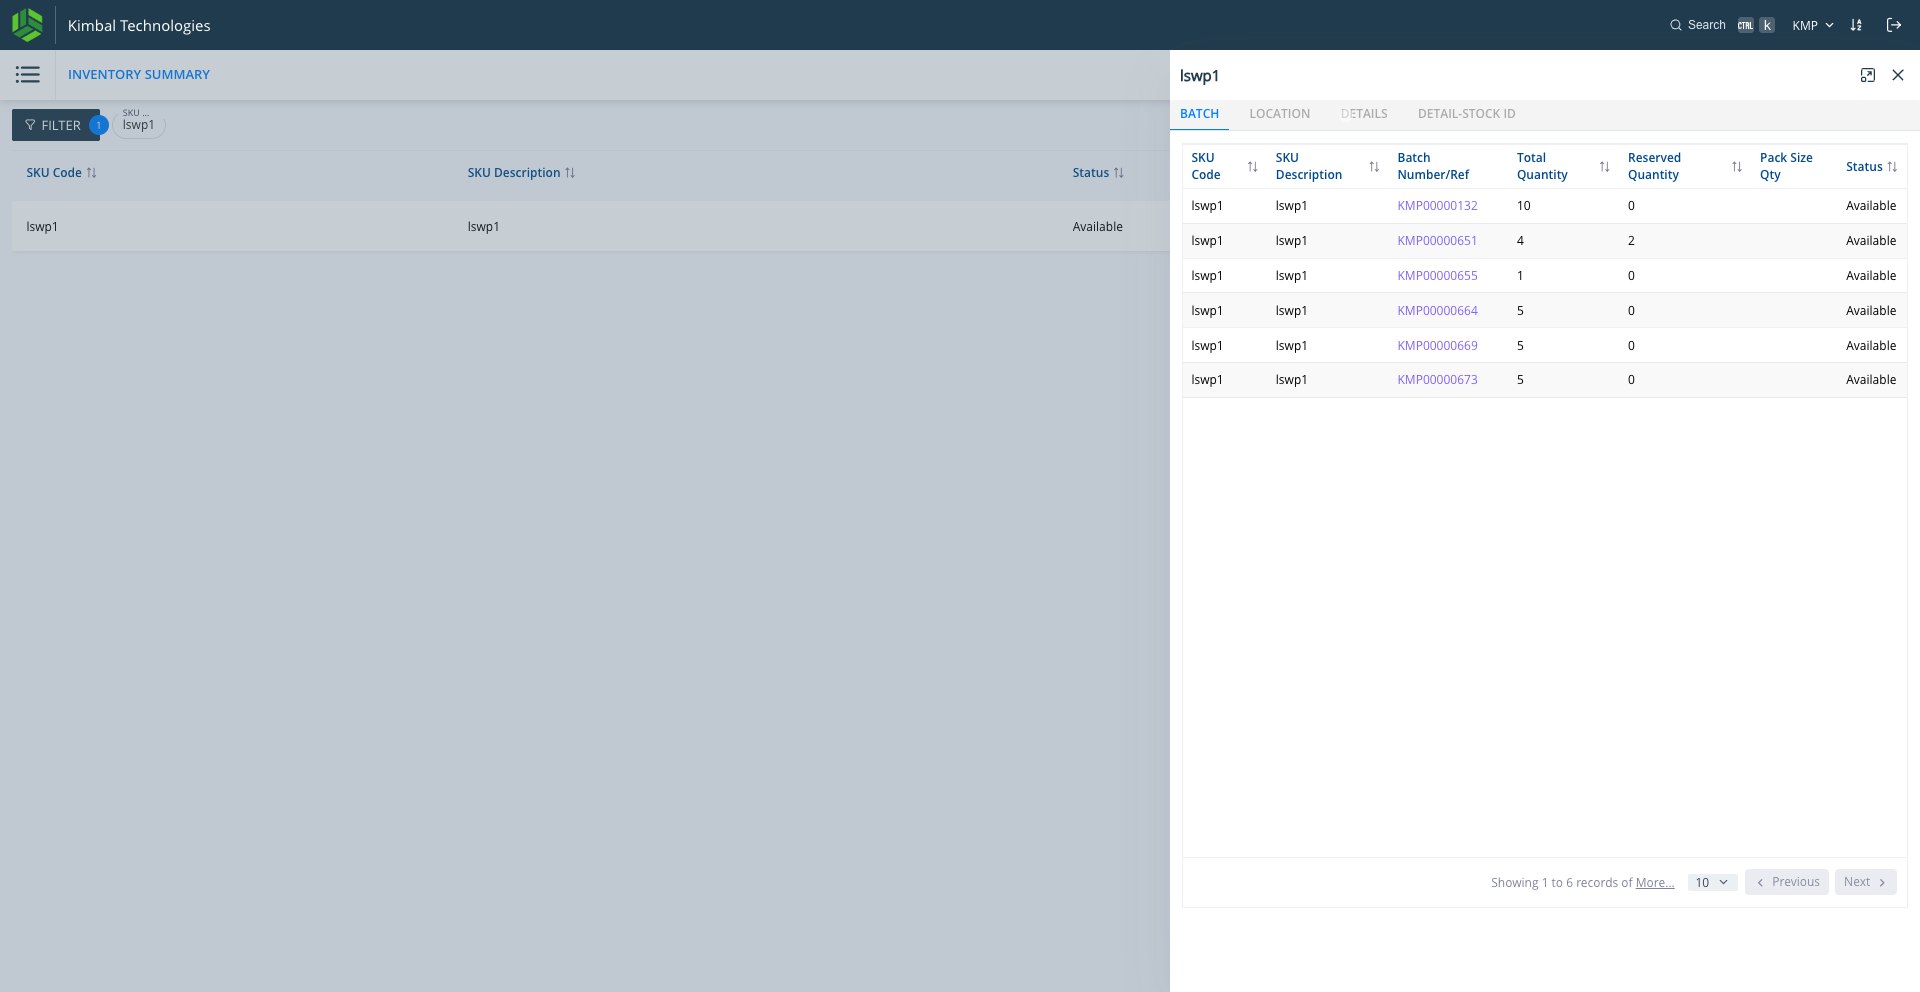
Click on "DETAILS"
54
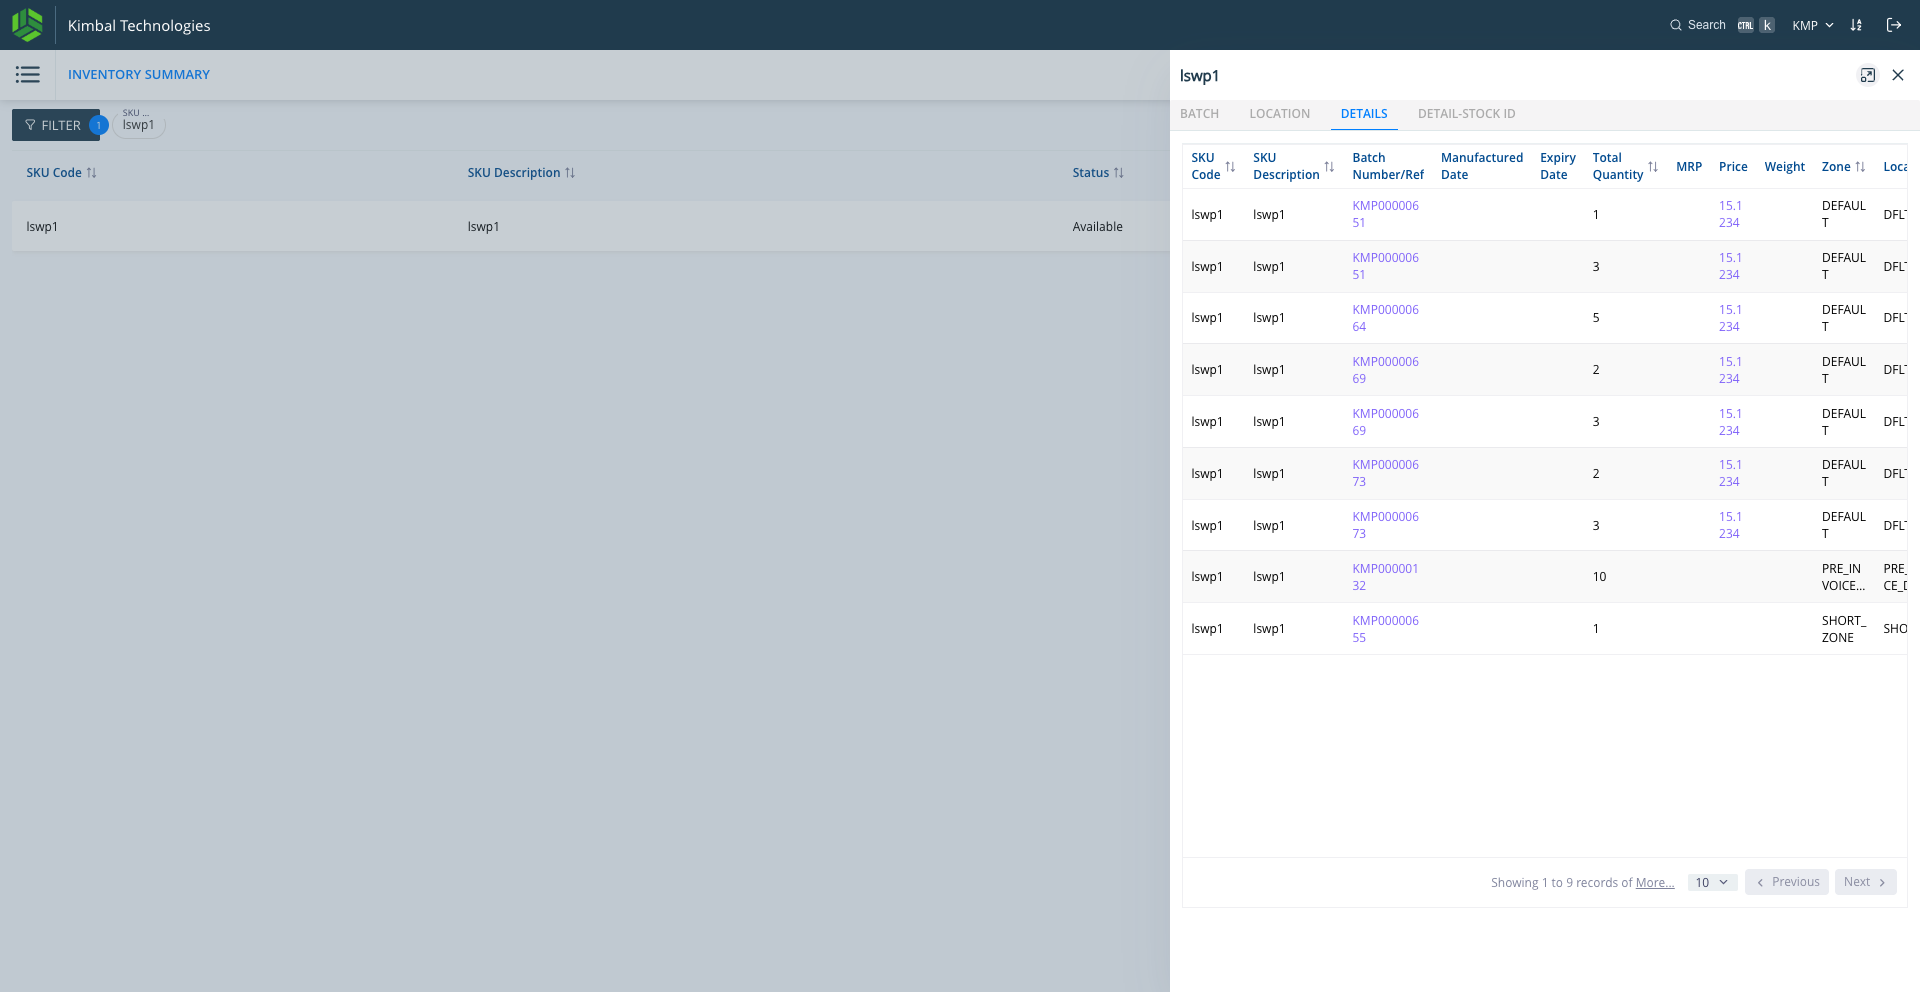
Click here to expand the pop up view
55
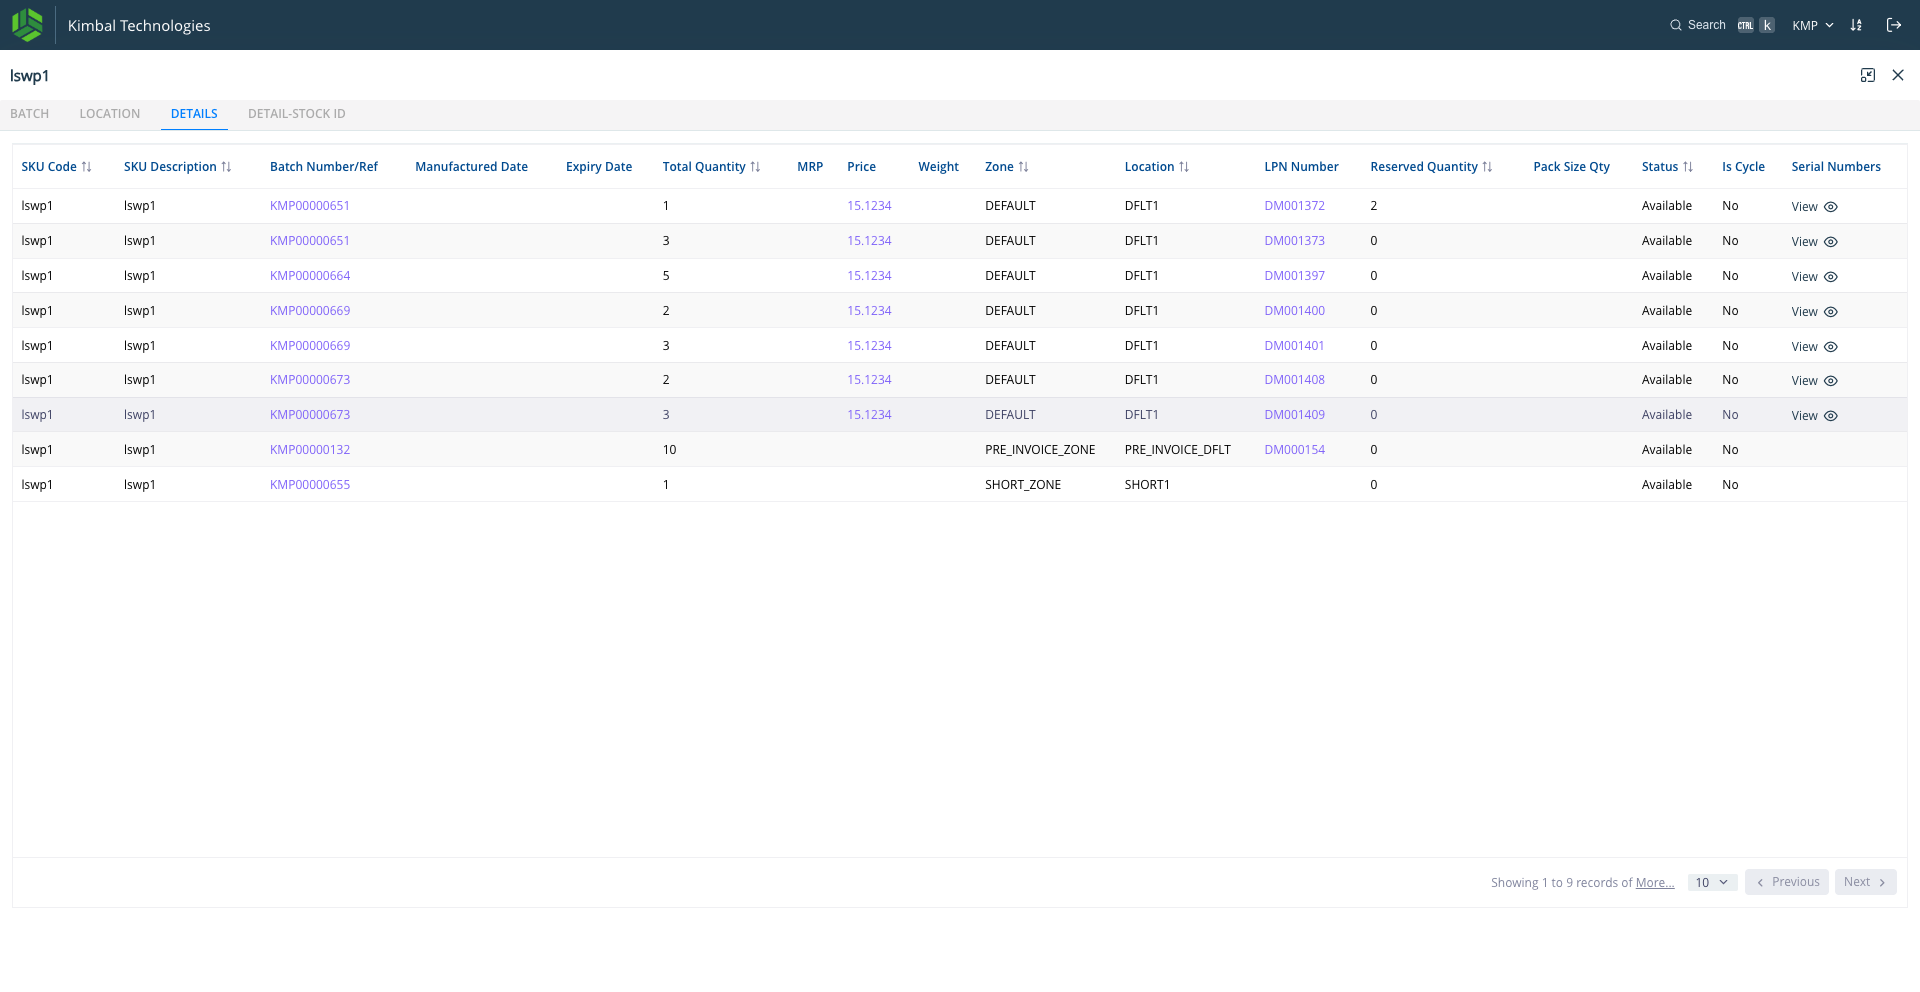
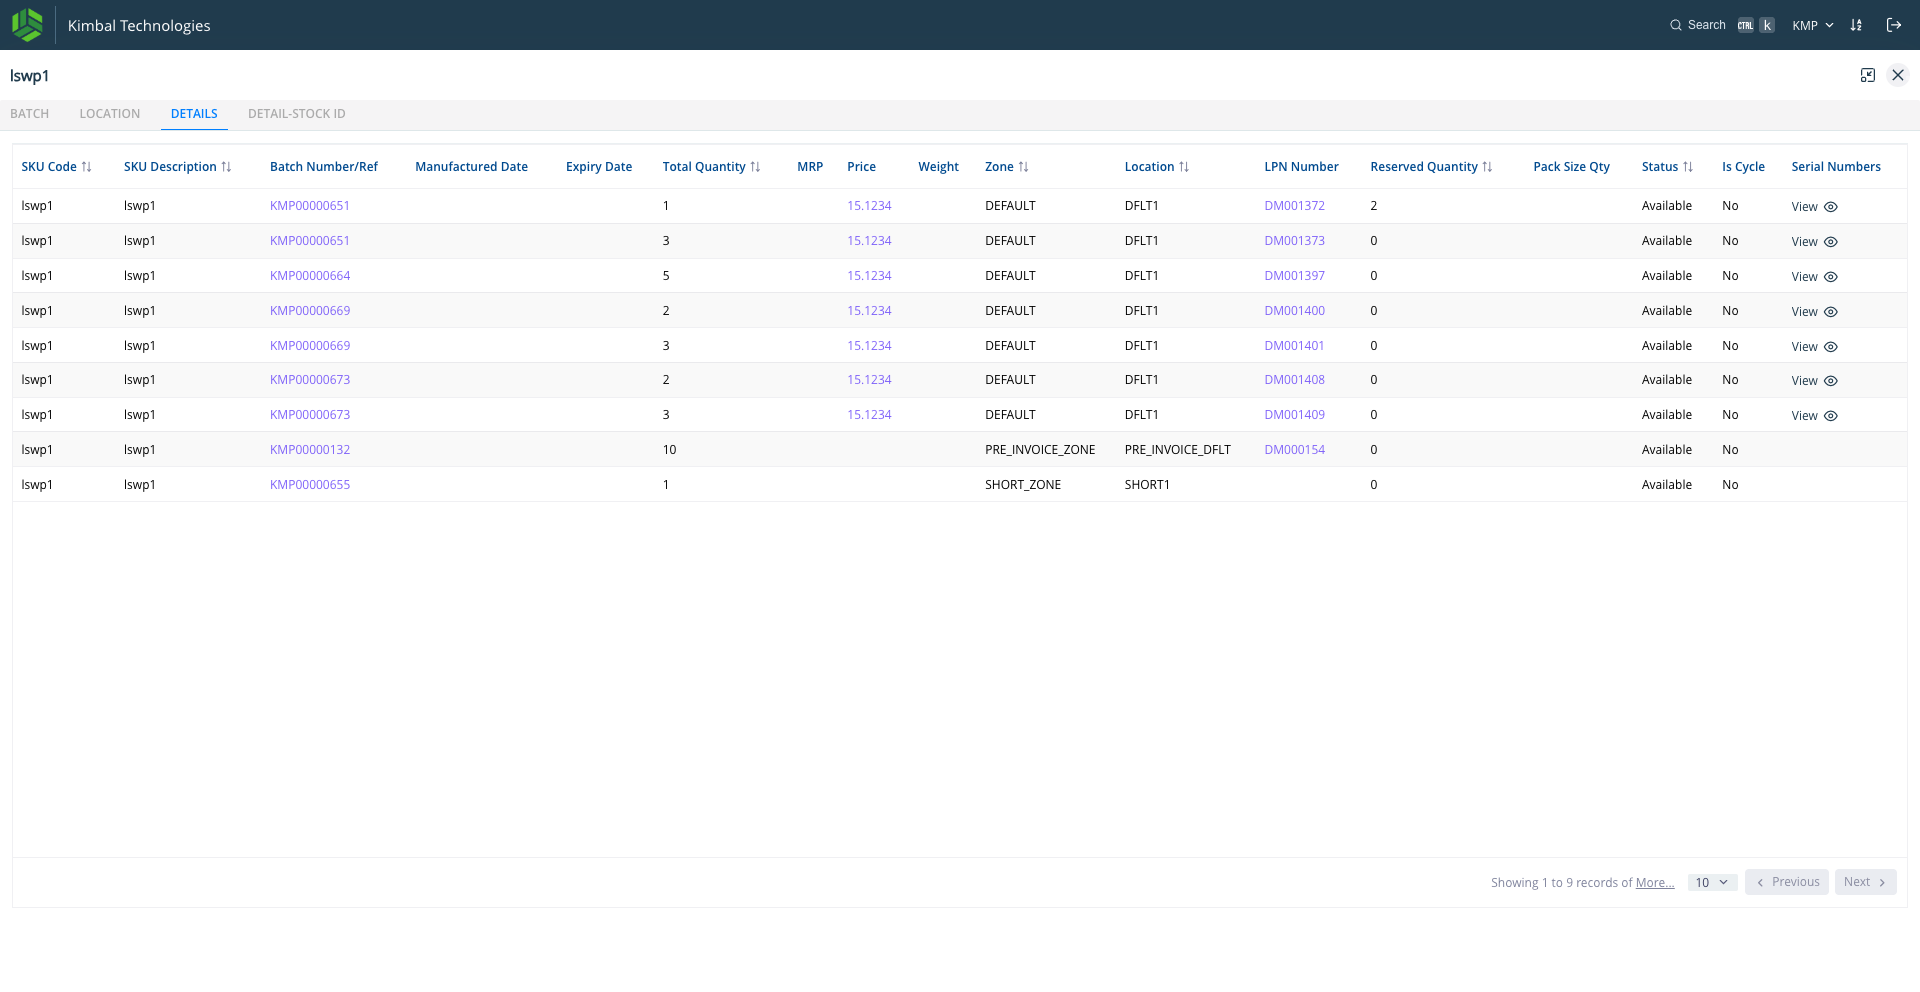
The detail view is visible
56
Close the view when done
57
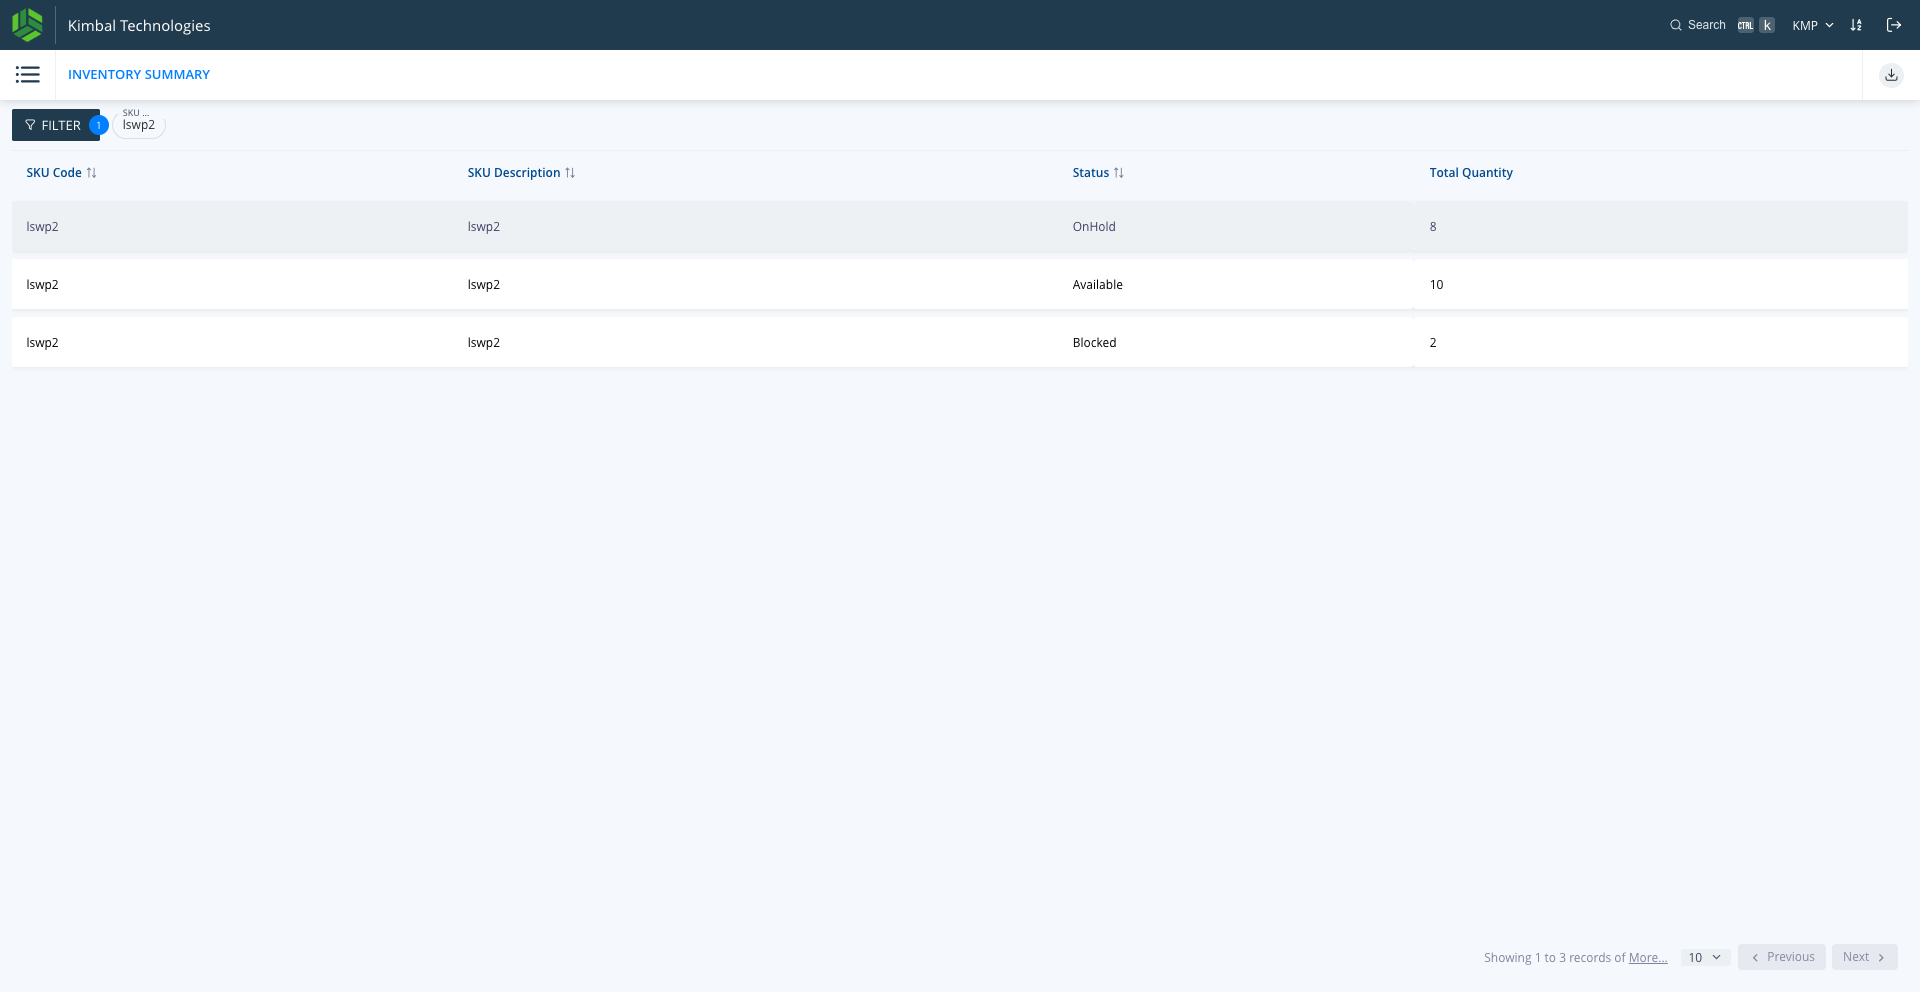
Example of Stock Status: Here you can see Available is unrestricted stock, OnHold is entire pending for putaway (will be shown in "PUT_STAGE" location) or pending QC clearance from ERP (will be shown in actual putaway location other than "PUT_STAGE"), Blocked is the stock which is QC rejected from ERP, QC pass stock will be in Available category
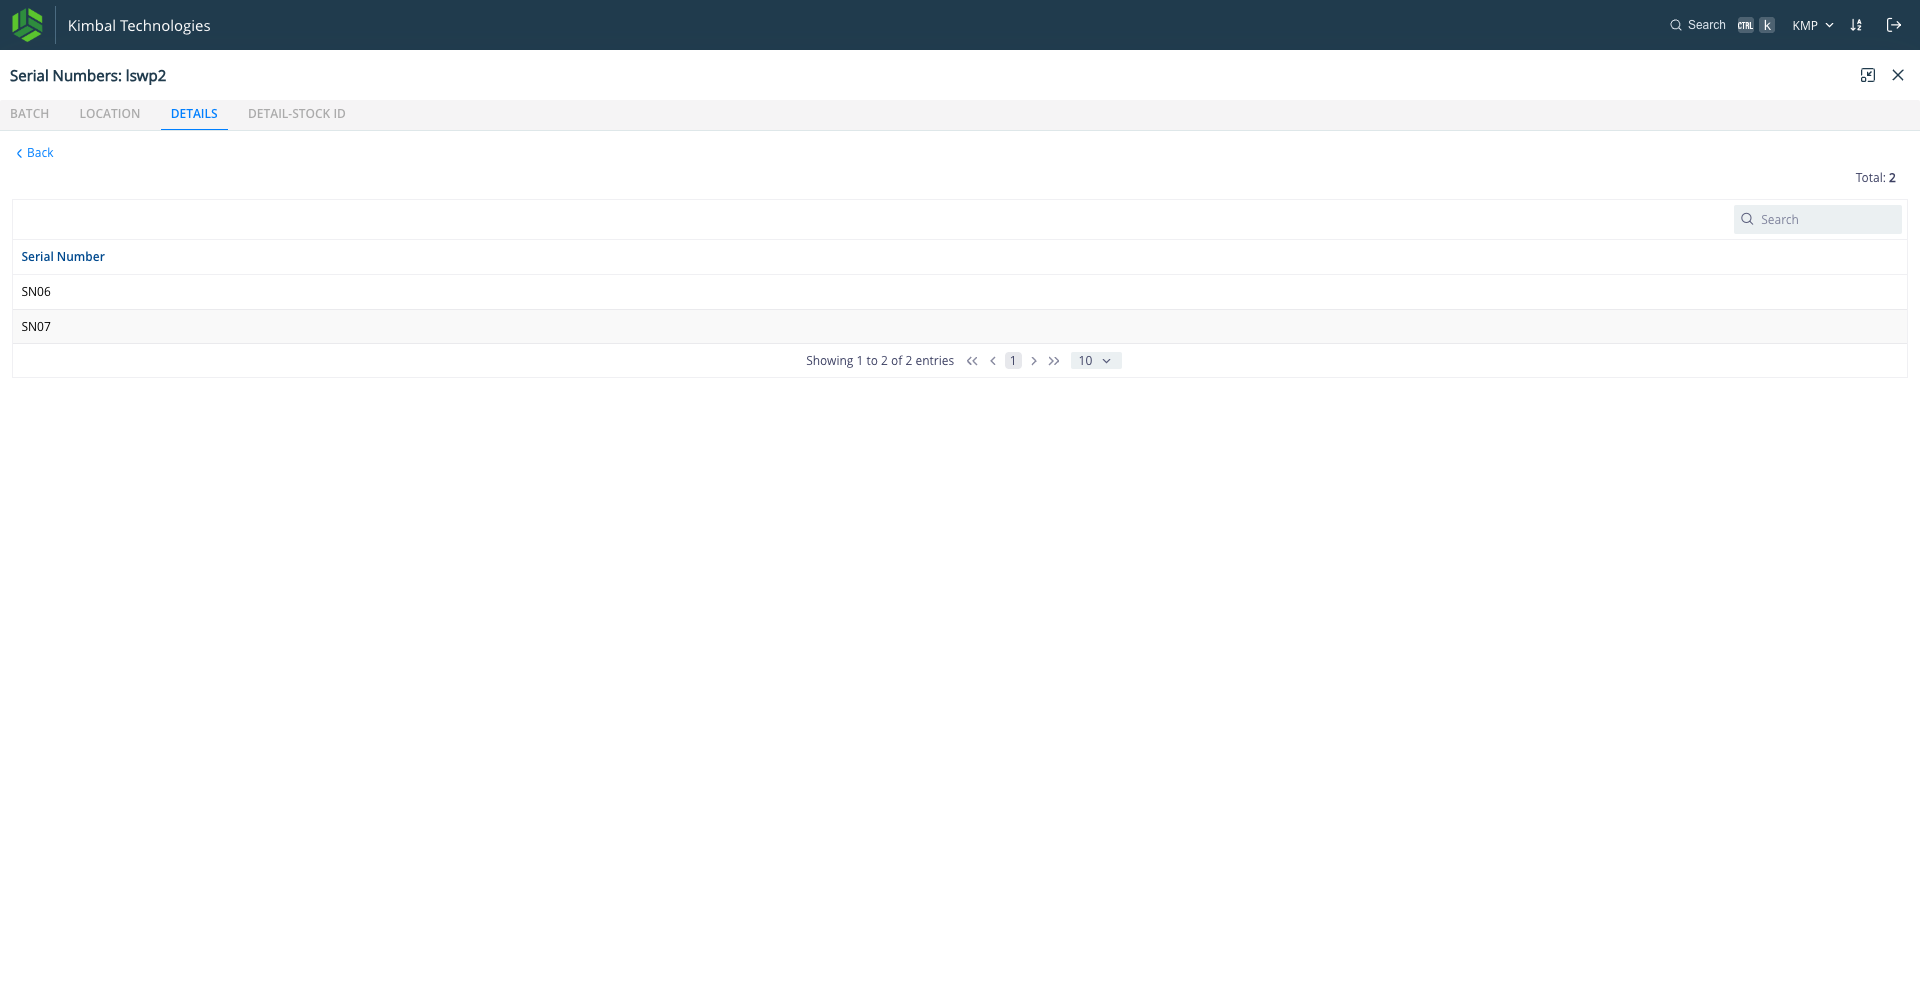
58
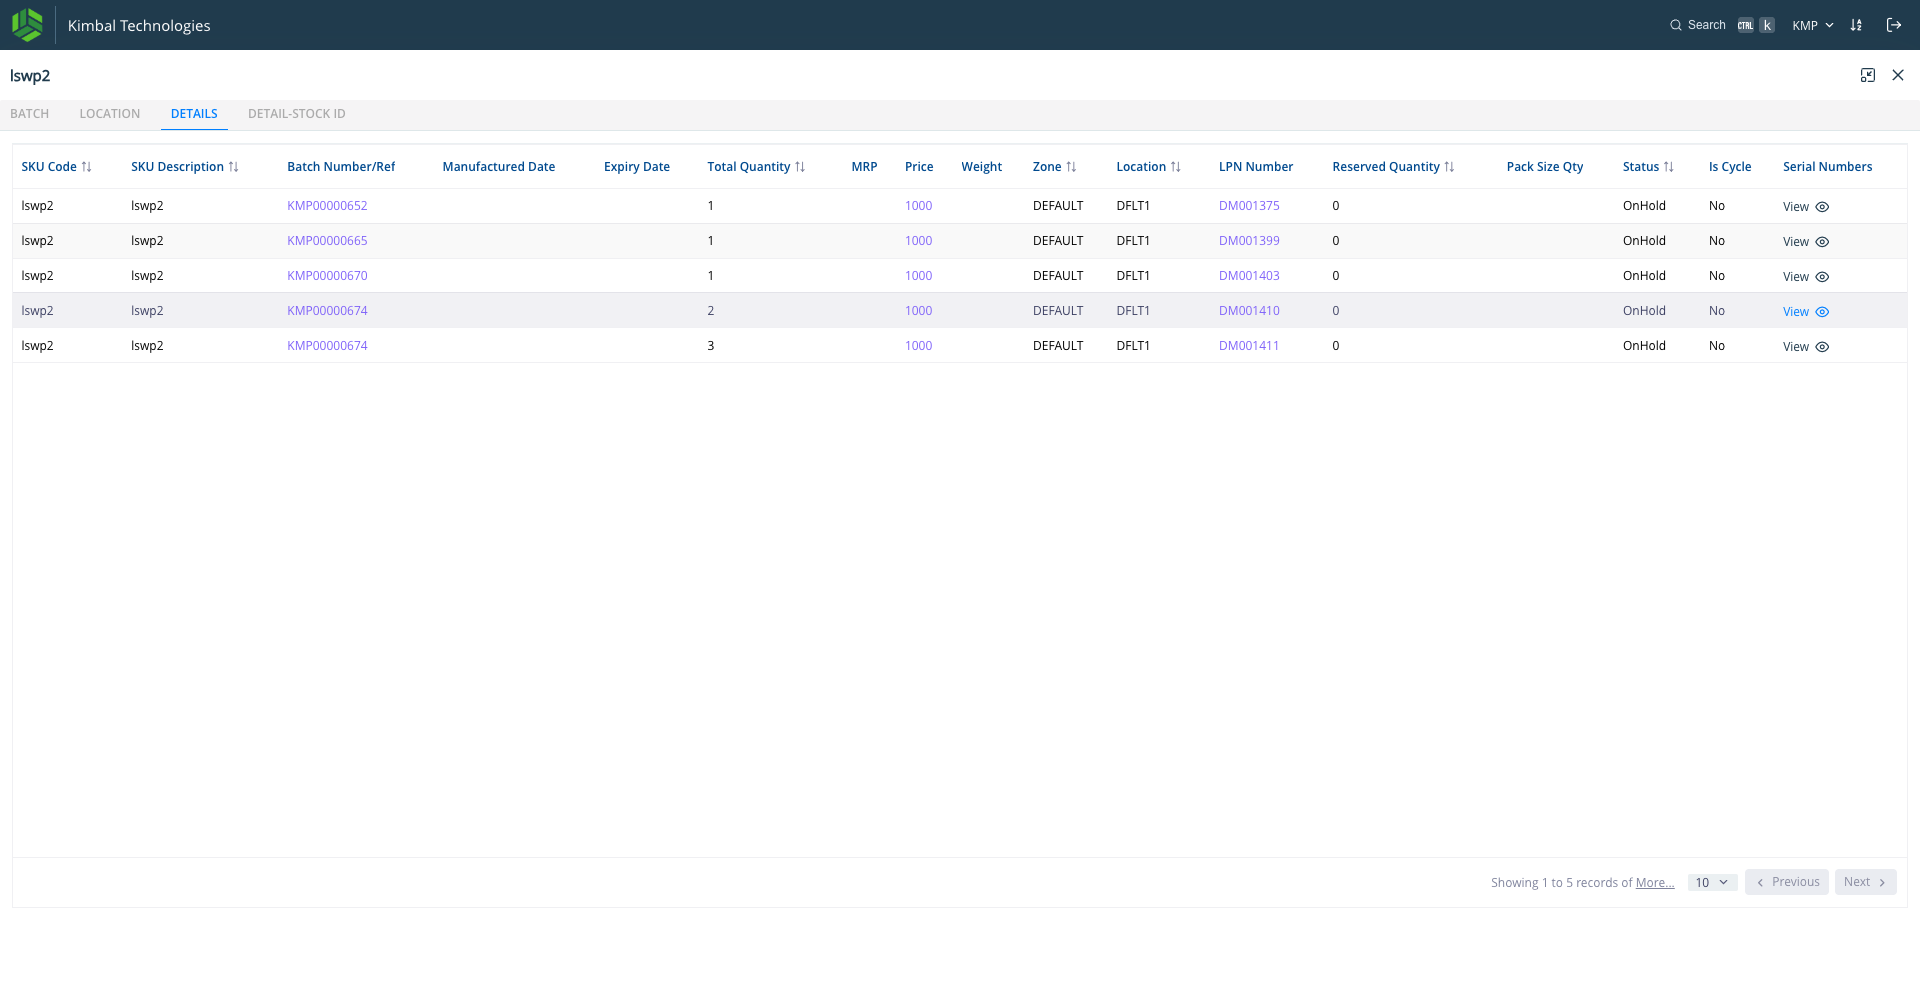
Click on "View" button to see the Serial Numbers in stock
59
Click on "< Back"
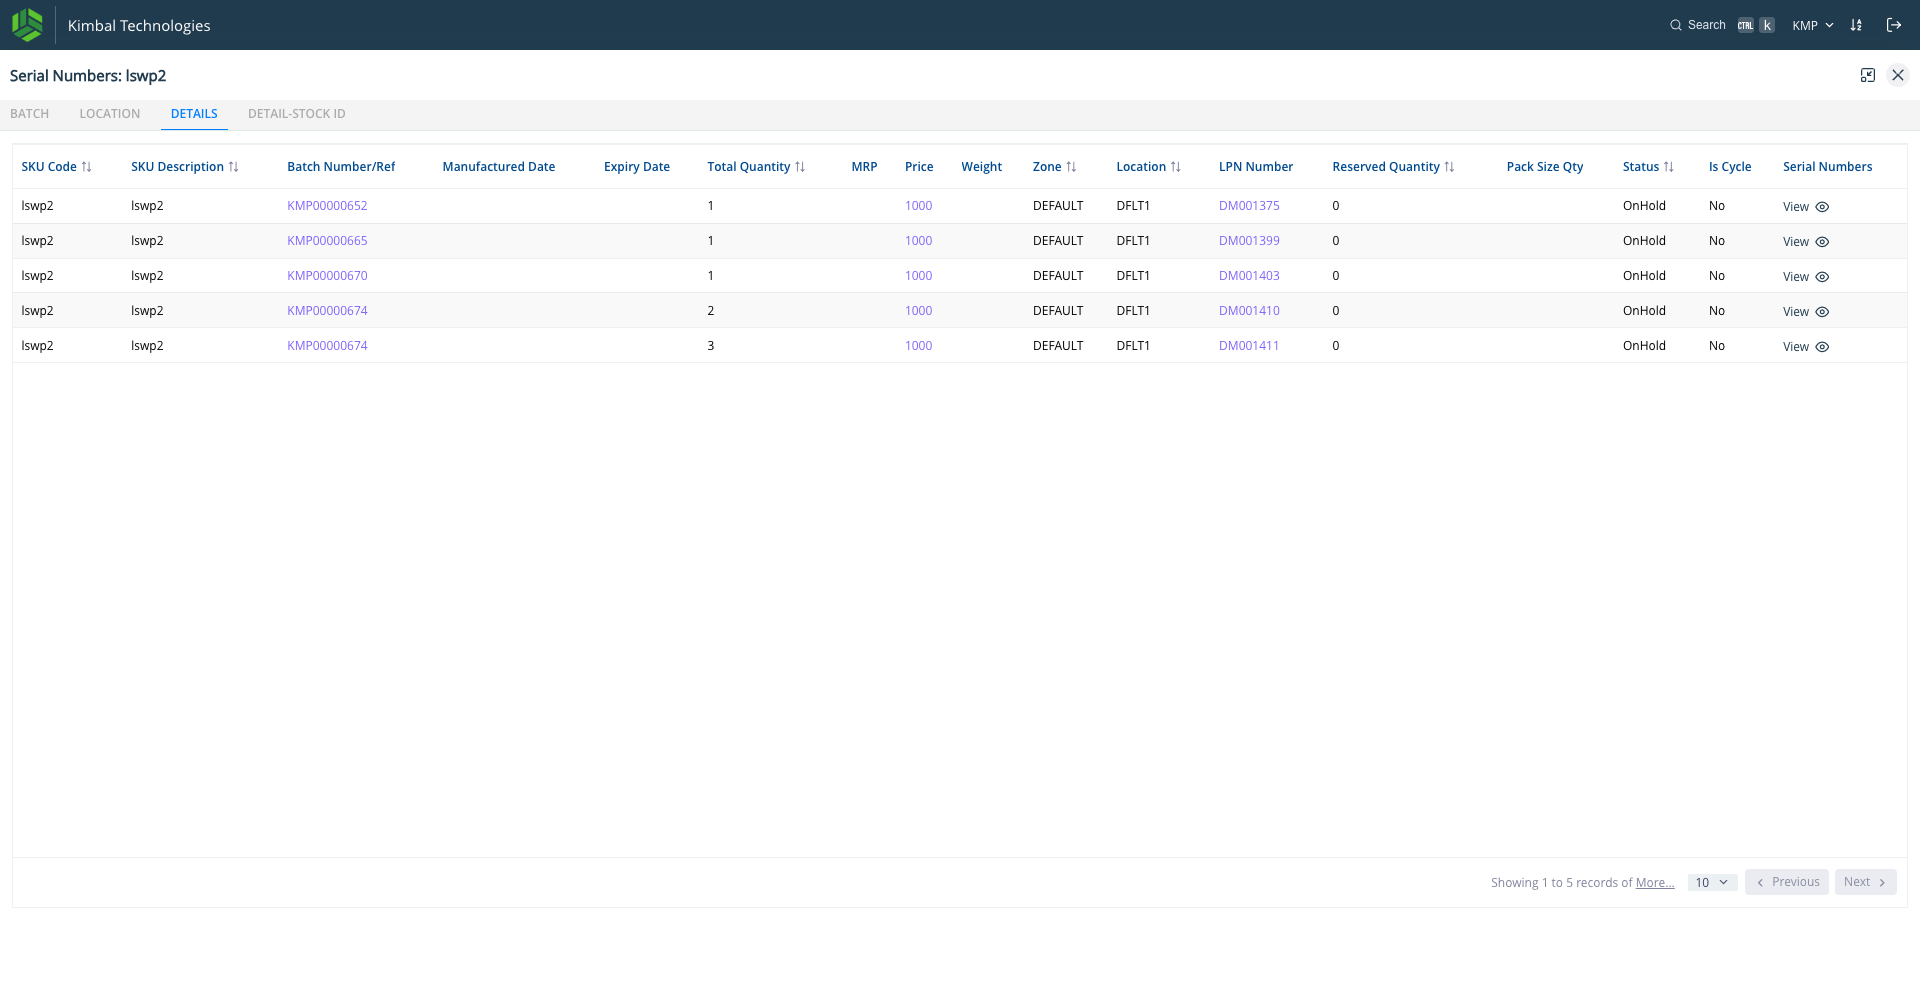
60
Click on close when done
This concludes the PO to Putaway : Inbound Forward Flow