How Roster Management works in OPS Dashboard
This is a step-by-step guide for Roster Management.
Introduction
This guide provides a step-by-step tutorial on managing rosters within the OPS Dashboard, a tool designed for operational scheduling, such as assigning shifts to riders or employees. This documentation is intended for hub managers or administrators responsible for scheduling tasks. The objective is to enable users to efficiently navigate the Roster Management section, add new shifts, assign riders, configure shift times, and set recurrence options, ensuring smooth operational workflows.
Getting Started
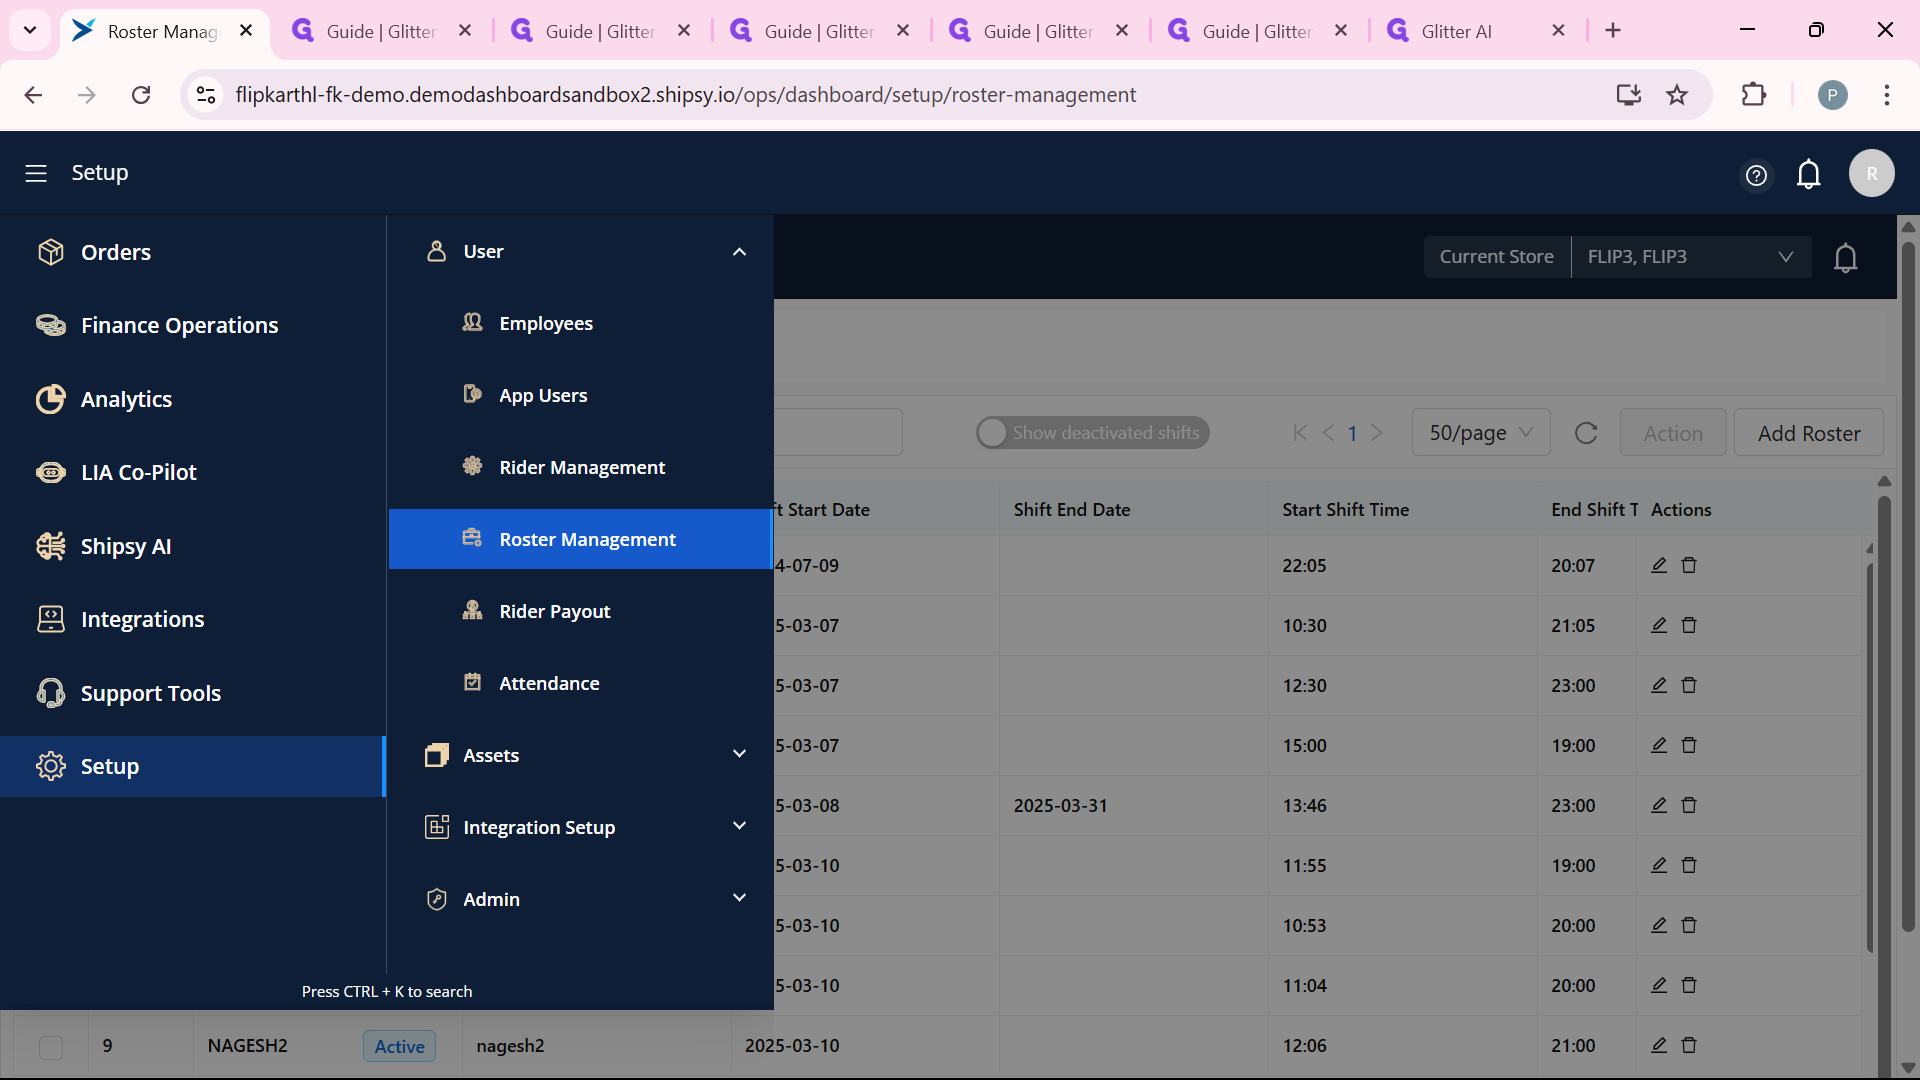
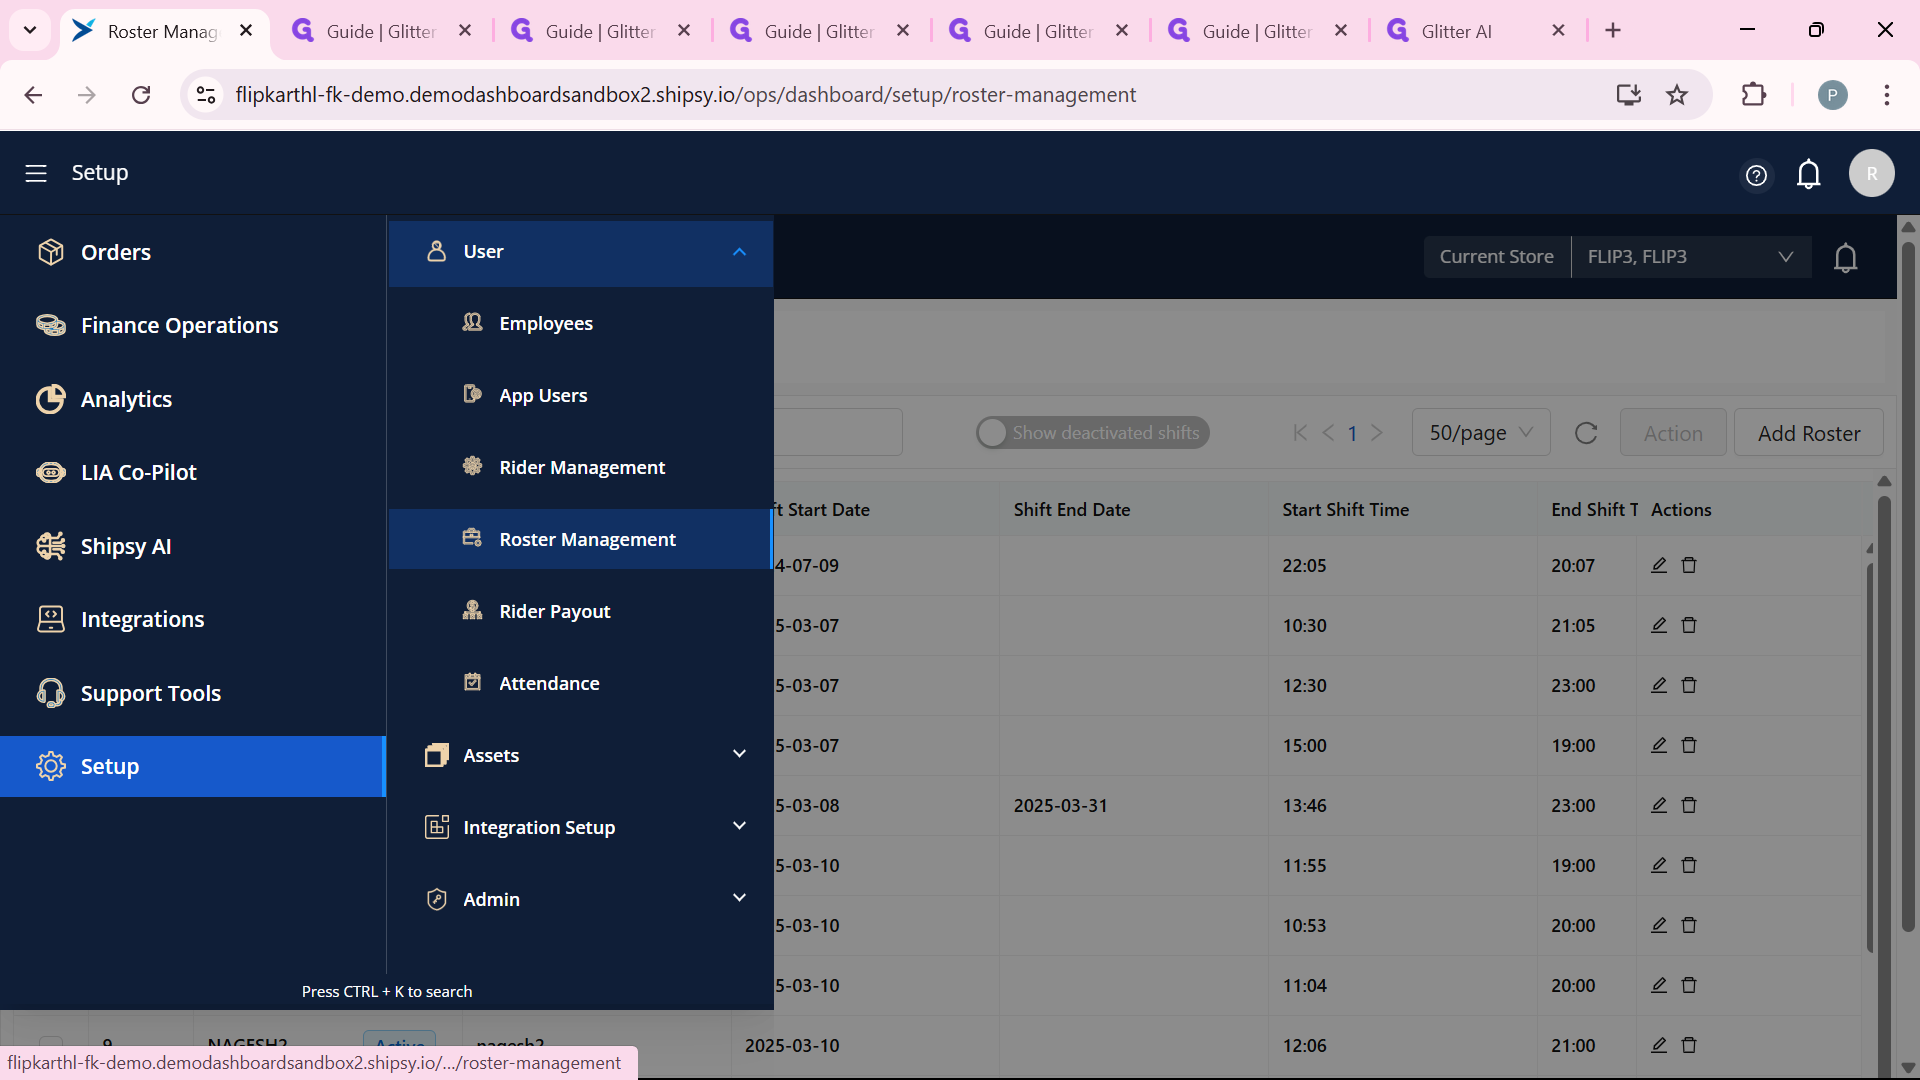
To begin, you’ll need to log into the OPS Dashboard with the right permissions—typically a role like Hub Manager. Once you’re in, the goal is to find the roster management area. Look at the top left corner of the dashboard, where you’ll see a menu . Clicking this opens up a range of options, select Setup . In setup there are options nestled among them—tools like Employees, Rider Management and Roster Management. Select that, and you’re ready to start scheduling.
Choosing the Right Hub
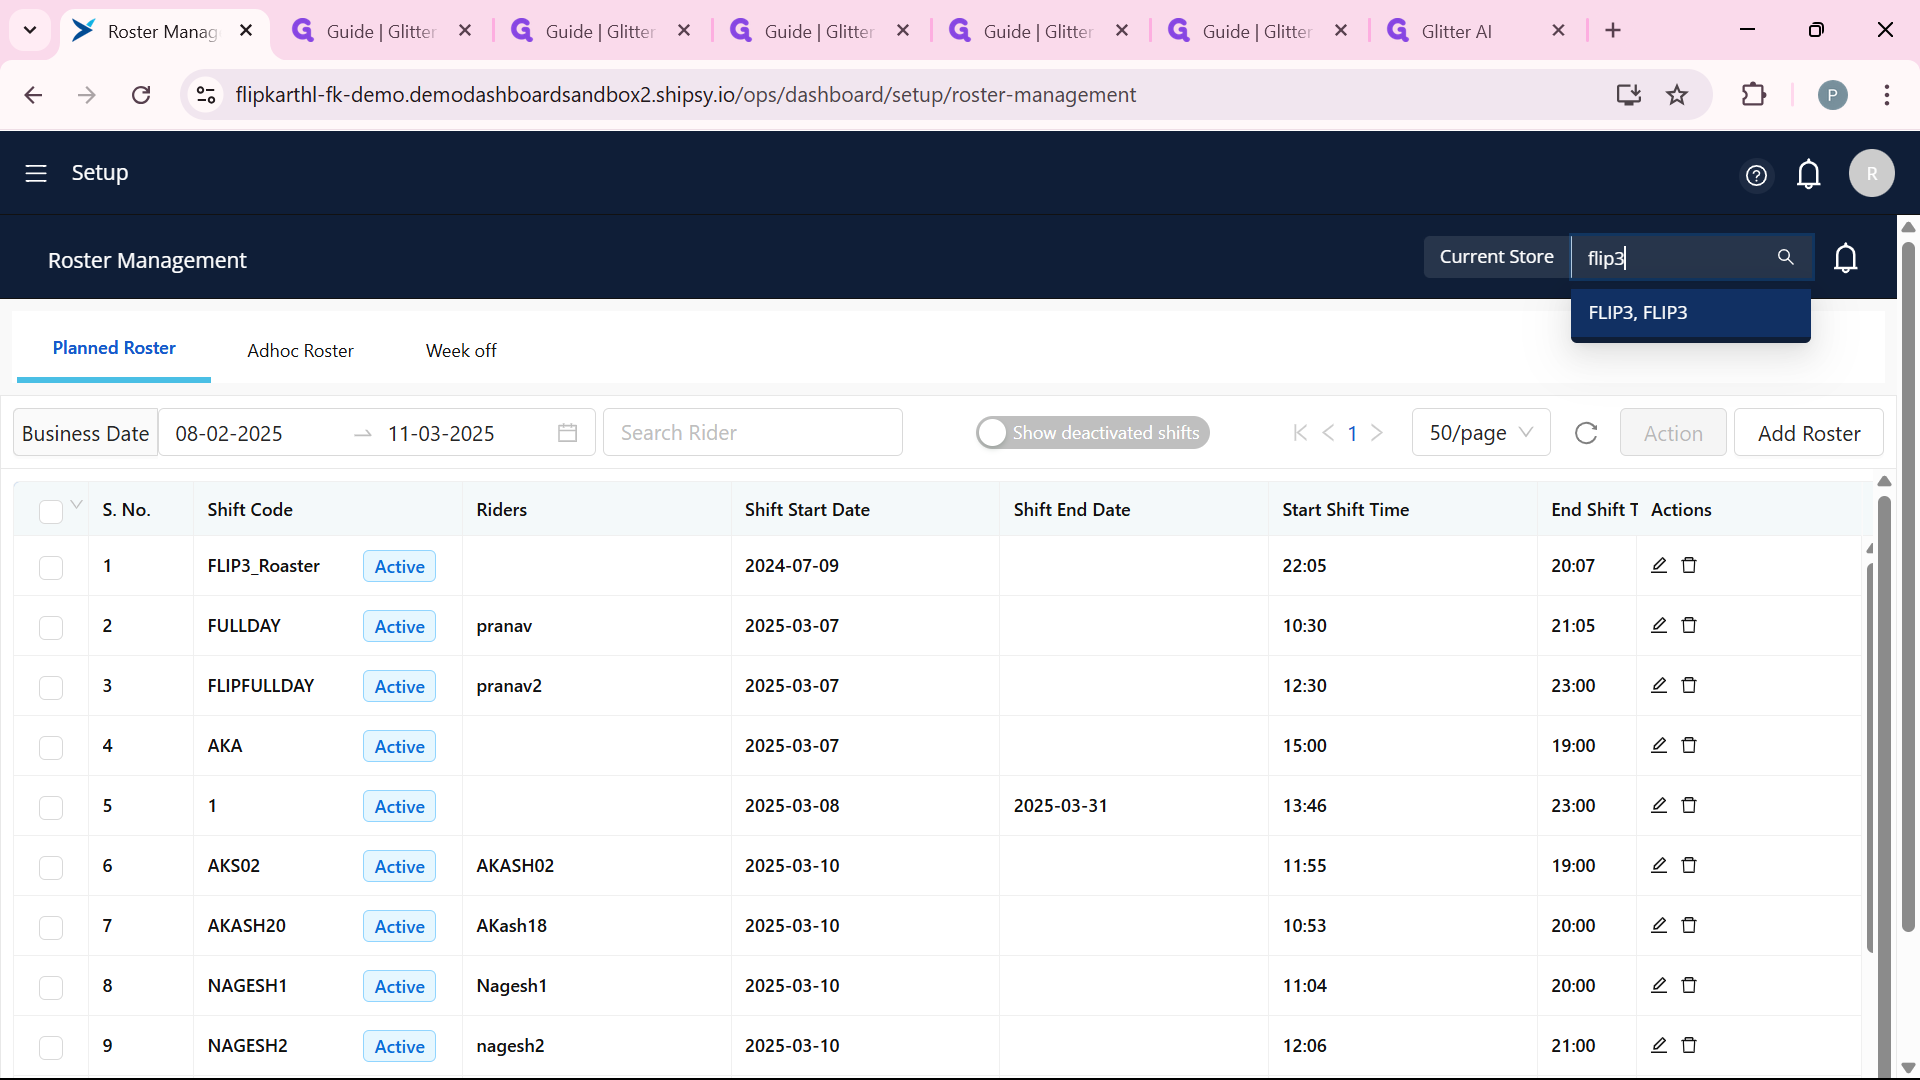
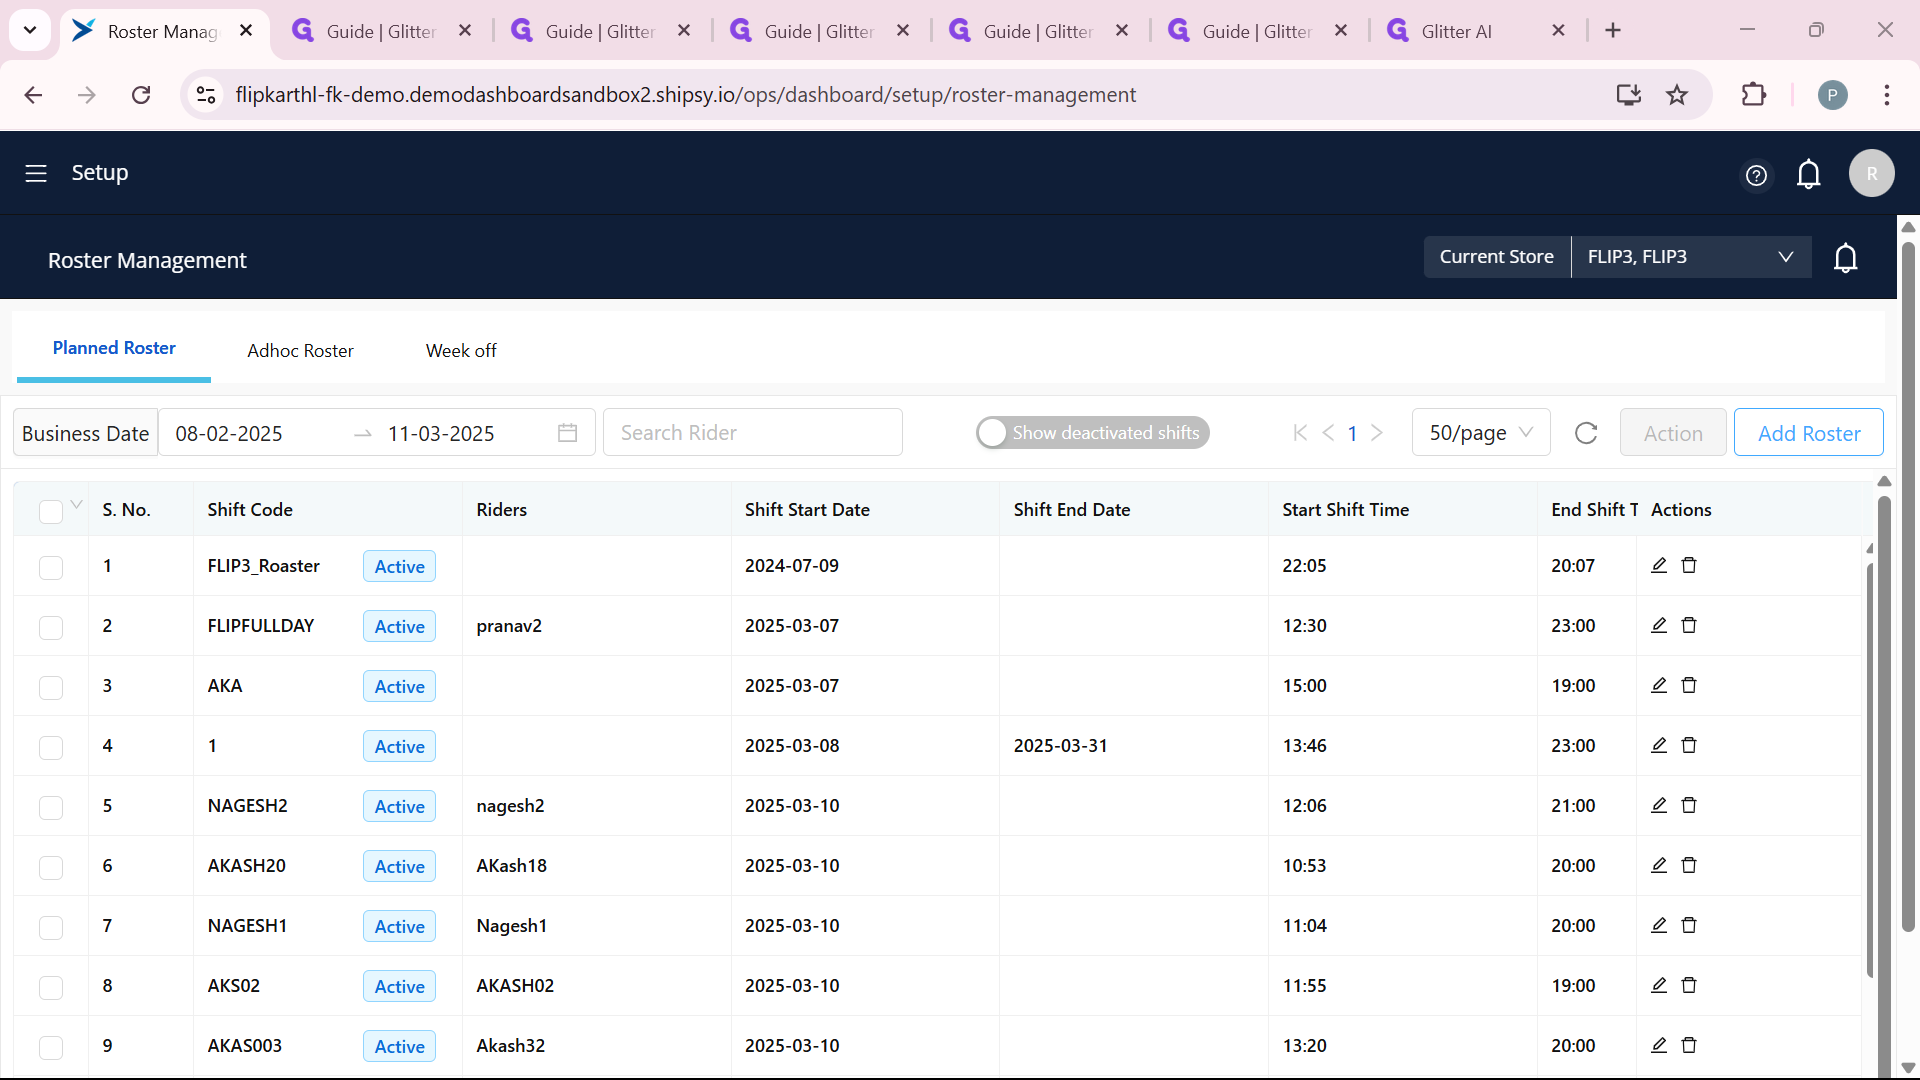
The first thing you’ll do in the Roster Management section is pick the hub you’re working with. This is important because shifts are specific to each location. You’ll see an option labeled "Current Store"—click it, and a list of hubs will appear. Choose the one you need, like "FLIP3, FLIP3," for example. Getting this part right ensures your shifts are assigned to the correct place.
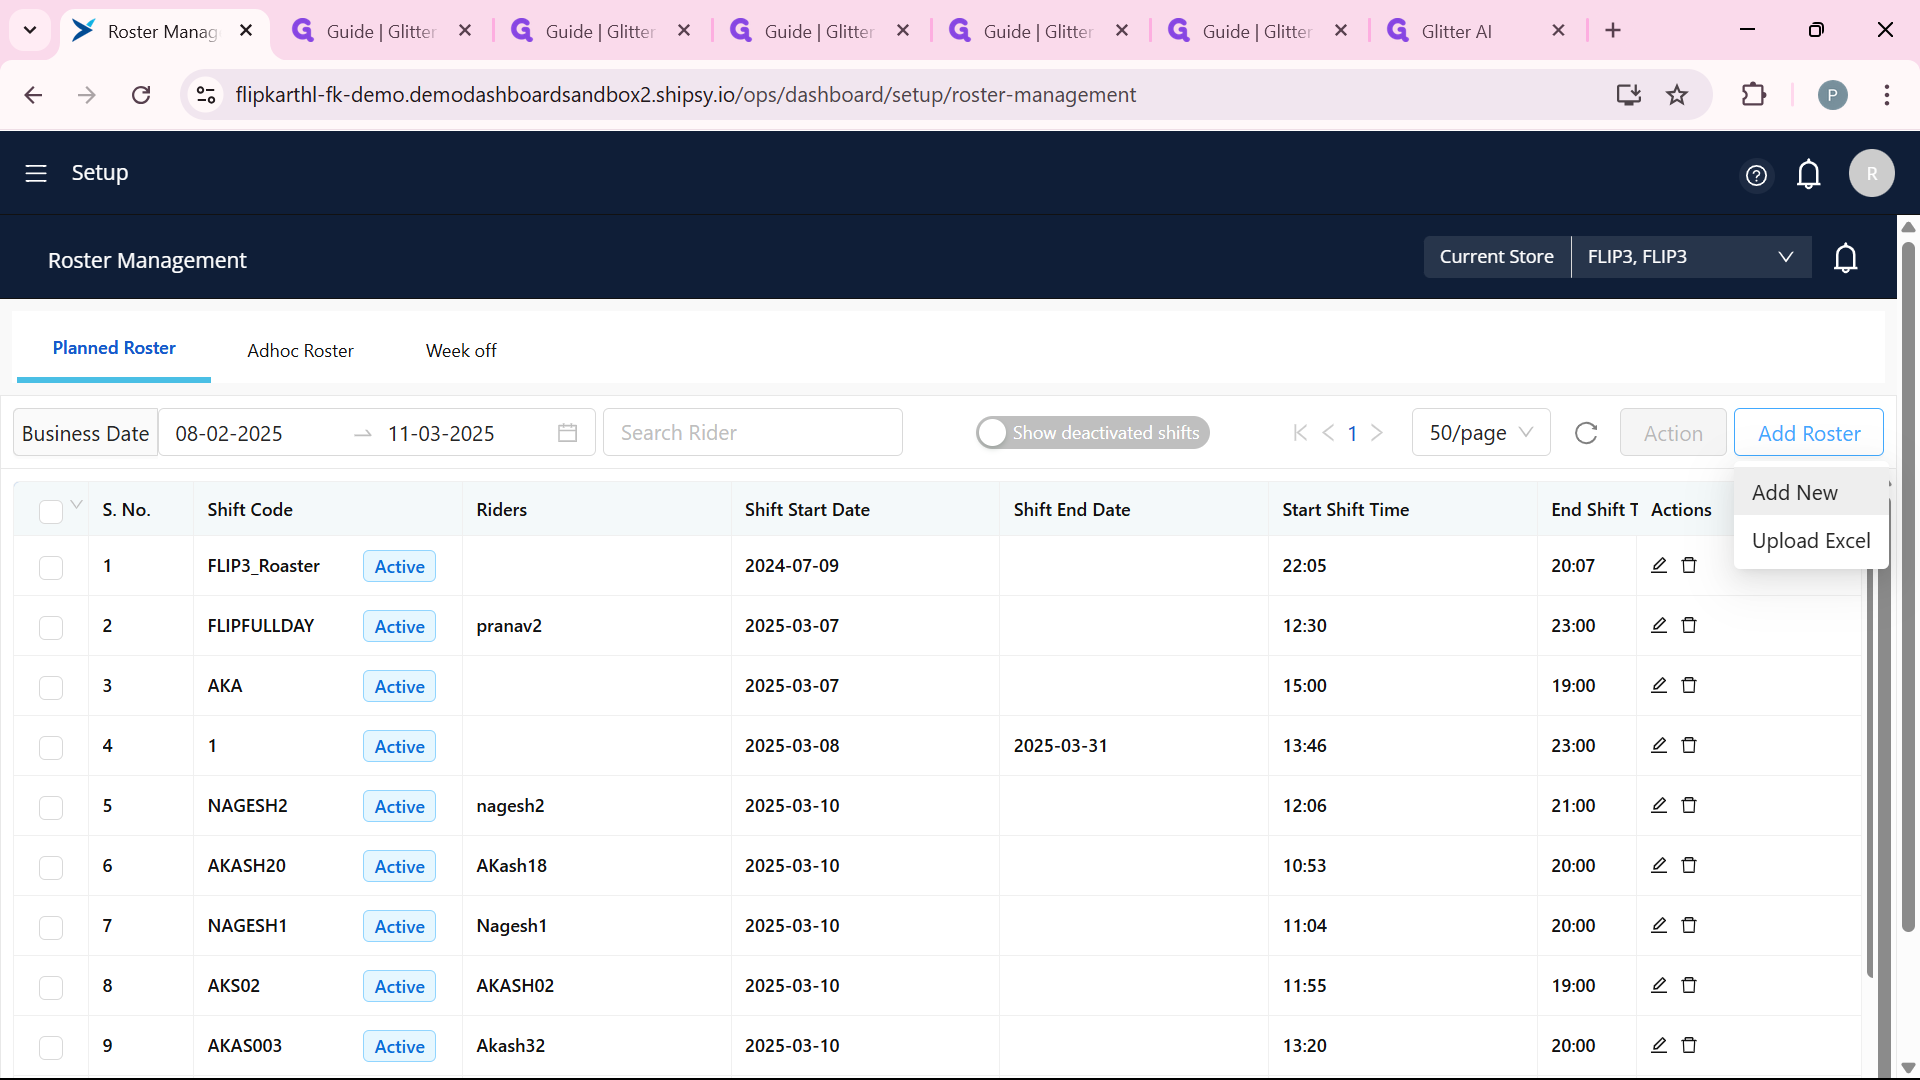
Creating a New Shift
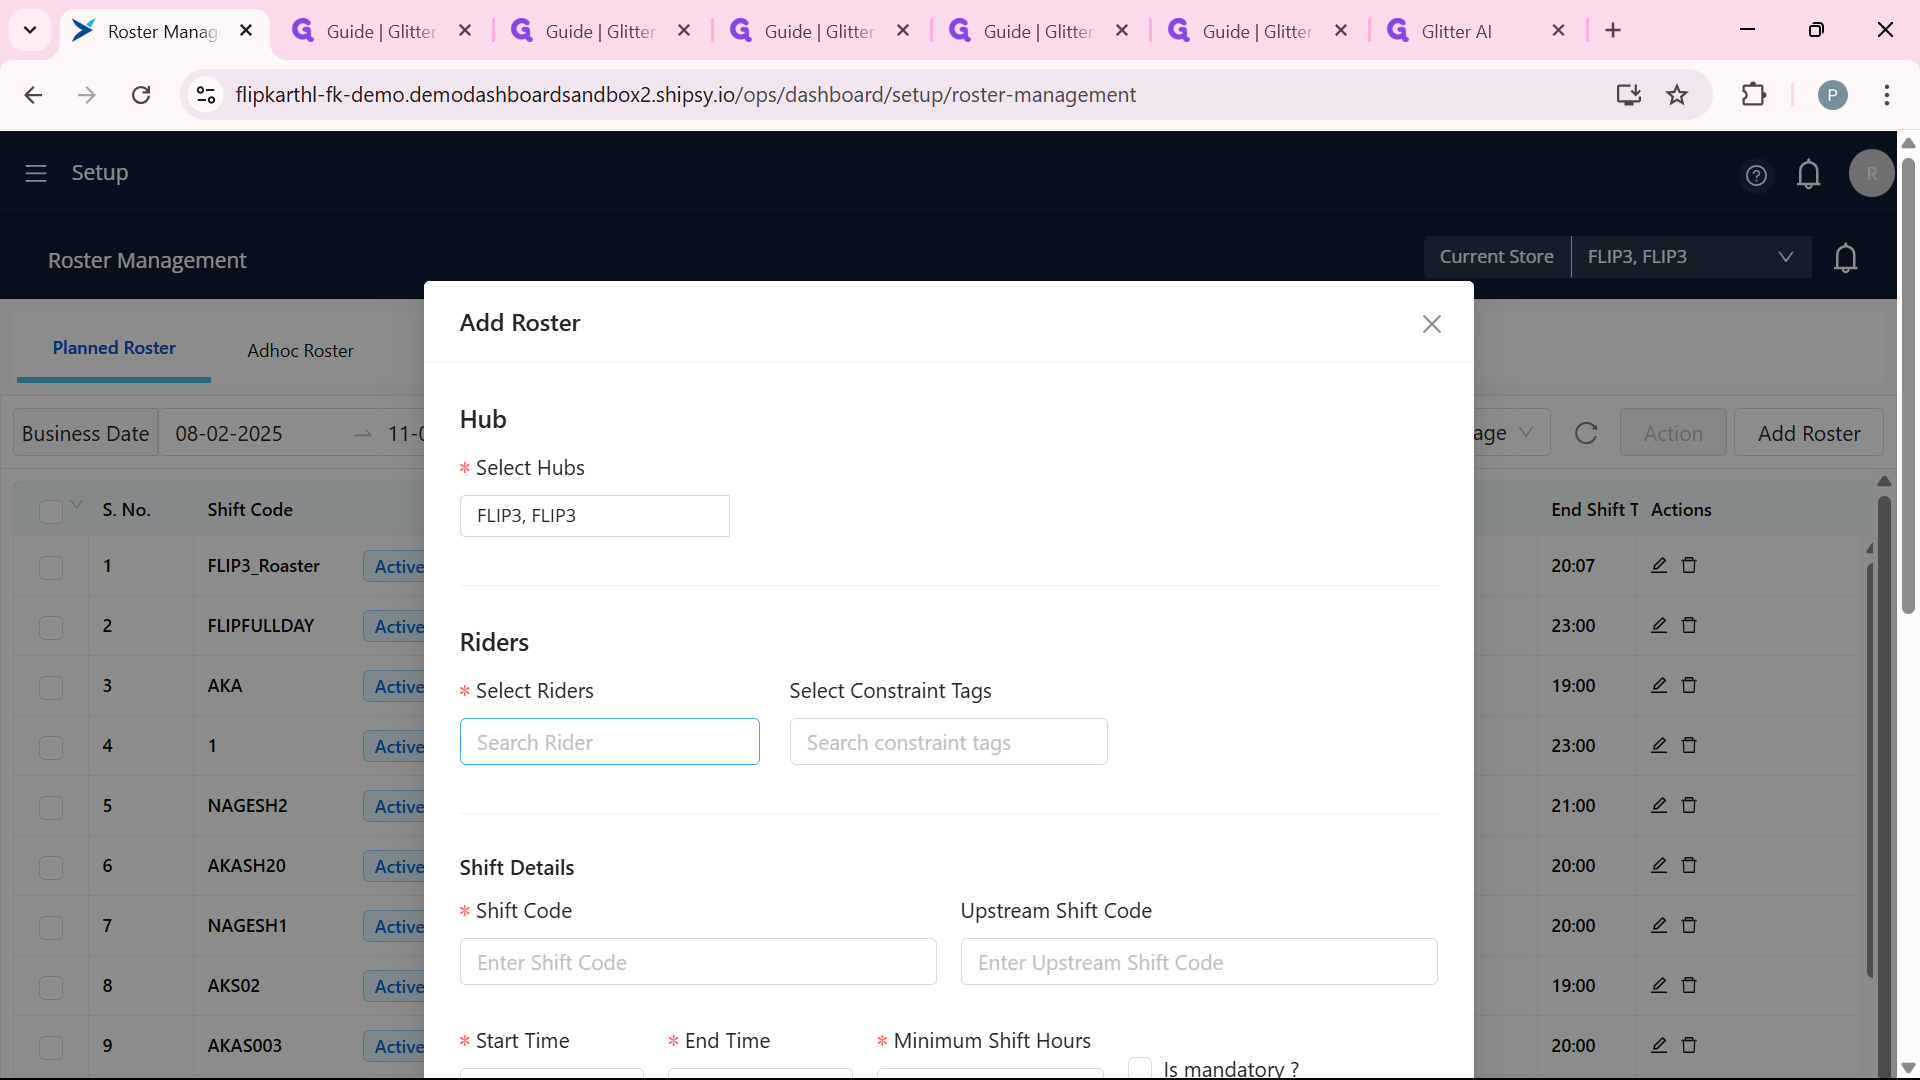
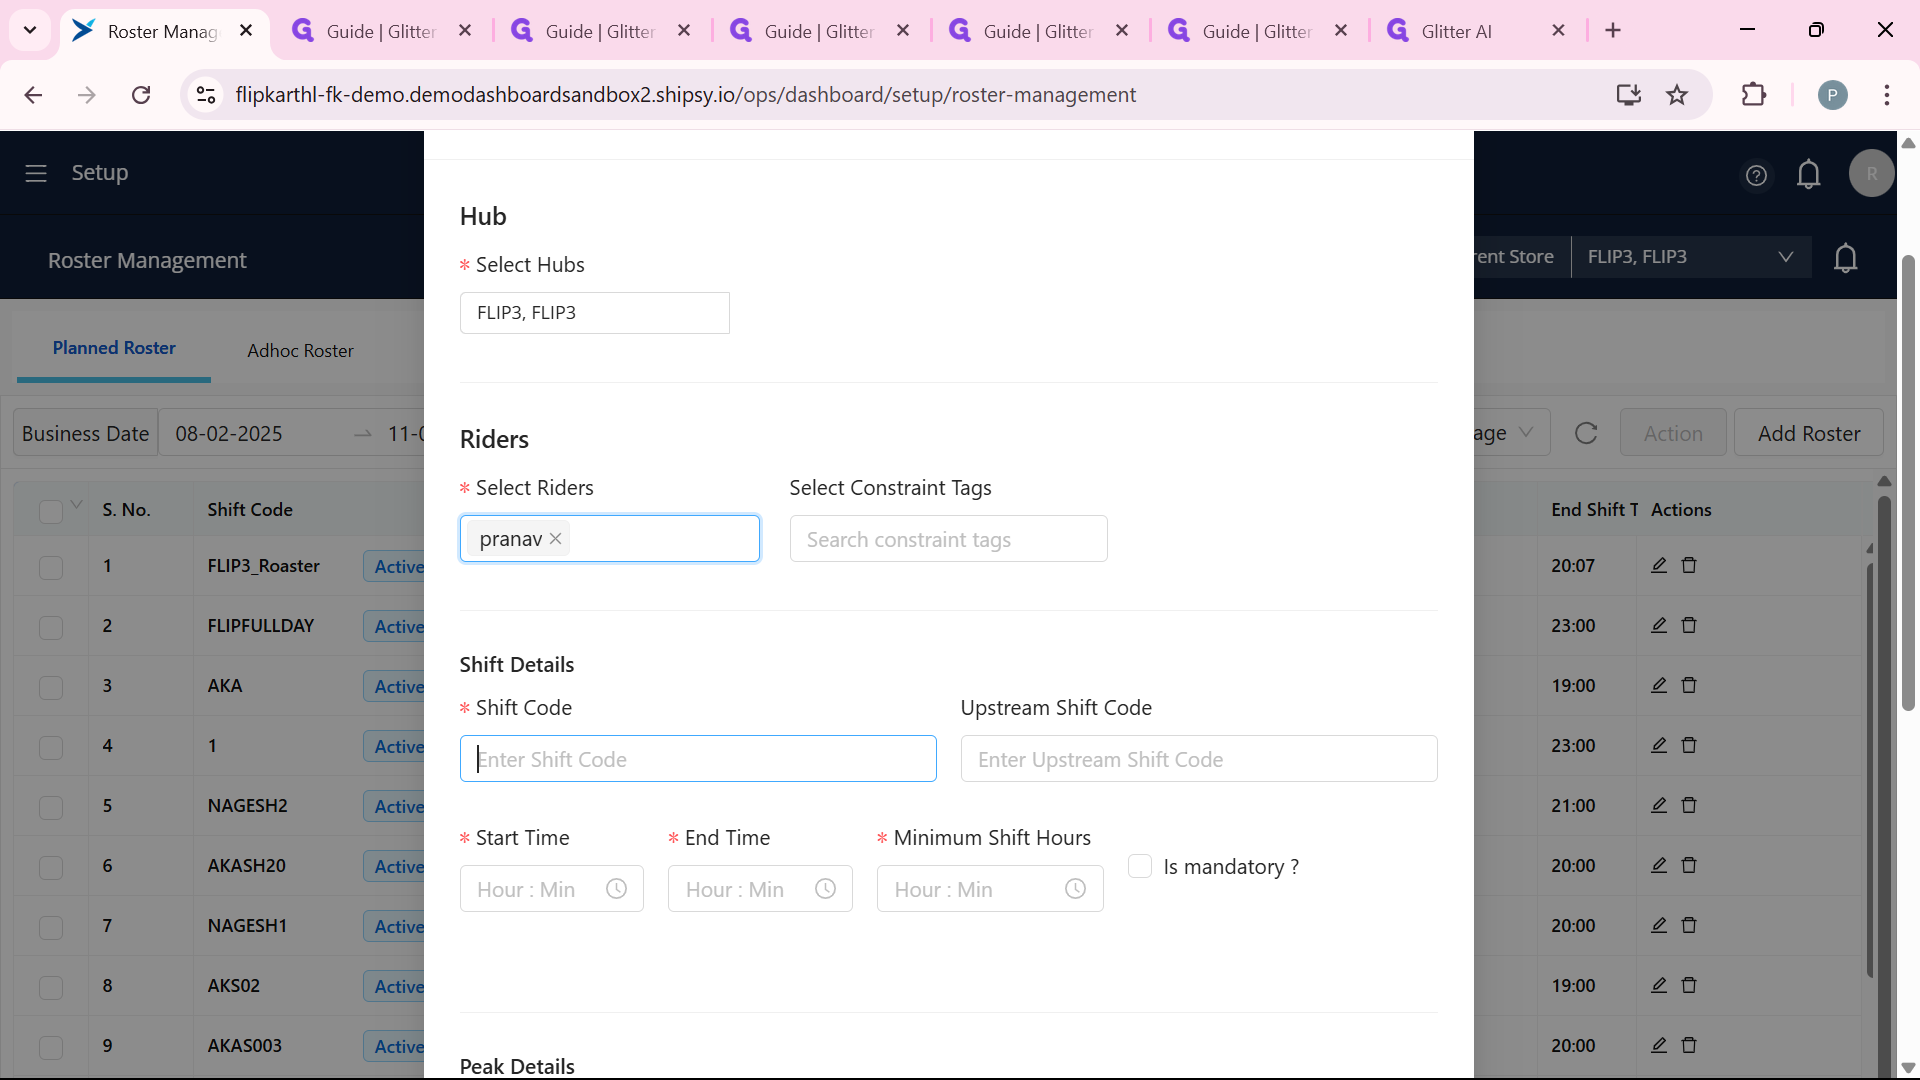
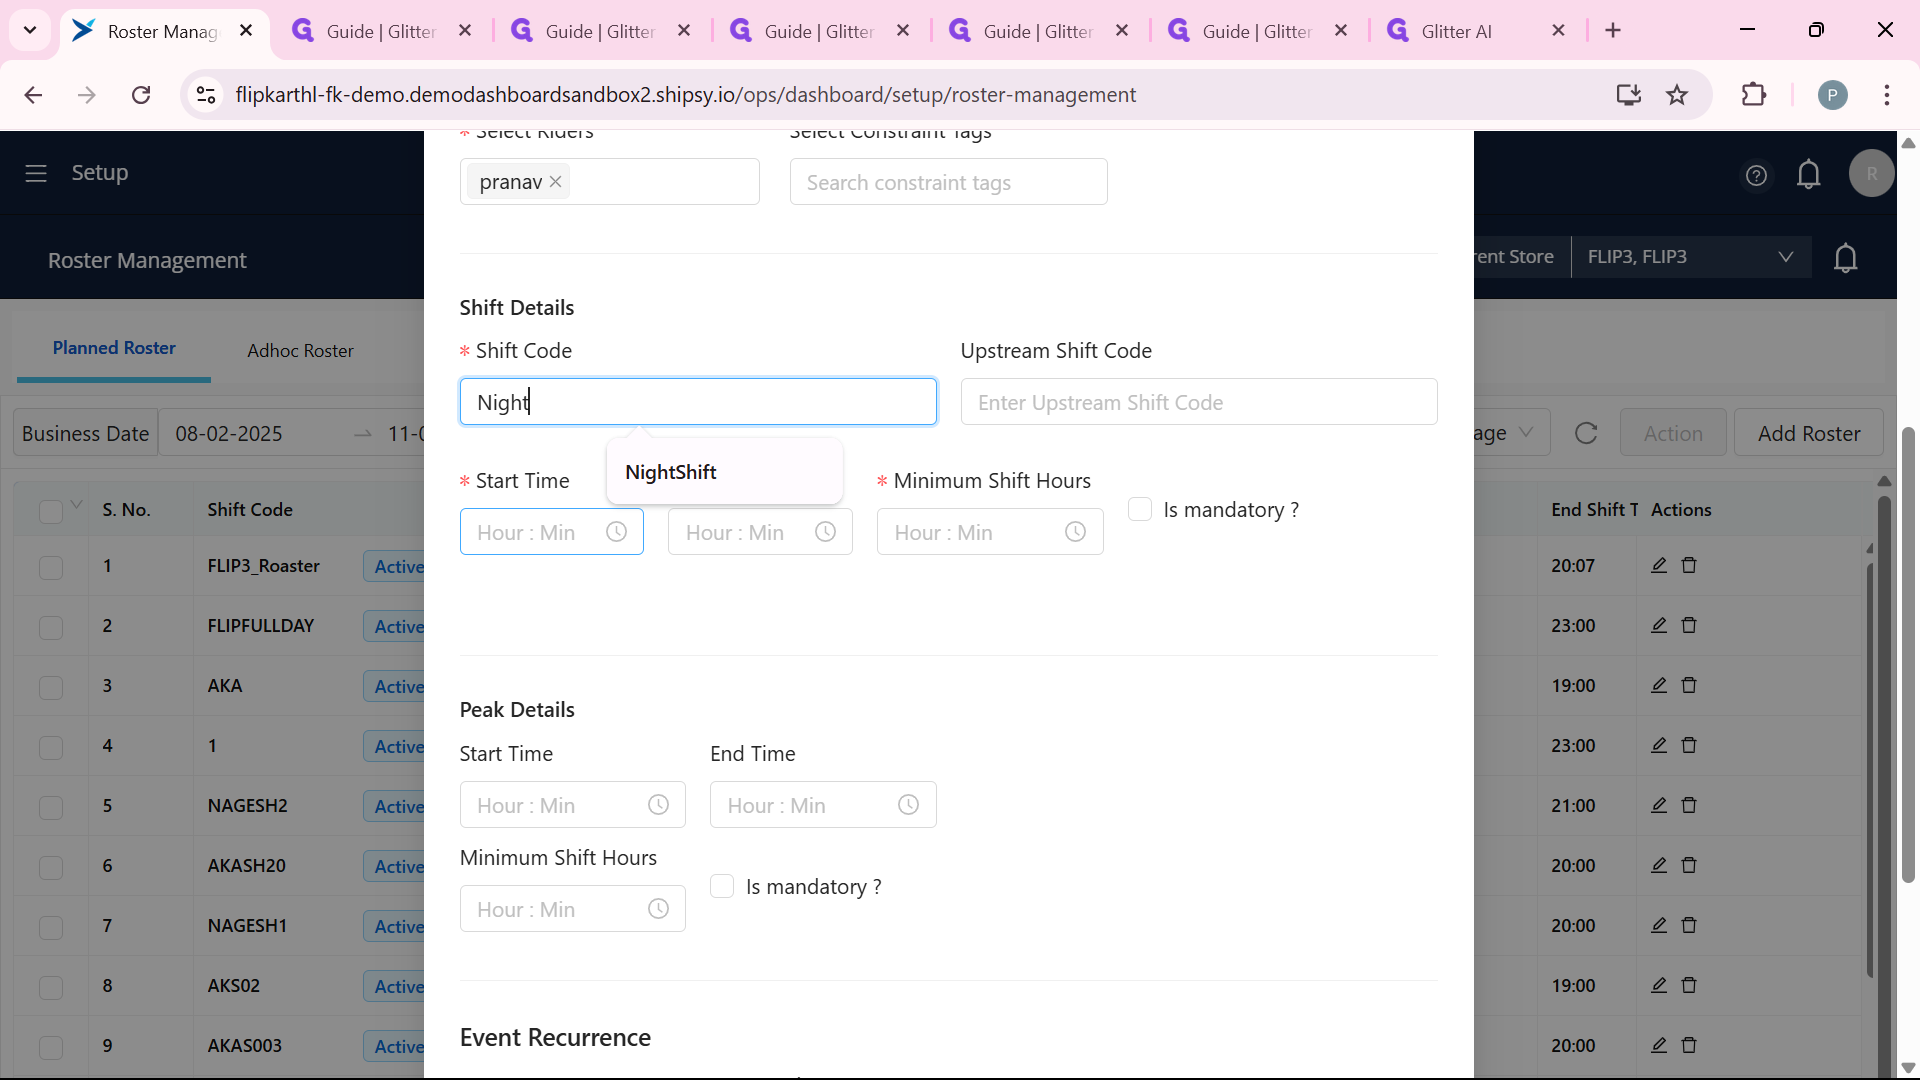
Now that you’ve got the hub selected, it’s time to add a shift. There’s an "Add New" button waiting for you in the interface—click it, and a form will pop up. This is where the magic happens. Start by picking the rider who’ll take the shift. You can type their name, say "pranav," into a search field, and select them from the results. Next, give the shift a name—or a Shift Code— can give any name like you wanted, In here for example, something simple like "NIGHT" works well to keep things organized.
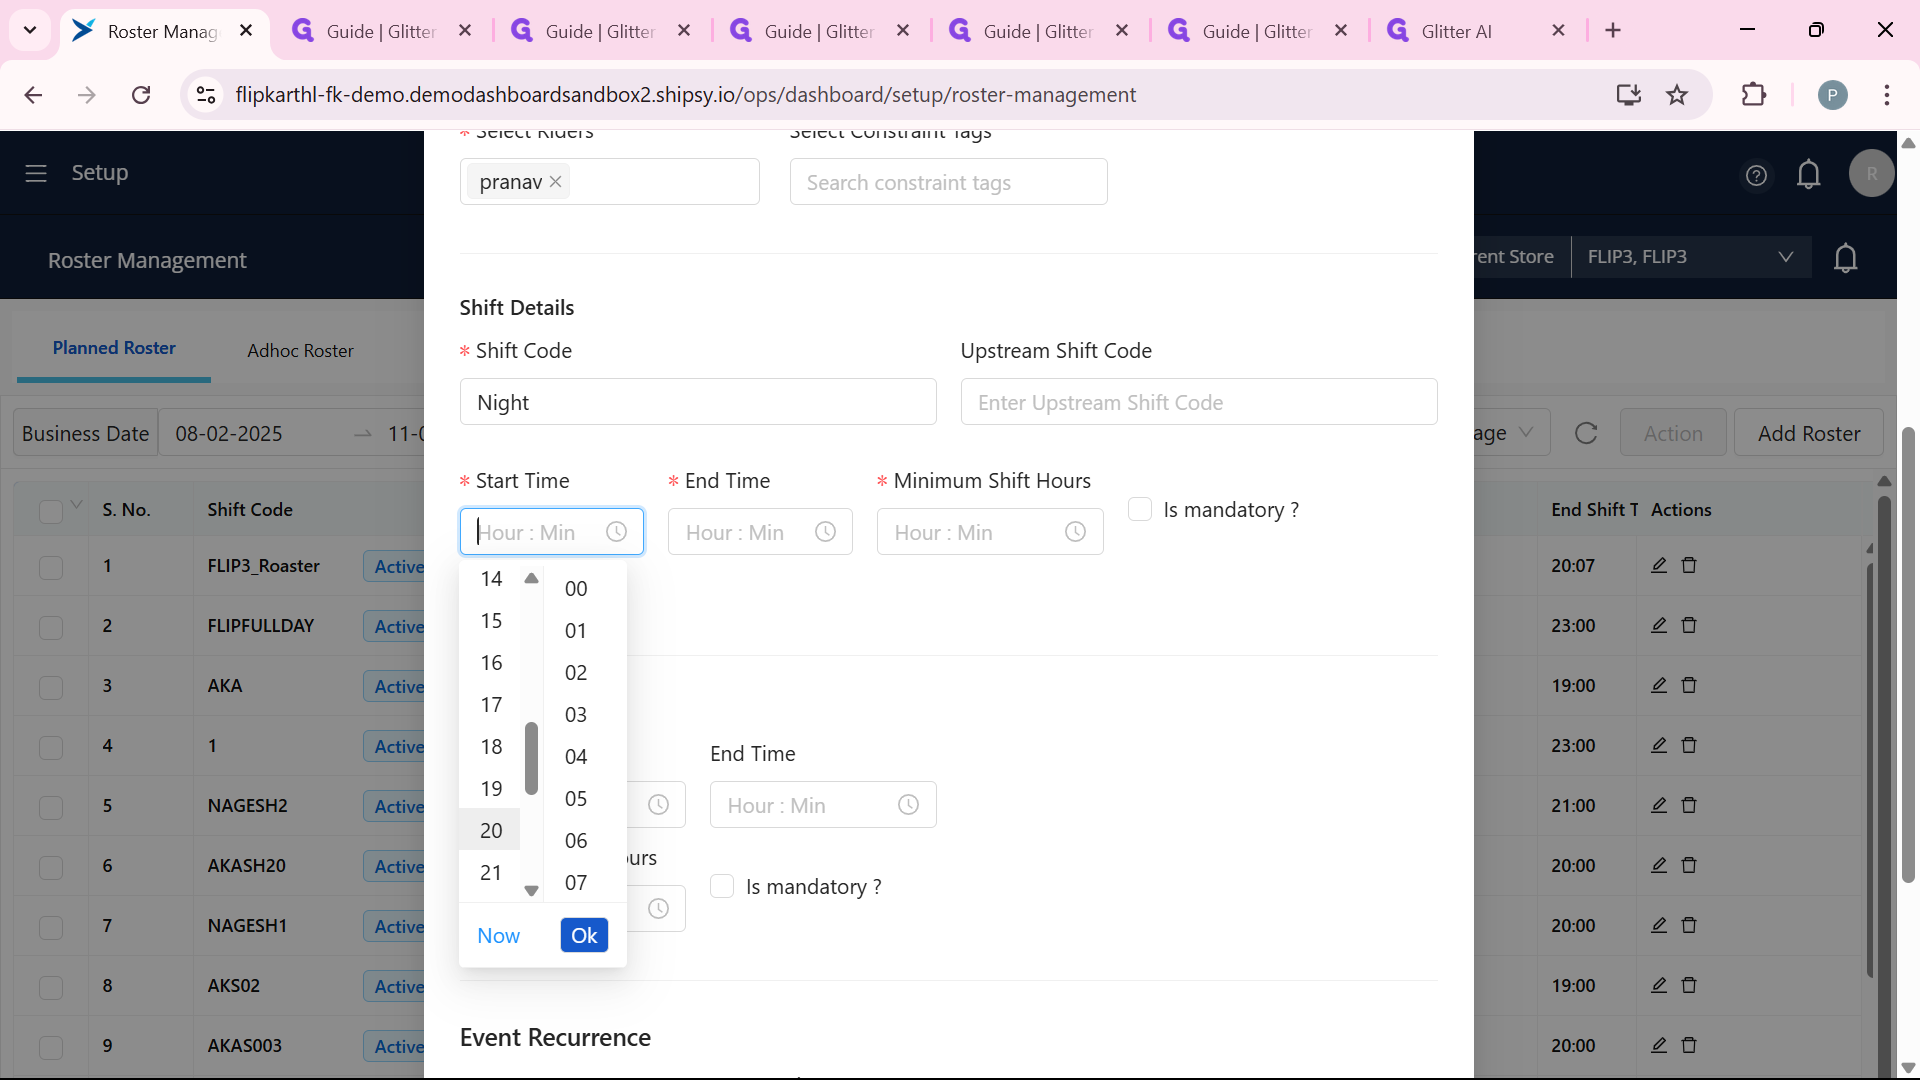
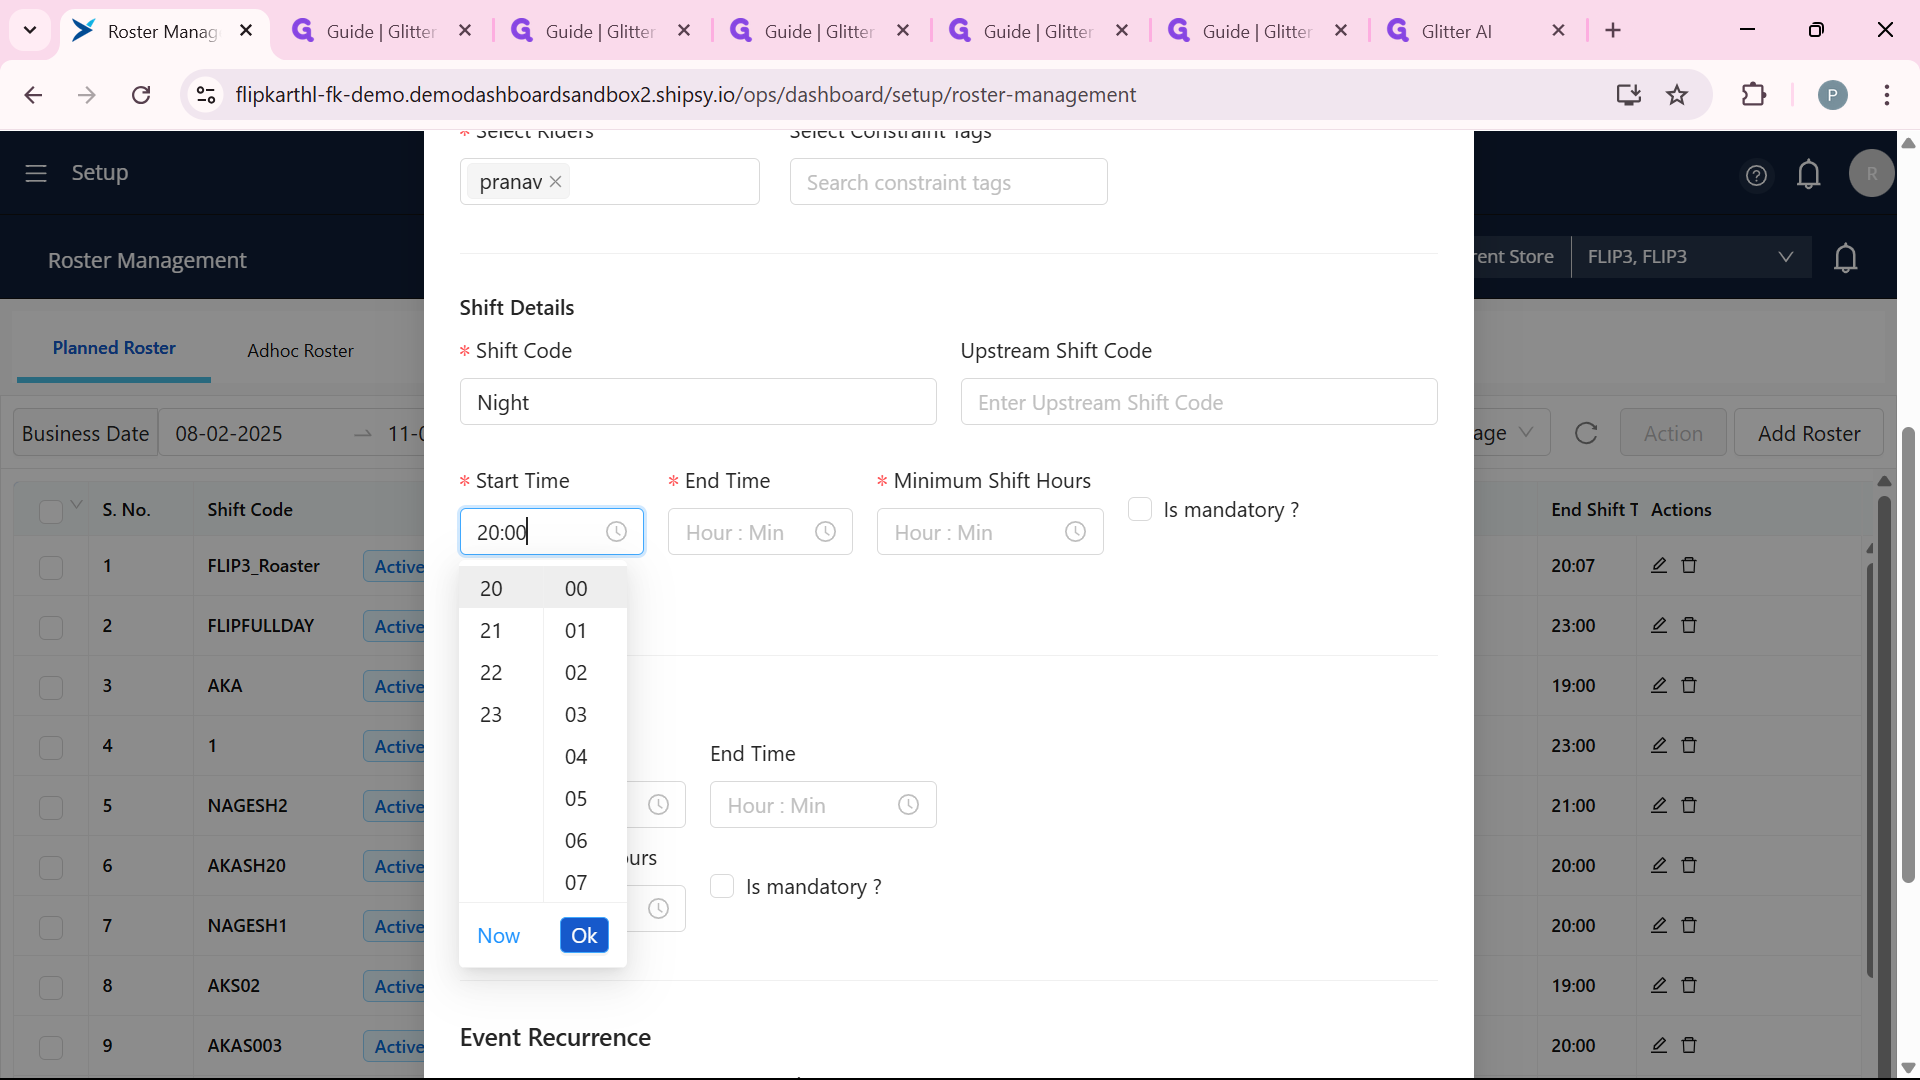
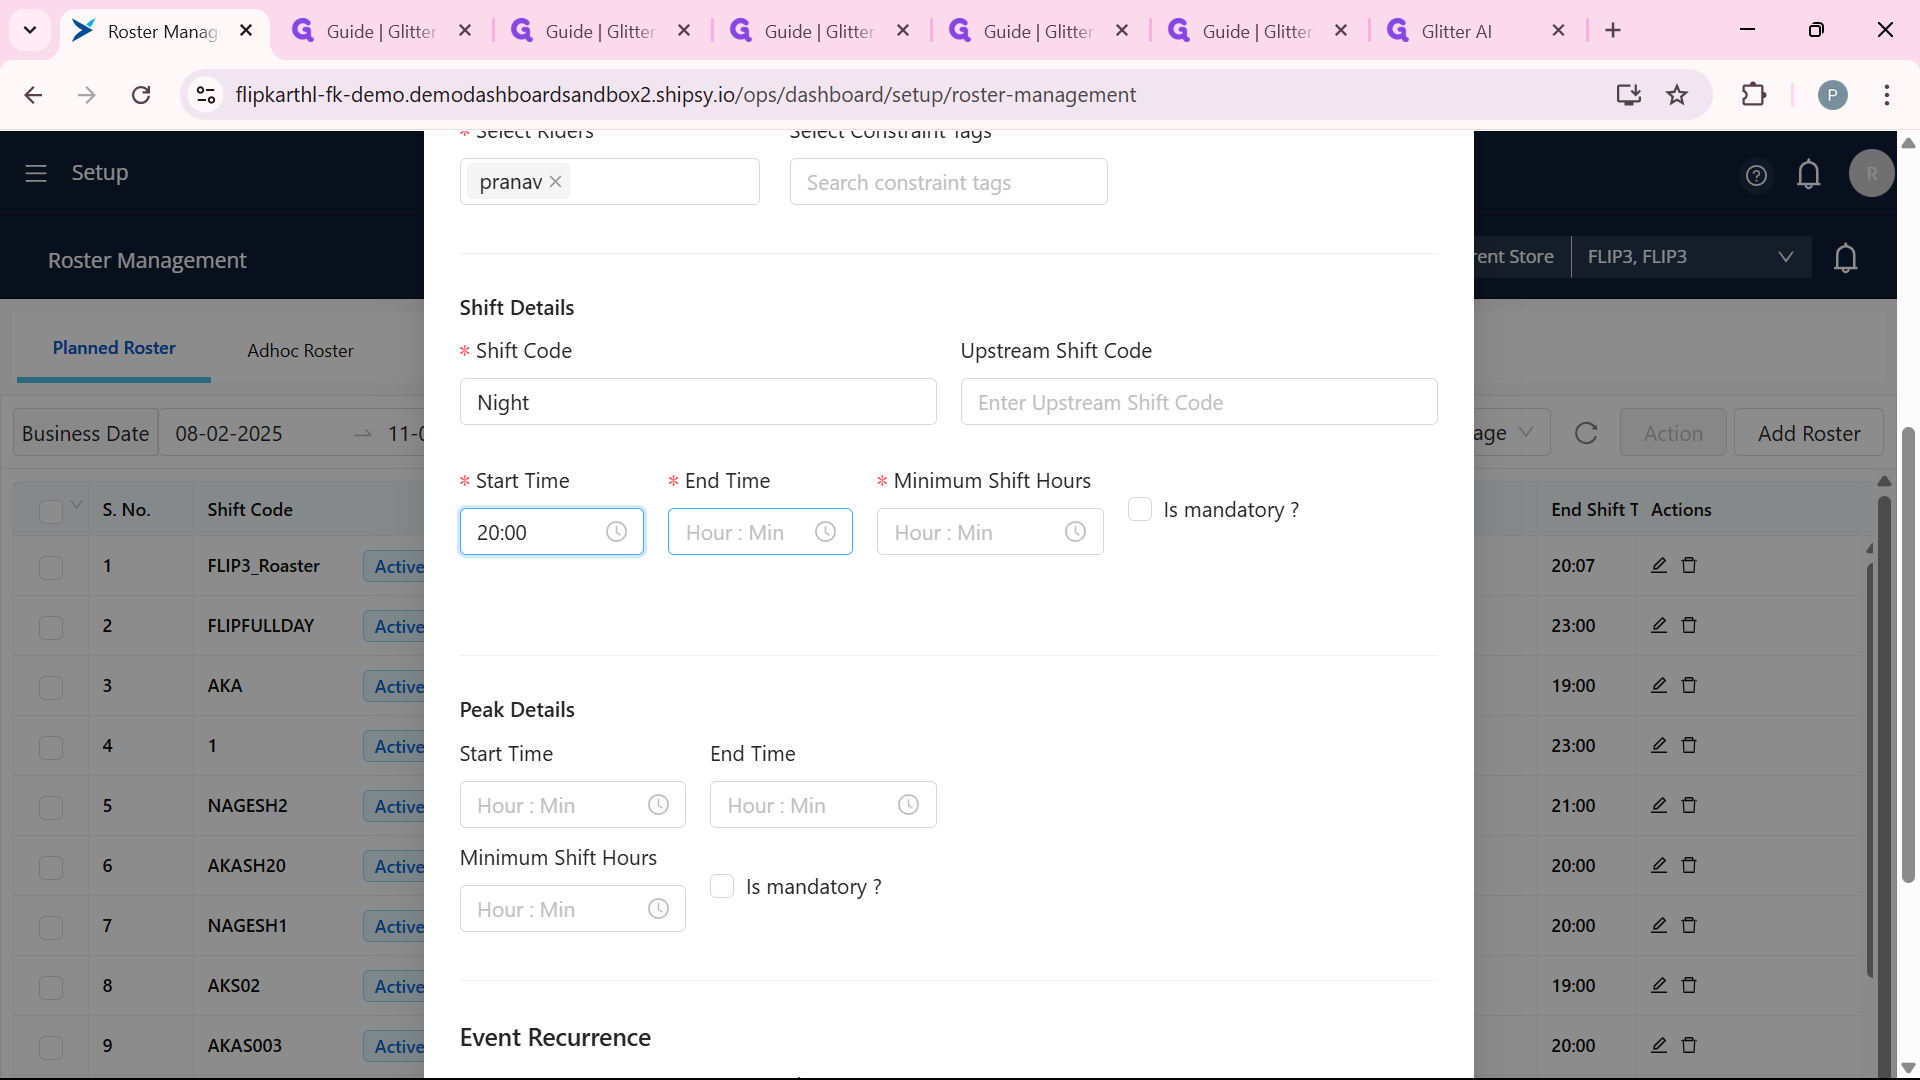
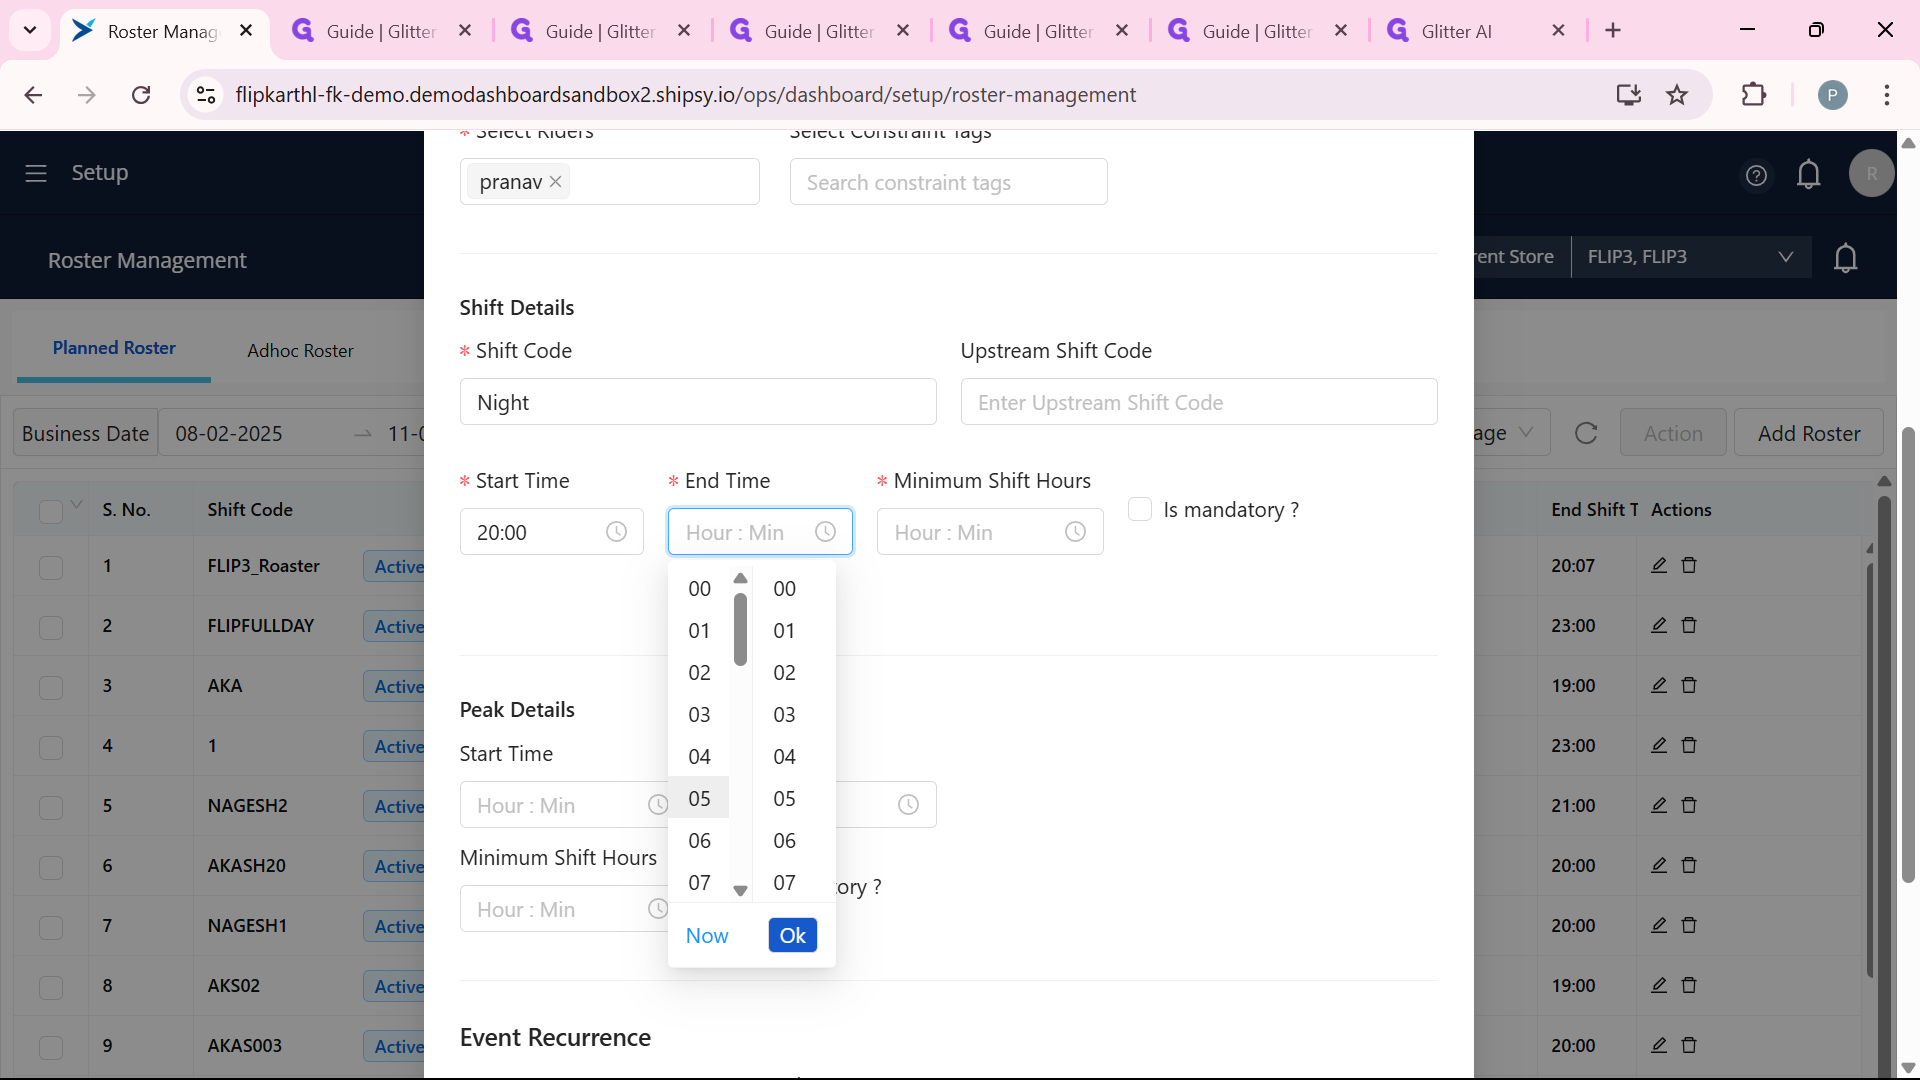
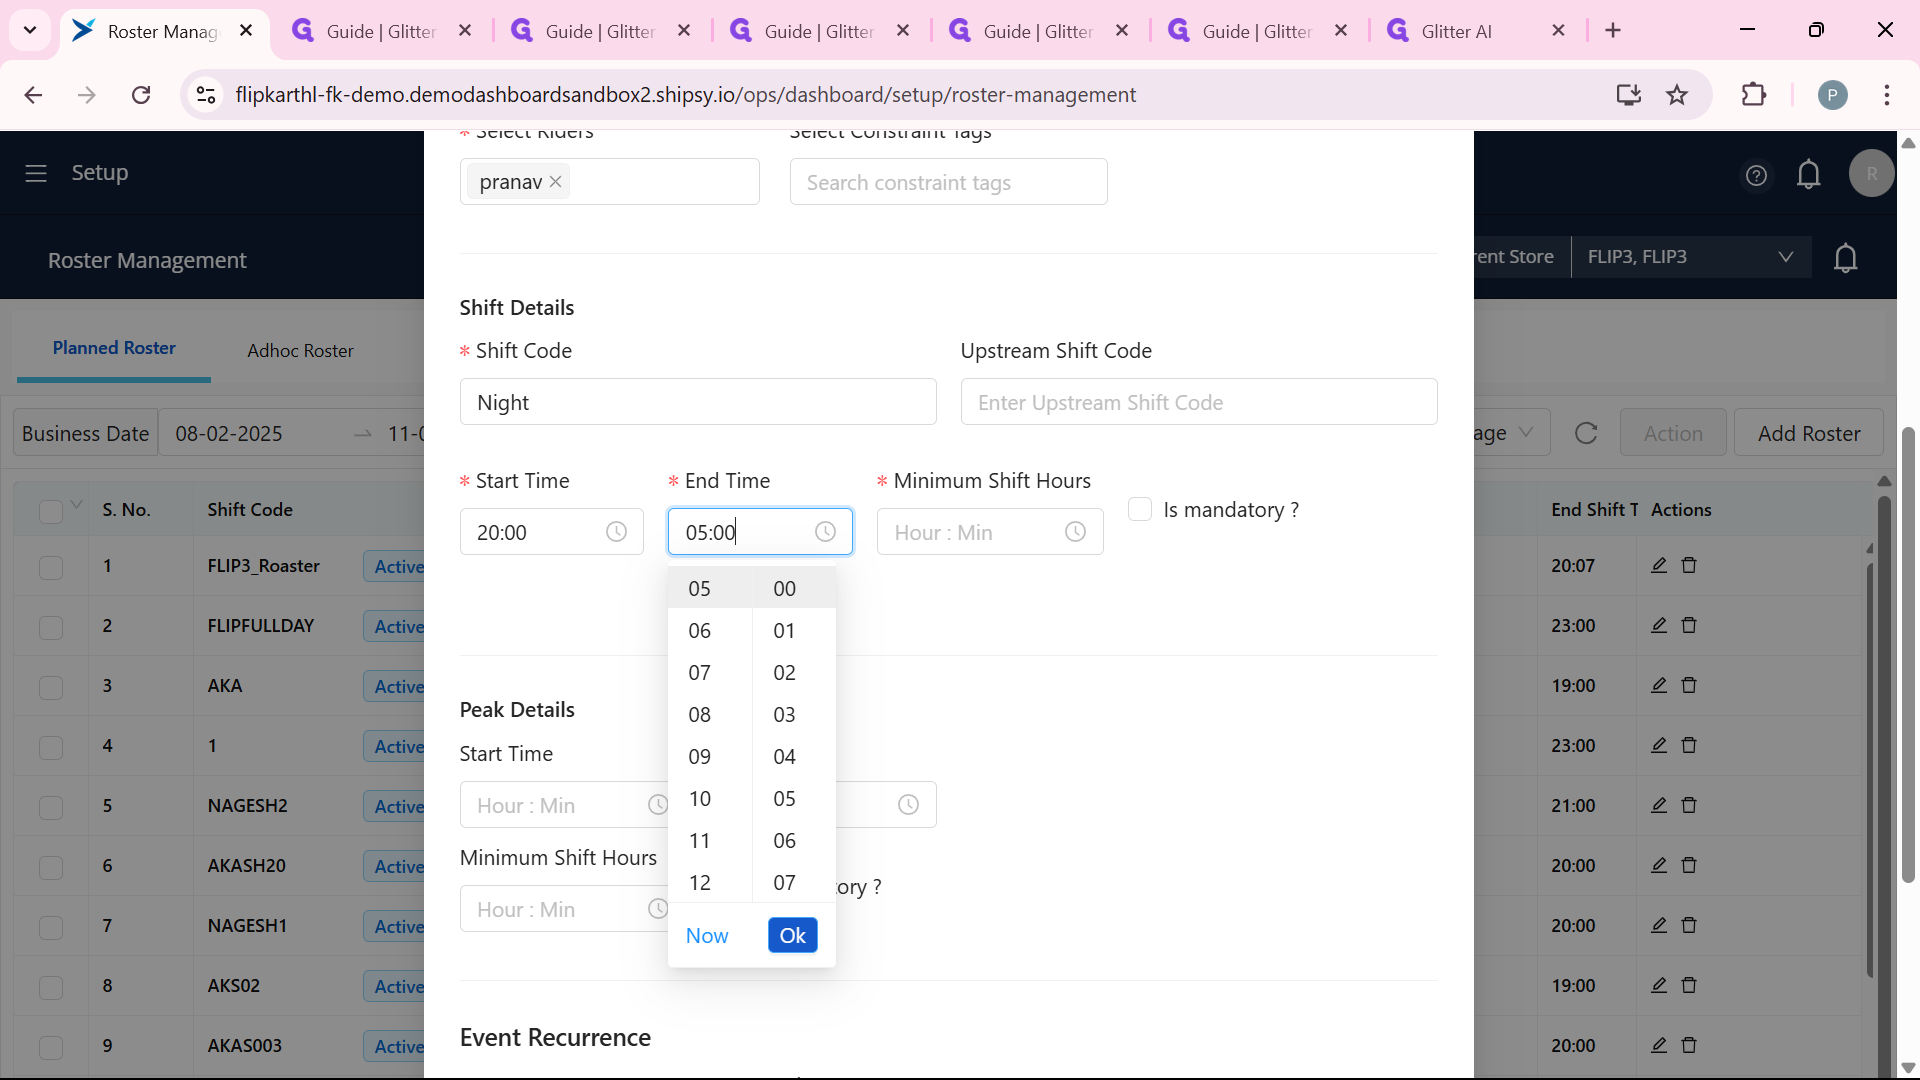
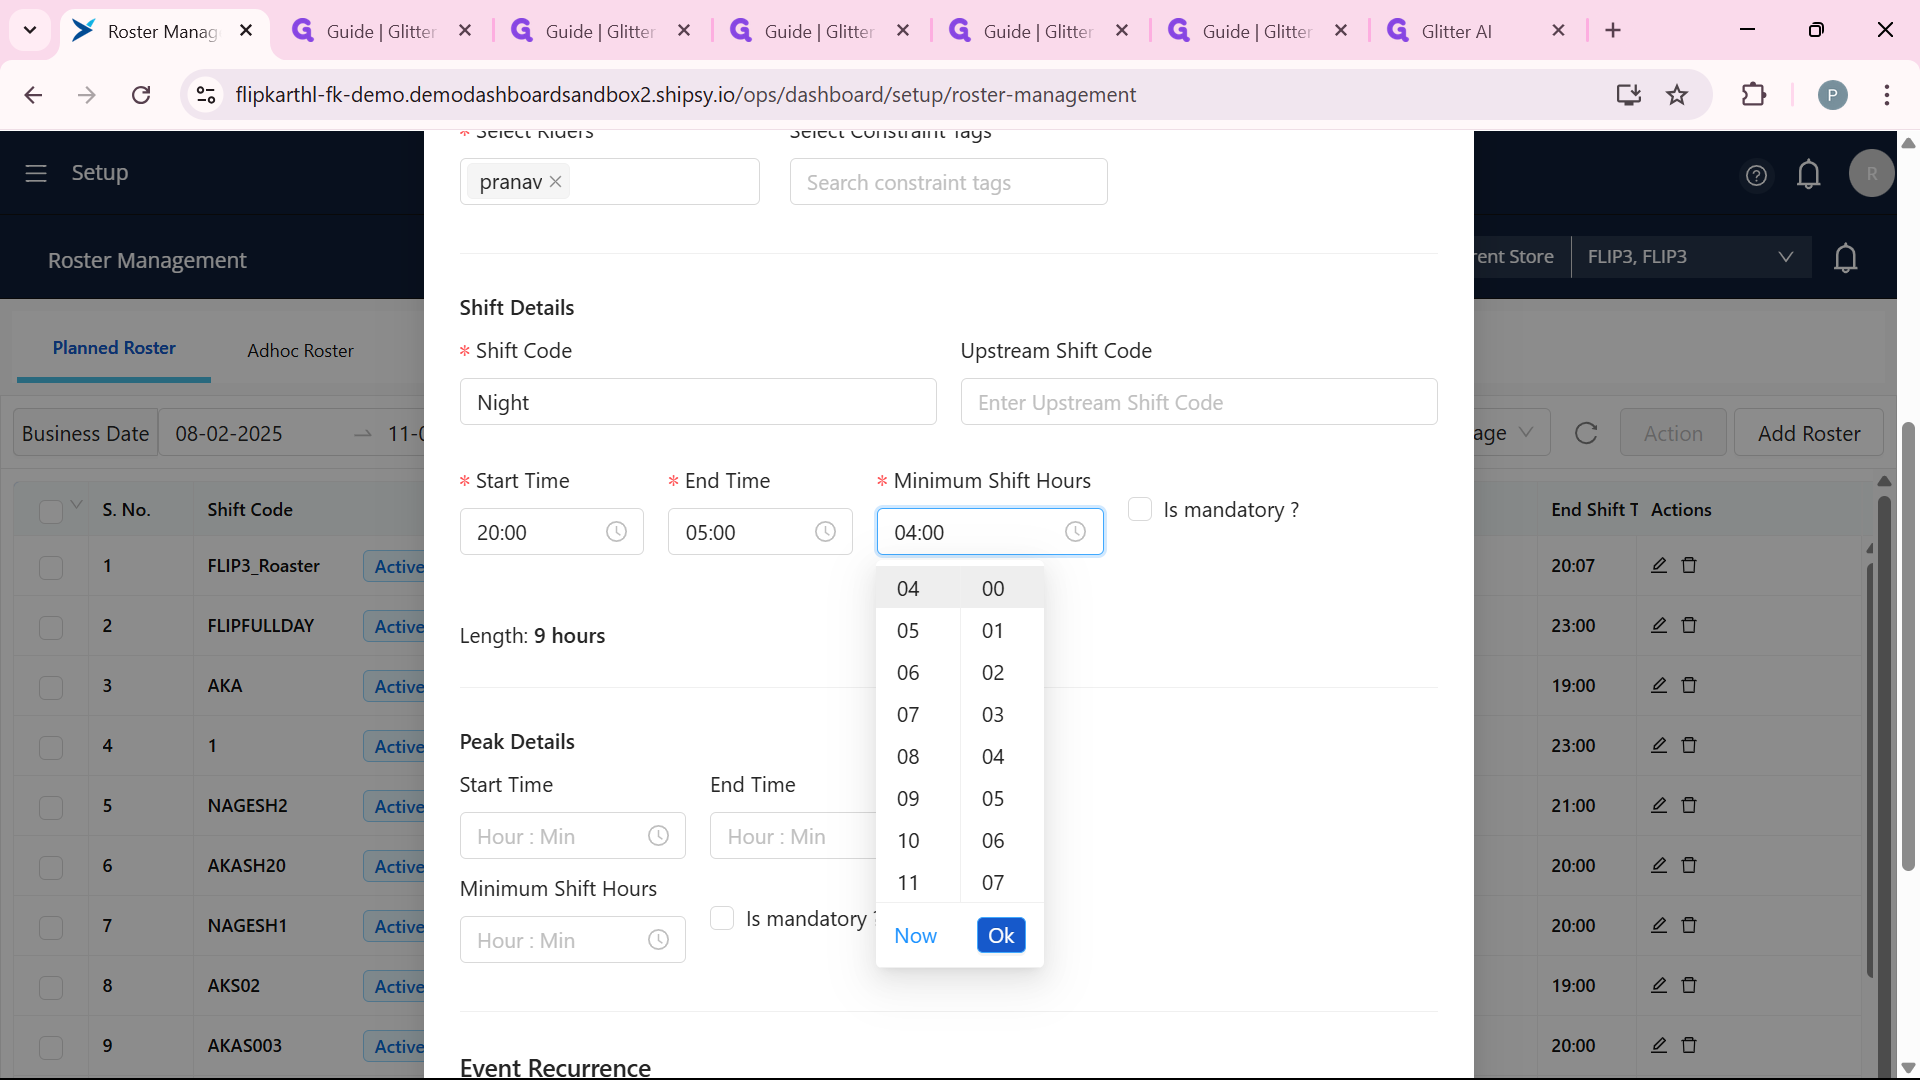
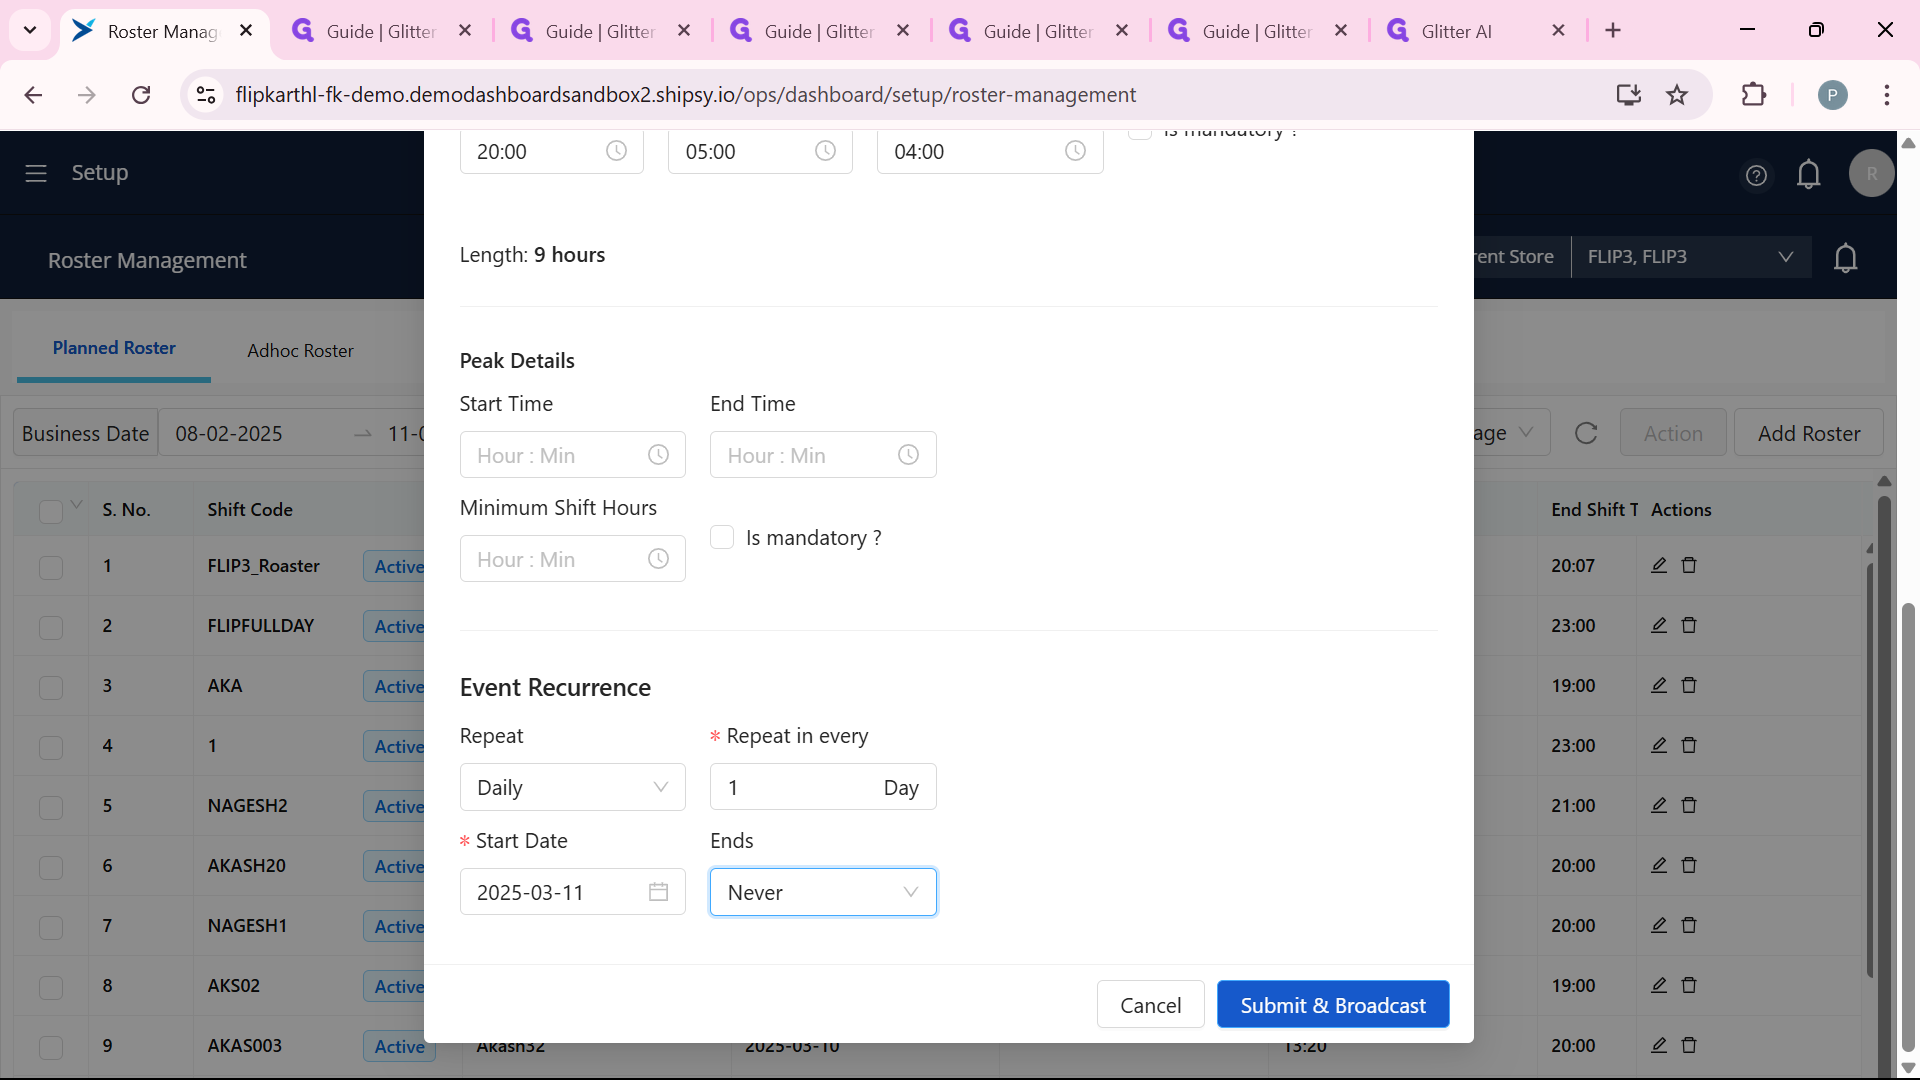
After that, you’ll set the timing. There are fields for Start Time and End Time—click them to bring up a time picker, then choose when the shift begins and ends, like 20:00 to 05:00. If your operation has a minimum shift length, you can enter that too, maybe 9 hours, in the "Minimum Shift Hours" spot. This part is all about making sure the shift fits your needs and you can select is it mandatory or not.
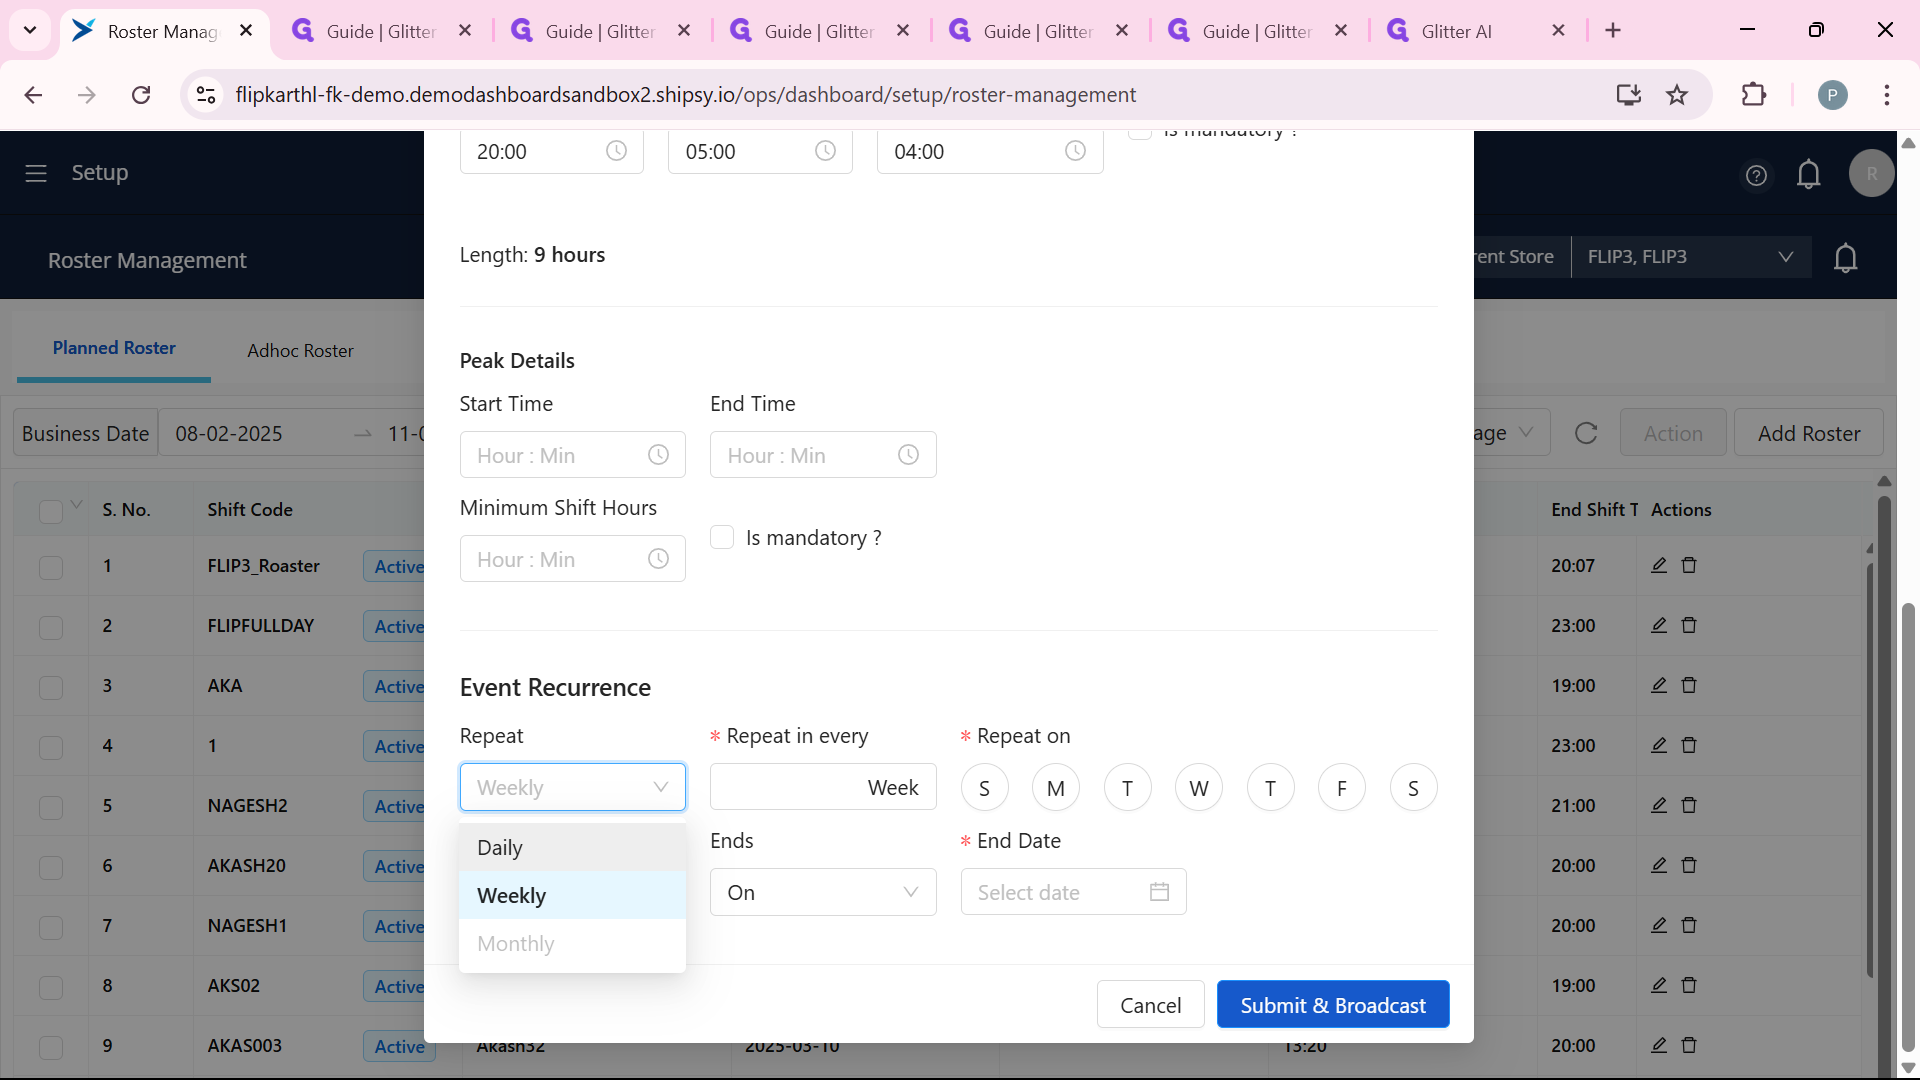
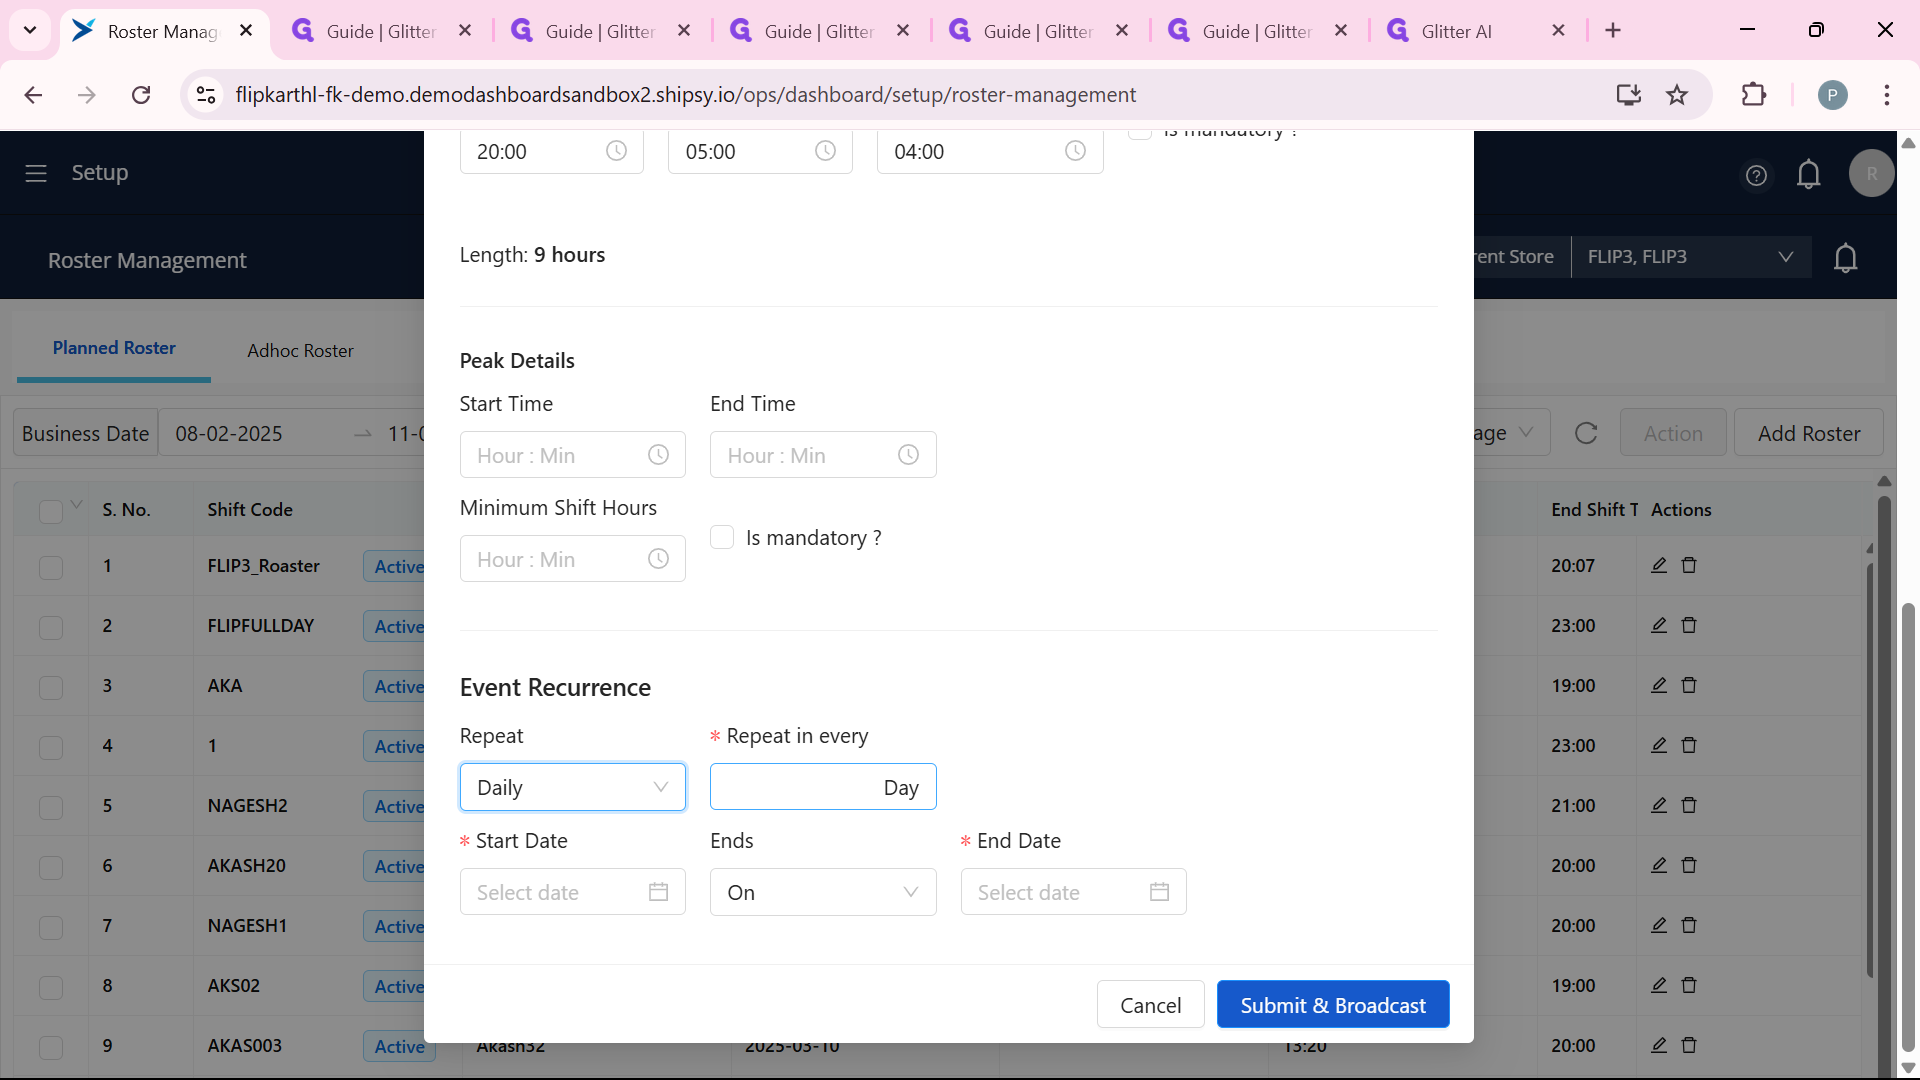
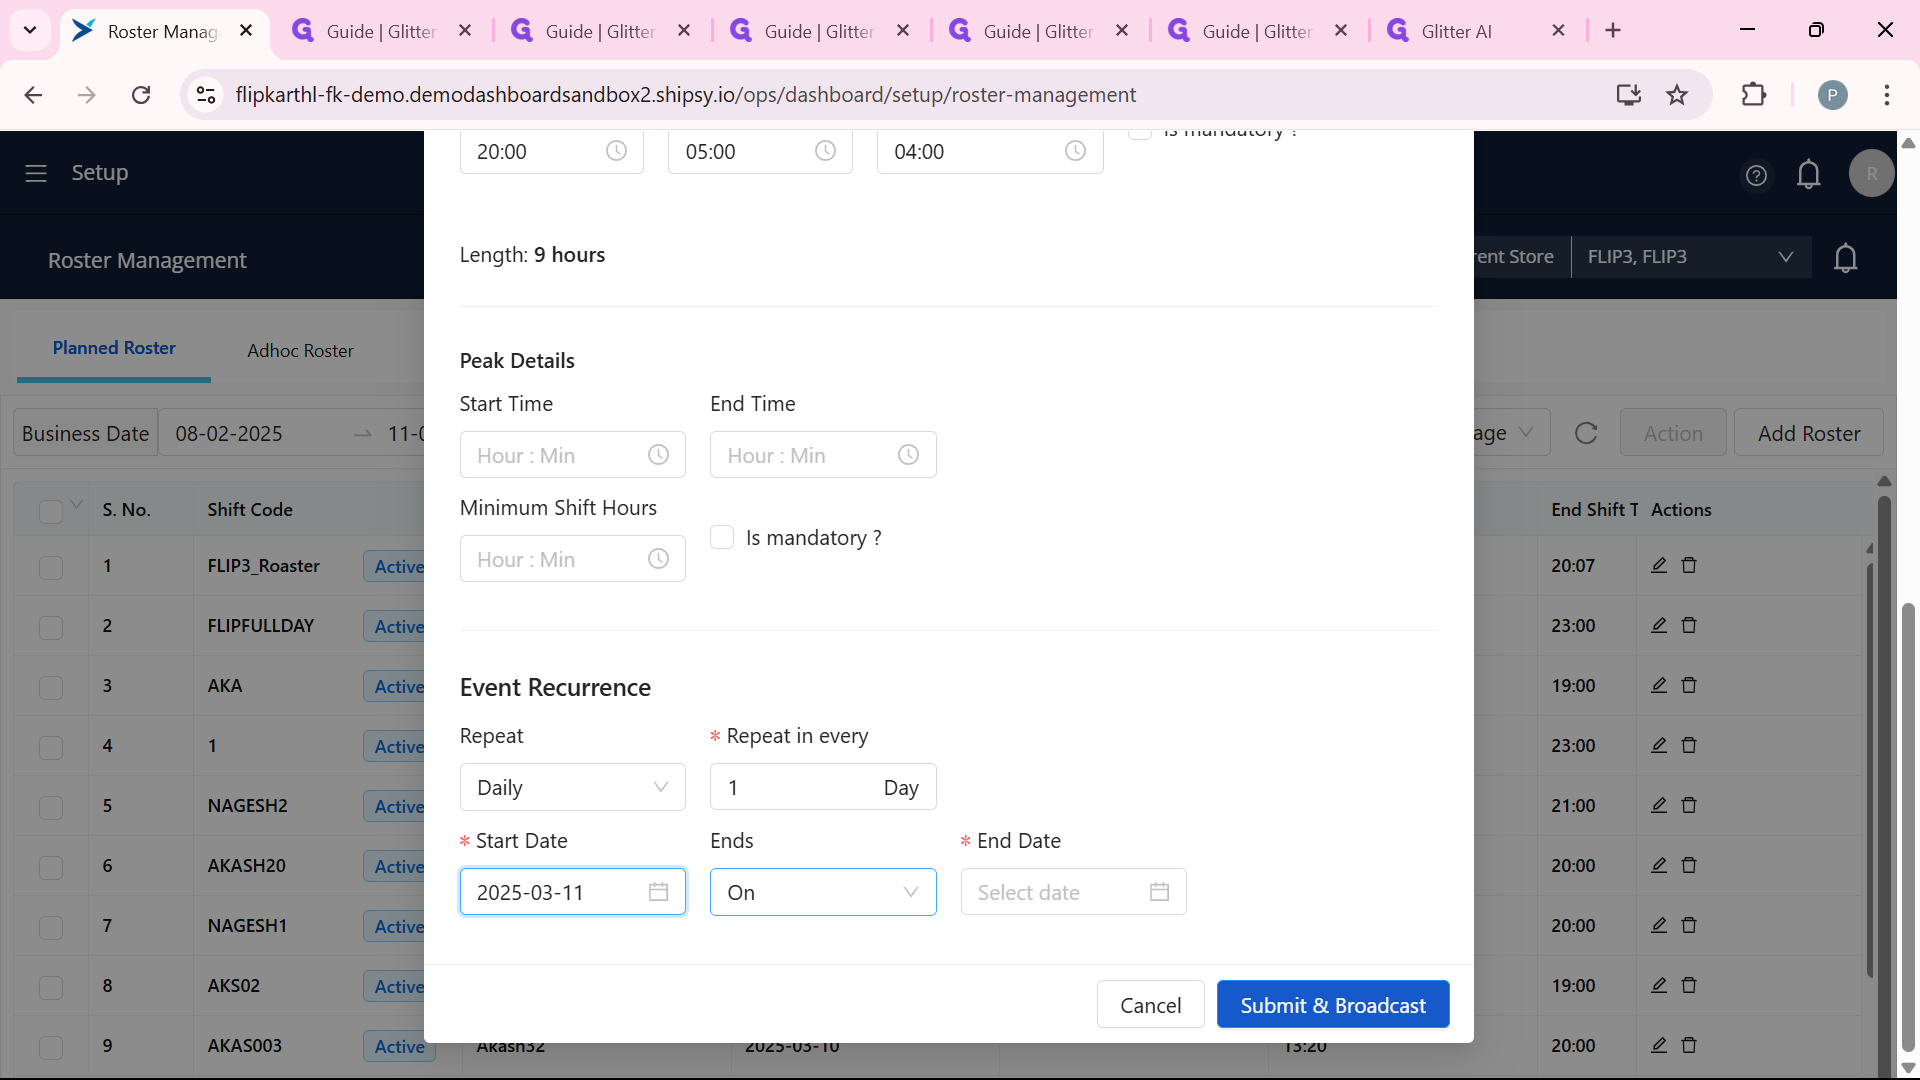
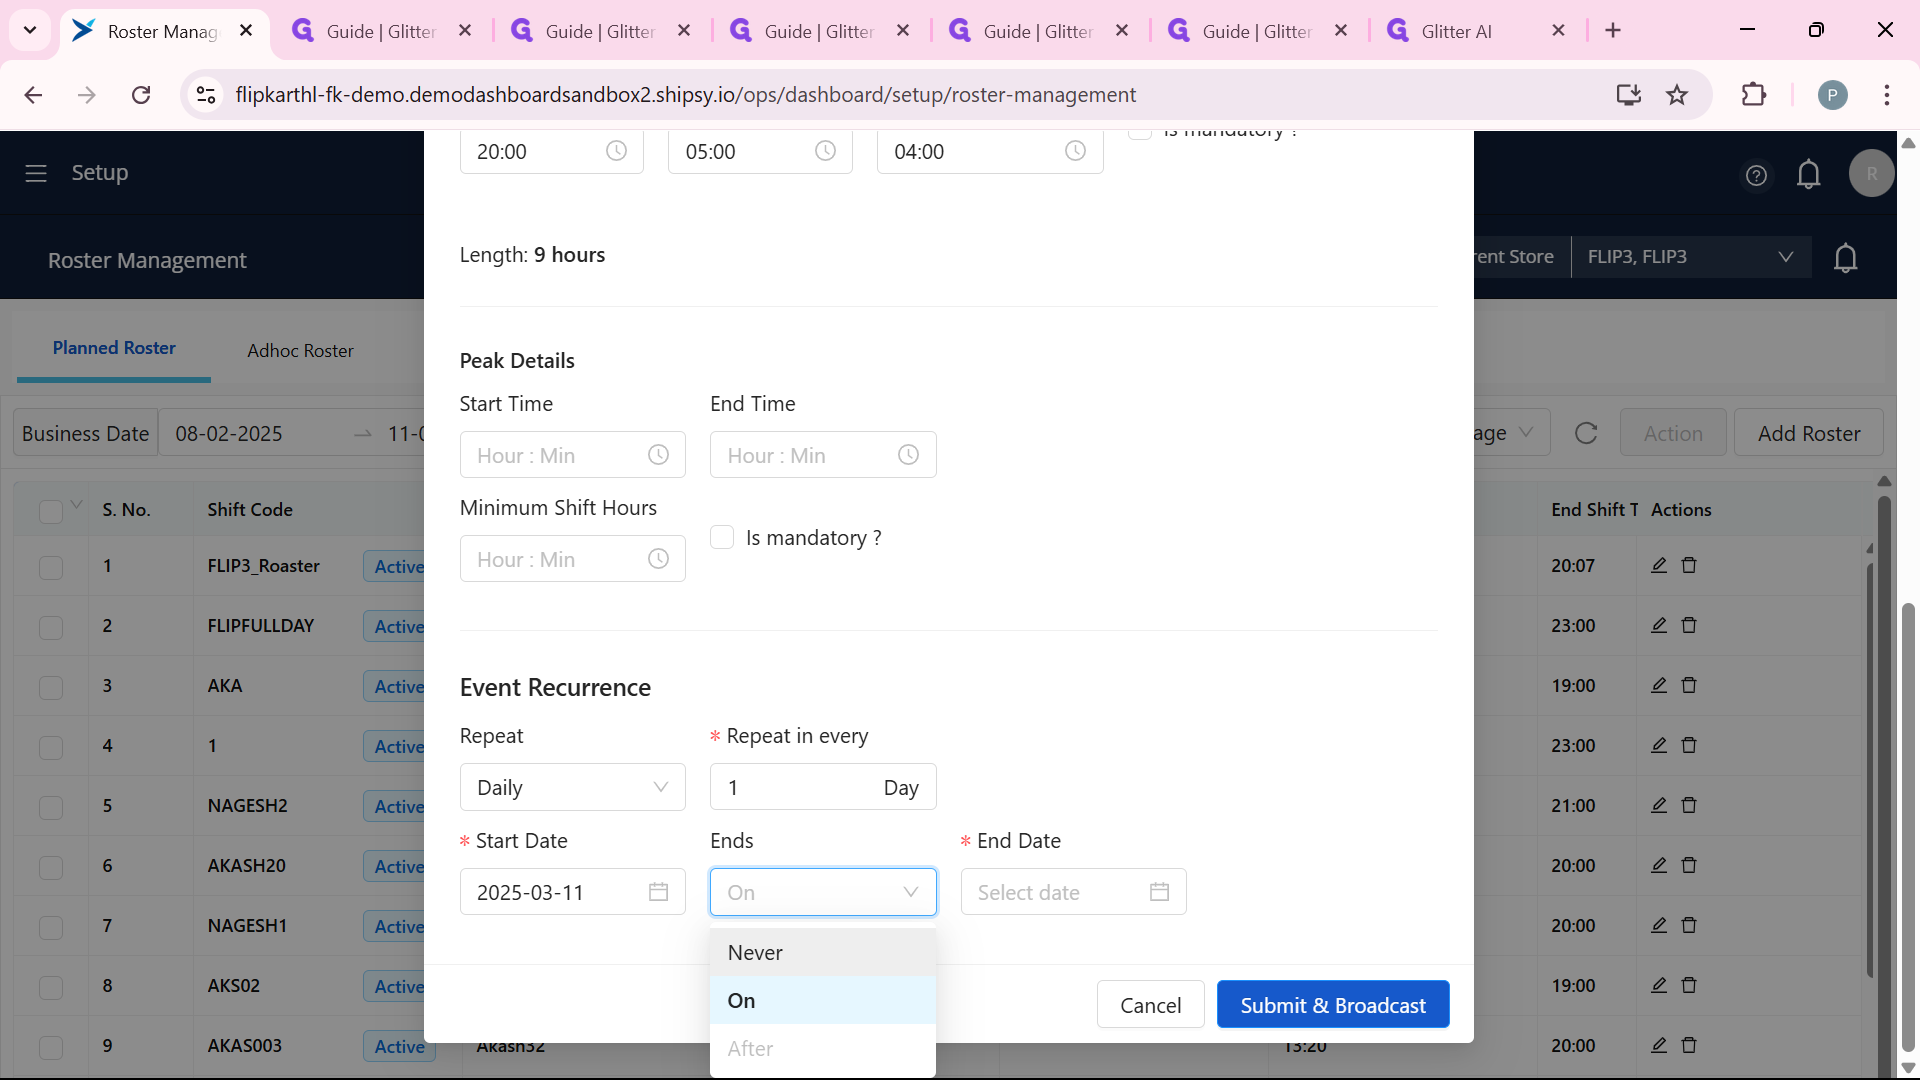
Setting Up Recurring Shifts (If You Want)
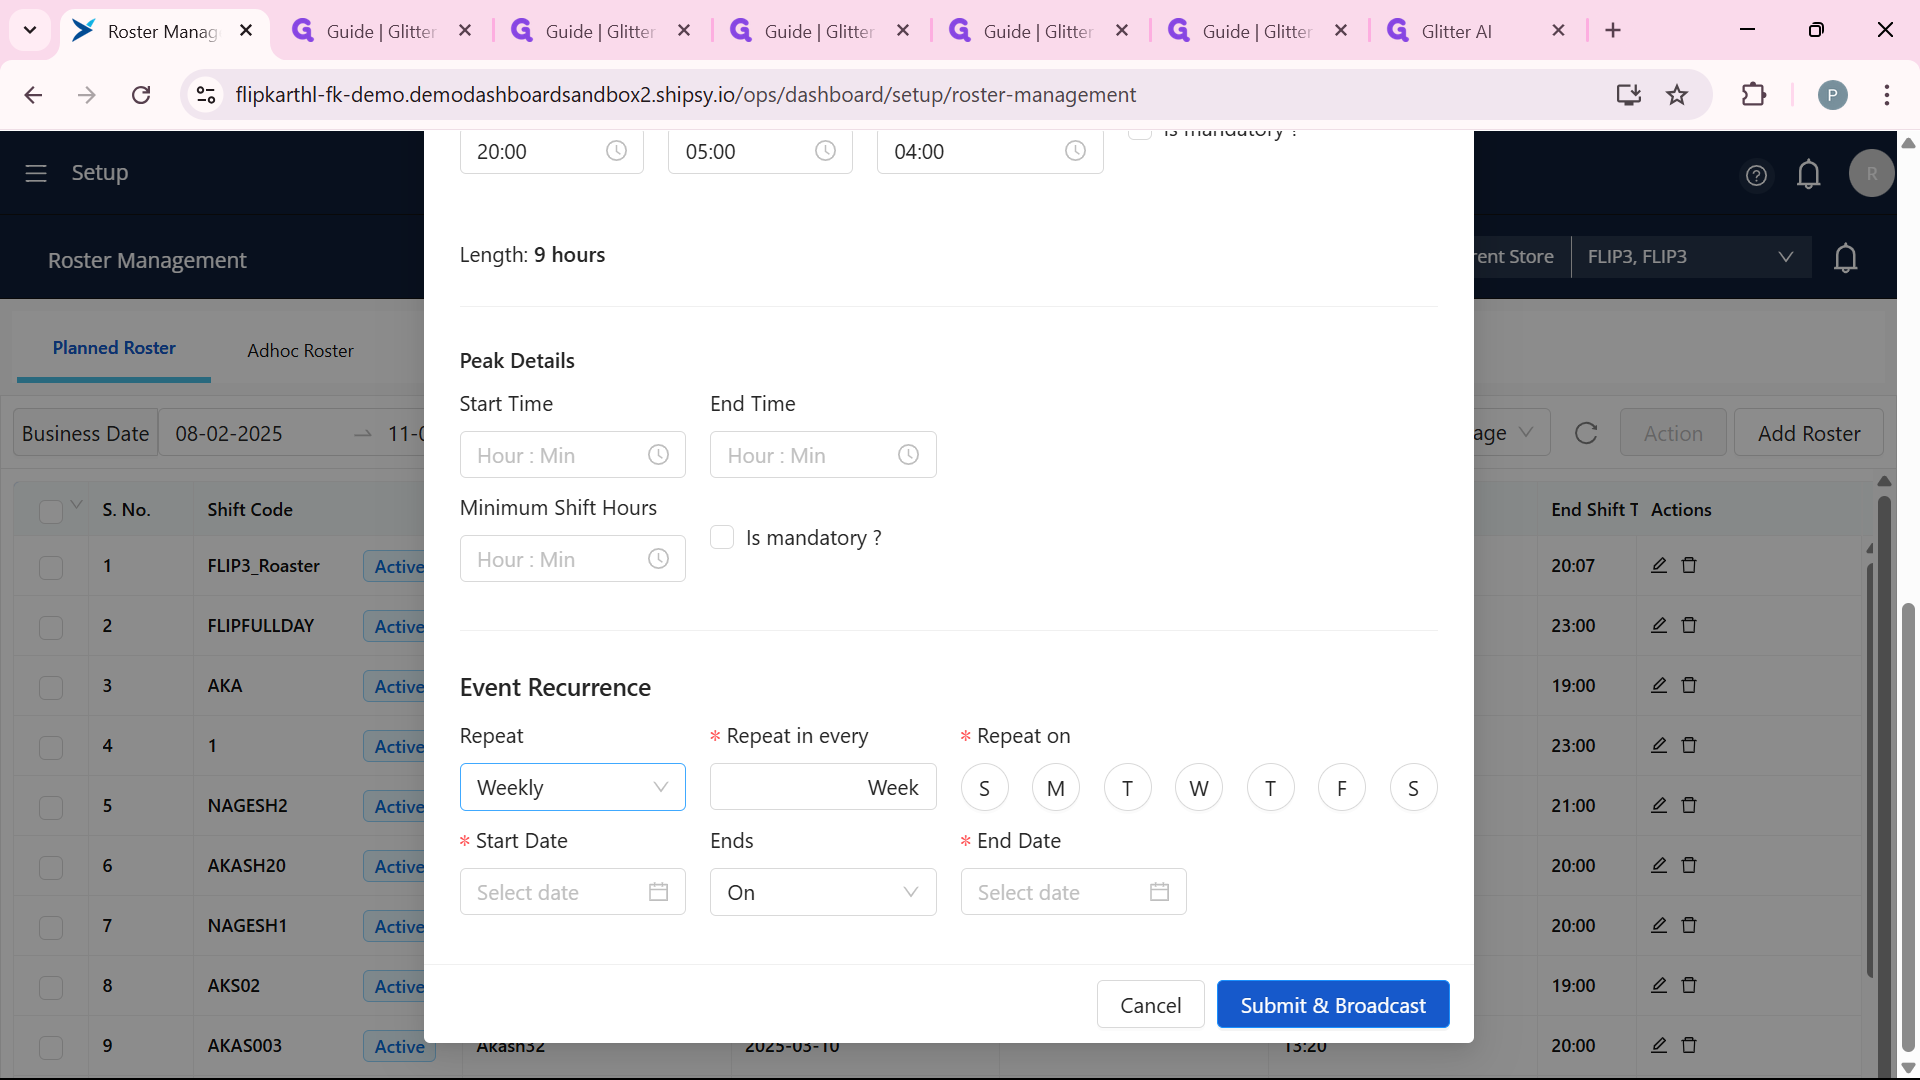
Sometimes, a shift isn’t just a one-off—it needs to happen regularly. If that’s the case, you can set it to repeat. Look for options like "Daily" or "Weekly" and decide how often it should recur—every day, every week, whatever works. You’ll also choose whether it stops on a certain date or keeps going forever by picking "Never". This is handy for schedules that don’t change much.
Finalizing and Checking Your Work
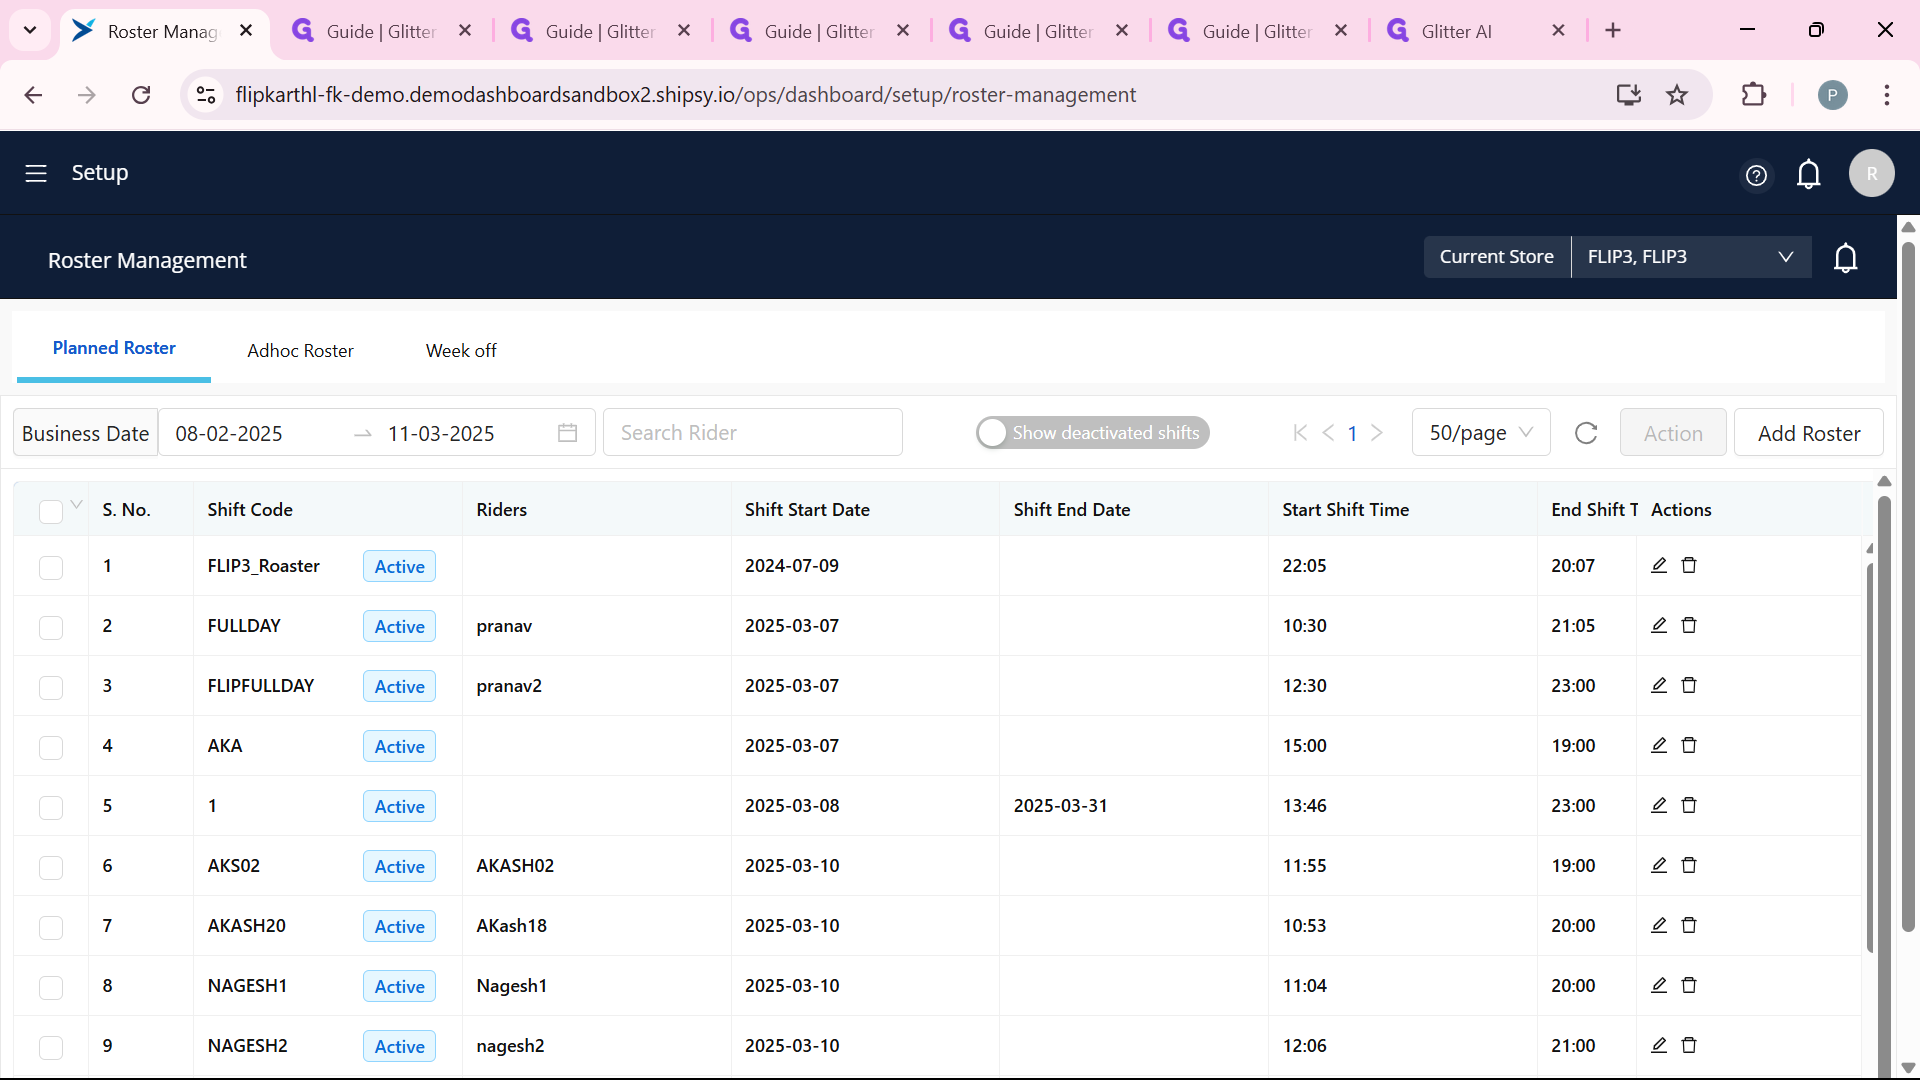
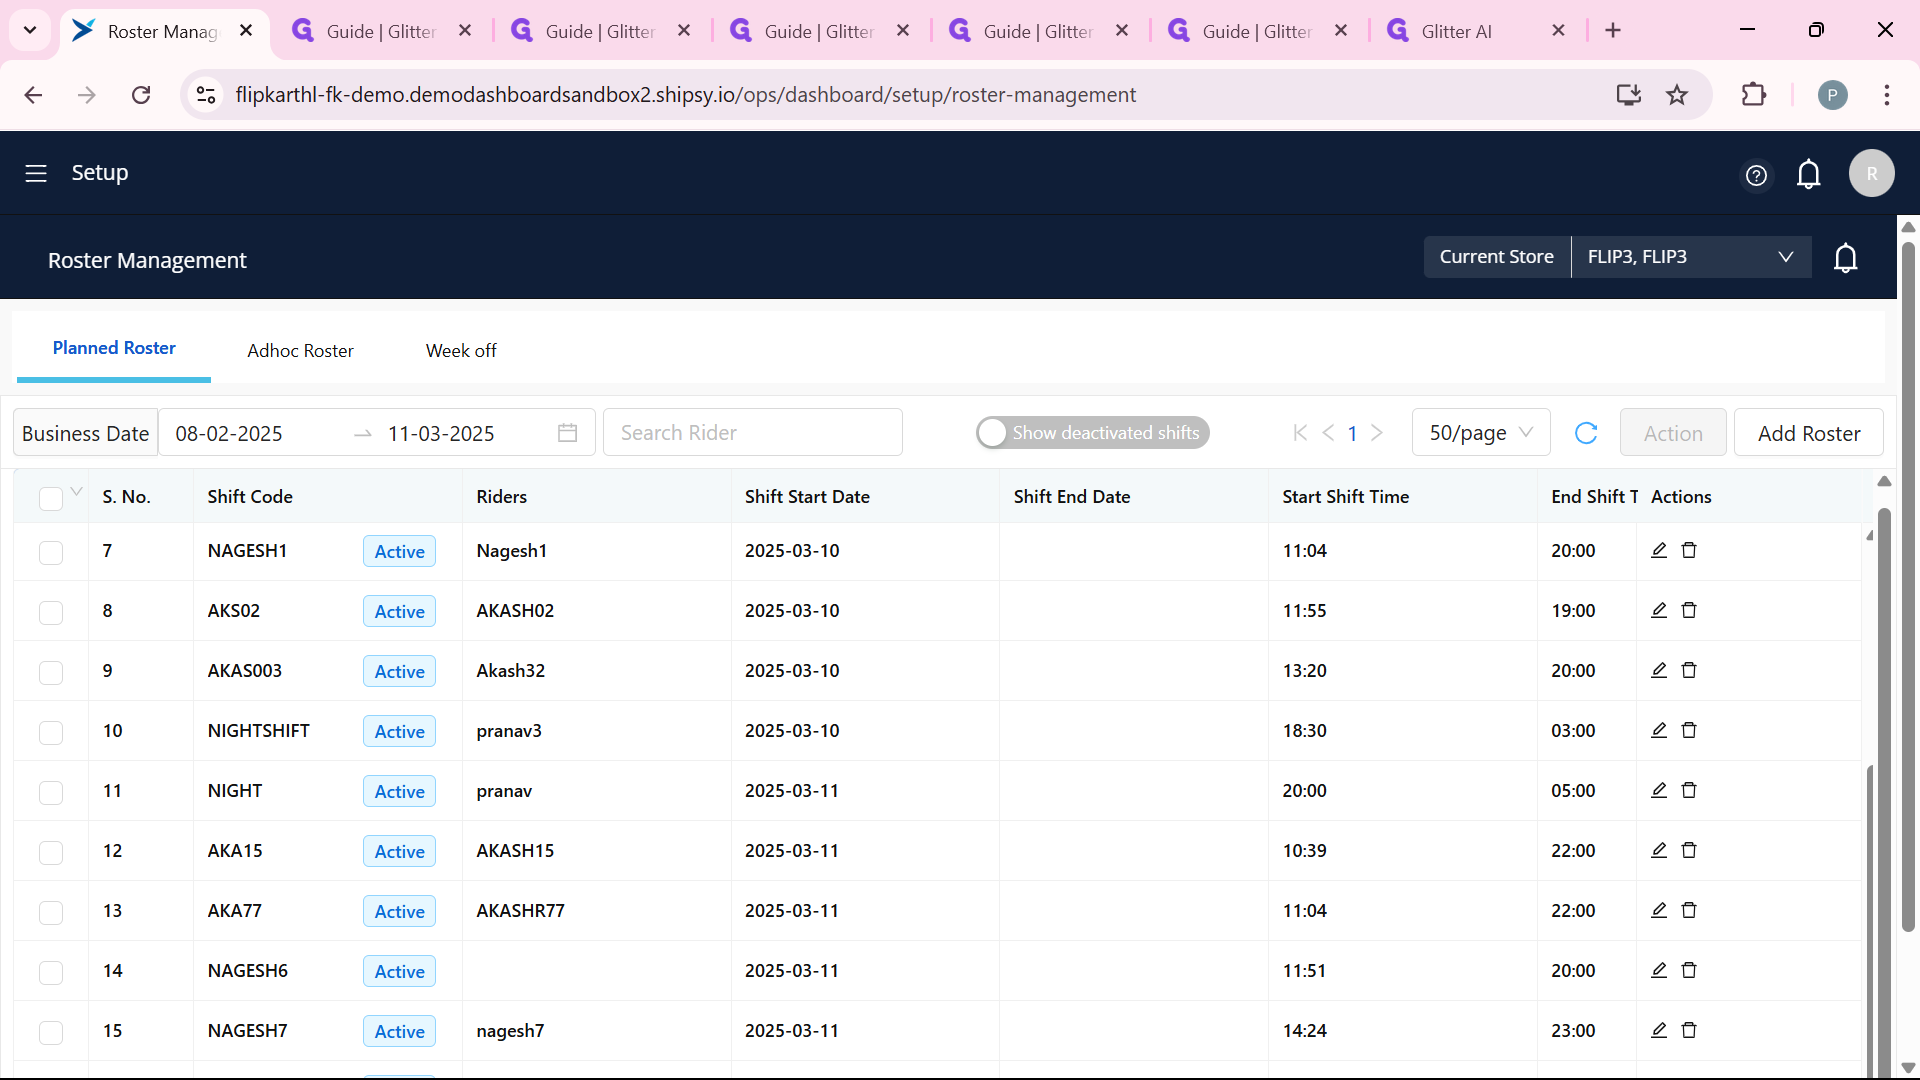
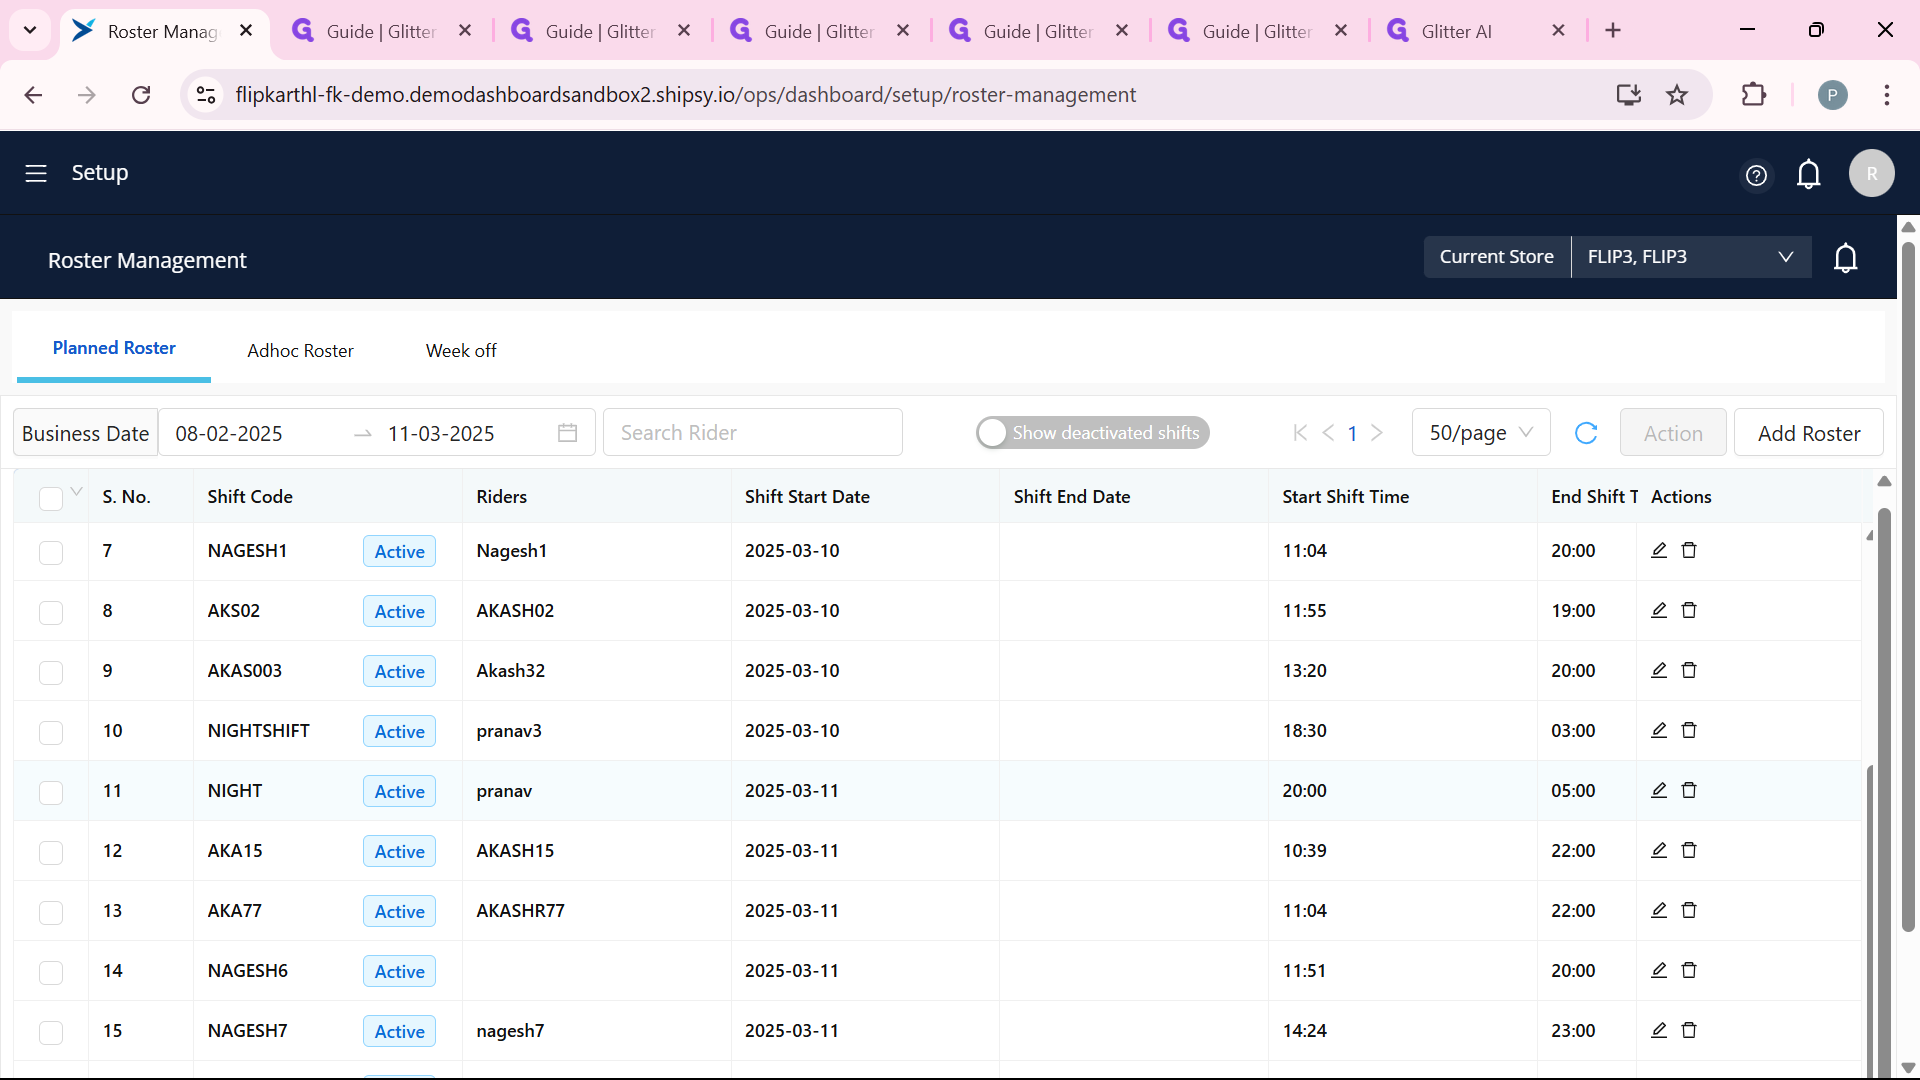
Once you’ve filled in all the details, take a quick look to make sure everything’s correct. When you’re happy, hit the "Submit & Broadcast" button. This saves the shift and lets the relevant people know about it. To be certain it worked, head back to the main roster table in the Roster Management section. Scroll through or search for your shift—look for the rider’s name, the shift code, and an "Active" status next to the start date. If it’s there, you’re good to go.
Wrapping It Up
Managing rosters in the OPS Dashboard is all about navigating to the right section, picking your hub, setting up the shift with the rider and times, deciding if it repeats, and then confirming it’s active in the table. It’s a smooth process once you get the hang of it, designed to keep your scheduling organized and efficient.
Here's the steps visual guide.