Kimbal : Outbound Forward Flow 3
This is a step-by-step guide for Stockone, STOCKONE, and Print
By Shipsy
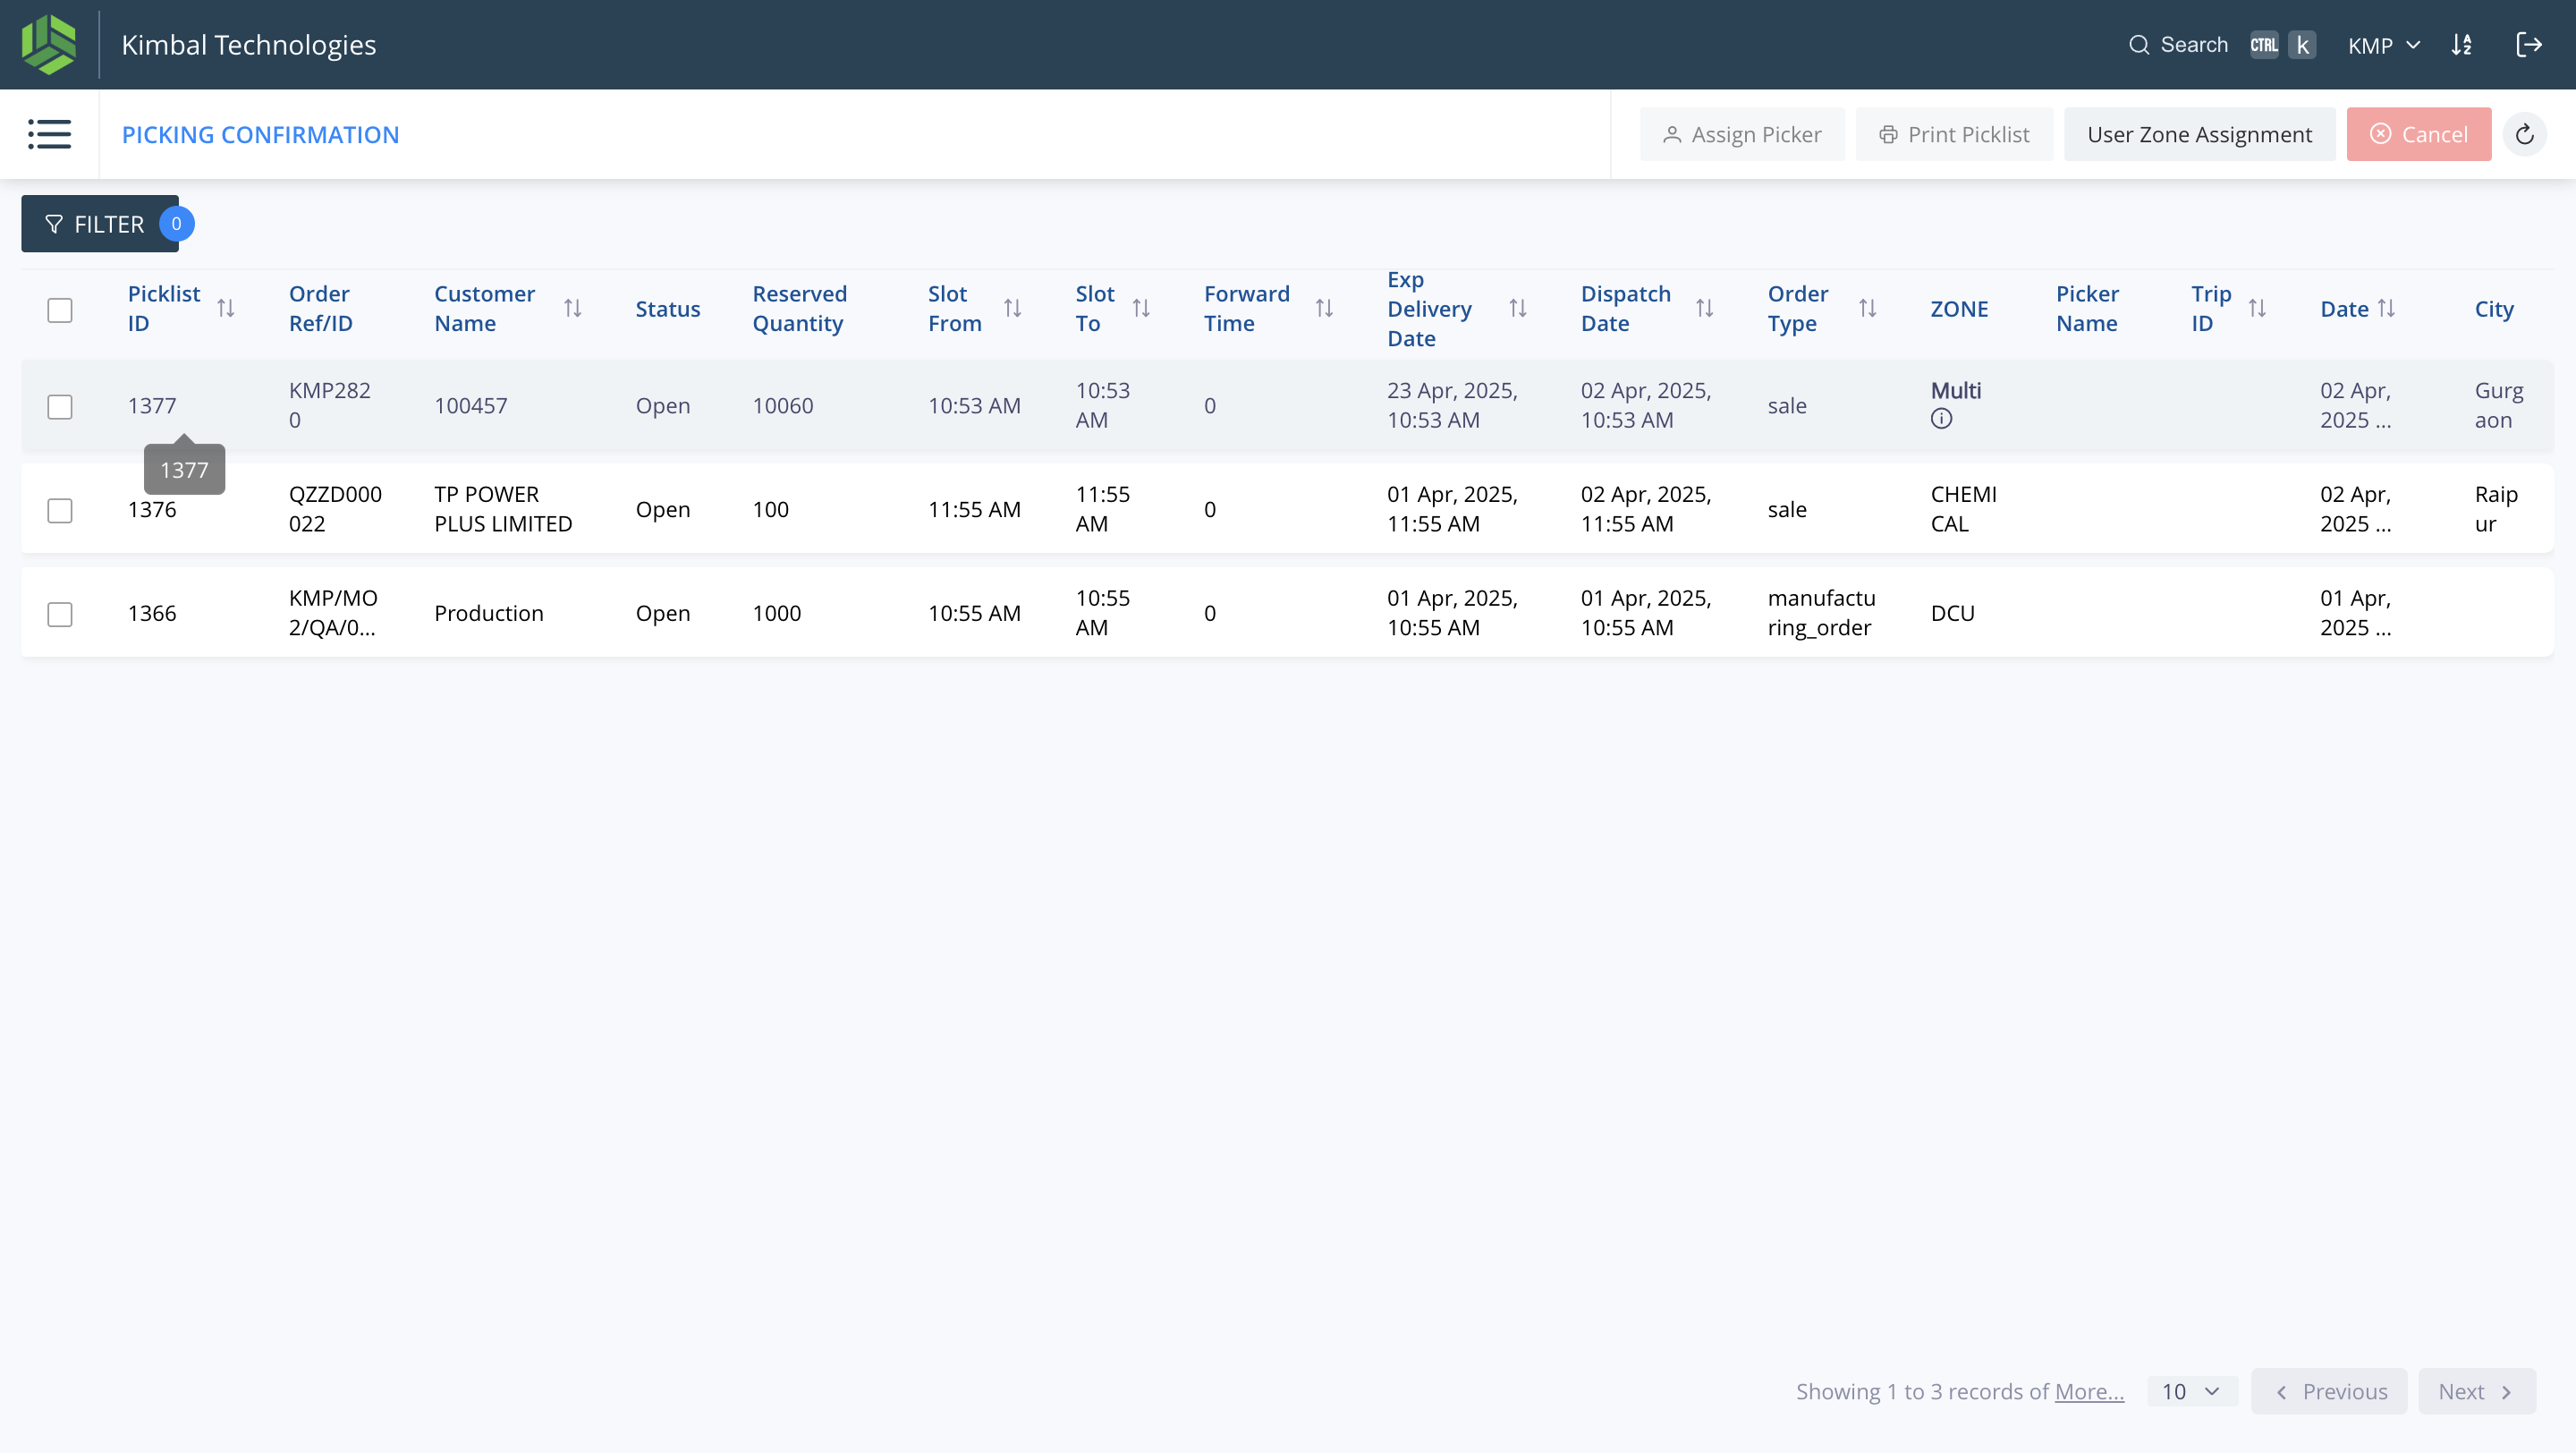
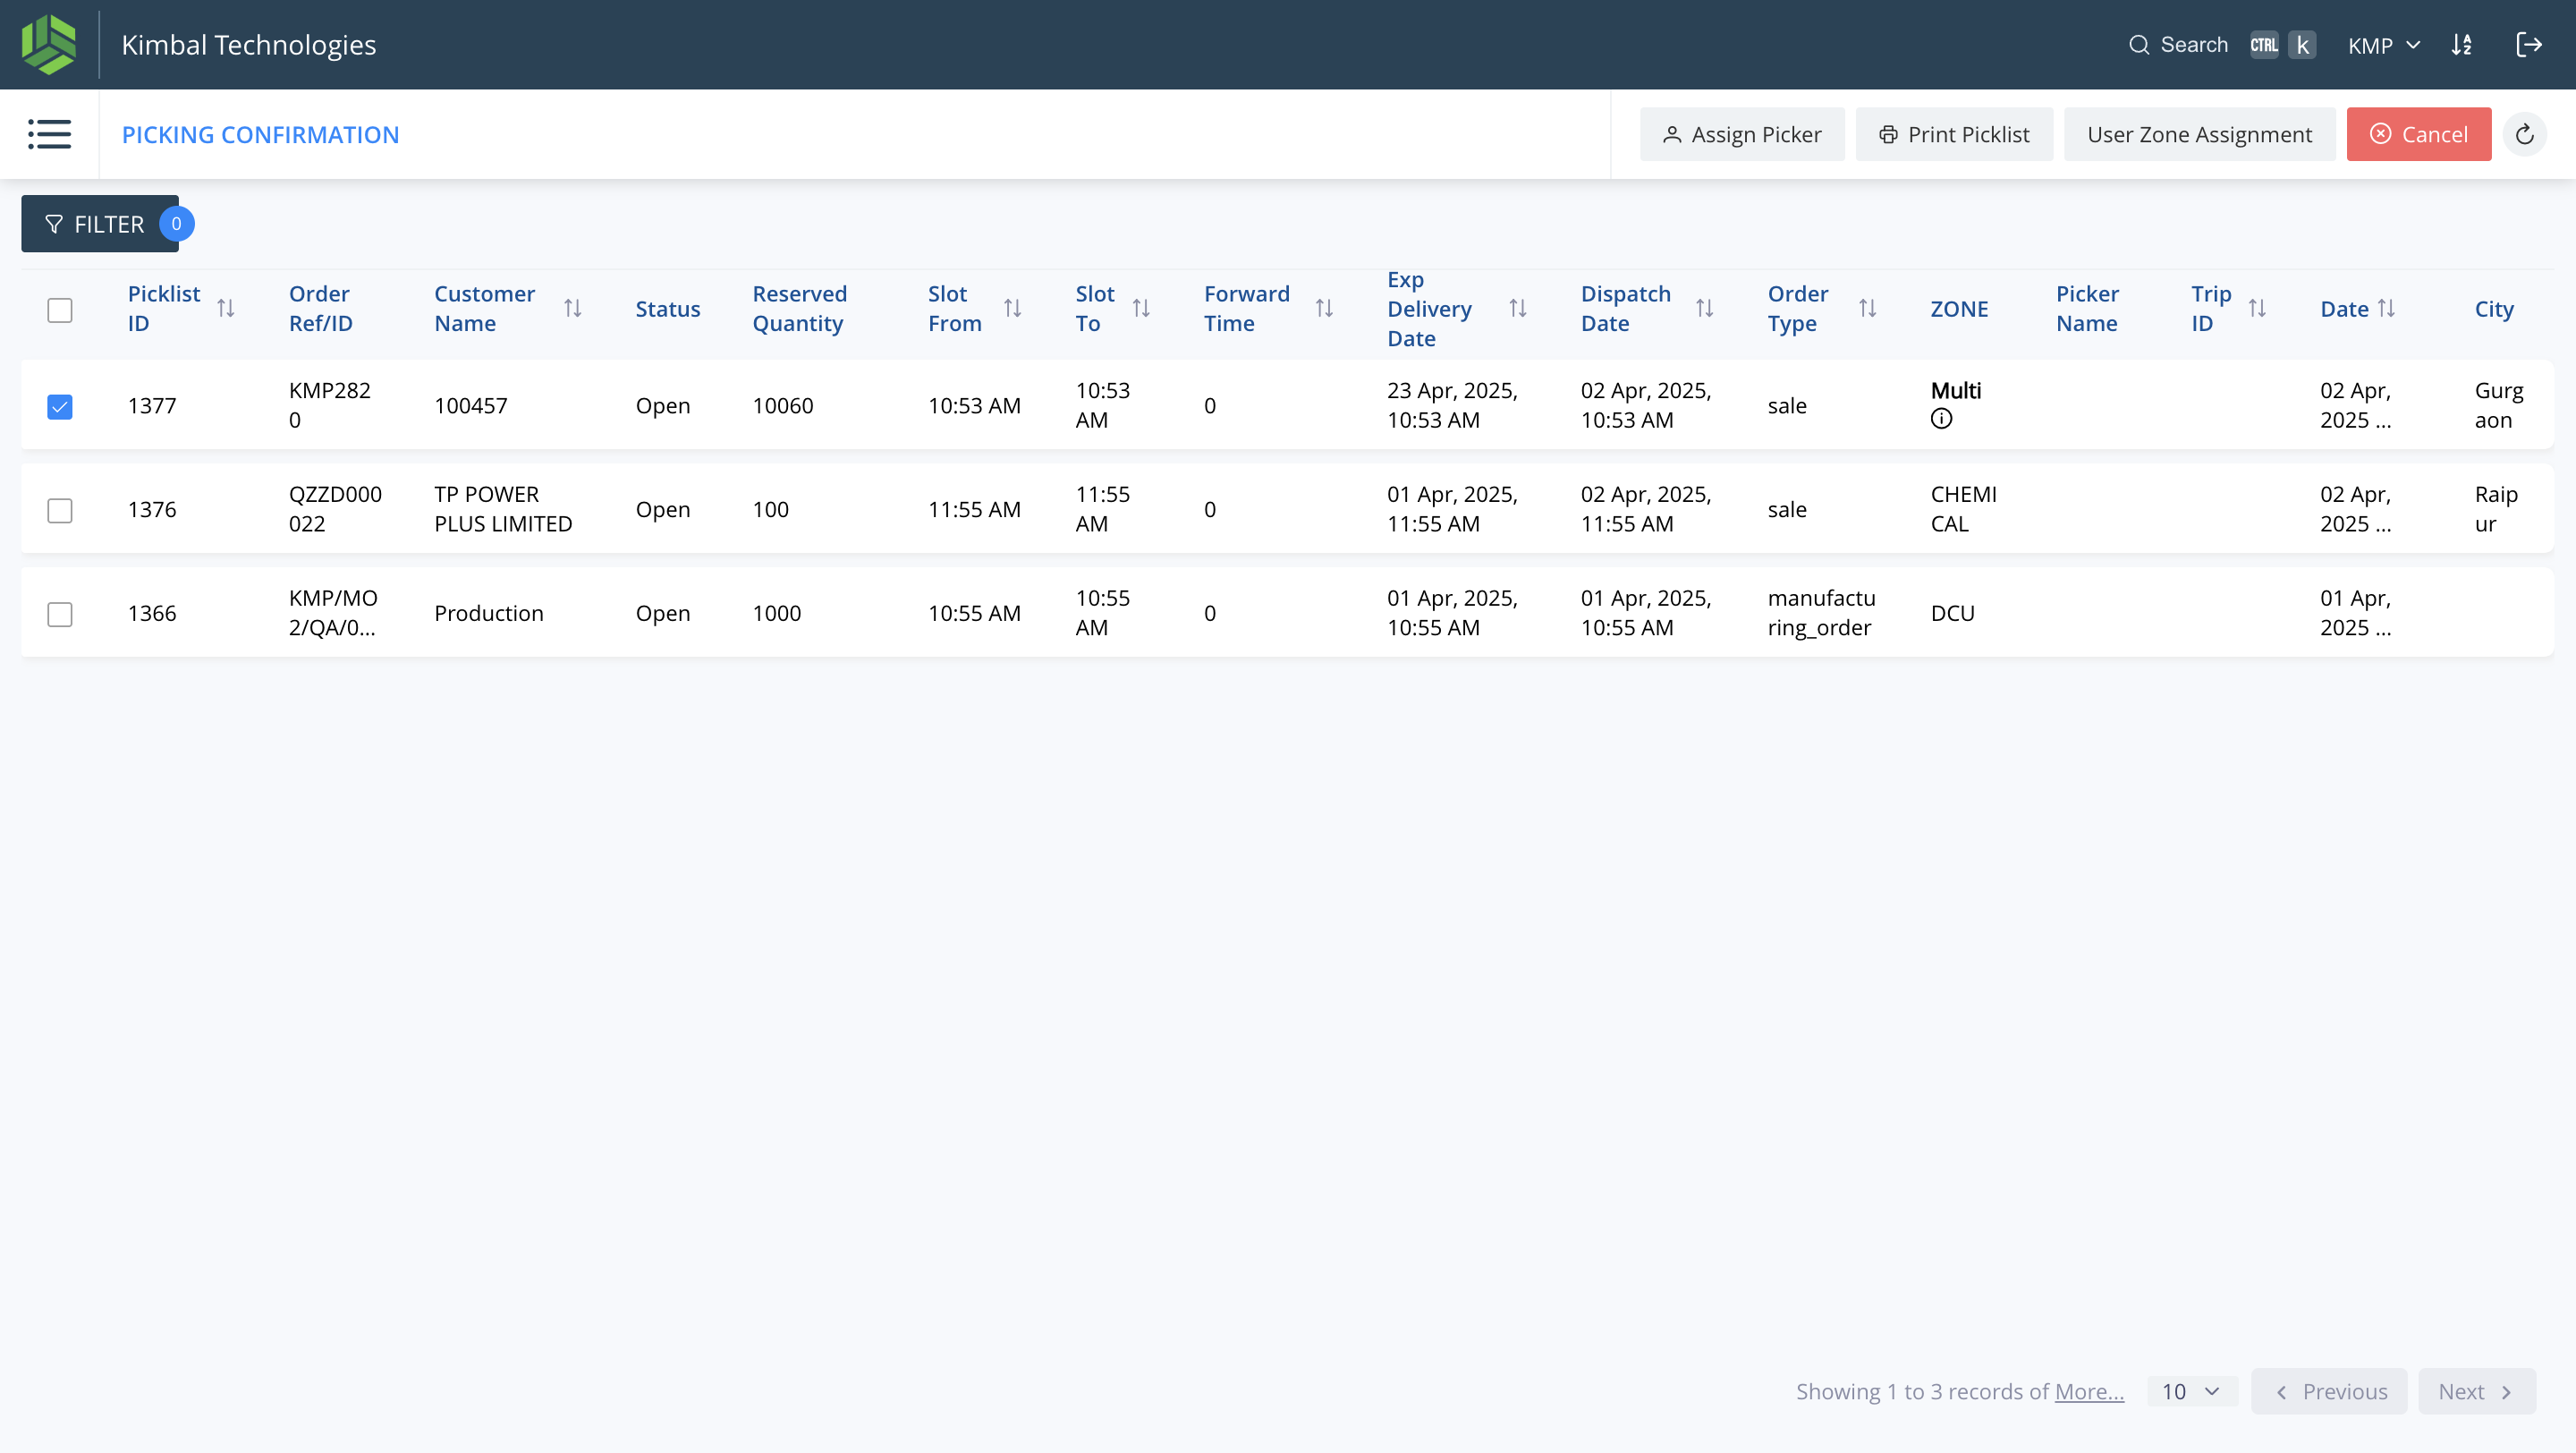
The Picklist we just created using "Order Fulfill Form" in Uploads section, will be reflected in Picking Confirmation Page. (Outbound --> Confirm Picklist --> Picking Confirmation )
1
This is the picklist with ID - "1377" for the order ID - KMP2820
2
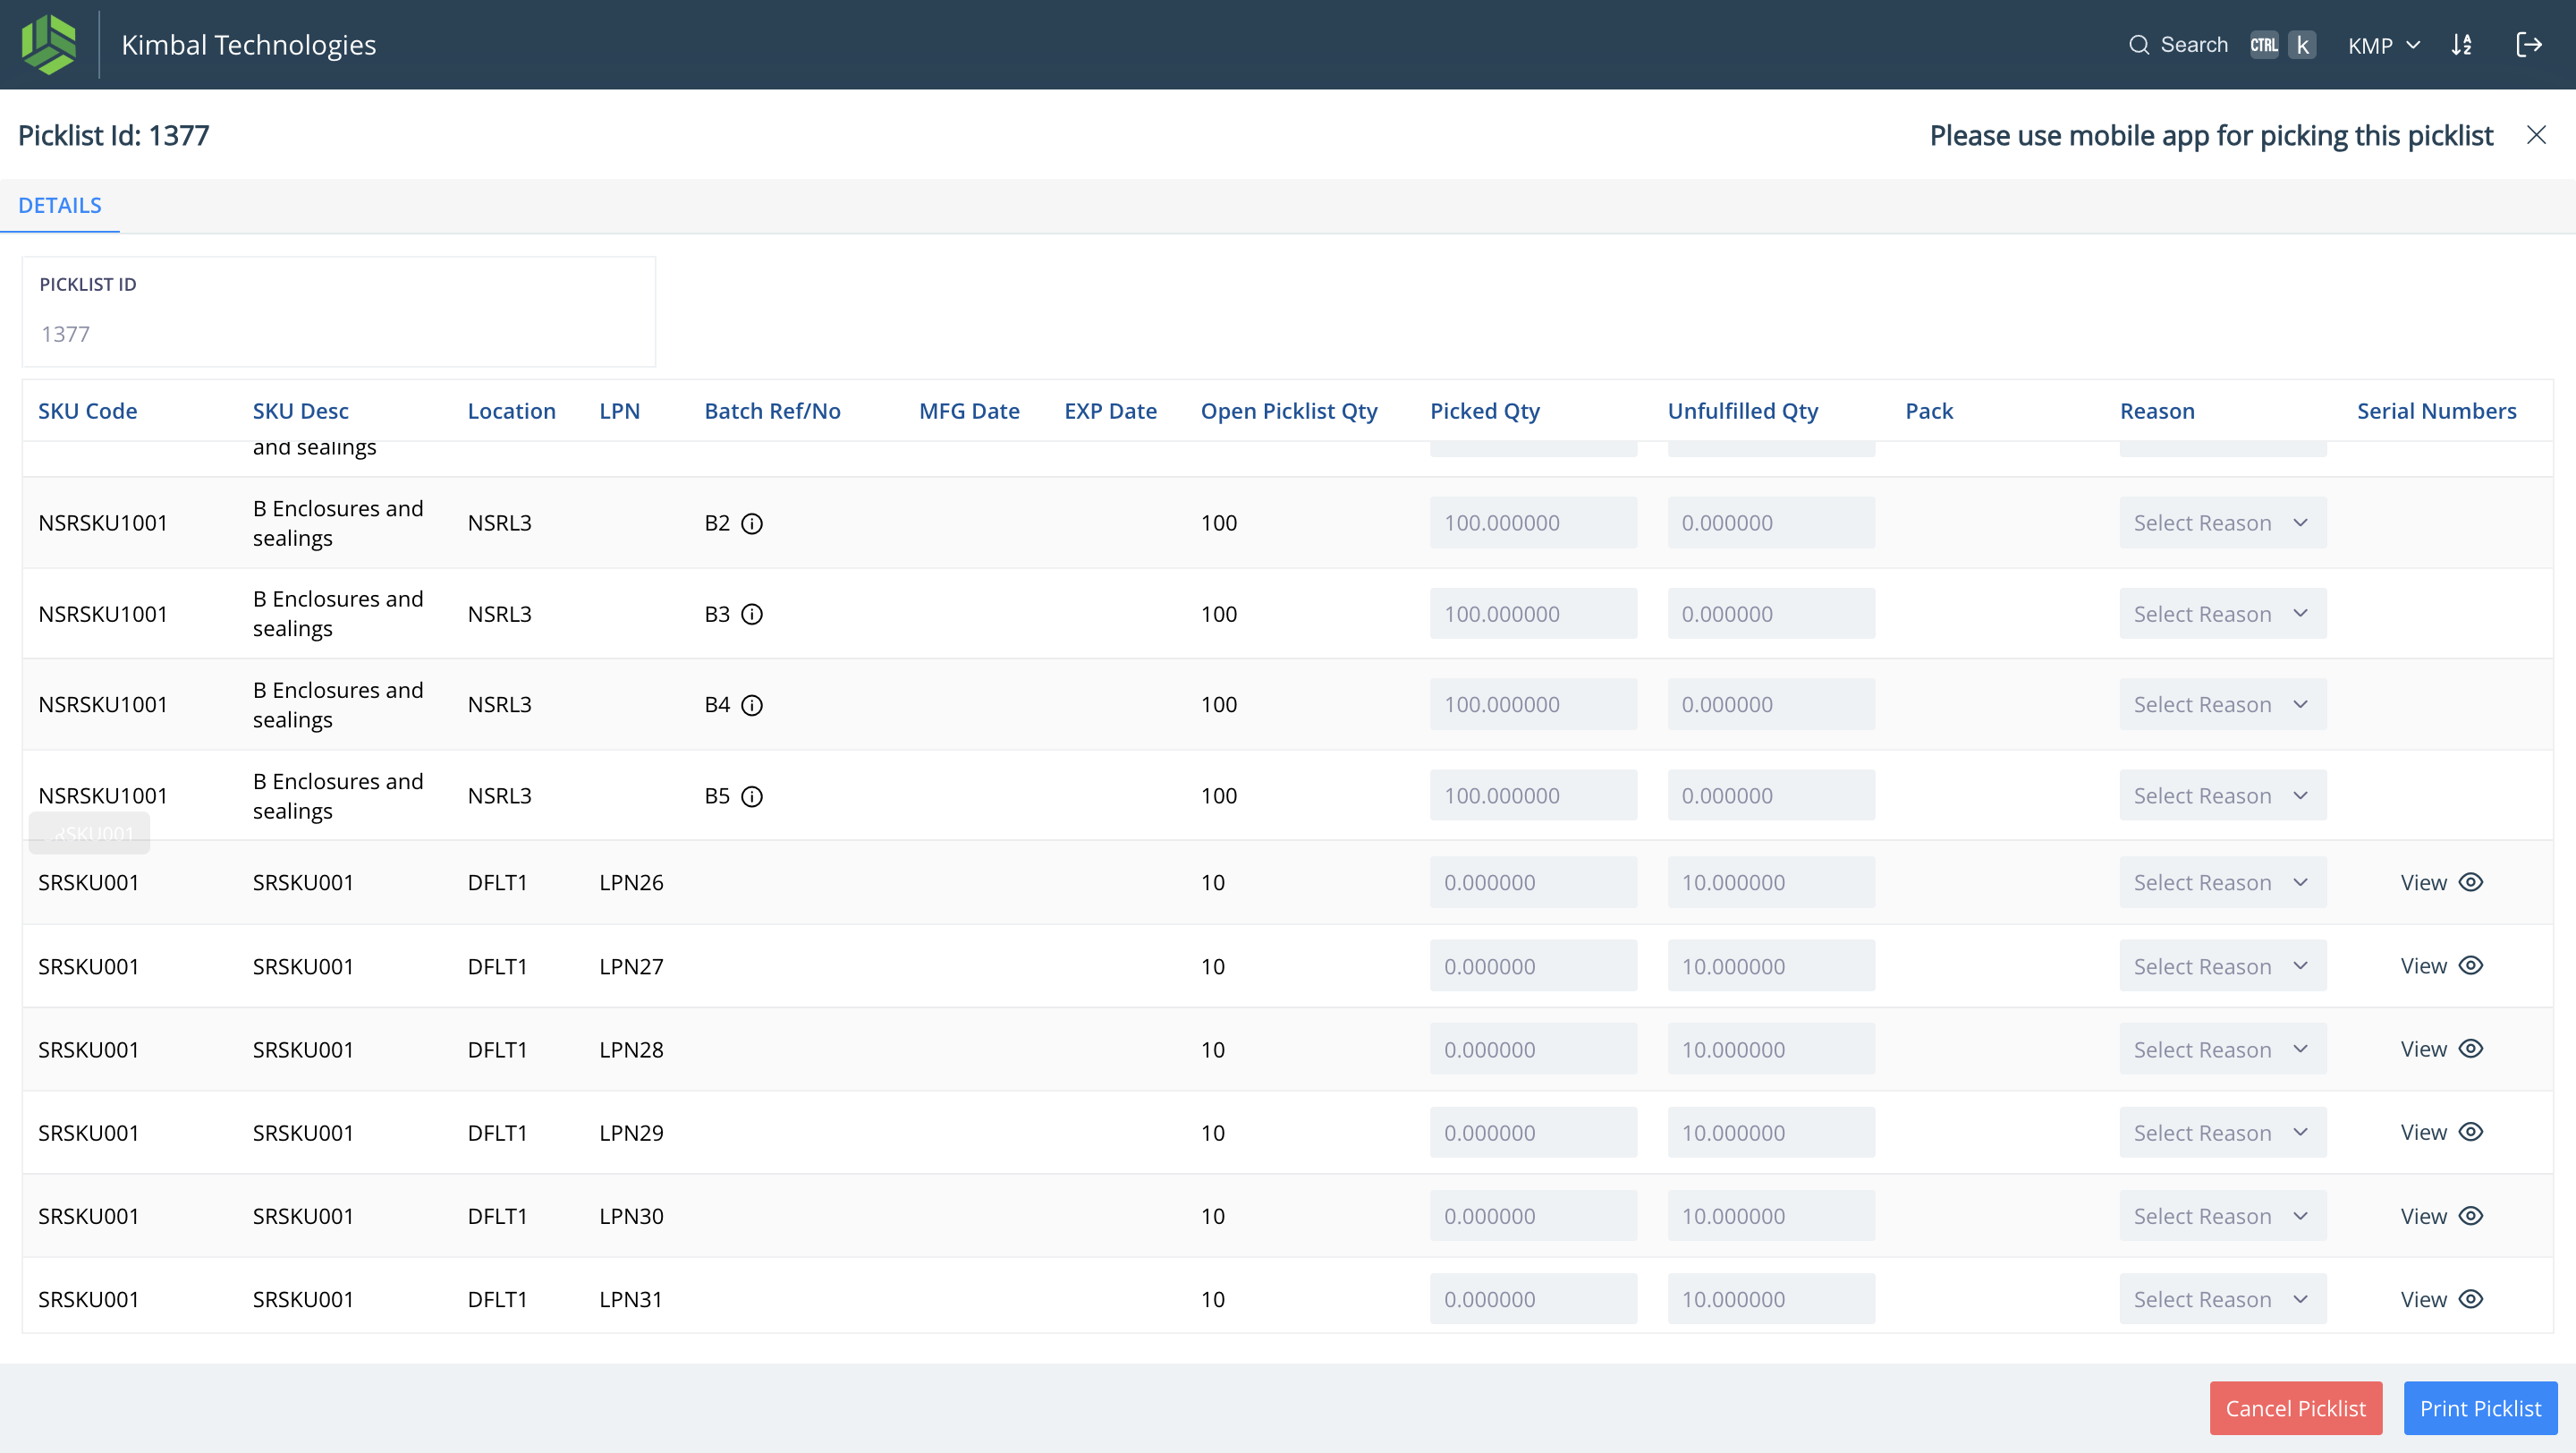
Upon clicking the picklist, the pick tasks that we uploaded through "Order Fulfill form" can be seen.
3
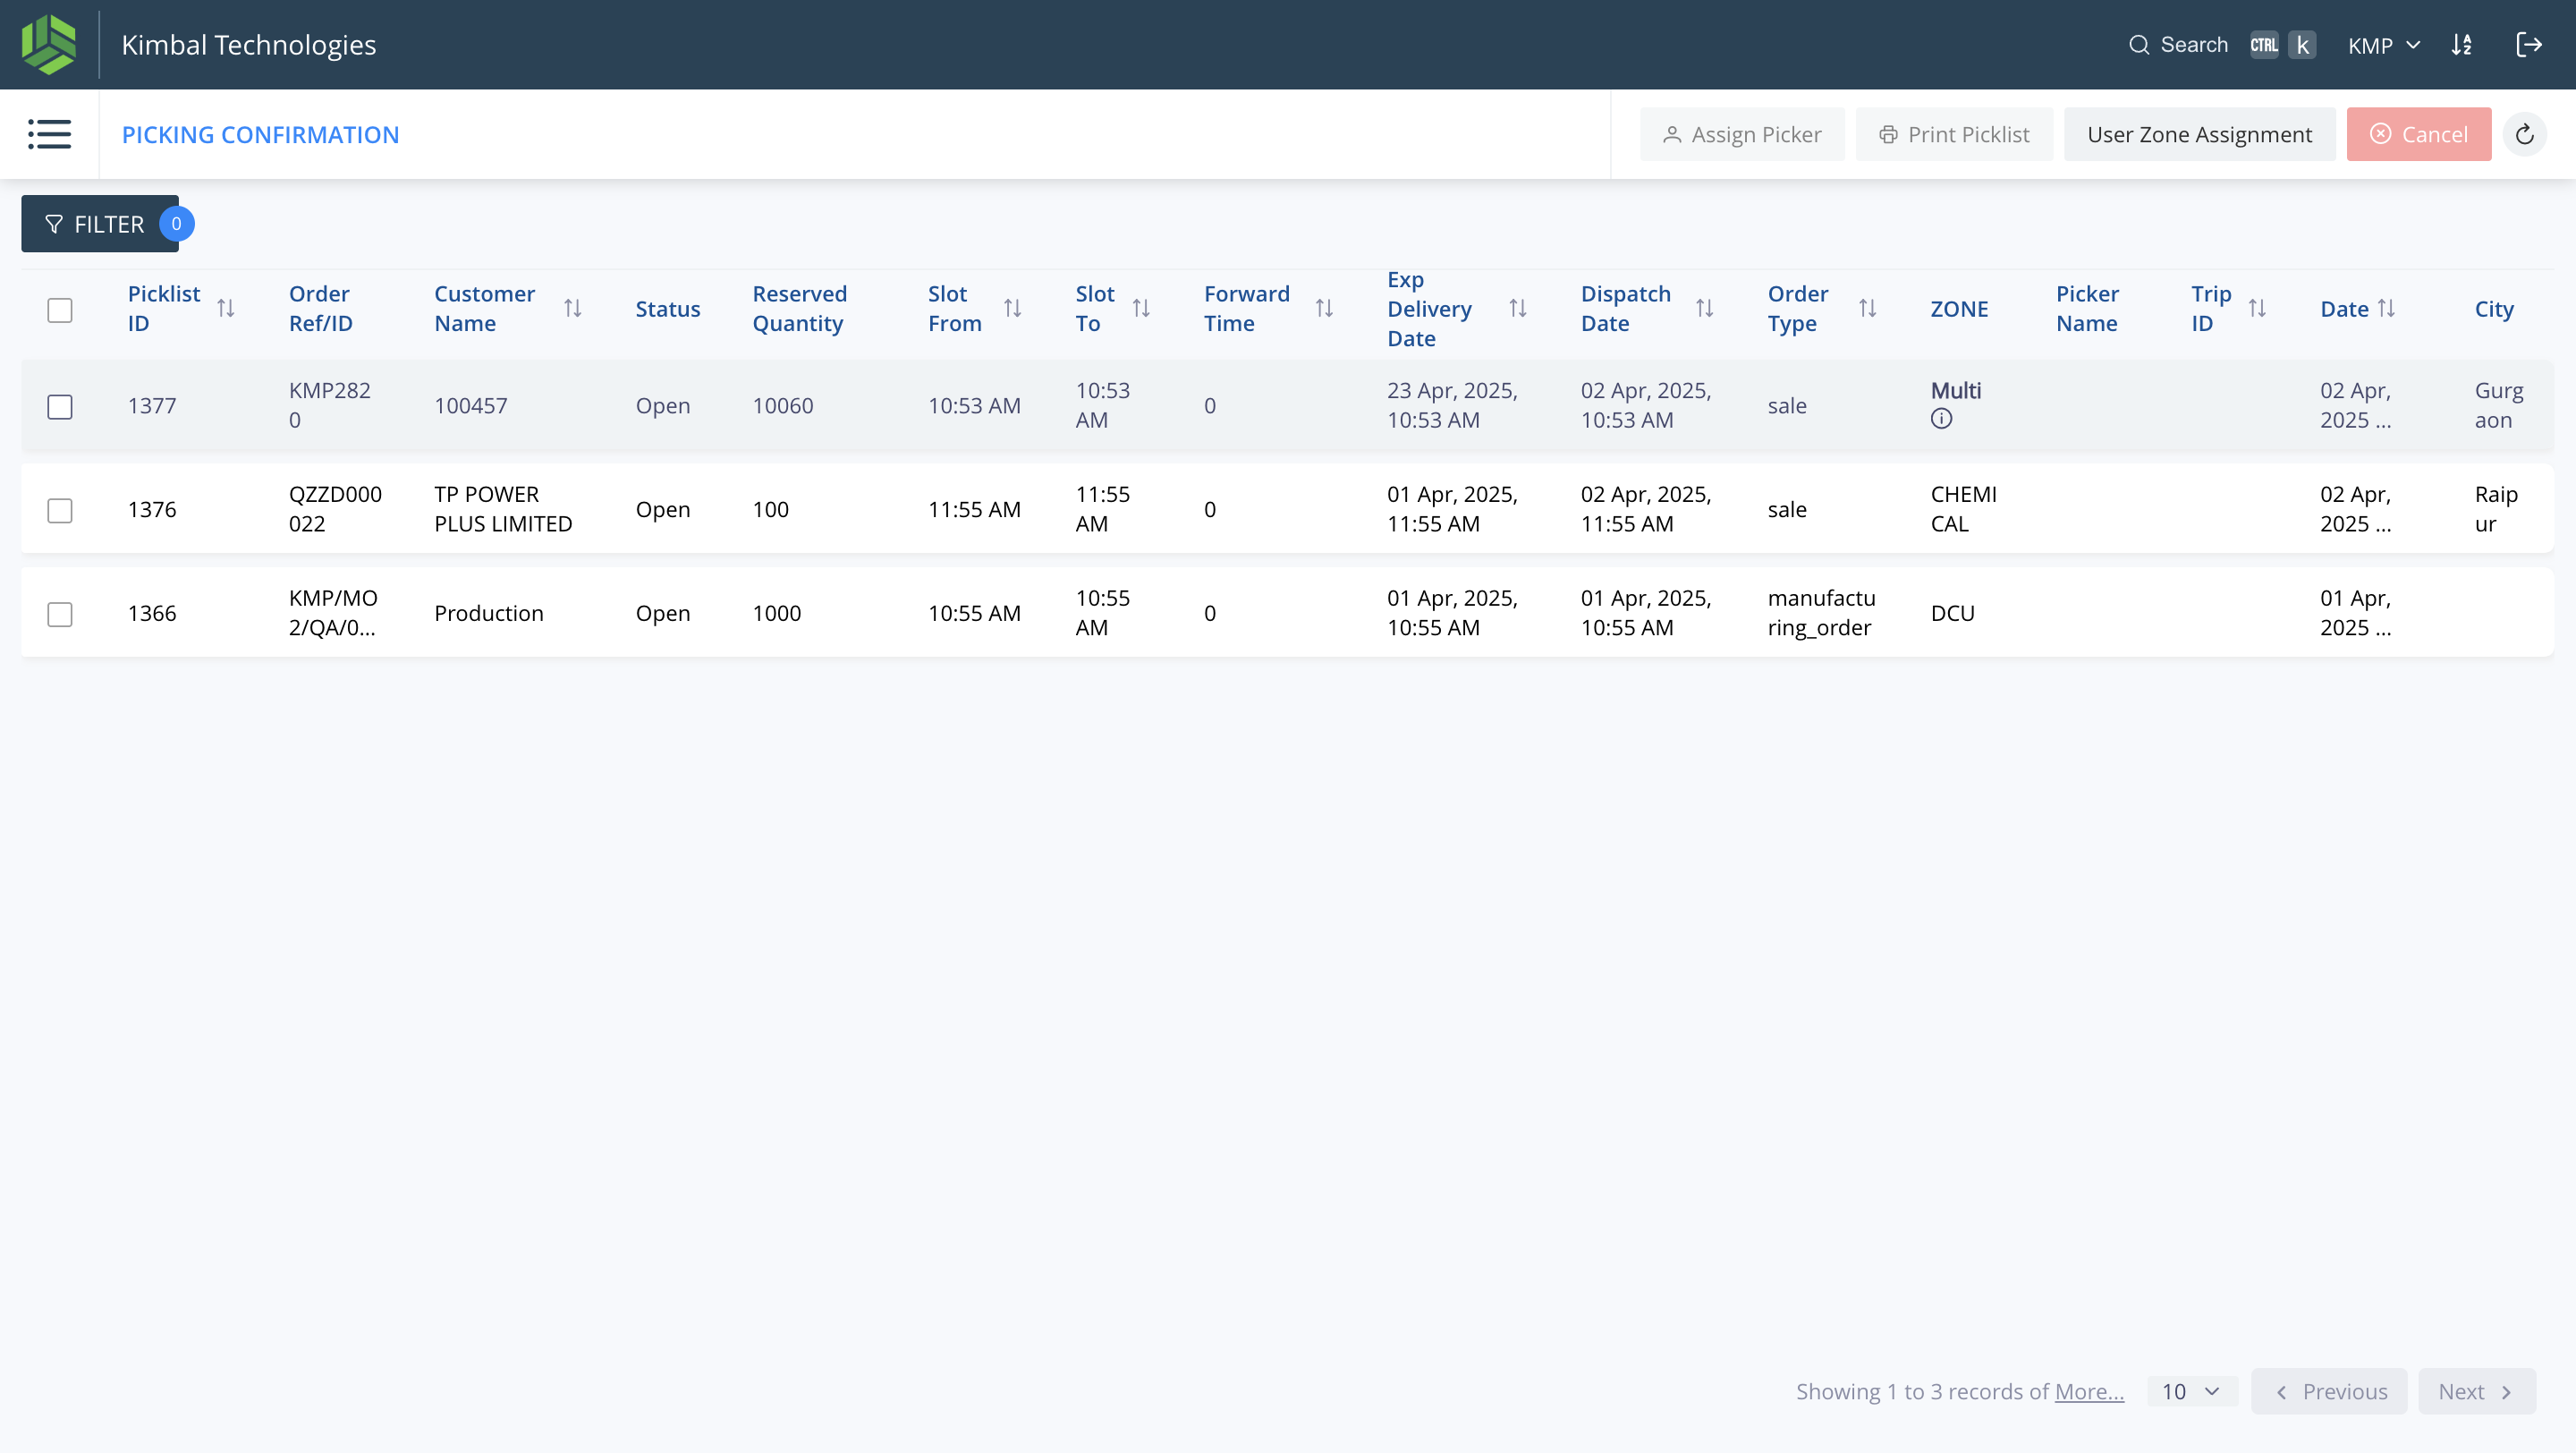
Select the picklist to assign picker.
4
Click on "Assign Picker"
5
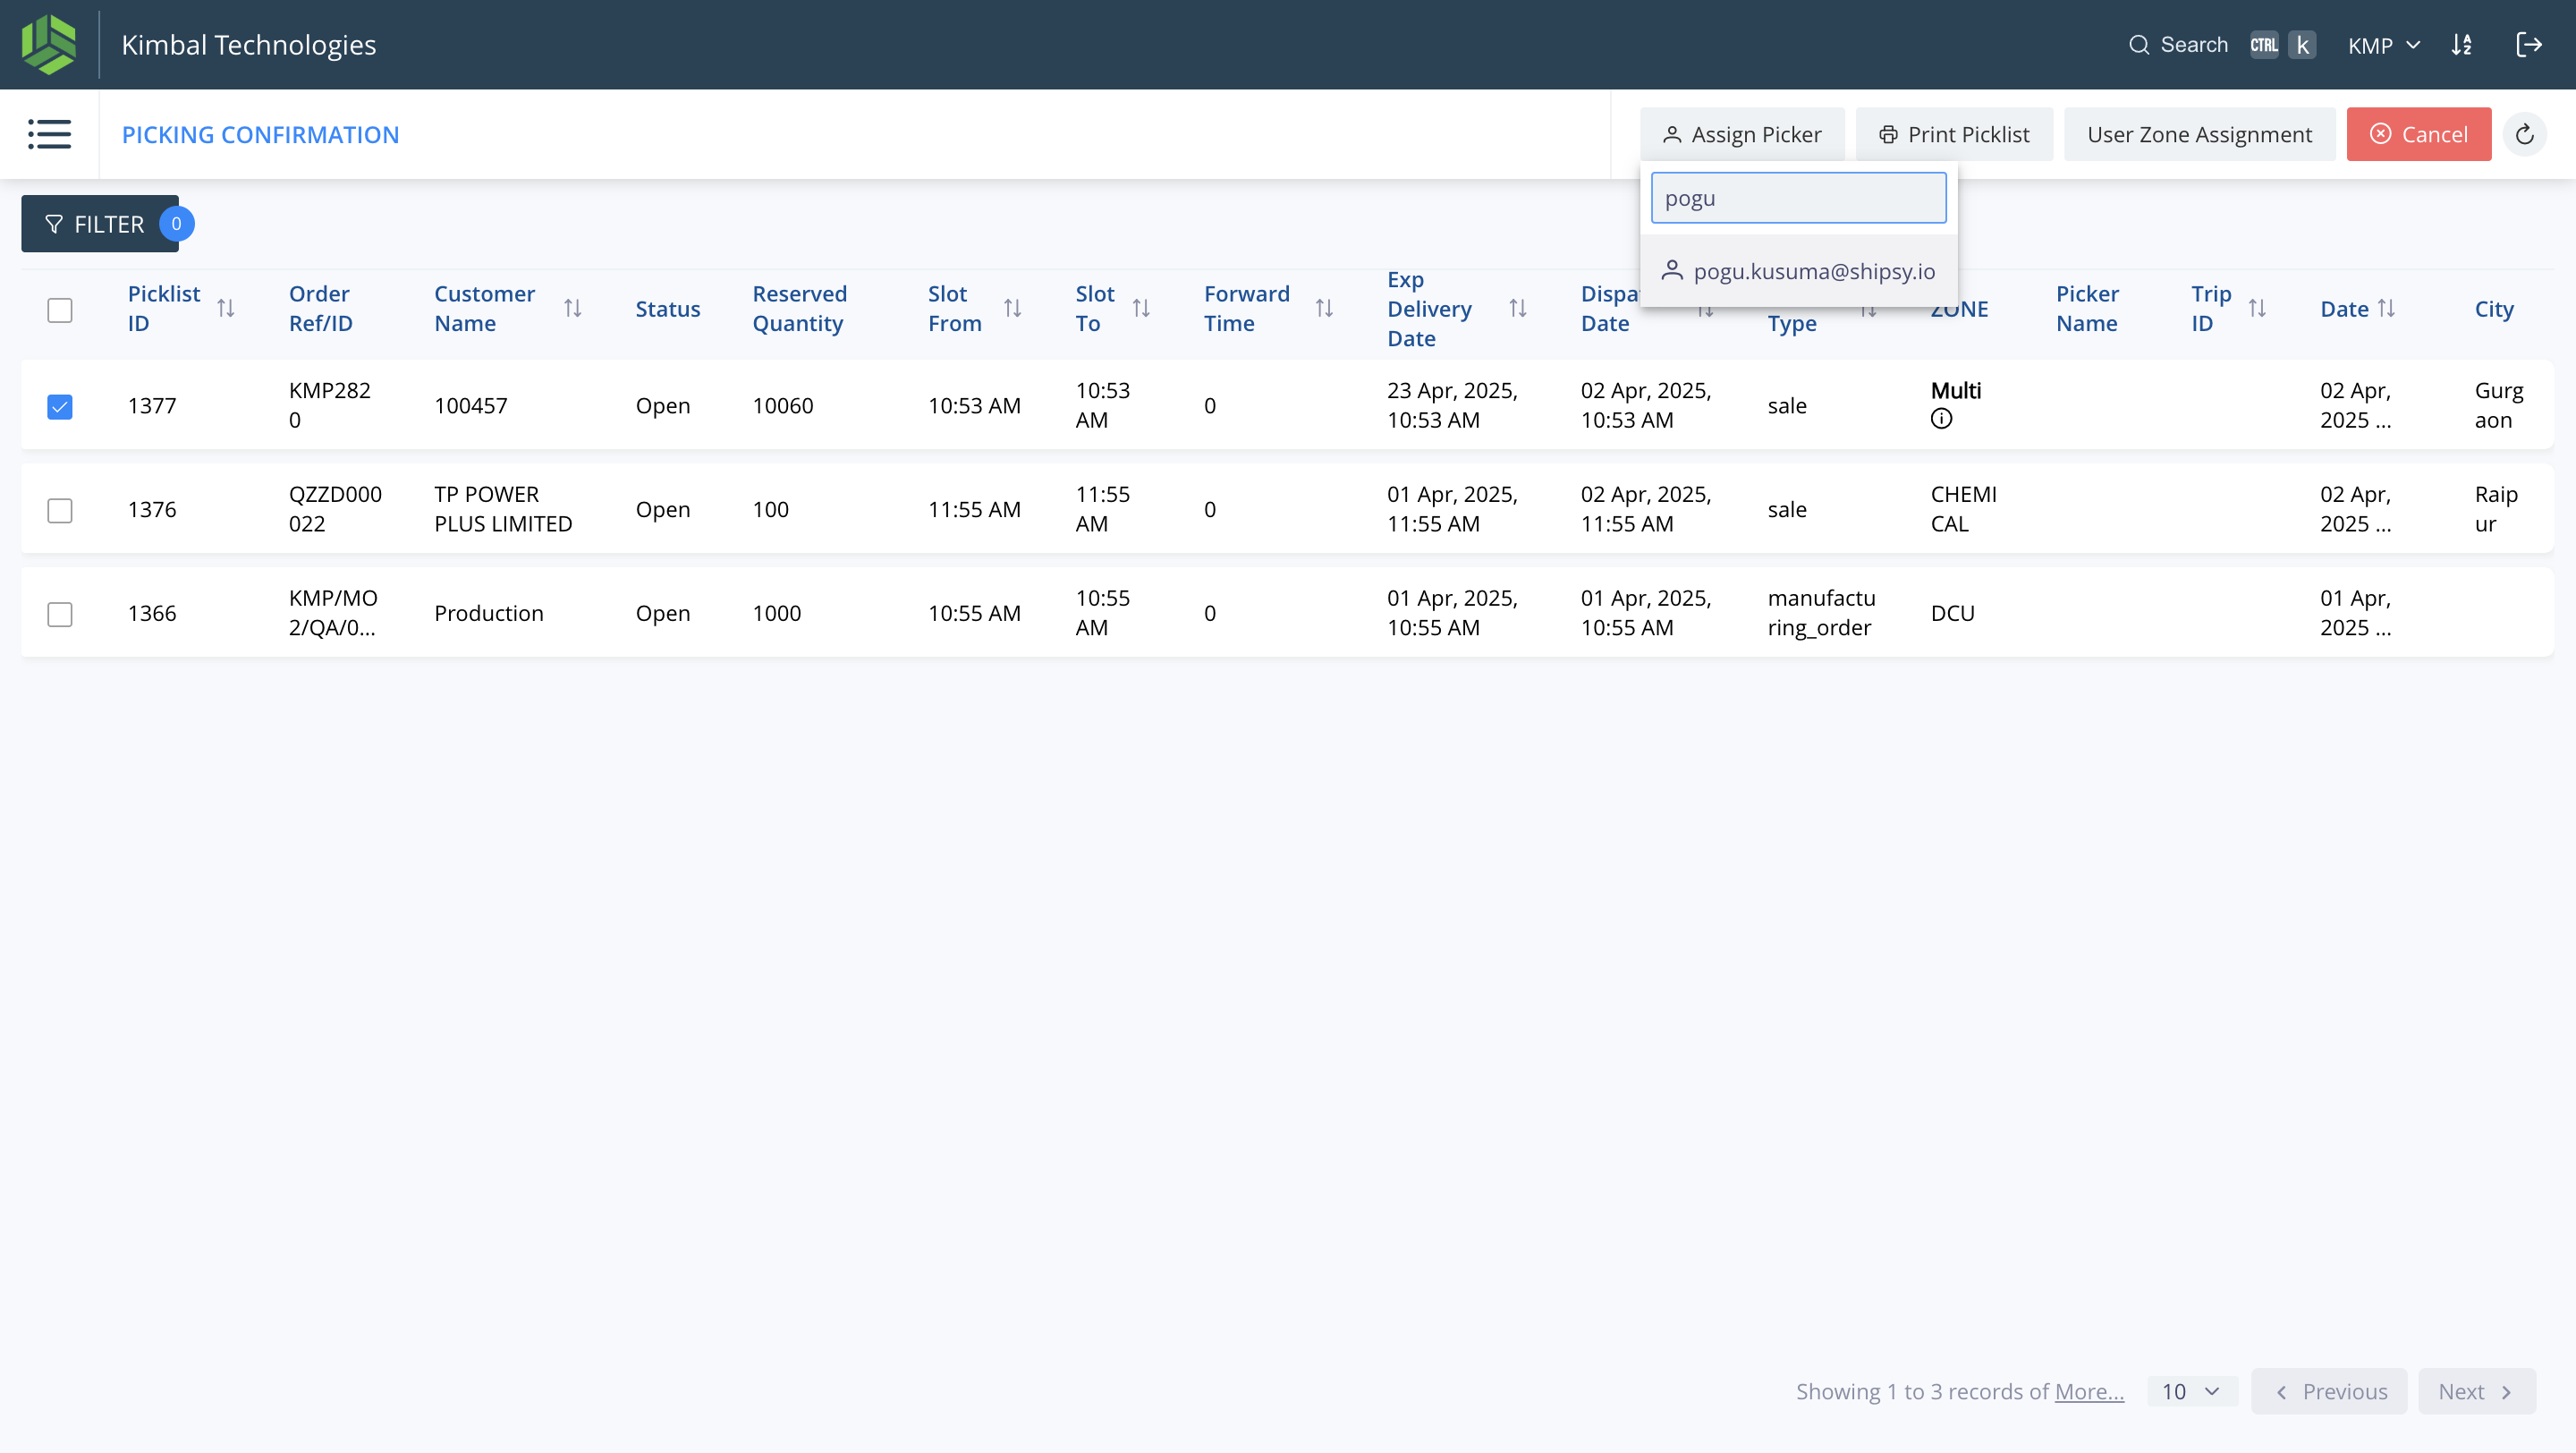
Assign a picker manually for the picklist.
6
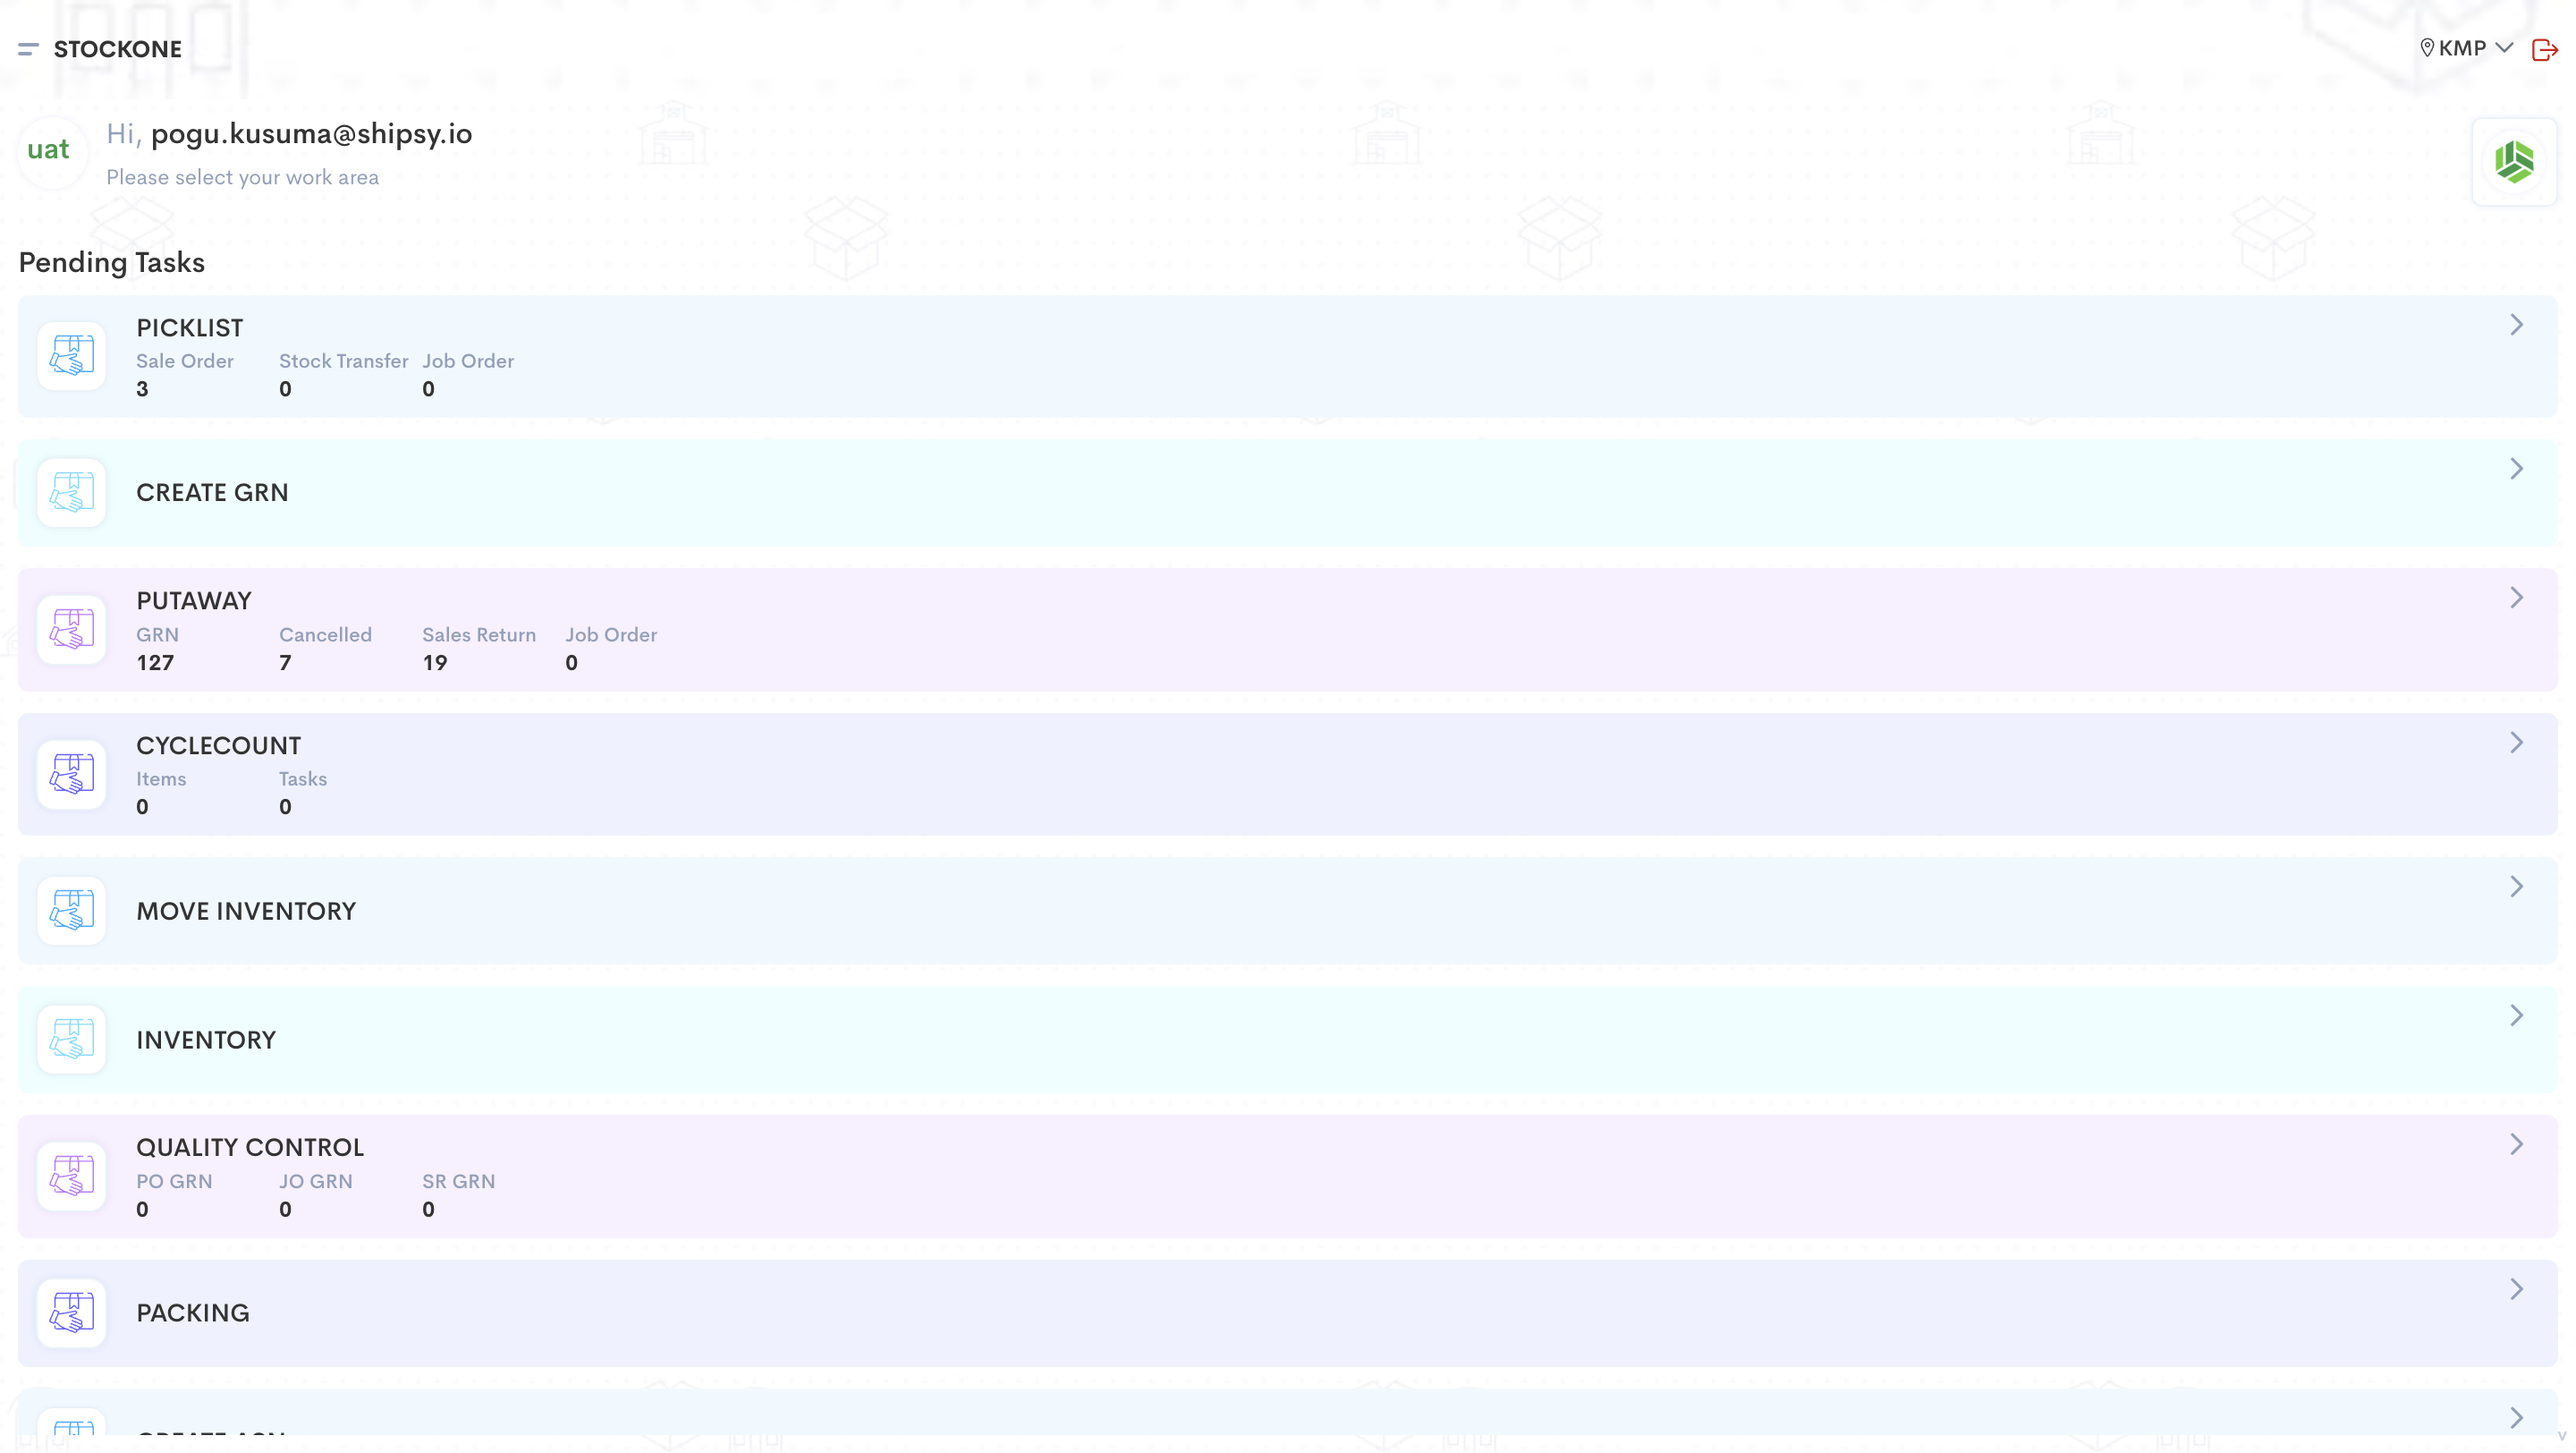
Go to Mobile App where picker can do picking.
7
Click on Picklist to start picking.
8
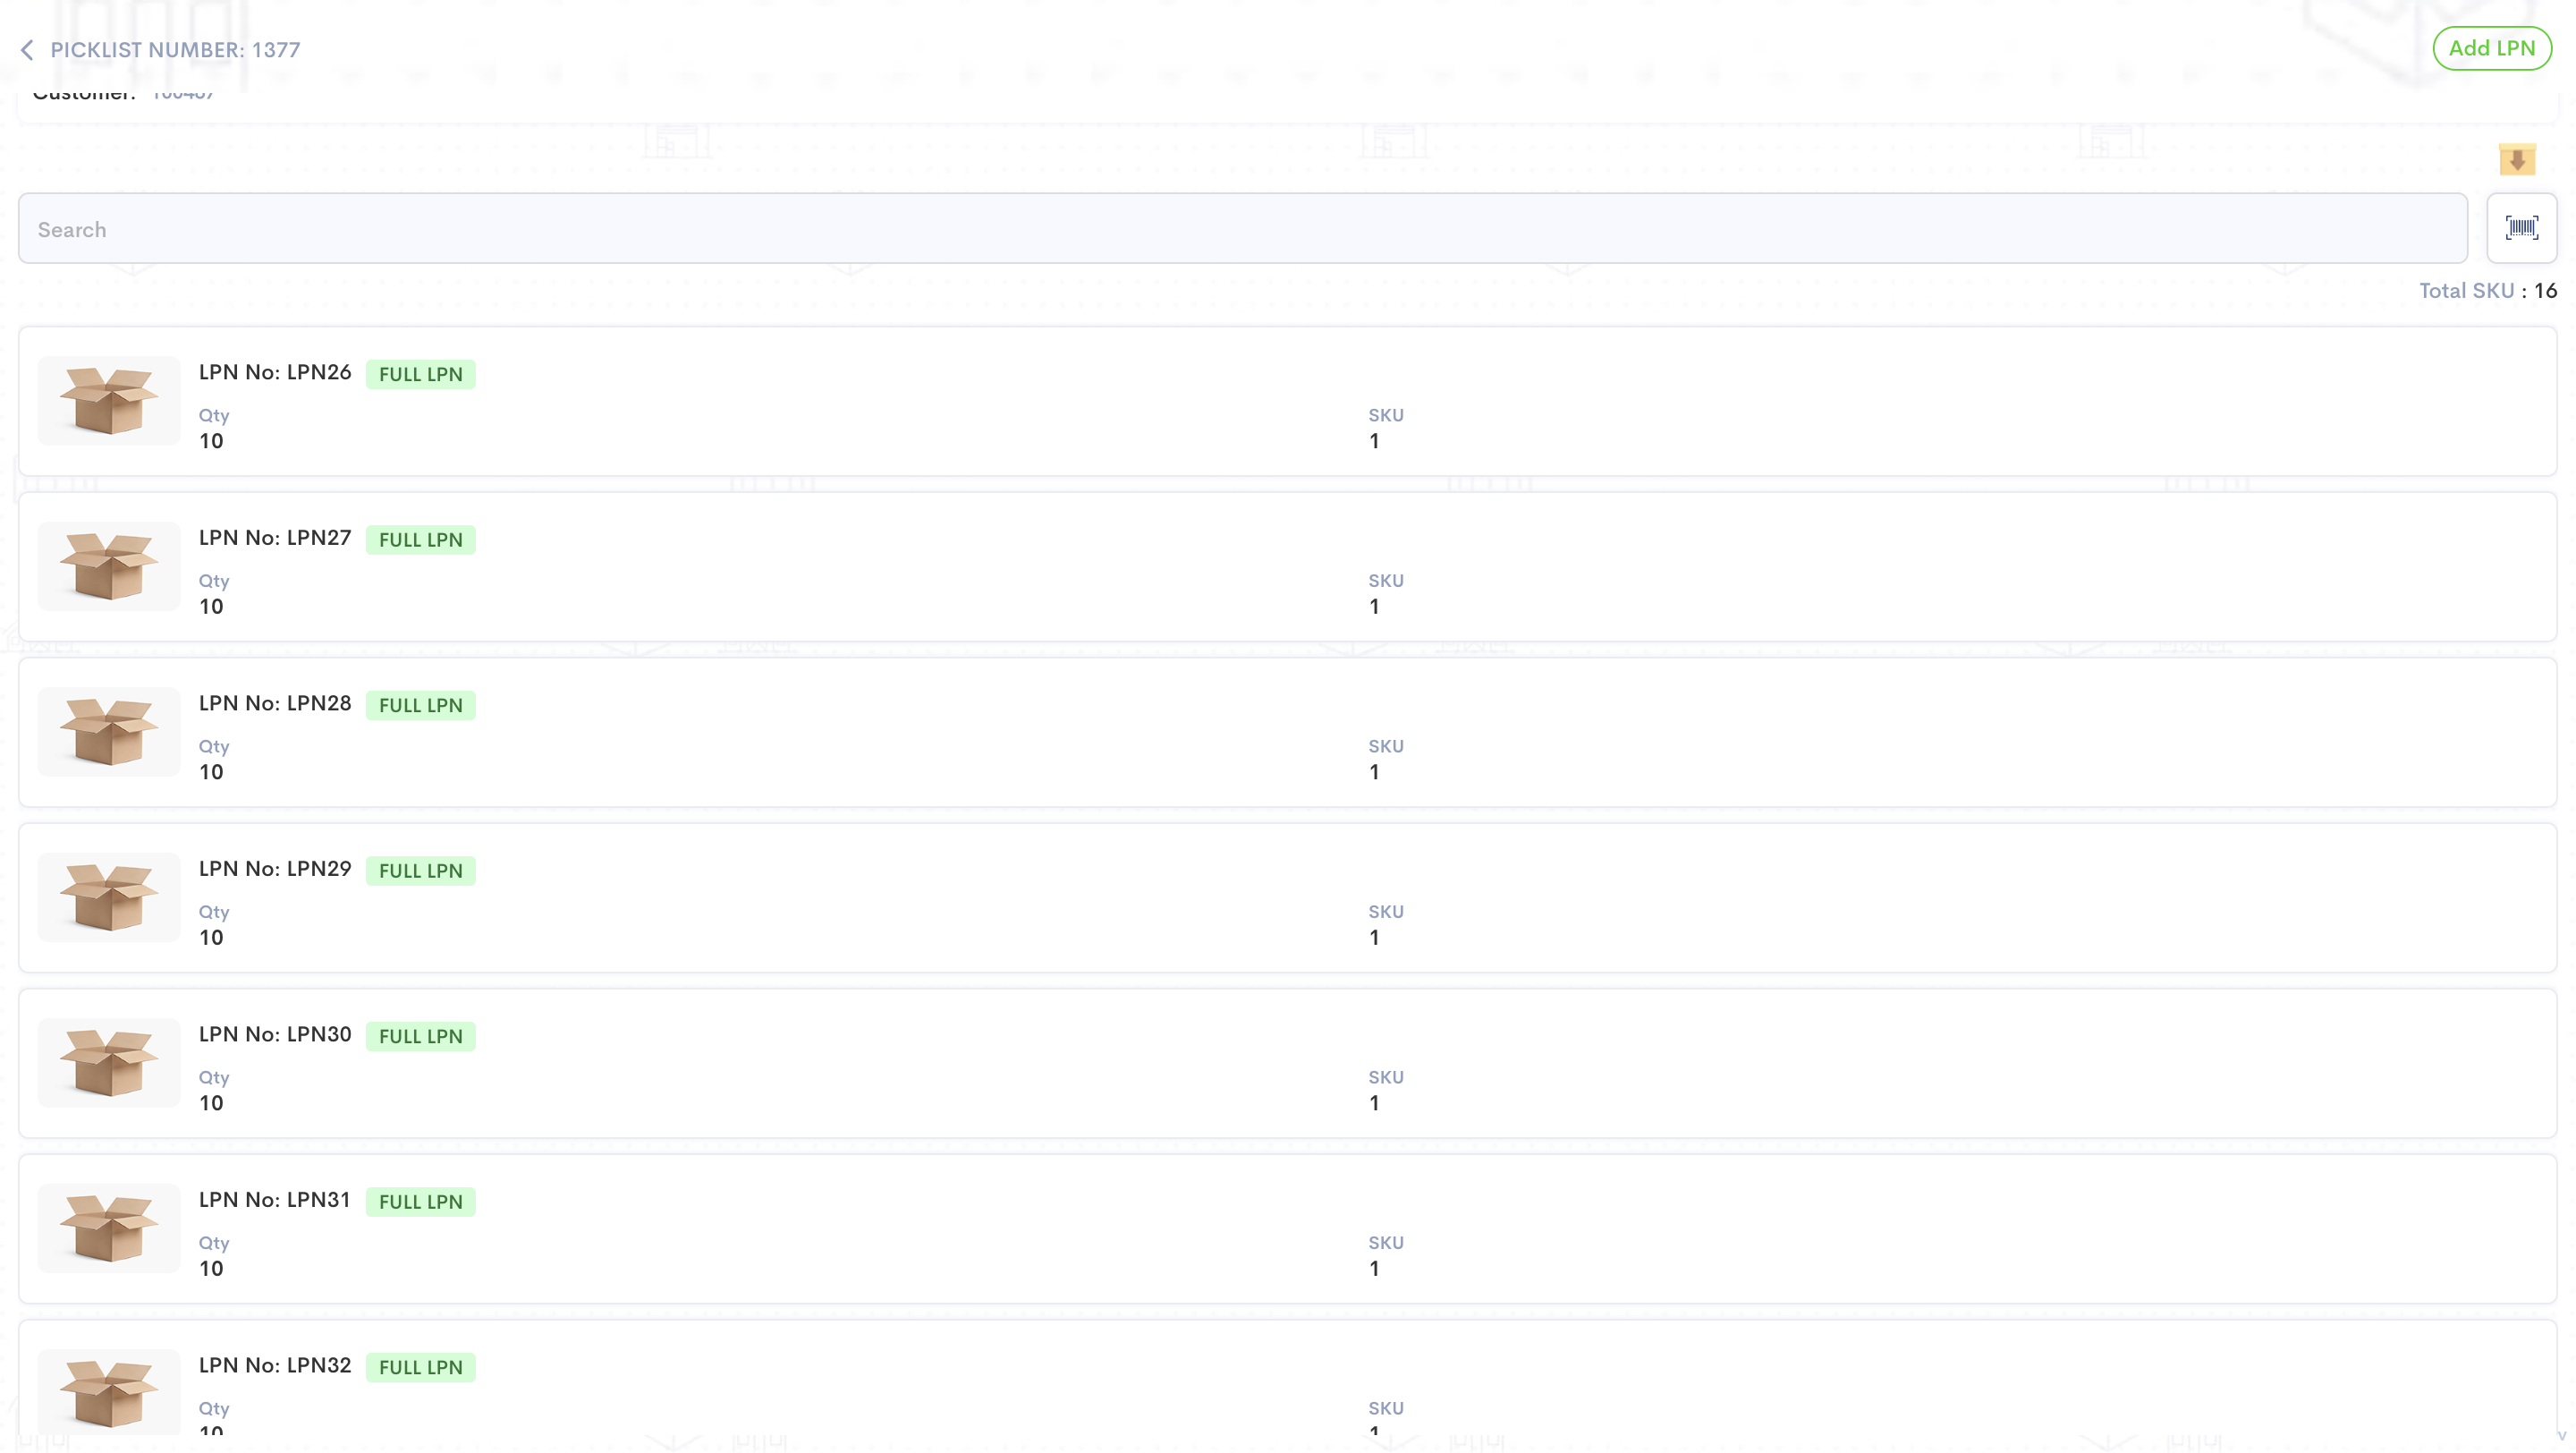
This picklist has both serialized SKUs and non serialized.
We do Full LPN/carton picking for the serialized SKUs which were already stored in LPNs.
We do Full LPN/carton picking for the serialized SKUs which were already stored in LPNs.
9
To finish pick task, scan the source LPN of that serialized SKUs.
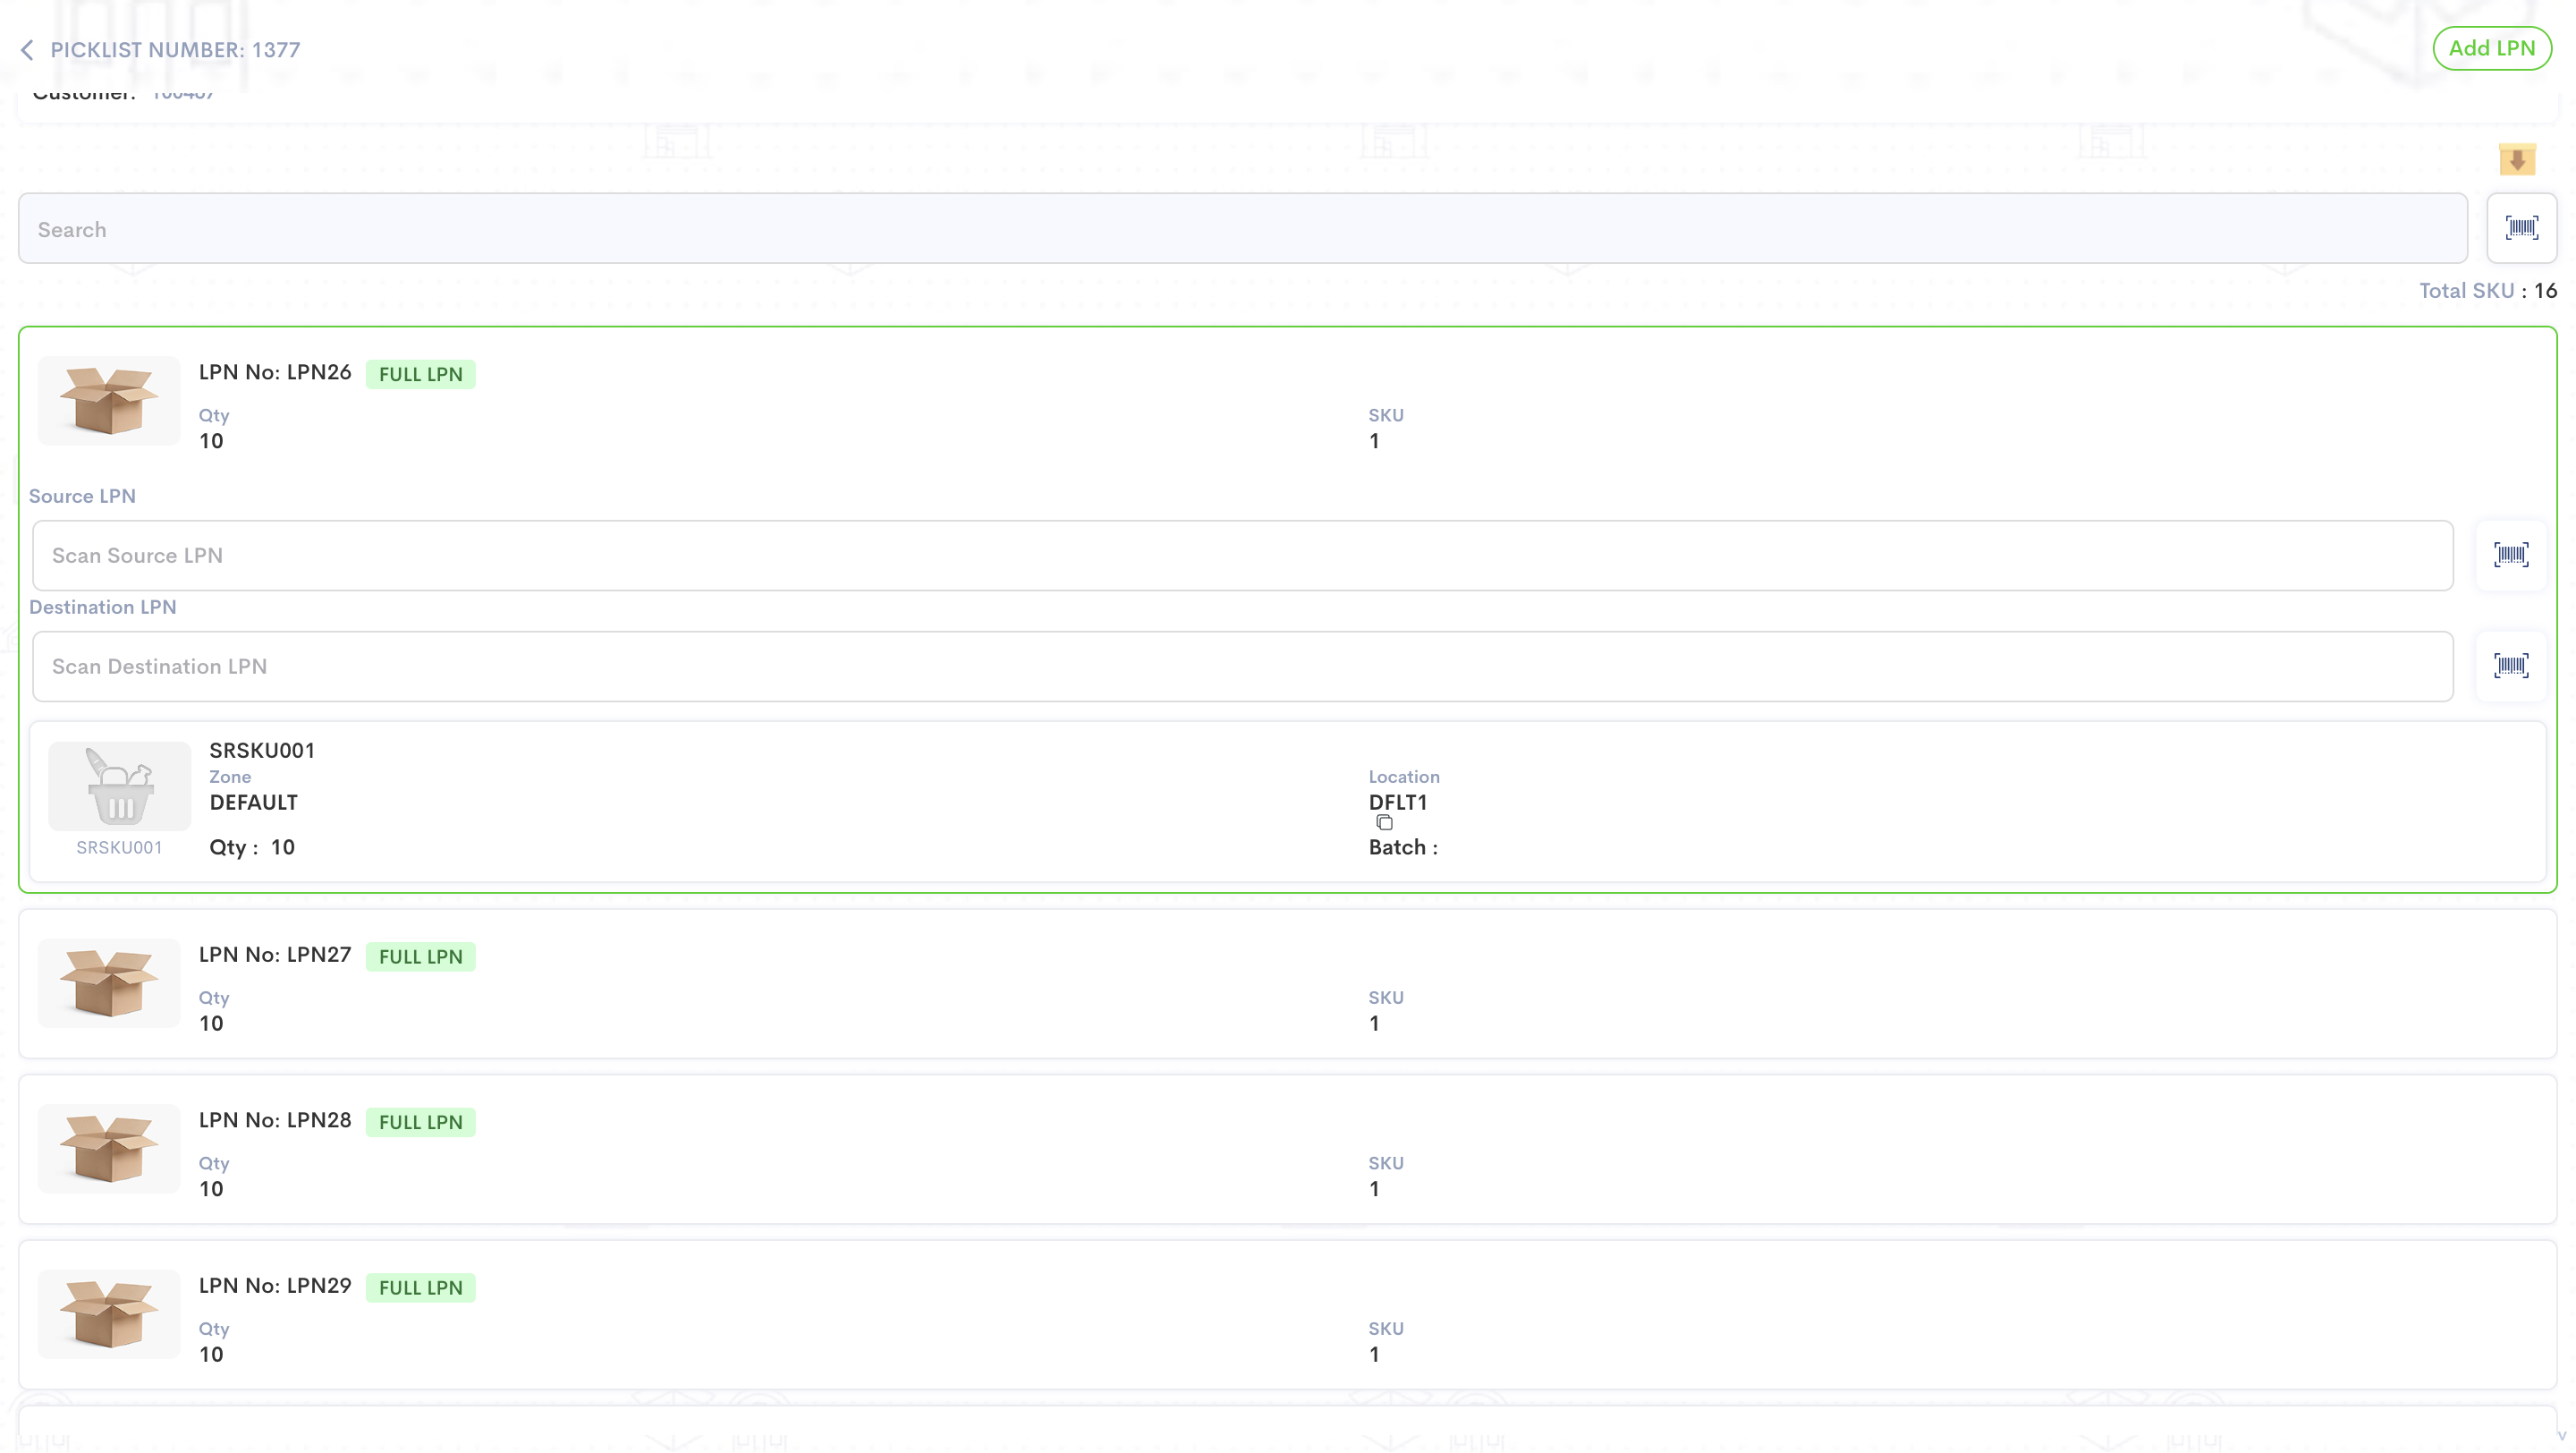
10
Click here
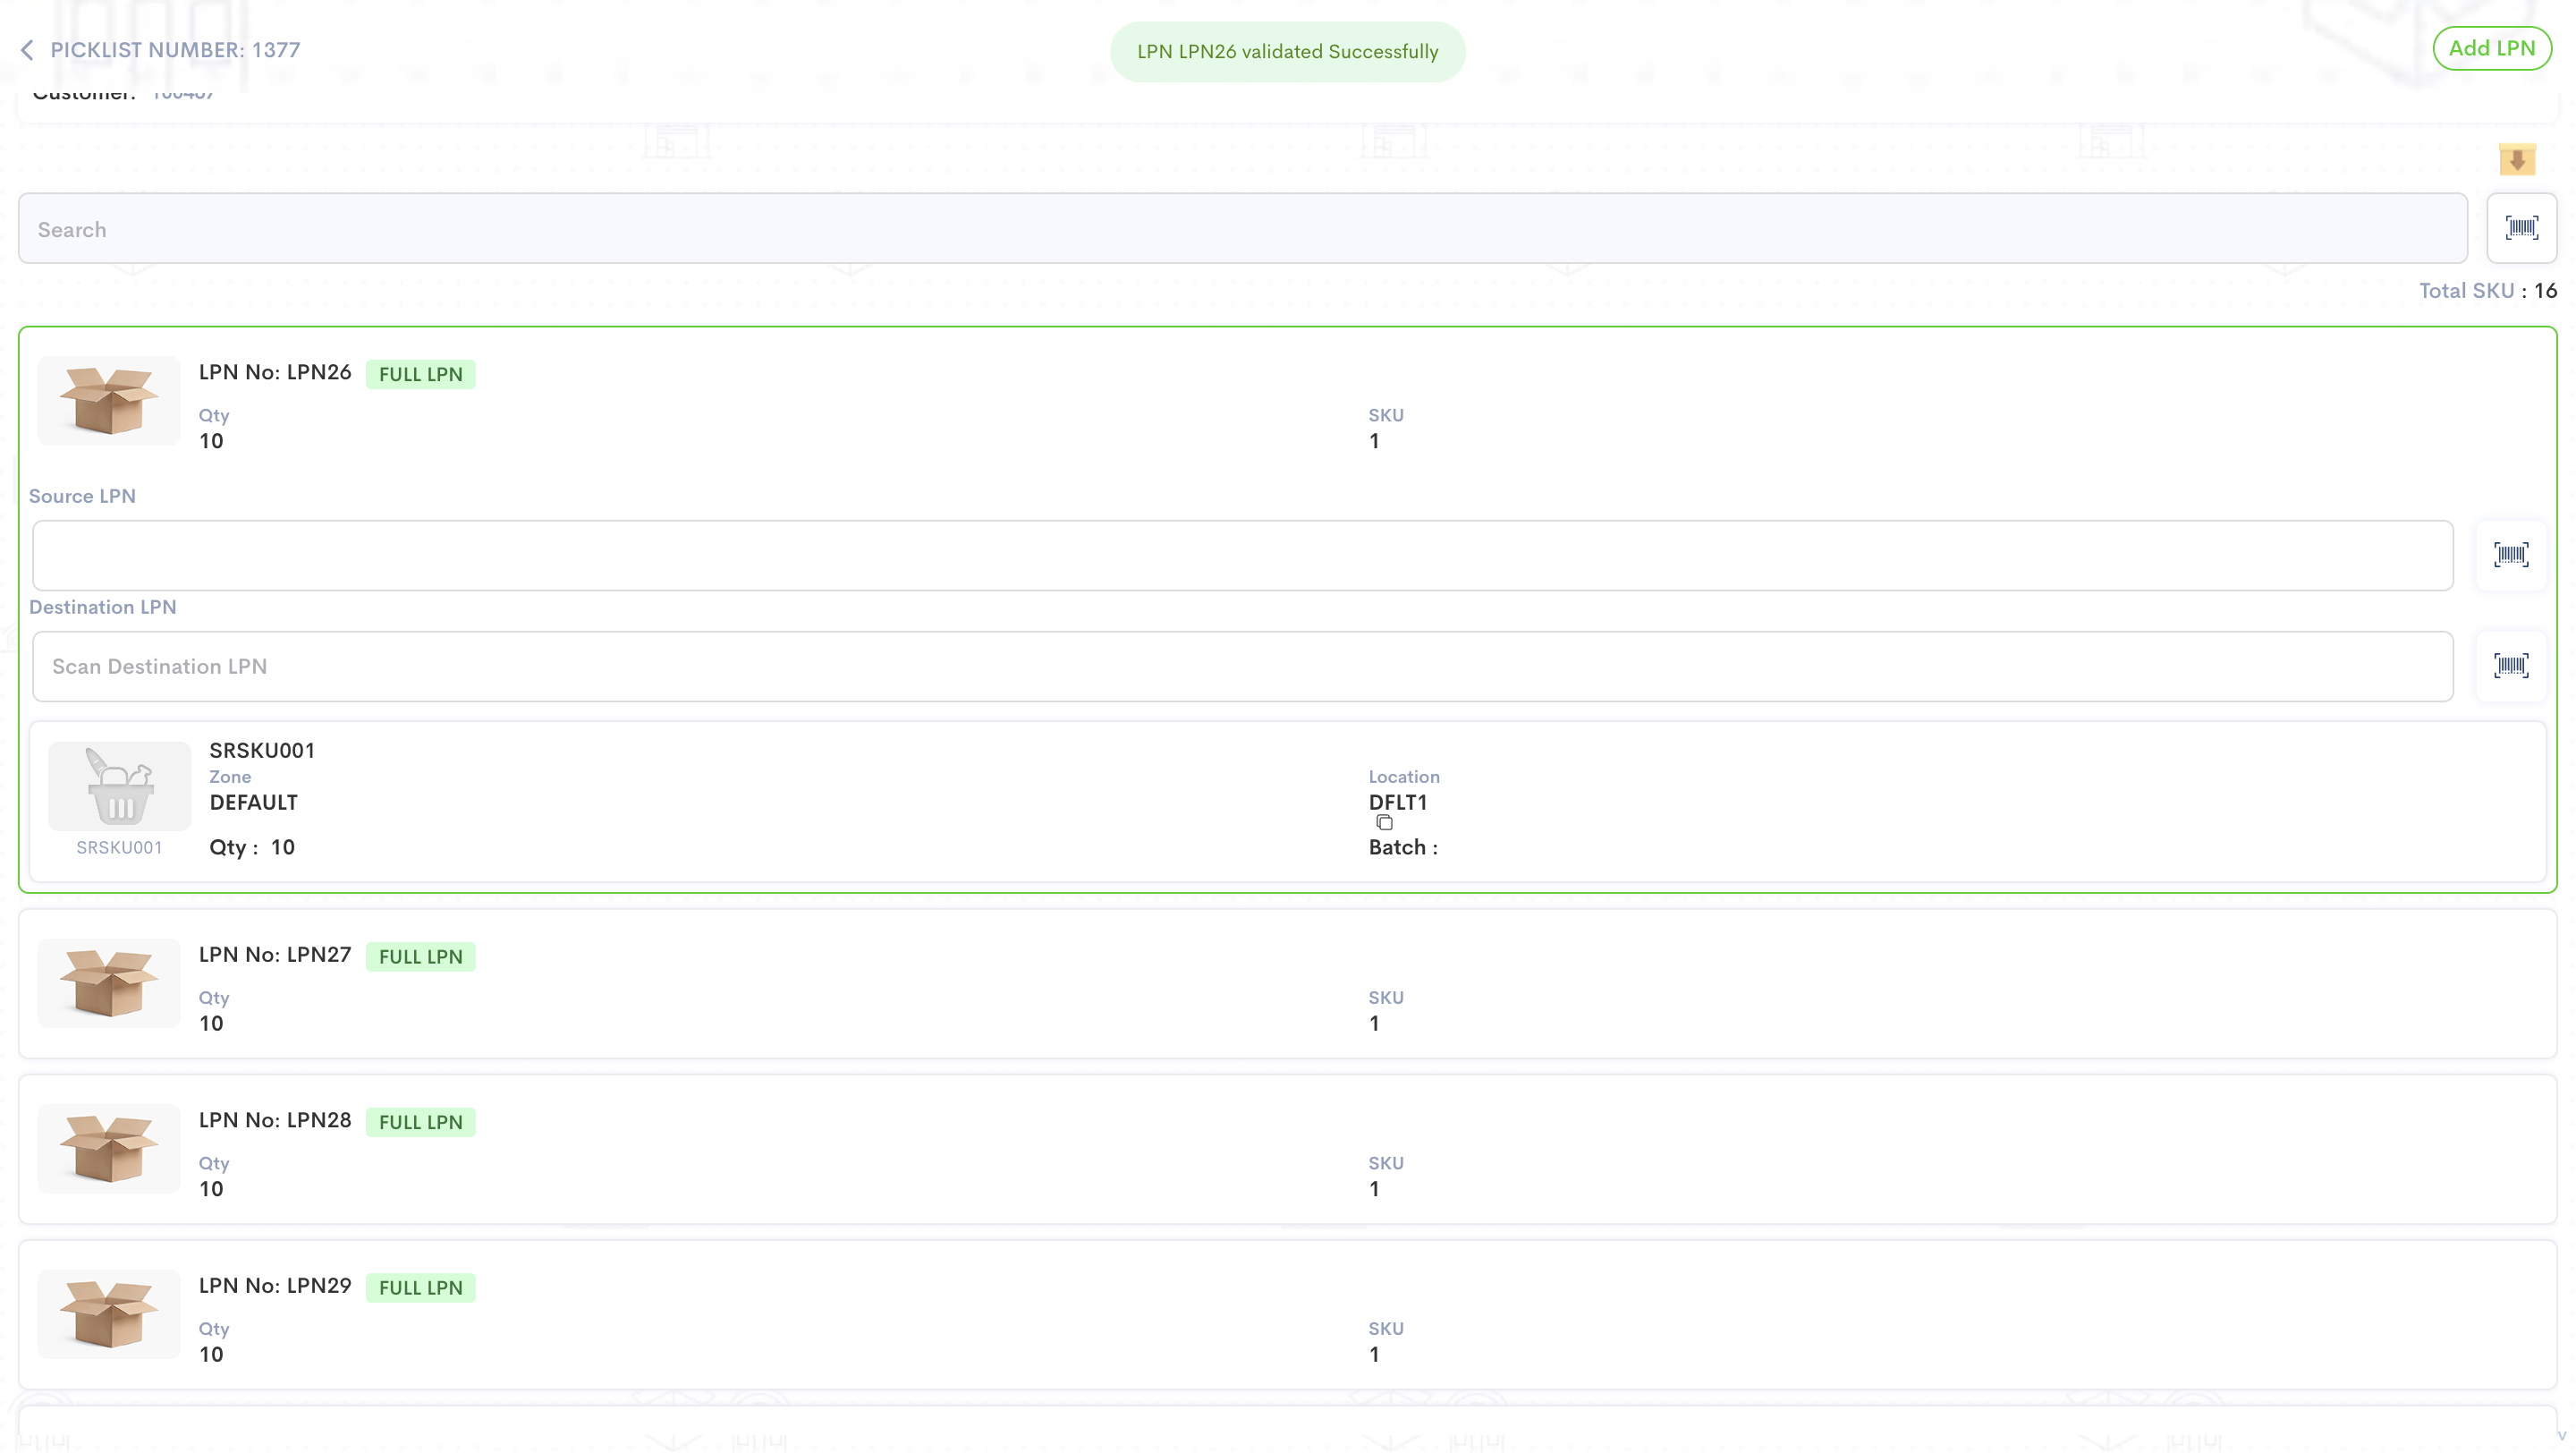
11
Scan Destination LPN - which can be the same LPN number as source.
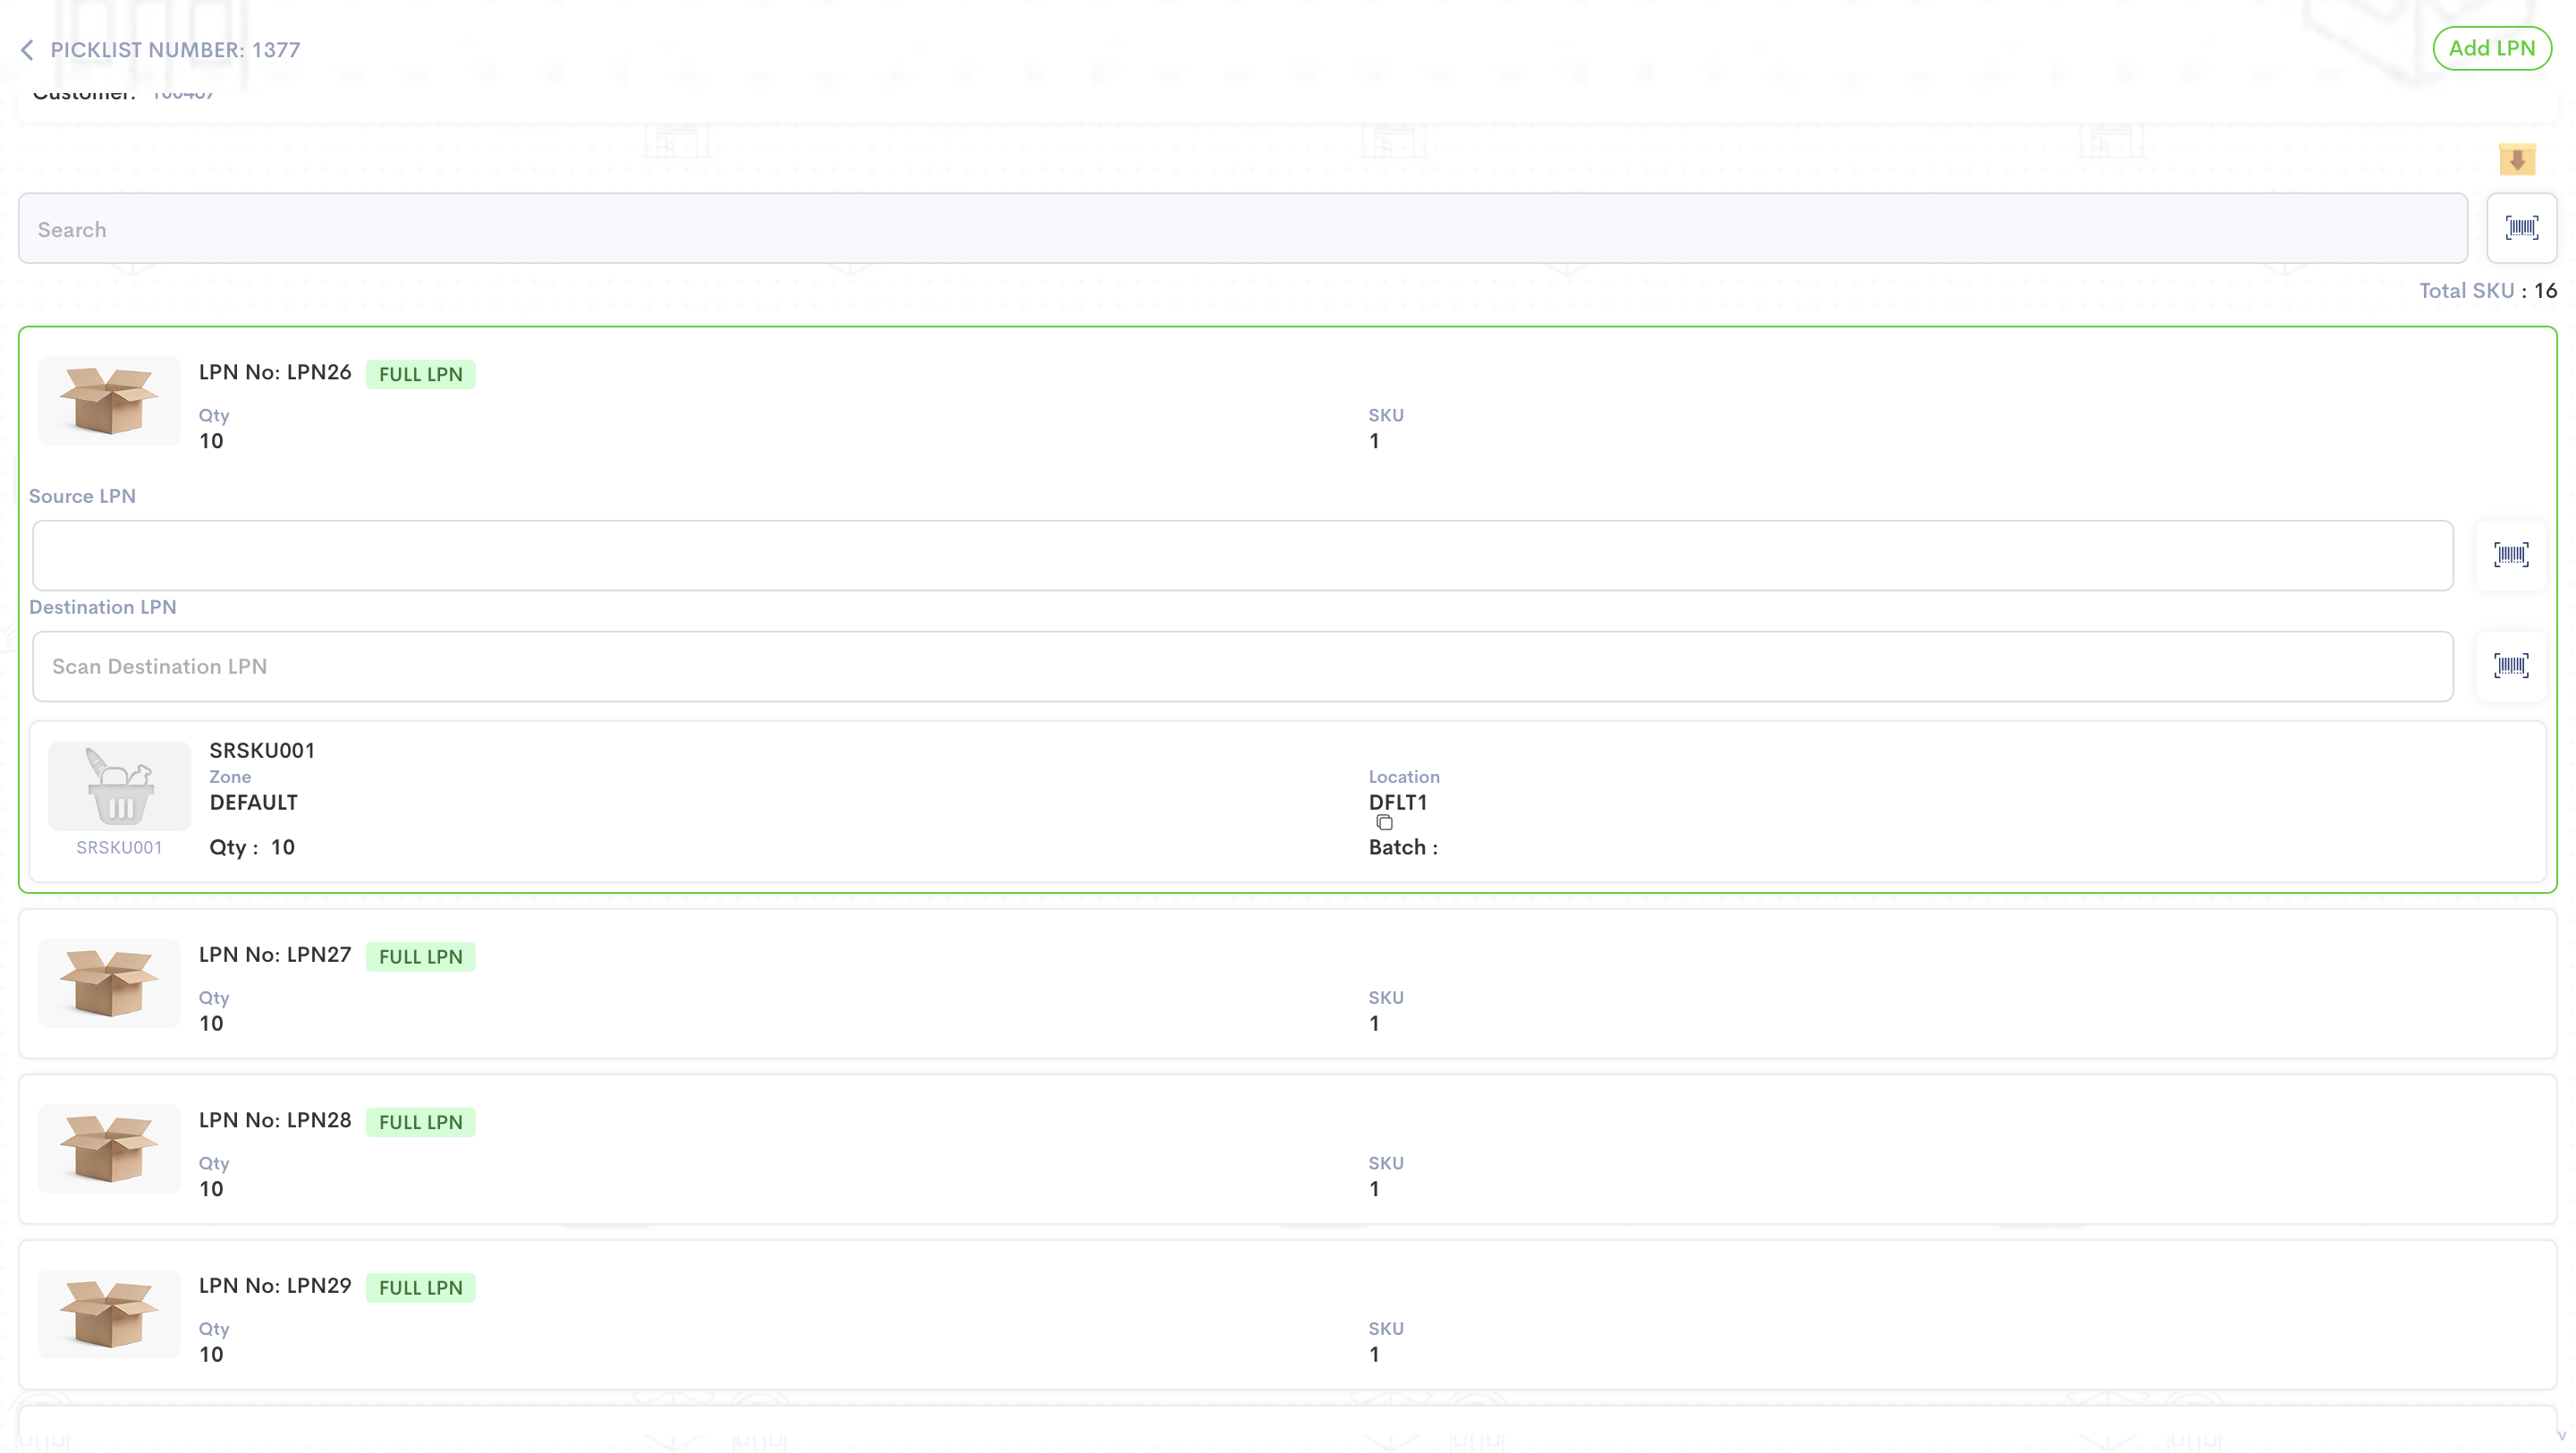
12
Click here
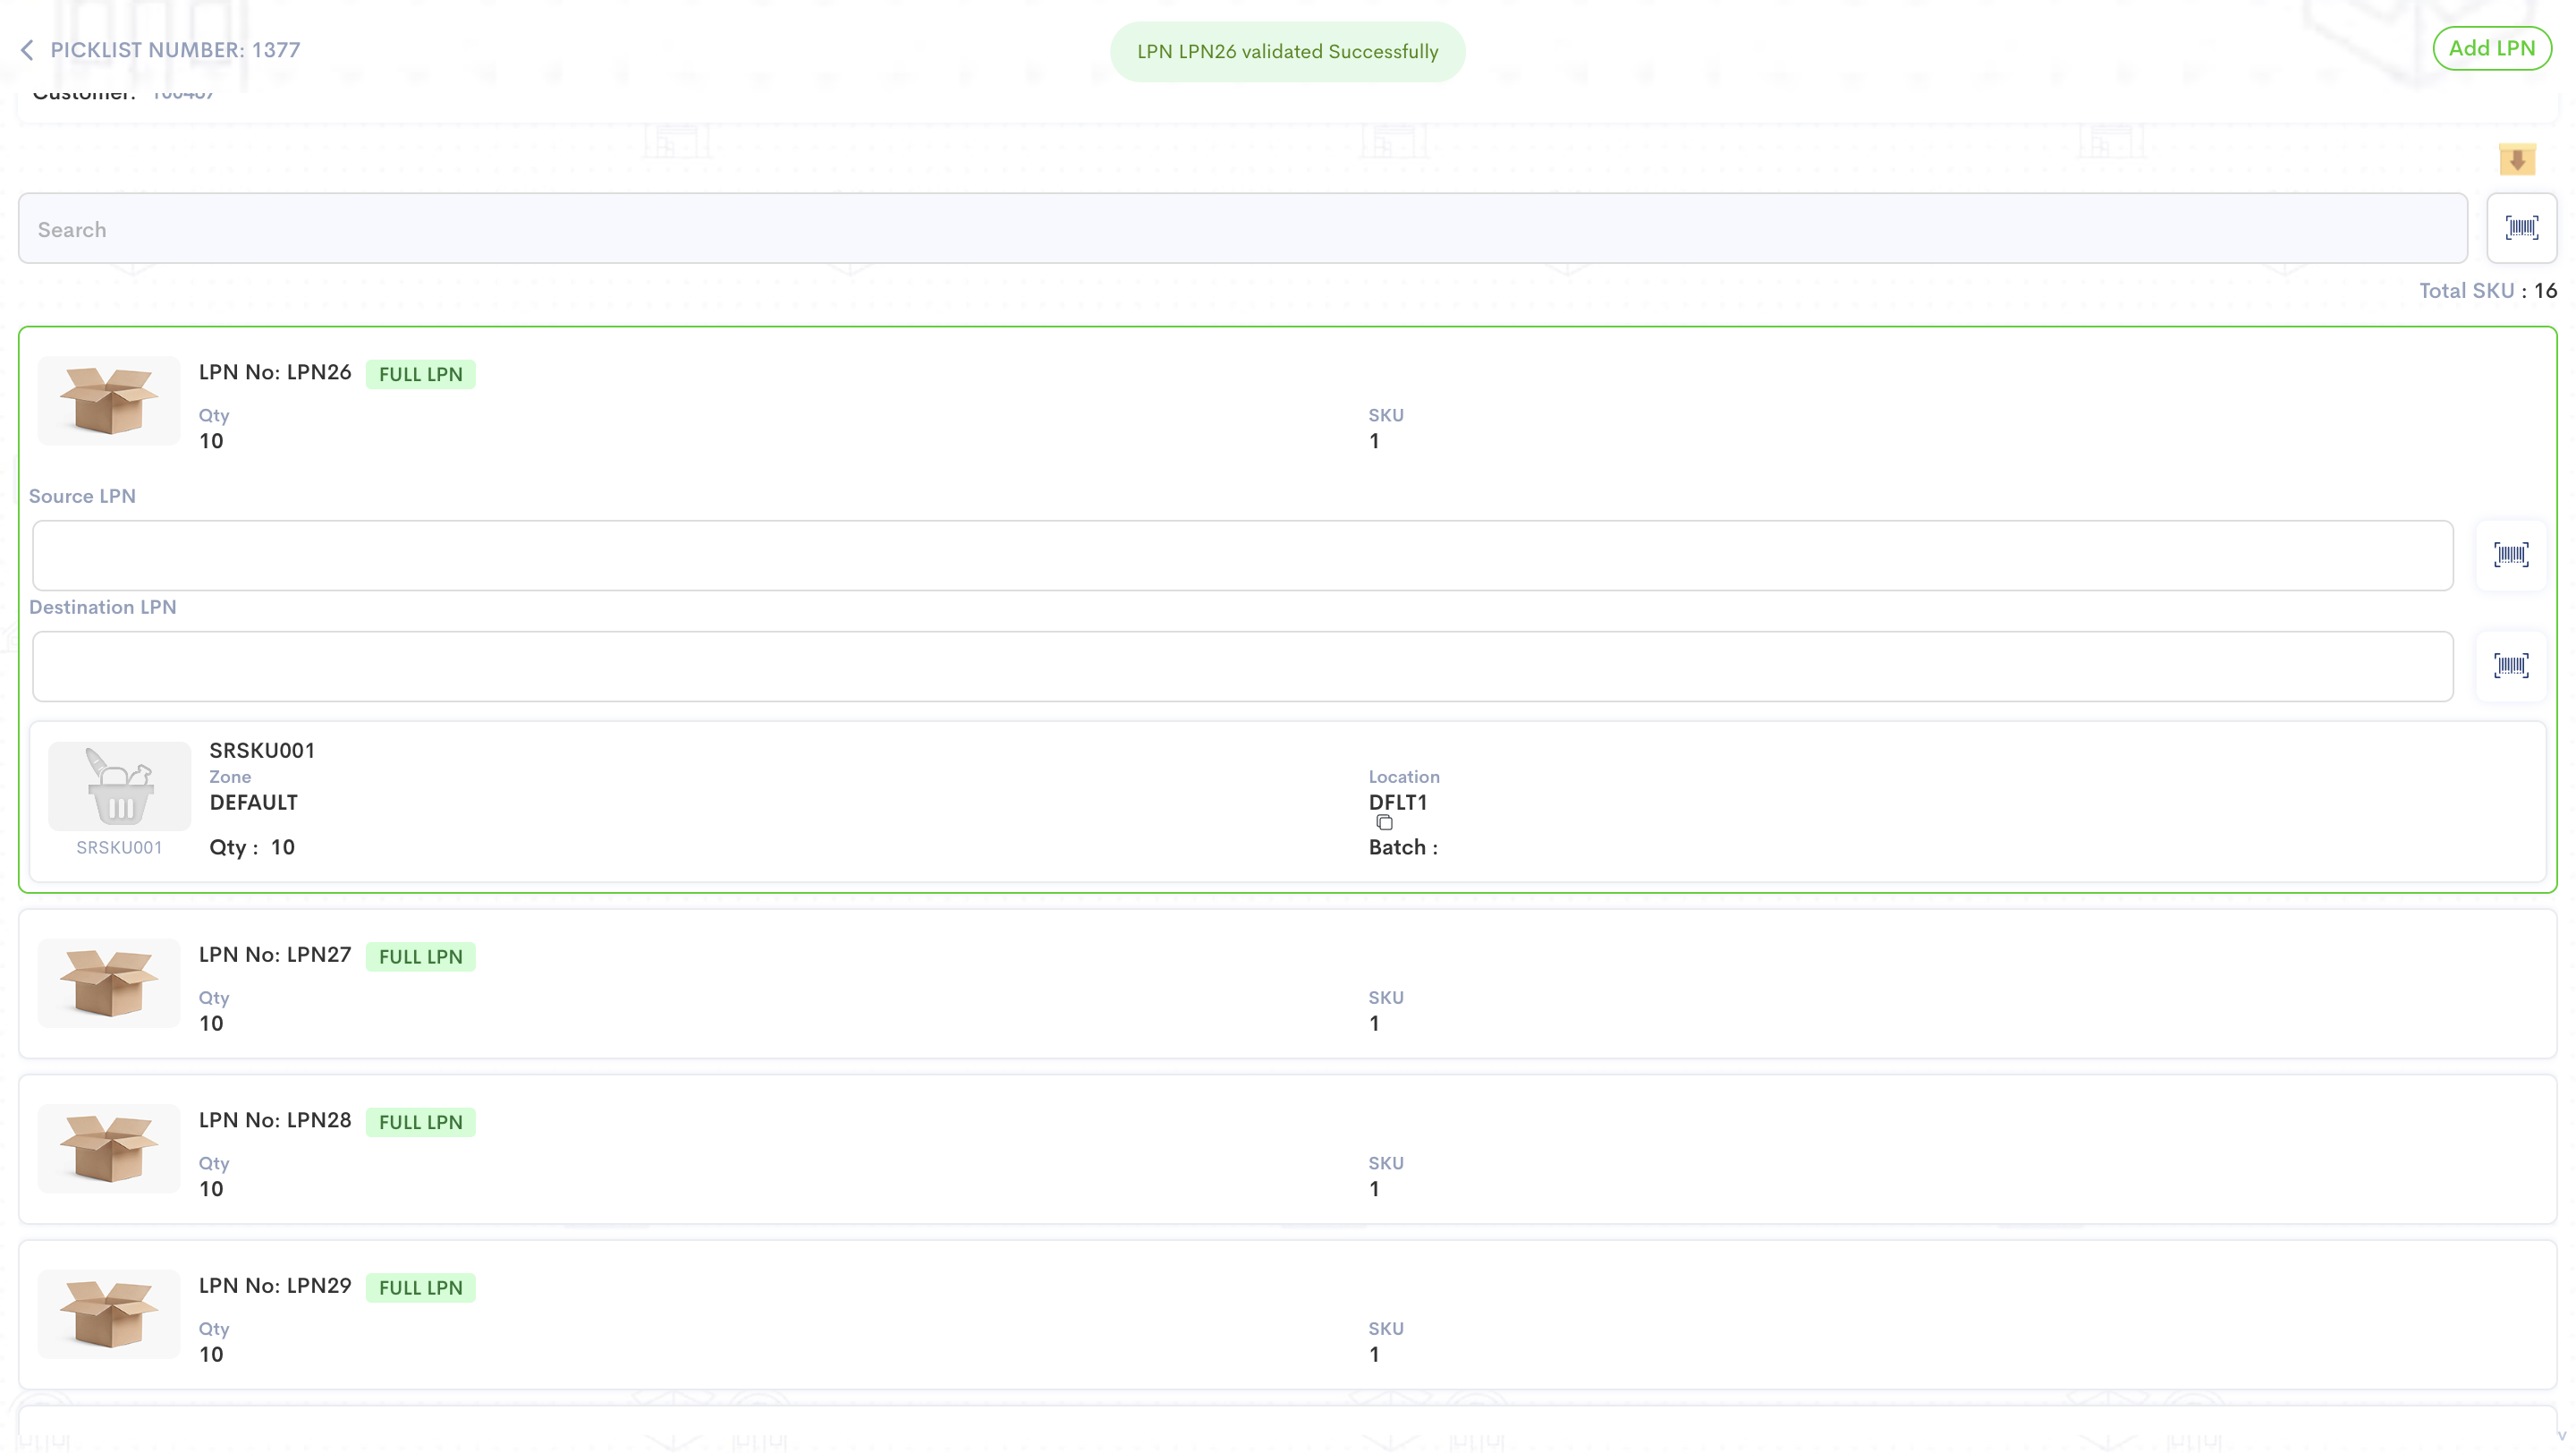
13
Do the same for all the FULL LPN tasks.
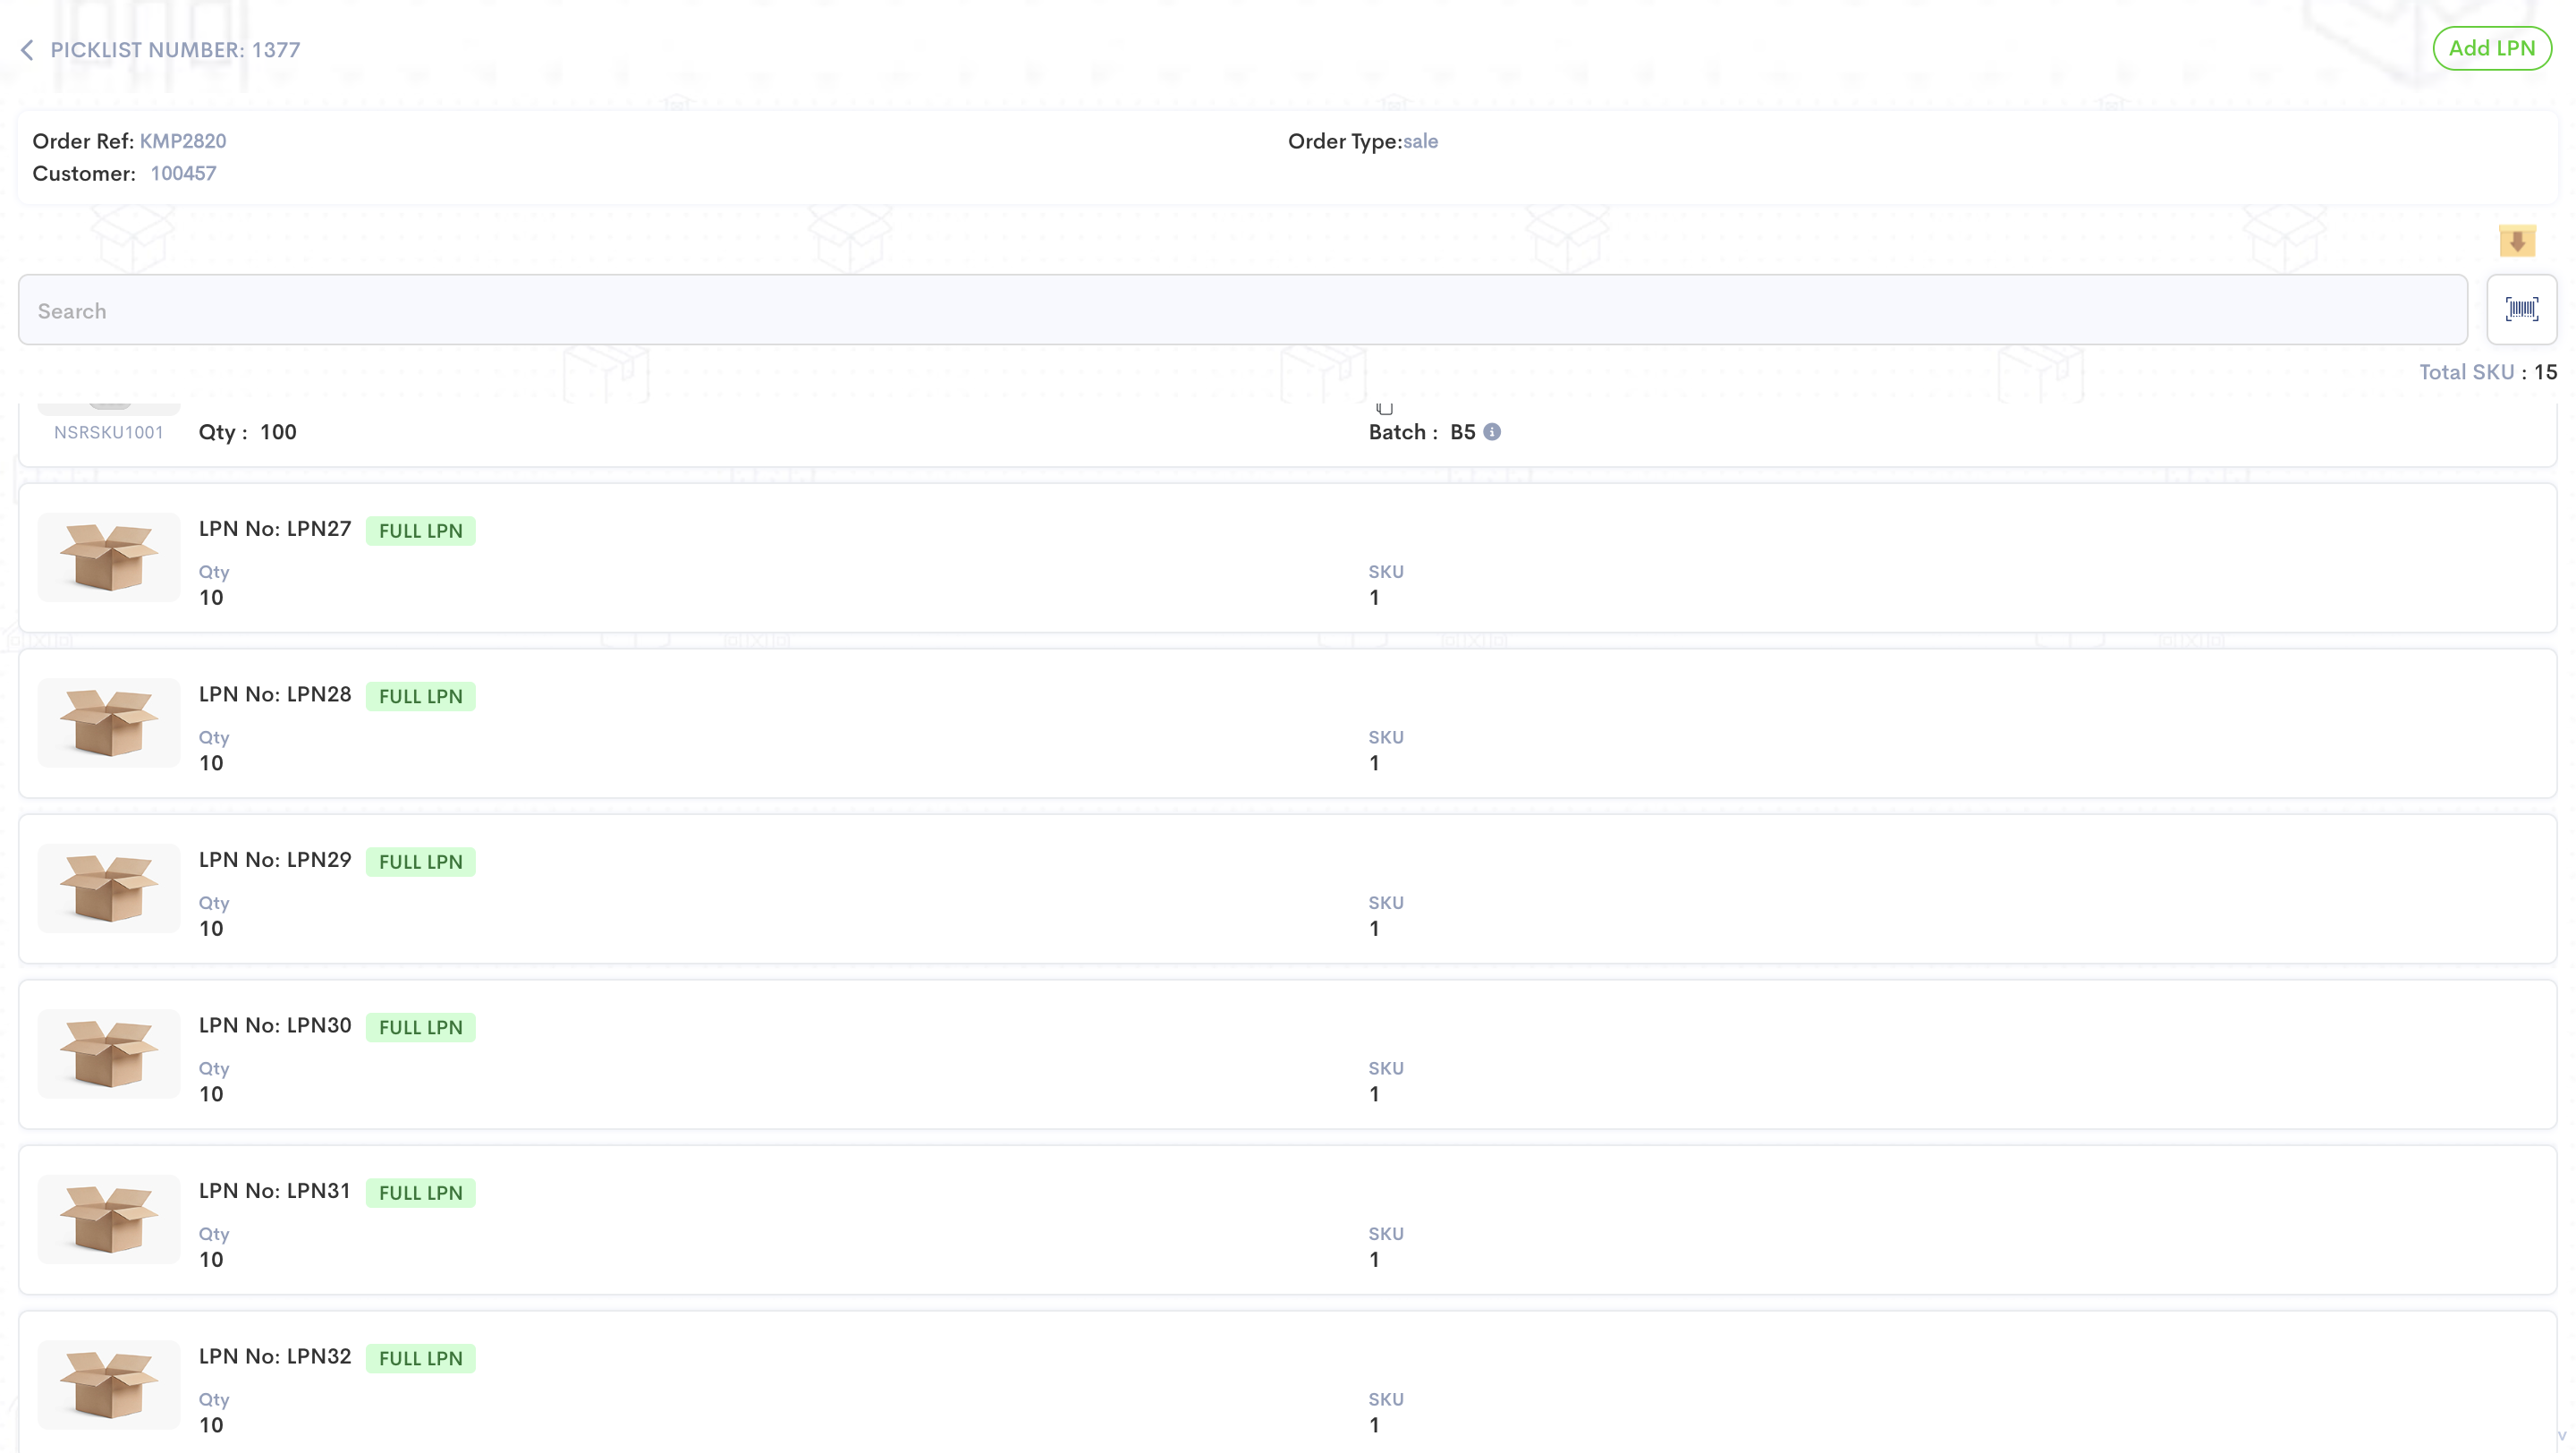
14
Click on "Add LPN" to add the non serialized SKU's into new or LPNs that have space.
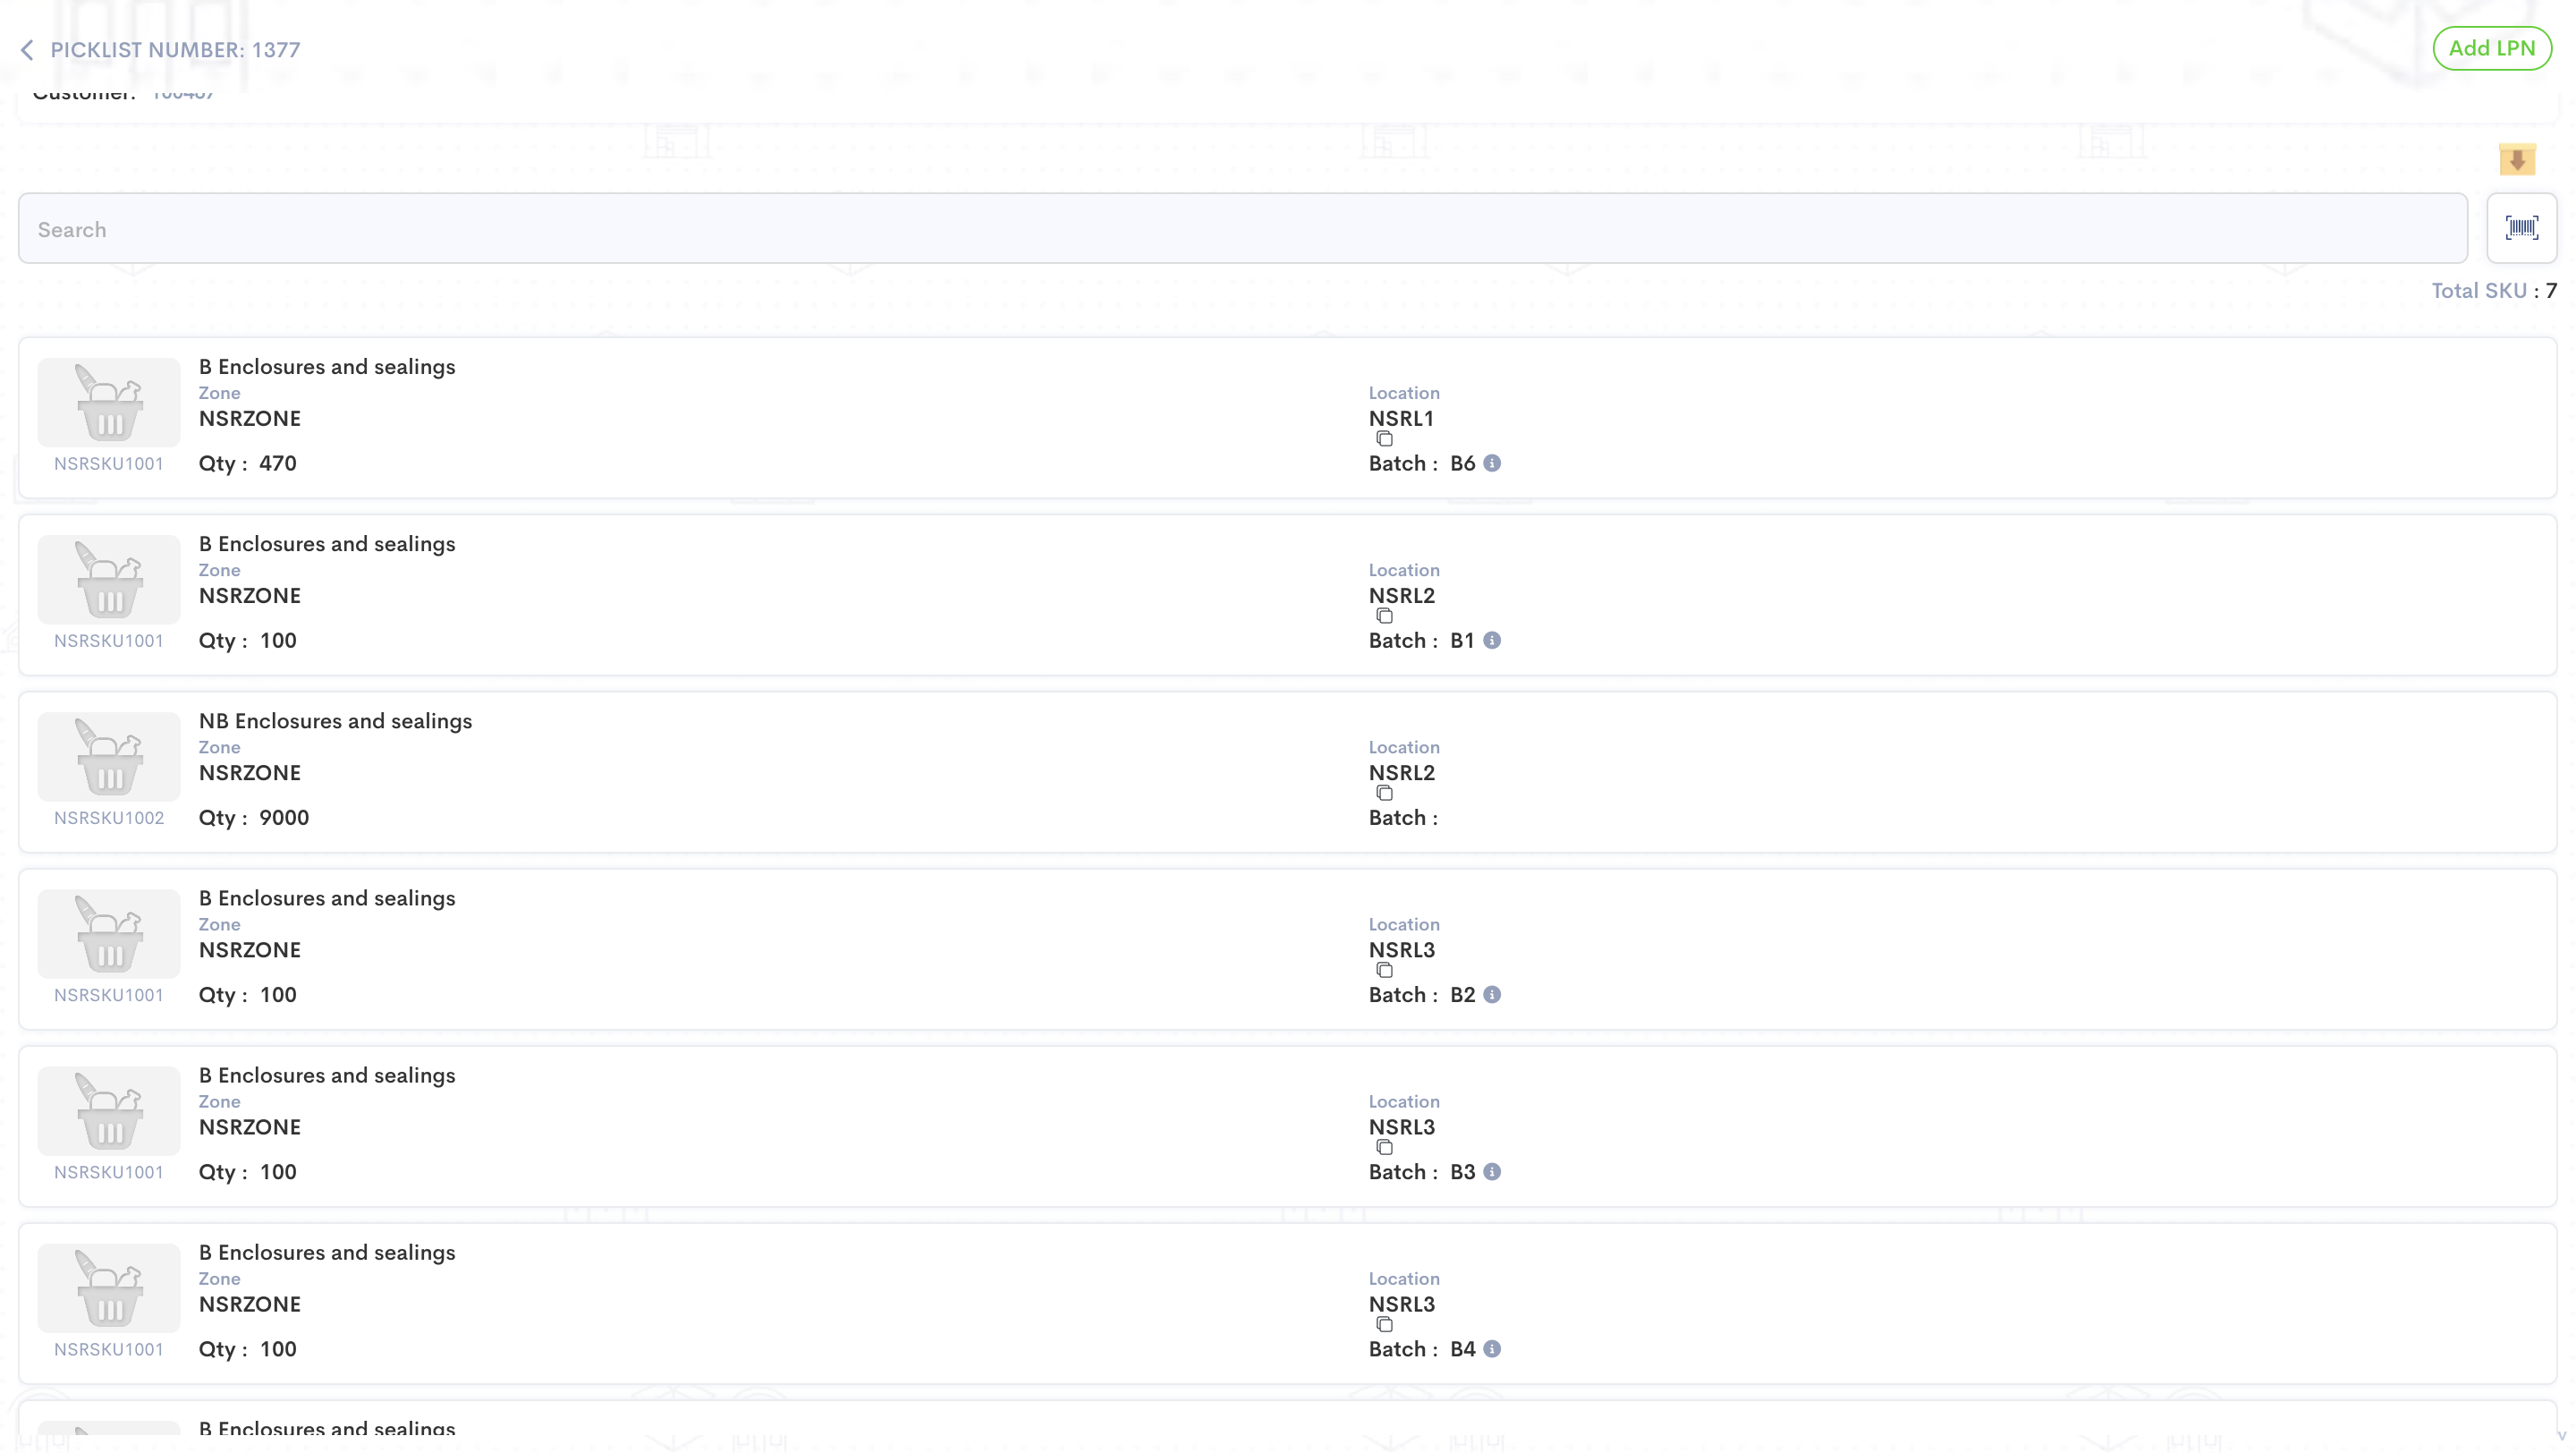
15
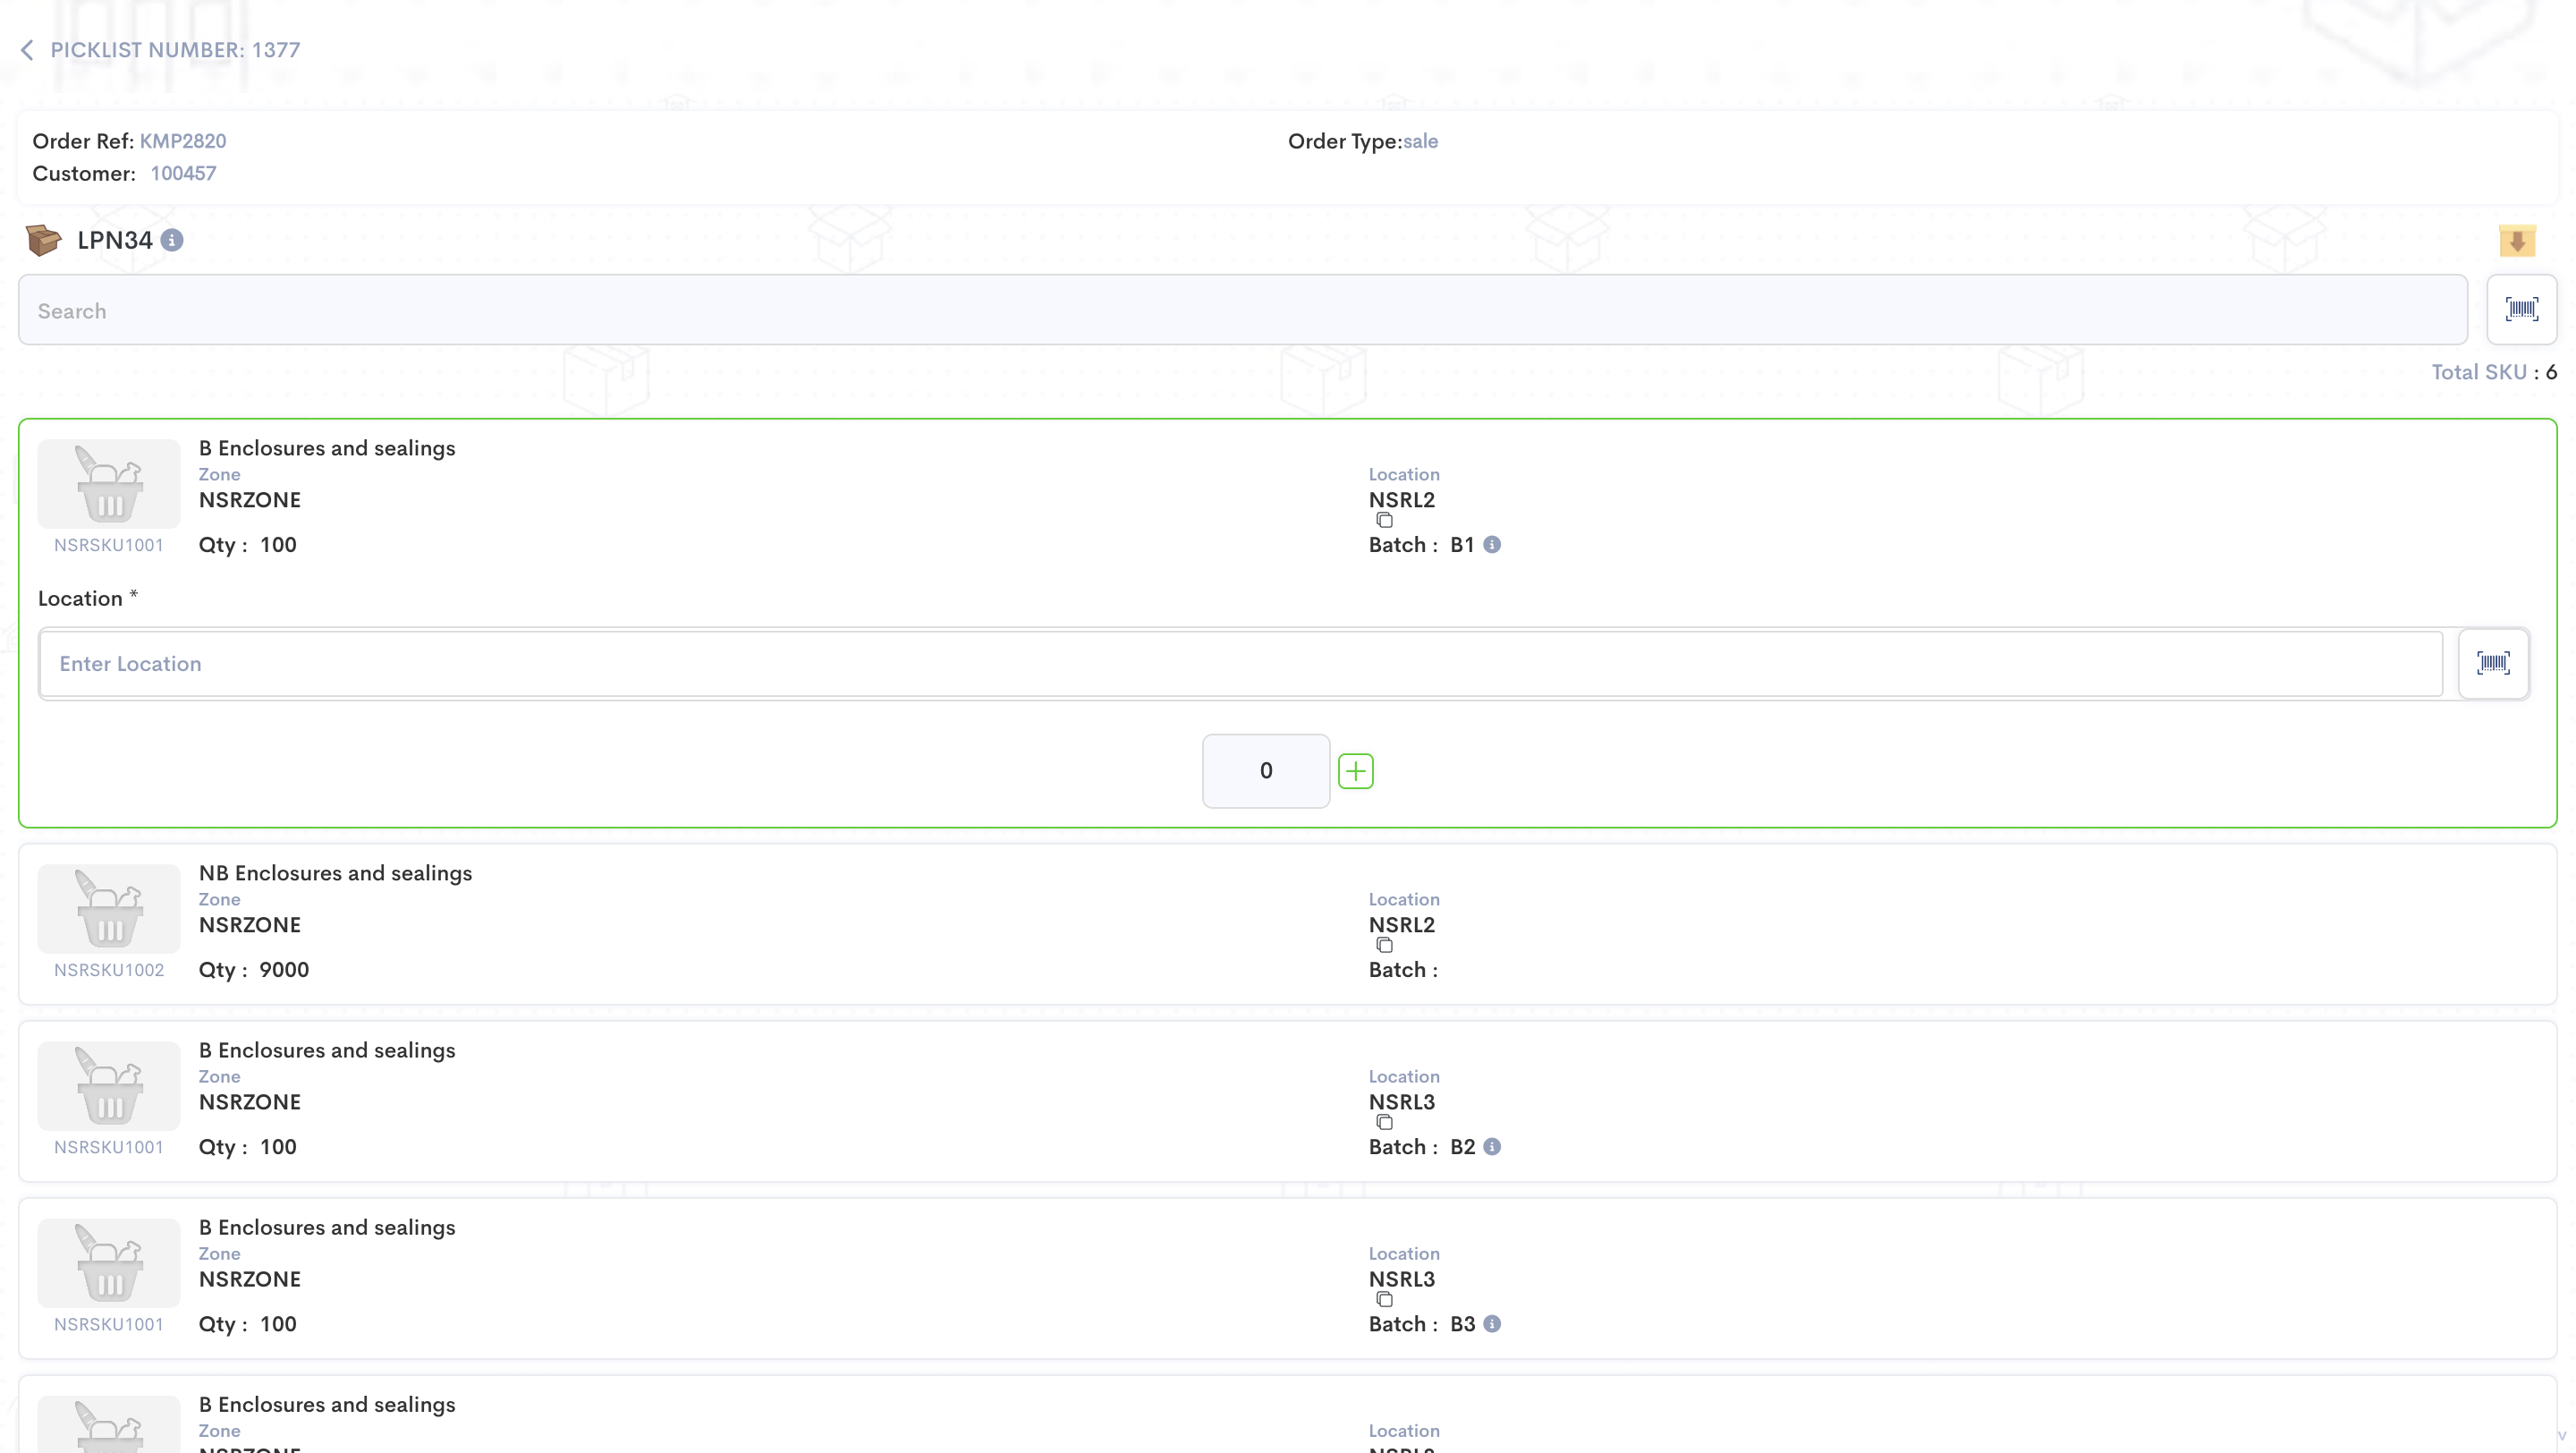
Scan Location for Non serialized tasks.
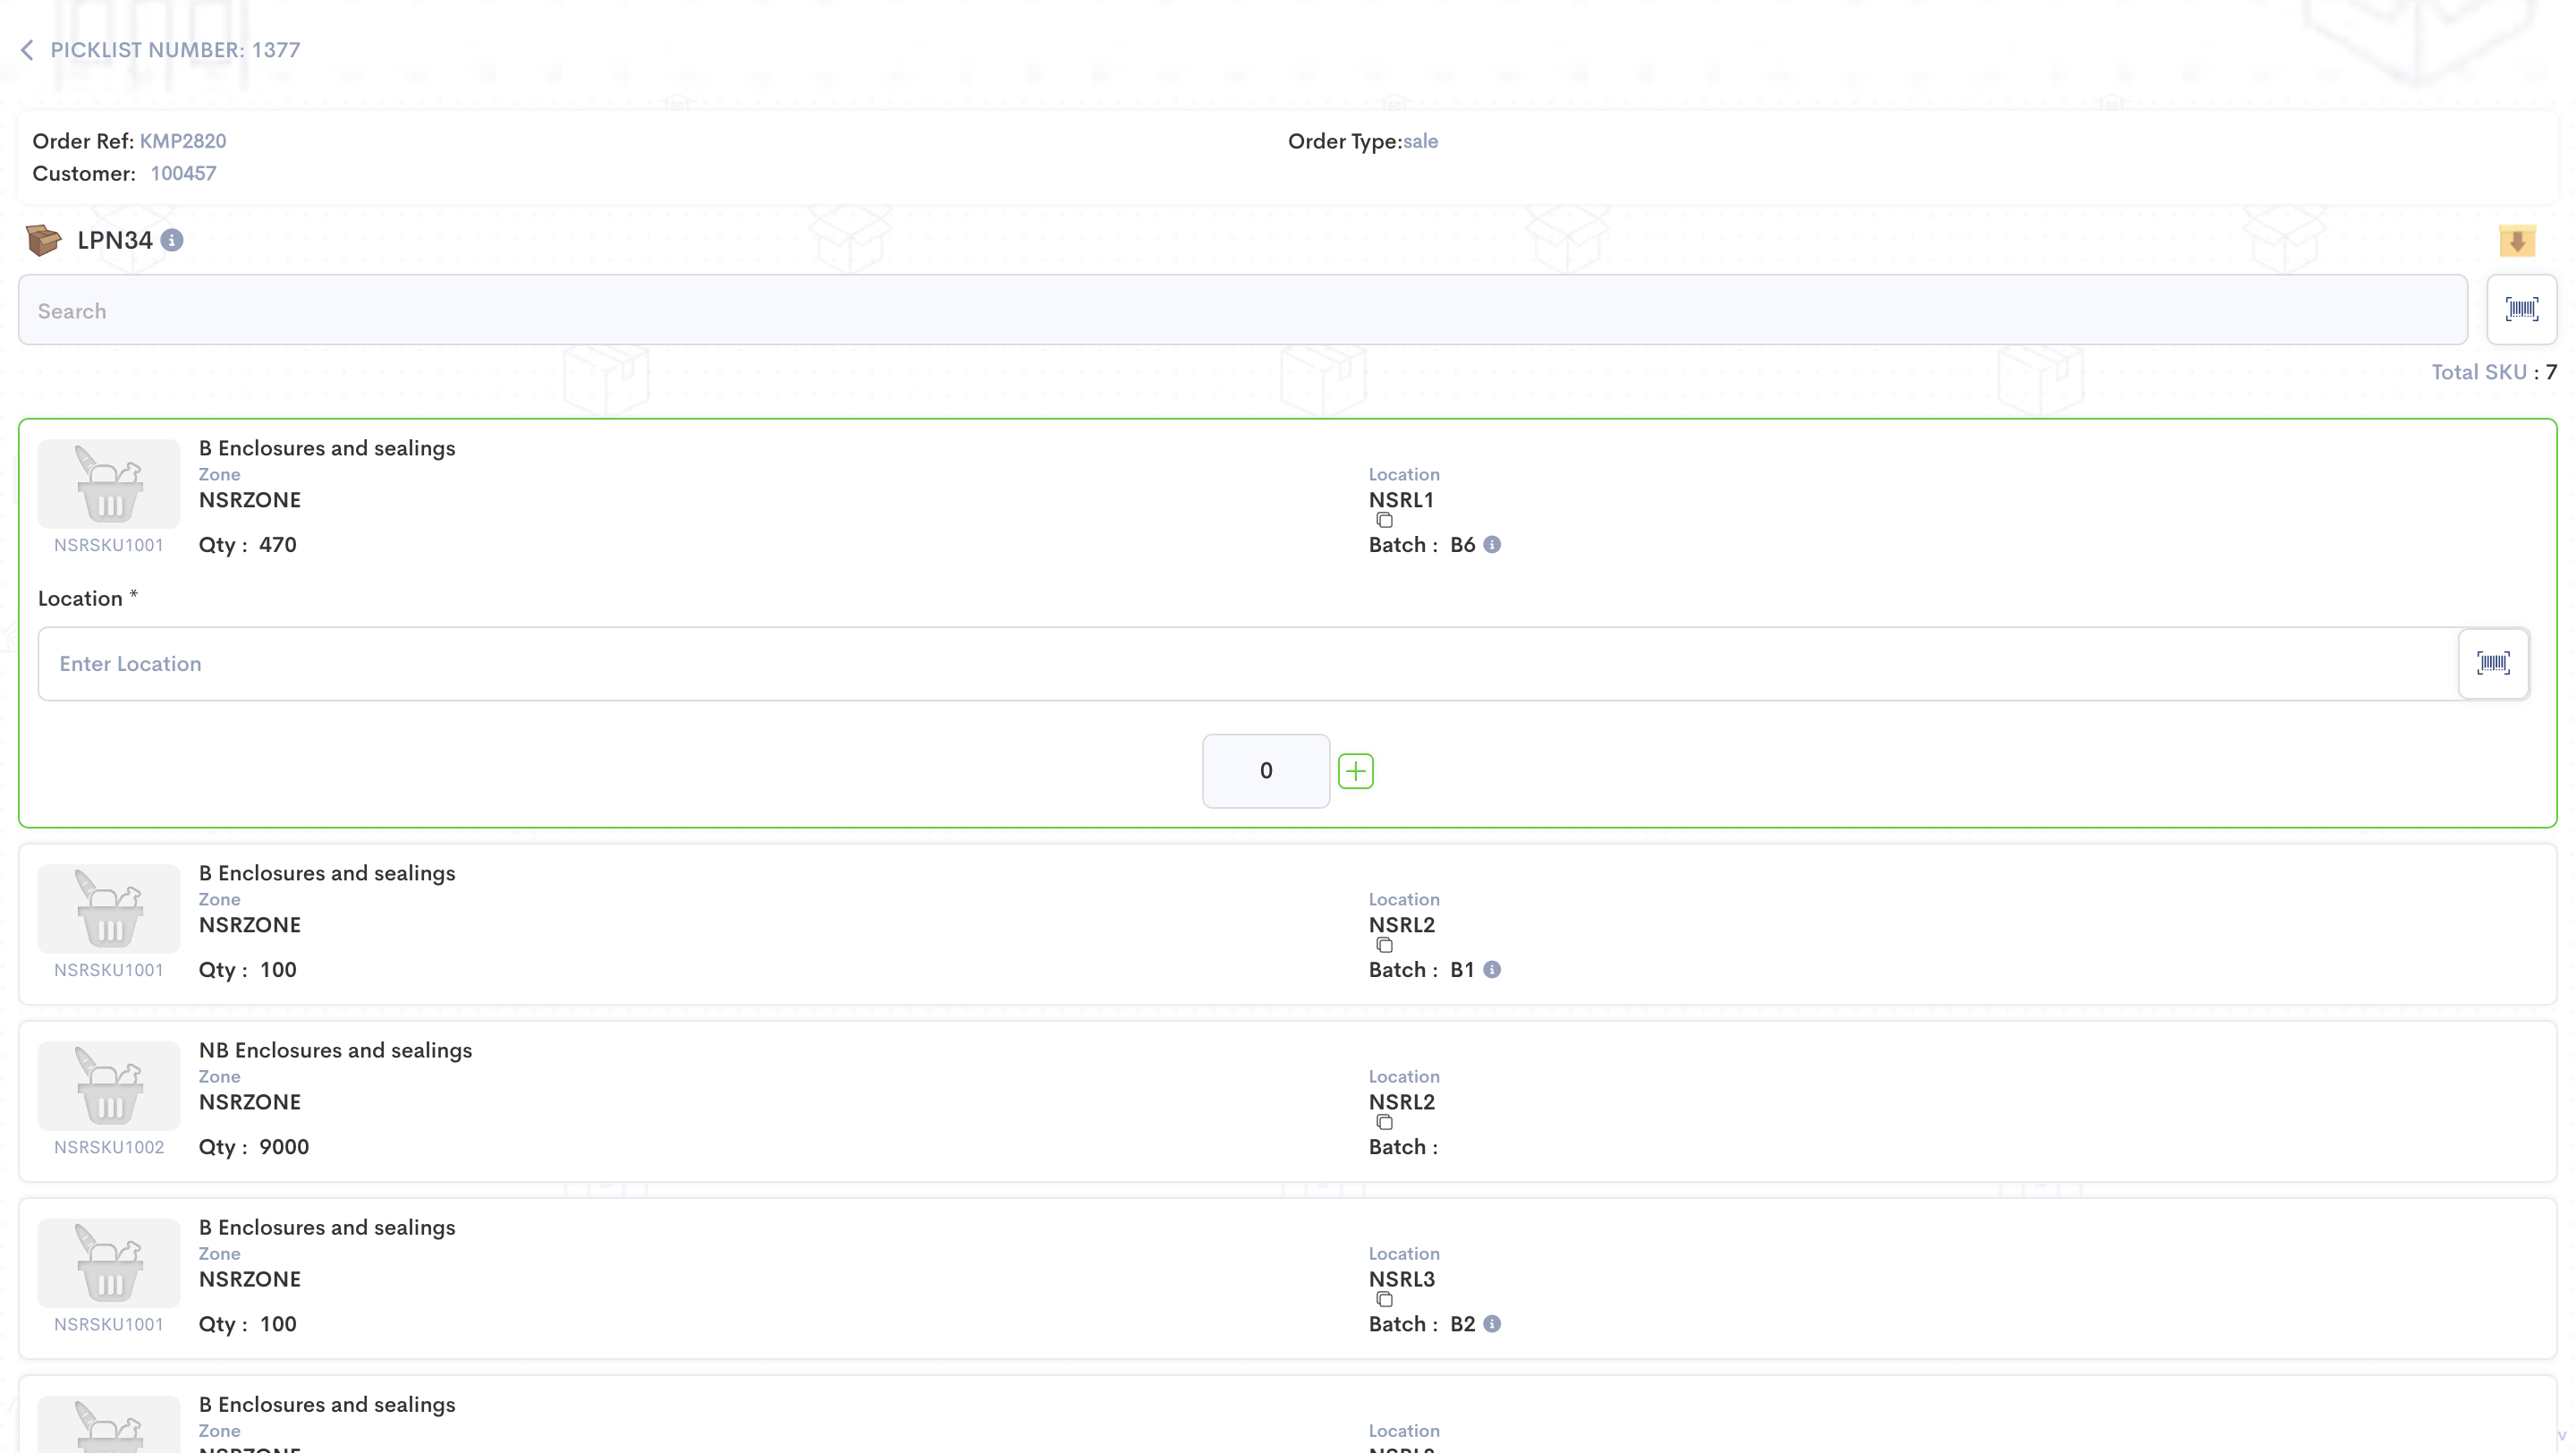
16
Click here
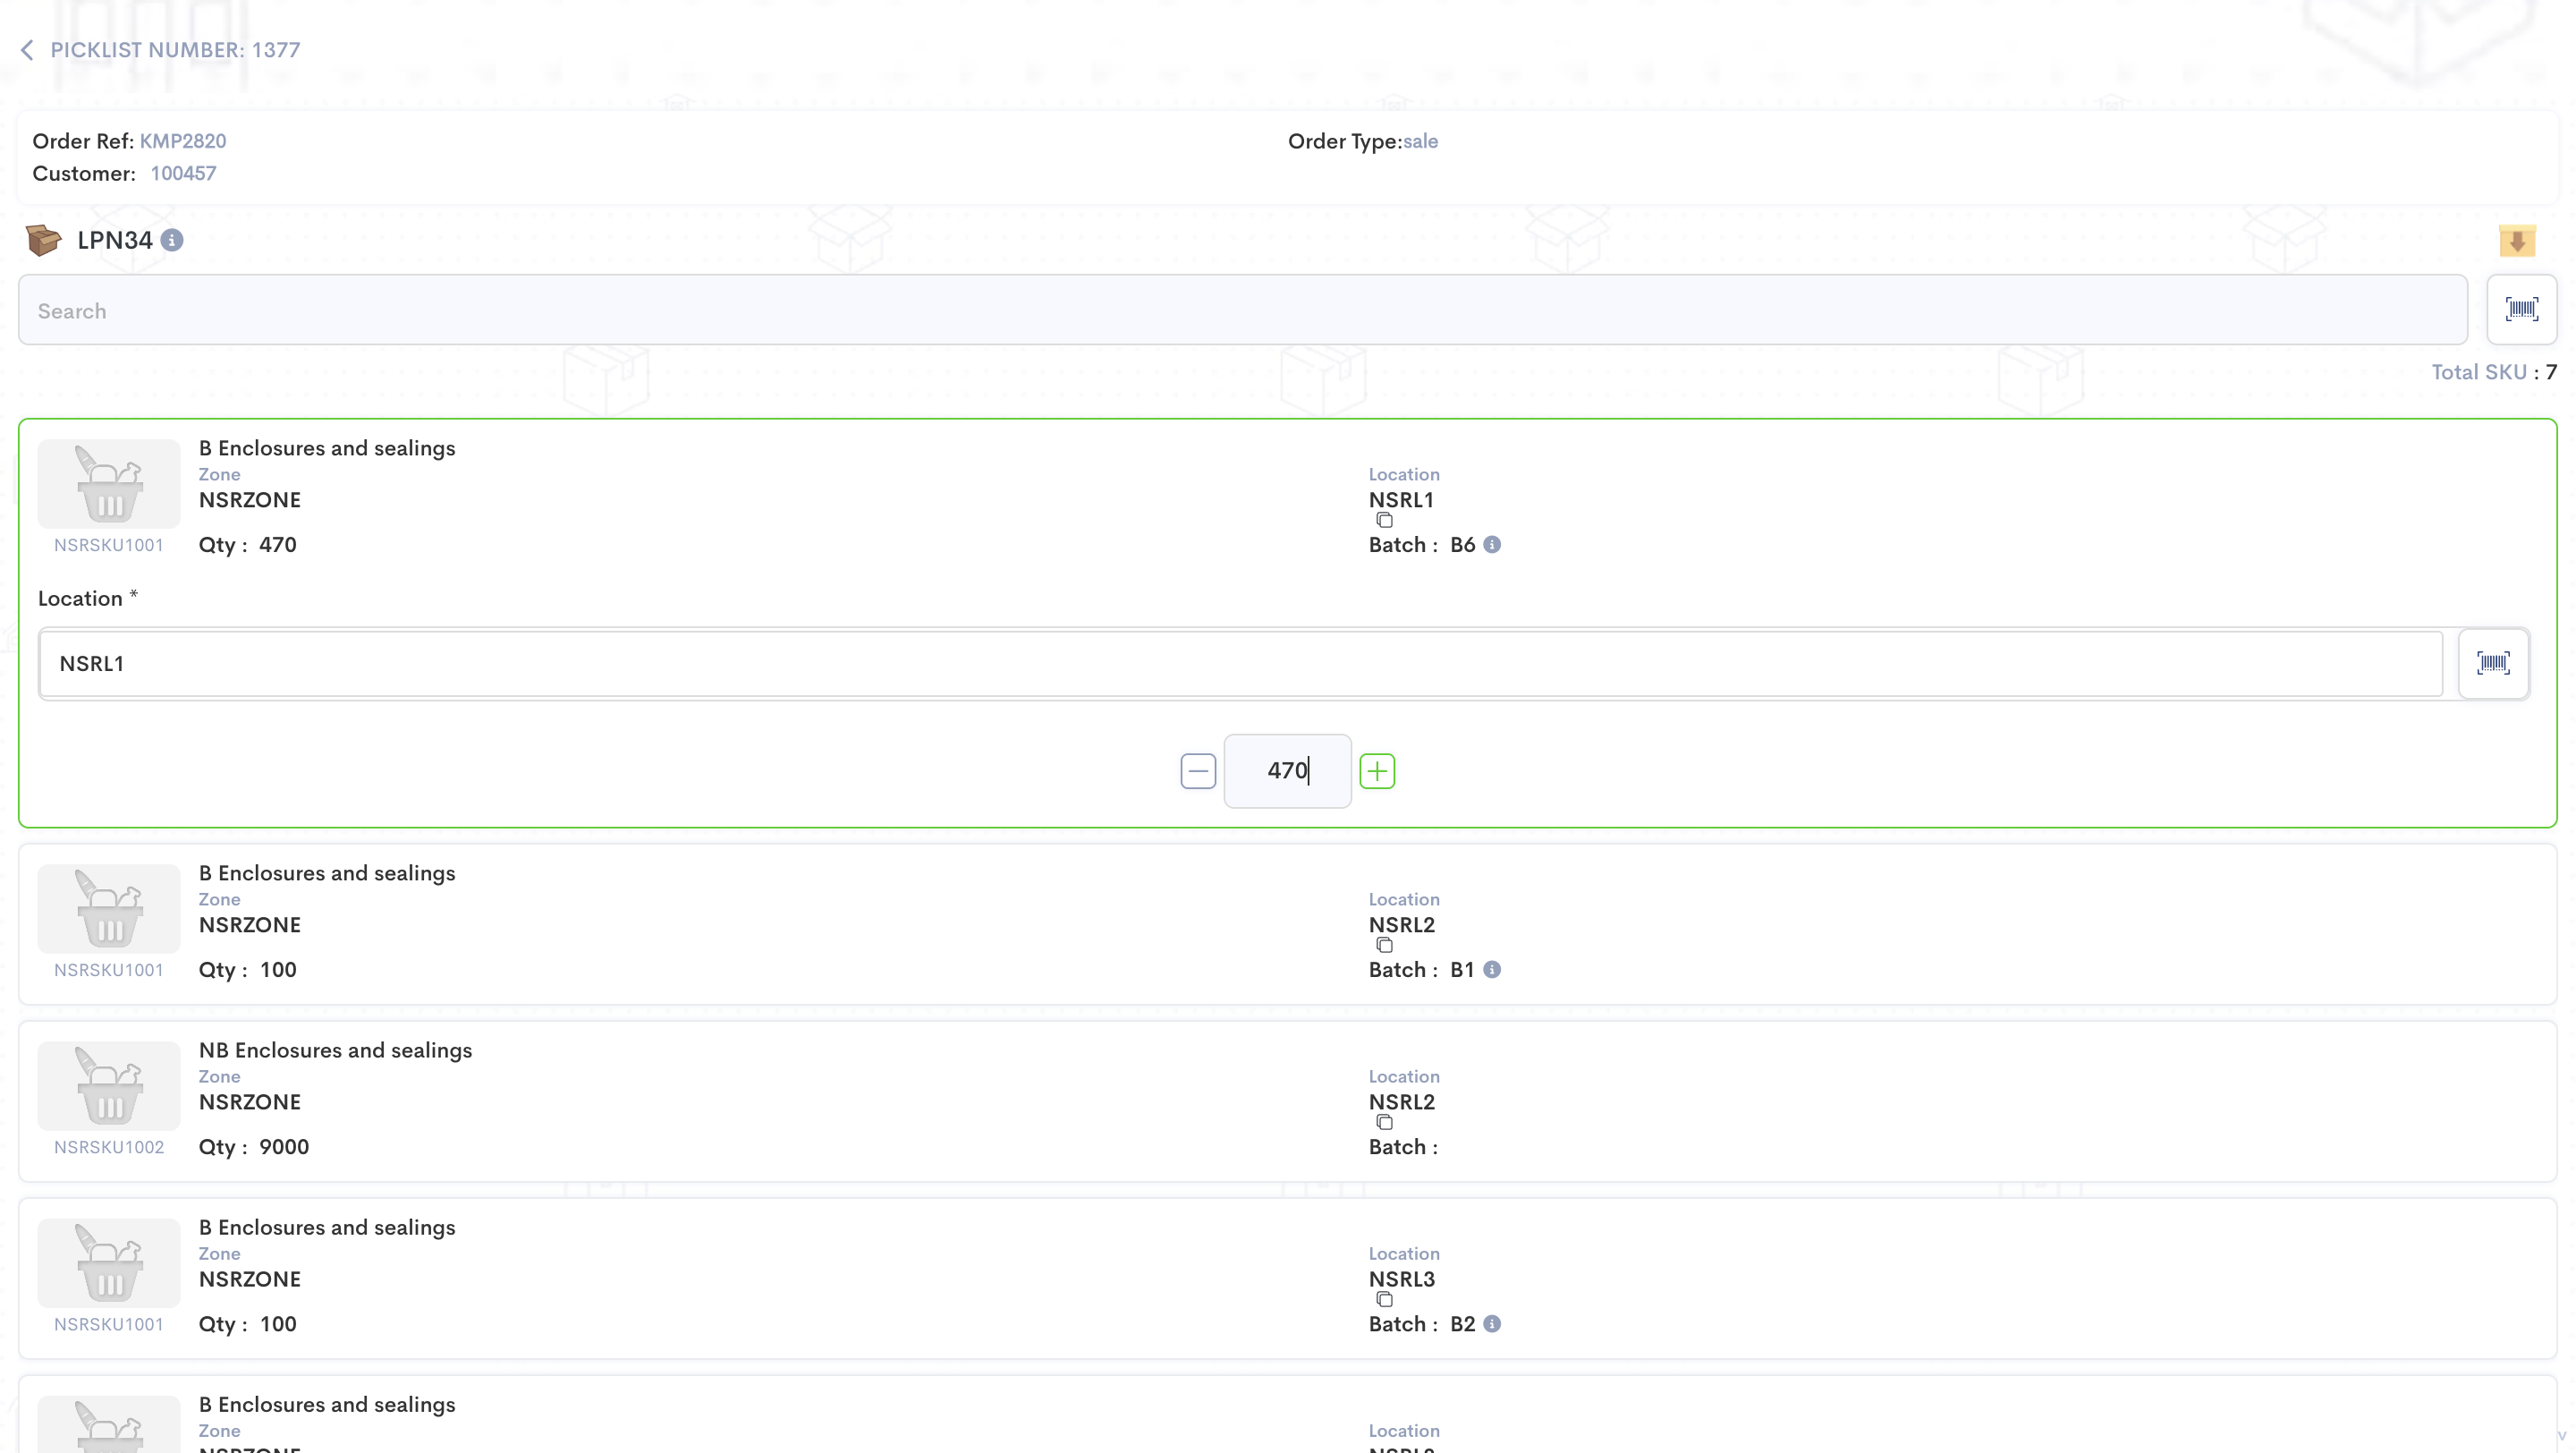
17
Scan Location for Non serialized tasks.
18
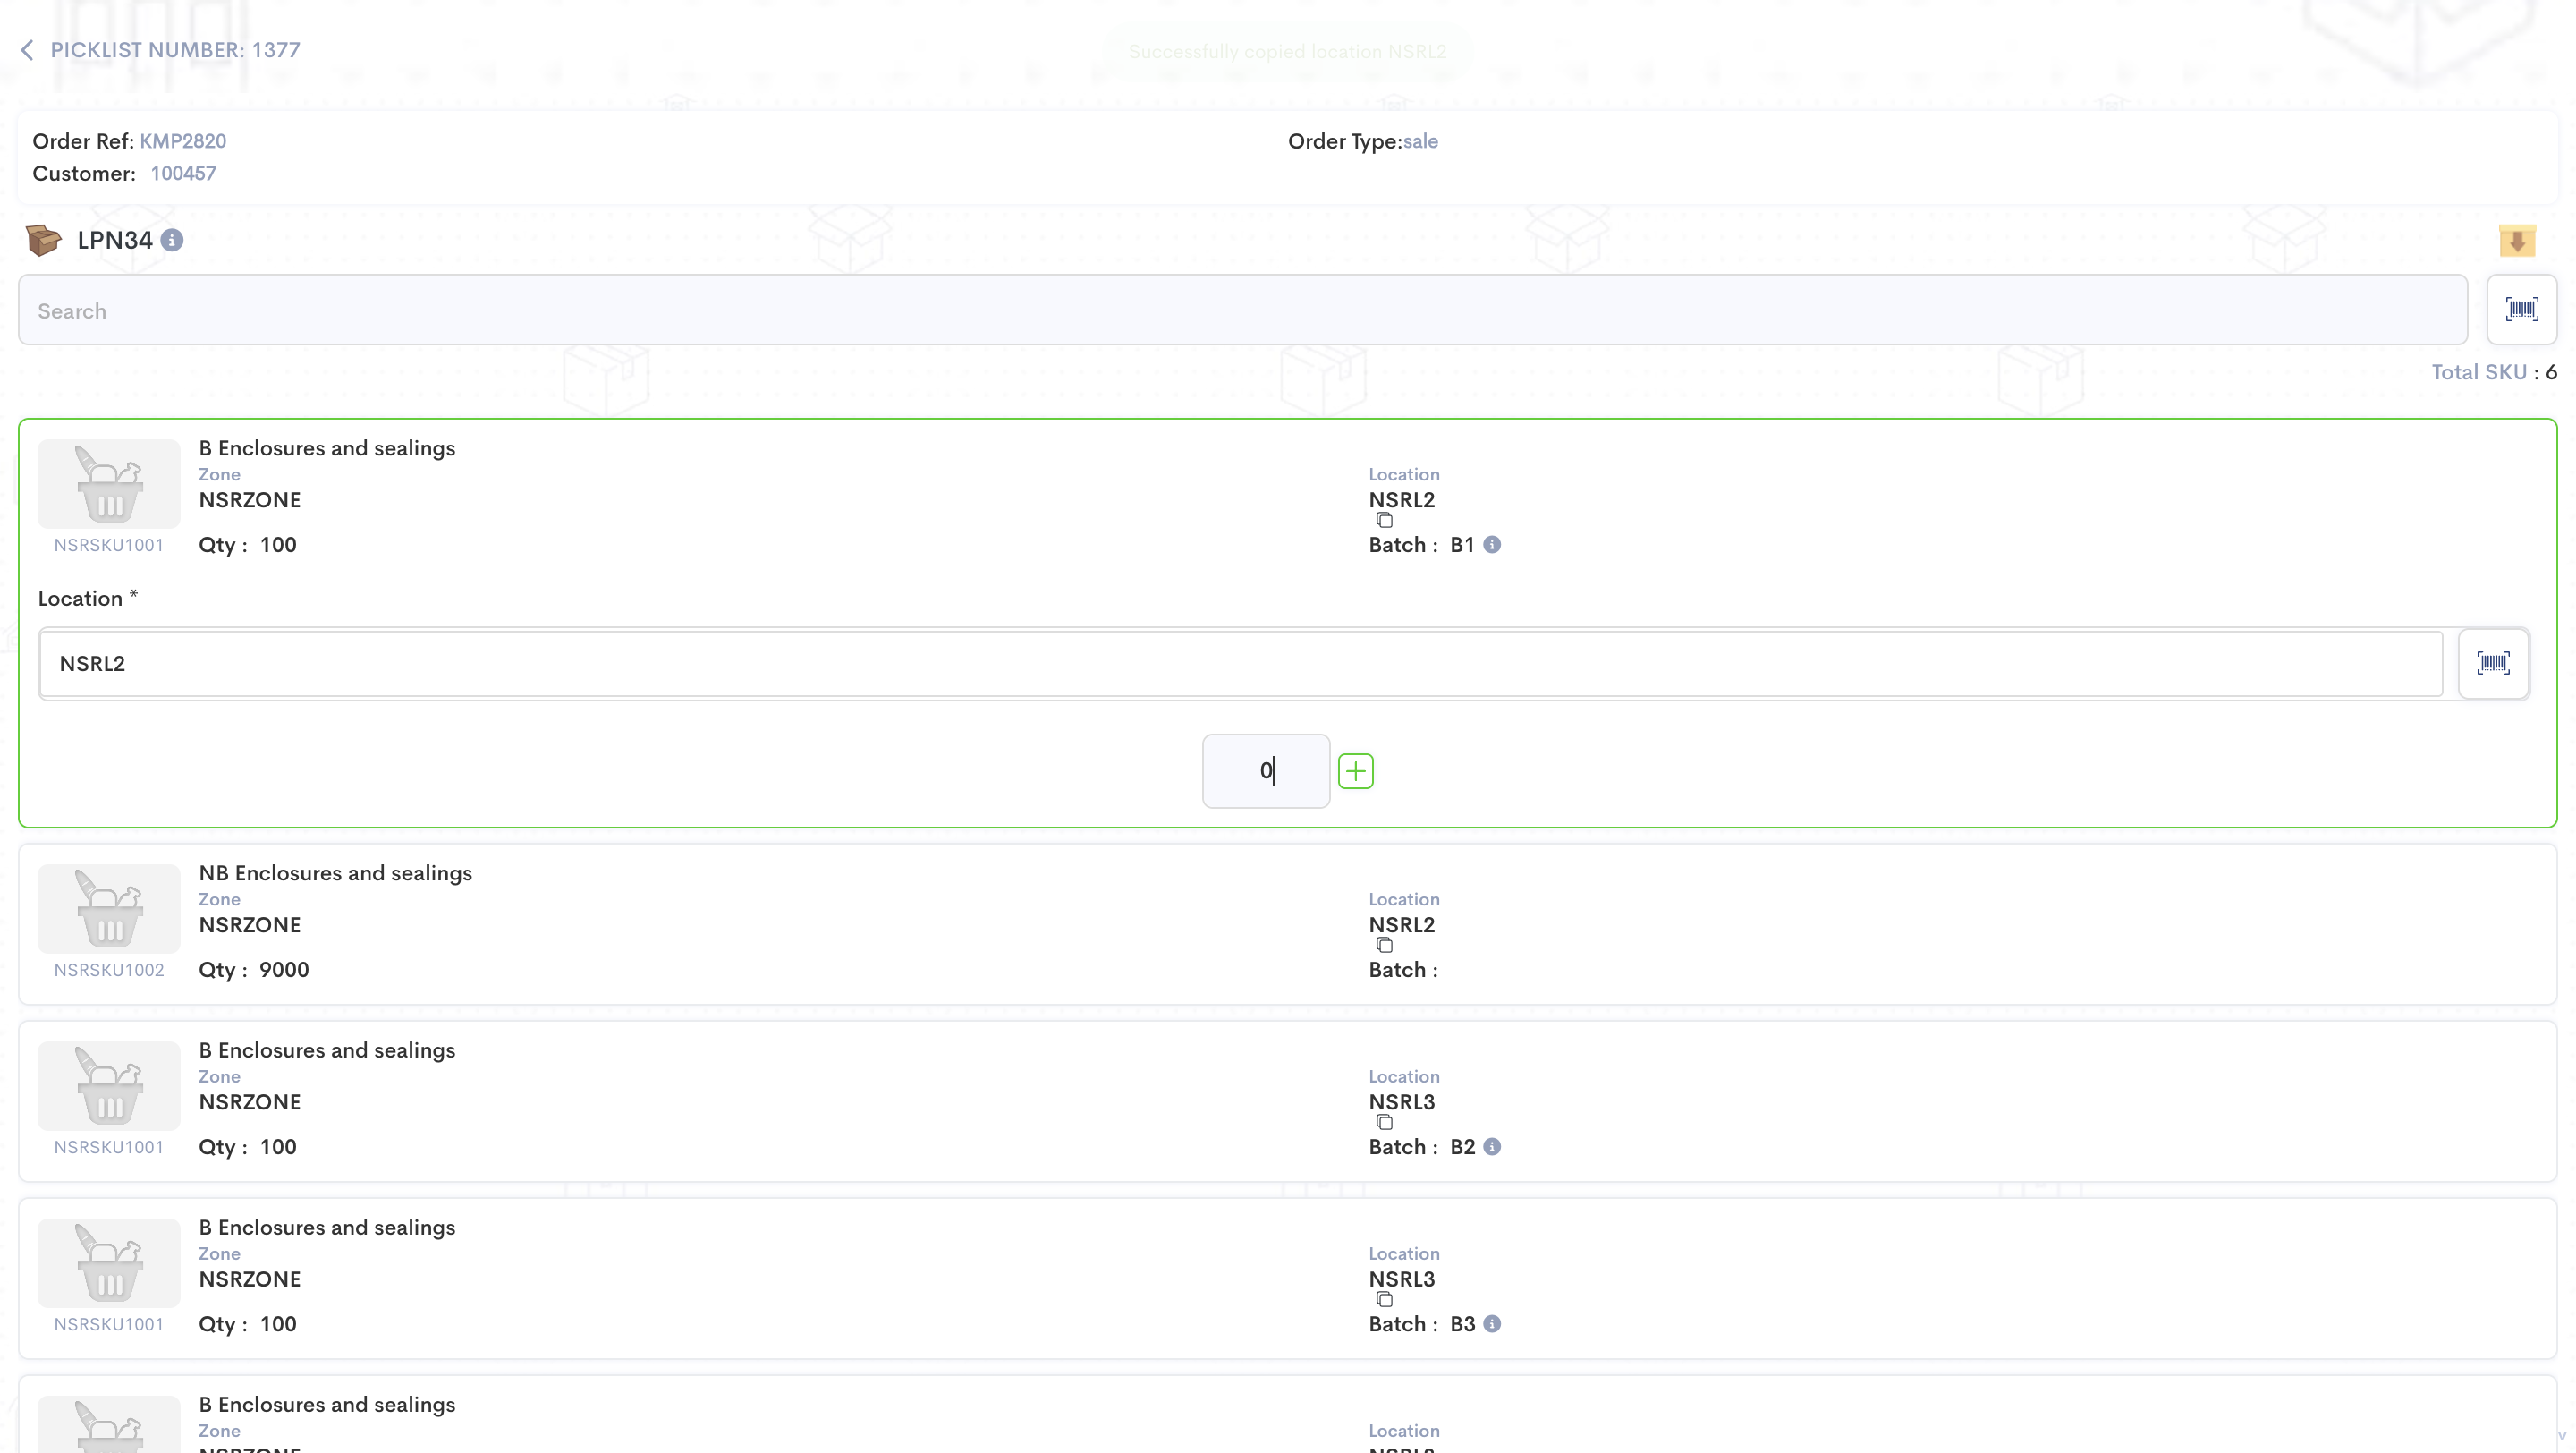
Click on "이"
19
Click here
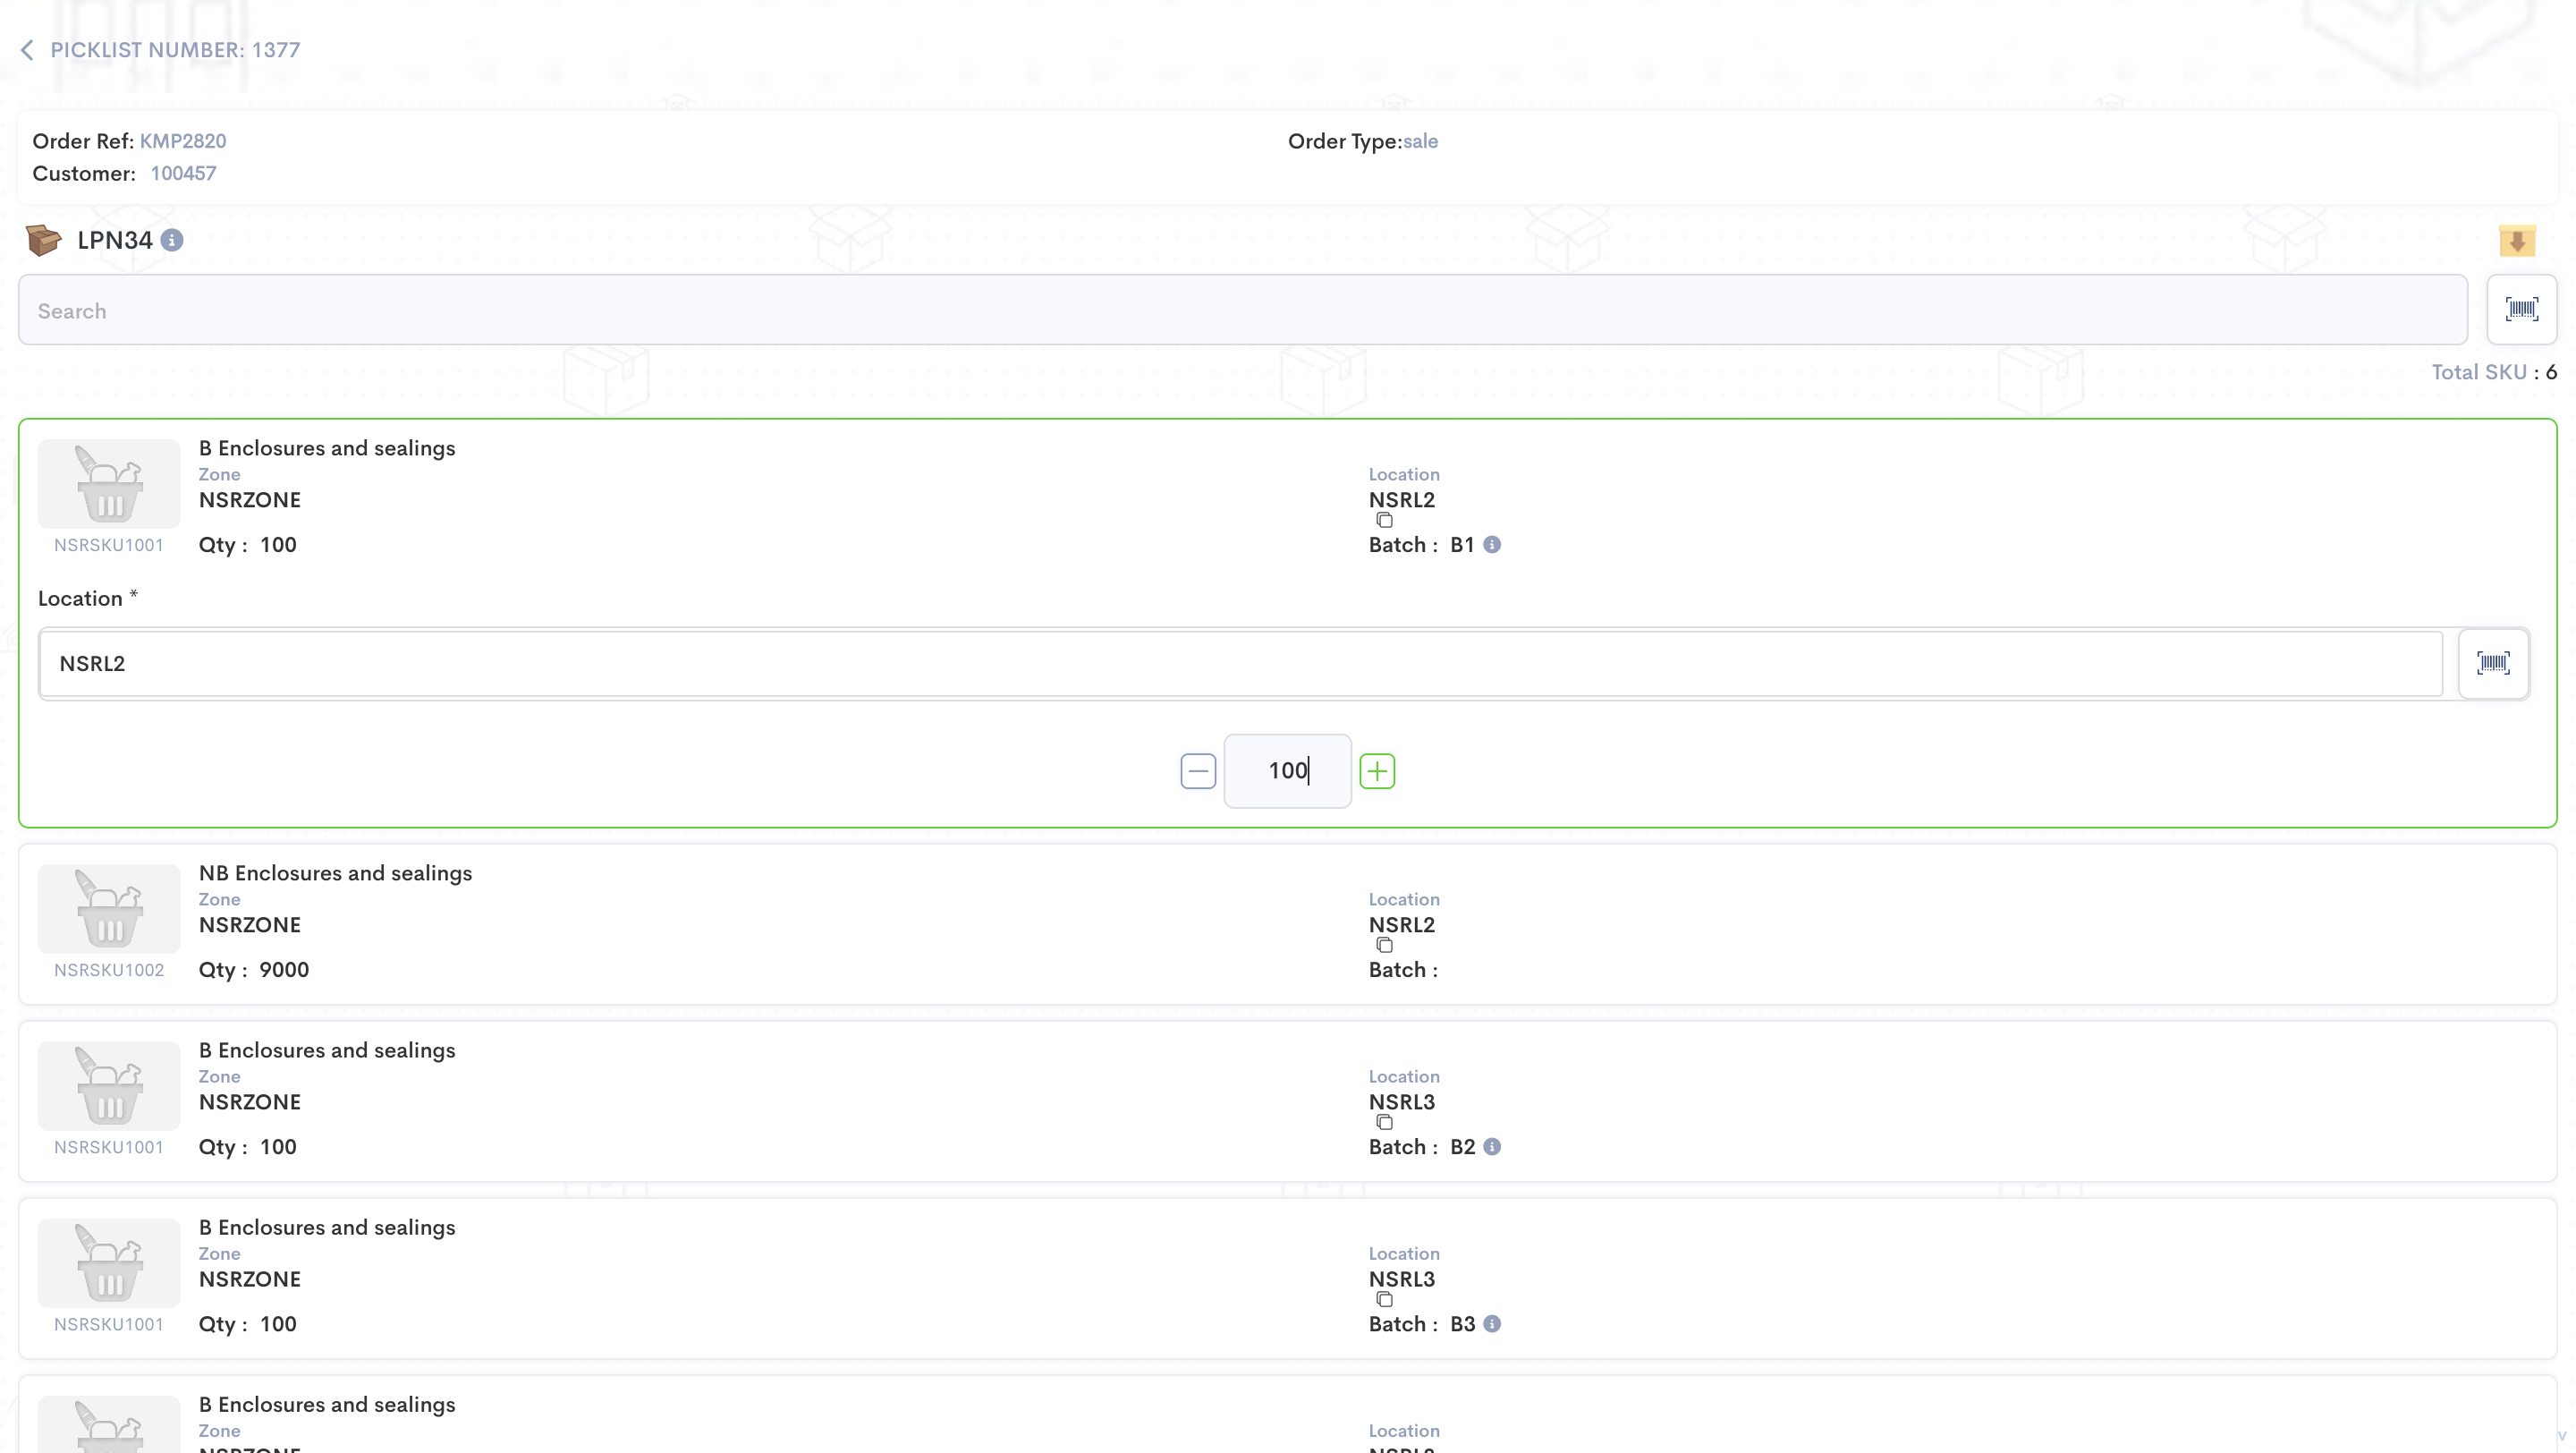
Pick all the items into same or different LPNs and Finish the task.
20
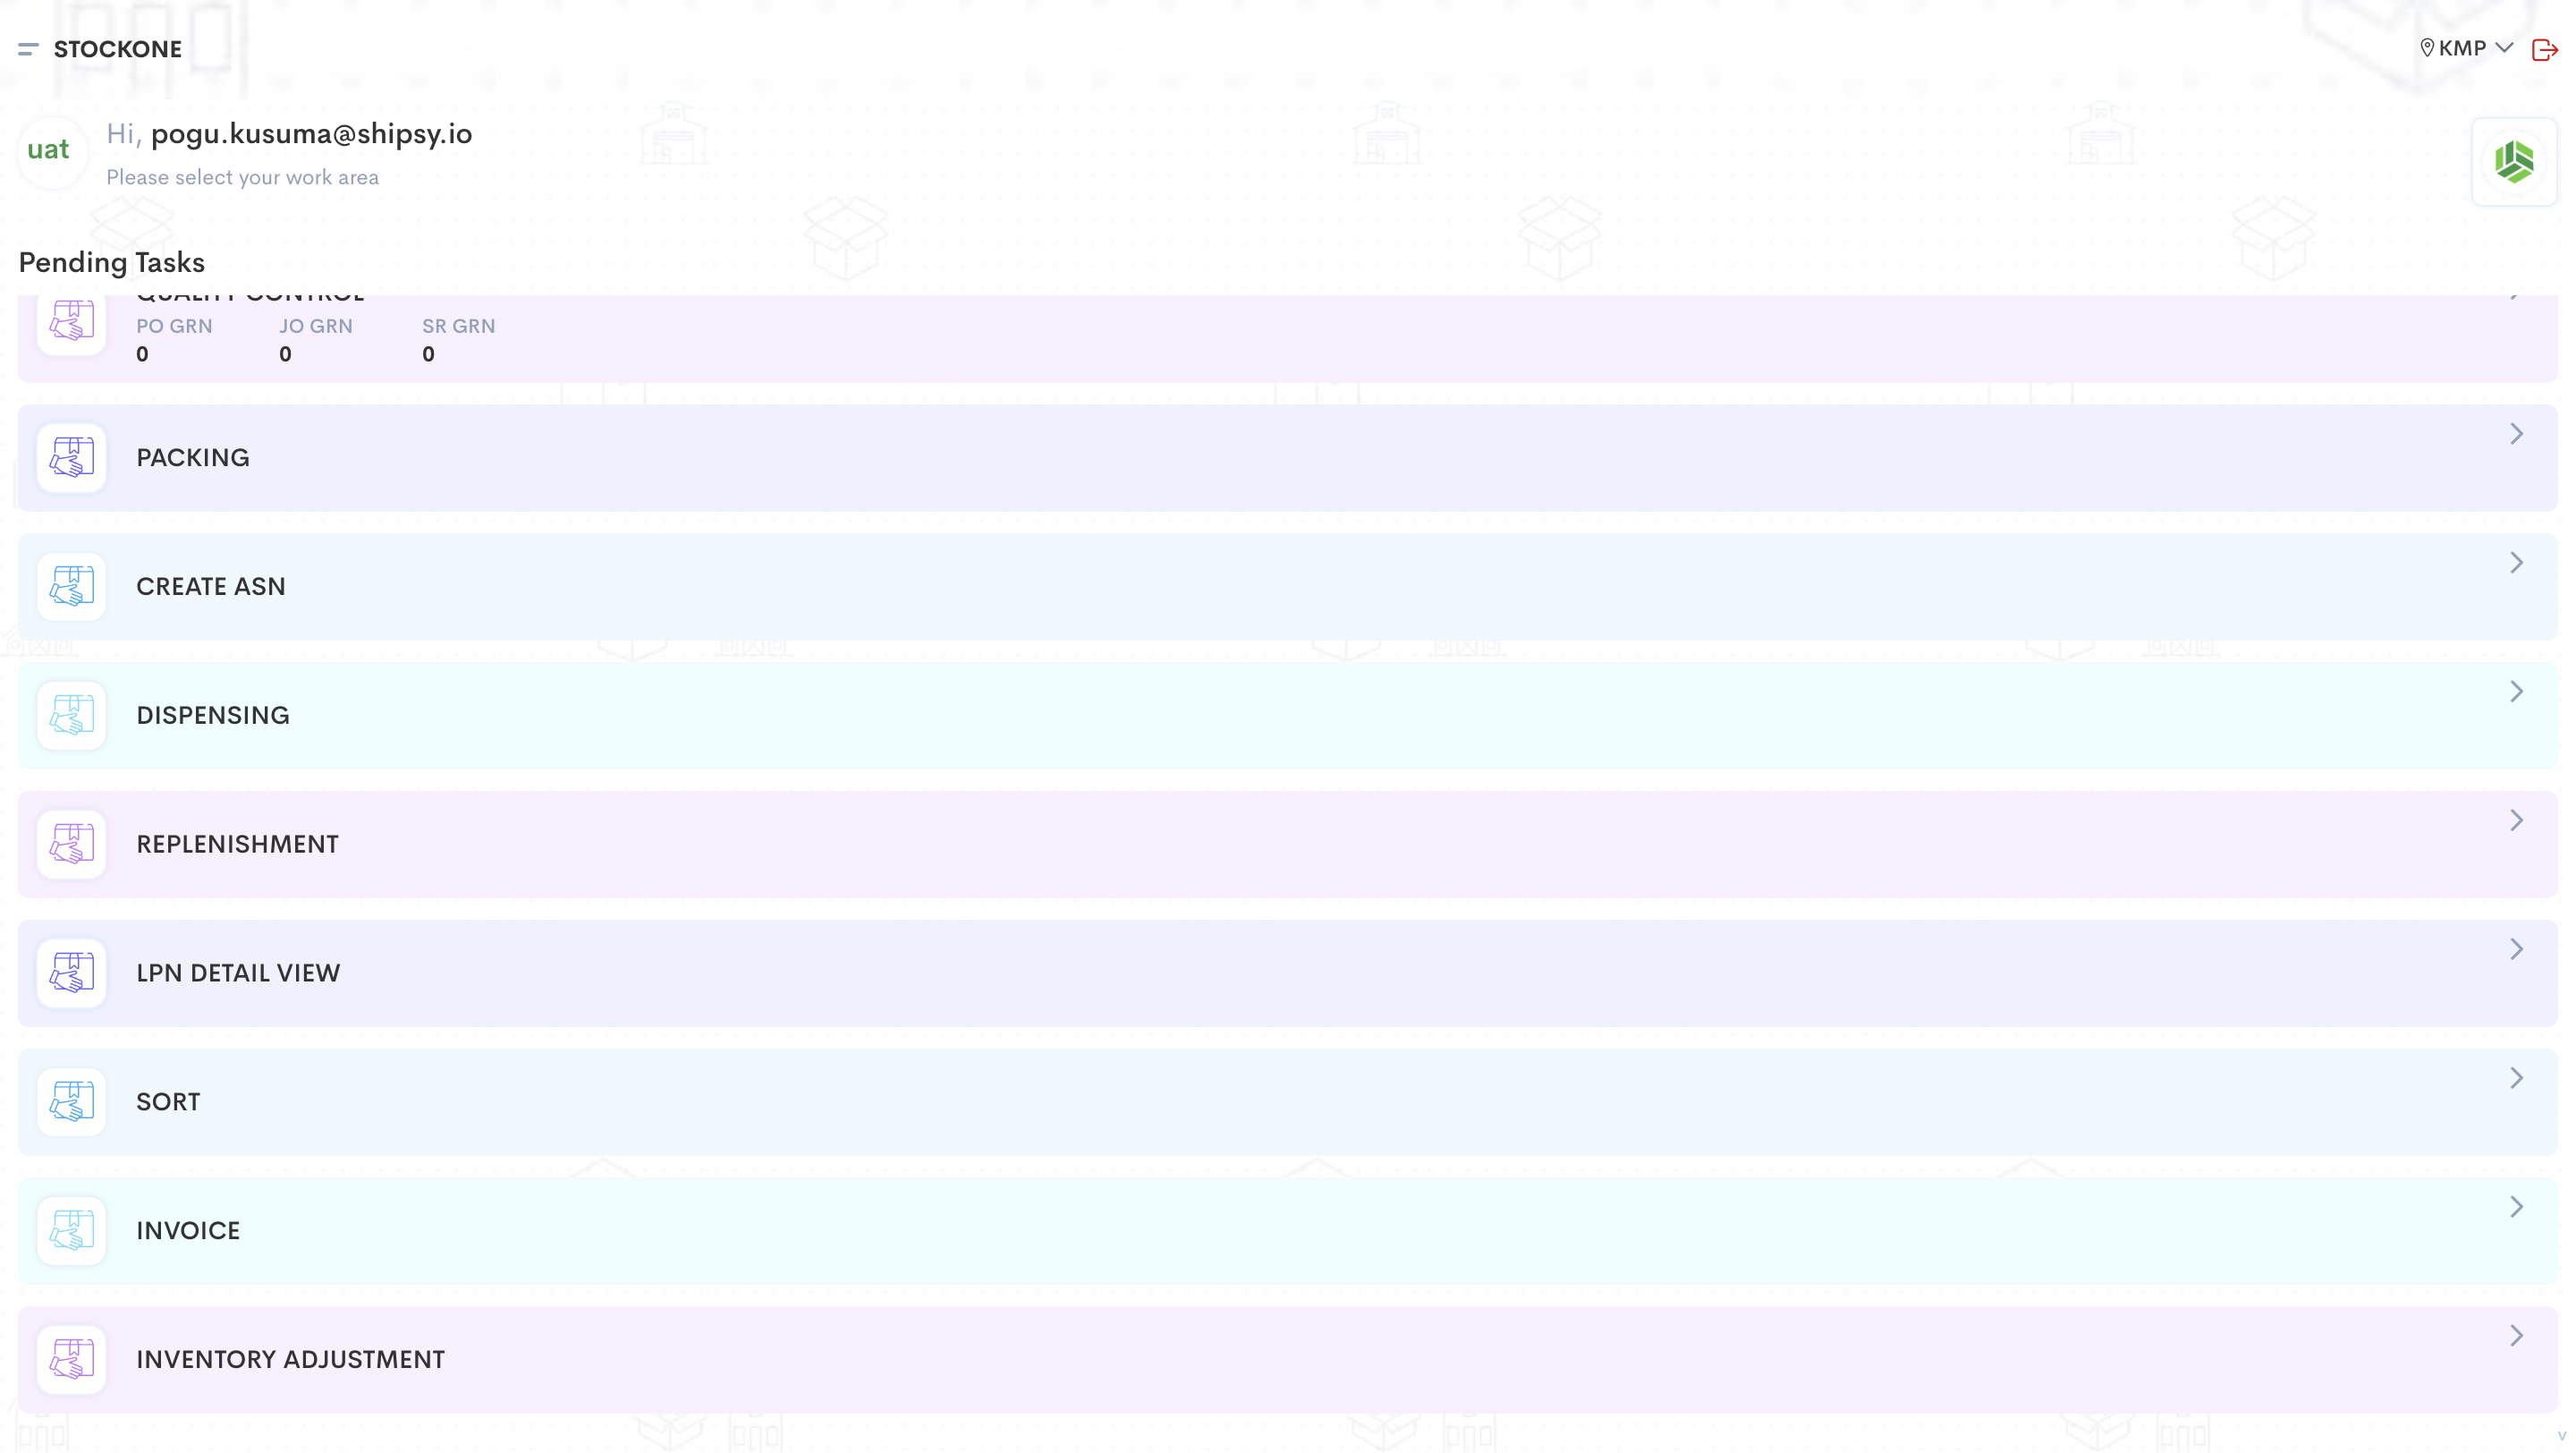
Invoice can be done through mobile here at Invoice tab. In this document we will see through WEB.
21
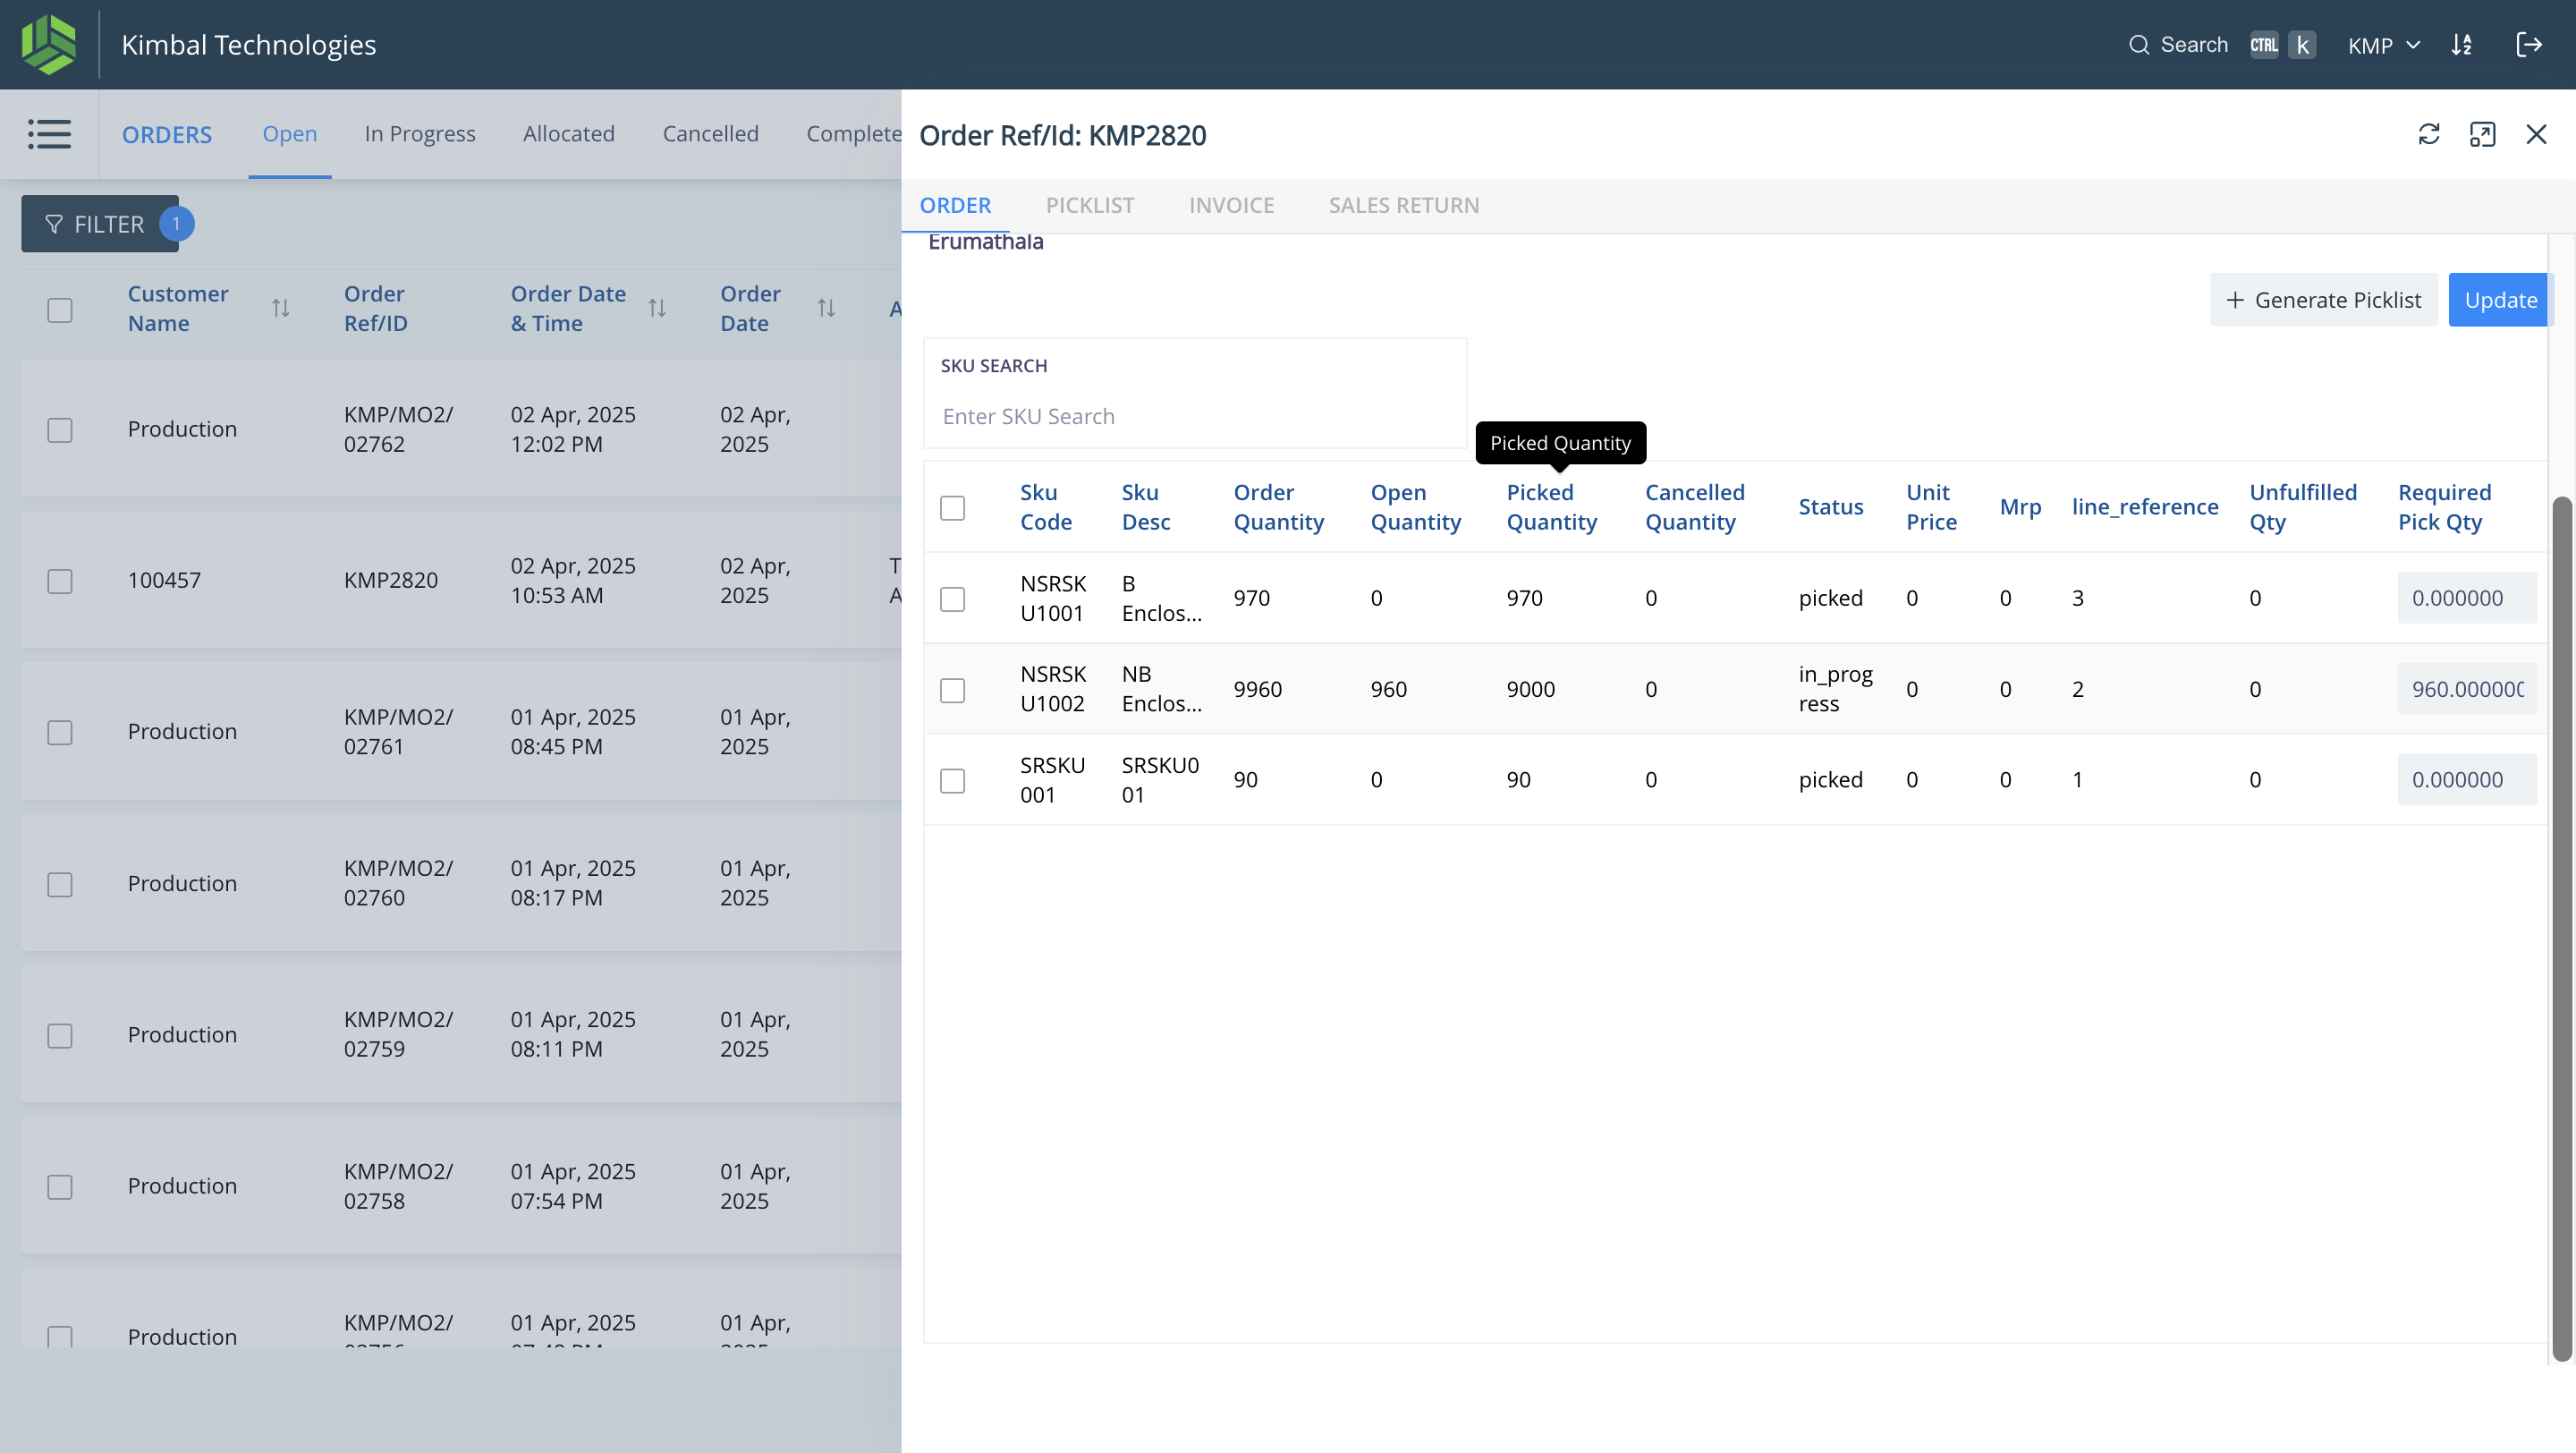
We can see the order details in Orders page - status will updated here if picking is done.
22
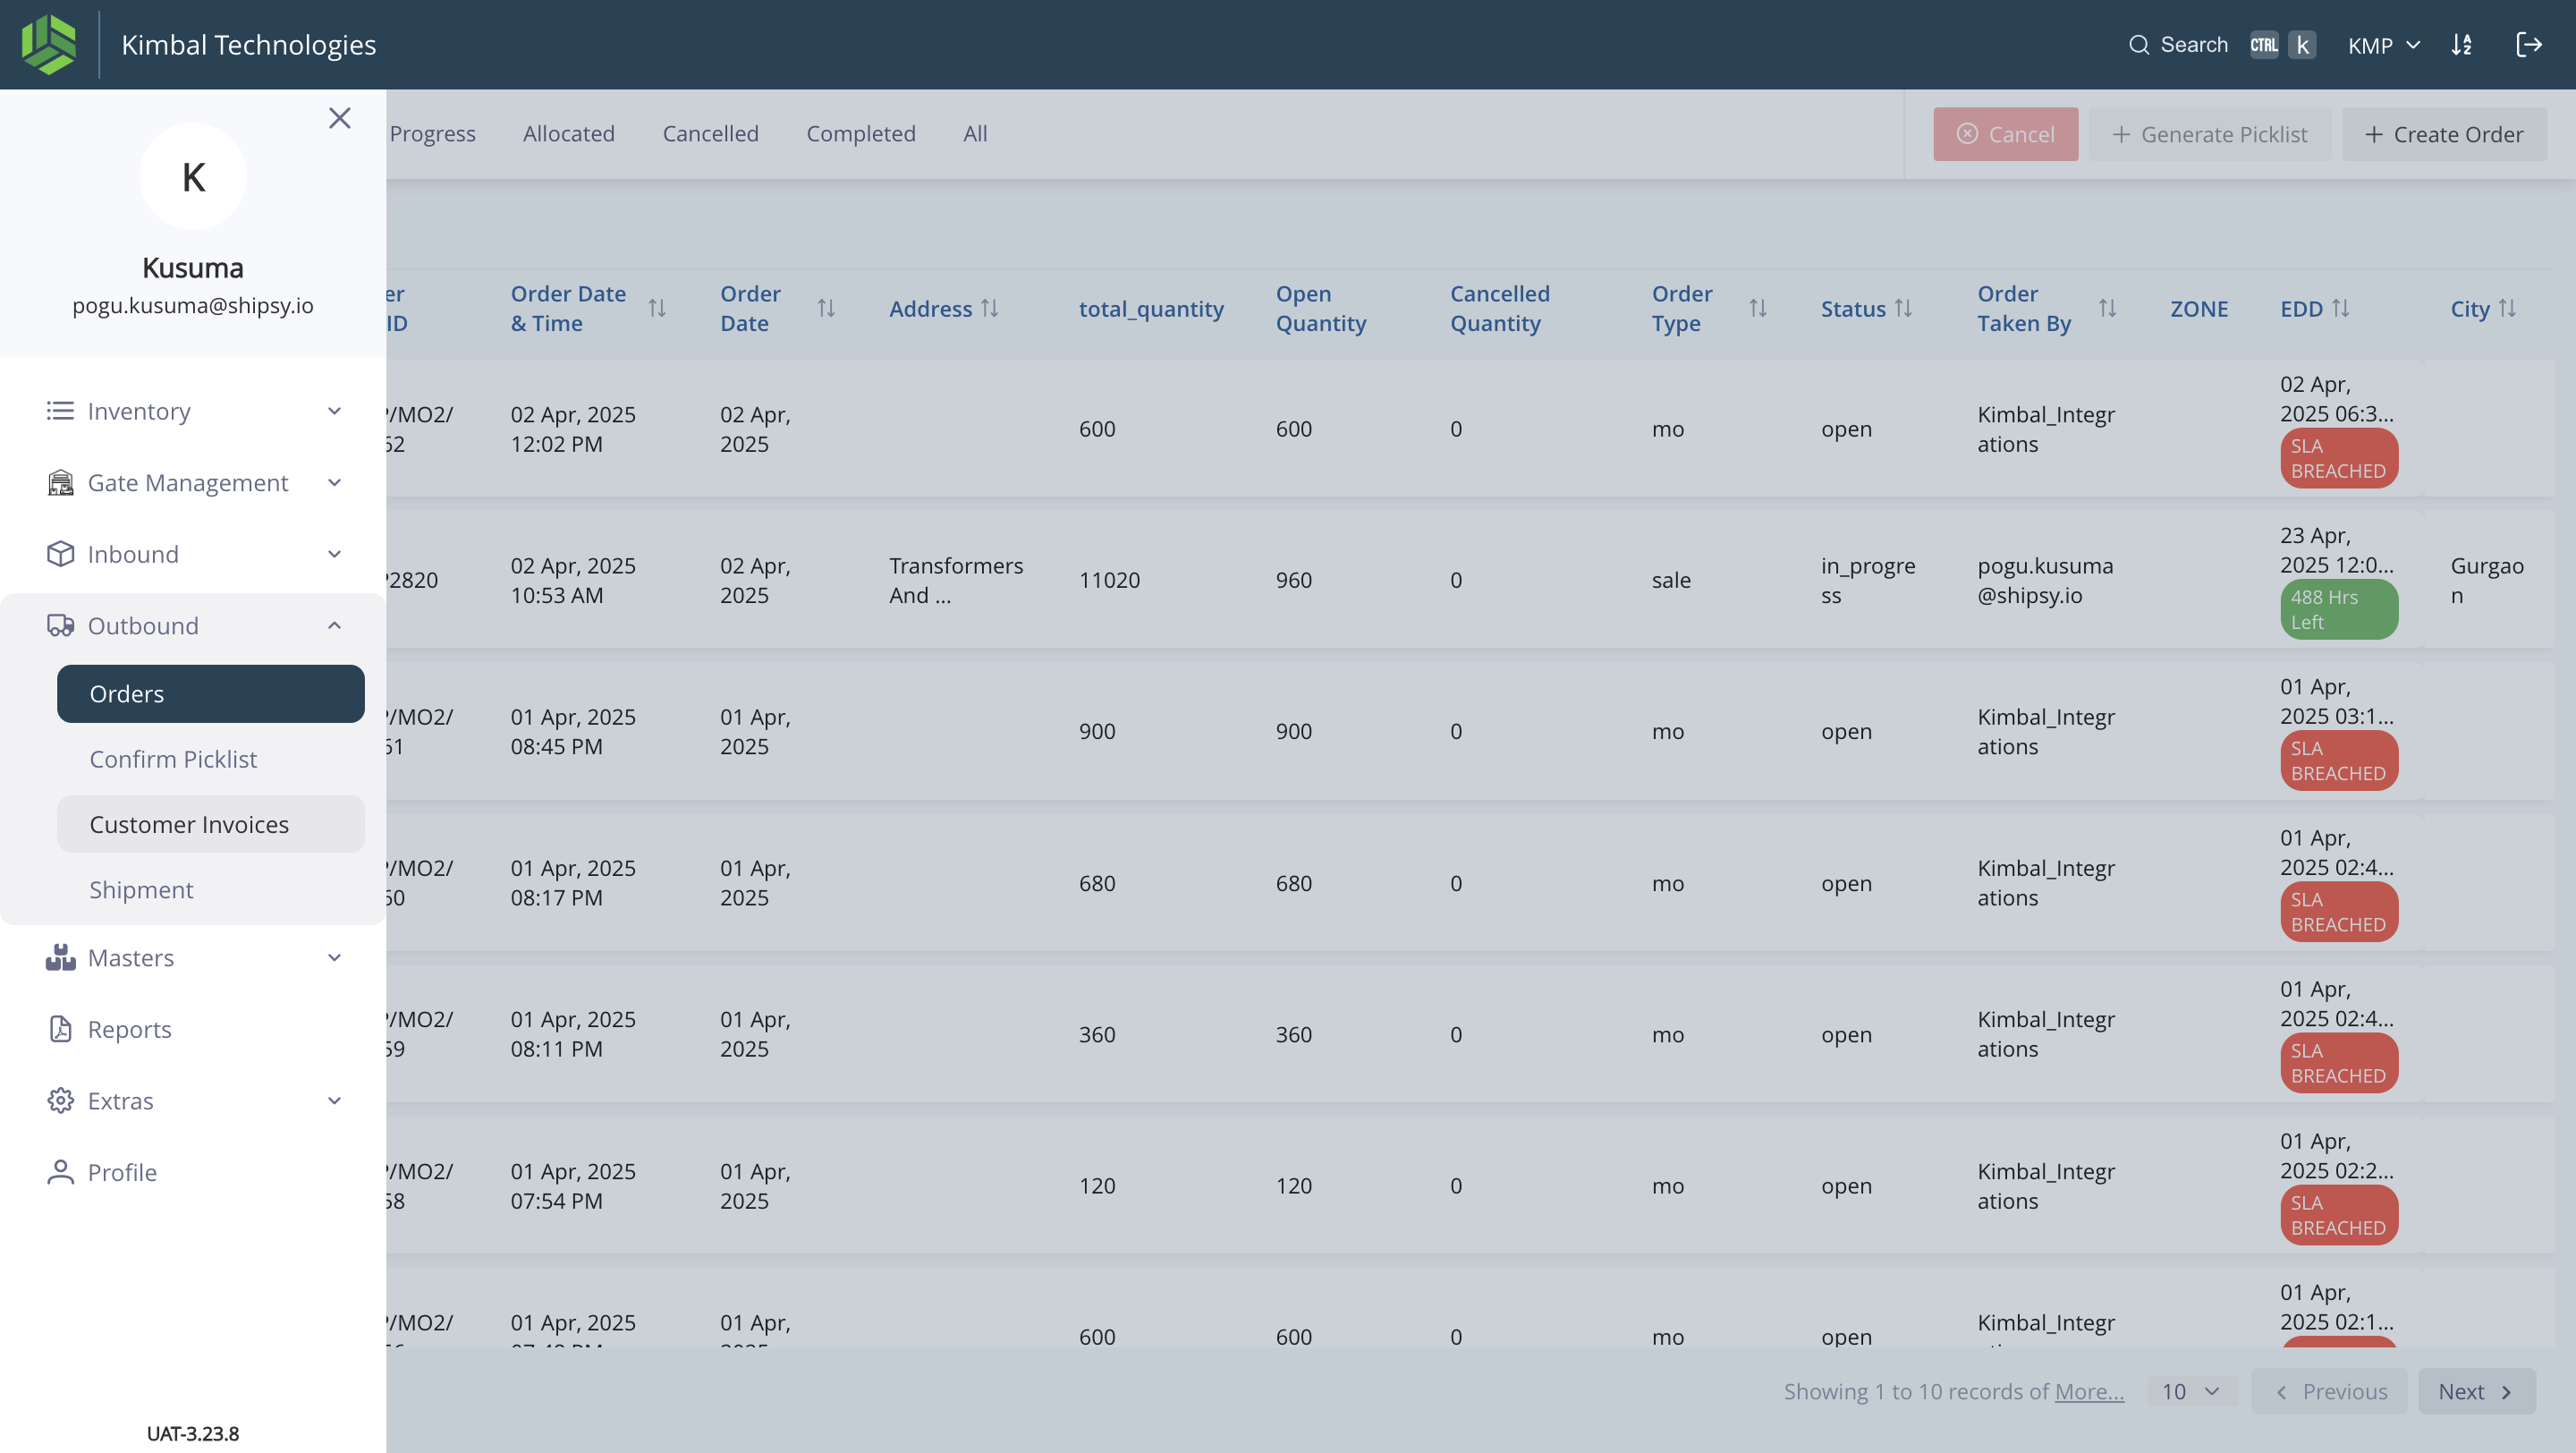
Click on "Customer Invoices"
23
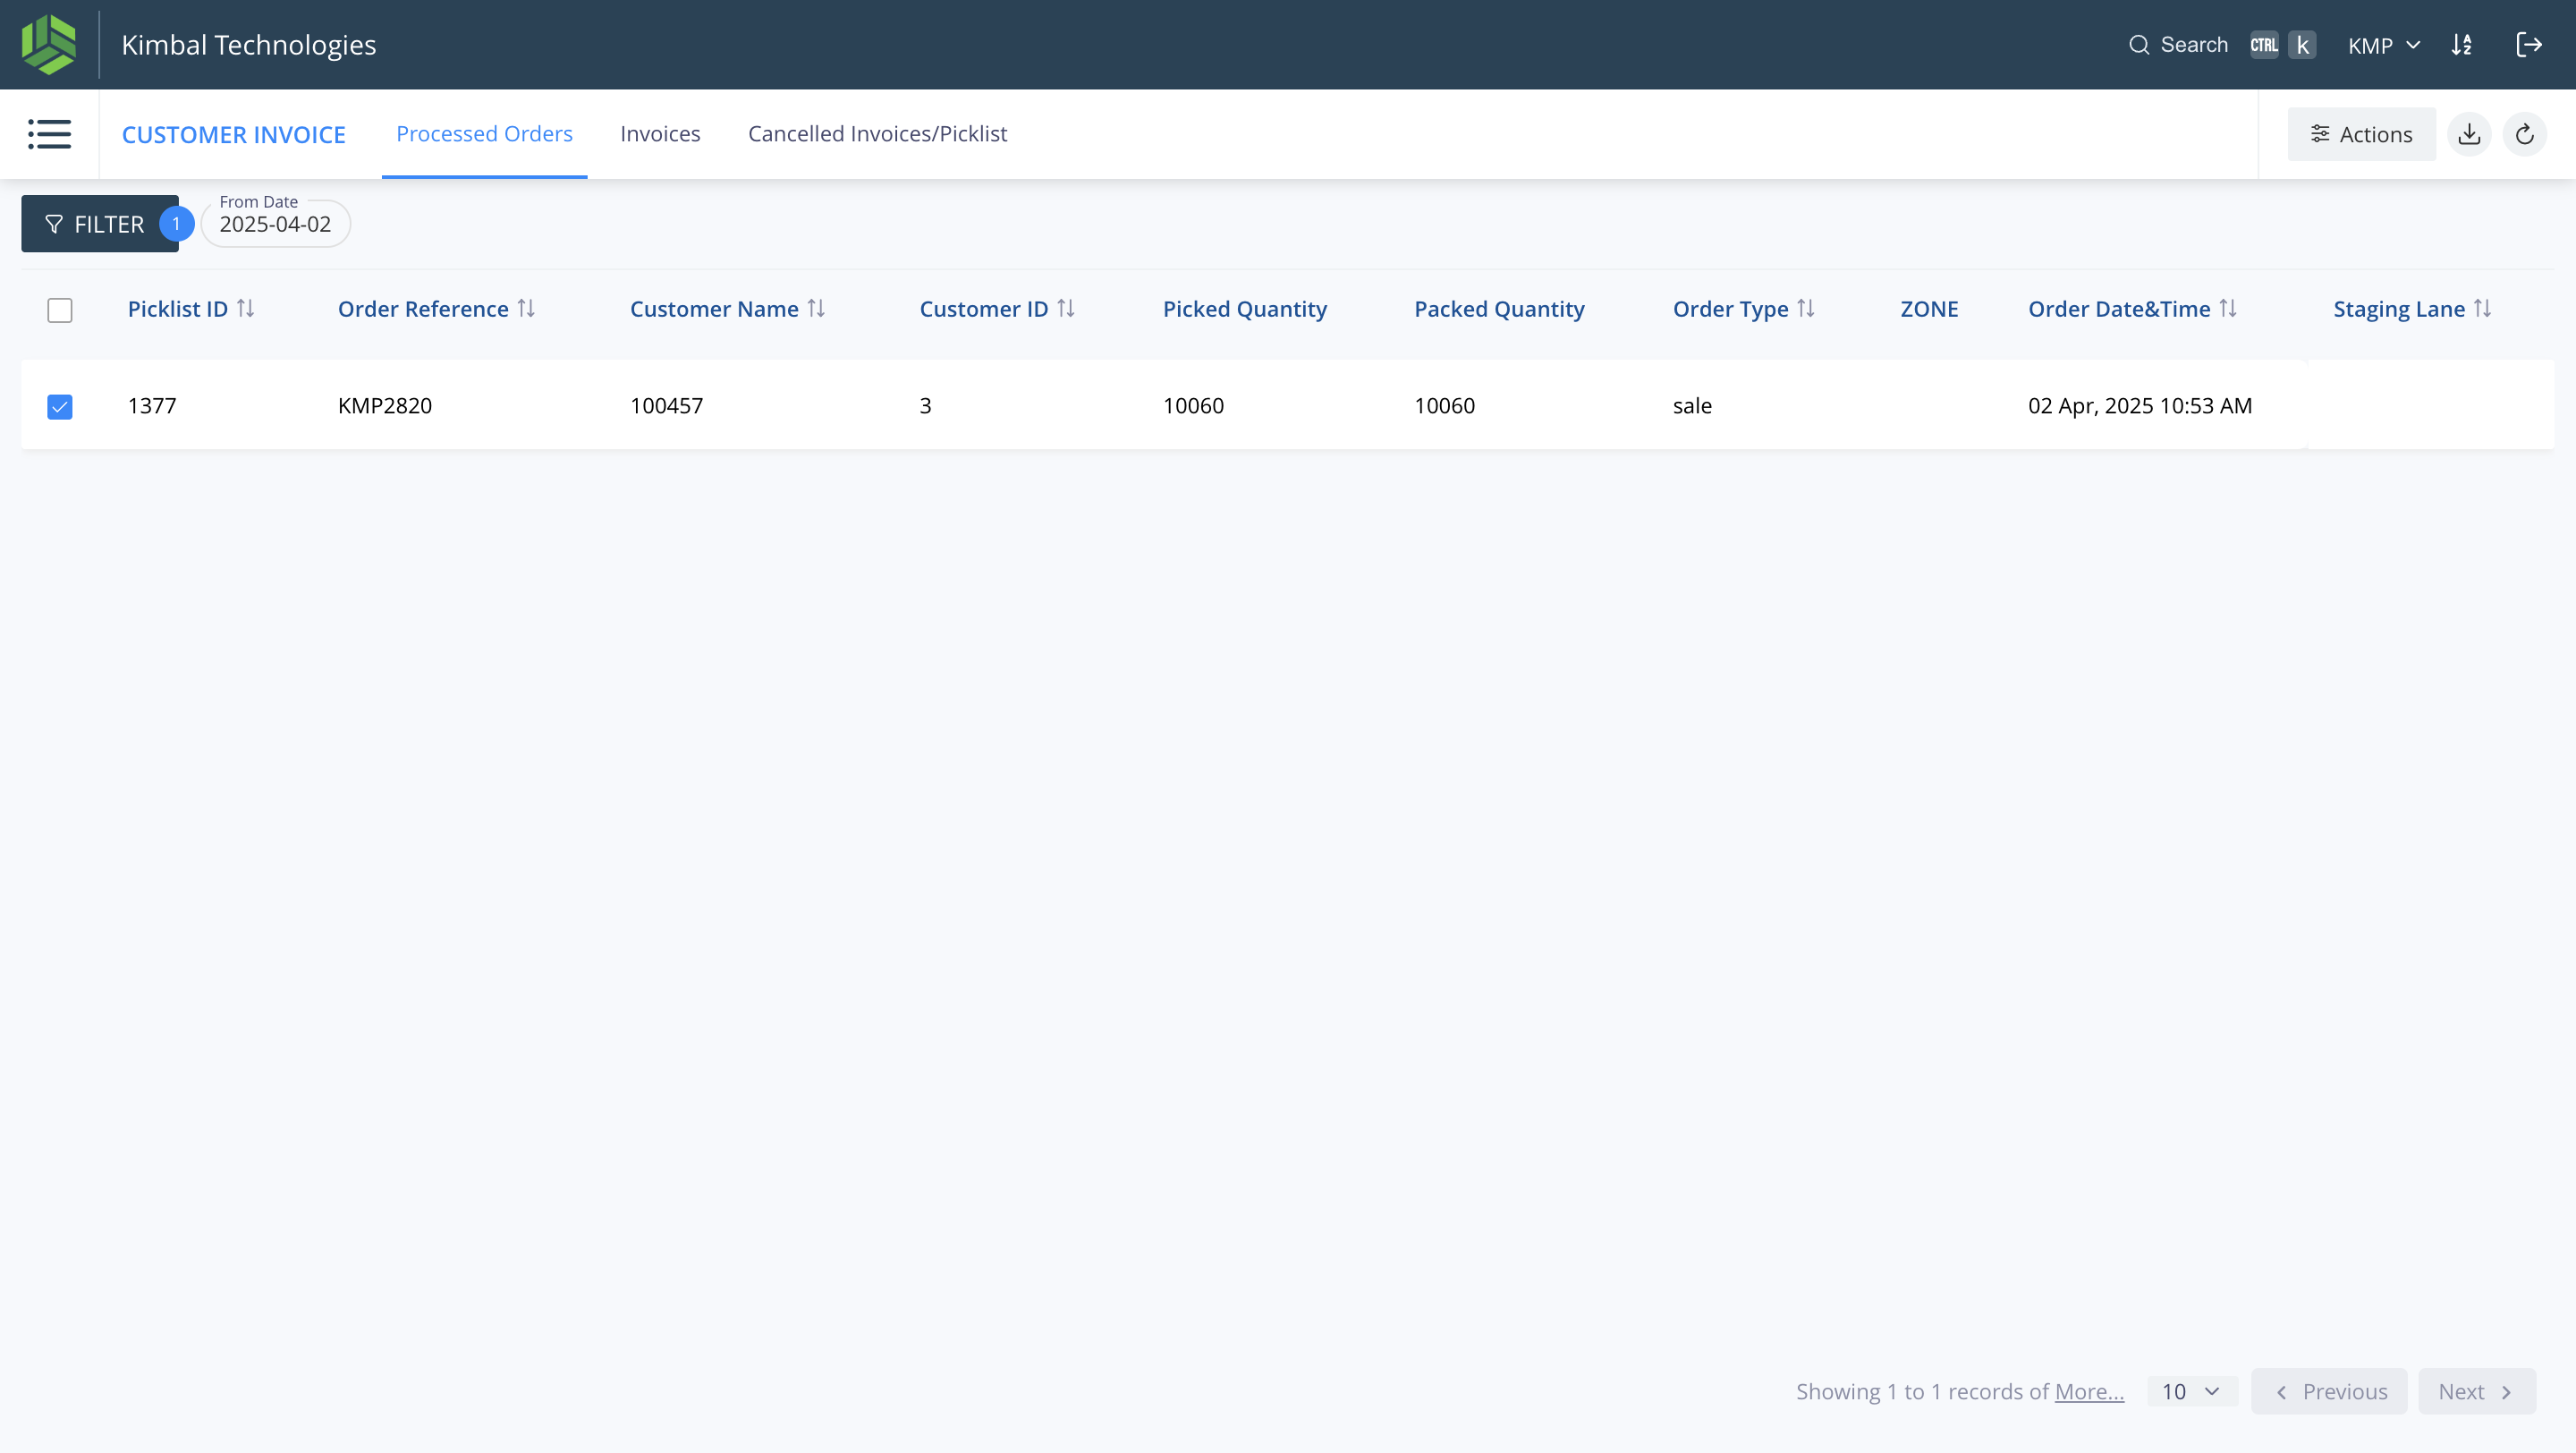
Click on "Actions"
24
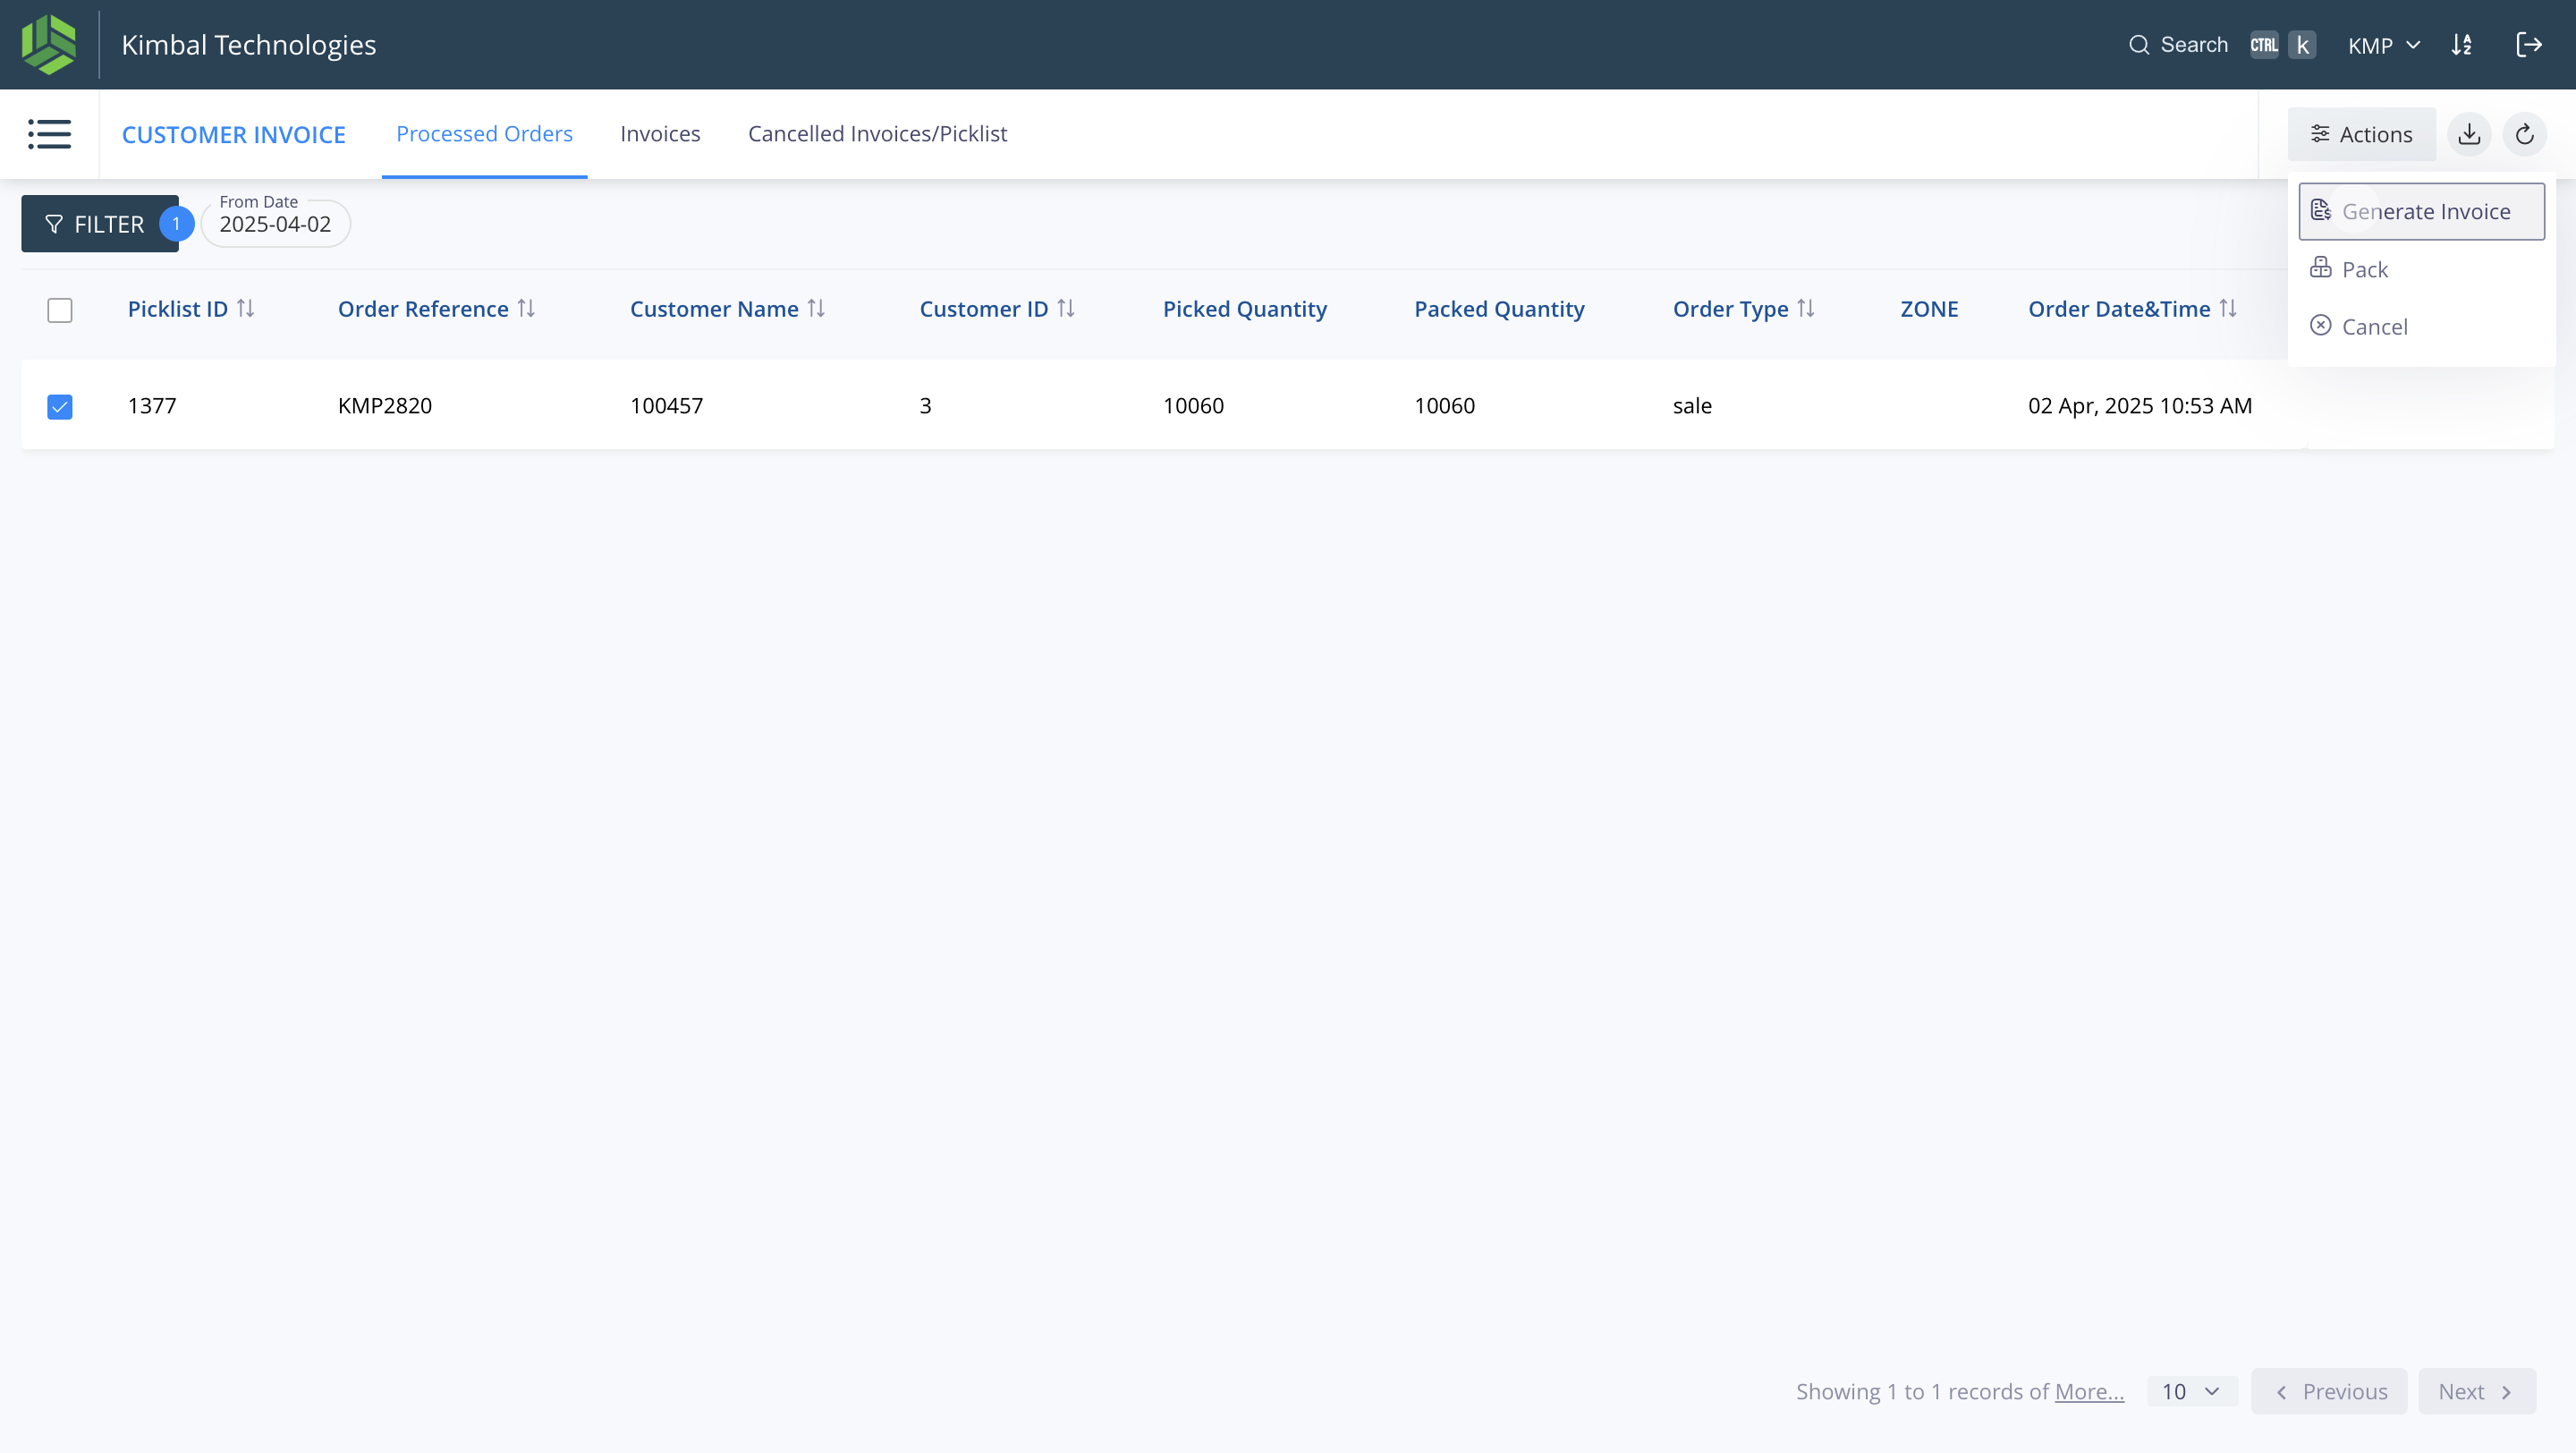
Click on "Generate Invoice"
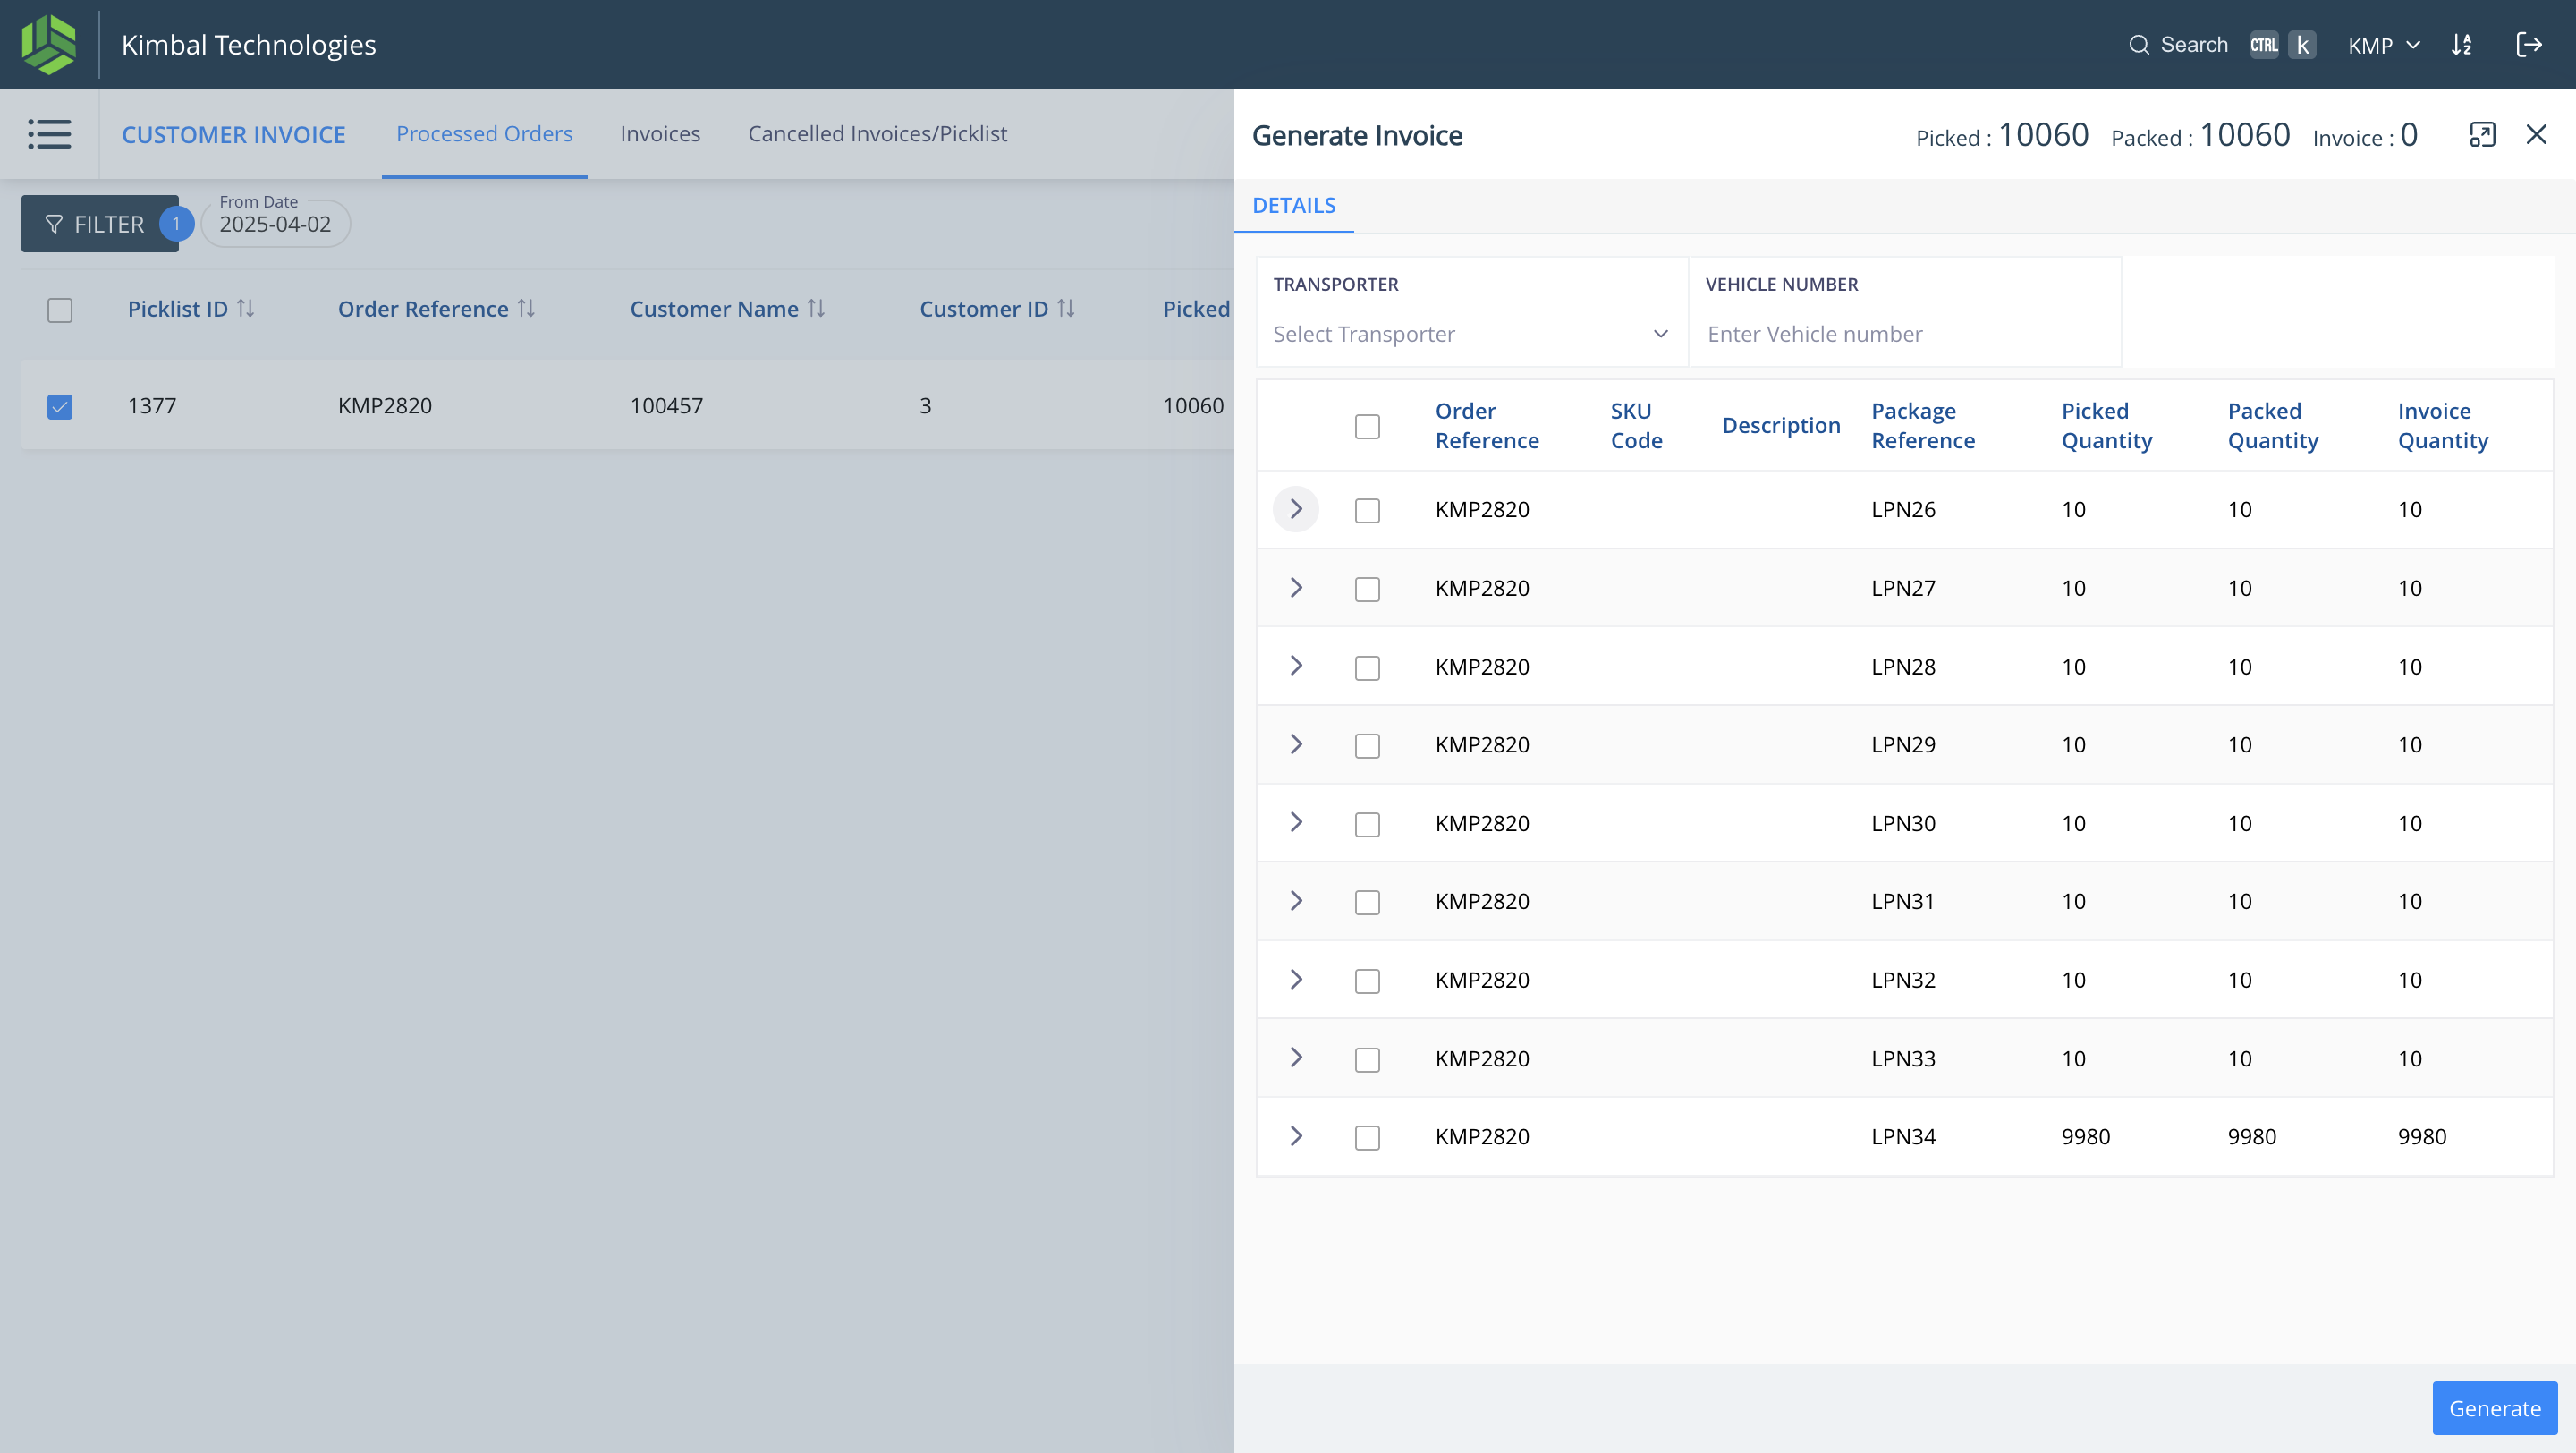
25
Click here to see SKU details
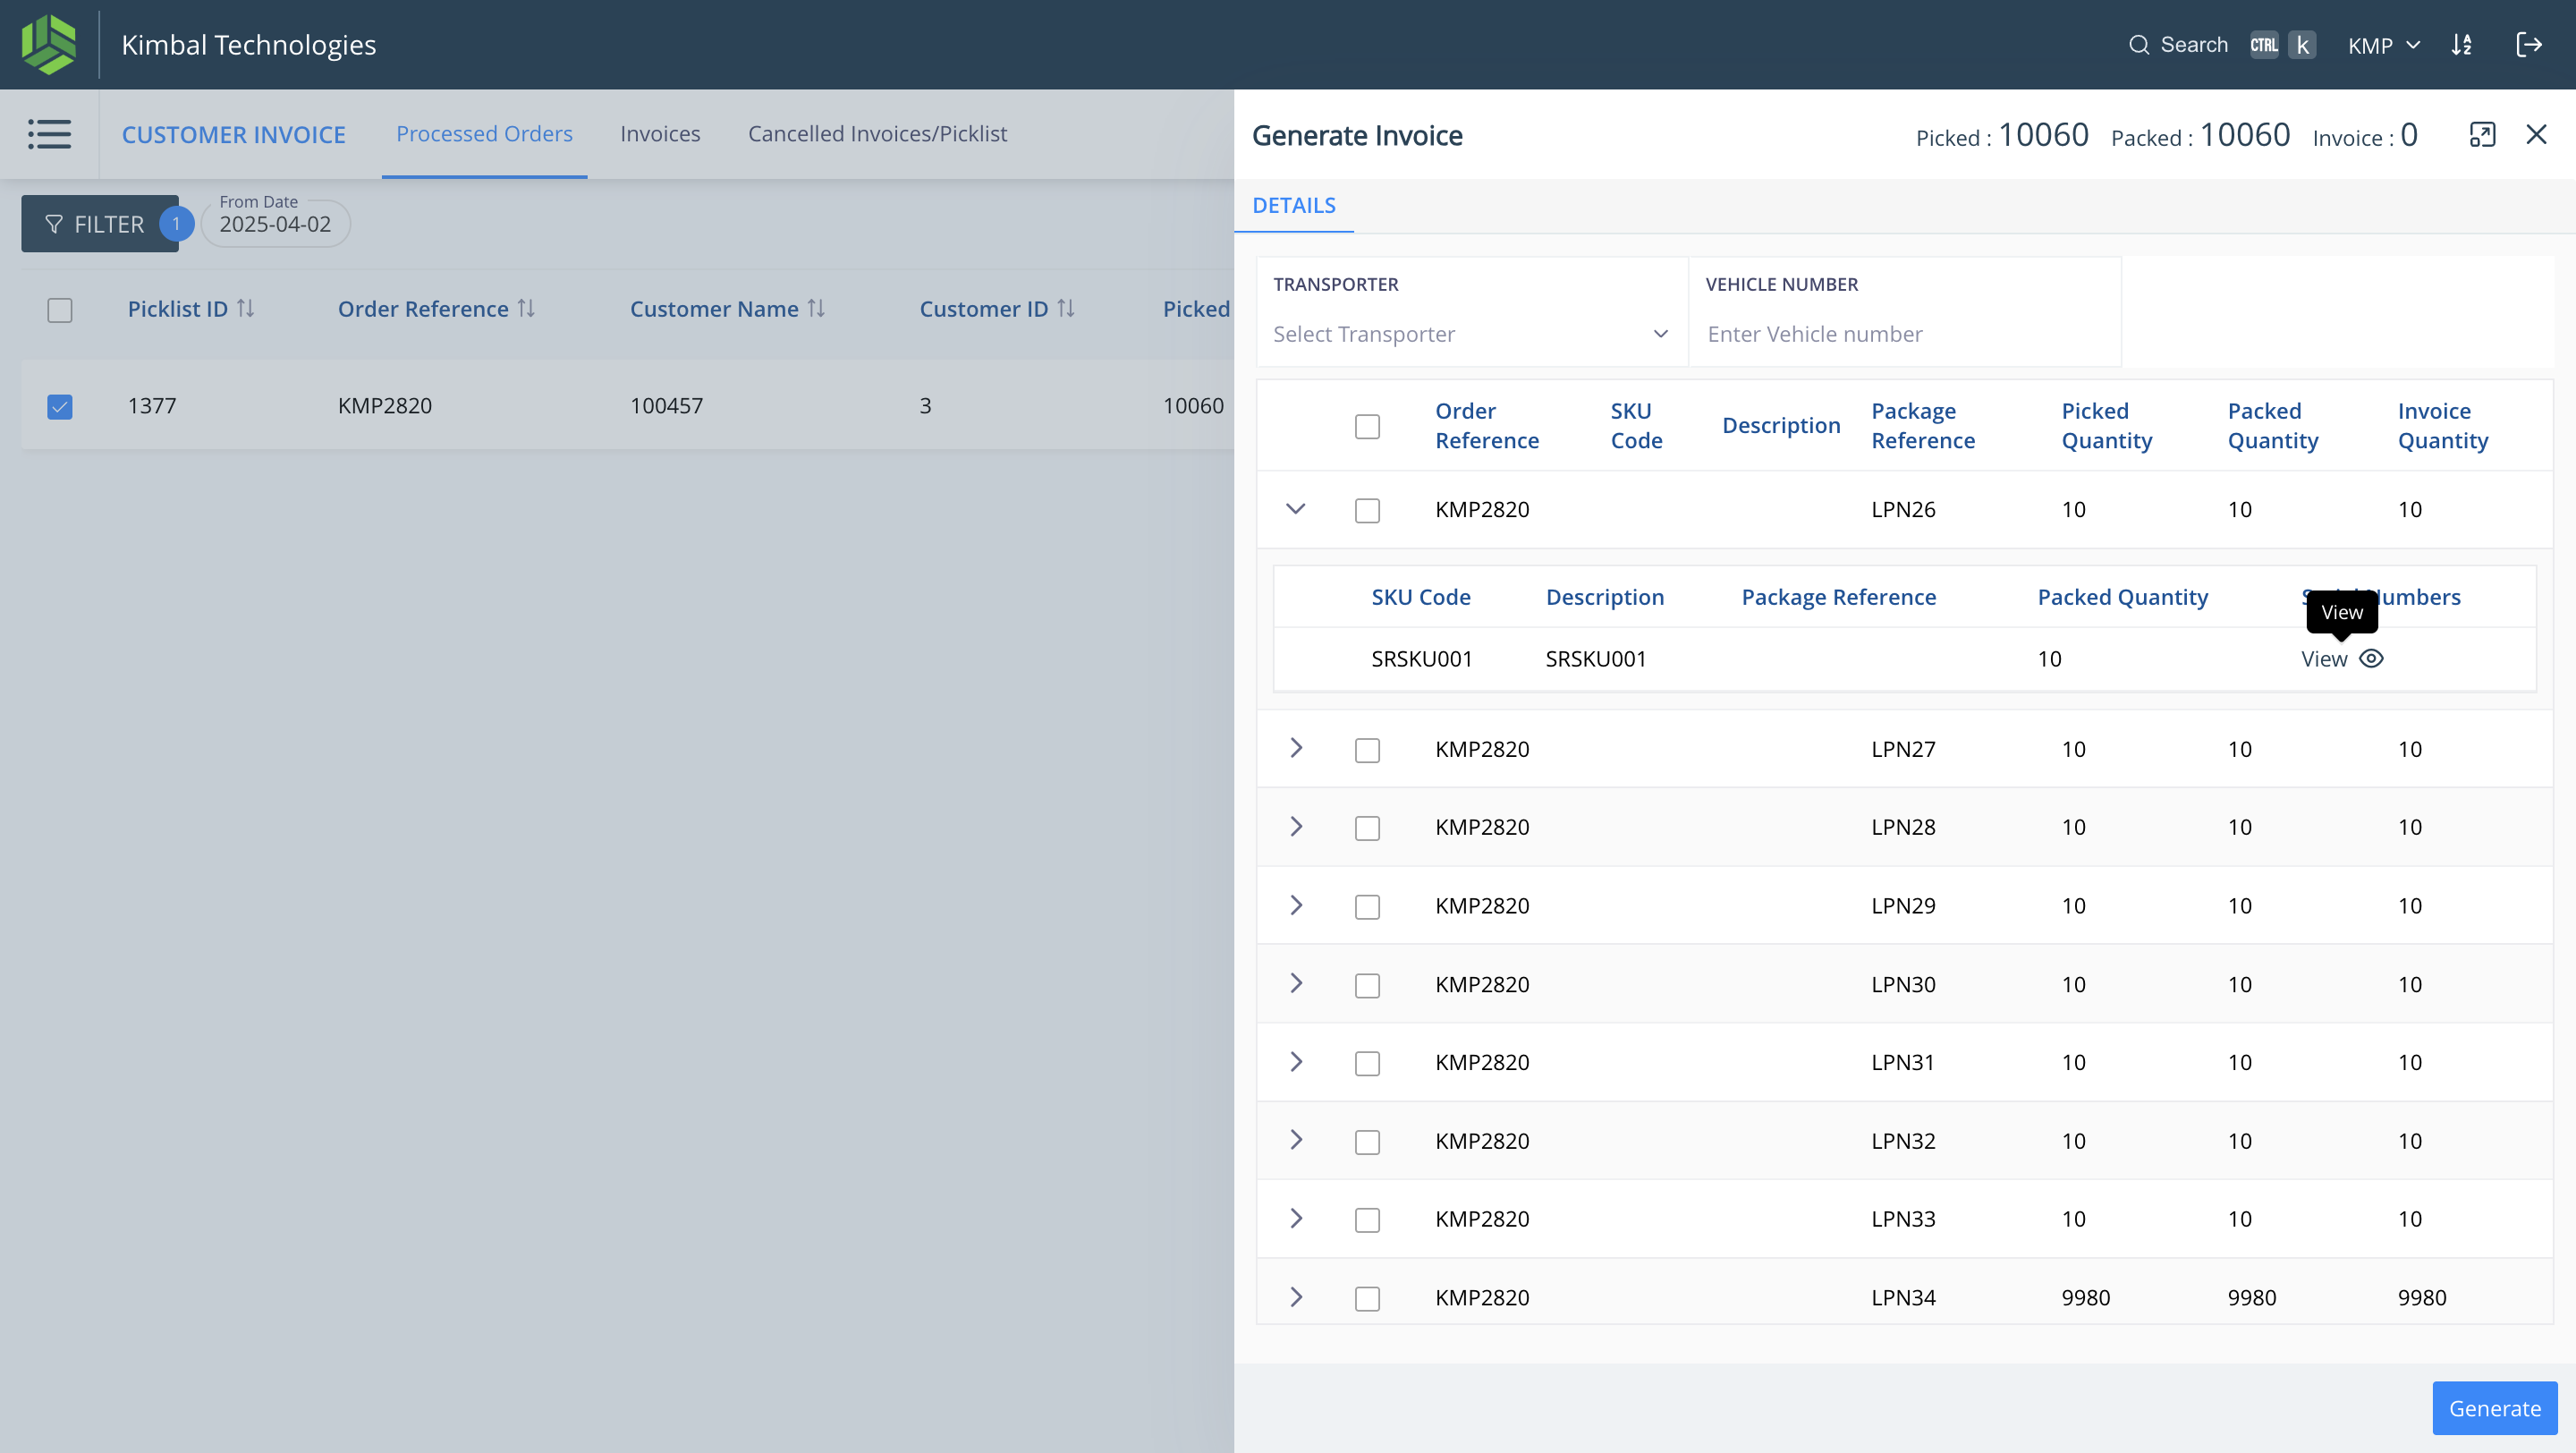
26
Click on "View" to see the serial numbers in the LPN.
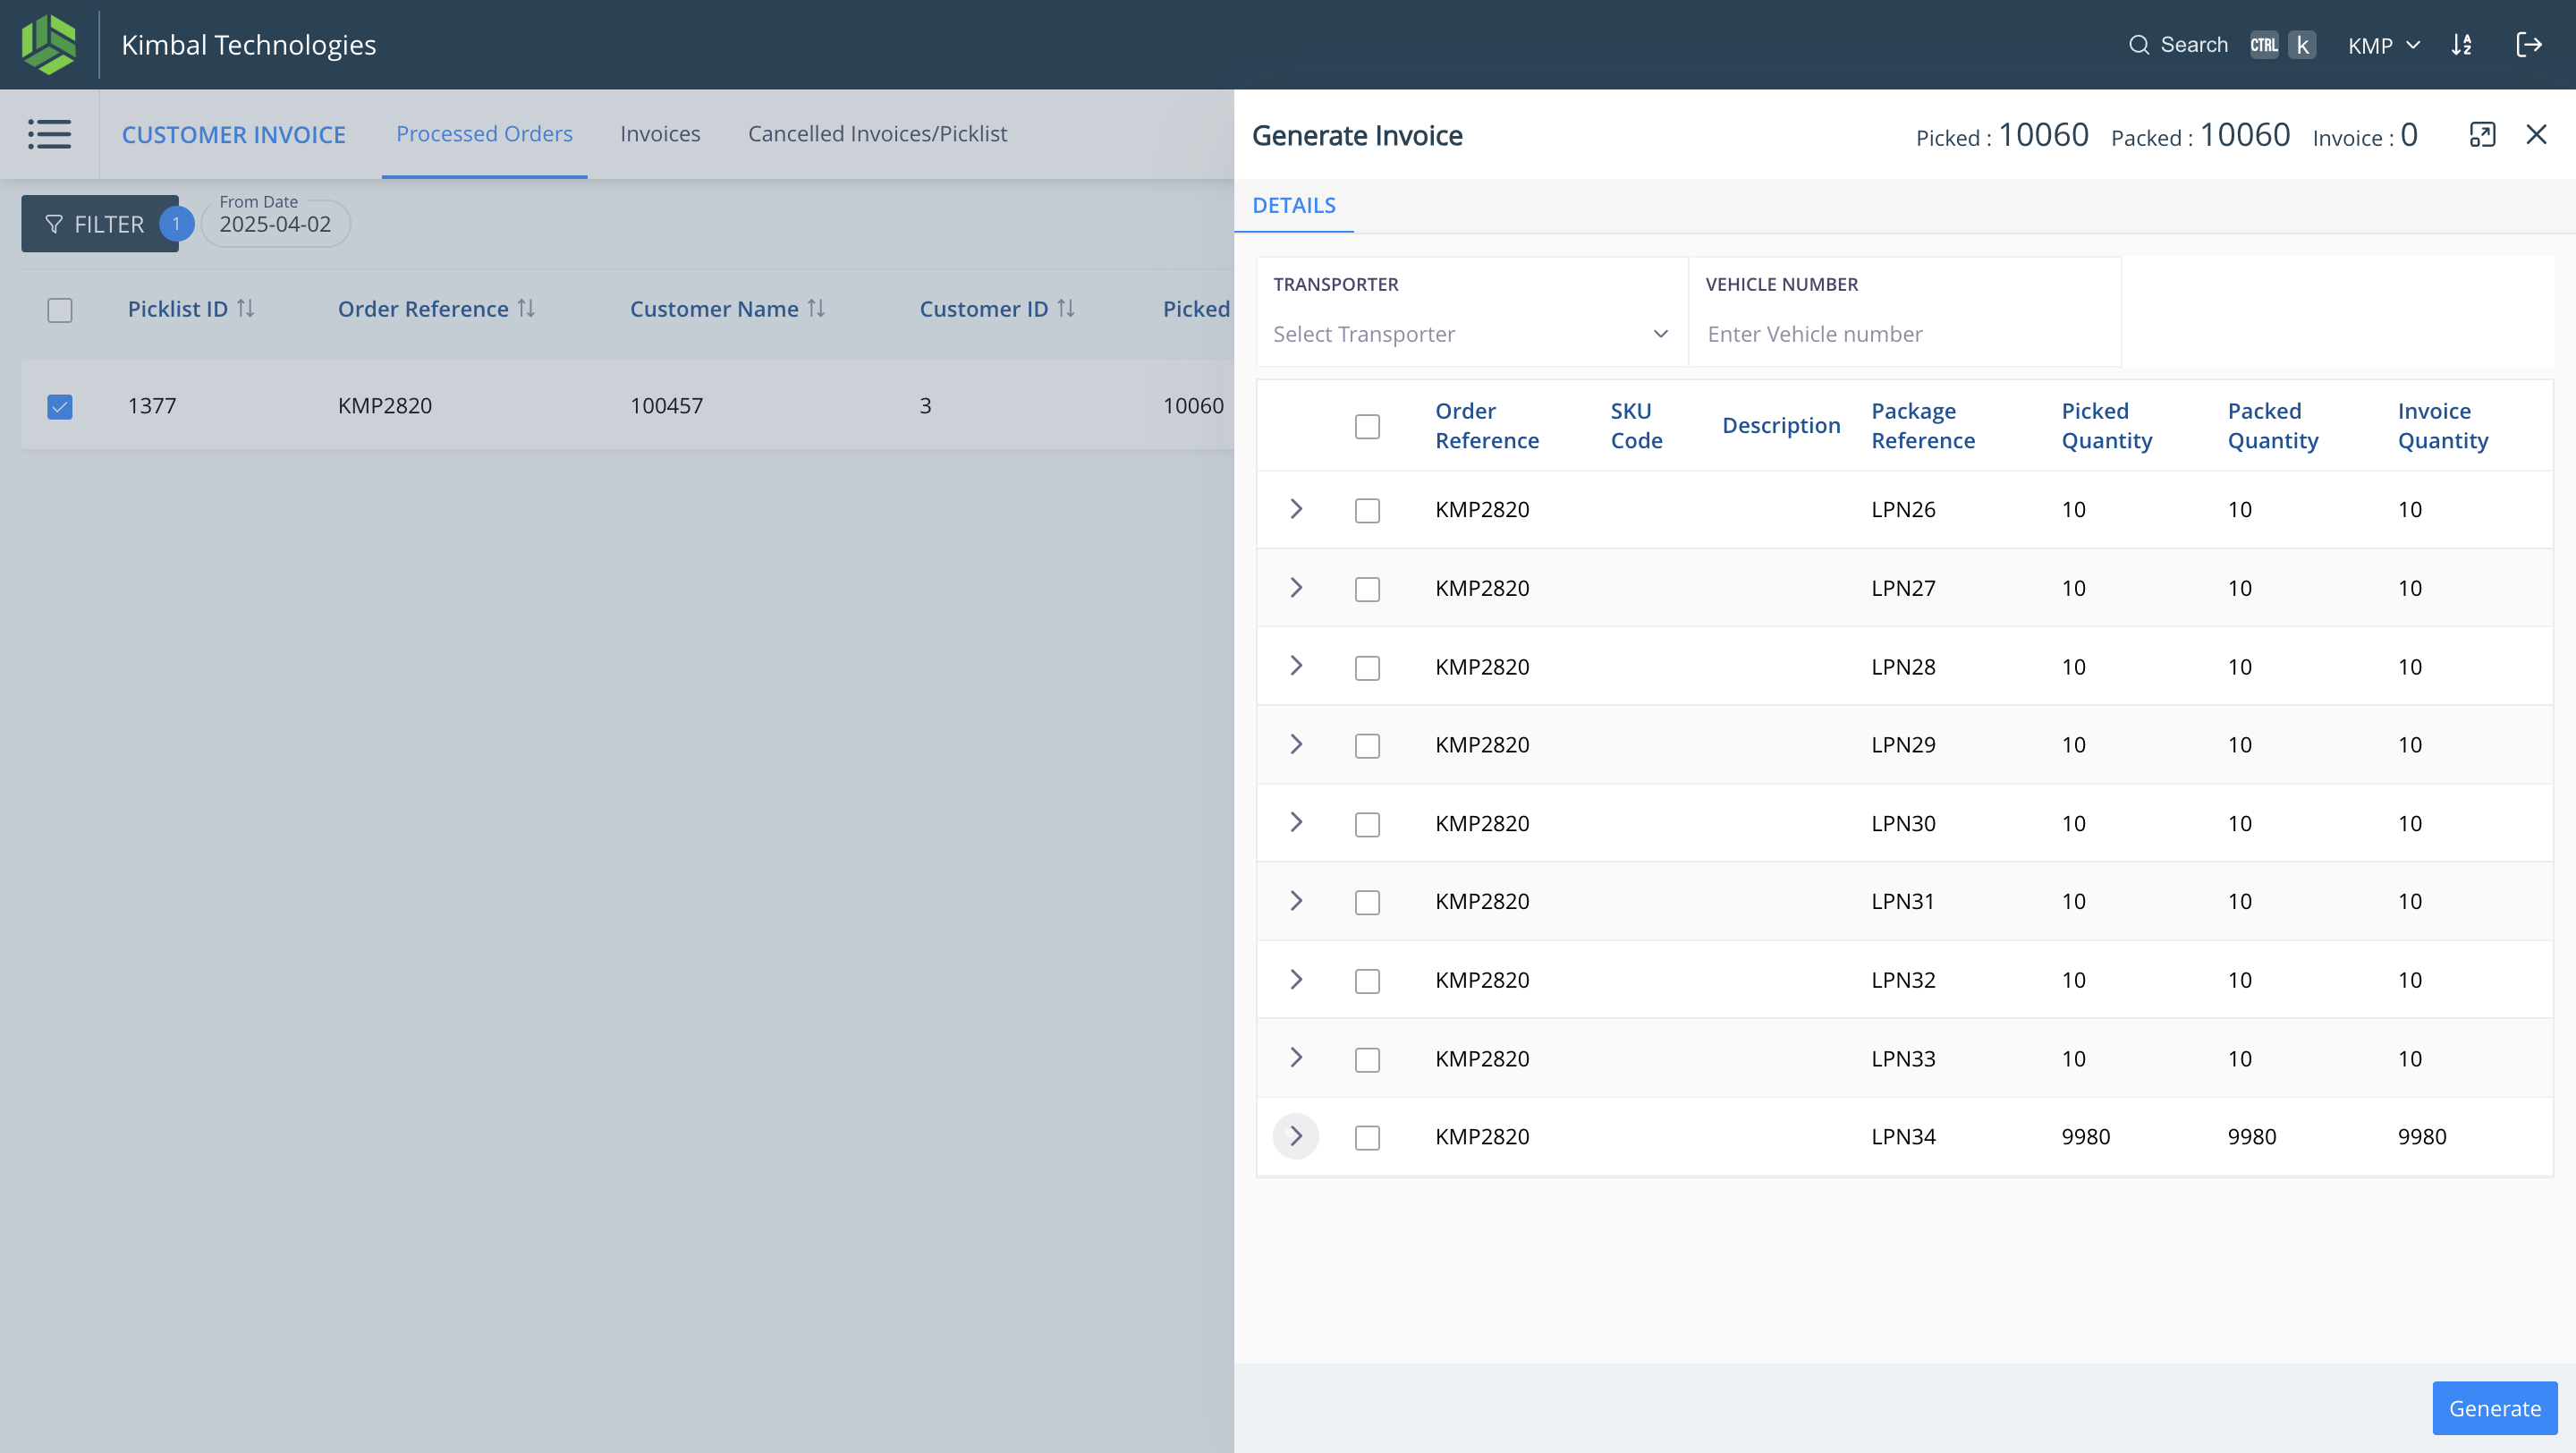
27
Click here on a package to see its SKU details. For Example "LPN34" which has all 3 types of SKU's picked into it.
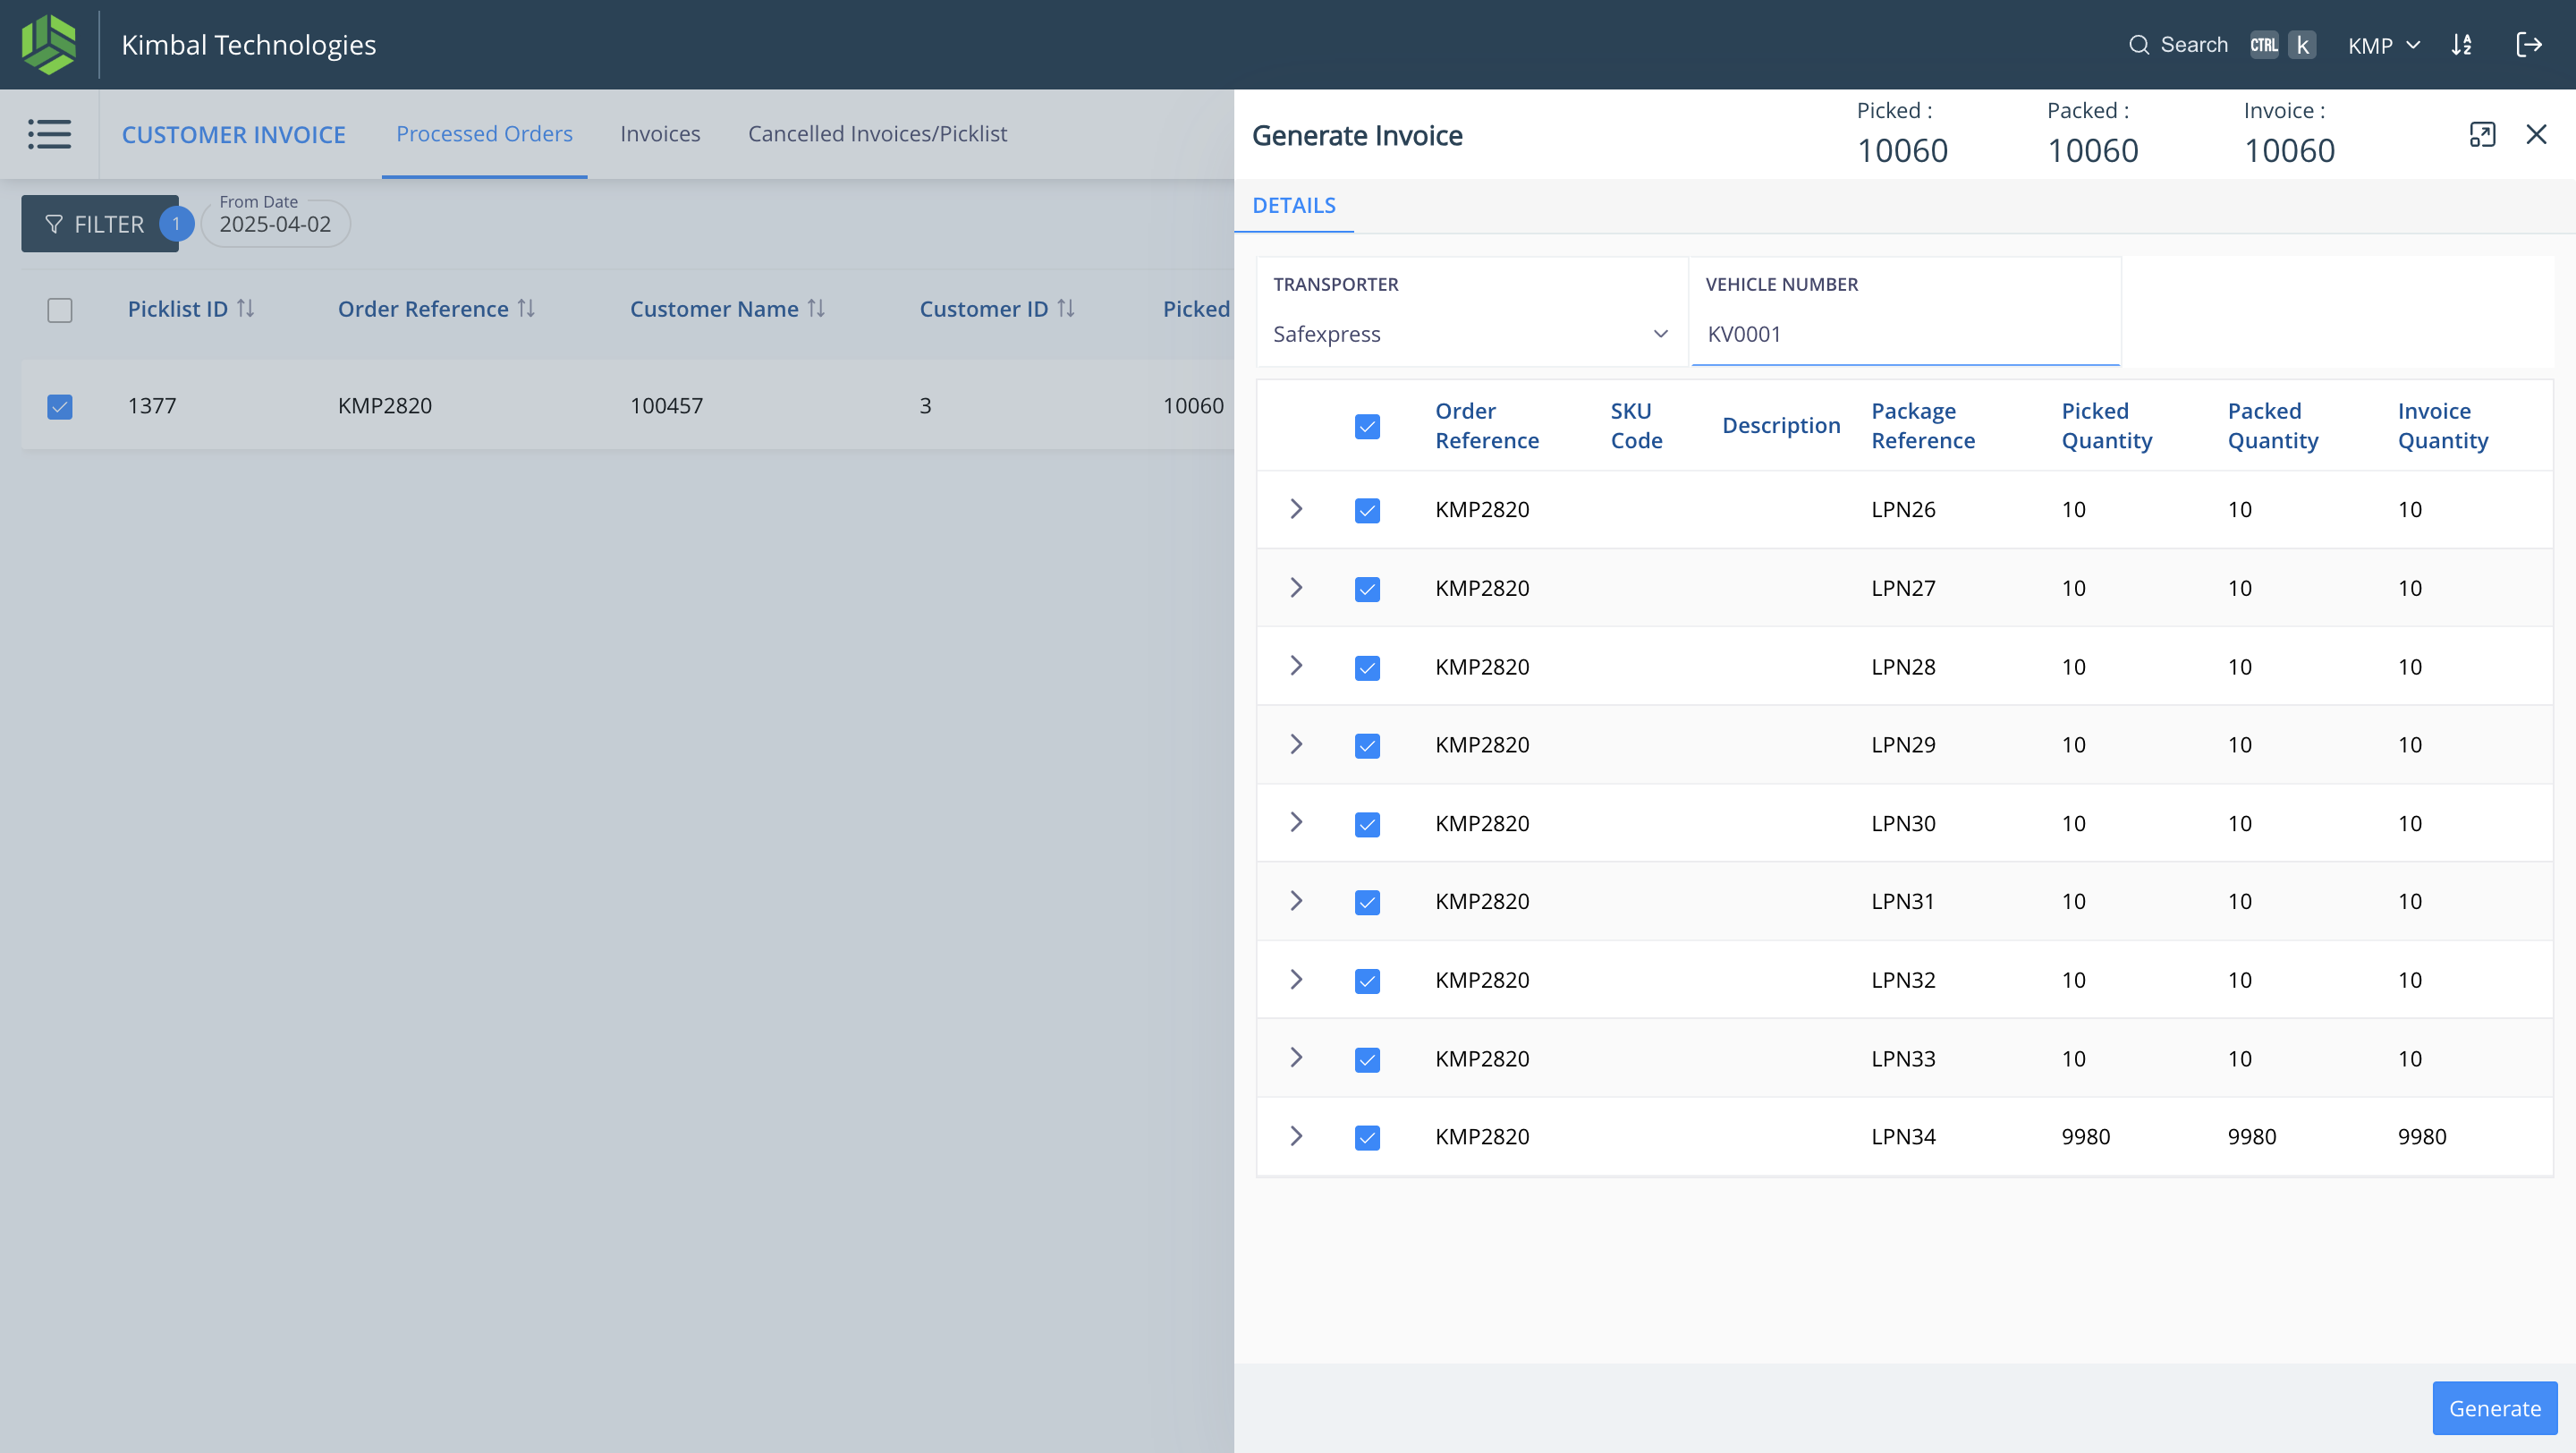
28
Select the "TRANSPORTER" and enter the "VEHICLE NUMBER".
Select all the items to be invoiced and click on "Generate".
Select all the items to be invoiced and click on "Generate".
29
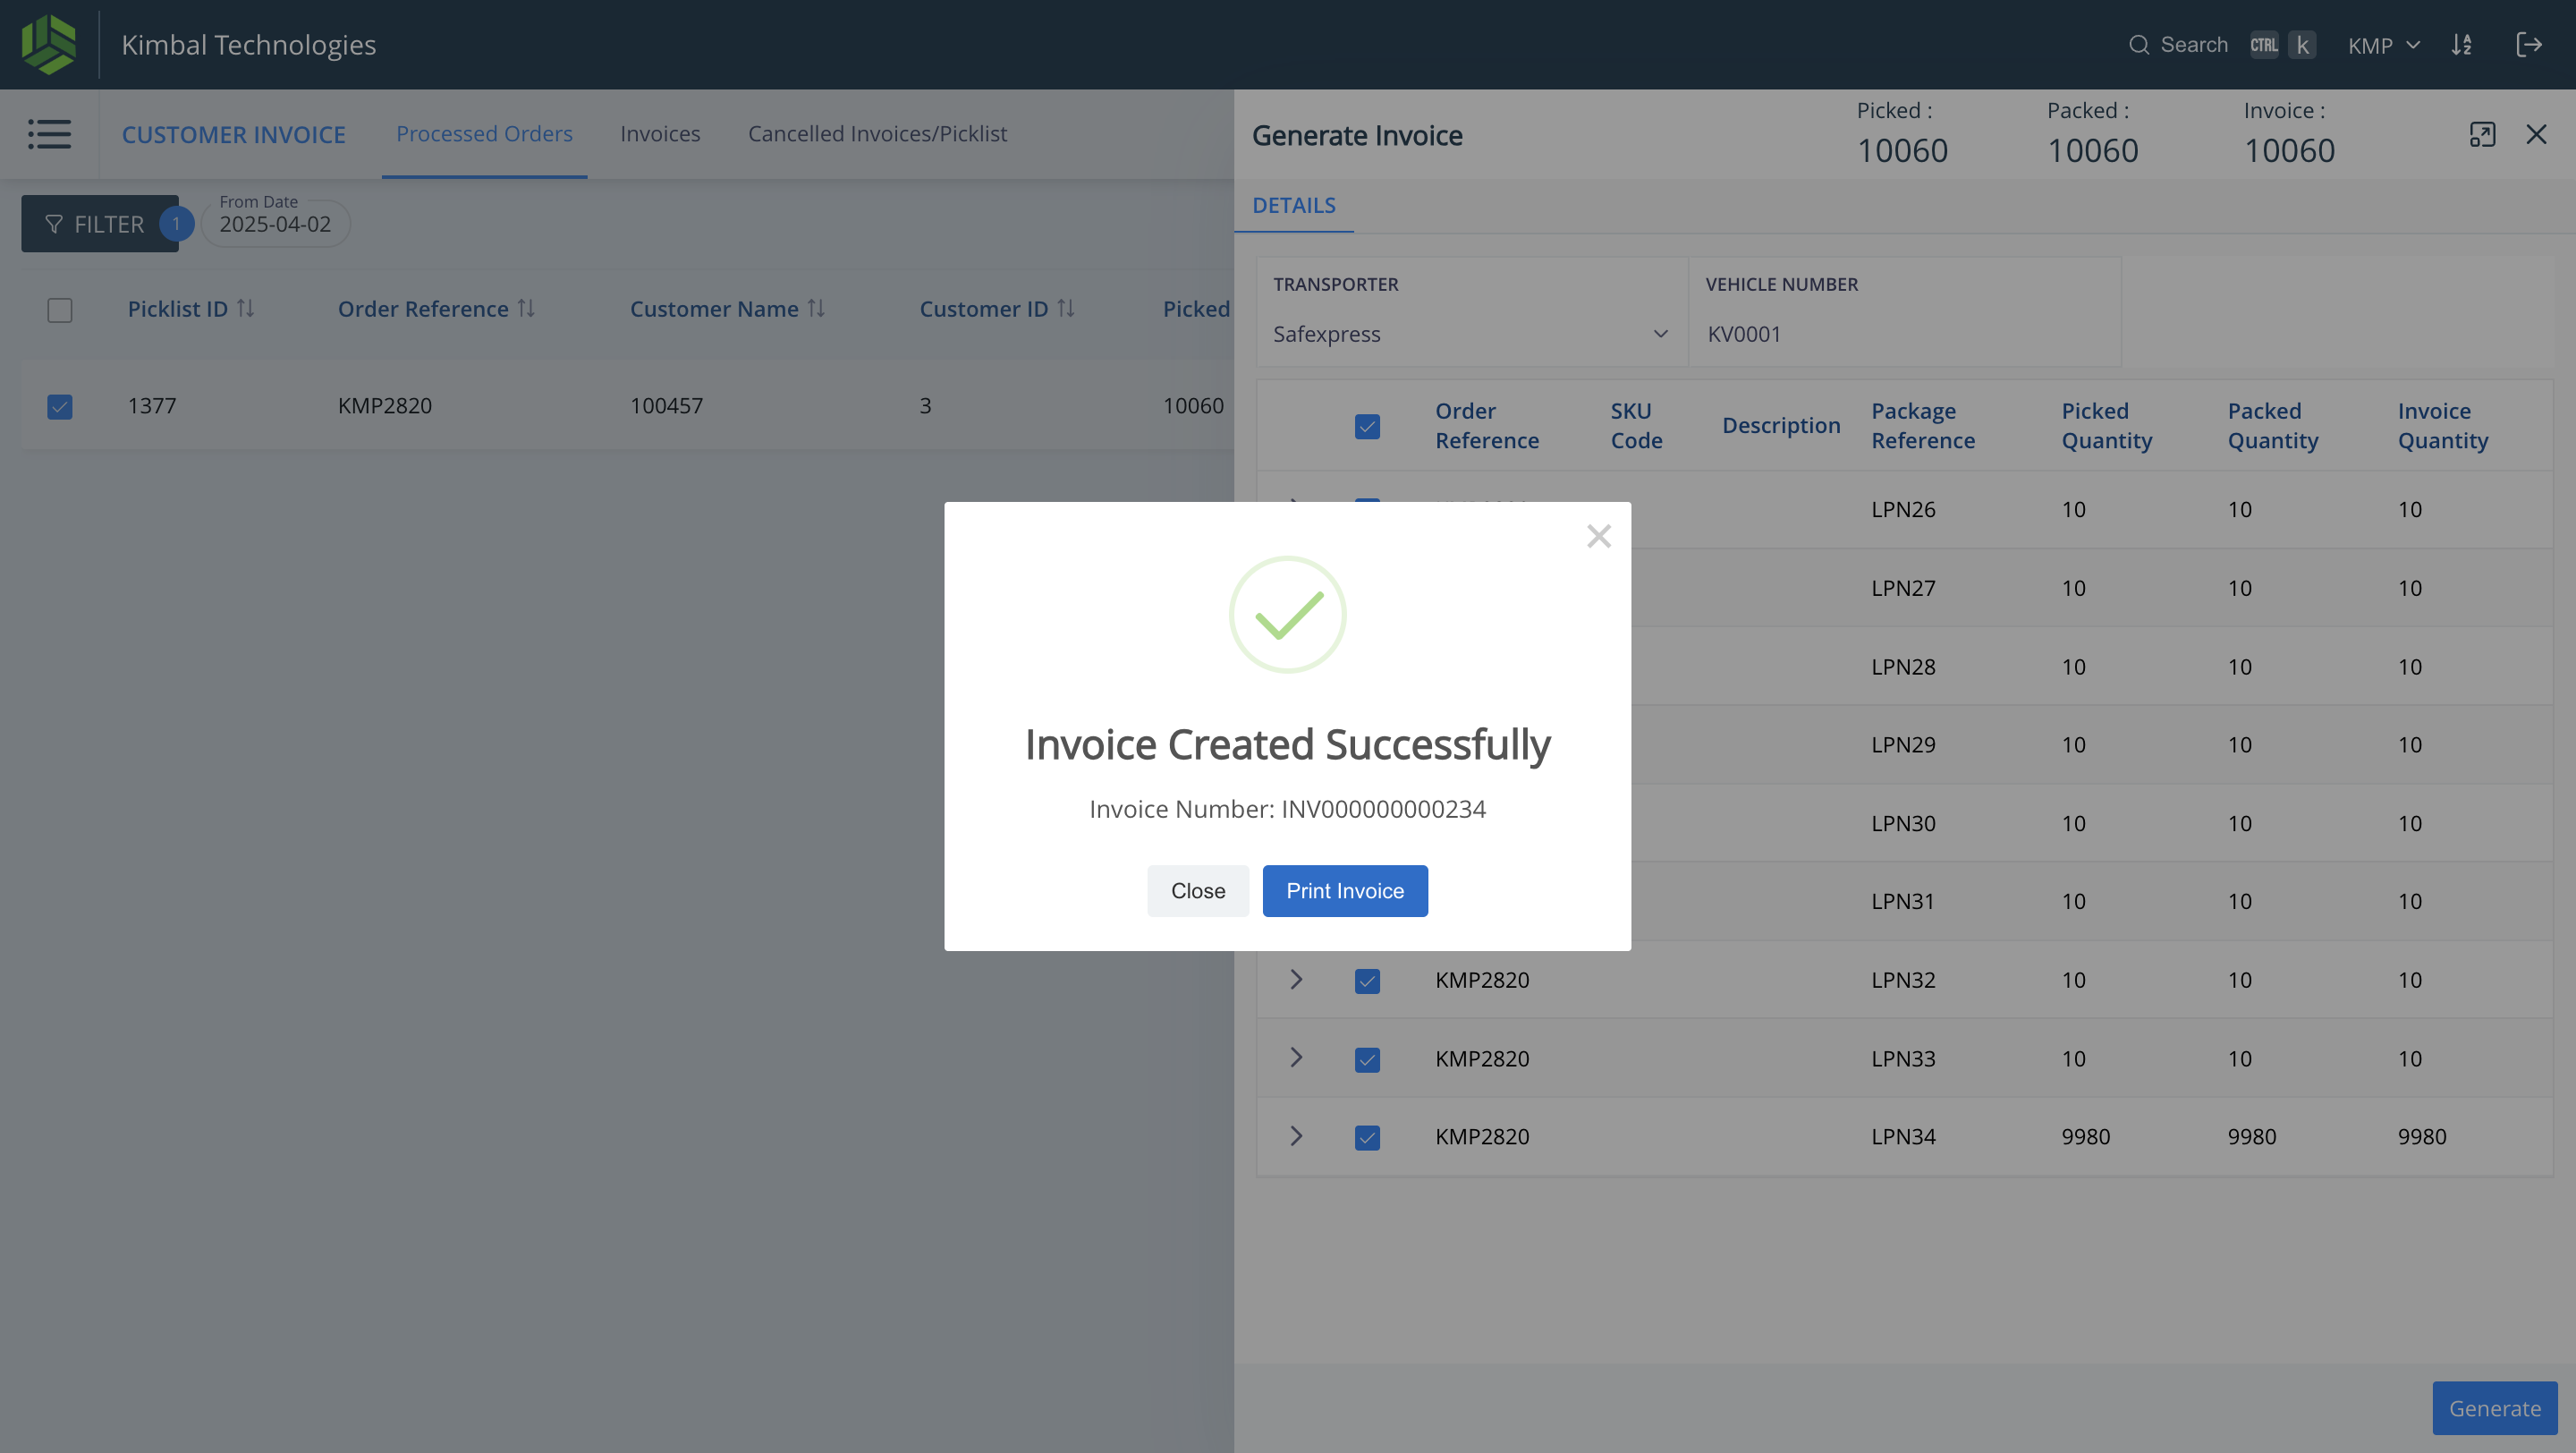
Click on "Print Invoice" - Invoice is created with Invoice ID - "INV000000000234"
30
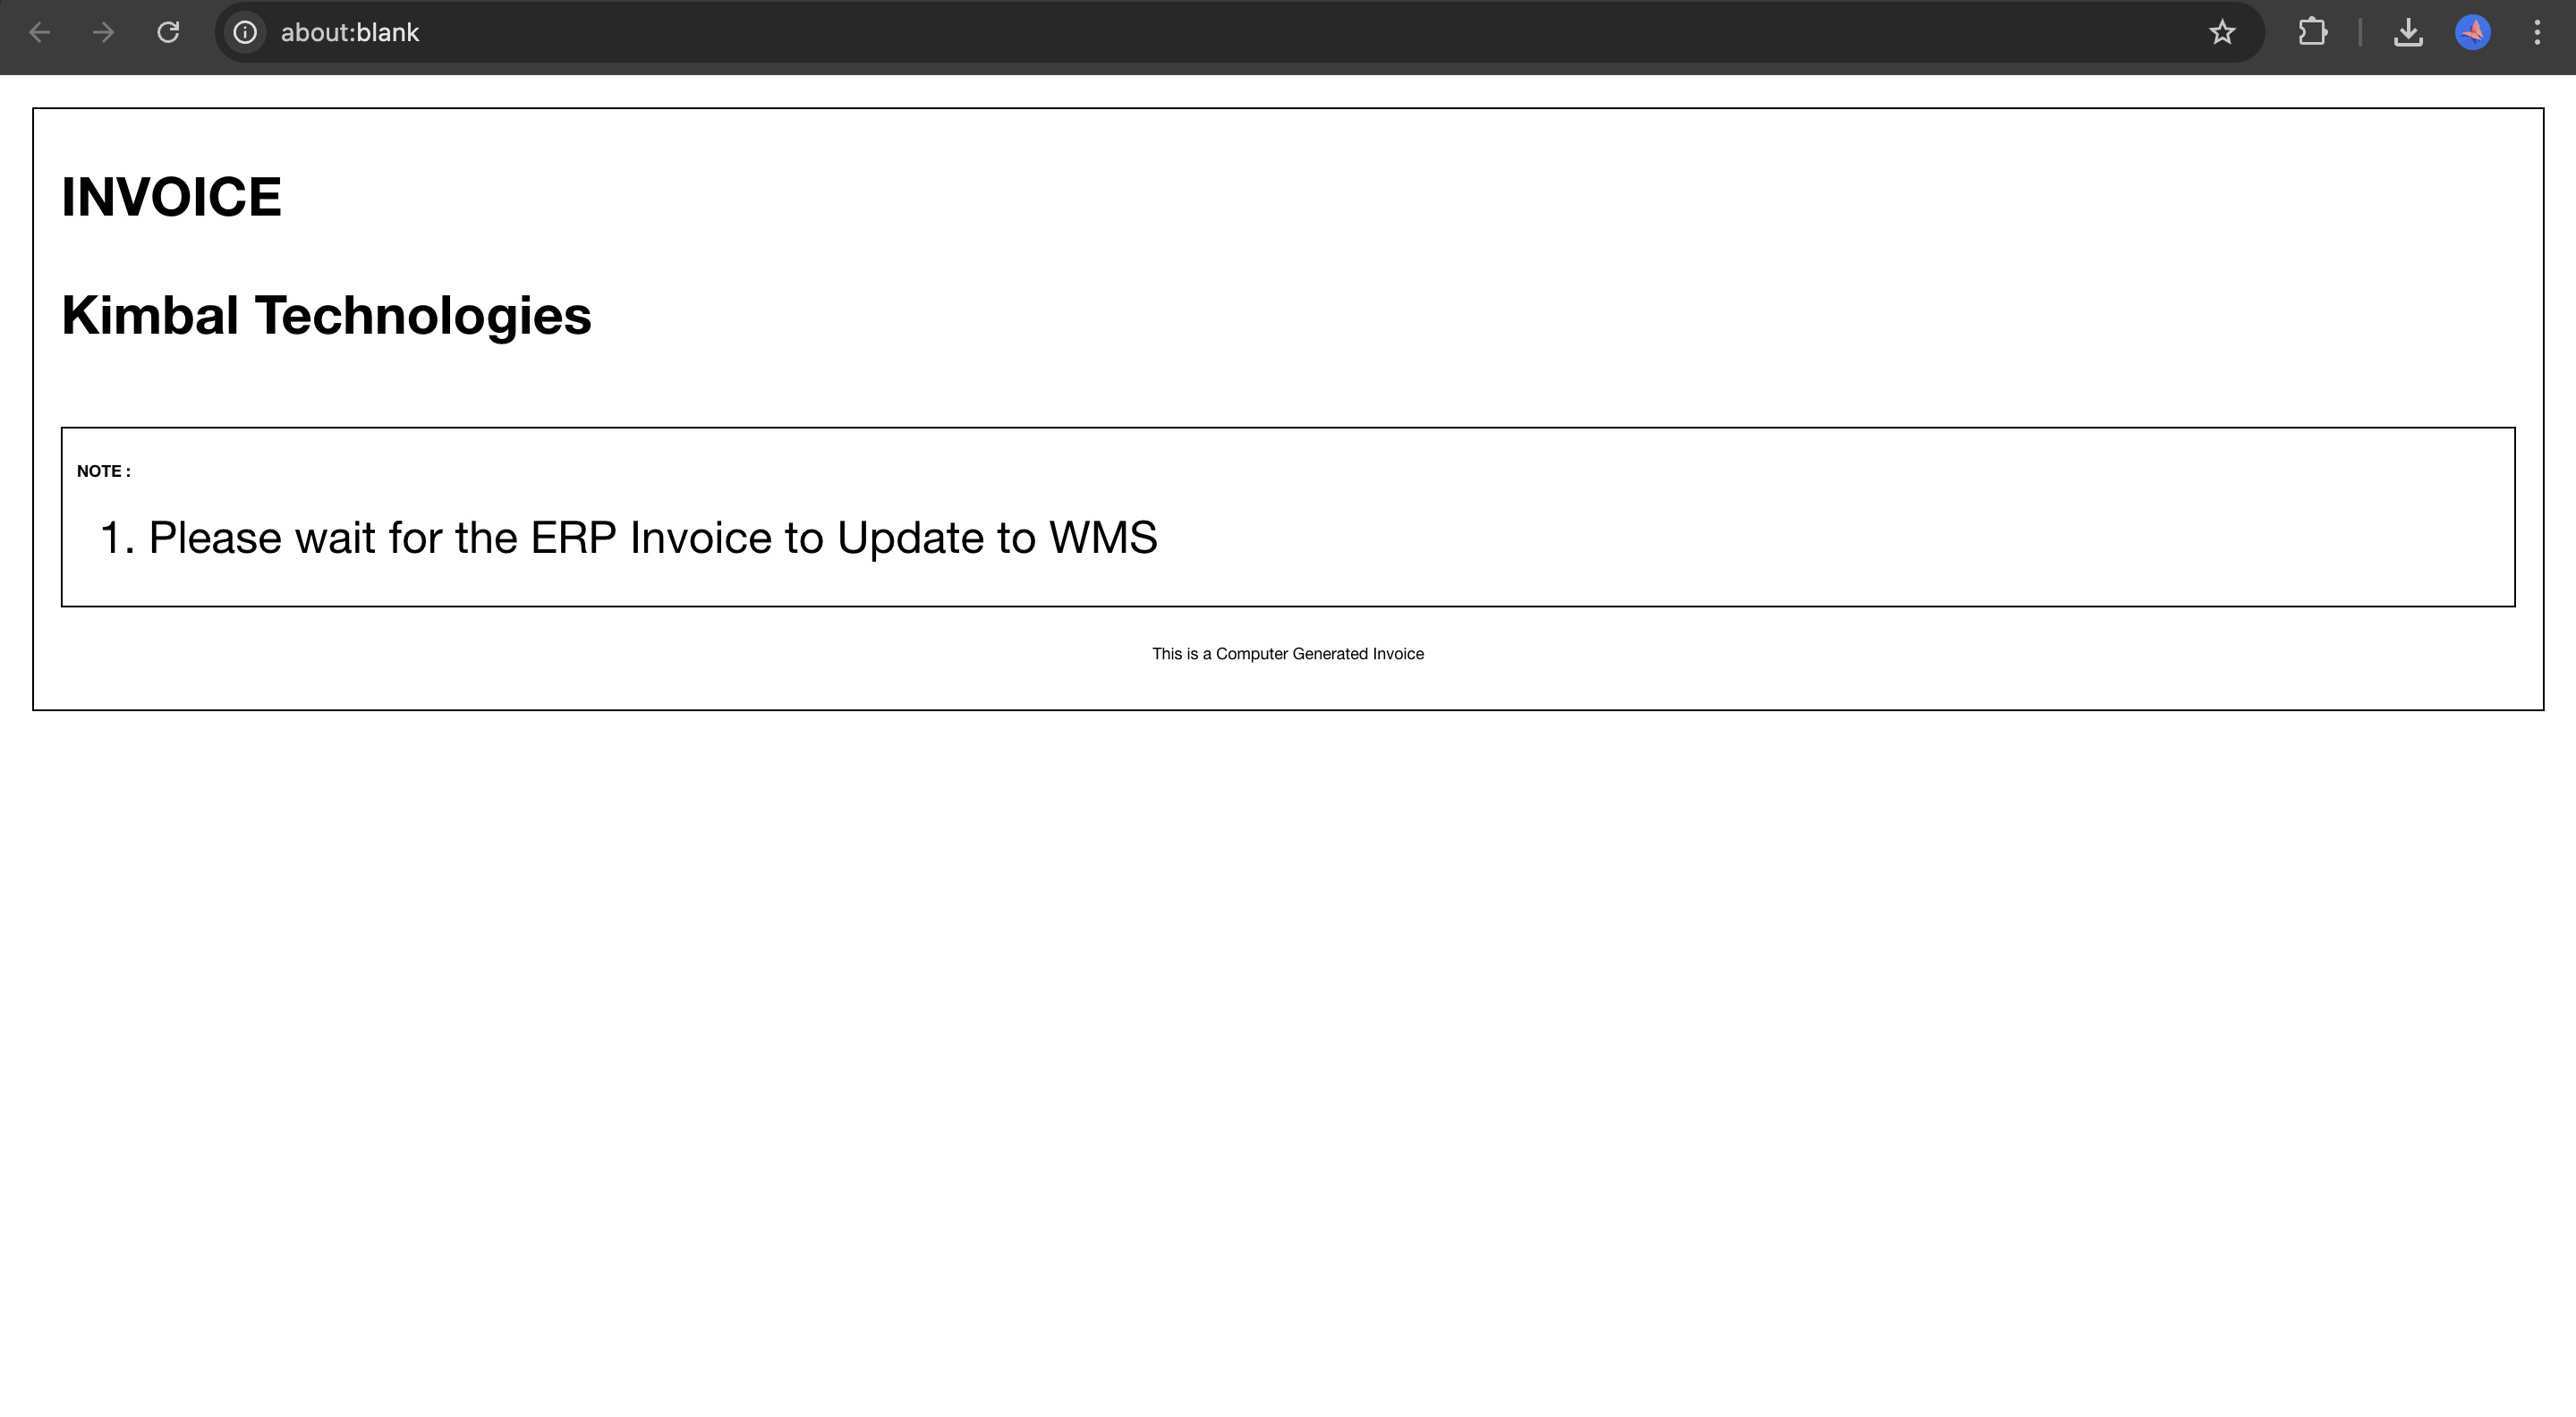
Once the ERP Invoice updates the Invoice ID and sends to WMS, we can see updated Invoice ID at Invoices Tab.
The Invoice ID is updated from "INV000000000234" to "DC201" by ERP.
31
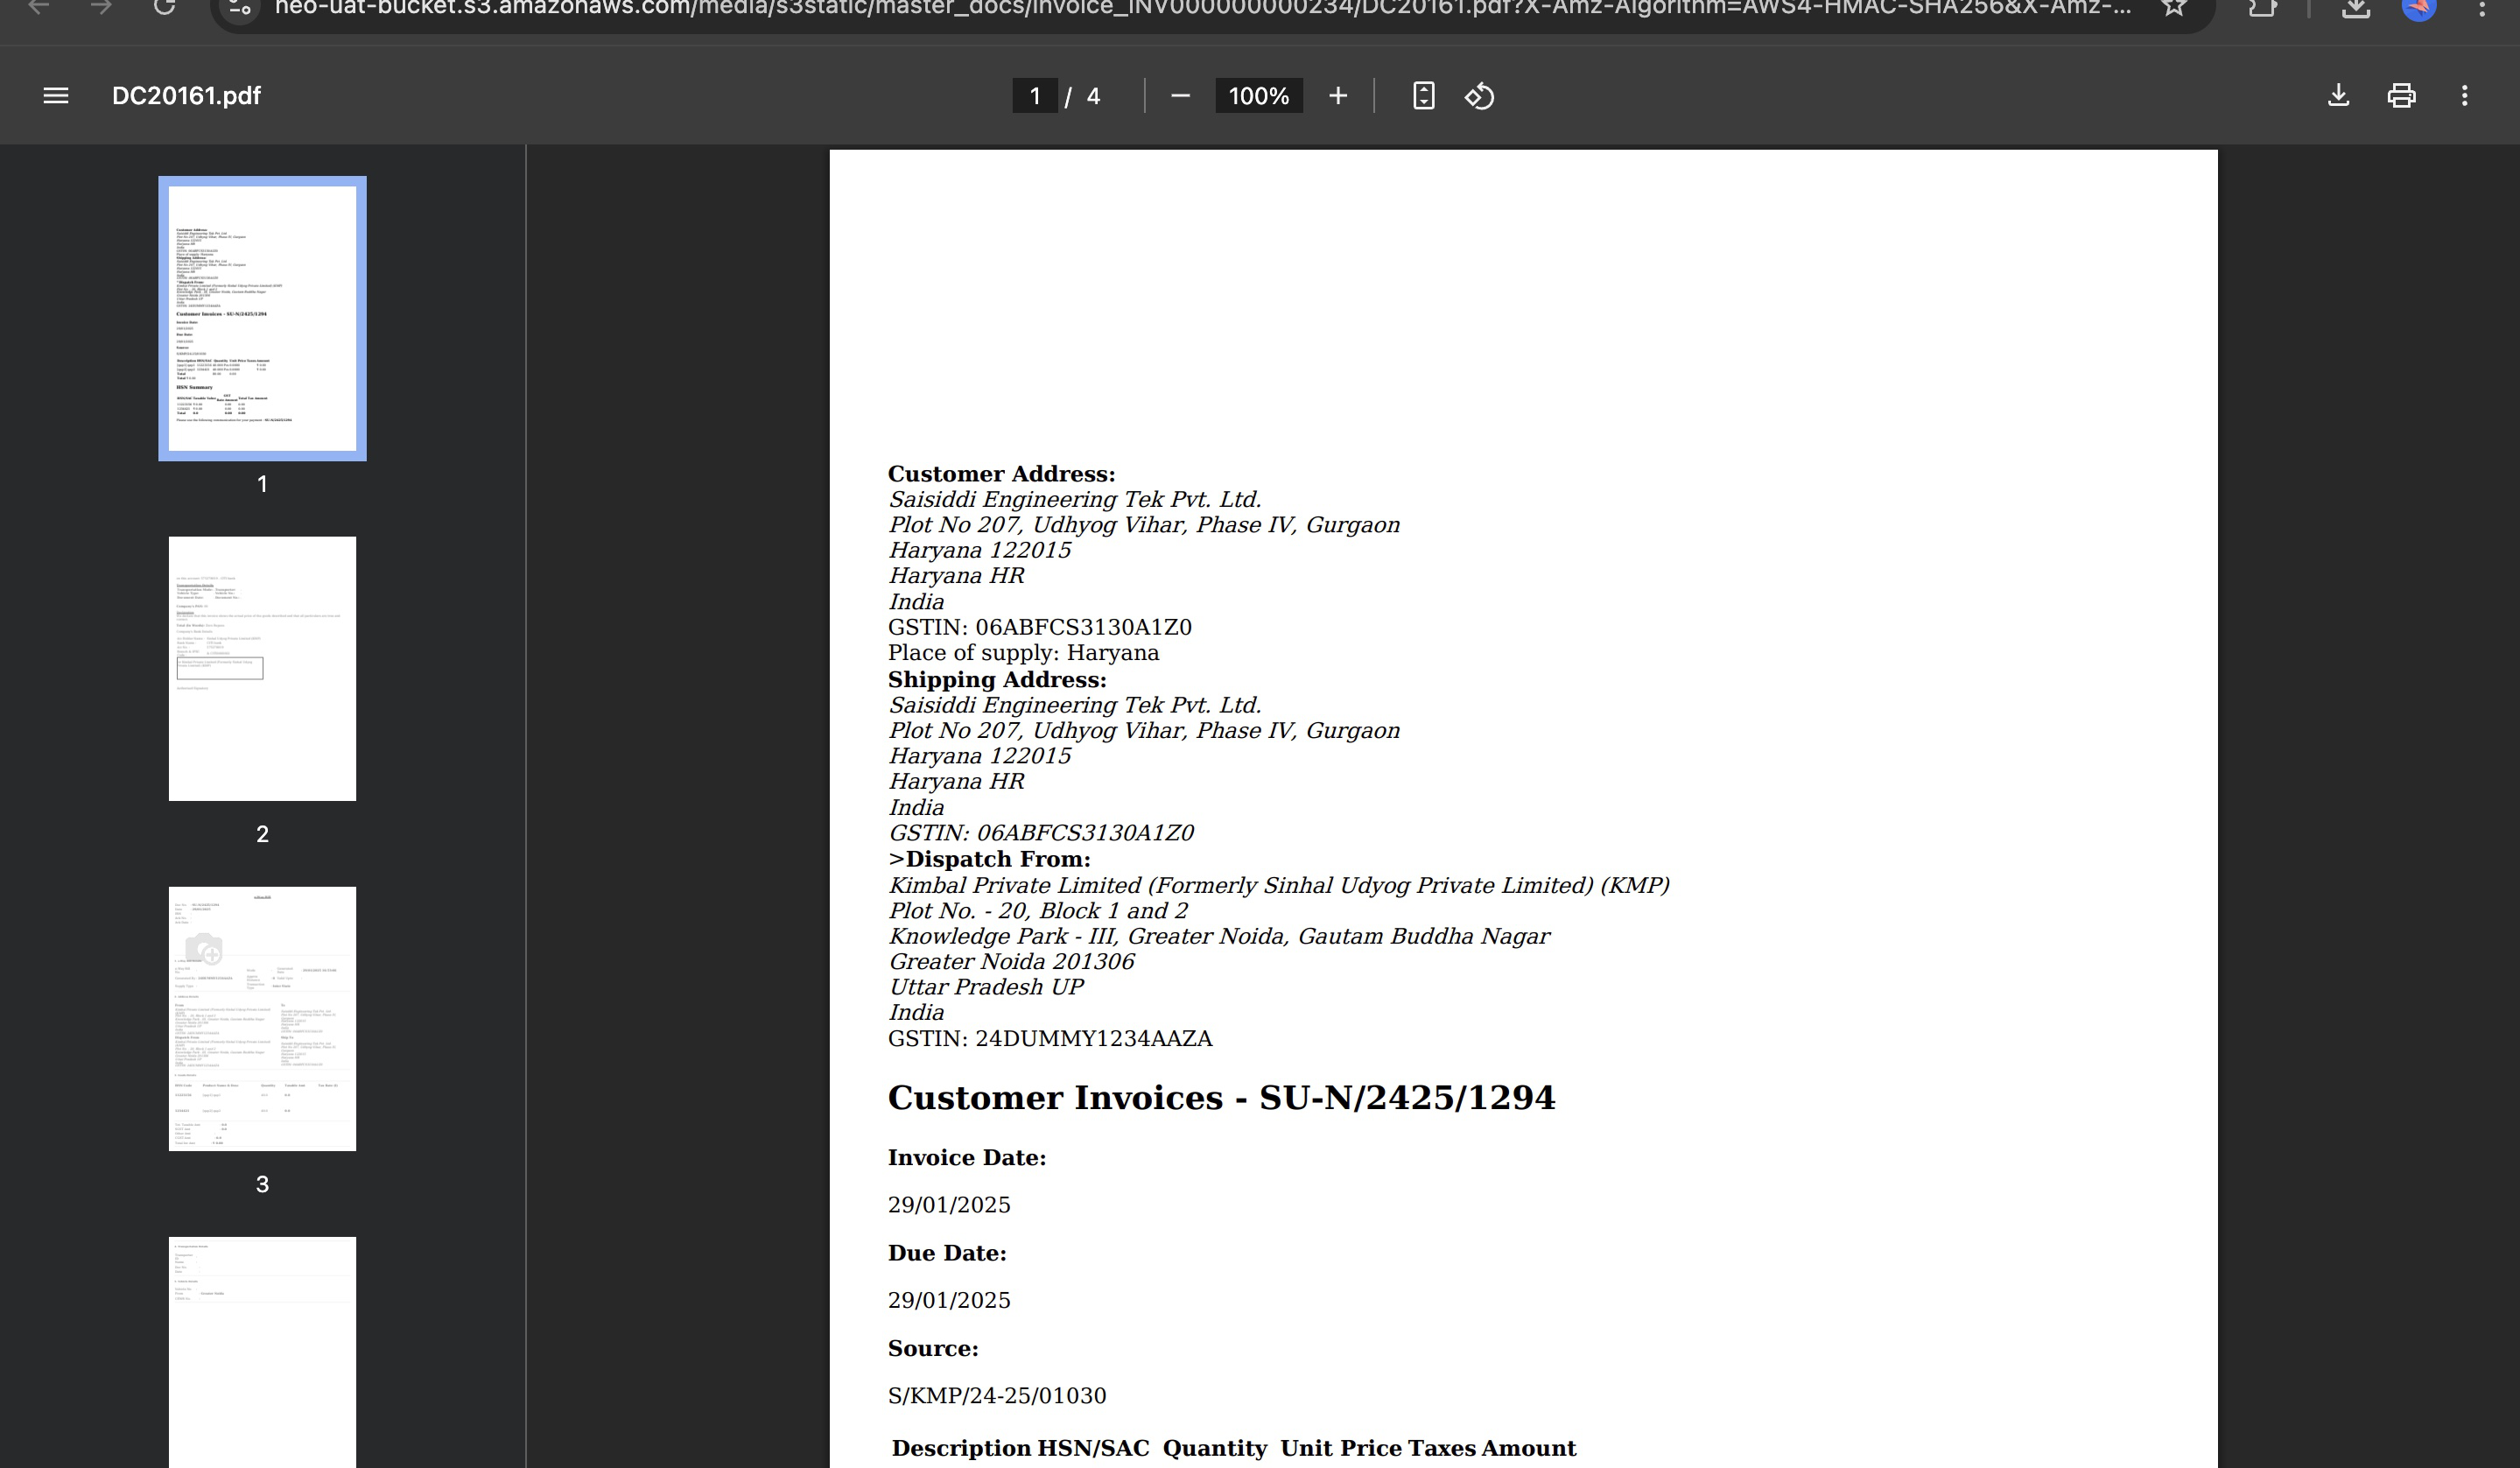
Click on Print Invoice - after this updation of Invoice ID from ERP.
We can see customized Invoice being printed.
We can see customized Invoice being printed.
32
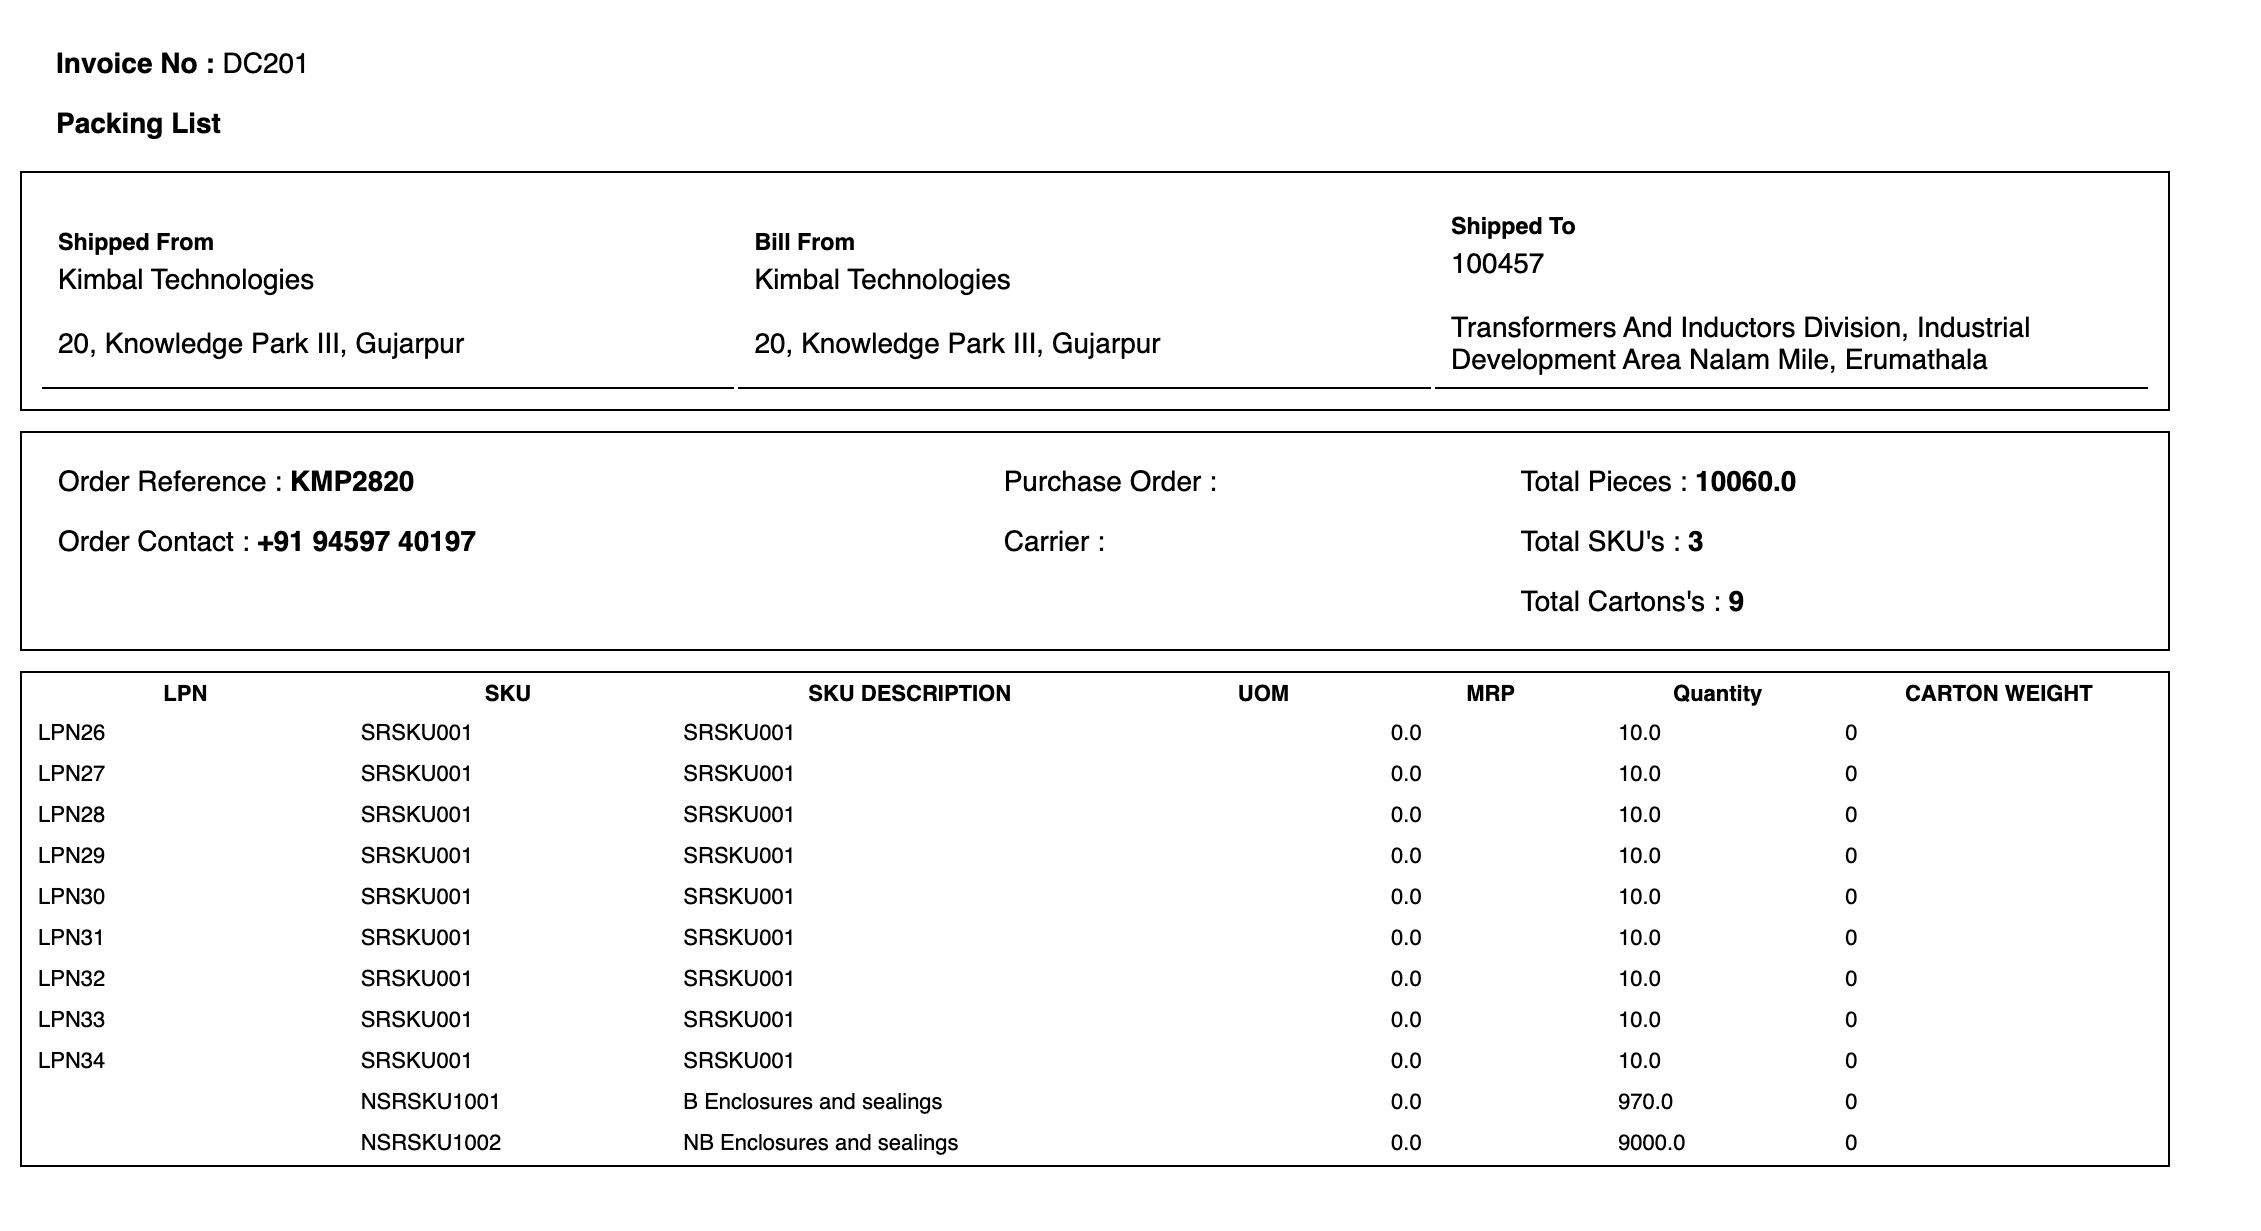
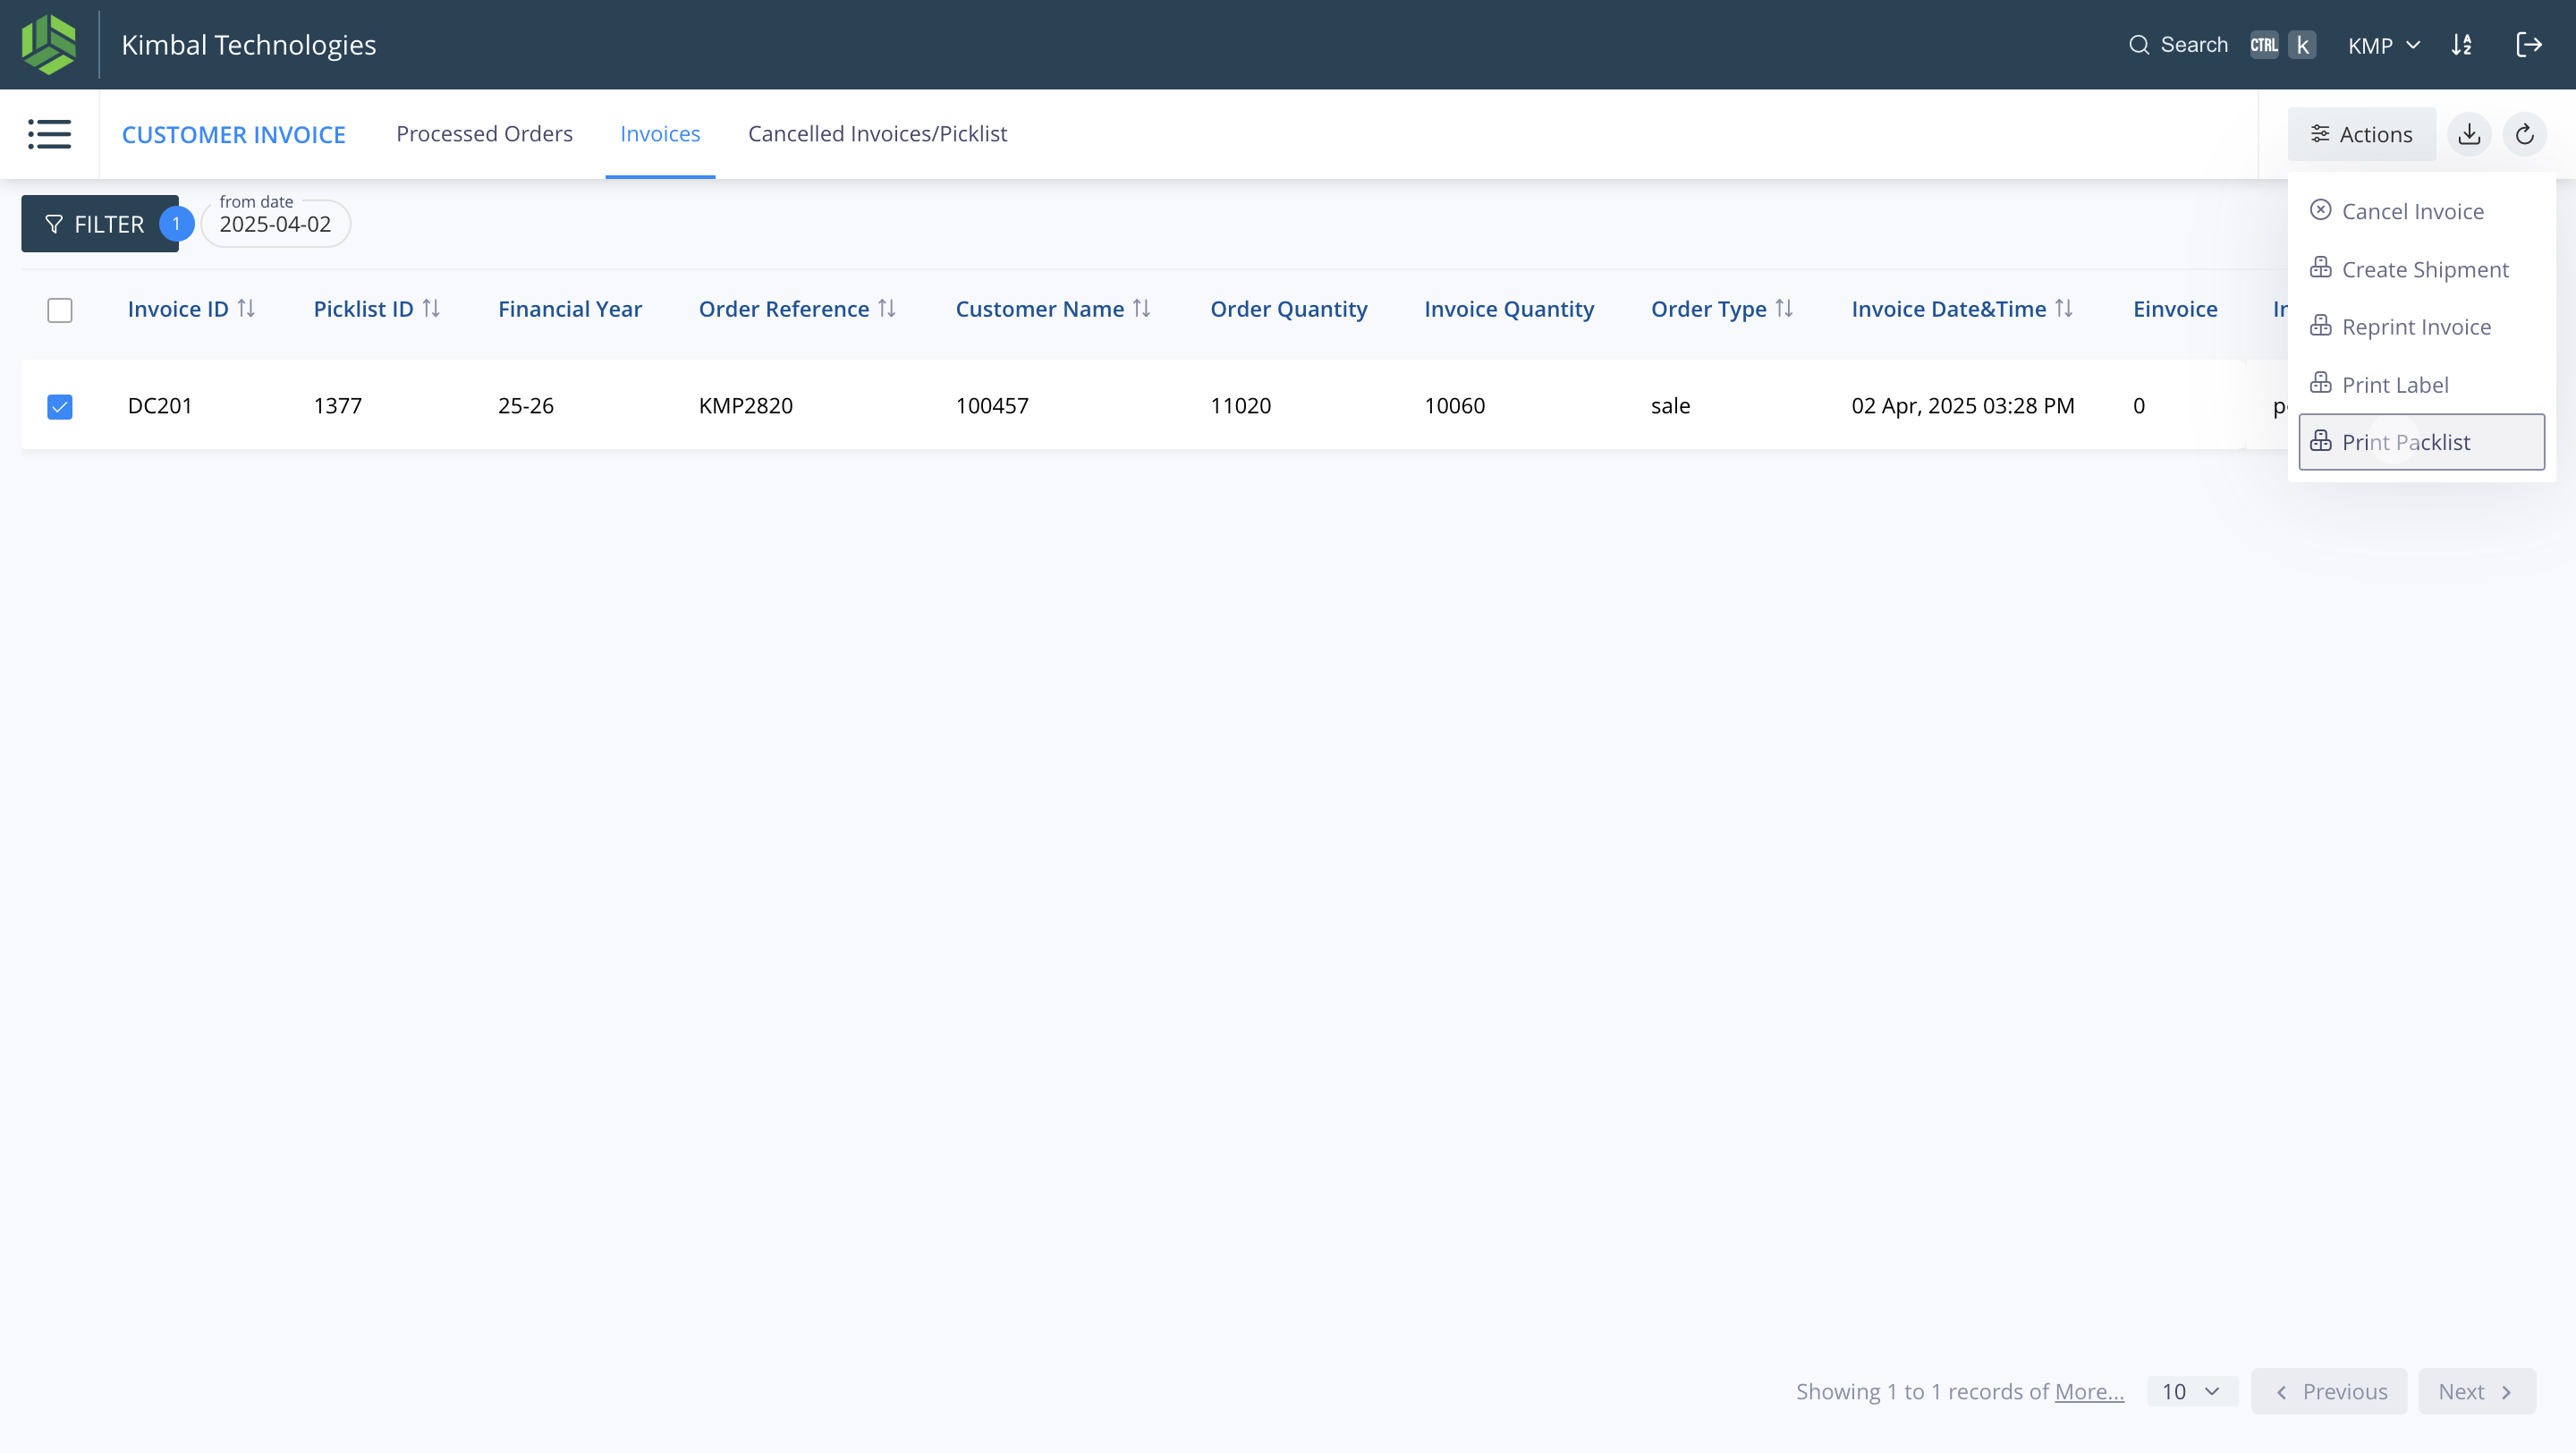
Click on "Print Packlist"
33
Packlist
