
How to Set up the Printed Newsletter each Month
This is a step-by-step guide for Firefox
By Gareth
This article will demonstrate how to download the latest printed newsletter from The Tech Tribe and customize it in Canva, then send it to Jennifer to be sent to ARMailing Services.
1
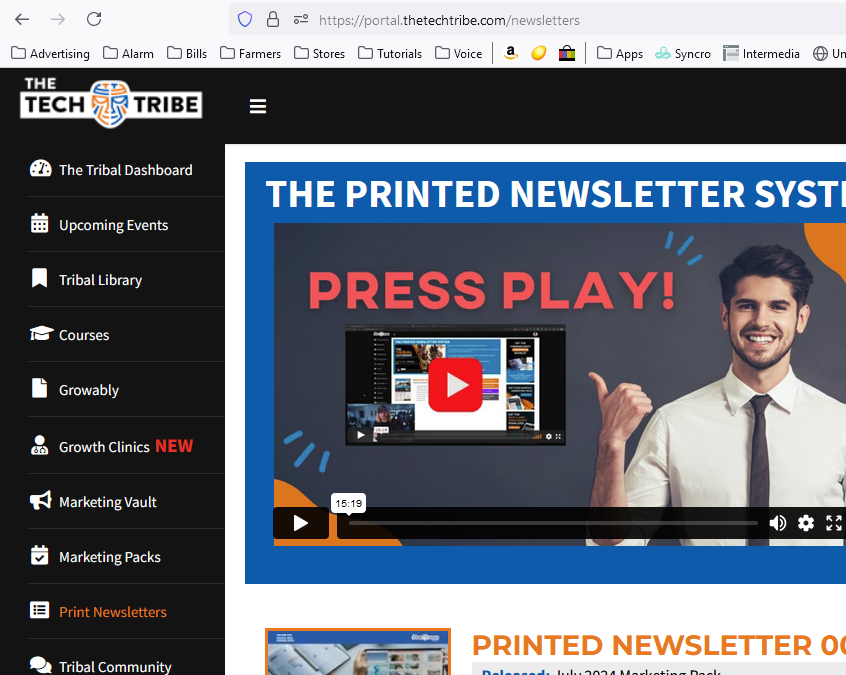
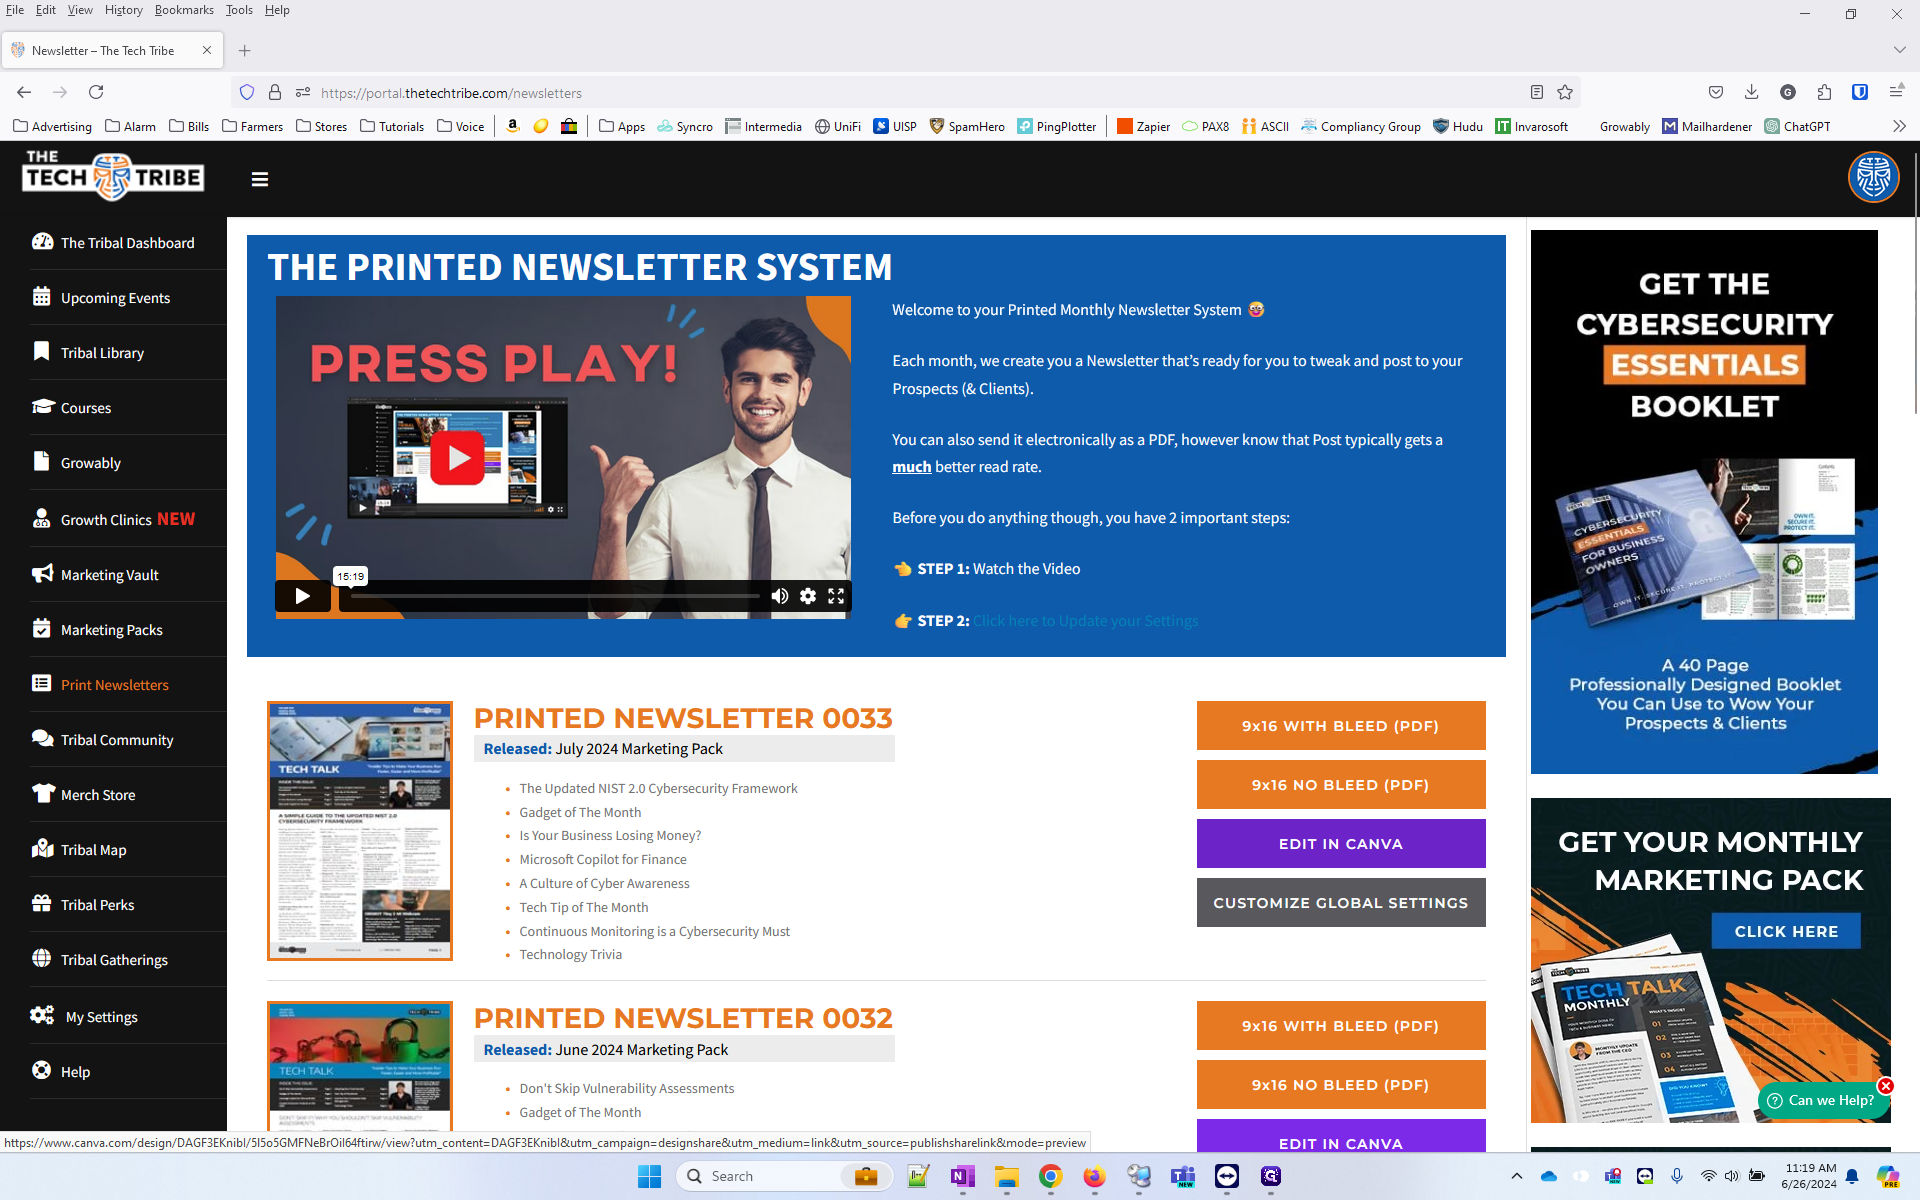
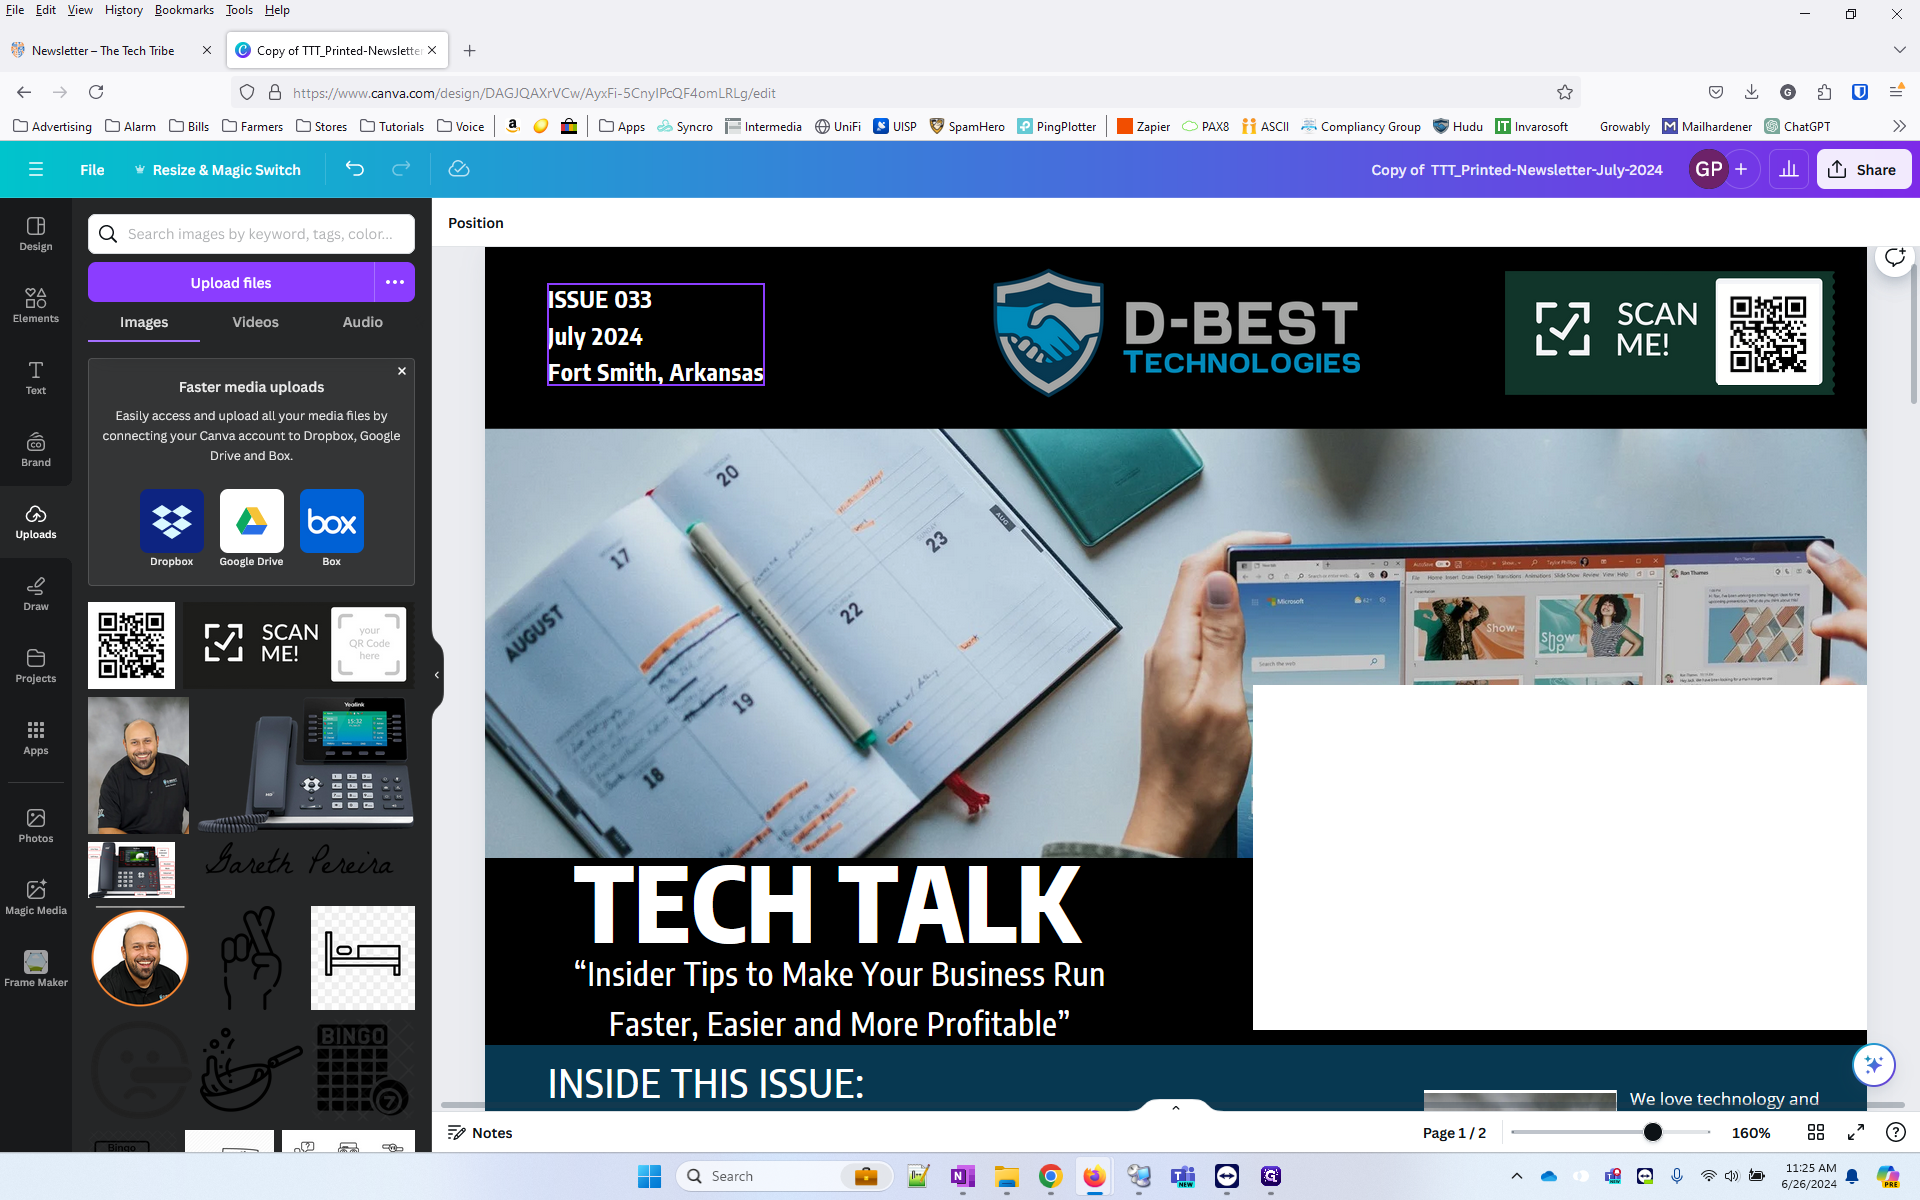
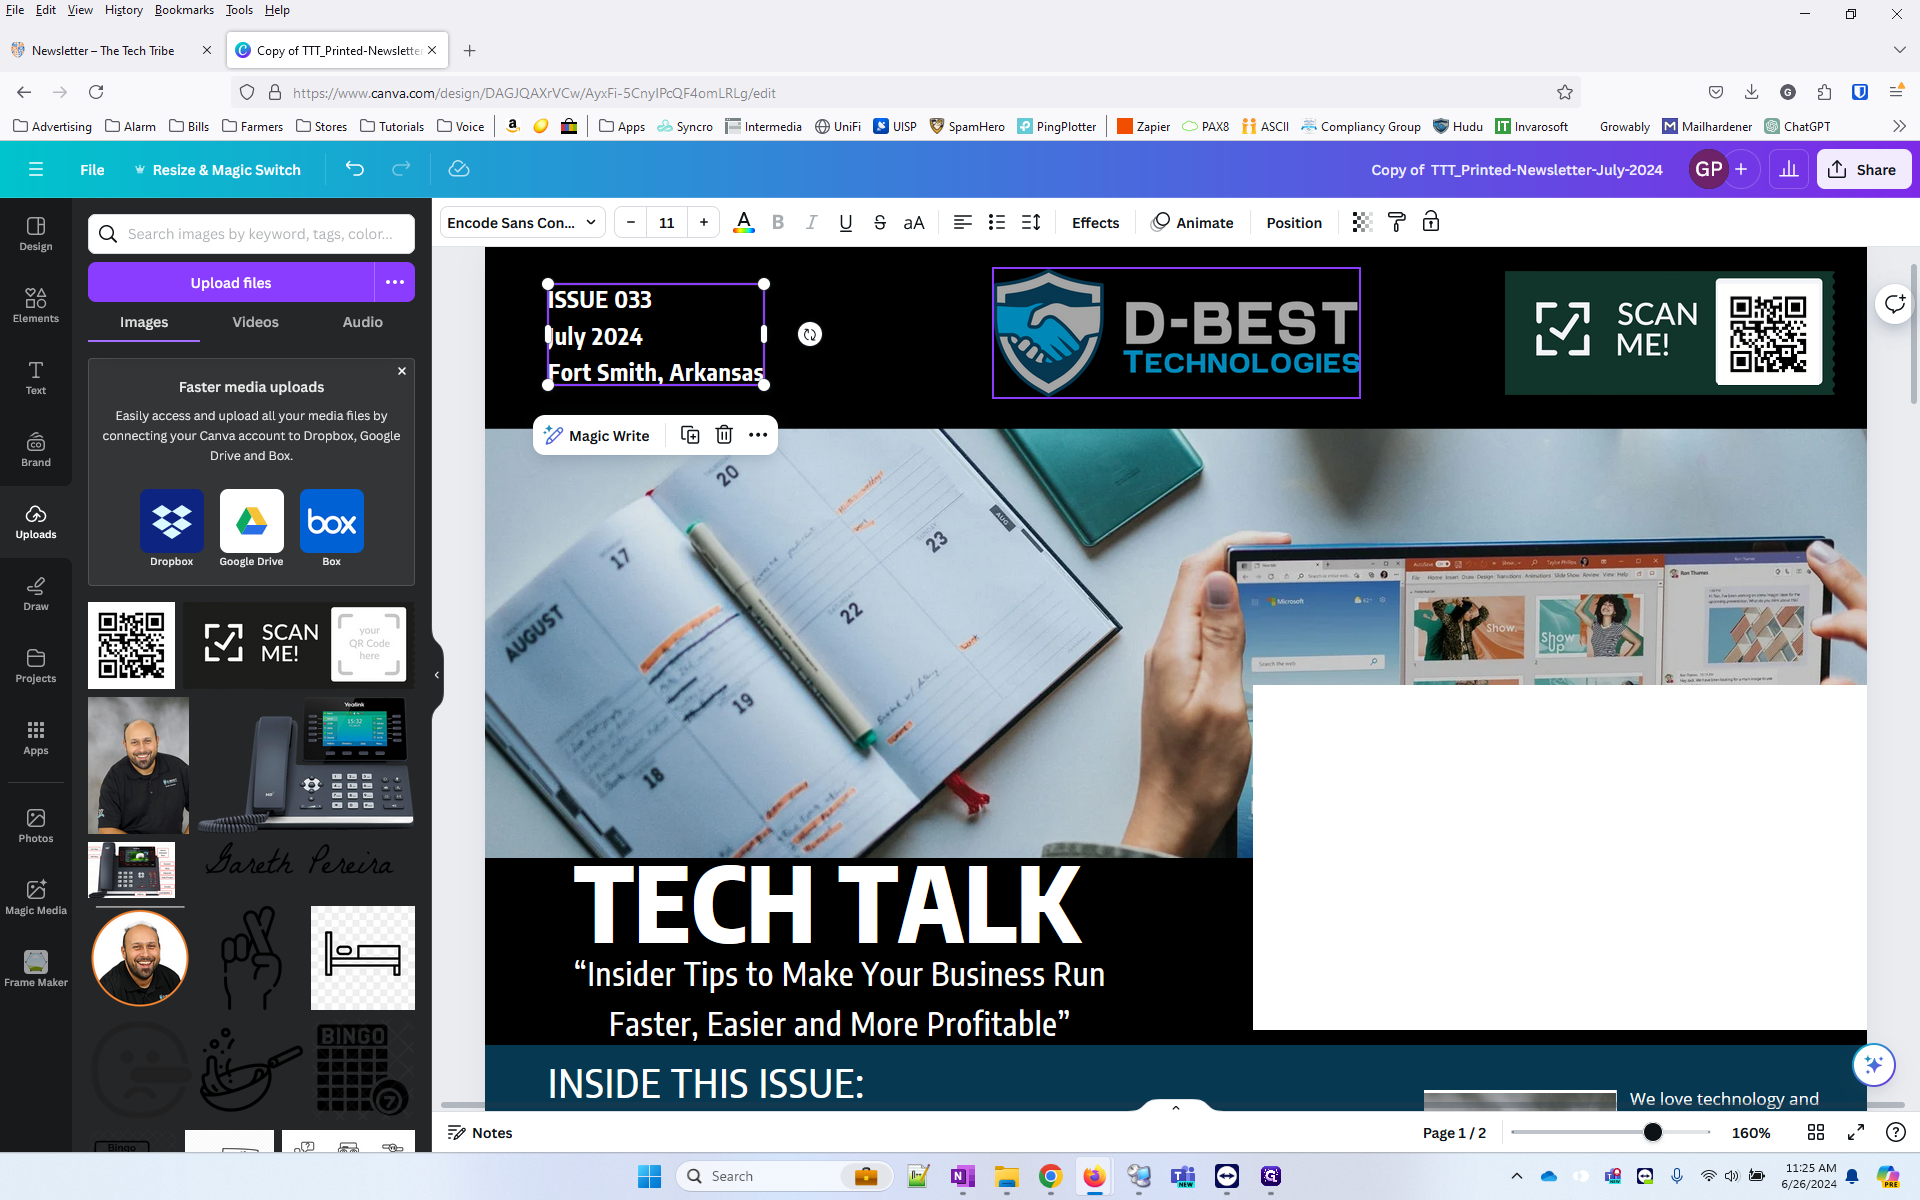
Go to portal.thetechtribe.com and log in. Click on "Printed Newsletters."
2
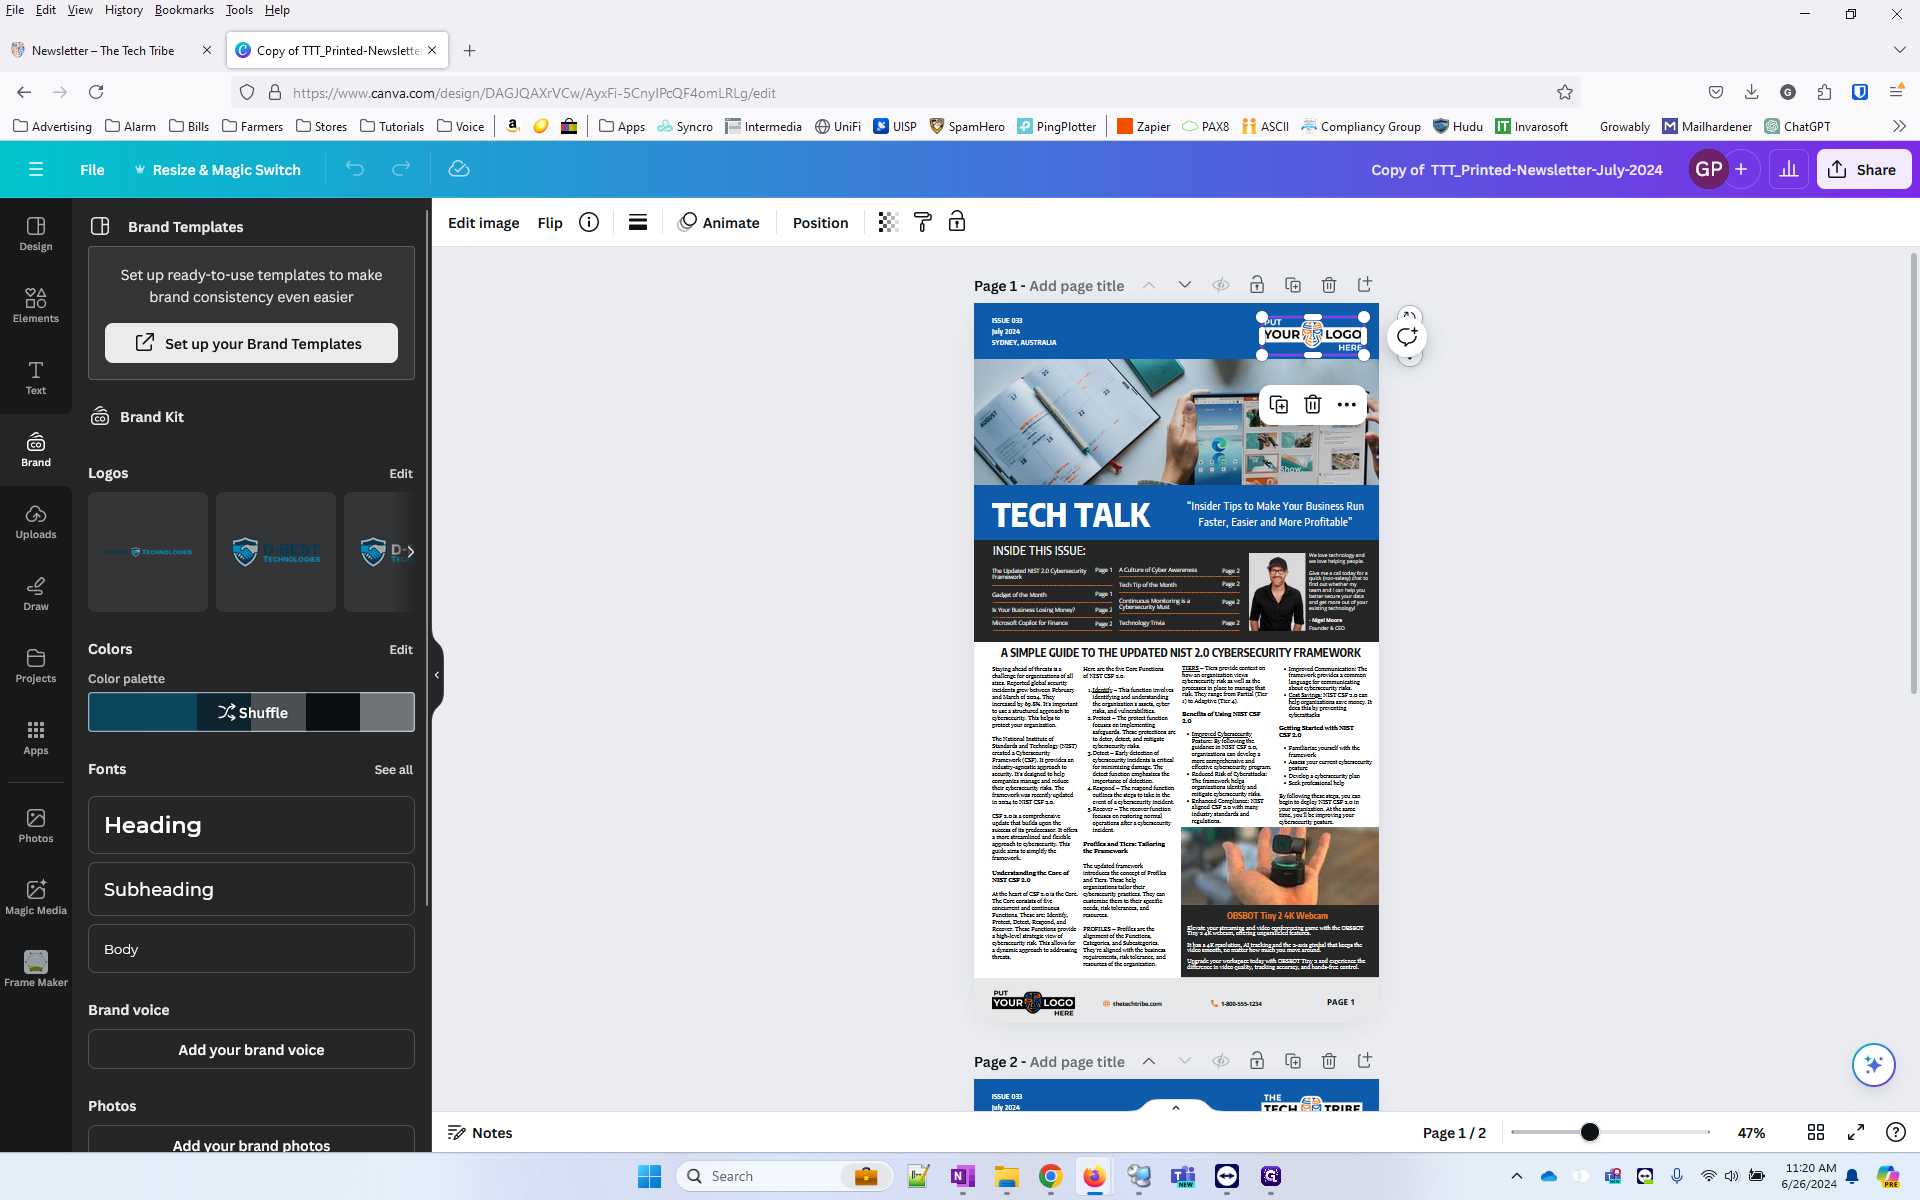
Locate the latest newsletter and click "Edit in Canva"
3
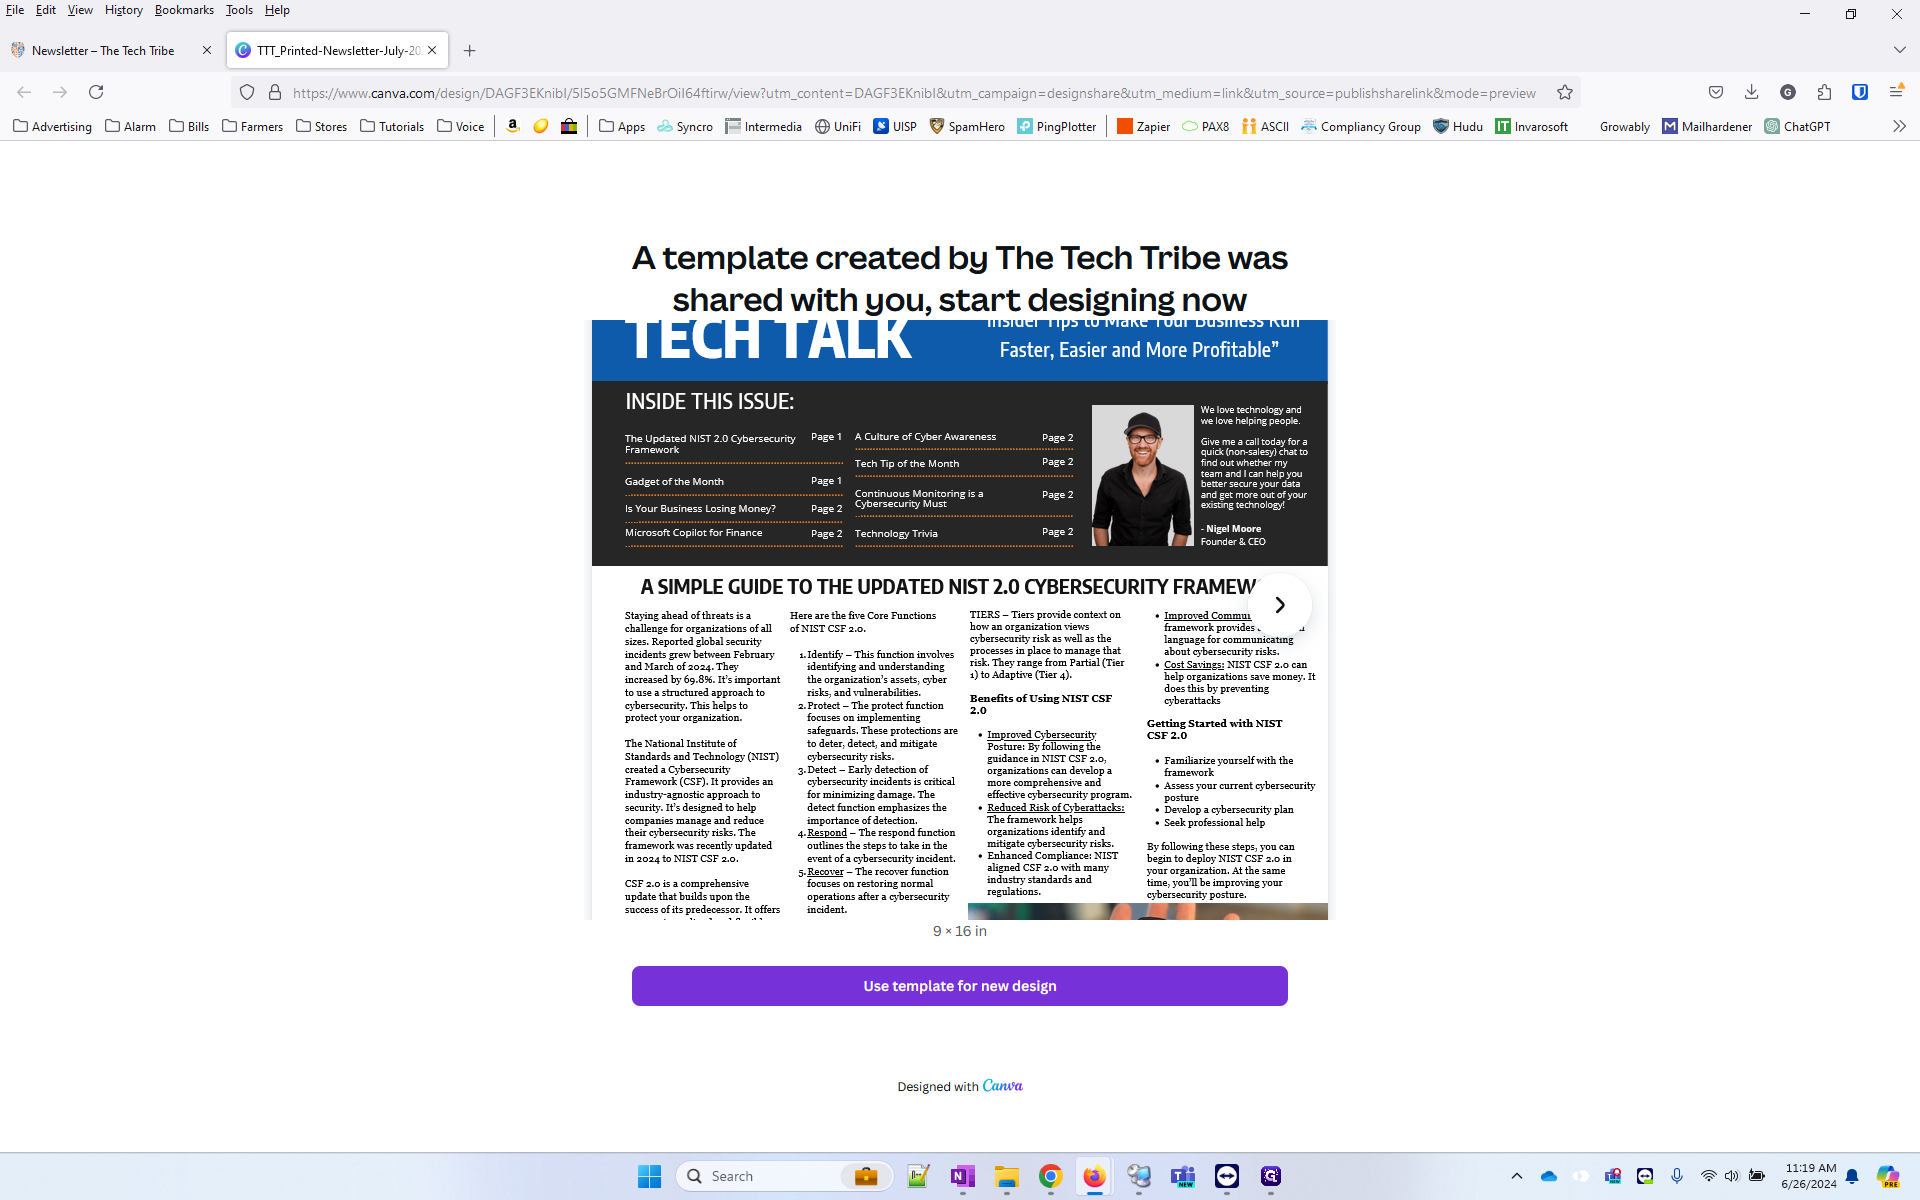
Click Use Template for New Design to import it into Canva
4
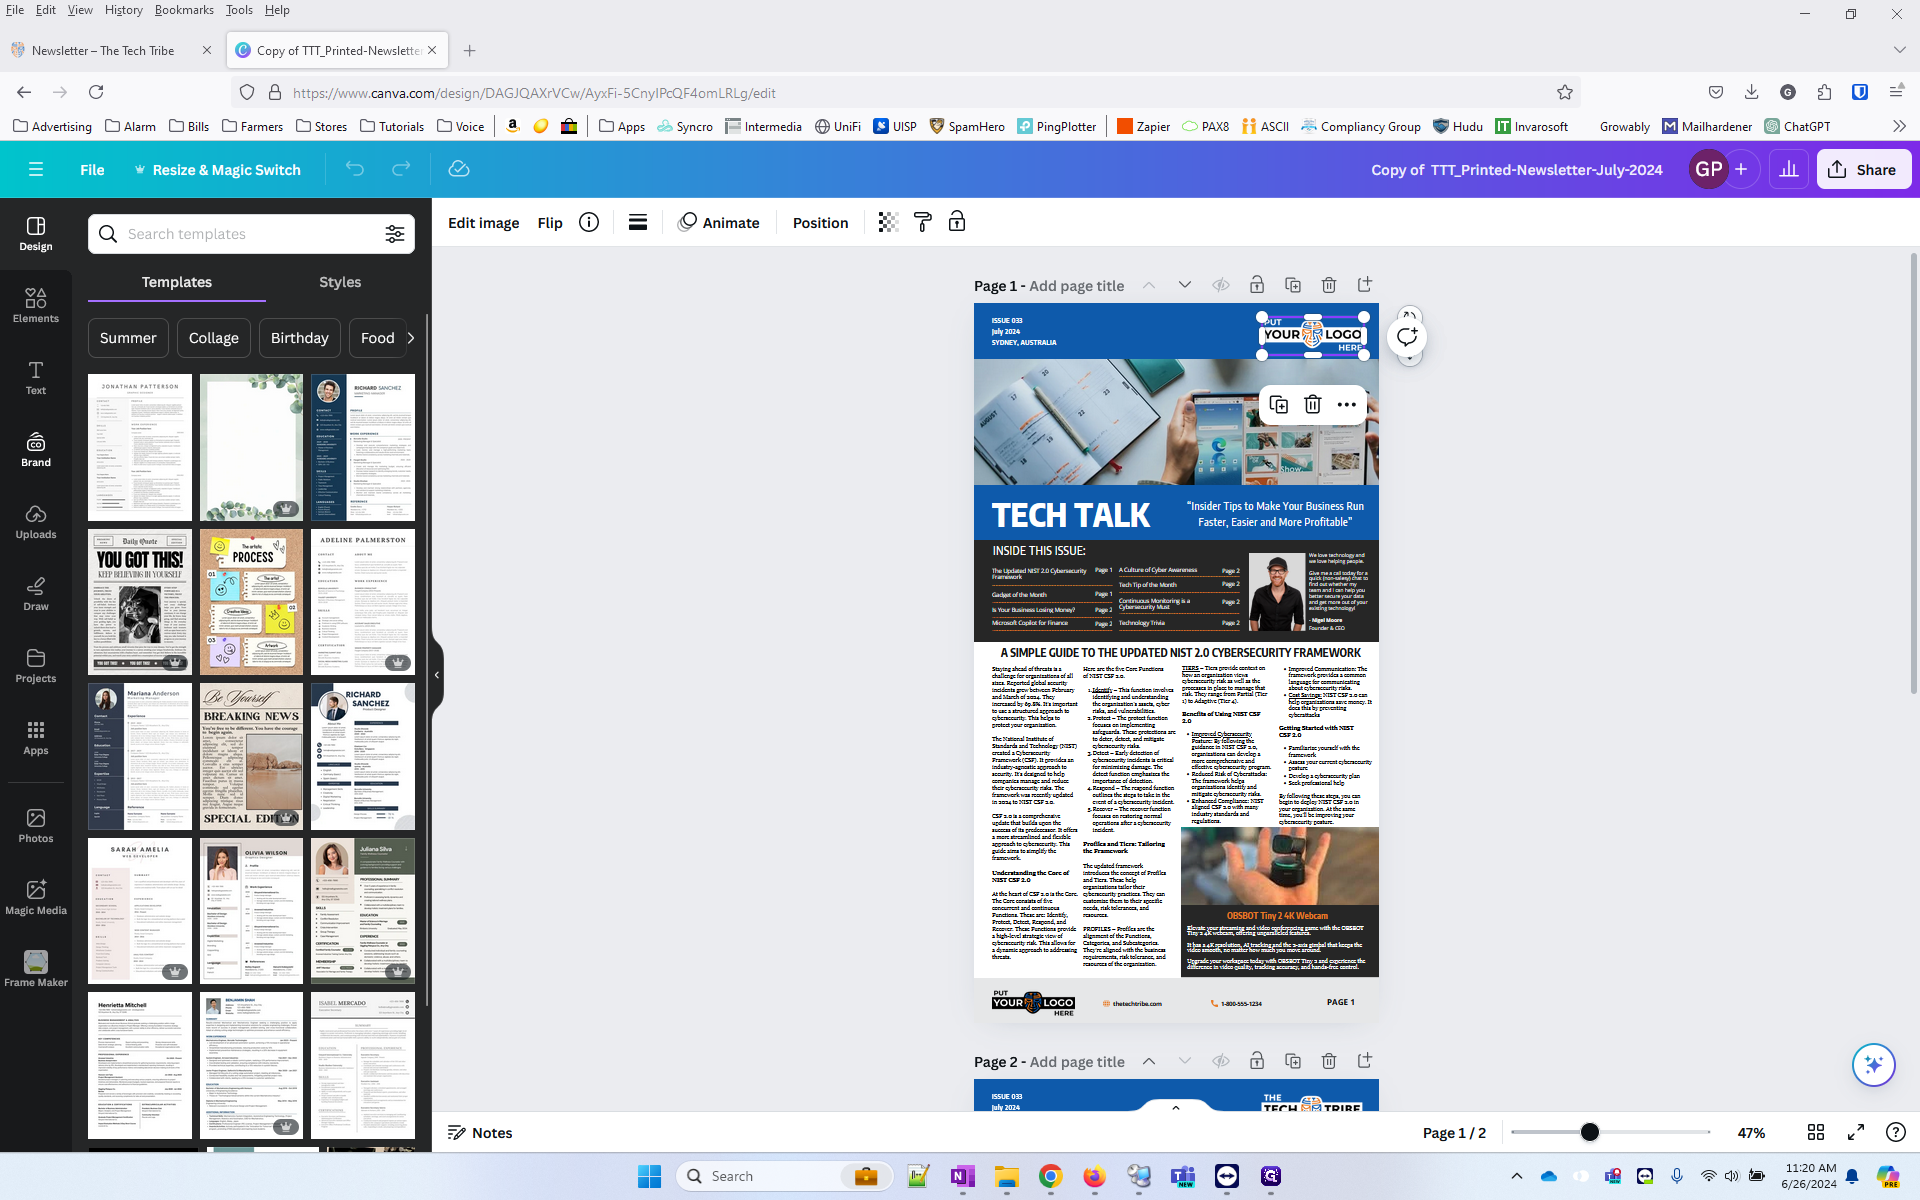
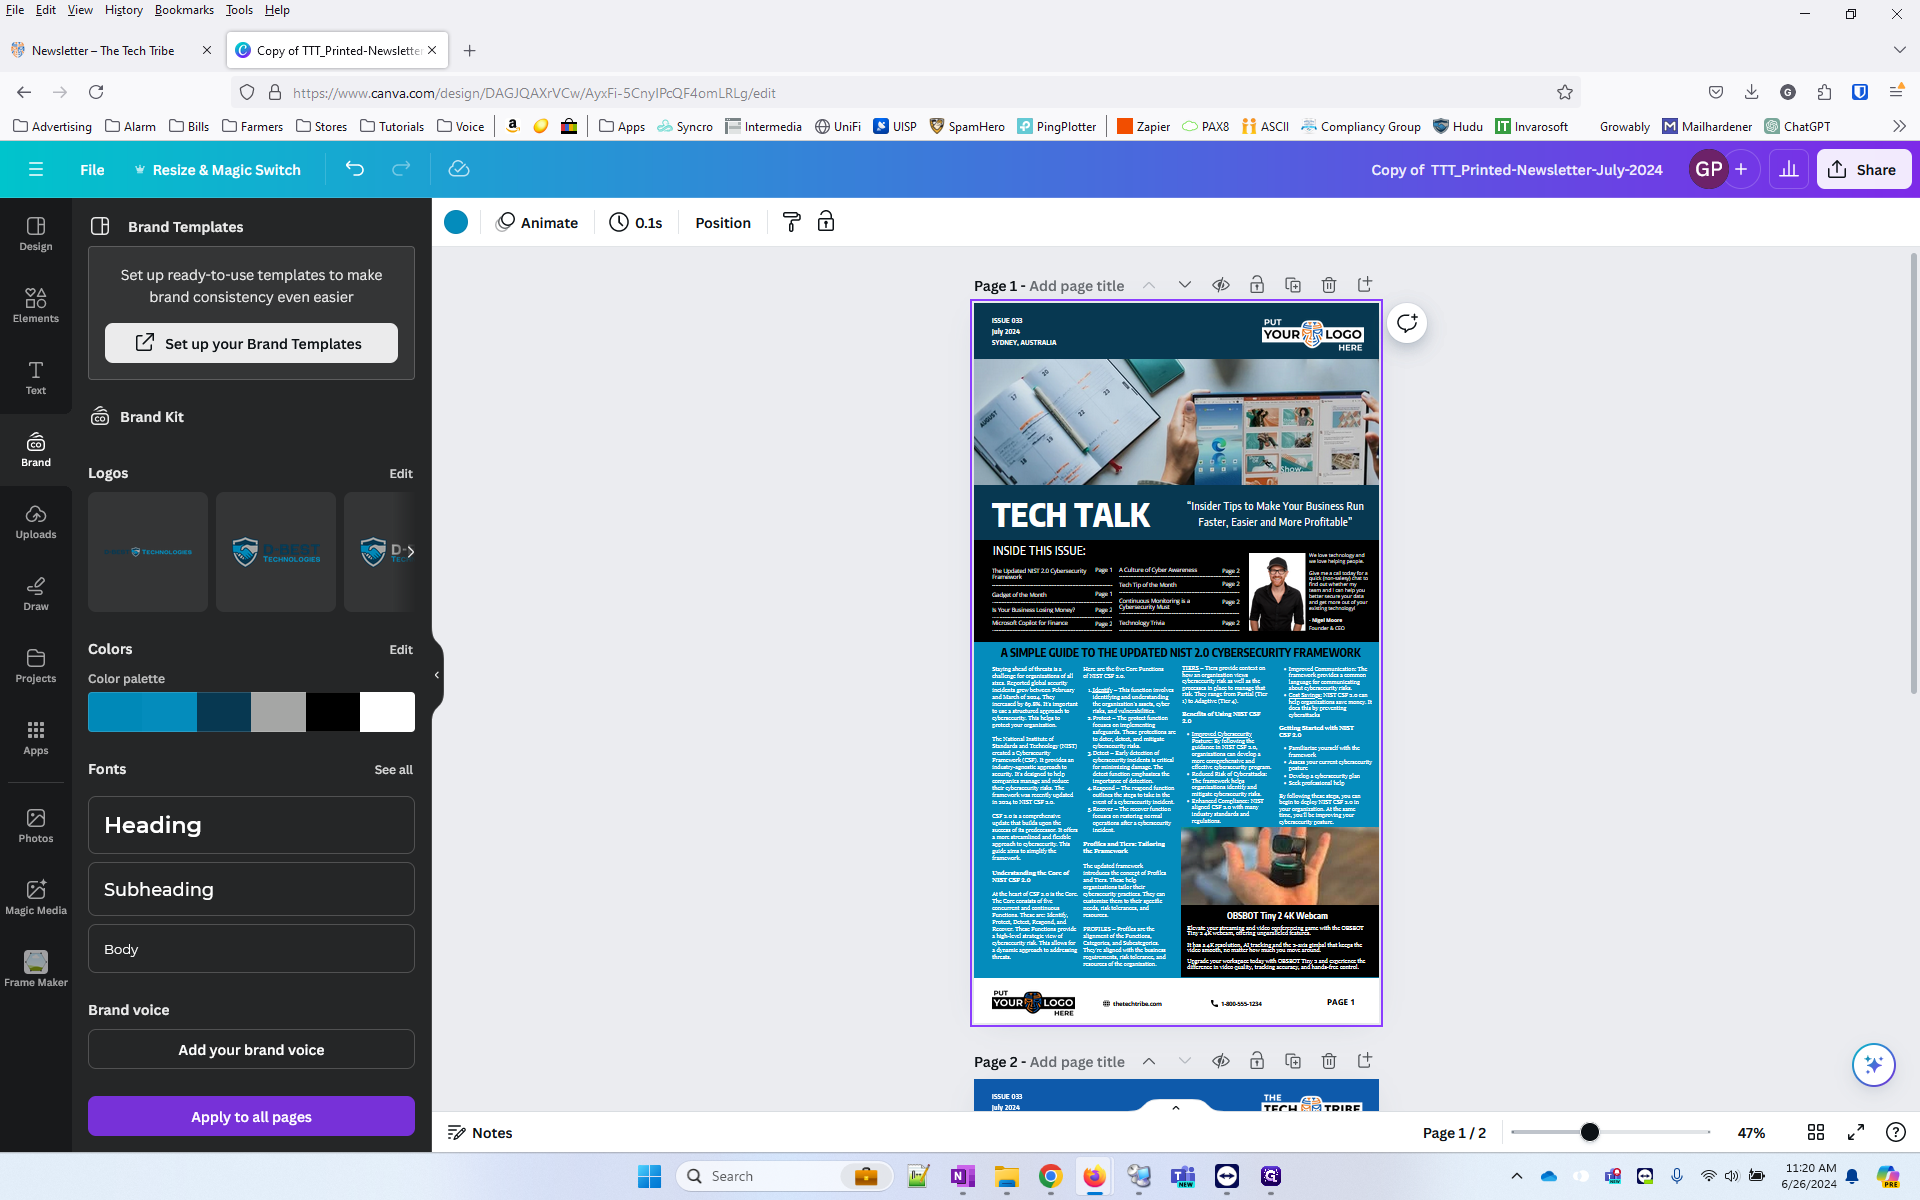
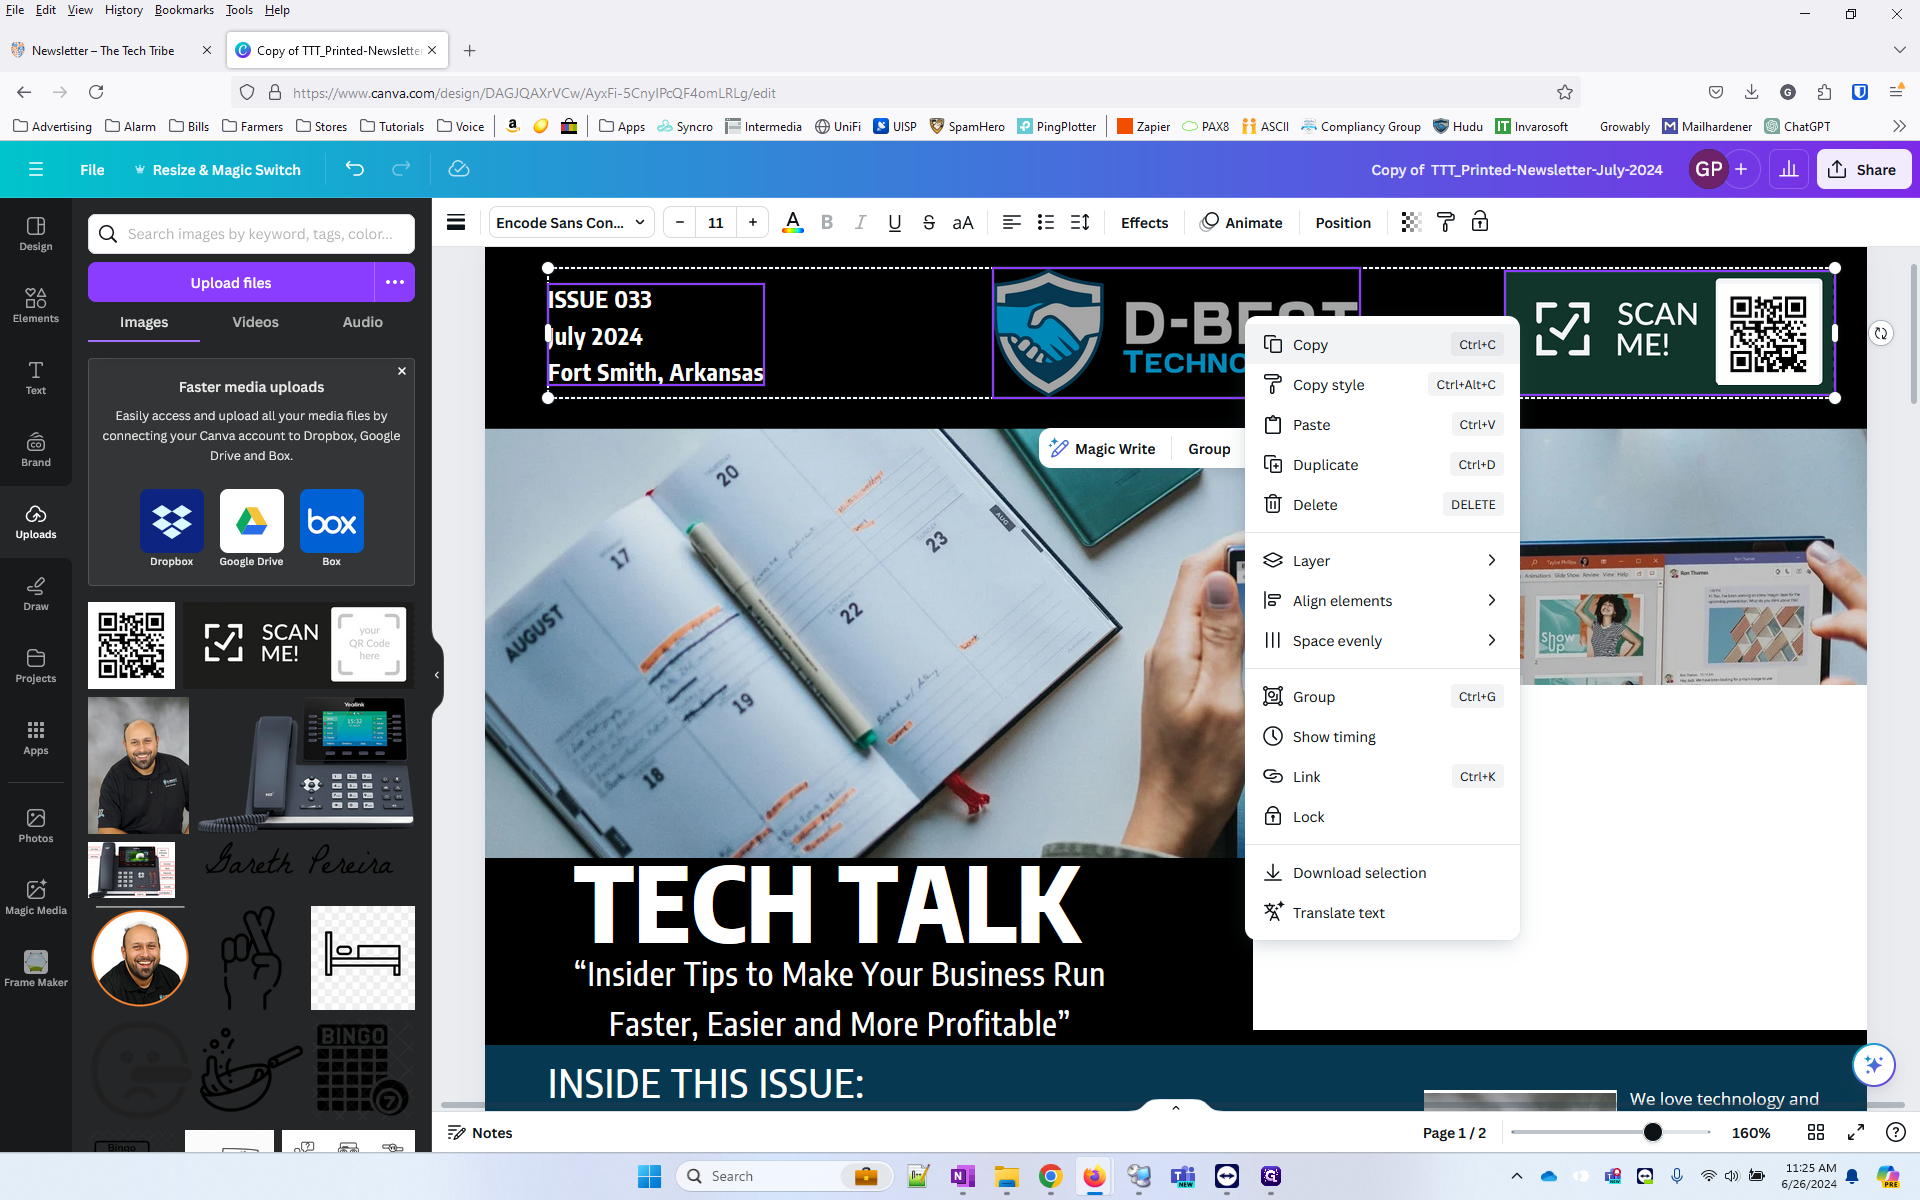
Next we need to replace the logos and colors with our own. Go to Brand.
5
Shuffle the color palette as many times as needed to get something decent. You may then have to modify some of the boxes individually.
6
When you find a good theme, click apply to all pages.
7
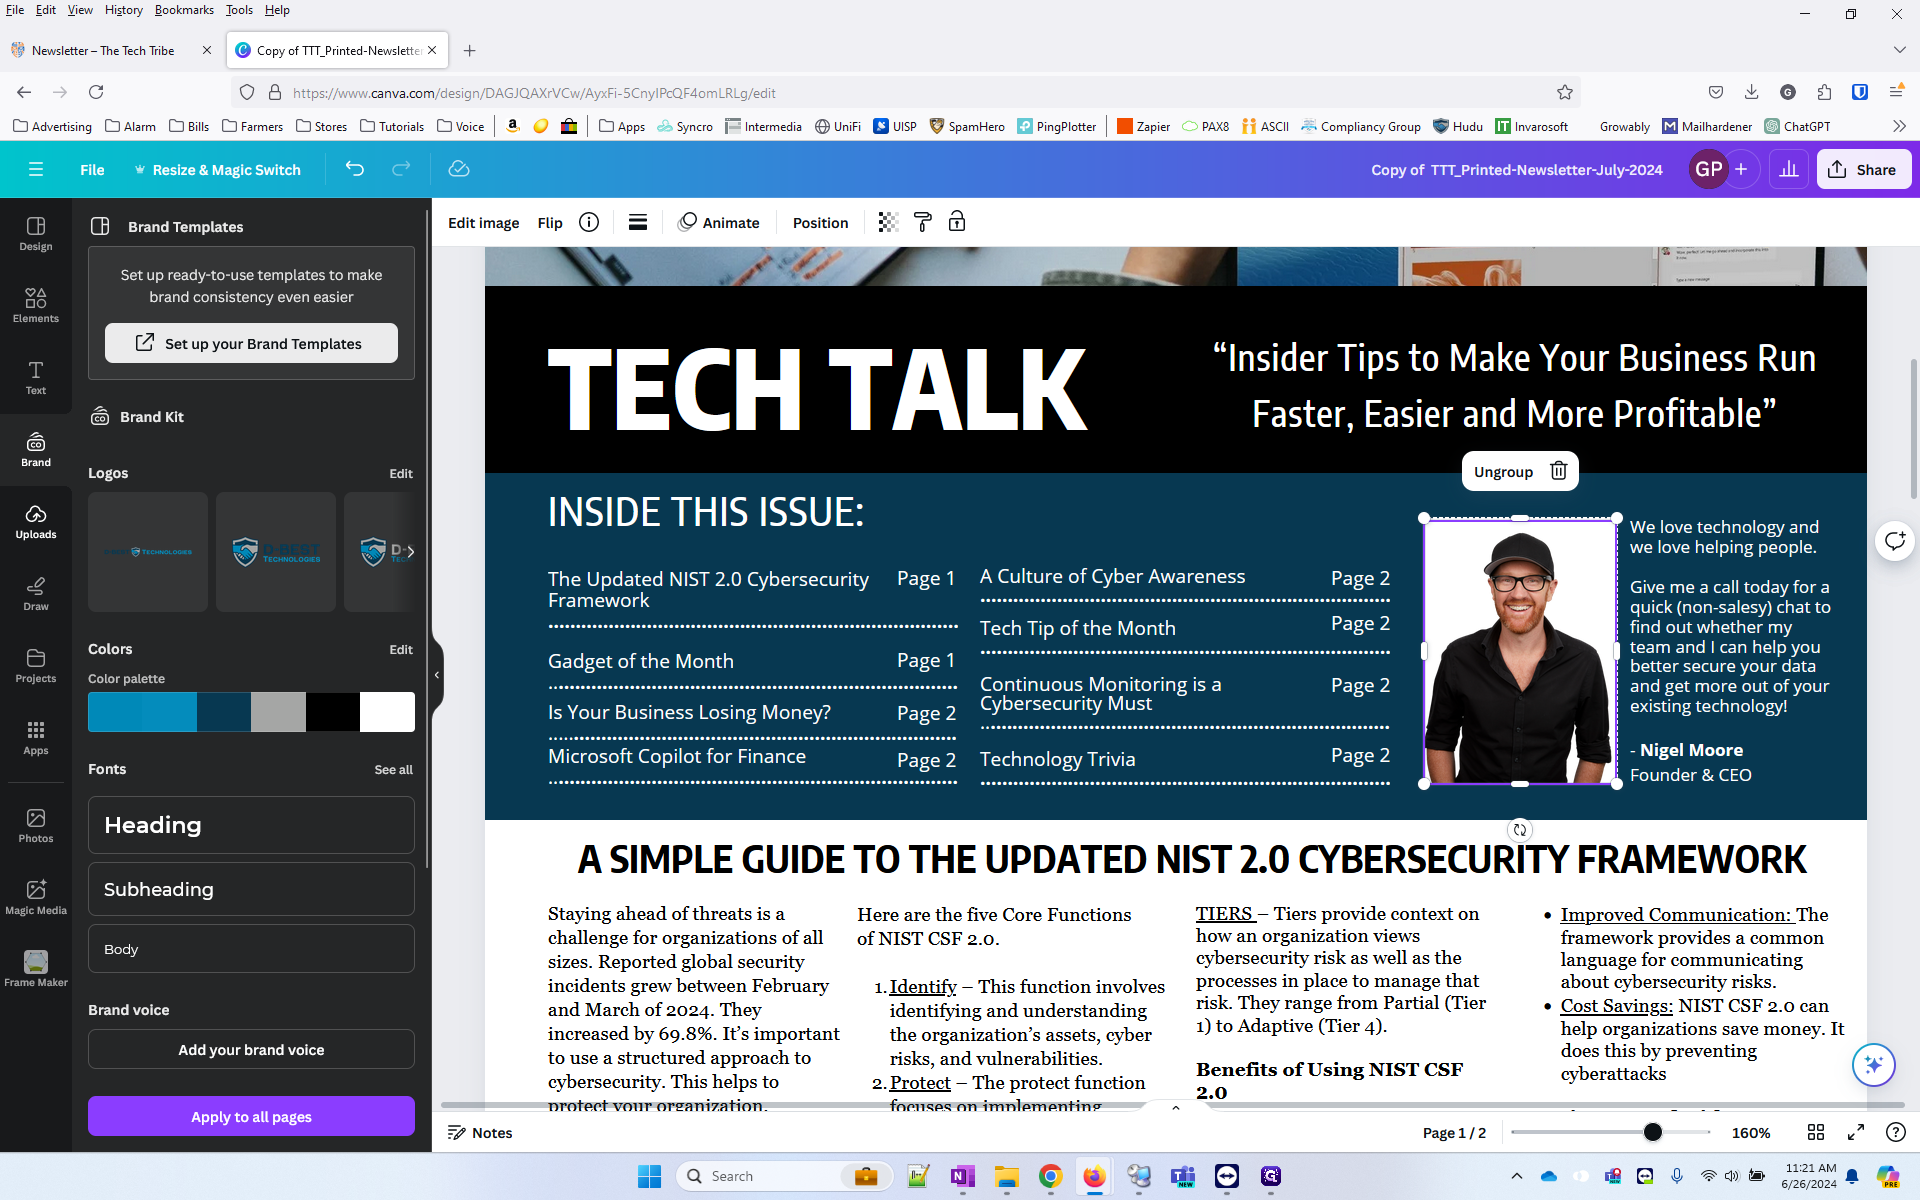
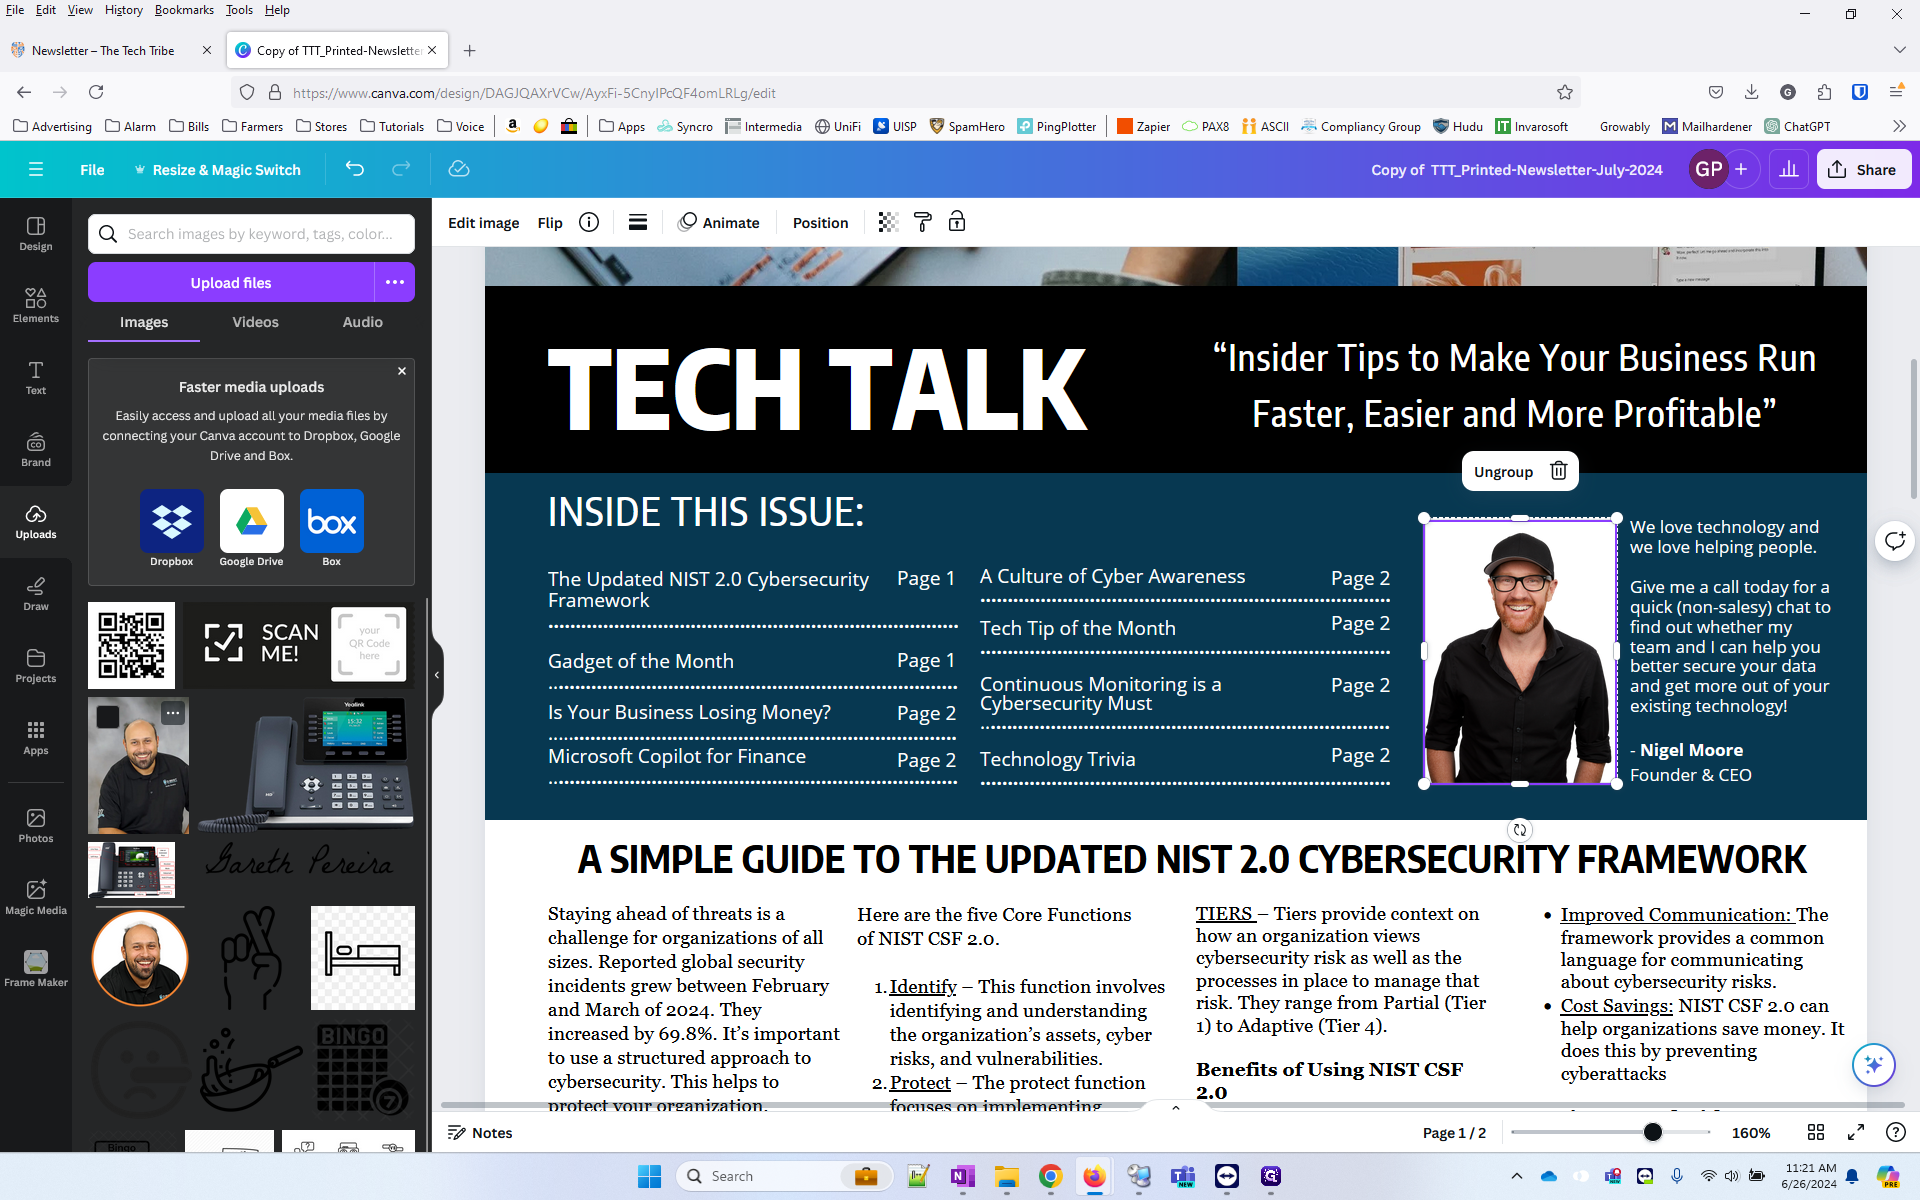
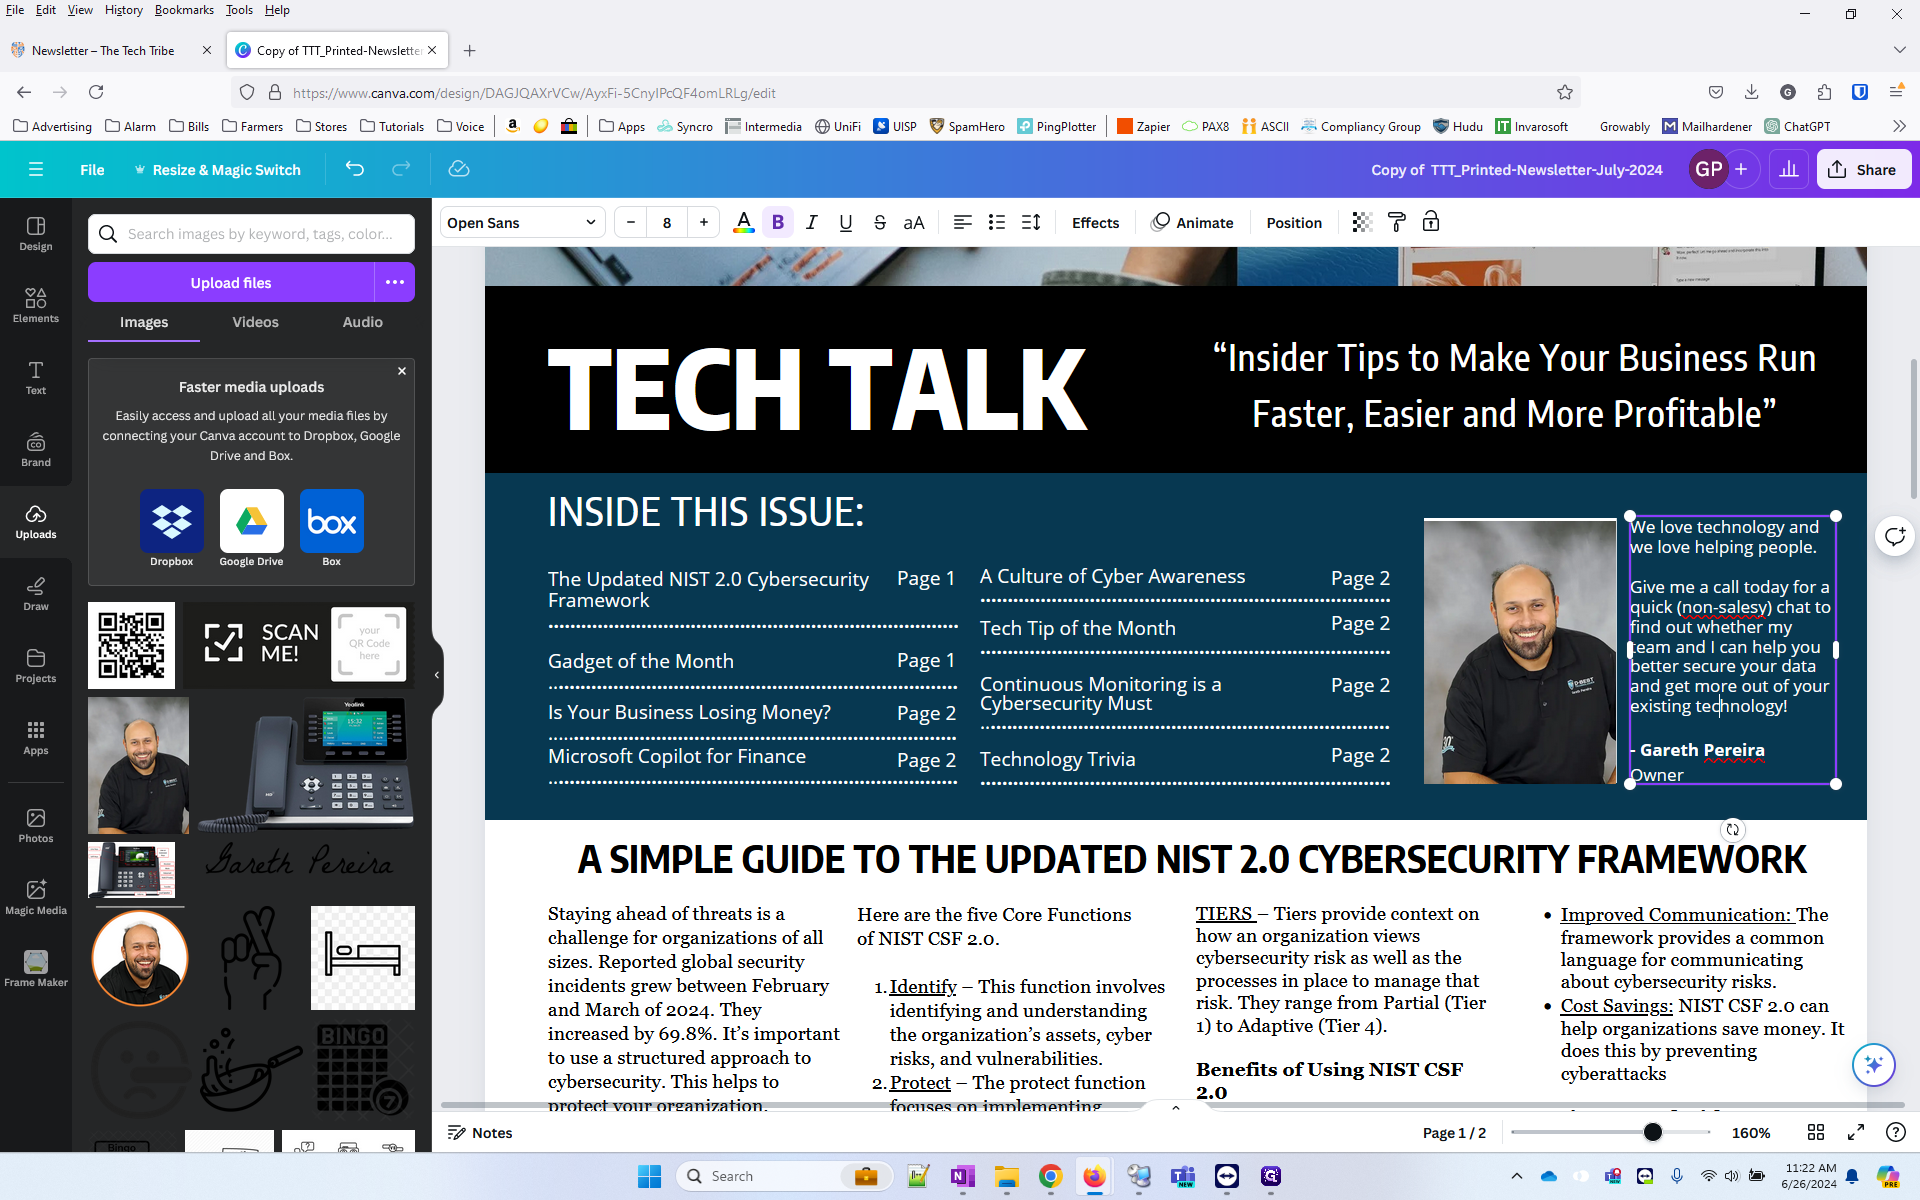
Next let's swap out the image with my image.

8
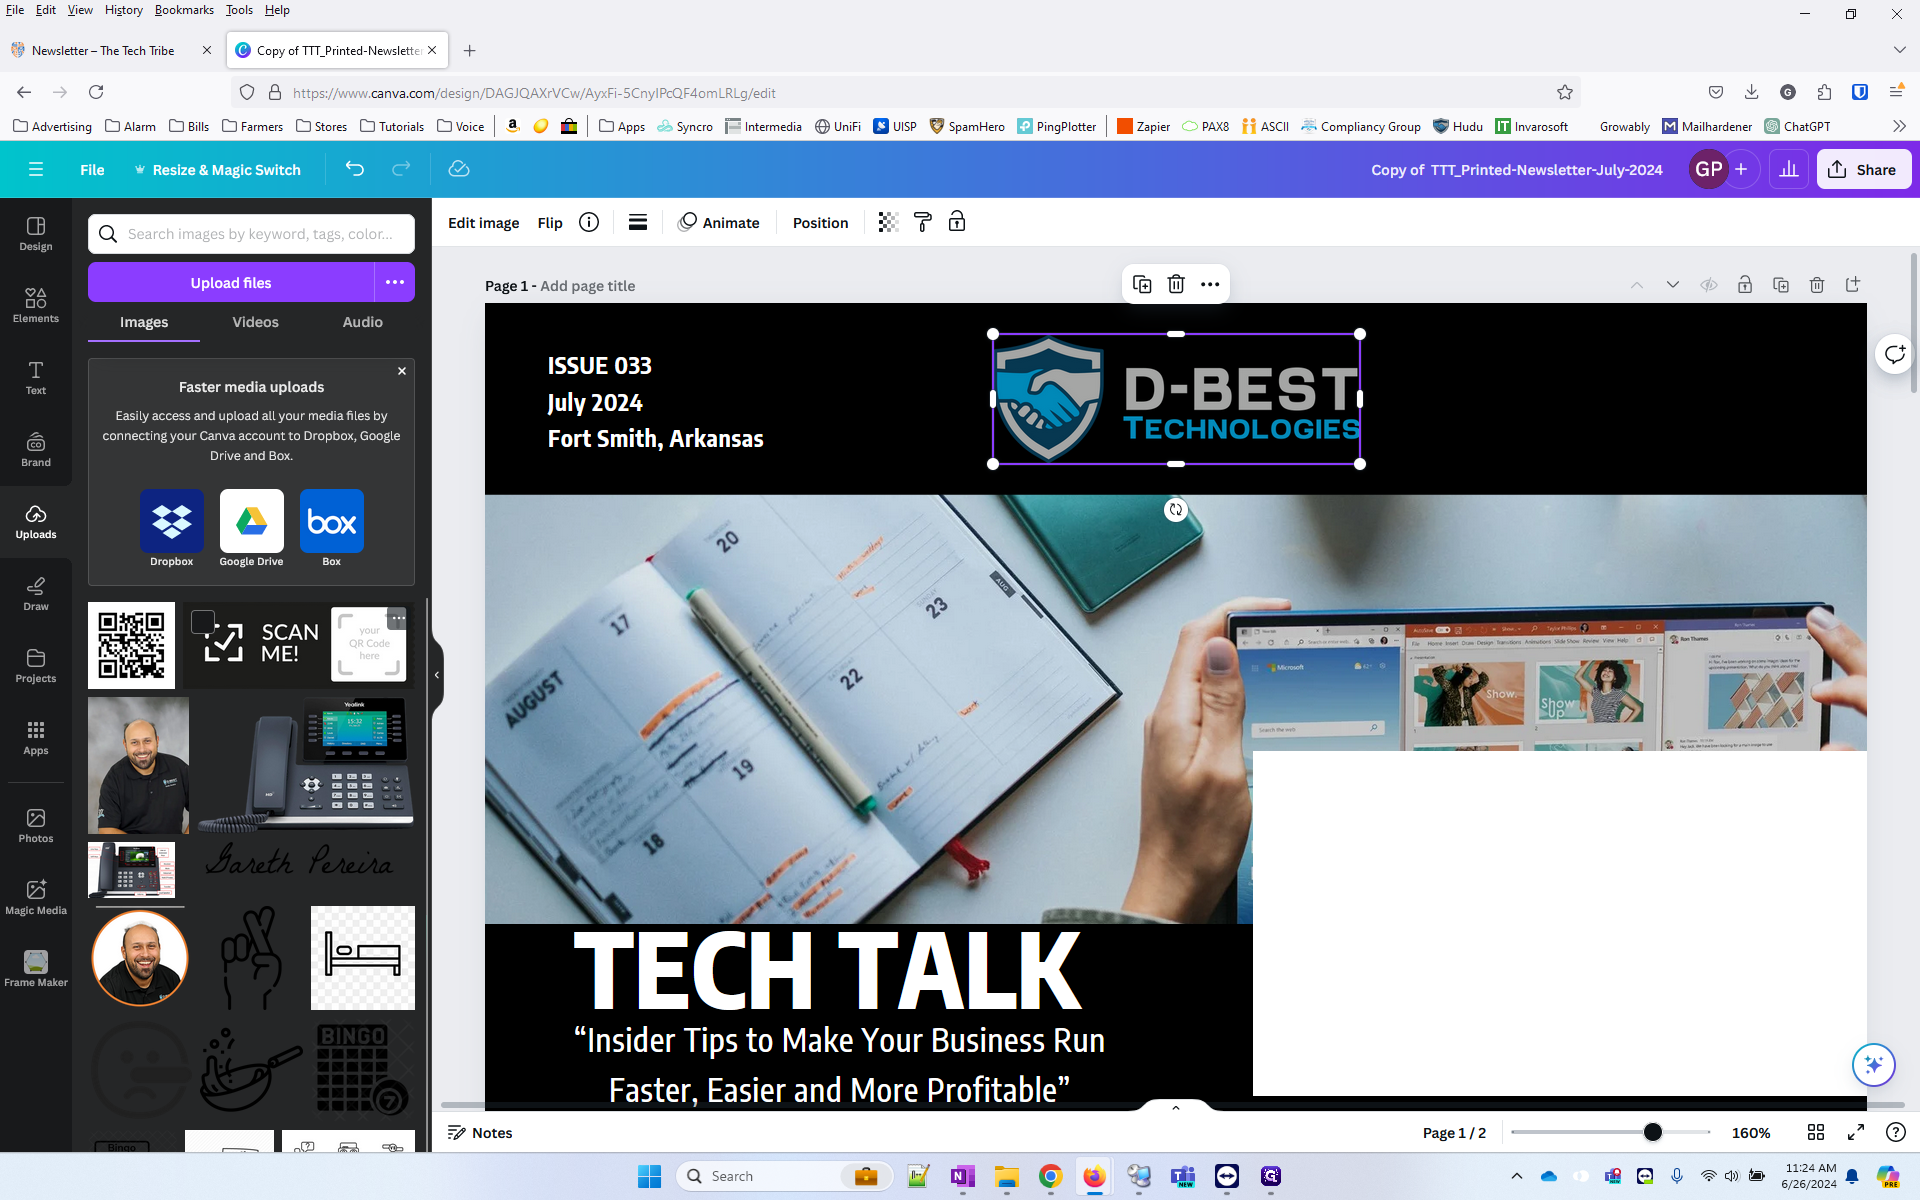
Go to Uploads and locate my picture.
9
Drag it over Nigel's picture to replace it.
10
Edit the name and title to Gareth Pereira and Owner. Bold the Gareth Pereira line.
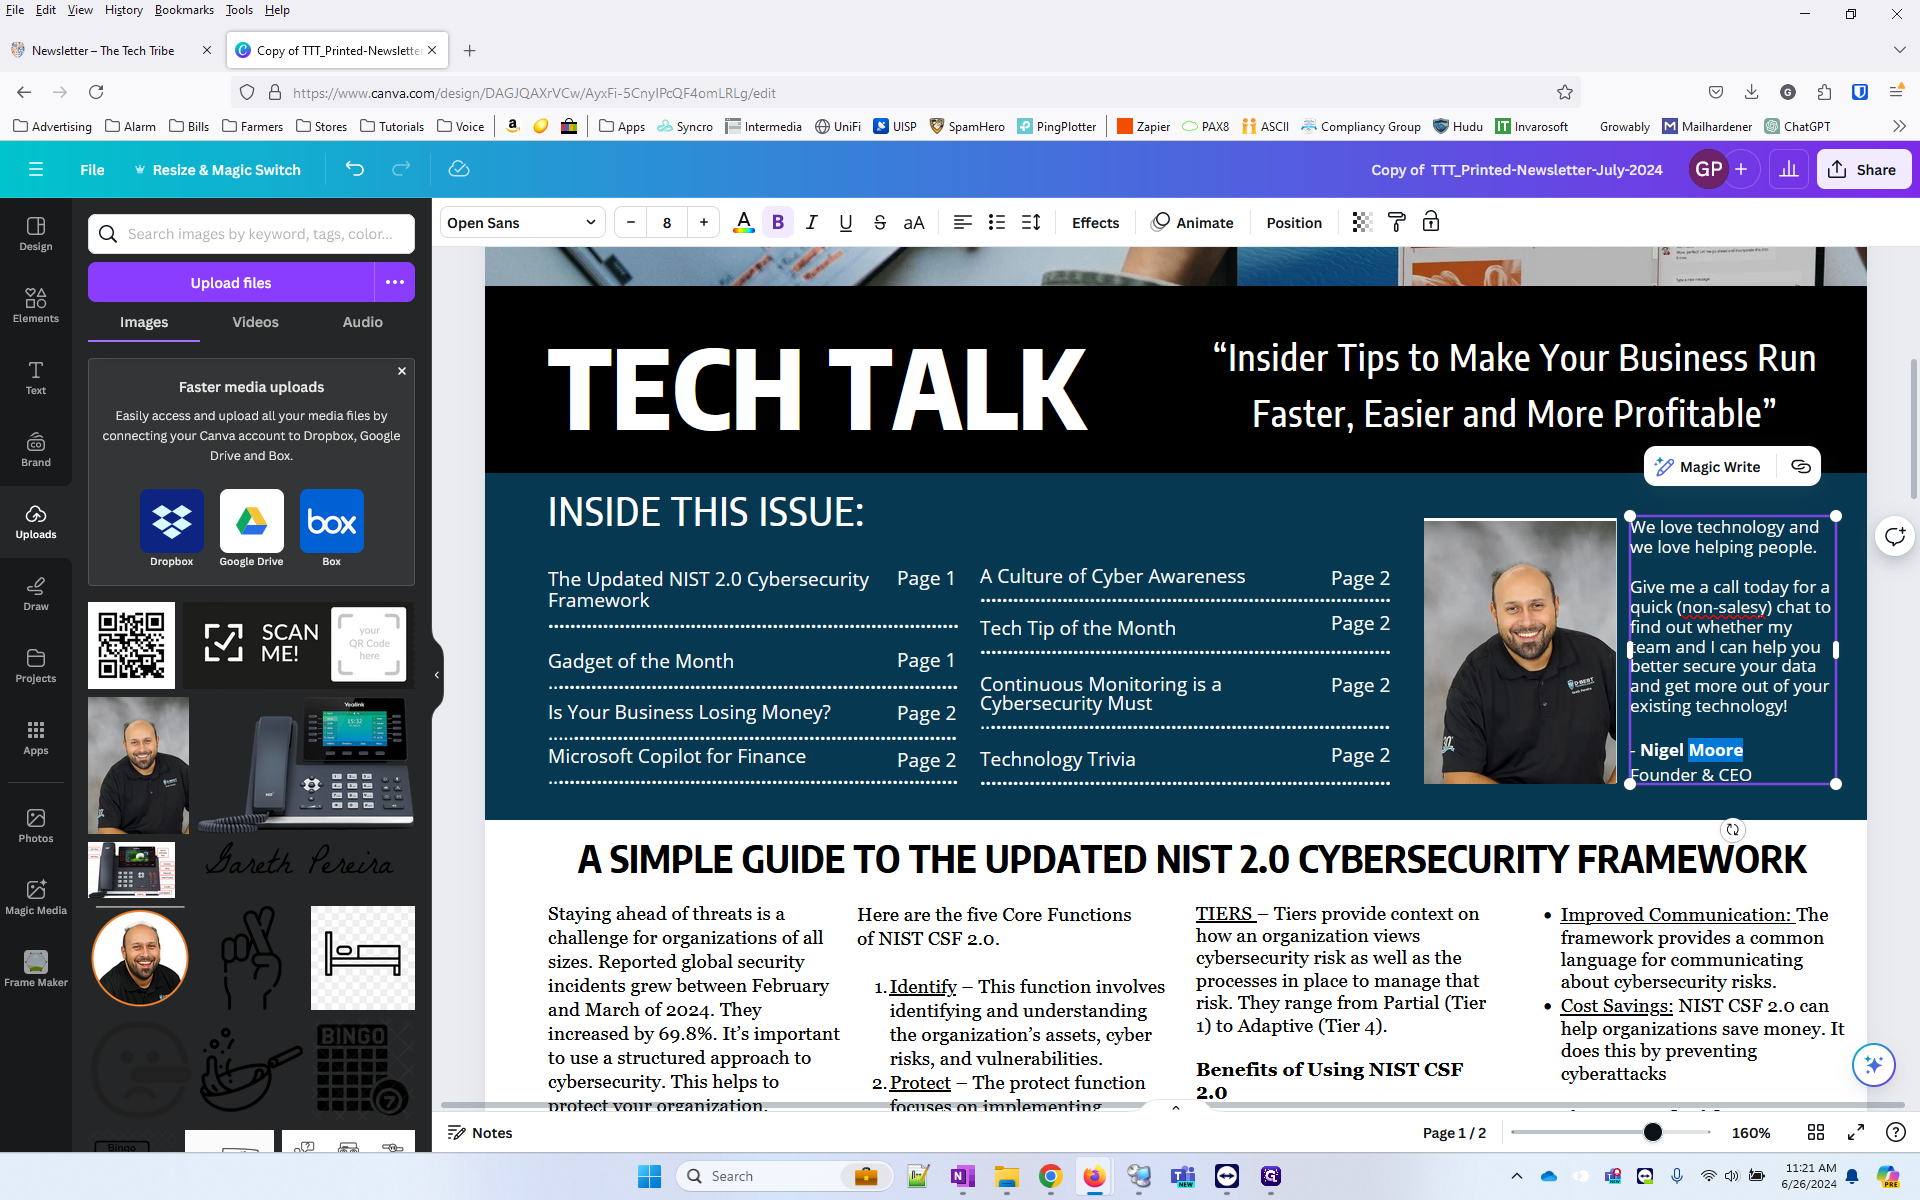
11
Notice there is some white space behind the image. You can right click the image, "ungroup" then select just the white space and delete it. Then re-center the picture :)
12
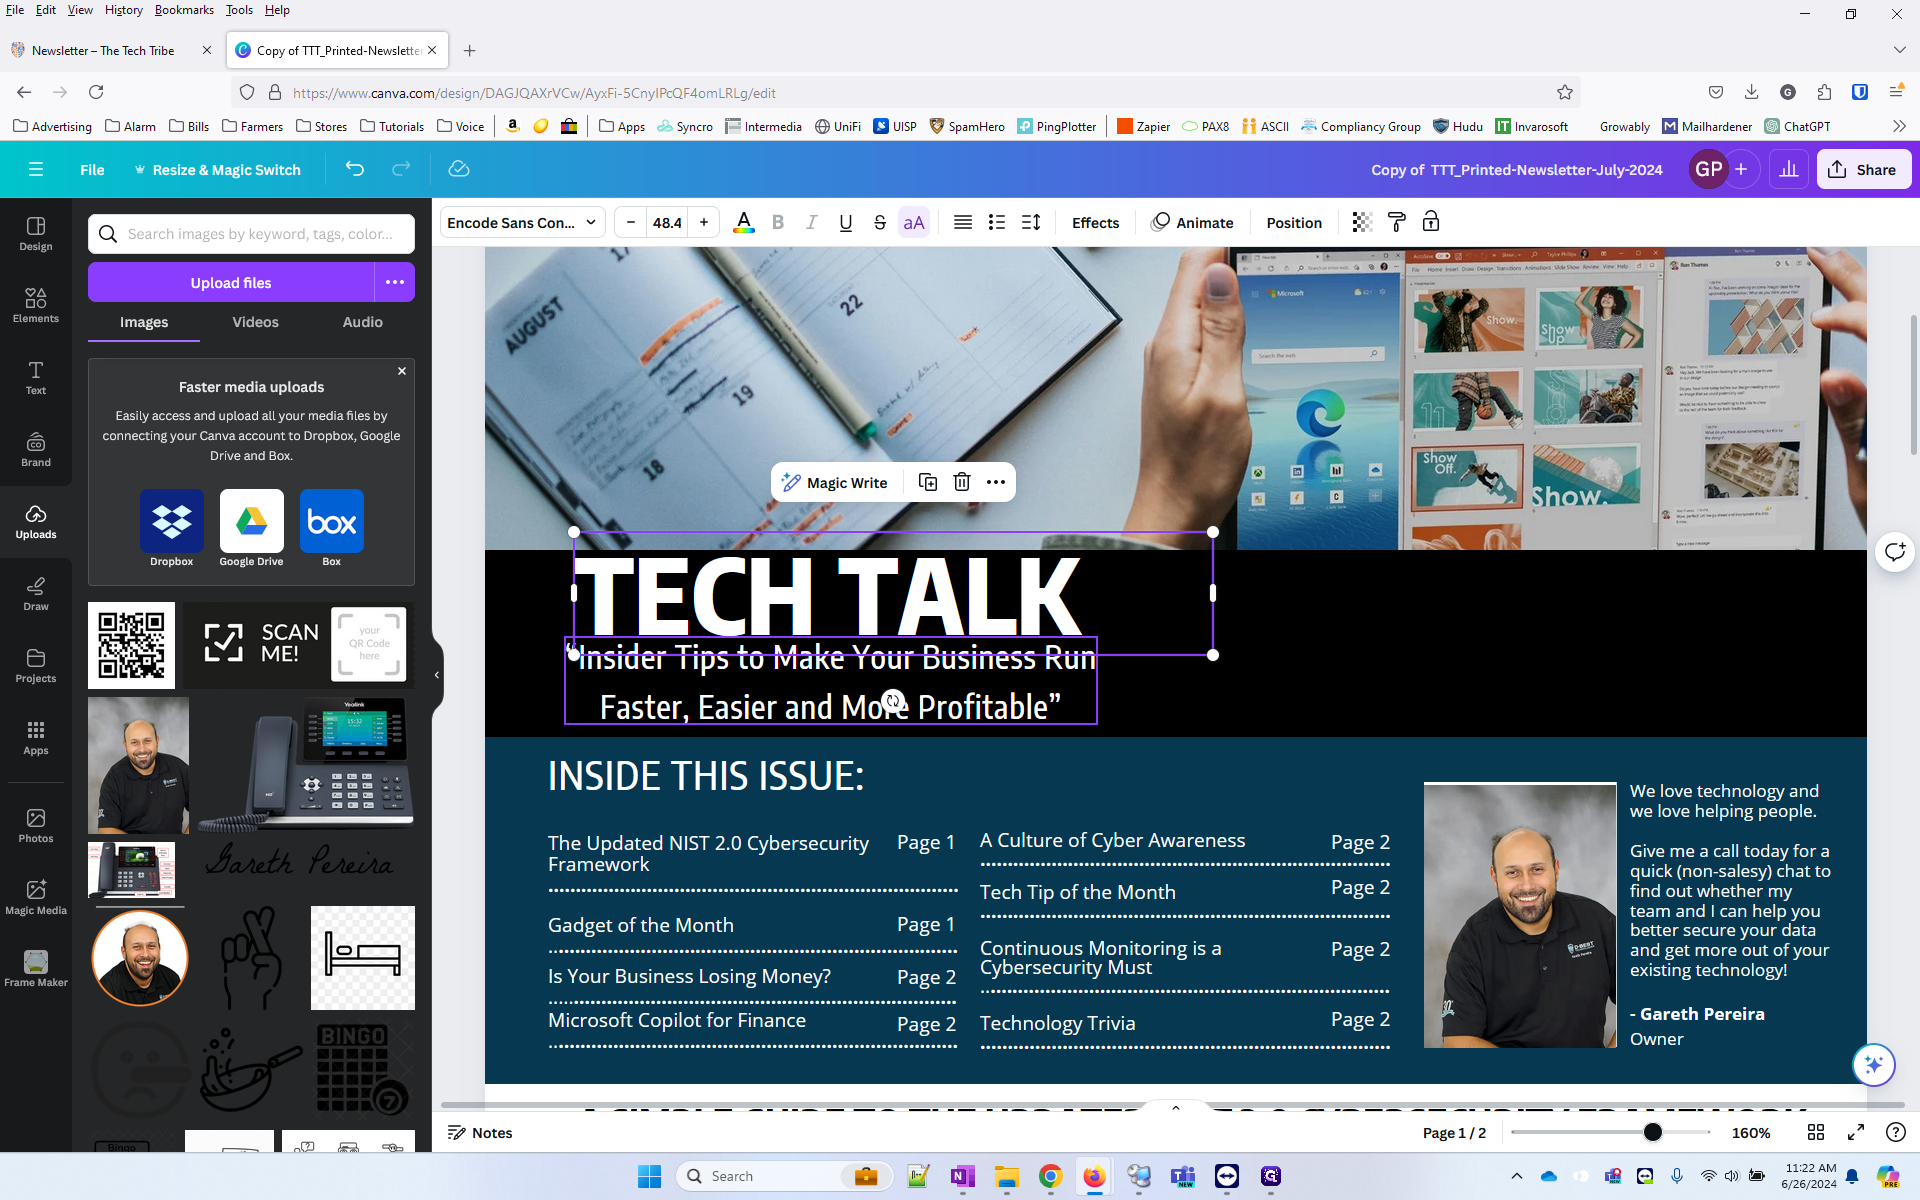
We need to move the title over so that we can put an address label to the side. Move "TECH TALK" up until it's close to the top of the black space, and make it 3 sizes smaller.
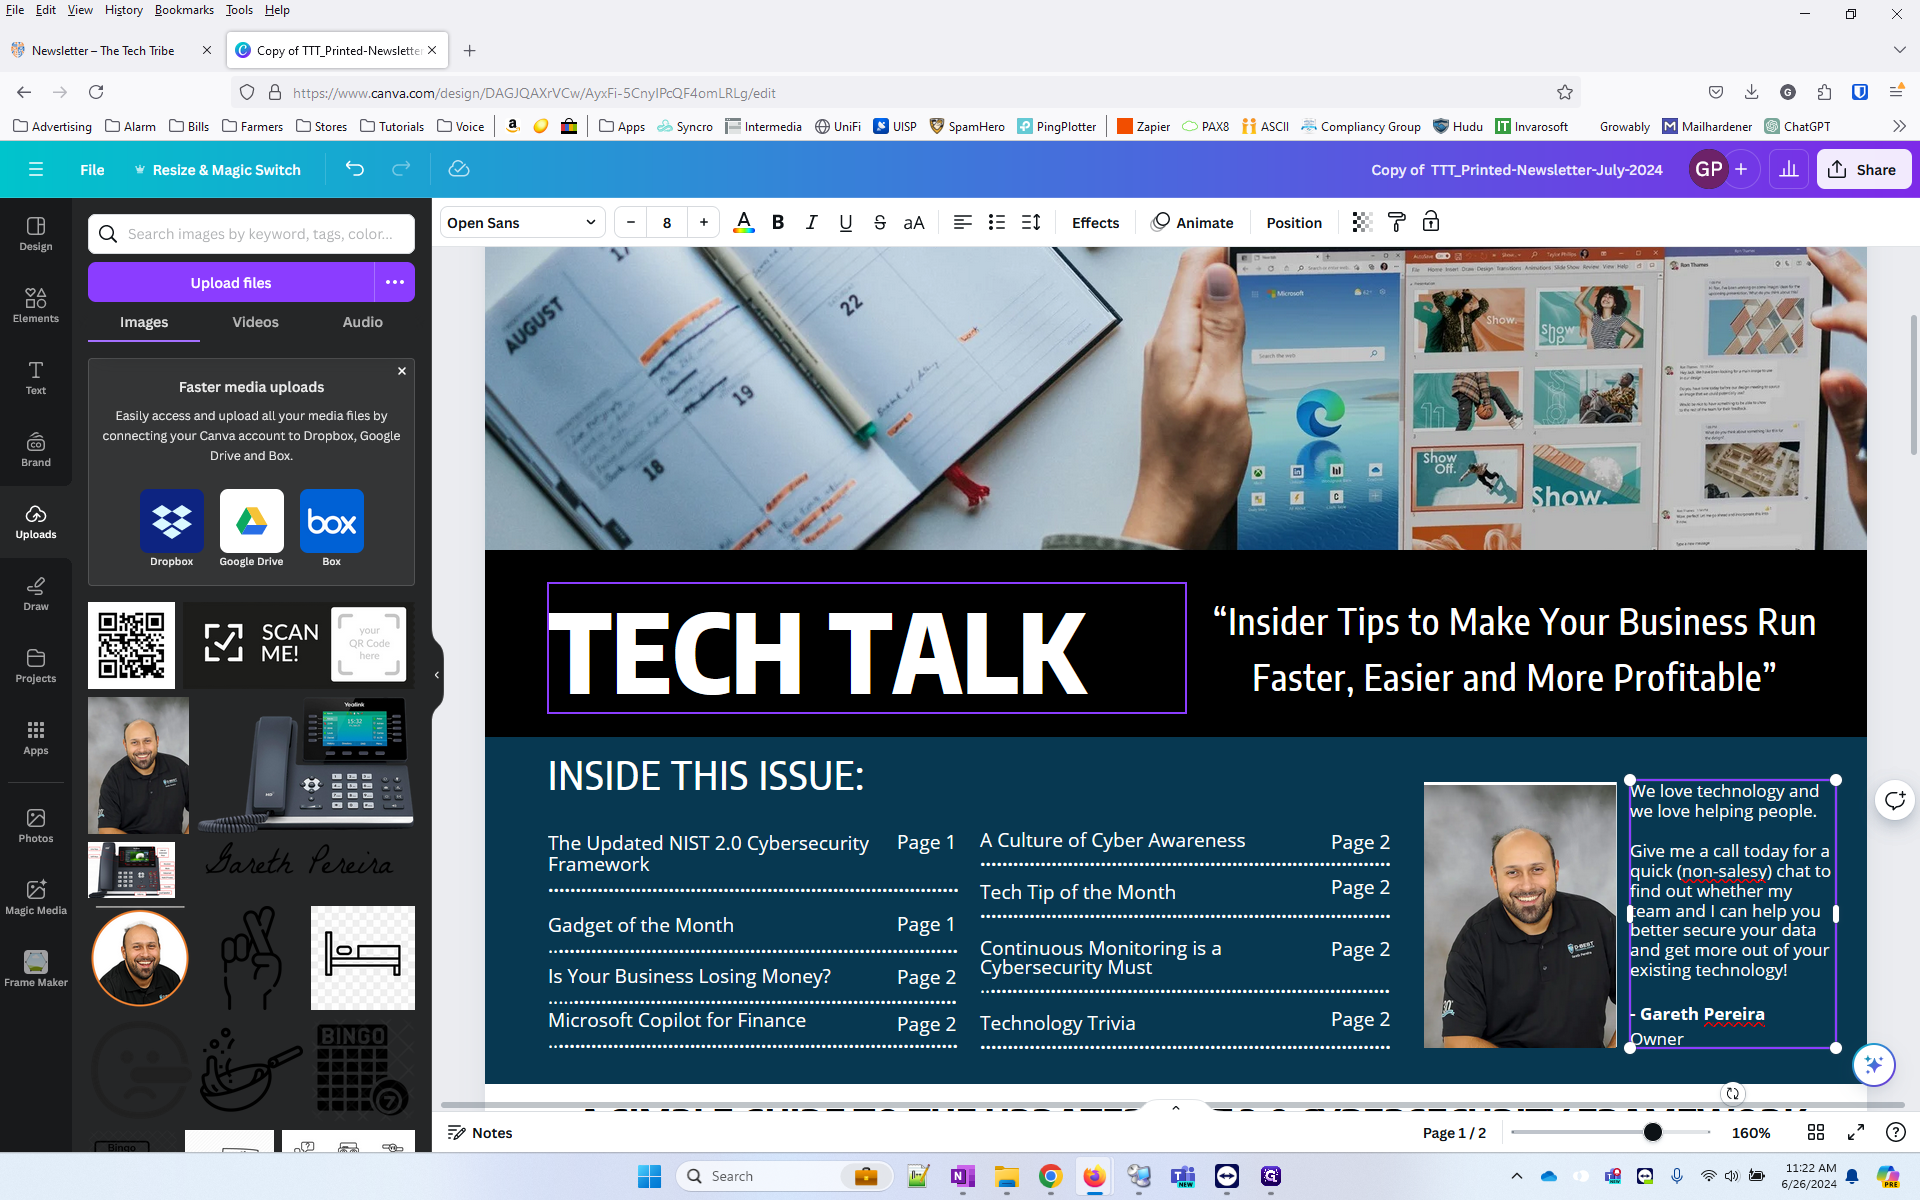
13
Now move the Sub headline underneath Tech Talk, and make it 3 clicks smaller.
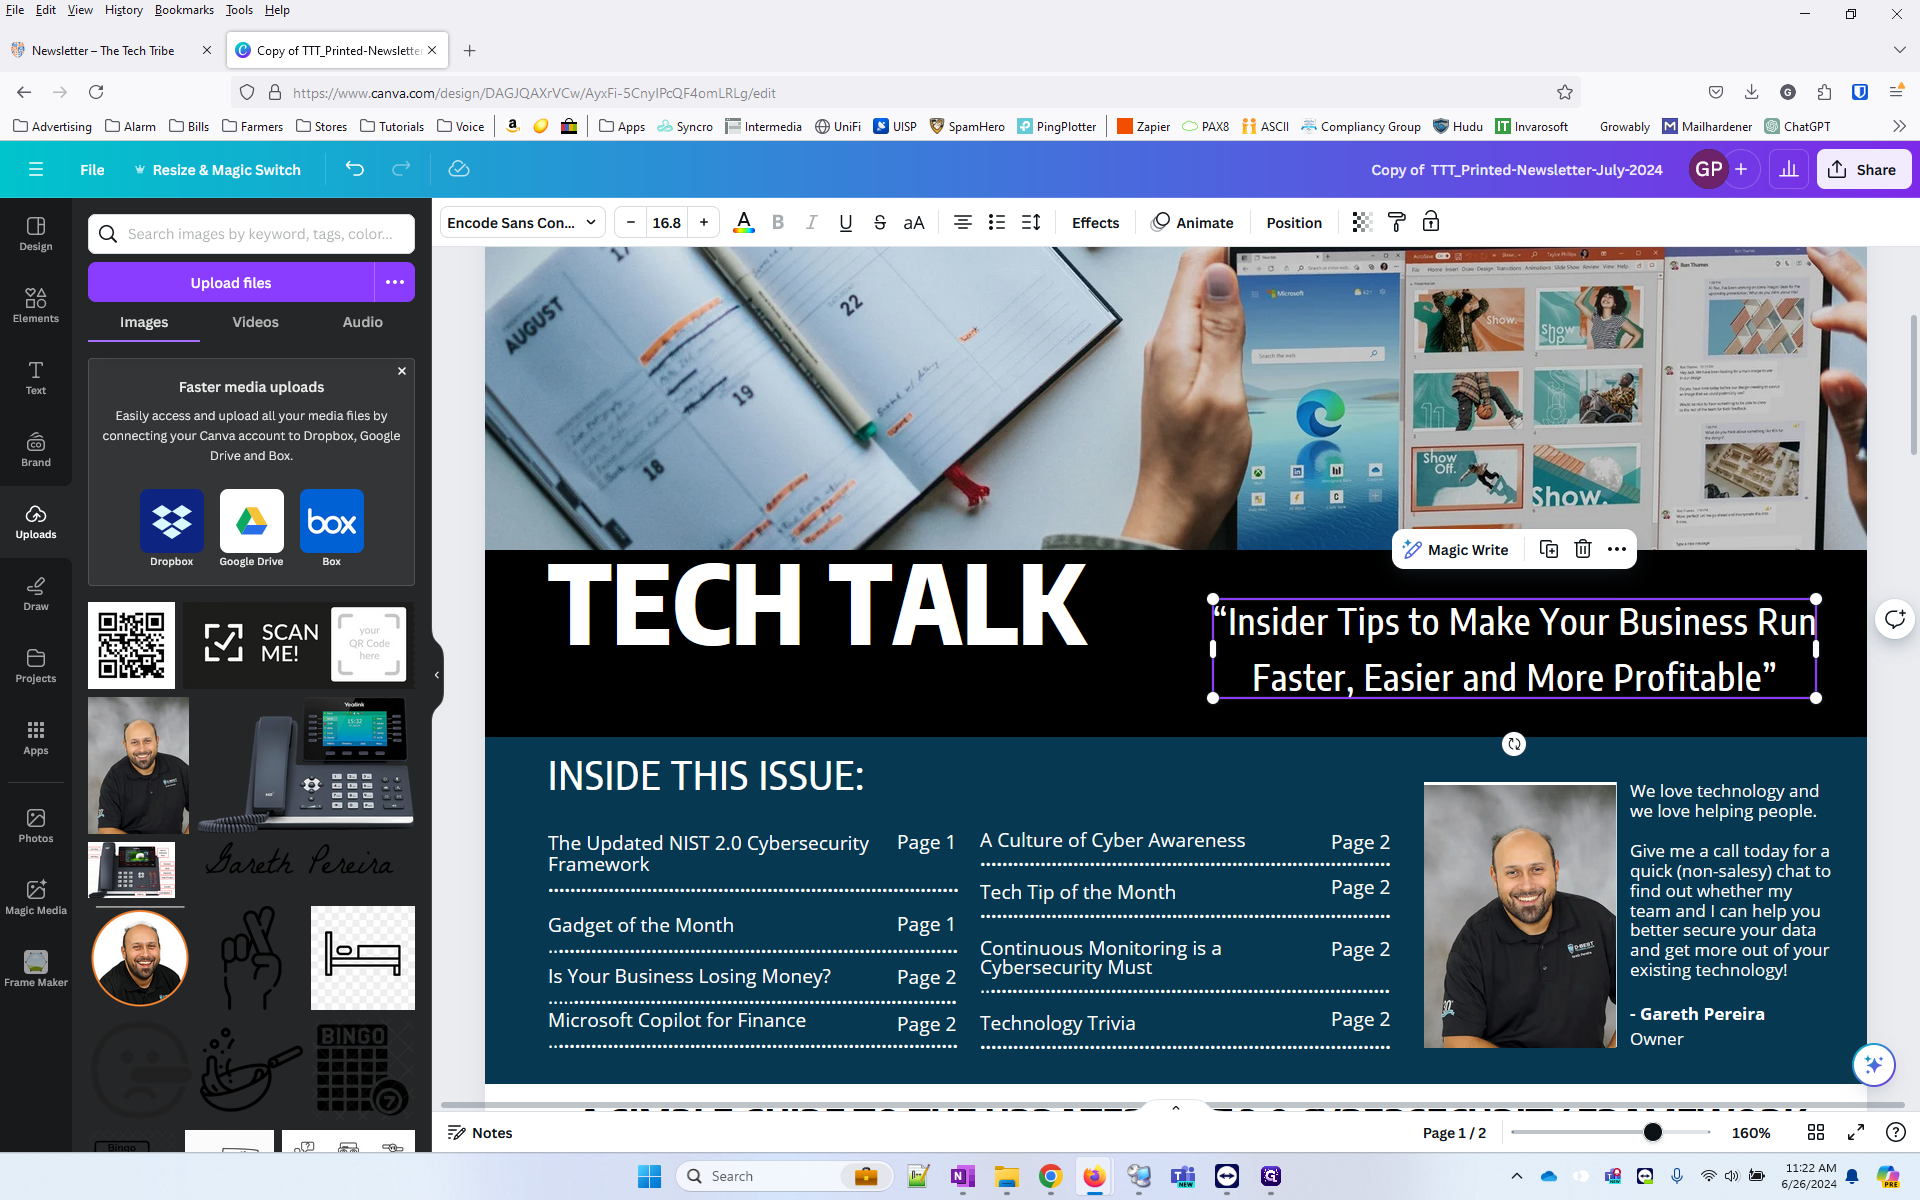
14
Center them up on their side.
15
Now we need to put the address box. Go to elements.
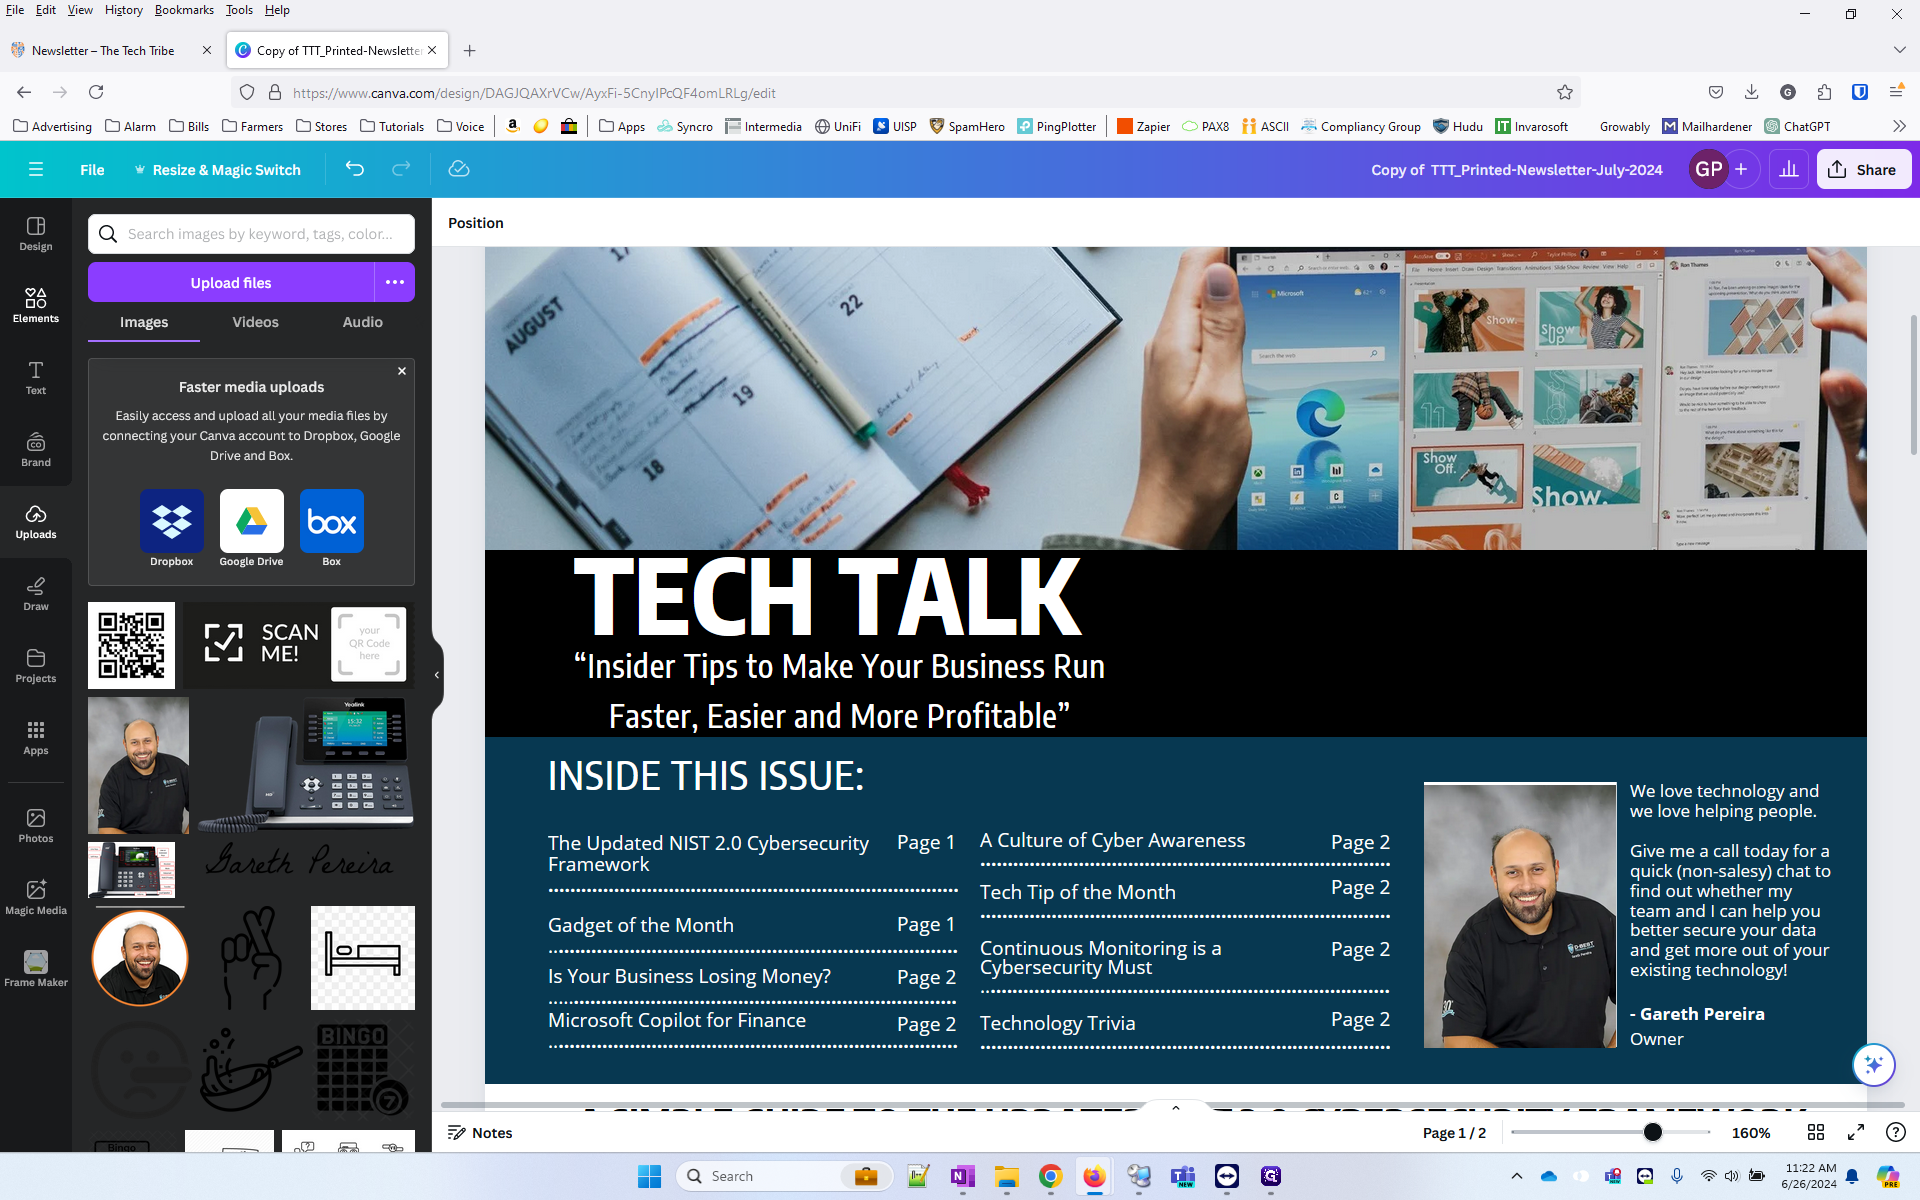
16
Select the white box.
17
Change it to white.
18
Move the box to where it belongs.
19
Click "Position"
20
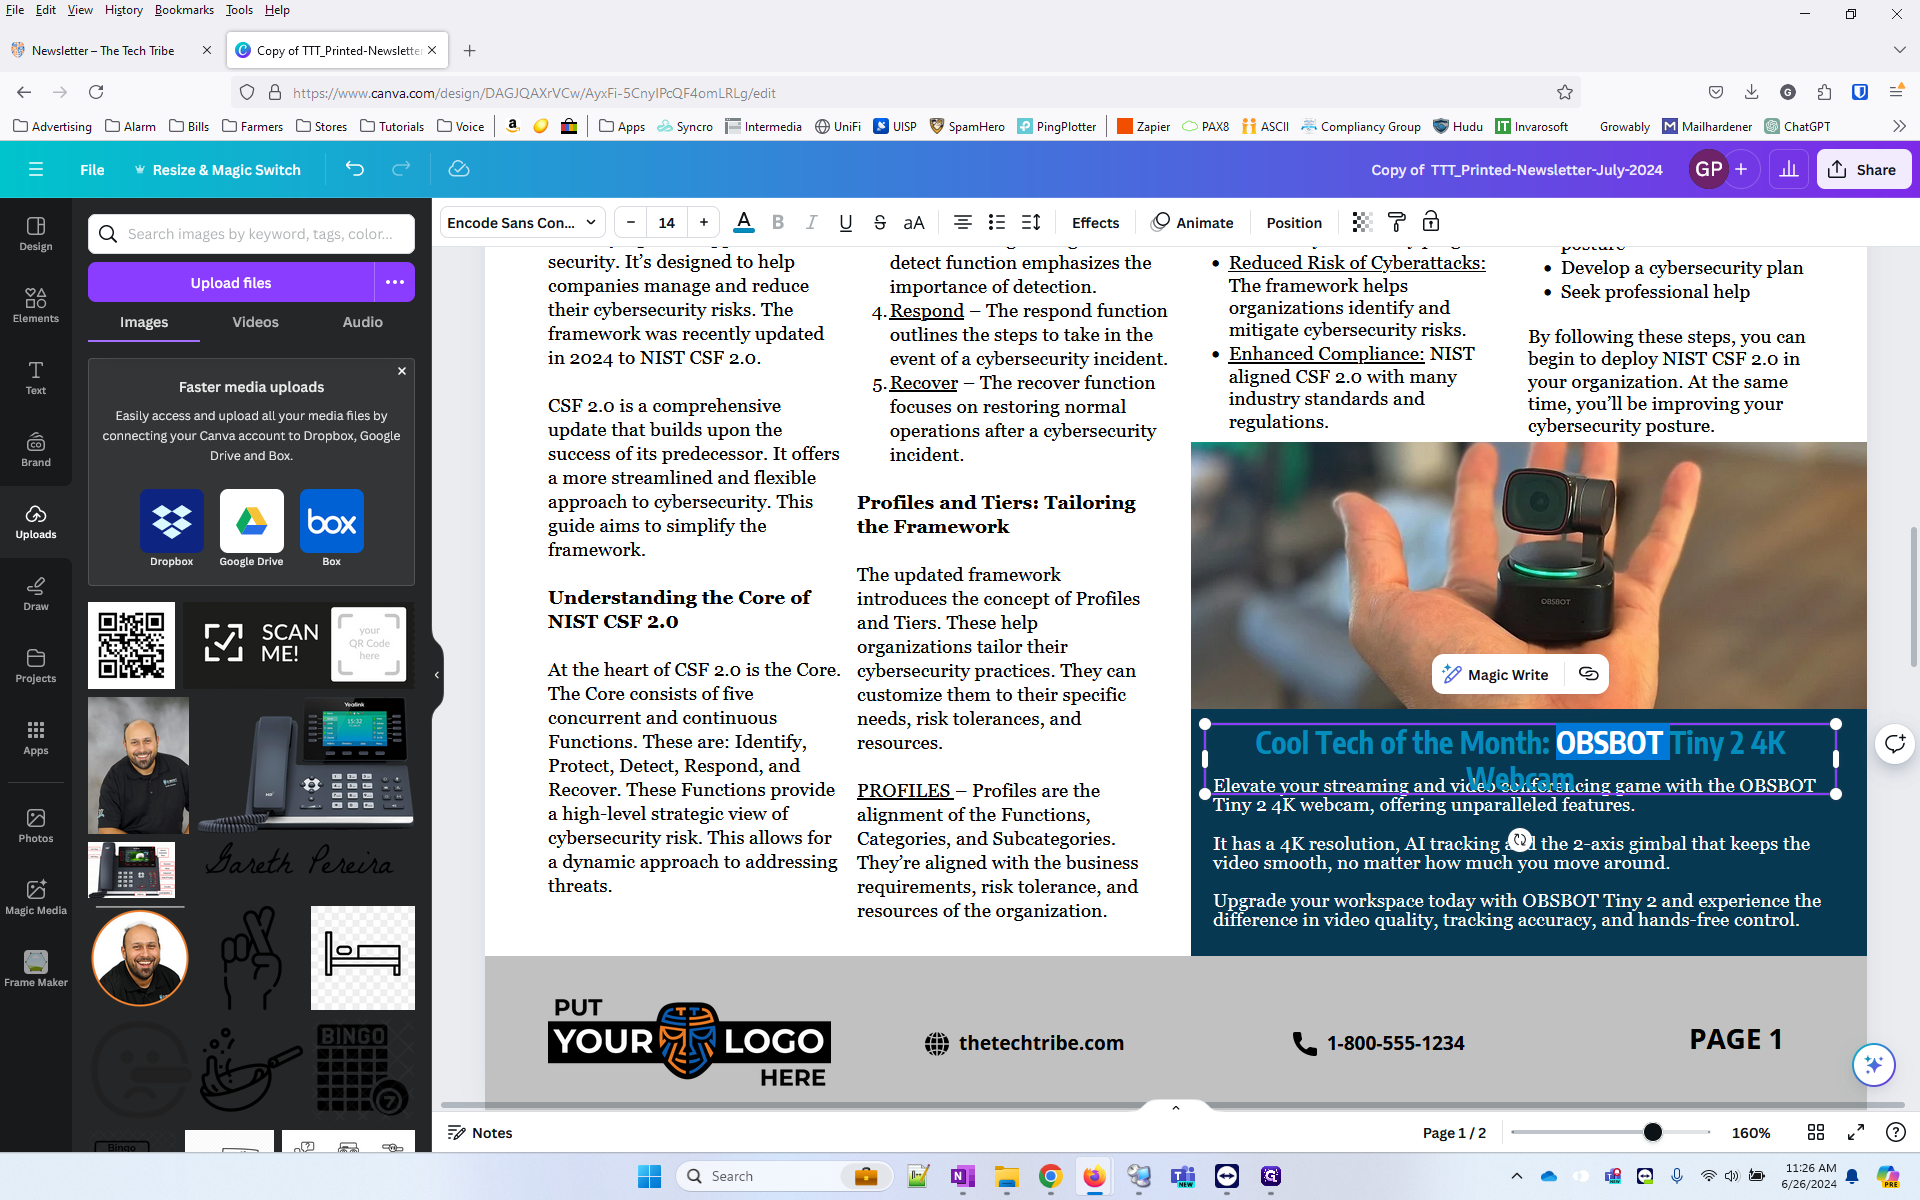
Adjust the box size to 4" wide by 2.25" tall.
21
Line the box up so it's about .15" above the line.
22
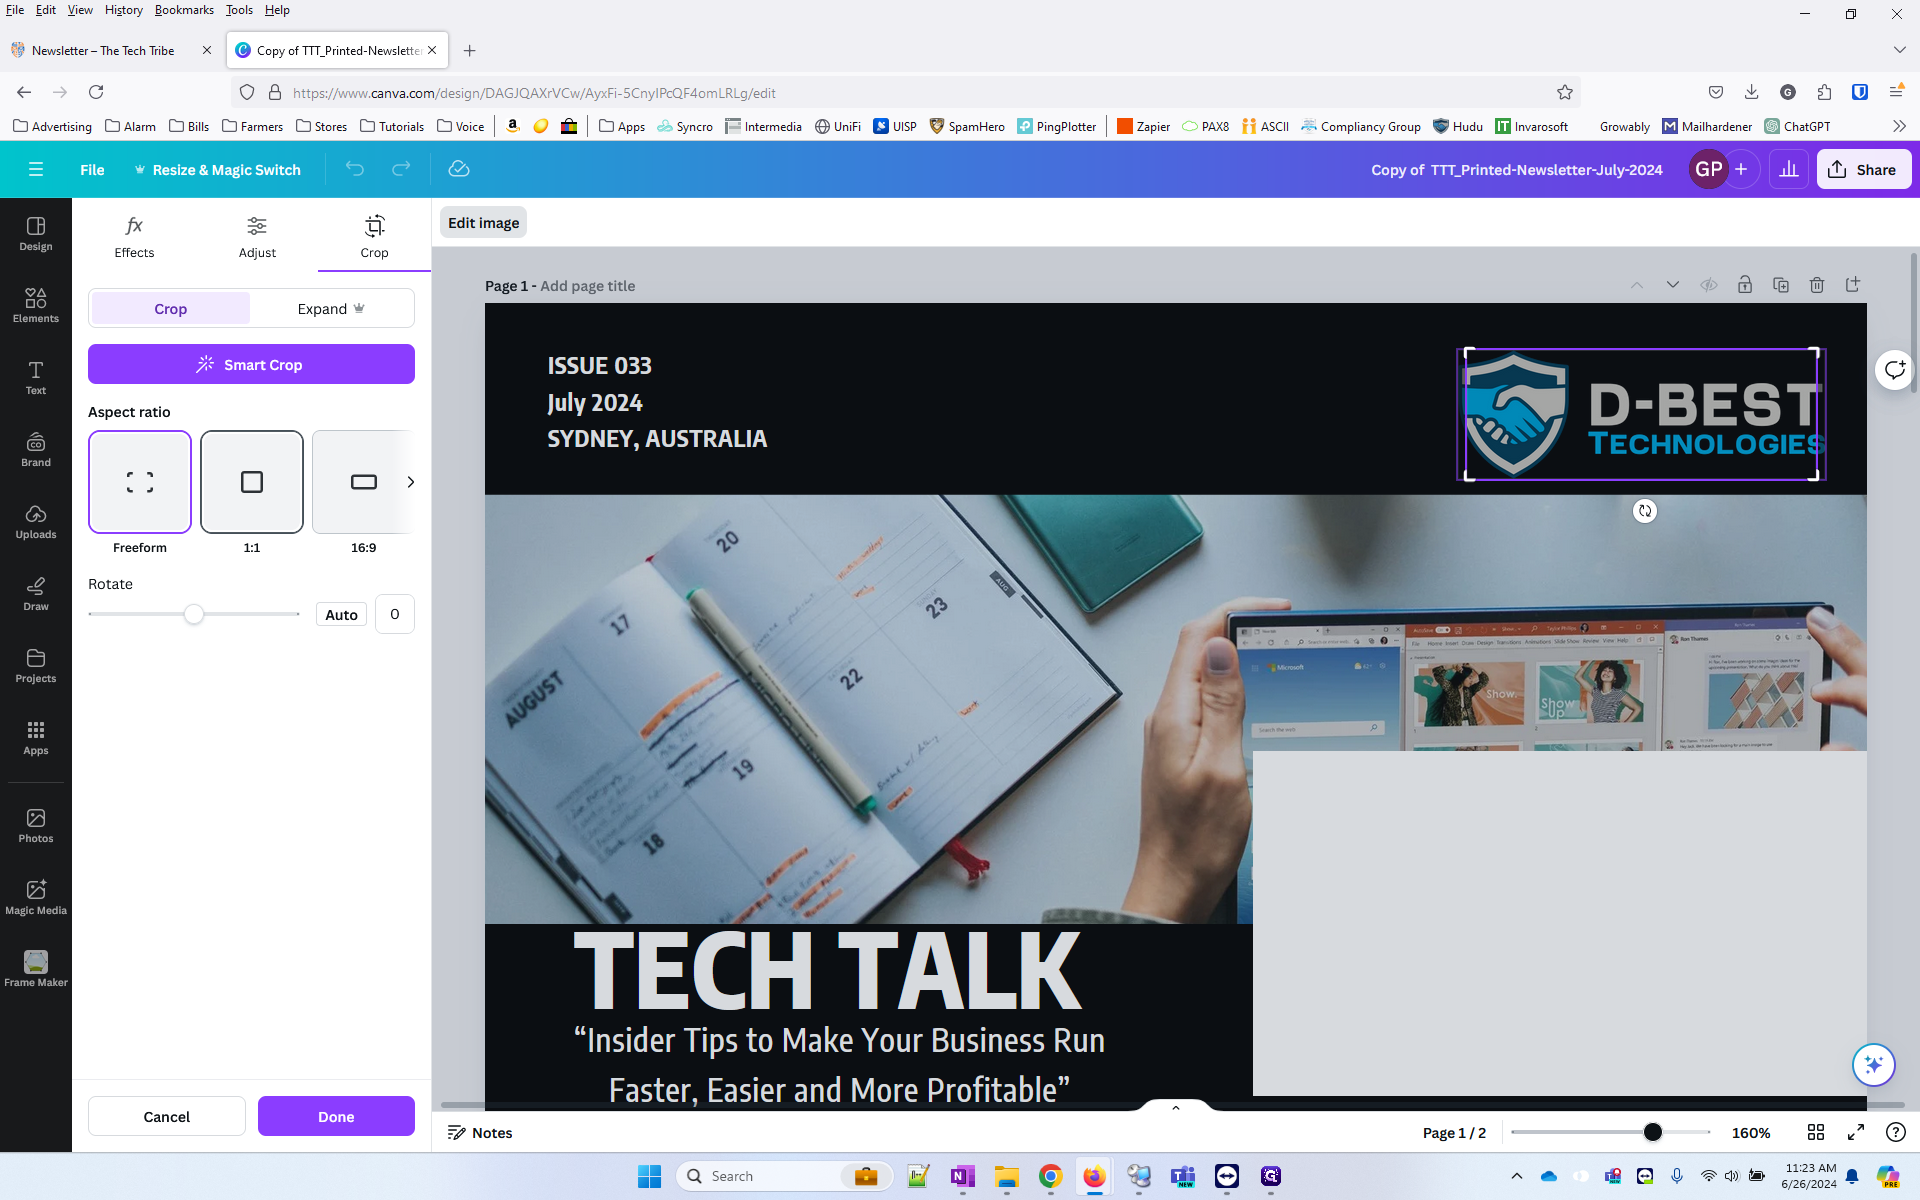
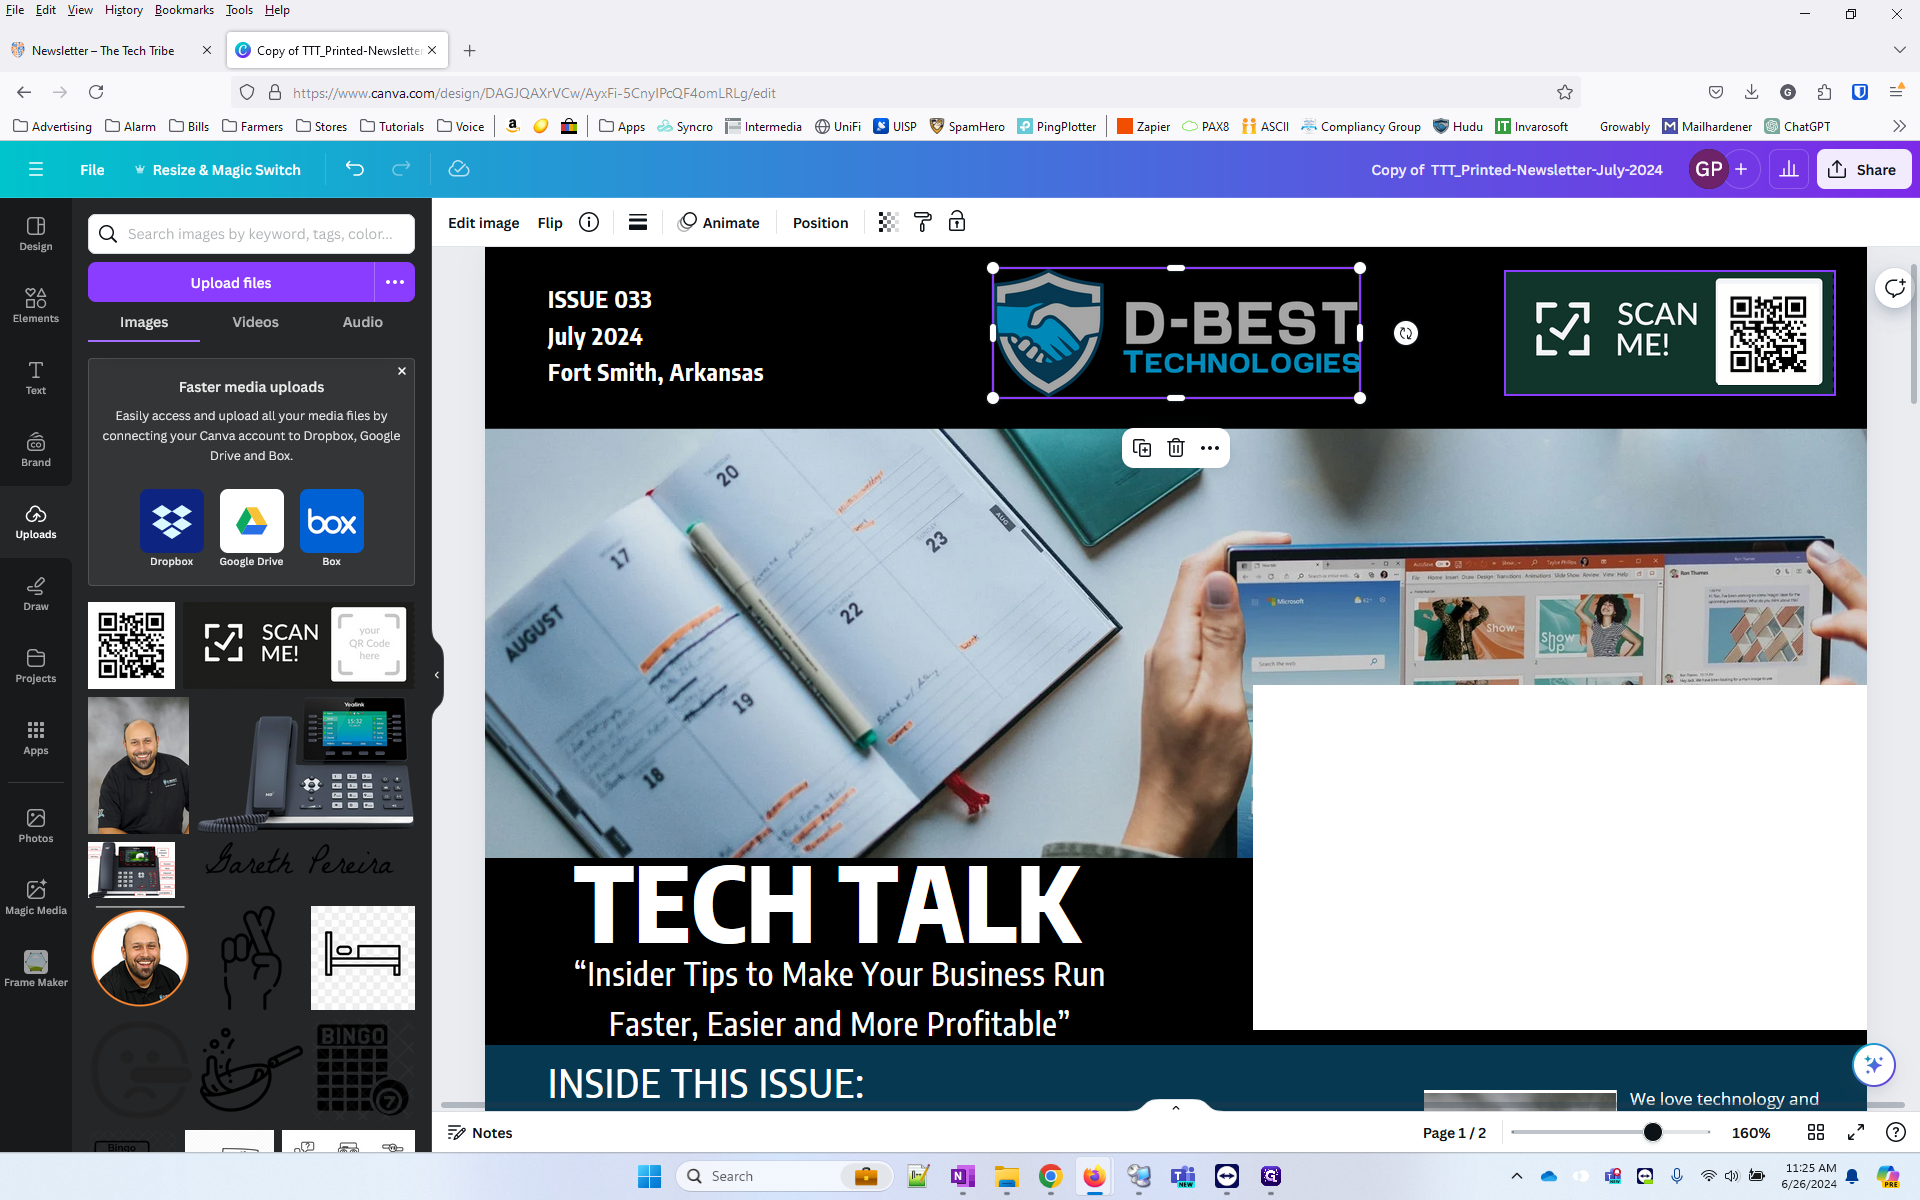
Now we need to replace all the logos. Go to Brand and select the logo. Note there is a logo for dark backgrounds and a logo for light backgrounds.

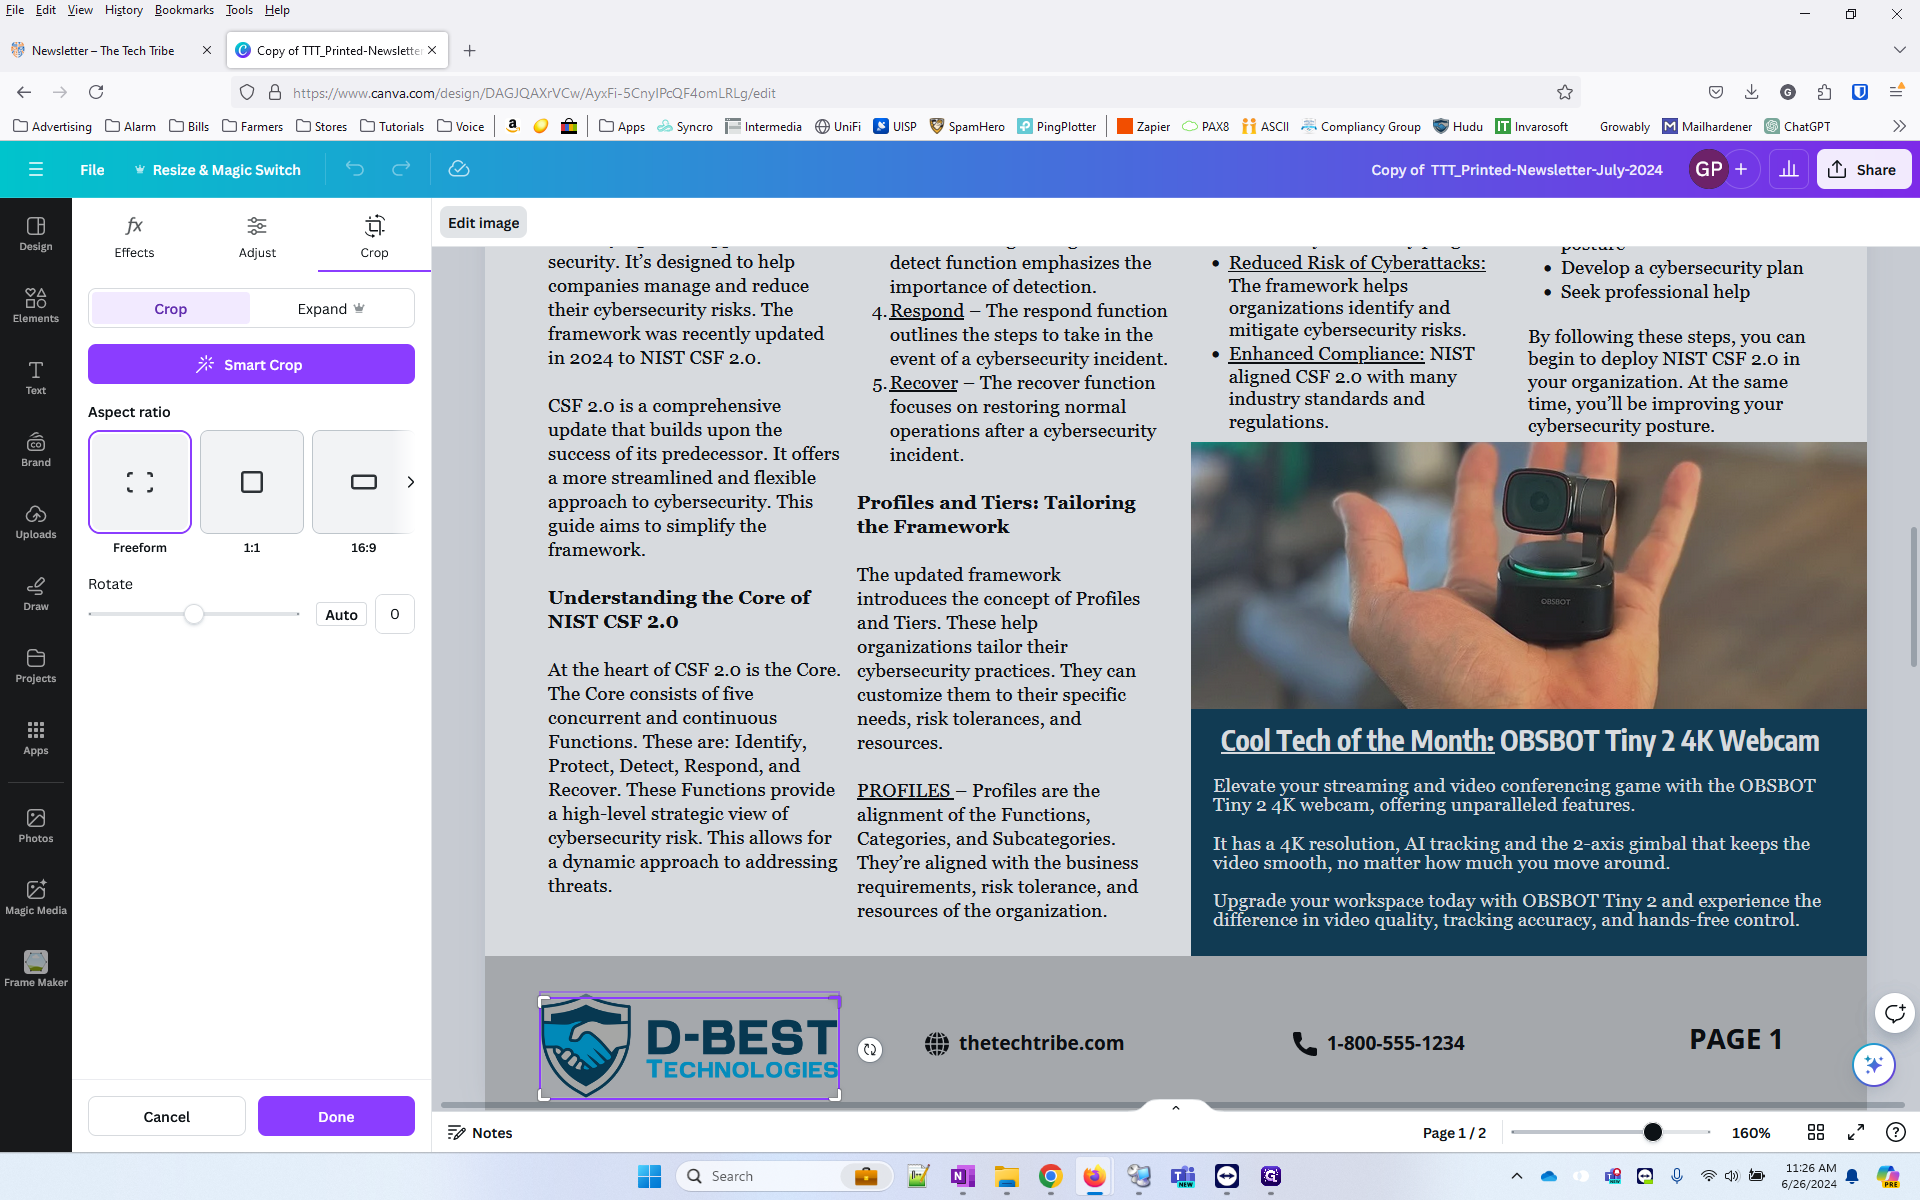
23
Drag it over the Tech Tribe logo to replace it. Then double click the logo to adjust the cropping.
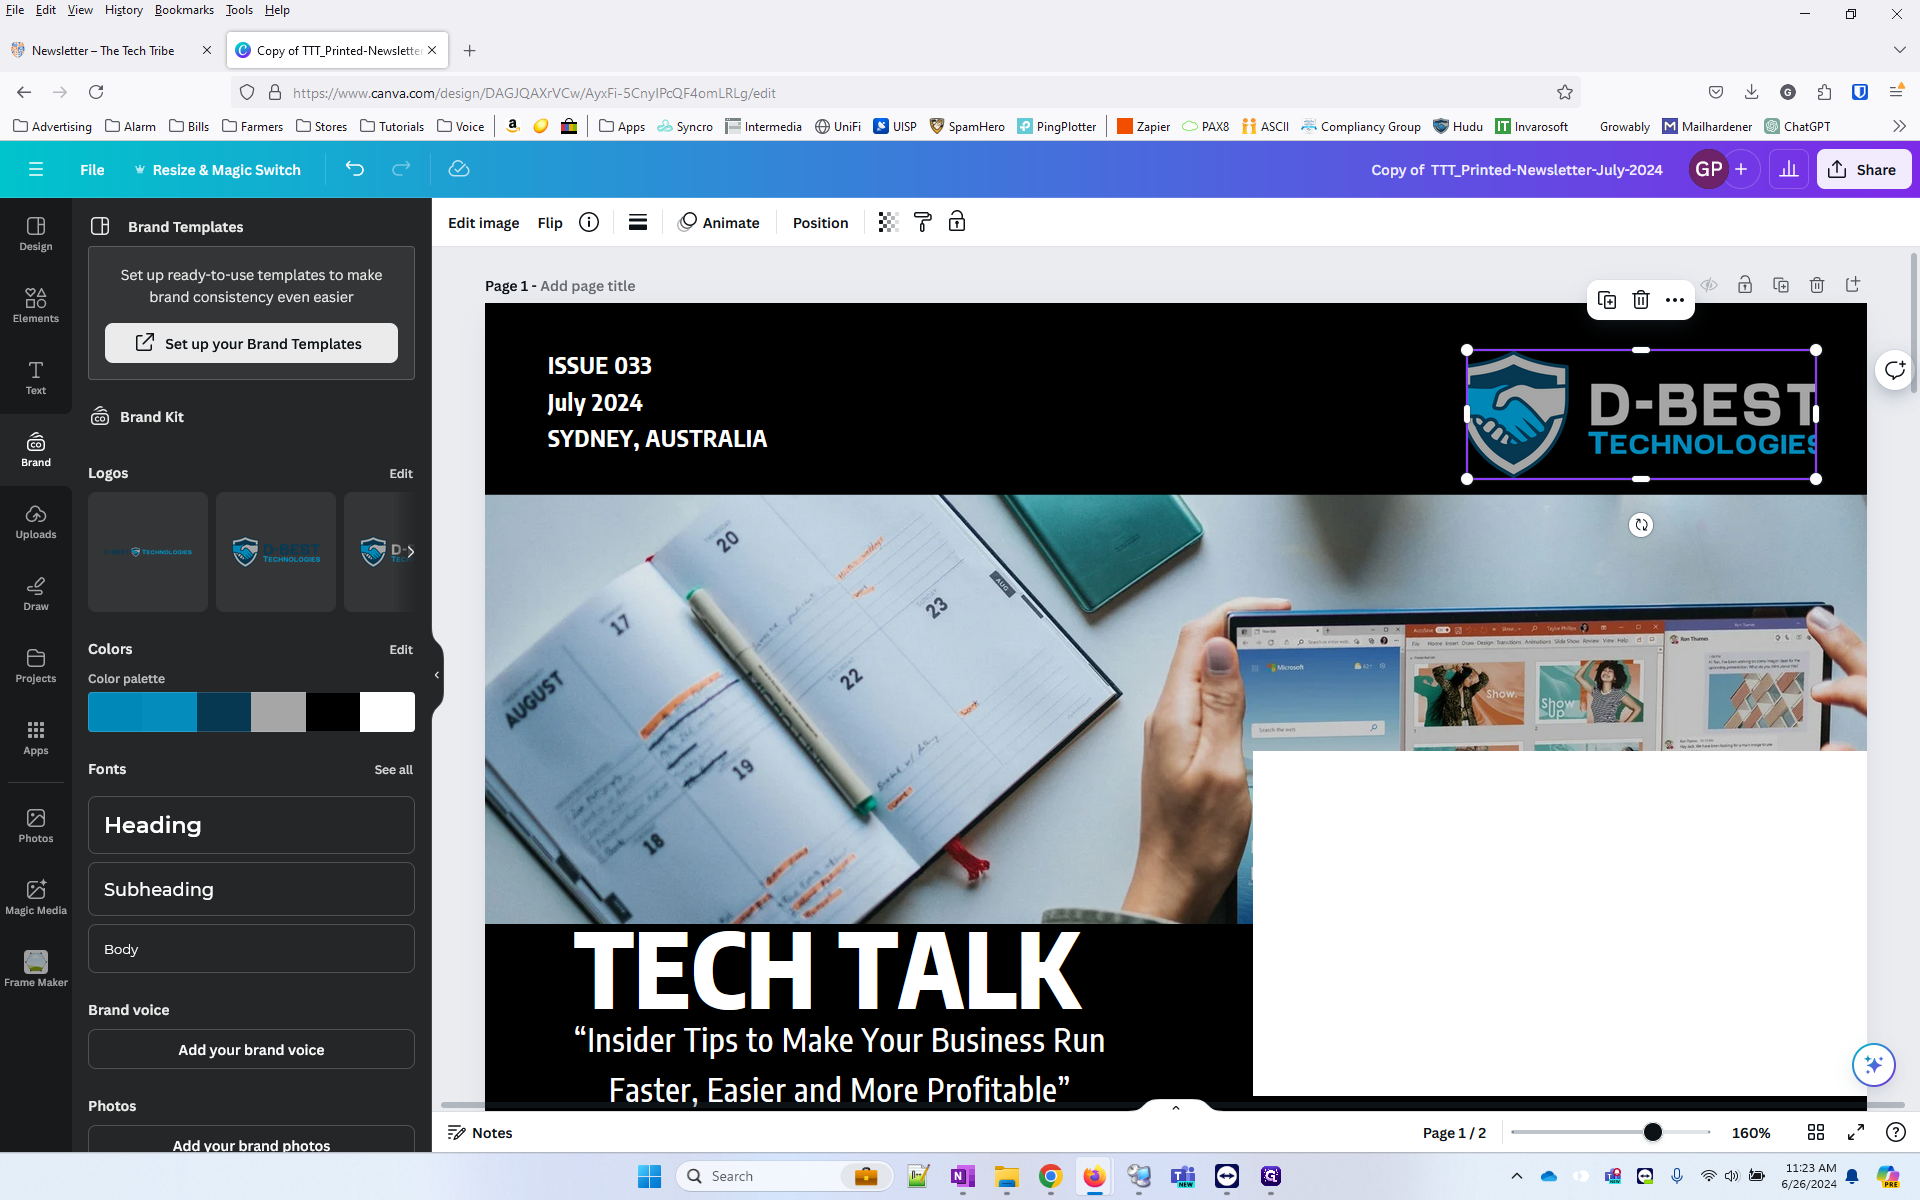
24
You have to click "1:1" then click back on "Freeform".
25
Now it will let you easily drag the box to the max width.

26
Next update the address from Sydney Australia to Fort Smith, Arkansas.
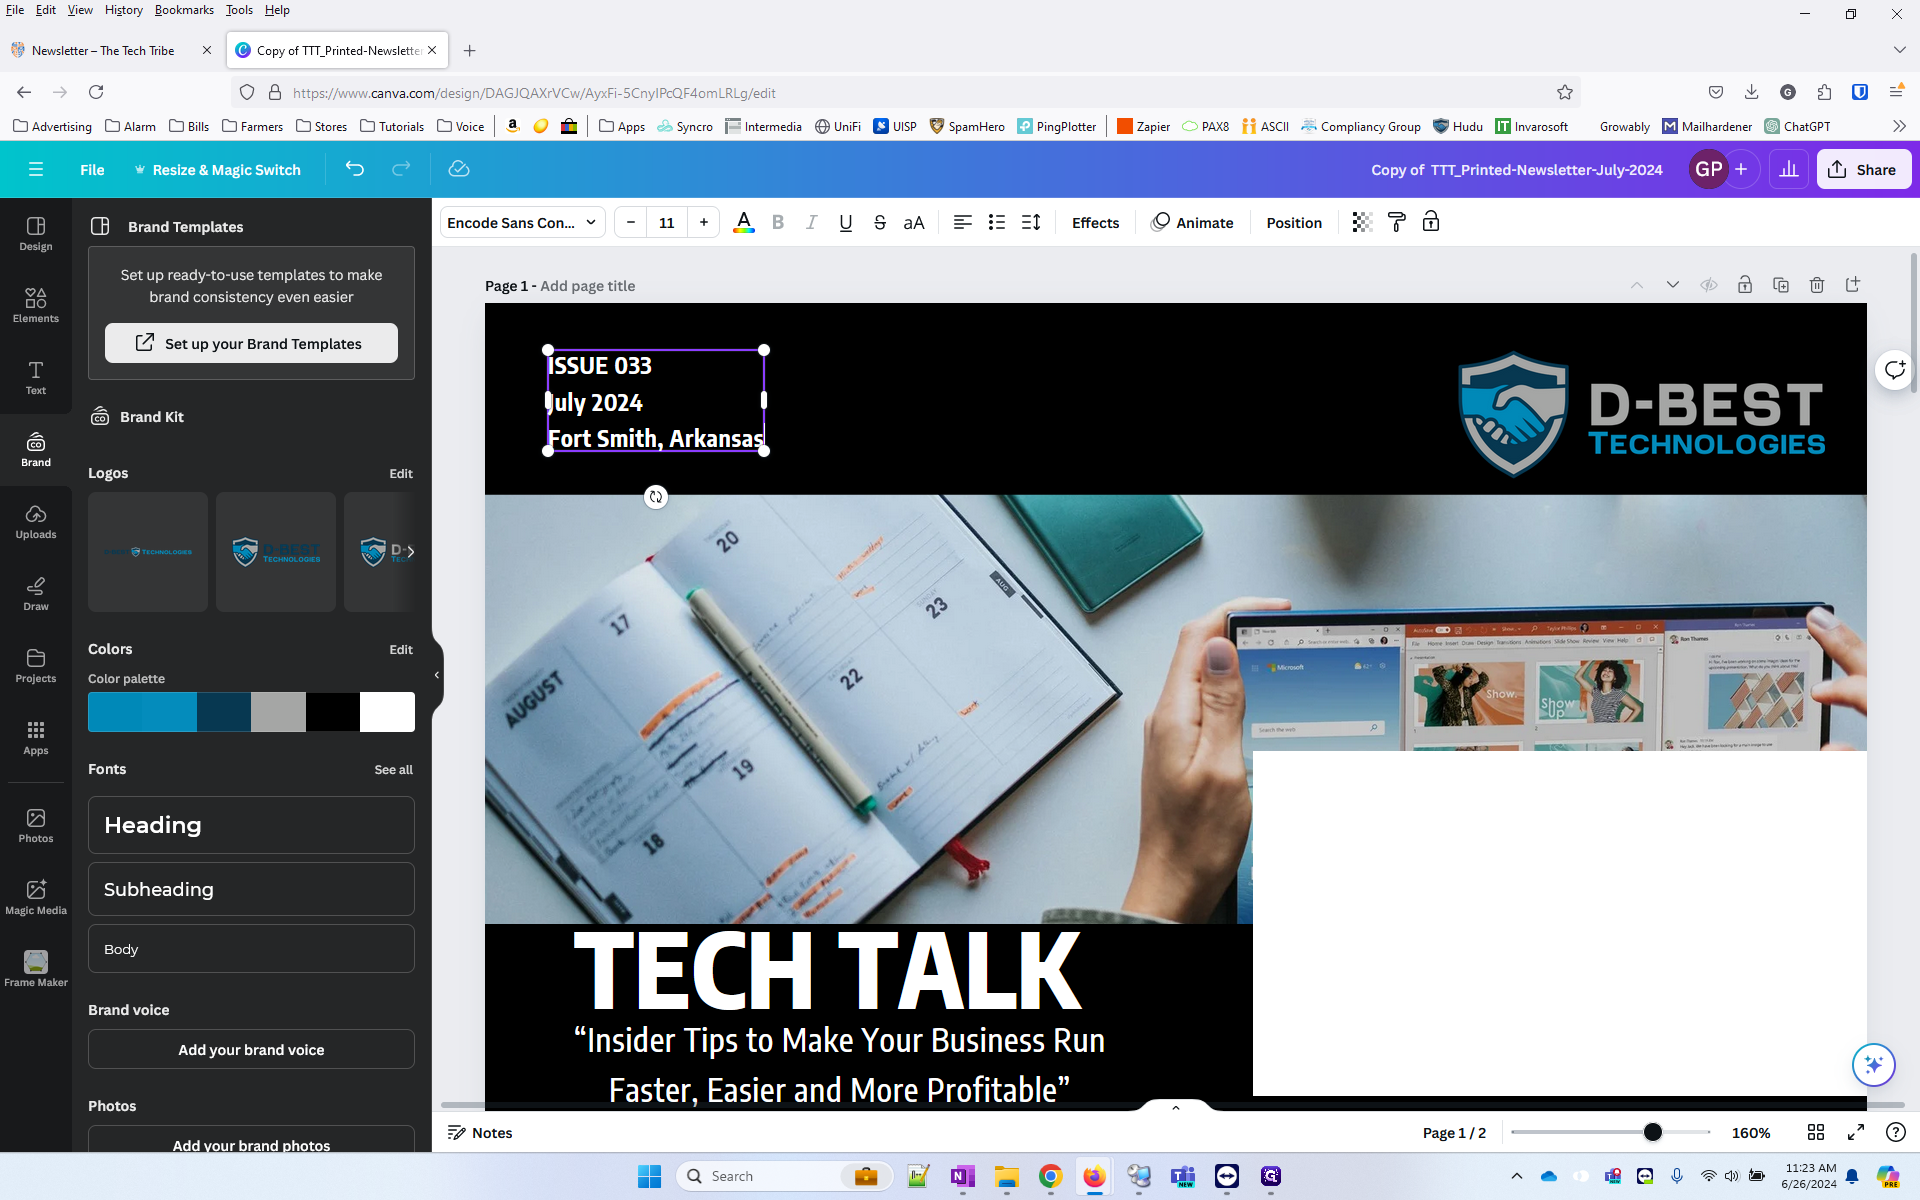
27
Move the D-Best Technologies logo to the center of the header. There will be a thick vertical line (not a dotted one) when it is completely centered. Also horizontally center it (there will be a dotted horizontal line).

28
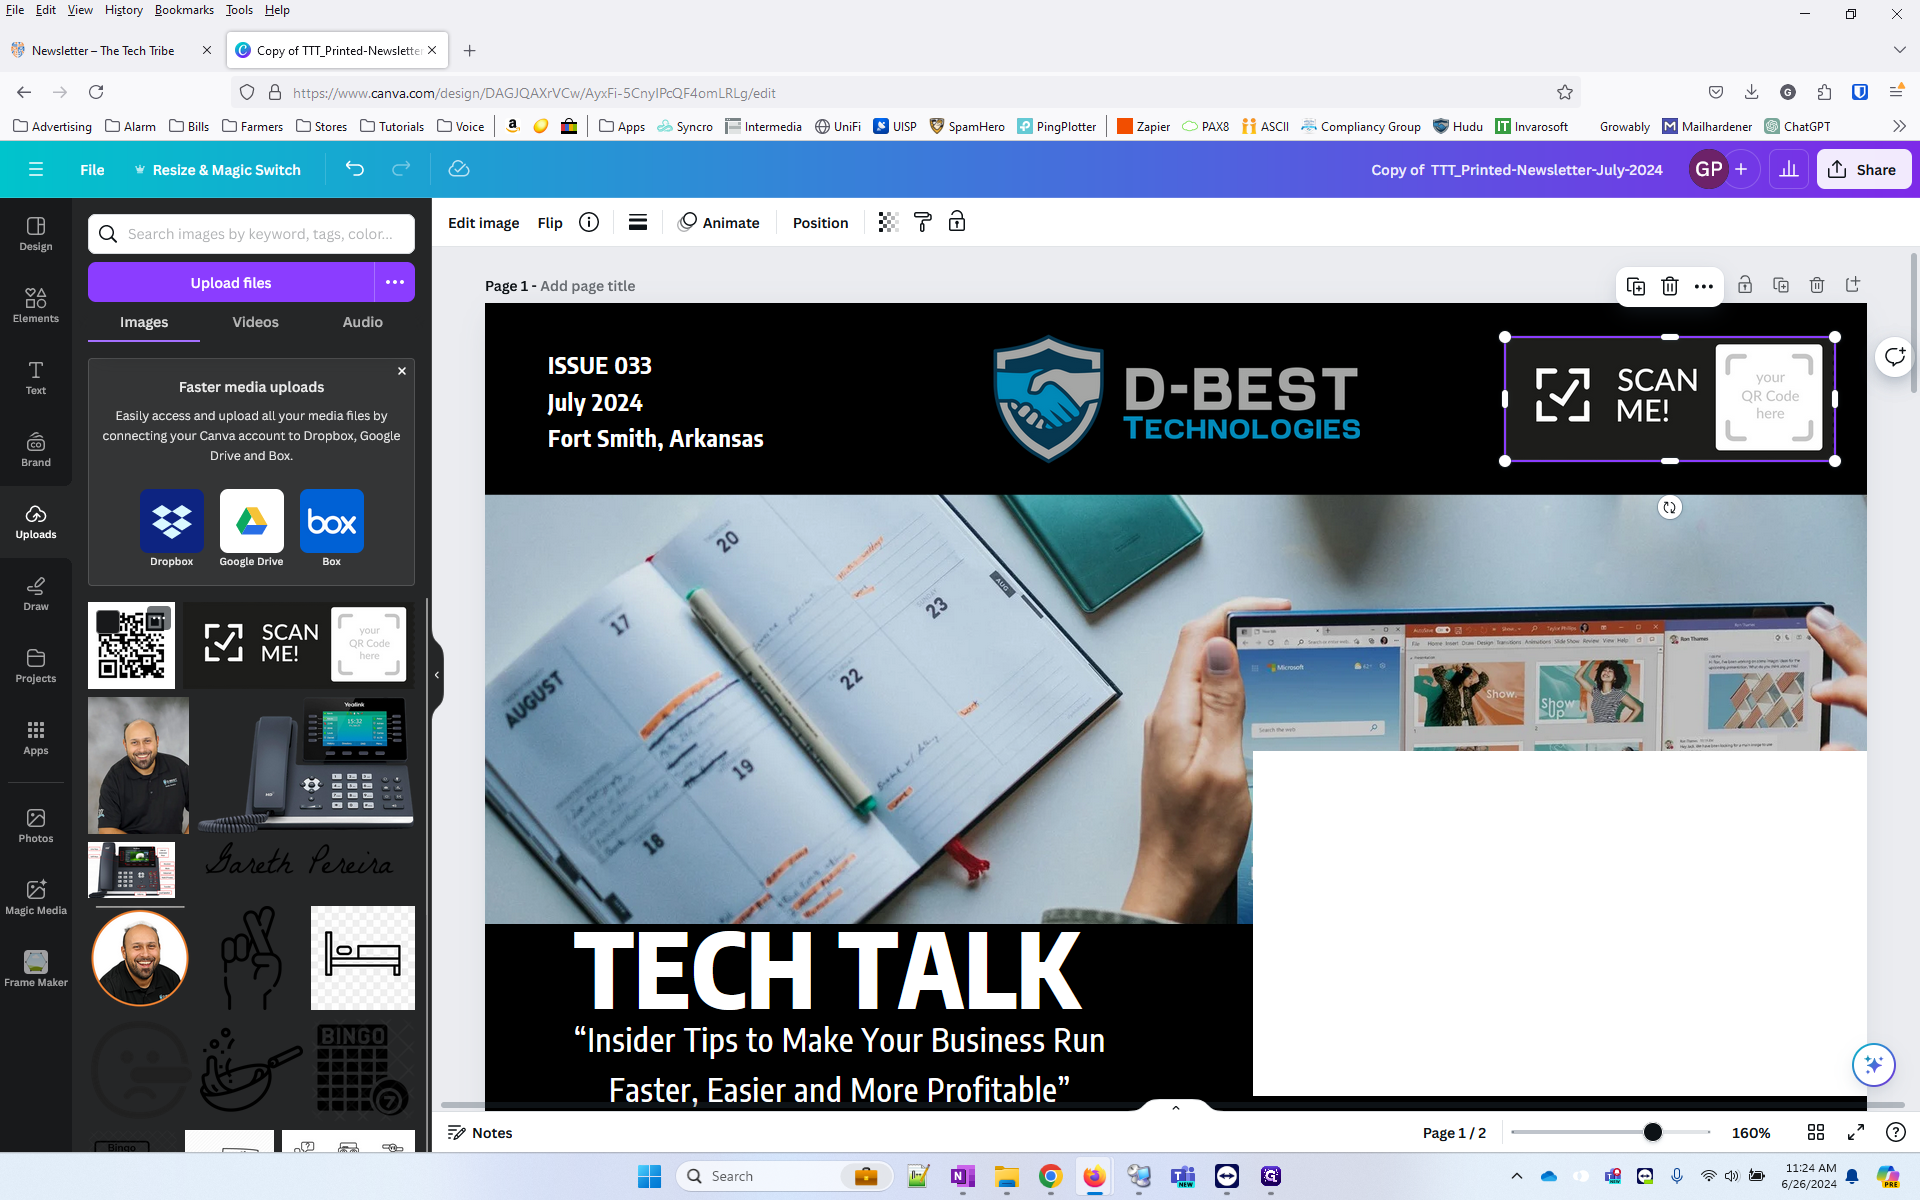
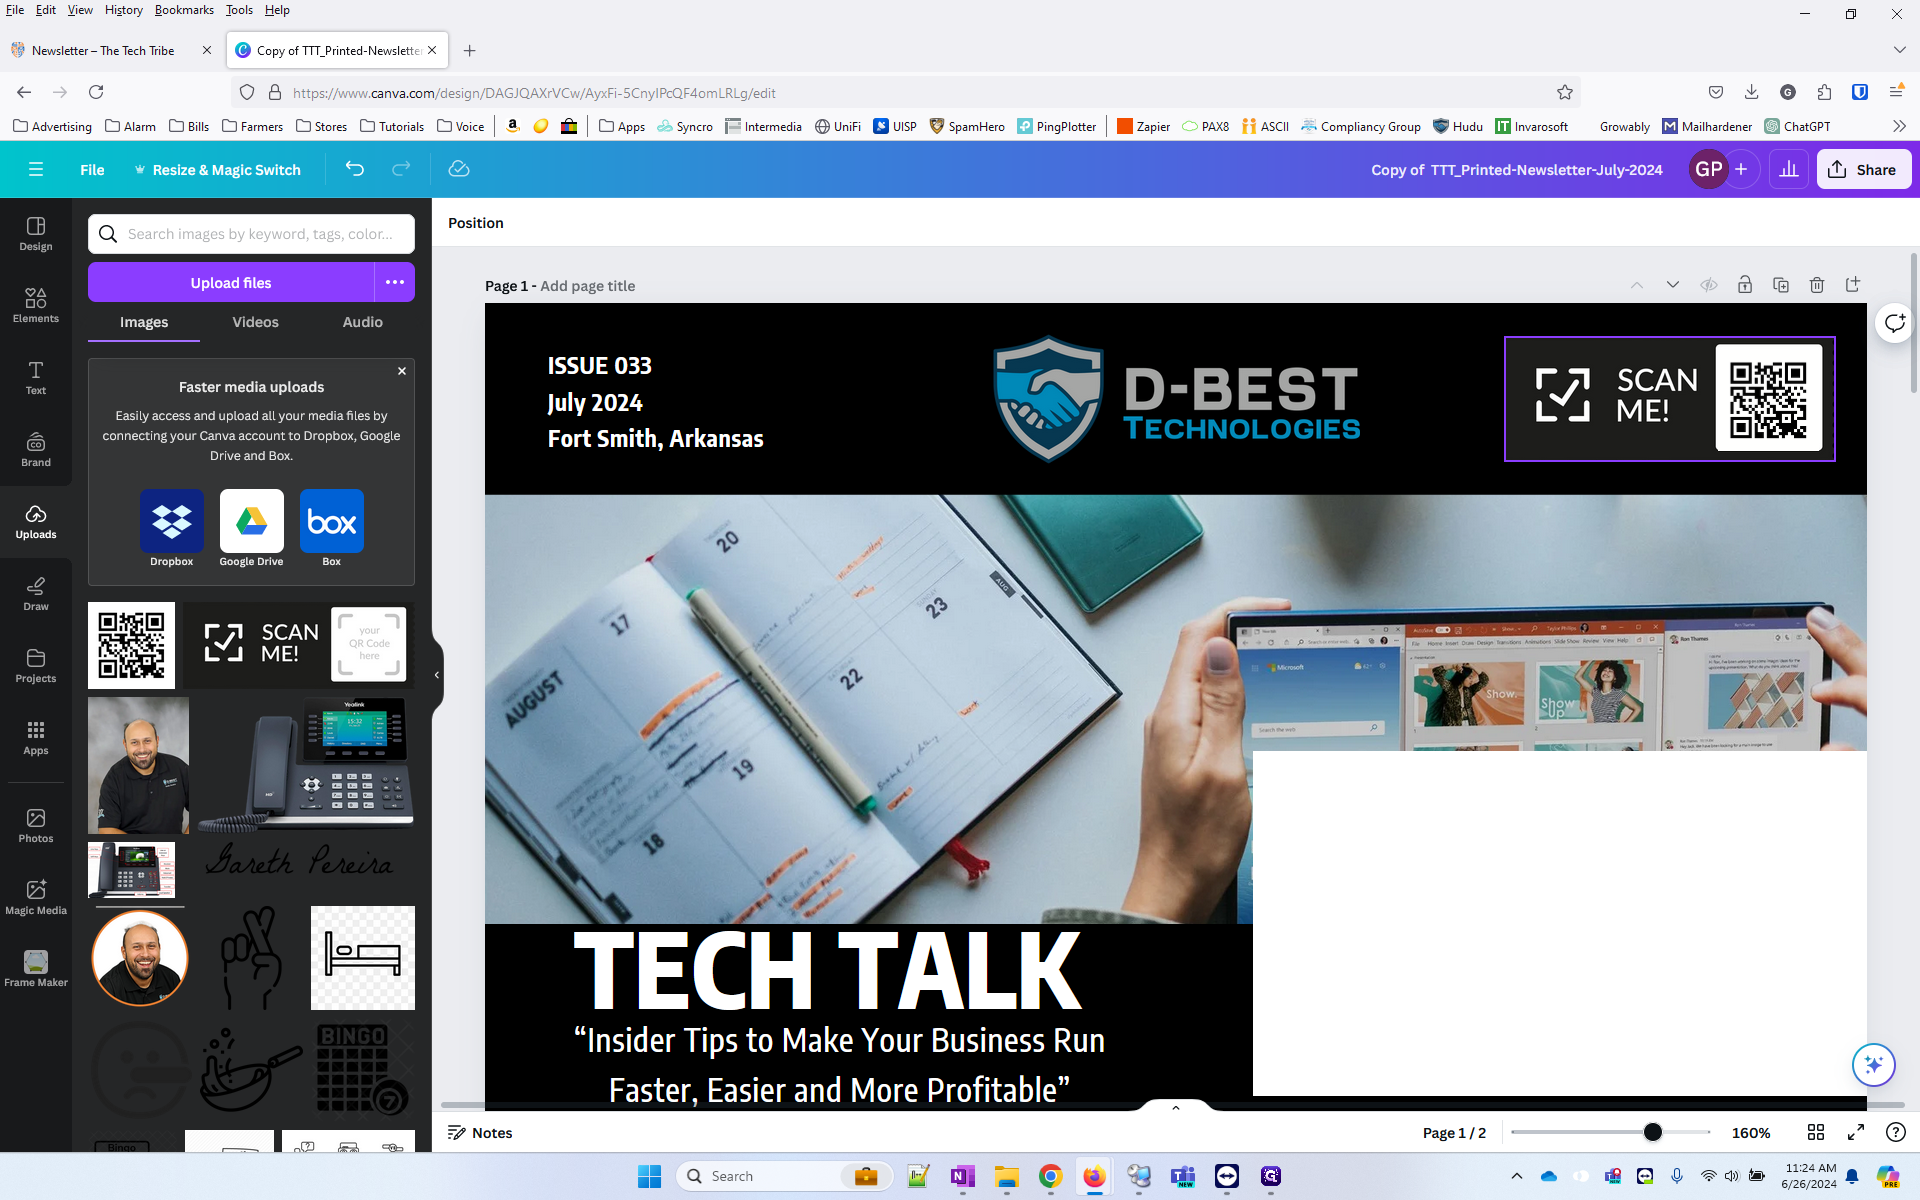
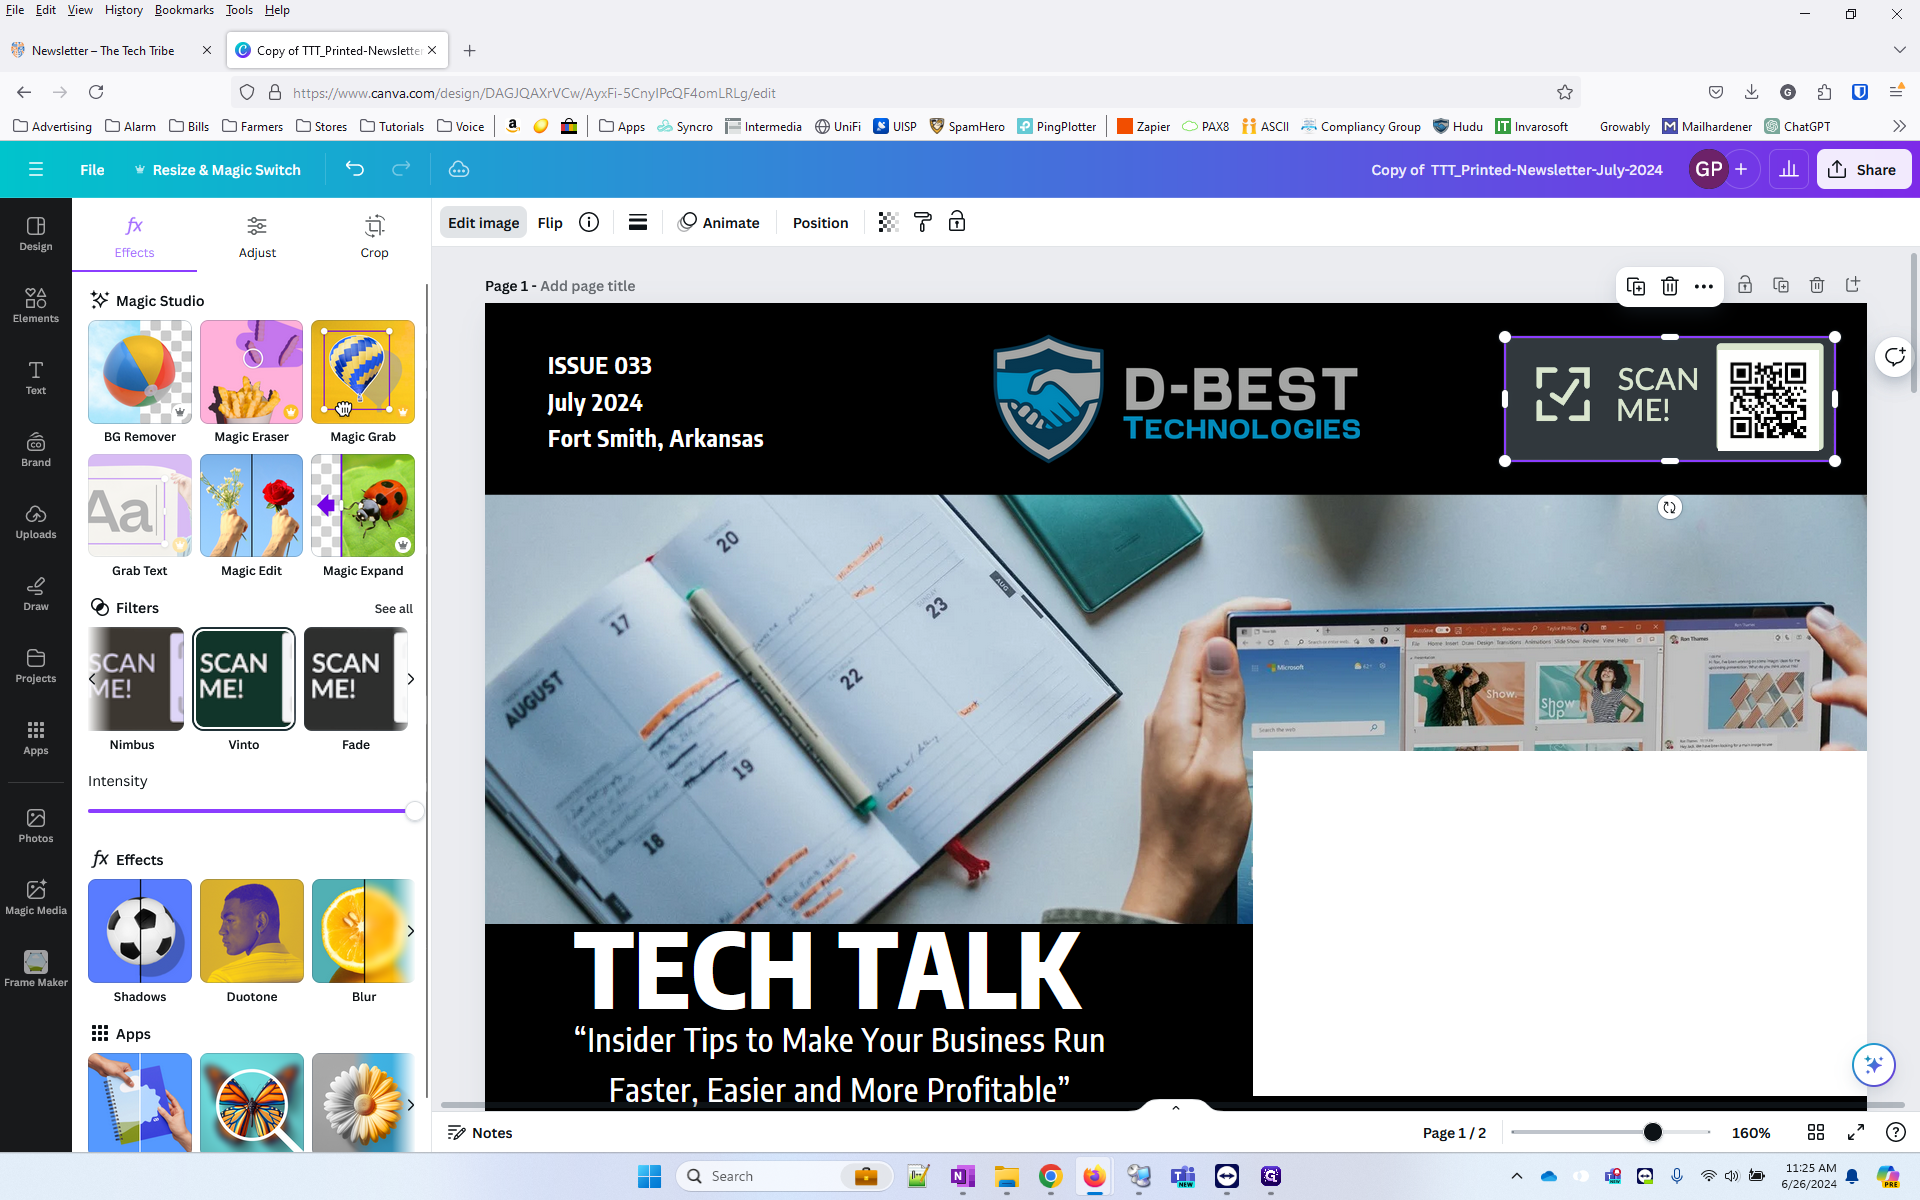
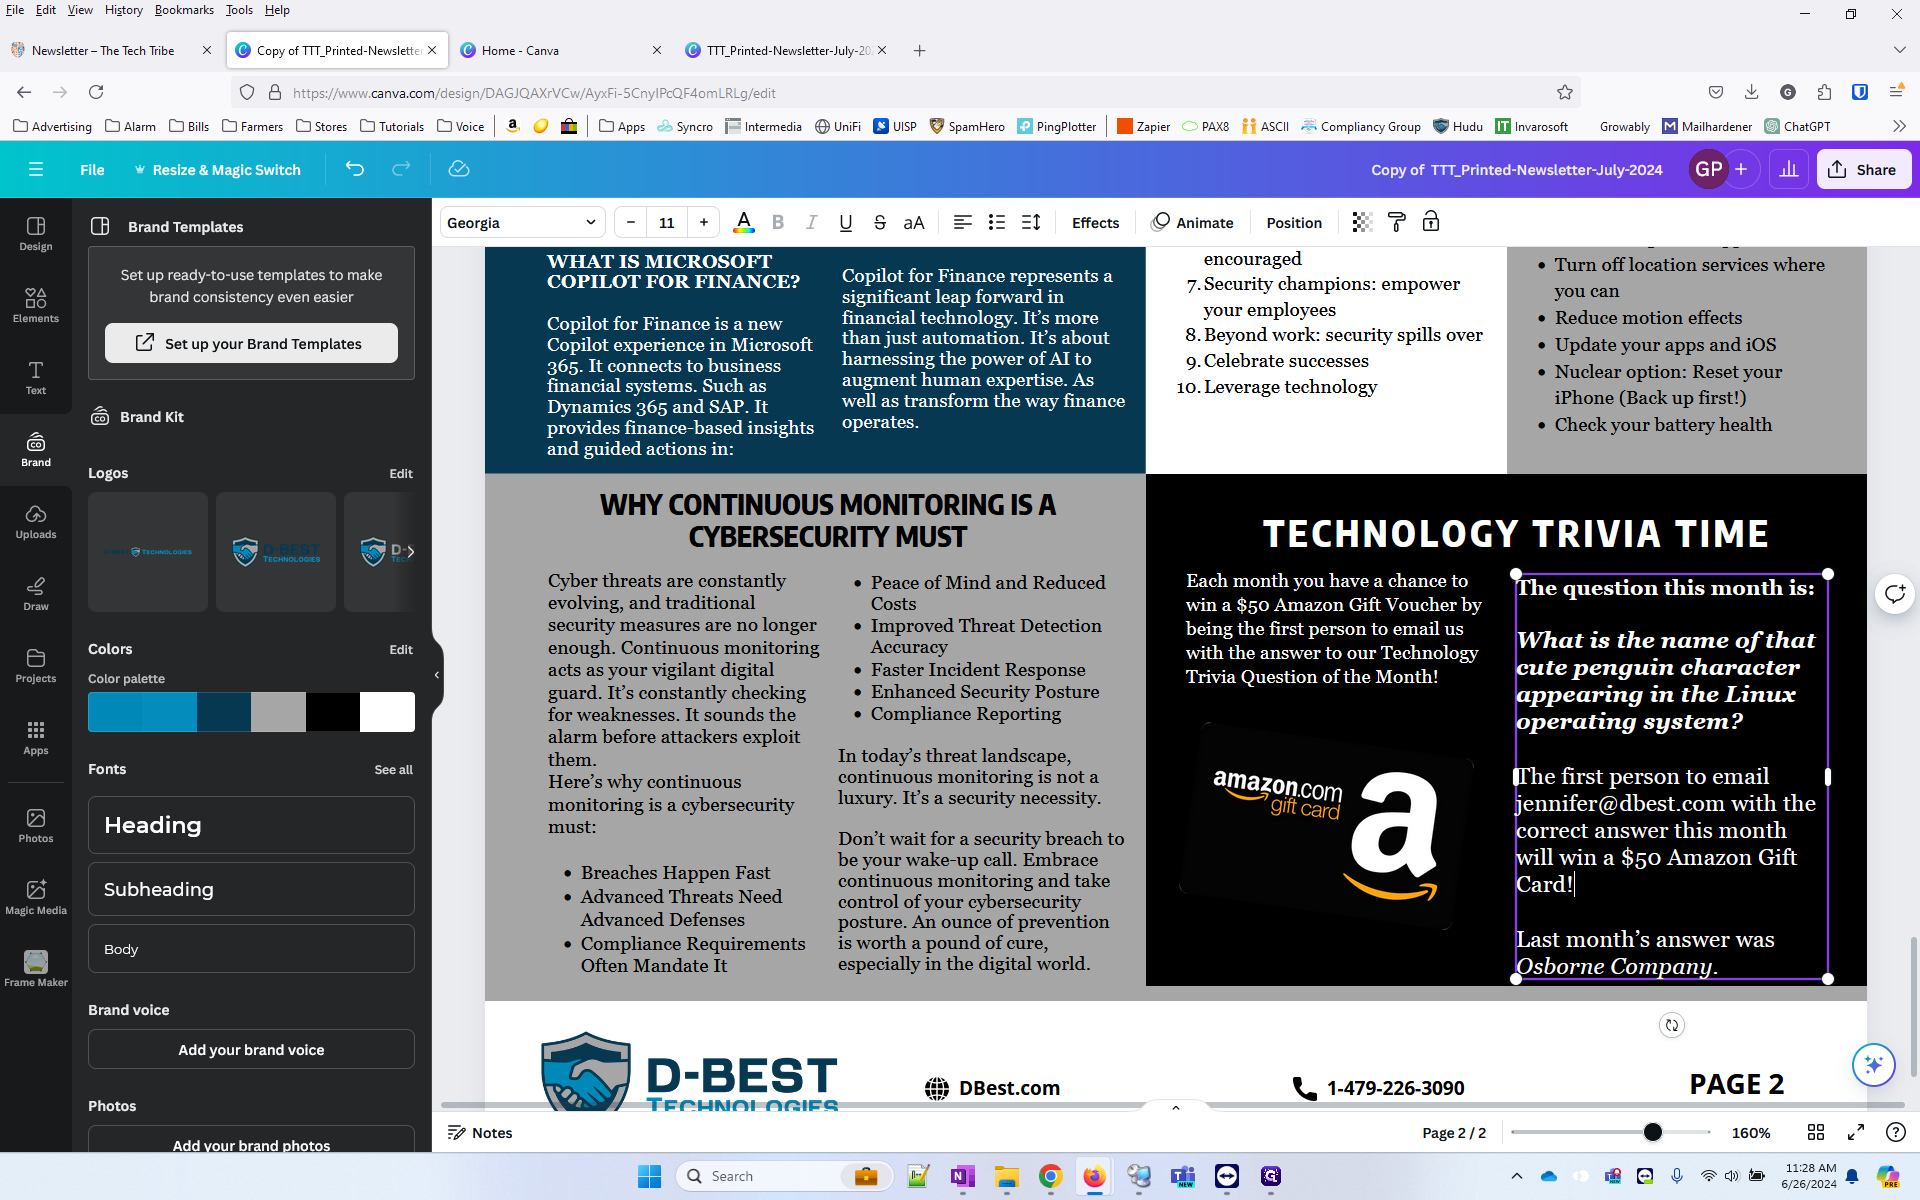
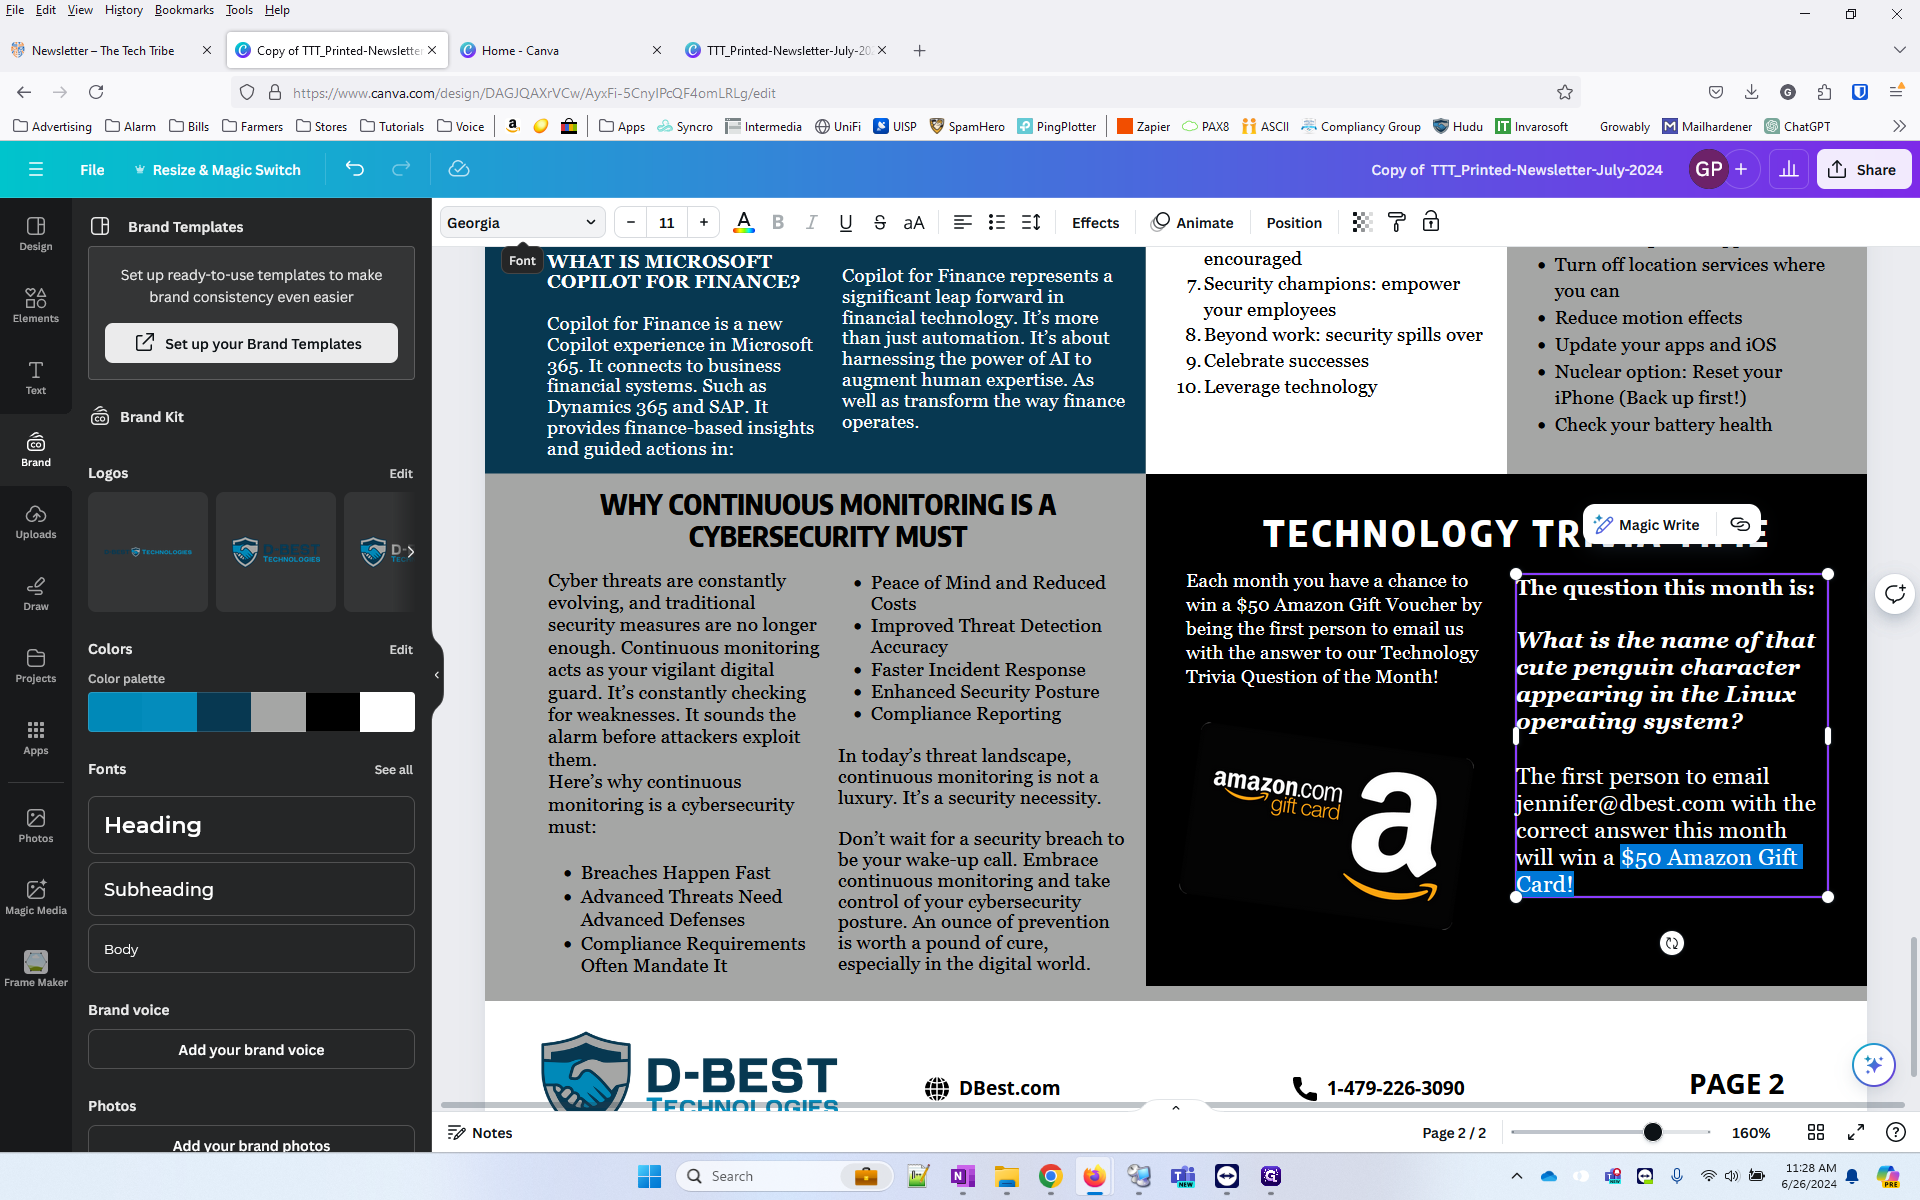
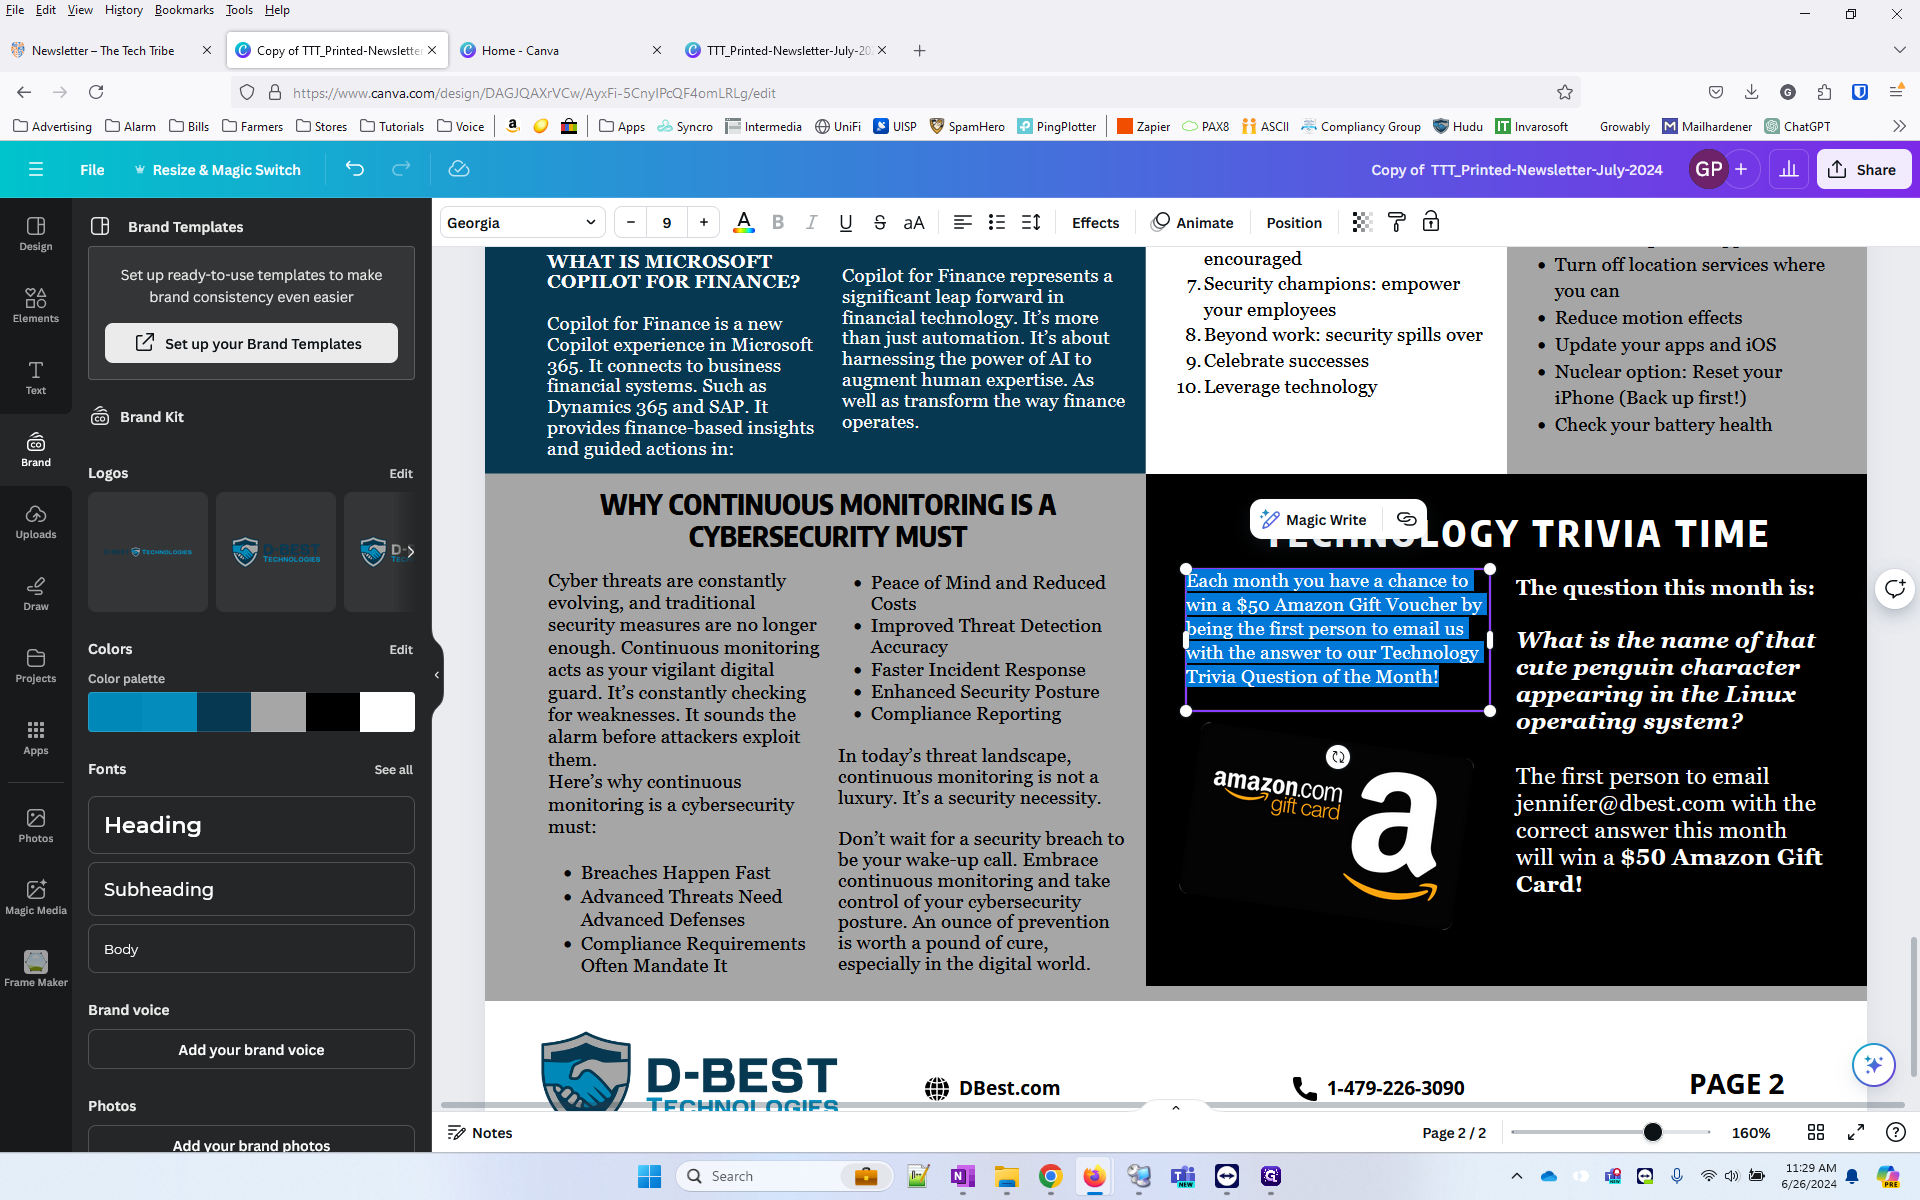
Now we need to add the QR Code. Go to Uploads, click the "Scan Me" to put it on the page.
29
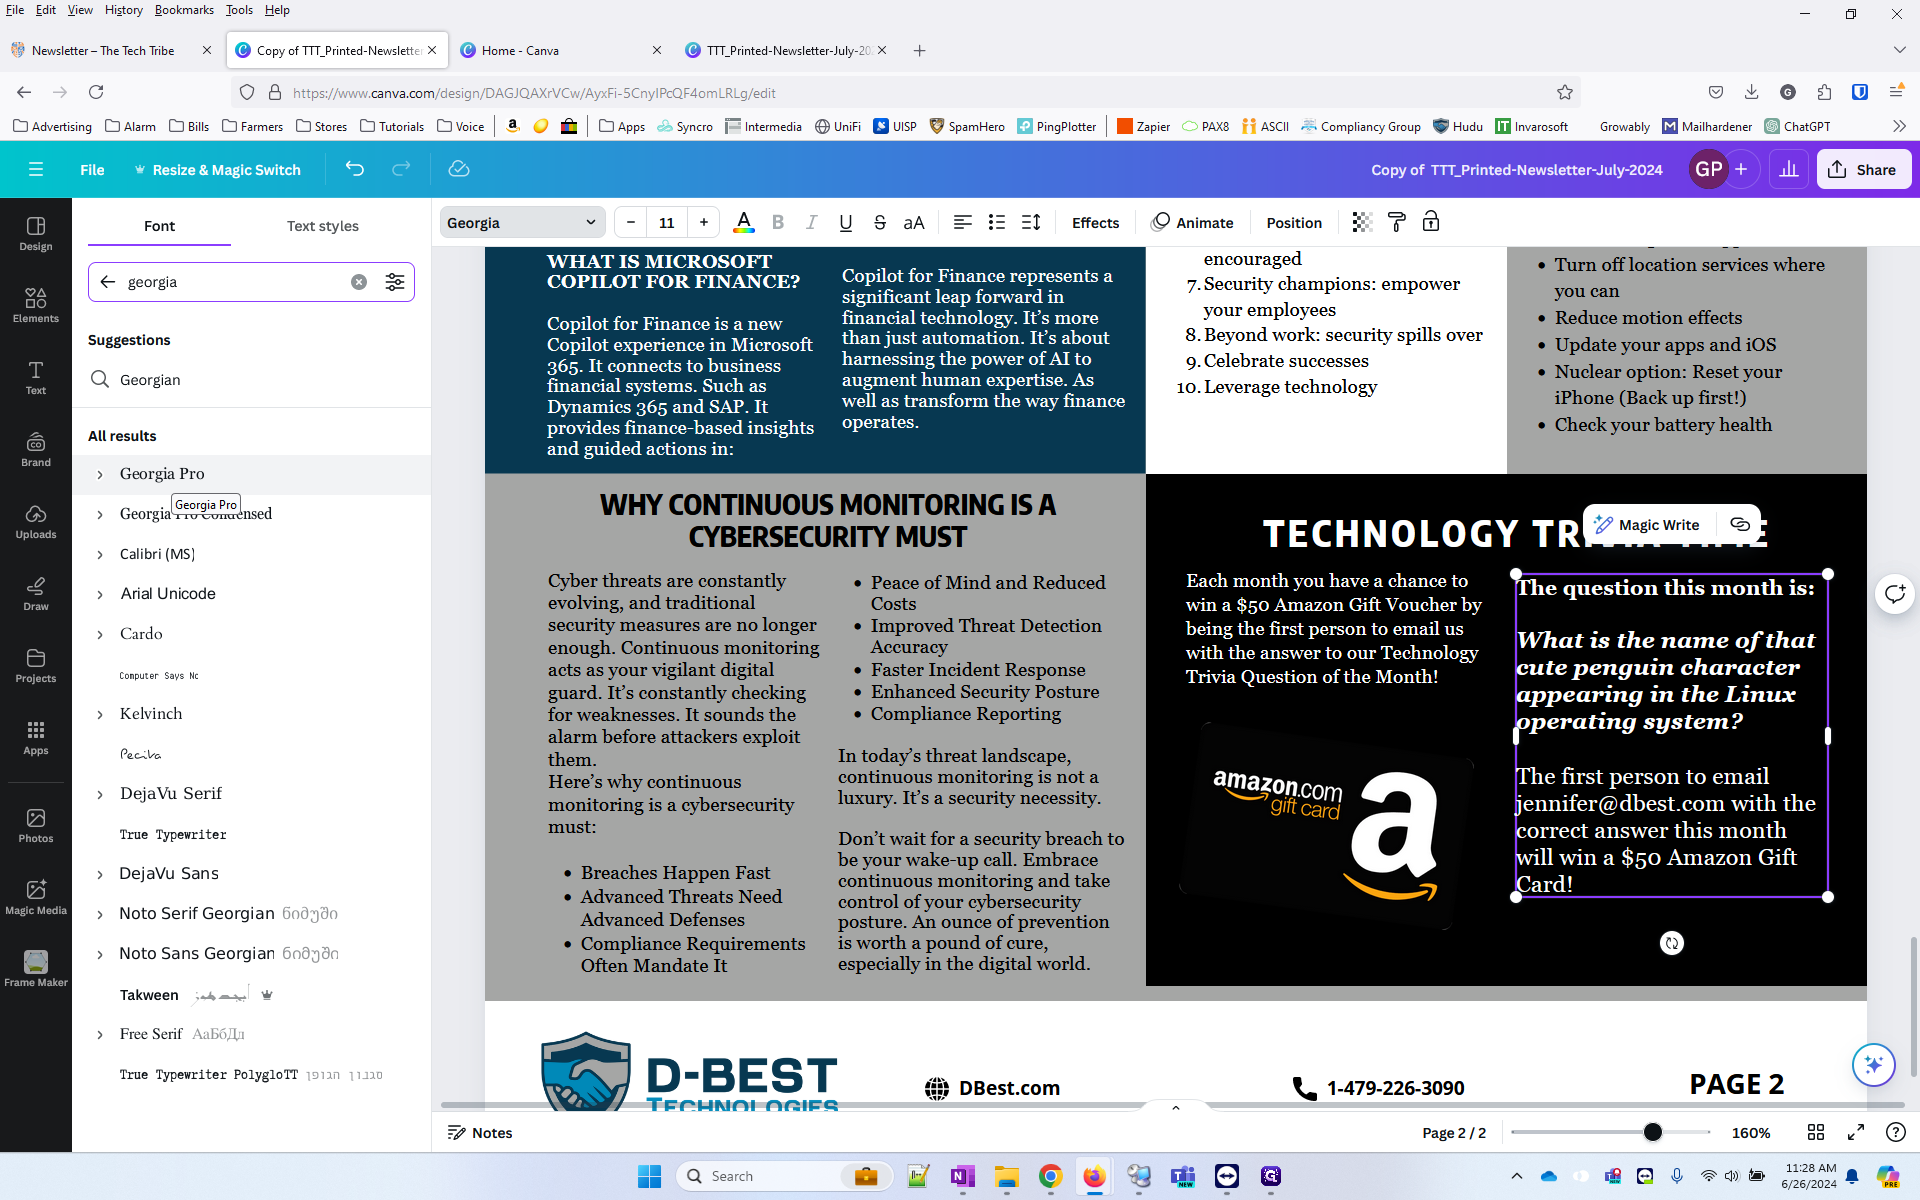
Drag it to the top right corner, where the logo was previously.
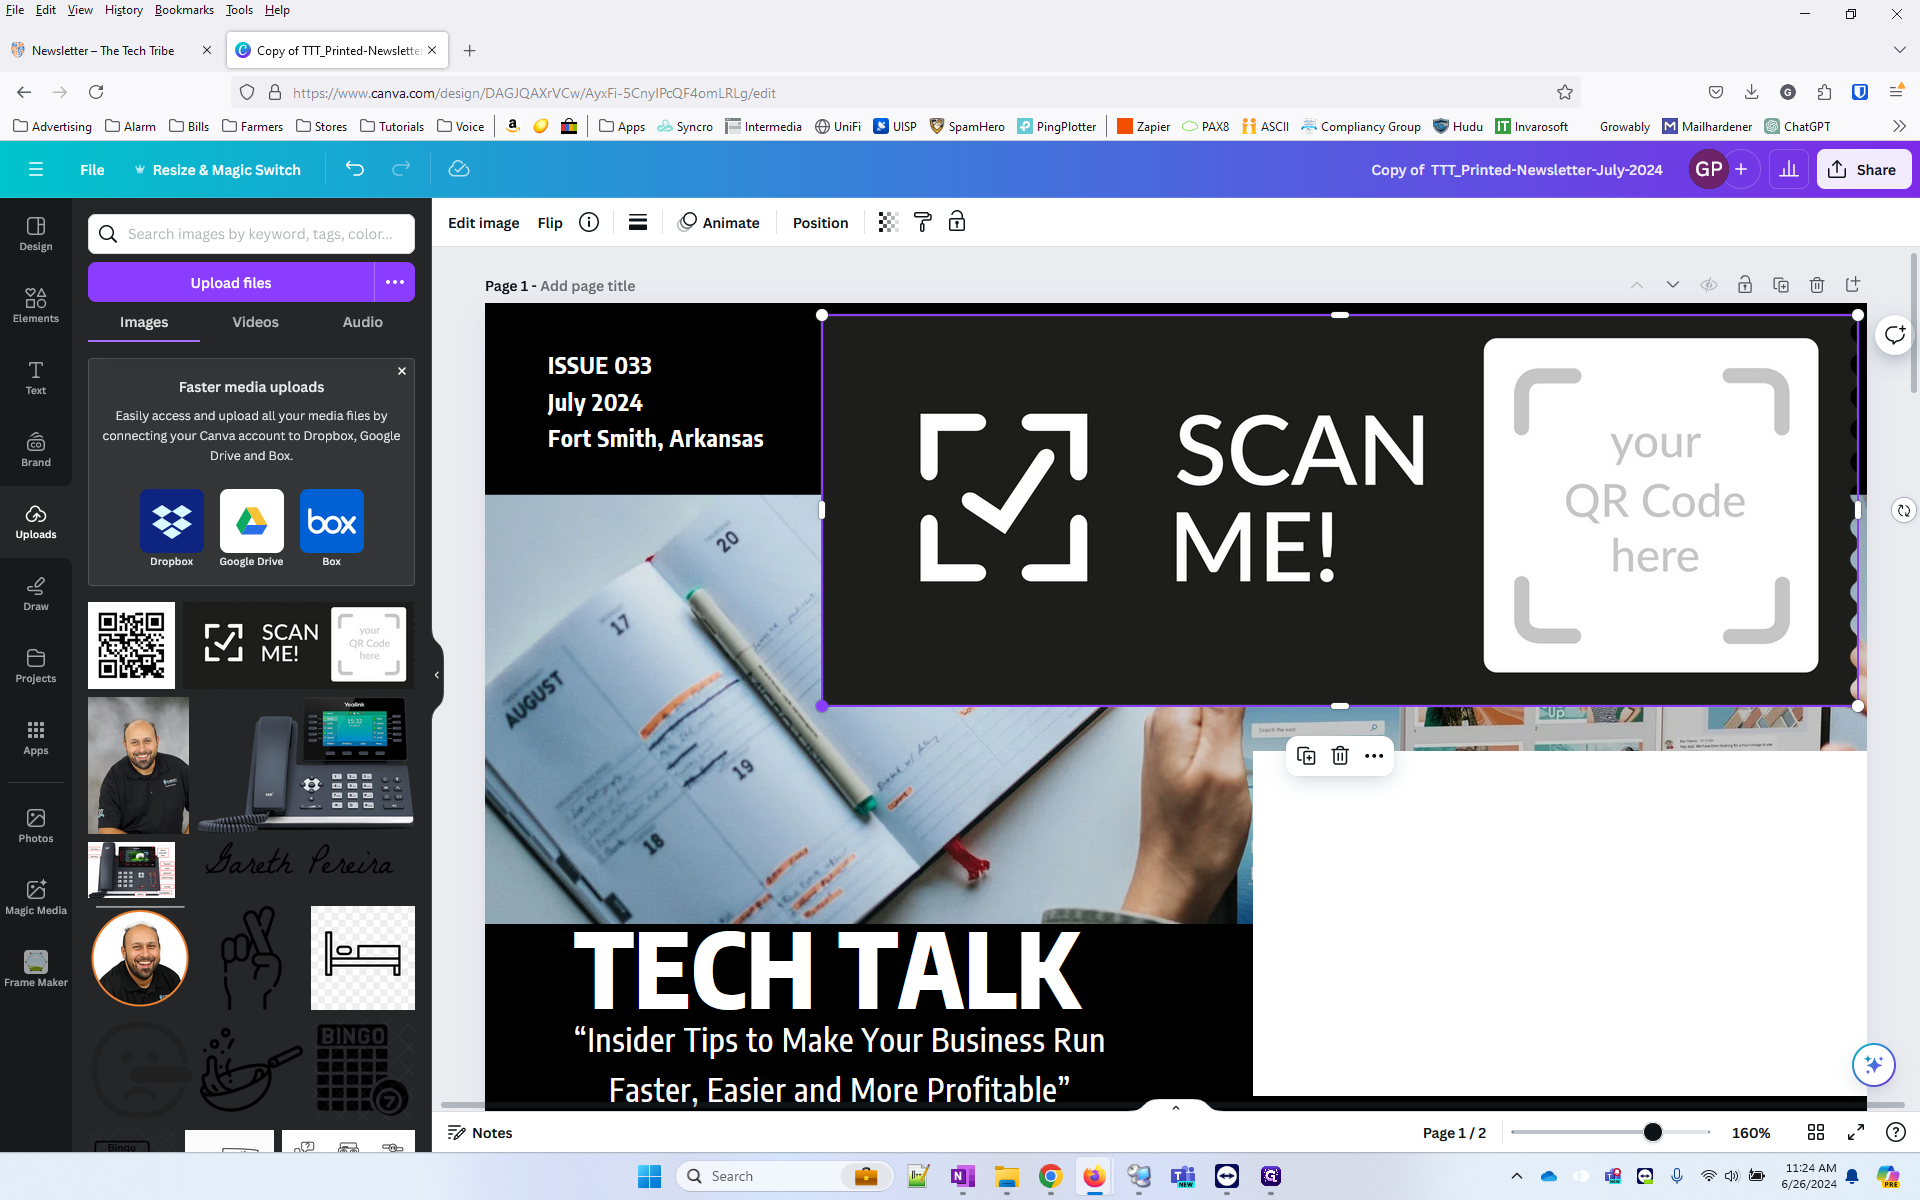
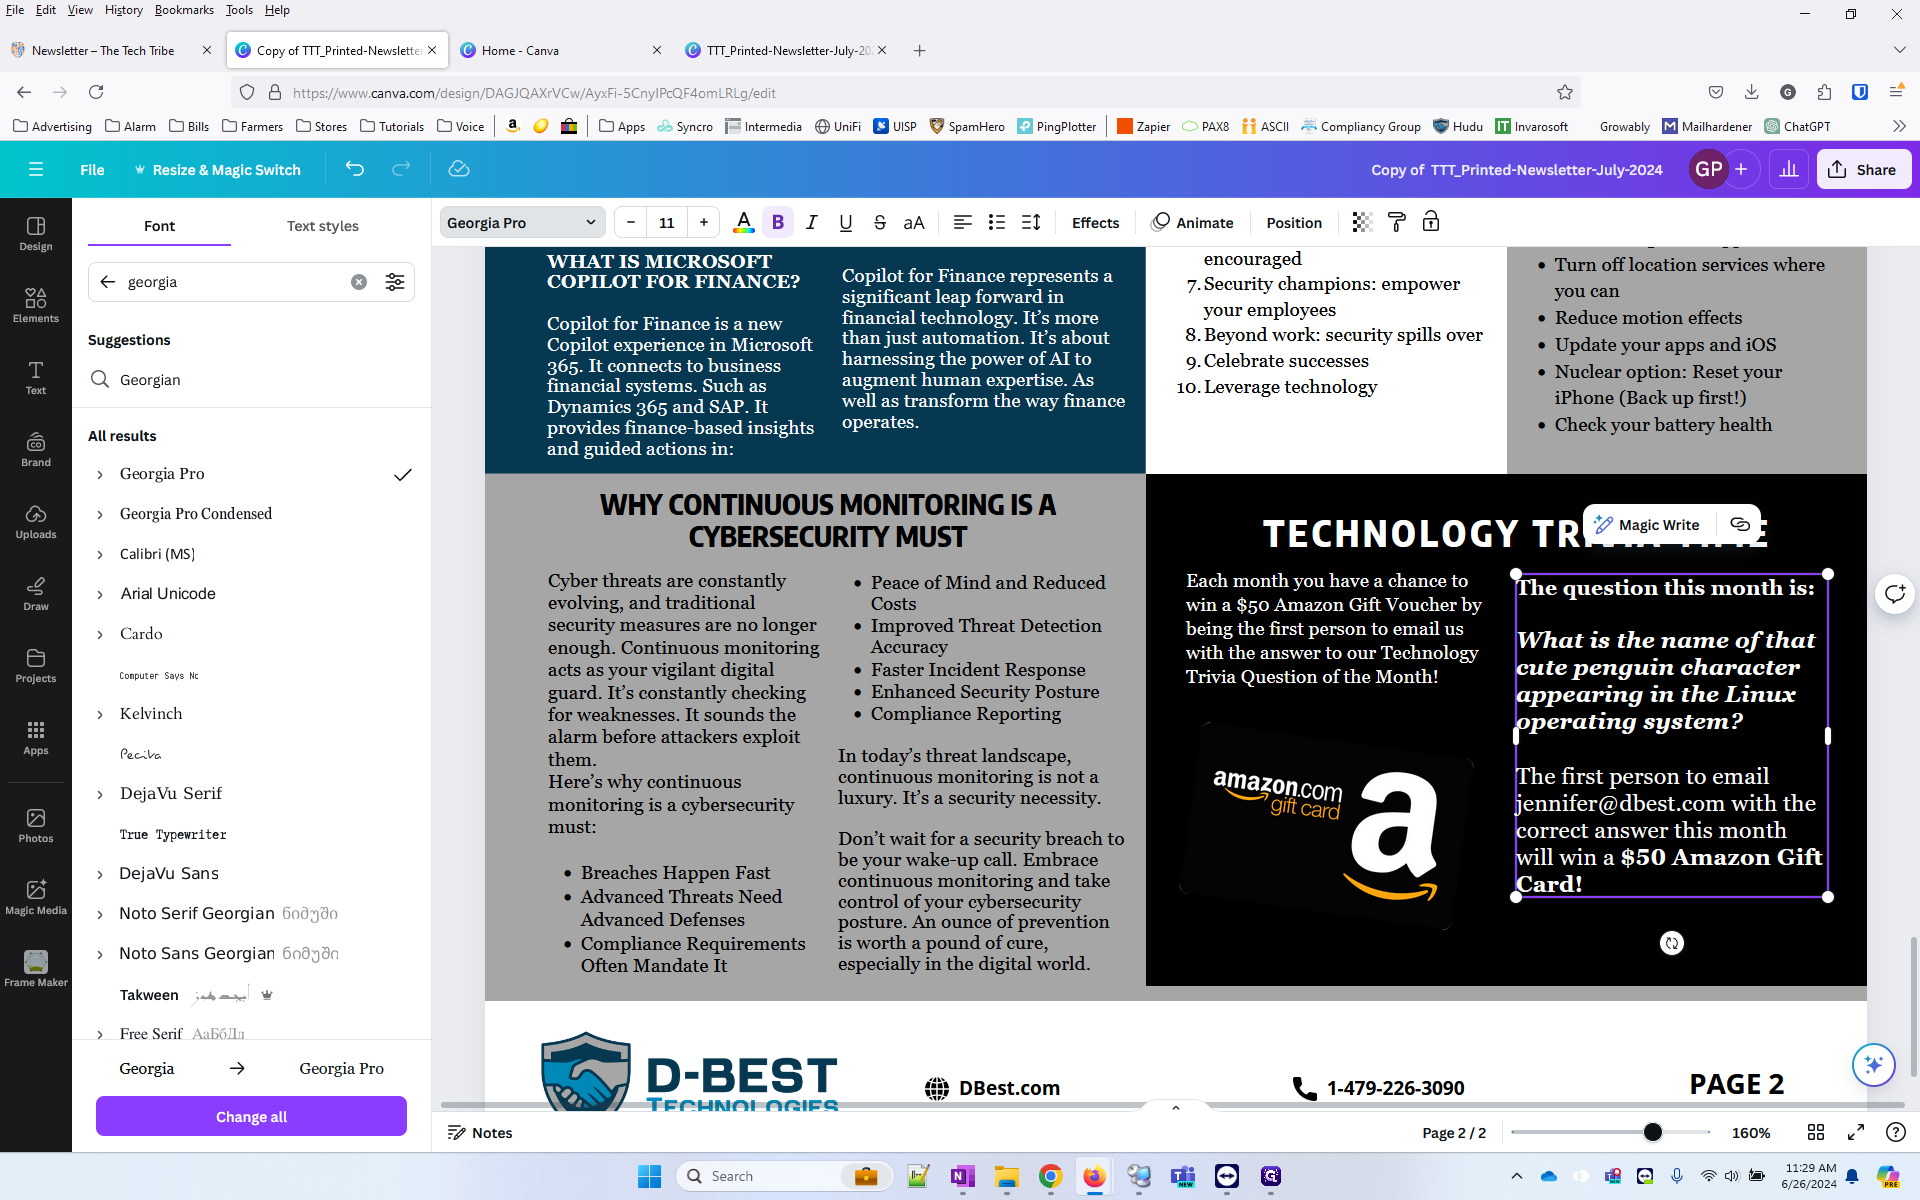
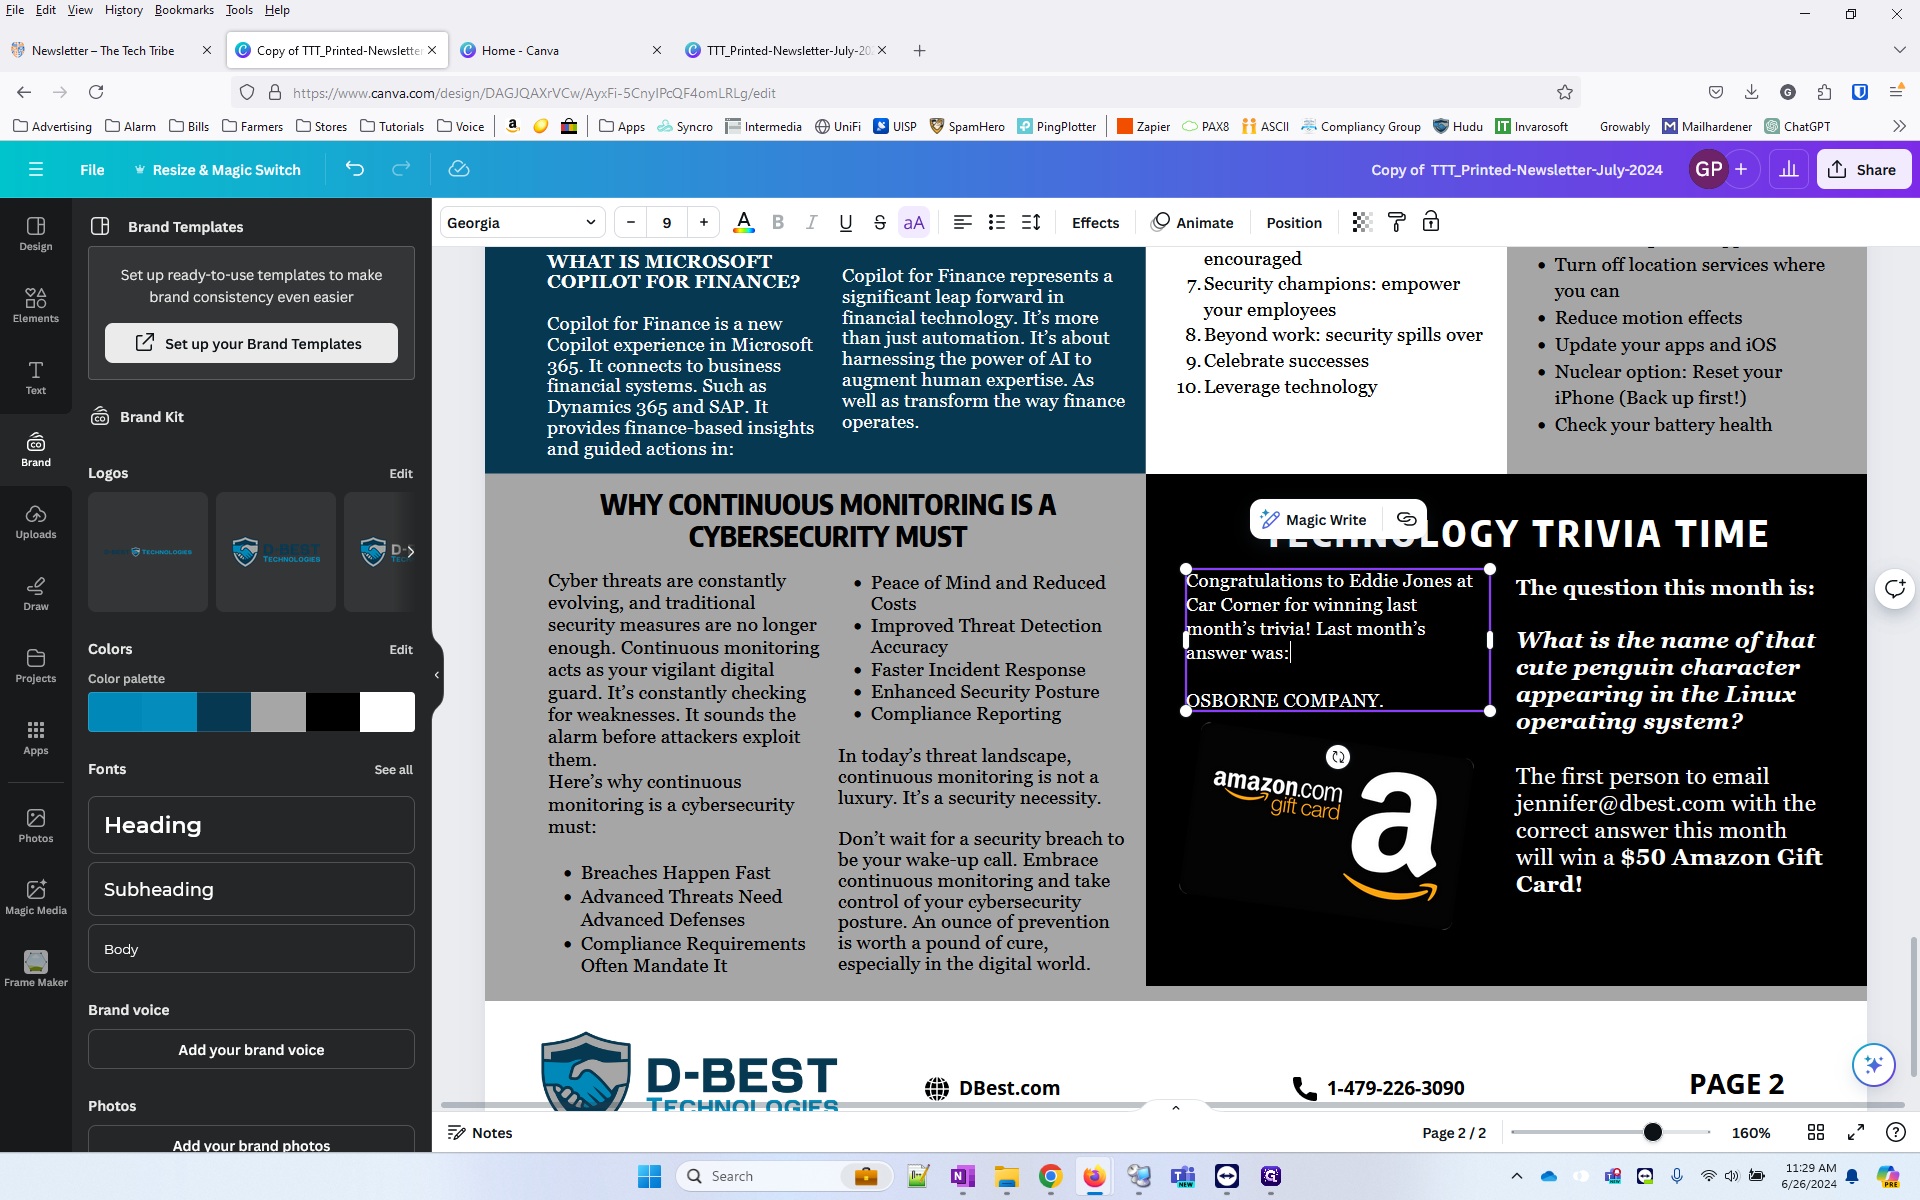
30
Resize it as needed.

31
Now get the QR Code from uploads and repeat the process to put it over the white box of the Scan Me tag.
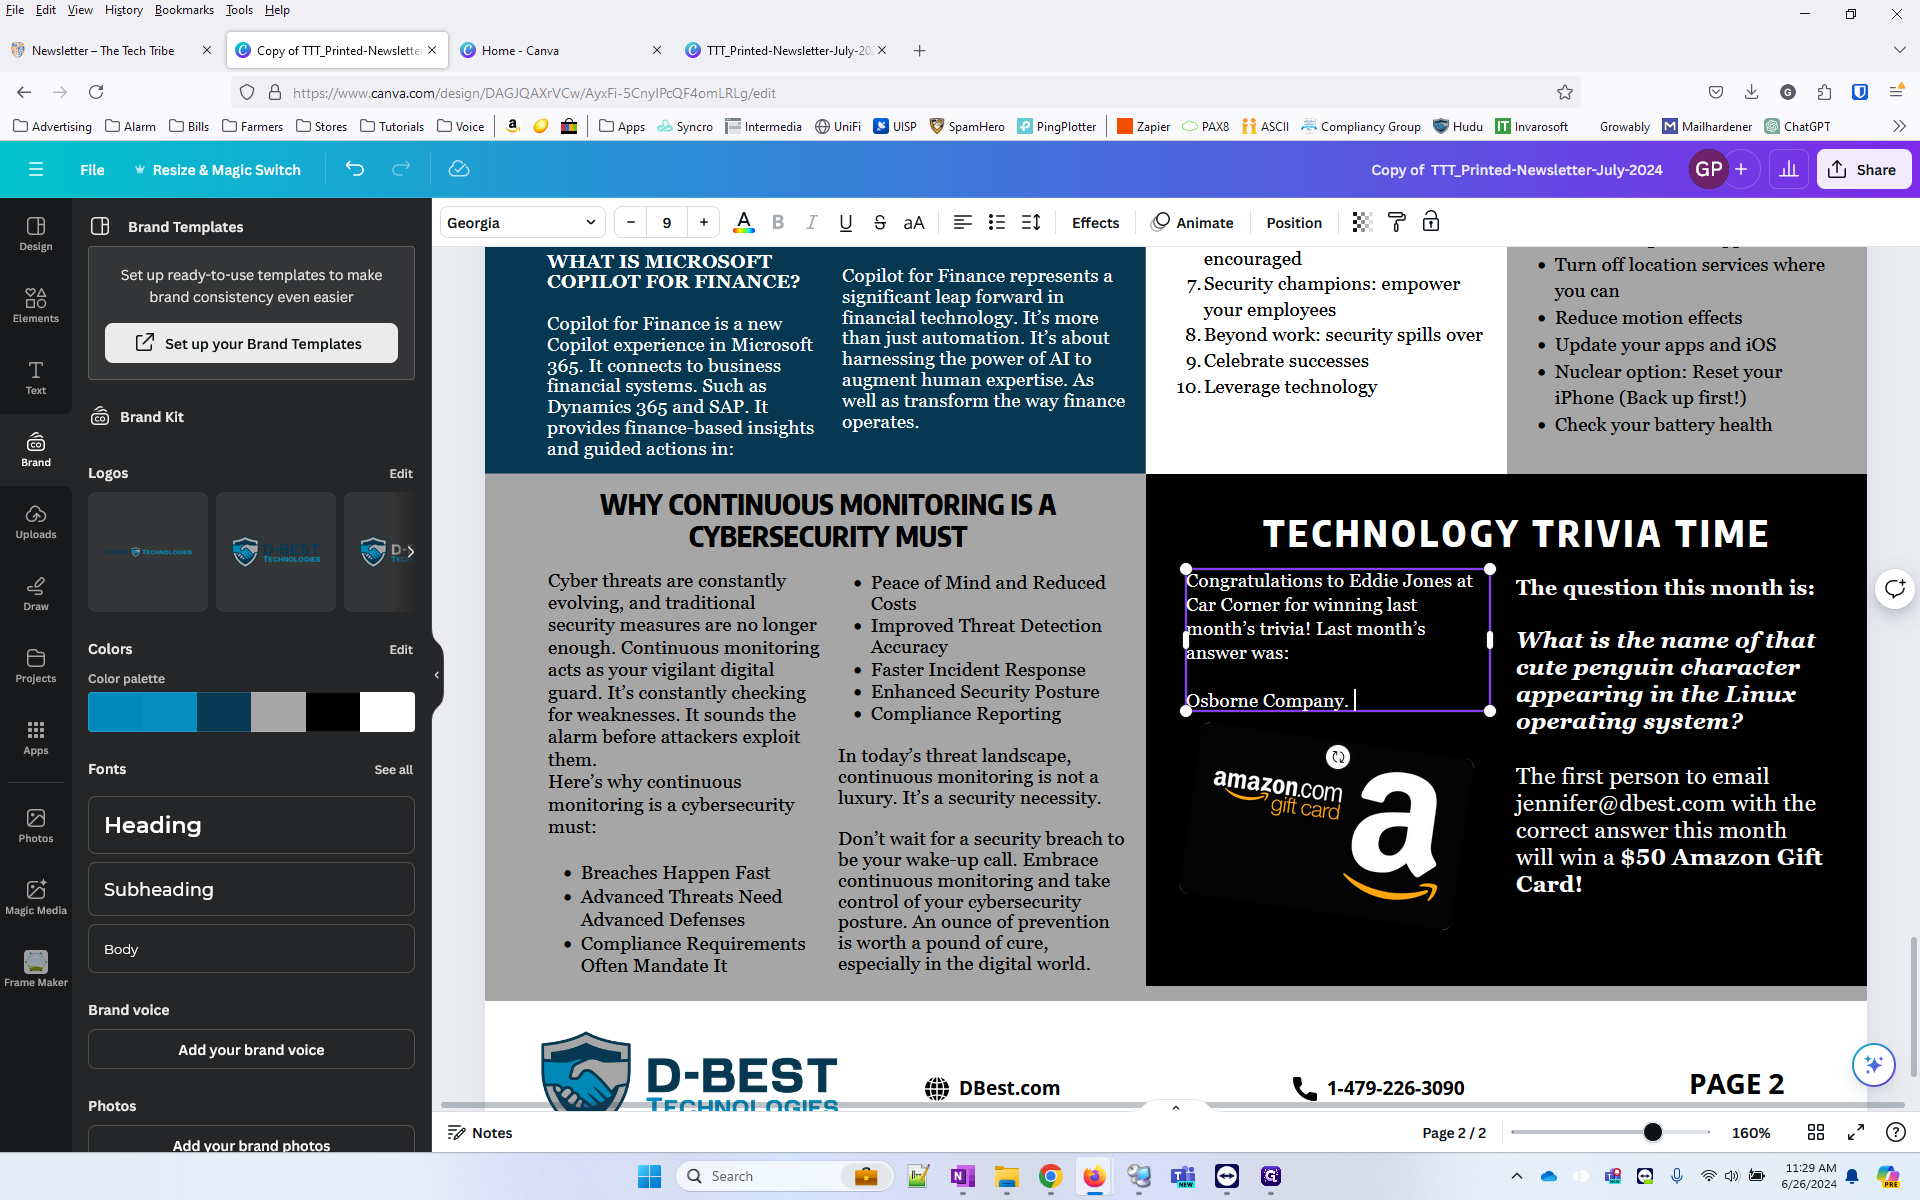
32
Let's change the color of the scan me. Click it.
33
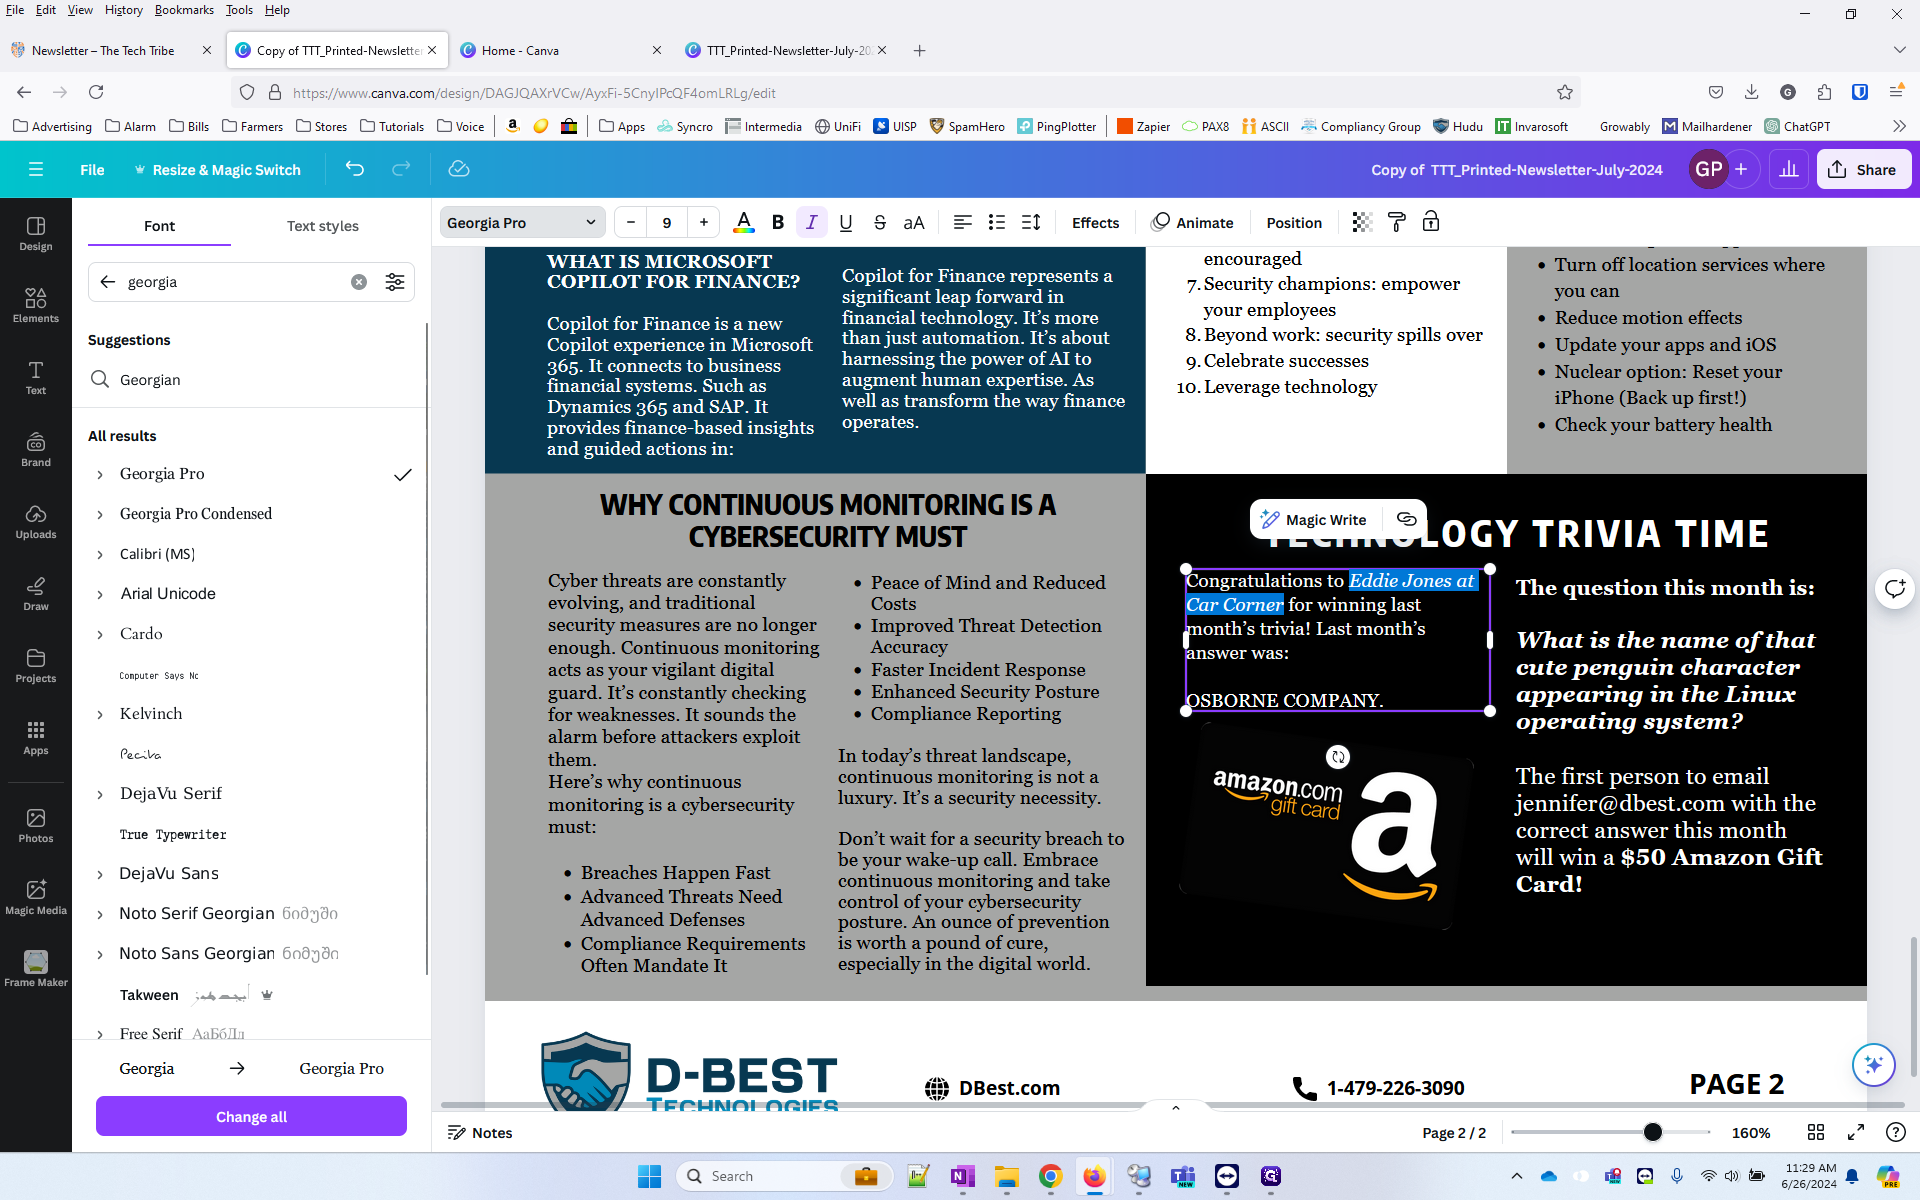
Go to Edit Image.

34
Under "filters", find a good one. I used Vinto here.
35
Next, we need to copy the header to the 2nd page. Highlight the first box and hold SHIFT>
36
Click the second box.
37
And the third box (I forgot the QR Code, you should click it to...the fourth box).
38
Right click and "Copy"
39
Delete the header info from the 2nd page.
40
Right-click here
41
Paste.

42
Next, we should edit this advertorial.
43
Add "Cool Tech of the Month: " and then underline just that part. Make the font for the header a bit smaller if needed to fit on 1 line.
44
I didn't like the font color, so I also changed it to white so it matched the text.
45
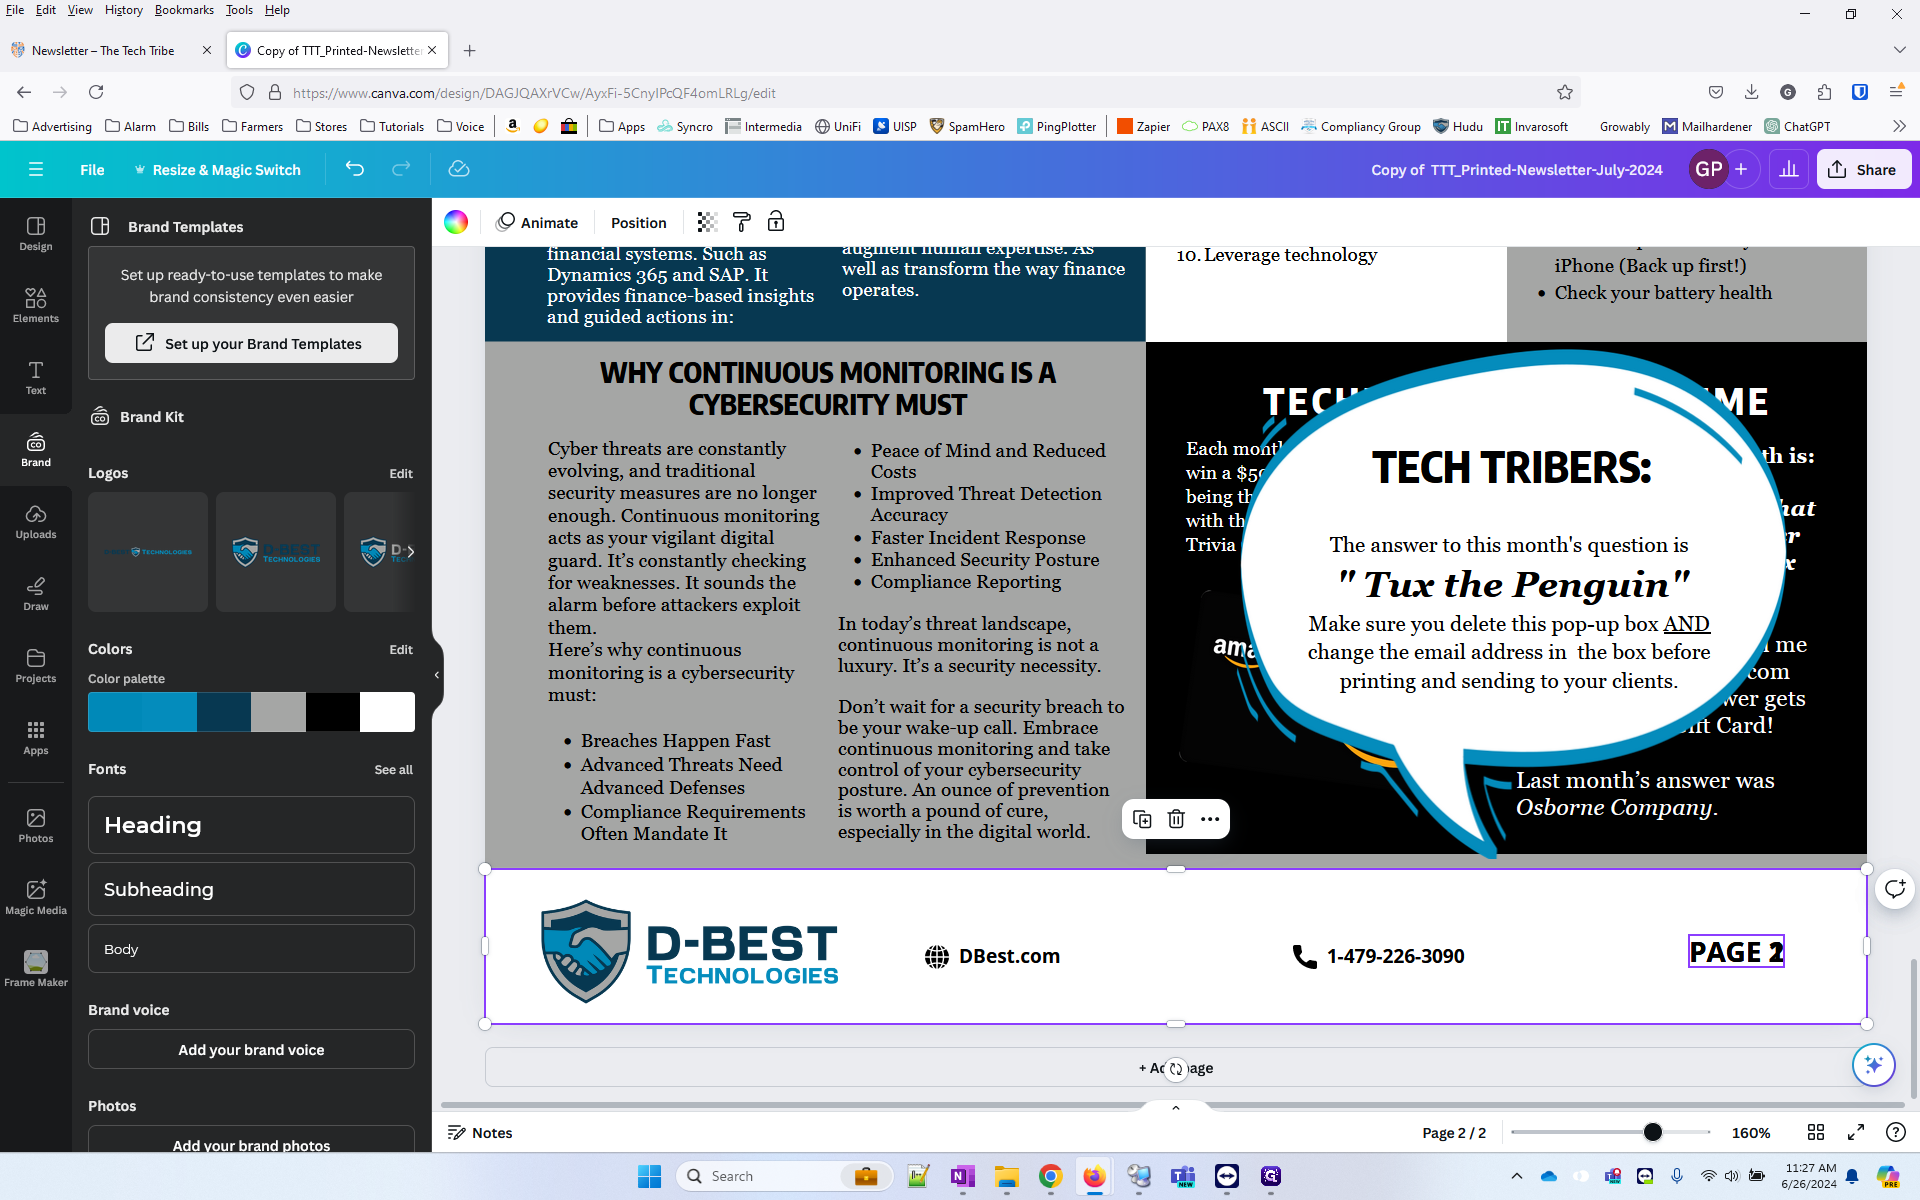
We need to replace the footer information next. Click the logo.
46
Go to Brand, then drag the correct logo over the top.
47
Just like before, you will double click the logo, go to Crop, click 1:1, then back to Freeform.

48
Now you can use the box to adjust the crop to full width.
49
Change the URL to DBest.com

50
Change the phone number to 1-479-226-3090
51
Now, just like with the header, we need to select all the boxes and copy them to the 2nd page. Click the first box and then hold shift.
52
While holding shift, click all the other boxes (URL, Phone Number).

53
Right click one of them and click "Copy"
54
On Page 2, delete the boxes you are going to paste (URL, Phone Number, Logo) by clicking them and pressing the delete key, or right clicking them and selecting "Delete".

55
Right-click here
56
And click Paste.
57
That should put the footer in place.
58
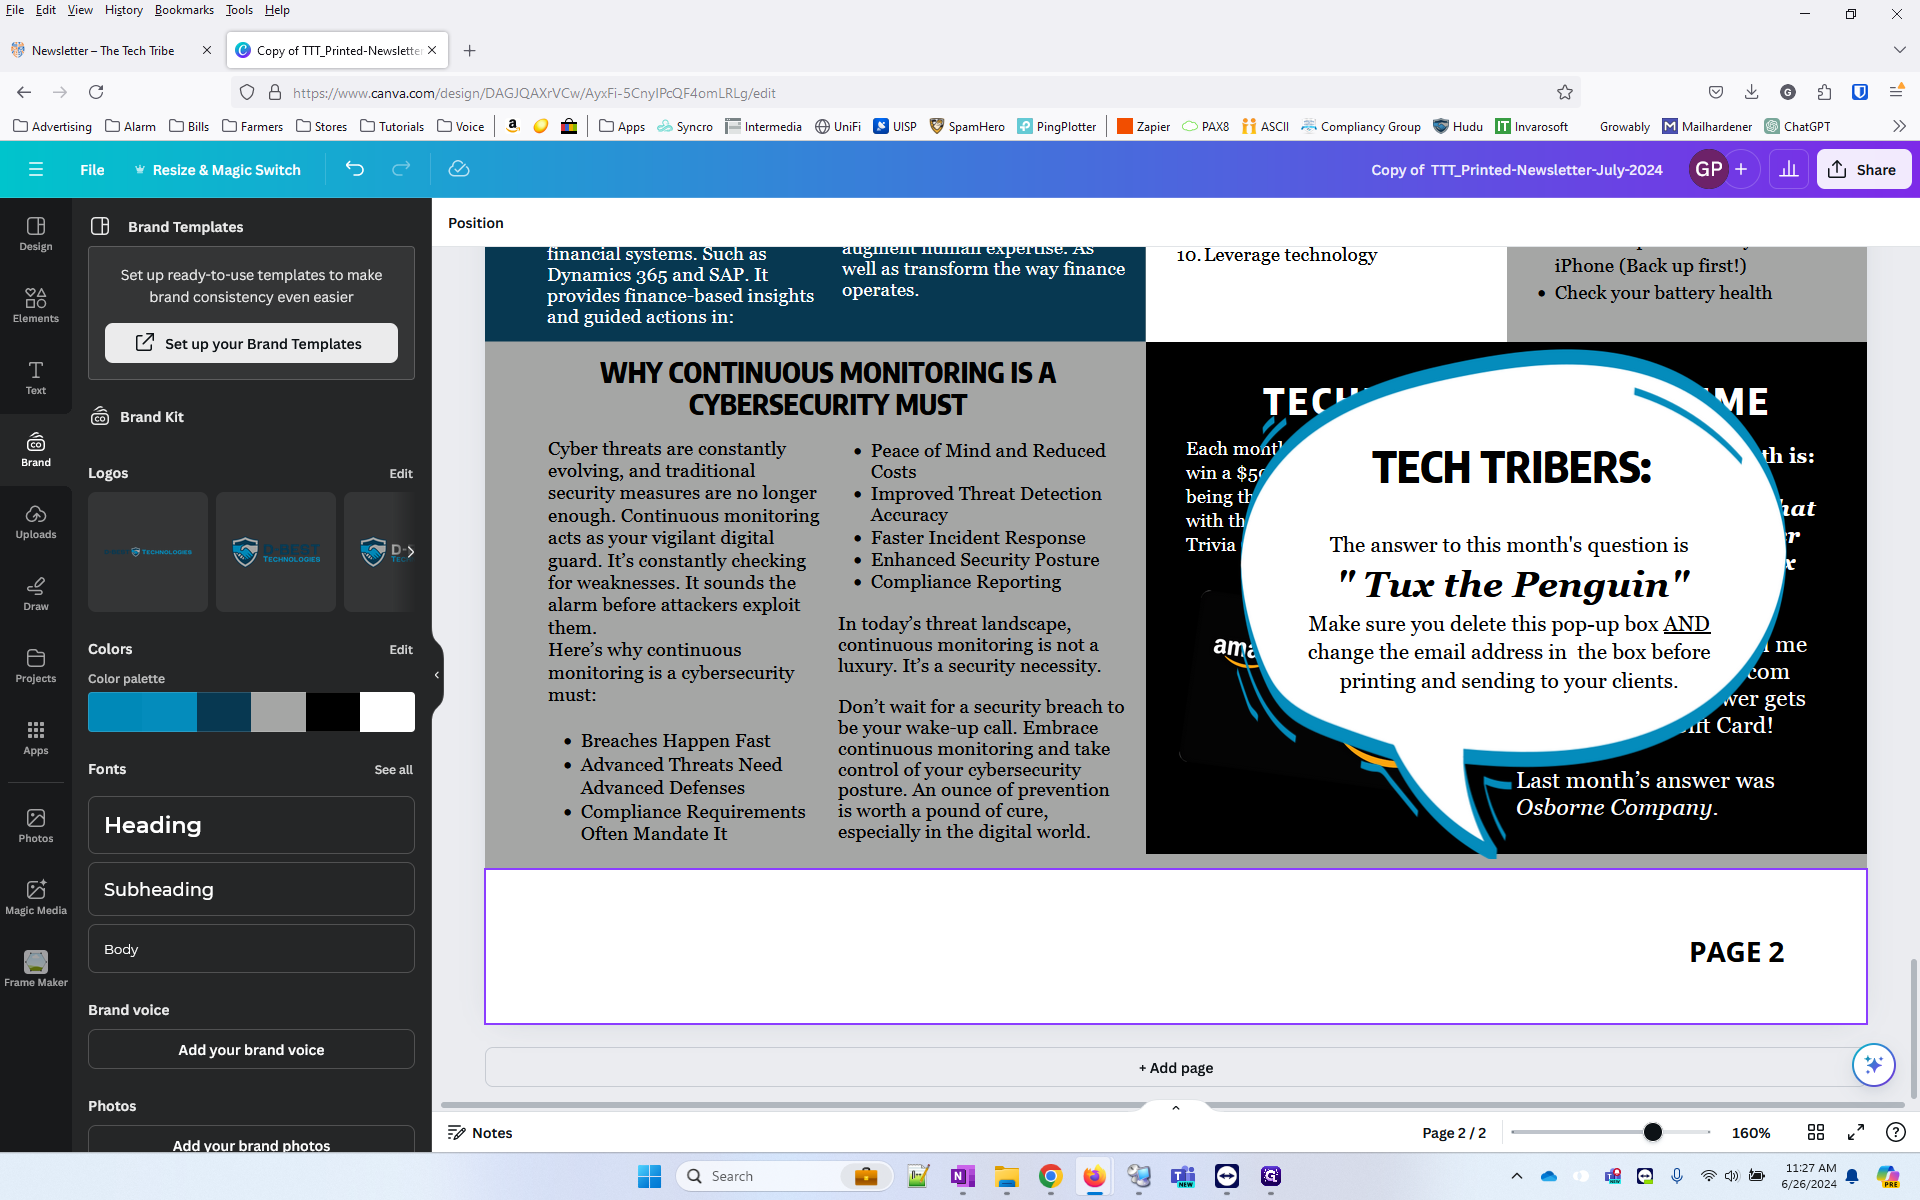
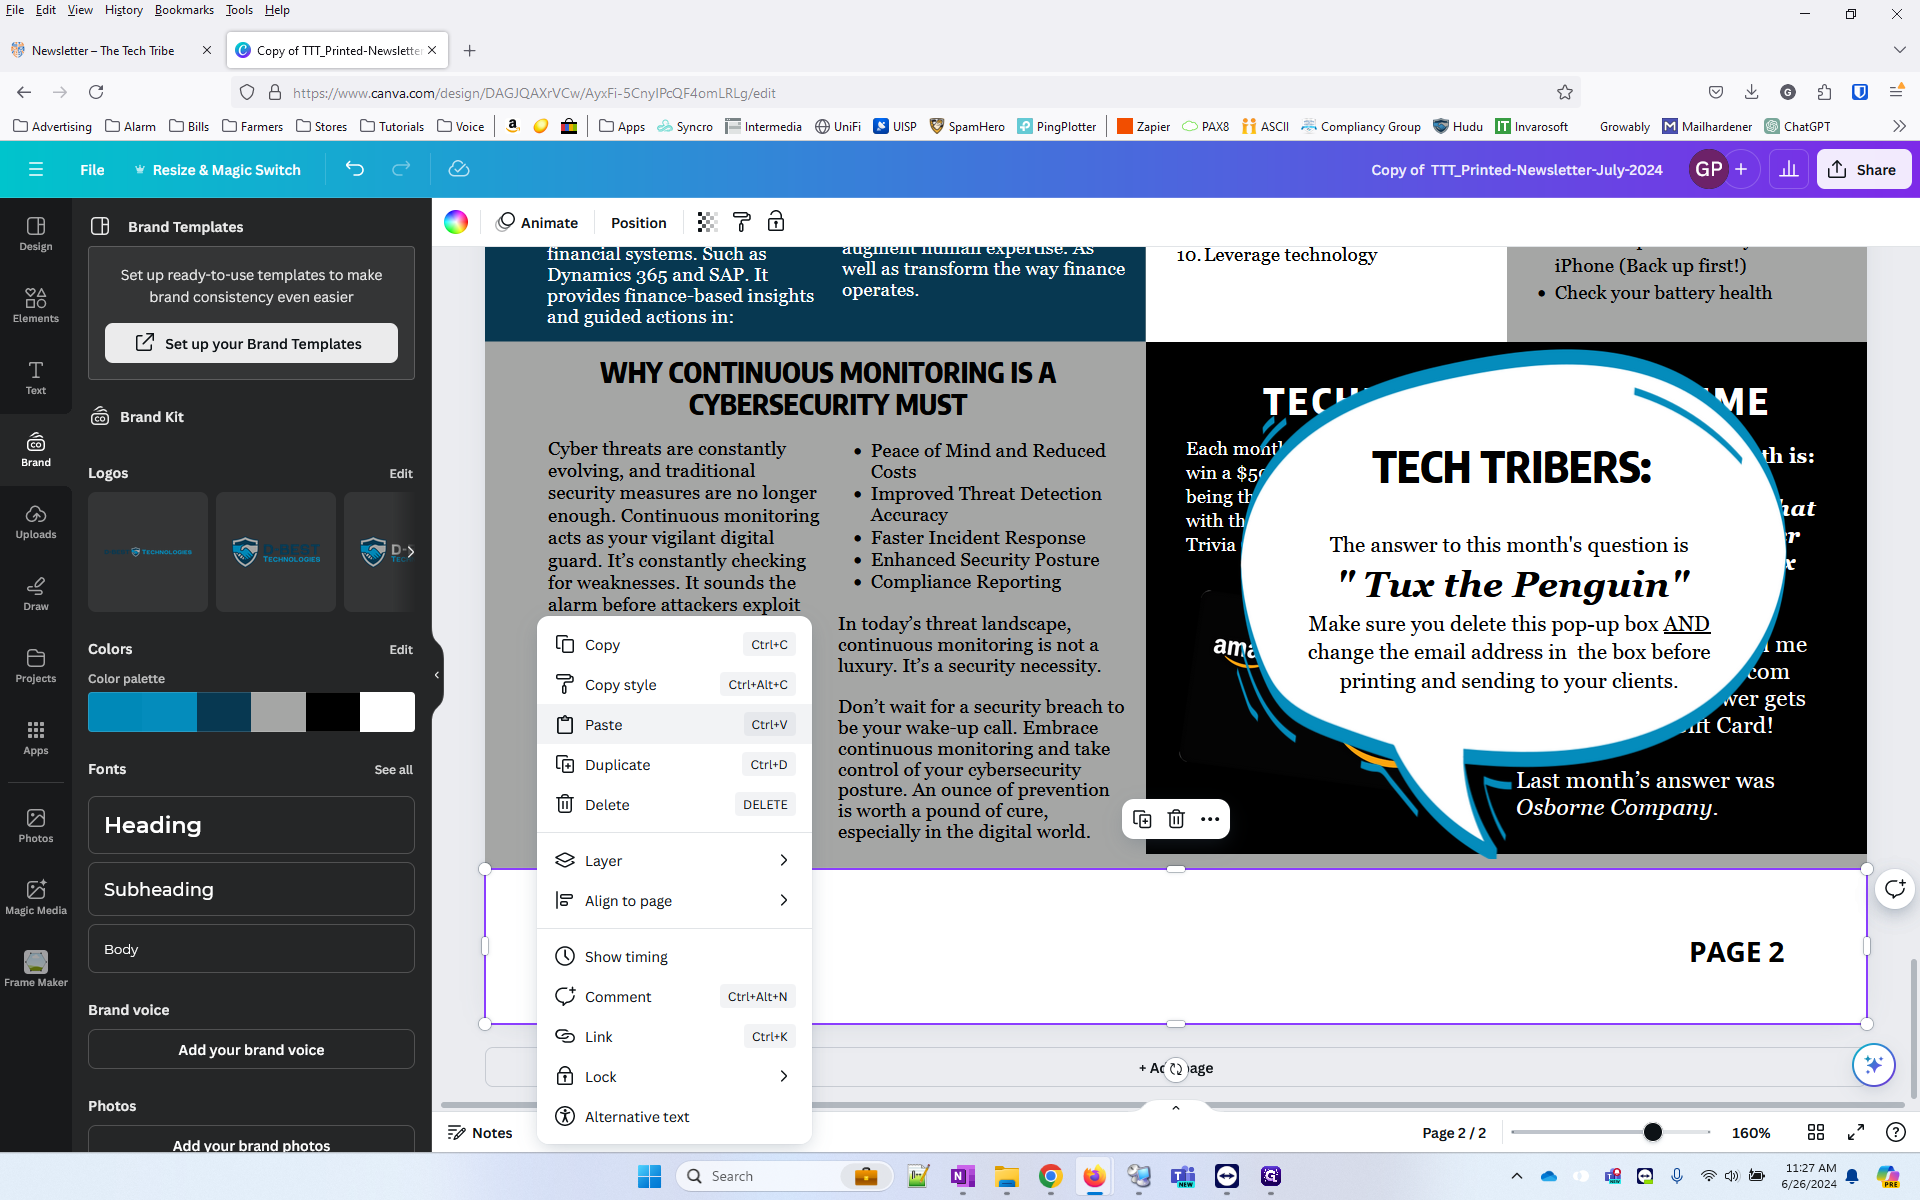
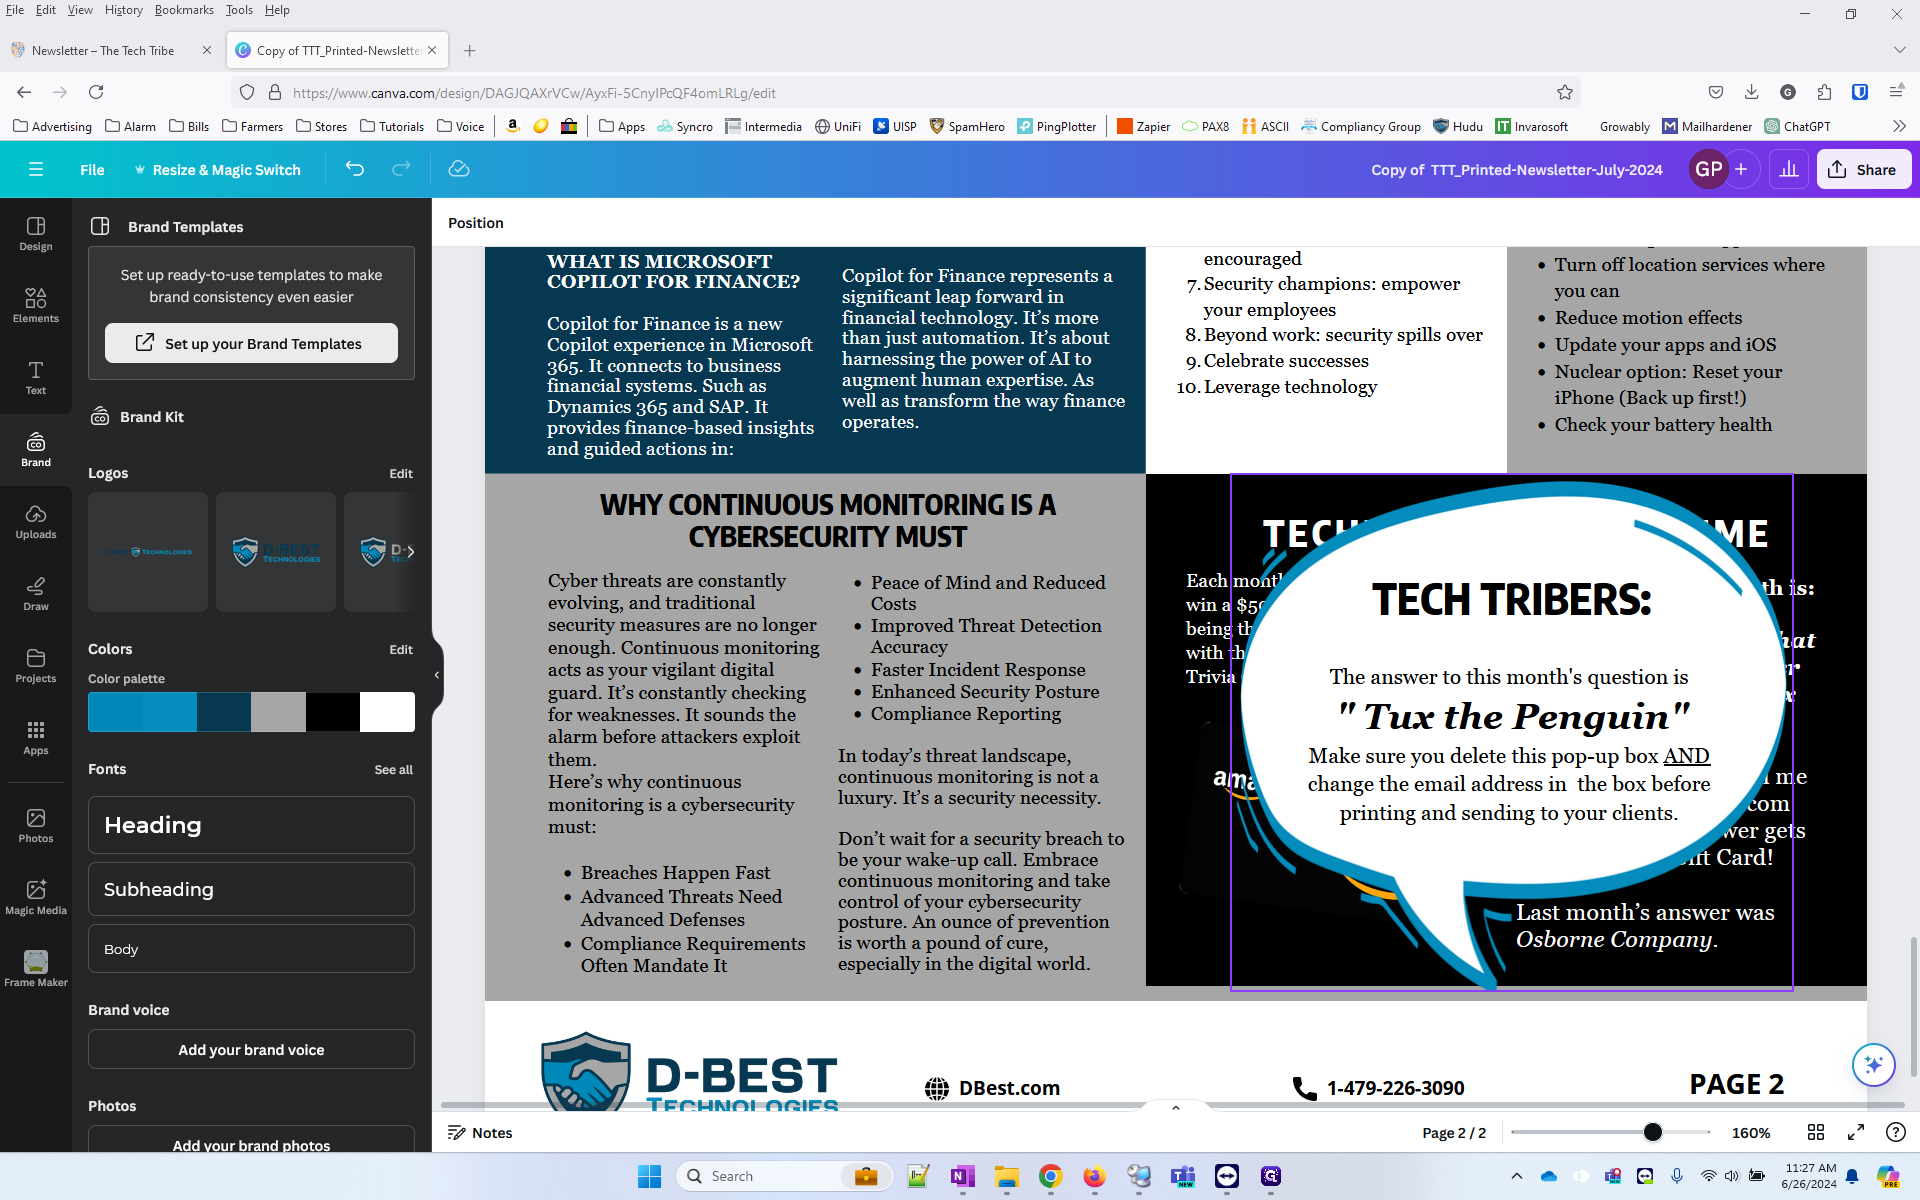
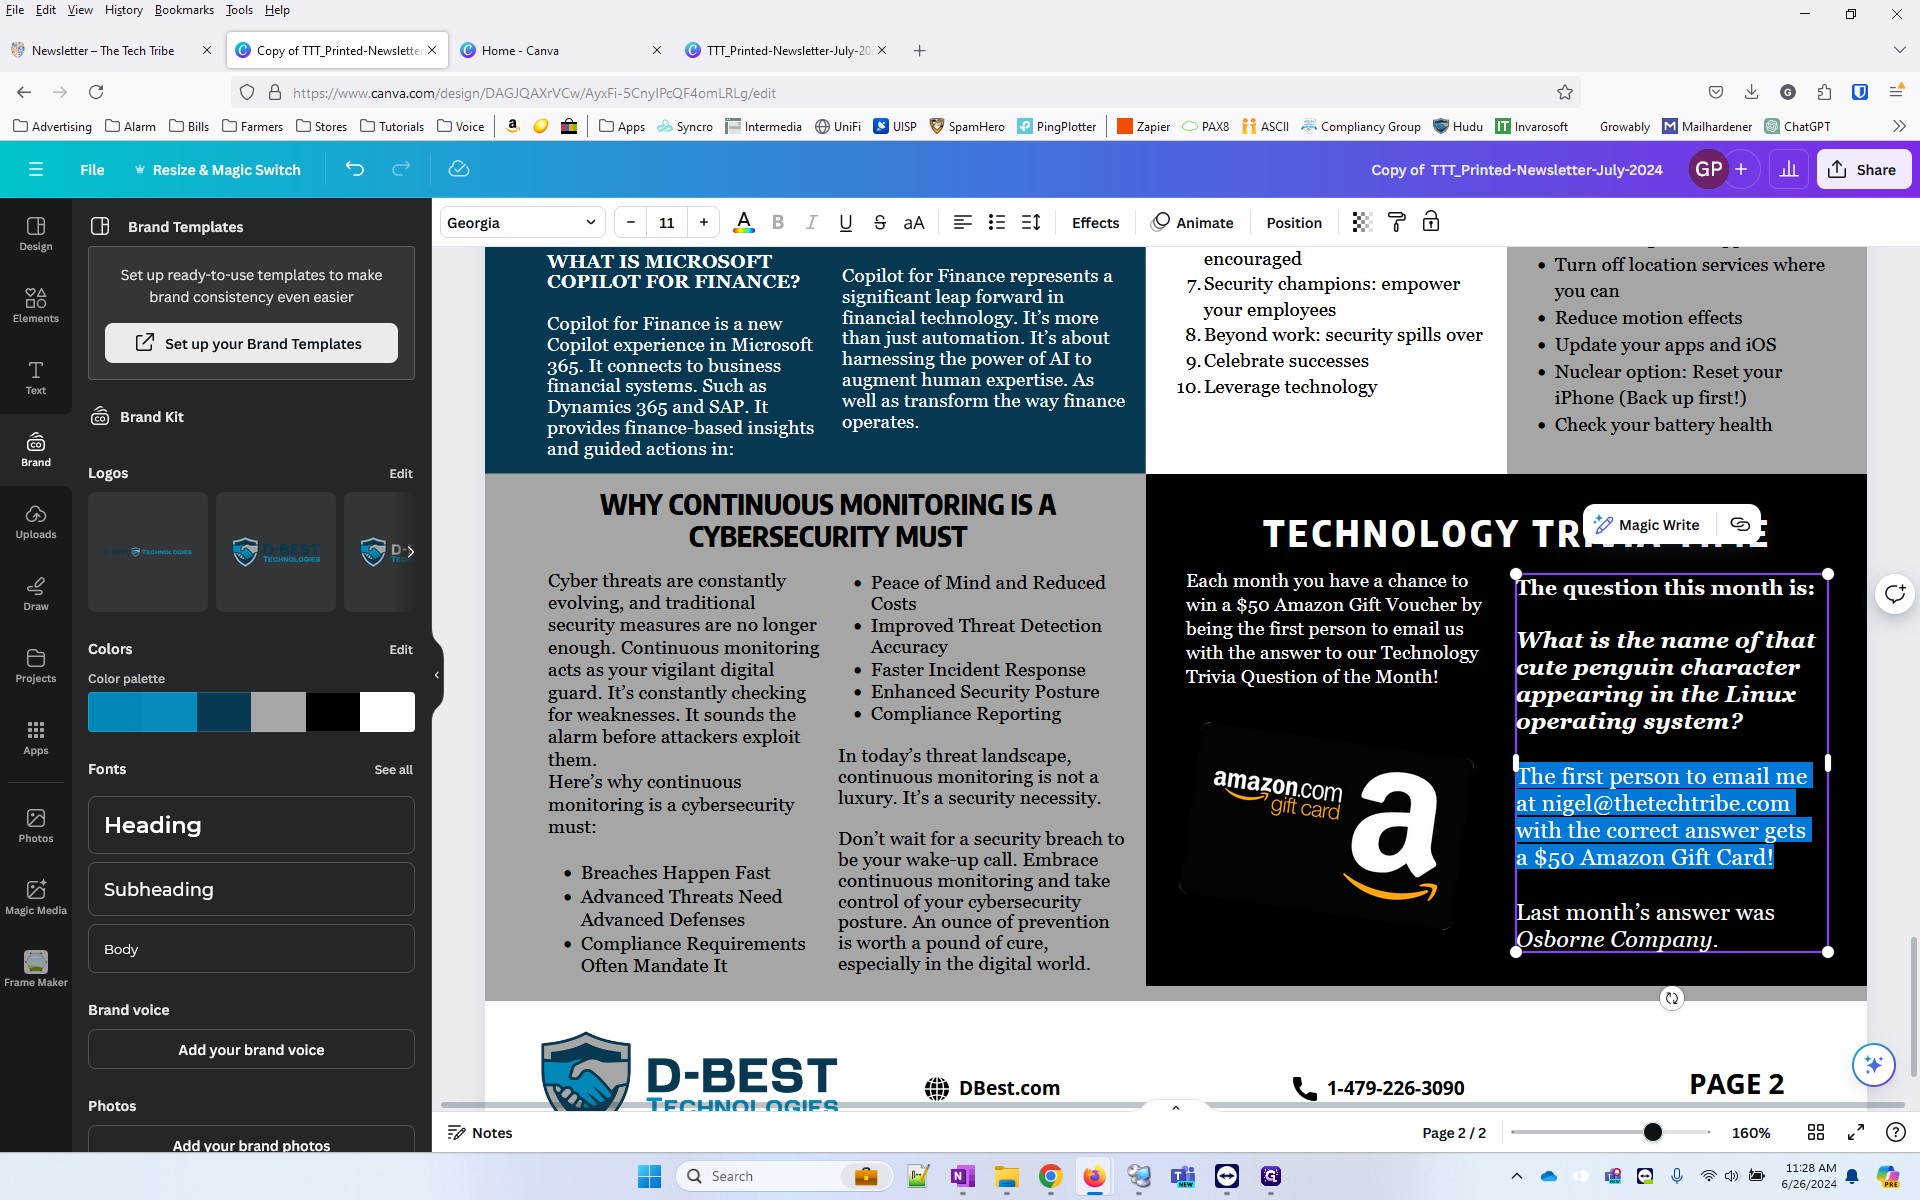
We need to modify the Amazon gift card last. Delete the box and the text on top. Send the info to Jennifer@dbest.com so she has the answer for the month.
59
Replace this text:
60
With this text: "The first person to email jennifer@dbest.com with the correct answer this month will win a $50 Amazon Gift Card!". Then remove the answer line "Last month's answer was ________."
61
Re-apply the Georgia Pro font to the box so that you can use the italic and bold options.
62
Click here
63
Now you can use bold.

64
Bold the "$50 Amazon Gift Card"
65
Next, we need to replace this text:
66
With this: "Congratulations to __________ at ____________ for winning last month's trivia. Last Month's answer was: (then put a blank line and put the answer).
67
Put the answer in all caps.
68
Just like before, we need to apply the "Georgia Pro" font again so we can use italics. Then italicize the winner "______ at ______".
69
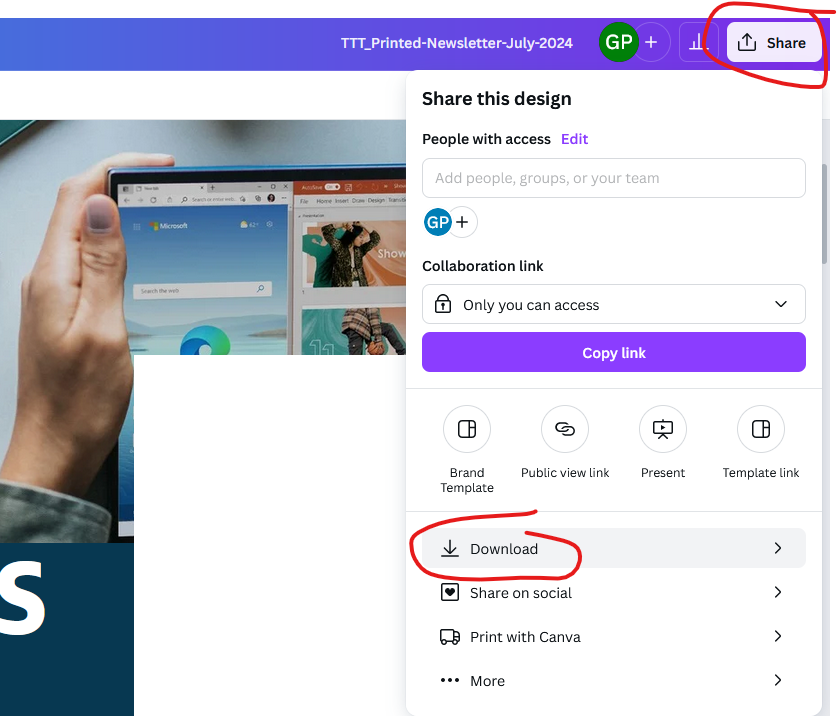
The last step is to download the files. Click Share. Then click Download.
70
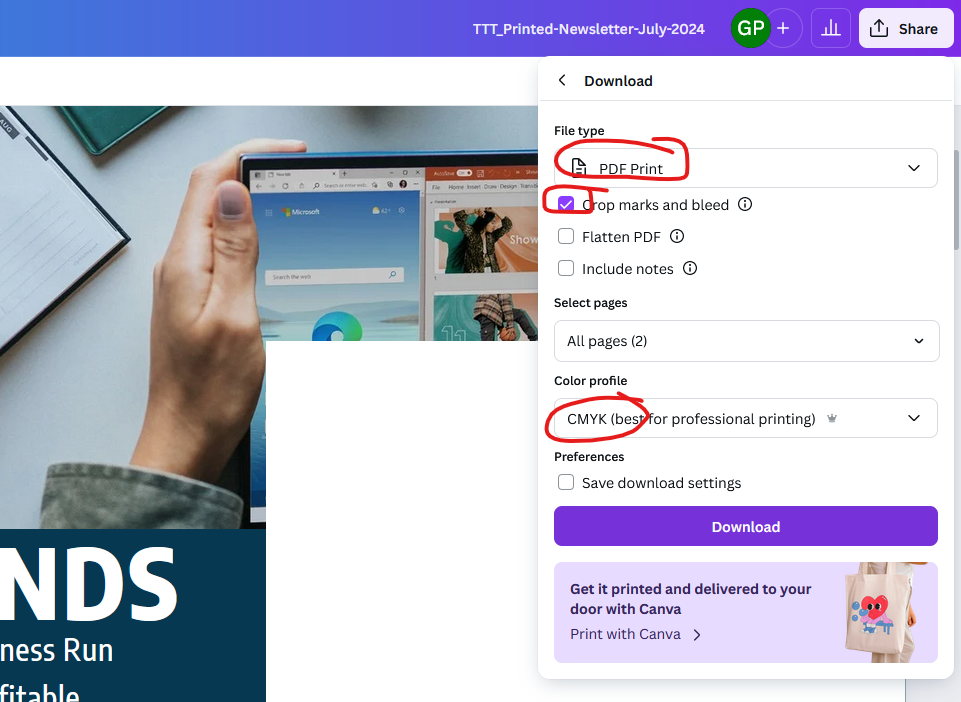
Set the settings to "PDF Print", enable bleed, and set the colors to CMYK for printing. Click Download to download your file.
71
Email Jennifer with the completed file so it can be sent to AR Mailing Services.