
Configure VPN Grupo Rhmais
This is a step-by-step guide for configure VPN Grupo Rhmais on Check Point Endpoint Security VPN GUI, with server address or name "vpn.gruporhmais.pt" and display name "VPN Grupo Rhmais"
By Ivo Melo Rhmais
1
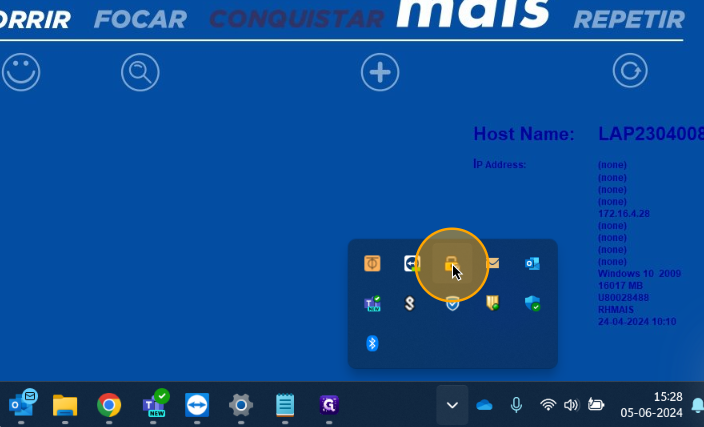
Click here

2
Right-click "Check Point Mobile" icon

3
Click "VPN Options"

4
Click "New"

5
Click "Next"

6
Click here

7
Right-click "vpn.gruporhmais.pt"

8
Click "Copiar"

9
Right-click here

10
Click "Paste"

11
Click "Display name"

12
Click here

13
Right-click "VPN Grupo Rhmais"

14
Click "Copiar"

15
Delete existent text

16
Right-click here

17
Click "Paste"

18
Click "Next"

19
Click "Next"

20
Click "Next"

21
Click "Finish"

22
Click "Yes"

23
Login with your credentials

For select other server address VPN
24
Click here

25
Right-click "Check Point Mobile" icon
26
Click "Connect to..."

27
Click here

28
Select one address to connect
