Icon

TOP KNOBS | Top Knobs | Home Guide

This is a step-by-step guide for TOP KNOBS | Top Knobs | Home

By Kyla Jennings

In this guide, we'll learn how to order decorative hardware through the Top Knobs website. The process involves logging into your account, searching for the desired parts by name or number, and selecting the appropriate size and finish. We'll also cover how to manage orders for multiple clients, choose shipping options, and finalize the purchase. Finally, we'll discuss printing receipts for accounting and project management purposes.

Let's get started

1
Today, I'll show you how to order decorative hardware through Topknobs. Start by visiting their website. At the top of the page, click the person icon.
Step #1: Today, I'll show you how to order decorative hardware through Topknobs. Start by visiting their website. At the top of the page, click the person icon.

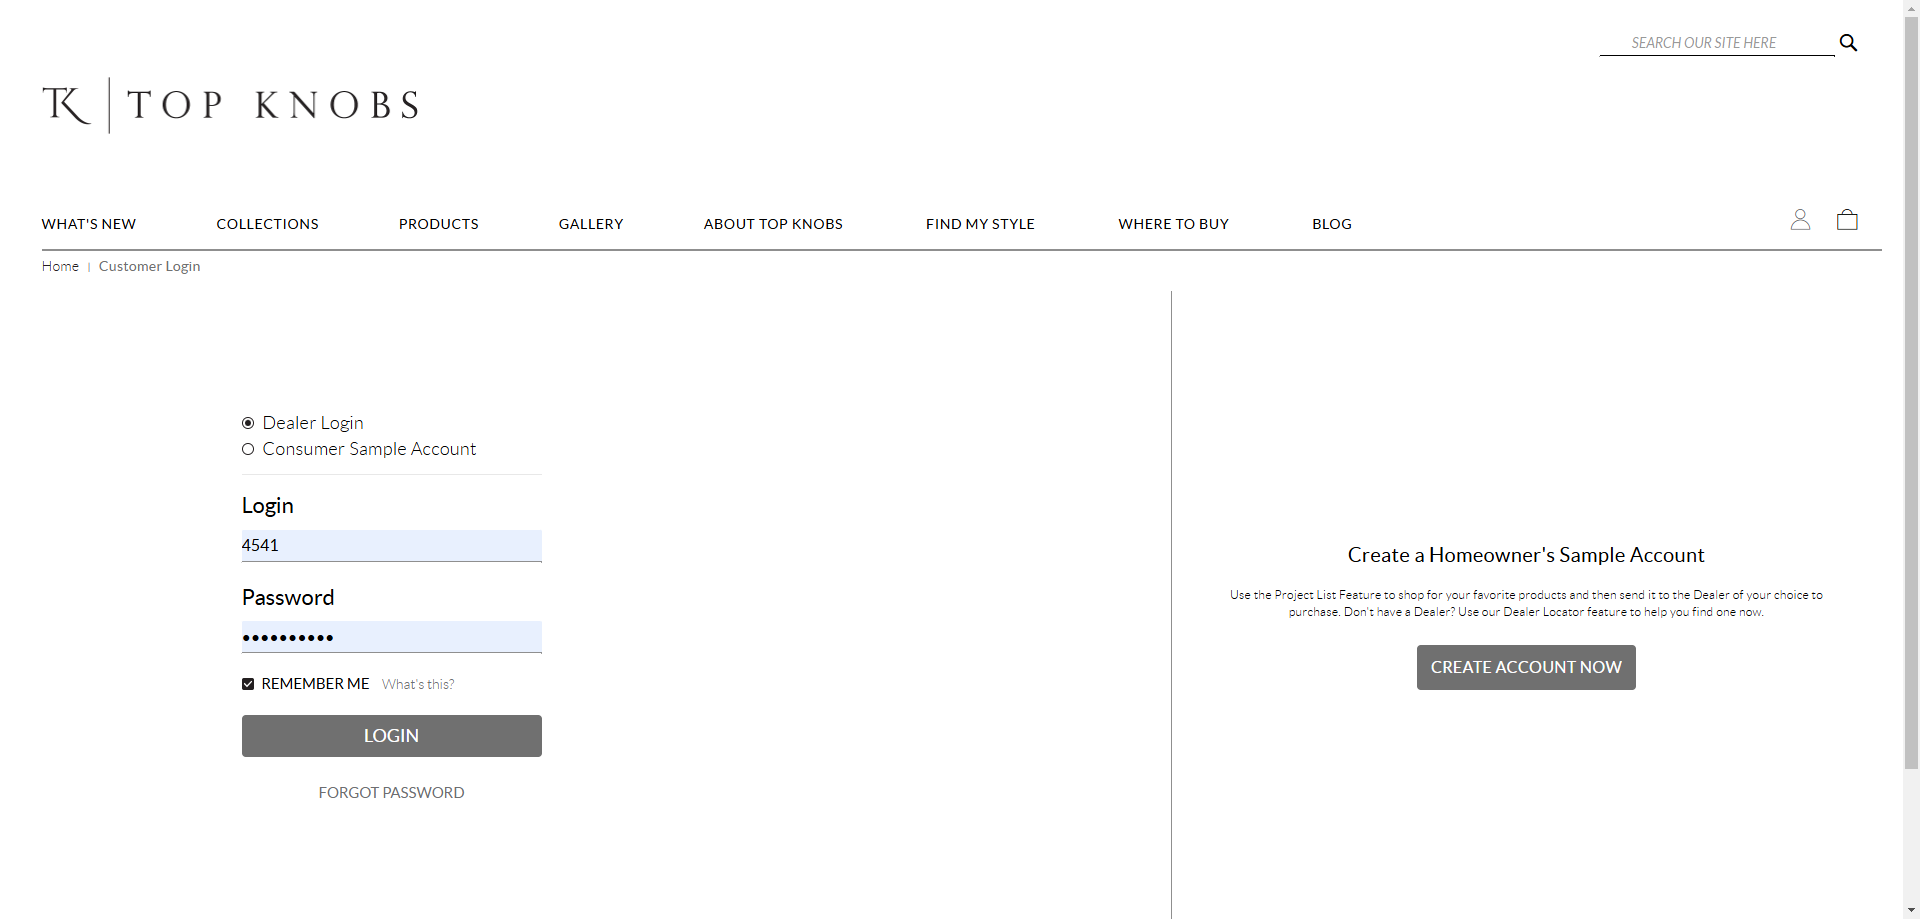
Go to the login page and use the password from the accounts and password sheet.

Click login.

2
Click on "LOGIN"
Step #2: Click on "LOGIN"
3
Begin your order by searching for the parts or part number if you have it.
4
Click on "SEARCH OUR SITE HERE"
Step #4: Click on "SEARCH OUR SITE HERE"

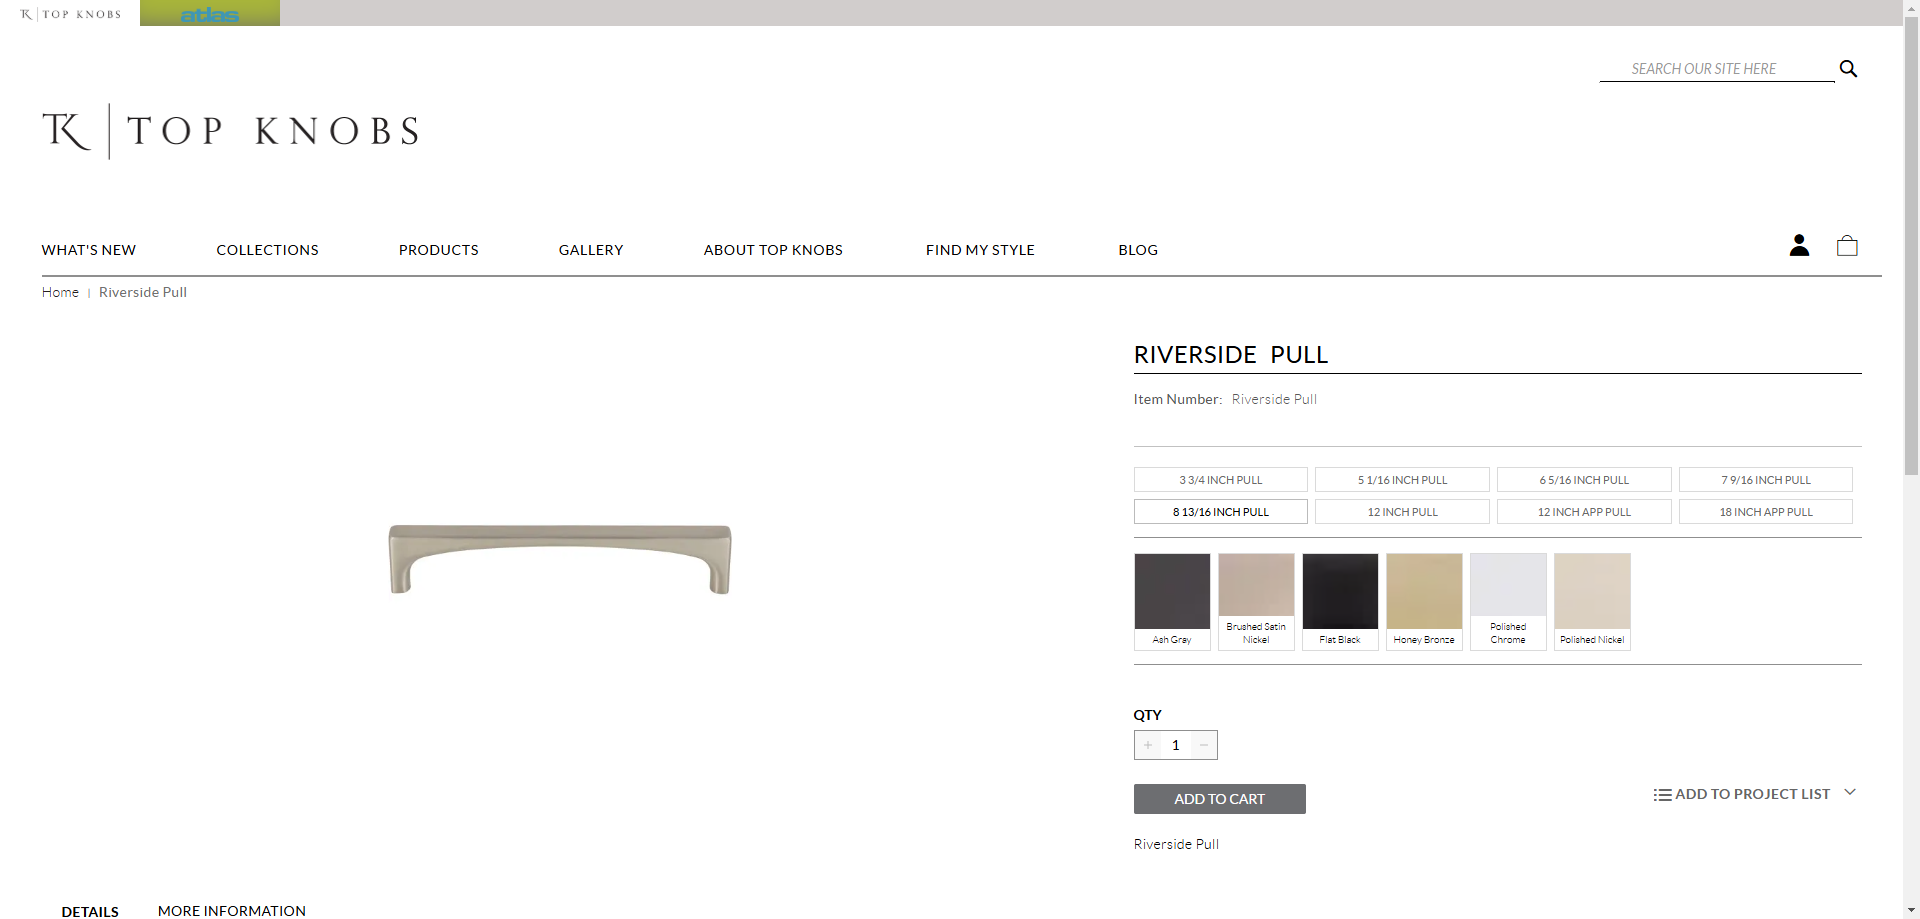
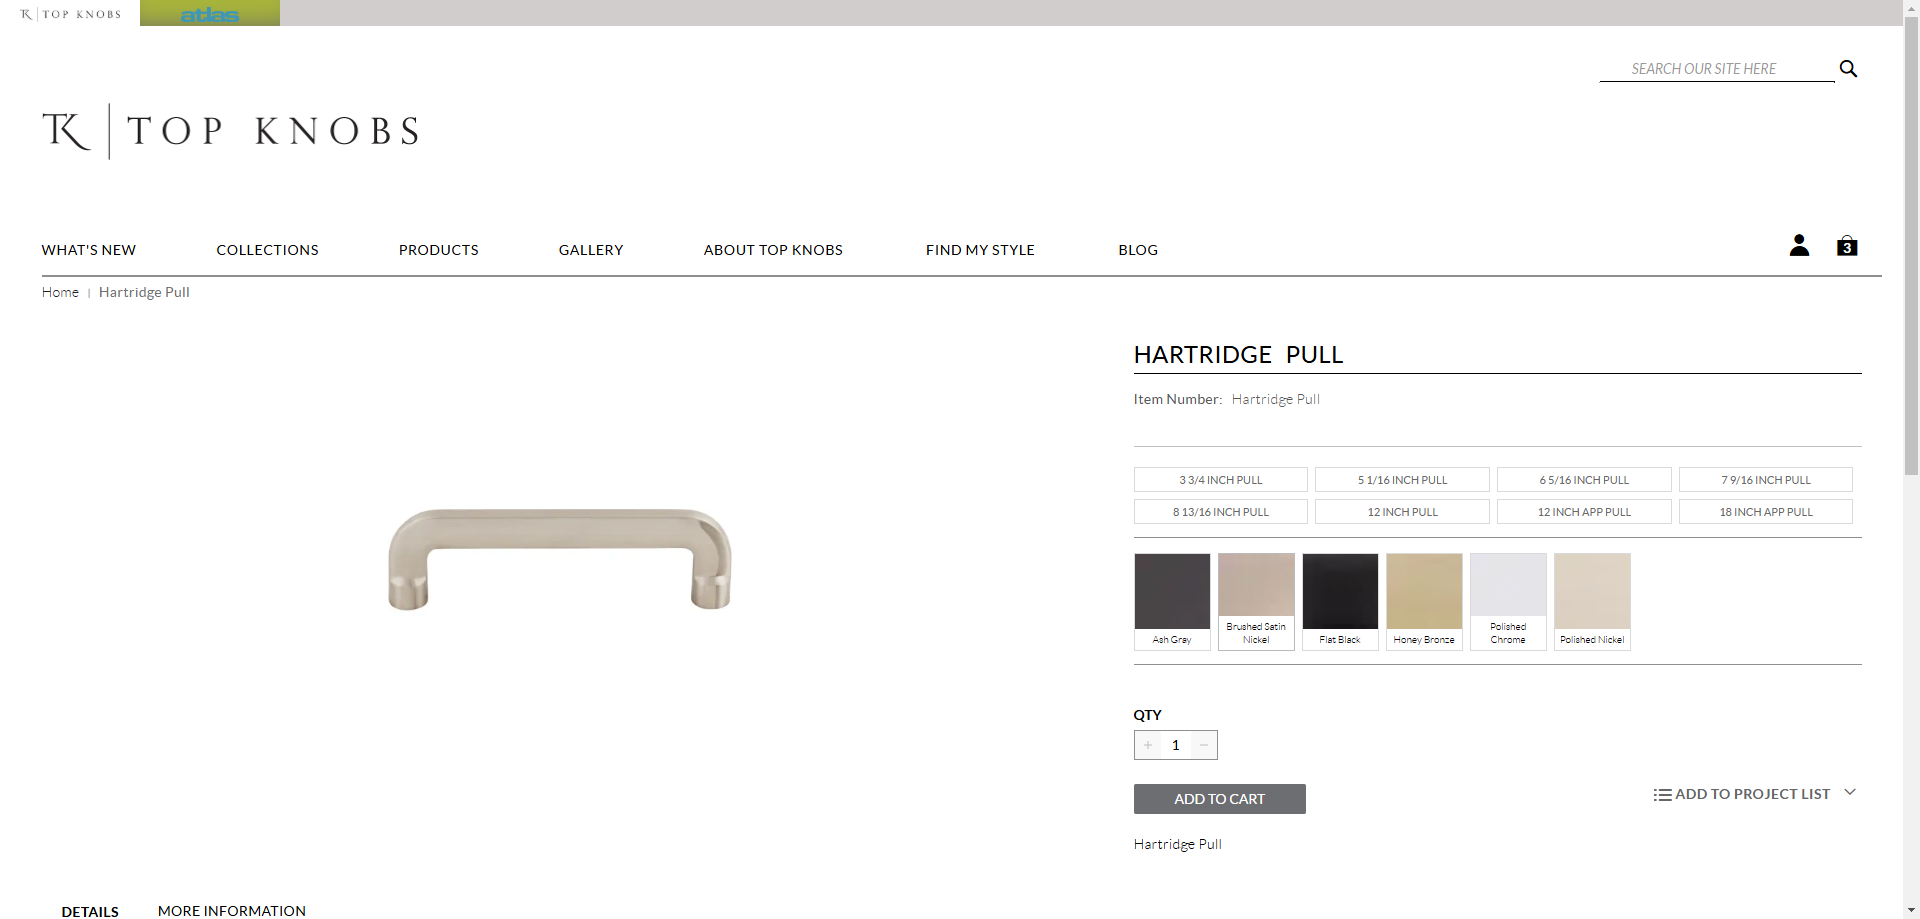
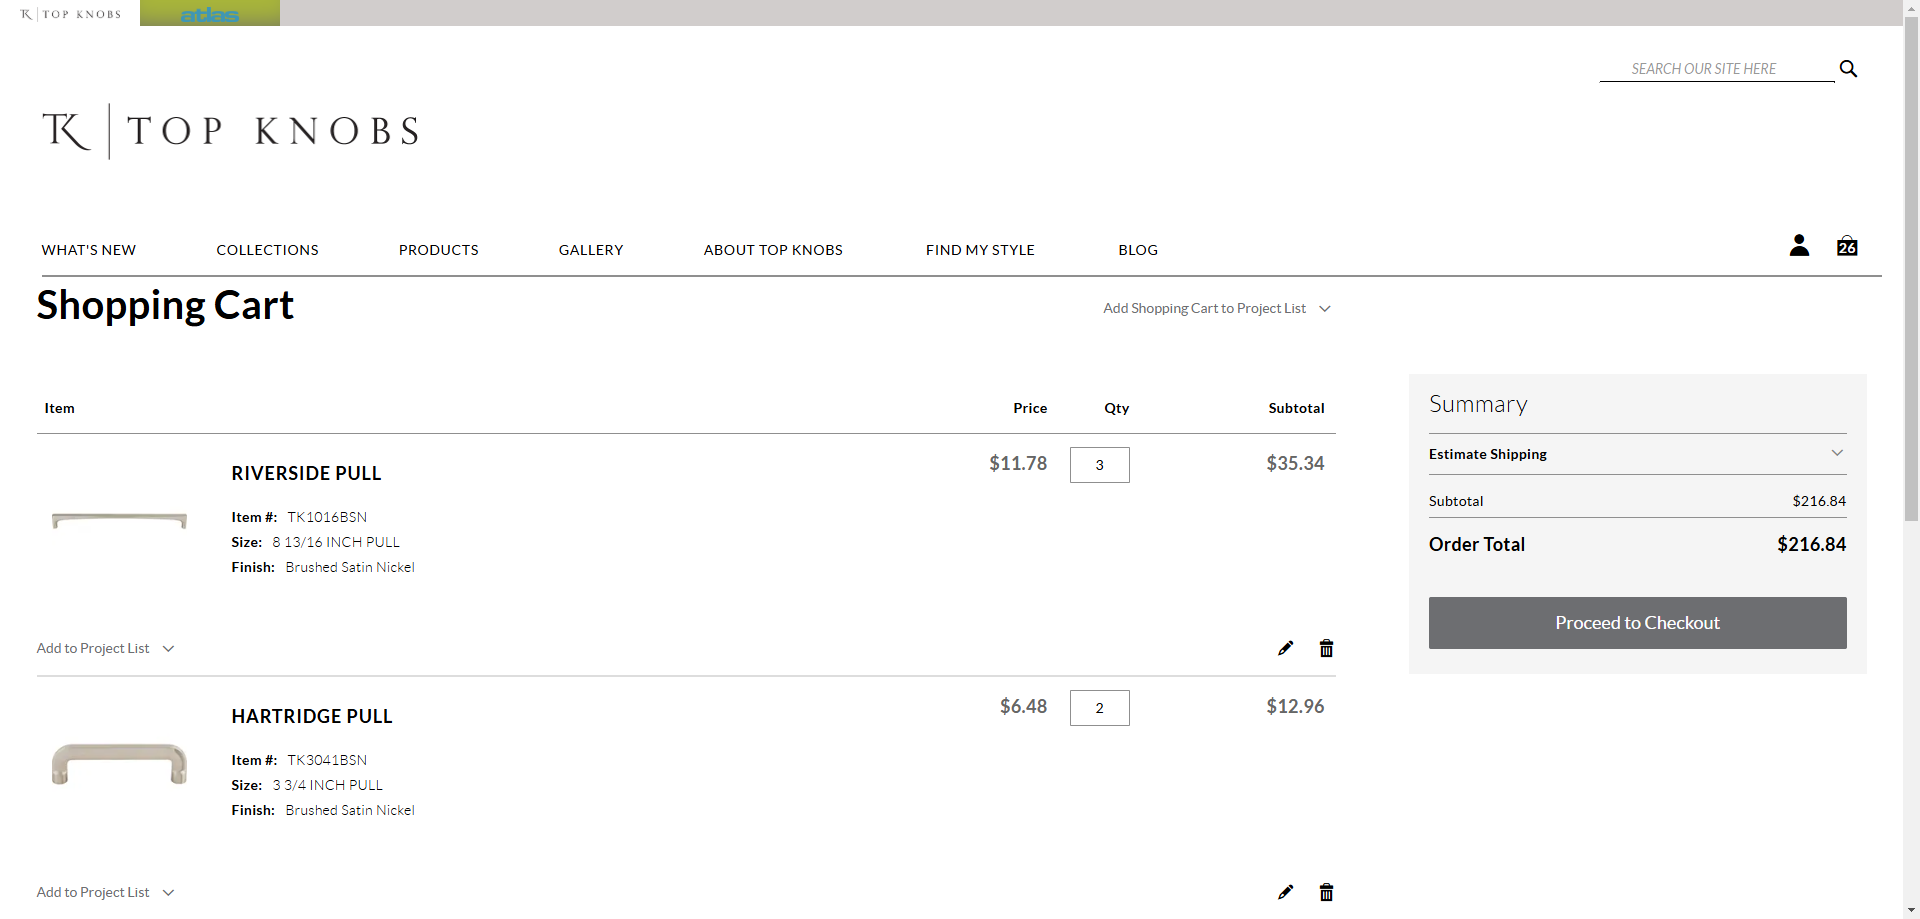
I have the part name, so I'll type it into the search bar and click on the applicable pull.

5
Click on "Riverside"
Step #5: Click on "Riverside"
6
Select the correct size and finish, and choose the quantity.
Step #6: Select the correct size and finish, and choose the quantity.
7
Step #7:
8
Step #8:
9
Click on "ADD TO CART"
Step #9: Click on "ADD TO CART"

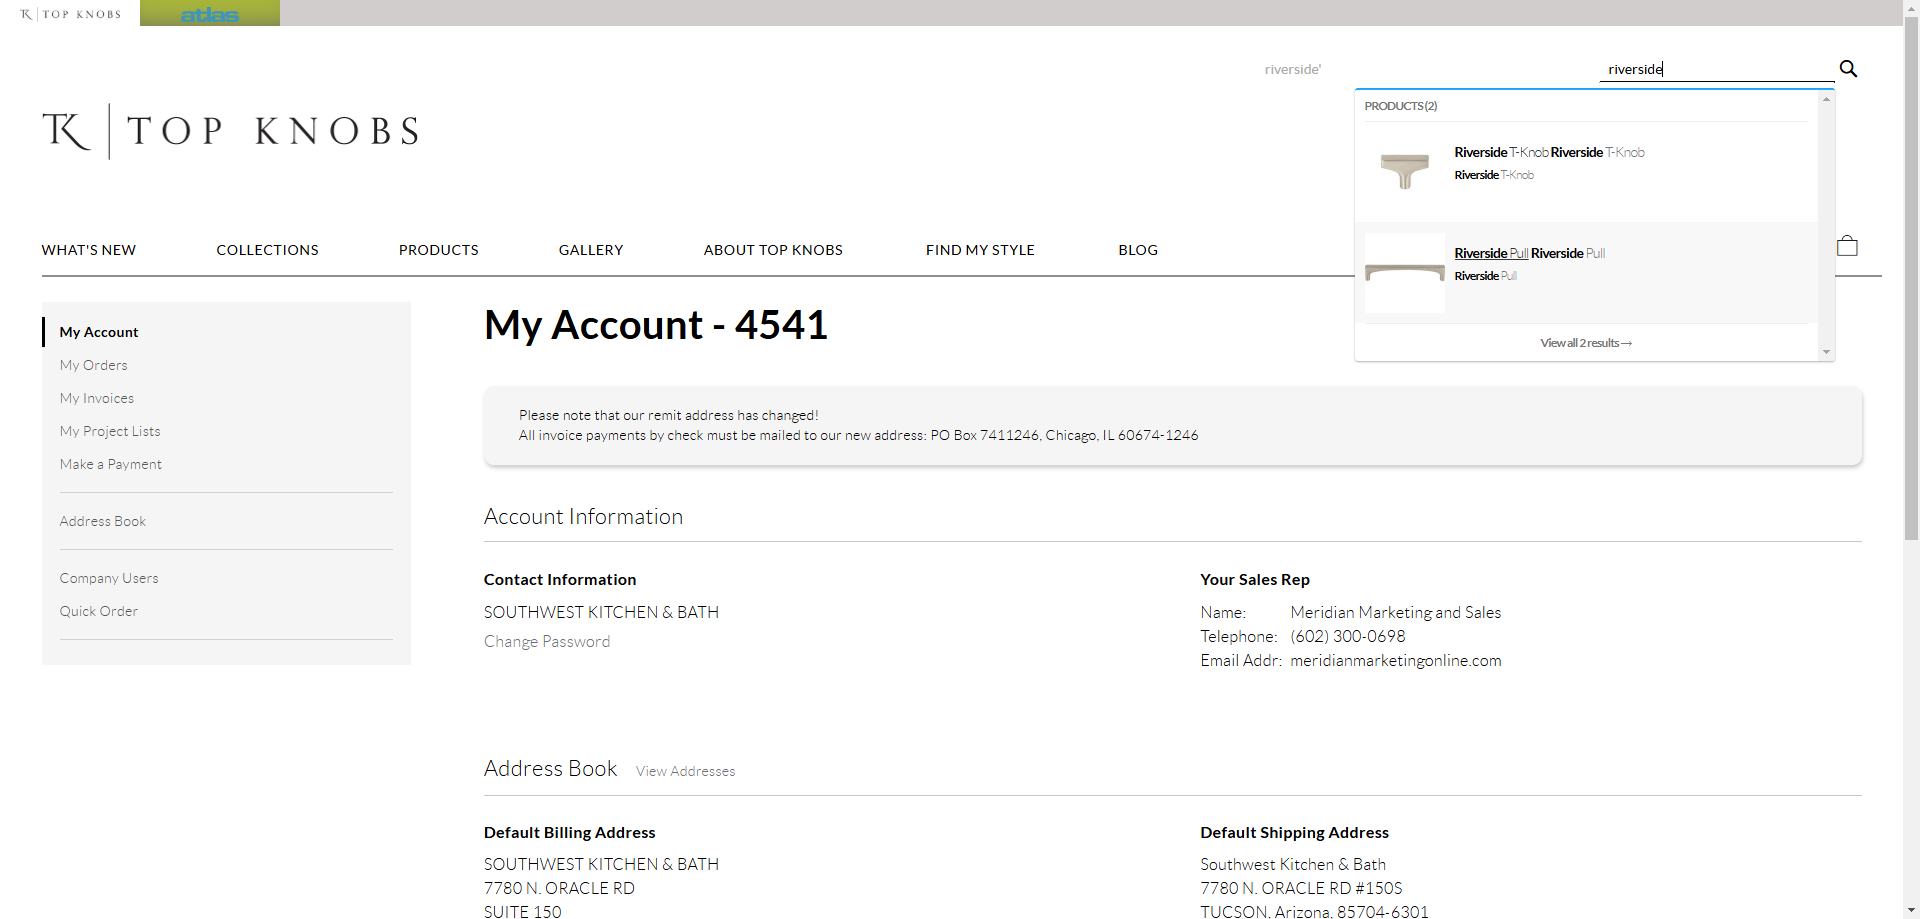
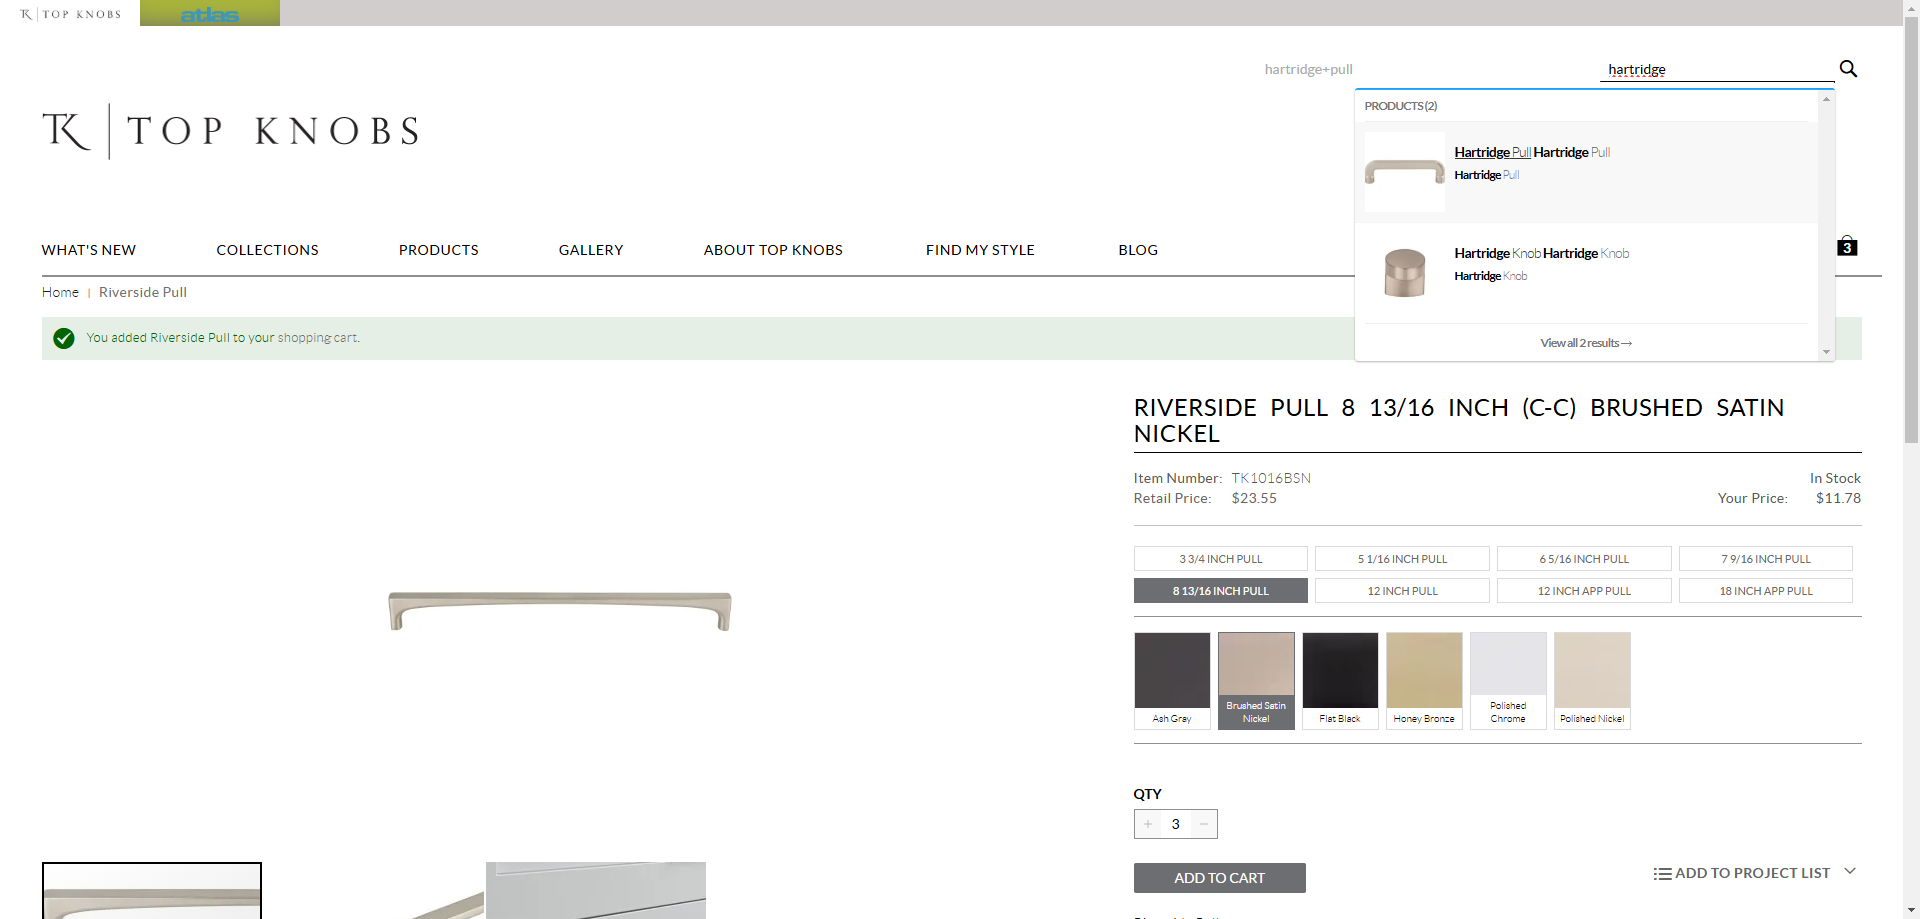
This order is for two different clients, so I'll start searching for the other piece of hardware.

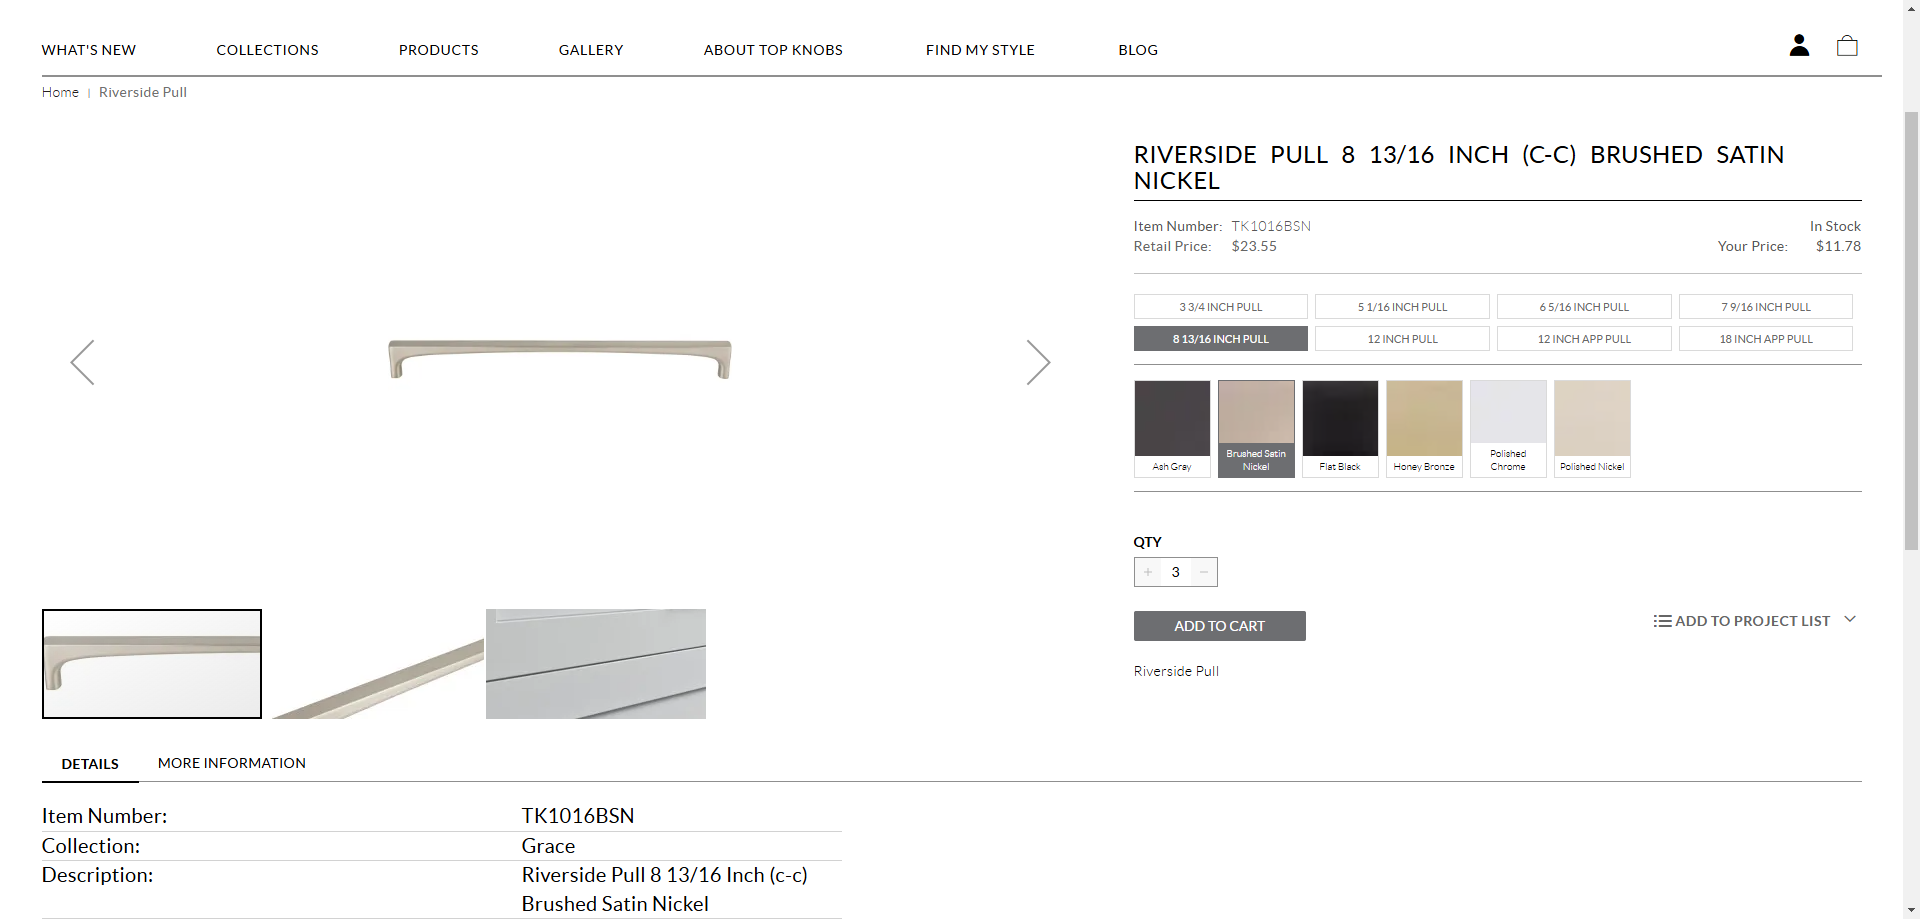
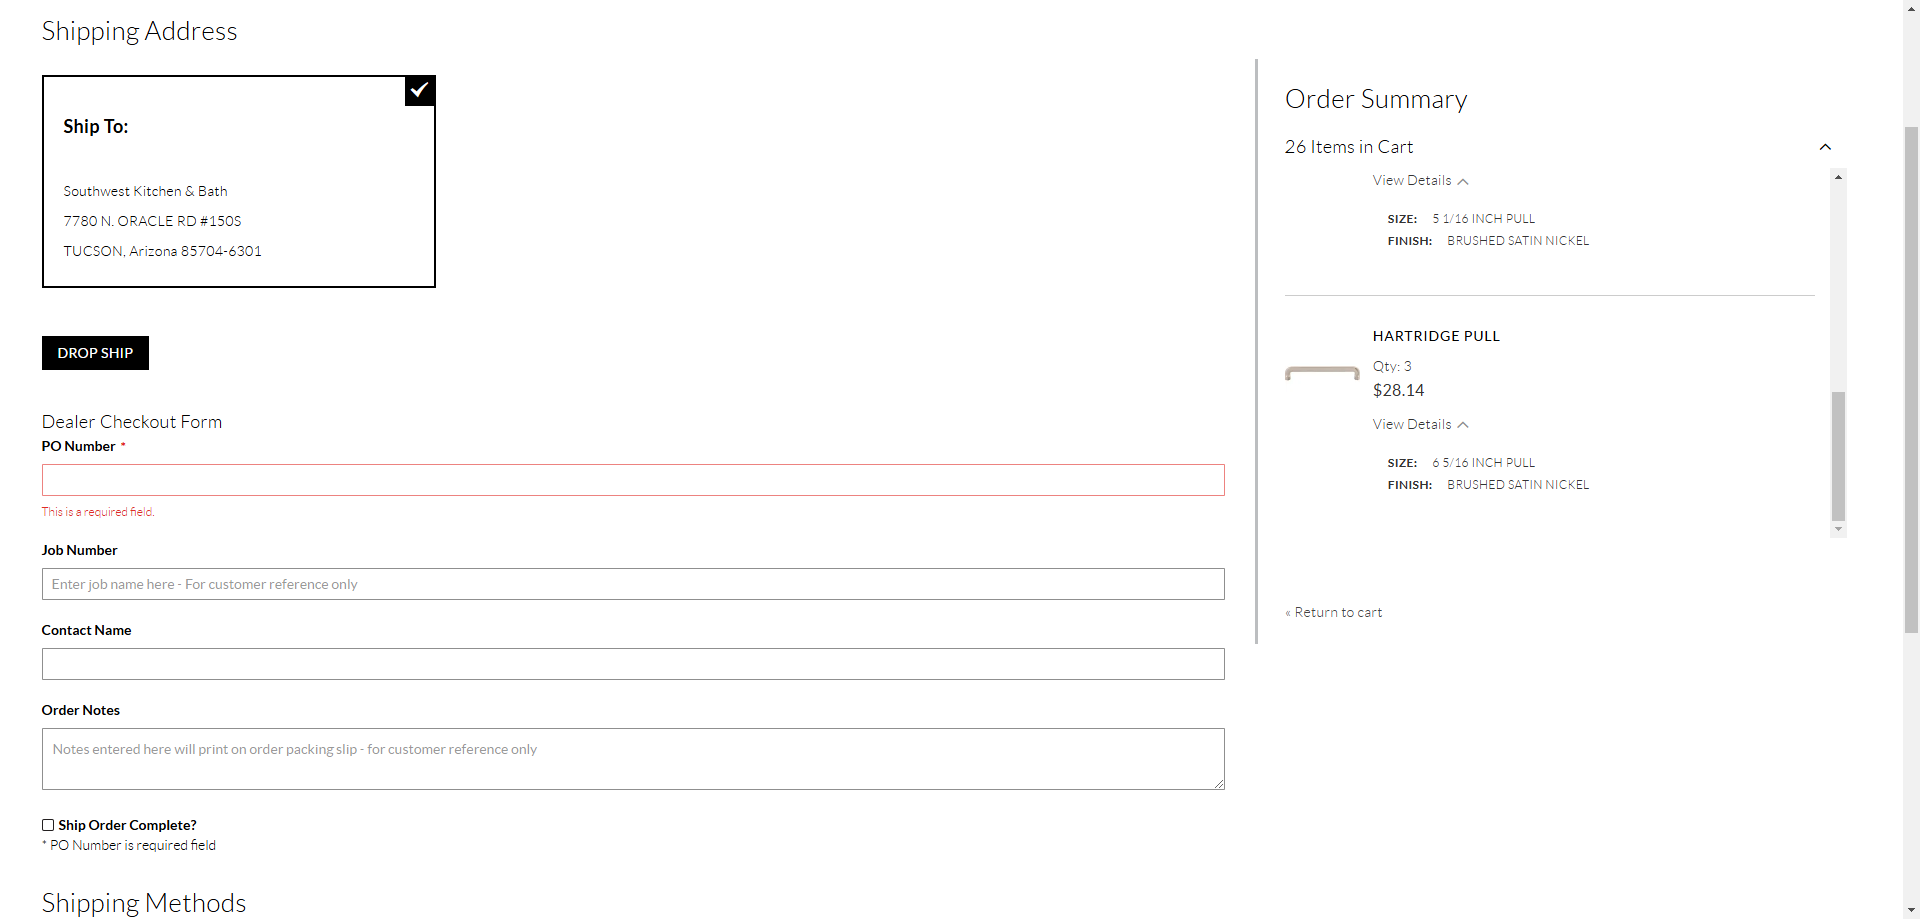
The information provided for this second order does not include the specific size of each part. This is not an issue as long as the correct part numbers are listed, each will be a specific size and finish.

10
Search for the next item.
Step #10: Search for the next item.

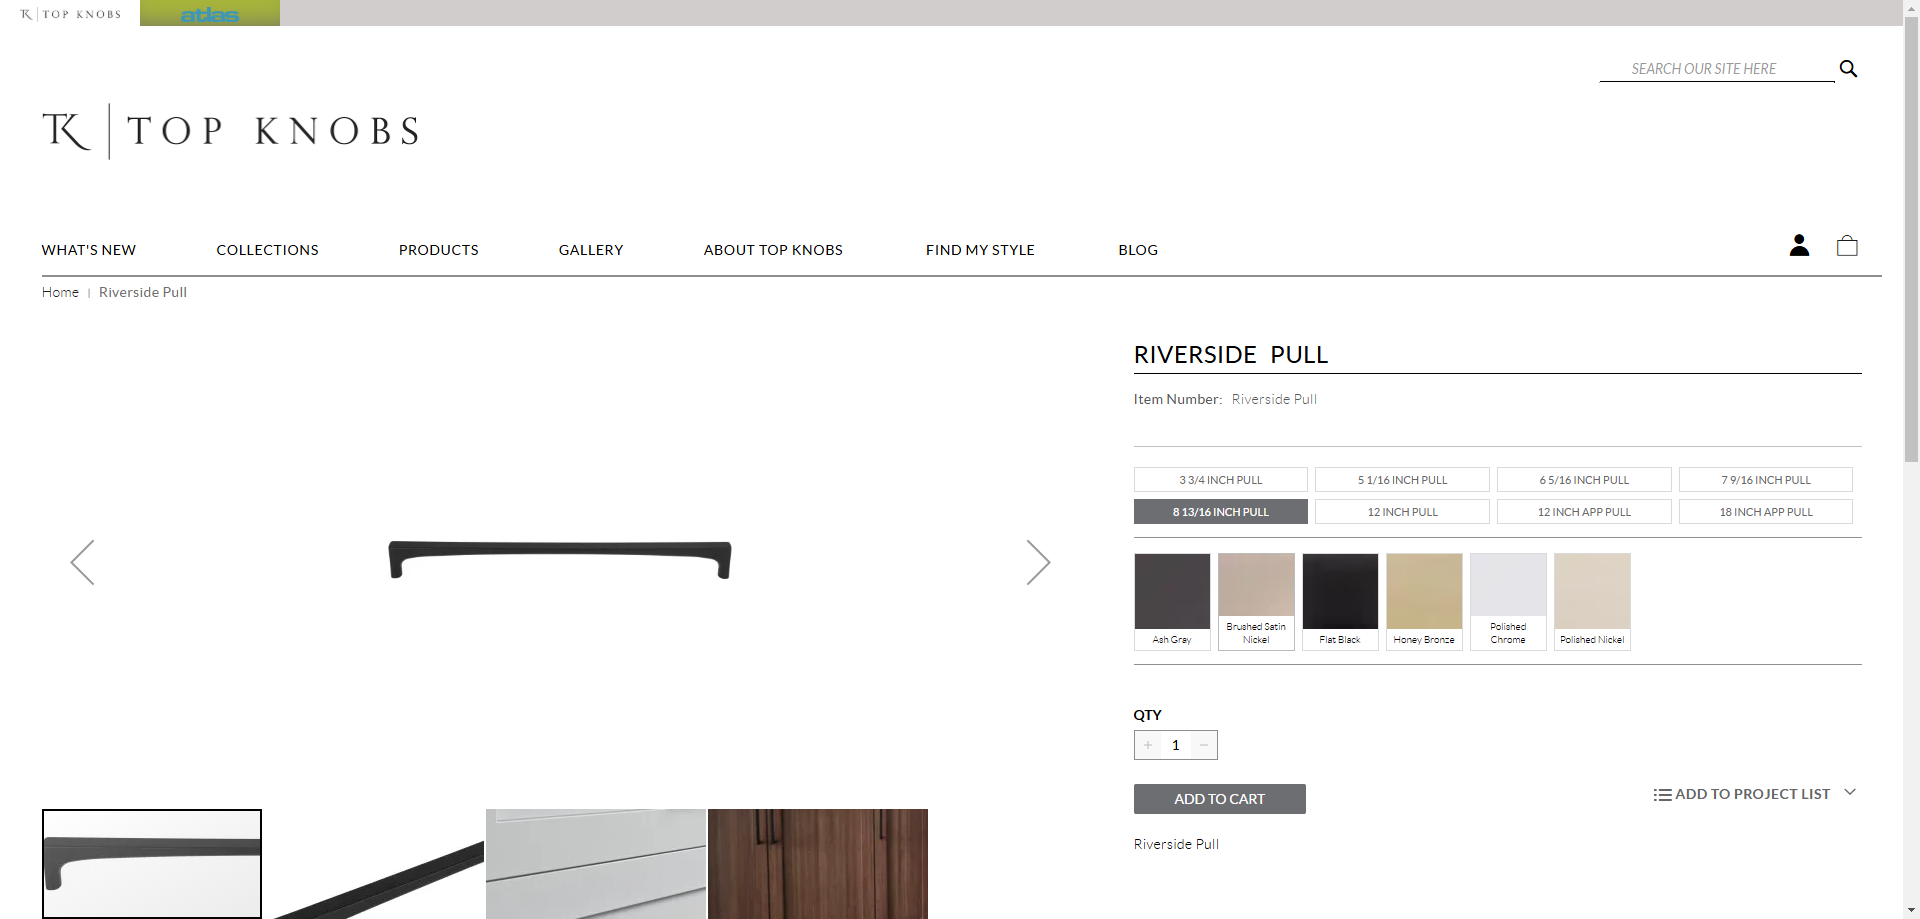
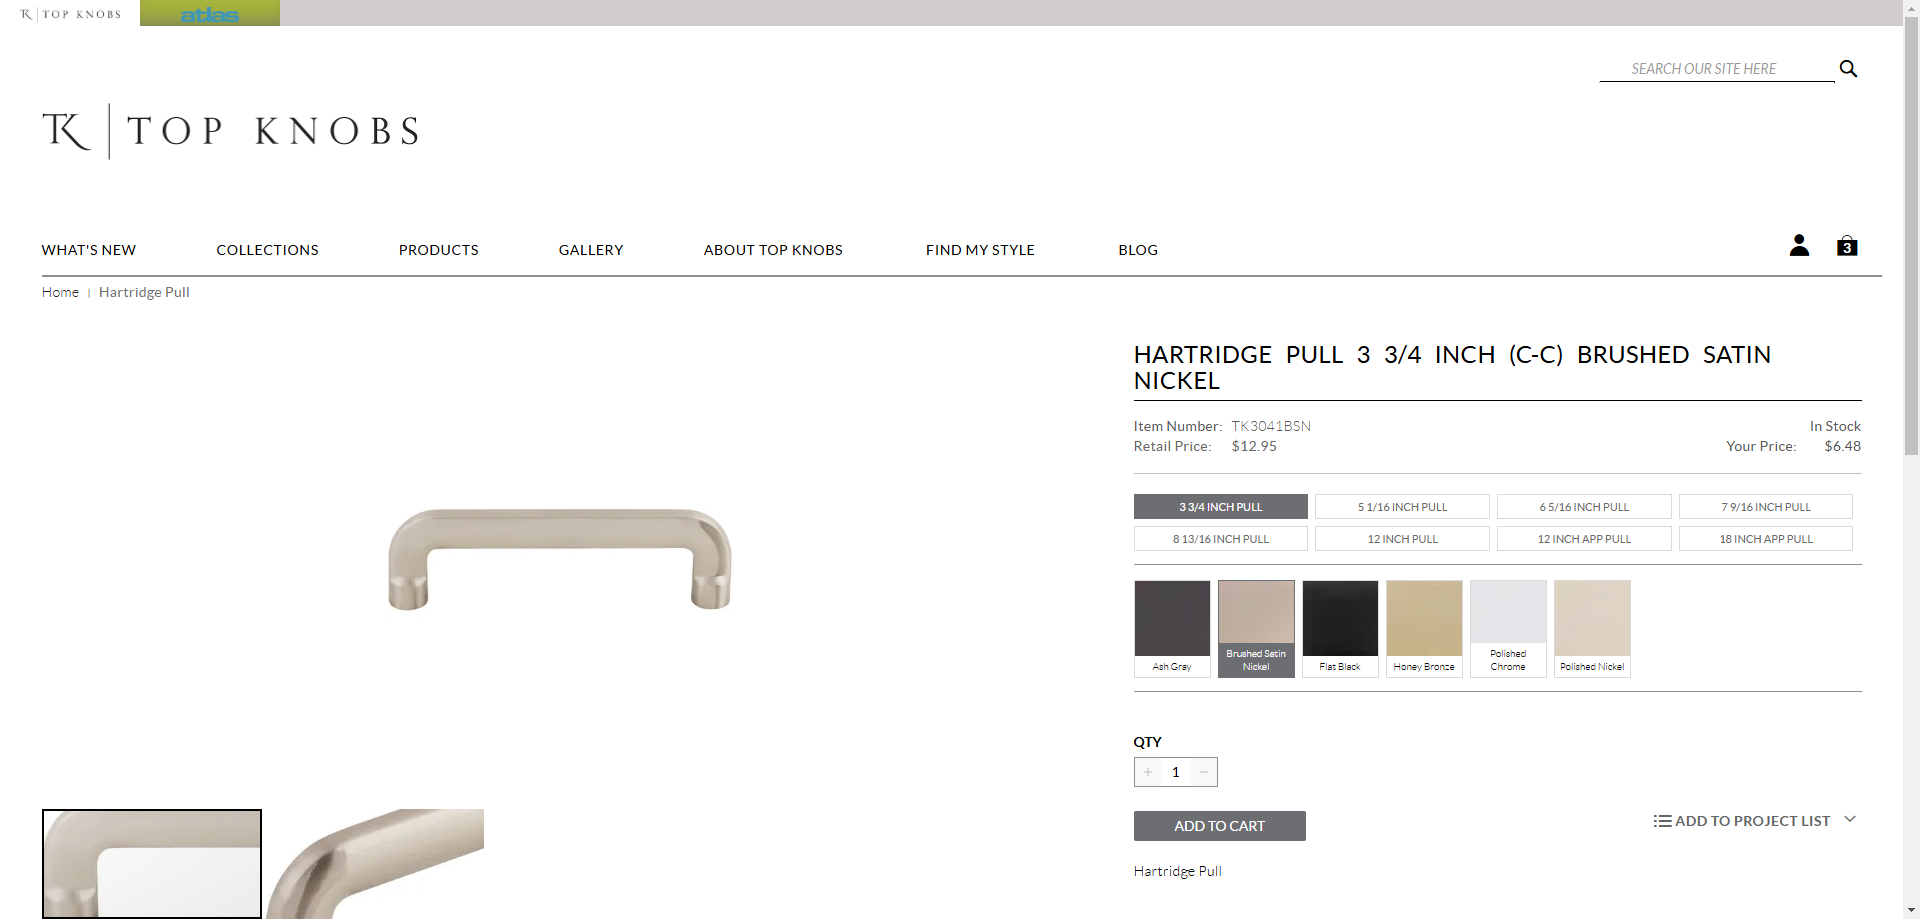
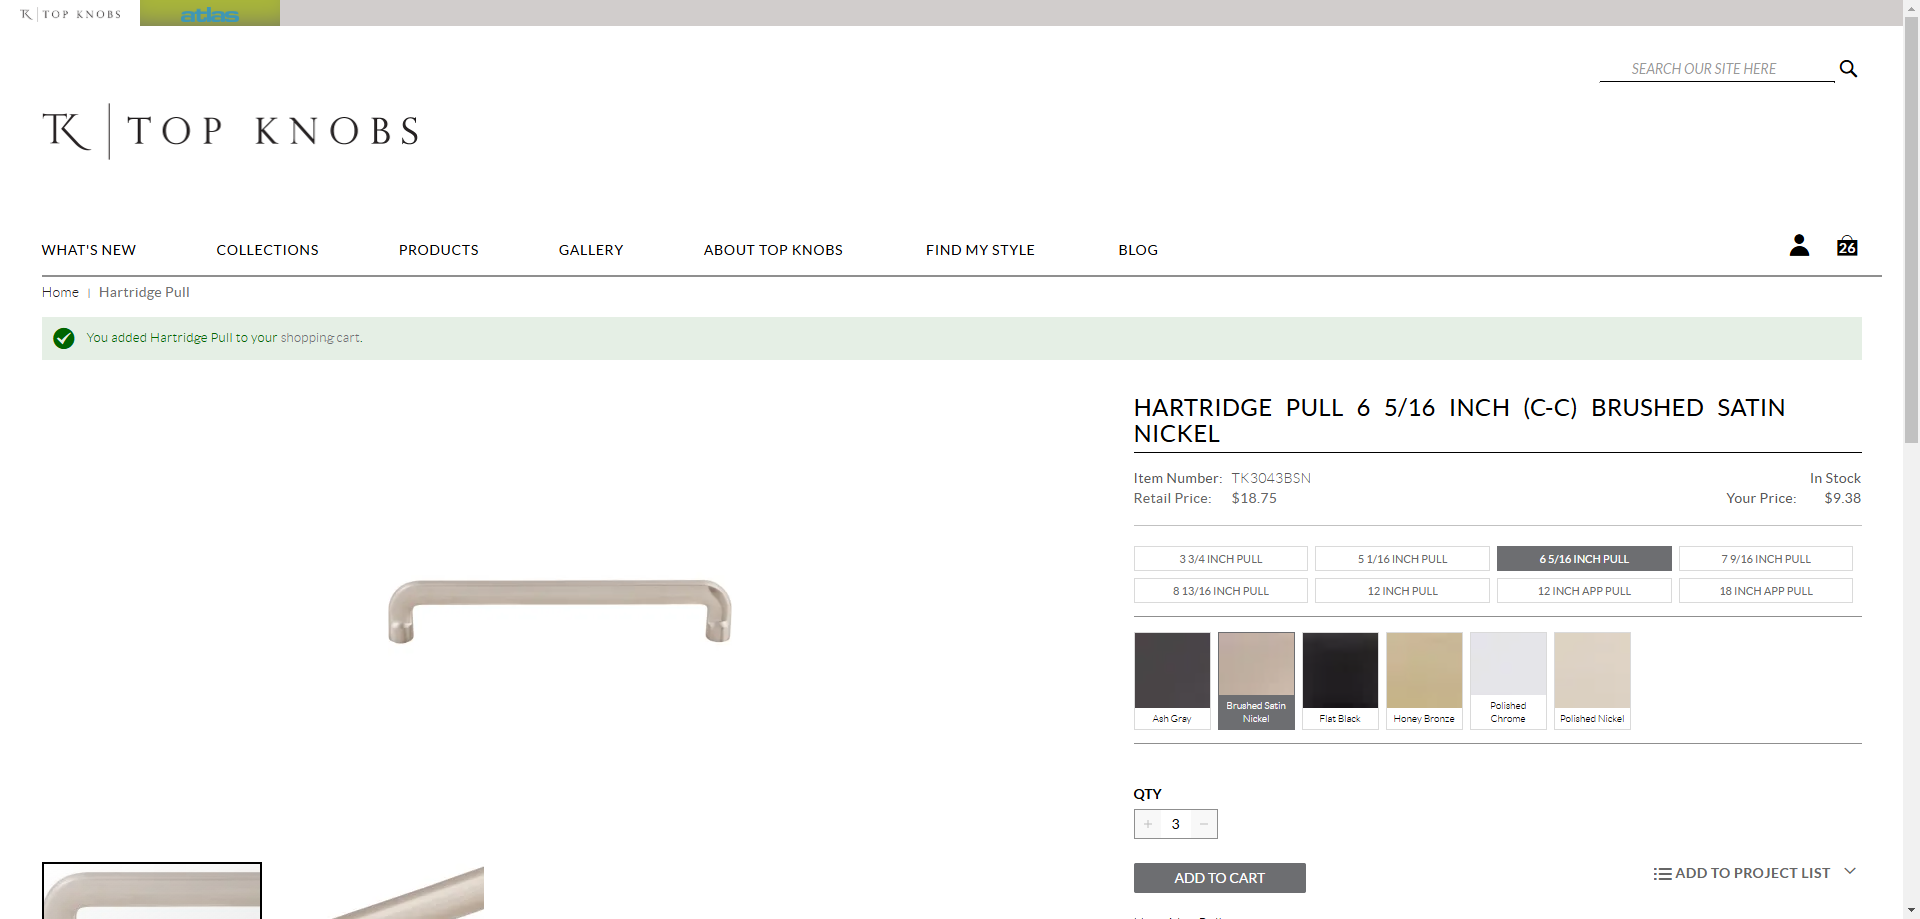
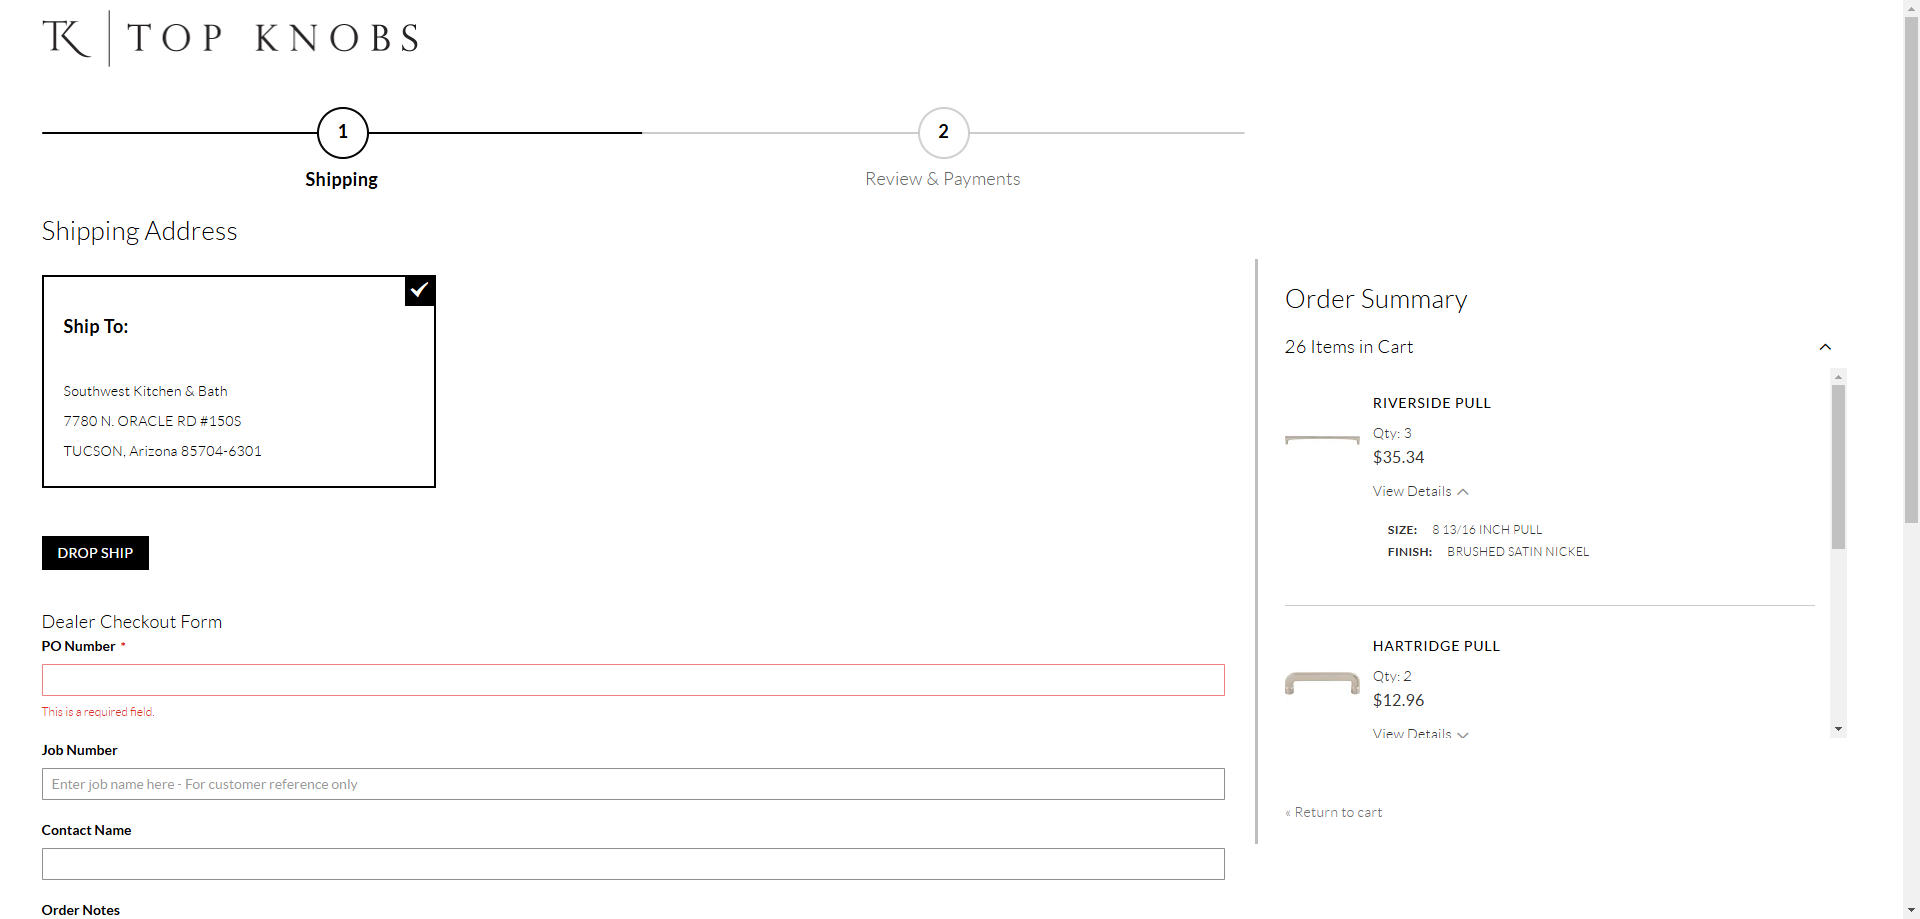
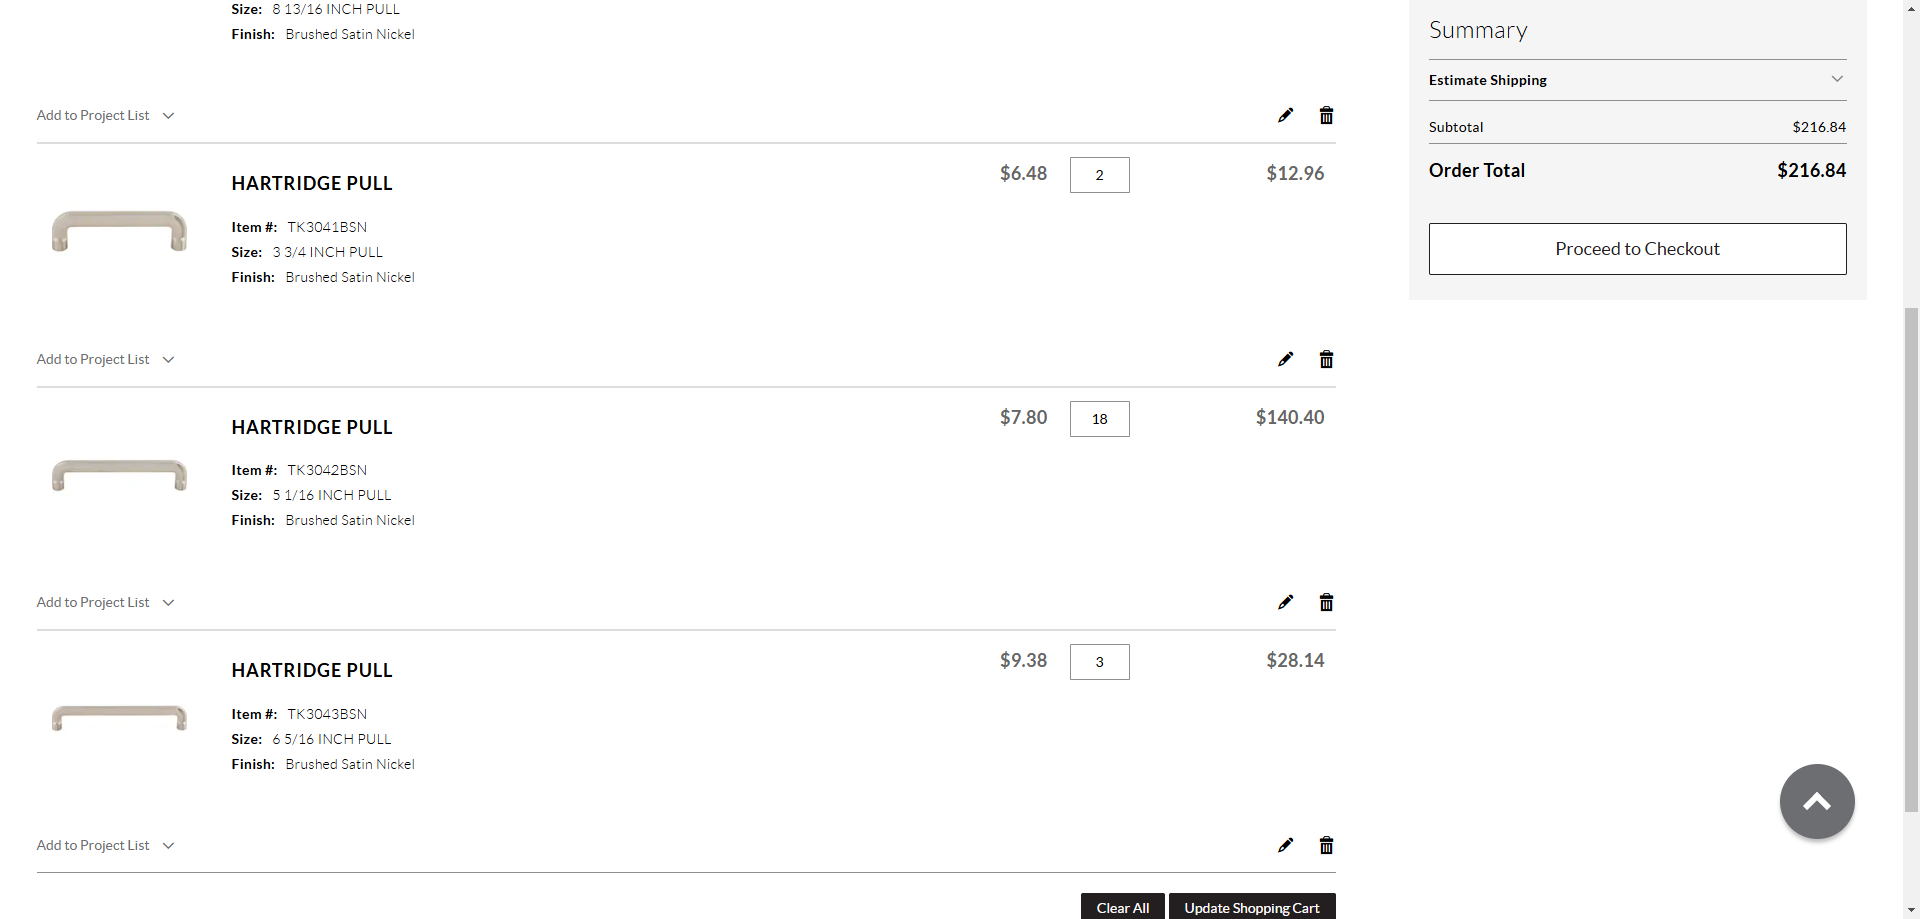
I will select the correct finish, which is brushed nickel. Since I have the part number, not specific sizes, I will click through the different sizes to see which parts this number corresponds to.

11
Select the correct finish.
Step #11: Select the correct finish.
12
Step #12:
13
The part number will appear above the Retail Price once the size and finish are selected.
Step #13: The part number will appear above the Retail Price once the size and finish are selected.
14
This is the correct number I'm looking for, and I need two pieces, so I'll add that to the cart.
Step #14: This is the correct number I'm looking for, and I need two pieces, so I'll add that to the cart.

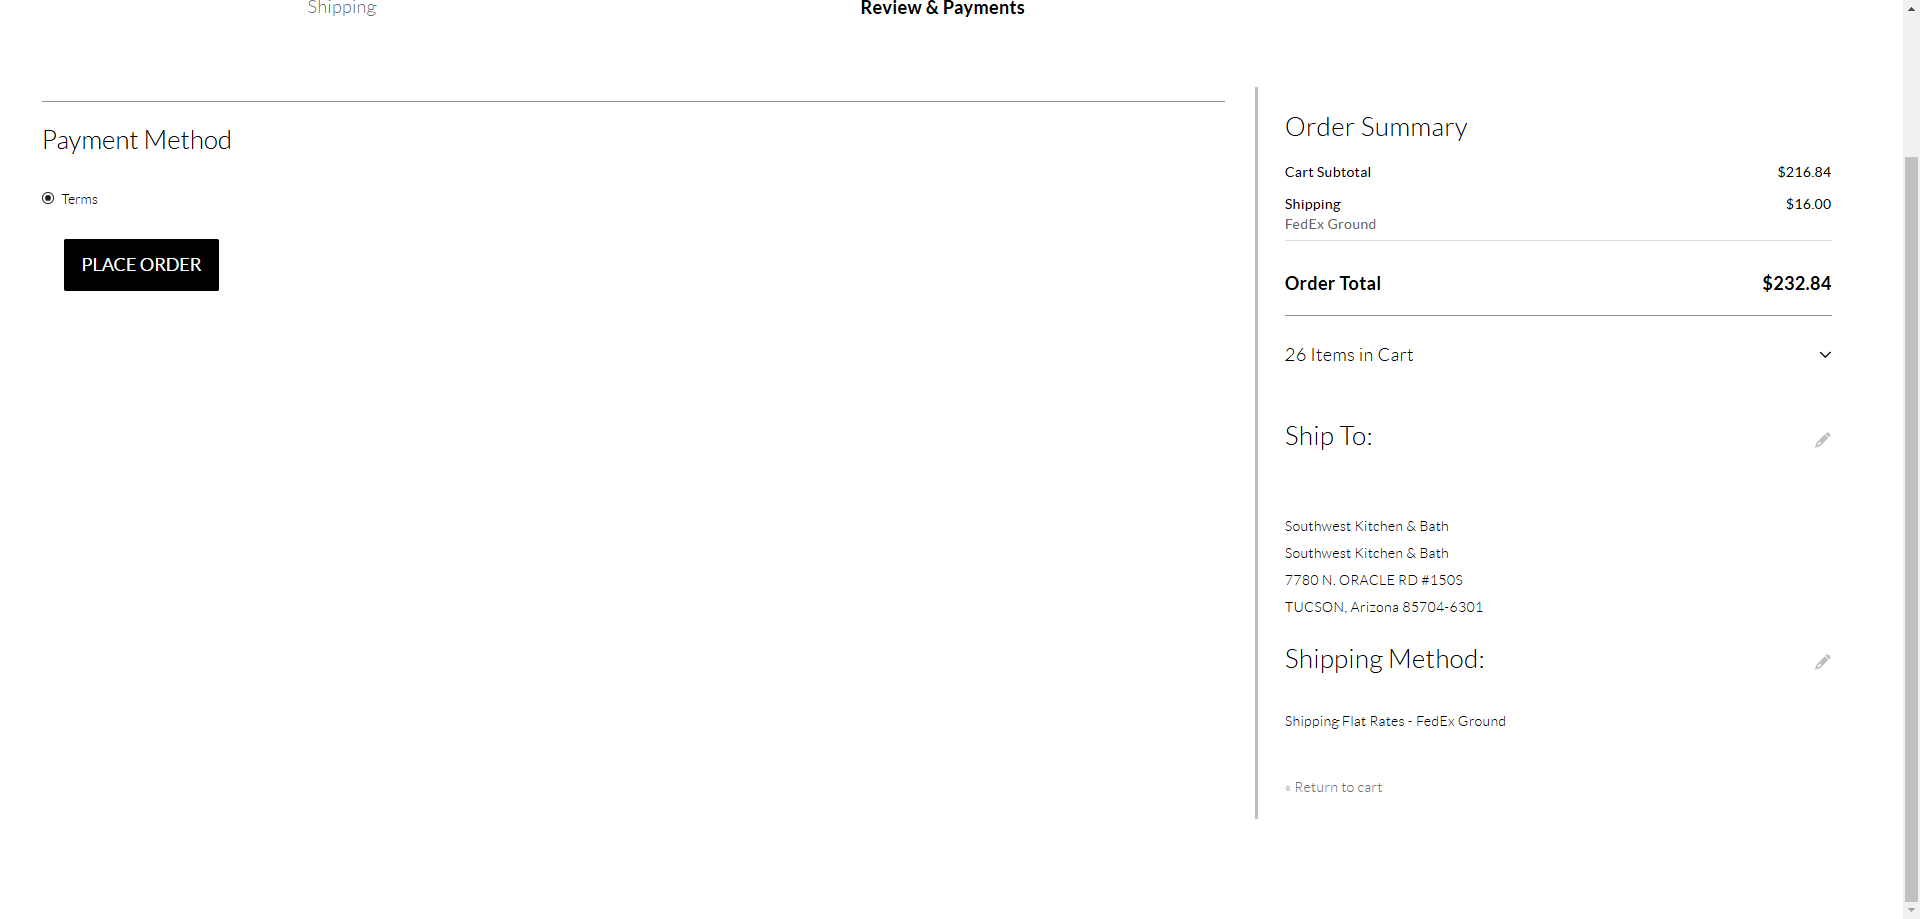
Once ready to checkout, select "Proceed to Checkout." I like to review the items in the cart to ensure everything is correct, checking the finish and size.

15
Step #15:
16
Step #16:
17
The down arrow next to the Order Summary will populate each item's details.
Step #17: The down arrow next to the Order Summary will populate each item's details.
18
Click on "View Details "
Step #18: Click on "View Details "
19
Confirm the size & finish
Step #19: Confirm the size & finish
20
Step #20:

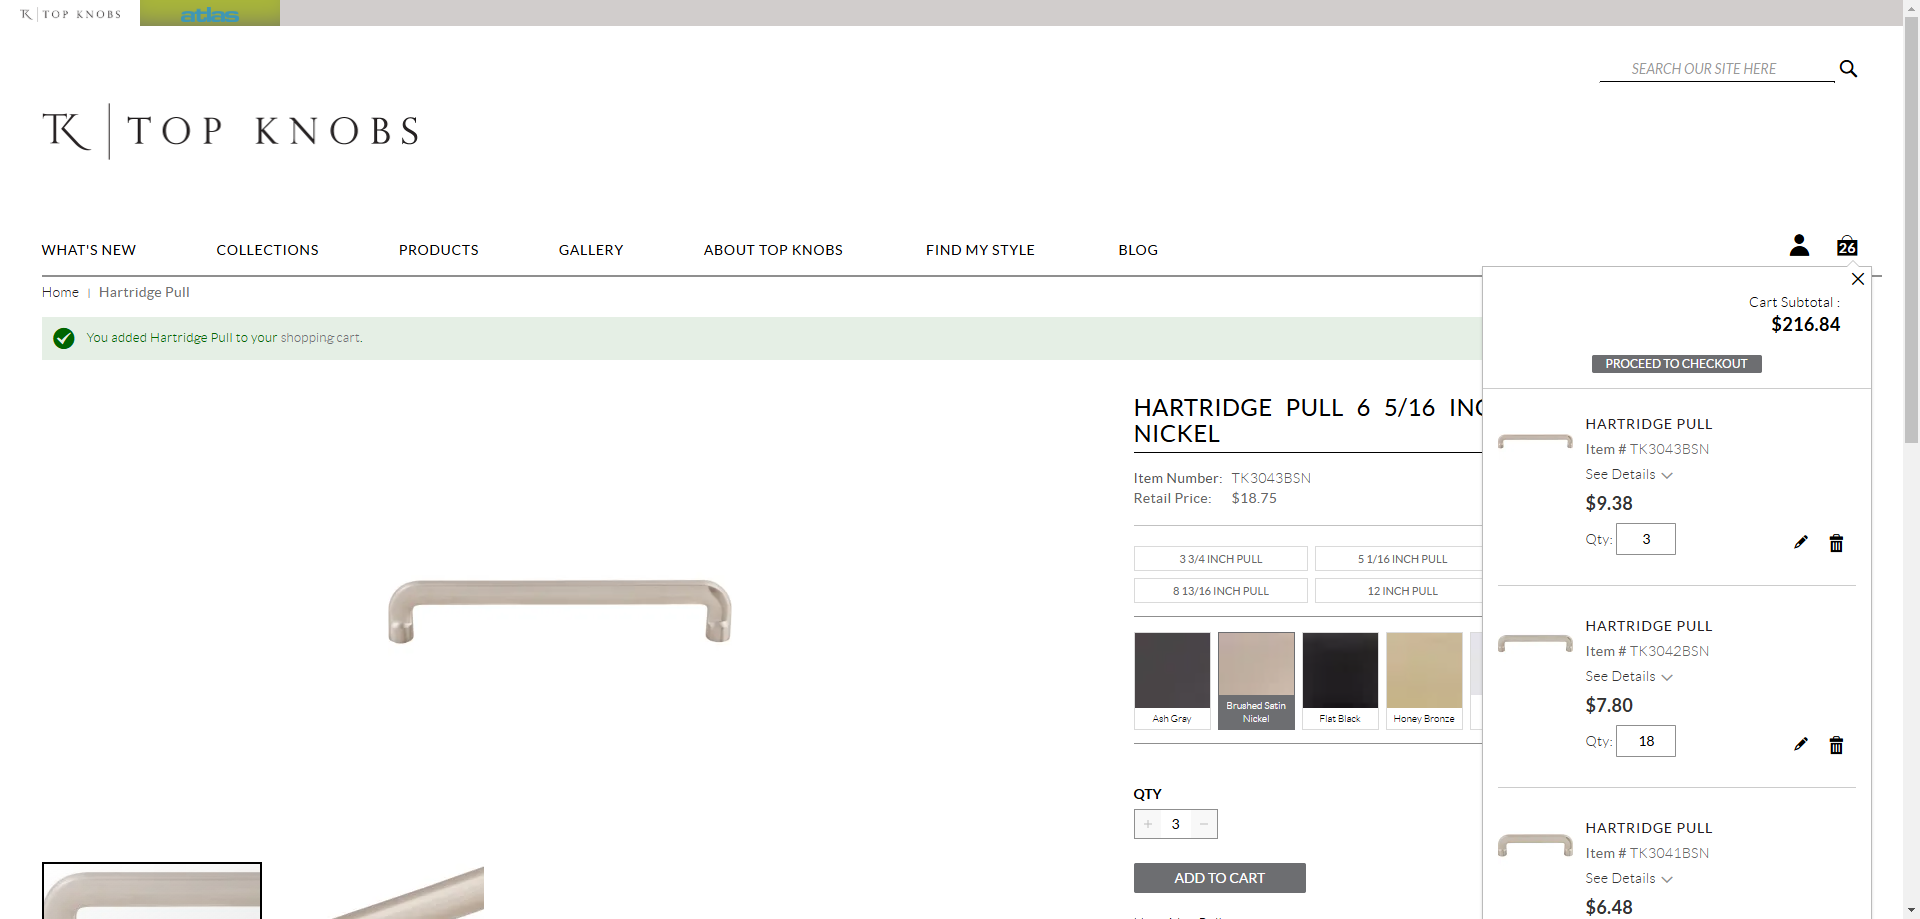
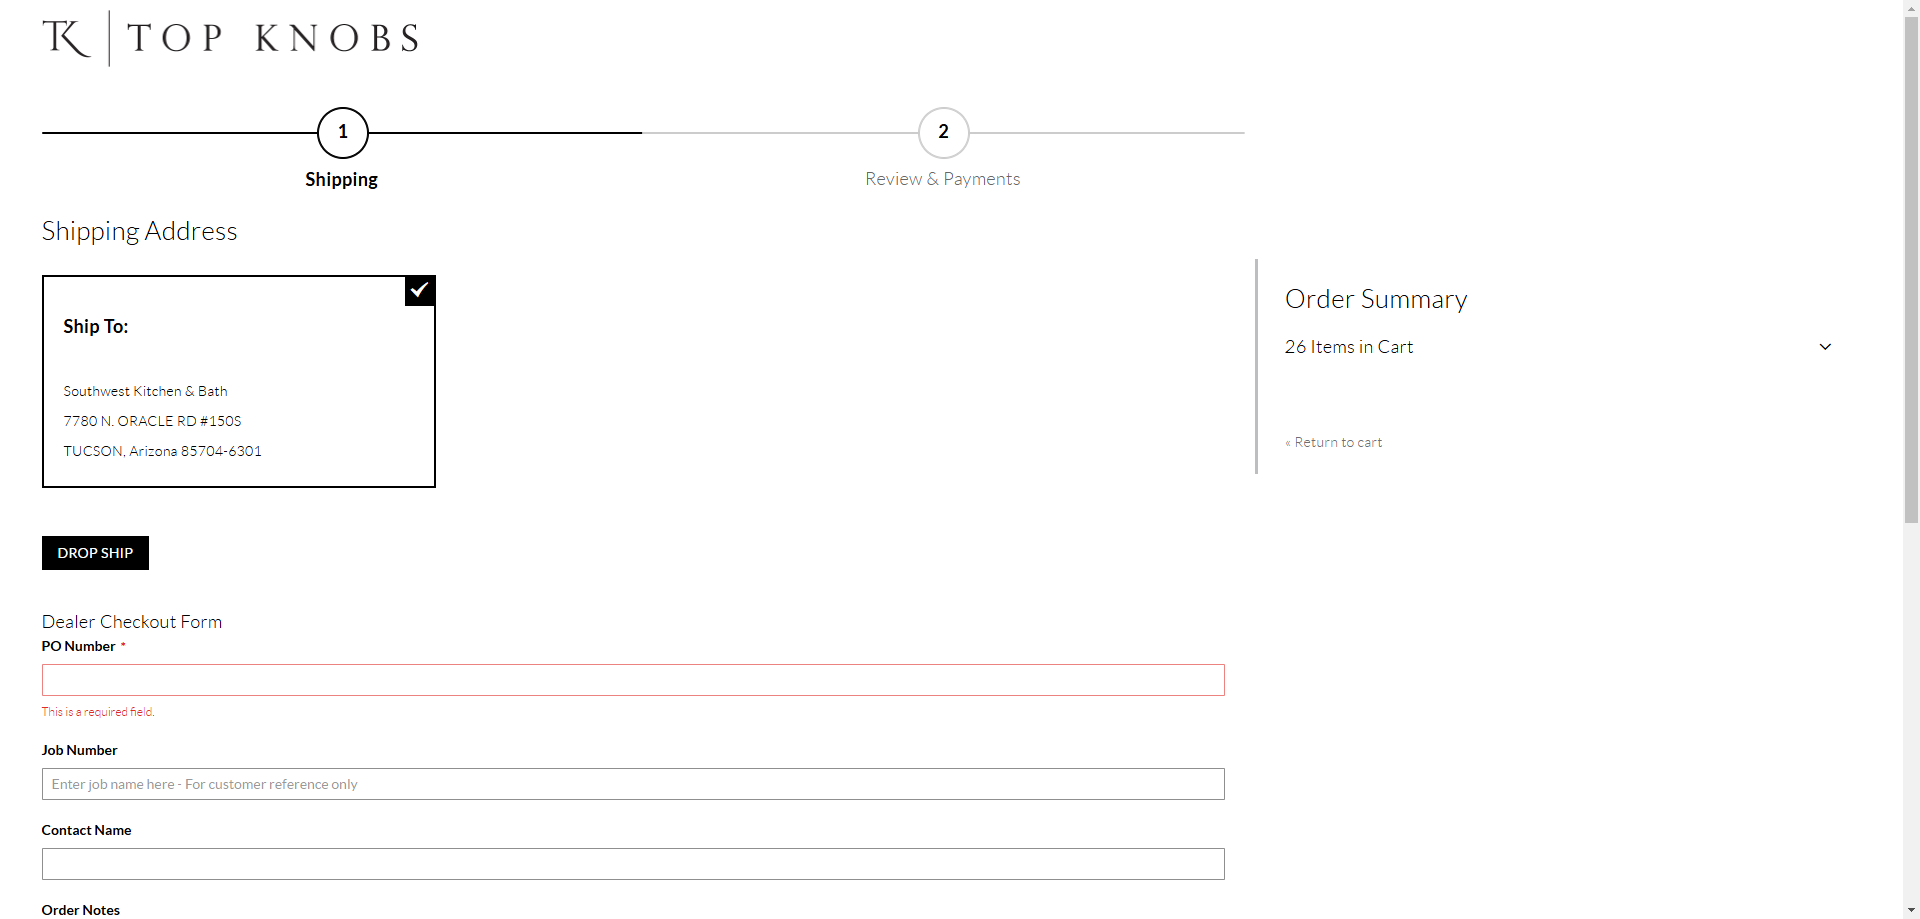
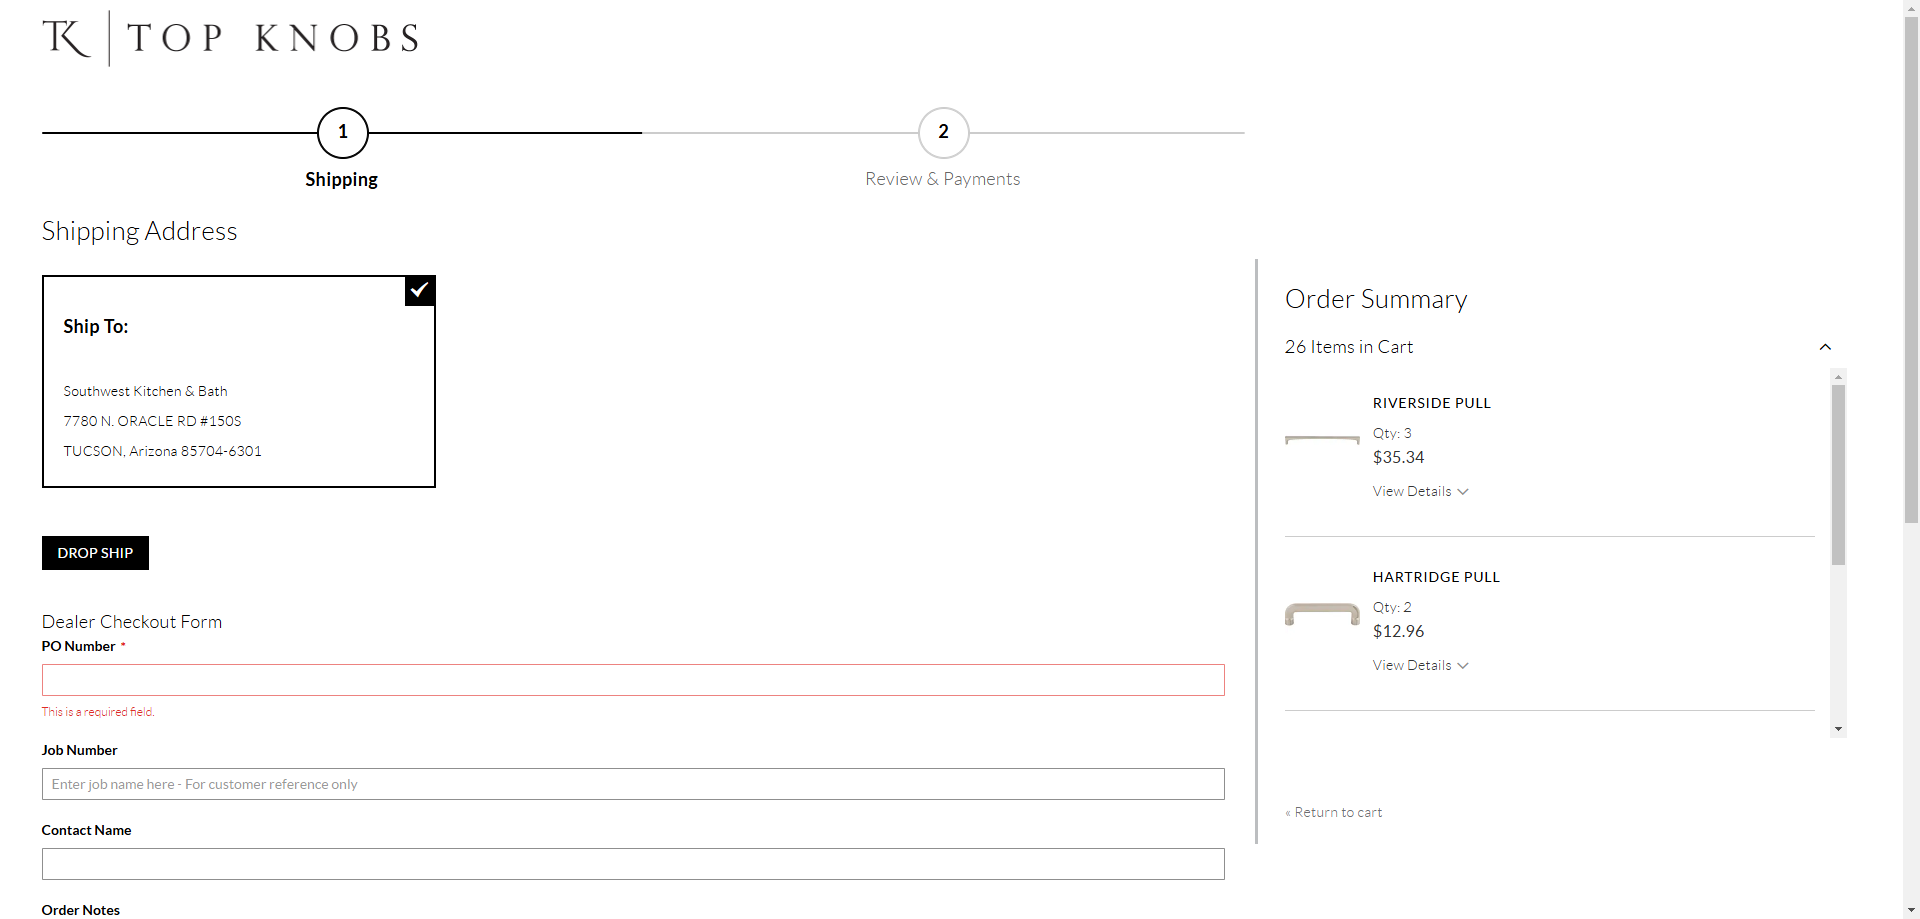
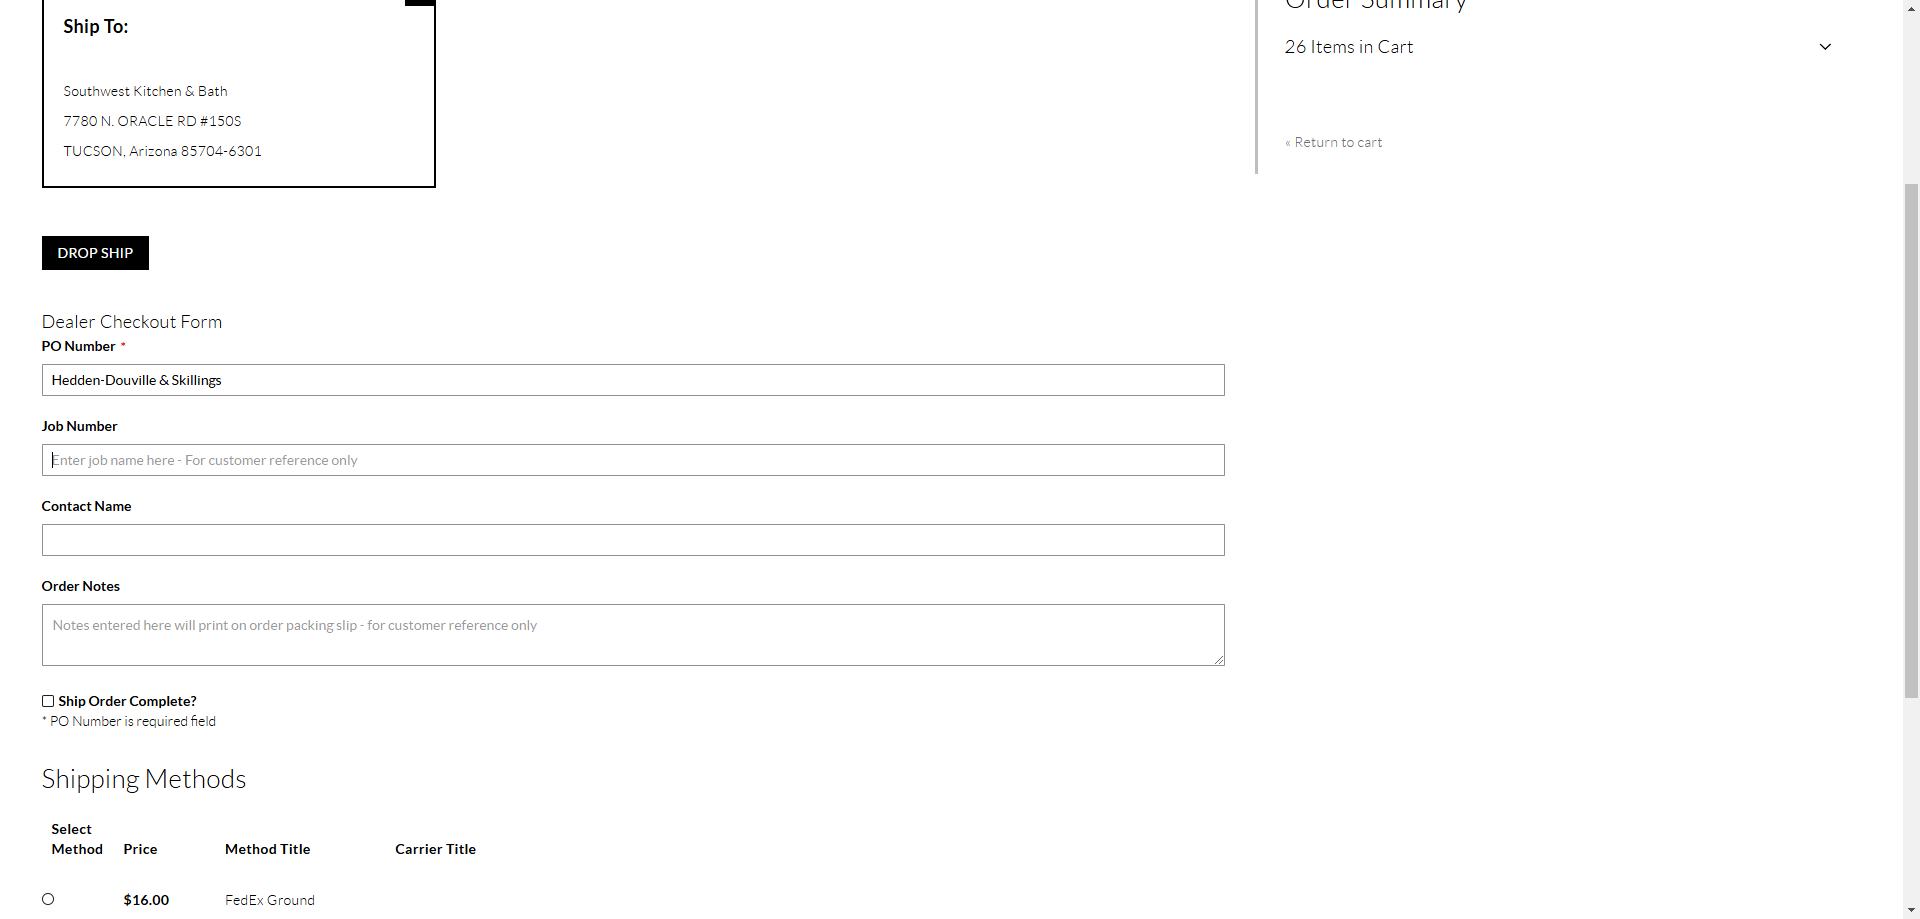
In this instance, I cannot double check the information for the second part of the order because I was only given part numbers, not their sizes. In order to check the part number, scroll down and select "Return to Cart".

21
Click on "Return to cart"
Step #21: Click on "Return to cart"

22
Now, in the cart. I can double check all applicable information.
Step #22: Now, in the cart. I can double check all applicable information.

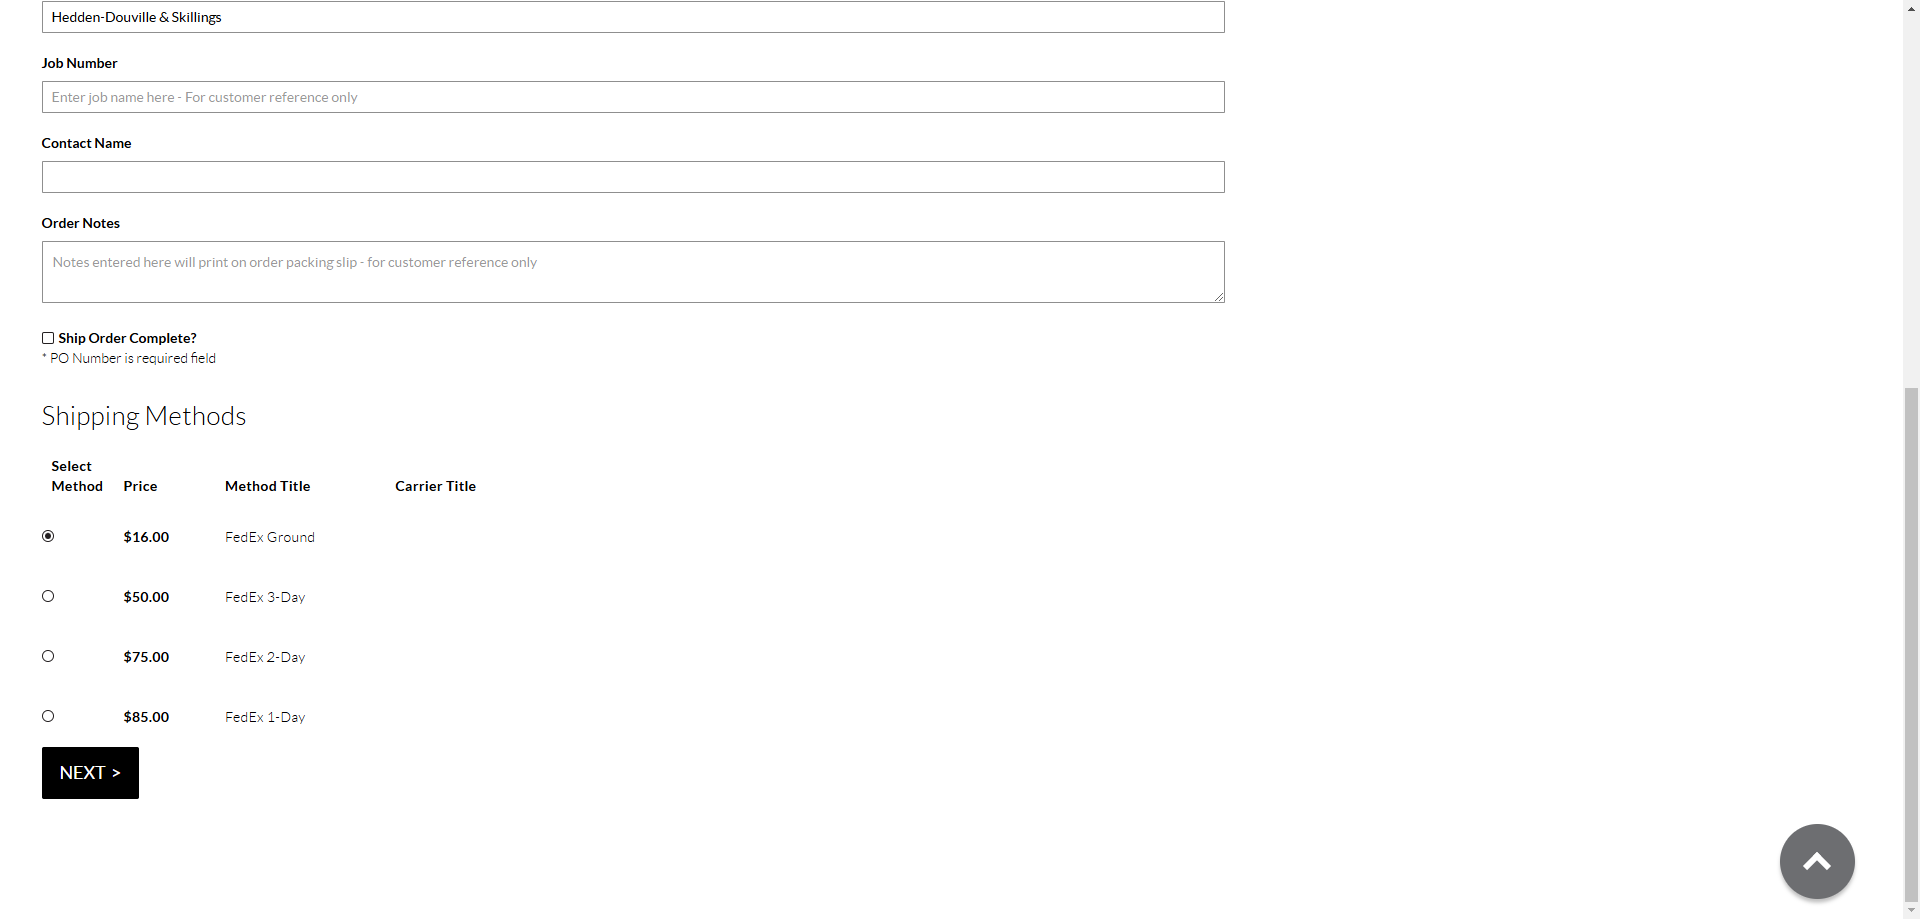
Now that I am sure the order is correct, I can check-out.

23
Click on "Proceed to Checkout"
Step #23: Click on "Proceed to Checkout"
24
In the PO number, list the client name(s): the first client is Hedden-Douville, and the second is Skillings.
Step #24: In the PO number, list the client name(s): the first client is Hedden-Douville, and the second is Skillings.
25
Select the cheapest shipping method. Since we order hardware in advance, shipping shouldn't delay installation, and parts should arrive on time.
Step #25: Select the cheapest shipping method. Since we order hardware in advance, shipping shouldn't delay installation, and parts should arrive on time.
26
Click on "NEXT >"
Step #26: Click on "NEXT >"
27
Click on "PLACE ORDER" The payment method will always be terms.
Step #27: Click on "PLACE ORDER" The payment method will always be terms.
28
Click on "Print receipt"
Step #28: Click on "Print receipt"

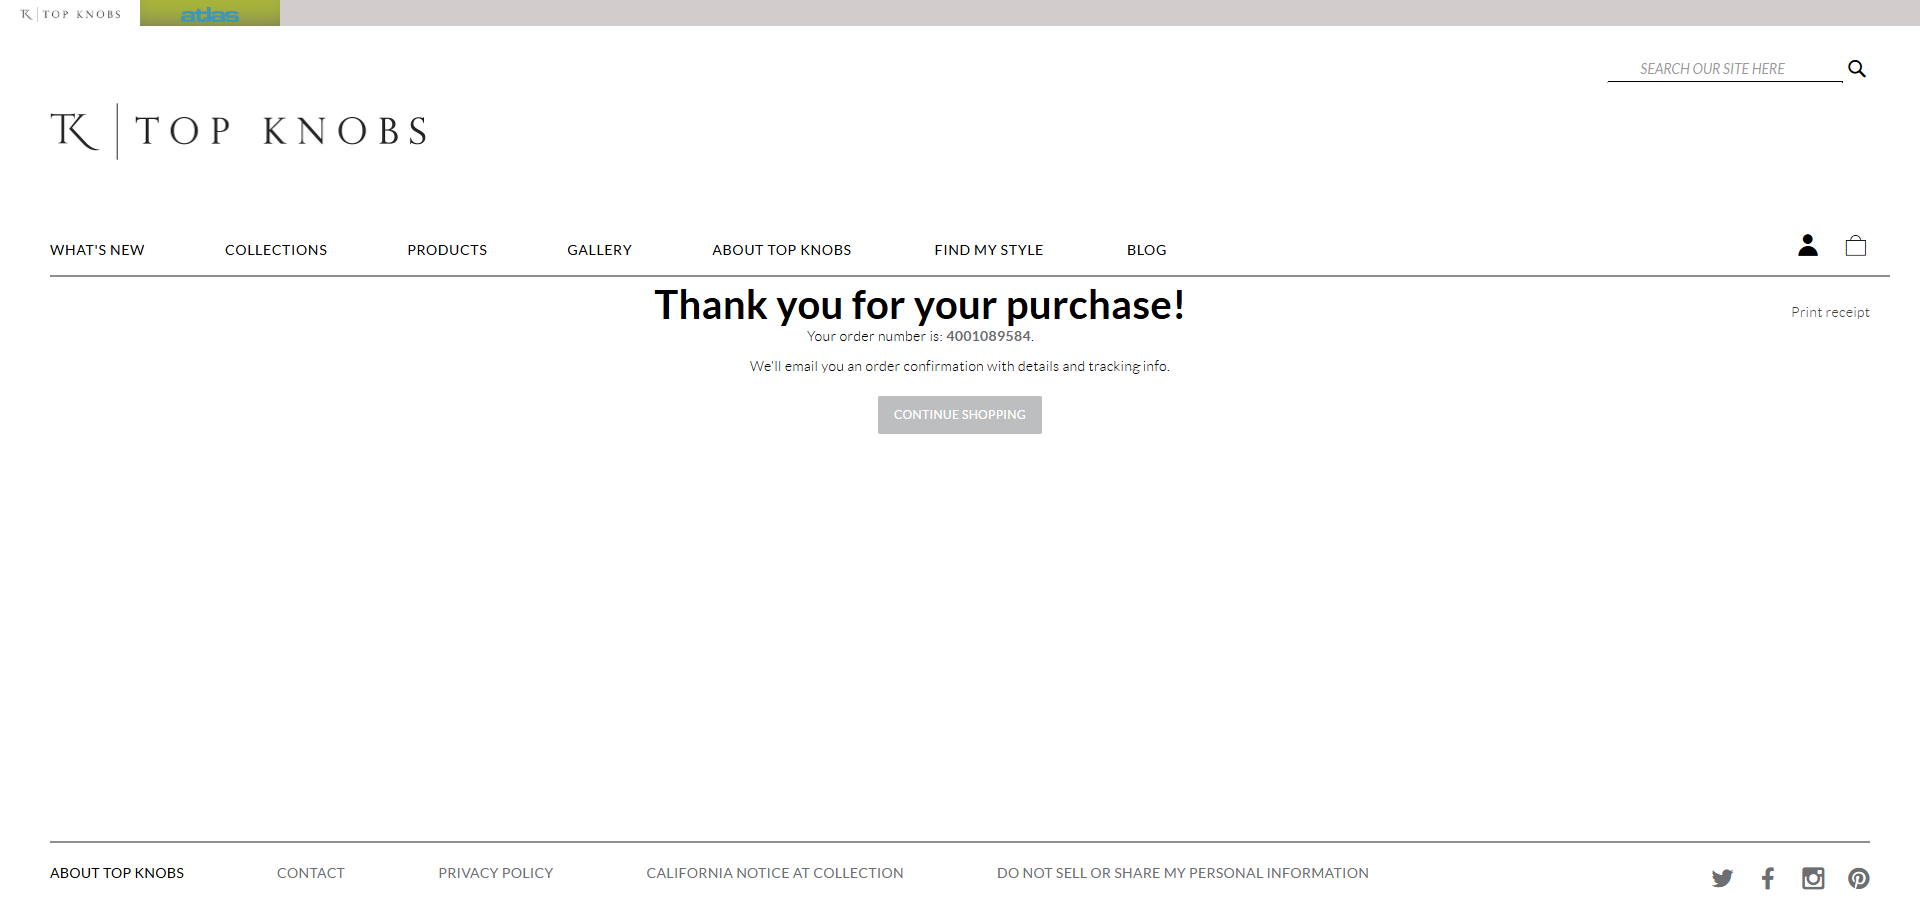
Print the receipt for accounting and project management, making two copies. After printing, list the specific names for each client within the hardware so project management can sort them properly upon receipt. Select "print," and the process is complete.

TOP KNOBS | Top Knobs | Home Guide