A Simple Guide to Exporting Animations with Studio Bando
This article provides a step-by-step guide on how to export animations using Studio Bando, including setting up bookmarks, adjusting the main offset, and exporting as FBXs into the correct folders.
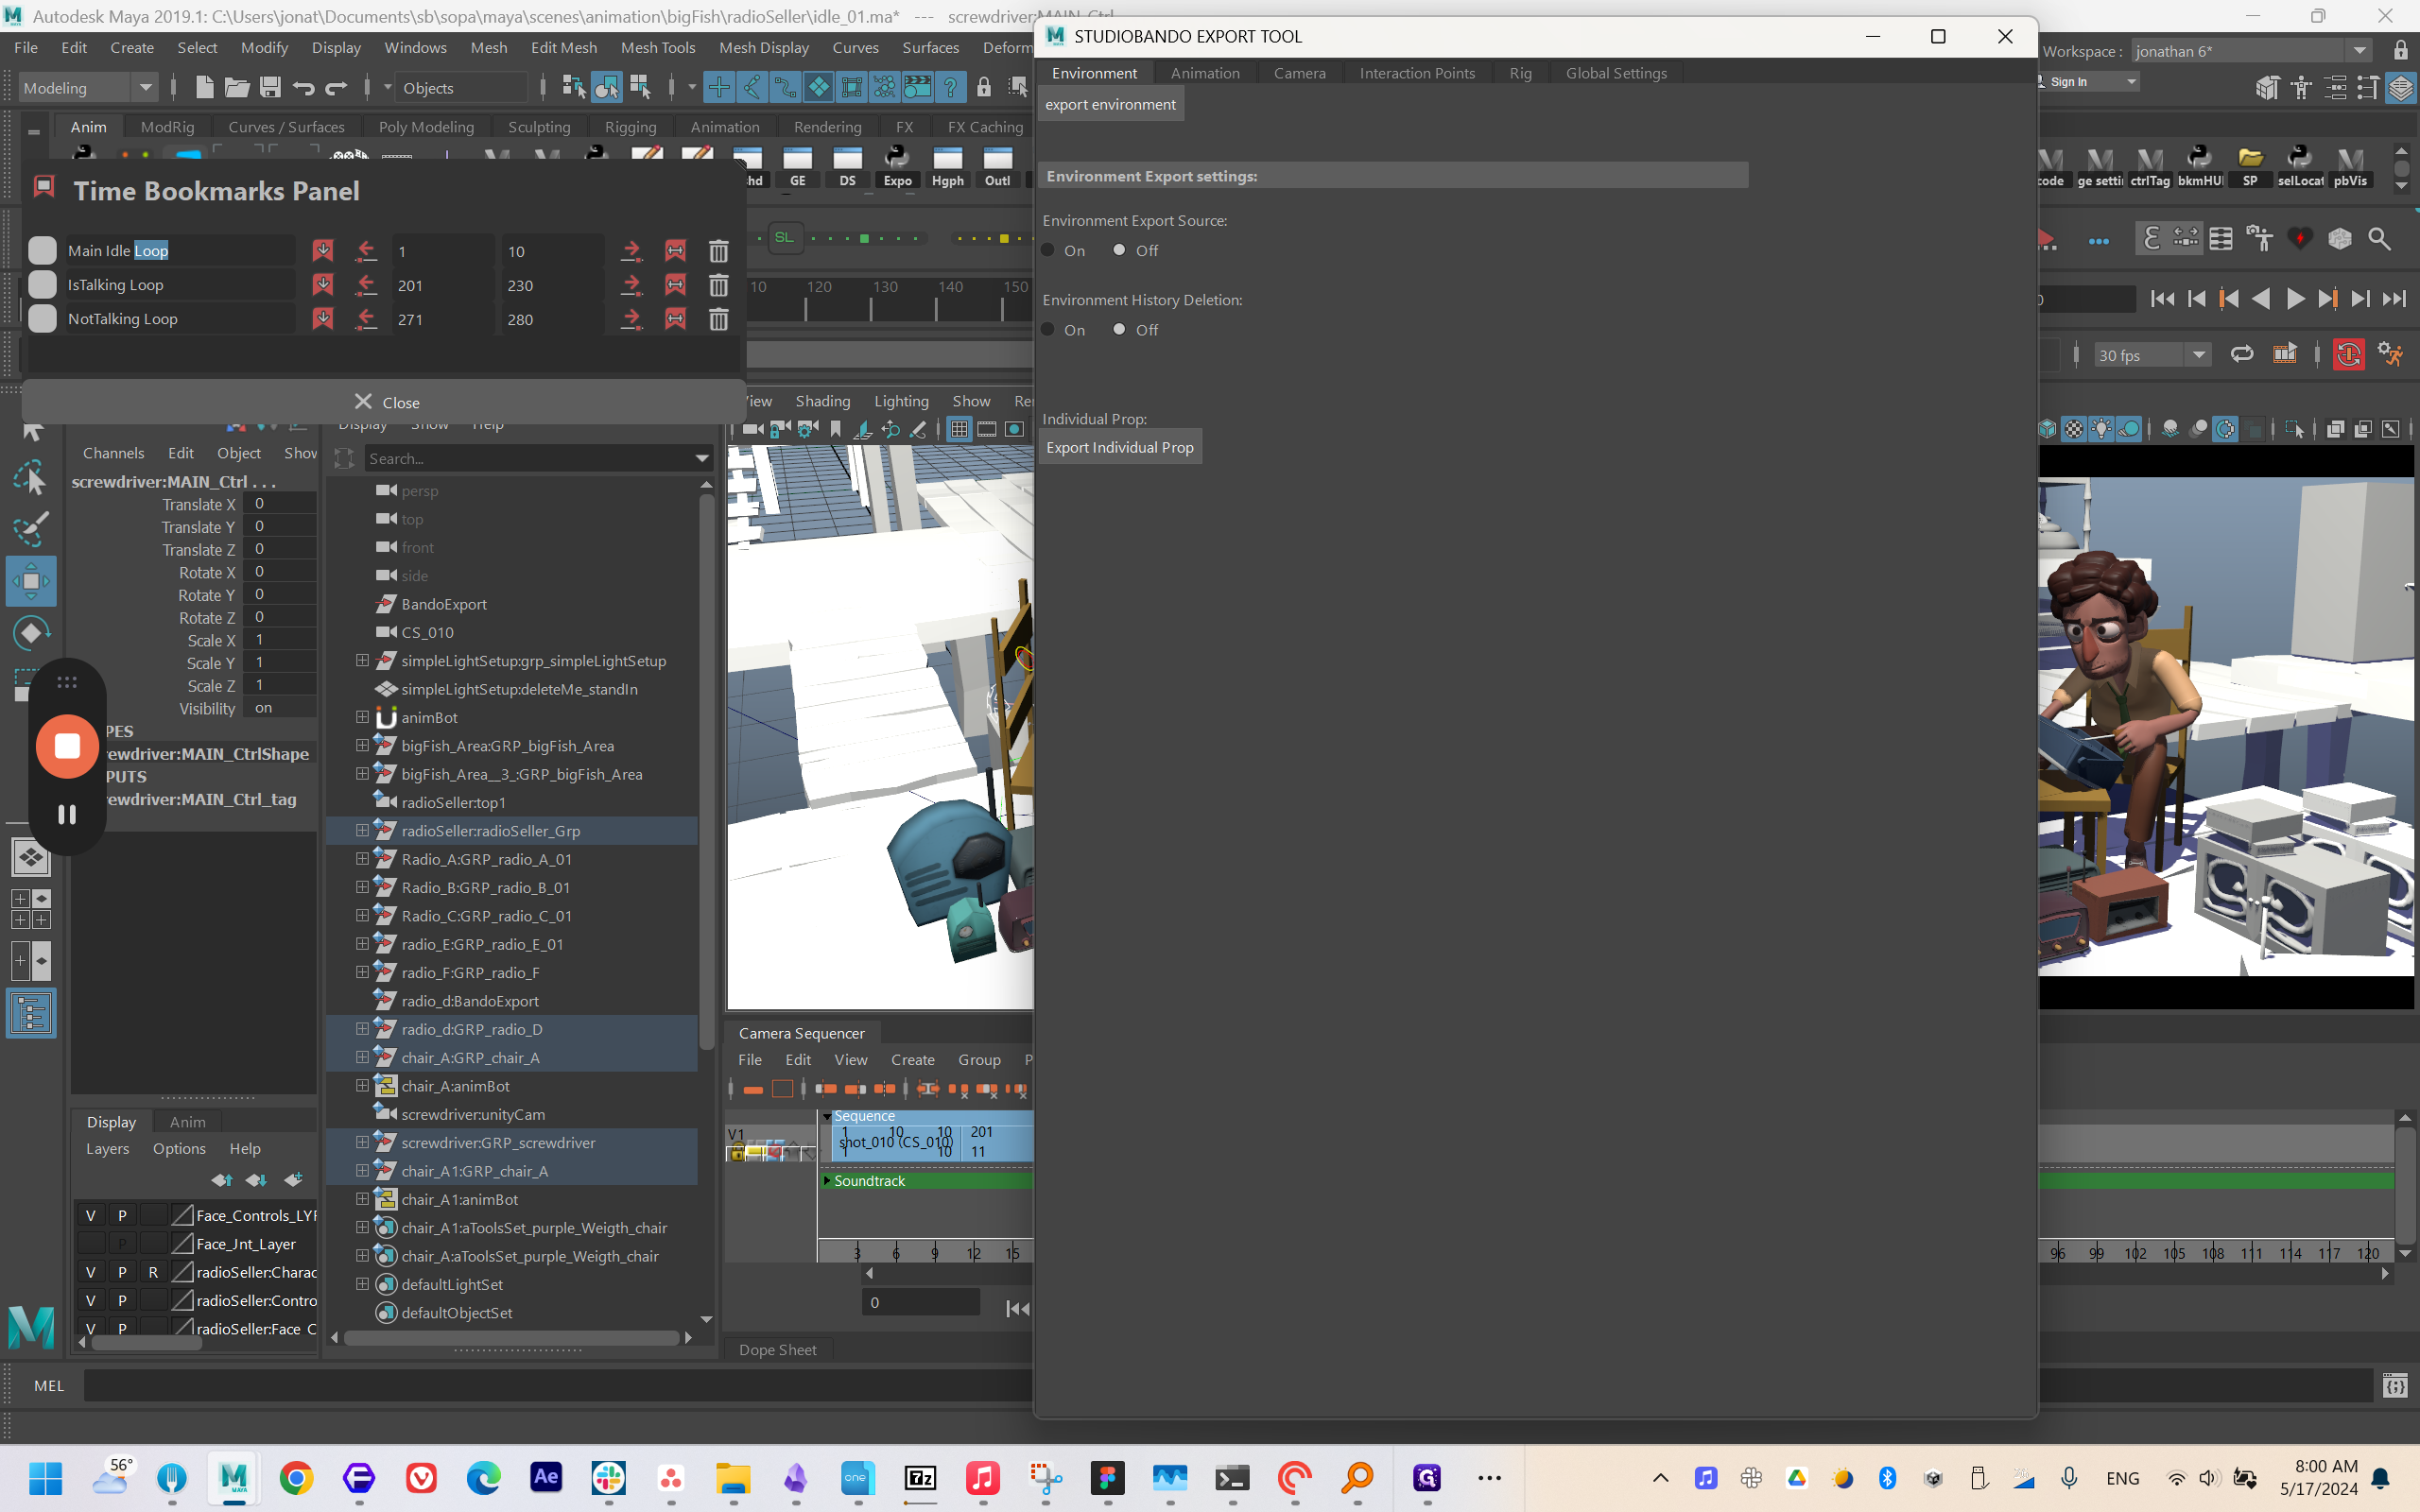
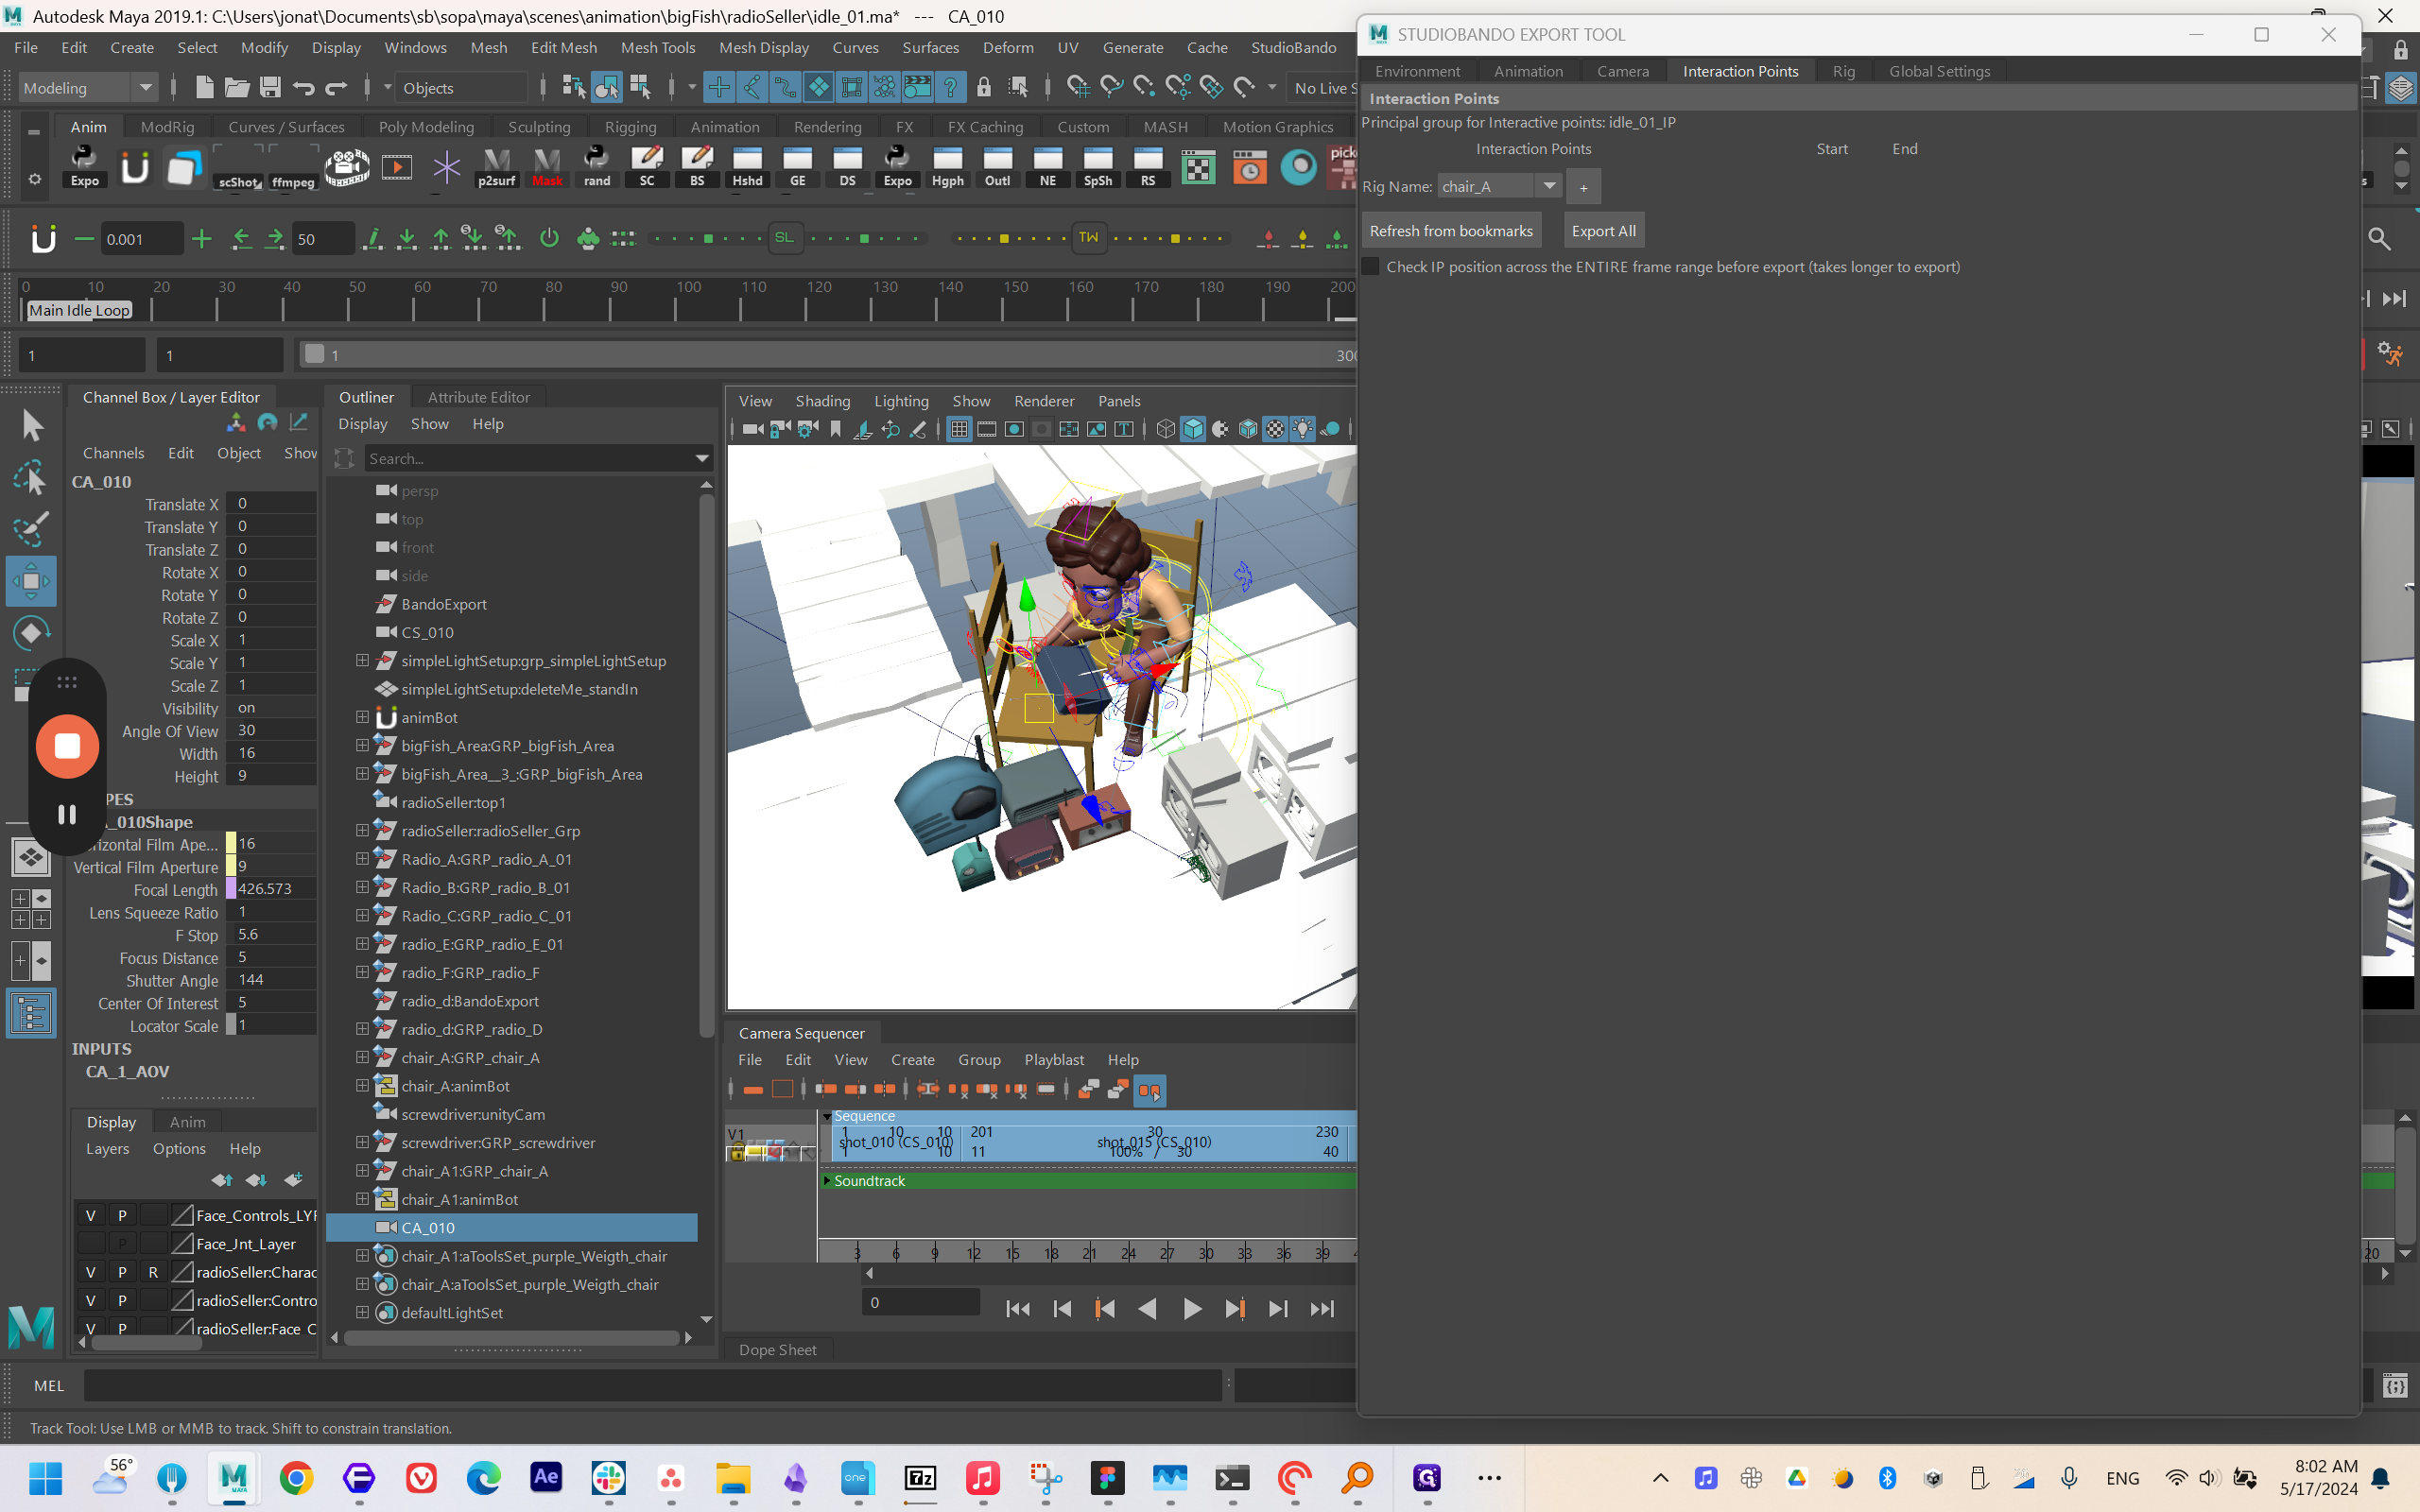
In this guide, we'll learn how to efficiently export animations using Studio Bando. The process involves selecting specific name controls in the scene, setting up Grade Scale bookmarks, adjusting properties in the tiny bookmarks panel, and utilizing the main offset control for animation completion.
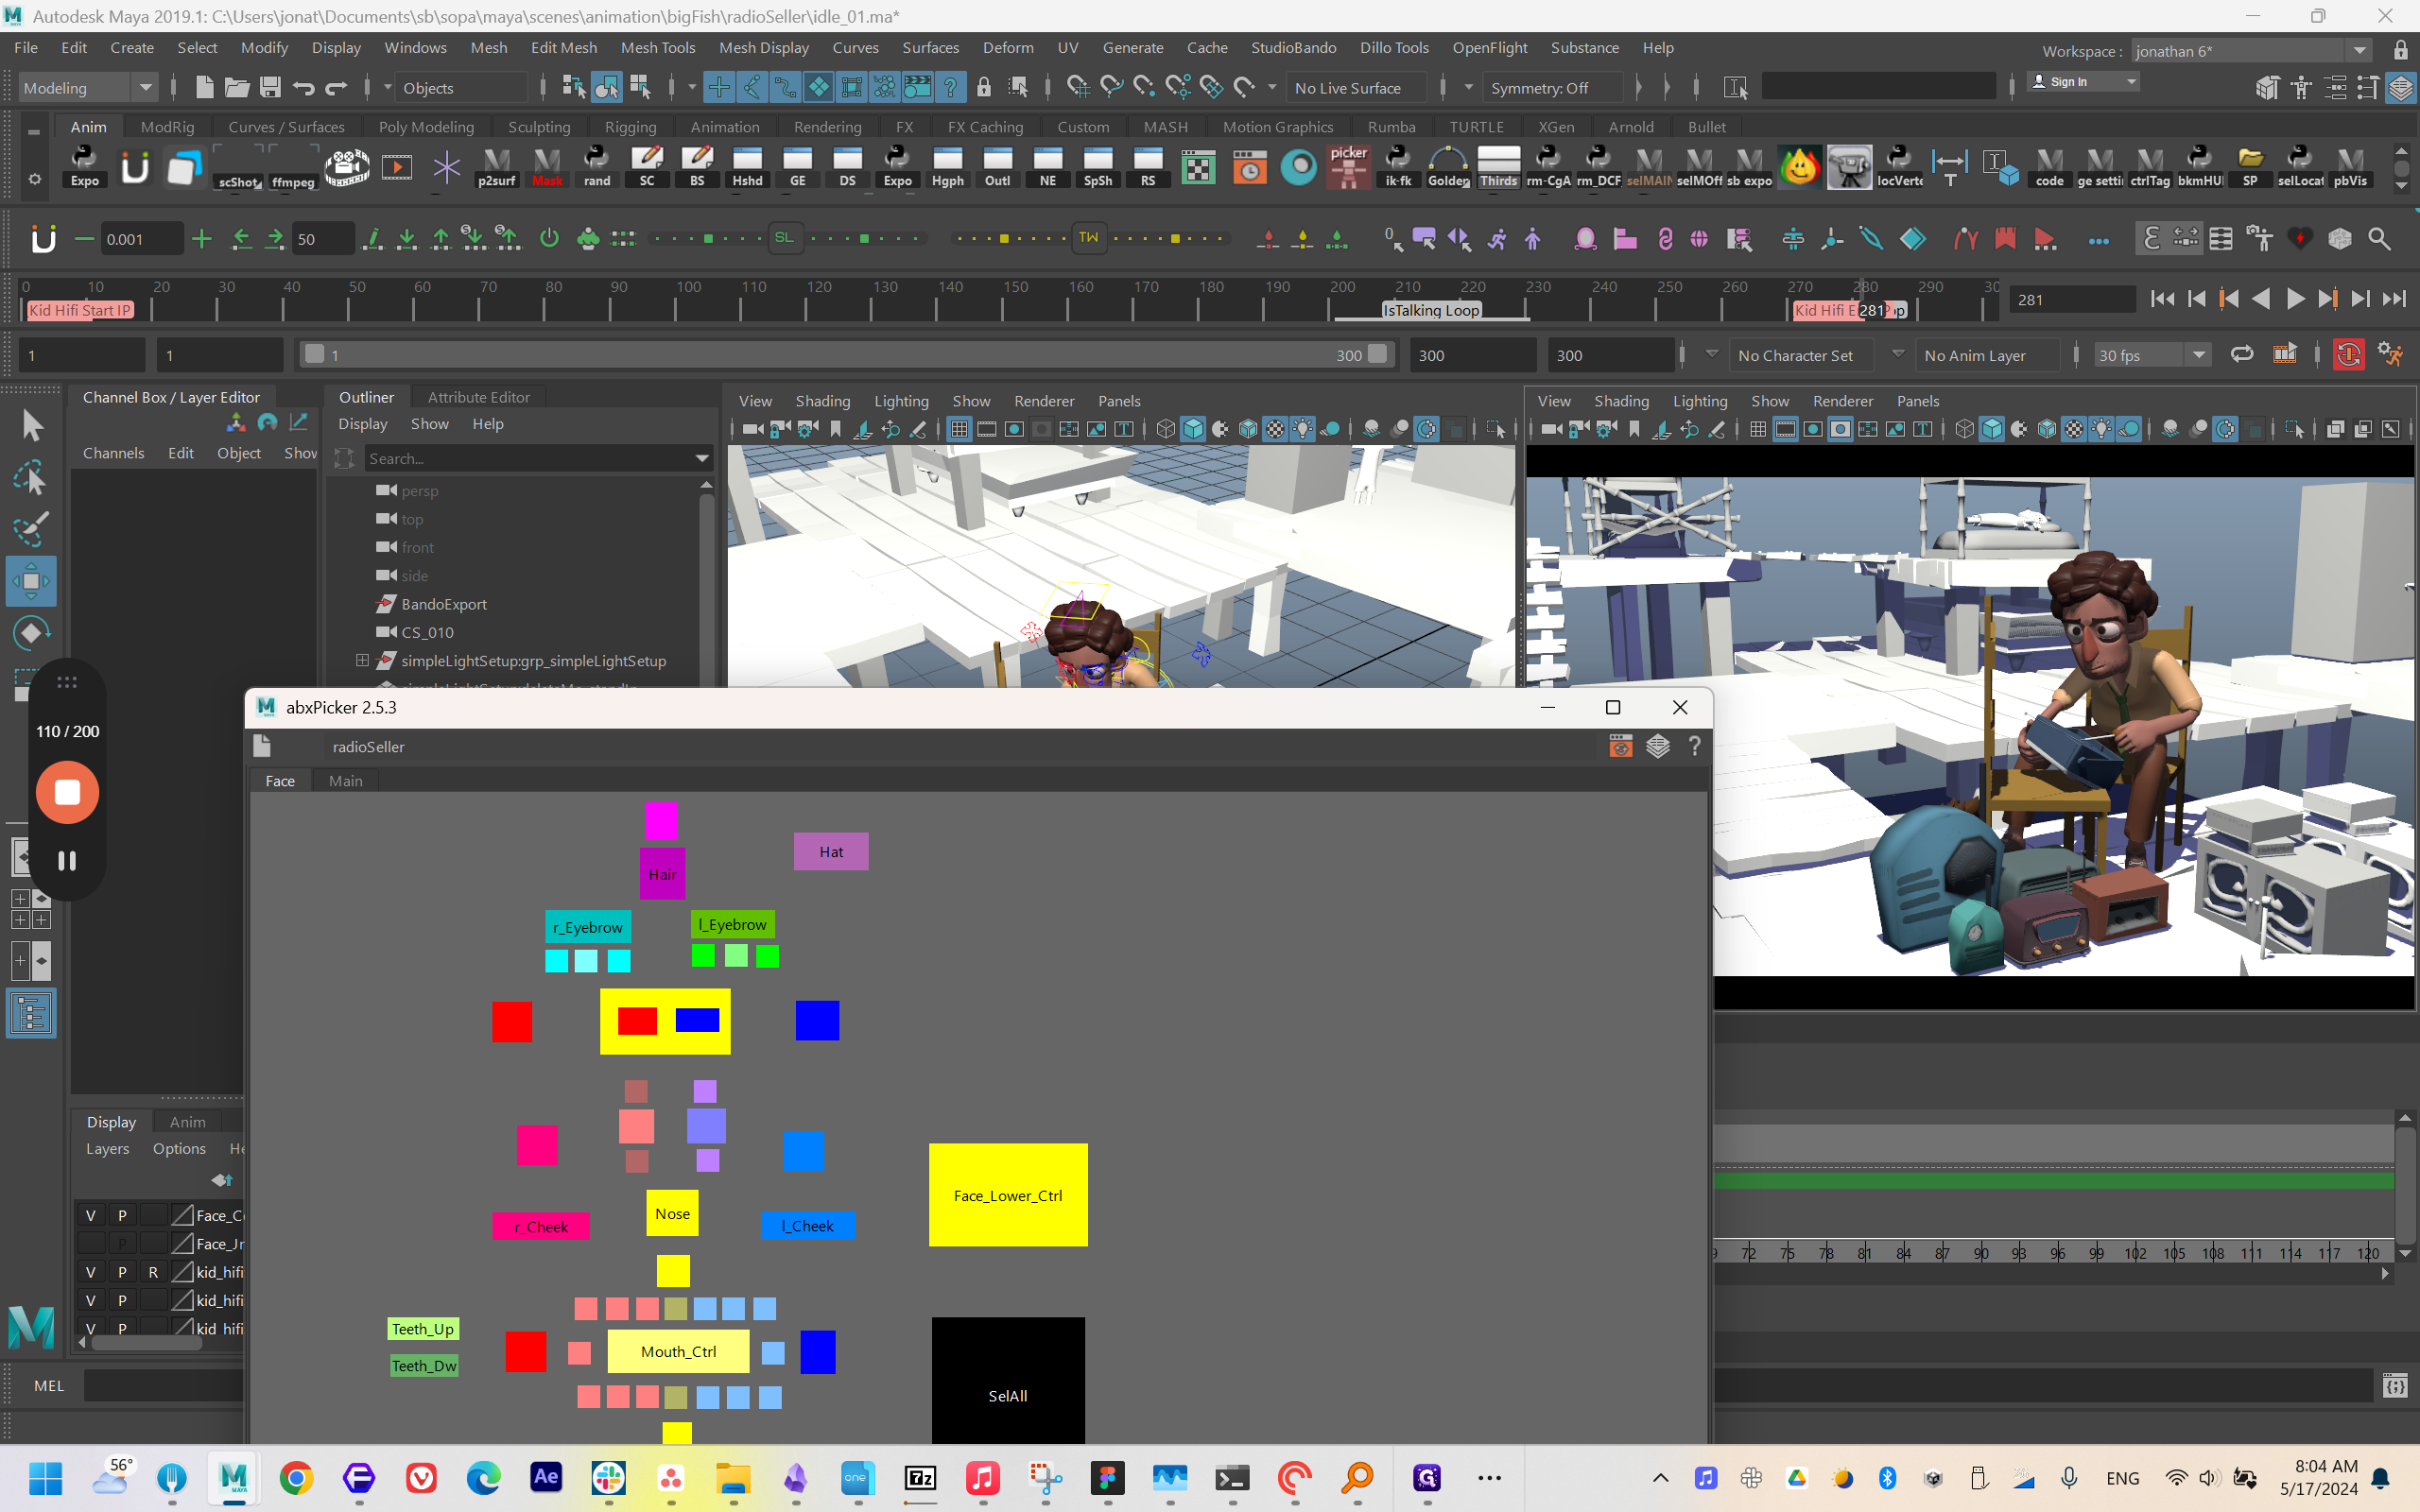
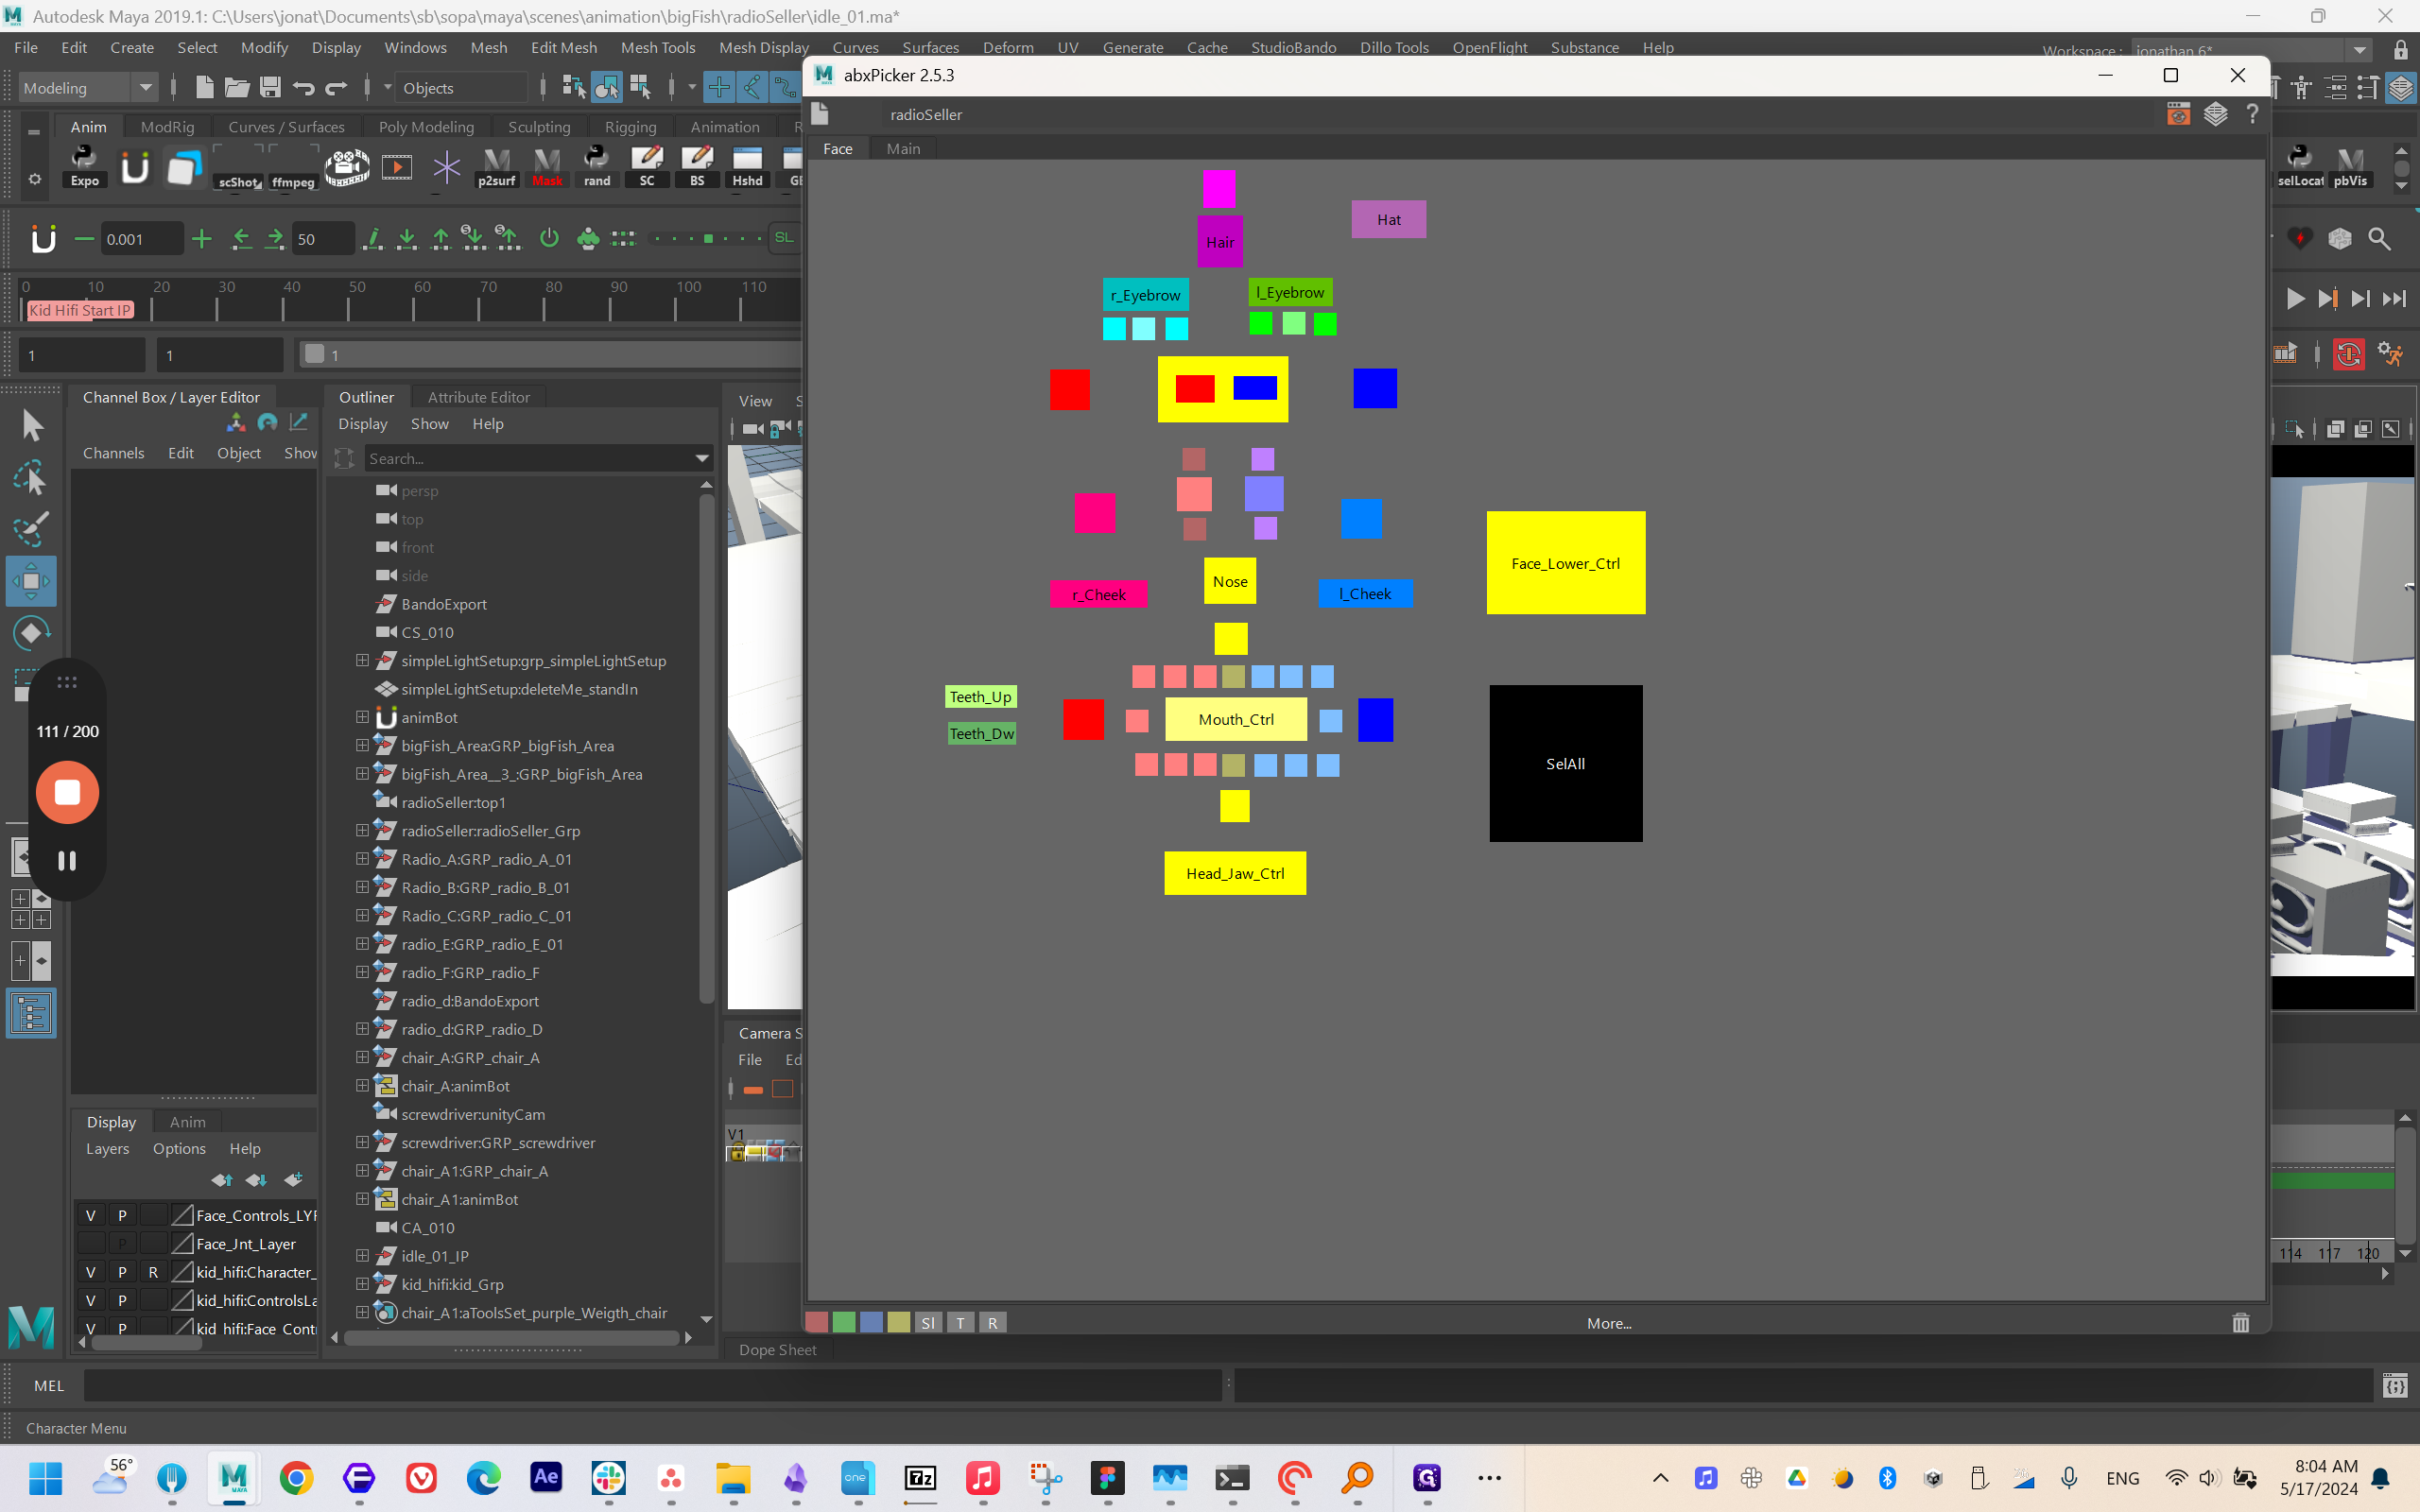
Setting Up Name Controls
To begin, select all the necessary name controls in the scene to prepare for export.
Utilizing Grade Scale Bookmarks
Focus on setting Grade Scale bookmarks to ensure consistency in the exported animations.
Adjusting Properties
Make adjustments primarily within the tiny bookmarks panel rather than the export tool for smoother workflow.
Finalizing Animation Export
Complete the process by setting the main offset control and refreshing bookmarks for accurate export.
Let's get started.
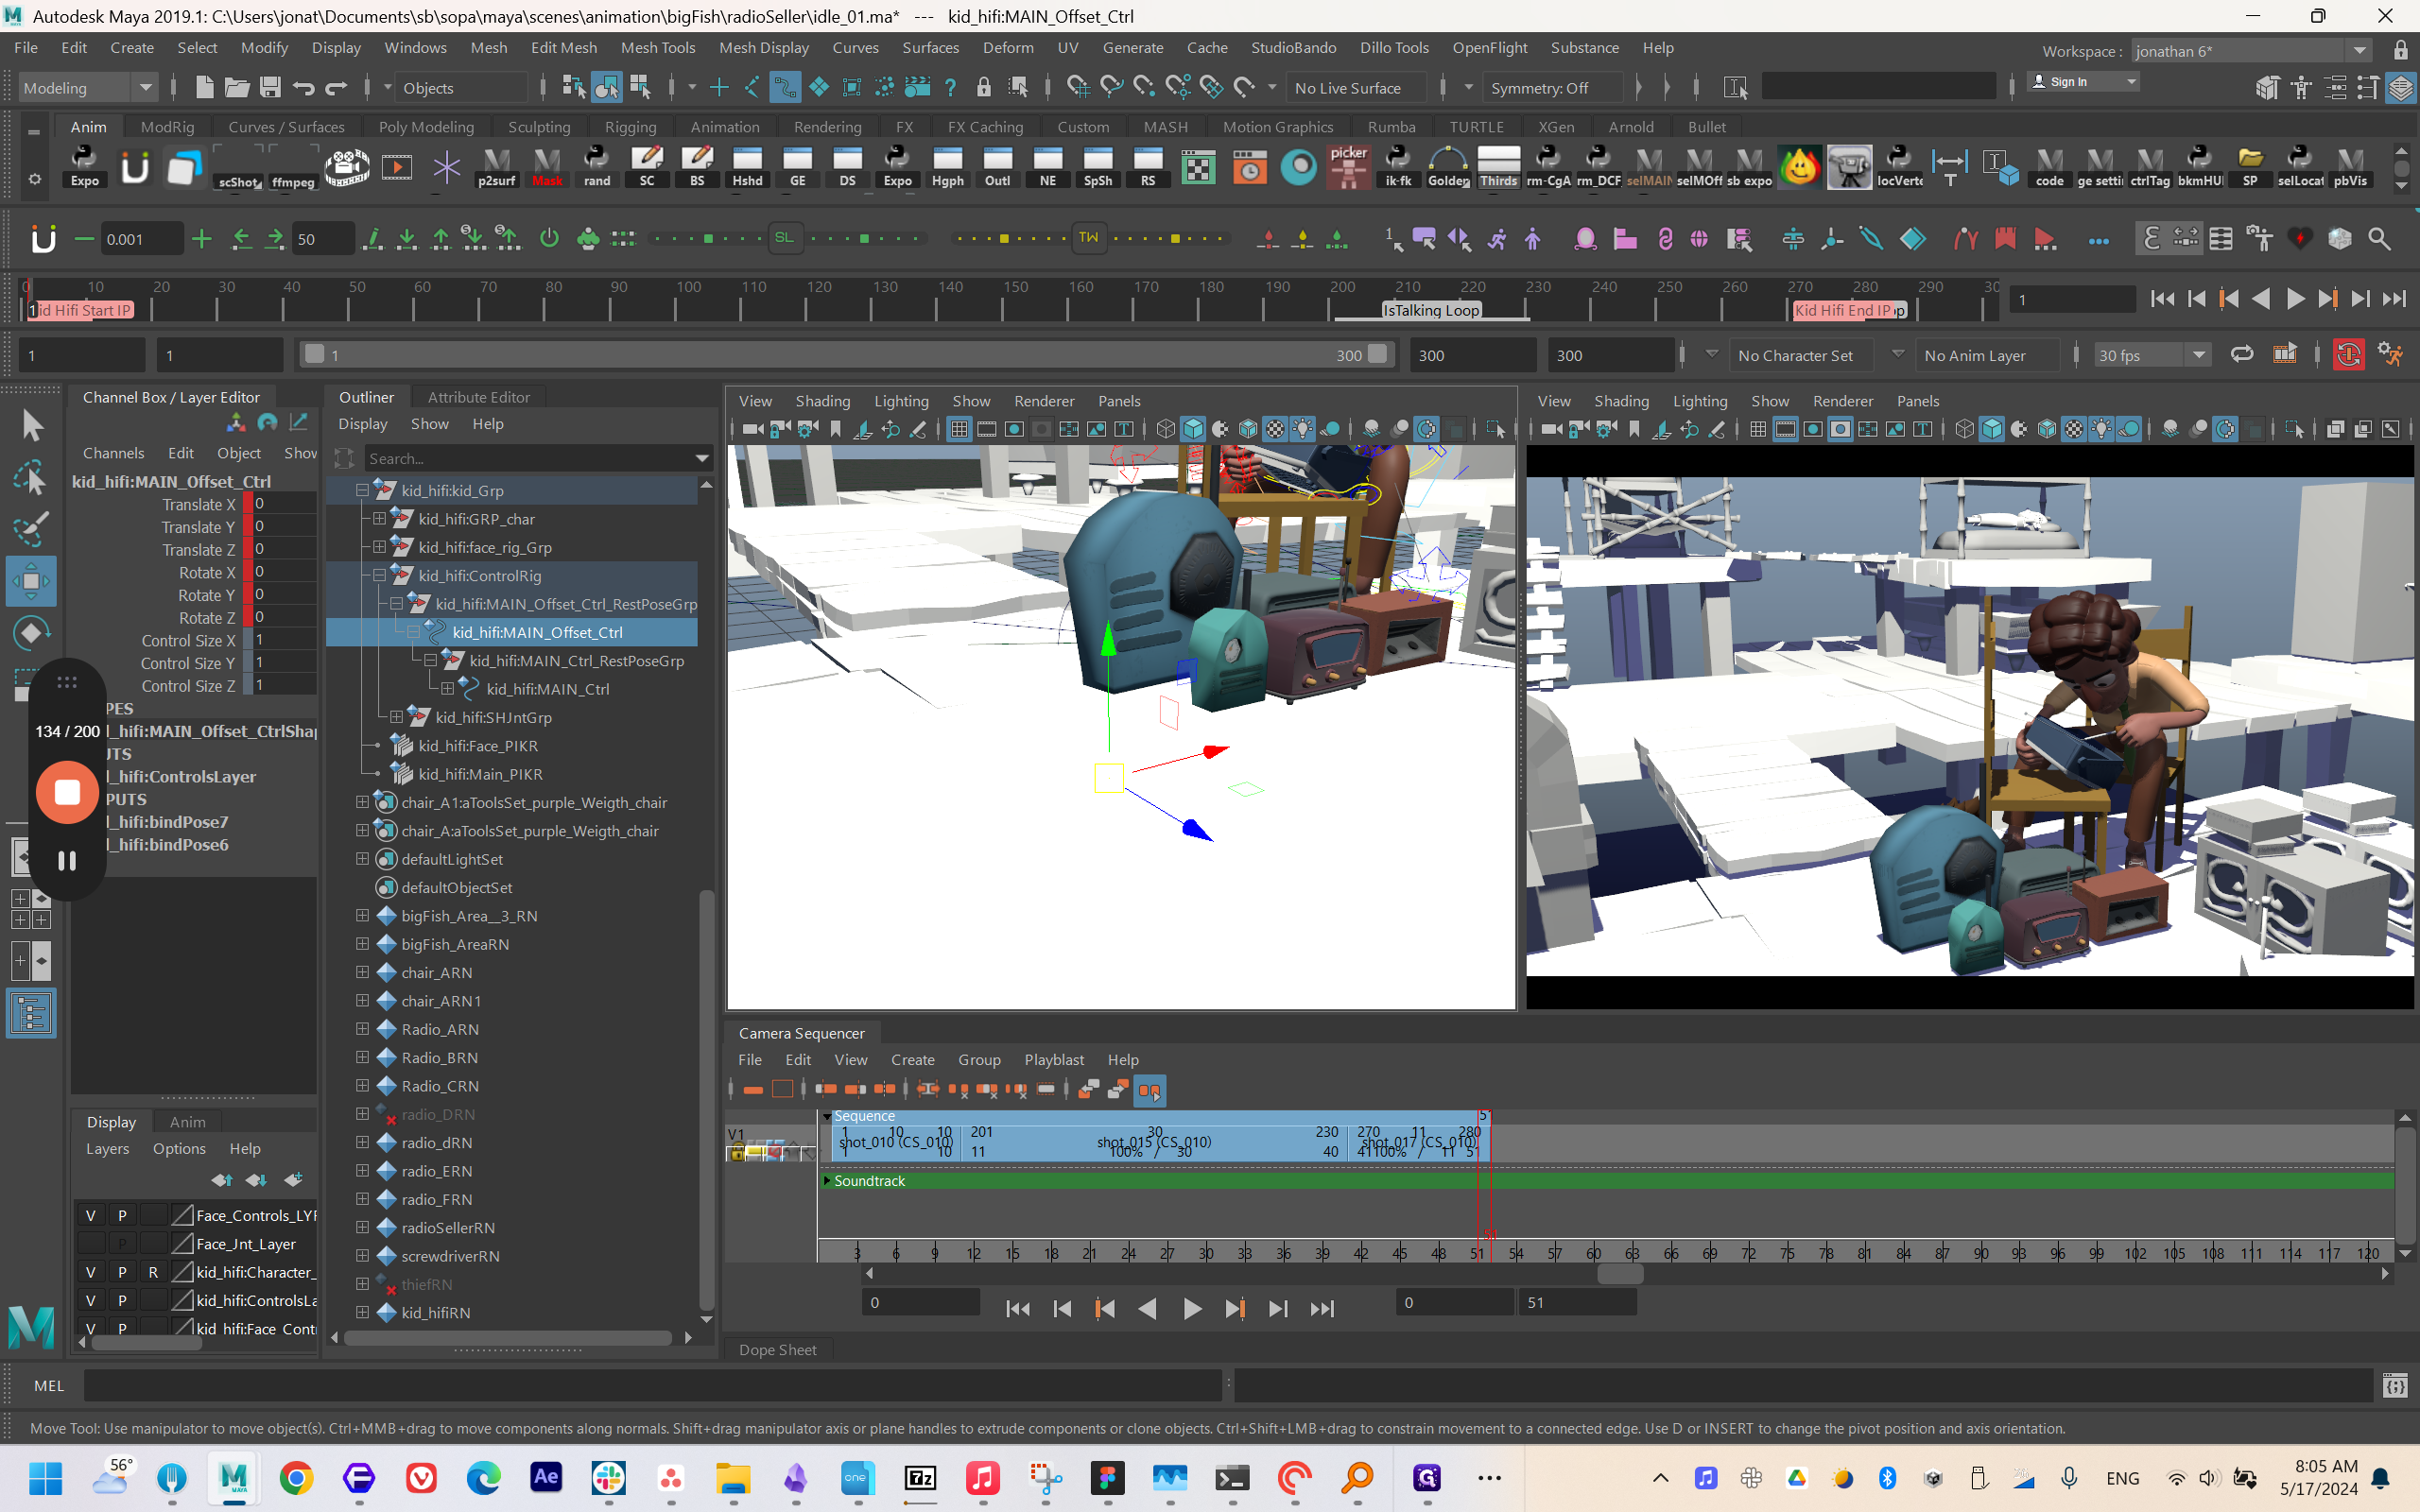
I have a key. Let's say it starts here and ends over there.
Okay, let's walk through a simple export process.
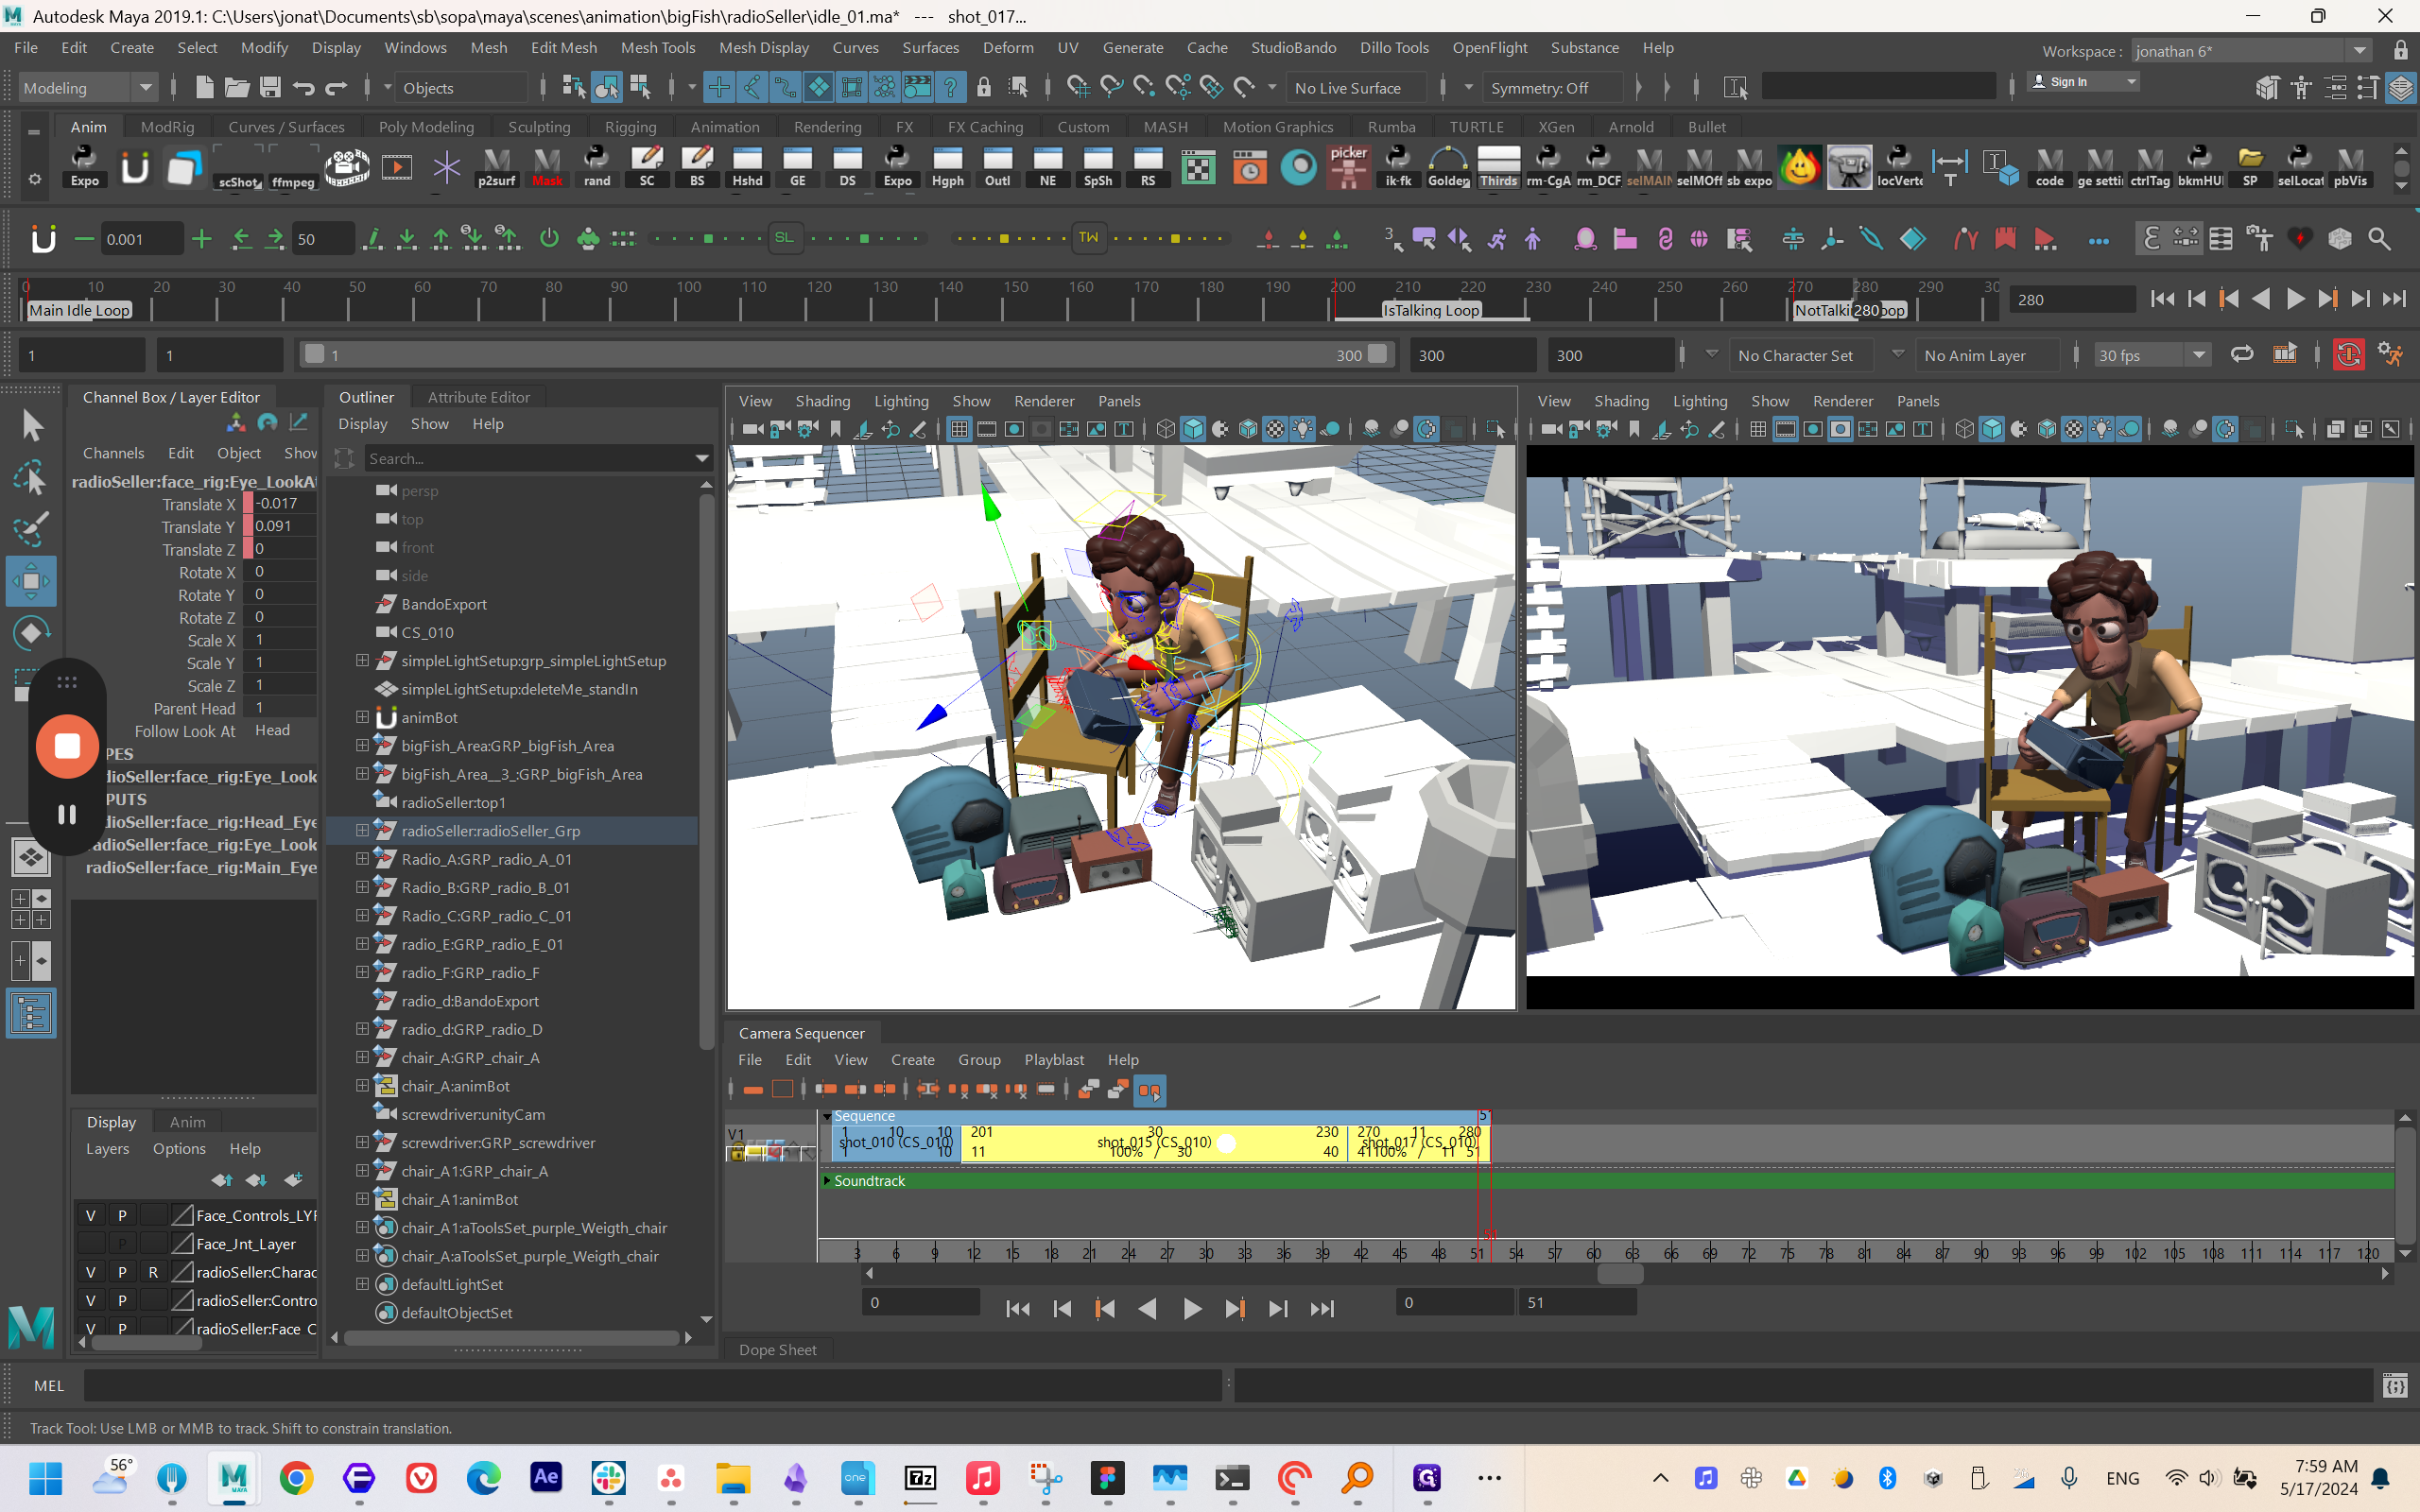
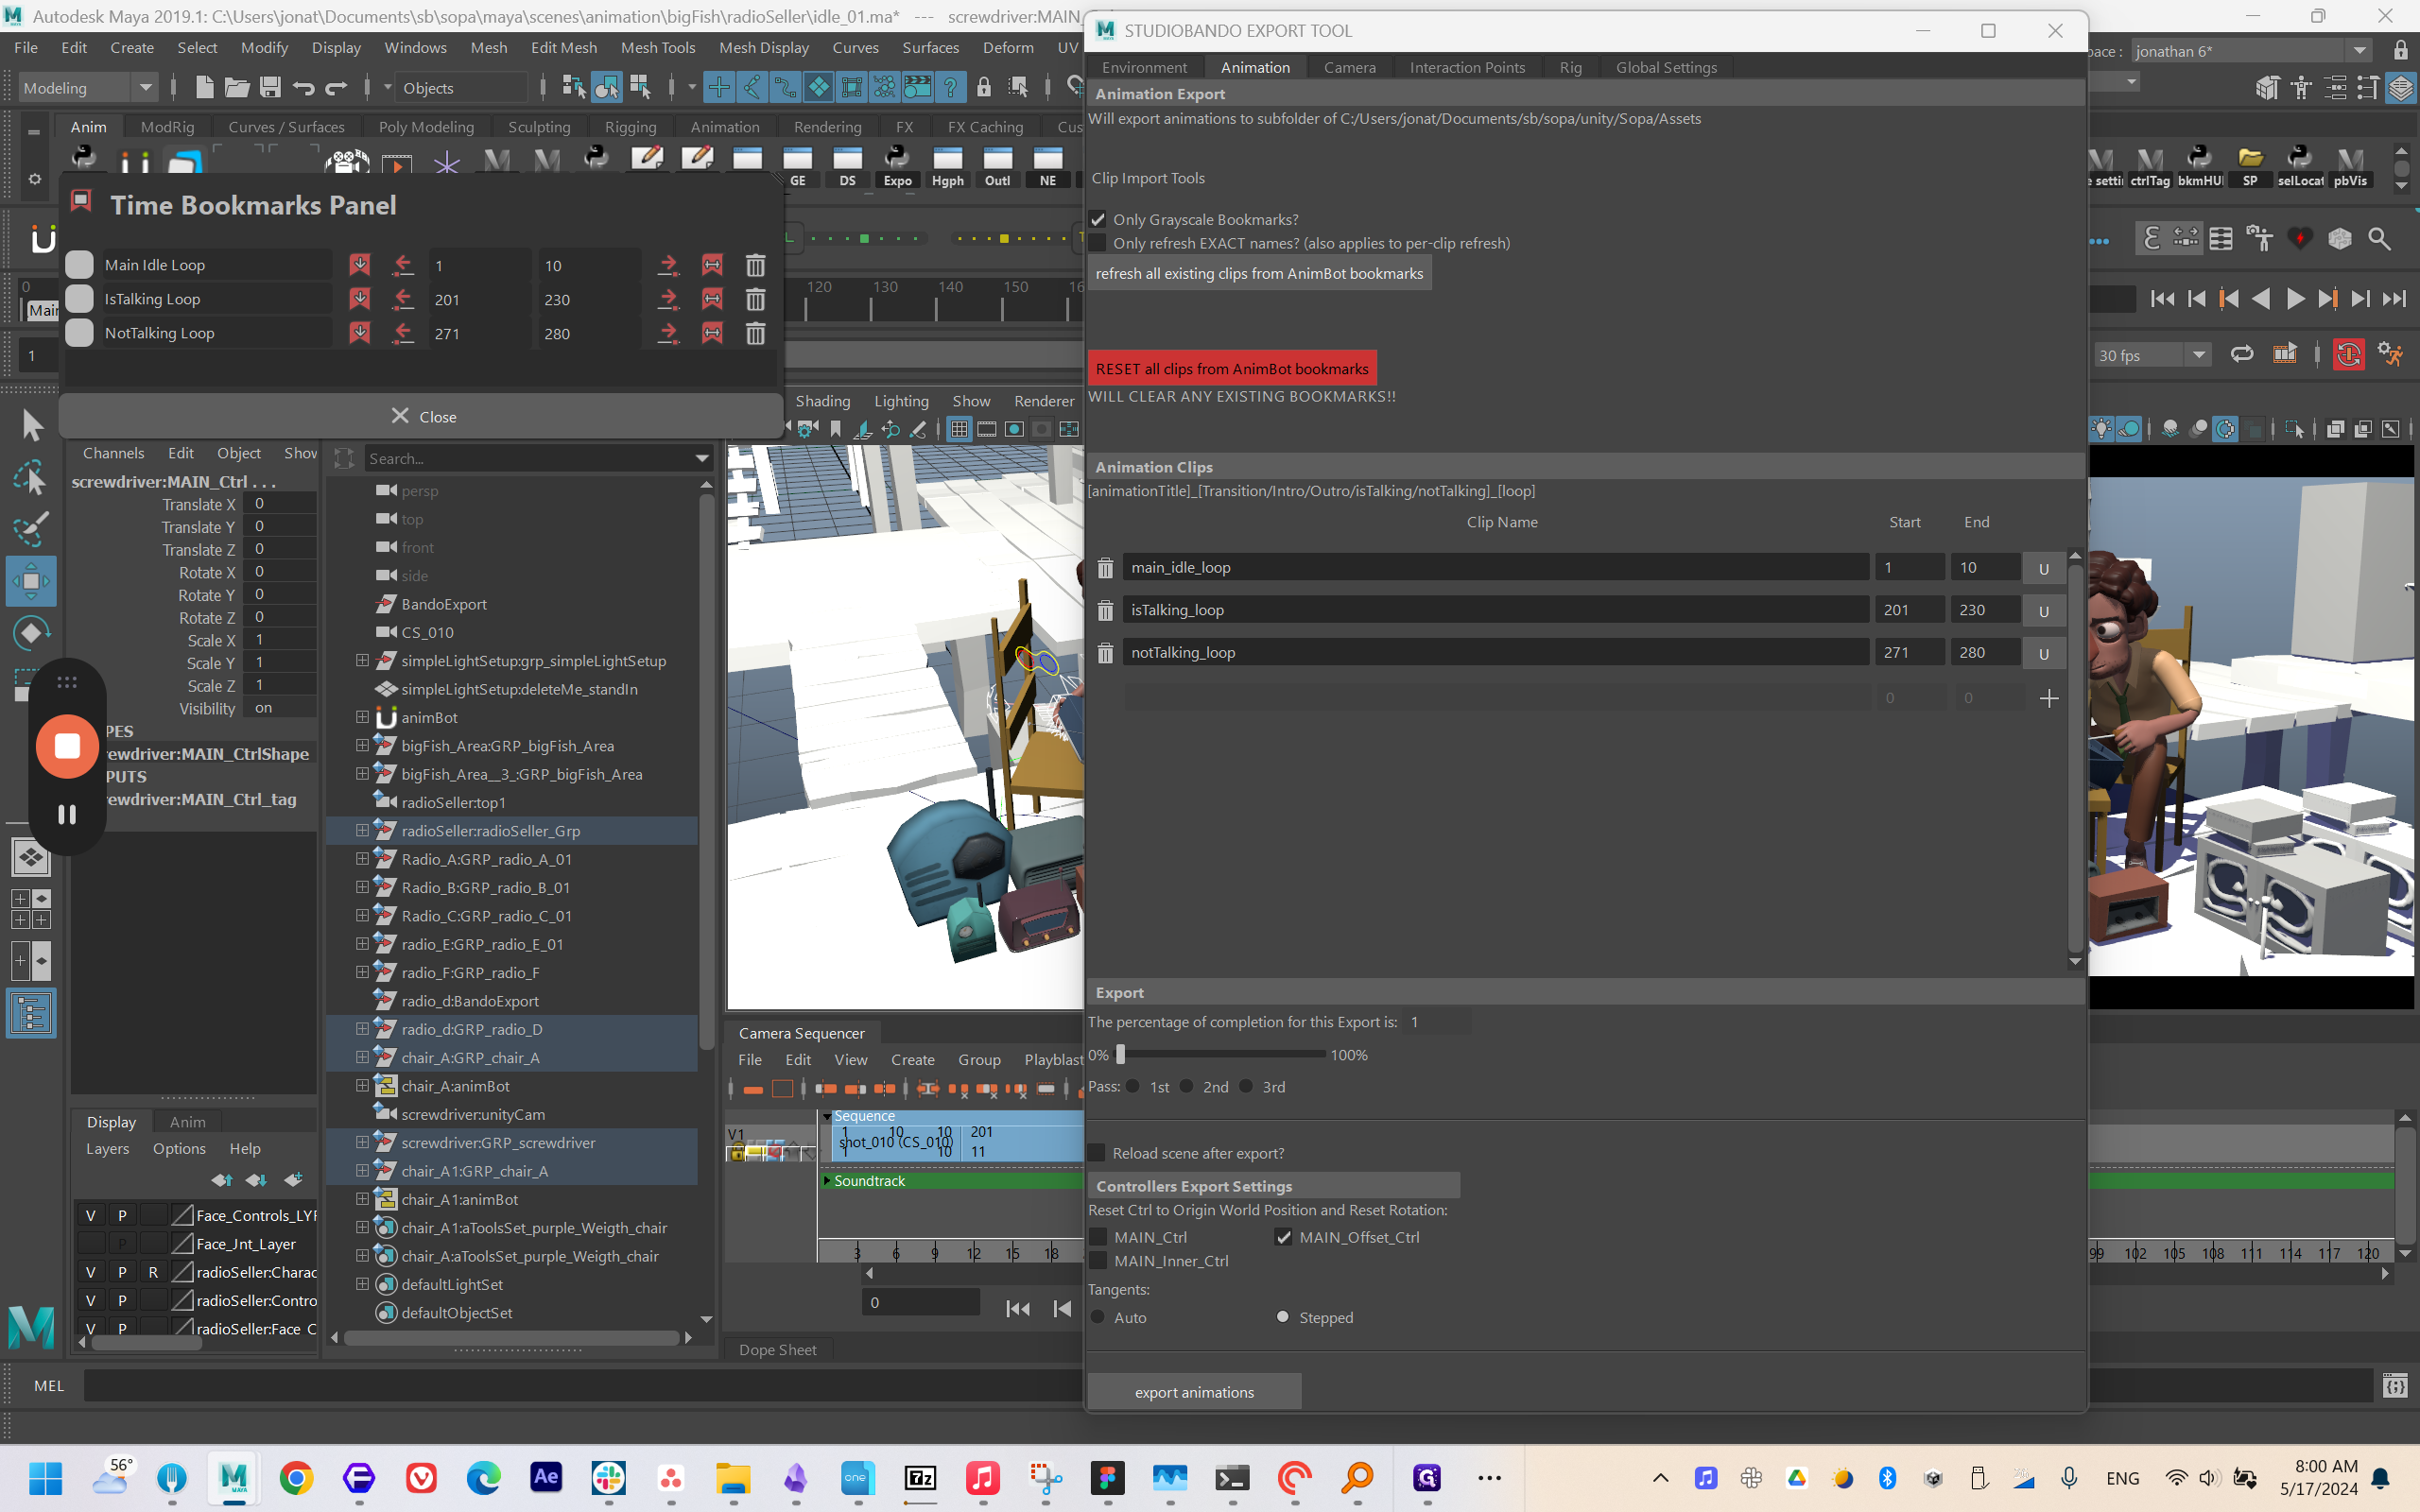
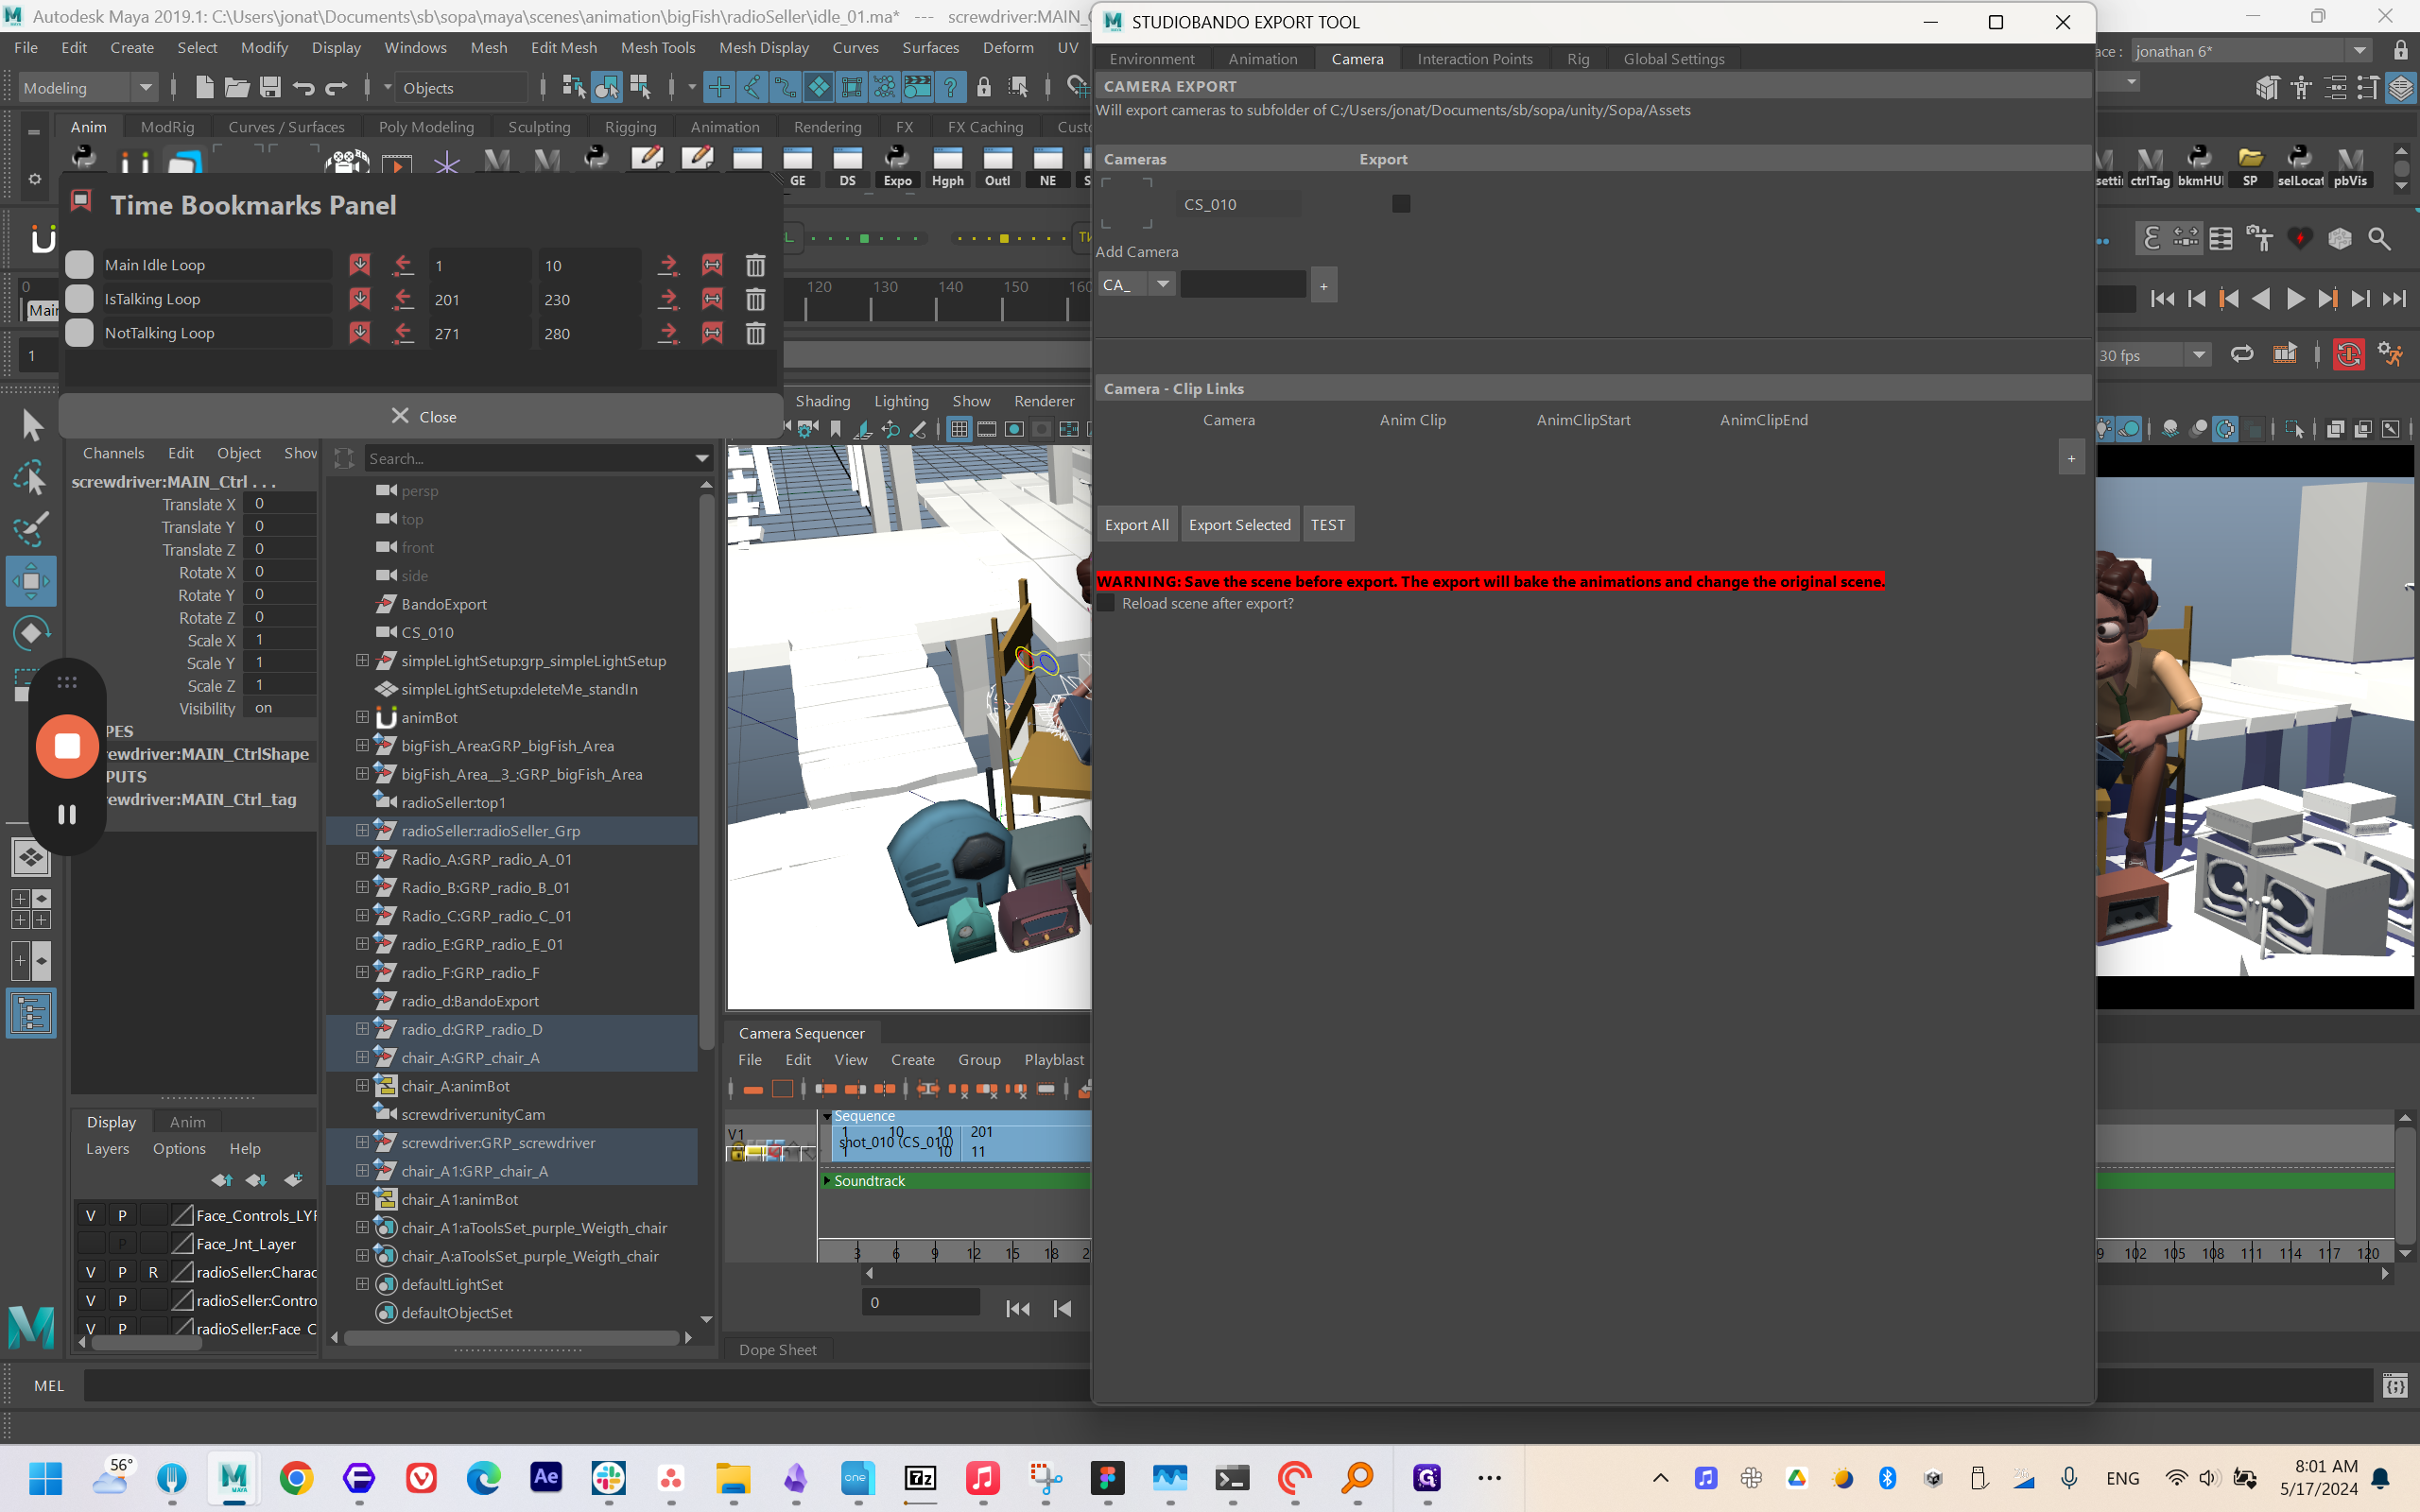
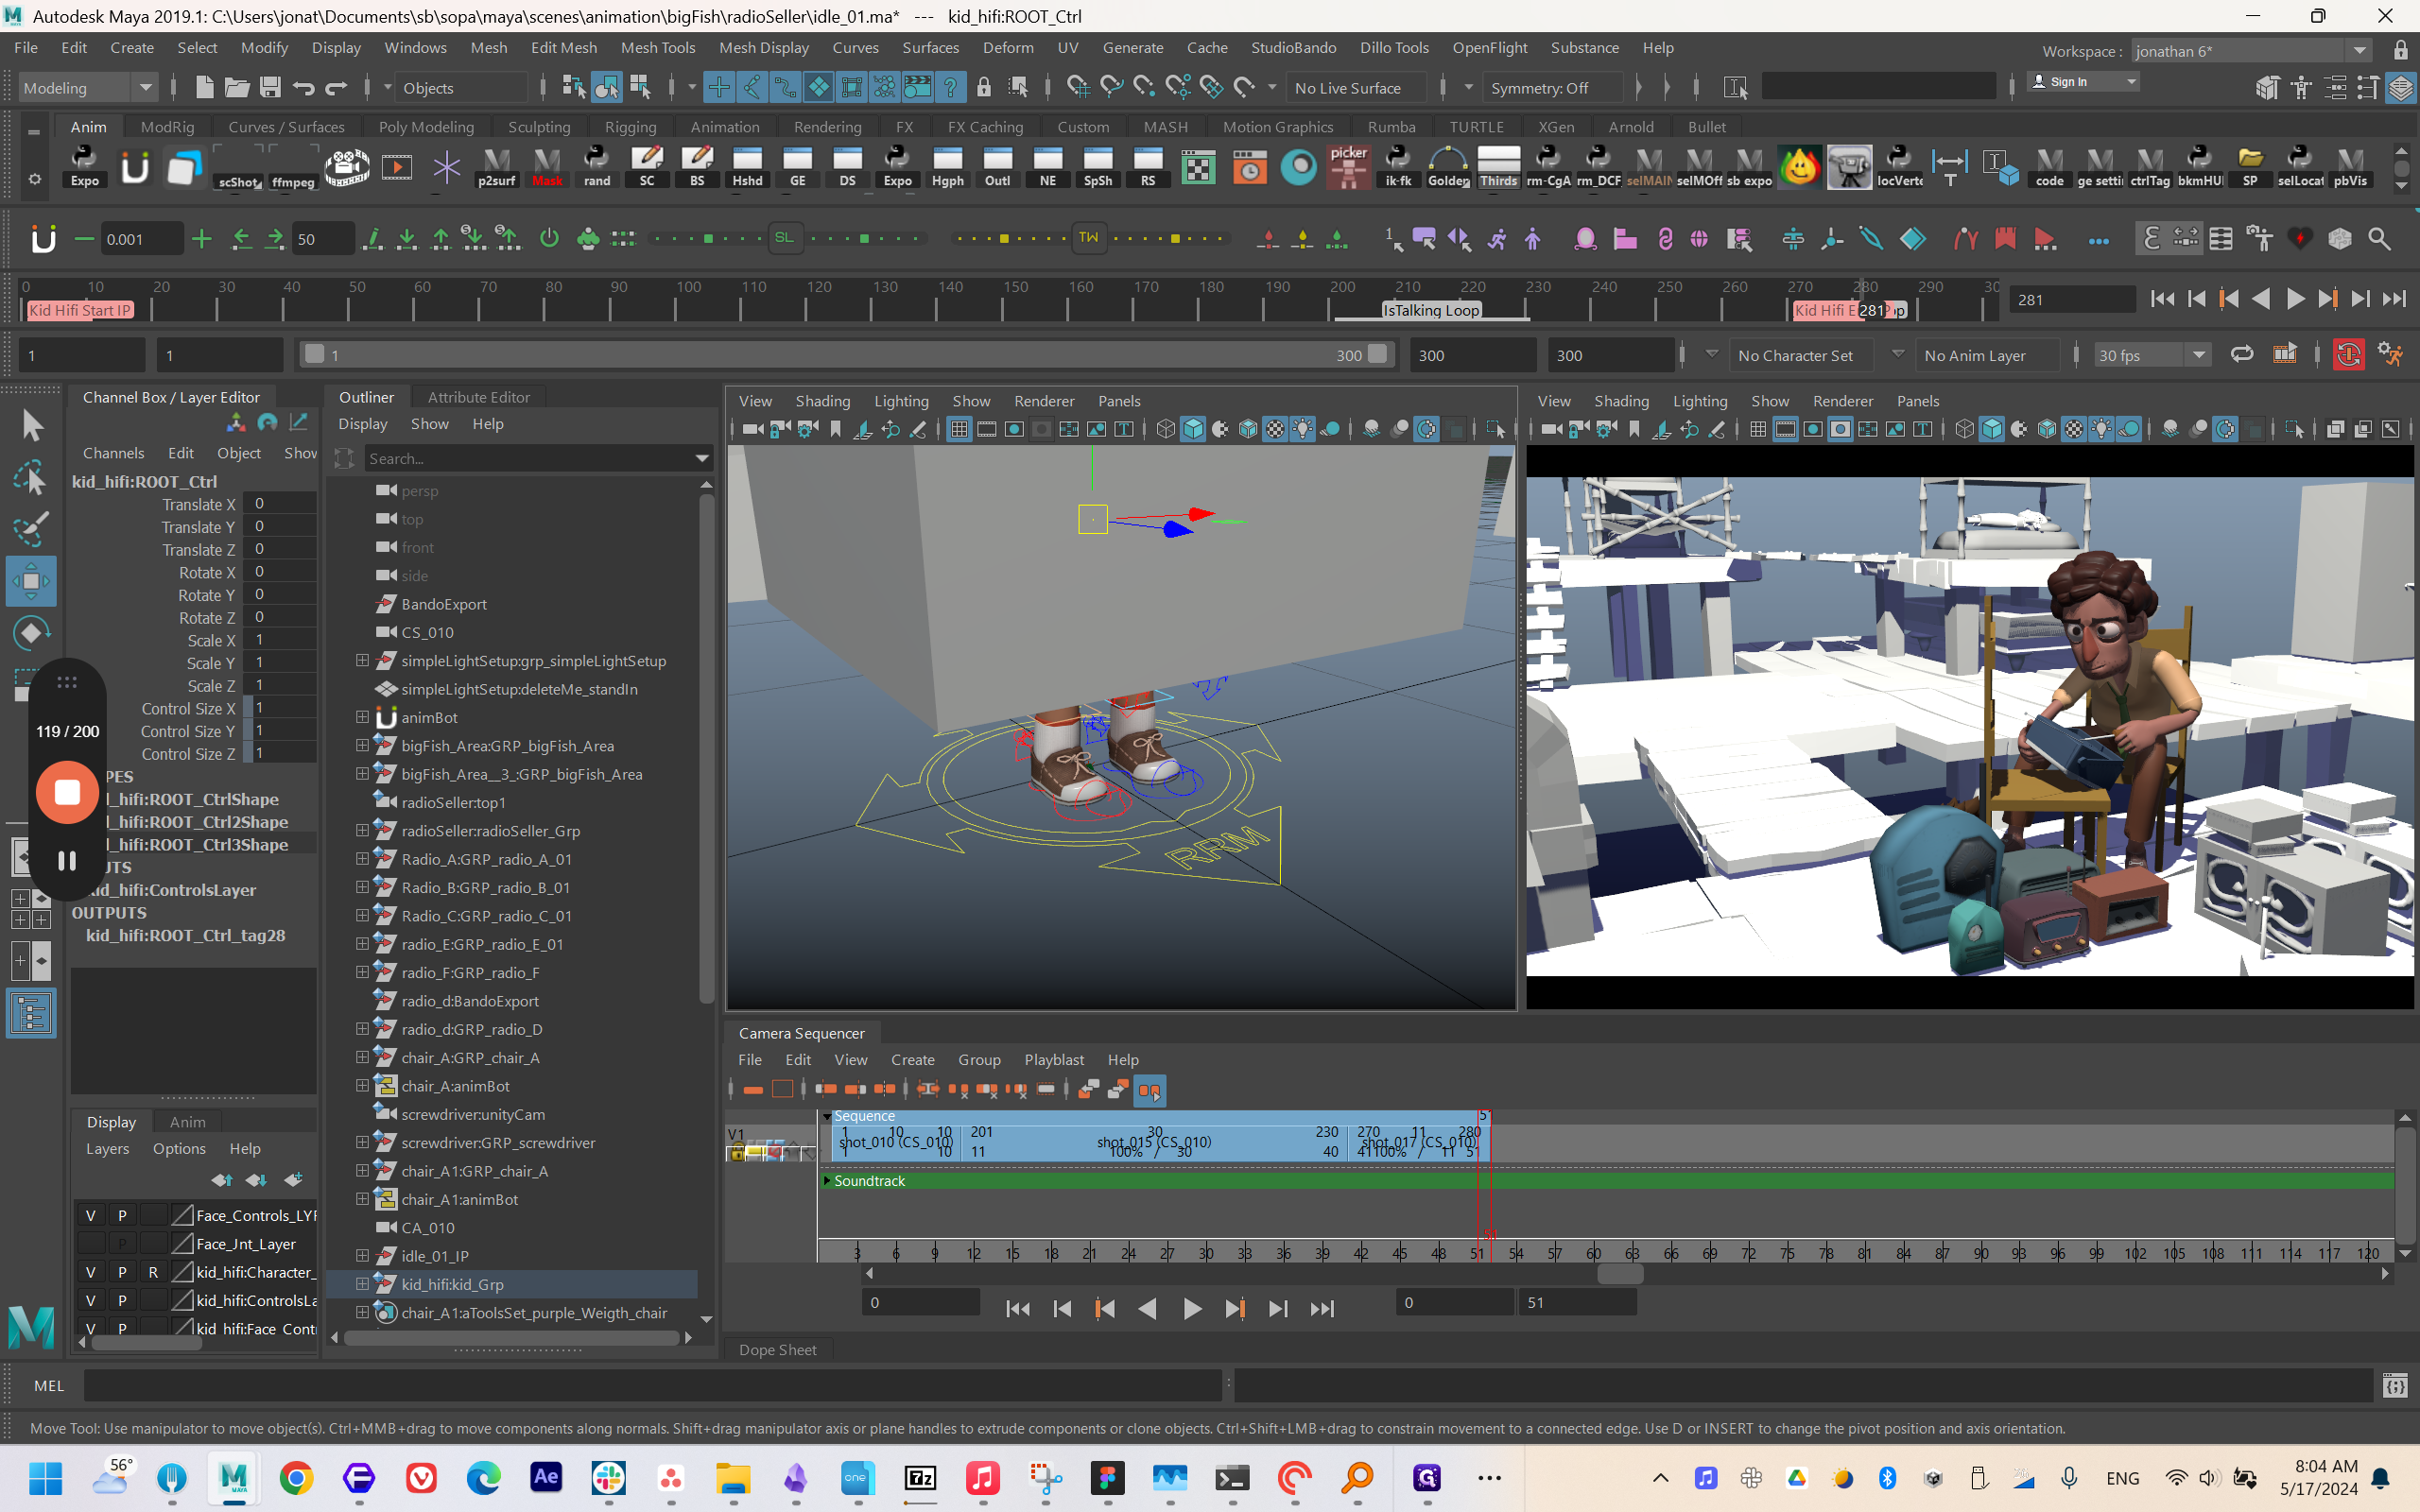
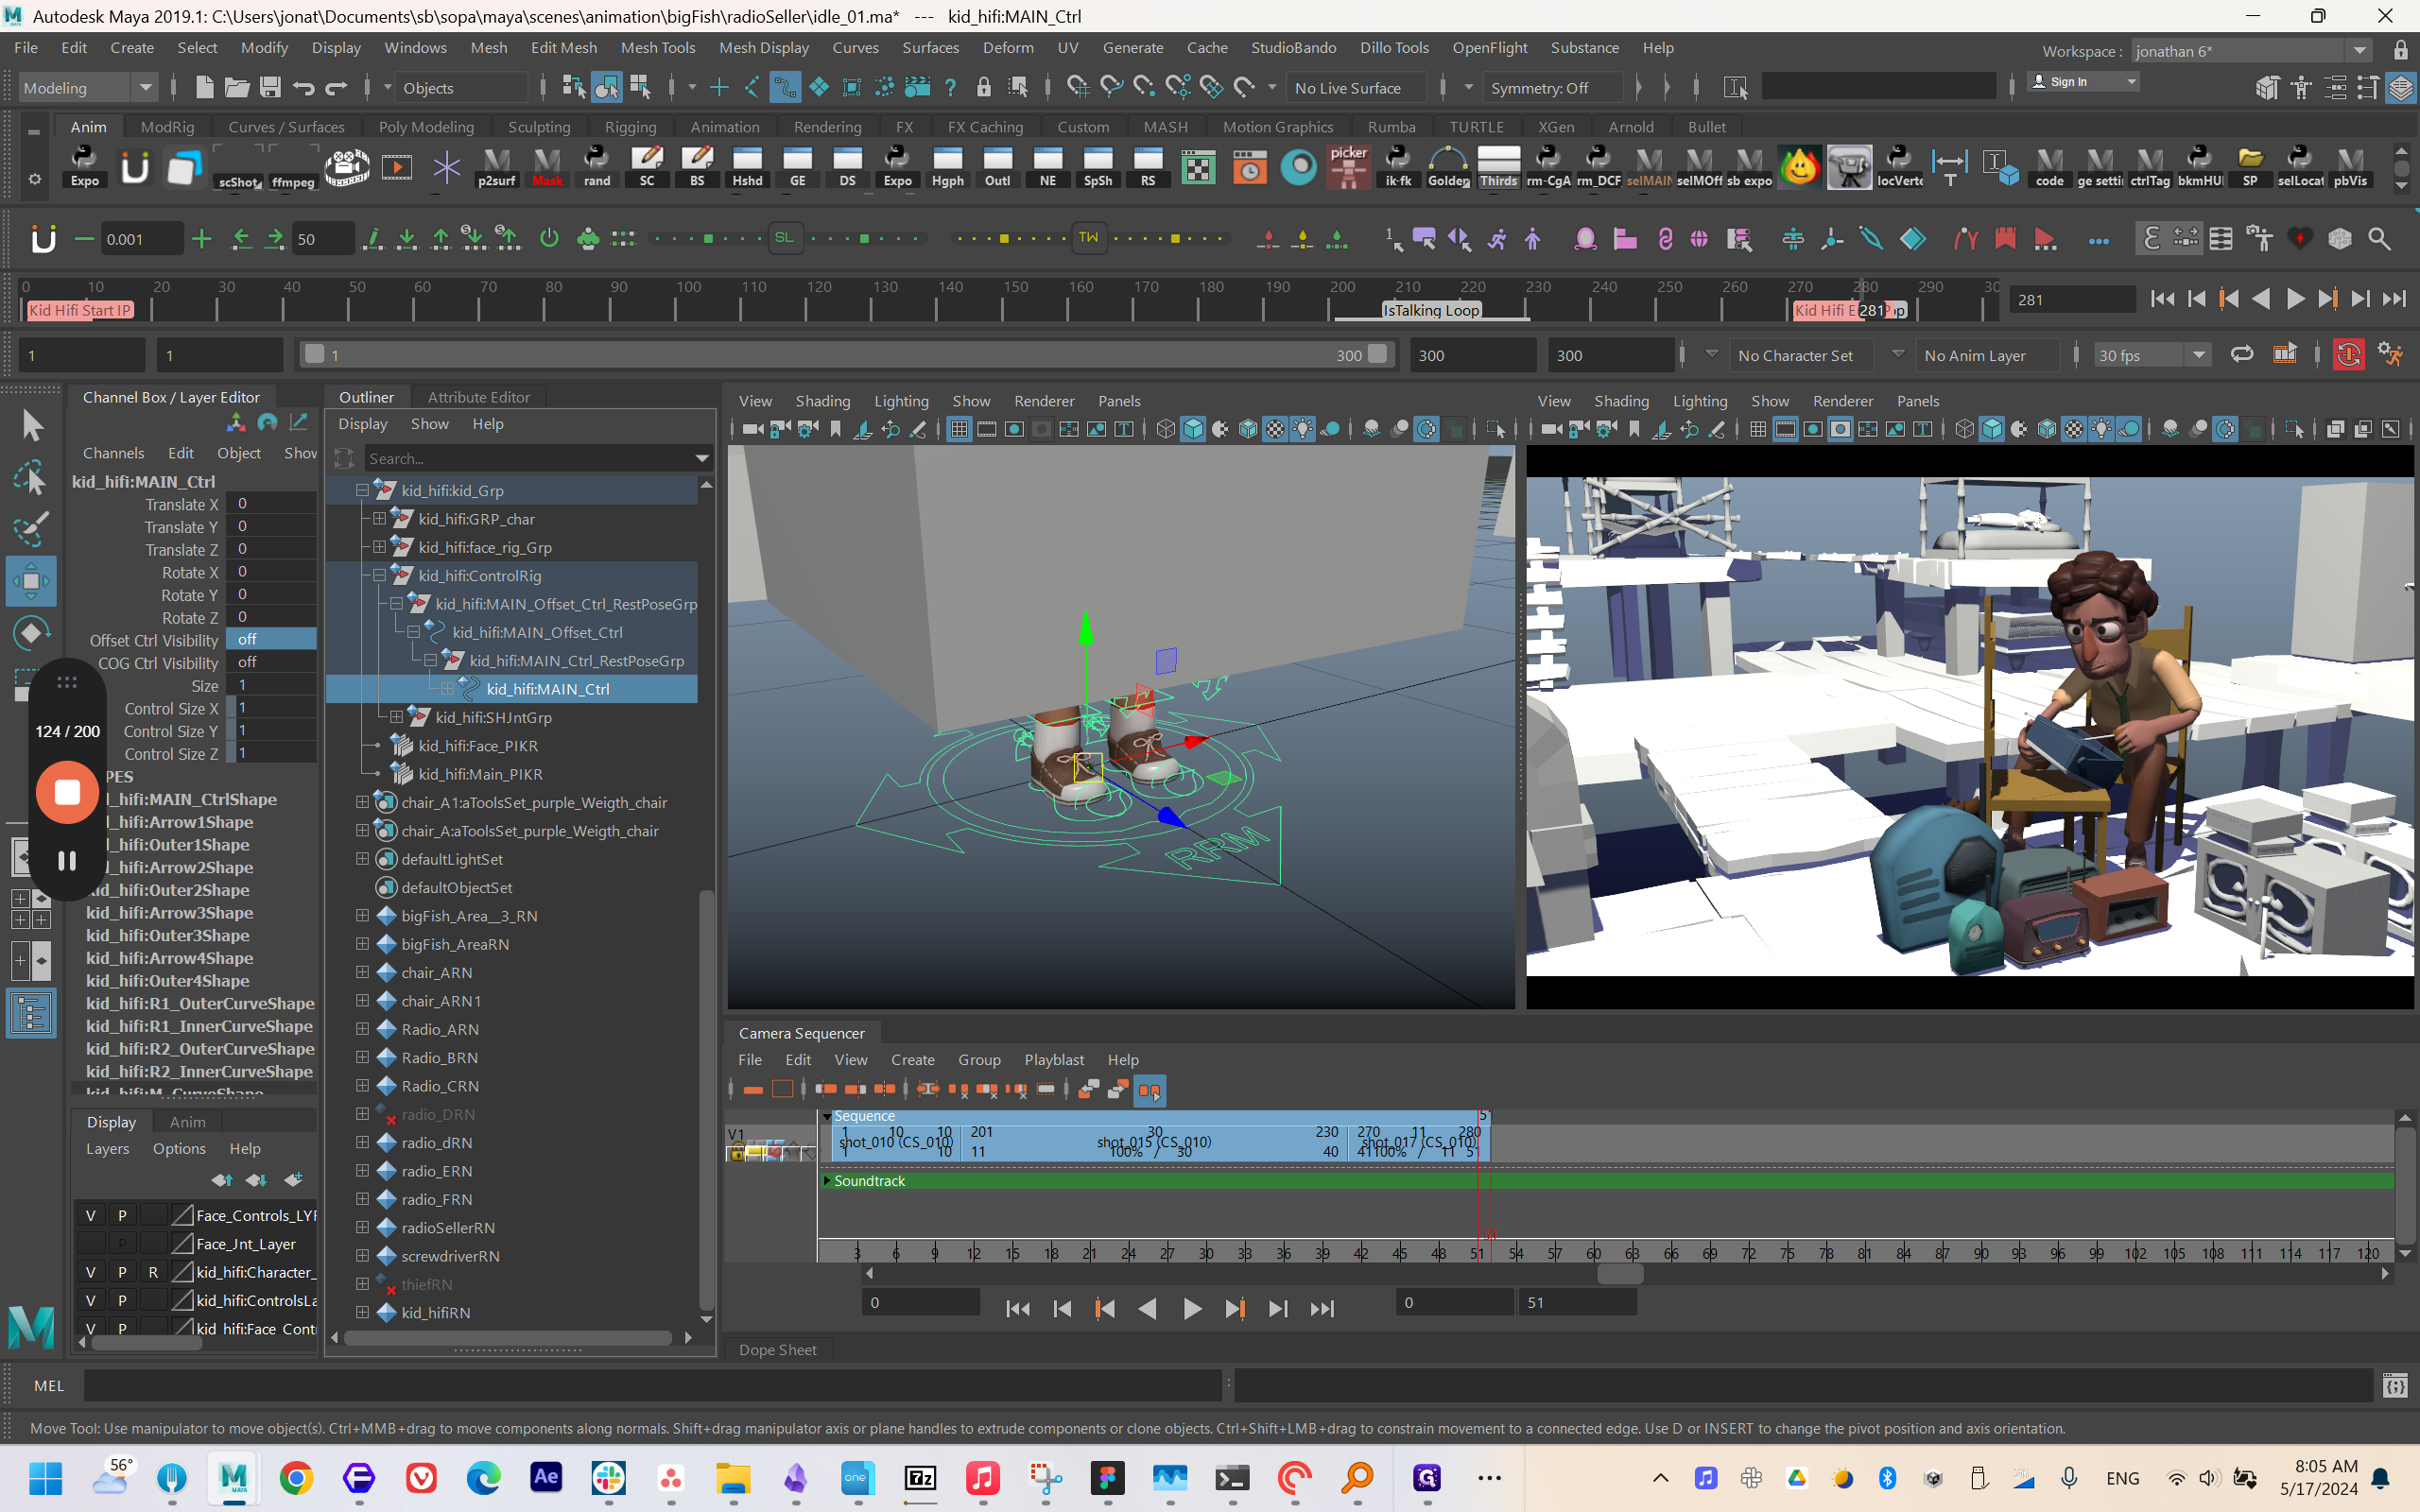
I have already set up small bookmarks here.
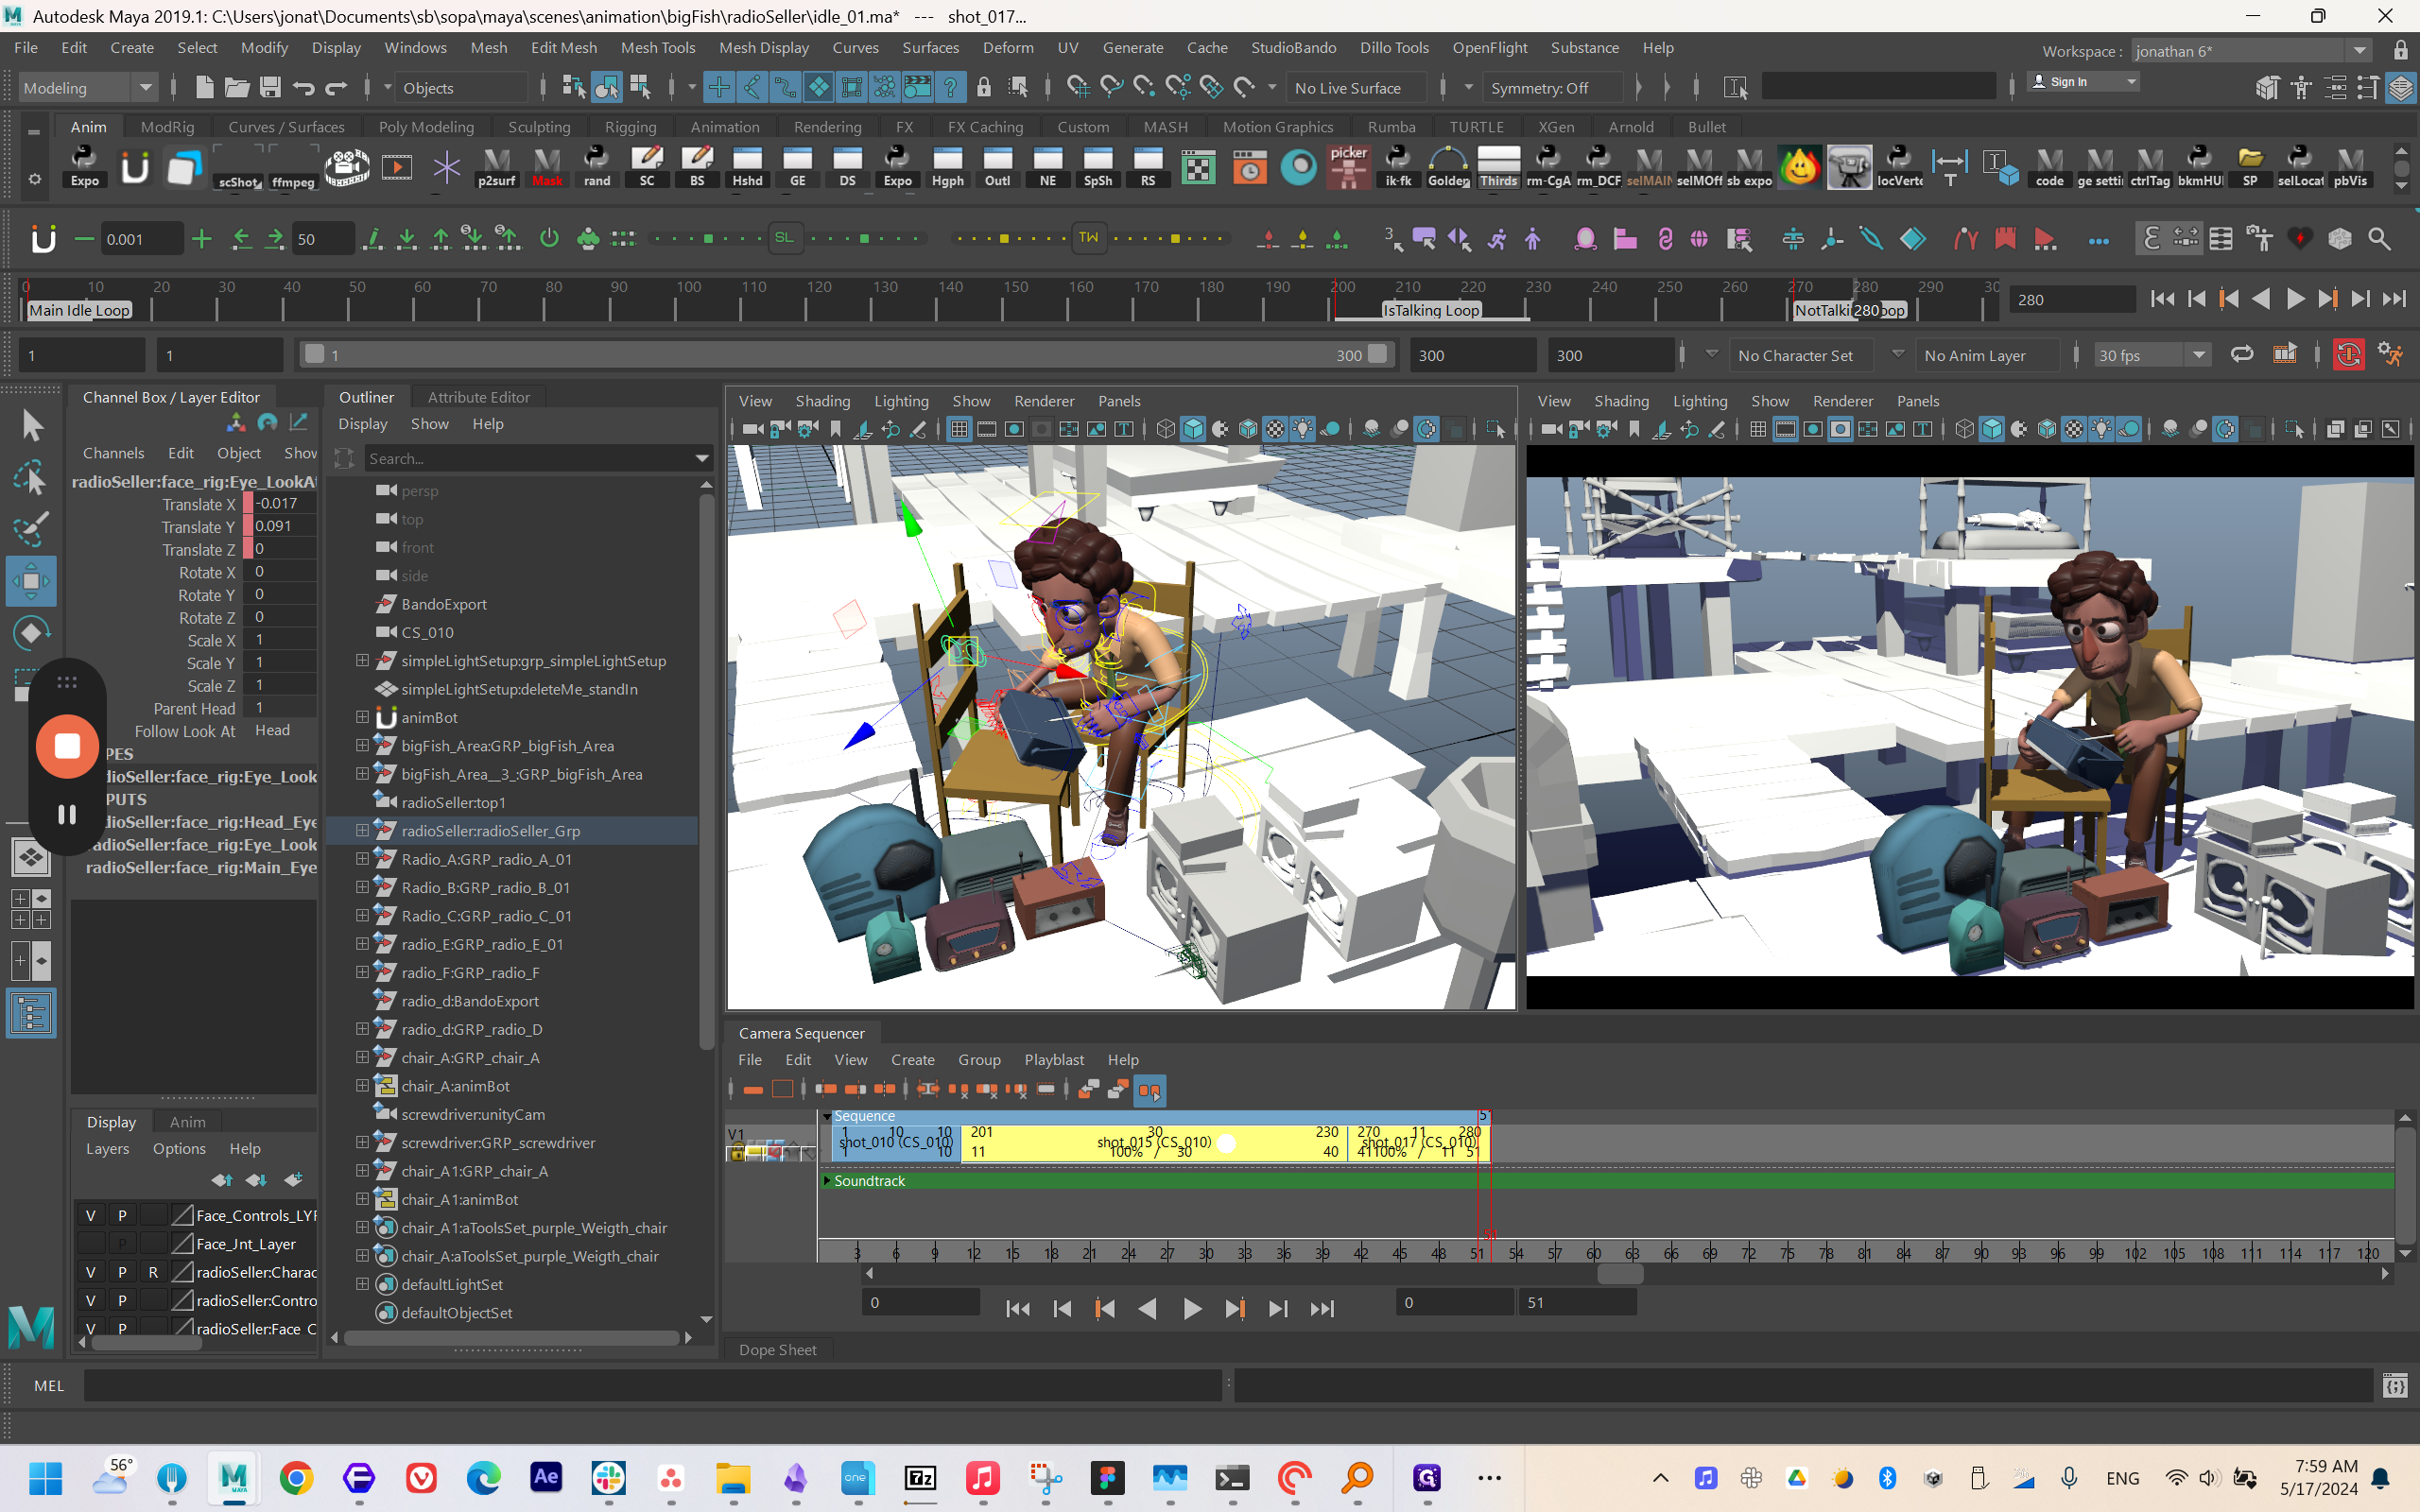
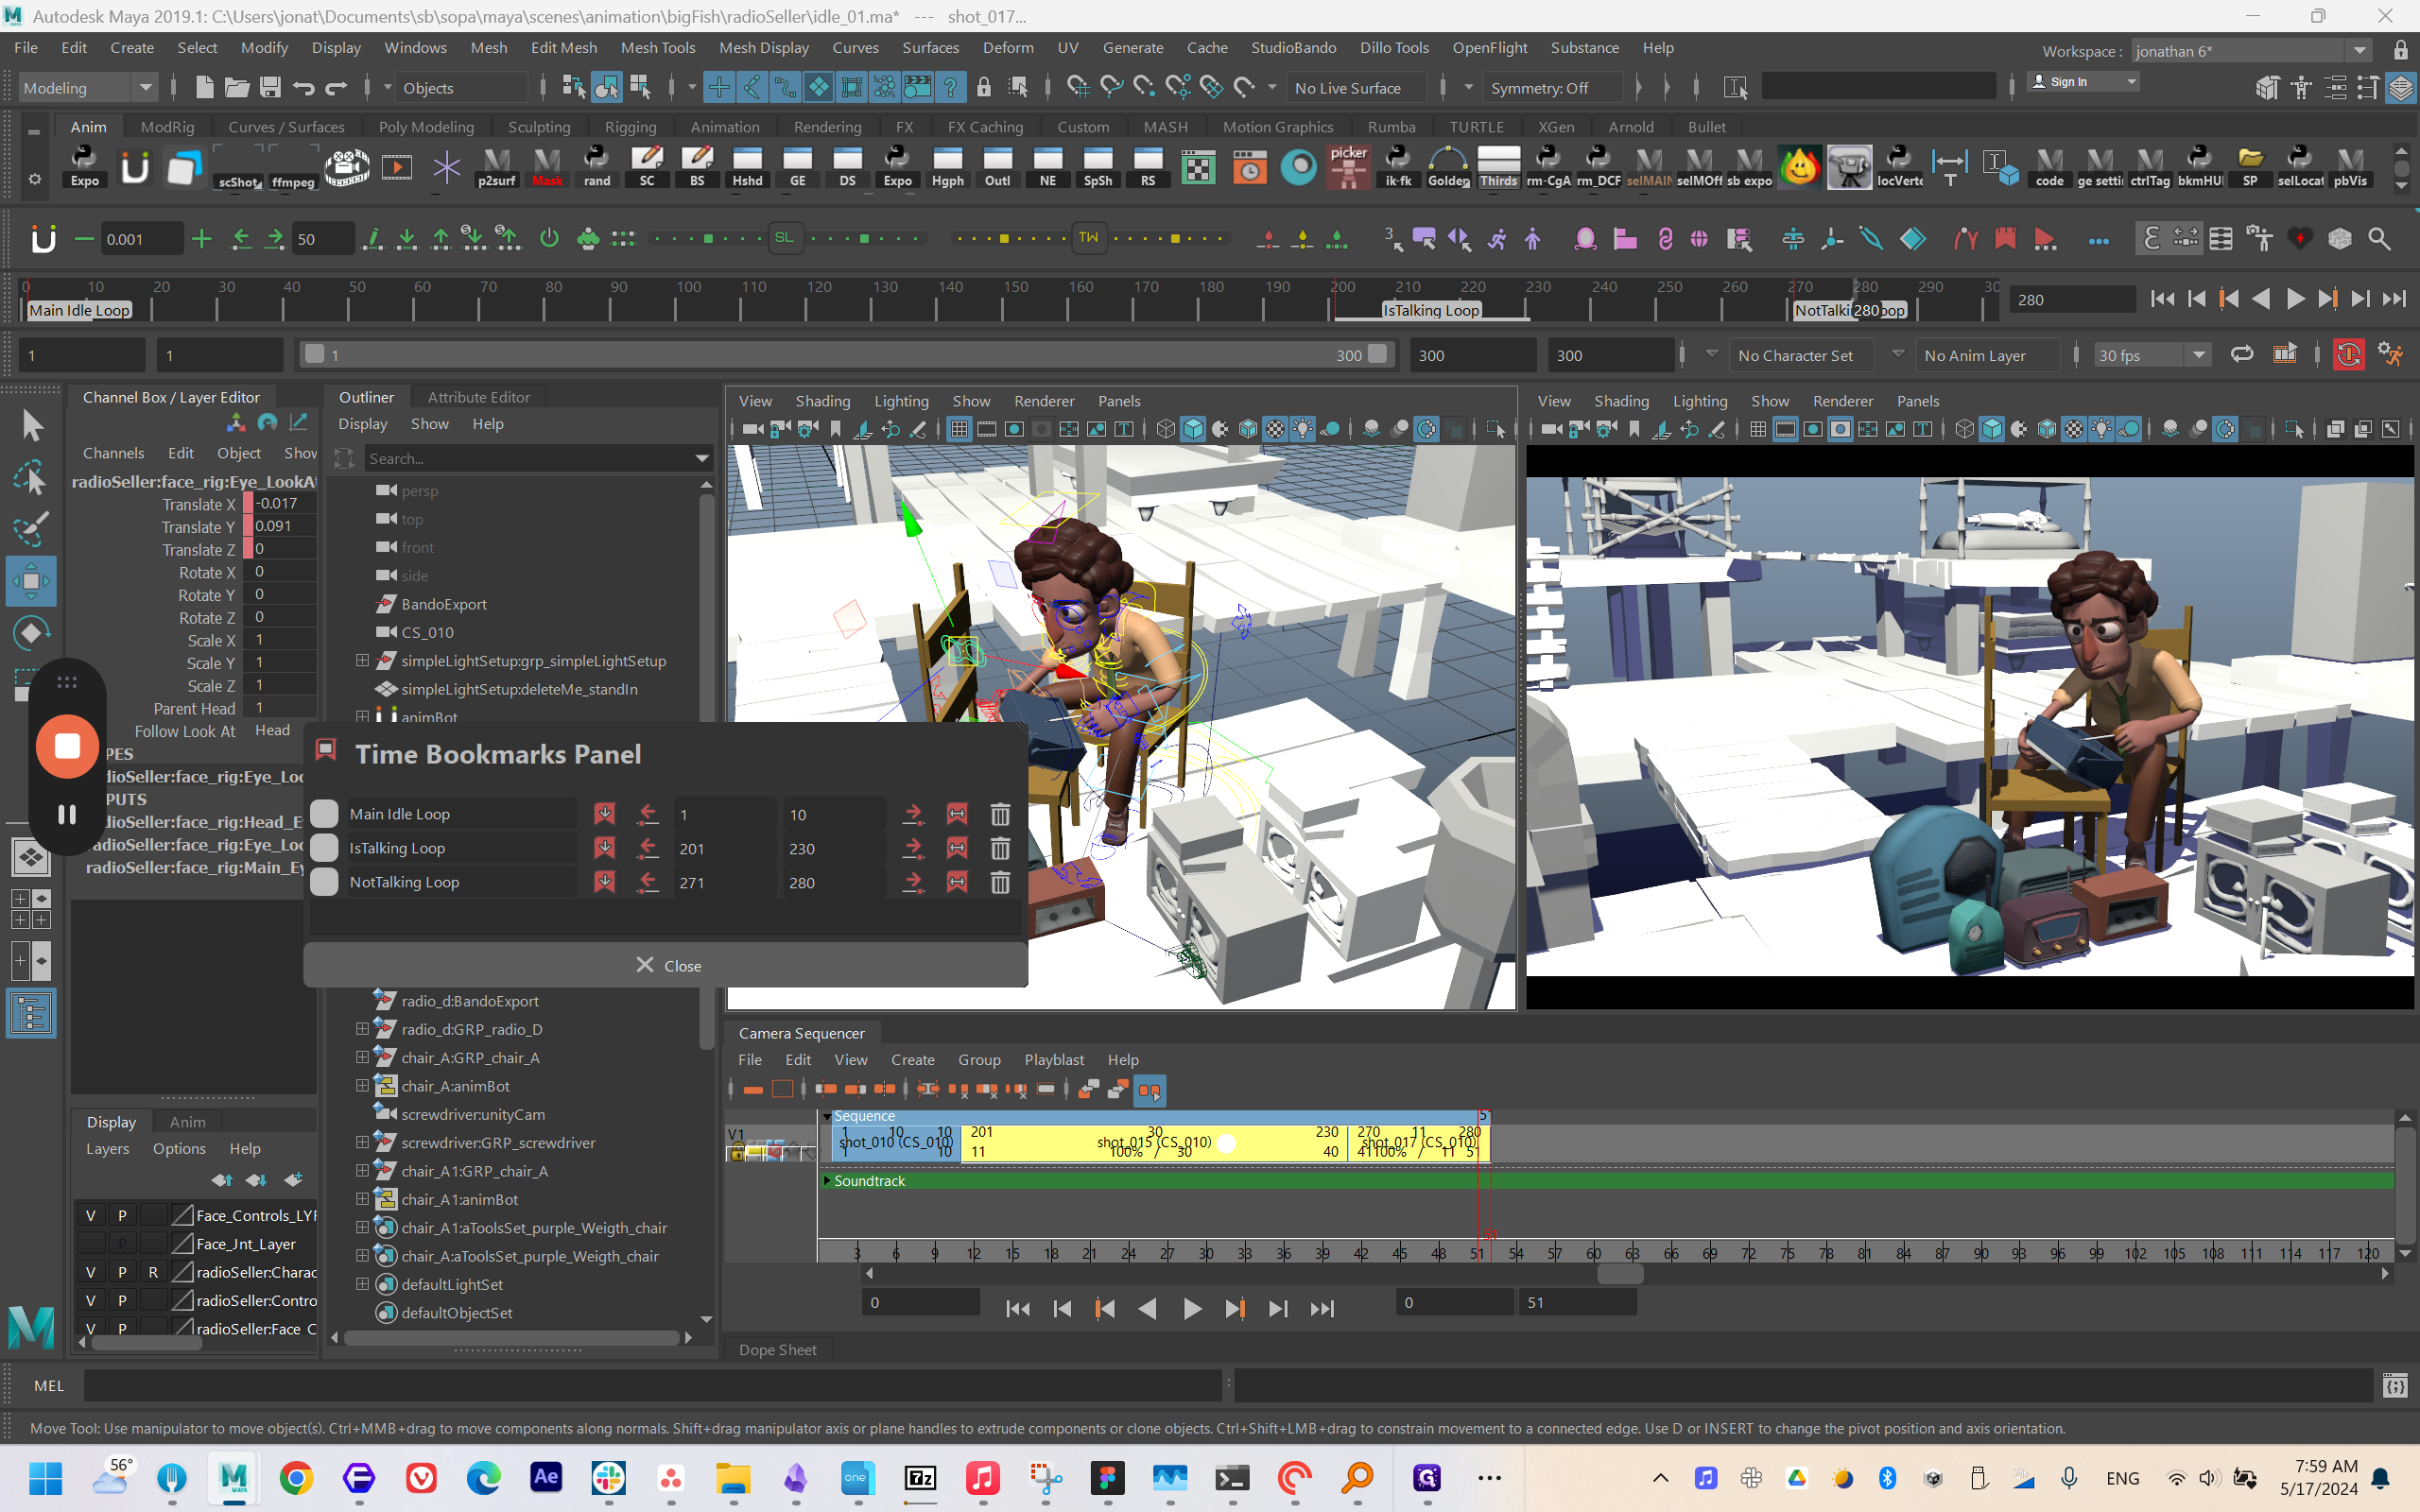


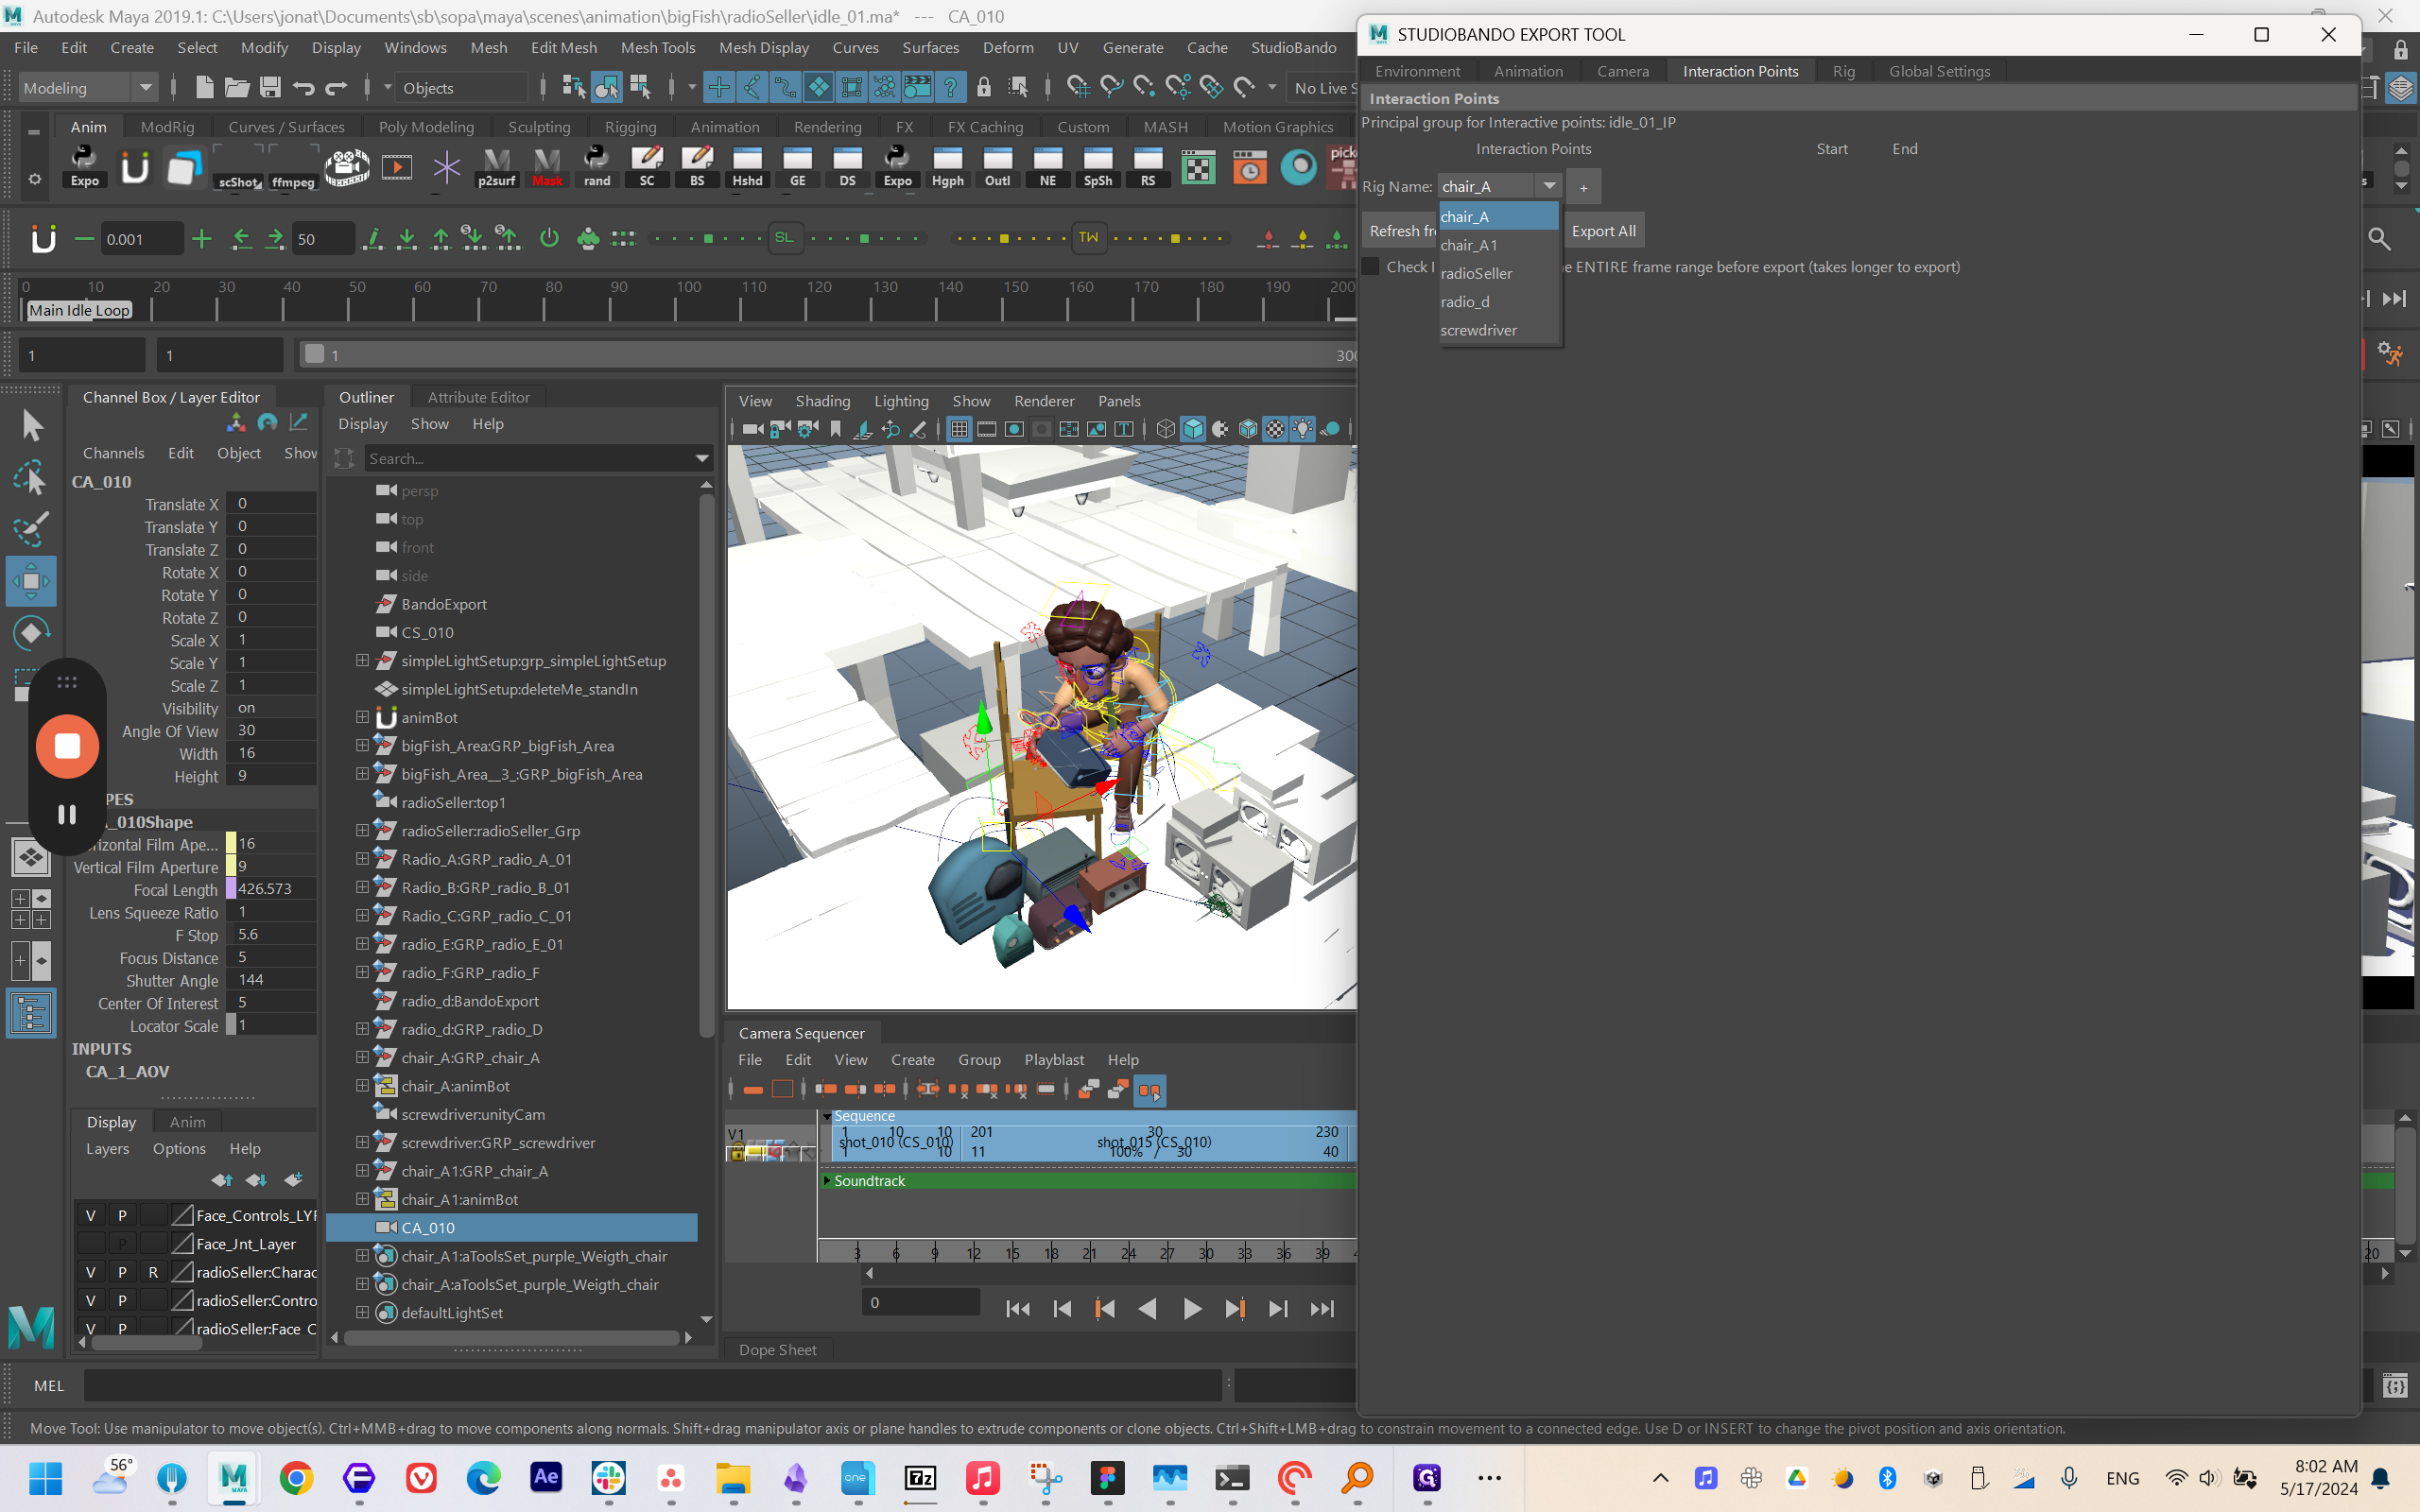
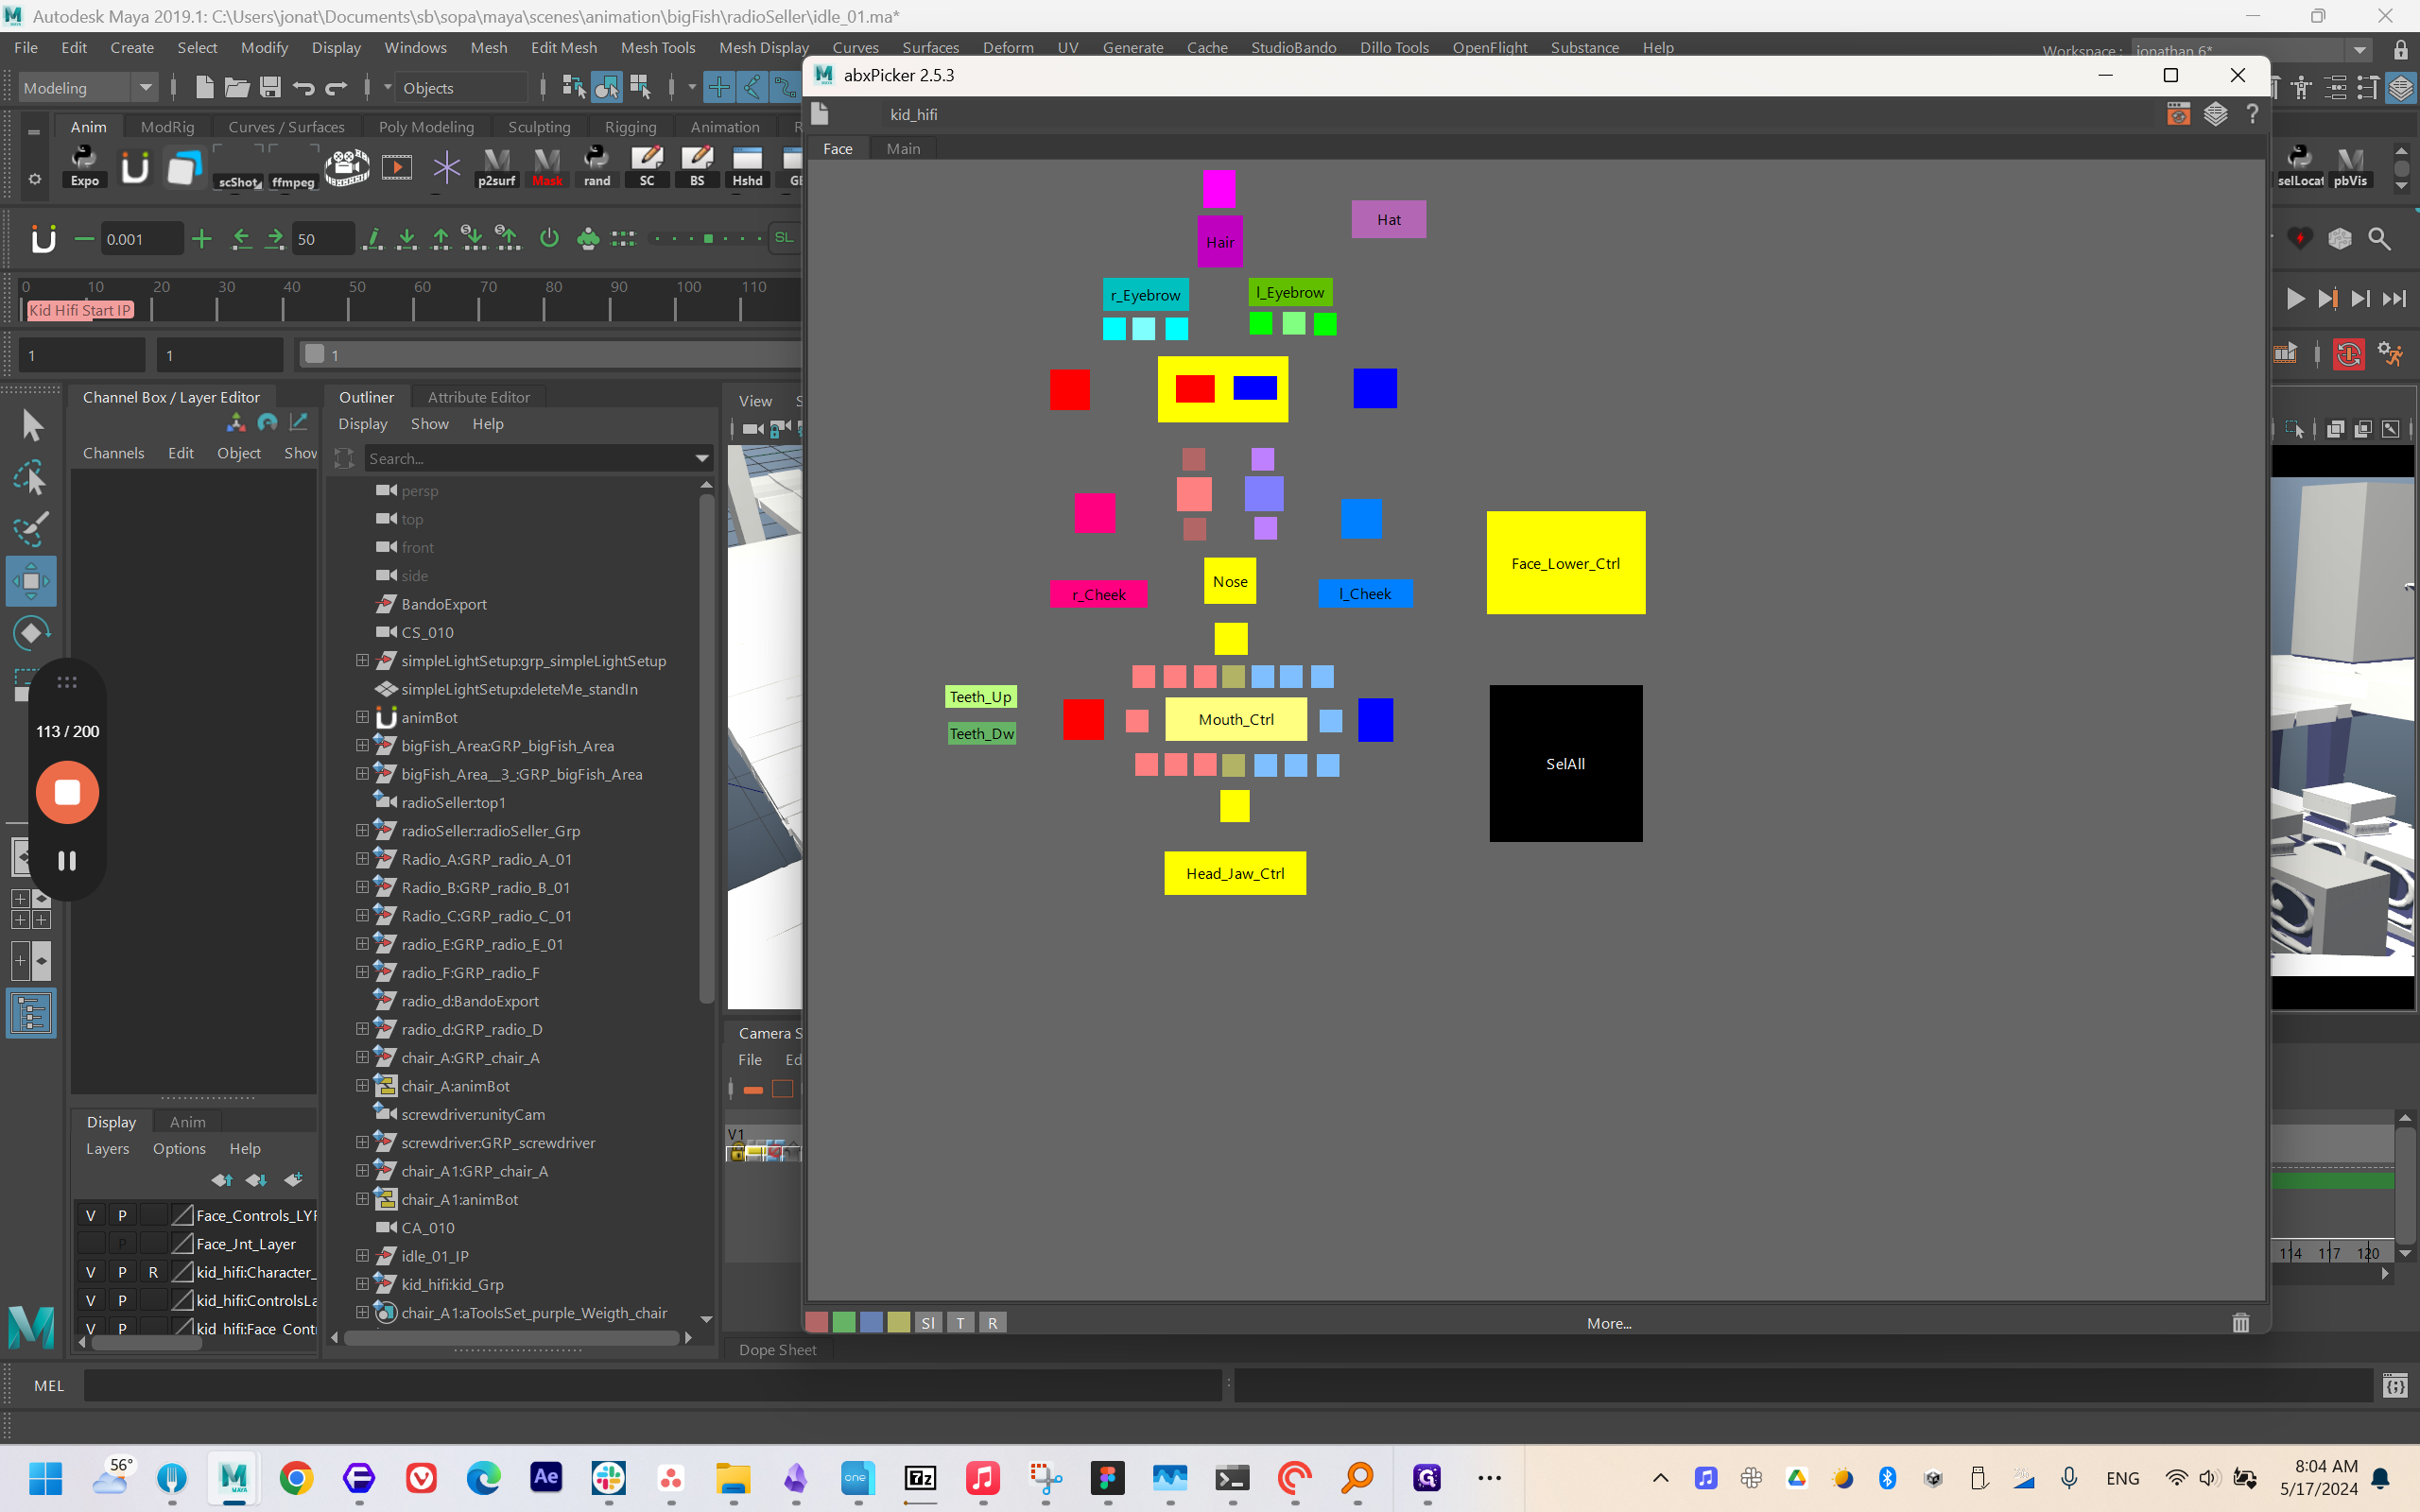
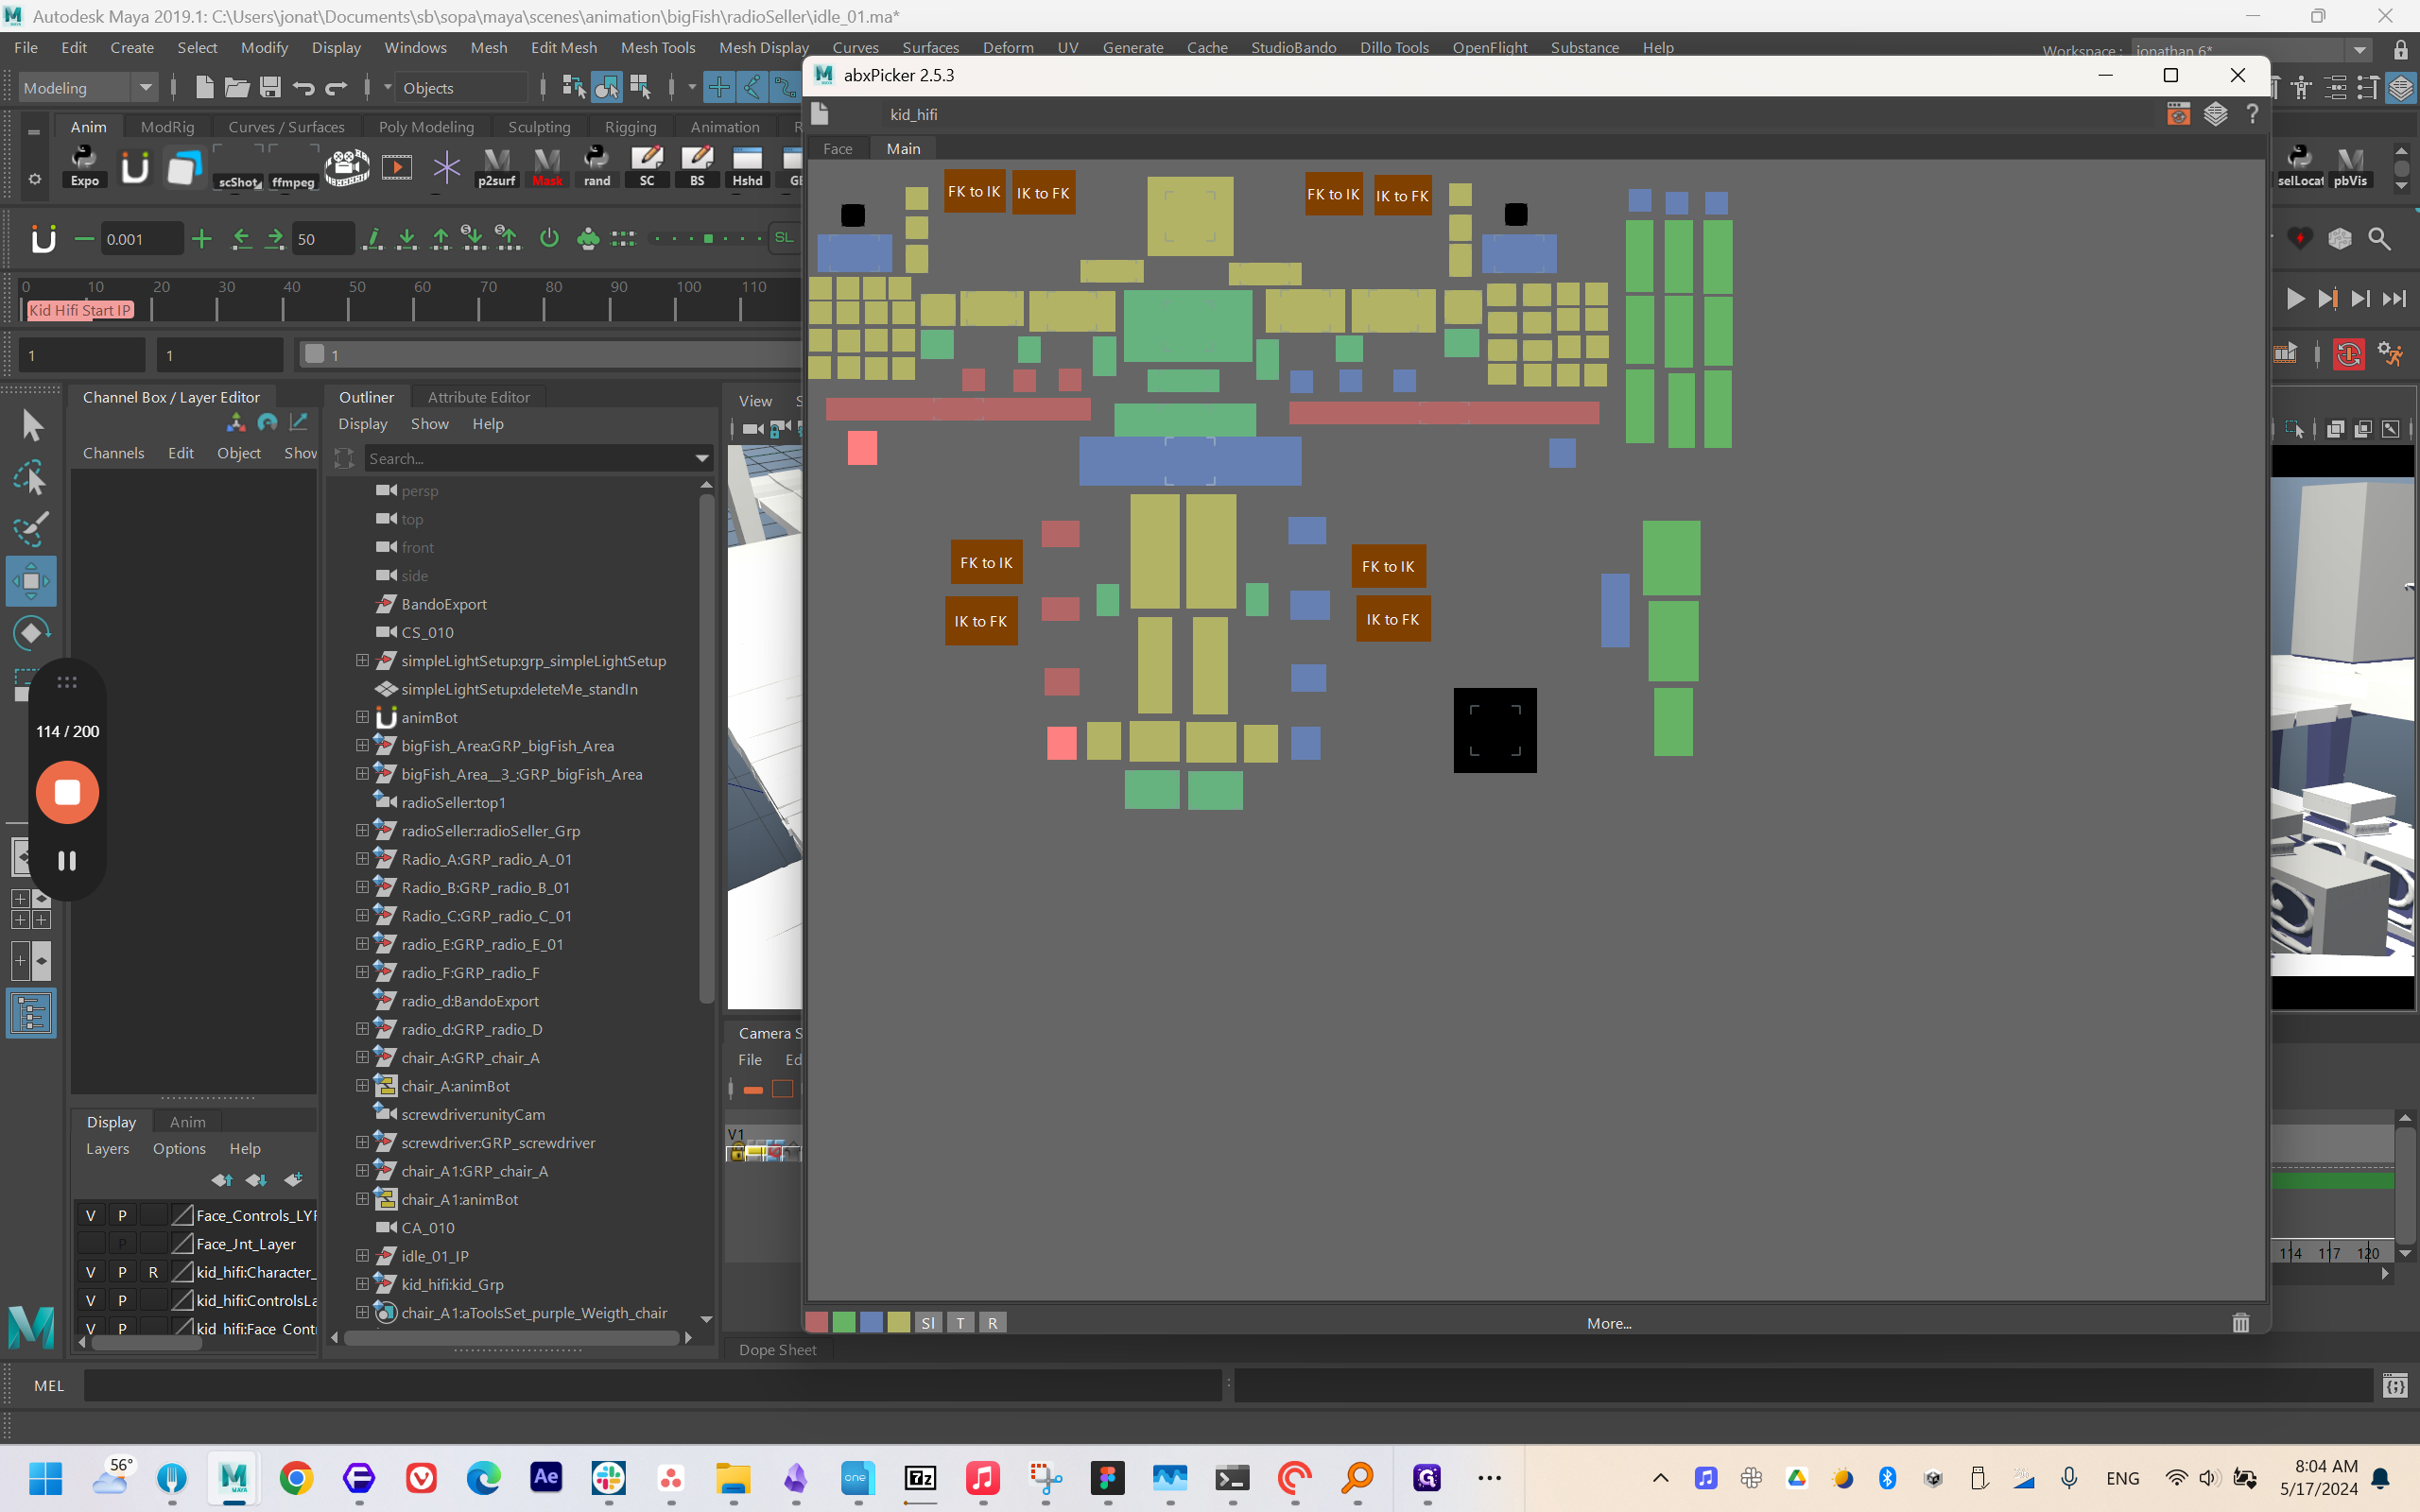
I have a button that selects all the name controls in the scene. It's very simple.
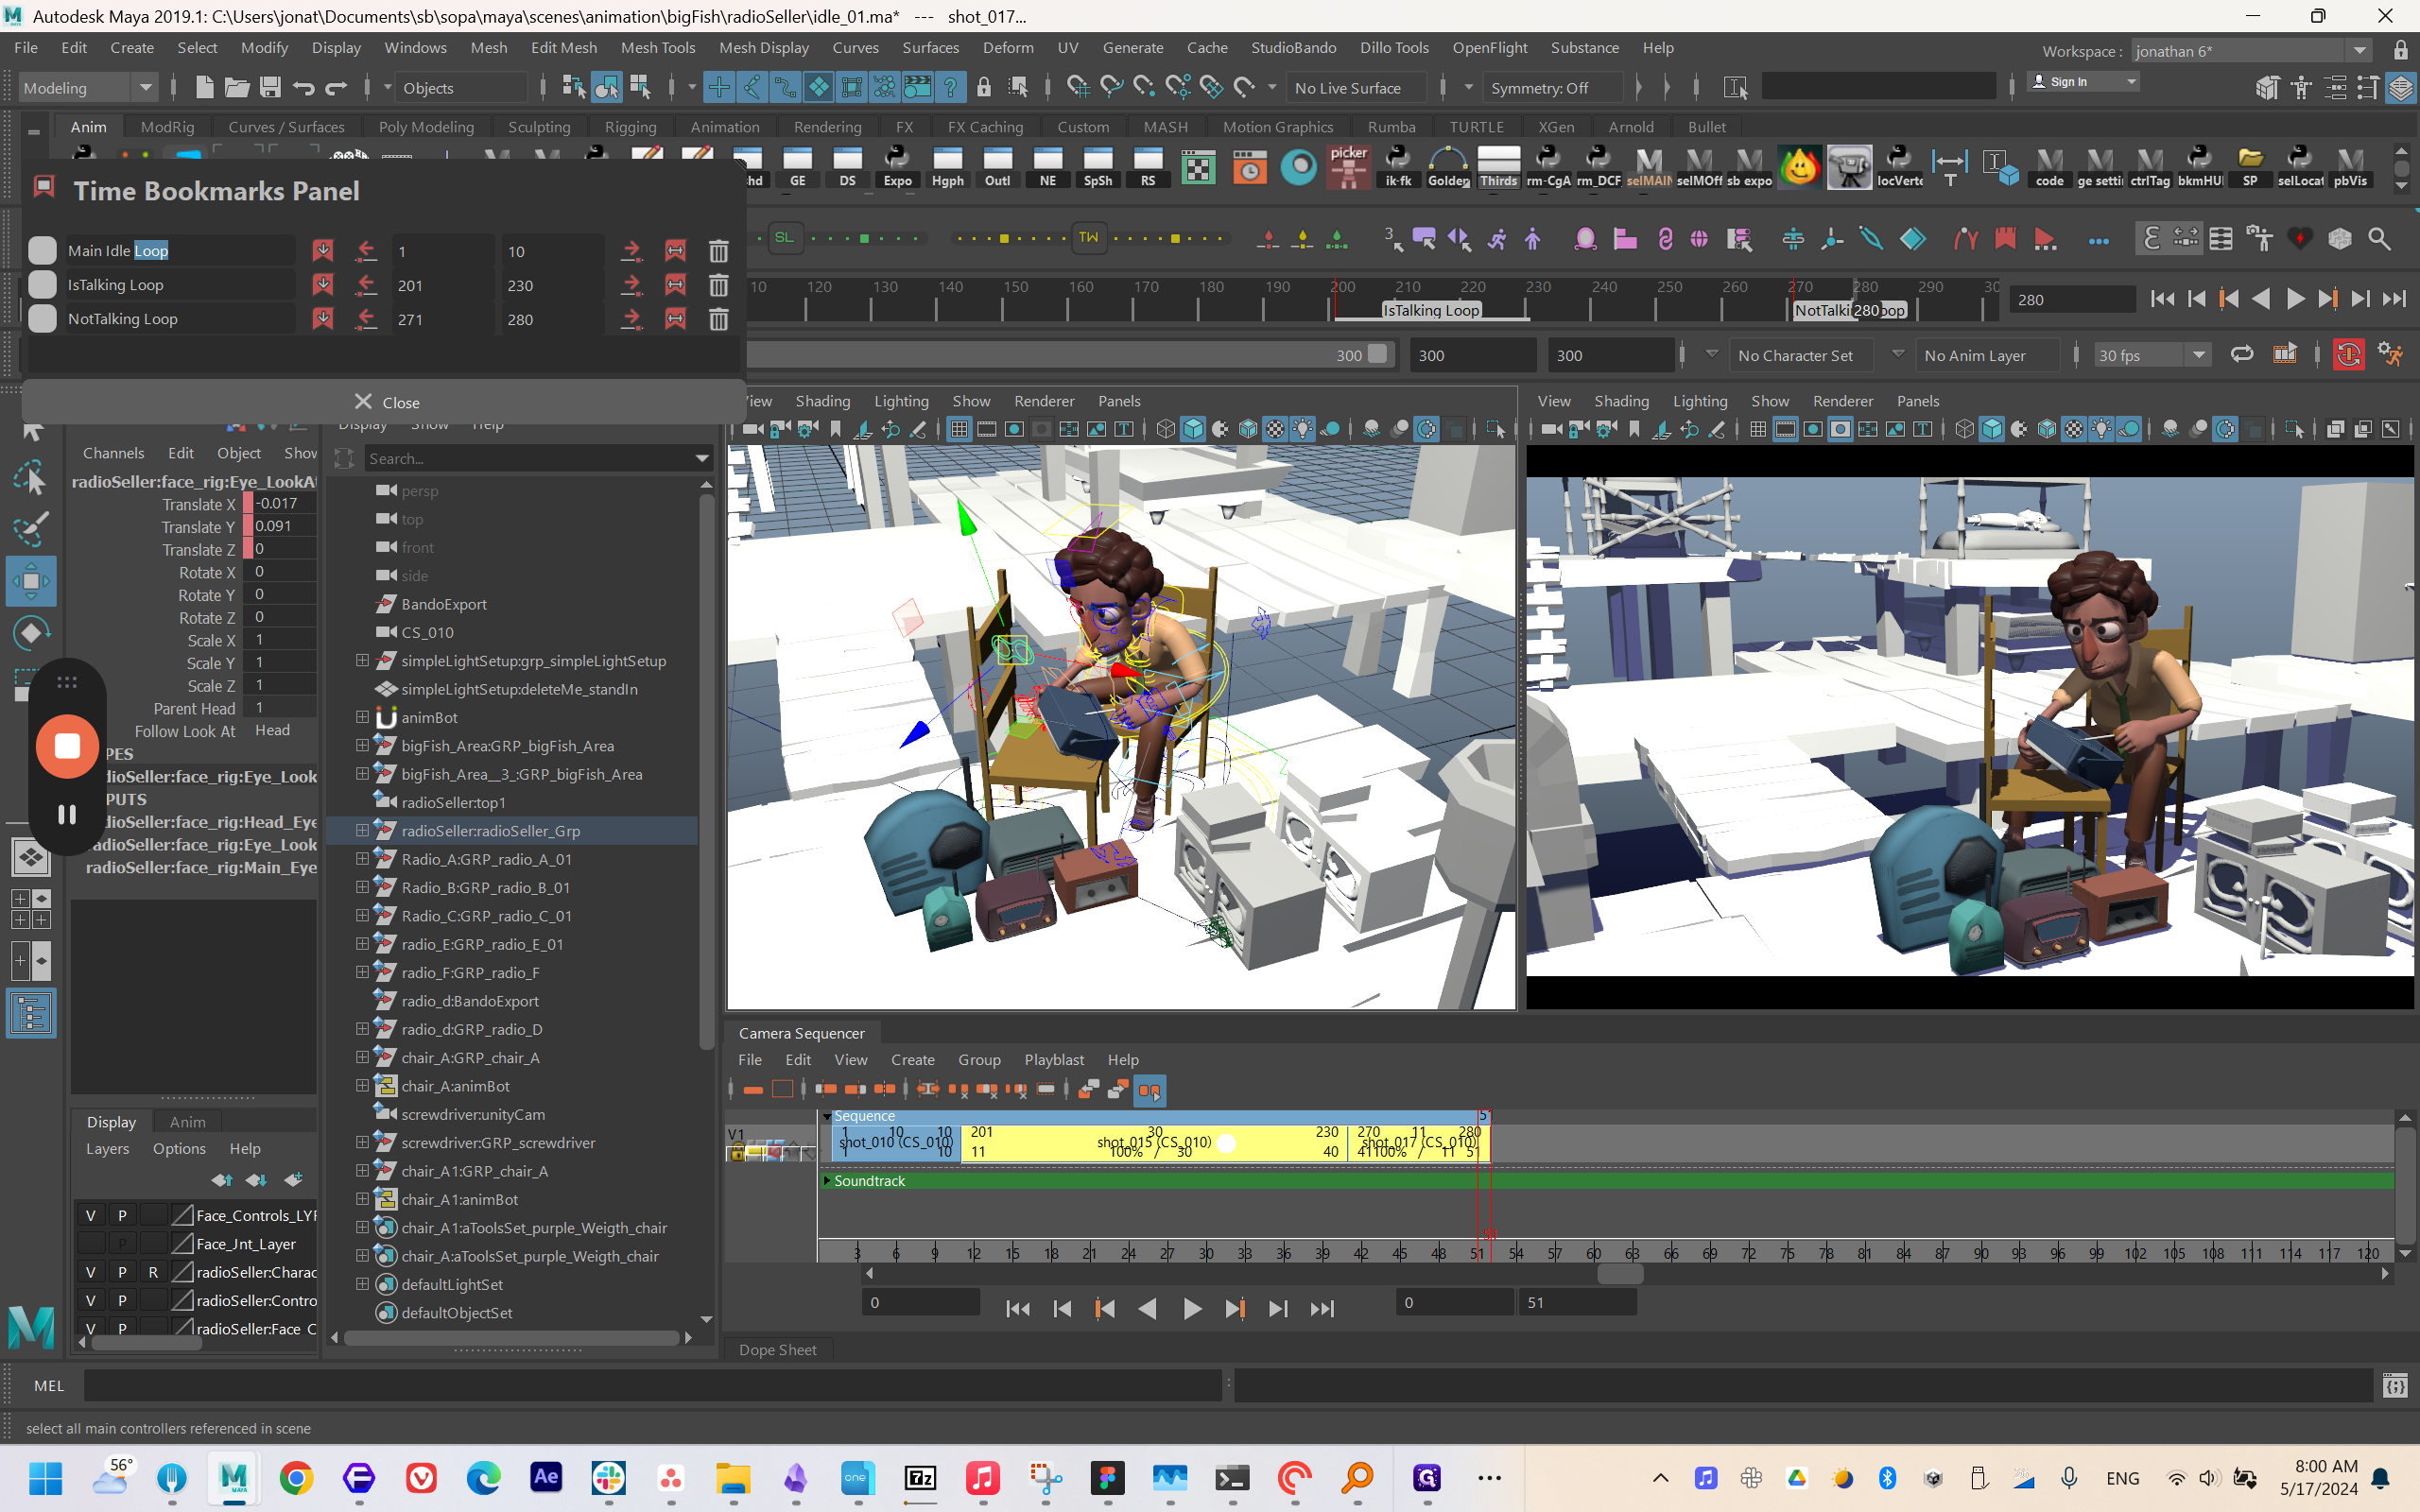

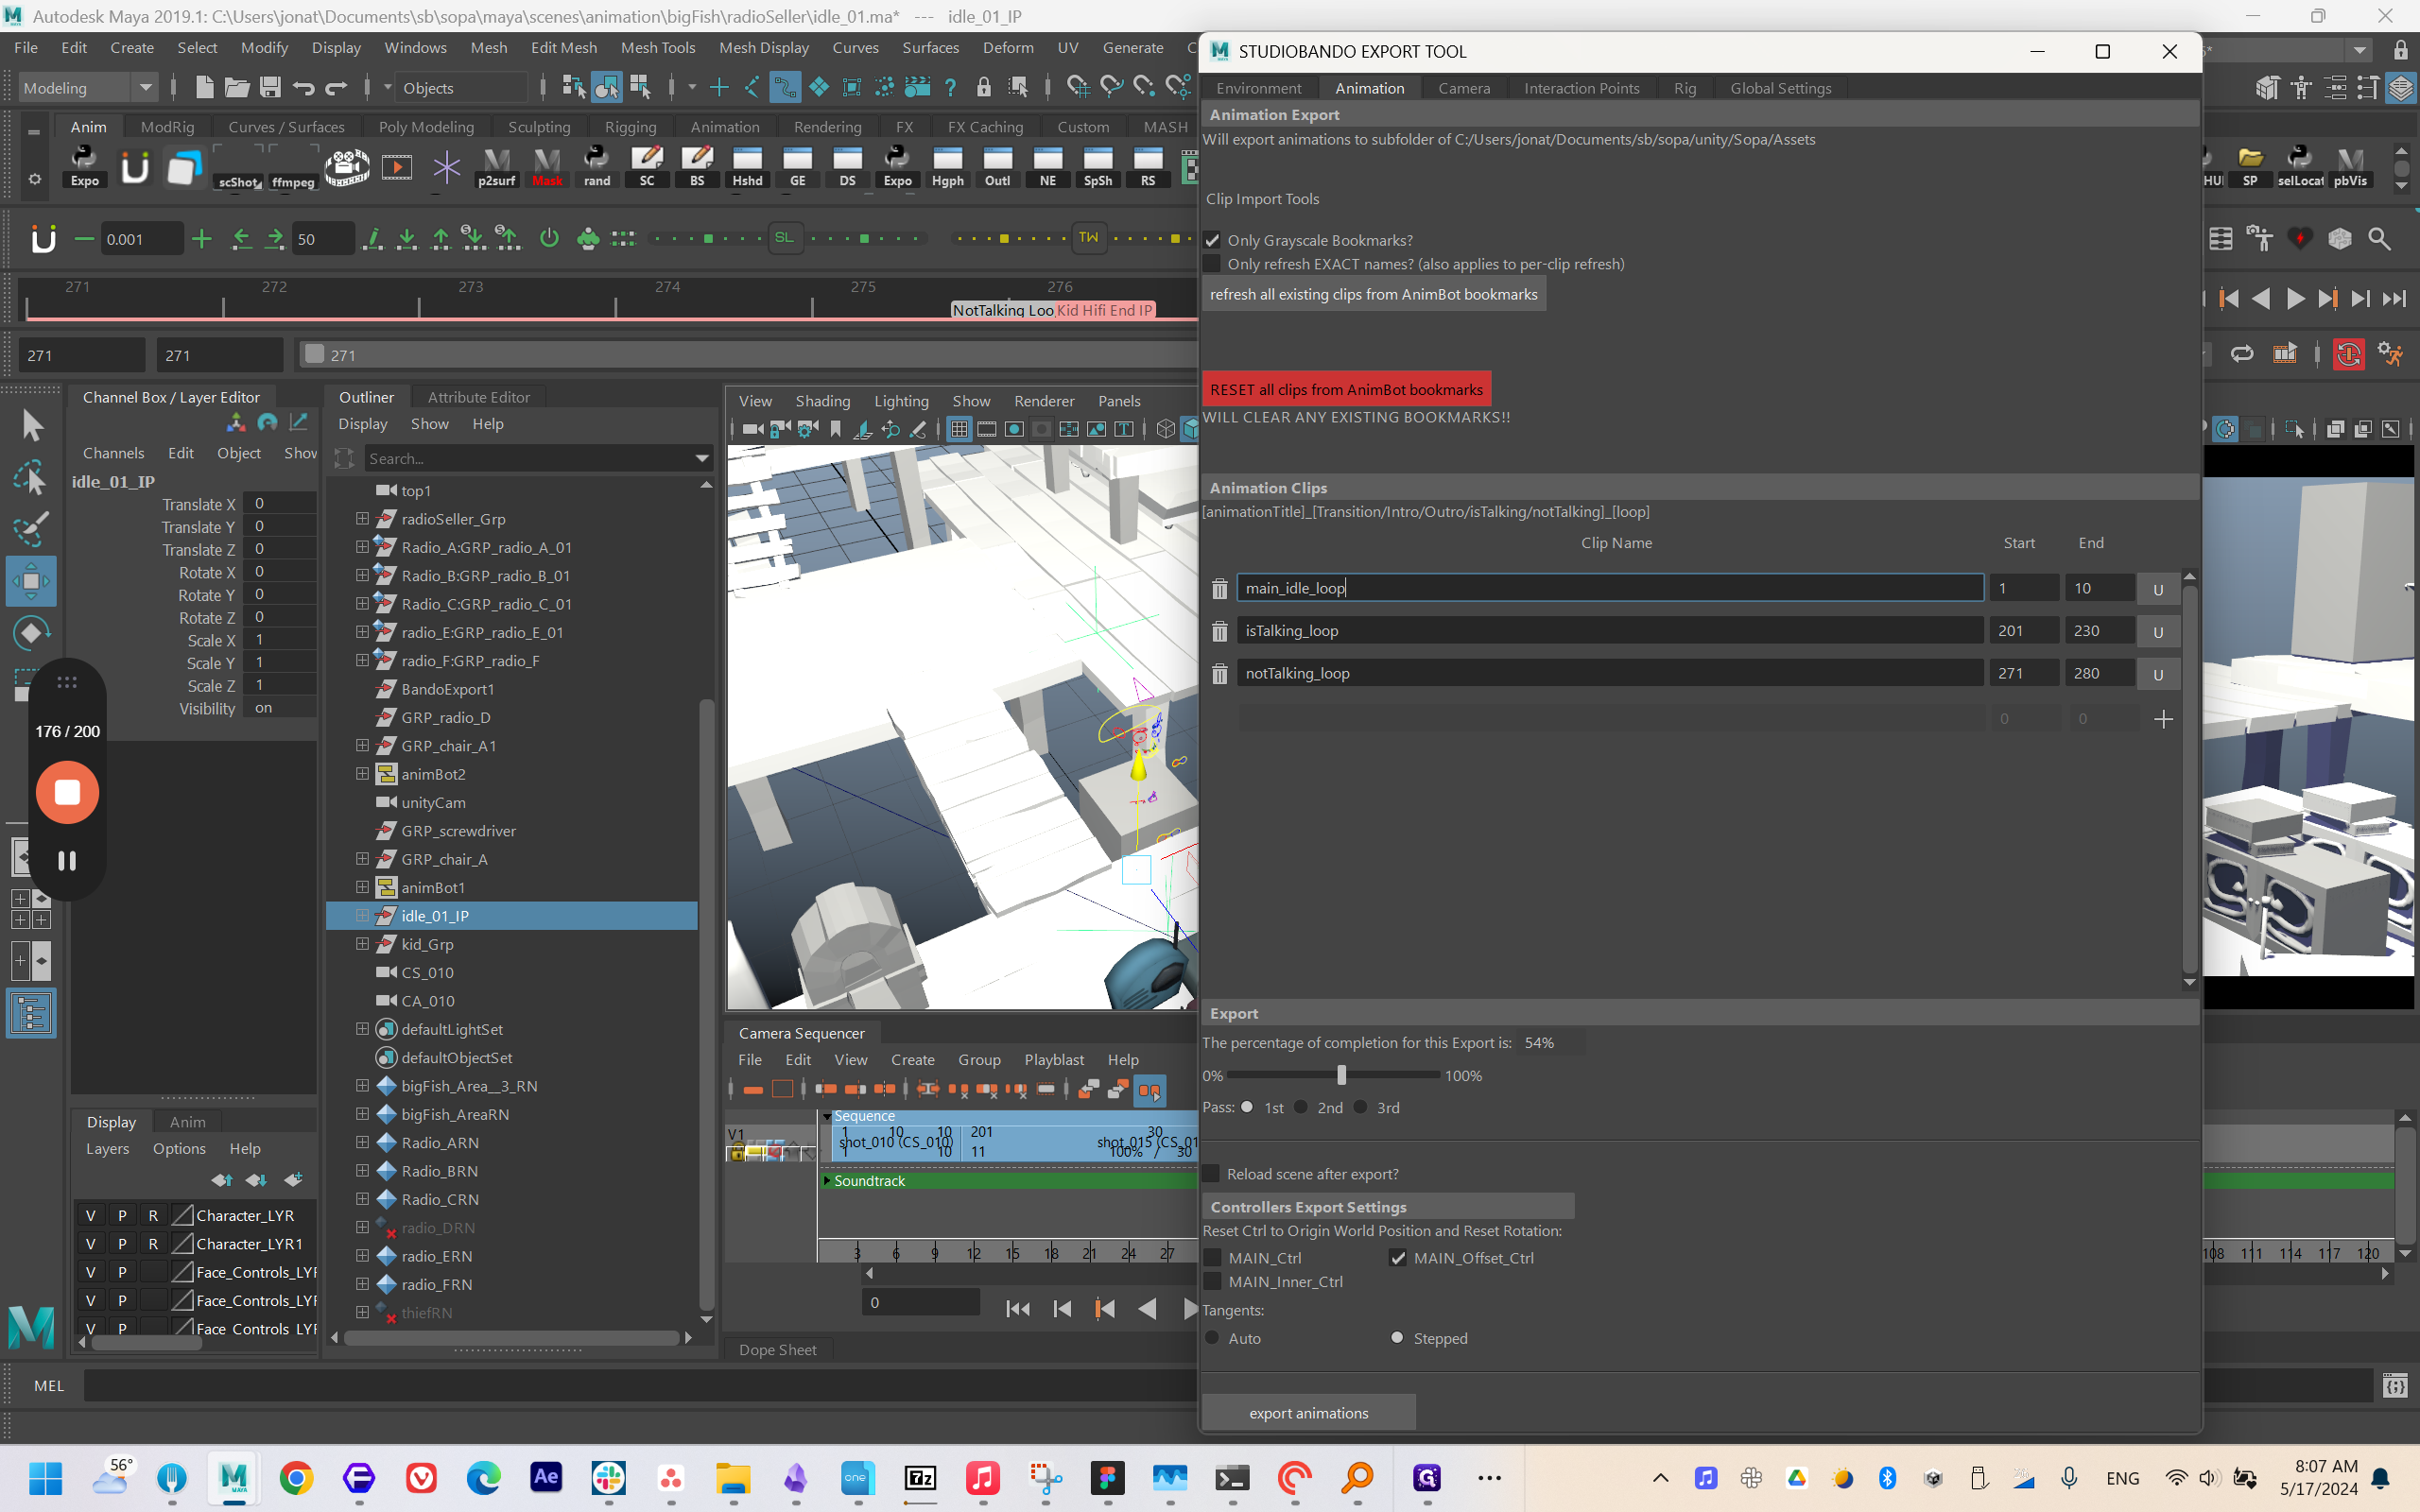
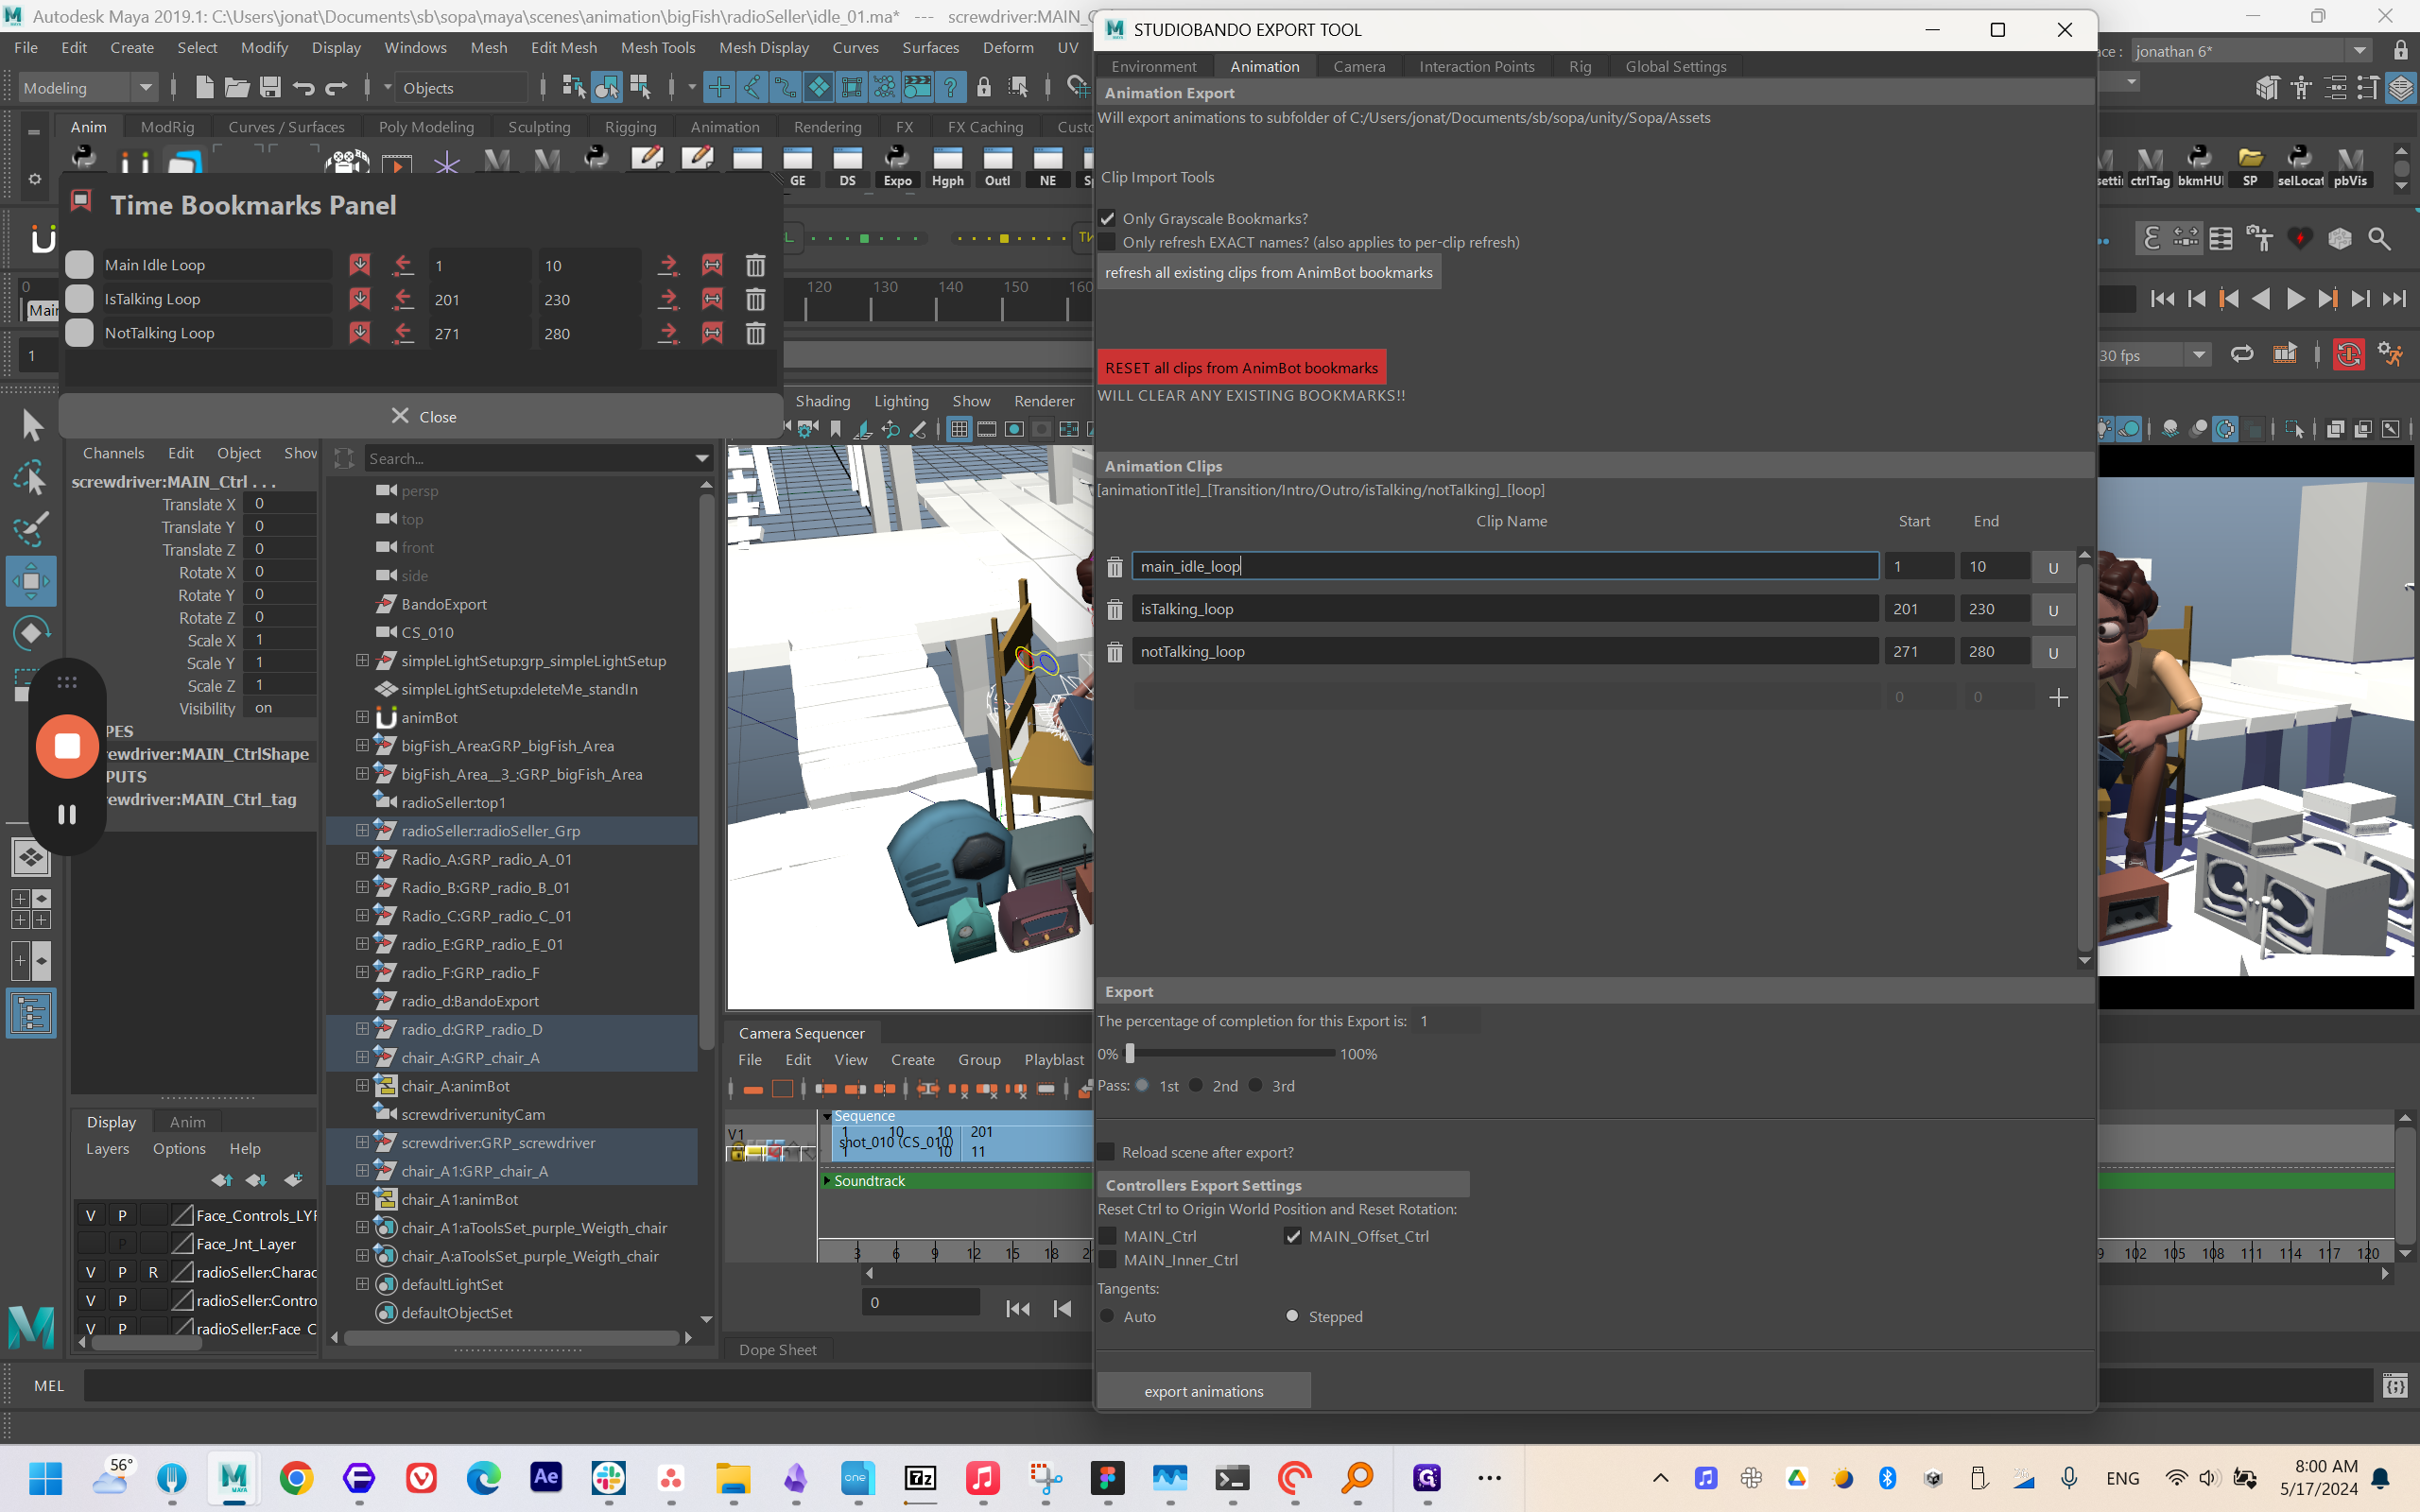
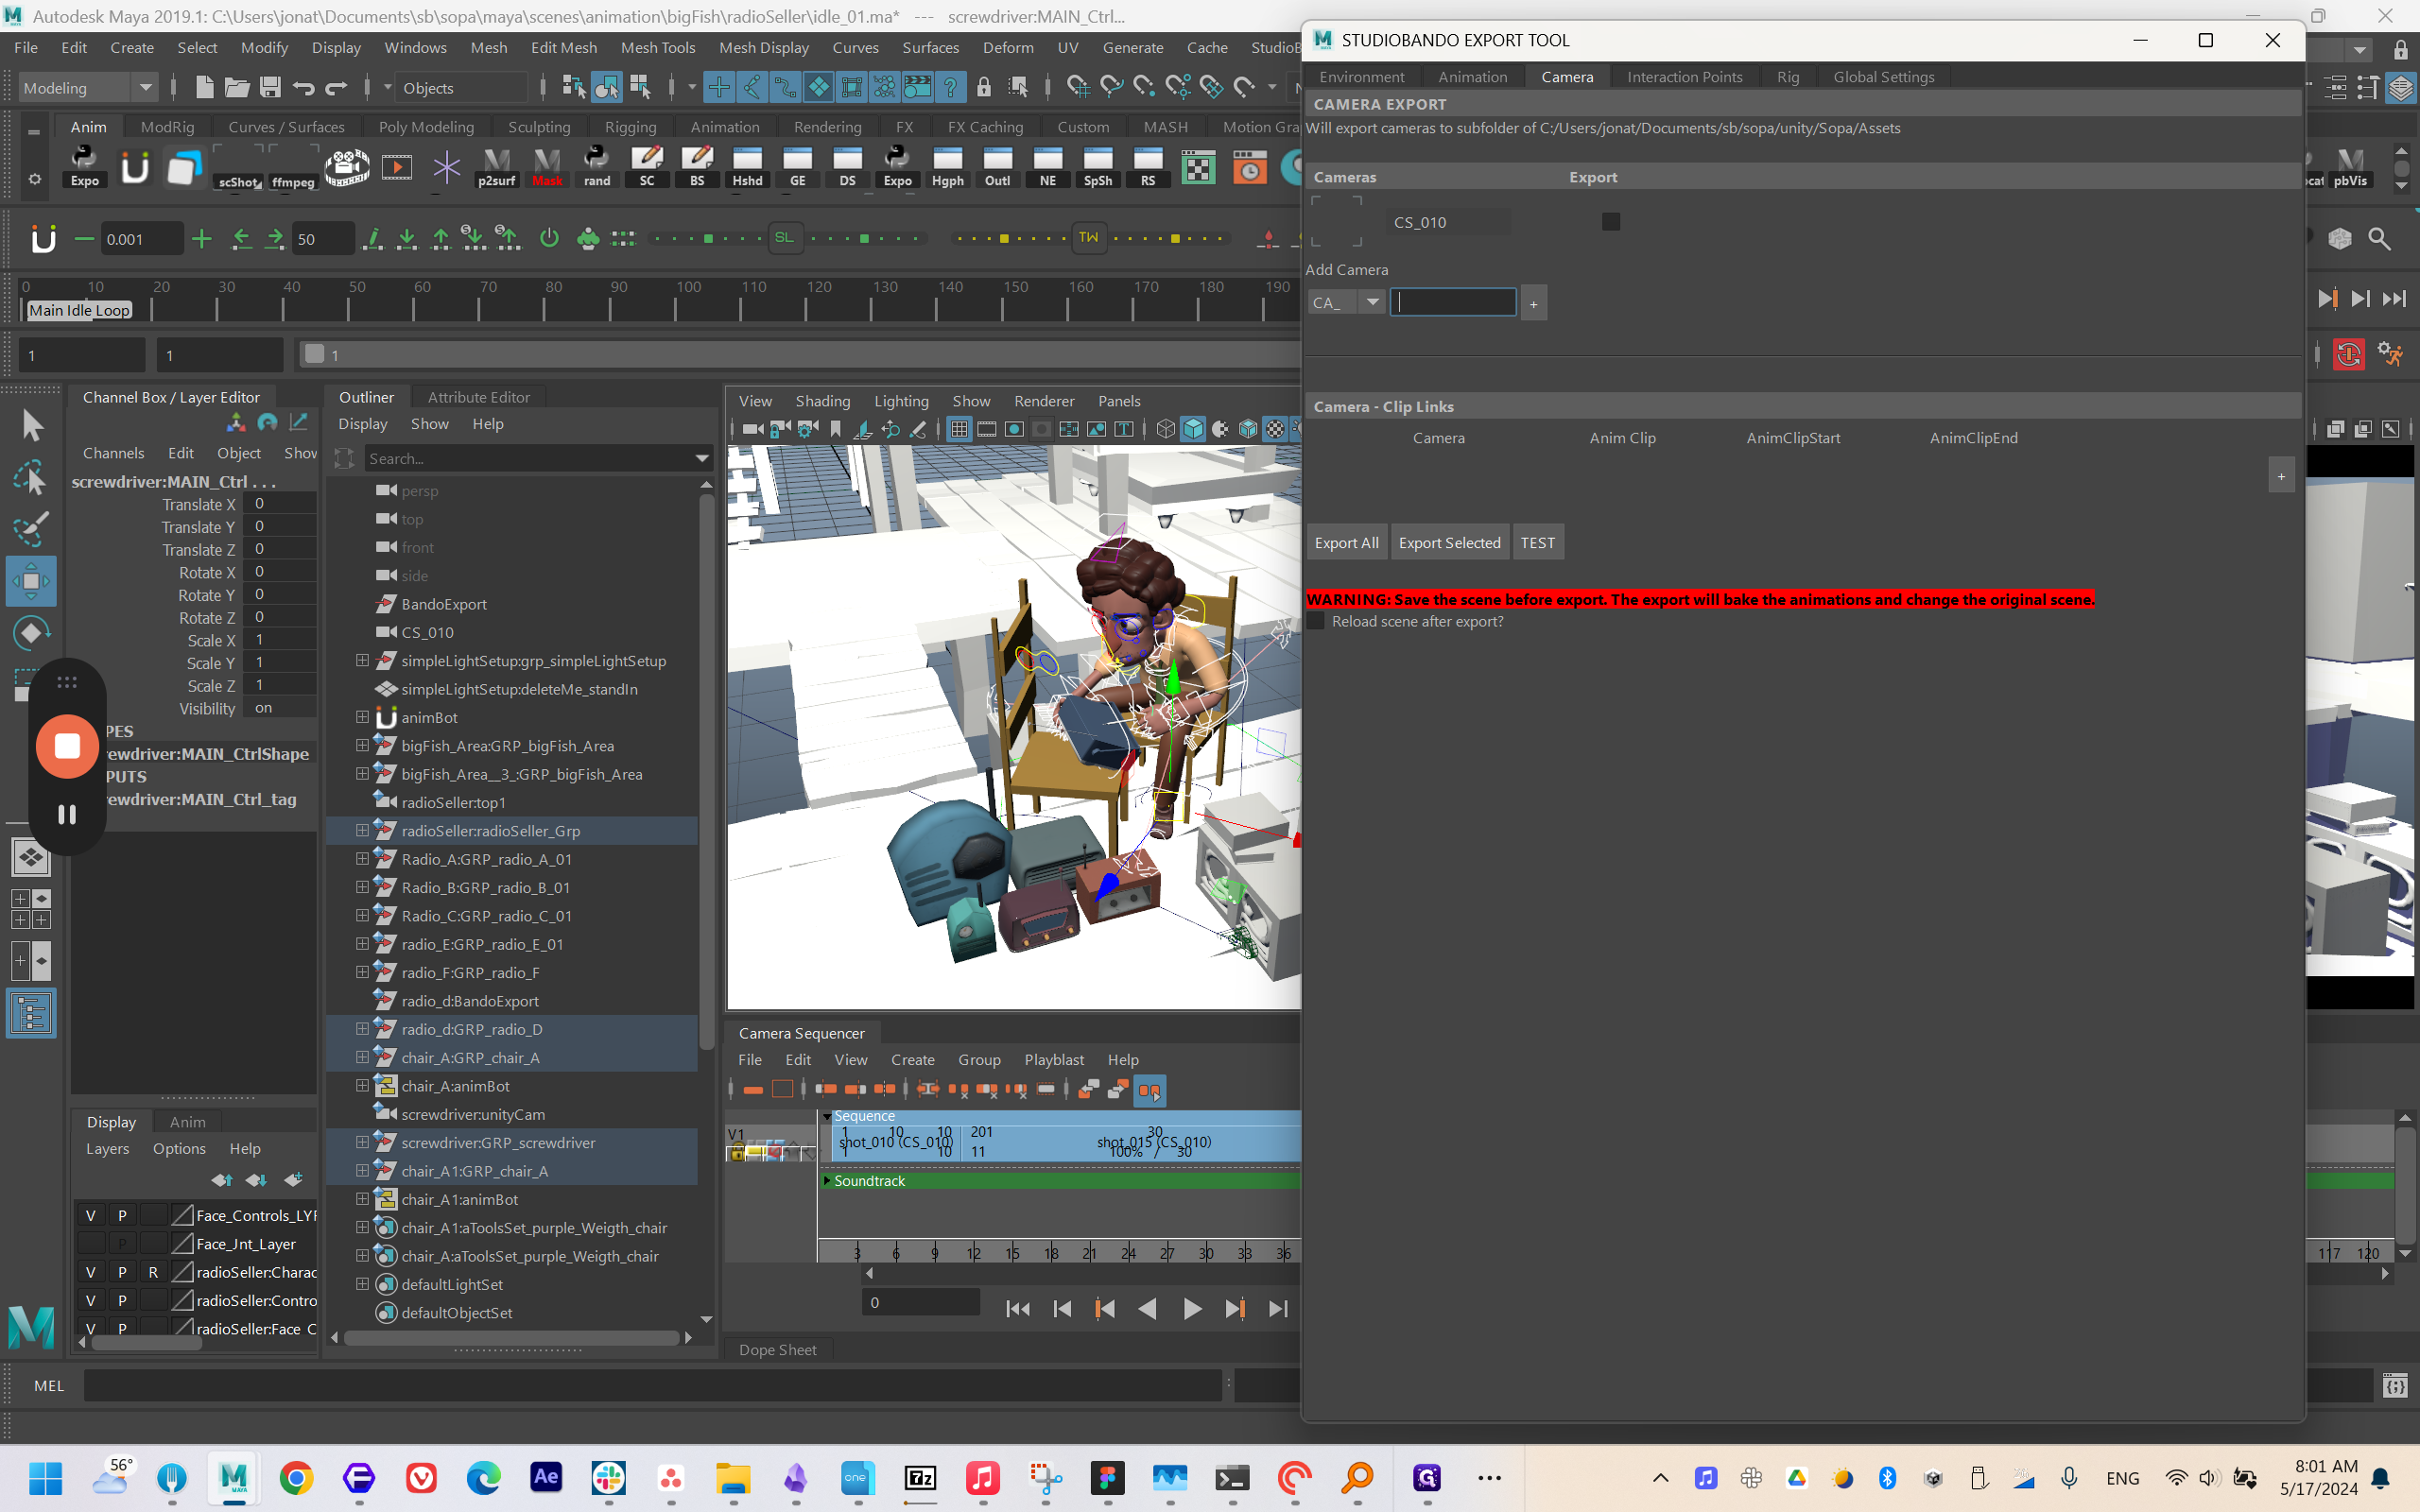
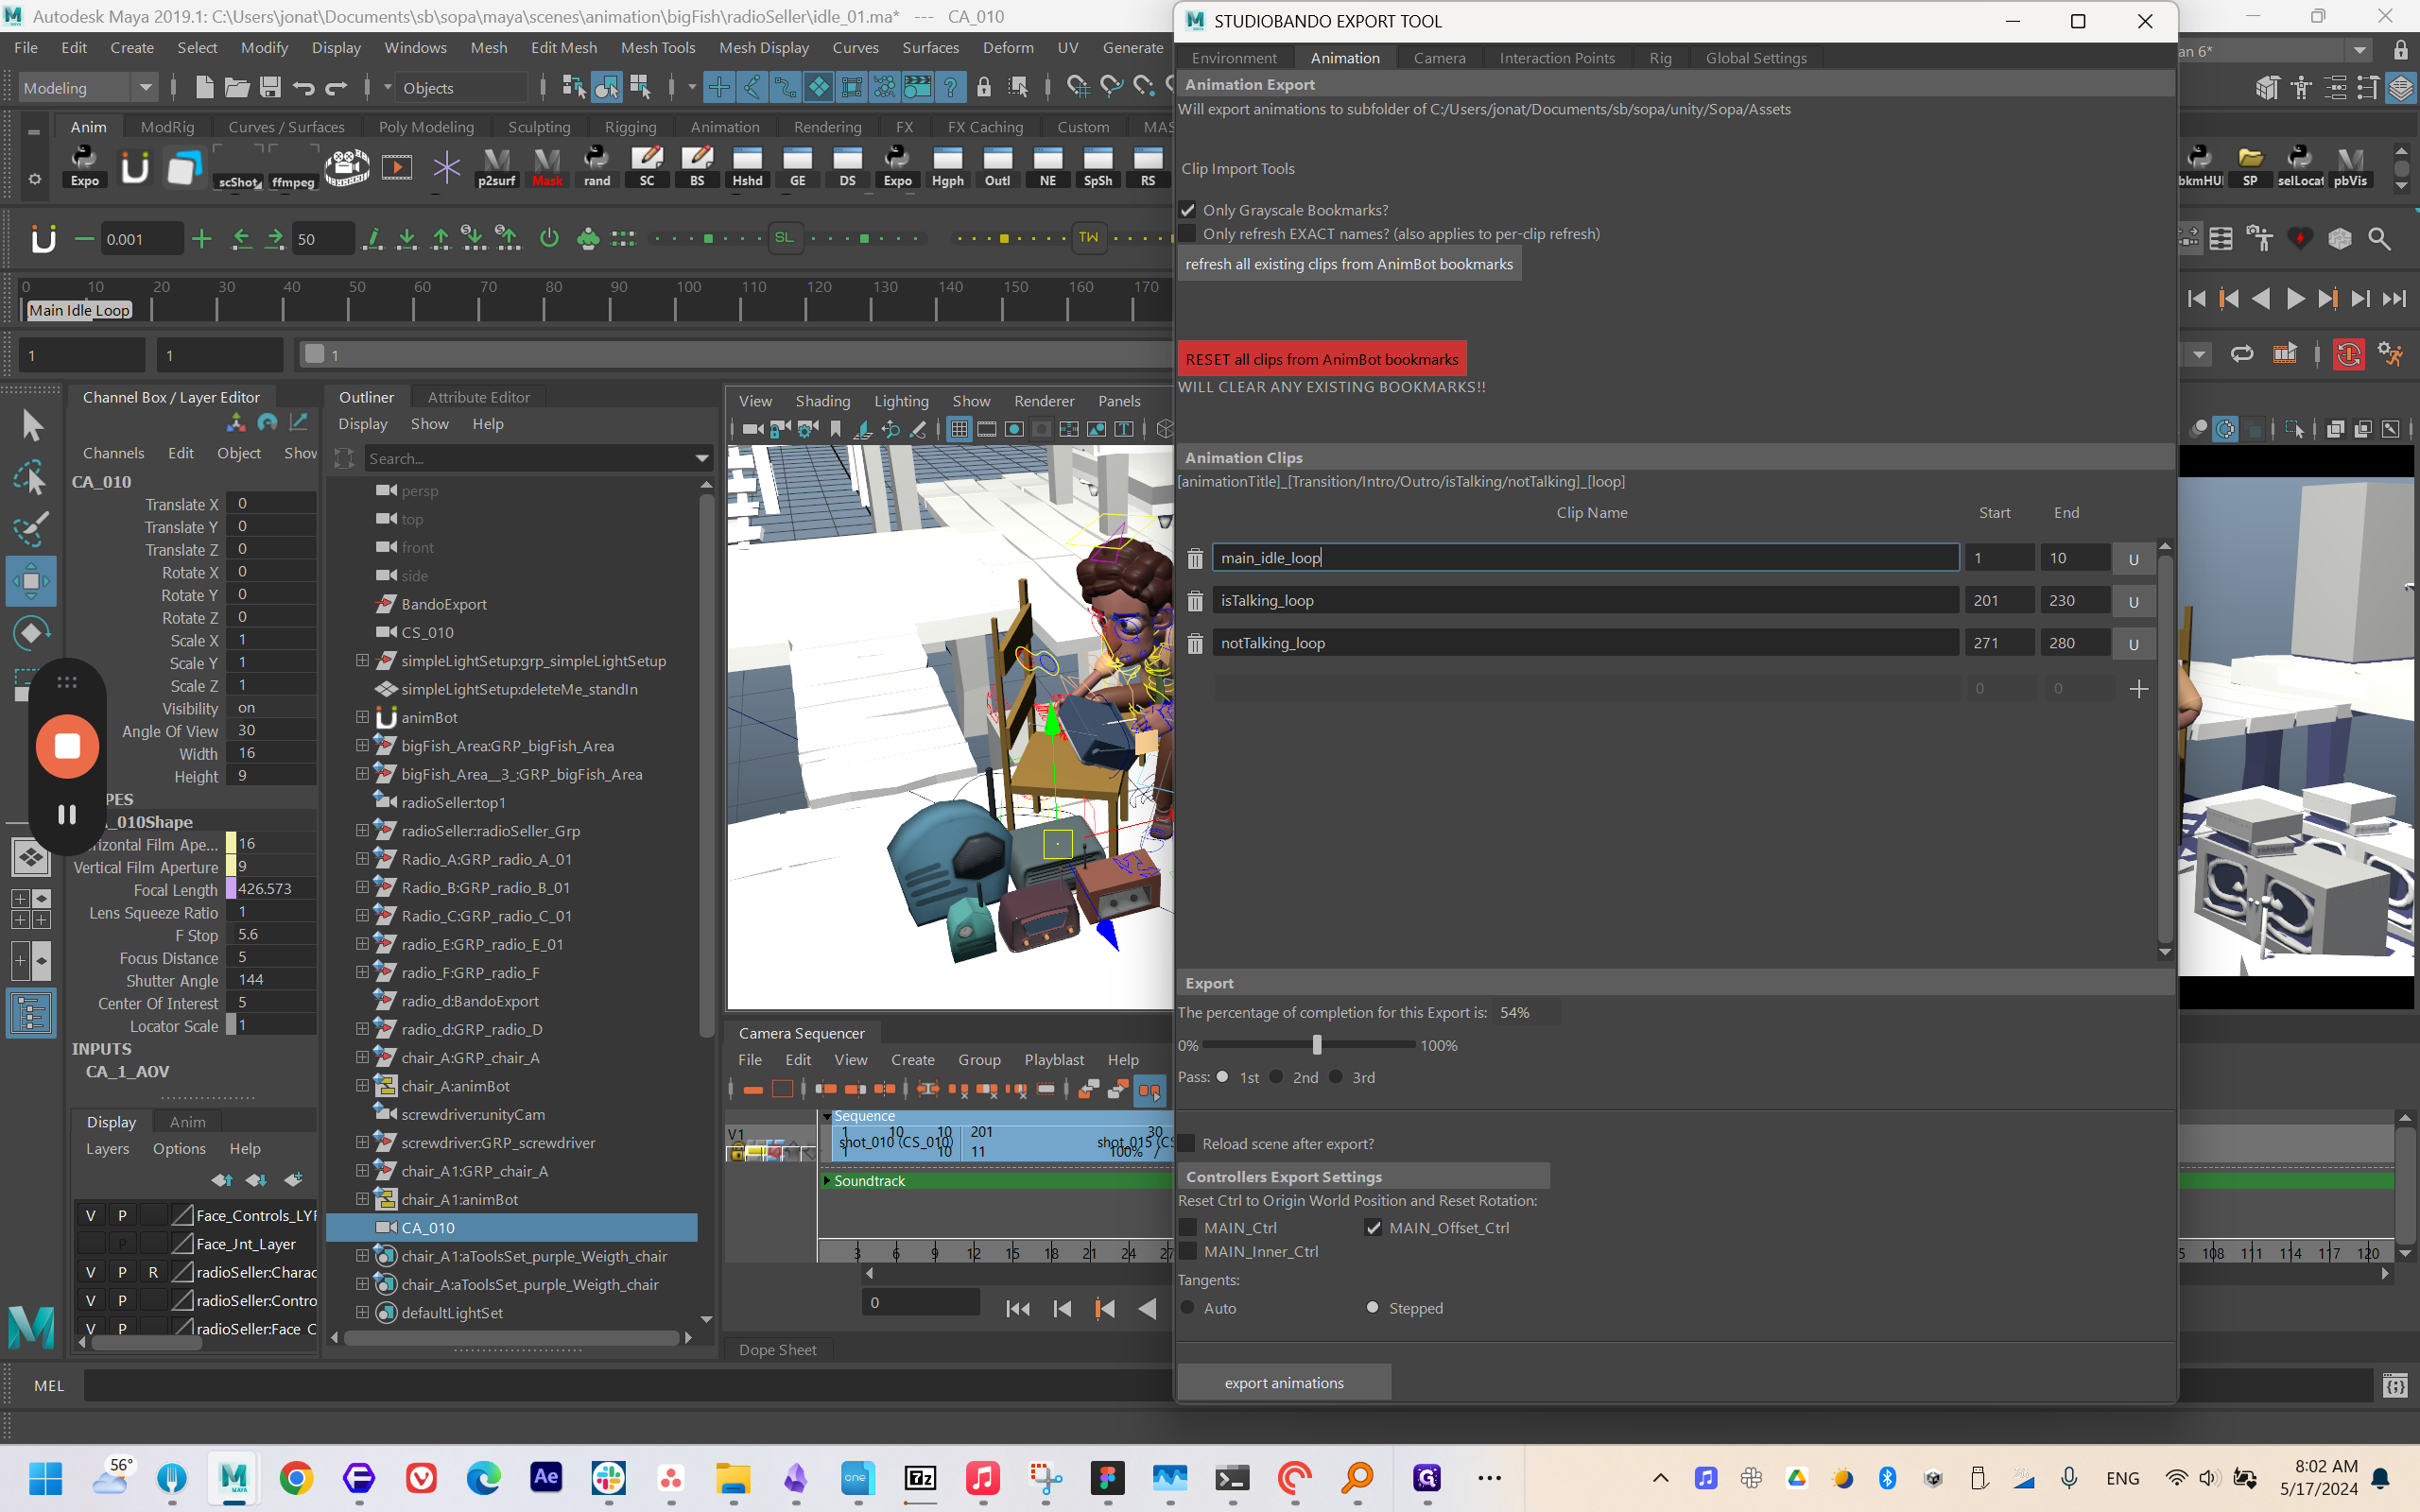
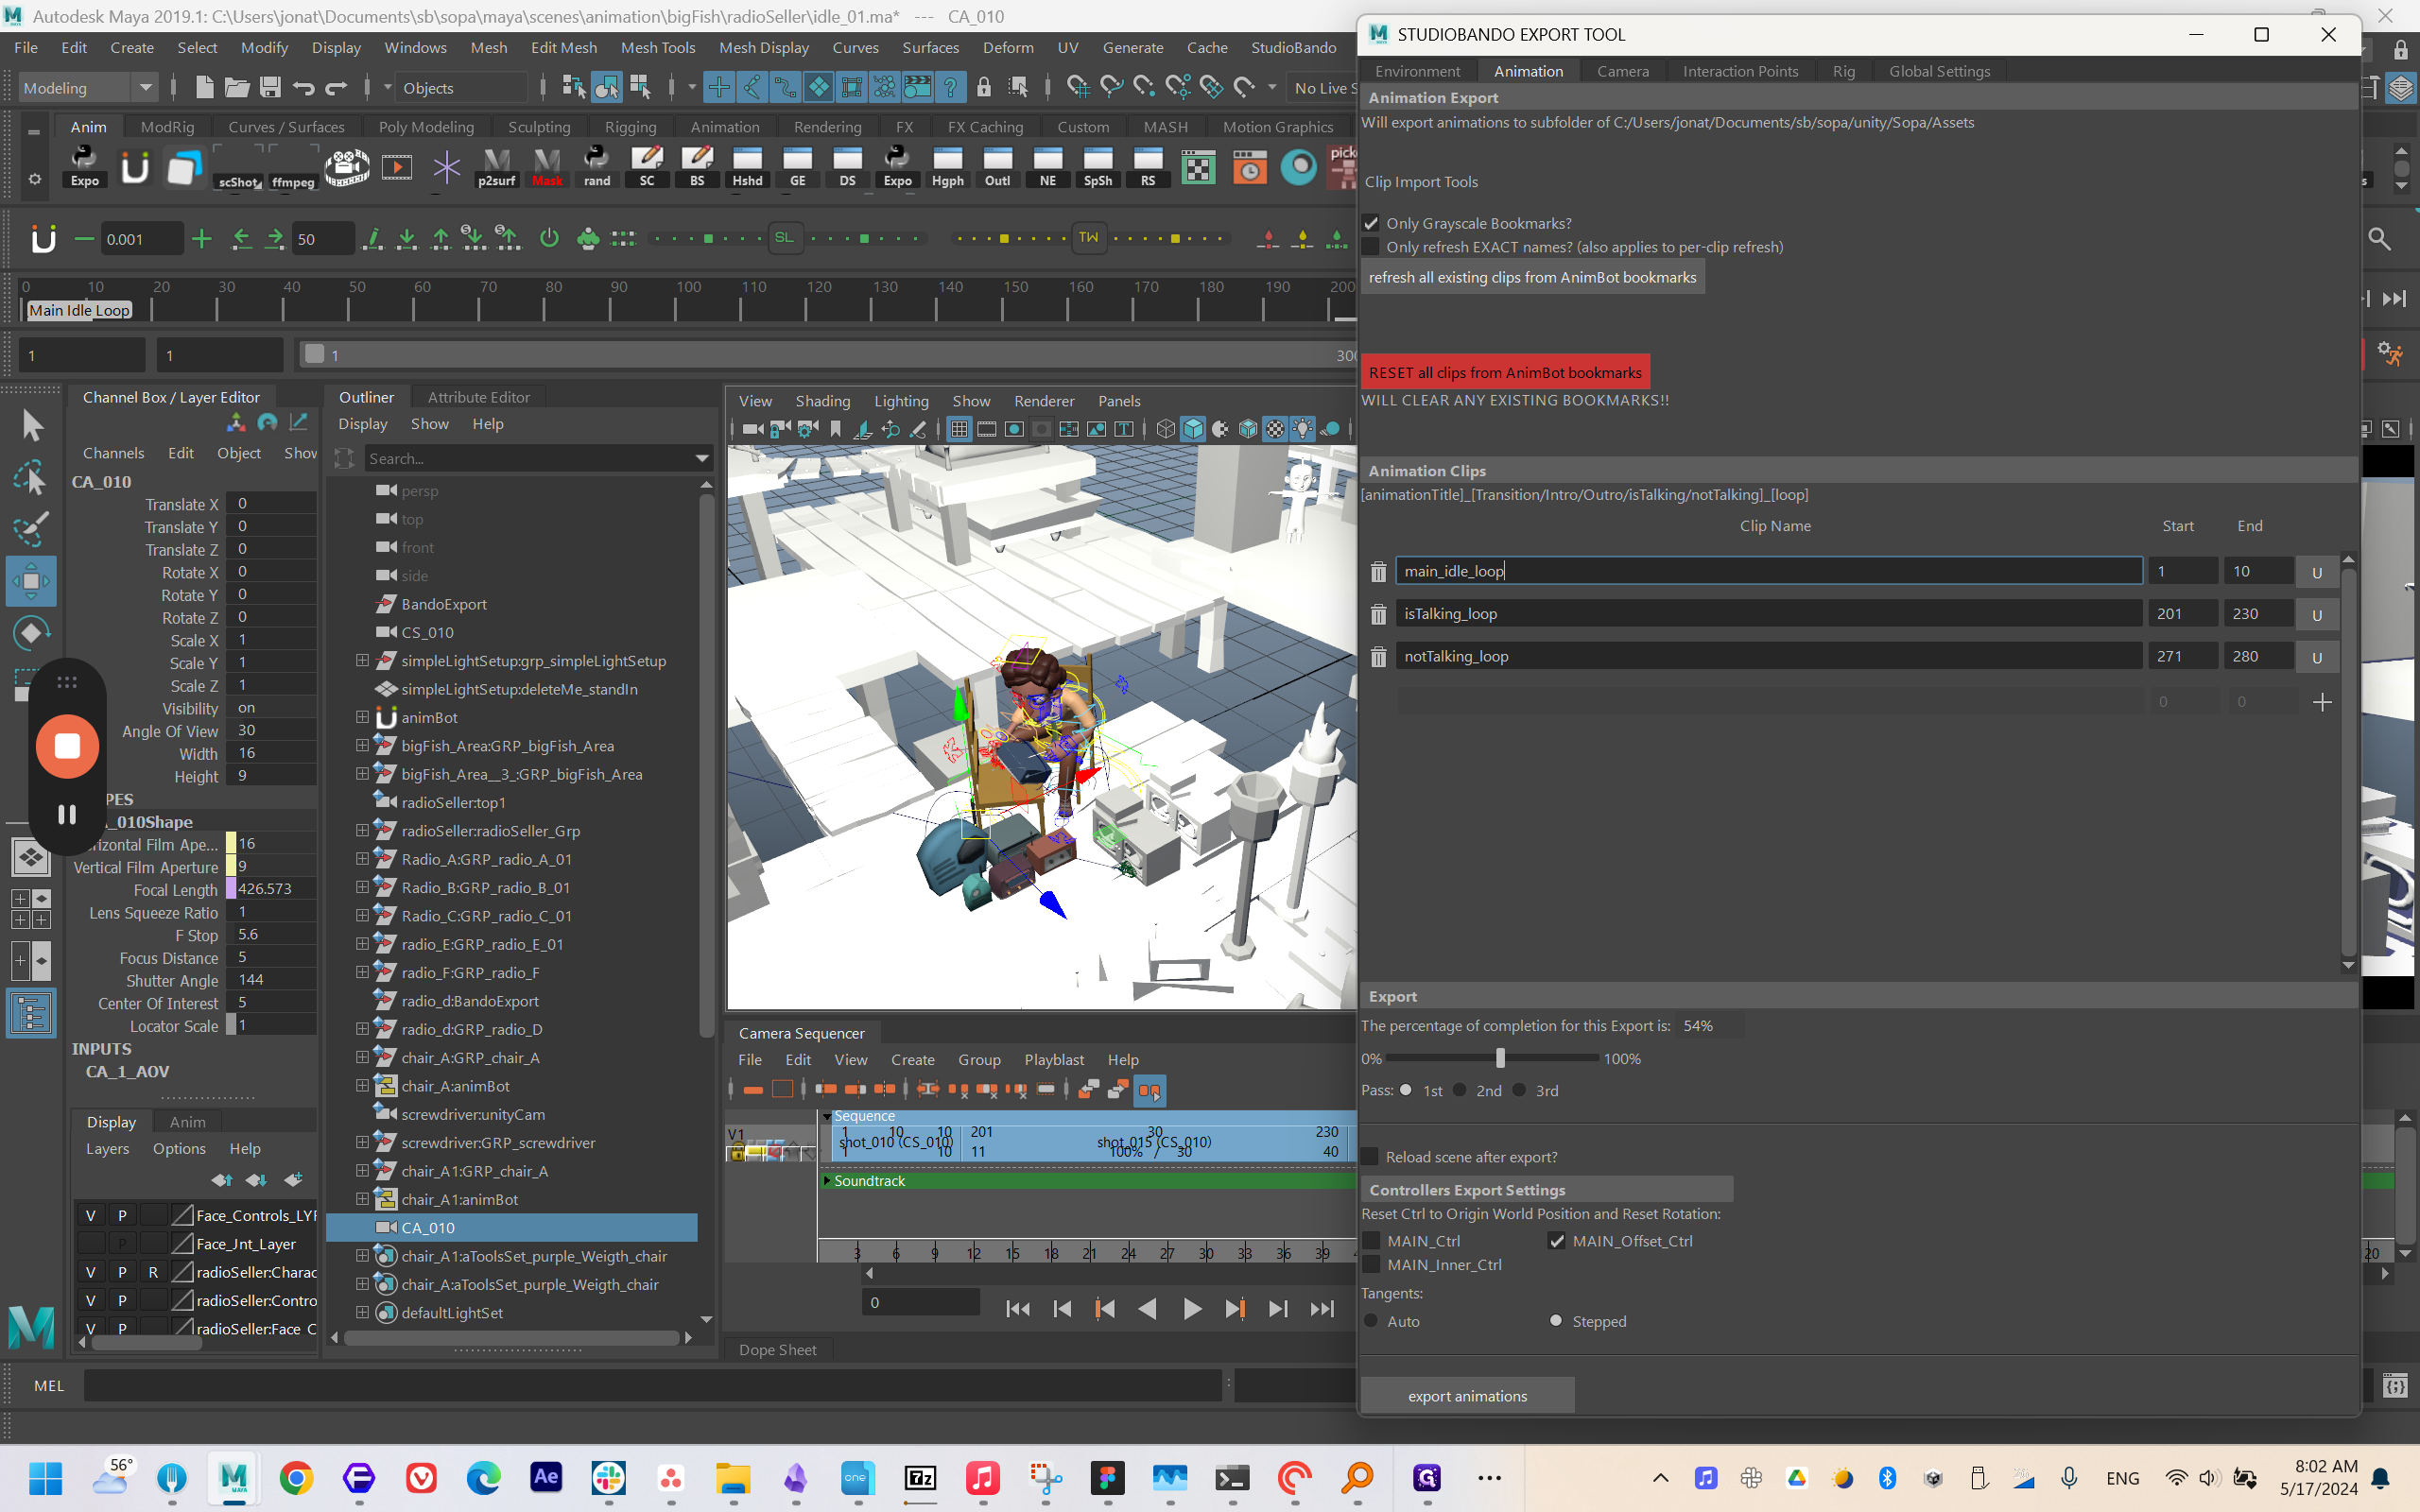
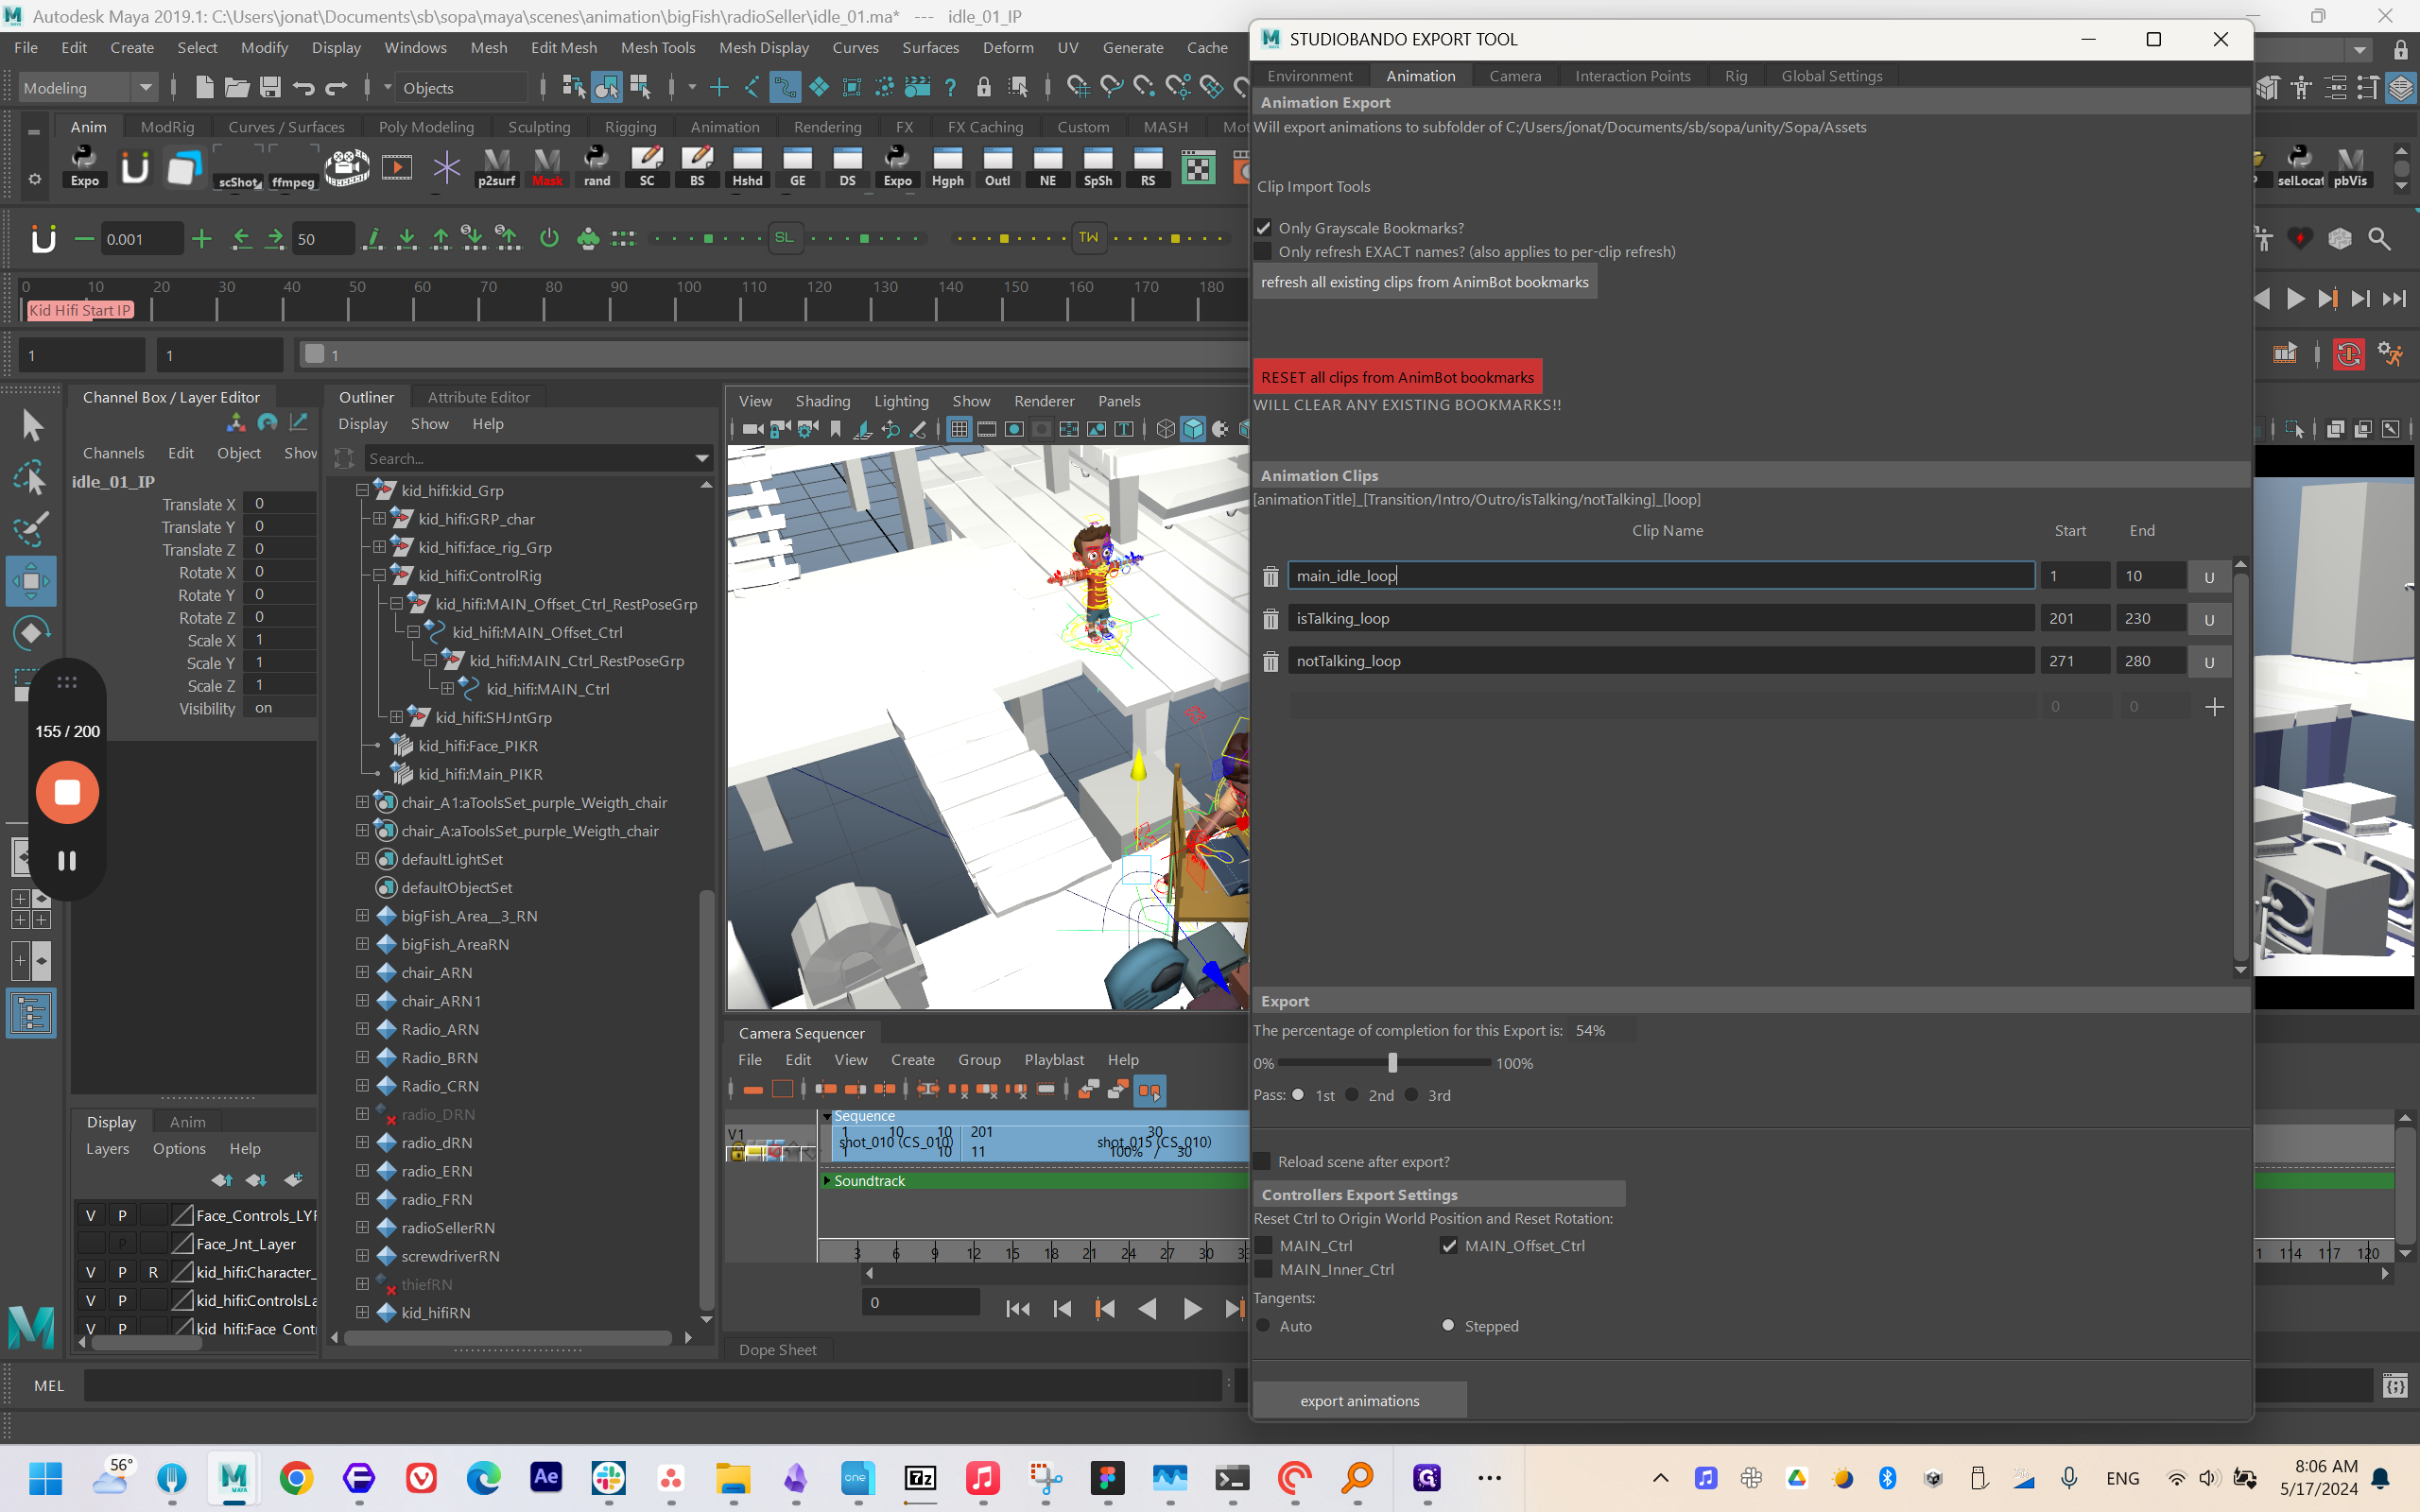
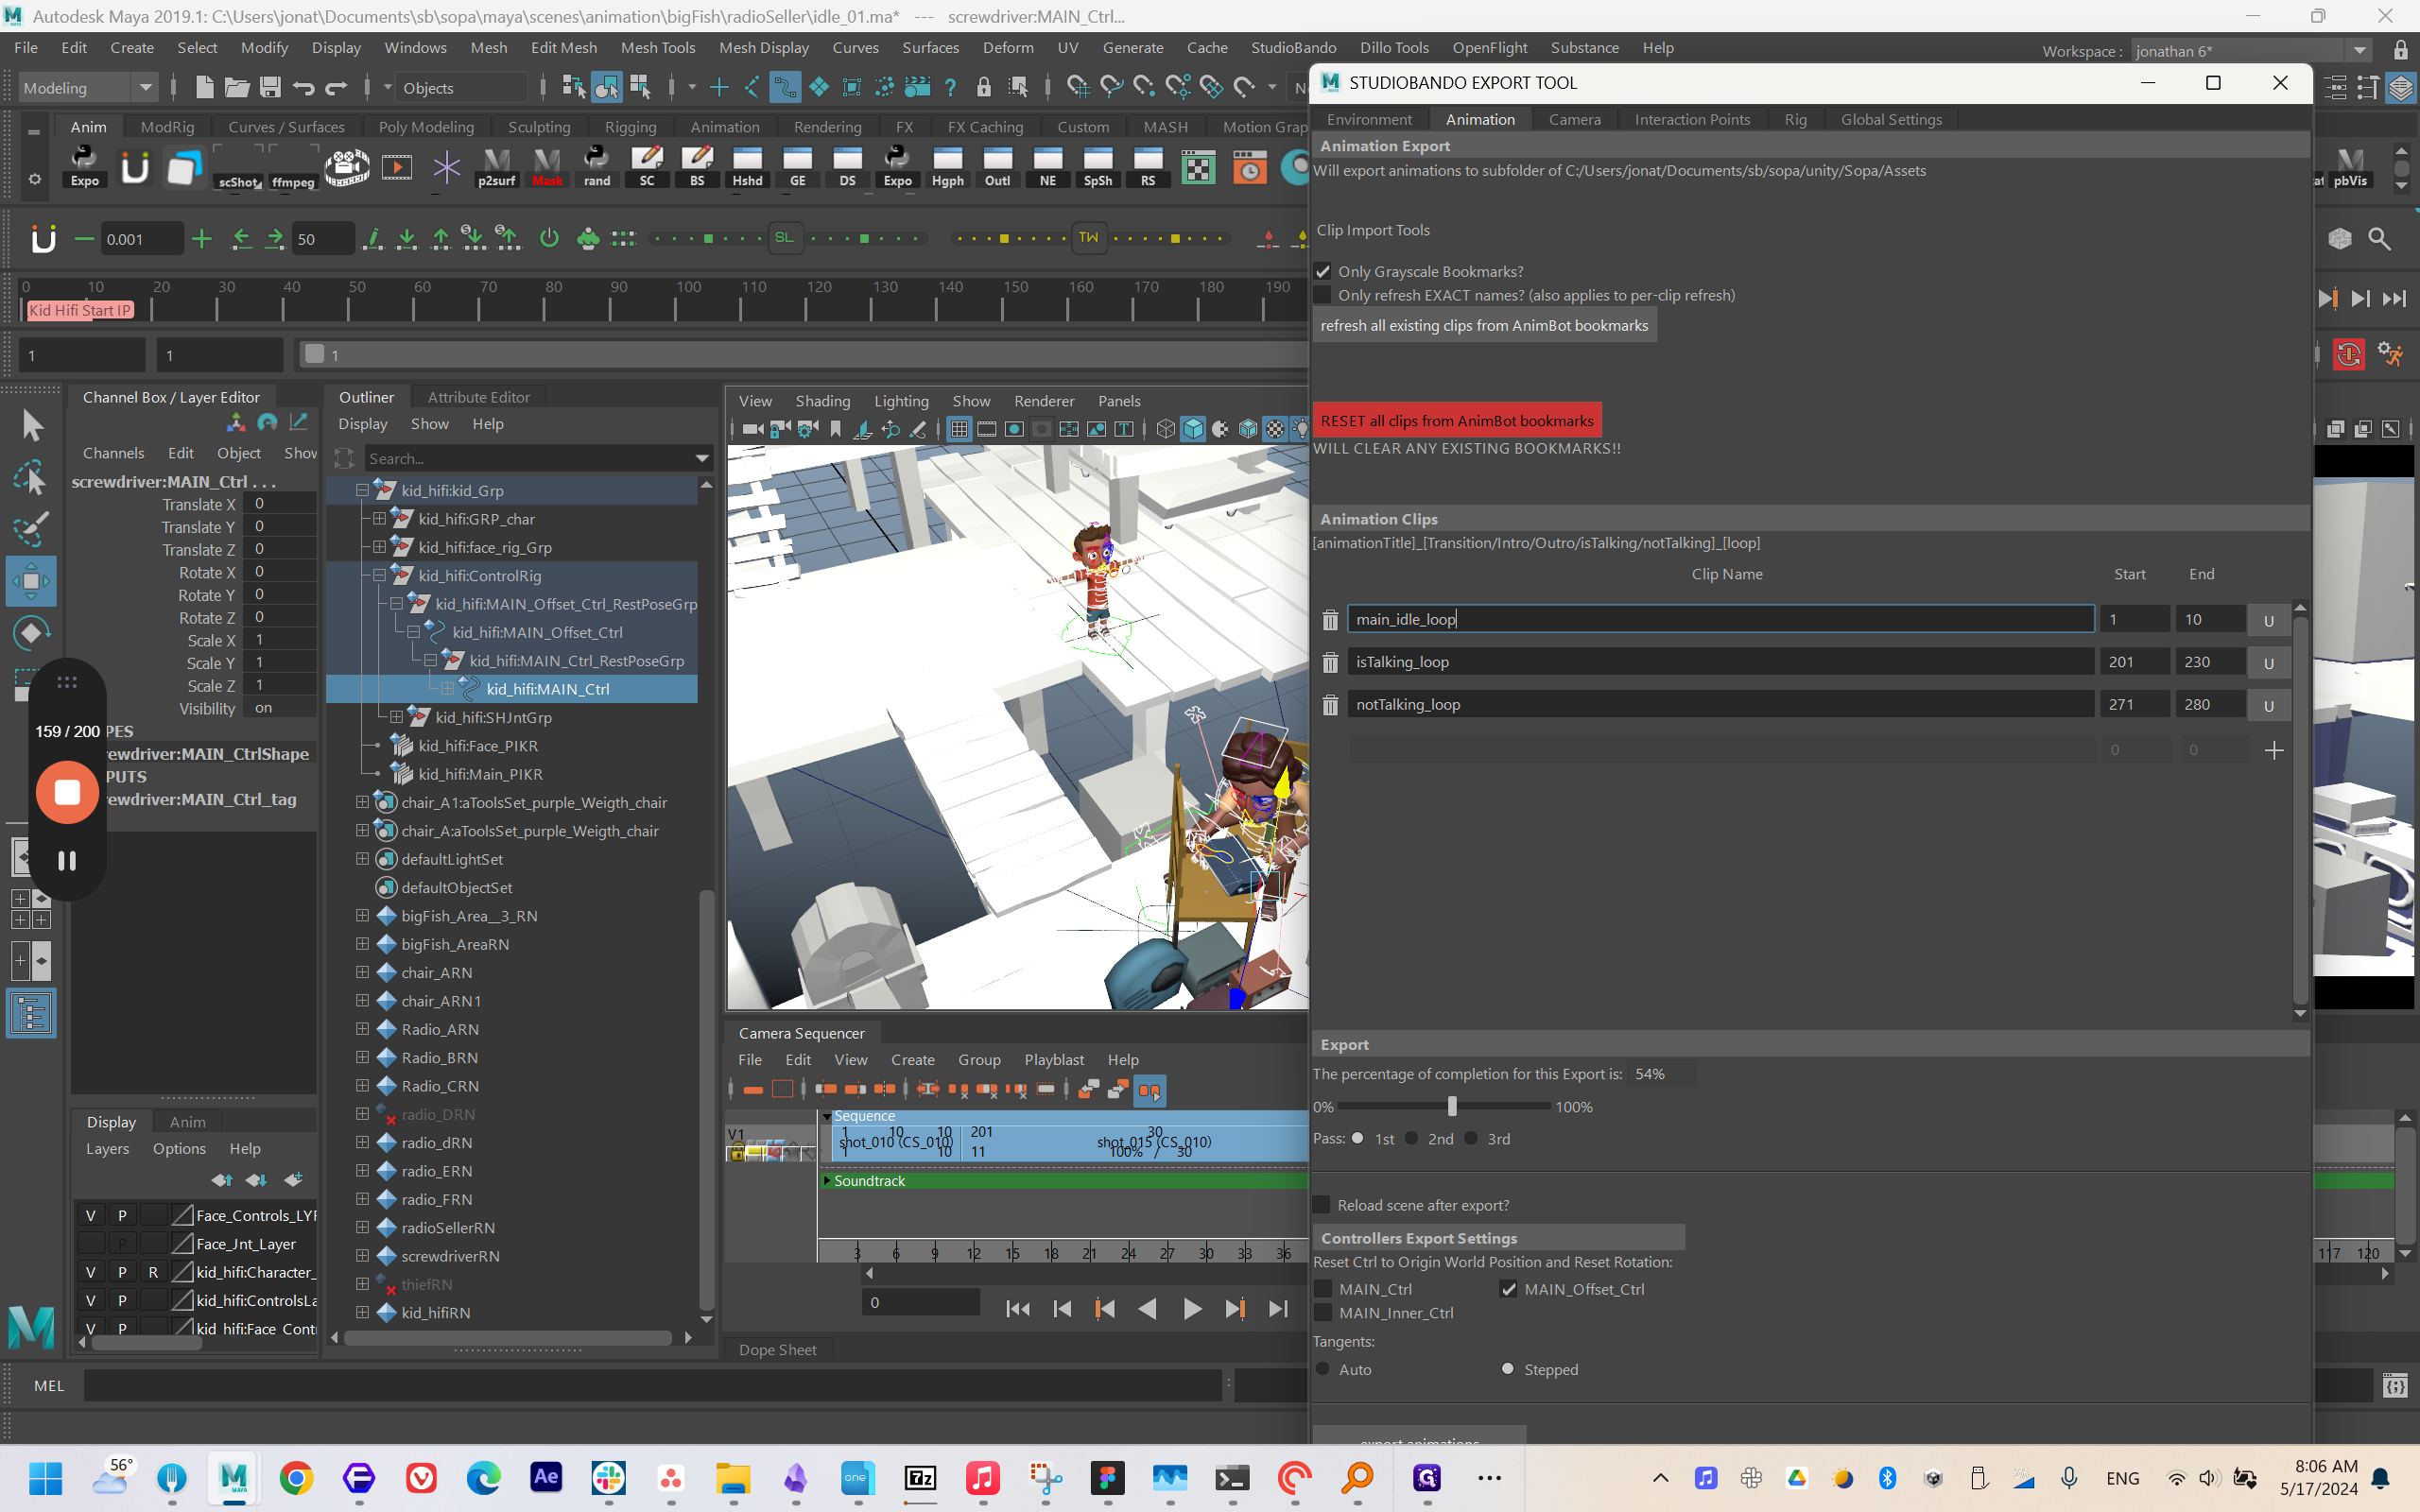
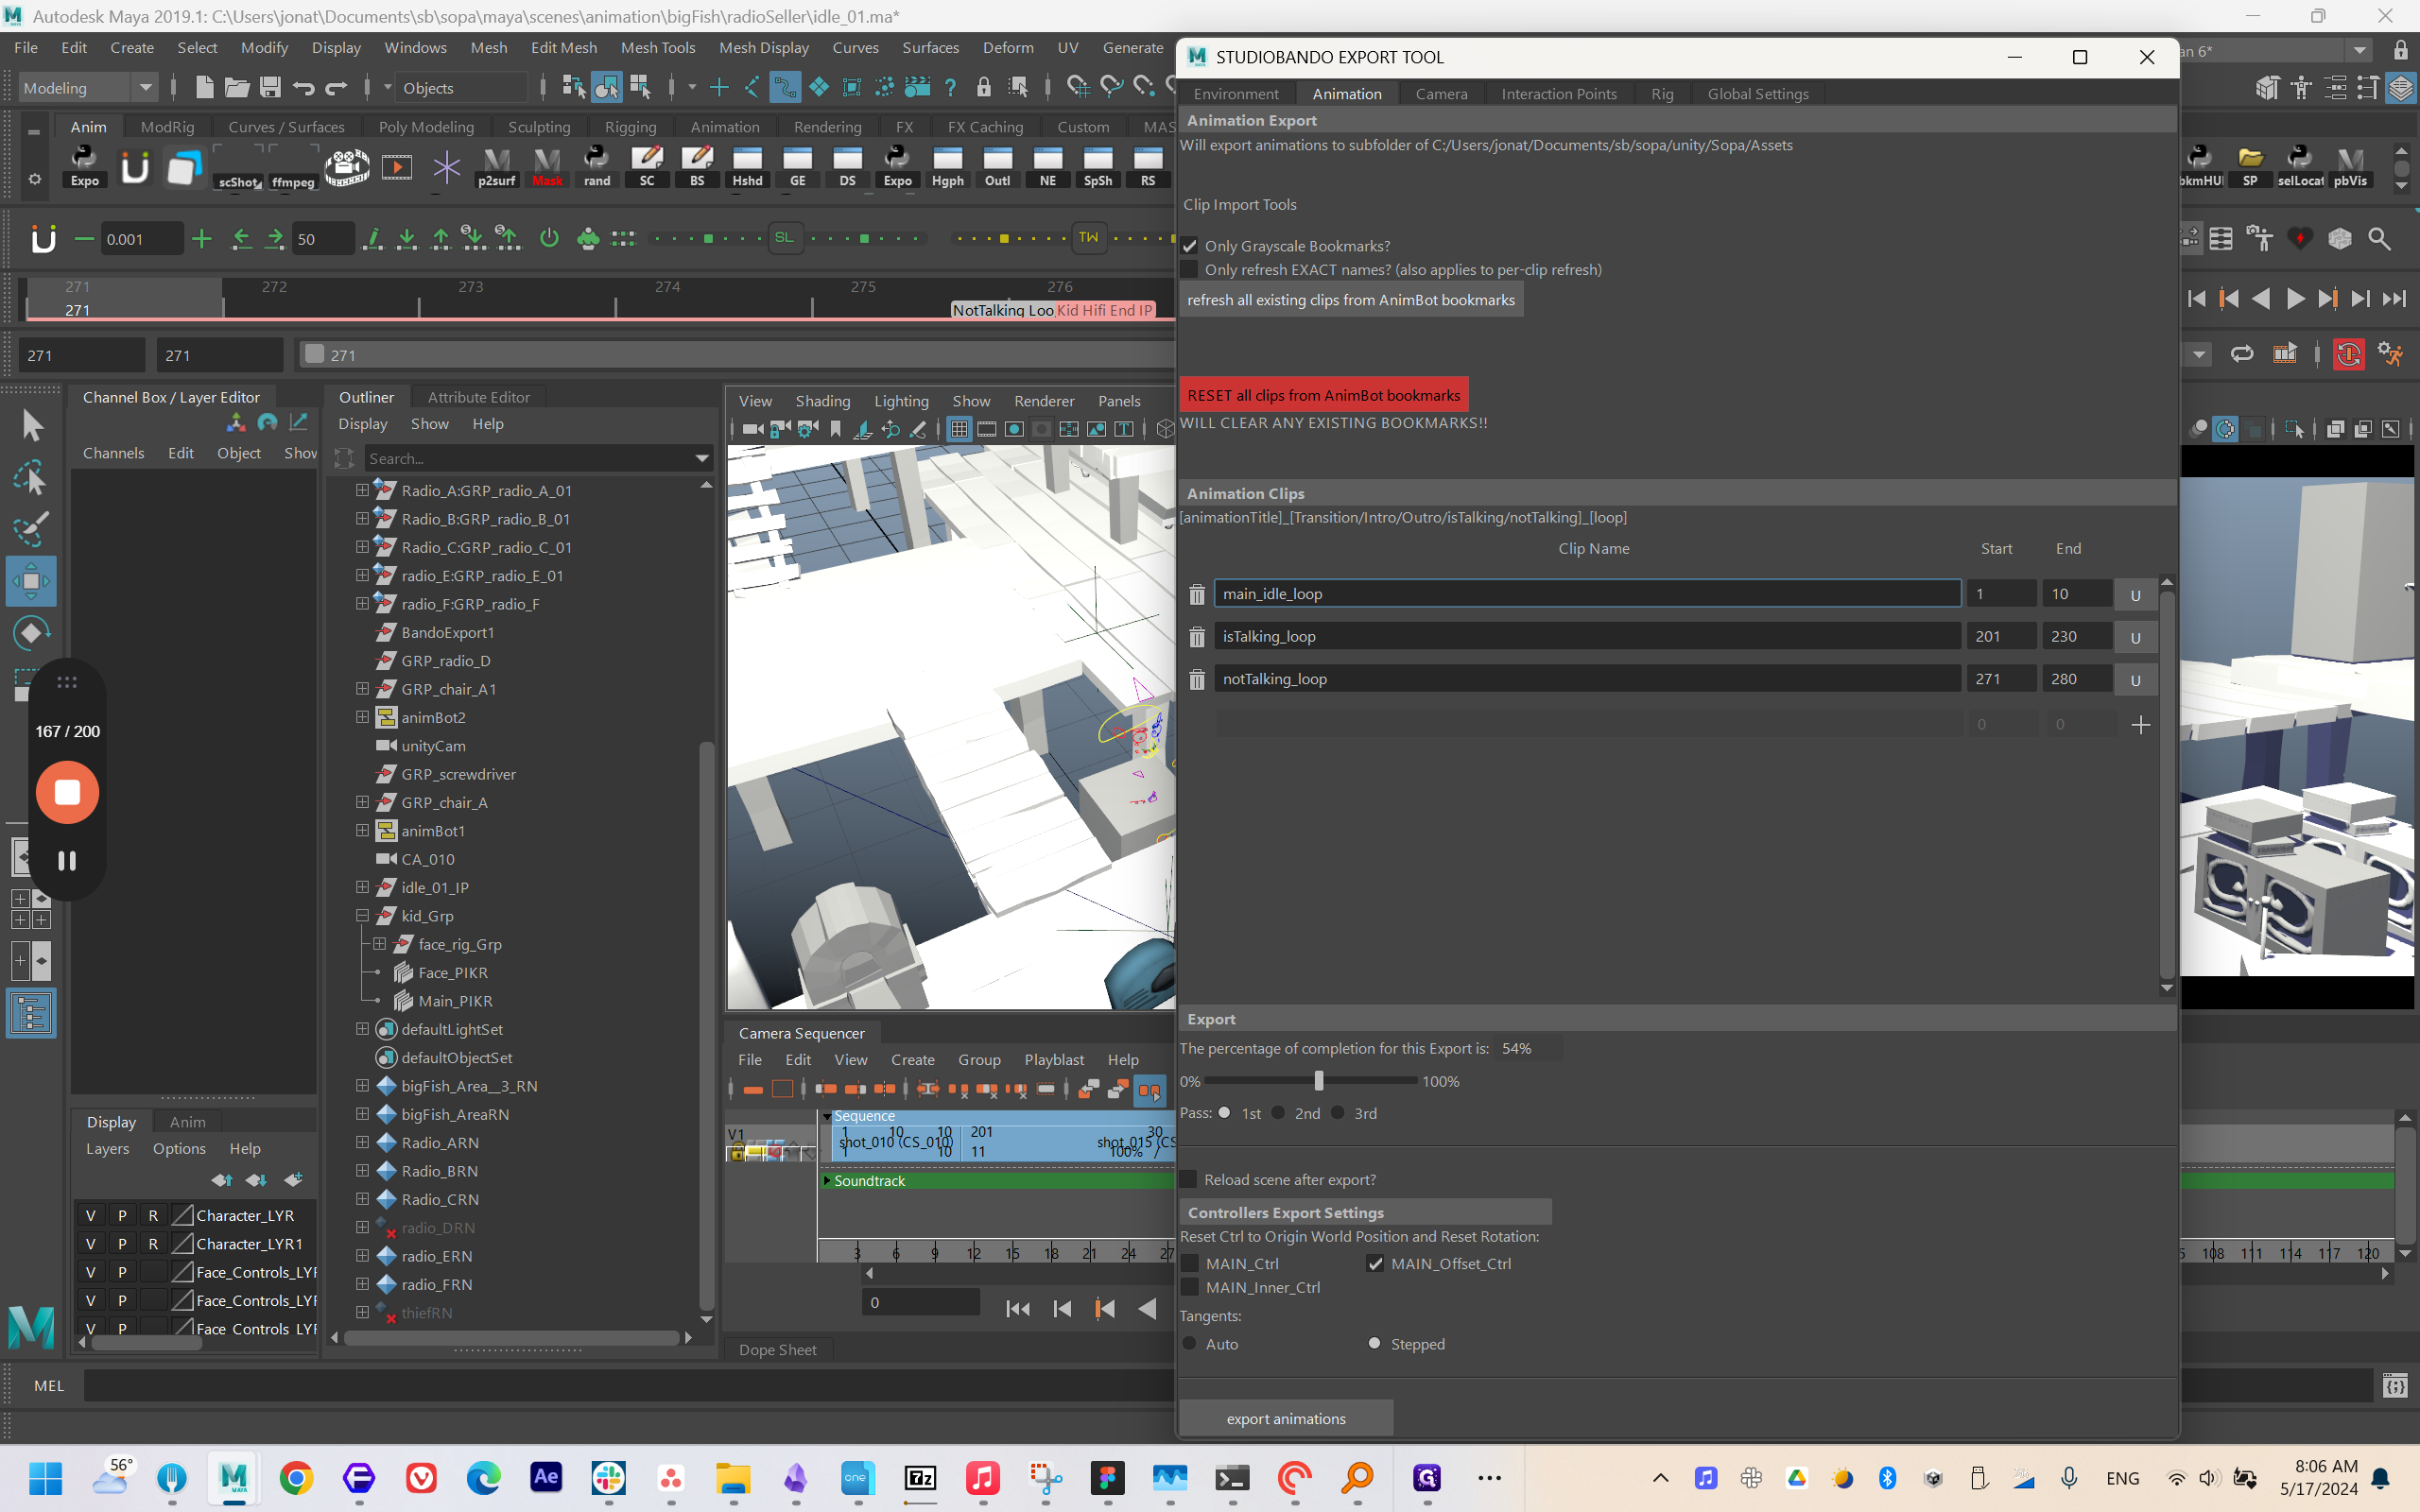
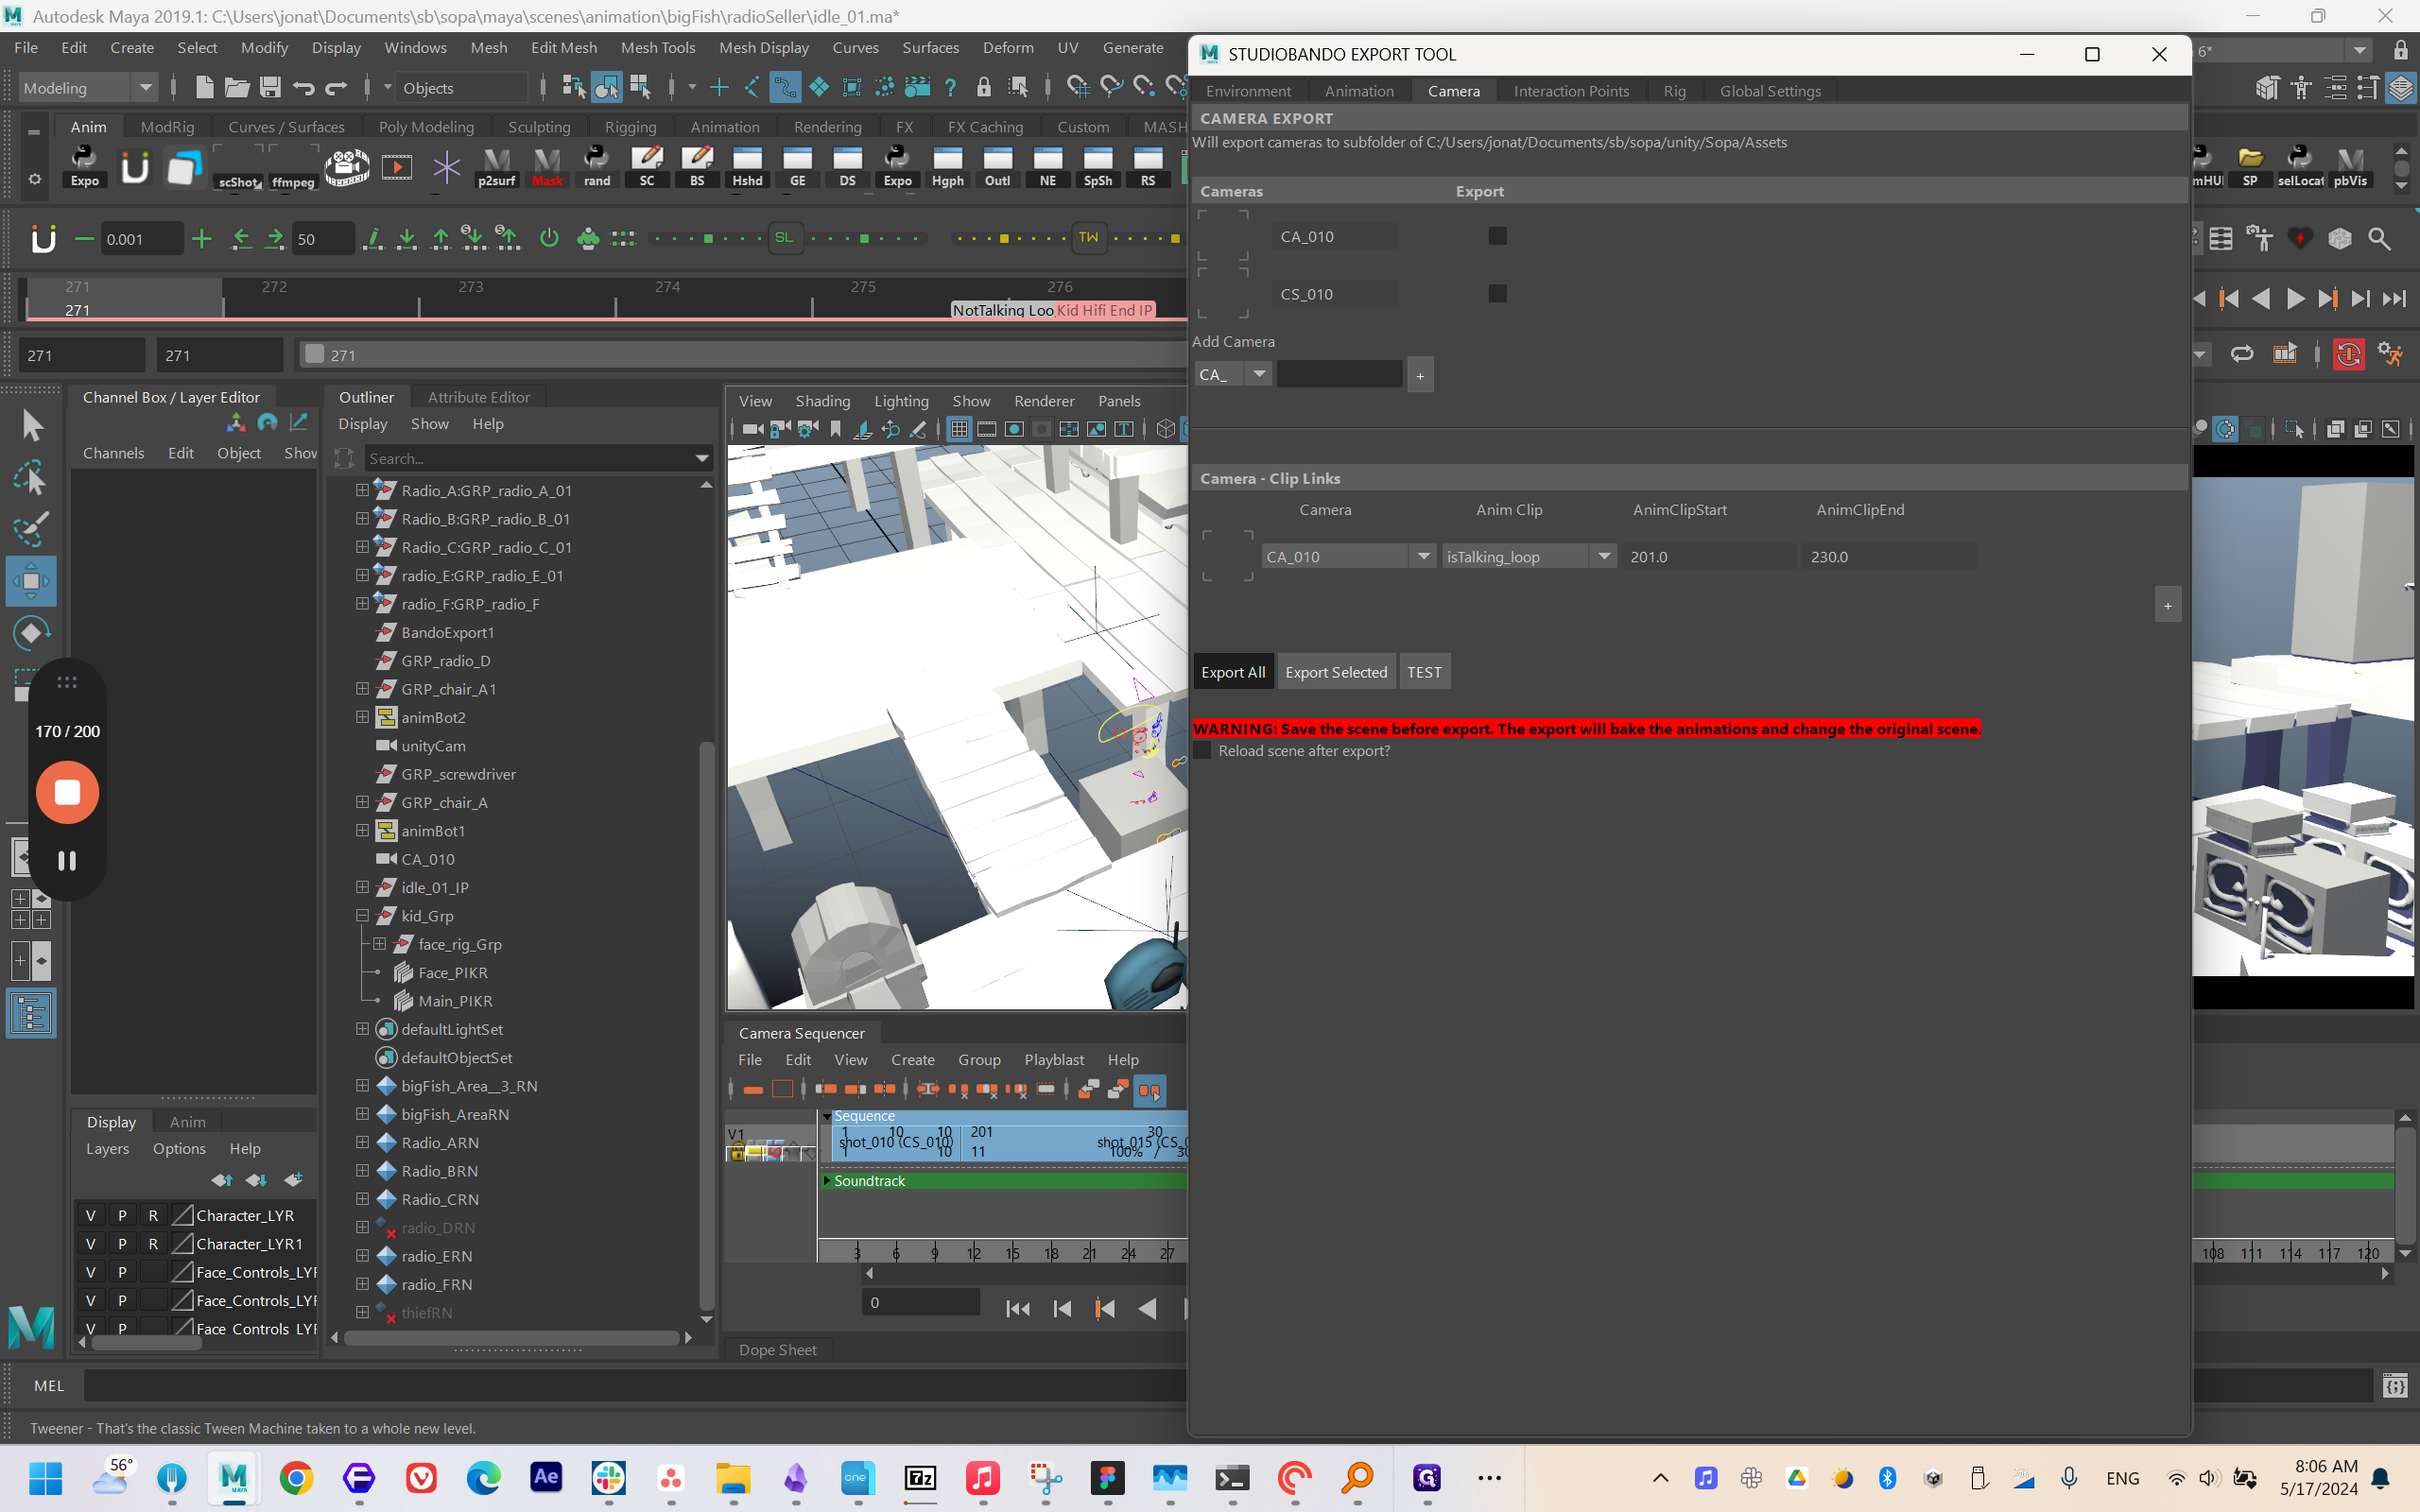
Just select a name to start using Studio Bando. Export the animation, and this is where the animation clips are set up.

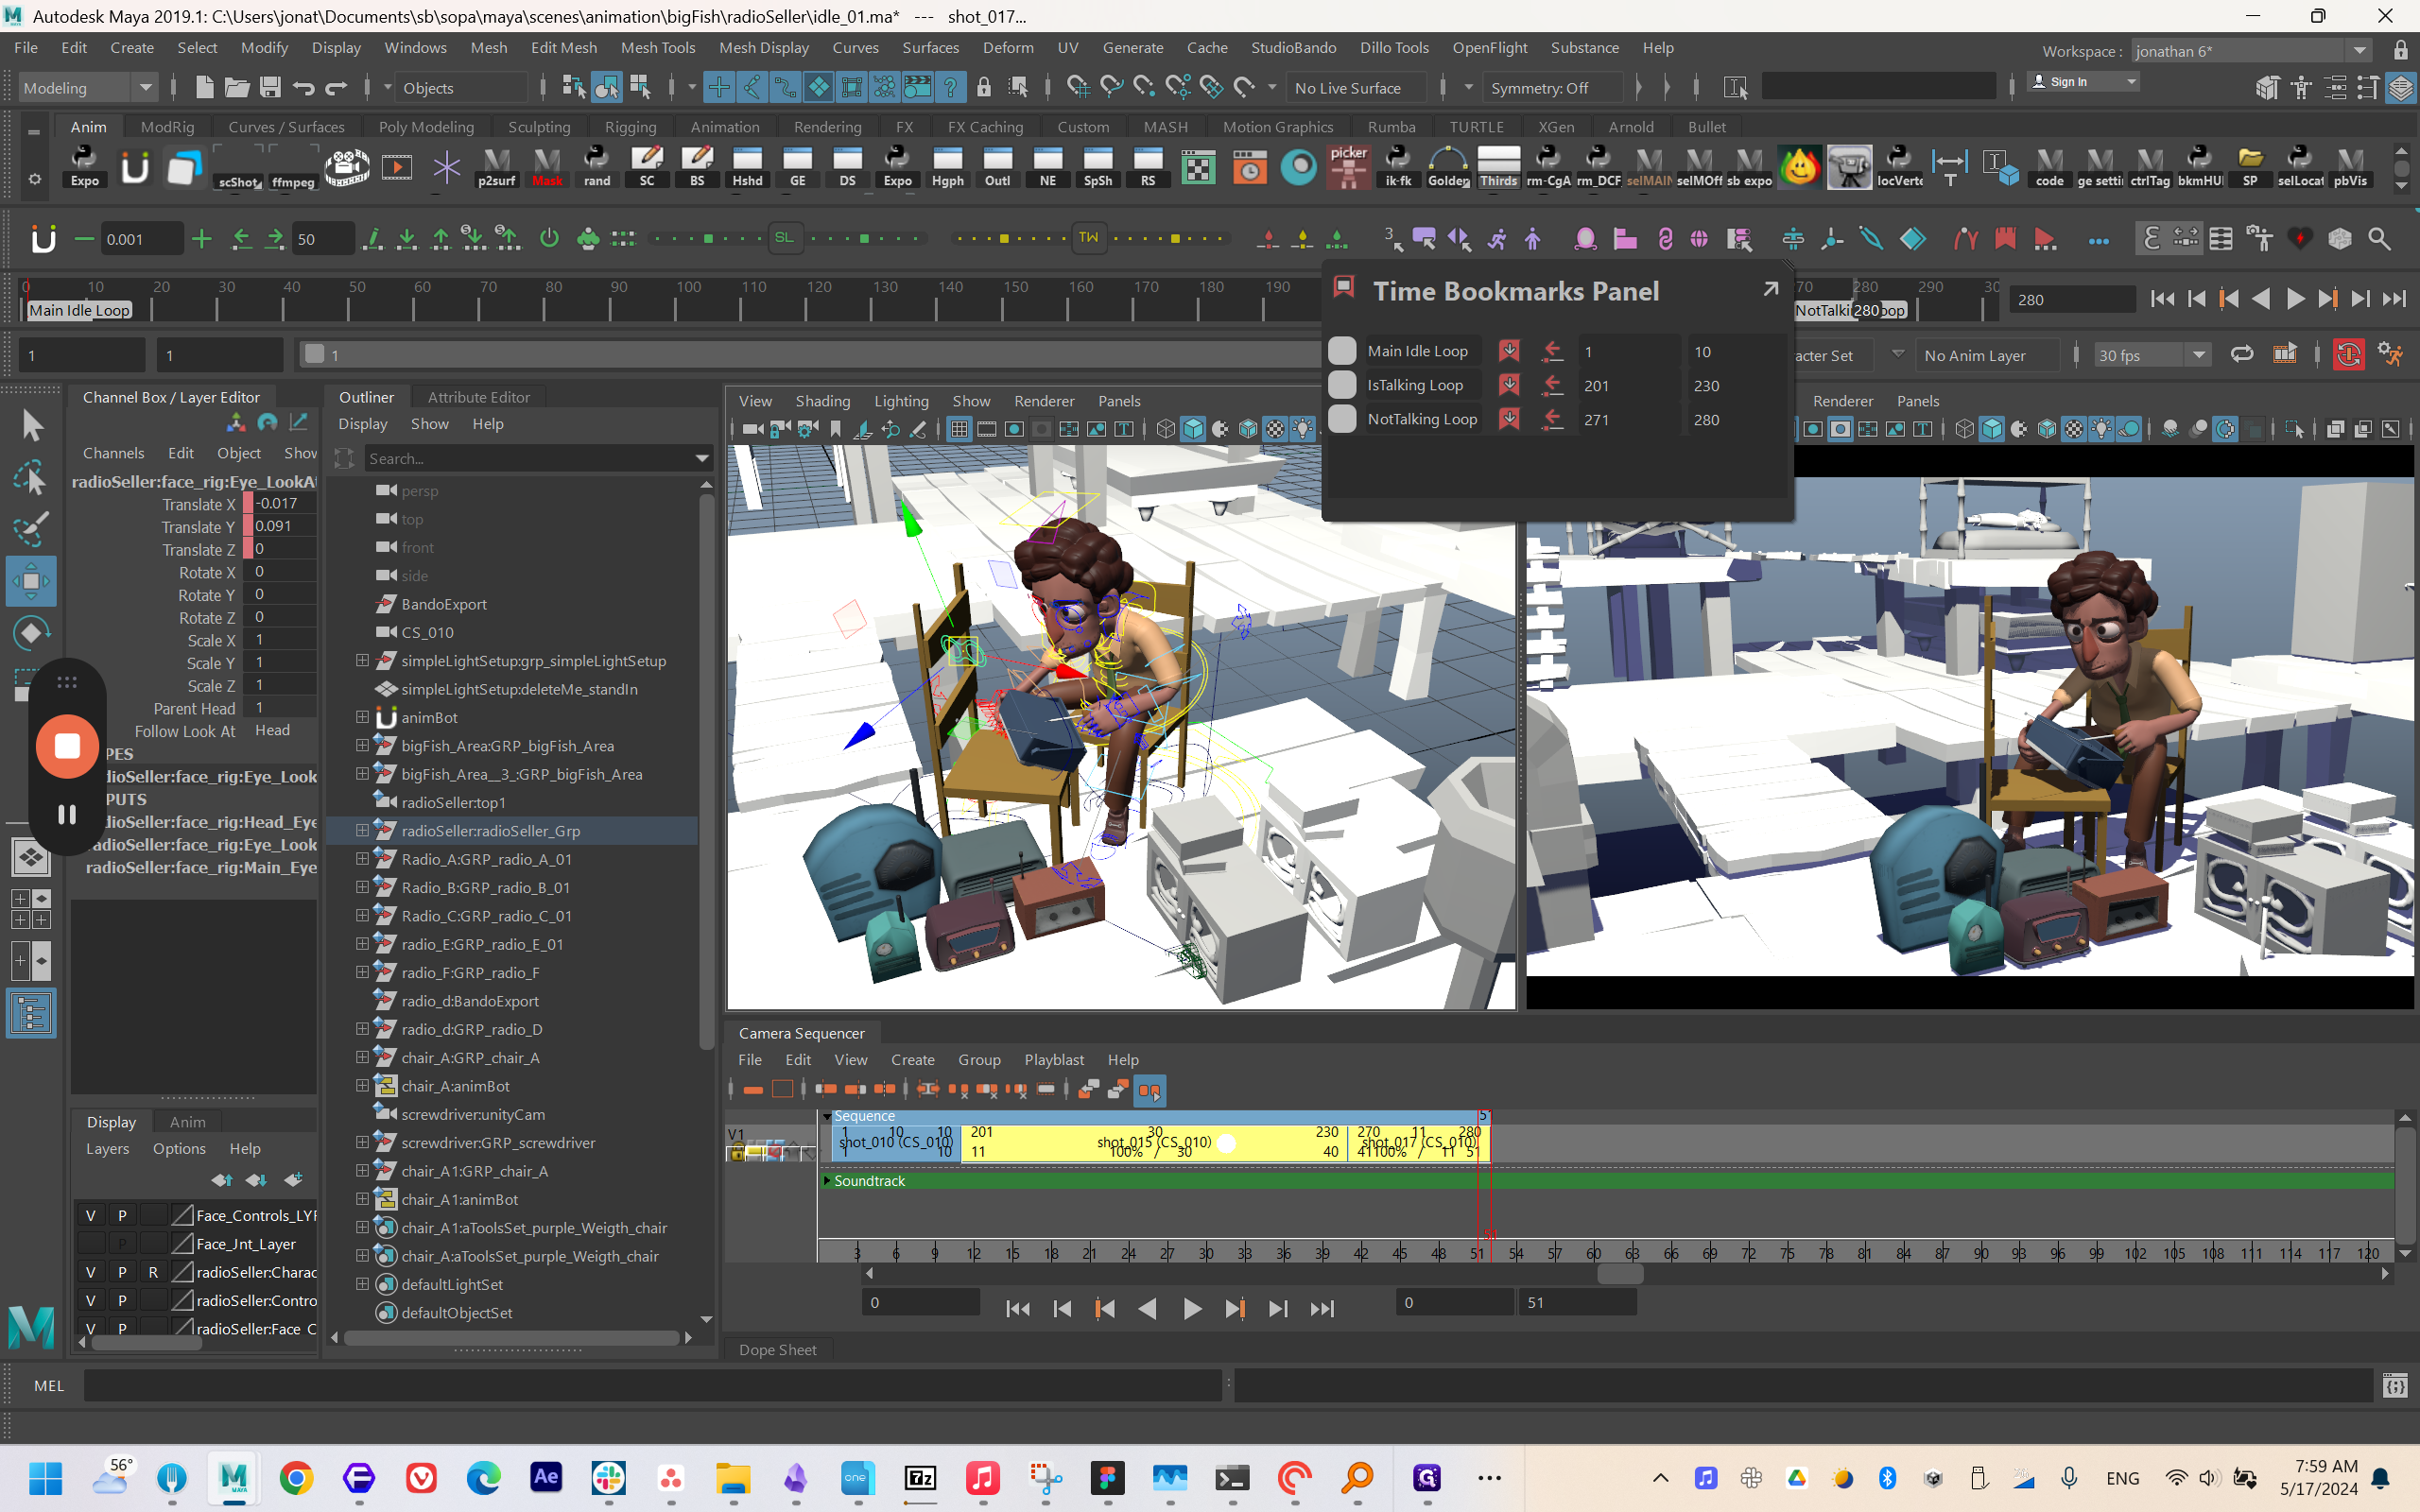
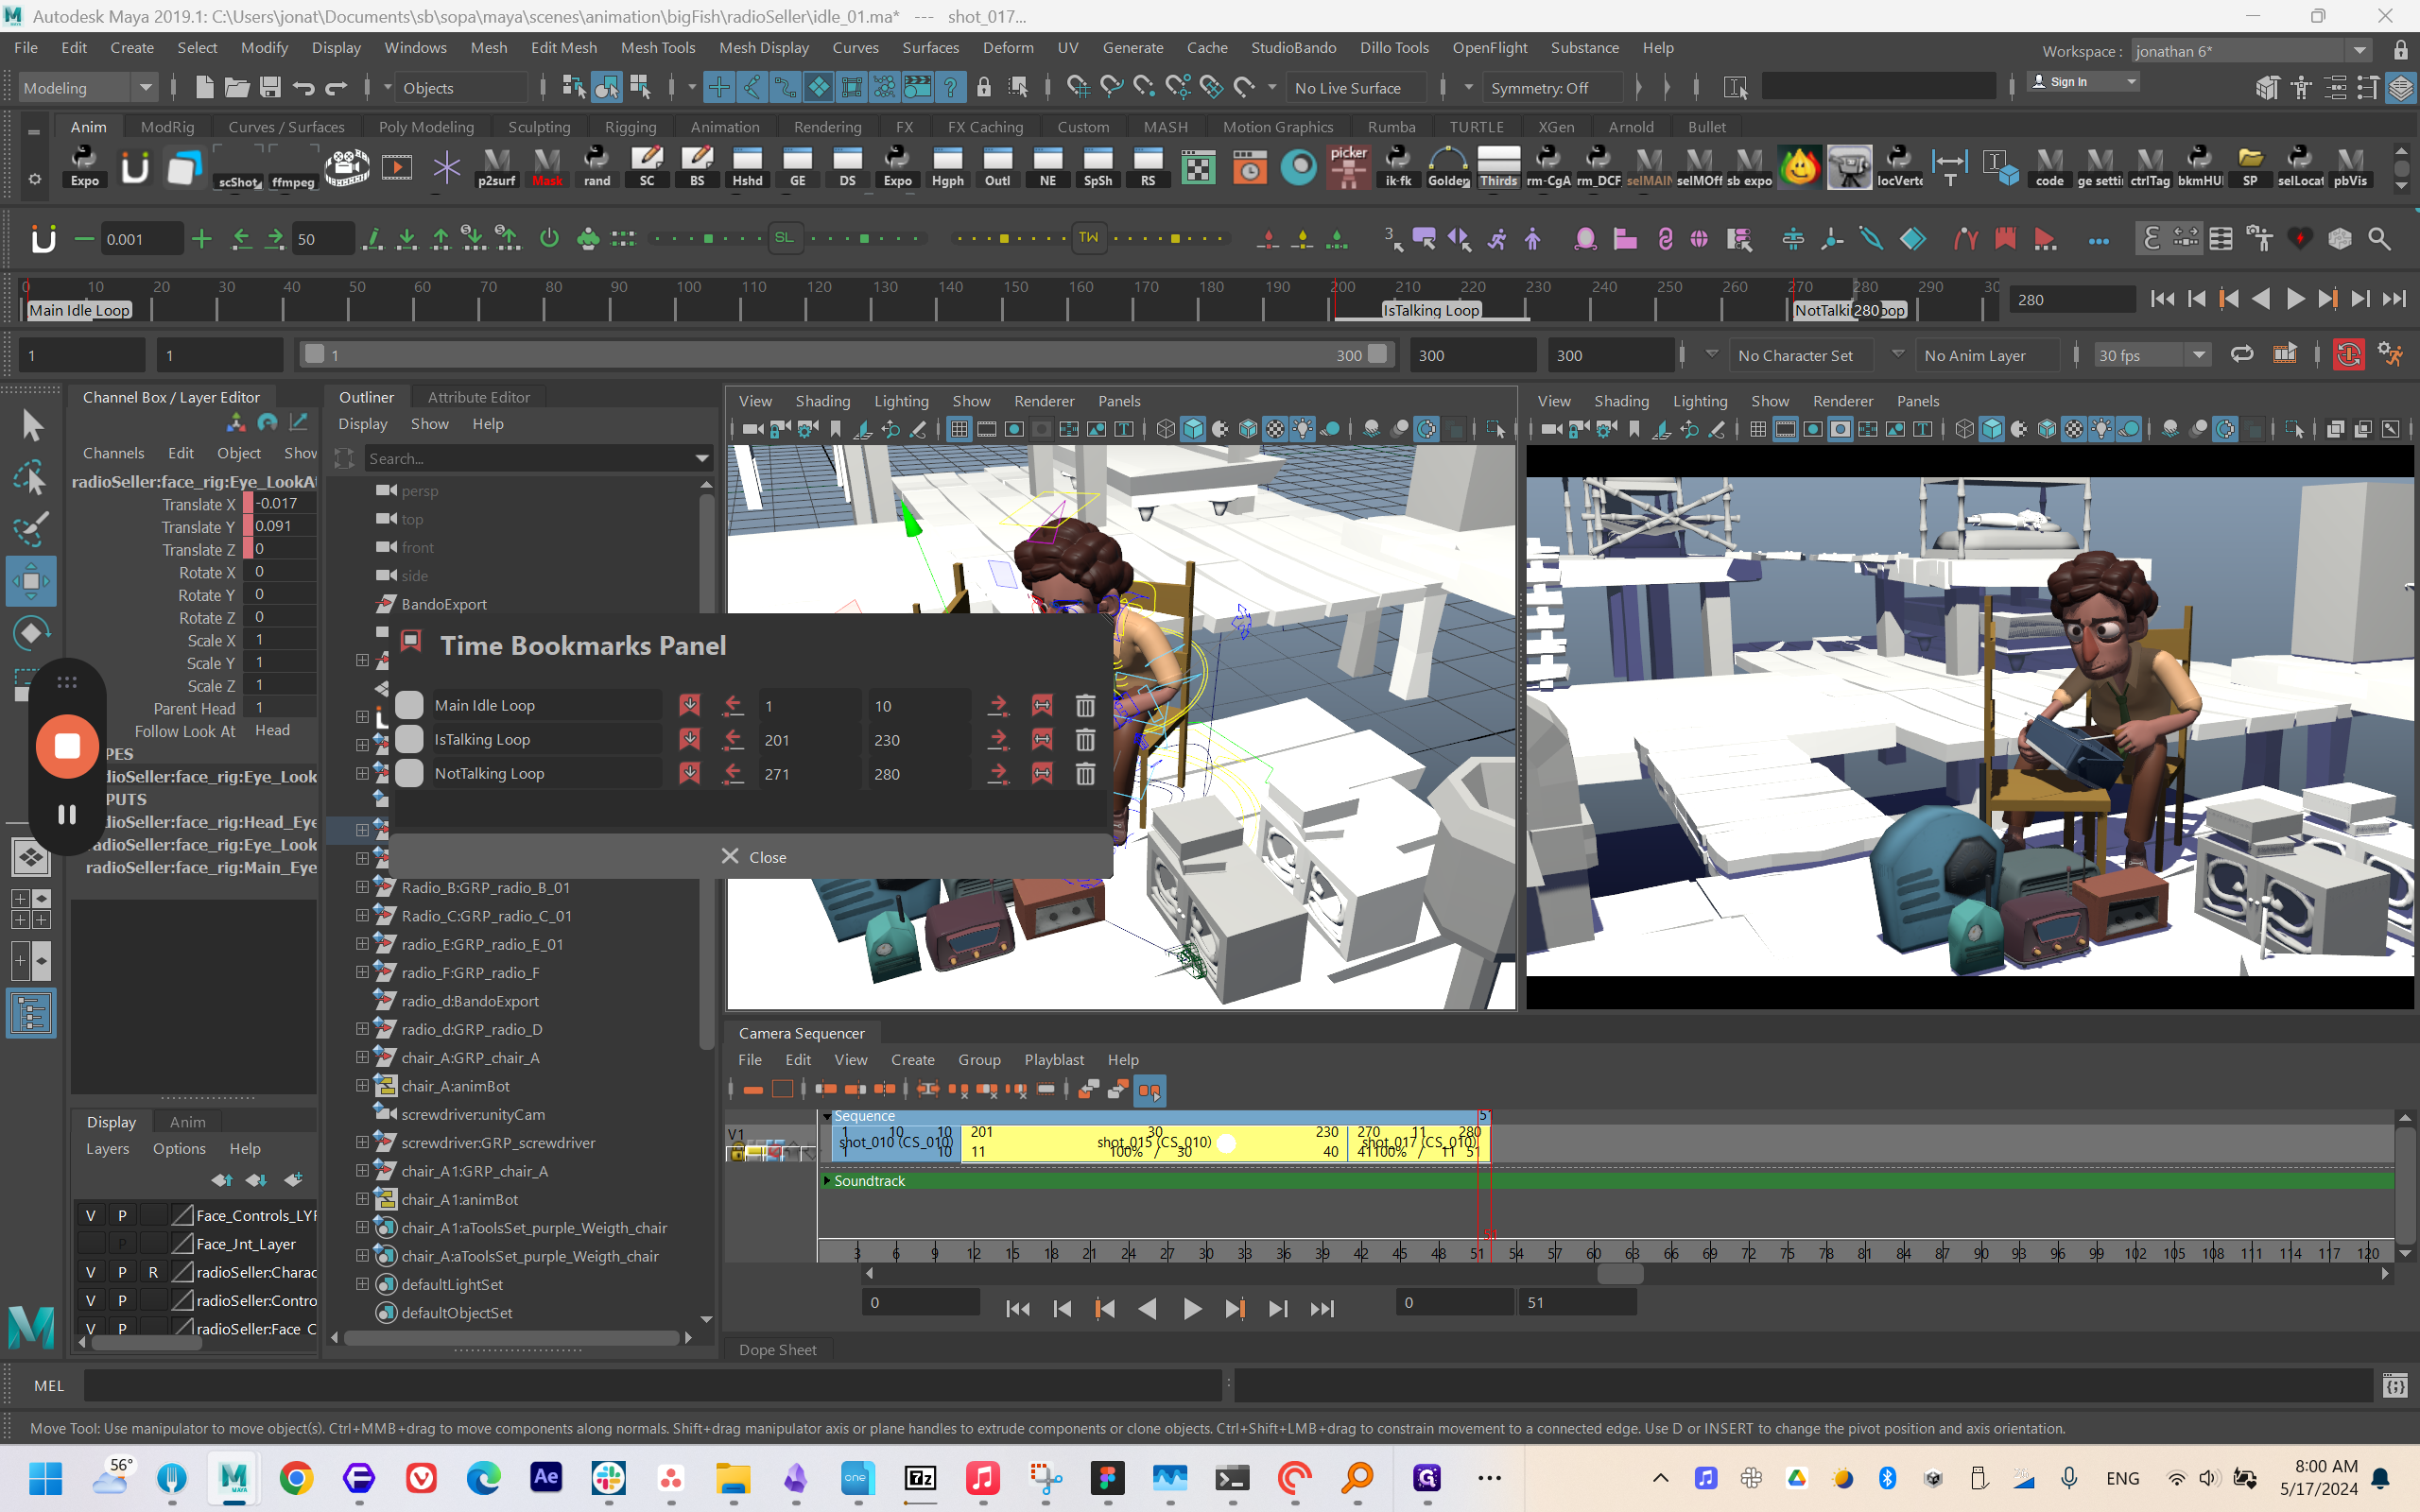
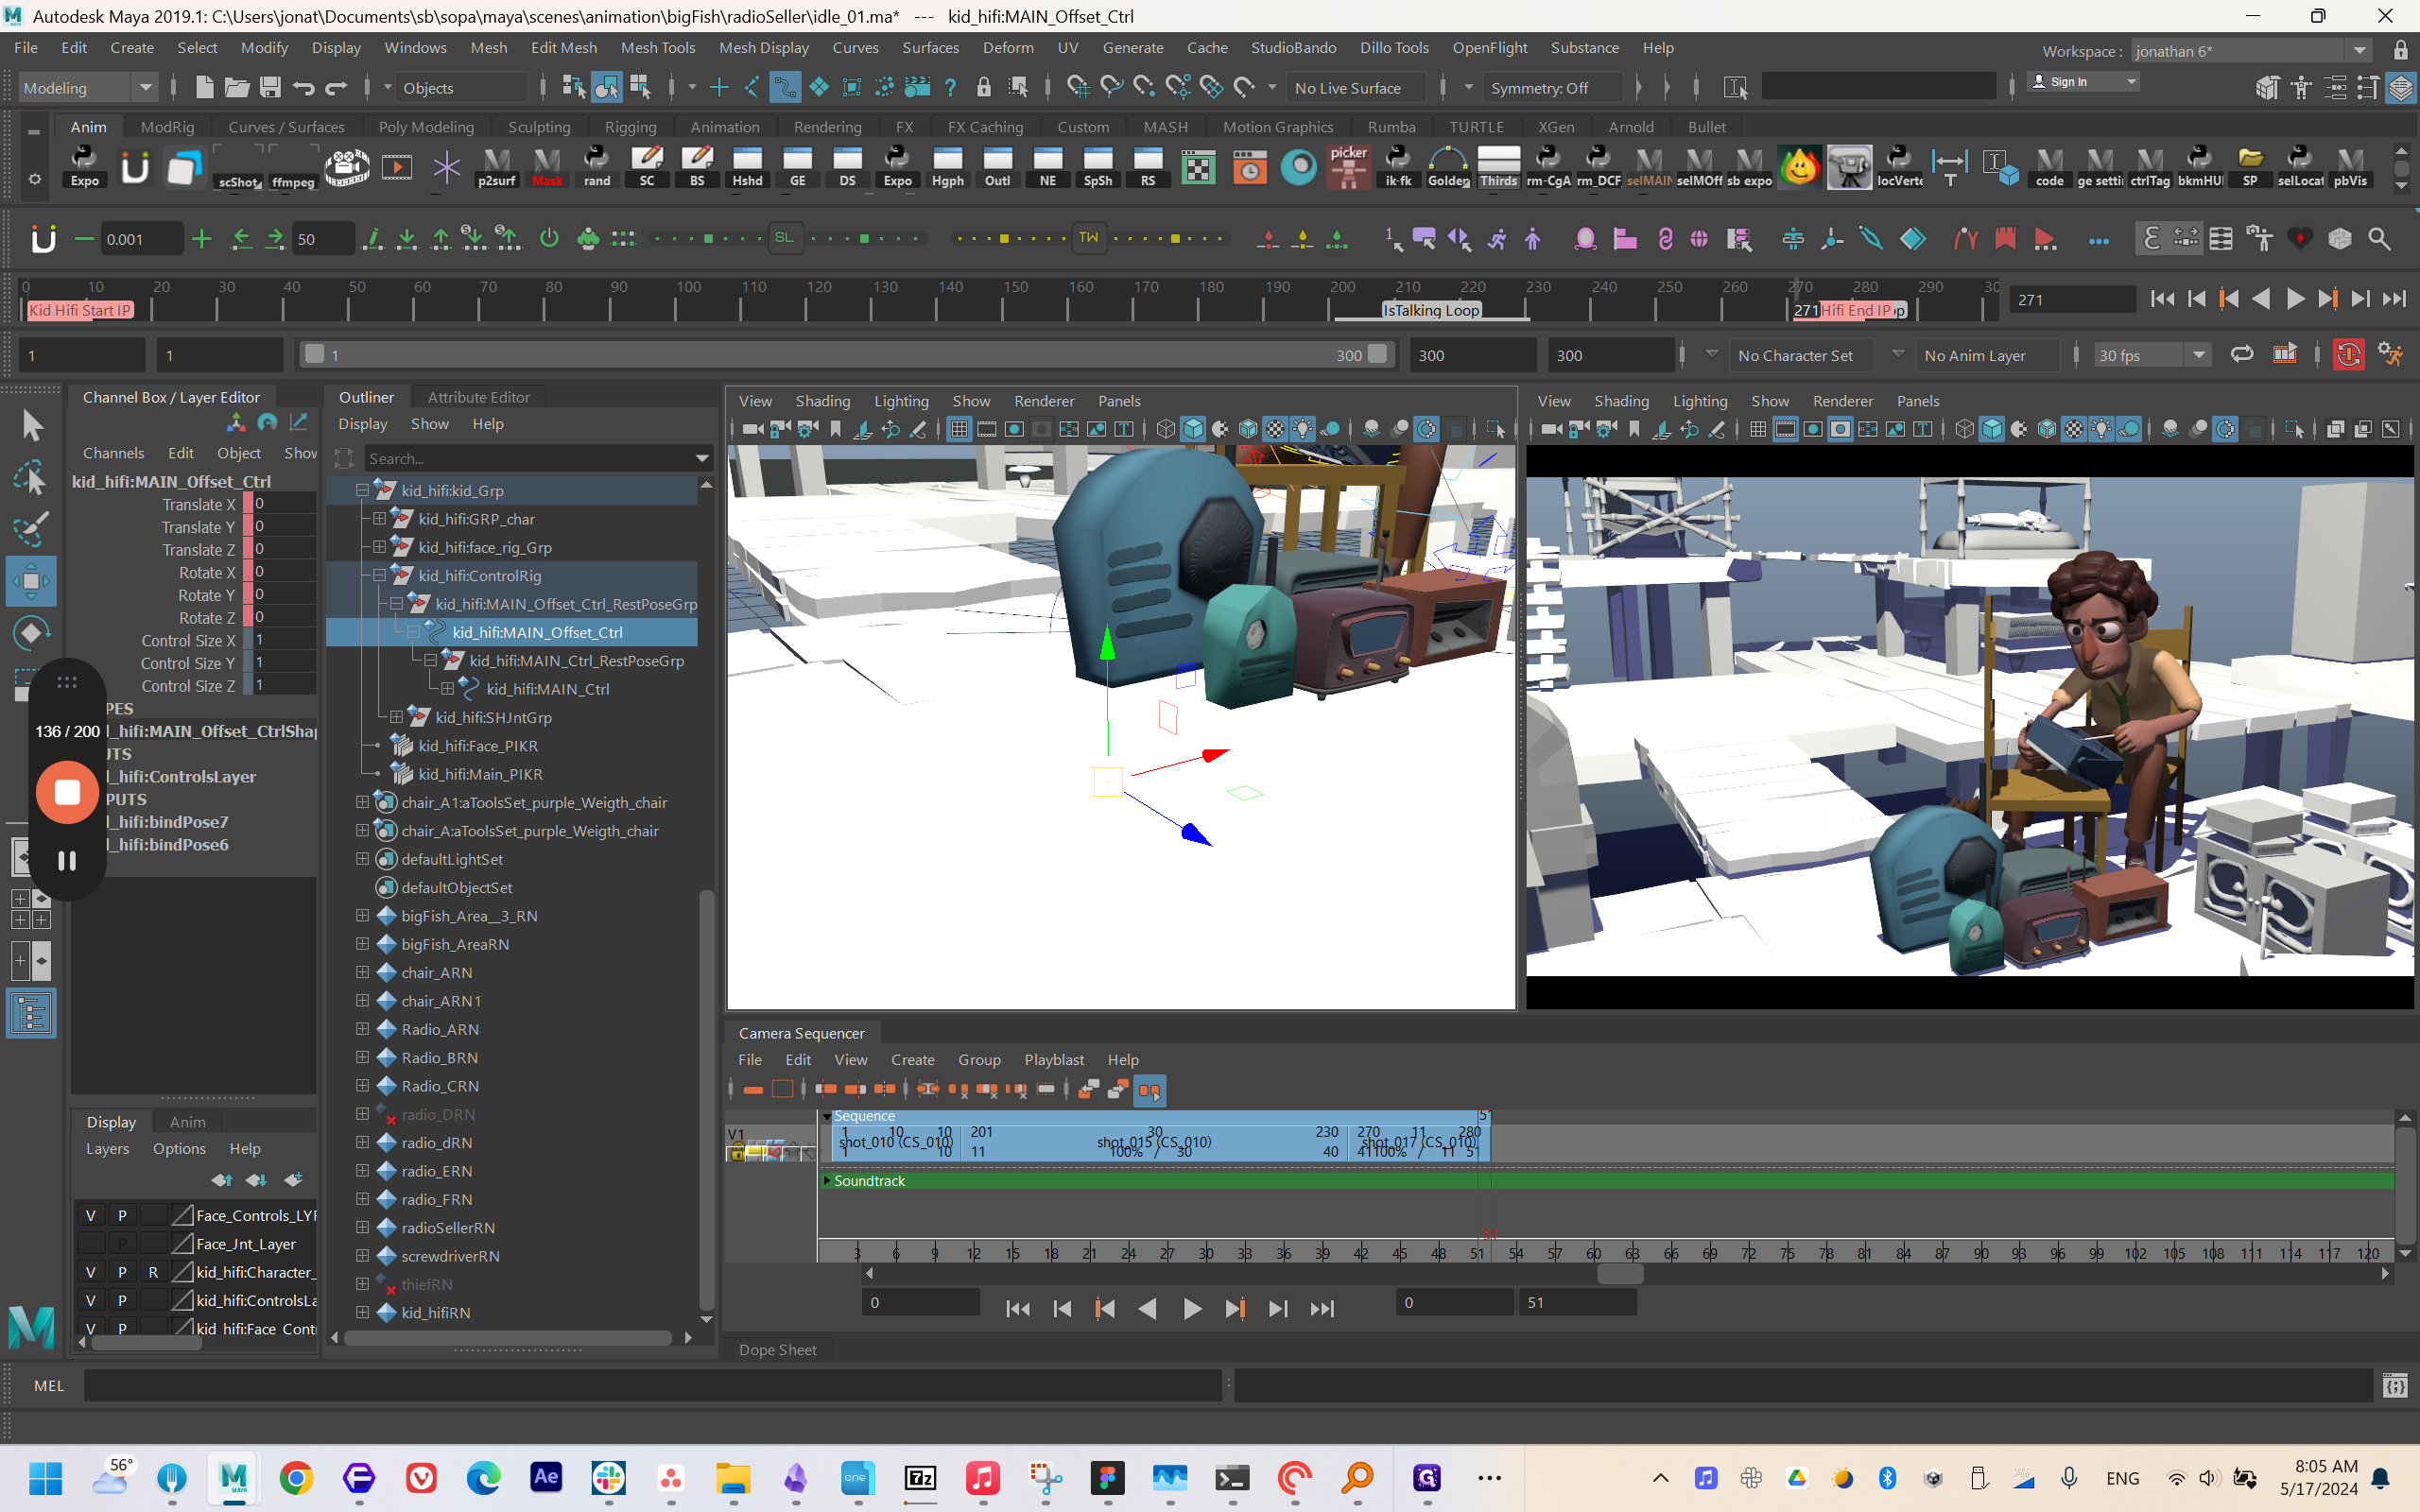
Usually, you should select Grade Scale bookmarks. Set all of them to match the desired criteria.
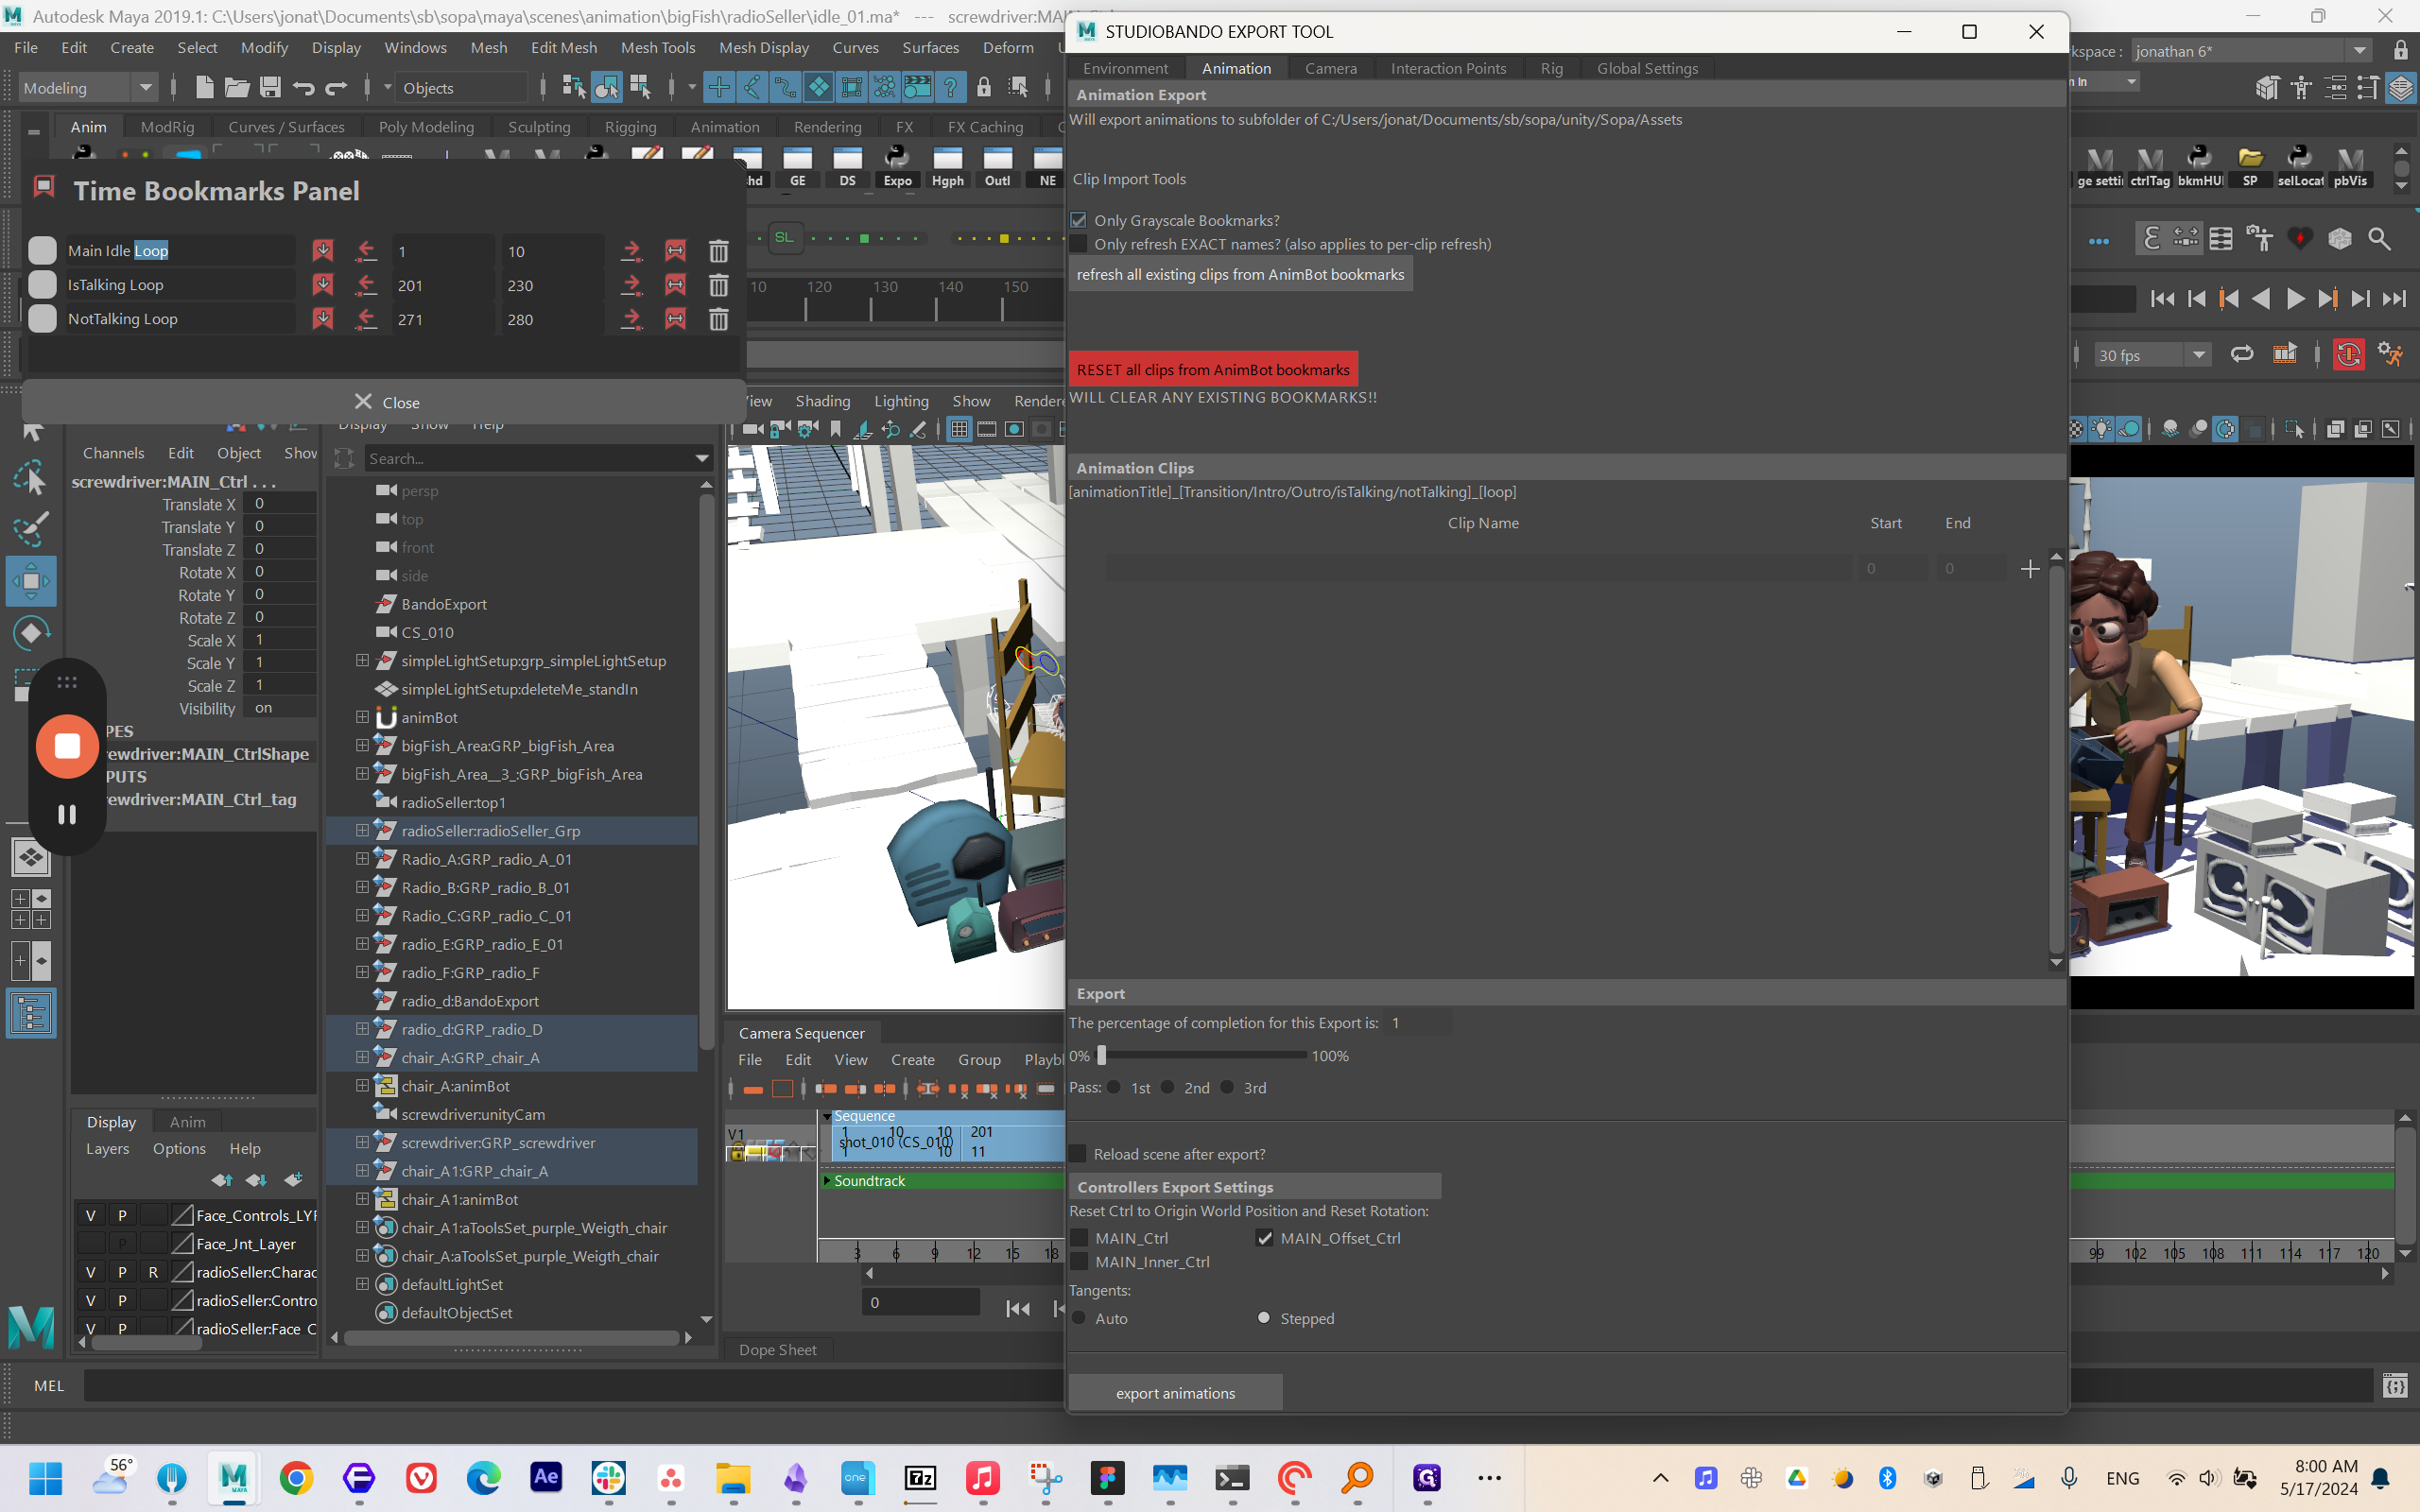
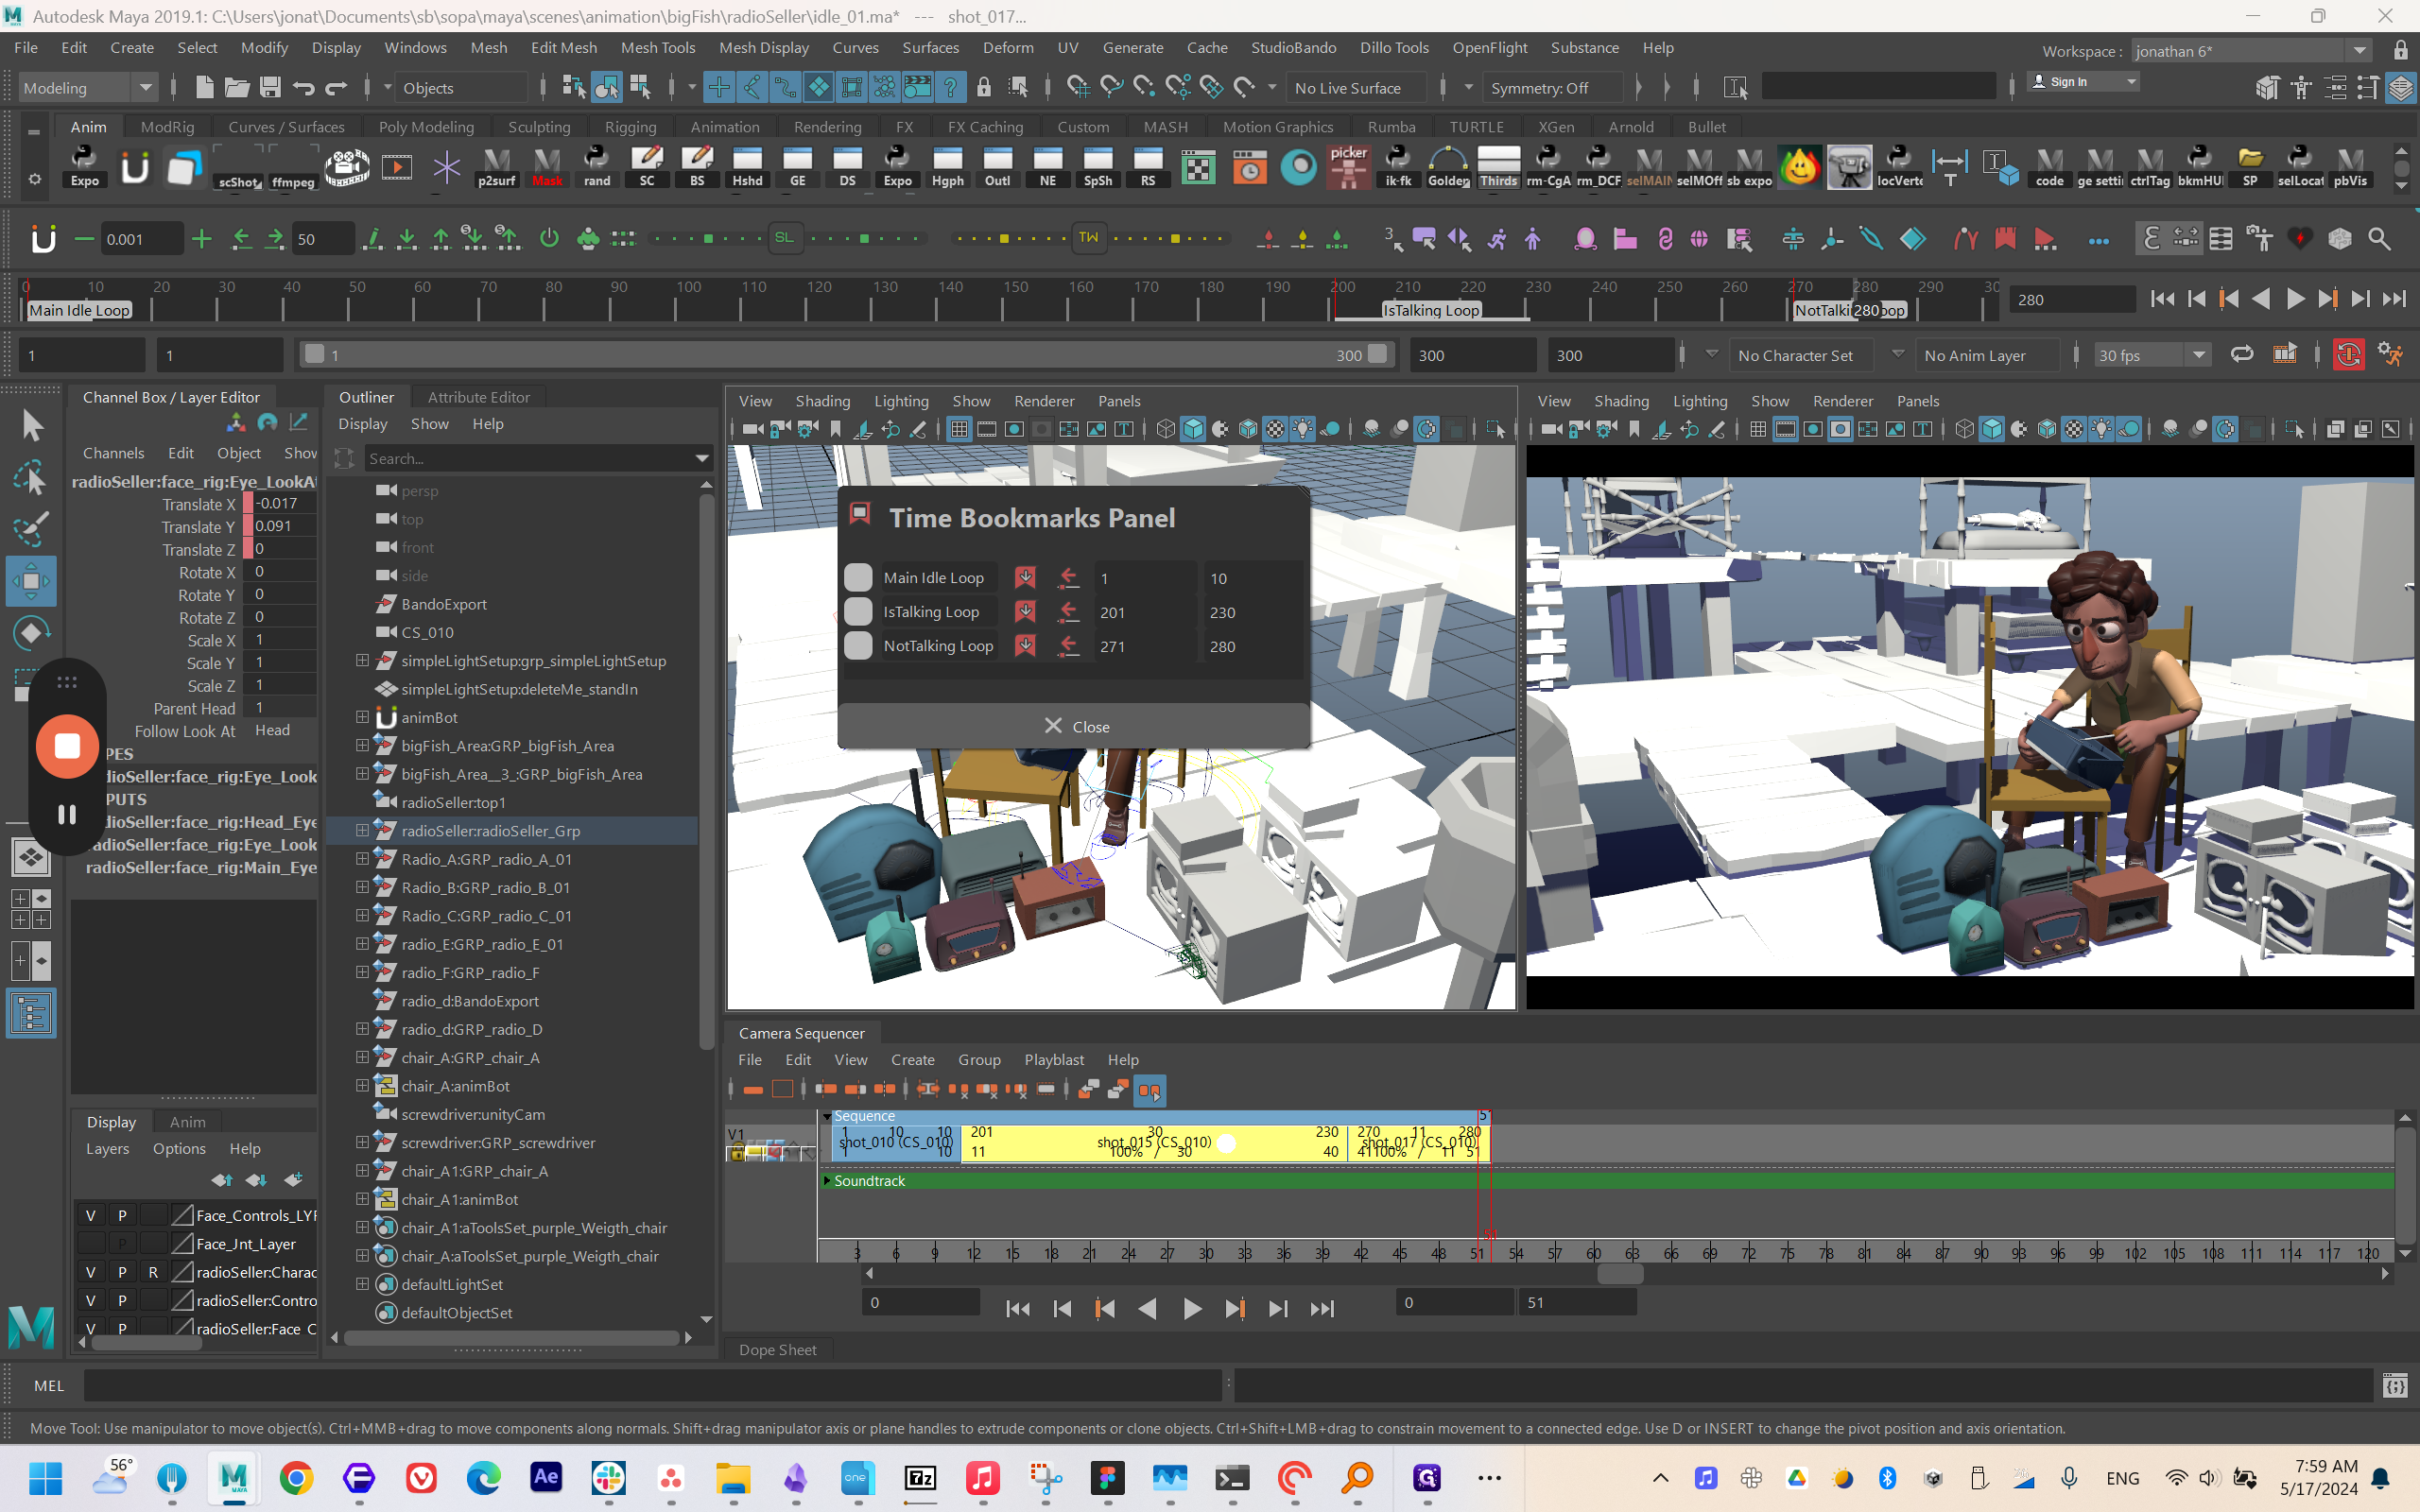
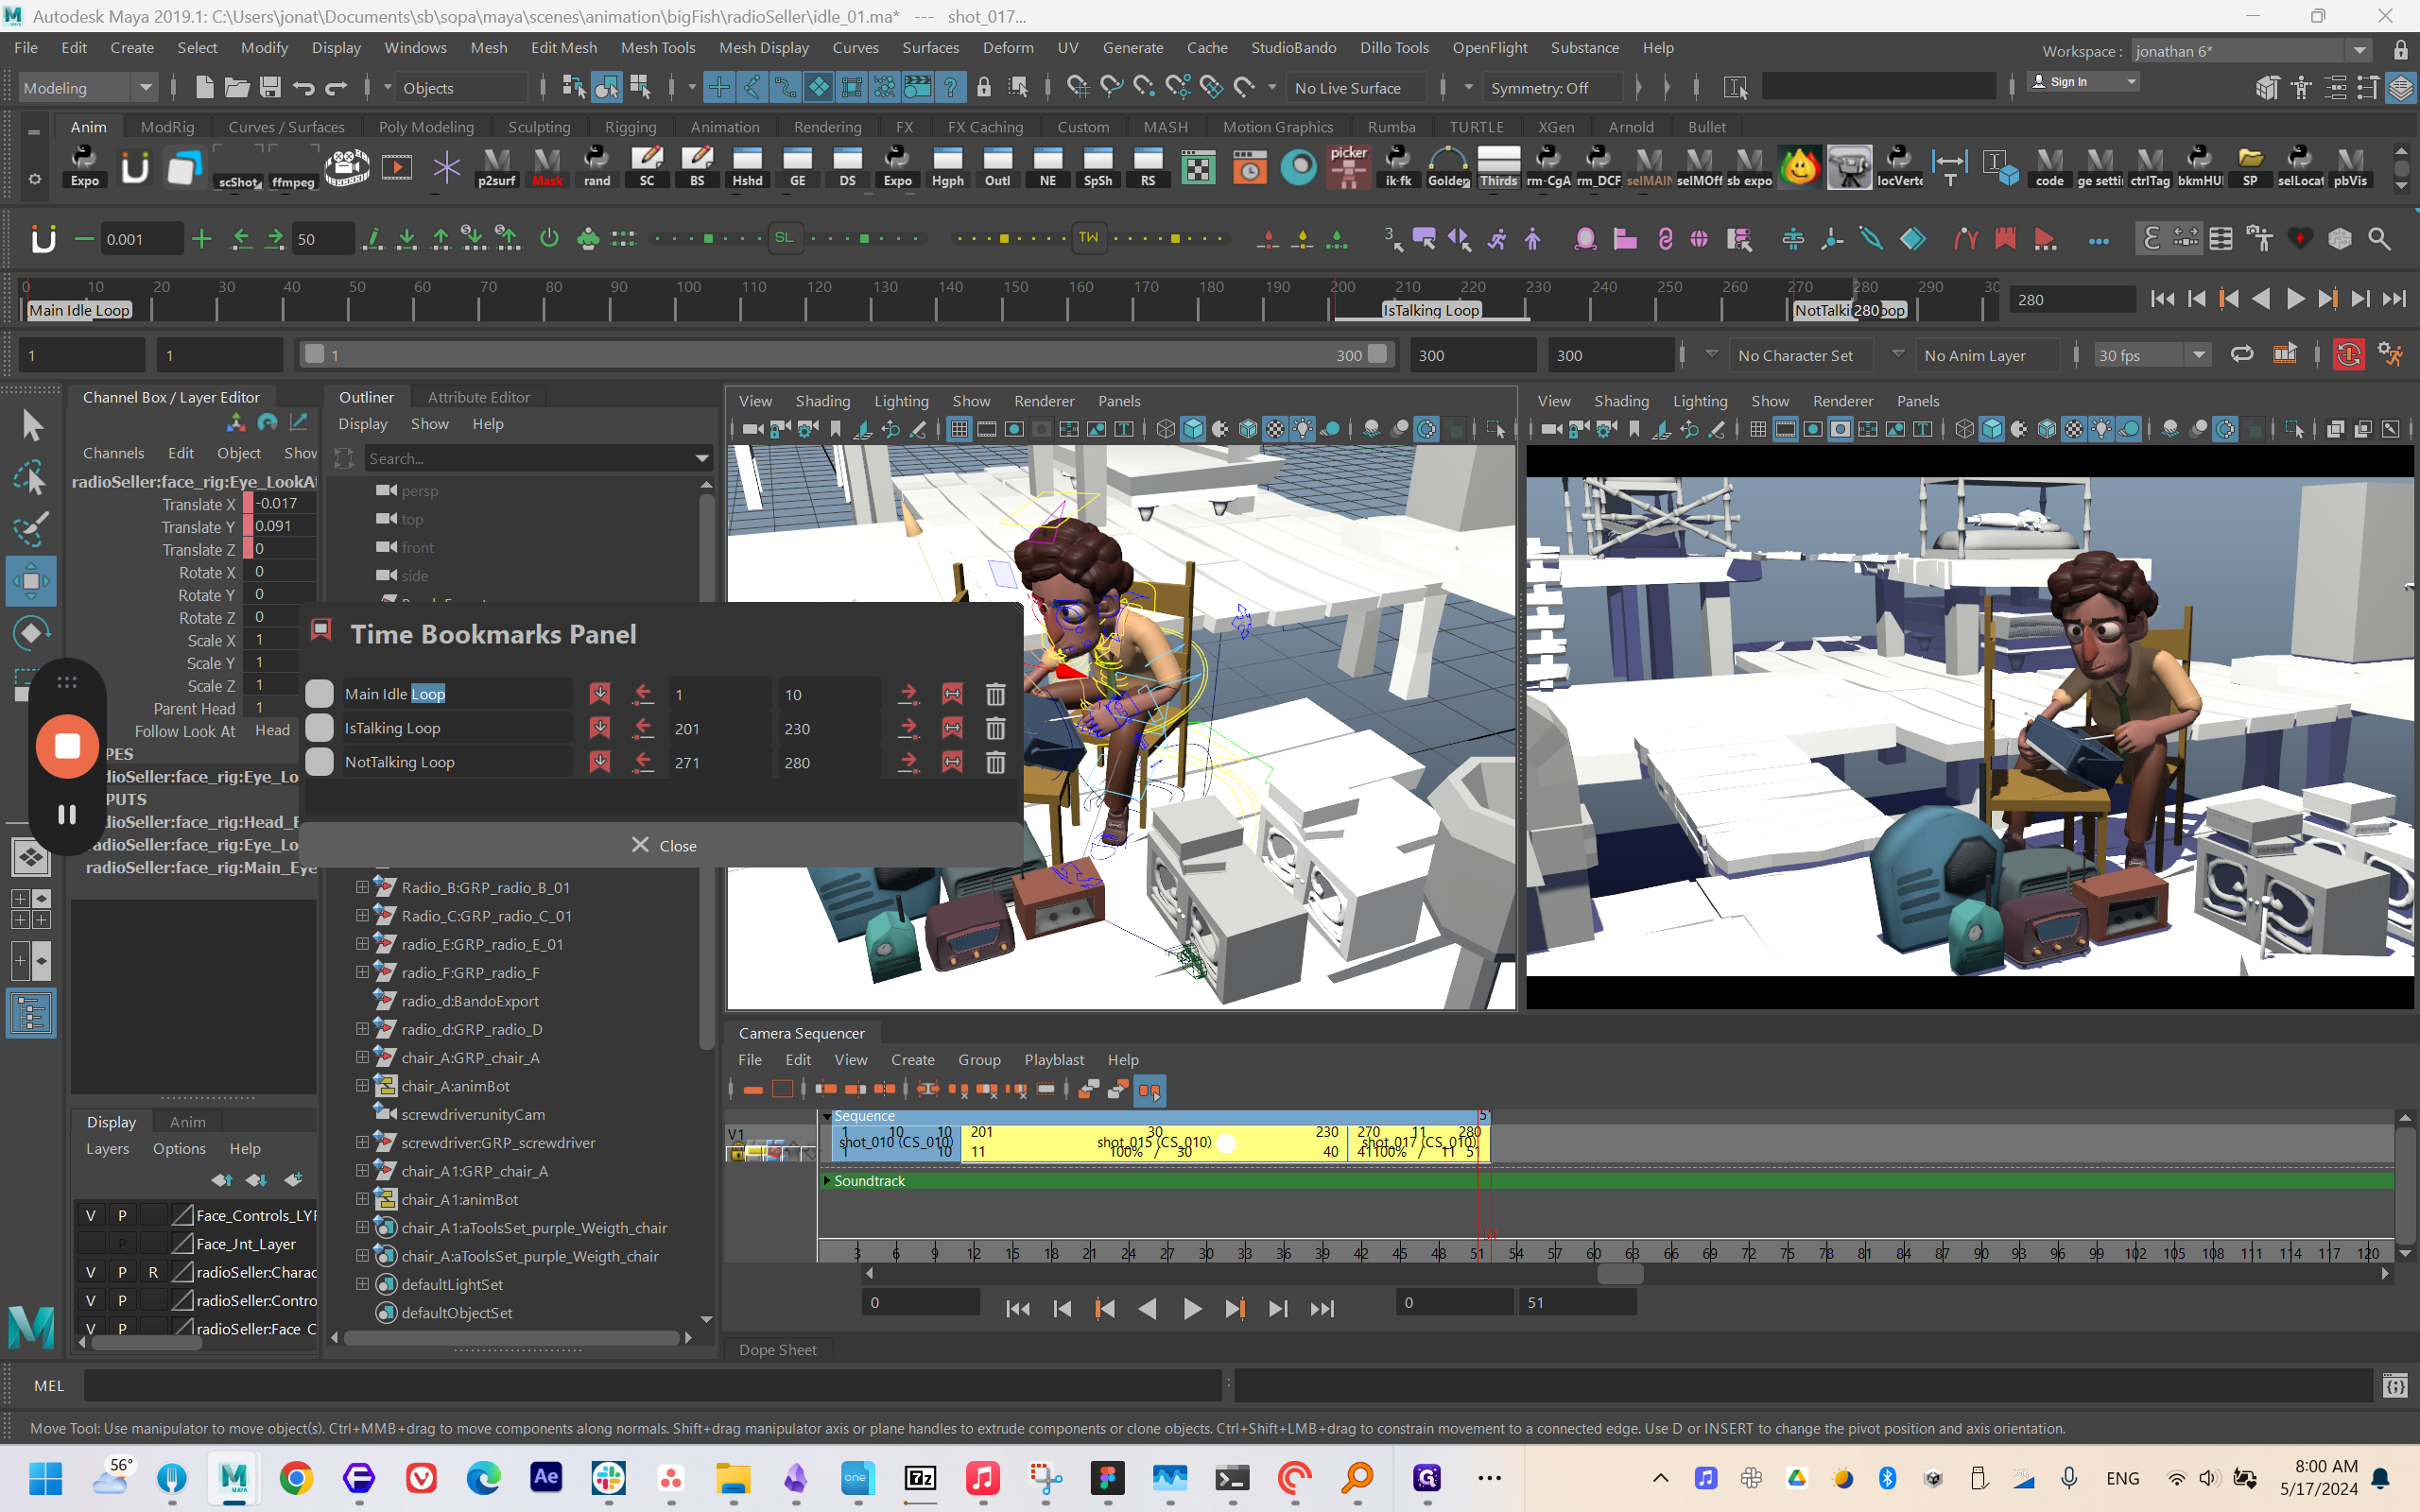
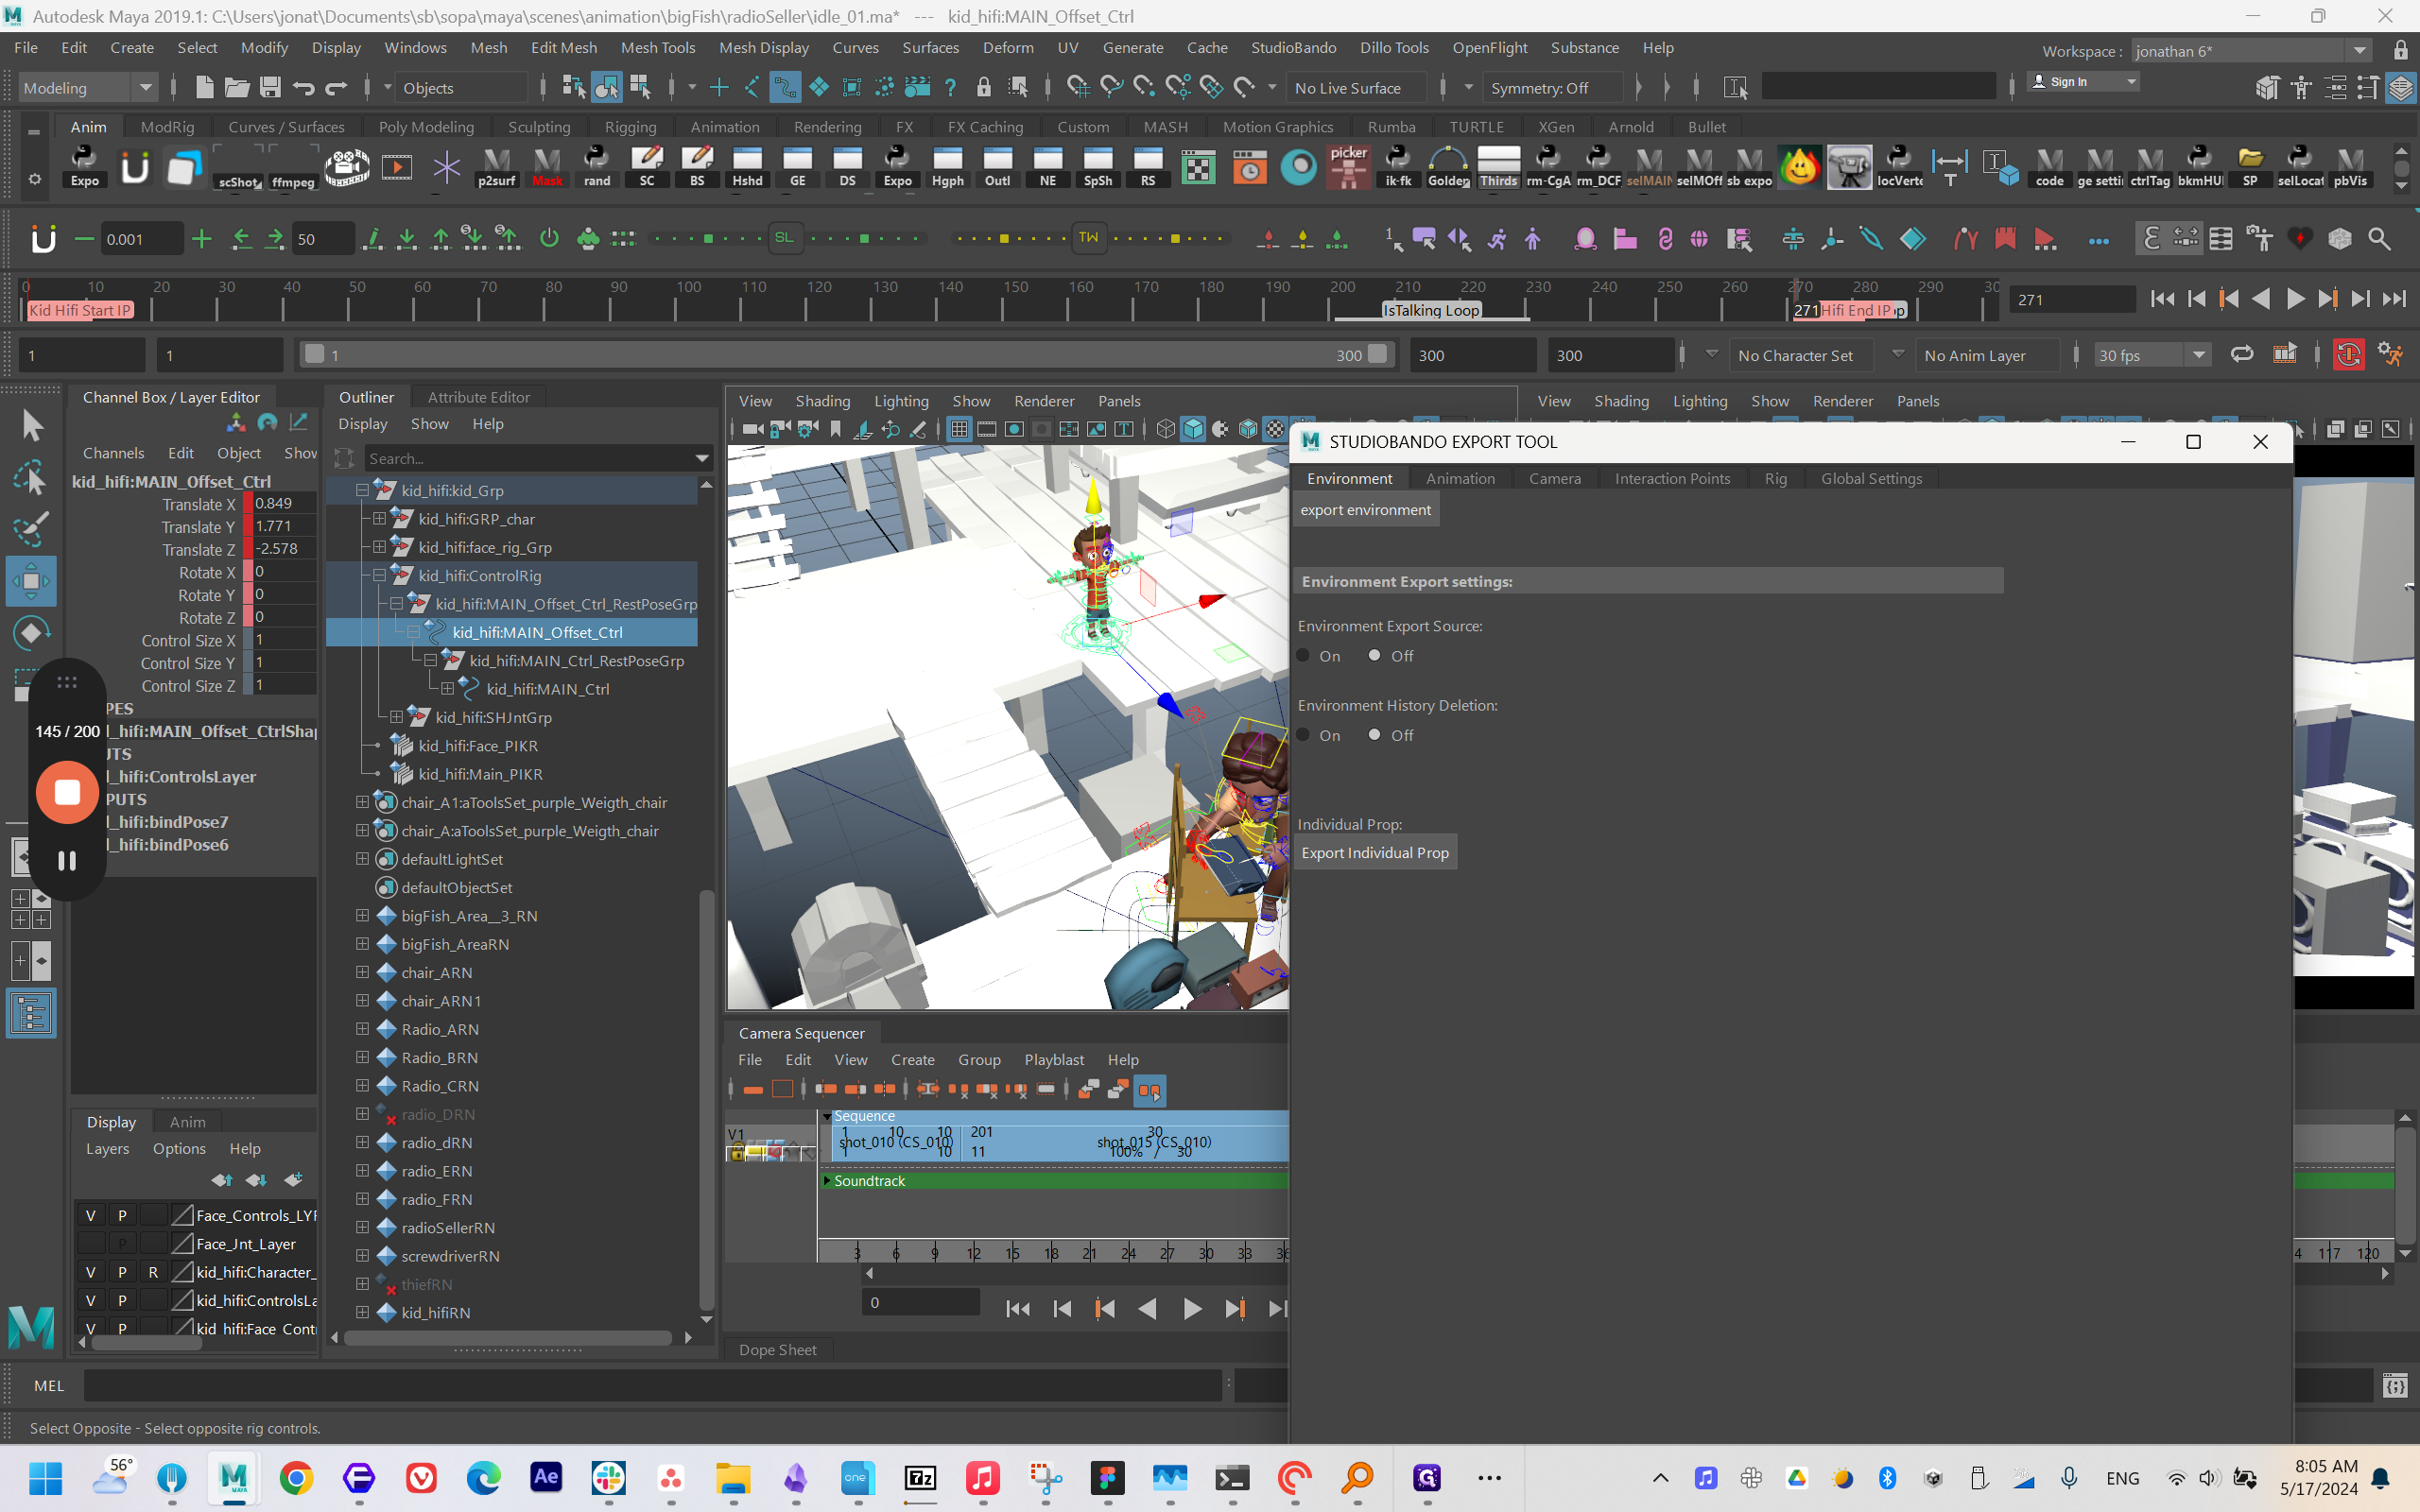
You should generally change the properties in the small bookmarks panel, not in the export tool.


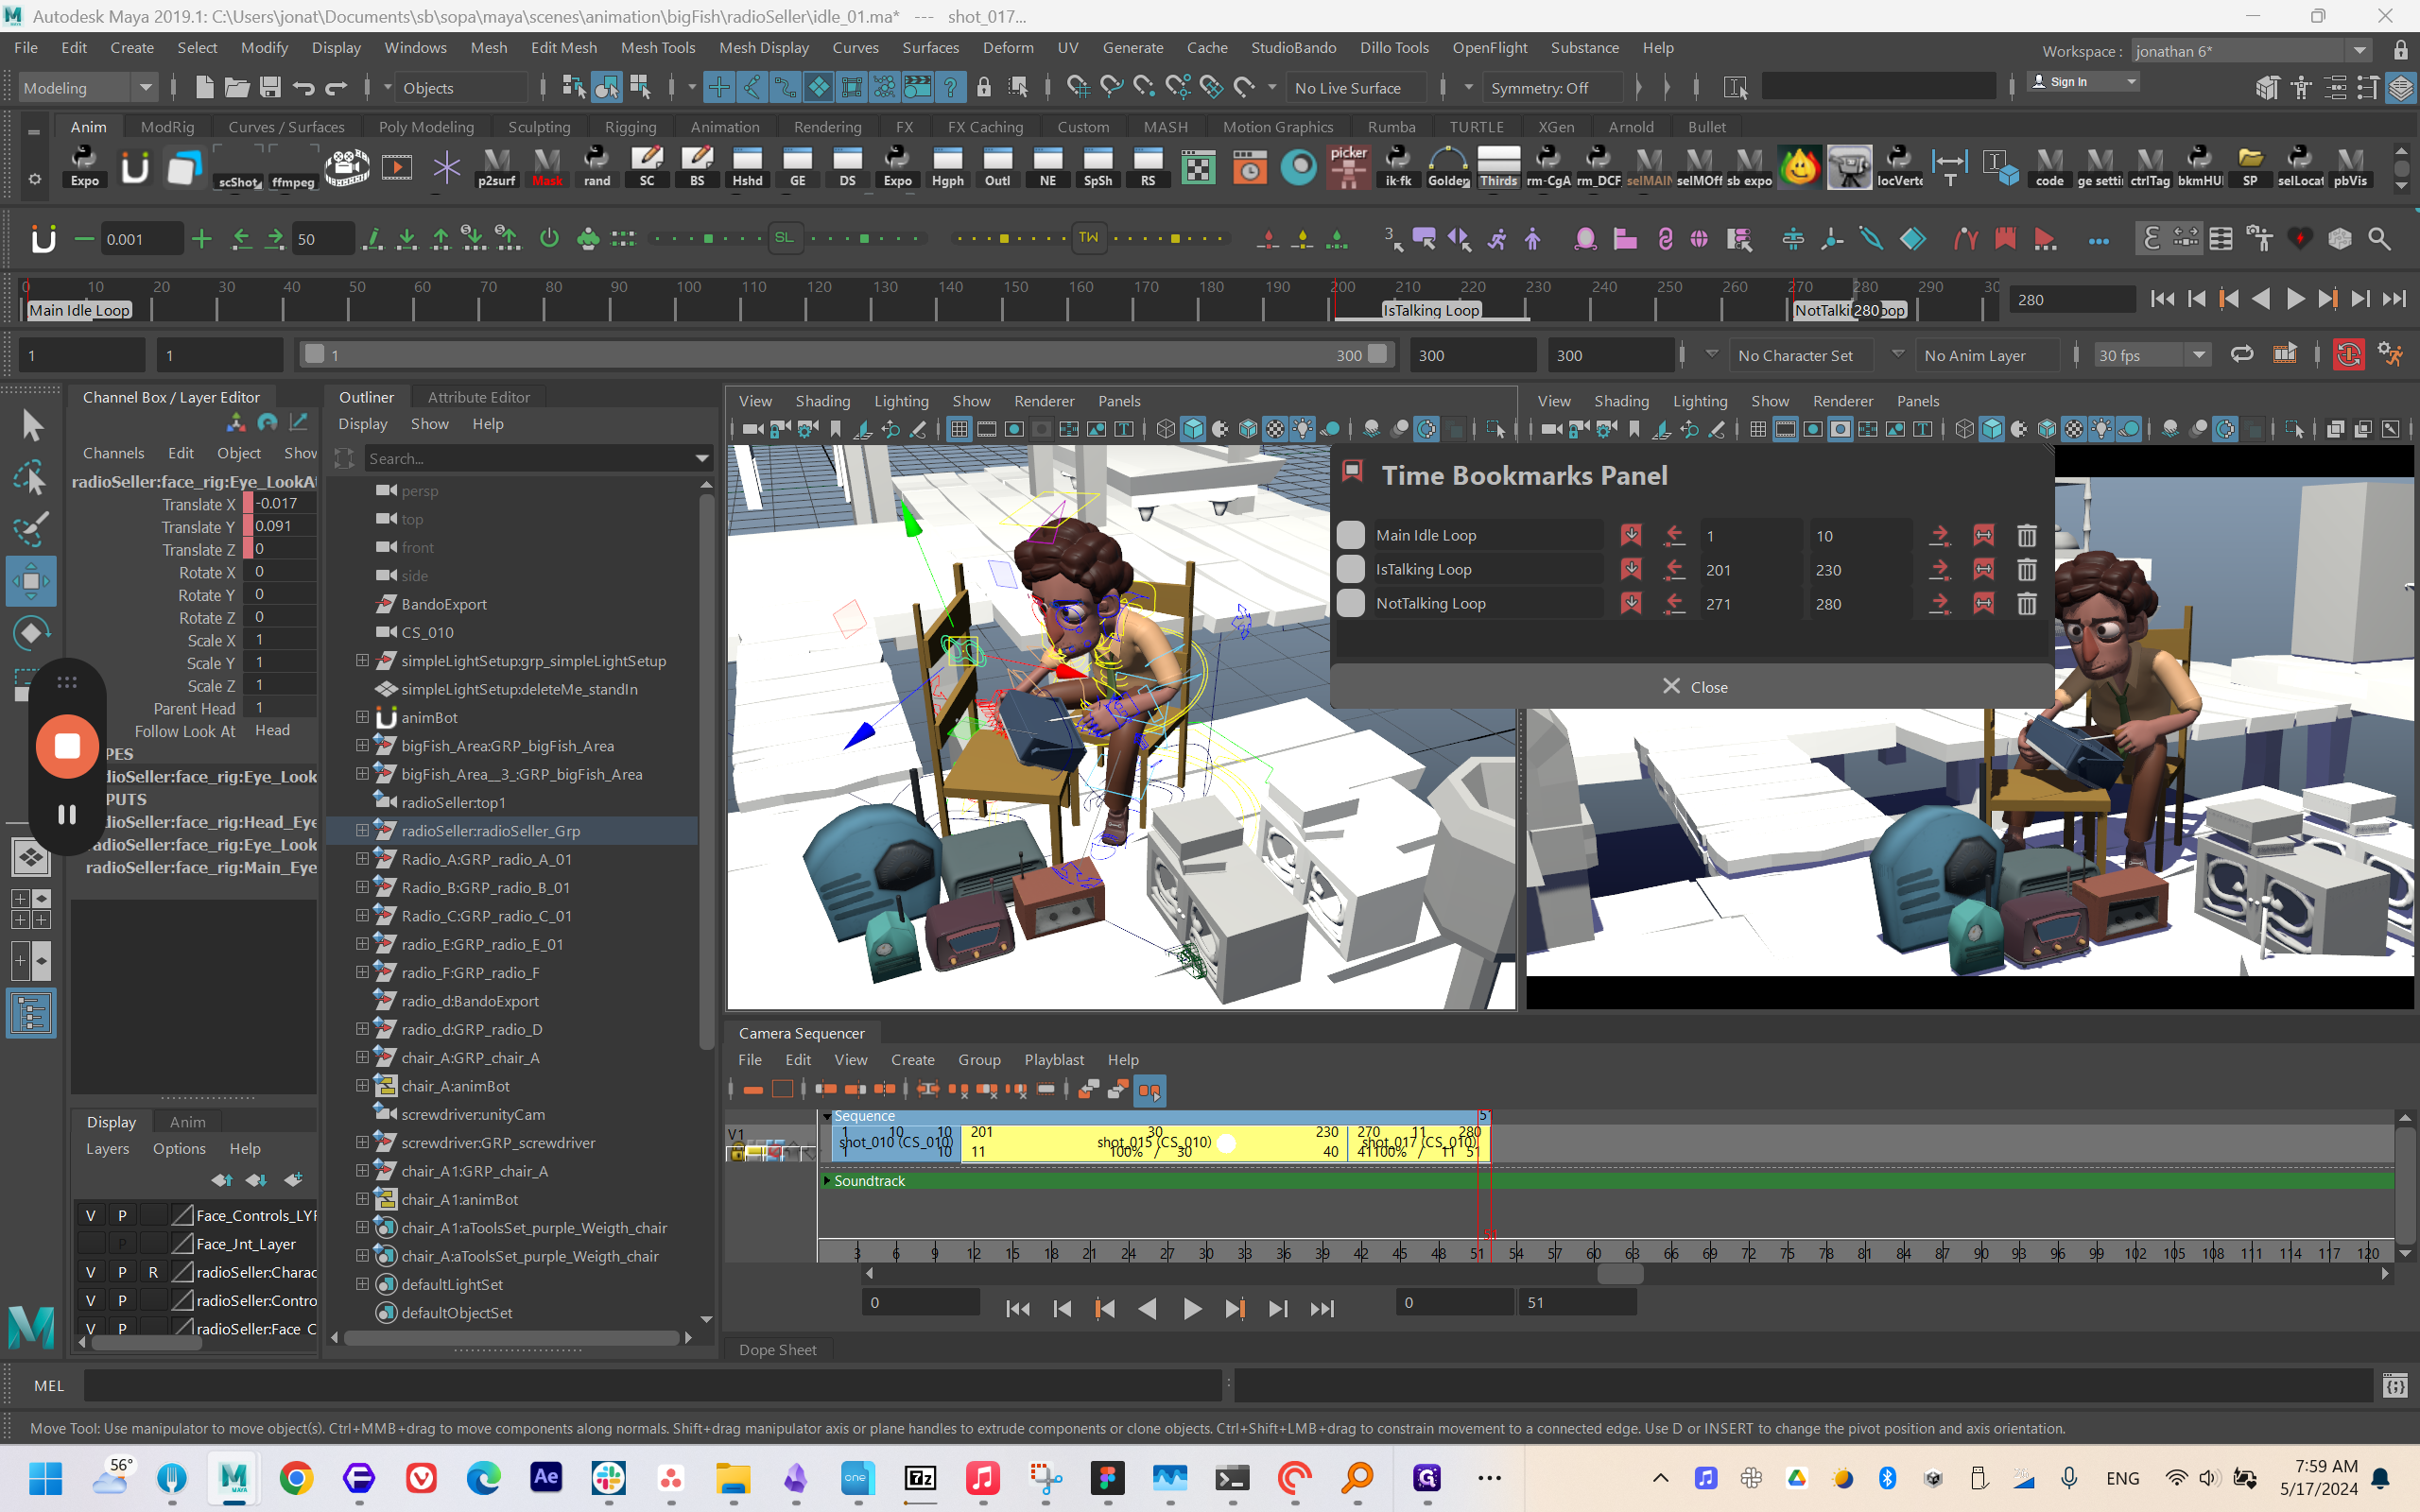
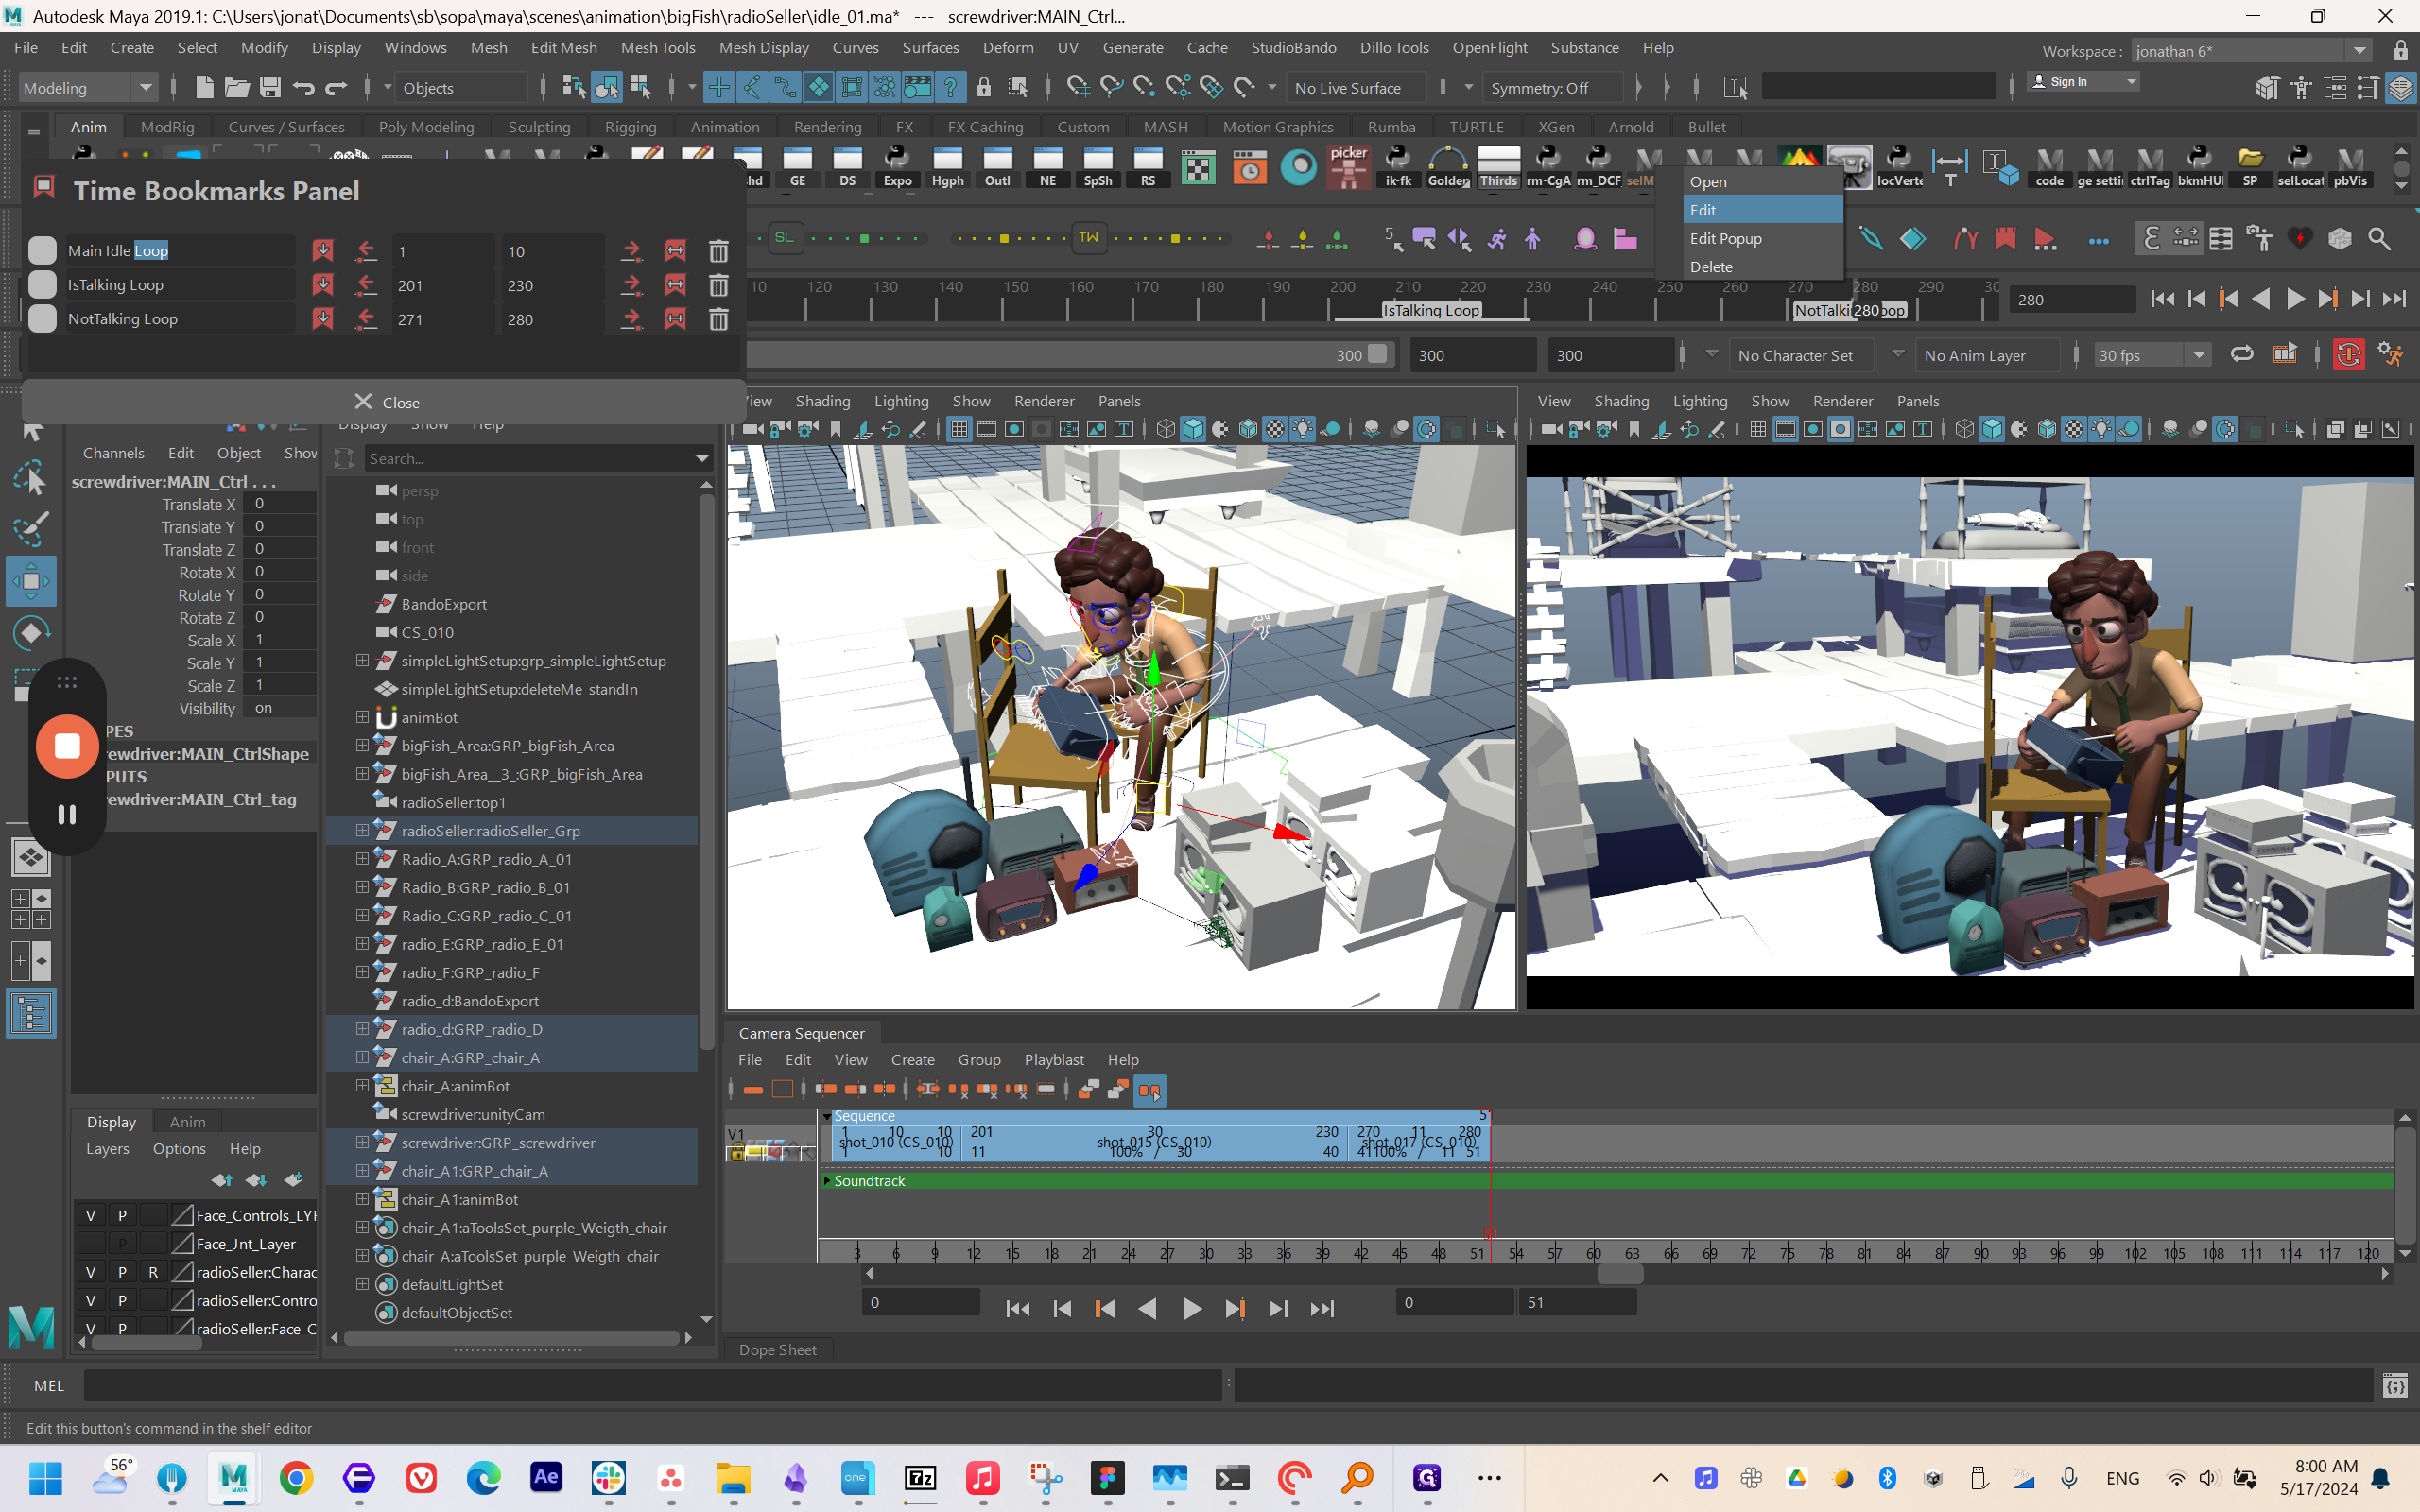
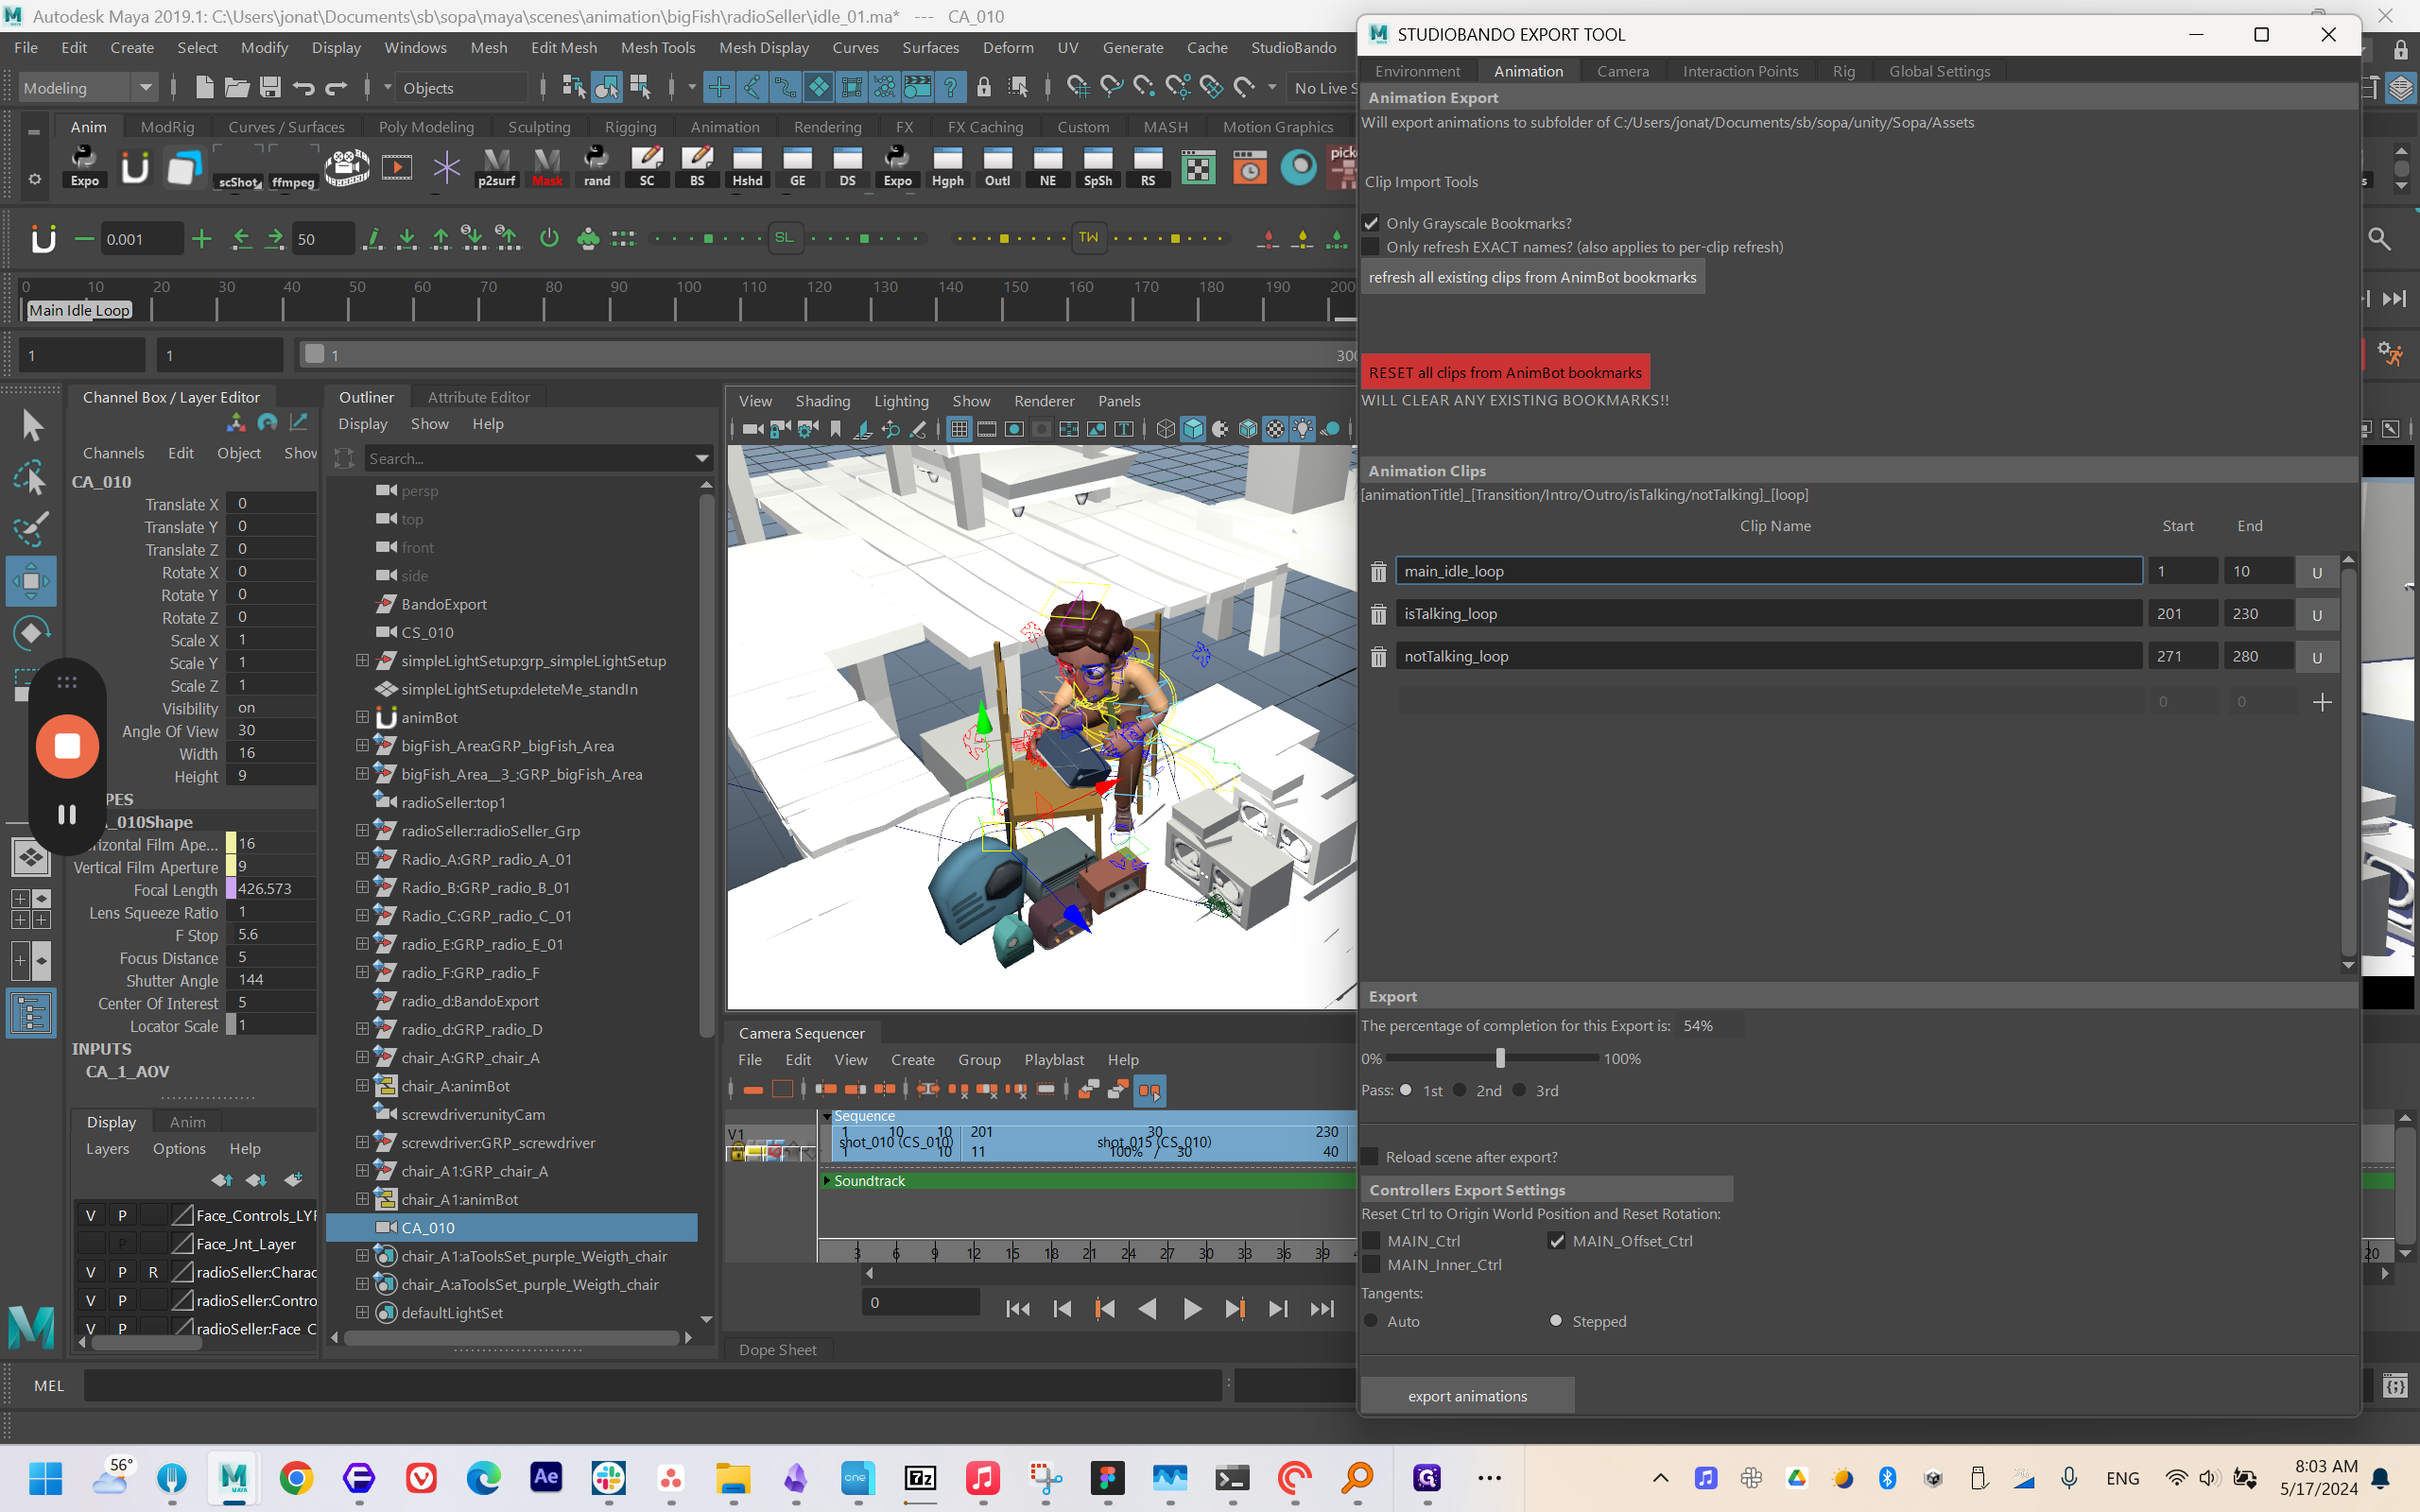
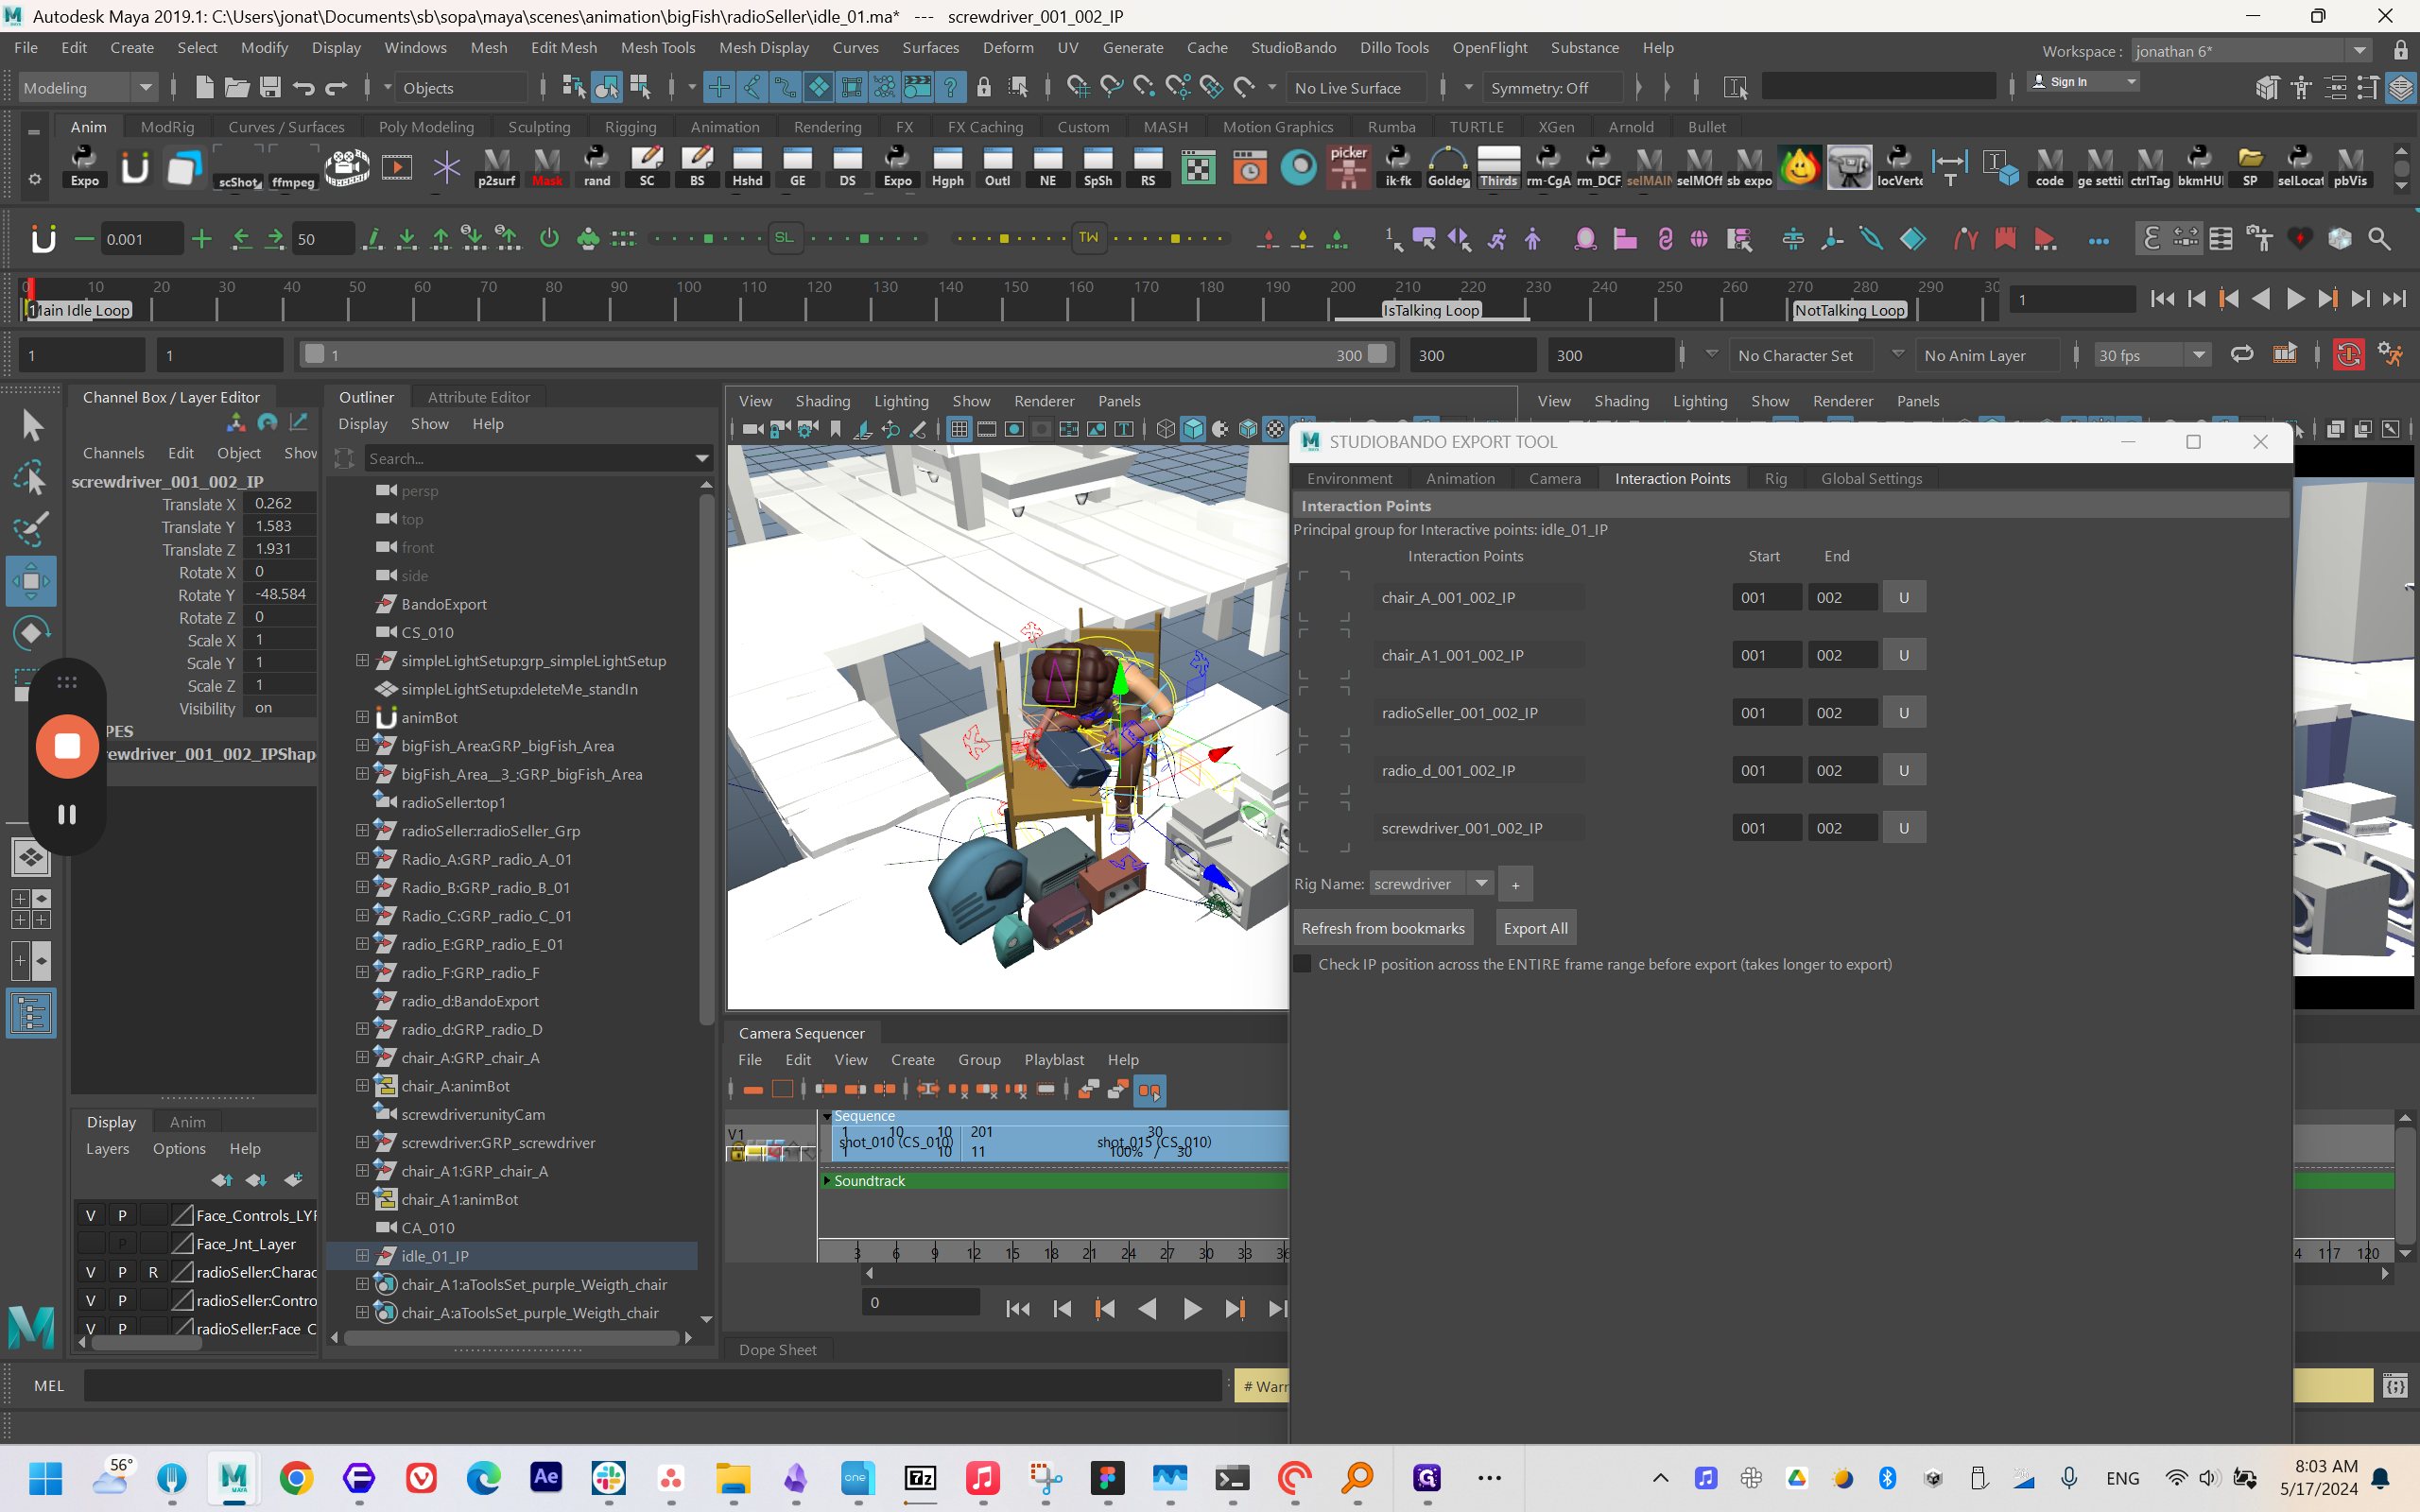
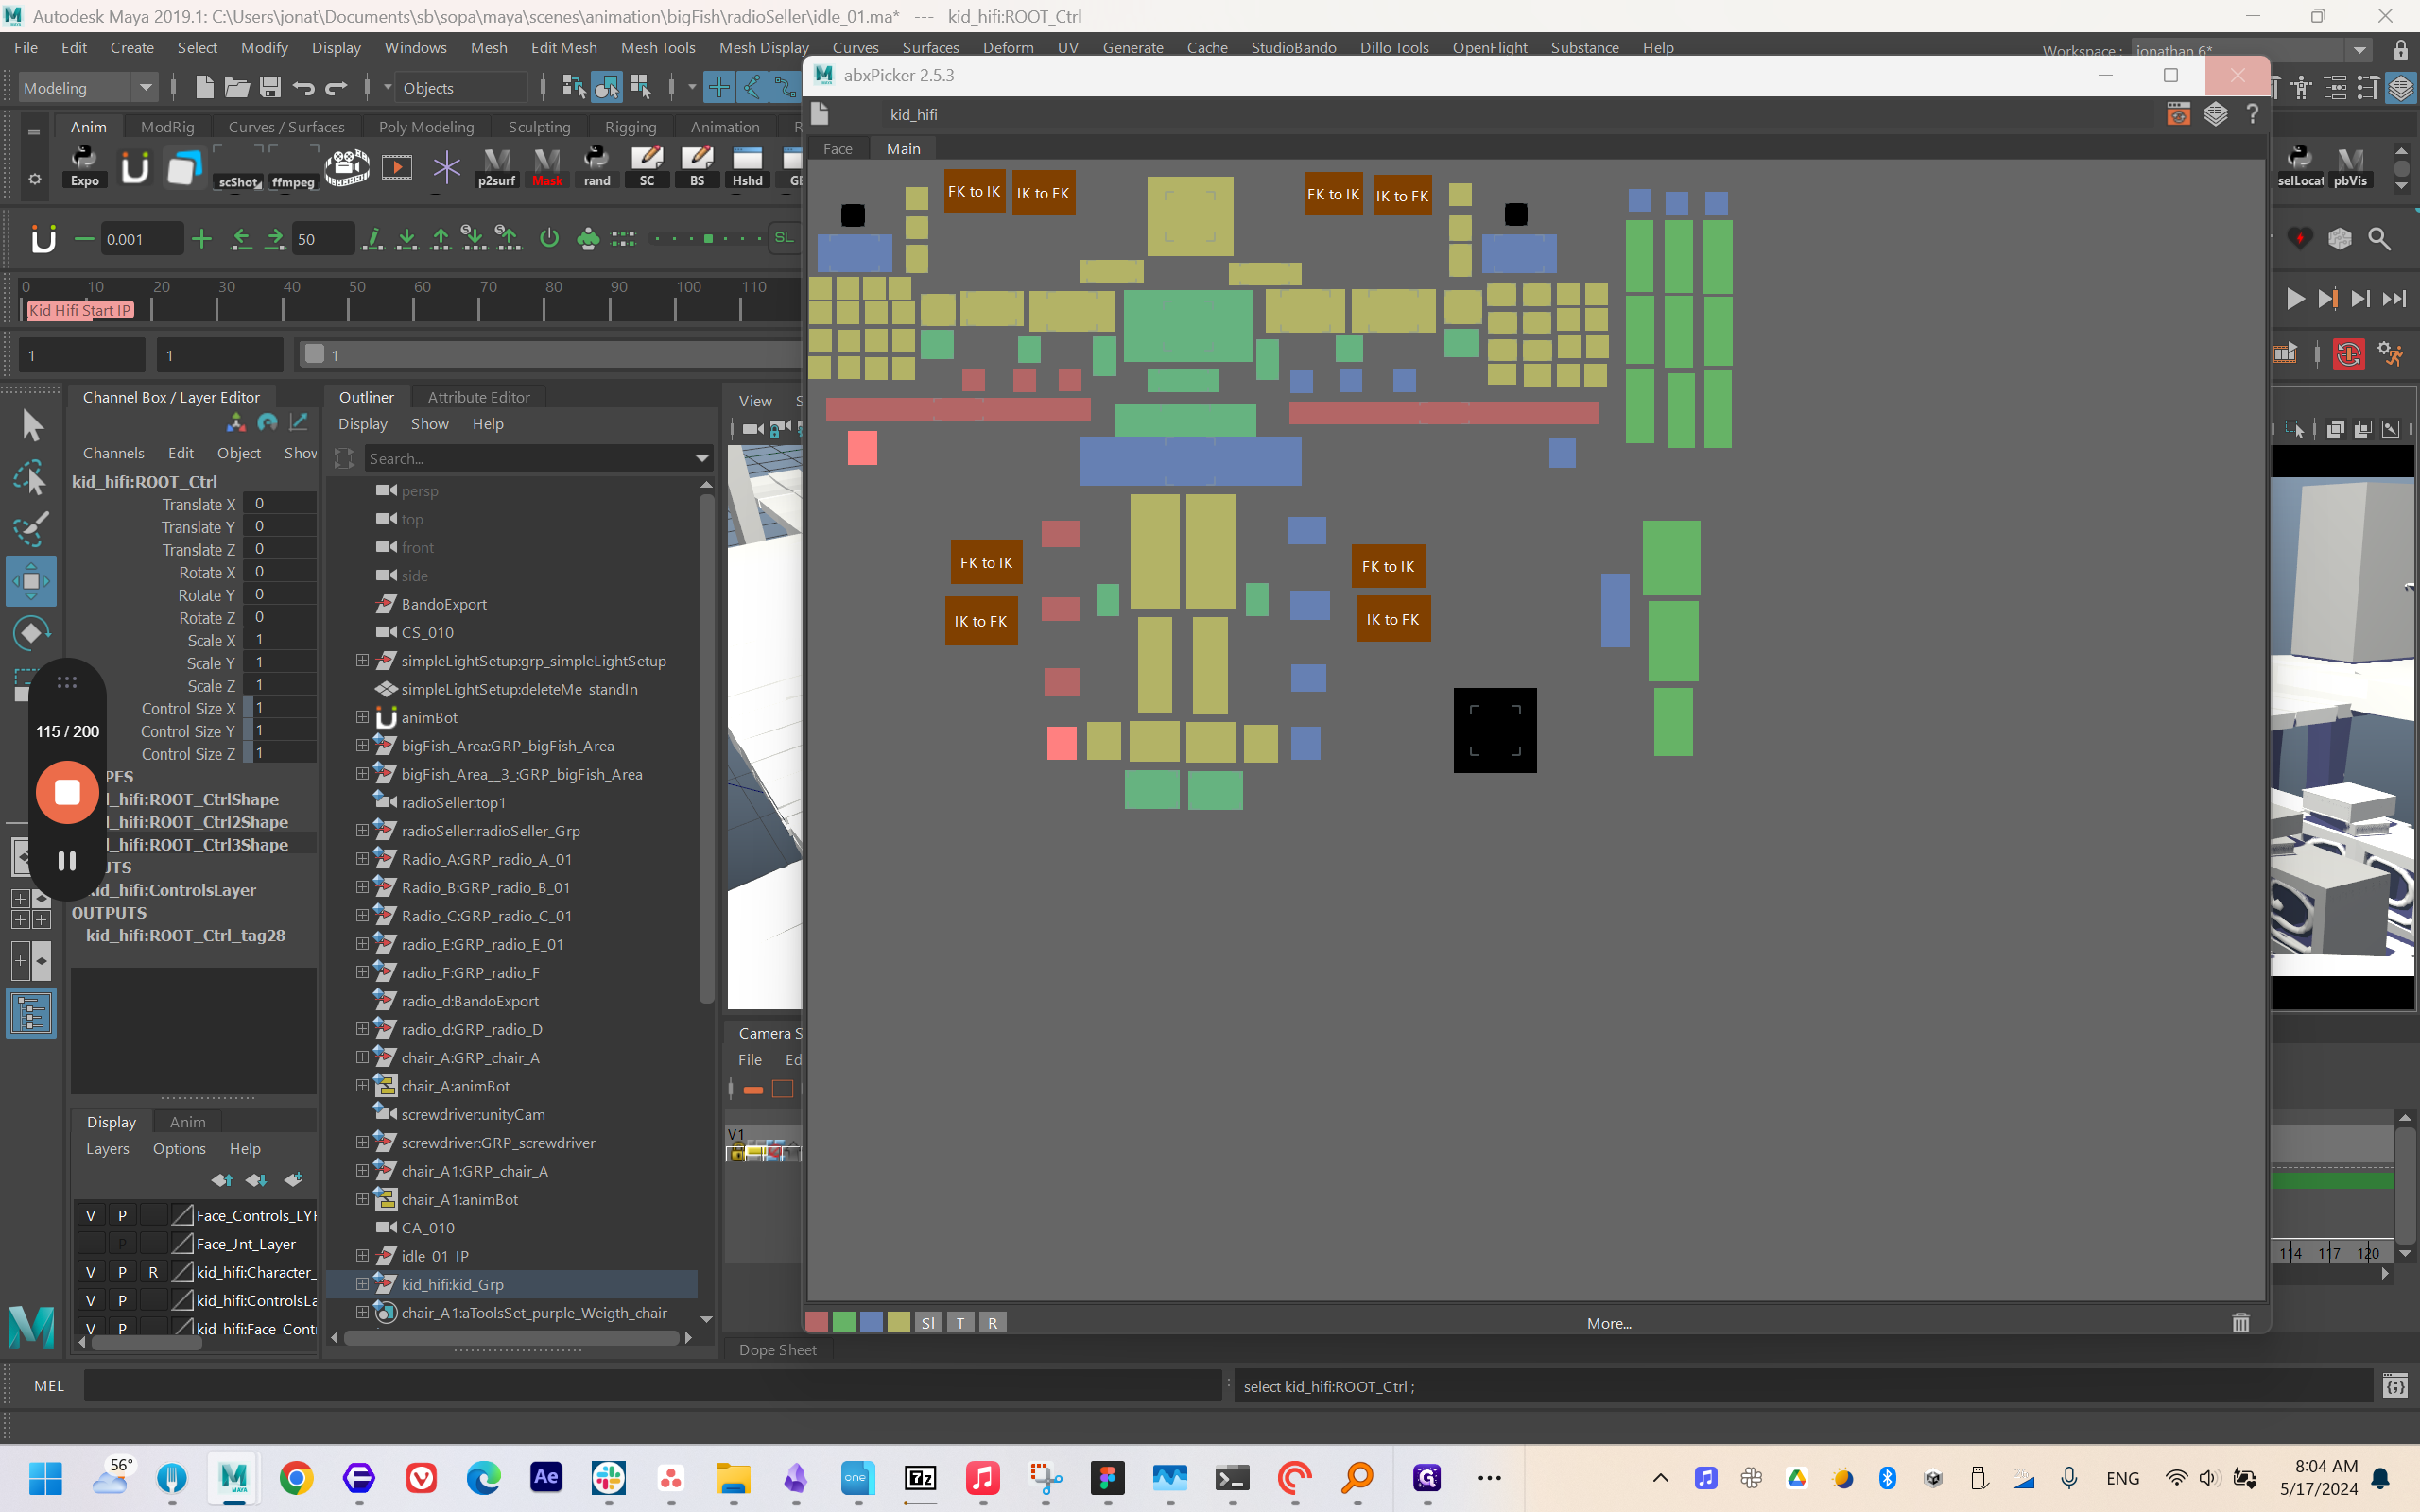
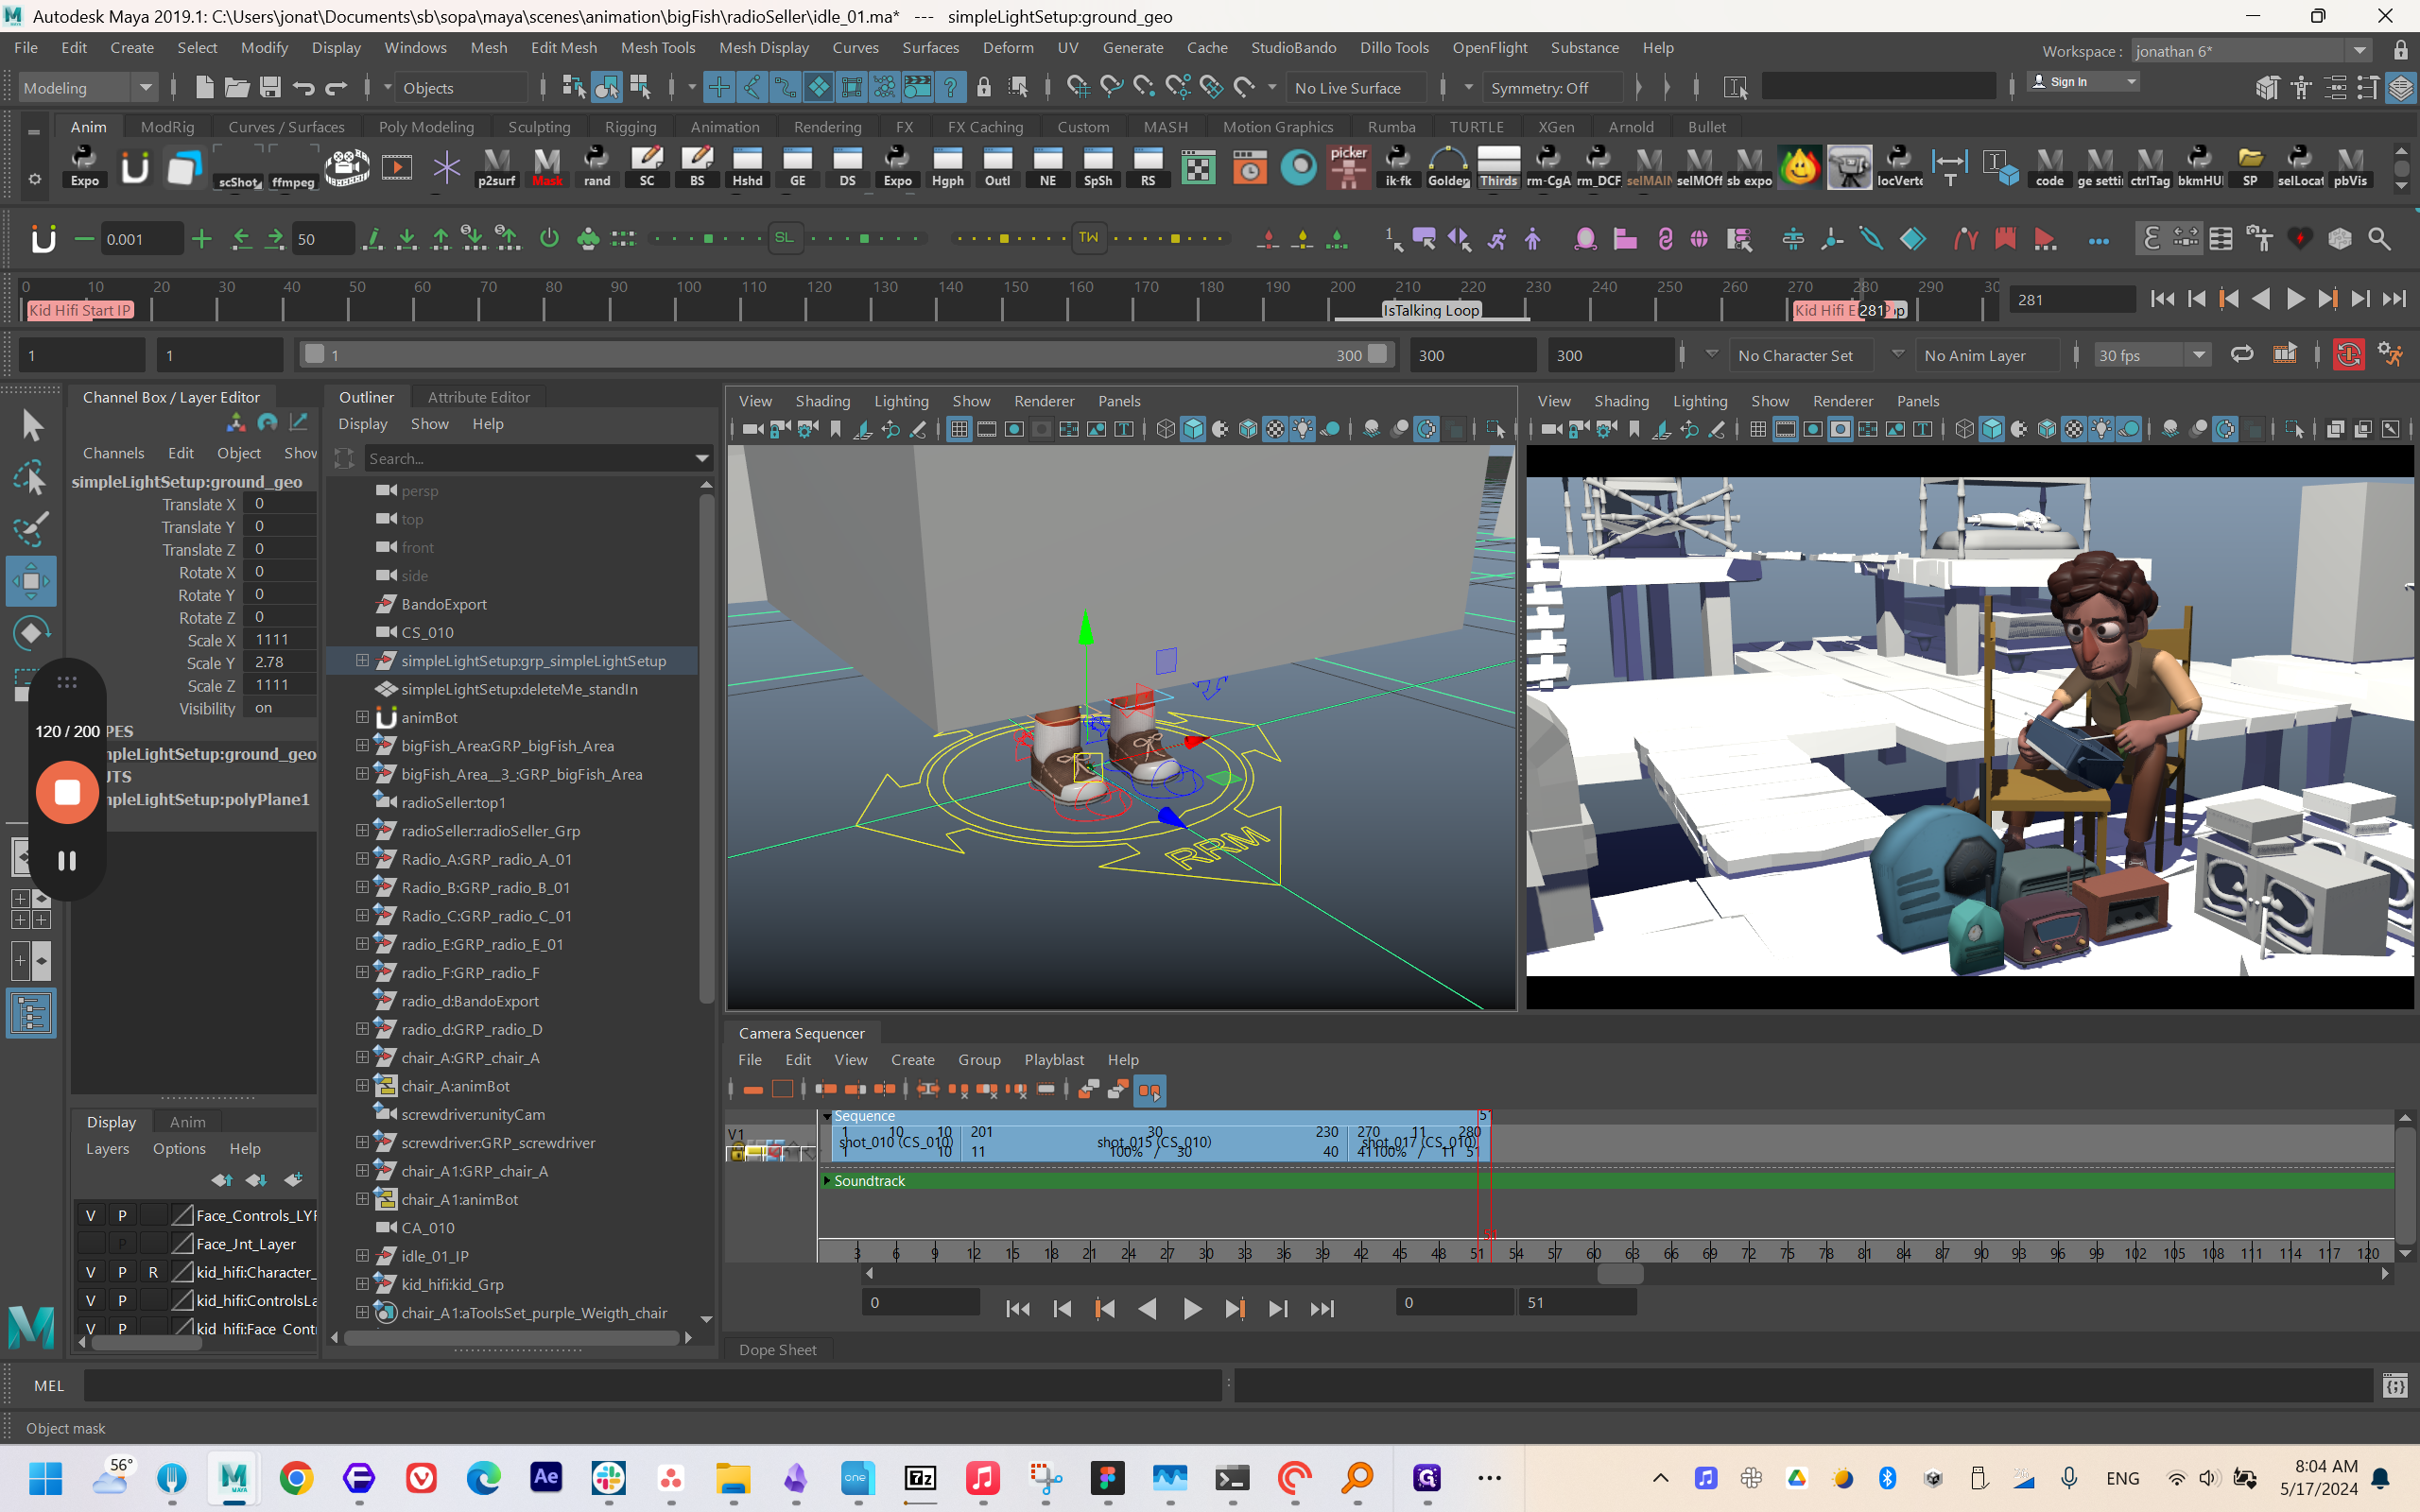
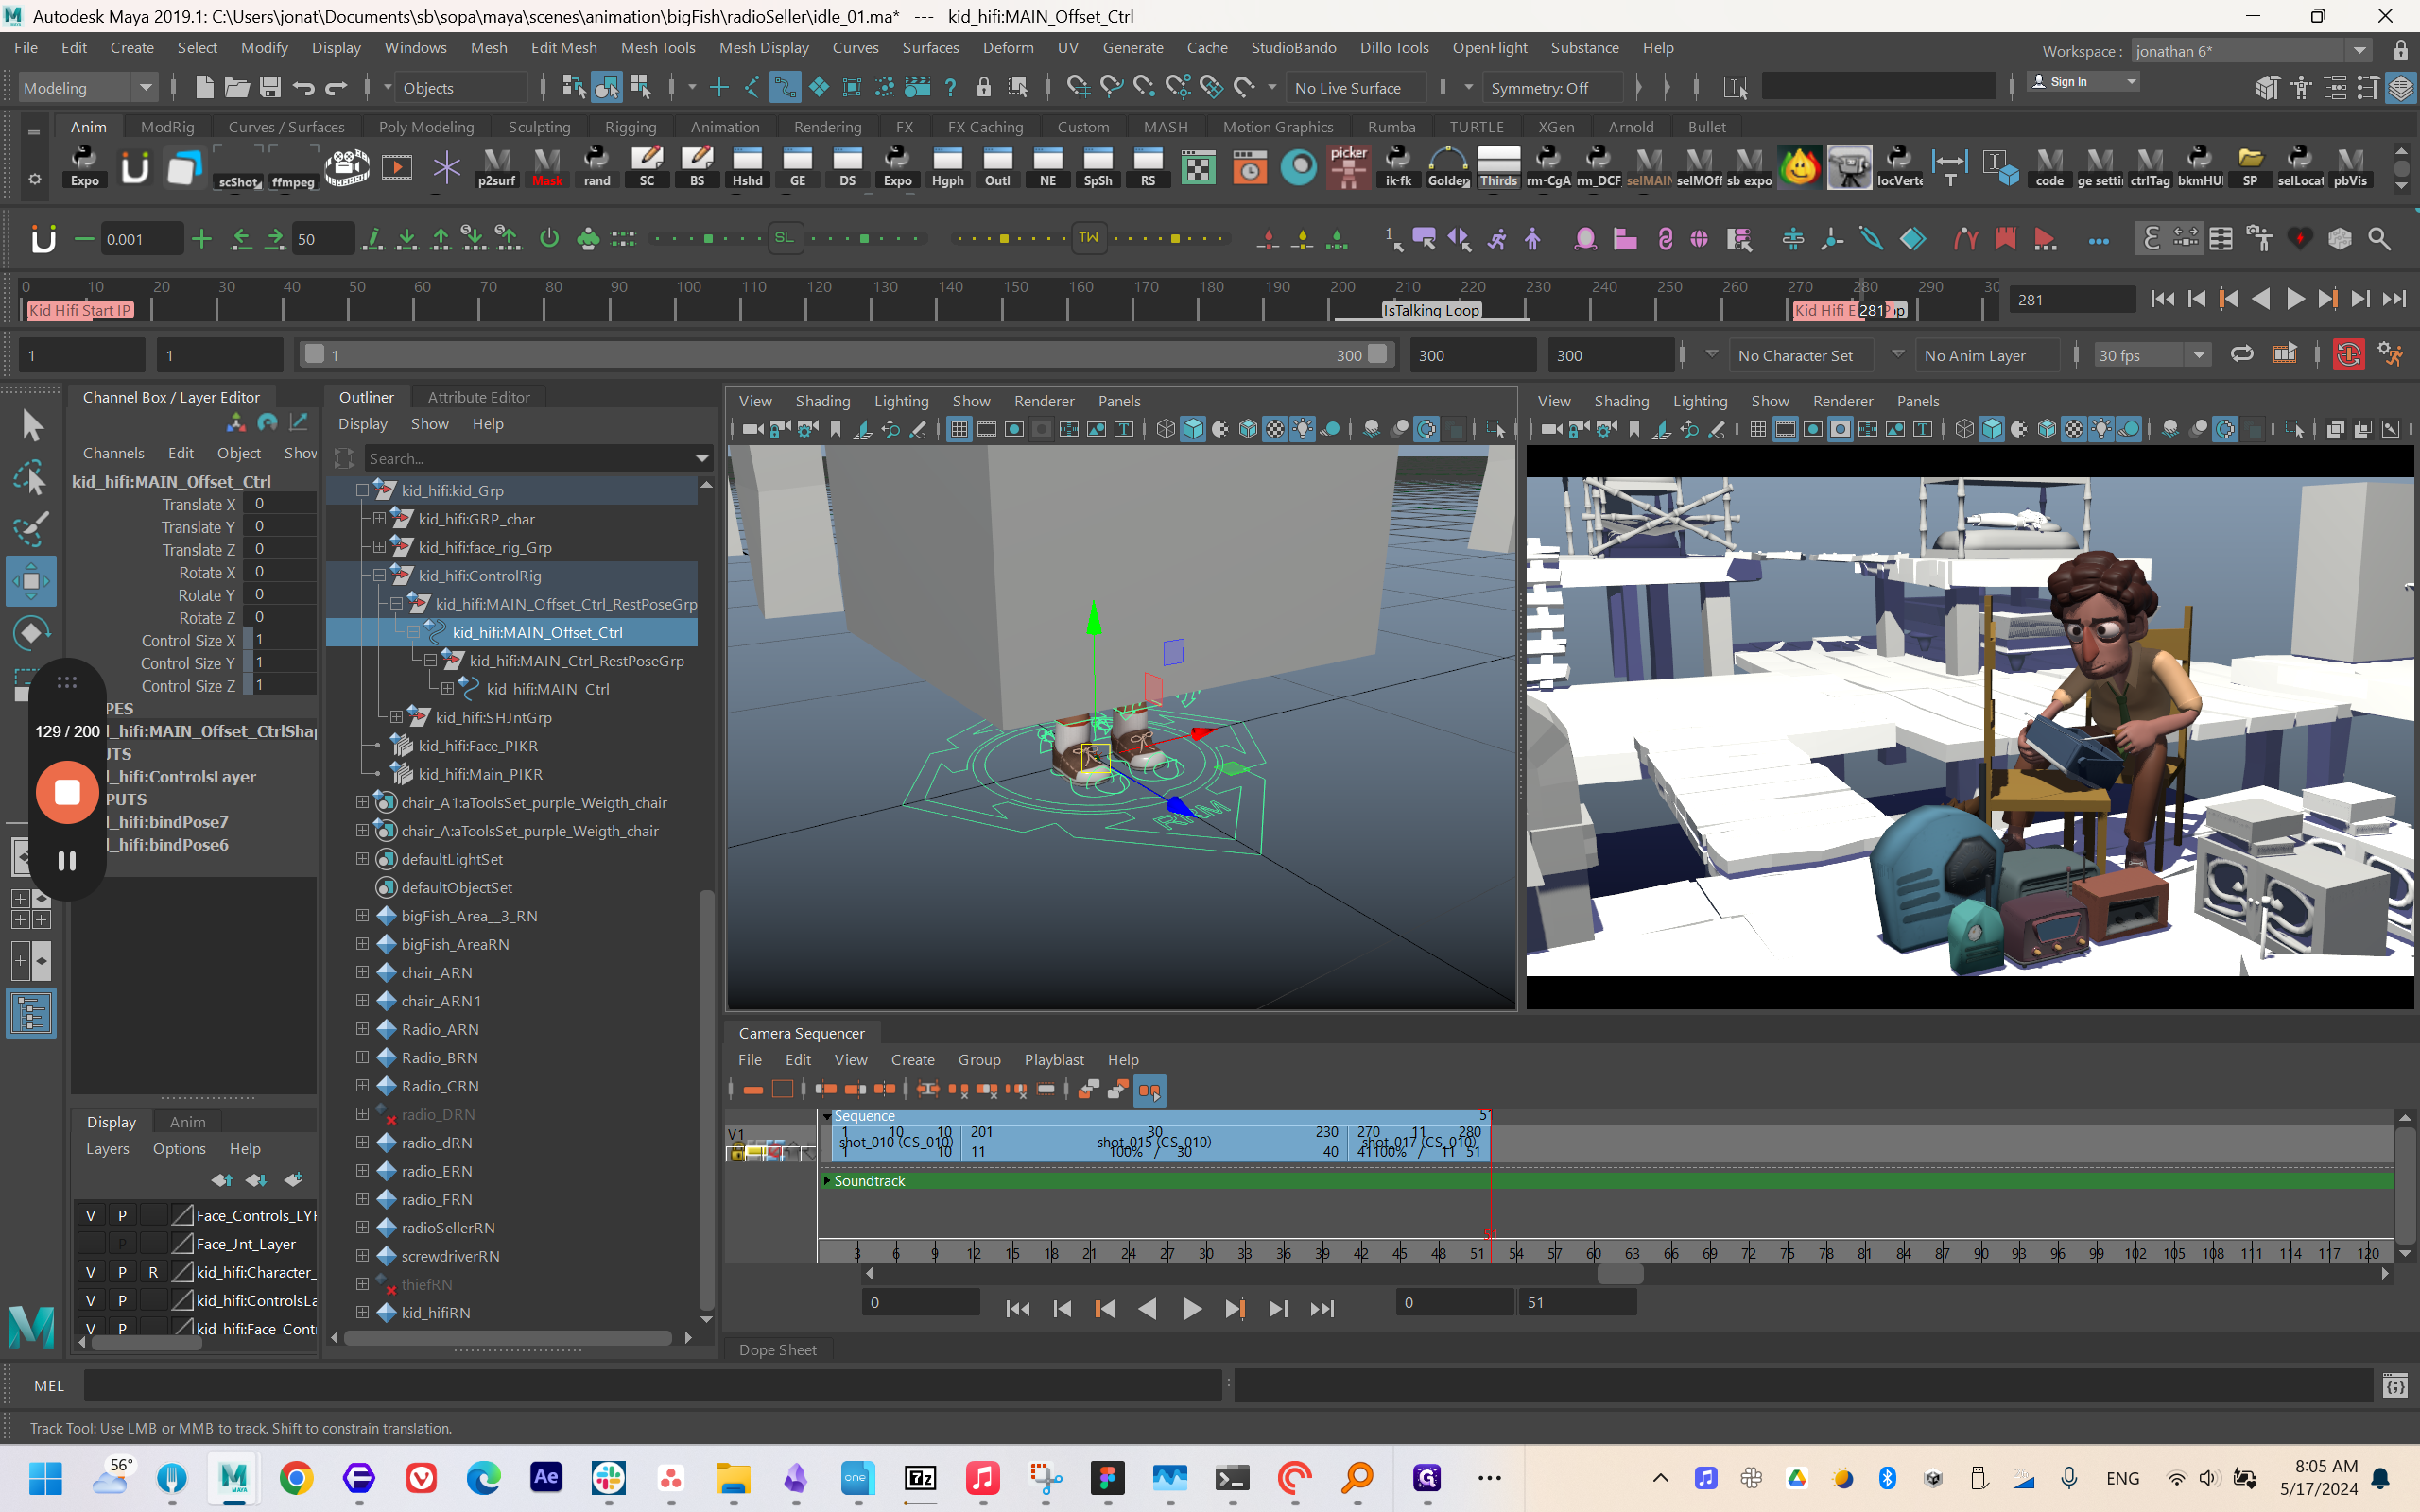
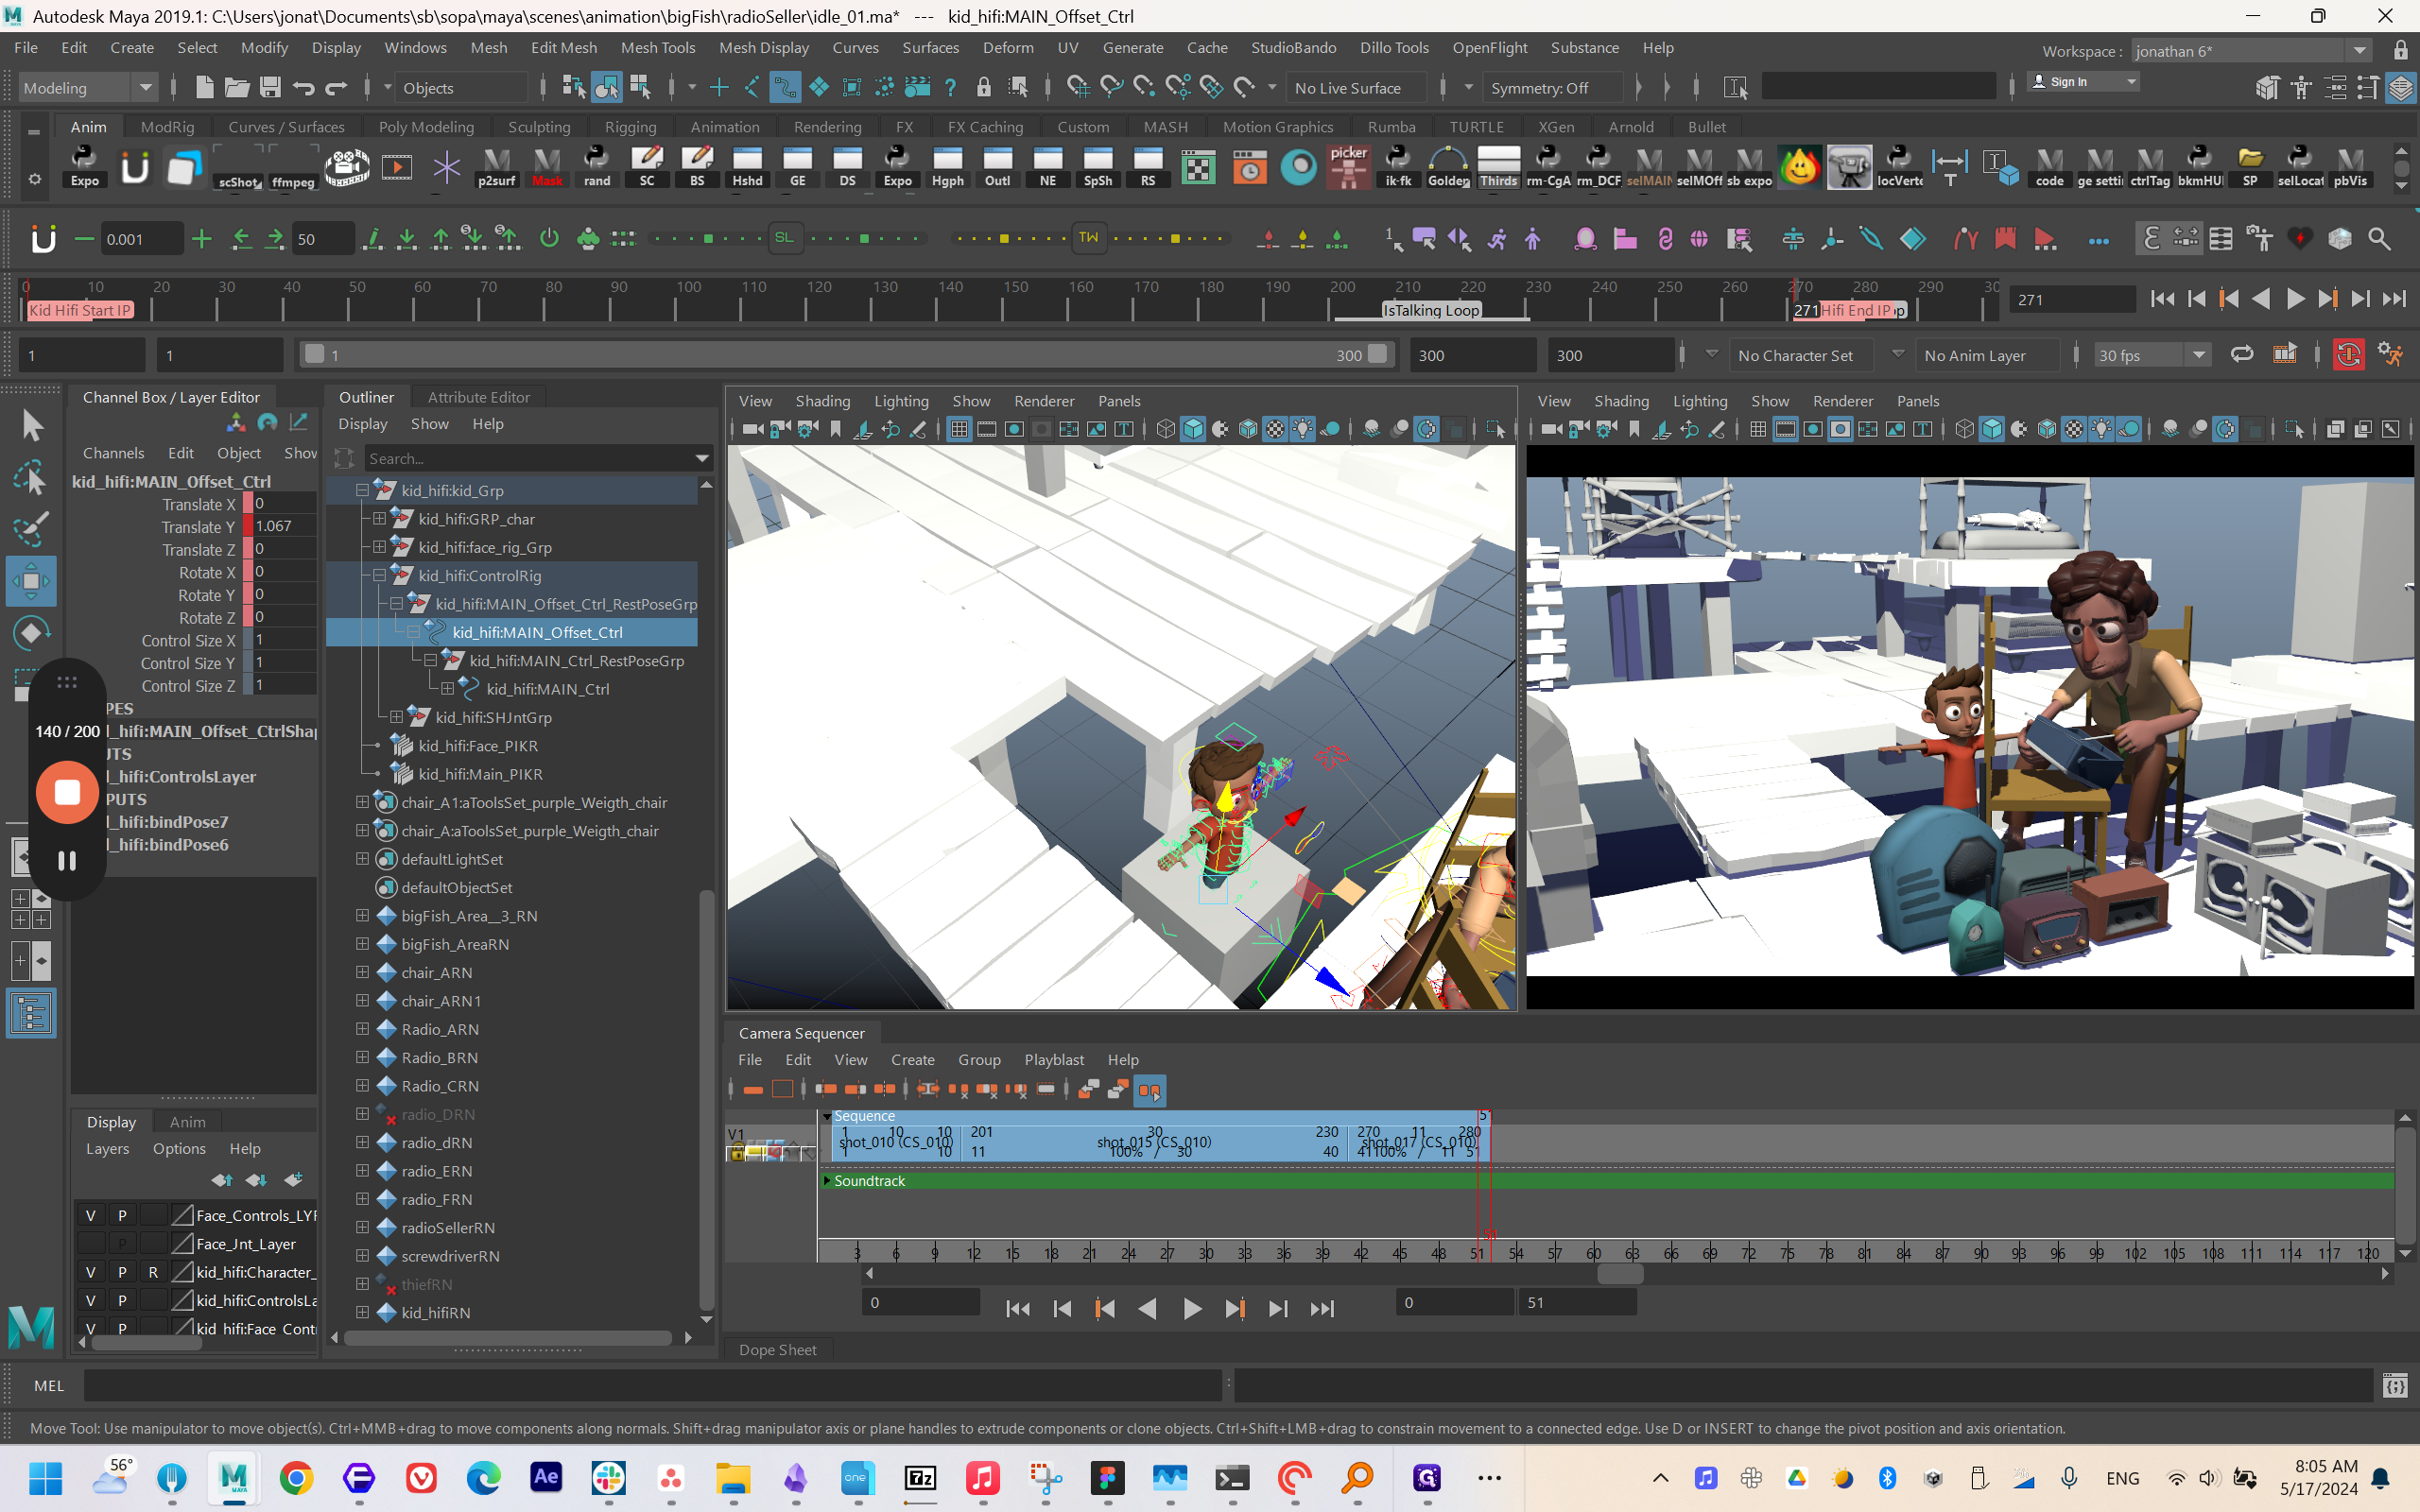
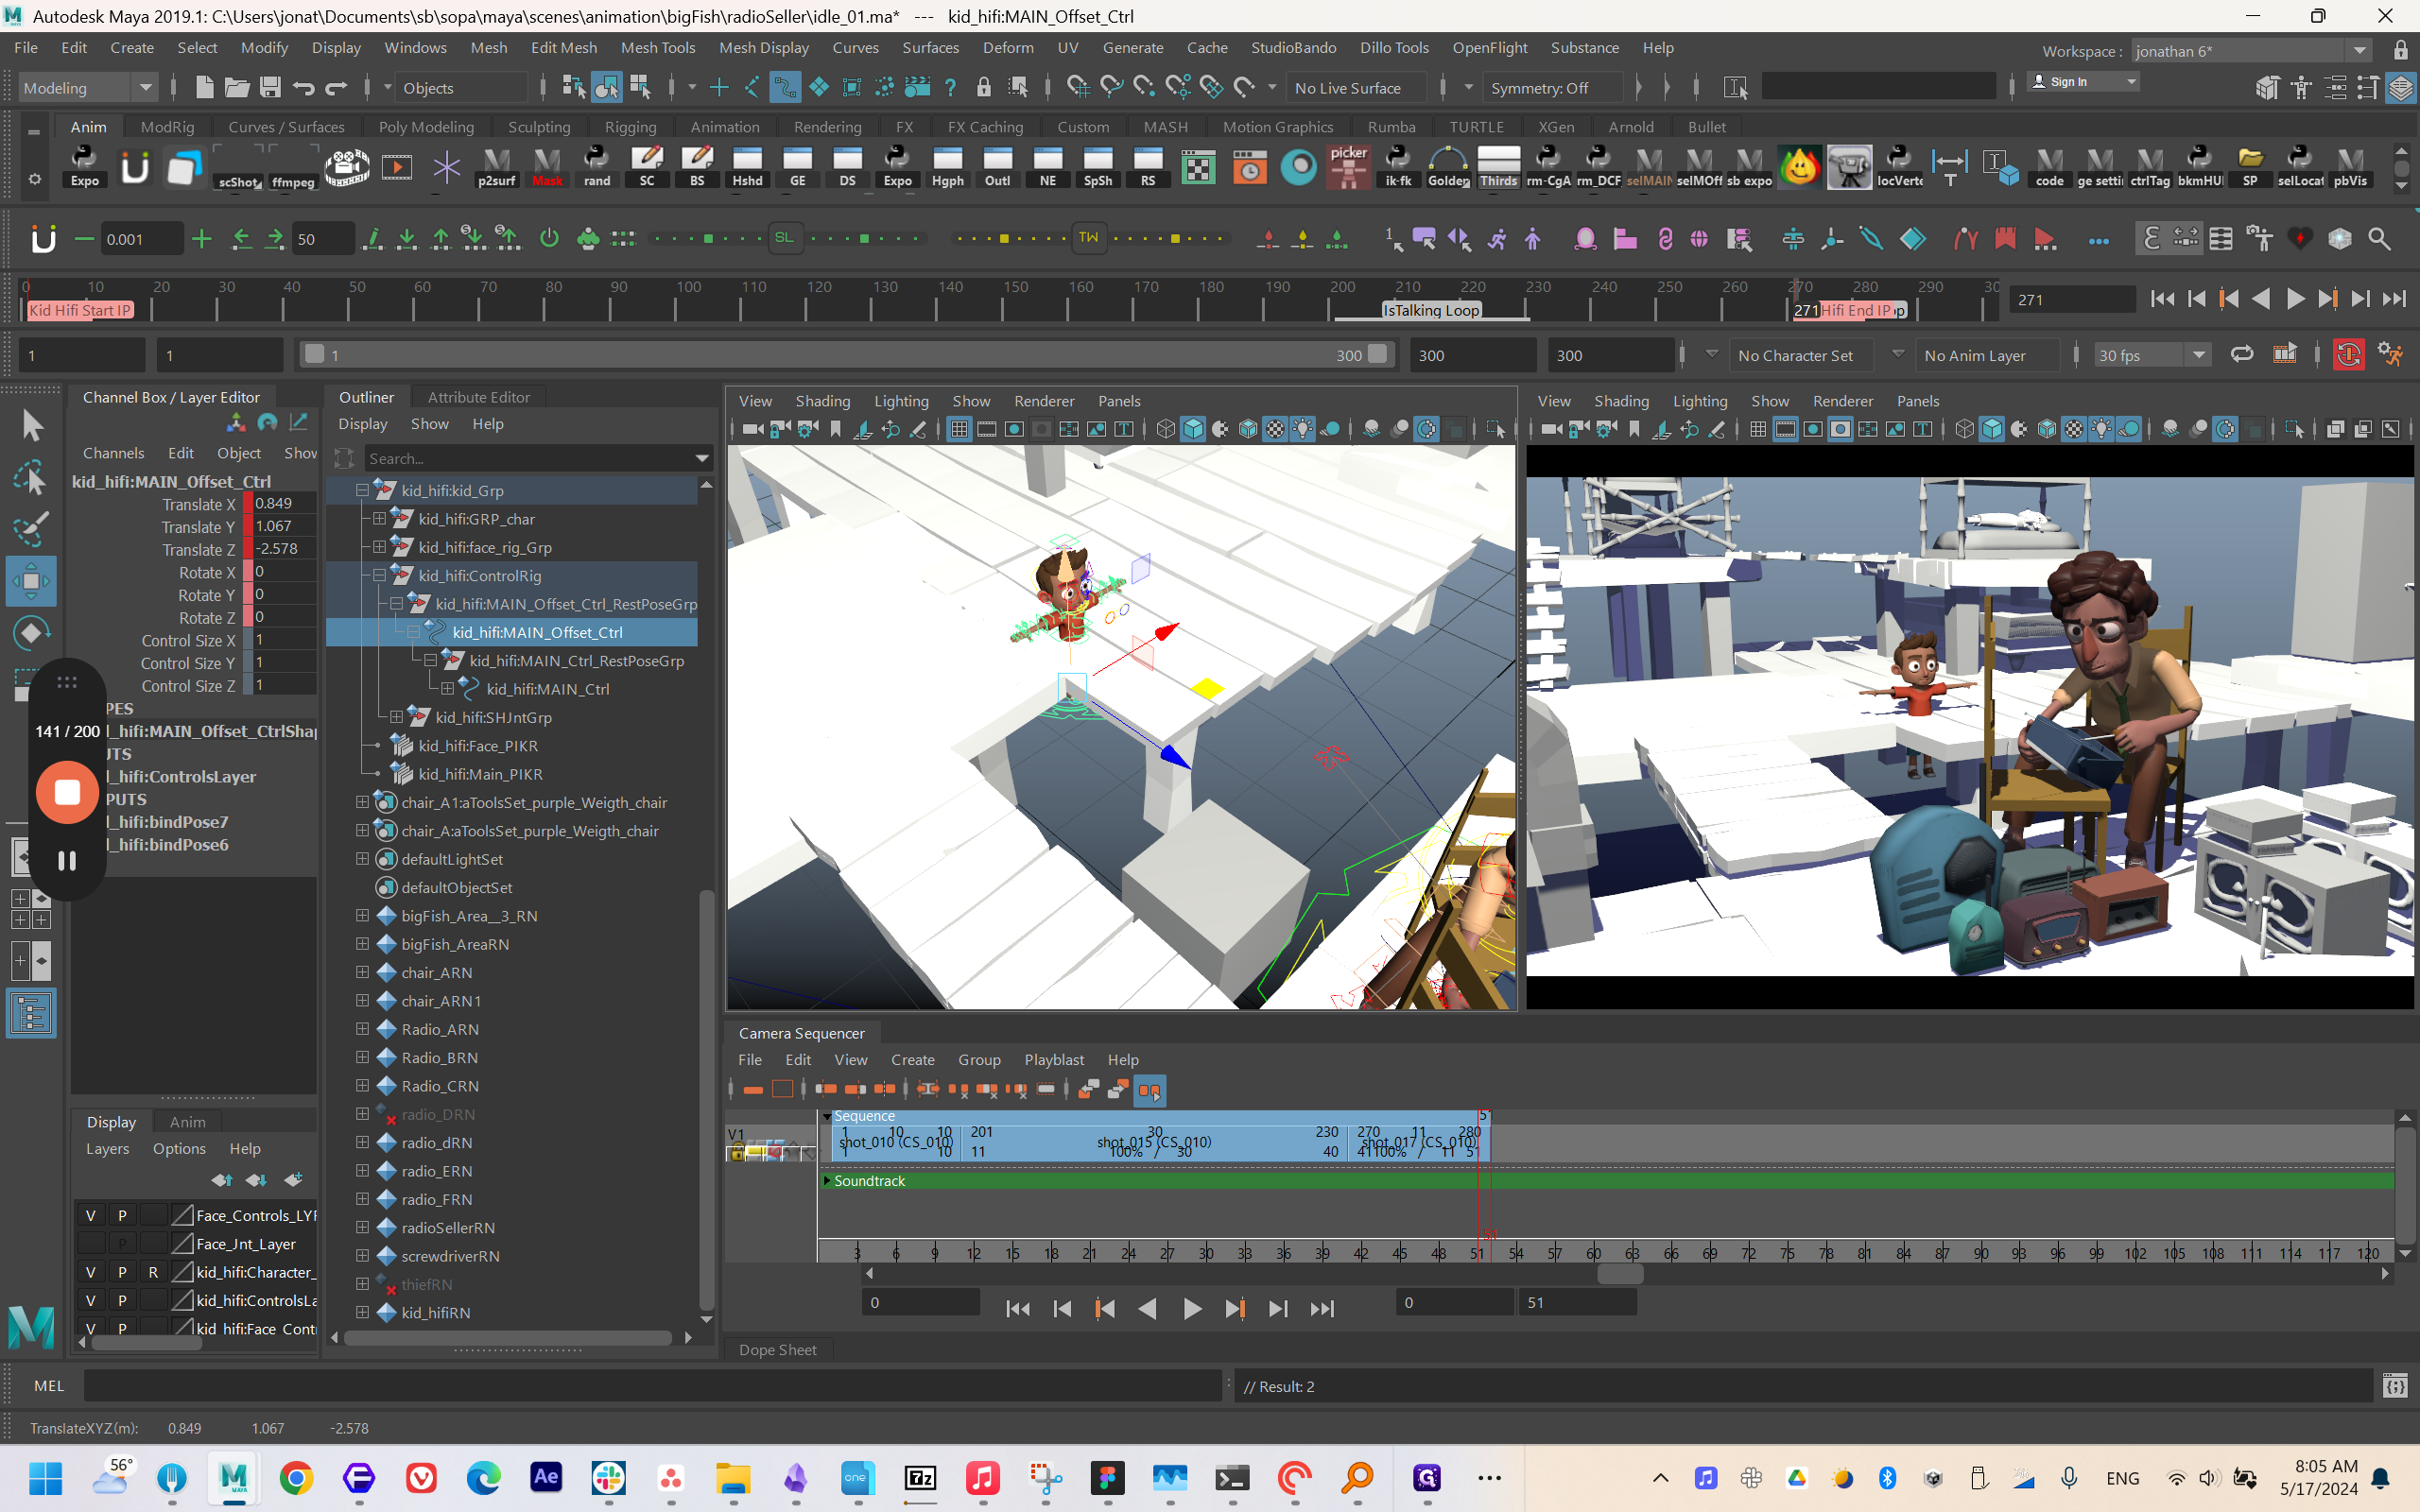
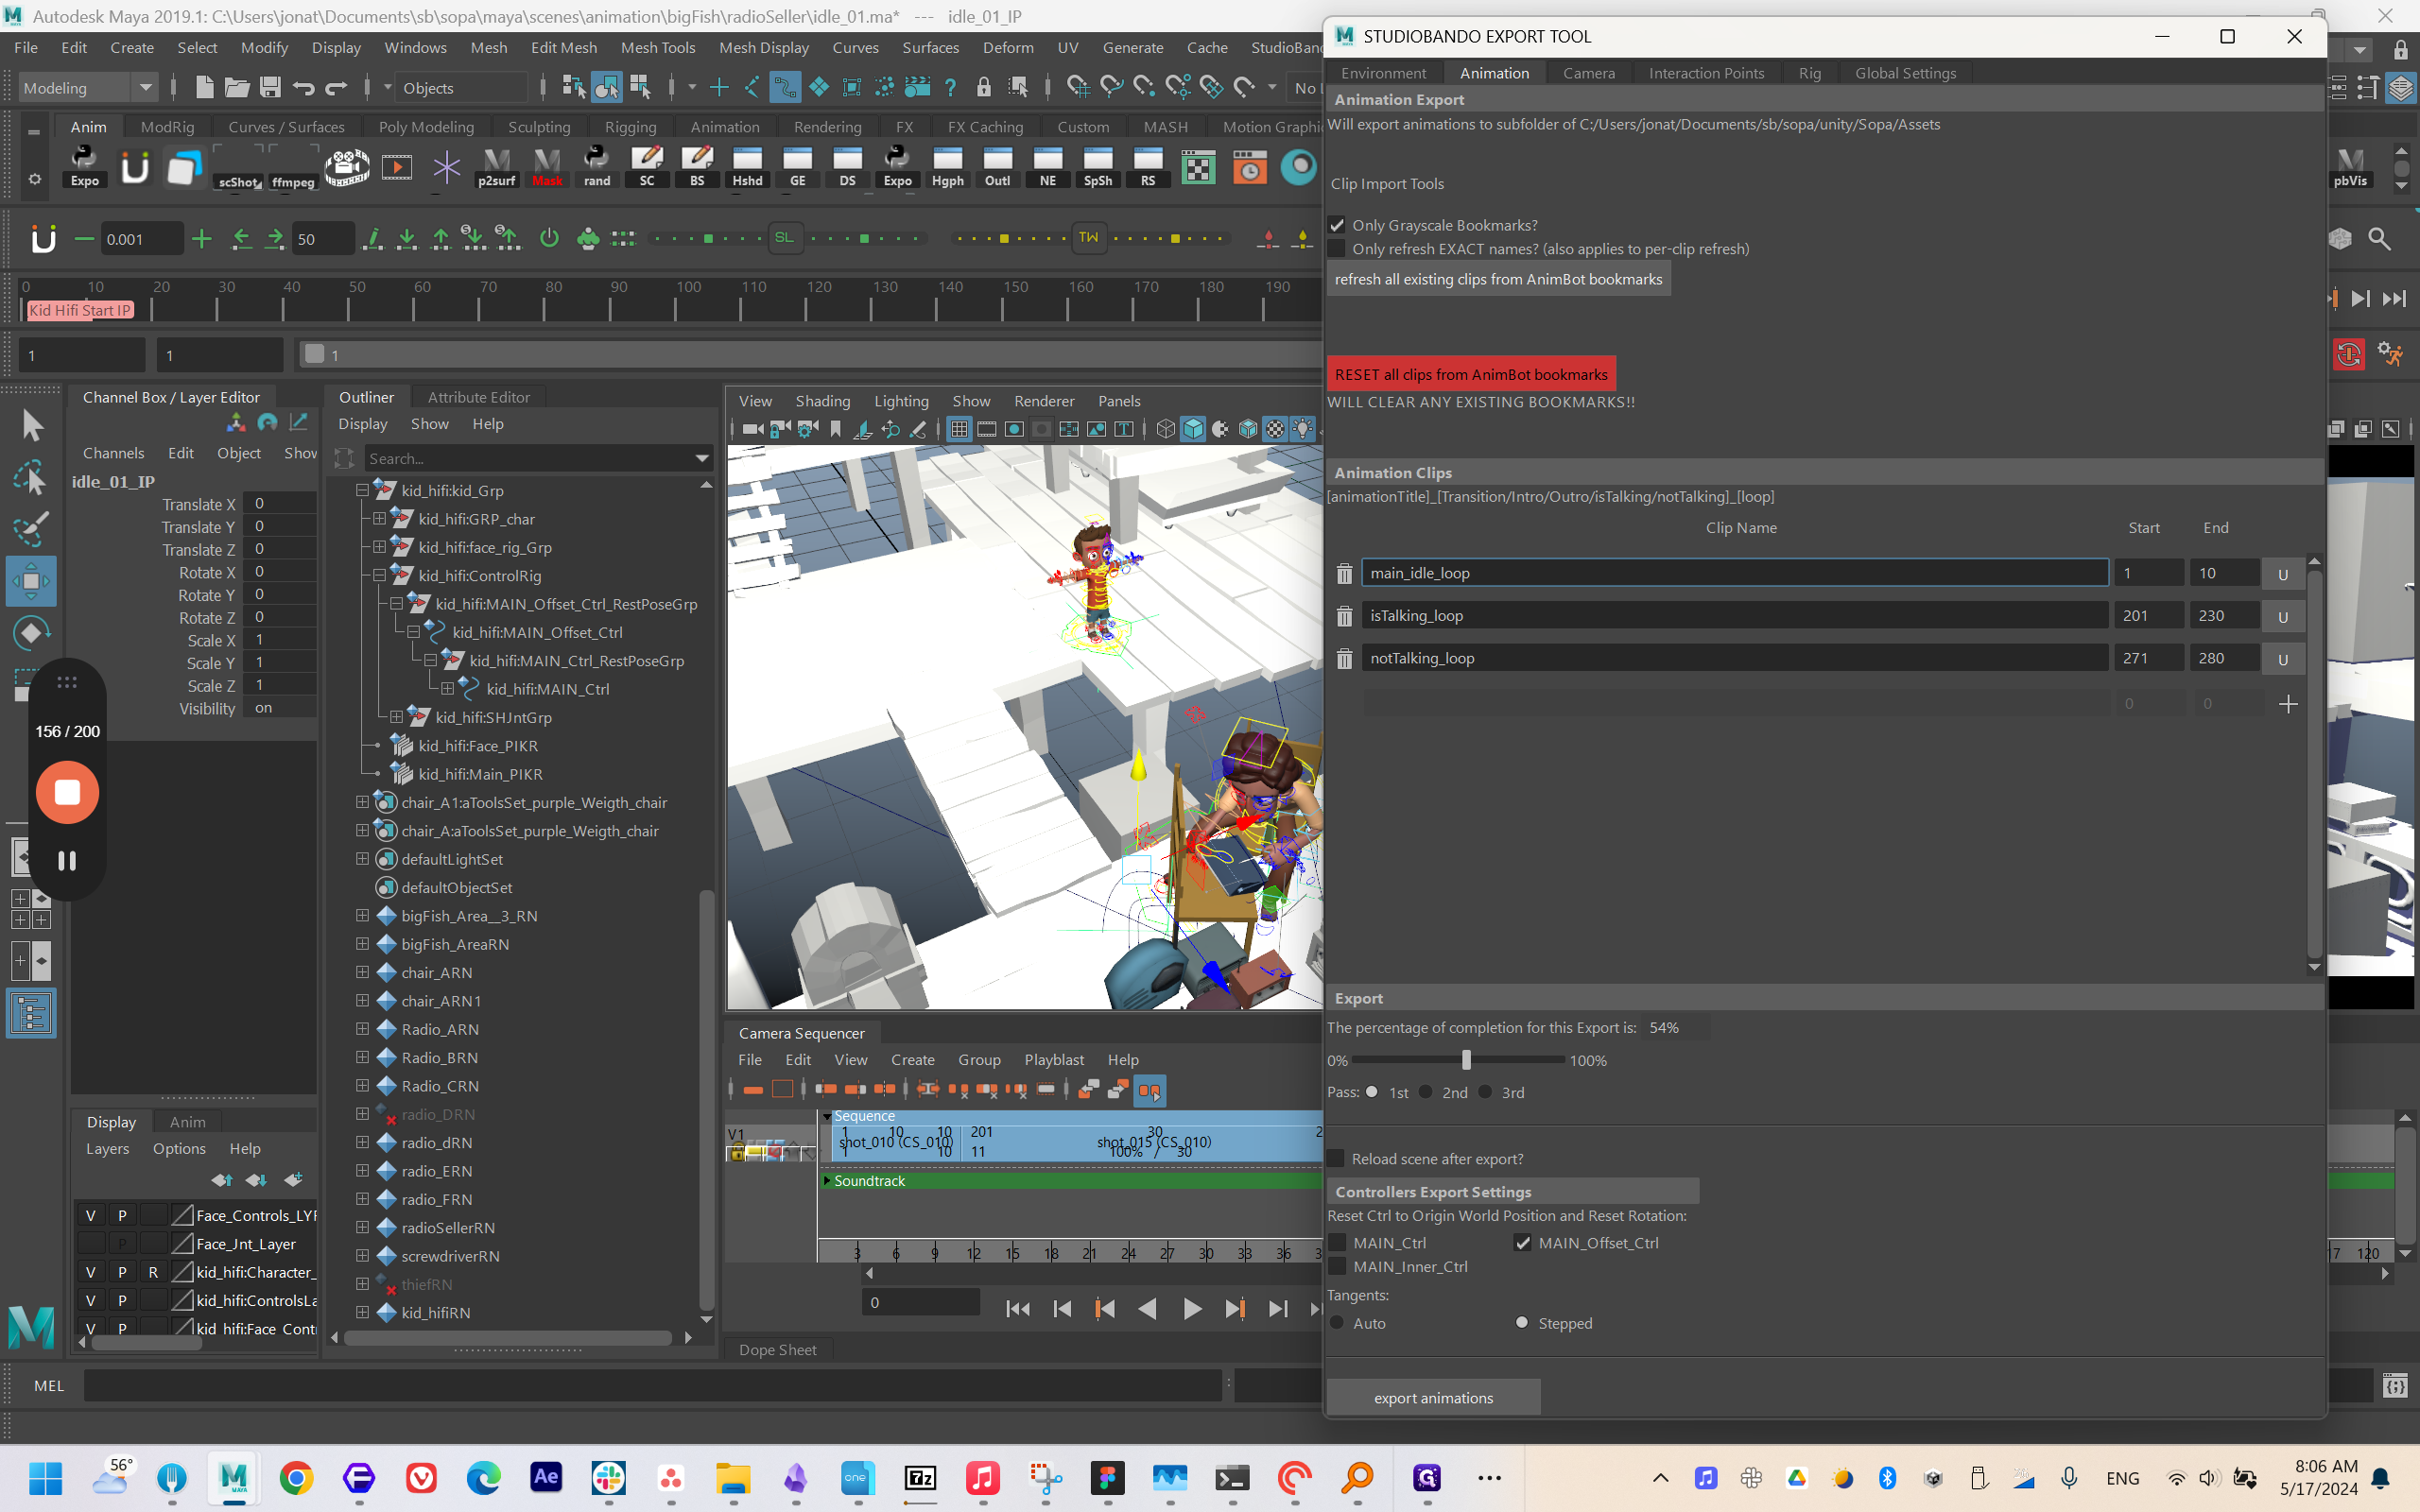
Then, determine the completion level of the animation. Next, adjust the main offset. In this scenario, I have all the elements, but I am uncertain about the specific setup.


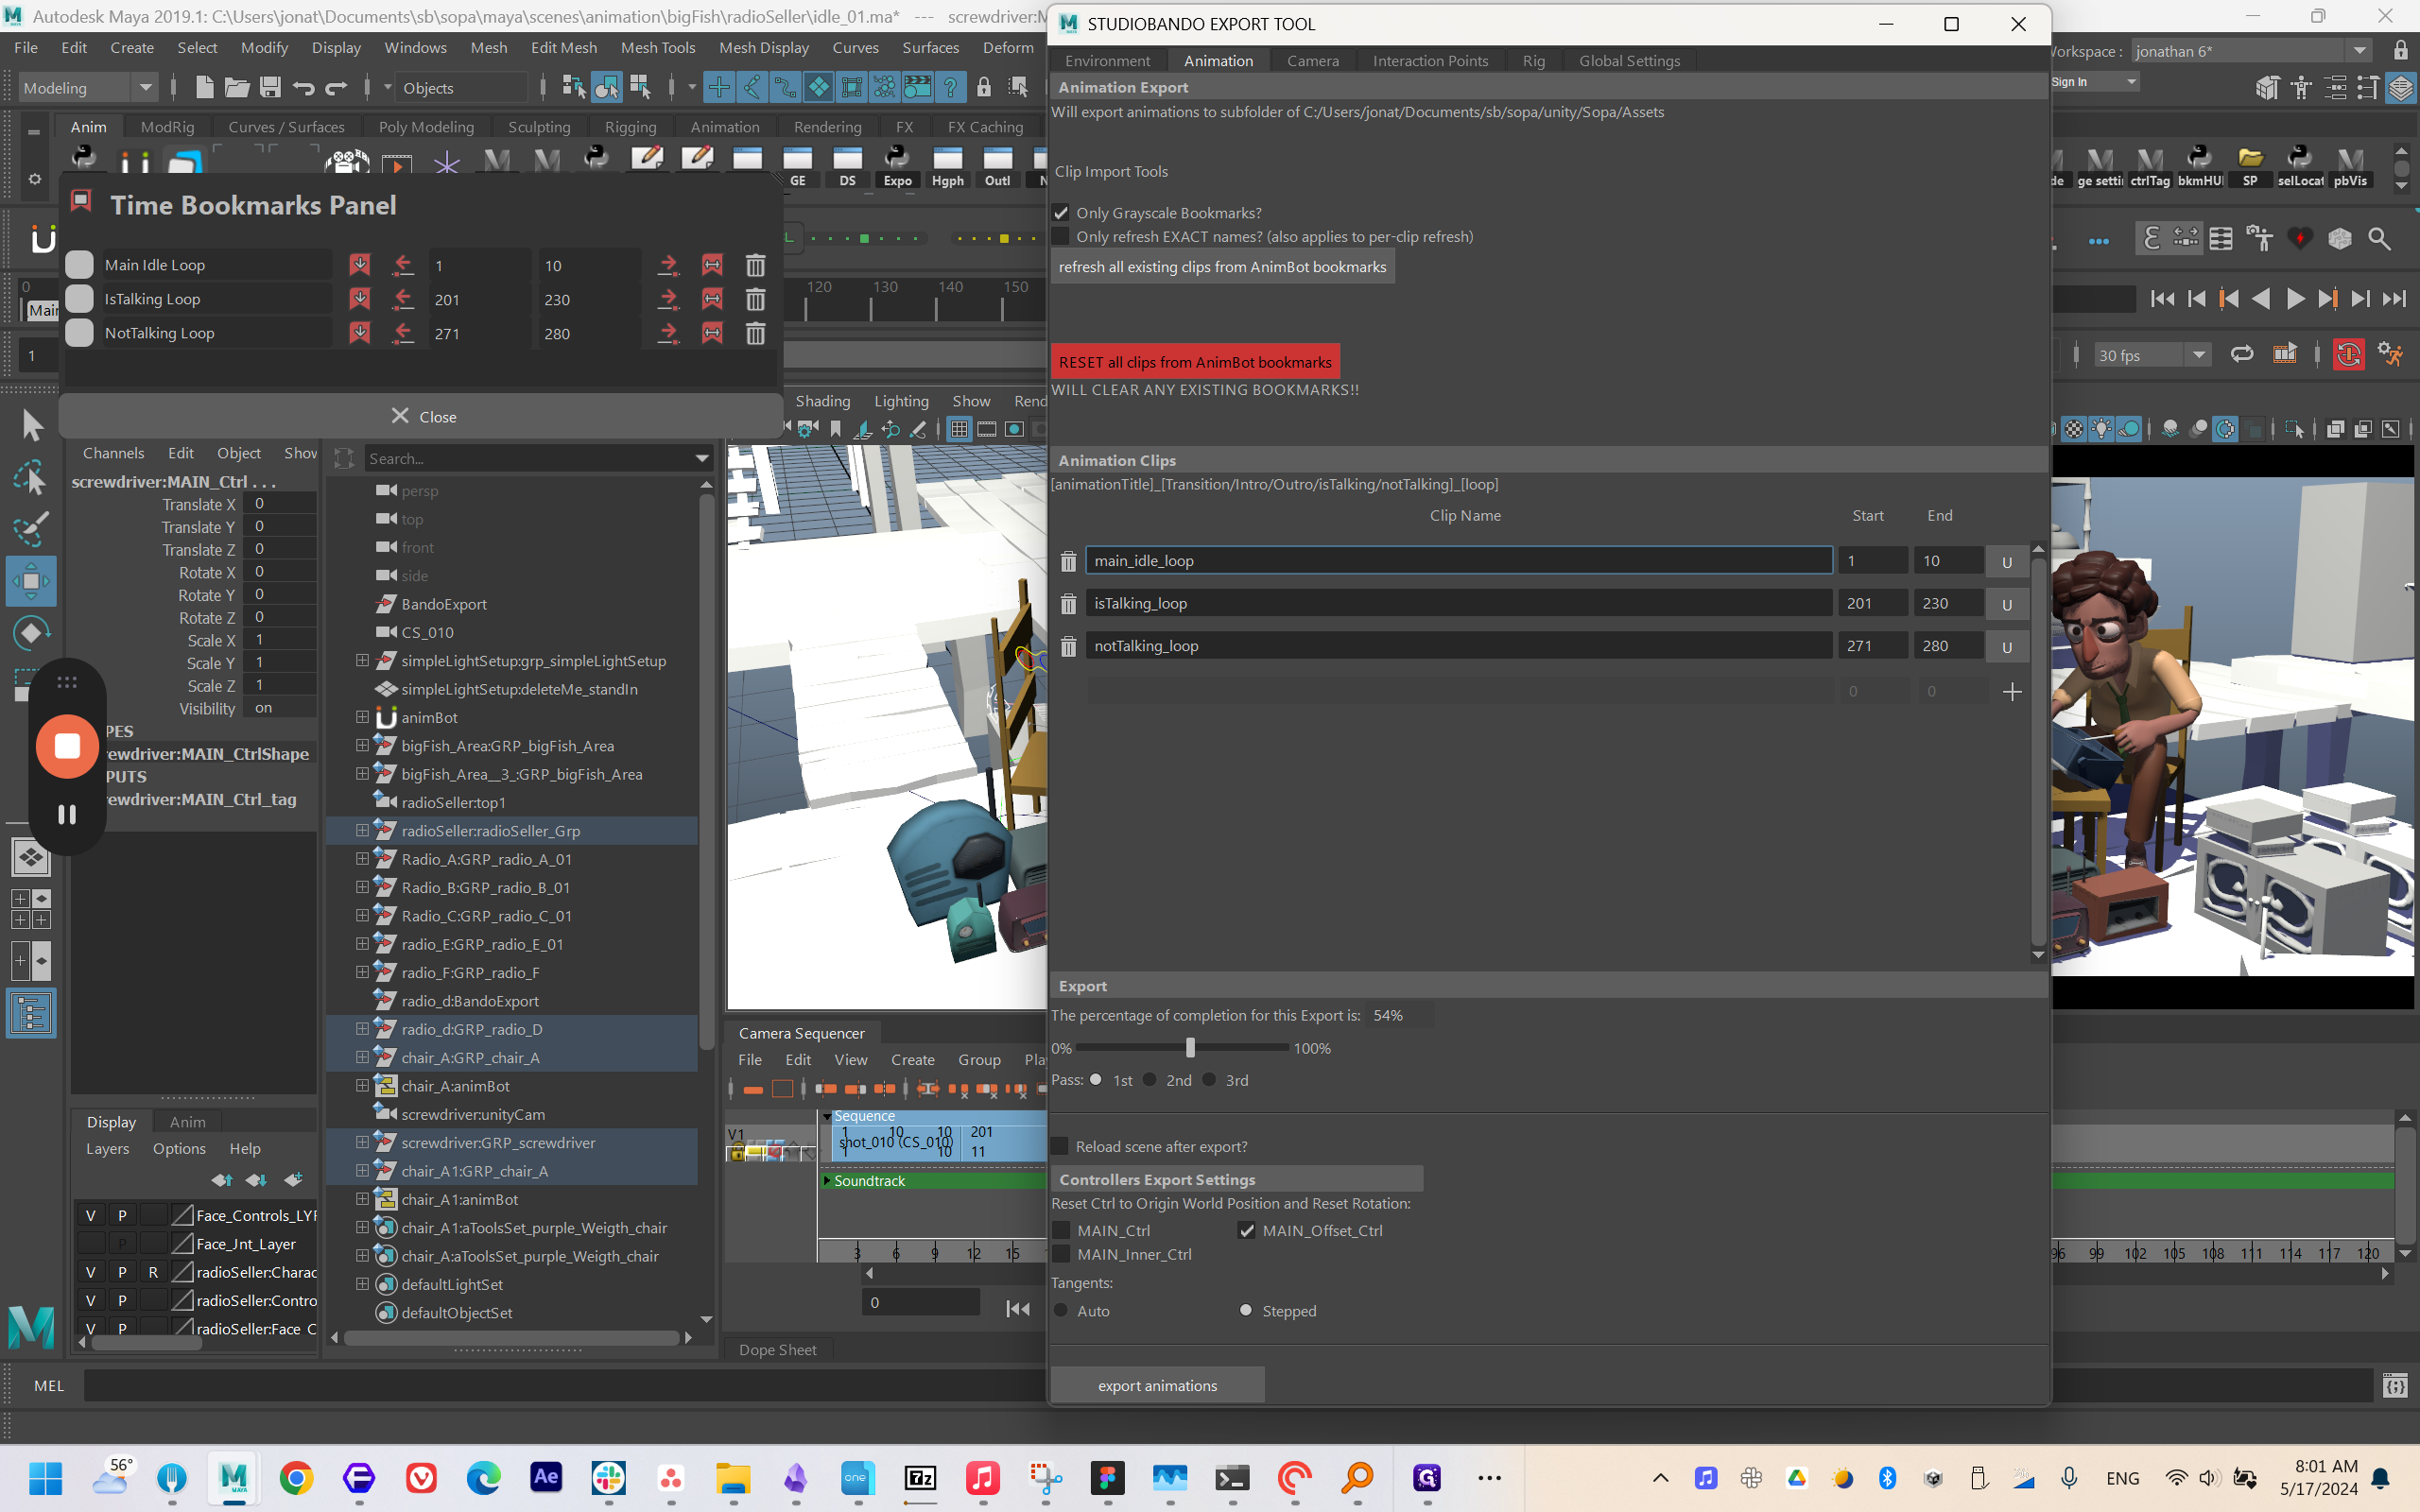
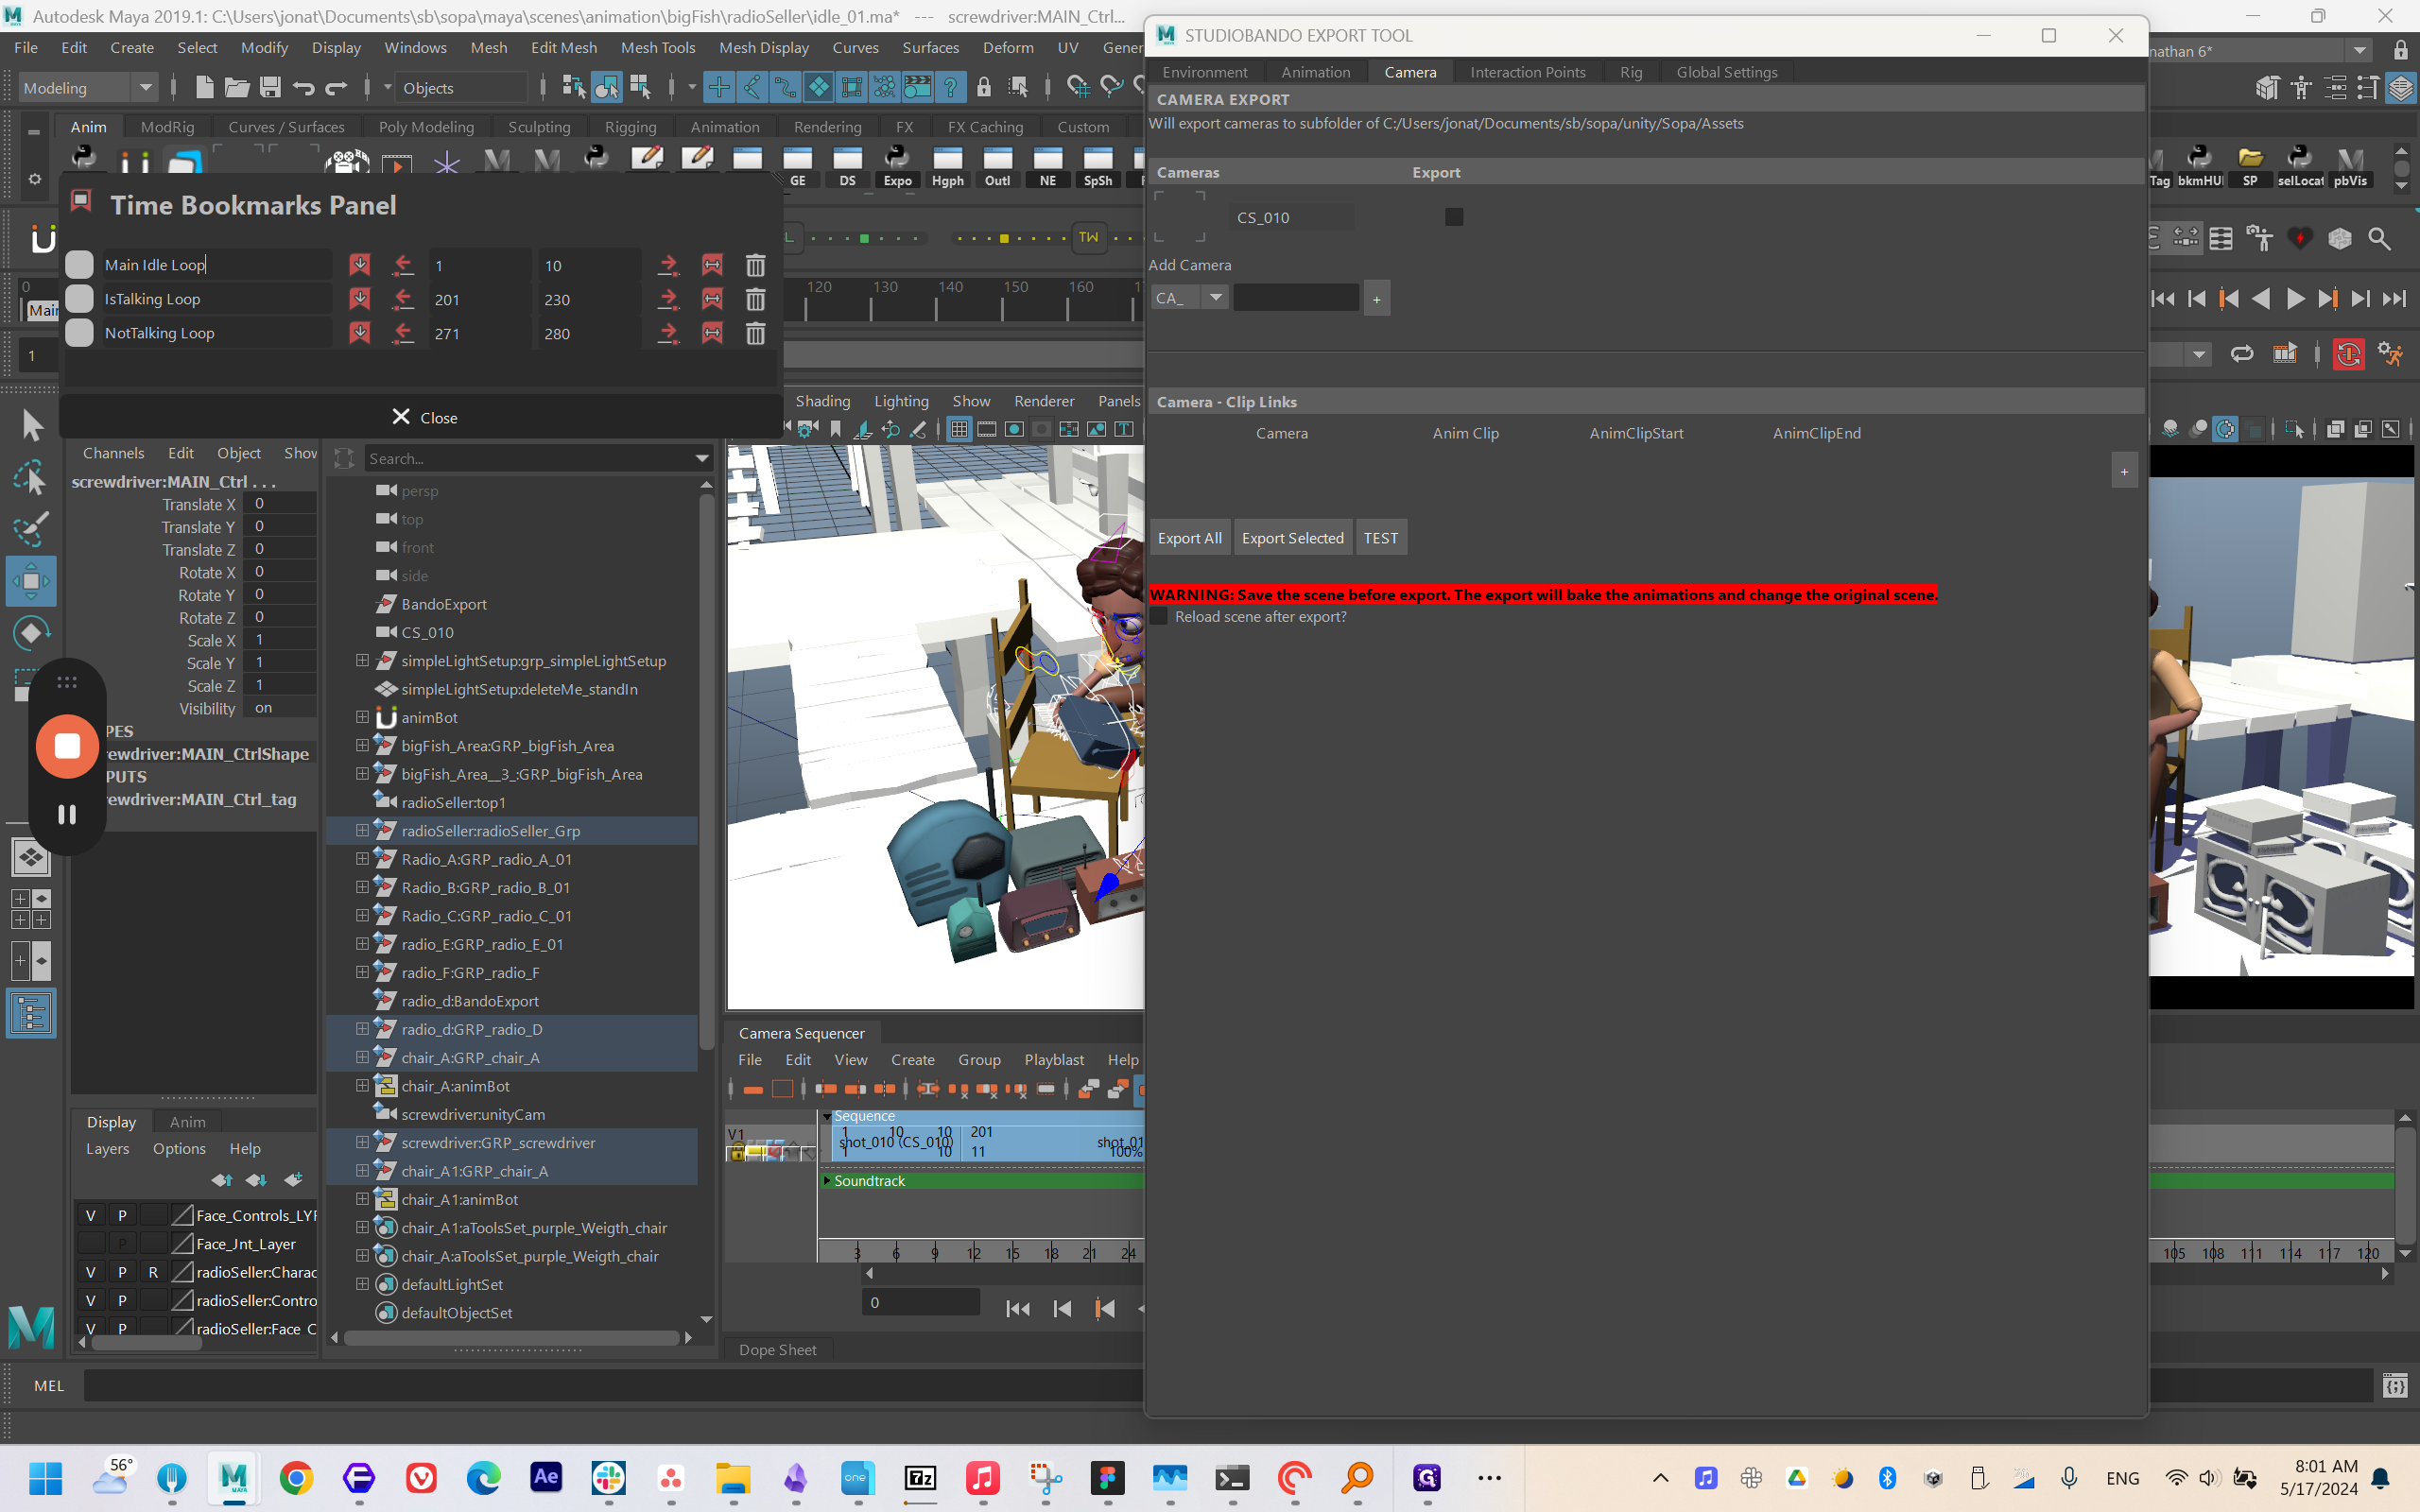

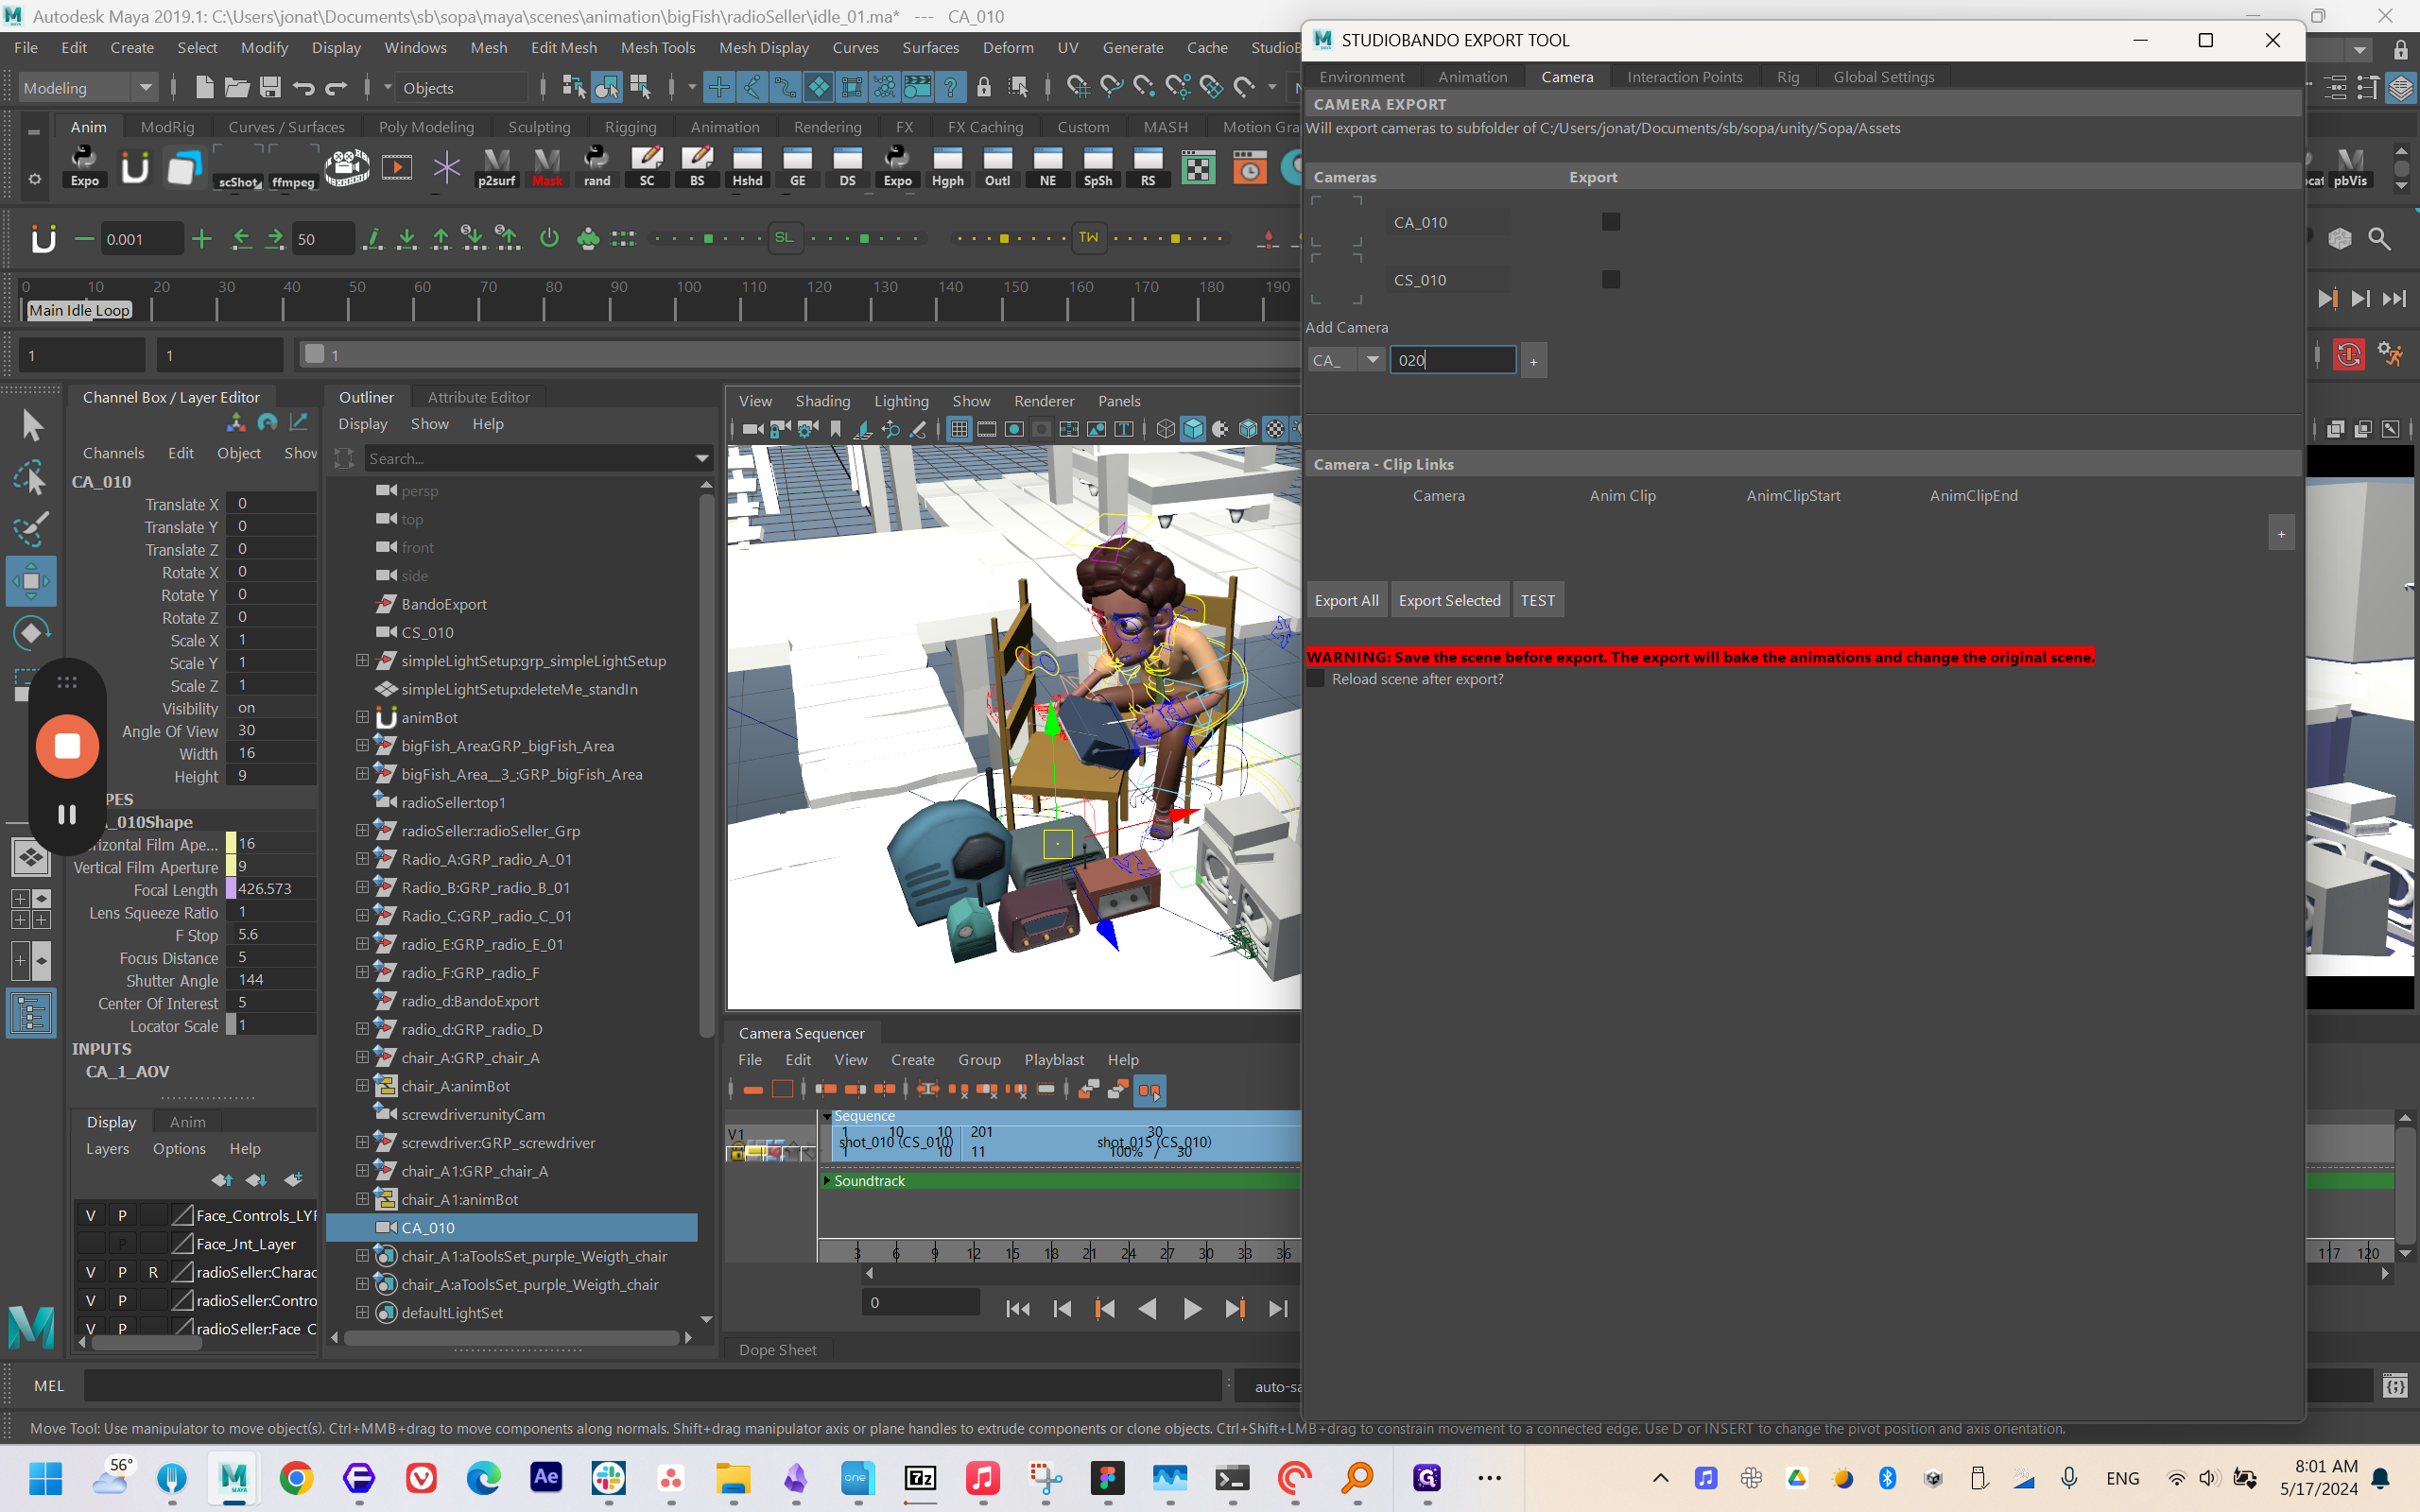


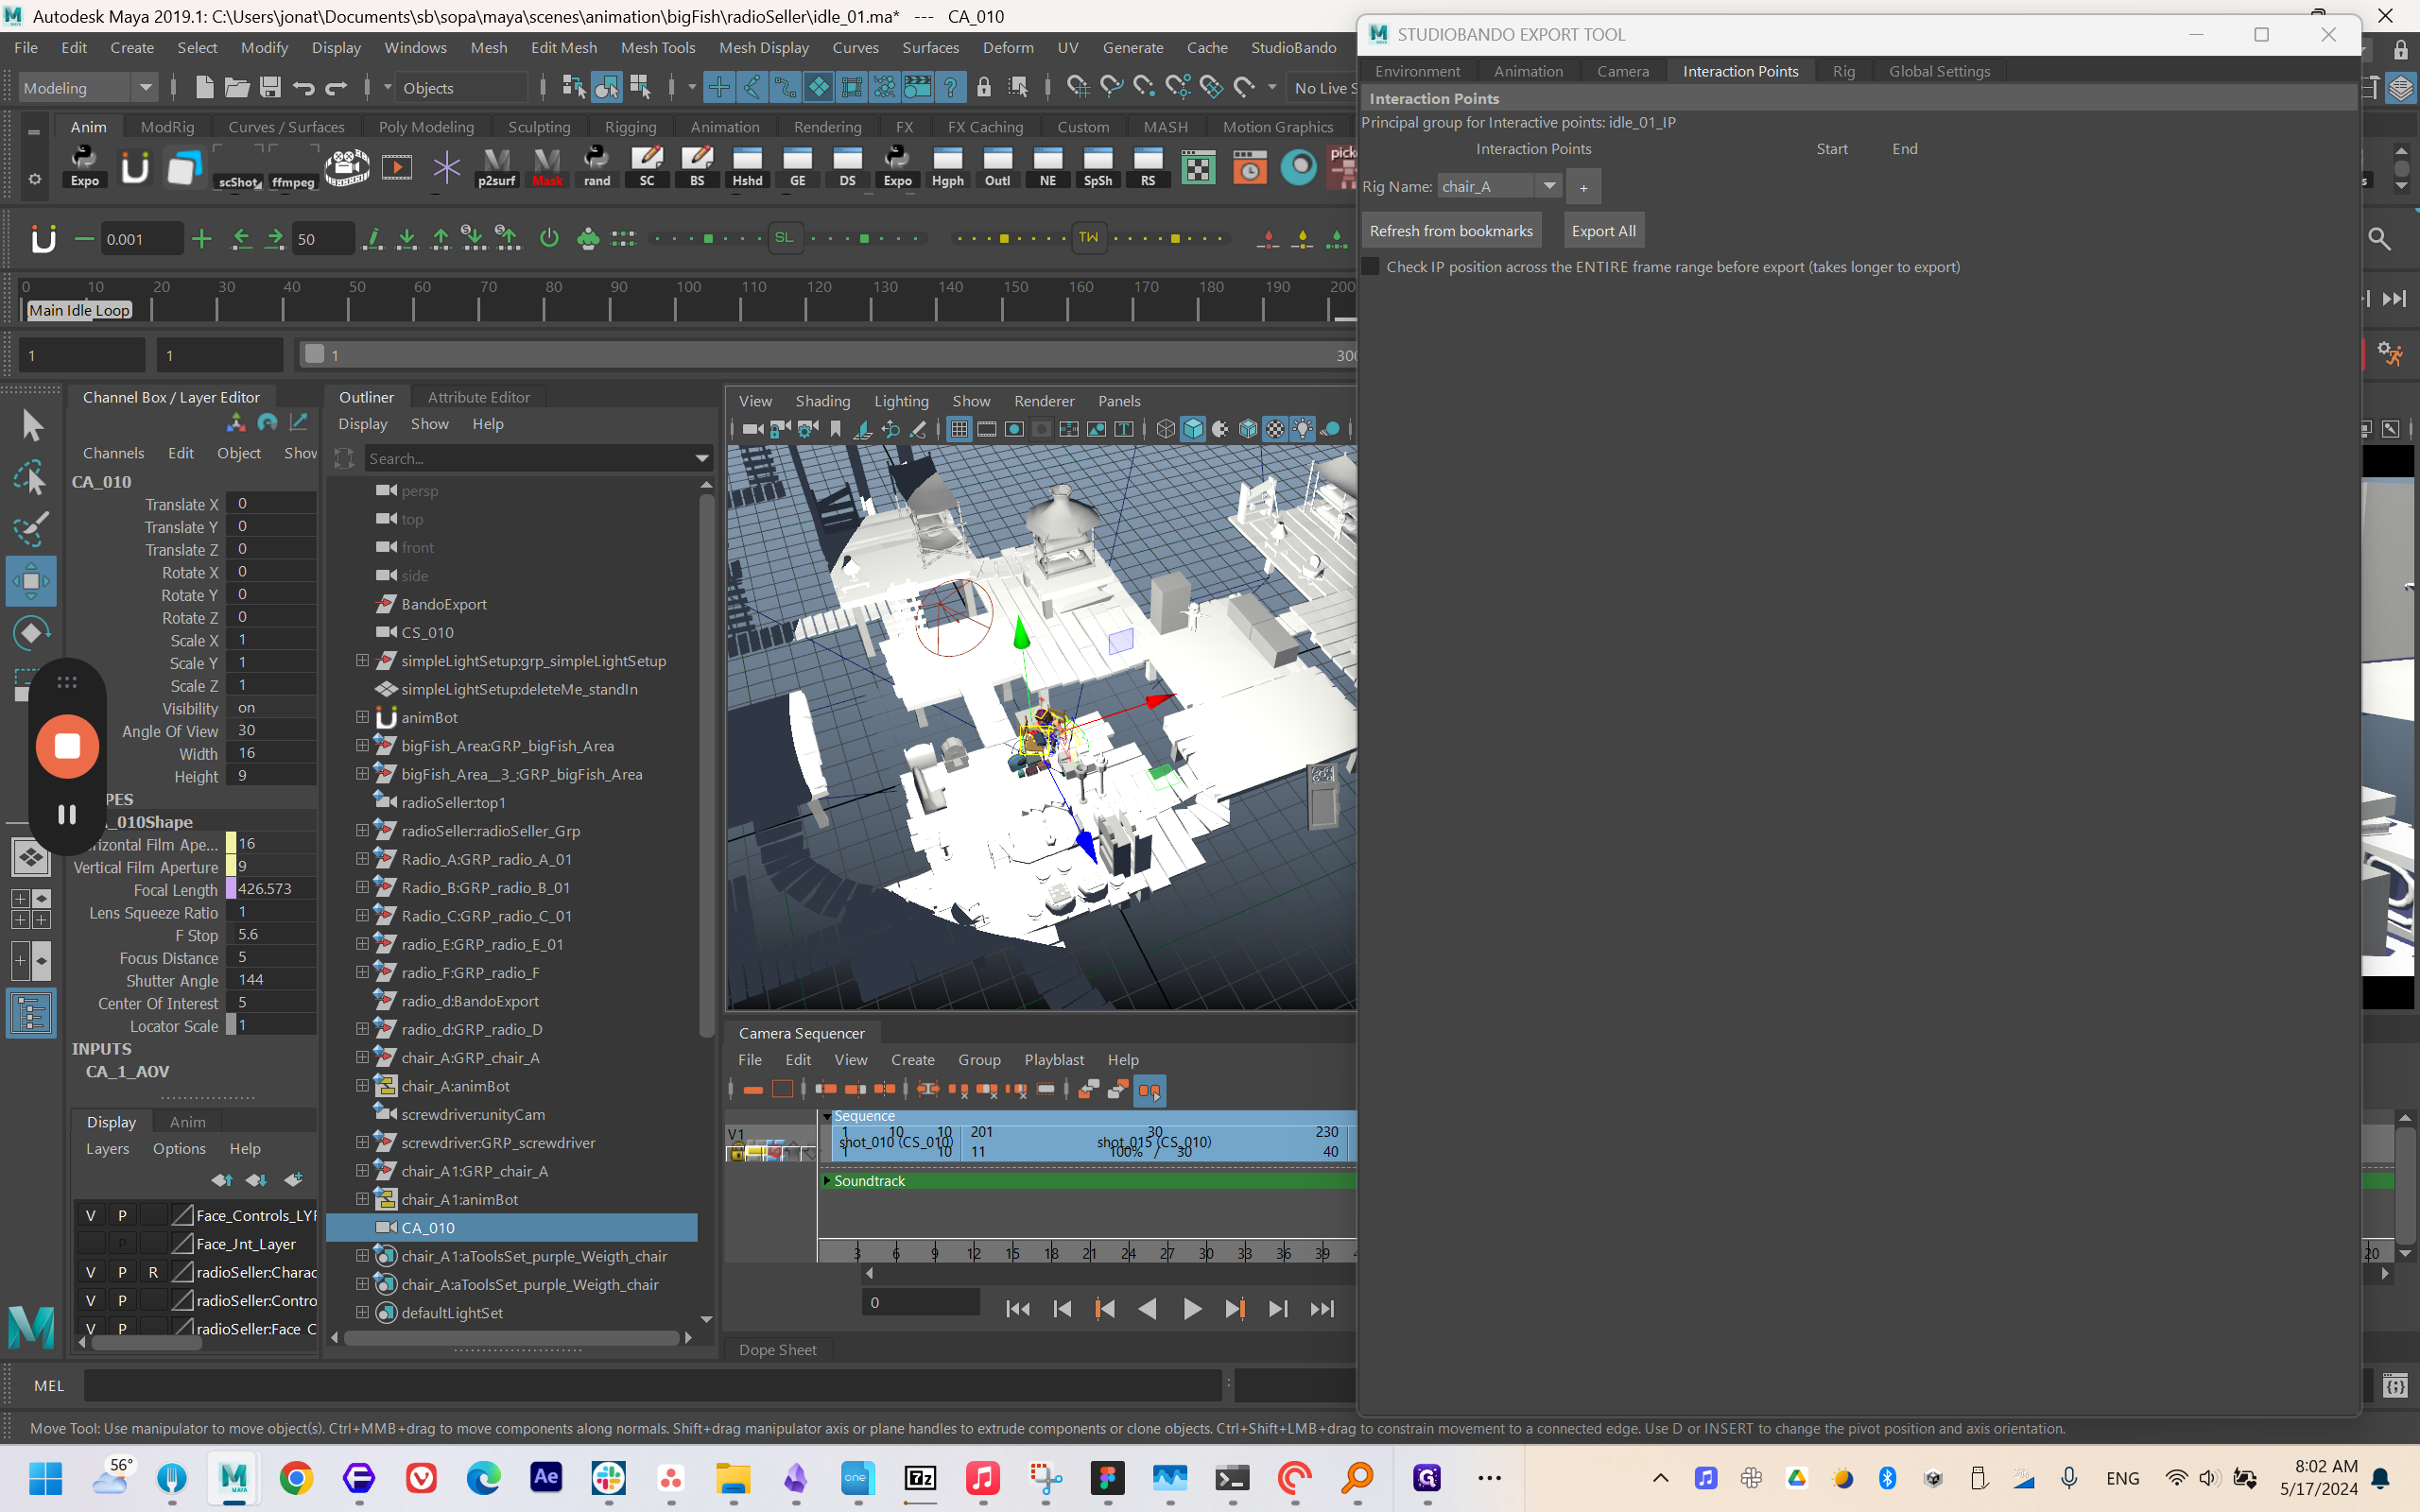
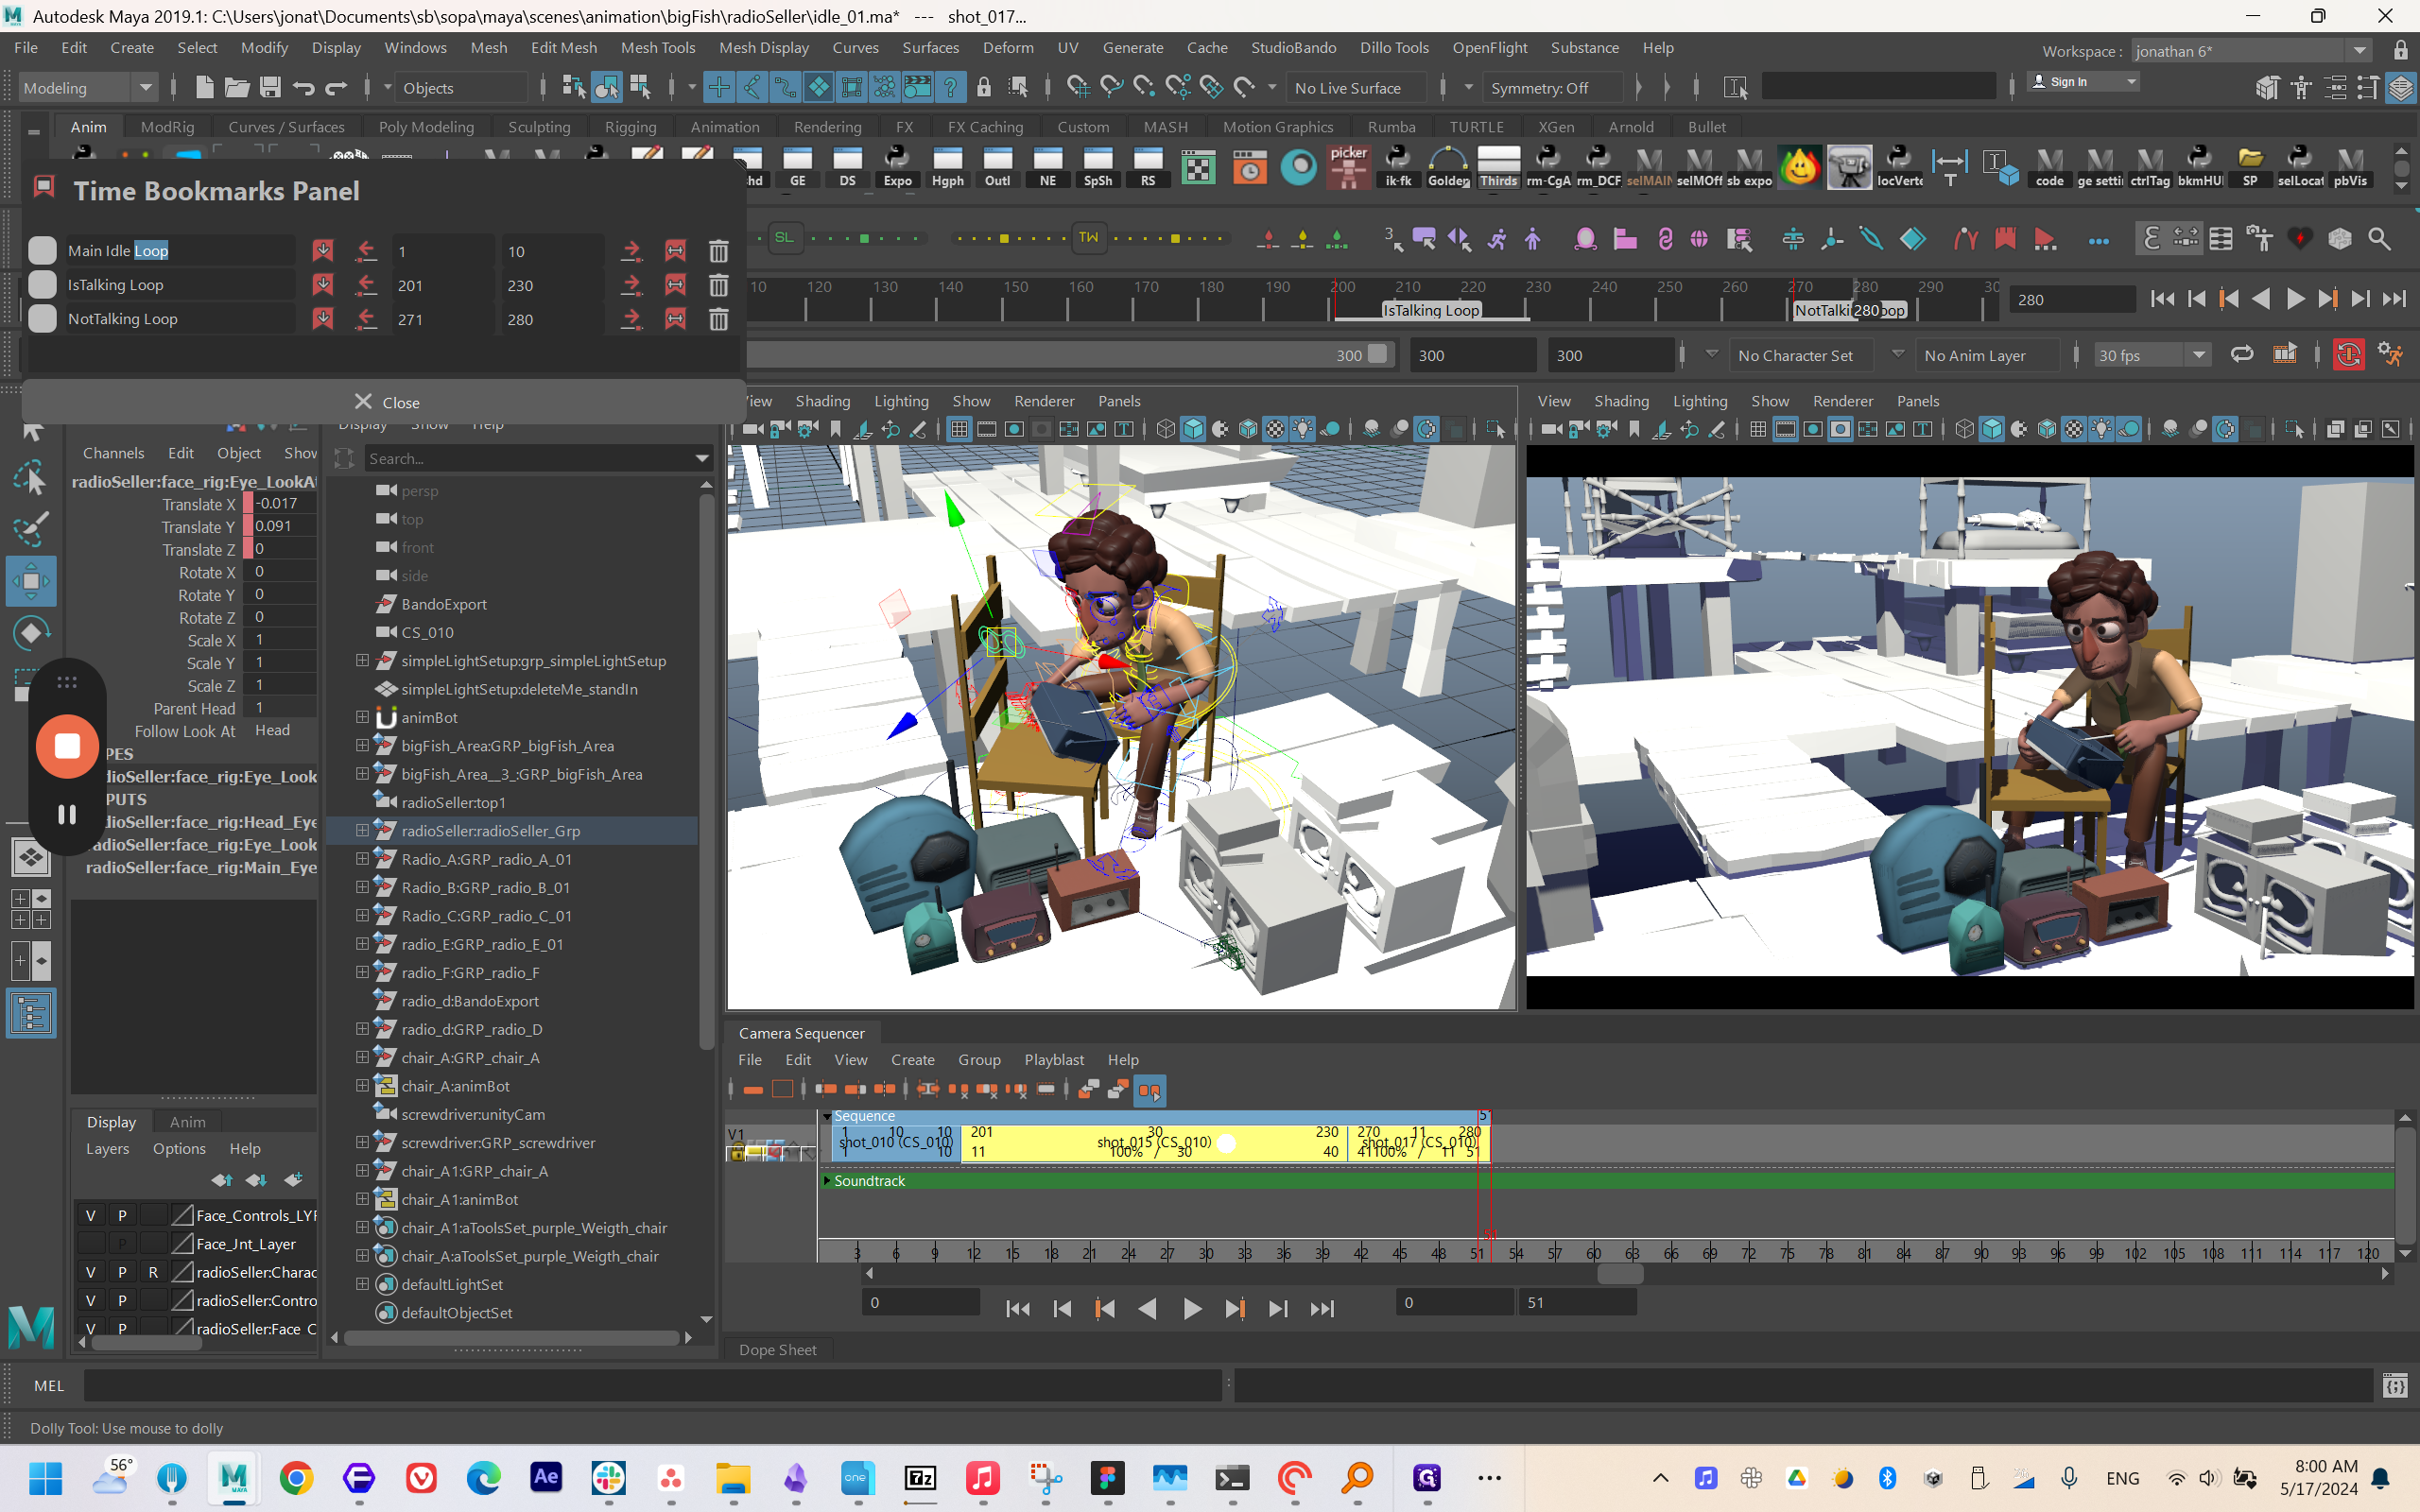
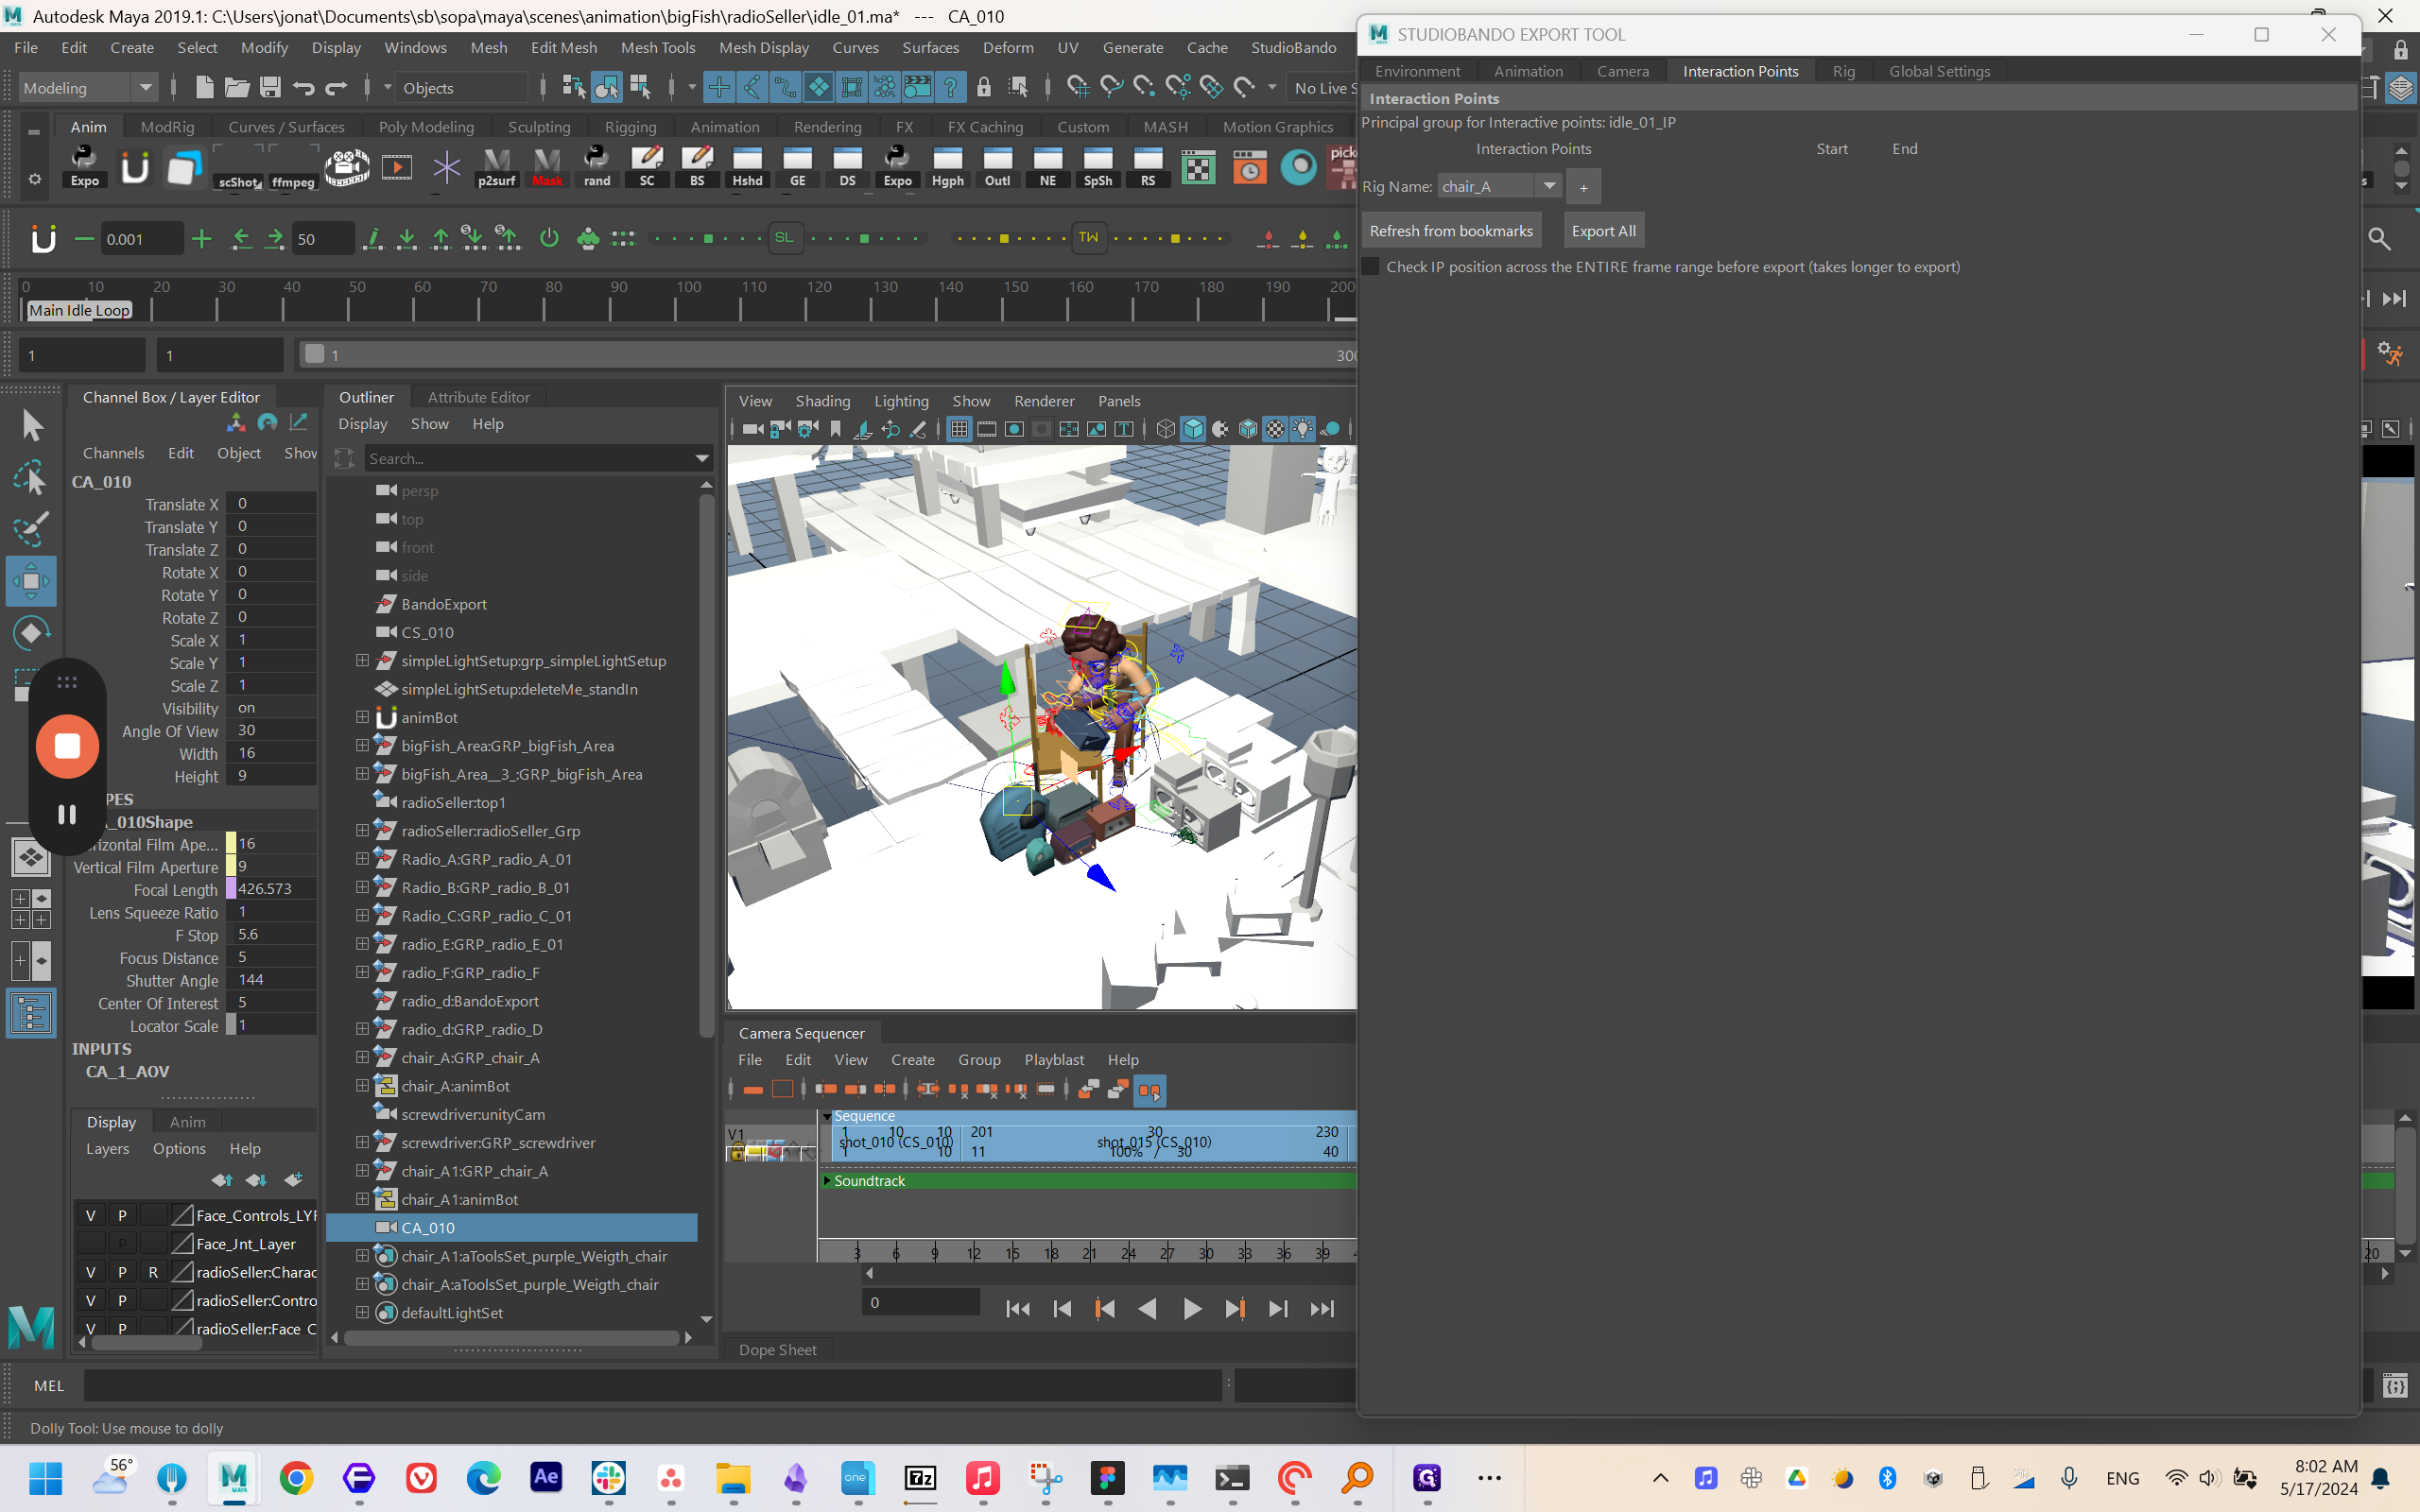
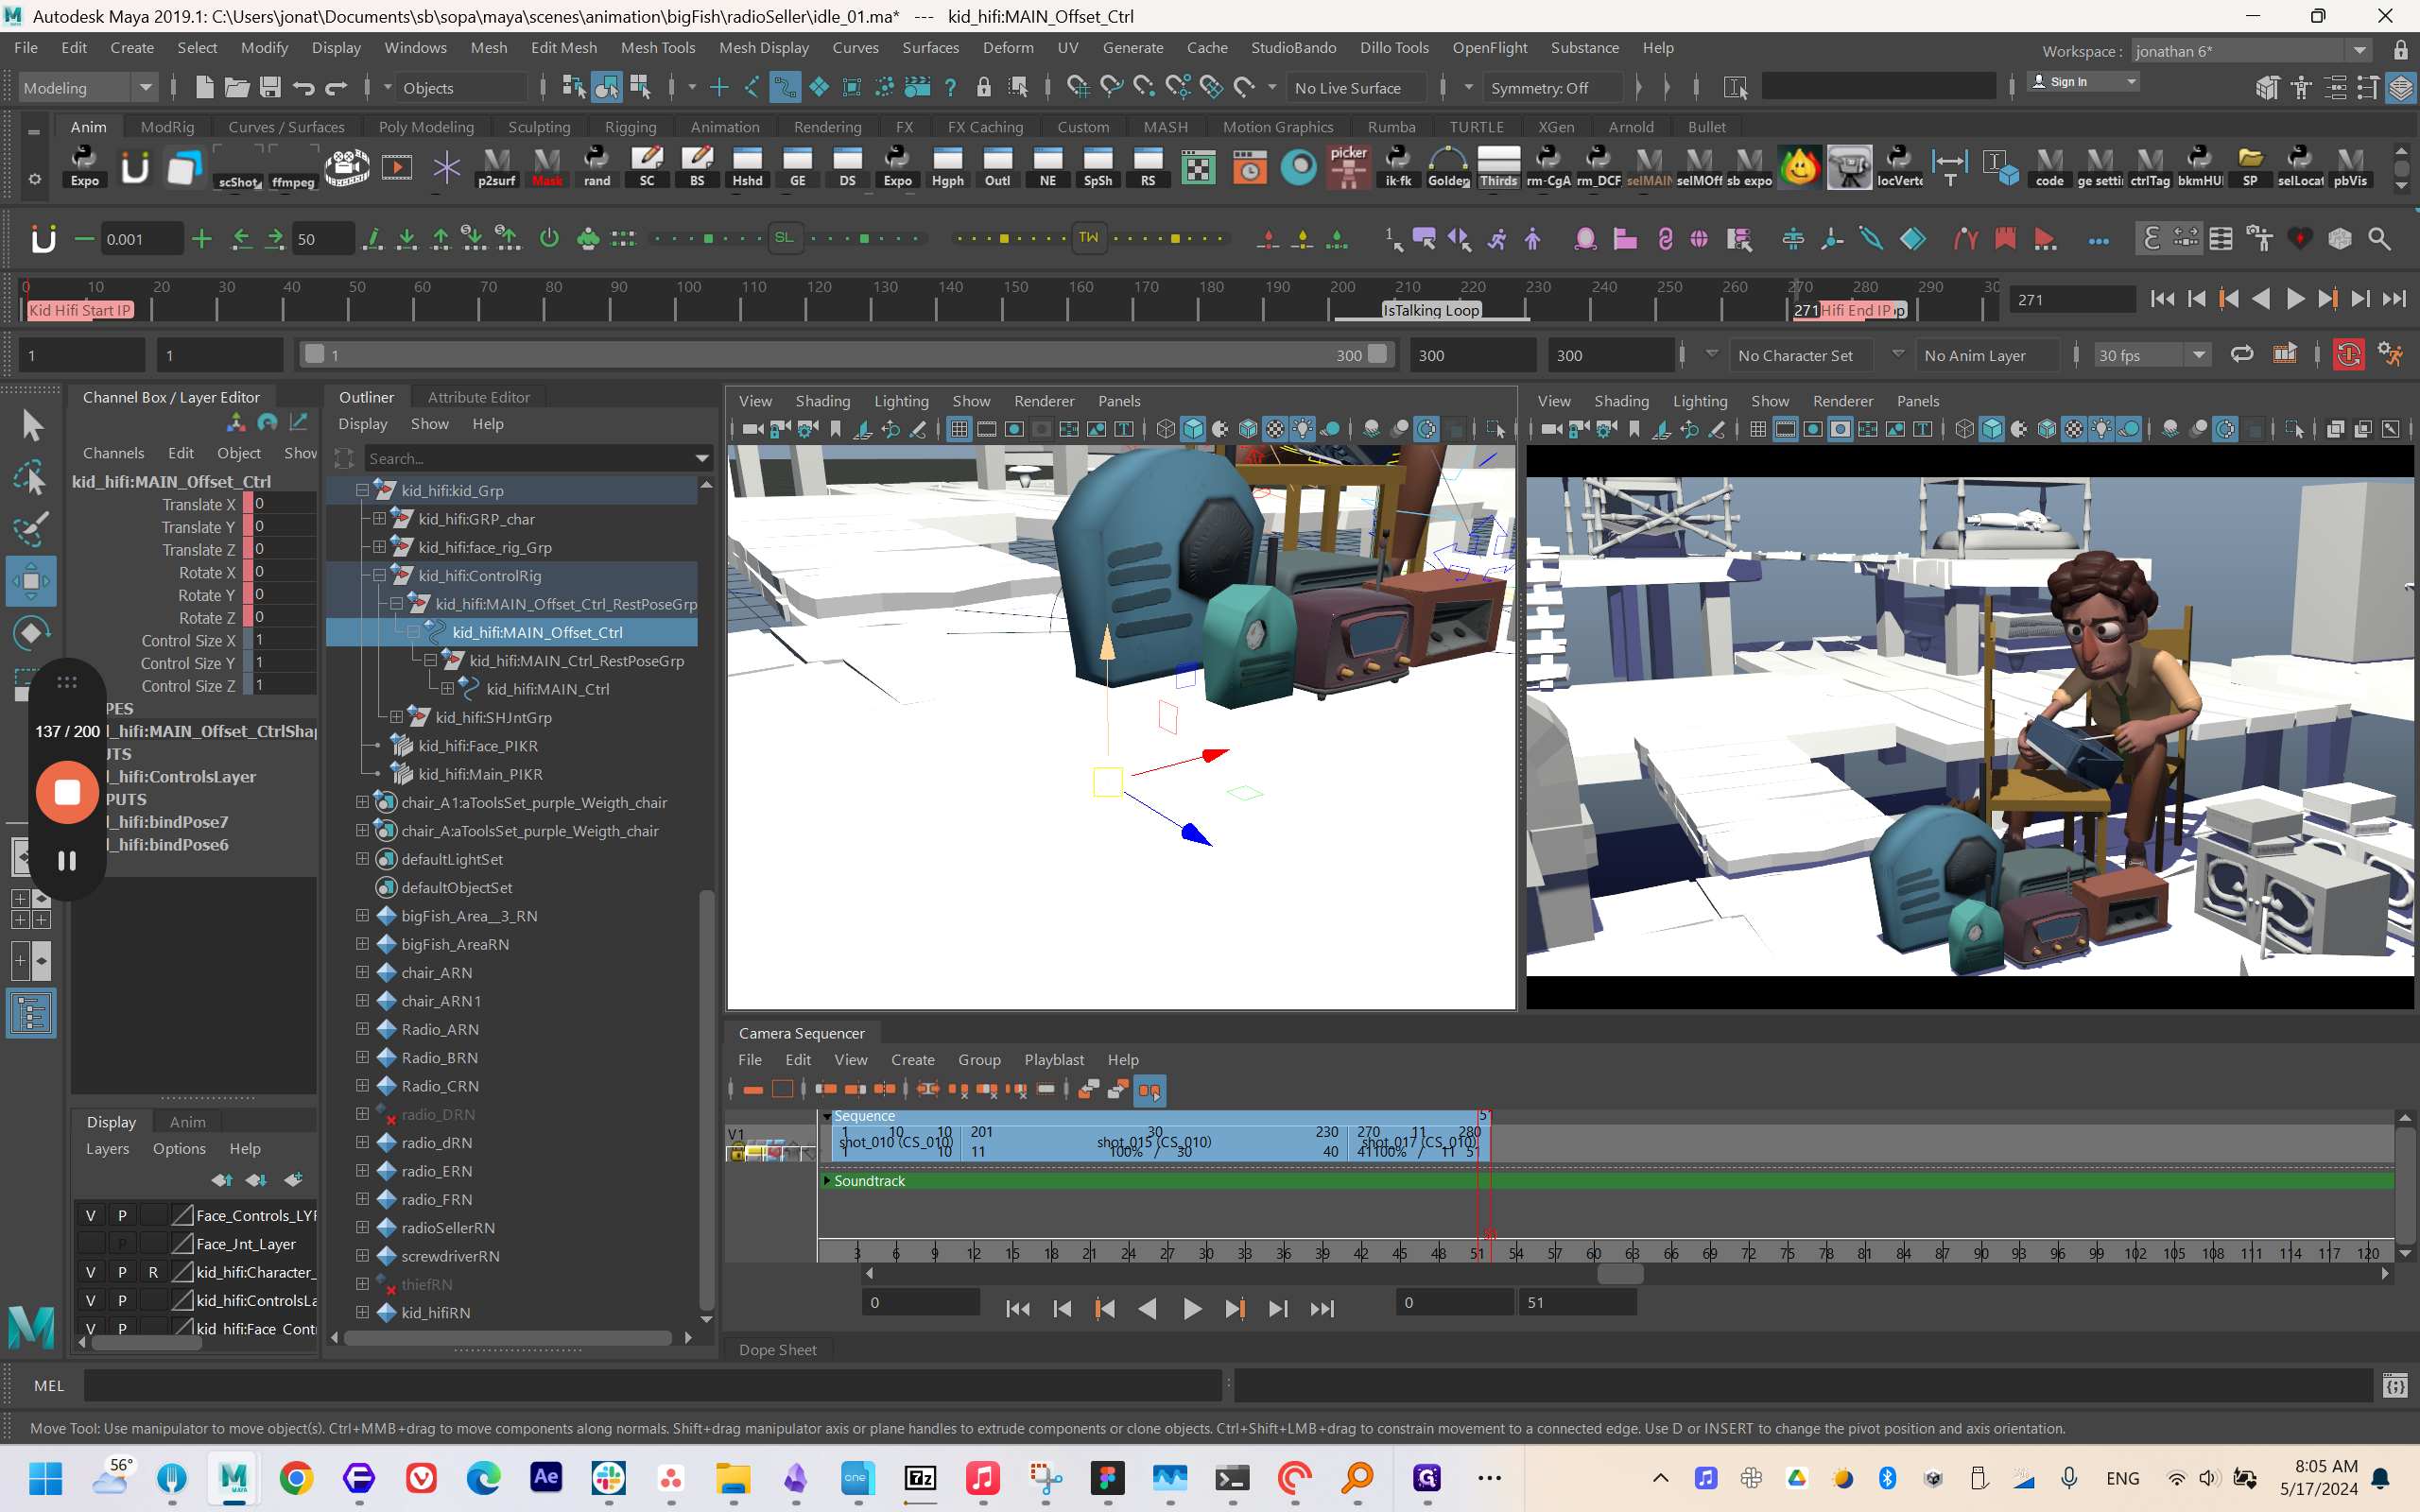
I have adjusted the positions of the characters using the main offset control, which will be reset.
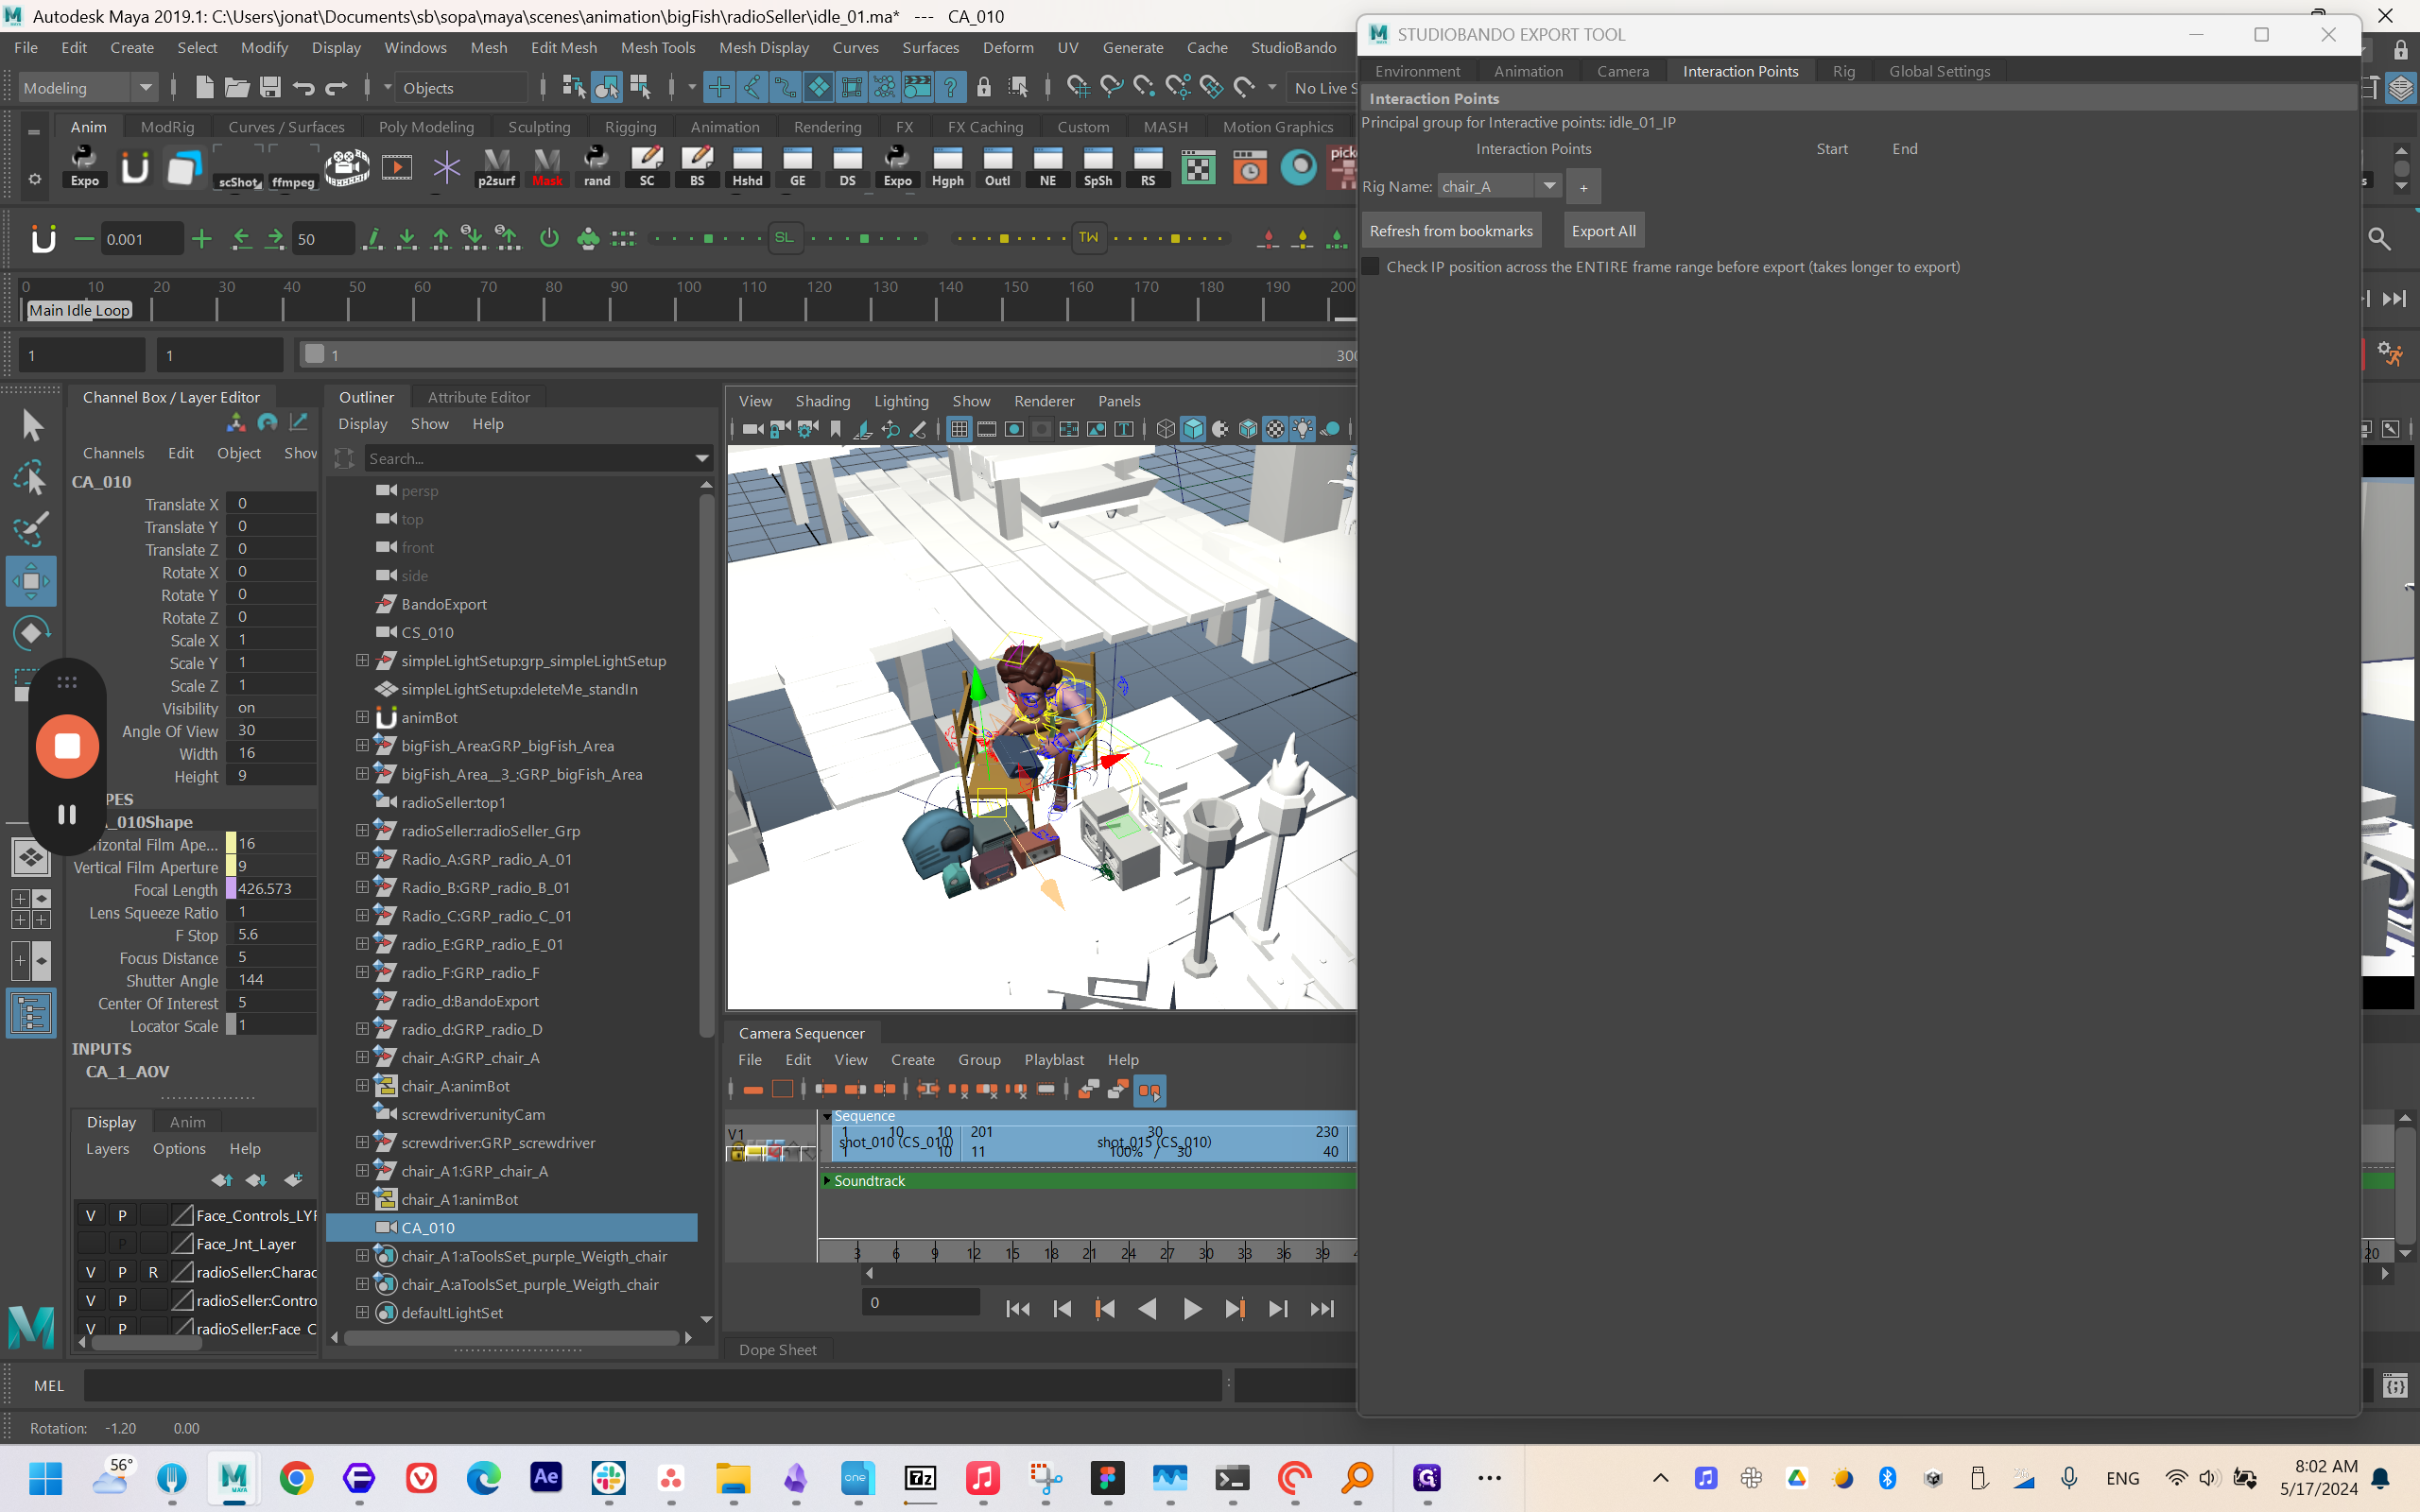


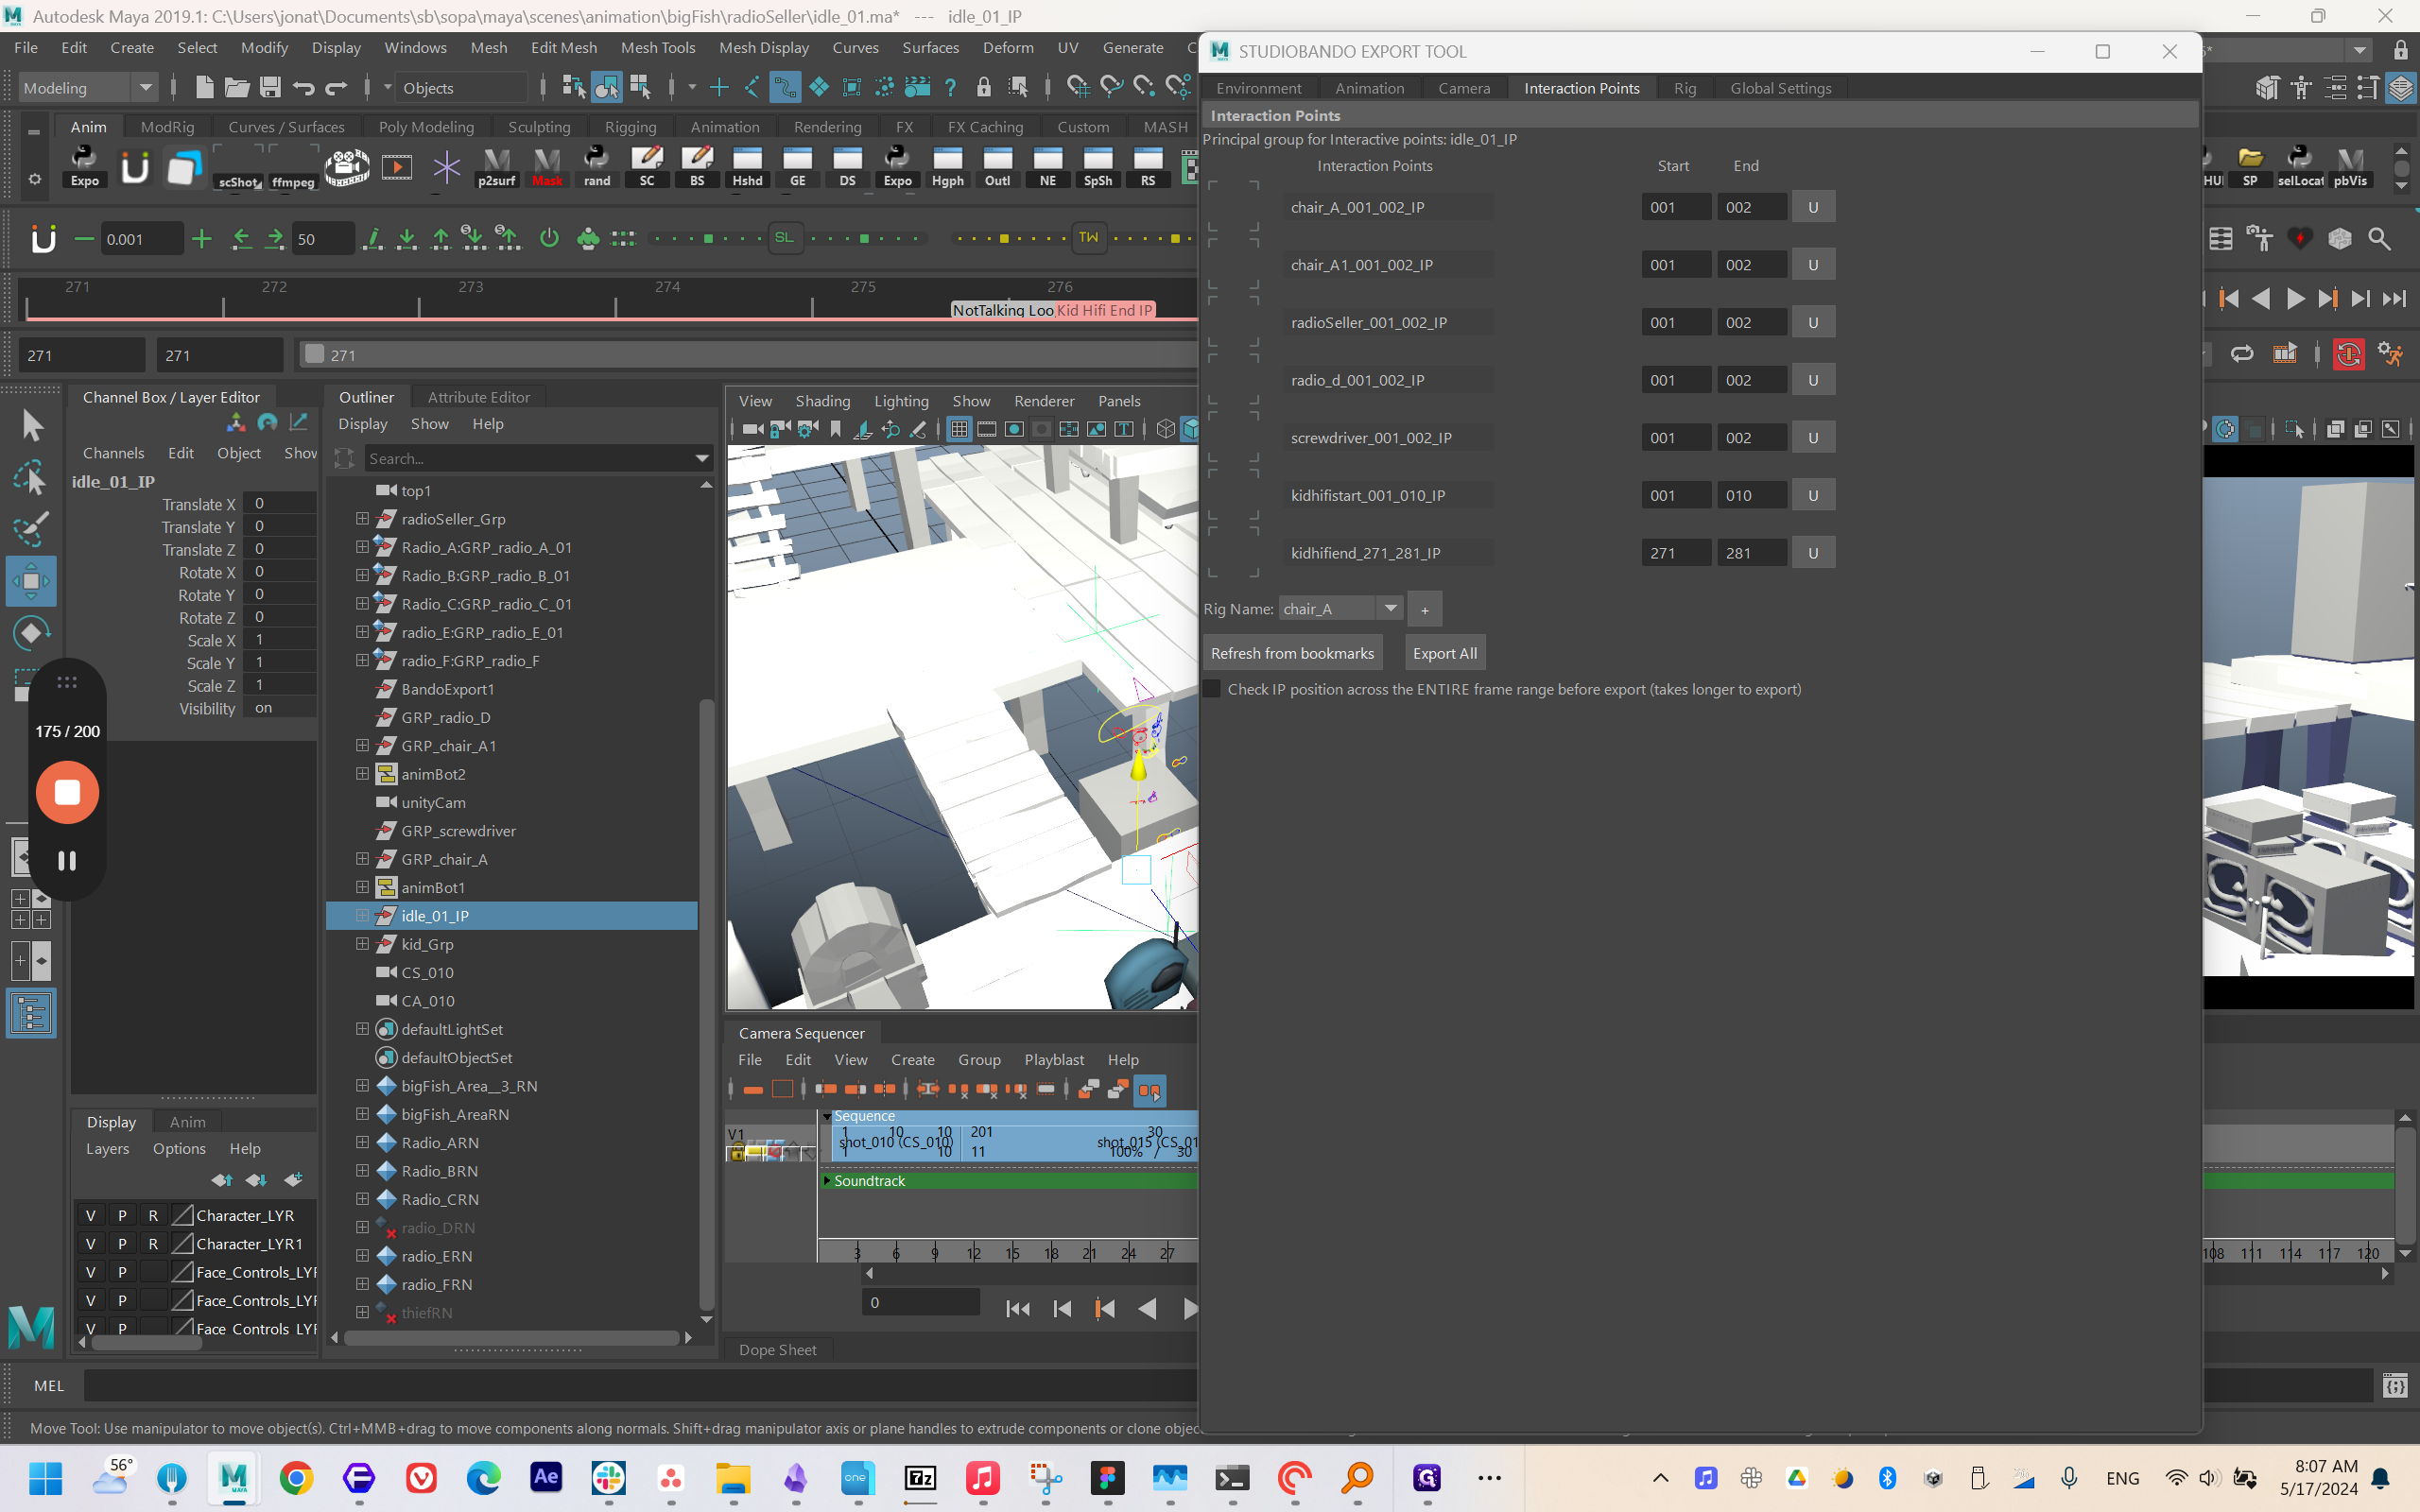
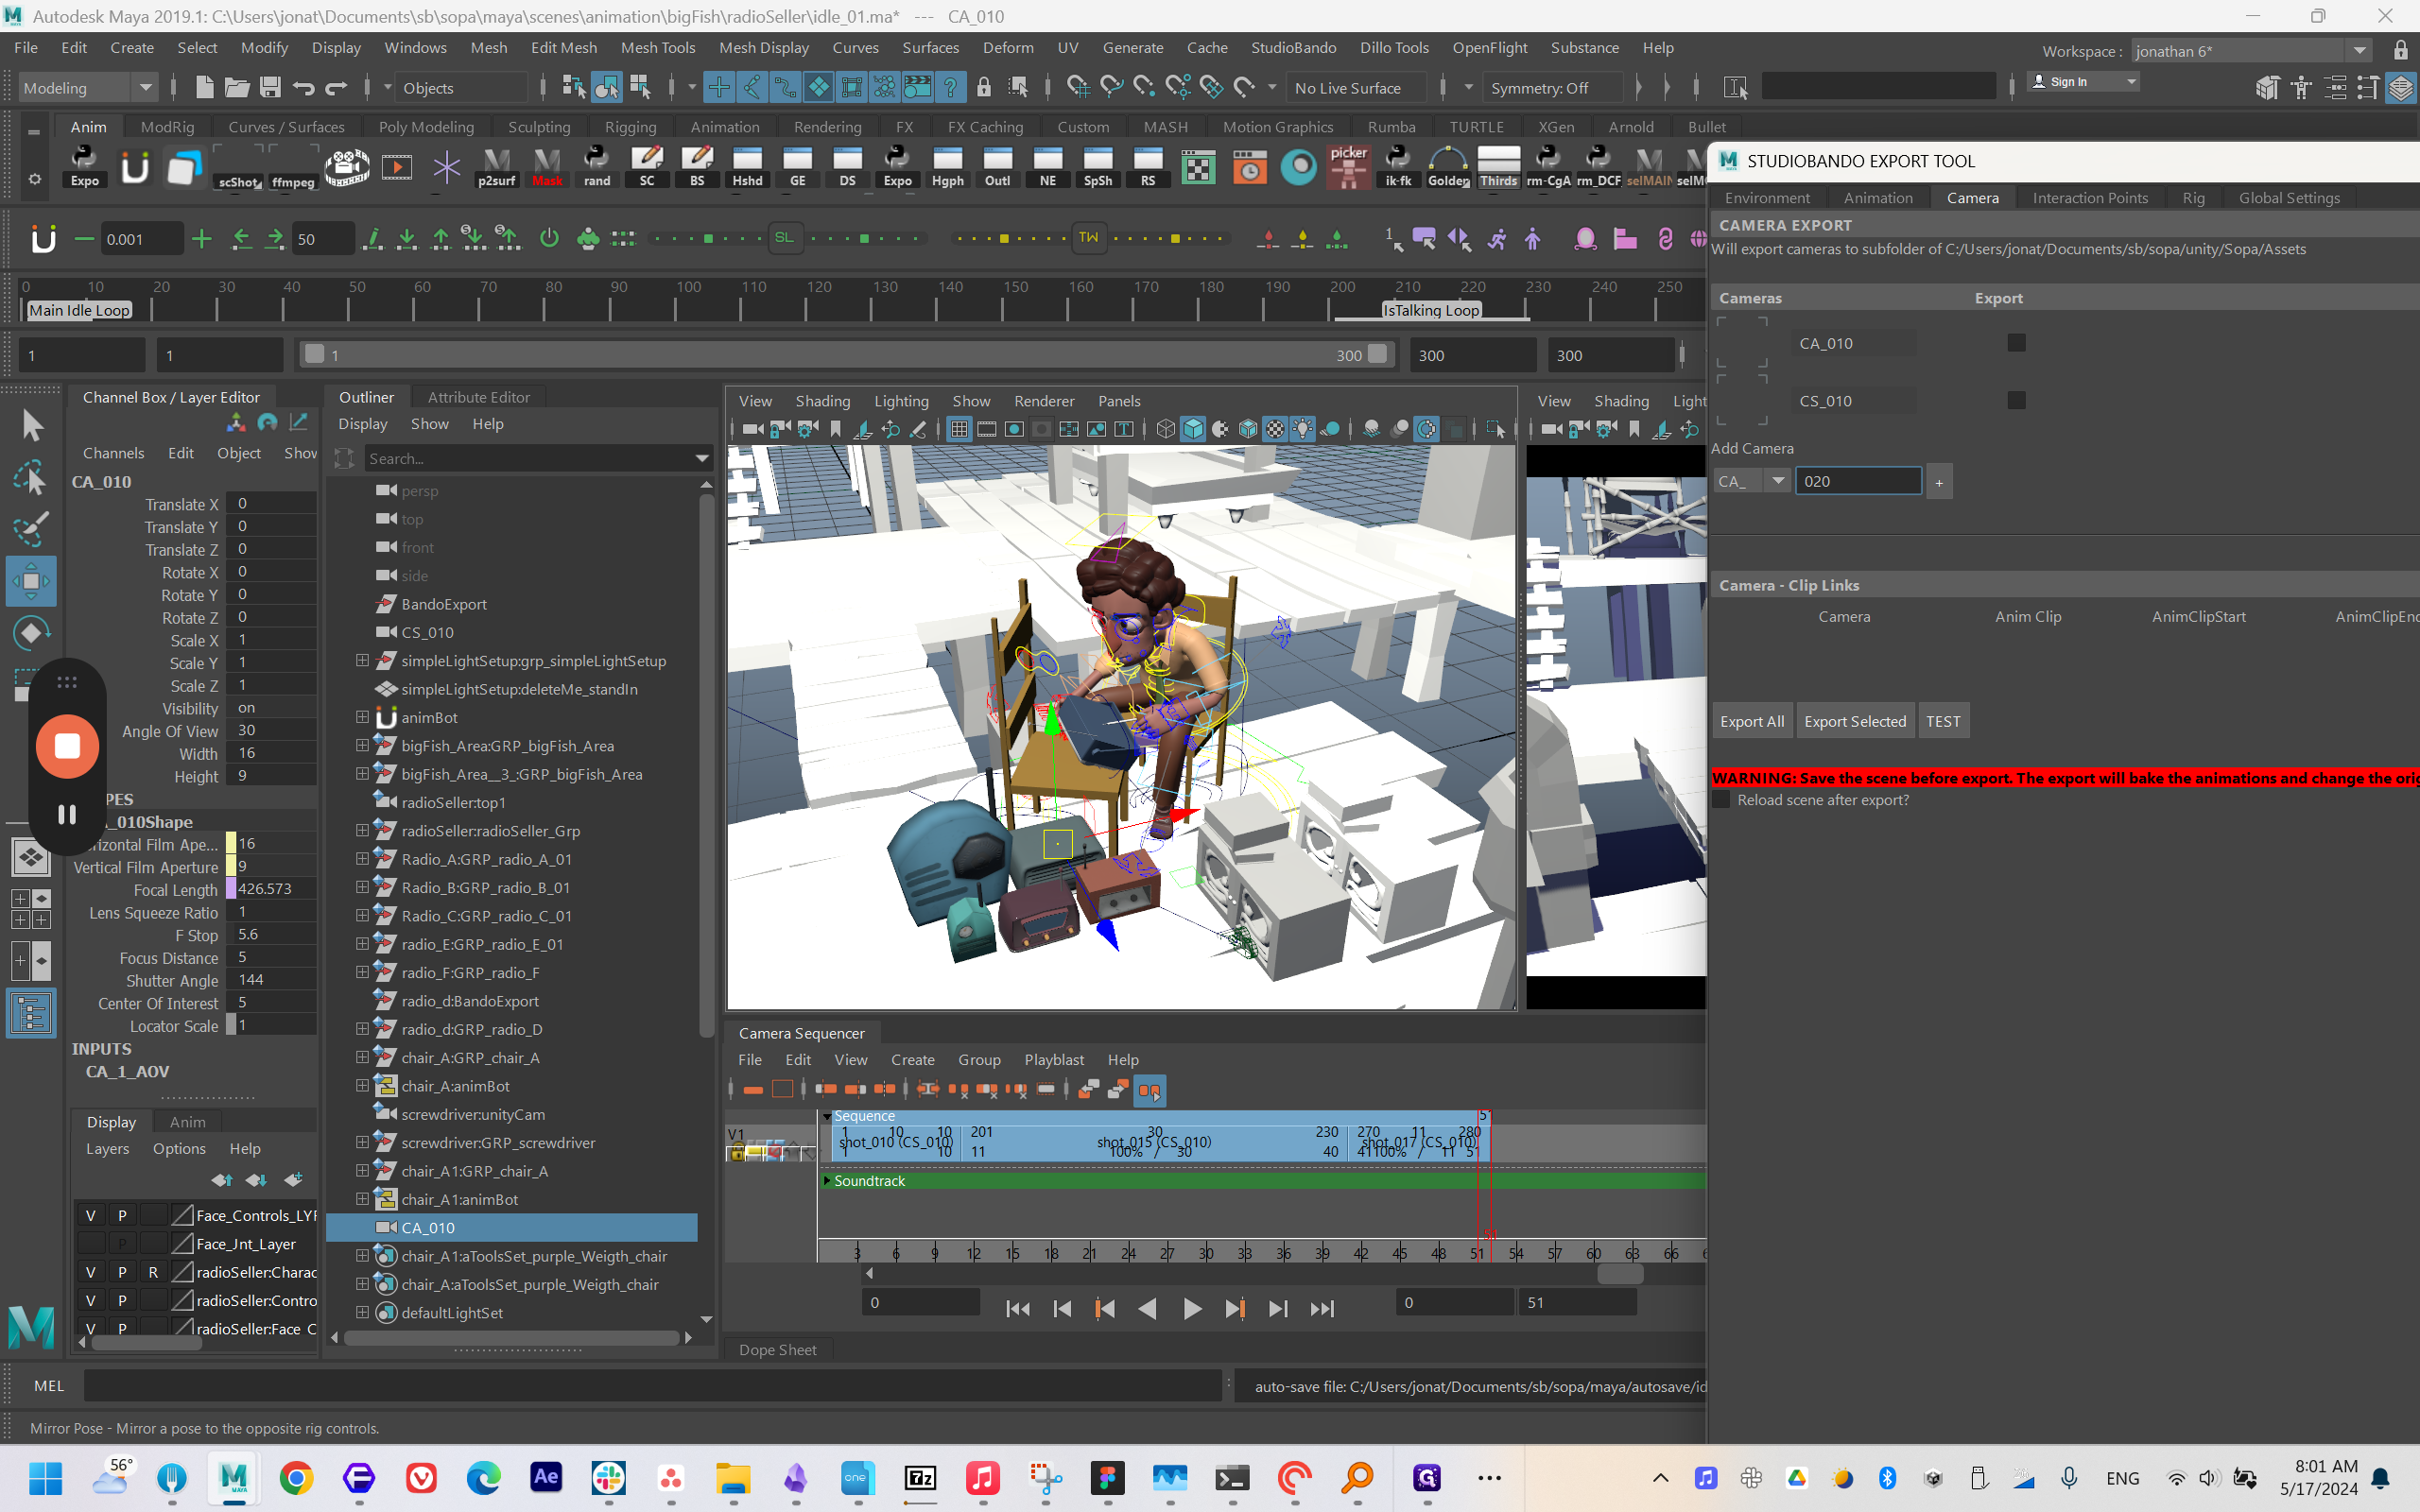
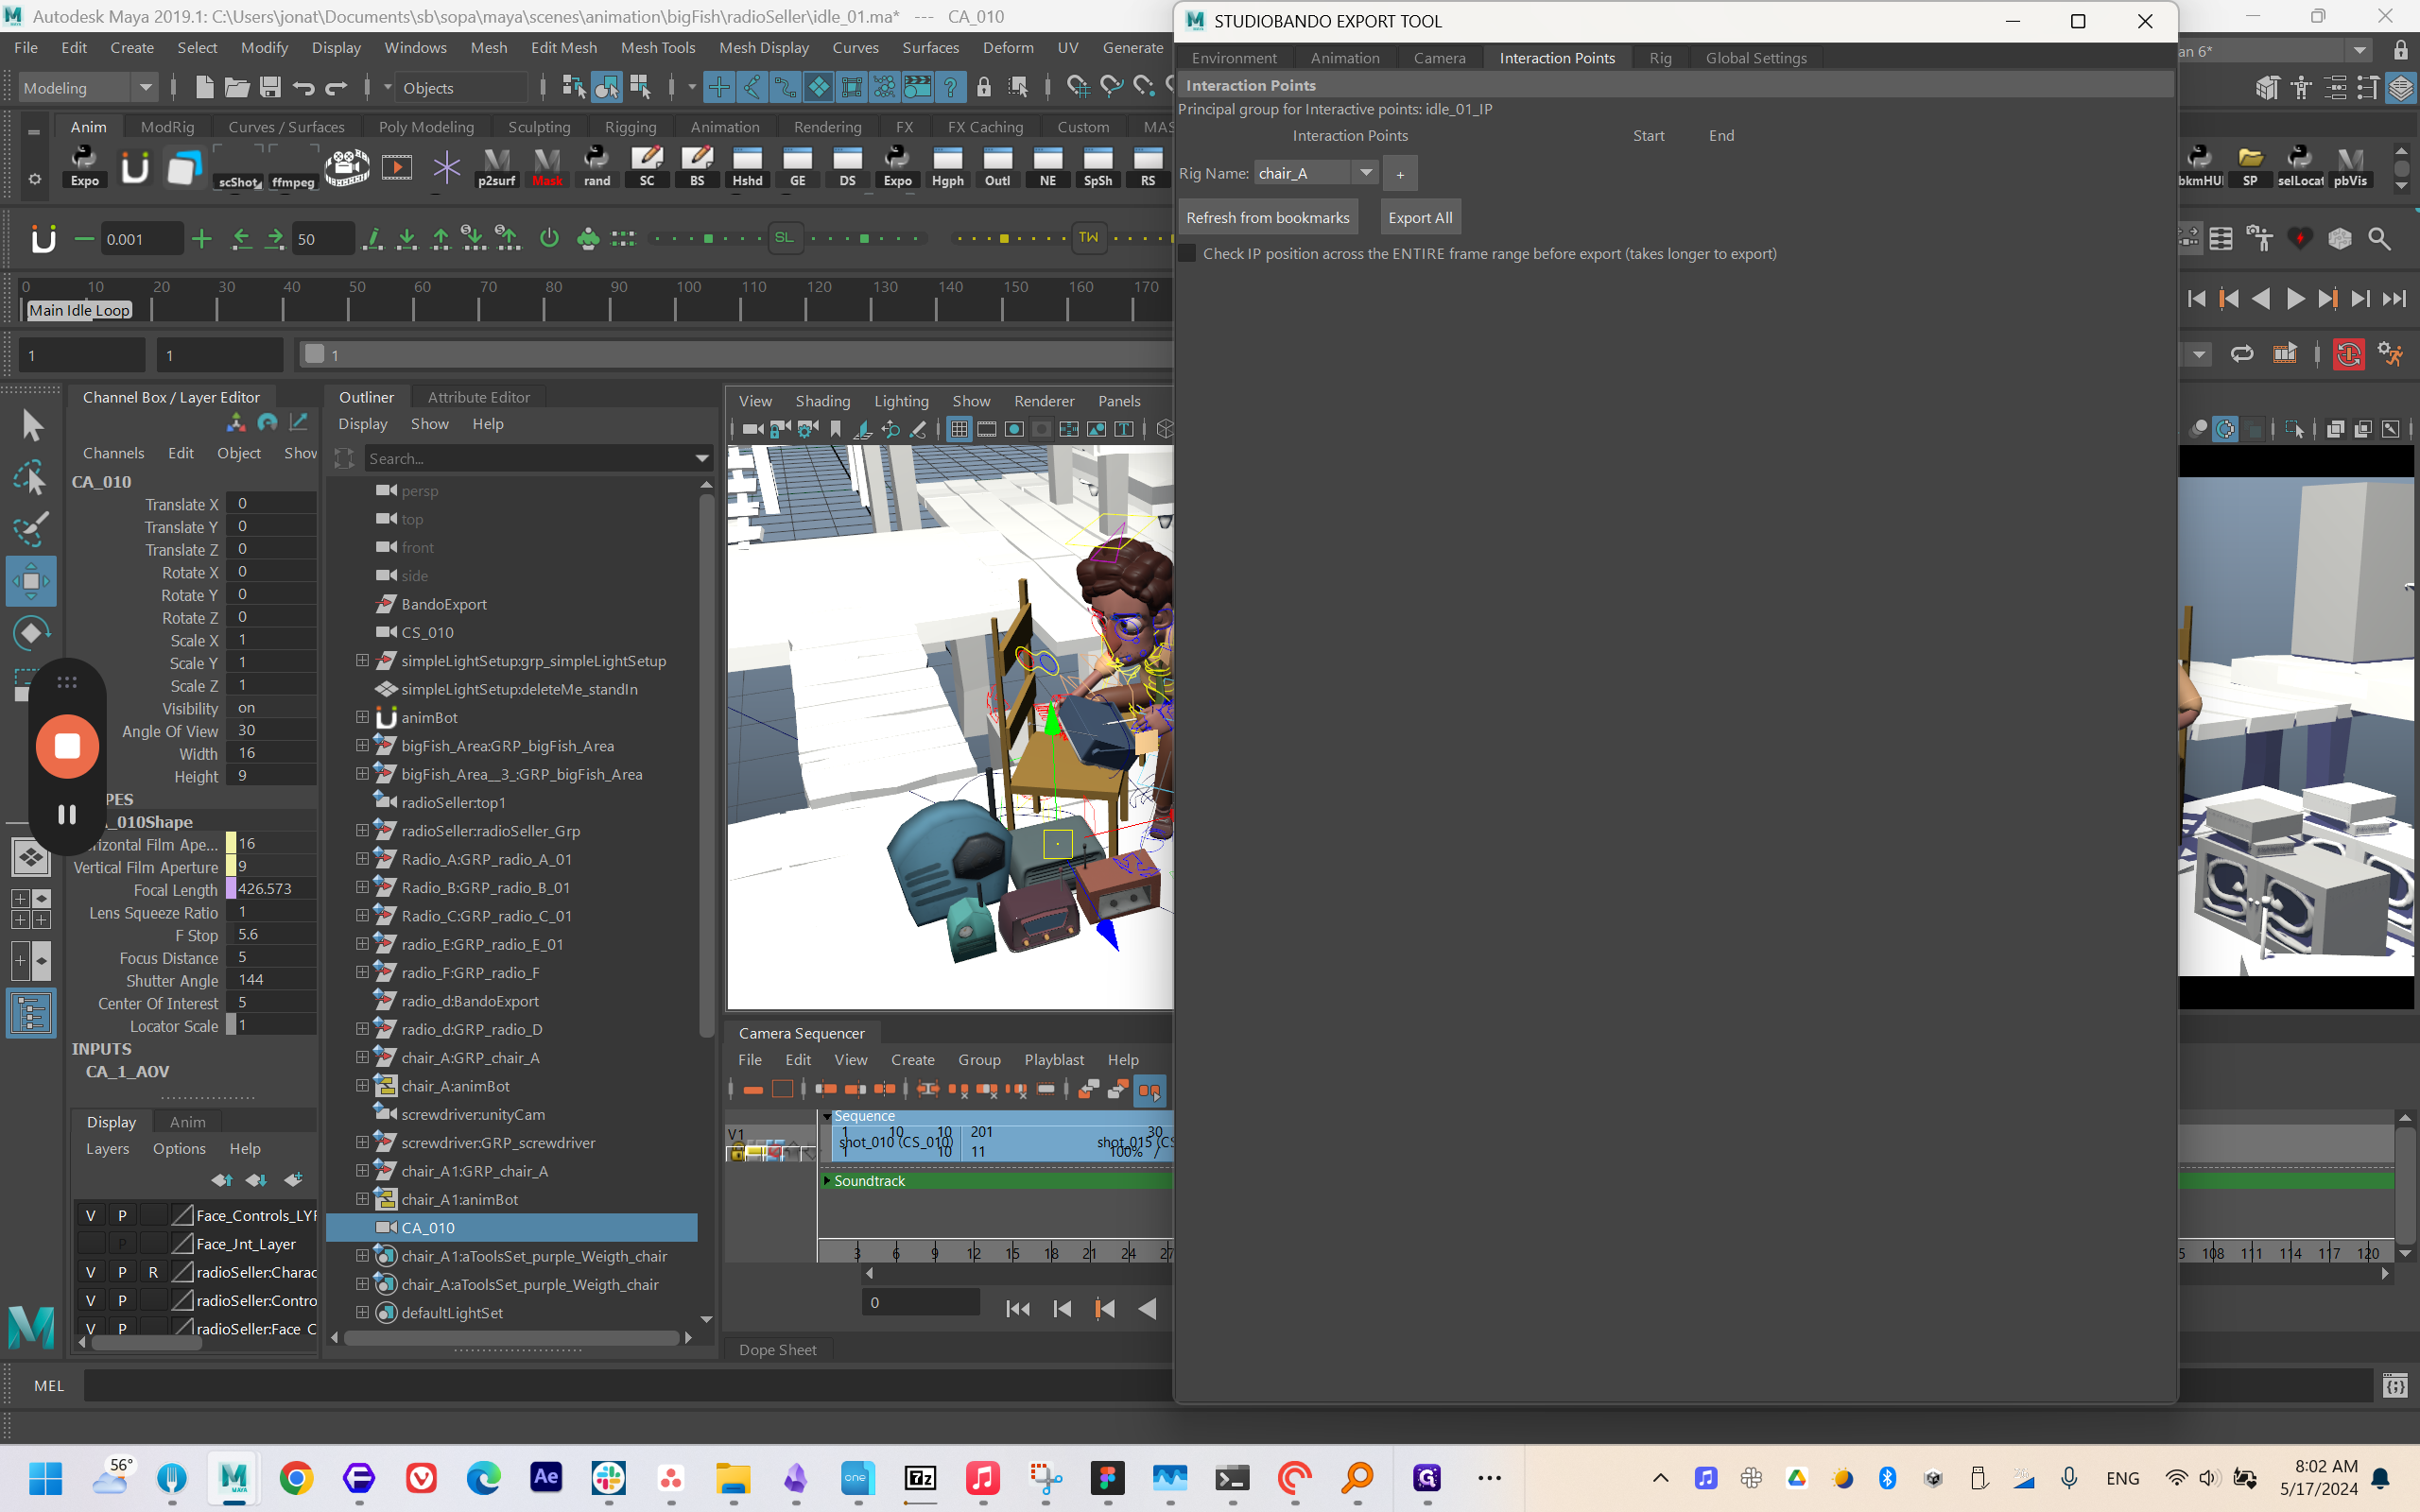
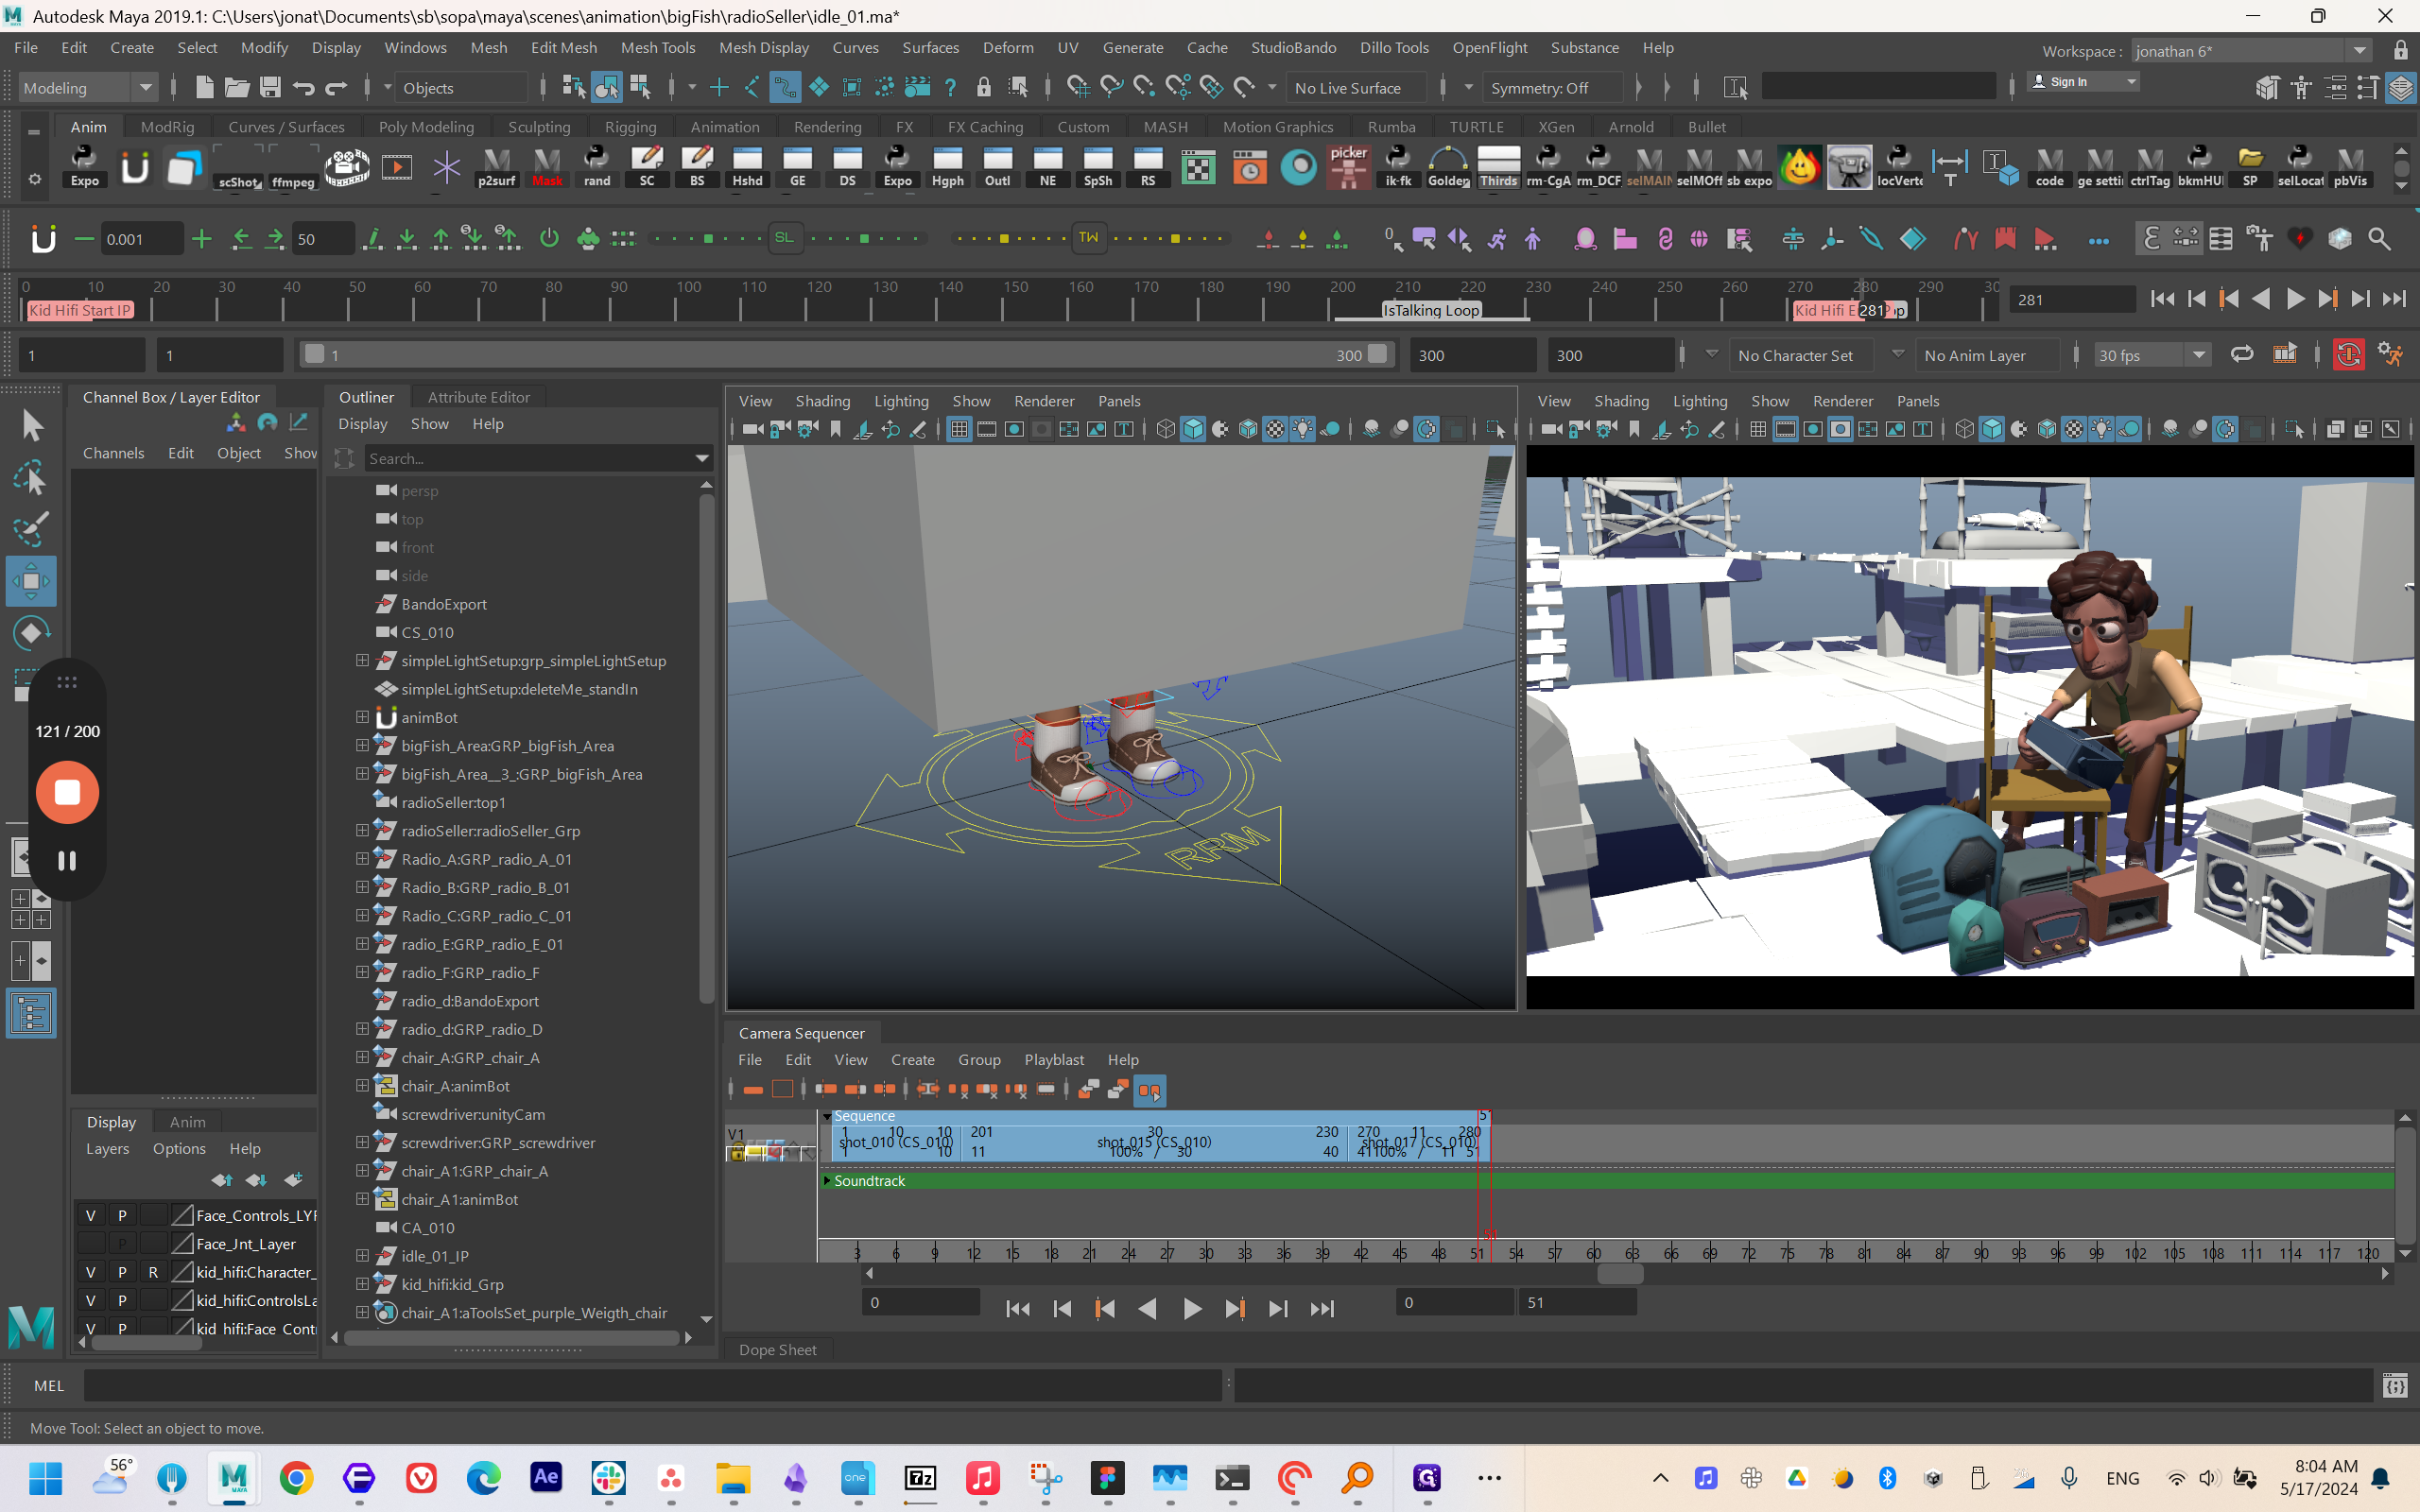
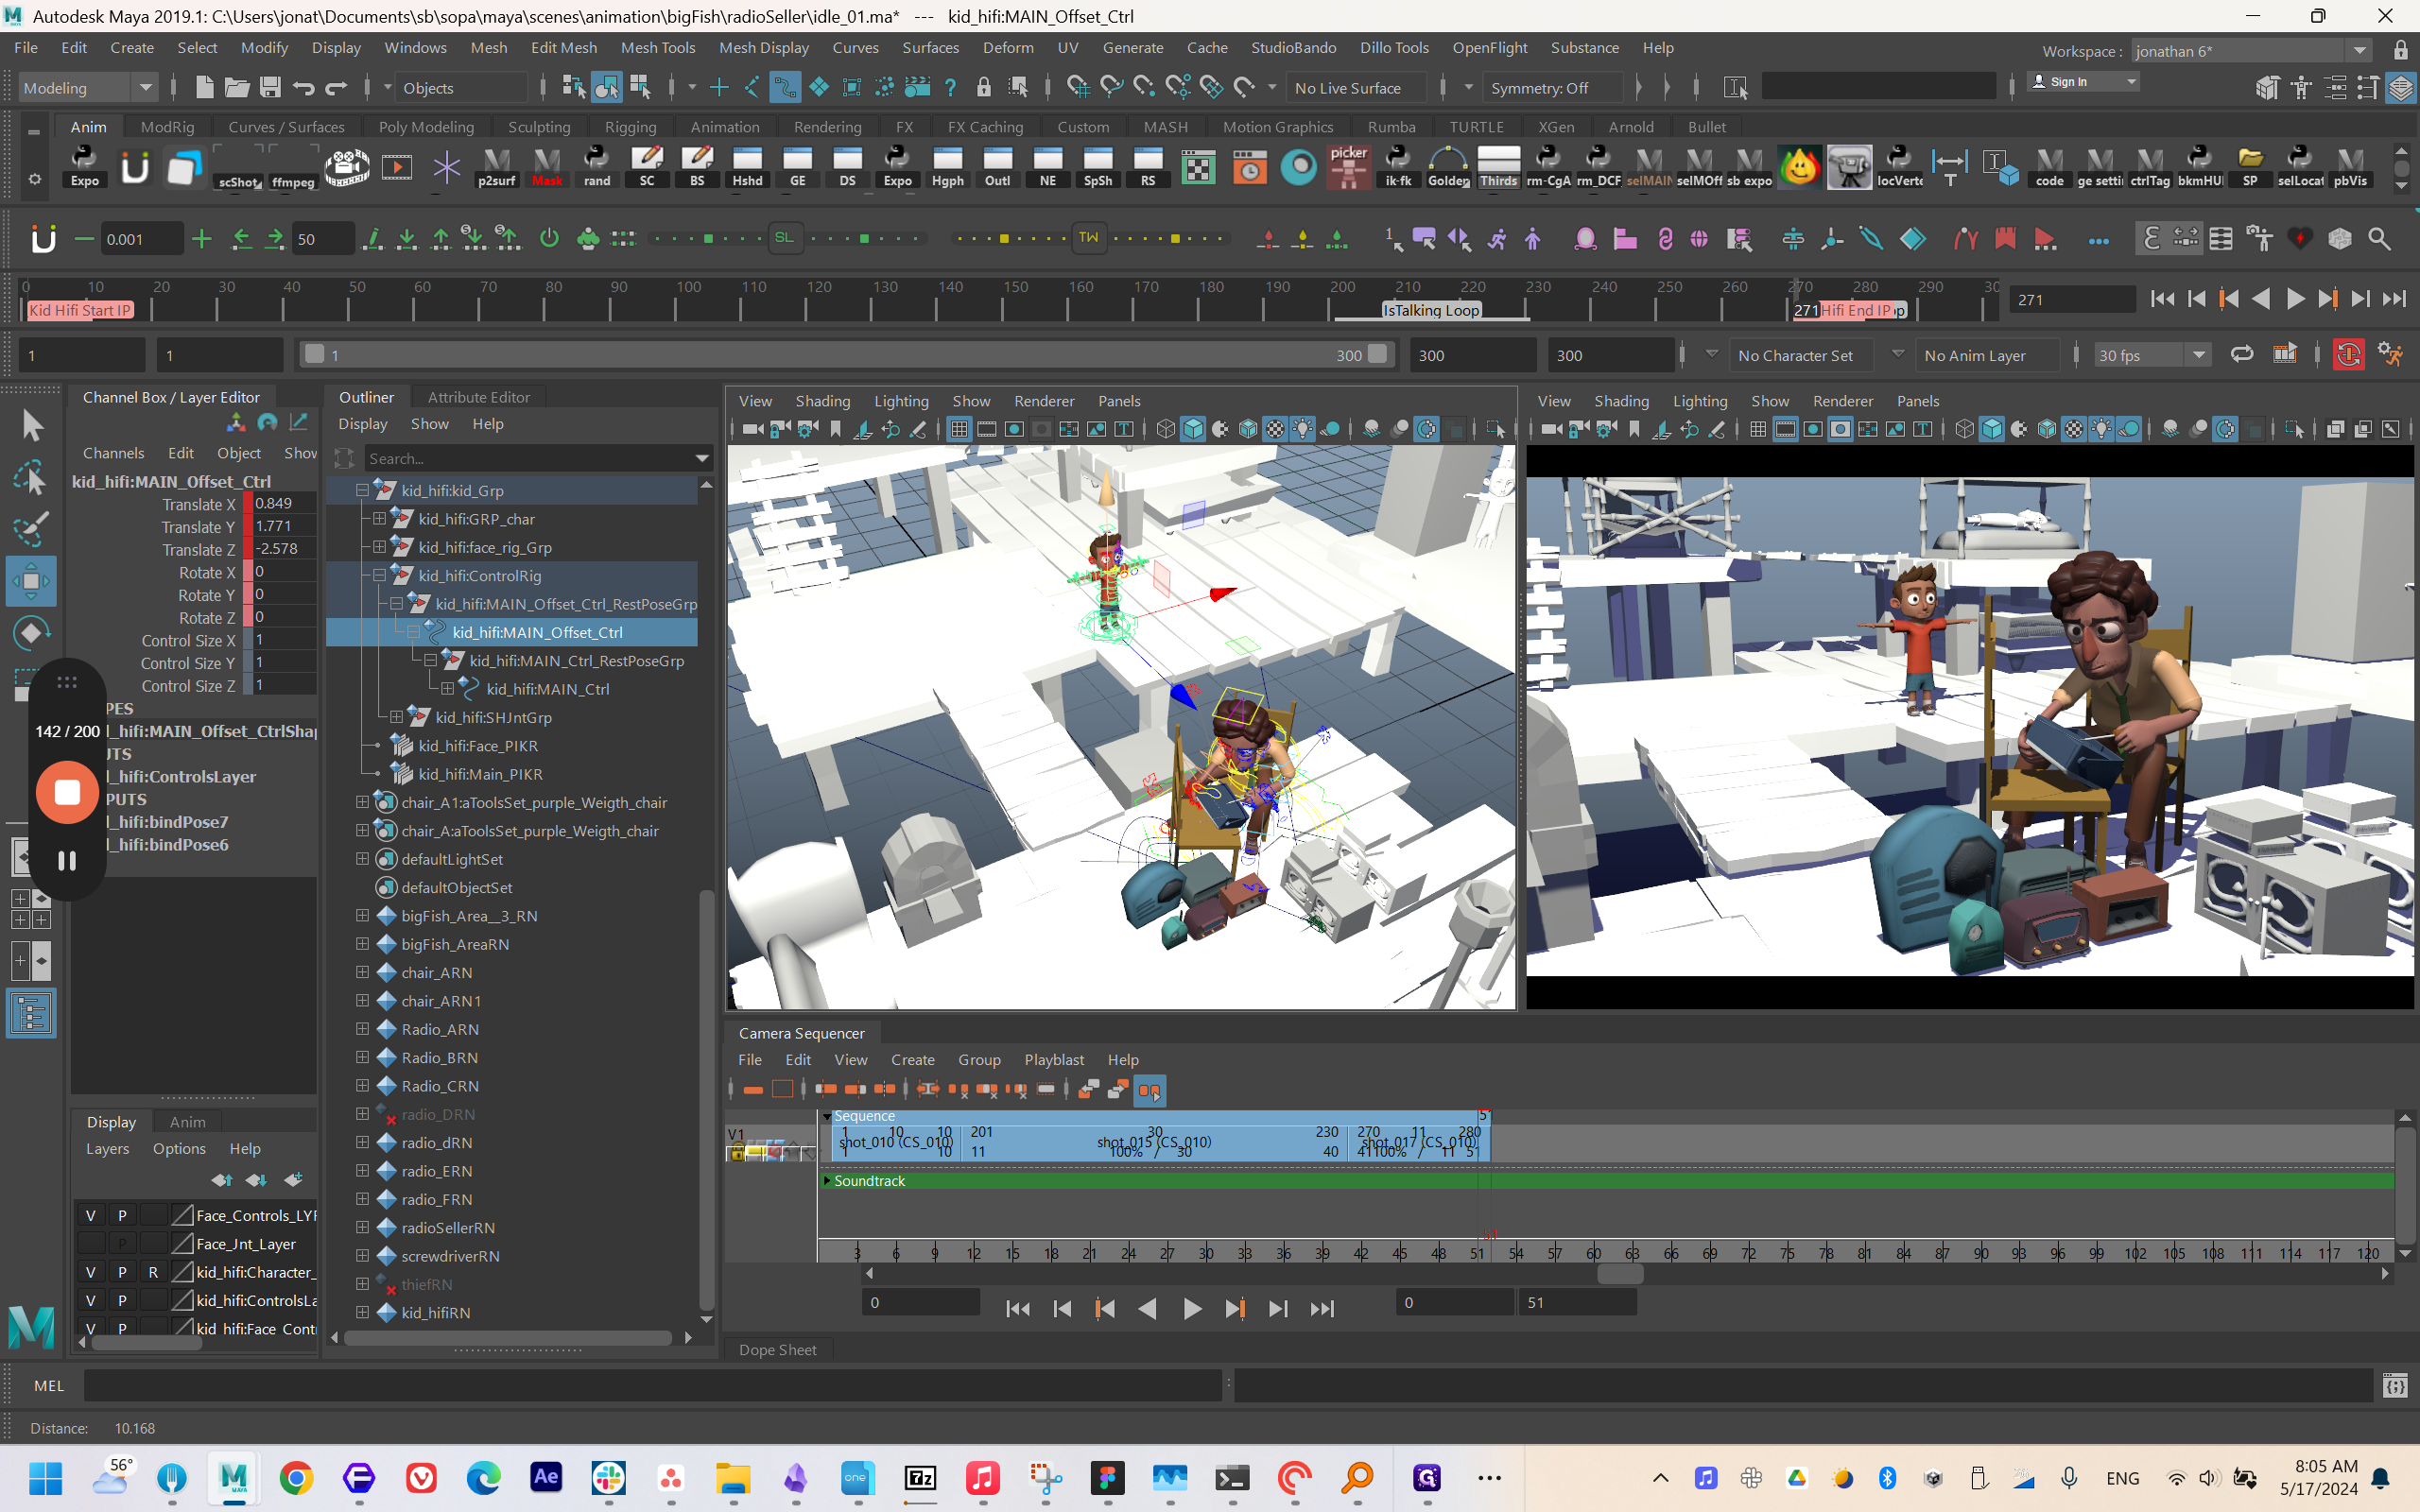
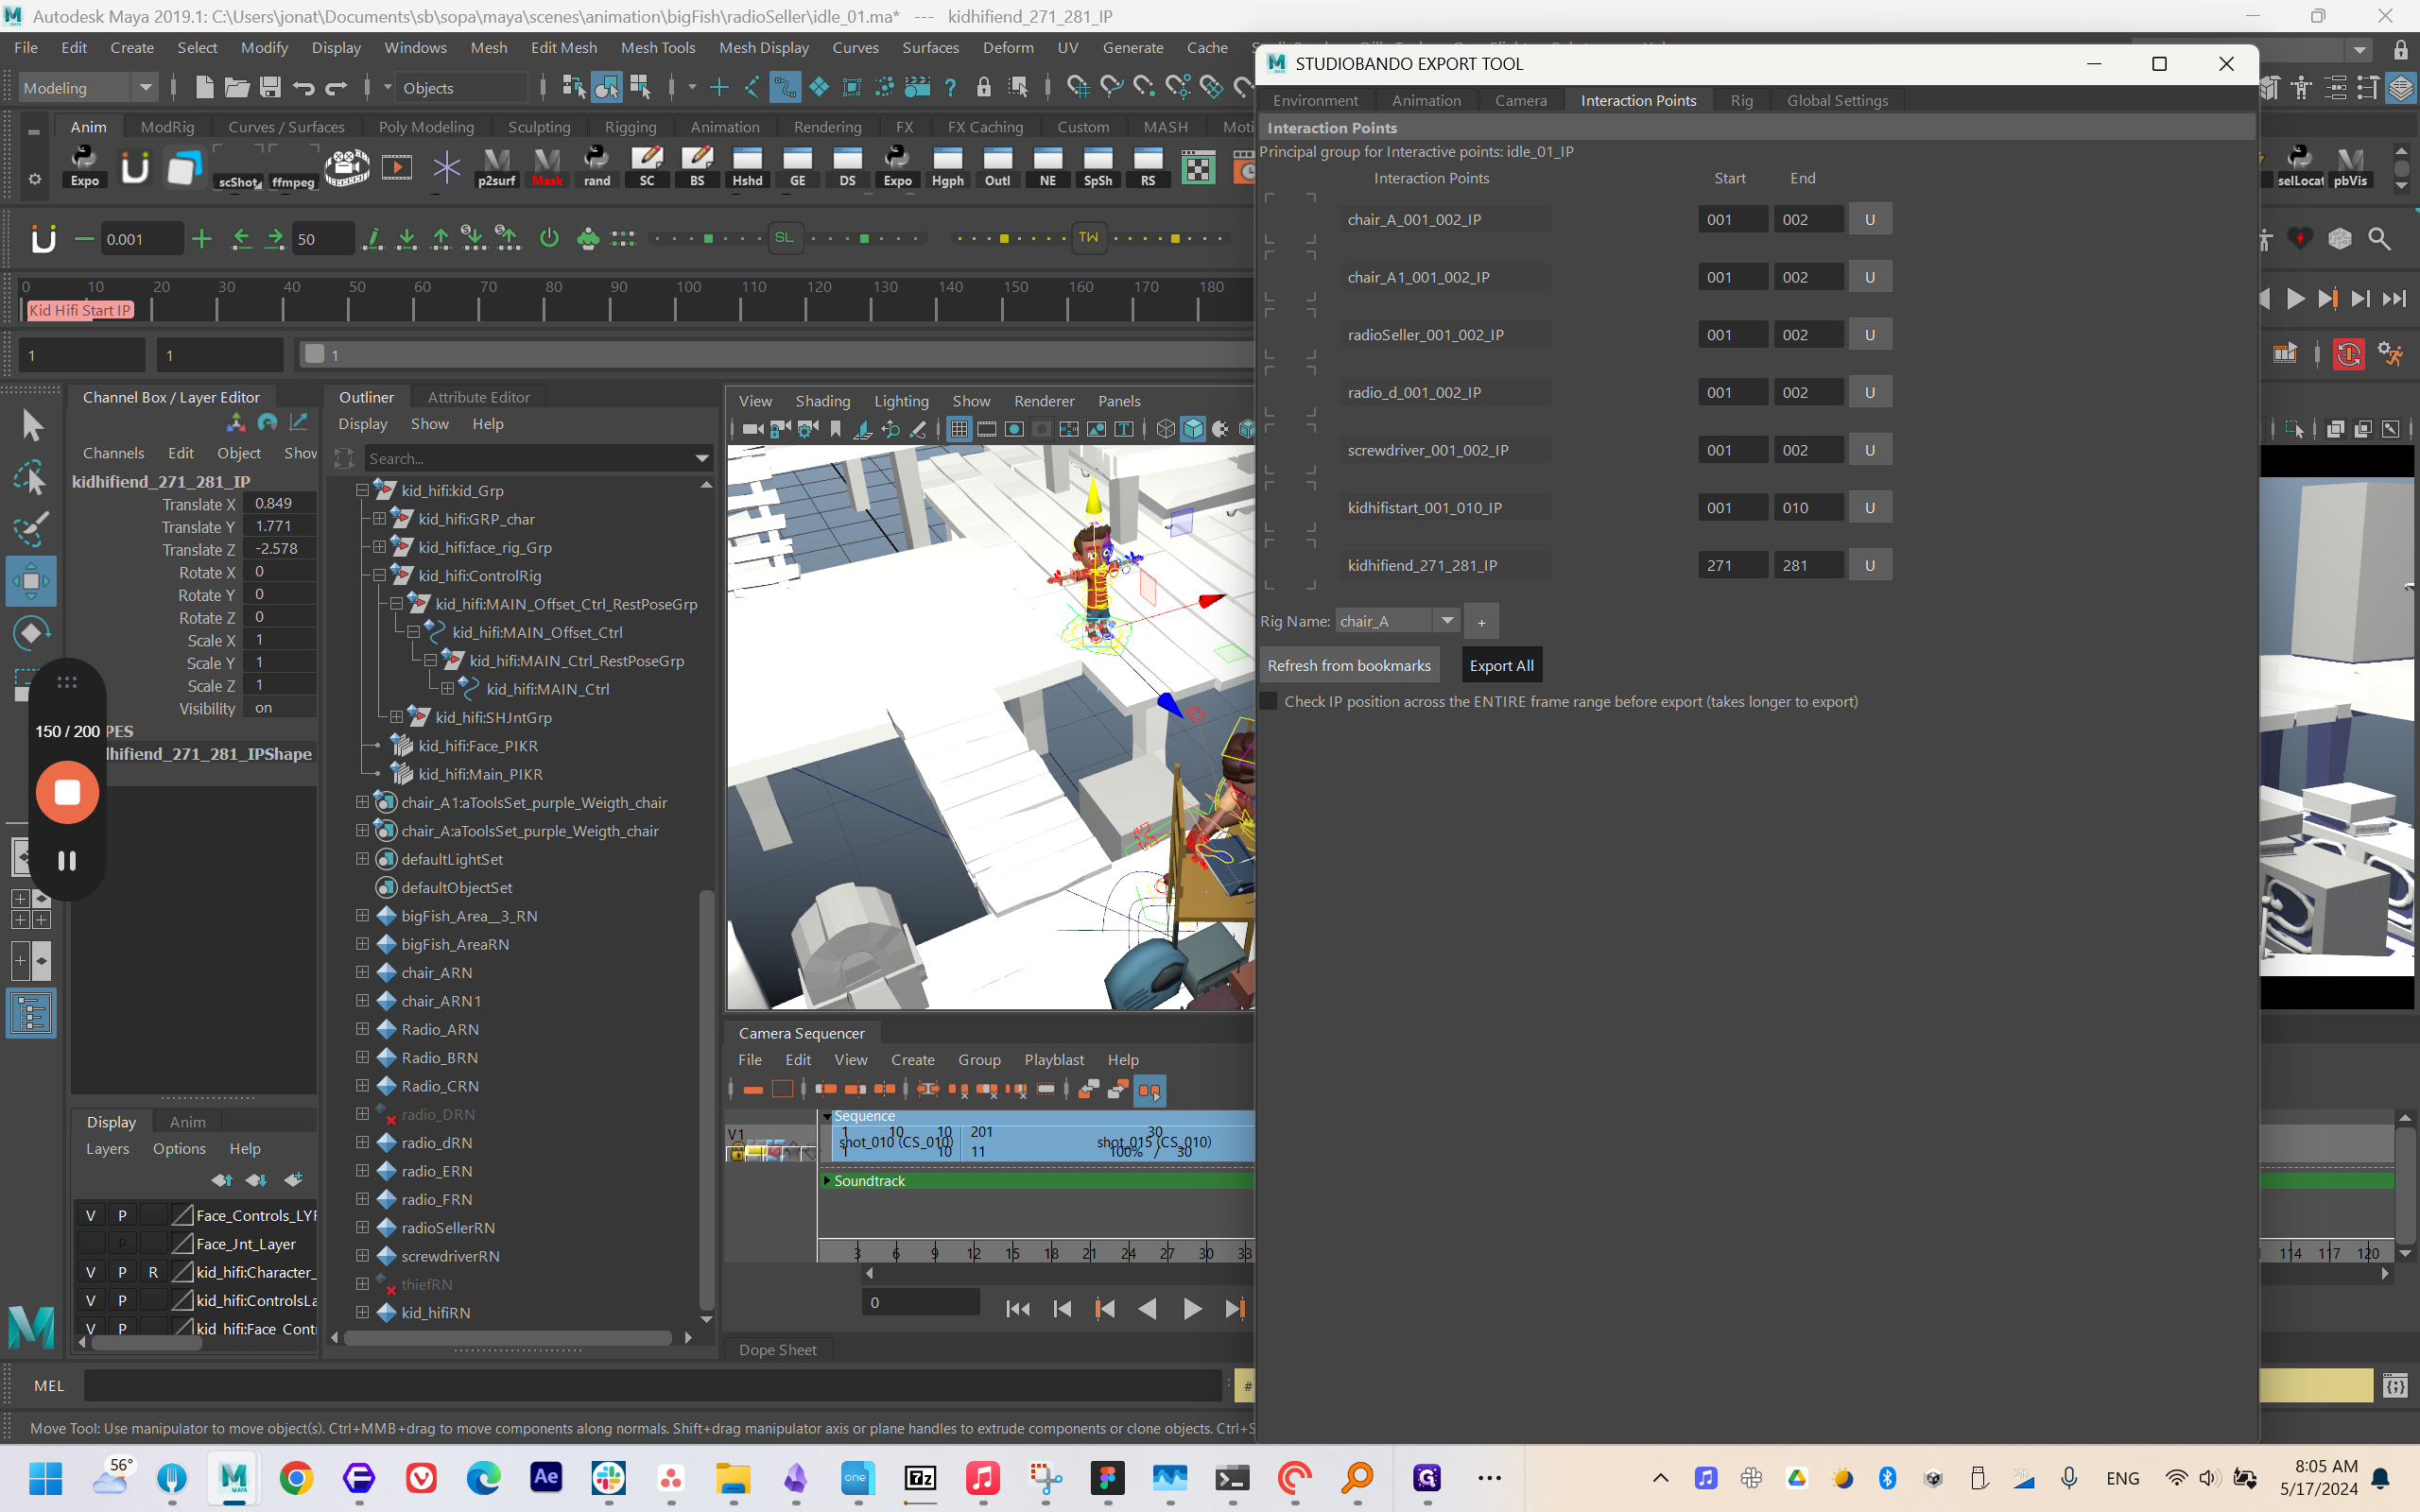
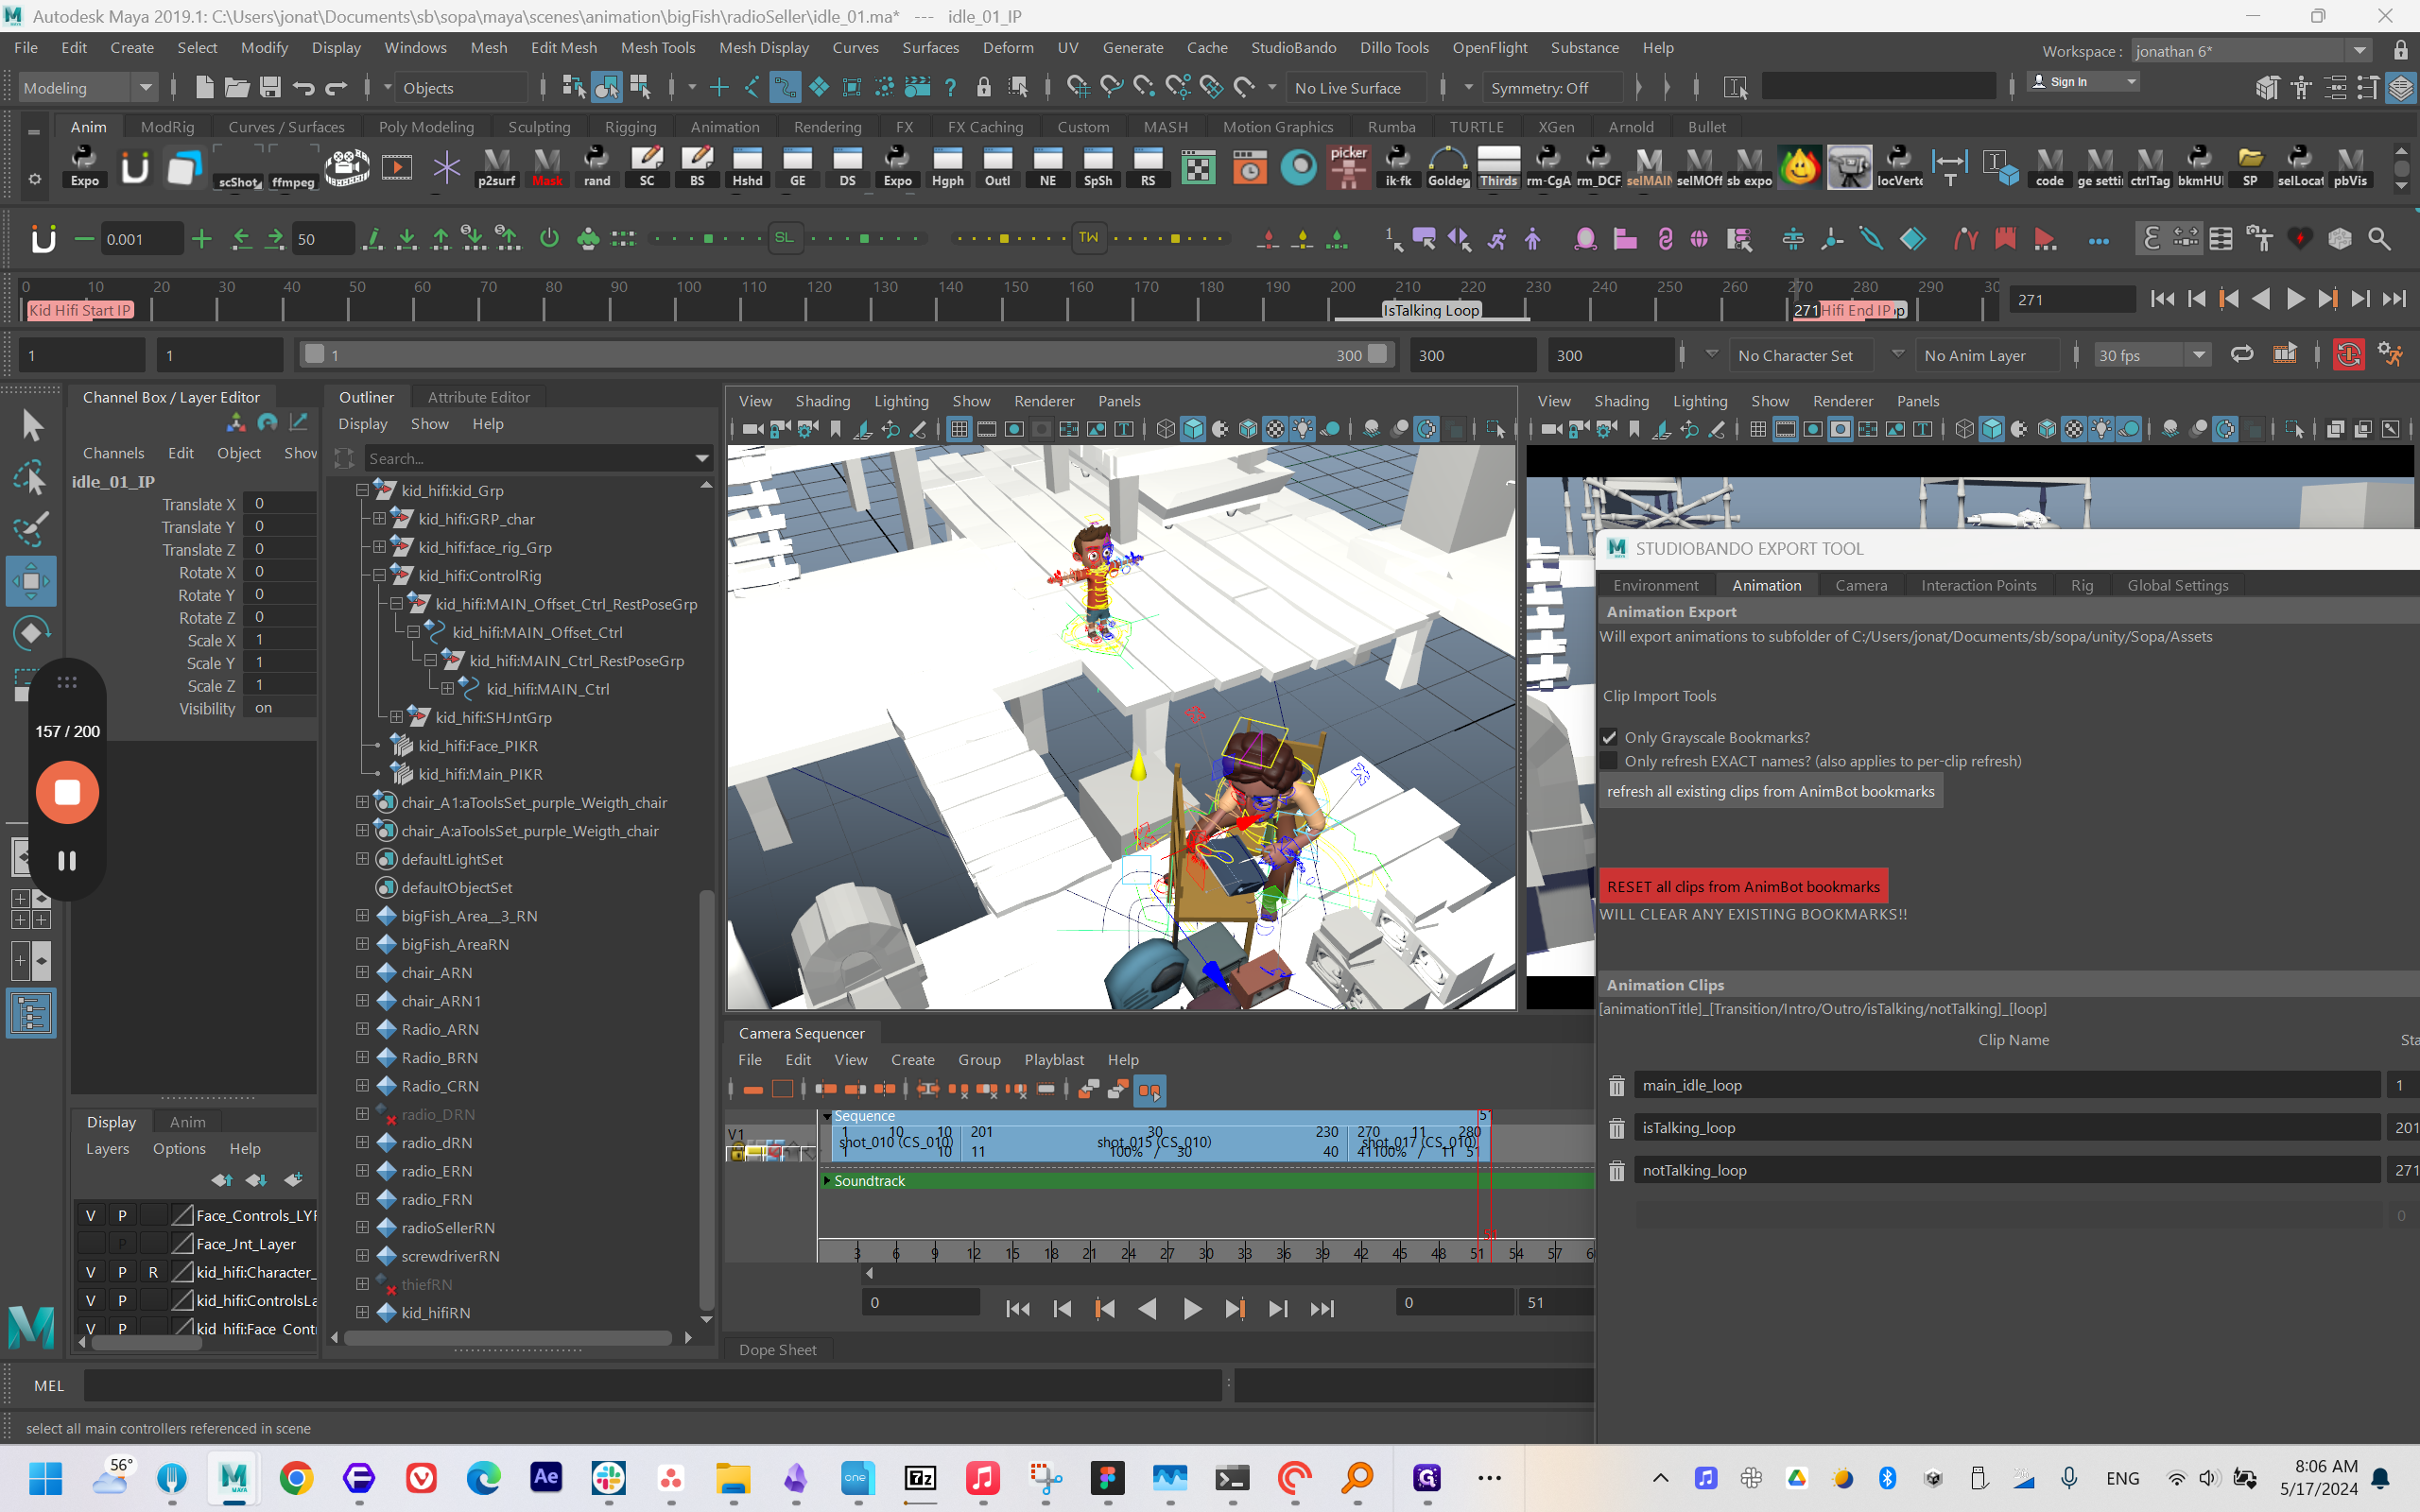
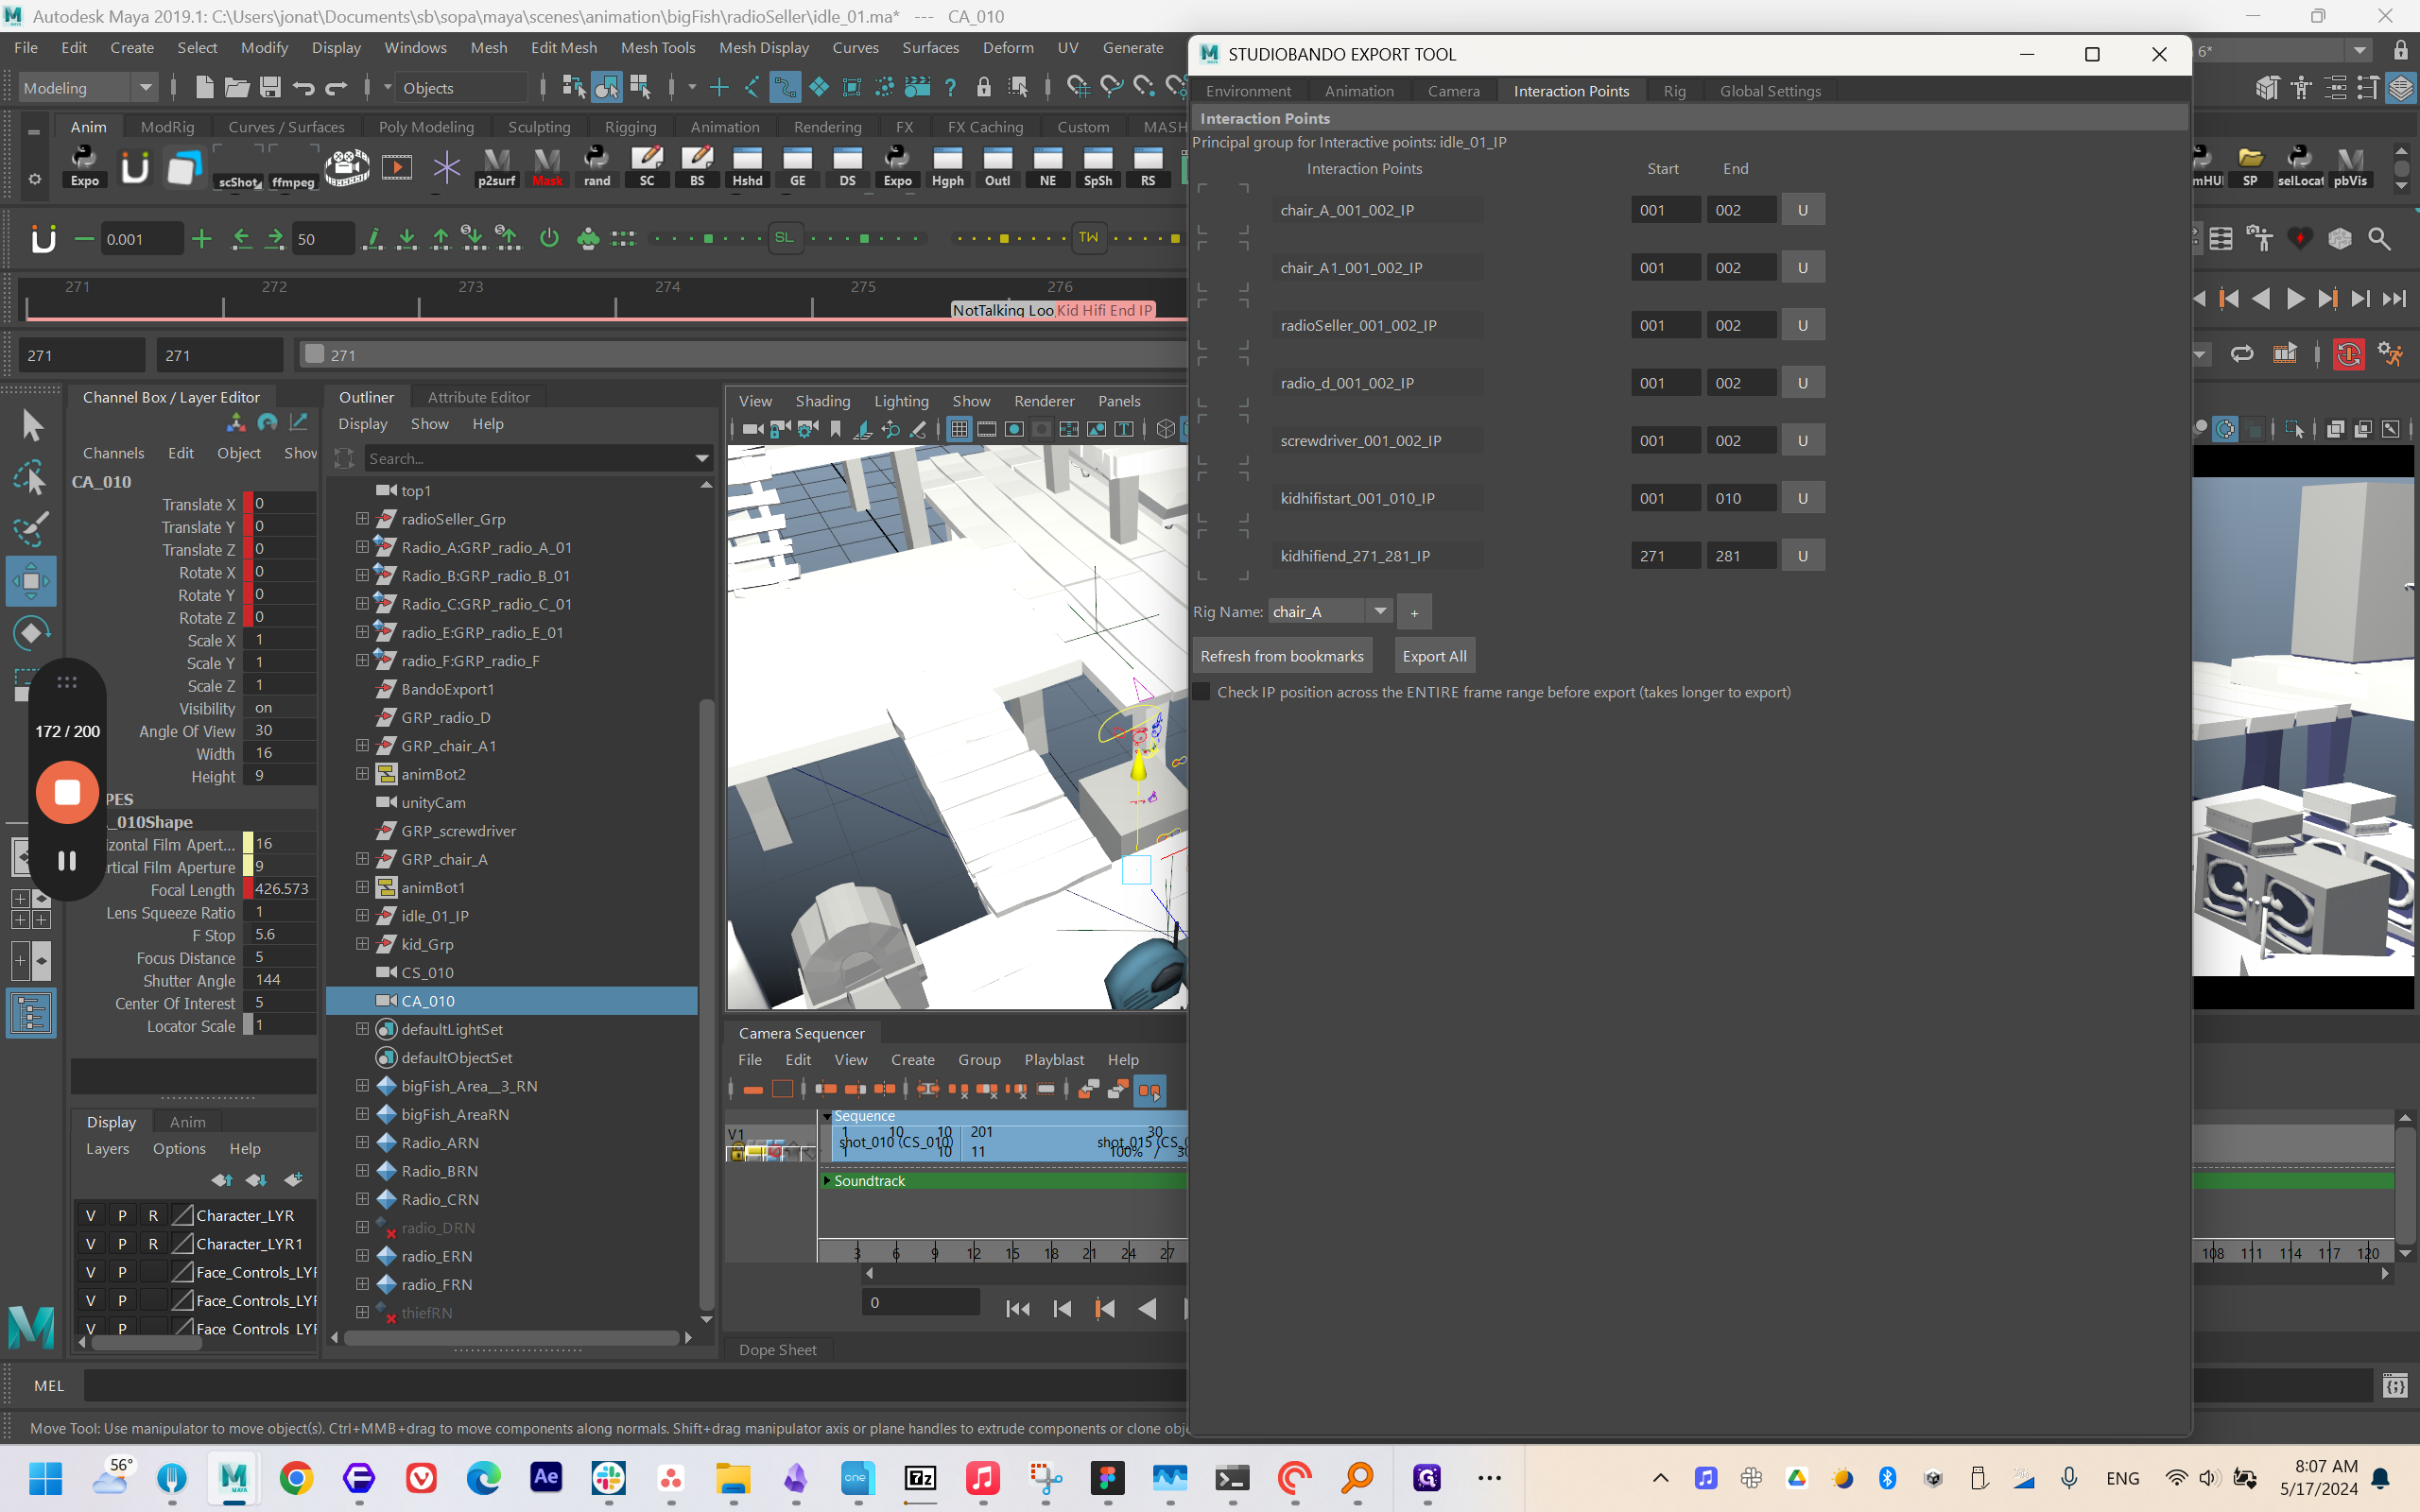
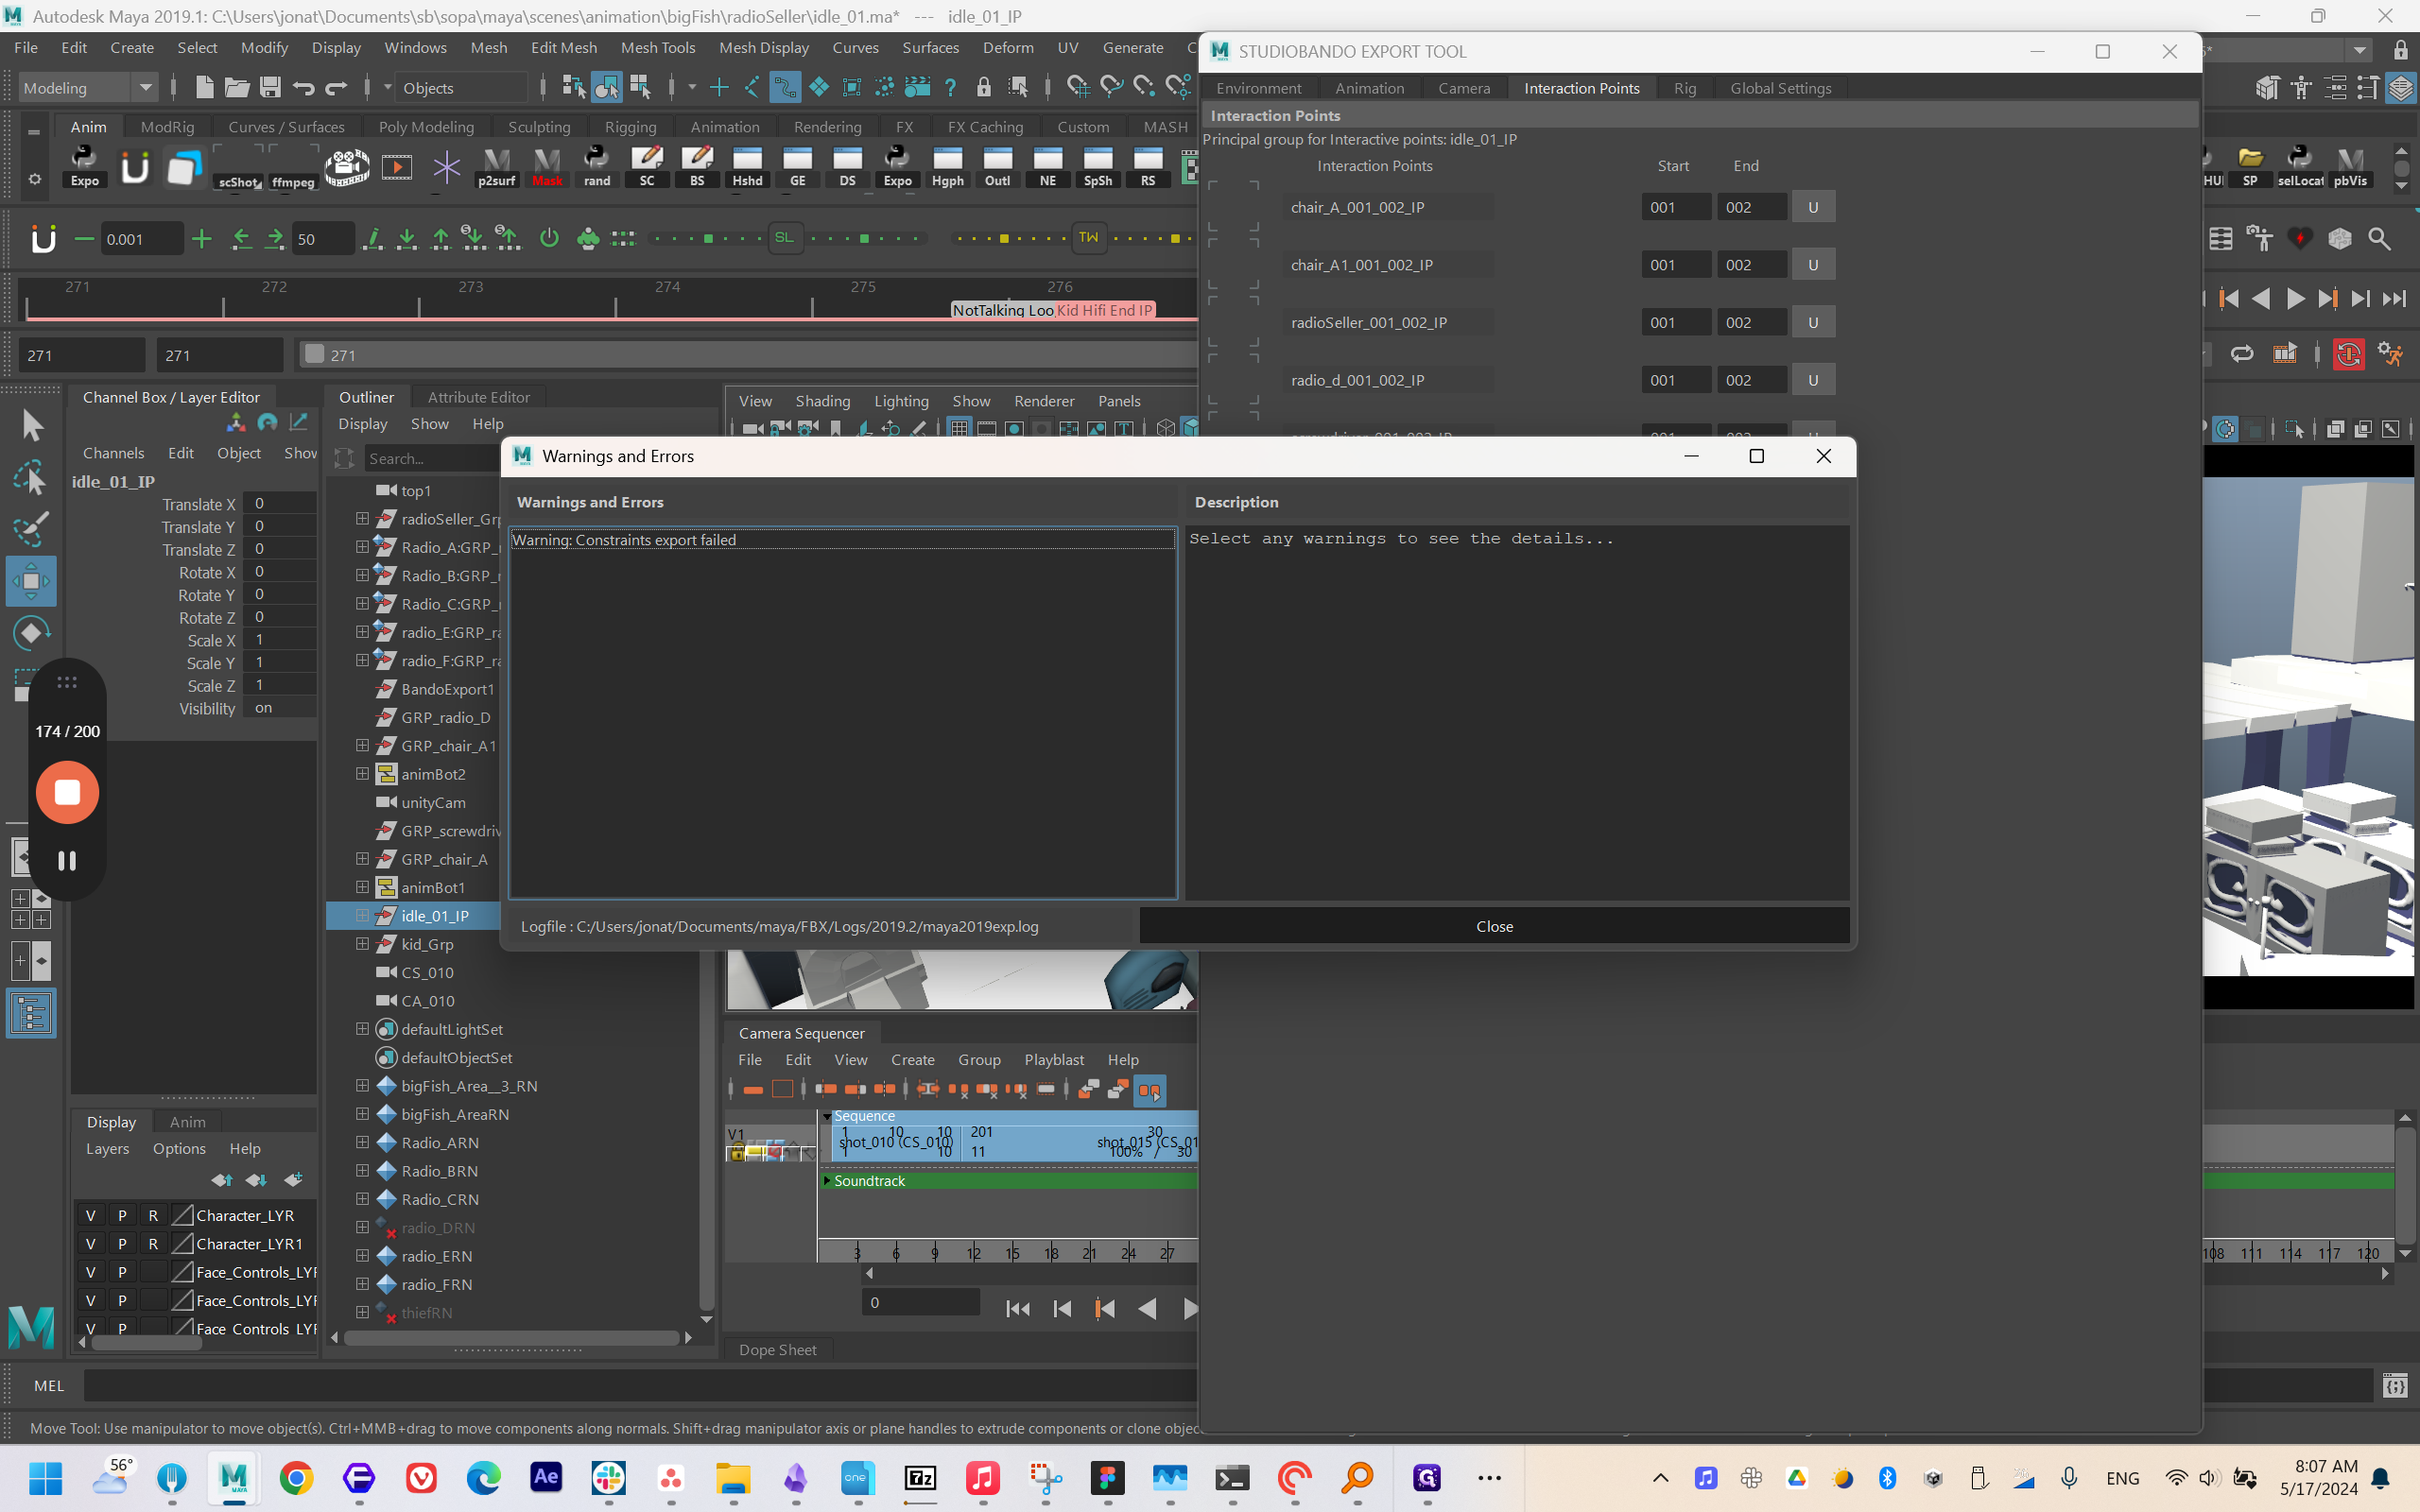
All right. I have set up all the interaction points.


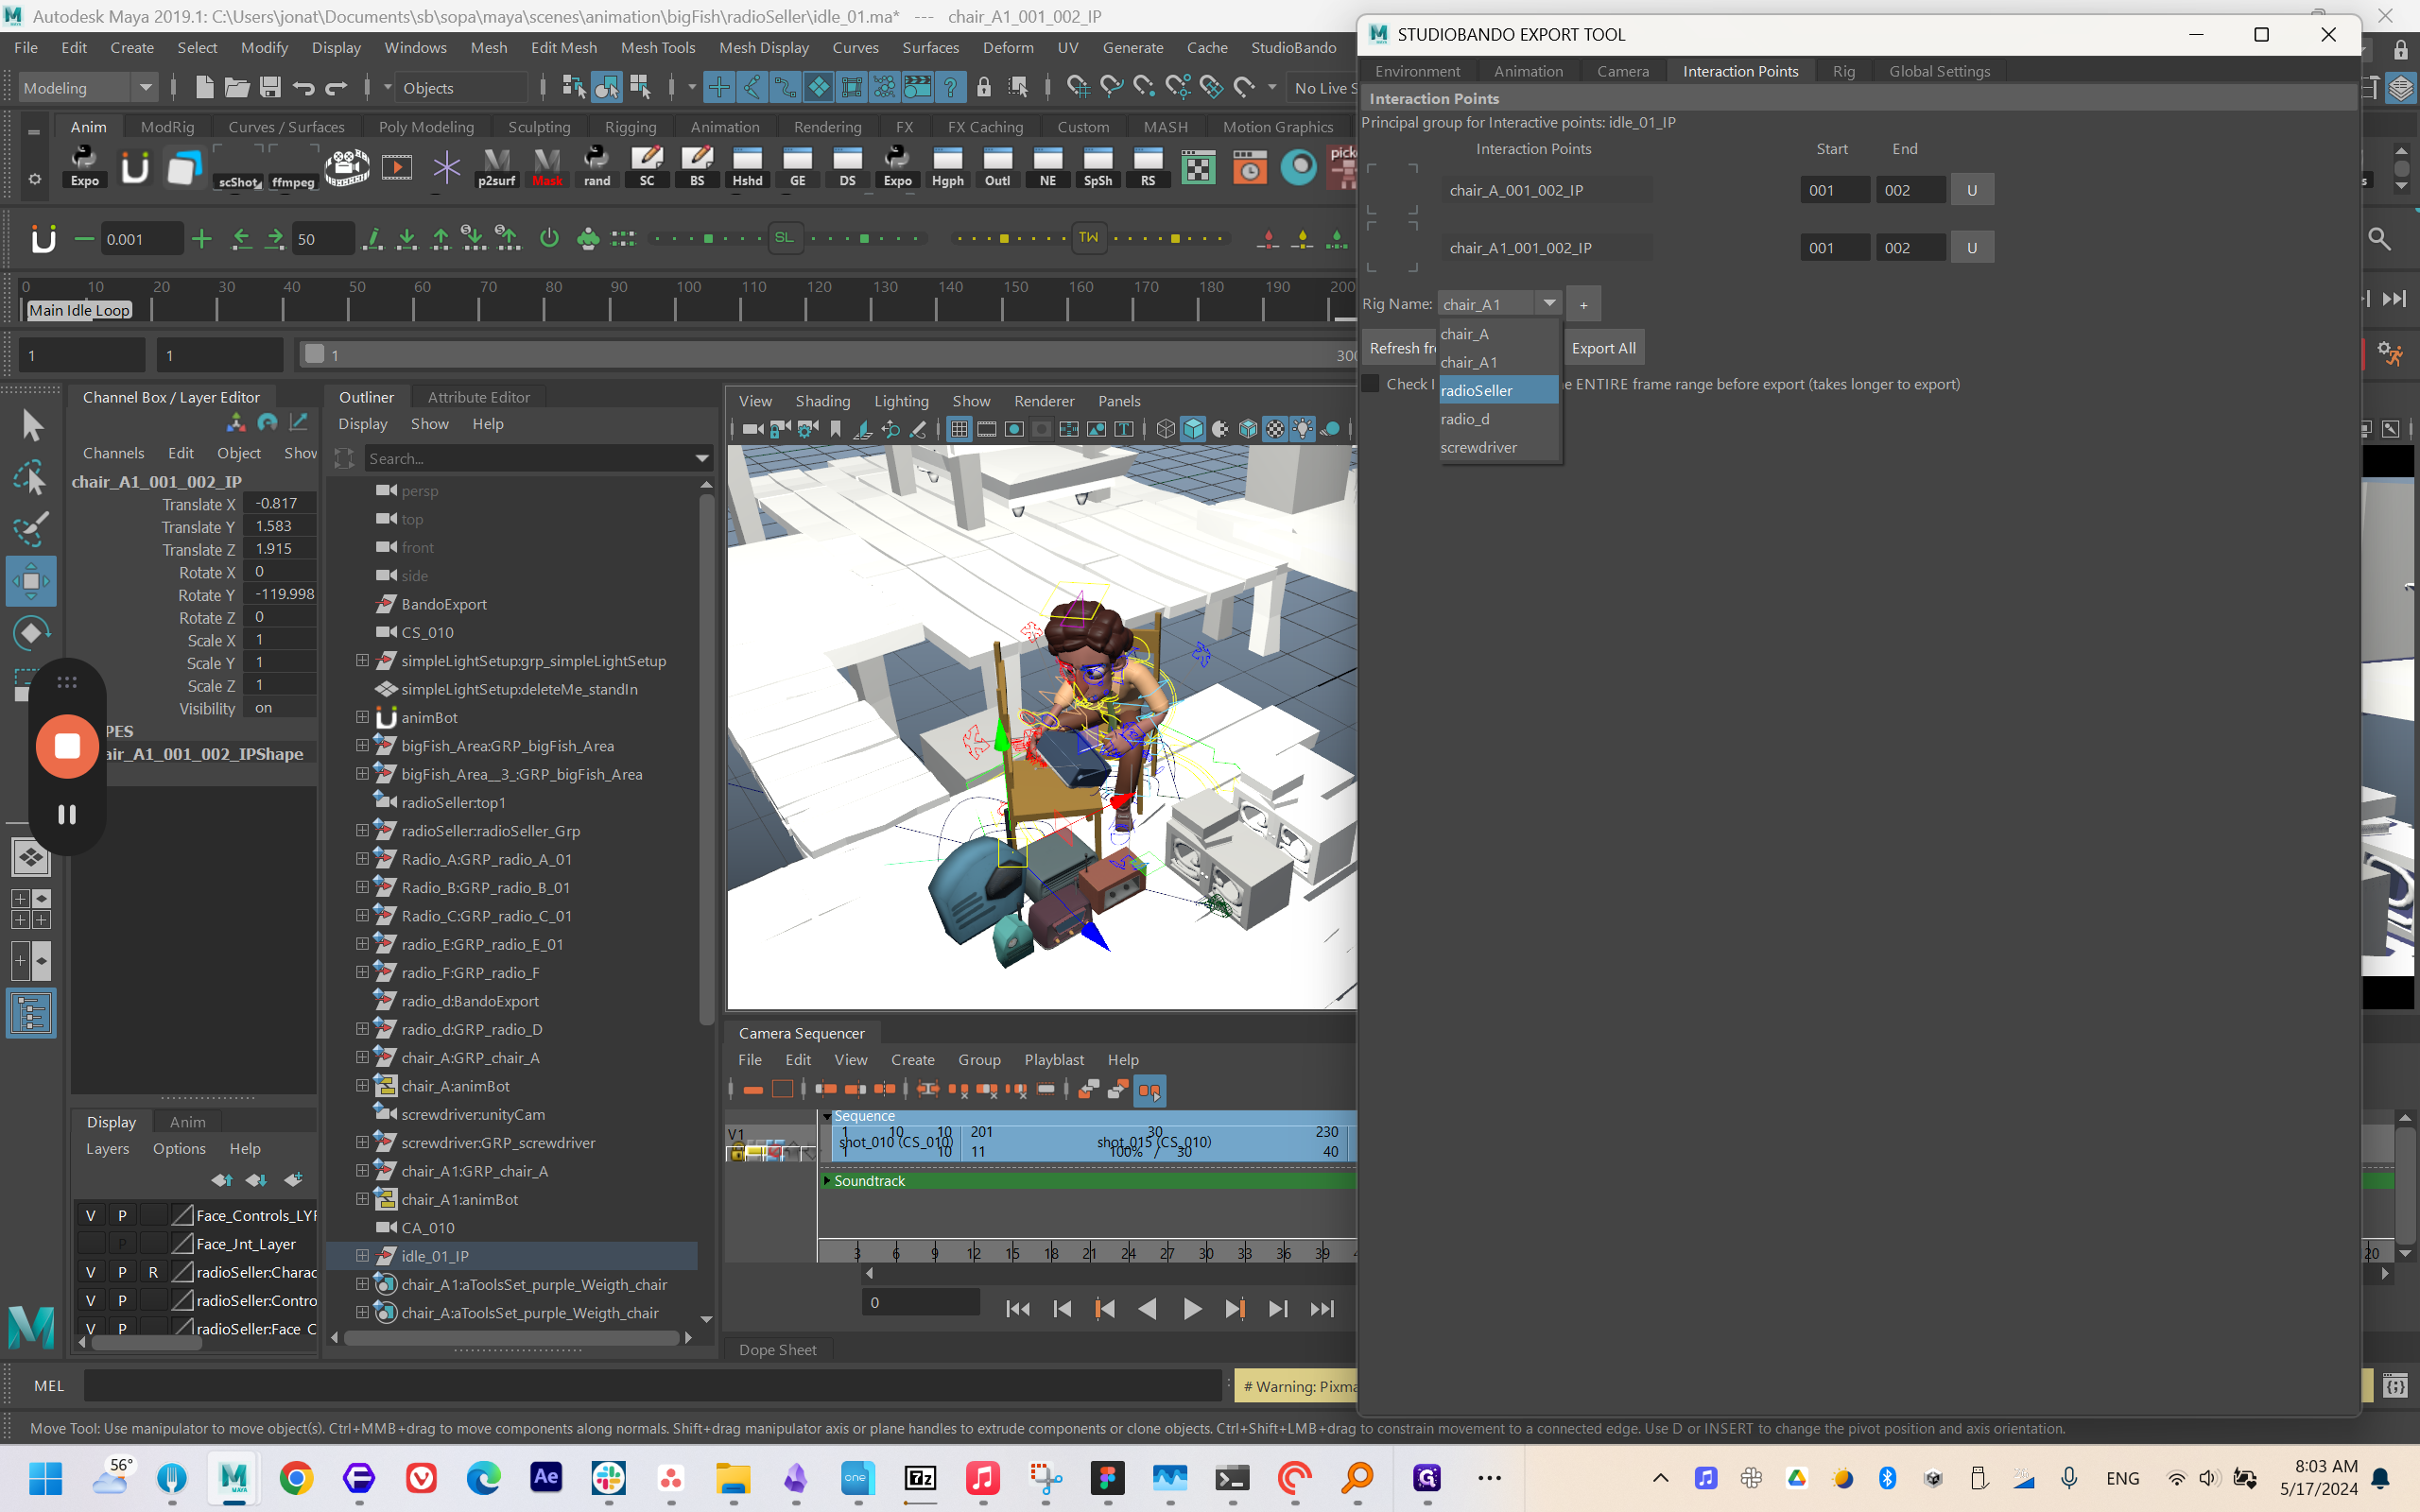

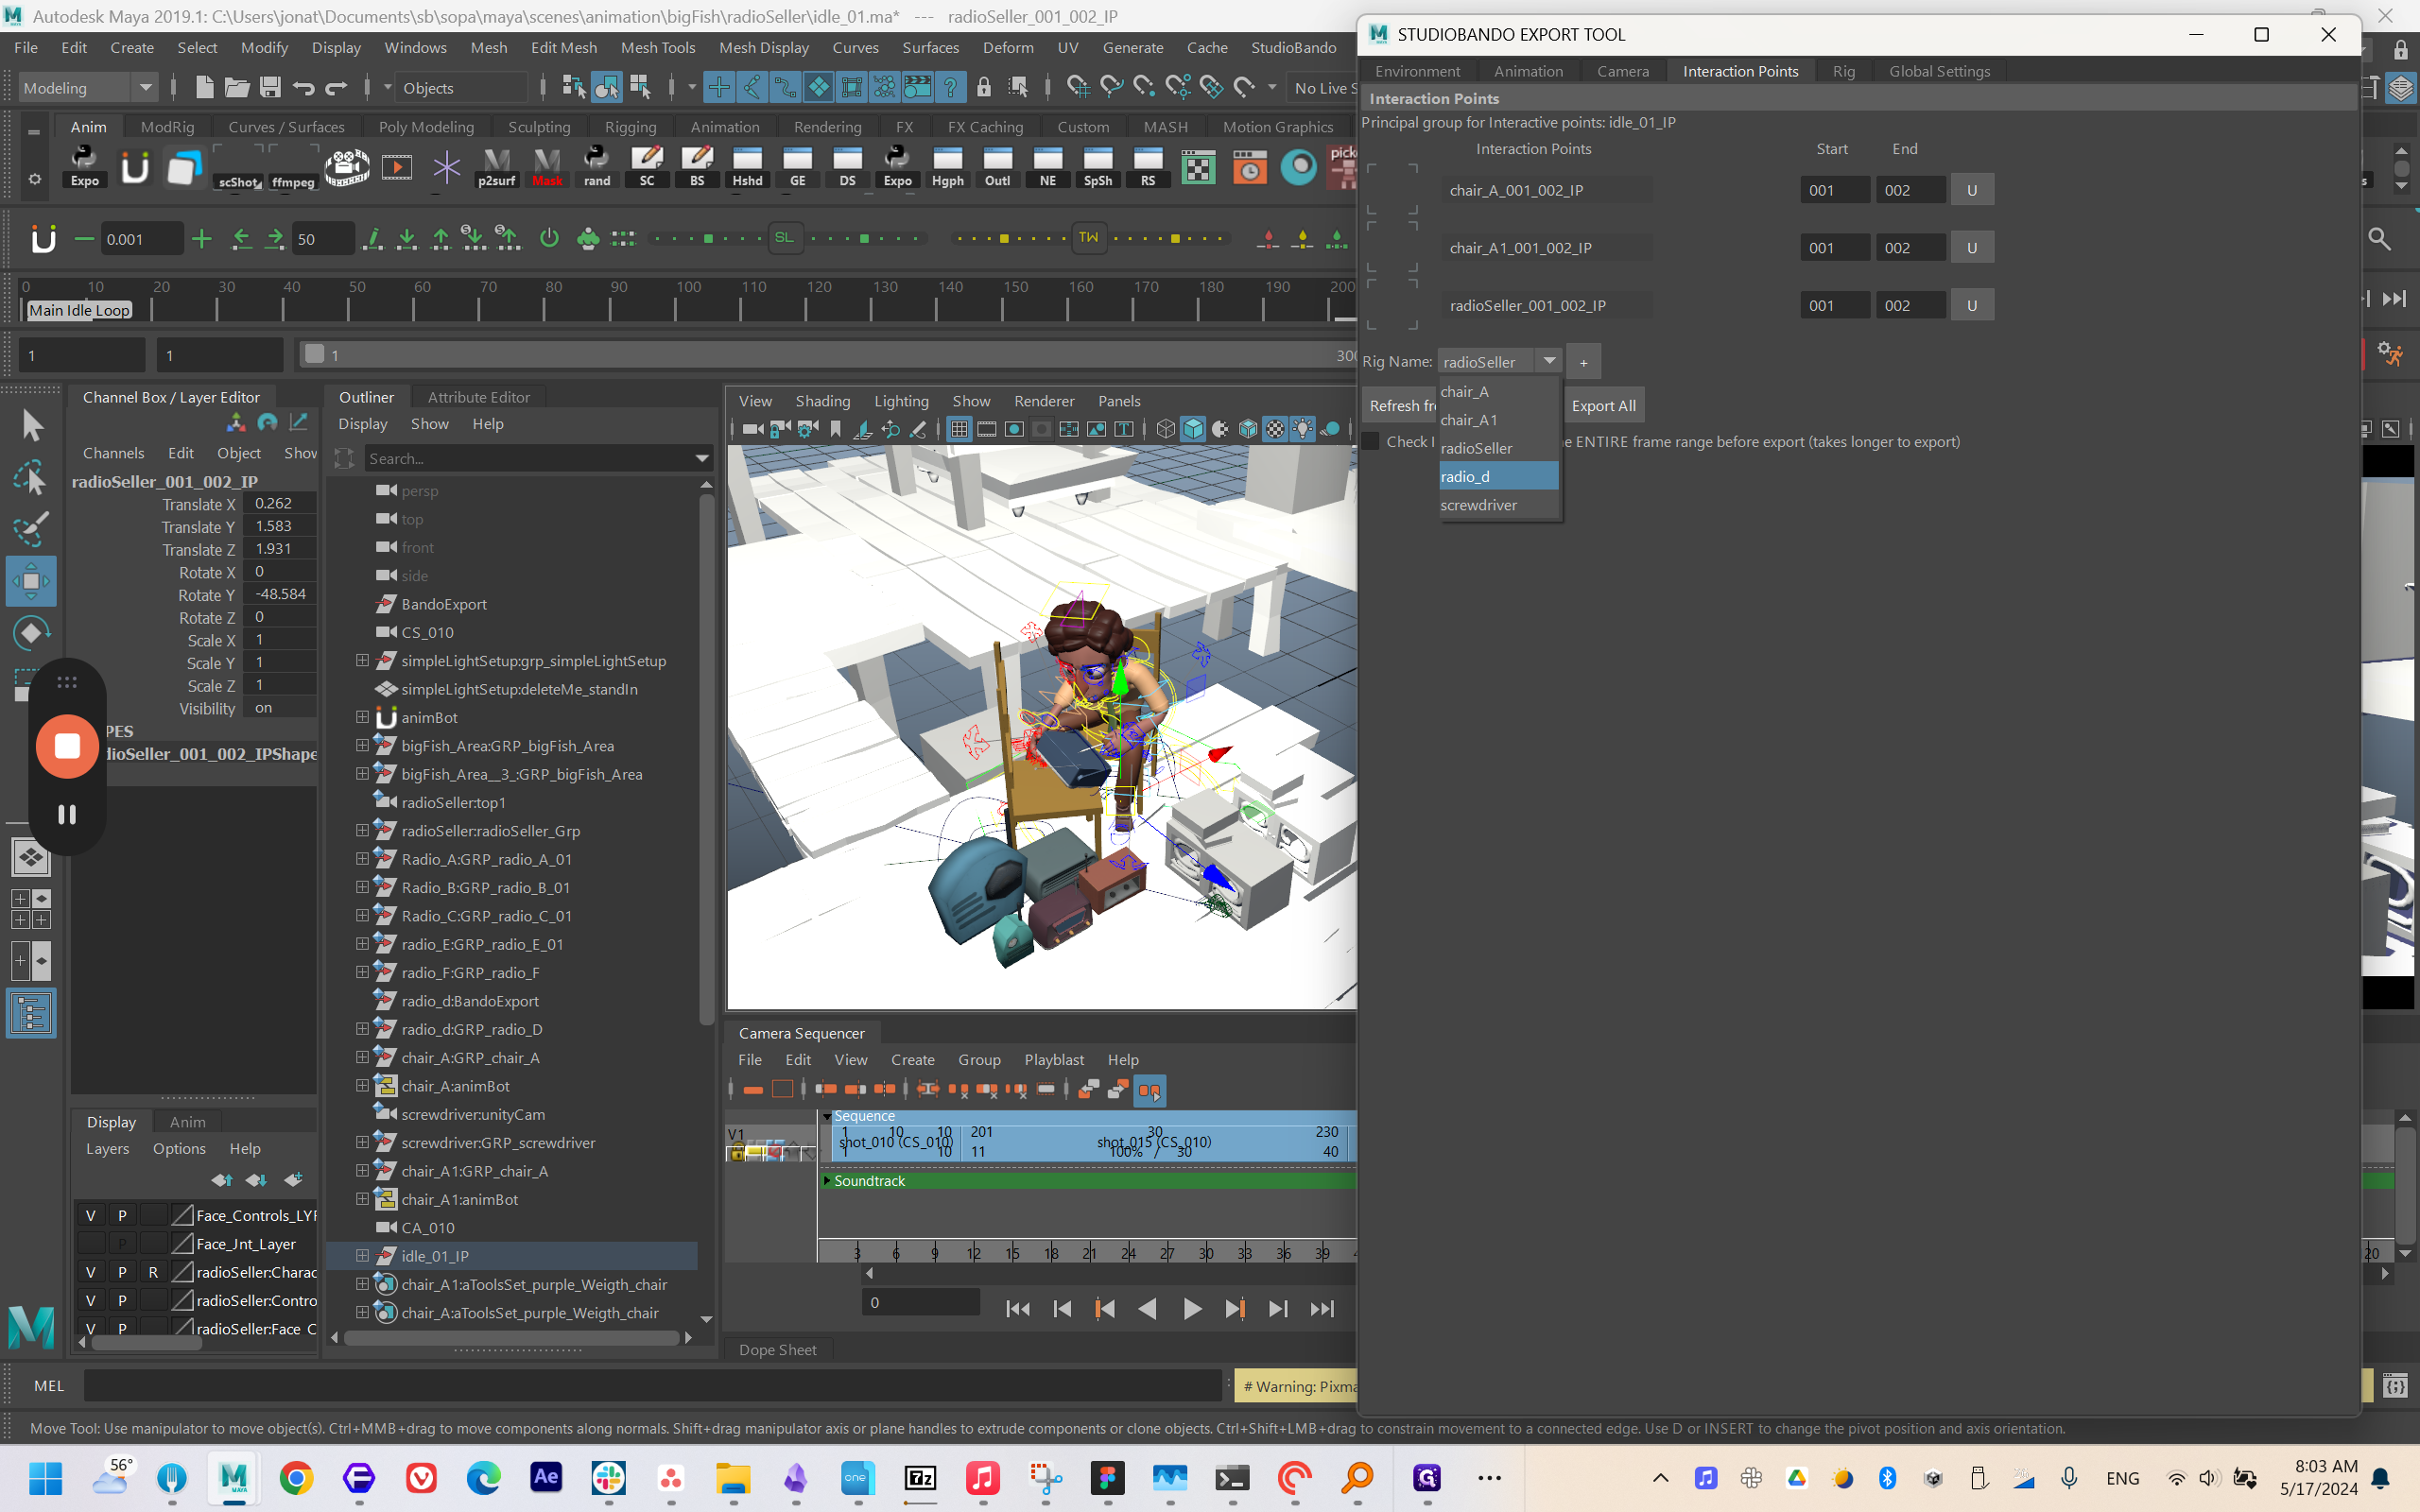


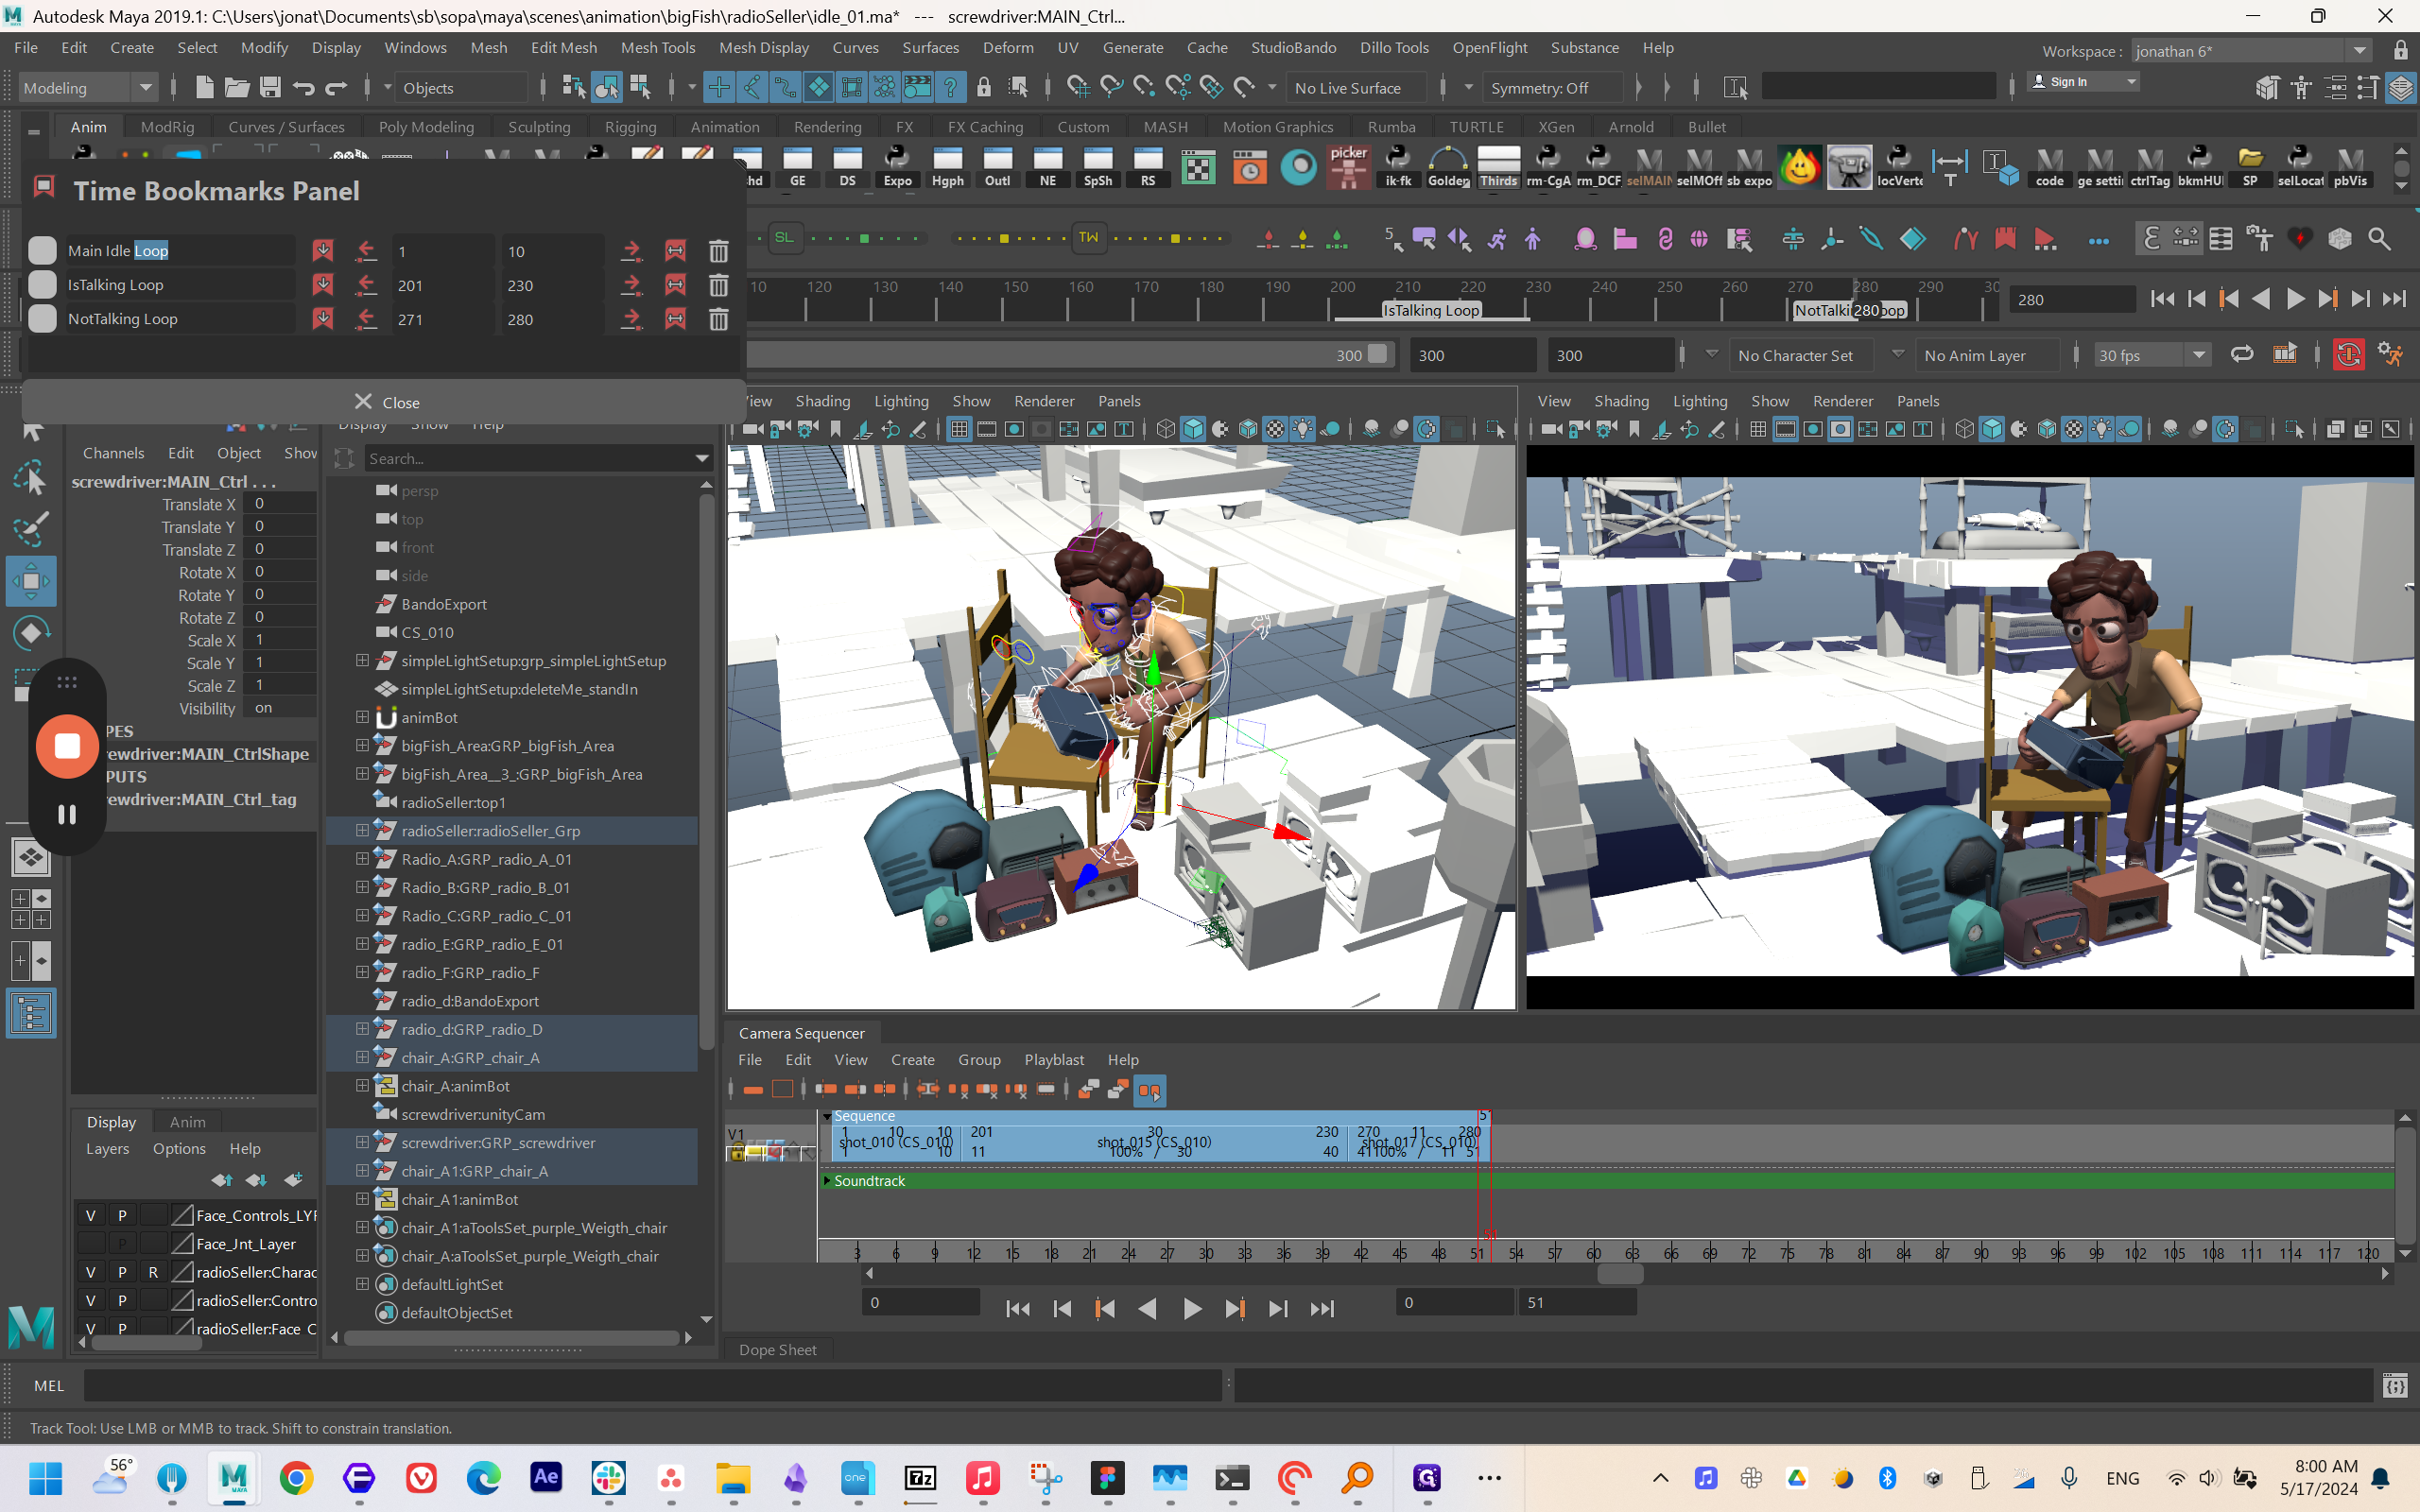
When dealing with scenarios where the player, like Miho, starts in one location and ends in another, bookmarks are essential.
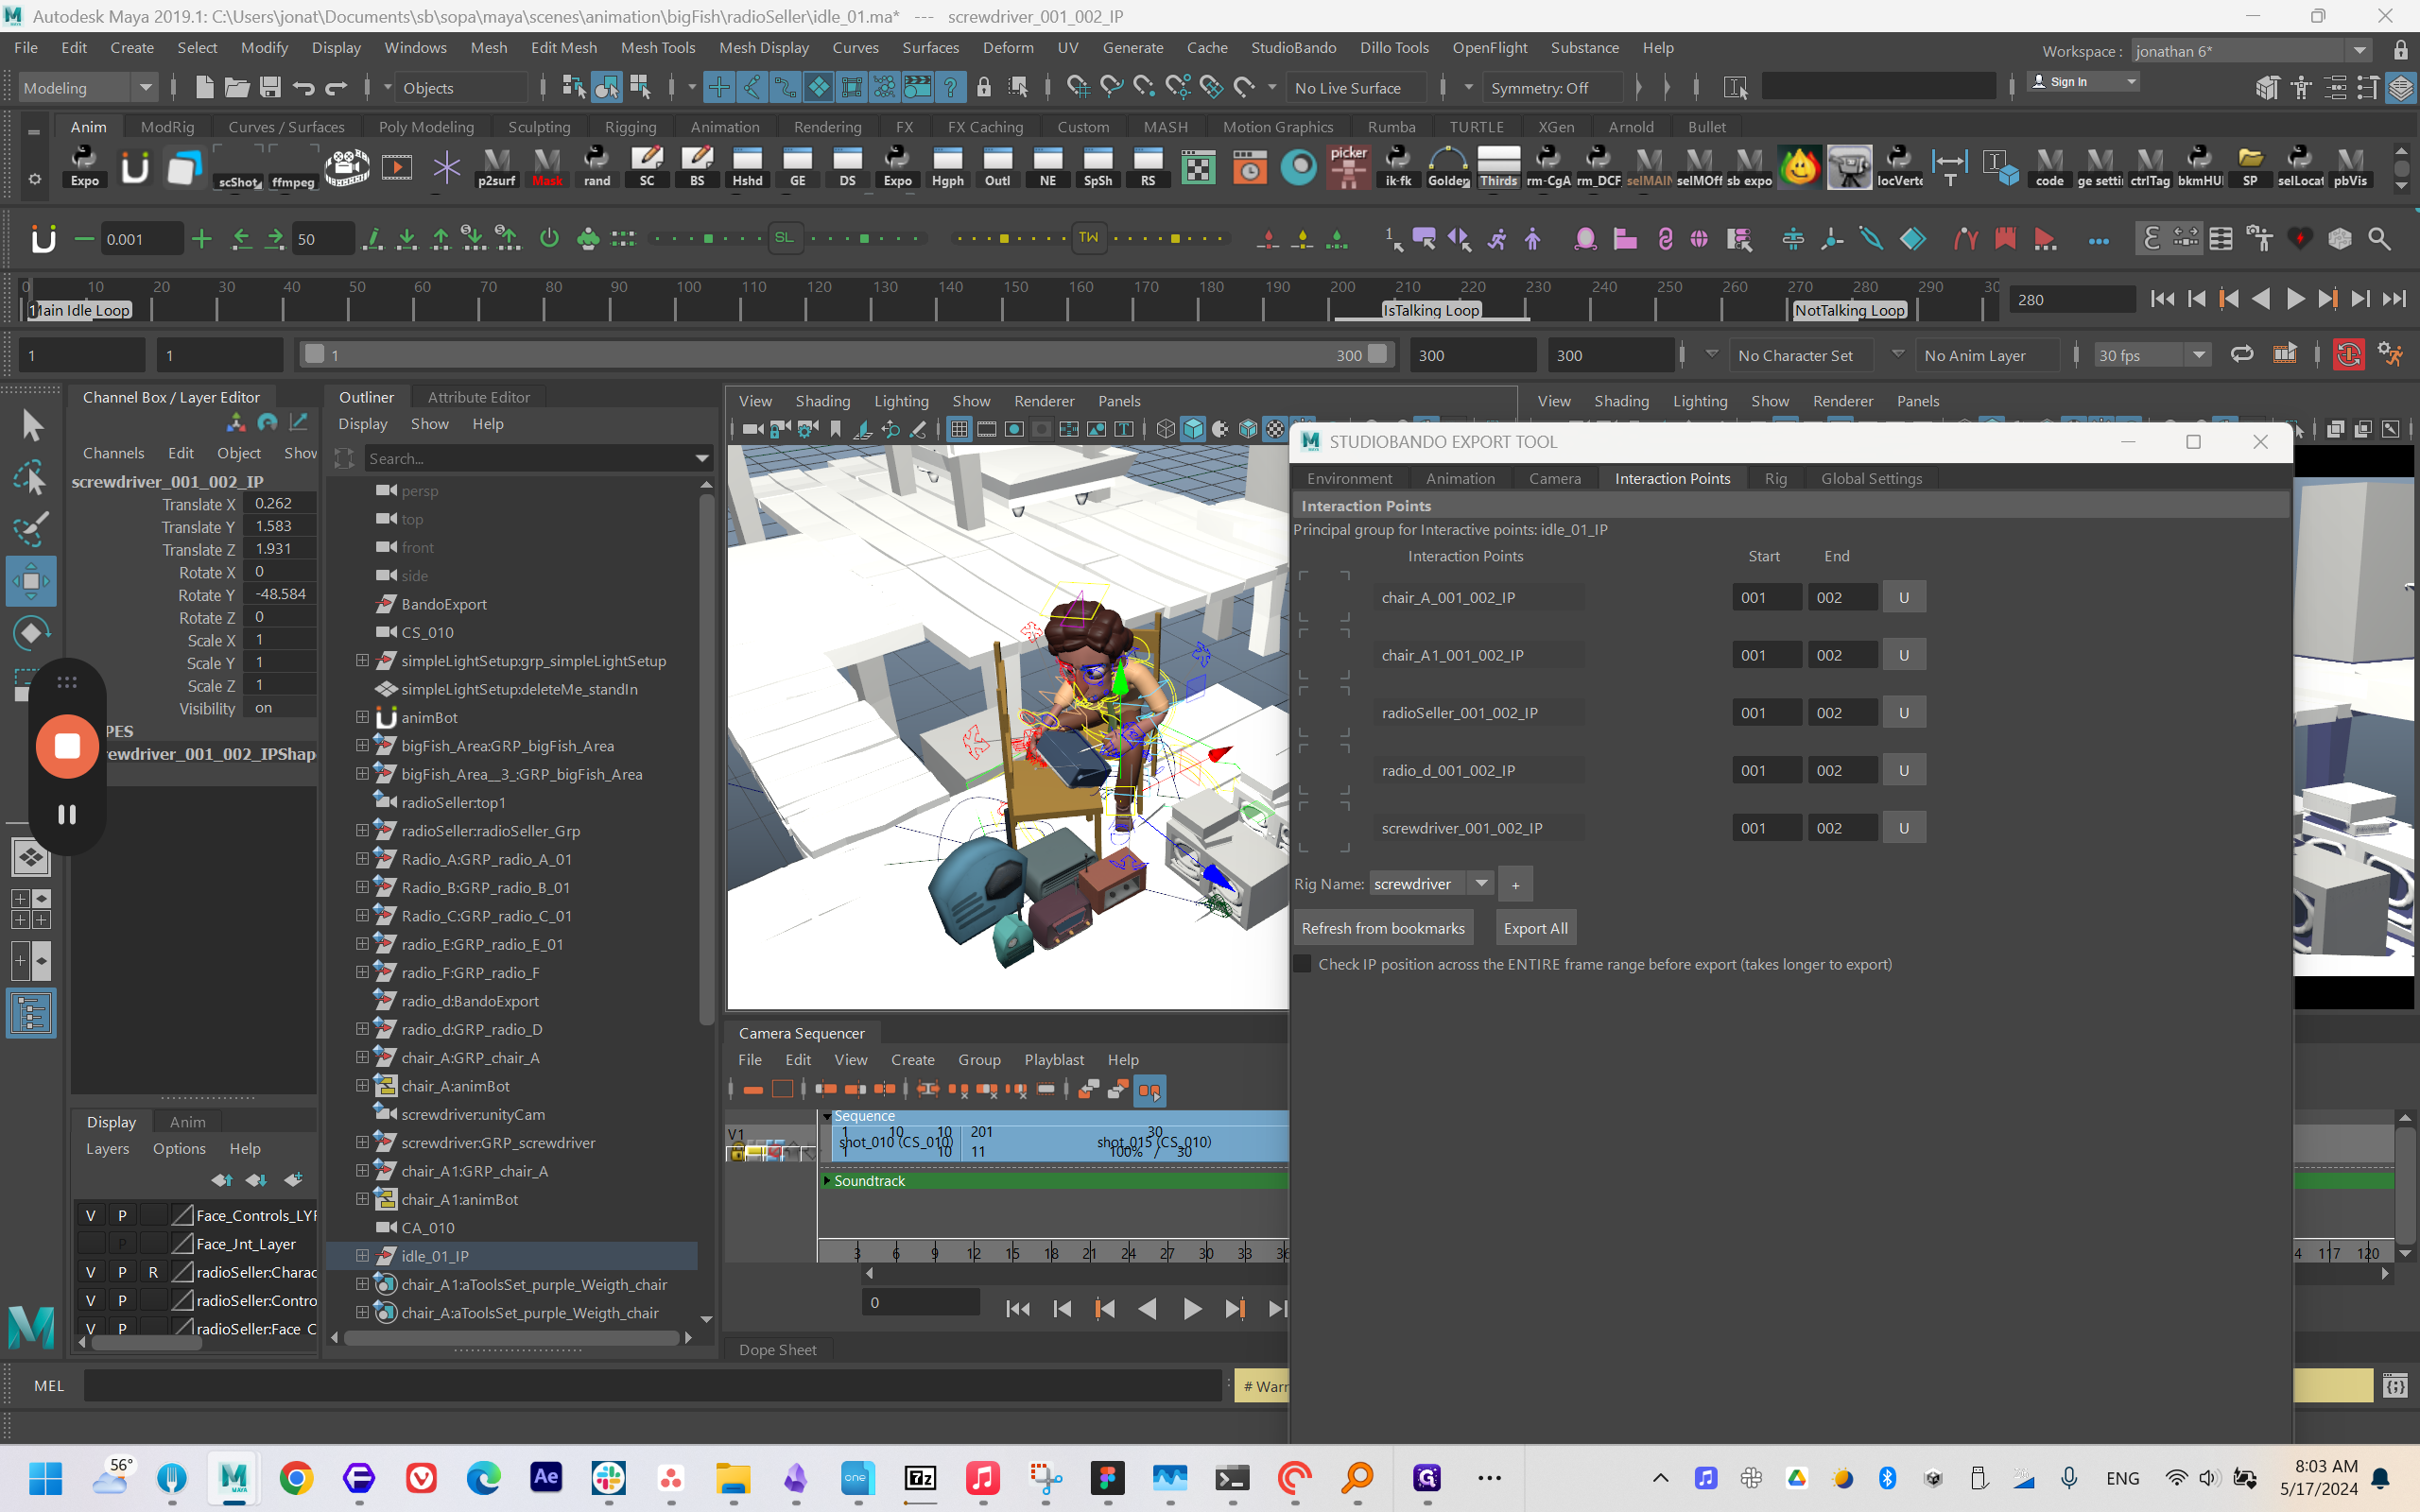


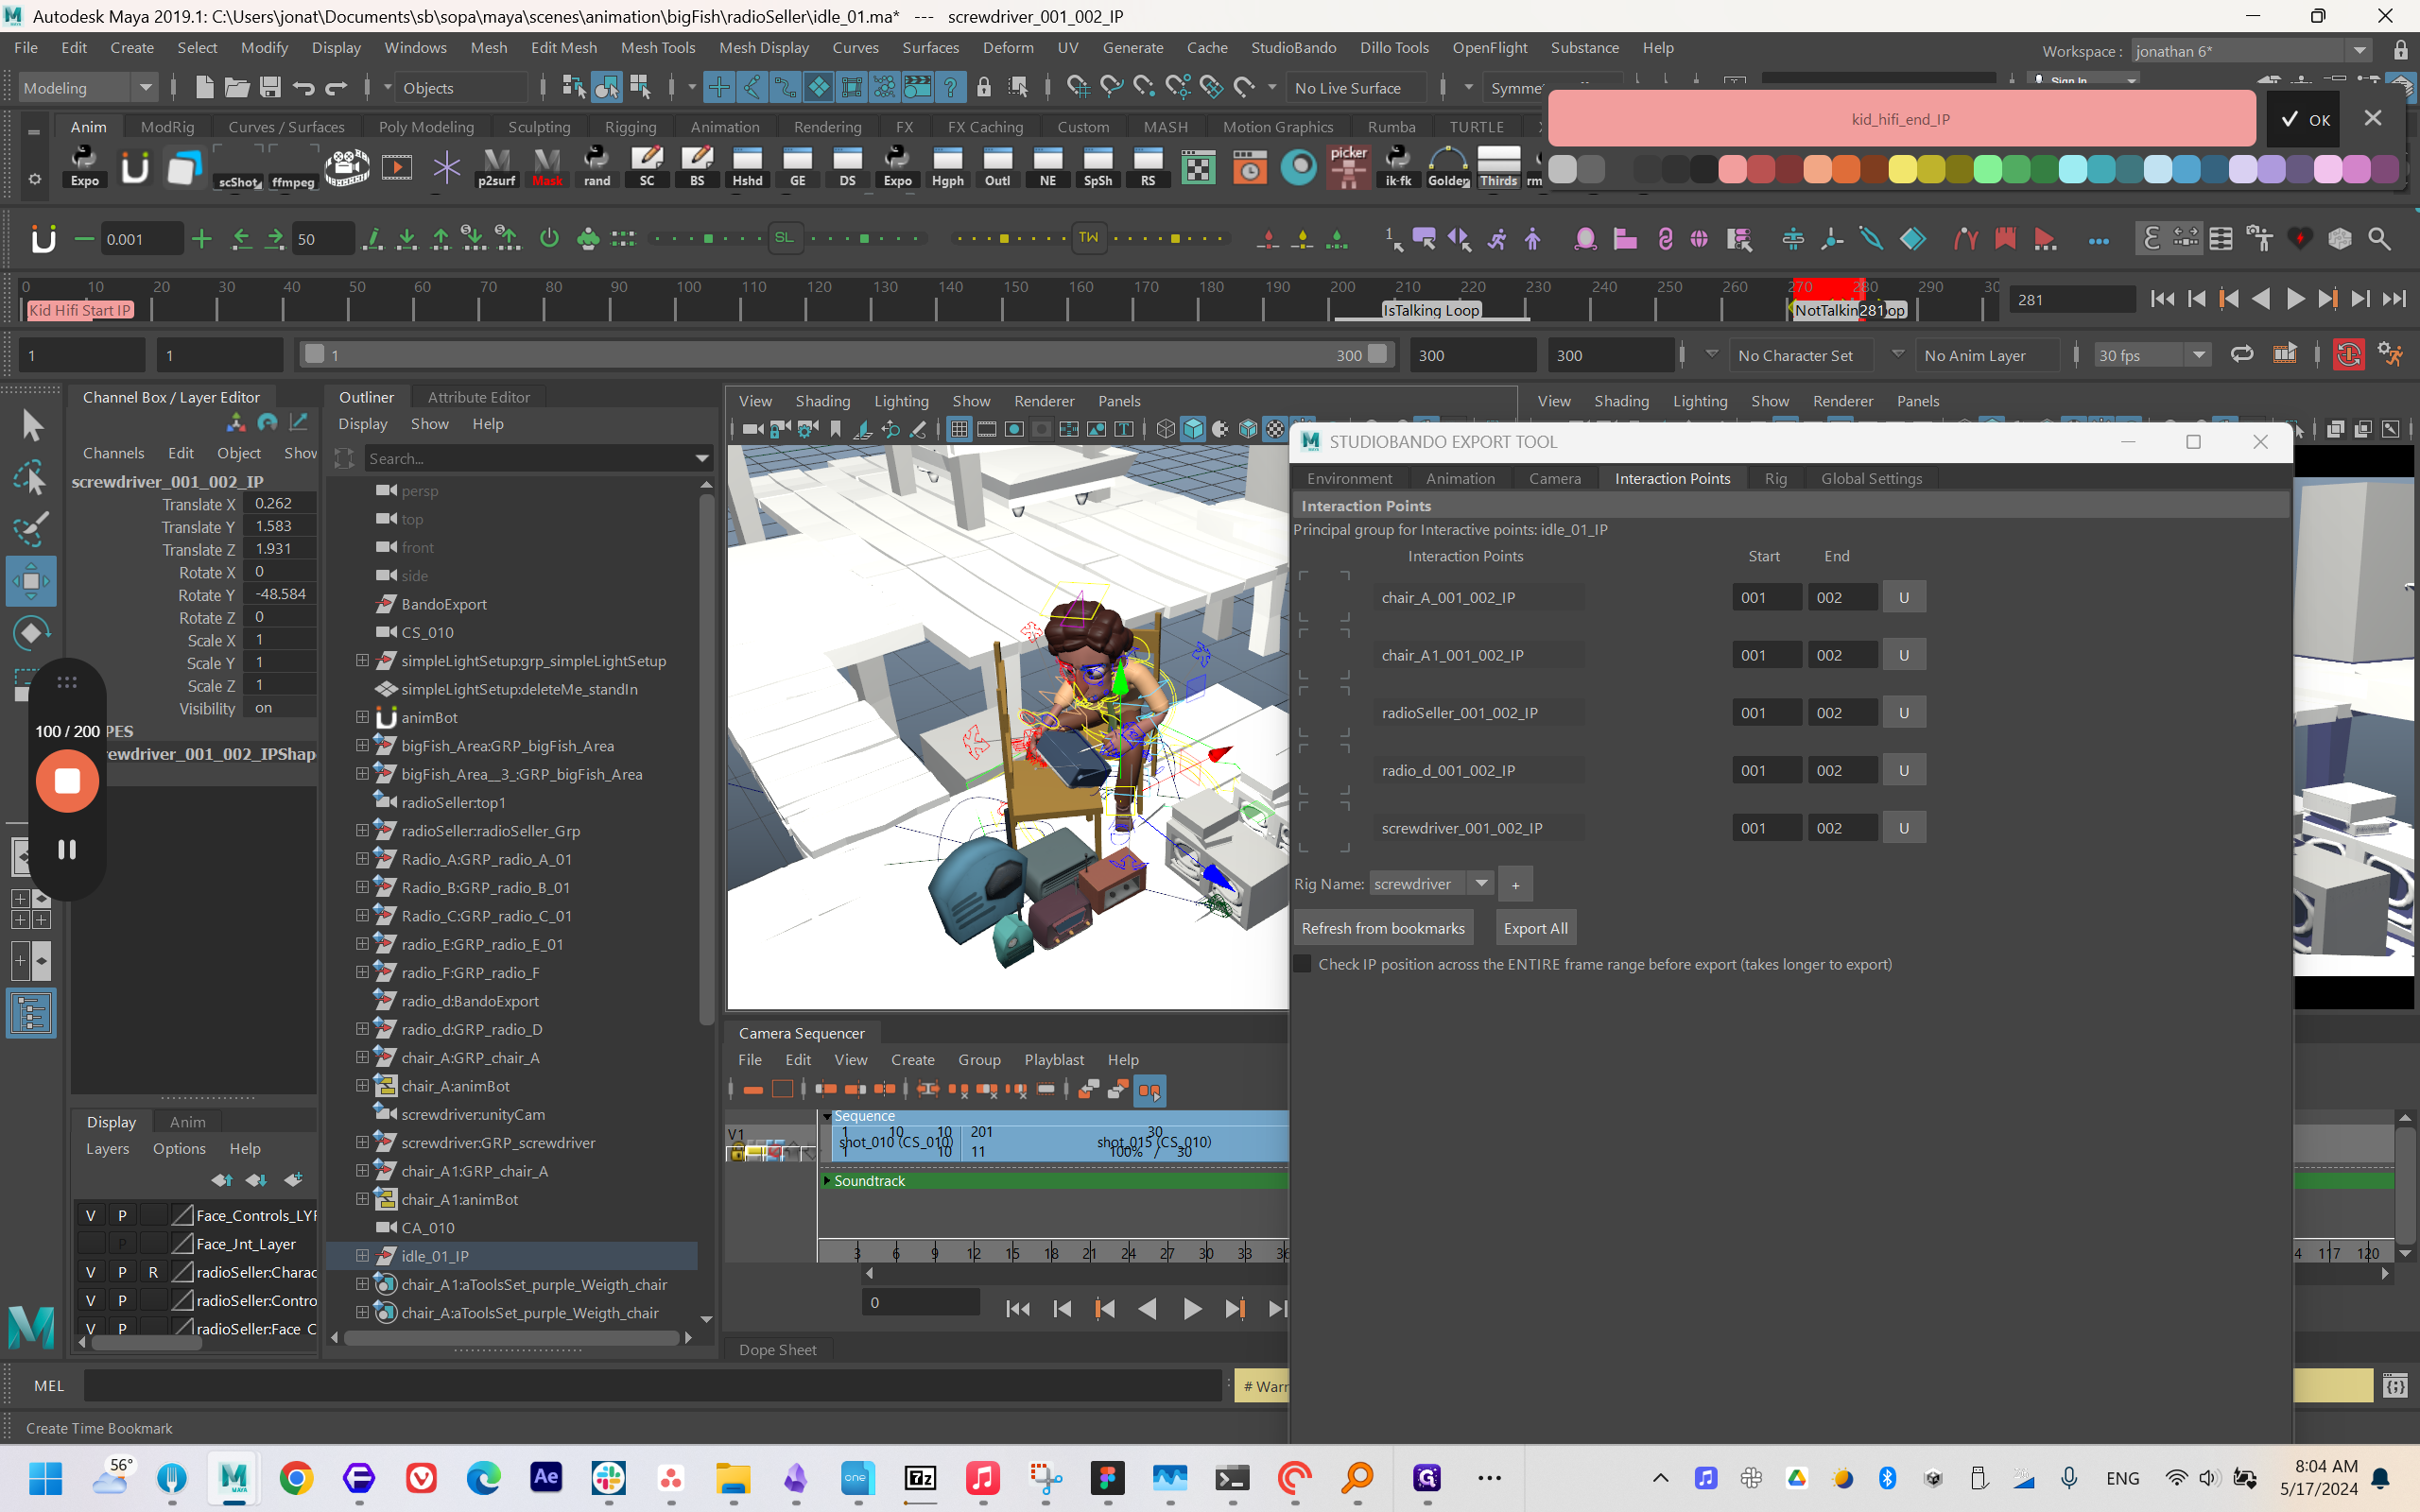
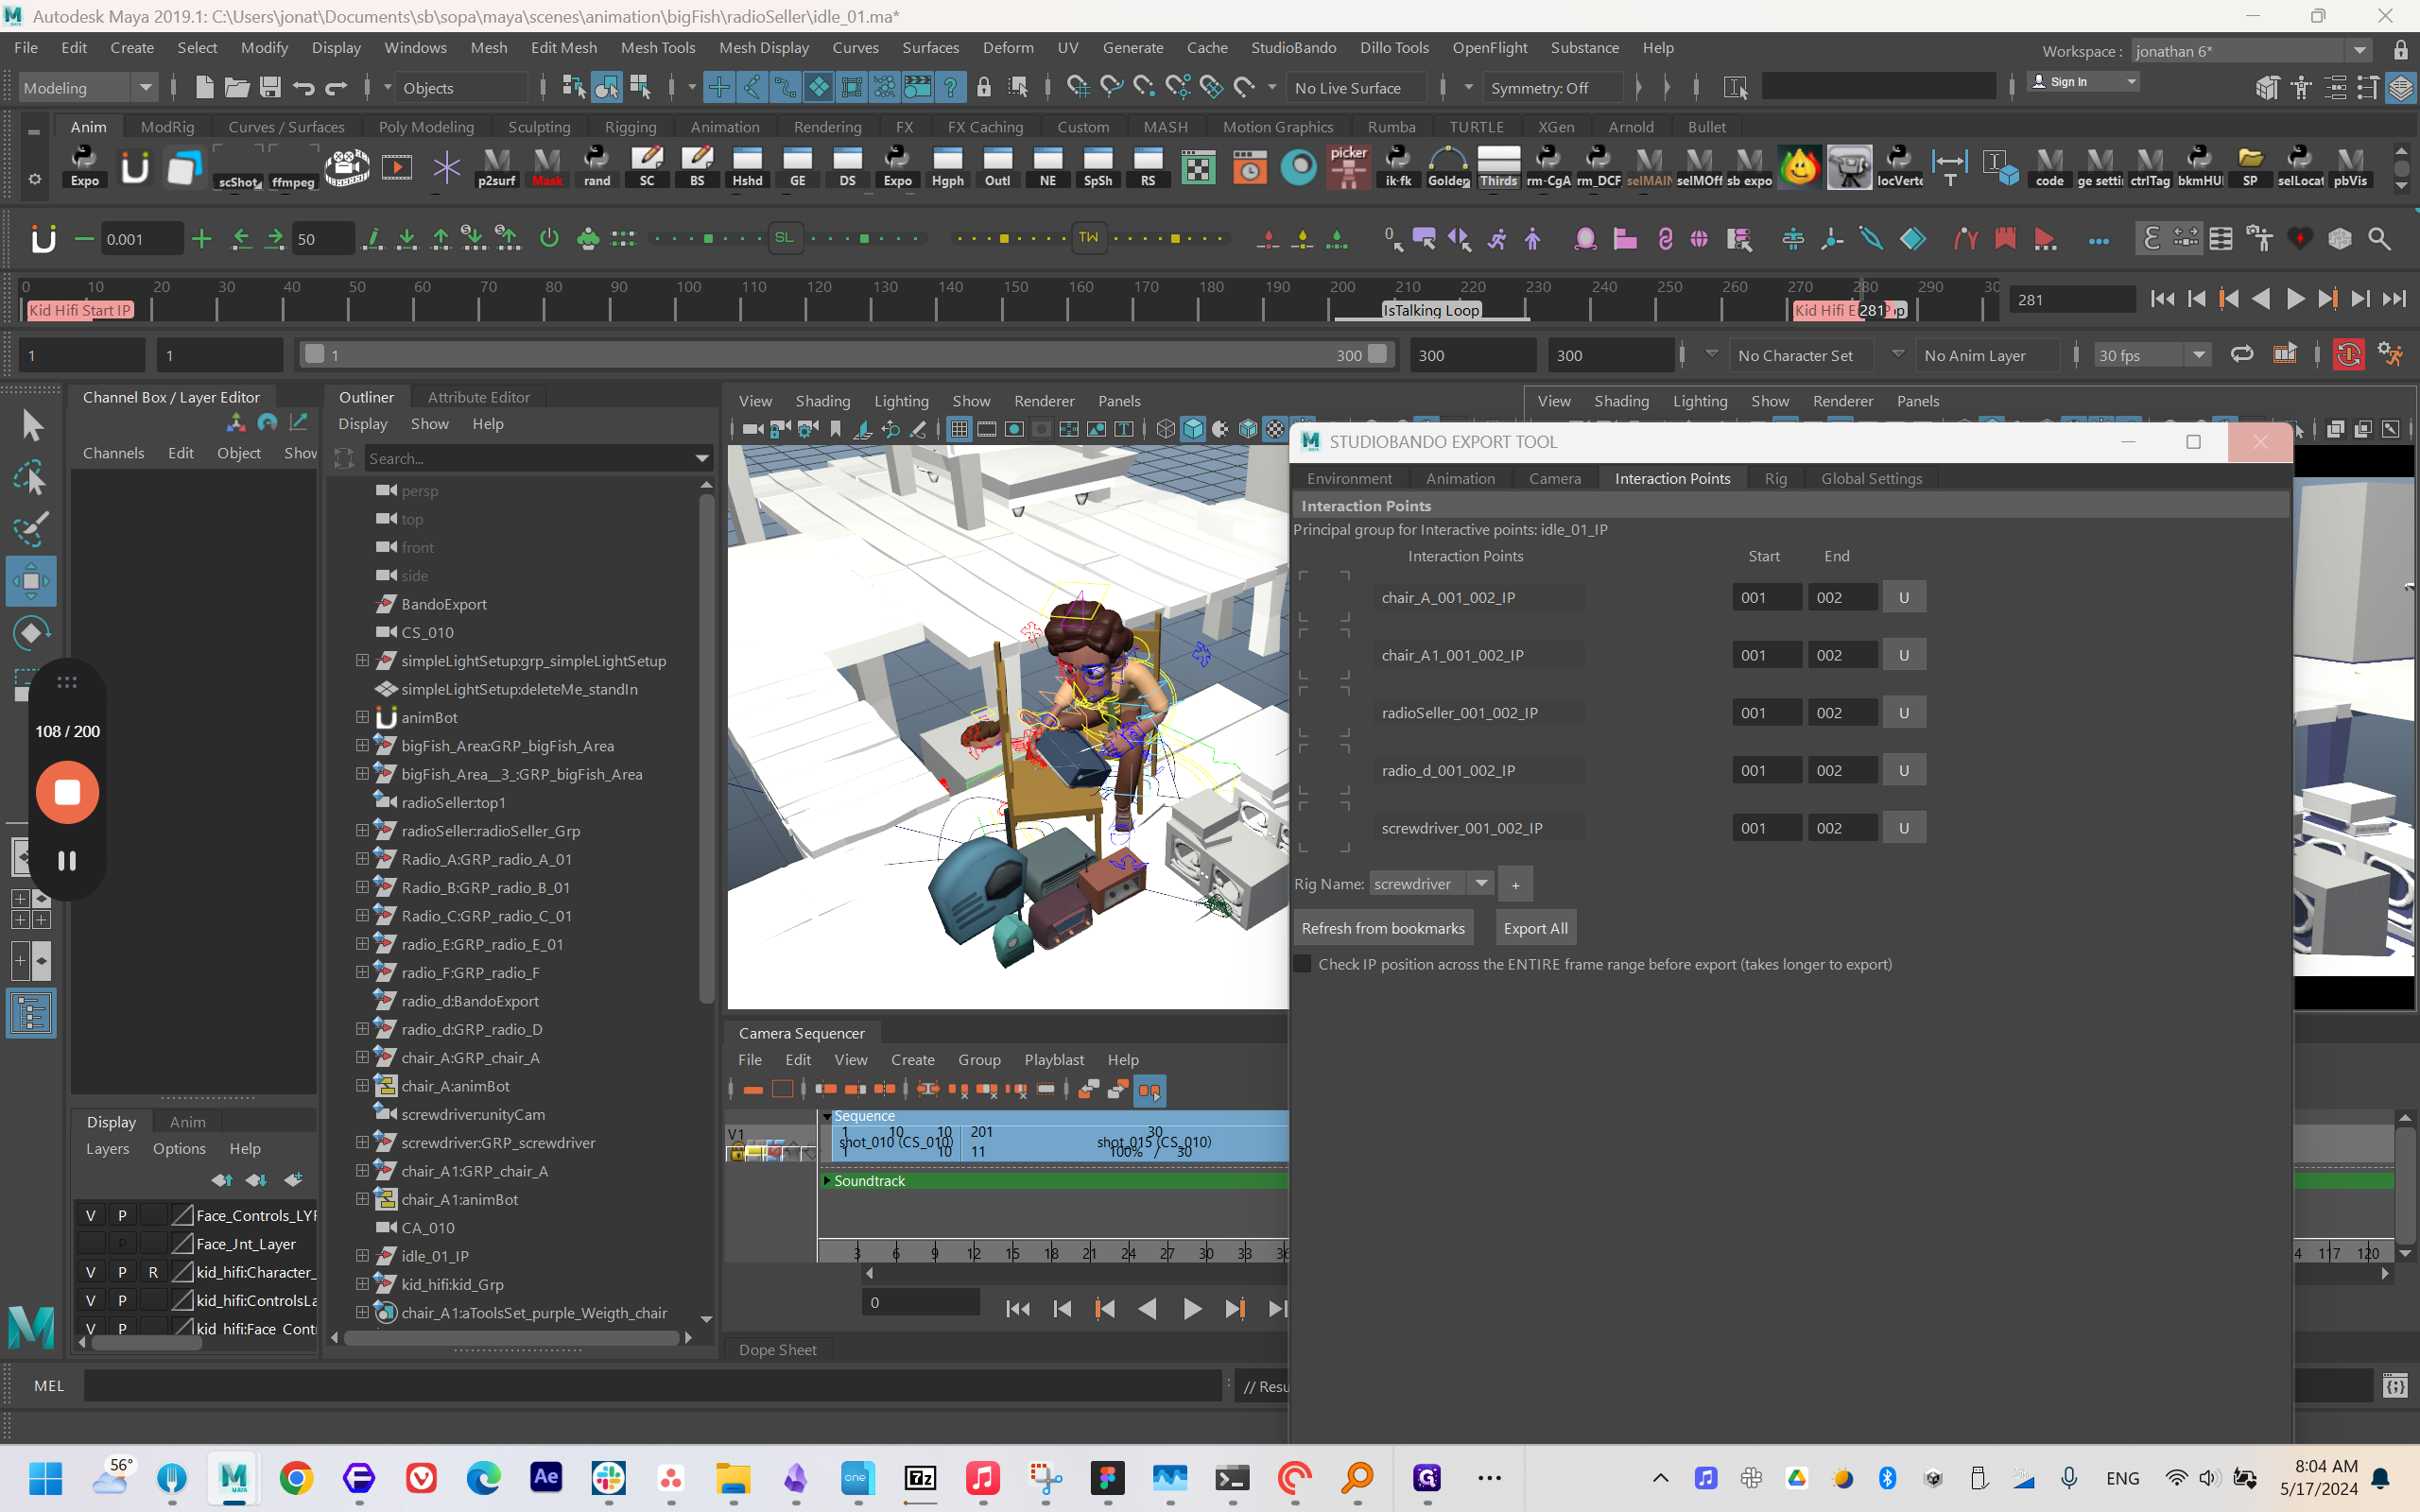

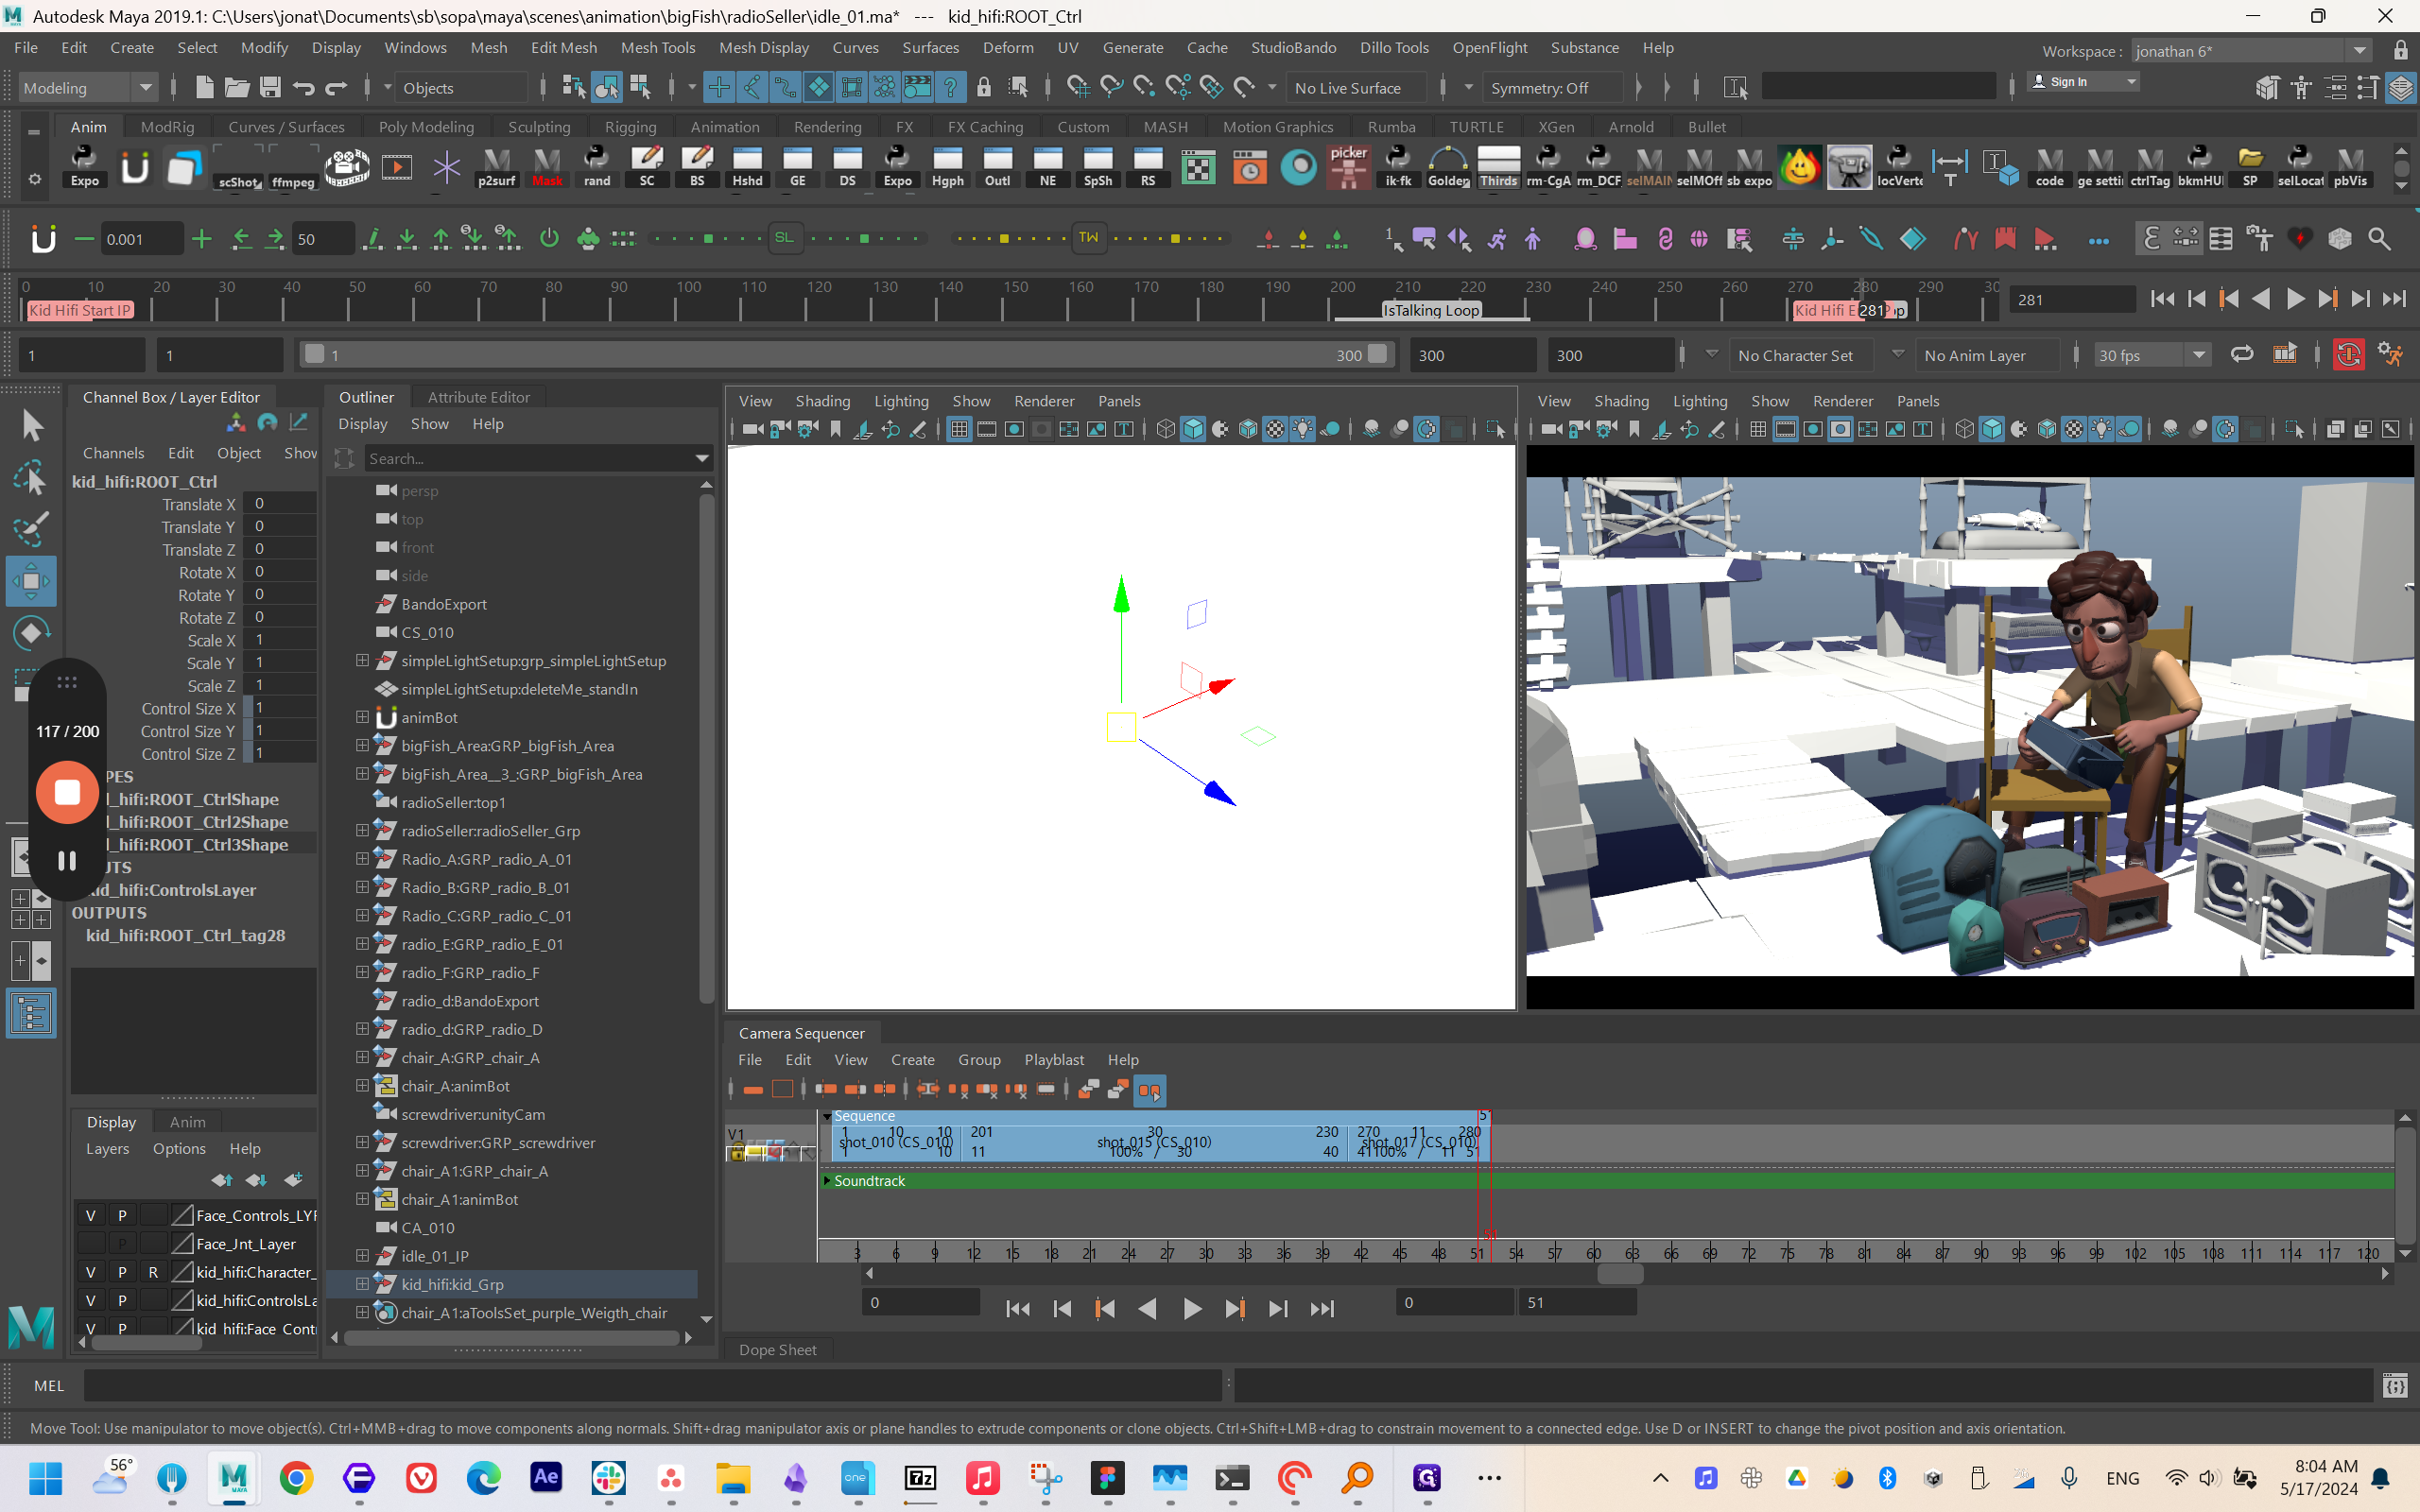


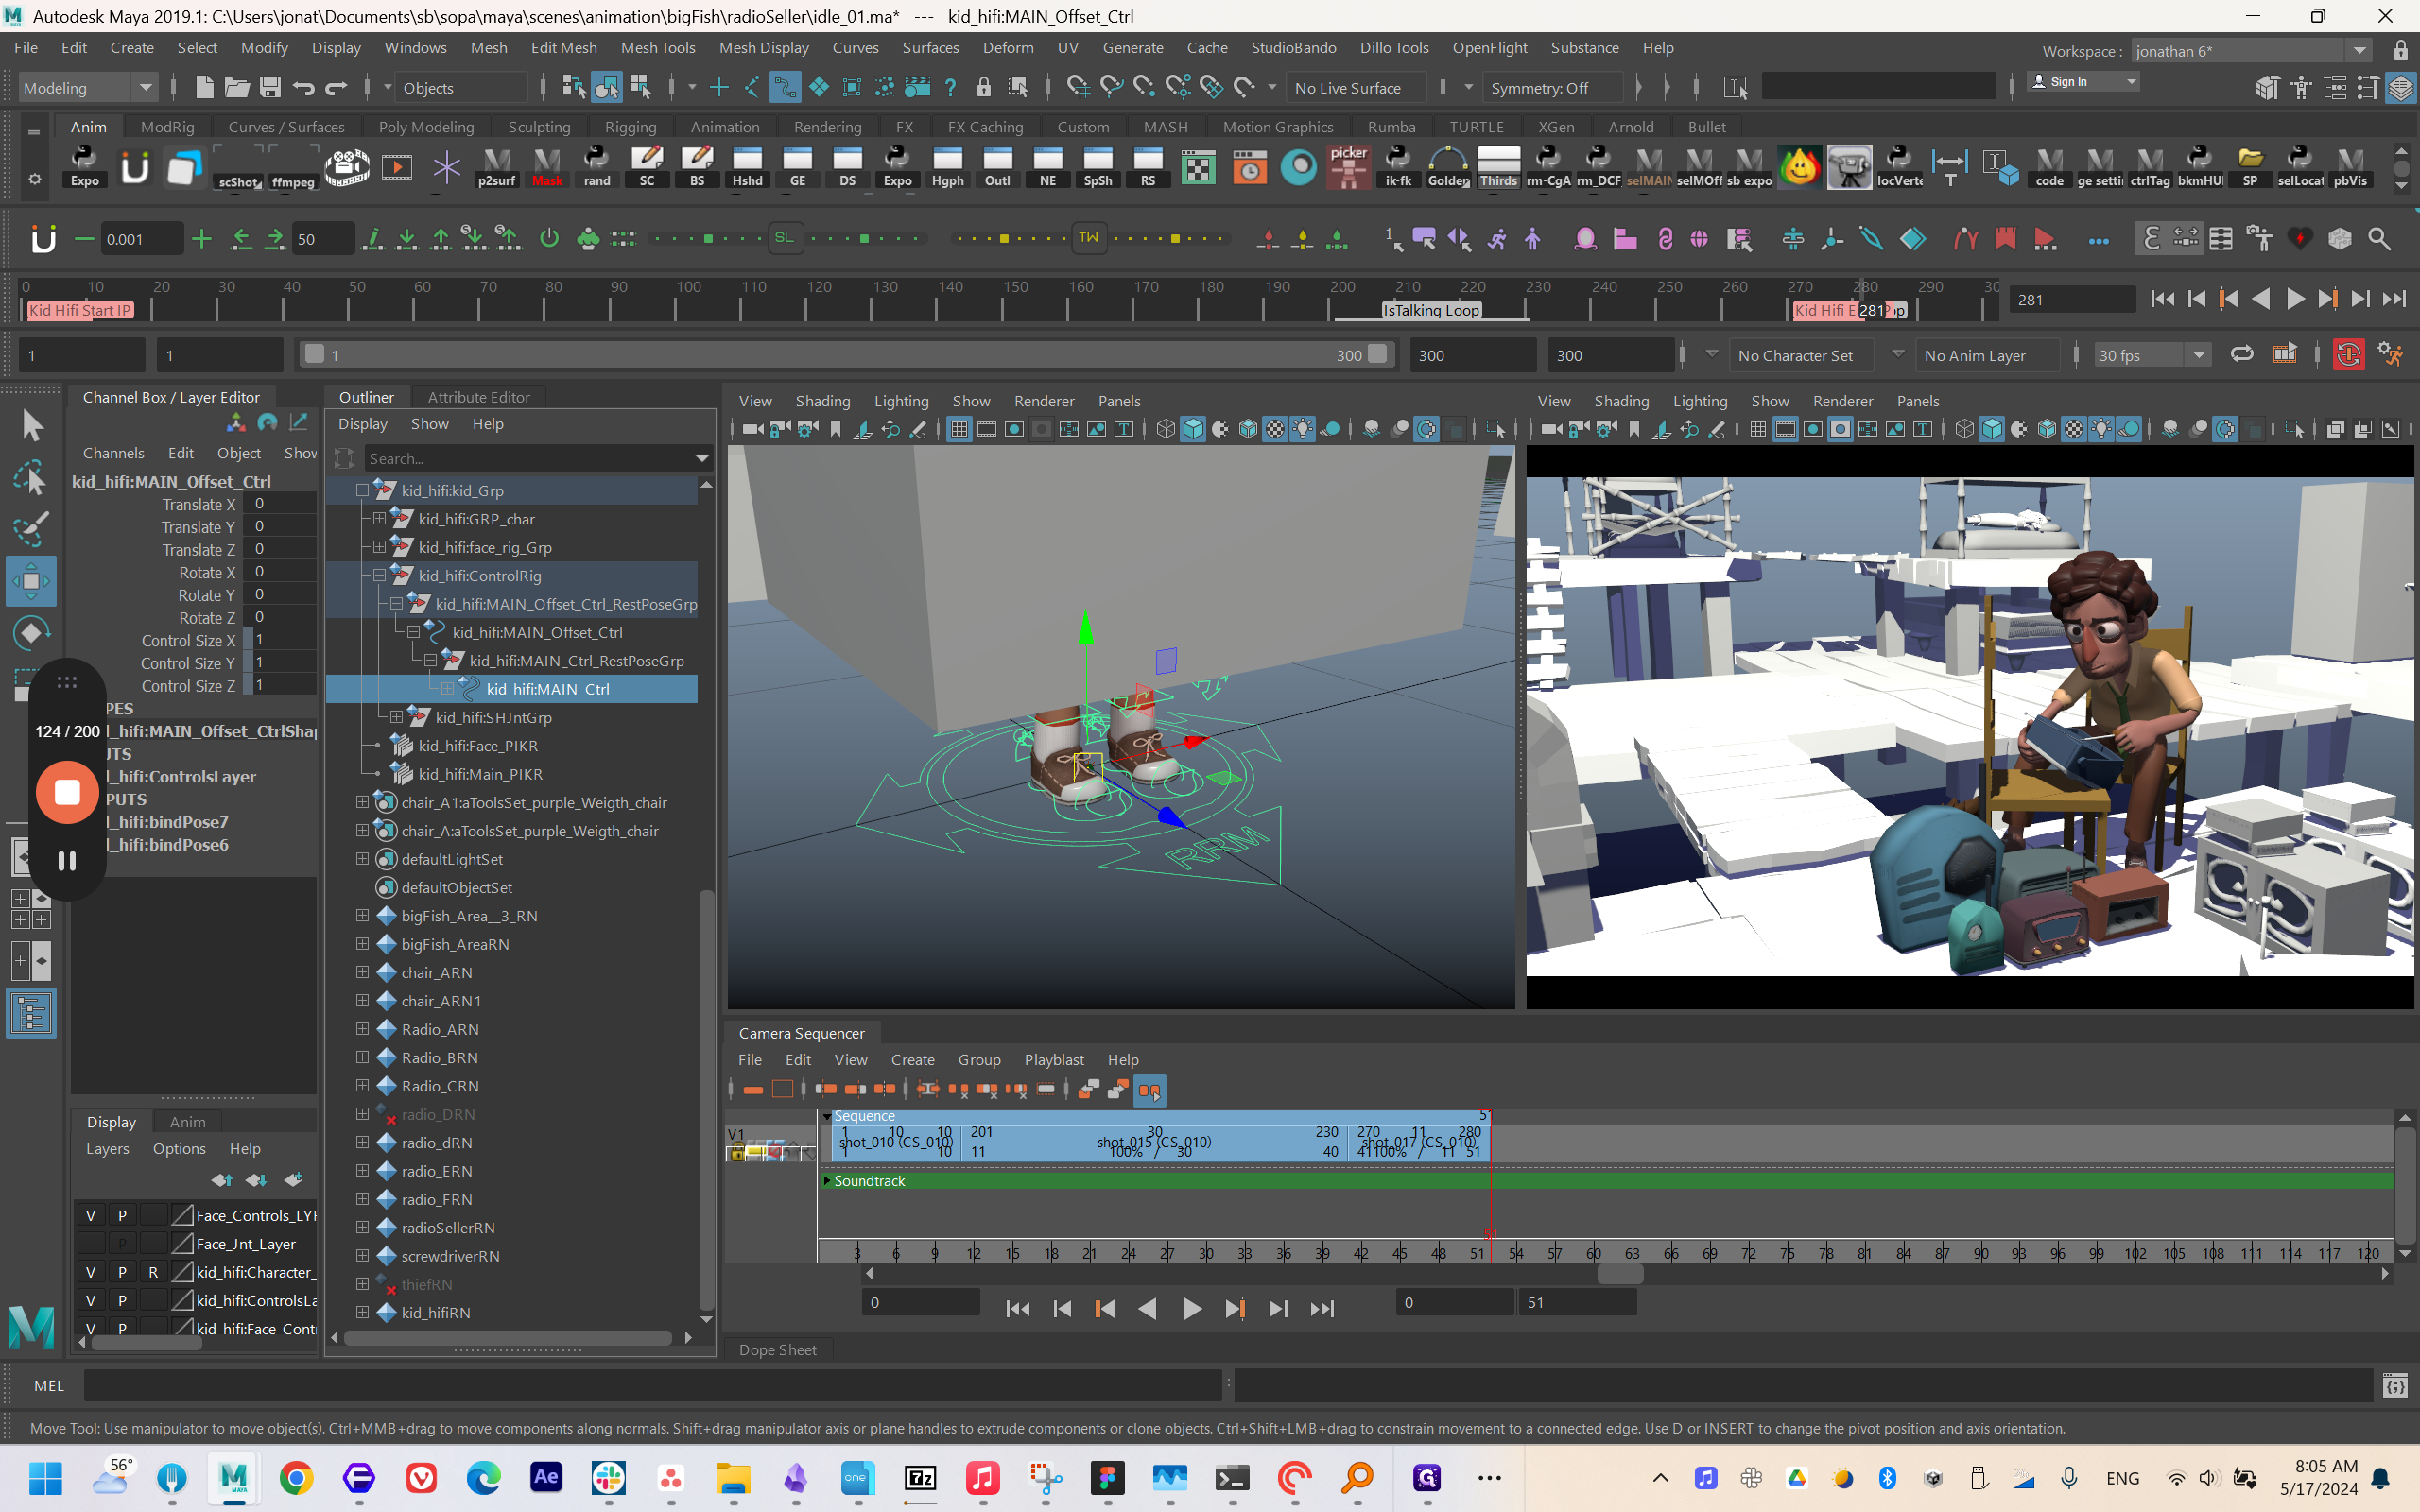

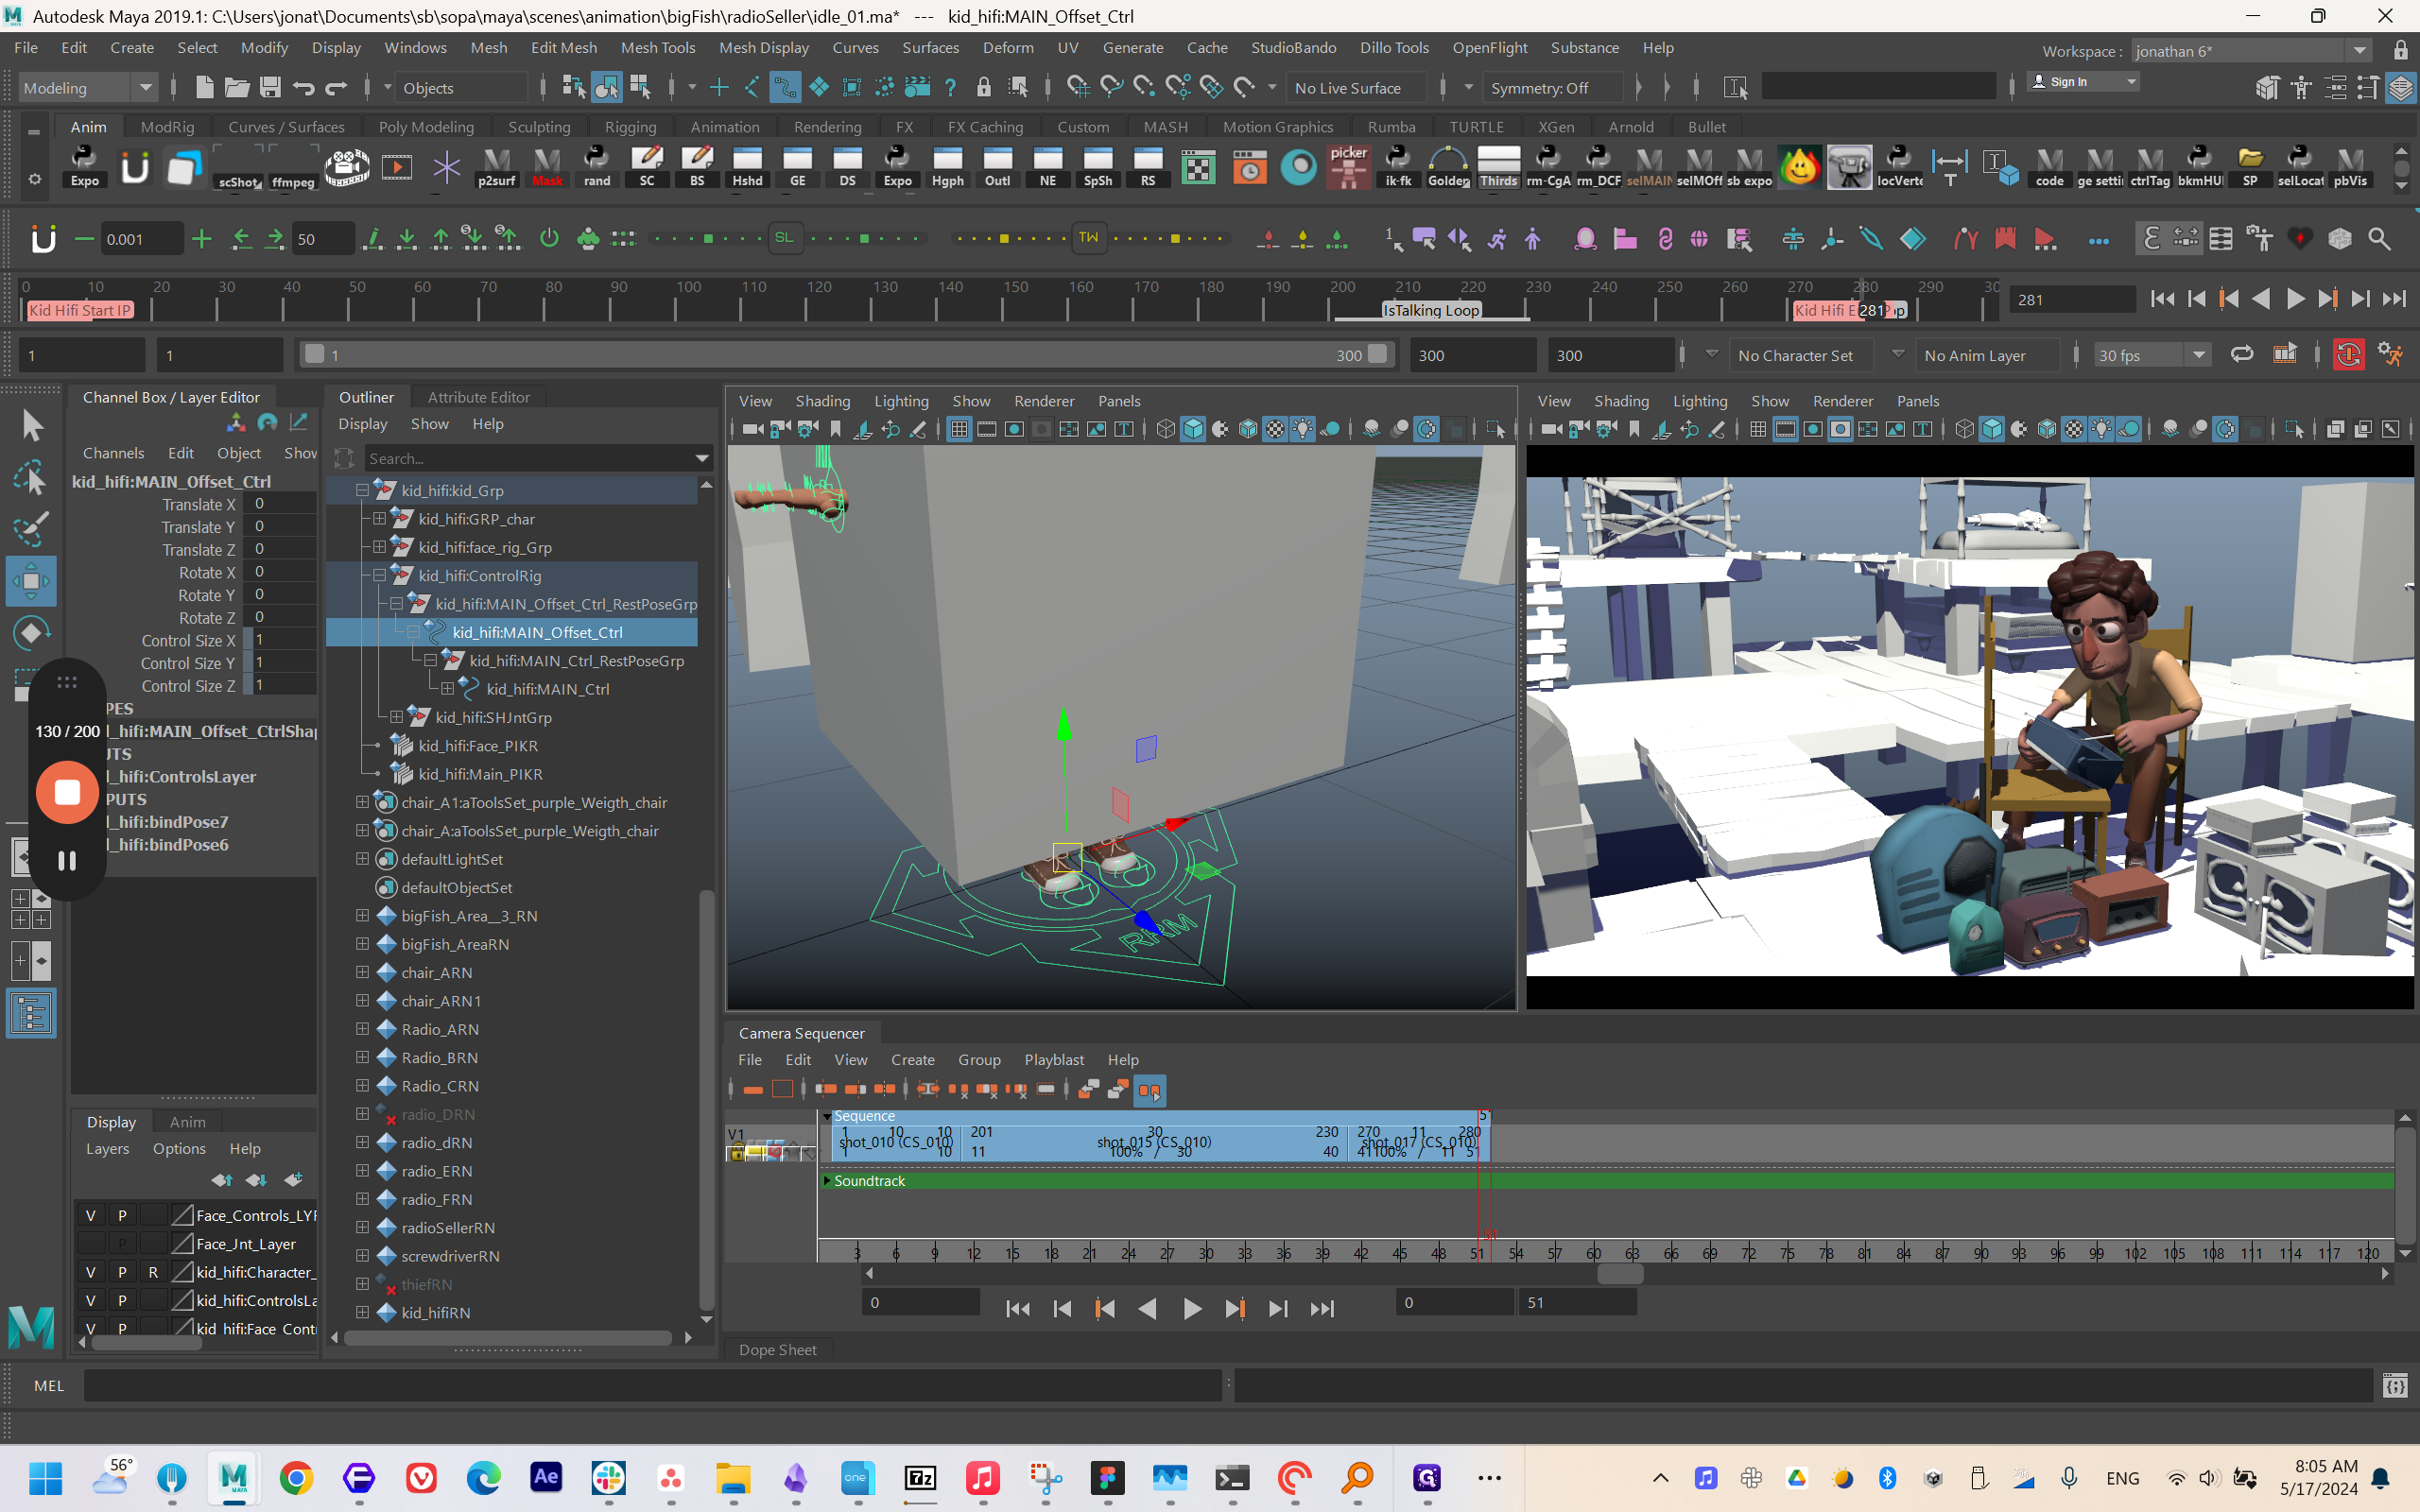

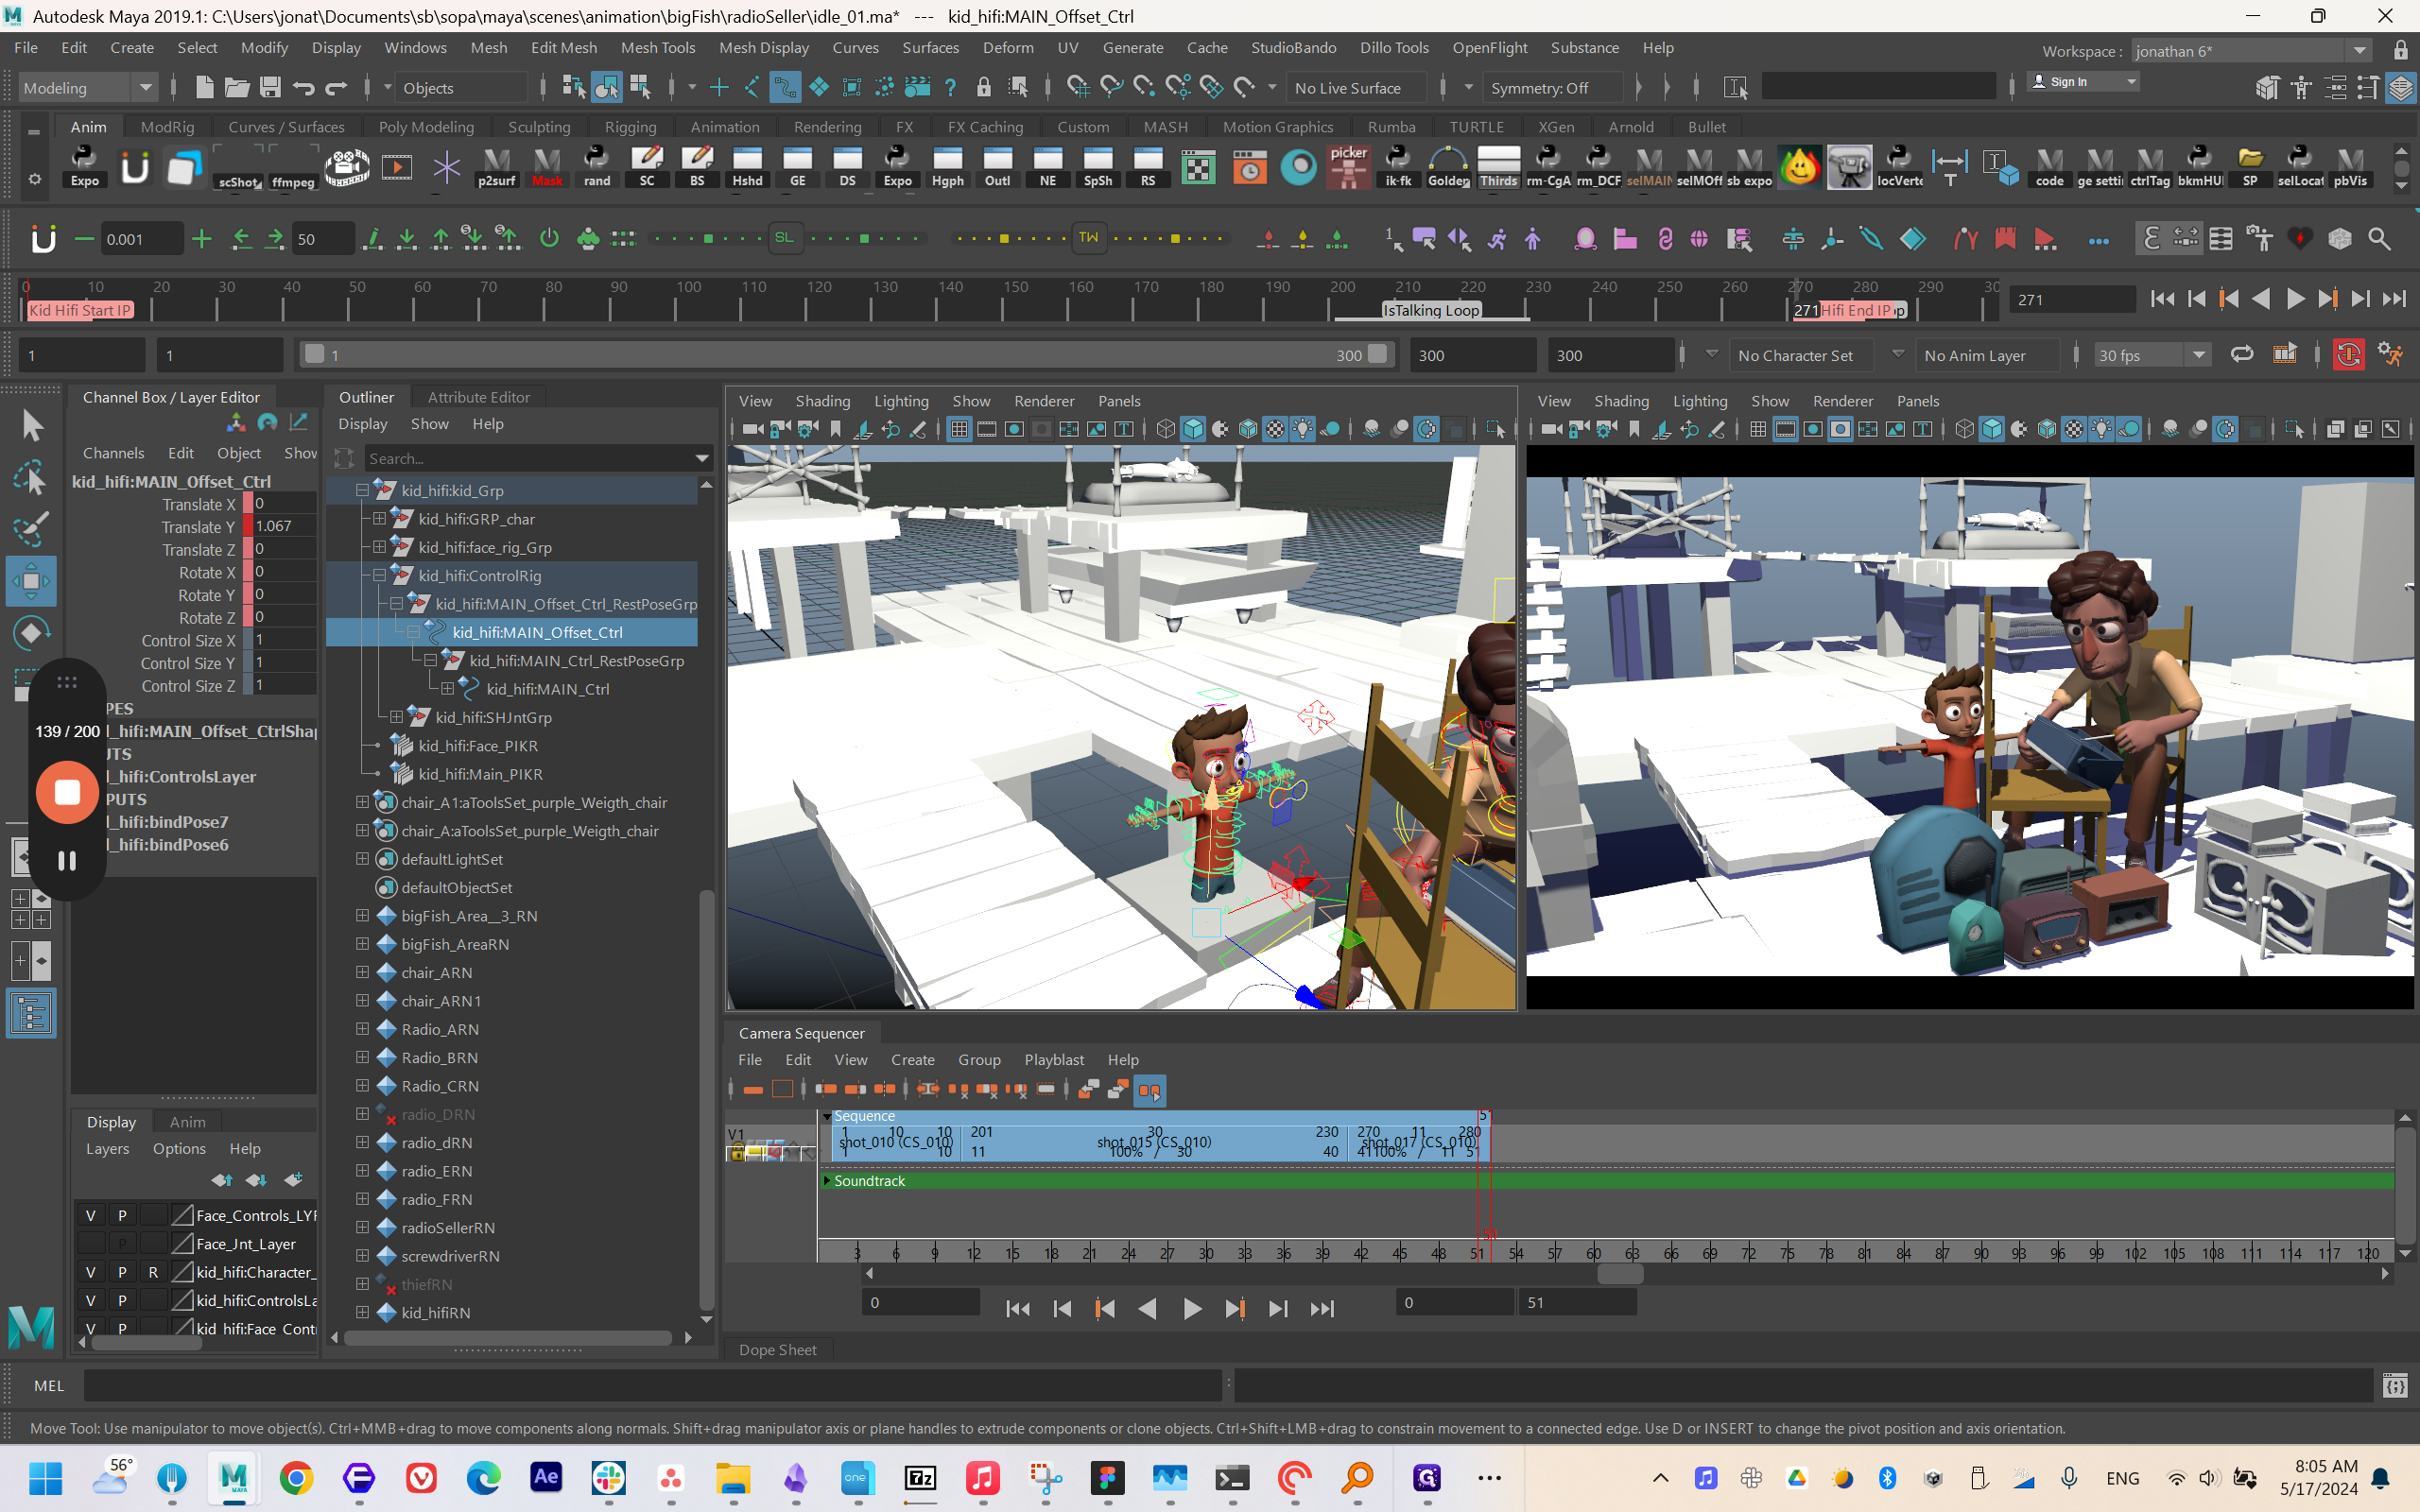
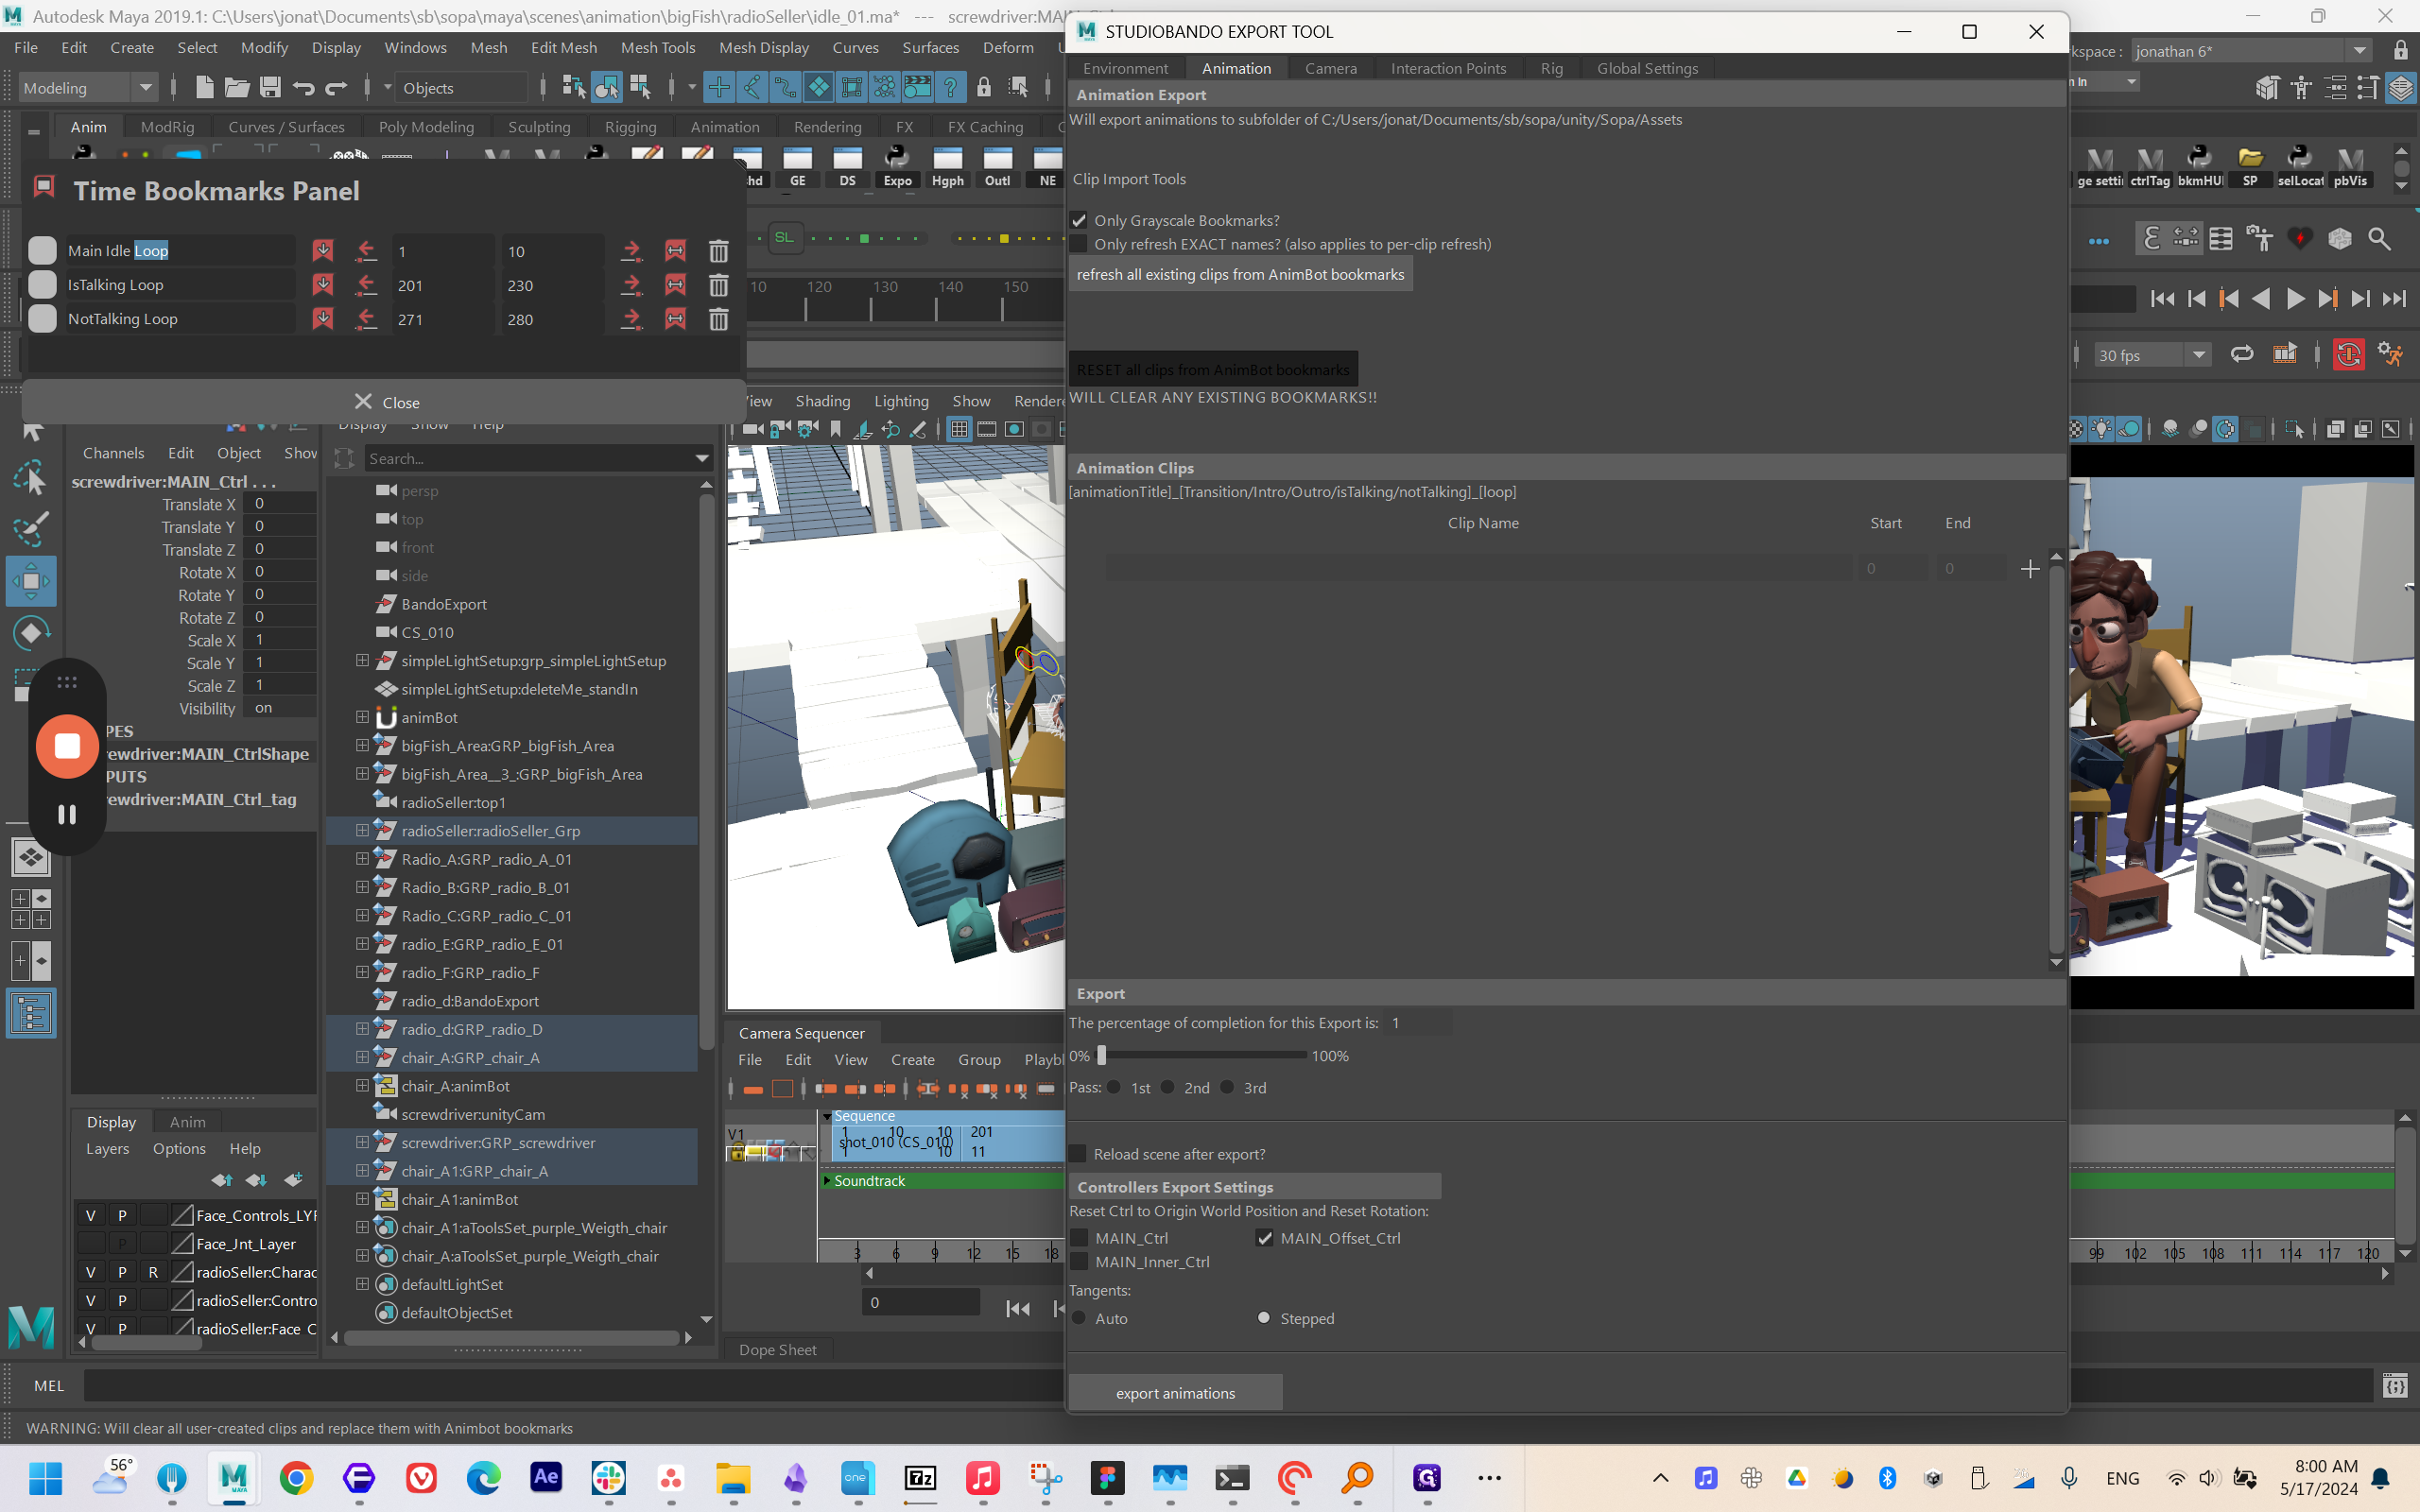
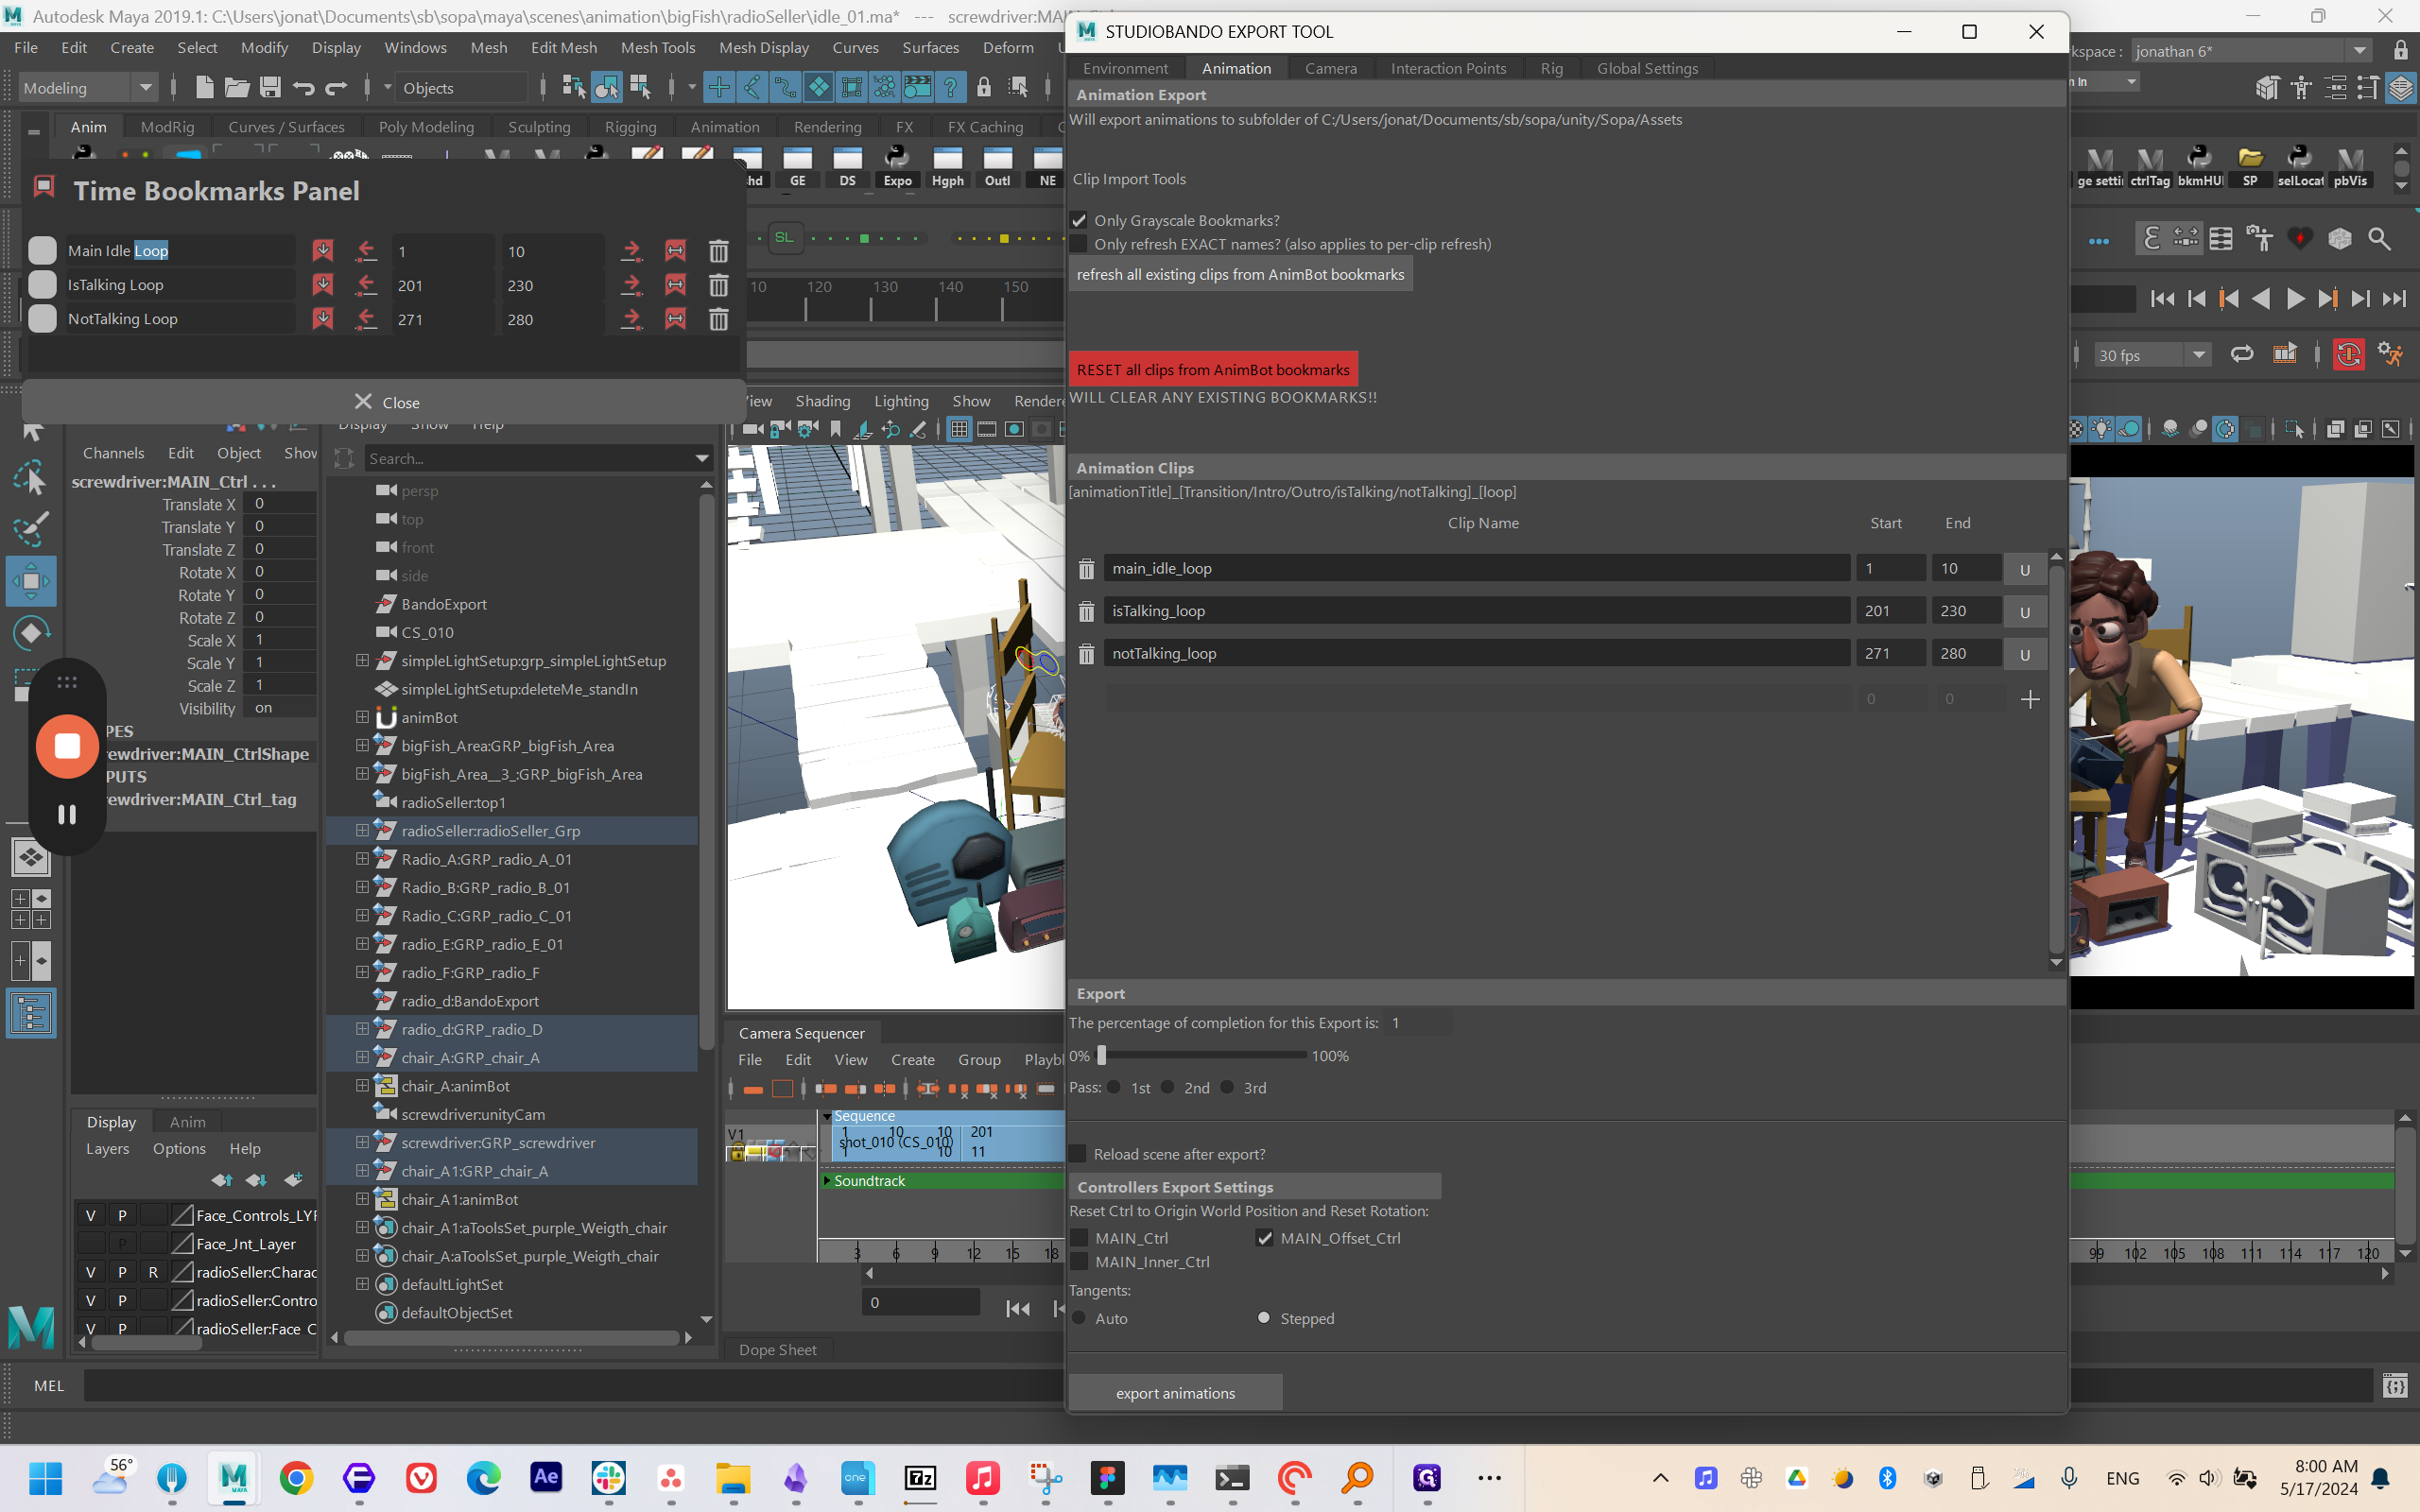
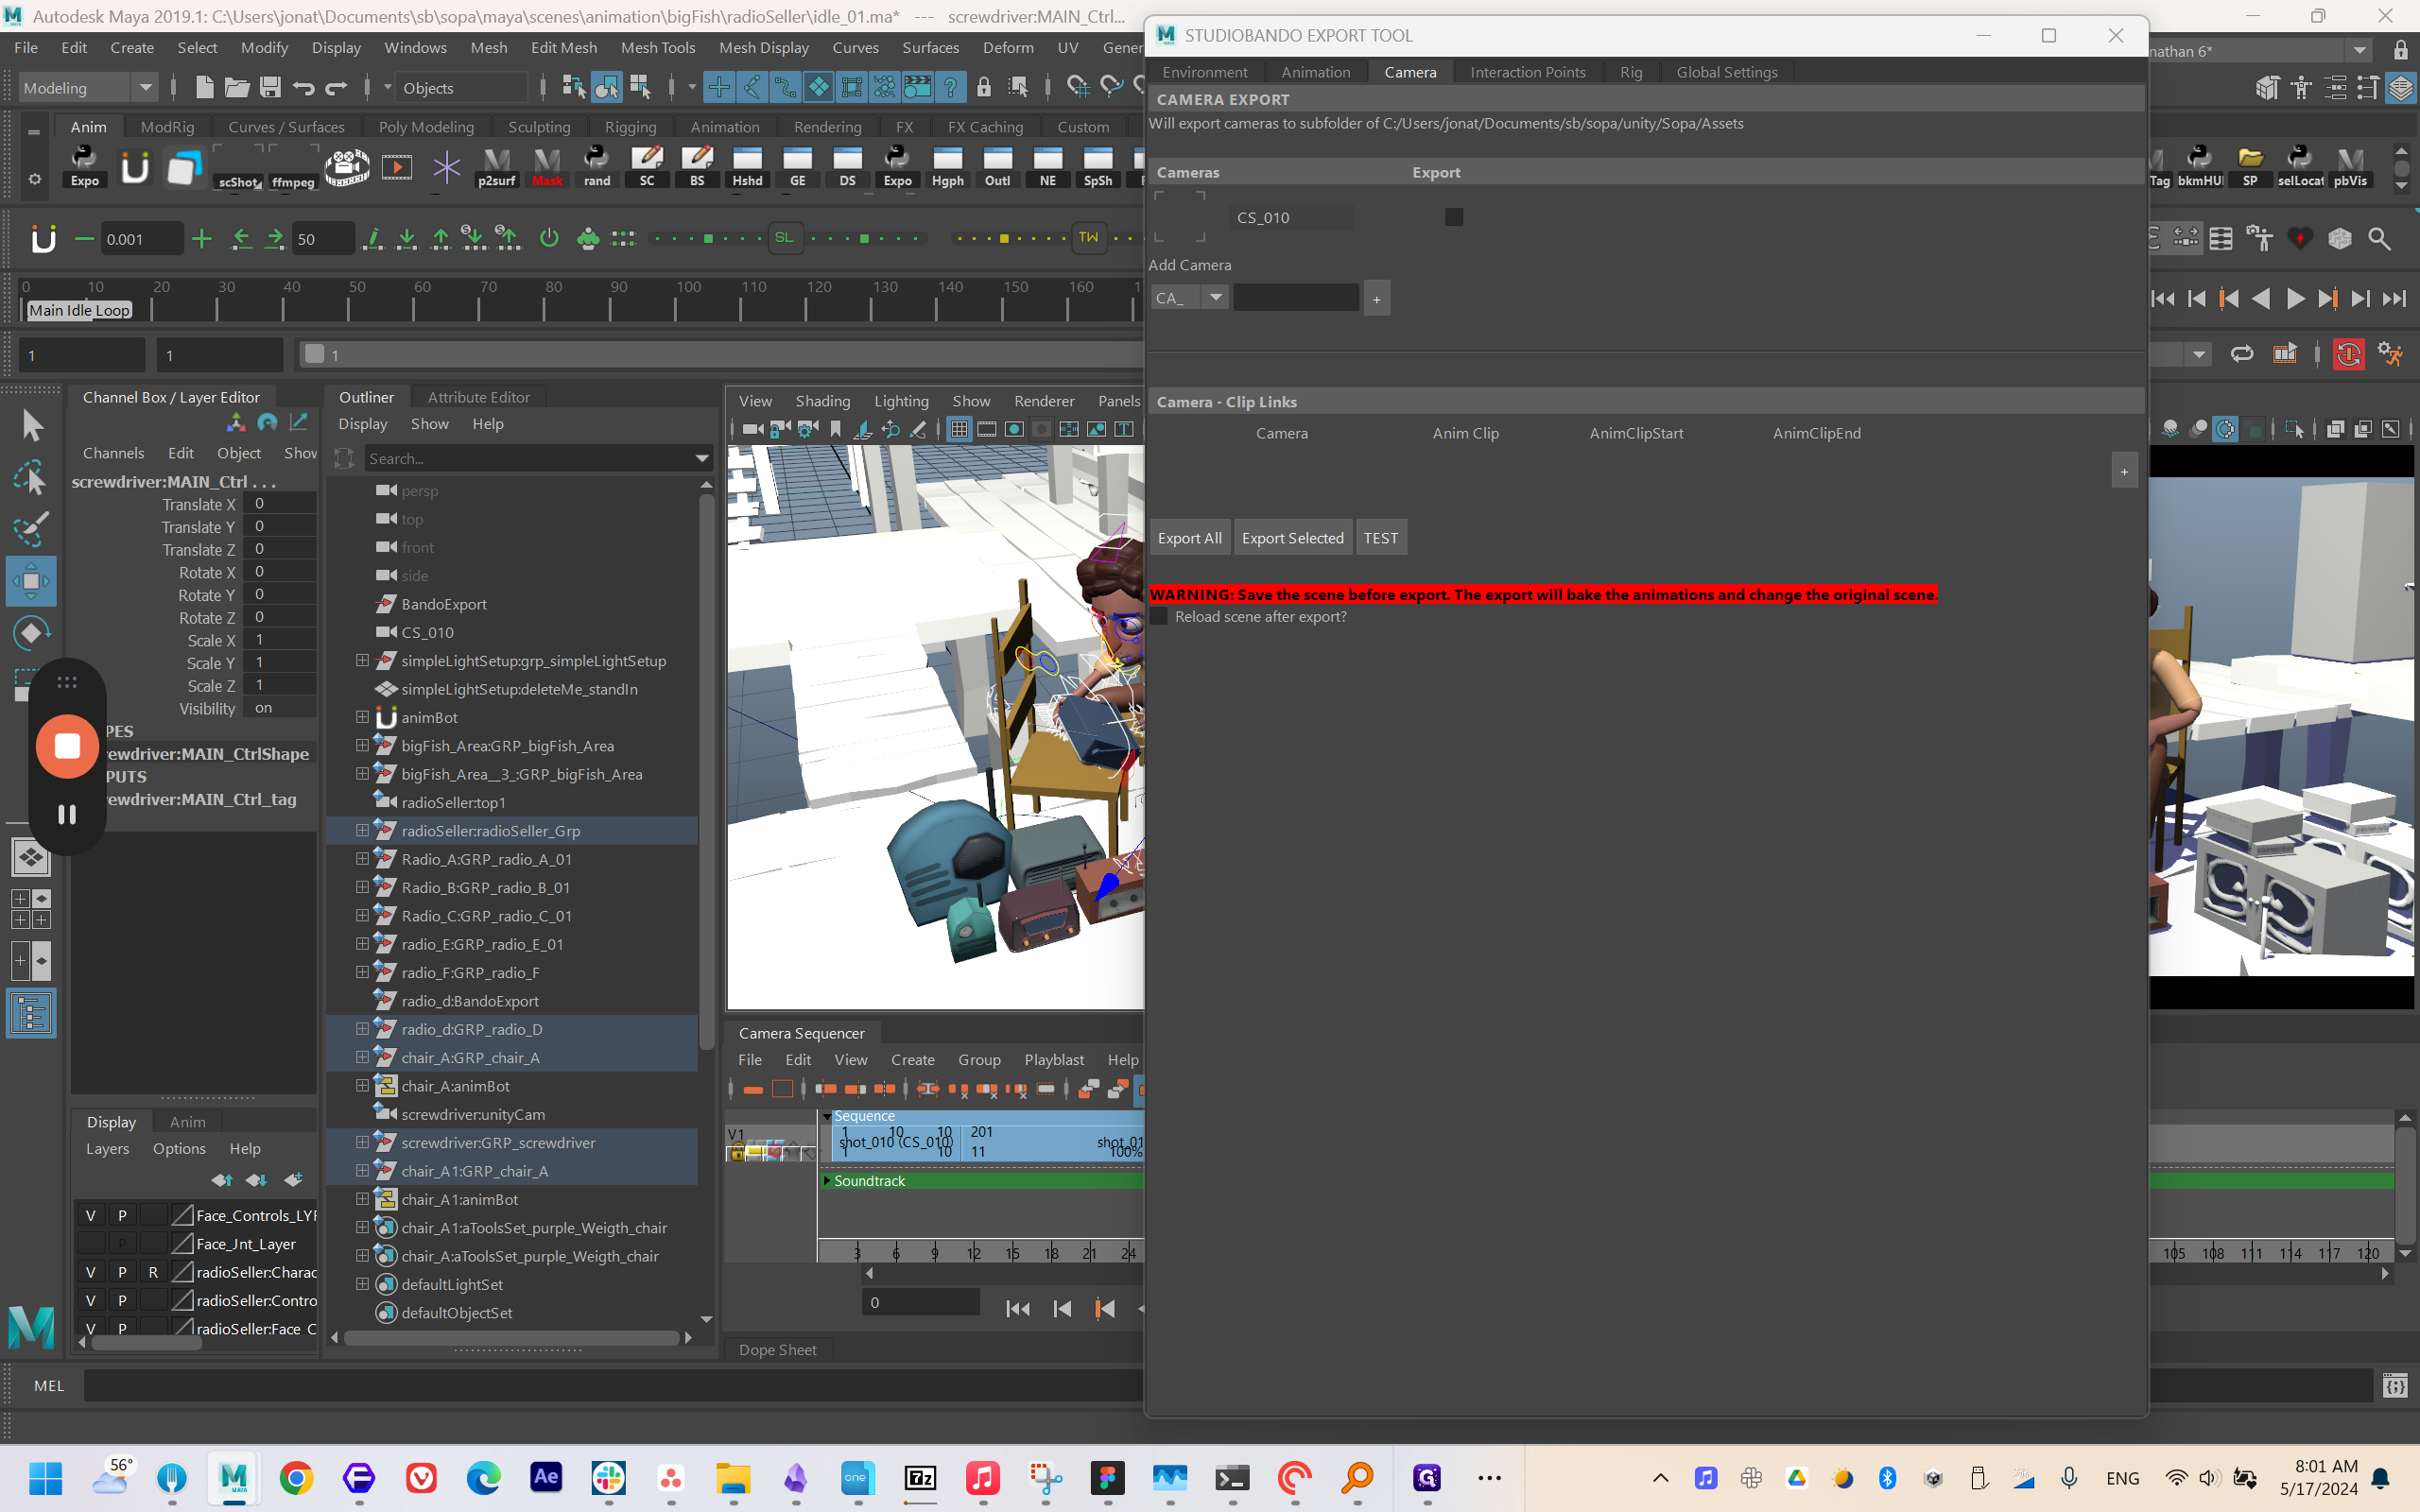
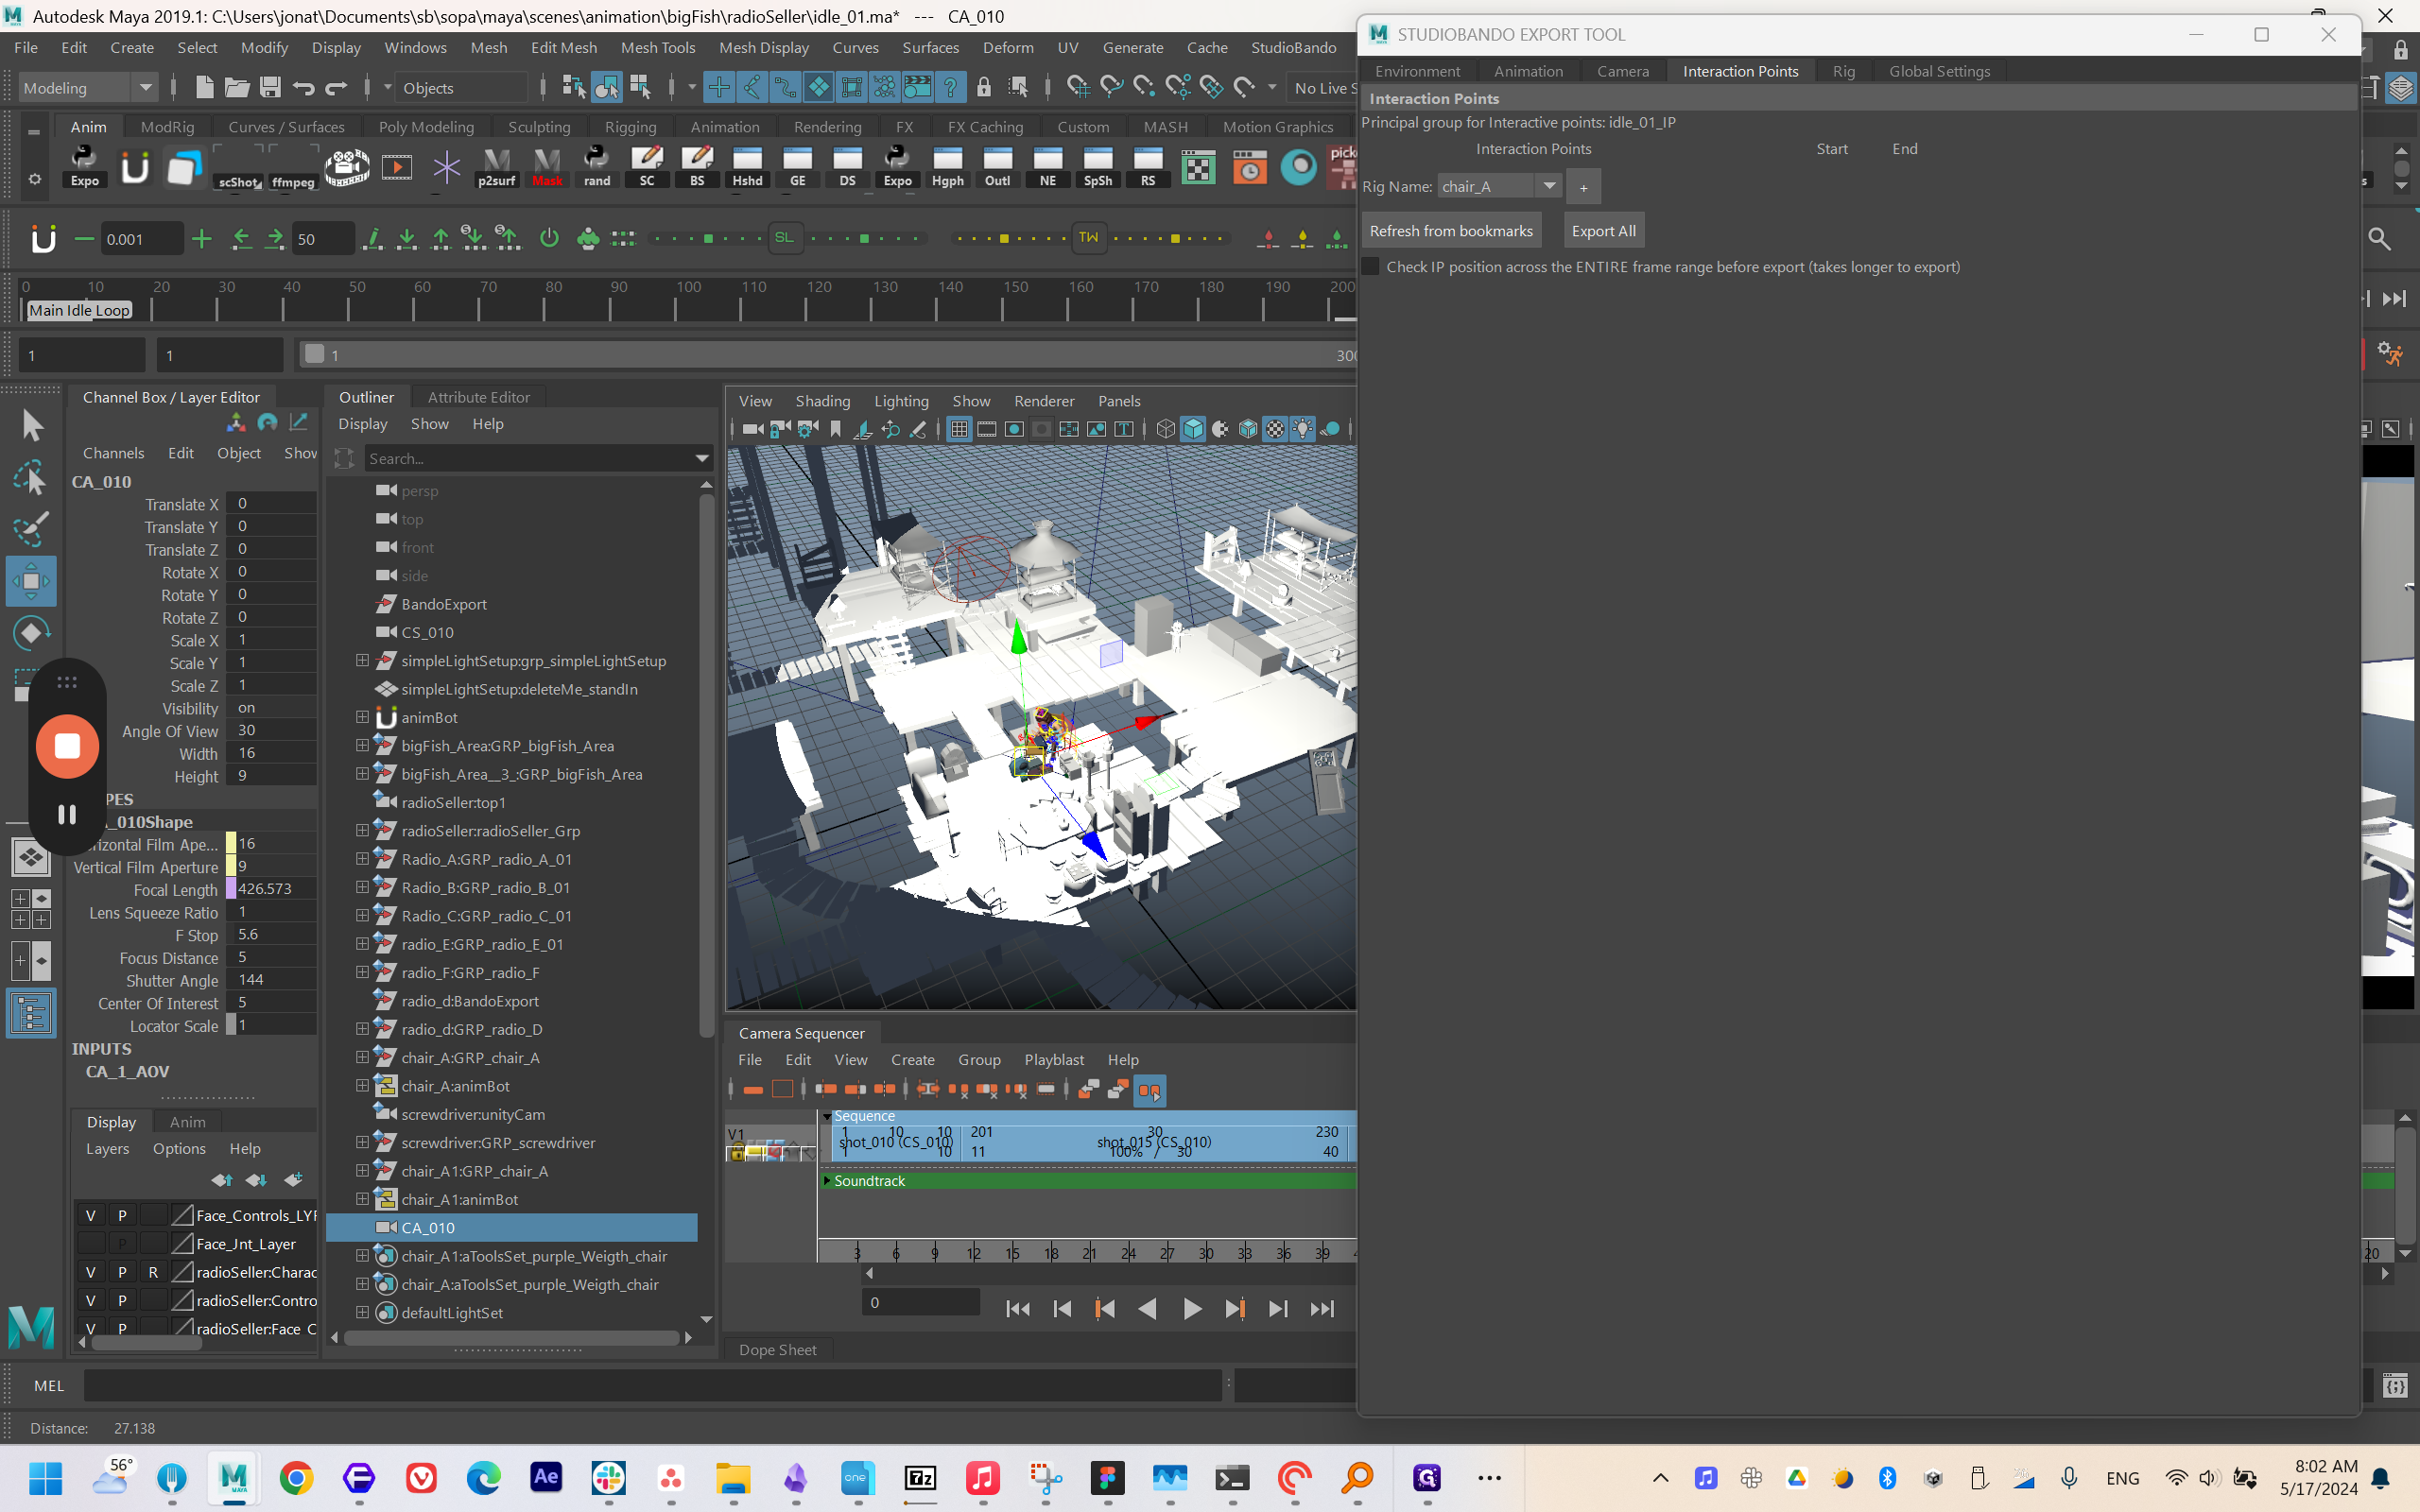
Then, return to the export script and select "Refresh" from the bookmarks.

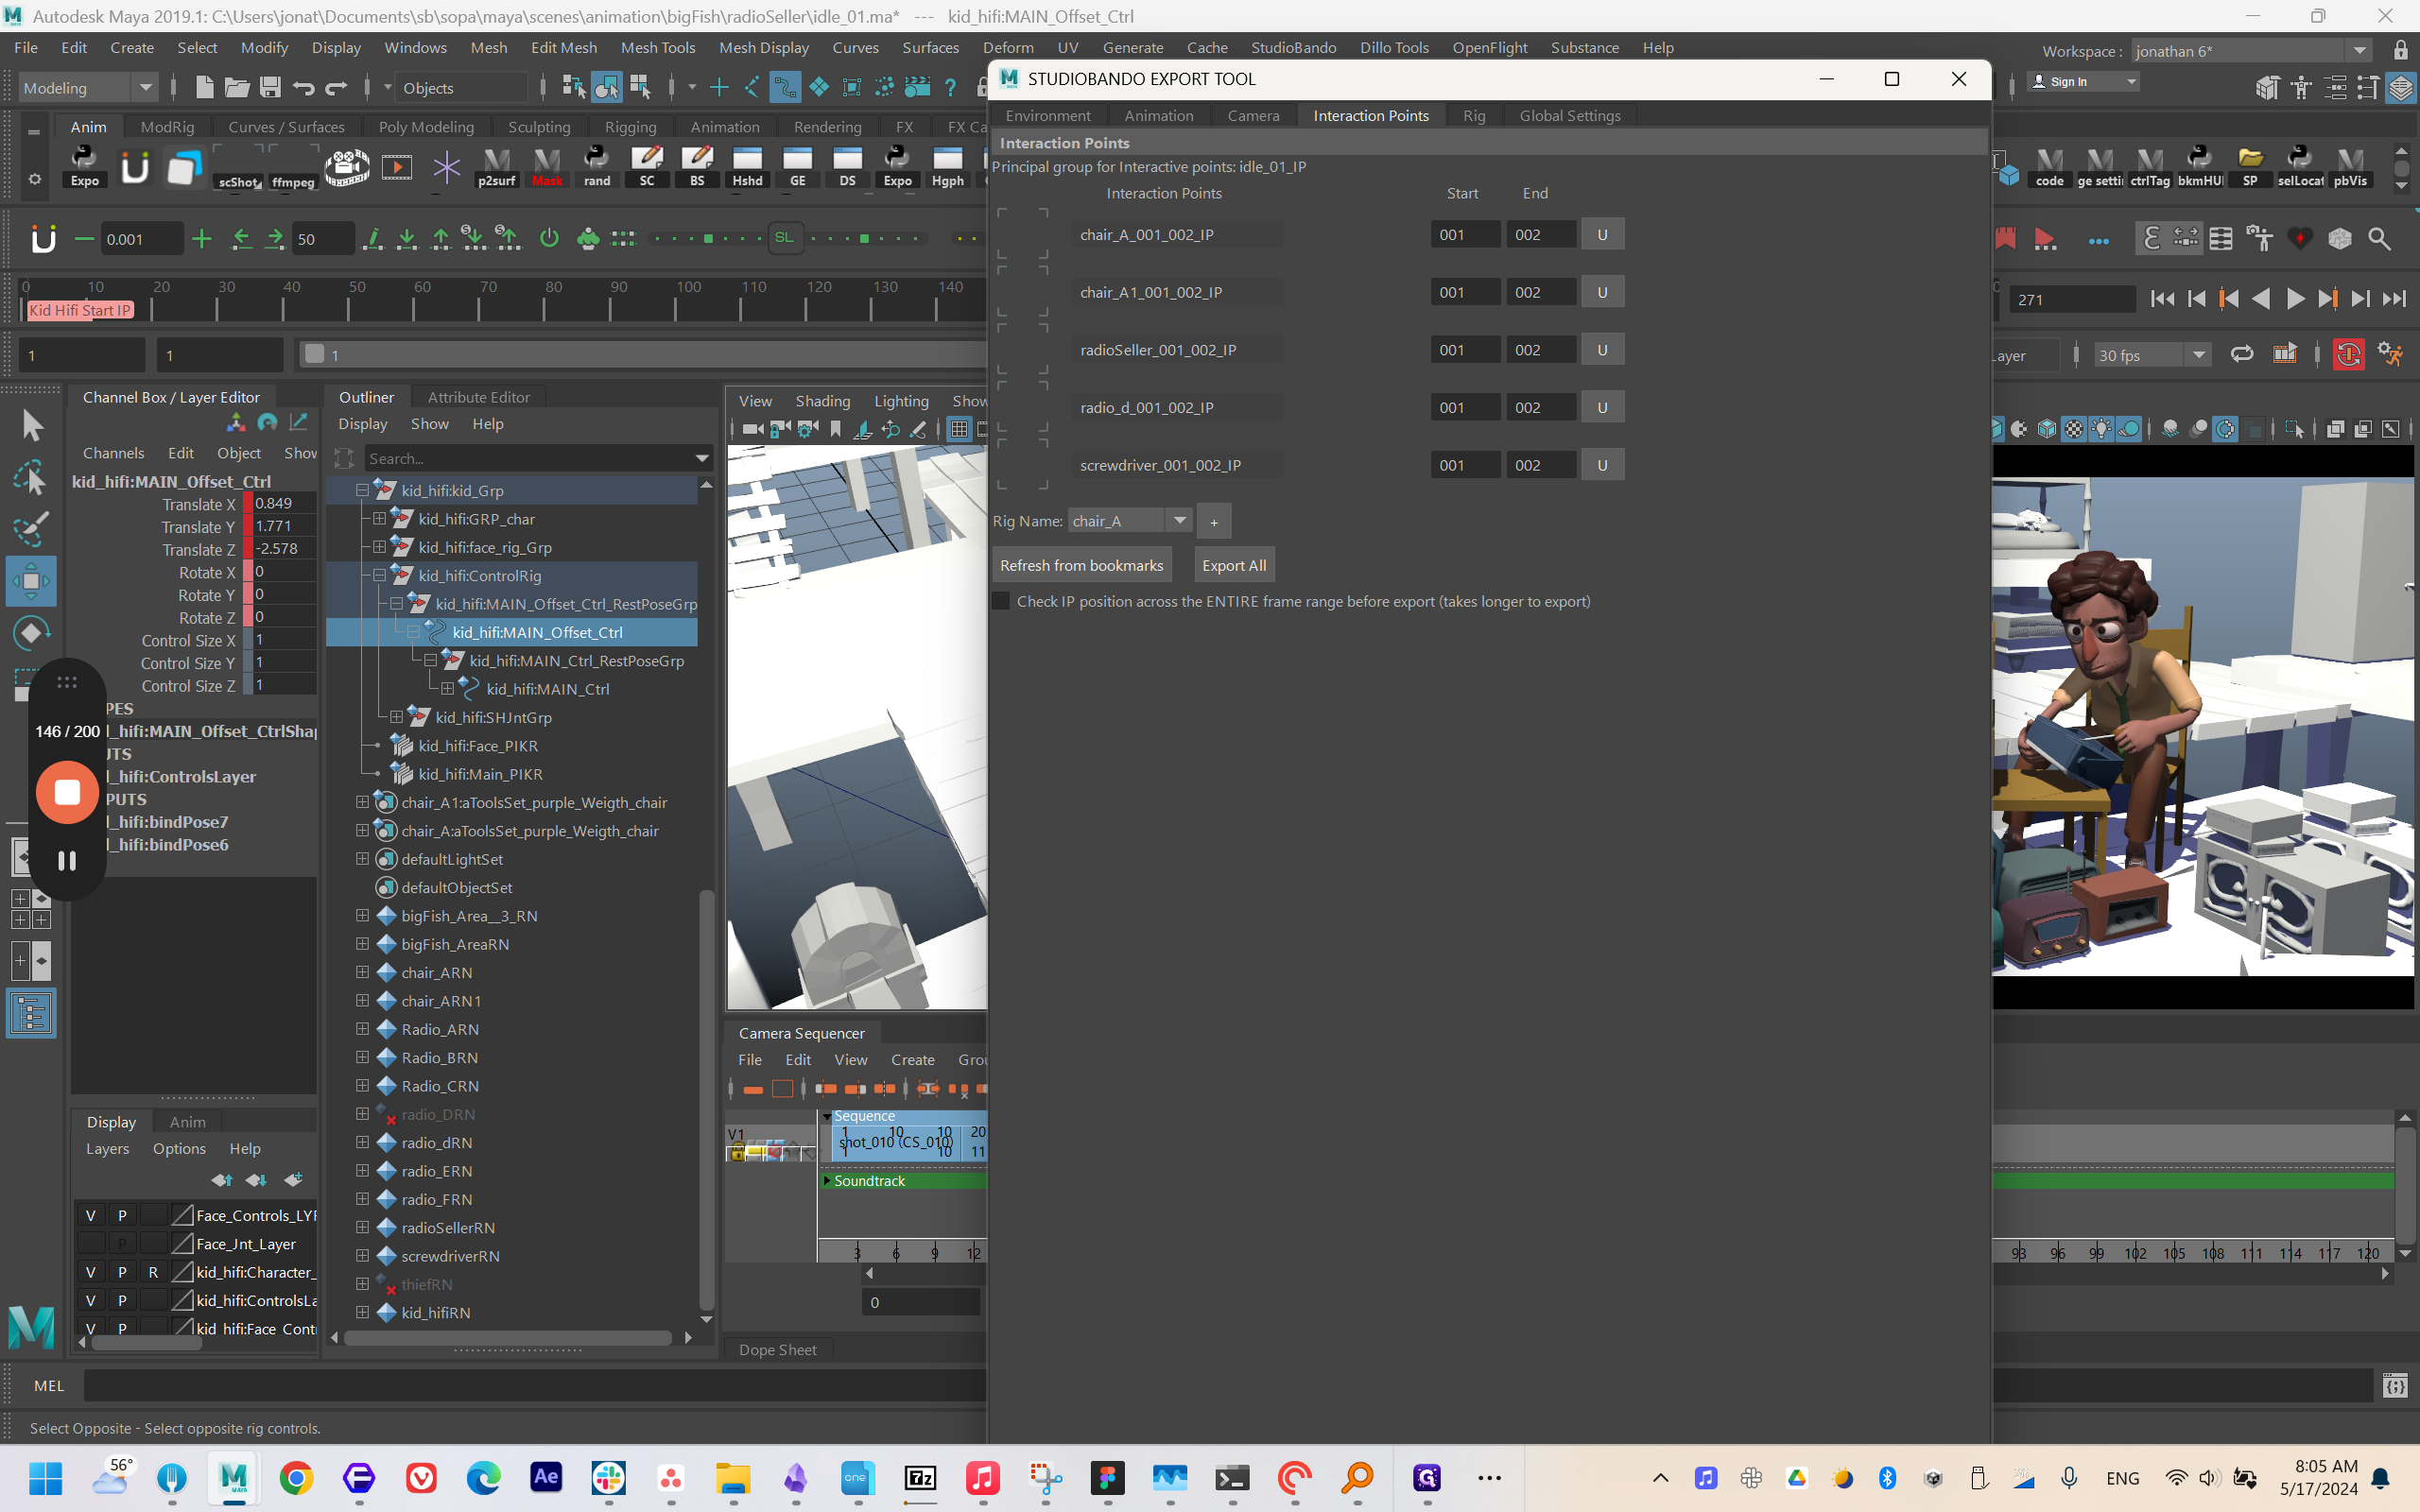
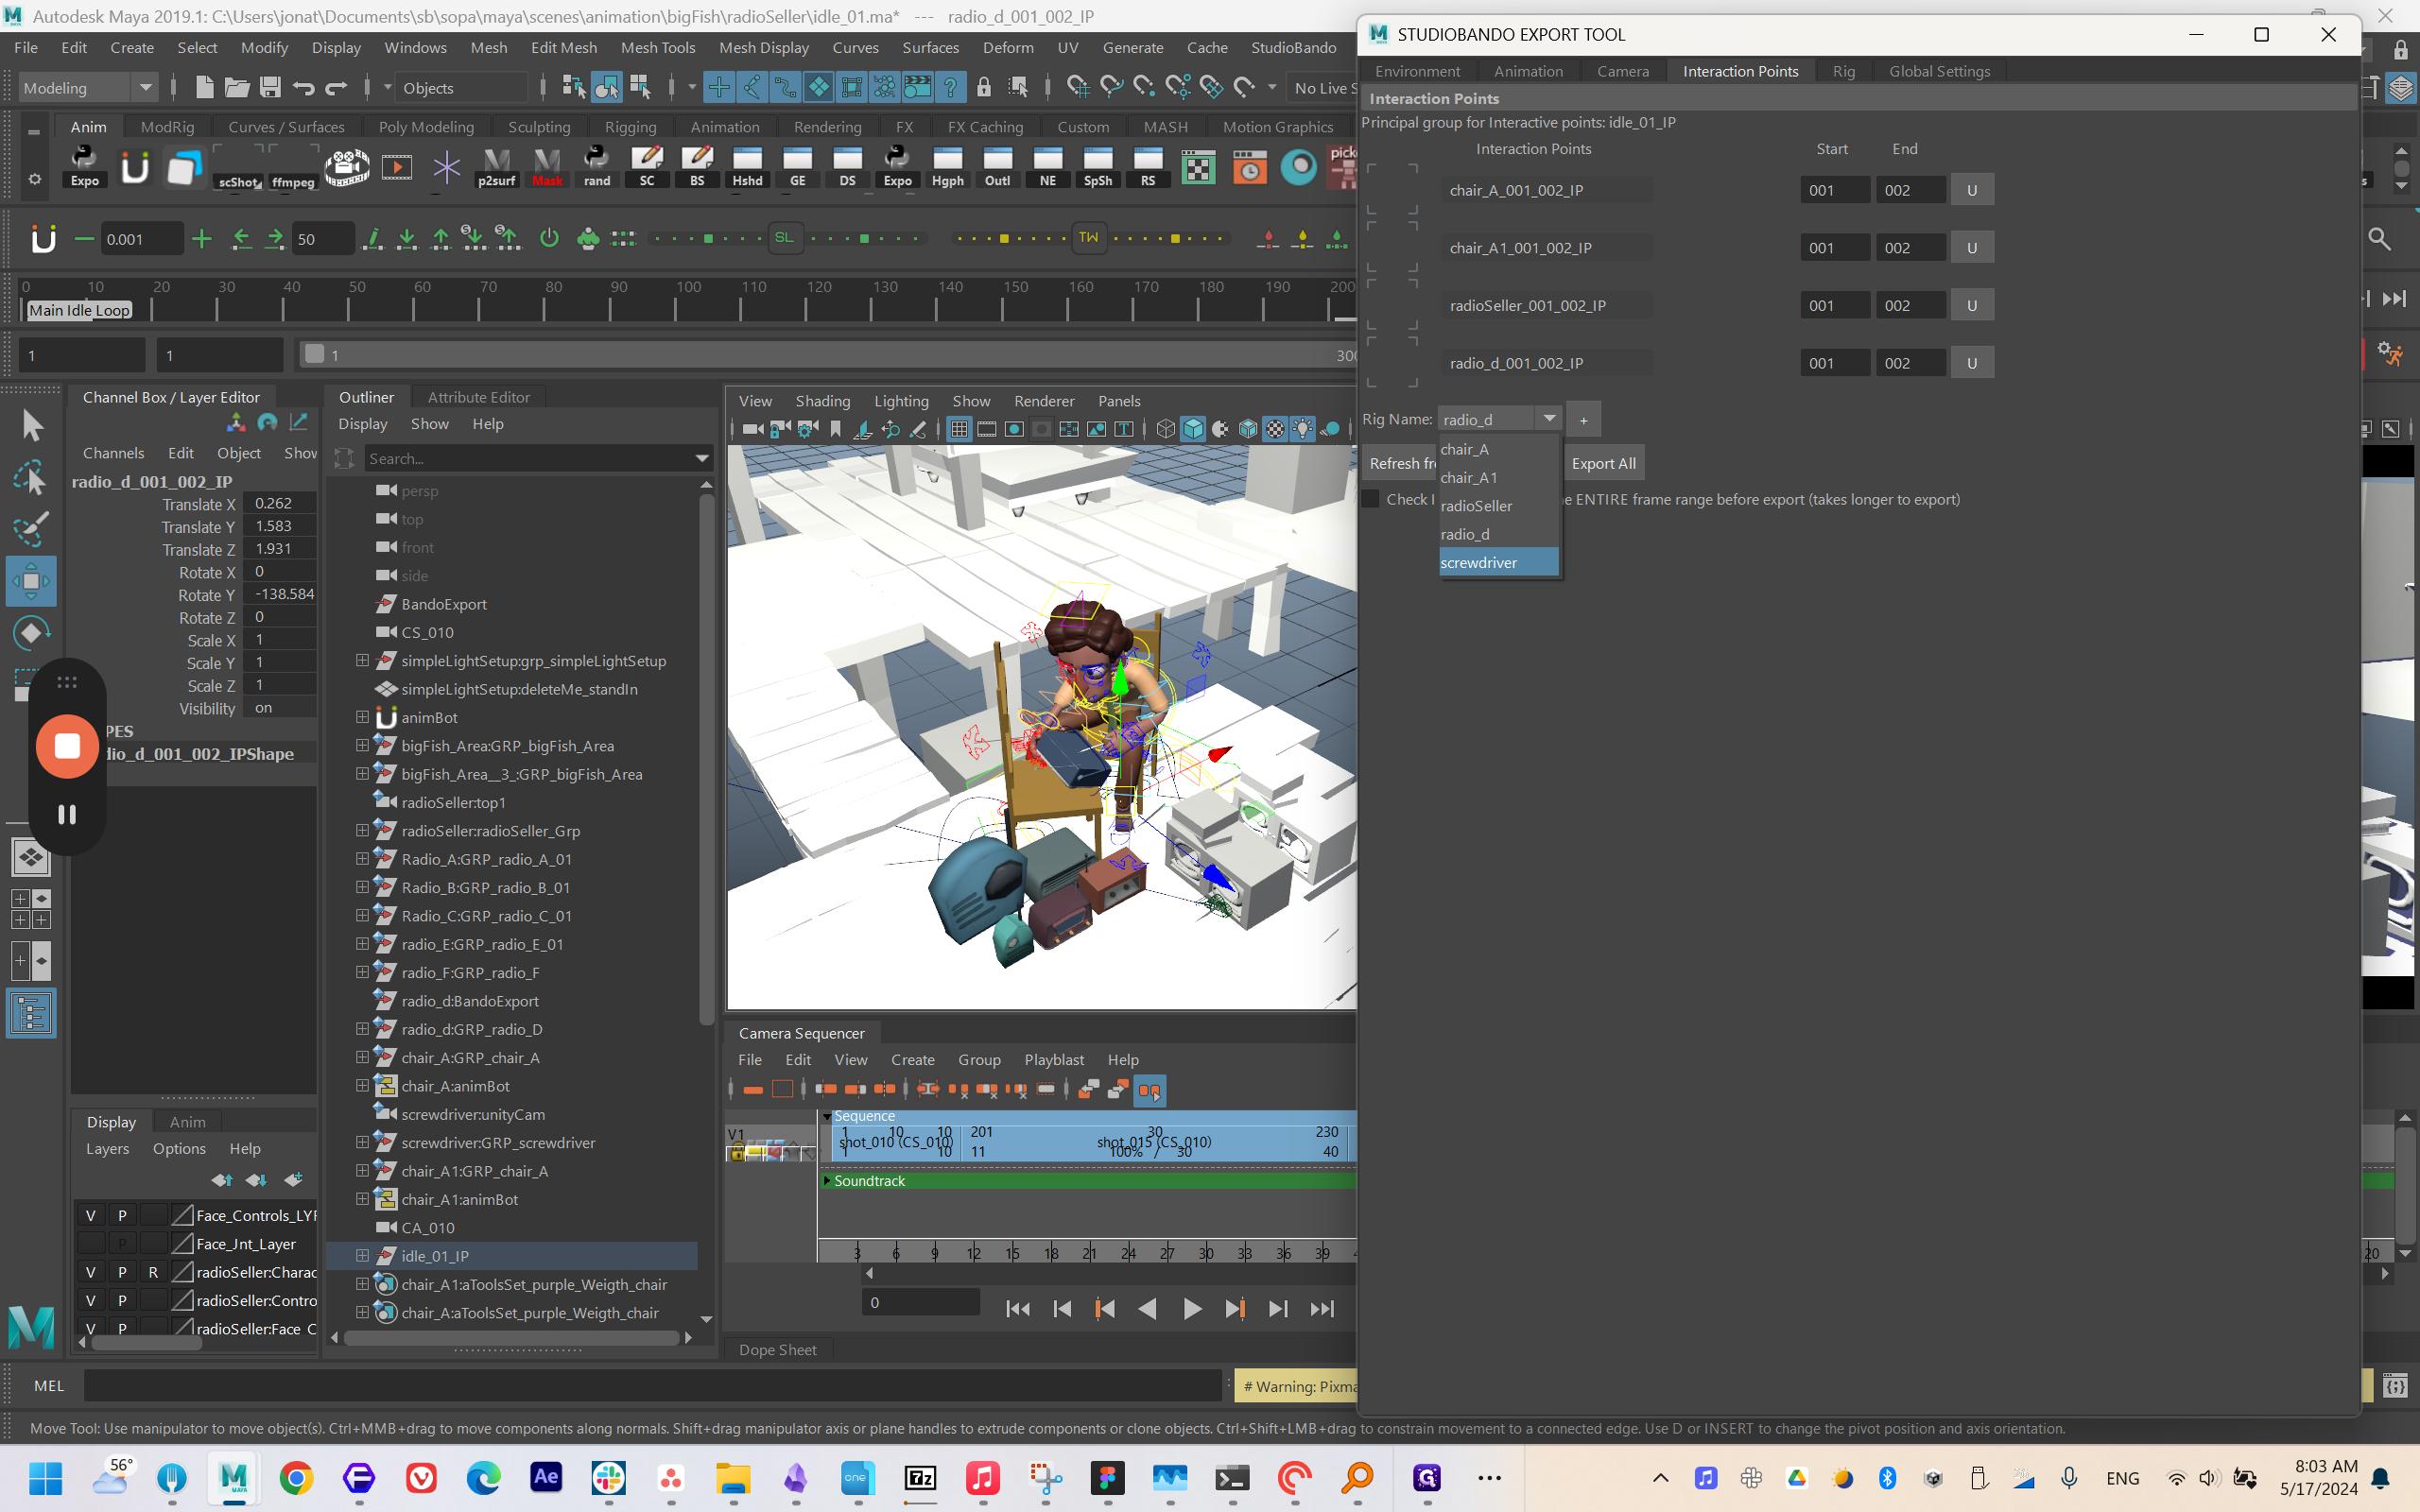
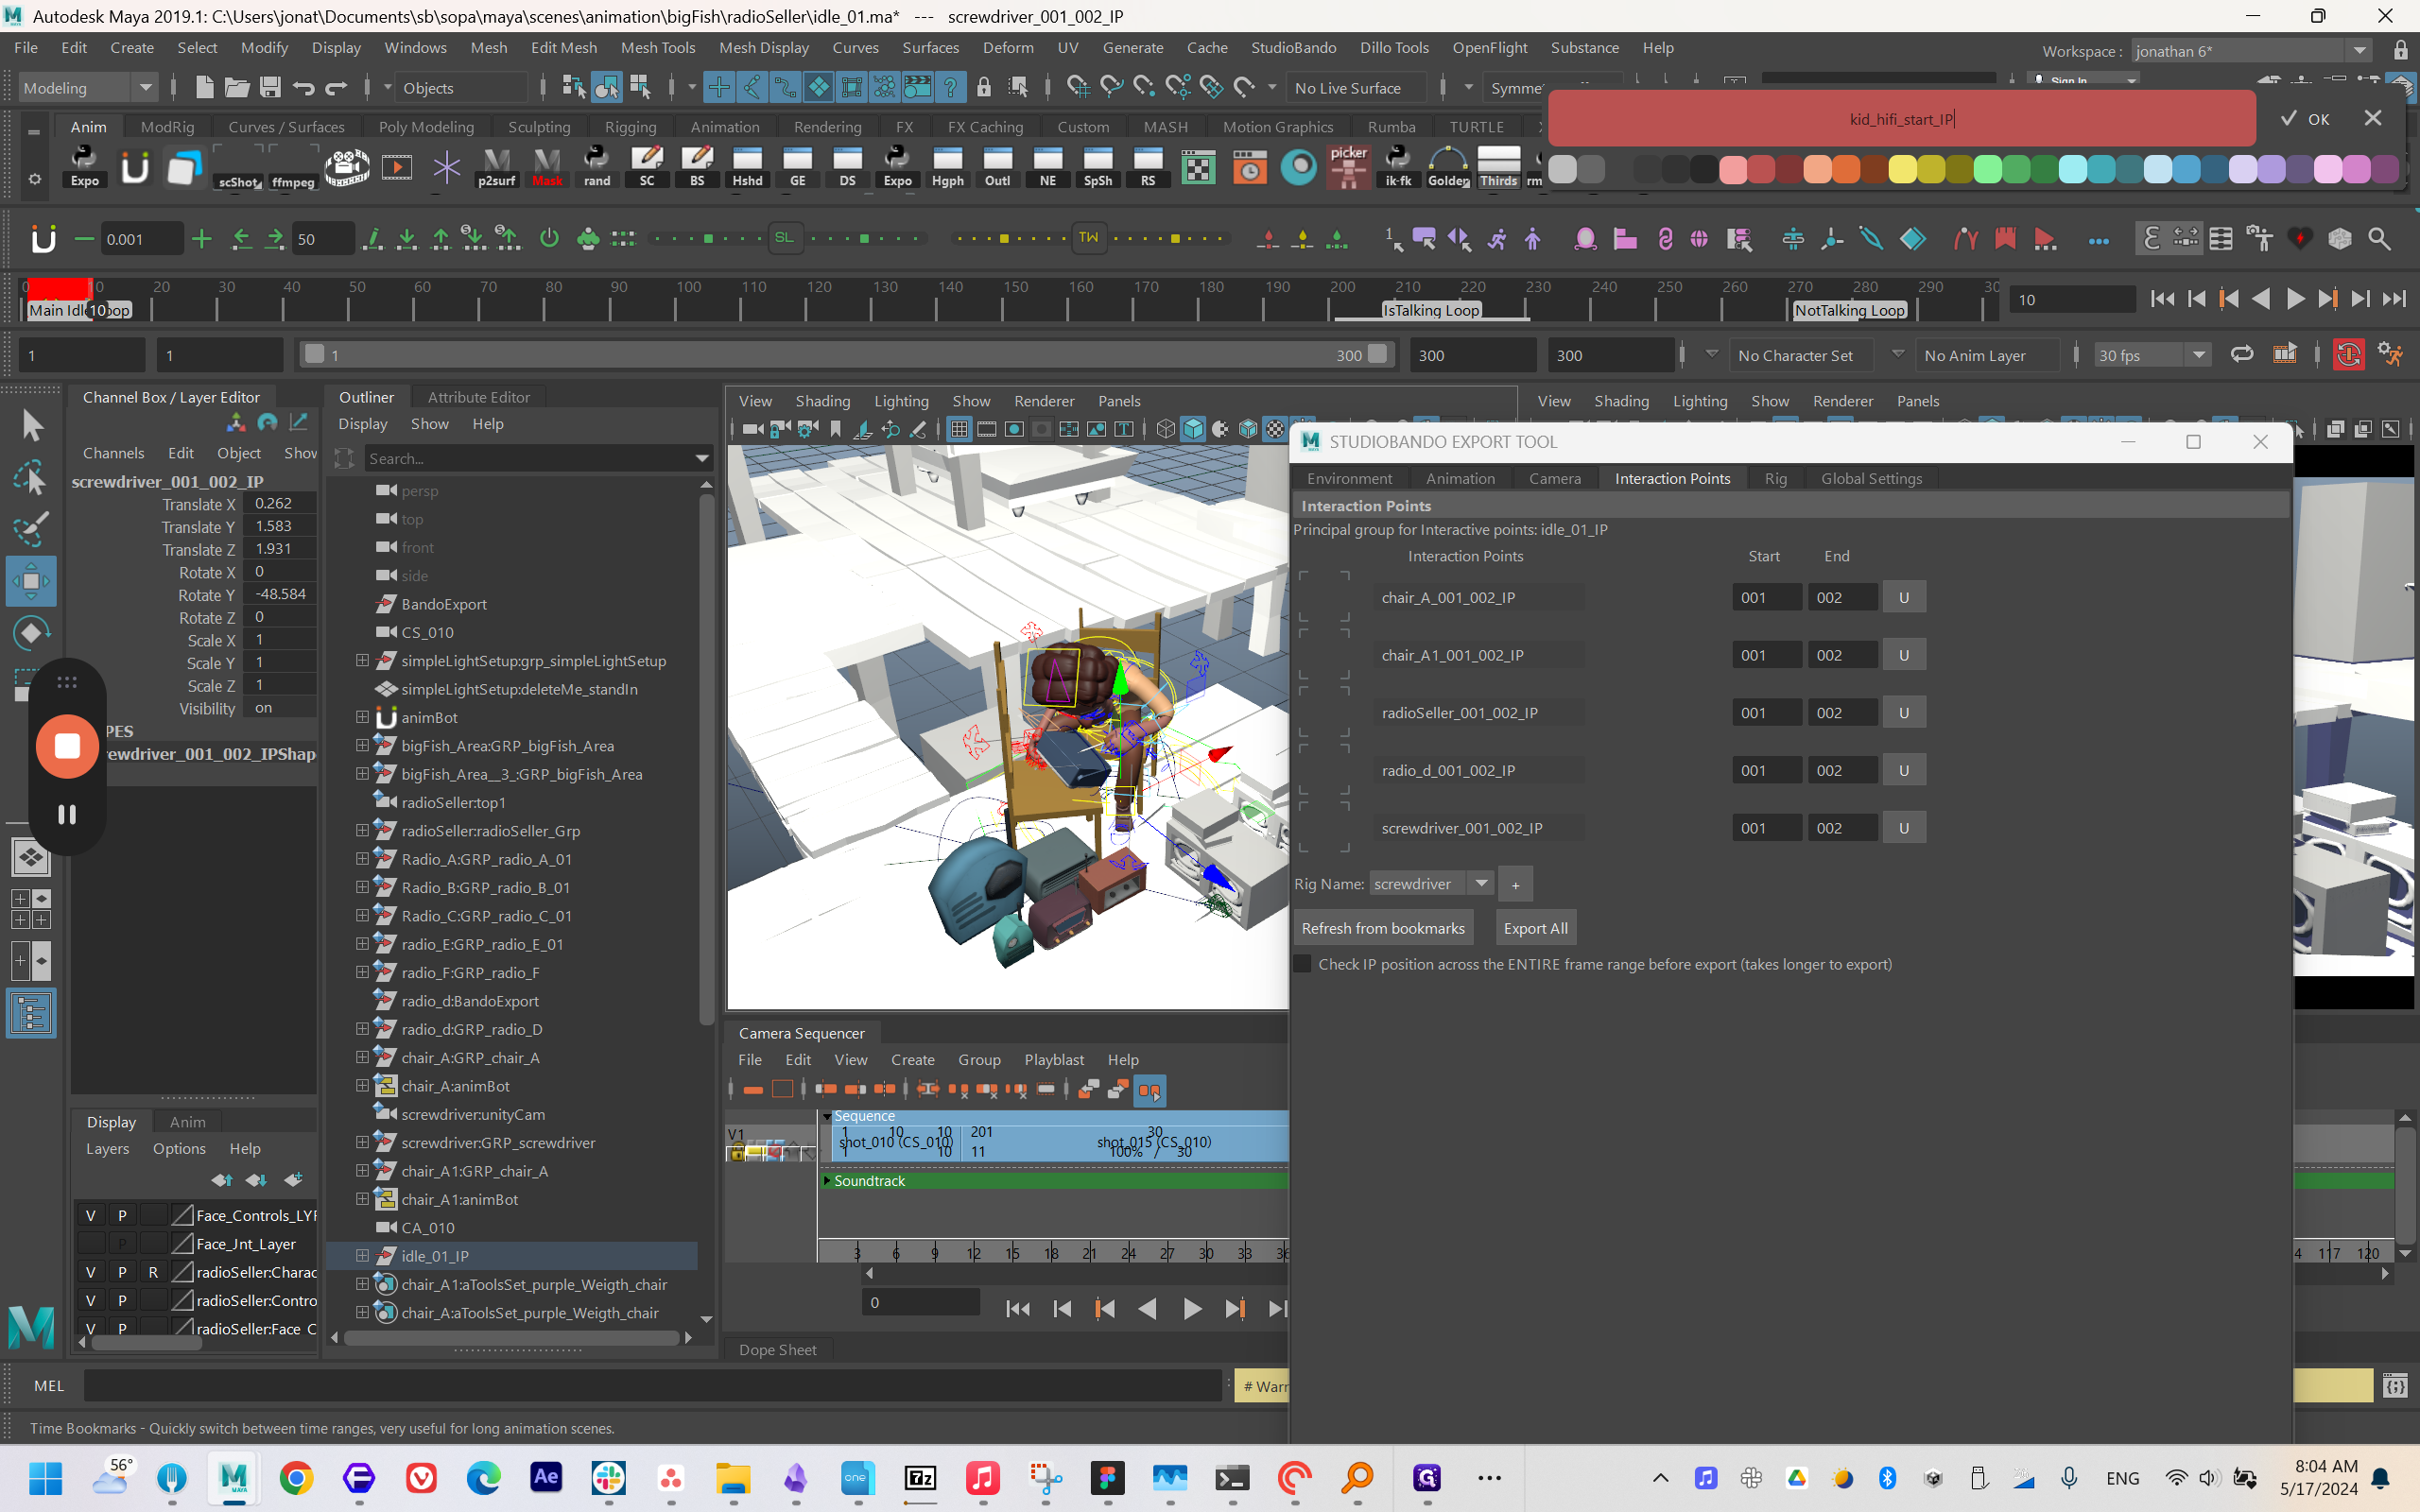
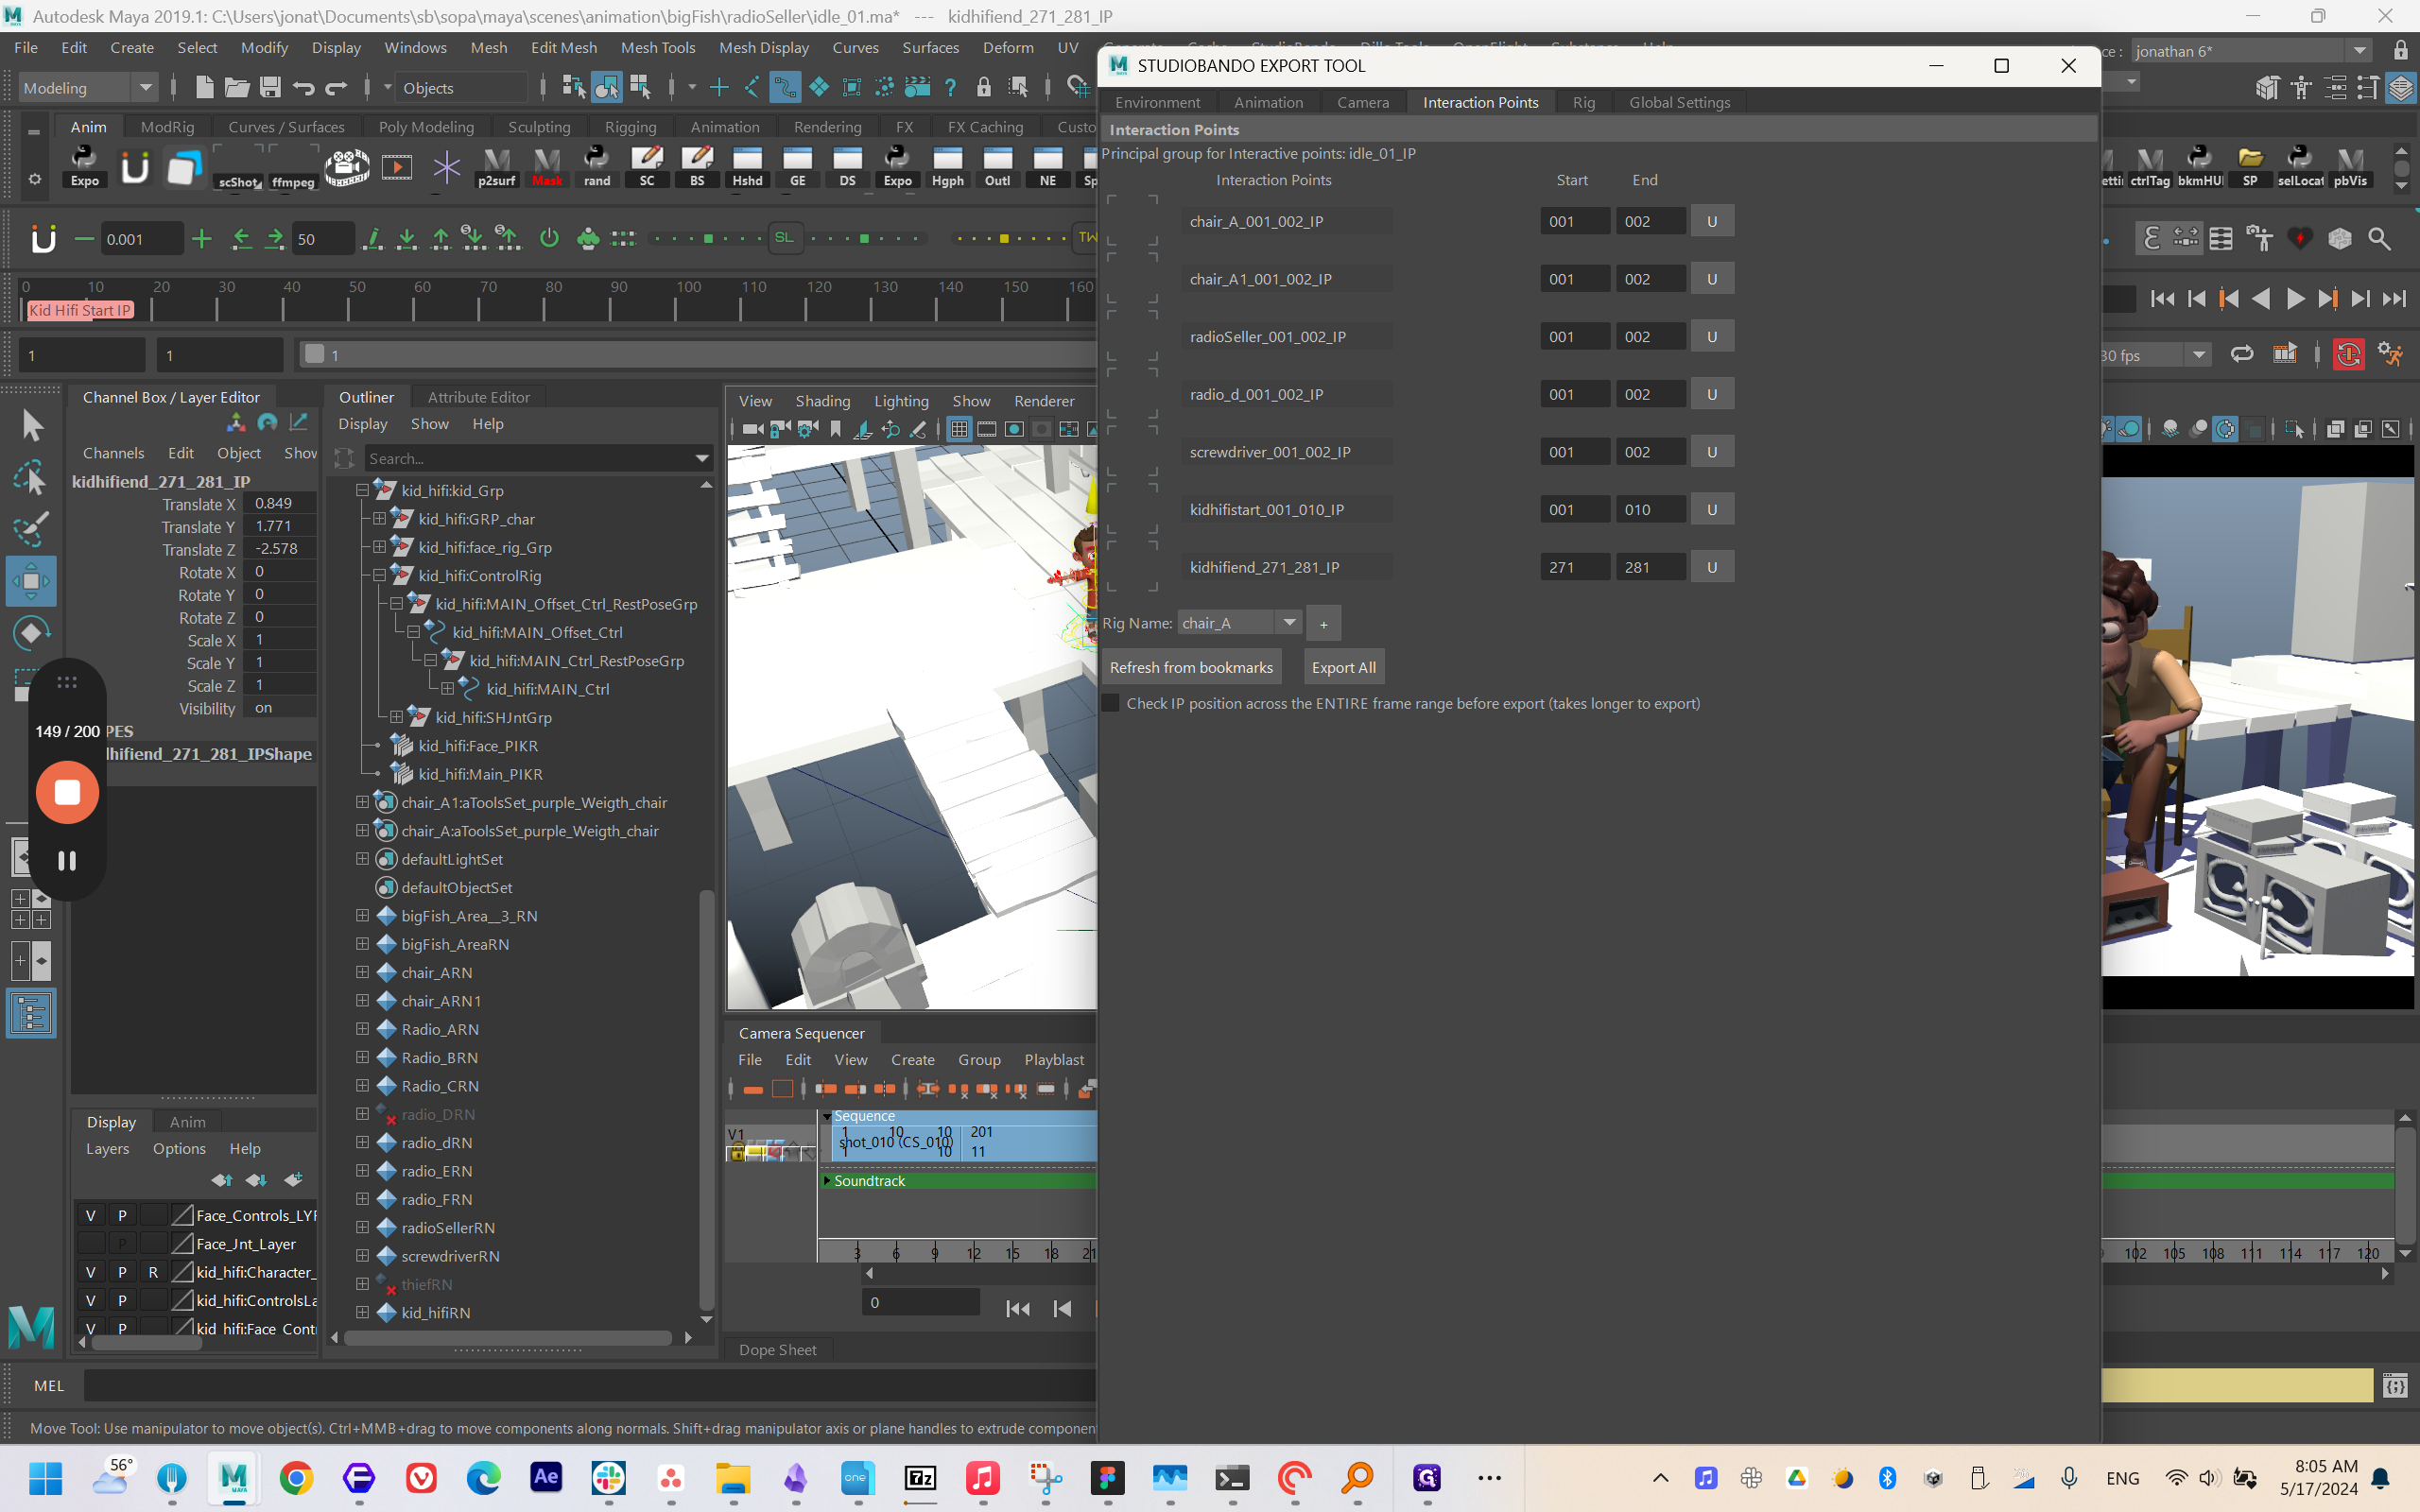
I identified the starting and ending positions and adjusted them according to the rig name specified for this child.

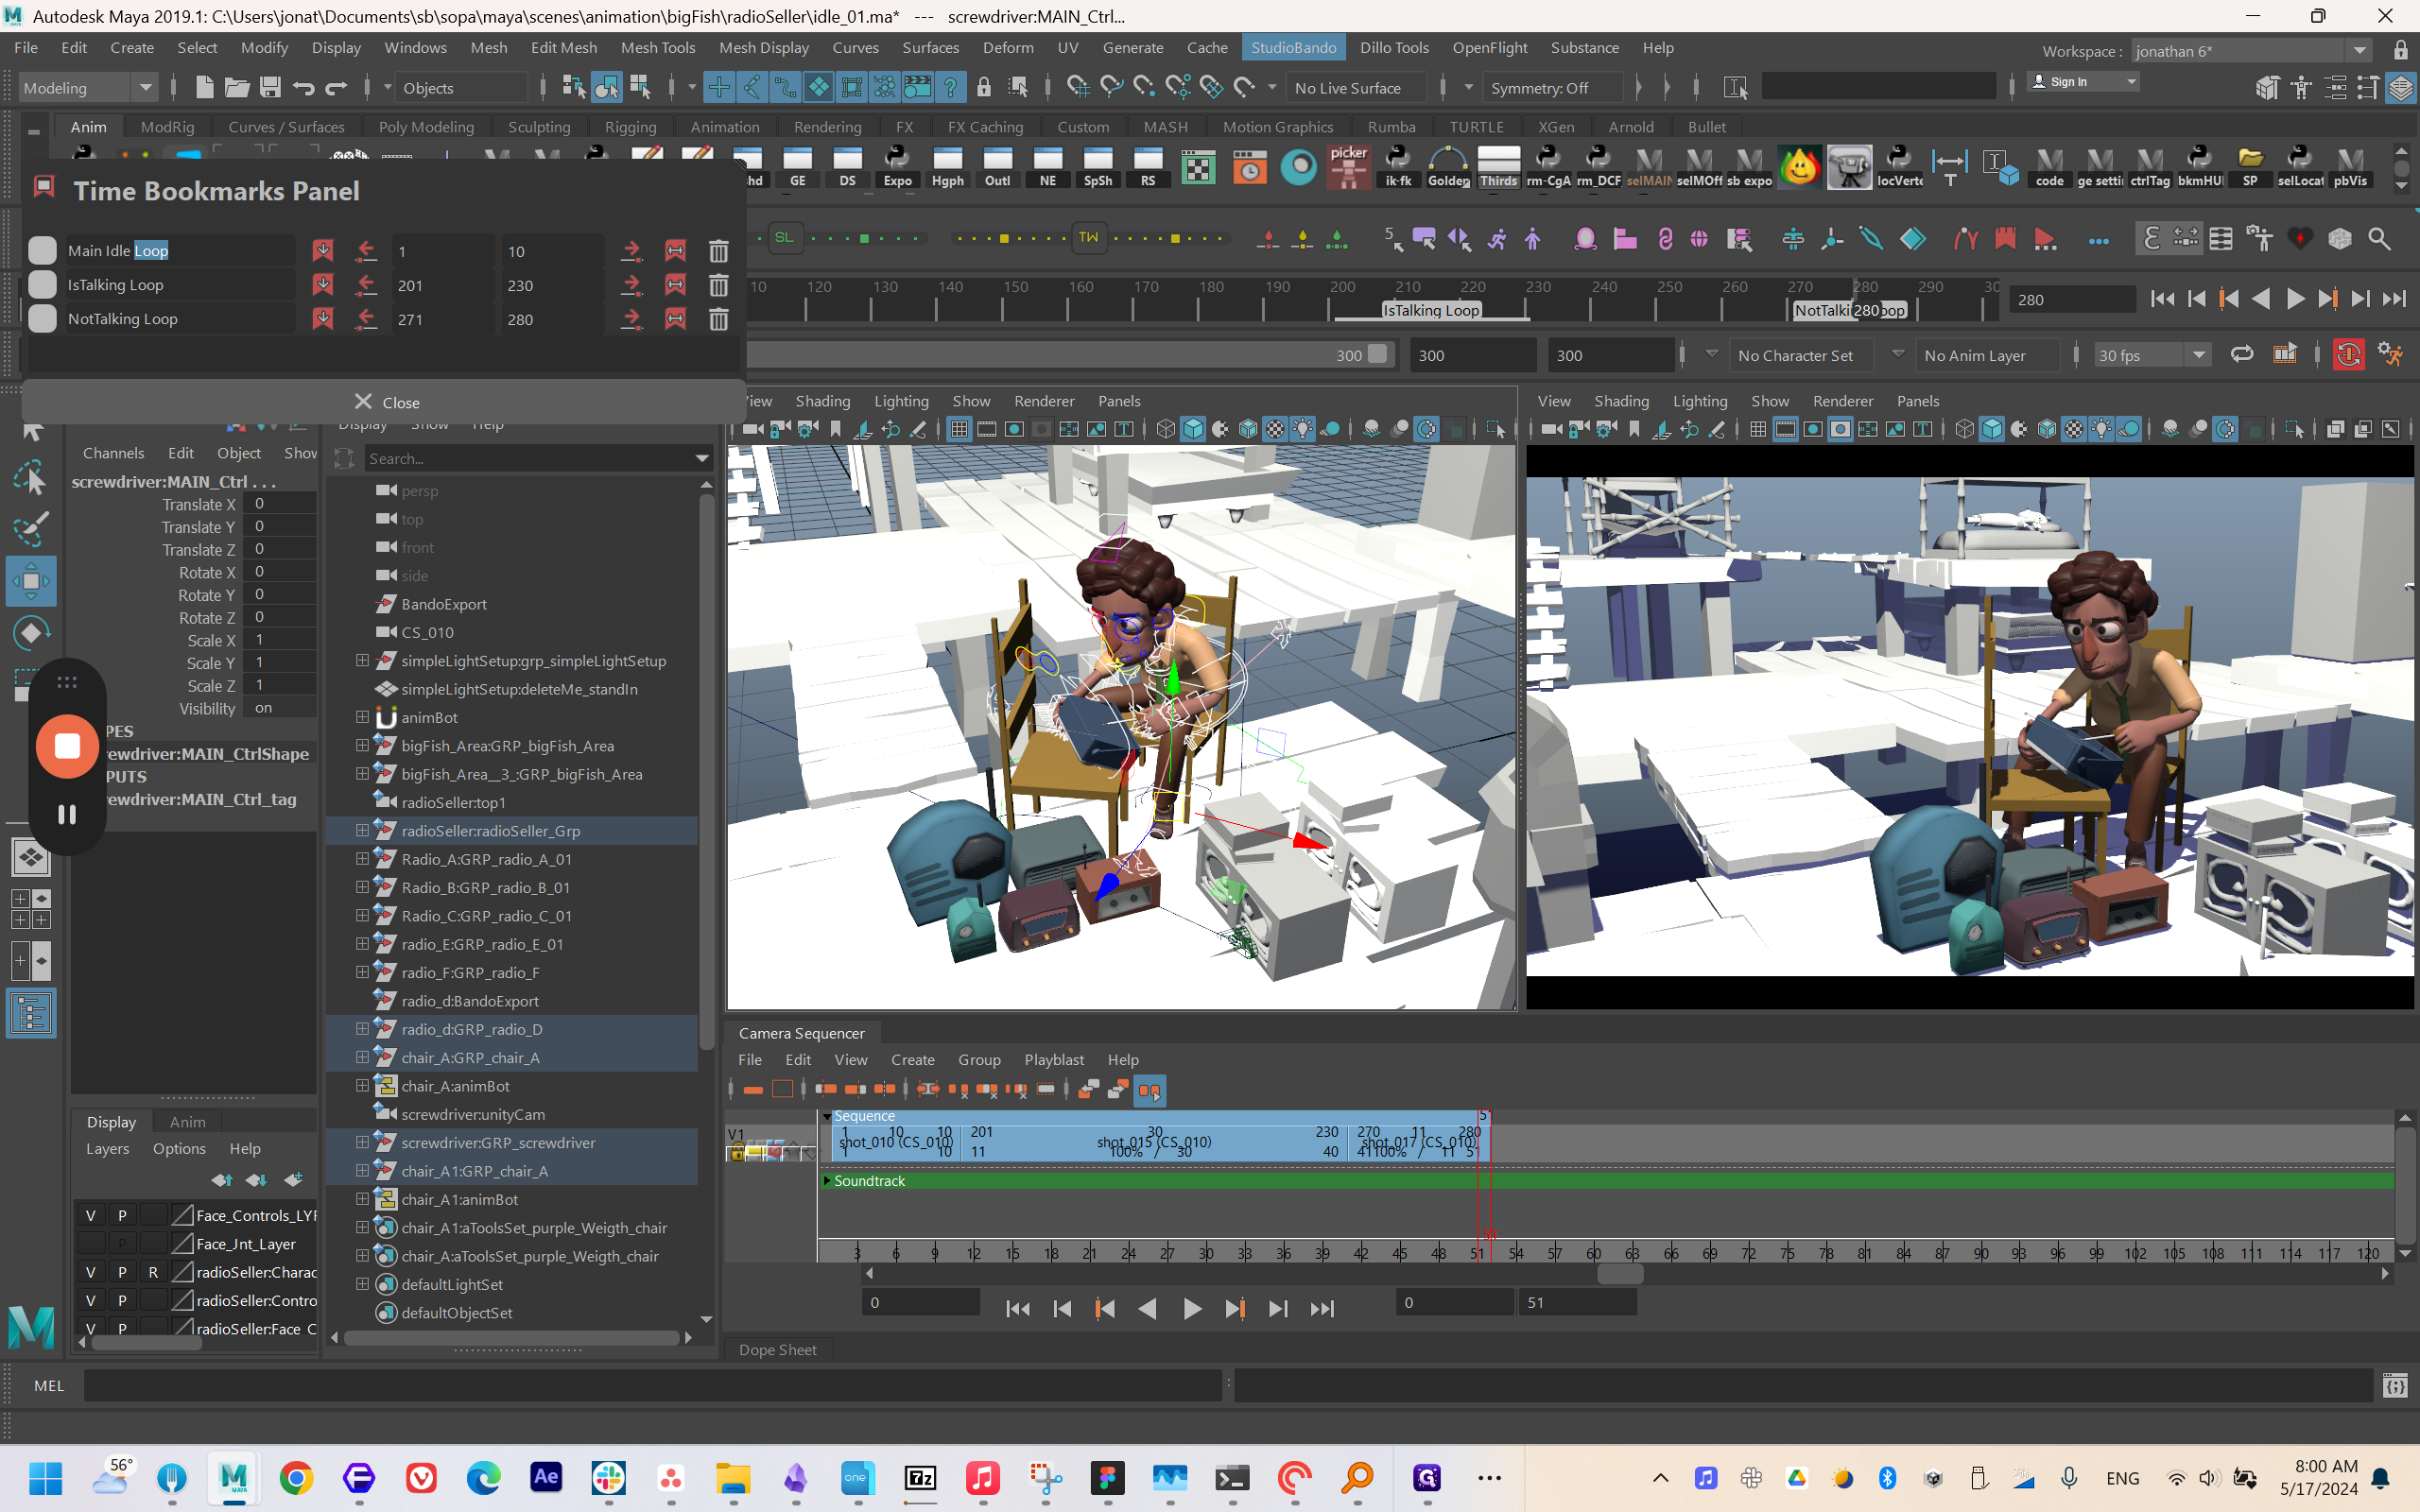
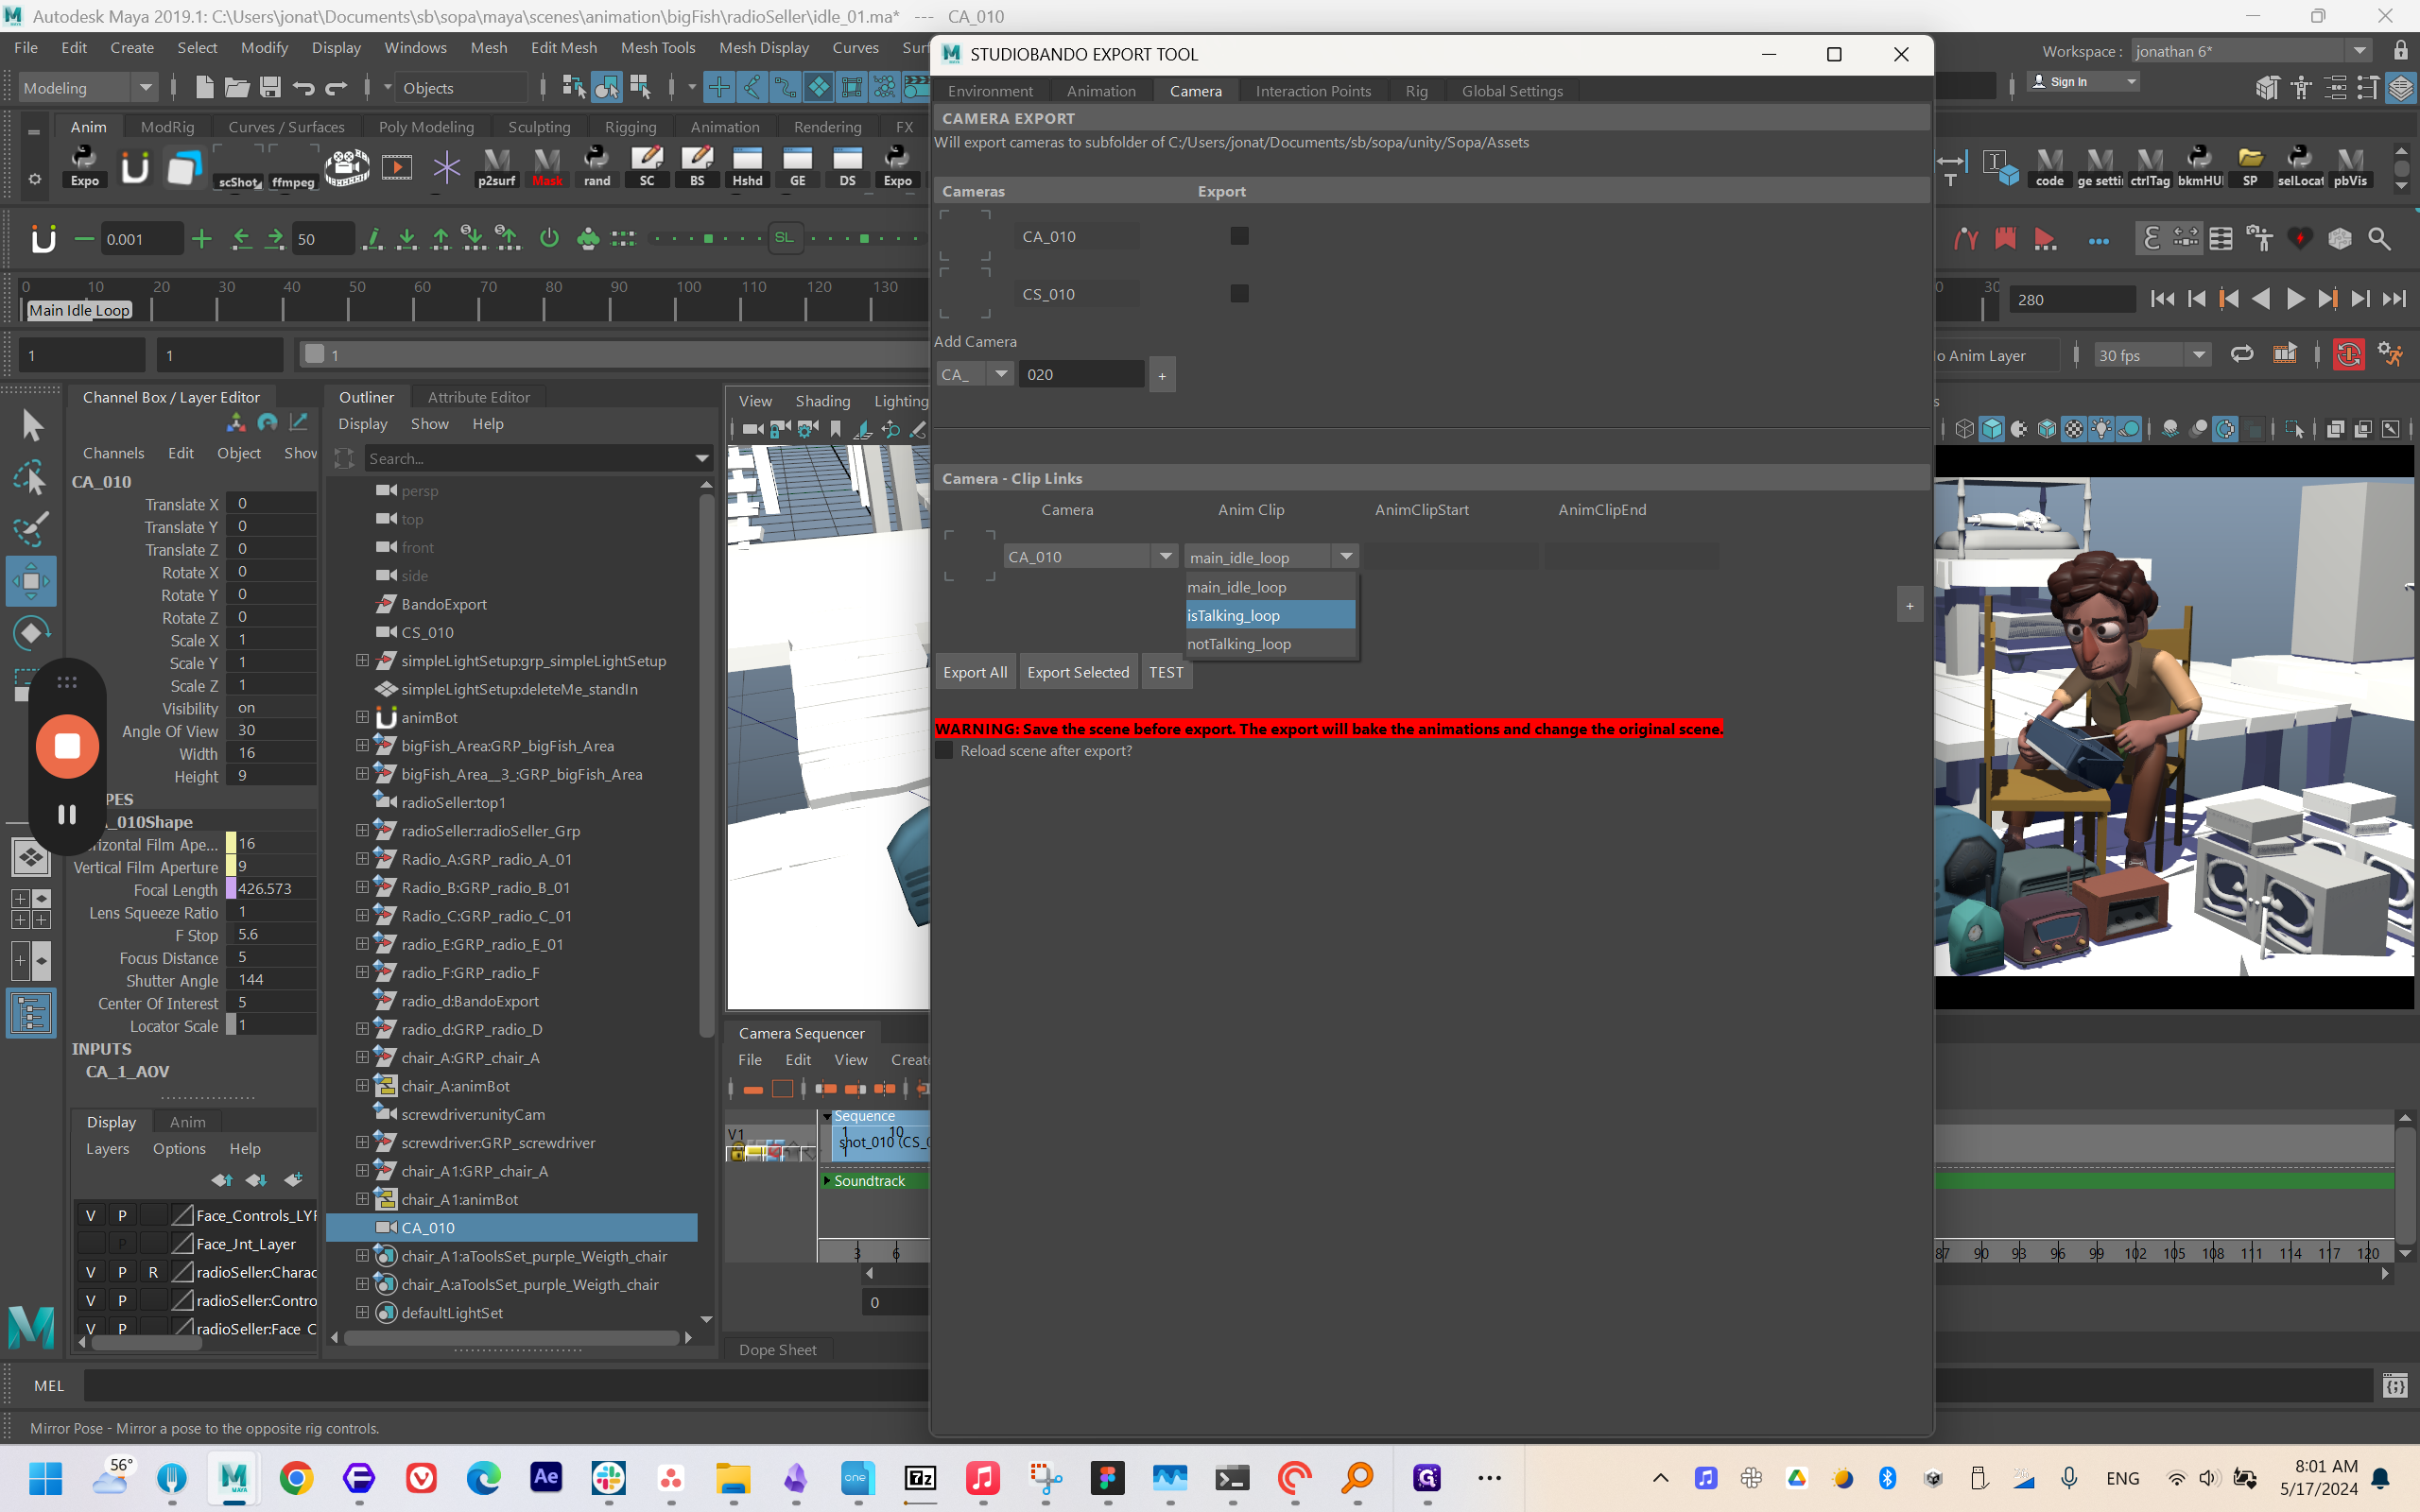
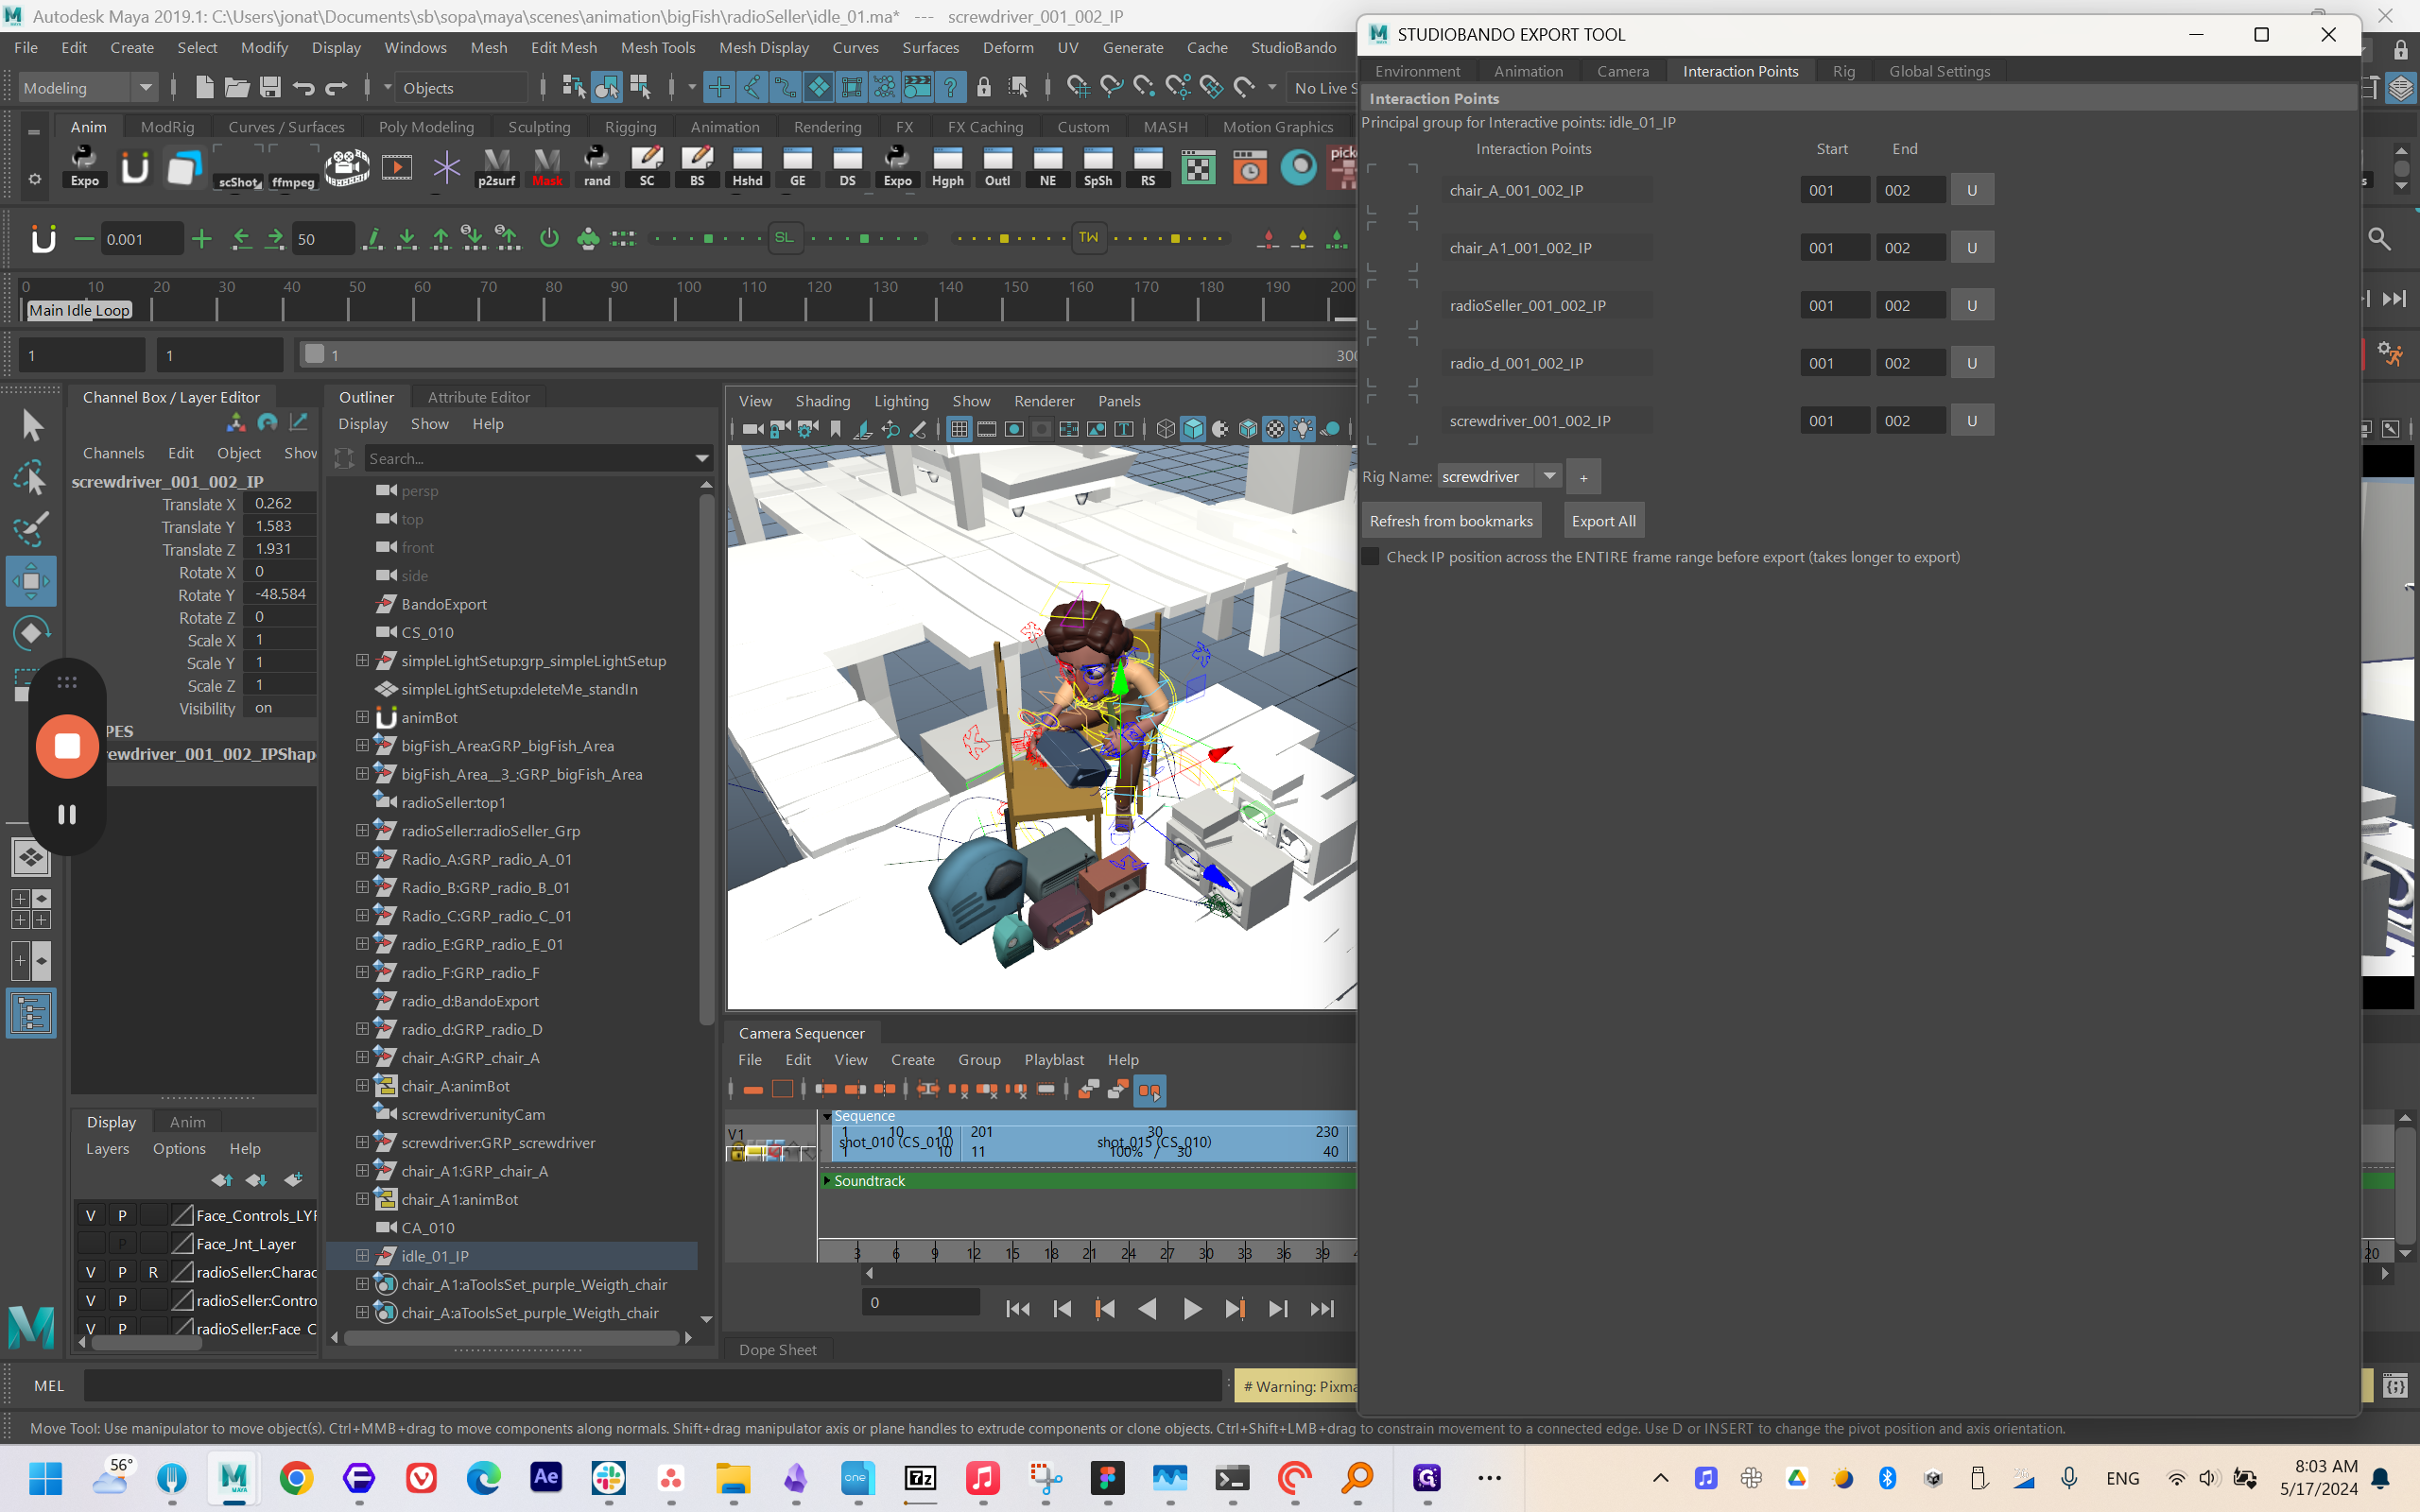
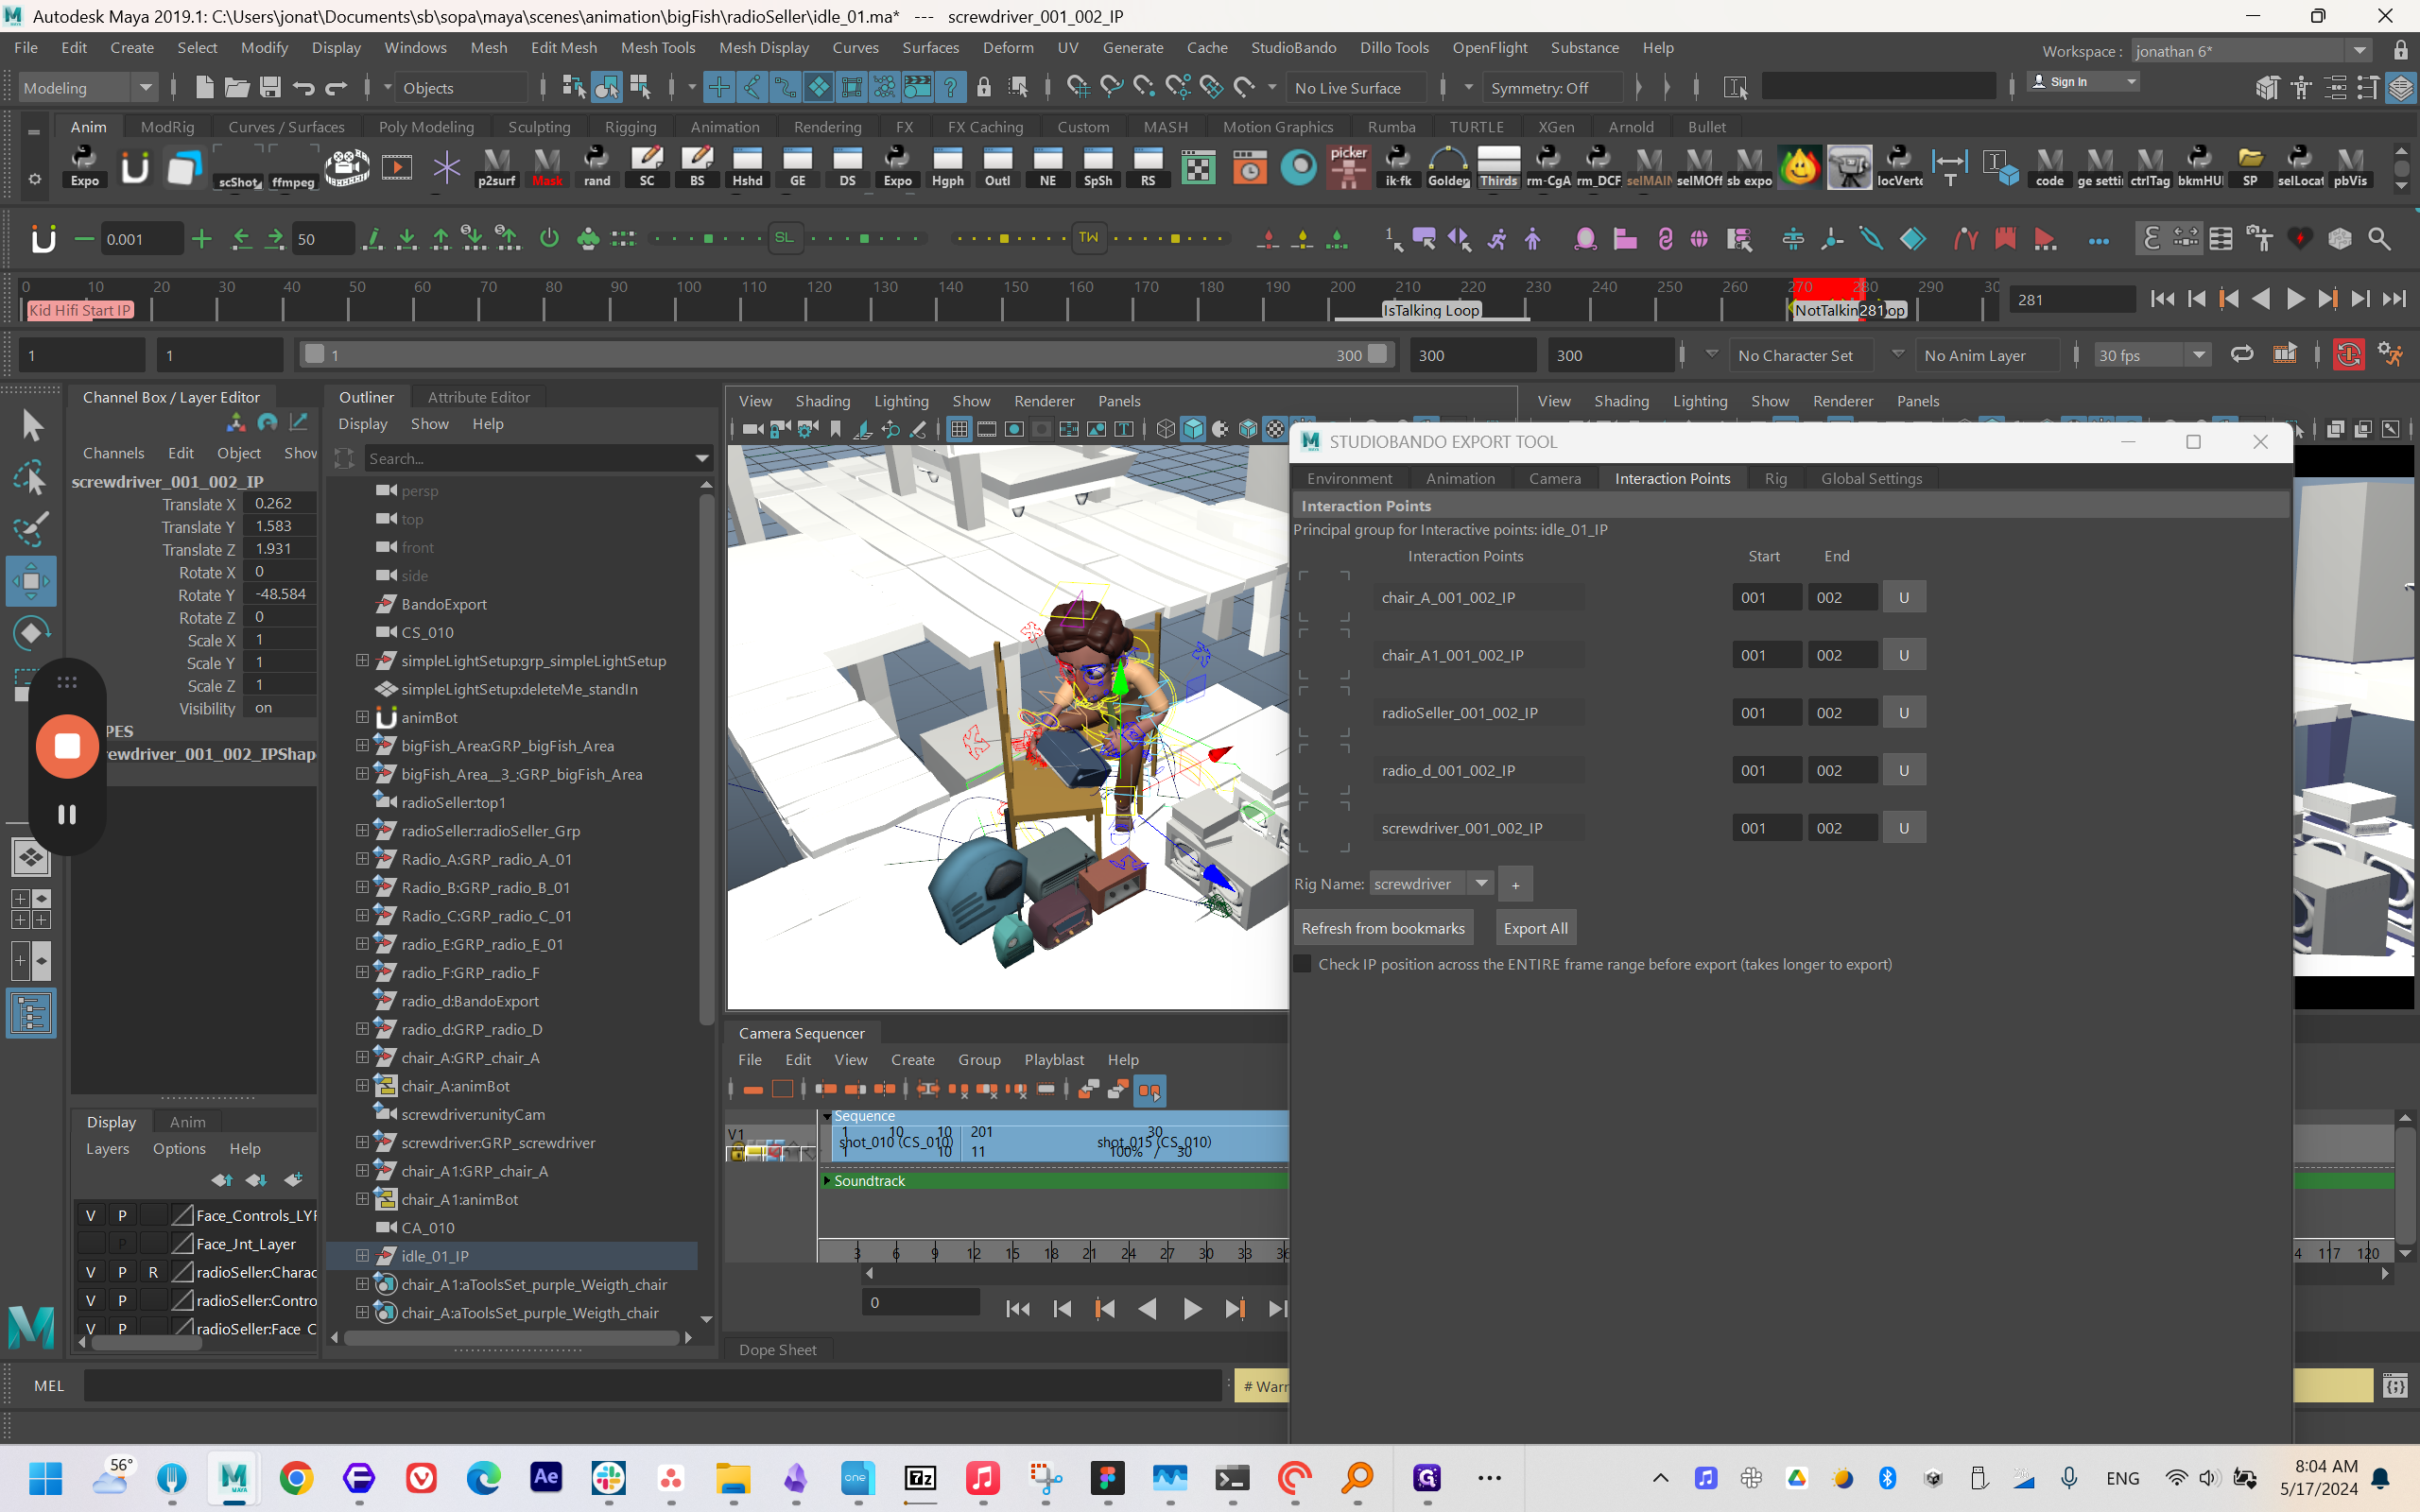
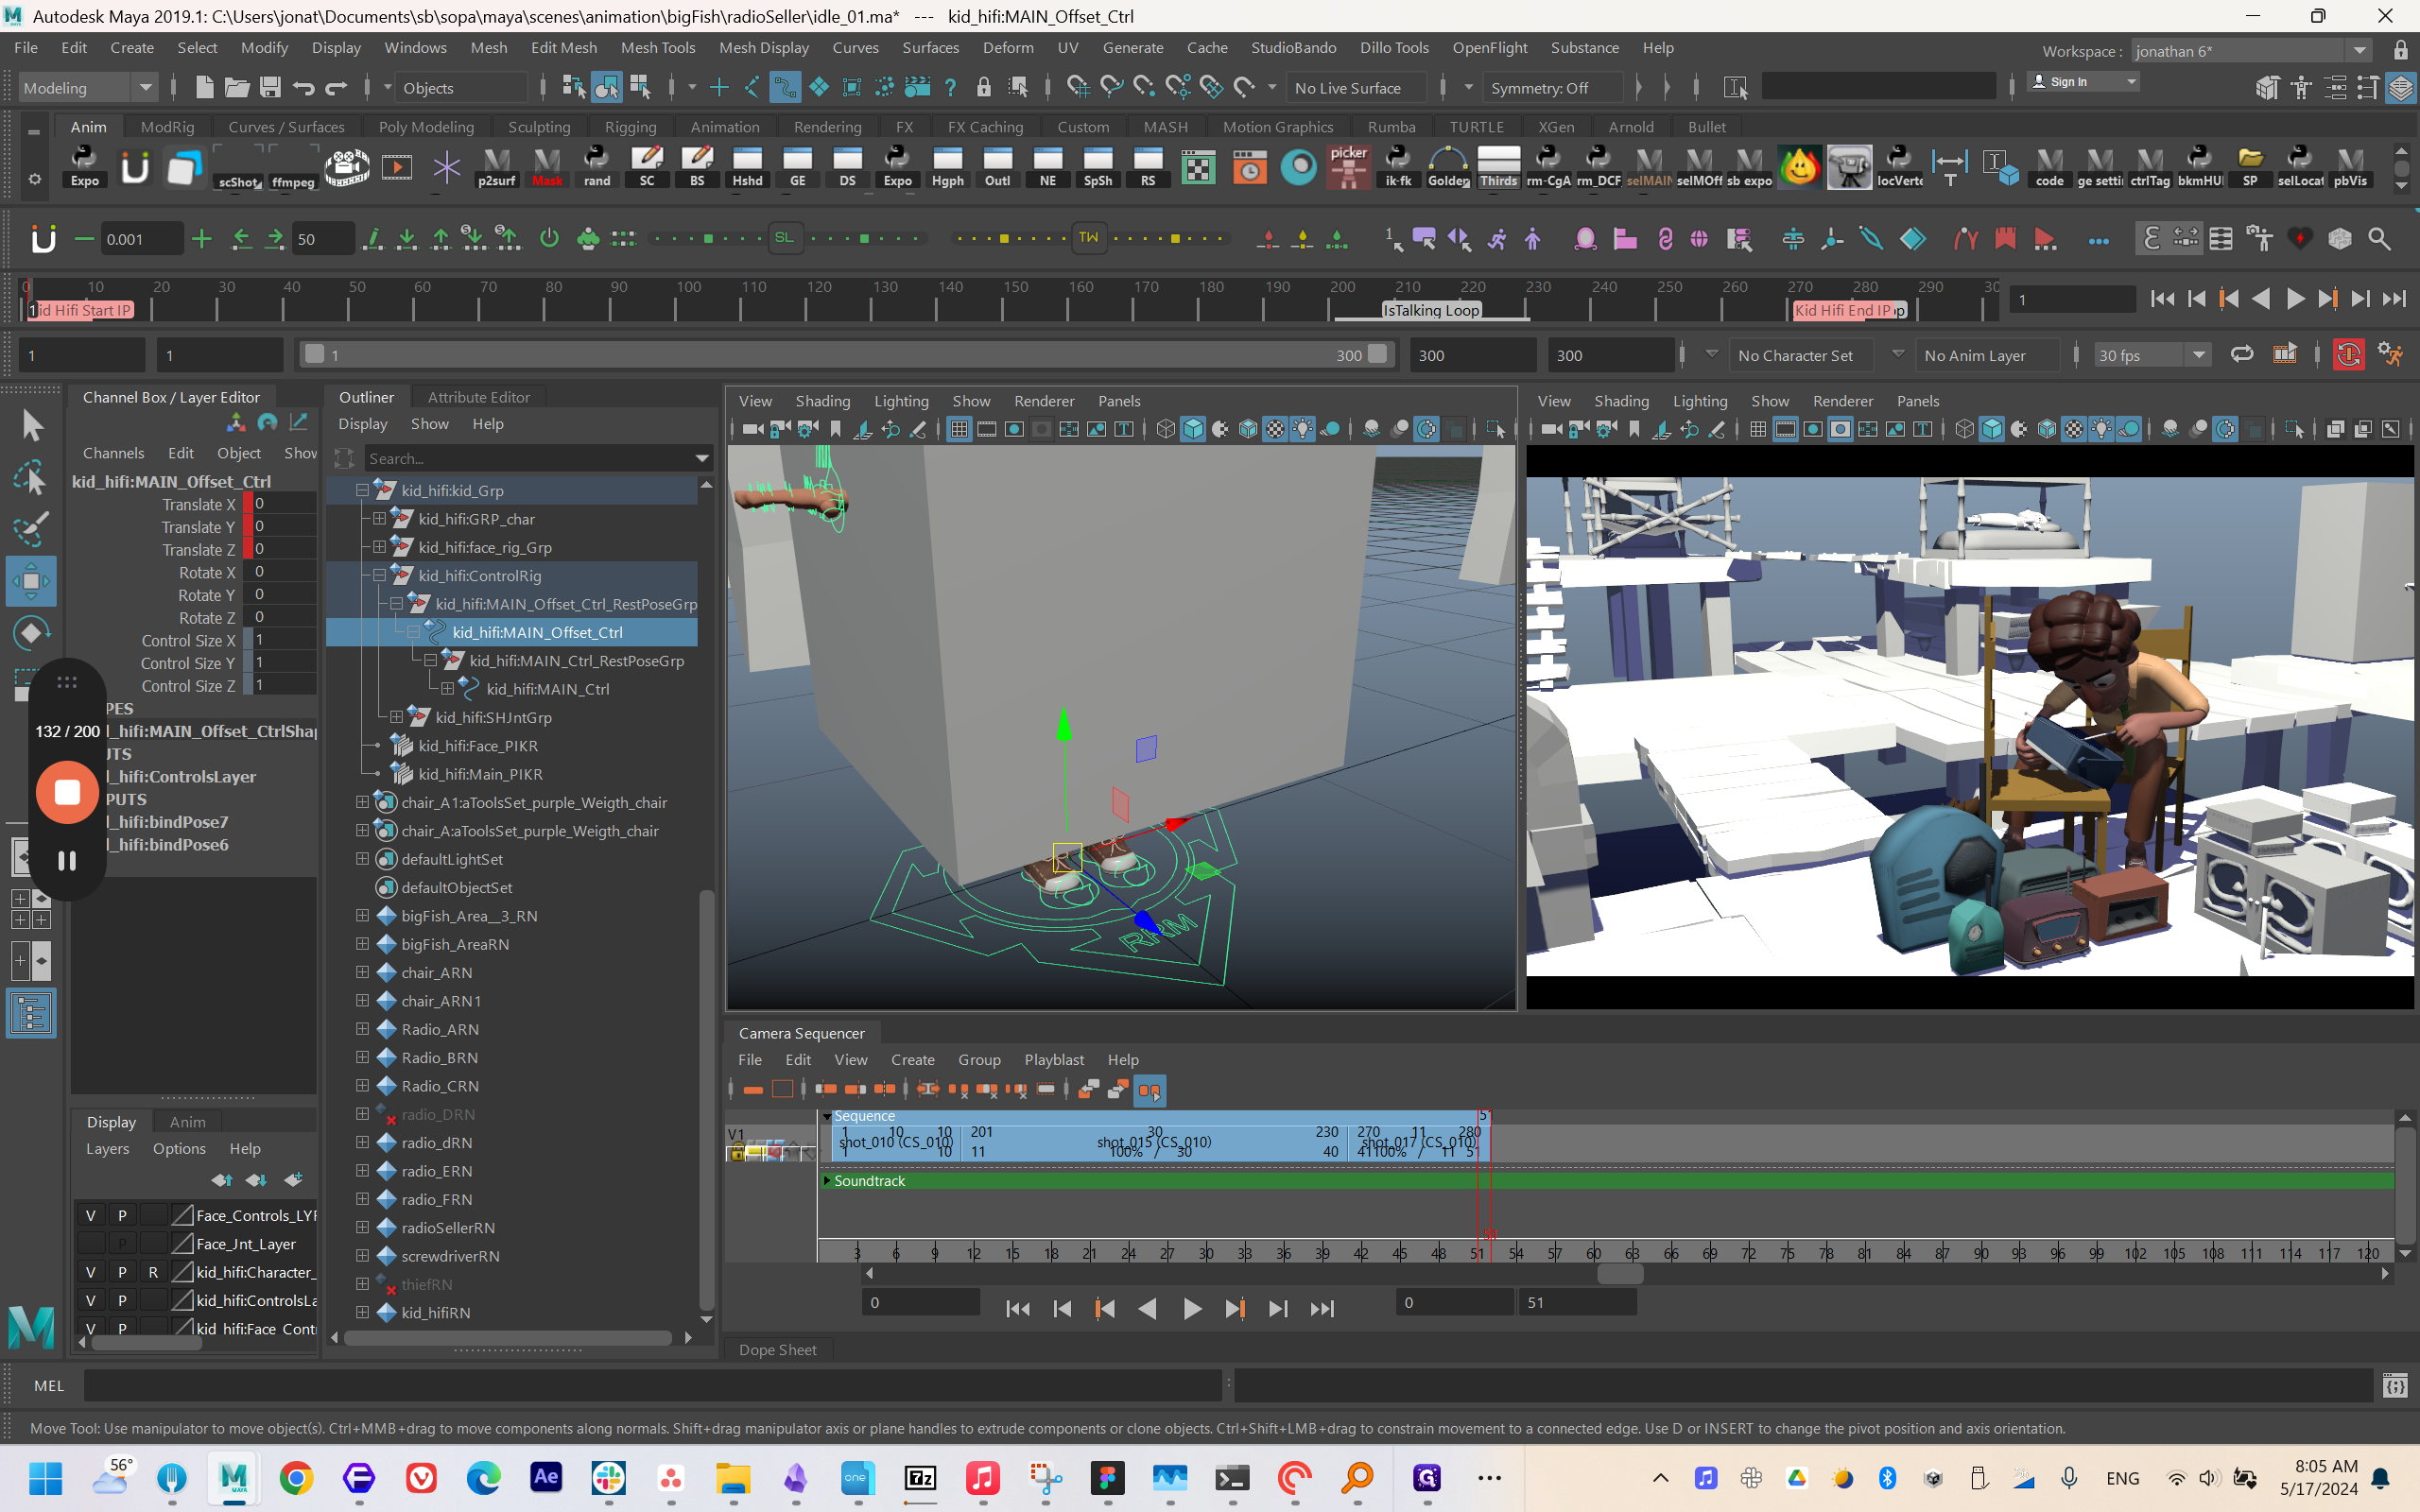
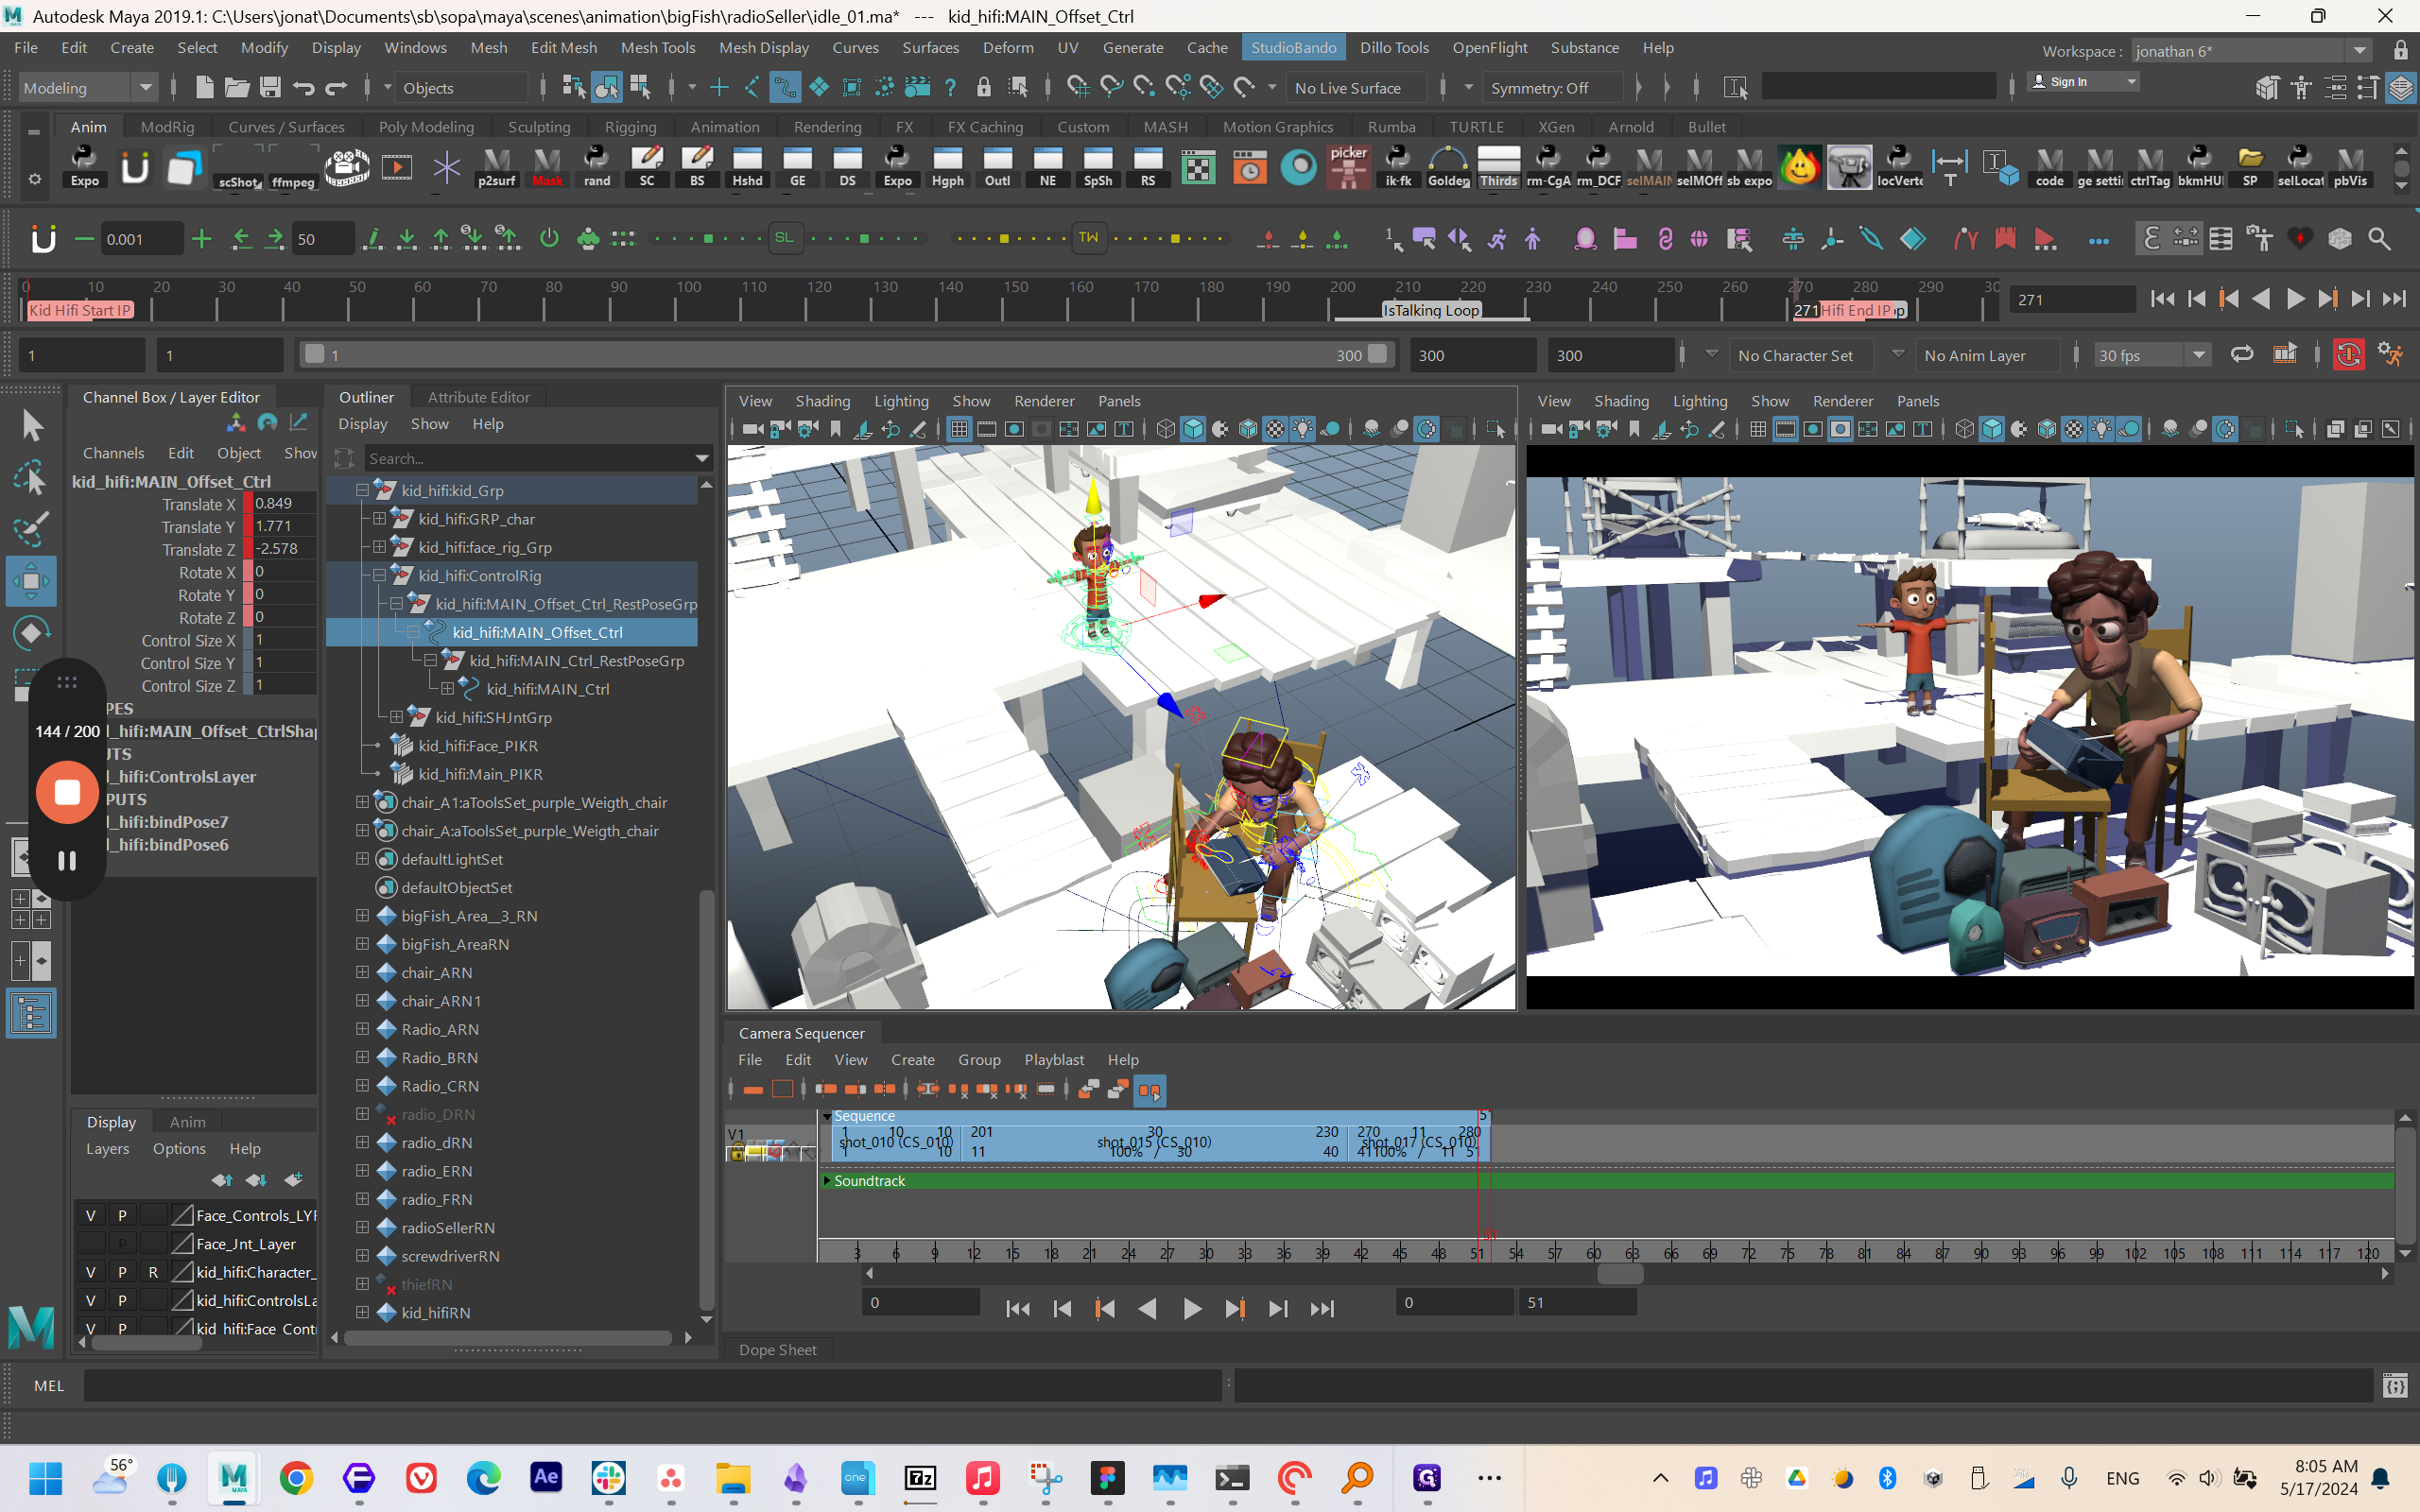
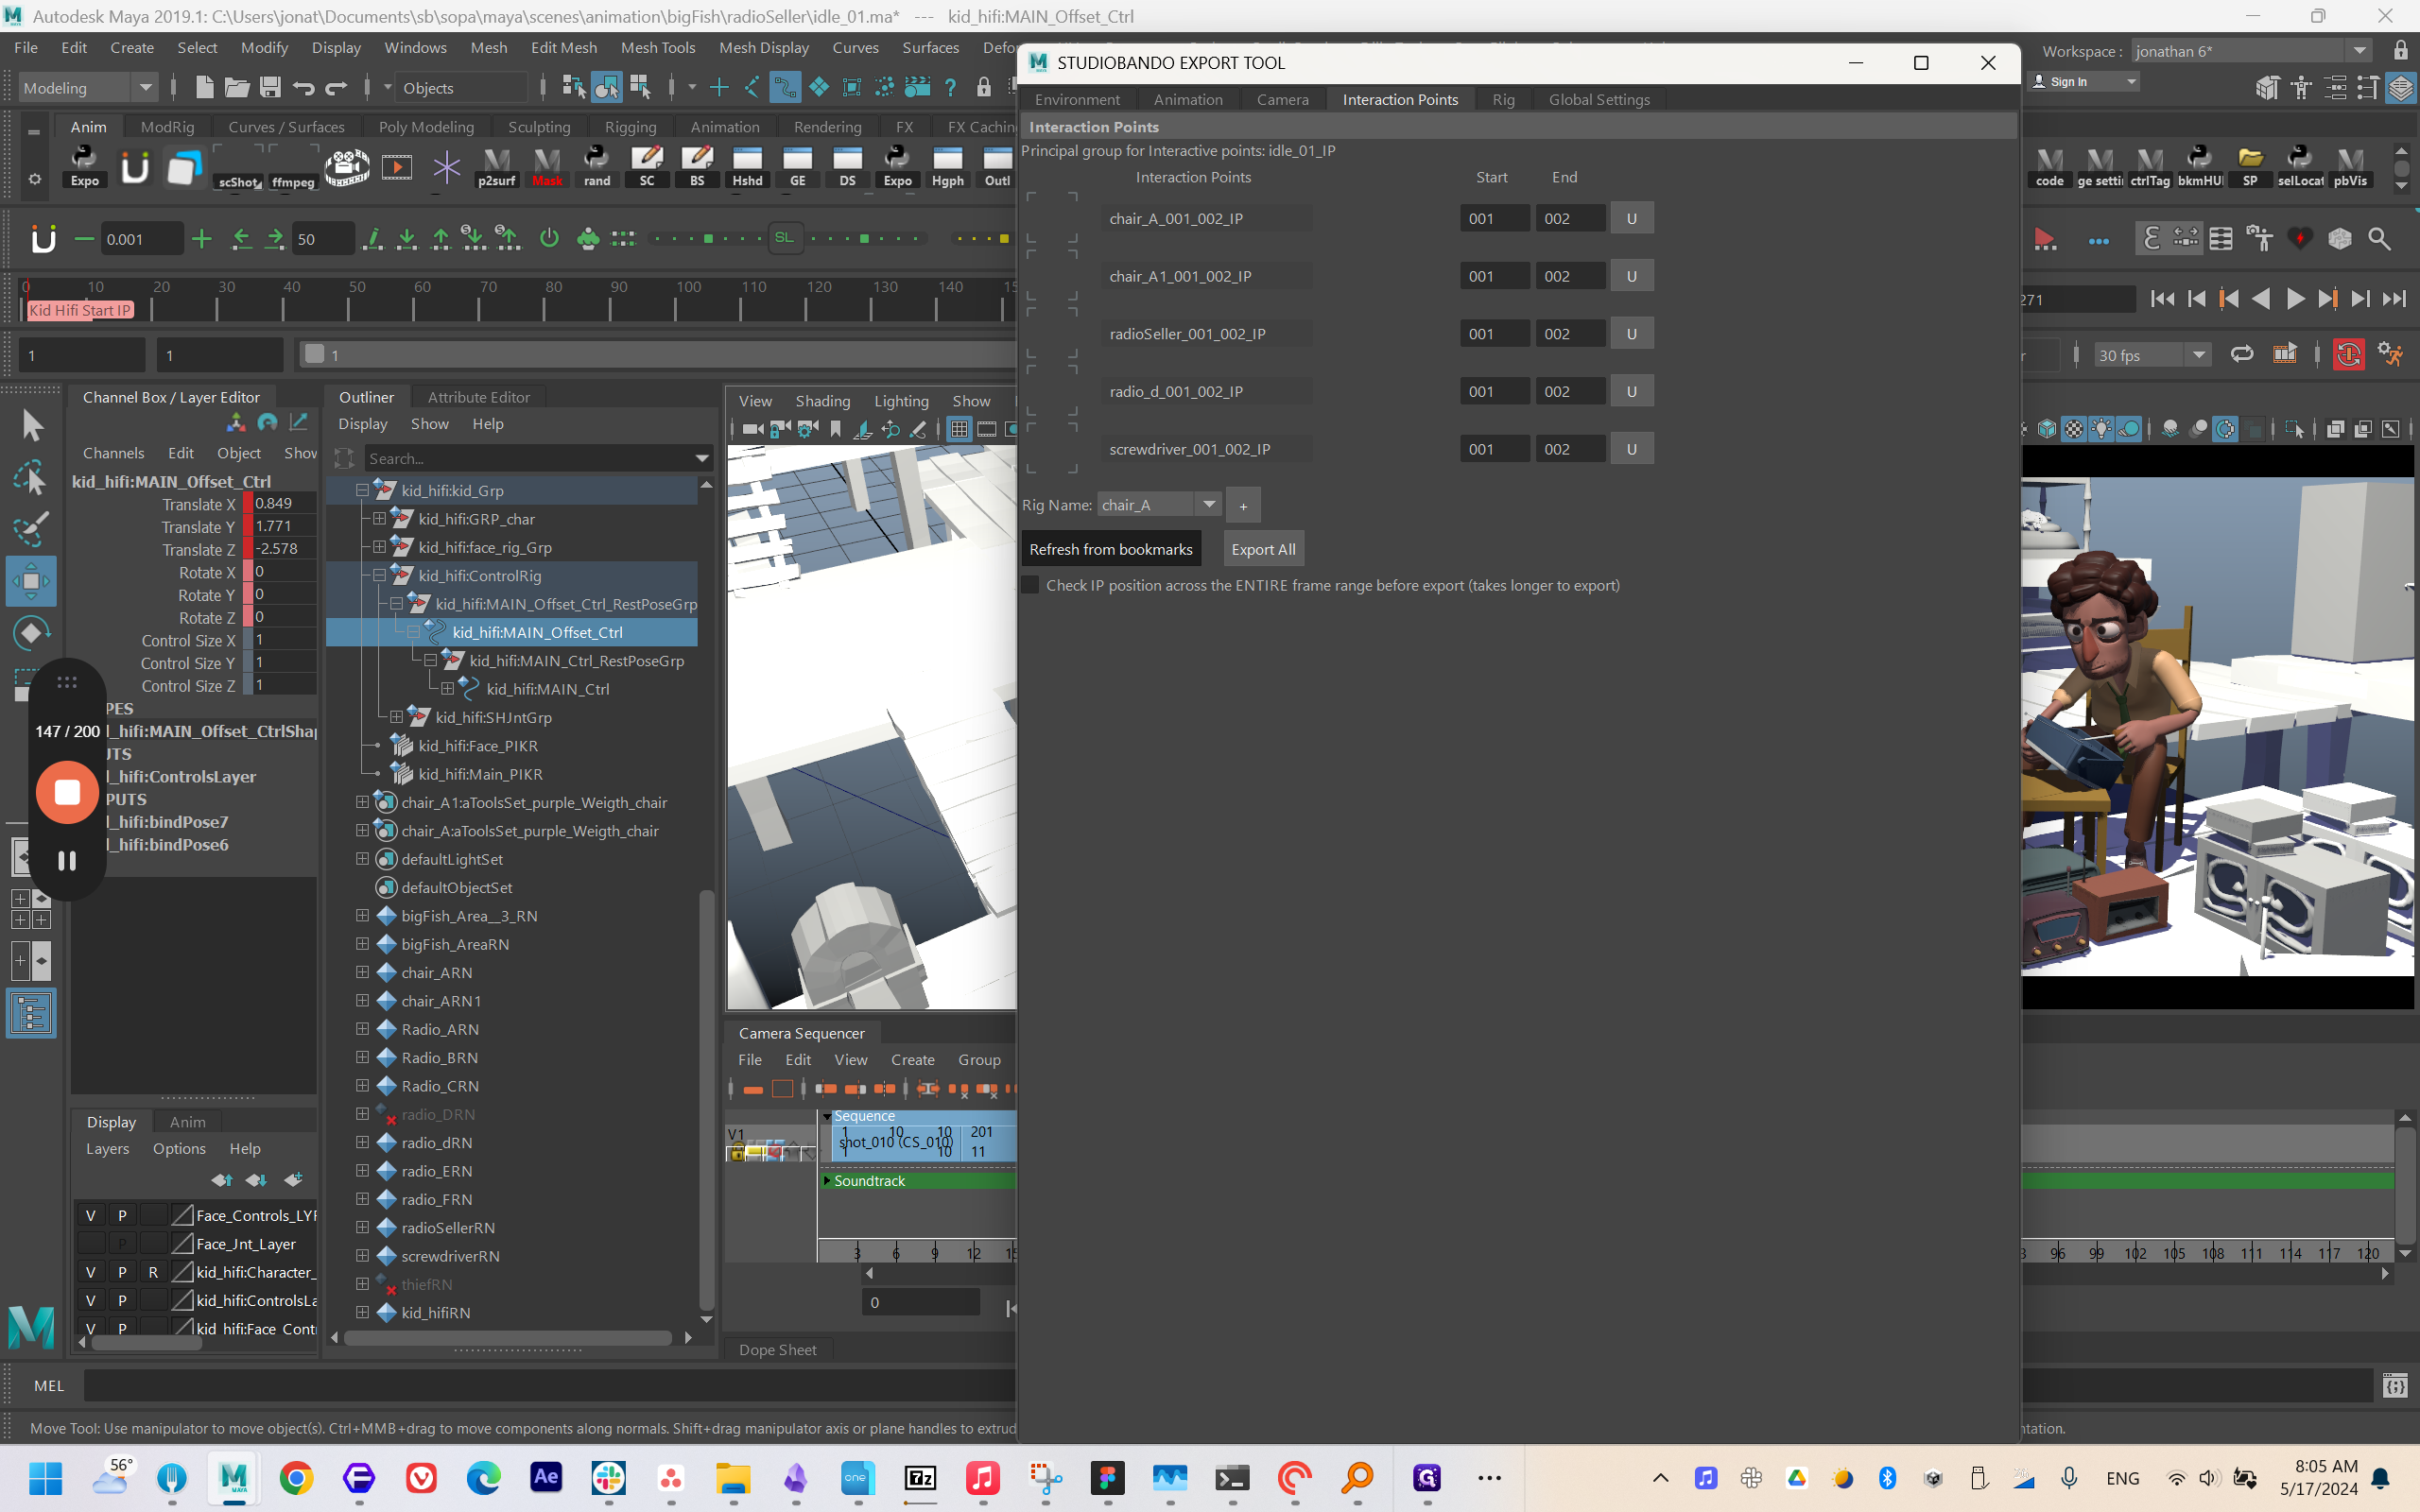
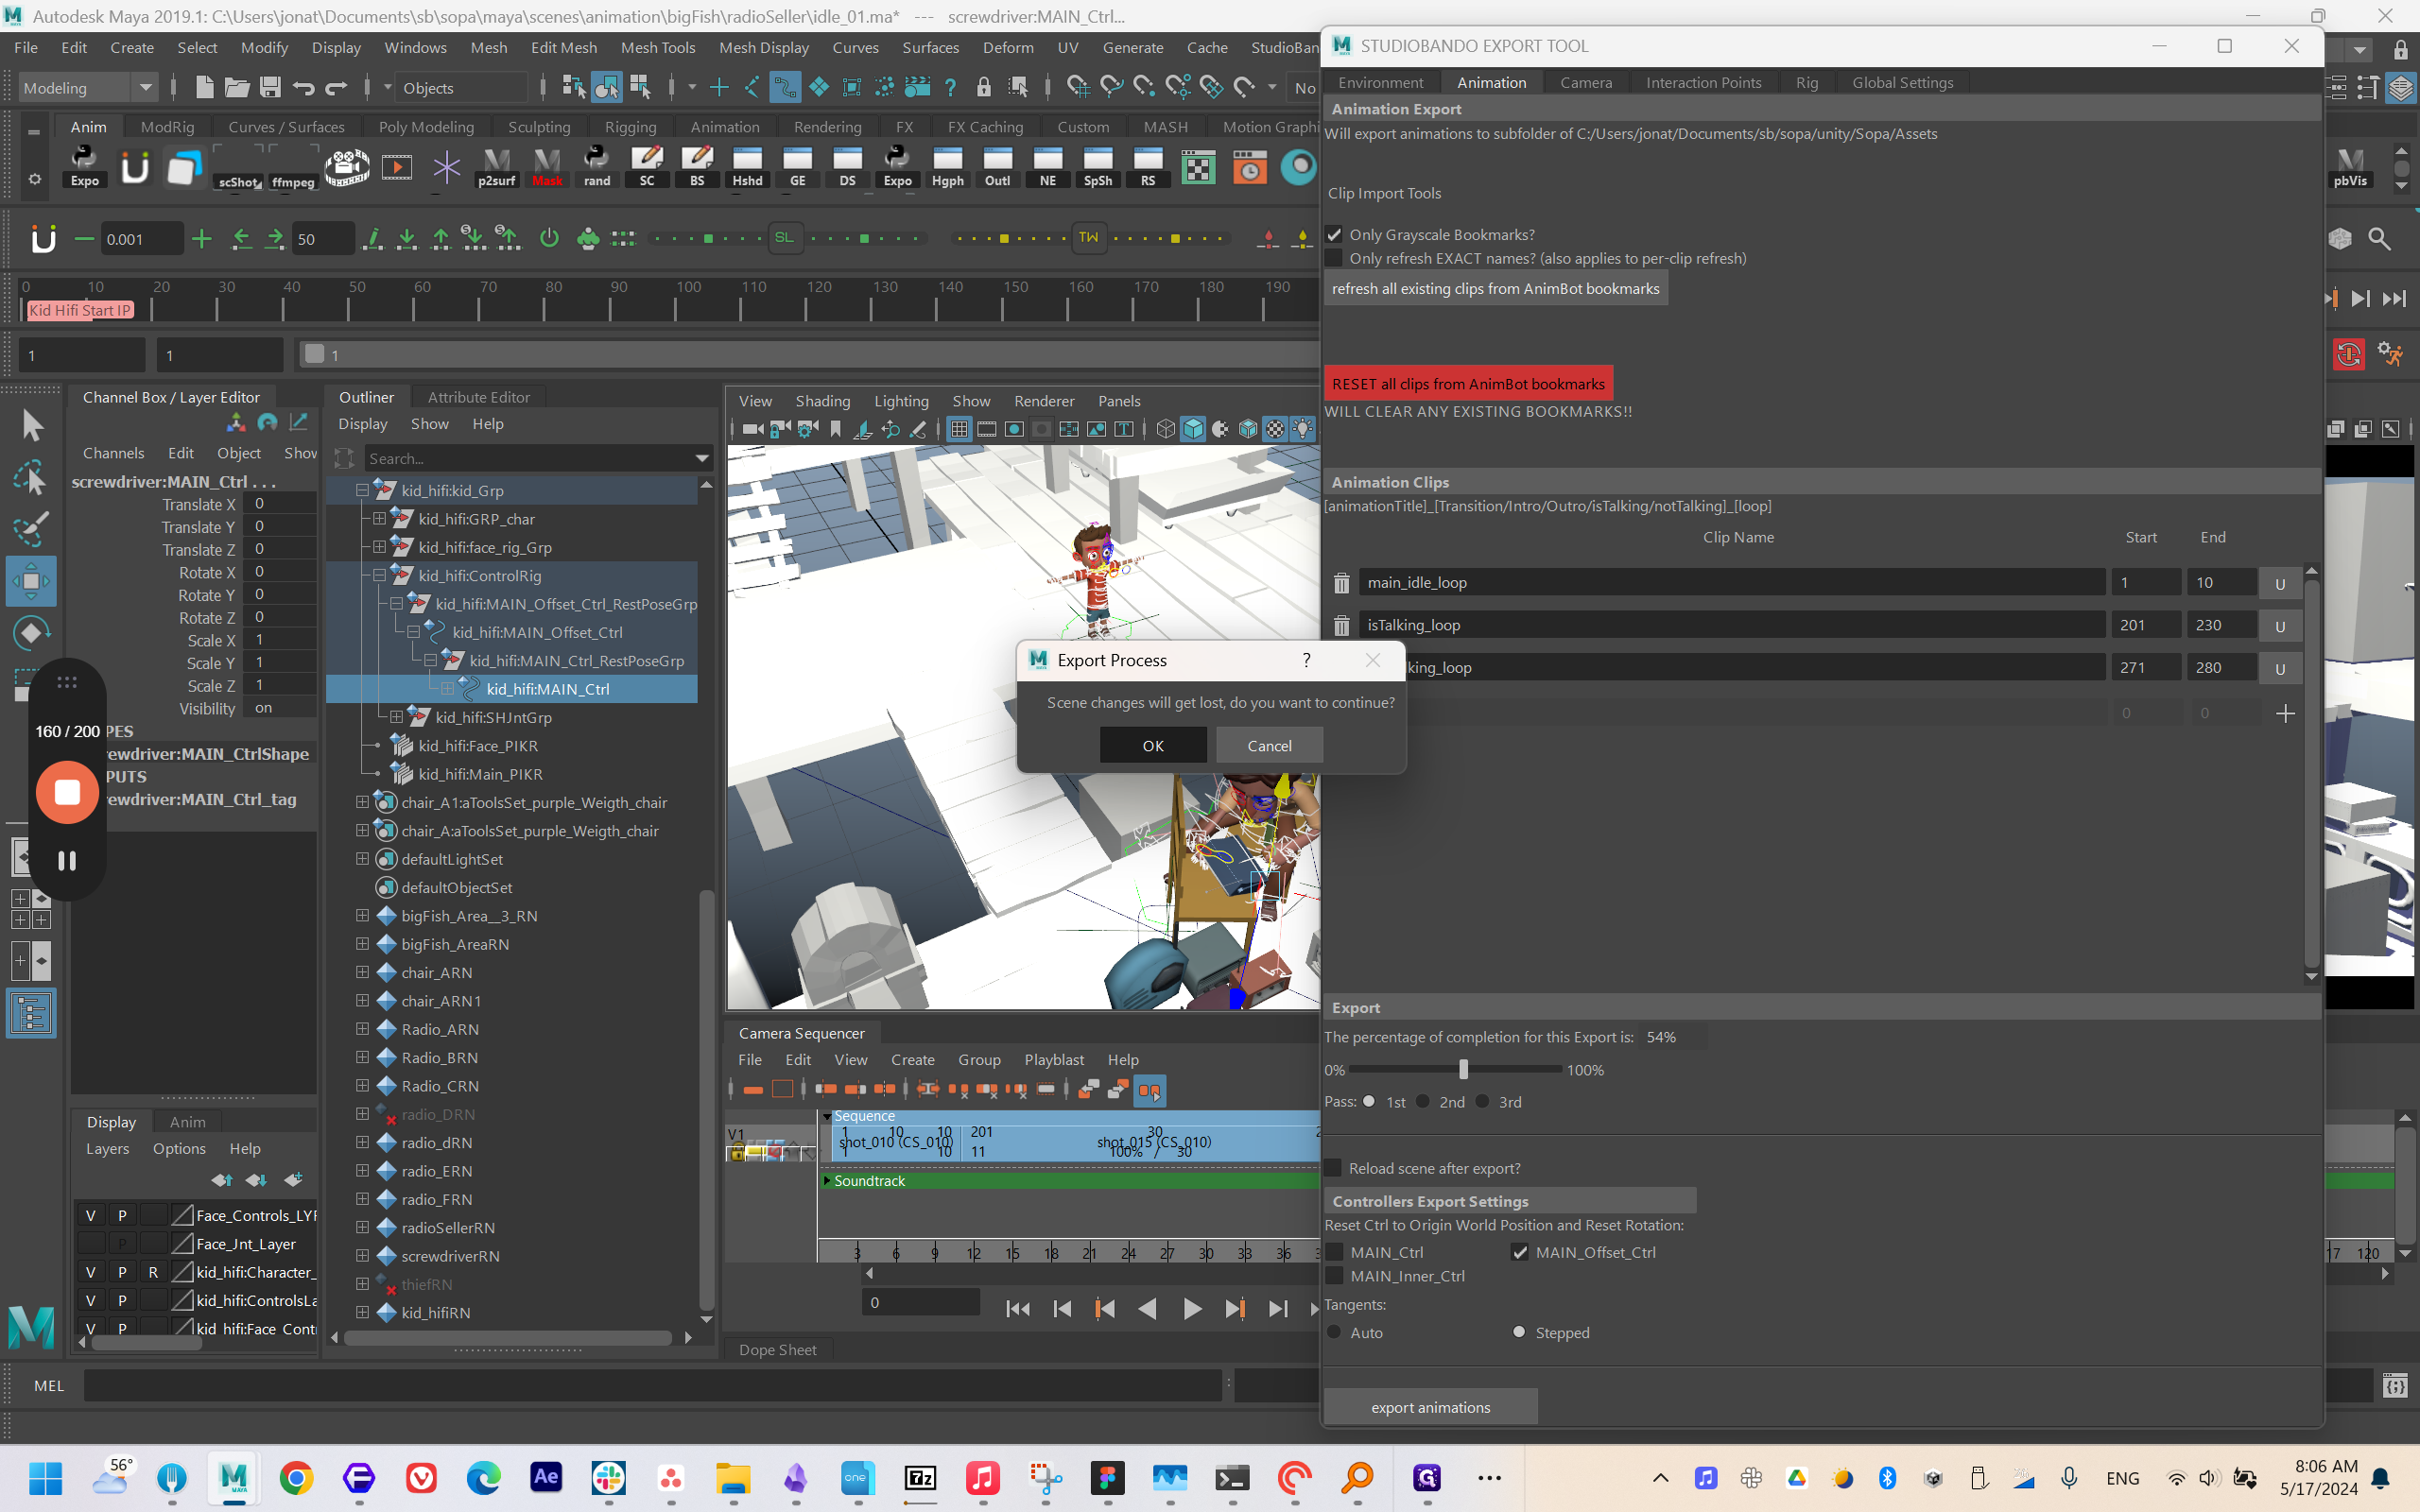
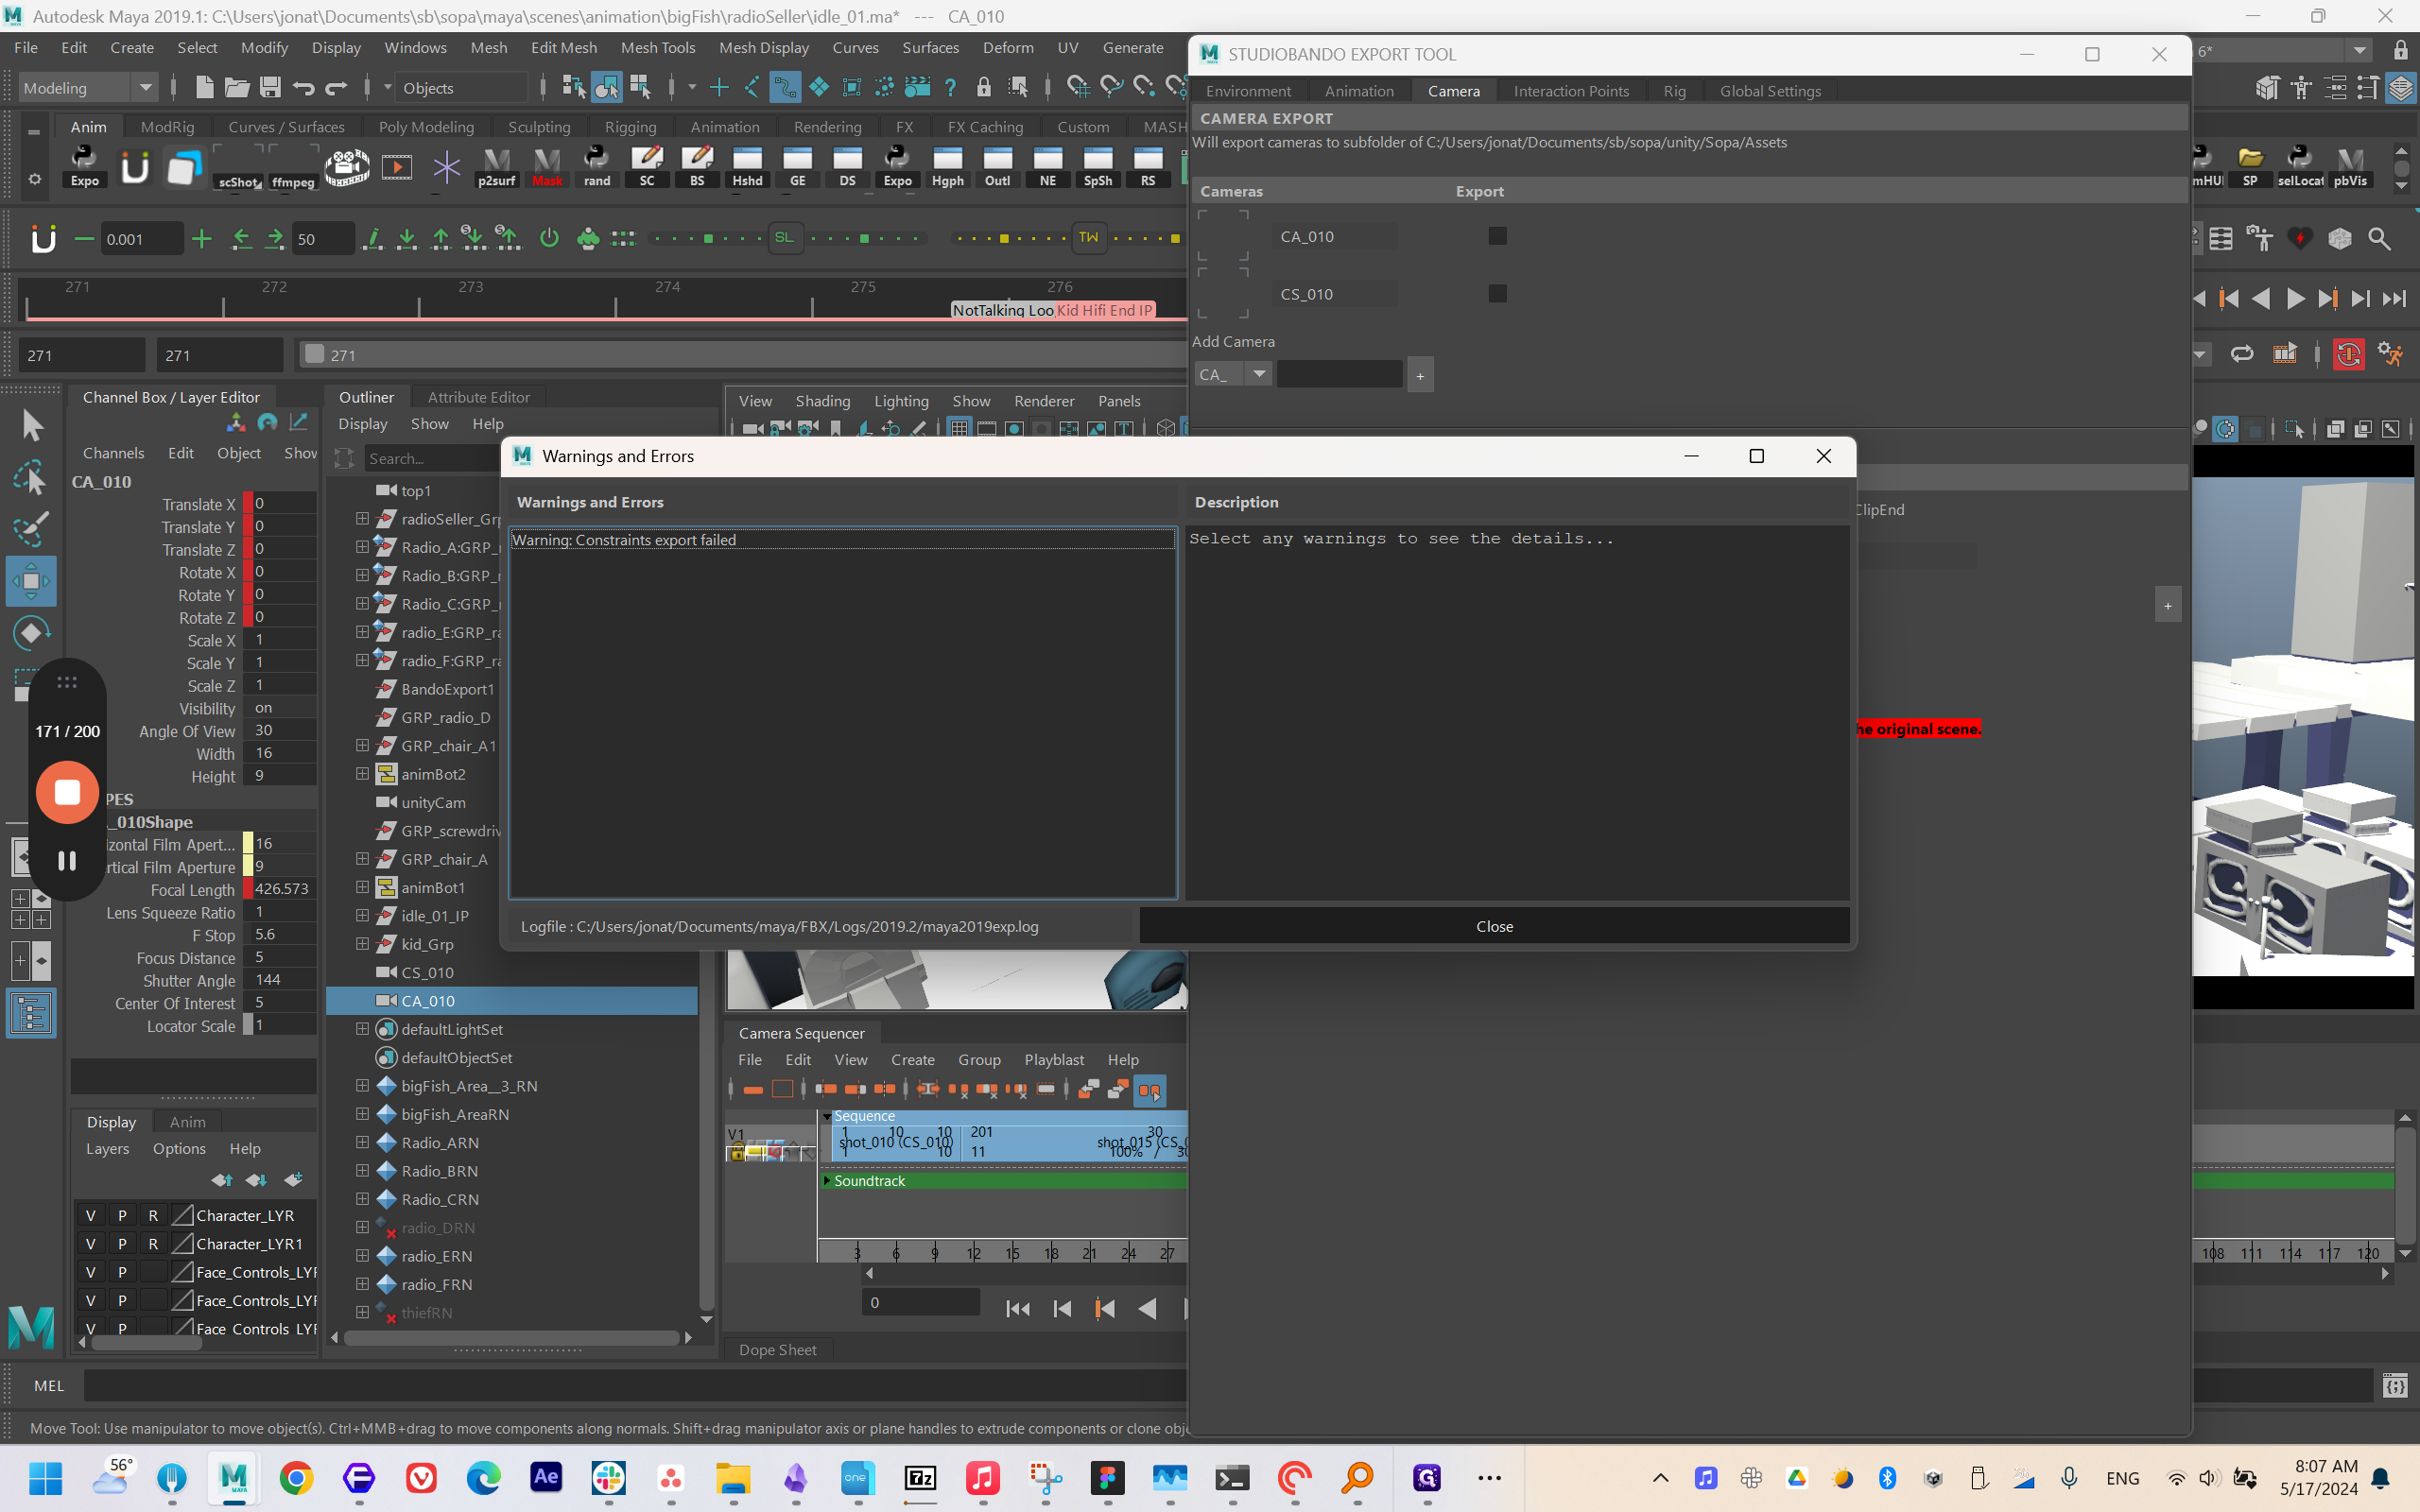
That's basically it. Then, you can export all of these.
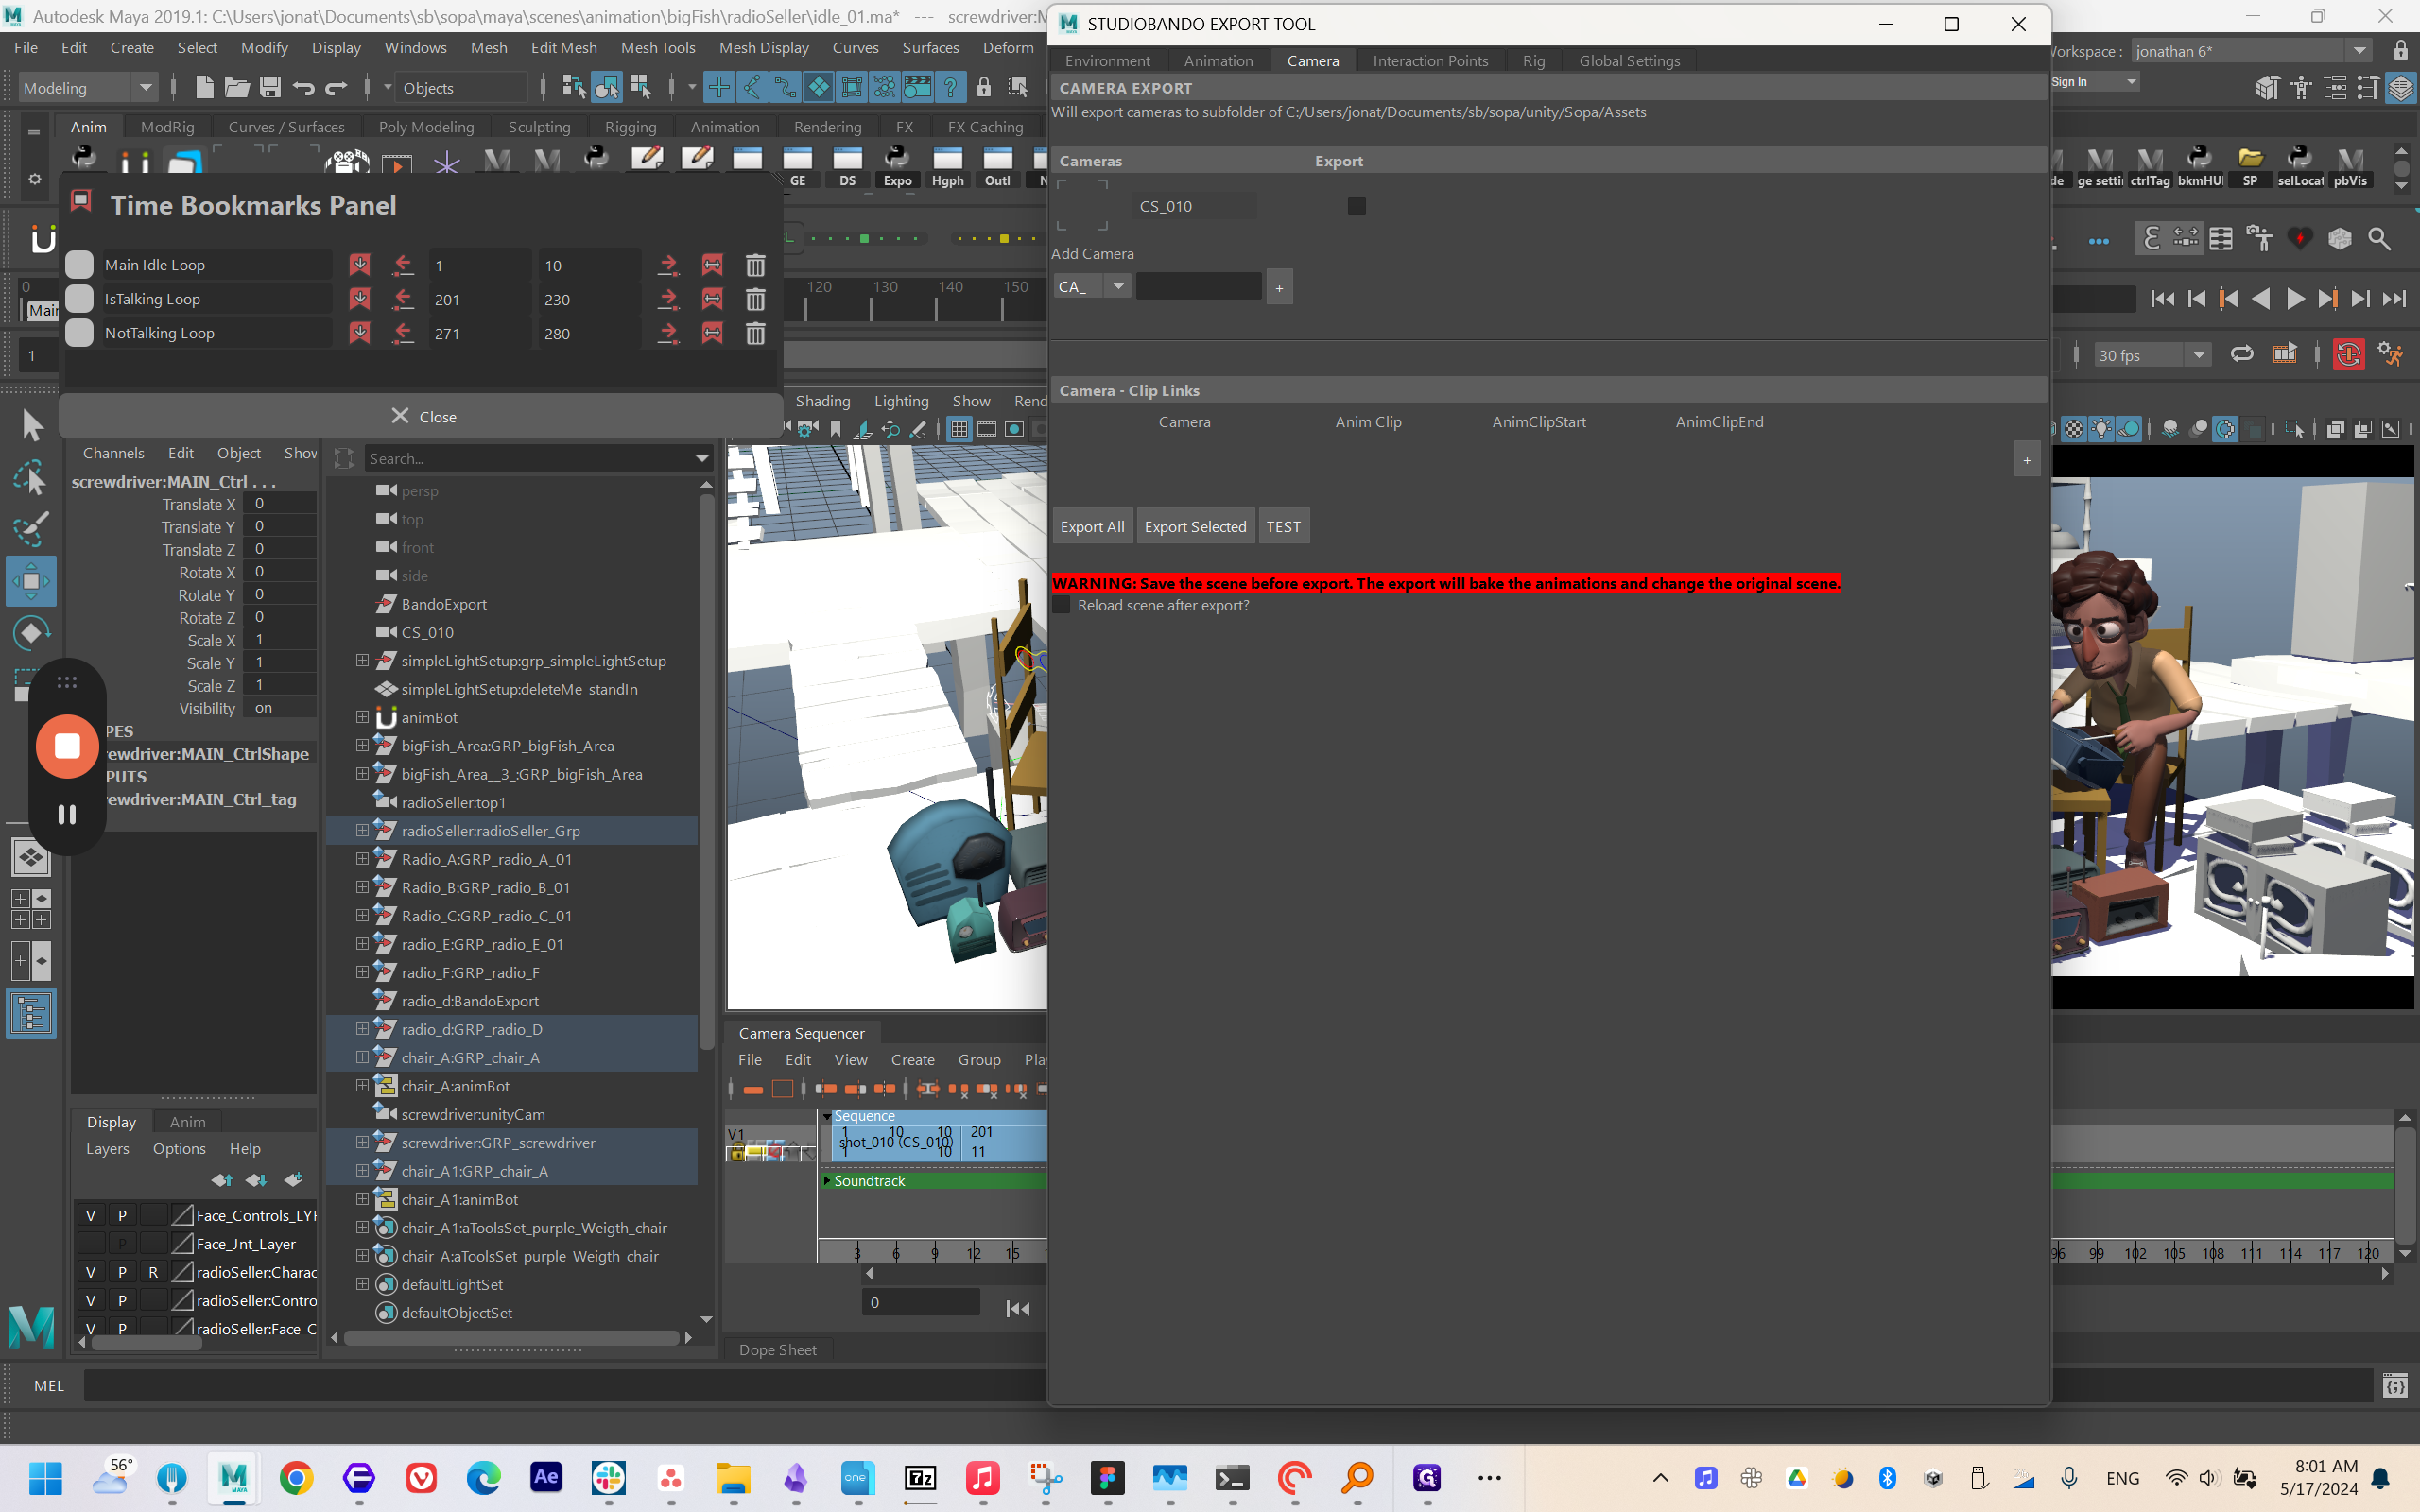
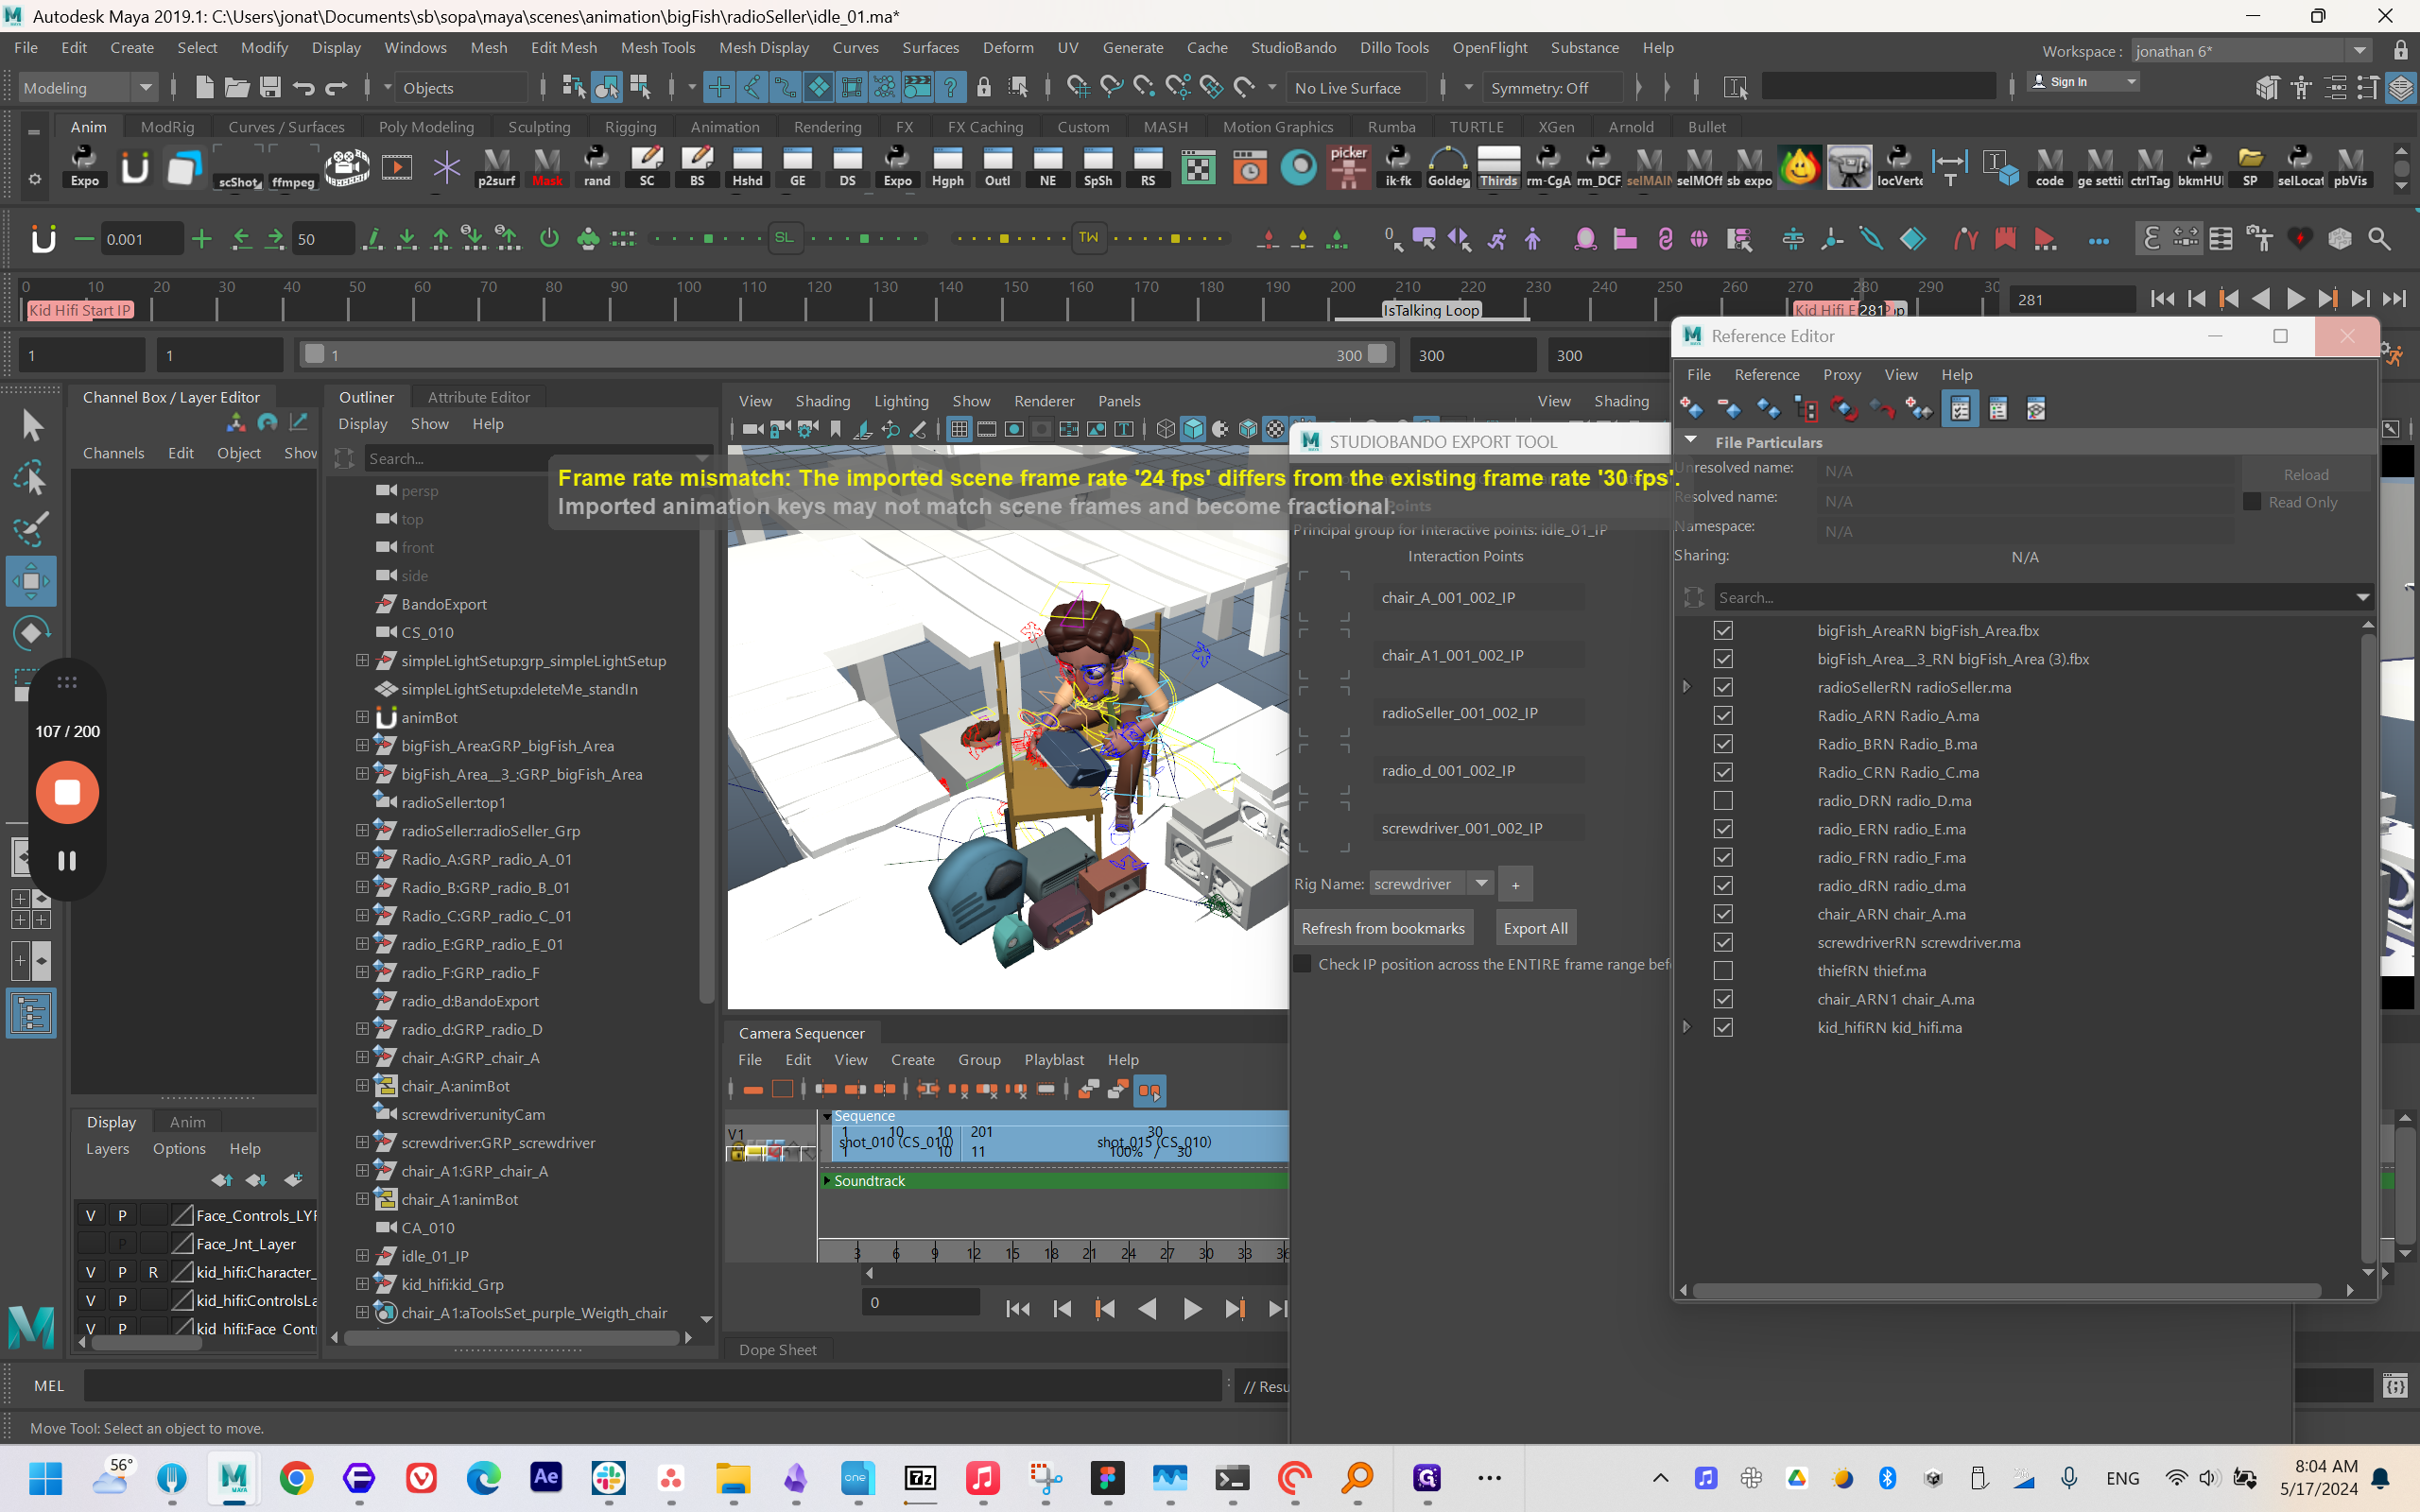
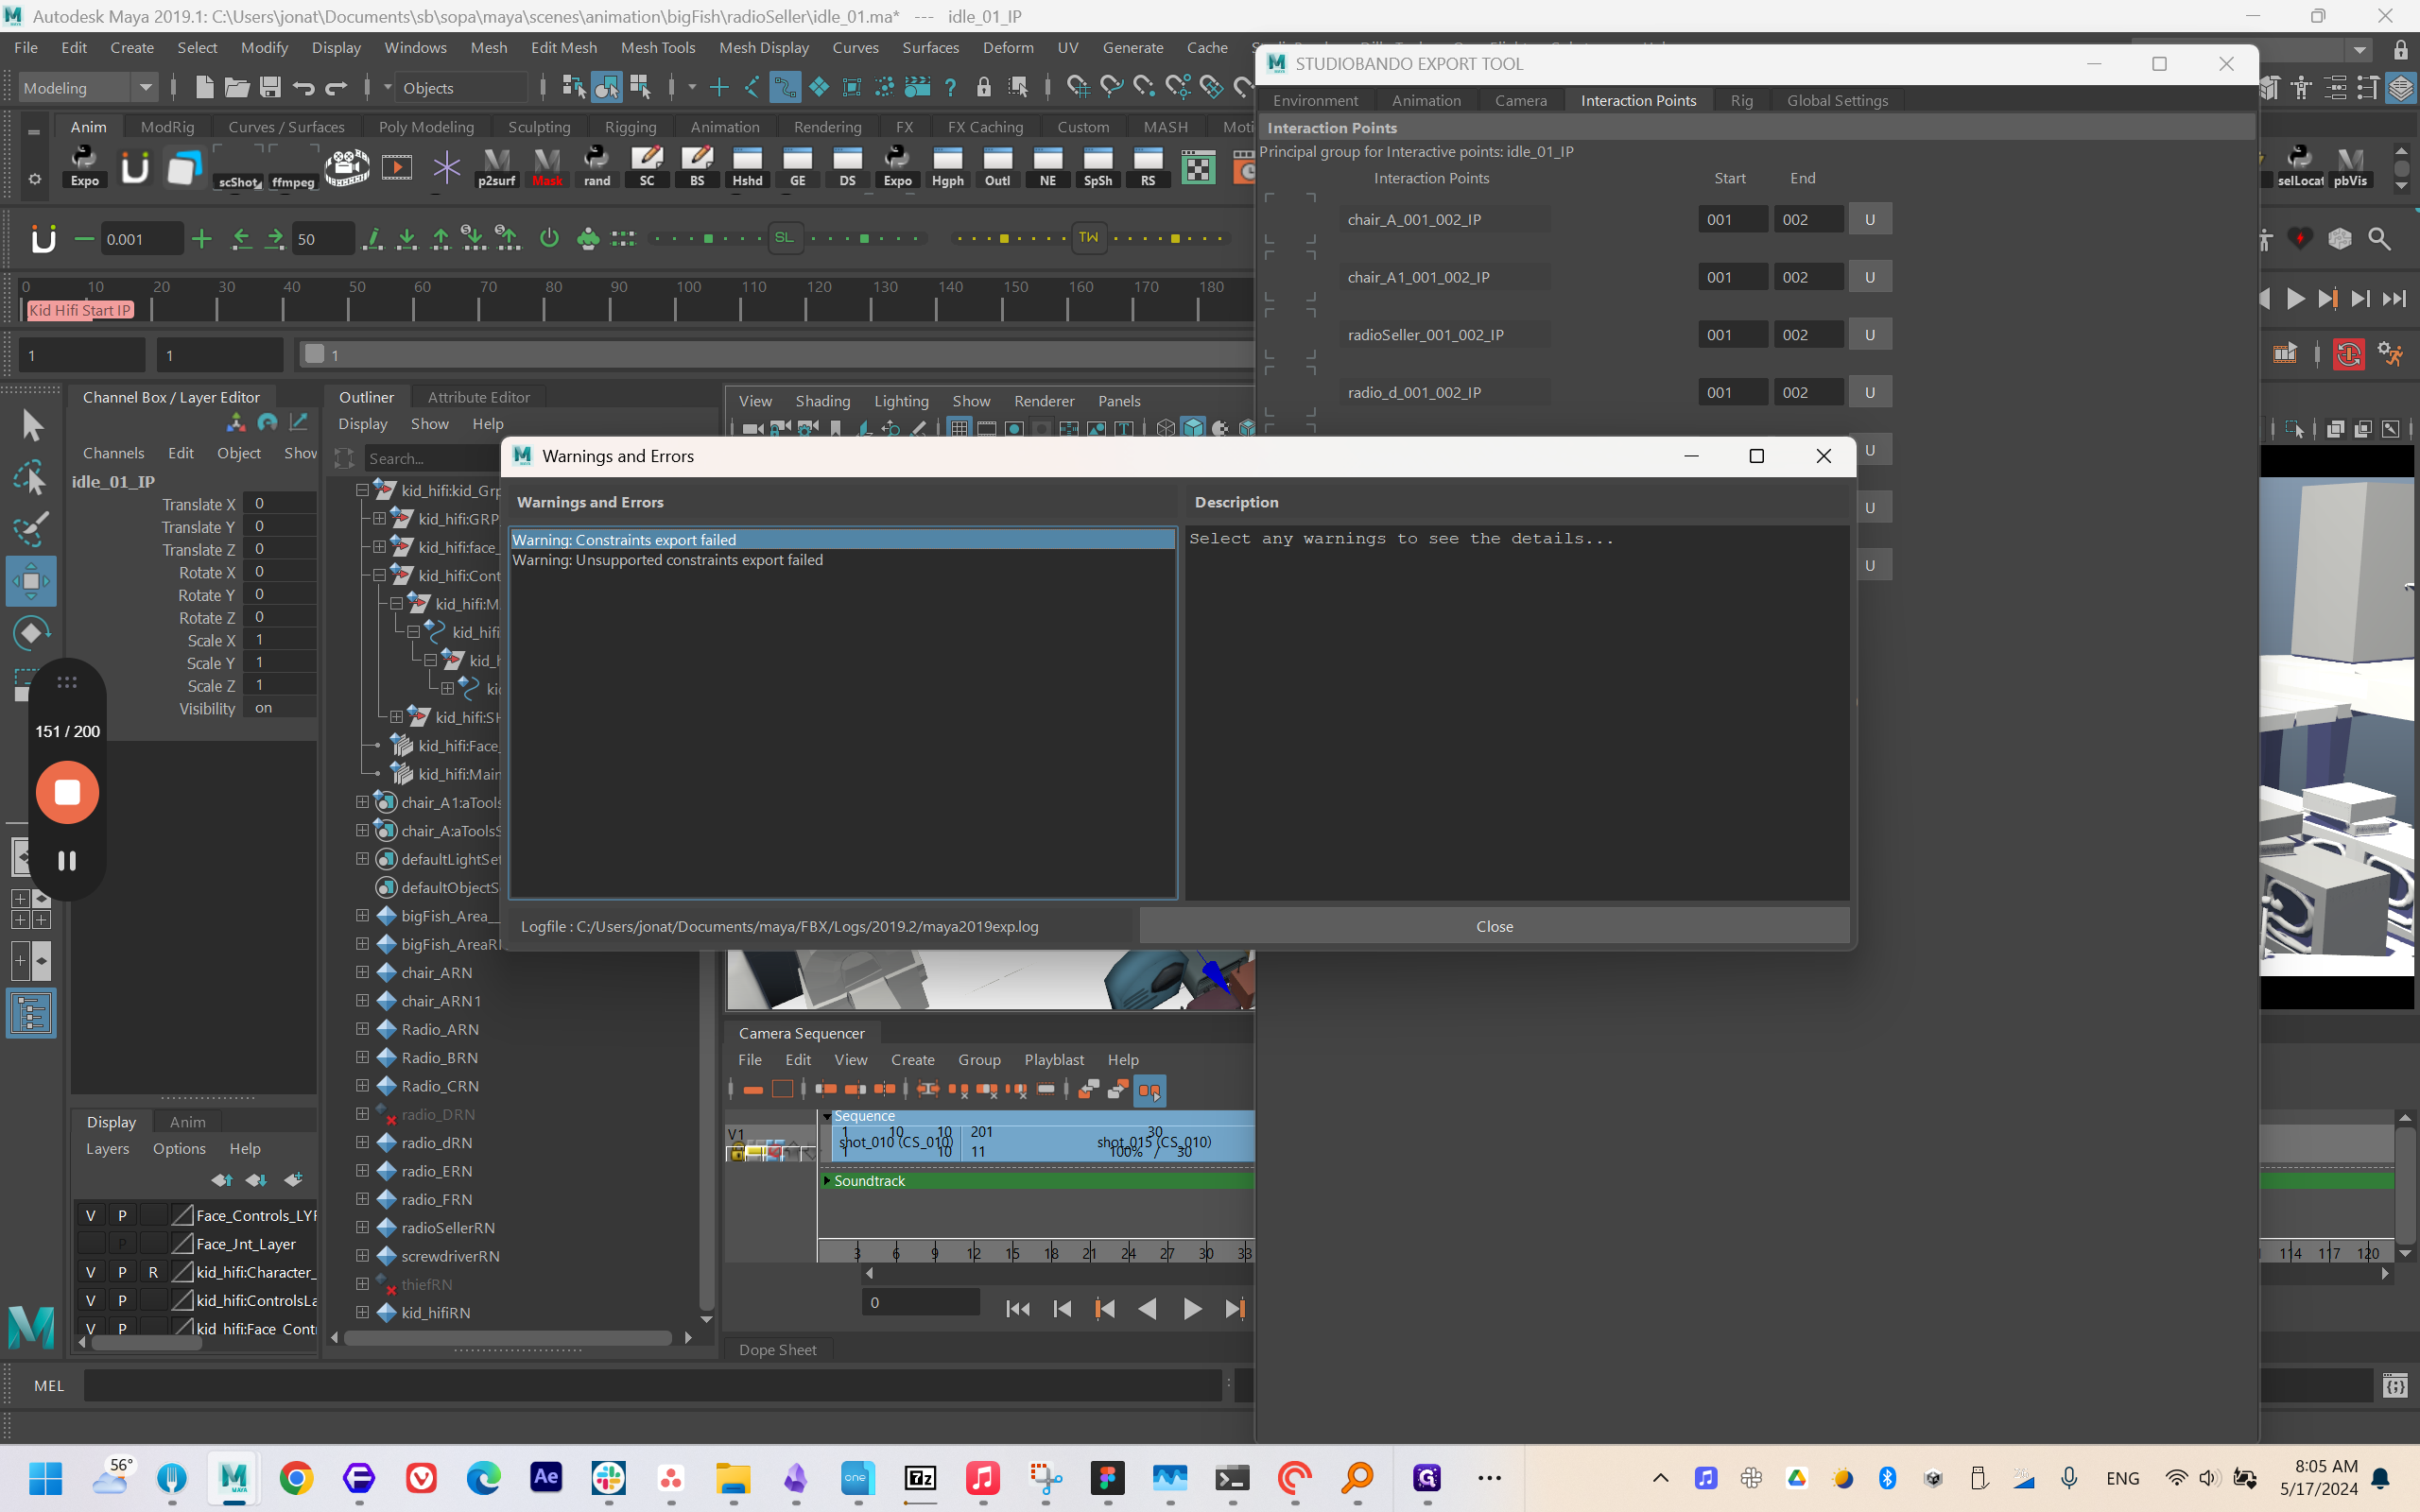
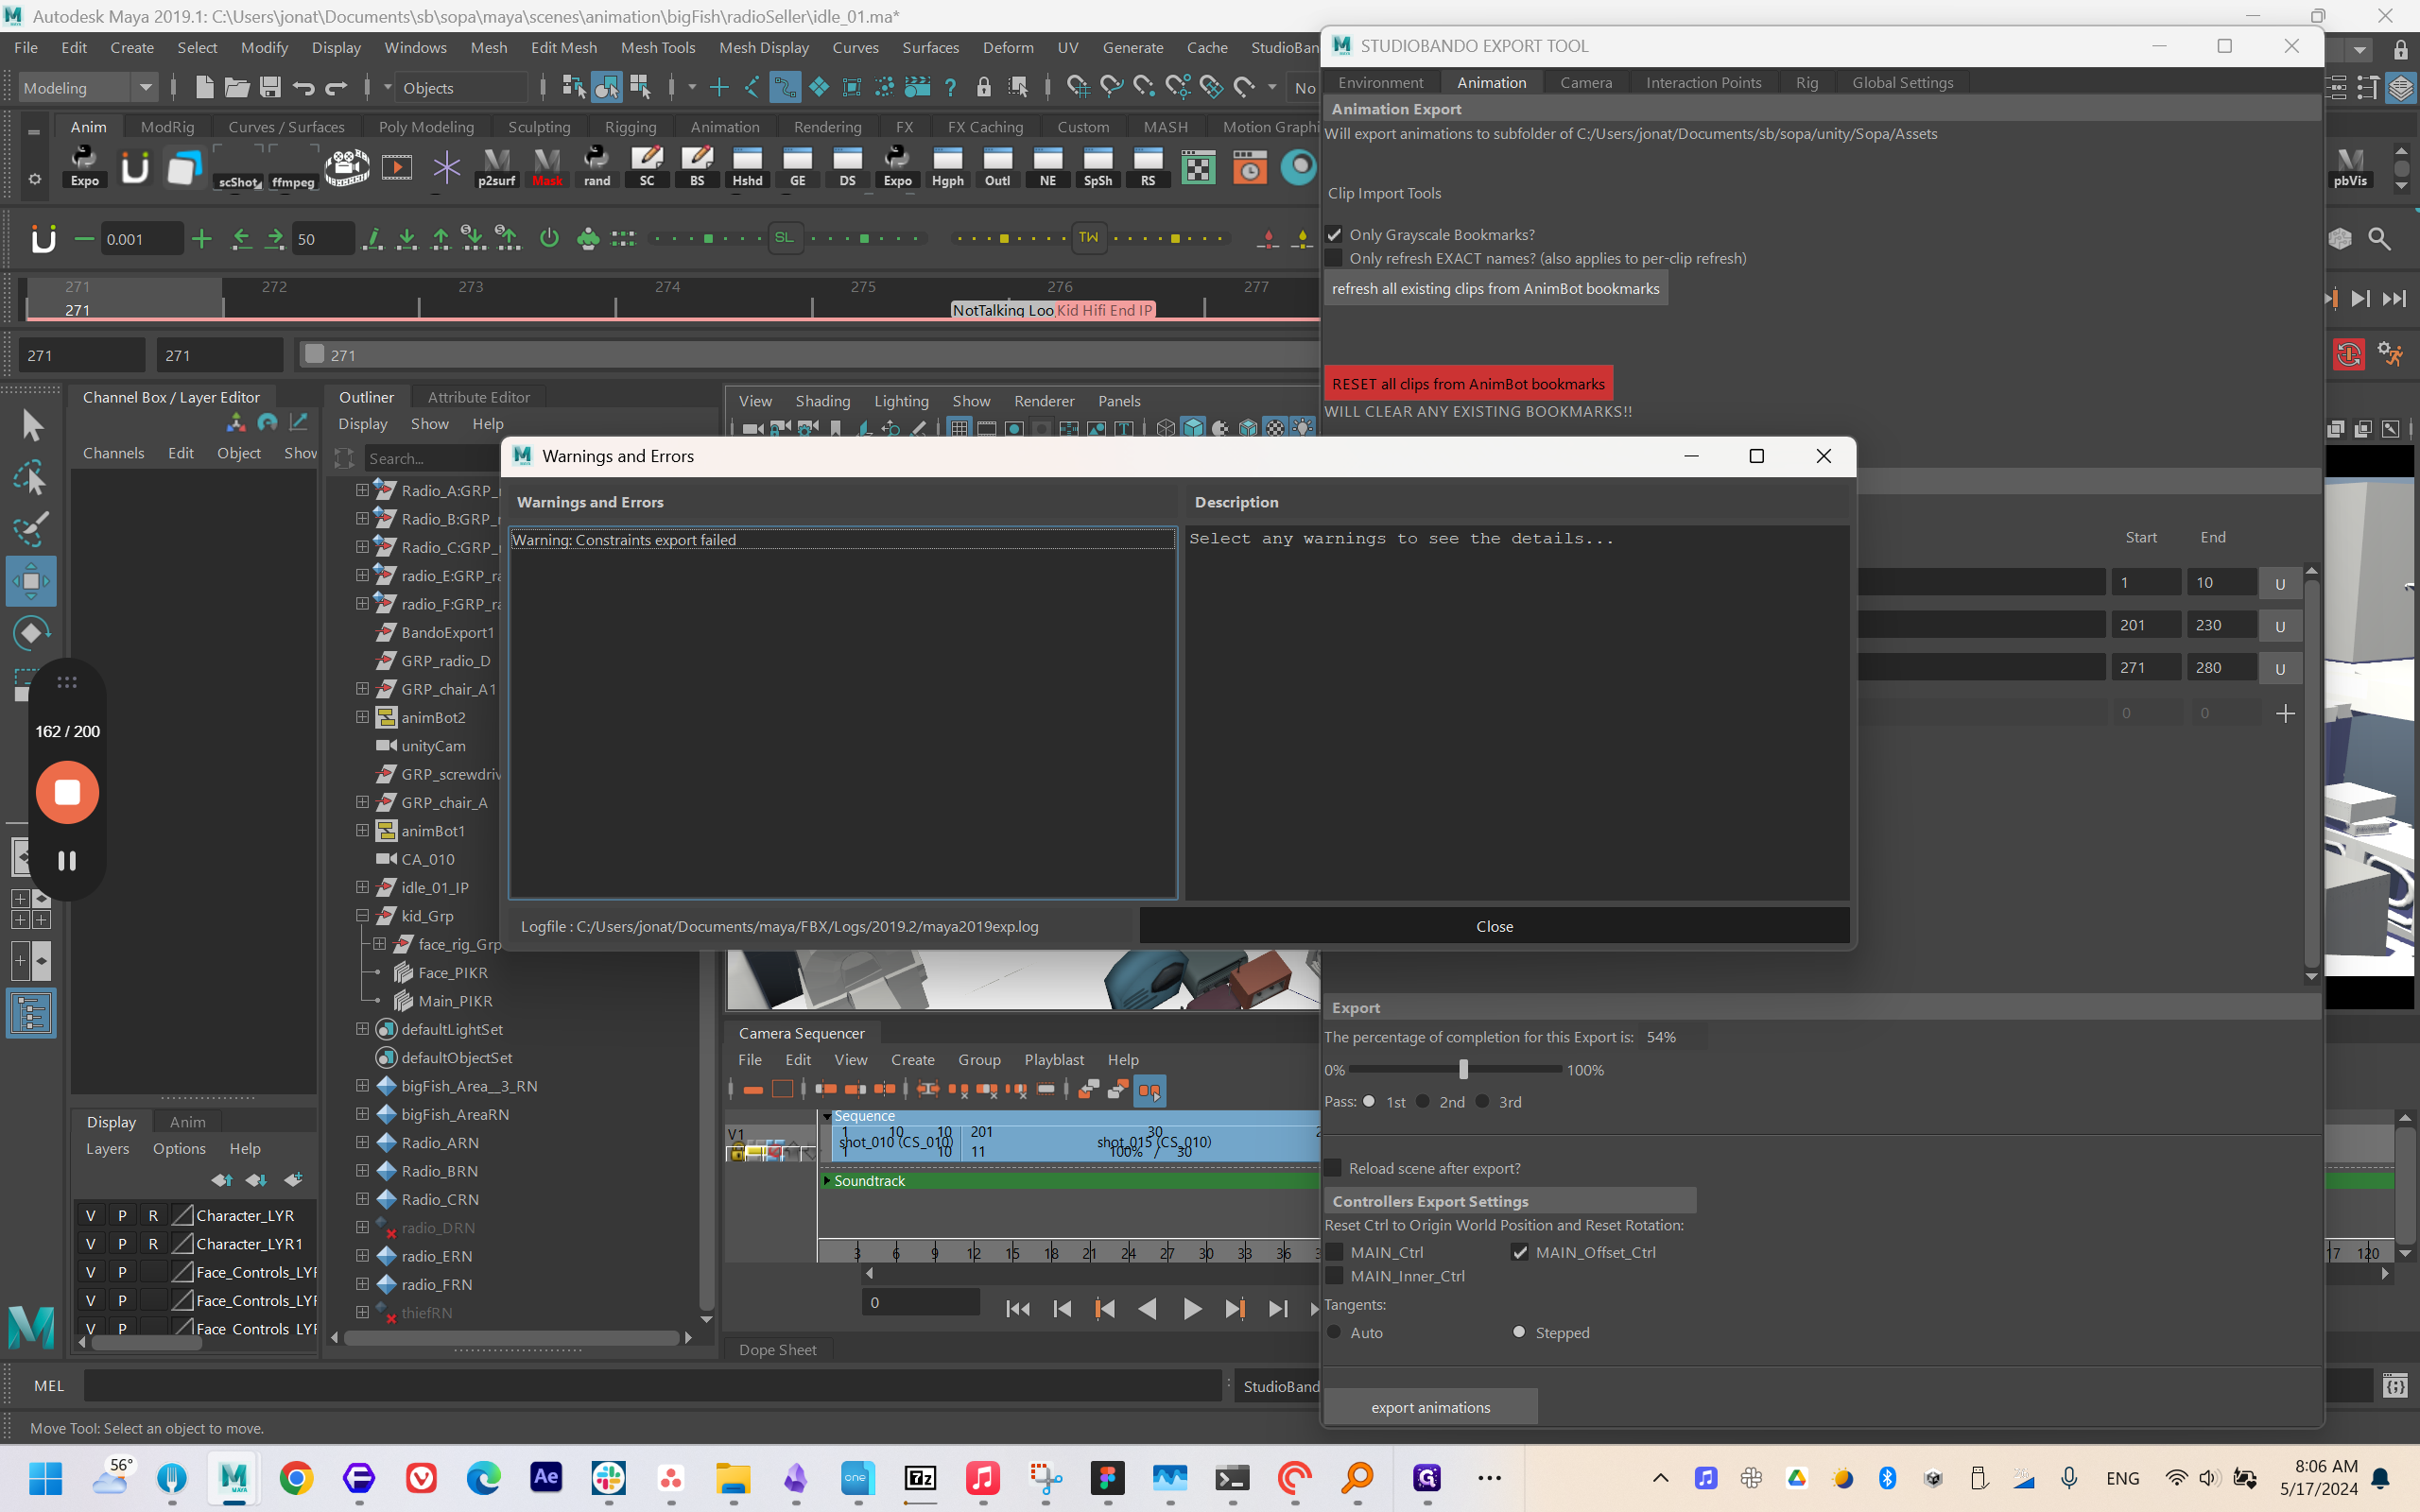
This message is fine. Don't worry about it as long as it's only the constraints export and the unsupported constraints.

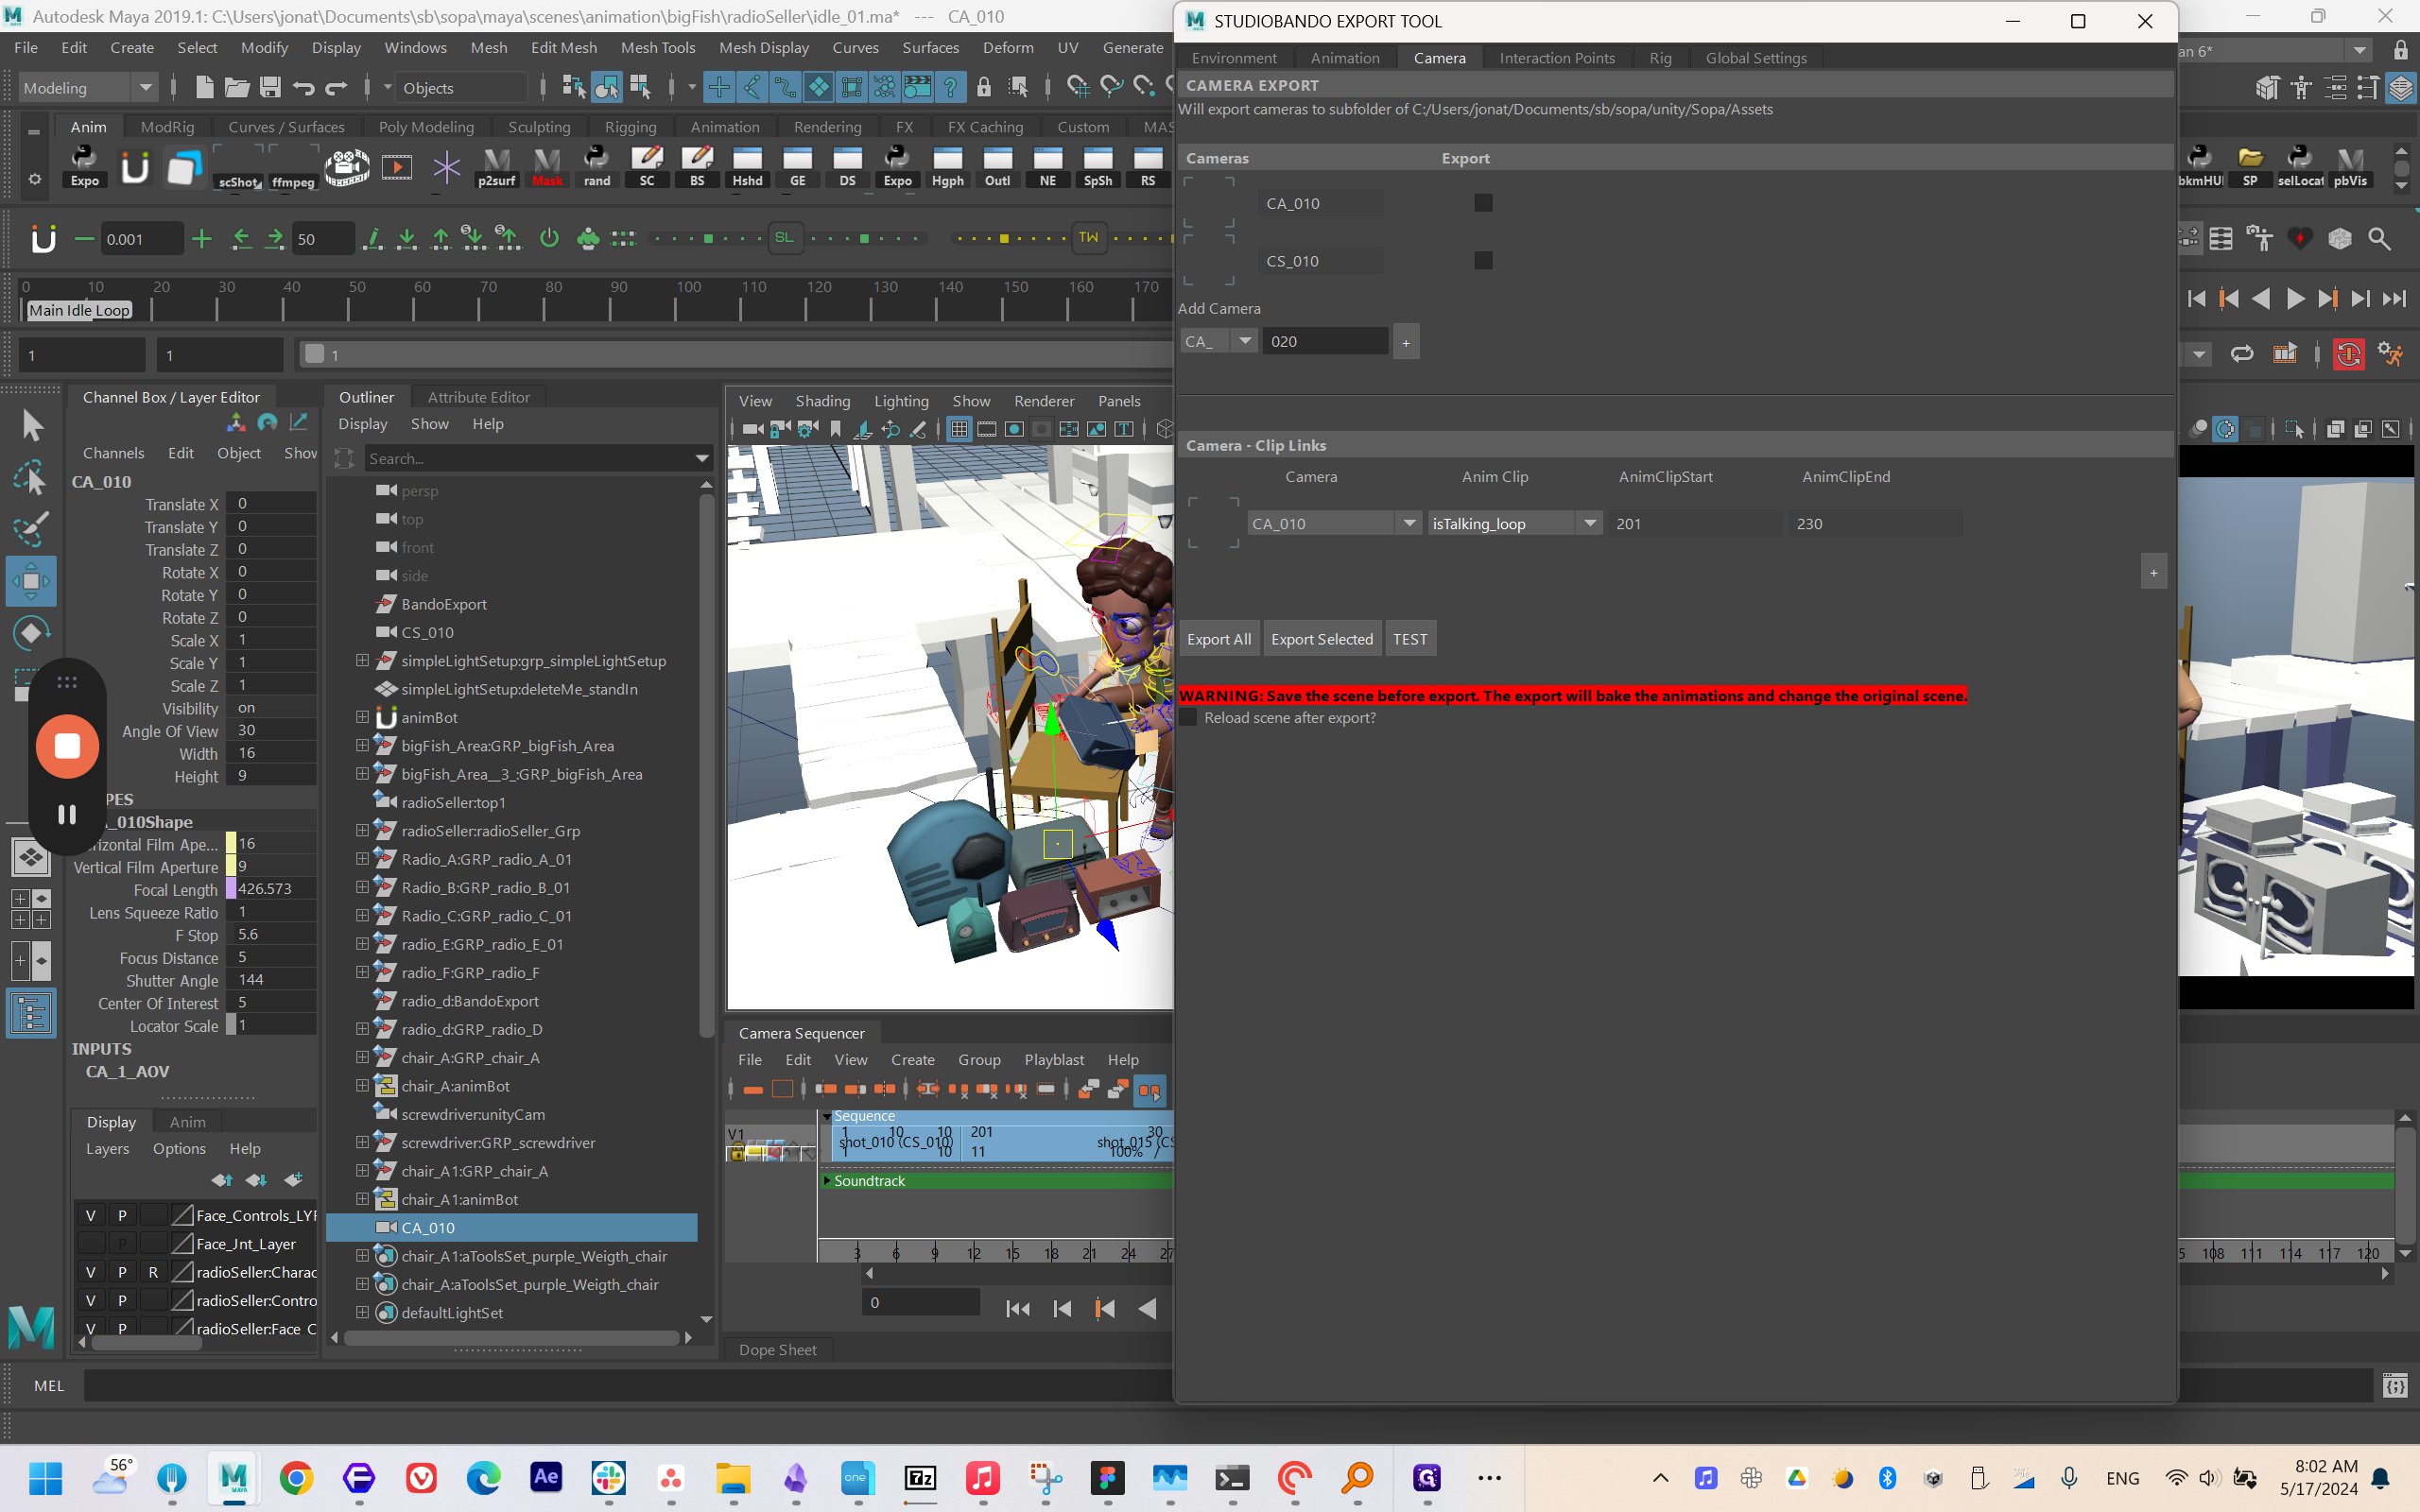
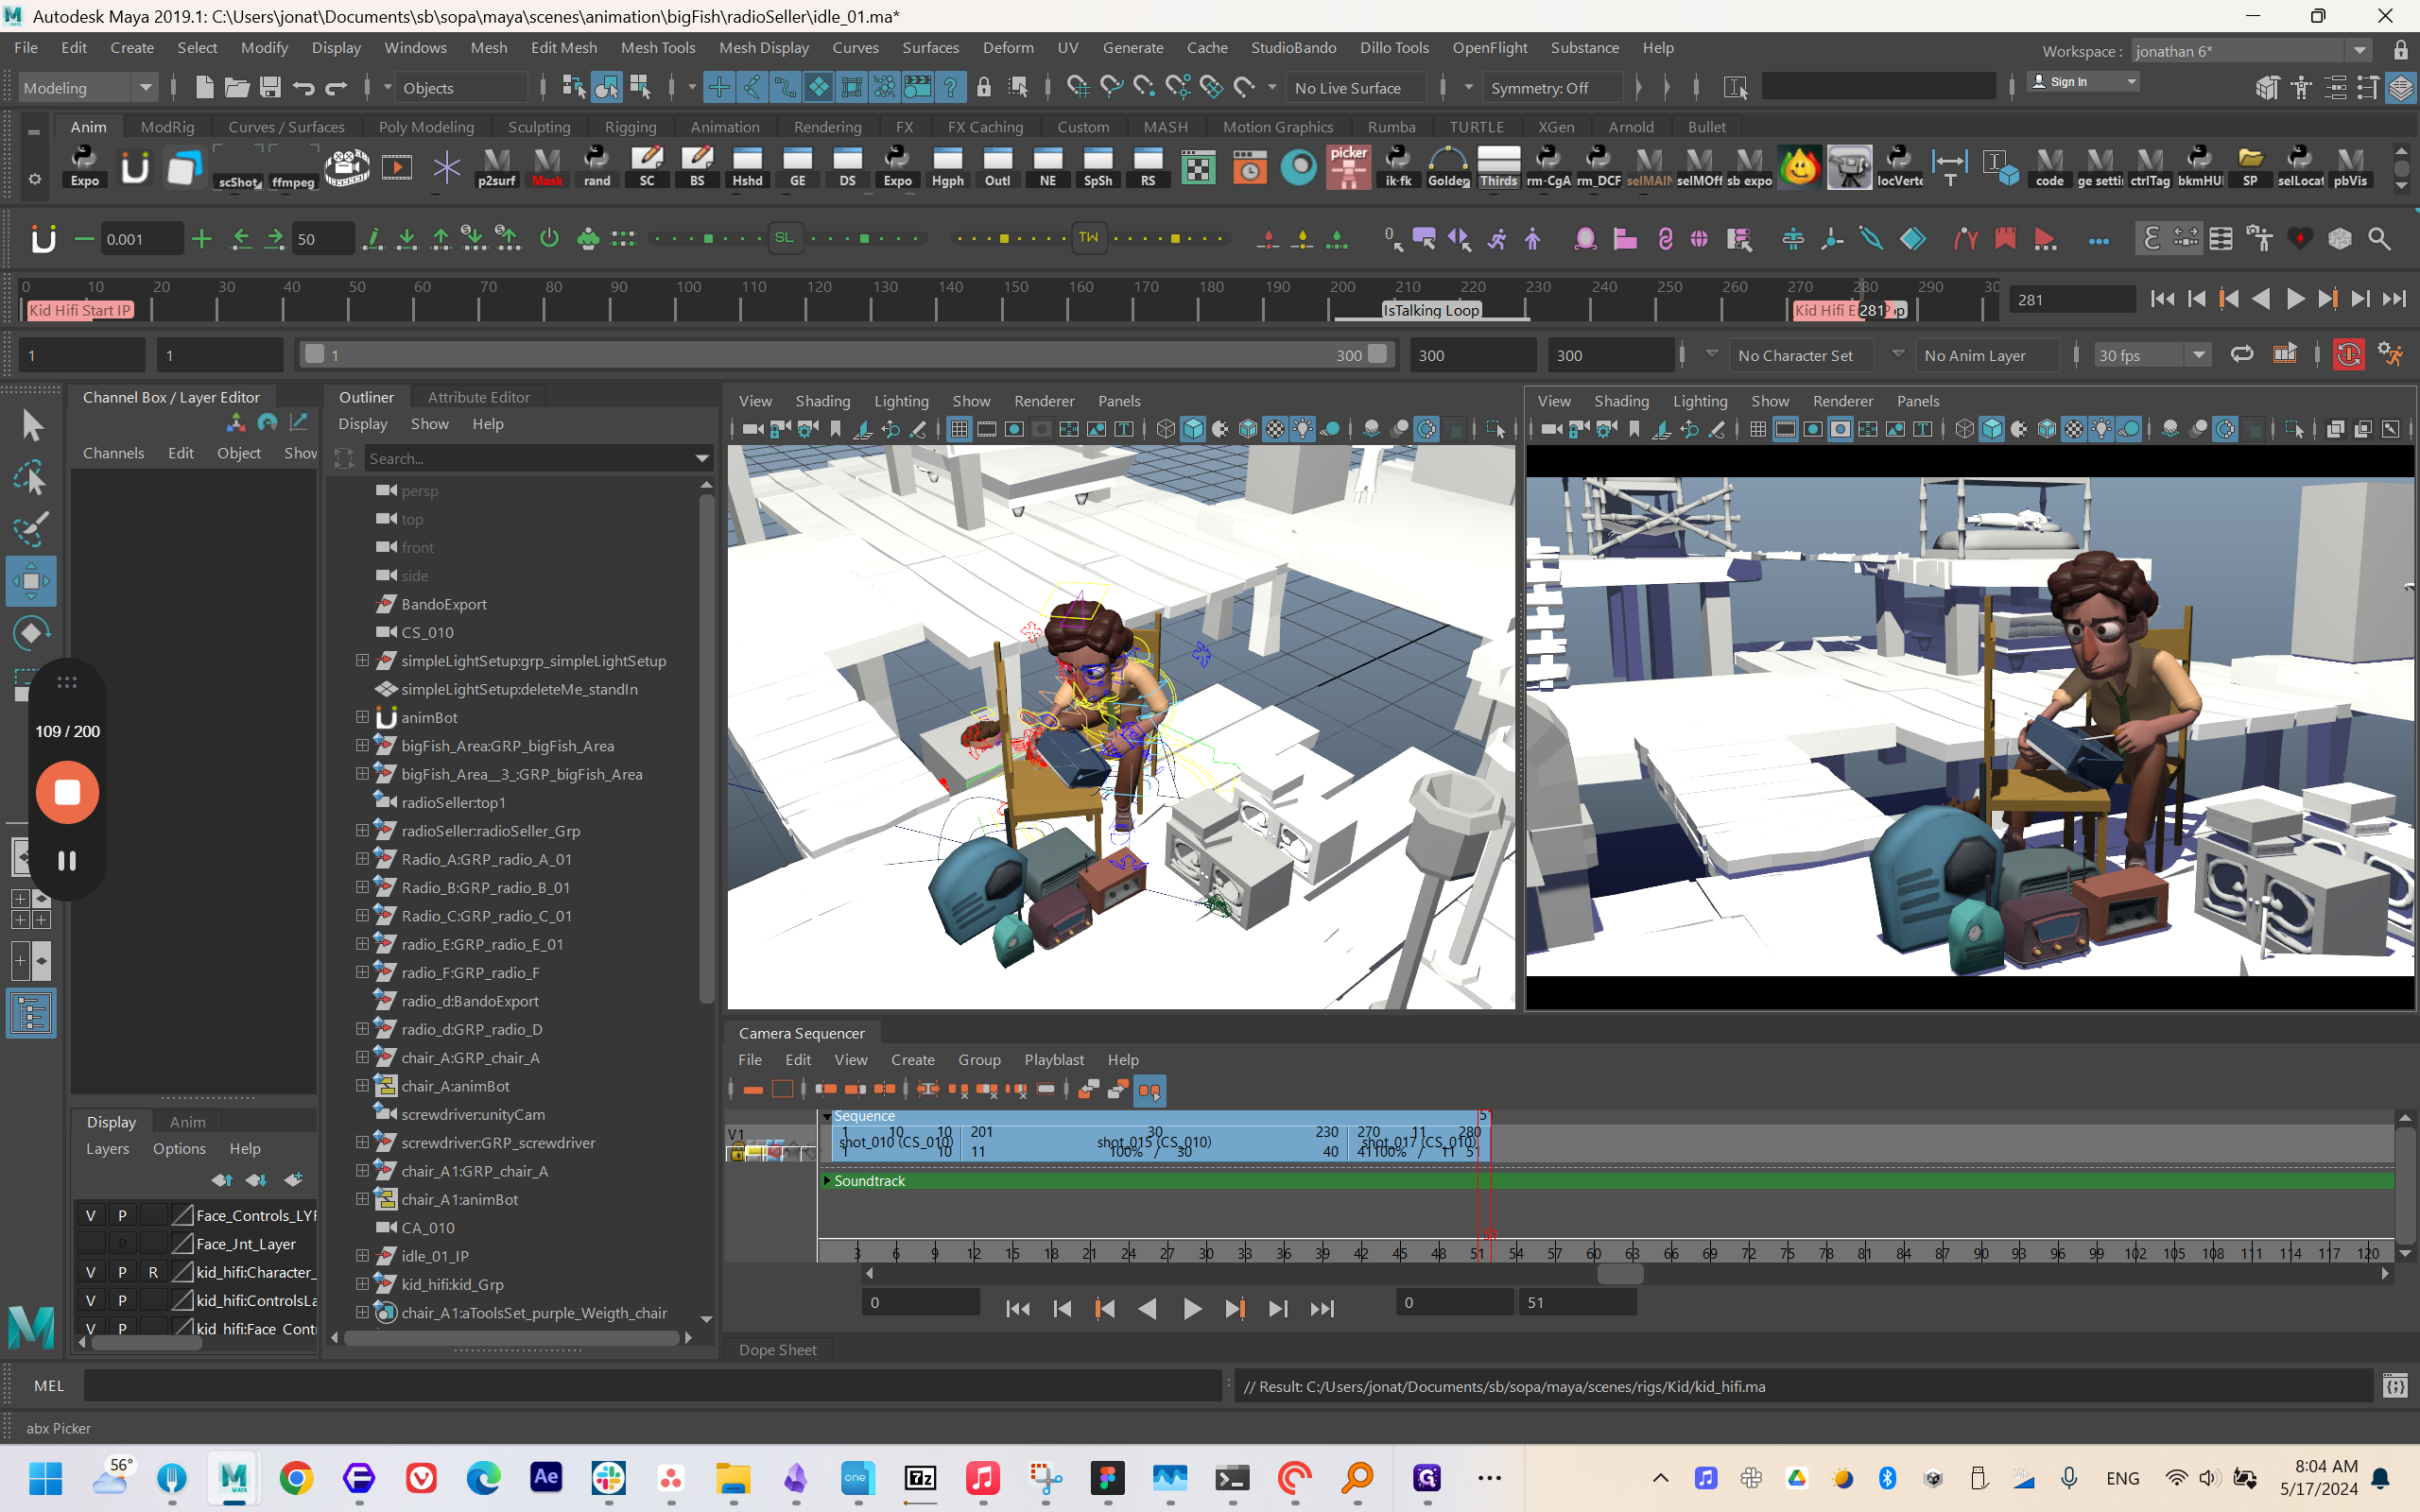
I will wait for the camera as exporting the animations takes longer.
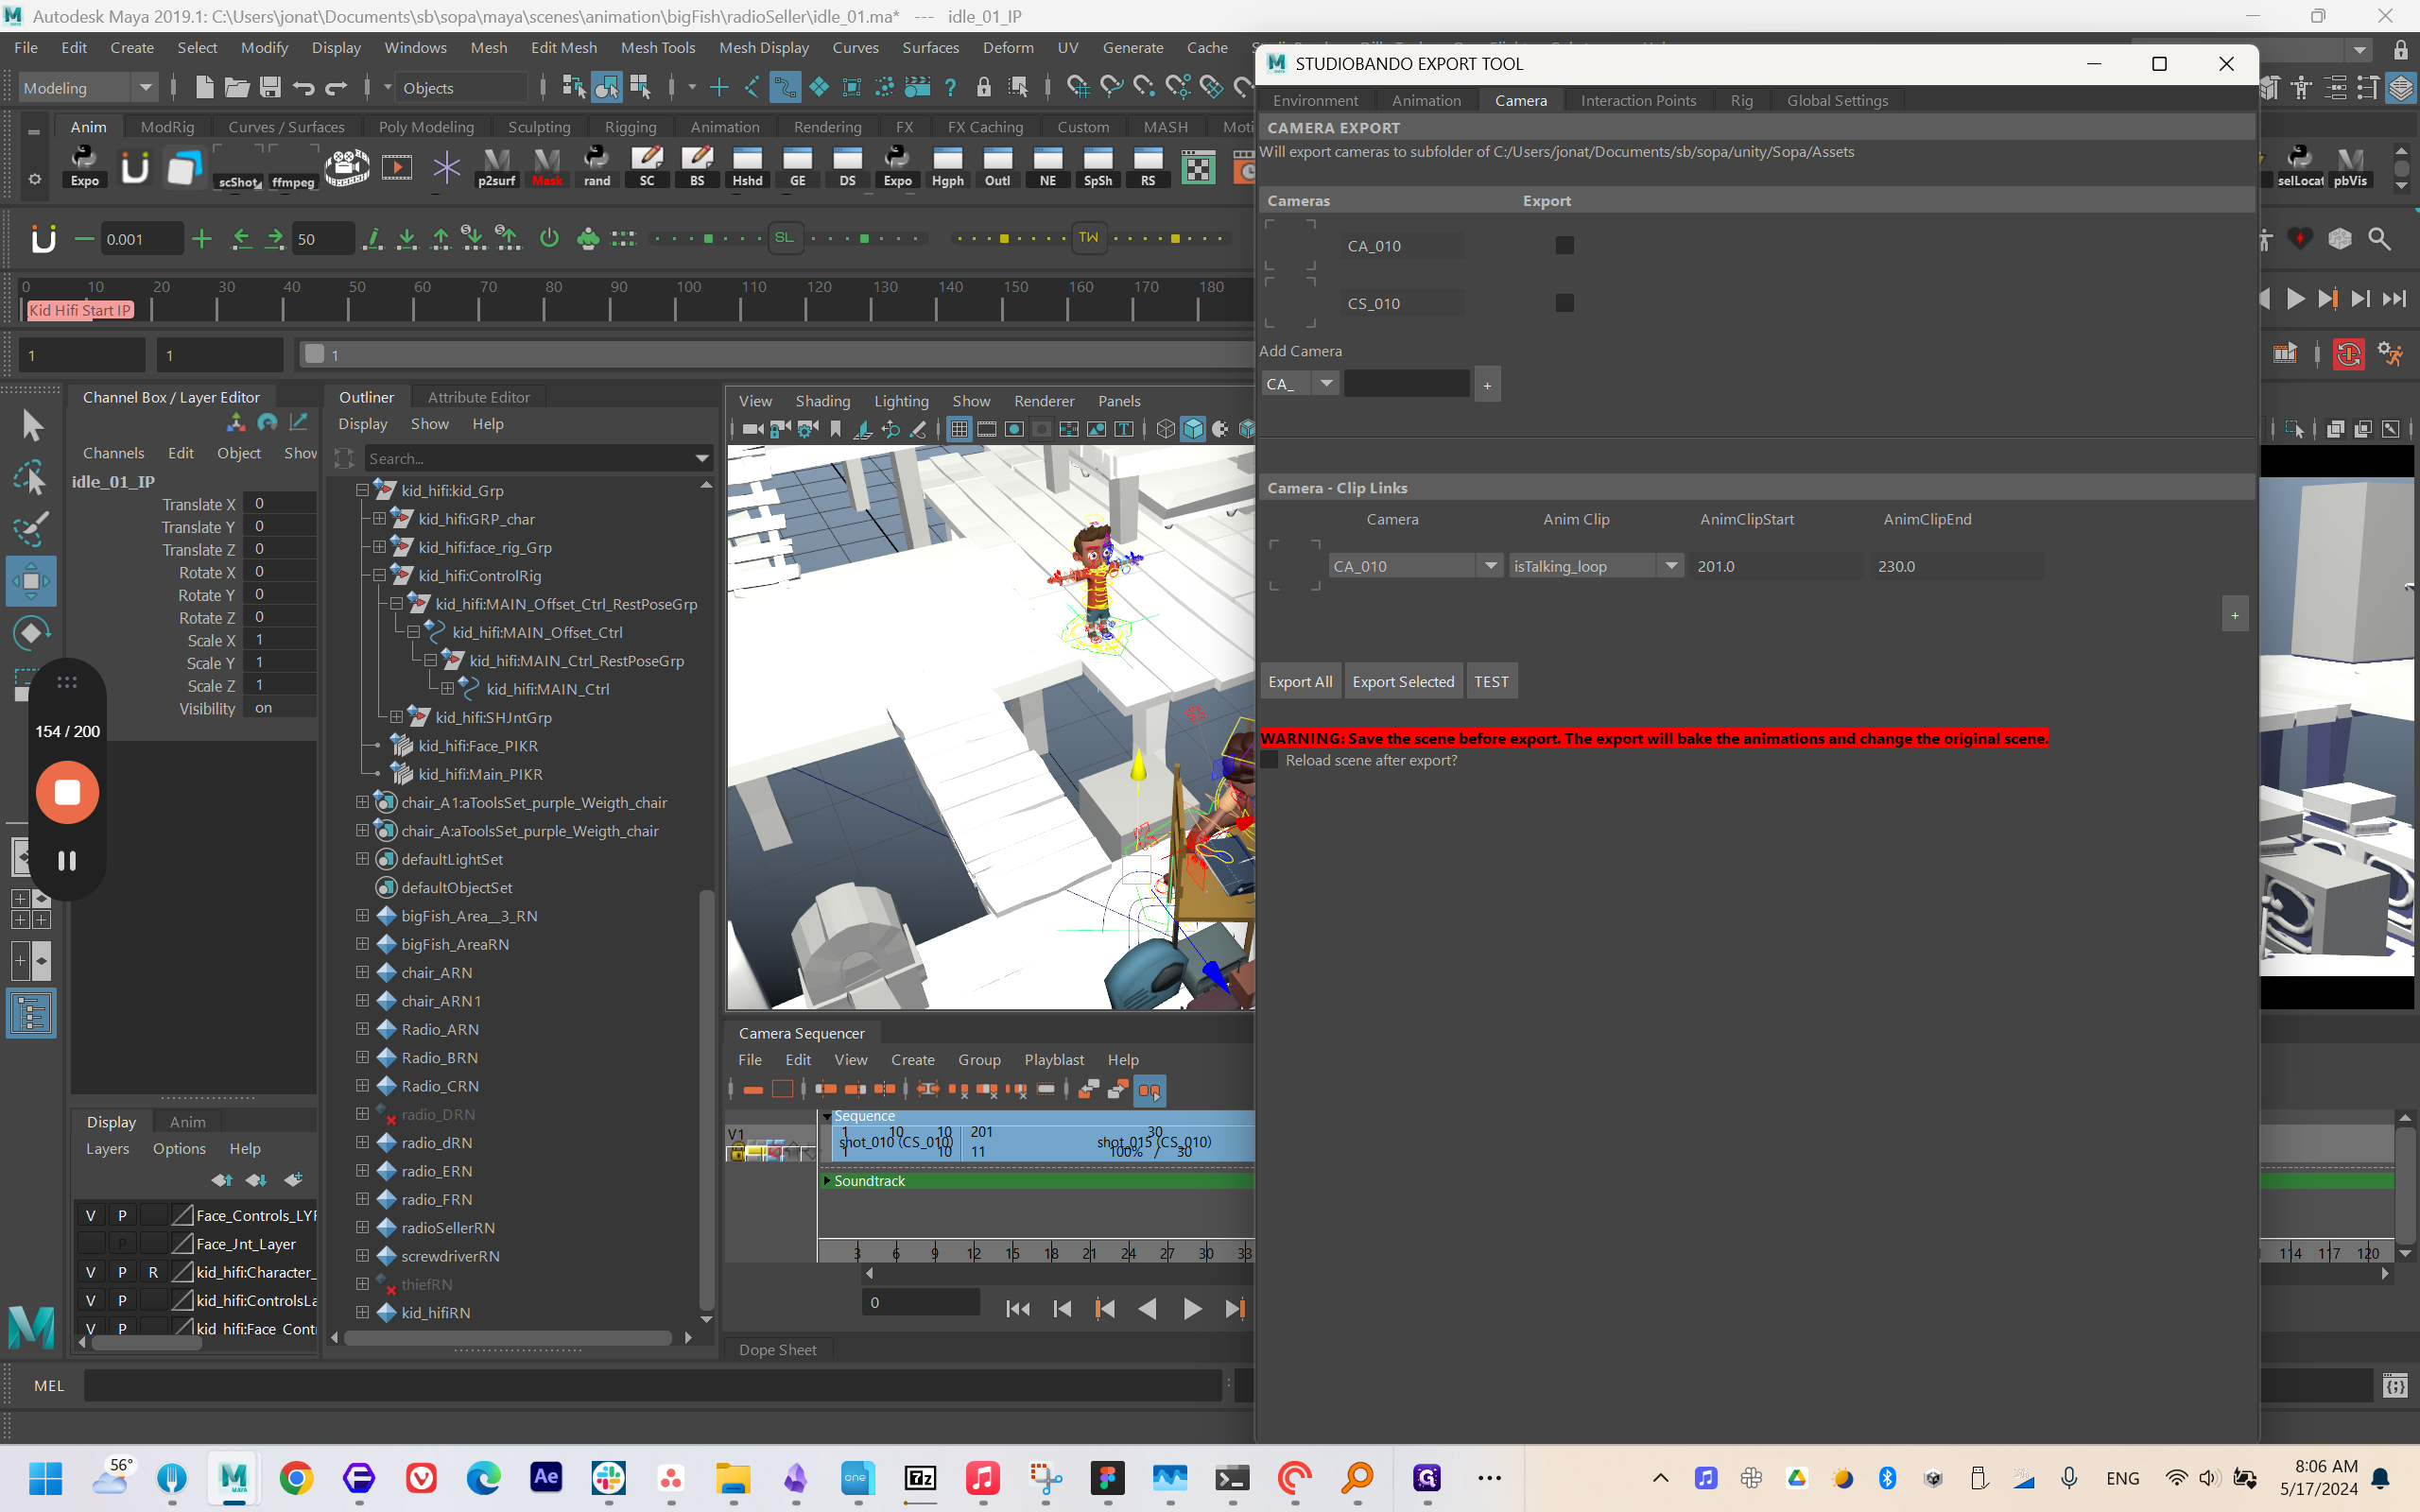
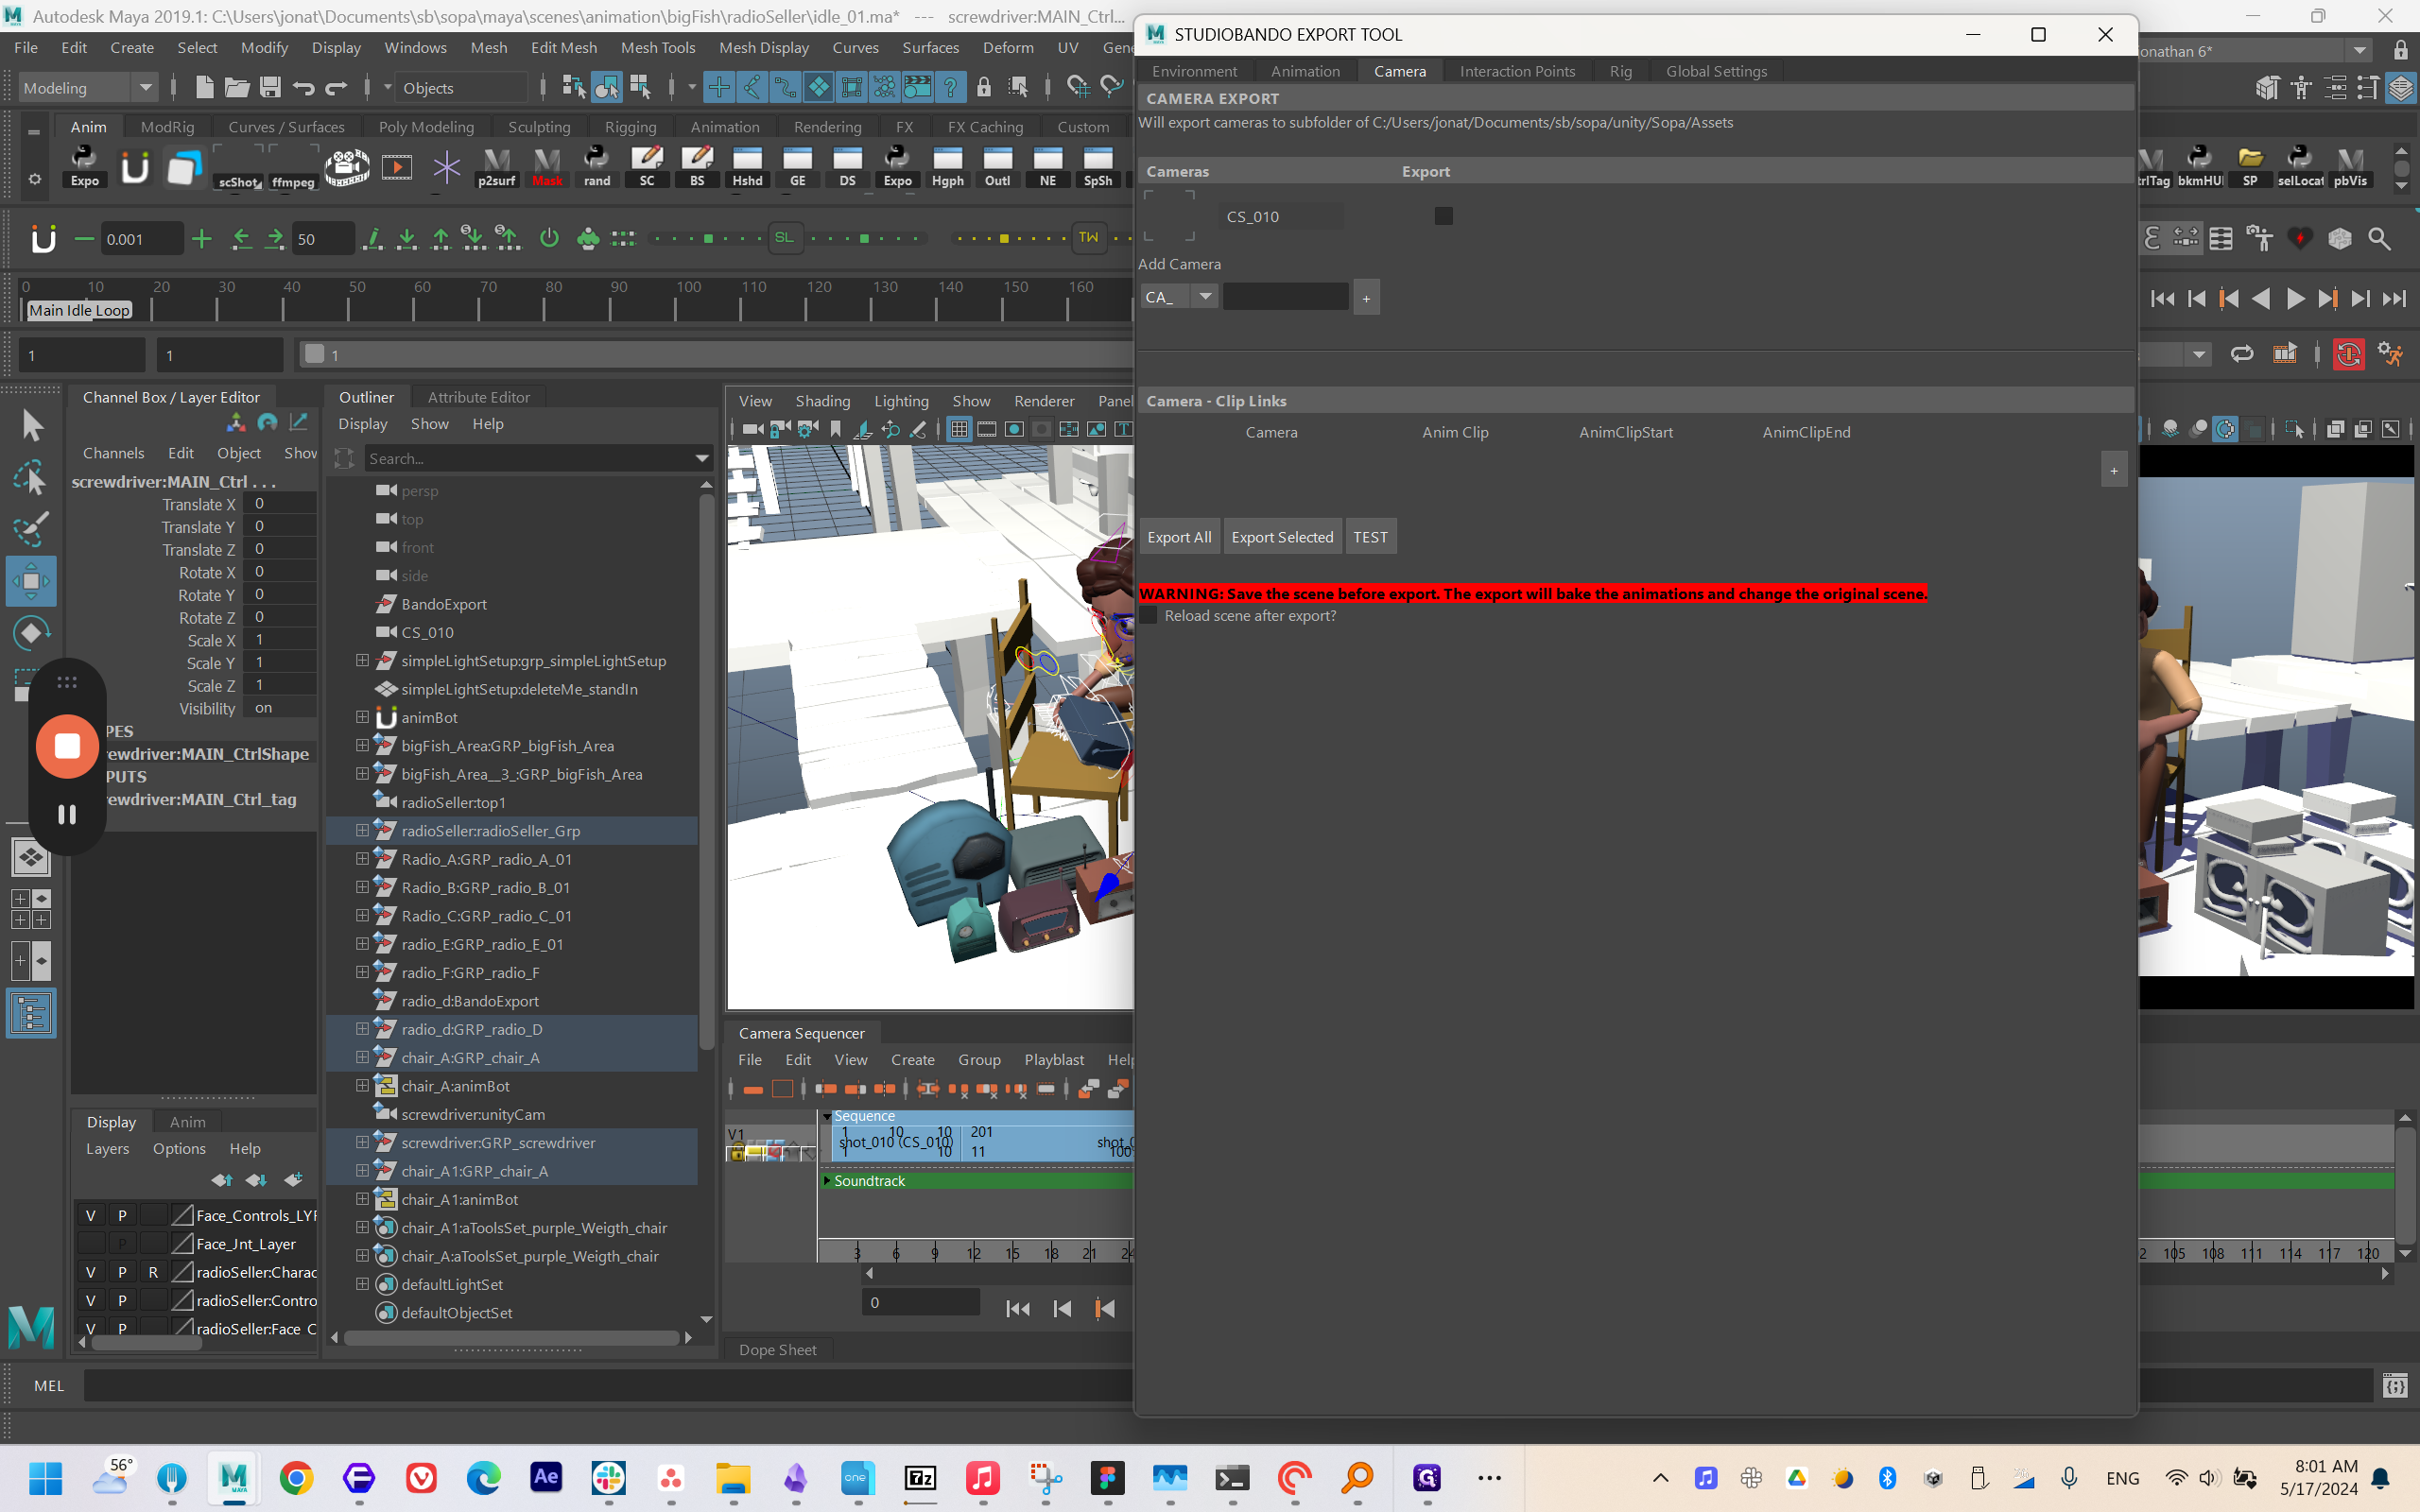
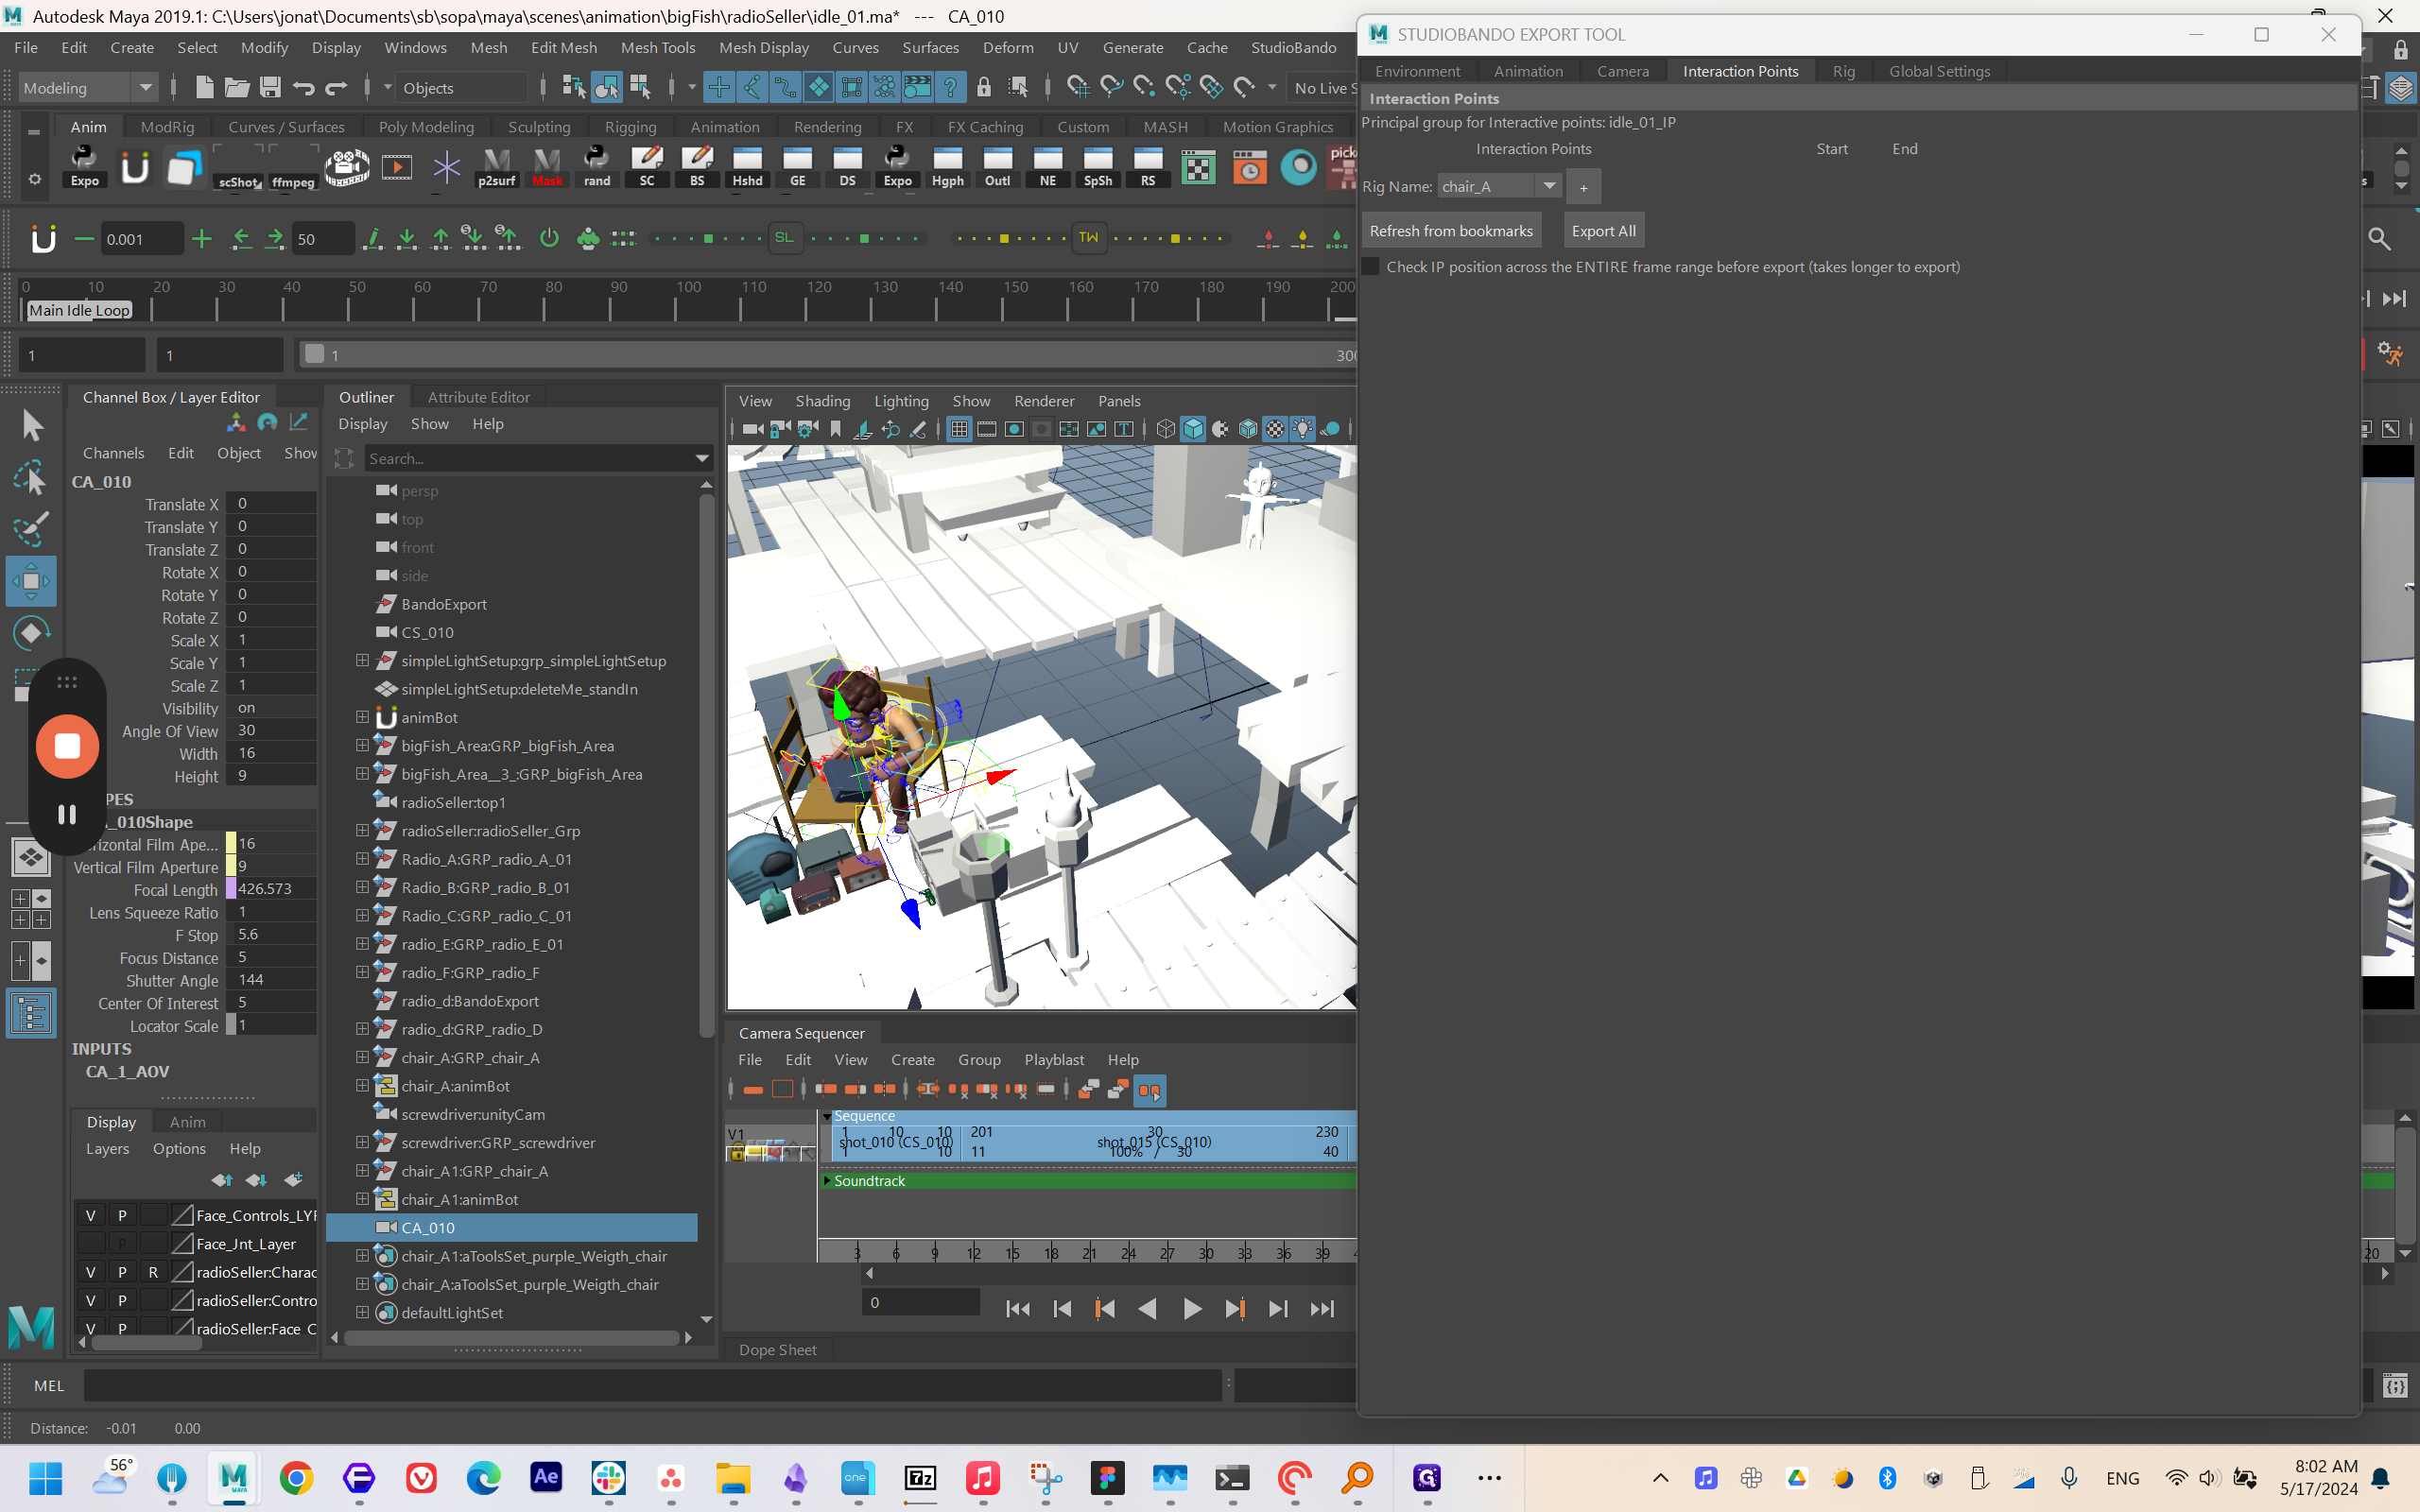
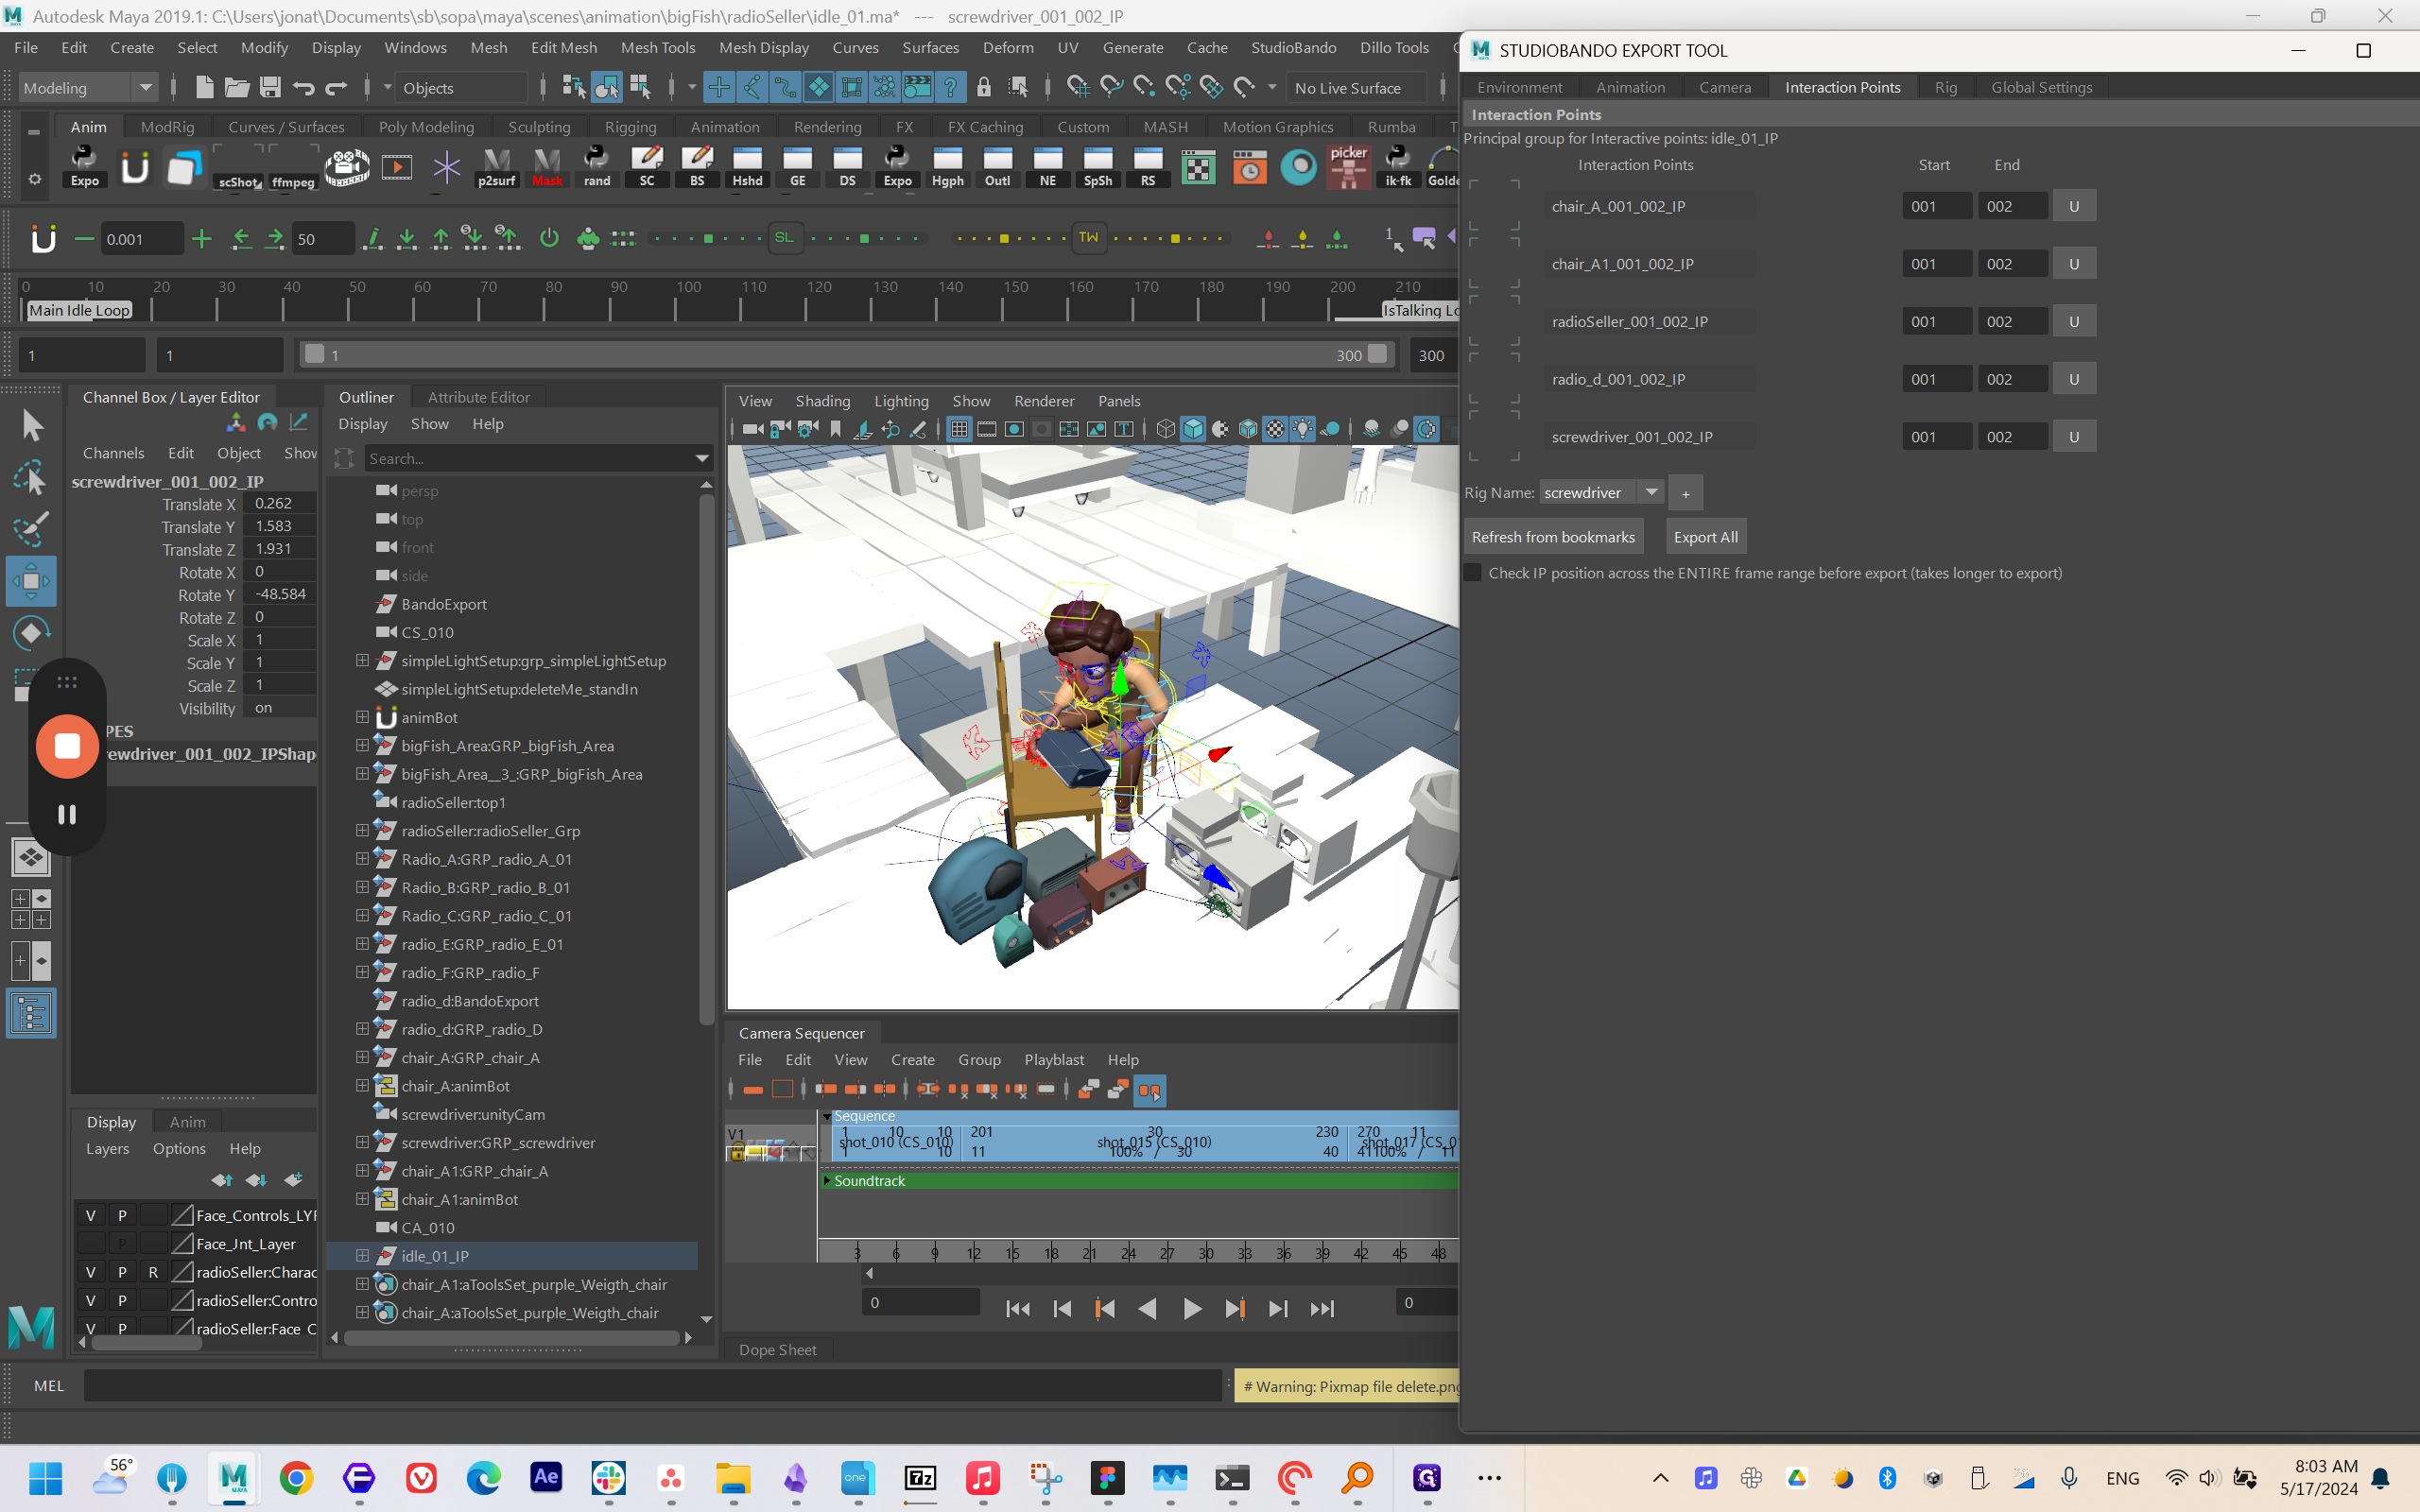
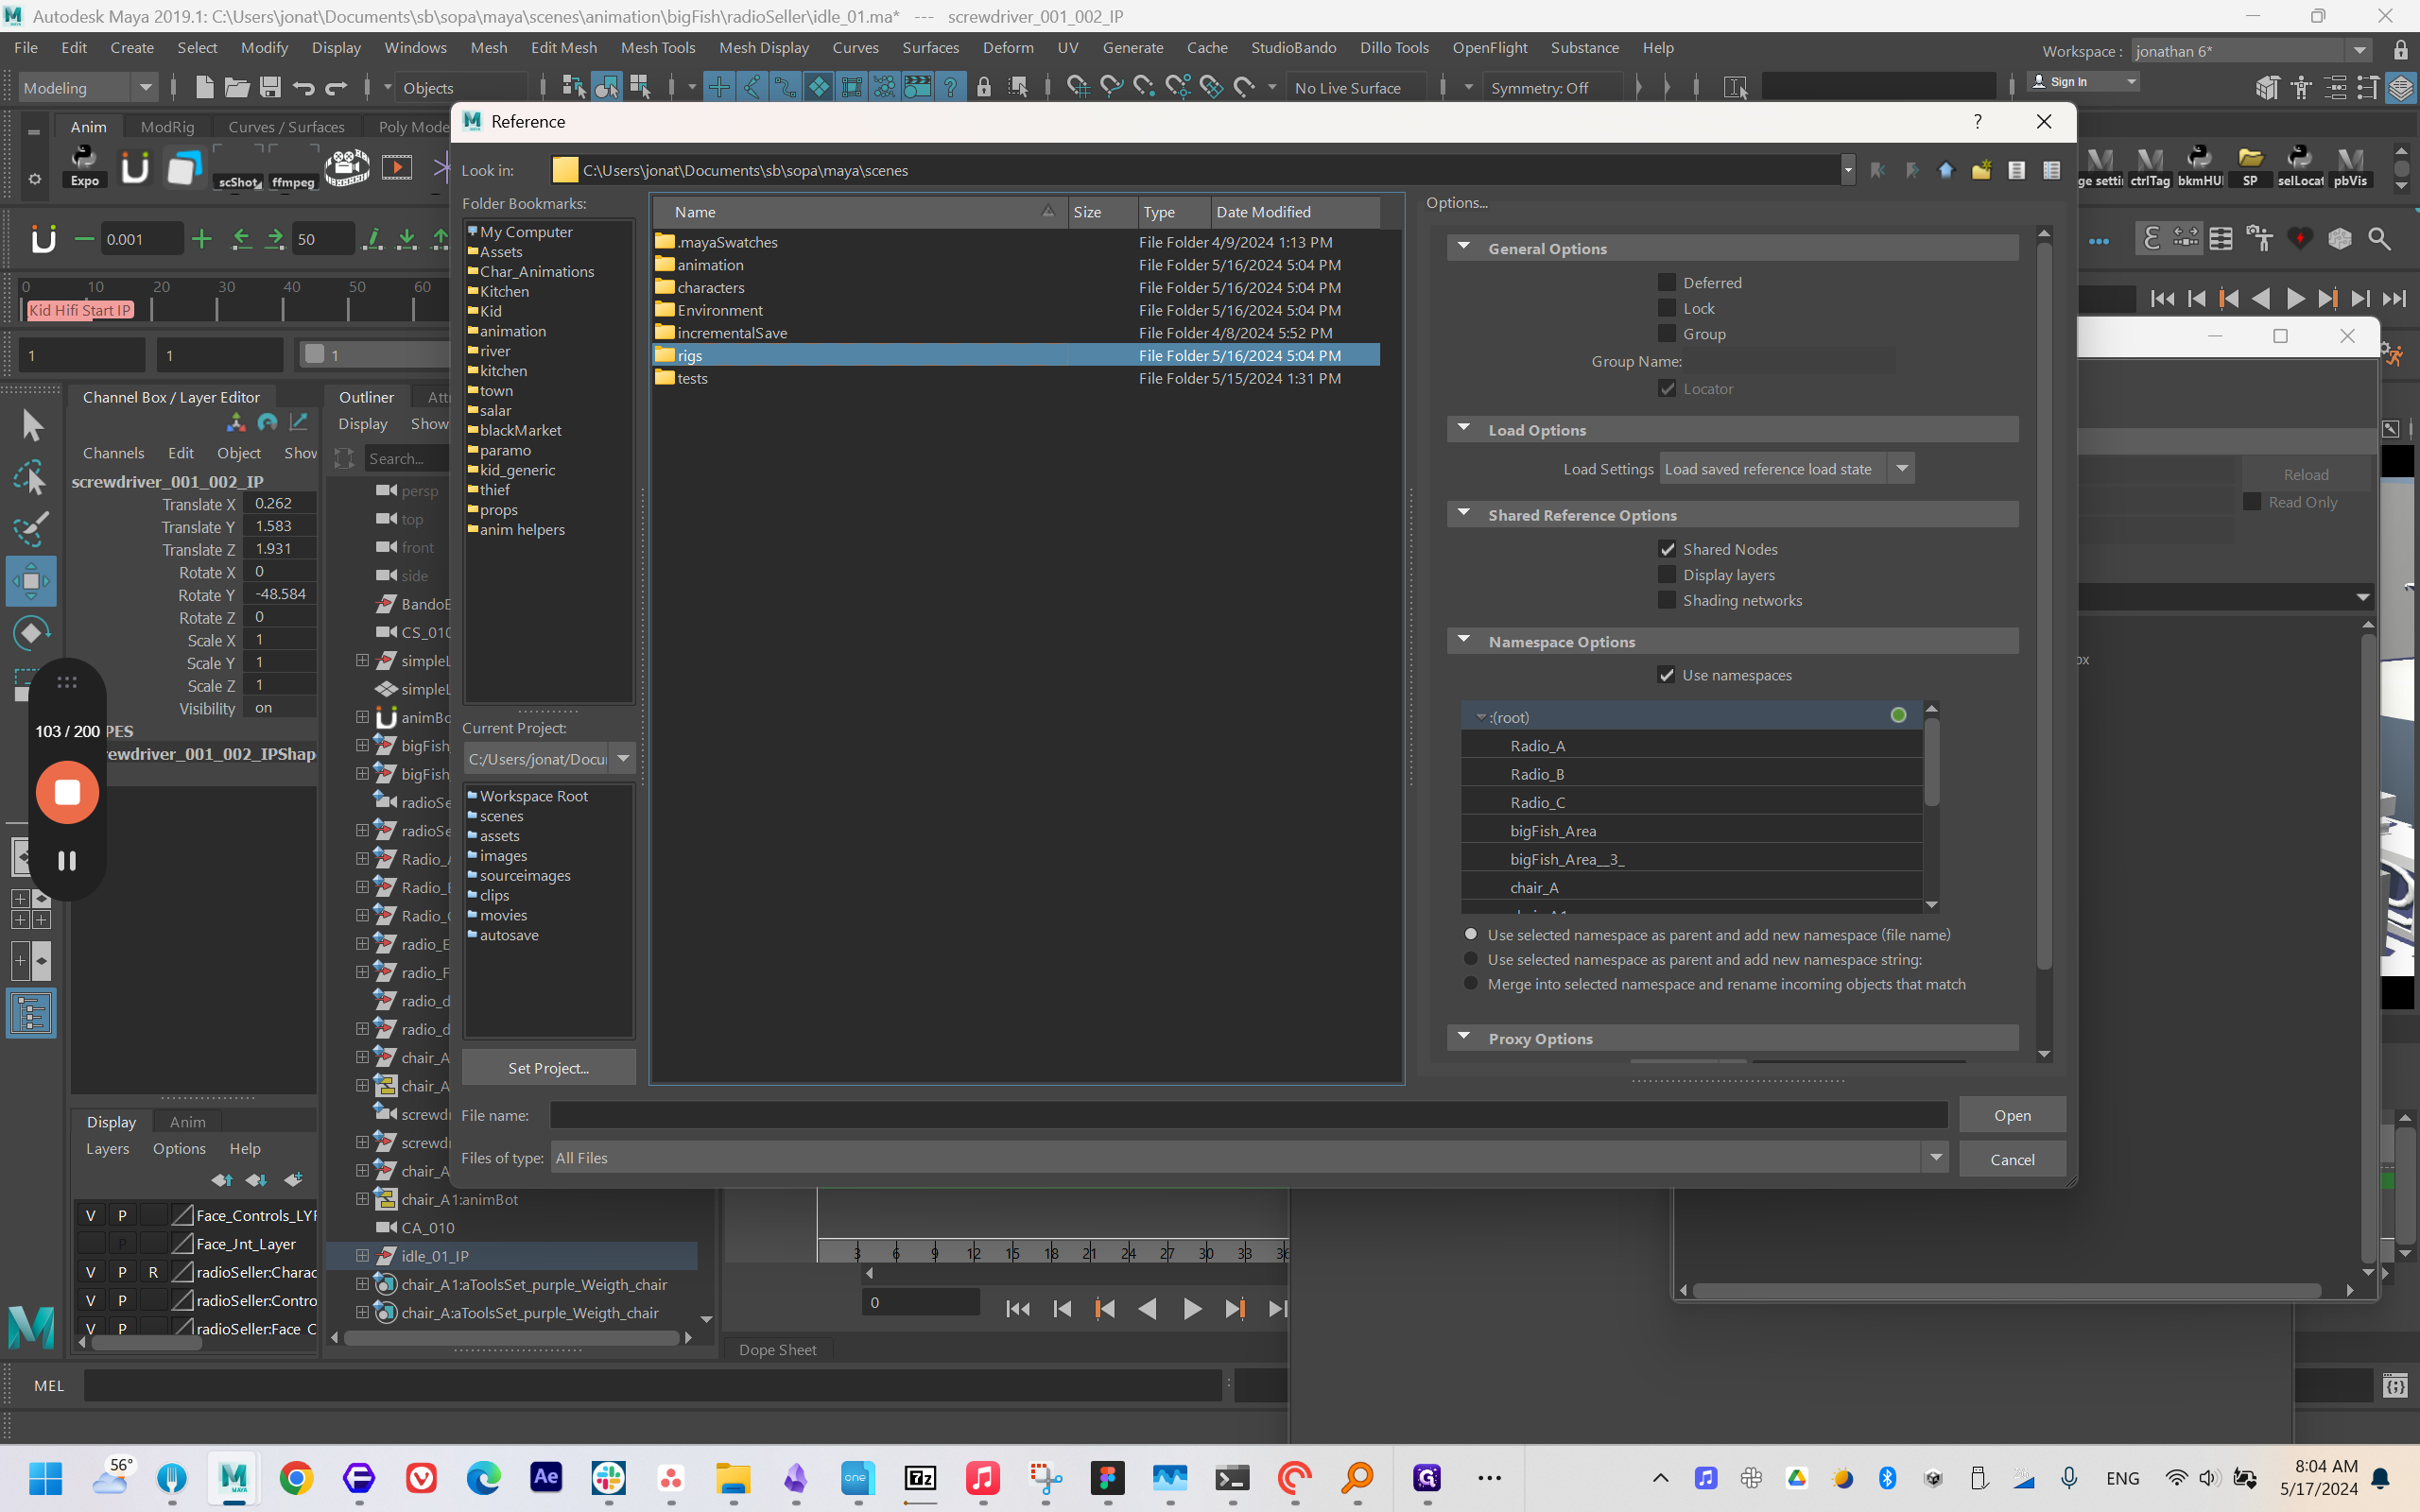
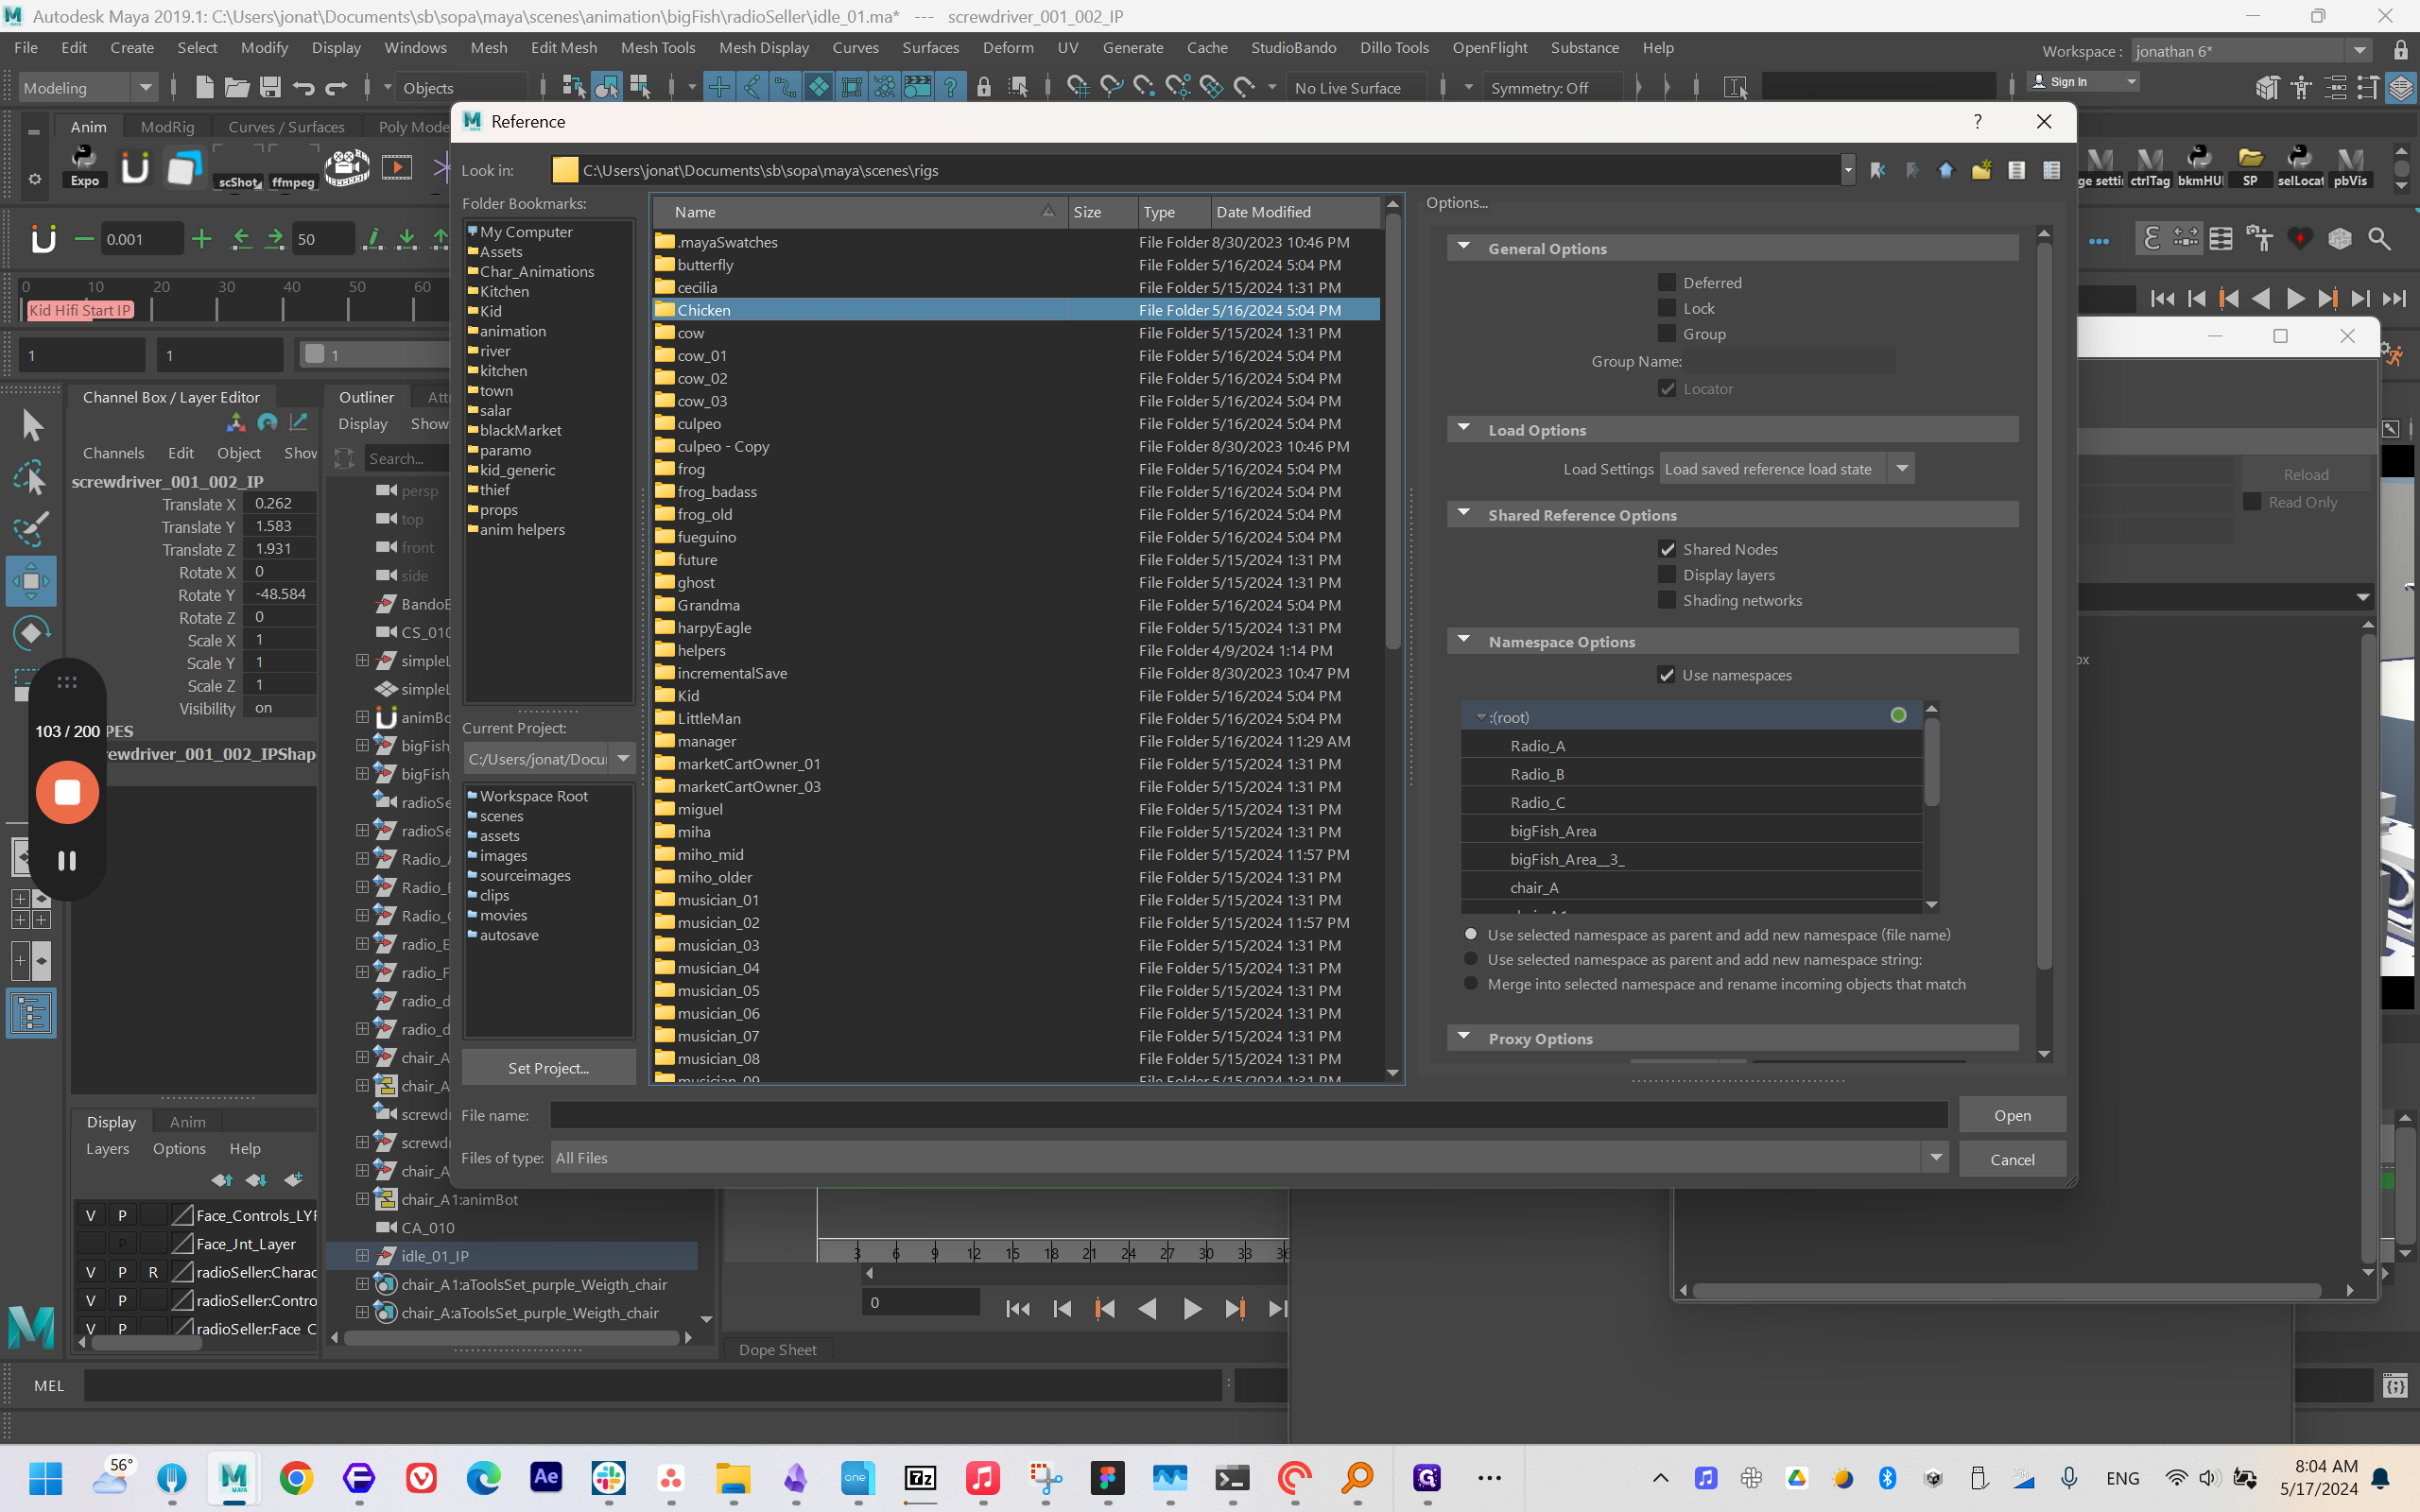
I'm going to select all the rigs in the scene and choose export.
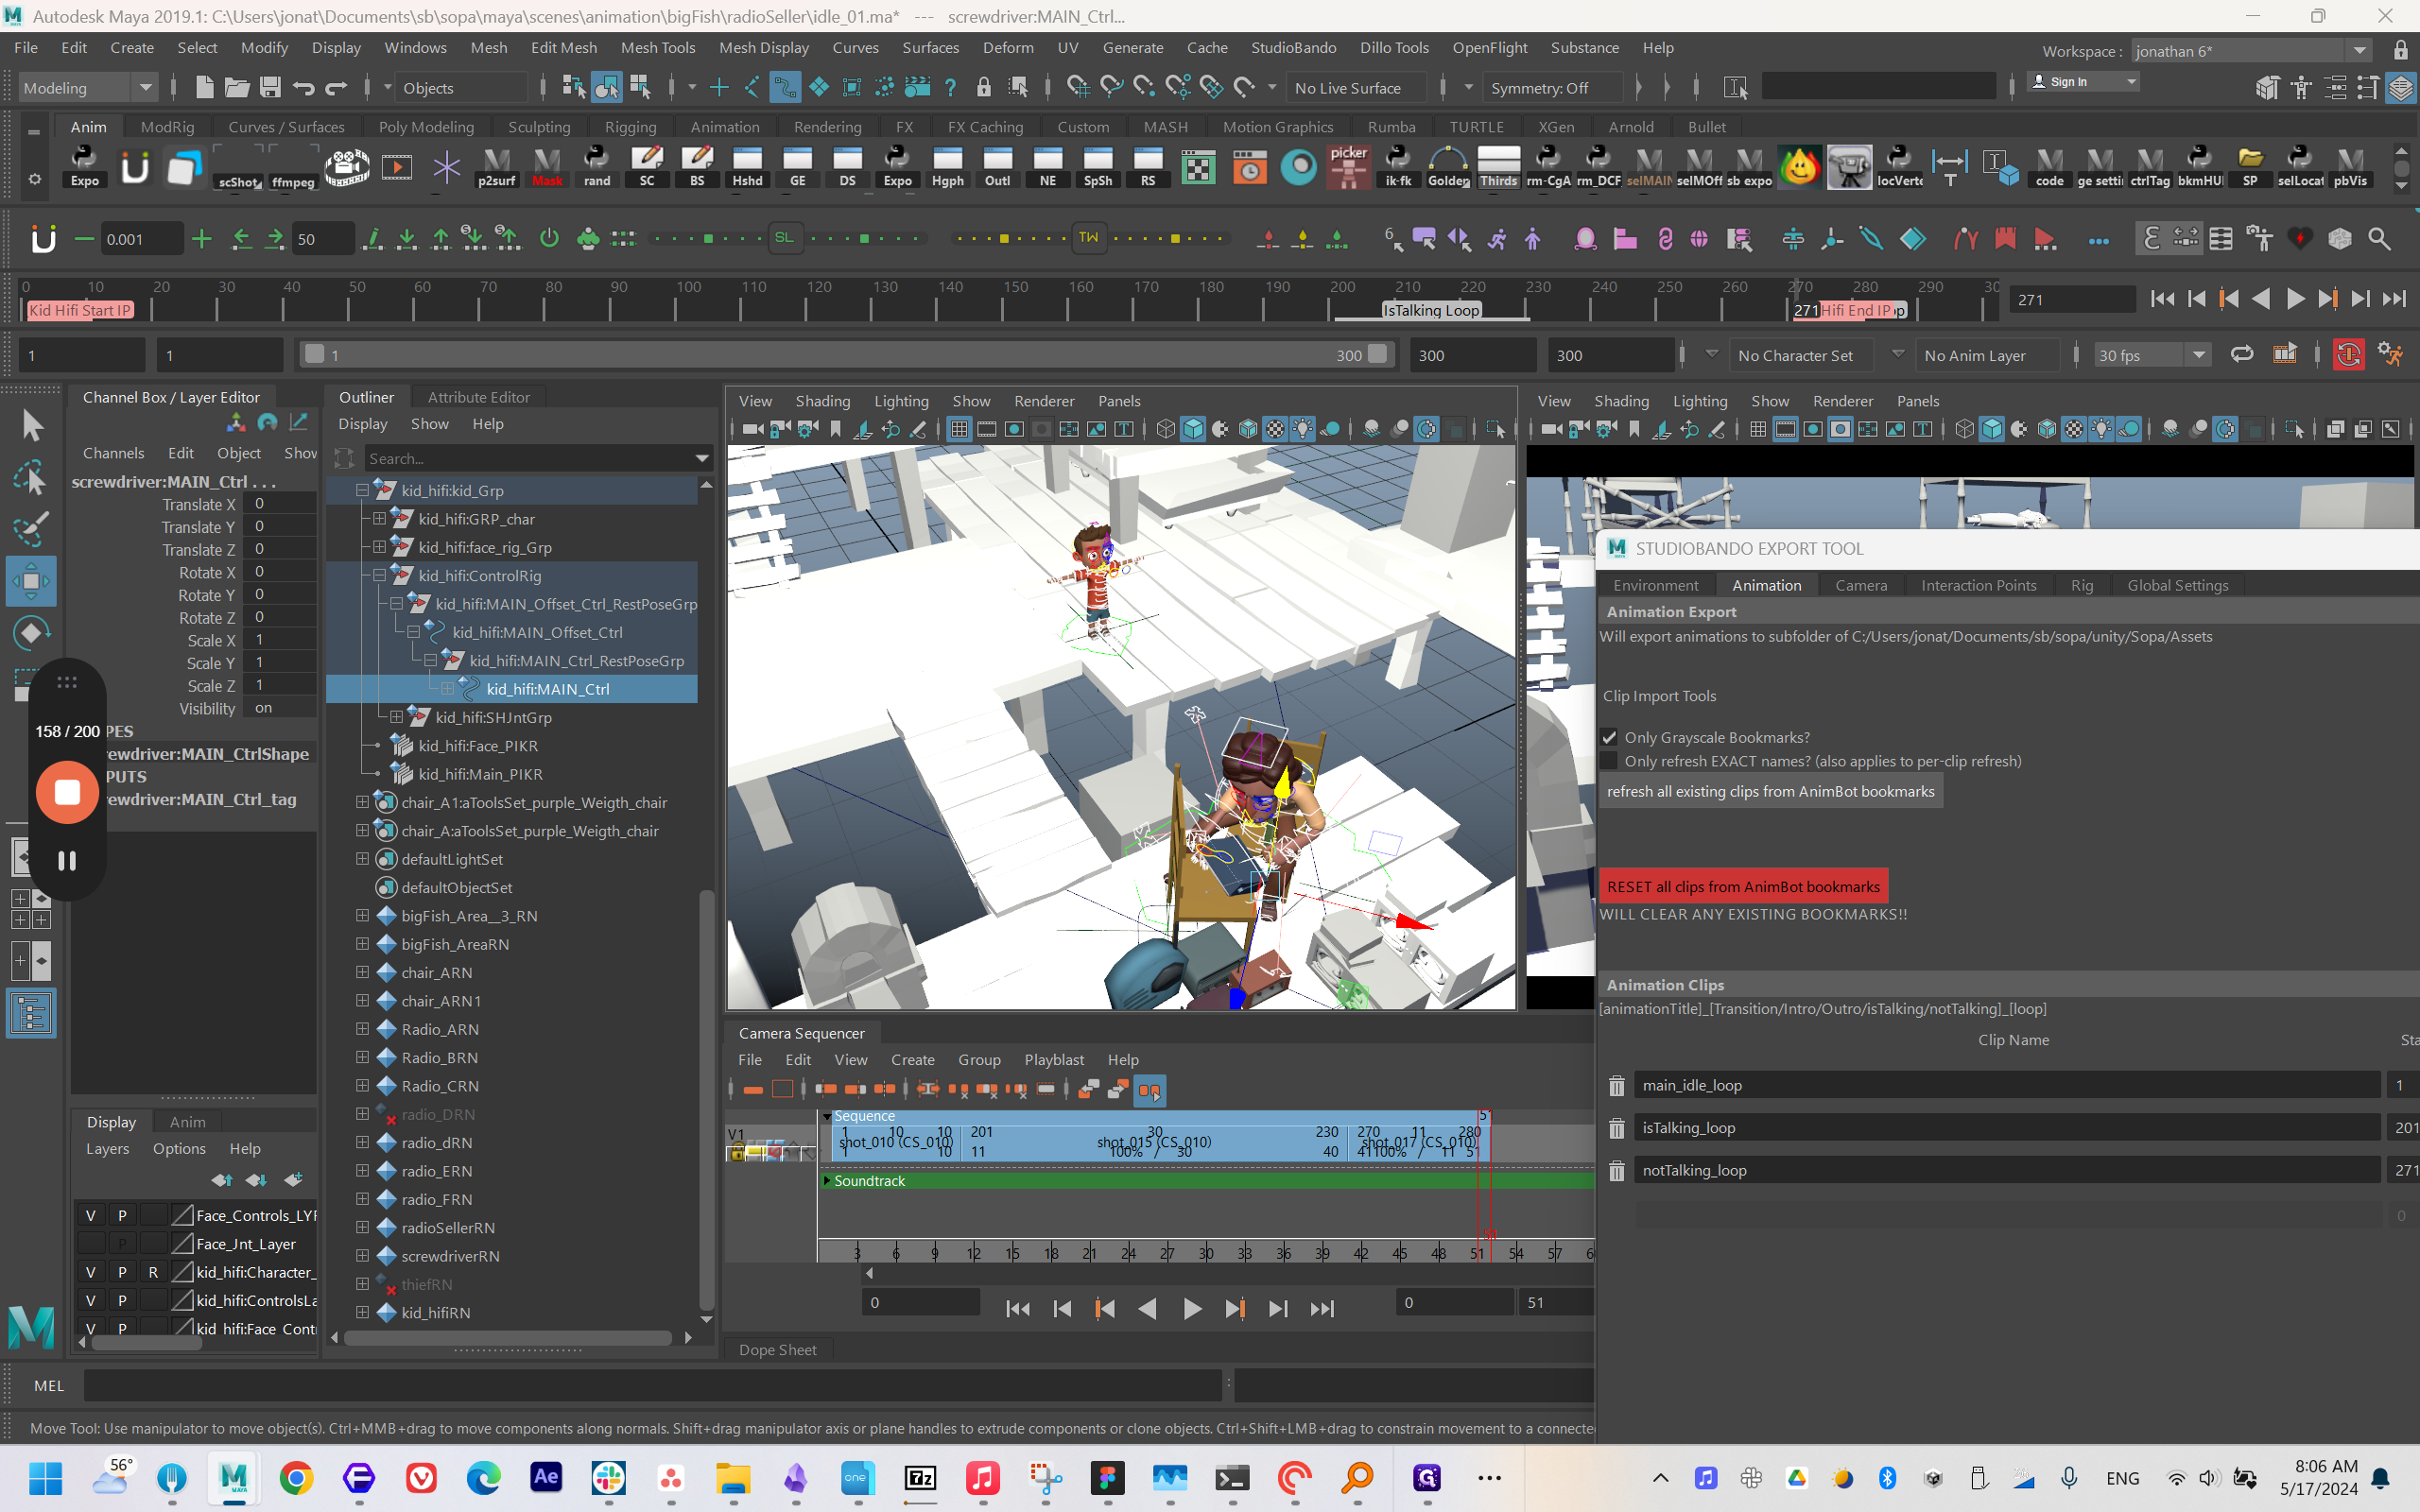

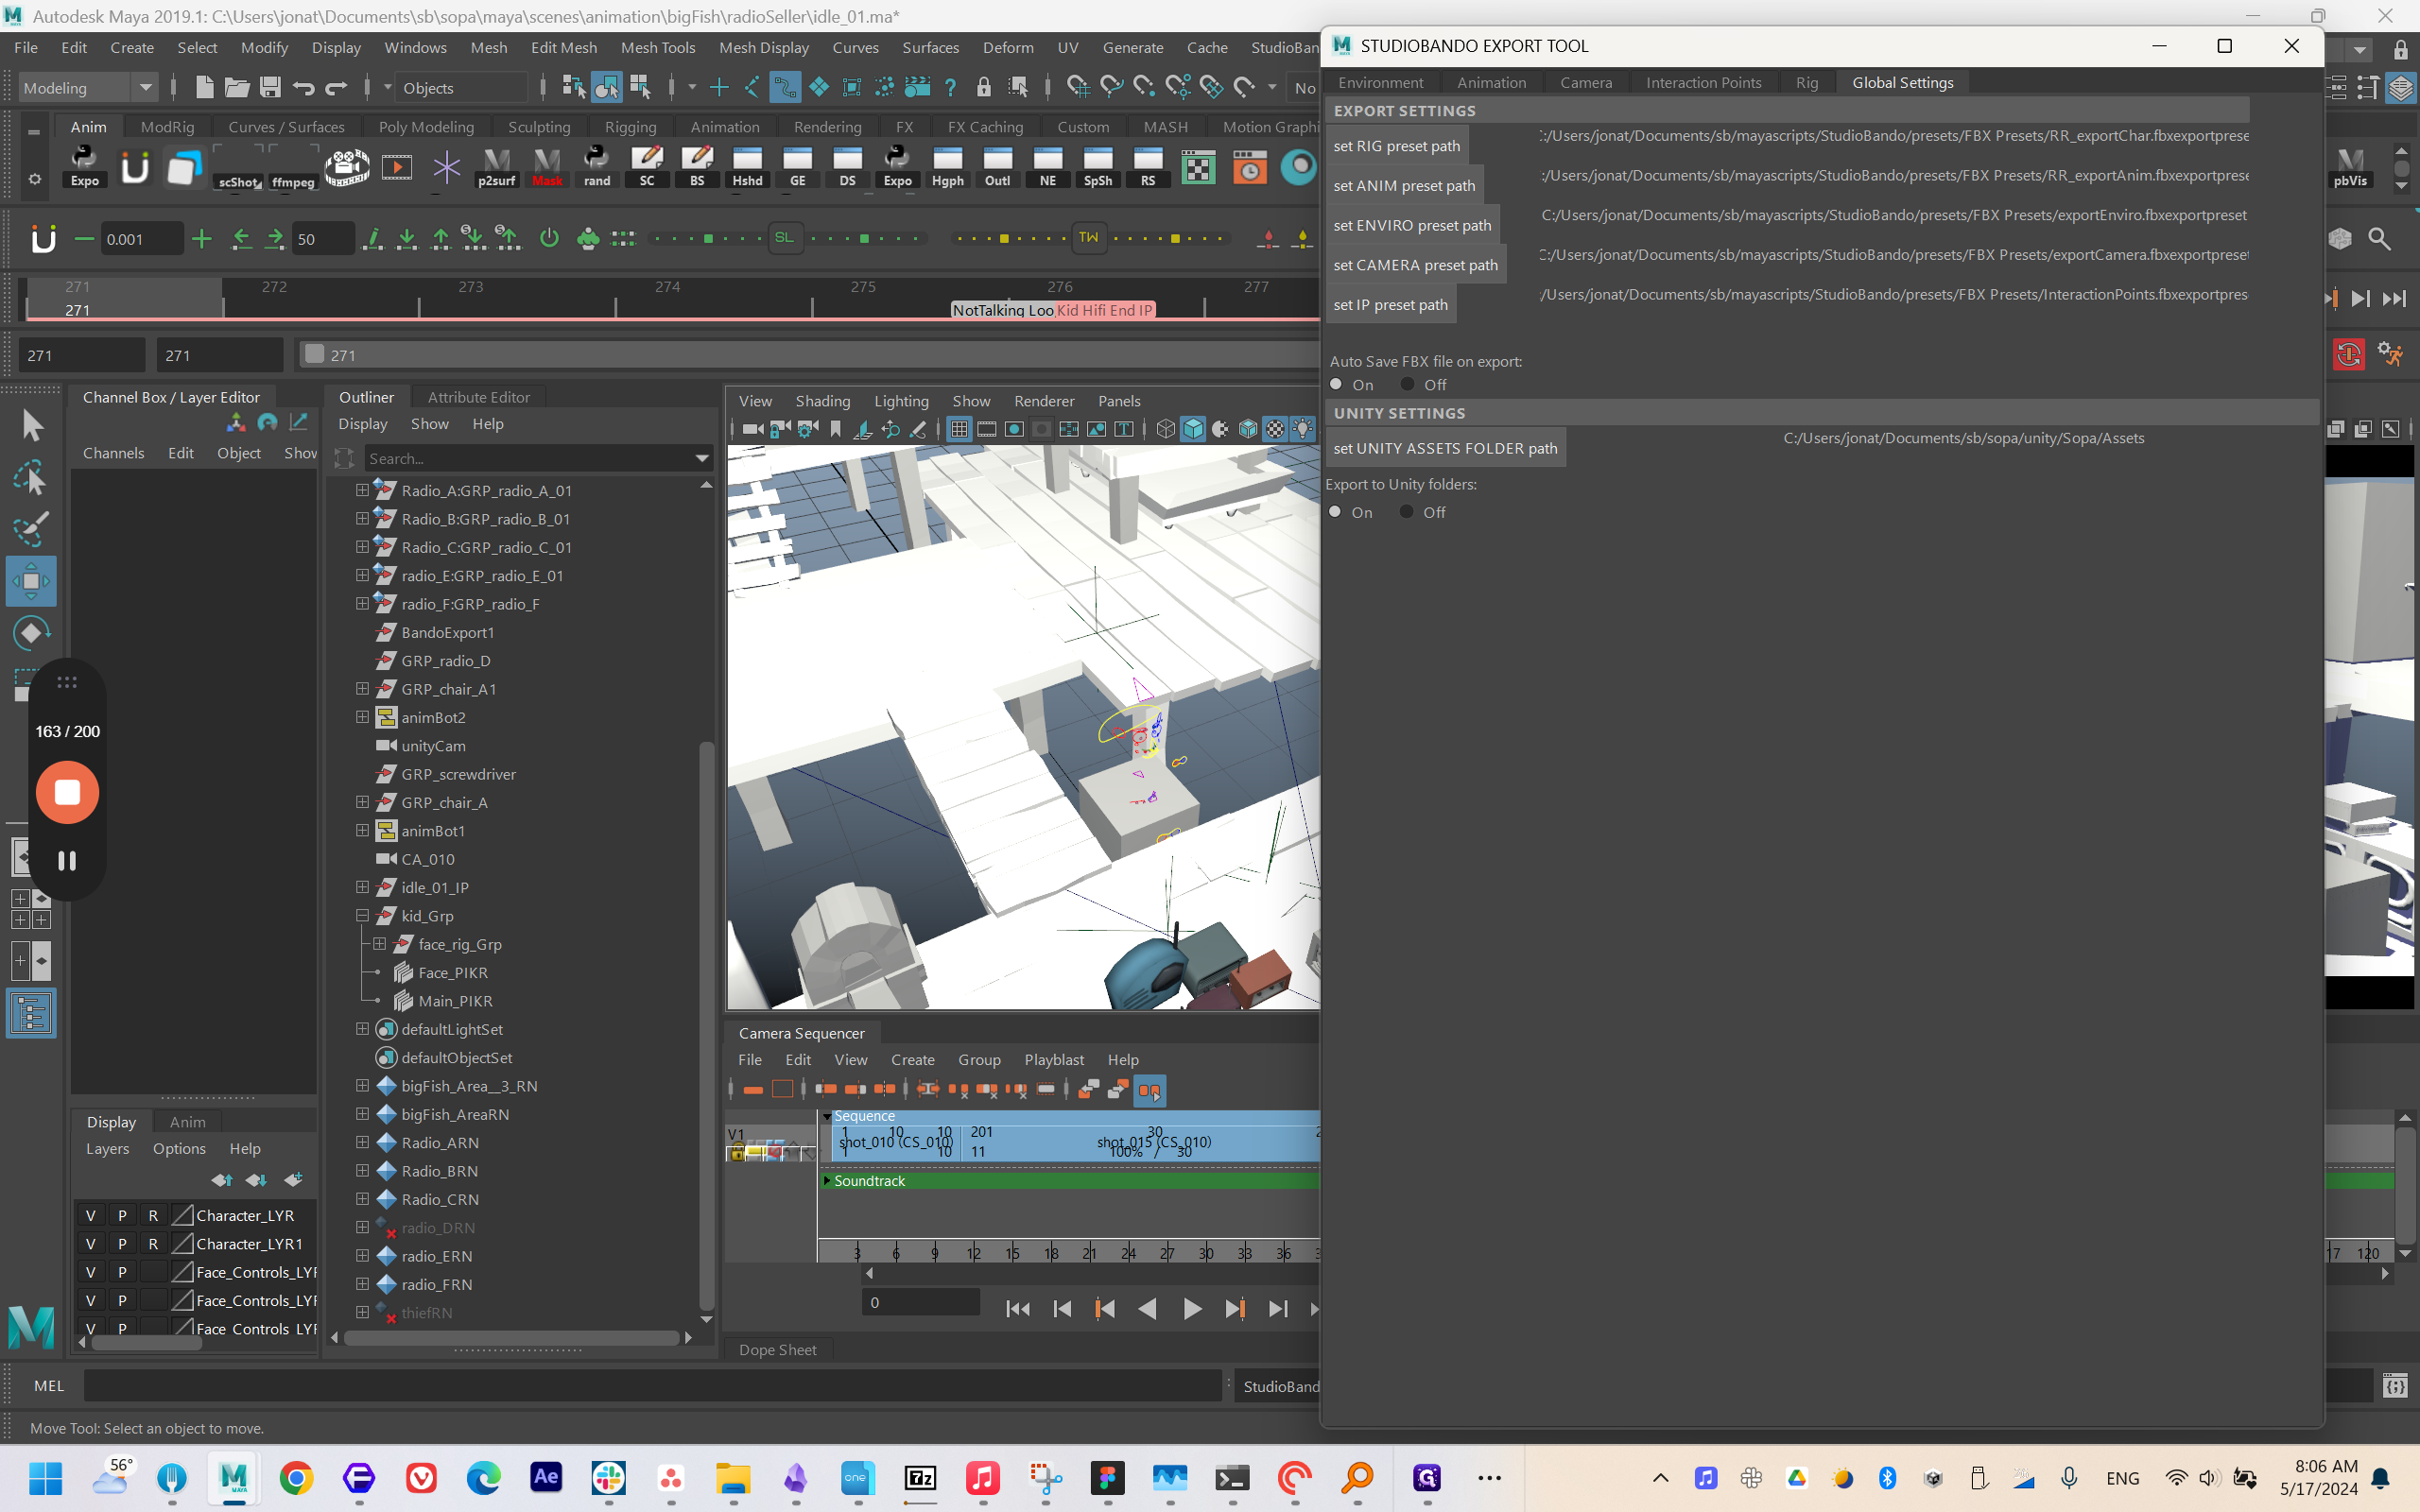
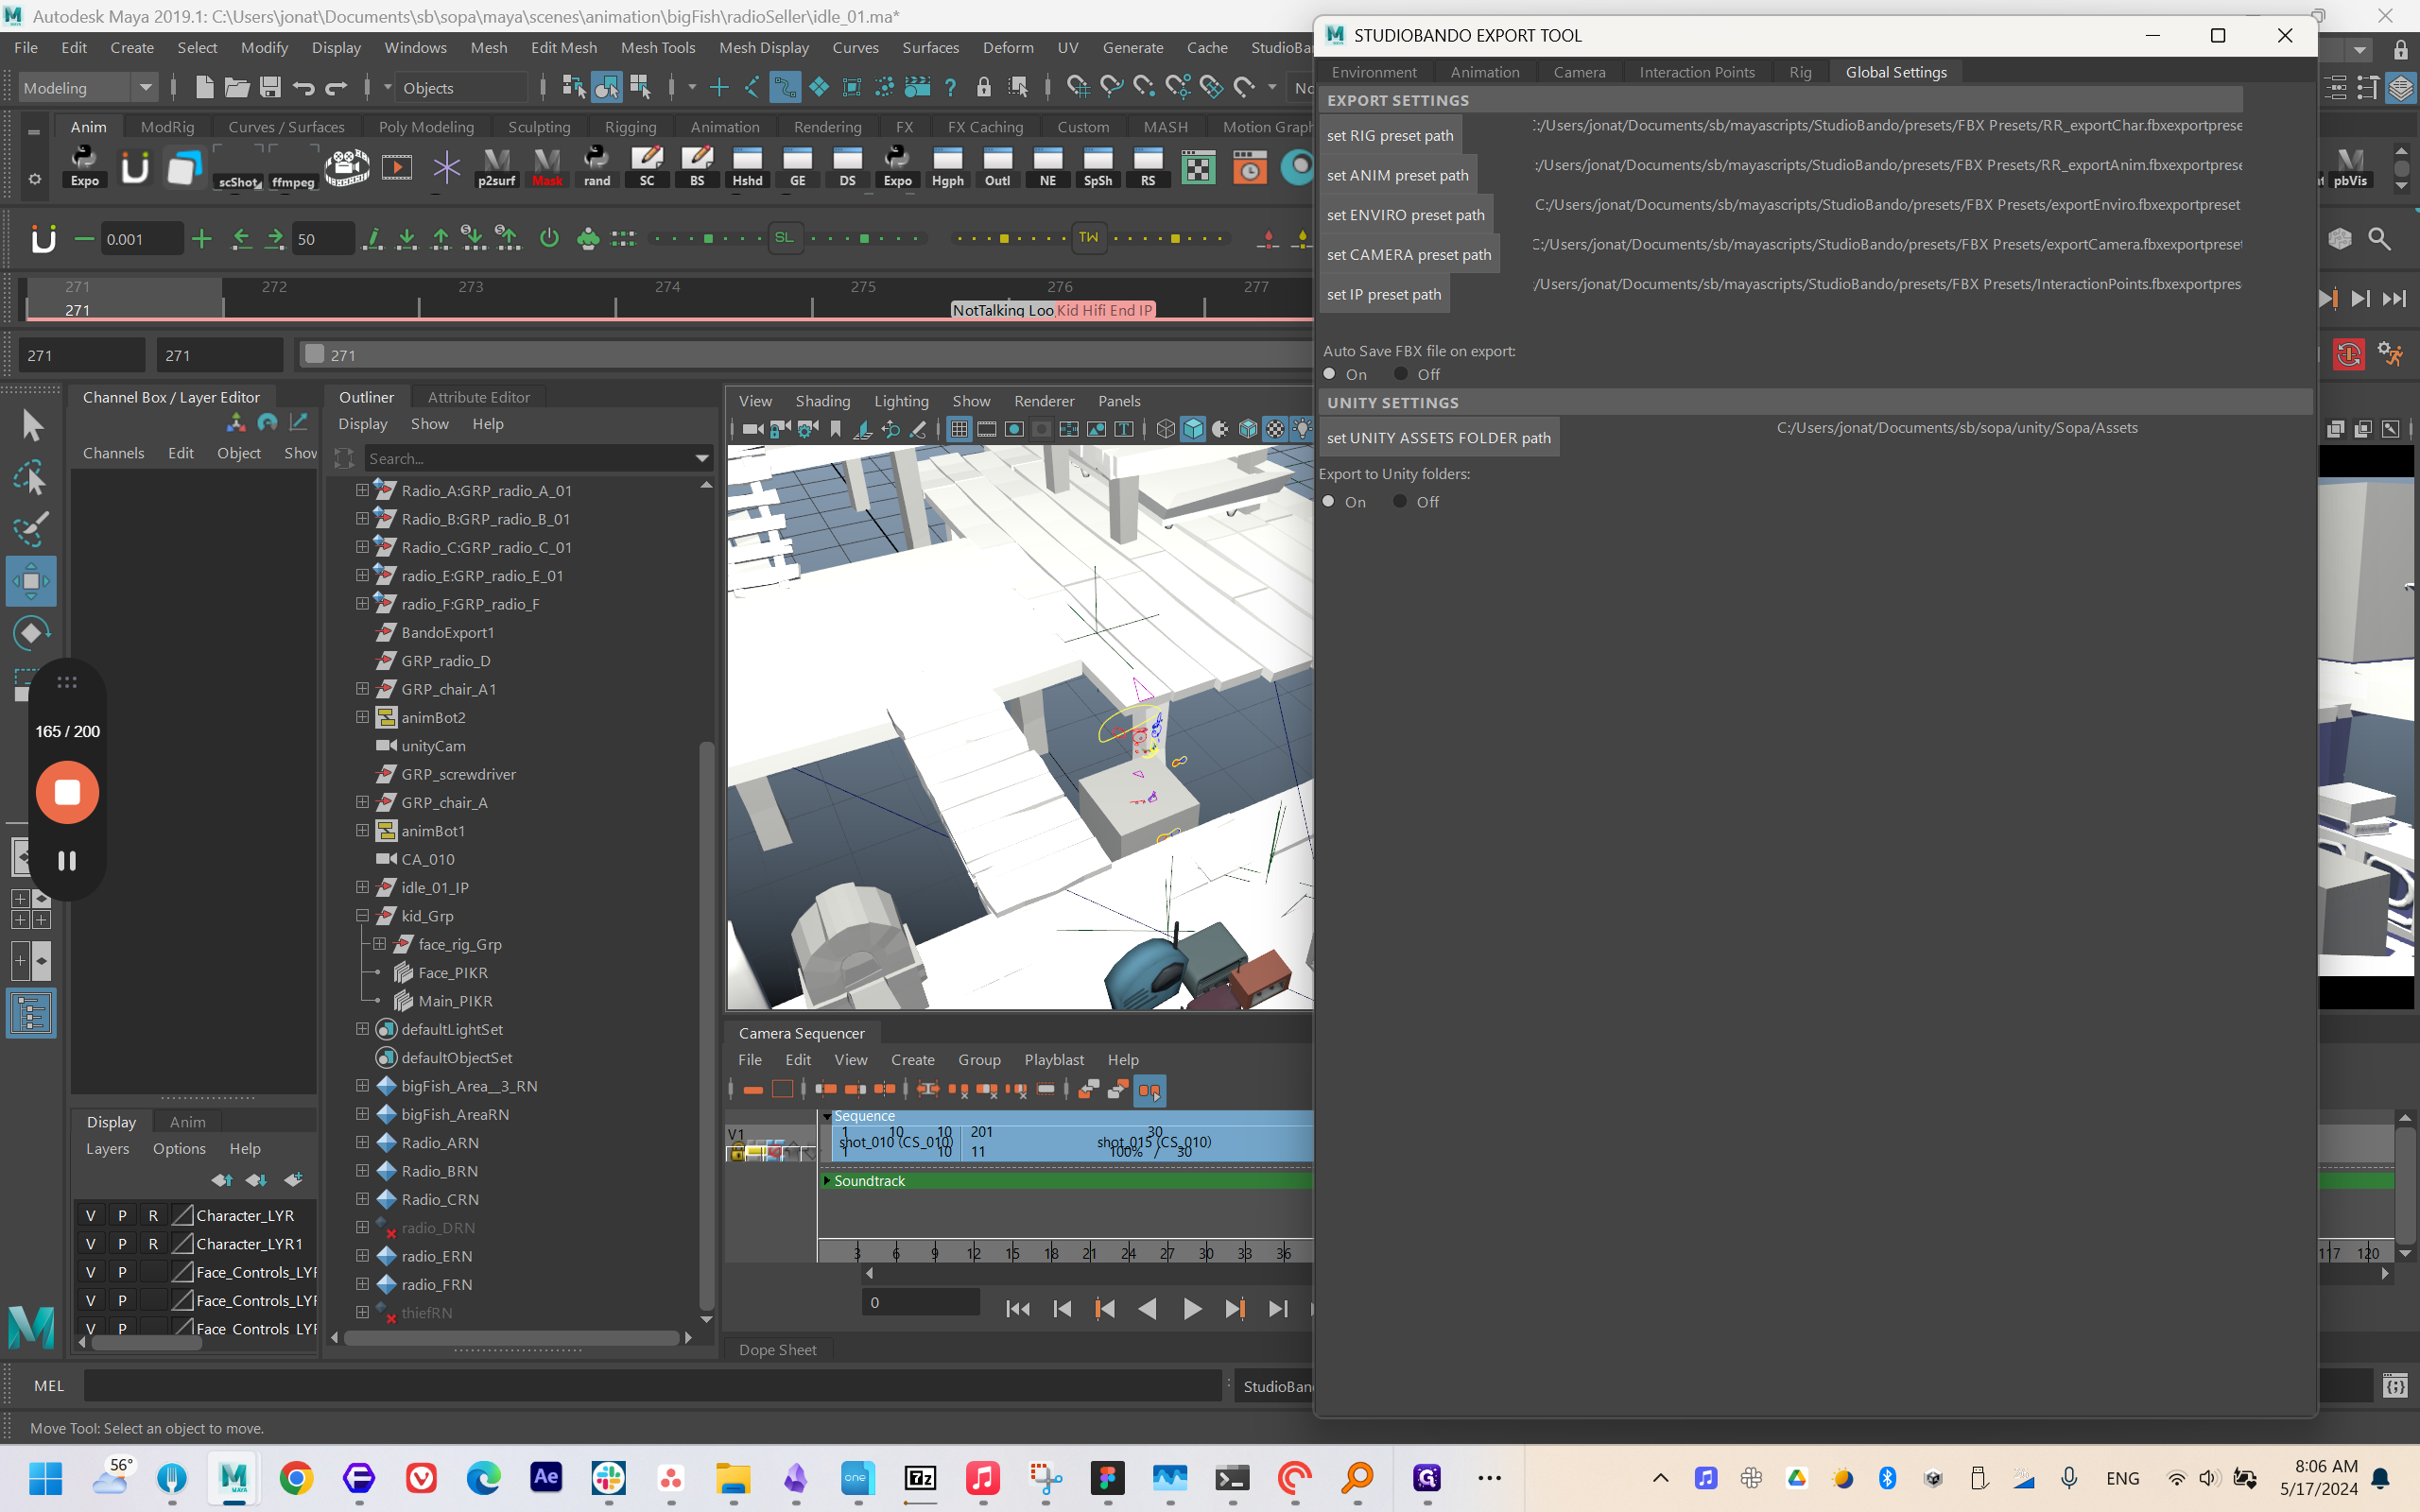
It bakes the joints on all of them and then exports them as FBXs into the correct folders. This setup was done earlier, which I can demonstrate shortly.
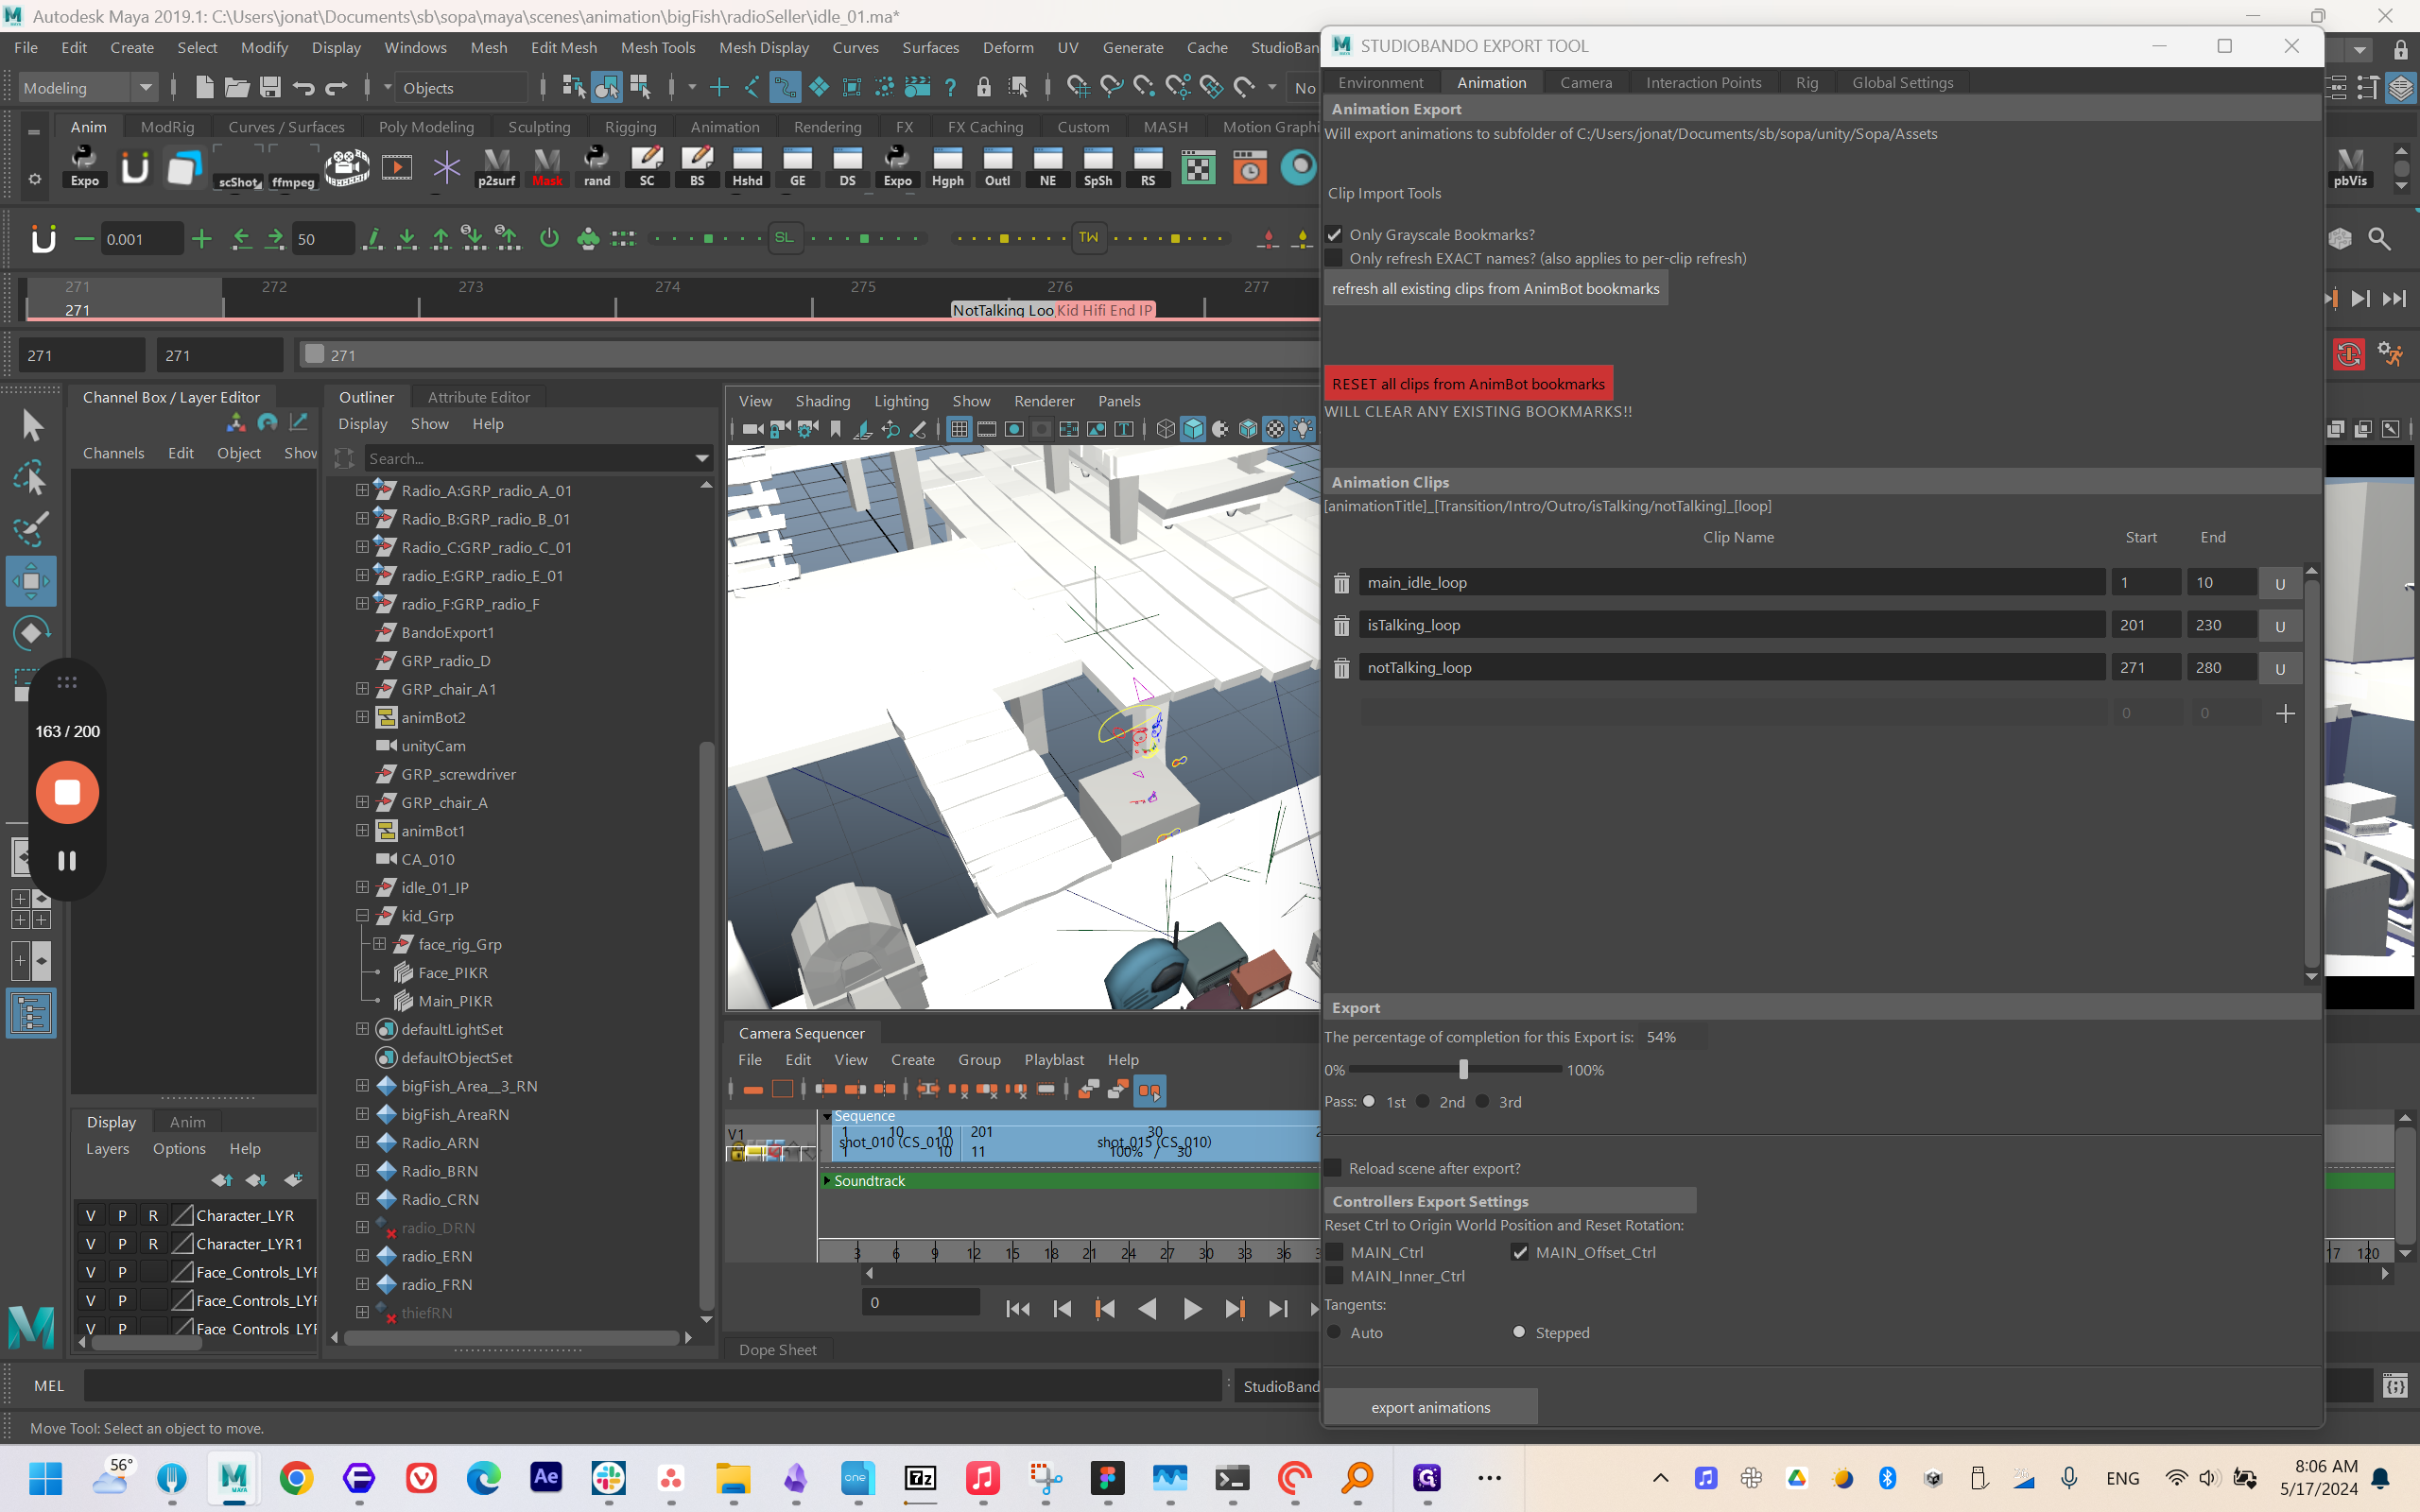
It knows where to put the file because it's set to my assets folder location, not the Unity folder.
Alright, the animation has been exported. Next, I will work on the cameras.


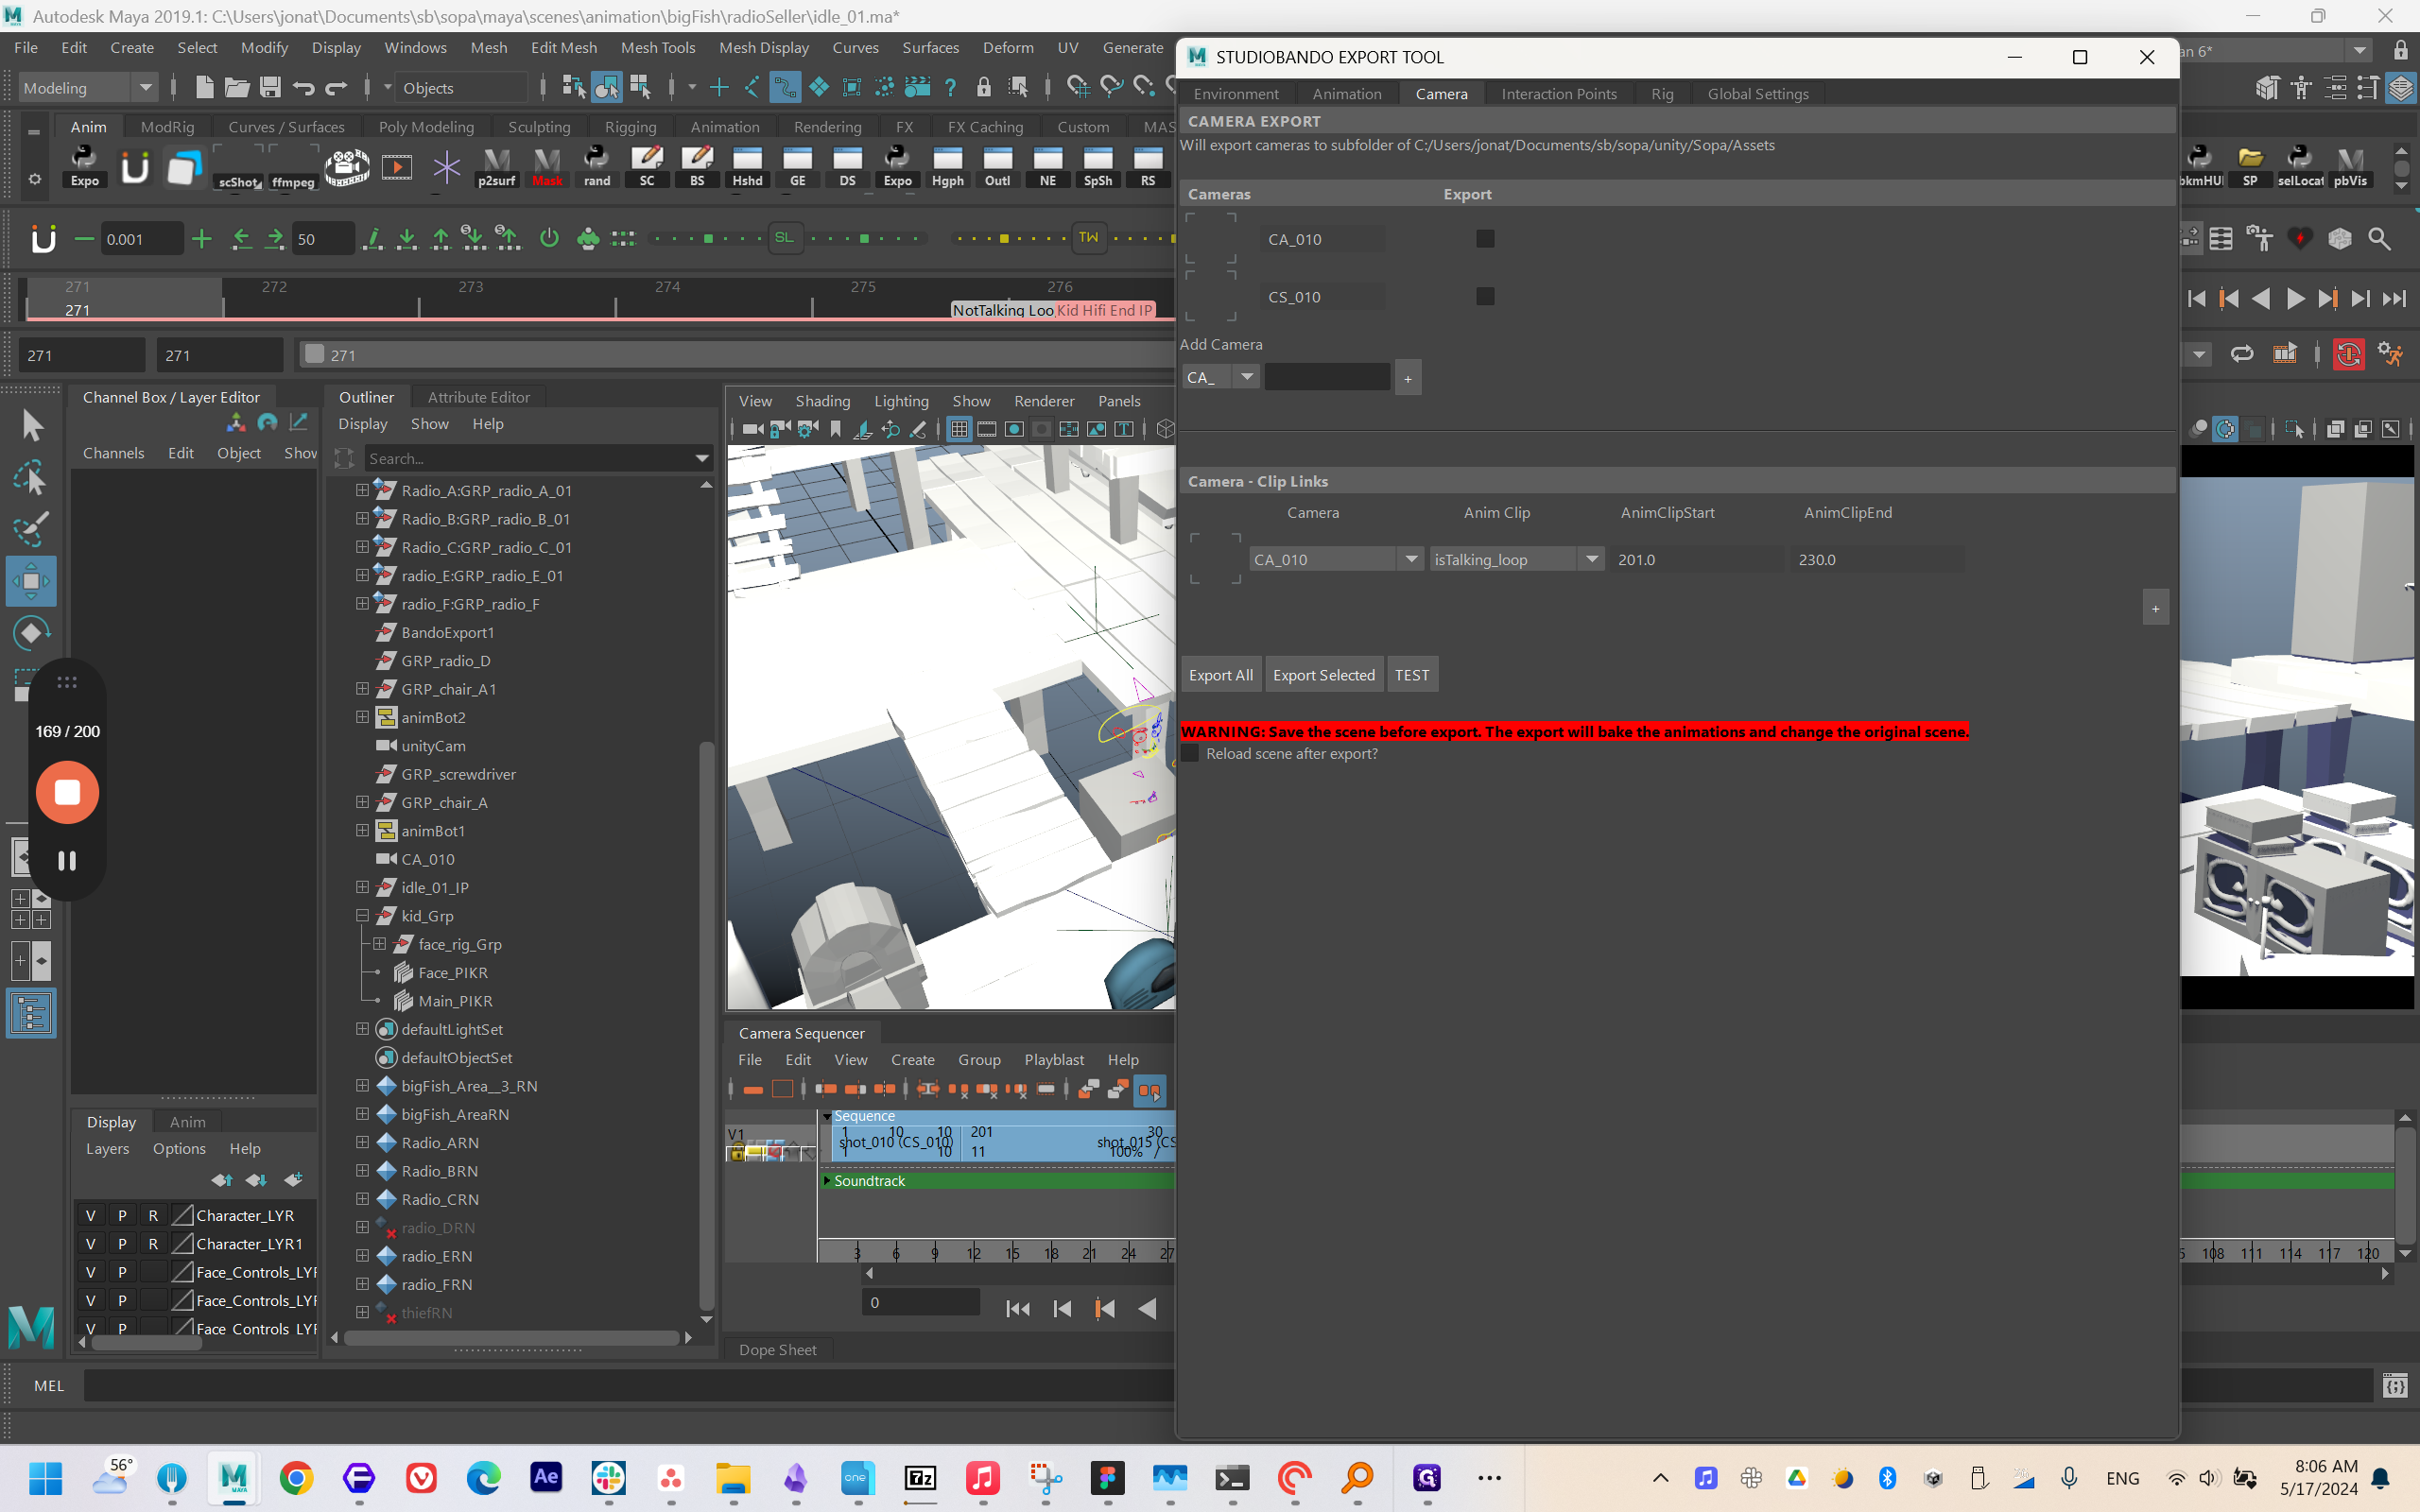
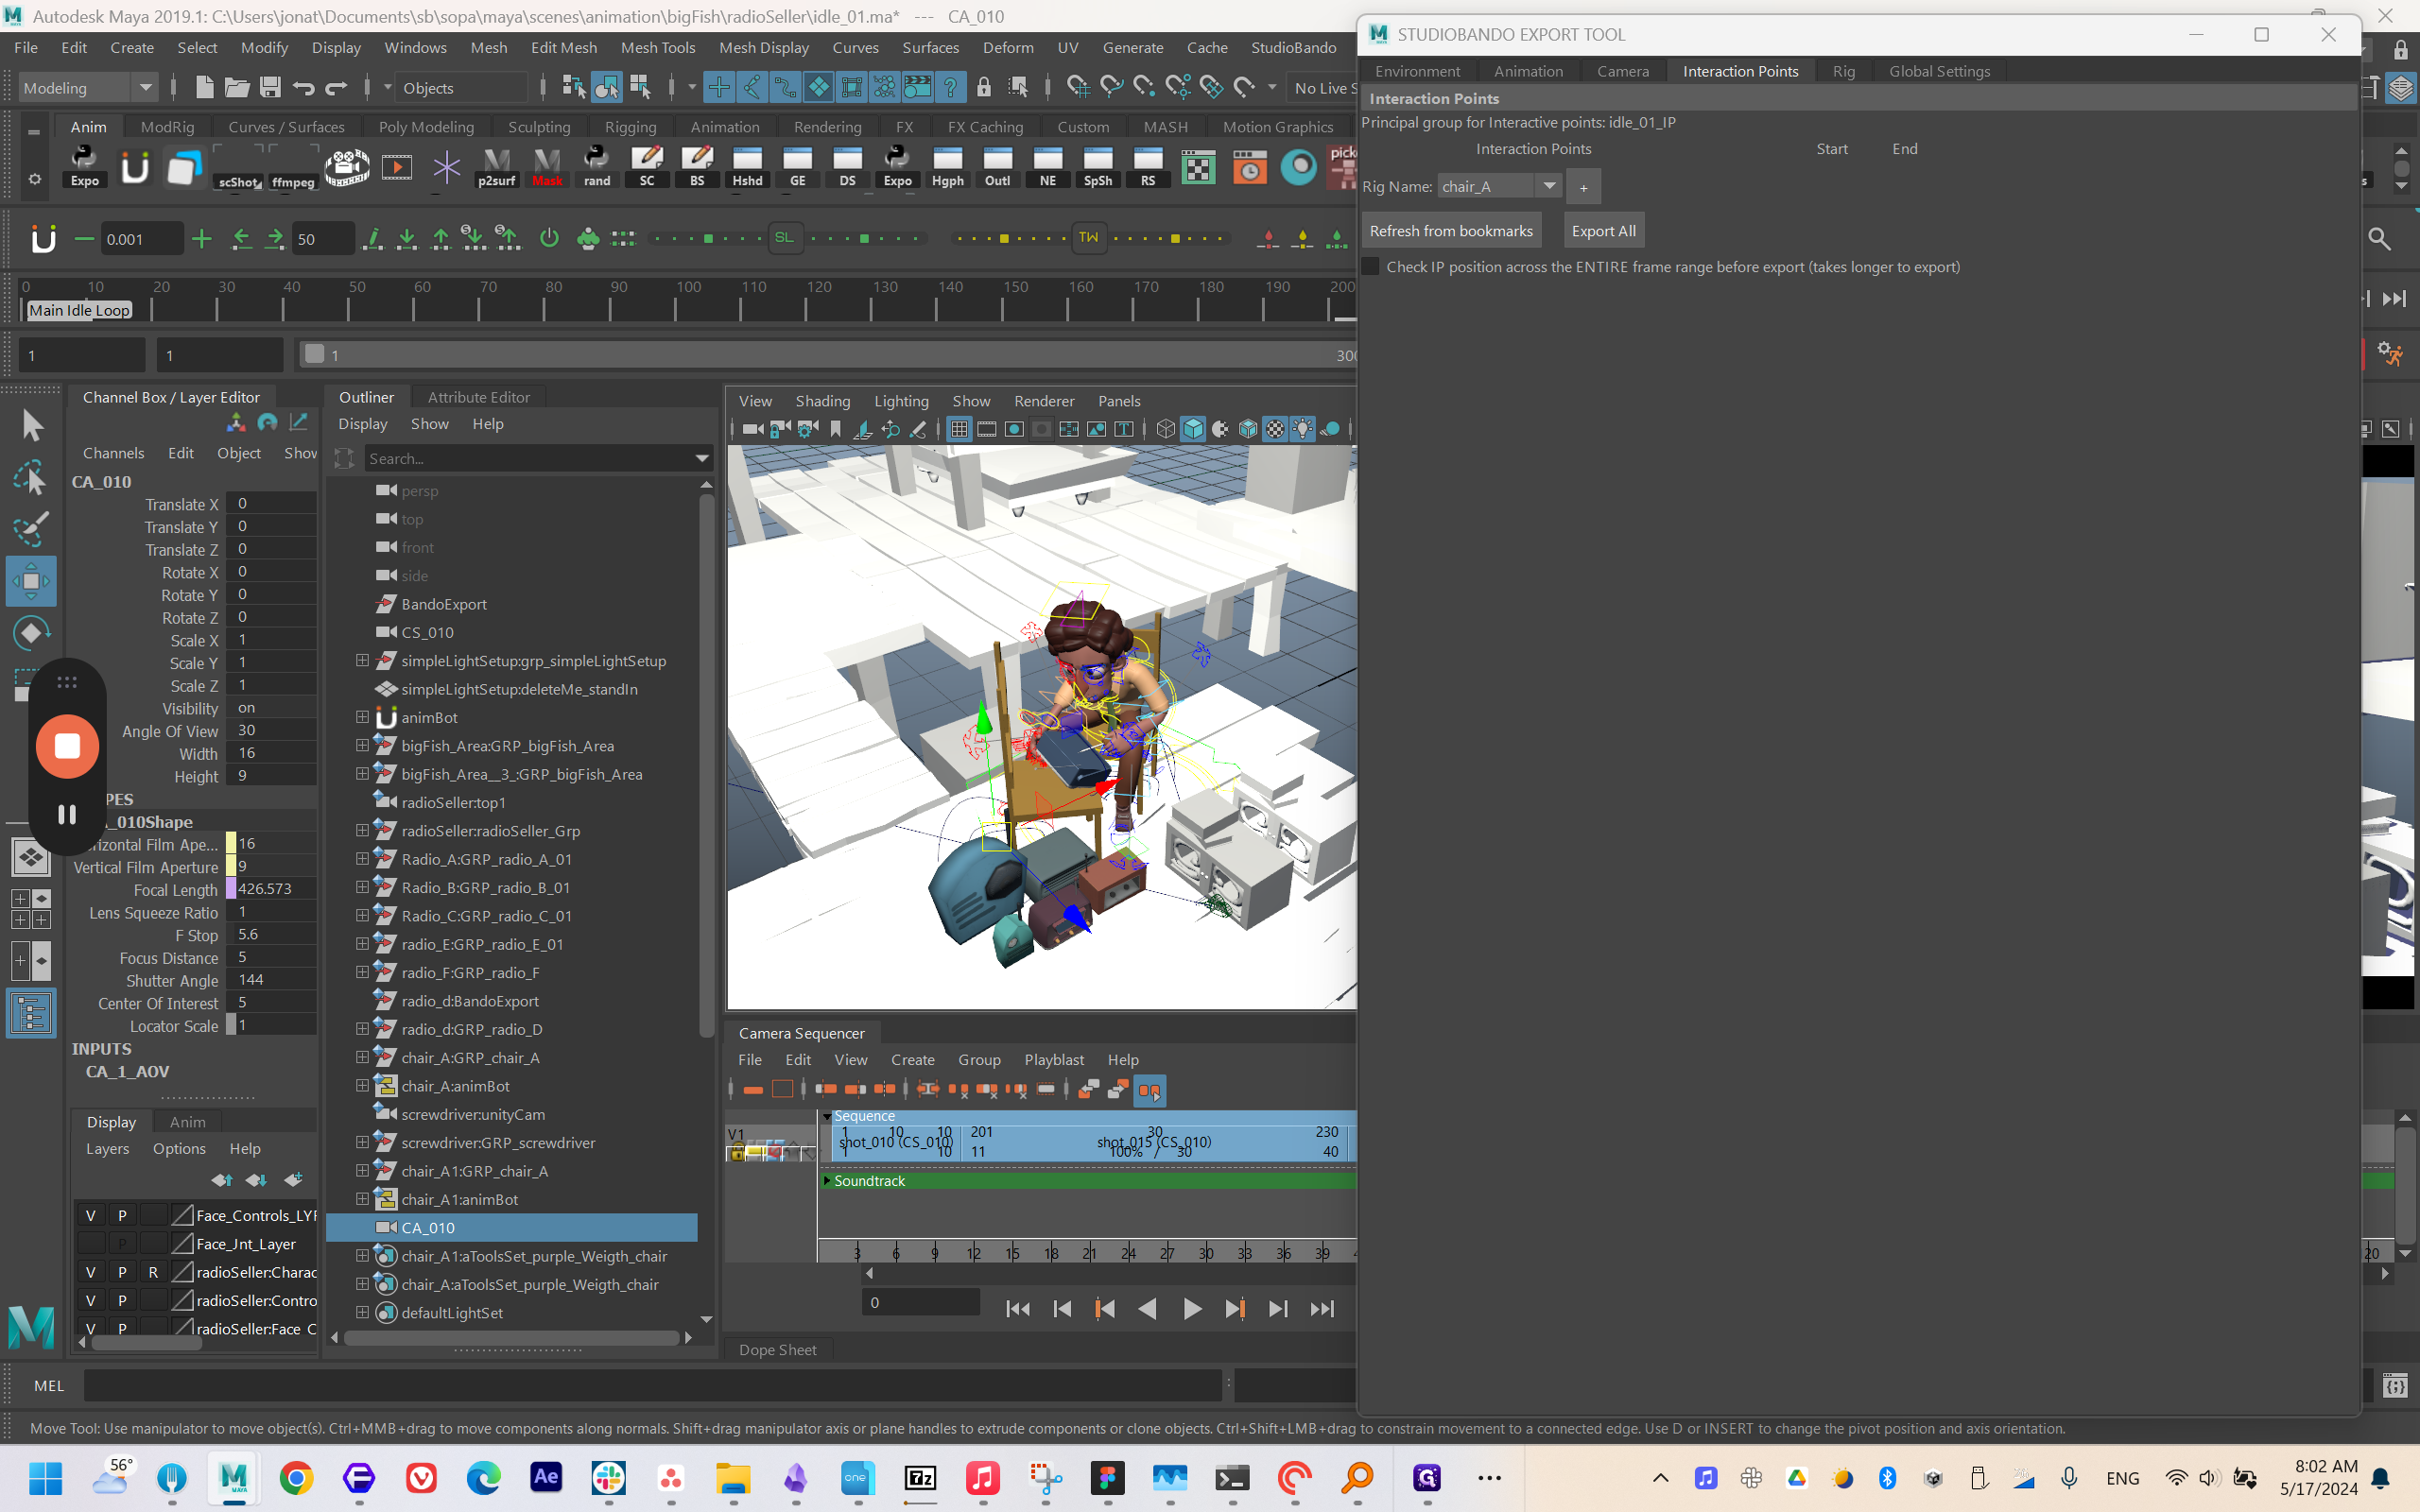
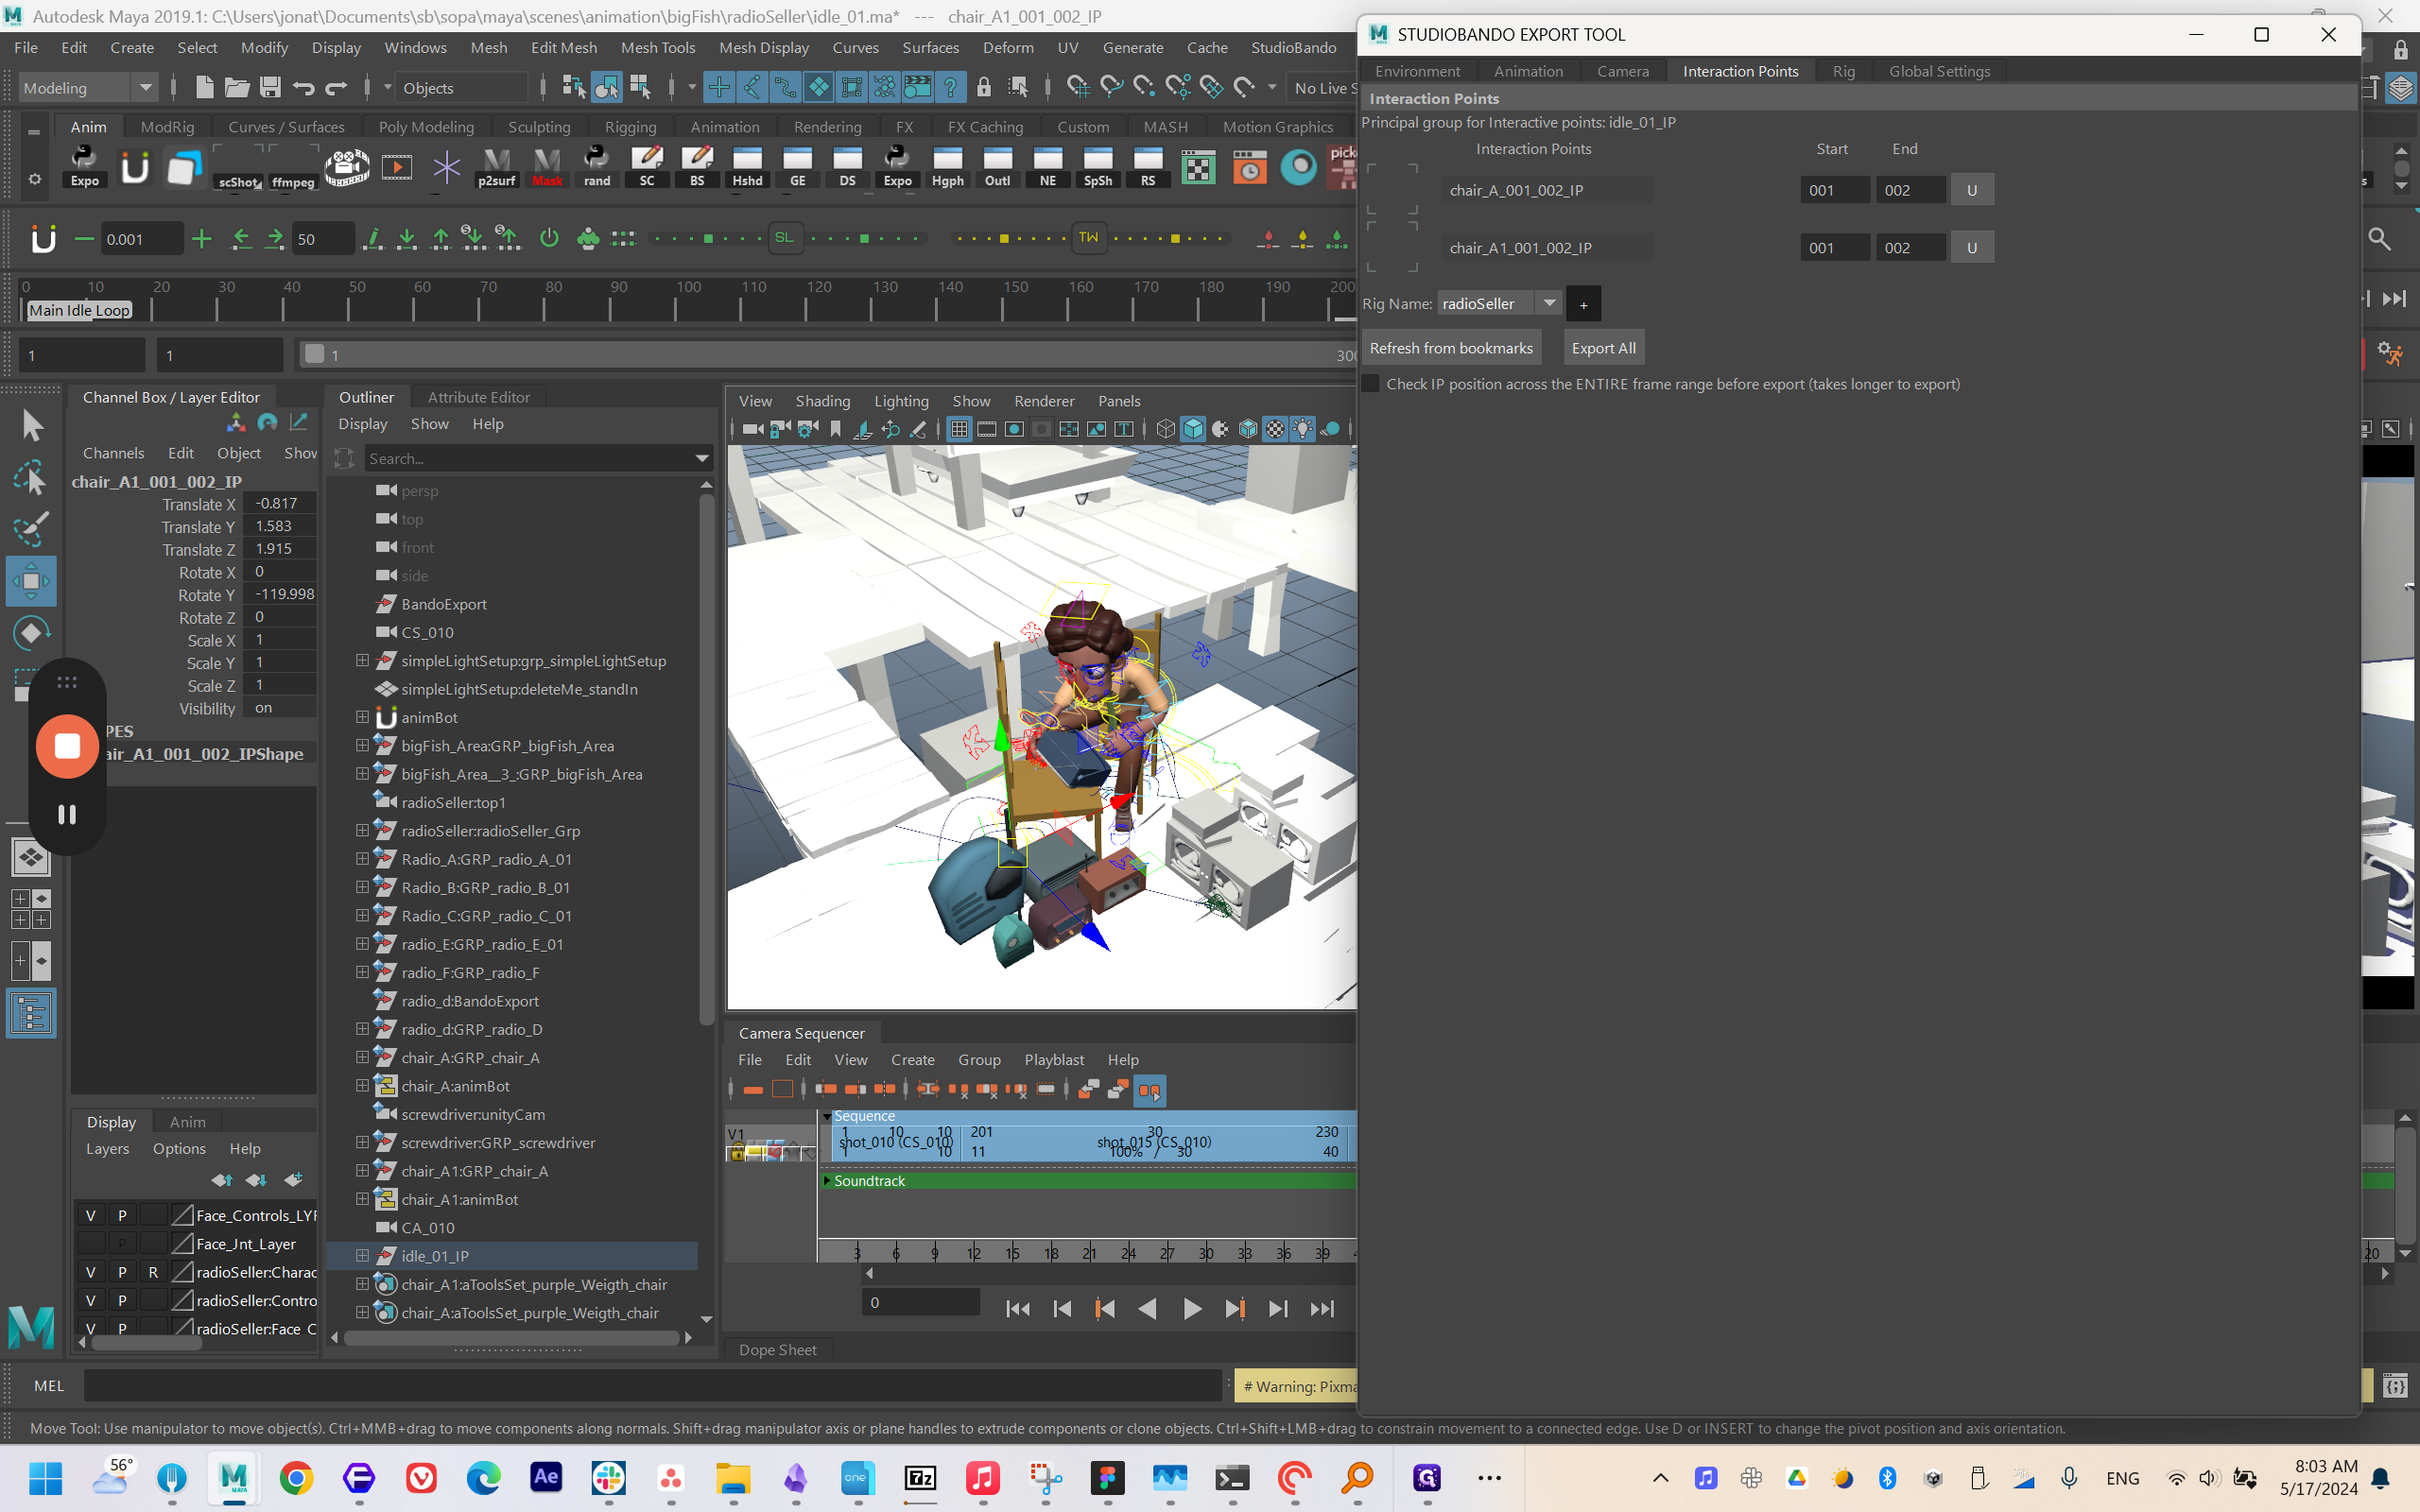
Alright, I selected "Export All." If you want to export an individual, you can use this checkbox and then select the one you want to export.
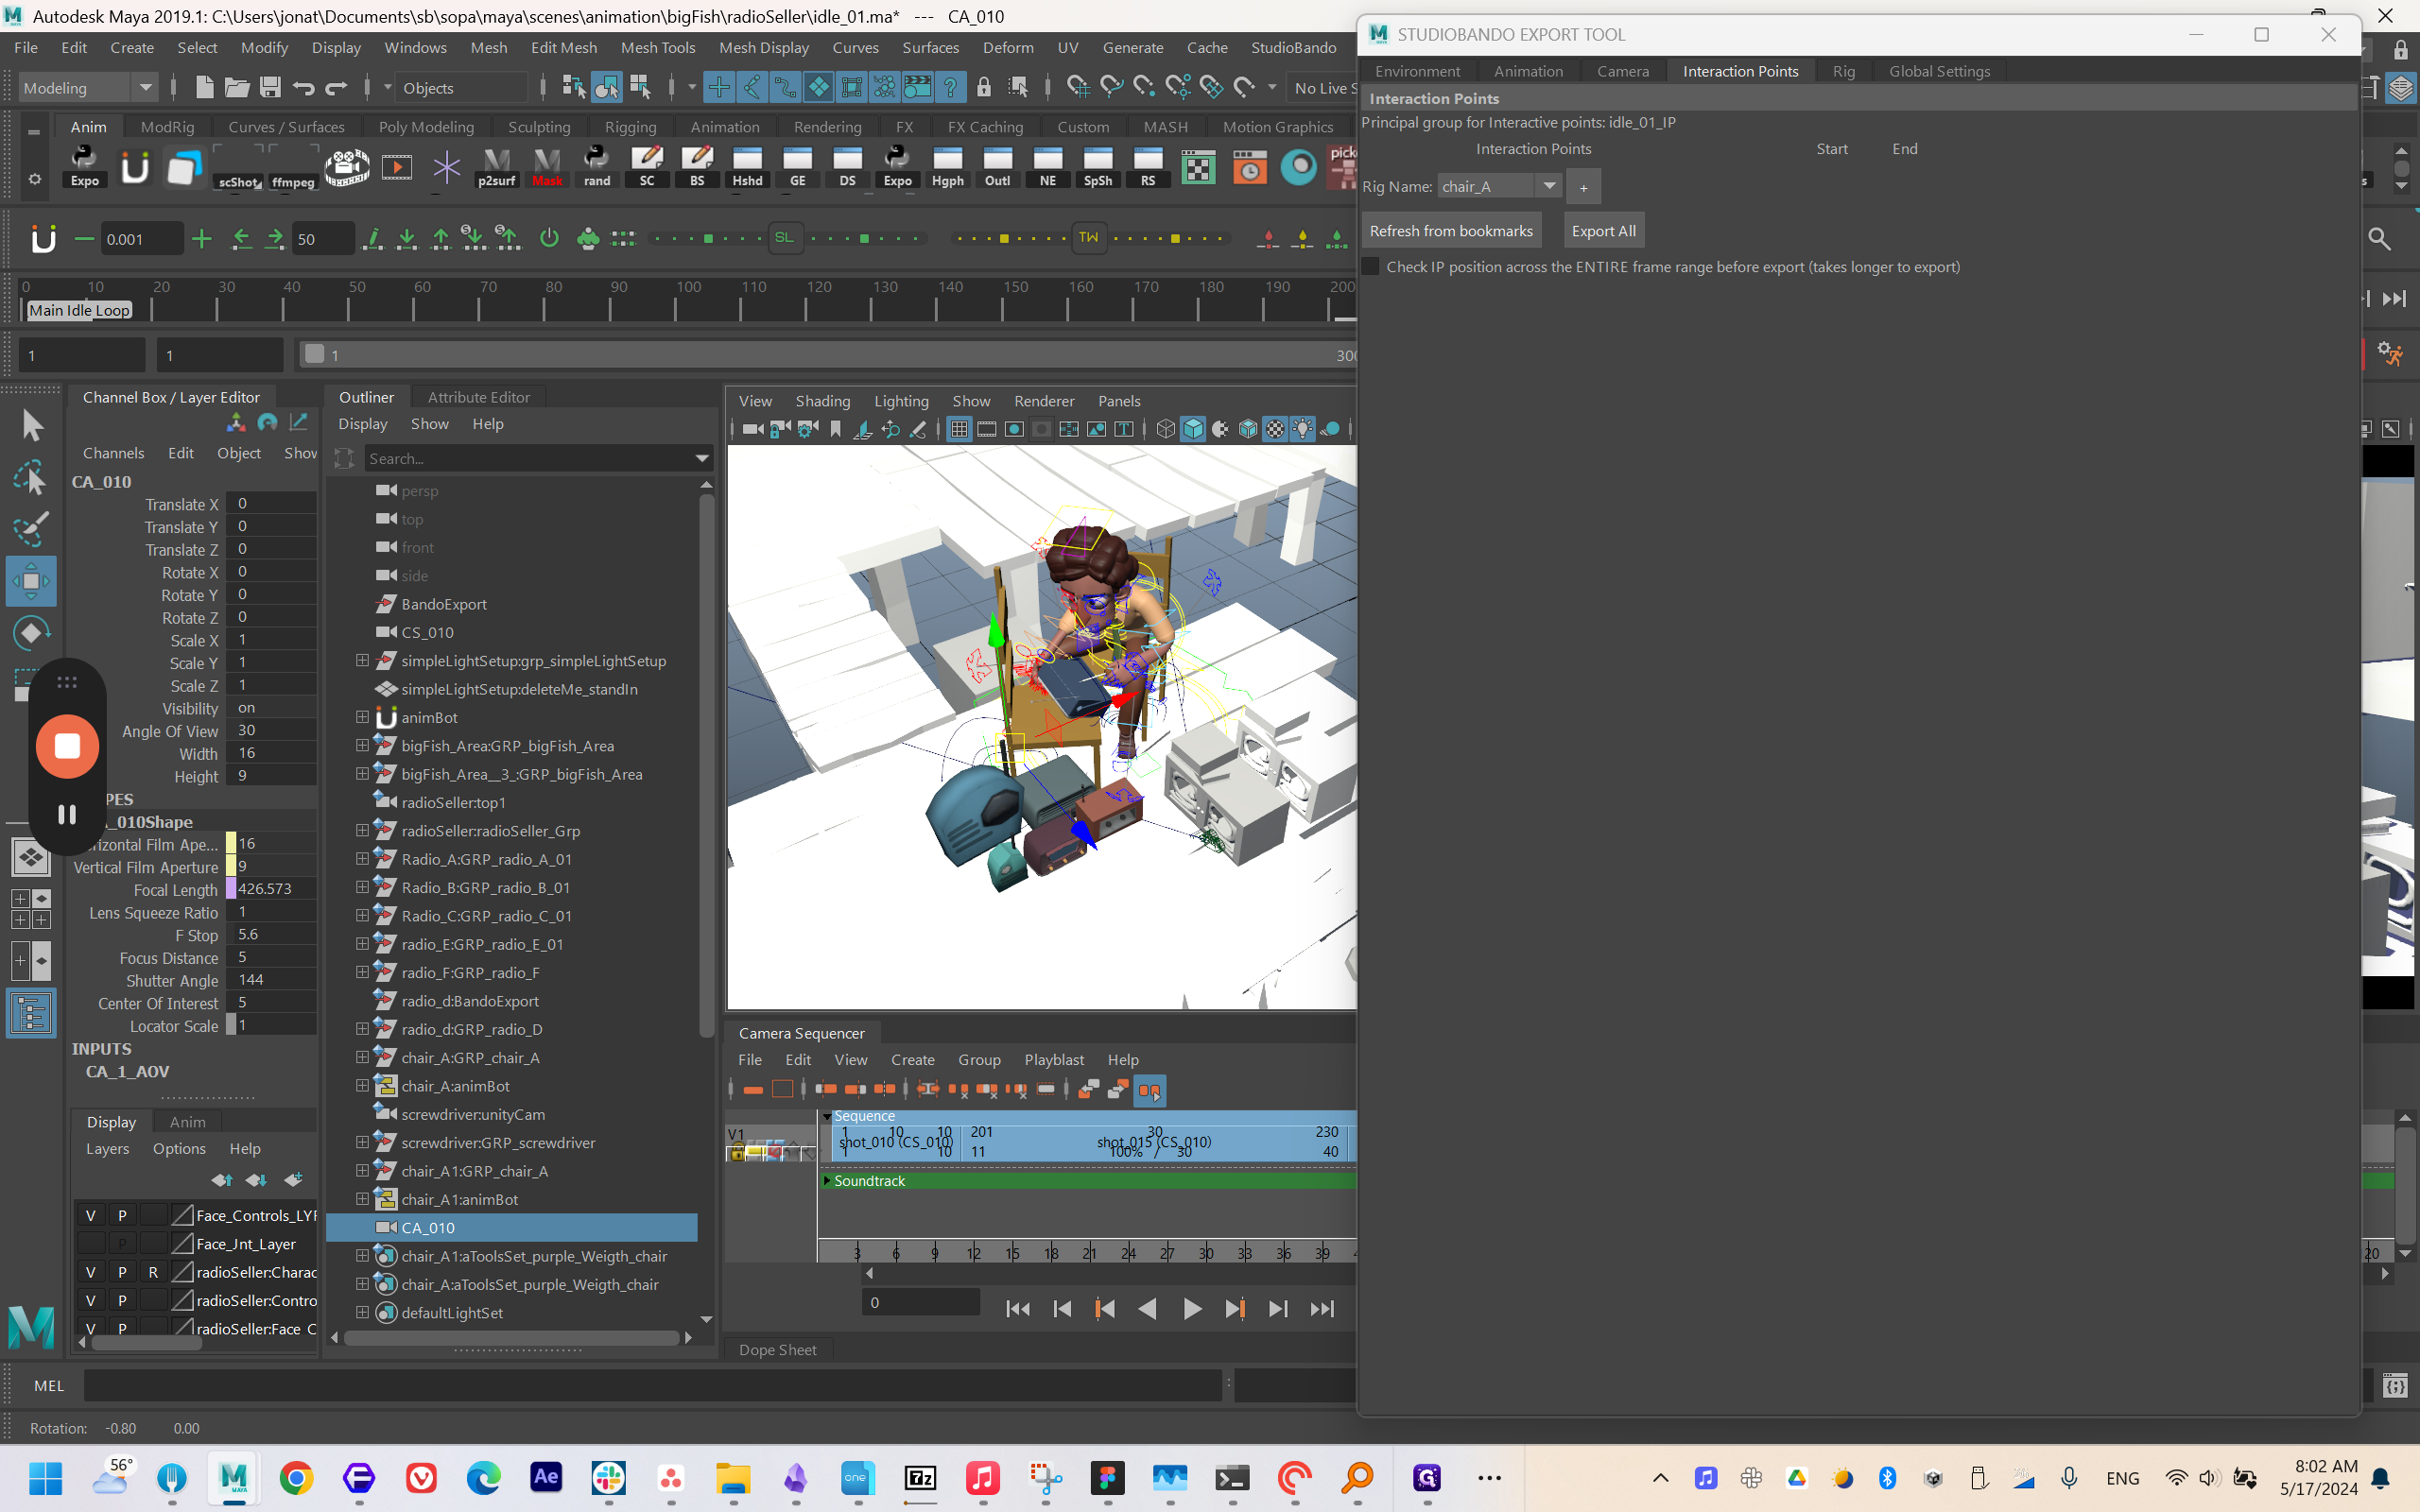
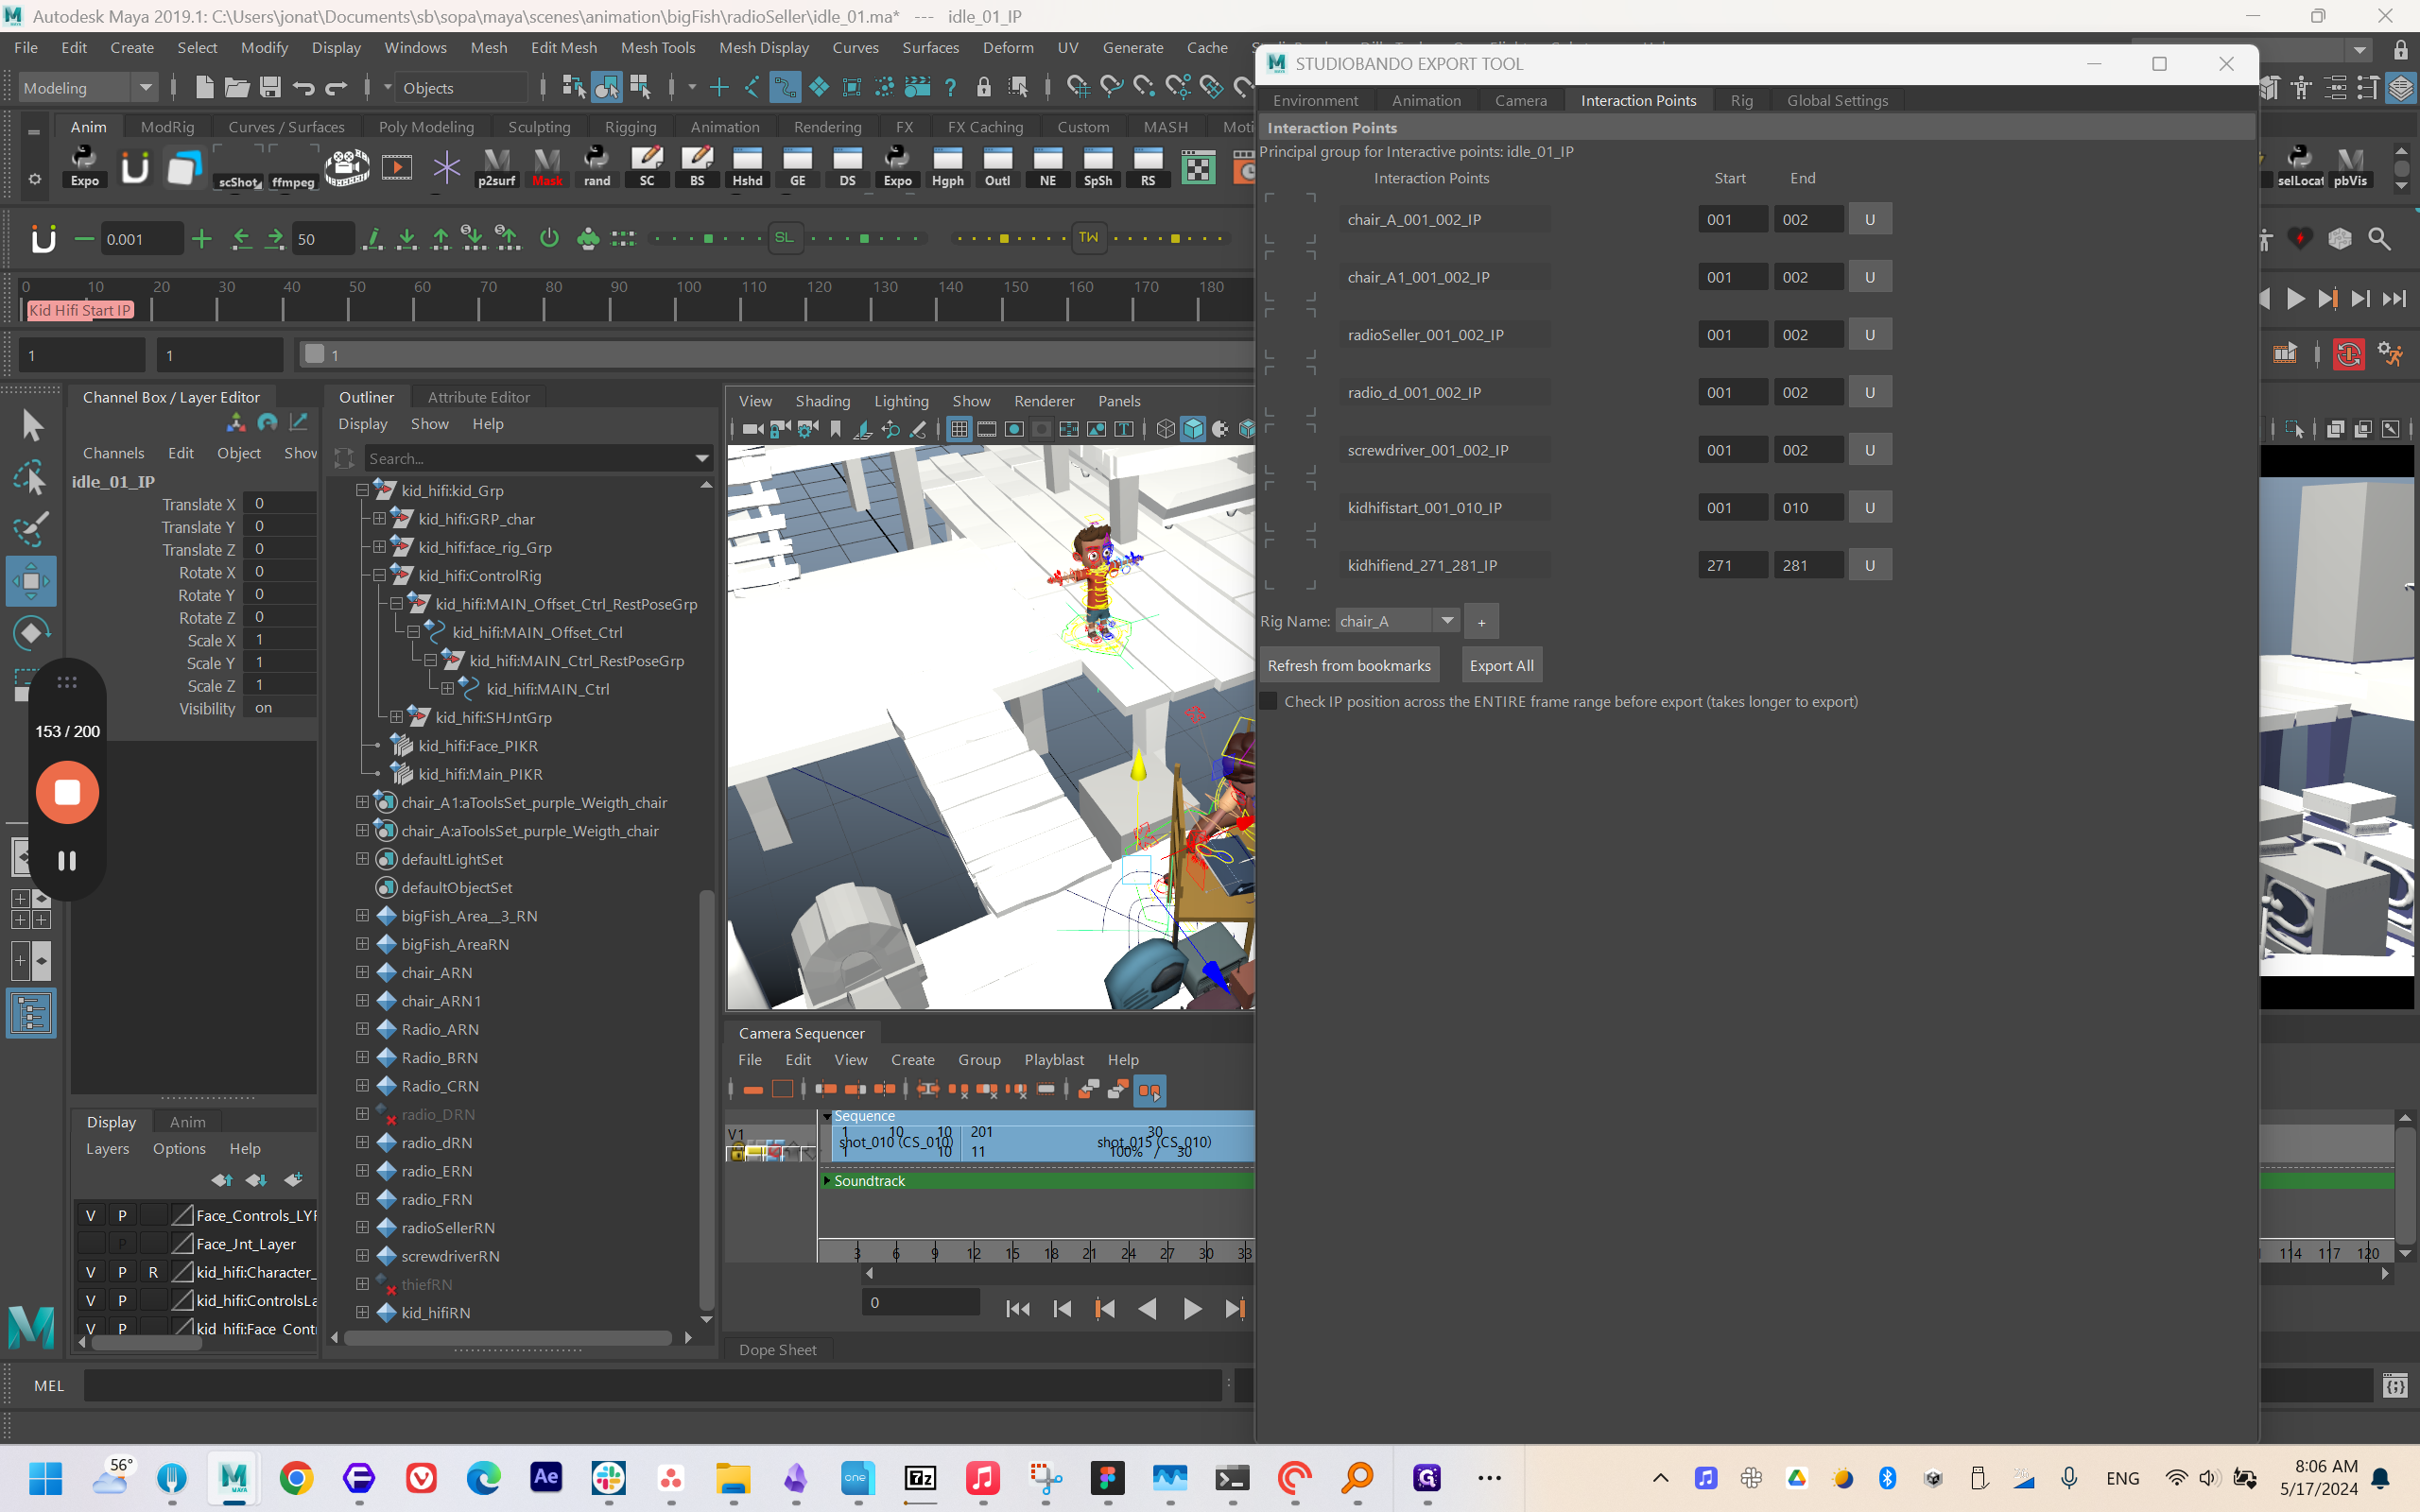
Export all interaction points.
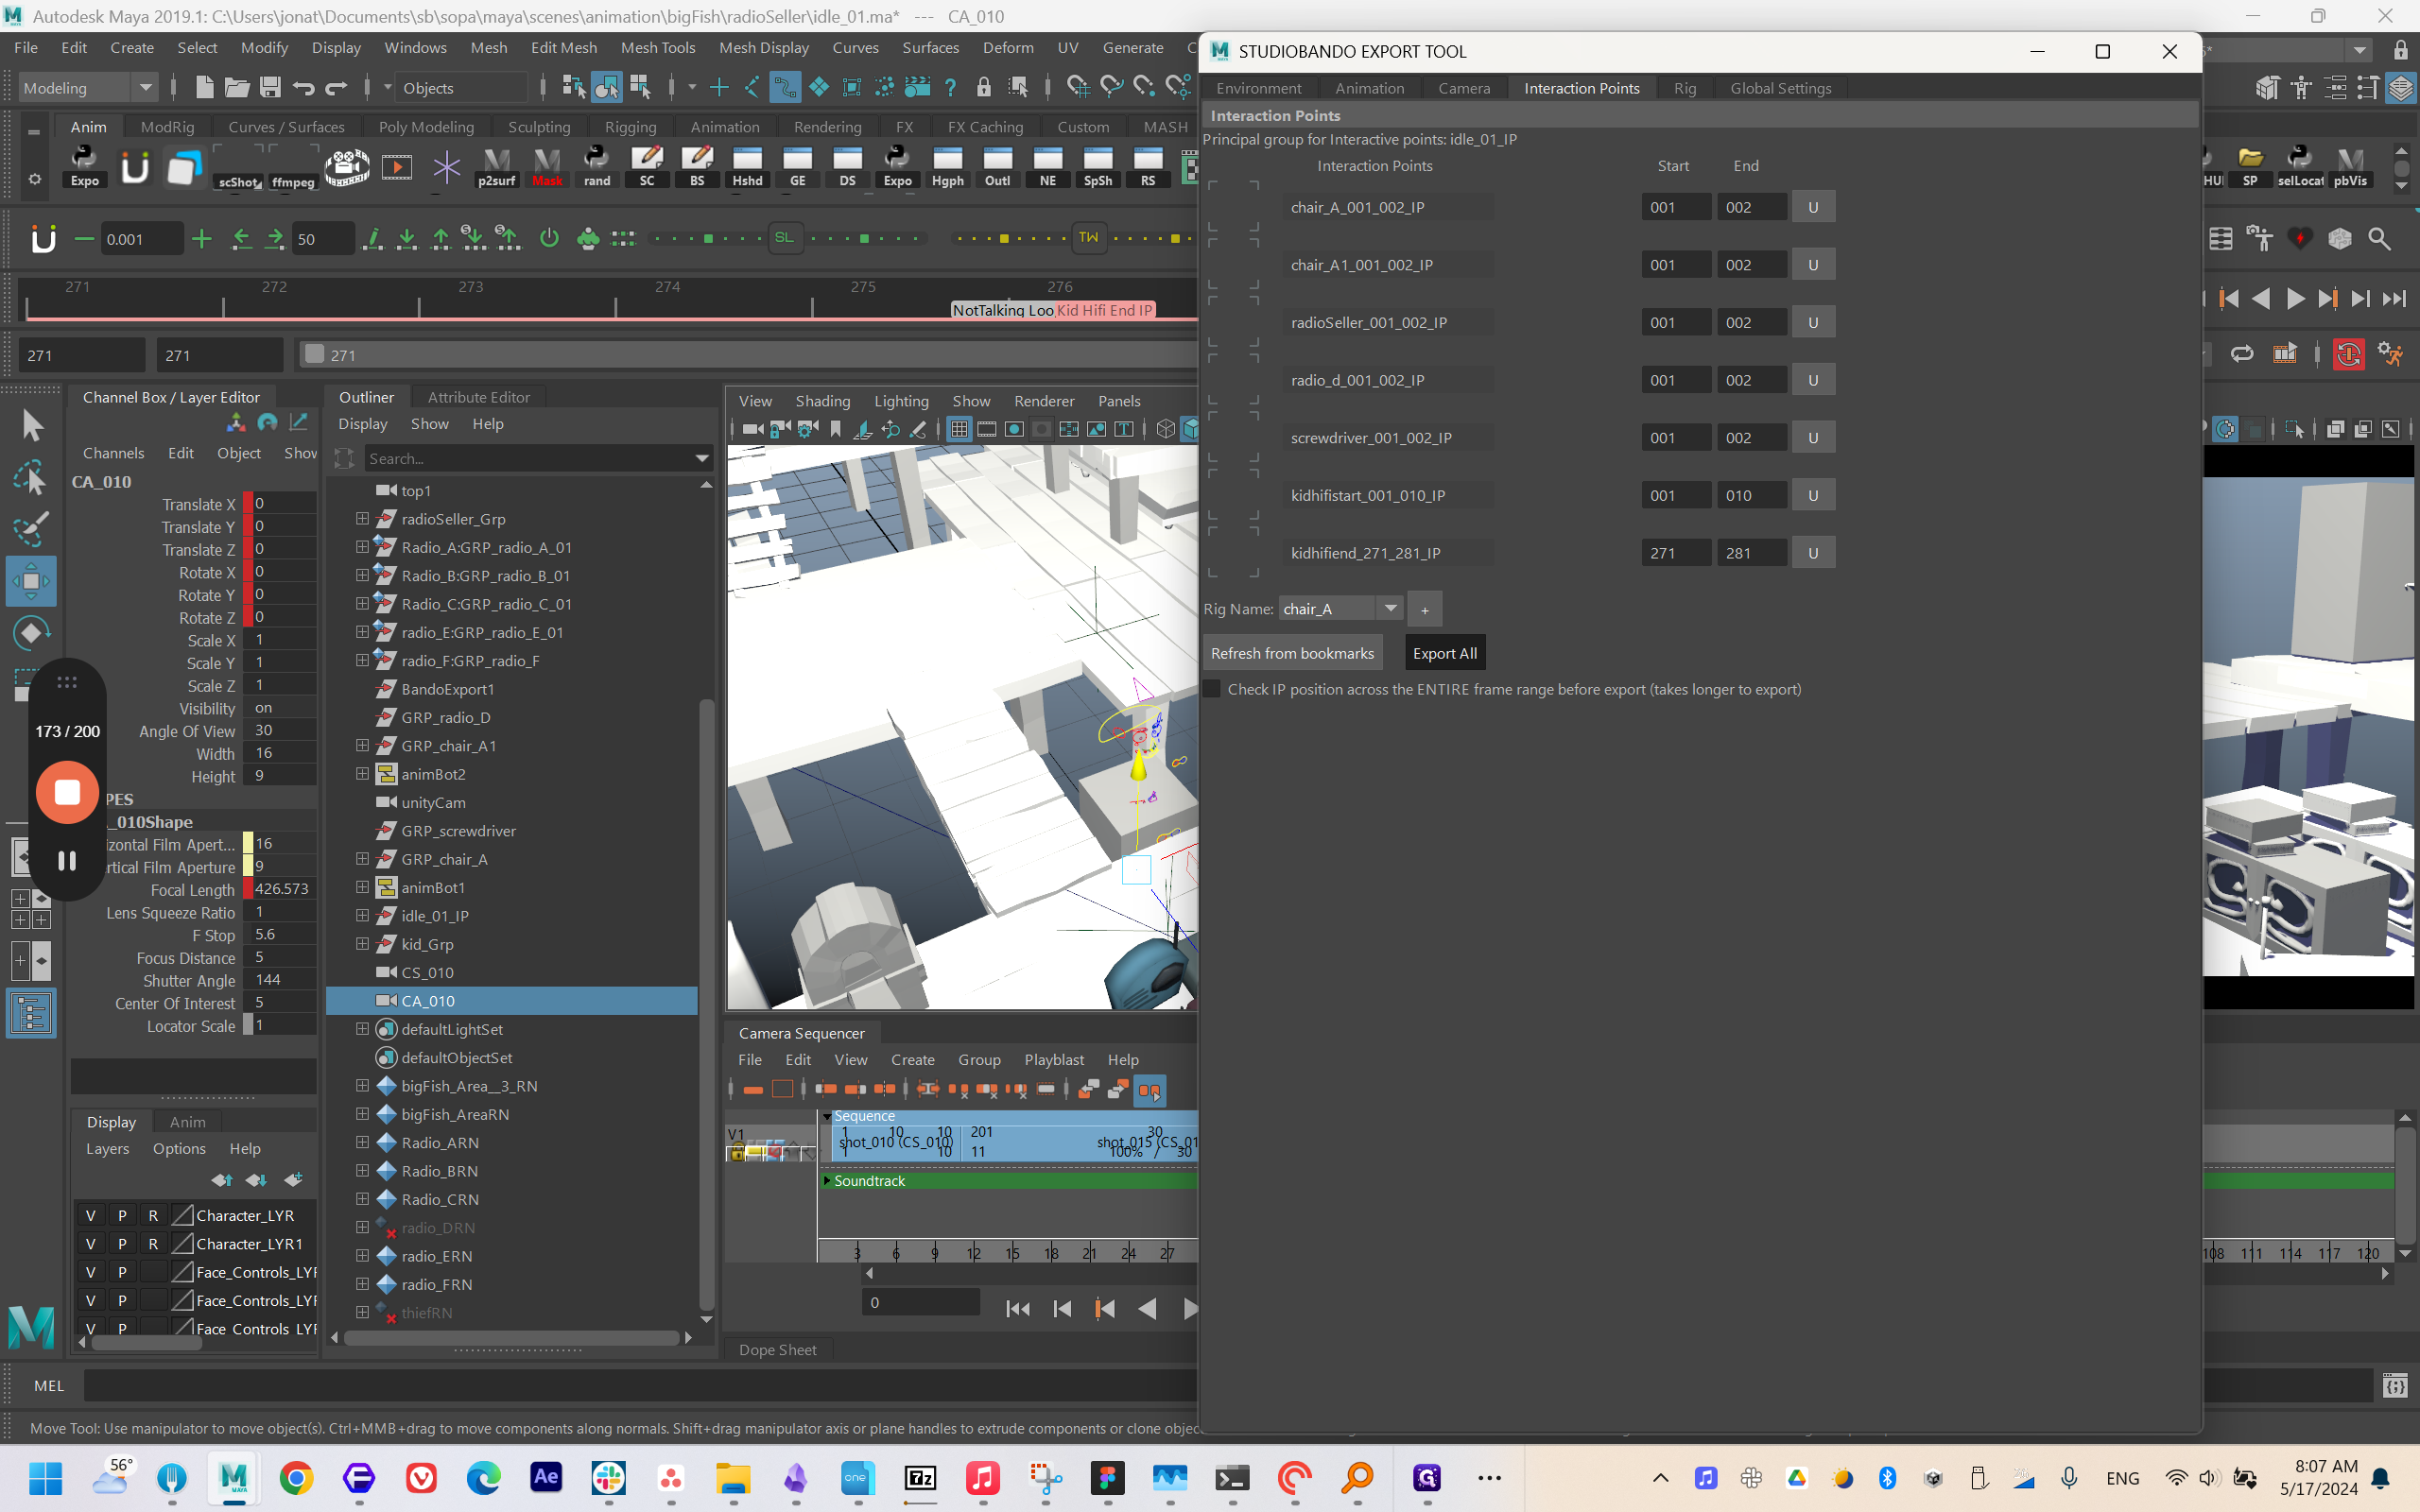
That's it.