
Add a Customer to Autotask Email Flow in Outlook
Learn how to add a new customer to your Autotask email flow by configuring forwarding and organization rules in your shared Outlook support mailbox.
To integrate a new customer into your Autotask workflow, you need to configure an email forwarding rule in the support mailbox. This ensures their requests are automatically routed to Autotask and filed appropriately.
Access the Support Mailbox
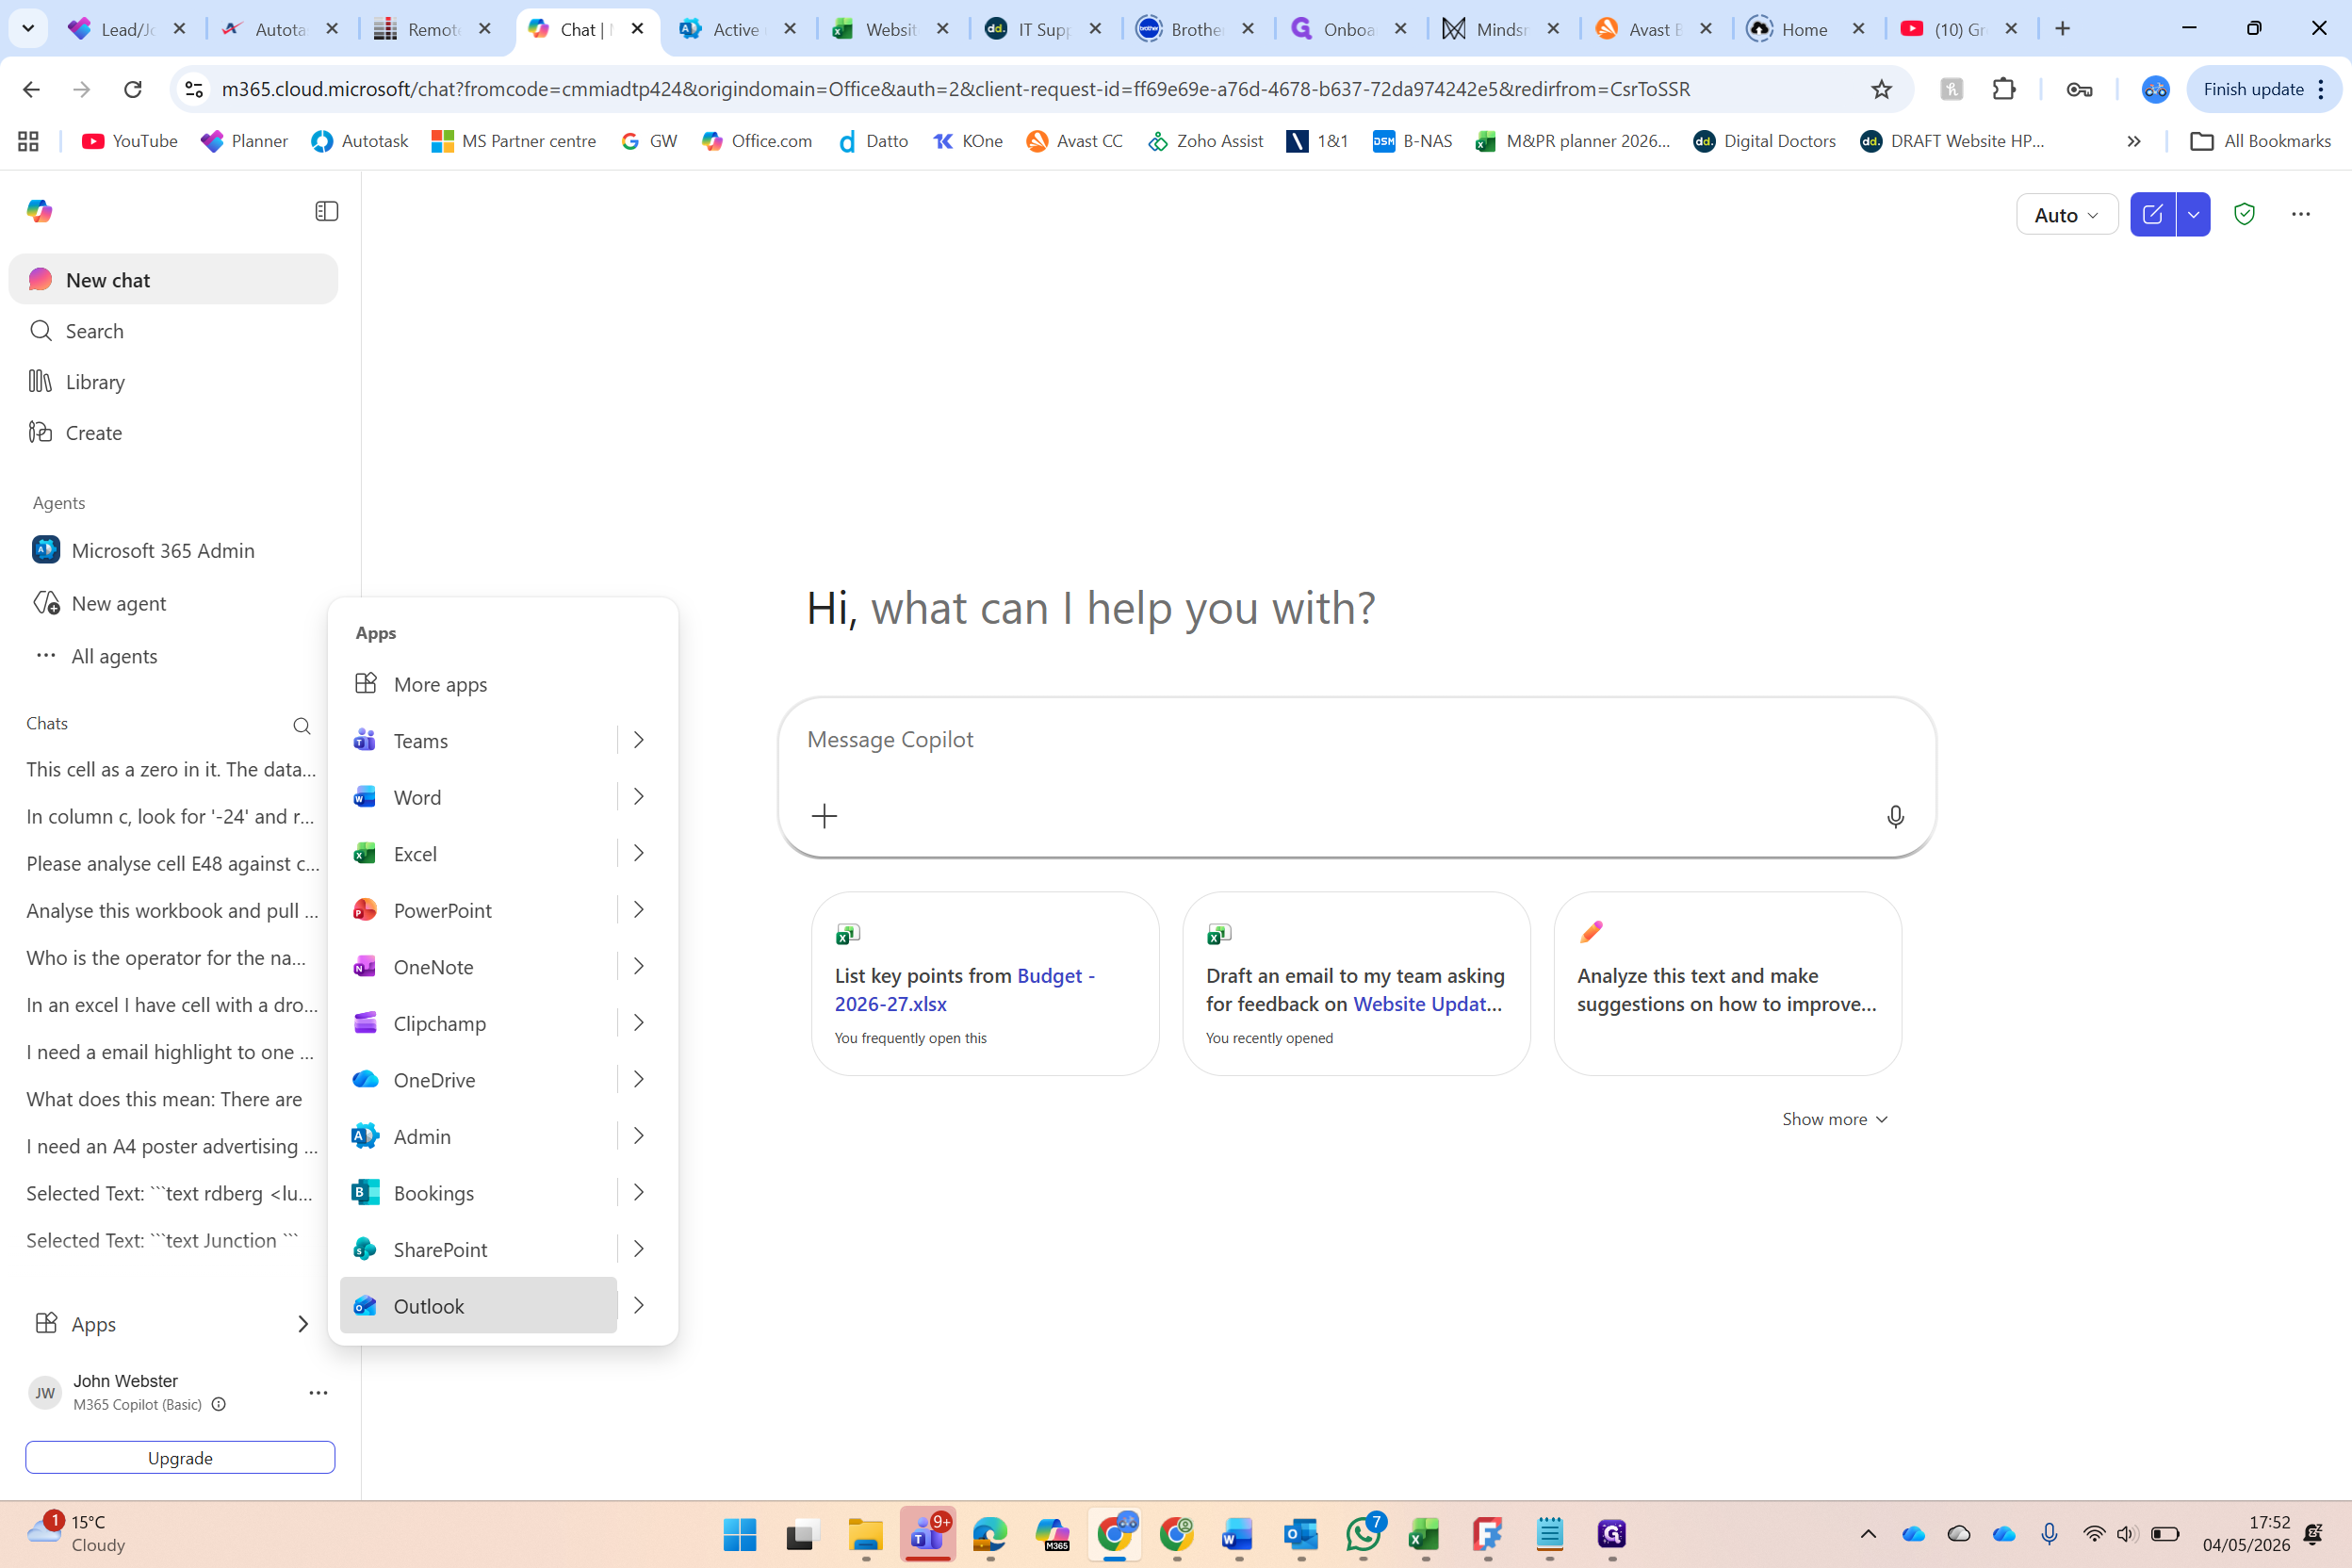
Sign in to your personal Microsoft 365 account and open Outlook
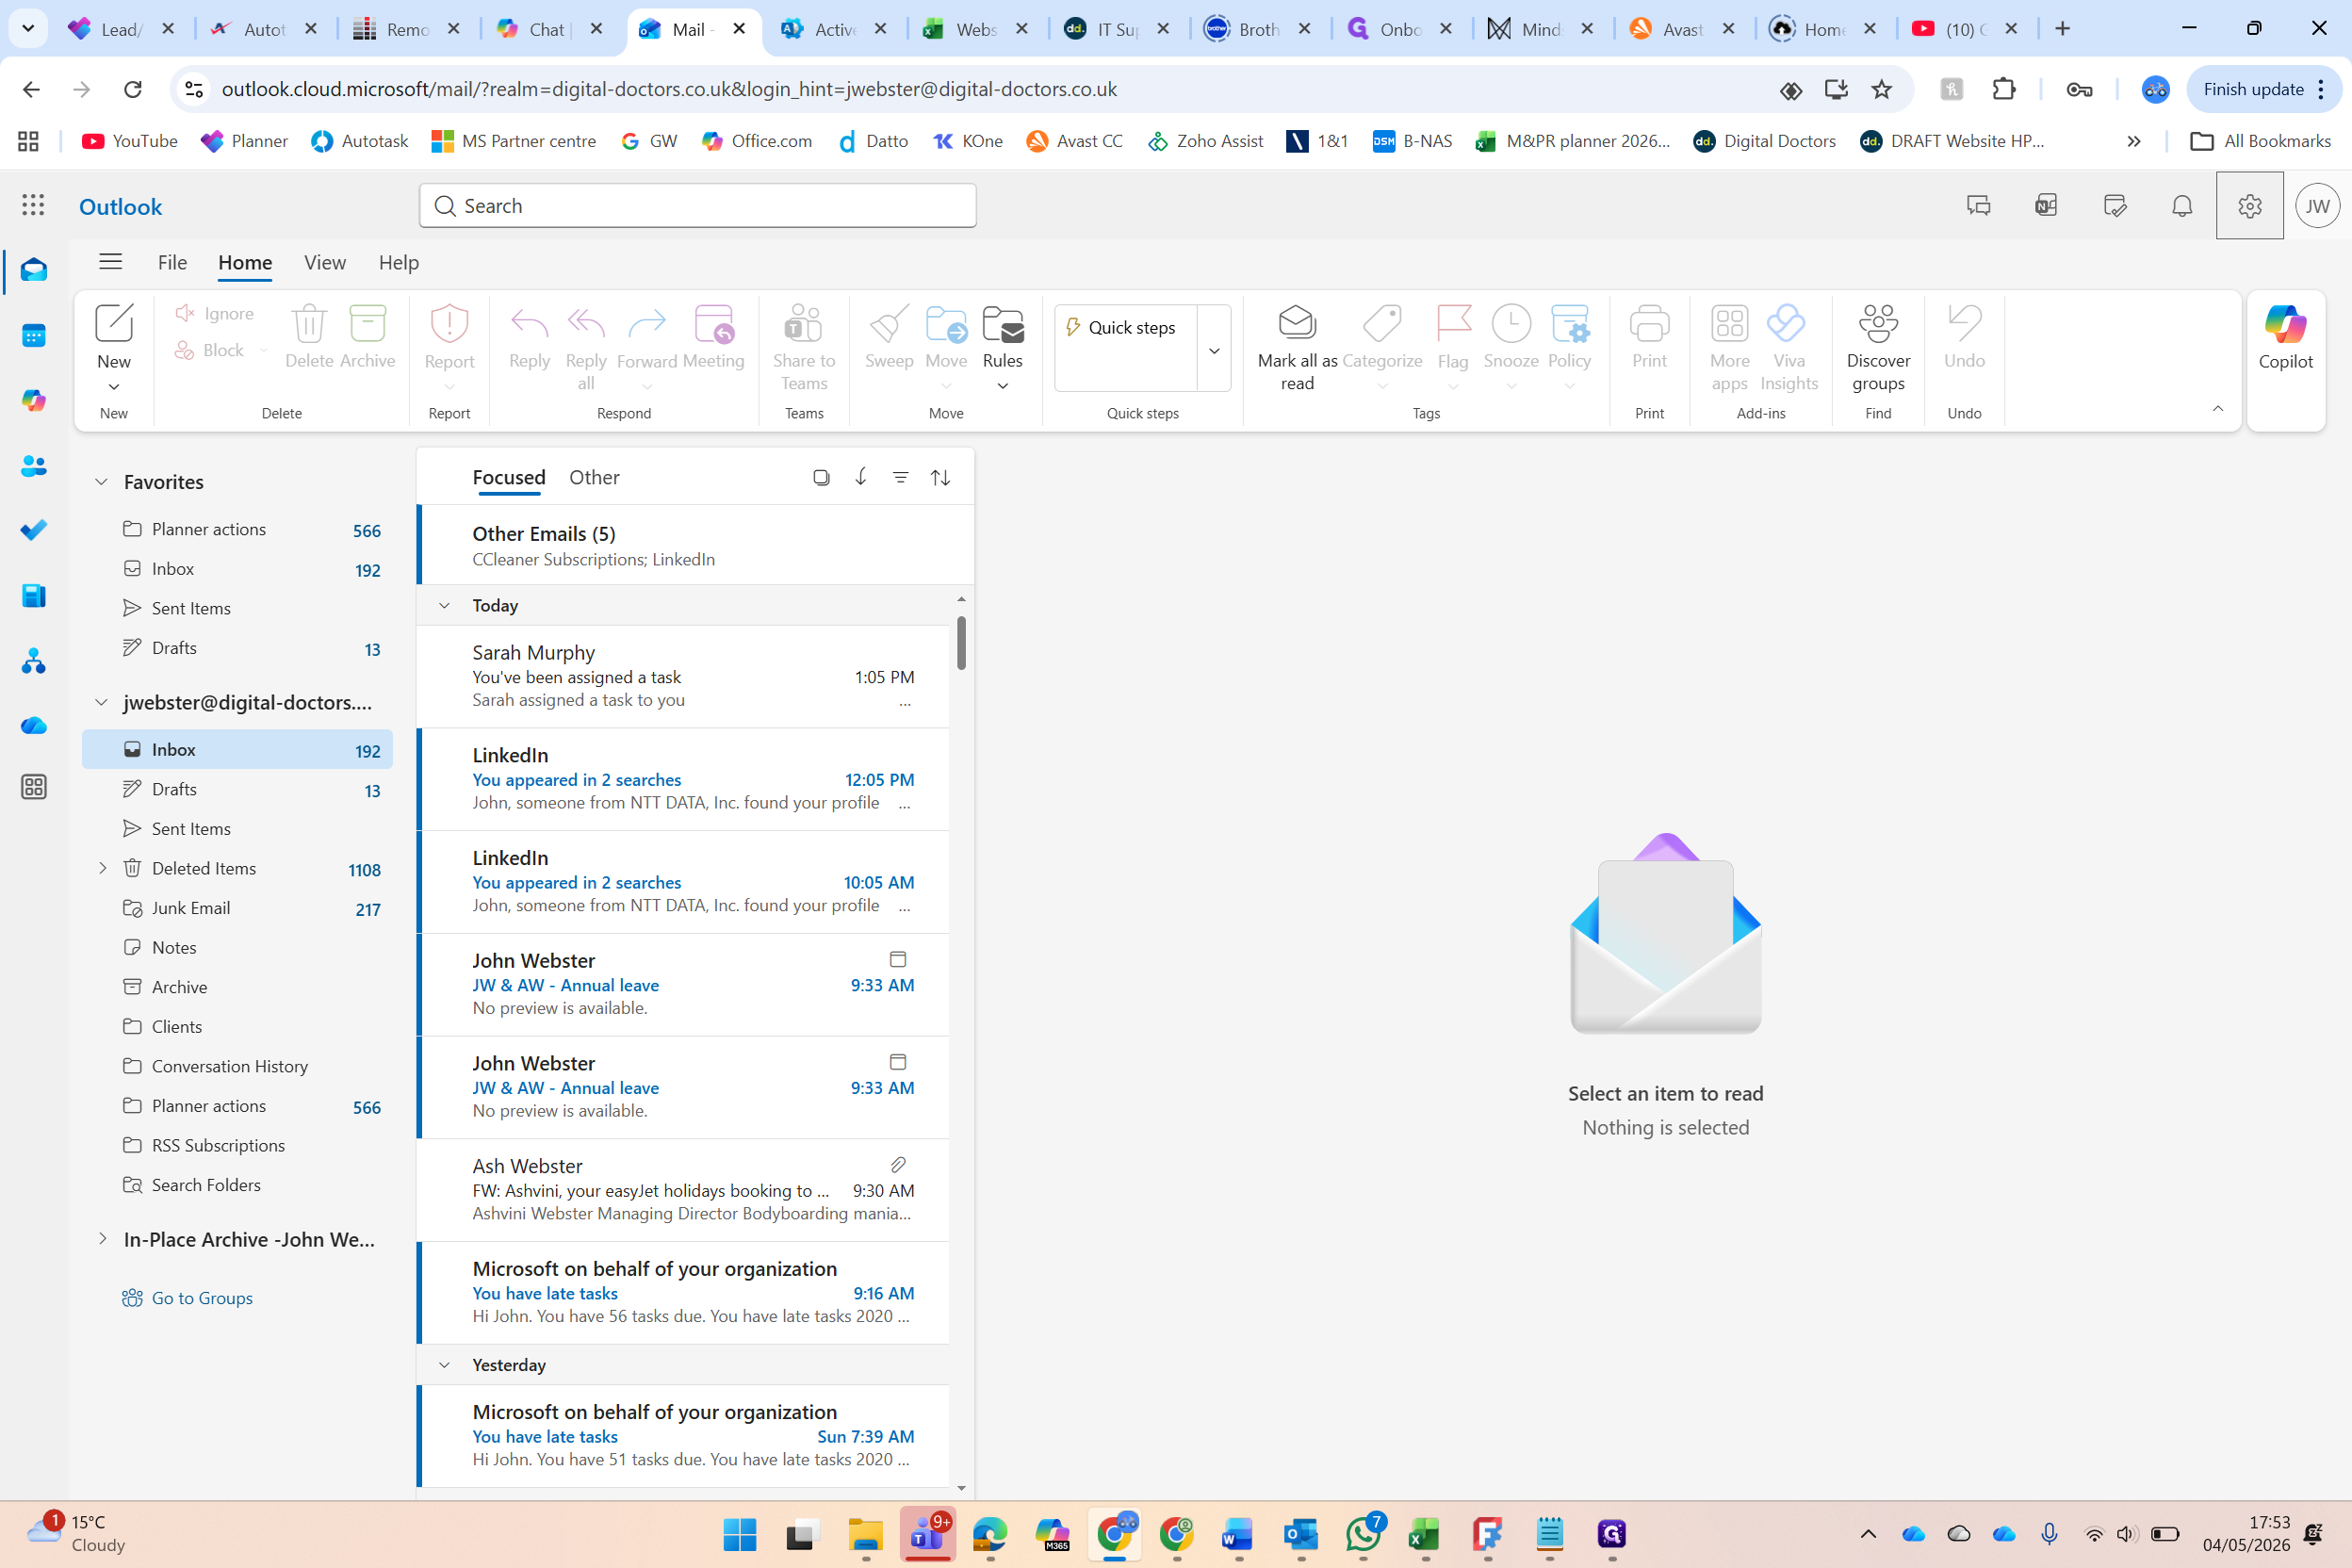
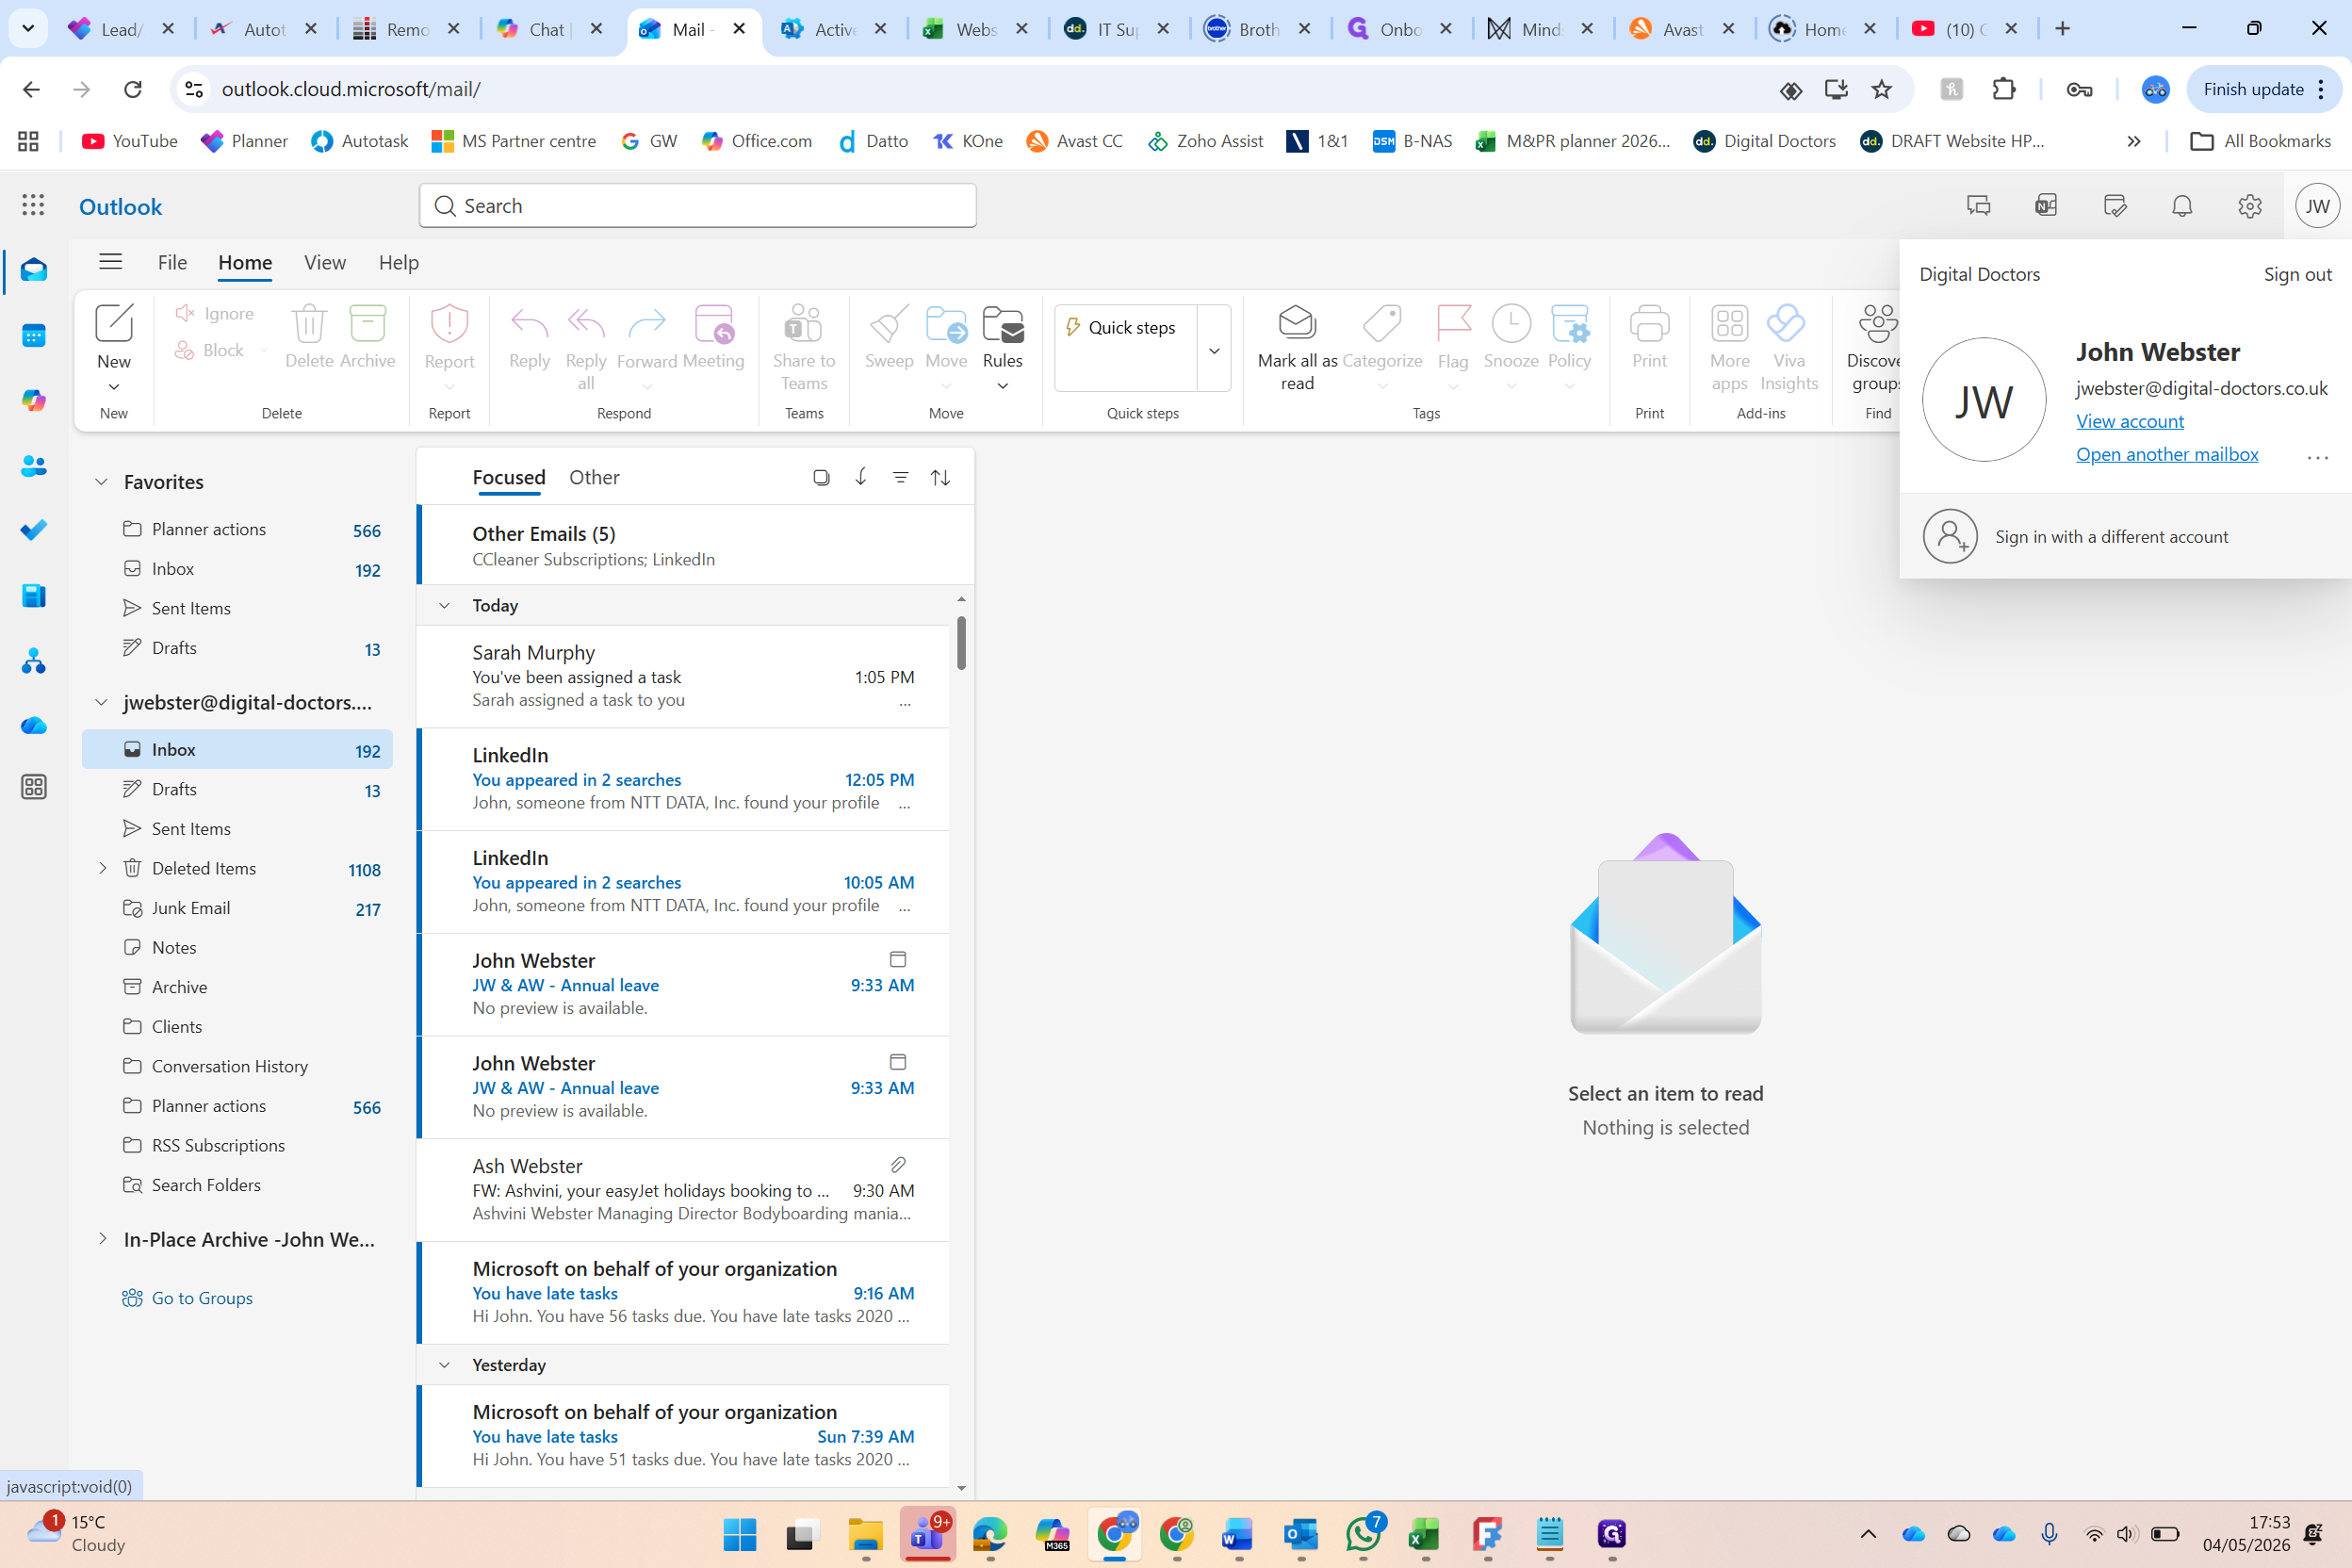
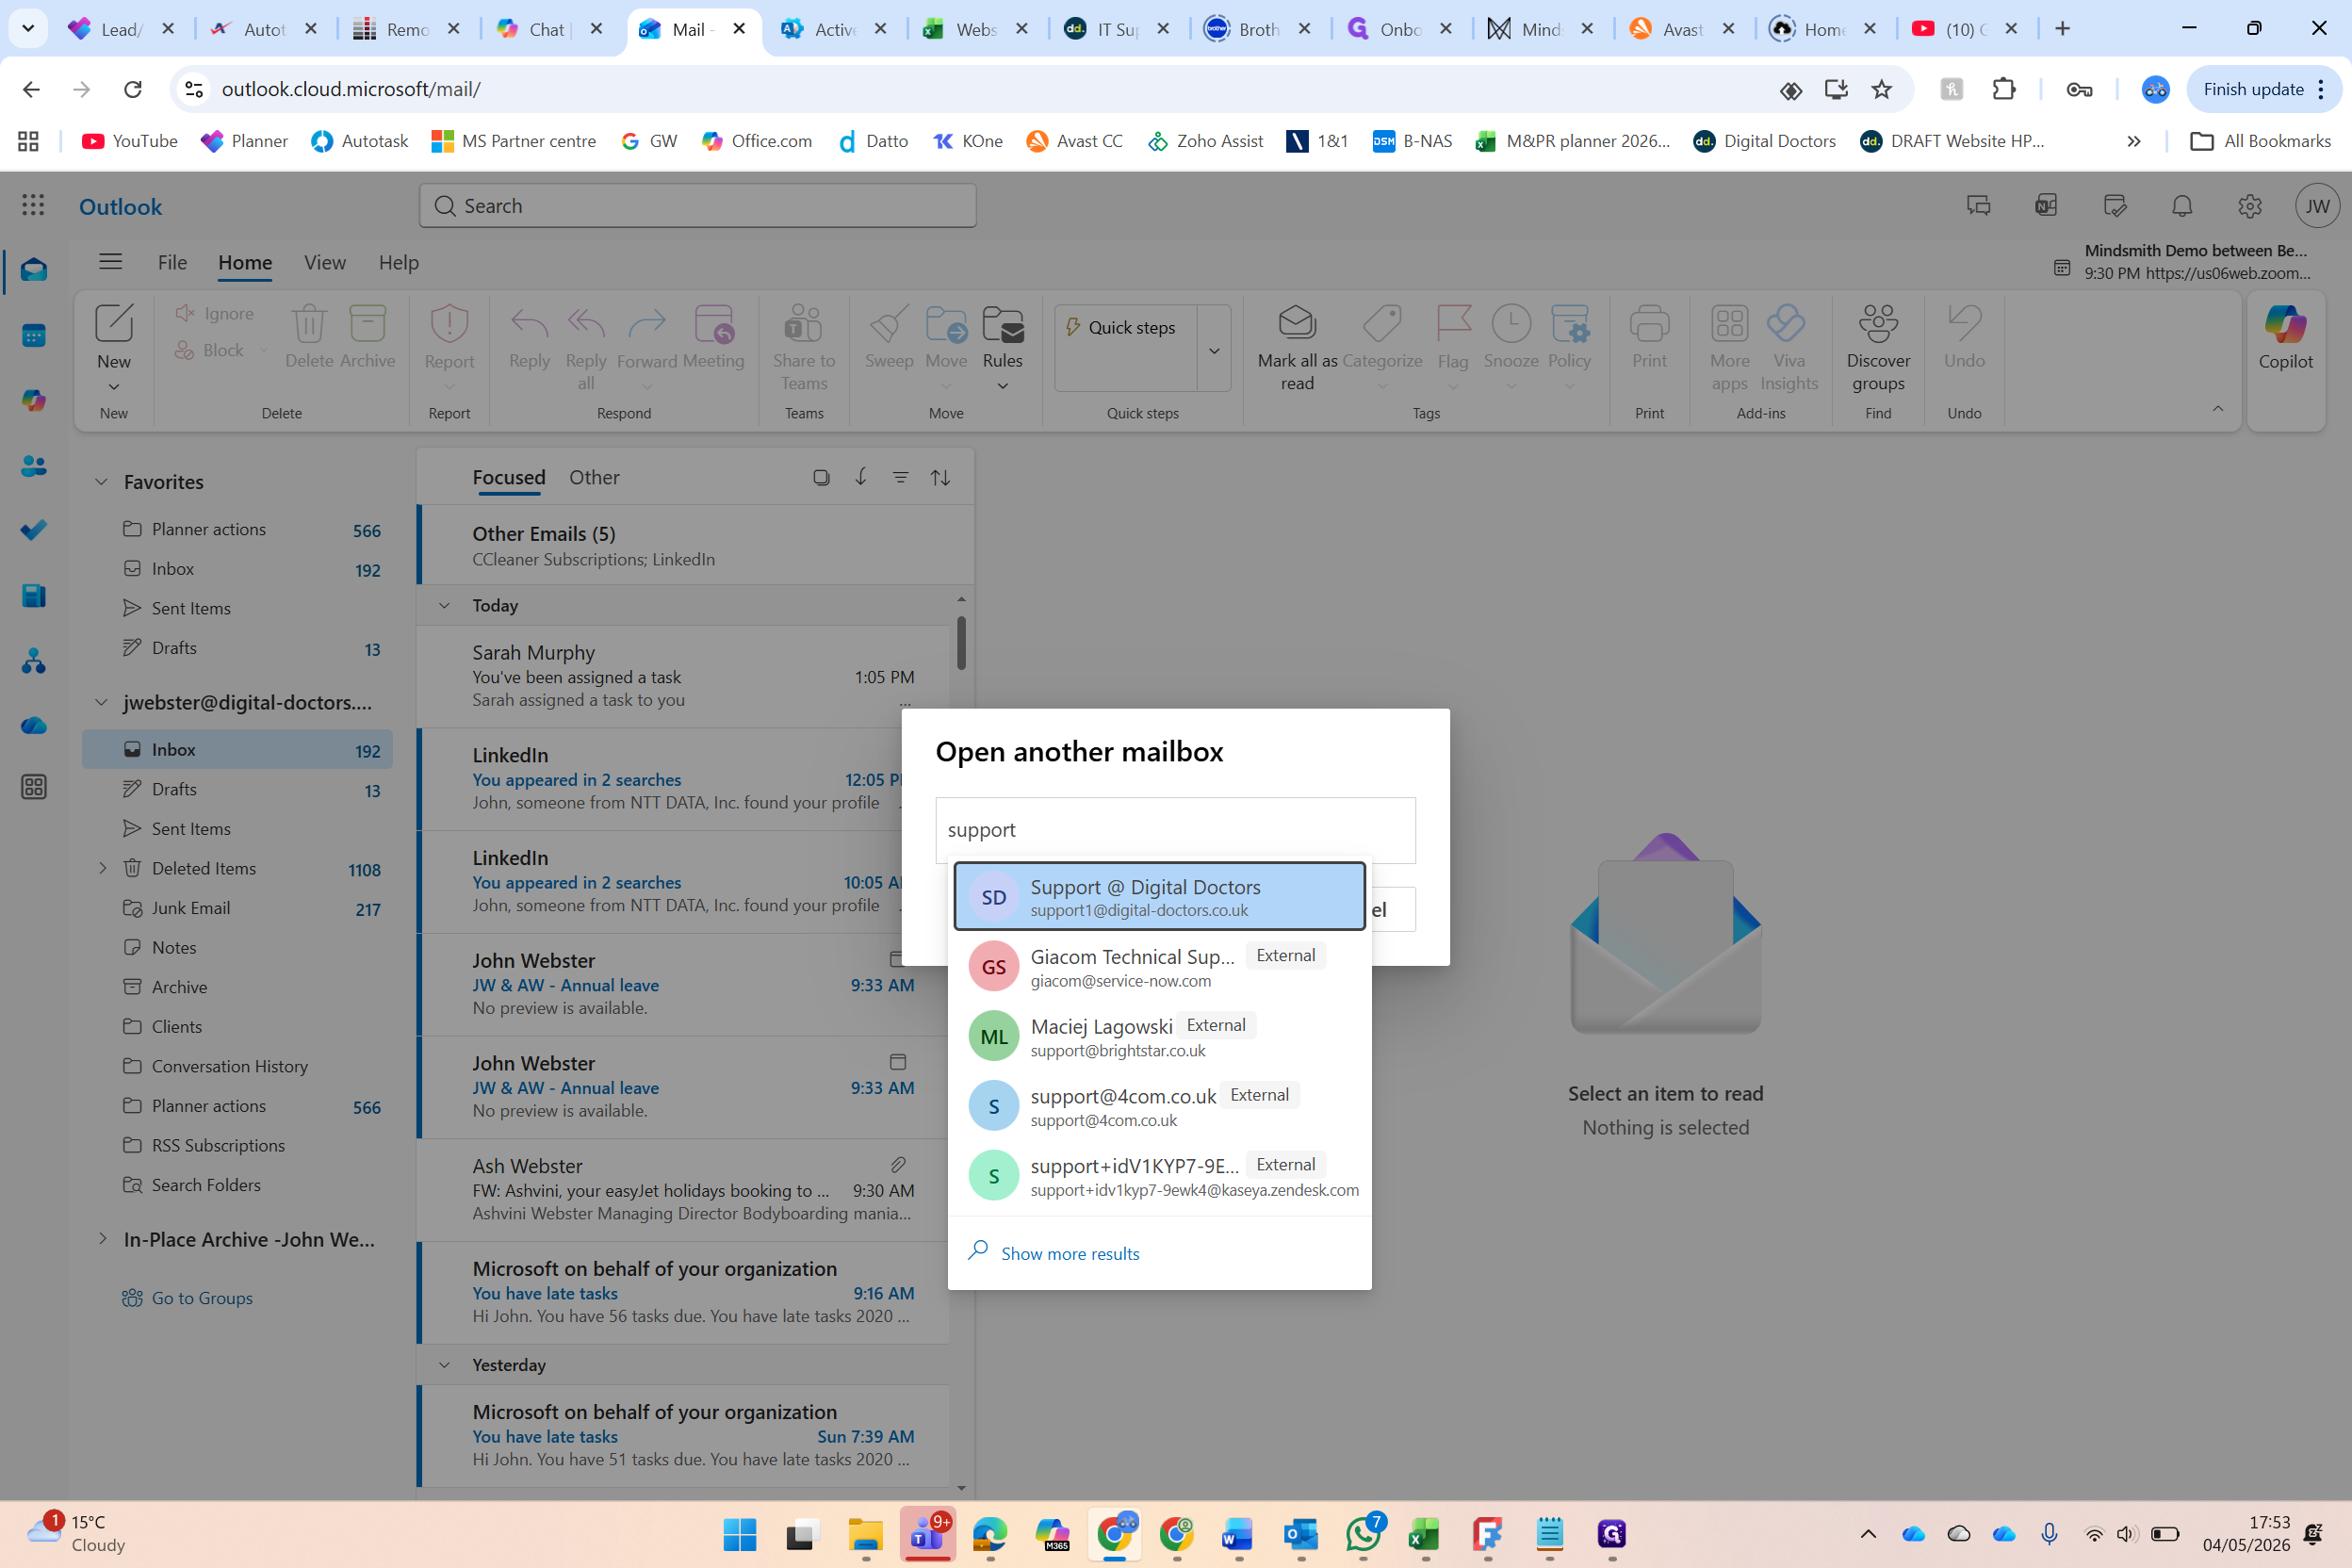
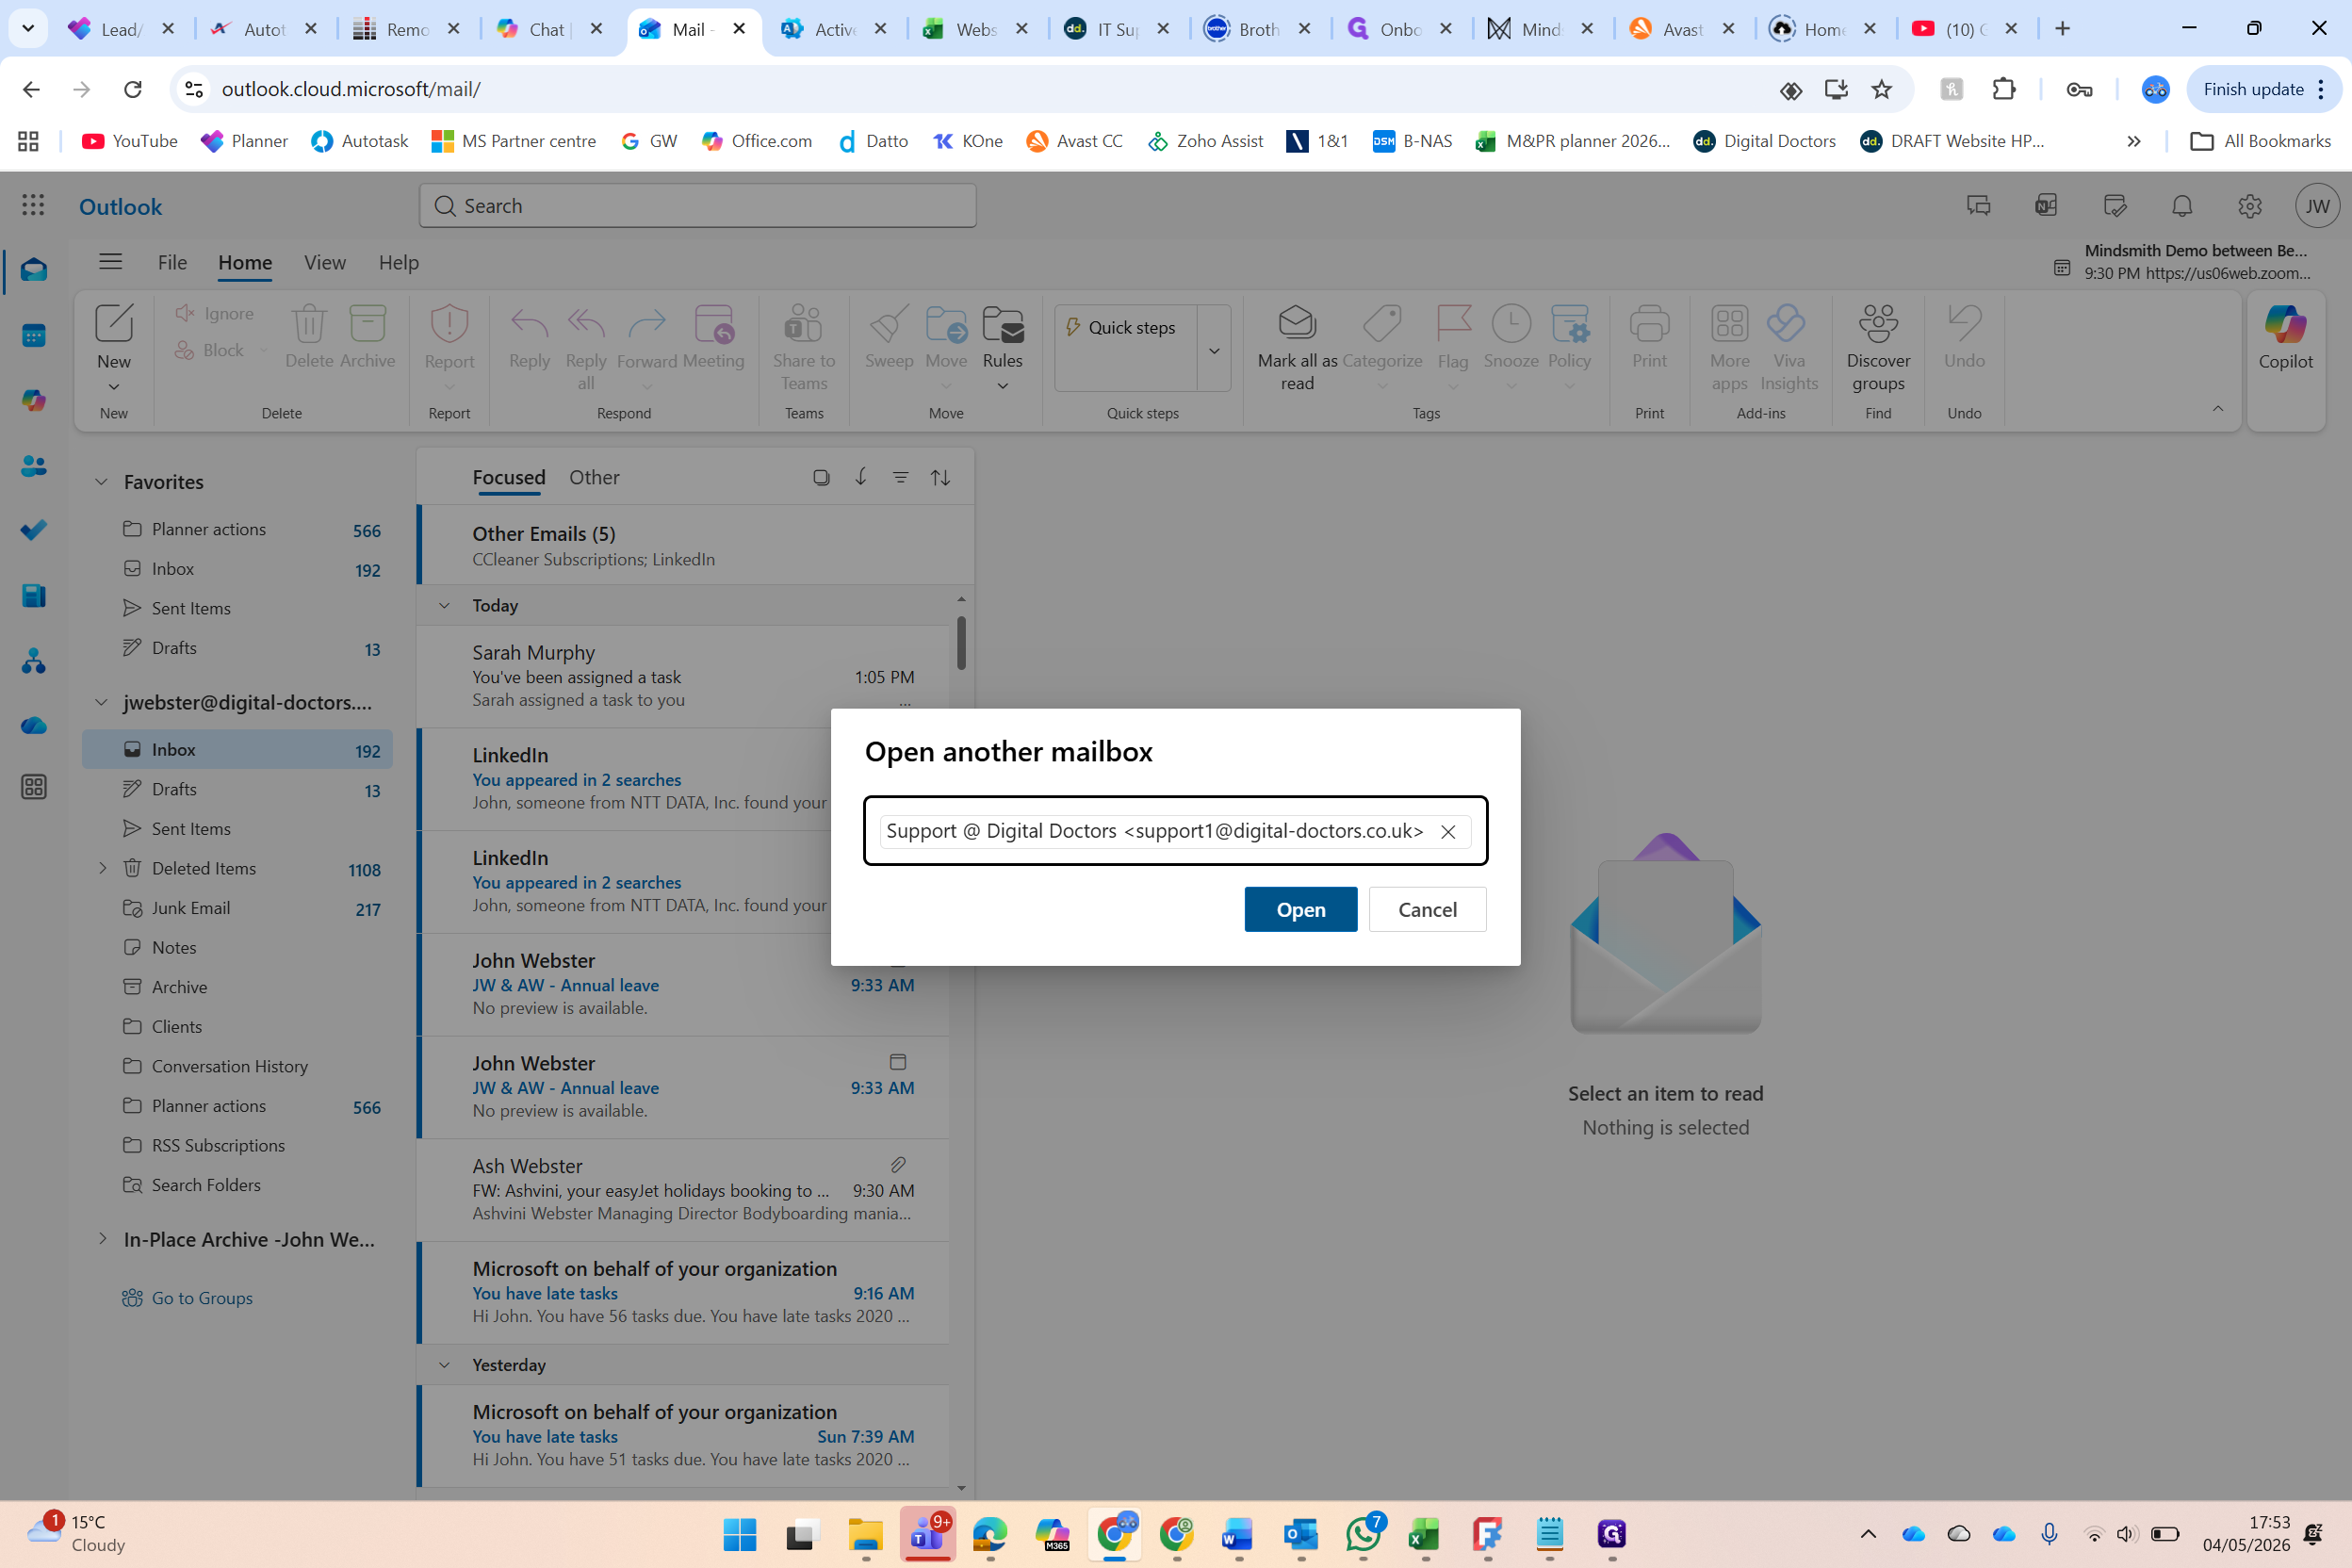
The support mailbox will open in a new browser tab.
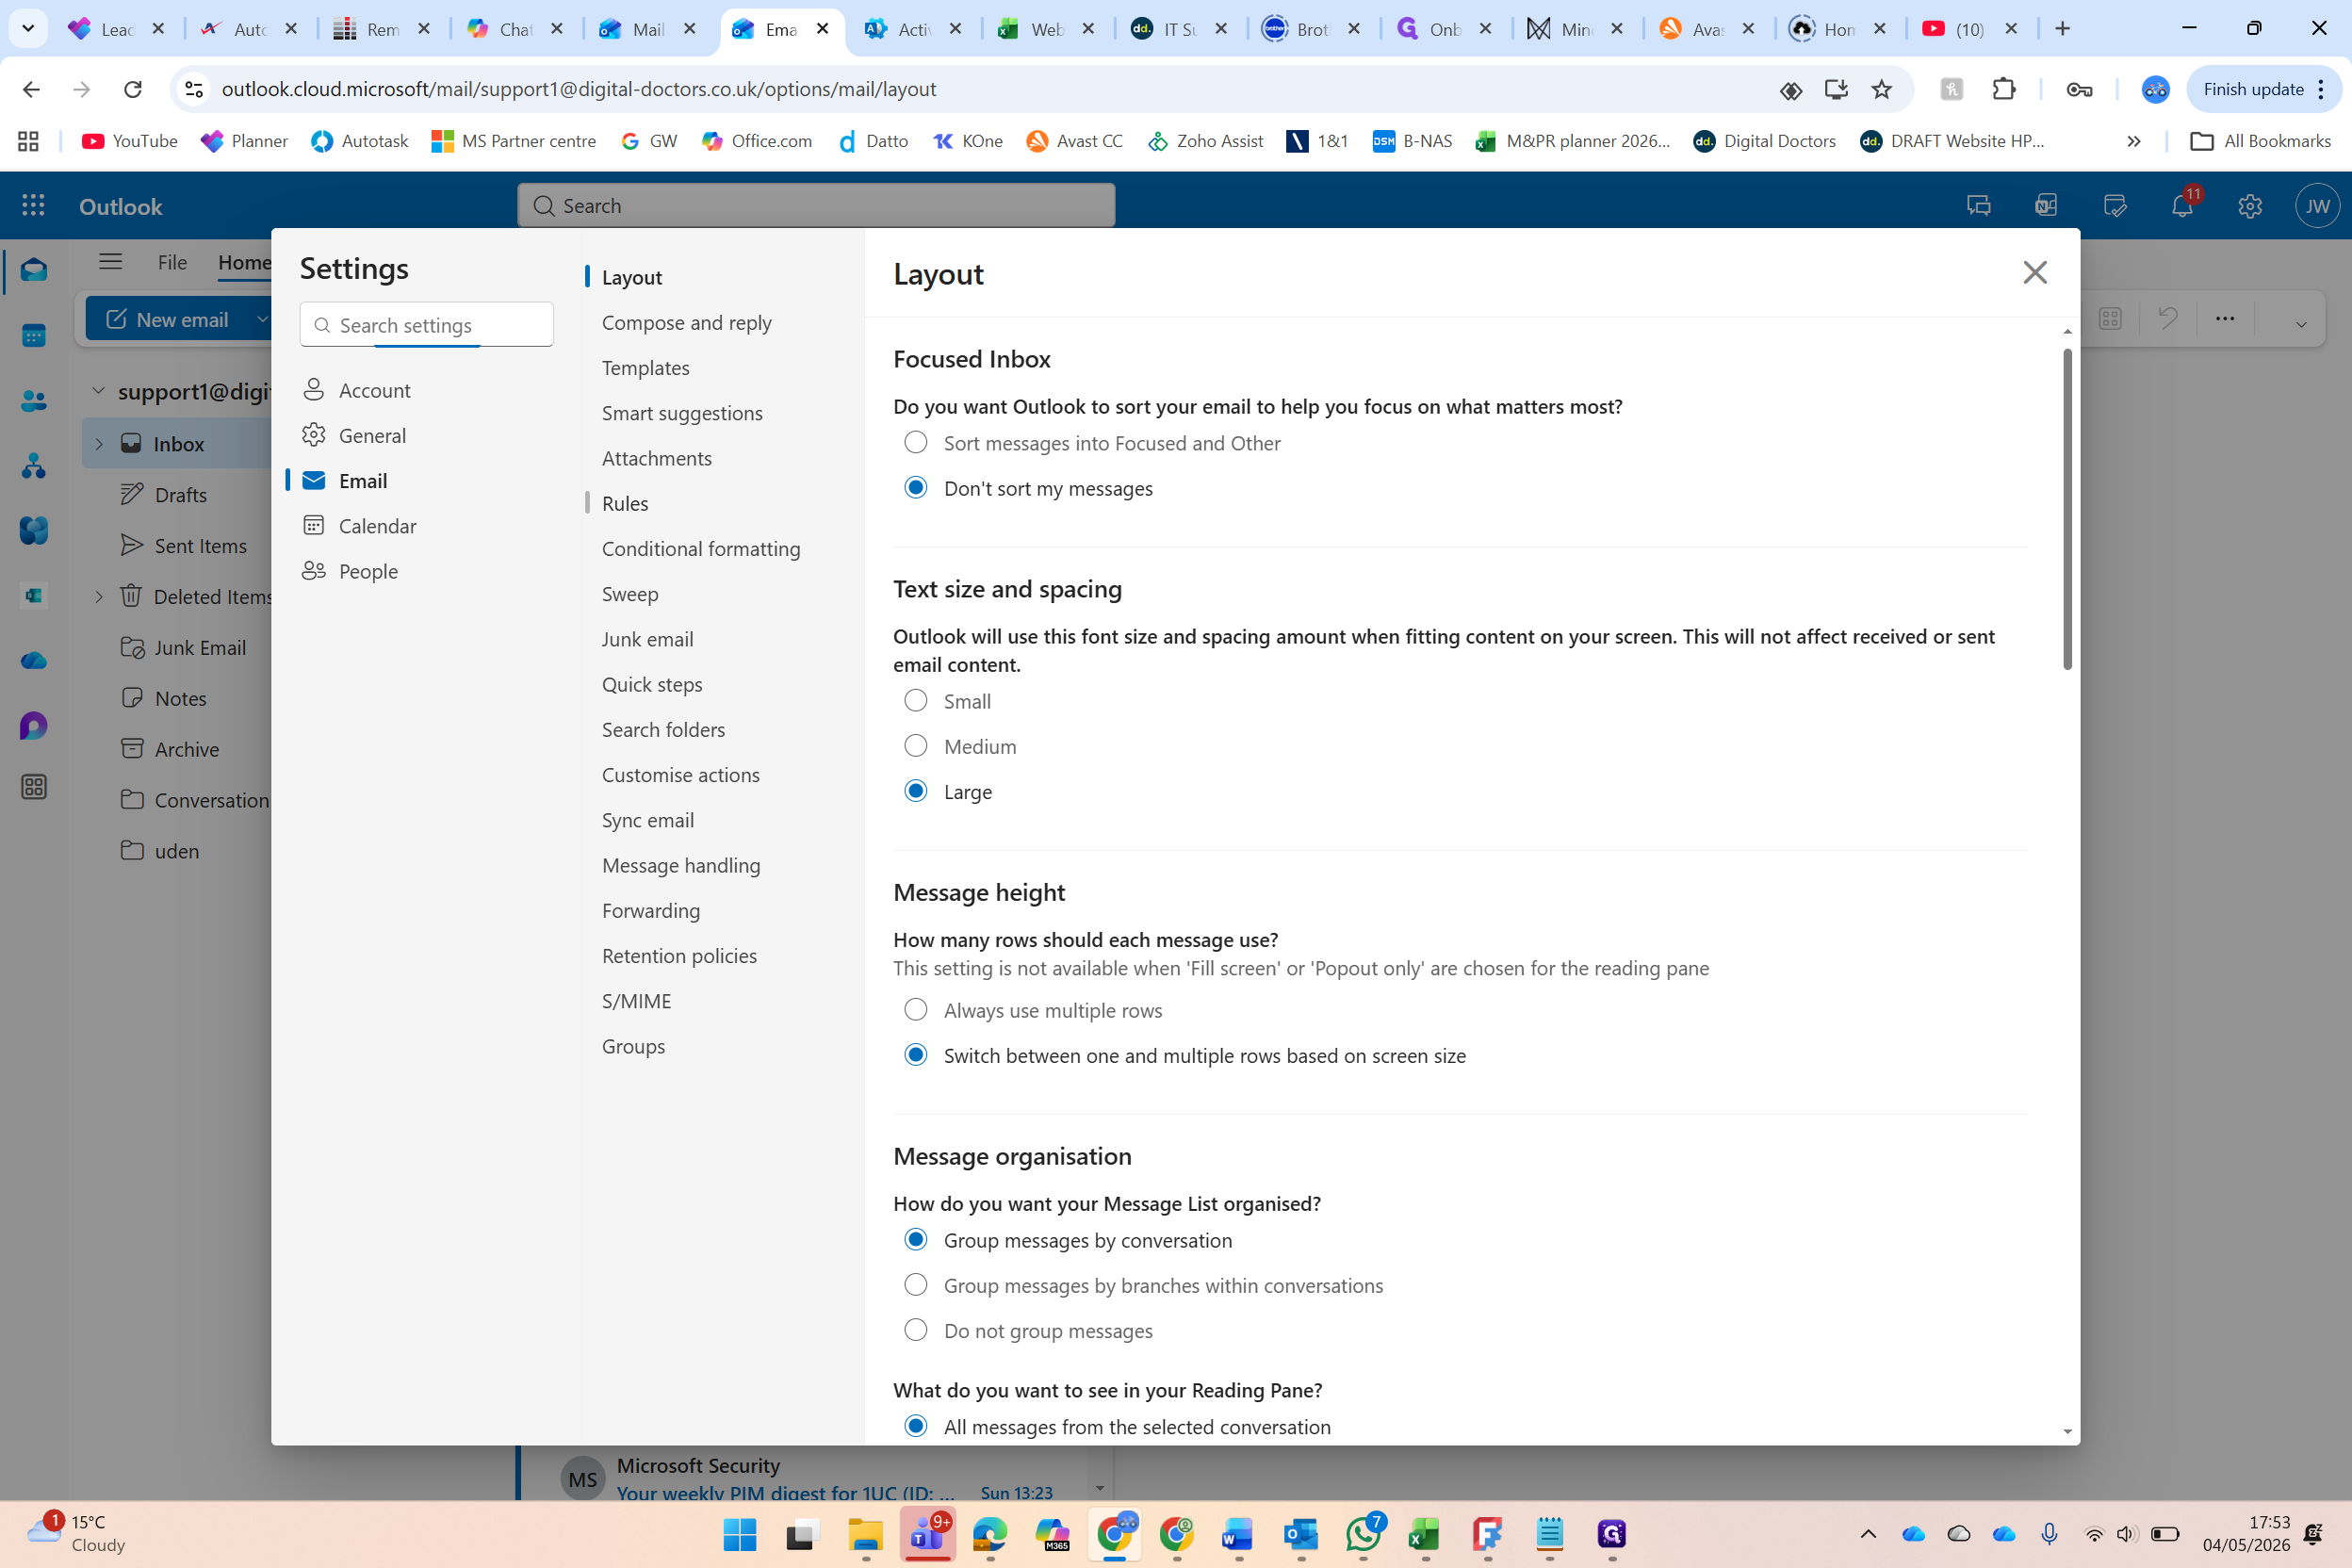
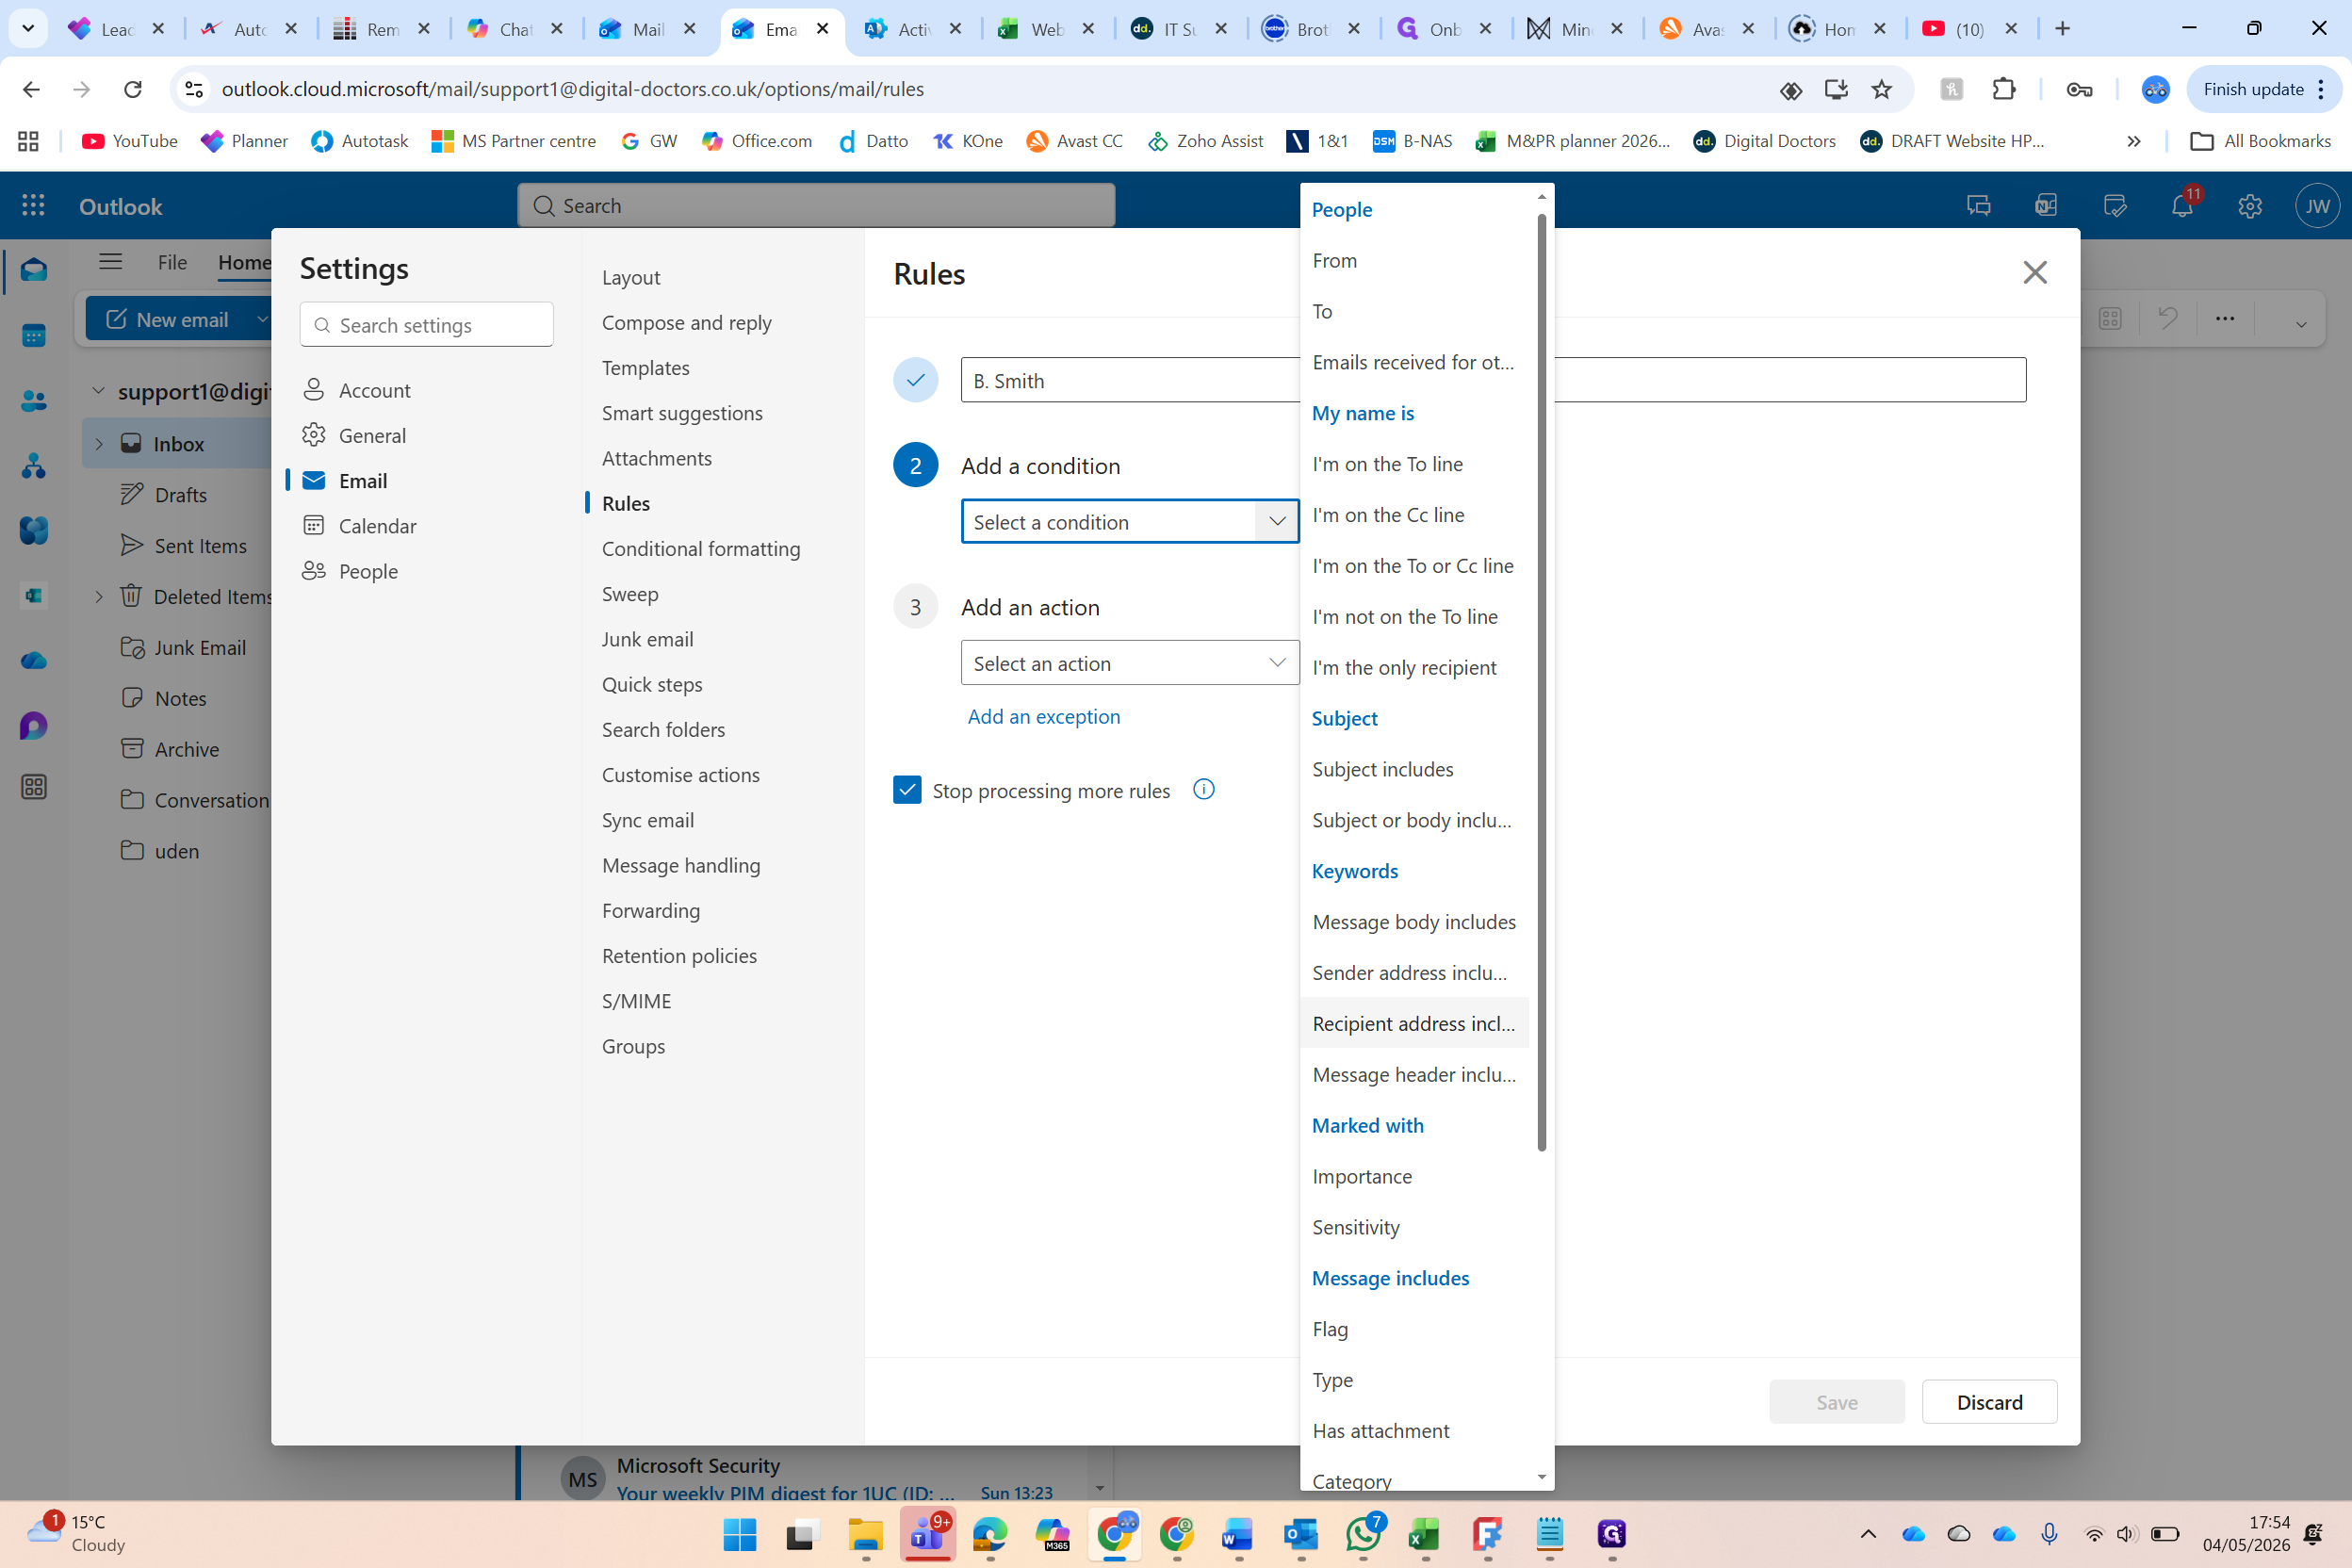
Create the Autotask Forwarding Rule
In the support mailbox, click the Settings (gear icon) in the top right corner.
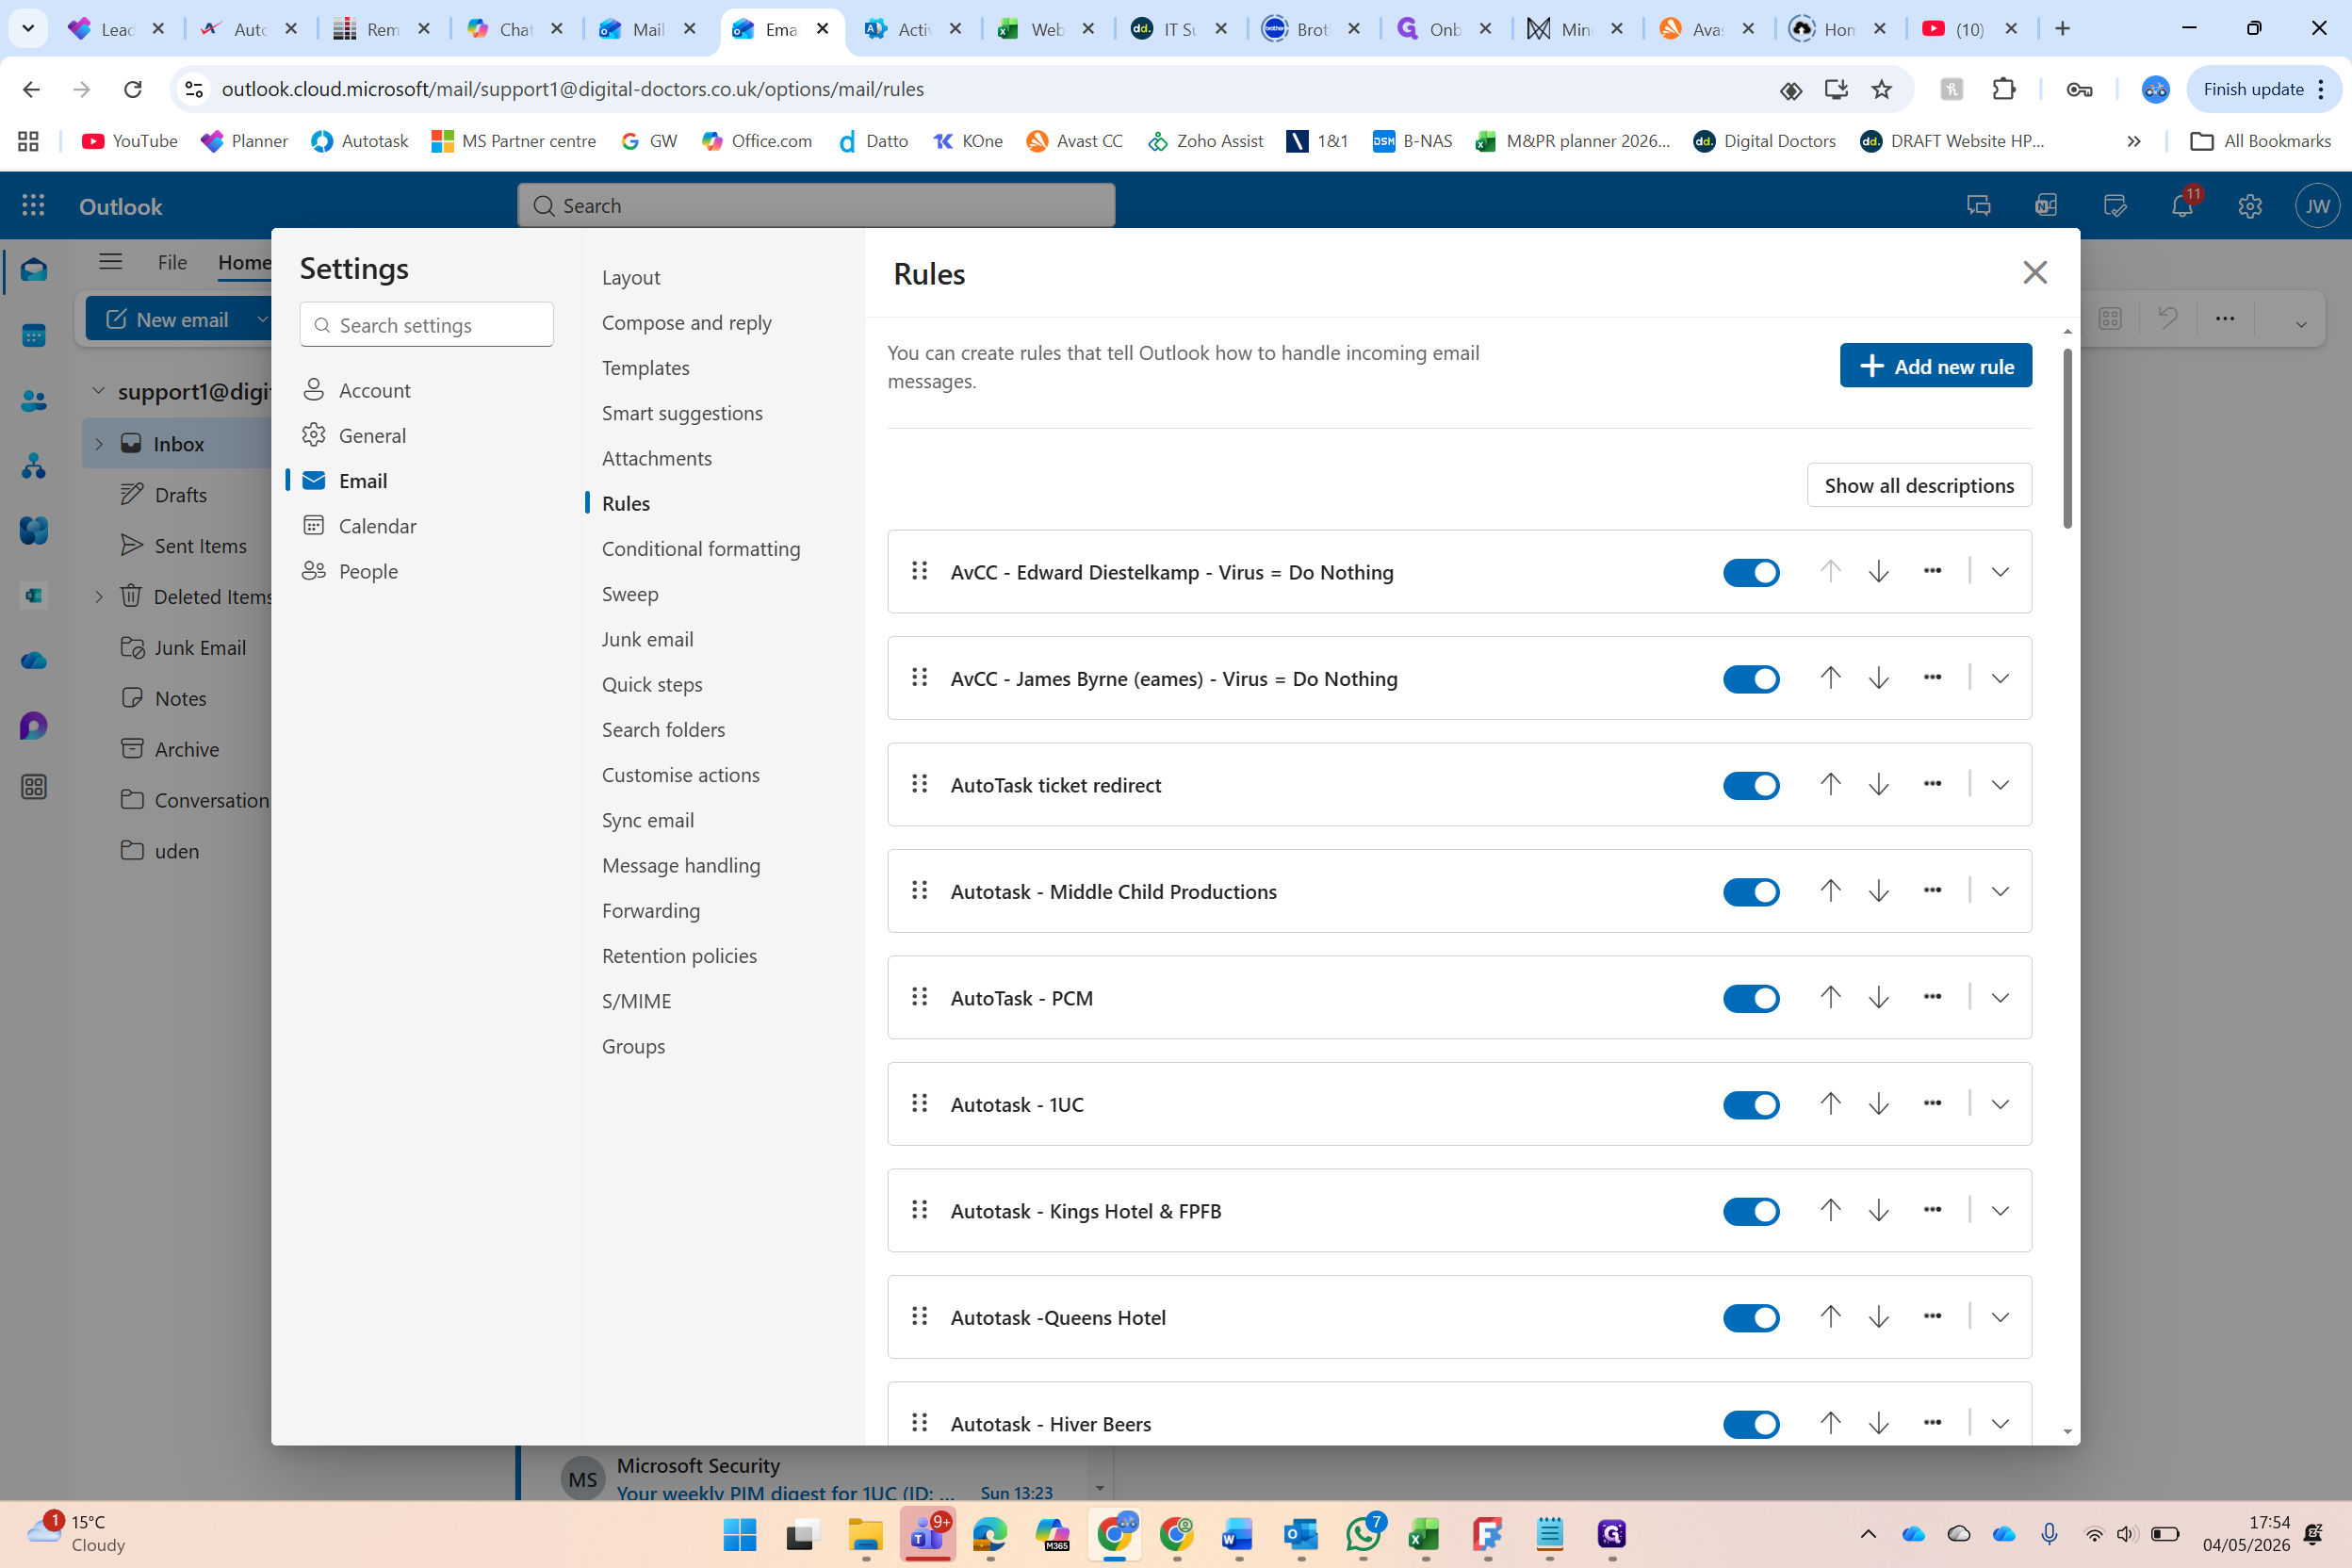
Navigate to Rules
In the settings menu Click + Add new rule
Enter the customer's name as the rule name
(e.g., "B. Smith"). 5.
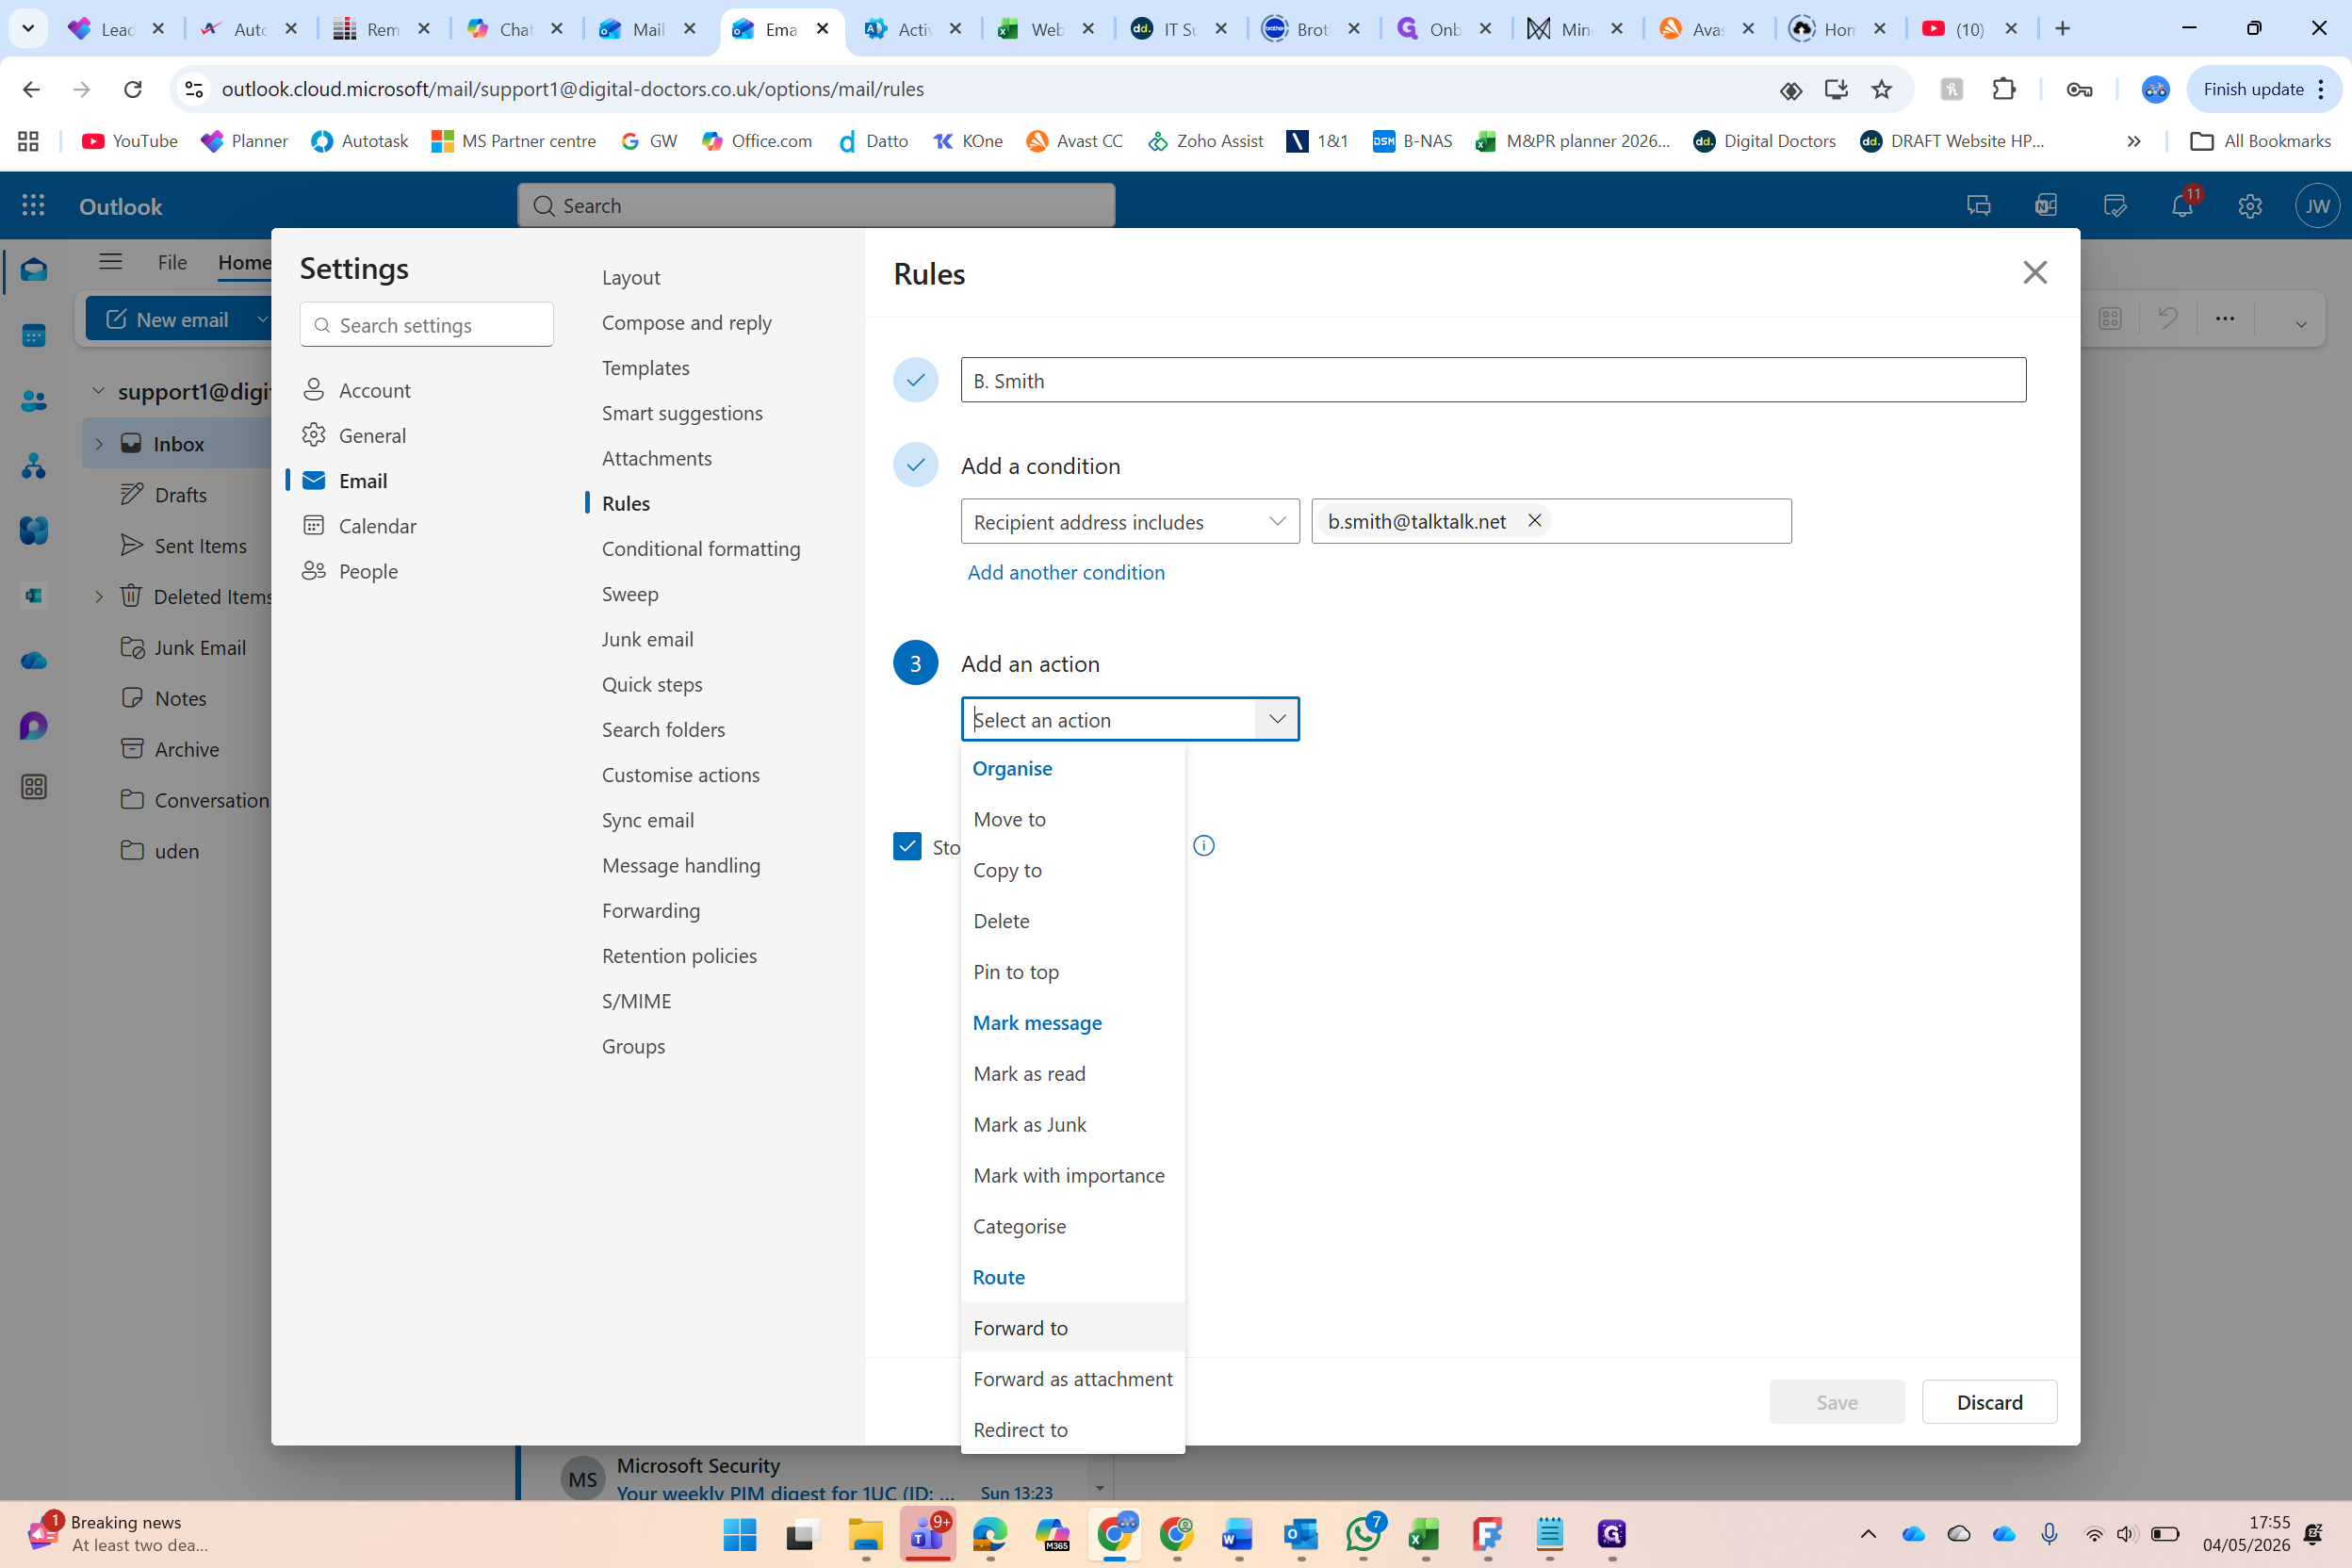
Paste in the Autotask support email address into the forwarding field.
Click Add another action
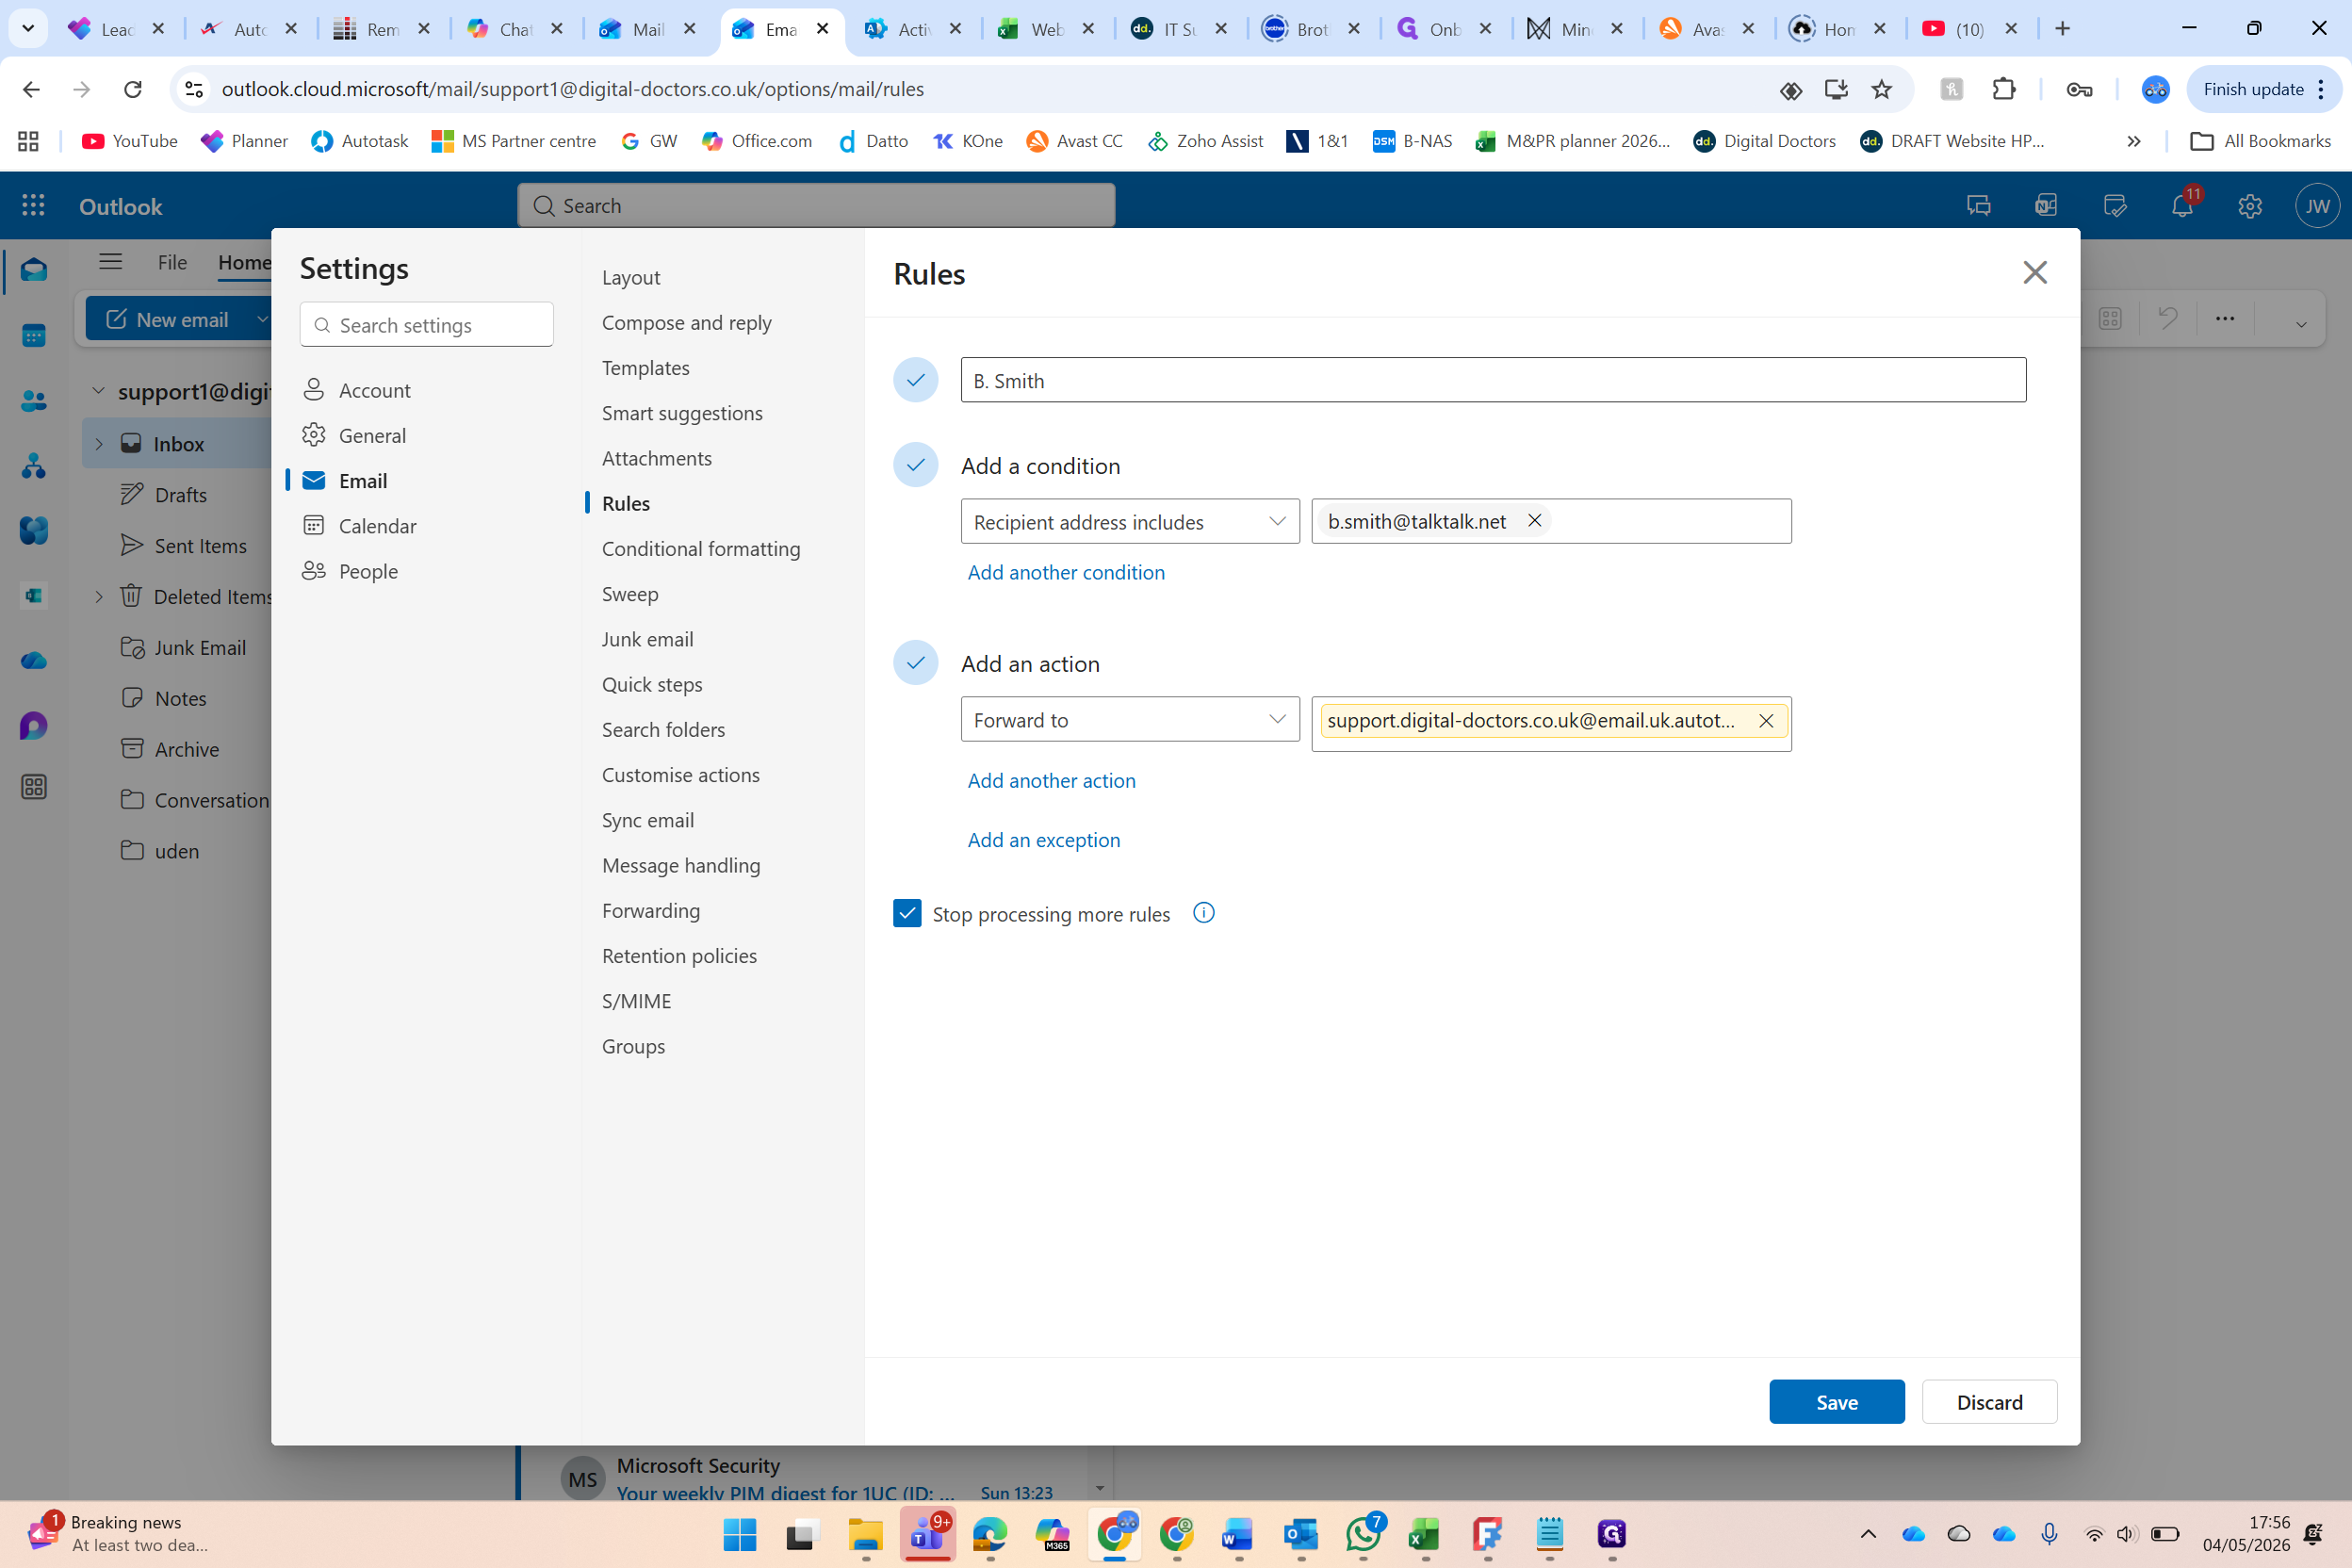
Select Mark as read and Move to to keep the support inbox clear.
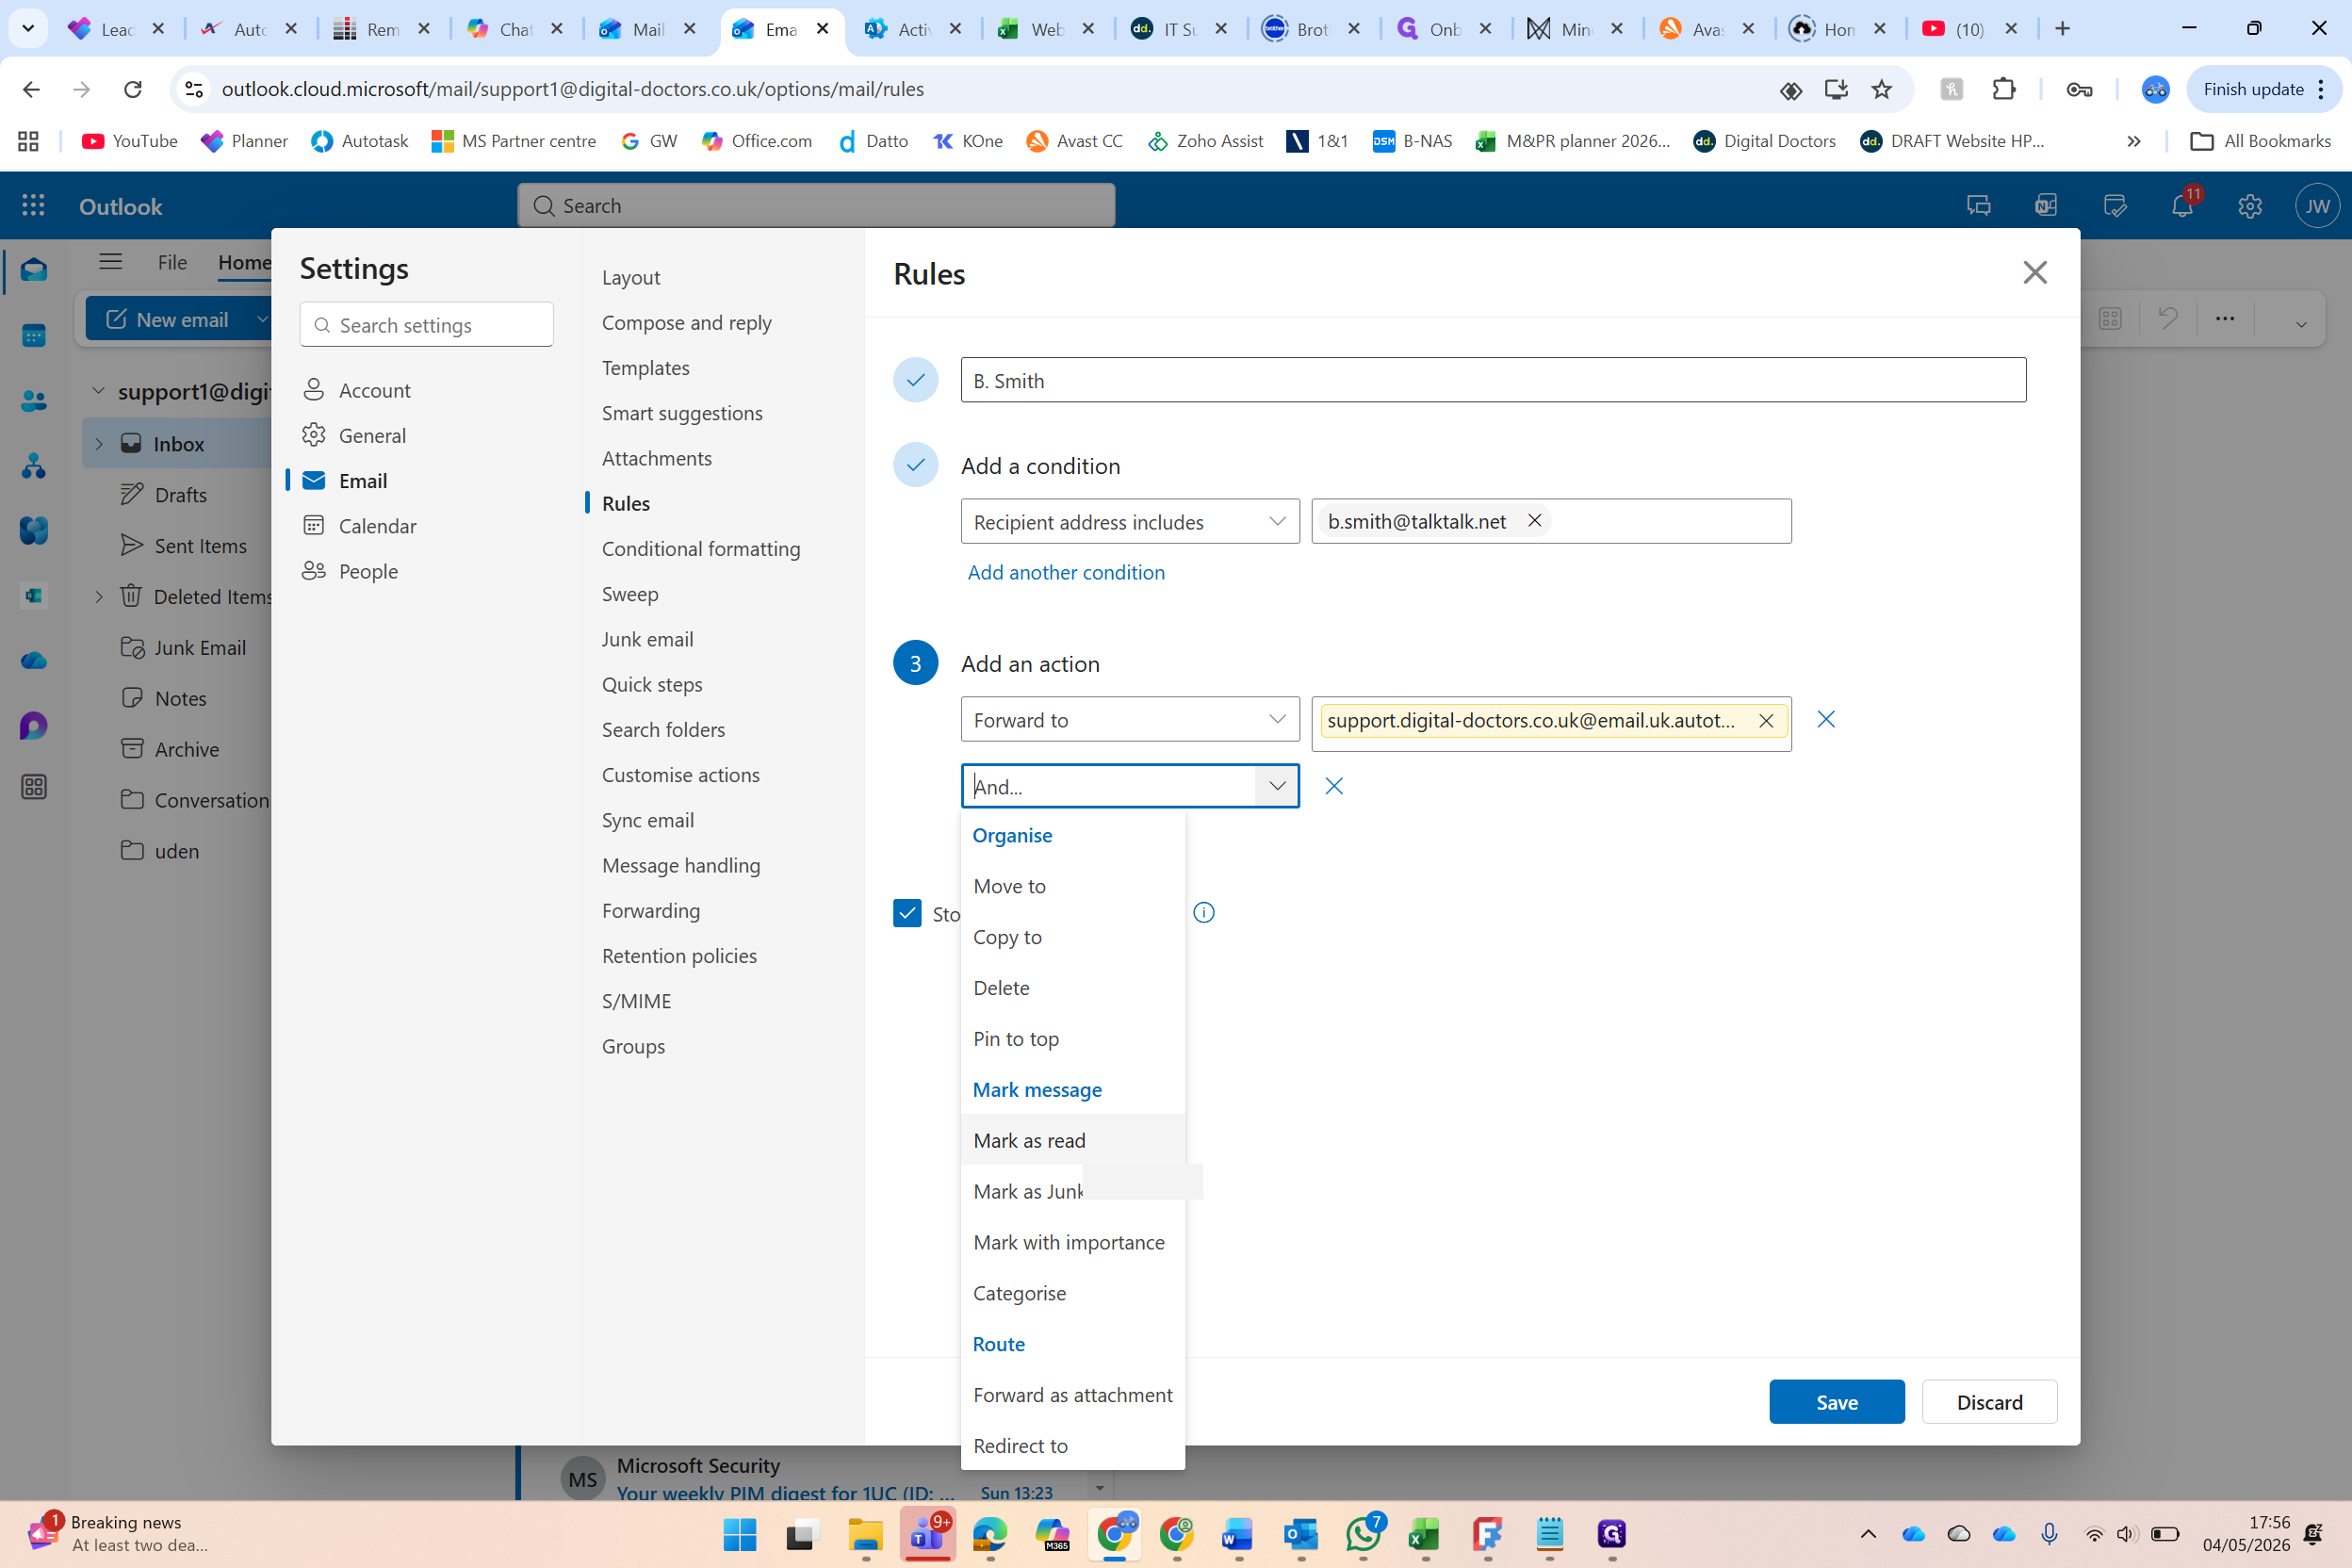
You can continue adding additional actions as needed (like moving the email to a specific client folder) before saving the rule.