
How to Add a New Event in WordPress
Learn how to create and publish a new event in WordPress, including adding dates, times, locations, featured images, and ticketing links.
By Emiliano
This guide walks you through the process of creating and publishing a new event in your WordPress dashboard, including adding dates, times, locations, and ticketing links.
Getting Started
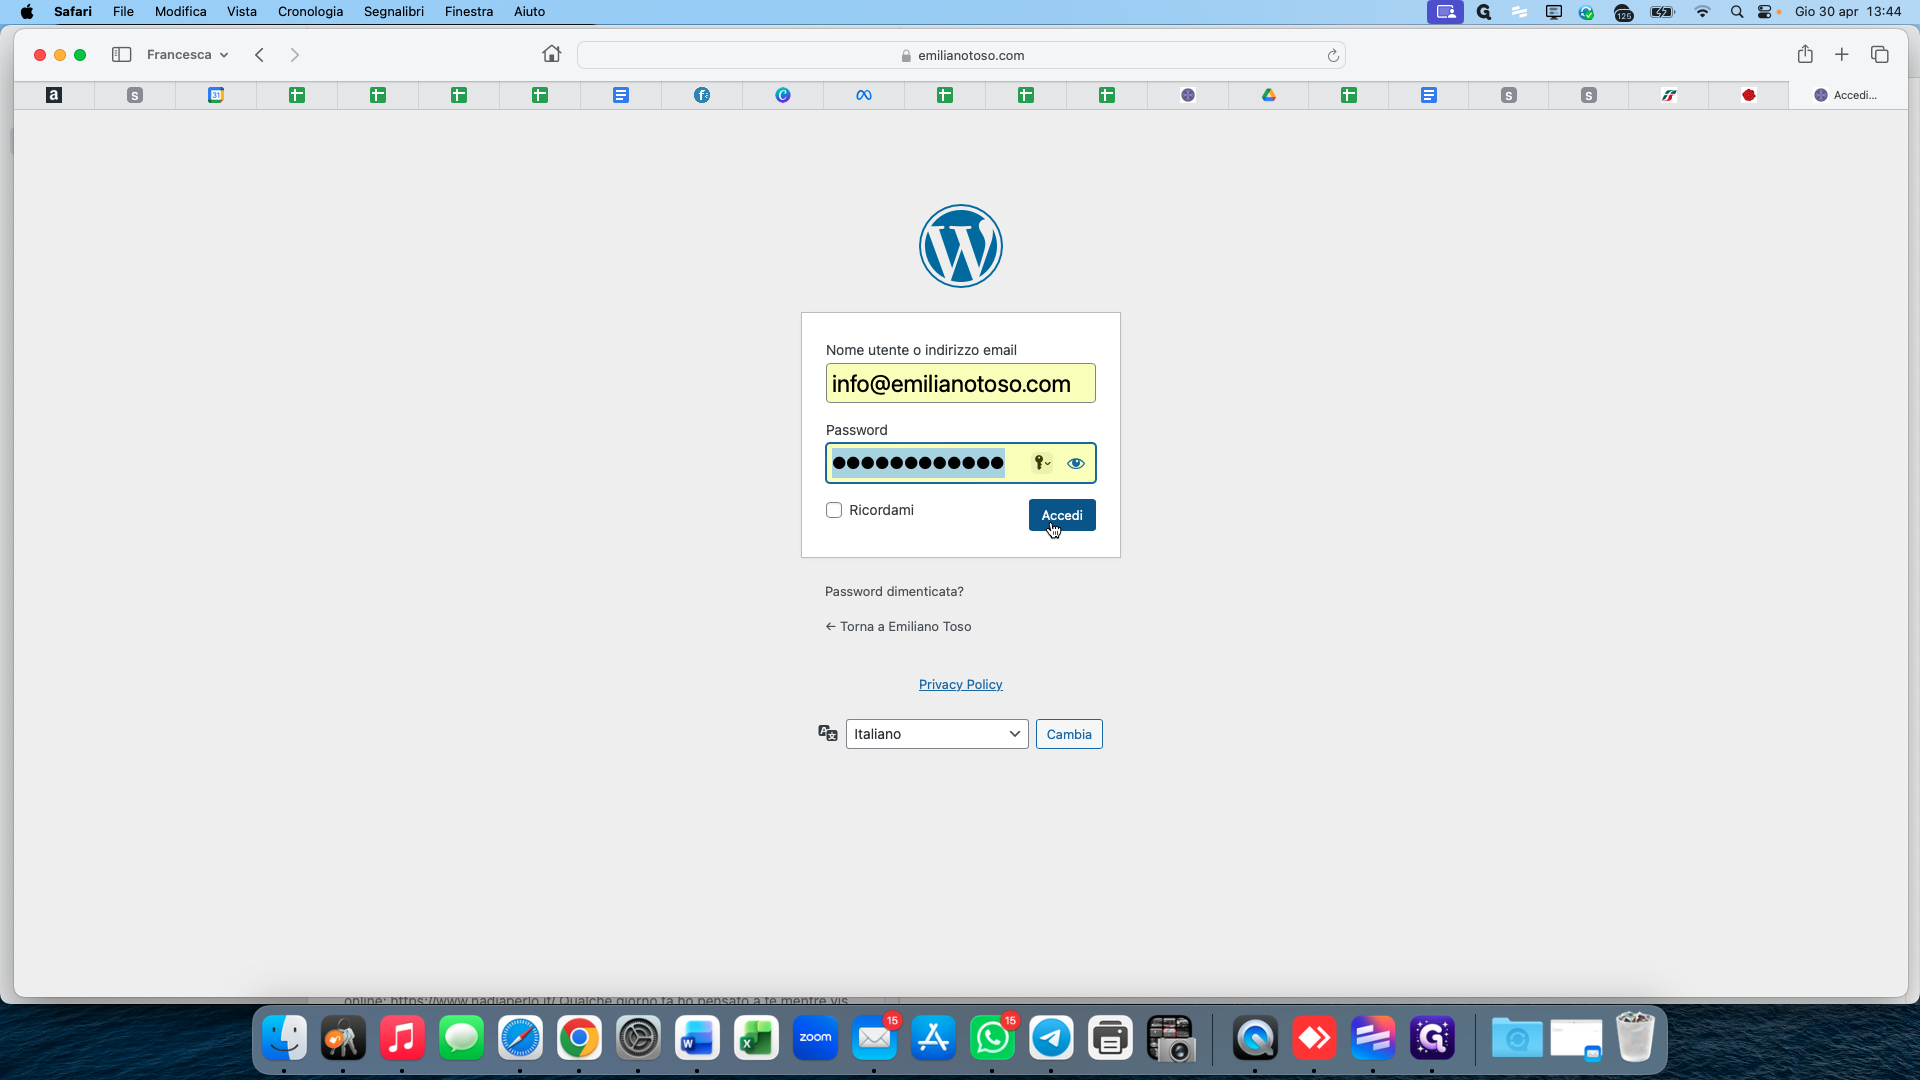
1
Log in to your WordPress dashboard by clicking Accedi.
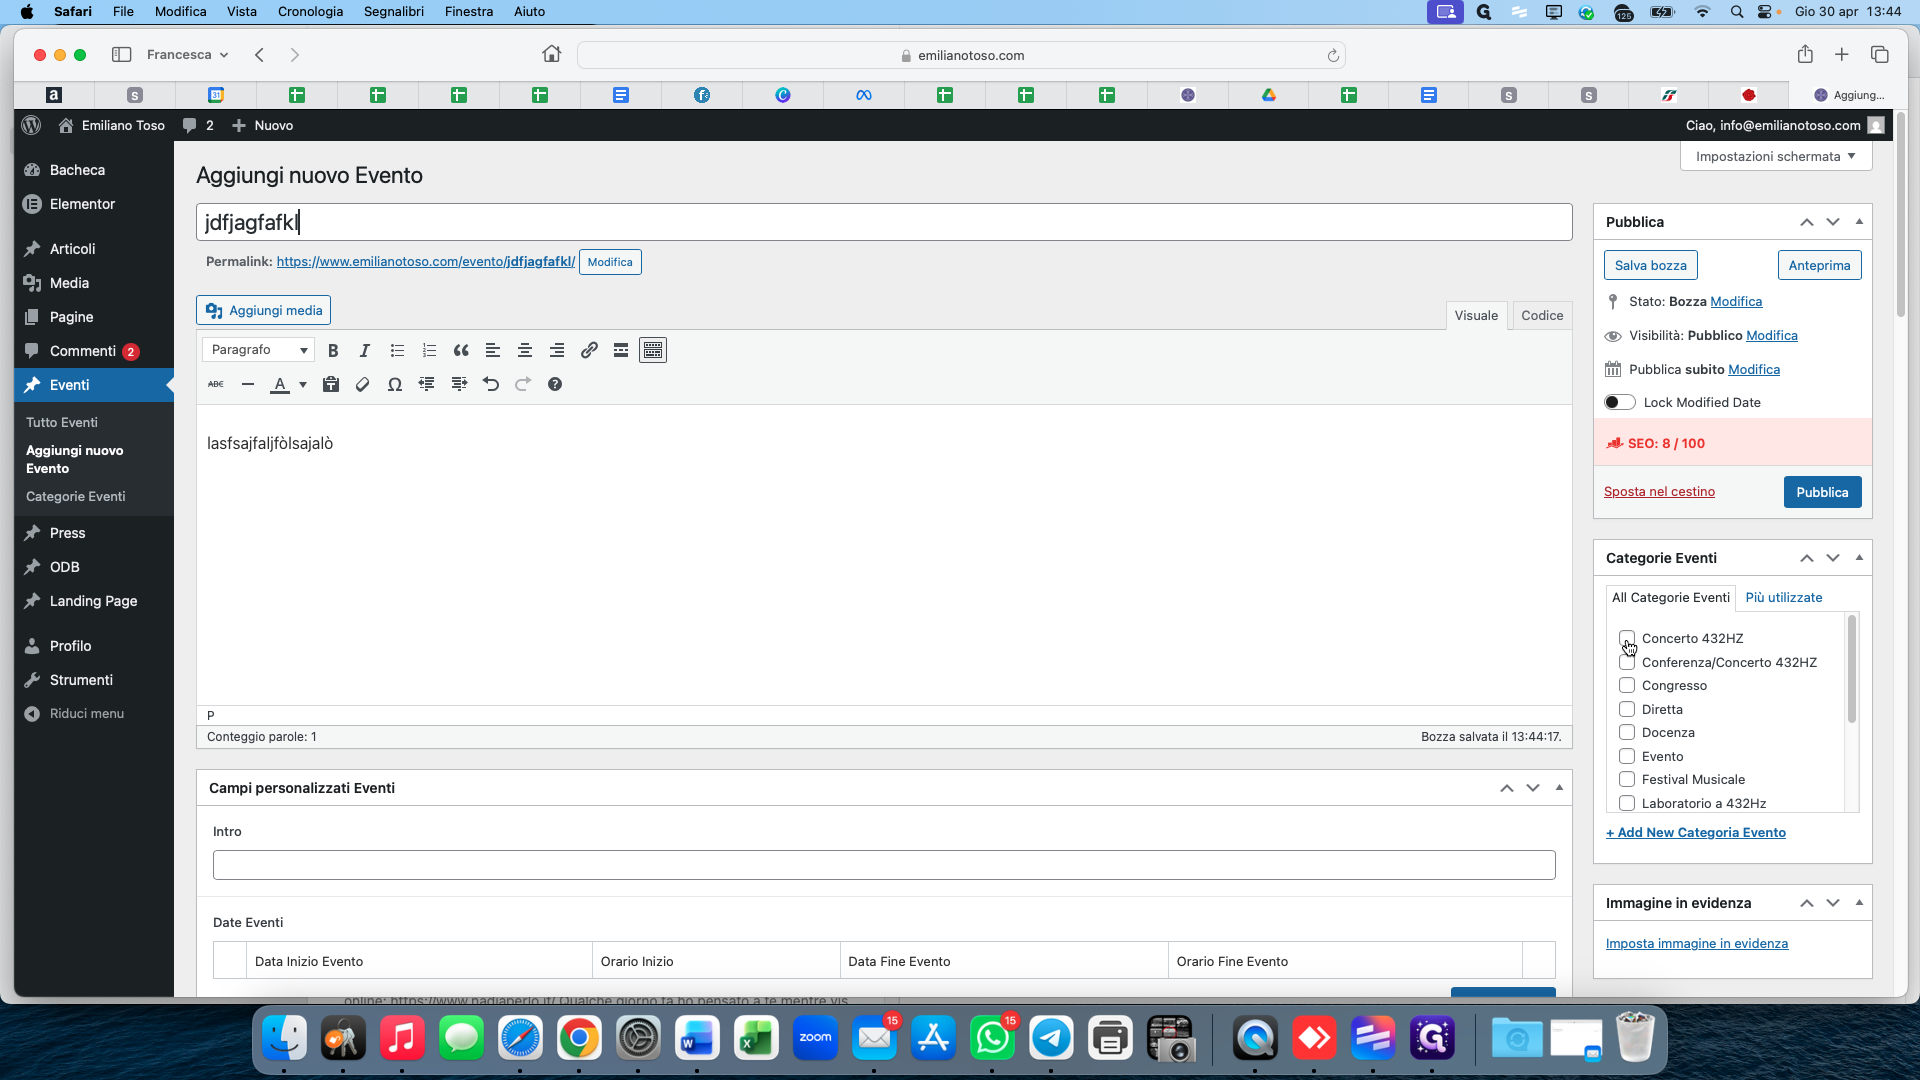
2
In the left sidebar, hover over Eventi and click Aggiungi nuovo Evento (Add New Event).
Entering Event Details
3
Type your event title into the main heading field.
4
Enter the full event description in the text editor below the title.
5
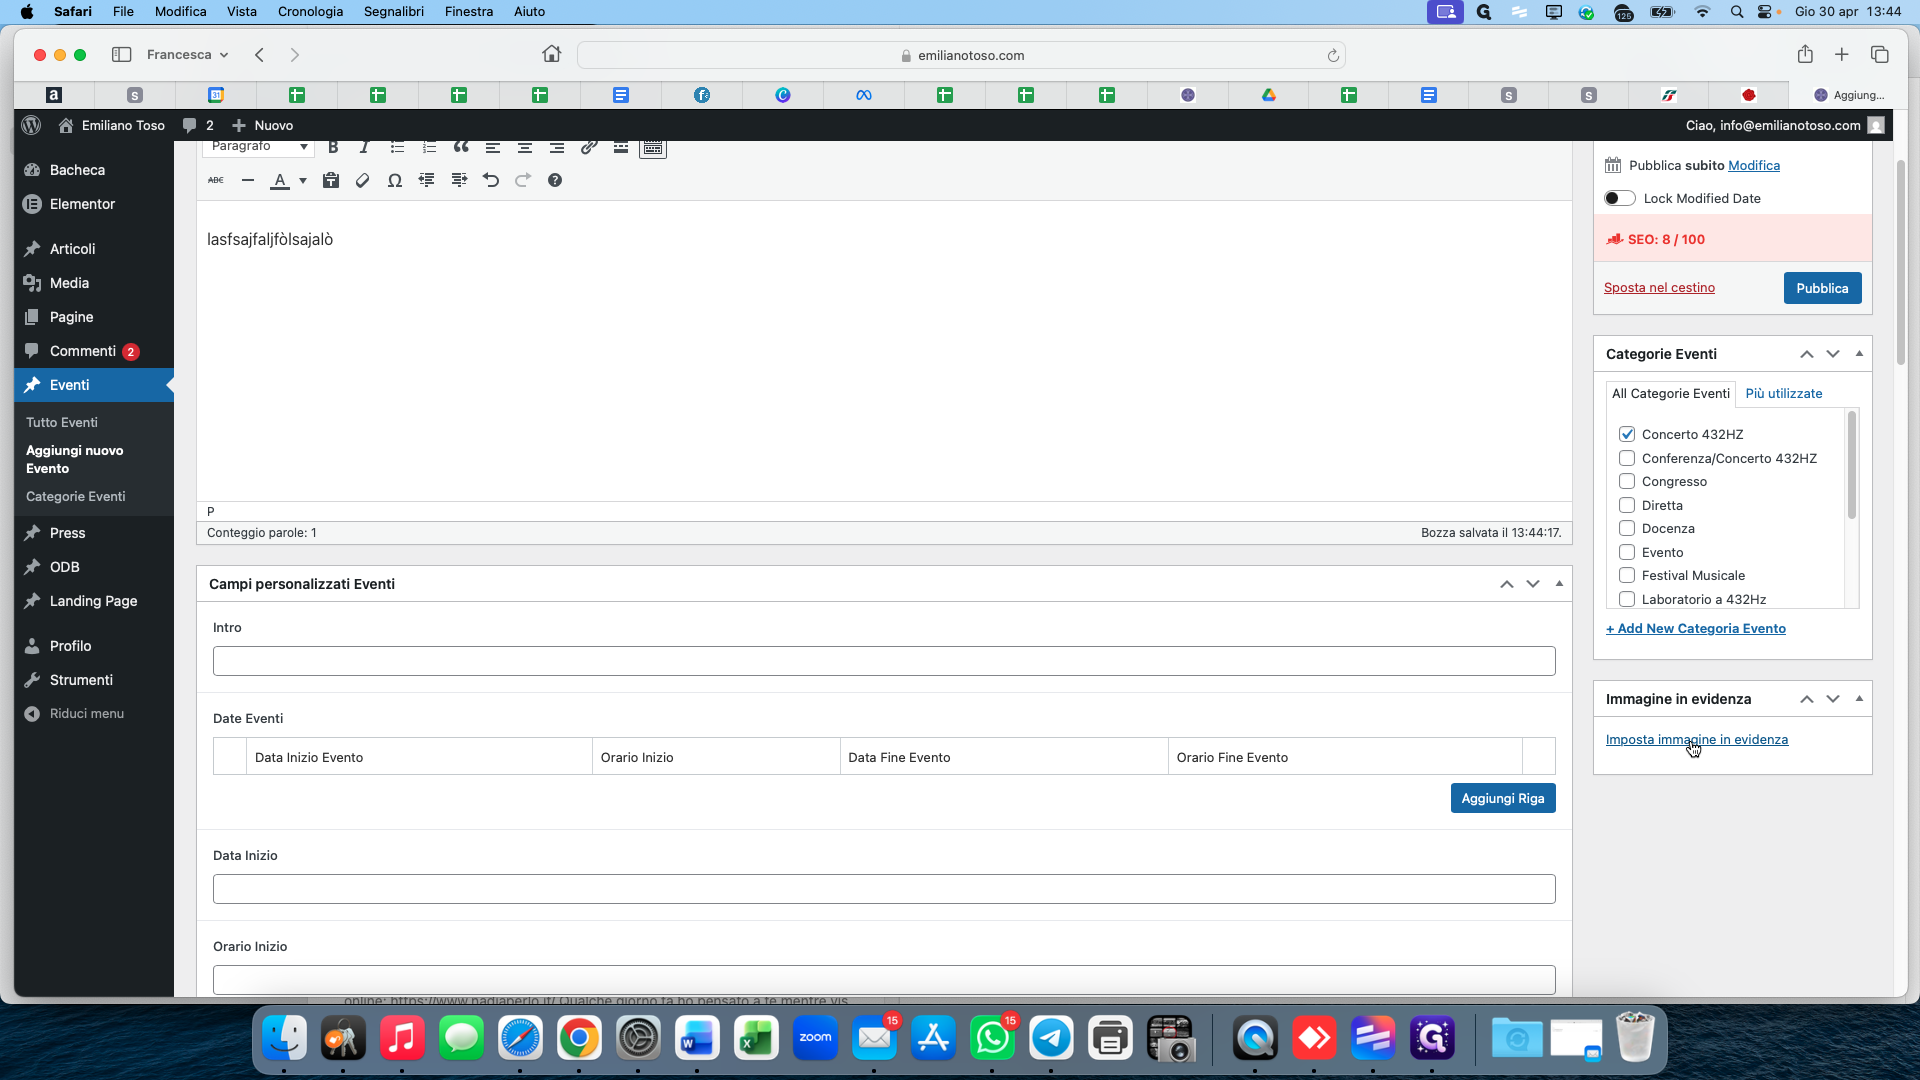
In the right-hand panel under Categorie Eventi, check the box for the appropriate category (e.g., Concerto 432HZ).
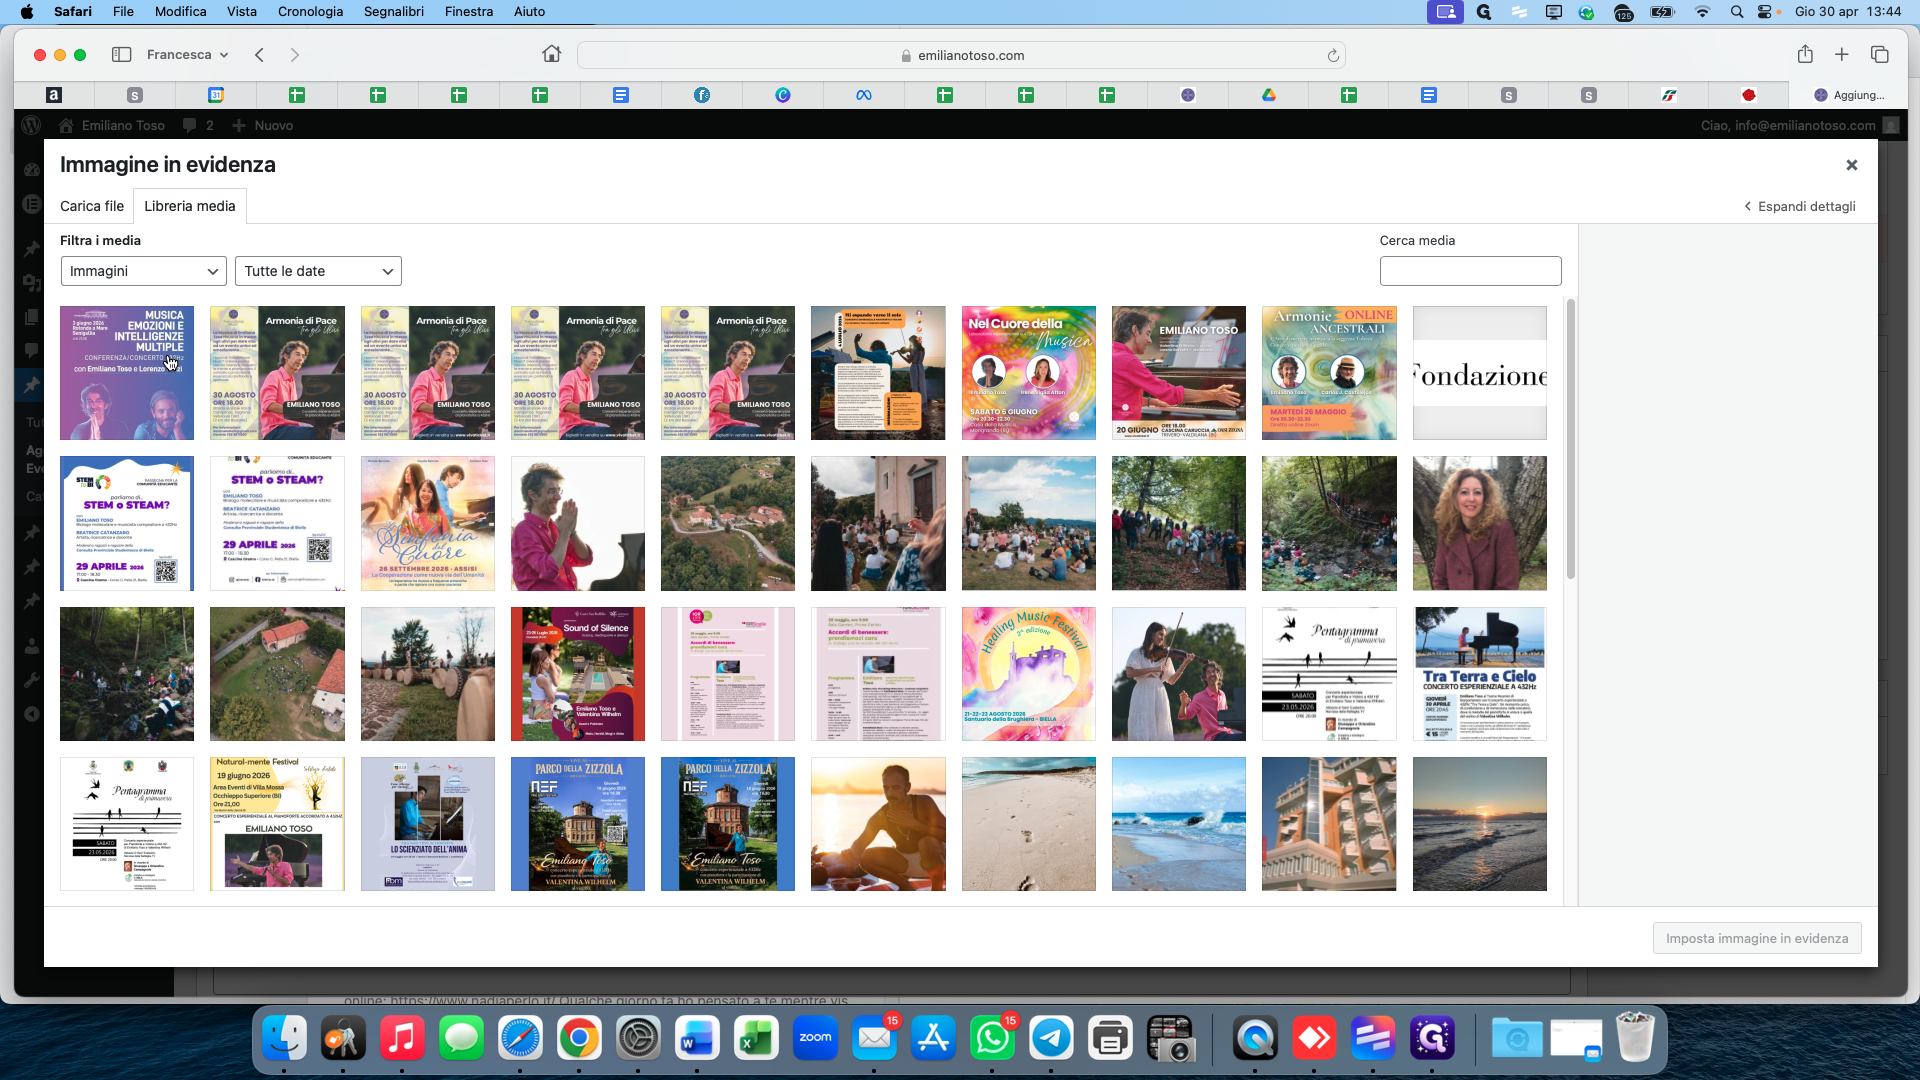
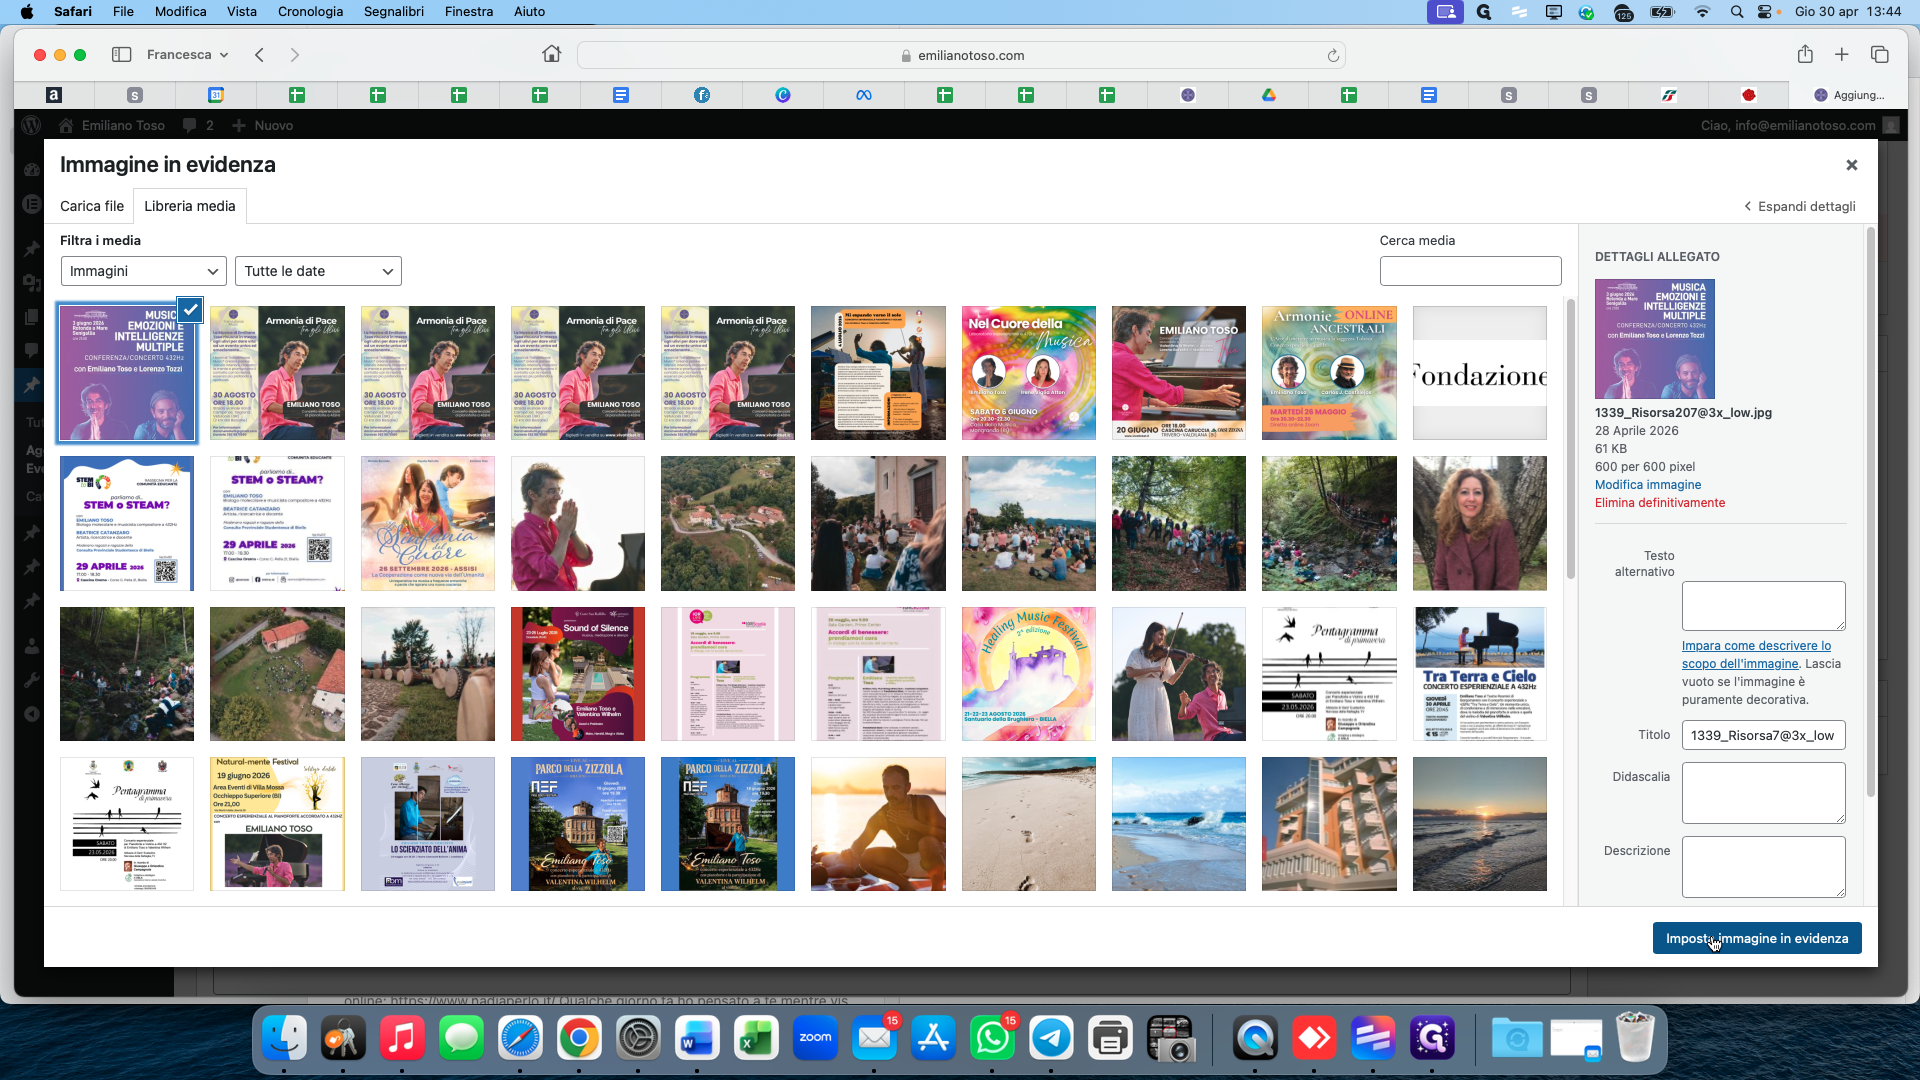
Setting the Featured Image
6
Scroll down the right sidebar and click Imposta immagine in evidenza (Set featured image).
7
Select the event poster or promotional image from your Media Library.
8
Click the Imposta immagine button to confirm.
Setting Date and Time
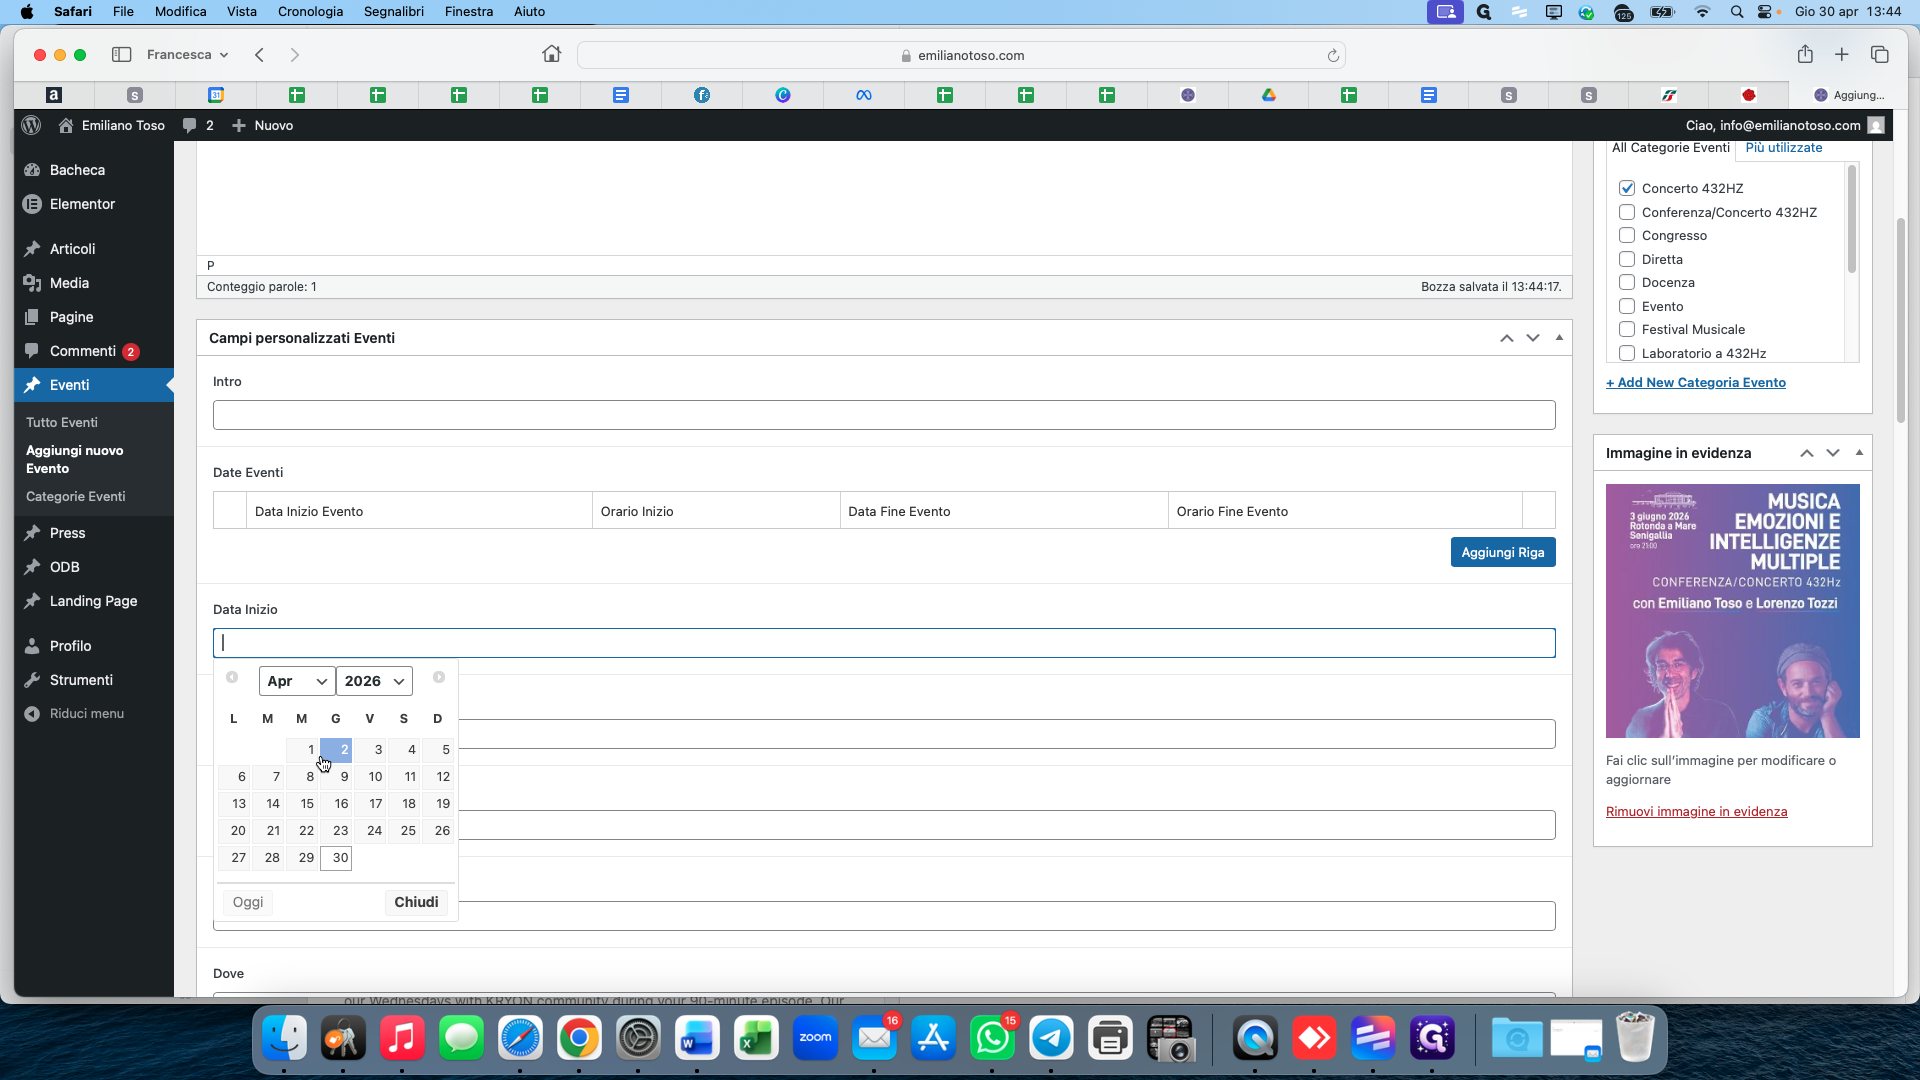
9
Scroll to the Data Inizio (Start Date) field and select the event date from the calendar picker.
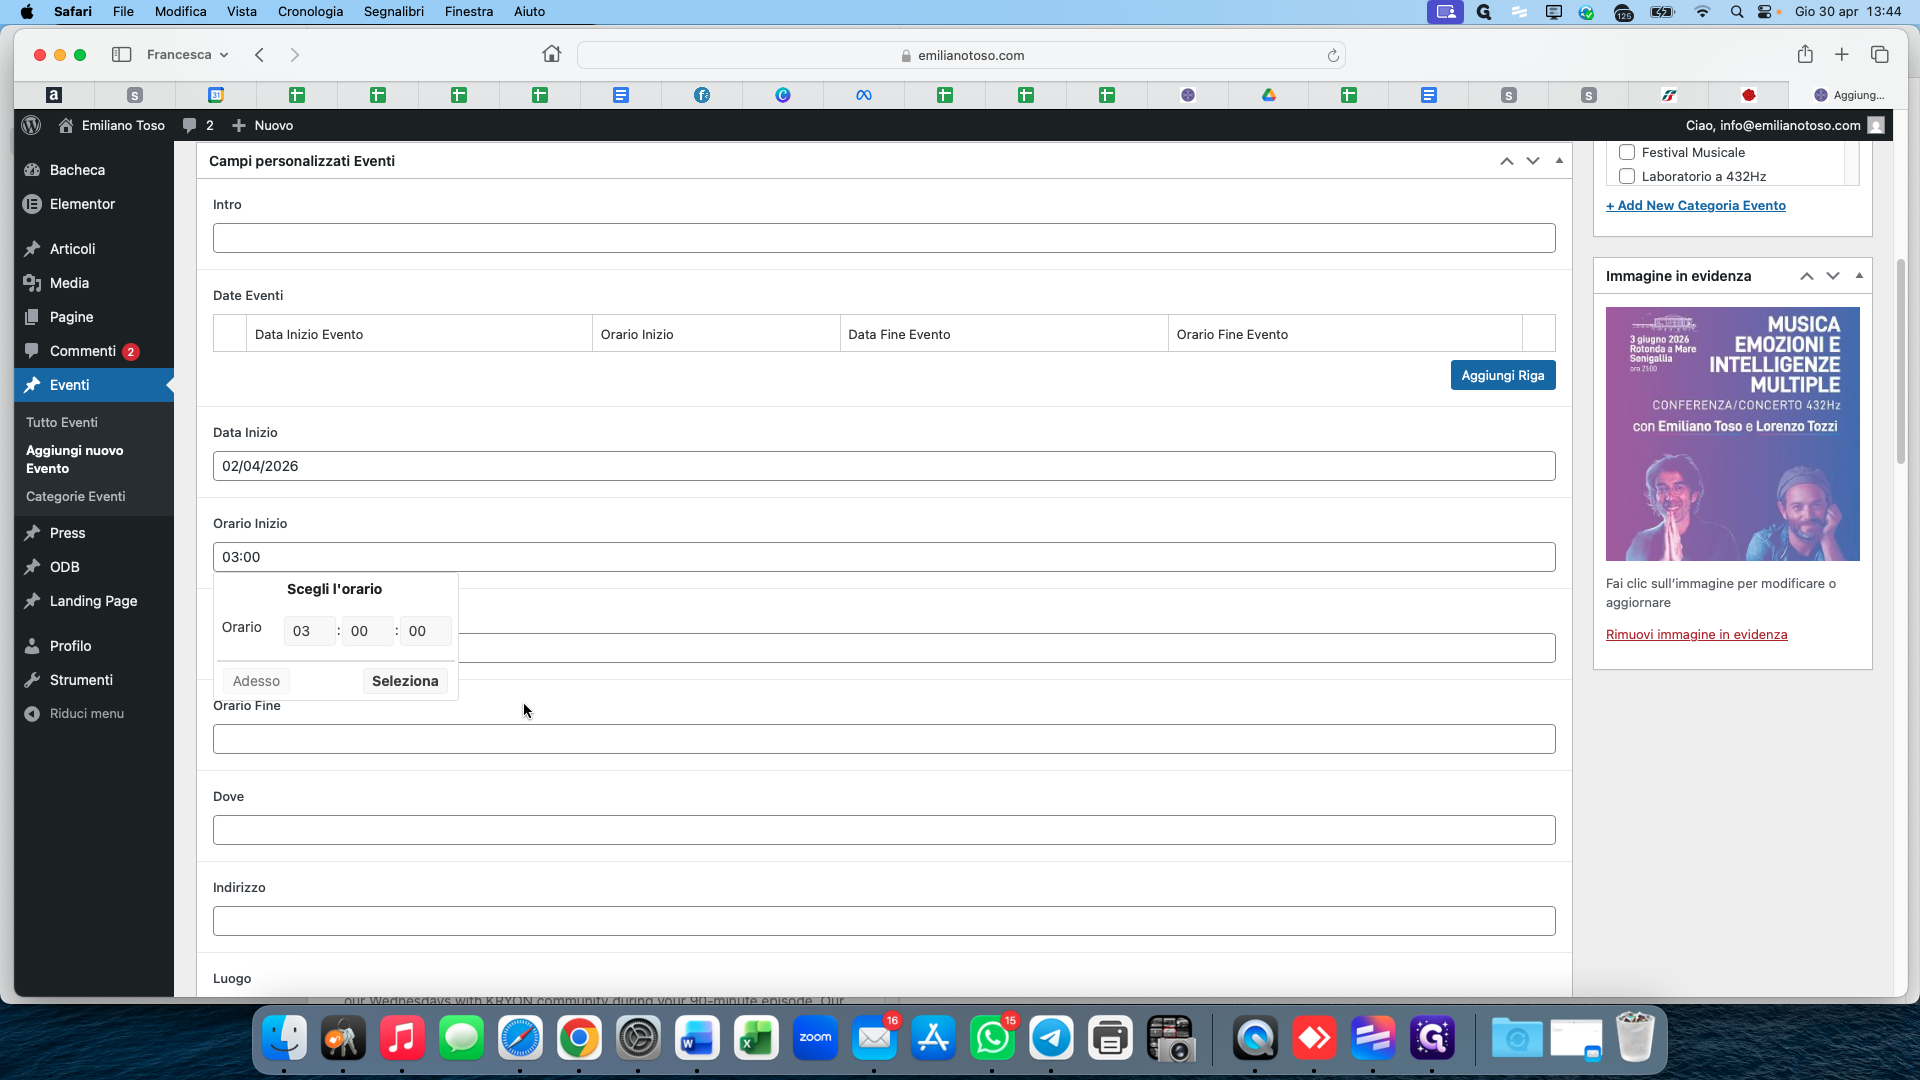
10
Click the Orario Inizio (Start Time) field and use the time-picker to set the event's start time.
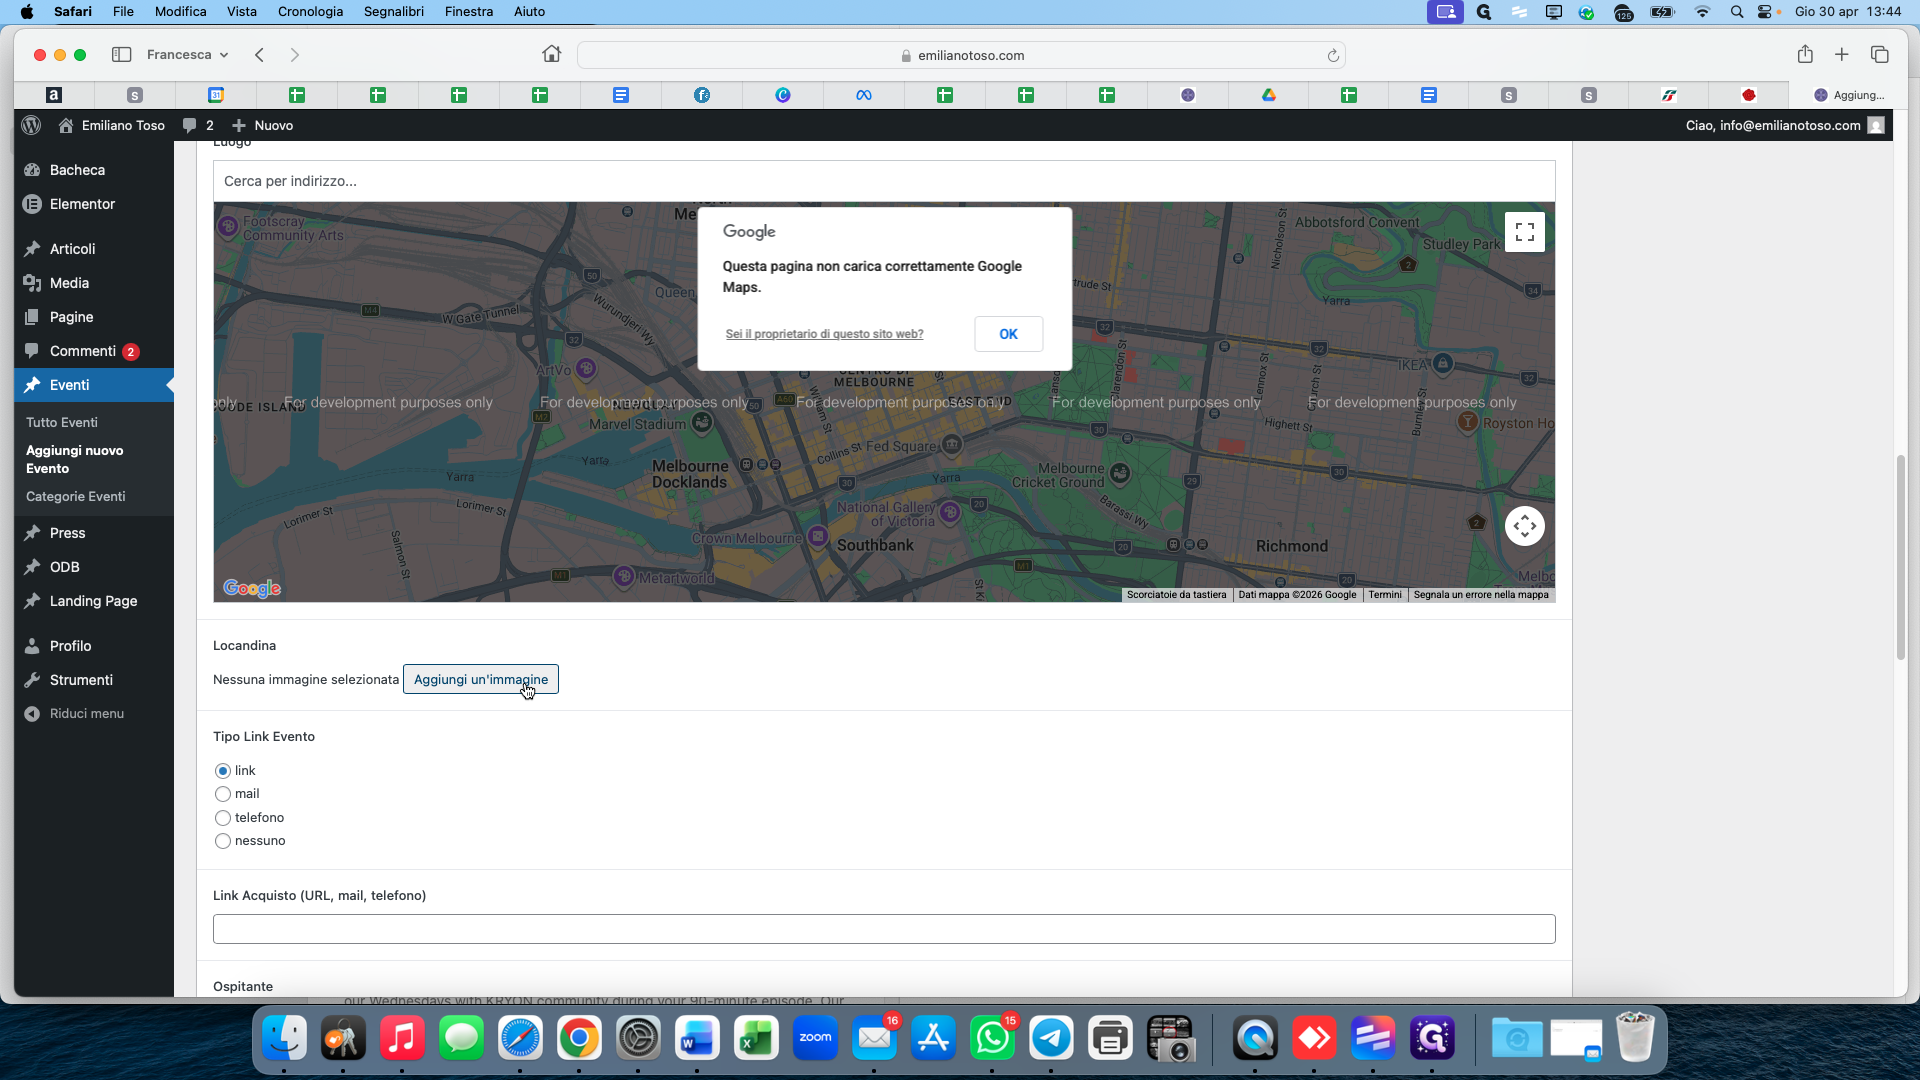
Adding Location and Ticketing
11
In the Dove (Where) section, type the city or general area (e.g., "Biella").
12
Enter the specific venue address in the field provided below the map preview.
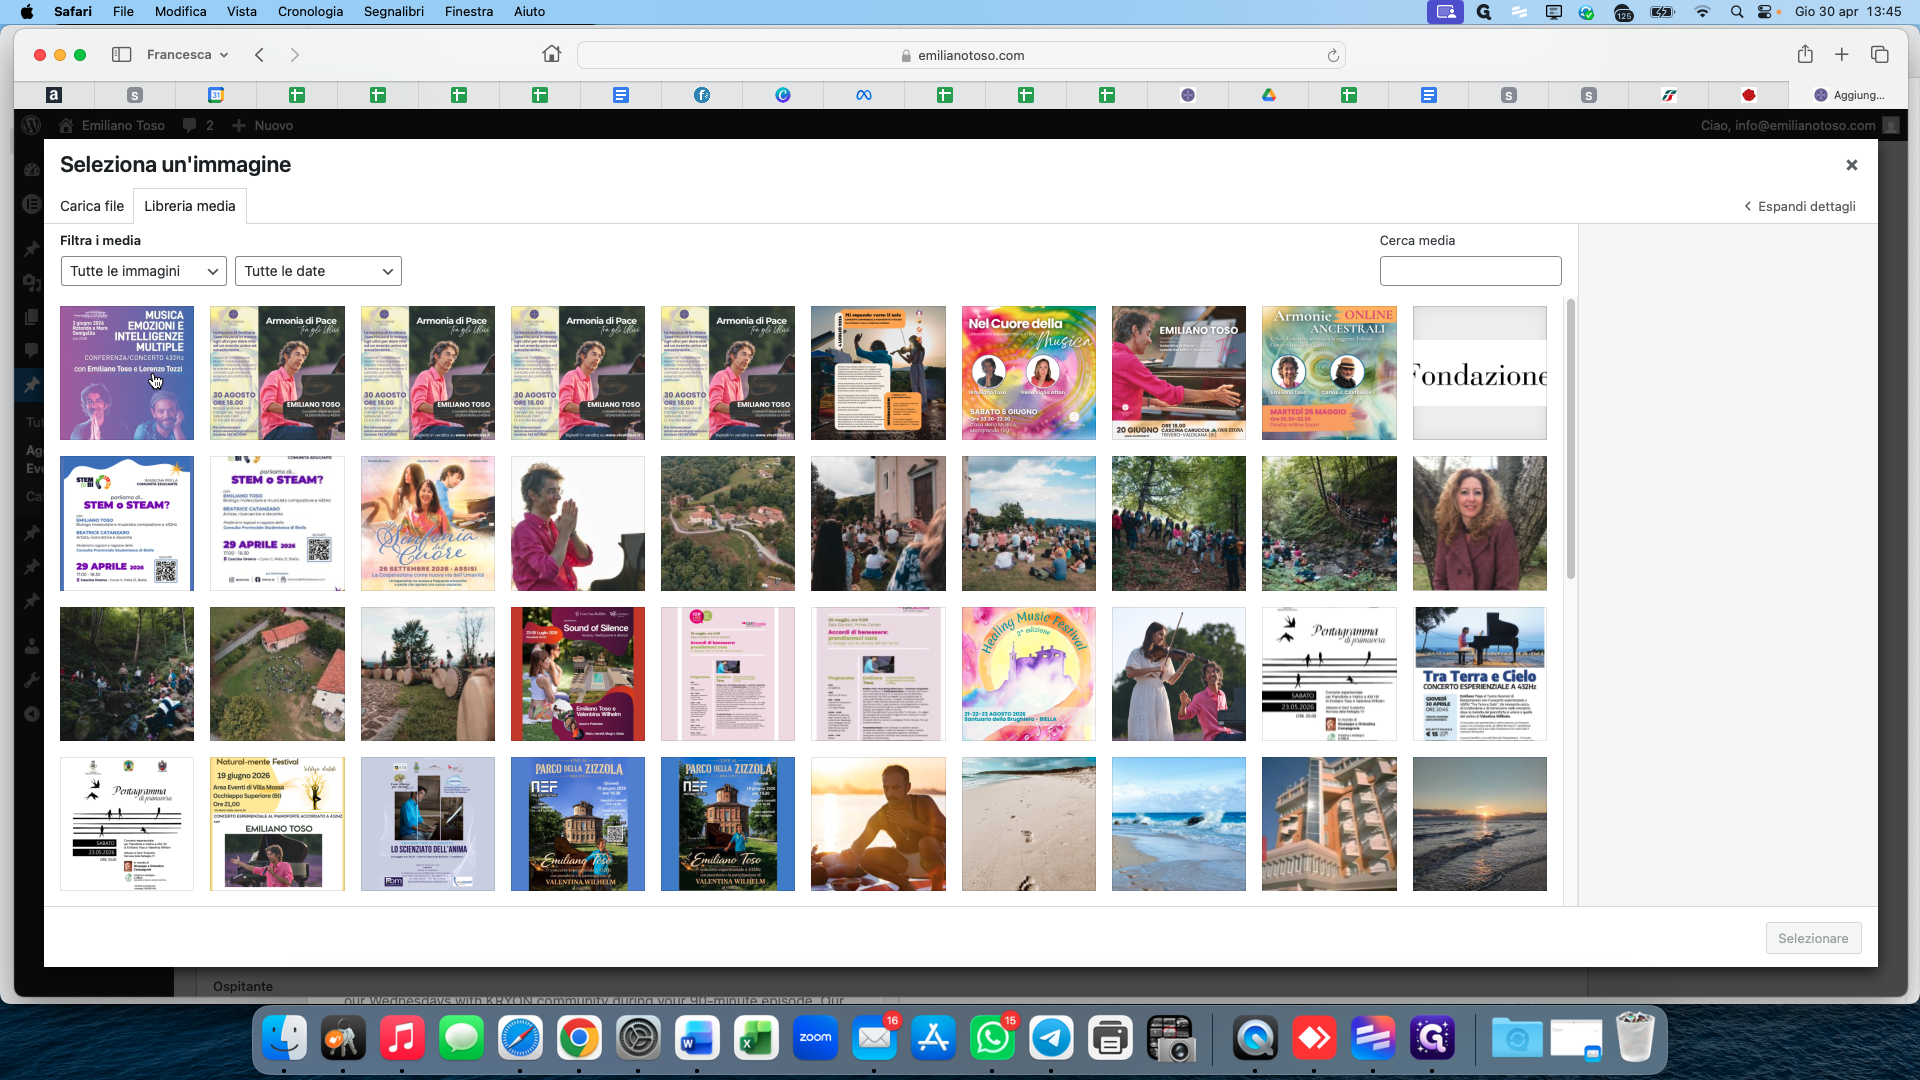
13
Click Aggiungi un'immagine to add a photo of the venue or an additional location banner.
14
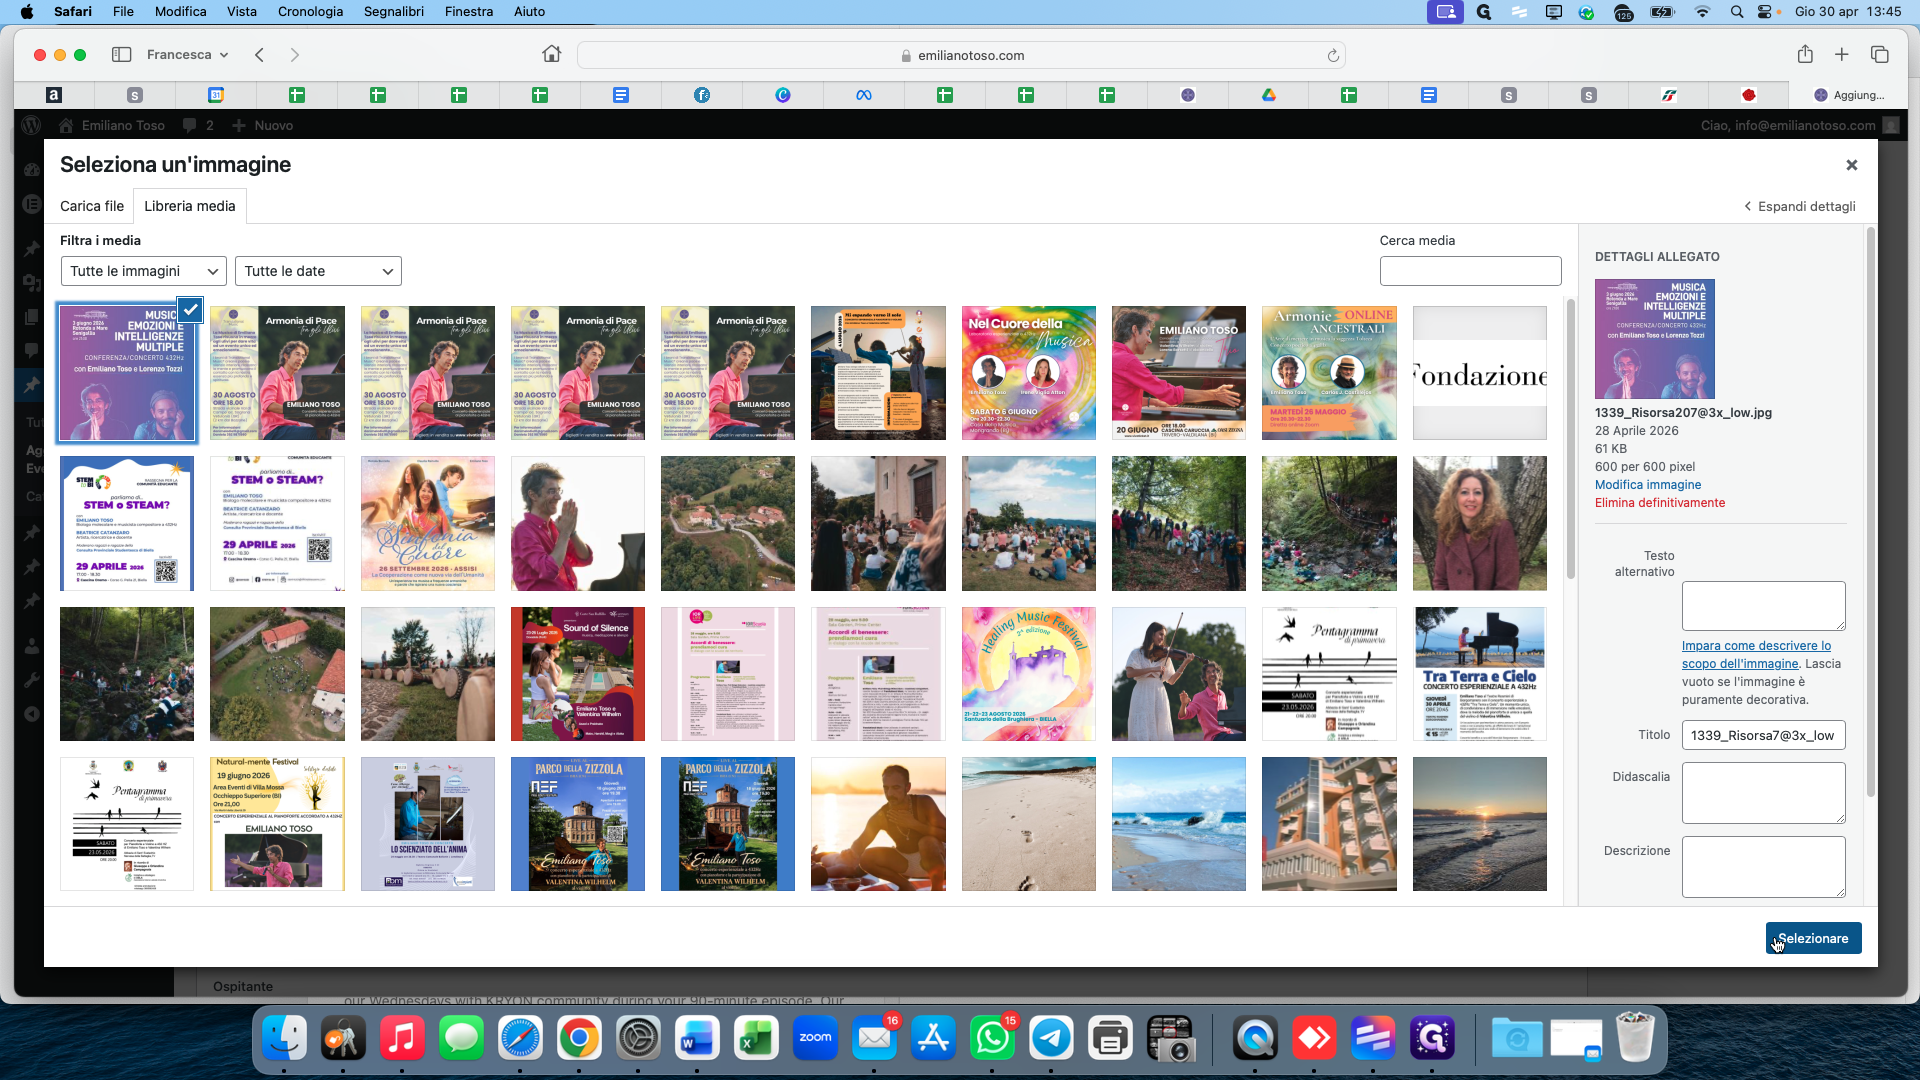
Select the desired location image from the Media Library.
15
Click Selezionare to confirm the image selection.
16
Finally, paste your ticket sales URL (like Vivaticket or another vendor) into the Link Acquisto field.