How to Add a New ODB Profile in WordPress
Learn how to create and publish a new ODB profile in your WordPress dashboard, including assigning custom fields, regions, and featured images.
By Emiliano
This guide walks you through the process of creating a new "Operatore Di Benessere" (ODB) profile in your WordPress dashboard.
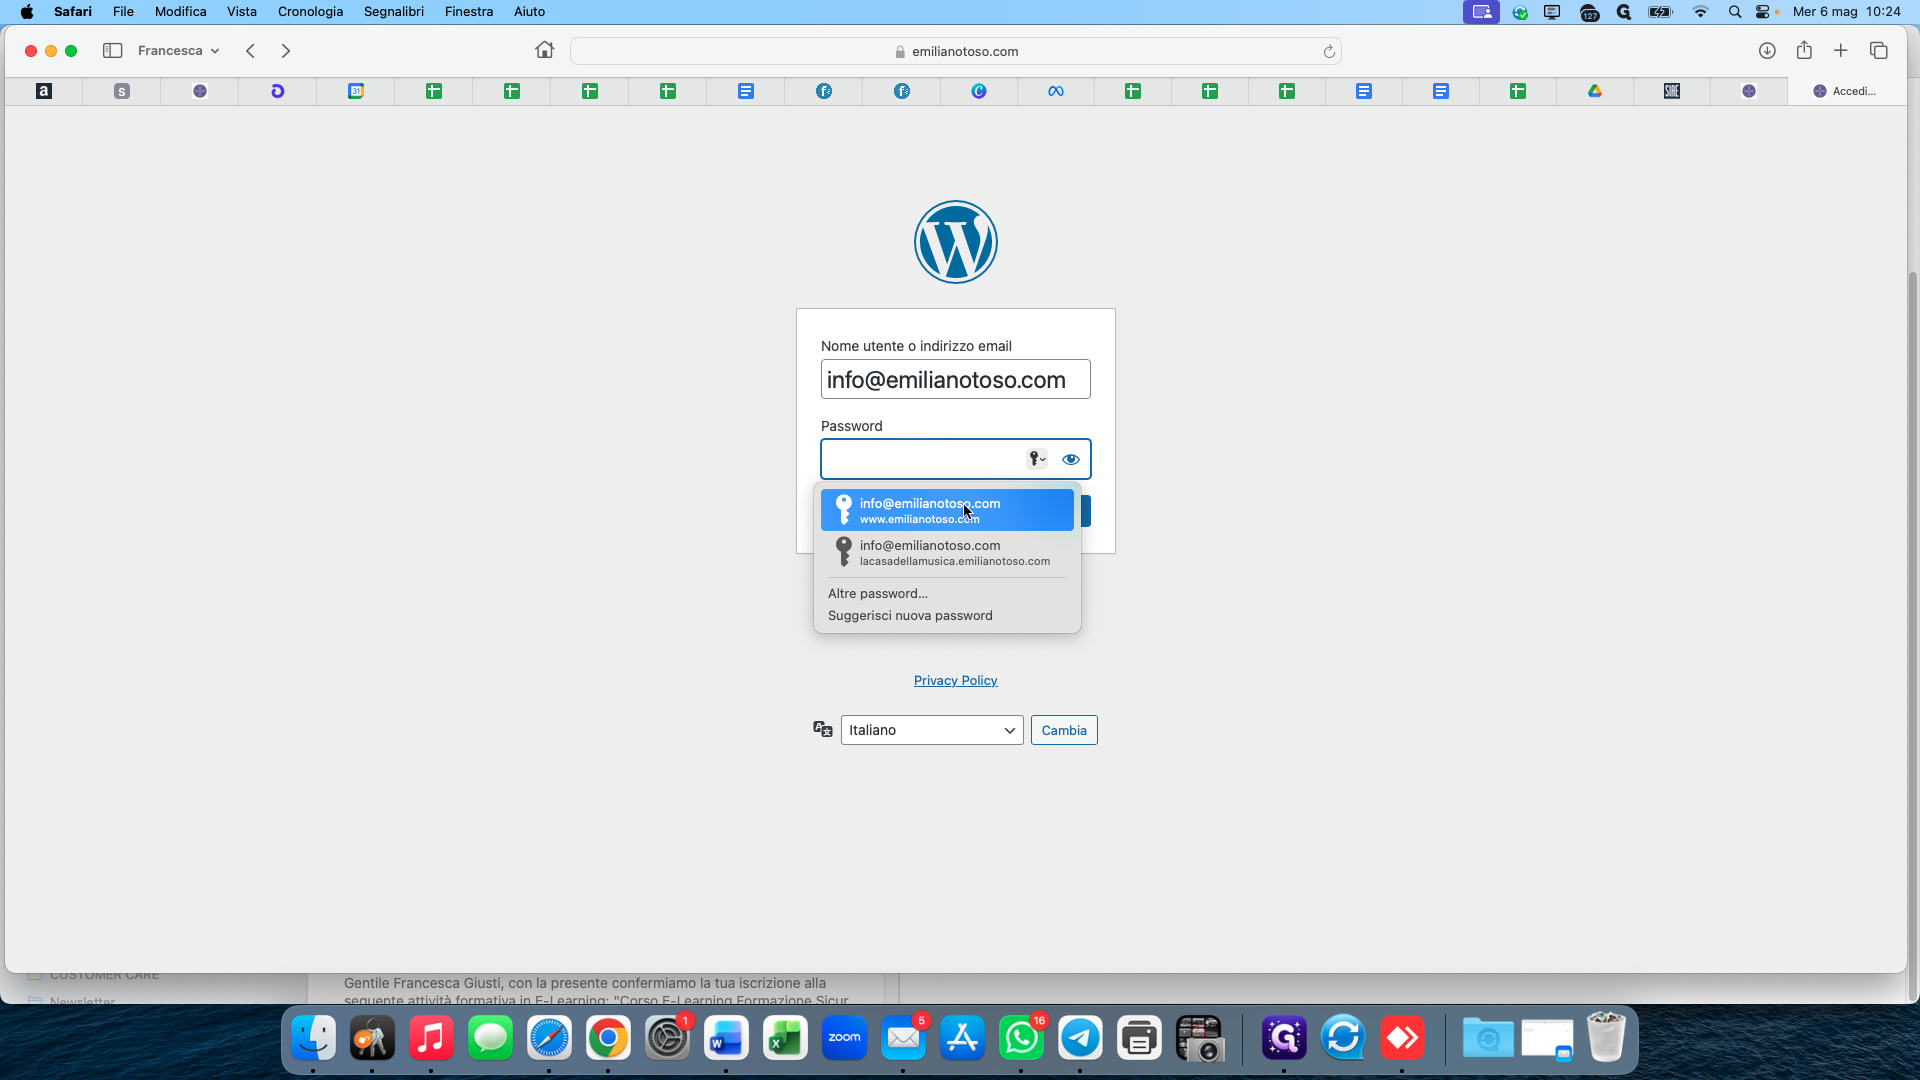
Log in to WordPress
1
Select your stored credentials (e.g., info@emilianotoso.com) to autofill the login form.
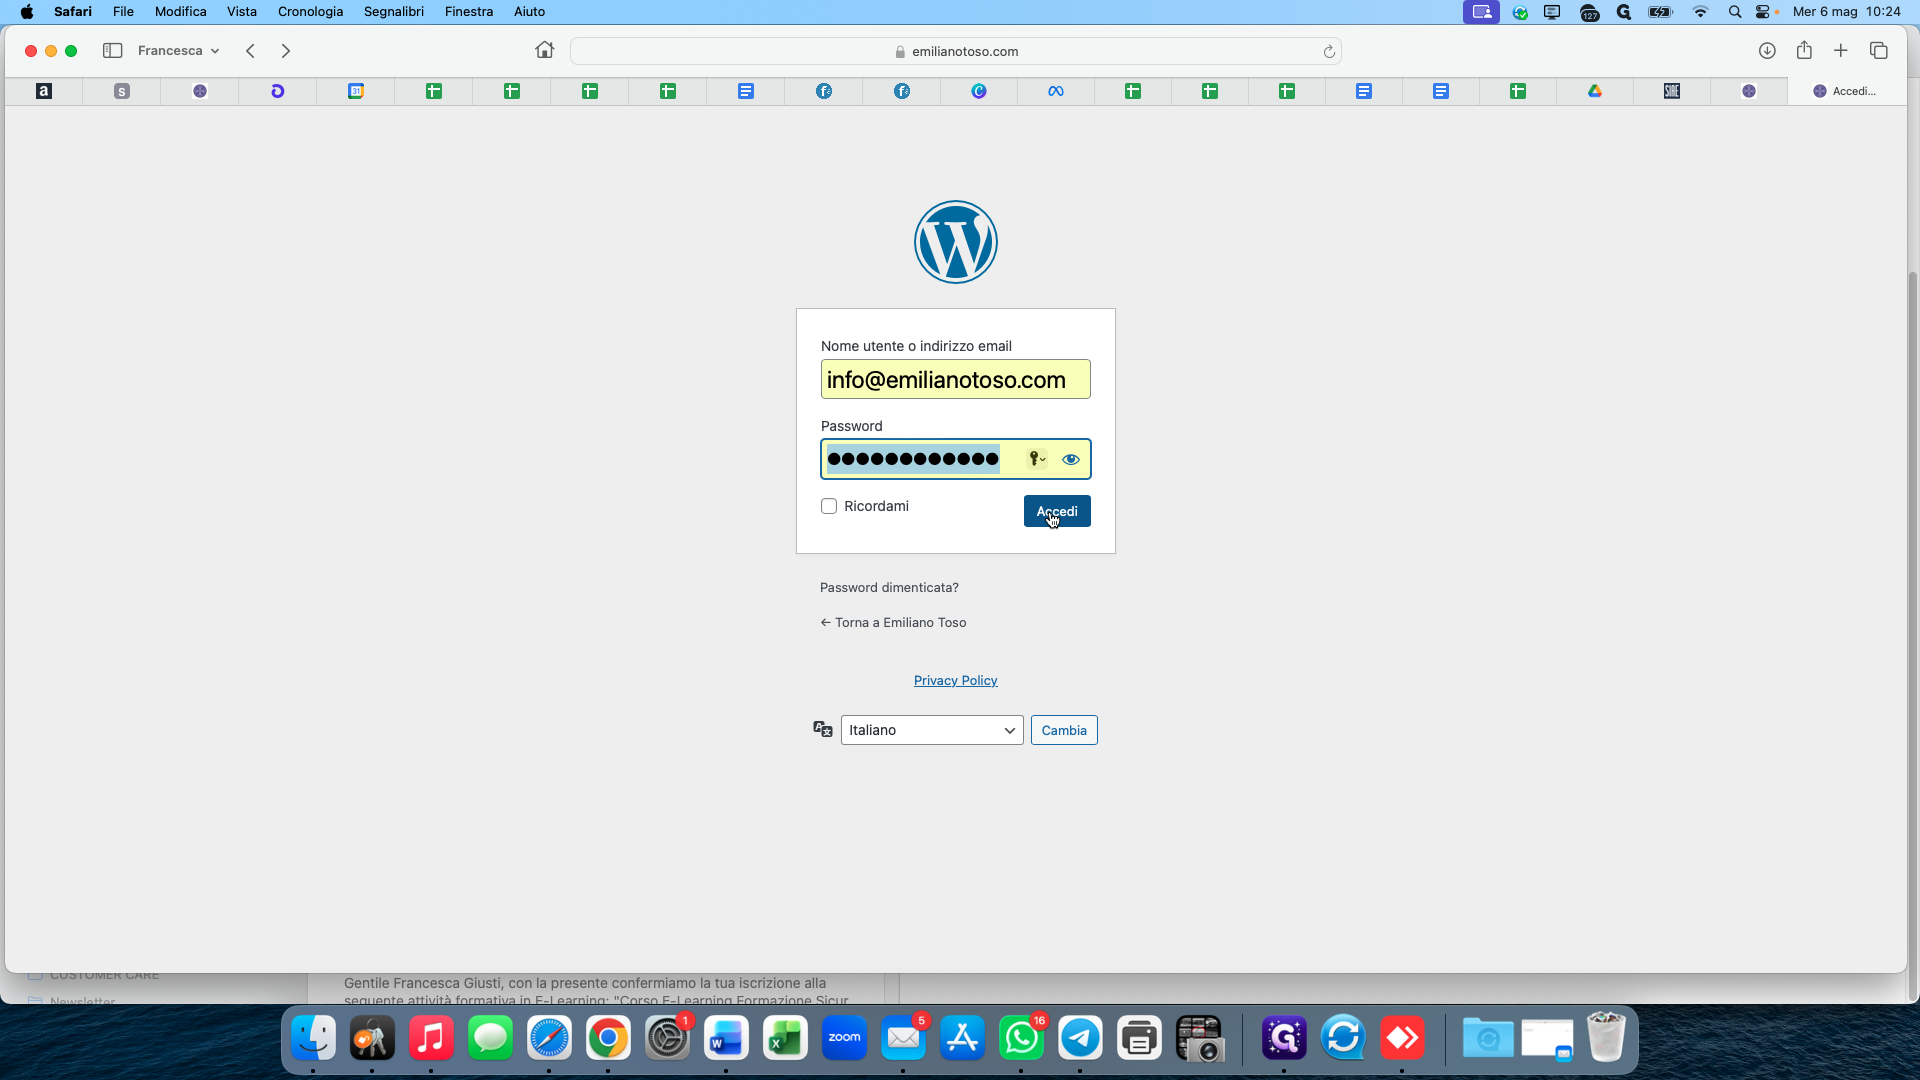
2
Click Accedi to log in.
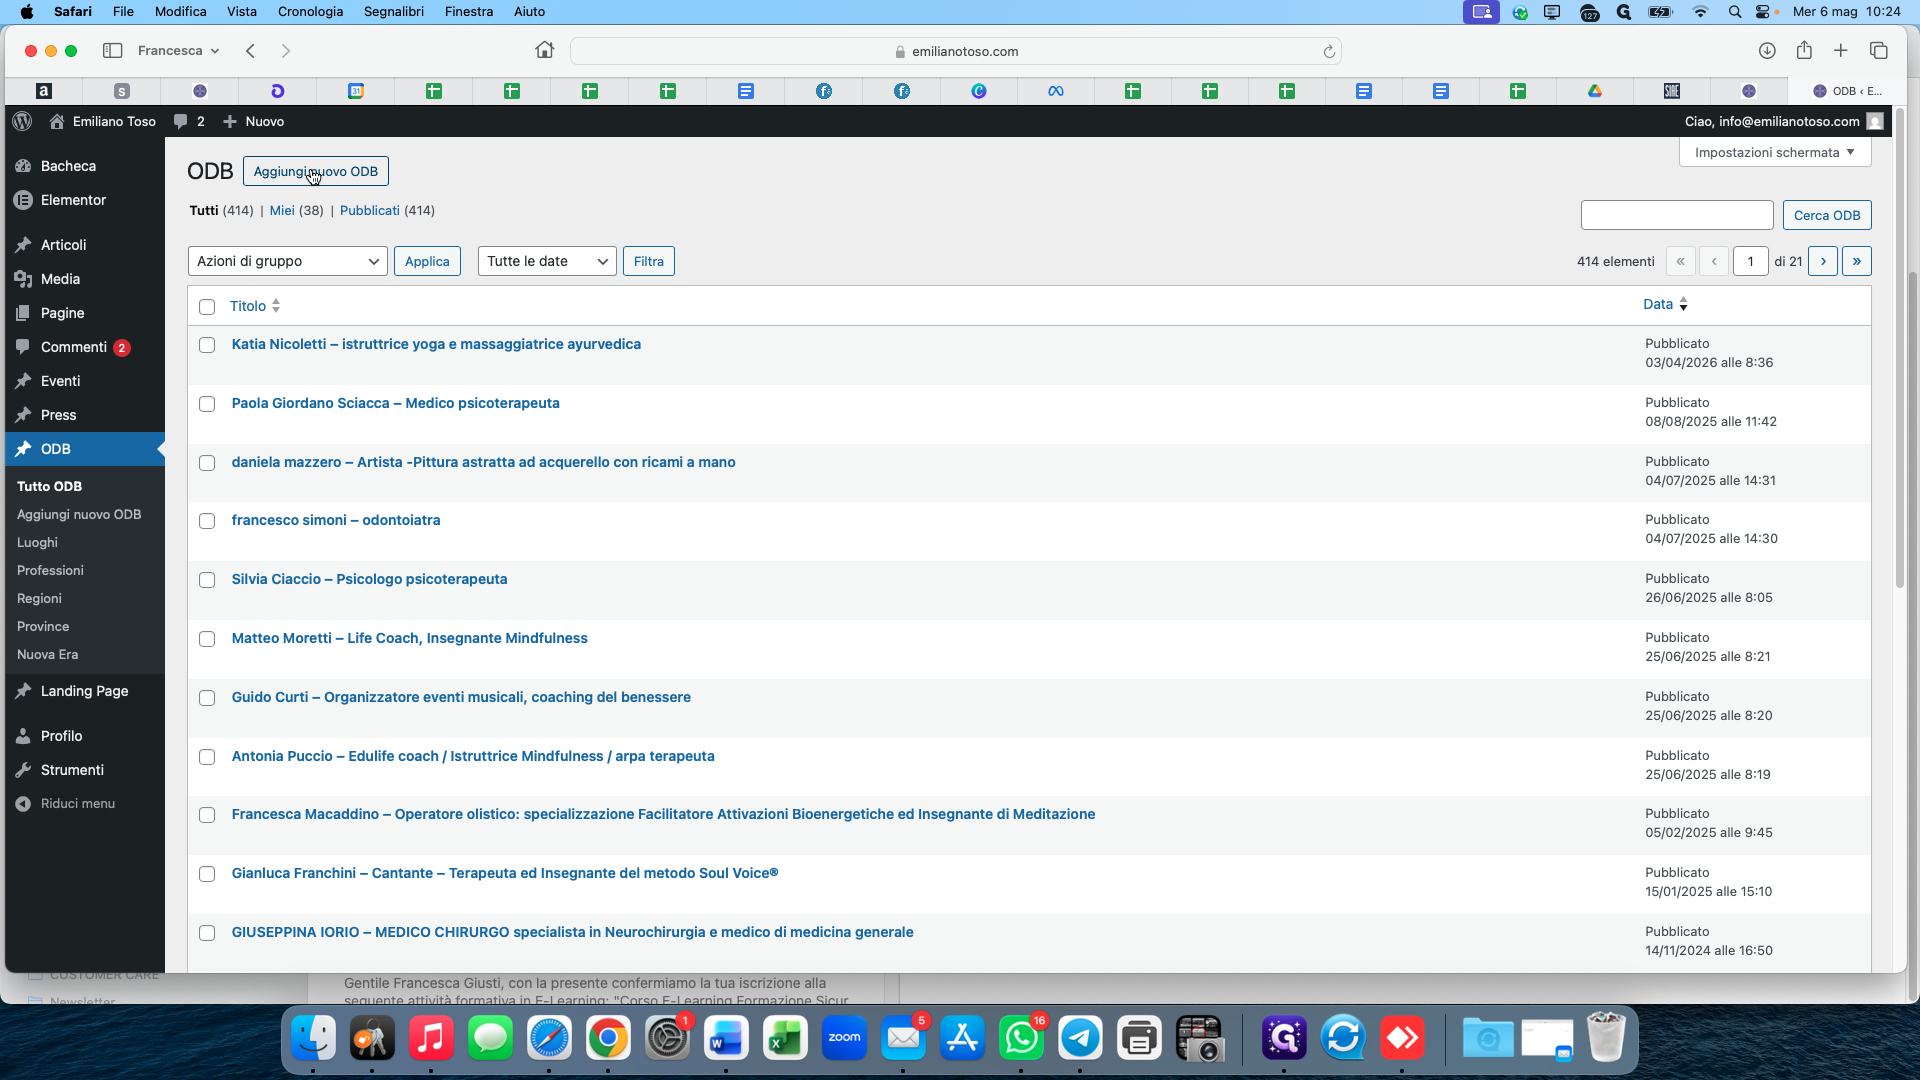
Create a New ODB Profile
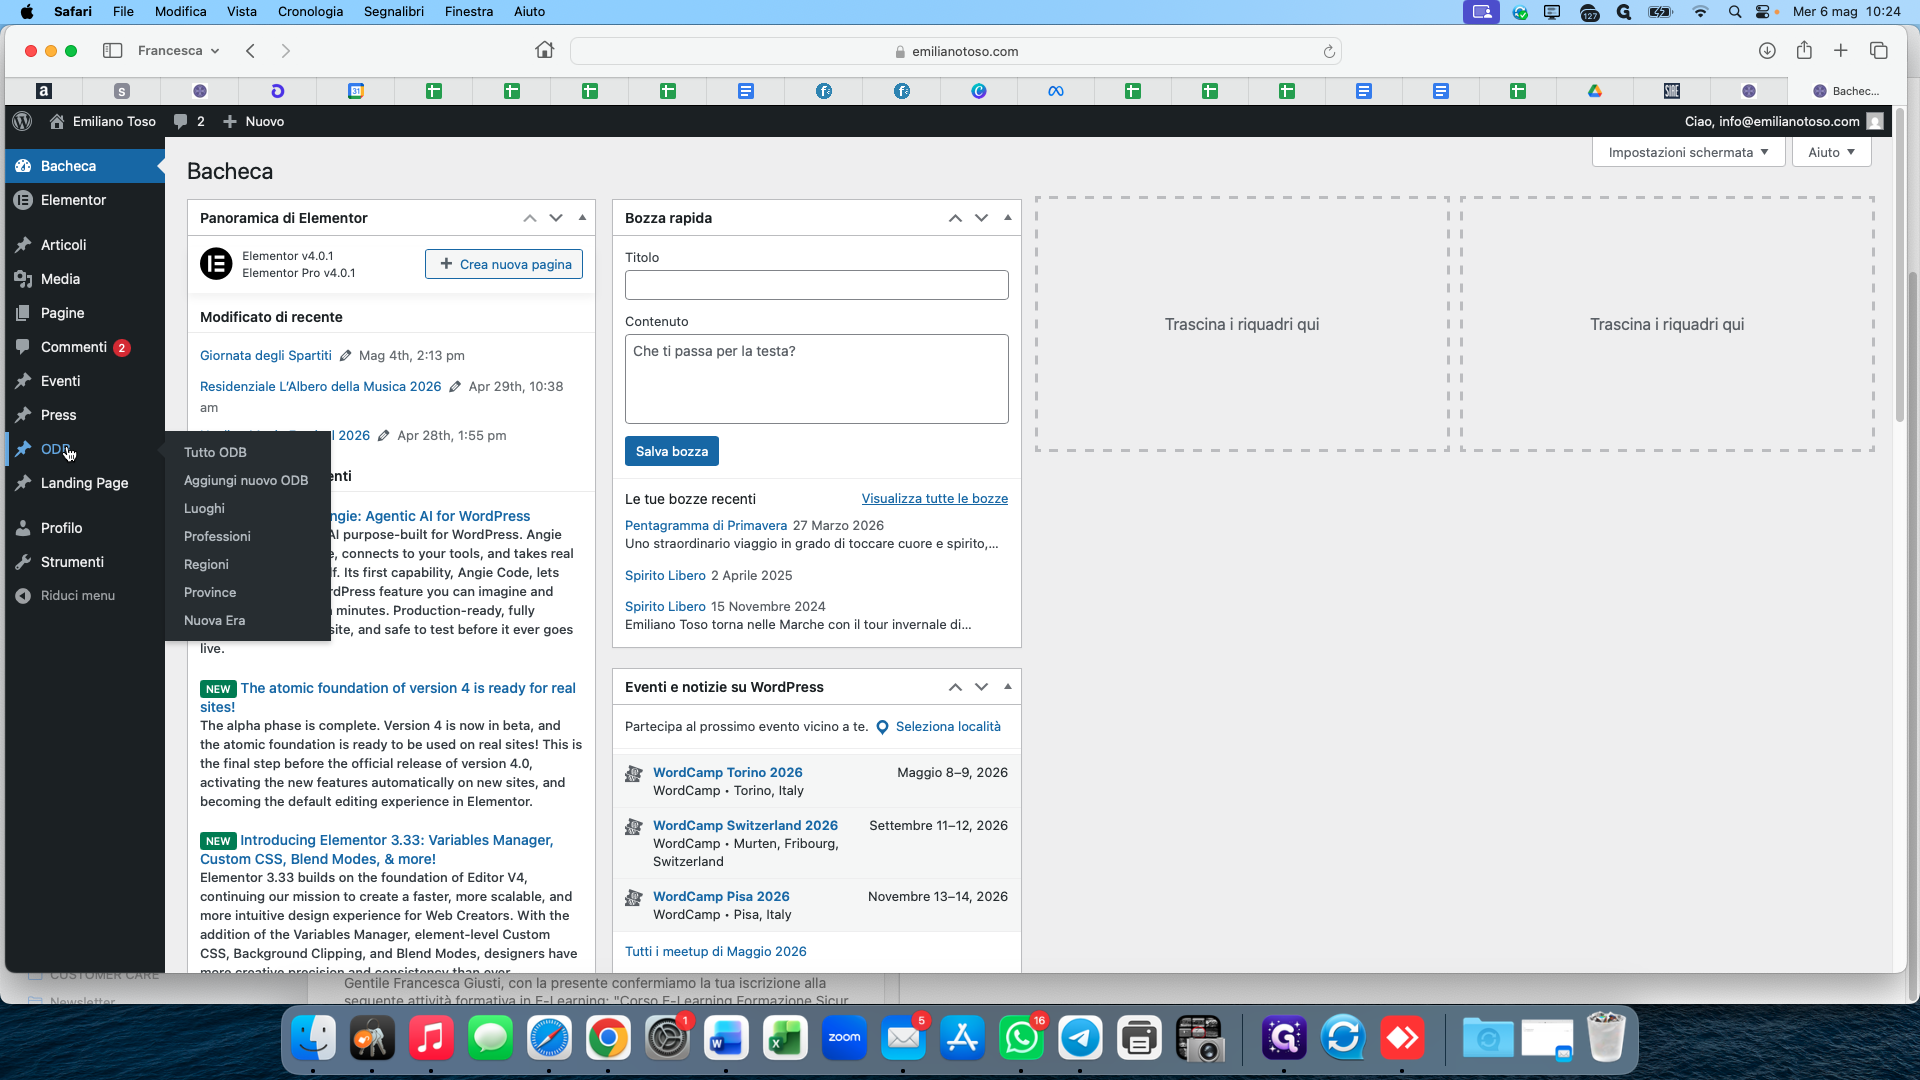
3
In the left sidebar menu, hover over or click ODB.
4
Click Aggiungi nuovo ODB to create a new entry.
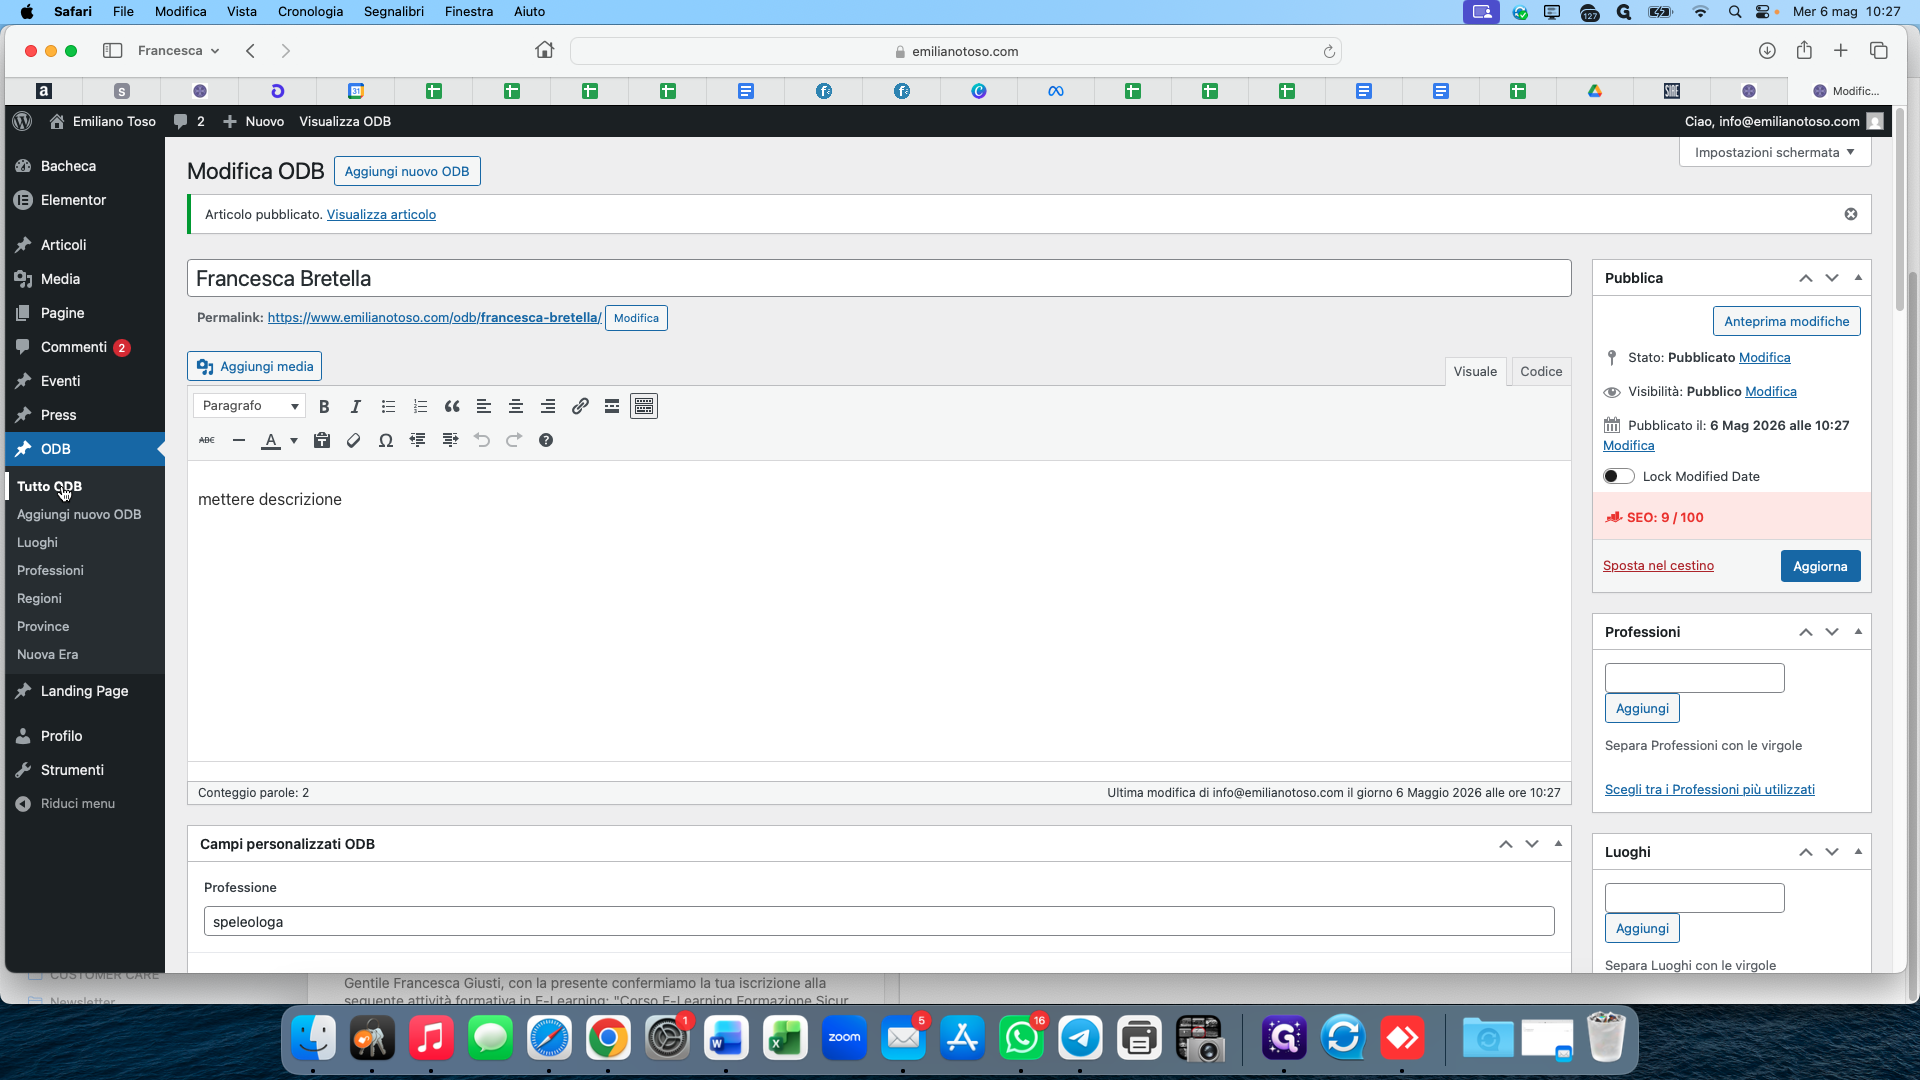
5
Enter the profile name (e.g., "Francesca Bertalla") into the title field.
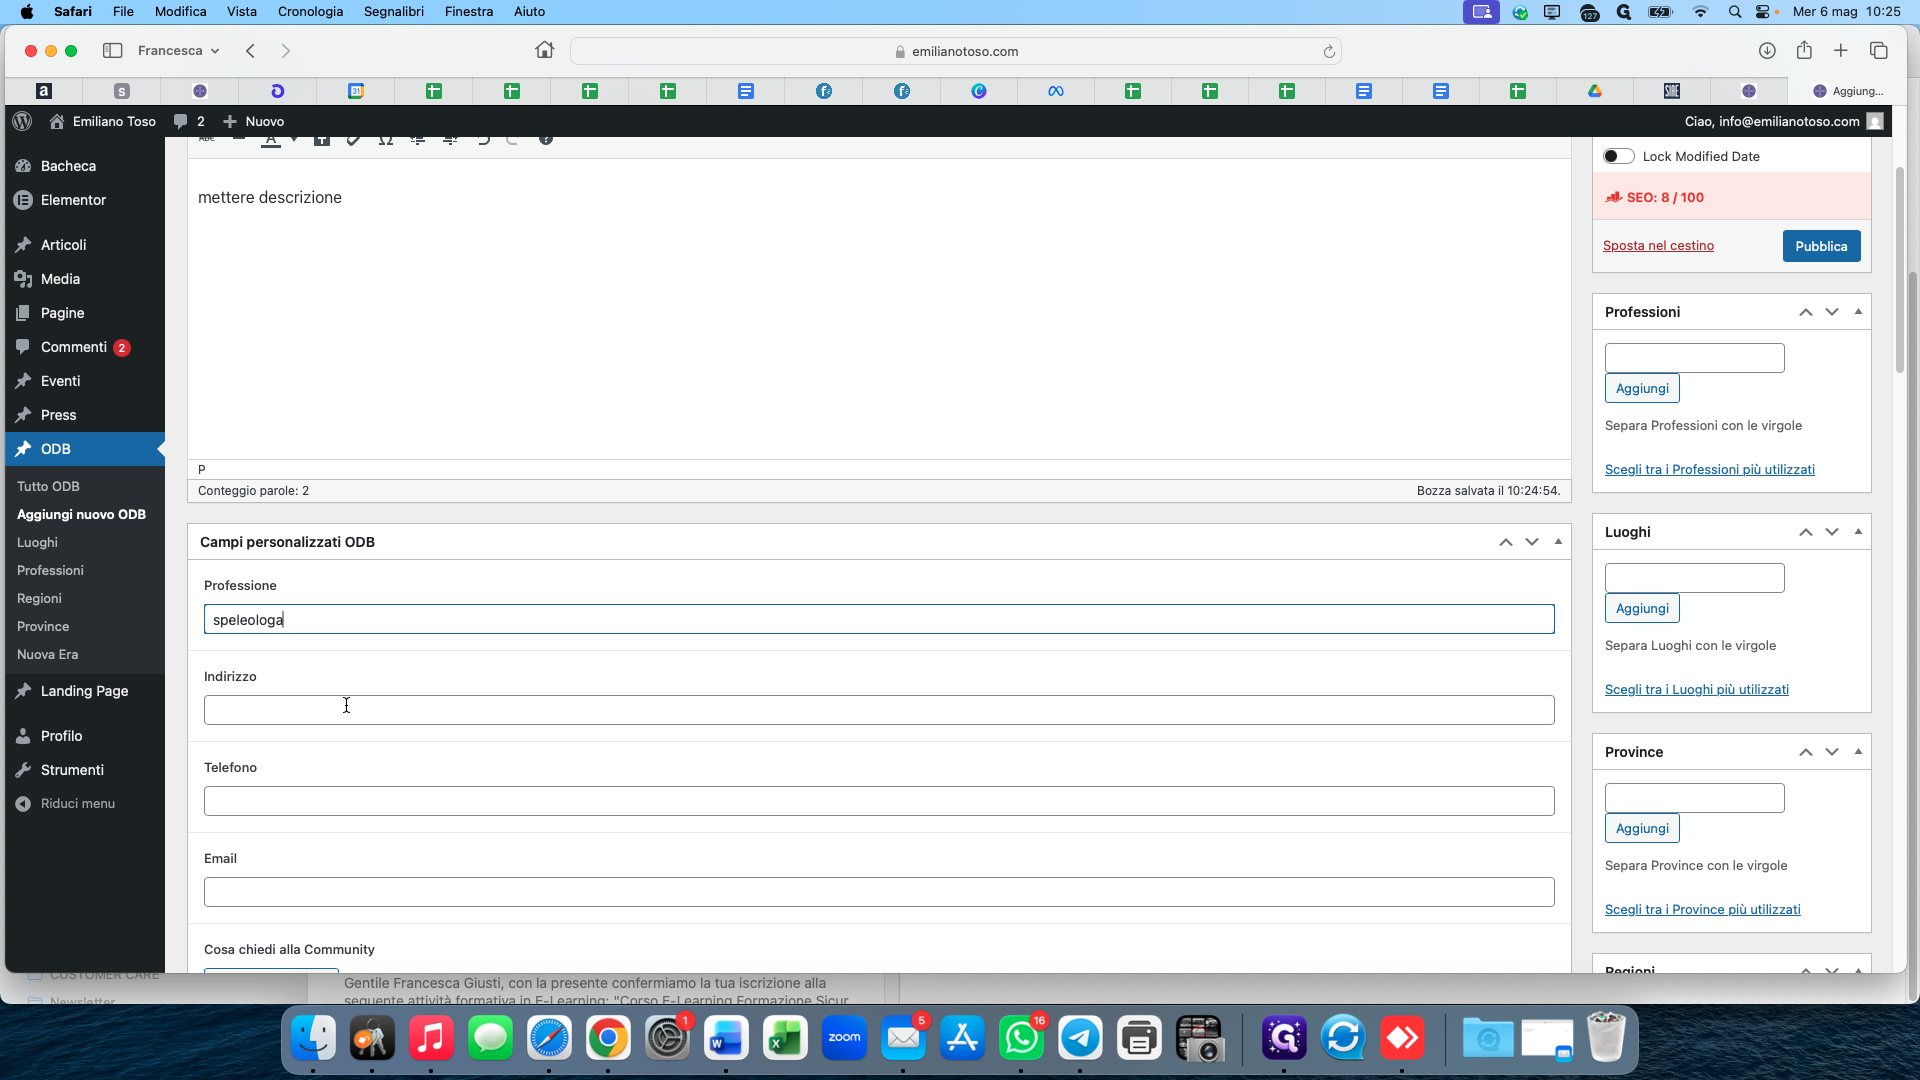
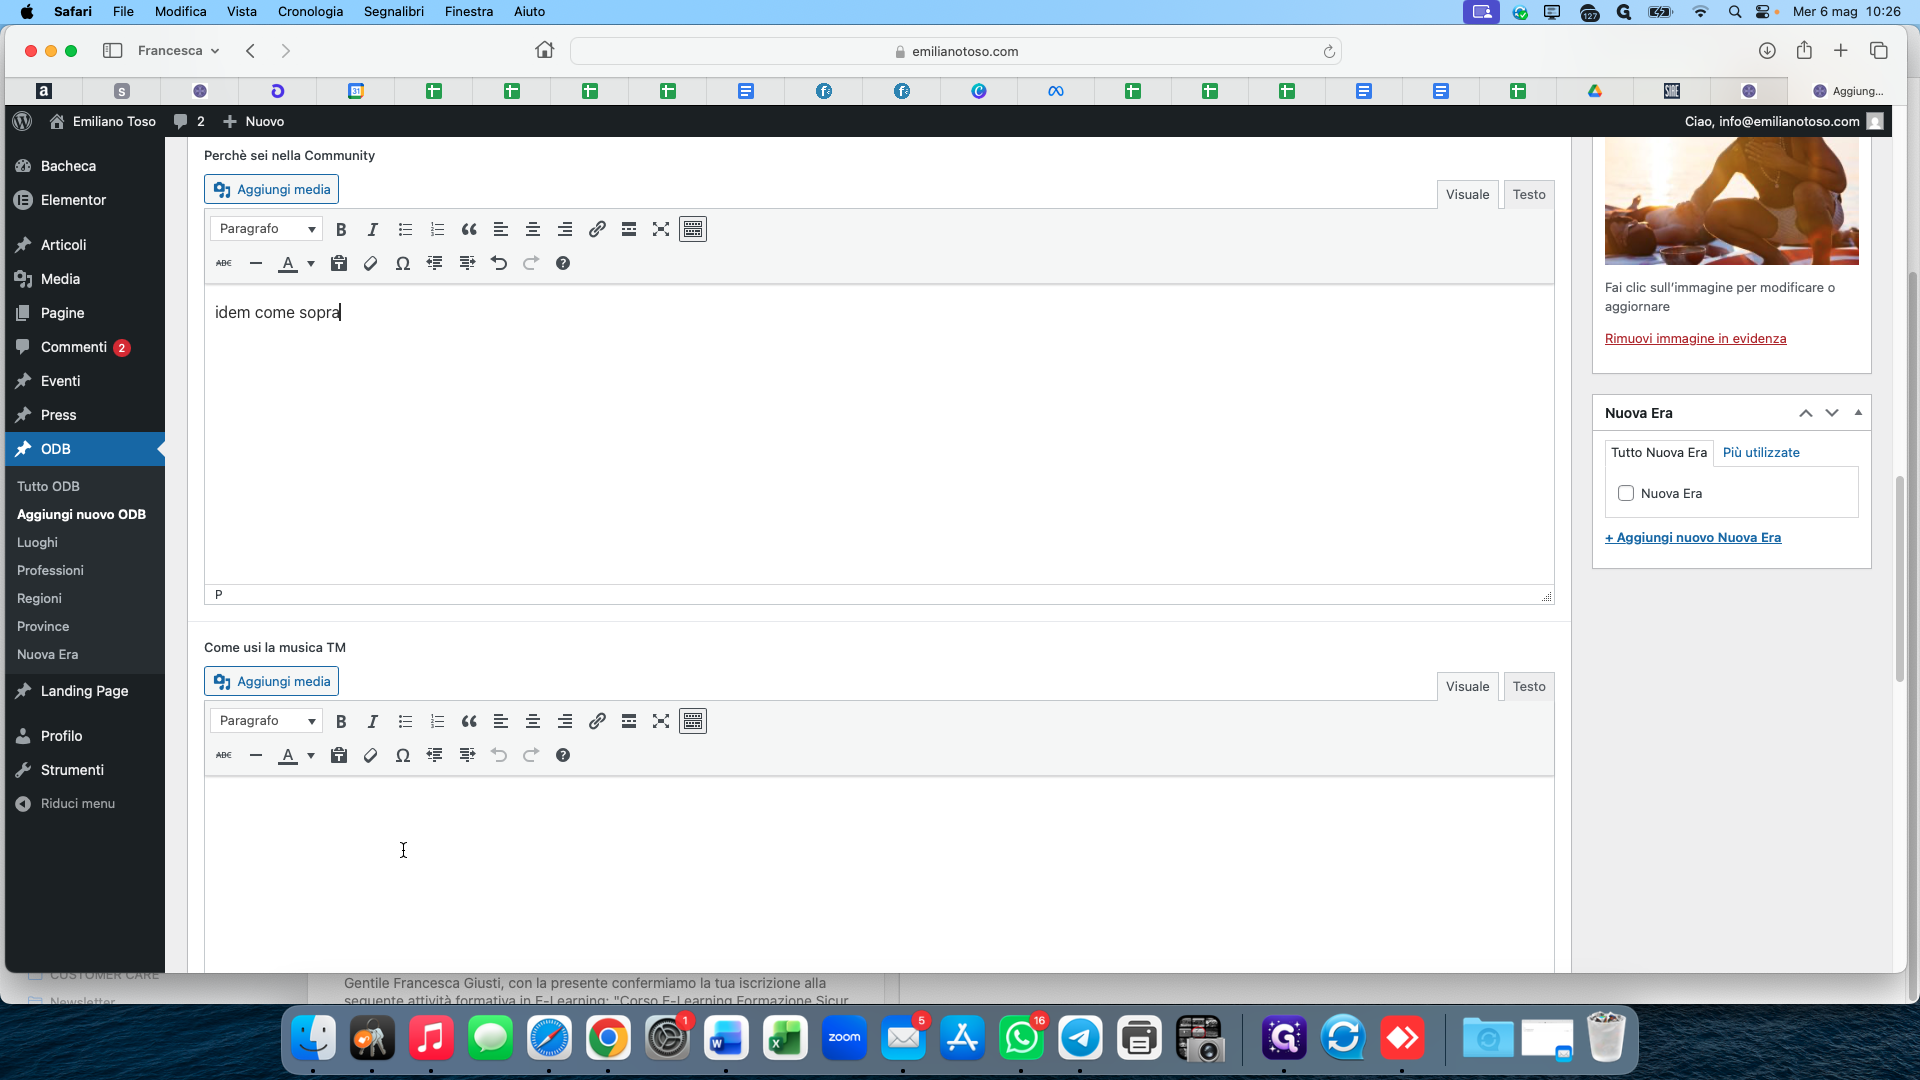
Fill in Custom Details
6
Enter the individual's profession or title (e.g., "speleologa").
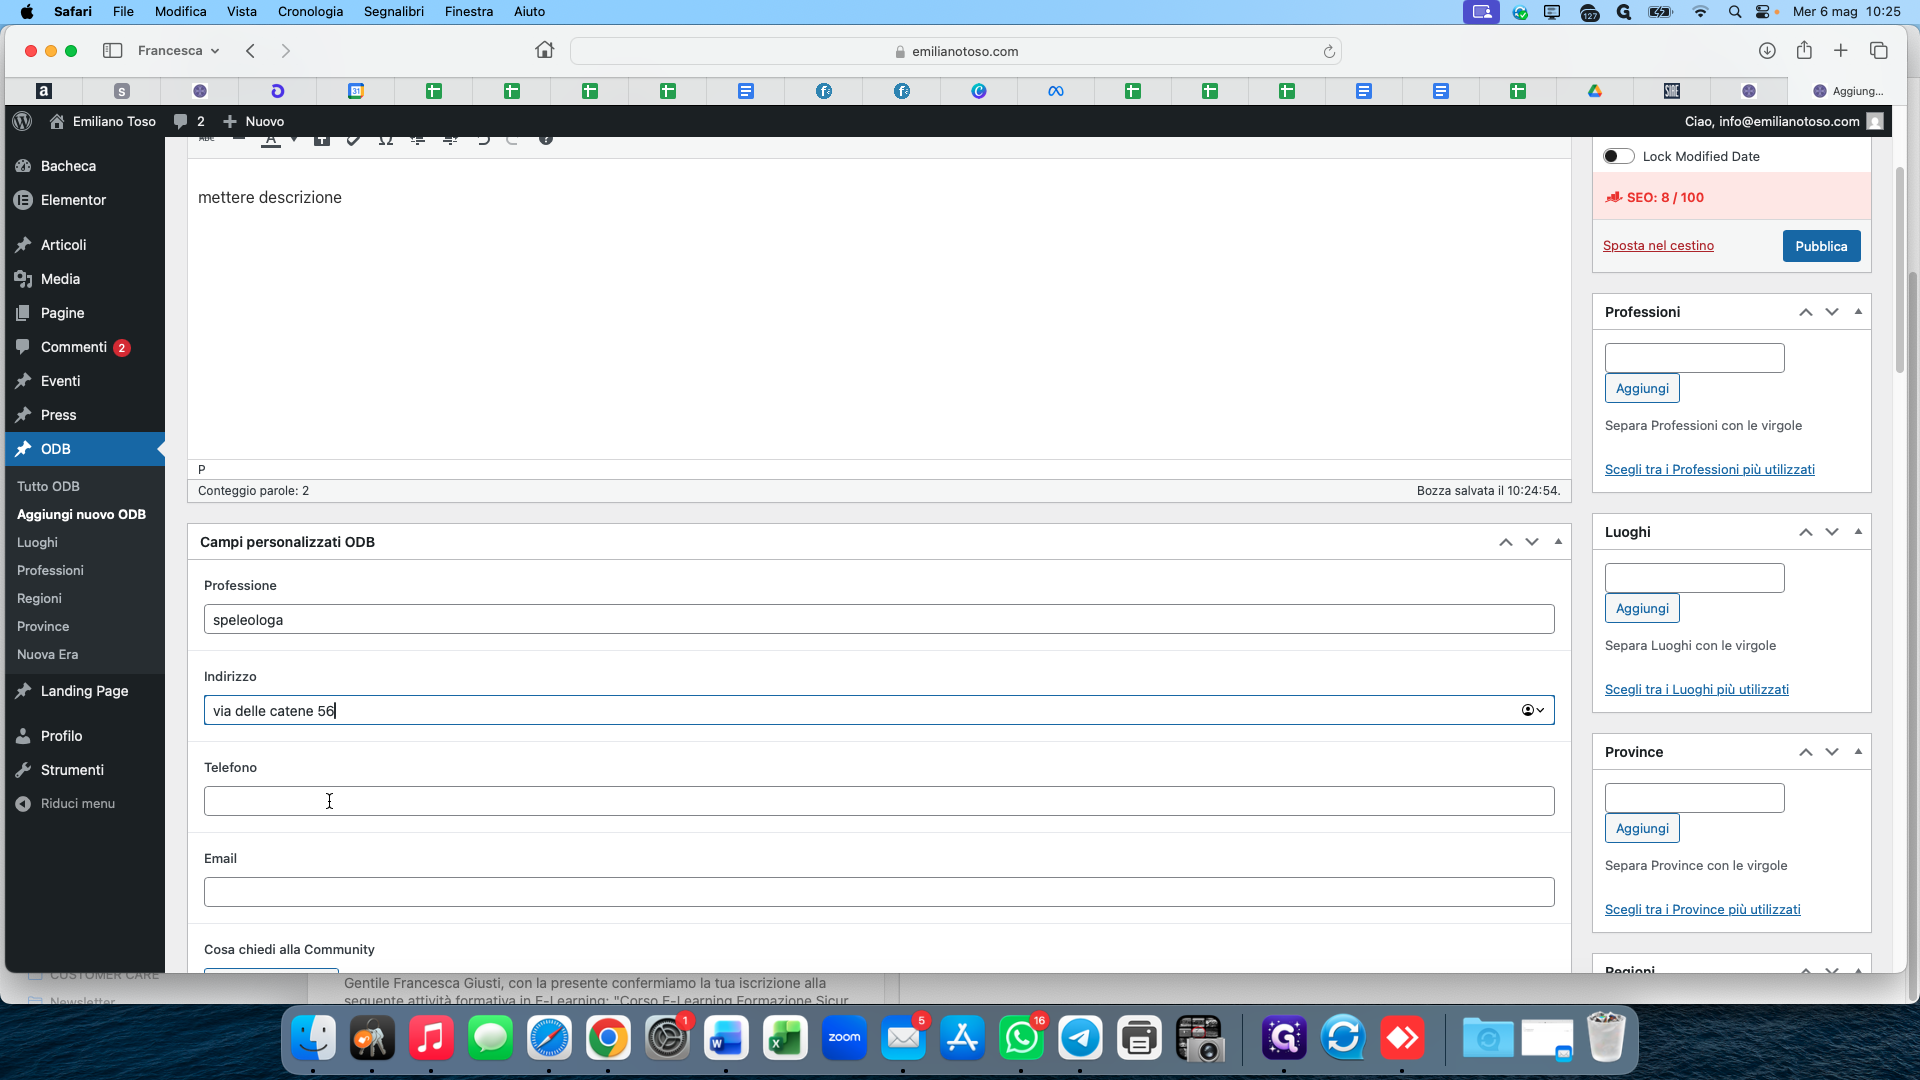
7
In the Campi personalizzati ODB section, type the street address into the Indirizzo field.
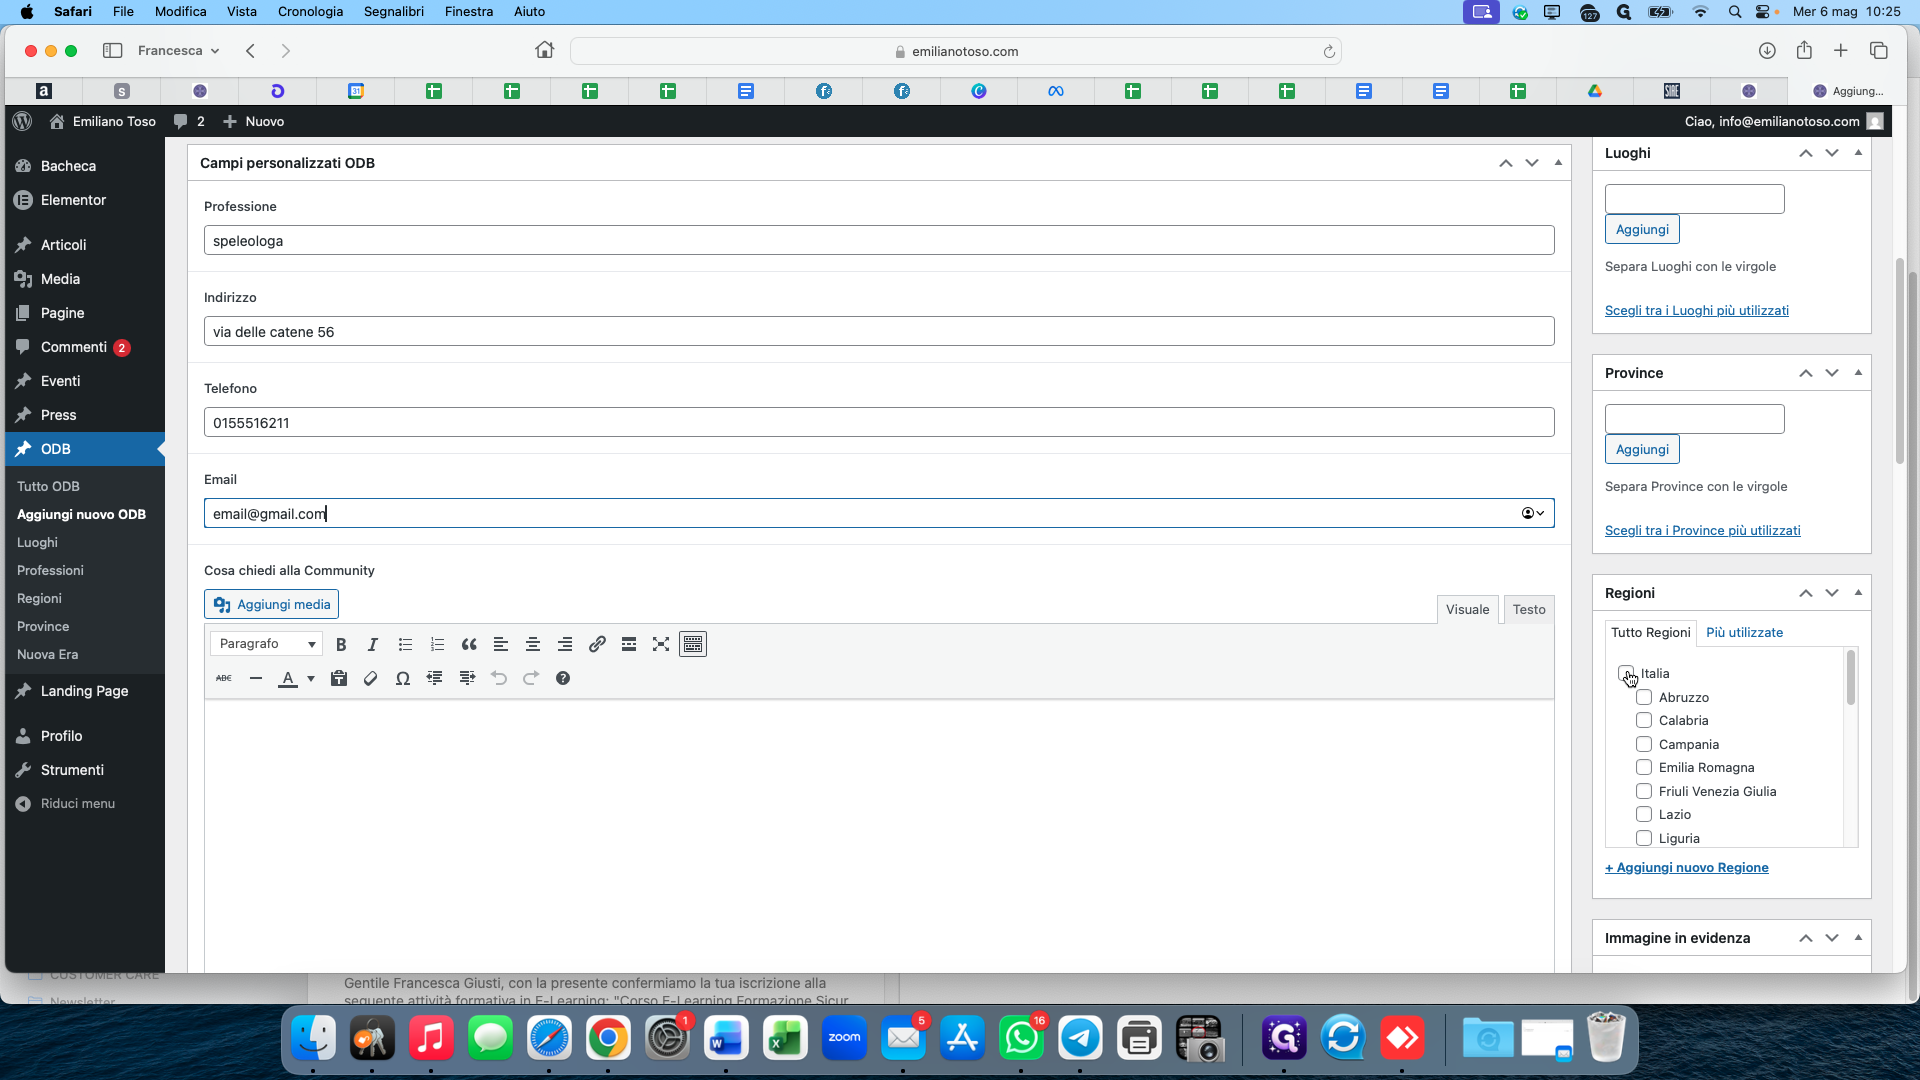
8
Enter the contact number in the Telefono field.
9
Provide the contact email address in the Email field.

Assign Categories and Media
10
In the right-hand sidebar under Regioni, check the applicable country box (e.g., Italia).
11
Select the specific region (e.g., Calabria).

12
Click Imposta immagine in evidenza to add a featured image for the profile.

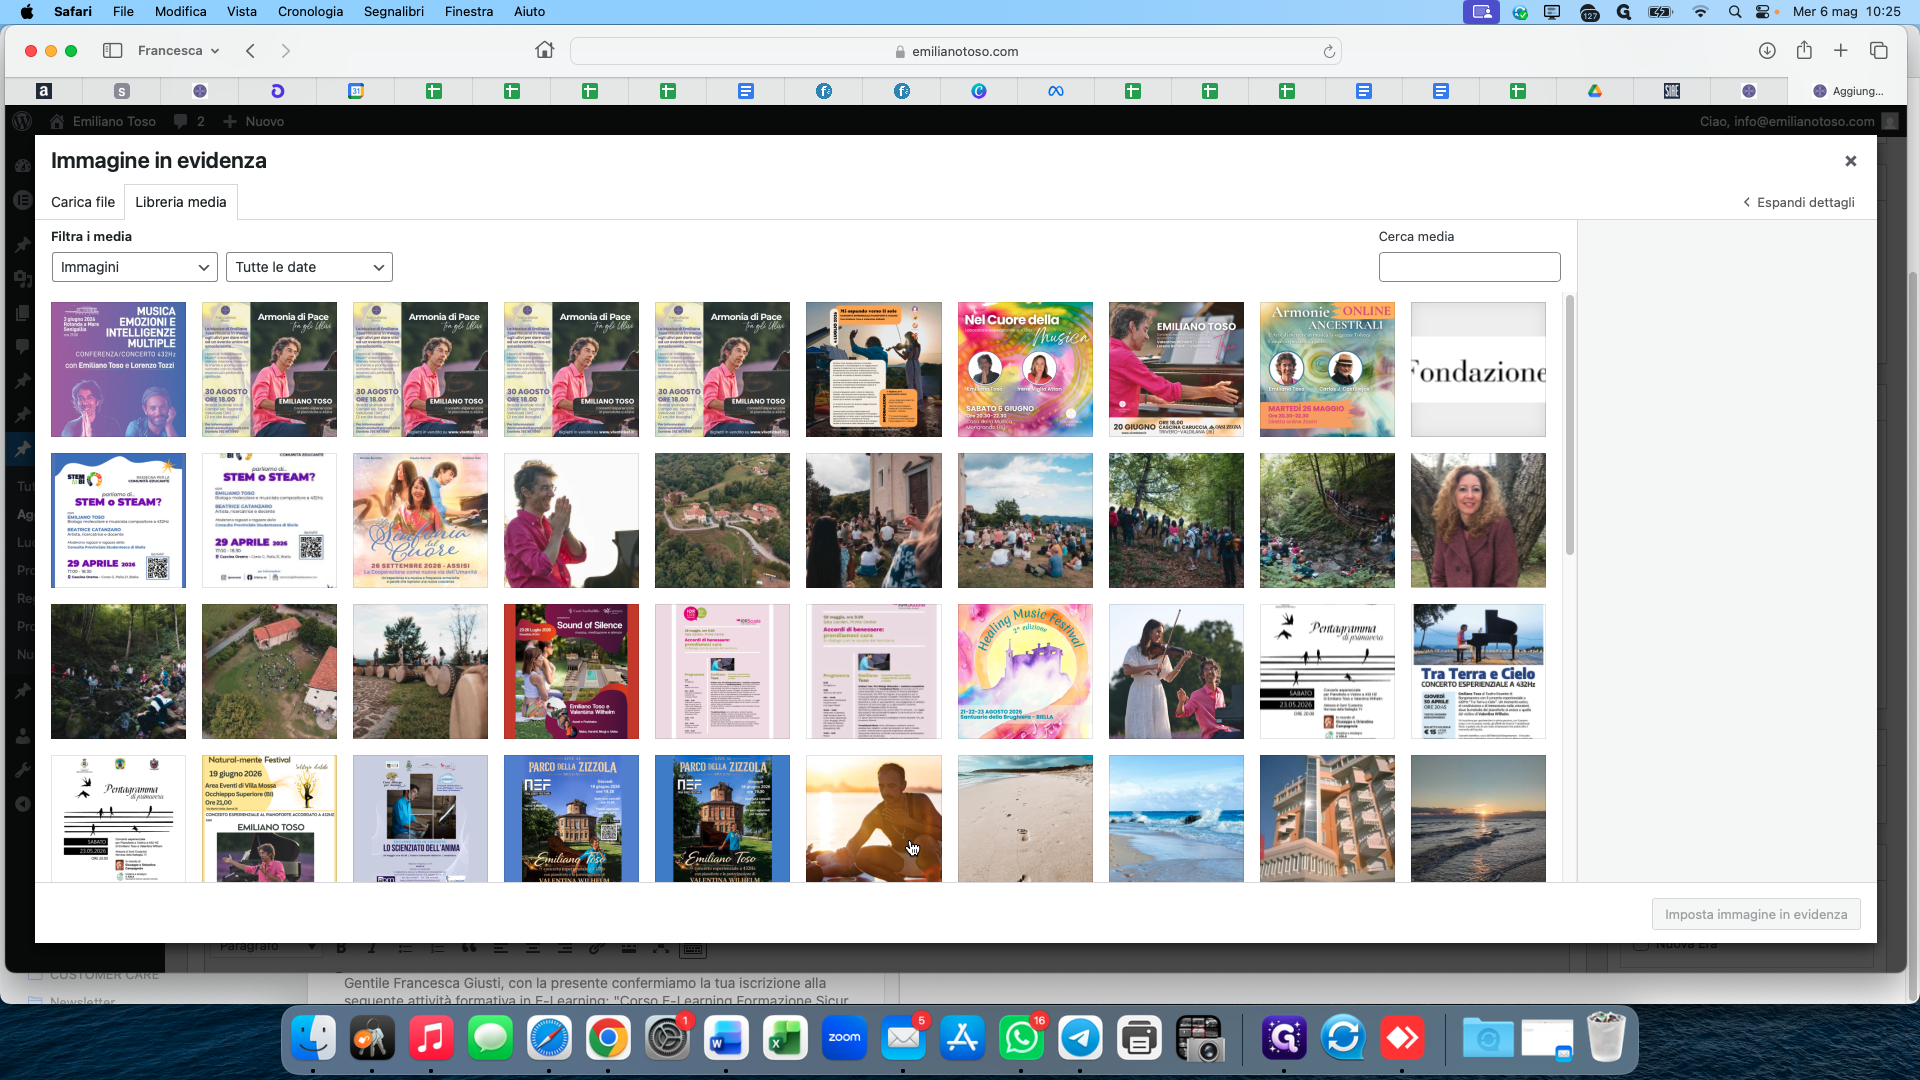
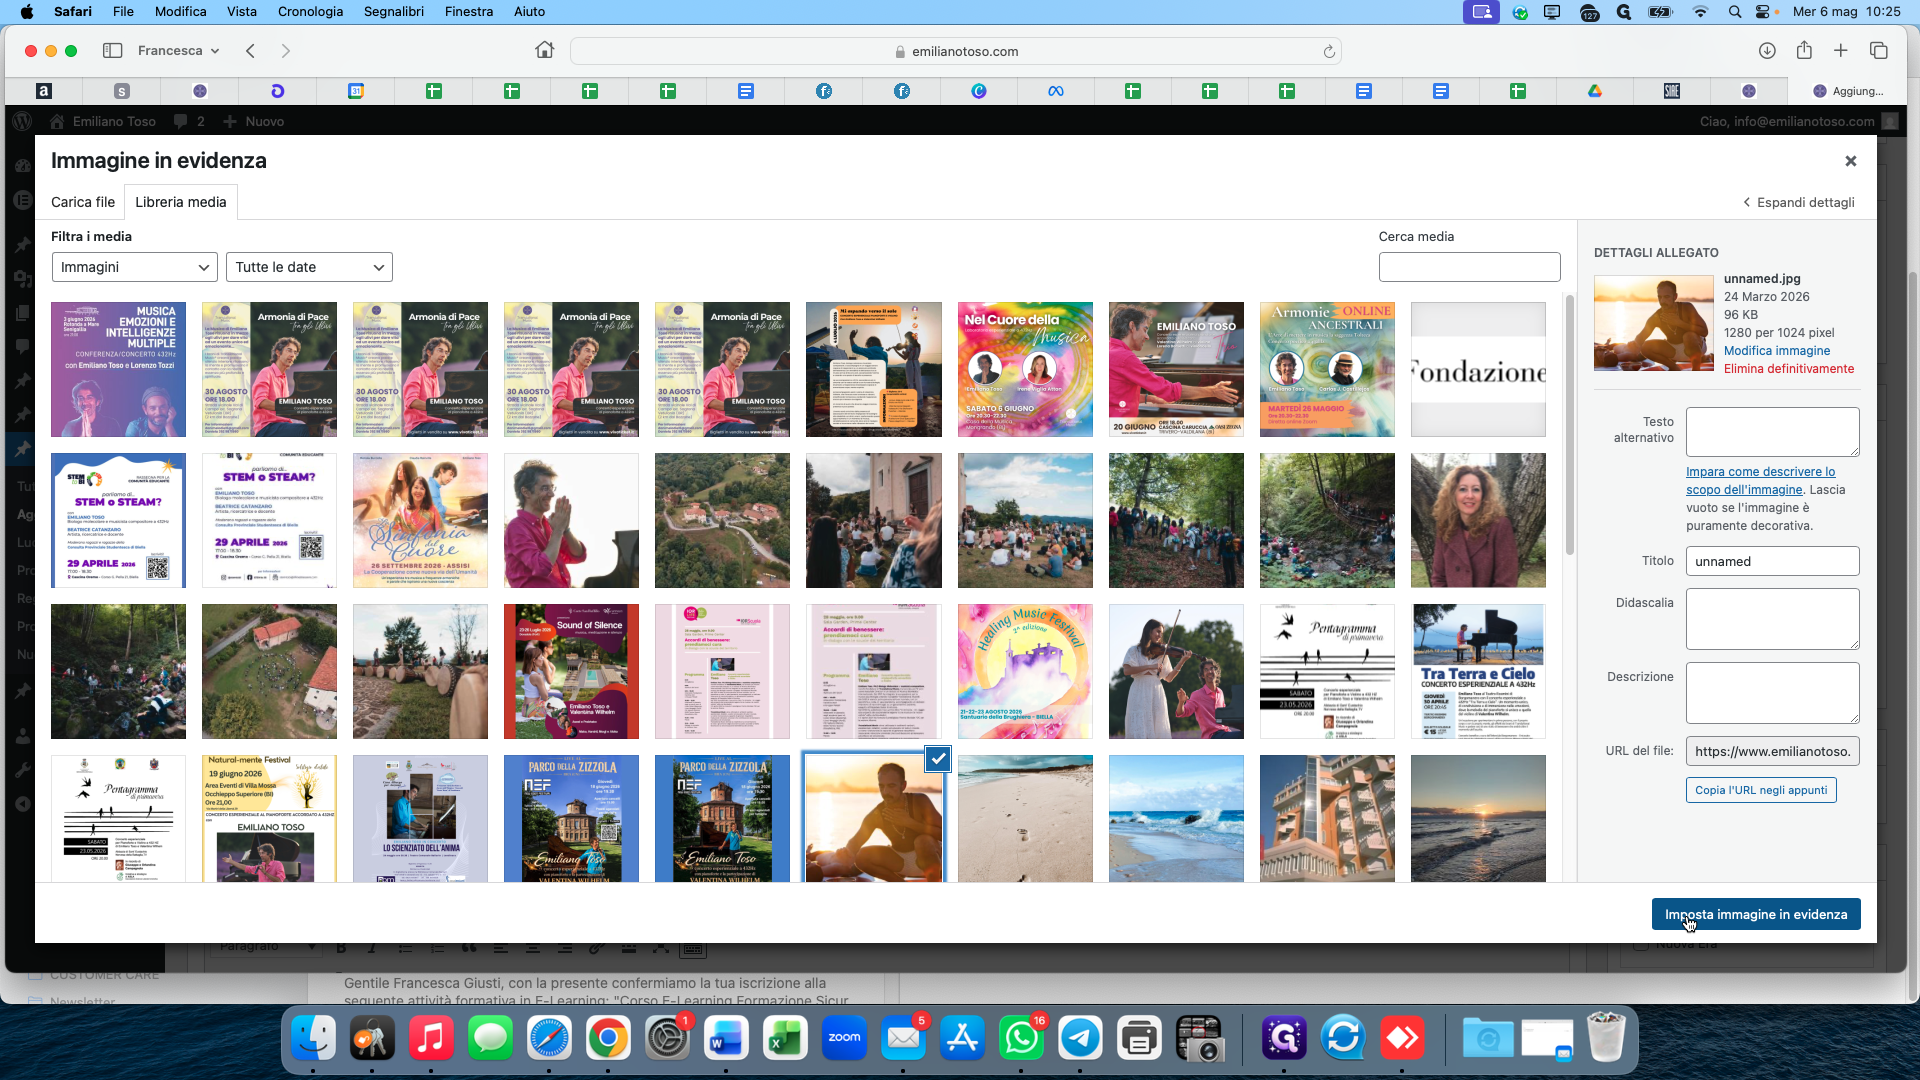
13
Select the desired image from the Media Library.
14
Click the blue Imposta immagine in evidenza button to confirm.
Add Community Information
15
Enter the relevant details into the Cosa chiedi alla Community editor.
16
Add the operator's reasons for joining into the Perchè sei nella Community editor.
17
Complete the Come usi la musica TM section with the corresponding information.
Publish the Profile
18
Click Pubblica in the top right panel to save and publish the new profile.

19
Click Tutto ODB in the sidebar to return to the master list and verify your newly added entry.