
Add a Shared Calendar in Outlook
Learn how to add and view a shared resource calendar in Microsoft Outlook to easily check availability and make reservations.
By Anthony Yorks
This guide explains how to add and view a shared resource calendar in Microsoft Outlook. Completing this process allows you to check availability and reserve shared assets directly from your own calendar view.
This guide applies to any team member who needs to view or book shared company resources, such as equipment or meeting rooms, using the Outlook desktop application.
Open the Microsoft Outlook desktop application to get started.
1
Click Calendar in the navigation pane to switch to the calendar view.
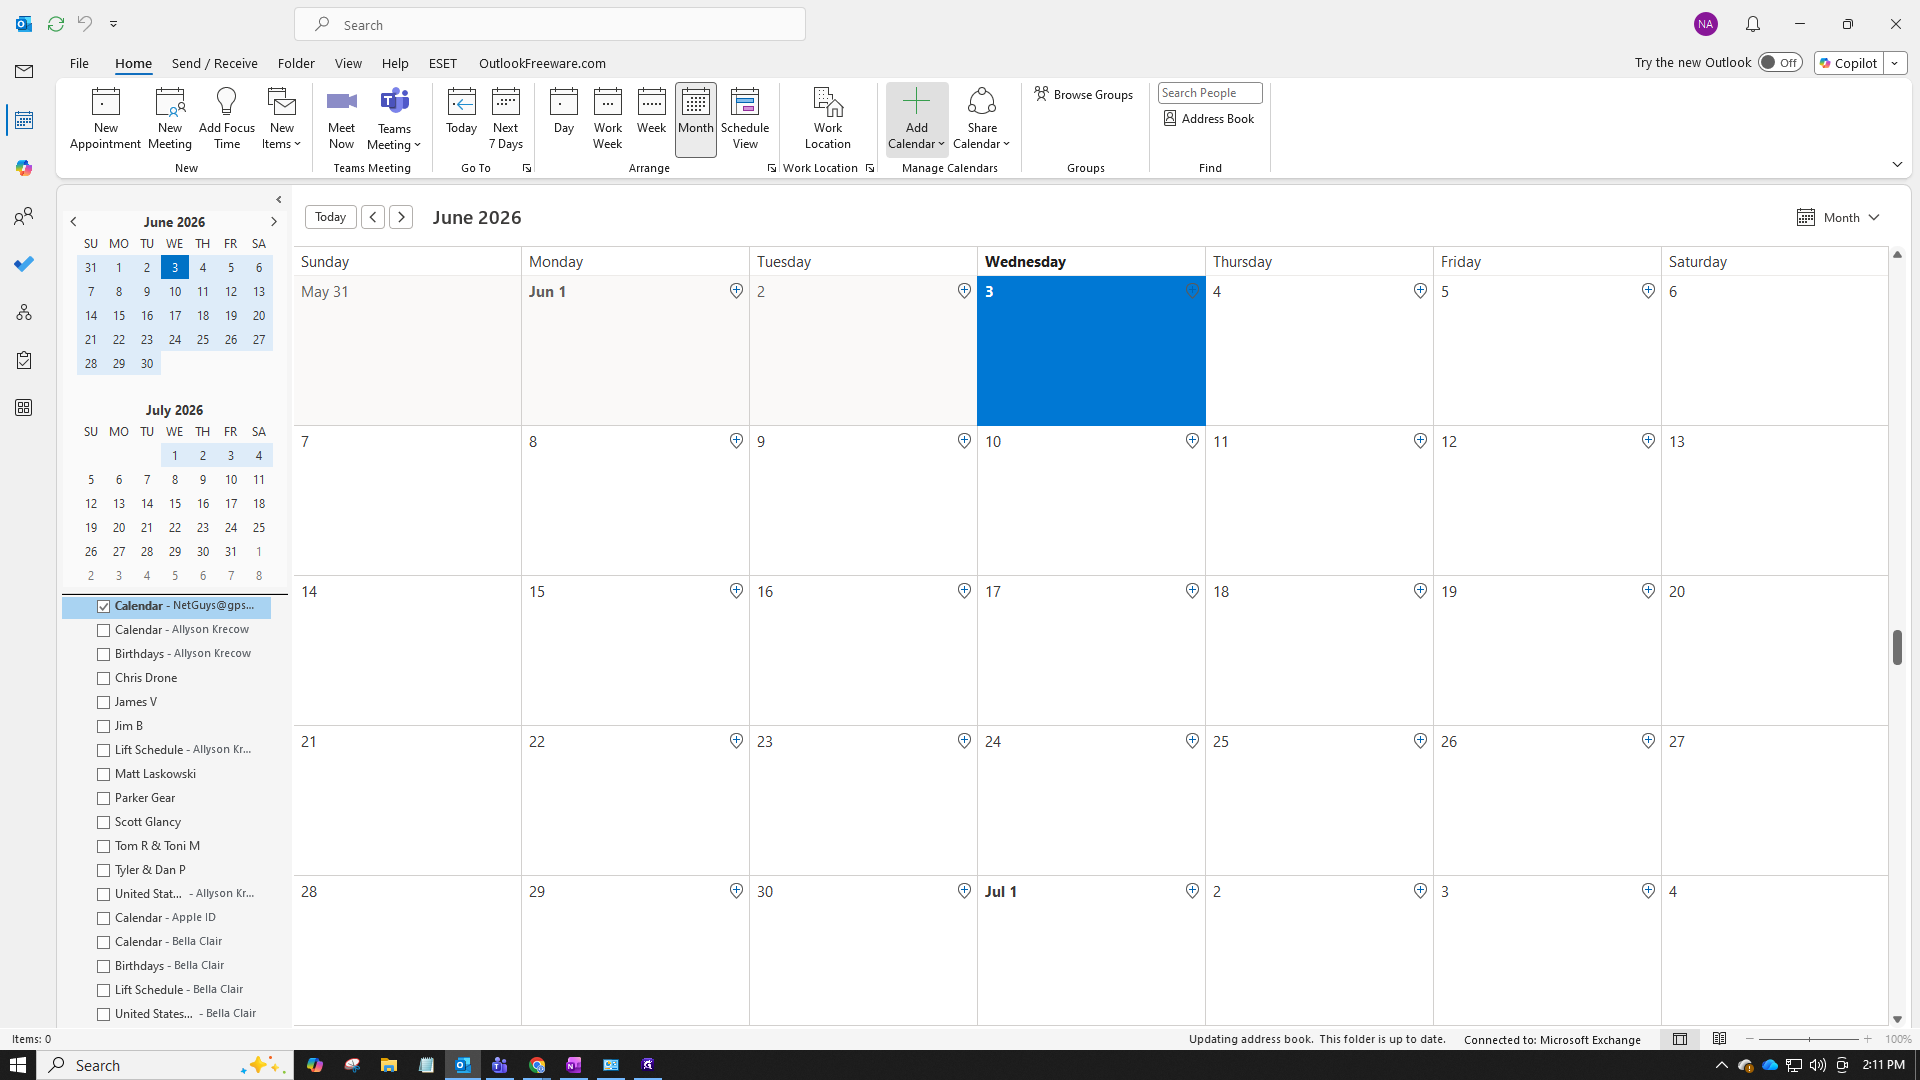
2
On the Home ribbon at the top, click Add Calendar and select Open Shared Calendar... from the dropdown menu.
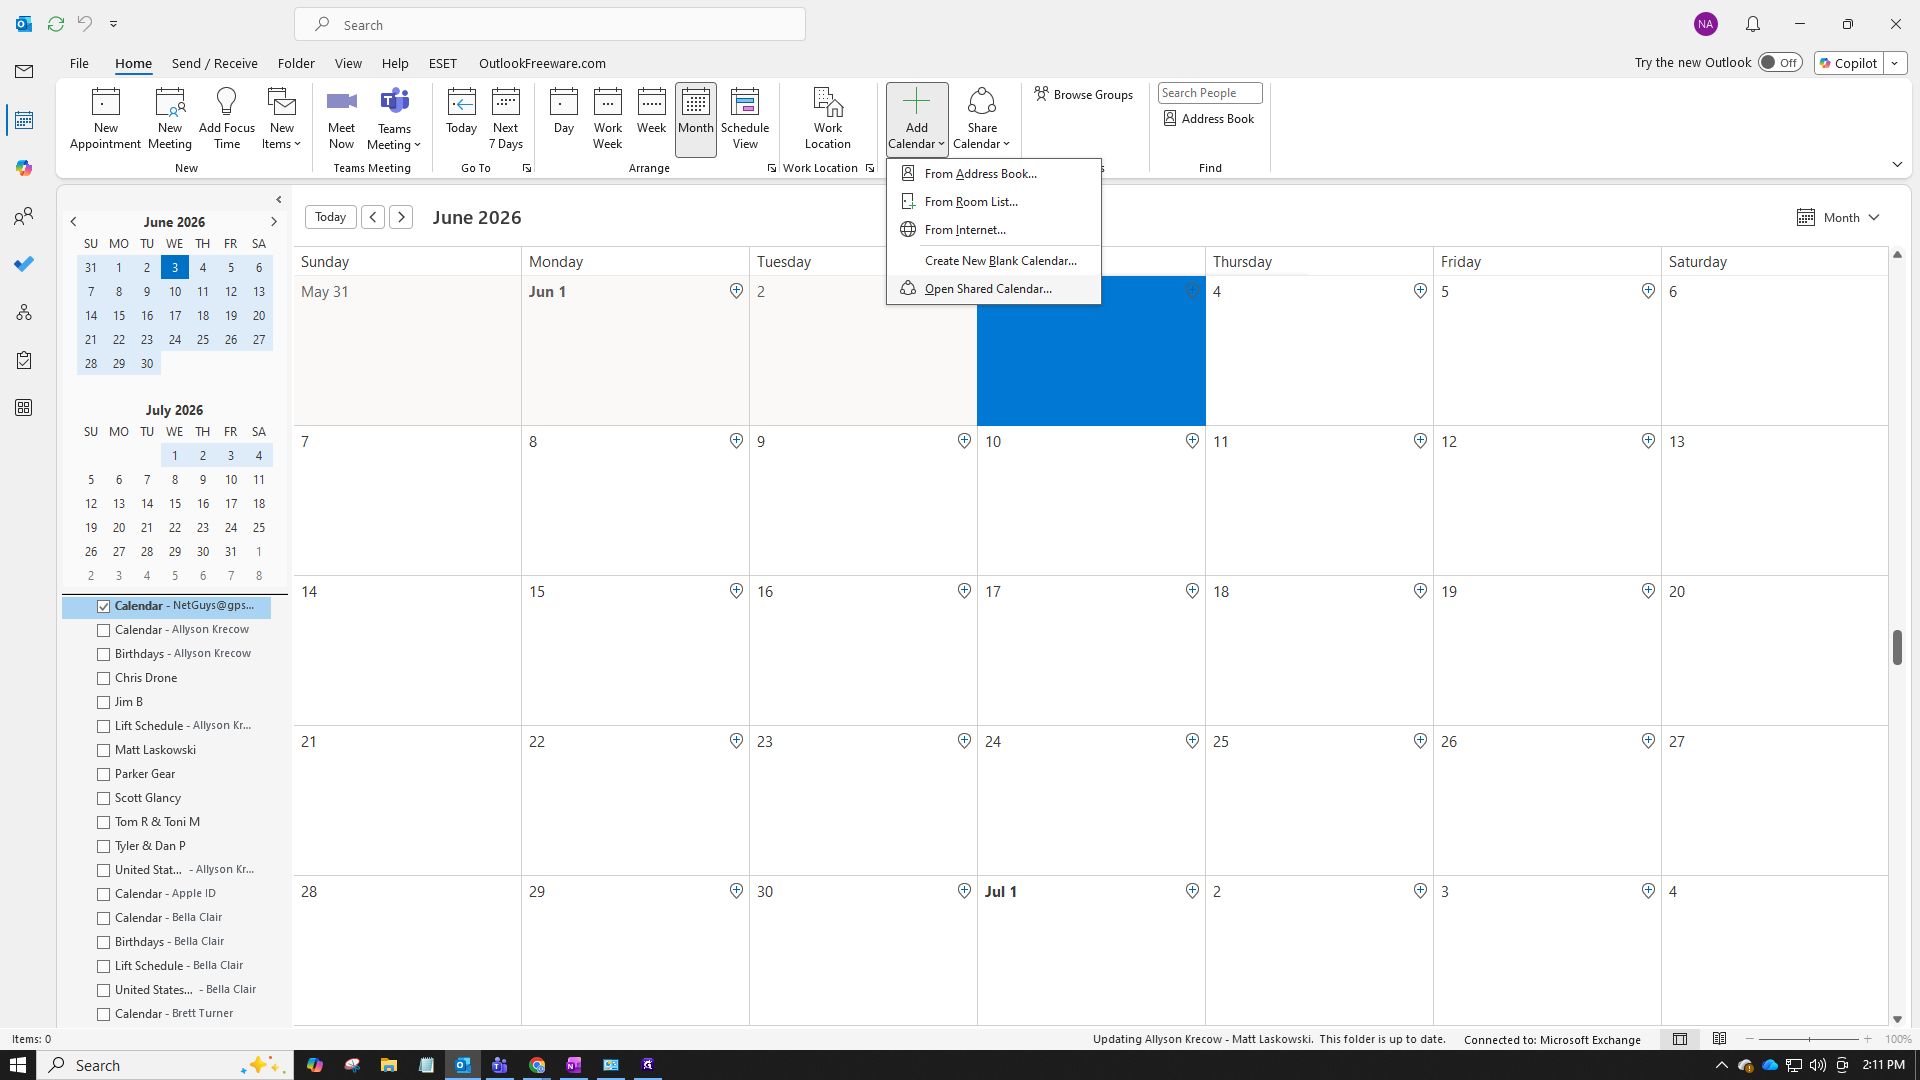
3
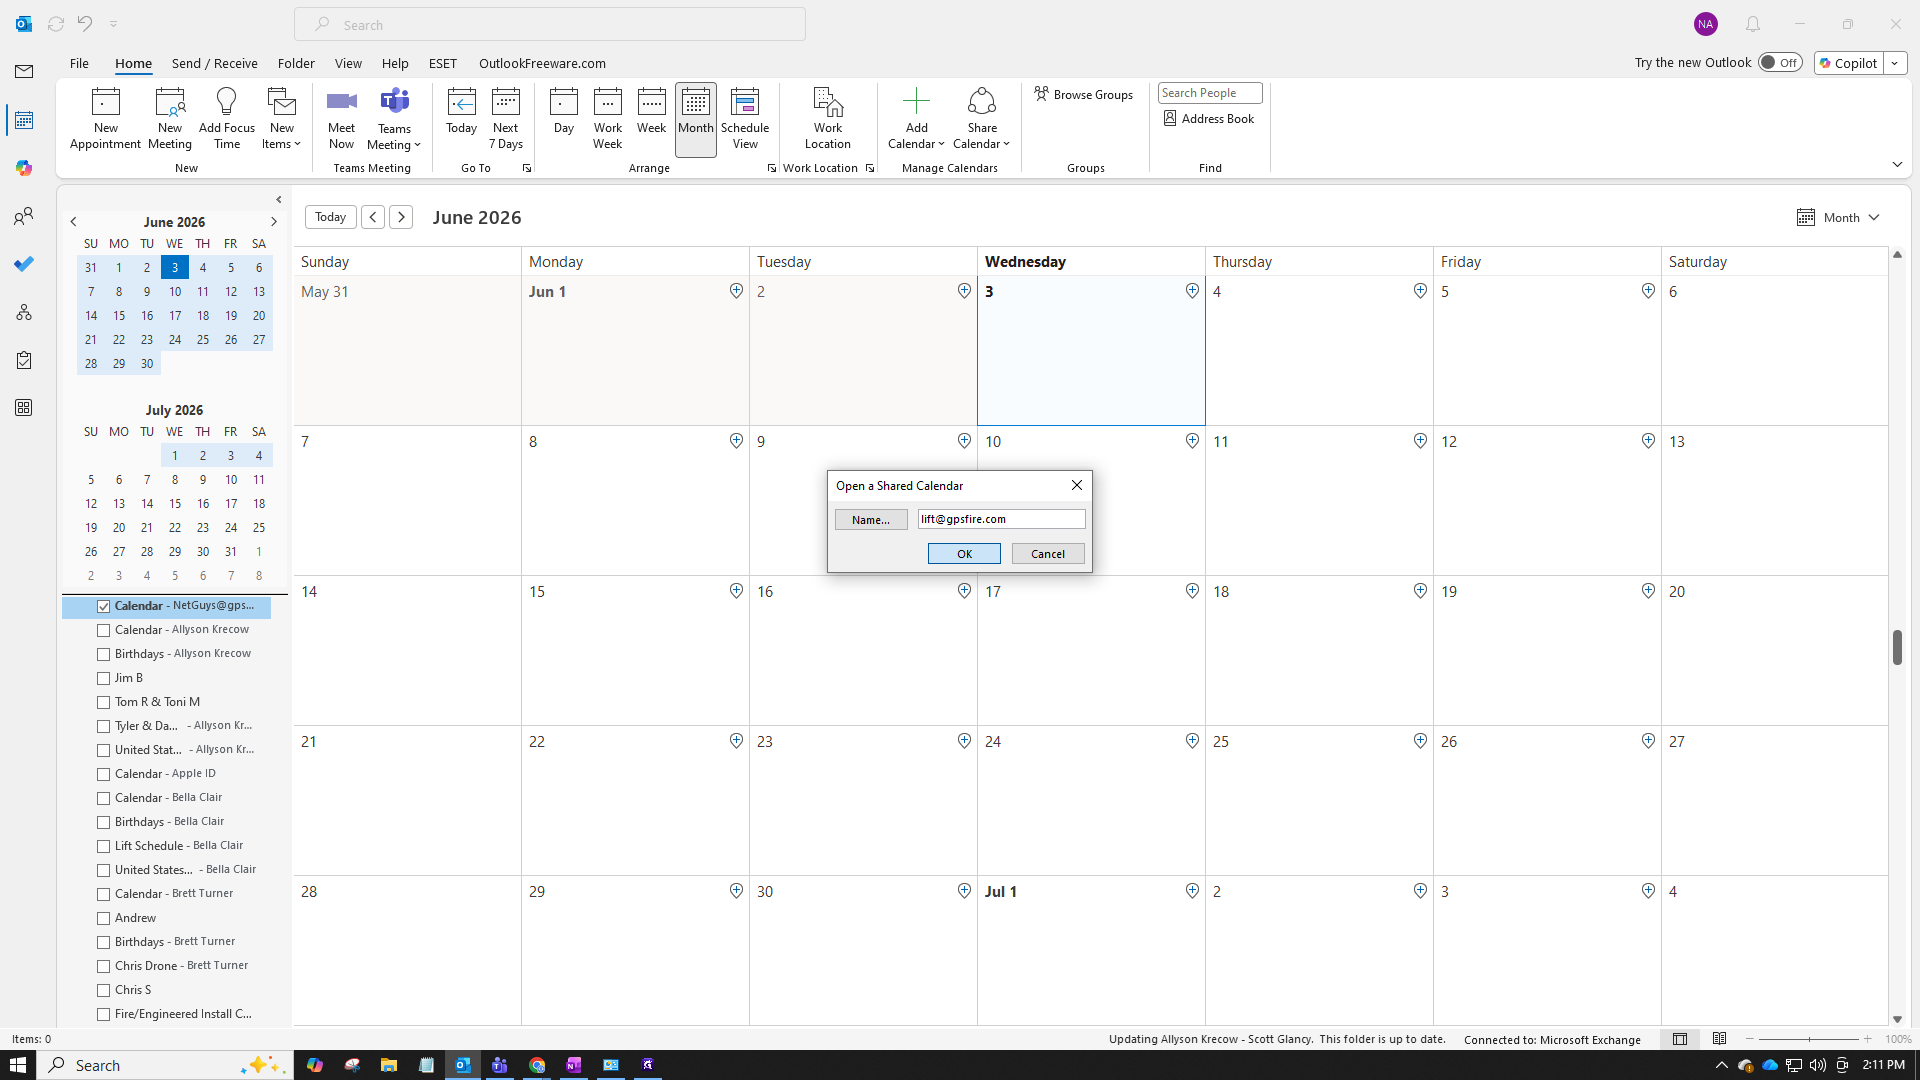
In the dialog box, type the email address of the shared resource (for example,
lift@gpsfire.com).4
Click OK to confirm and add the calendar.
Q: Where do I find the shared calendar after adding it?
A: Once added, the new calendar appears in the left navigation pane under the Shared Calendars group.