
Advanced Separations: Preparing Spot Channel Files in Photoshop for Screen Printing
Learn step-by-step how to prepare advanced separations in Photoshop, convert spot channels, and set up your file for screen printing using a master template. Includes tips for artboard setup, registration marks, and mesh selection.
In this guide, we'll learn how to prepare a Photoshop file with spot channel separations for use in a master template before sending it to be ripped. This process includes converting spot channels to layers, aligning artwork on the artboard, and organizing each color layer onto its own artboard. The goal is to ensure accurate color blending and efficient screen printing setup.
Let's get started
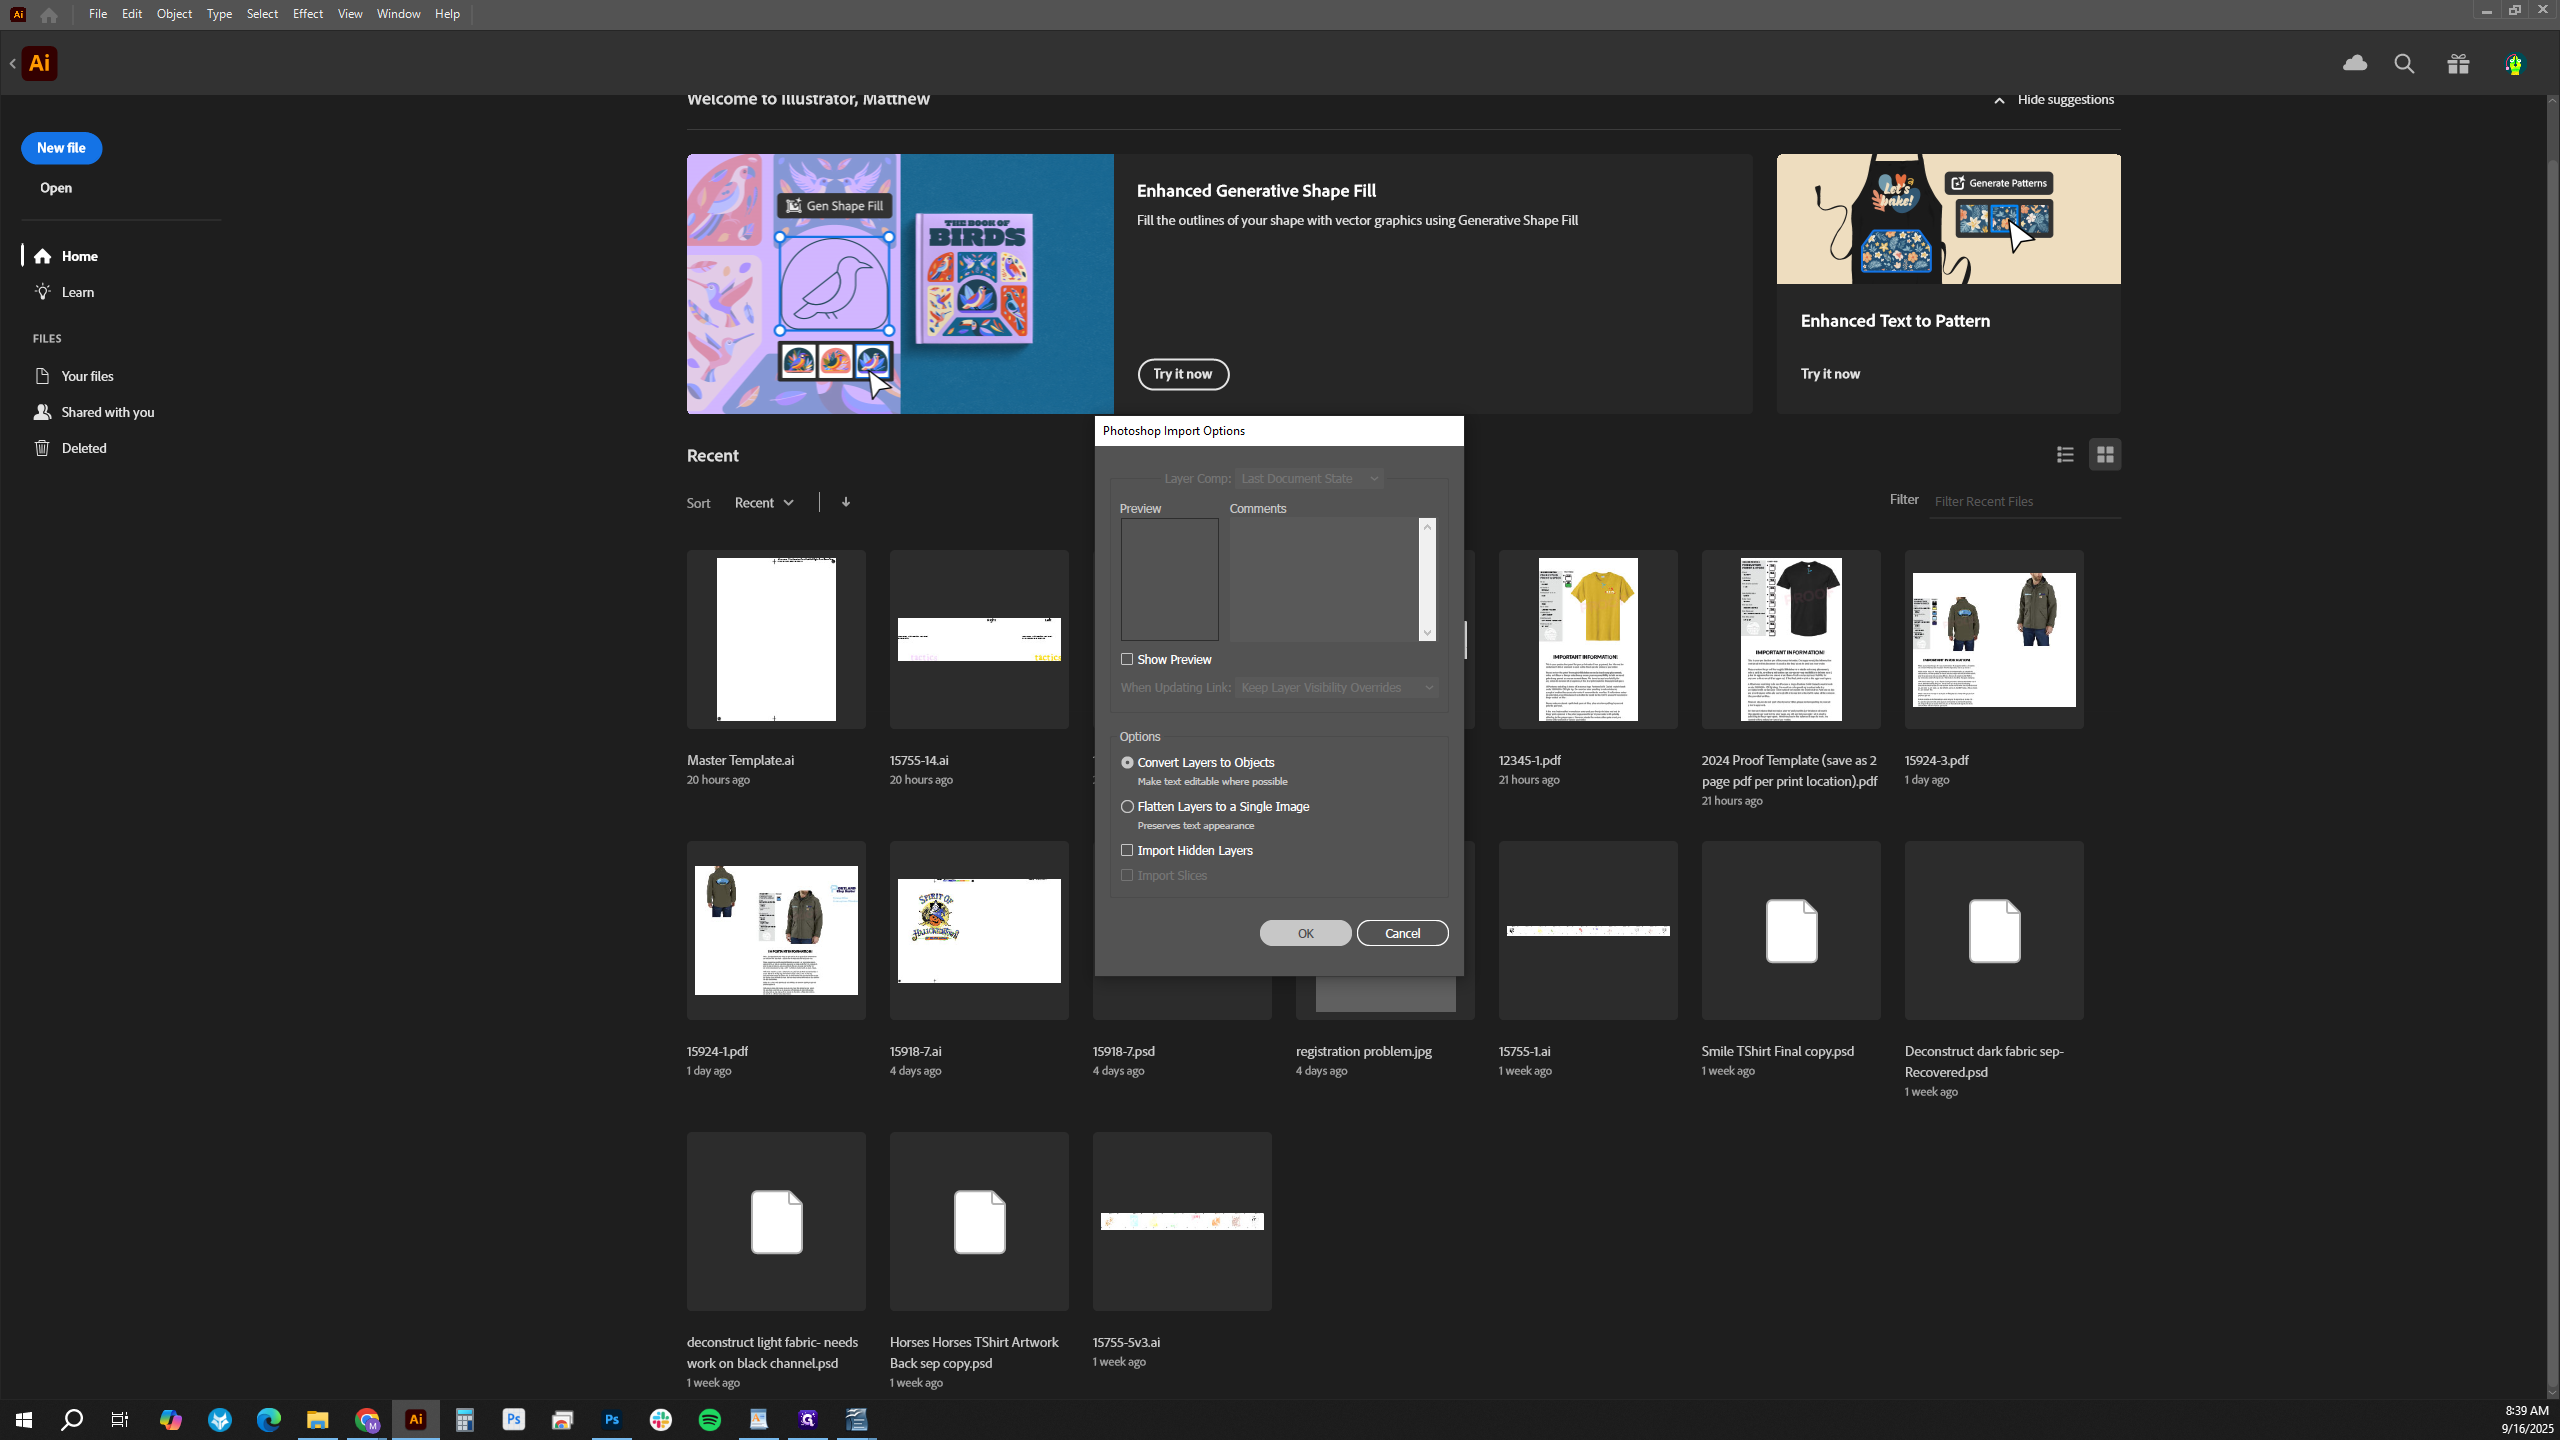
We will look at advanced separations and how to prepare the file after separating it into spot channels in Photoshop. This includes bringing it into our master template and getting it ready to be ripped. We're going to open a Photoshop file that has already been separated. A dialog box will appear.


Make sure to click "Convert Layers to Objects."

This will separate the spot channels into individual layers. This step is important for what comes next.
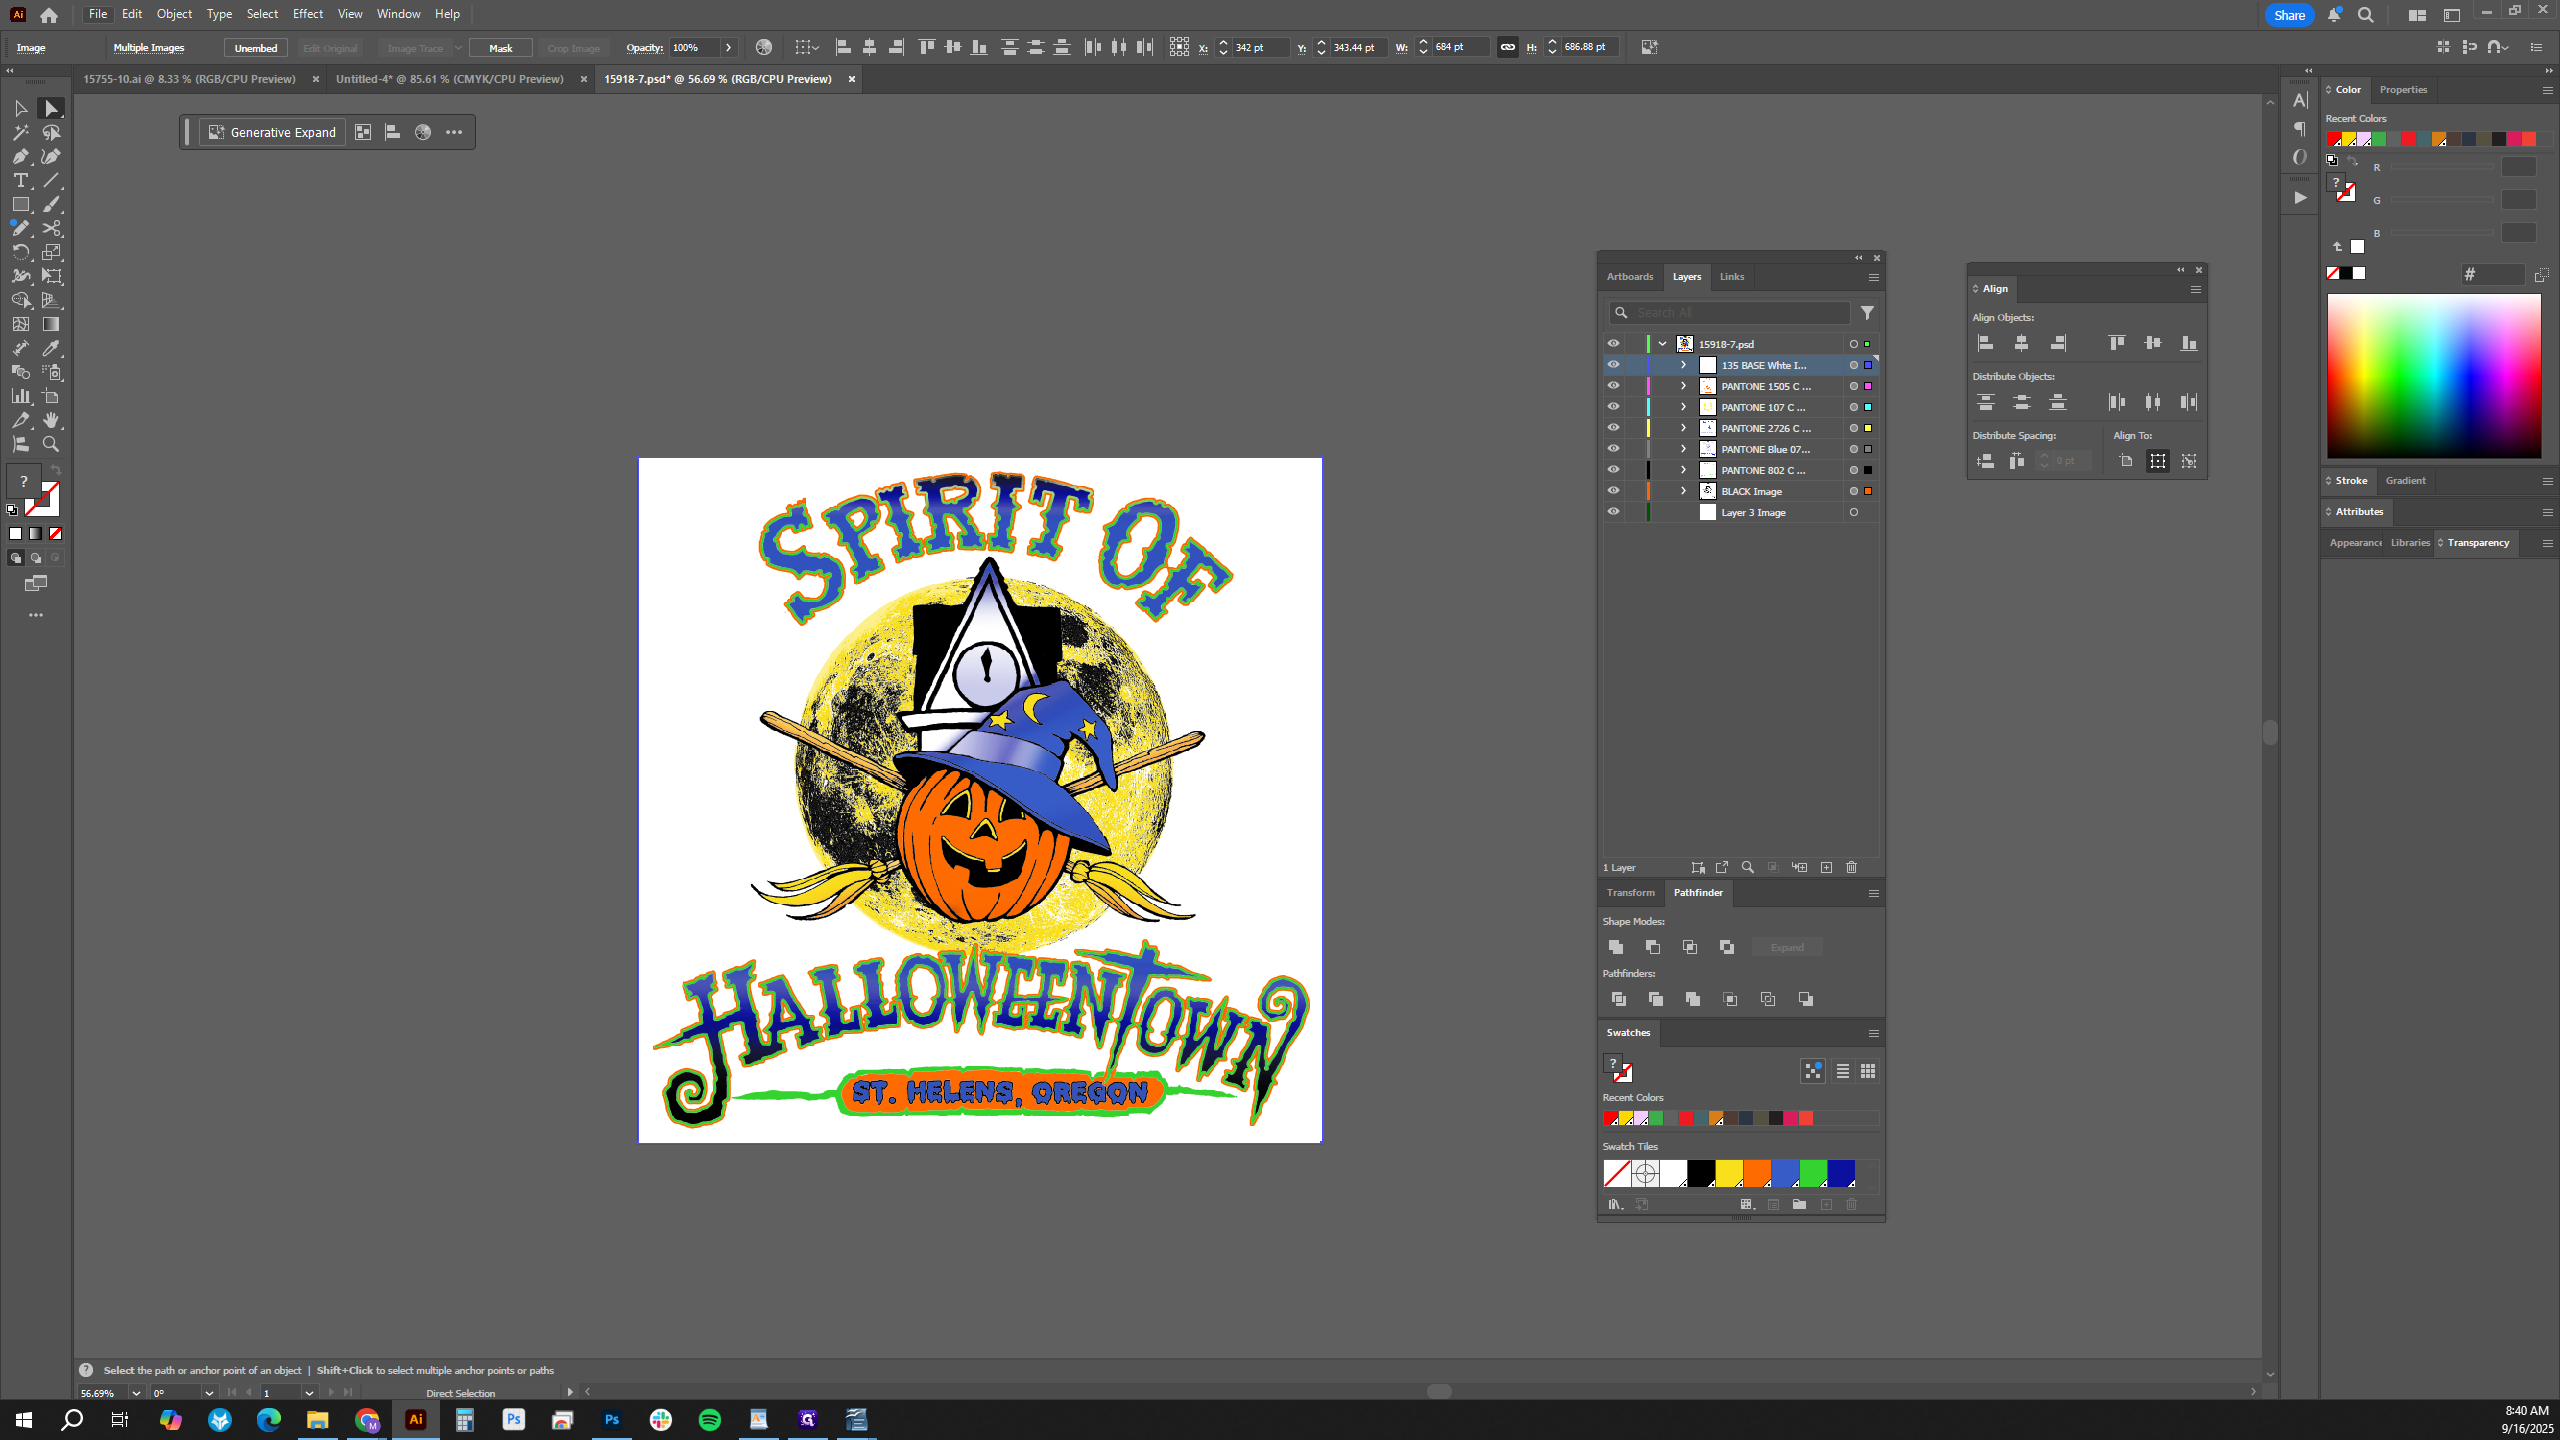
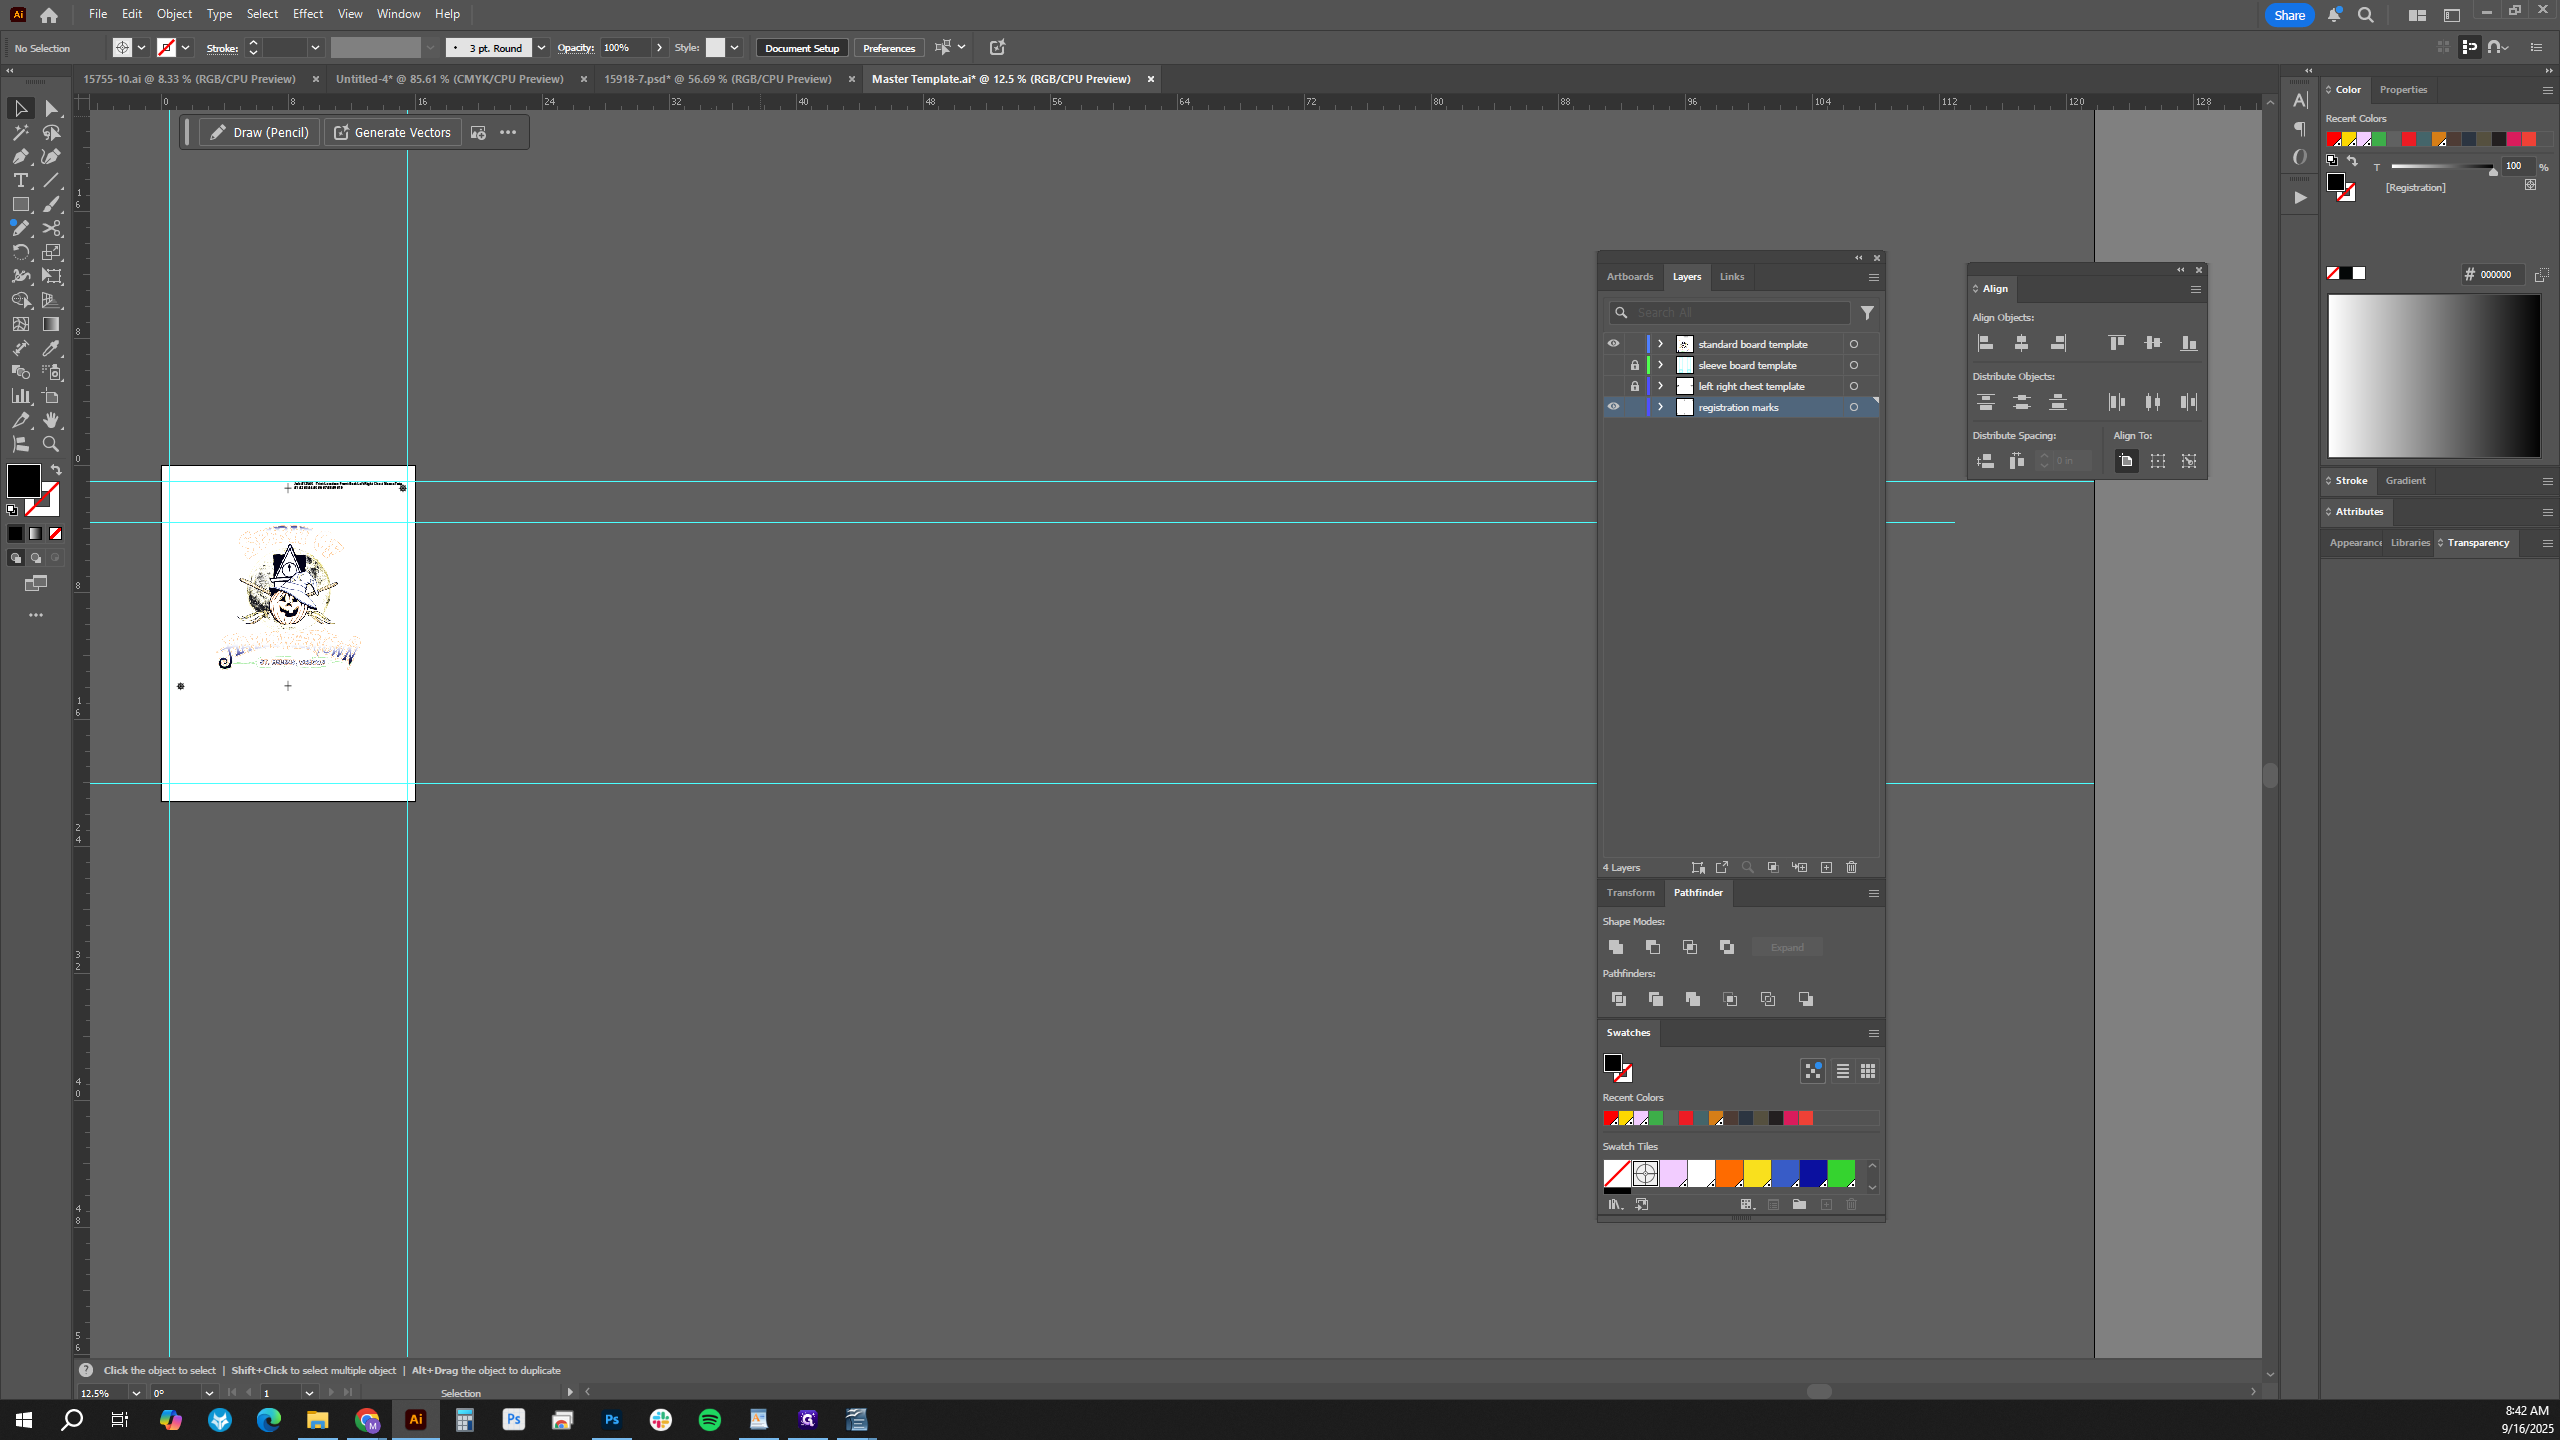
In the Layers panel, each individual layer is already built, separated, and ready to be placed onto an artboard template for separation.
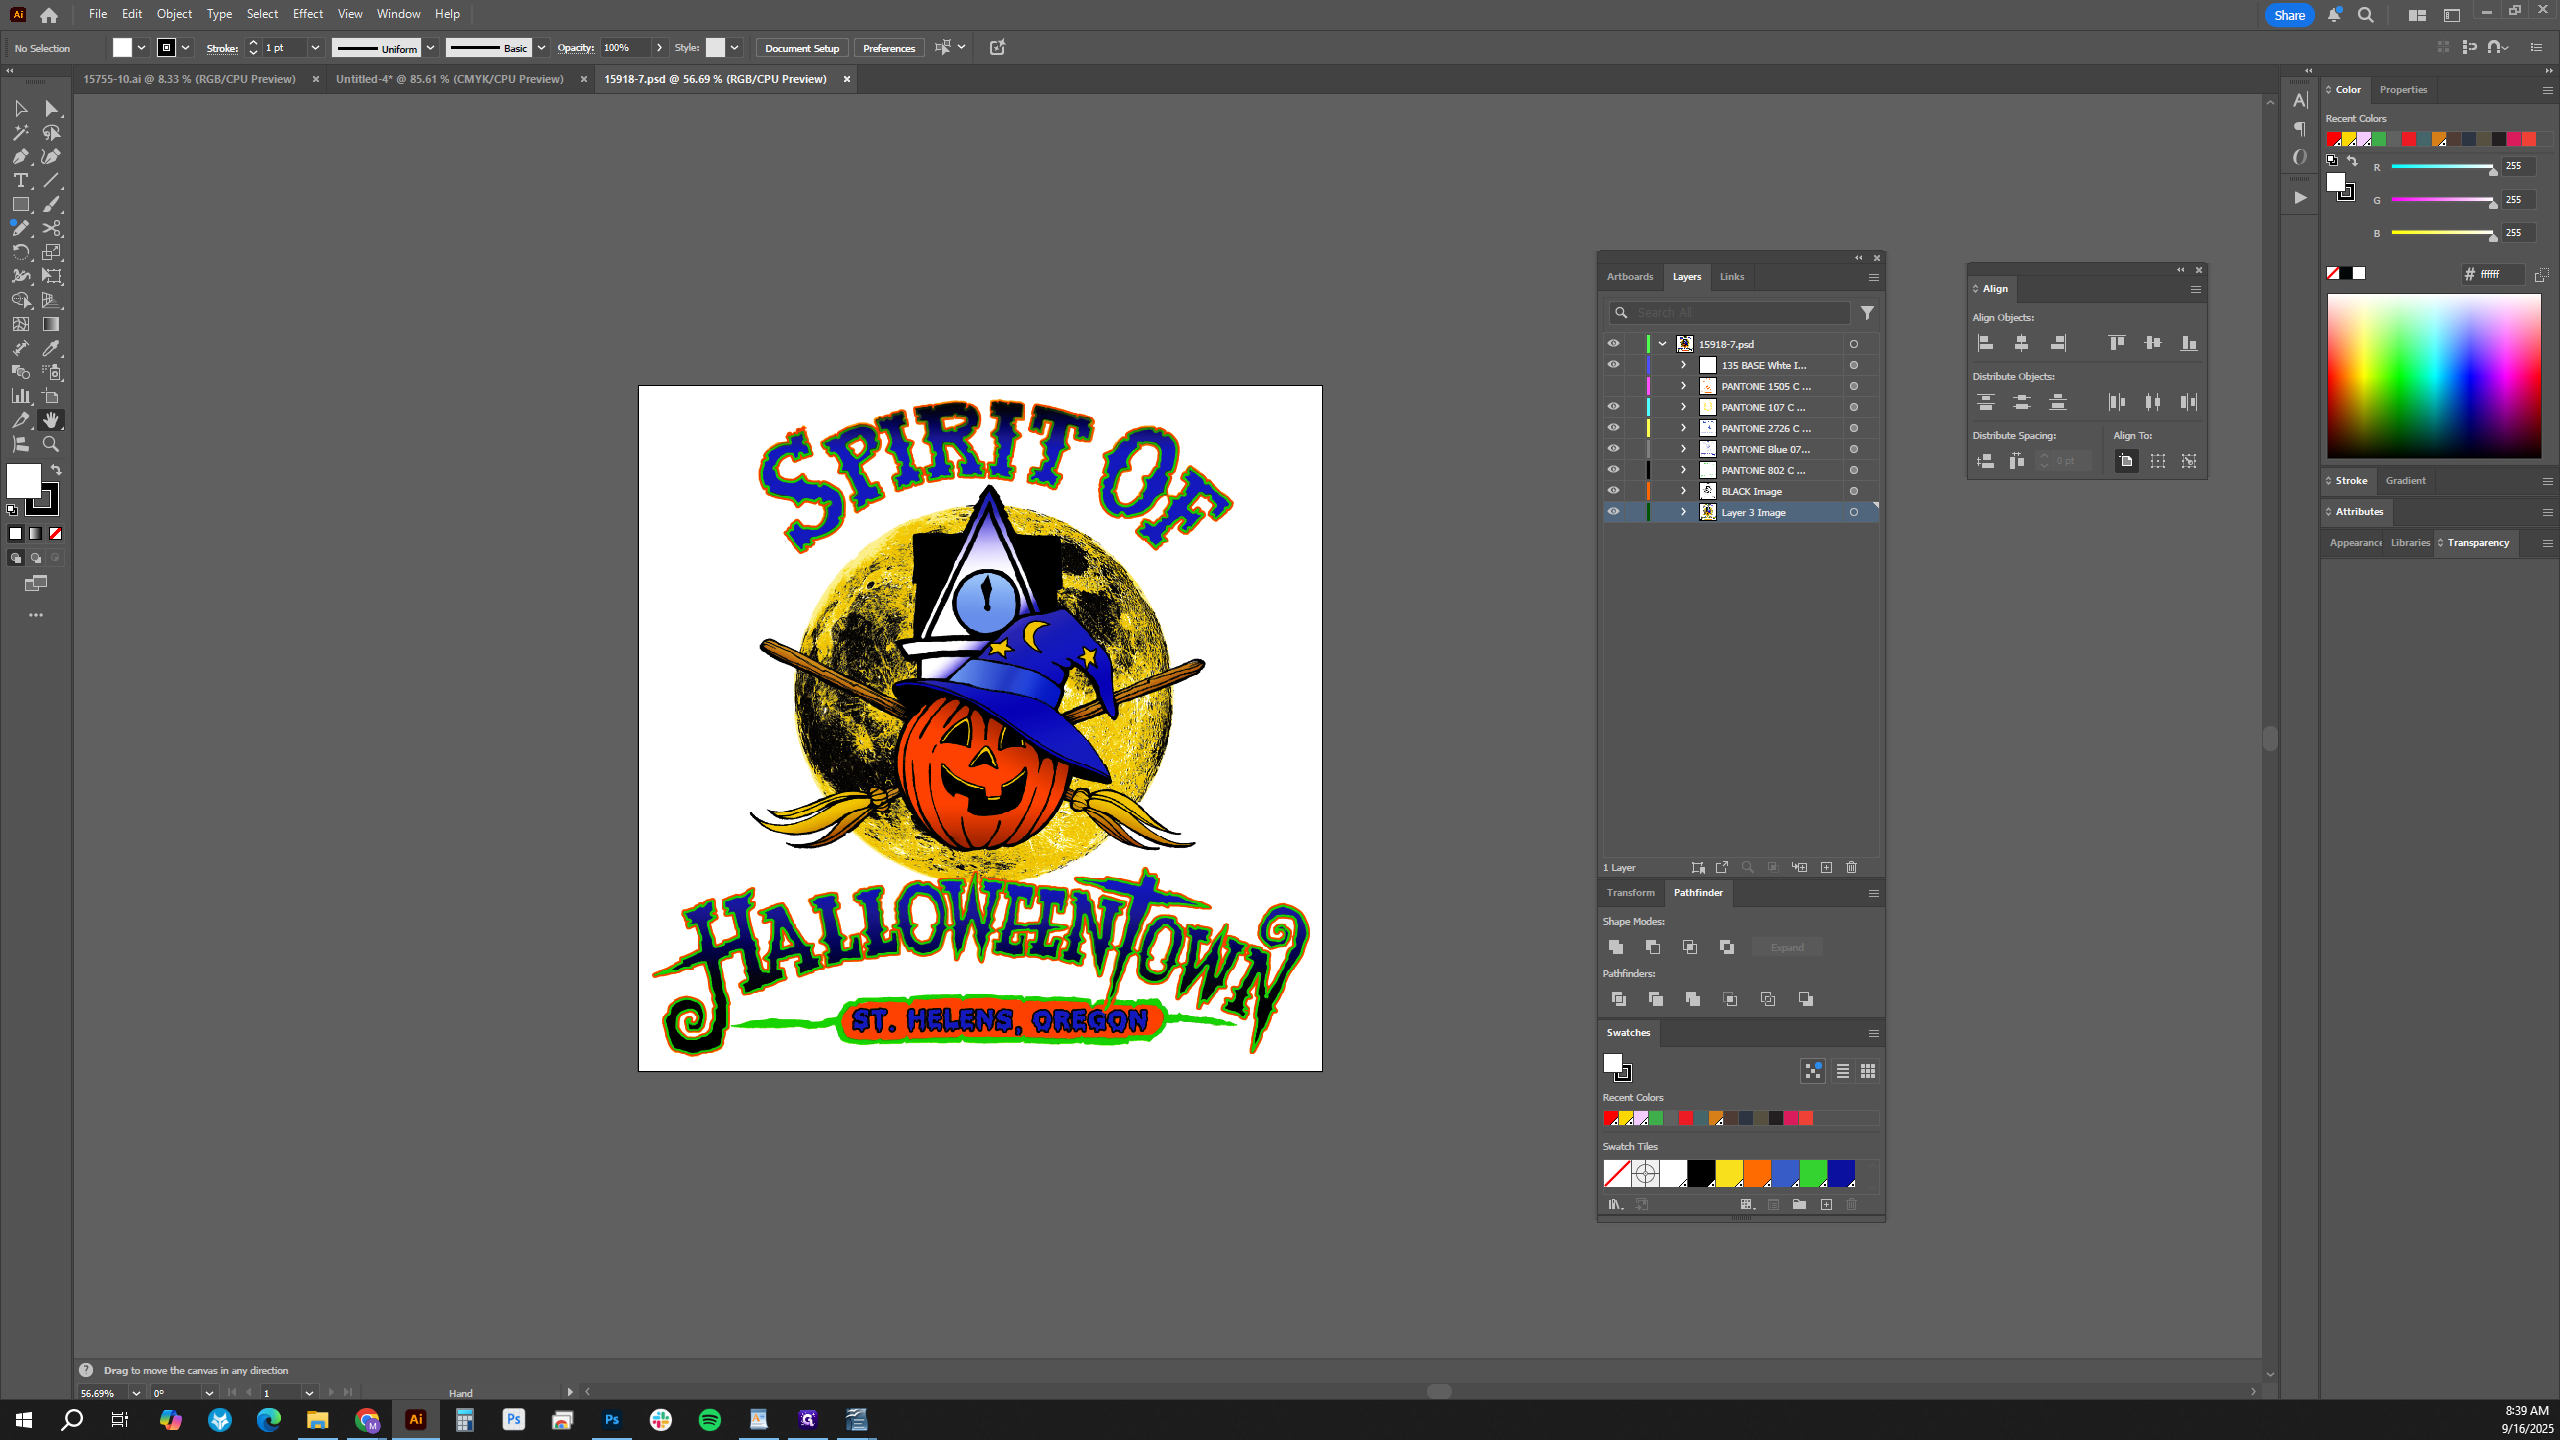
There is one layer here that is just the image.
We can delete that. If we look at each group, we see it has been properly separated into spot channels.
Select everything by pressing Control A, then copy with Control C. On a Mac, use Command A to select all and Command C to copy.
Open the master template and paste all the content into it.
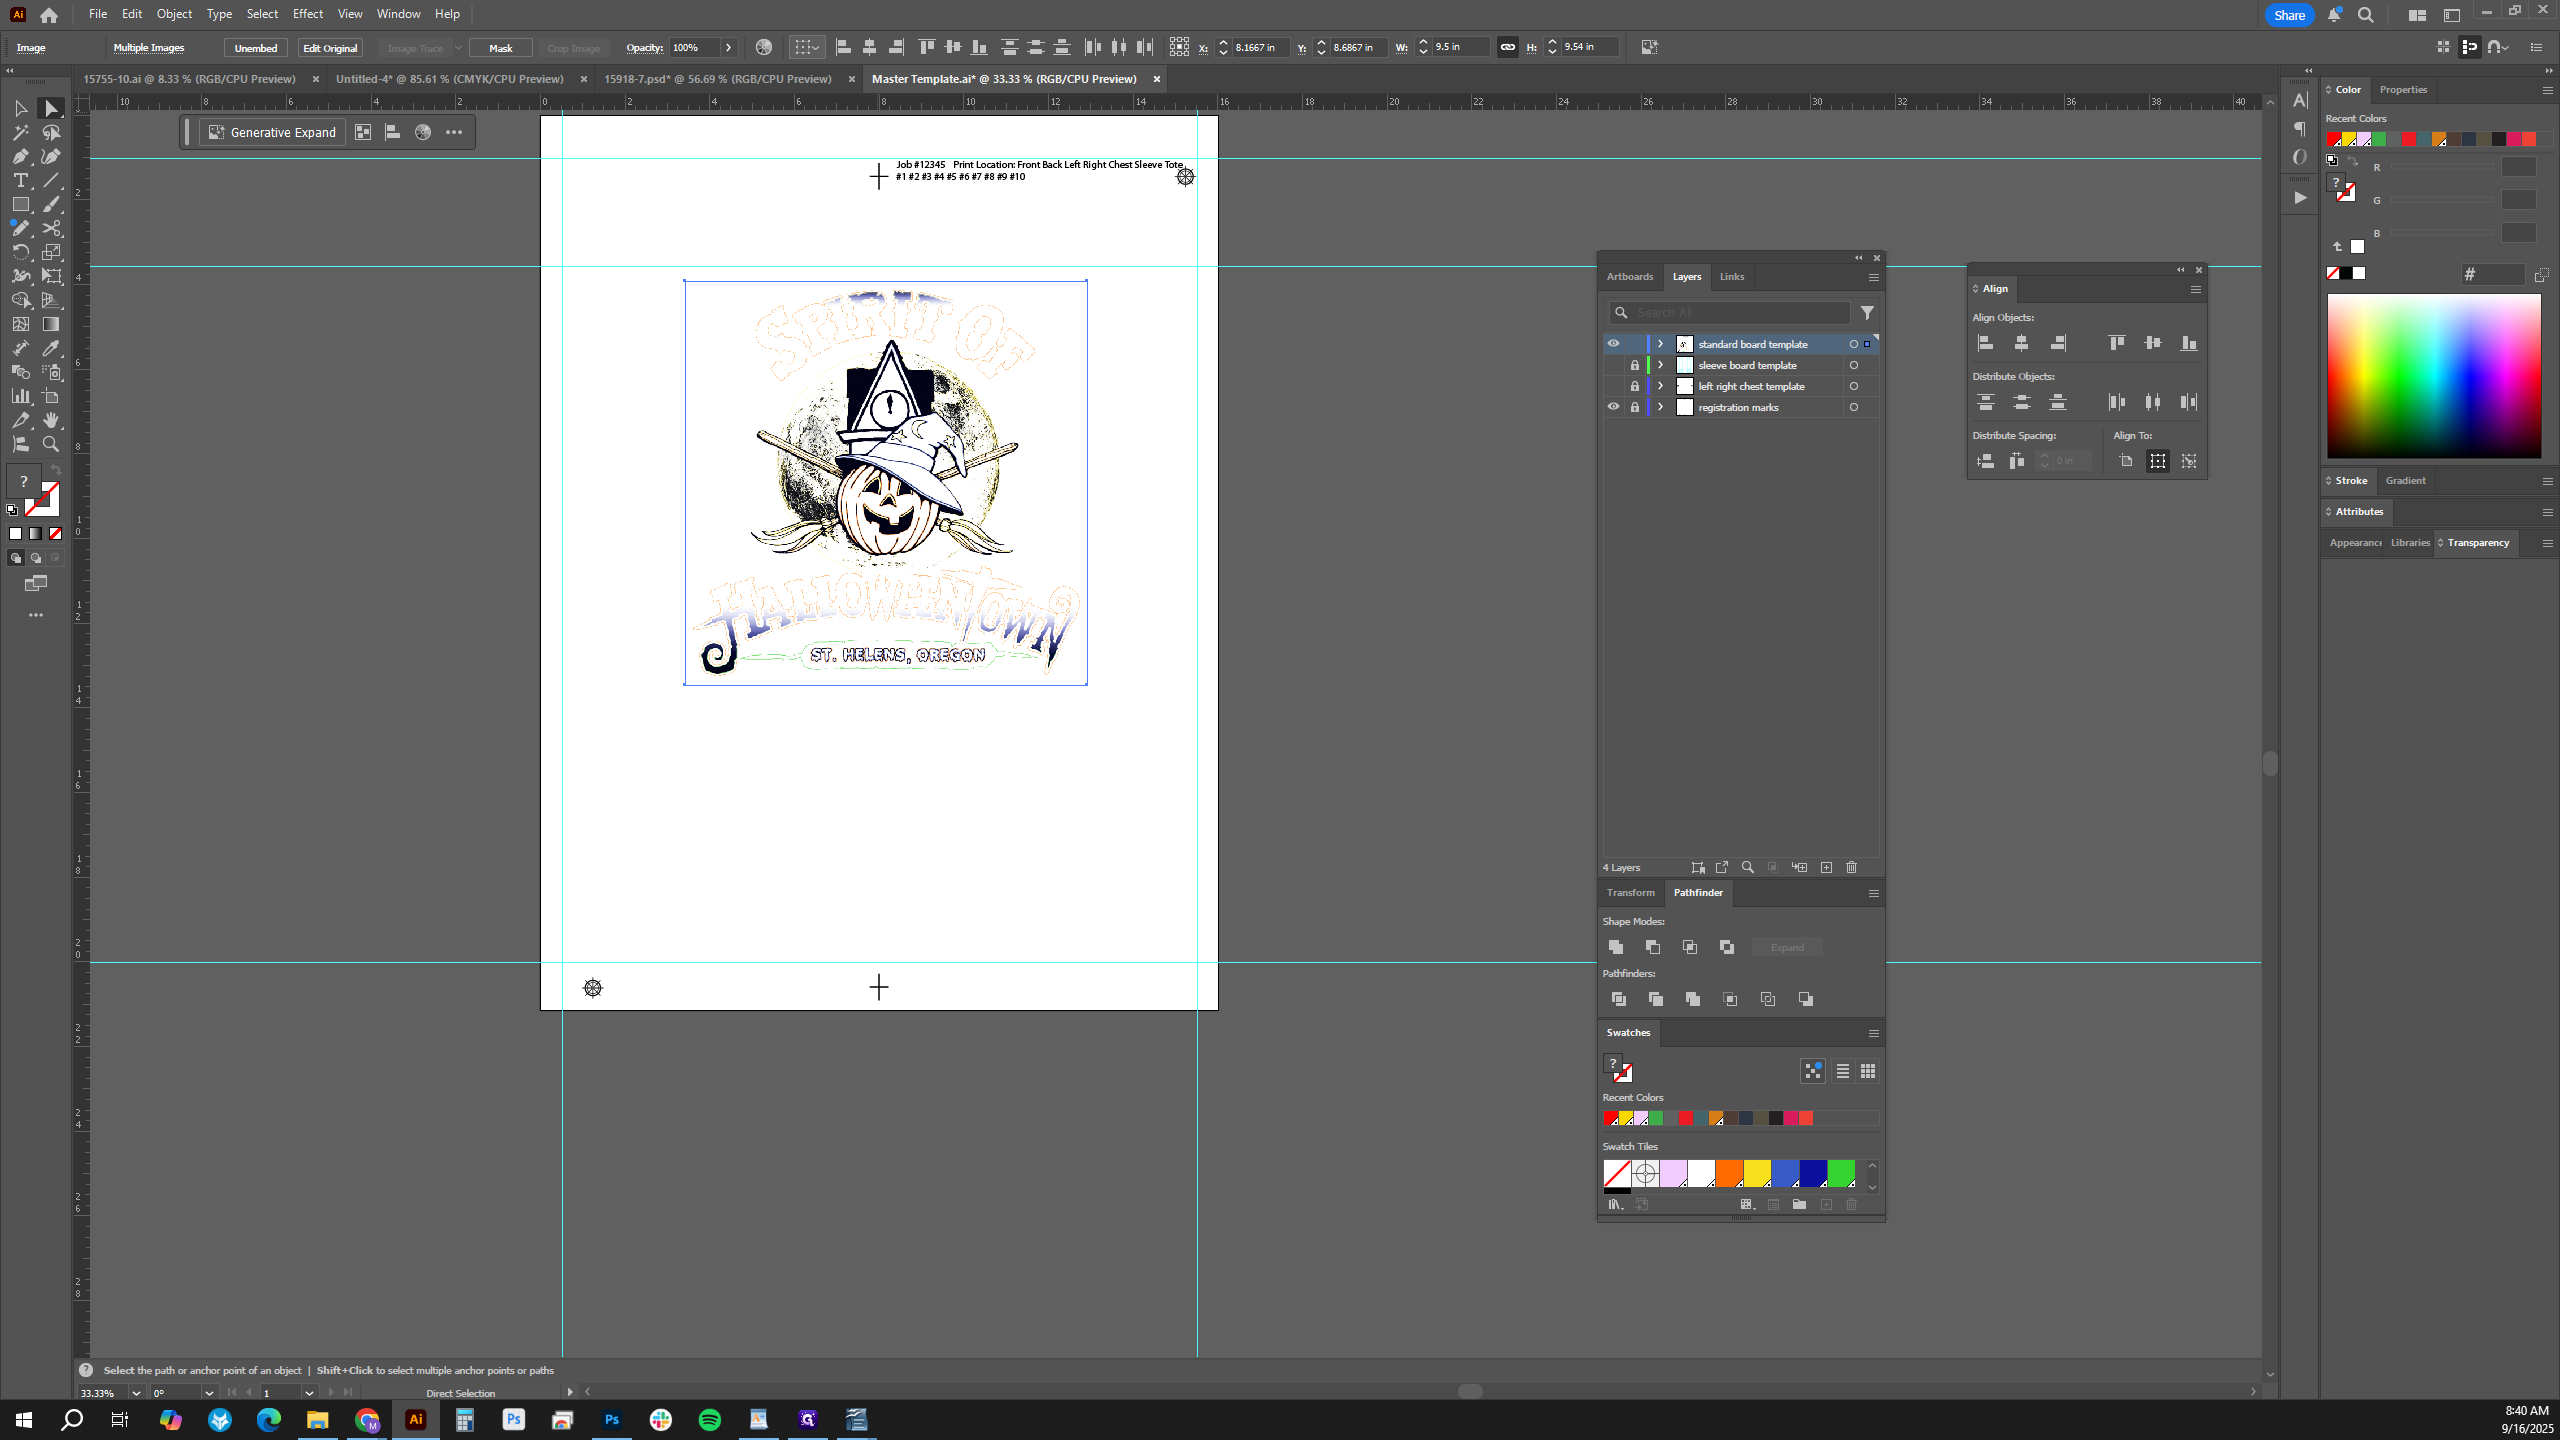
Select "Align to Artboard" and center the object. Grab the top guide that shows where the art should be placed, and align it vertically to the top. Now the art is properly placed on the artboard. Finally, unlock the registration marks.


Grab the bottom marks and move them up.
We want to do this because if our art is near the bottom of the artboard, the CTS will take longer to rip the screen. It has to move the screen down to the bottom to print those areas. It's also harder to get good registration when the registration marks are that far apart. From here, we want to separate each color layer into its own artboard. This is important because sometimes the RIP incorrectly removes layers below, causing missing color areas. Instead of a blend, you may end up with just one solid color where you want a simulated process print.
We will select everything. Make sure that anything you want to carry over to the next artboards is unlocked.
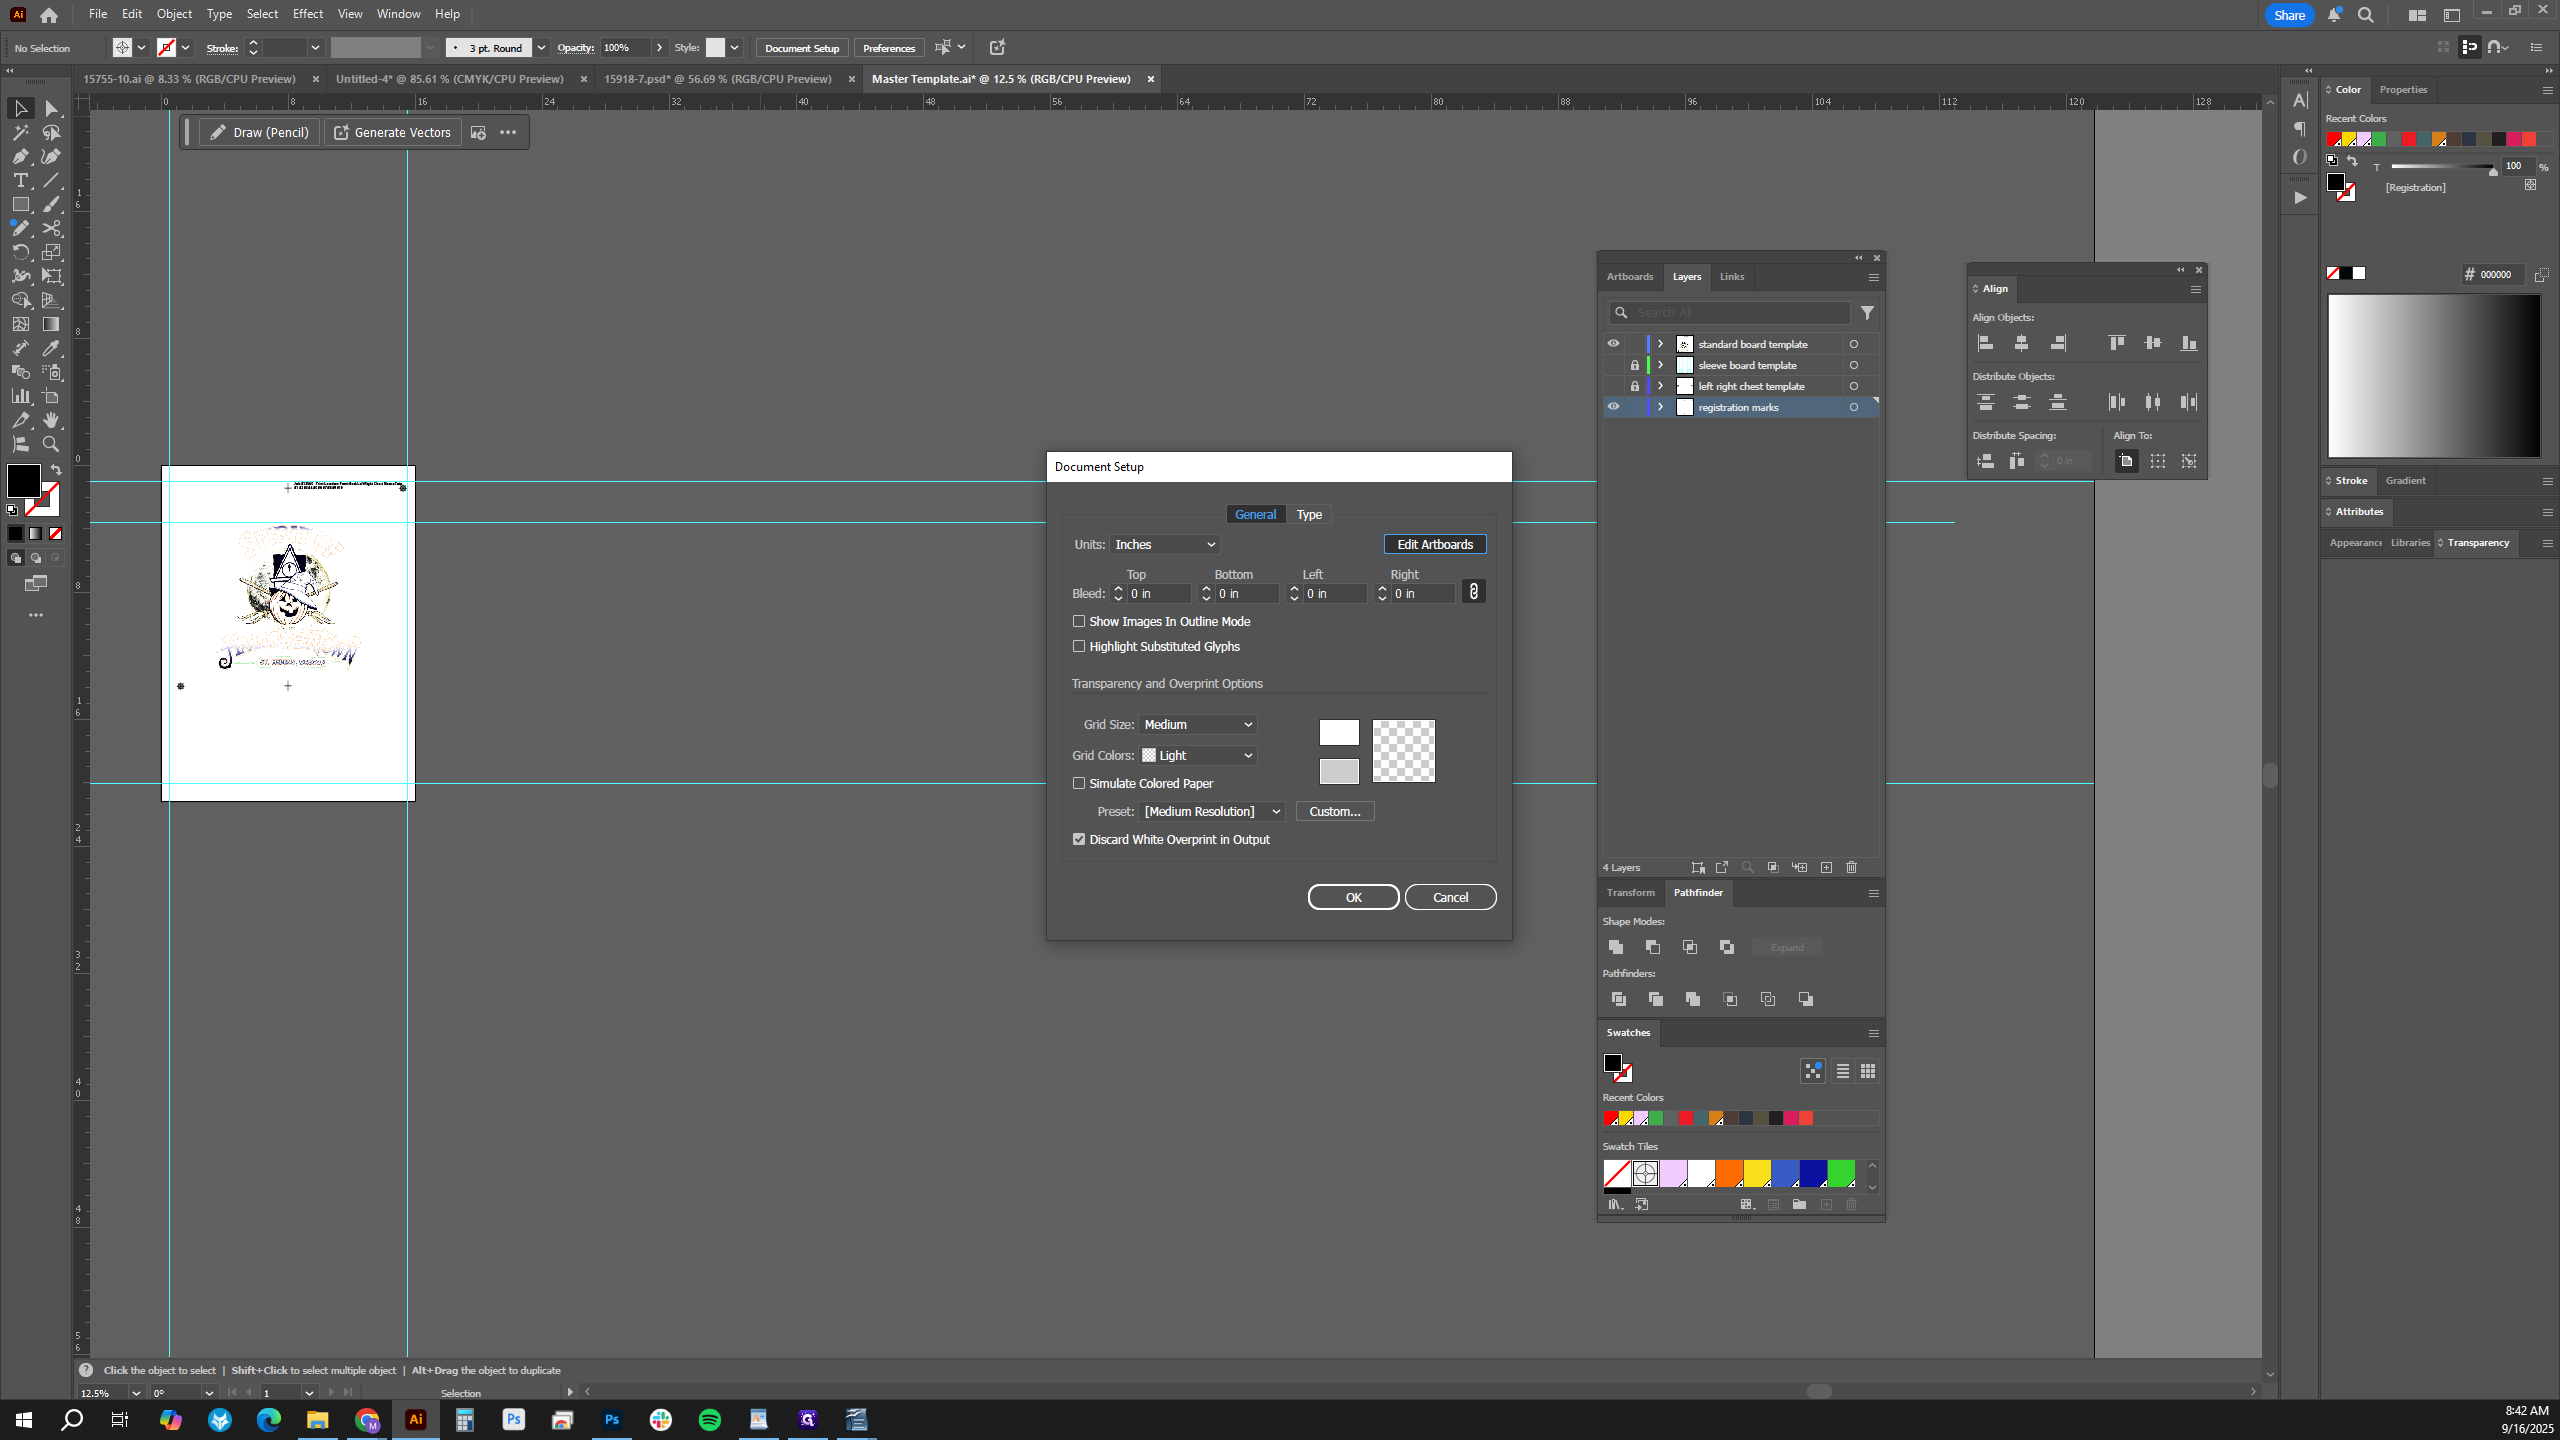
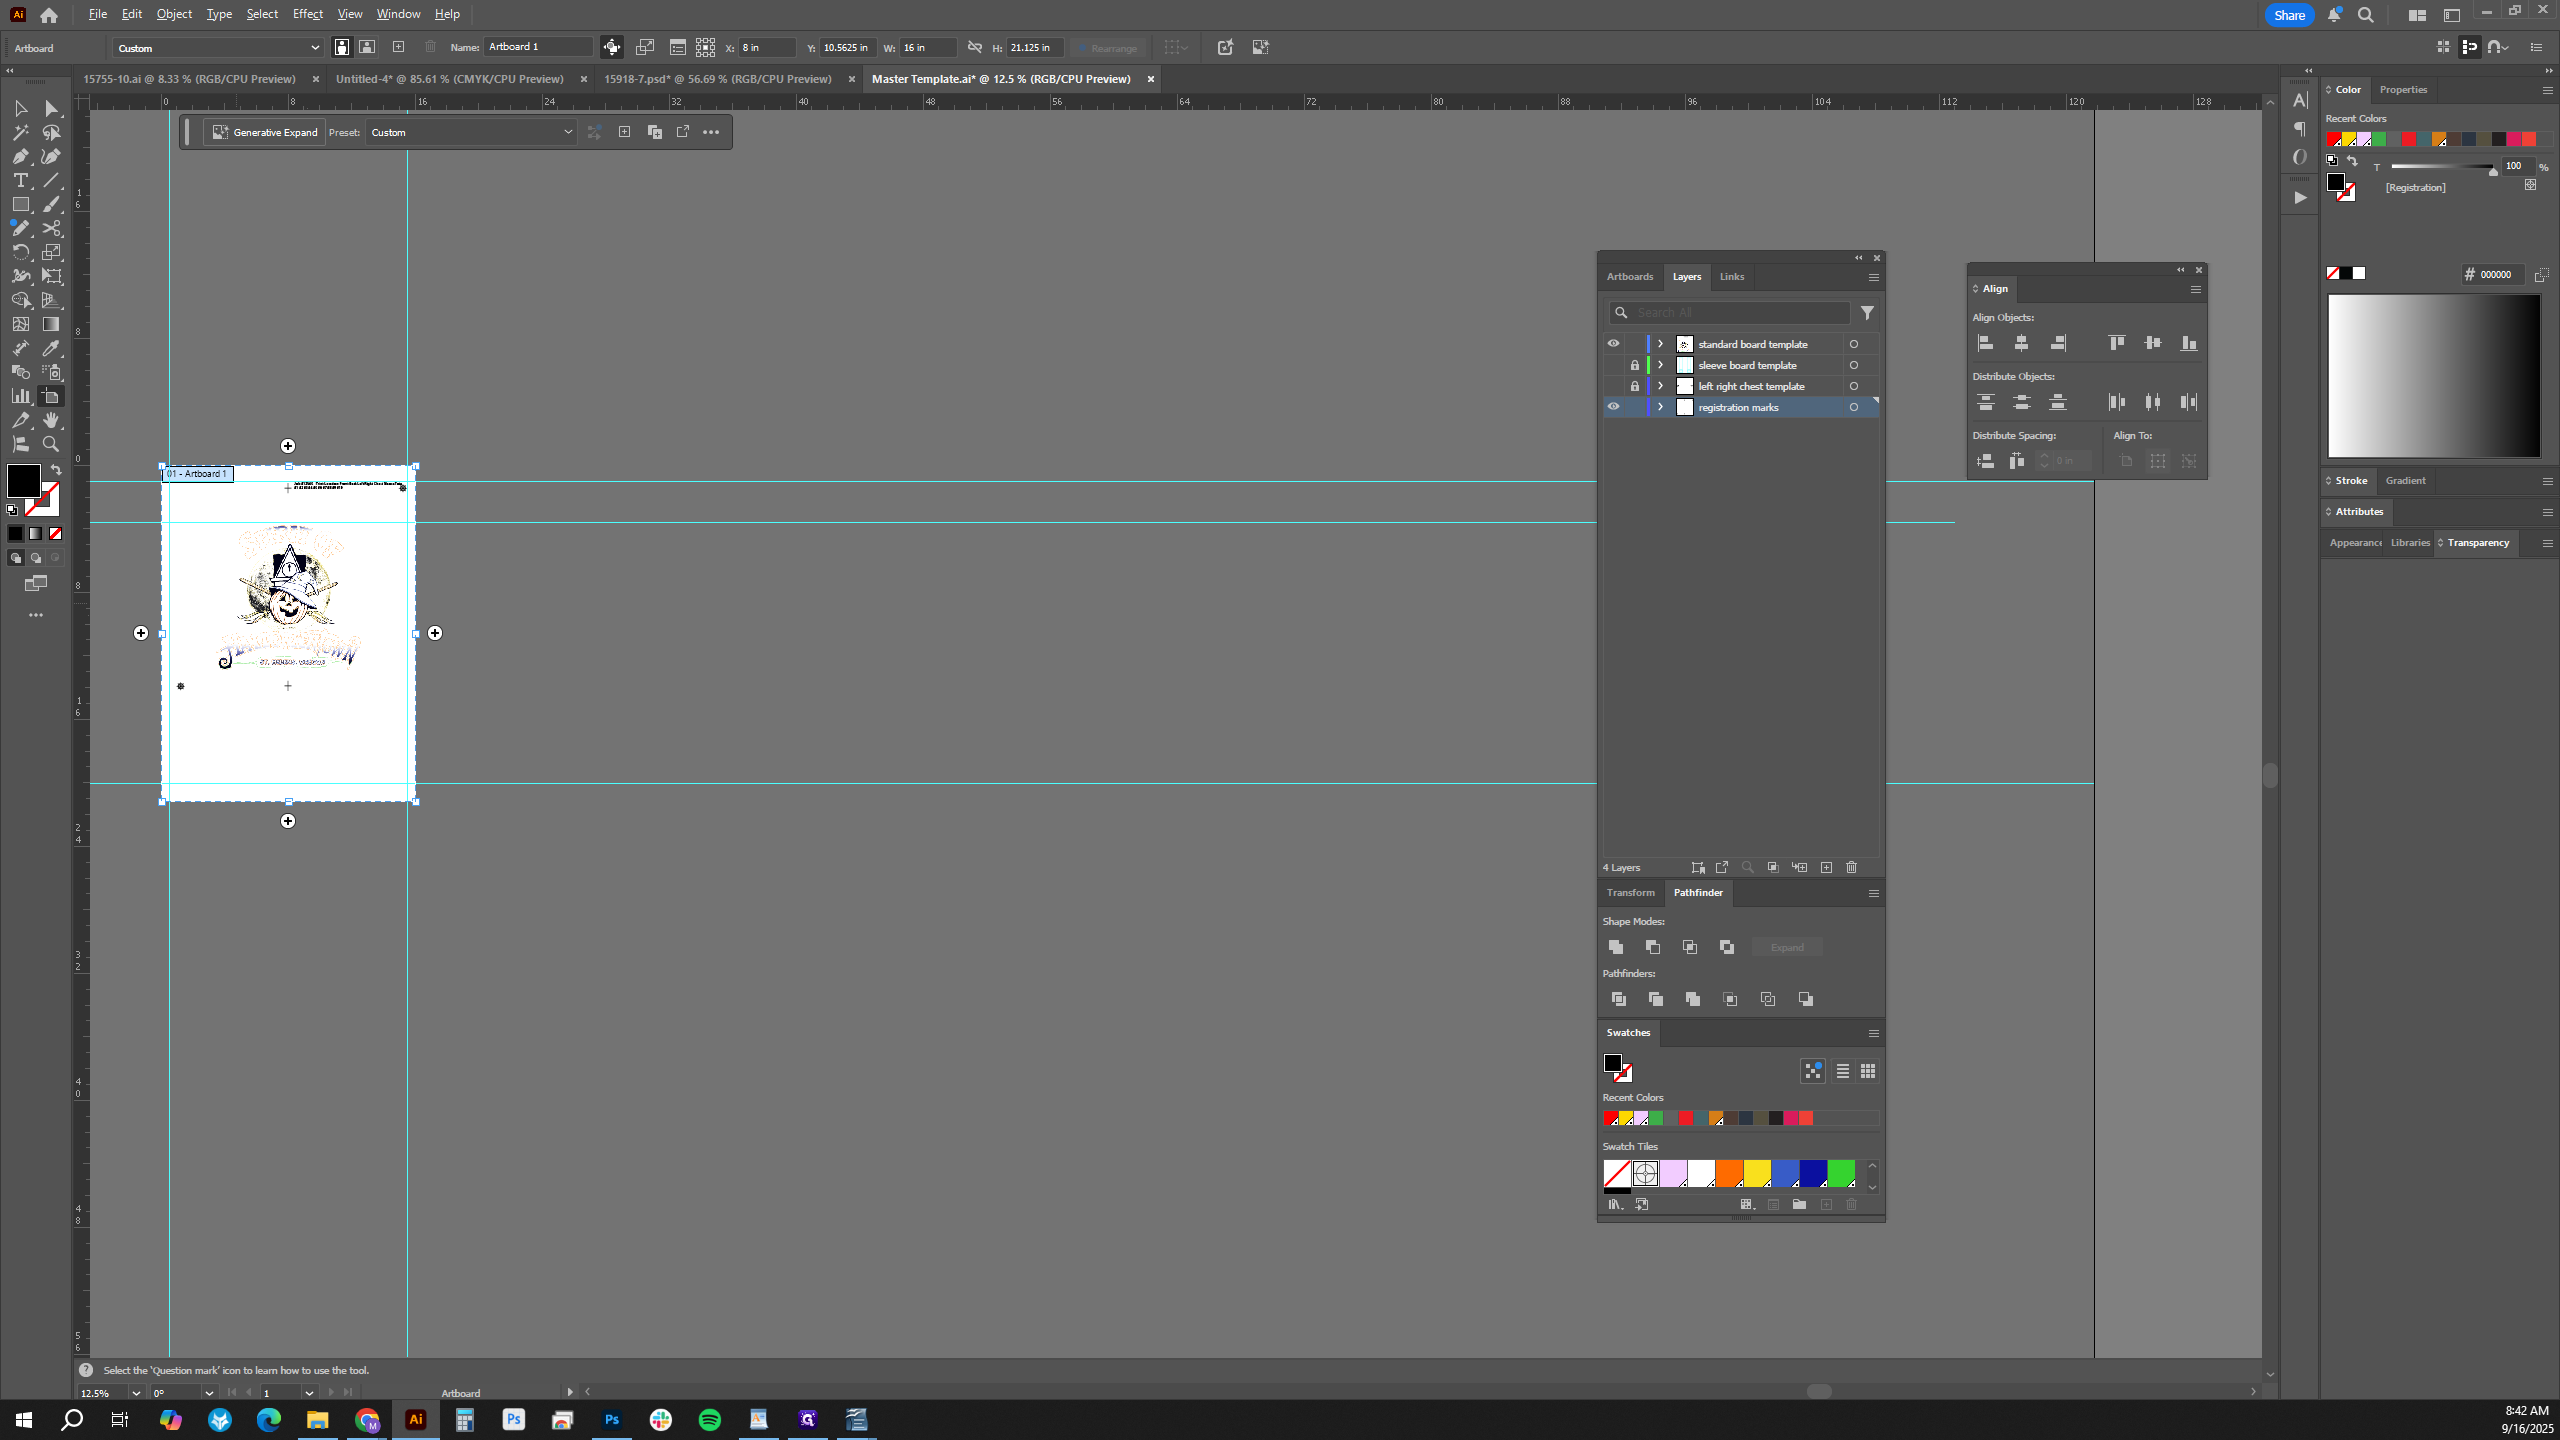
I will zoom out, click Document Setup, and select Edit Artboard. Then, I’ll hold the Alt key, drag to duplicate the artboard, and repeat until I have seven artboards—one for each of the seven colors in use.

Next, go to each artboard and remove everything except the color you want to keep. This is usually a quick method.
Now, we'll fill in our print information: the sequence number, followed by the Pantone.
When we separate everything into artboards, we don't need to color the print information with the spot color. However, we must check that the swatches in the graphic are named correctly.
For example, I would want this 1505C on a 230 mesh. It's a great color. It has half-tones, so I'll change this to 1505C and enter 230. This way, the mesh information is included in the CTS, and the screen imager knows which mesh to use for that screen.
You can go through the rest and update them with our mesh selections.