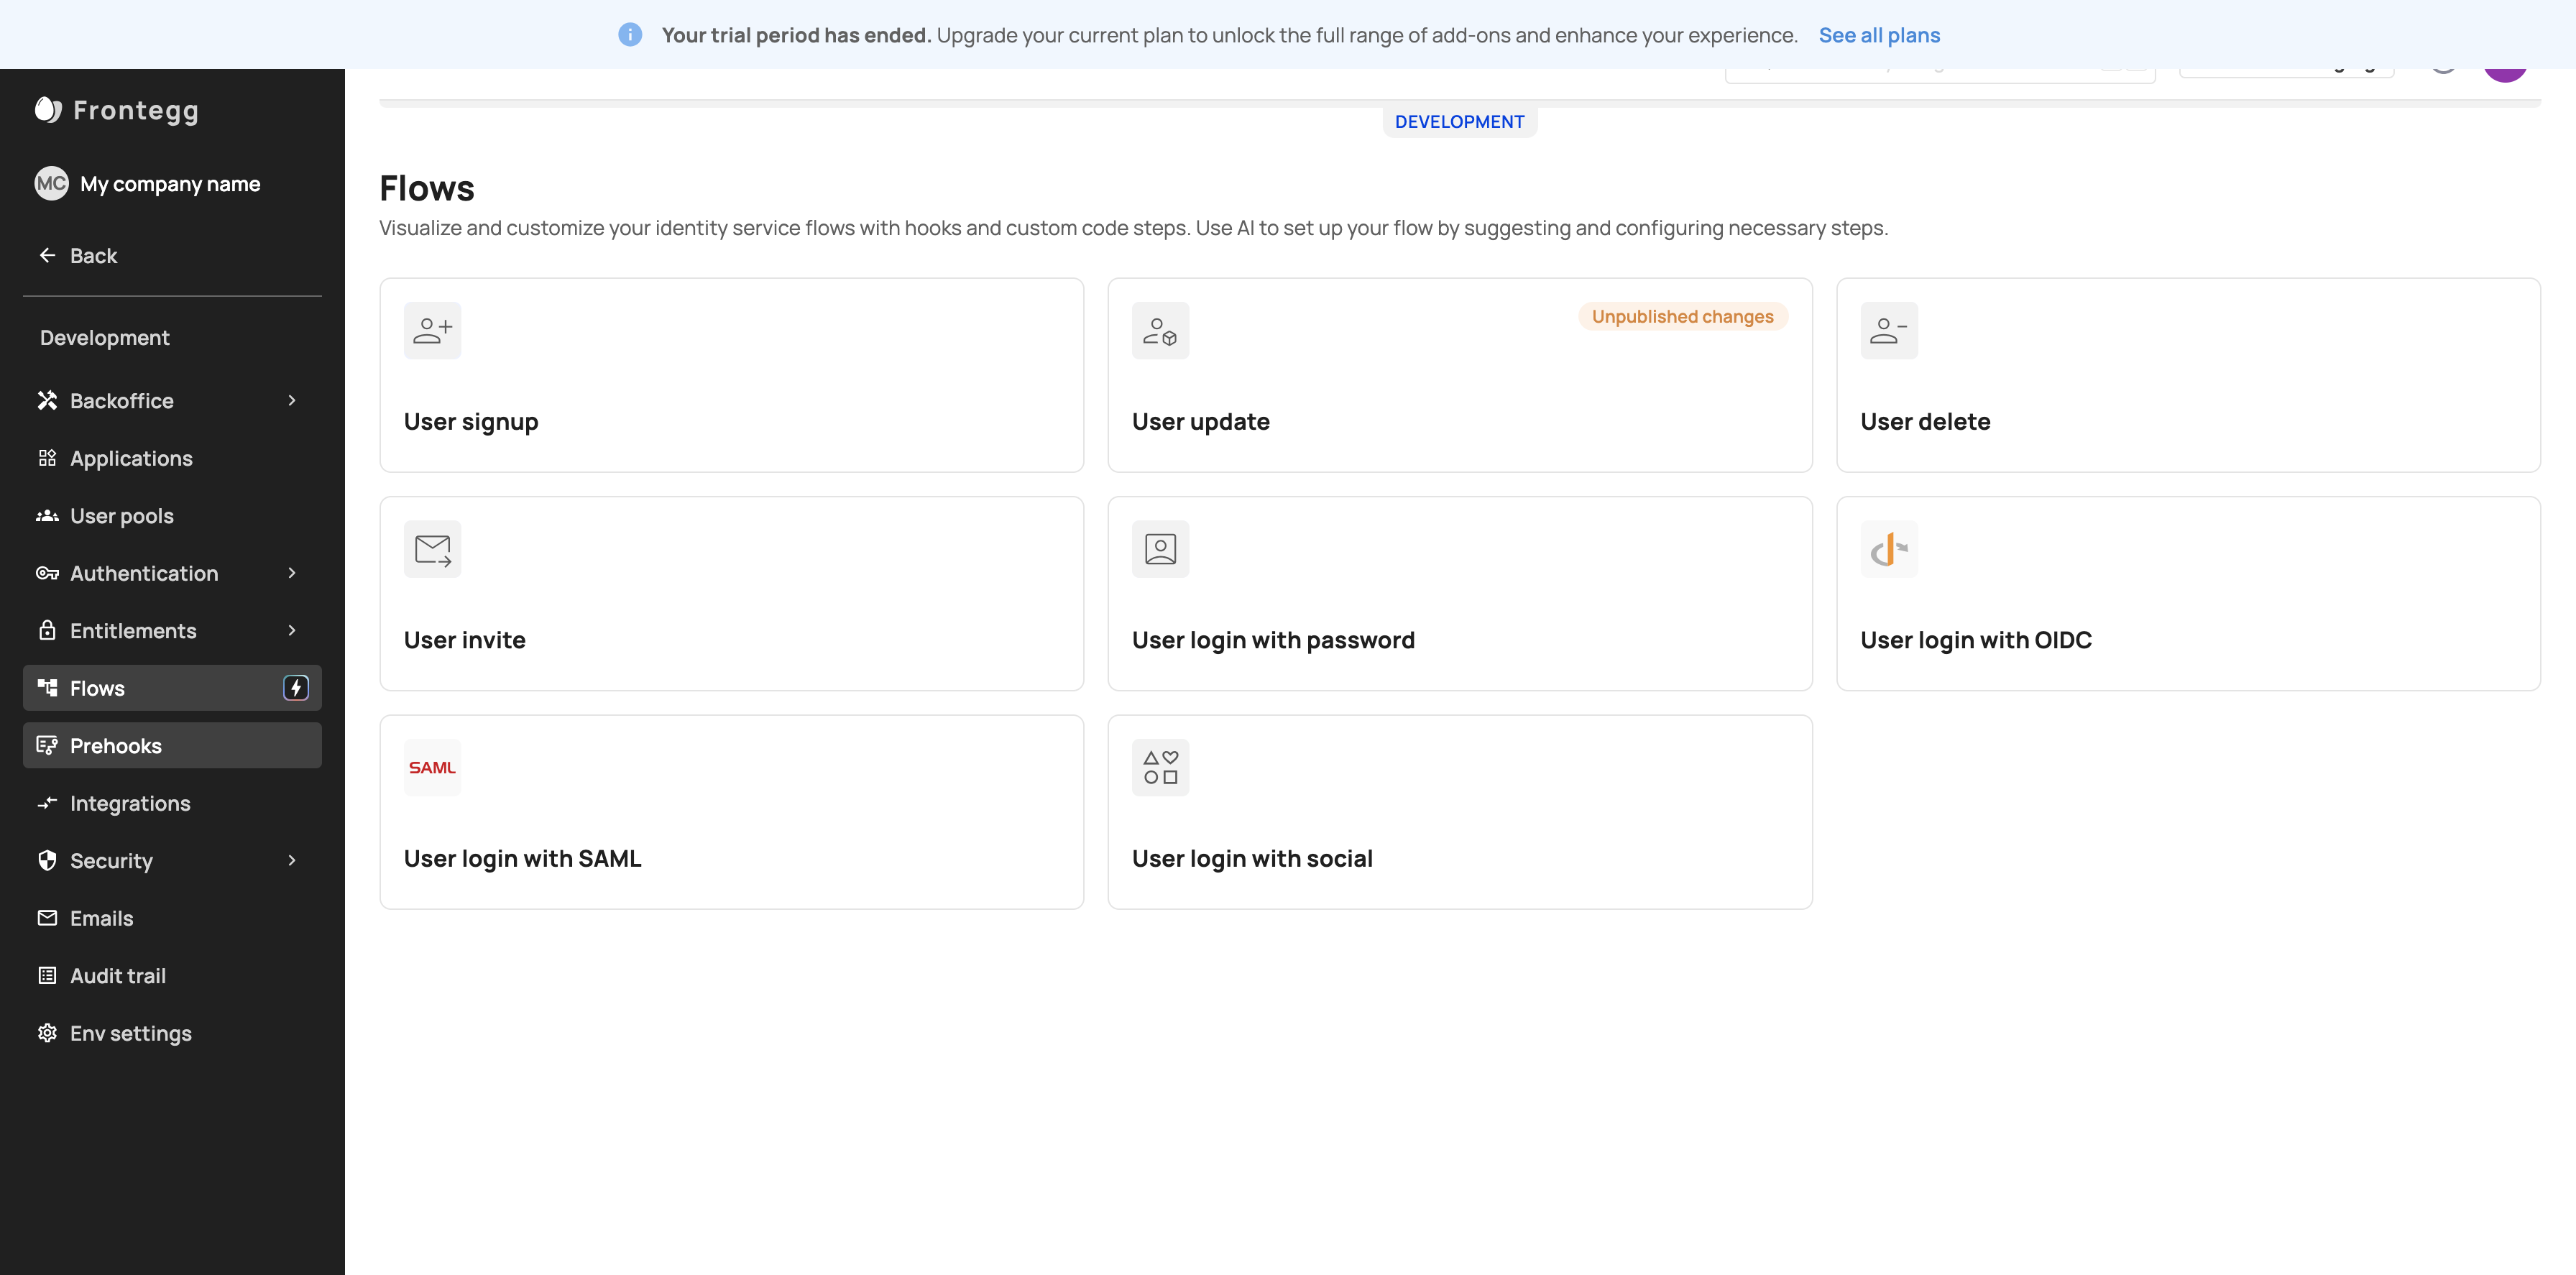
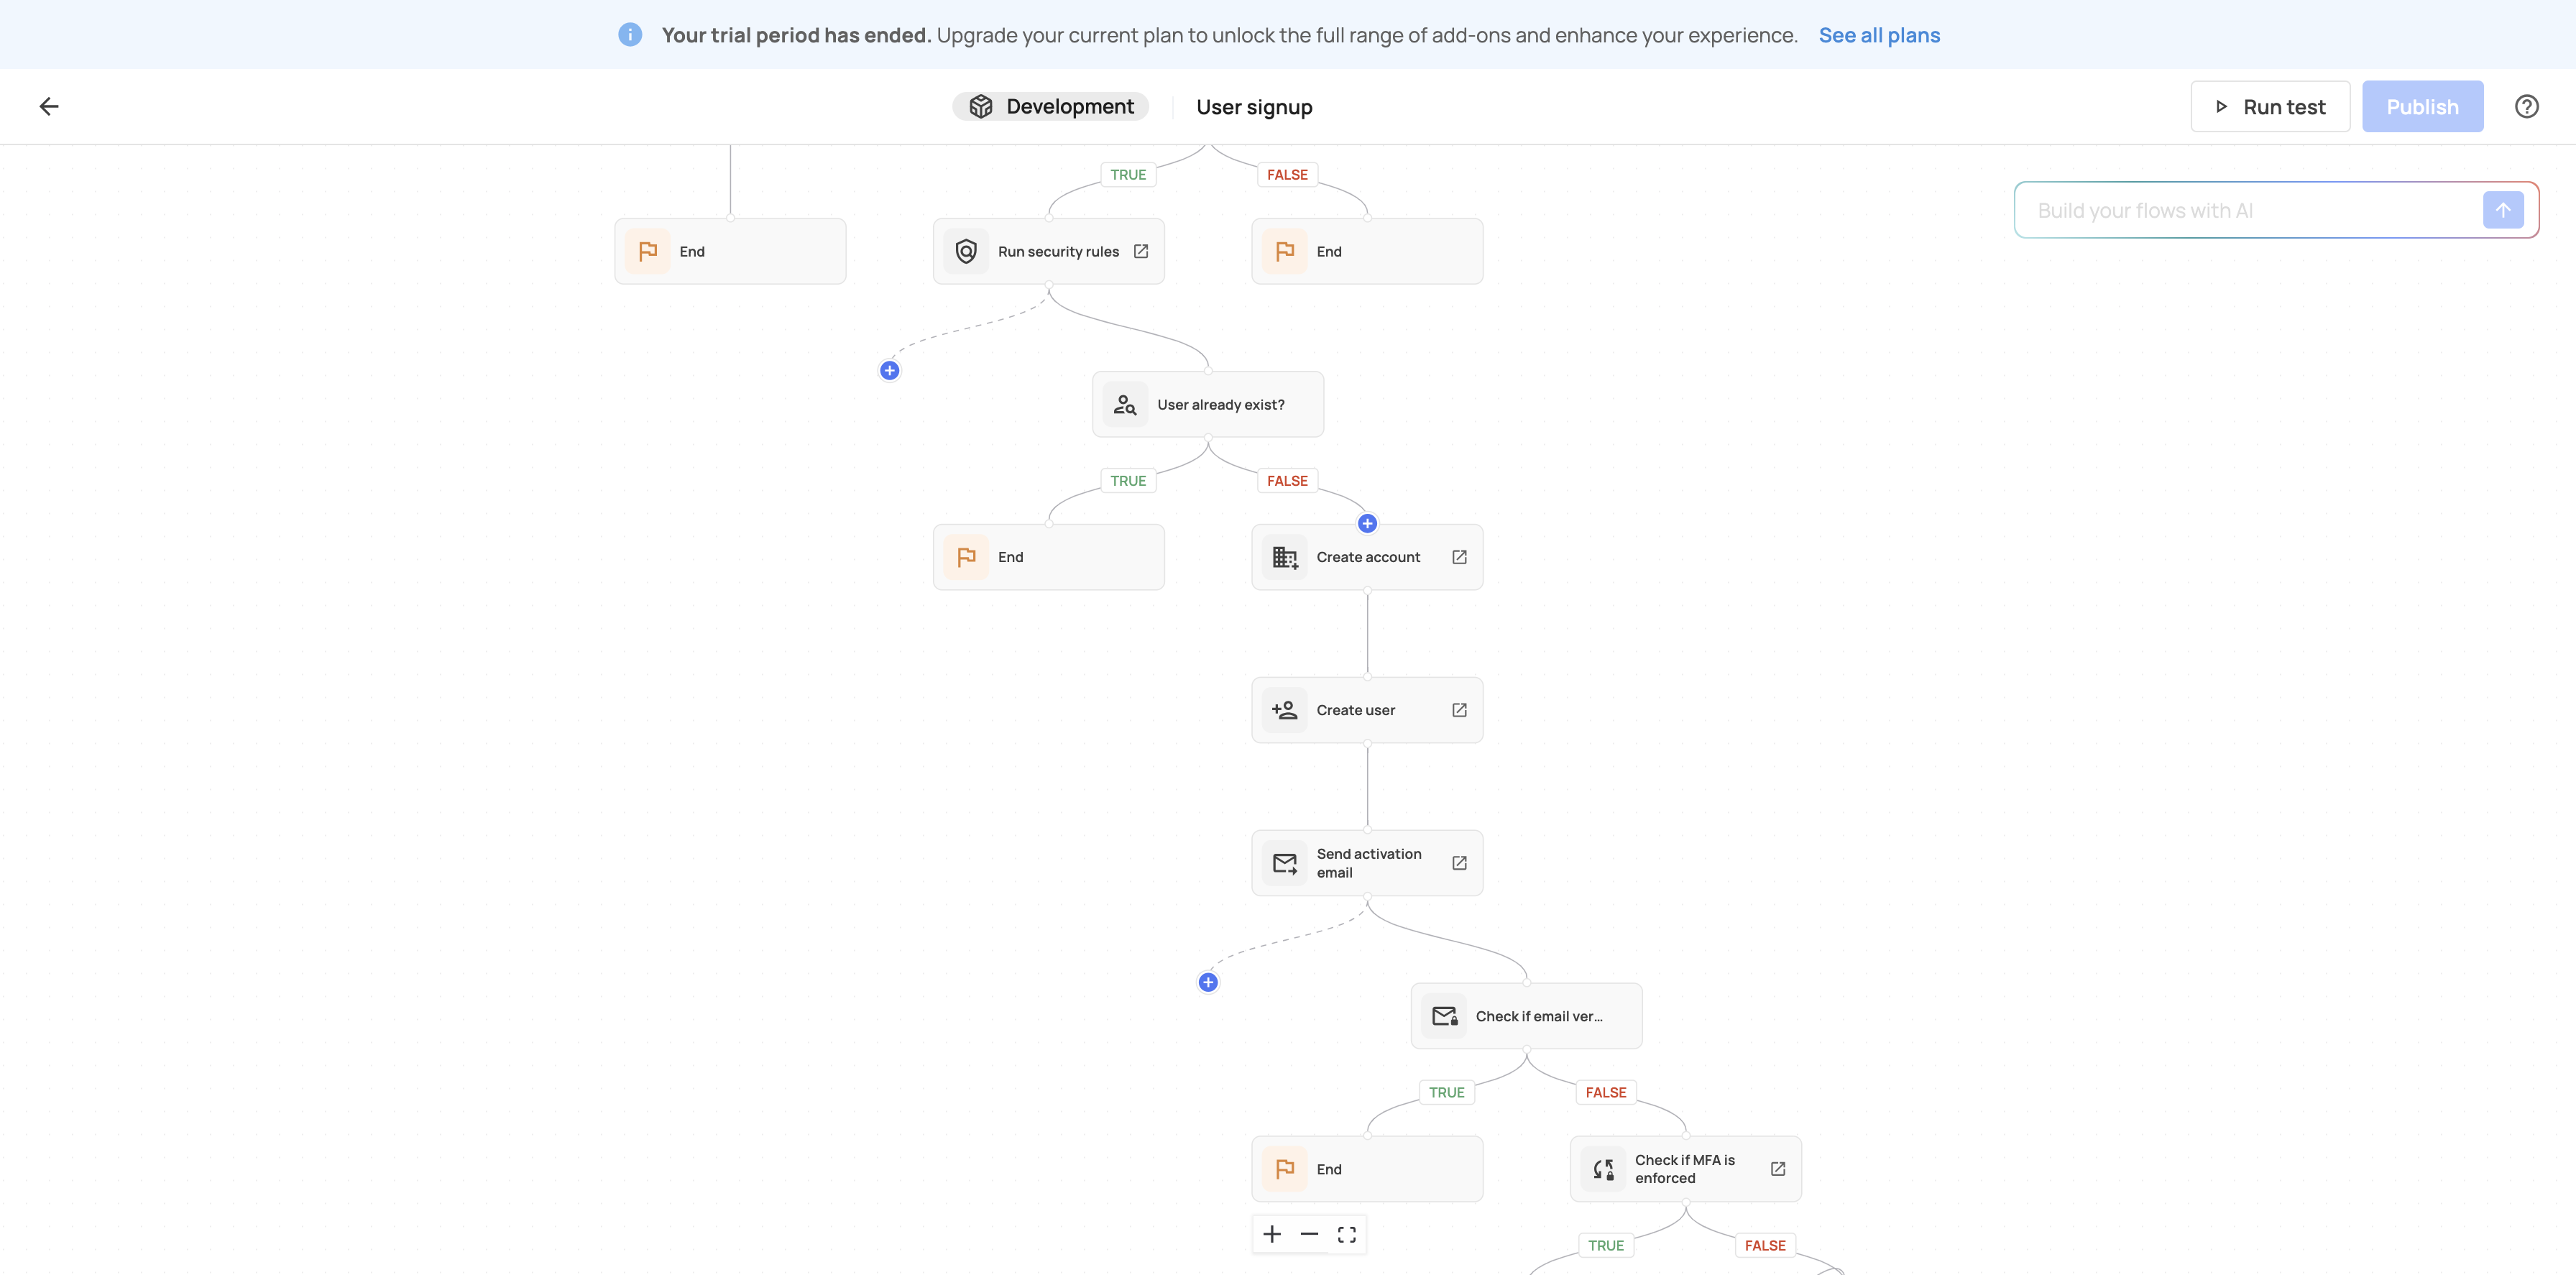
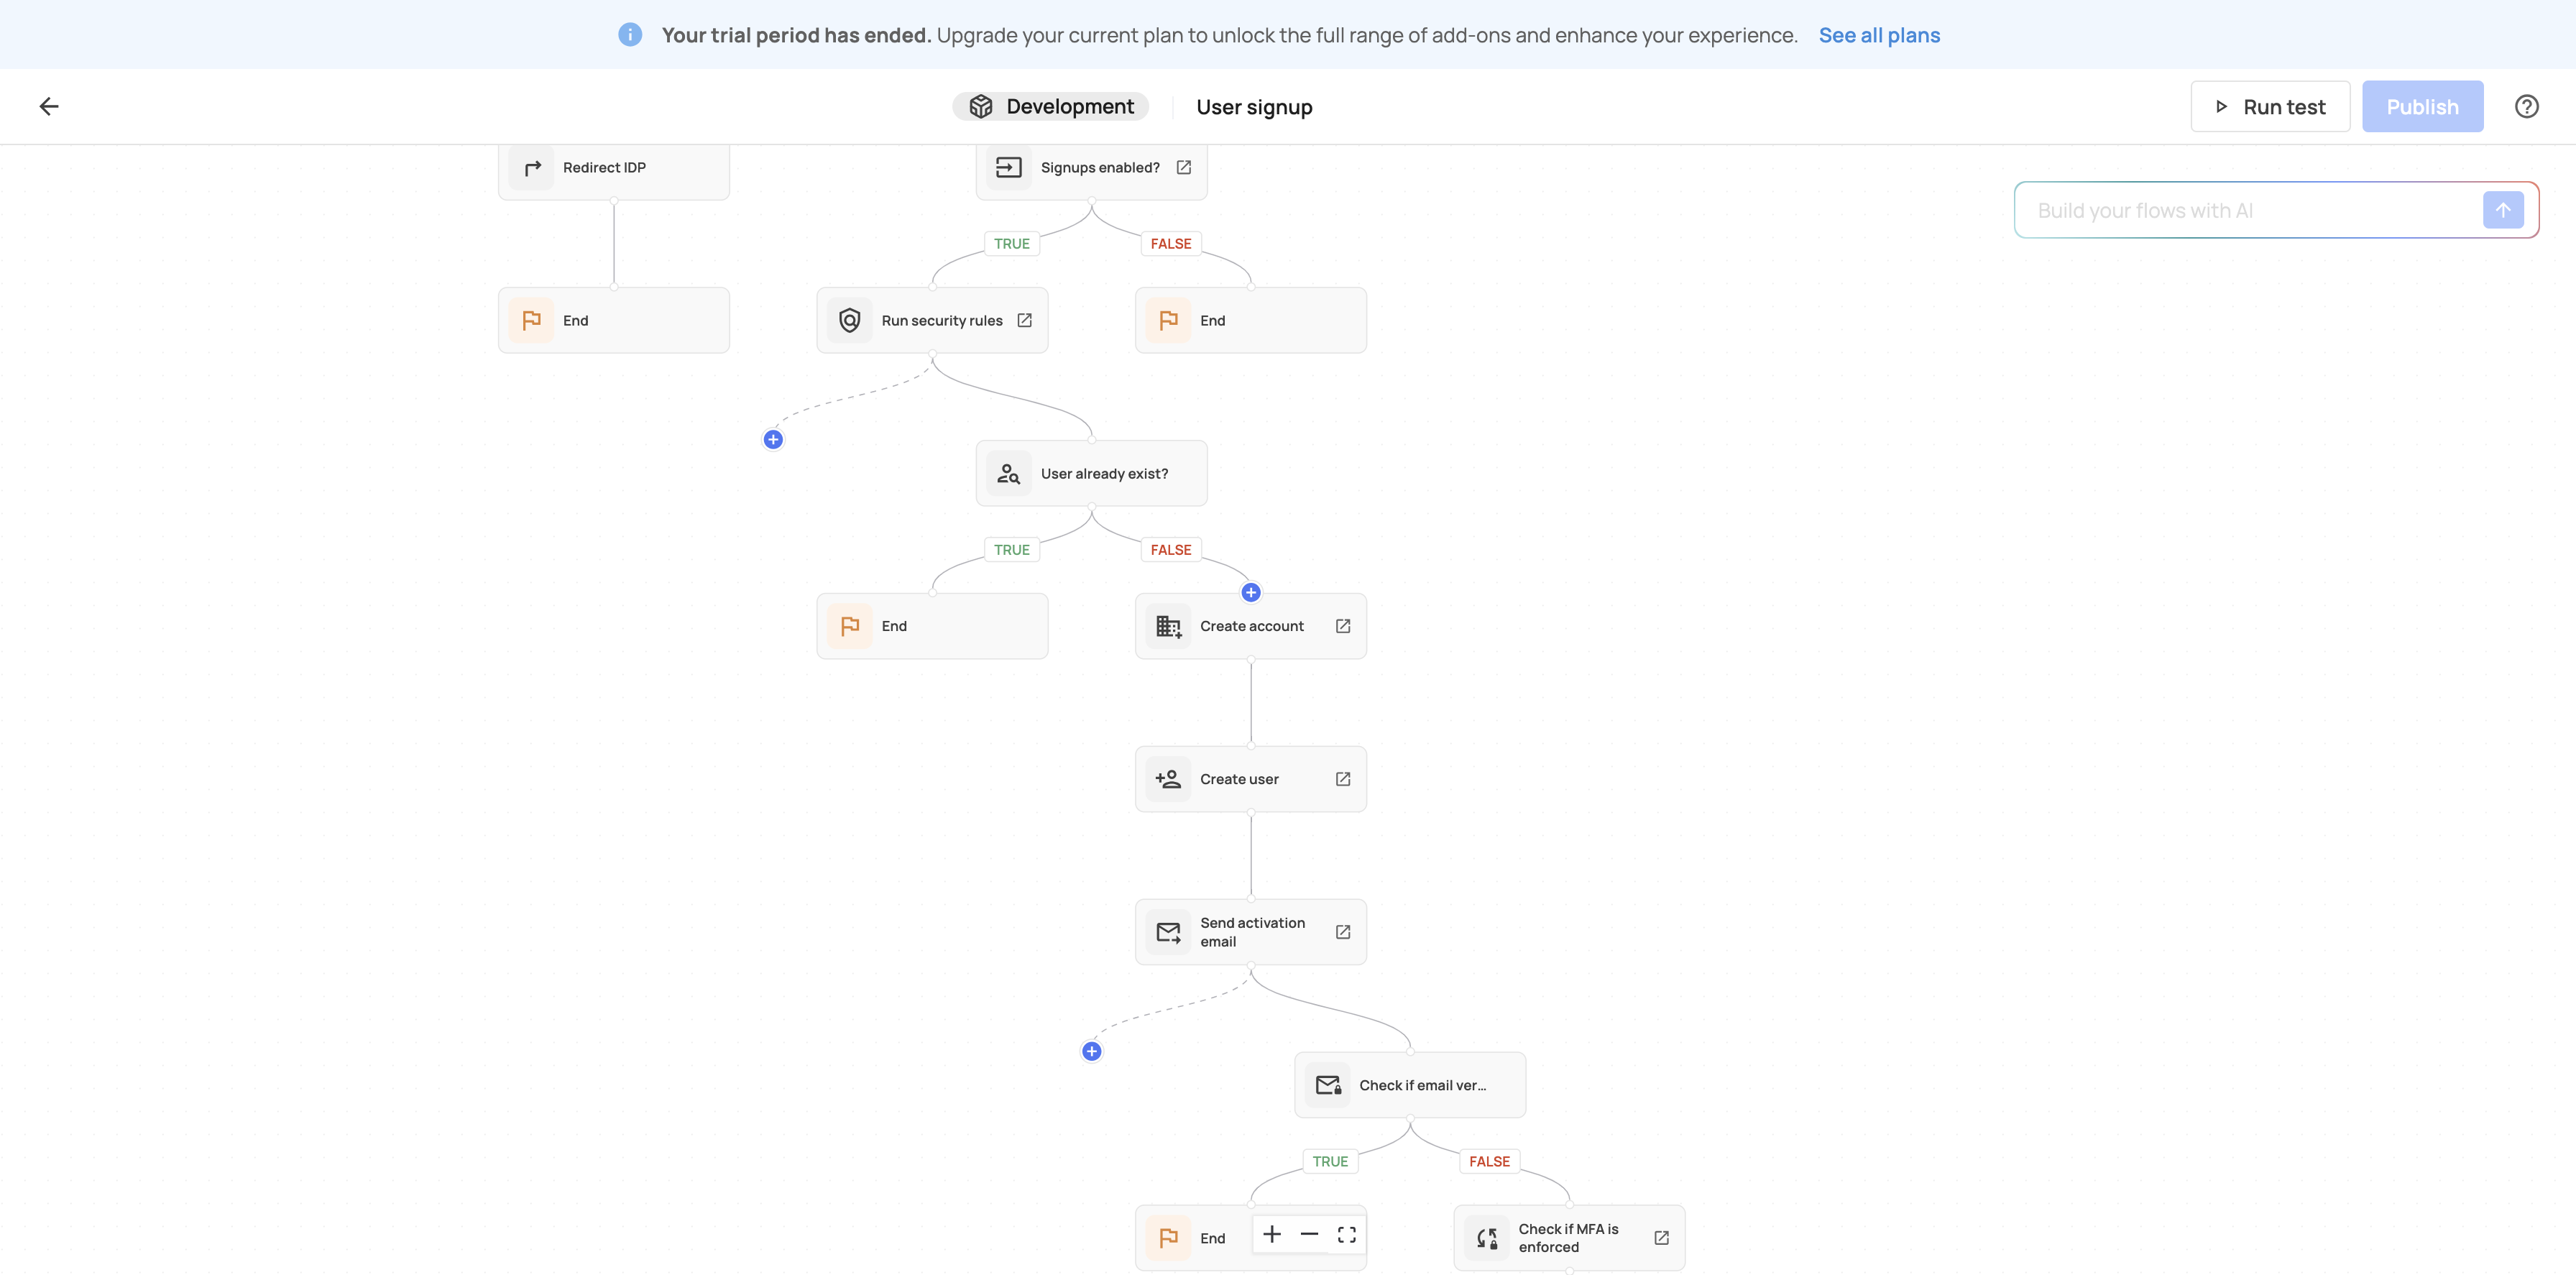
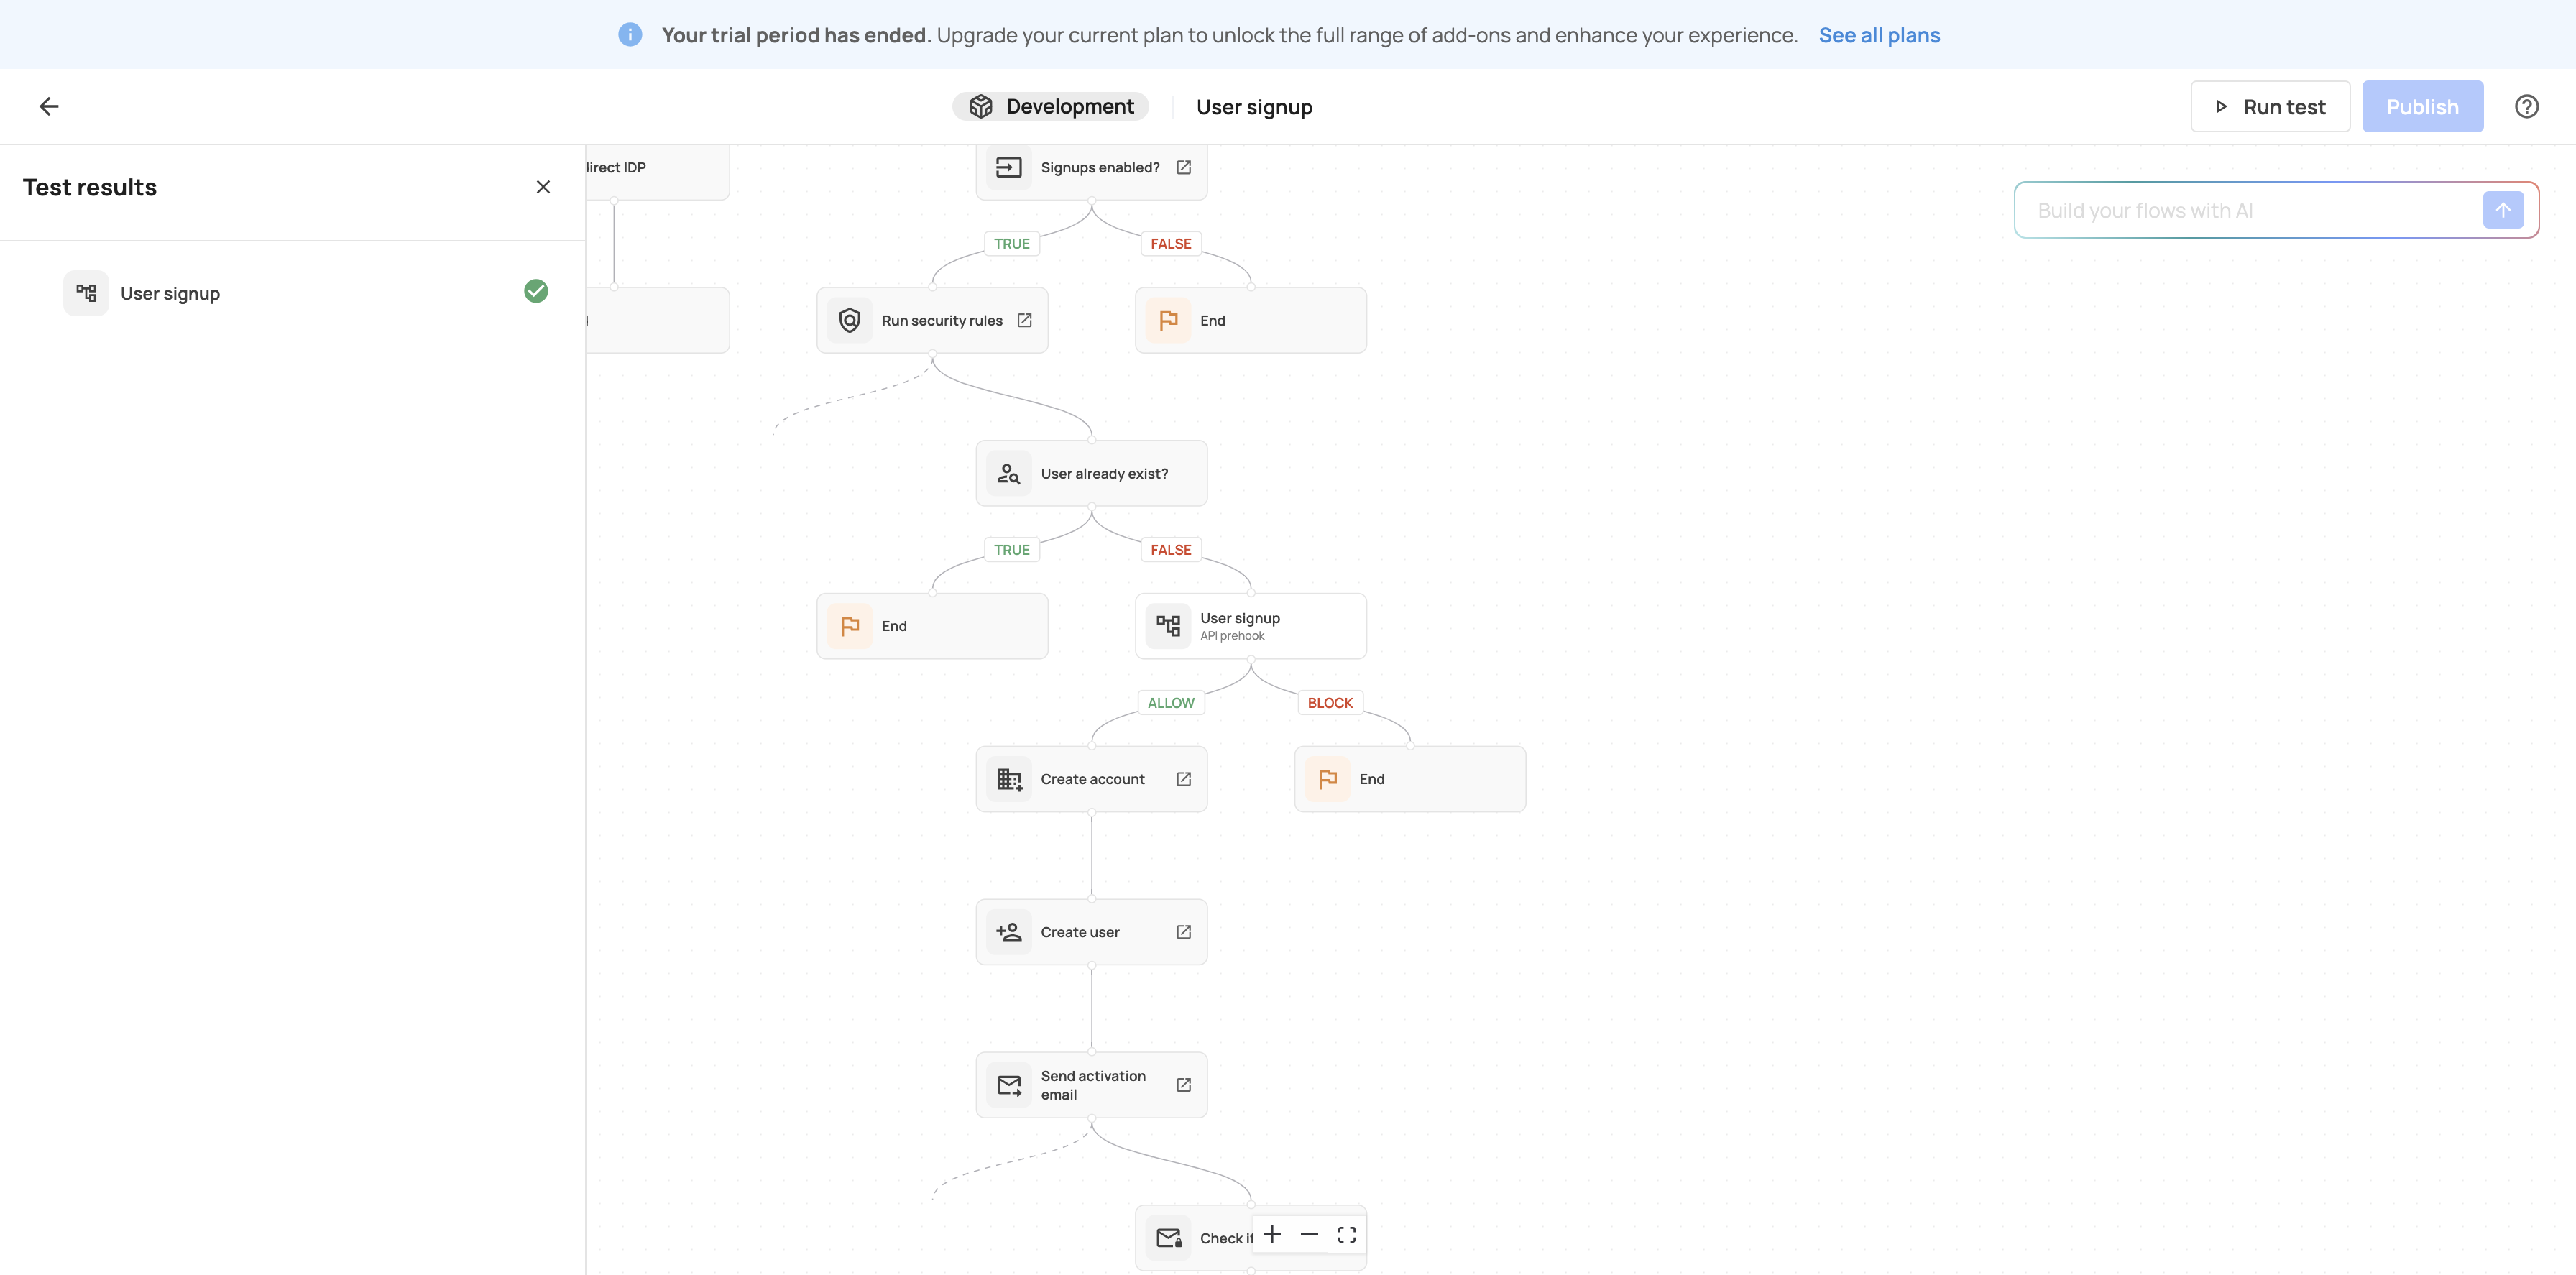
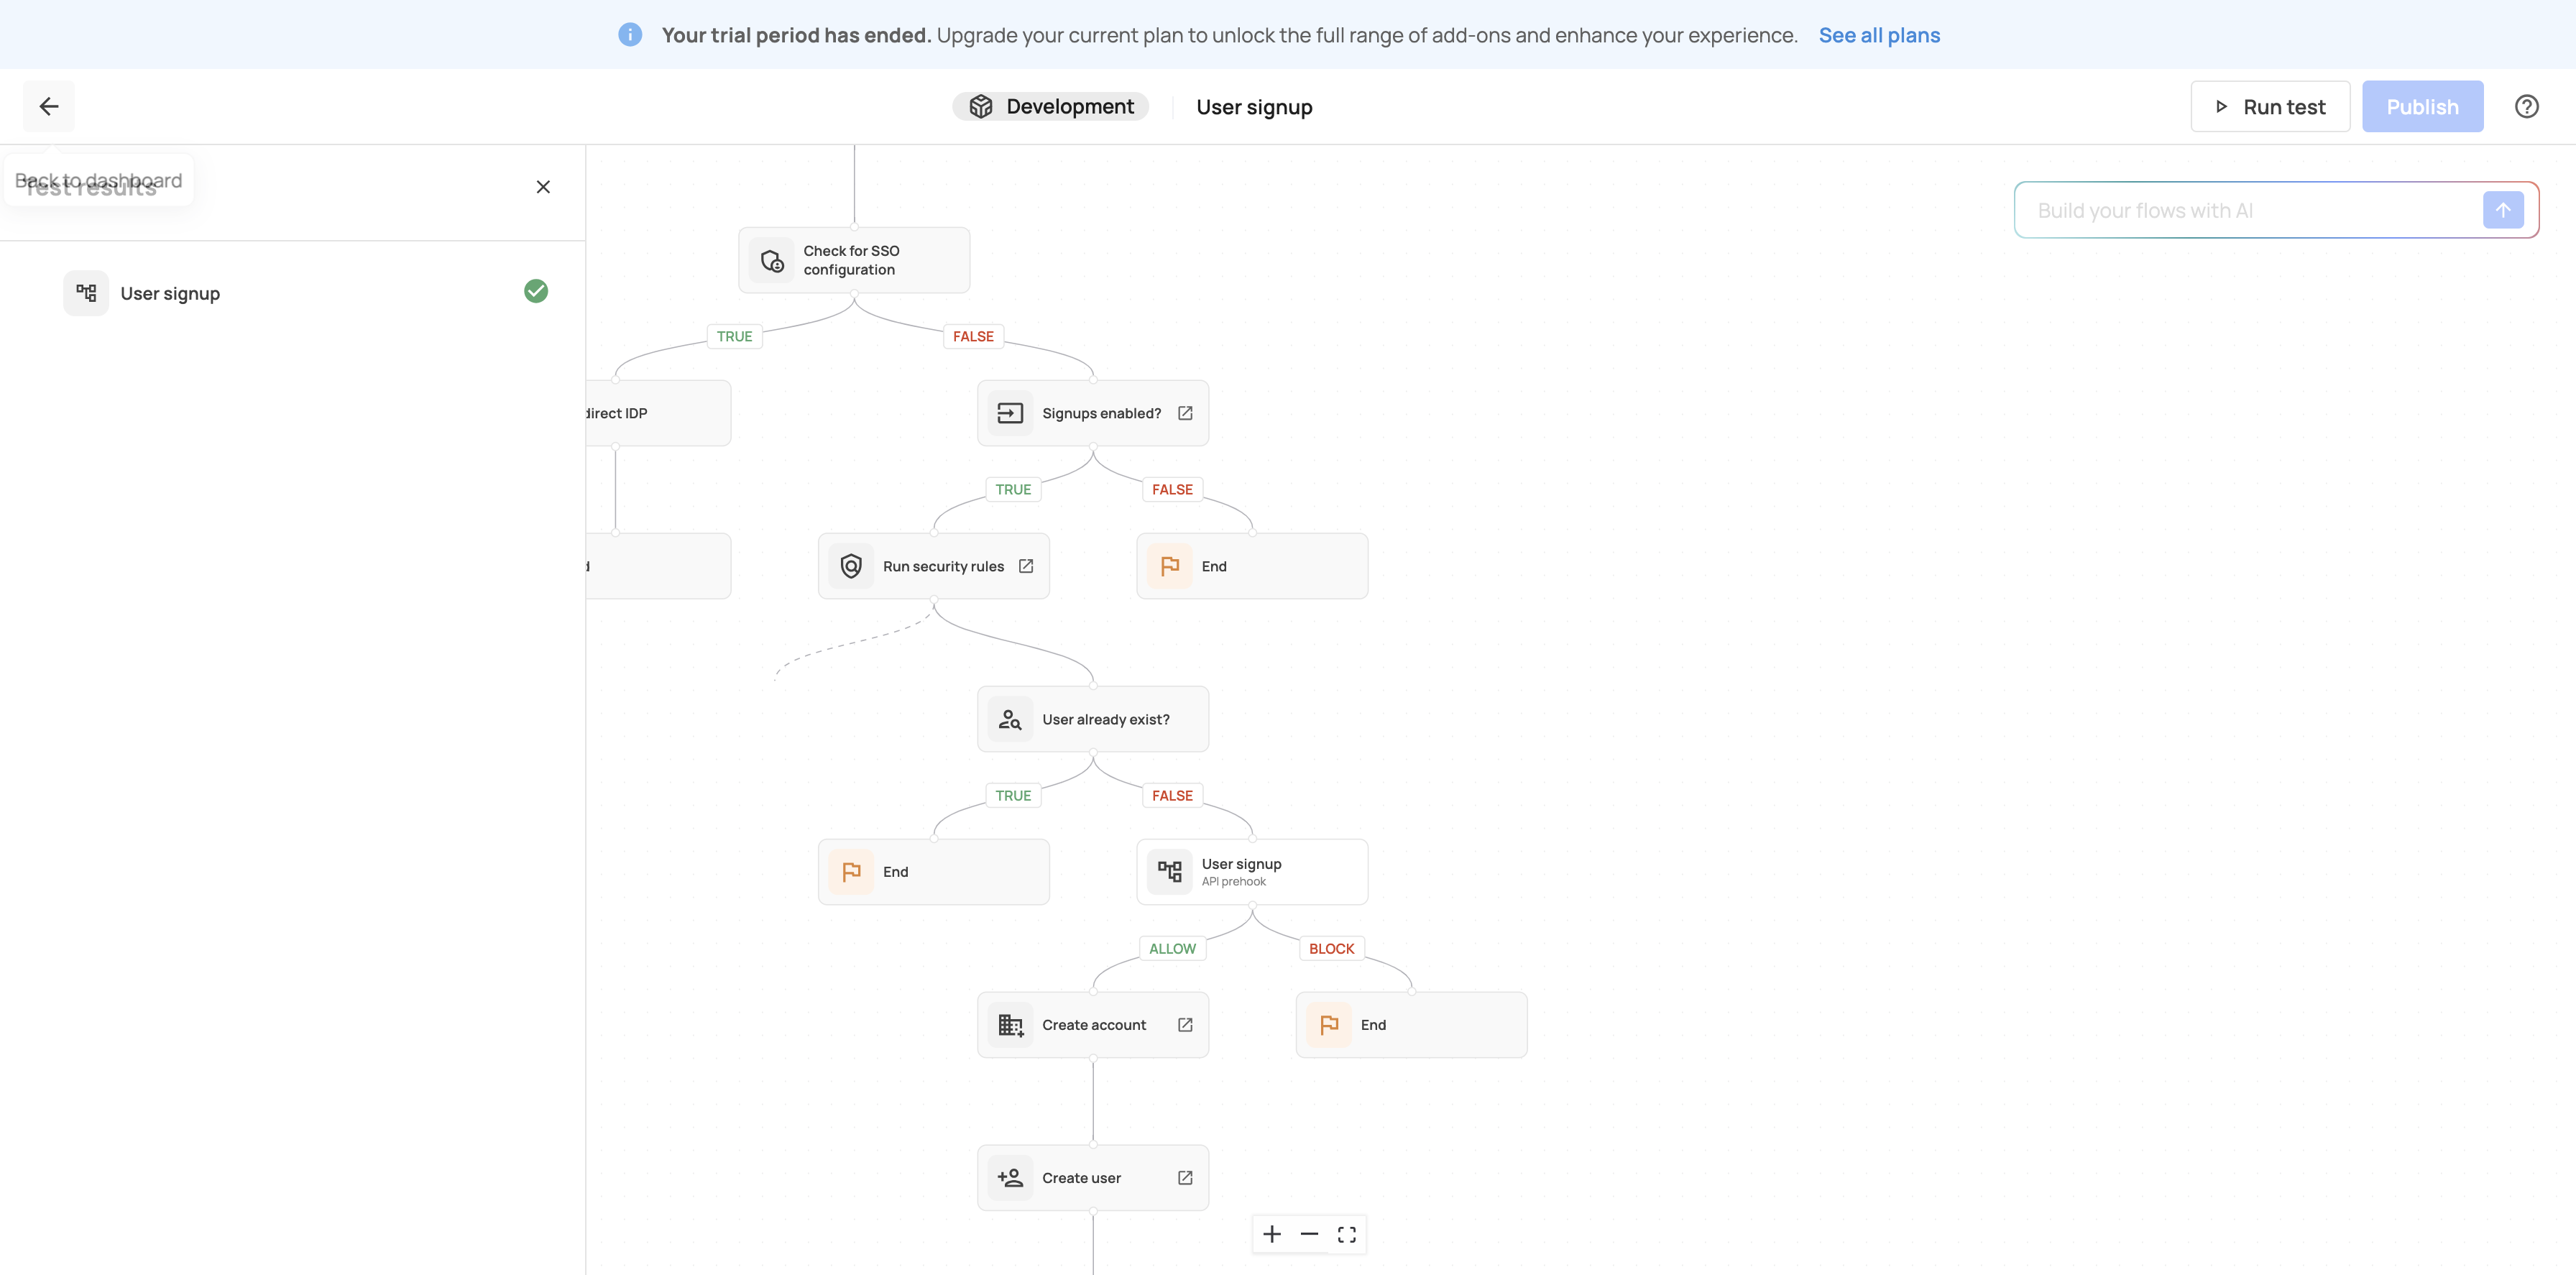
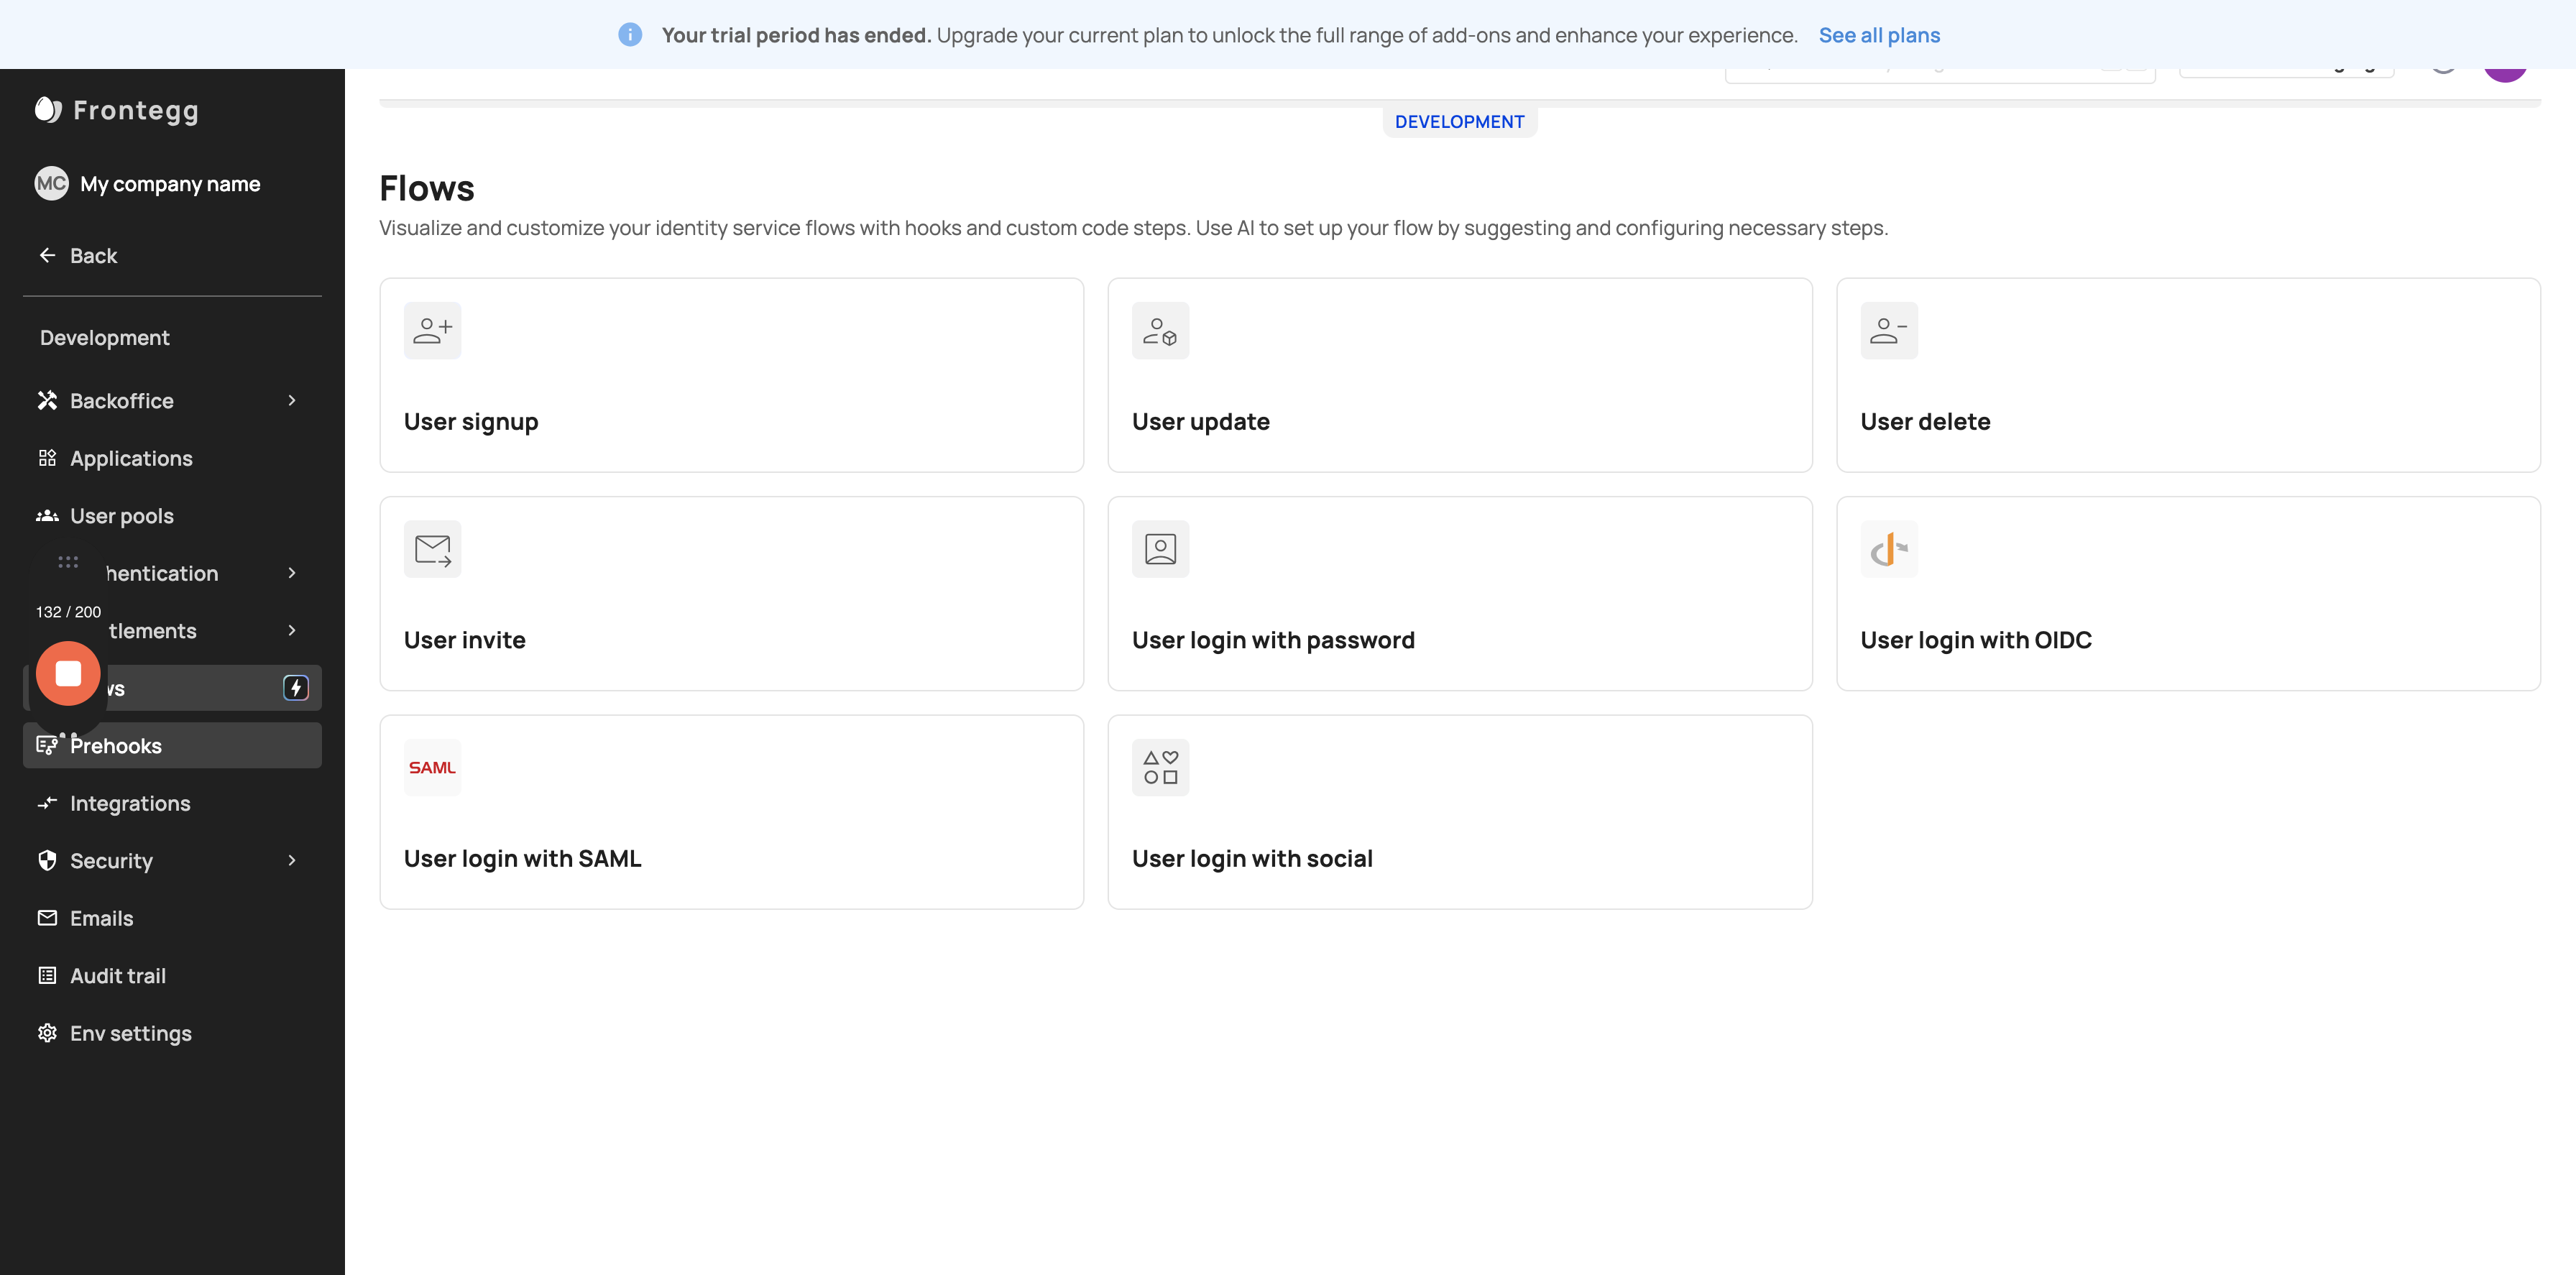
Flows (create Prehook/Webhook, Run Test, Publish and trigger the events)
This is a step-by-step guide for Frontegg Dashboard and testtt login
By Pavel Shulga
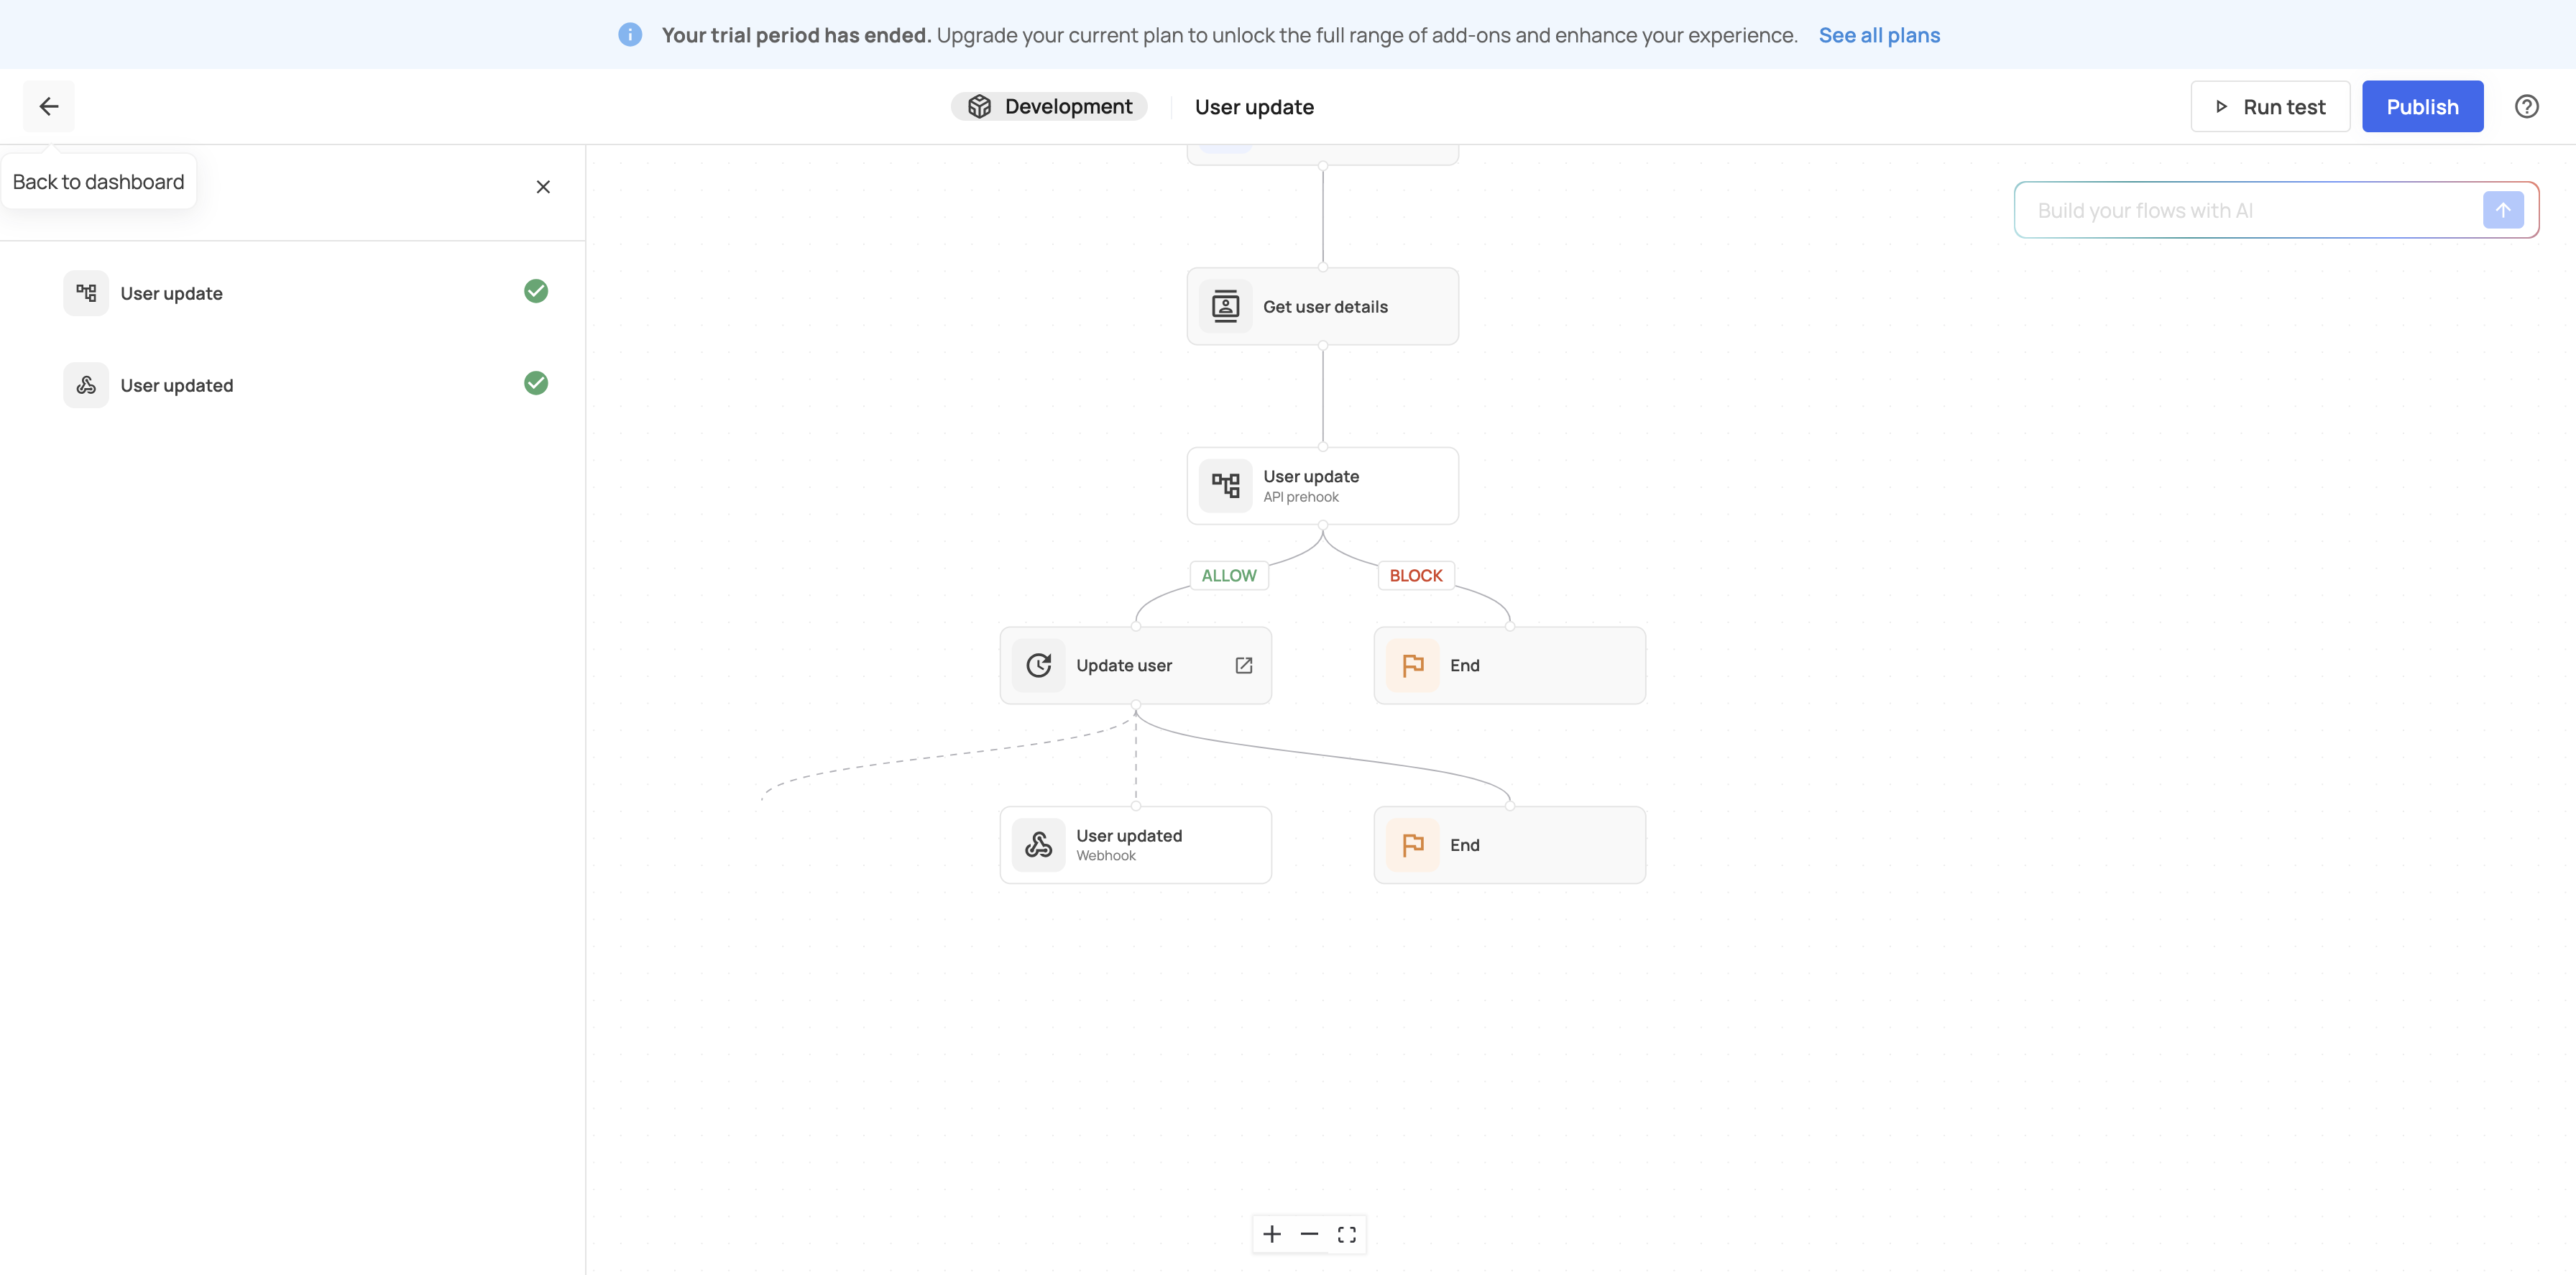
1
Go to Frontegg Dashboard
2
Click here
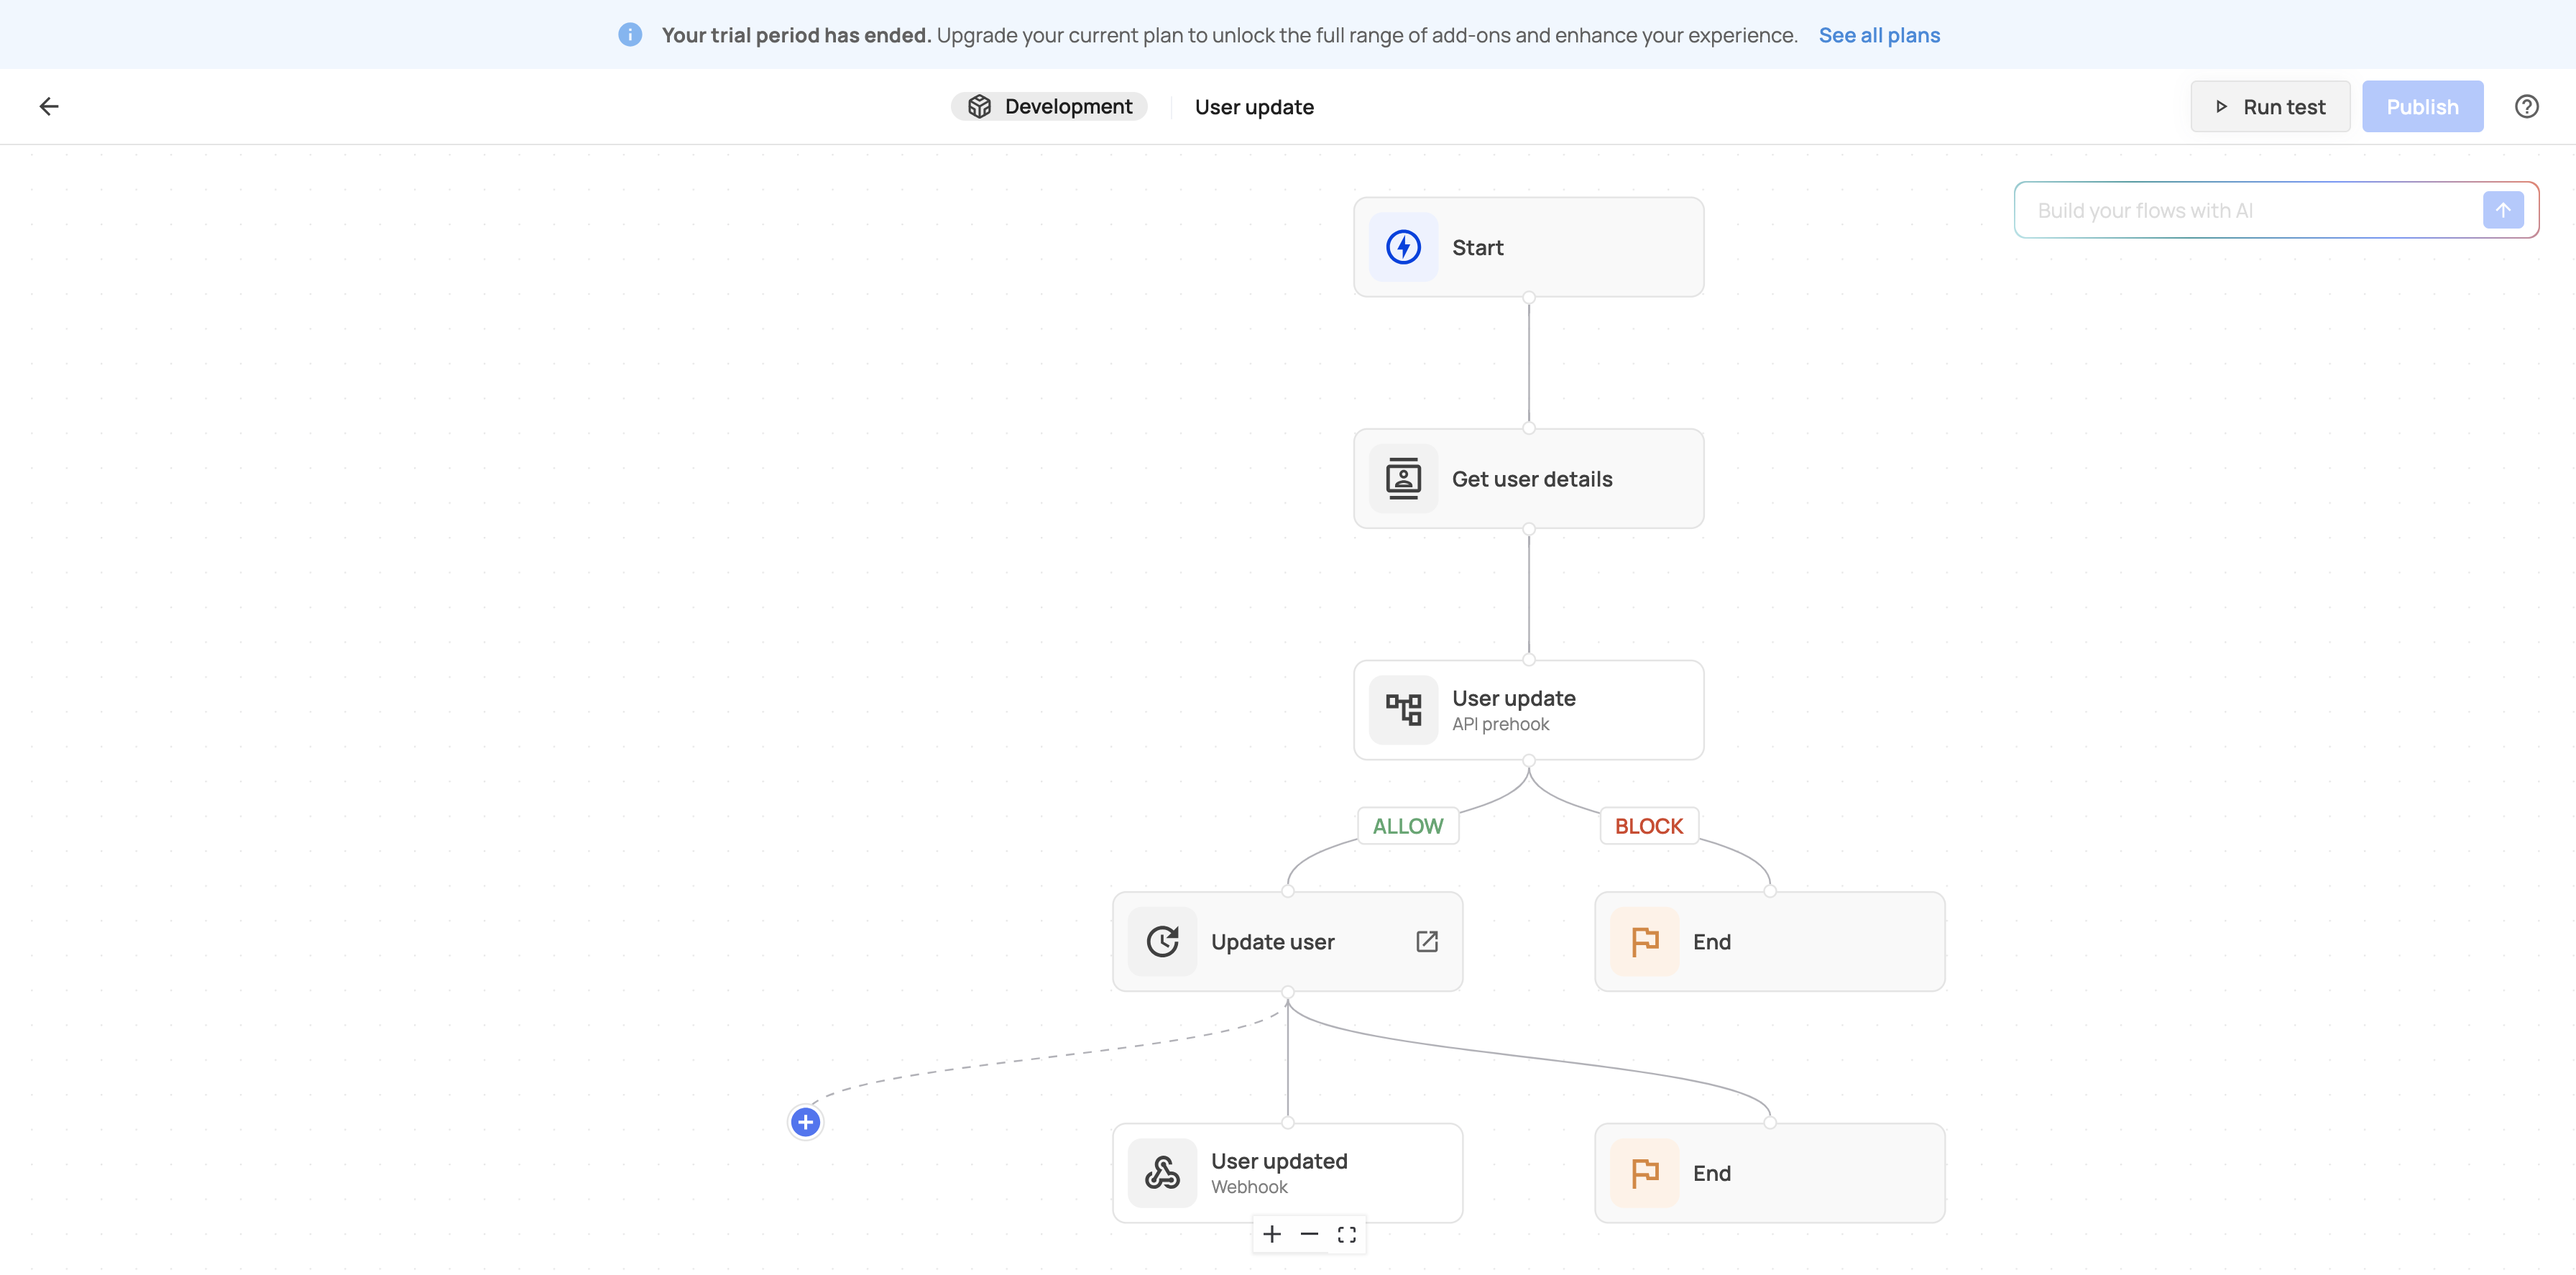
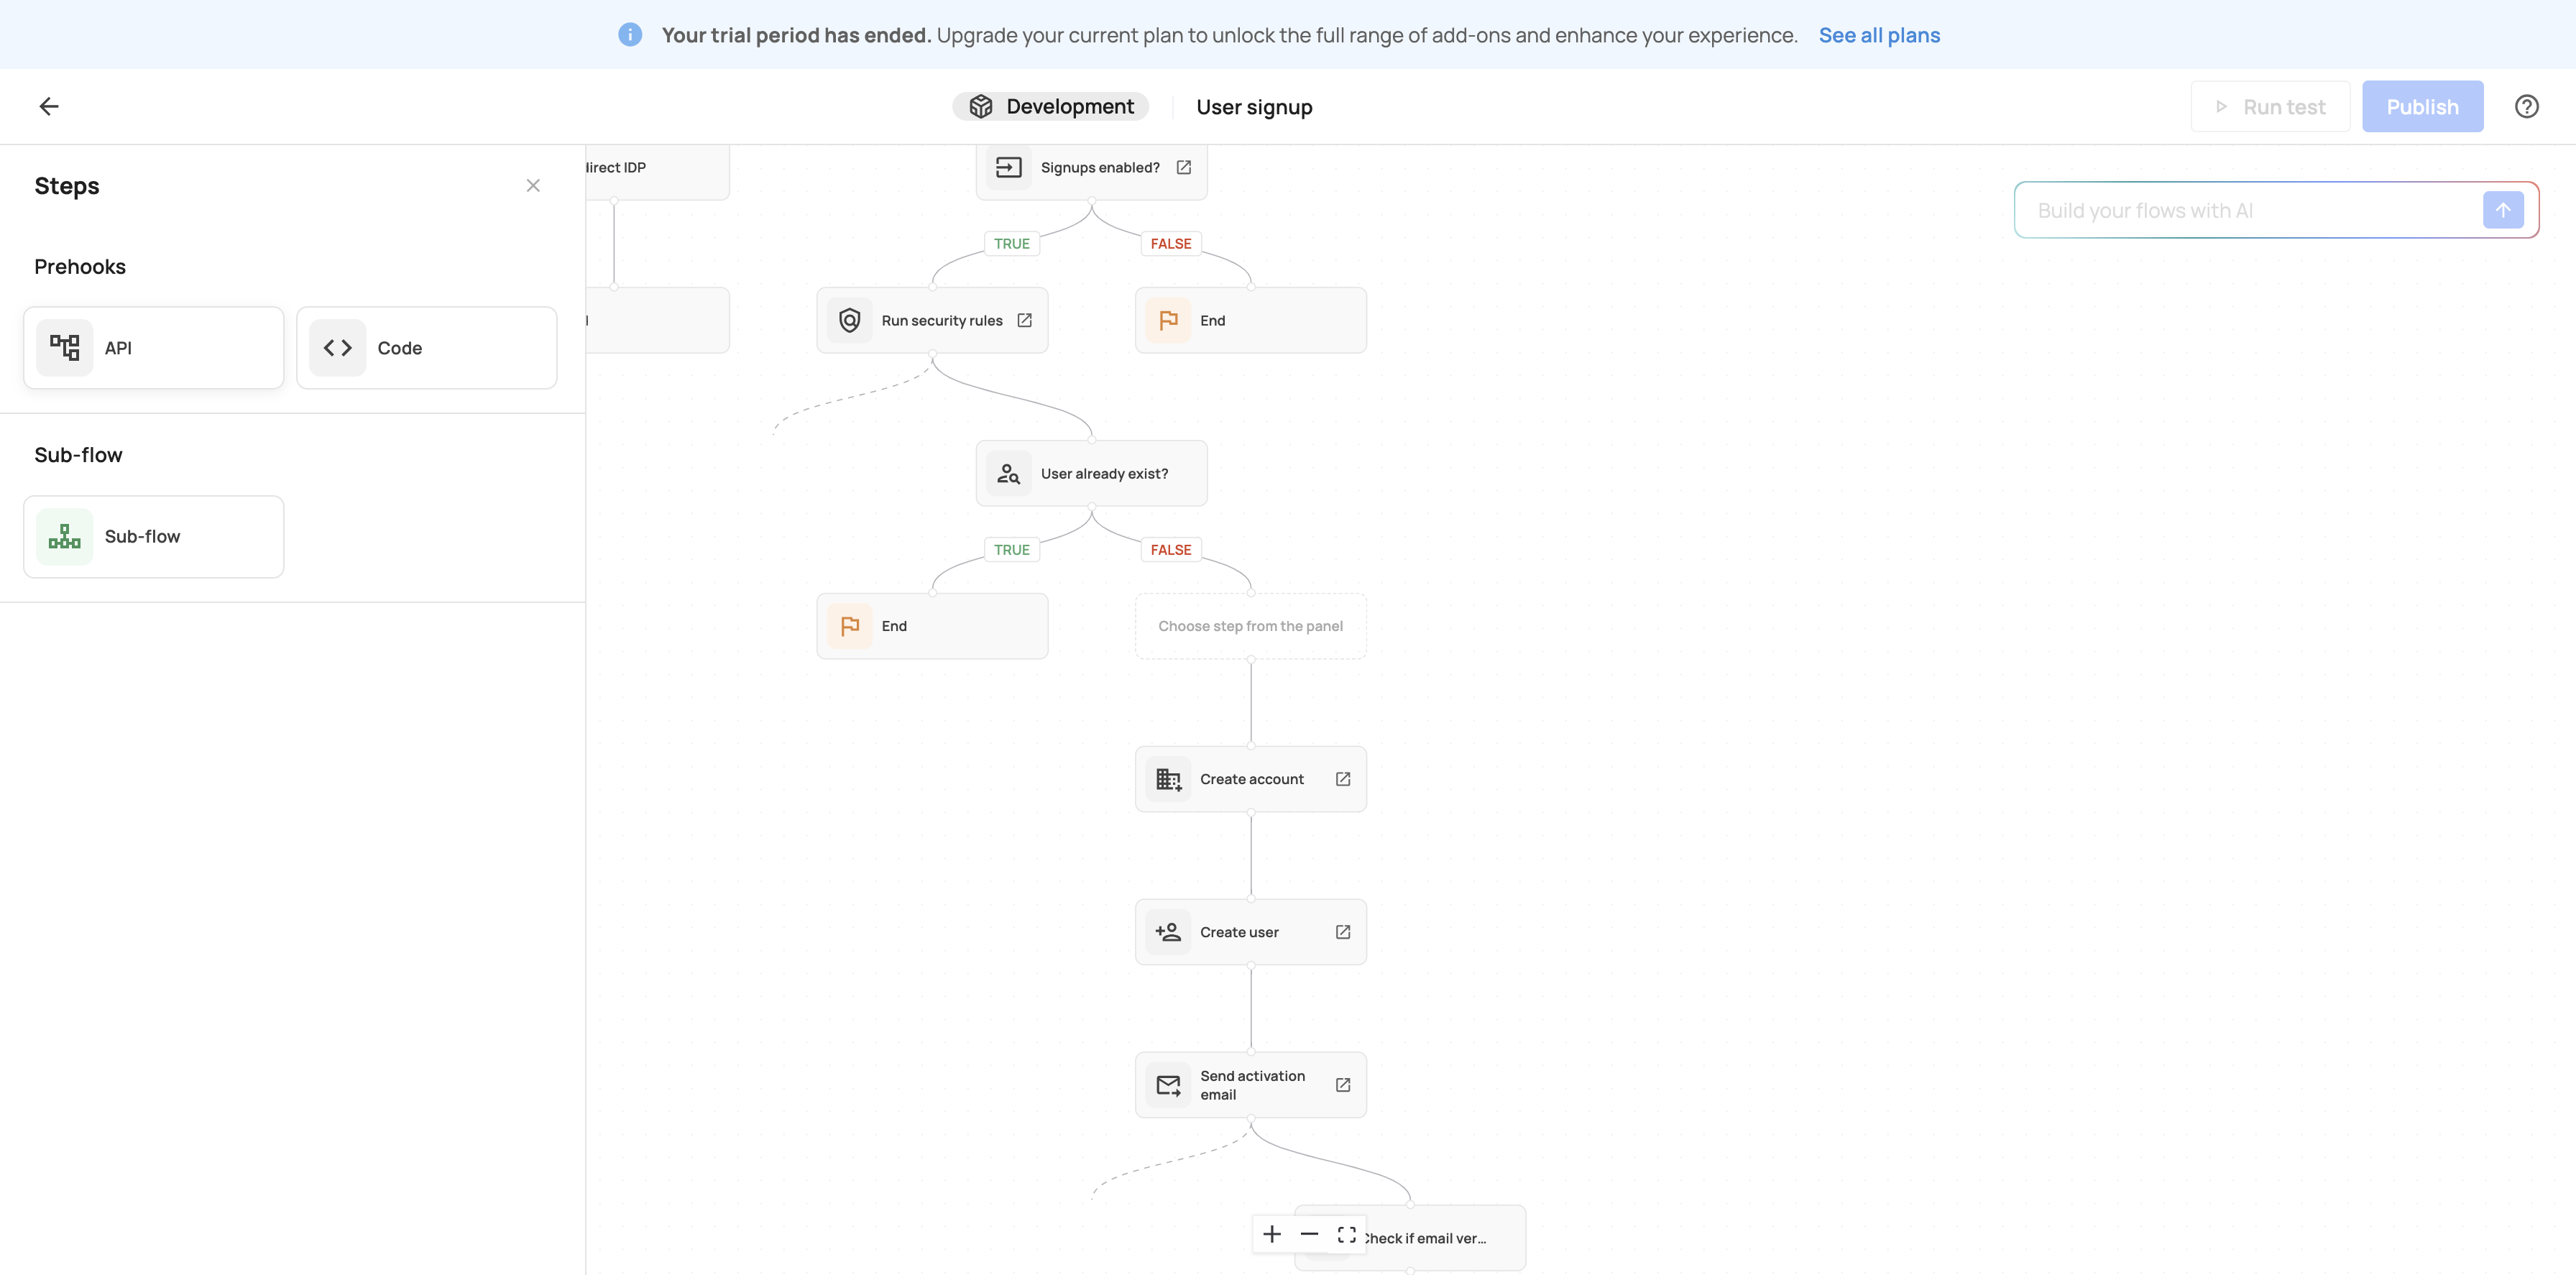
3
Click on "+"
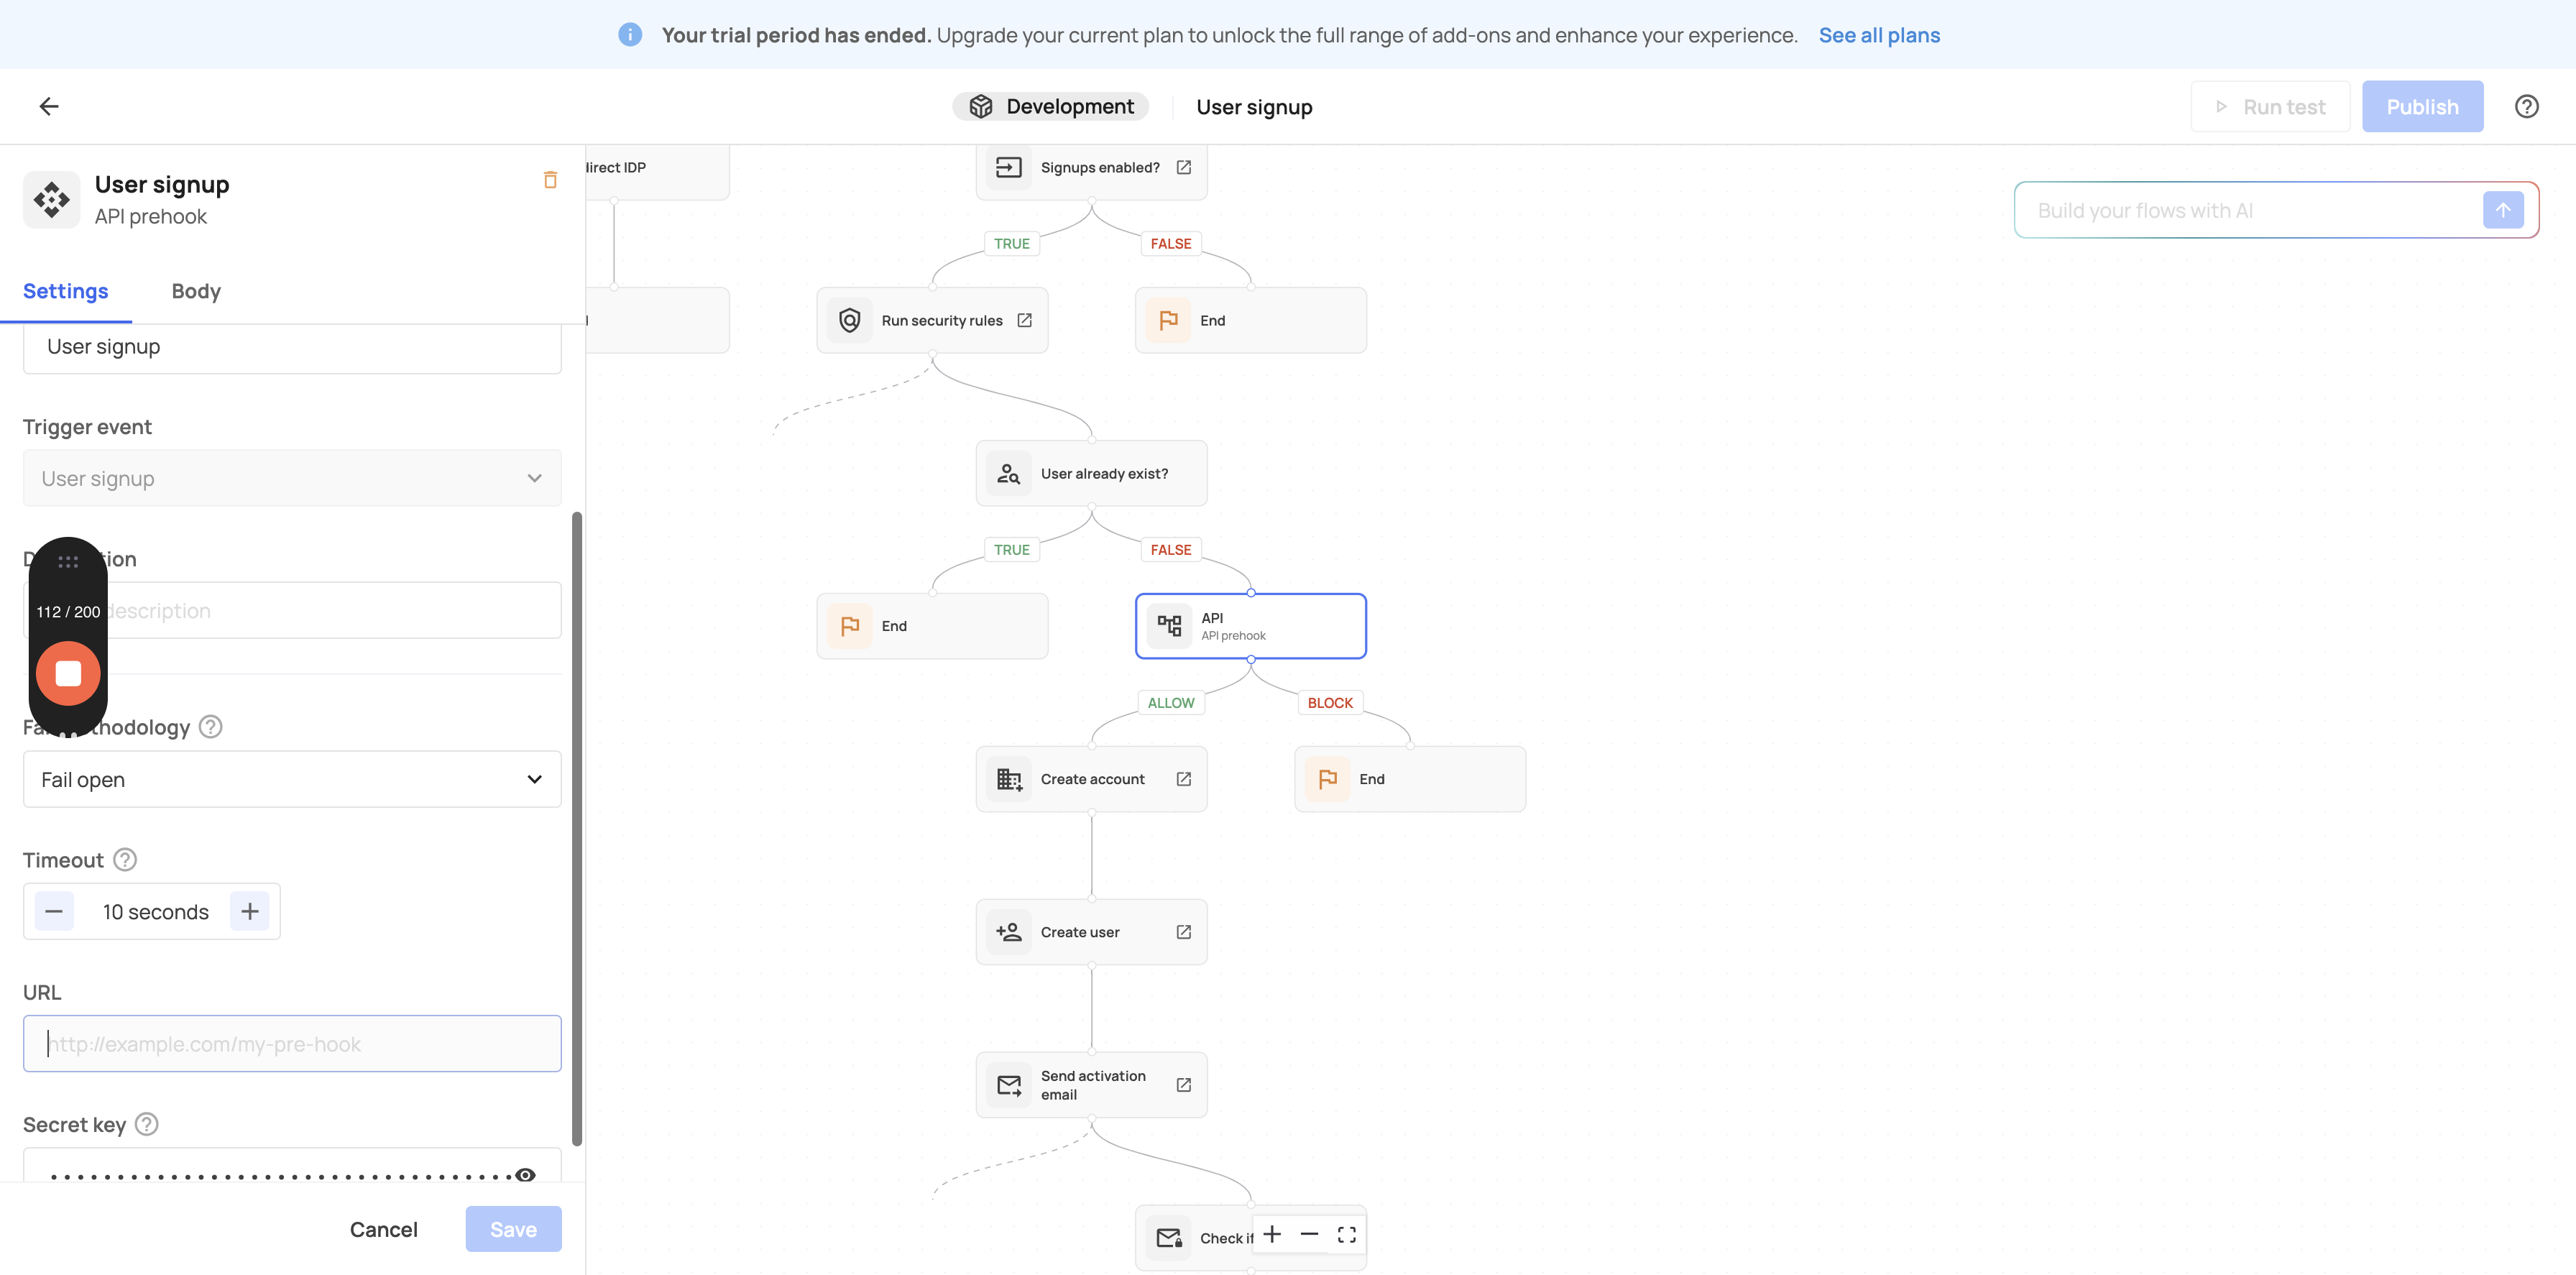
4
Click here
5
Click here

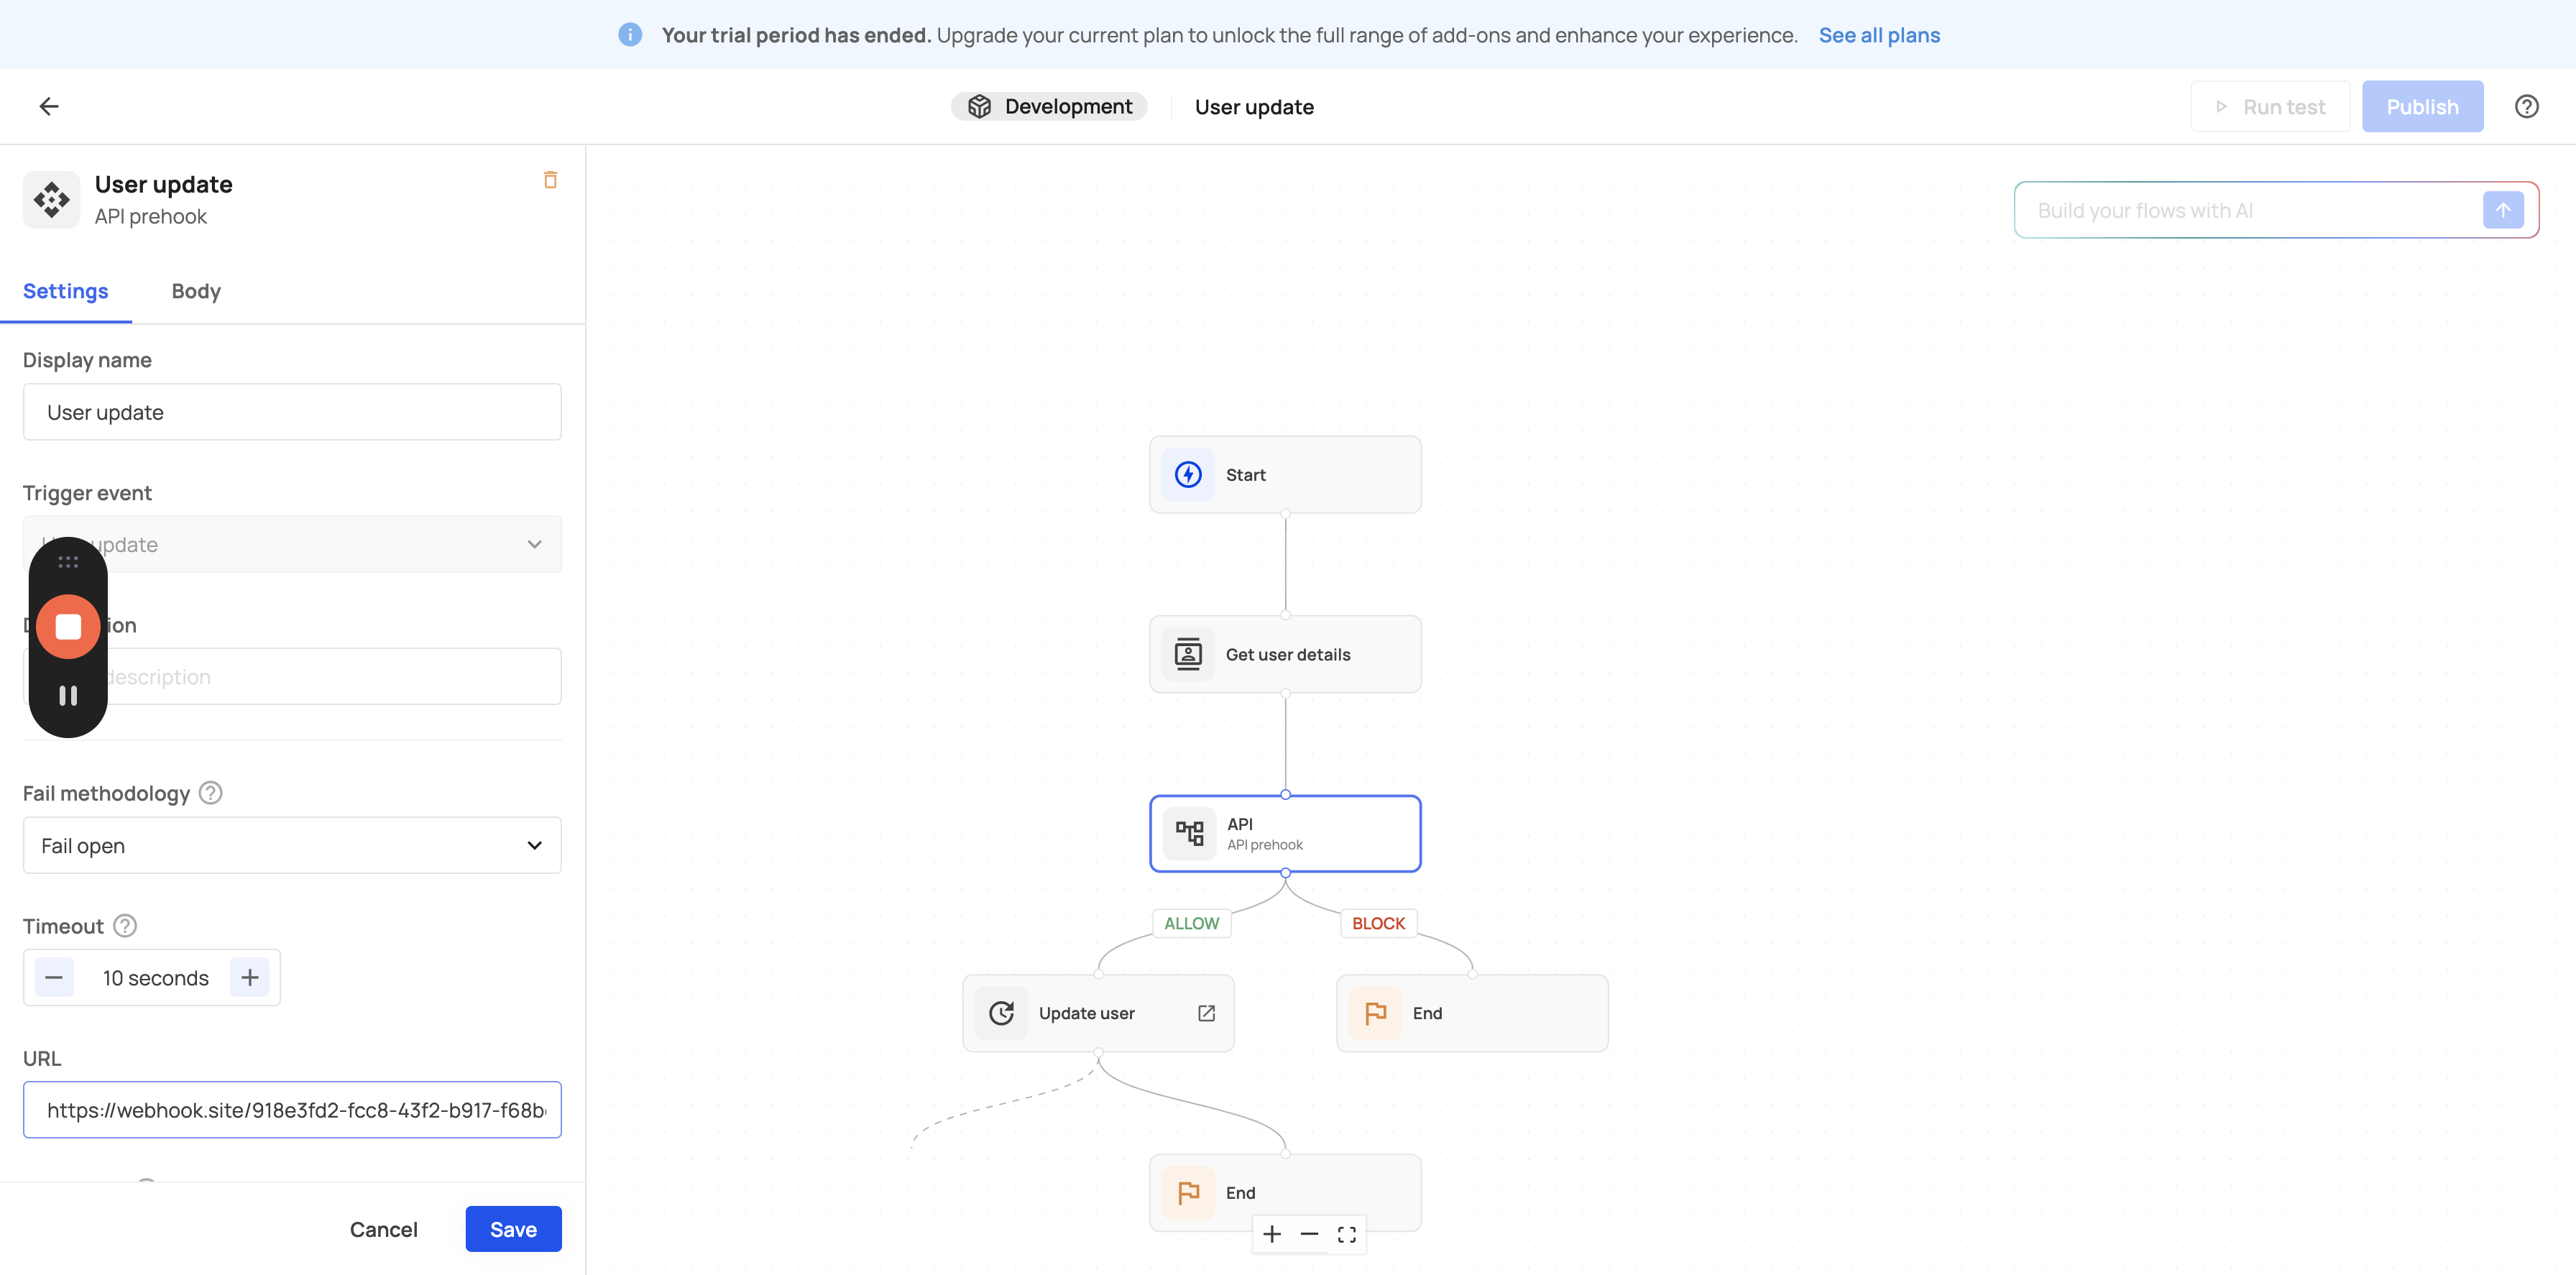
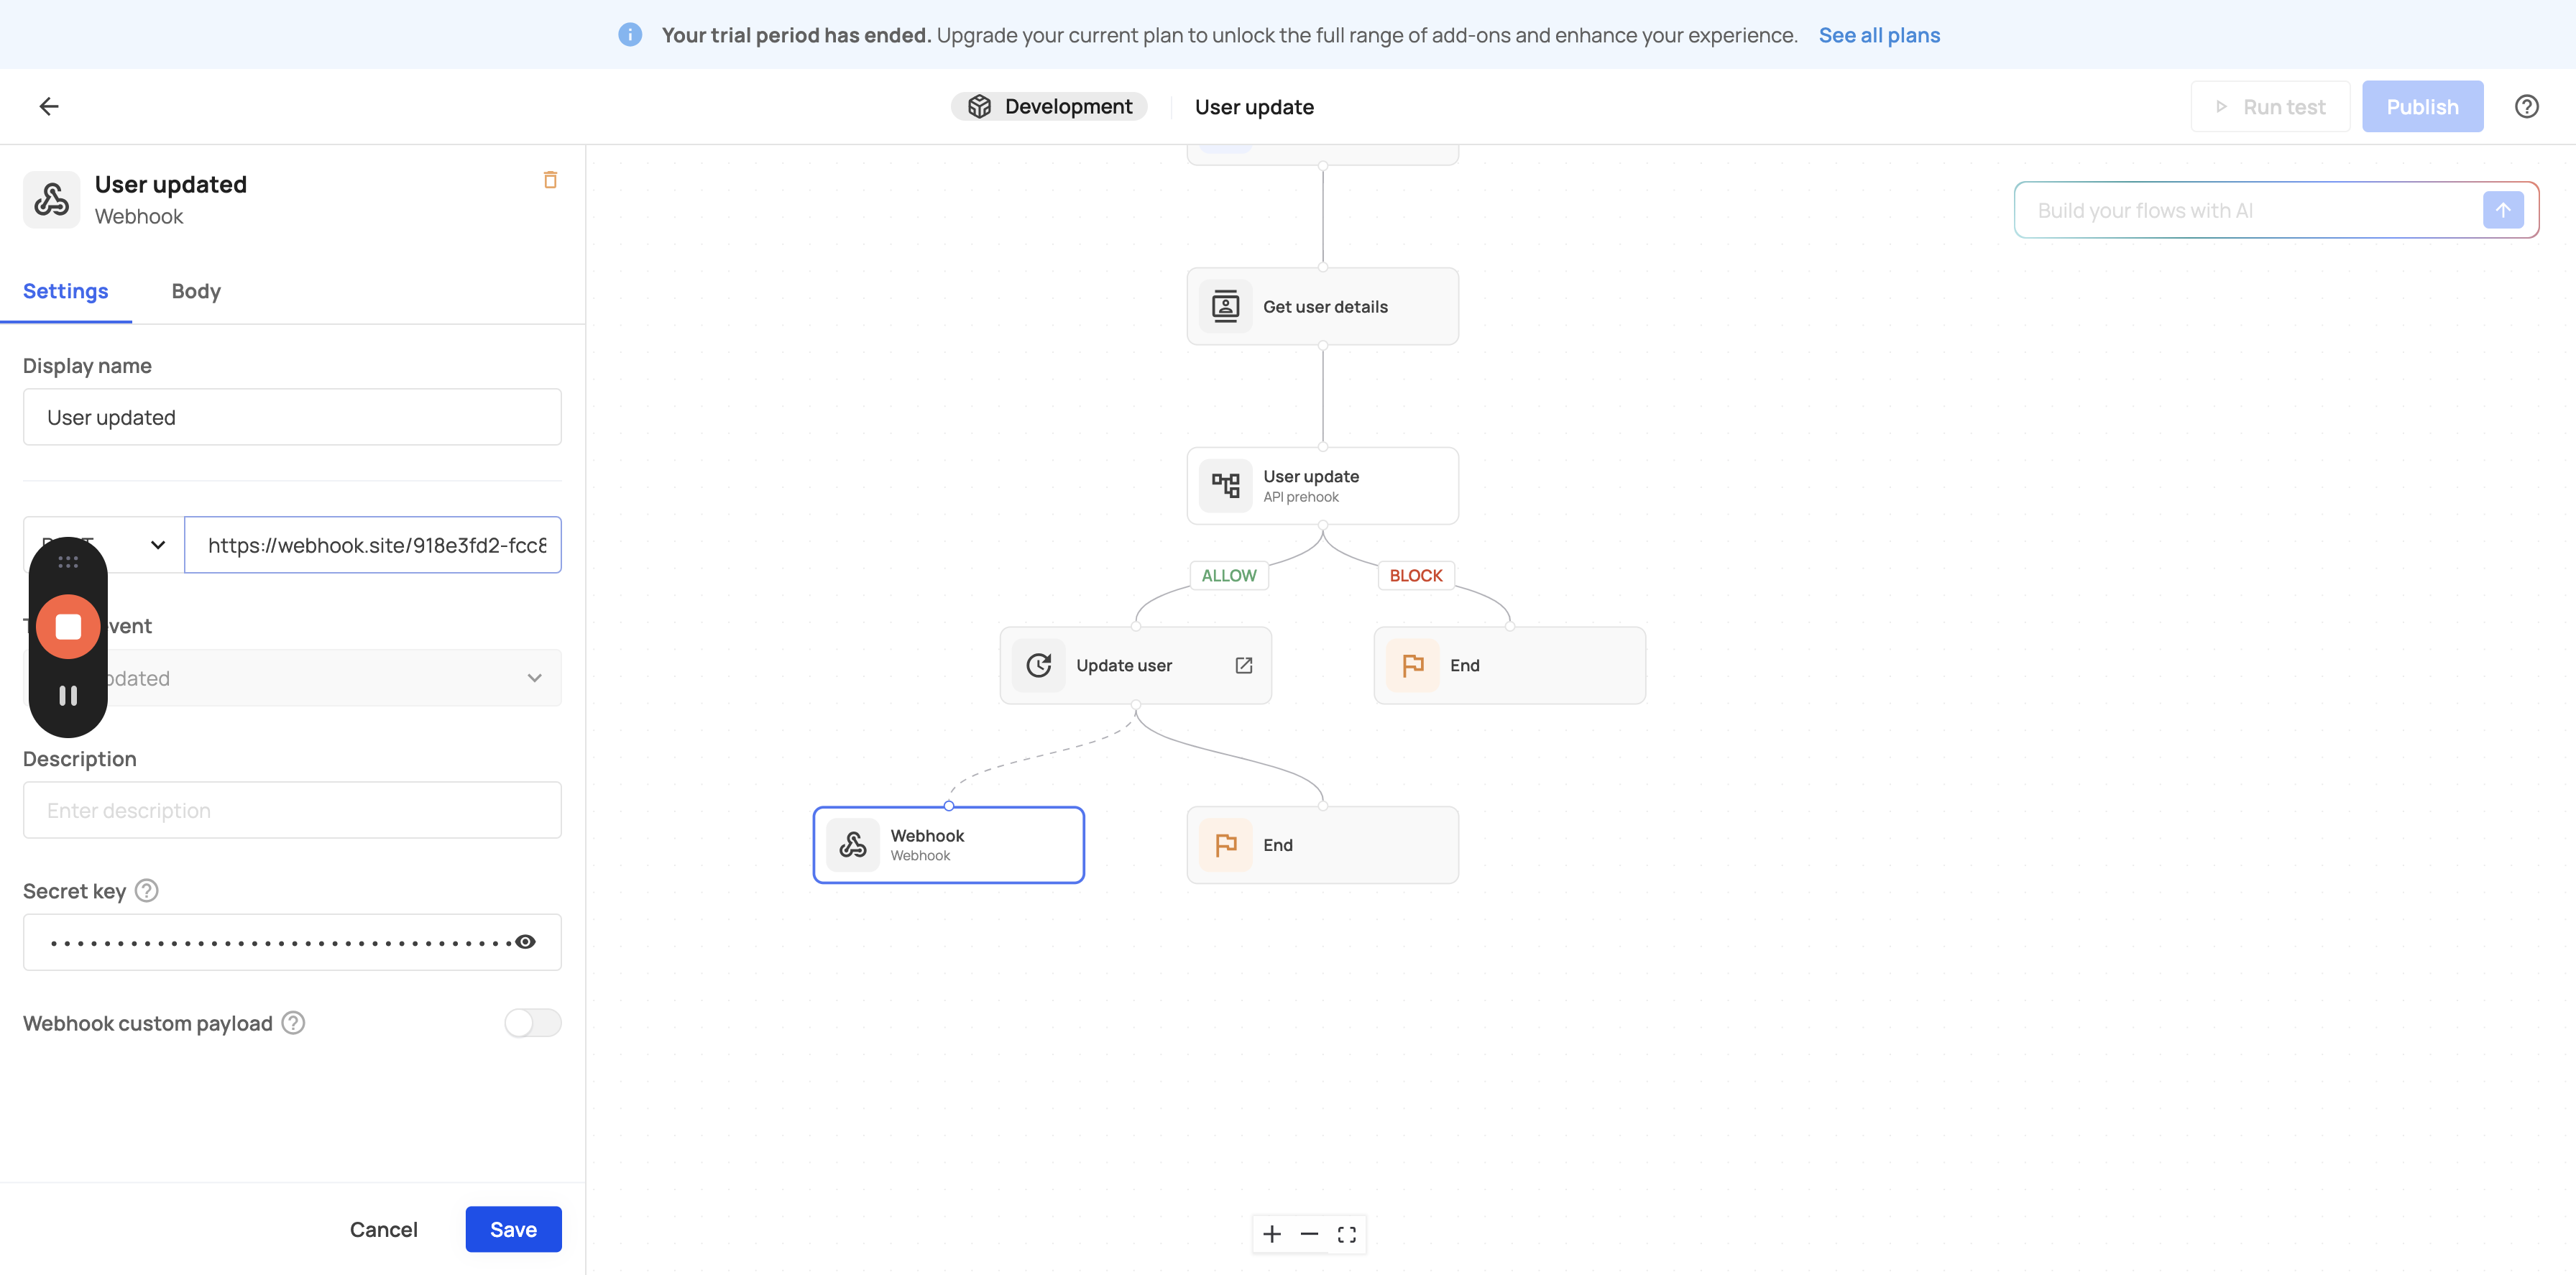
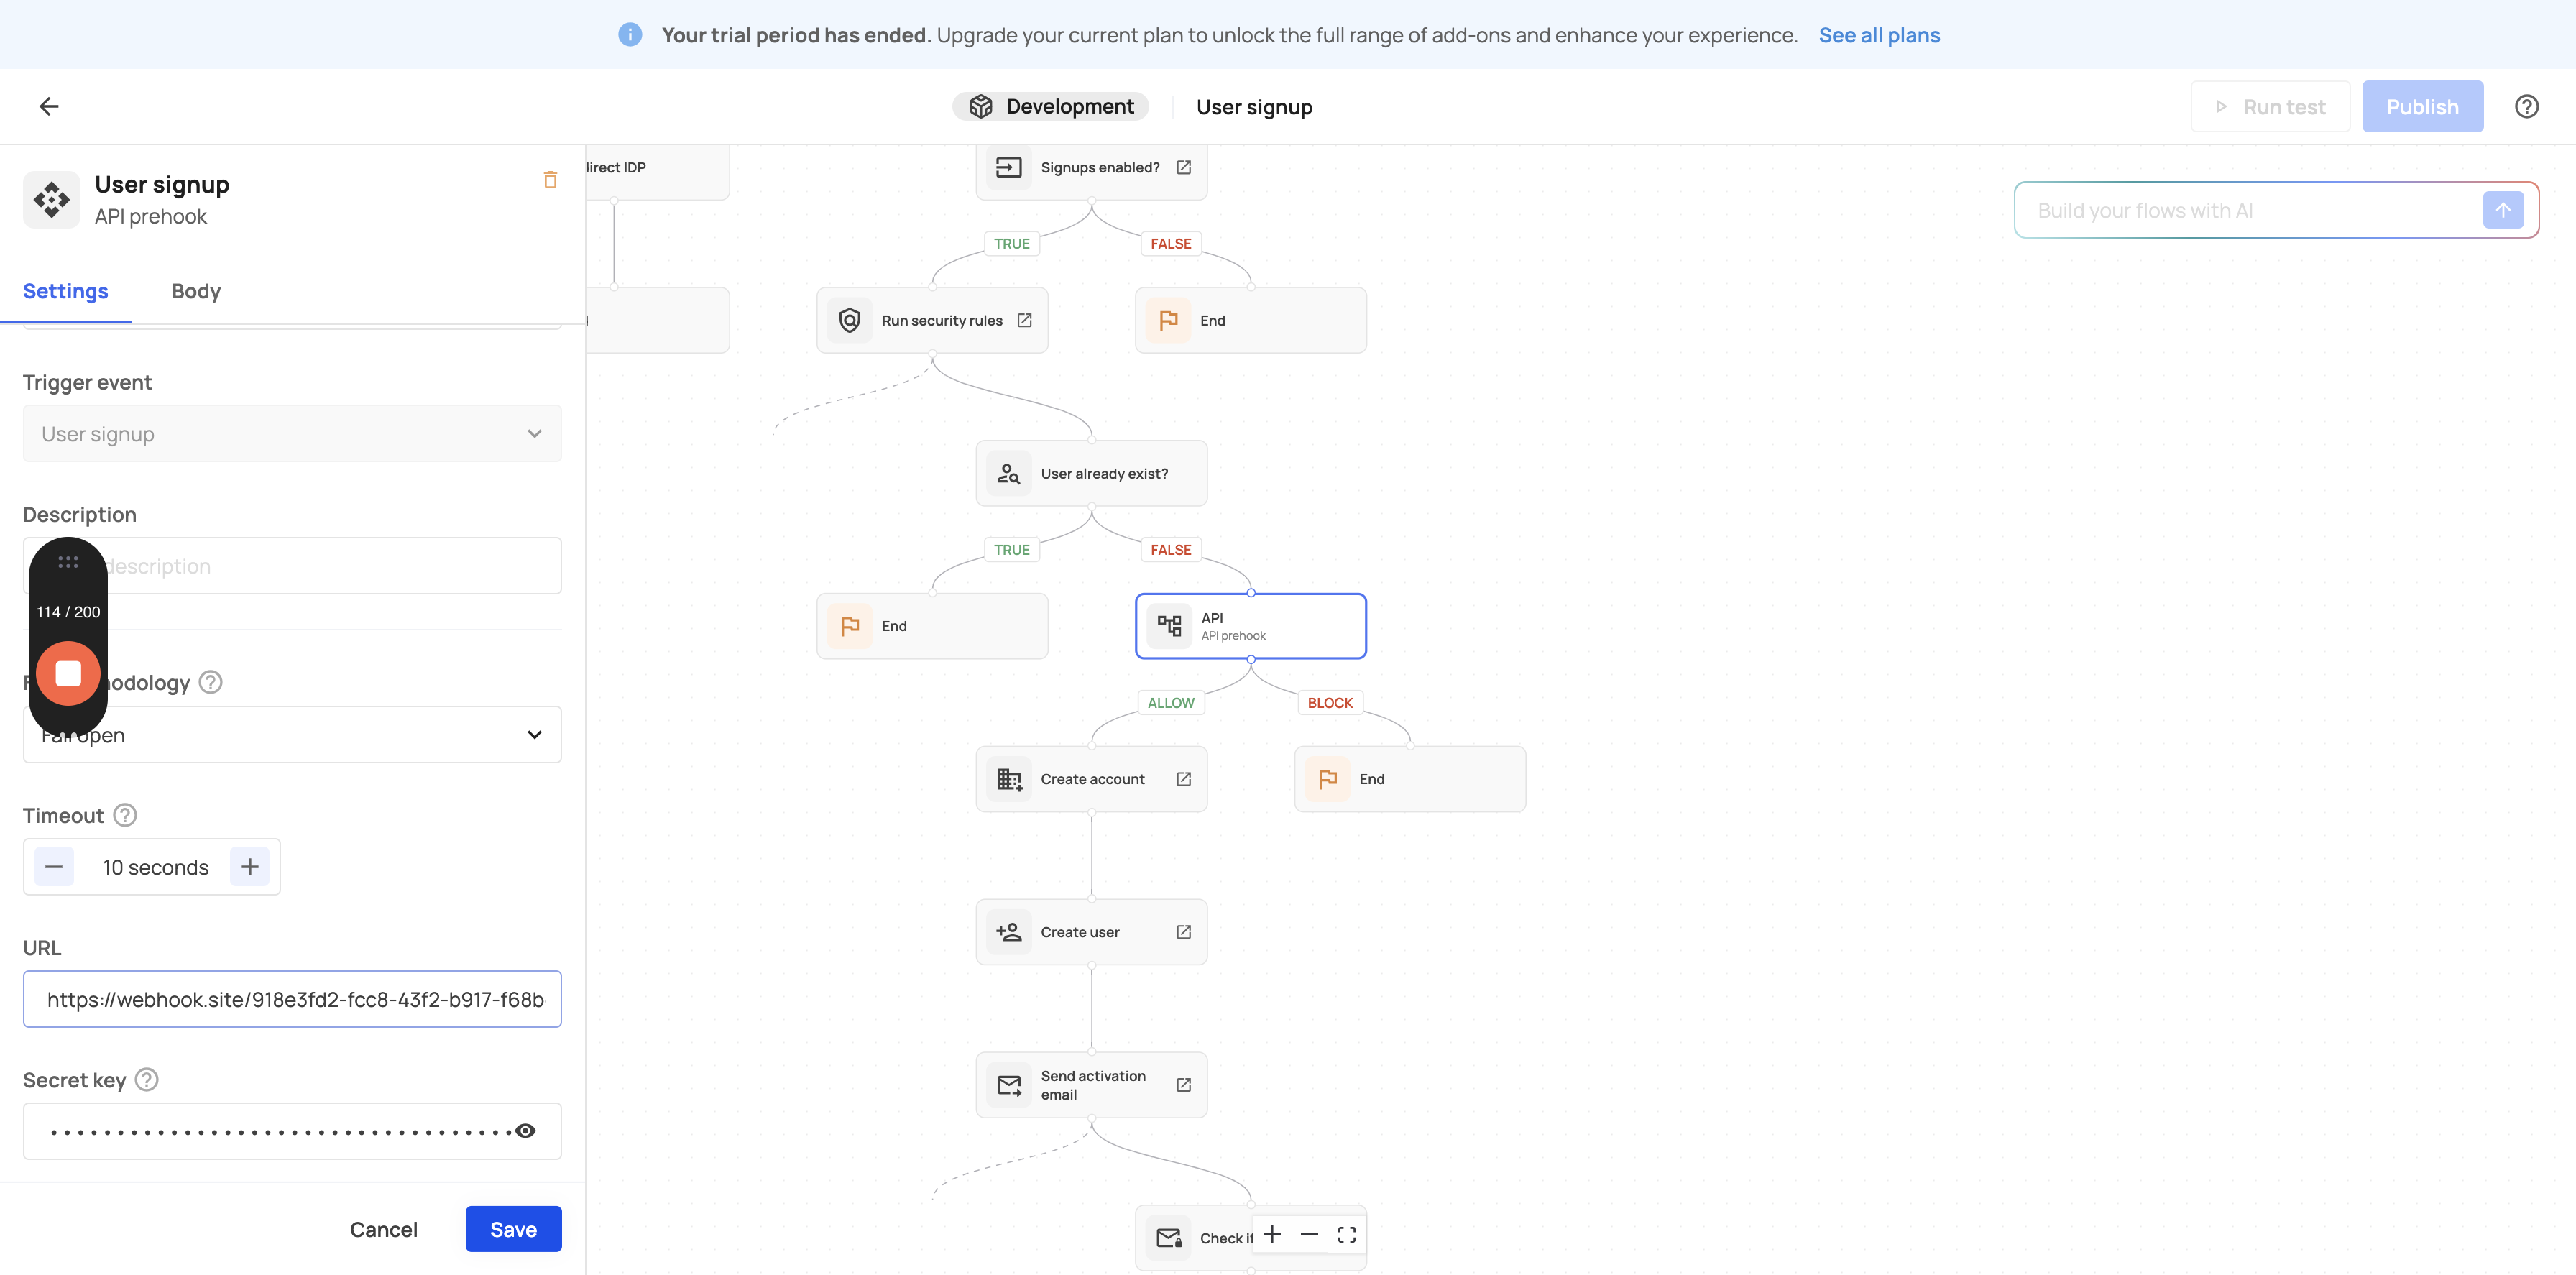
6
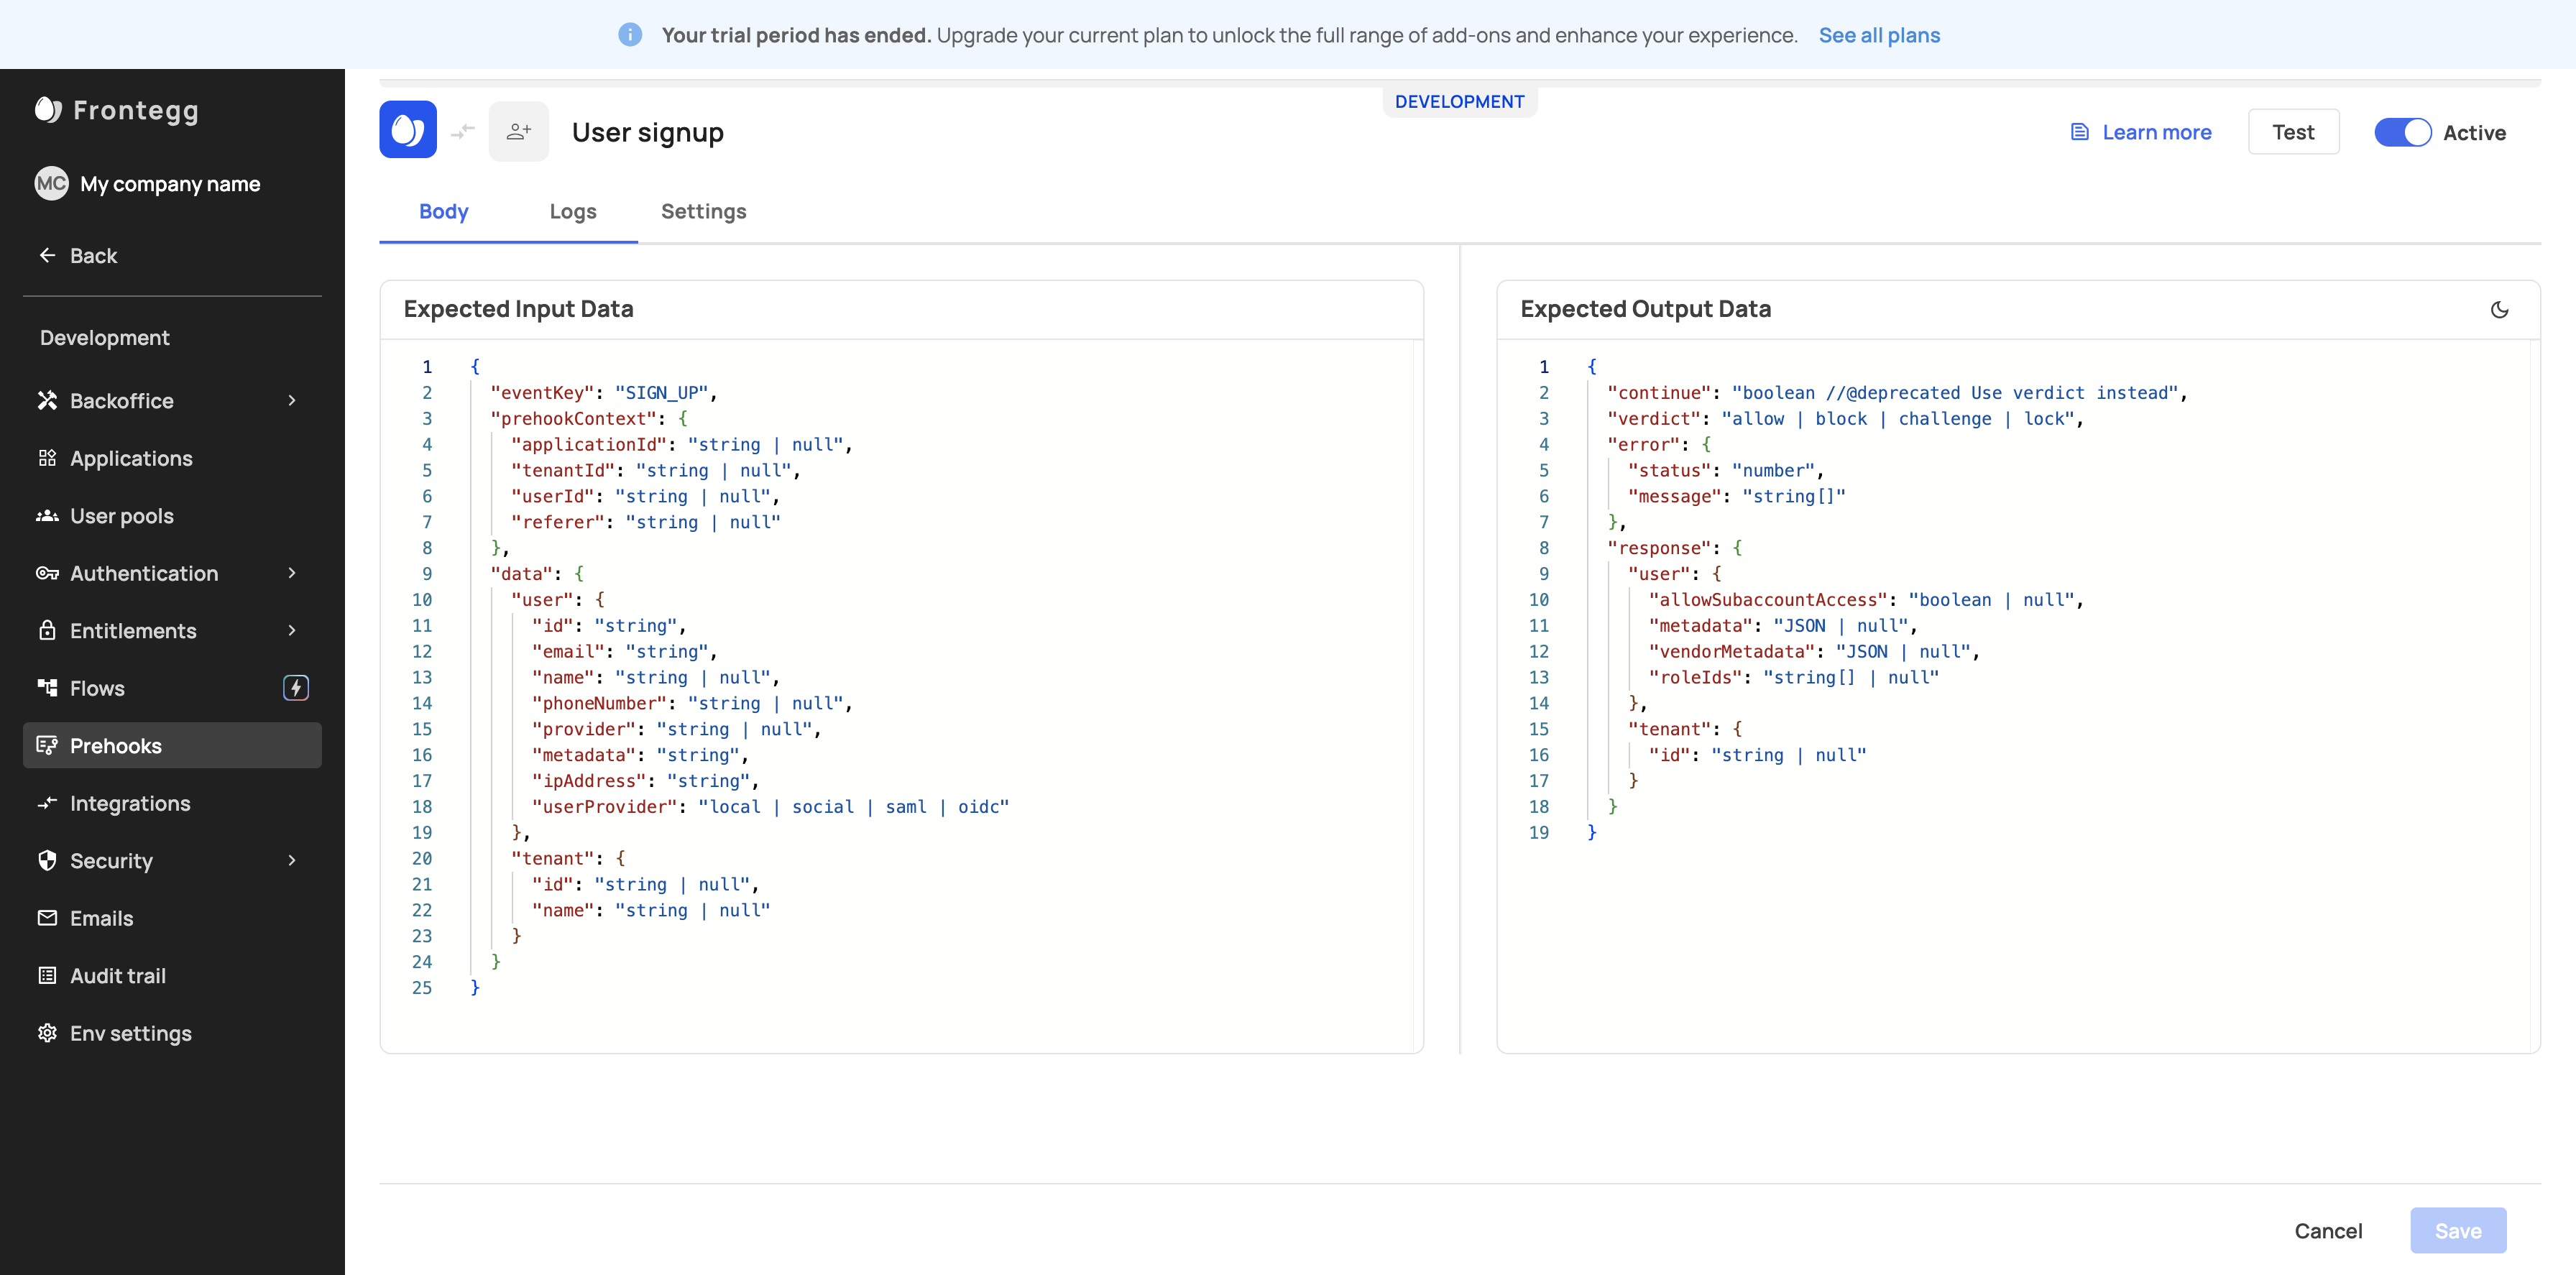
Click on "http://example.com/my-pre-hook"

7
Type "Cmd + V"
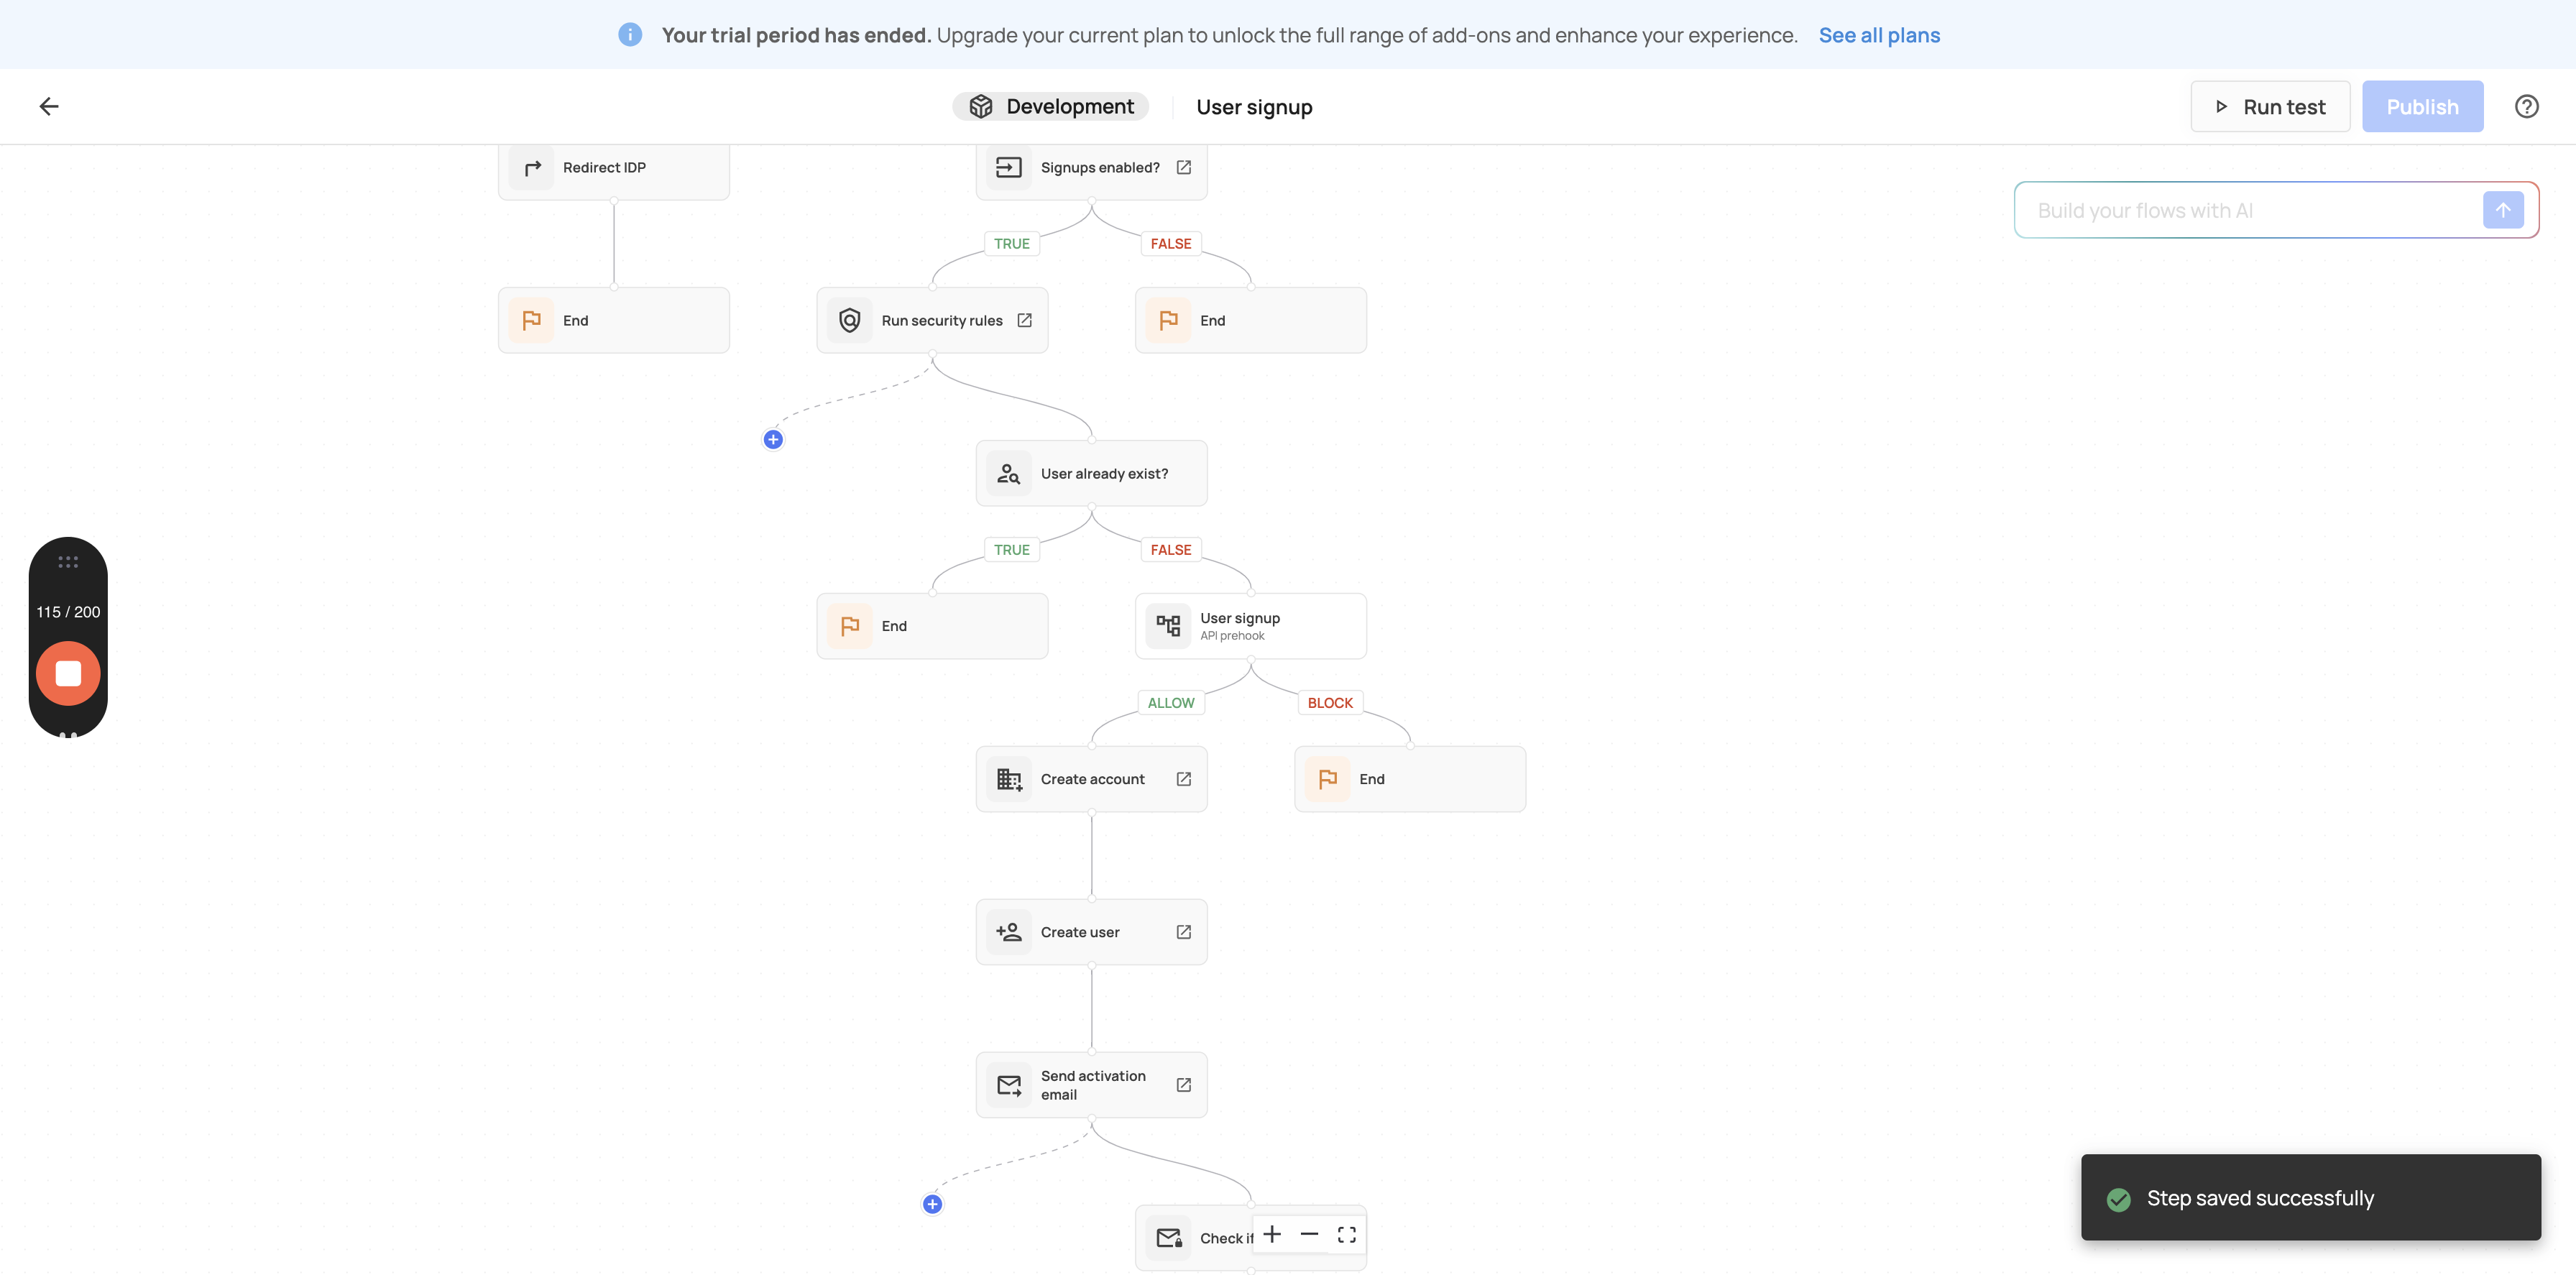
8
Click on "Save"
9
Click here

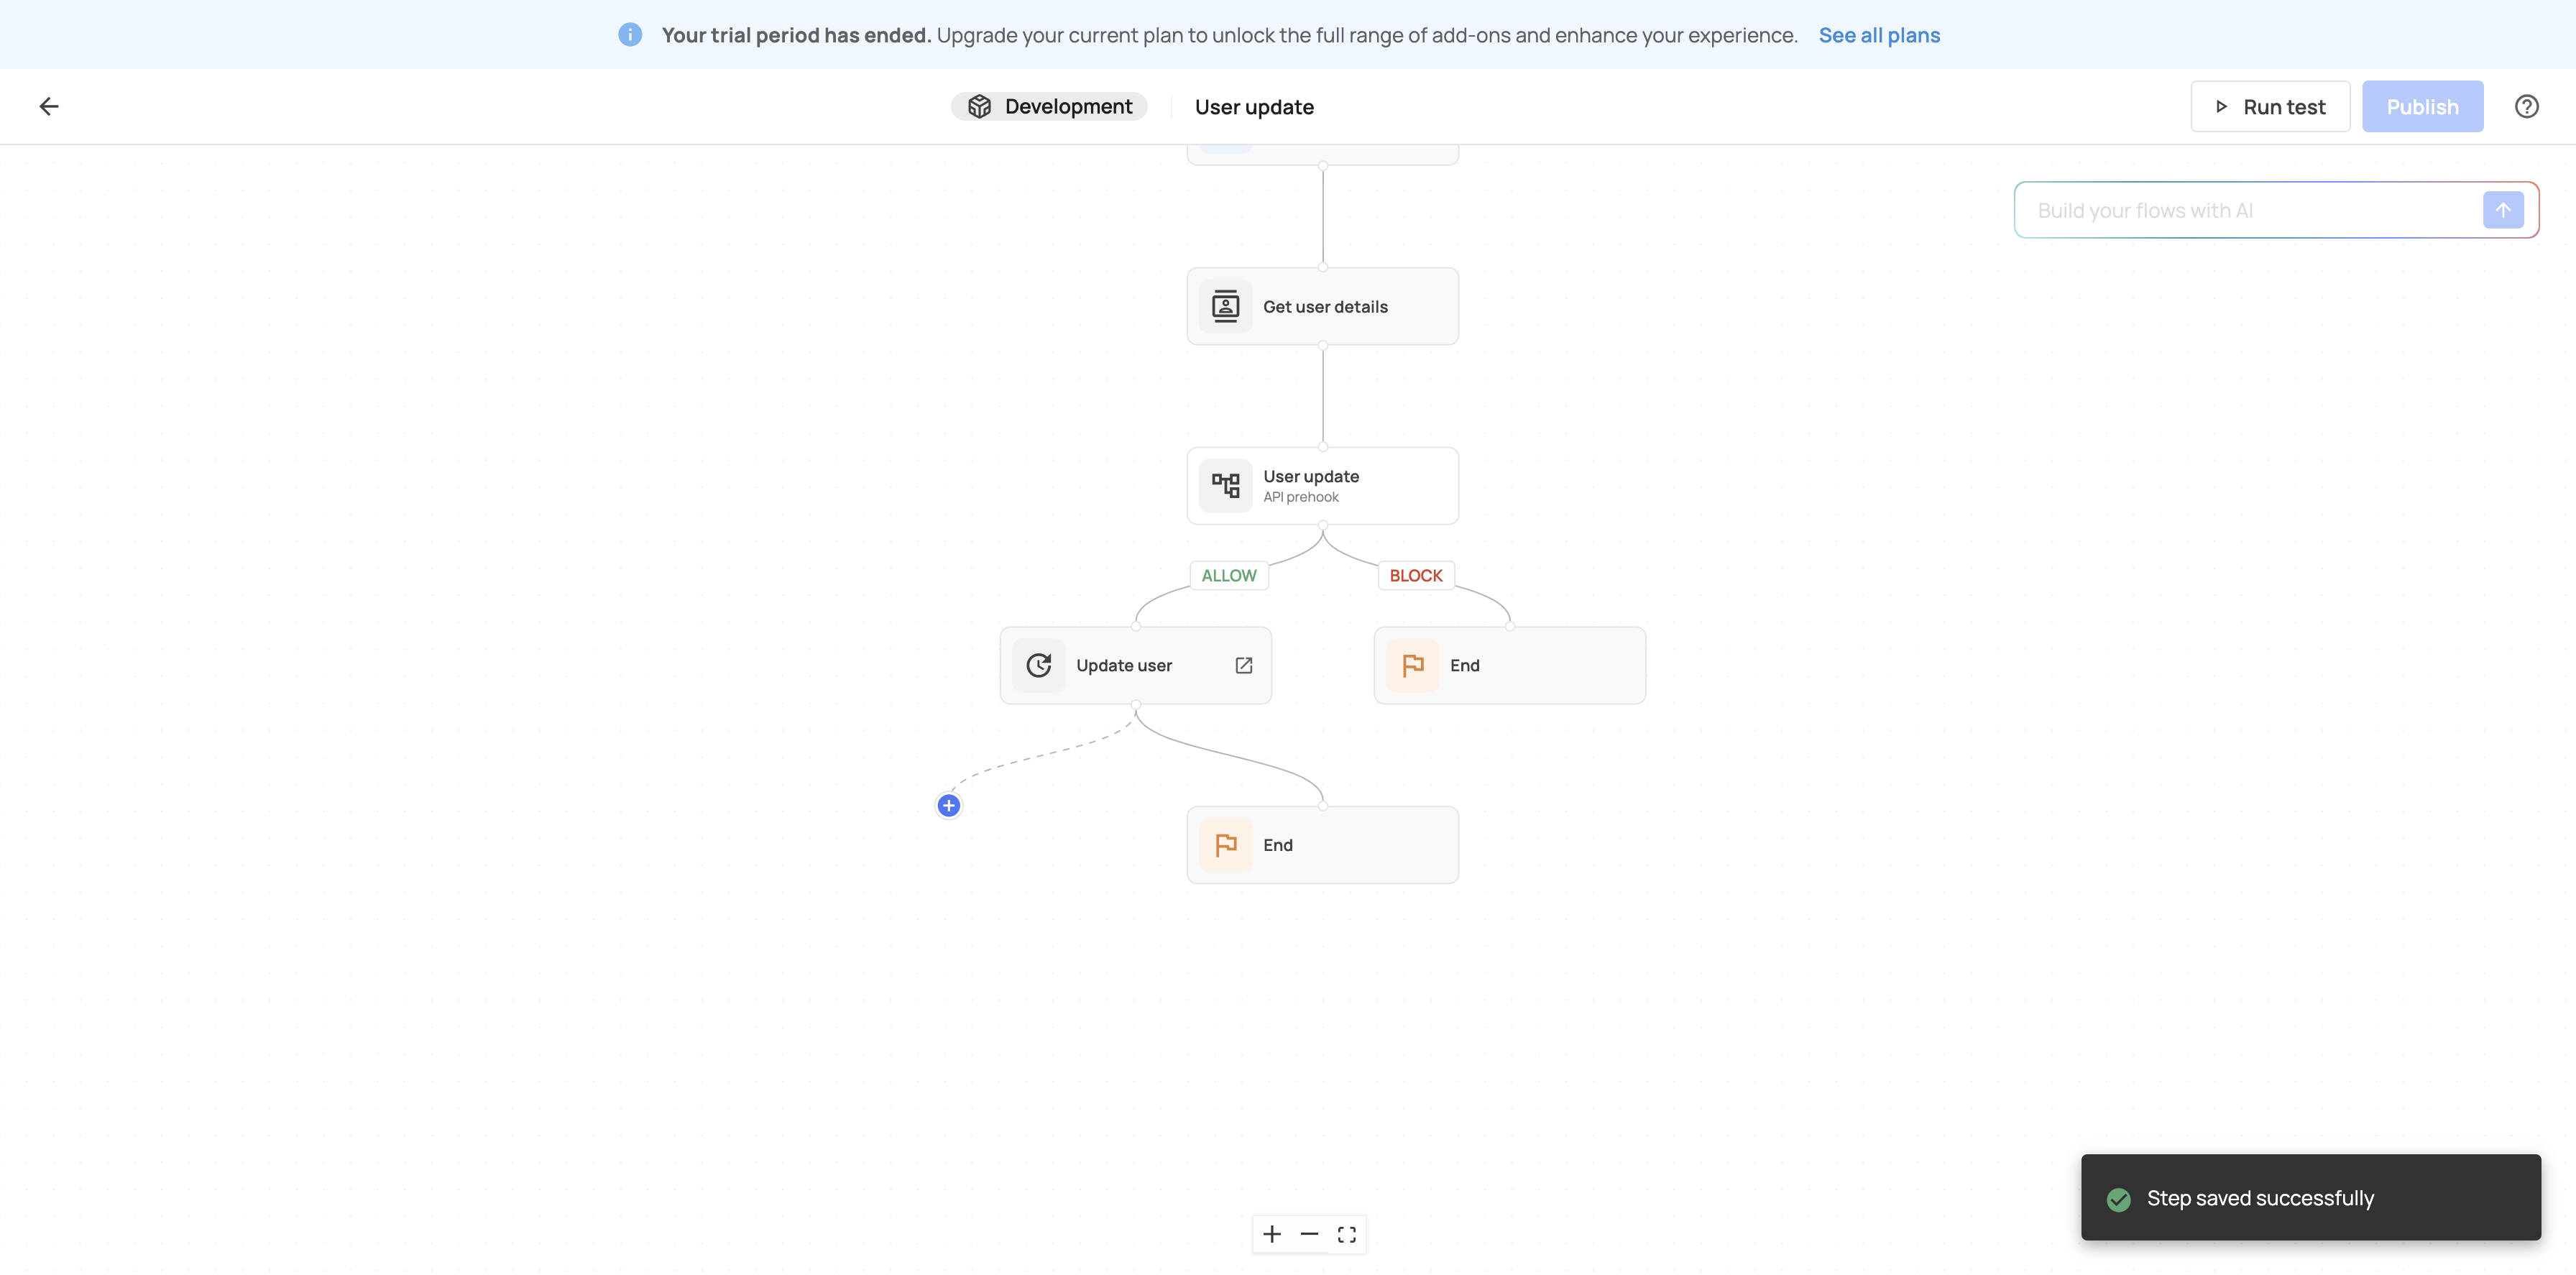
10
Click on "+"
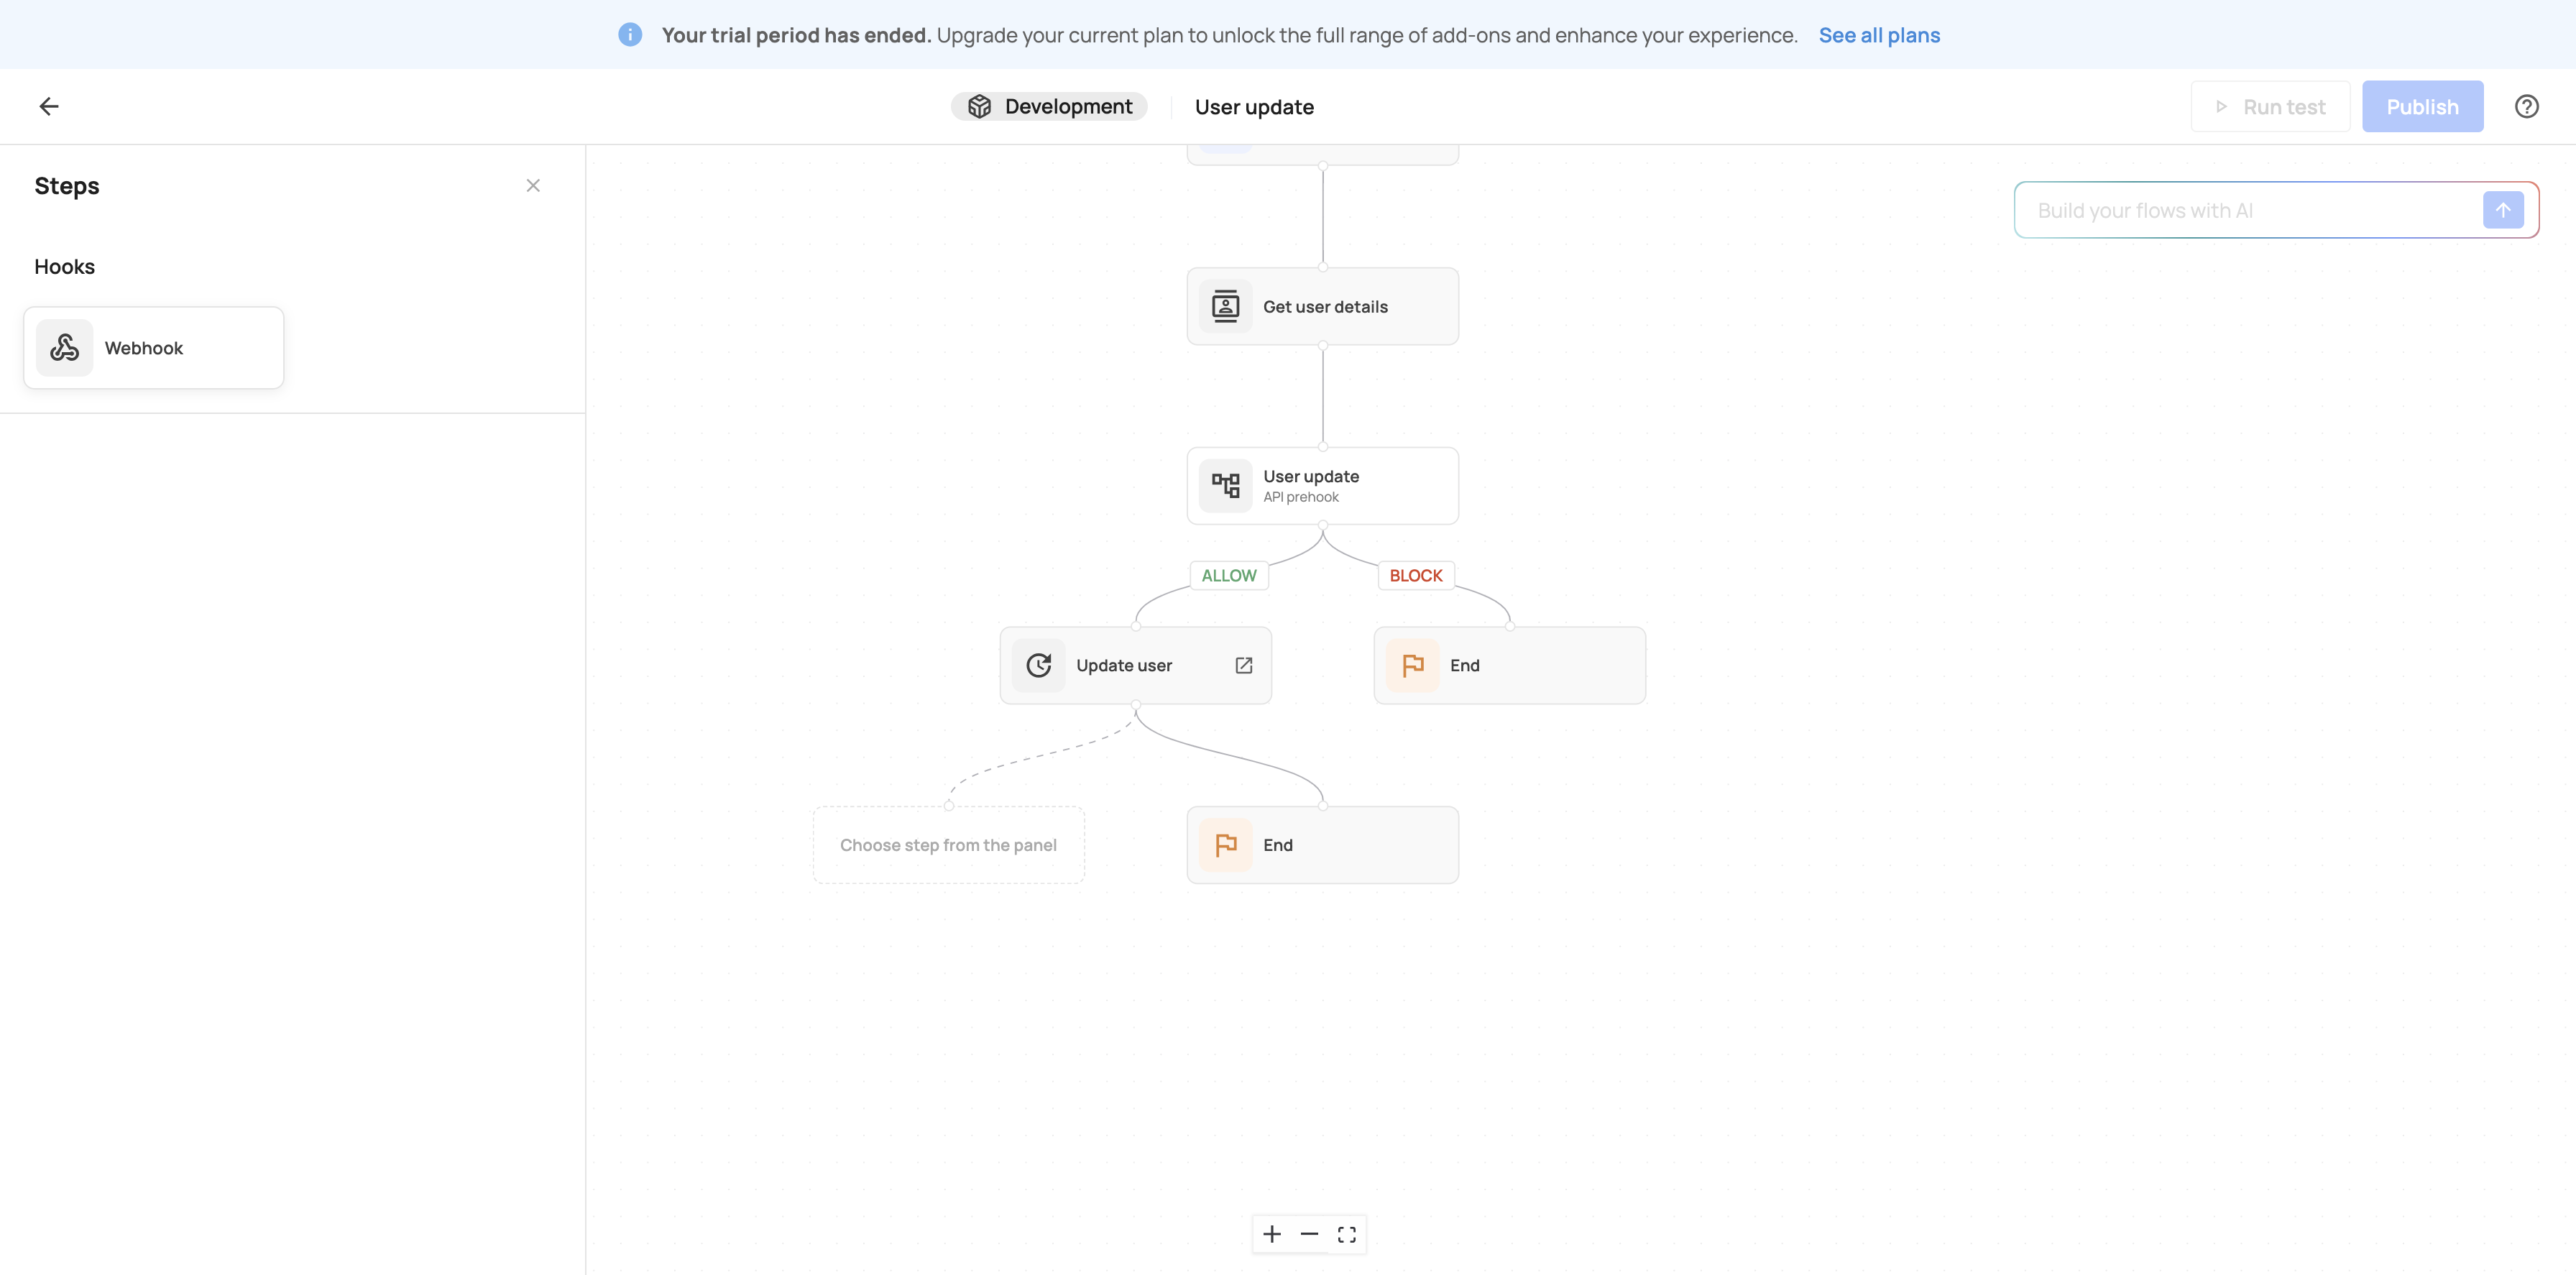
11
Click here
12
Click on "https://api.myapp.com/my-webhook"
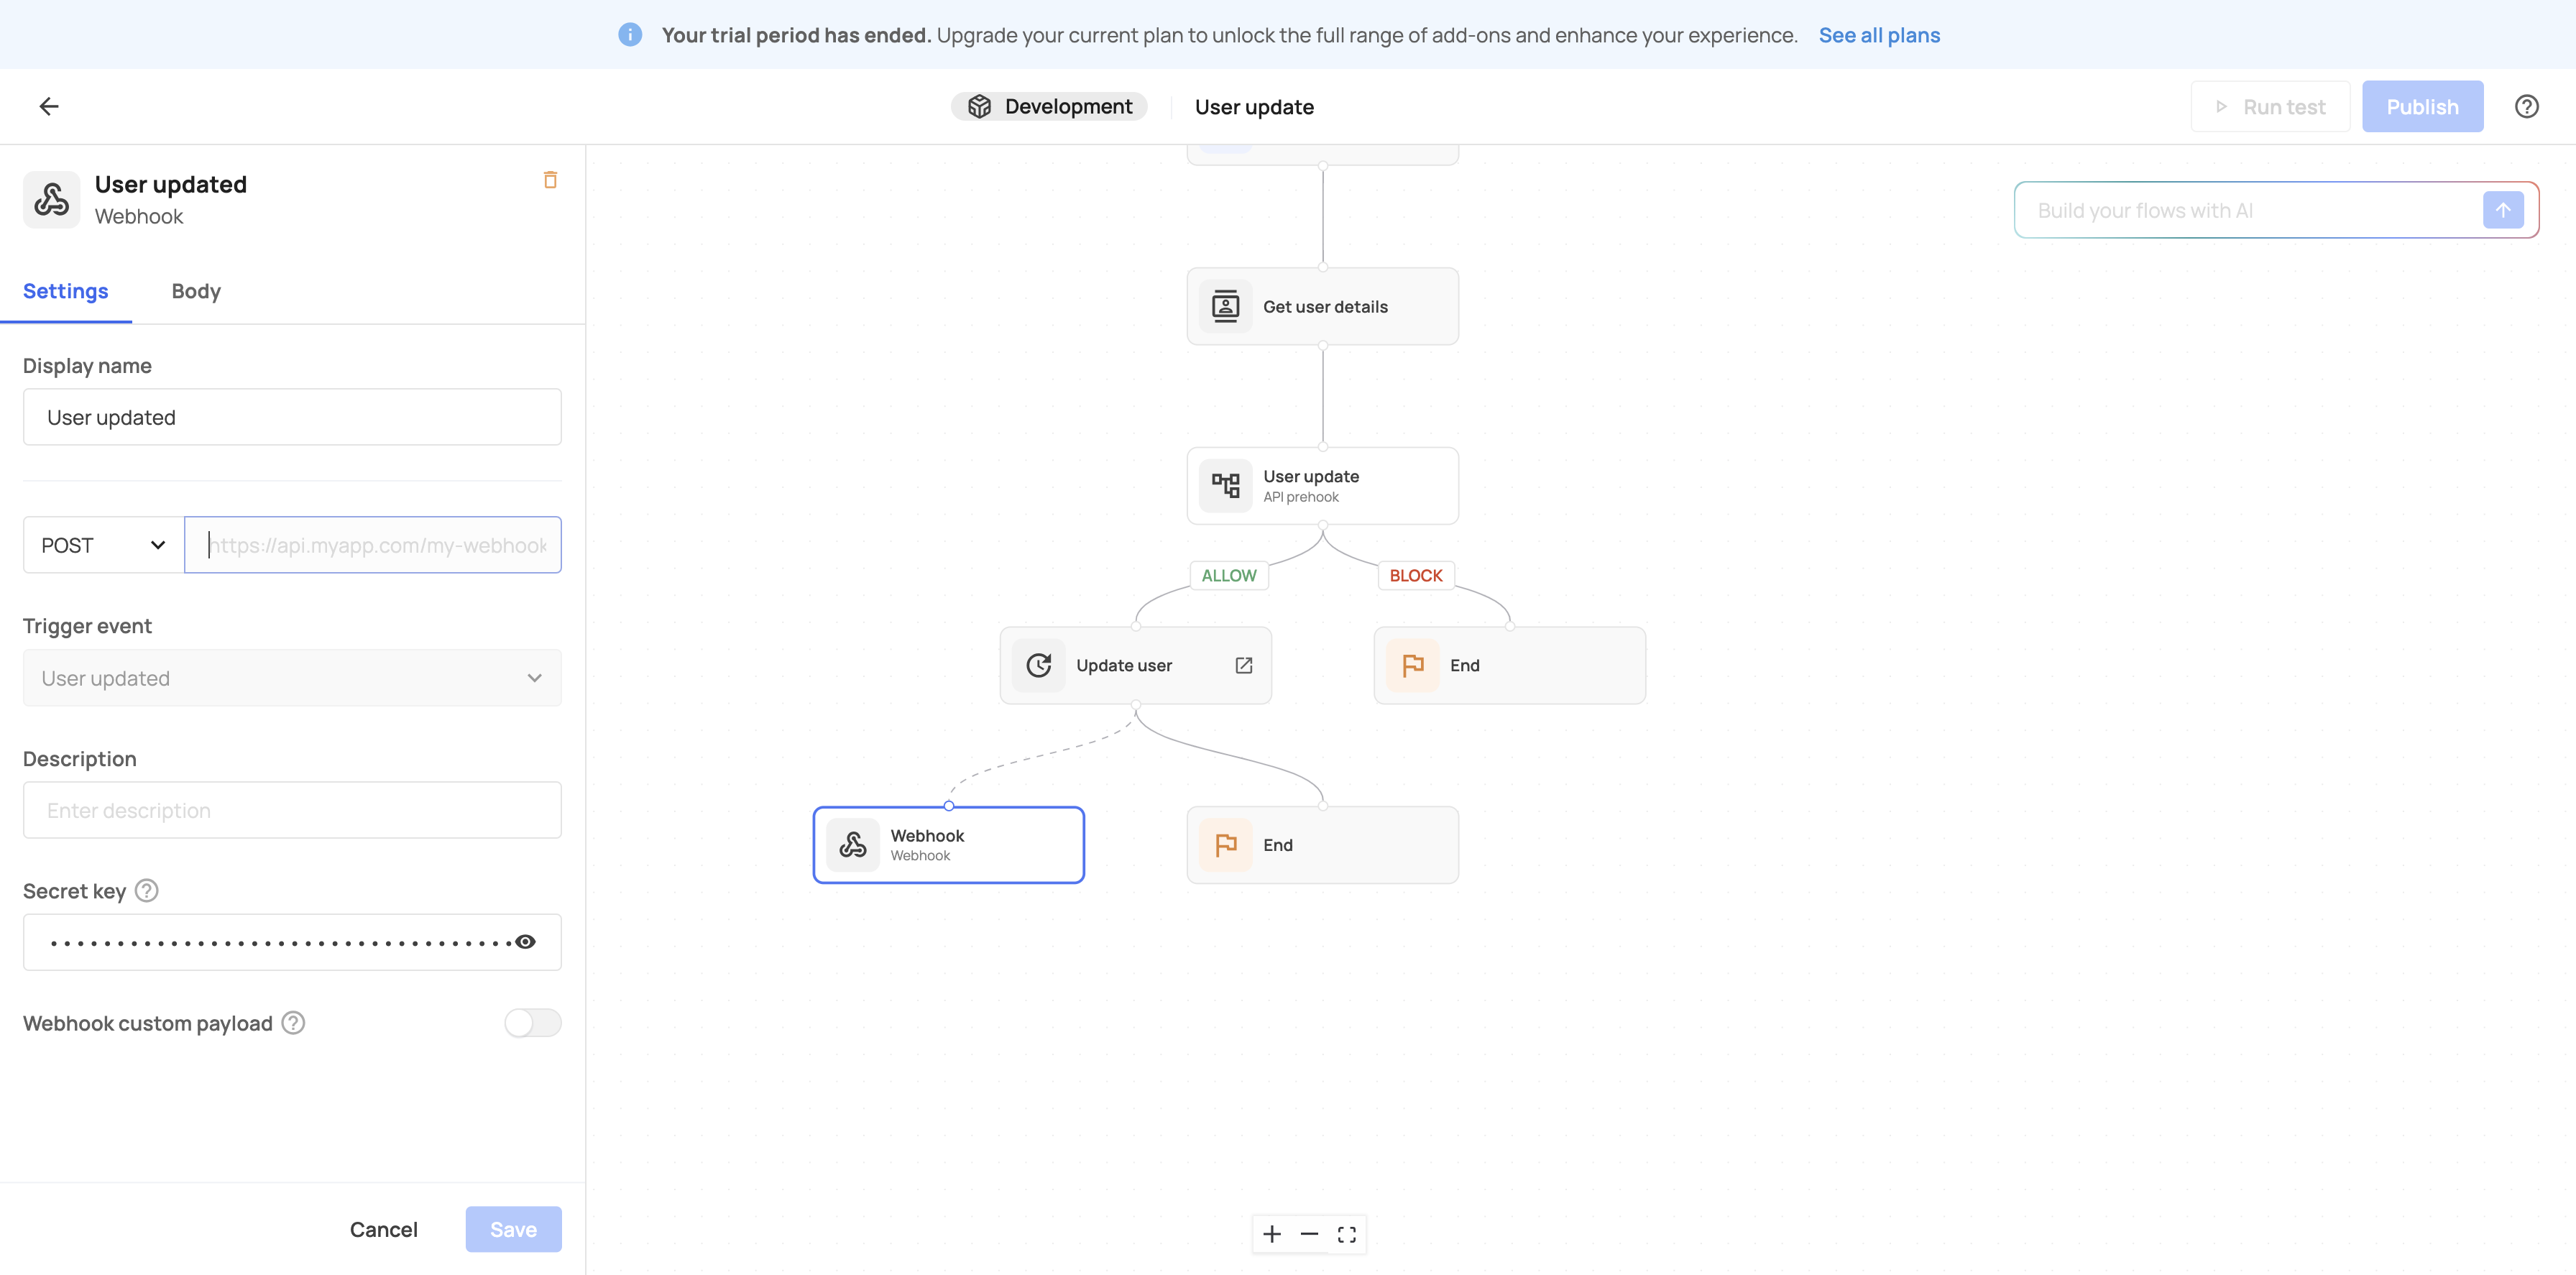
13
Type "Cmd + V"
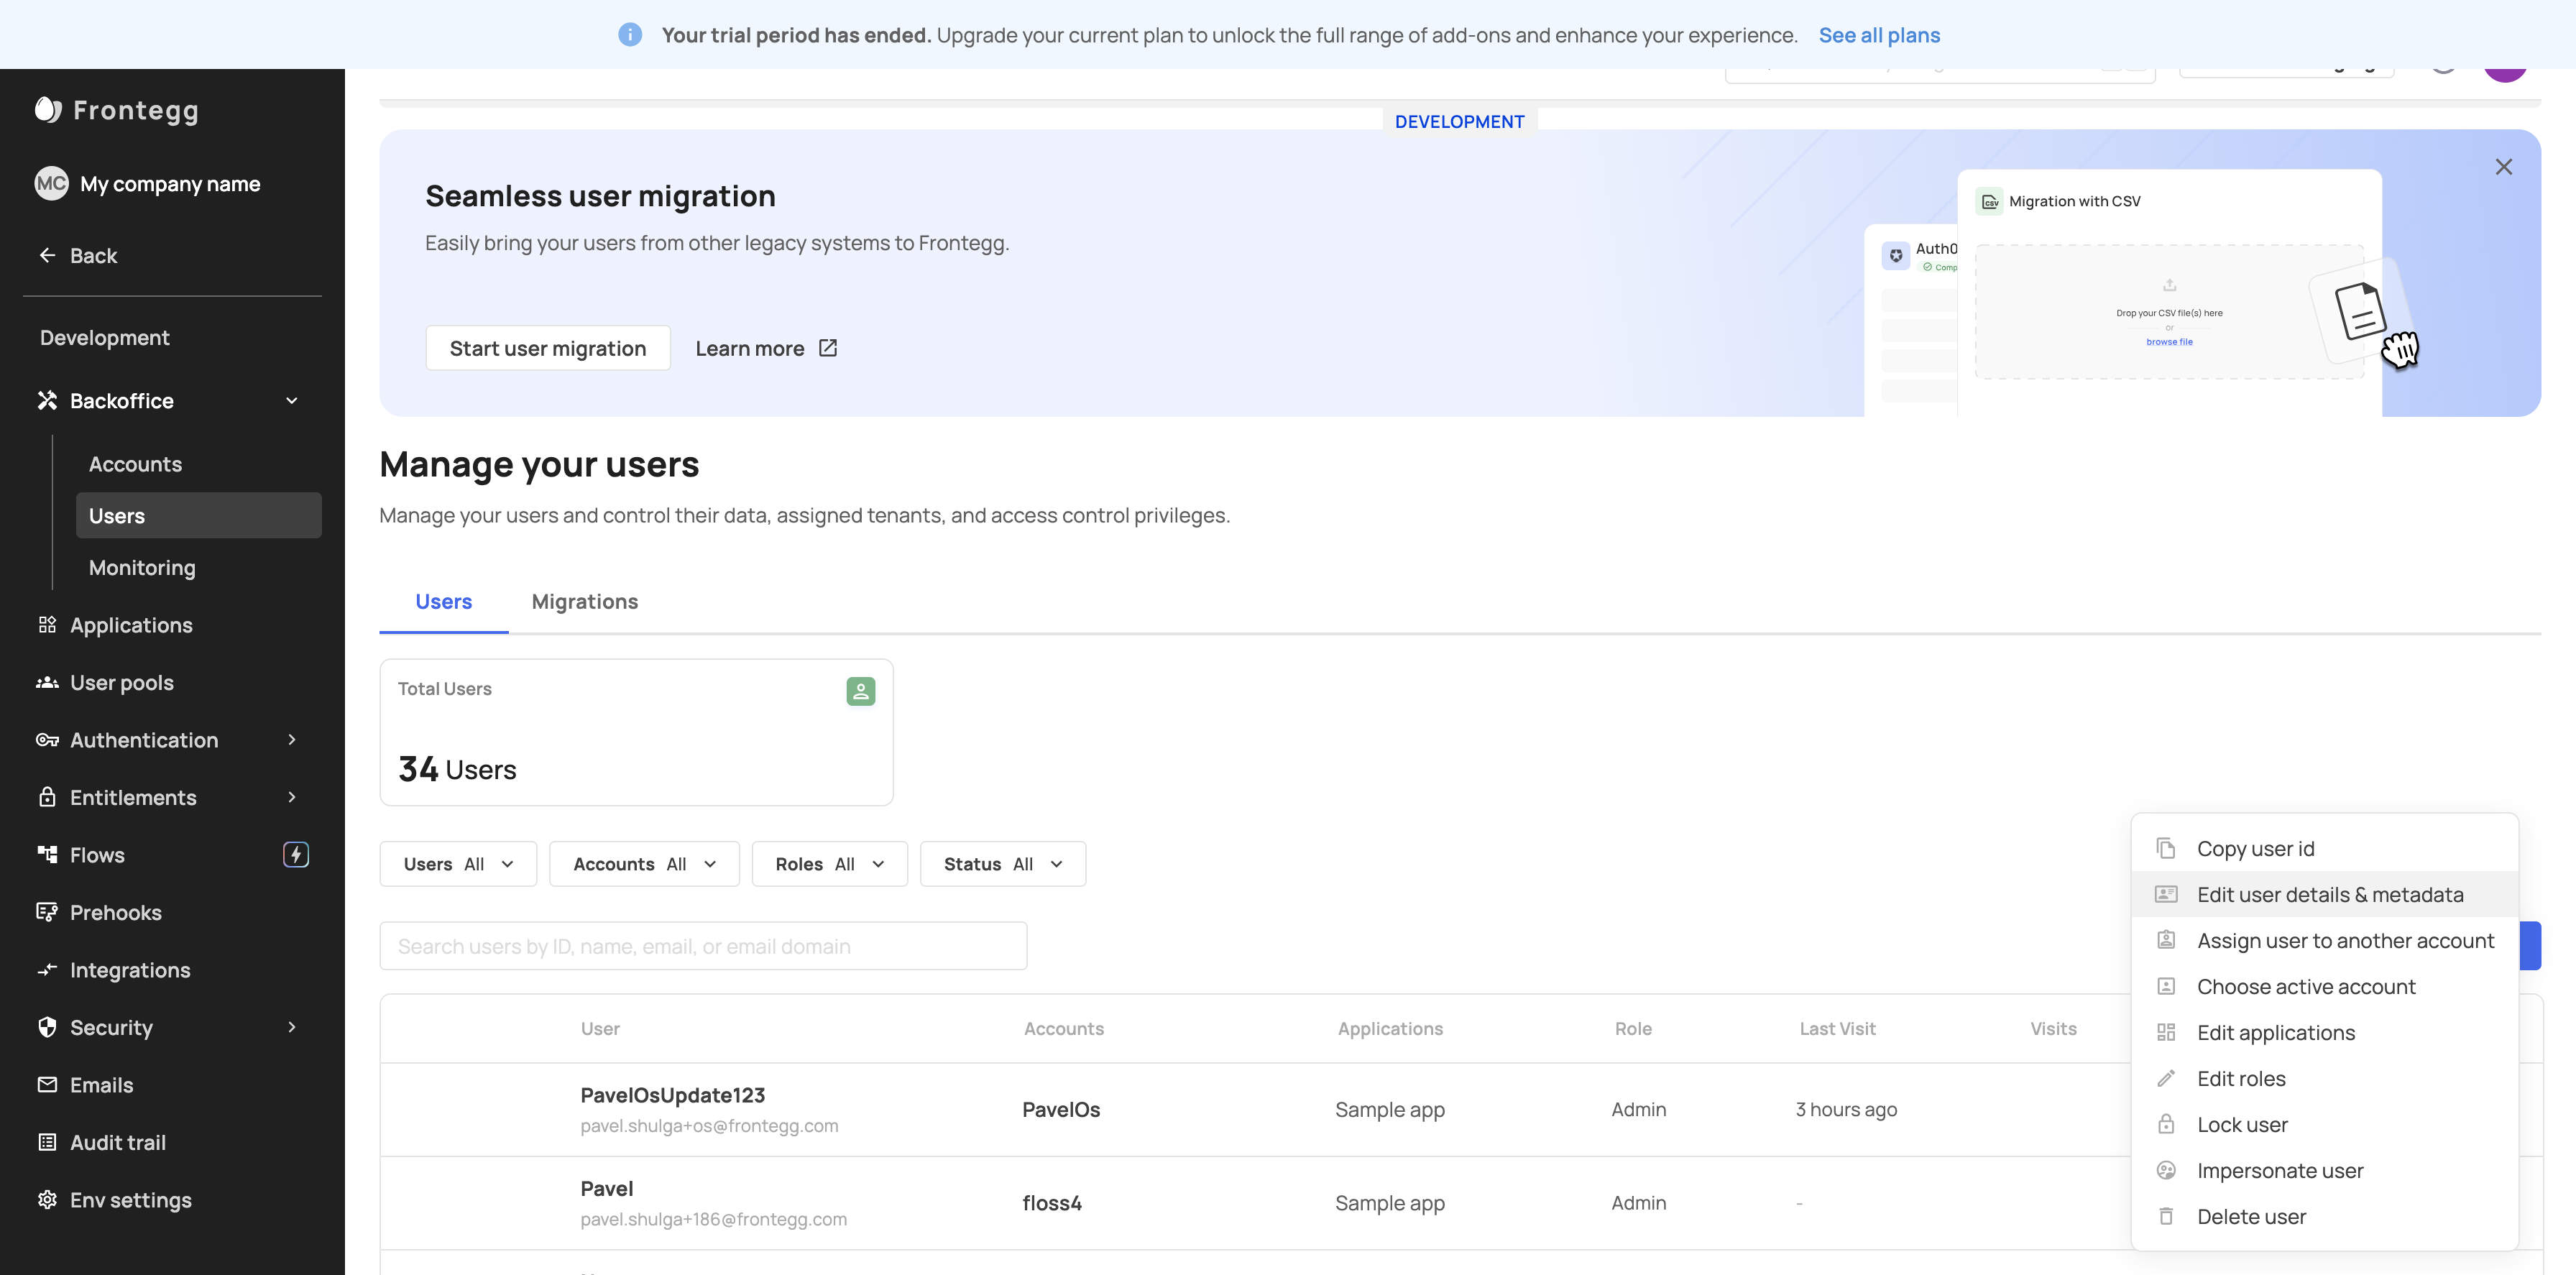
14
Click on "Save"
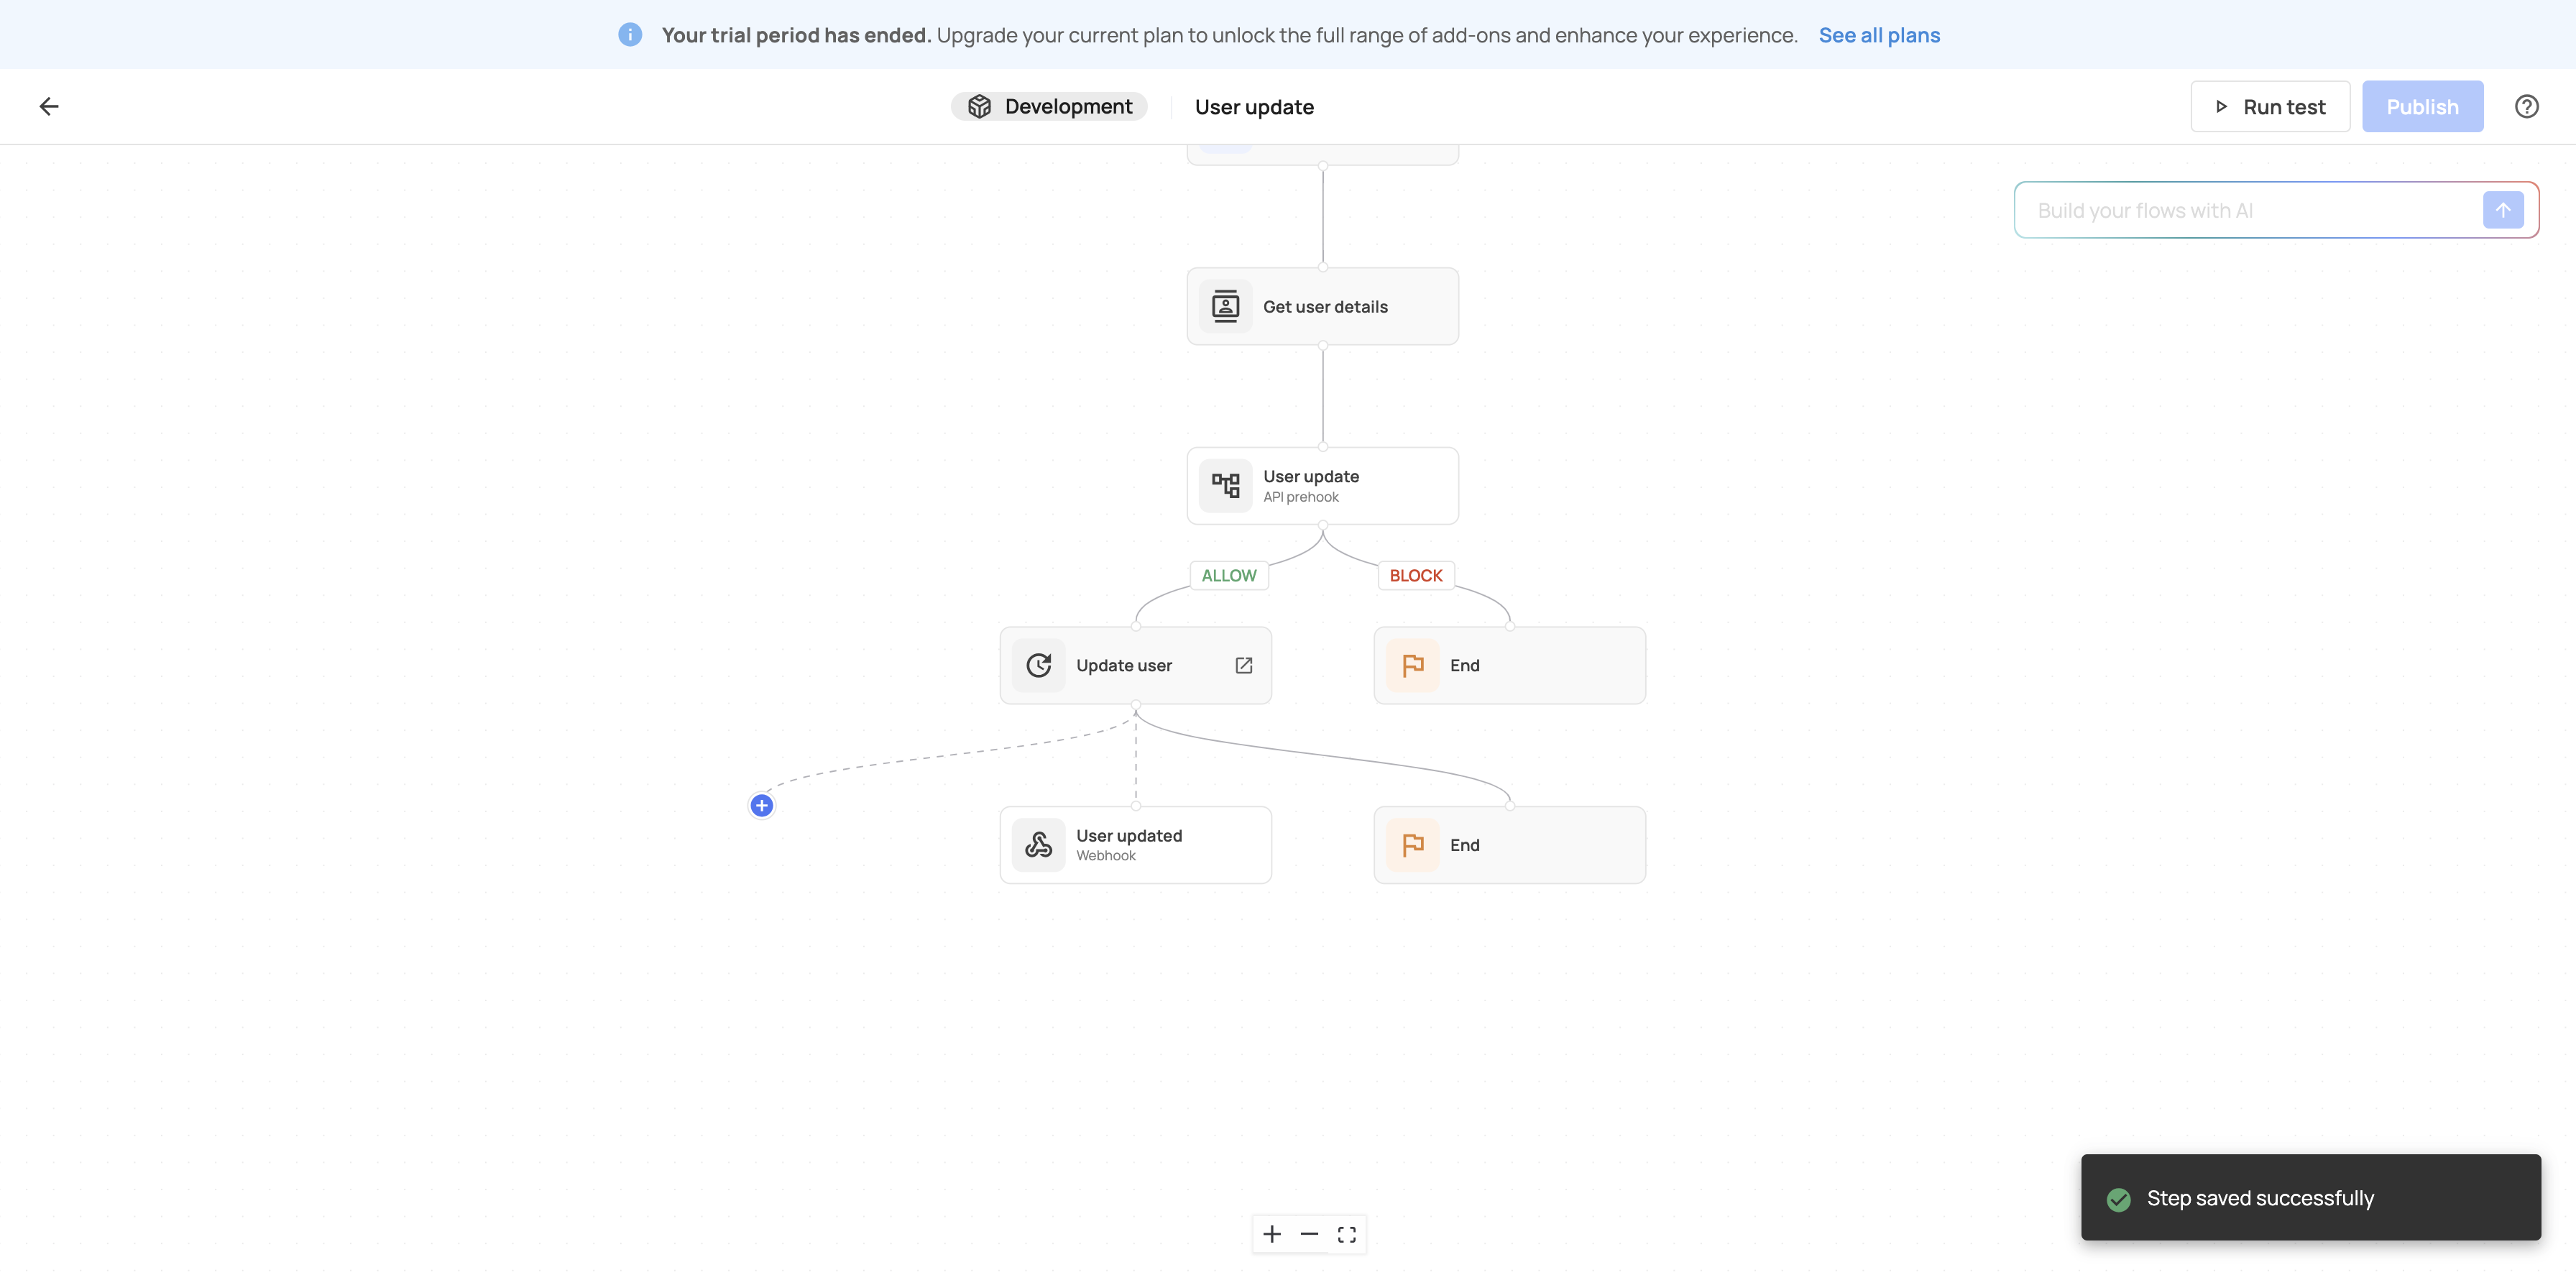
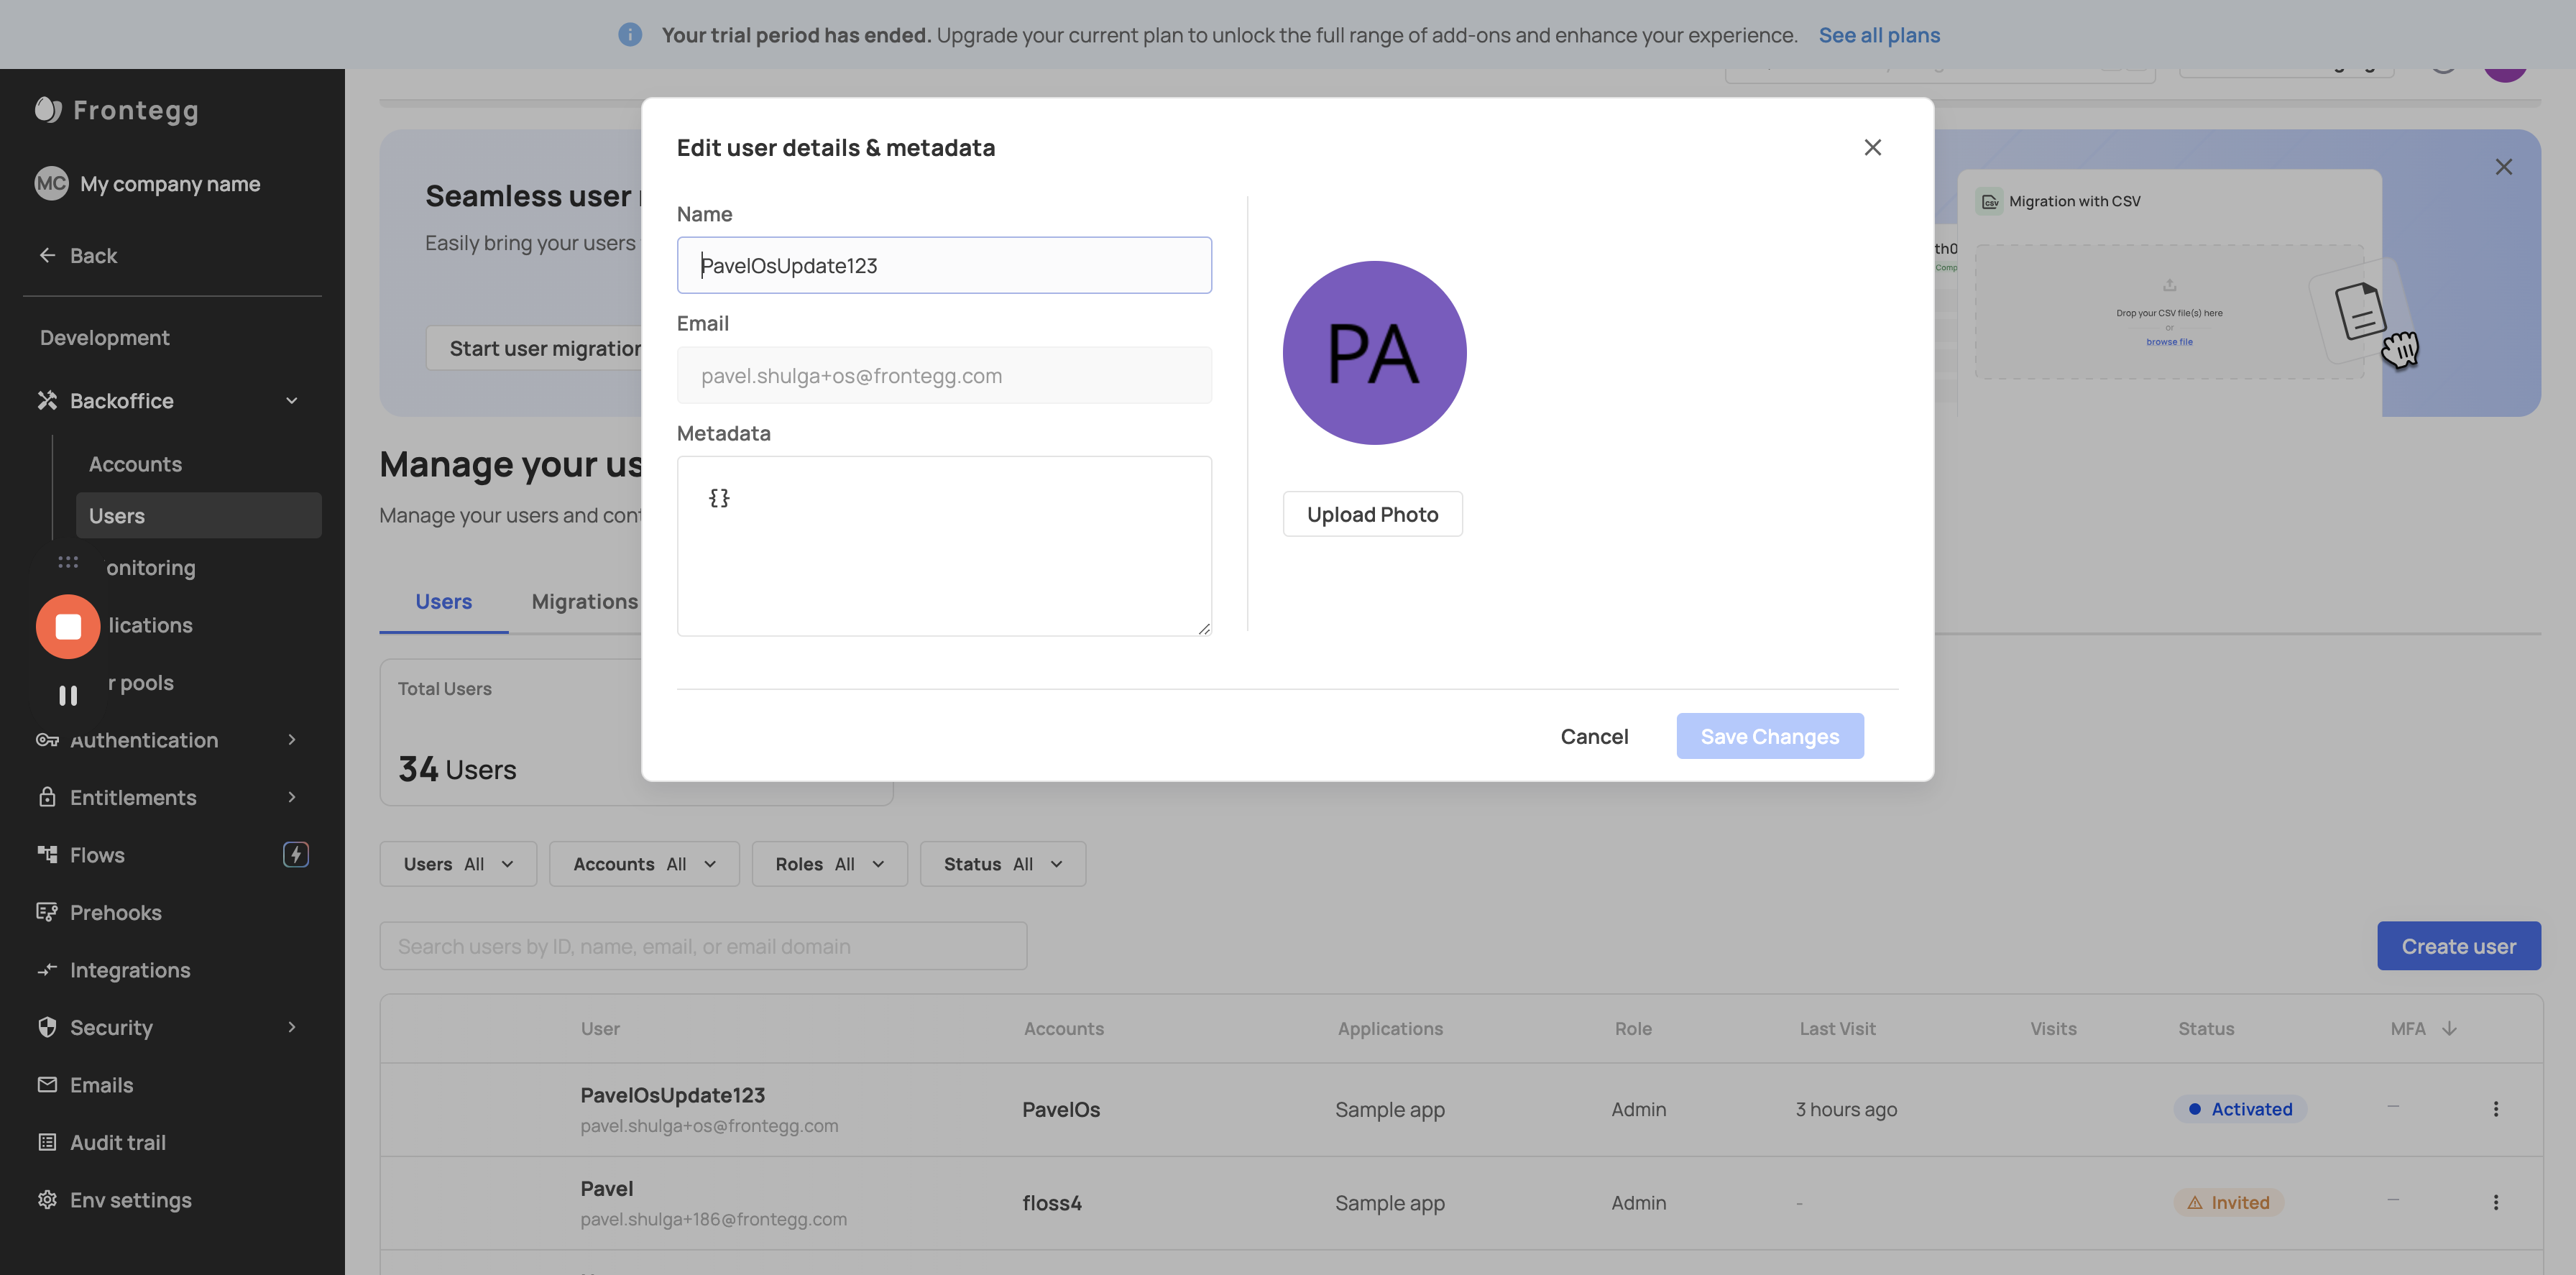
15
Click on "Publish"
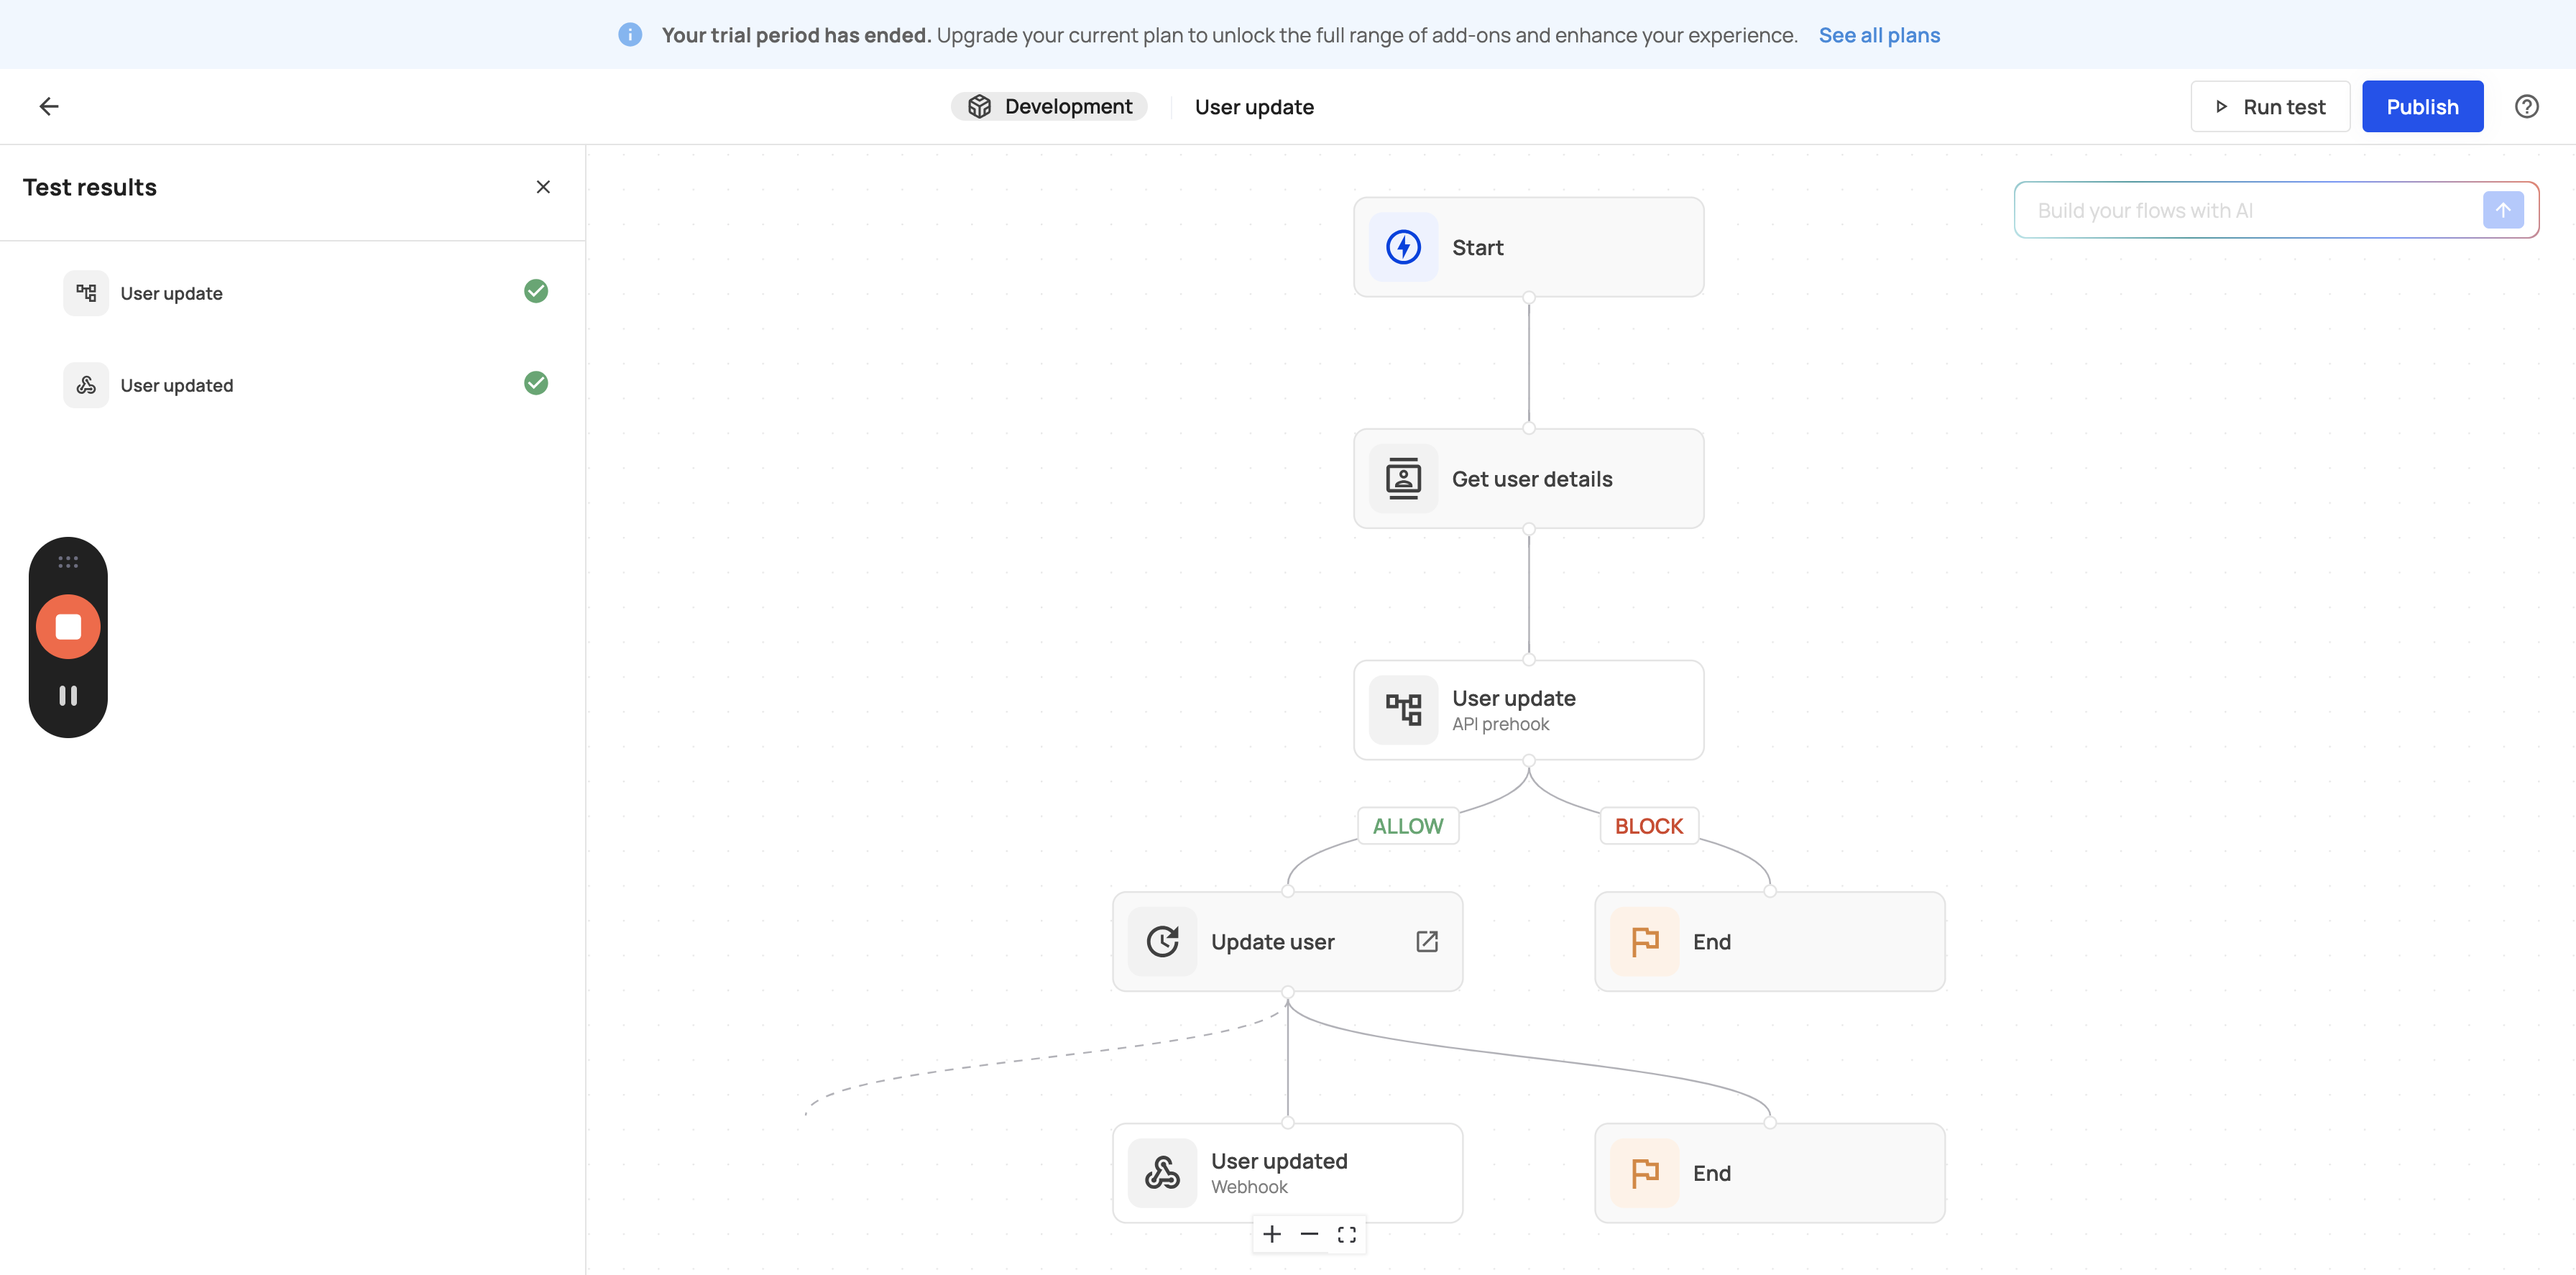
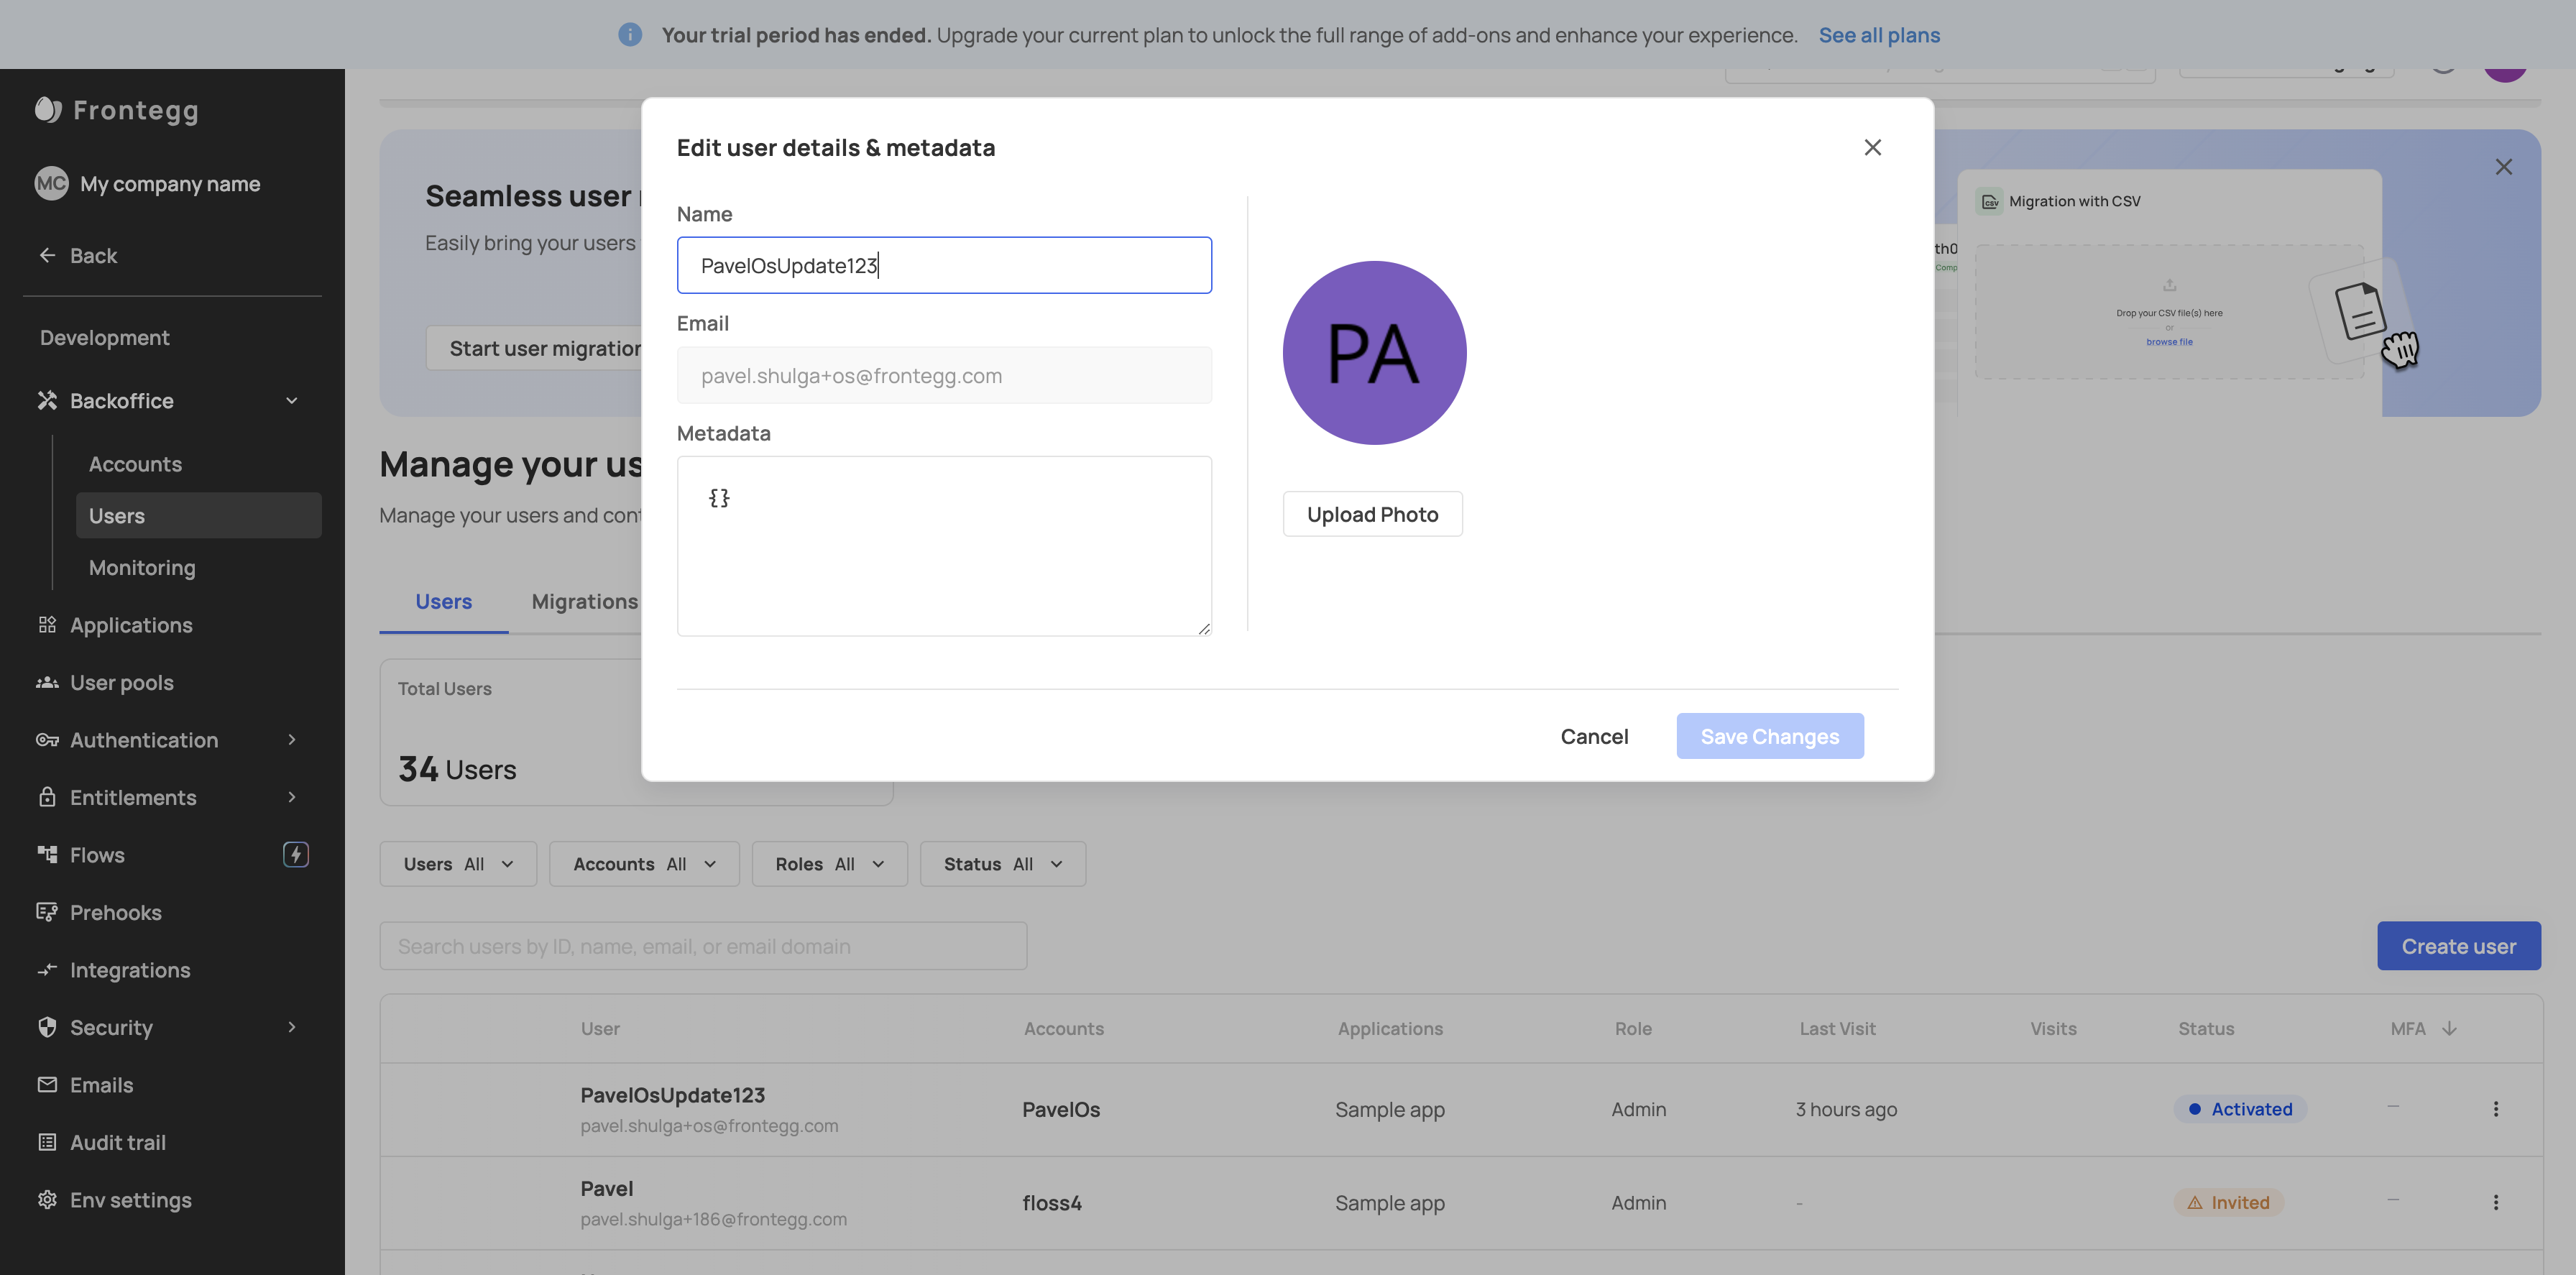
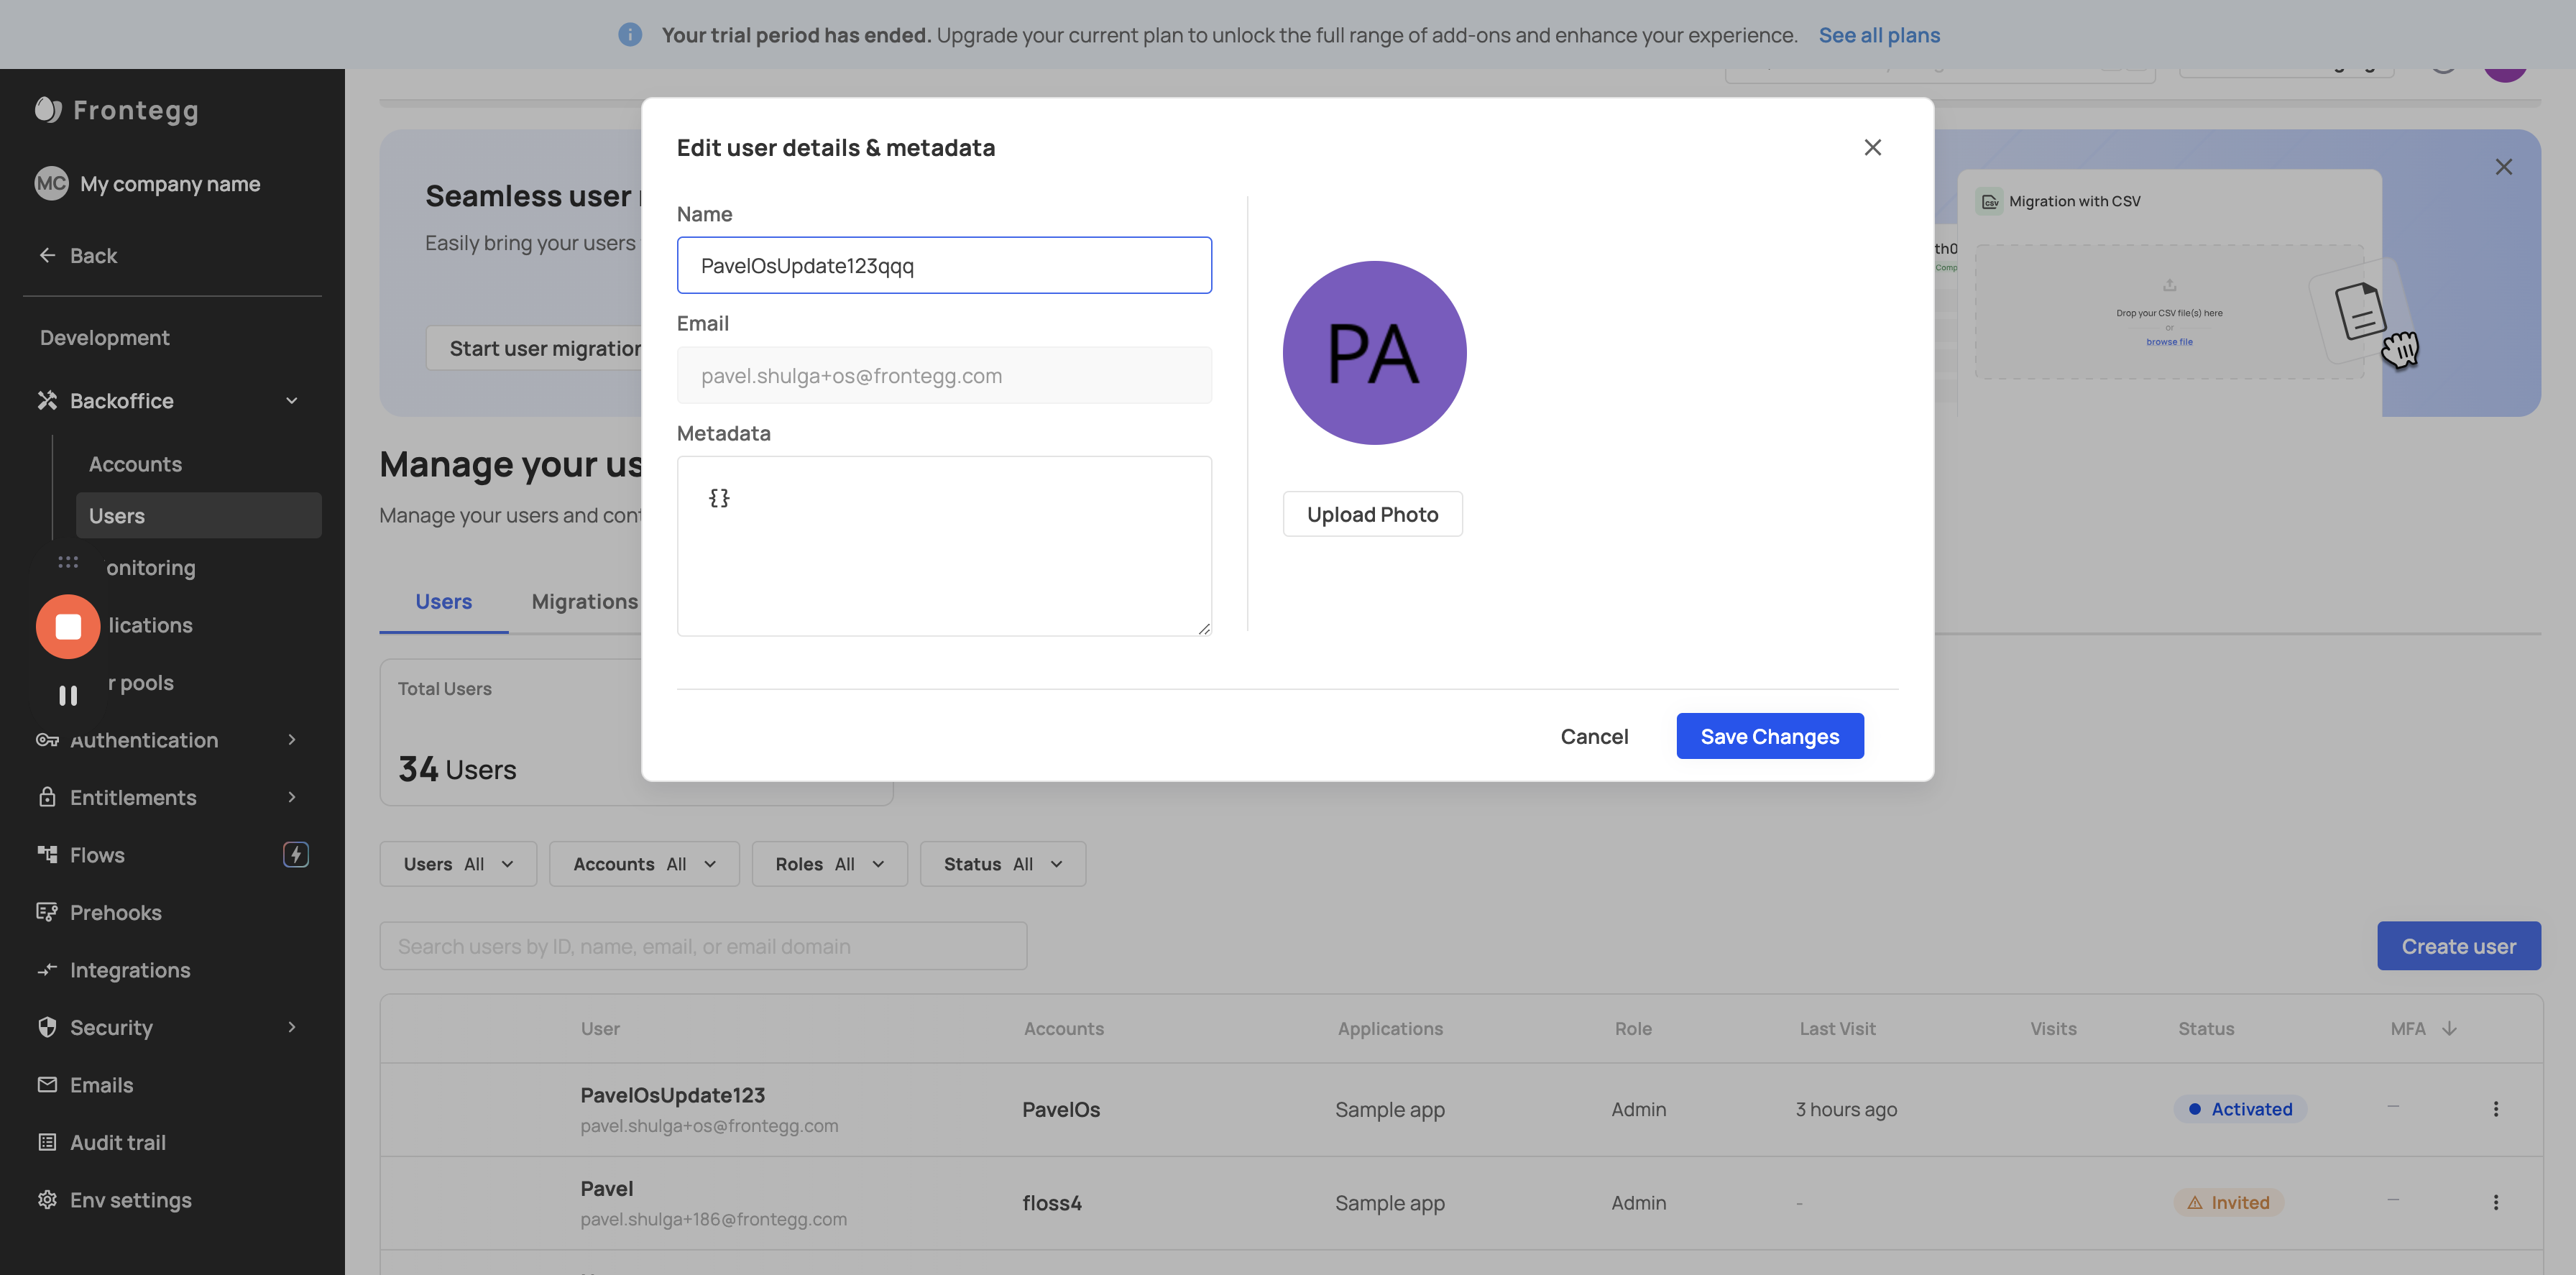
16
Click on "▷ Run test"
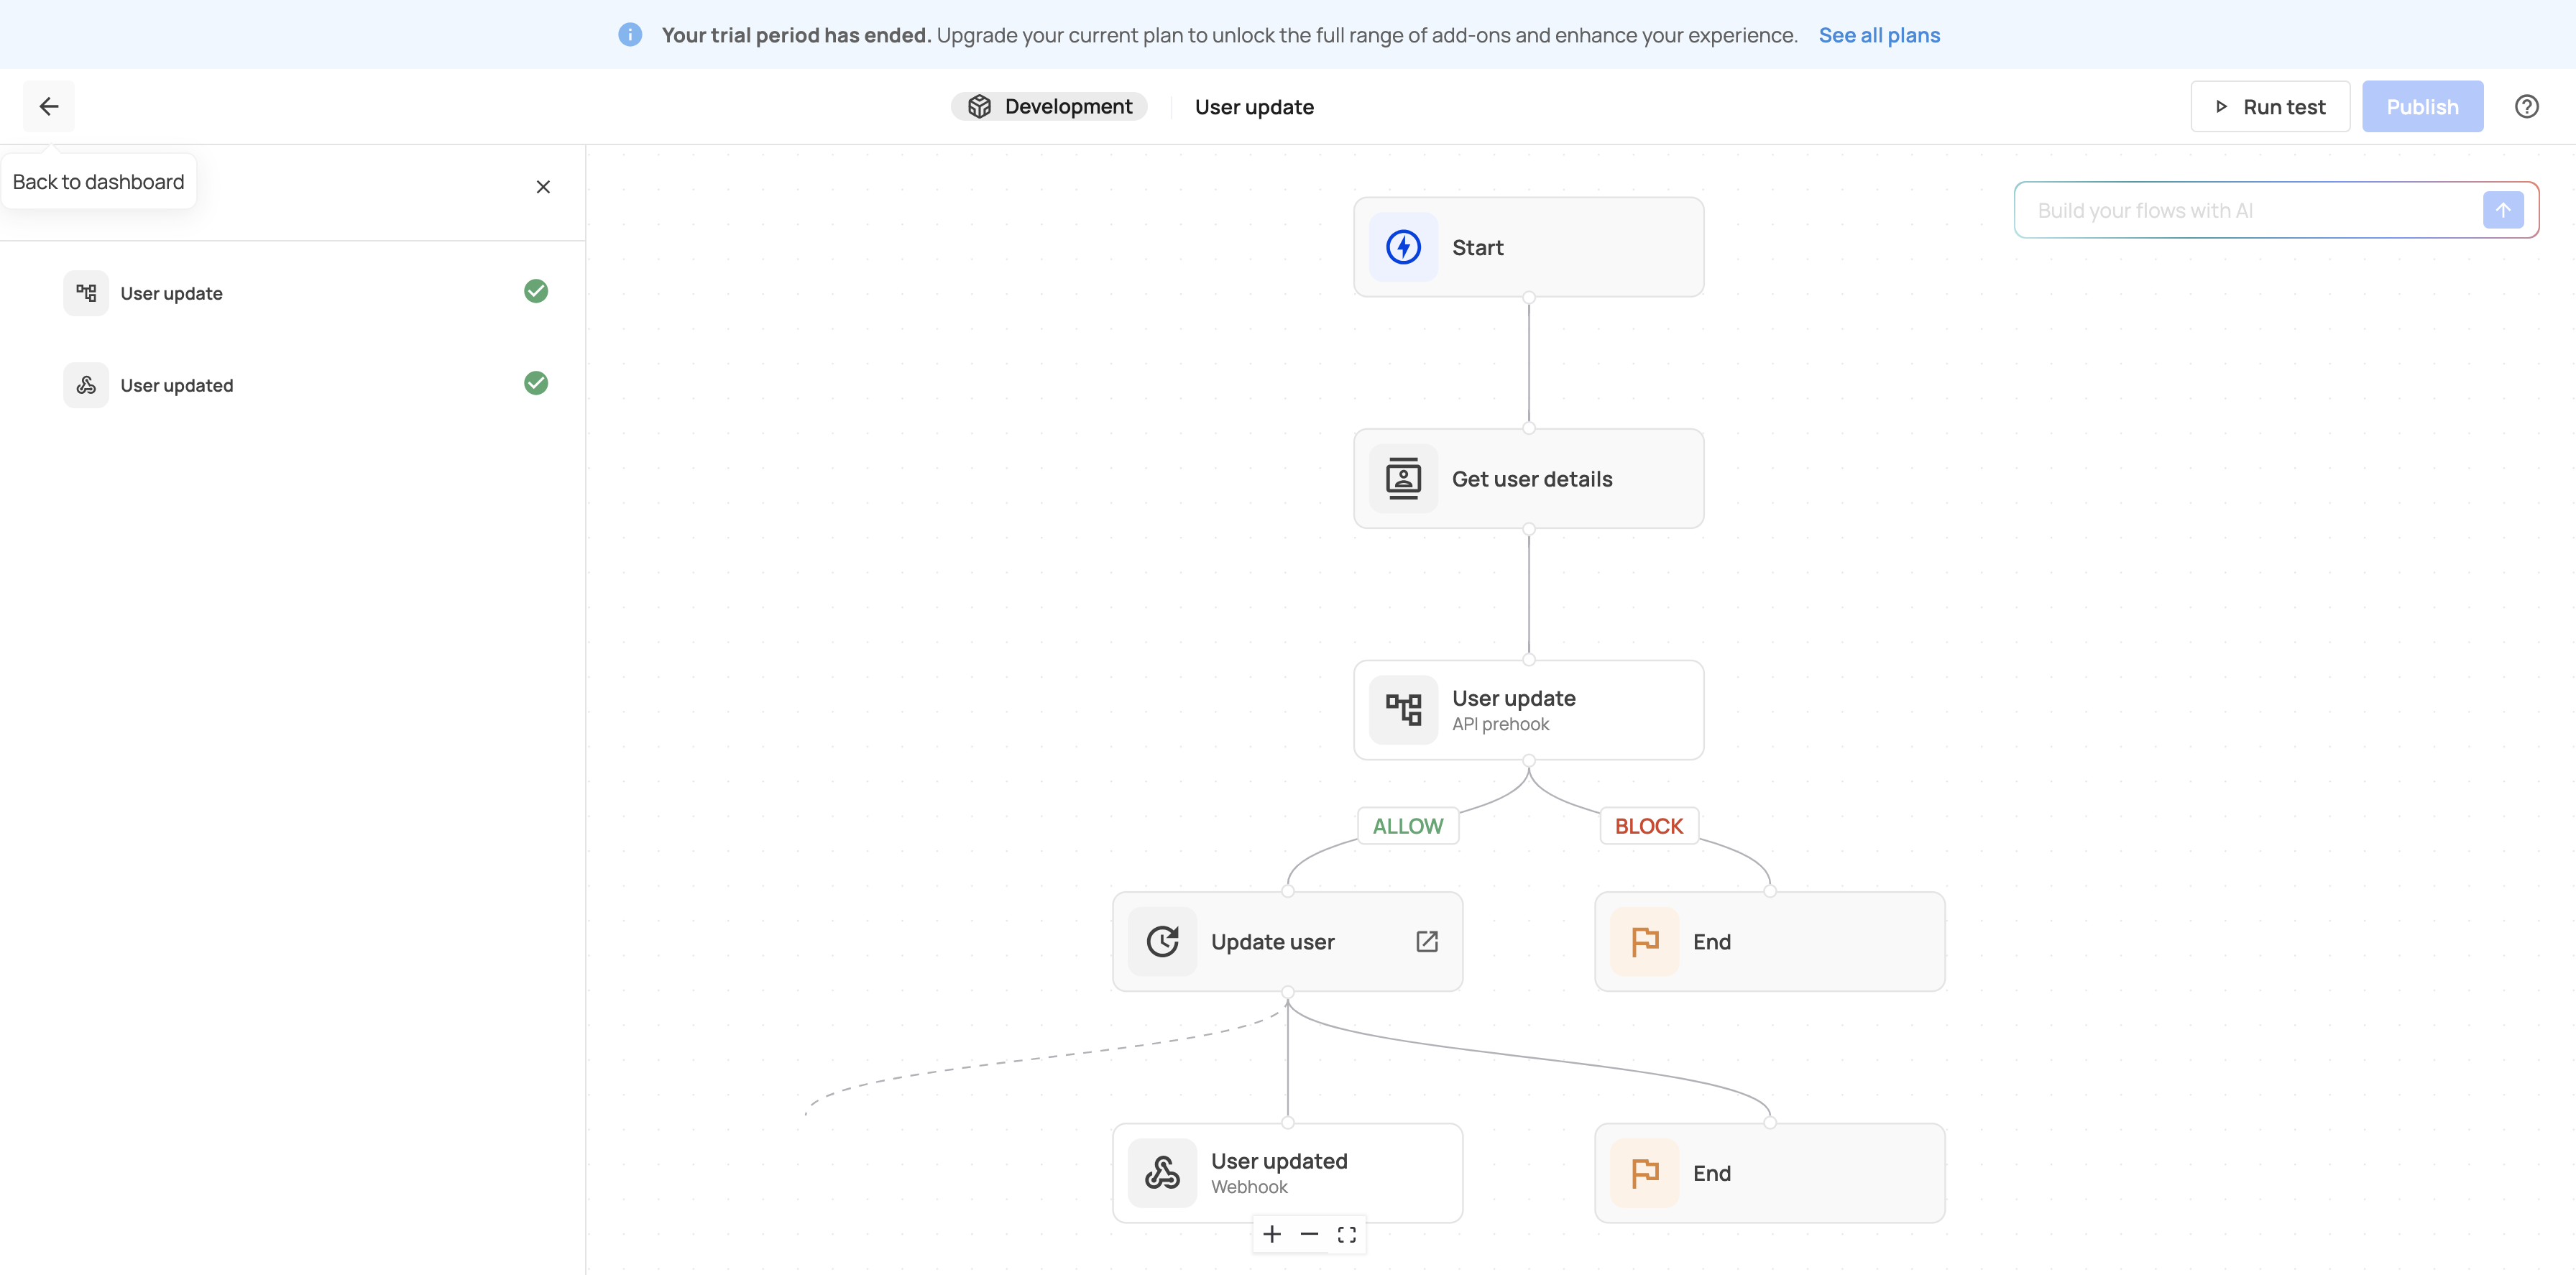
17
Click here
18
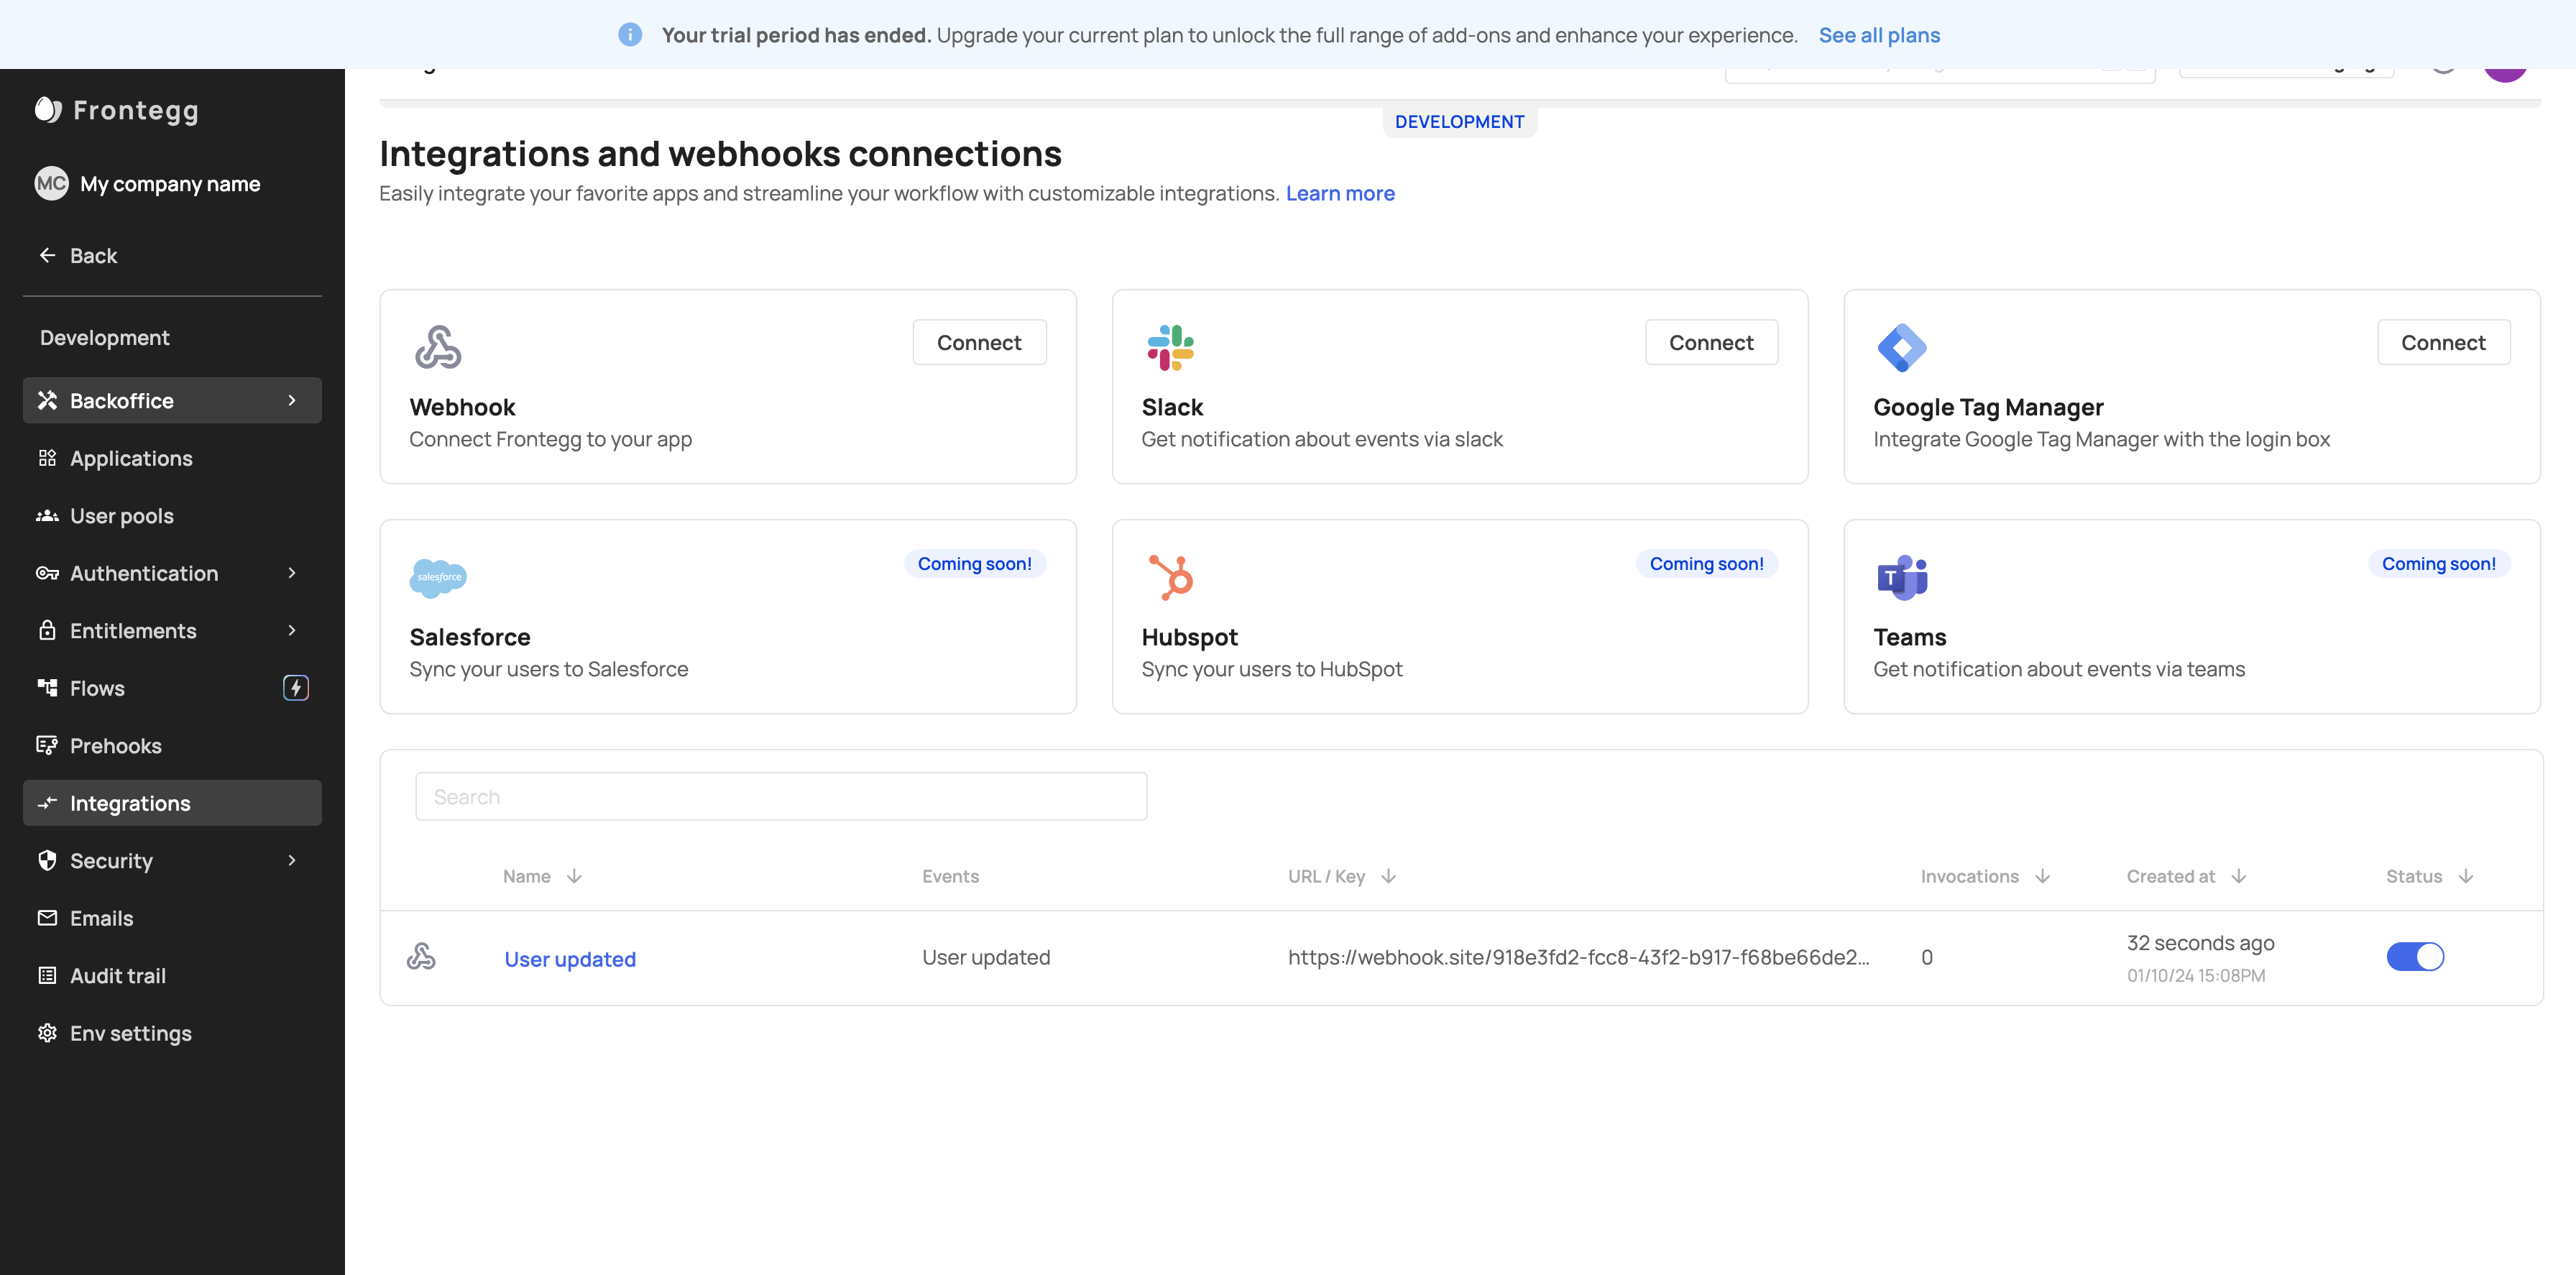
Click here
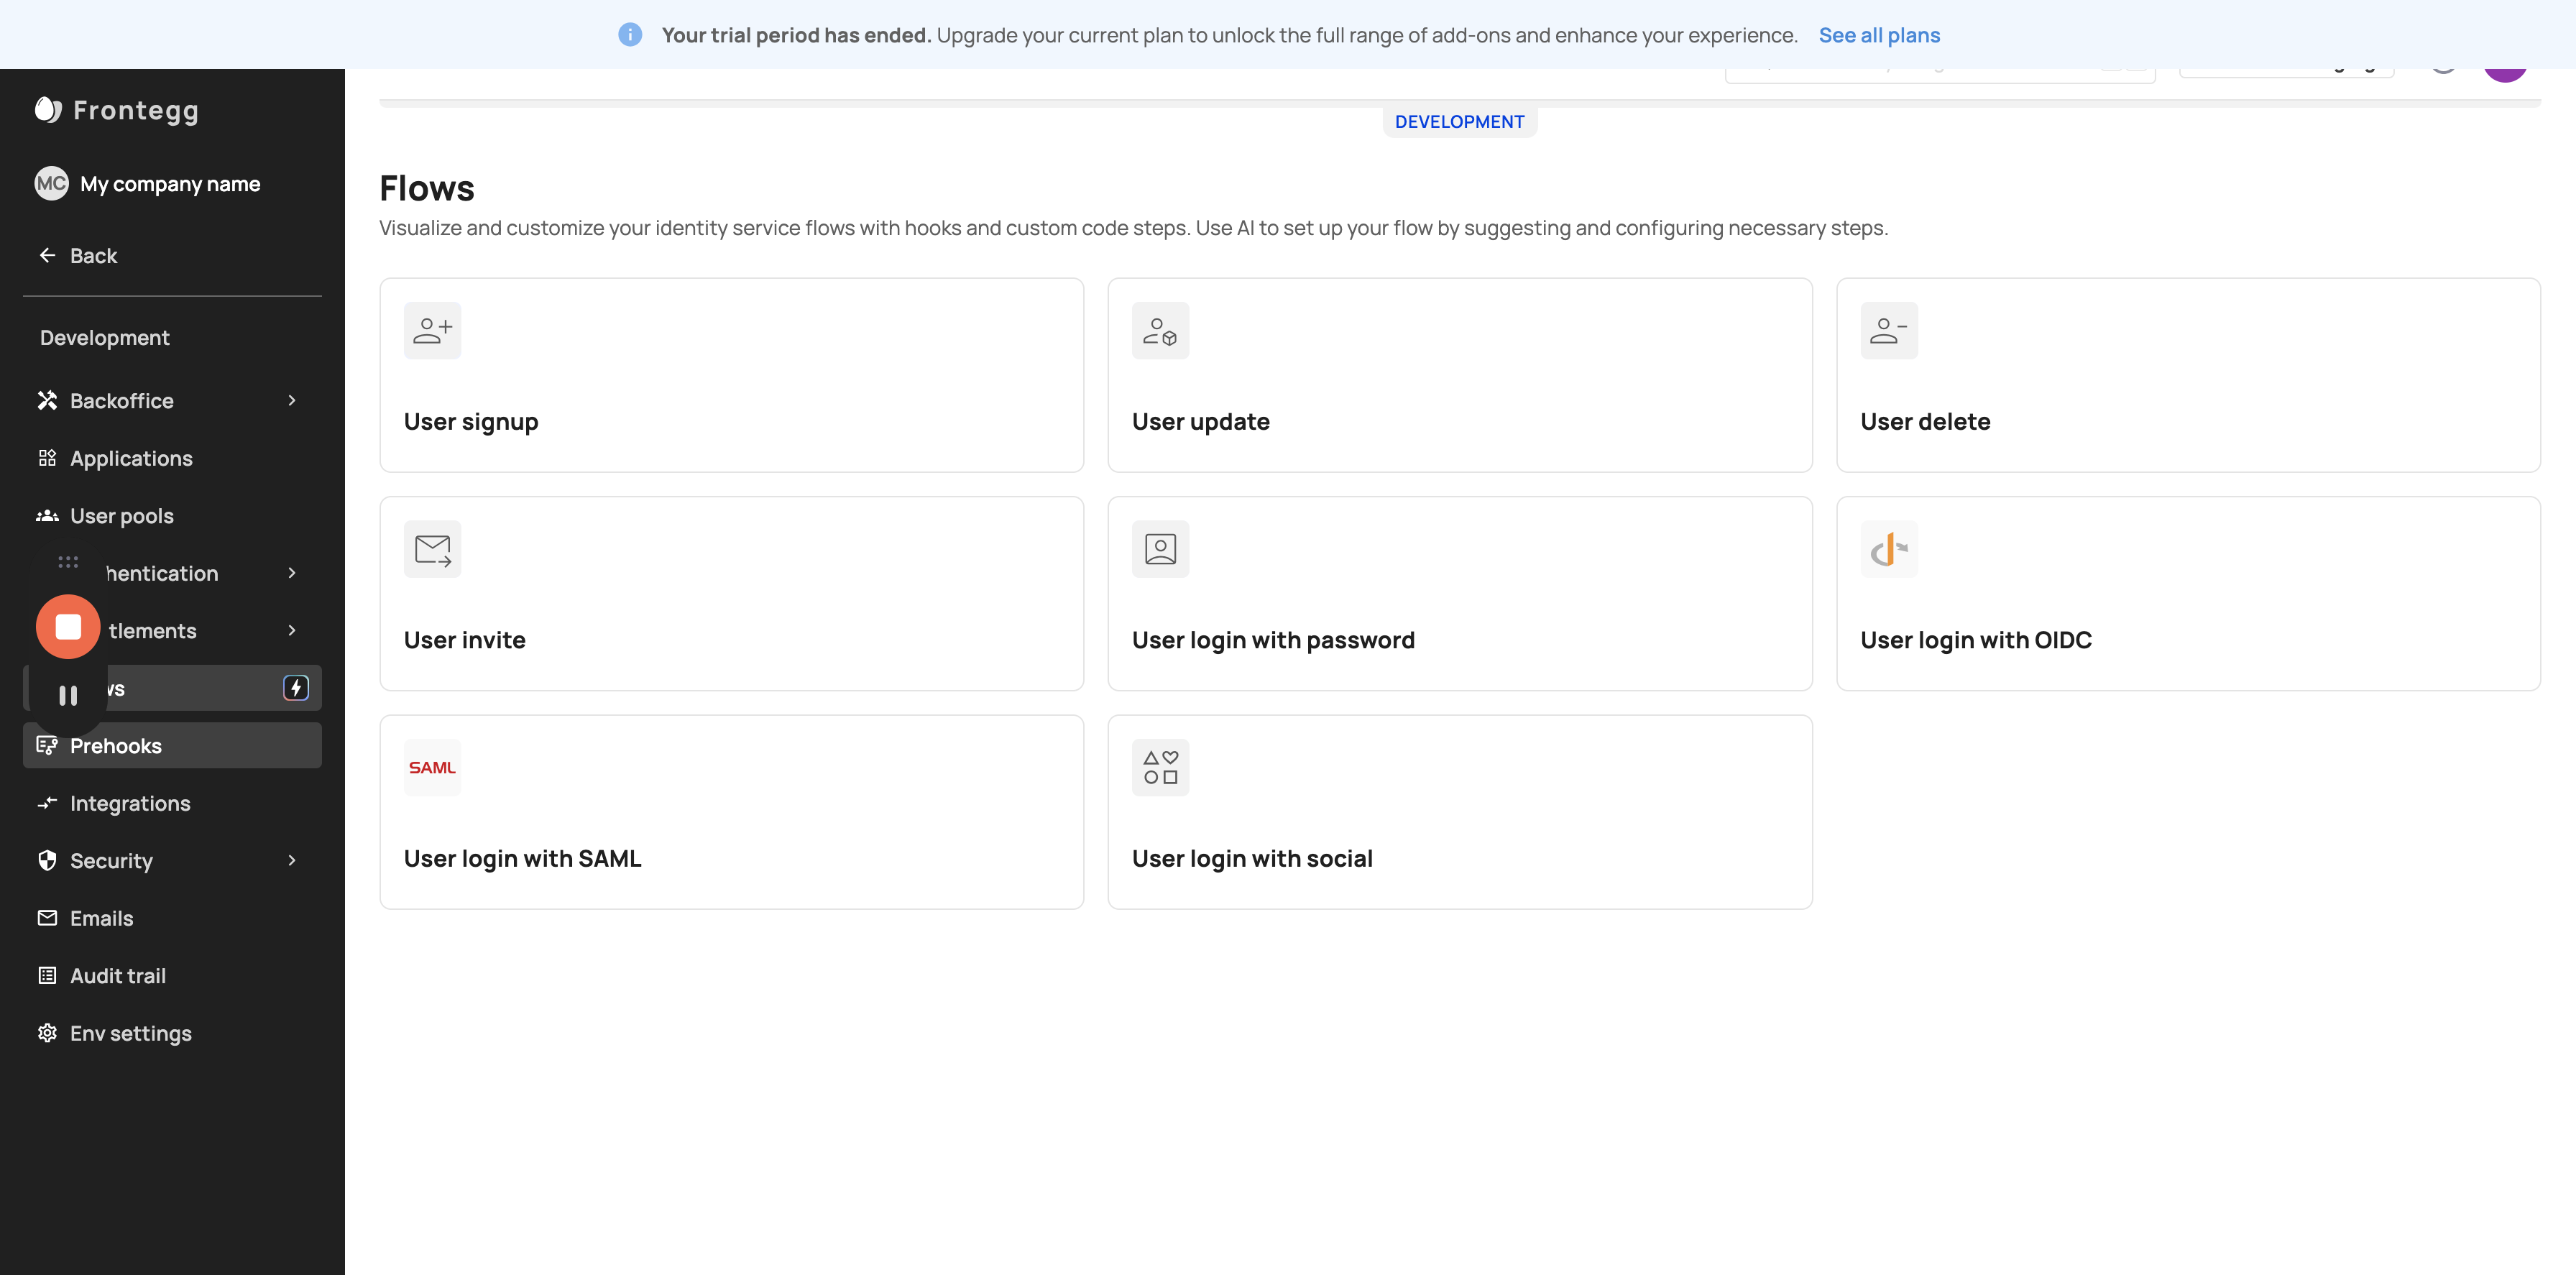
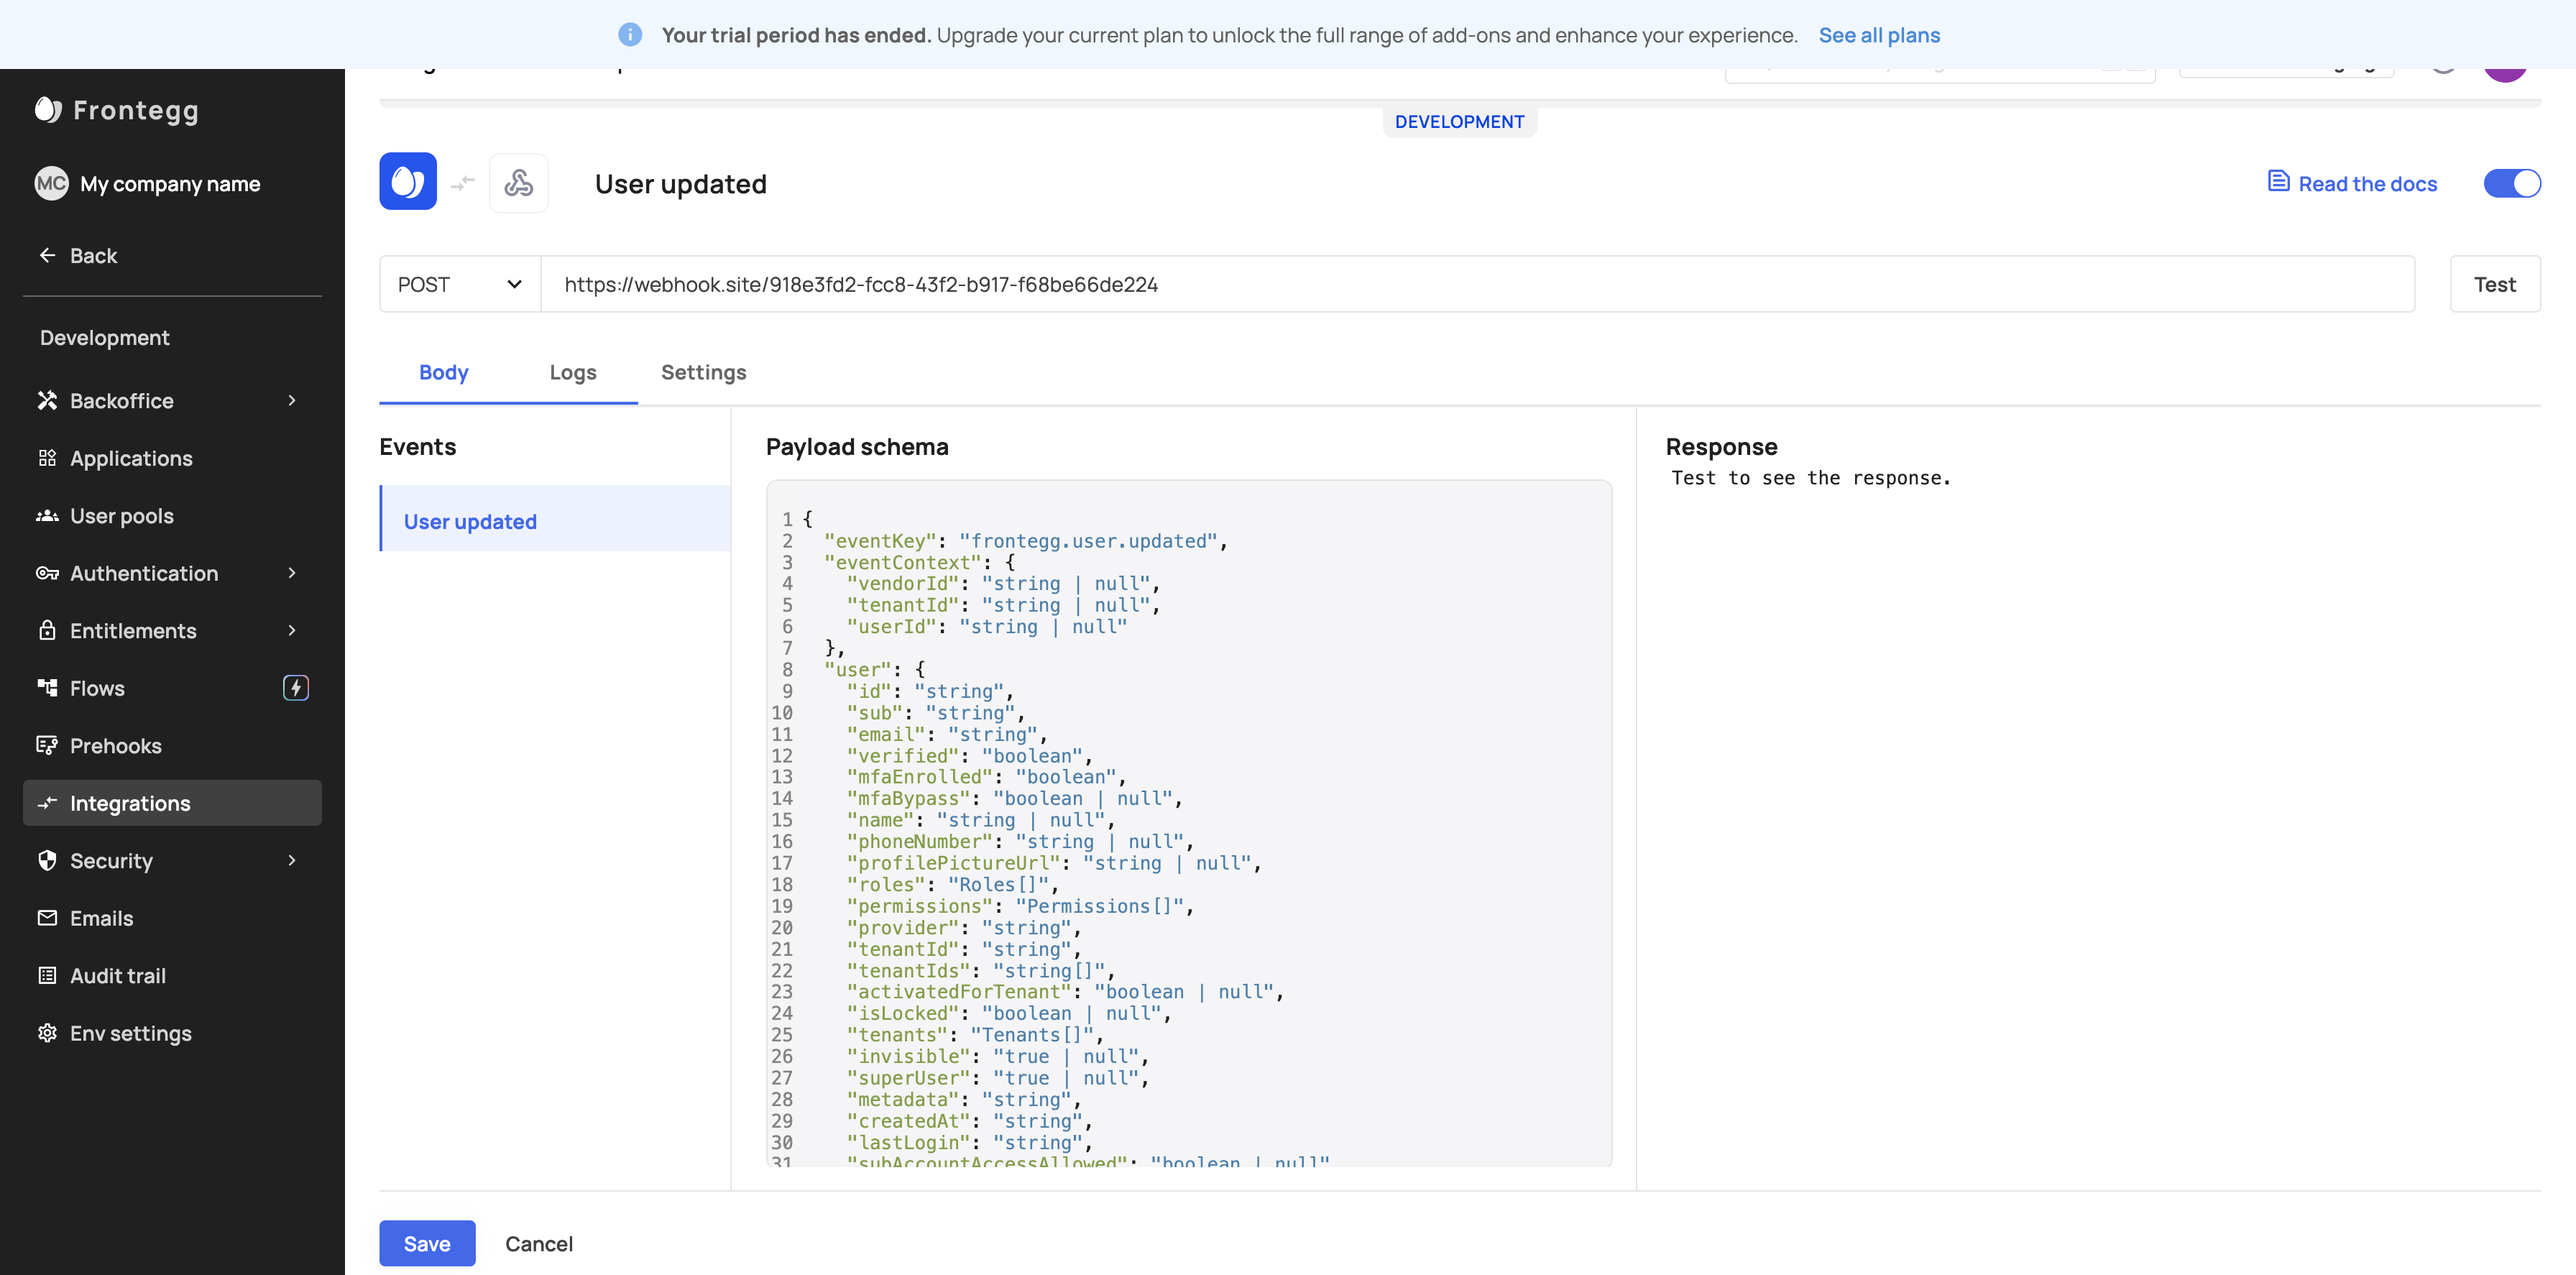
19
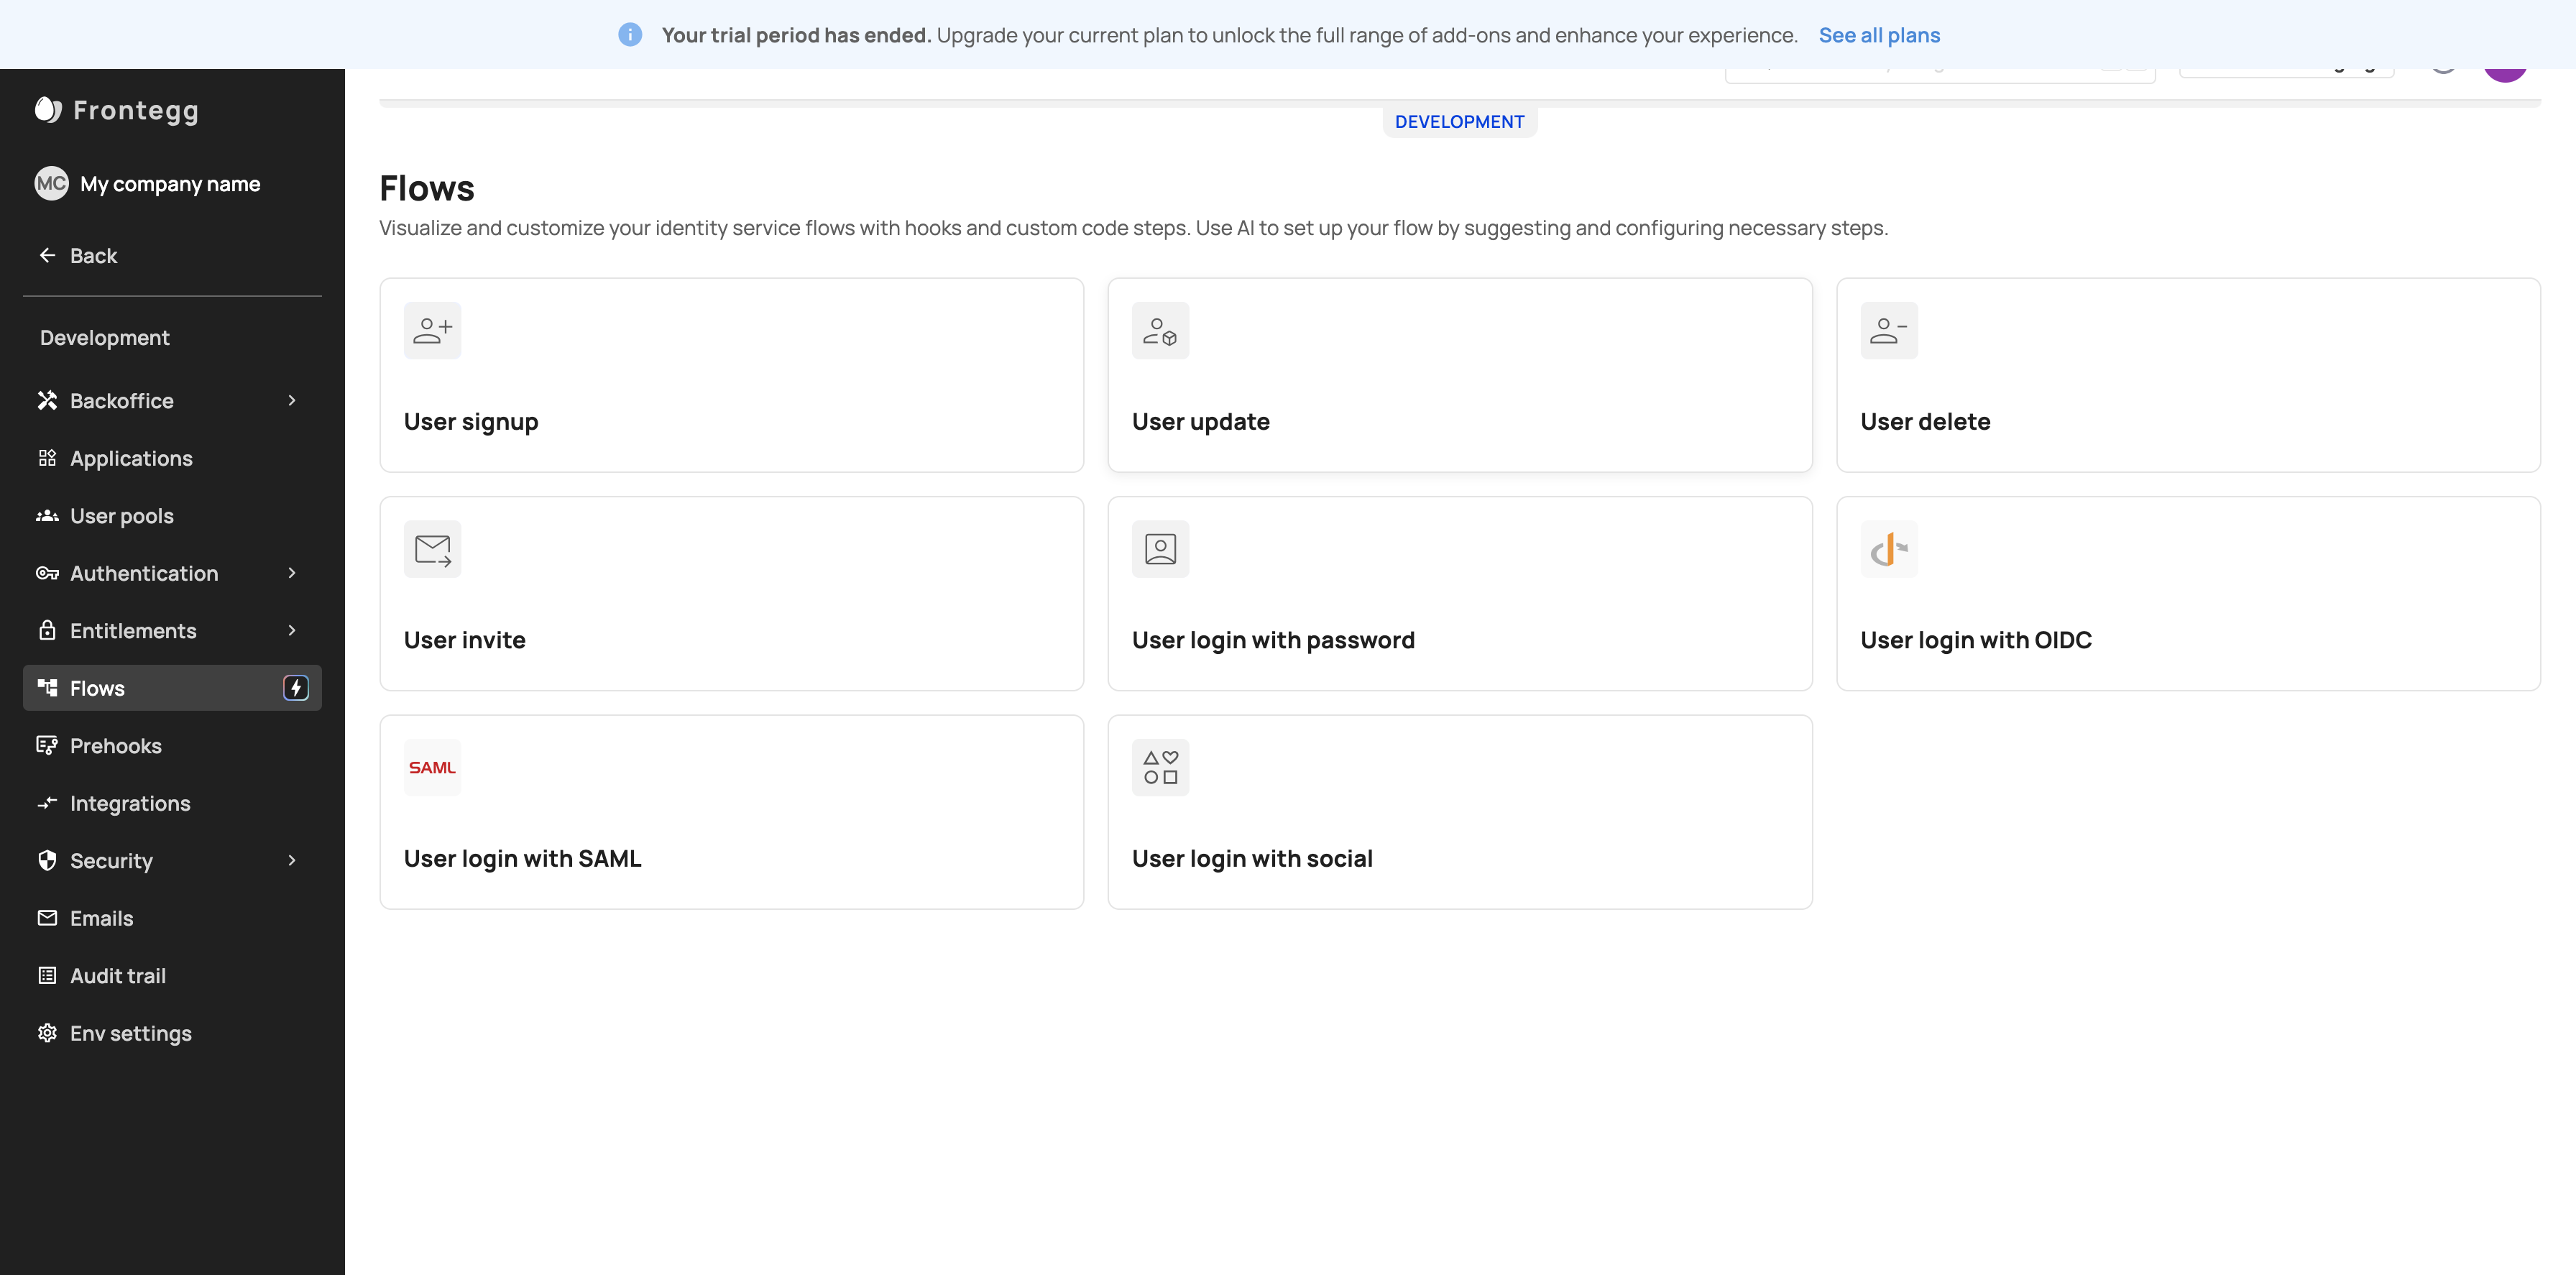
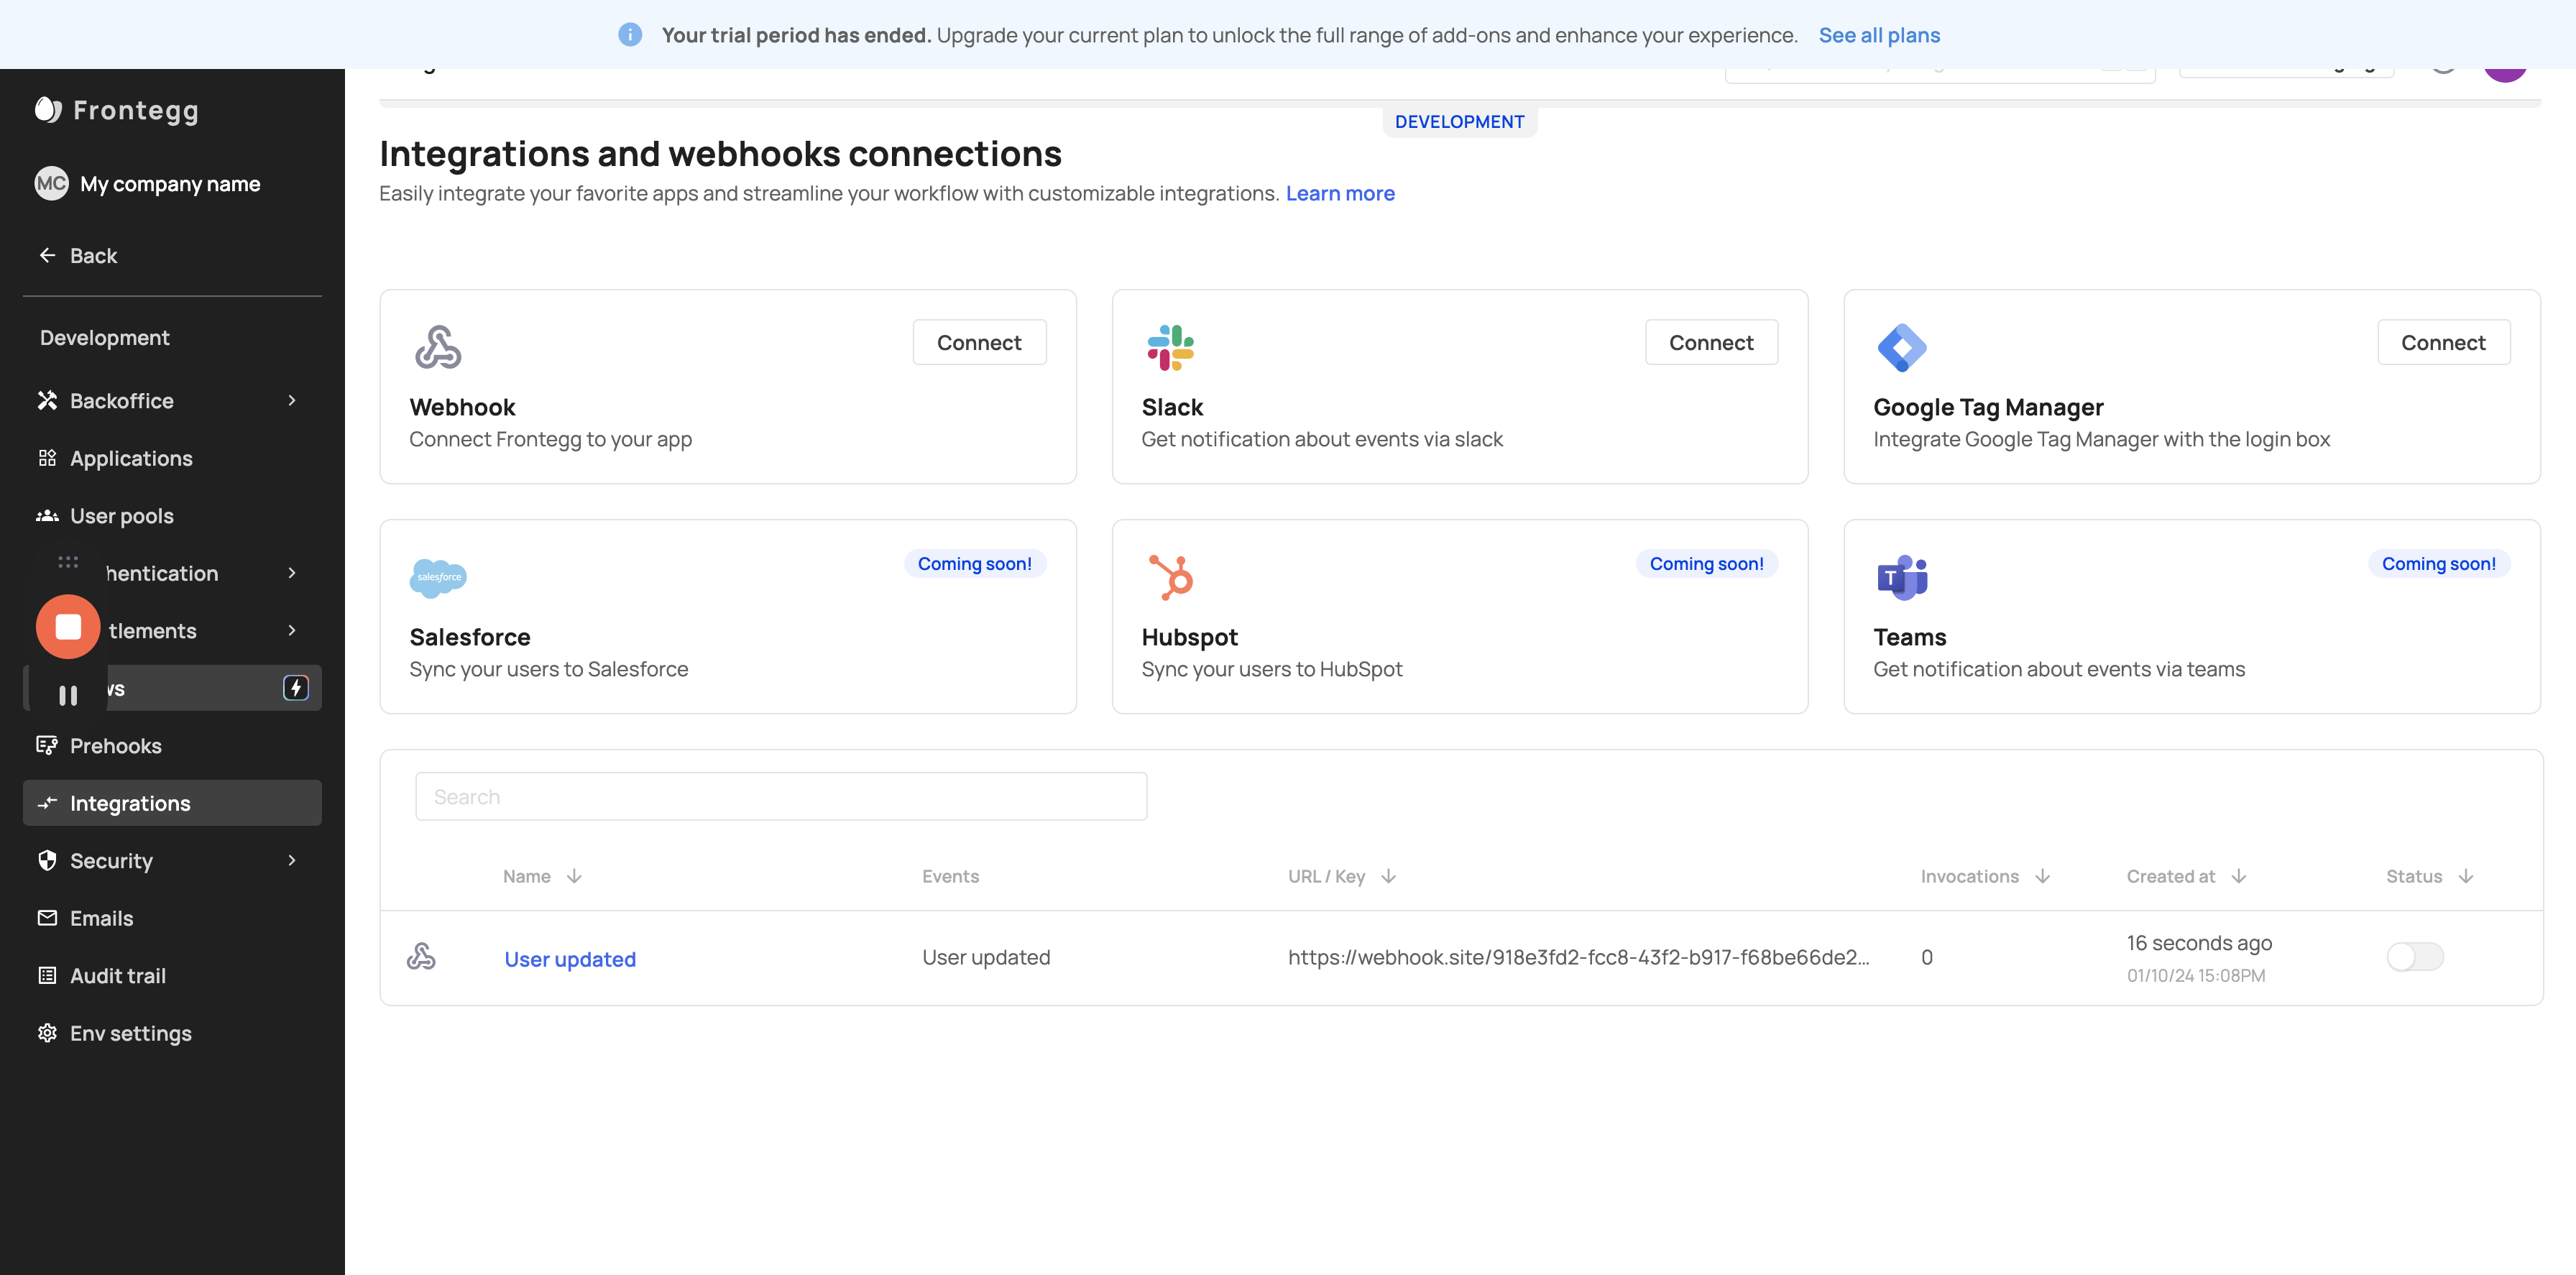
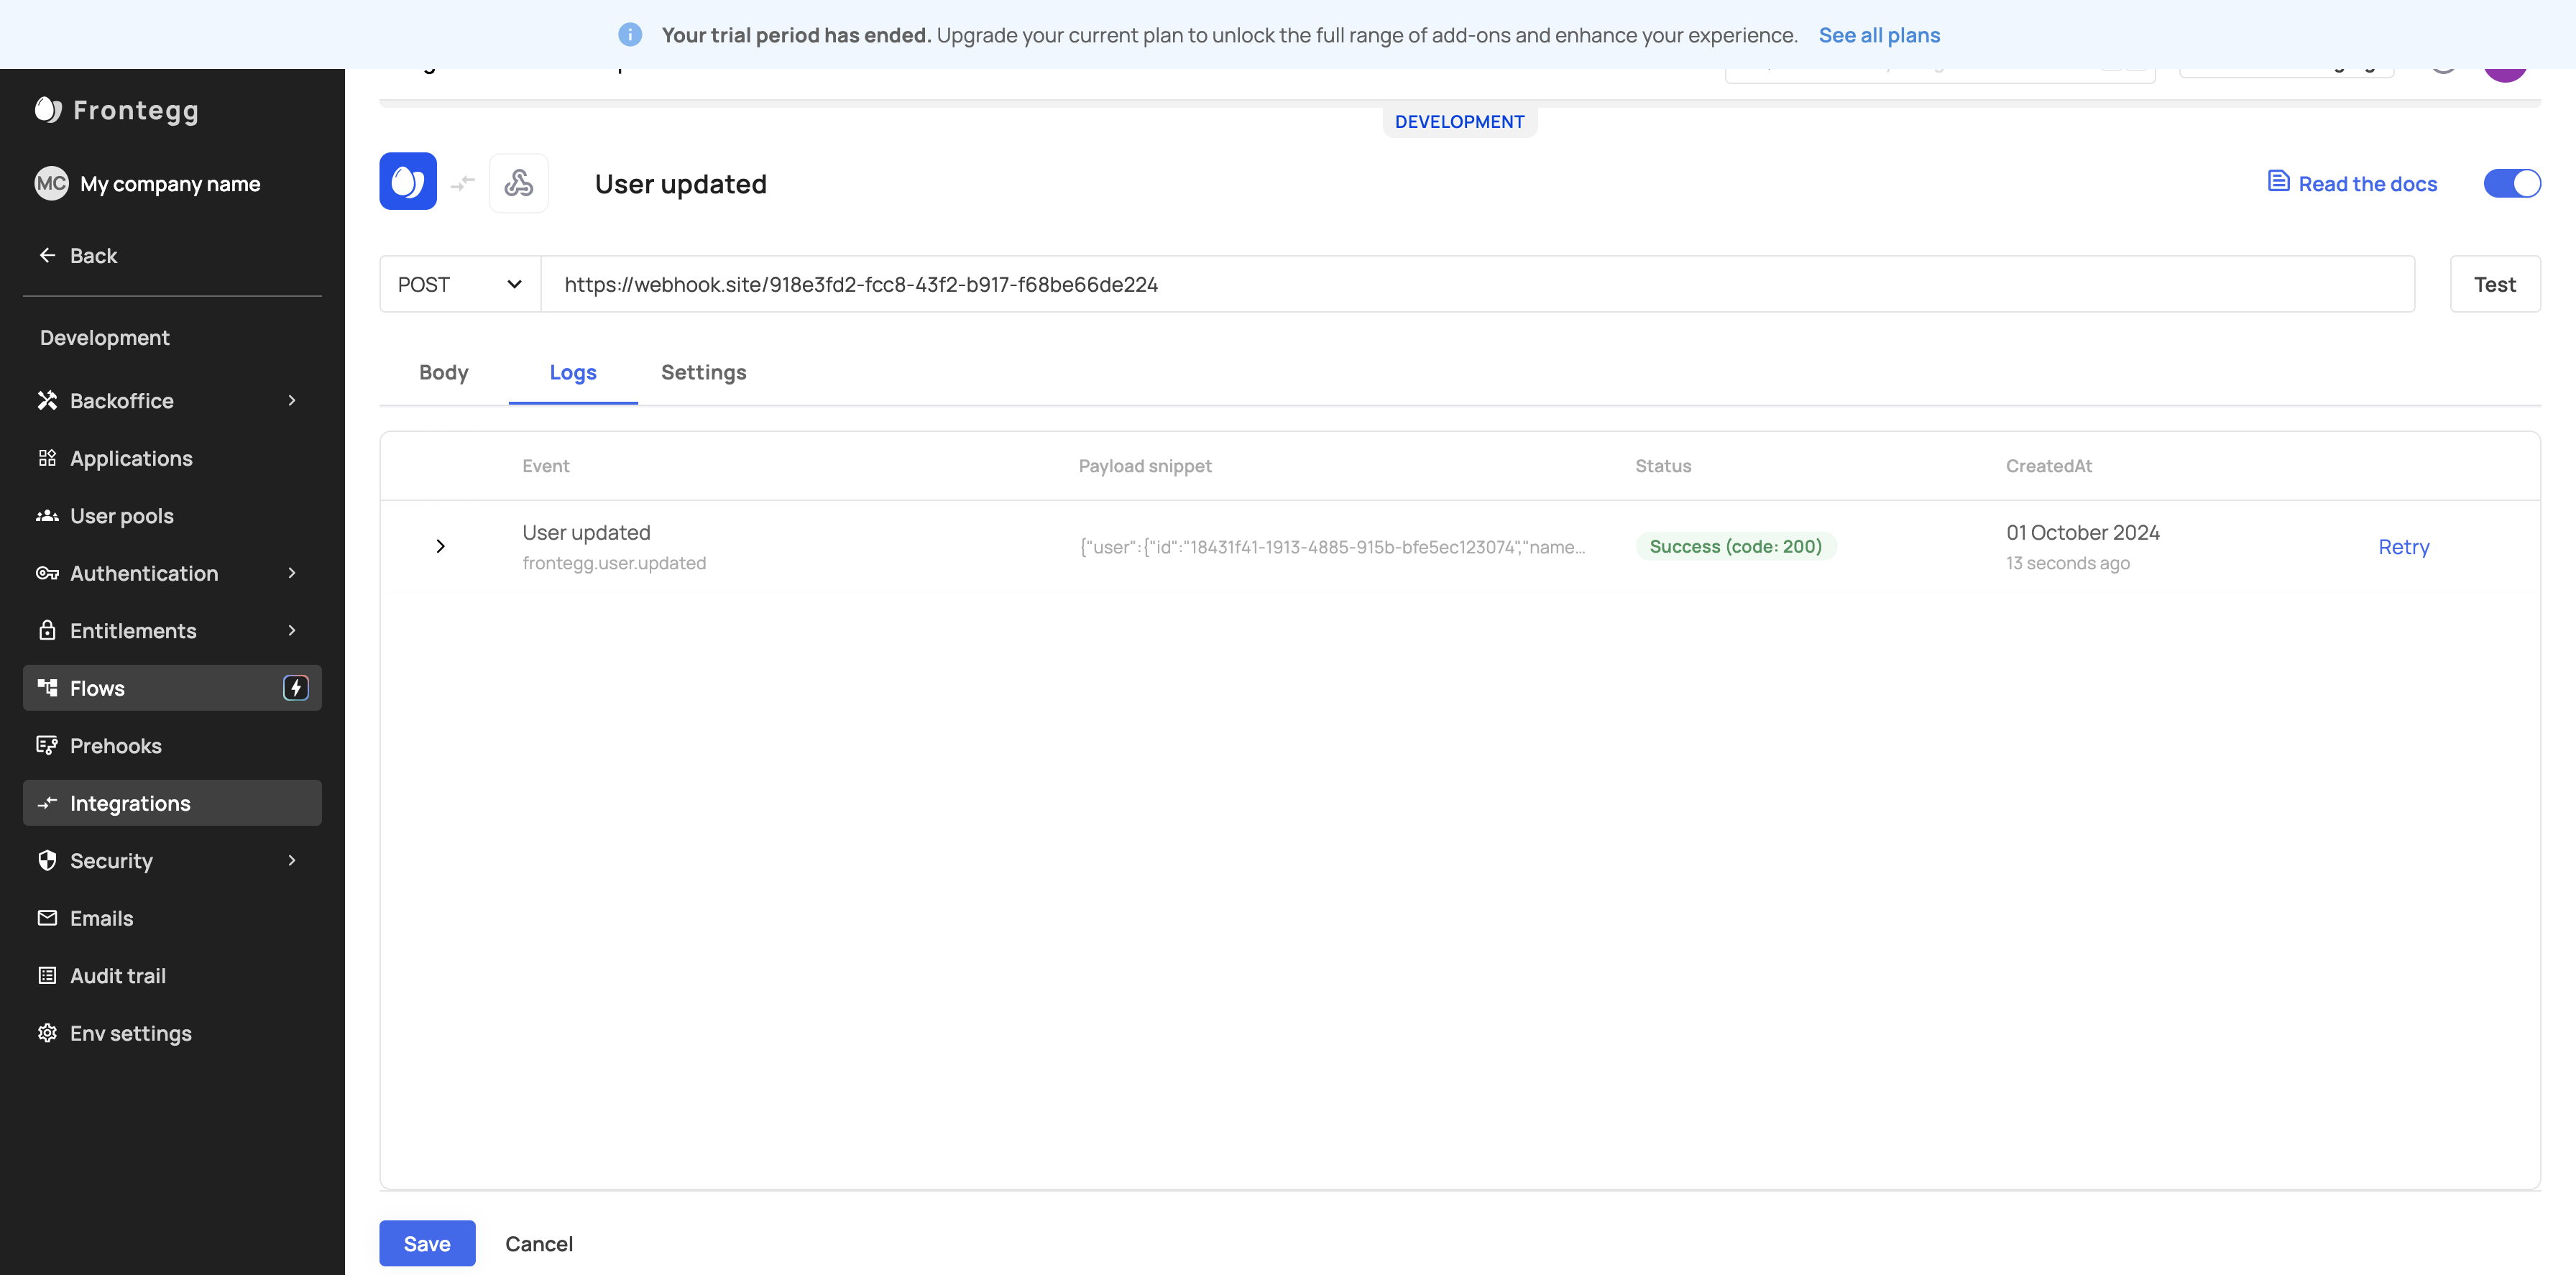
Click on "→ Integrations"
20
Click here
21
Click here
22
Click on "▷ Run test"
23
Click on "Publish"
24
Click here
25
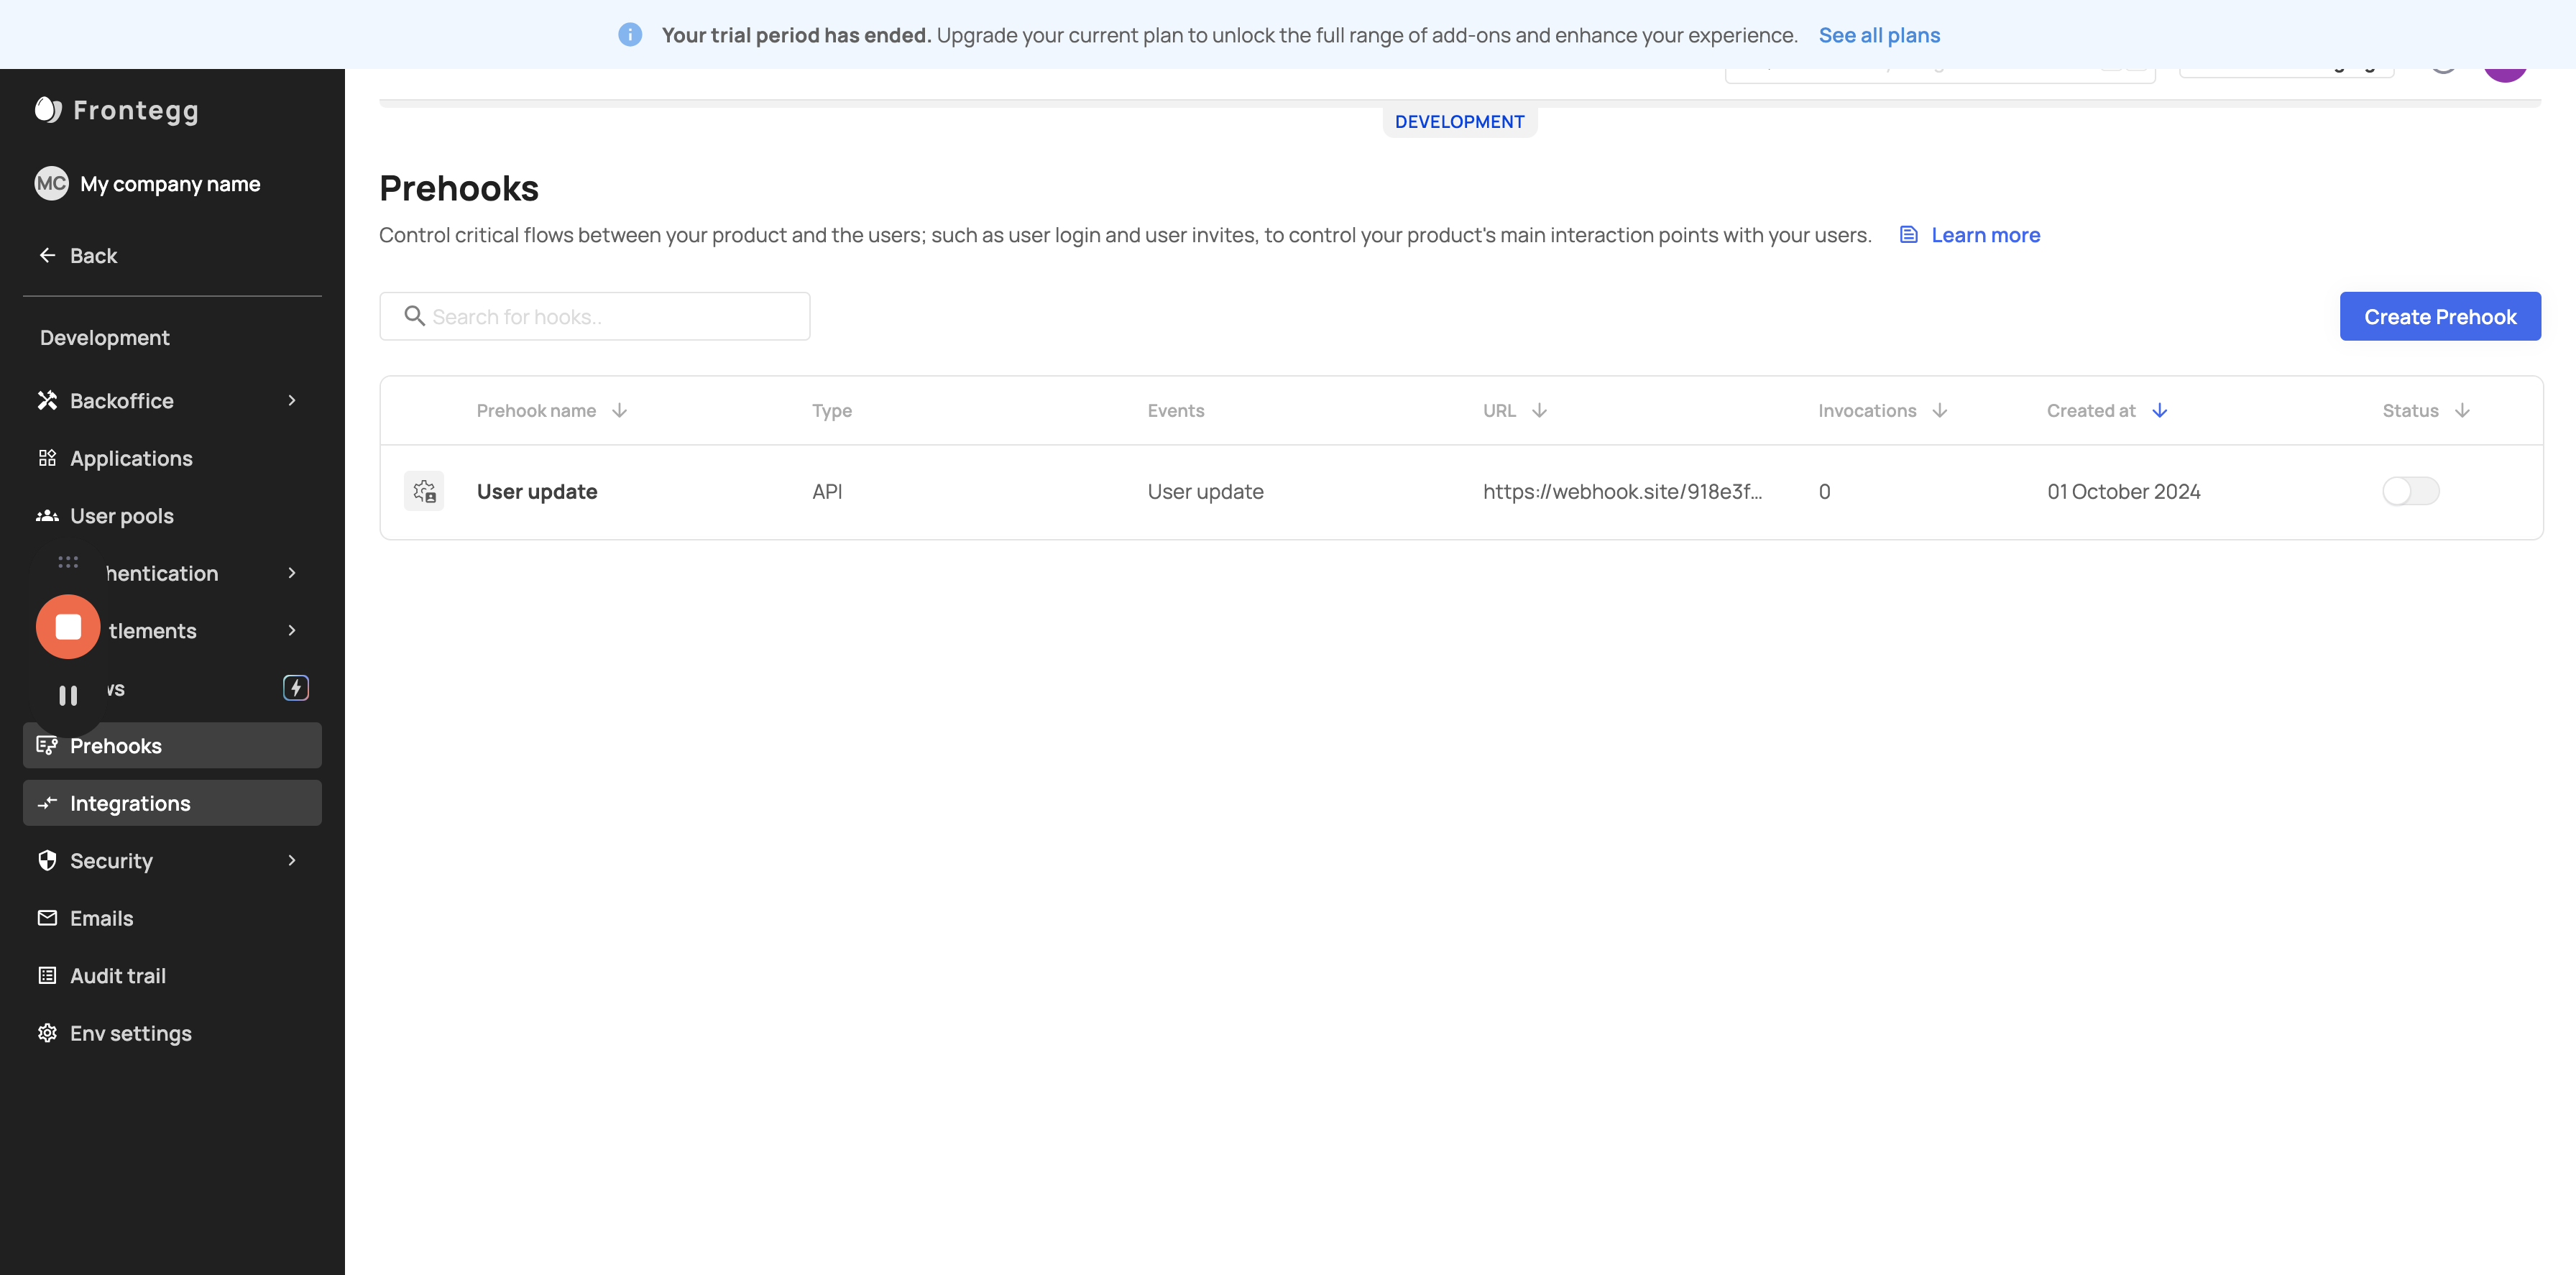
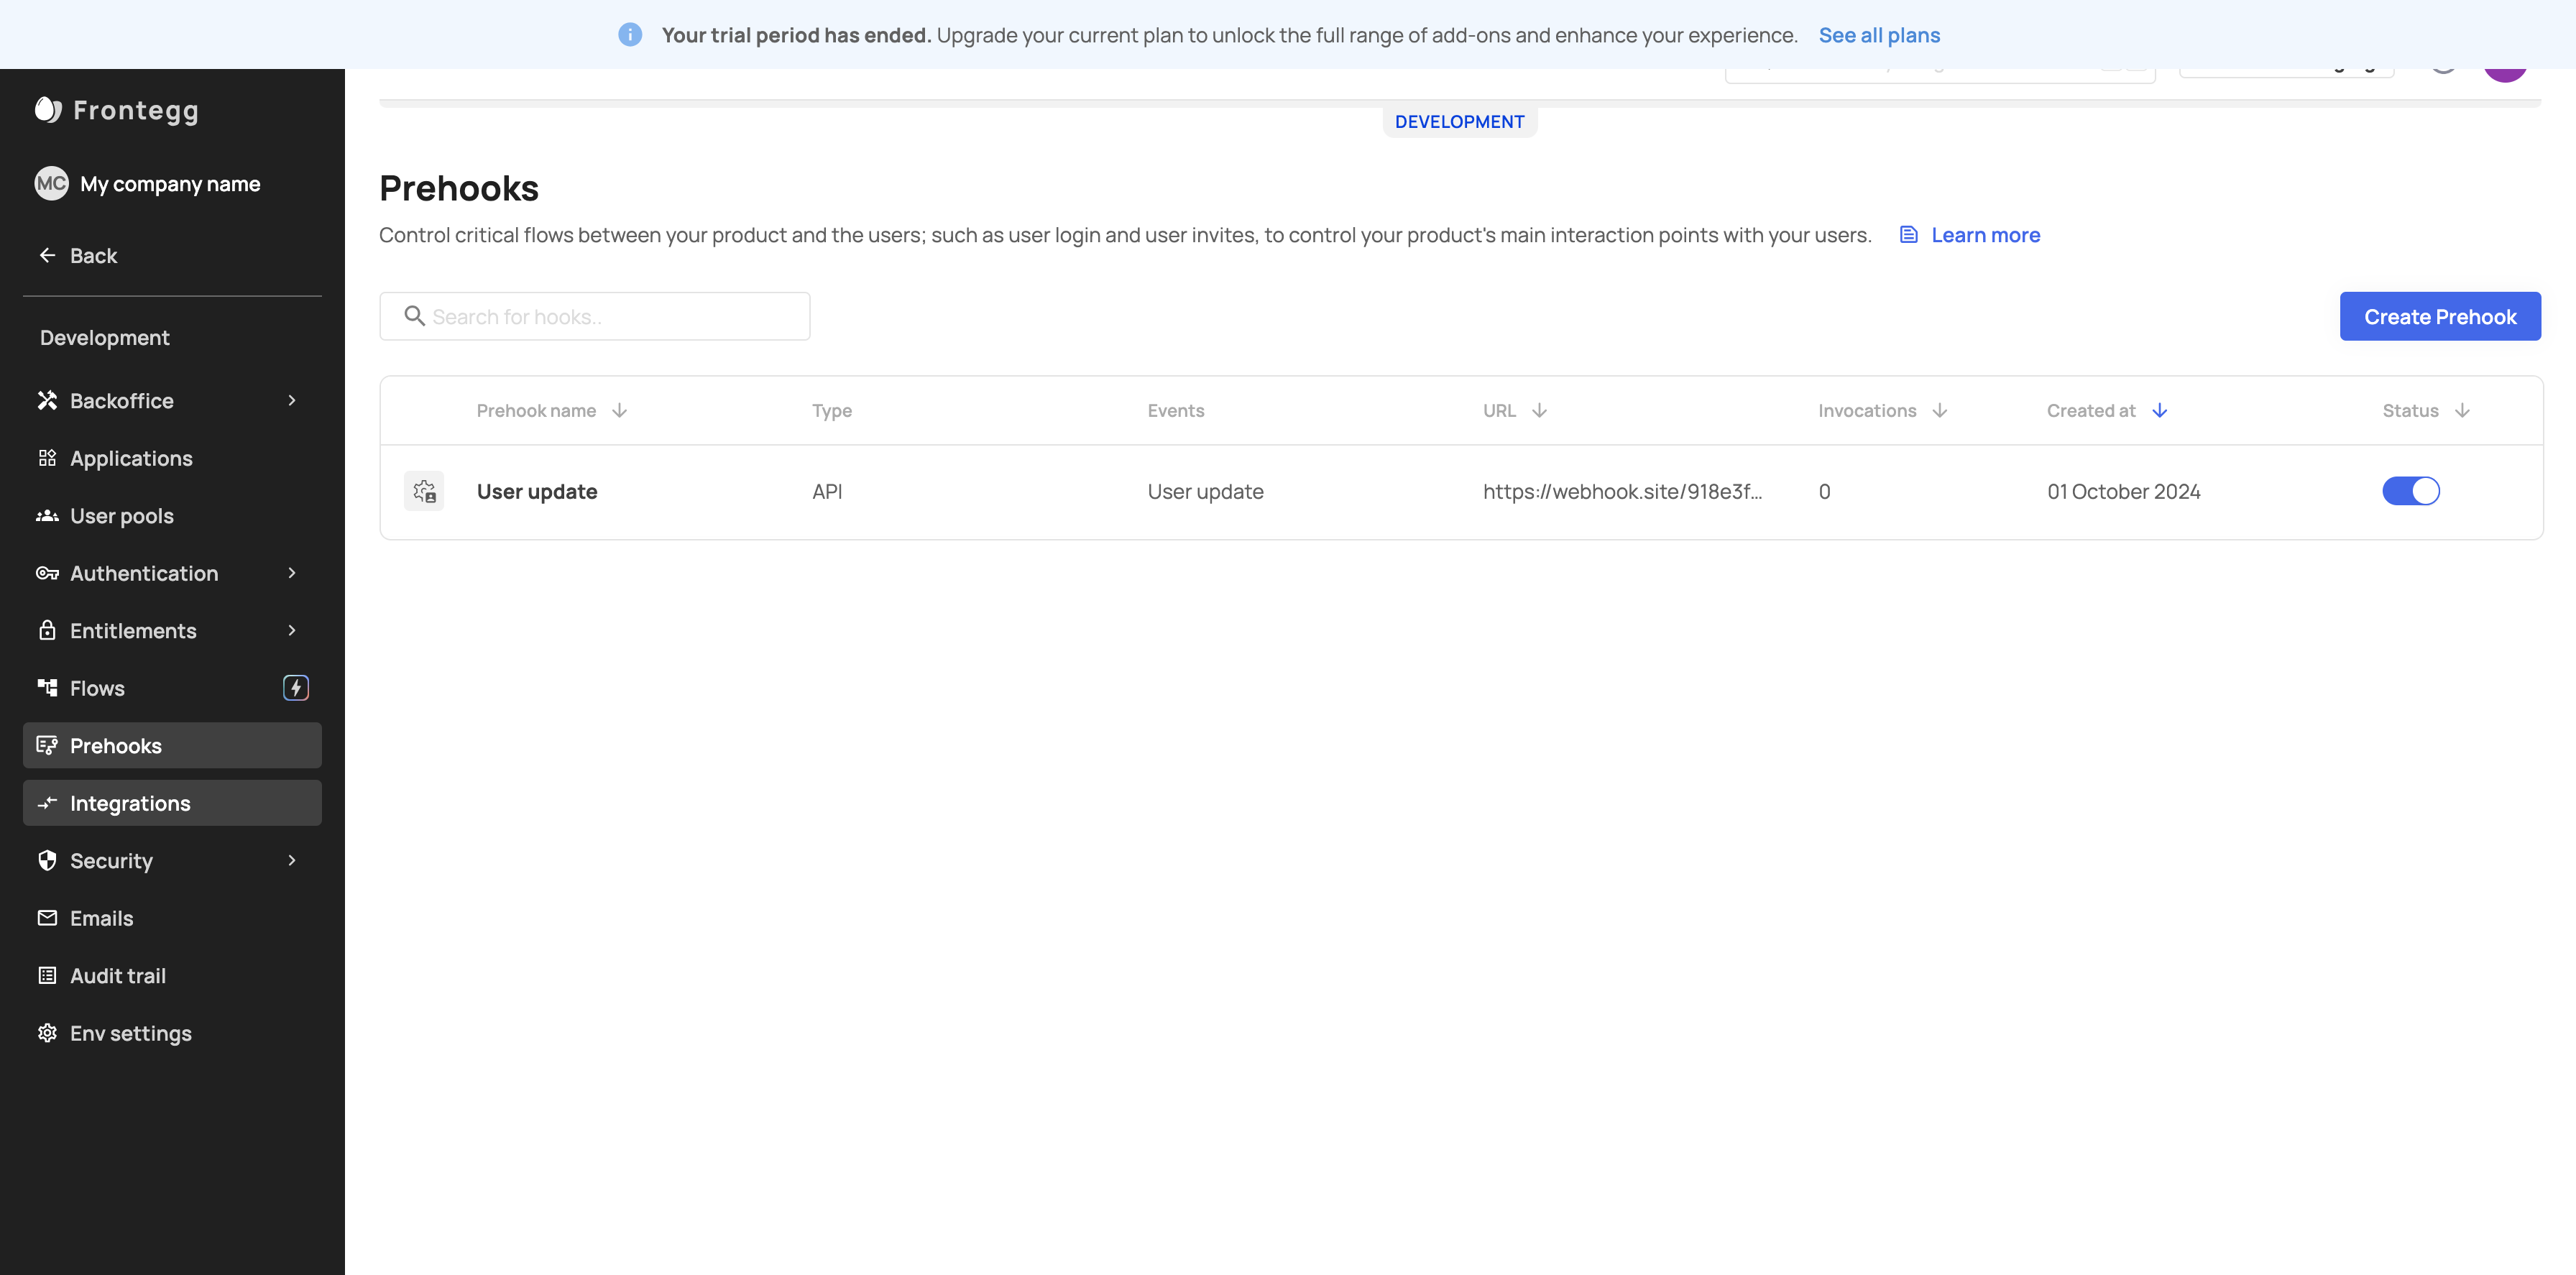
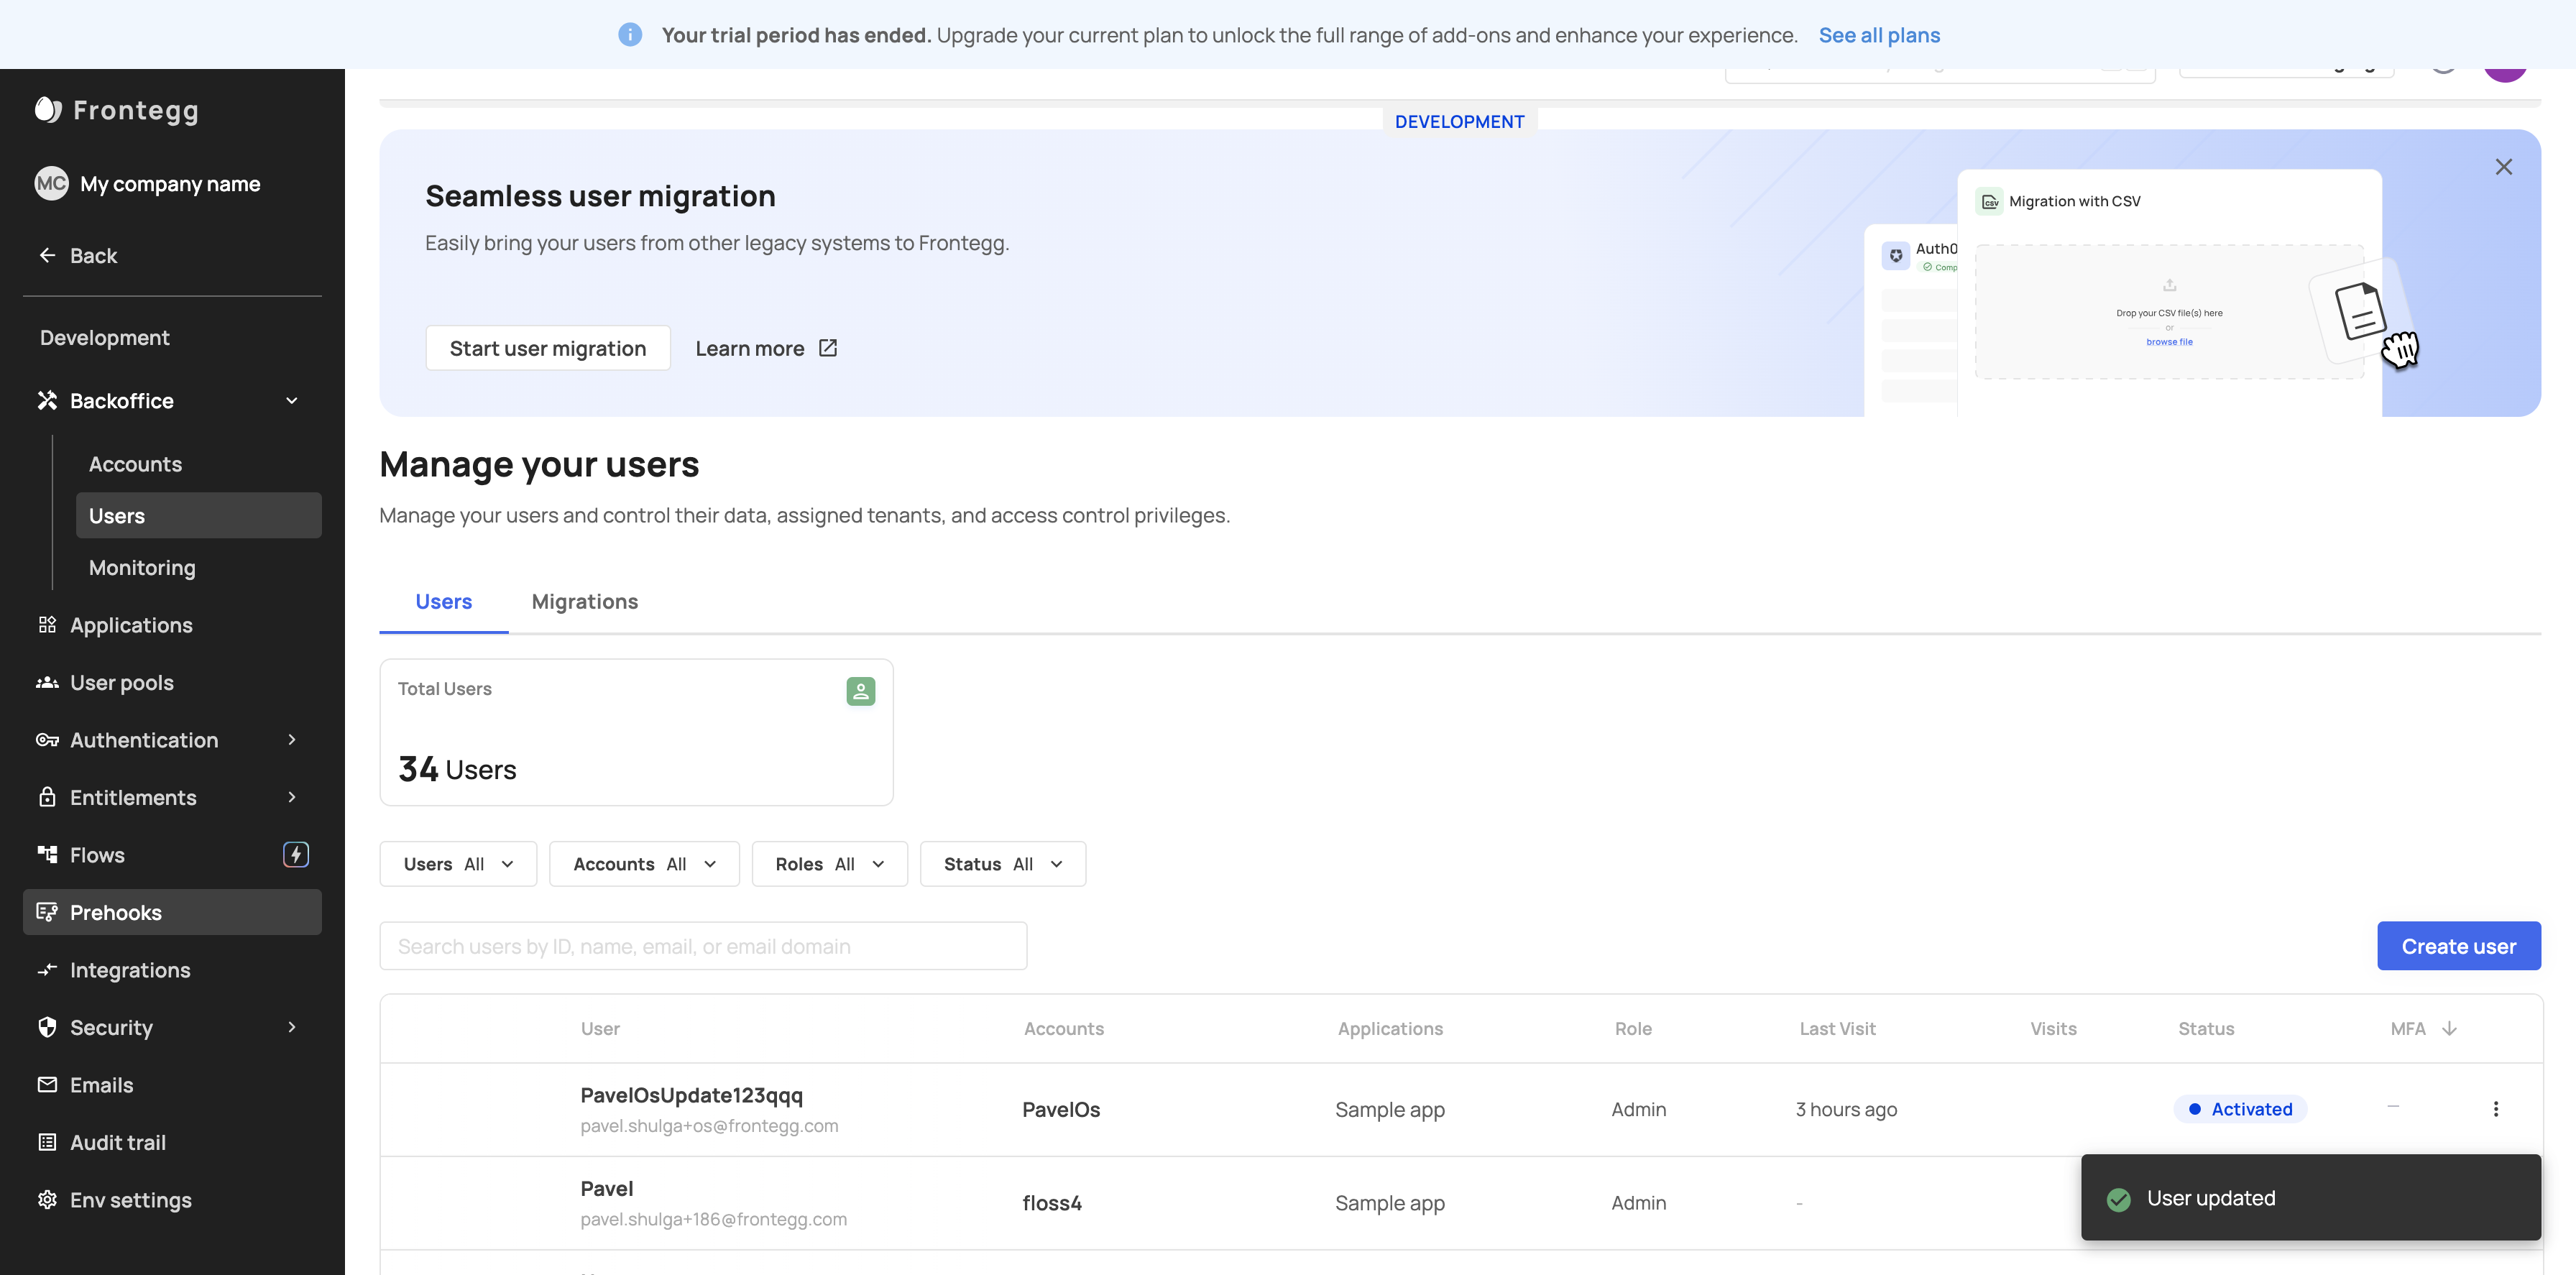
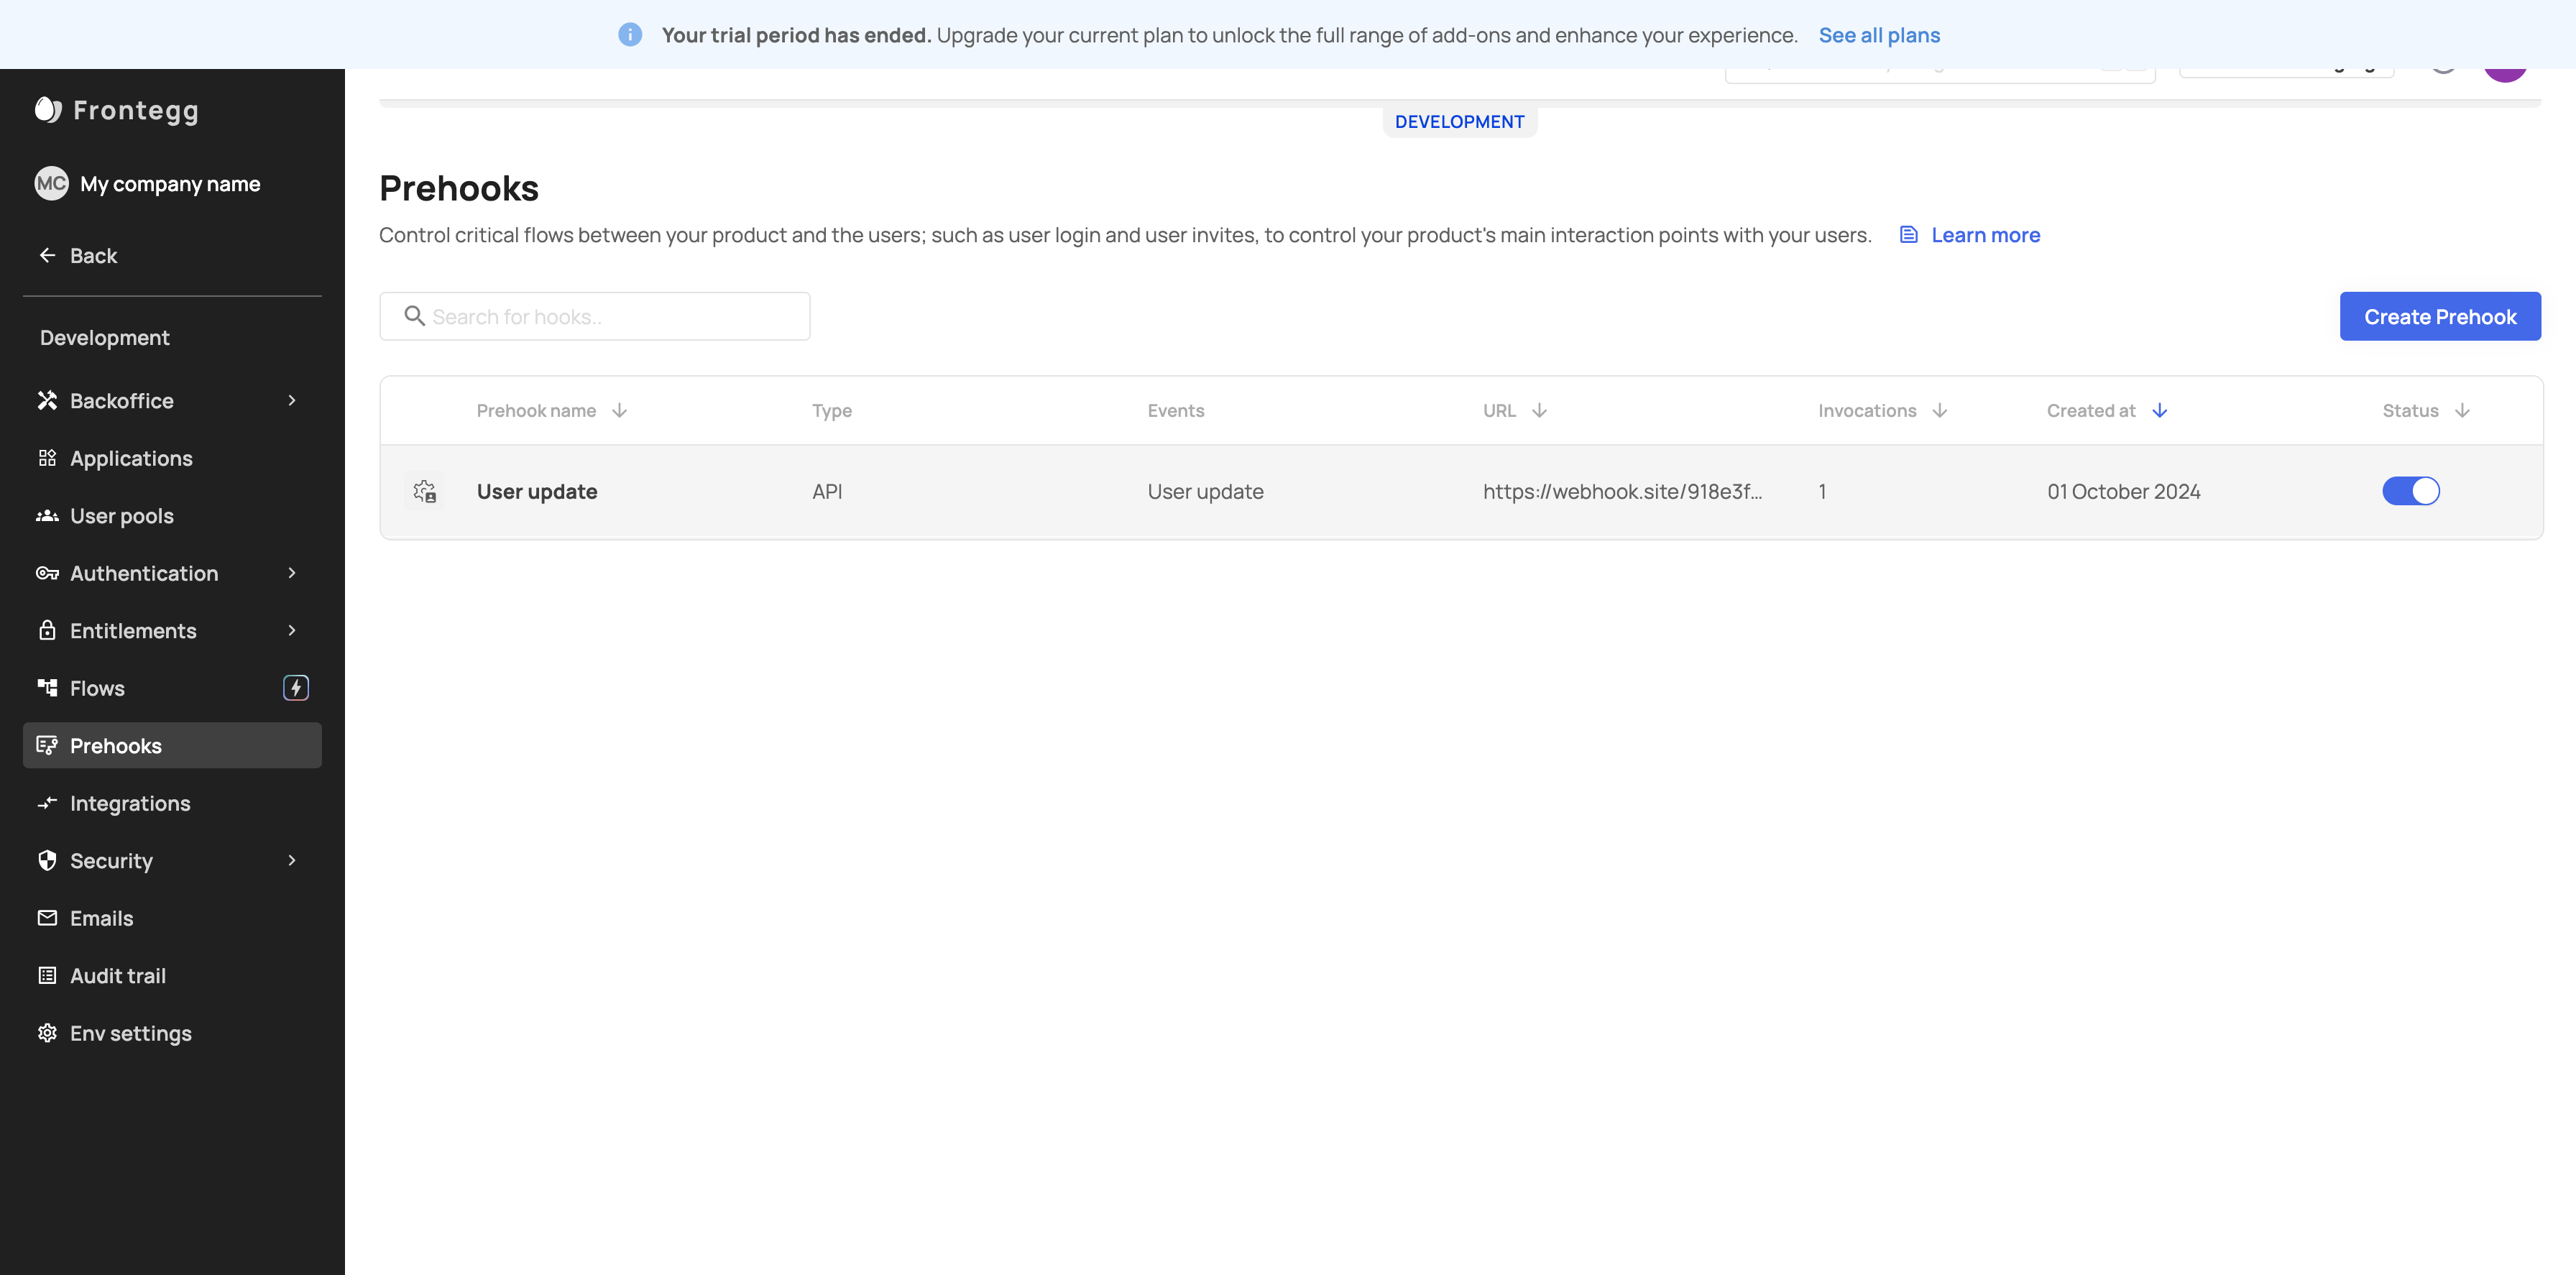
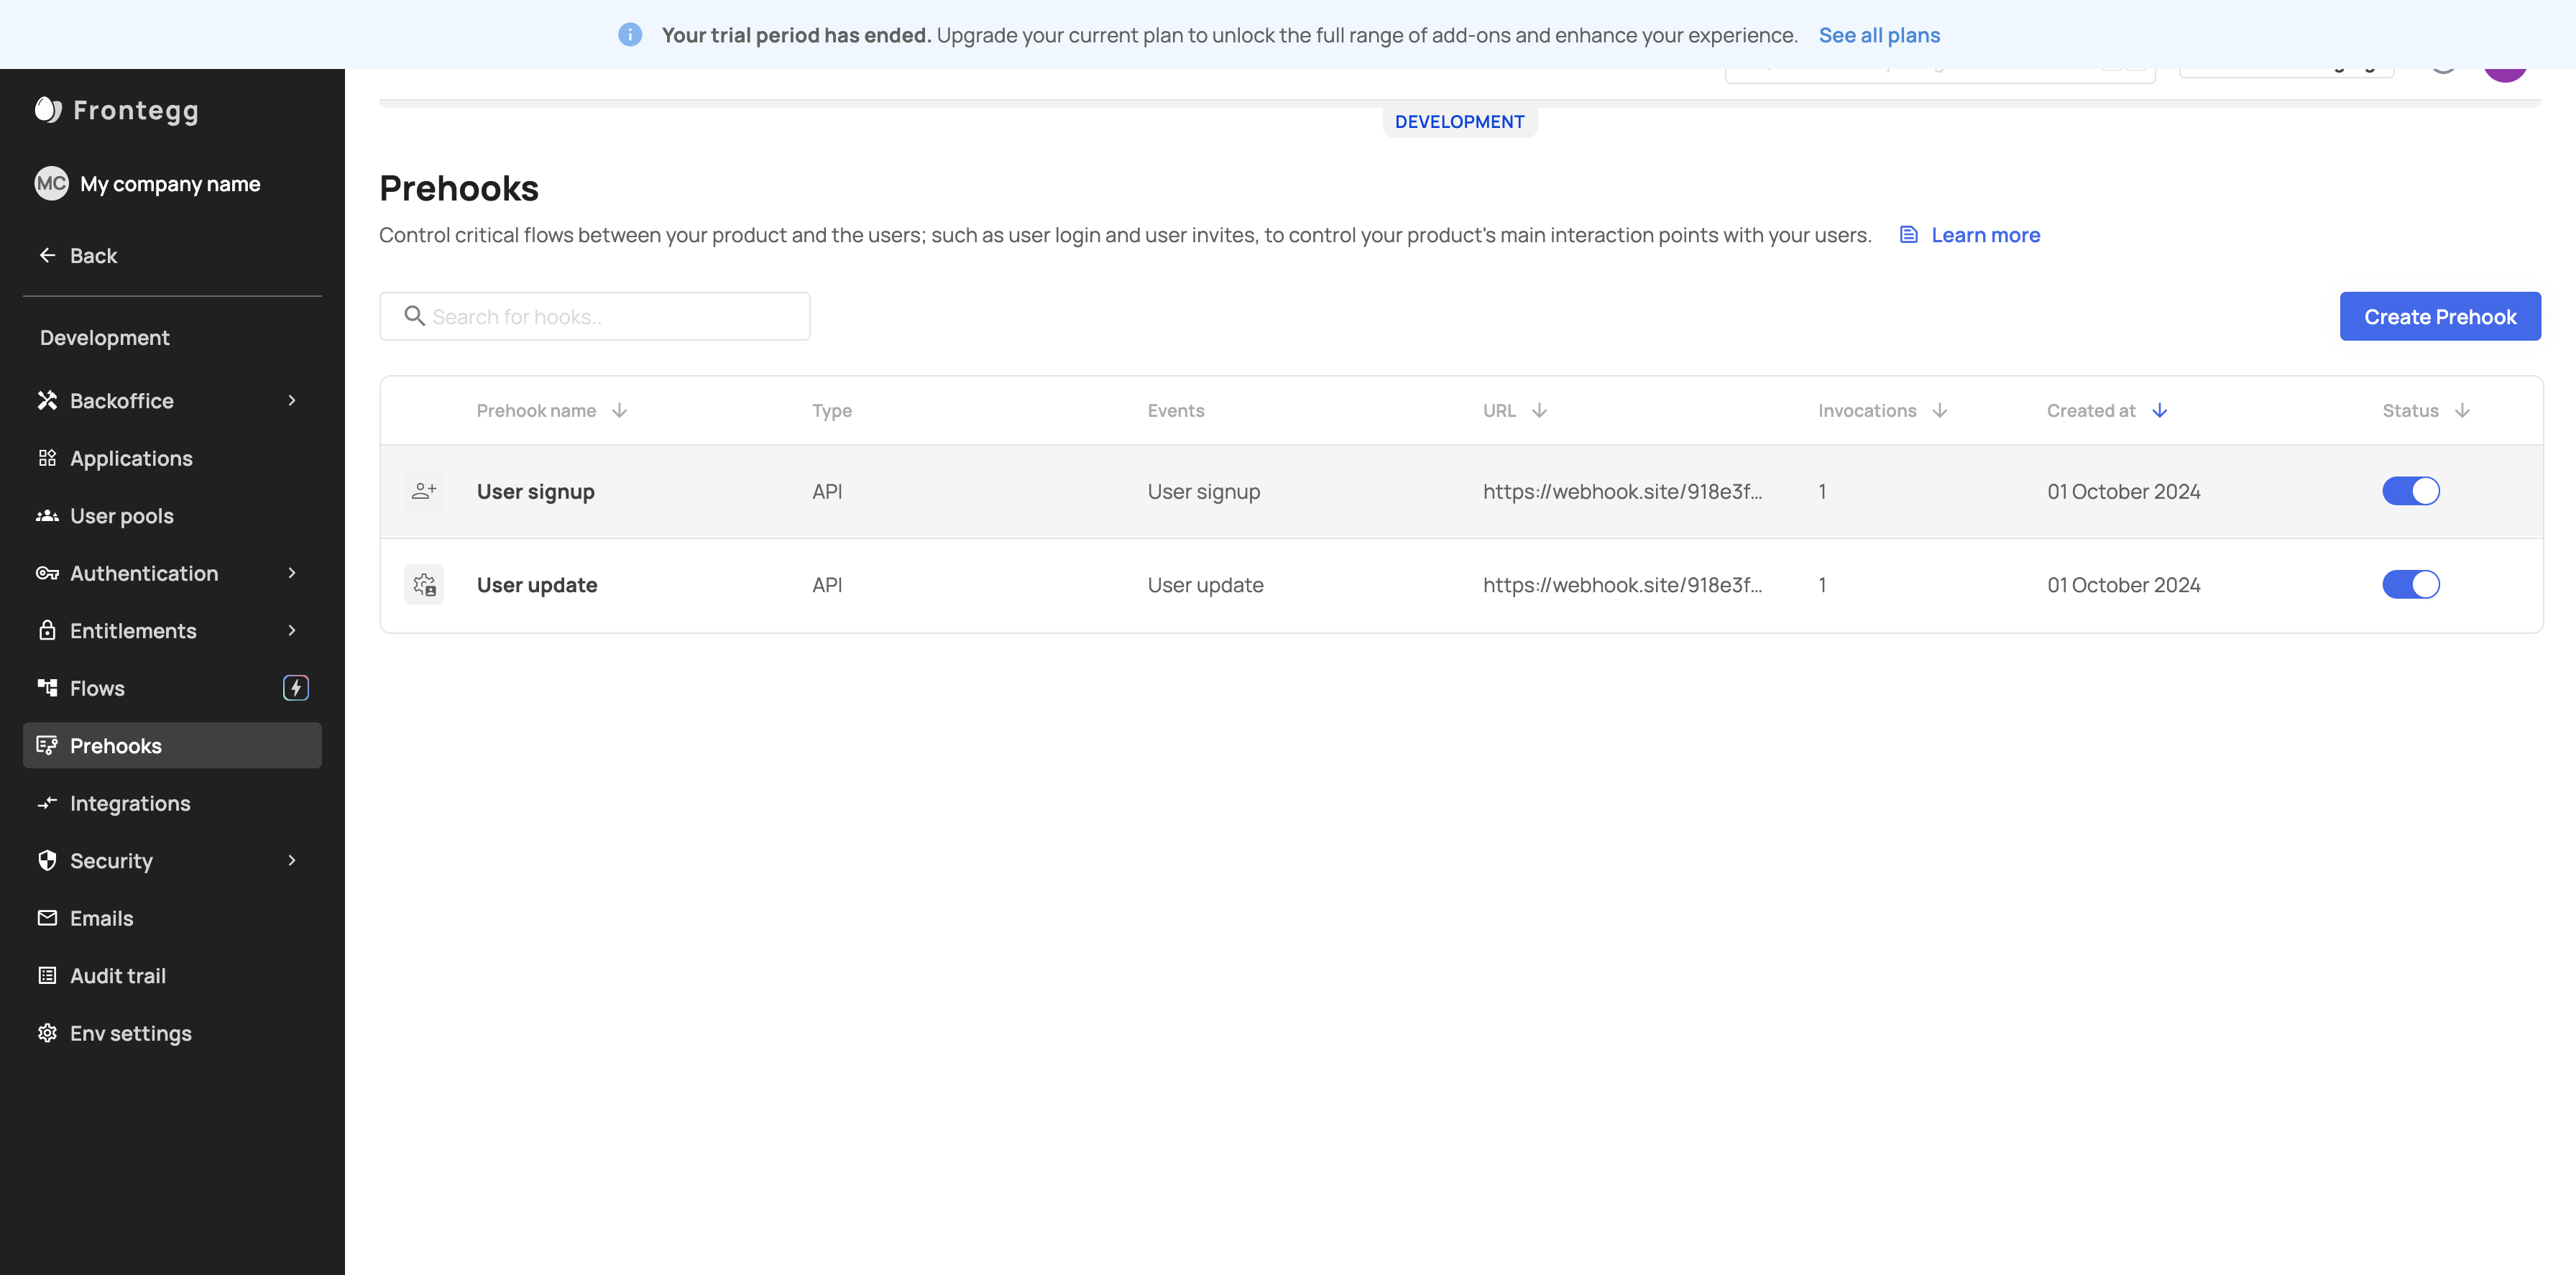
Click on "Ę Prehooks"
26
Click on "→ Integrations"
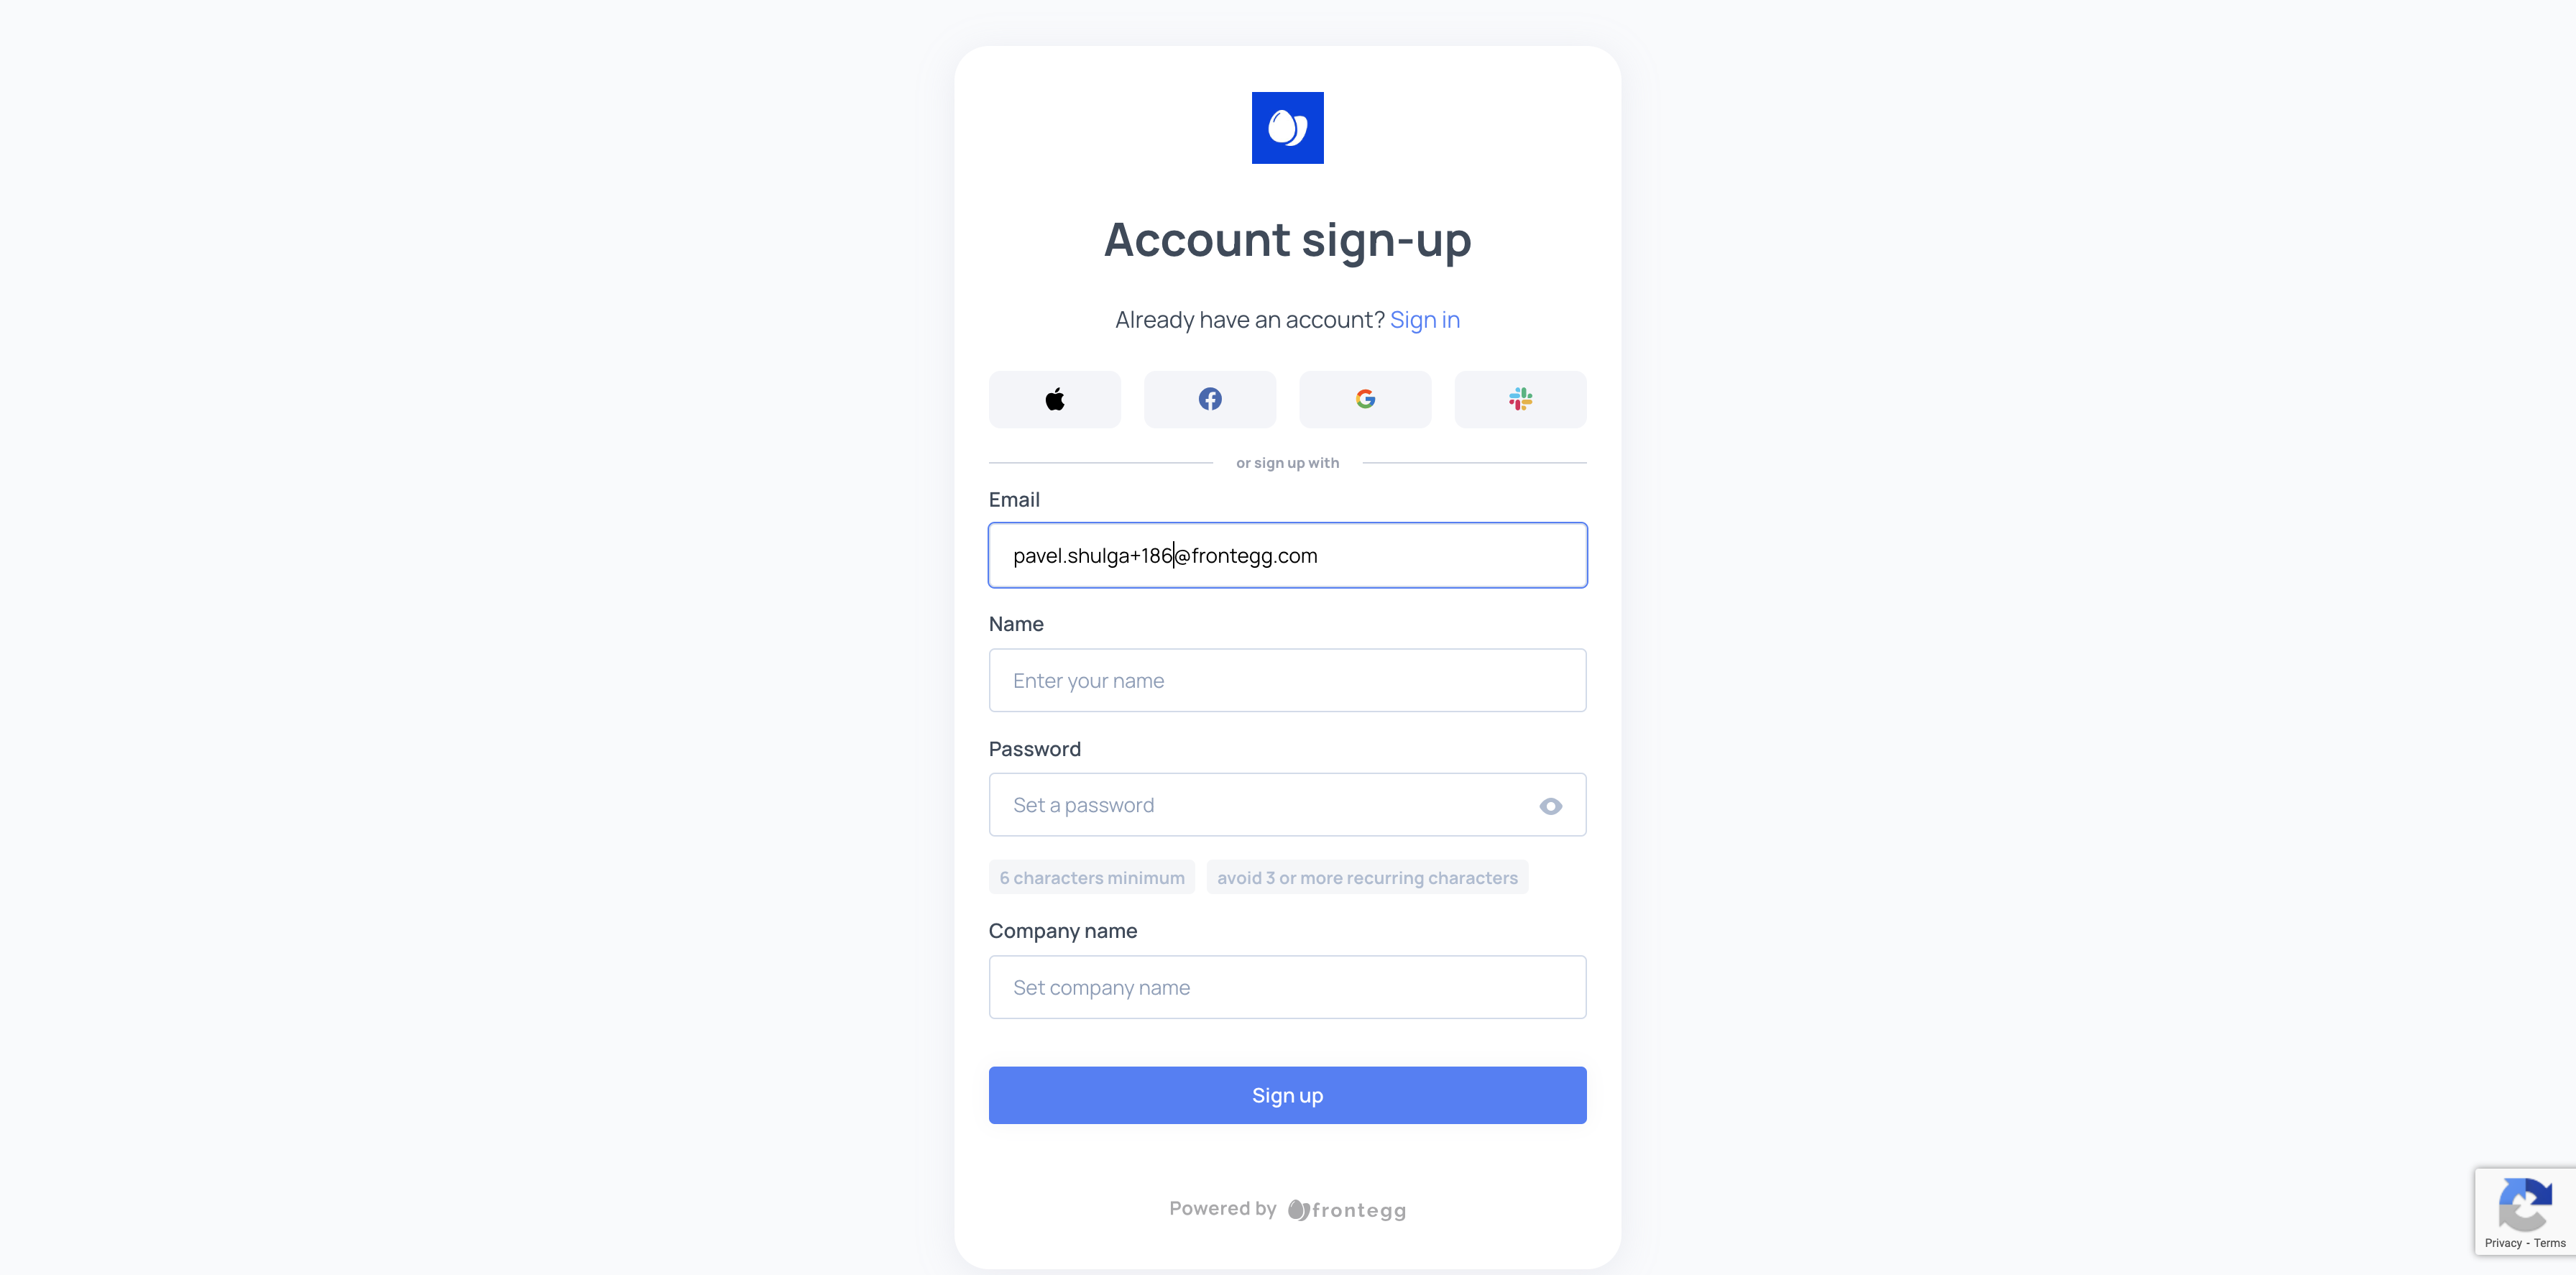
27
Click here
28
Click here
29
Click here
30
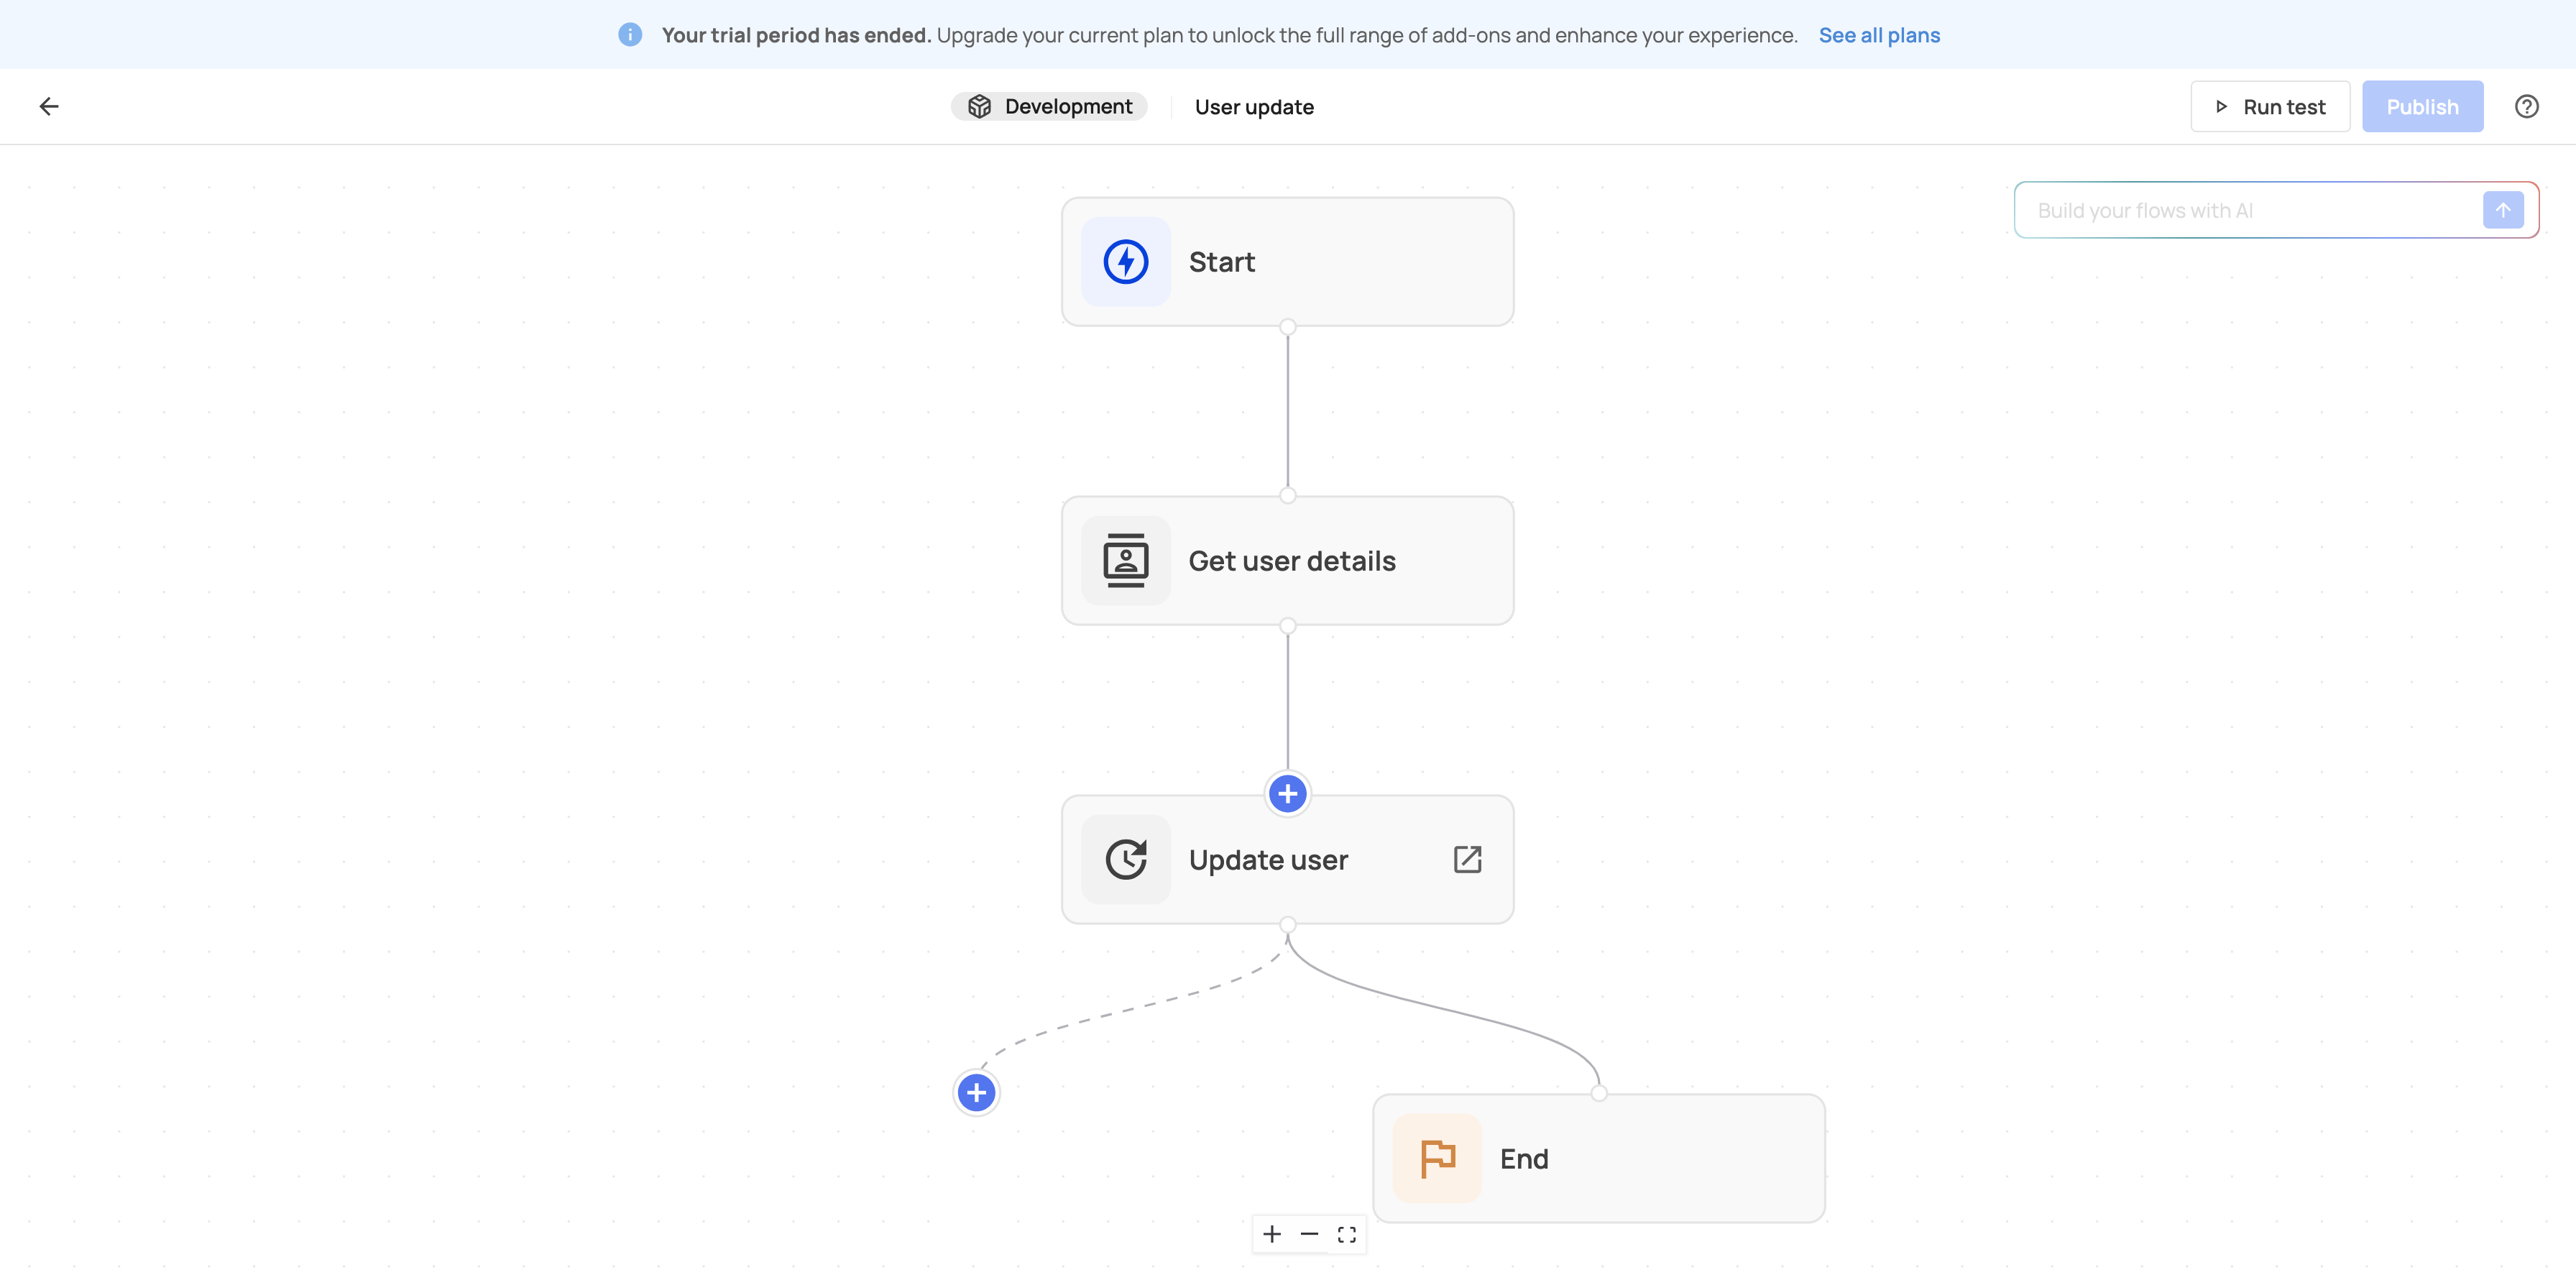
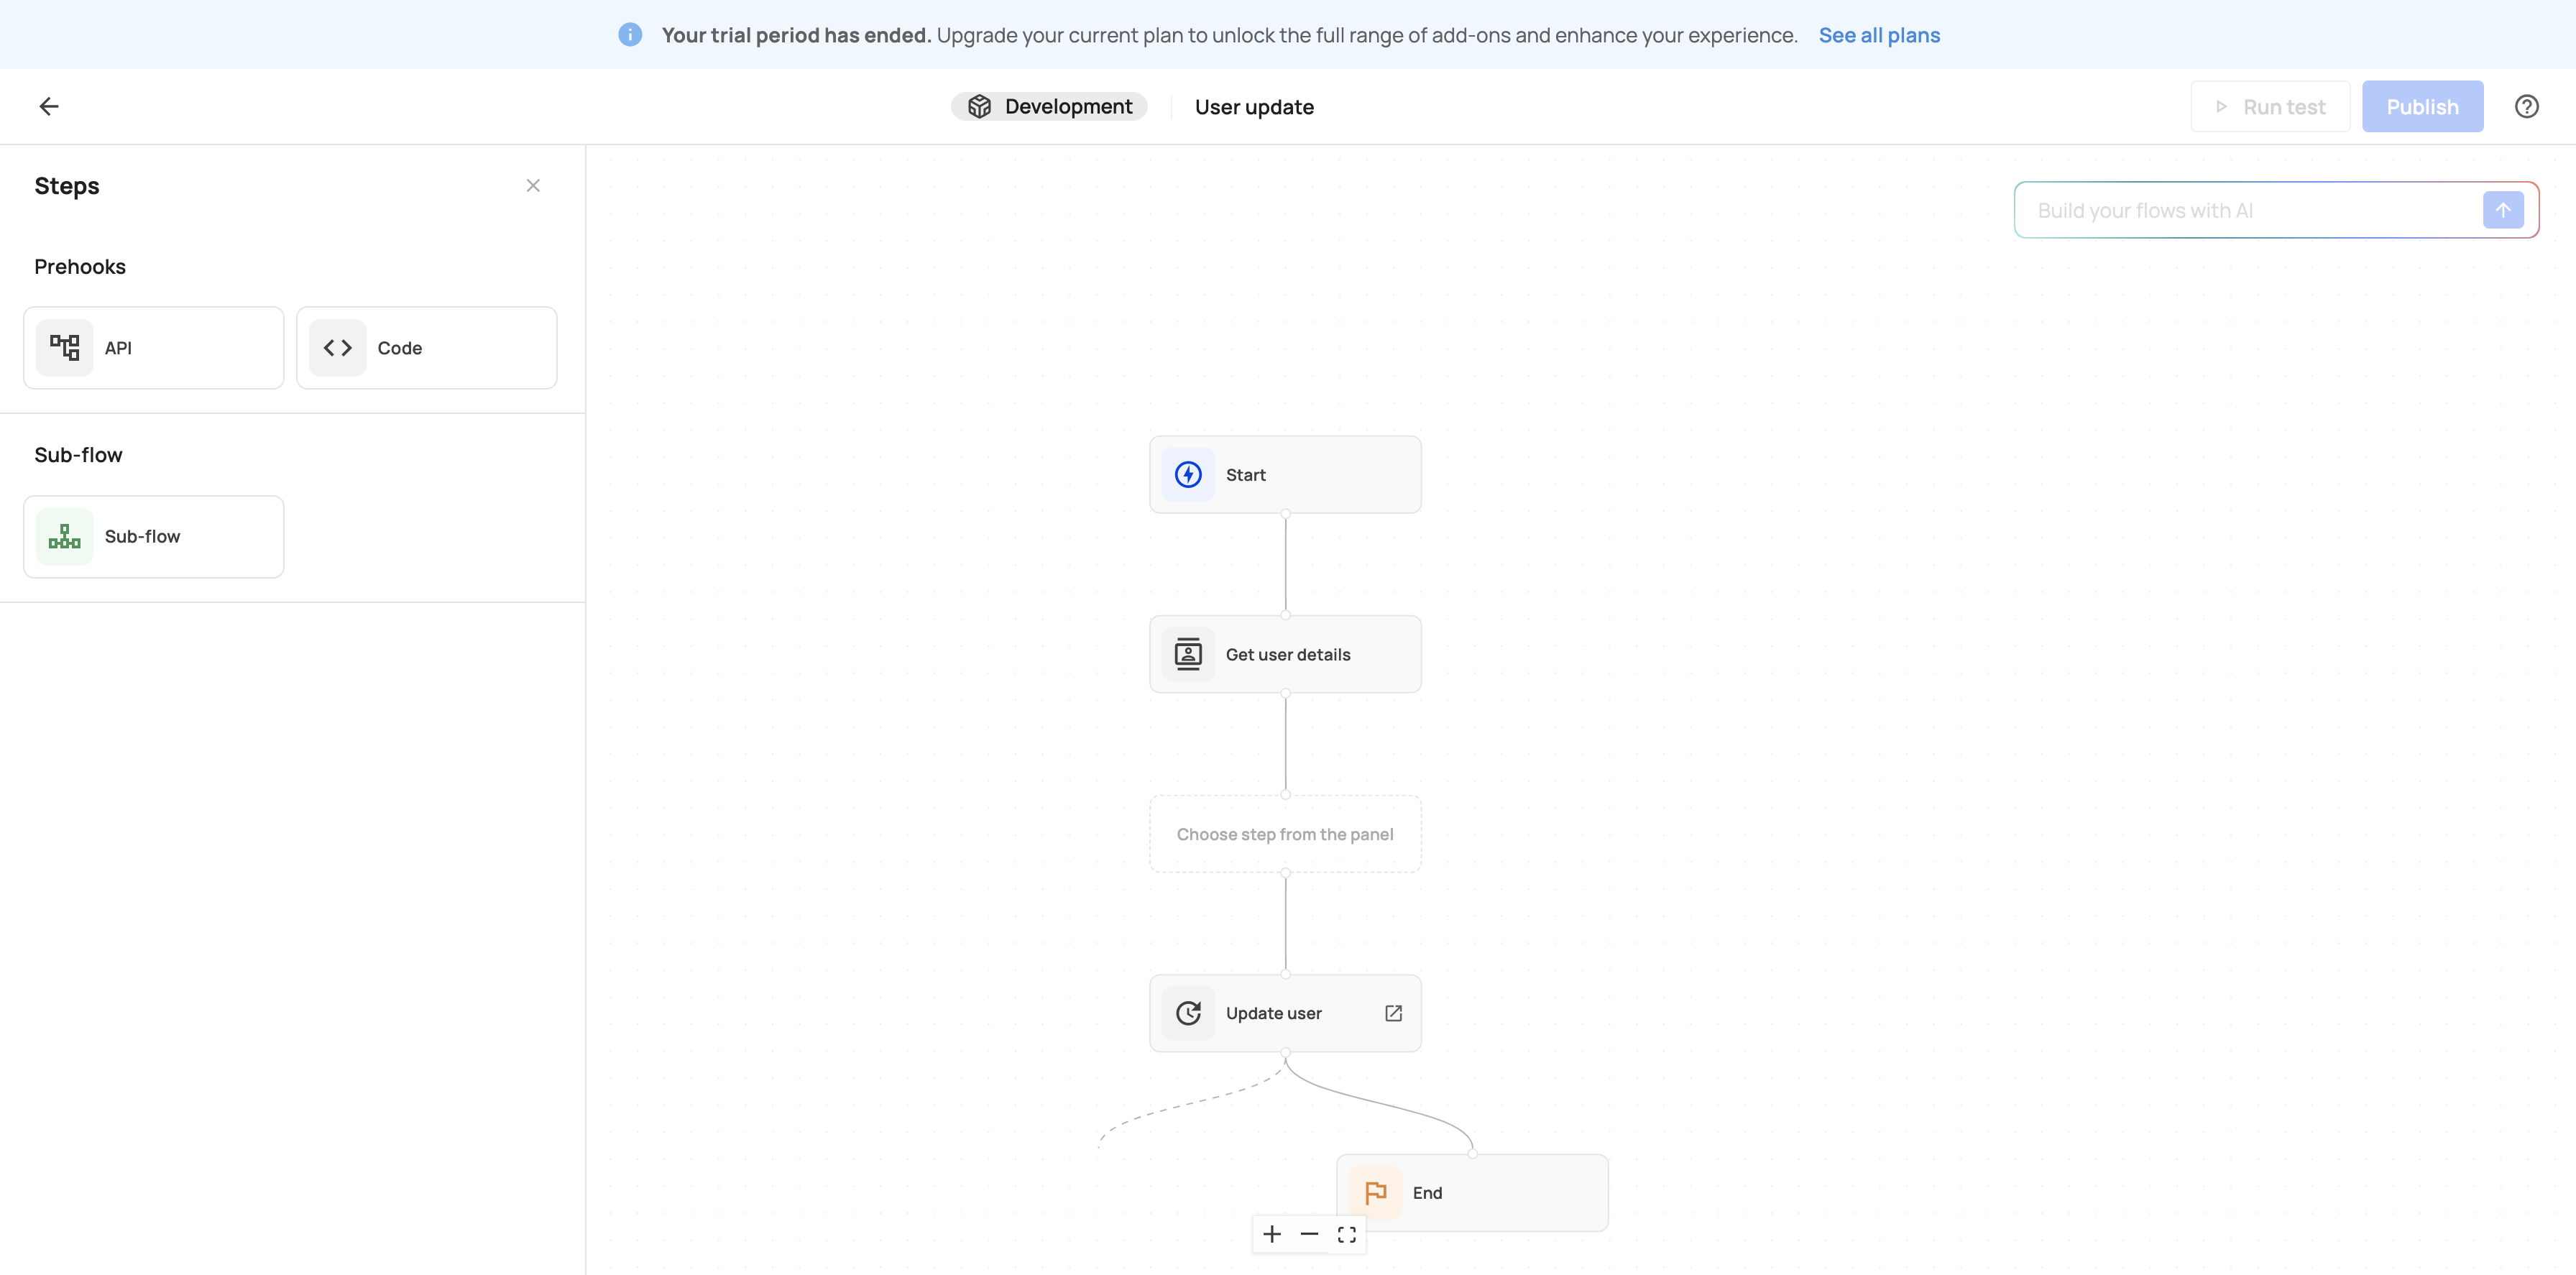
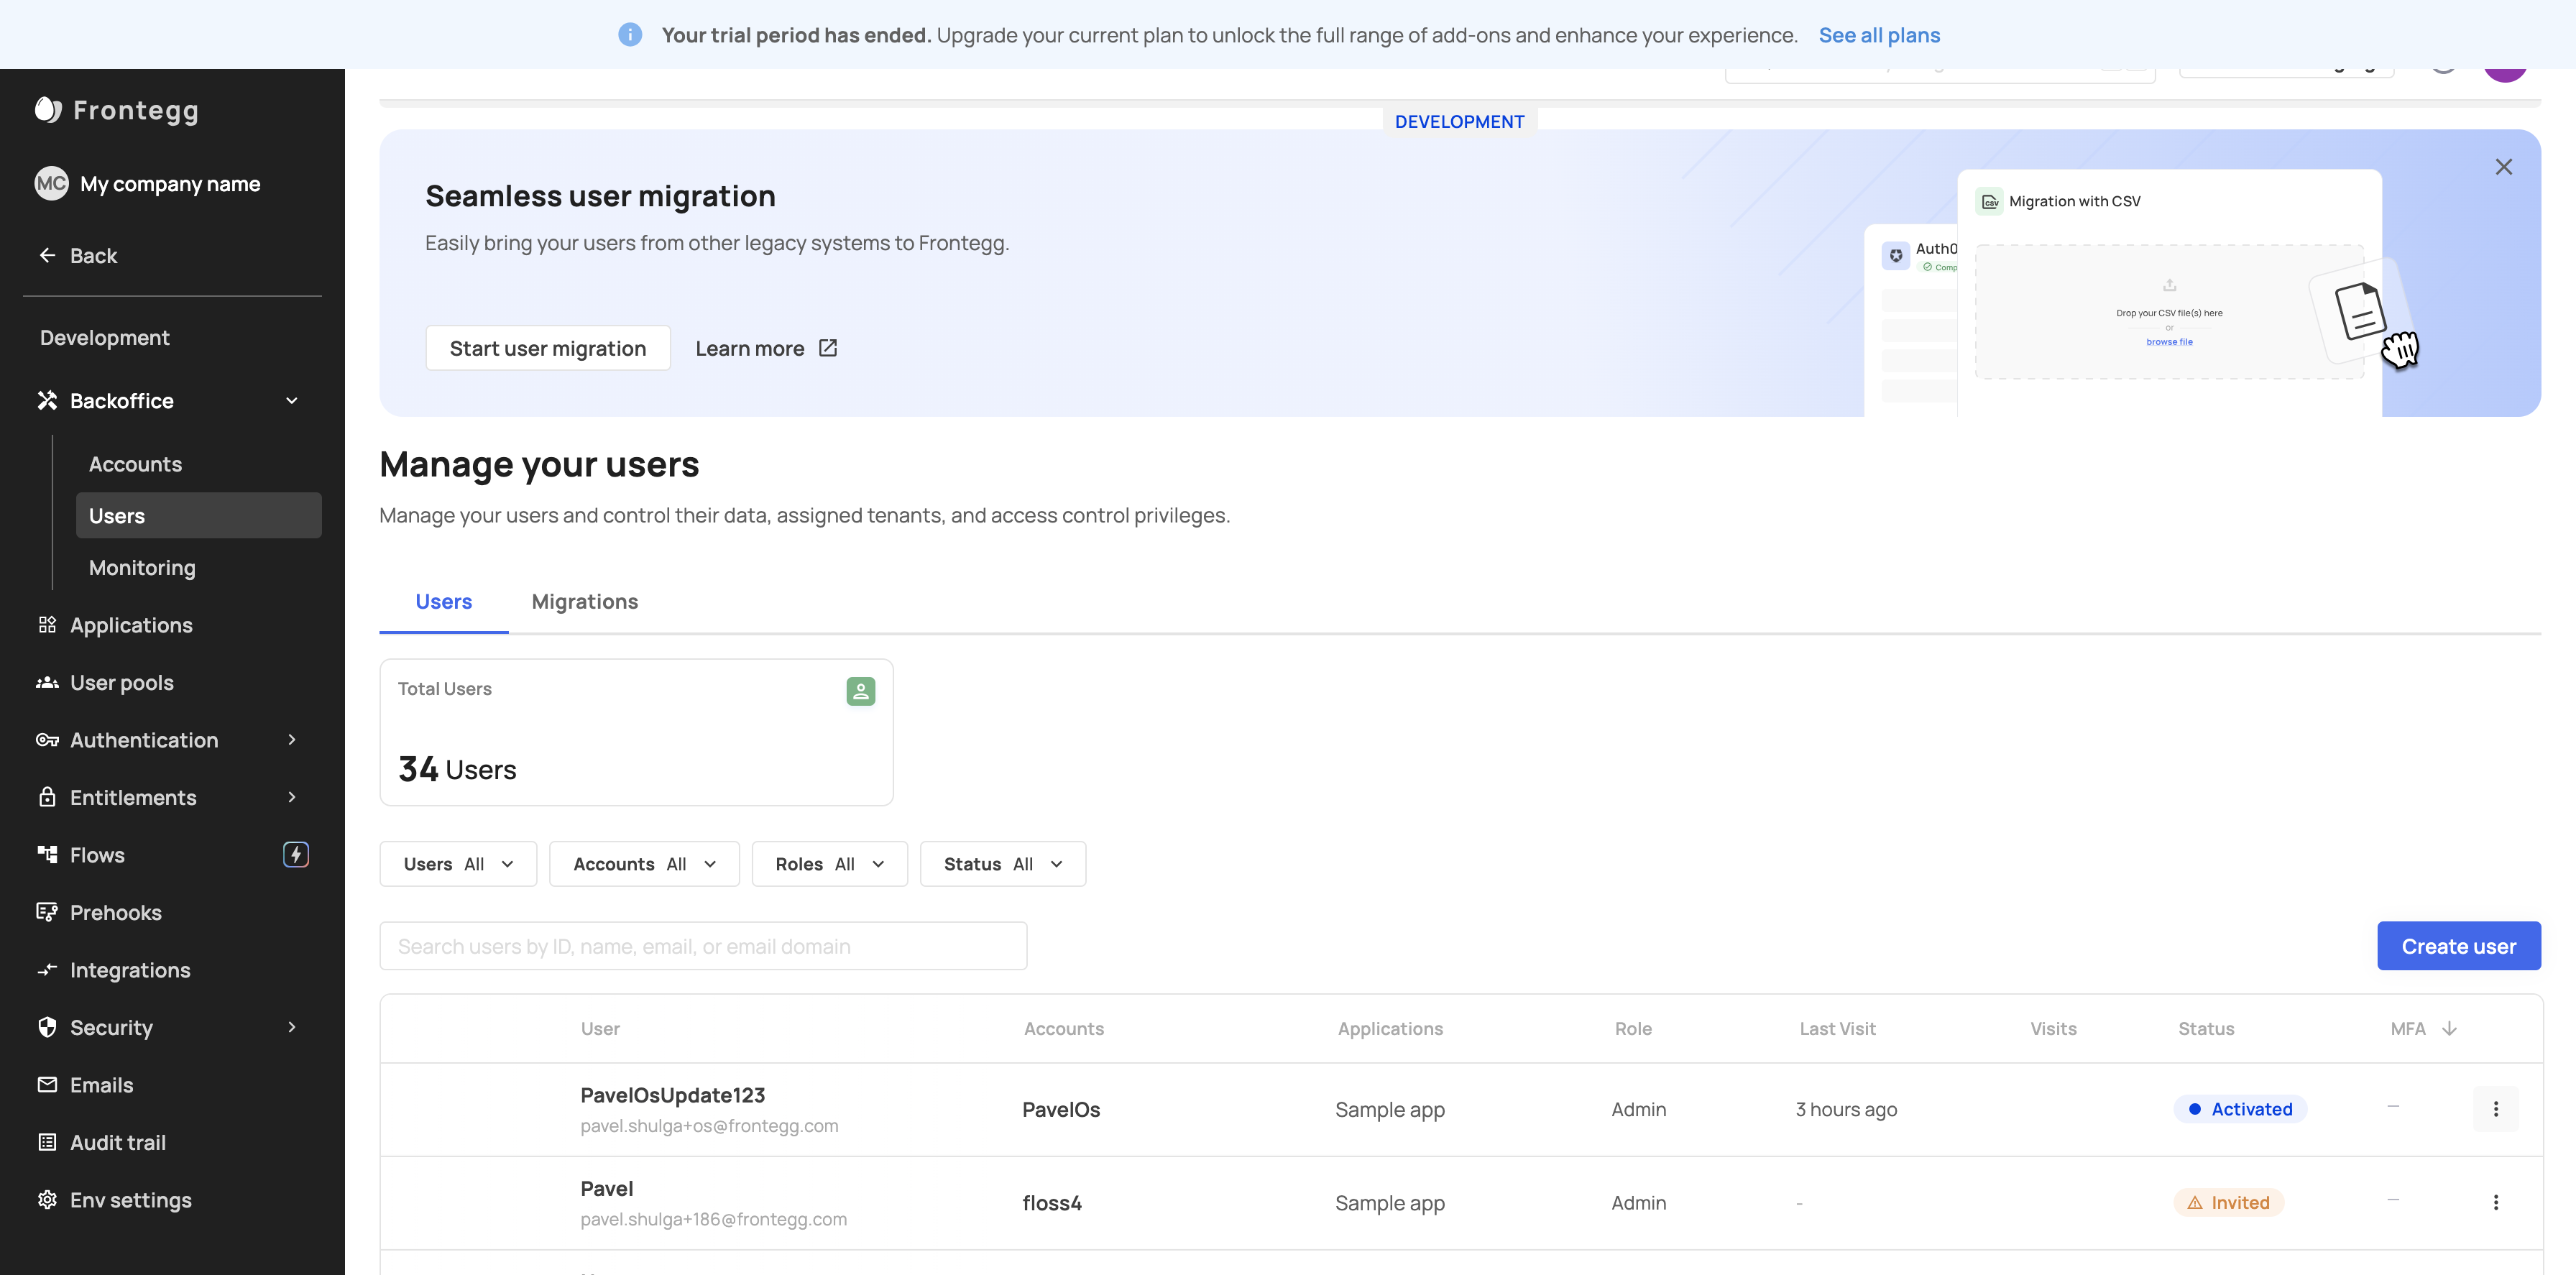
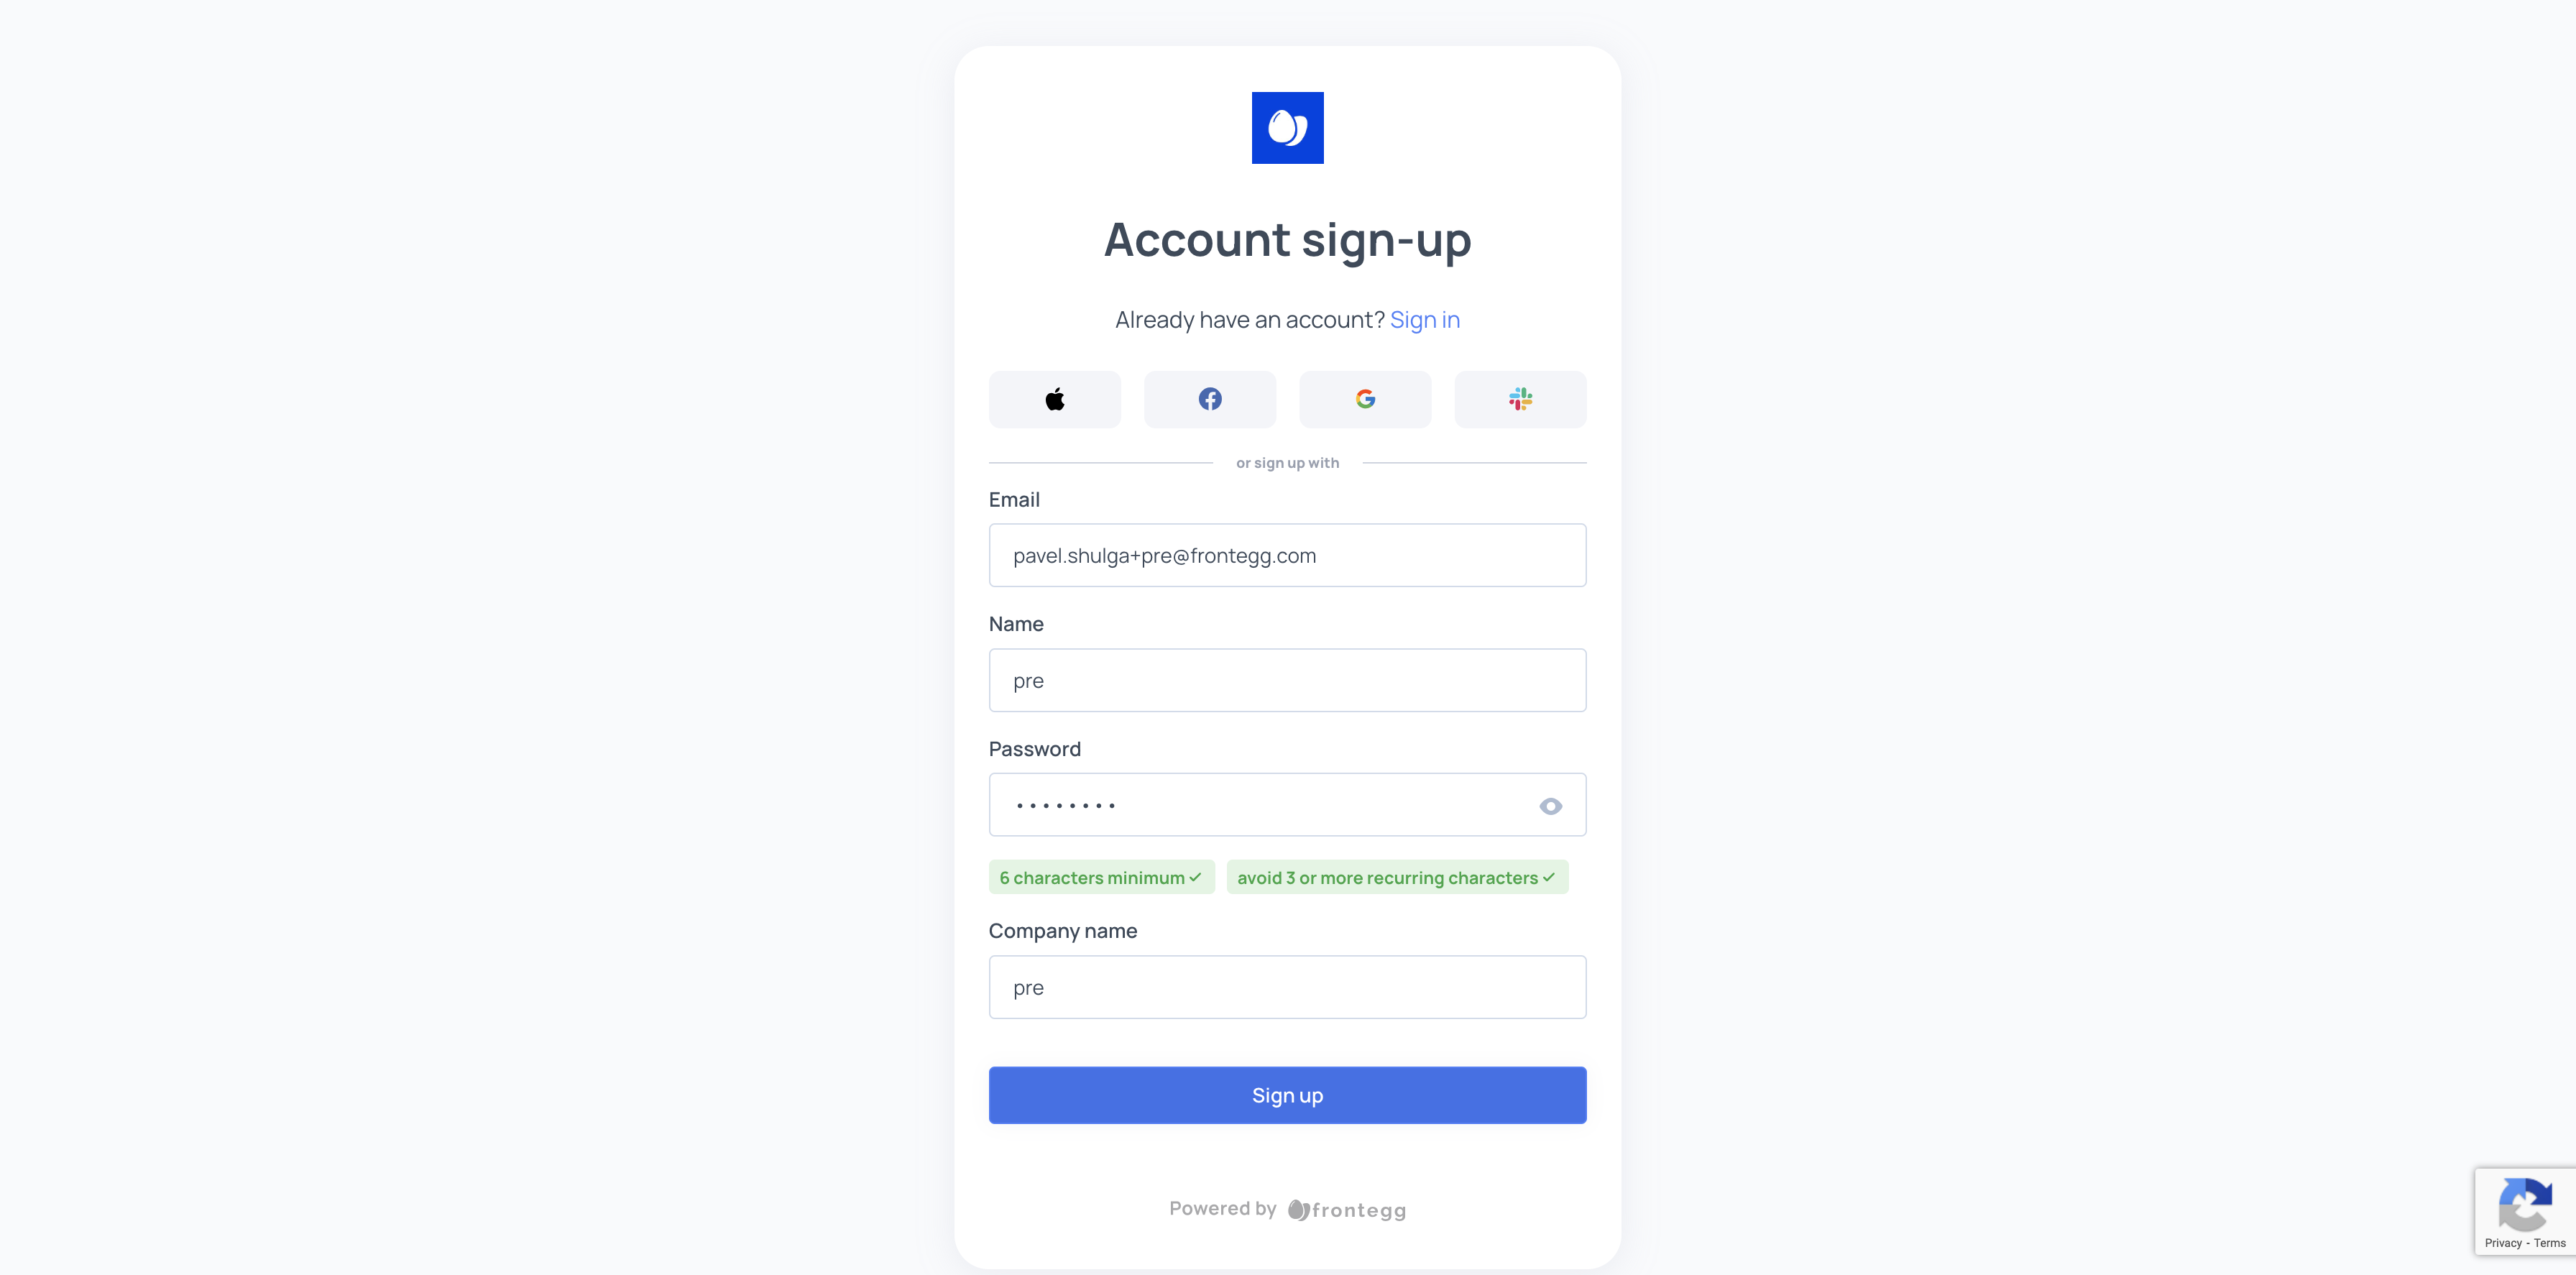
Click on "Edit user details & metadata"
31
Click here
32
Click here
33
Type "qqq"
34
Click on "Save Changes"
35
Click on "ES Prehooks"
36
Click here
37
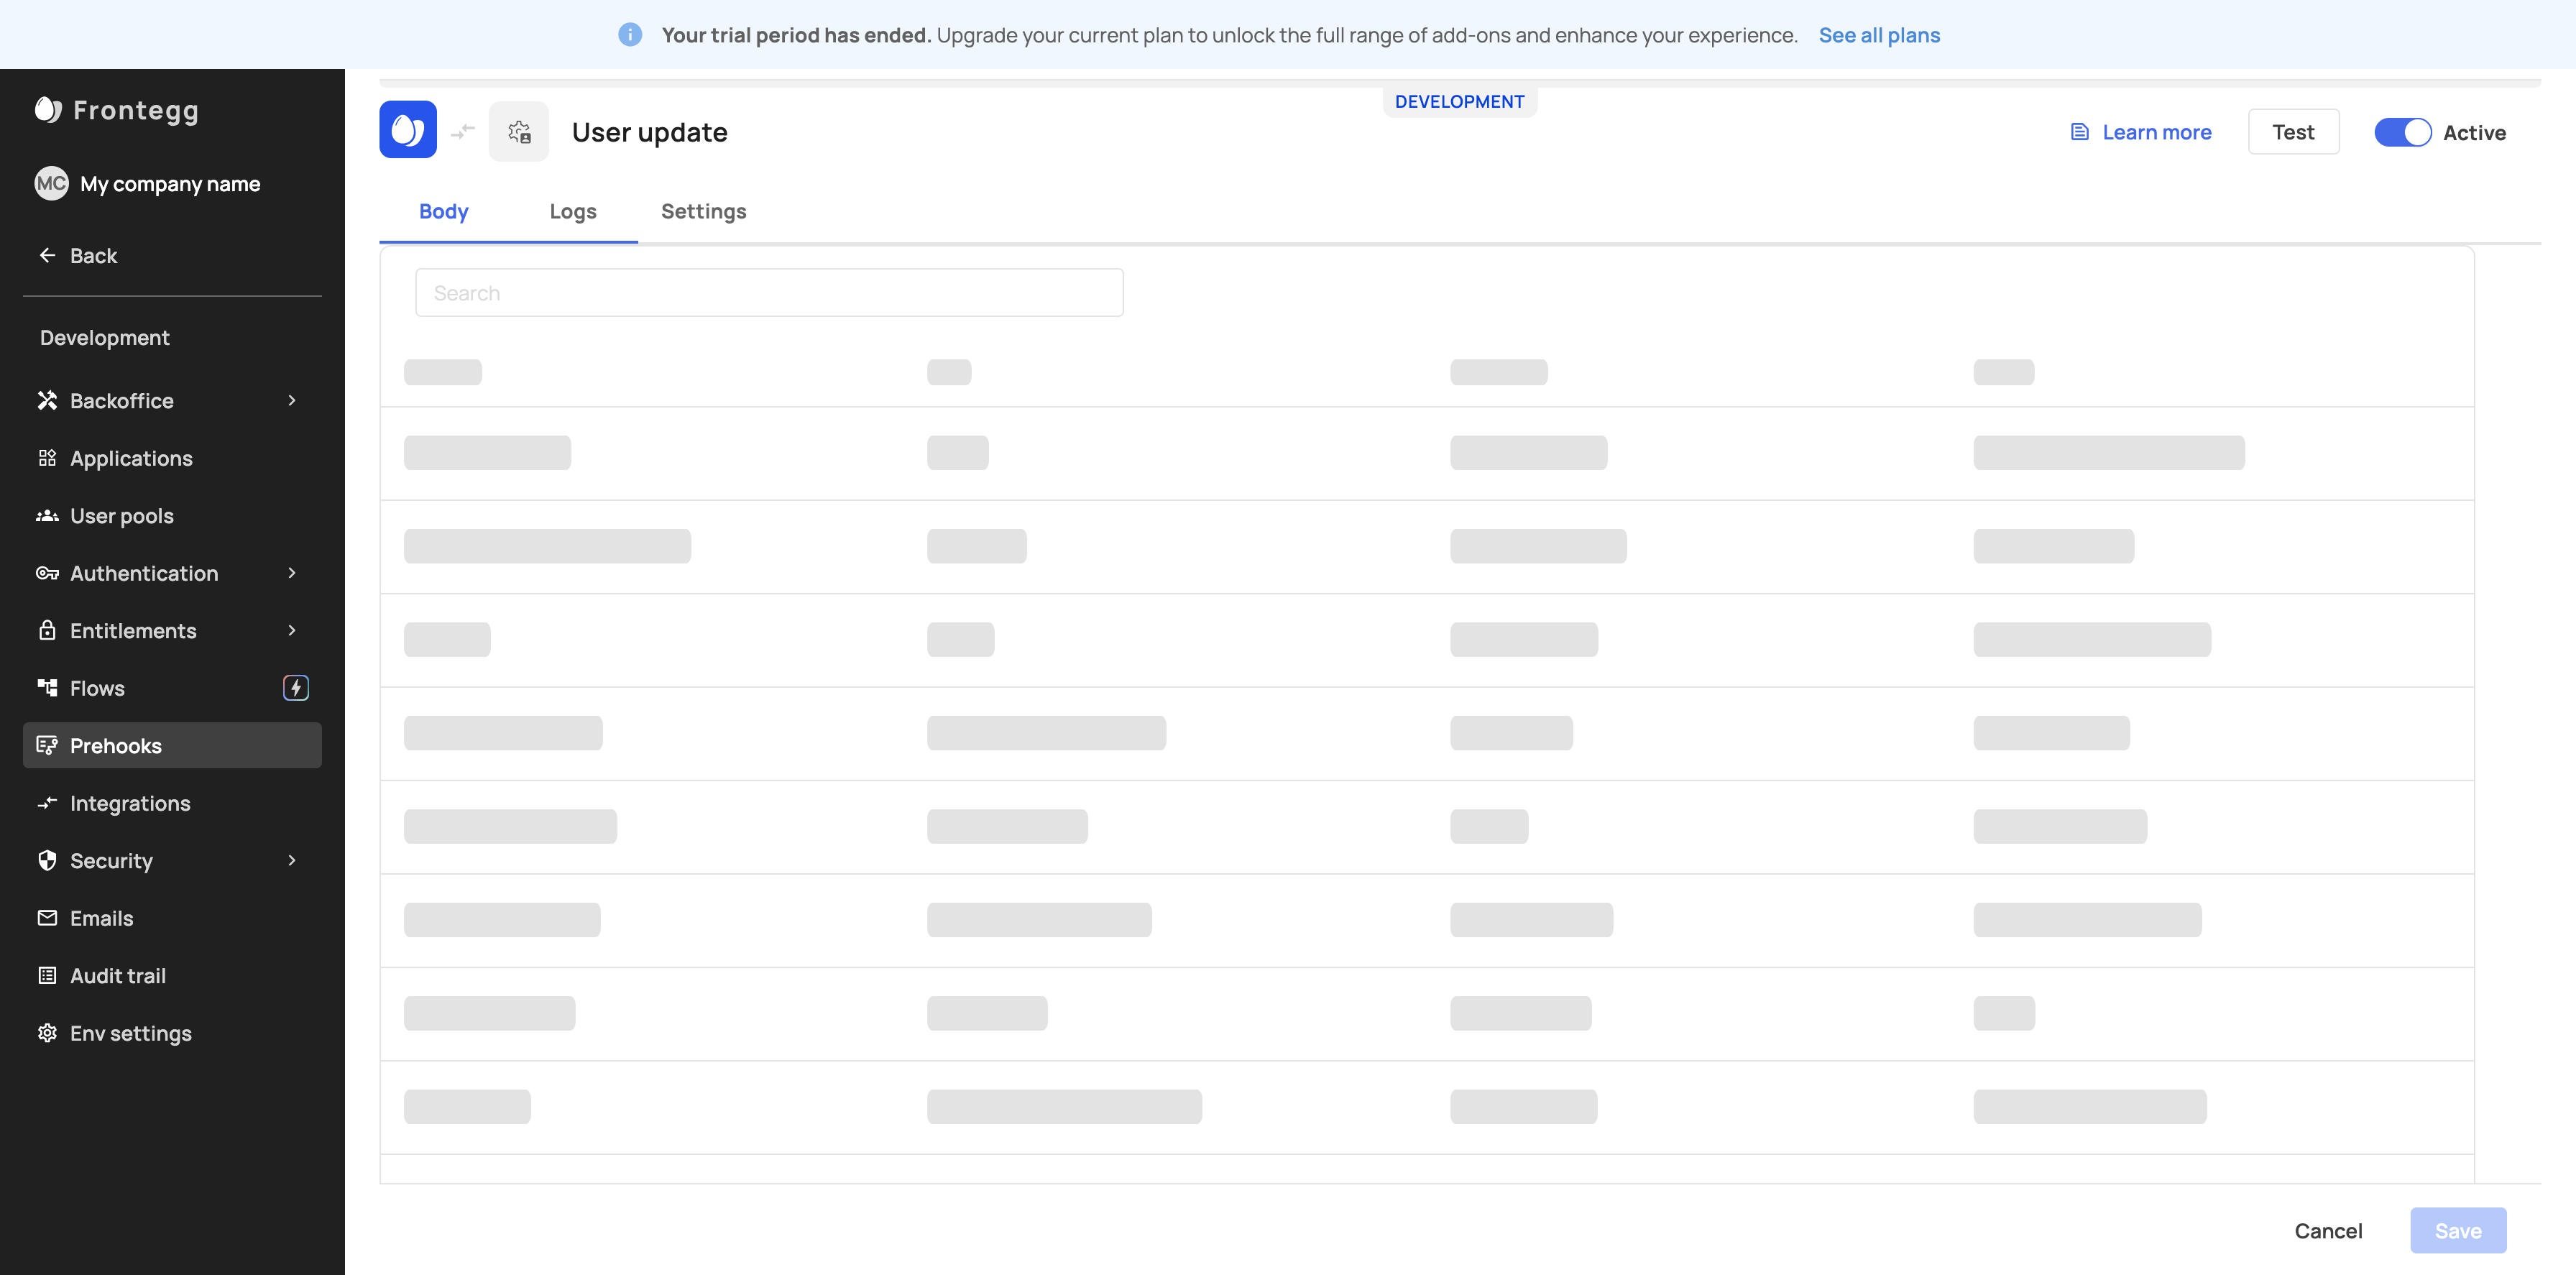
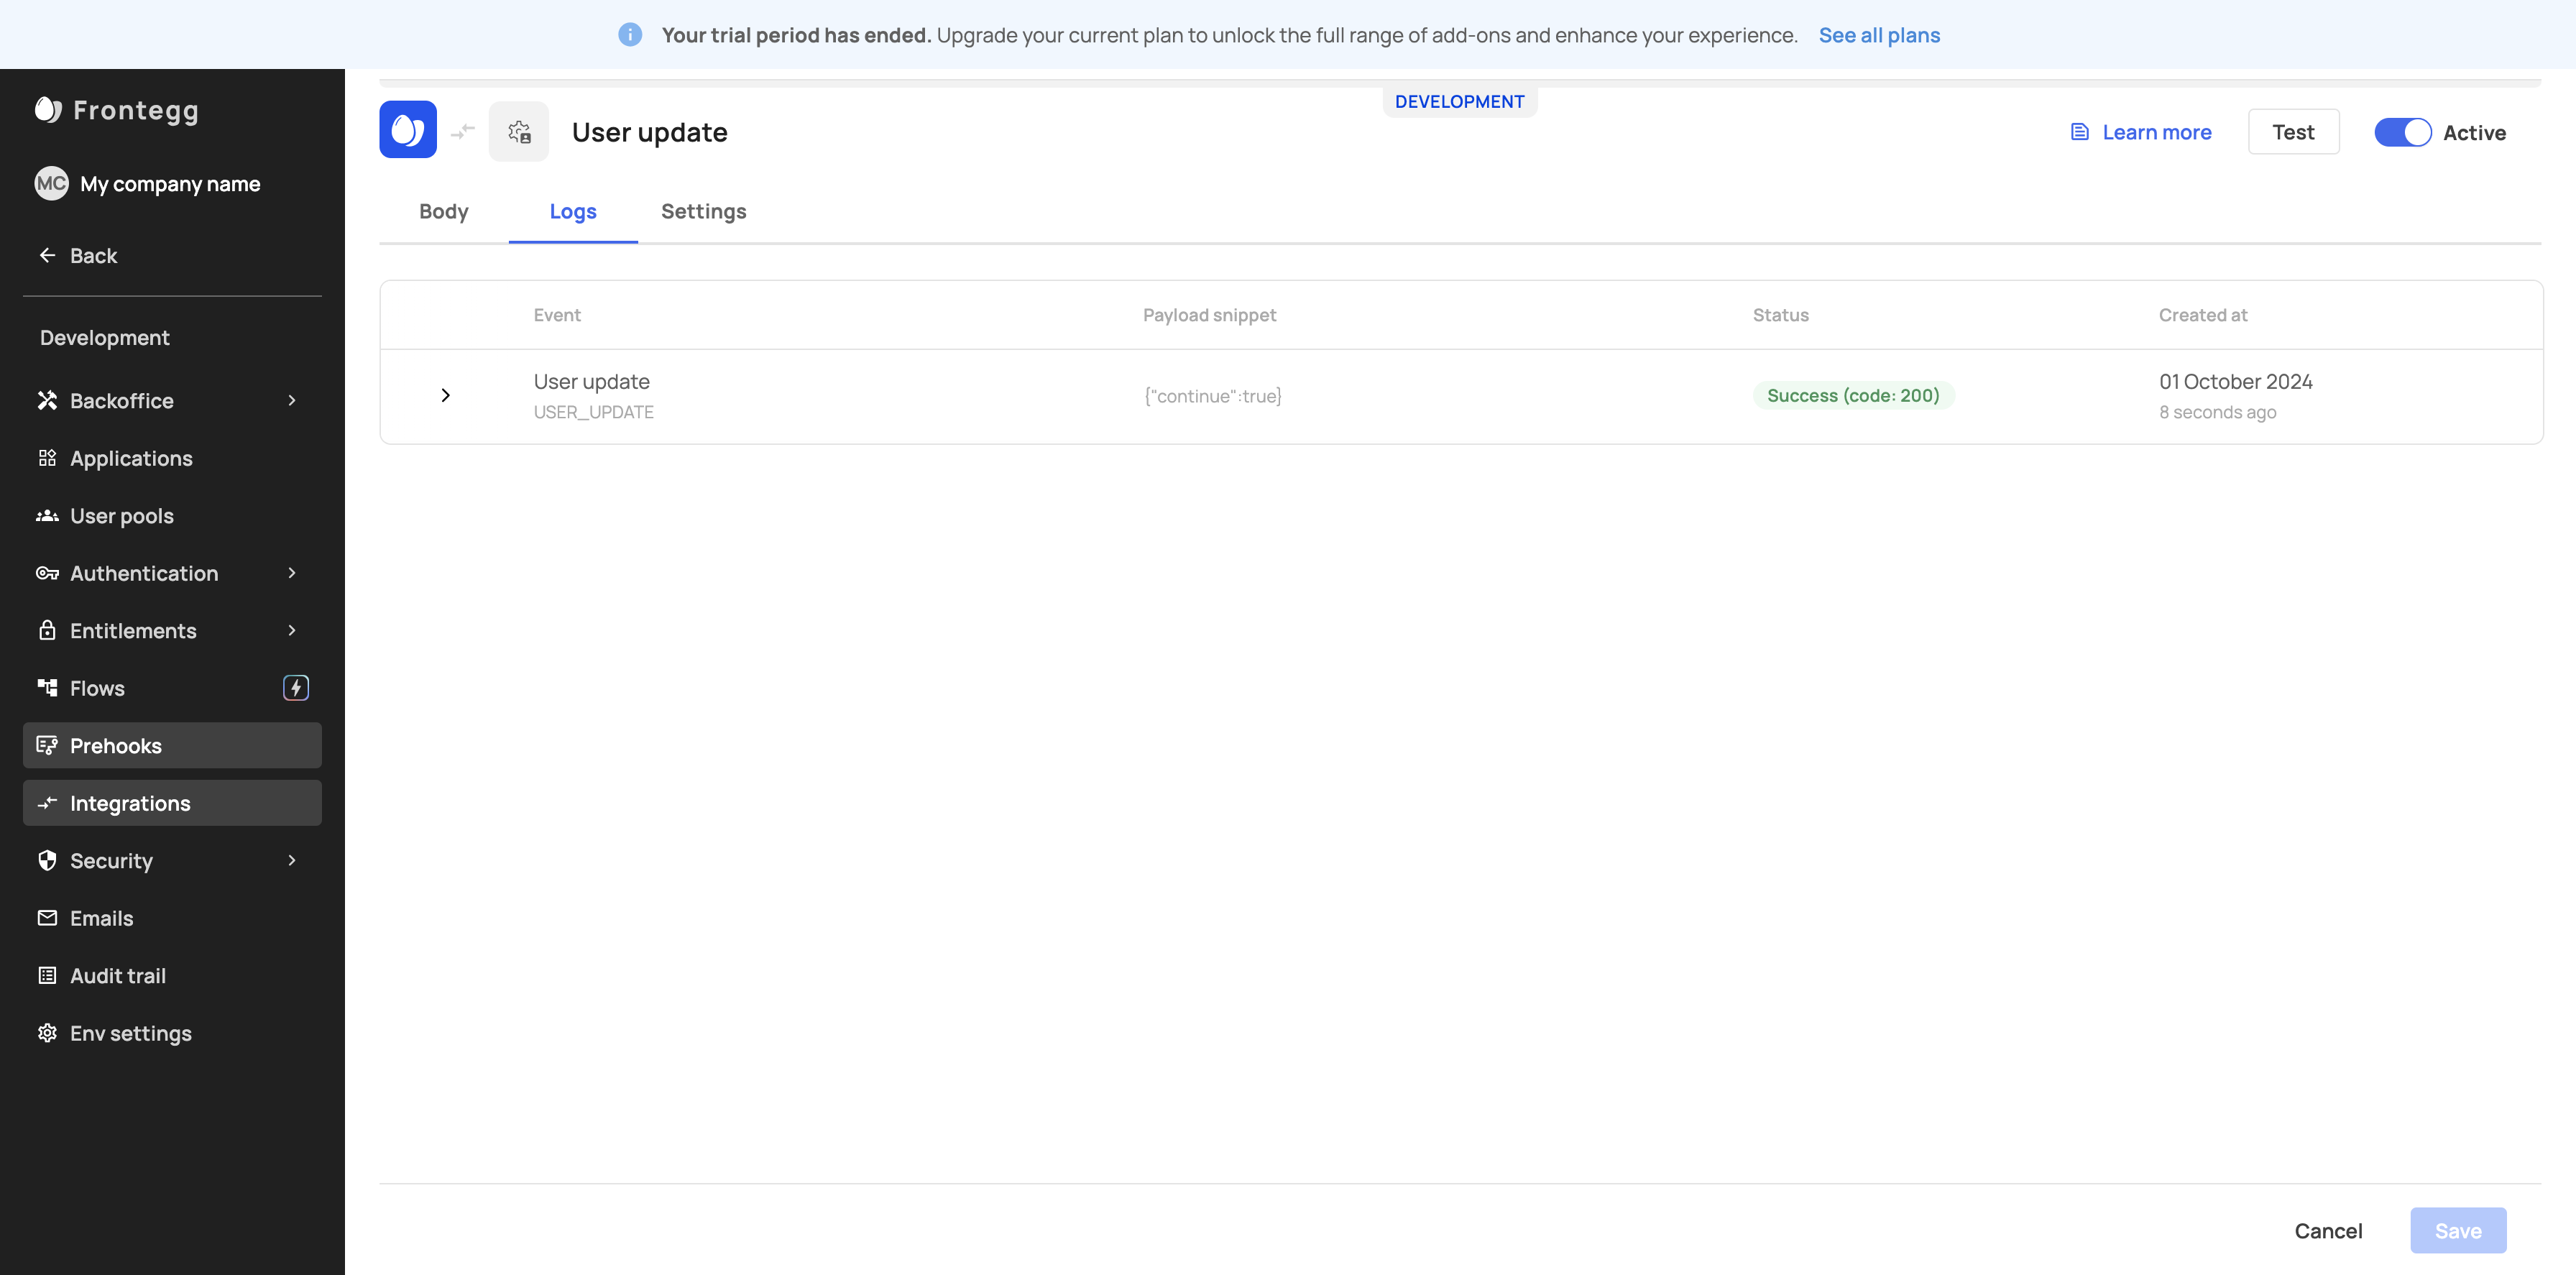
Click on "Logs"
38
Click on "Integrations"
39
Click on "User updated"

40
Click on "Logs"
41
Click here
42
Click here

43
Click here
44
Click here
45
Click here
46
Click on "http://example.com/my-pre-hook"
47
Type "Cmd + V"
48
Click on "Save"
49
Click on "▷ Run test"
50
Click on "Publish"

51
Click here
52
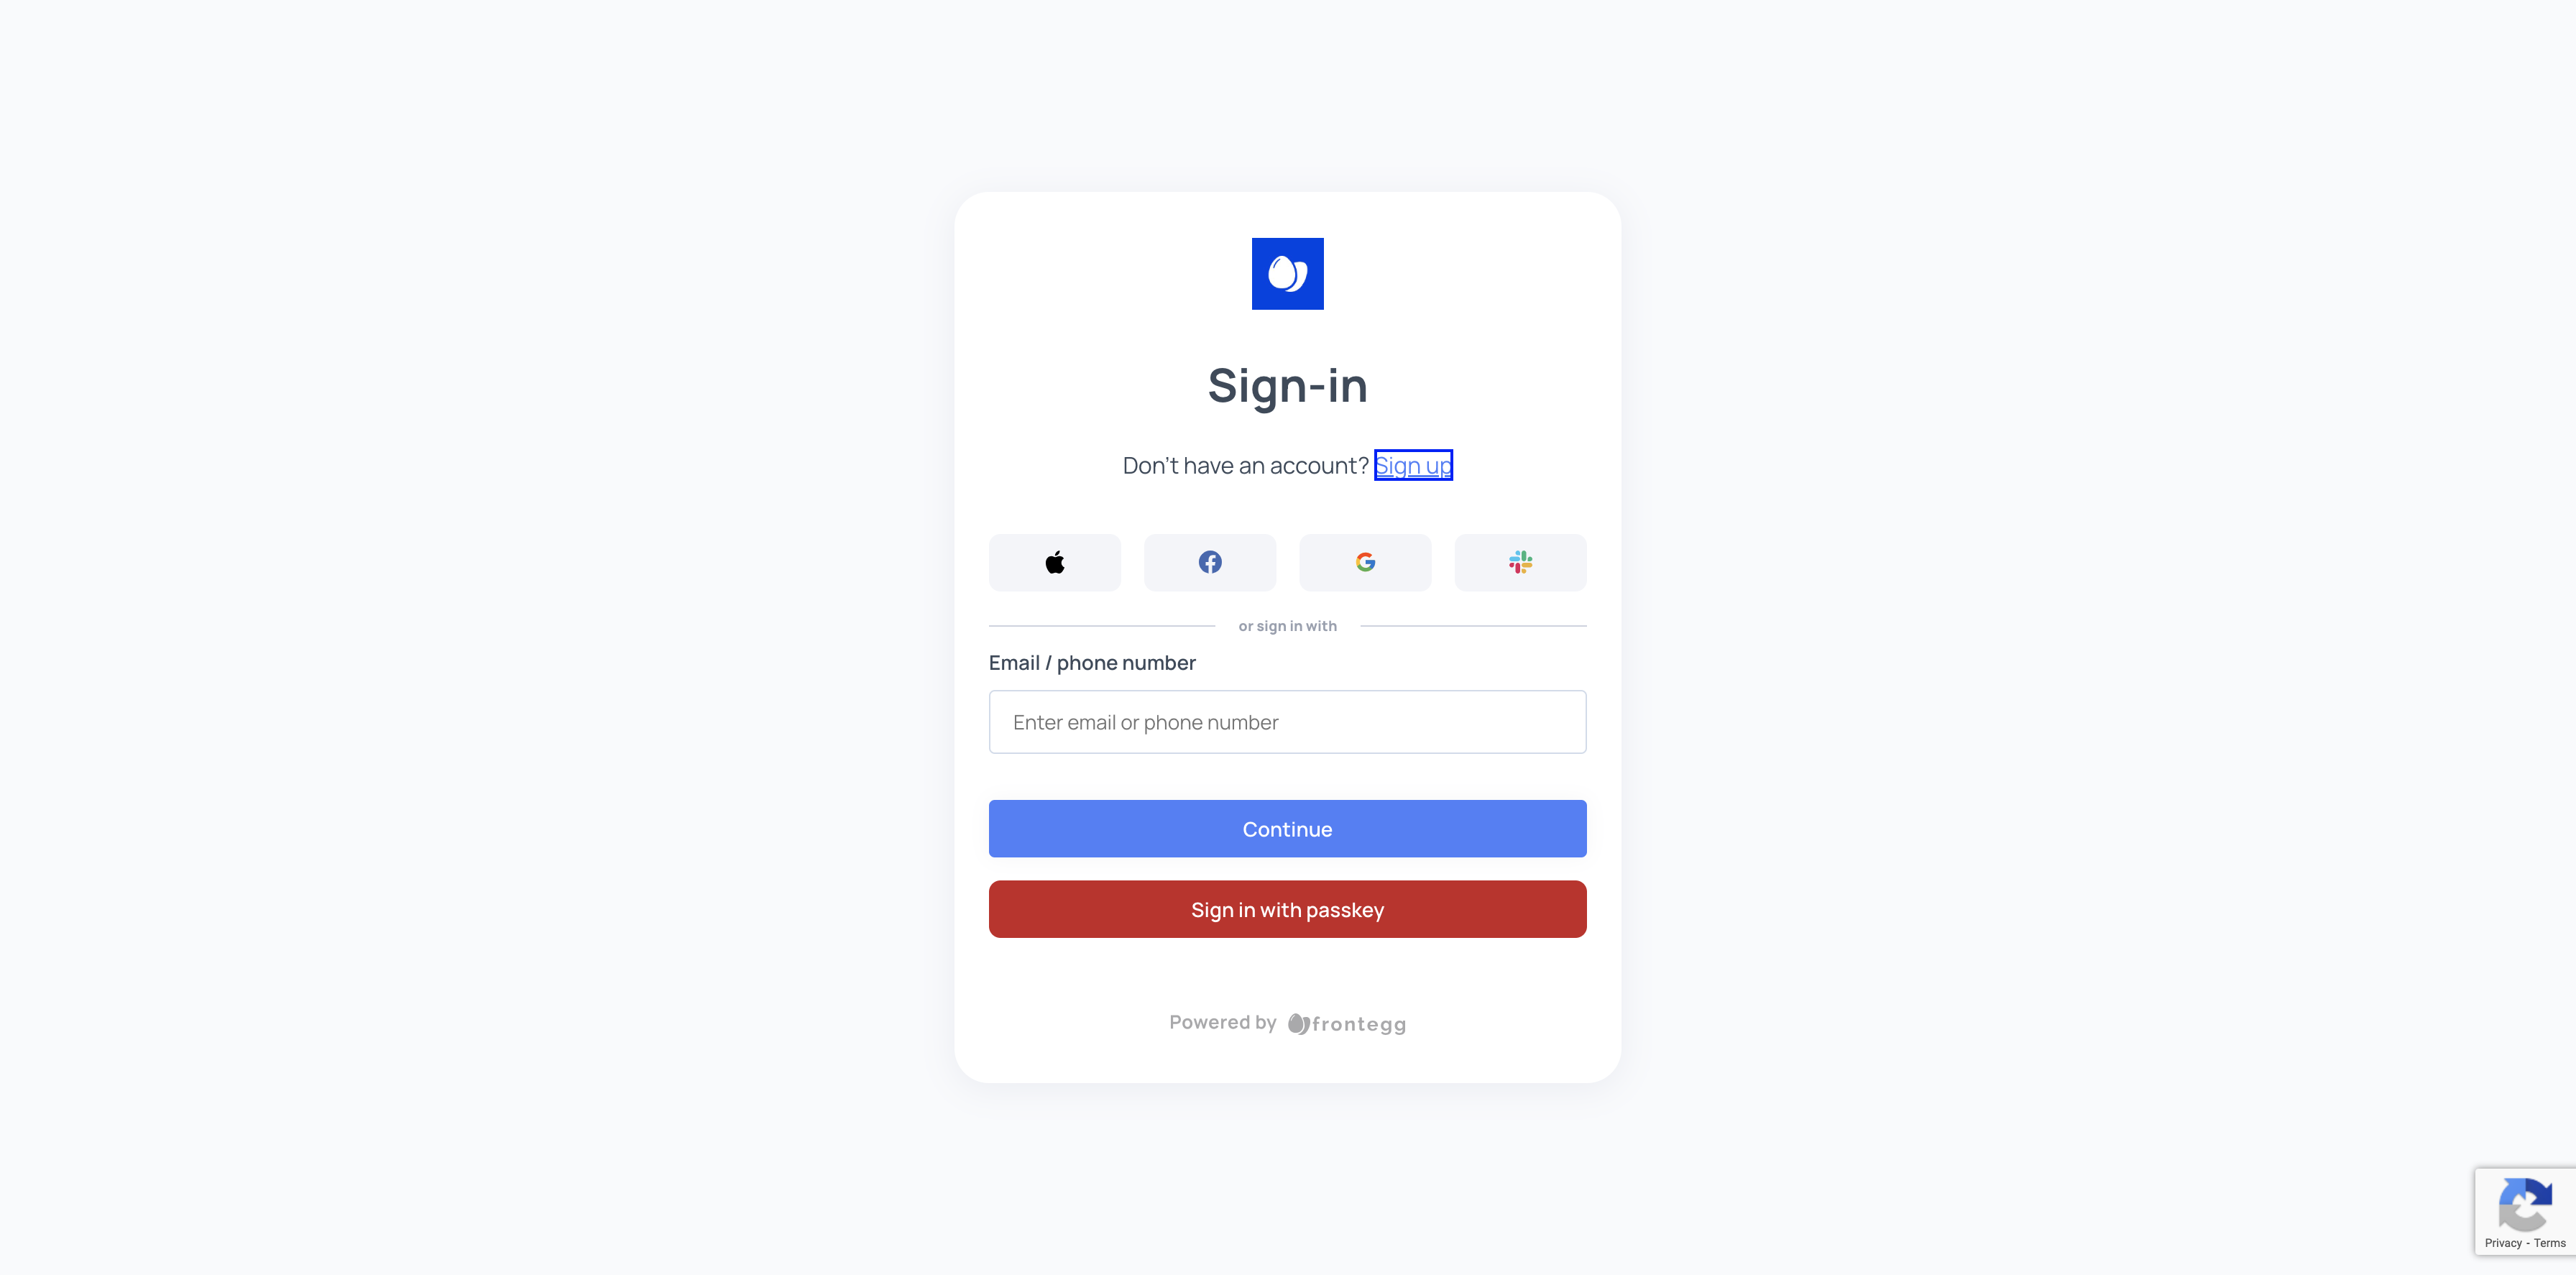
Go to testtt login
53
Click on "Don't have an account ? Sign up"
54
Click here
55
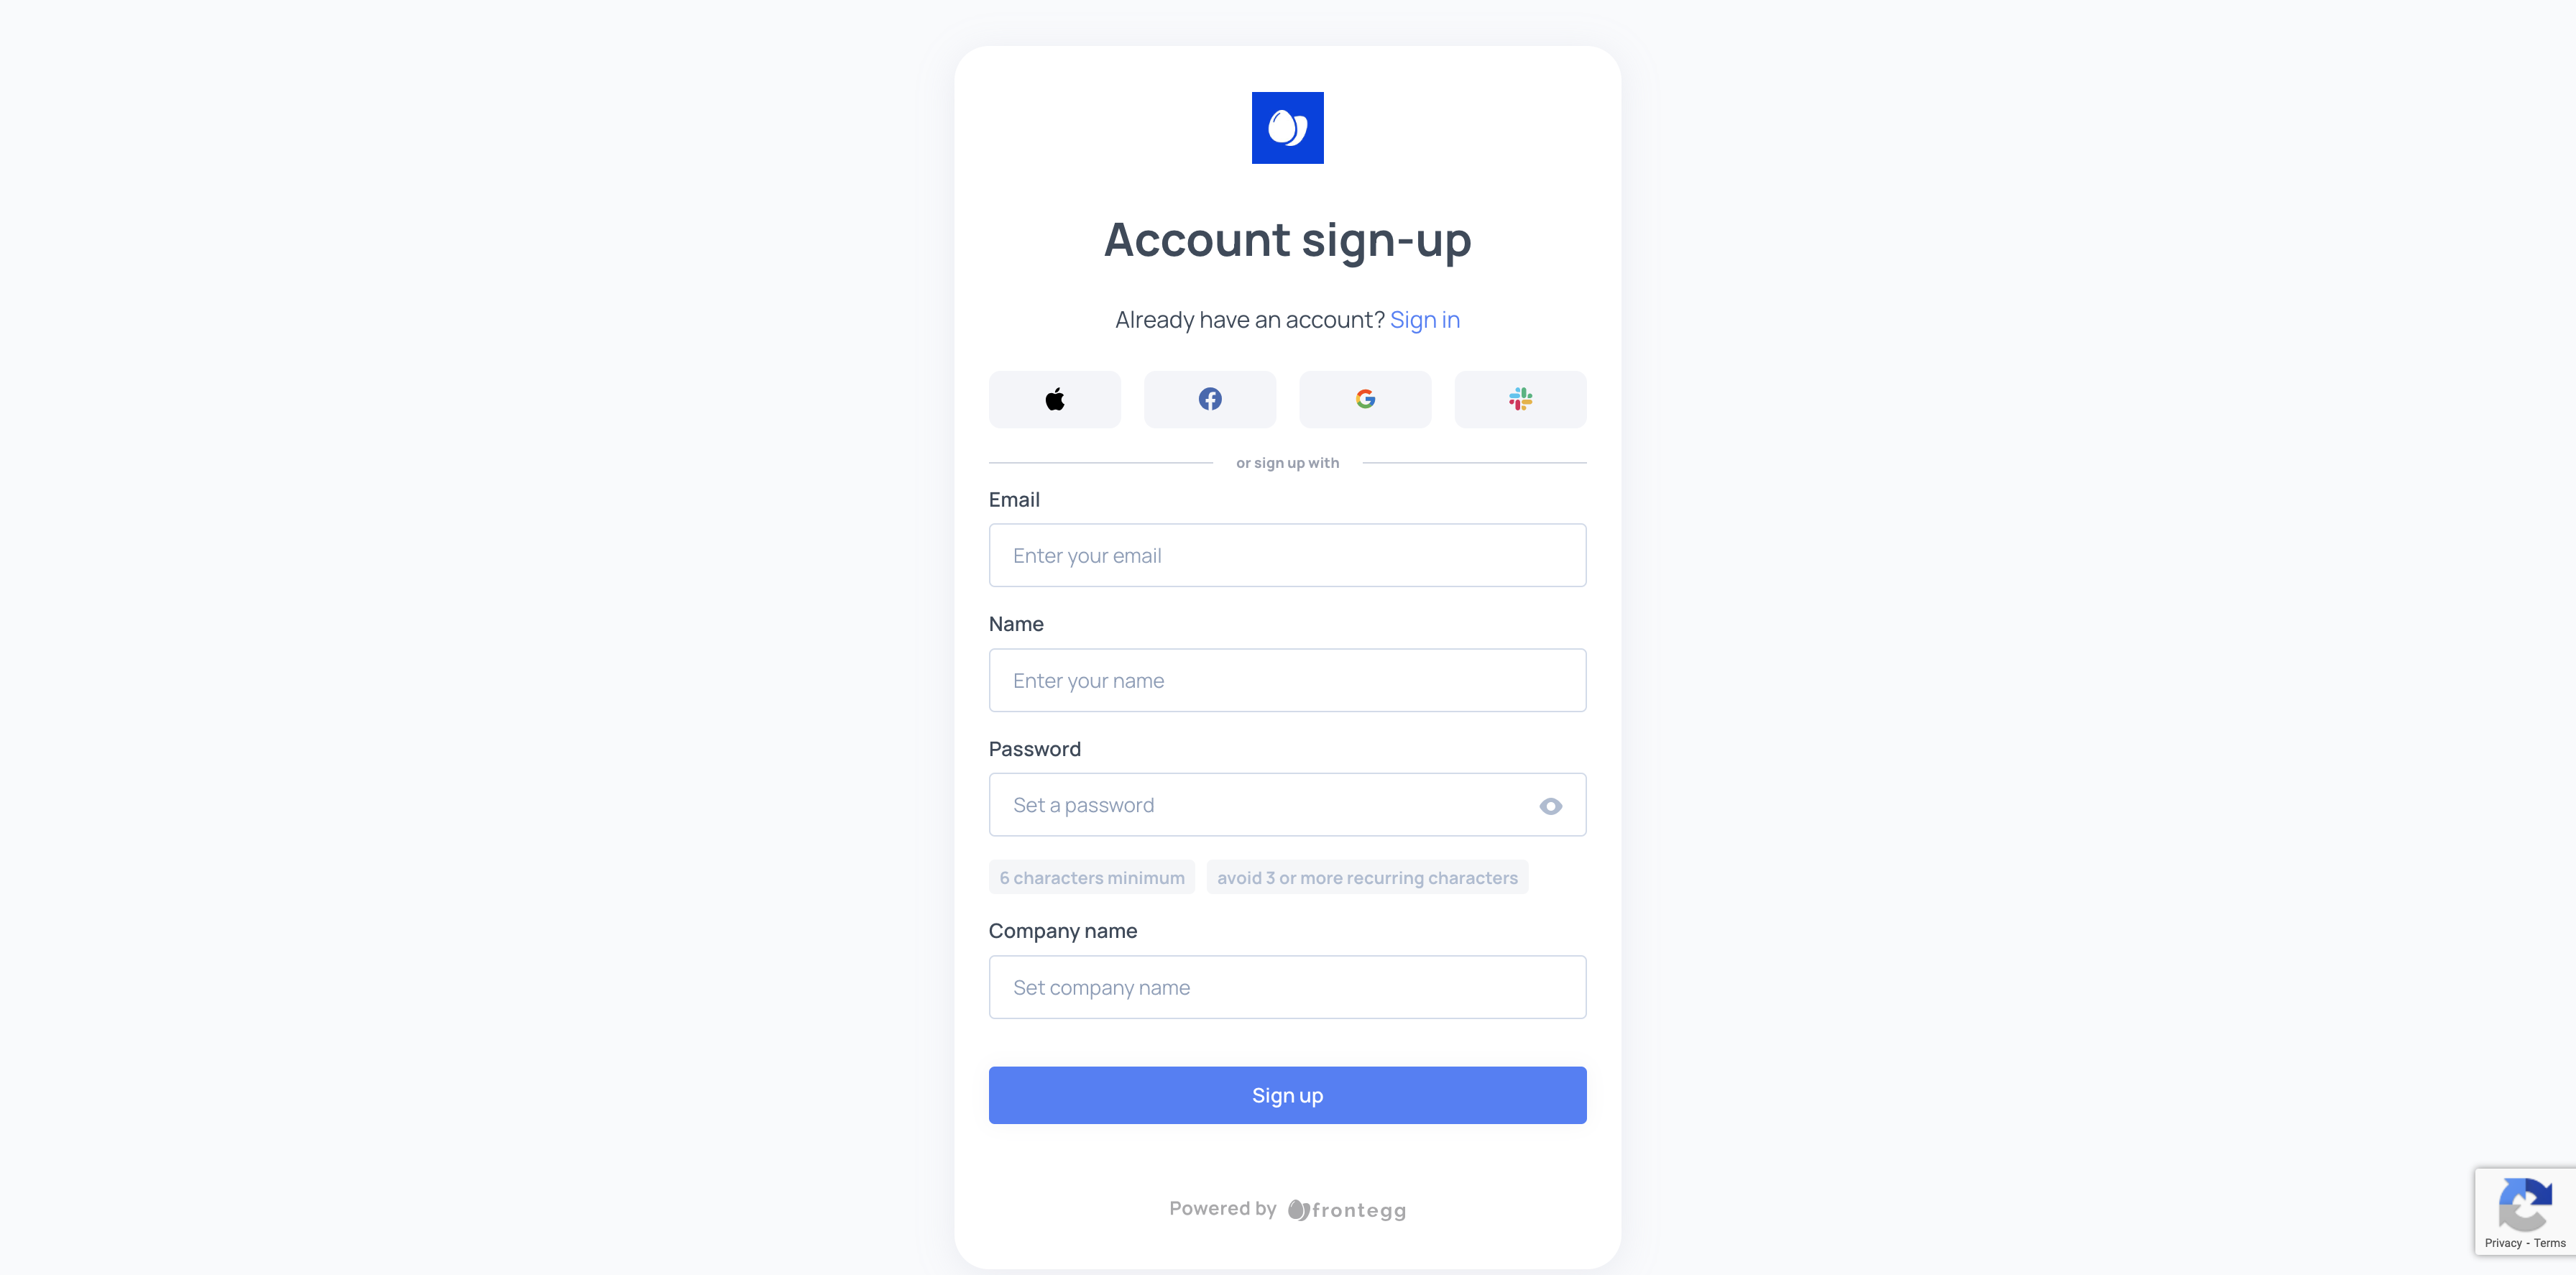
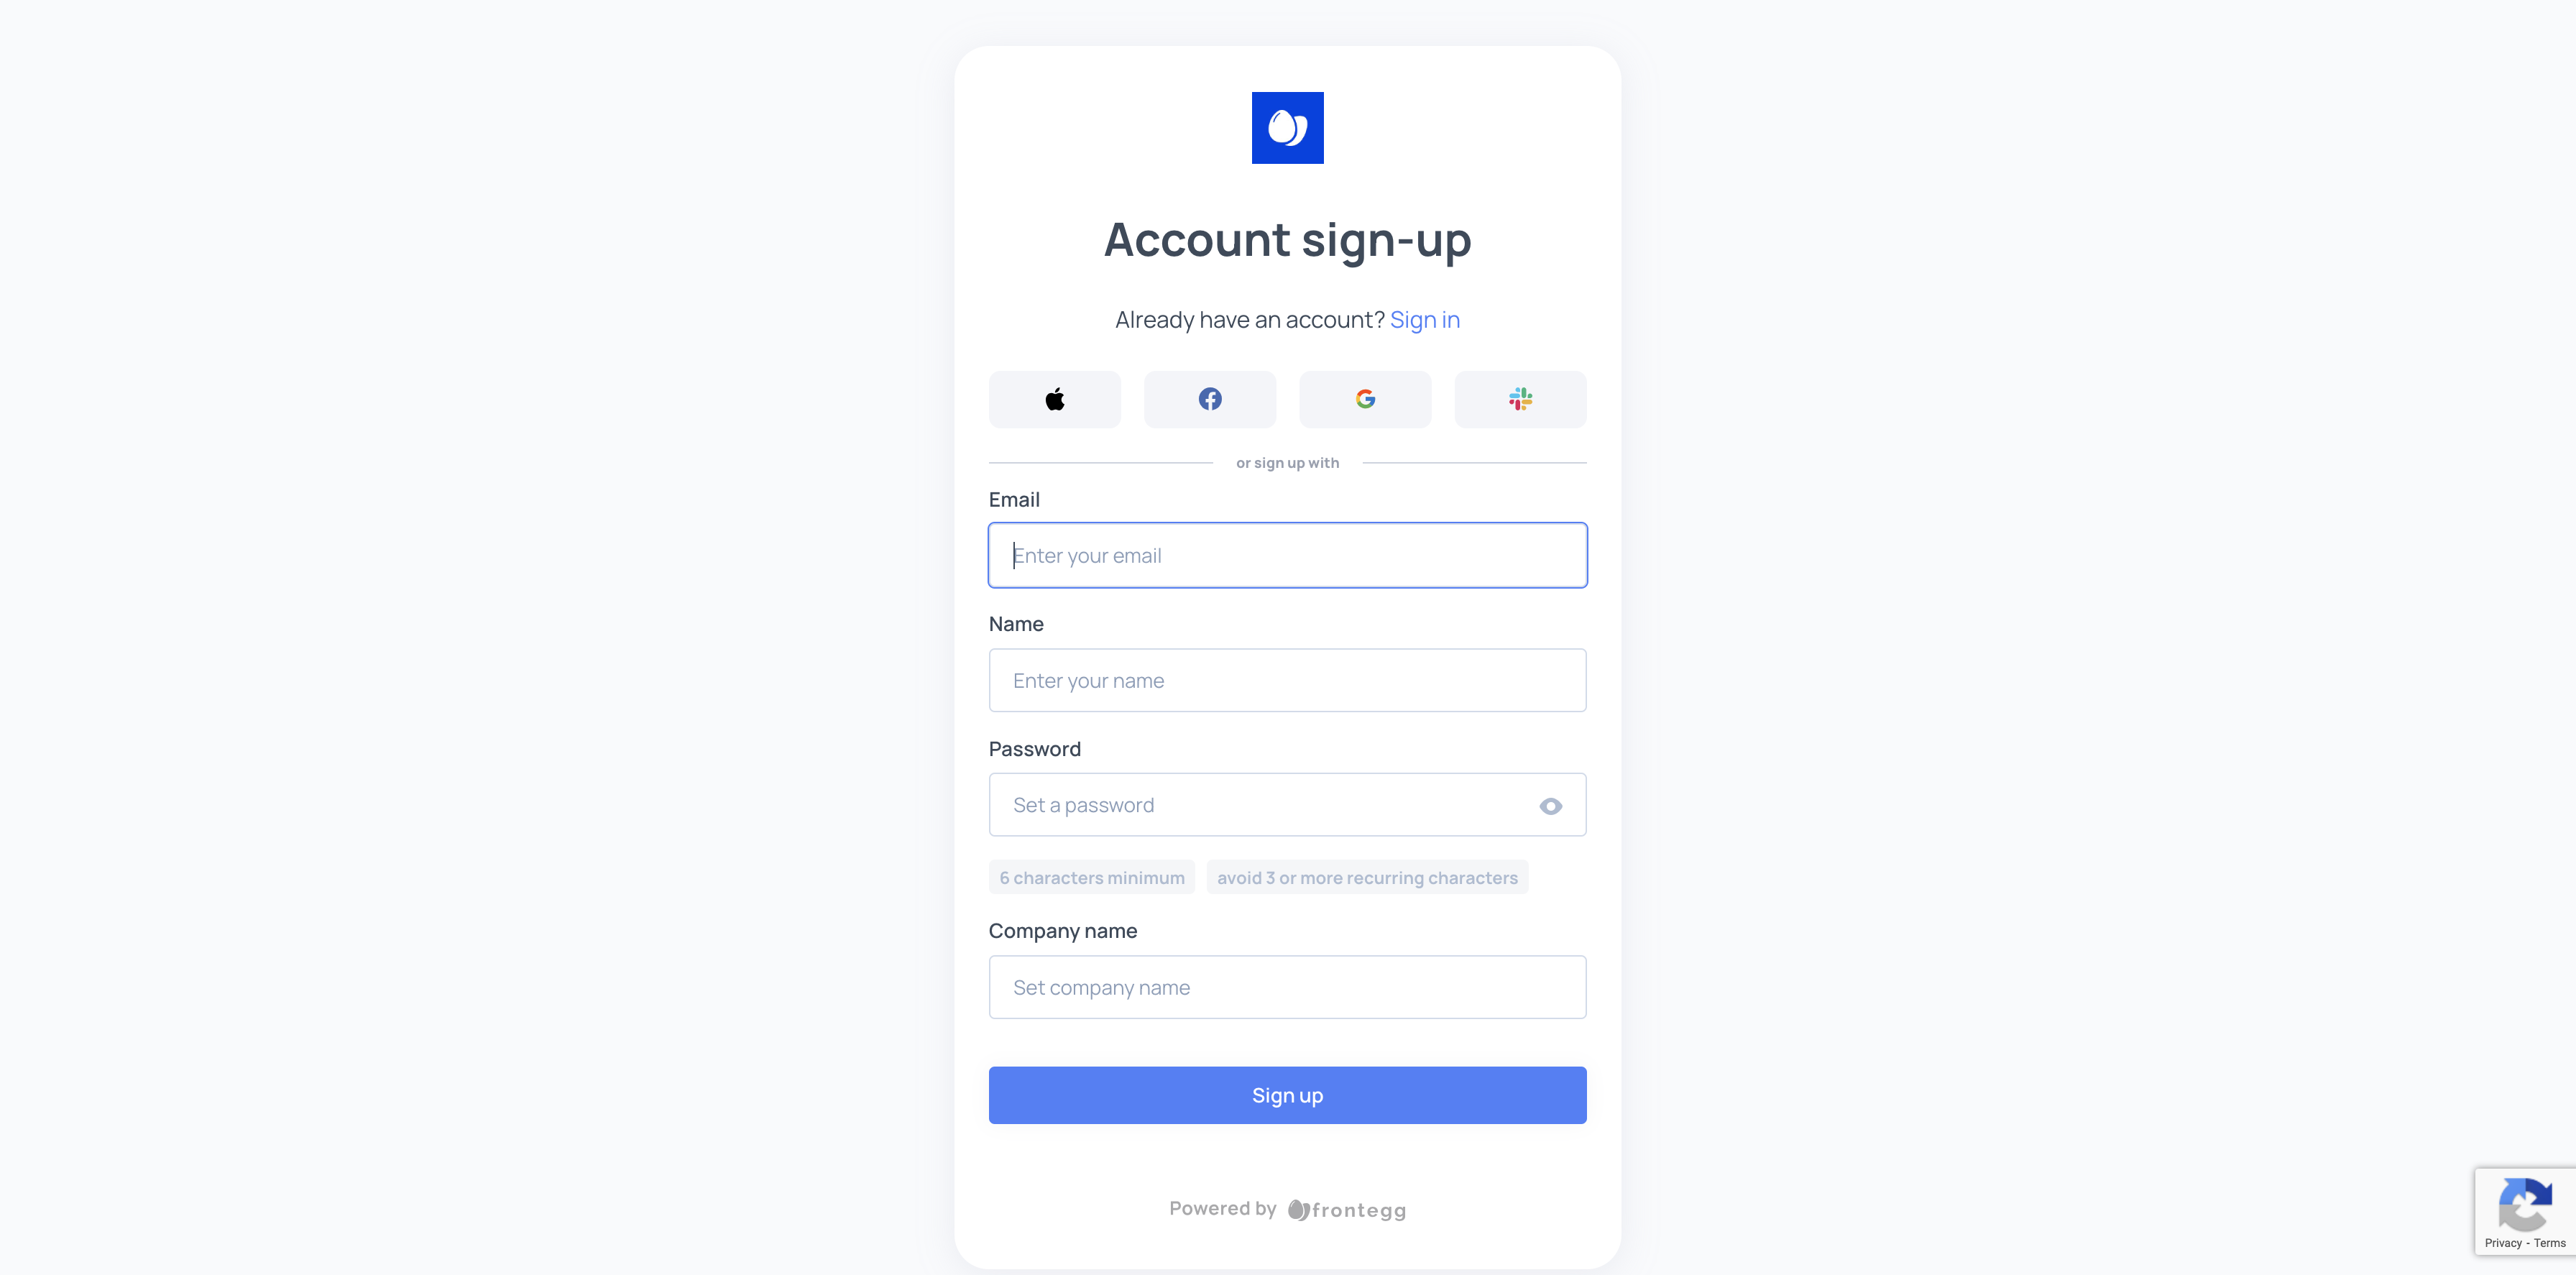
Click on "Enter your email"
56
Click on "pavel.shulga+186@frontegg.com"
57
Type "Backspace"
58
Type "Backspace"
59
Type "Backspace"
60
Click on "Enter your name"

61
Type "pre"
62
Type "pre + TabPasswo@1 + Tab + Tabpre"
63
Click here
64
Go to Frontegg Dashboard
65
Click here
66
Click on "E * Prehooks"
67
Click on "ΑΡΙ"
68
Click on "Logs"