ASM_Rail_Mount_Kit_V1: Step-by-Step Guide
Learn how to assemble T-slotted rails using T-nuts, L brackets, and aluminum rail brackets. Follow this step-by-step guide for proper installation and tightening of hardware.
By Rhonda Chisholm
In this guide, we'll learn how to assemble a structure using T-nuts, rails, and brackets. This process involves joining T-nuts to inserts, mounting brackets, and securing all parts with a wrench.
These steps help ensure the frame is stable and all components are properly aligned.
Let's get started
1
Pull all the components
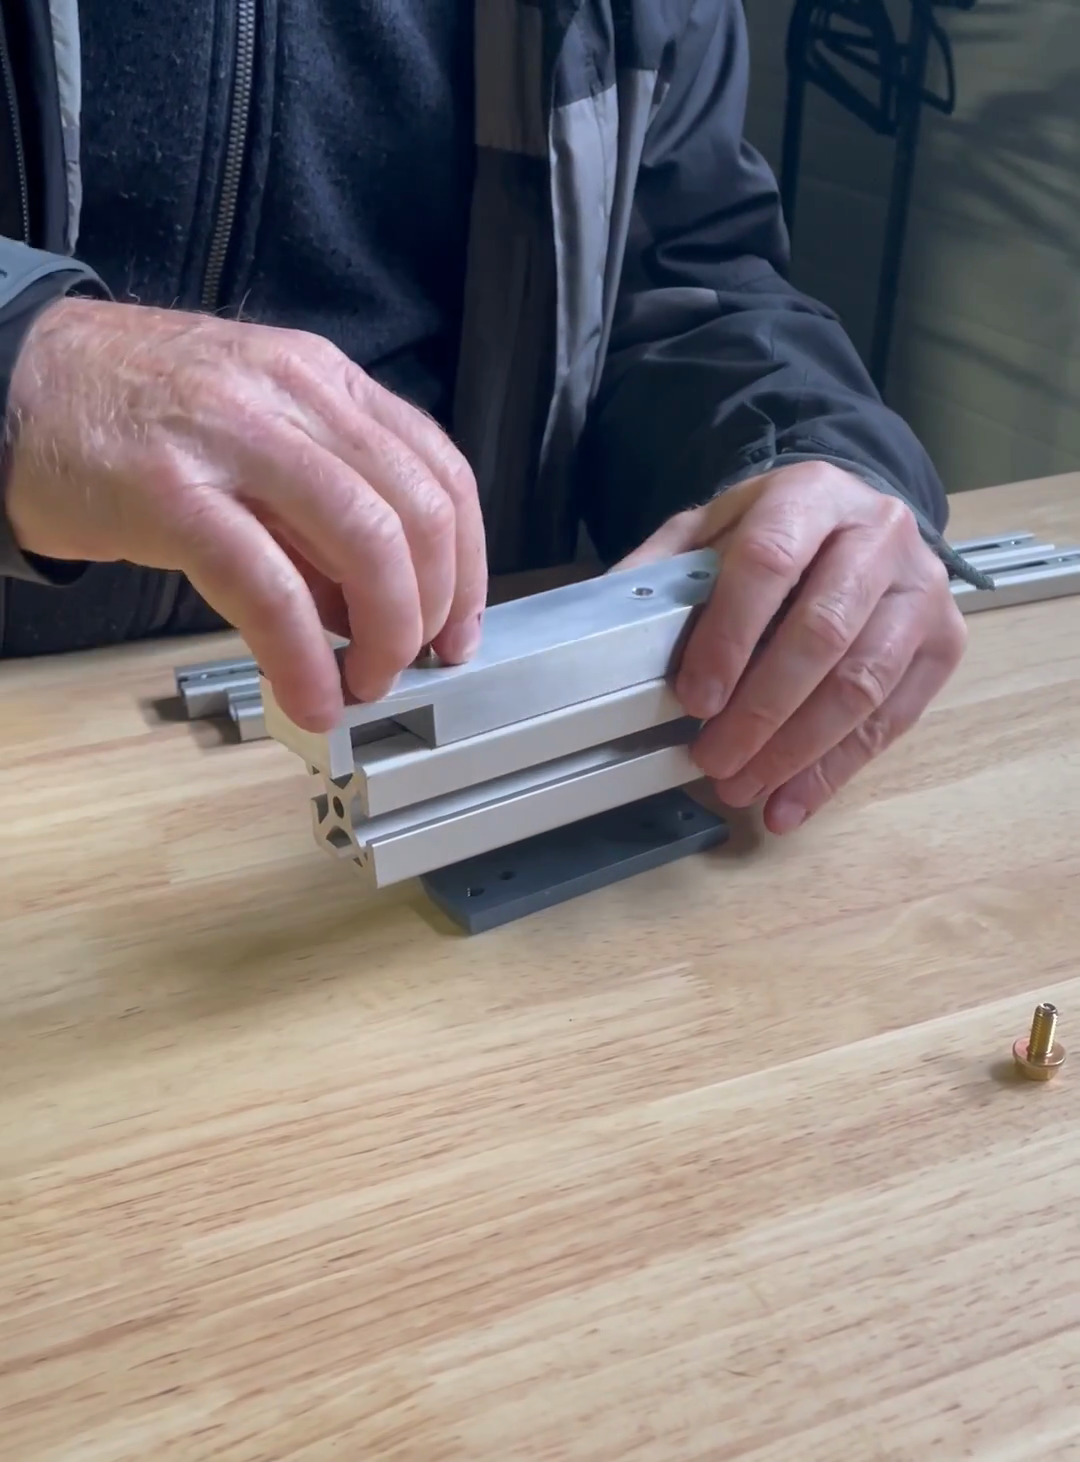
2
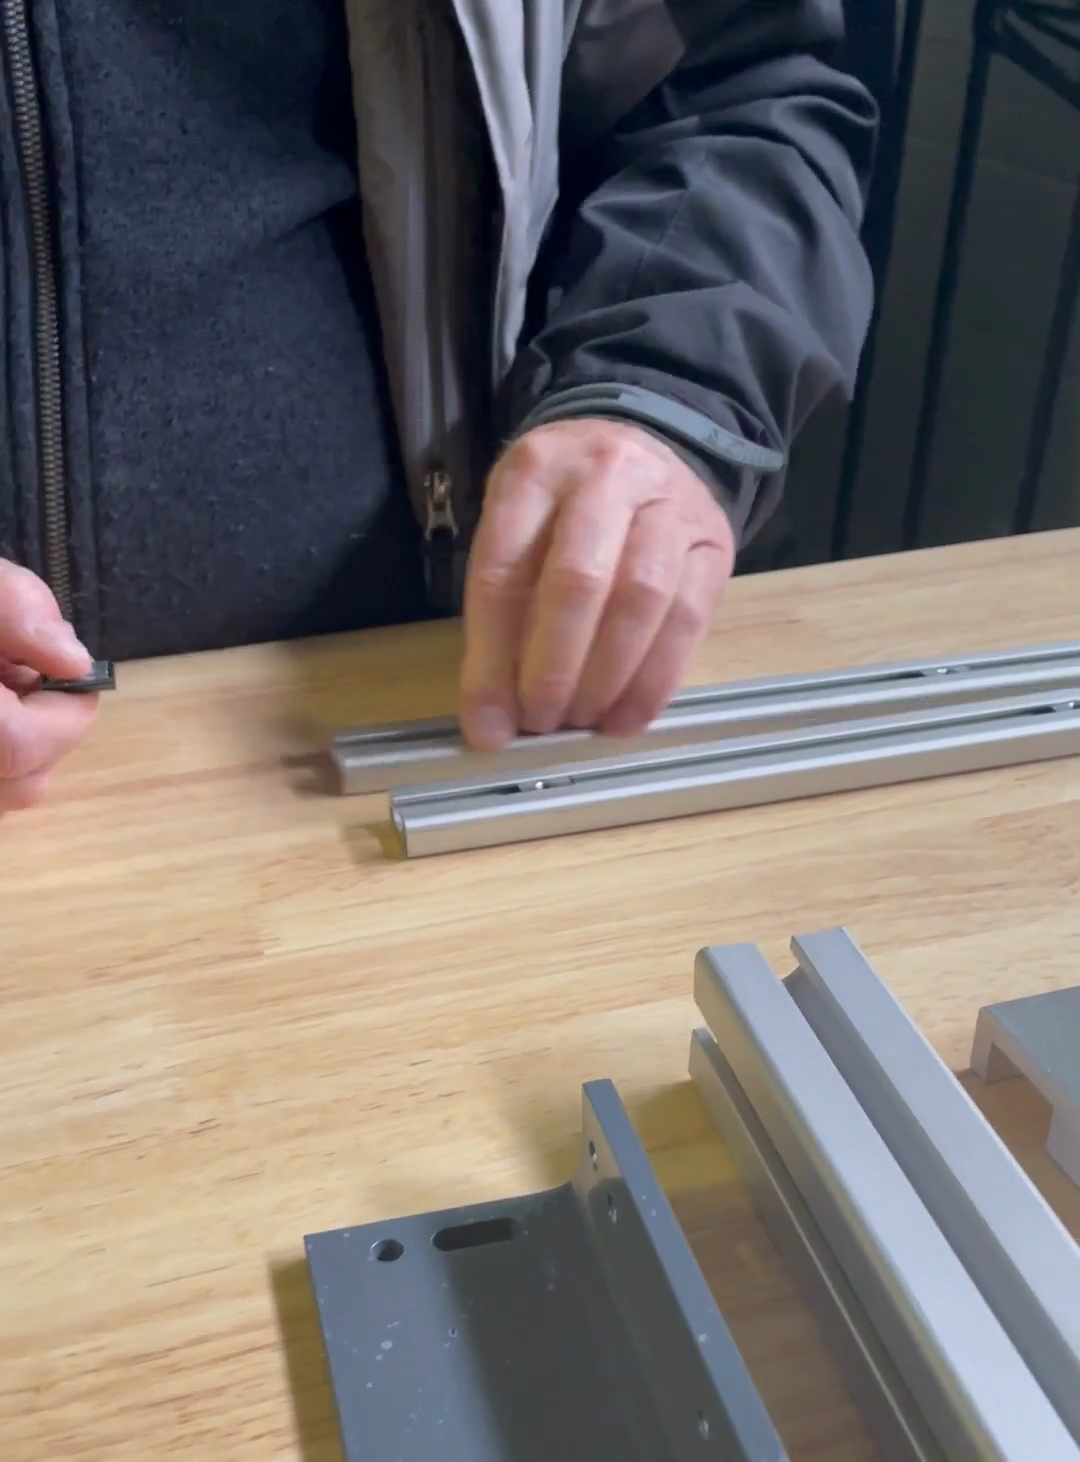
Take the smaller T-nuts and place them into the black inserts, keeping them compressed. Insert all three into each rail.
3
Insert the larger T-nuts into the larger series 15 T-slotted rail. Insert three of the T-nut assemblies into the track of one of the rails.
Repeat the process for the second rail.
Repeat the process for the second rail.
4
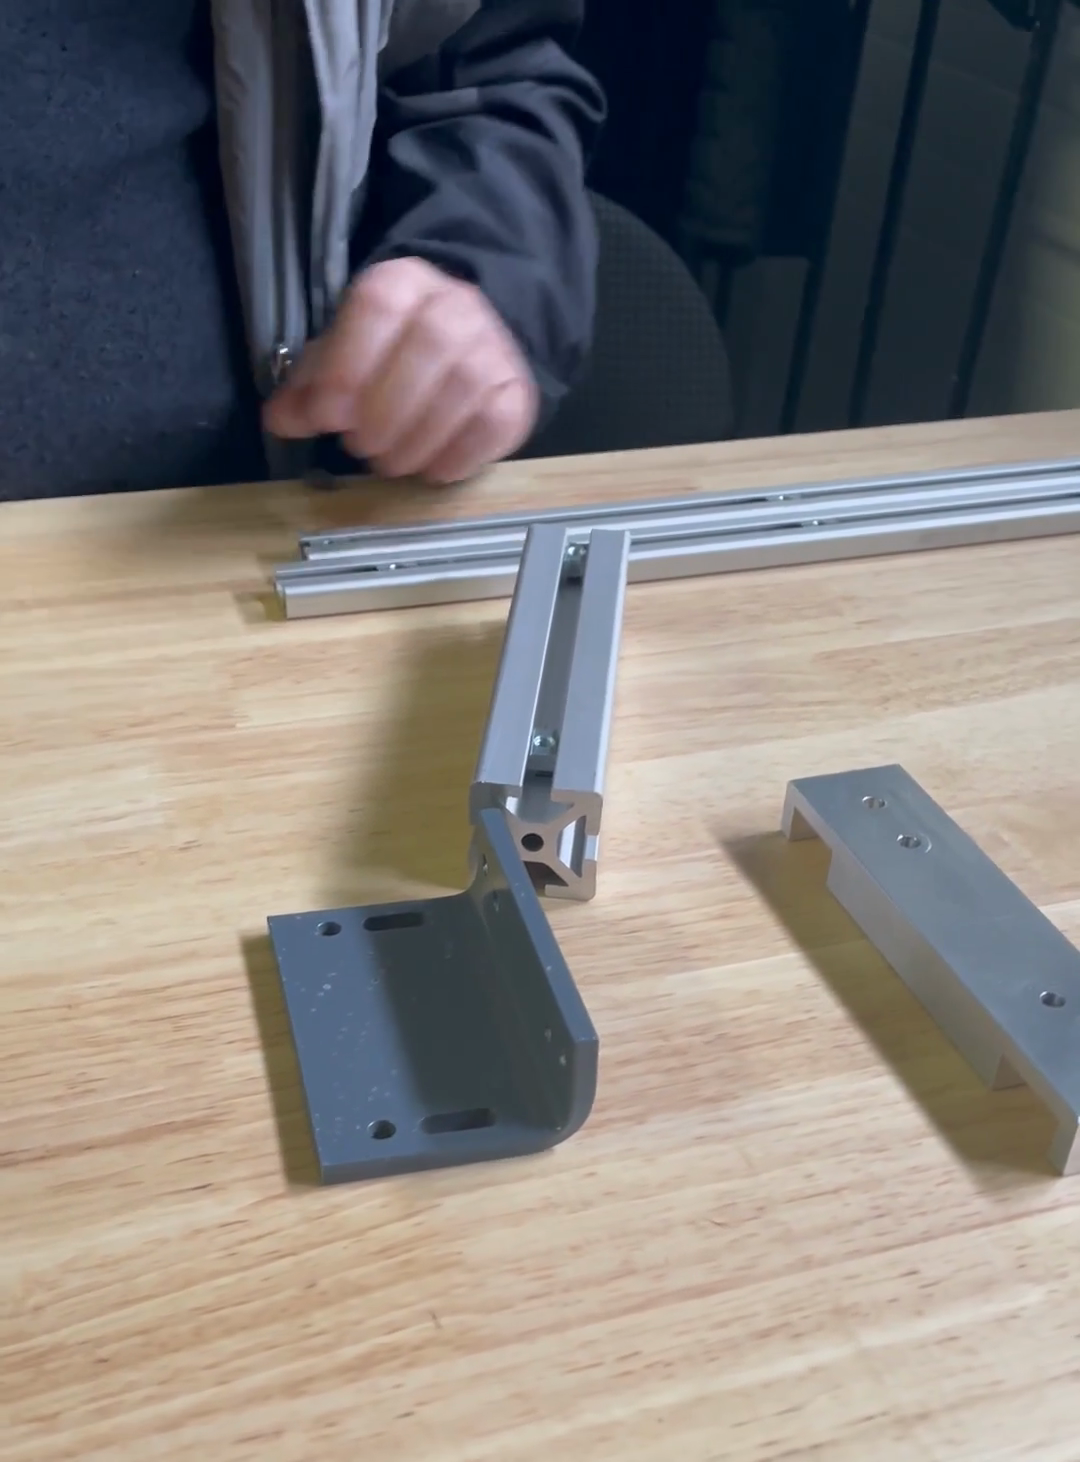
Mount the L bracket onto the larger rail.
Place the L-bracket on top of the larger rail.
Insert a T-nut into the rail's channel through the first slot of the L-bracket.
Insert the second T-nut into the other channel through the second slot of the L-bracket.
Place the L-bracket on top of the larger rail.
Insert a T-nut into the rail's channel through the first slot of the L-bracket.
Insert the second T-nut into the other channel through the second slot of the L-bracket.
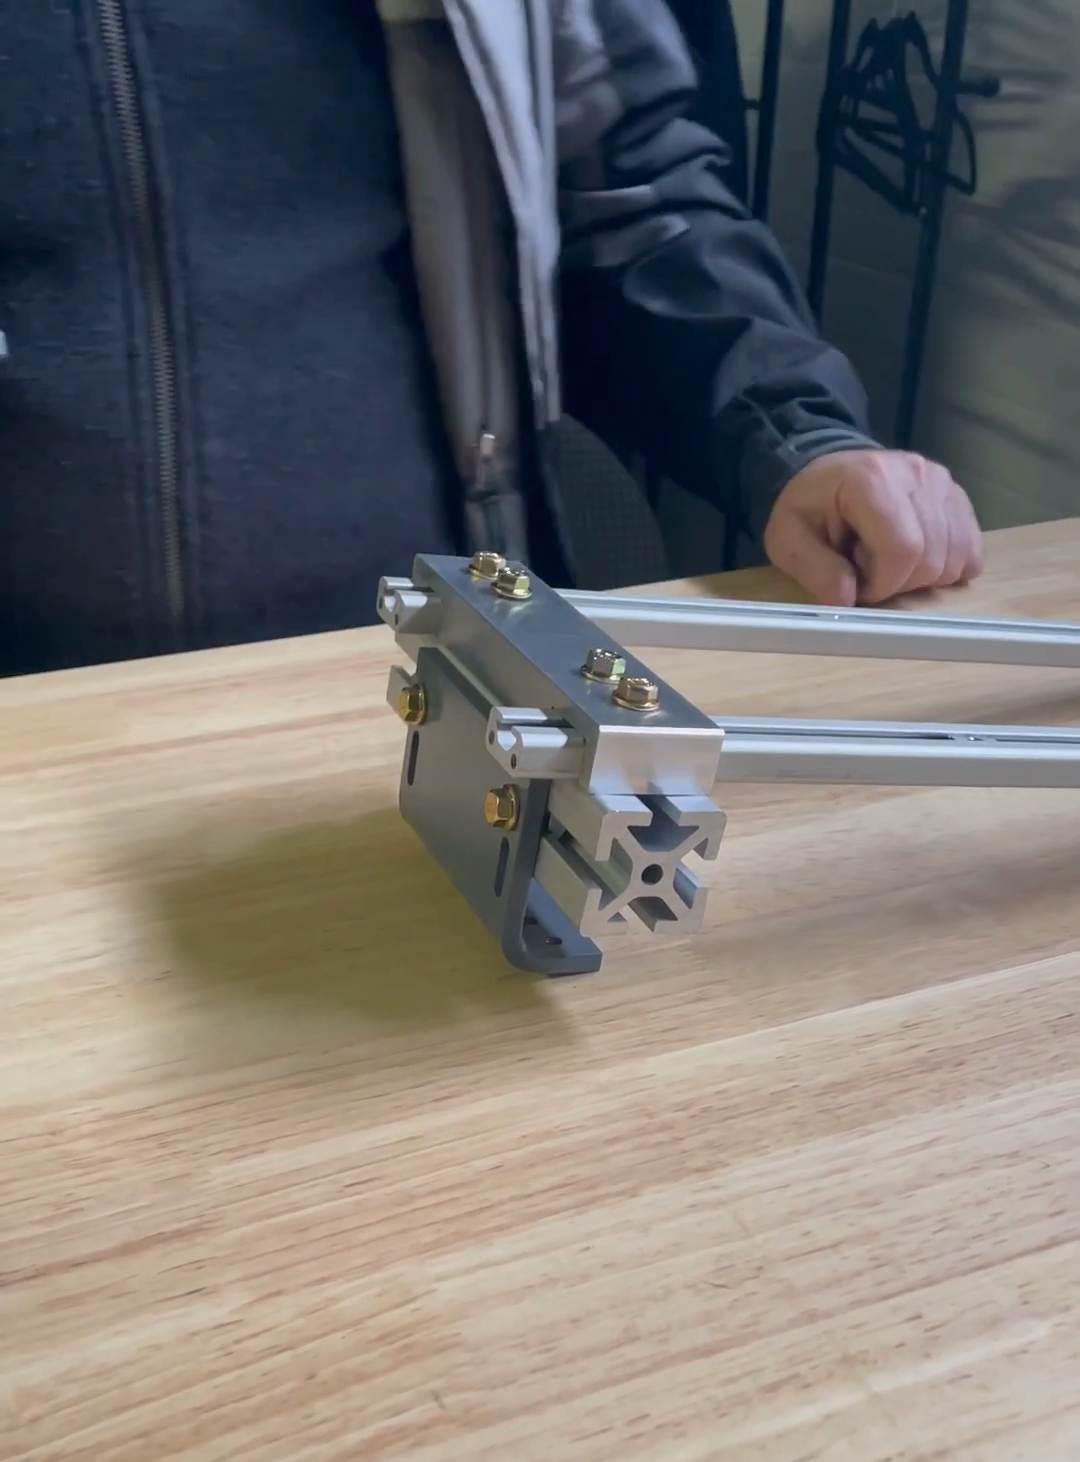
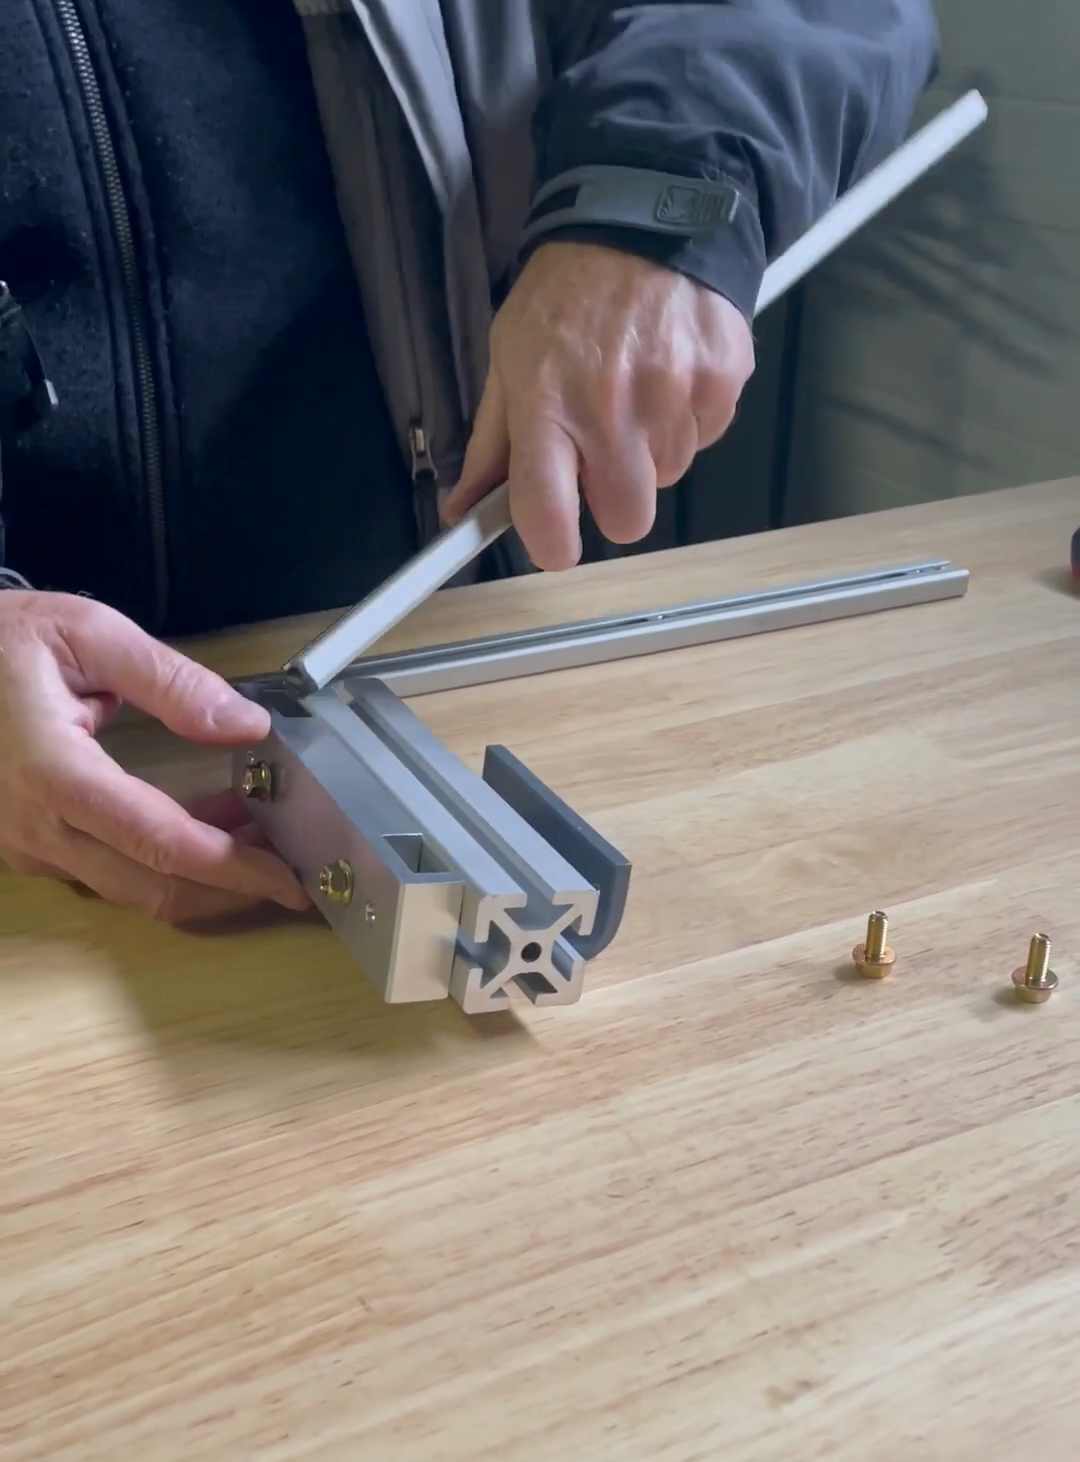
5
Mount aluminum rail bracket to the larger rail.
Slide the small rails into place and fasten them.
Place the aluminum rail bracket on top of the larger rail.
Slide the small rails into place and fasten them.
Place the aluminum rail bracket on top of the larger rail.
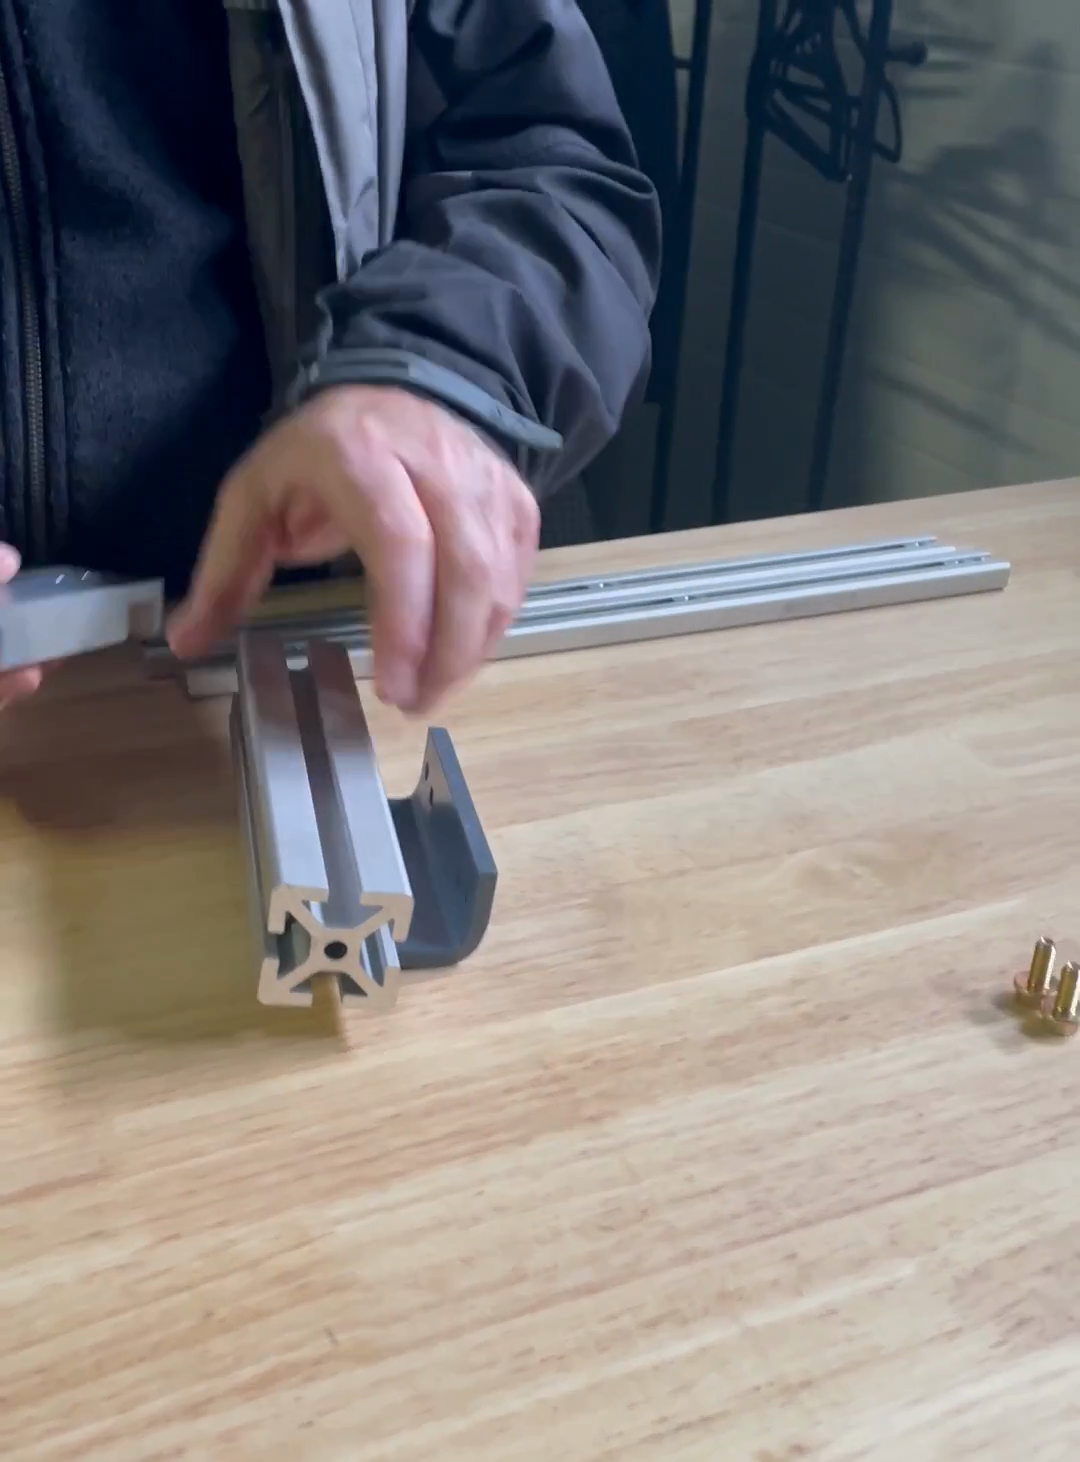
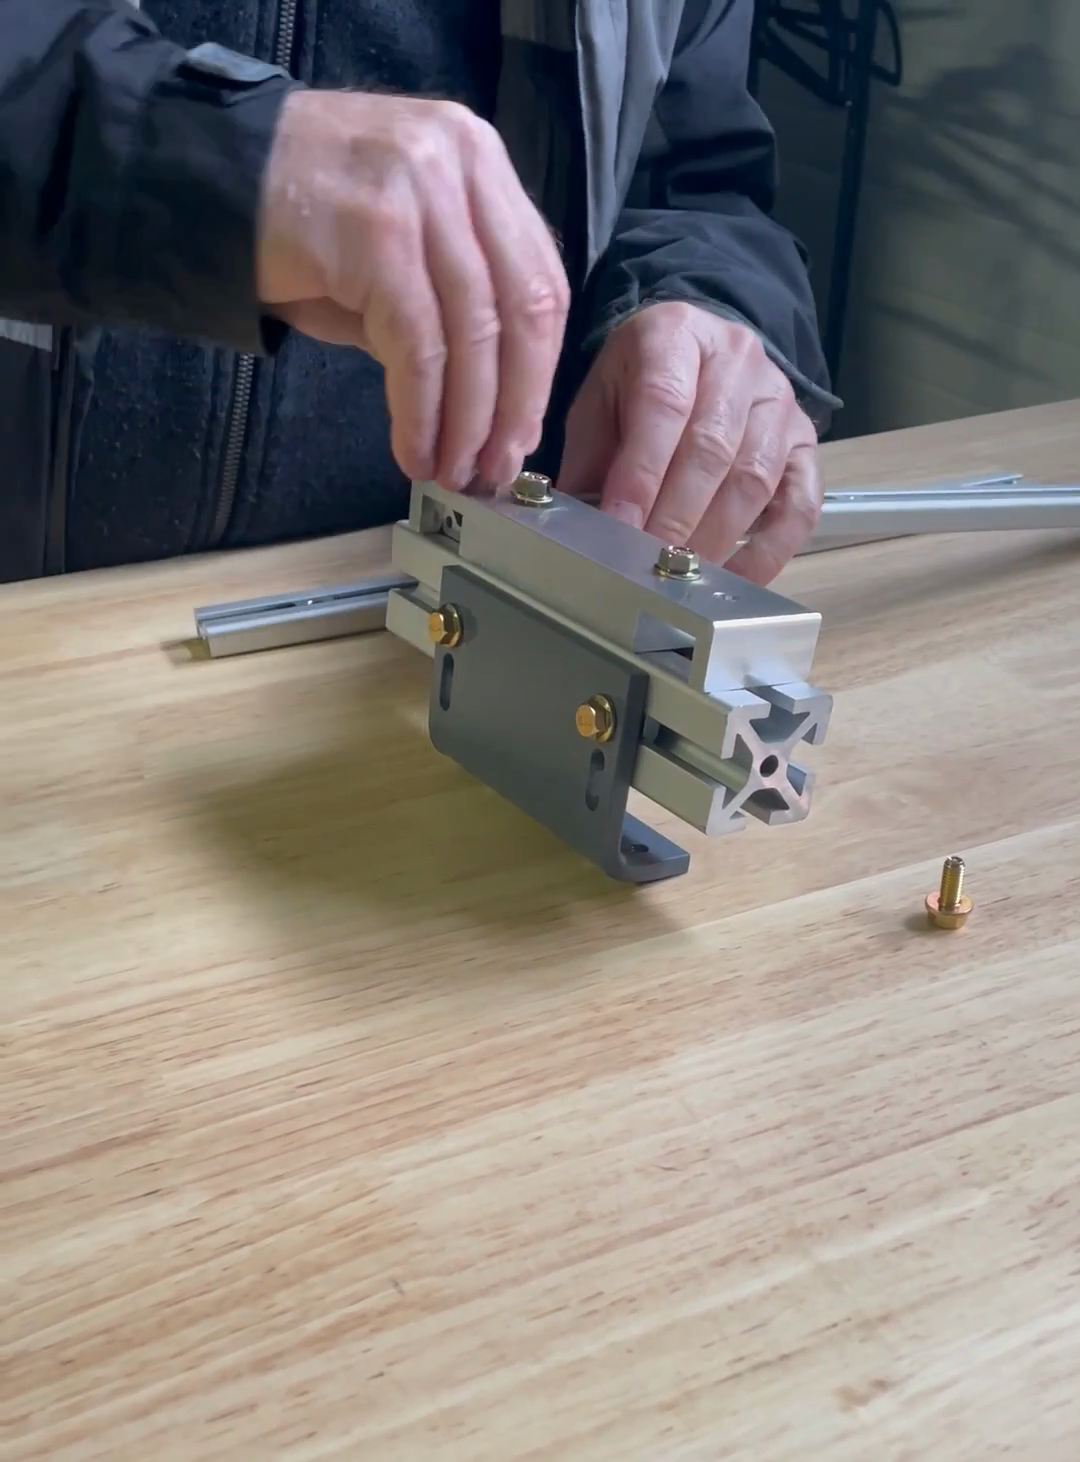
6
Insert the first screw into the rail bracket.
Hand-tighten the first screw.
Insert and hand-tighten the second screw into the rail bracket.
Hand-tighten the first screw.
Insert and hand-tighten the second screw into the rail bracket.
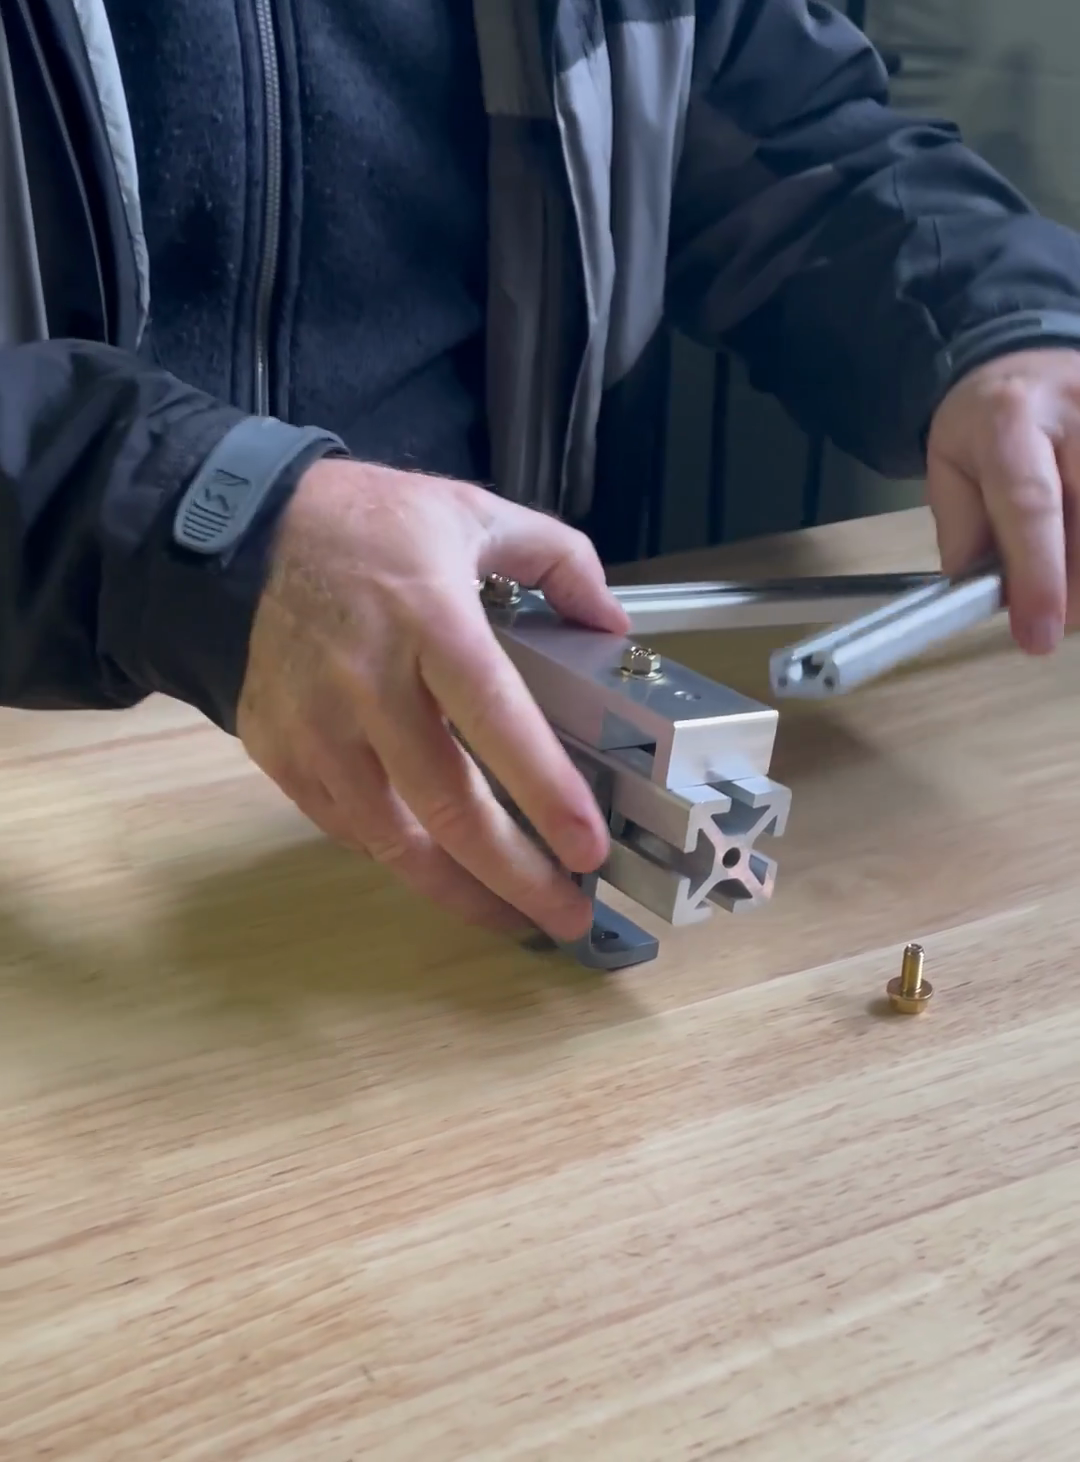
7
slide the small rails into place and fasten.
Slide the first small rail into the groove of the main assembly.
Tighten all the hardware with a 10-millimeter wrench.
Slide the first small rail into the groove of the main assembly.
Tighten all the hardware with a 10-millimeter wrench.
8
Re-insert and hand-tighten the bolt to secure the rail.
9
Slide the second small rail into the parallel groove on the main assembly.
10
Tighten all the hardware with the 10 millimeter wrench.