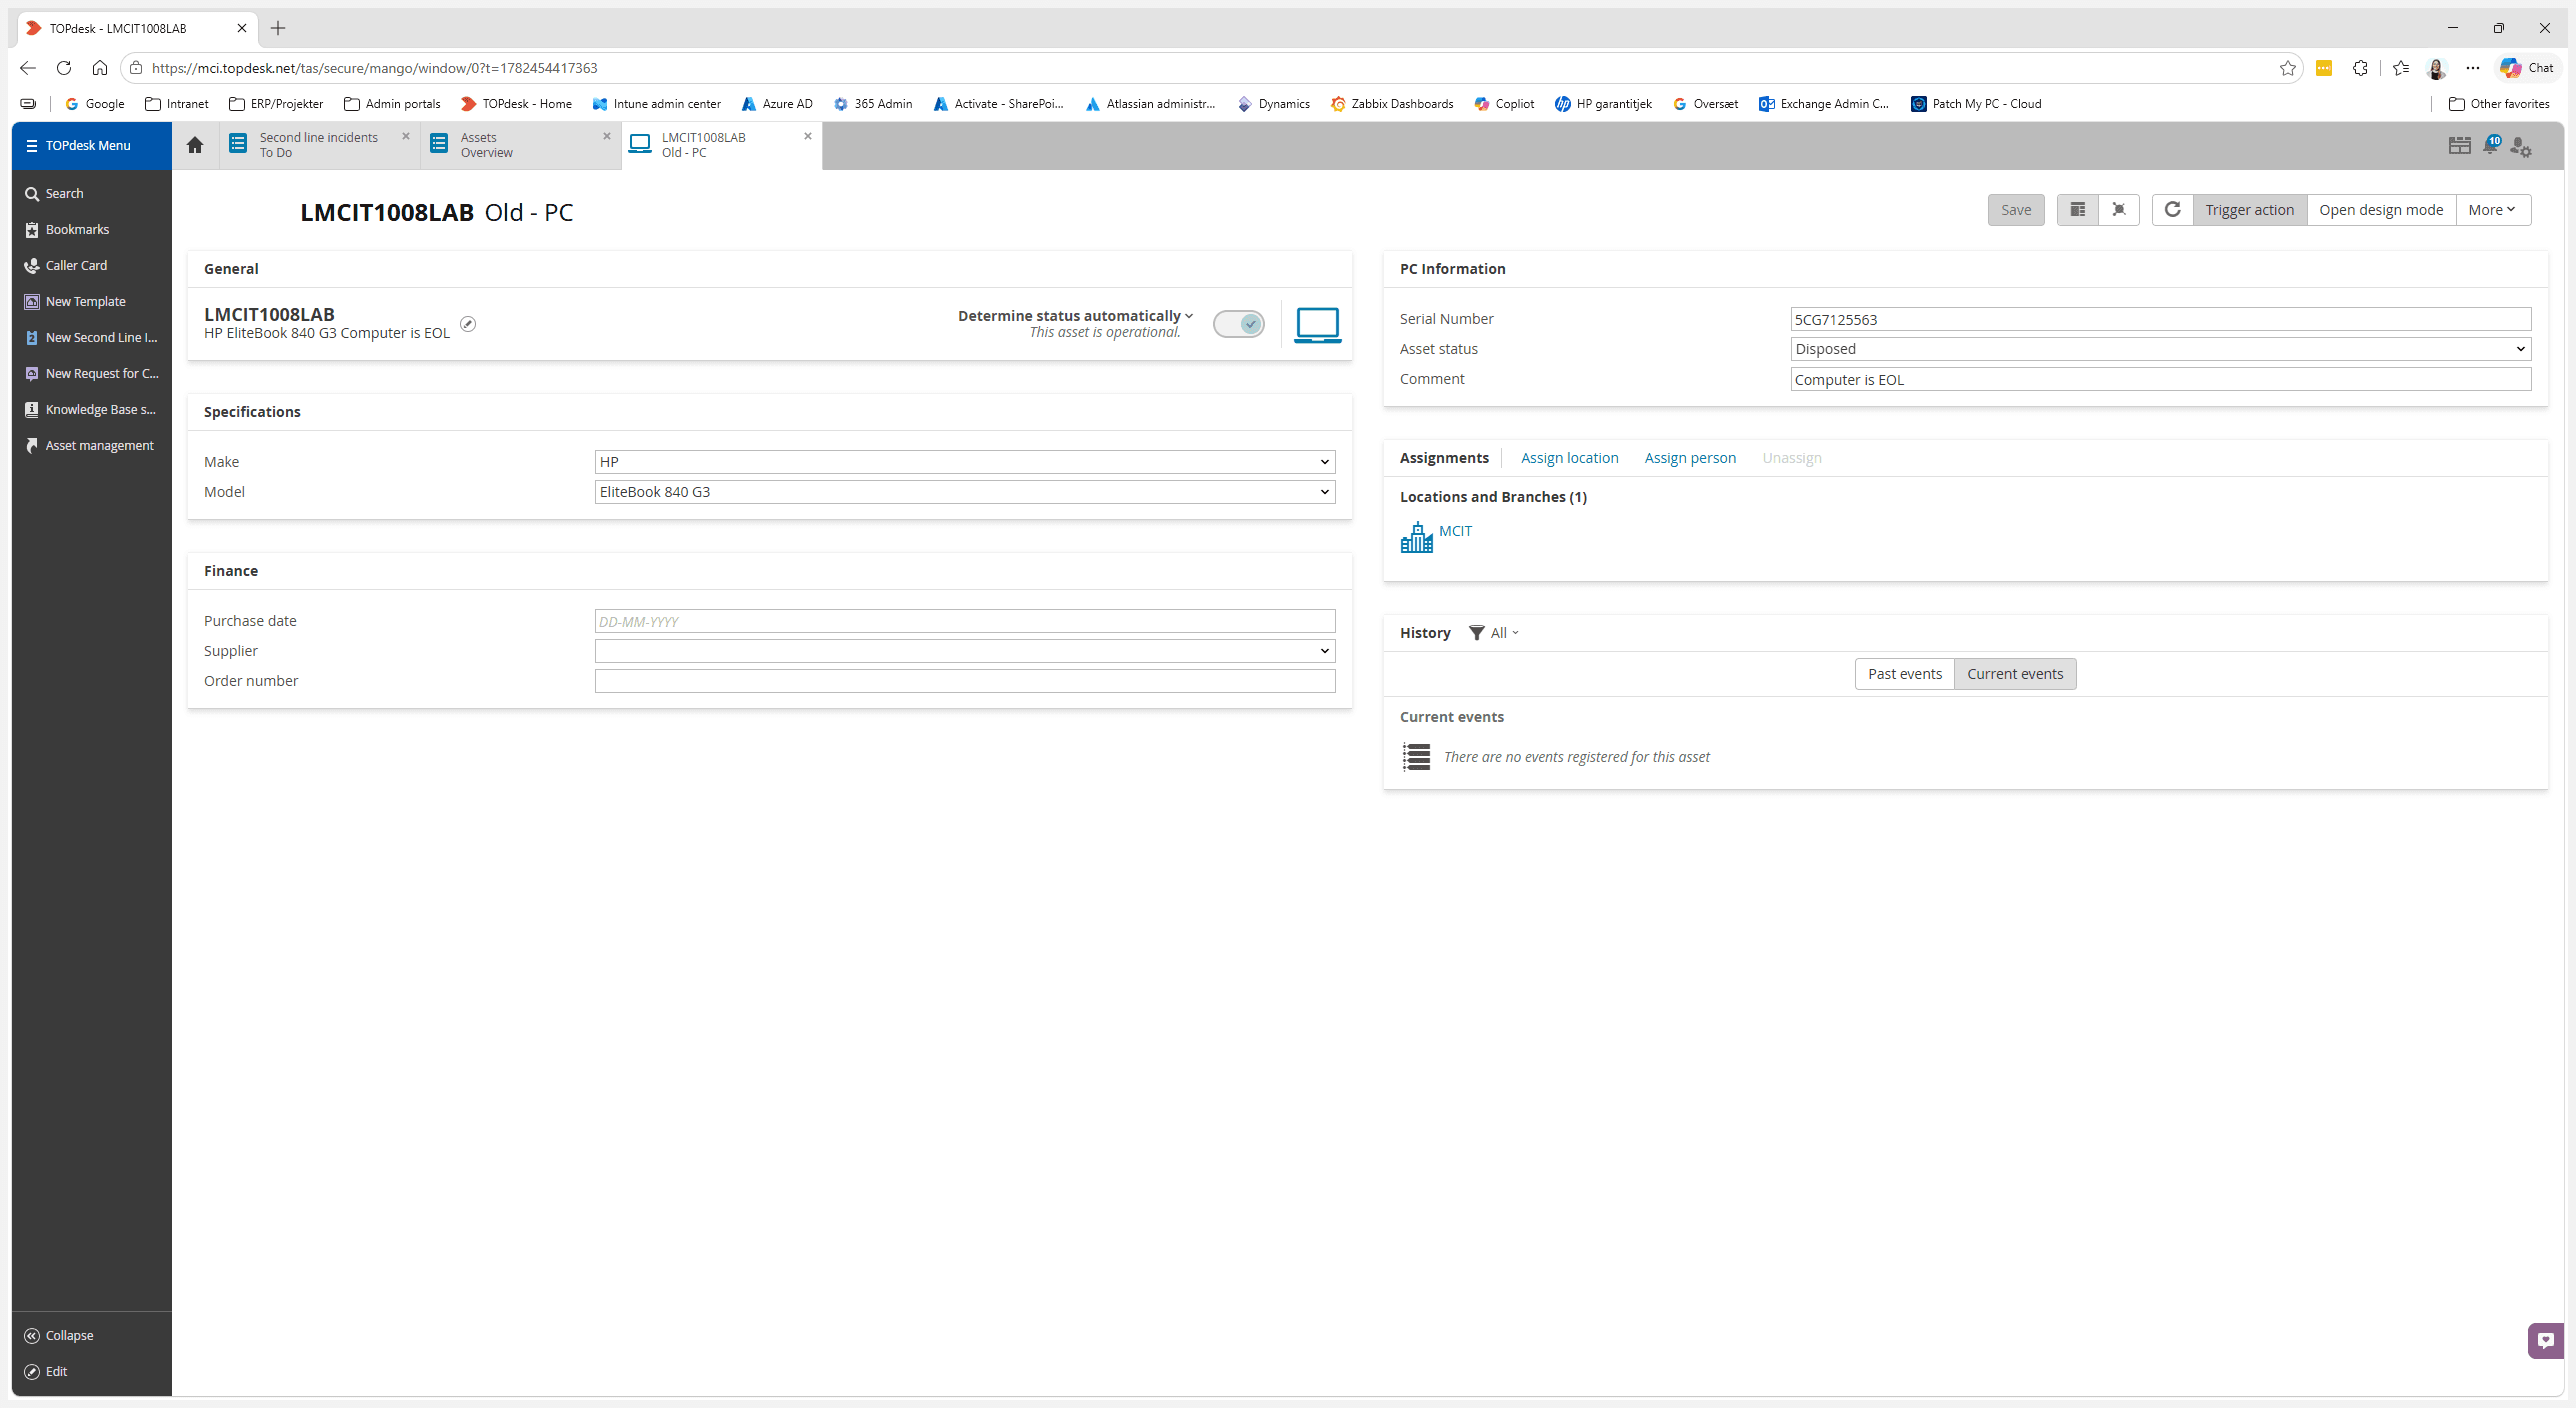
Assigning a Location to a Hardware Asset in TOPdesk
Learn how to assign a branch or location to a hardware asset like a PC in TOPdesk to keep your IT inventory accurate and up to date.
By Maersk Container Industry
Made with Glitter AI
This guide explains how to assign a physical location or branch to a hardware asset in TOPdesk. Keeping asset locations updated ensures accurate inventory tracking and simplifies IT support and auditing processes.
This process is intended for IT administrators, helpdesk agents, and asset managers responsible for maintaining hardware inventory. It should be performed whenever a new device is deployed or an existing device is moved to a new physical location.
Locate and Open the Asset
1
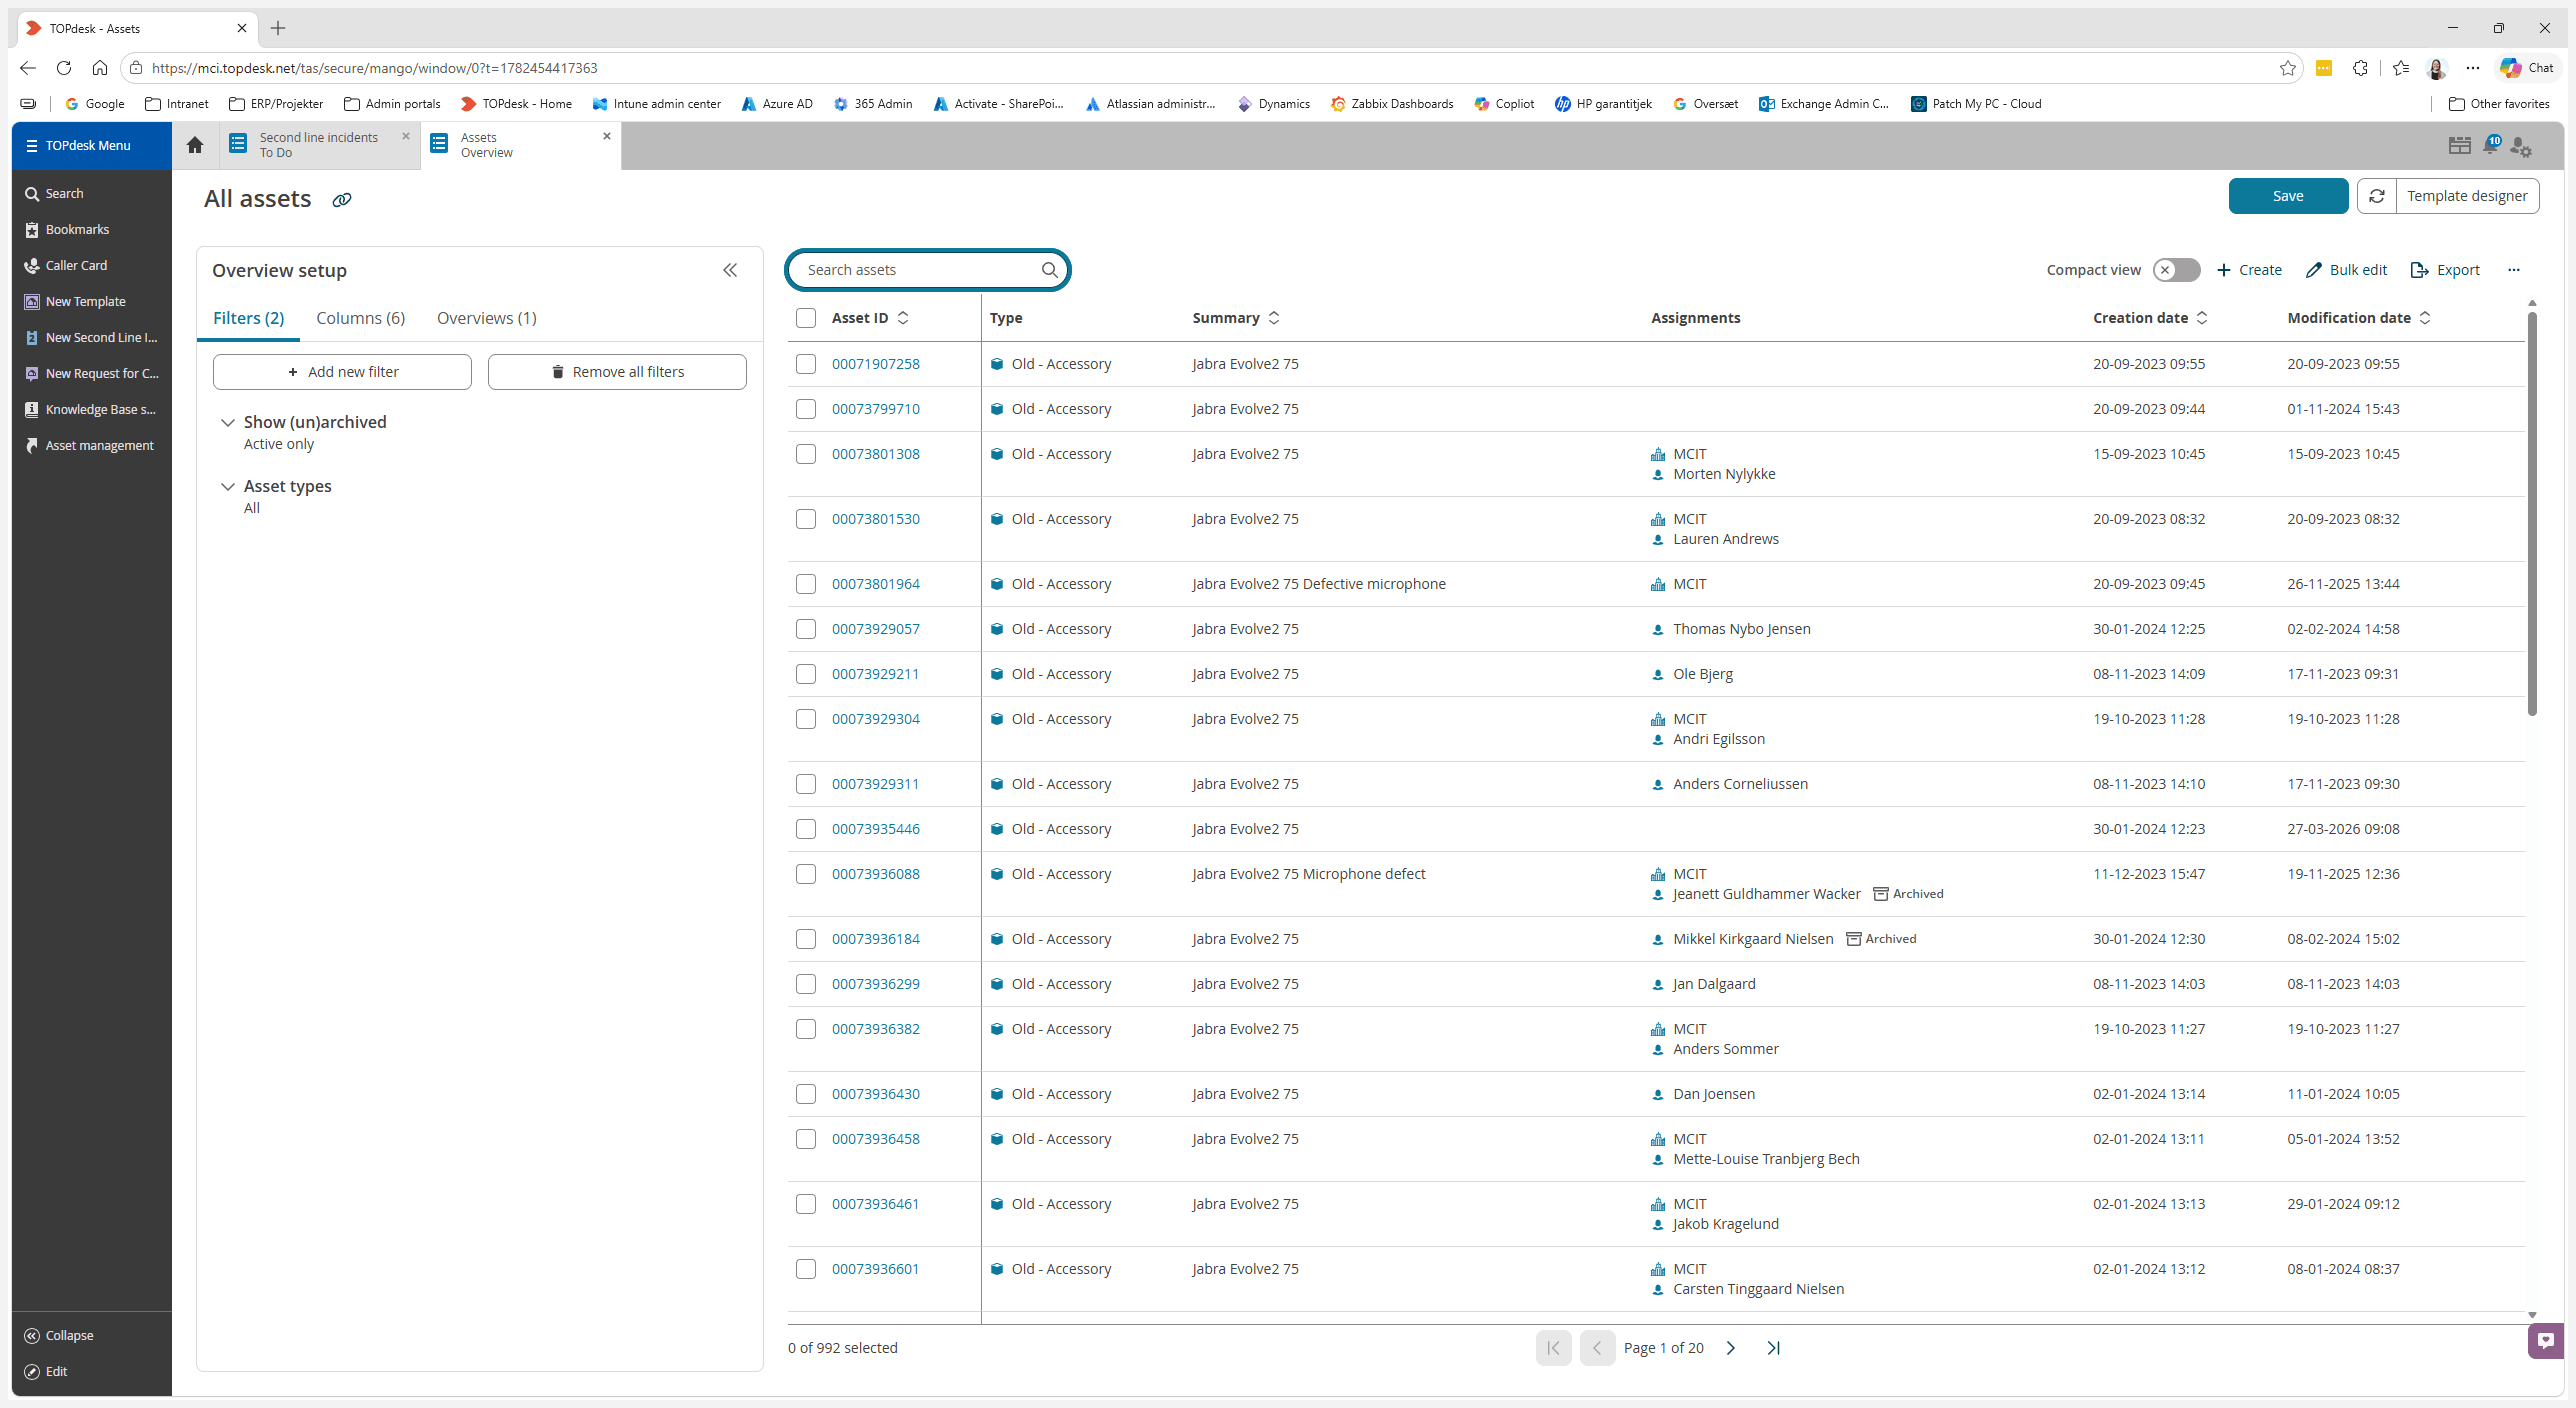
From your hardware list, click on the asset ID link of the device you want to update.
Assign the New Location
2
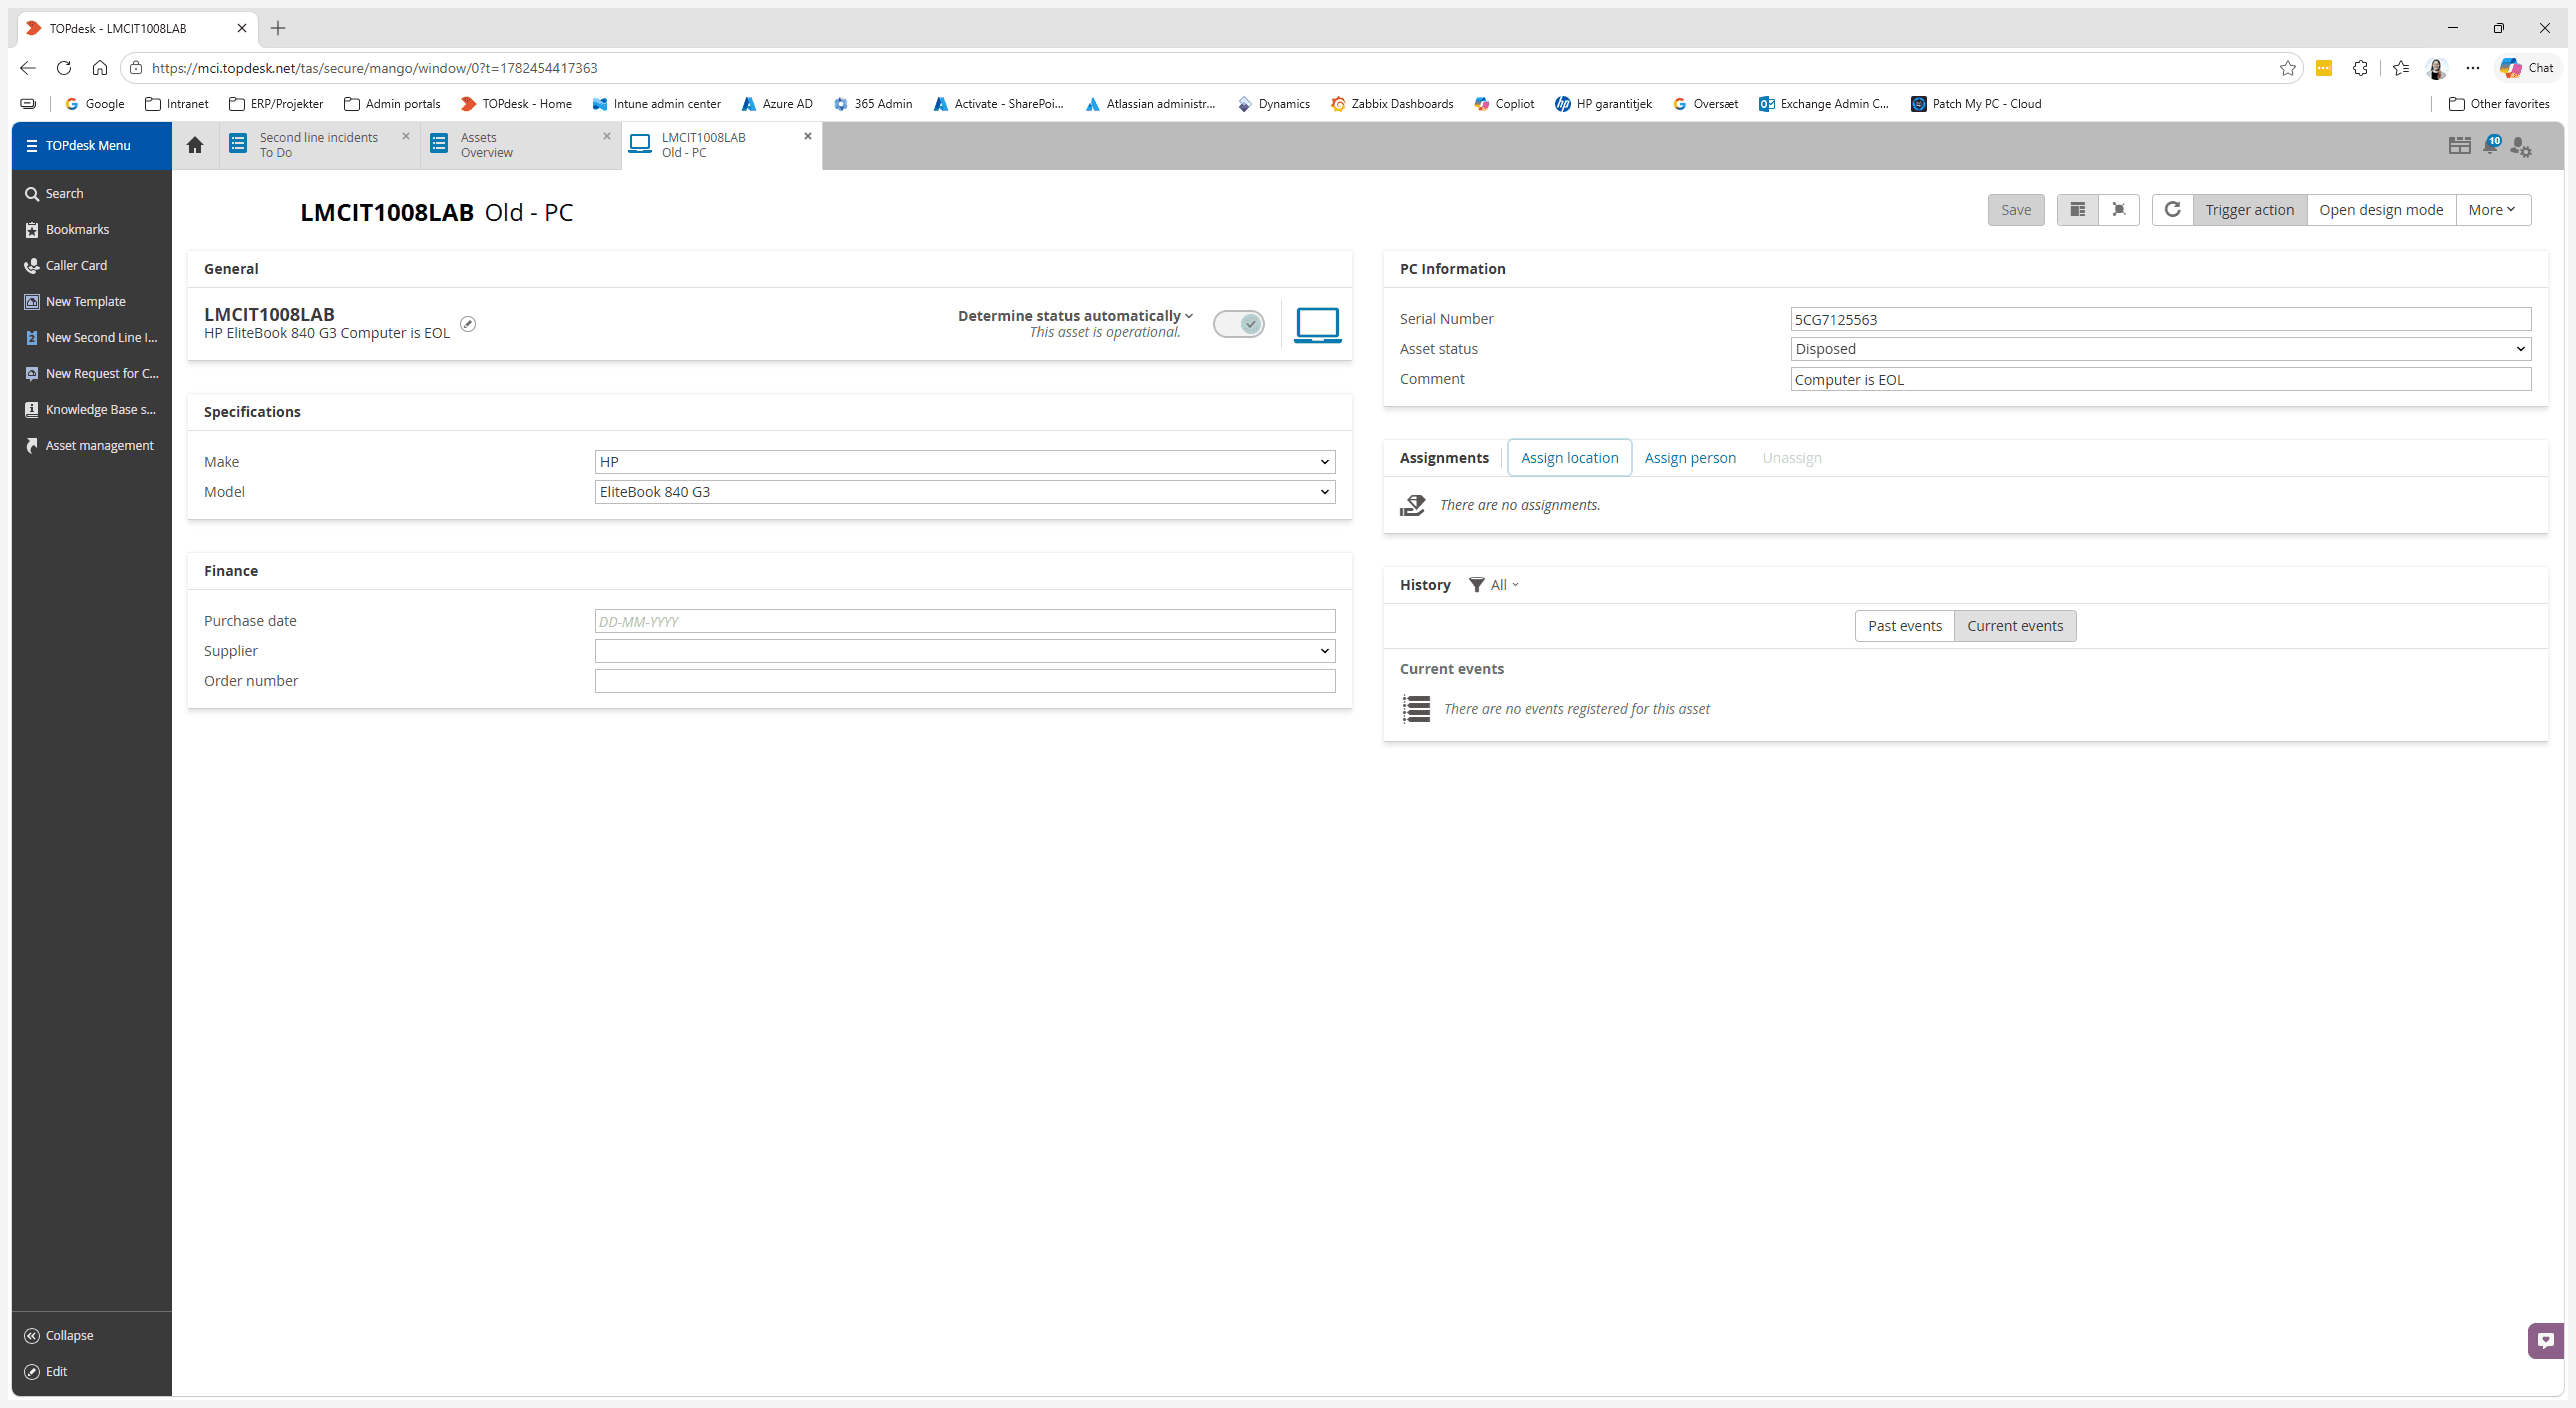
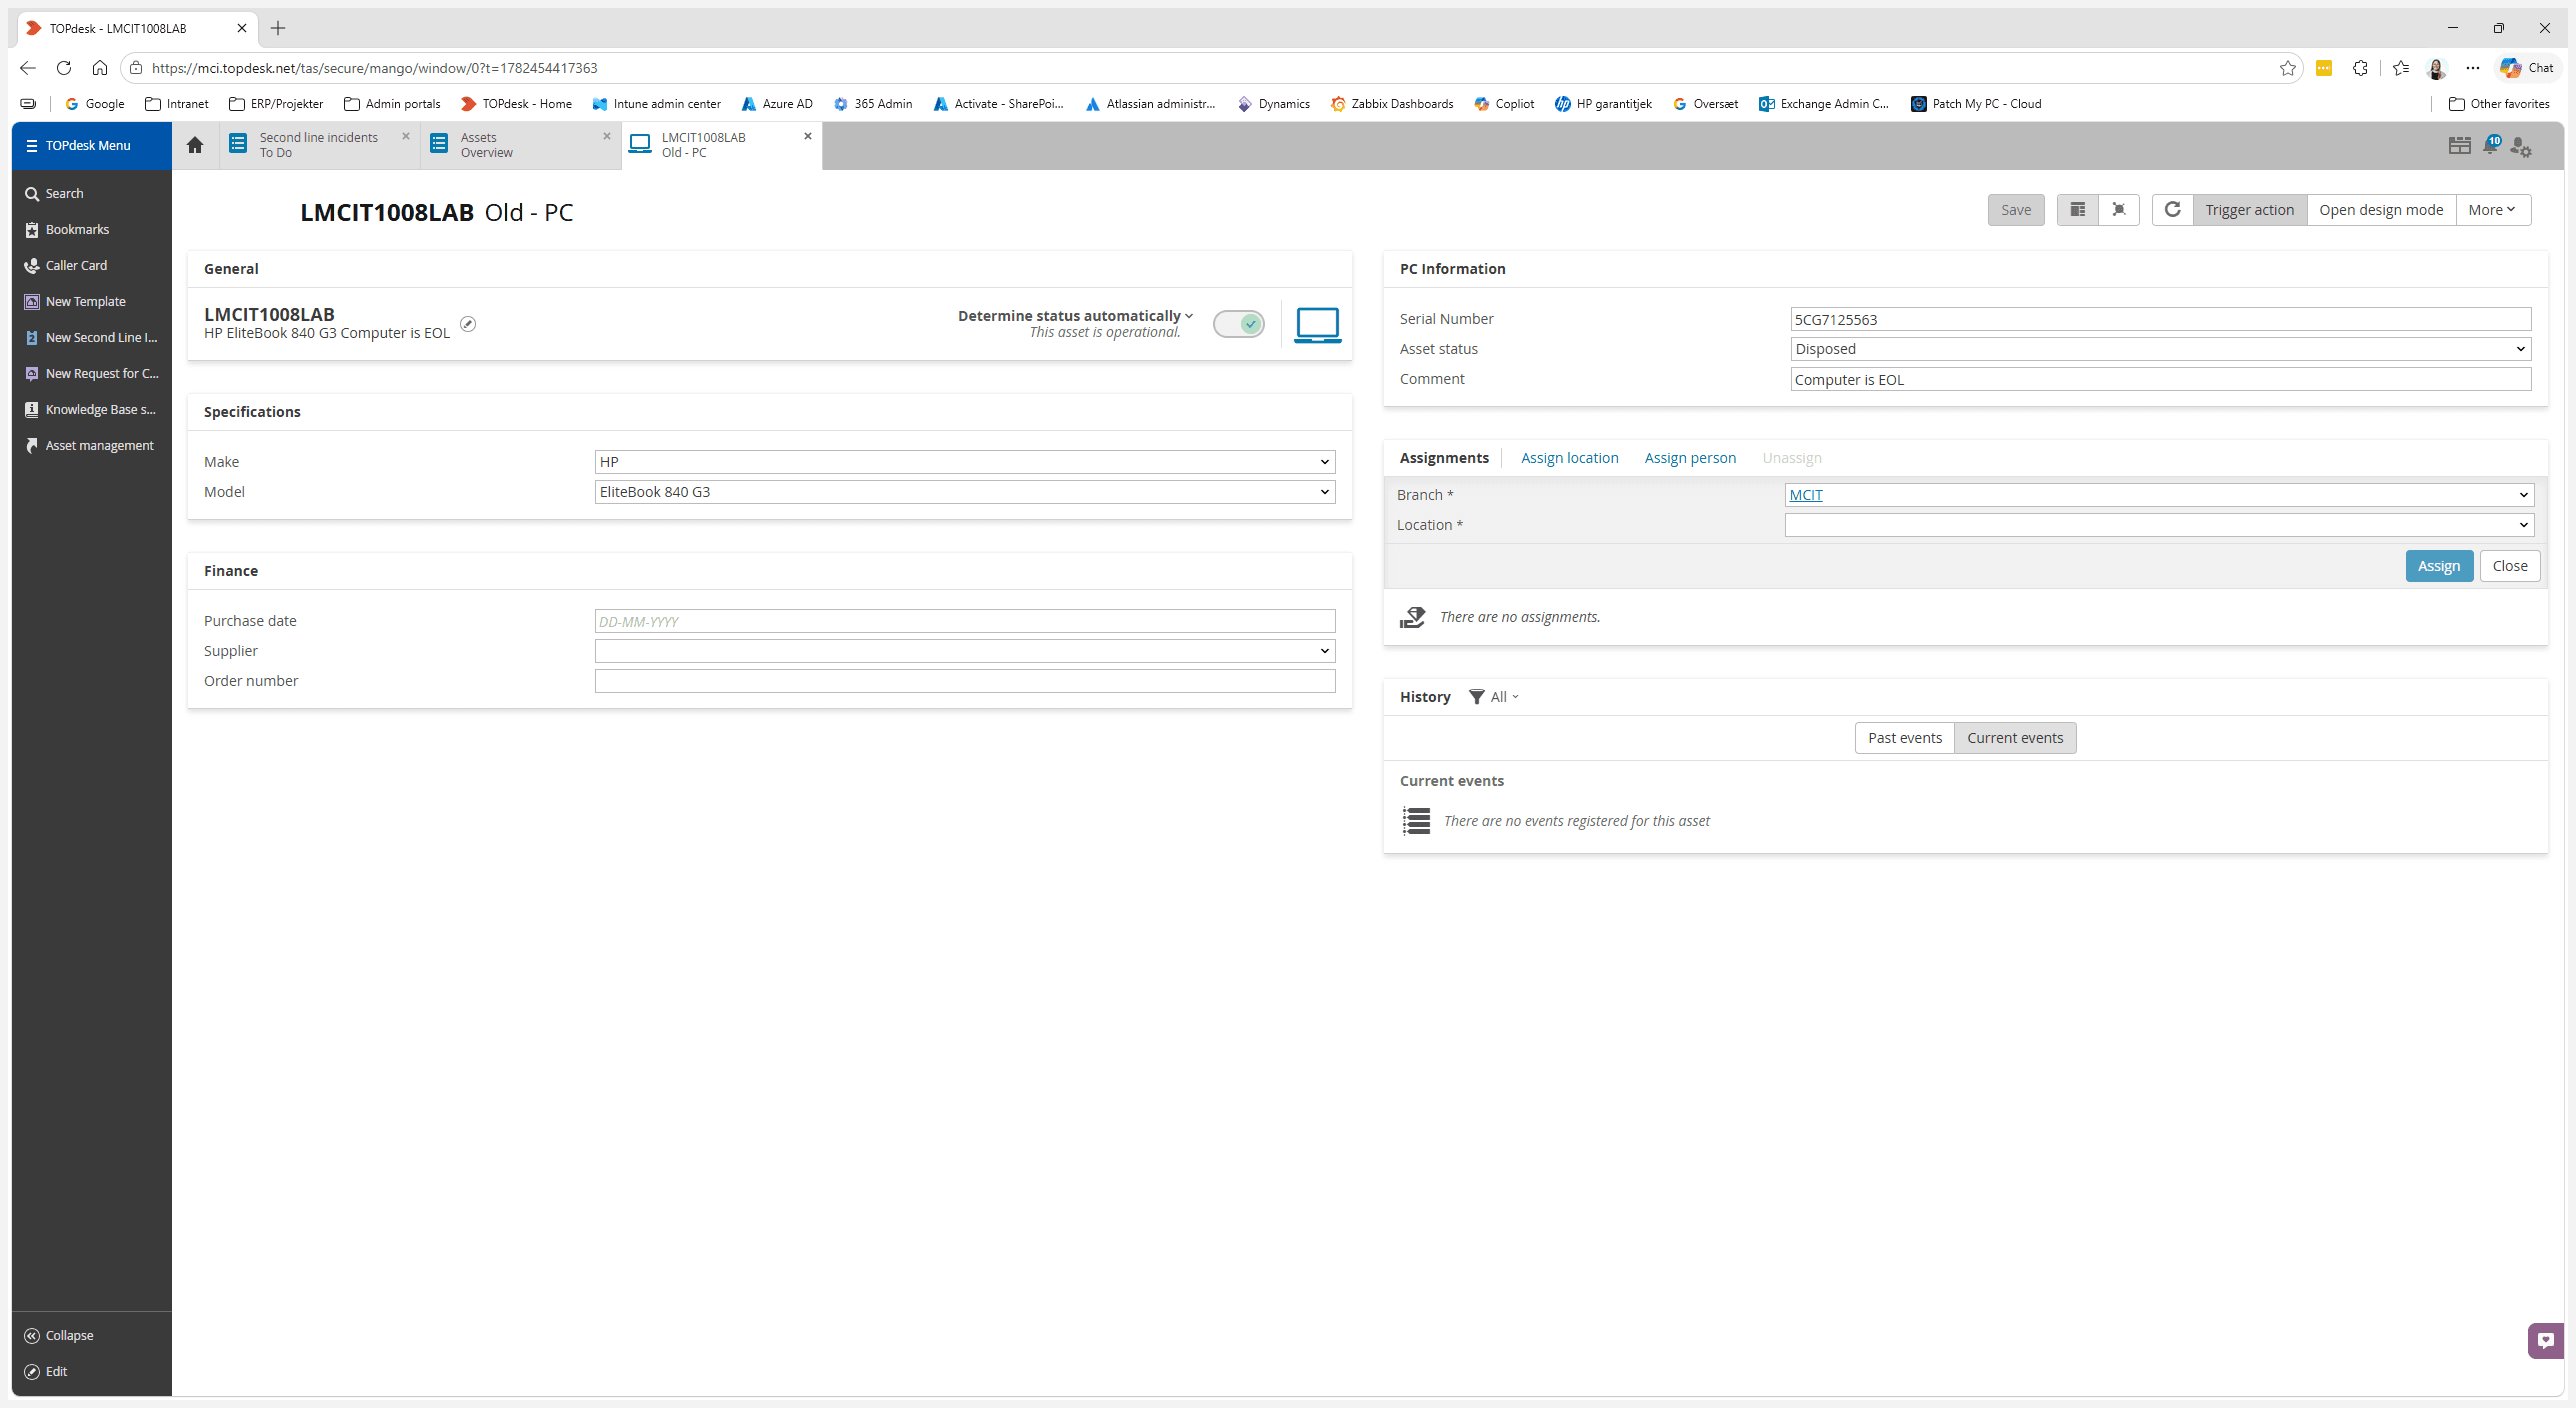
In the asset details view, navigate to the Assignments section and click Assign location.
3
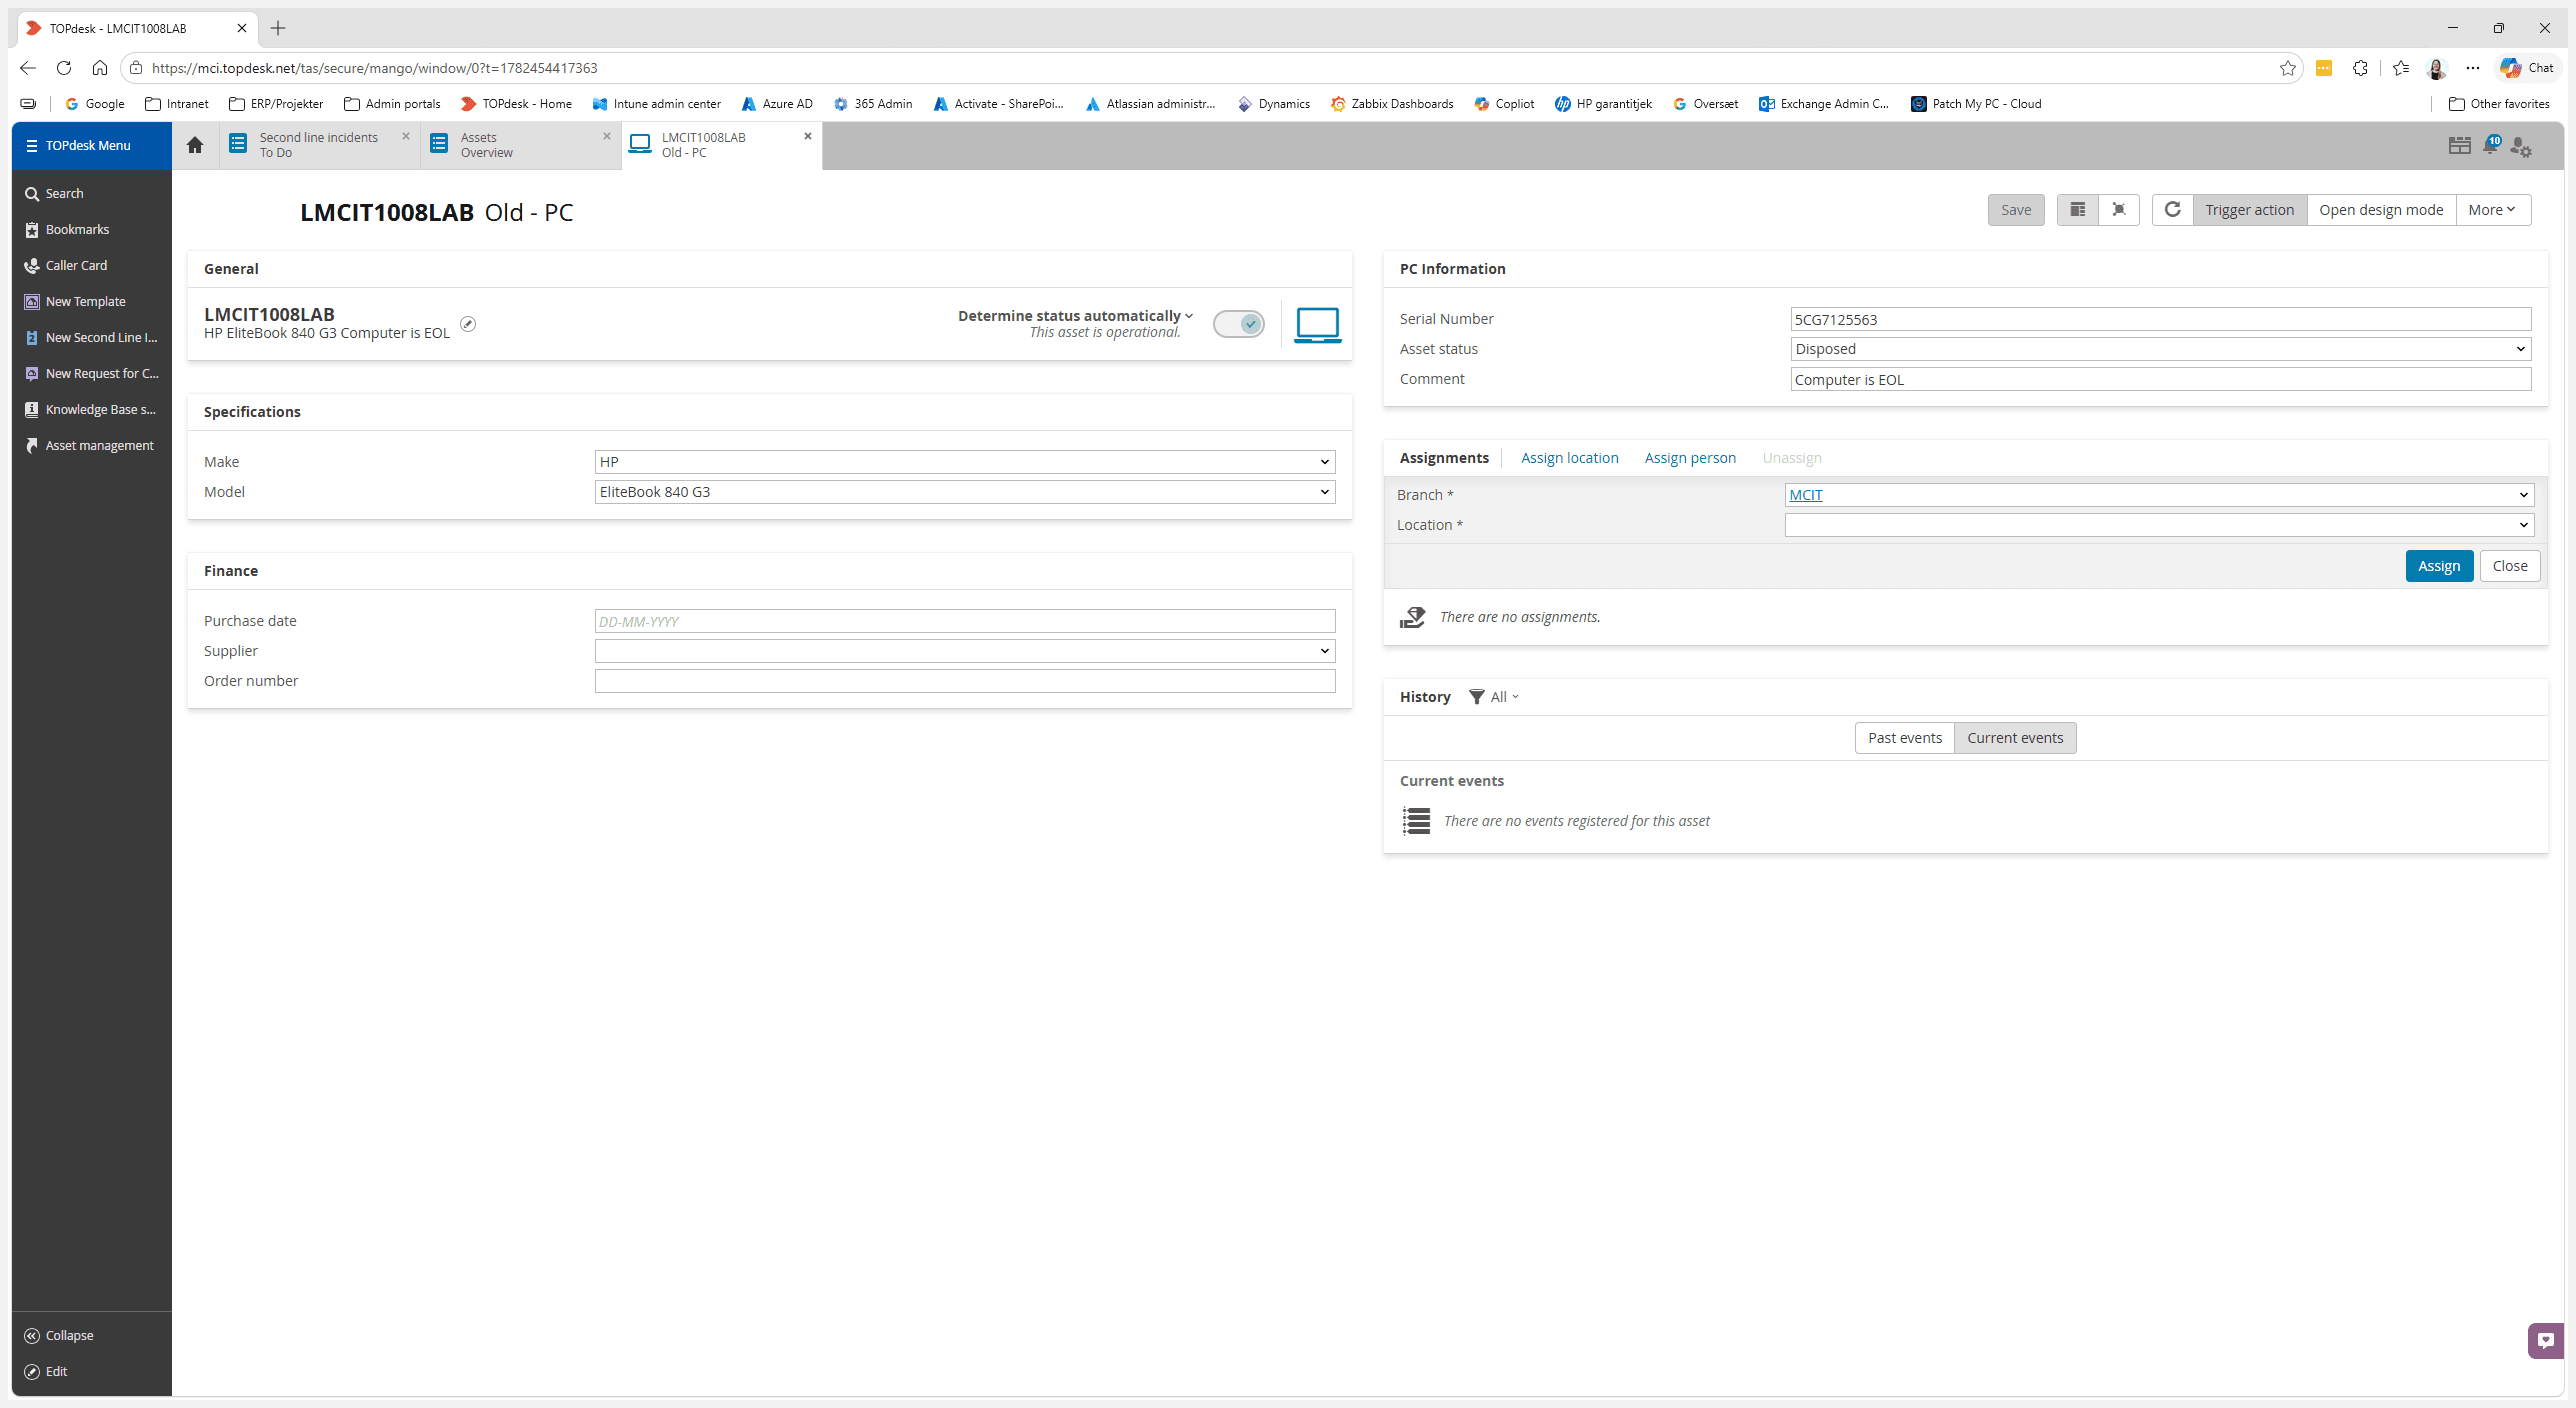
Select the appropriate branch and location details, then click Assign.
Save and Close
4
Click Save in the upper-right corner of the asset details pane to commit your changes.
5
Click the × icon to close the asset record and return to your workspace.