WMS : OUTBOUND PICKING AND INVOICING
© LLAMA LOGISOL PVT LTD 2025. All rights reserved. This document and the WMS software described herein are proprietary products of © LLAMA LOGISOL PVT LTD and are protected by copyright law. No part of this document or software may be reproduced, transmitted, or used in any form or by any means without prior written permission from © LLAMA LOGISOL PVT LTD 2025.
Outbound Flow: Picklist Generation (Web) to Picking Completion (Mobile)
Picklist Generation
a. Go to Sales → Open Orders
b. Select one or more Sales Orders ready for dispatch
c. Click on Generate Picklist
i. Choose LPN-Based Picking for the Orders picked into LPNs.Review & Confirm Picklist
a. Navigate to Outbound → Confirm Picklist
b. Review the generated picklists, which includes Picker details if picking is in progress.
c. Picklists can also be confirmed in the Web UI by clicking the picklist and adding the picked quantity. We show mobile picking.Mobile Picking Process
a. On the WMS handheld device, login with registered username and passoword. Open the PICKLIST module
b. Scan a destination LPN for the Picklist ID assigned as a task. New LPNs can be added when needed.
c. For each SKU in the picklist:
ii. Scan the Location
iii. Scan the SKU ( or can directly enter quantity by visual SKU validation)
iv. Enter the Picked Quantity
v. Click COMPLETE
d. Repeat the above steps for all items in the picklistPicking Completion Confirmation
a. Once all items are picked, return to Web UI → Outbound → Confirm Picklist
i. The picklist (e.g., Picklist #1287) will no longer be visible, indicating that picking is complete
b. Navigate to Customer Invoices - explained in a new document.
i. Proceed to create the invoice for the picked quantity


If necessary, picklist can be confirmed in Web UI. Click on the Picklist, add picked quantity and confirm.
MOBILE PICKING FLOW


For each SKU in the picklist, follow these steps:
Scan the location
Scan the SKU
Enter the picked quantity
Click COMPLETE to confirm the pick


Adding a New LPN During Picking


© LLAMA LOGISOL PVT LTD 2025. All rights reserved. This document and the WMS software described herein are proprietary products of © LLAMA LOGISOL PVT LTD and are protected by copyright law. No part of this document or software may be reproduced, transmitted, or used in any form or by any means without prior written permission from © LLAMA LOGISOL PVT LTD 2025.
REPACKING AND INVOICING
🧭 Invoice Screen – User Navigation Guide
WMS Invoice Module
Access Invoice Screen
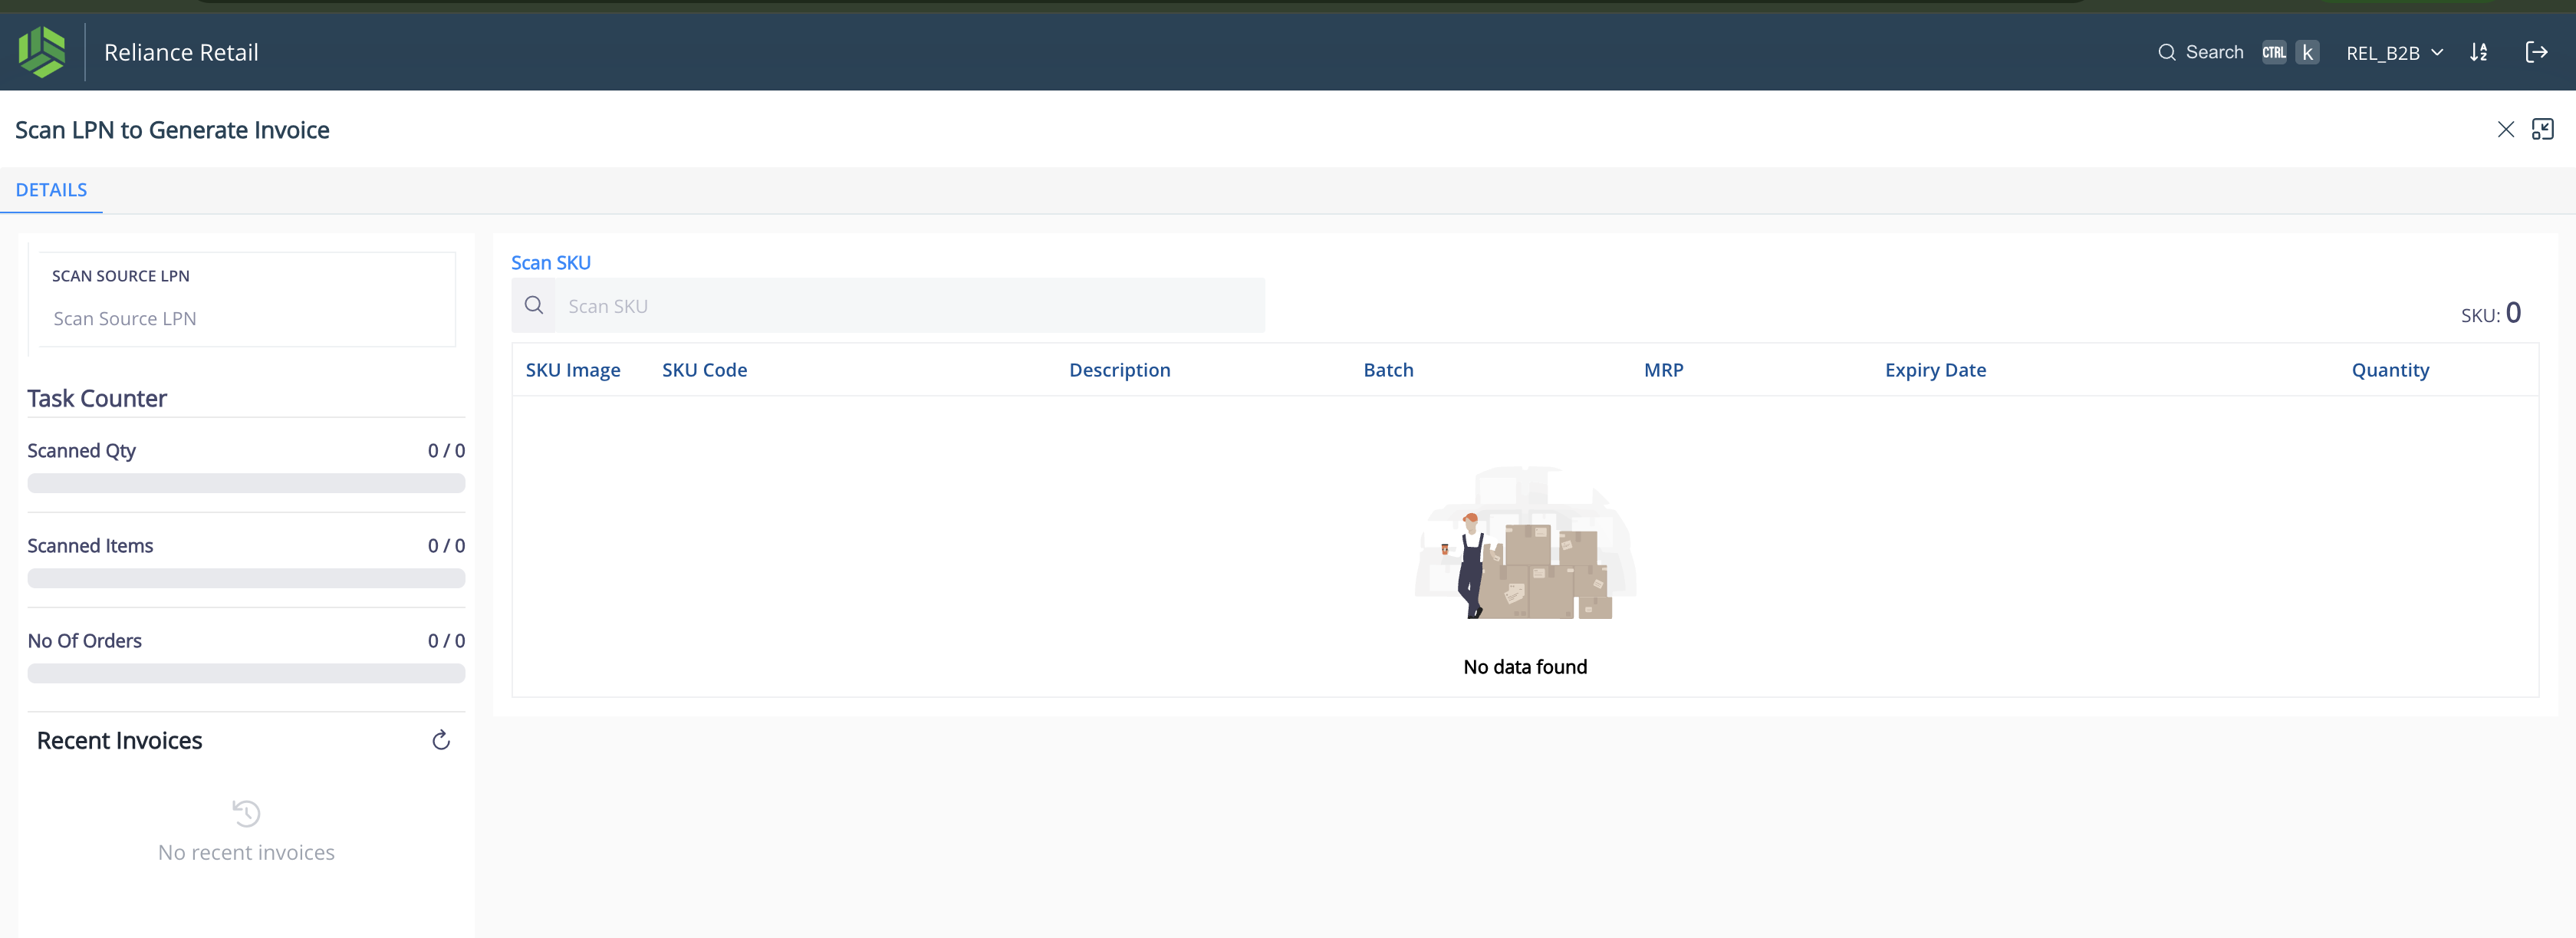
a. Press Alt+I to open the Invoice Screen or click on Generate Invoice
b. Navigation: Outbound -> Customer Invoices -> Processed Orders -> Actions -> Generate InvoiceScan LPN : Cursor auto-focuses on "Scan Source LPN" field
a. Use scanner to input LPN barcode
b. If valid, LPN items load instantly
c. Left panel shows counters:
i. Scanned Qty: X/Y items scanned
ii. Scanned SKUs: X/Y unique SKUs done
iii. Orders Completed: X/Y orders fulfilledScan SKUs
a. Scan SKU barcodes from within LPN
b. Valid scans update item list and counters
c. Invalid scans trigger error alertColor Indicators
a. 🟦 Blue: Pending SKUs to be packed of the current Order
b. 🟨 Yellow: Partially scanned SKU
c. 🟩 Green: Fully scanned SKU - Once SKUs are scanned (🟩 Green), items are assumed manually packedView SKU & Order Details : The SKU that is being packed manually is shown in focus.
a. Each SKU shows: image, code, batch, expiry, qty
b. Order info auto-displays: order no., type, staging zoneConfirm Invoice
b. Enter any required custom fields (if configured) : Upon clicking
c. Click on "Generate"
d. System generates invoice and resets screenInvoice History (Optional)
a. Click History icon to view past invoices
Navigate to the "Customer Invoices".


Since pending quantity for the scanned SKU "RL-TB-1001" is not zero it is shown in yellow.
Either scan each quantity or enter the SKU quantity.


Continue scanning SKUs and updating the Packed Quantity until:
i. All Task Counters on the left panel show full completion
ii. All SKUs appear as 🟩
Green on the right panel, indicating every item is fully packed

If any mandatory invoice inputs are configured, they will appear in a pop-up screen after clicking the
Generate button. Fill in the required fields to successfully create the invoice.


