Icon

How to Bulk Import Blog Posts via CSV in GoHighLevel

Learn how to export blog content from Google Sheets and bulk import multiple posts into your GoHighLevel account using a CSV file.

By Rozette Kean Gaudan

This guide explains how to export blog content from Google Sheets and bulk import it into GoHighLevel using a CSV file. Completing this process allows you to efficiently upload, schedule, and manage multiple blog posts at once without manual data entry.

This workflow is designed for content managers, marketing teams, and website administrators who need to streamline their content pipeline by publishing batches of articles simultaneously.

Export Your Blog Content as a CSV
1
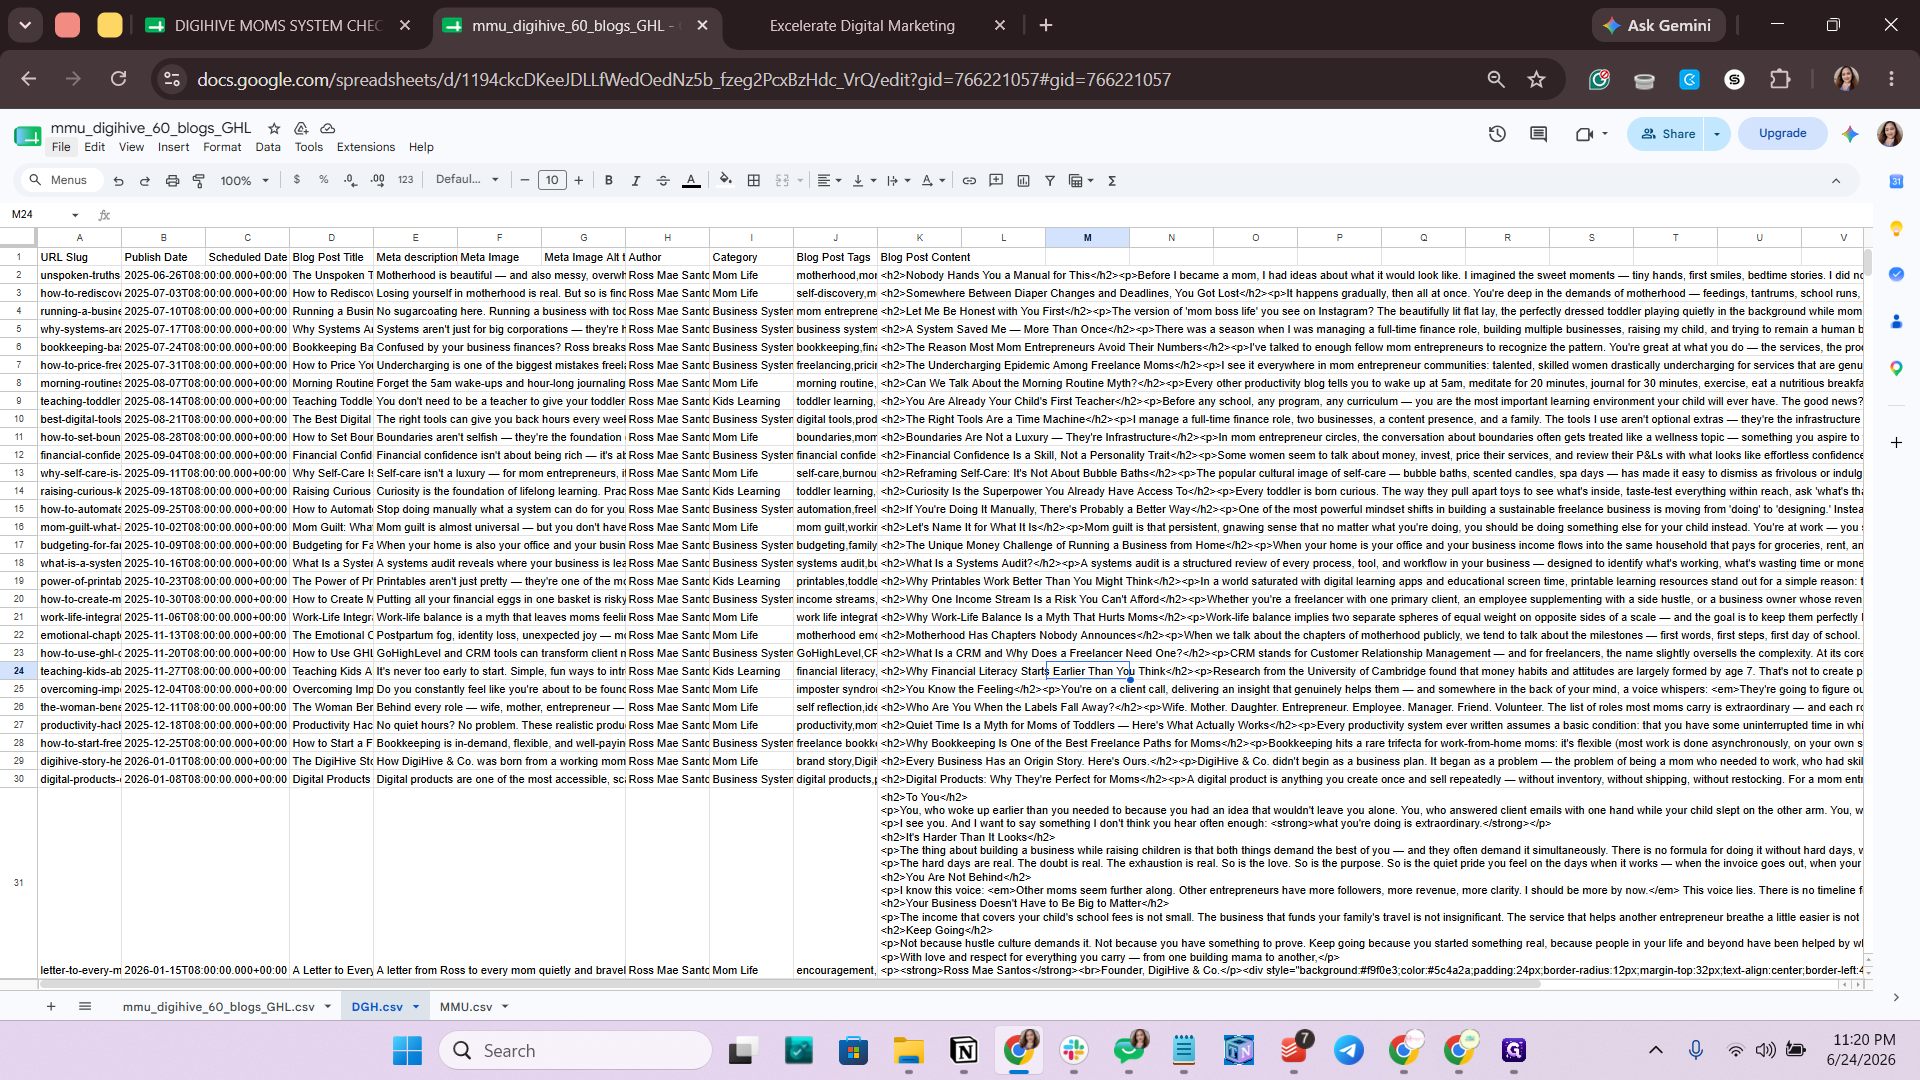
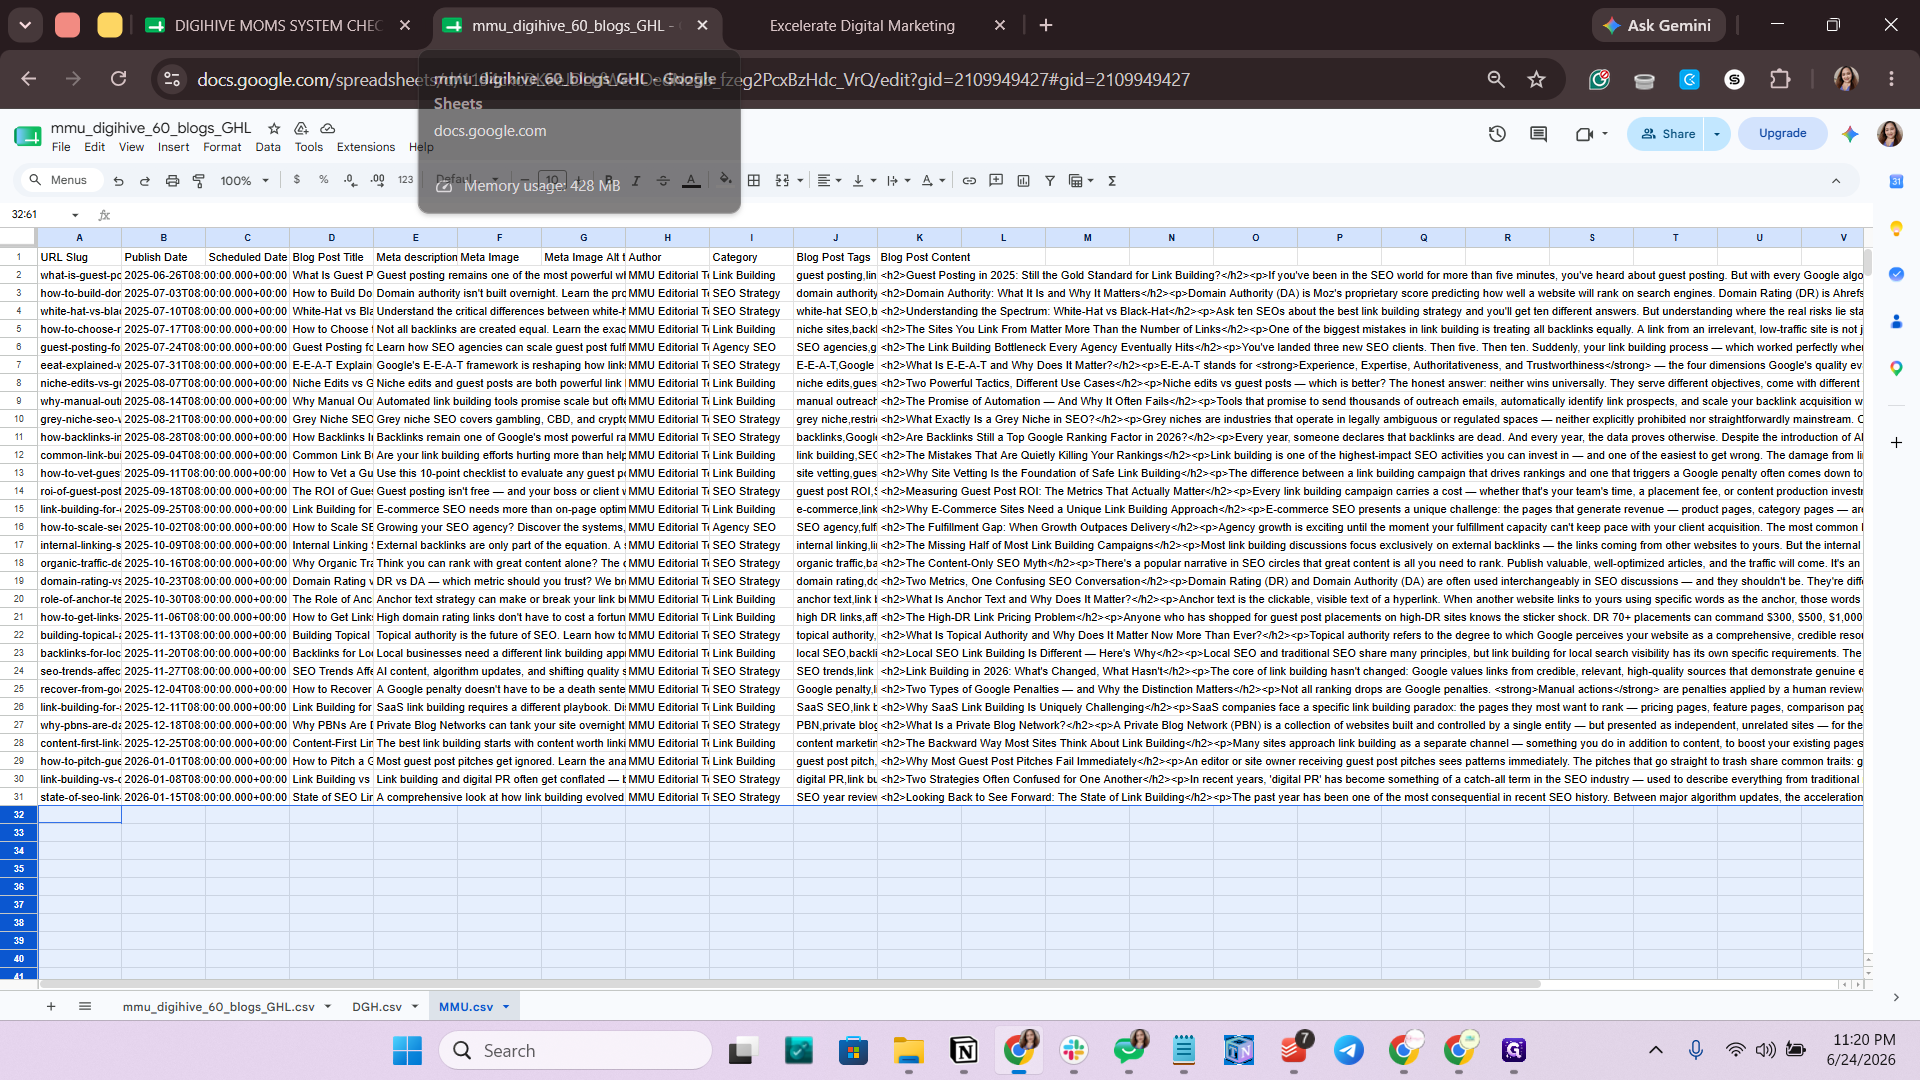
Open your Google Sheets document and select the specific tab containing your prepared blog content.
Step #1: Open your Google Sheets document and select the specific tab containing your prepared blog content.
2
Click File in the top navigation menu.
Step #2: Click File in the top navigation menu.
3
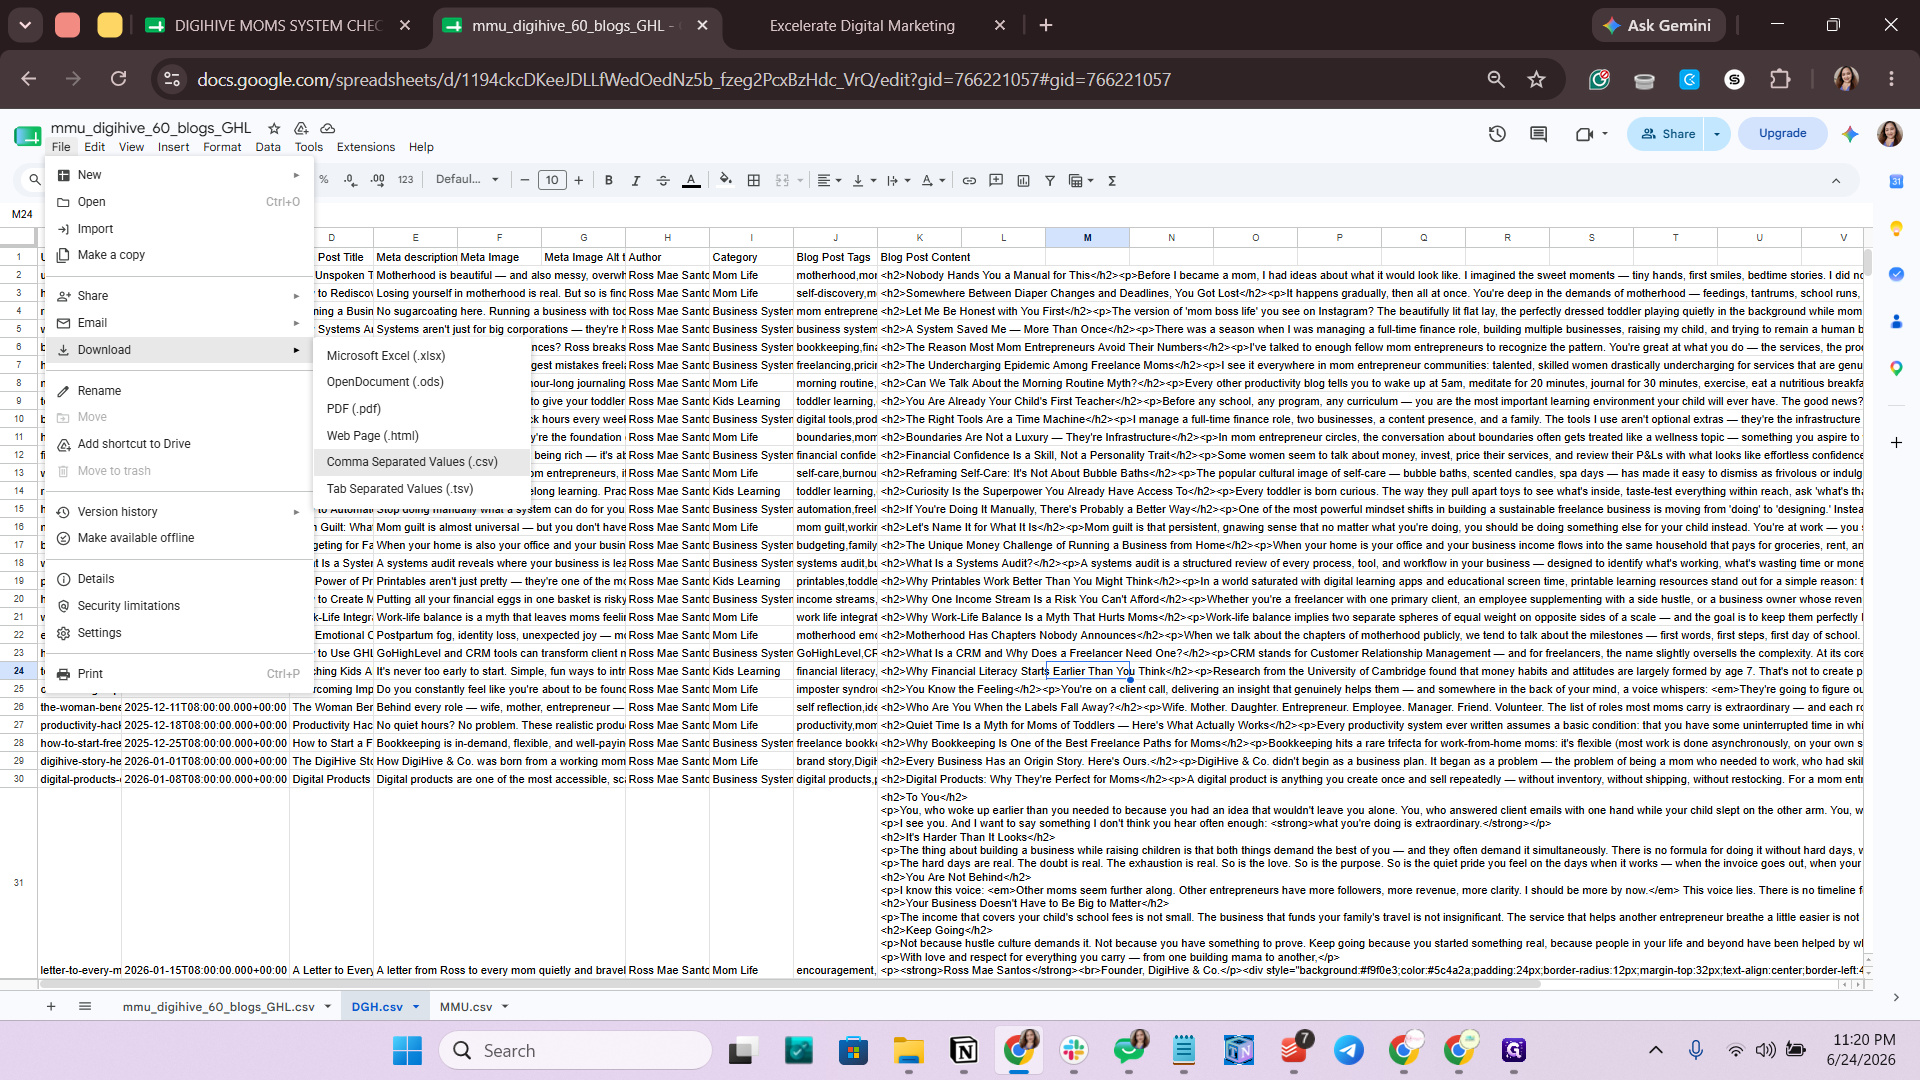
Hover over Download and select Comma Separated Values (.csv) to save the sheet to your computer.
Step #3: Hover over Download and select Comma Separated Values (.csv) to save the sheet to your computer.

Import the CSV into GoHighLevel

4
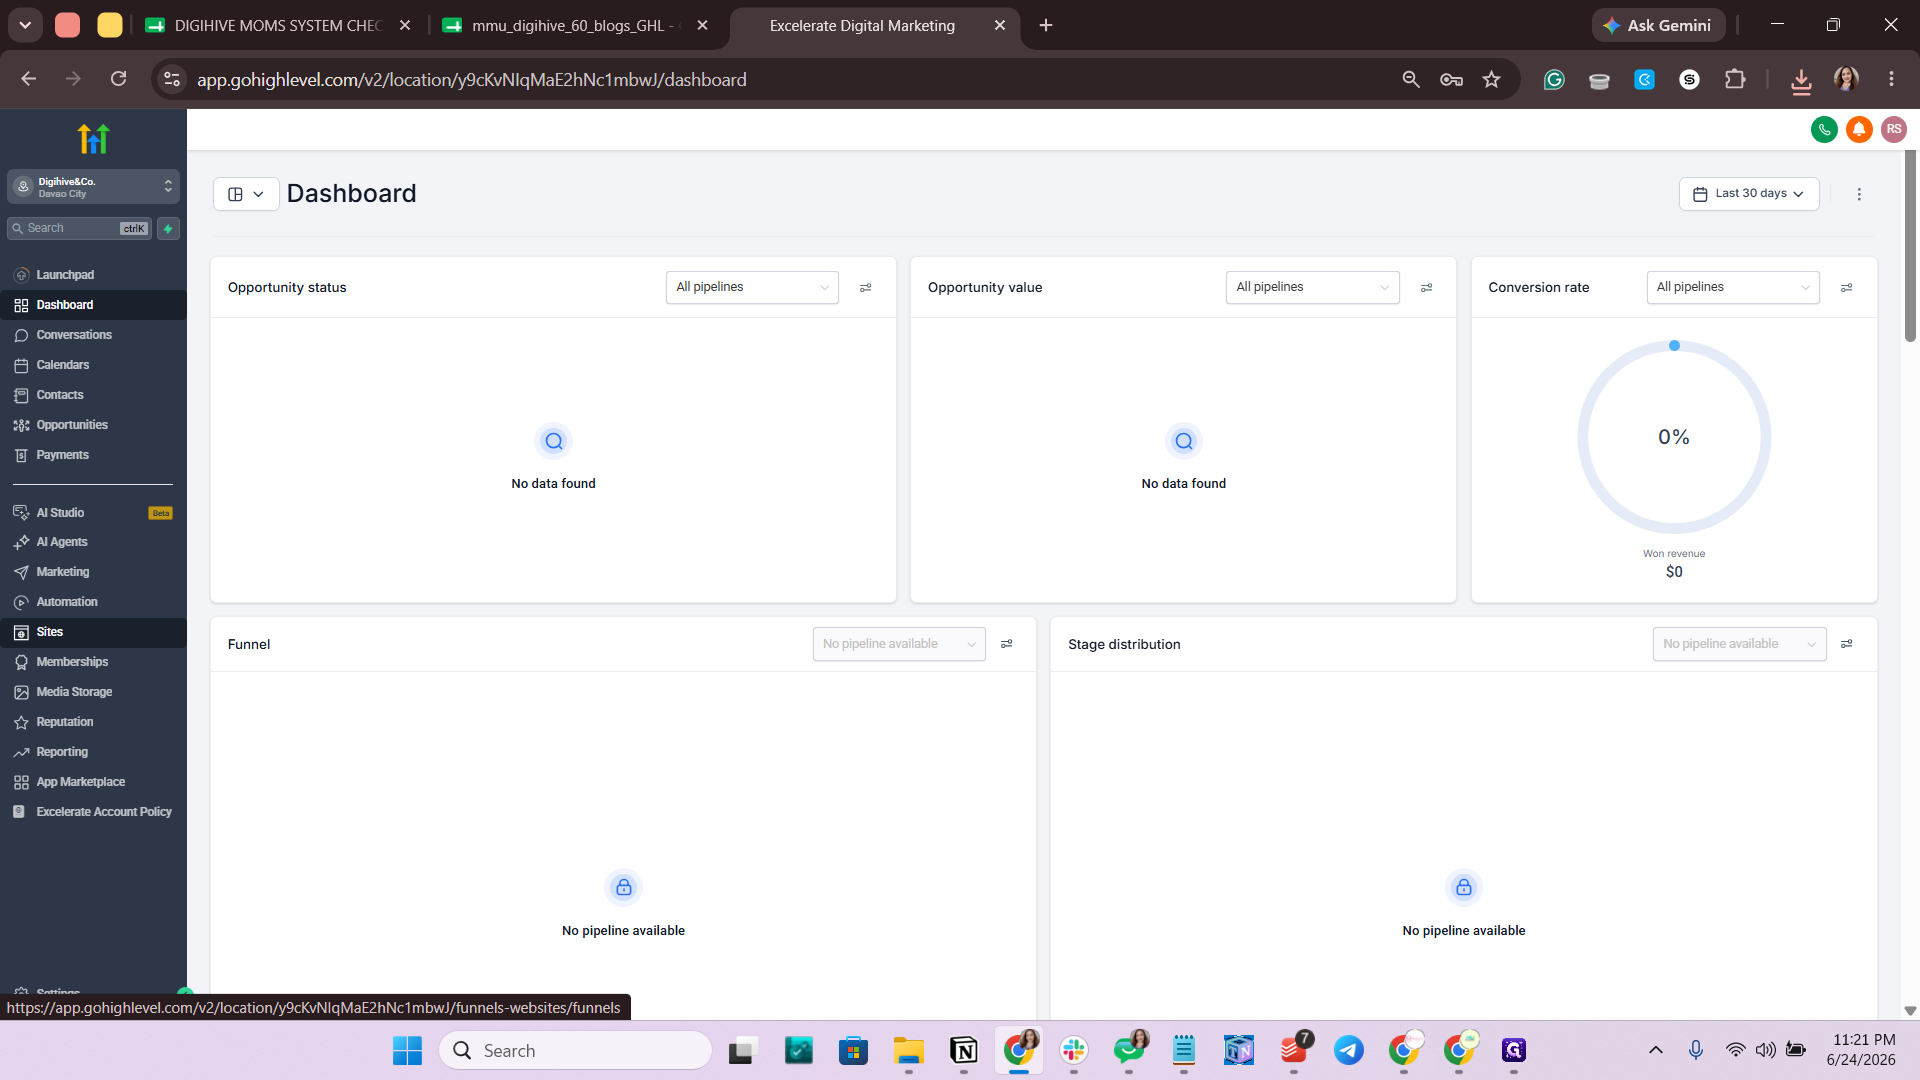
In your GoHighLevel dashboard, click Sites in the left sidebar menu.
Step #4: In your GoHighLevel dashboard, click Sites in the left sidebar menu.
5
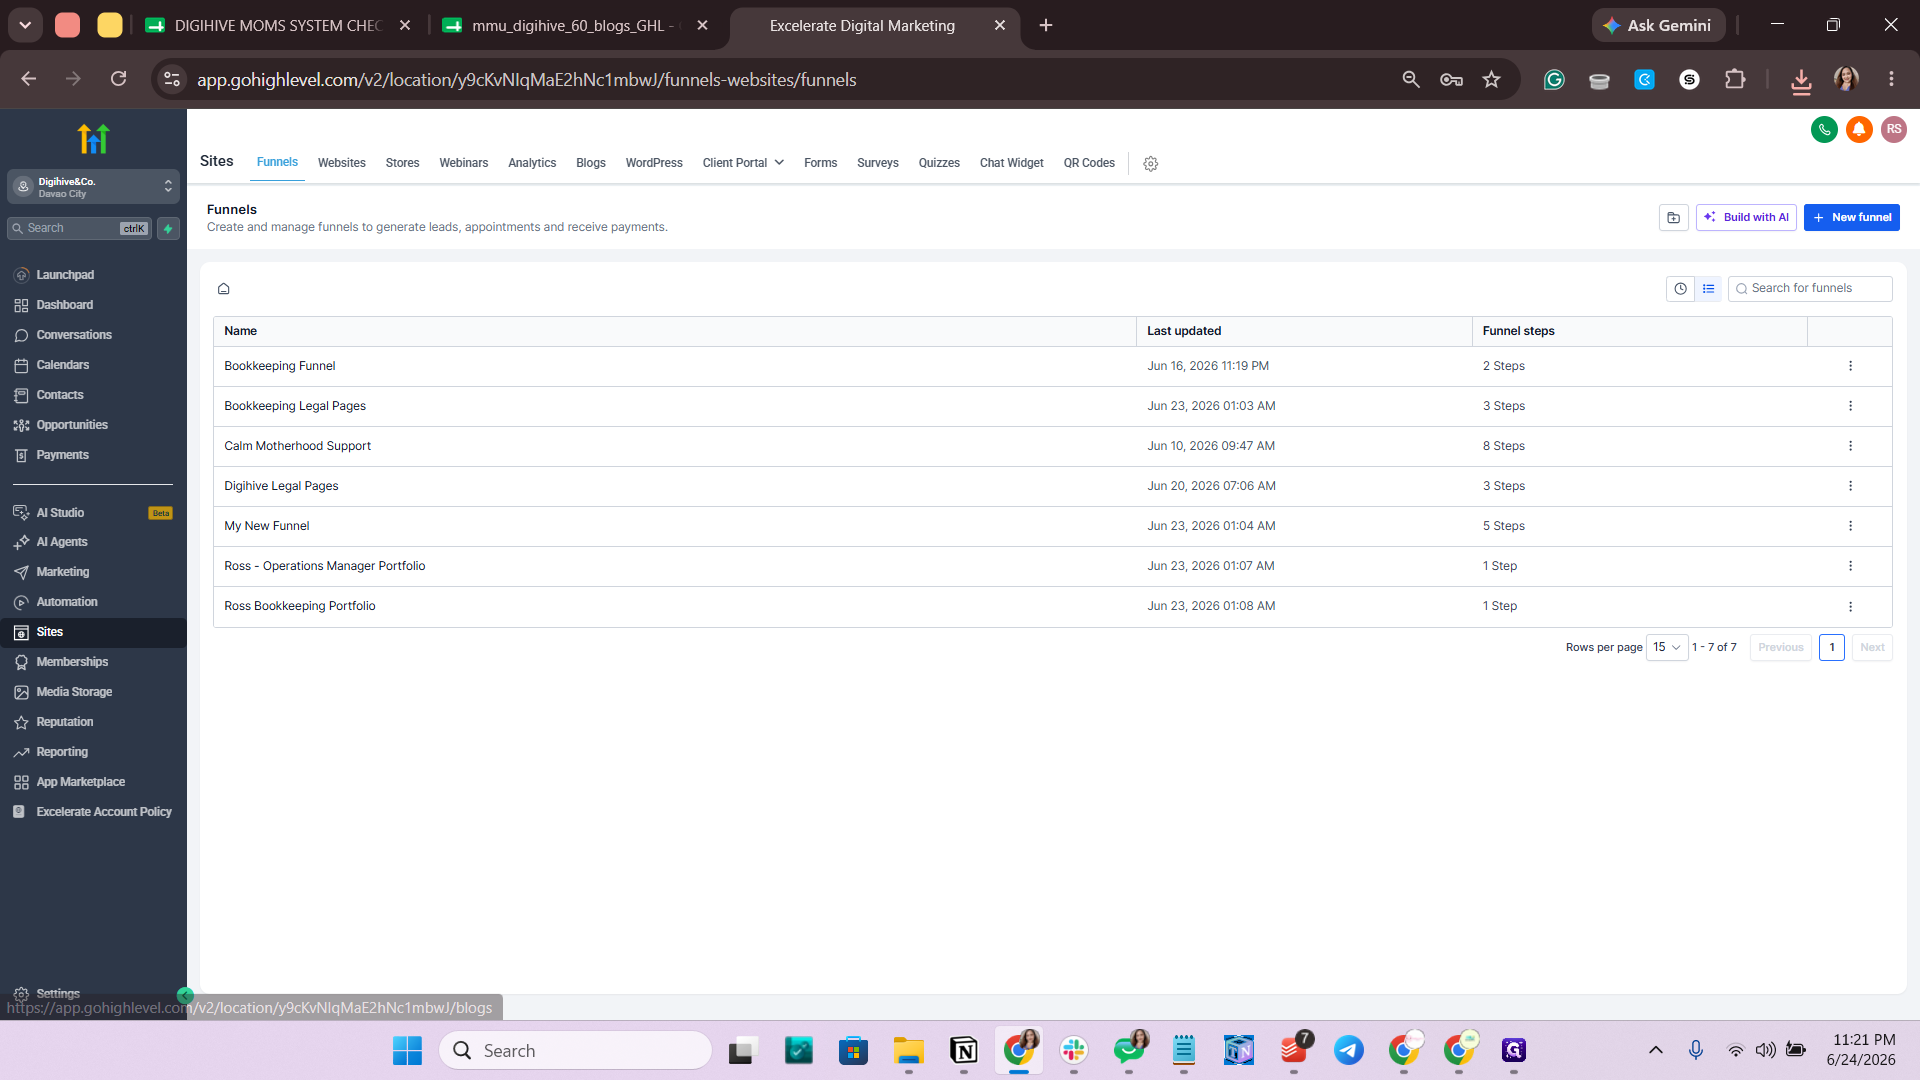
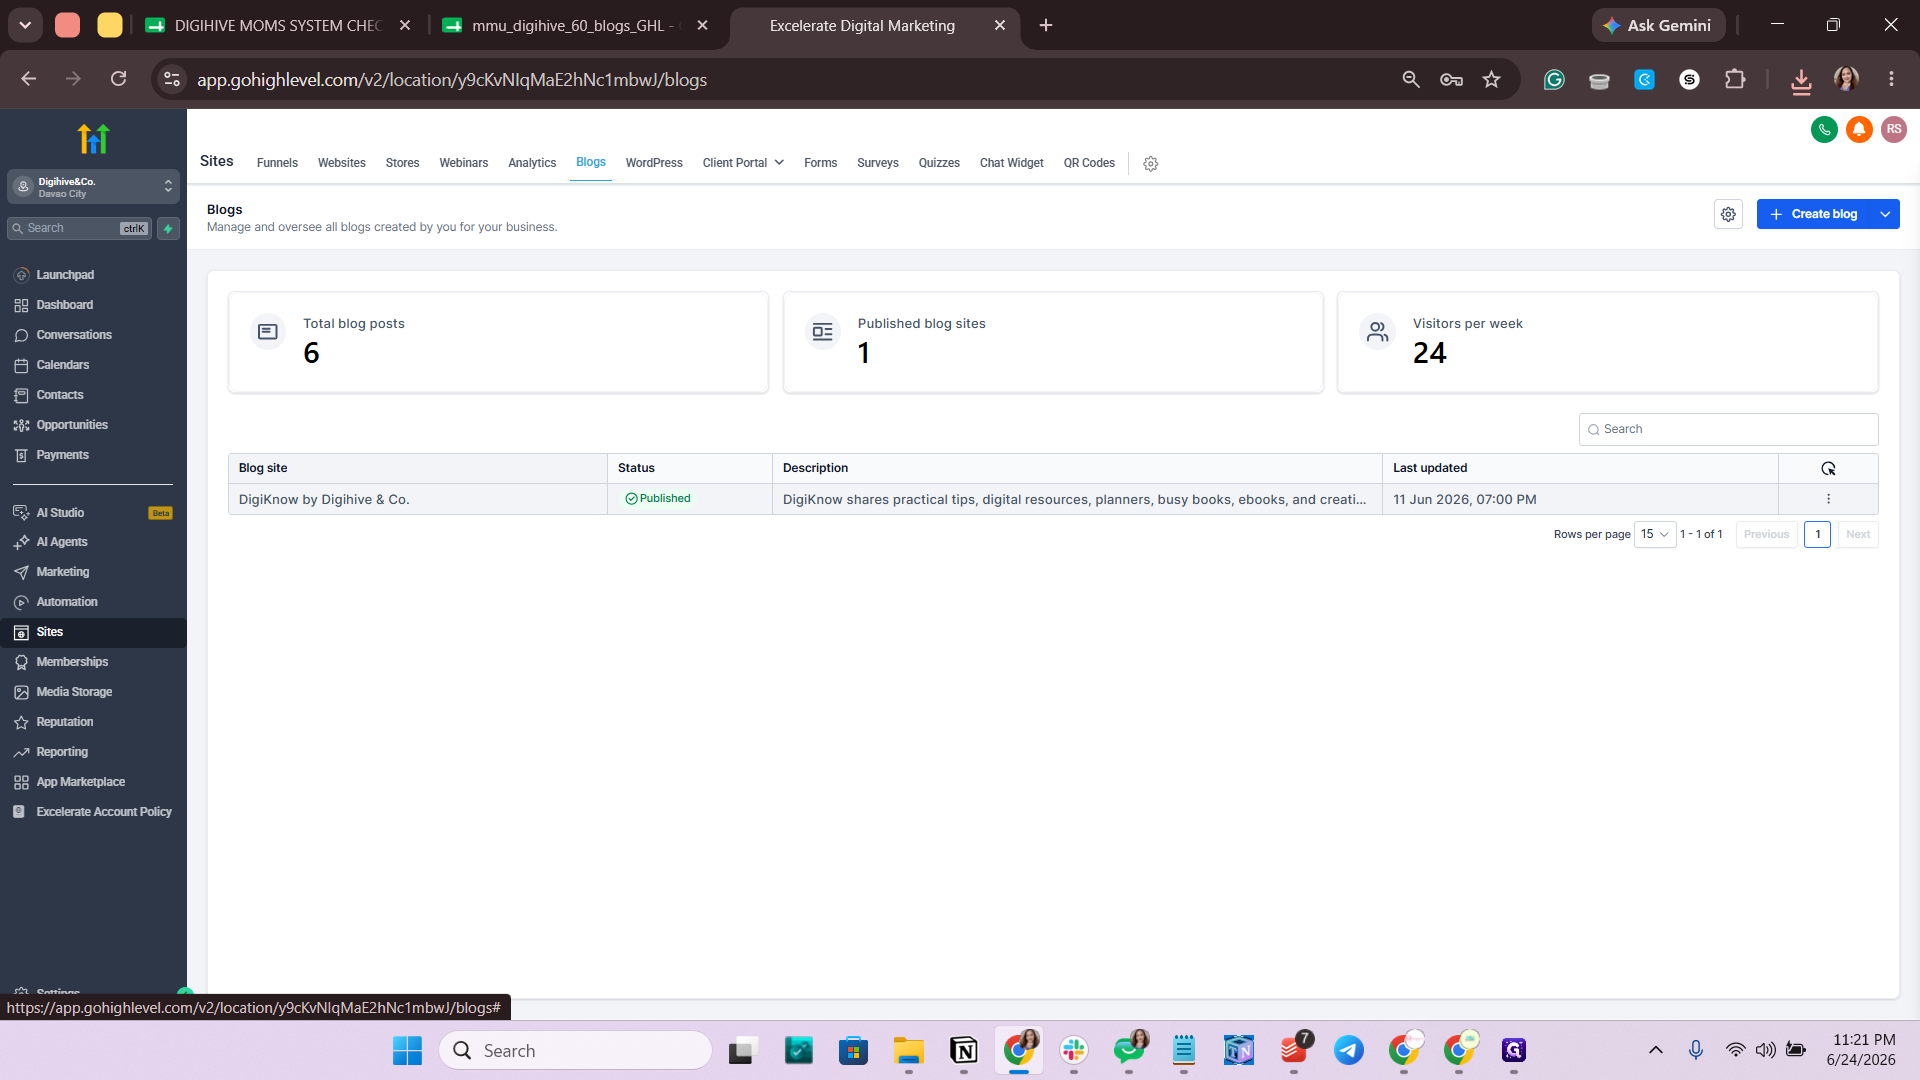
Click on the Blogs tab.
Step #5: Click on the Blogs tab.
6
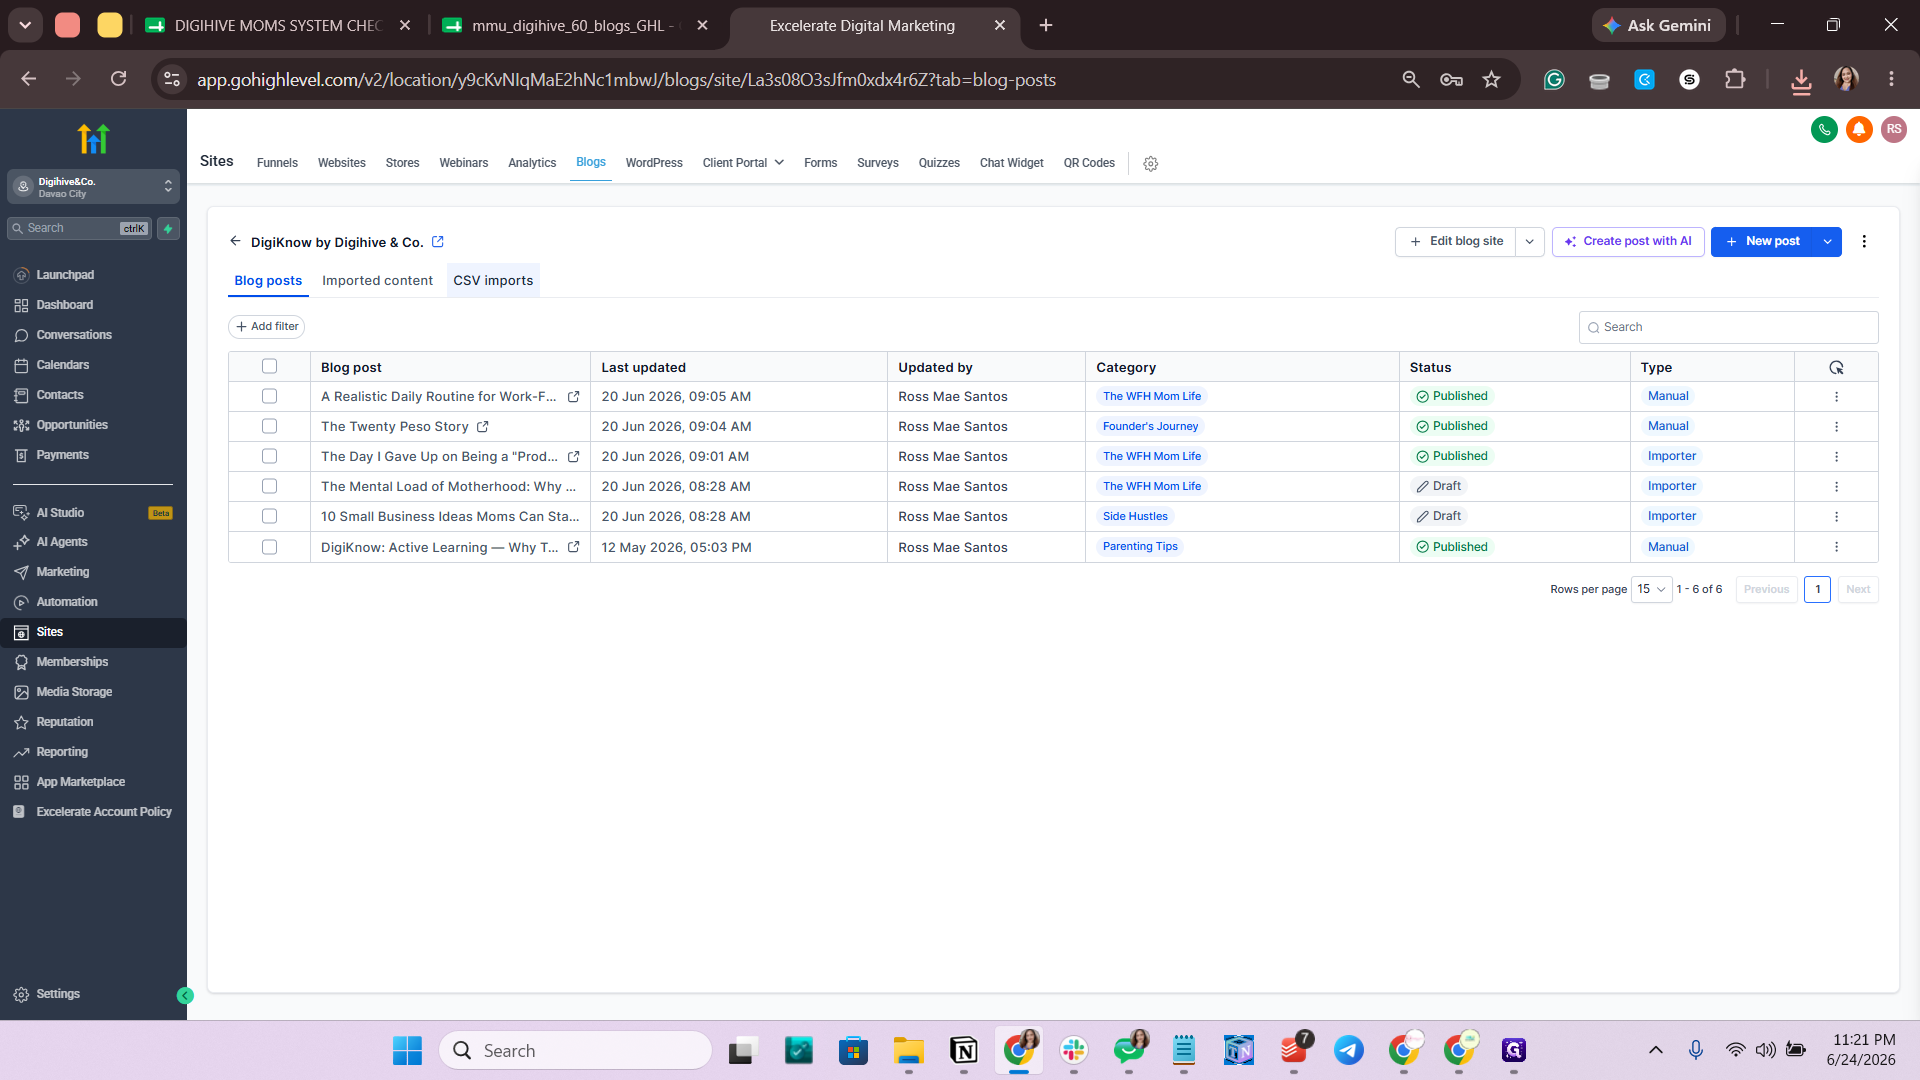
Select the blog you want to update.
Step #6: Select the blog you want to update.
7
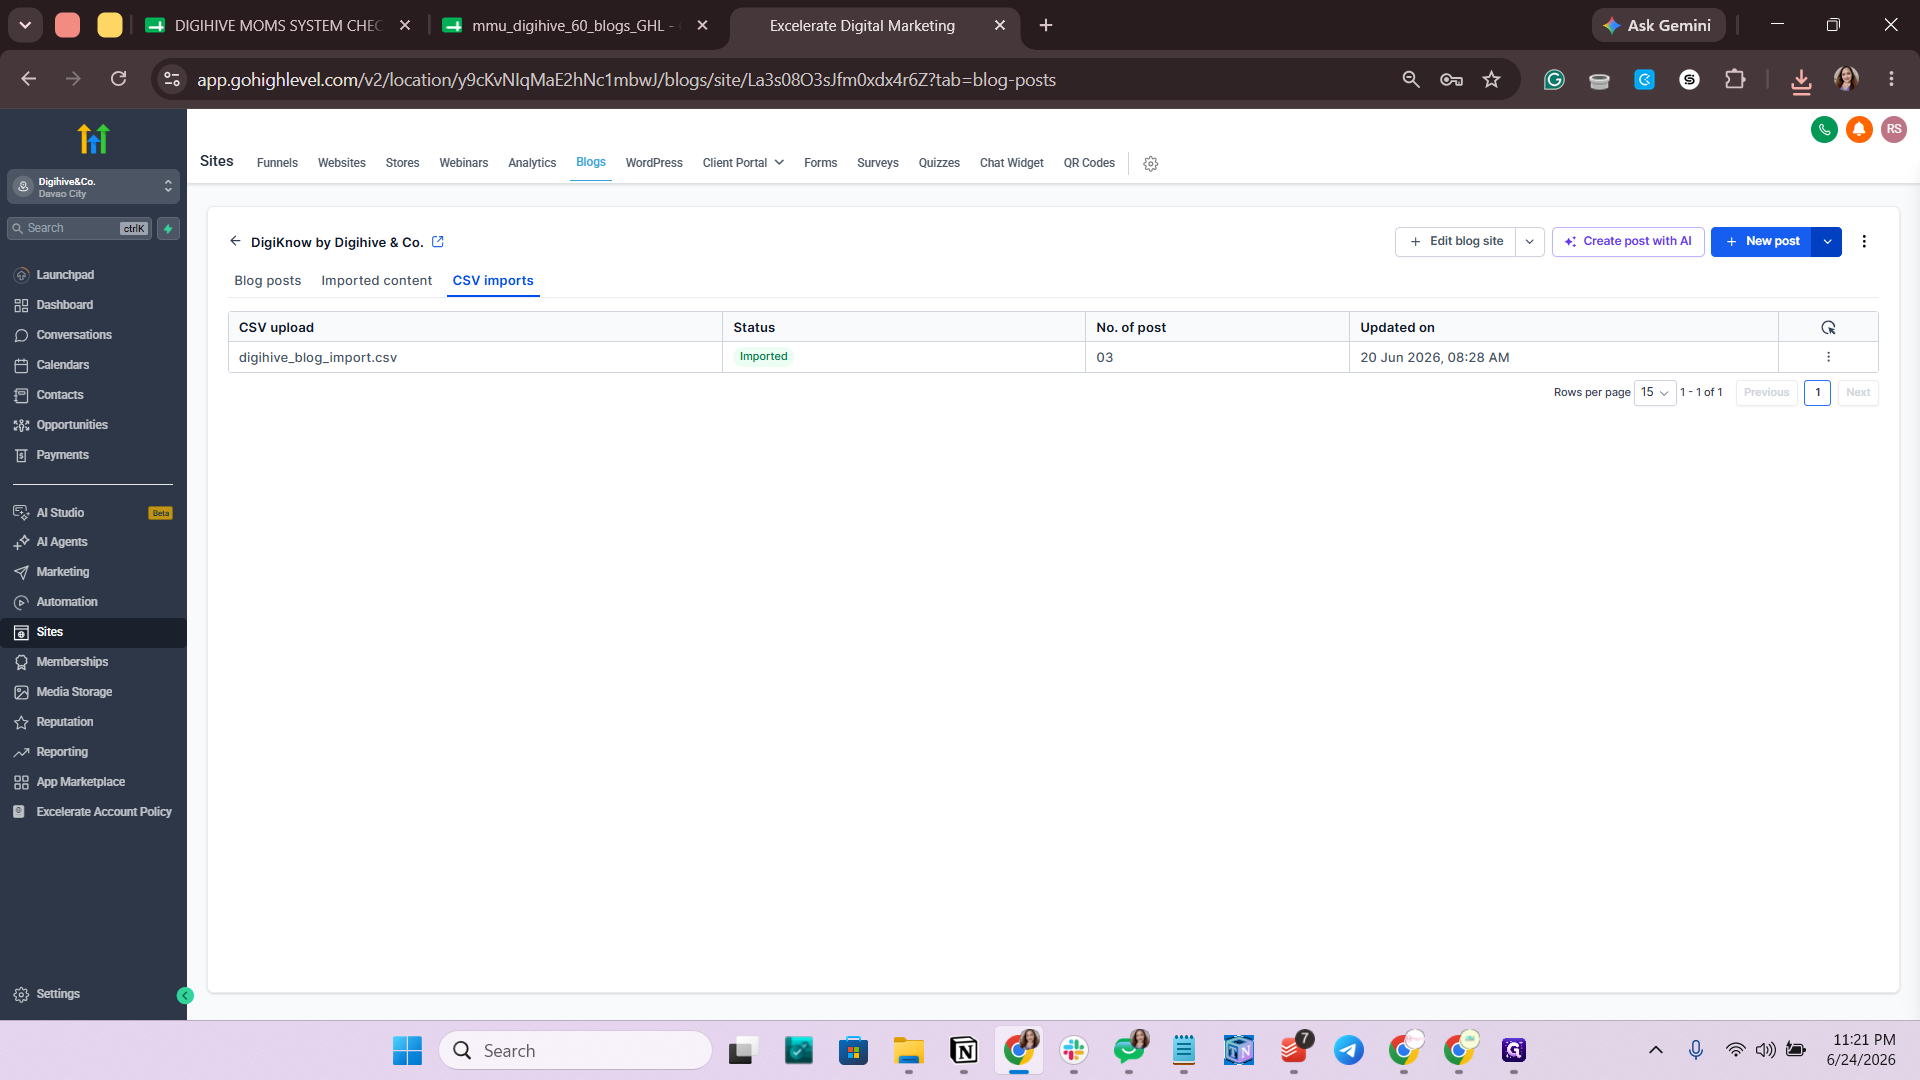
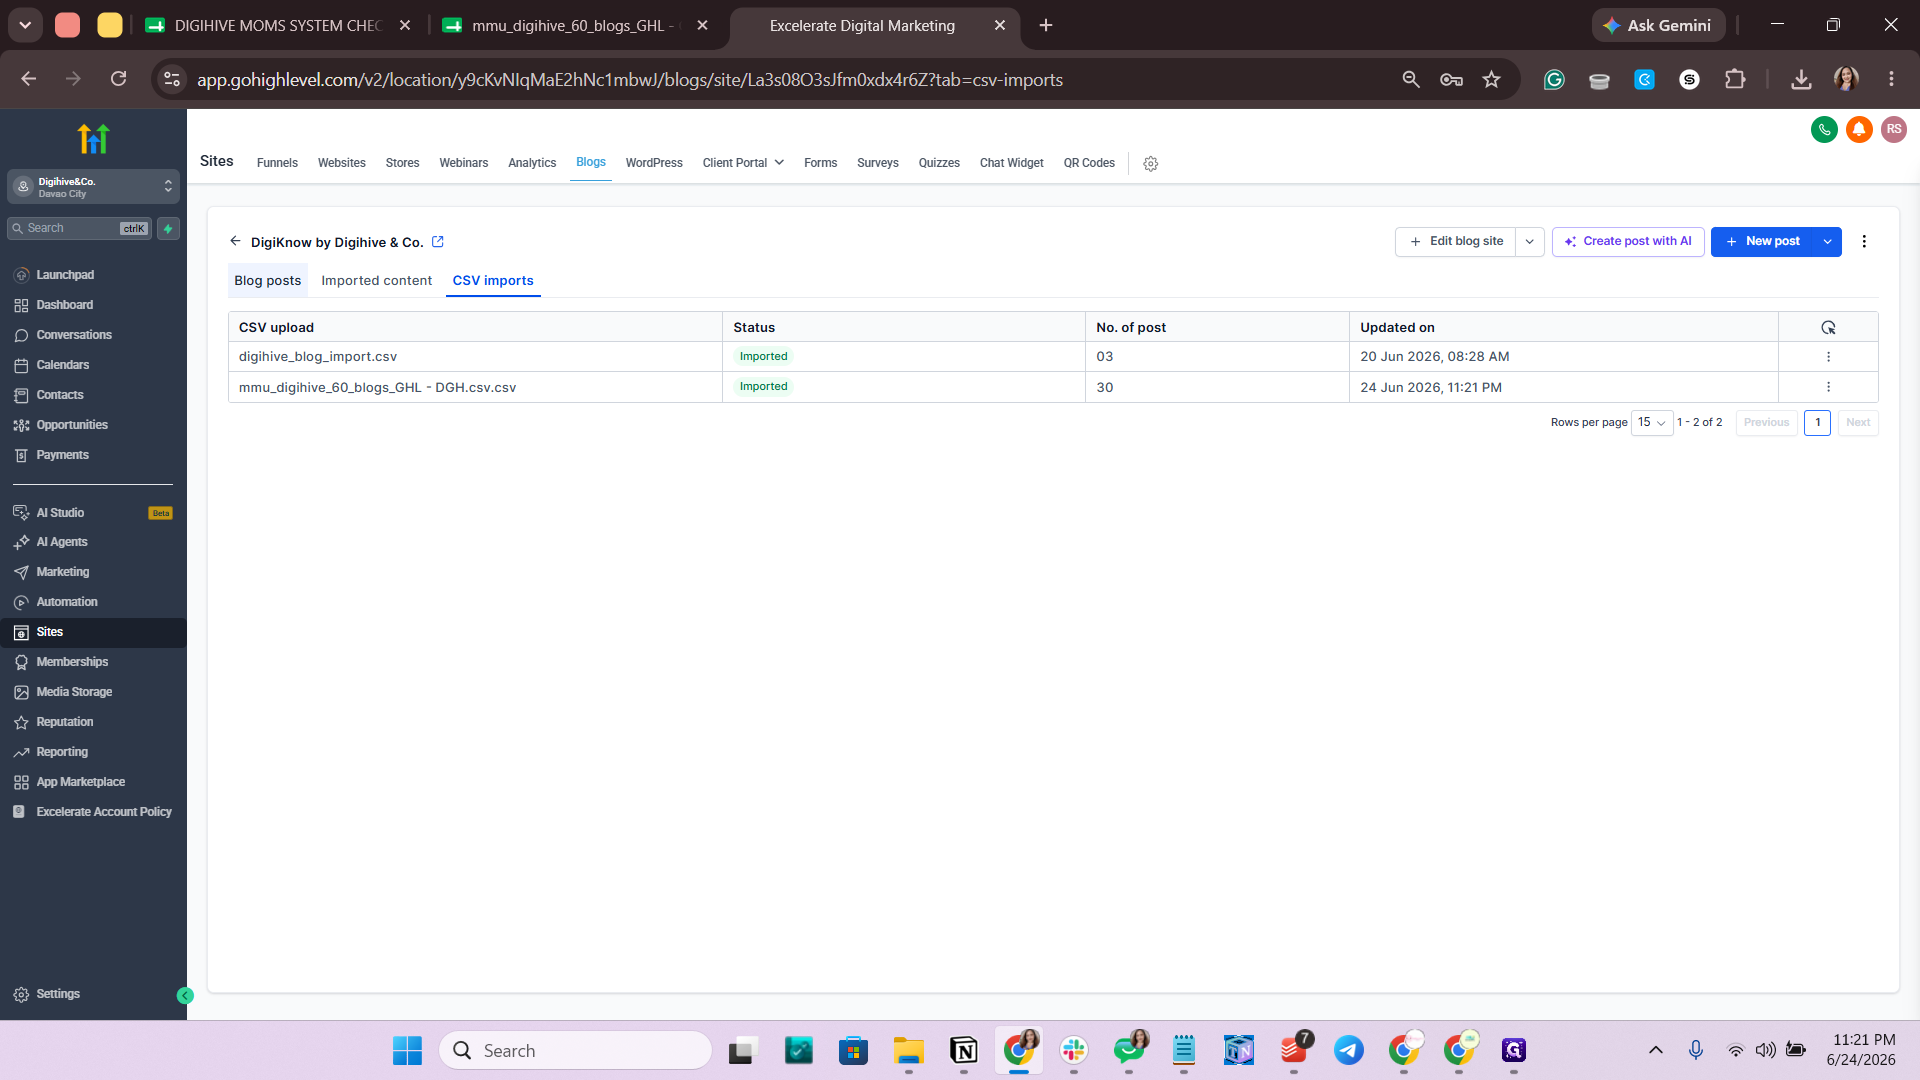
Click the CSV imports tab.
Step #7: Click the CSV imports tab.

When adding new content, GoHighLevel provides three methods for creating posts:

Method

Description

Create a new post

Draft and format a single blog post manually using the built-in editor.

Import posts from a URL

Pull existing blog content directly from a live web address.

Import posts from a CSV

Bulk upload multiple blog posts simultaneously using a formatted spreadsheet.

8
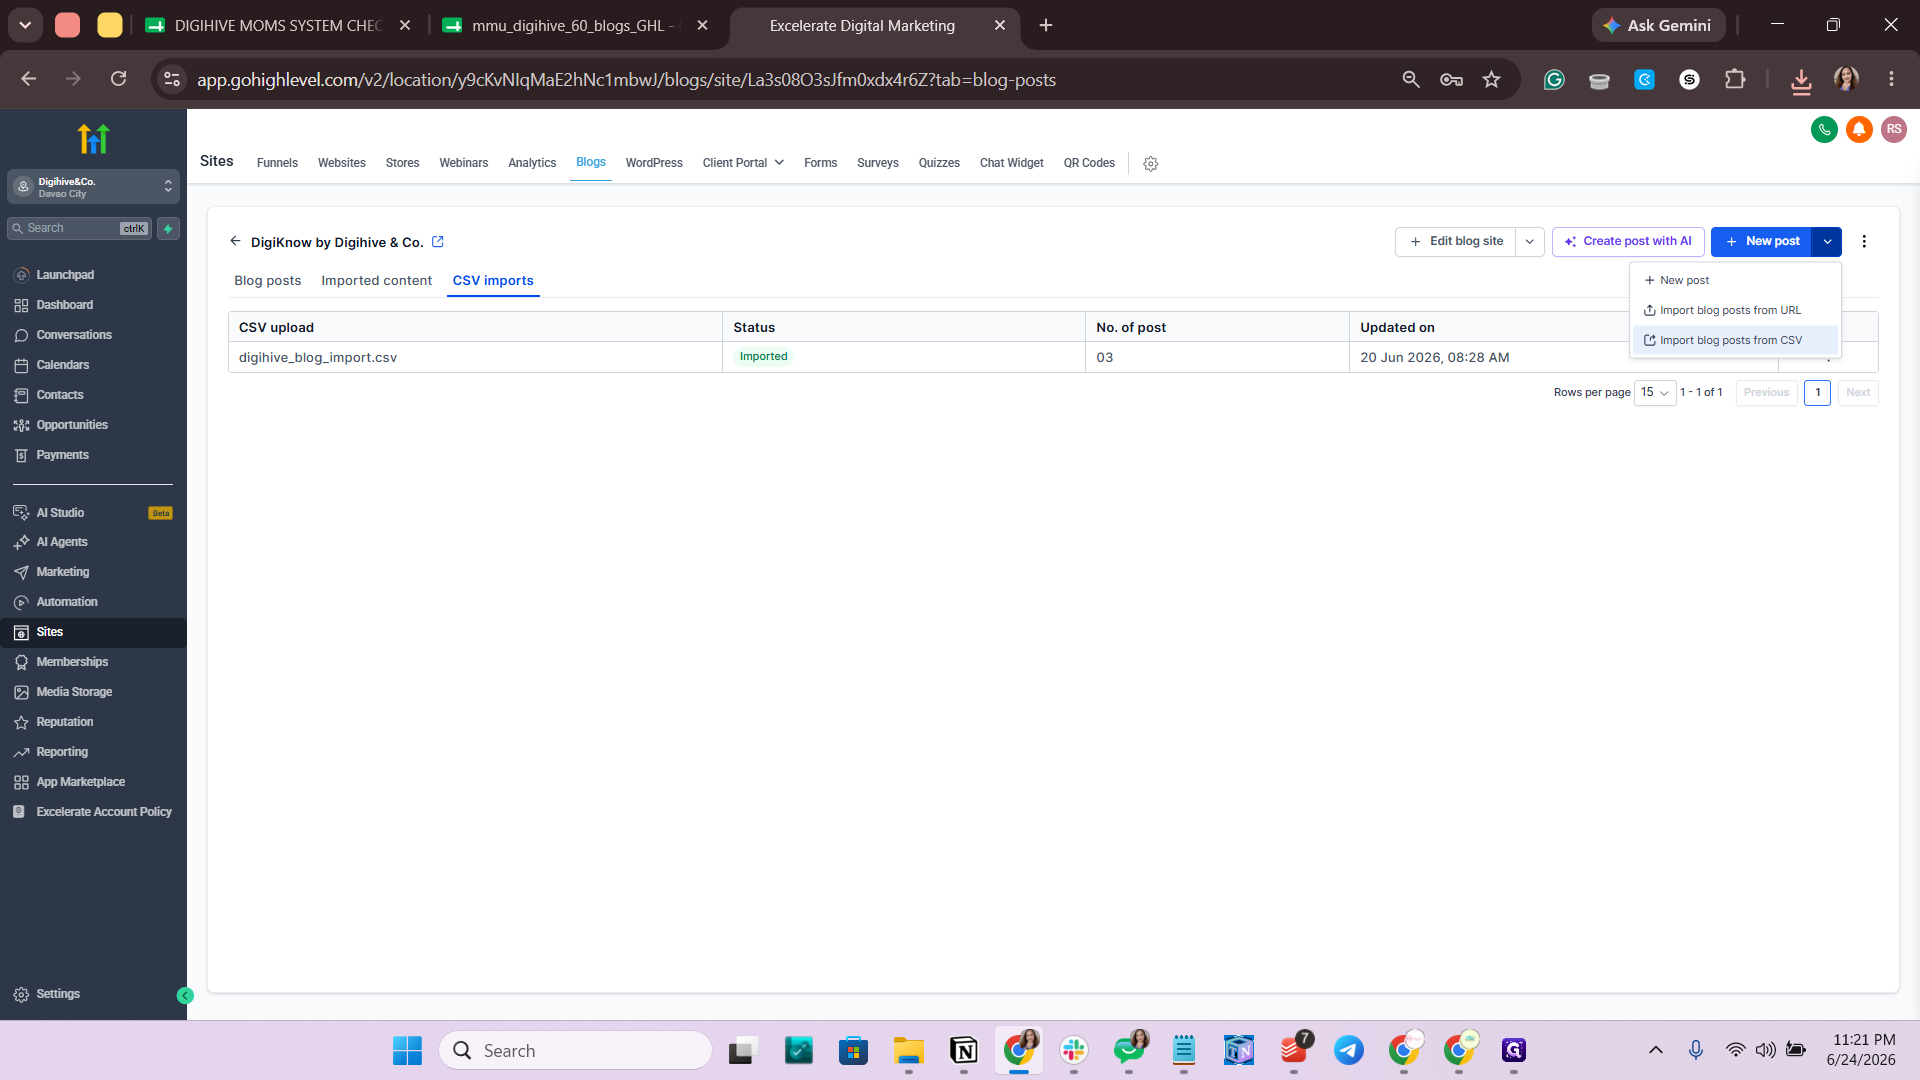
Click the dropdown arrow next to the New post button.
Step #8: Click the dropdown arrow next to the New post button.
9
Select Import blog posts from CSV.
Step #9: Select Import blog posts from CSV.
10
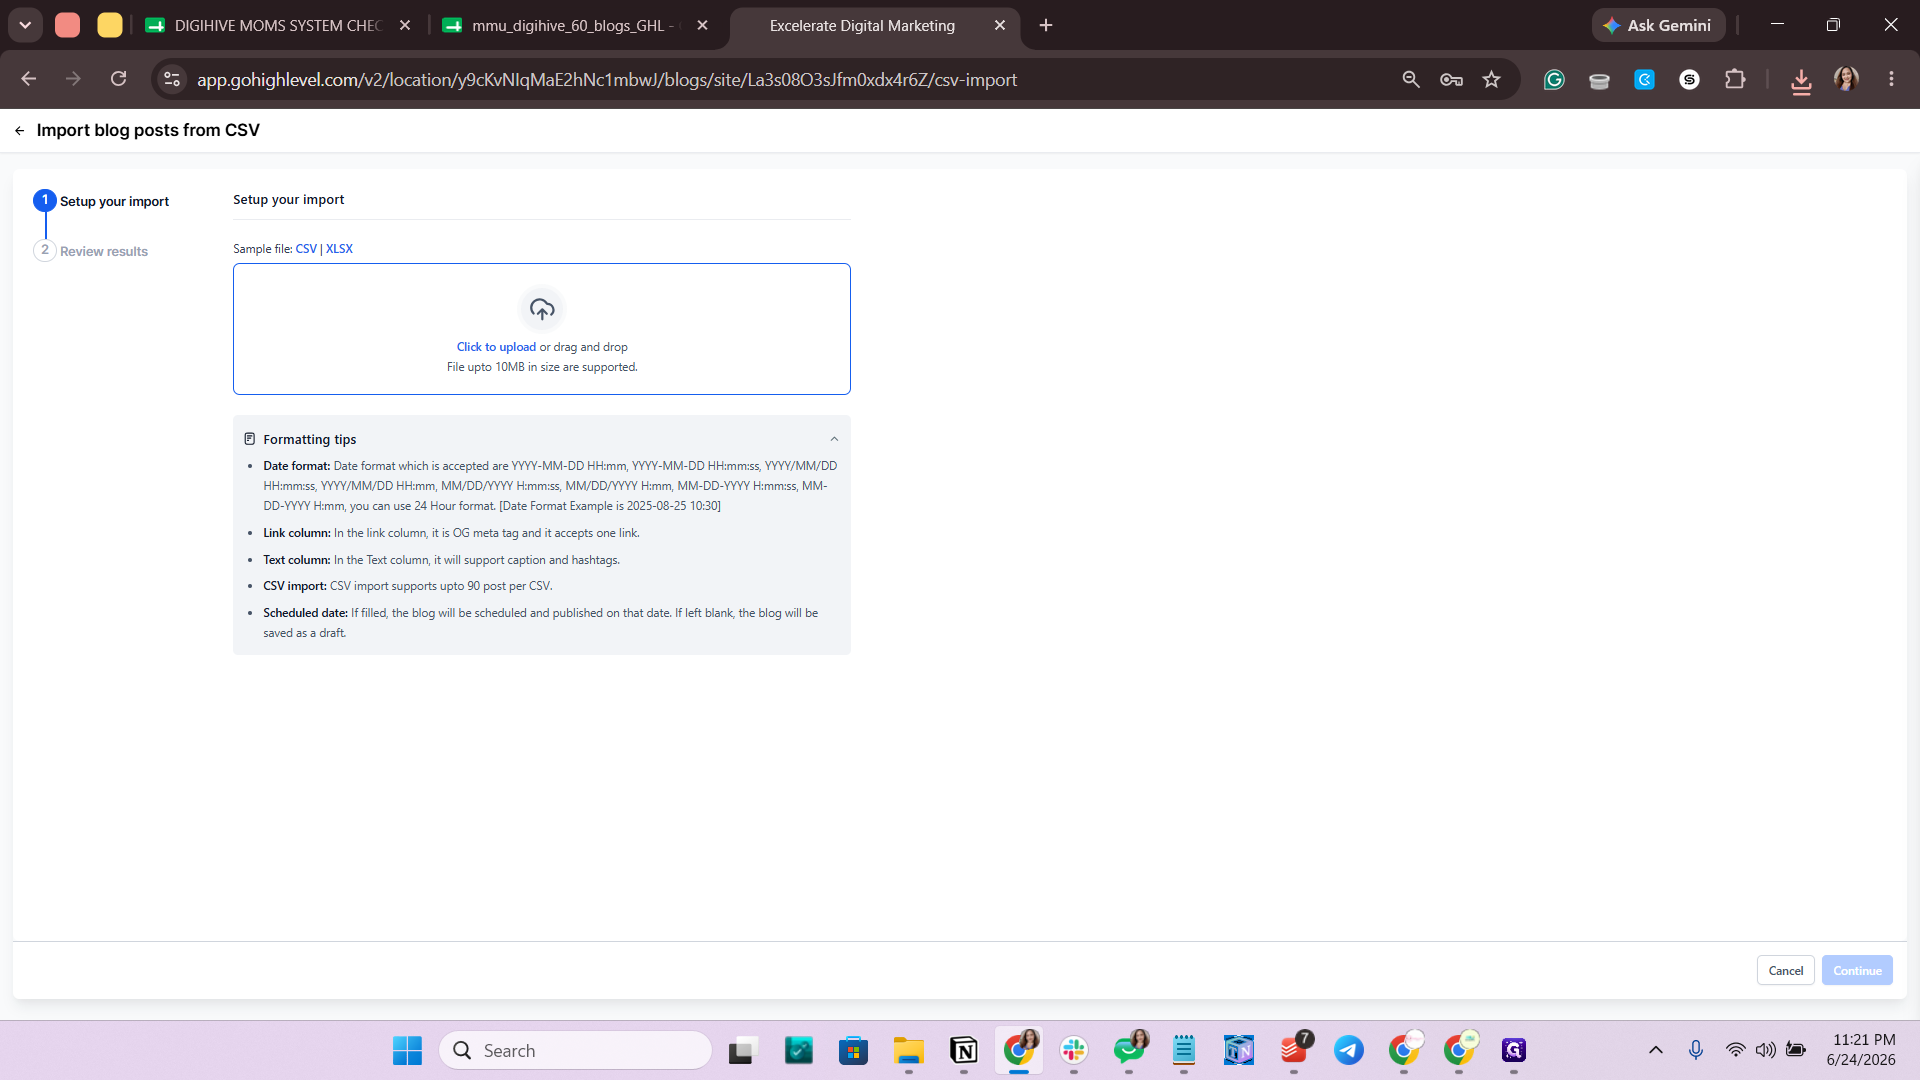
Click the Click to upload or drag and drop area to open your file explorer.
Step #10: Click the Click to upload or drag and drop area to open your file explorer.
11
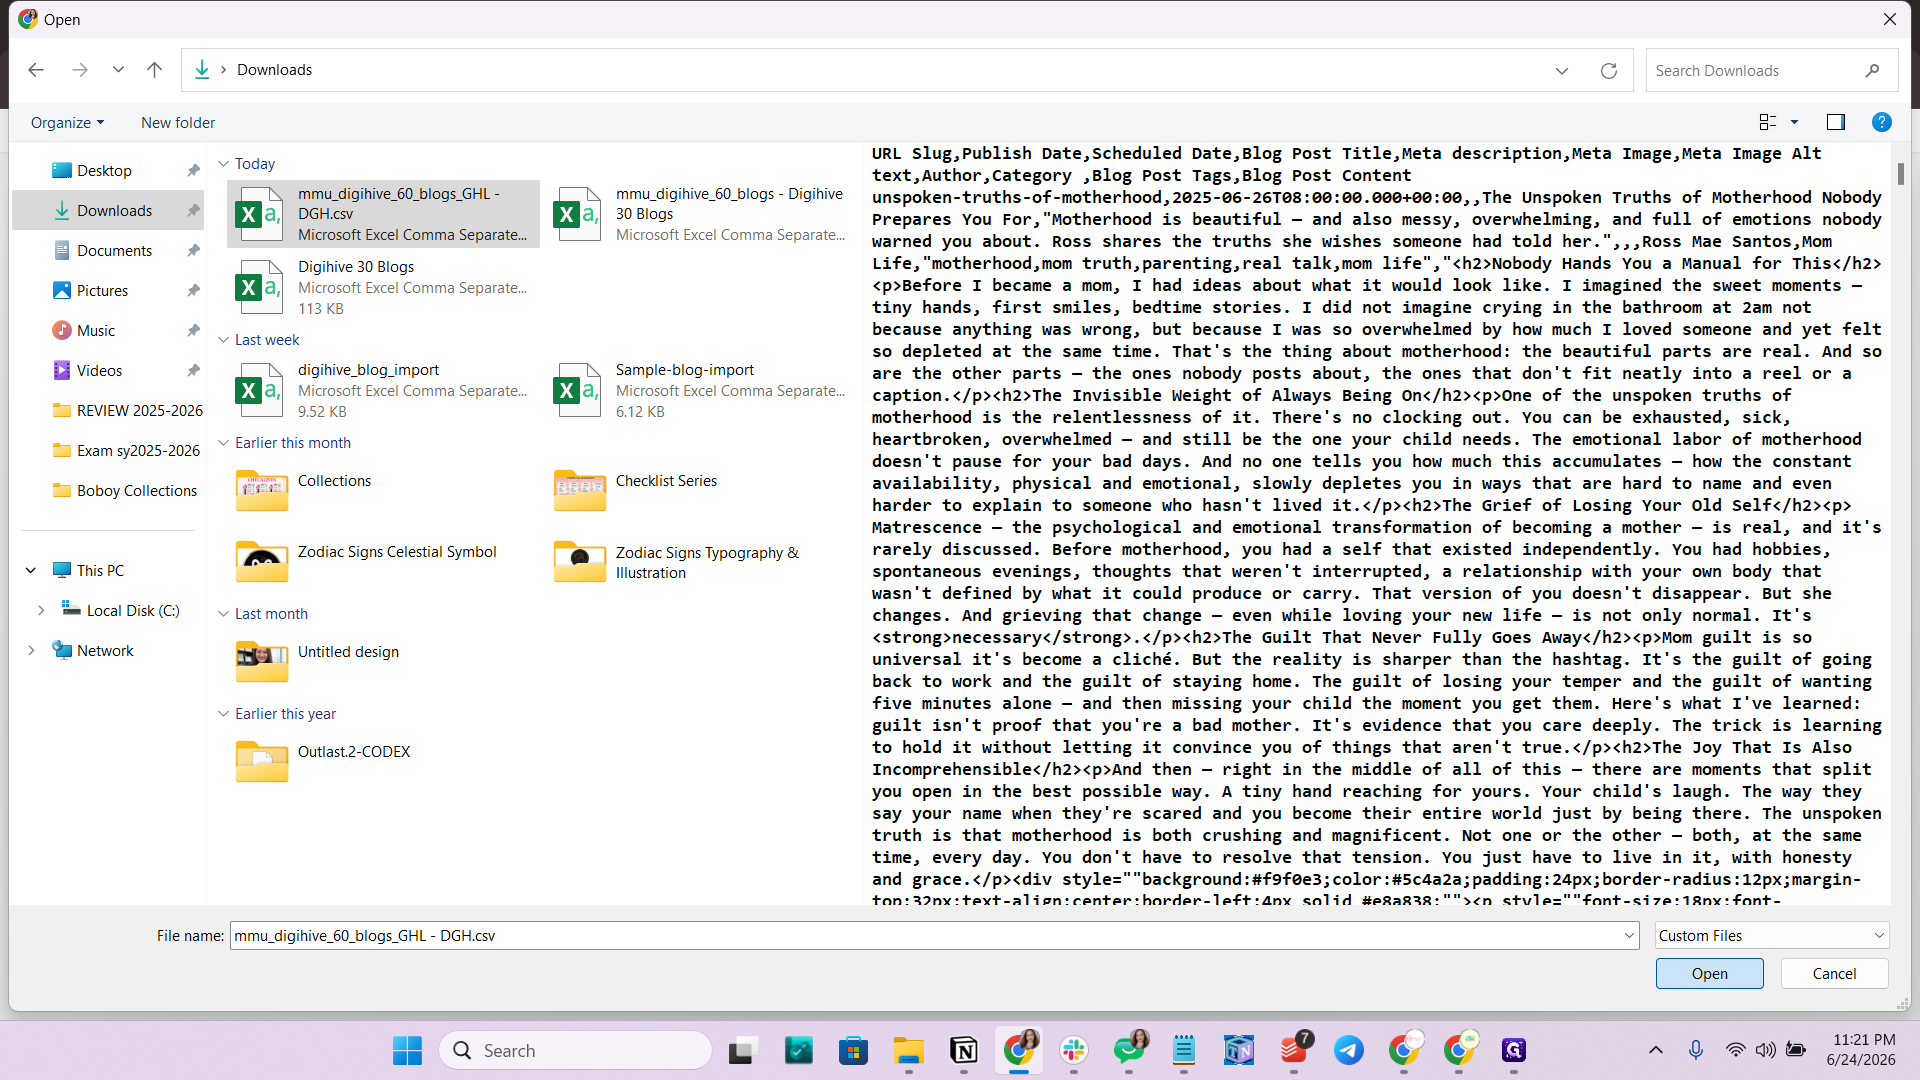
Locate your downloaded CSV file, select it, and click Open.
Step #11: Locate your downloaded CSV file, select it, and click Open.
12
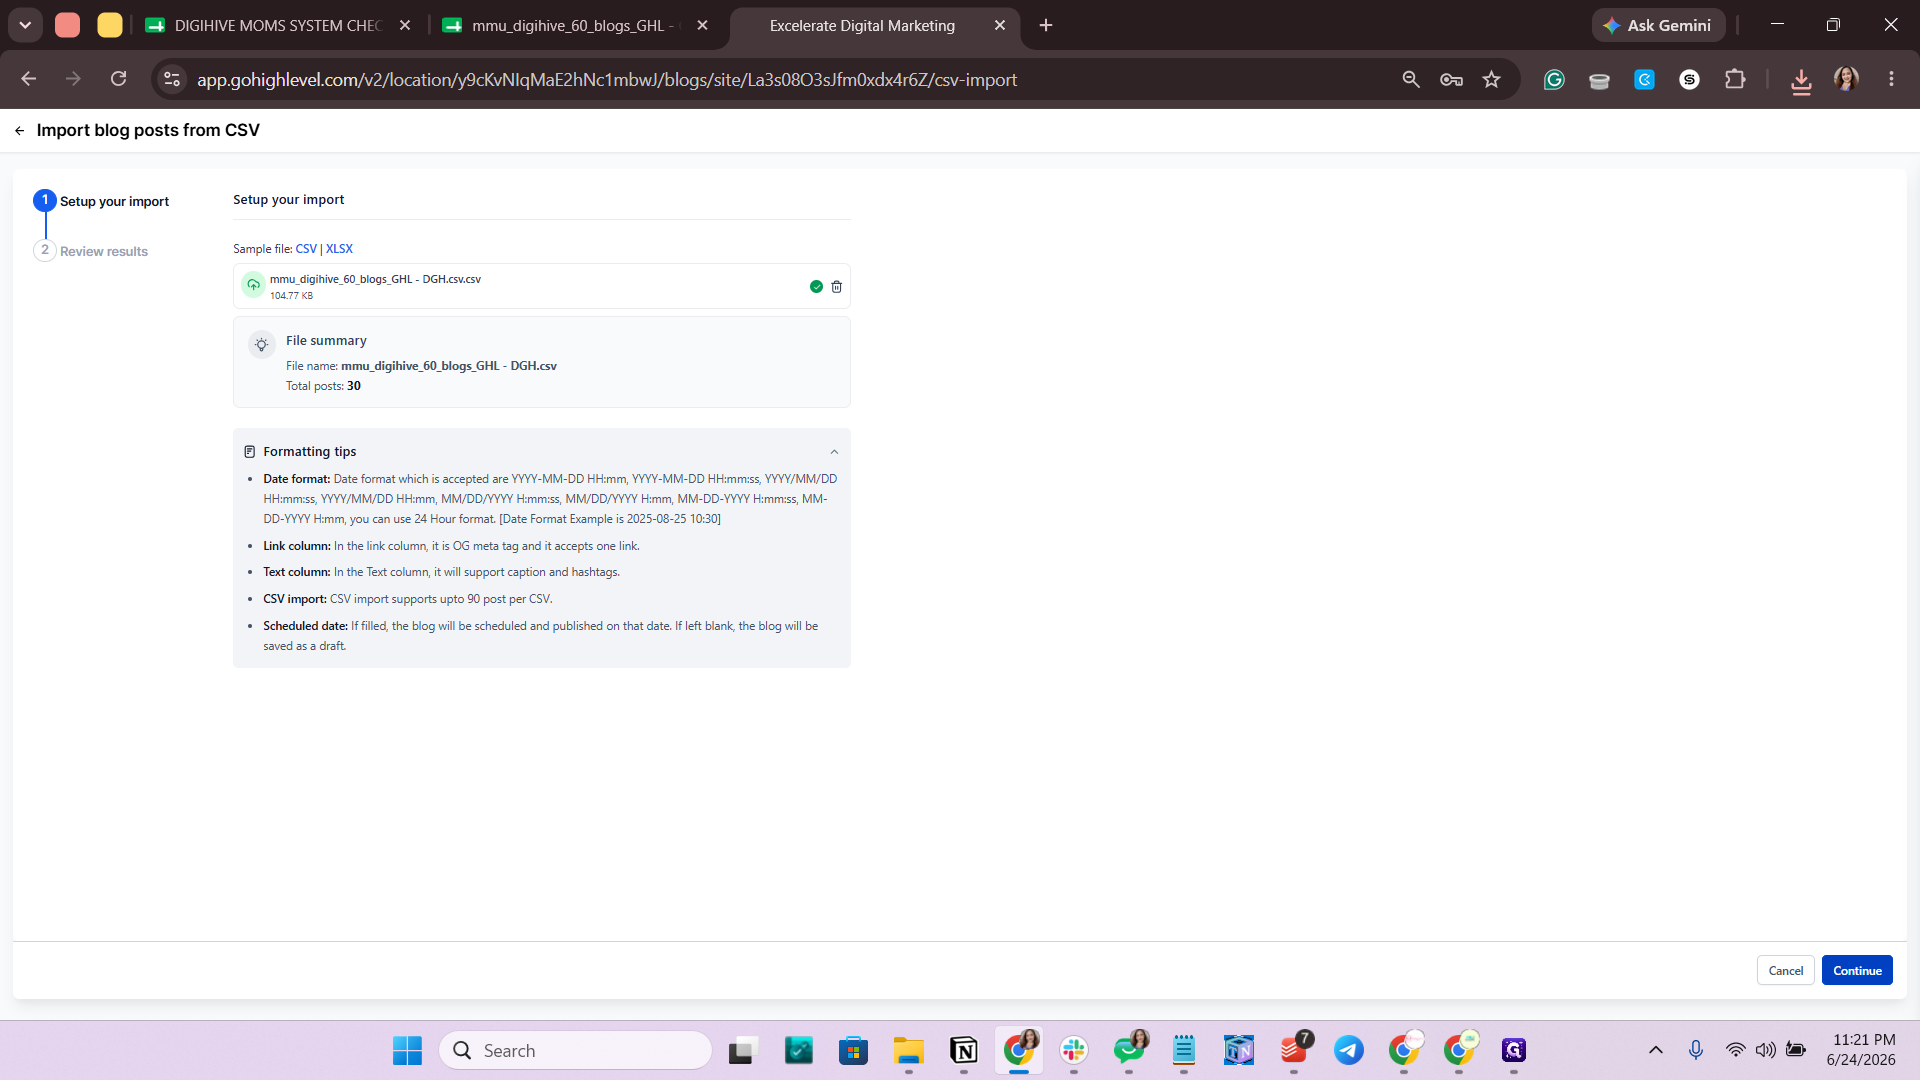
Click Continue.
Step #12: Click Continue.
13
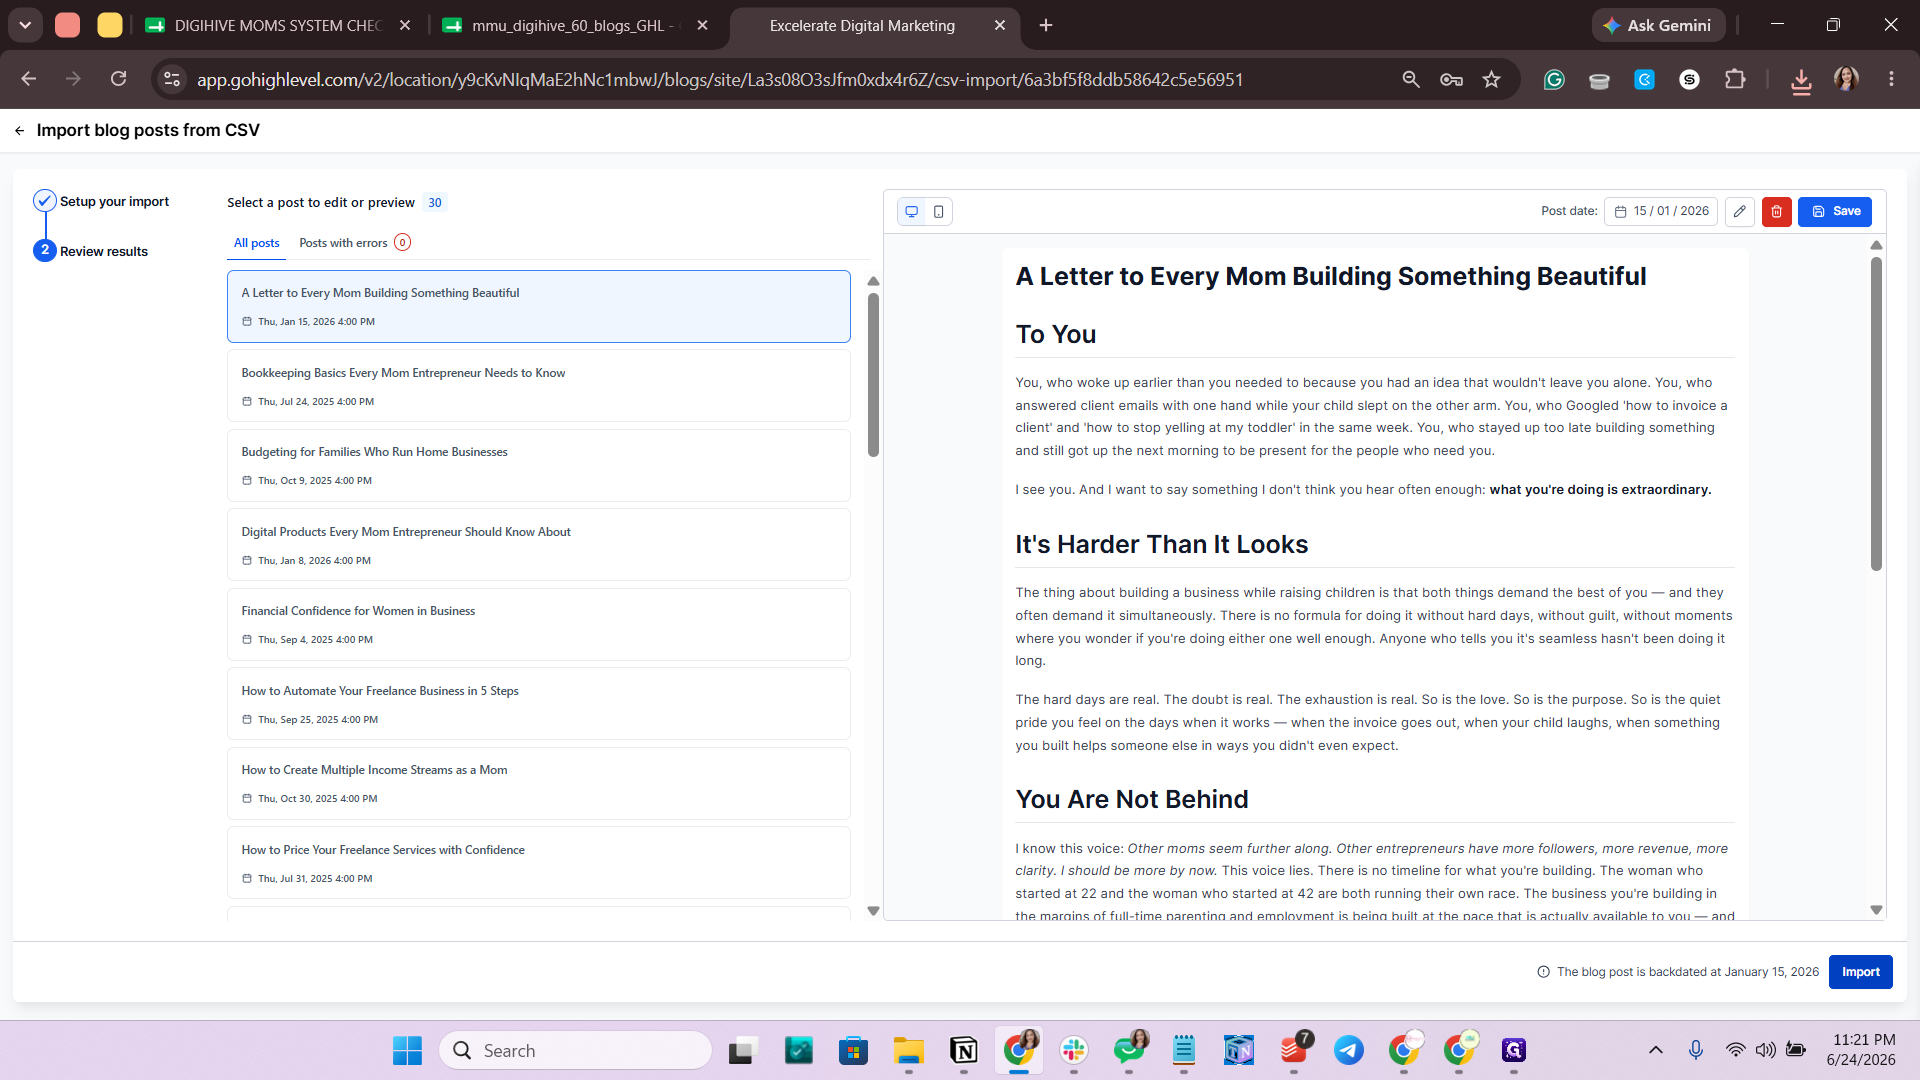
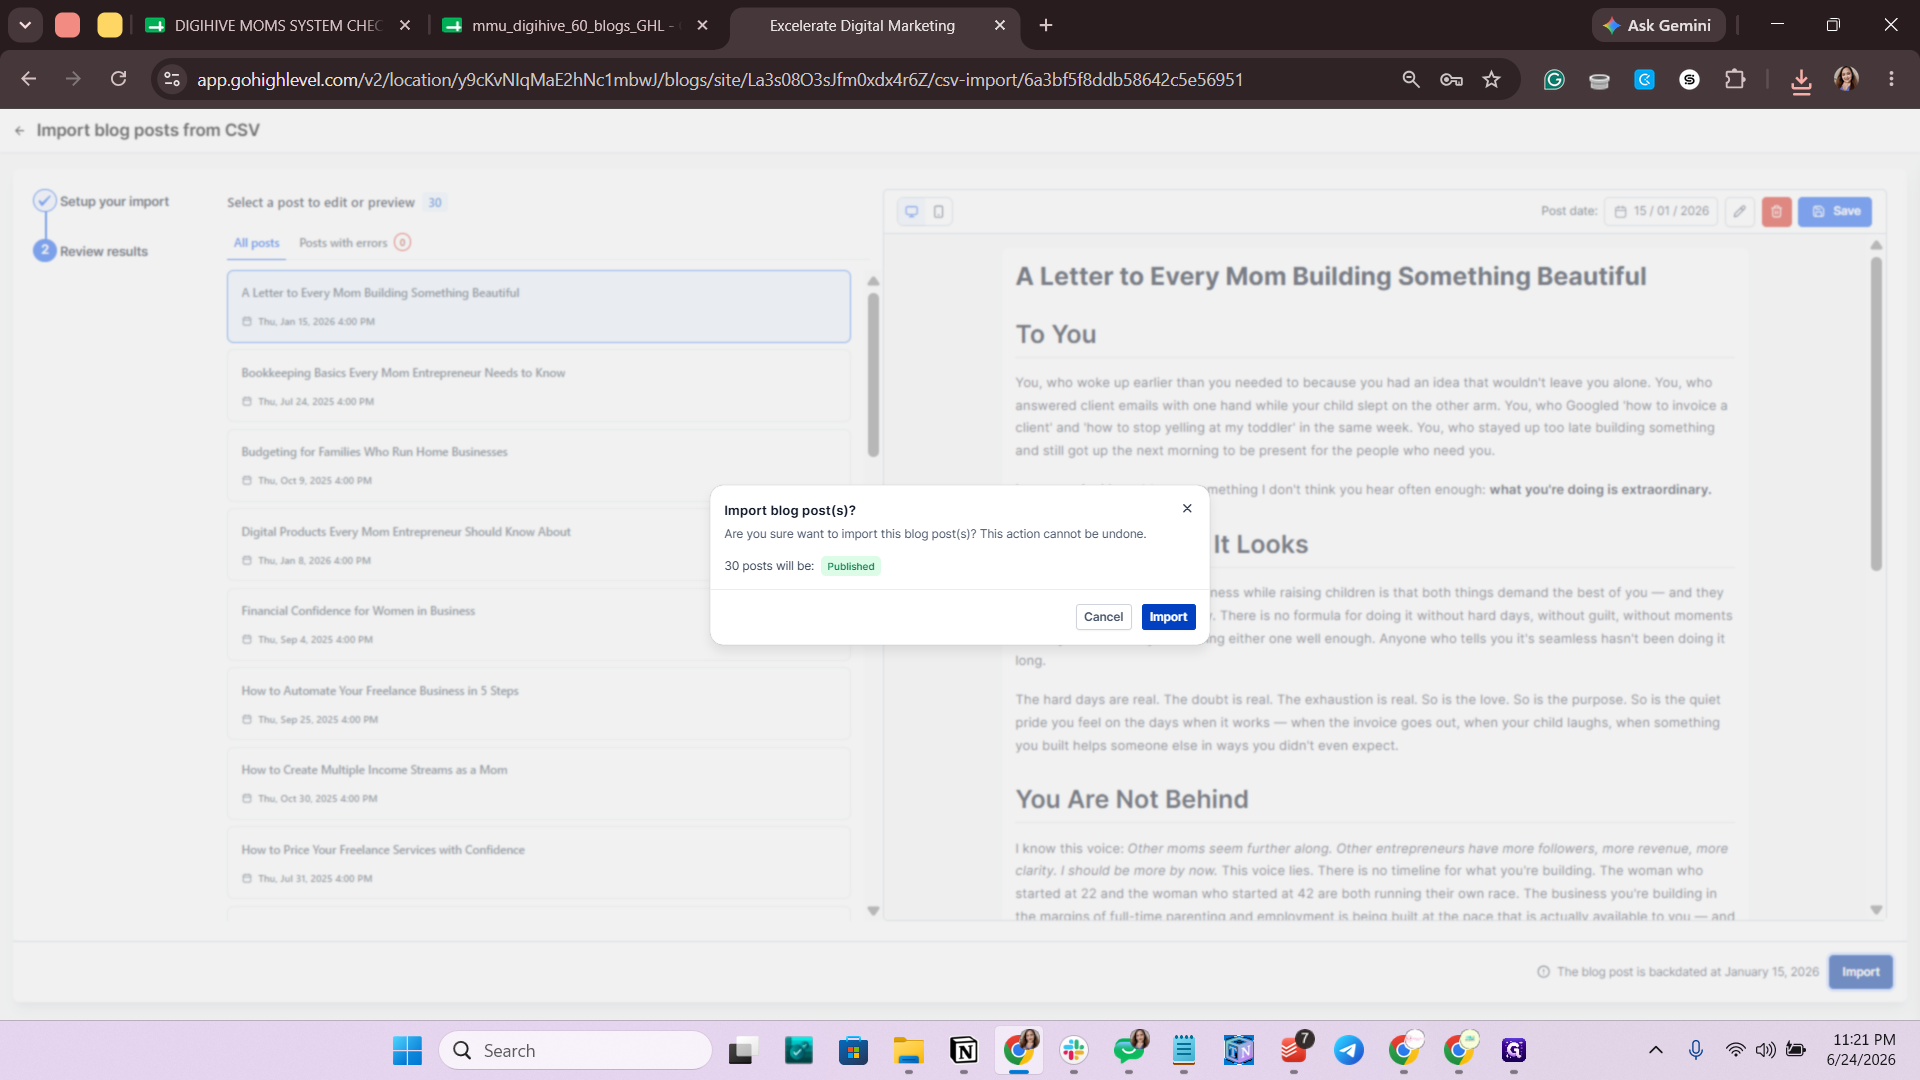
Review the import summary to ensure there are no errors listed, then click Import.
Step #13: Review the import summary to ensure there are no errors listed, then click Import.
14
Click Import again on the confirmation modal to finalize the upload.
Step #14: Click Import again on the confirmation modal to finalize the upload.
15
Navigate back to the Blog posts tab to view your newly imported content.
Step #15: Navigate back to the Blog posts tab to view your newly imported content.

Q: Can I schedule the imported blog posts to publish at a later time?

A: Yes, once the posts are imported, you can go to the Blog Posts section, edit their individual dates, and schedule them to be published exactly when you want. You can also update the publish date before uploading.