Icon

TIRA : Mobile - Single Cluster Picking

This is a step-by-step guide for Google Chrome

By Shipsy
1
Navigate to Outbound > Confirm Picklist
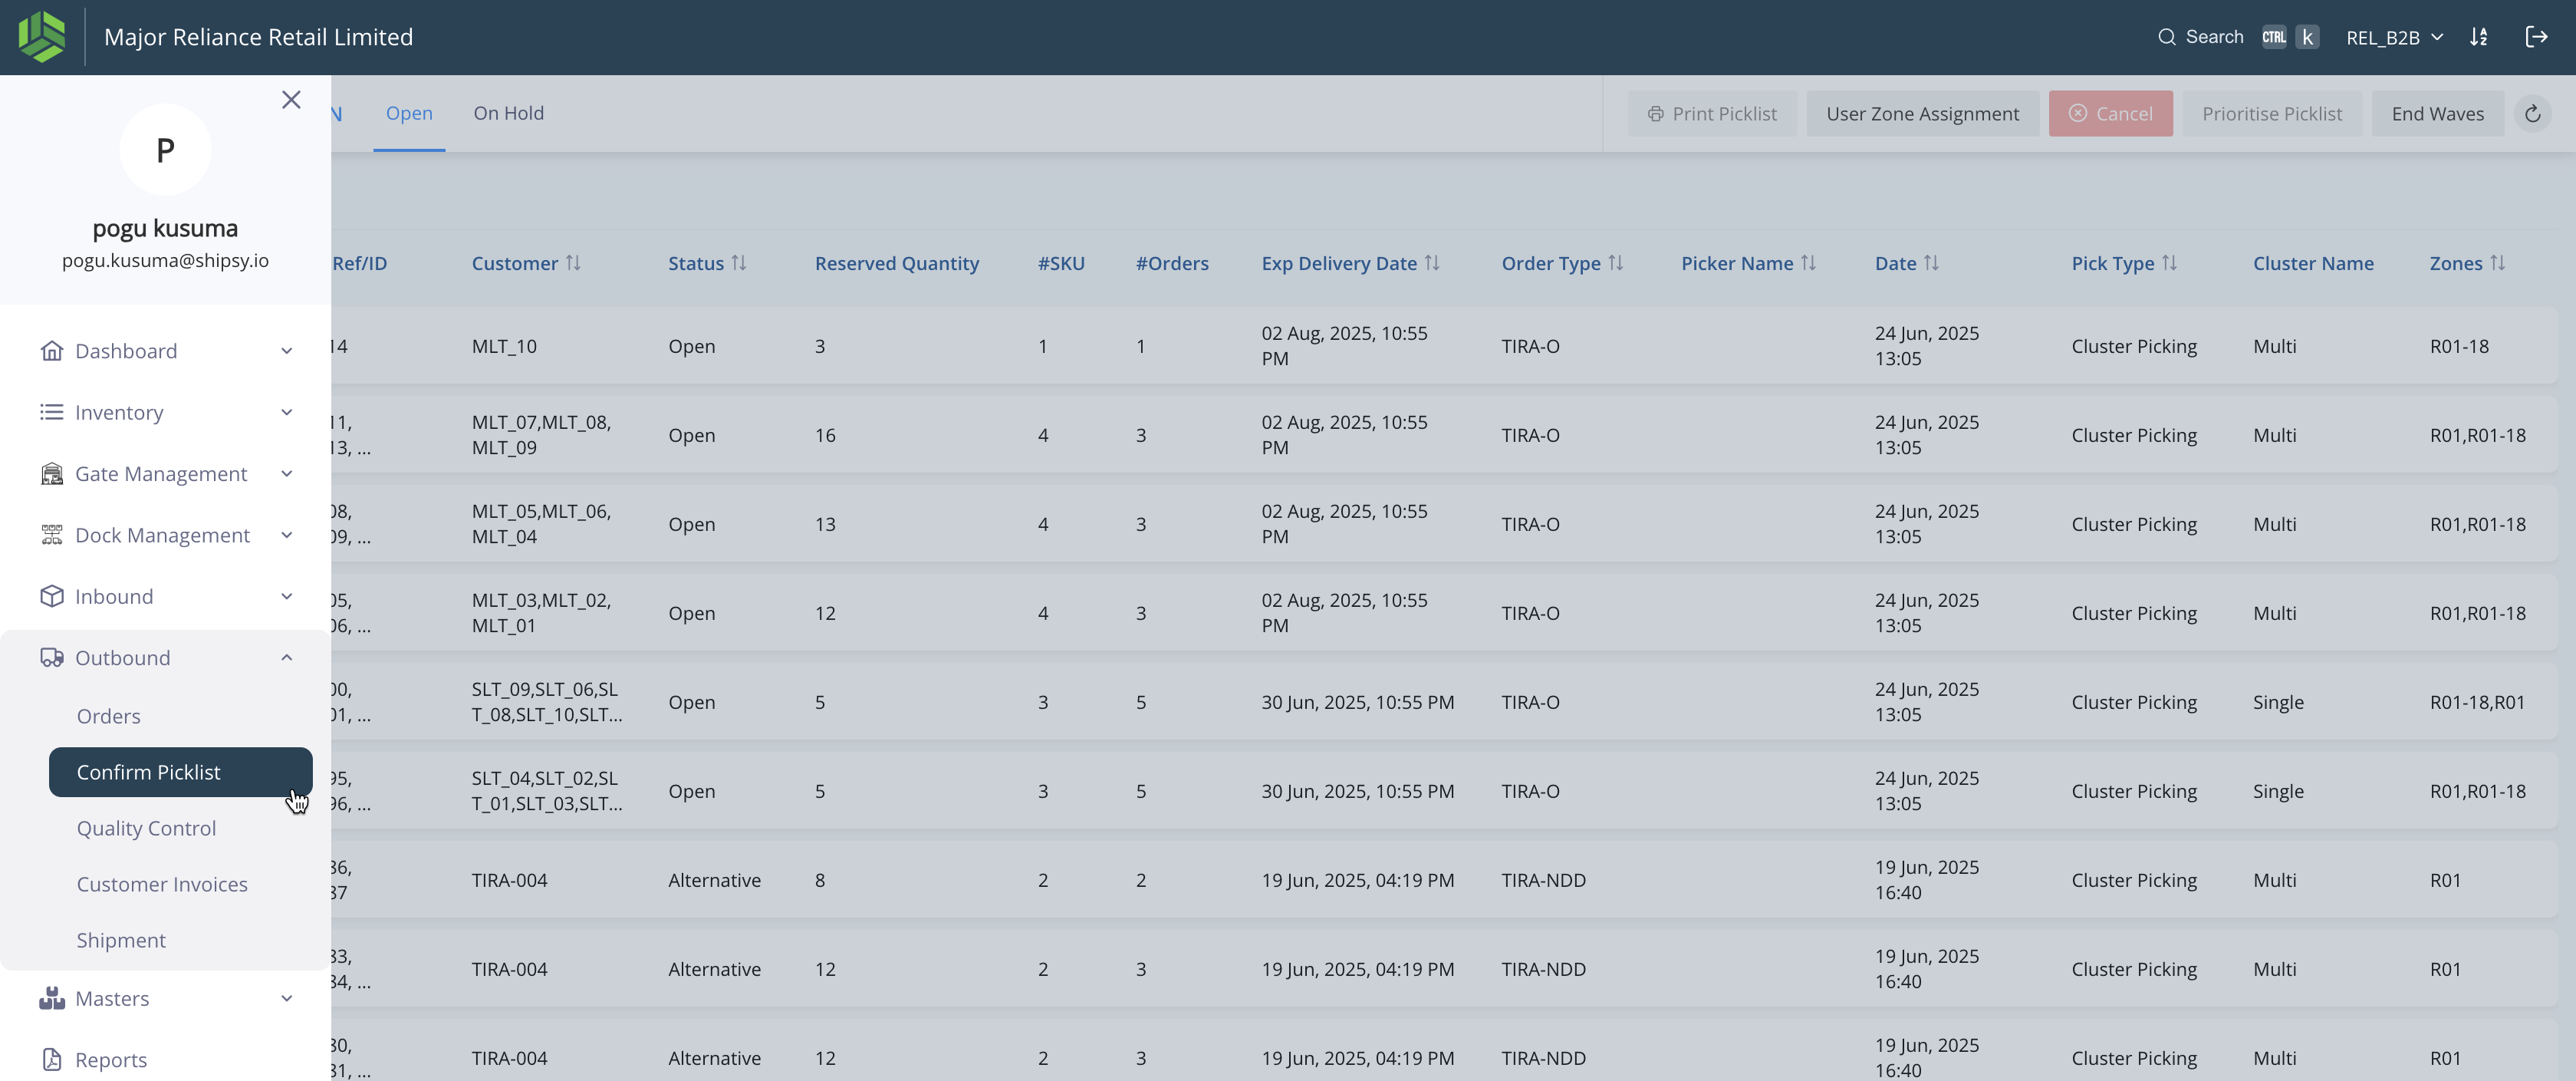
Step #1: Navigate to Outbound > Confirm Picklist
2
These are the picklists available/ open to pick for the pickers.
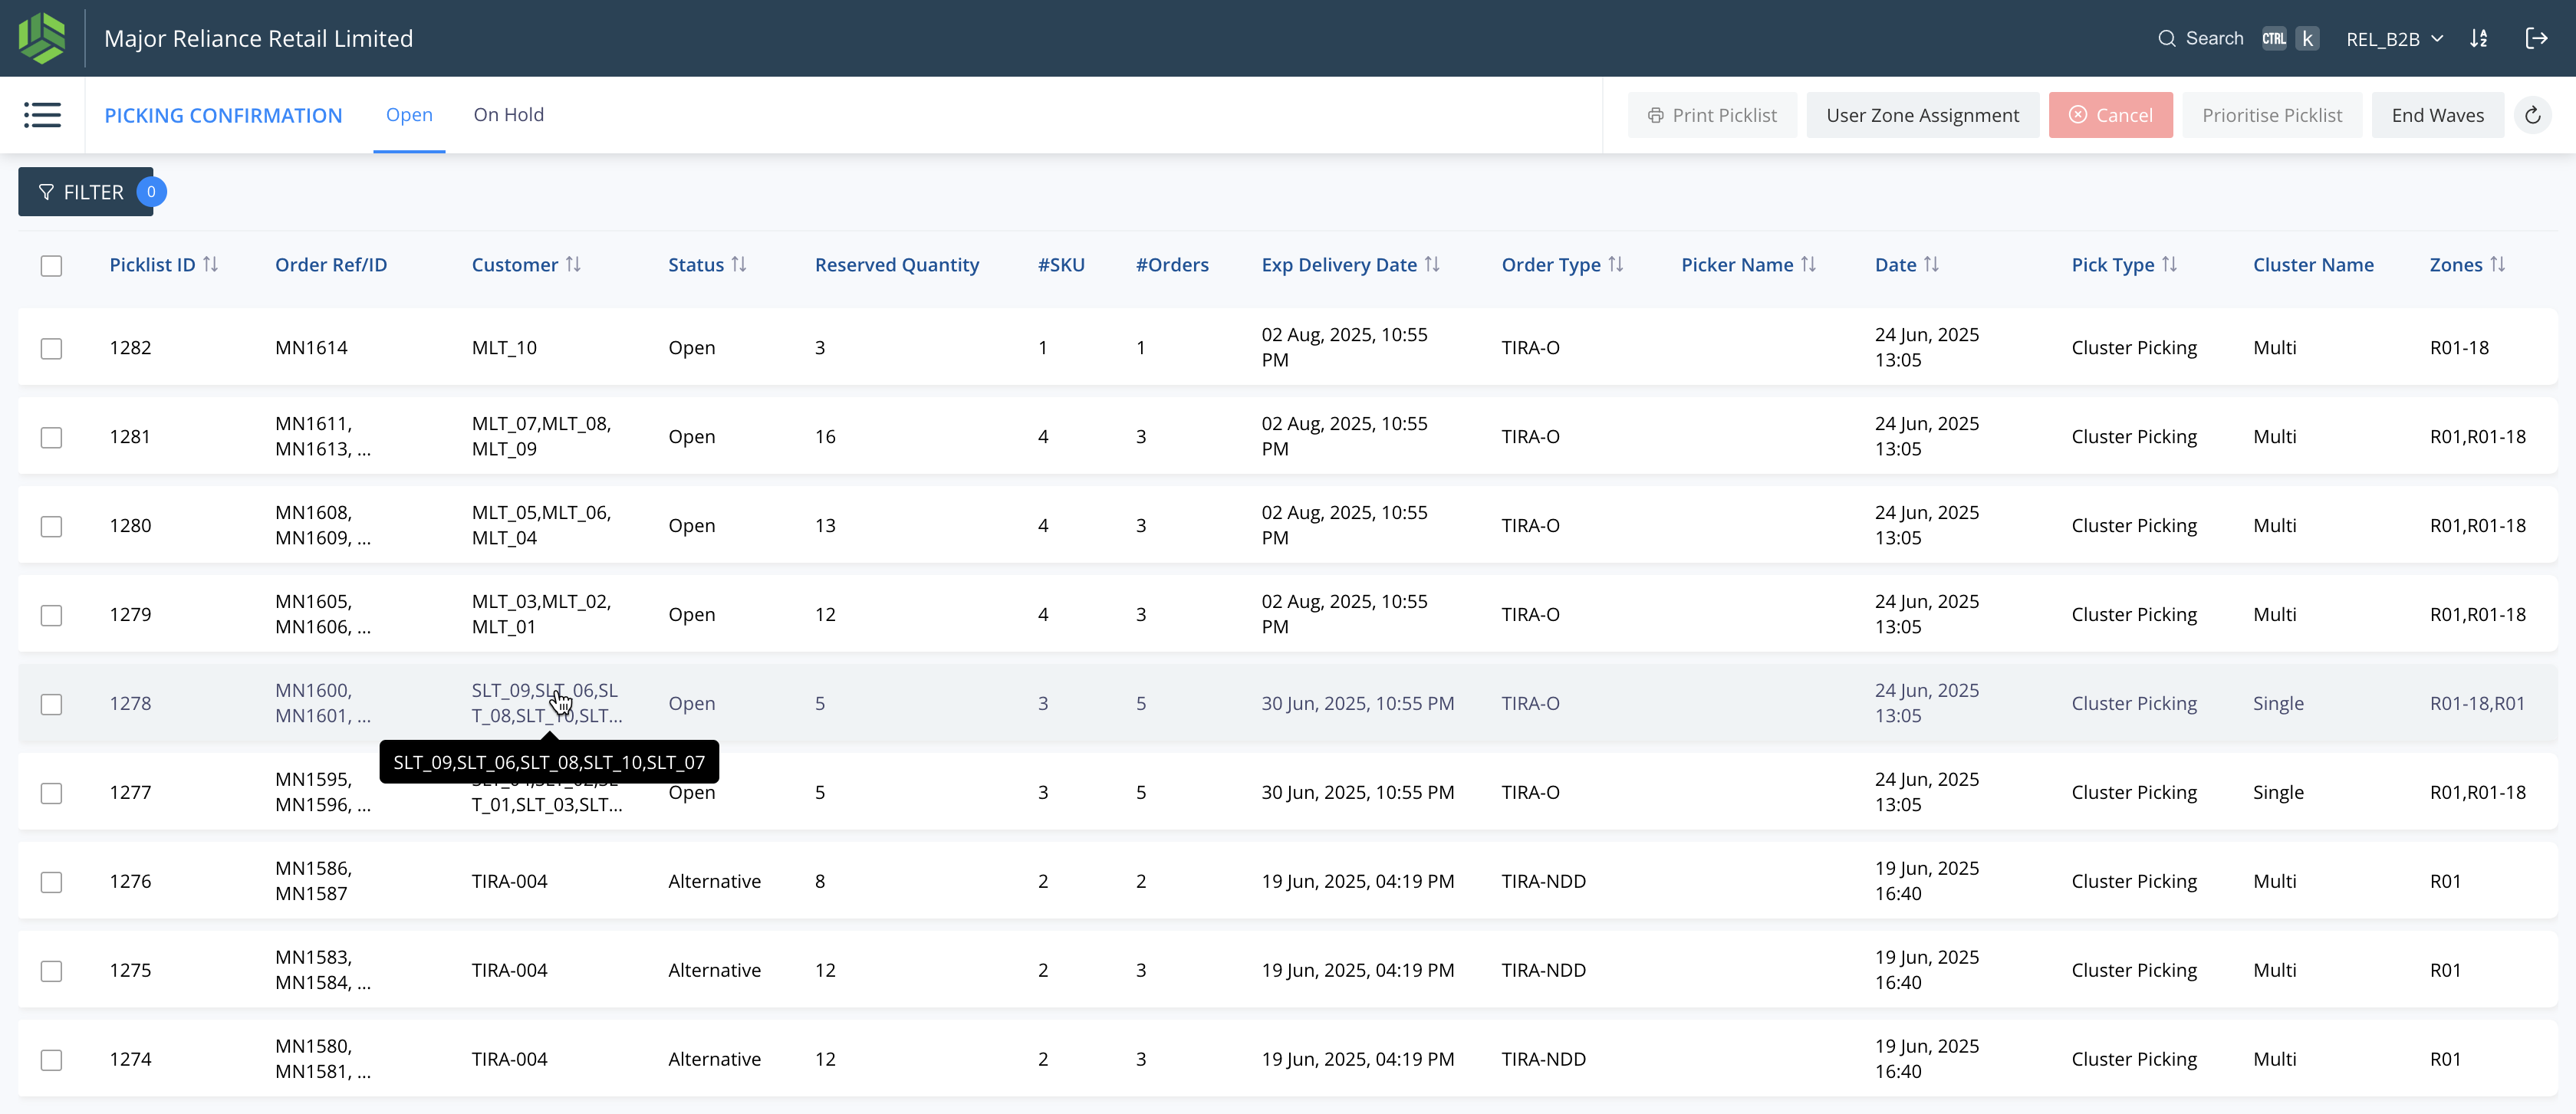
Step #2: These are the picklists available/ open to pick for the pickers.
3
We can see if the picklist is of Single or Multi cluster.
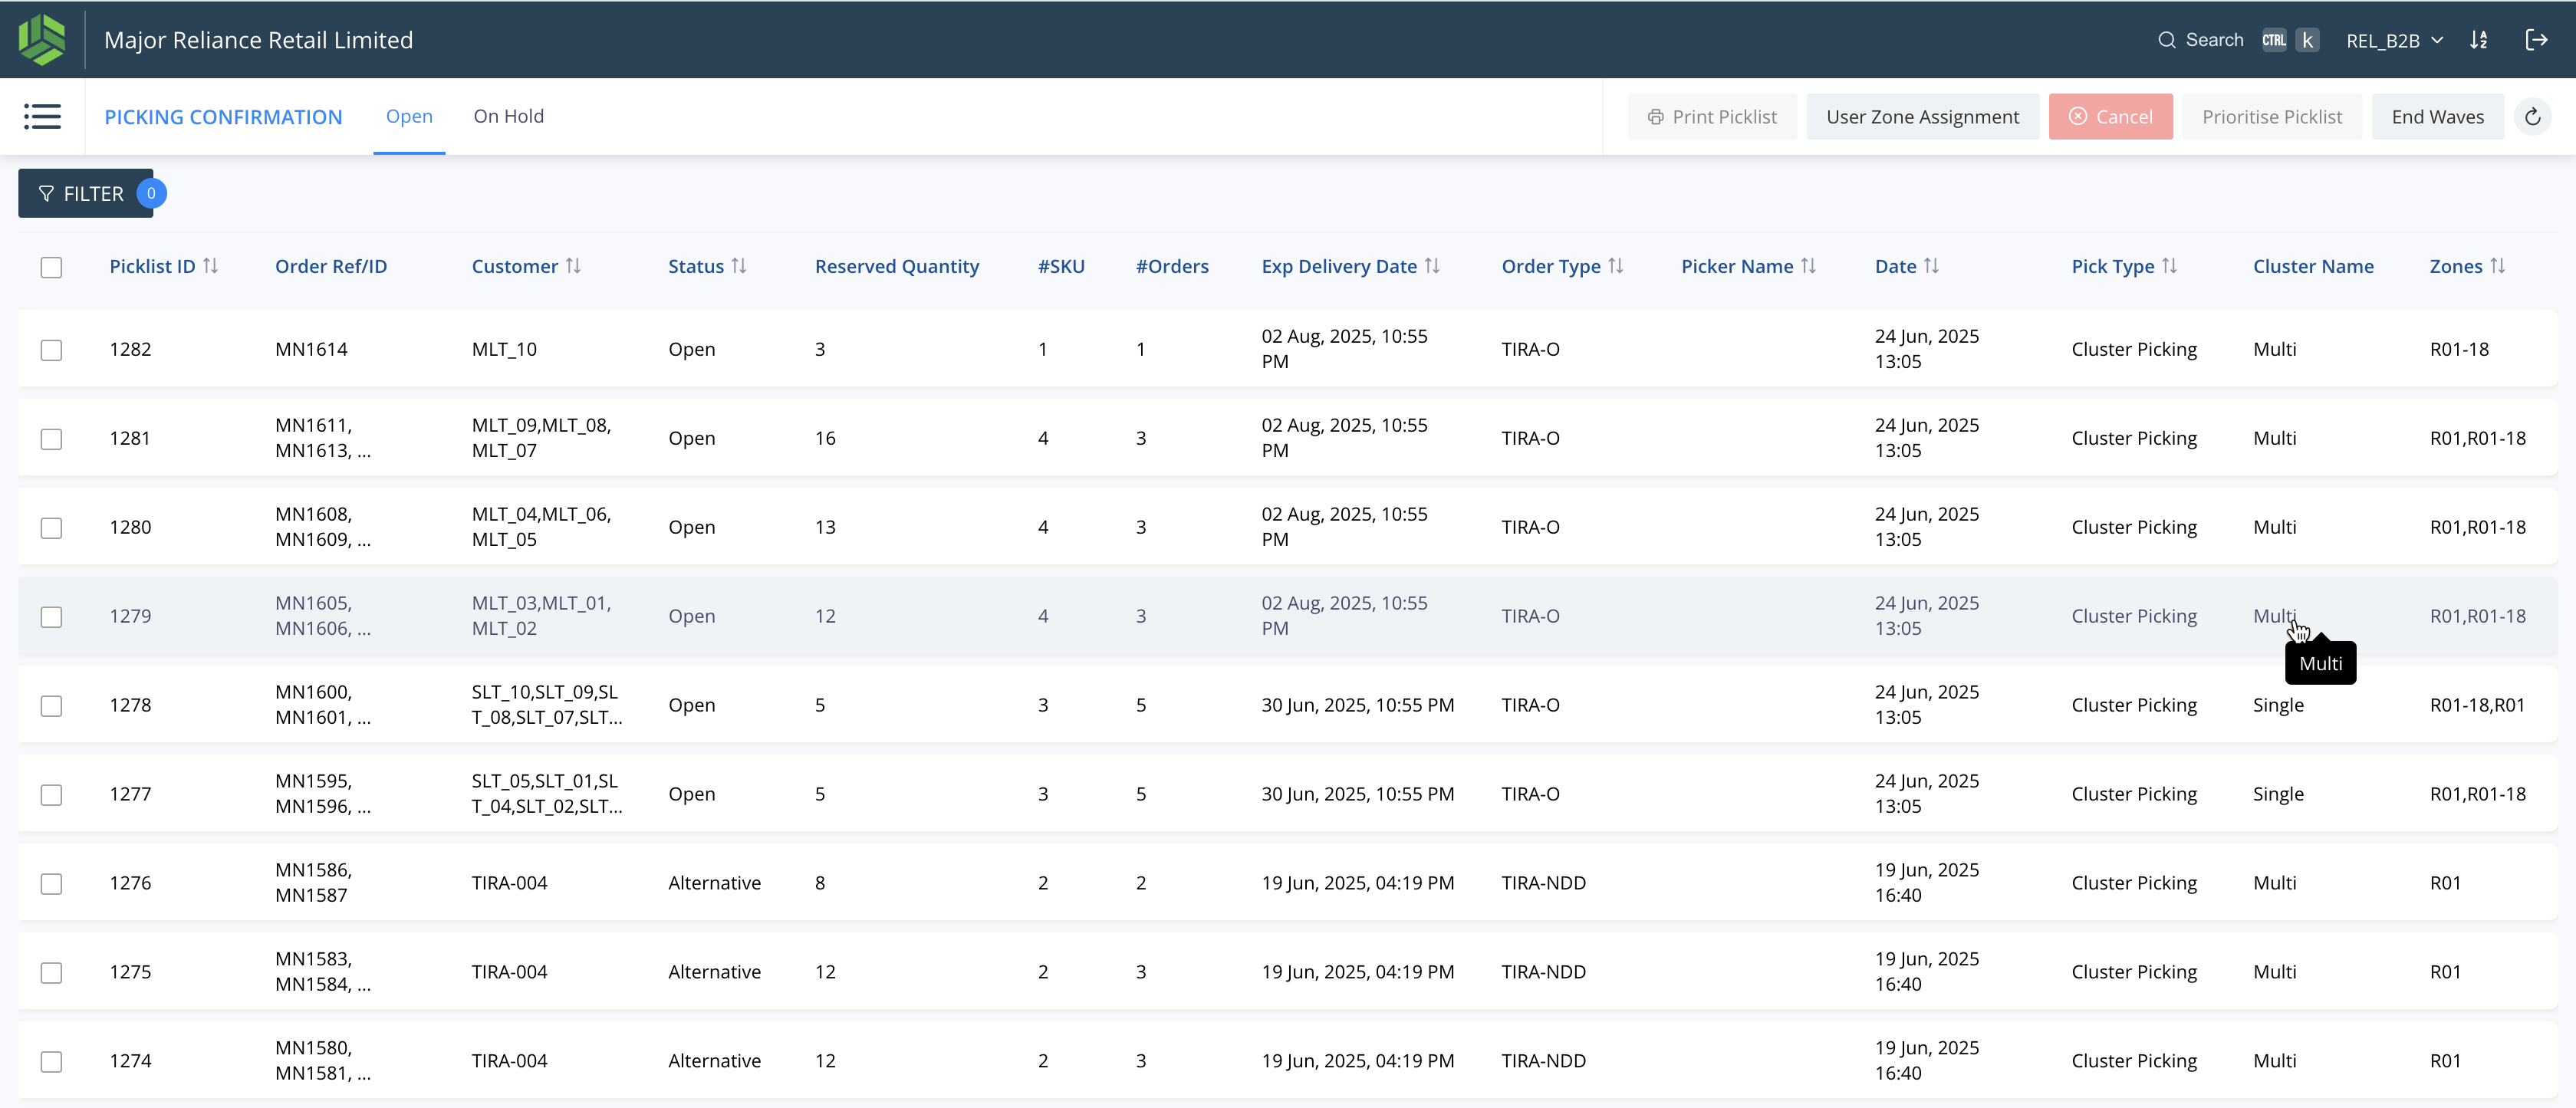
Step #3: We can see if the picklist is of Single or Multi cluster.
4
Upon clicking the picklist, the SKUs across all the orders in the picklist are shown.
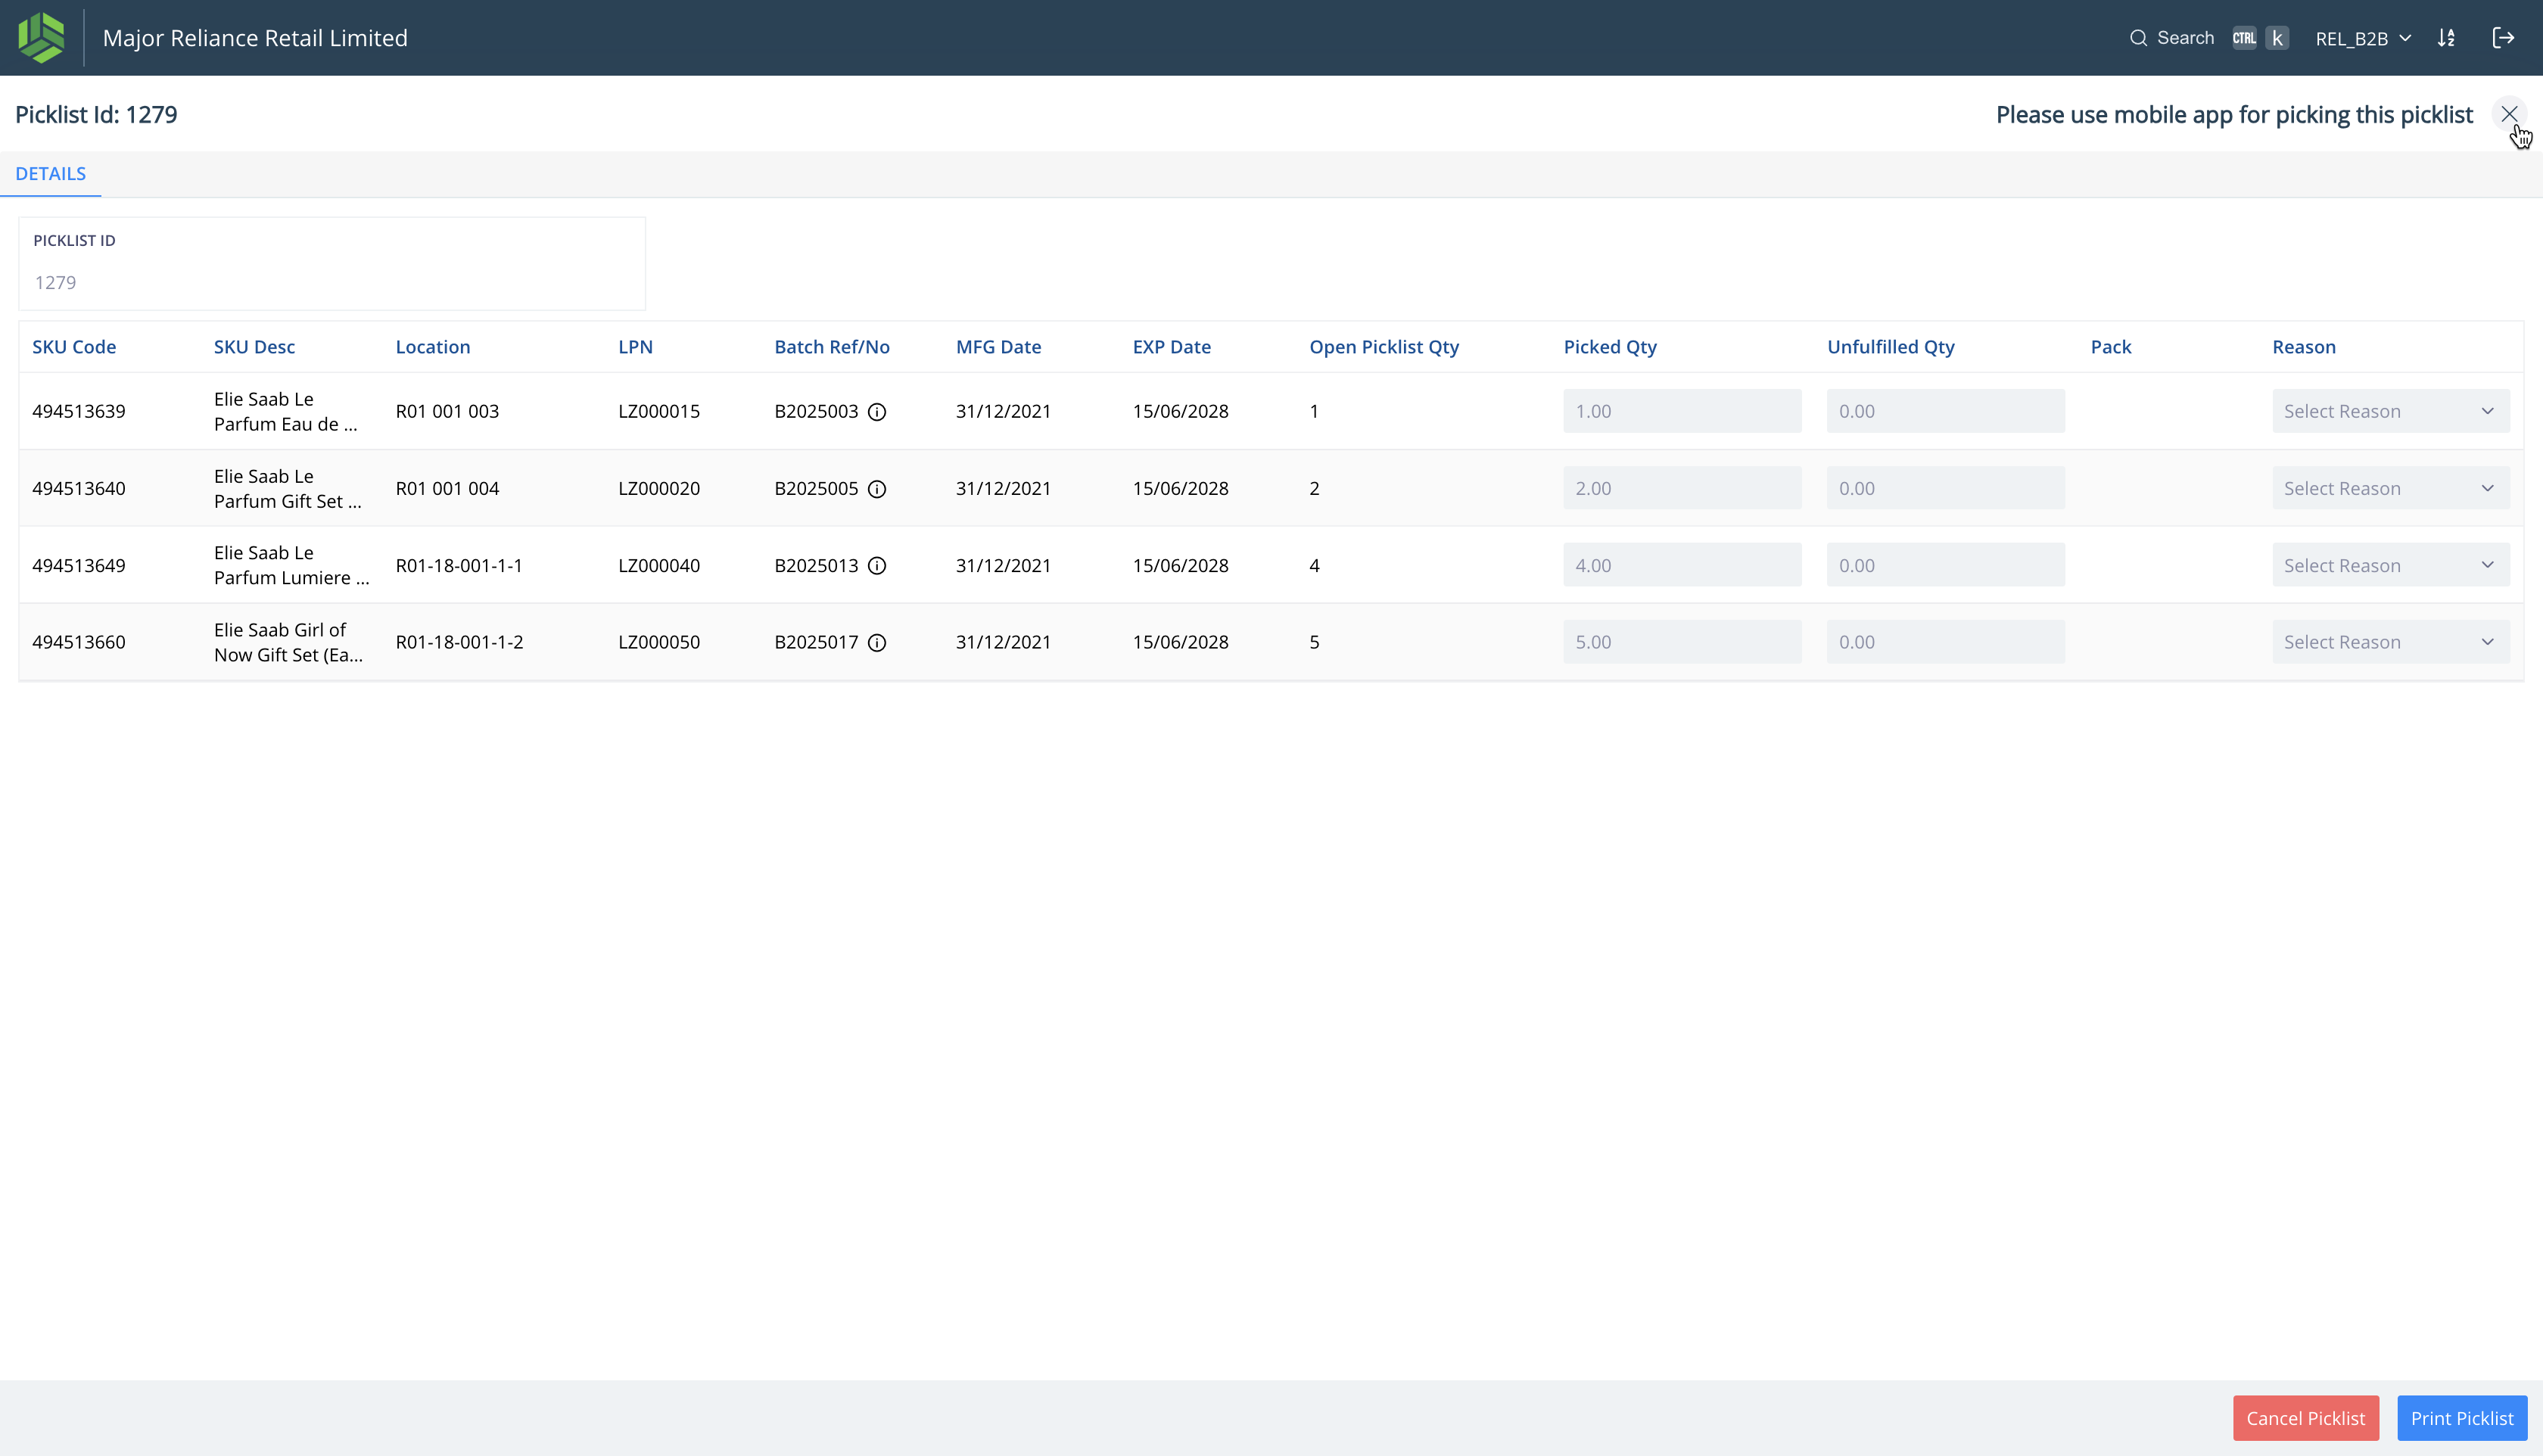
Step #4: Upon clicking the picklist, the SKUs across all the orders in the picklist are shown.
5
Click on "User Zone Assignment"
Step #5: Click on "User Zone Assignment"
6
Click on "X"
Step #6: Click on "X"
7
Click here
Step #7: Click here
8
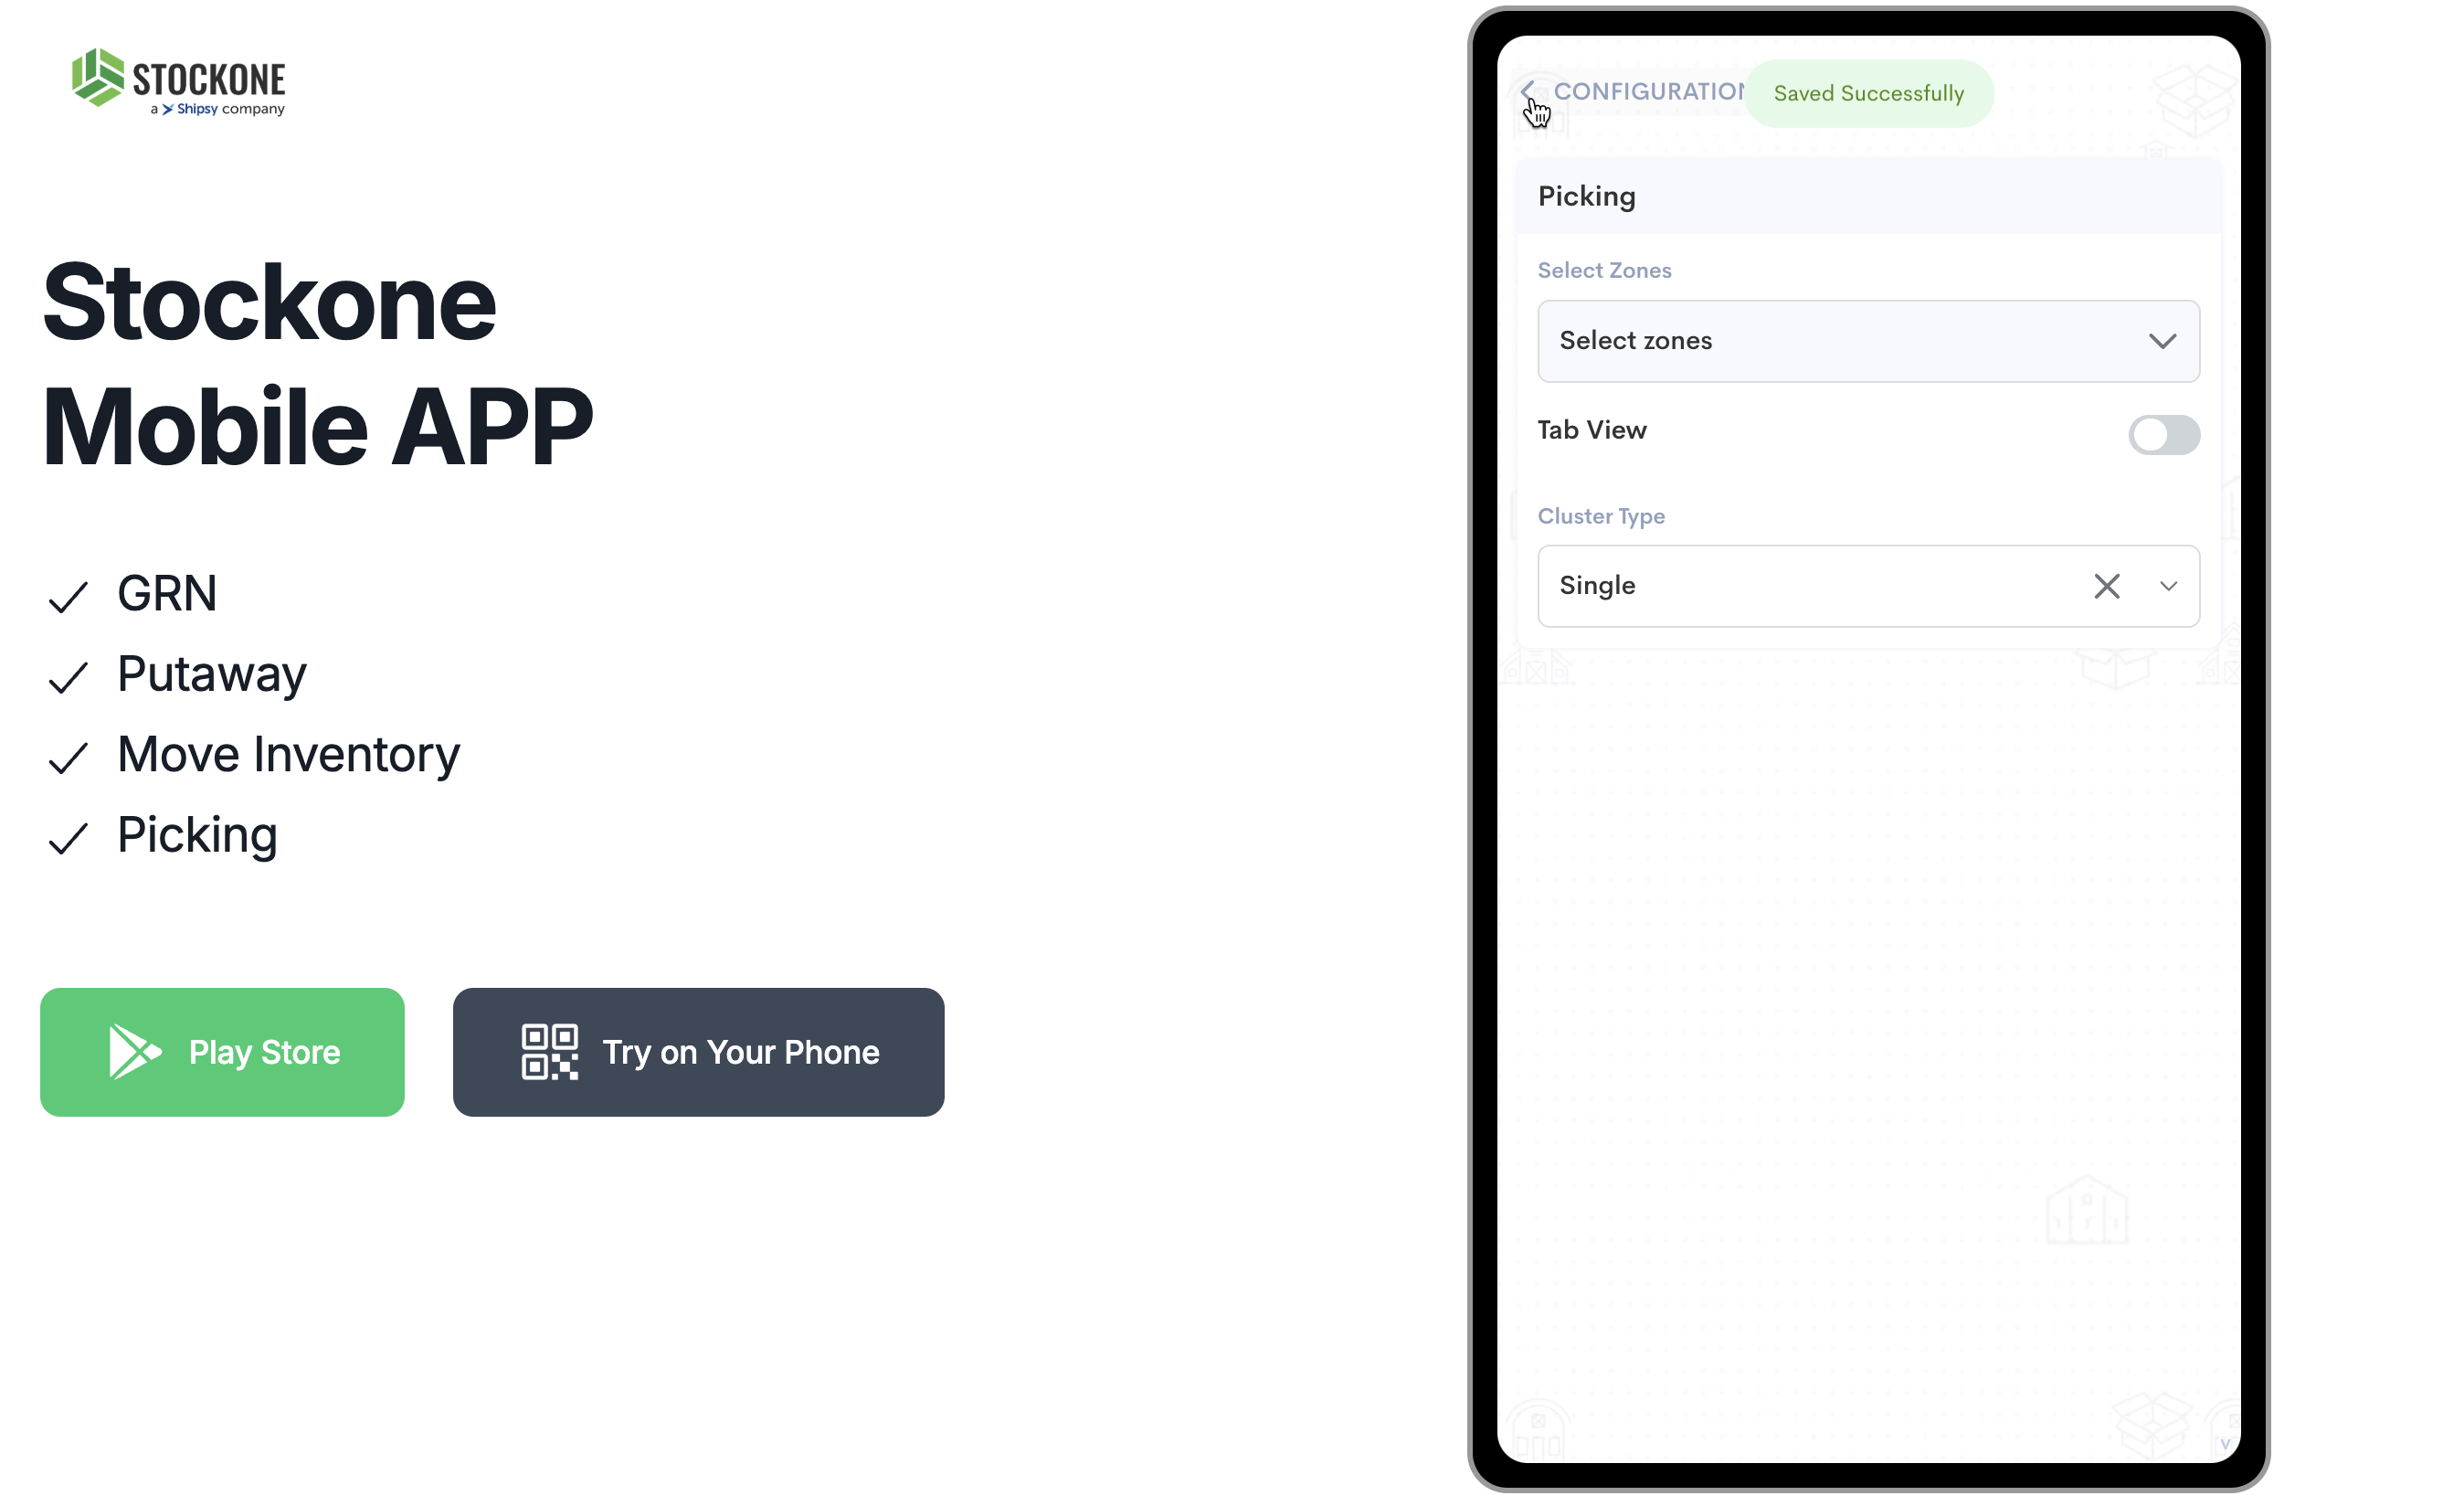
Click on "* CONFIGURATIONS"
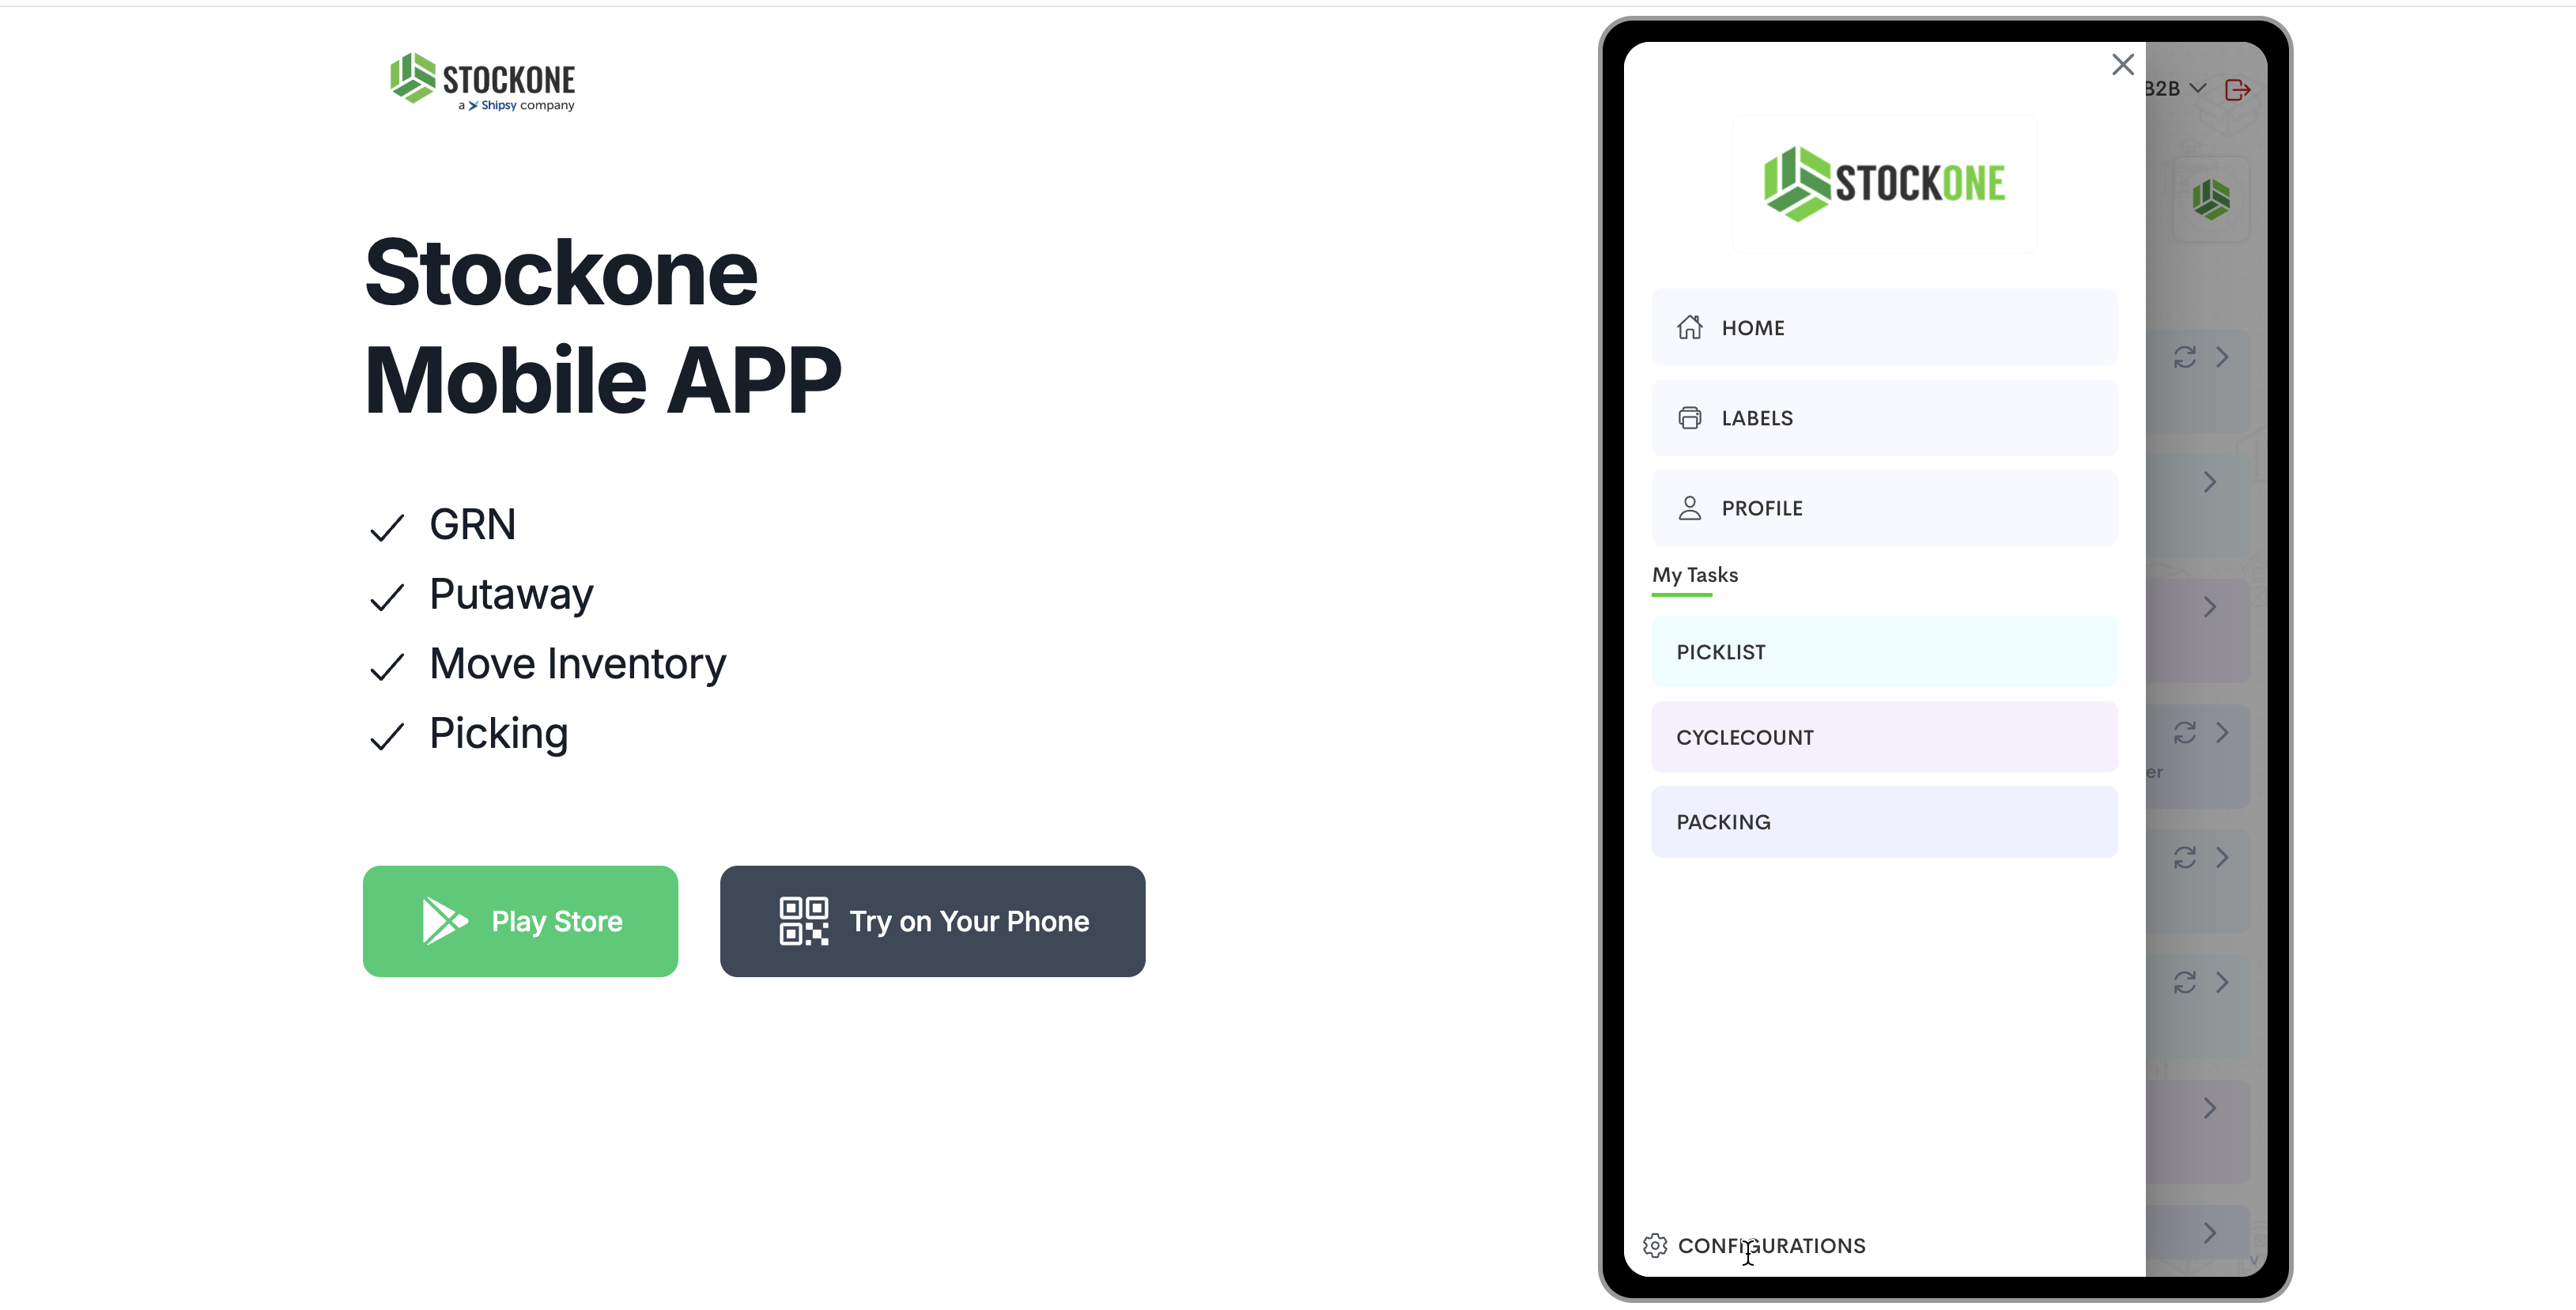
Step #8: Click on "* CONFIGURATIONS"
9
Click here
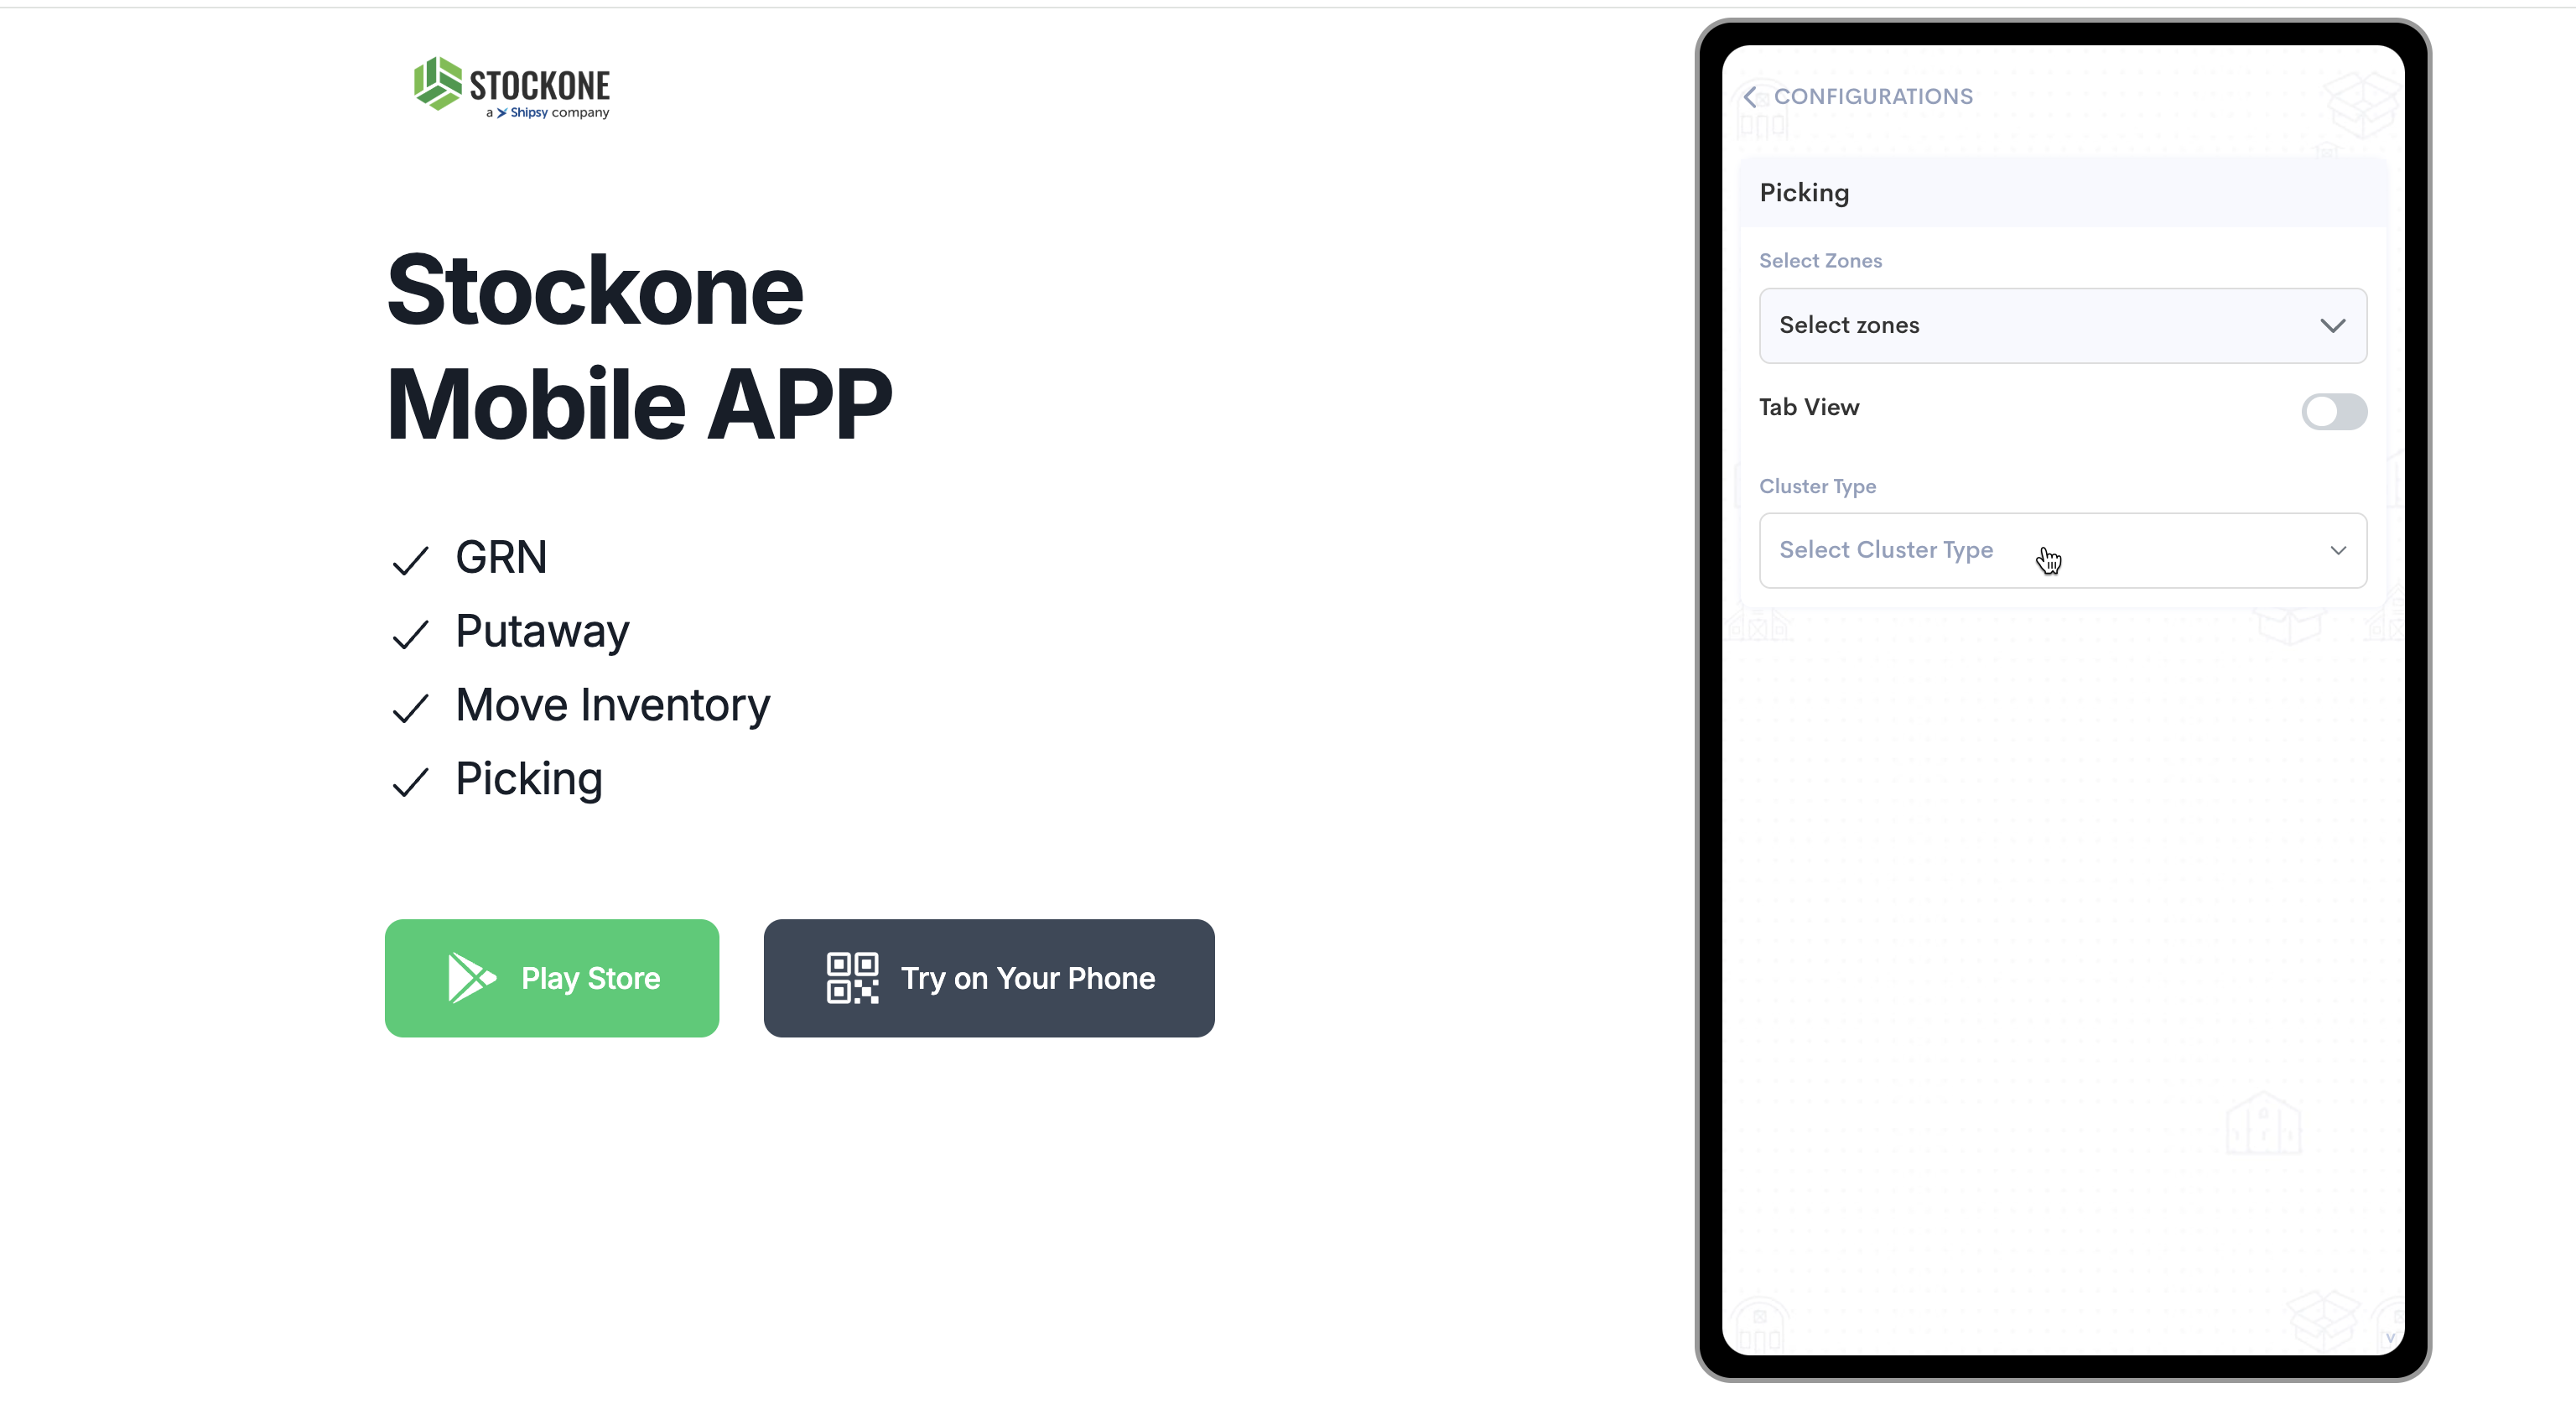
Step #9: Click here
10
Click here
Step #10: Click here
11
Click here
Step #11: Click here
12
Click here
Step #12: Click here
13
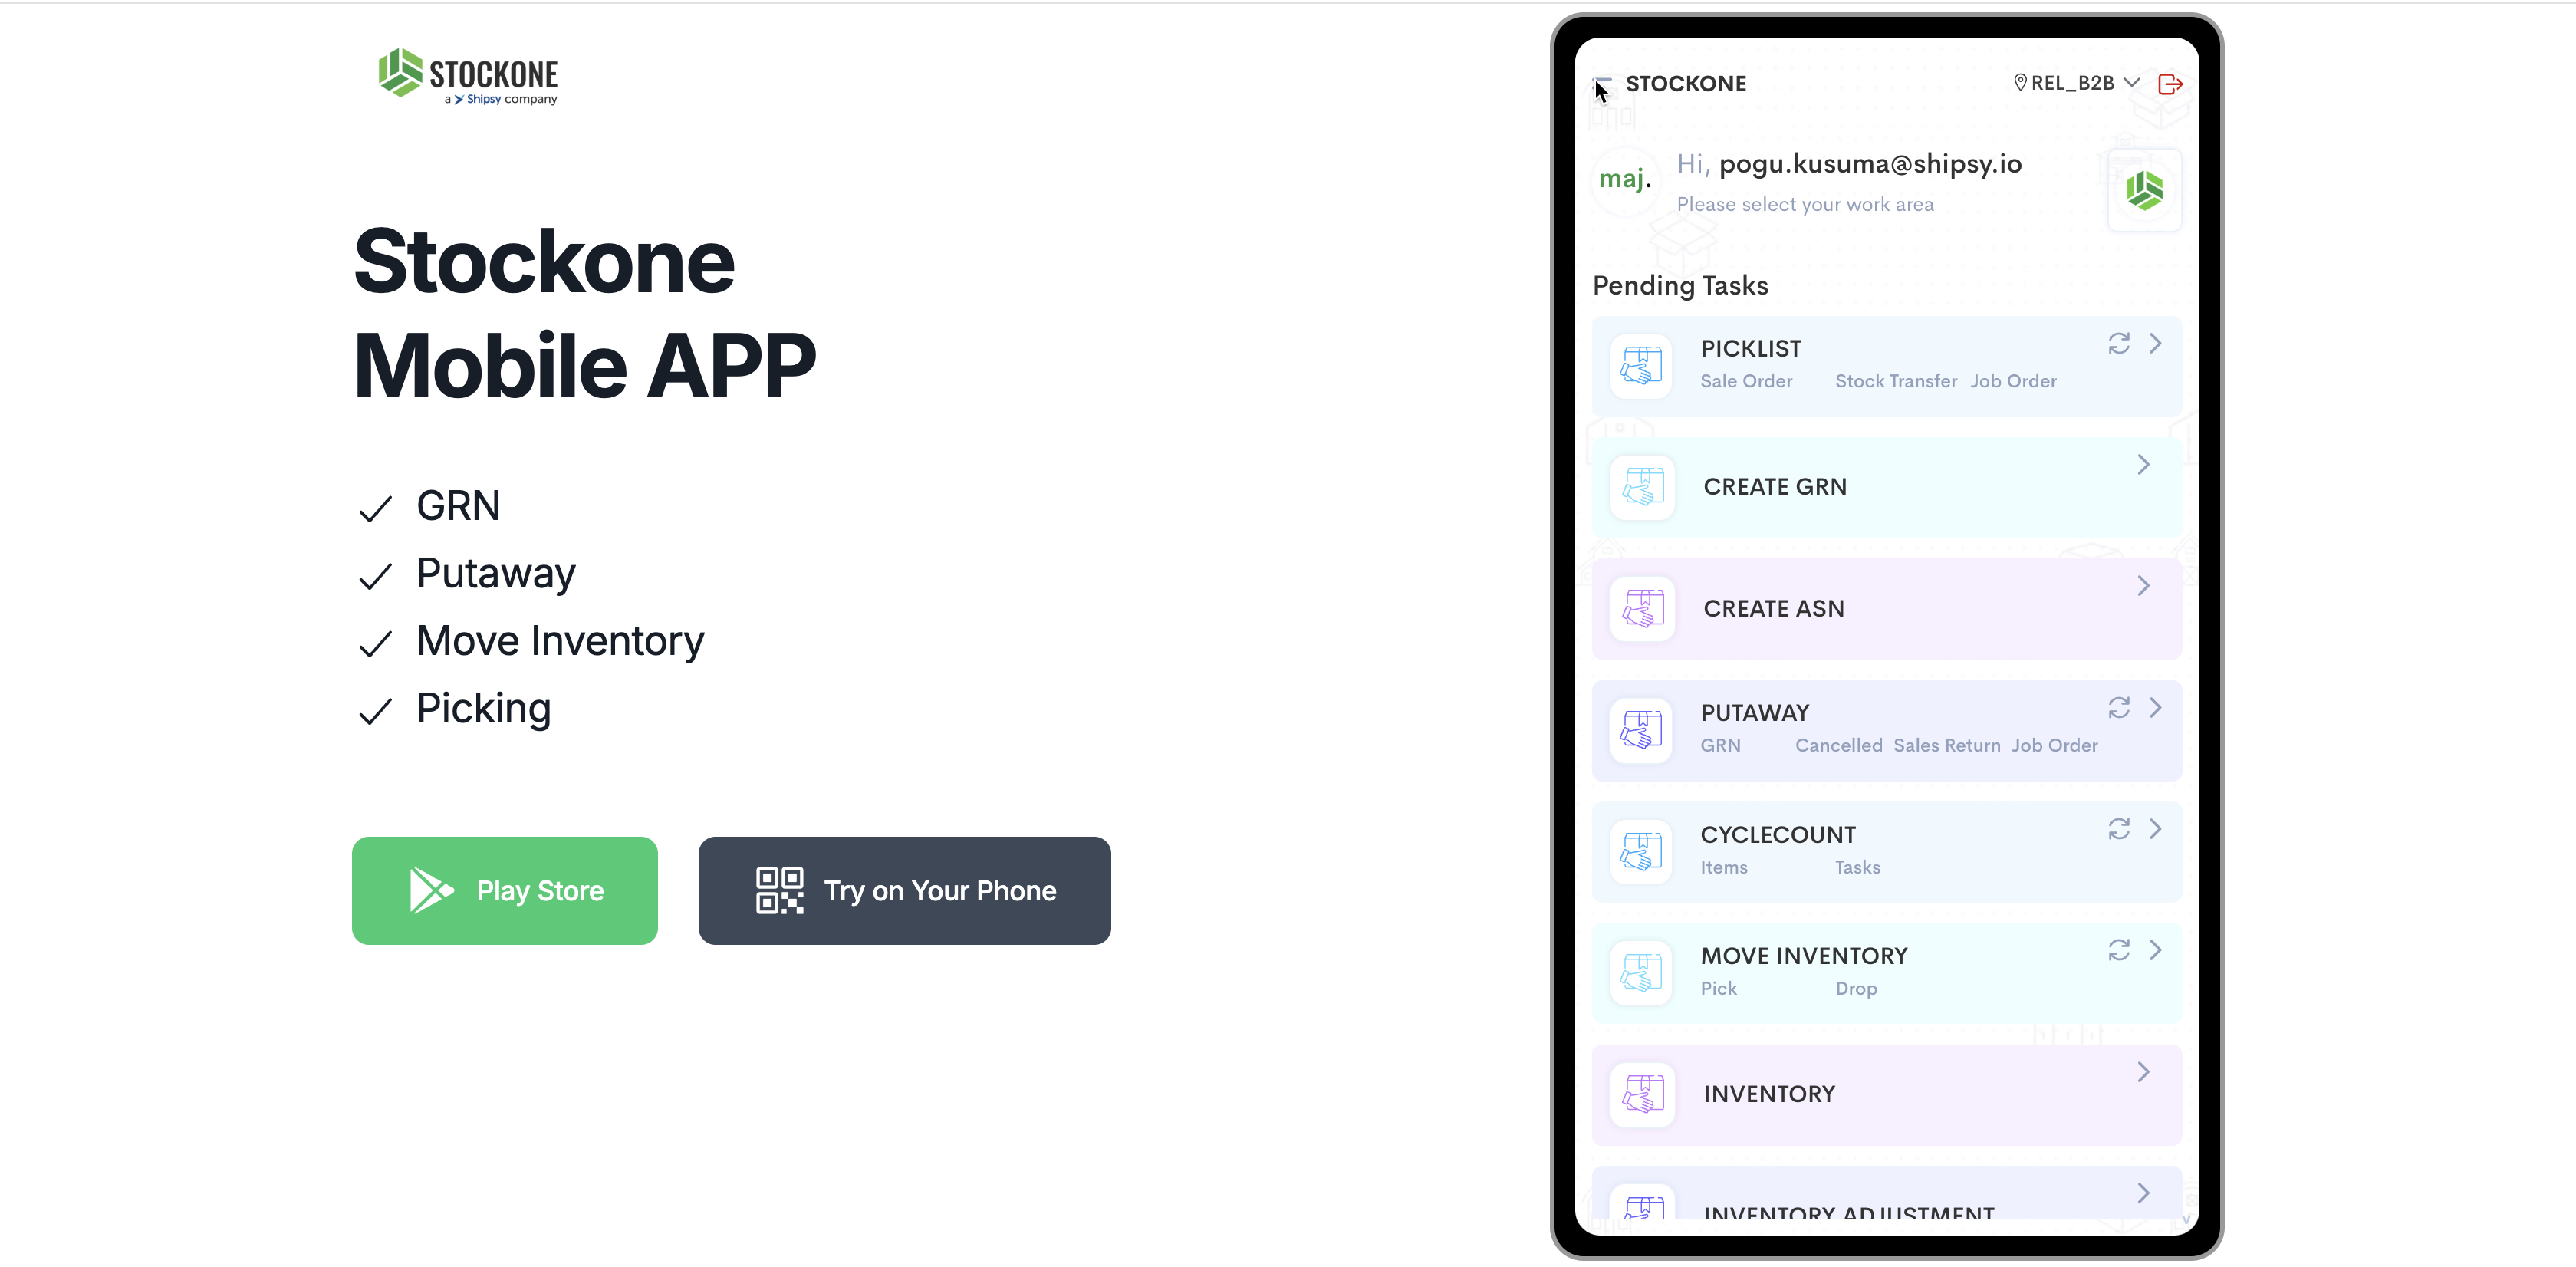
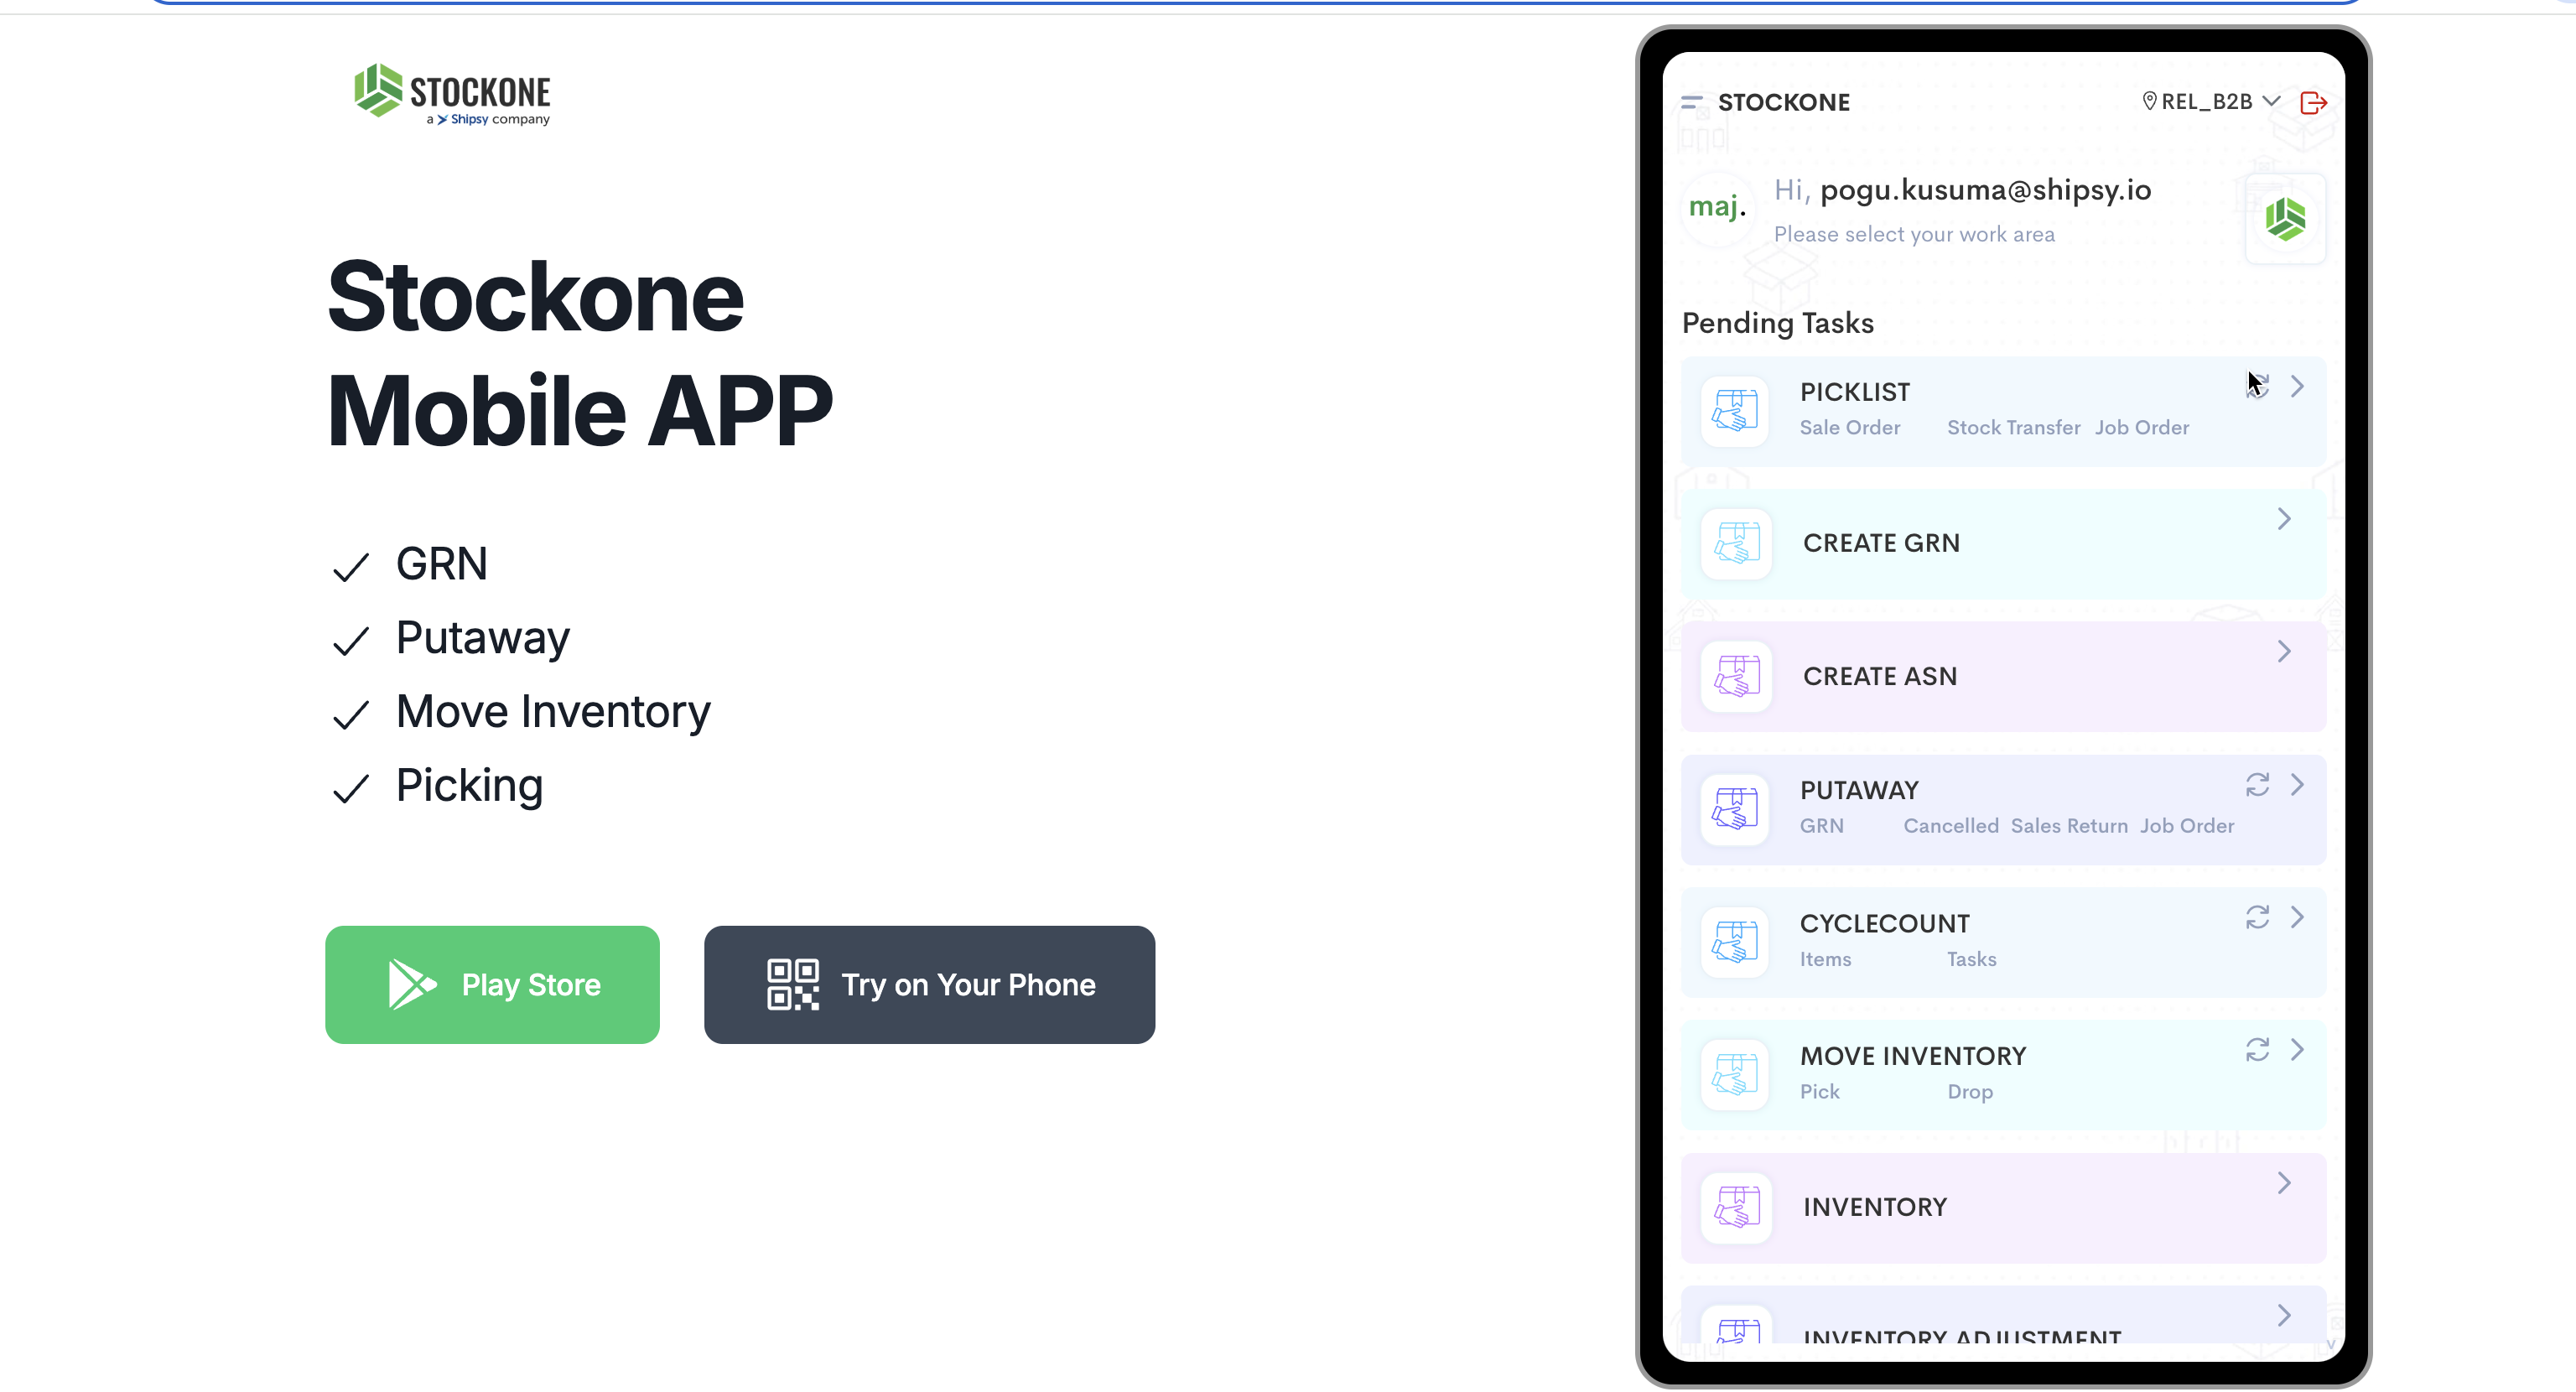
Click on "Cluster Picking"
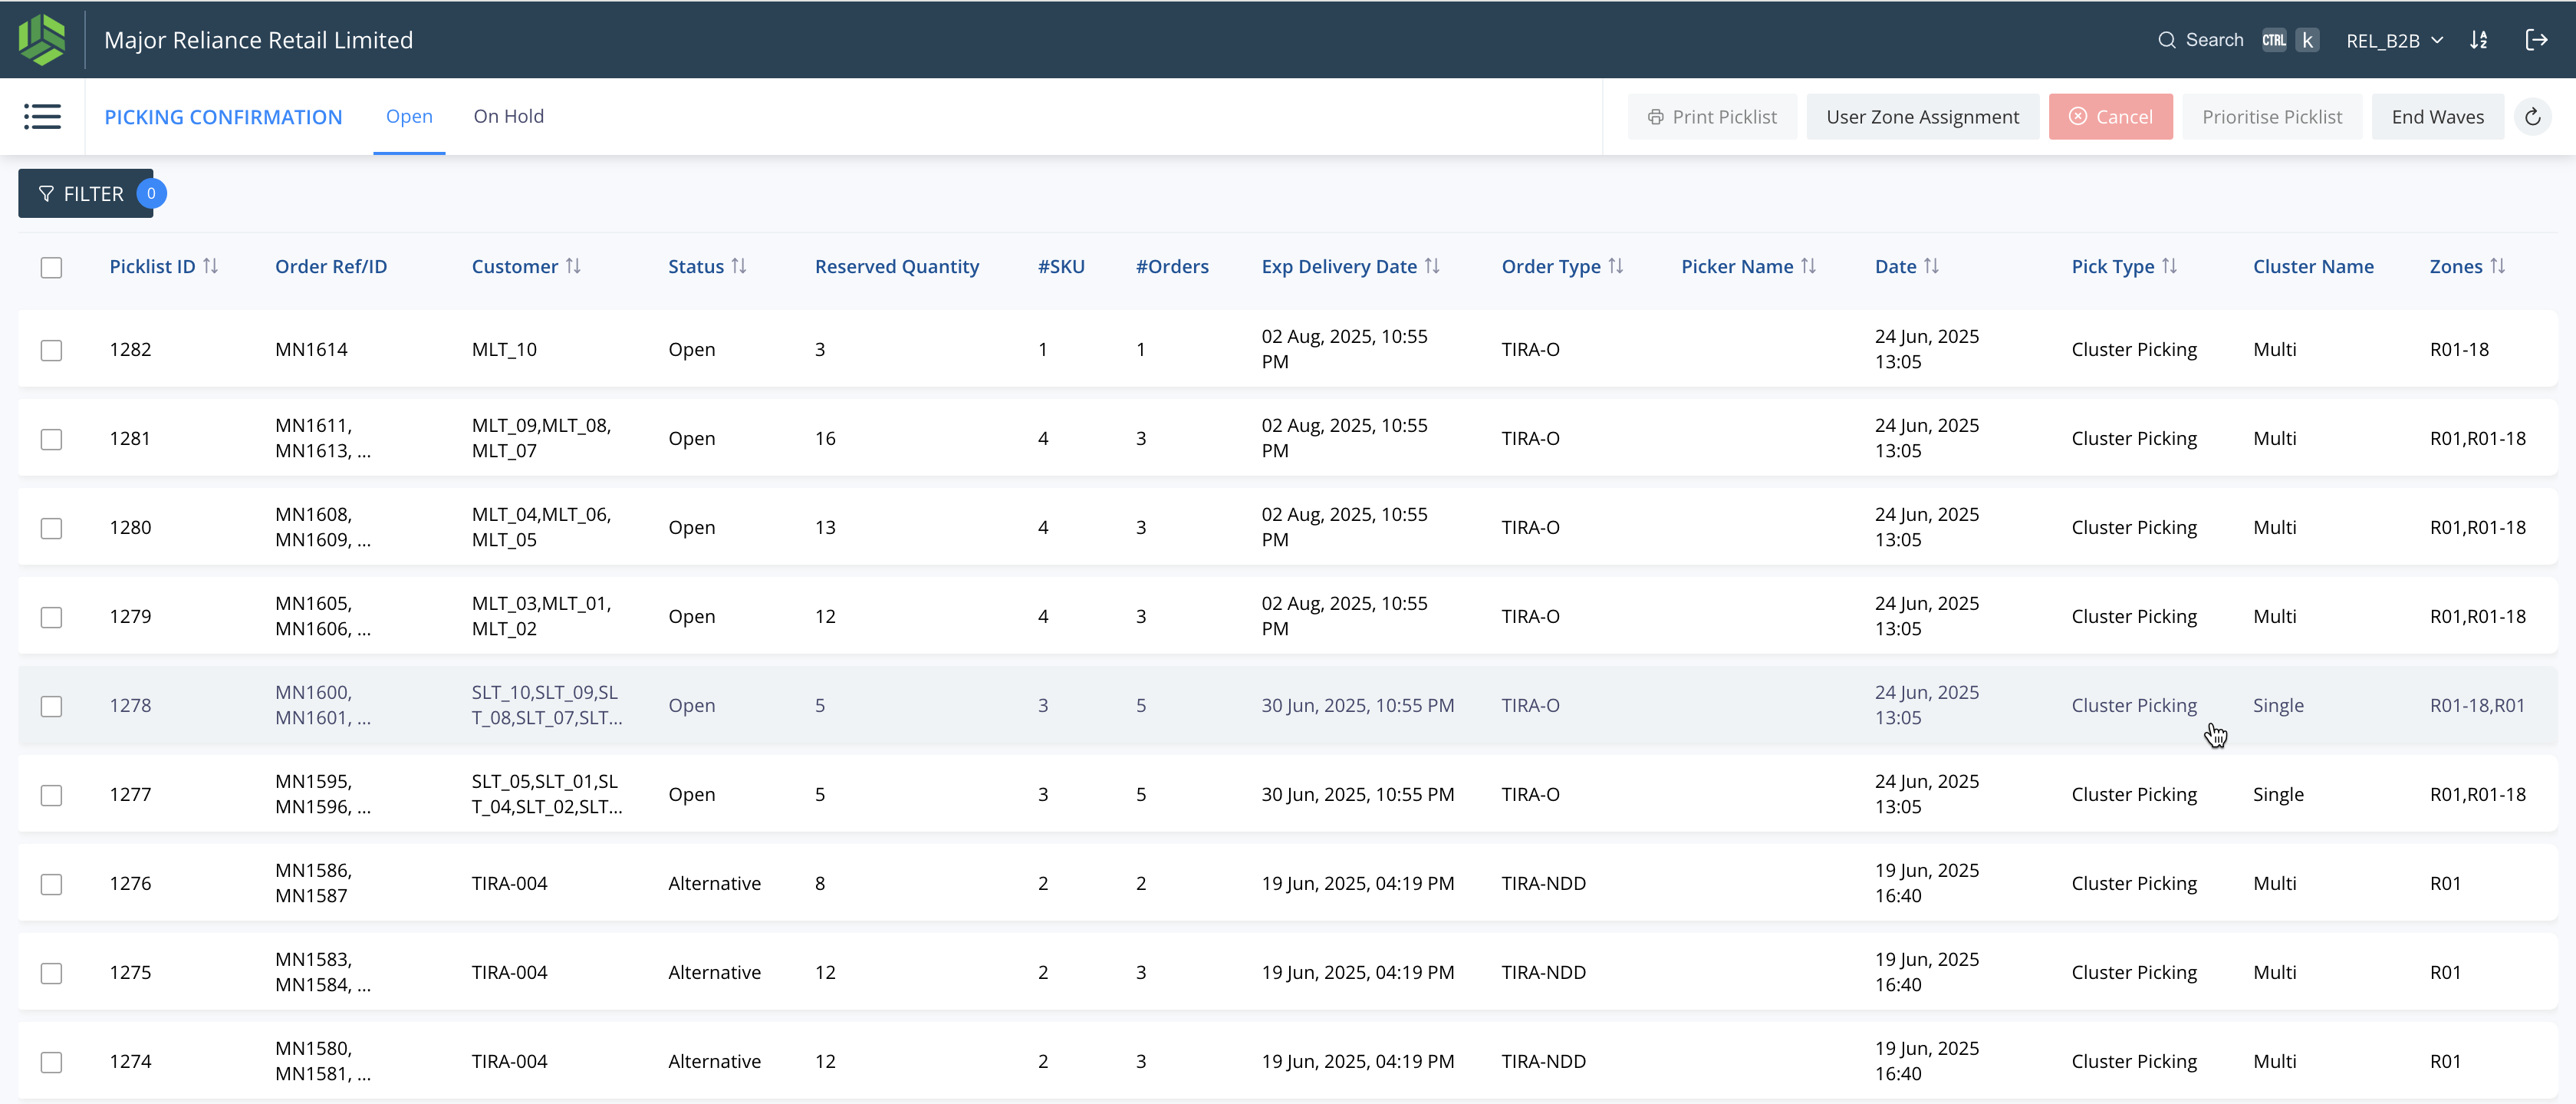
Step #13: Click on "Cluster Picking"
14
Drag "R01 001 00"
Step #14: Drag "R01 001 00"
15
Click on "START"
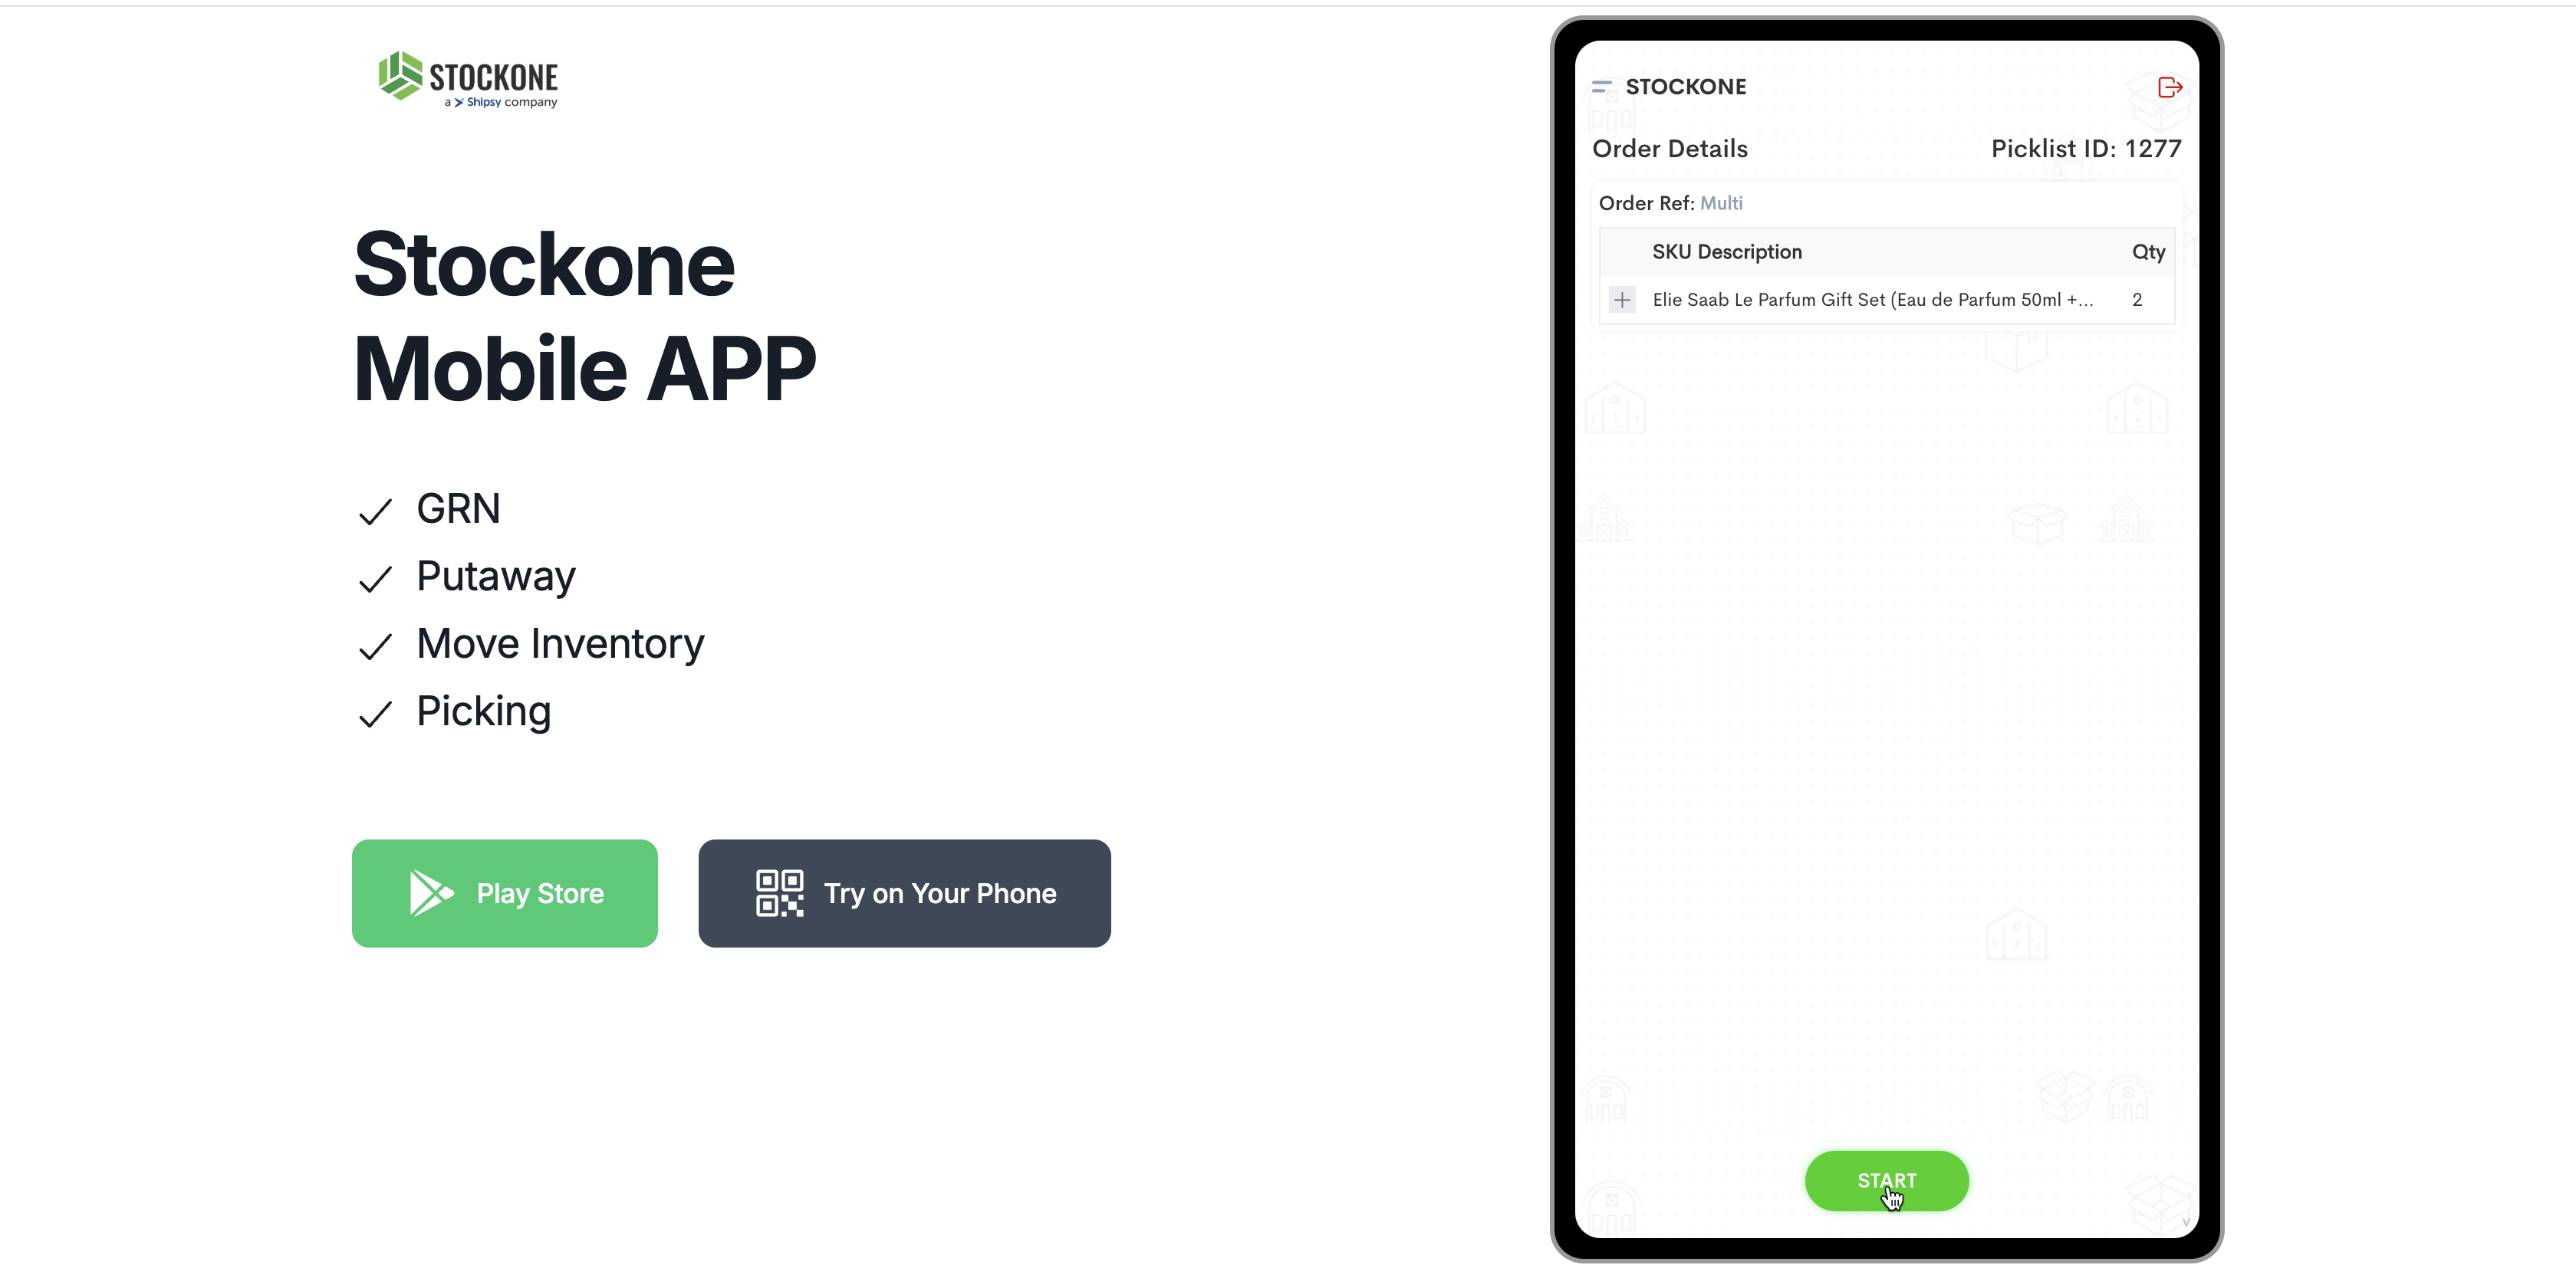
Step #15: Click on "START"
16
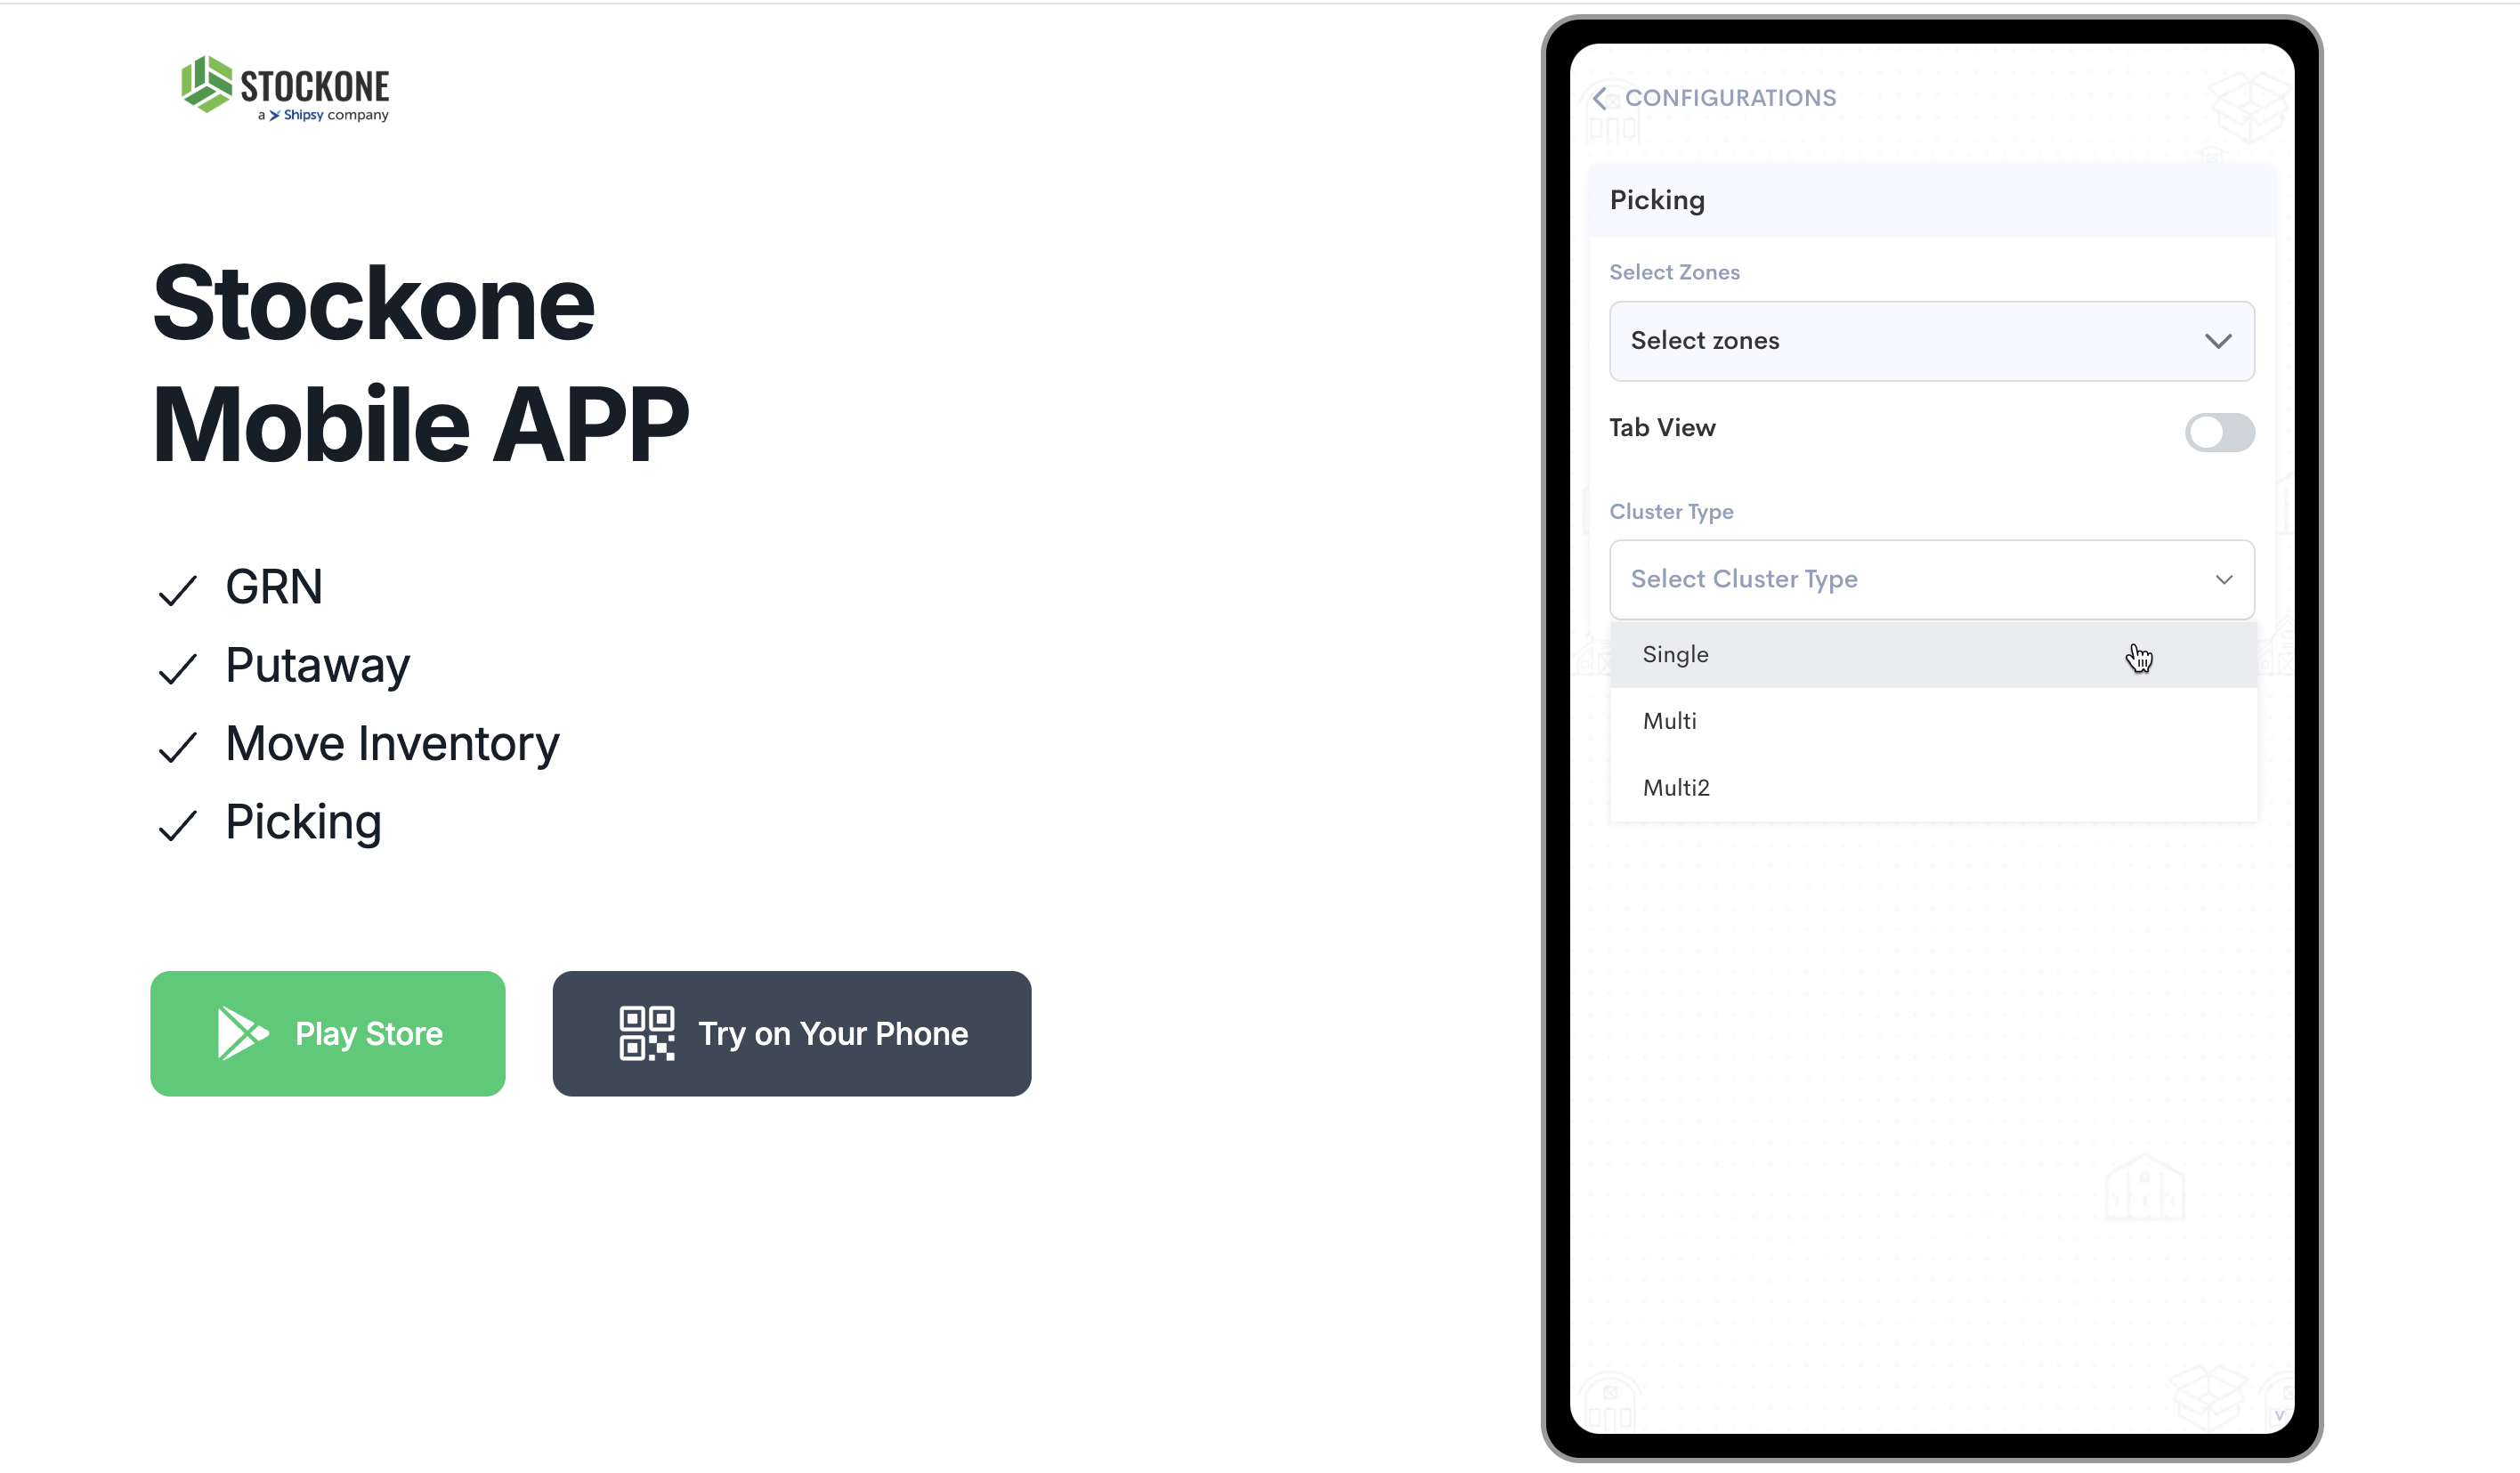
Click on "Single"
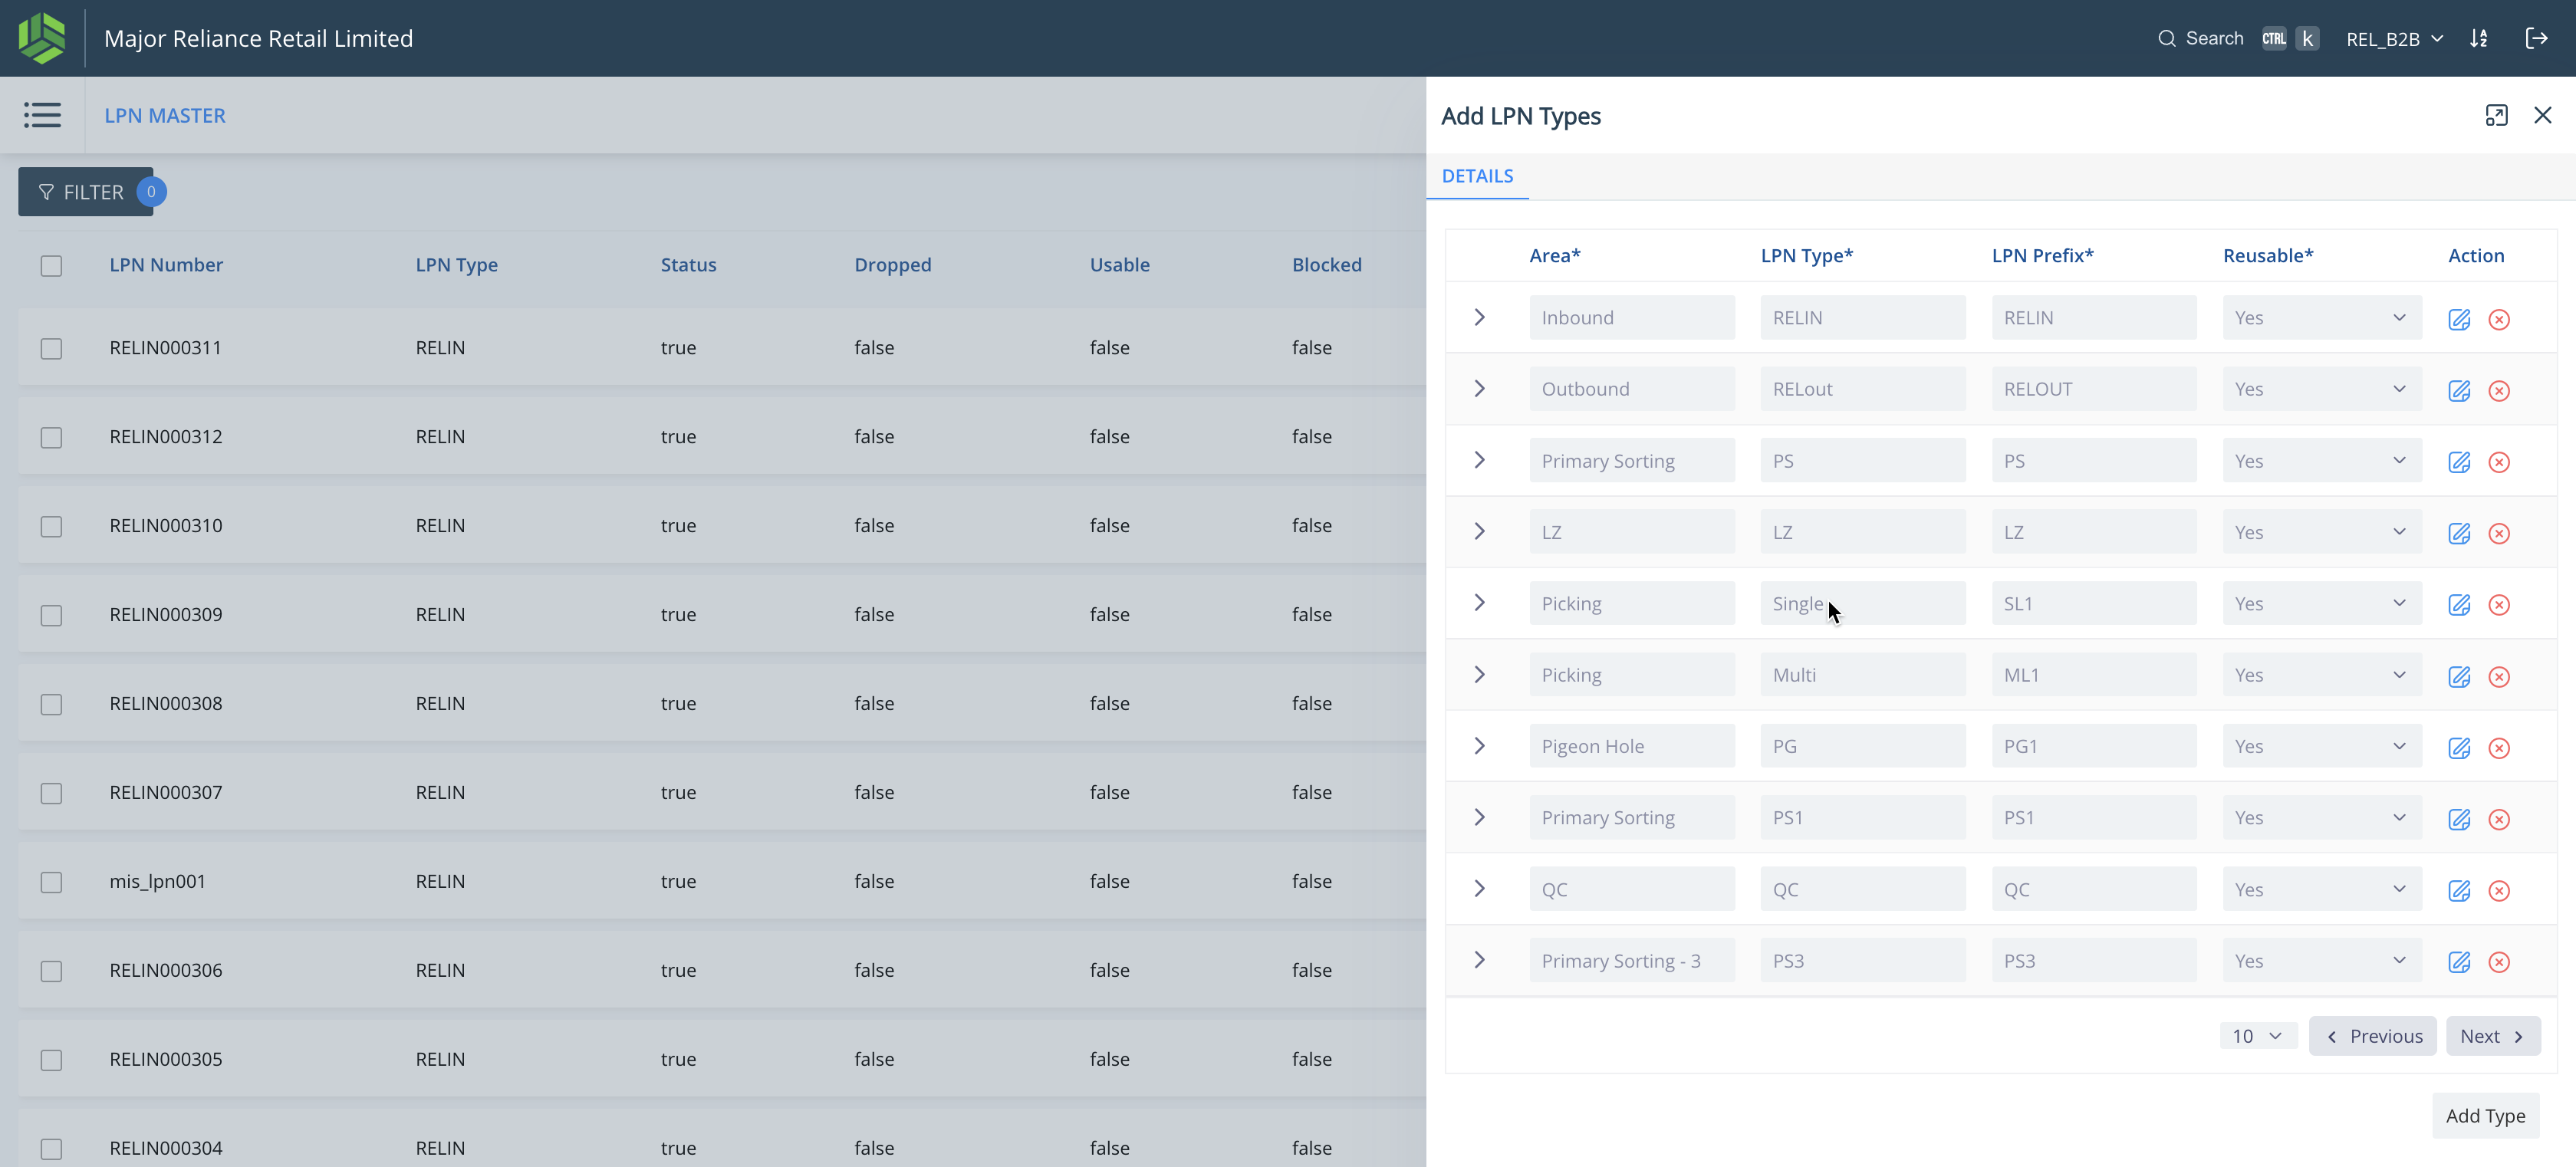
Step #16: Click on "Single"
17
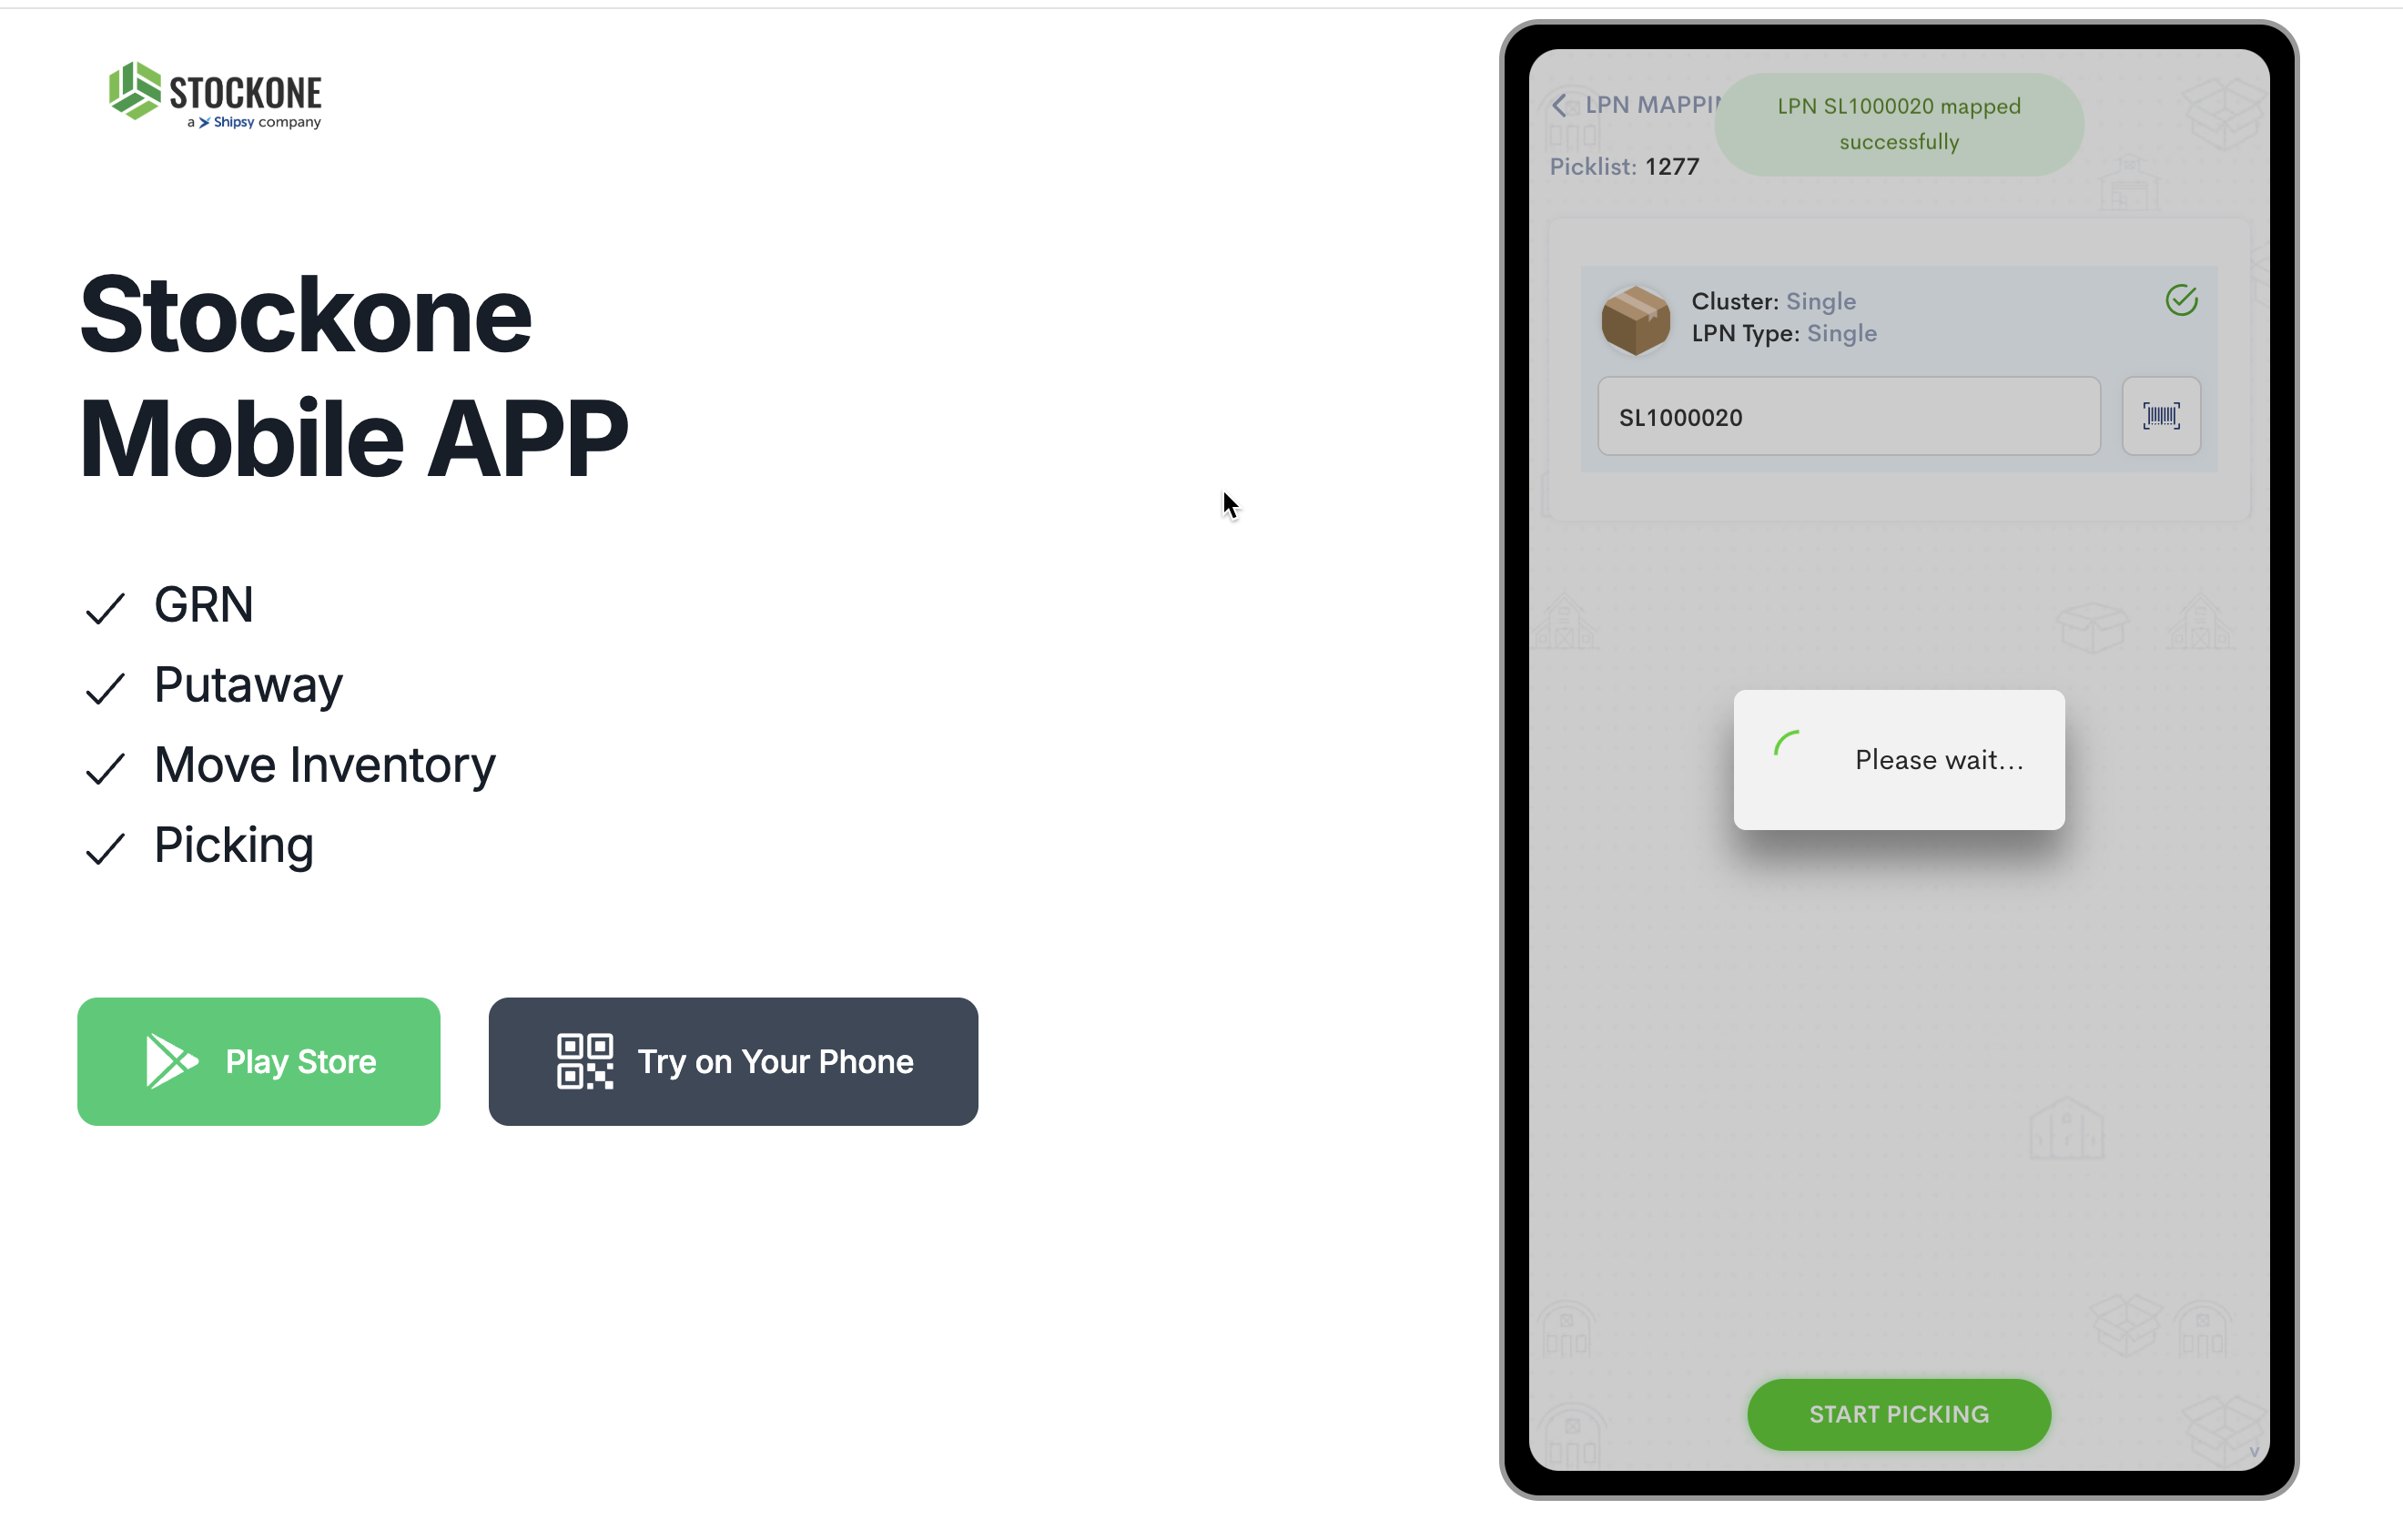
Click here
Step #17: Click here
18
Click here
Step #18: Click here
19
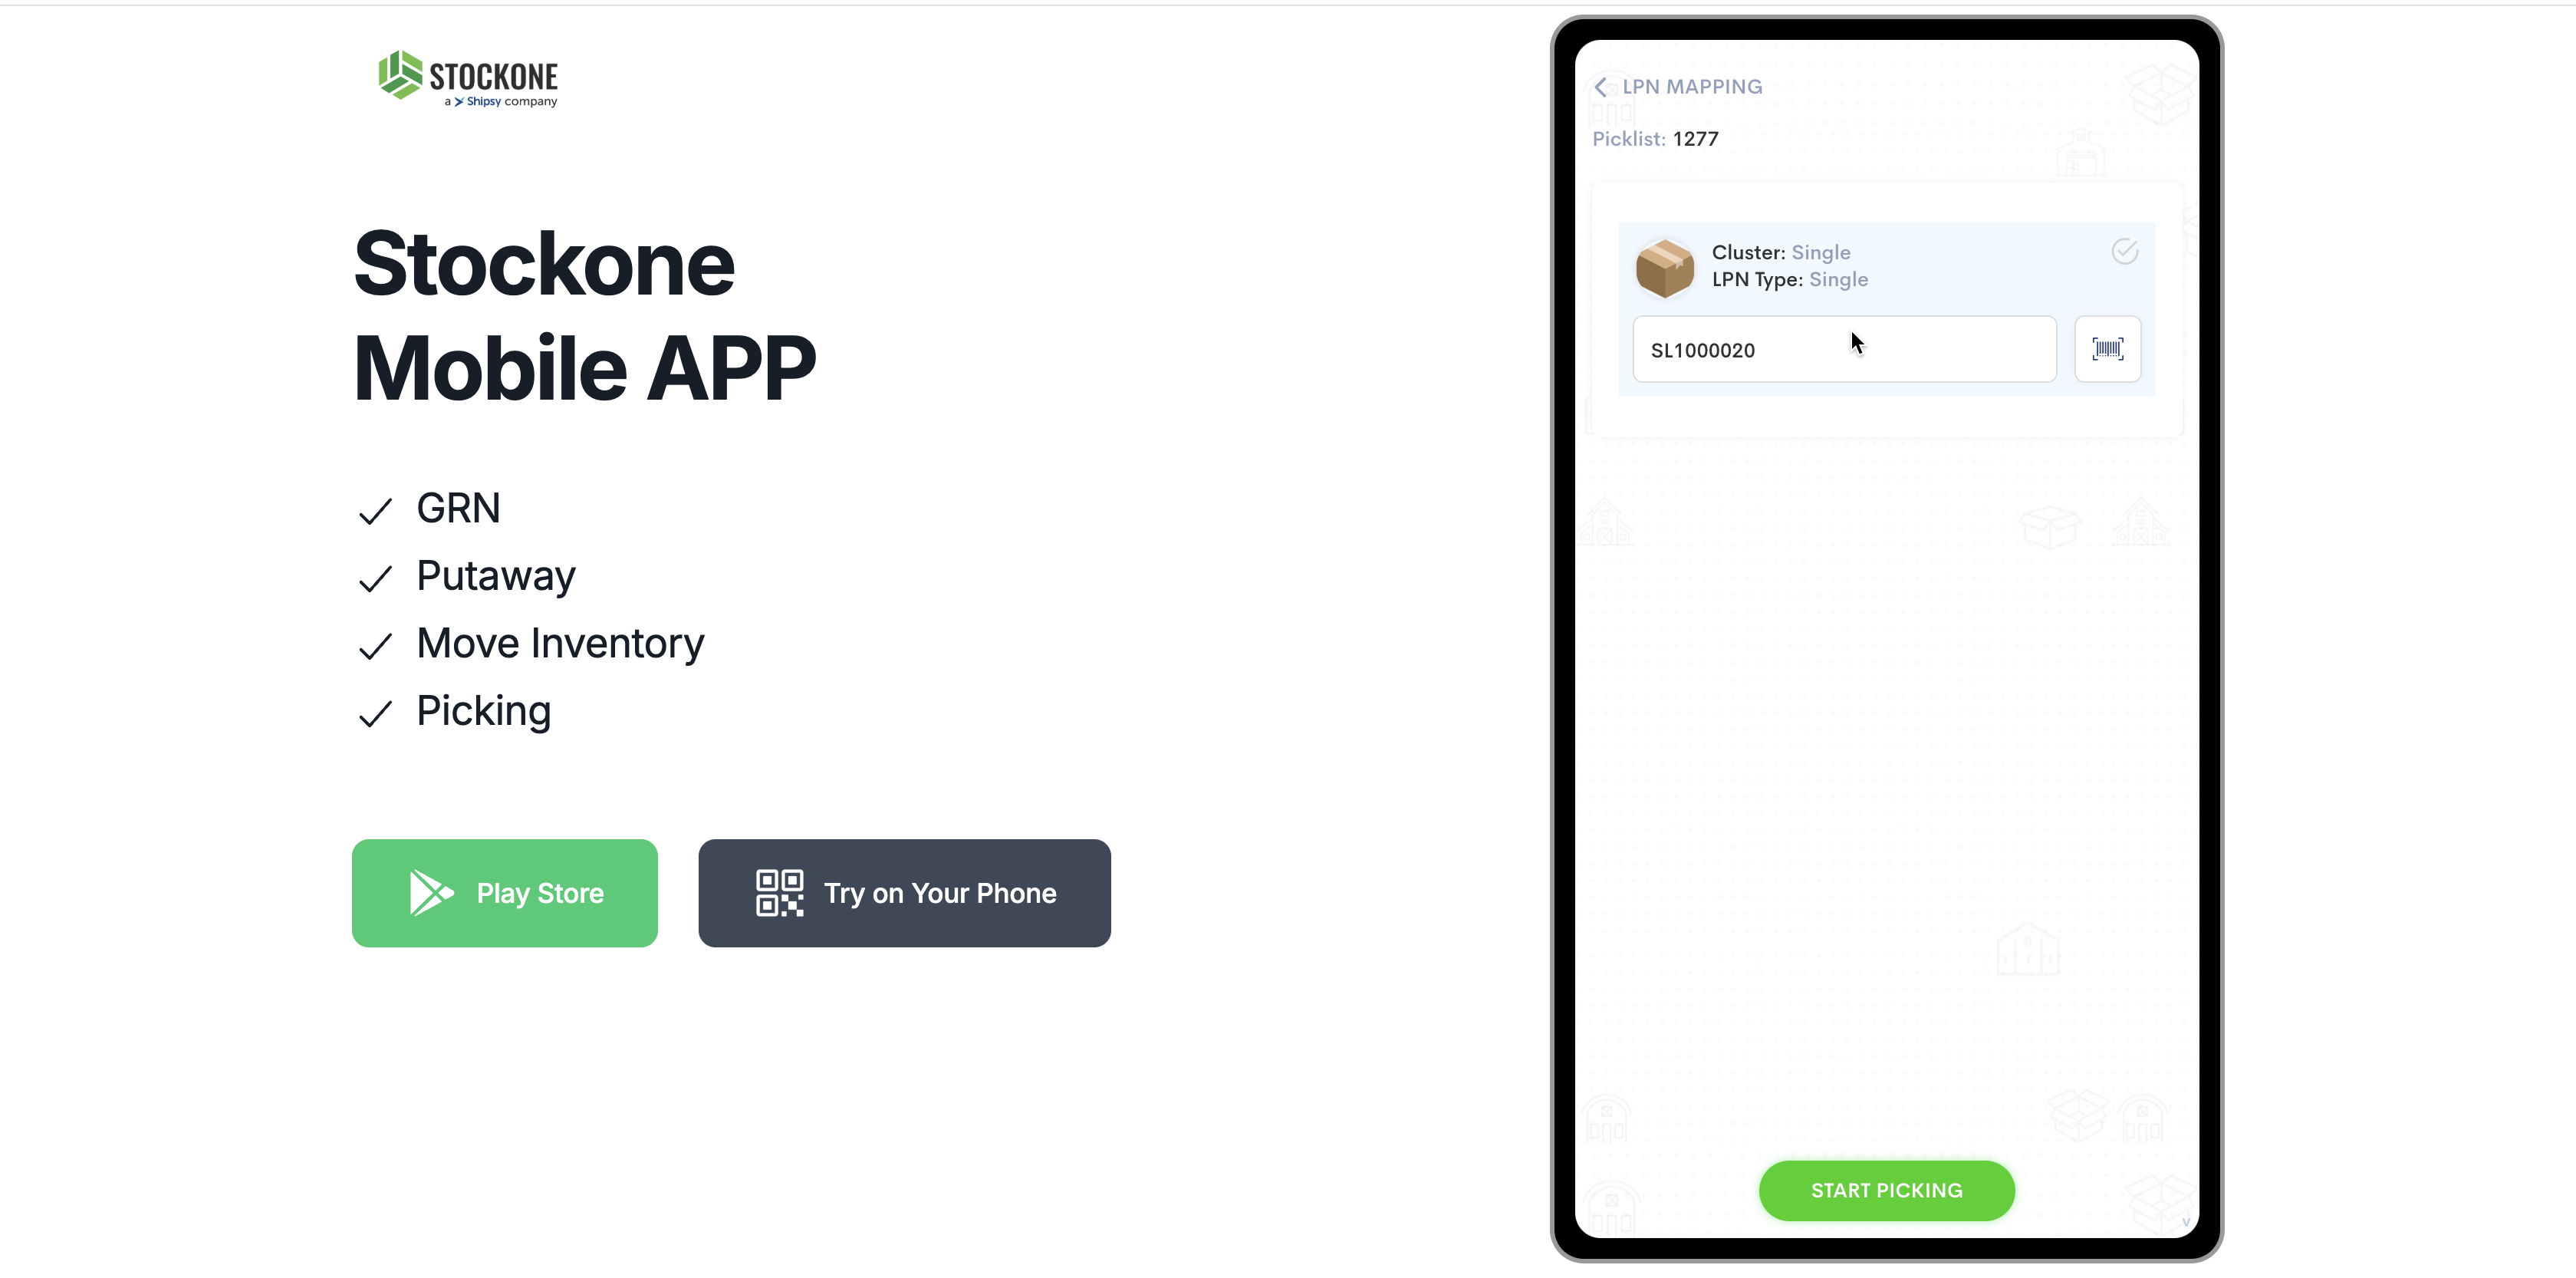
Click on "START PICKING"
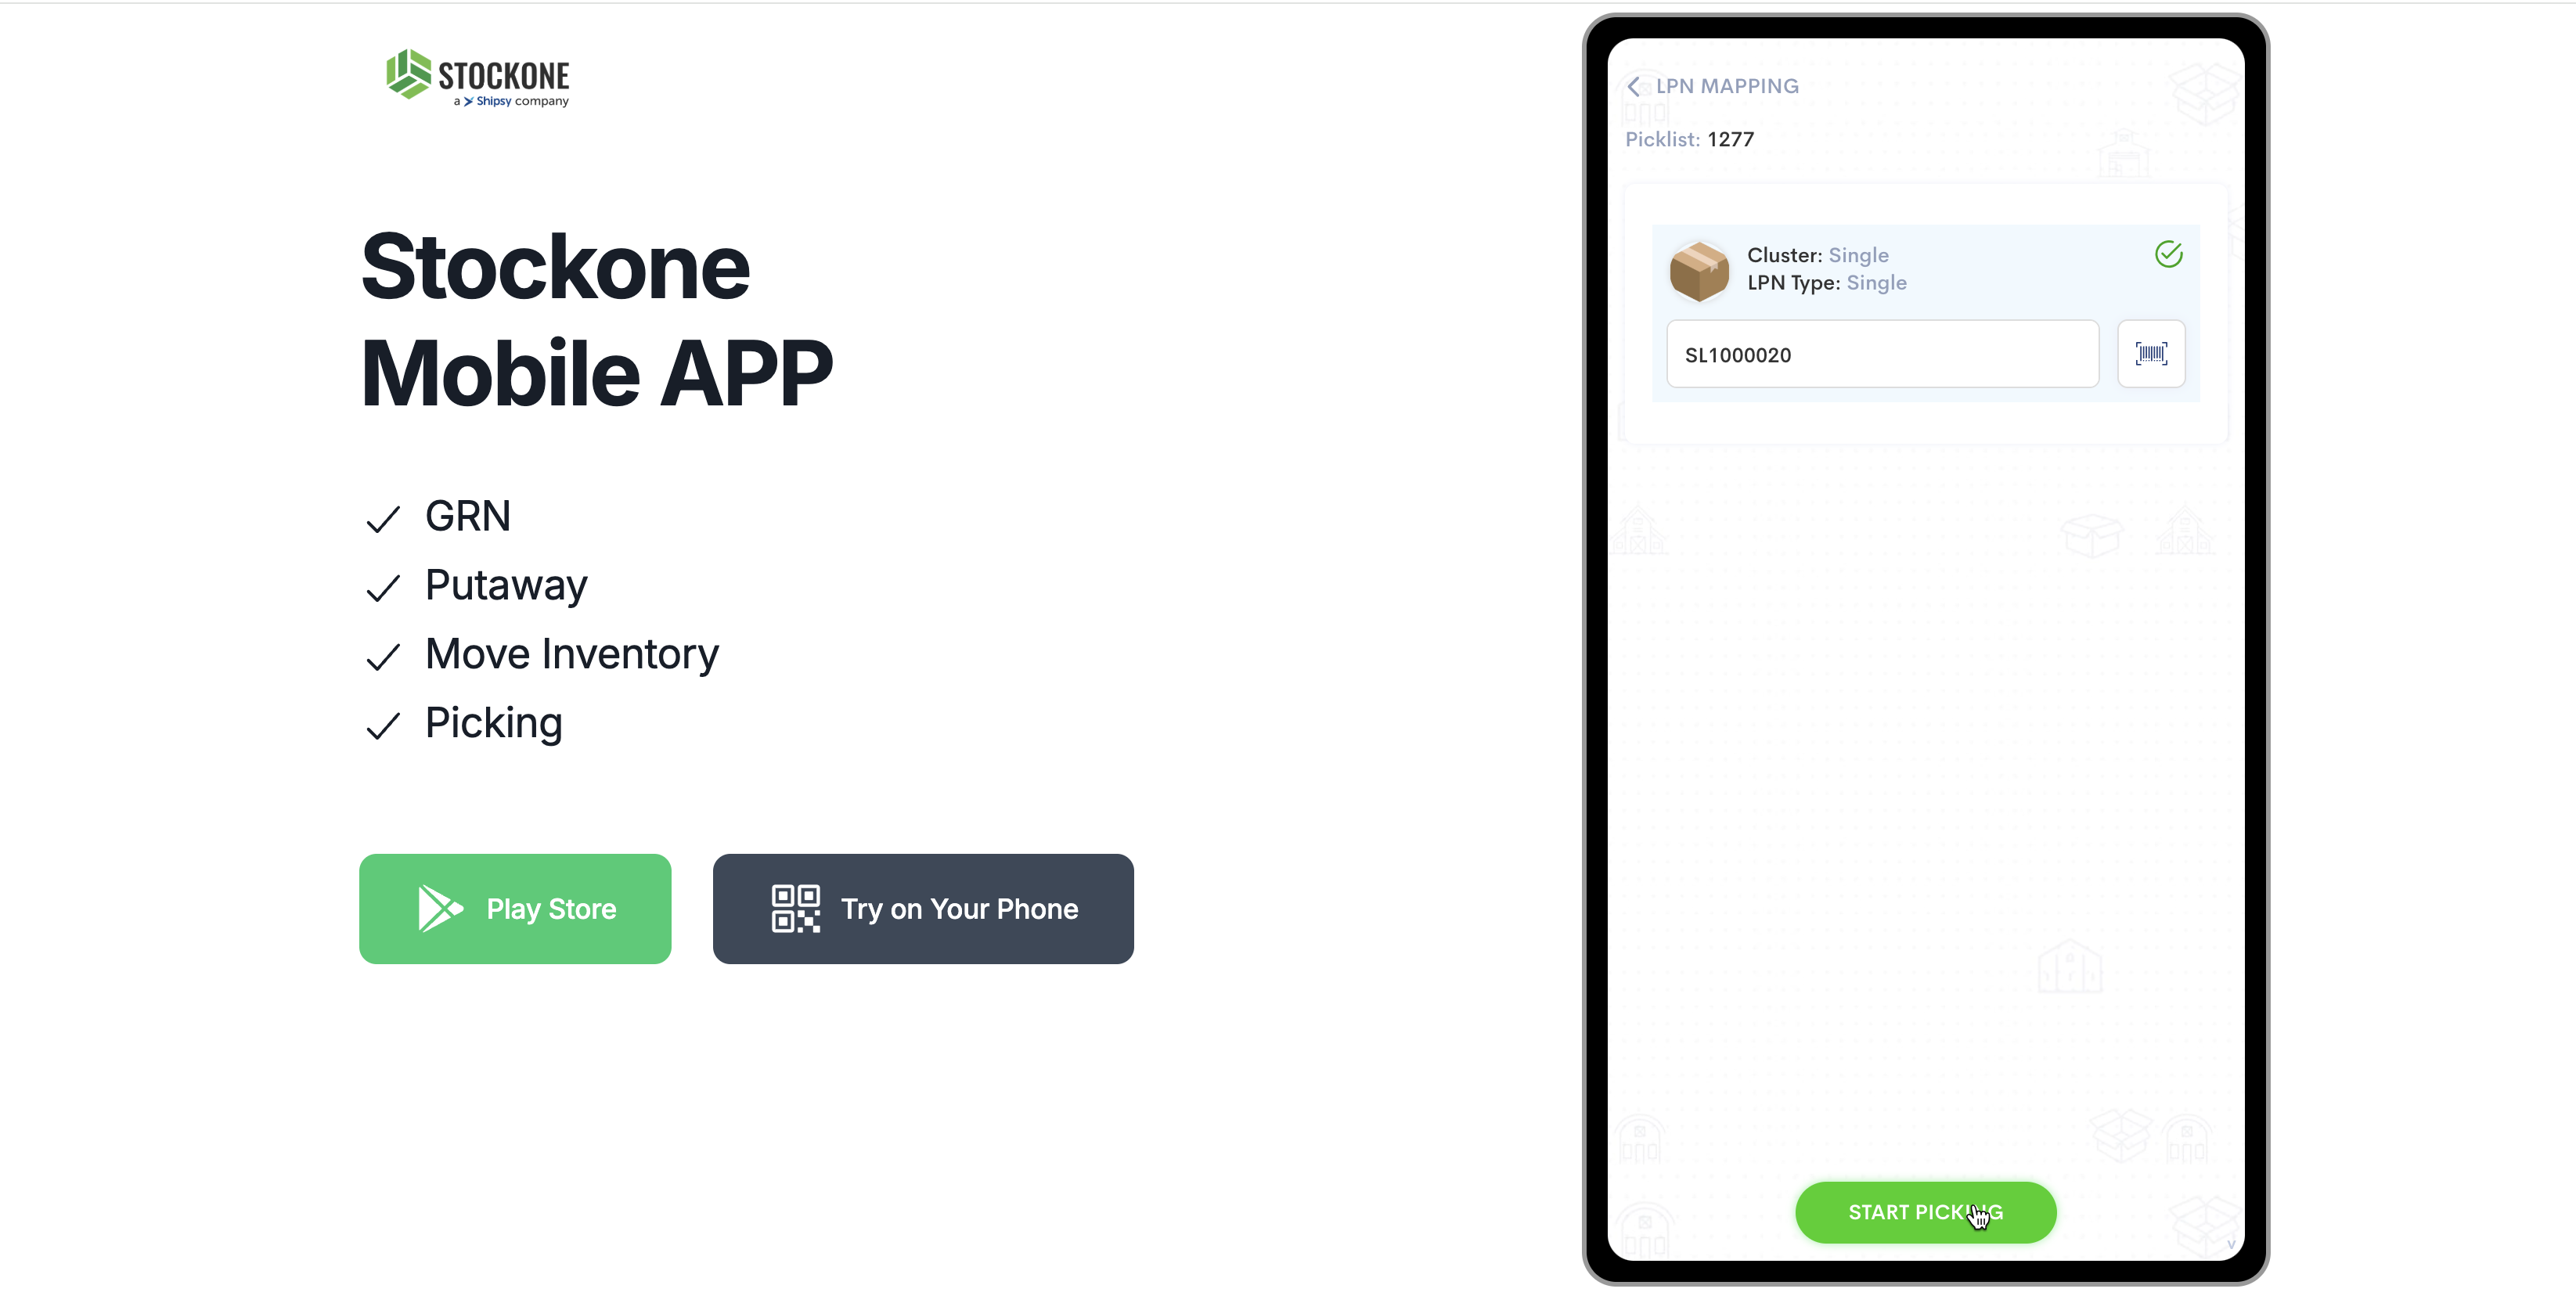
Step #19: Click on "START PICKING"
20
Click here
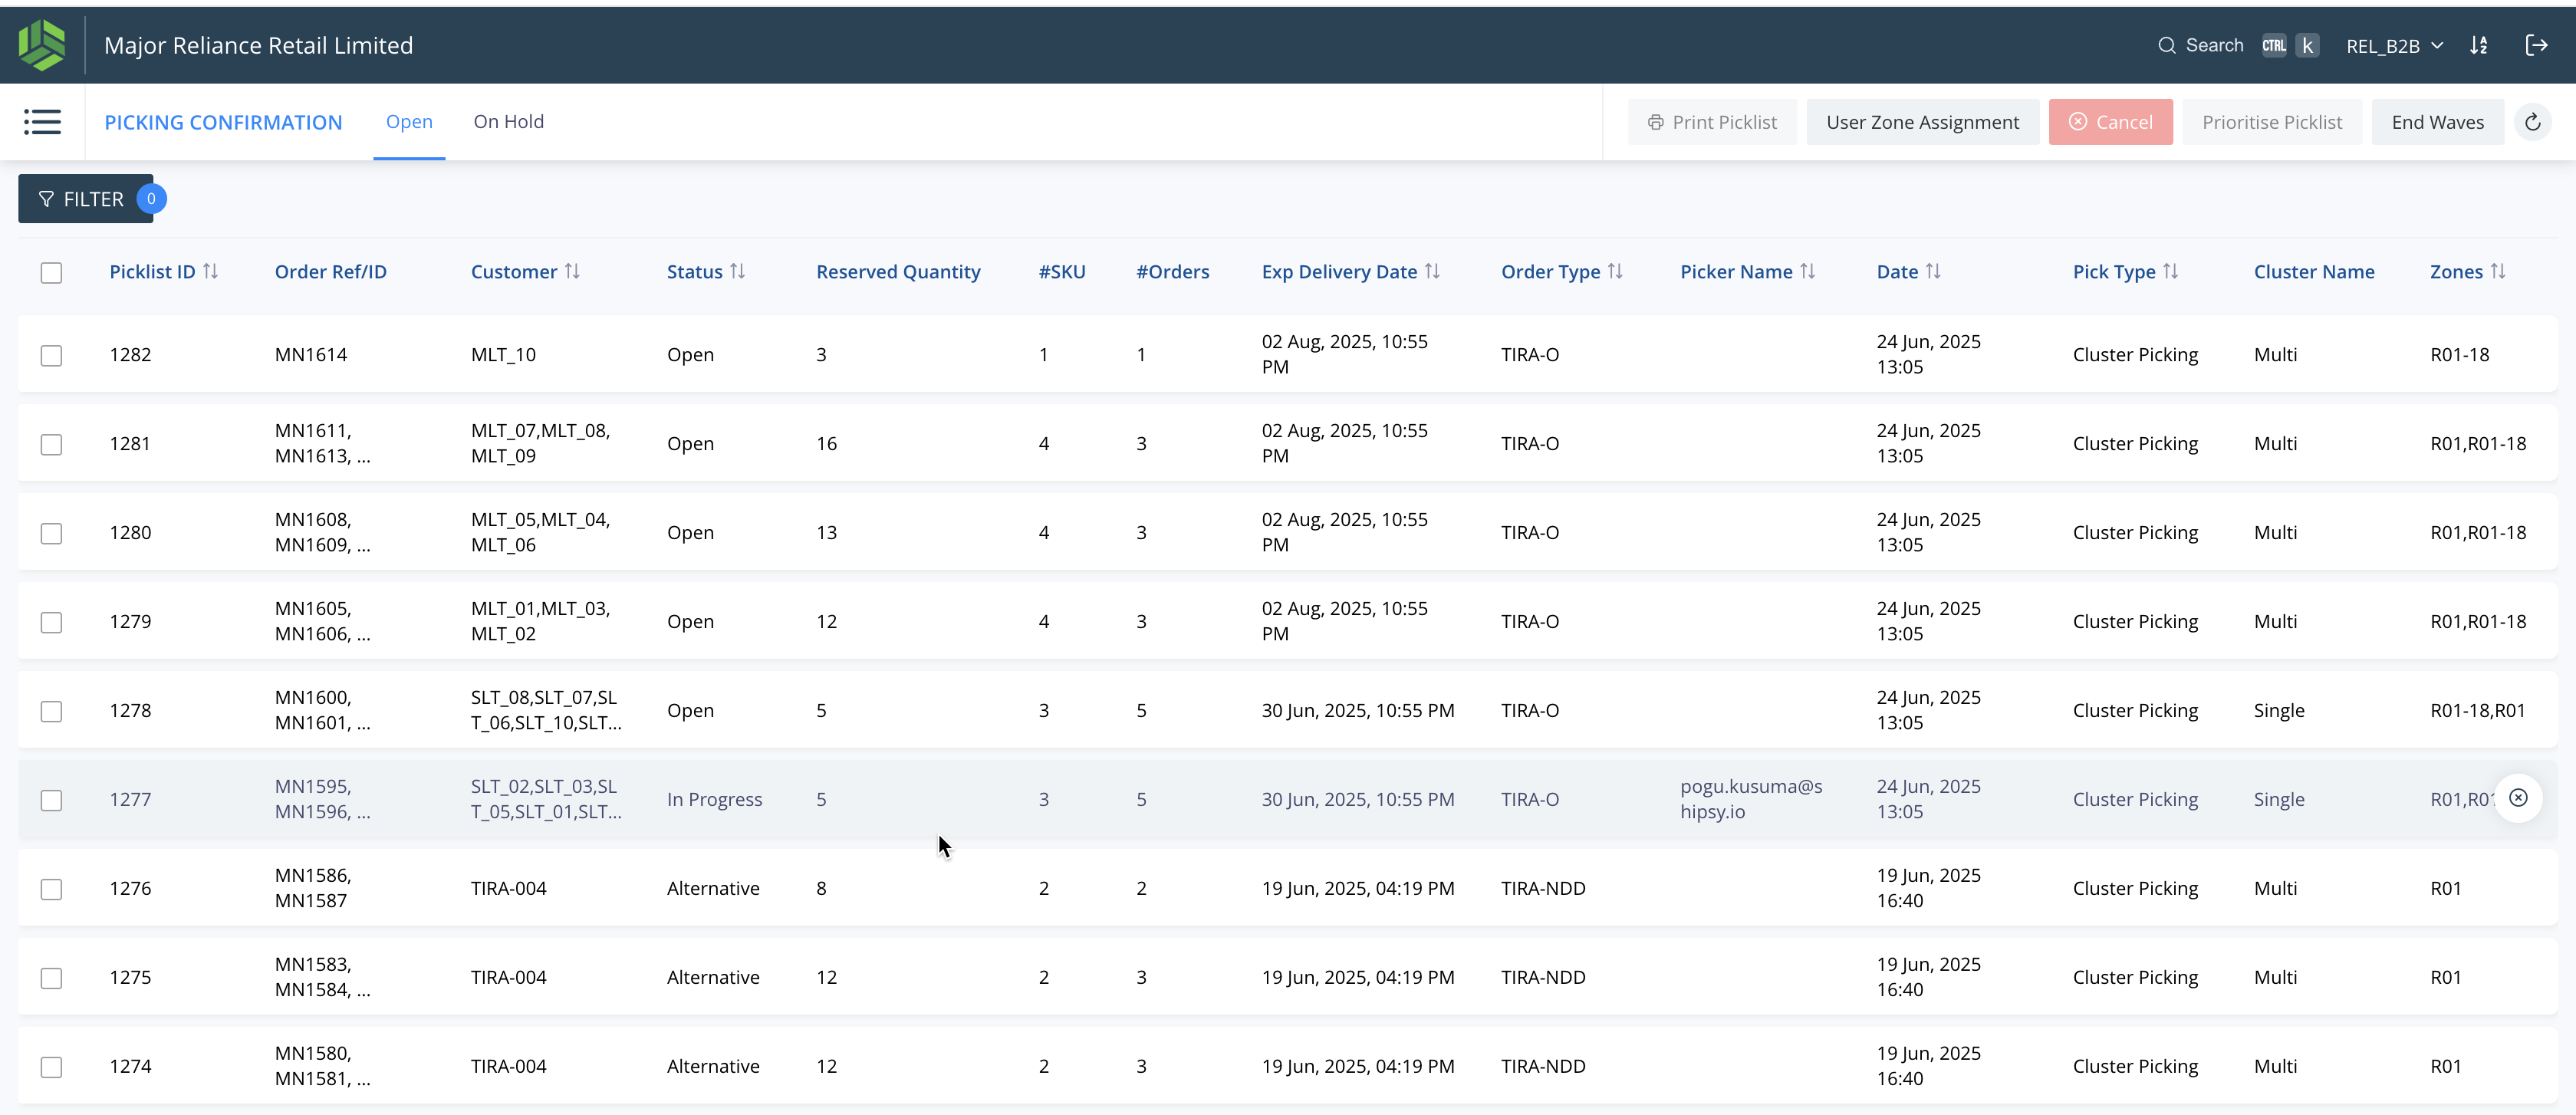
Step #20: Click here
21
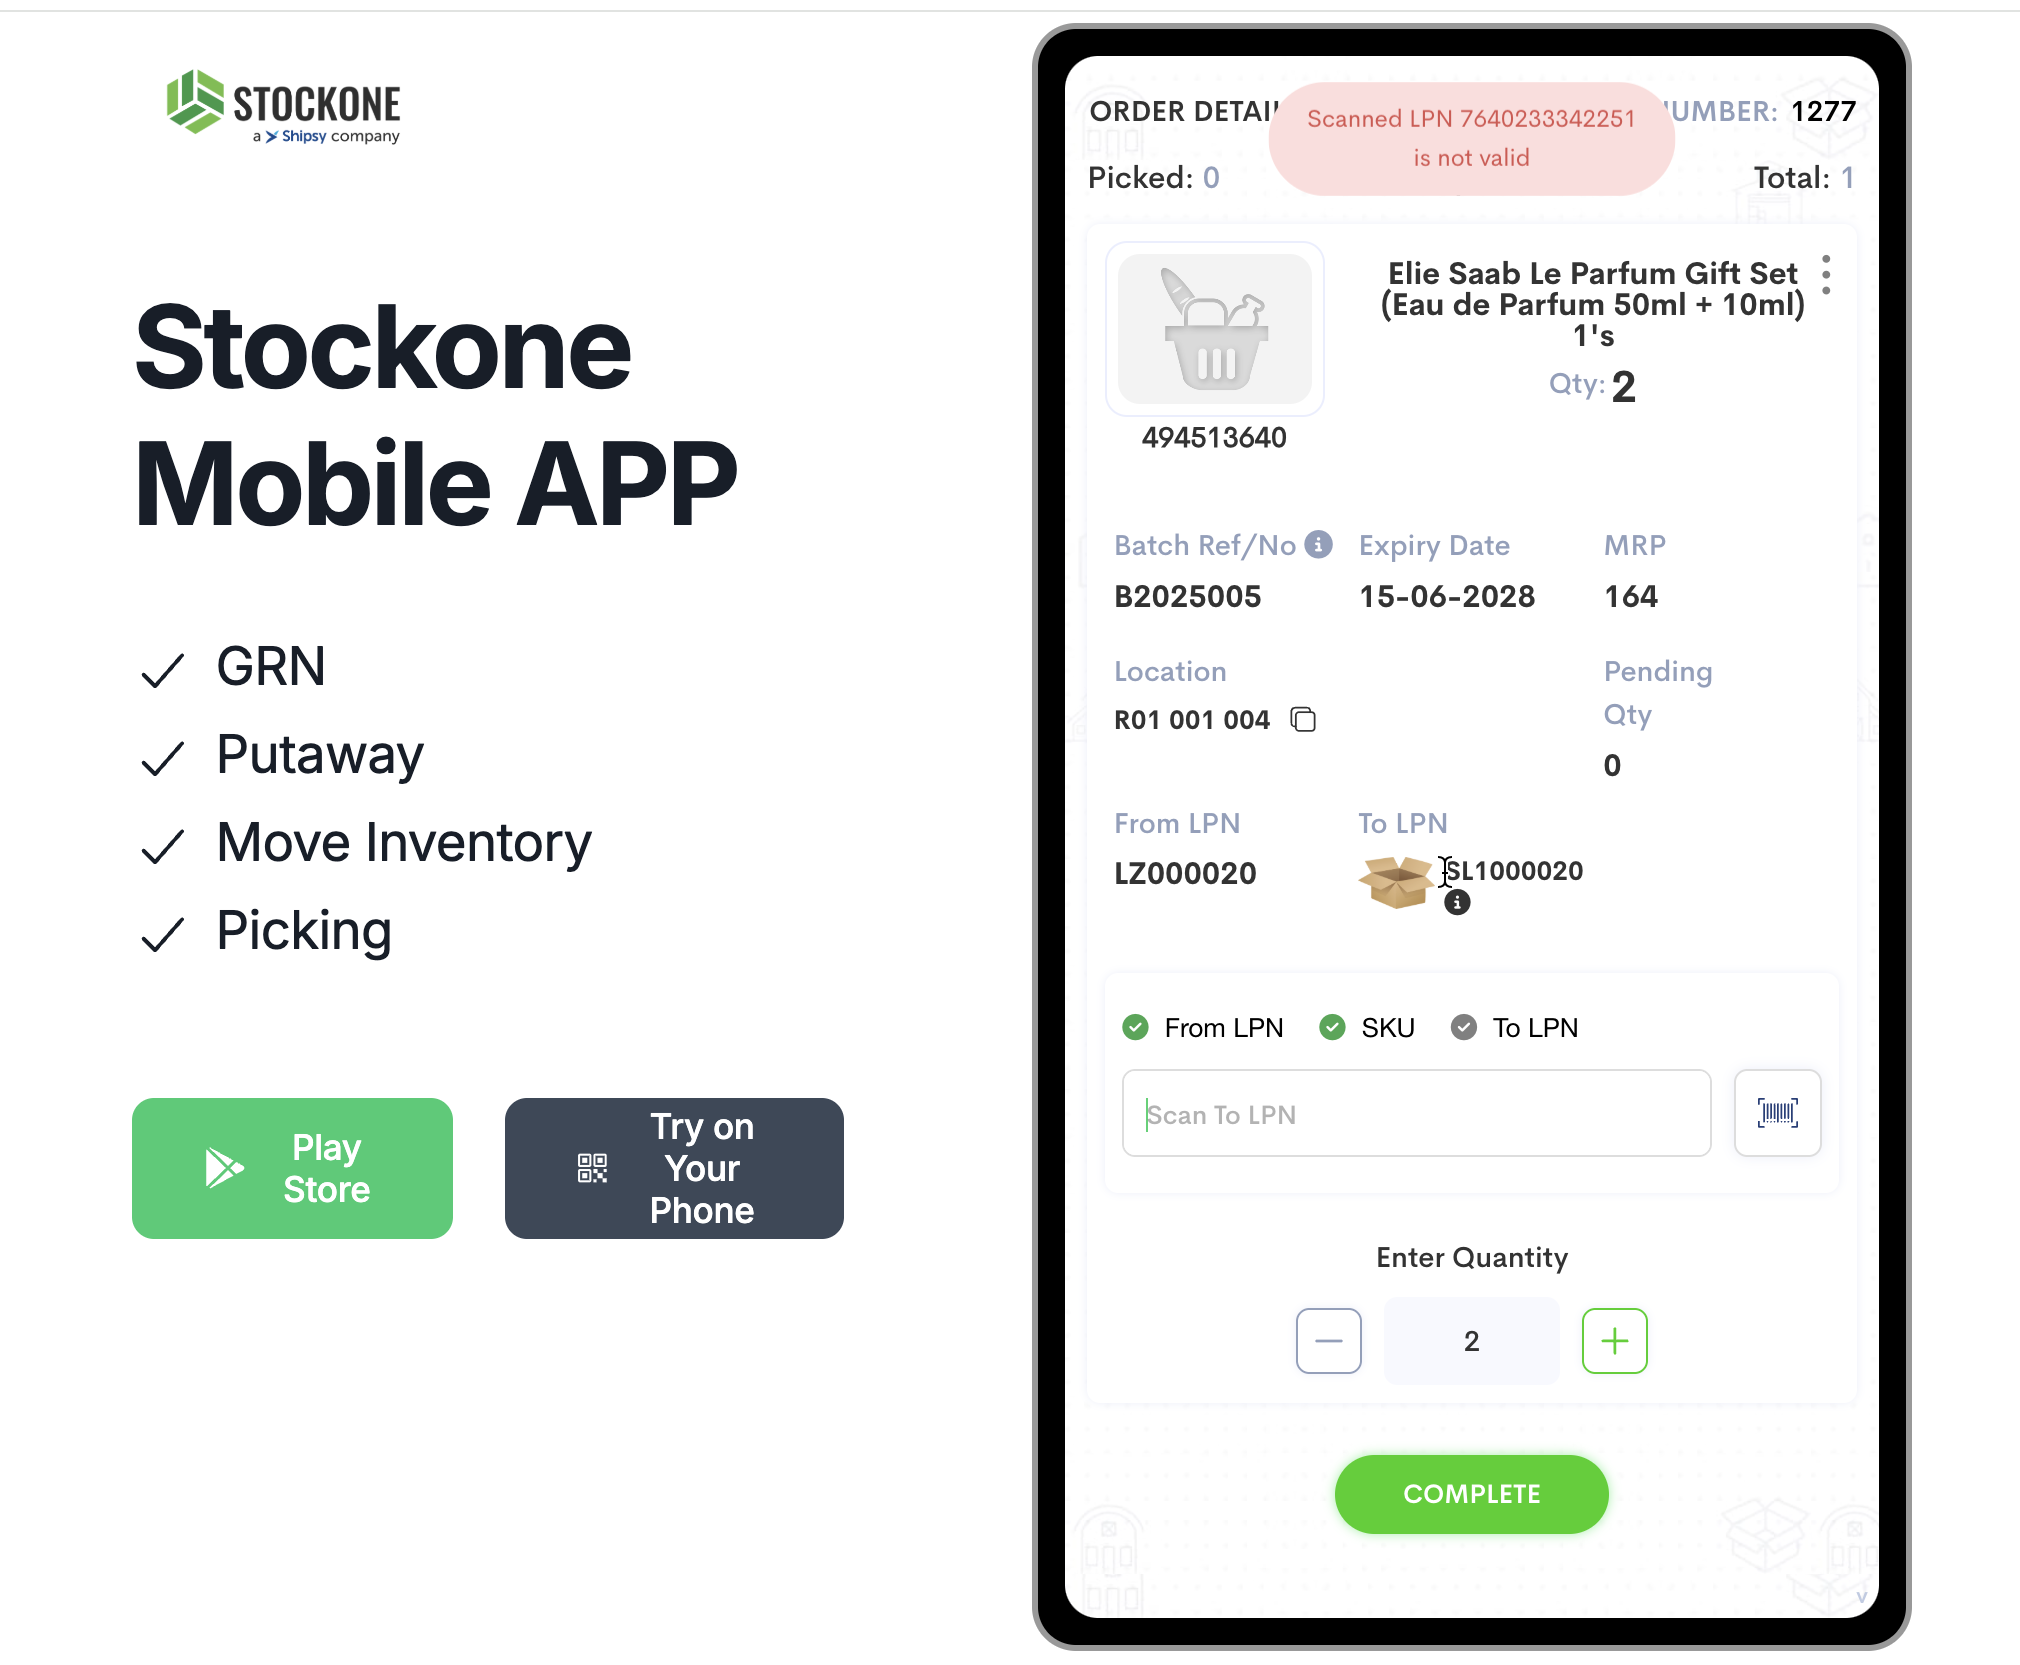
Double-click on "Scan From LPN"
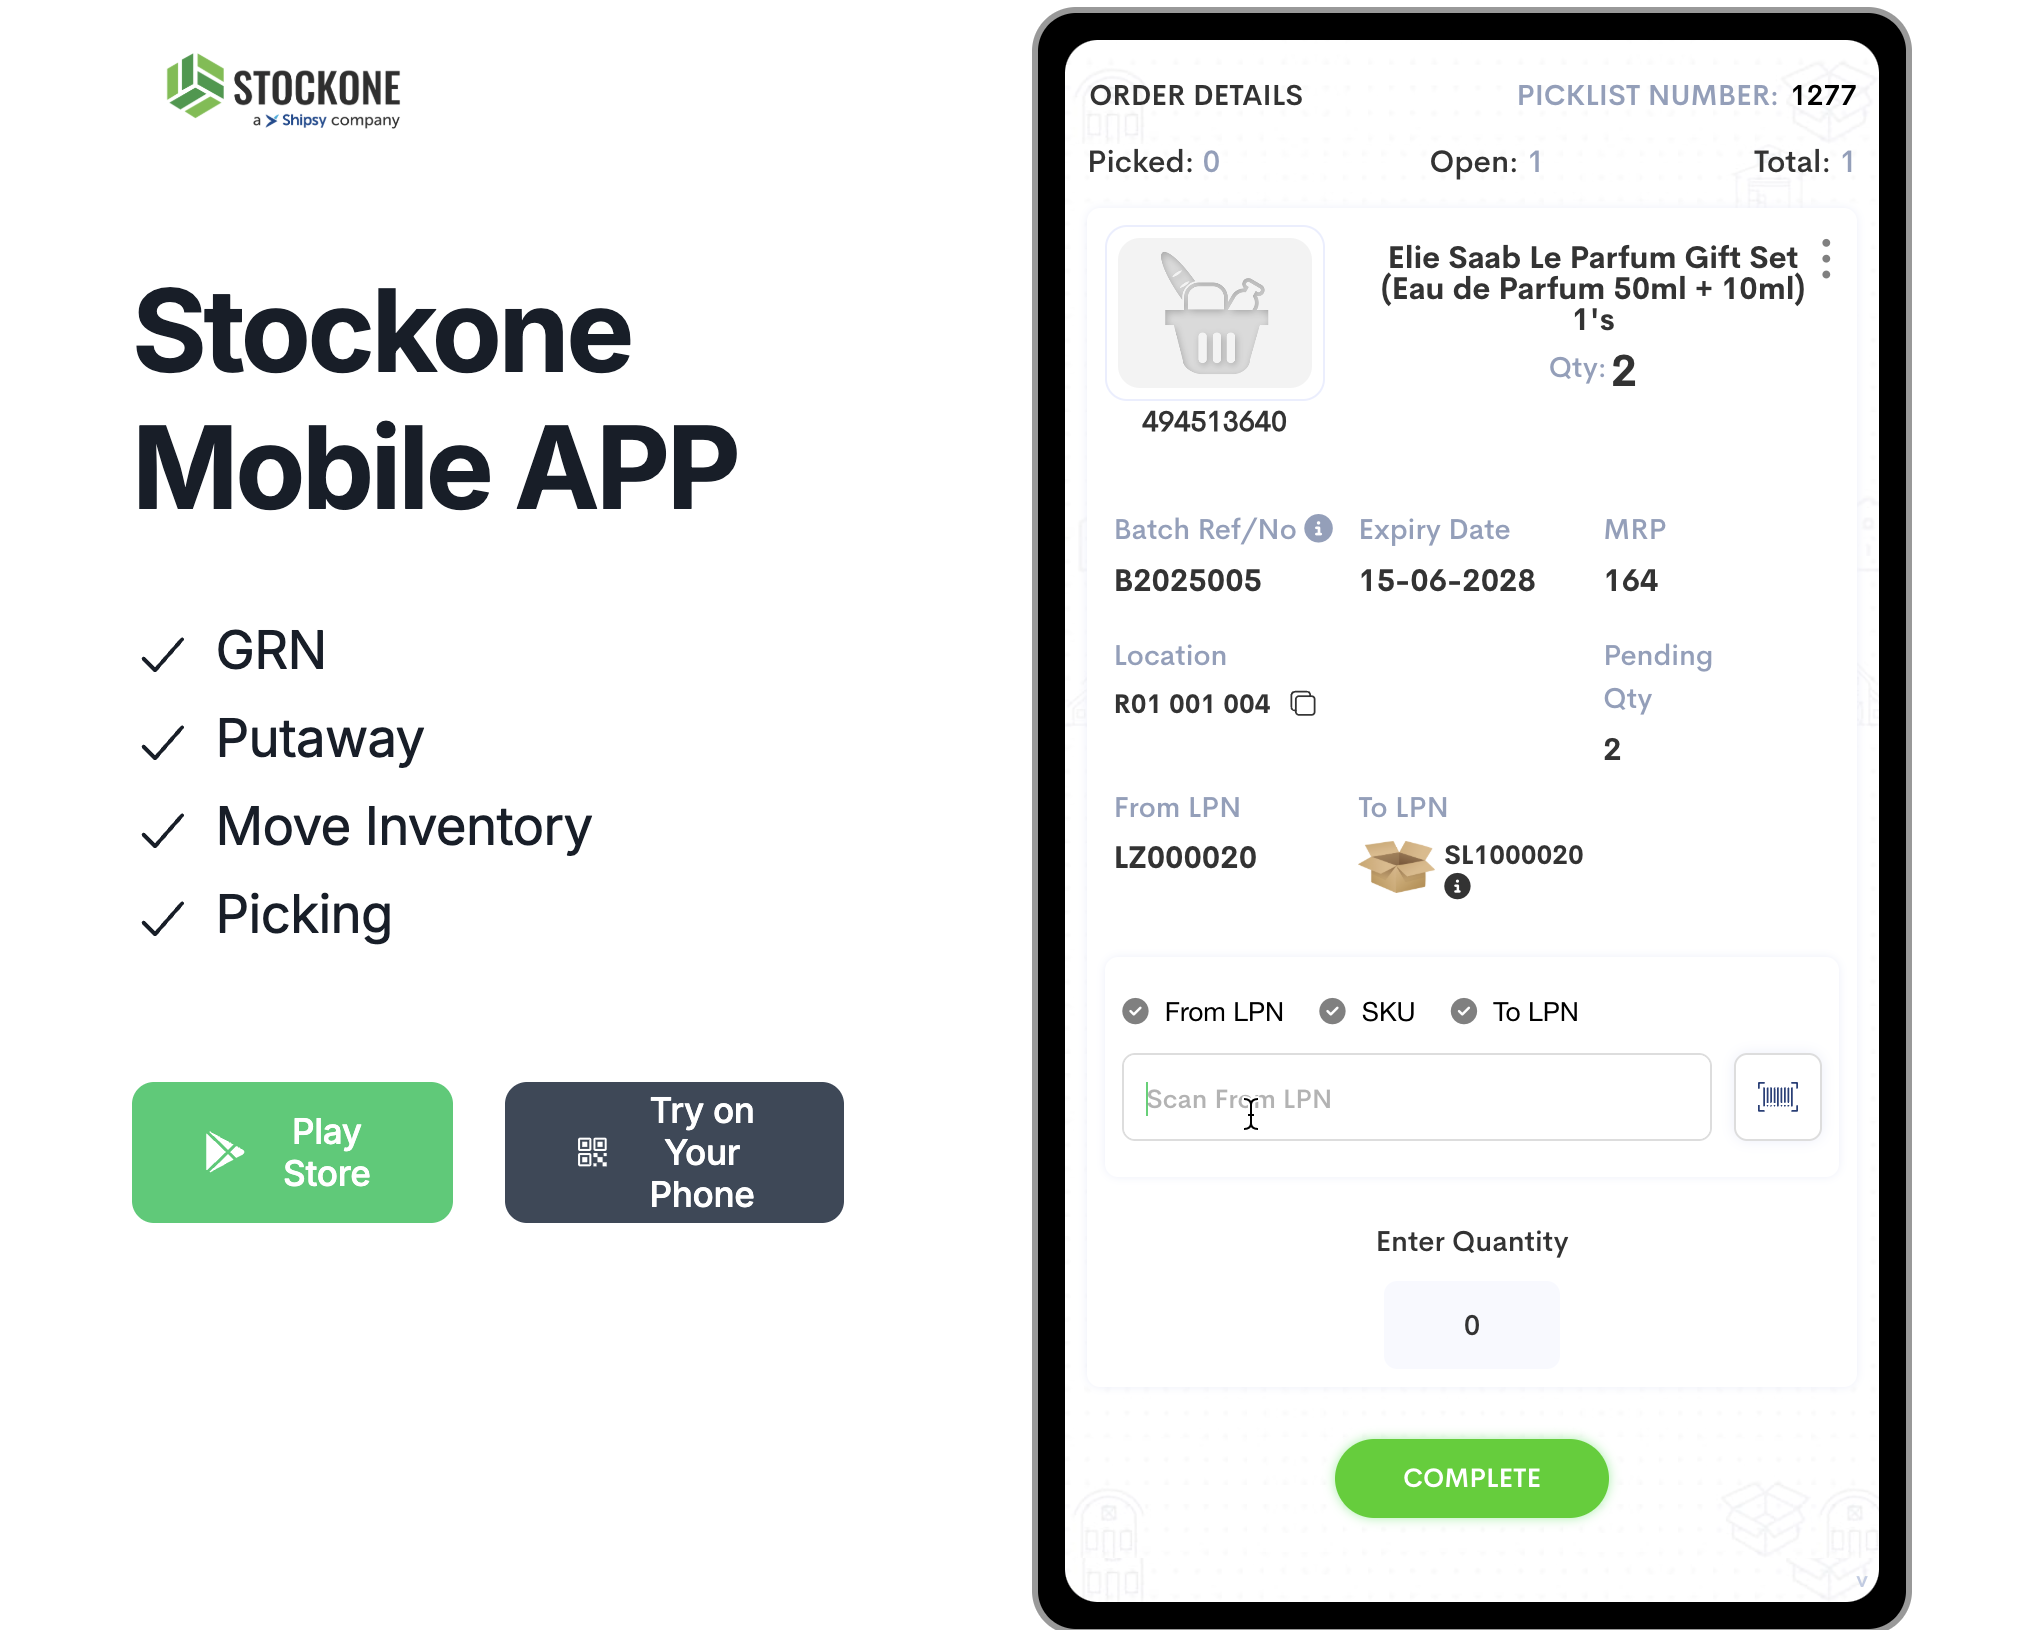
Step #21: Double-click on "Scan From LPN"
22
Click here
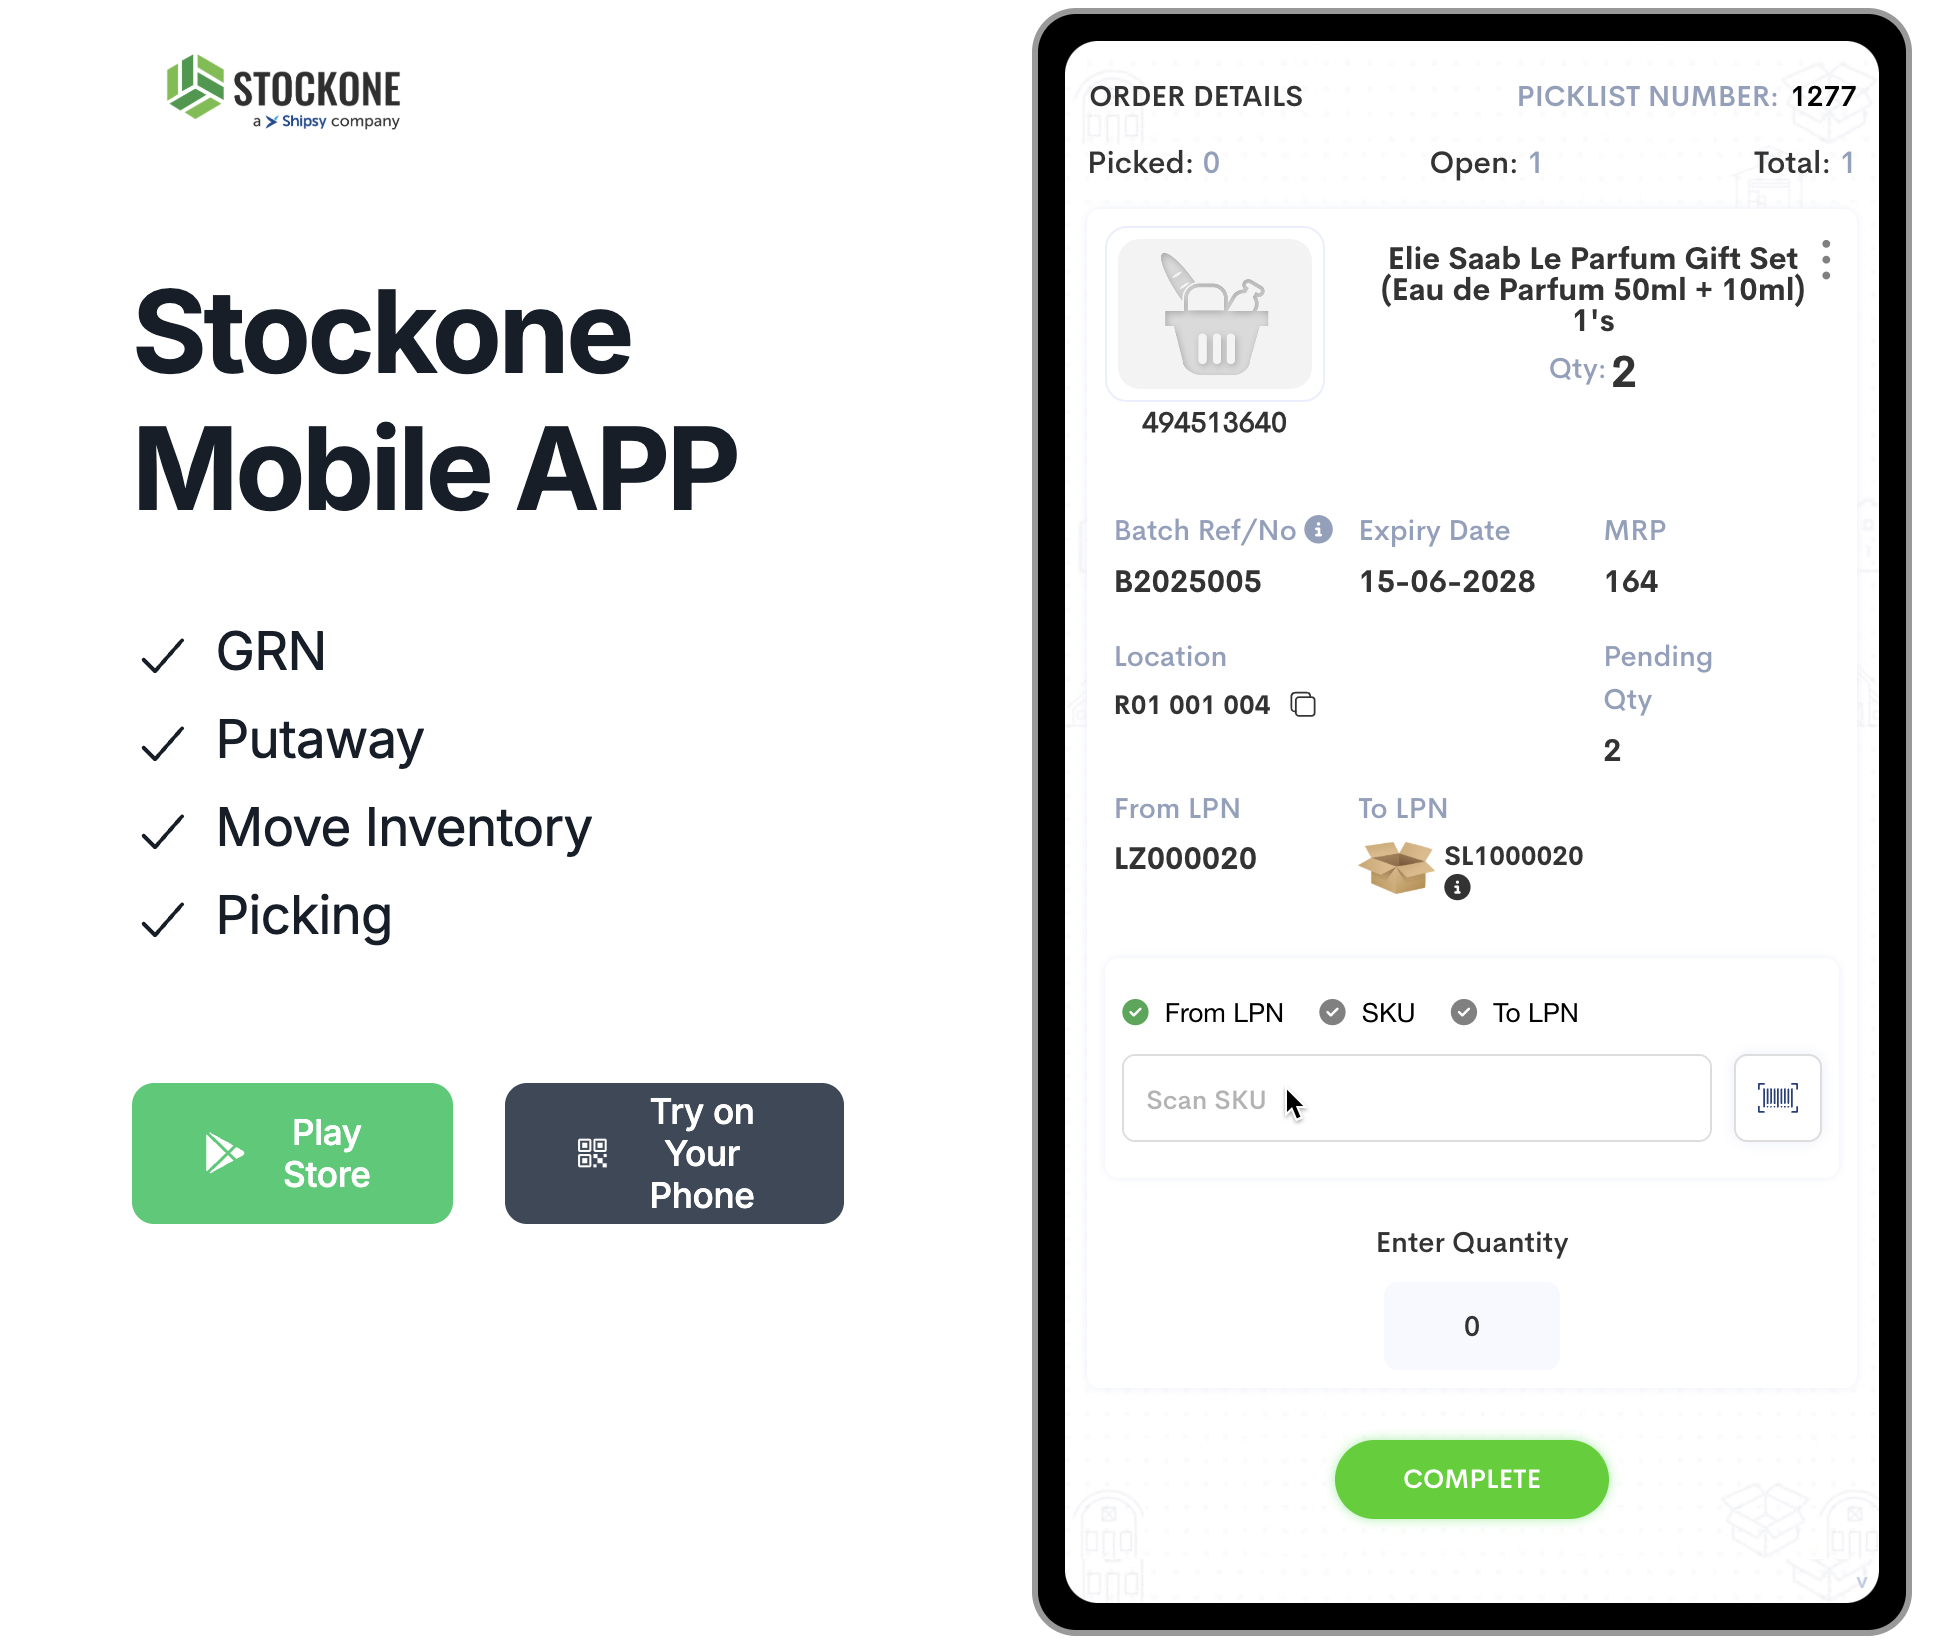
Step #22: Click here
23
Drag "SL1000020"
Step #23: Drag "SL1000020"
24
Double-click on "I"
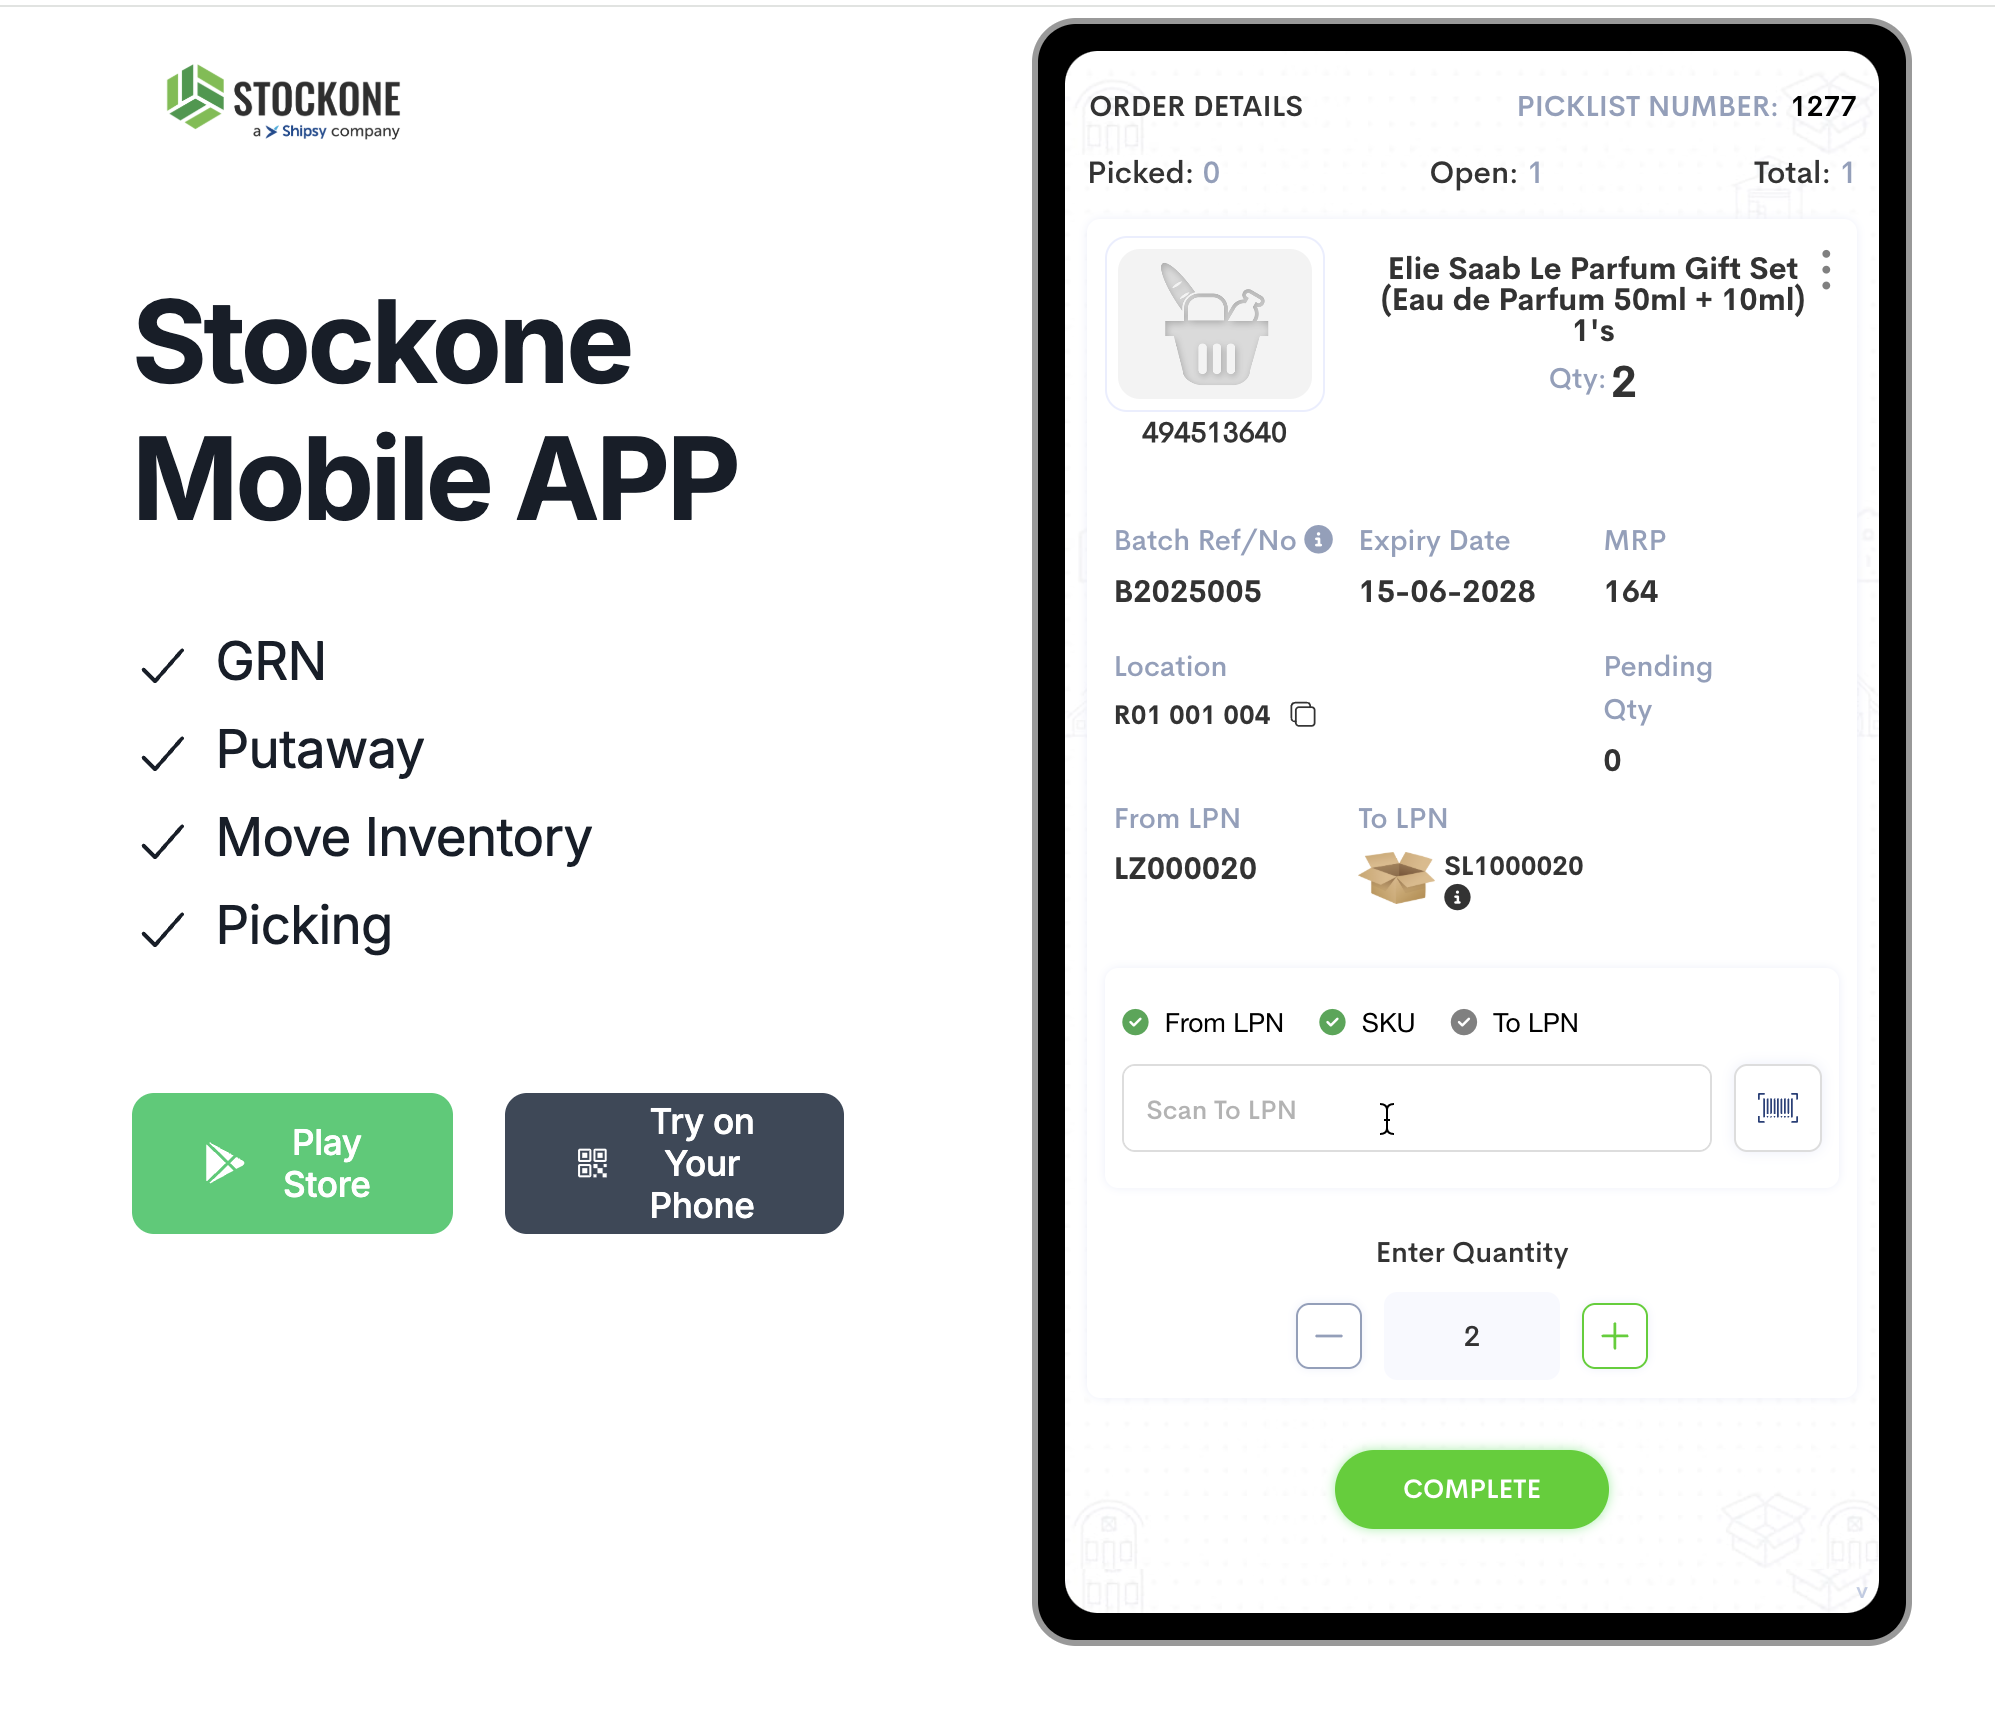
Step #24: Double-click on "I"
25
Click on "COMPLETE"
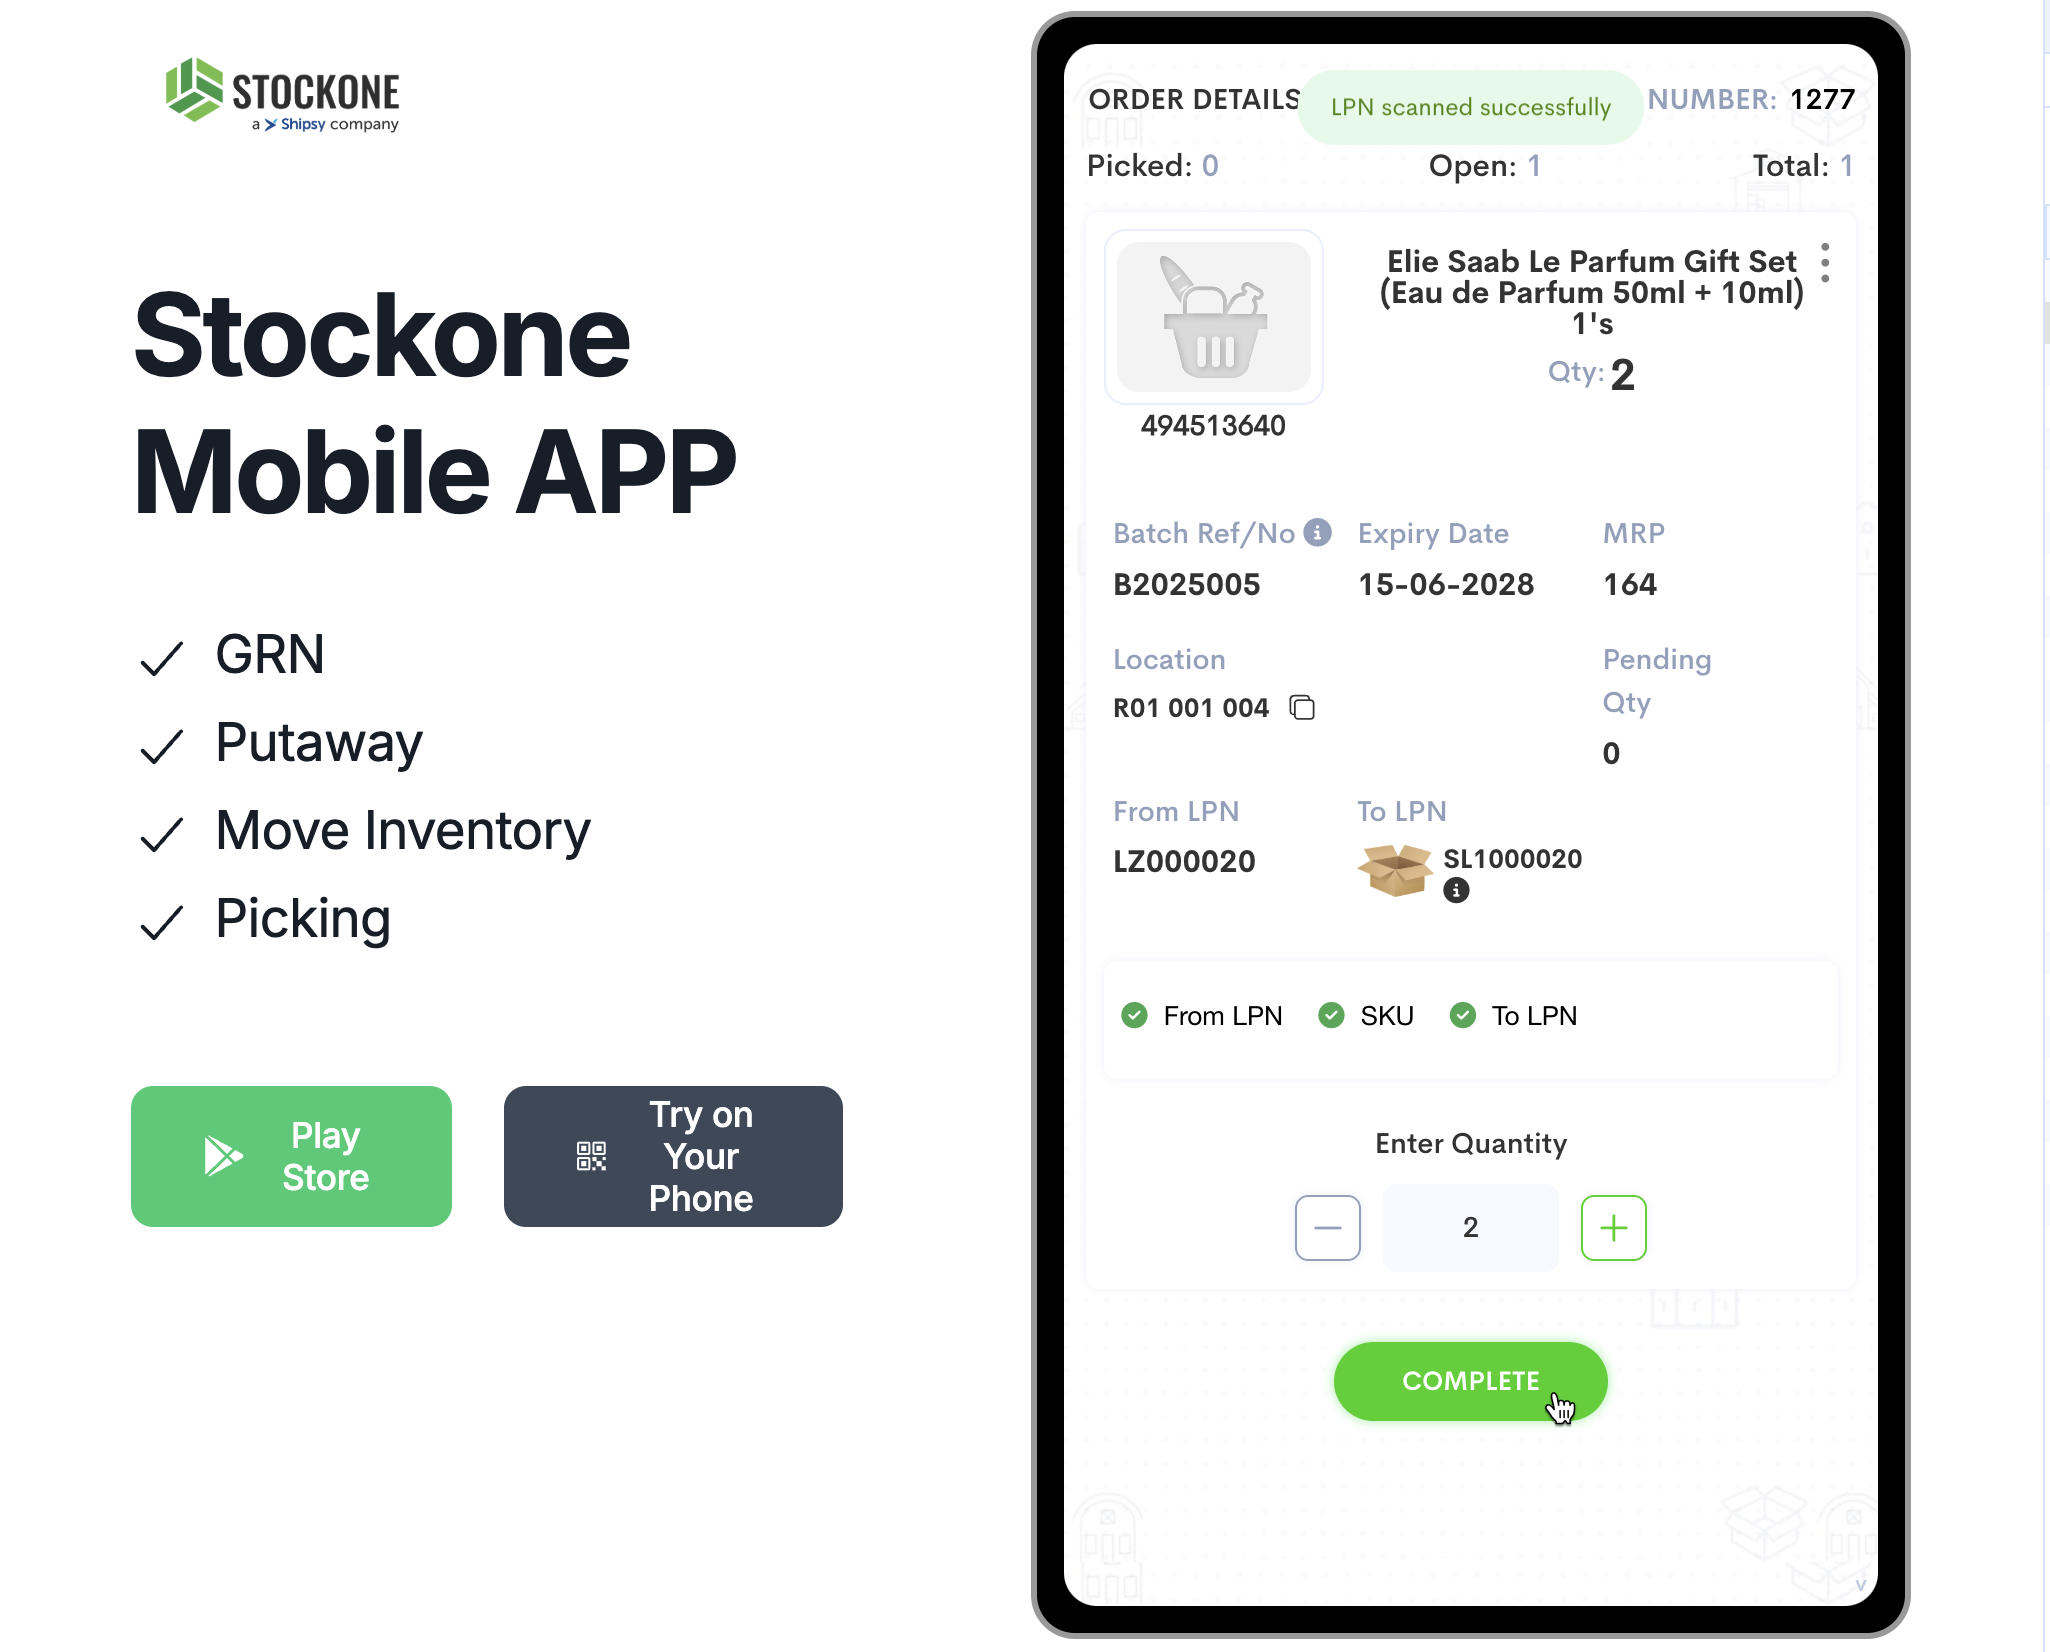
Step #25: Click on "COMPLETE"
26
Click on "PRE_INVOICE1"
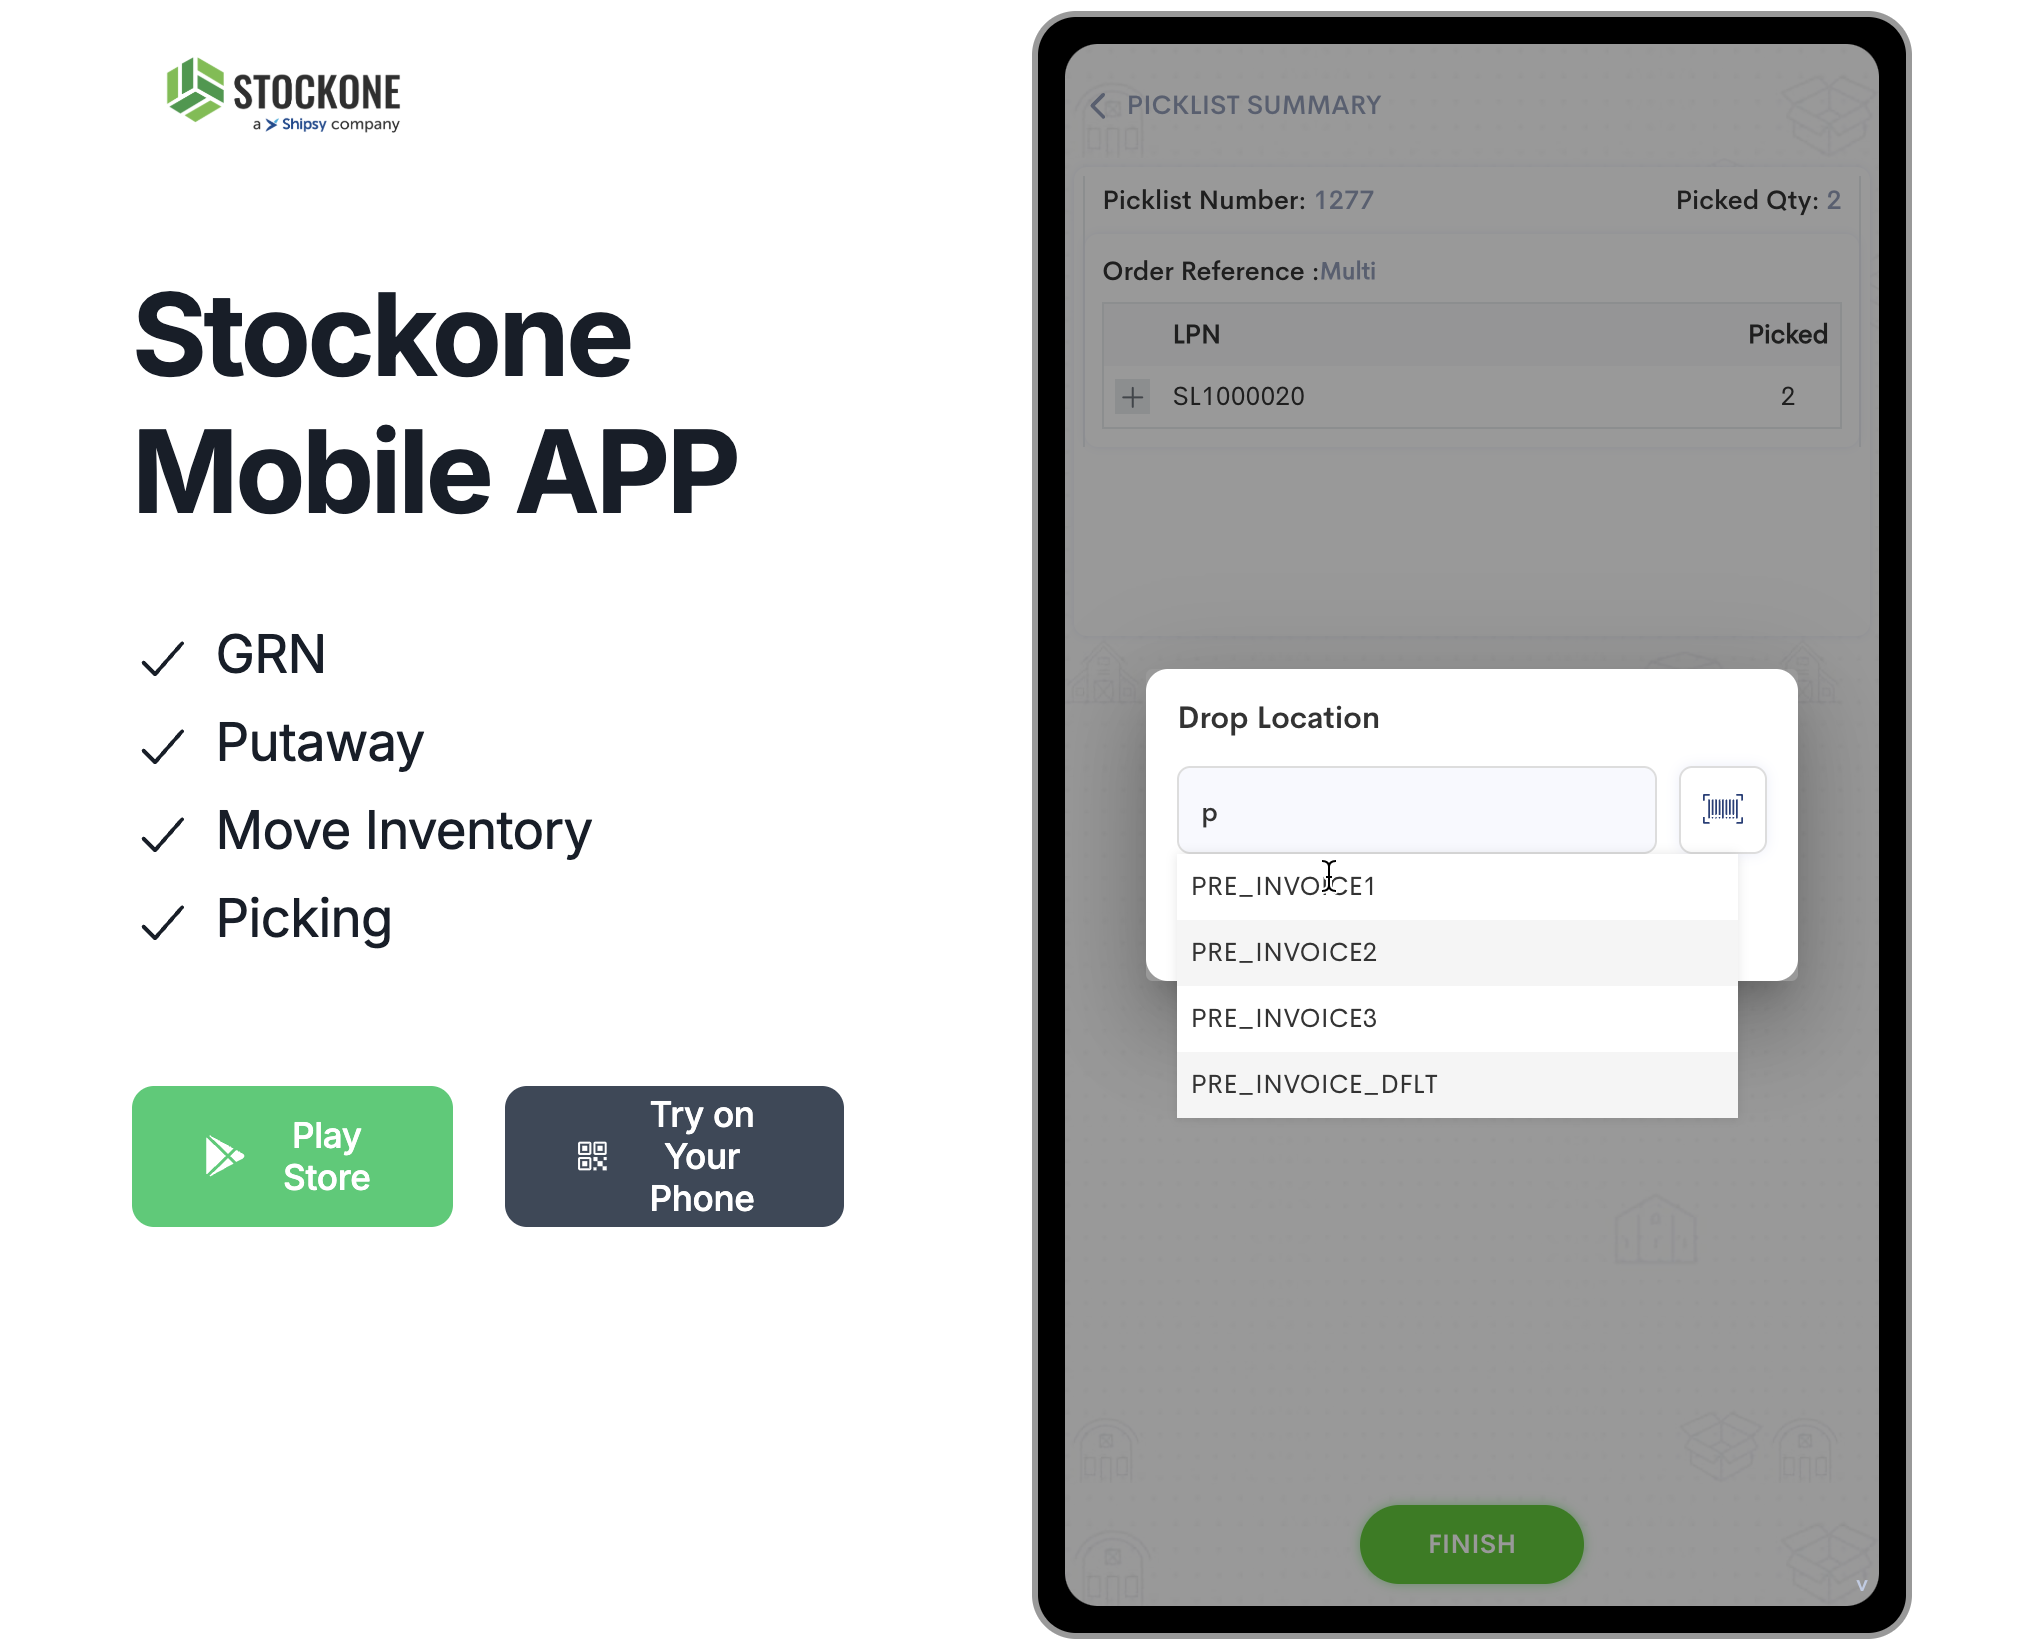
Step #26: Click on "PRE_INVOICE1"
27
Click on "OK"
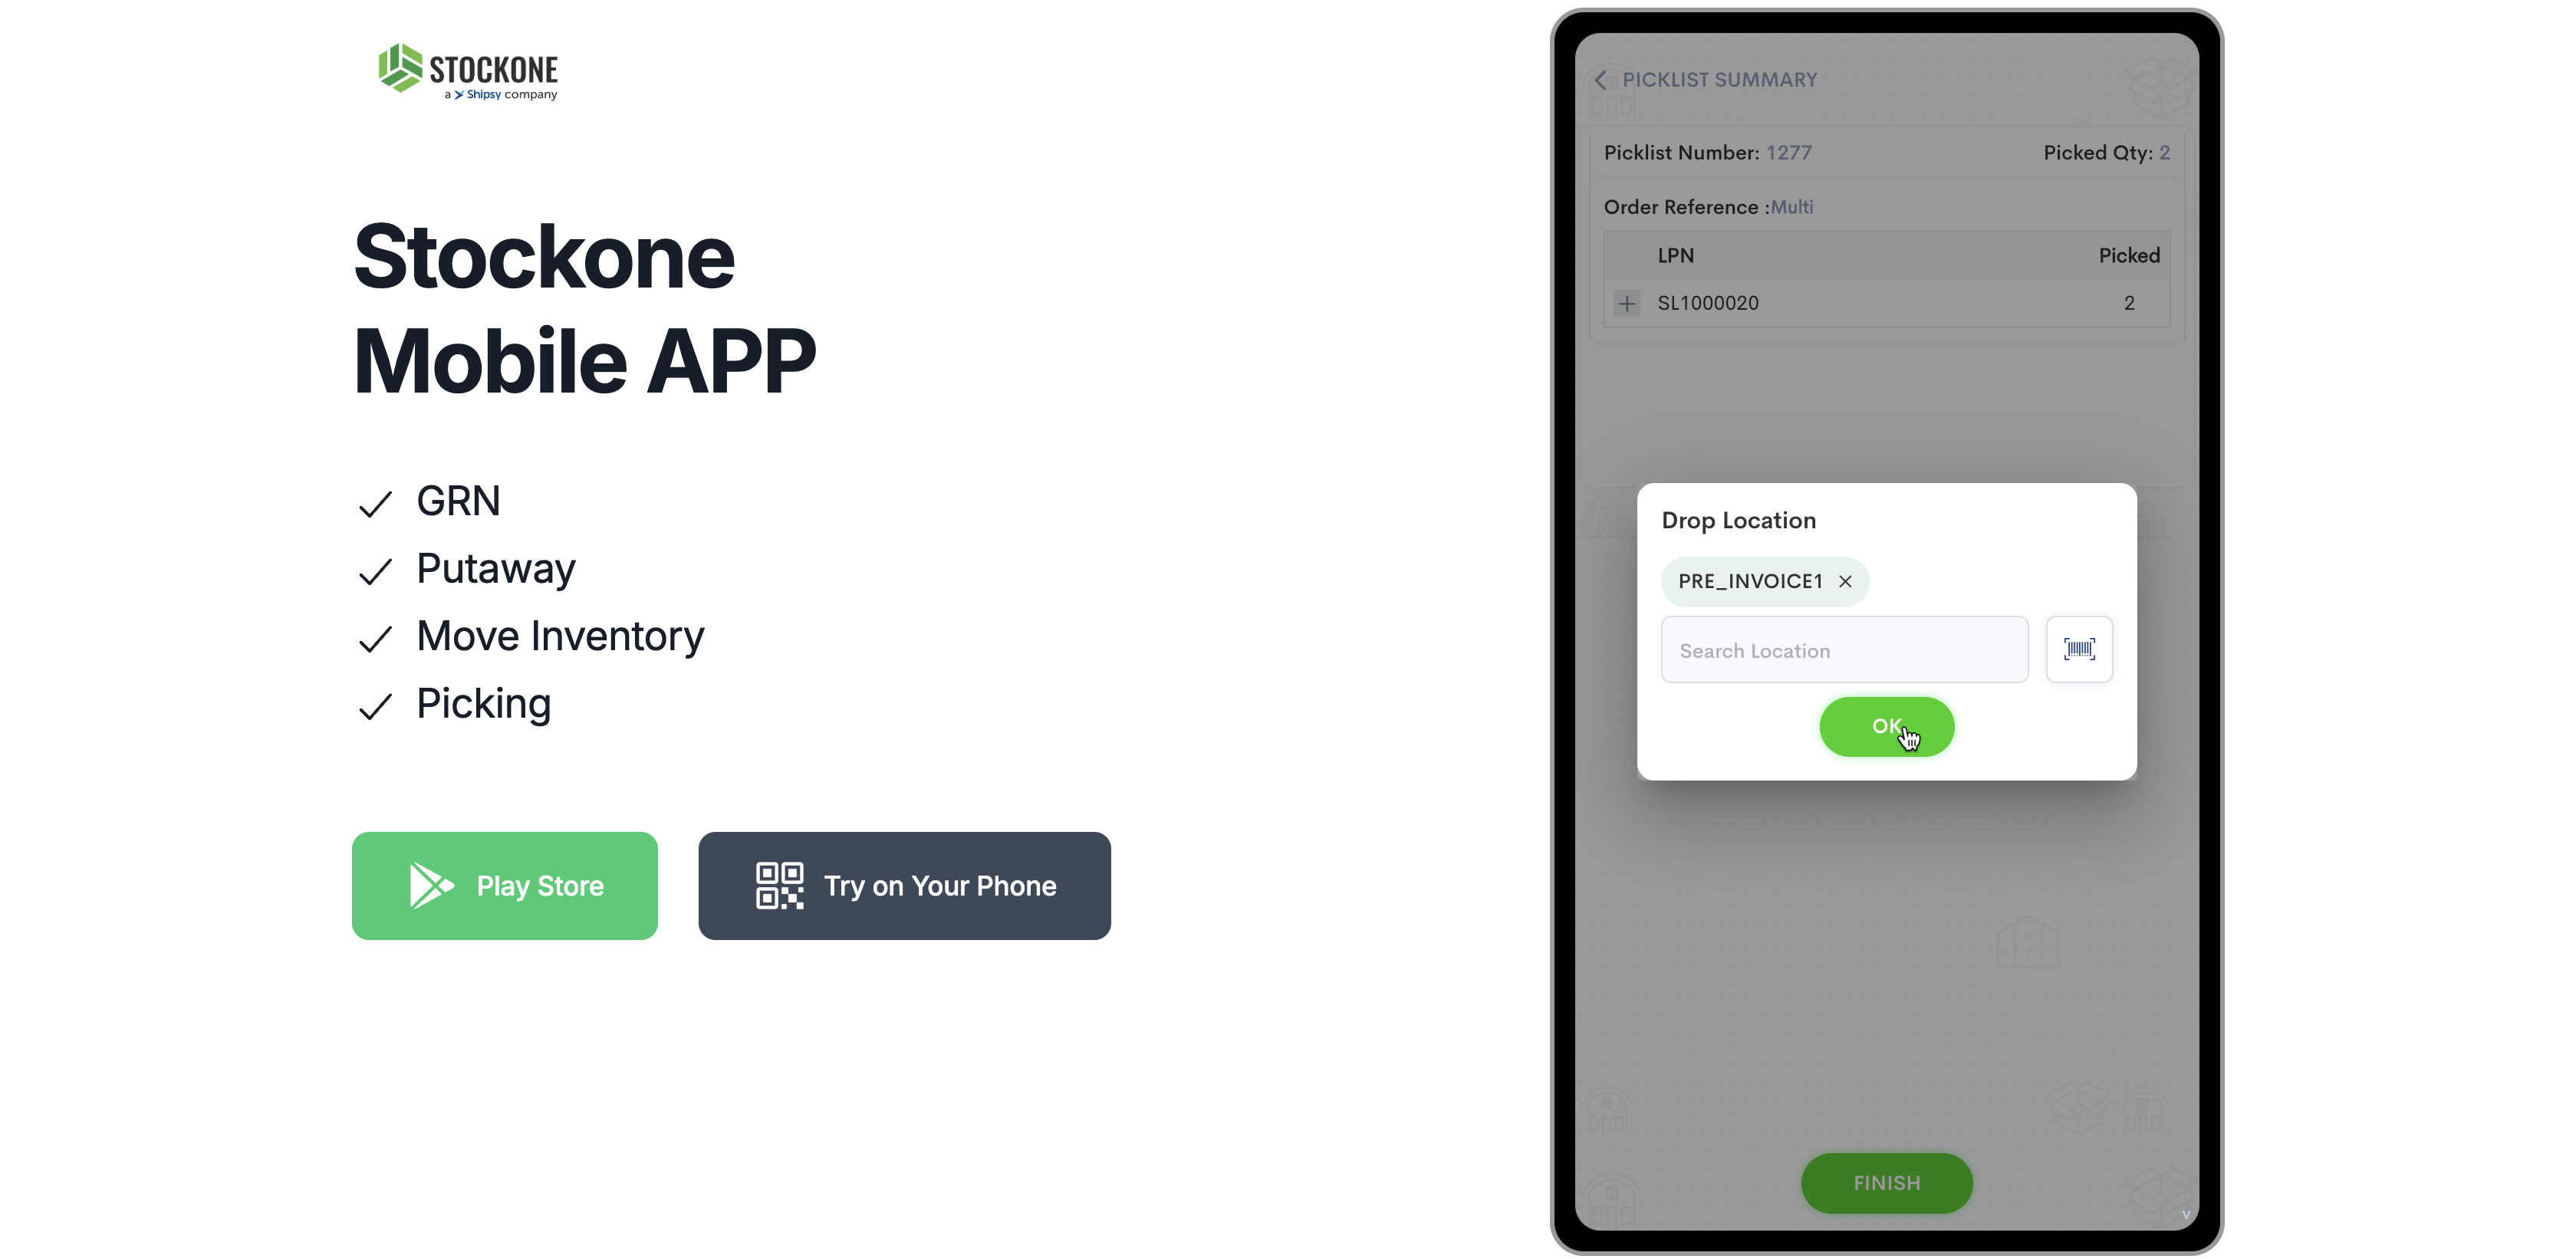
Step #27: Click on "OK"
28
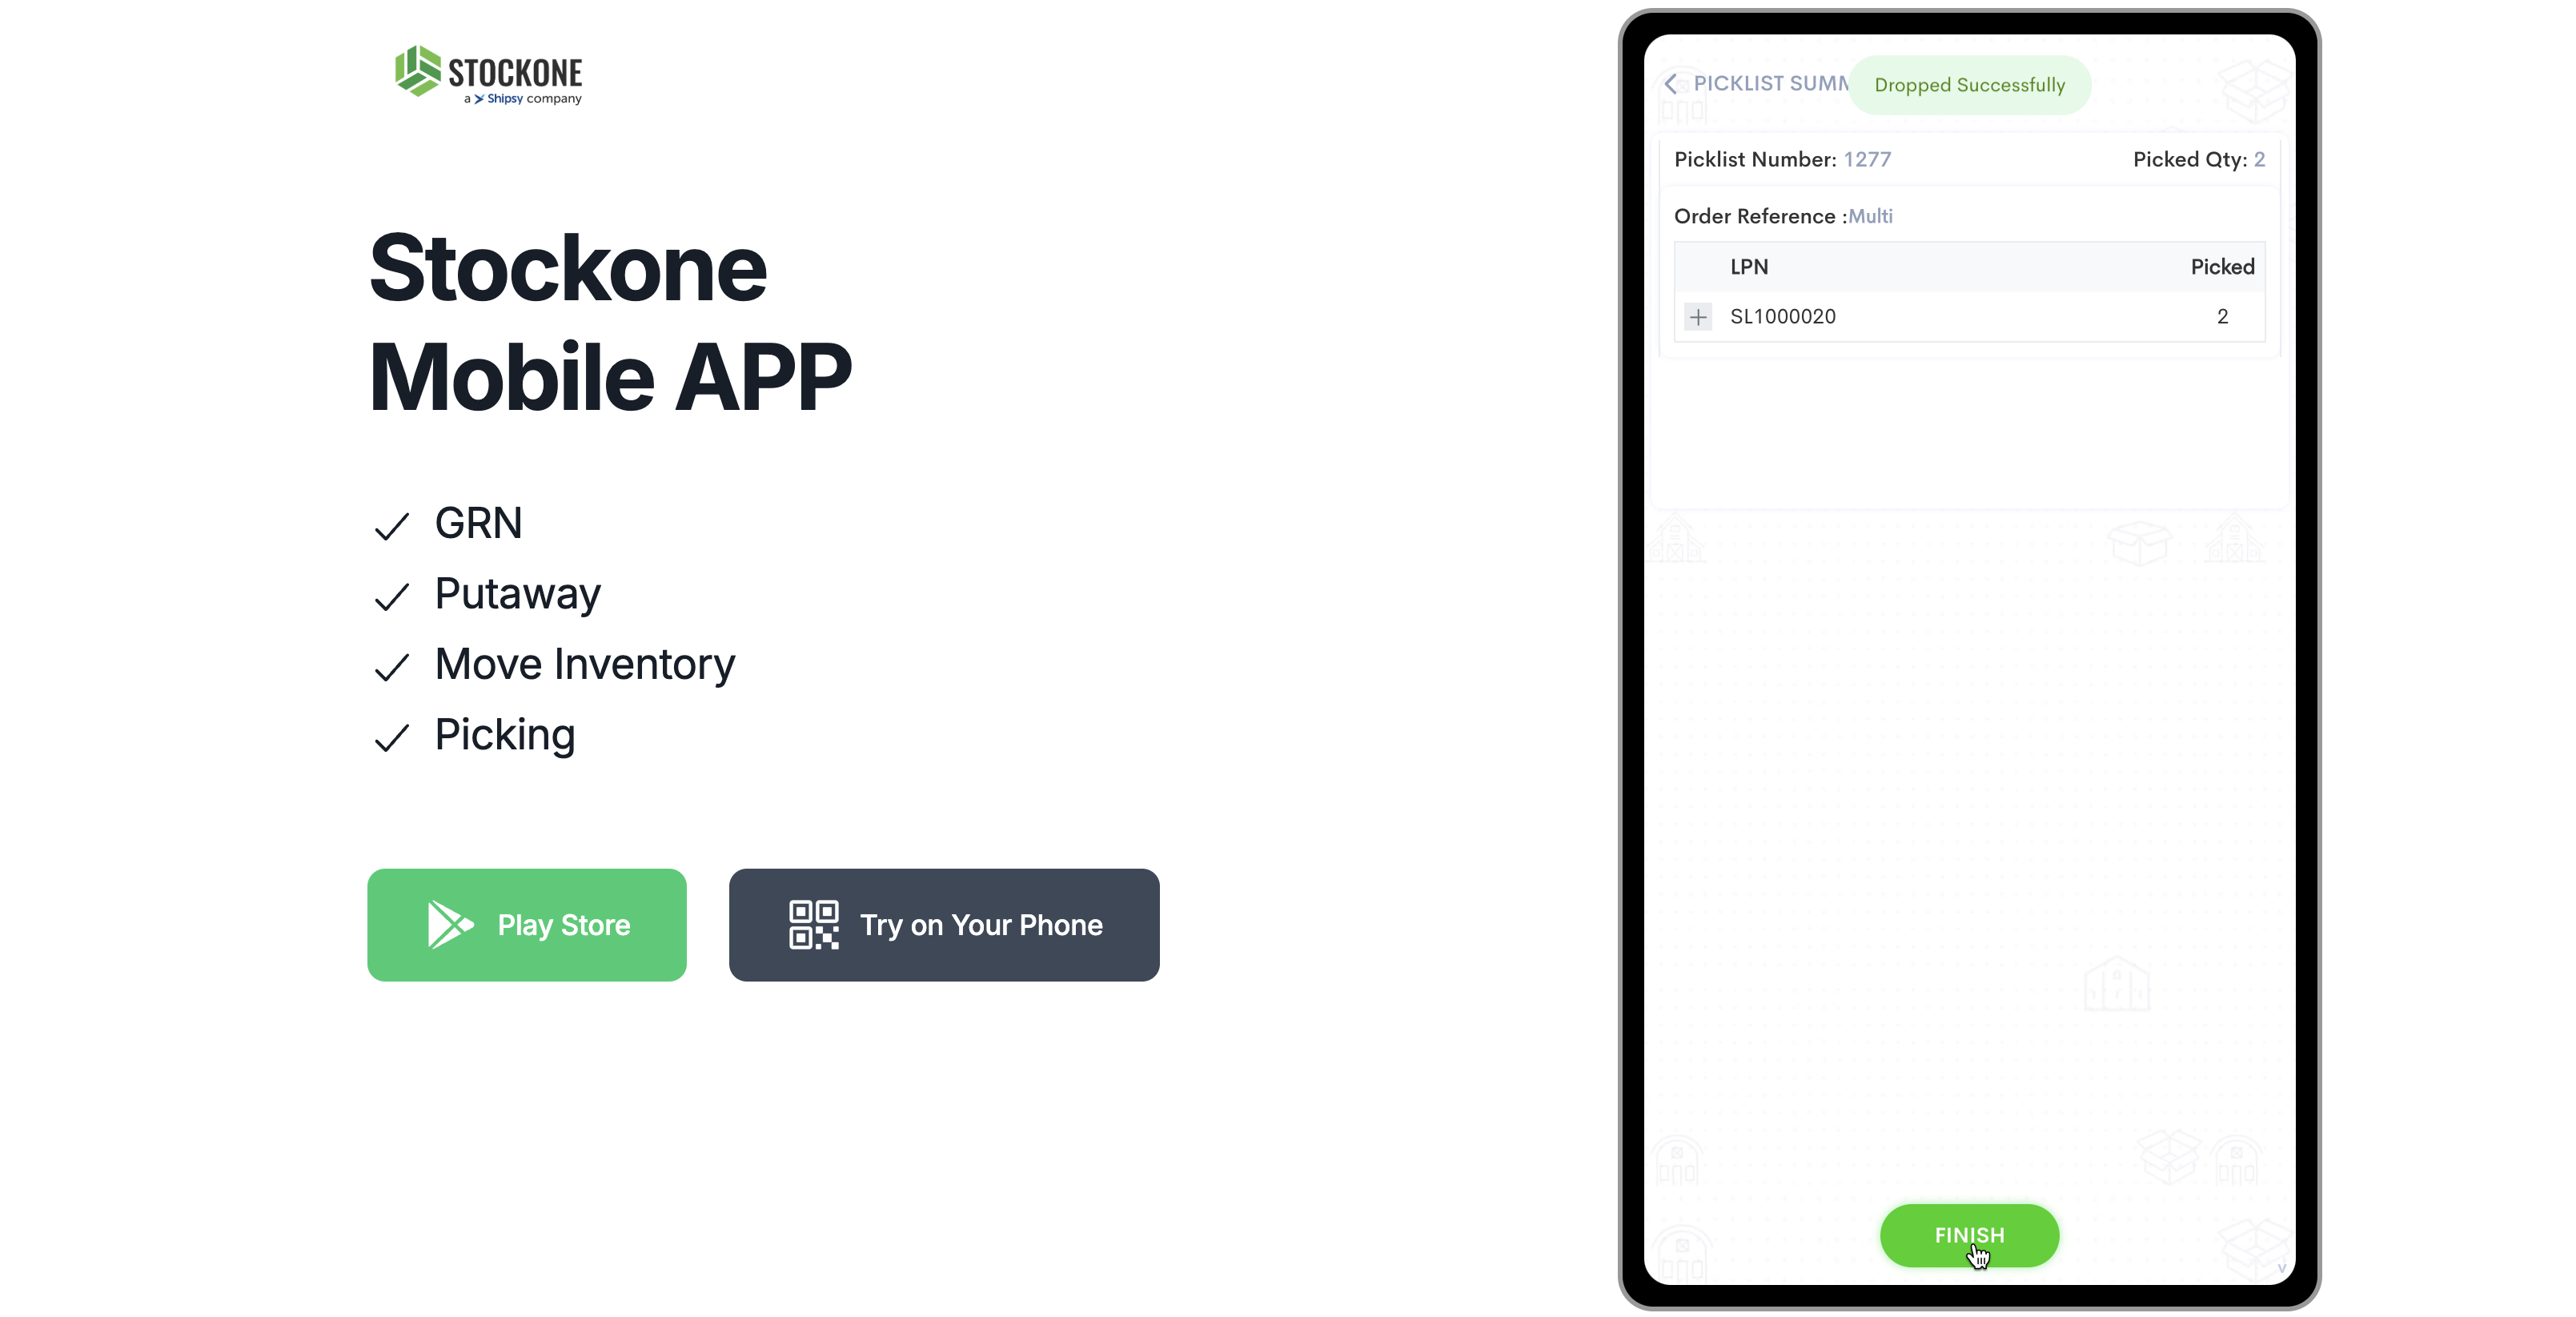
Click on "FINISH"
Step #28: Click on "FINISH"
29