How to manage your HQ and Branch Offices
A step-by-step guide
By Manos Stefanakis
This guide explains how to create new Branch Offices within your Organization and how to edit the information of all your HQ and Branch offices through a structured process.
Let's get started
Adding a new Office
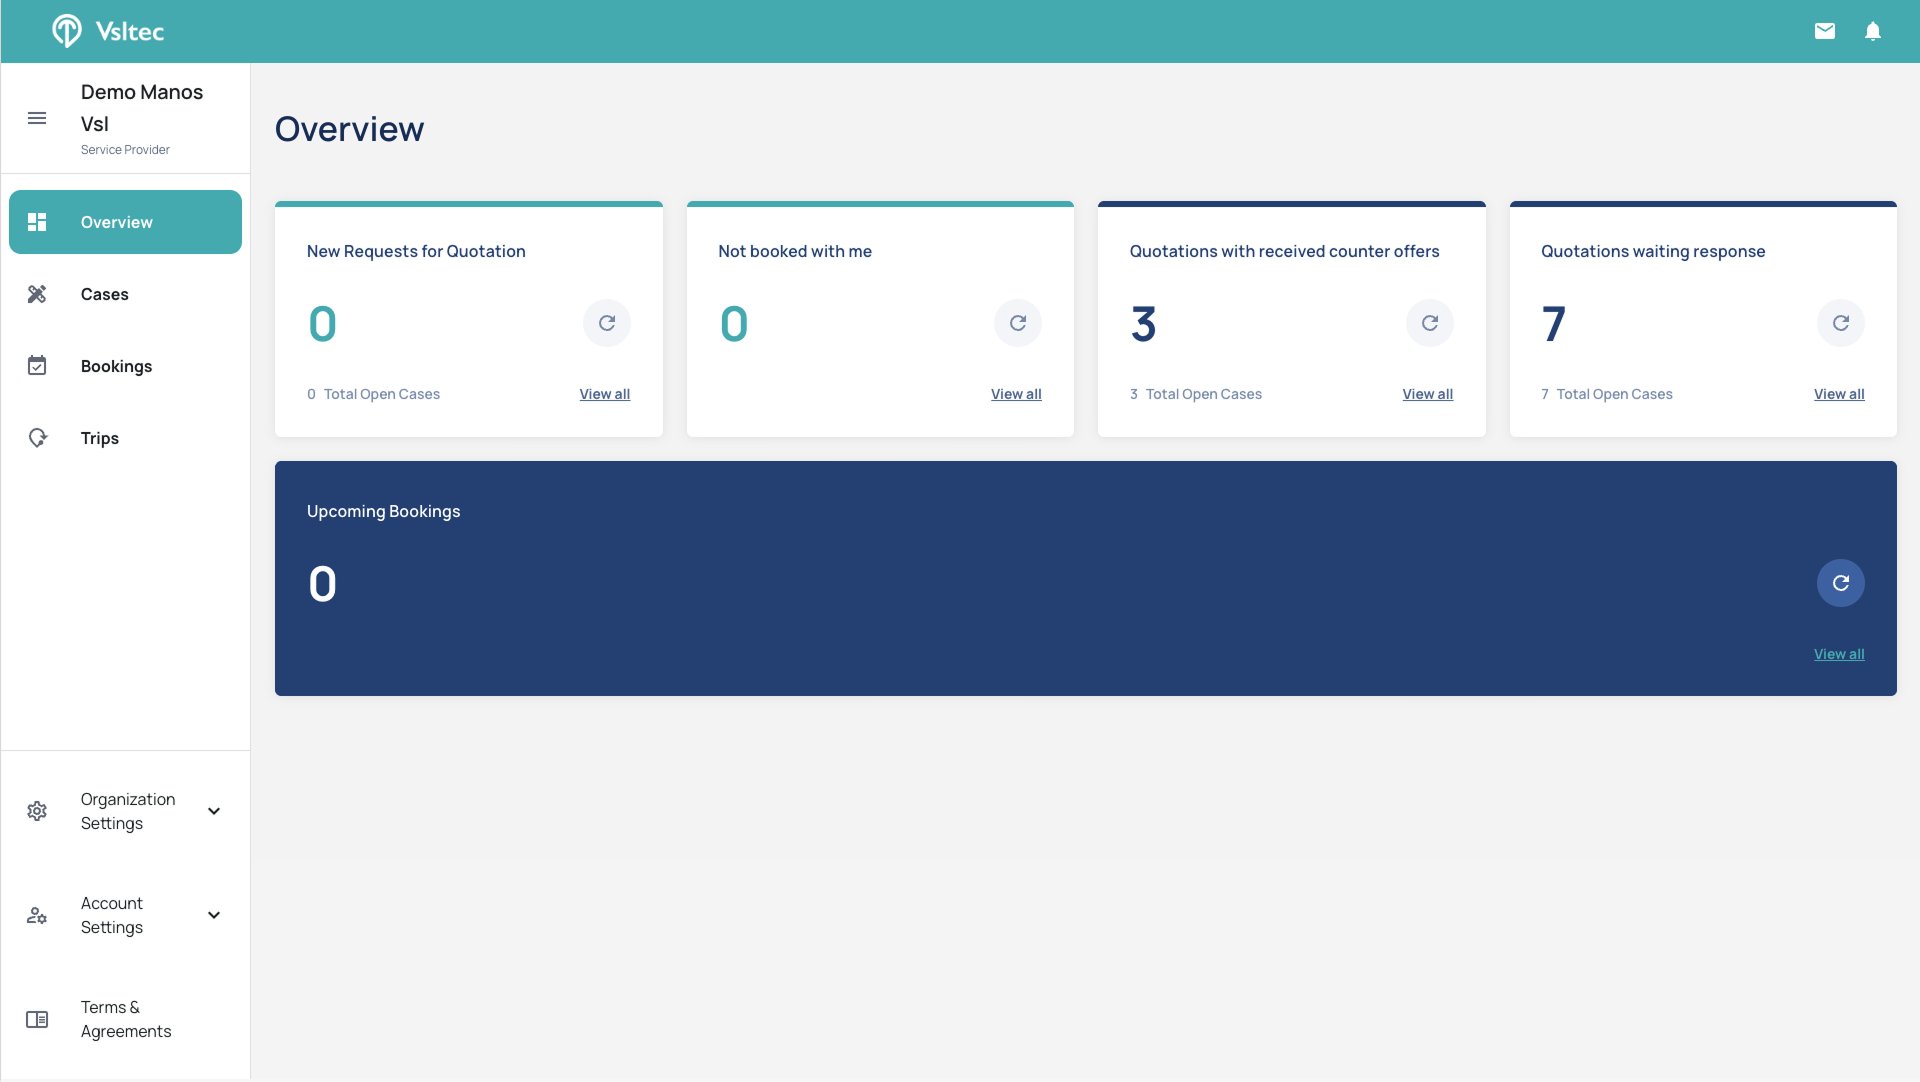
Open your Organization Settings.
1
Click on "Organization Settings"
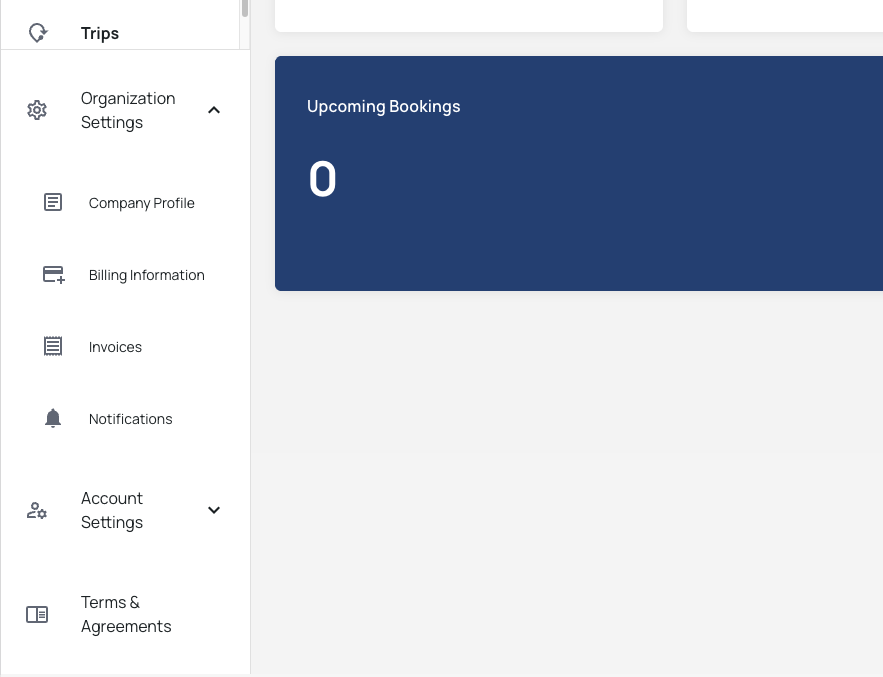
Get into your Company Profile.
2
When the Organization Settings menu opens, click on the "Company Profile" option
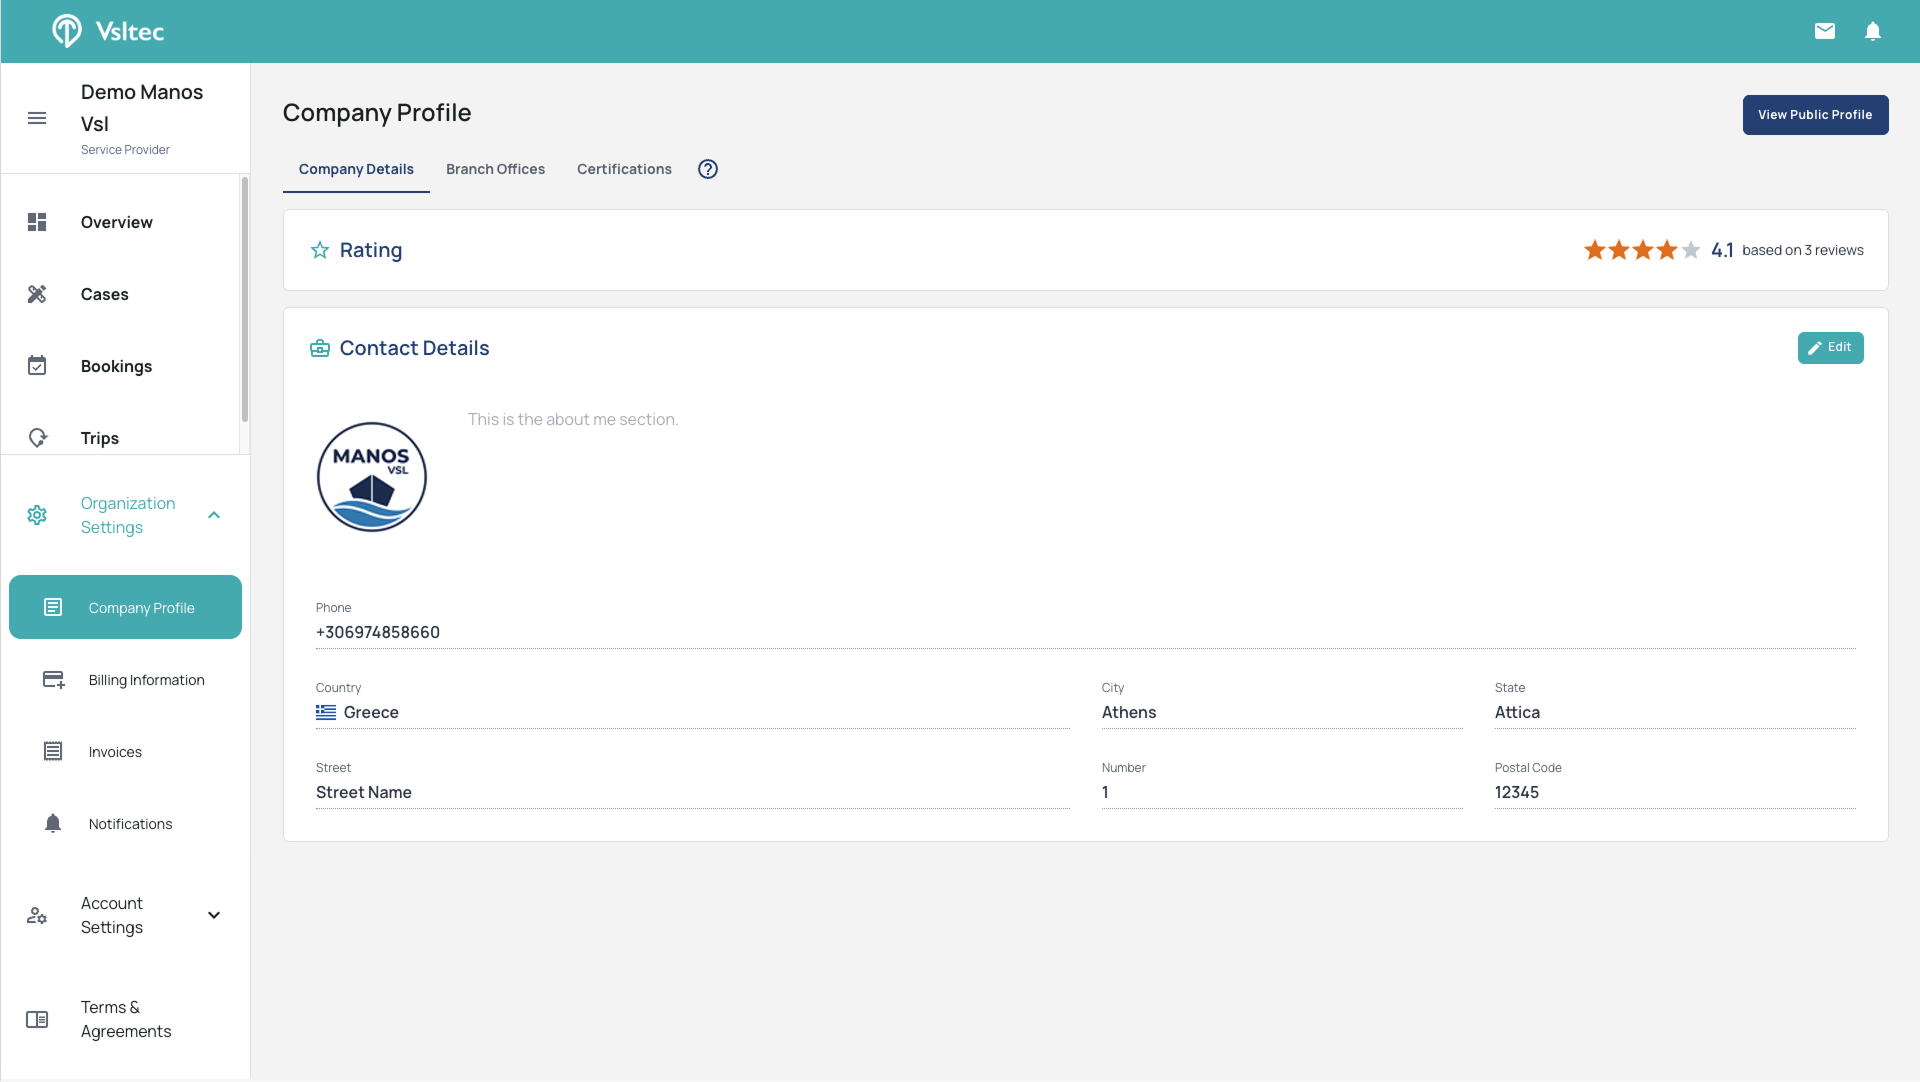
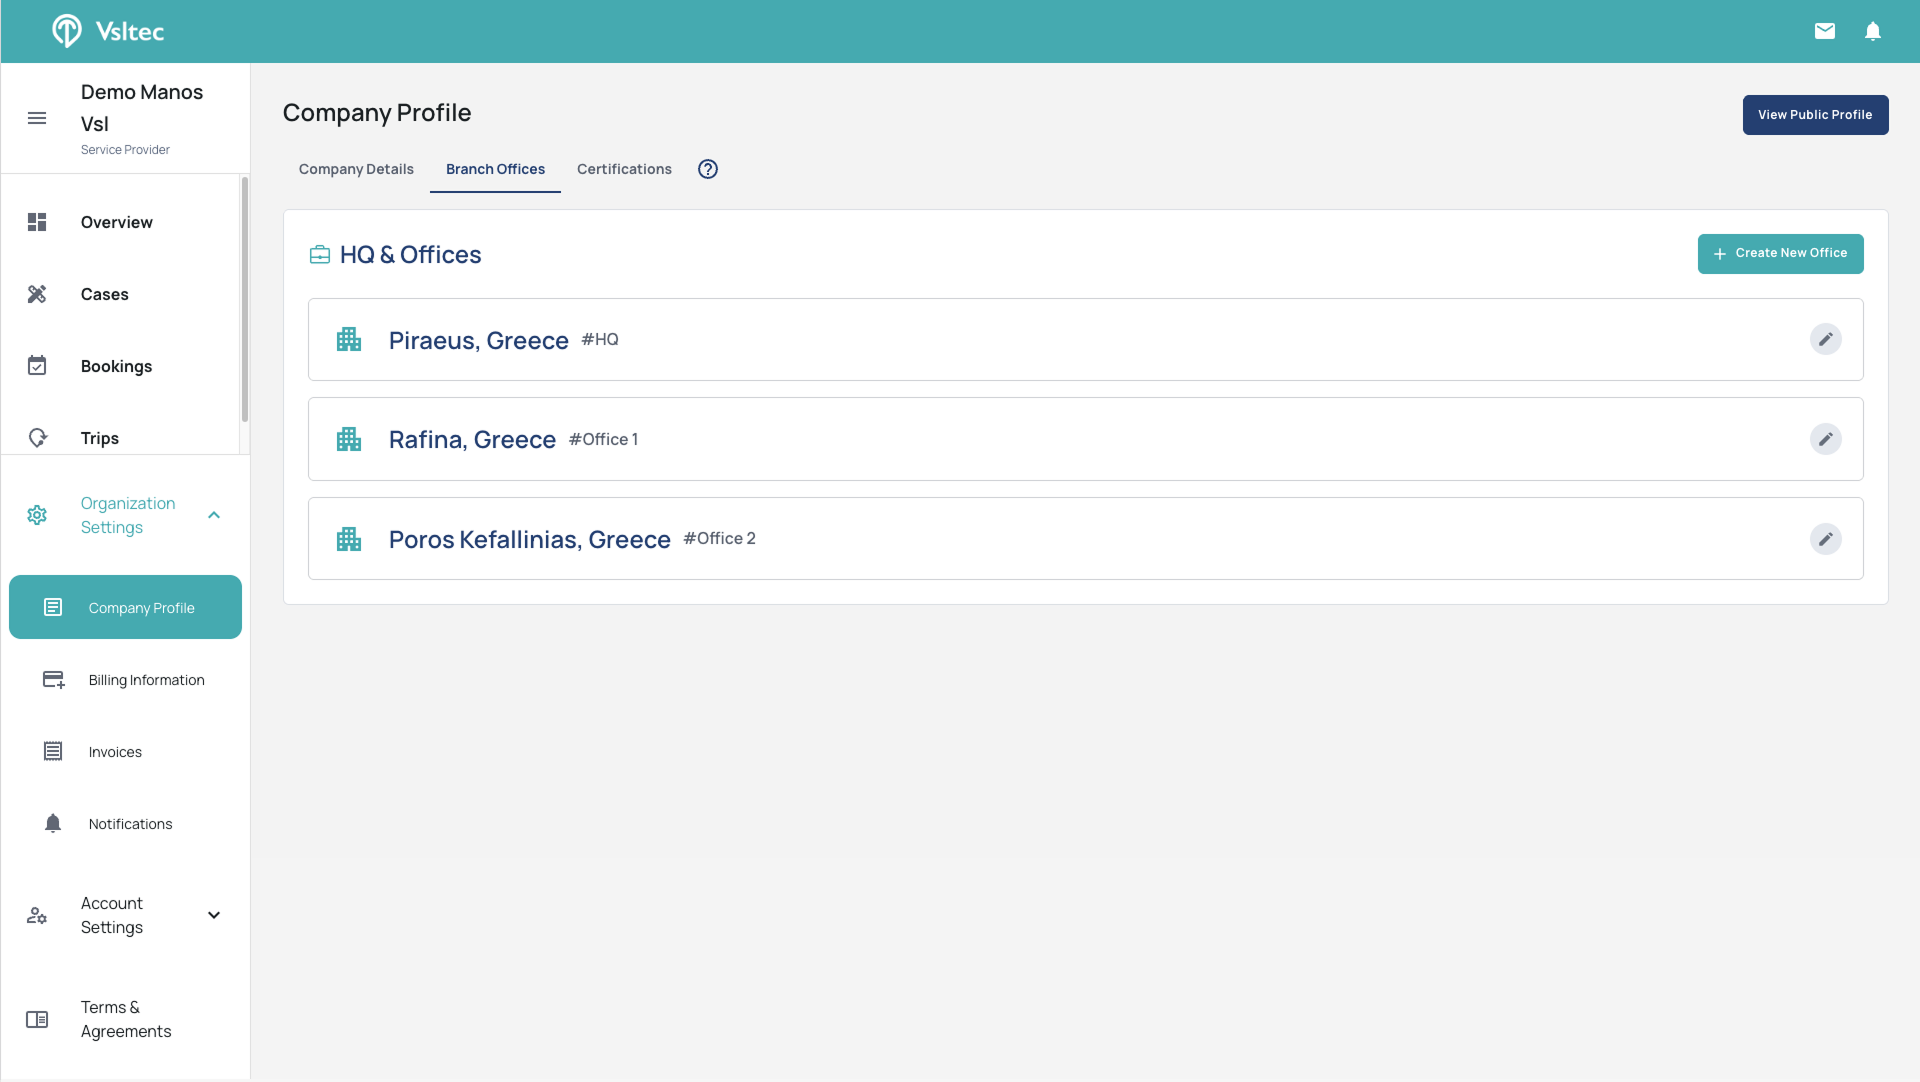
Locate your HQ and Branch Offices.
3
In the Company Profile screen, click on the "Branch Offices" tab
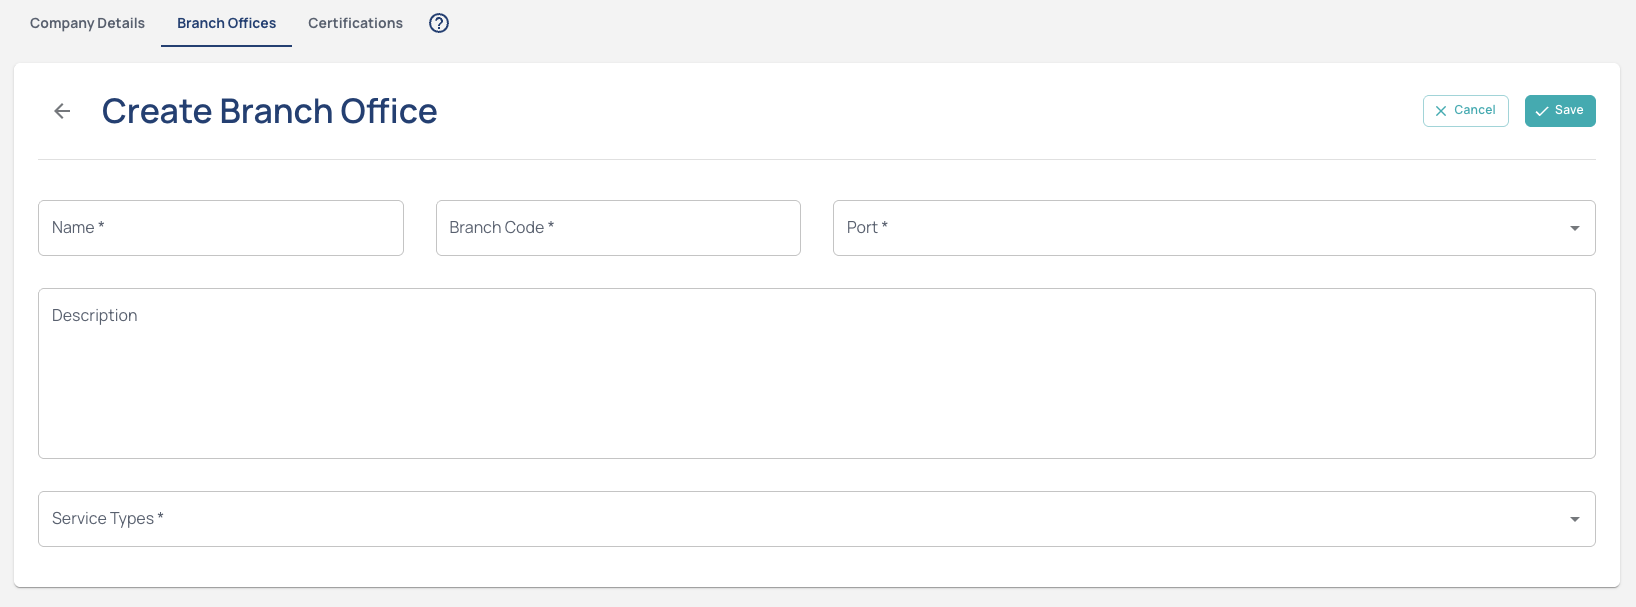
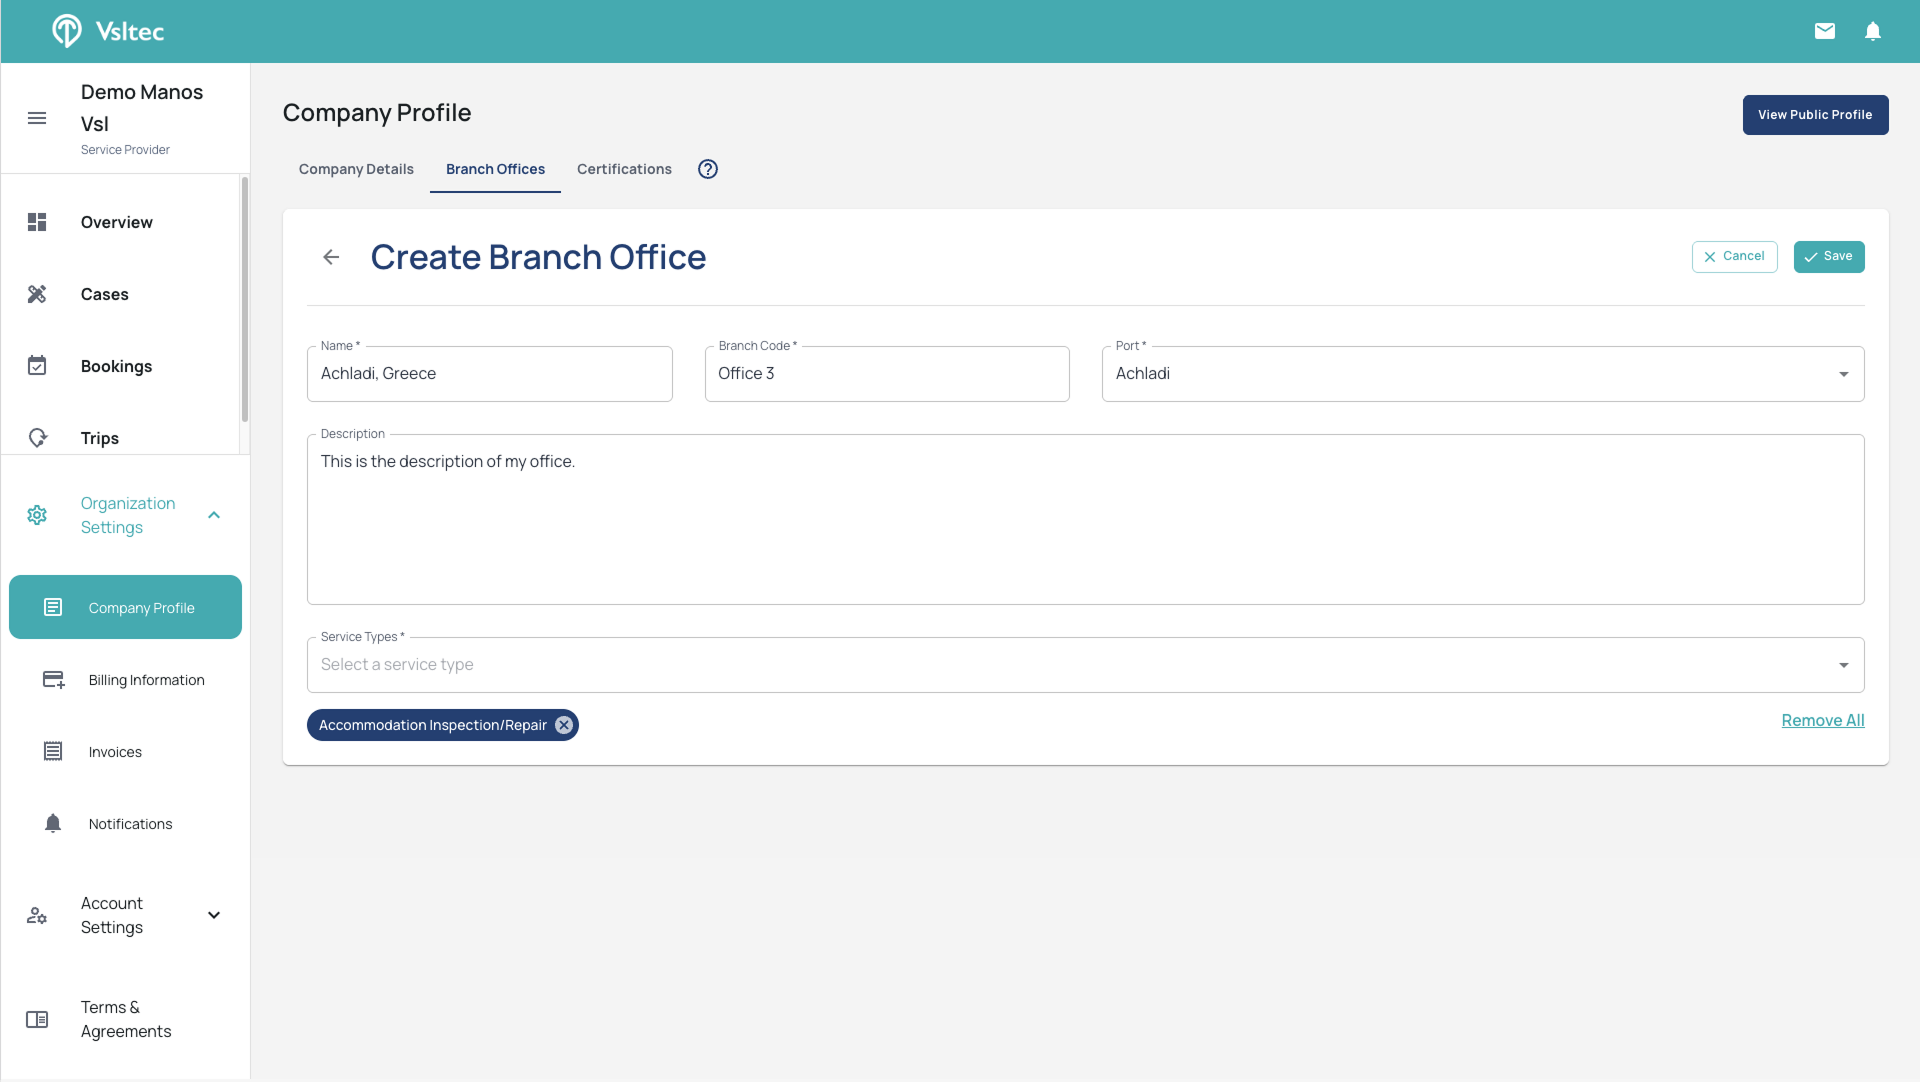
Create a new Office.
4
Click on "Create New Office"

Add all the necessary information of the new Office.
5
Fill in the fields for your new Office
Save your new Office.
6
After filling in all the necessary information, click on the "Save" button
Office is now Pending Approval
7
After saving, your office will appear in the "Pending Approval" category.
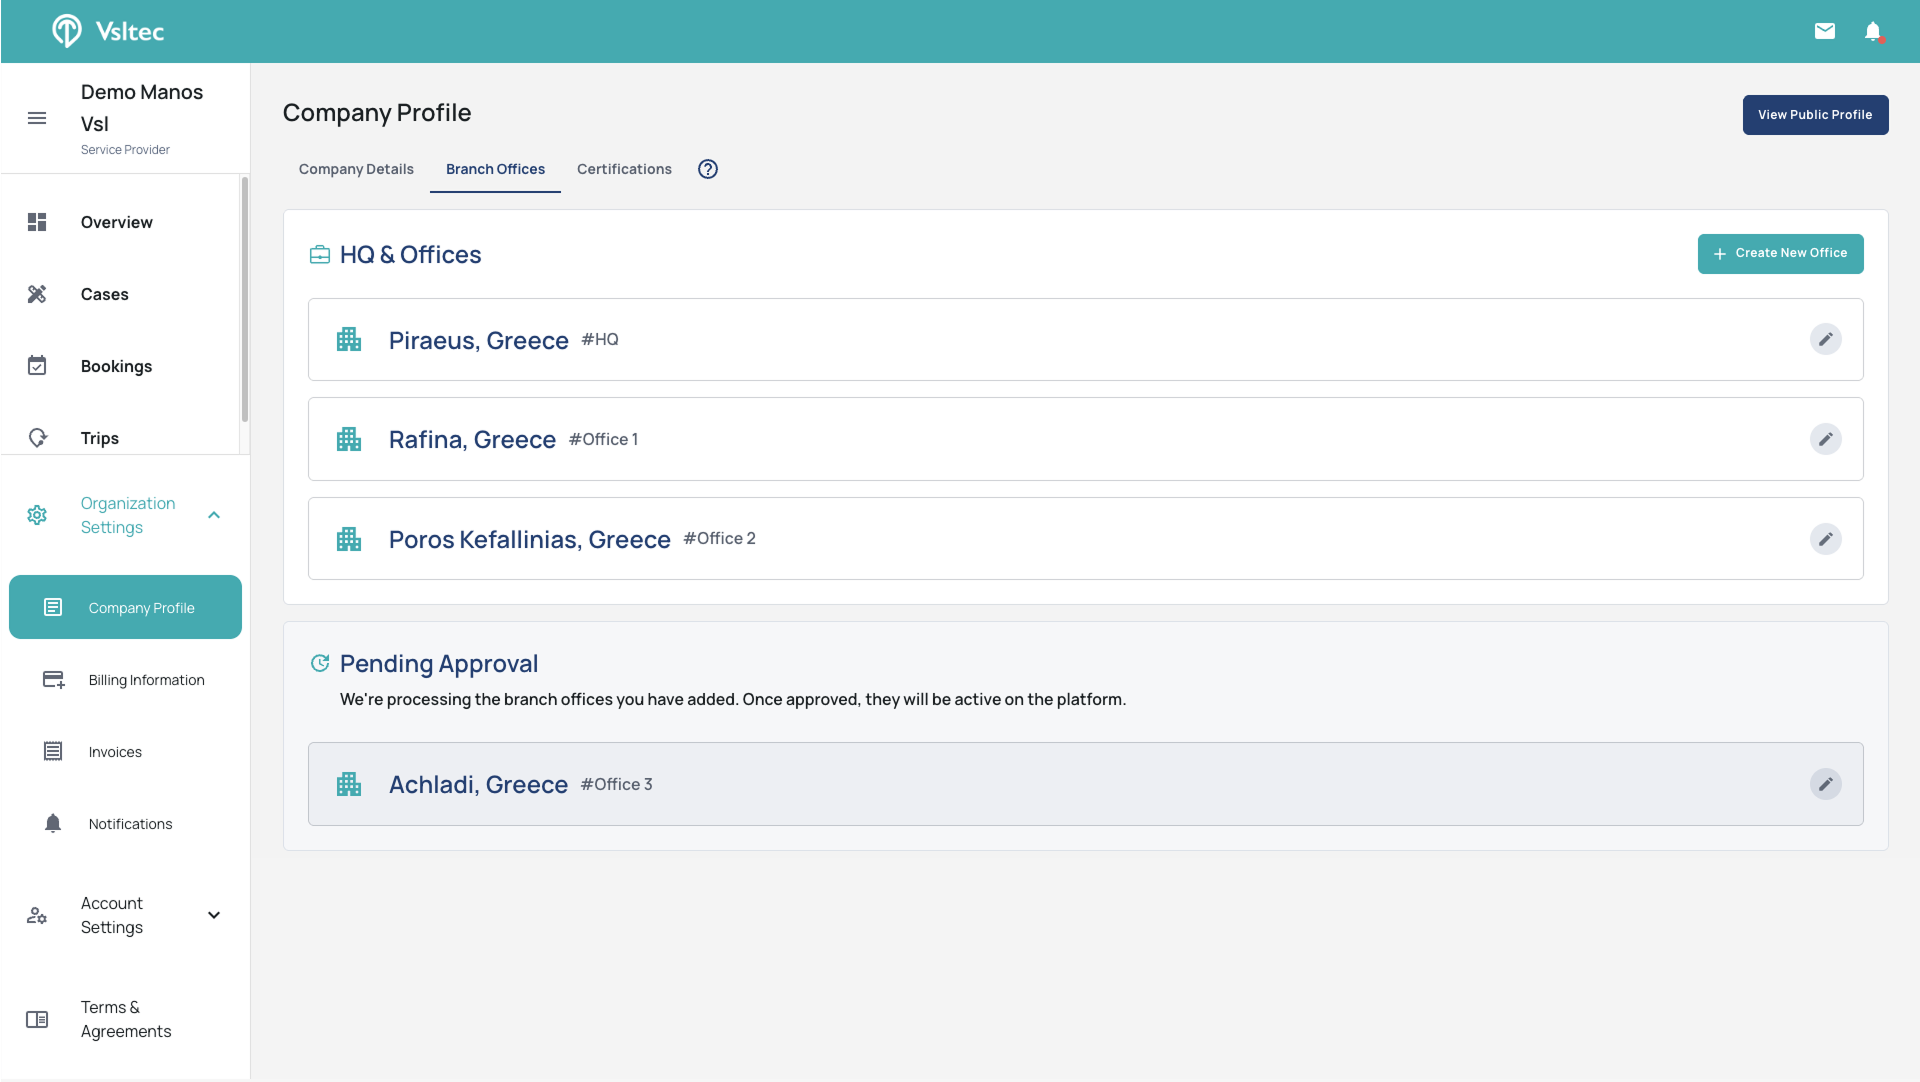
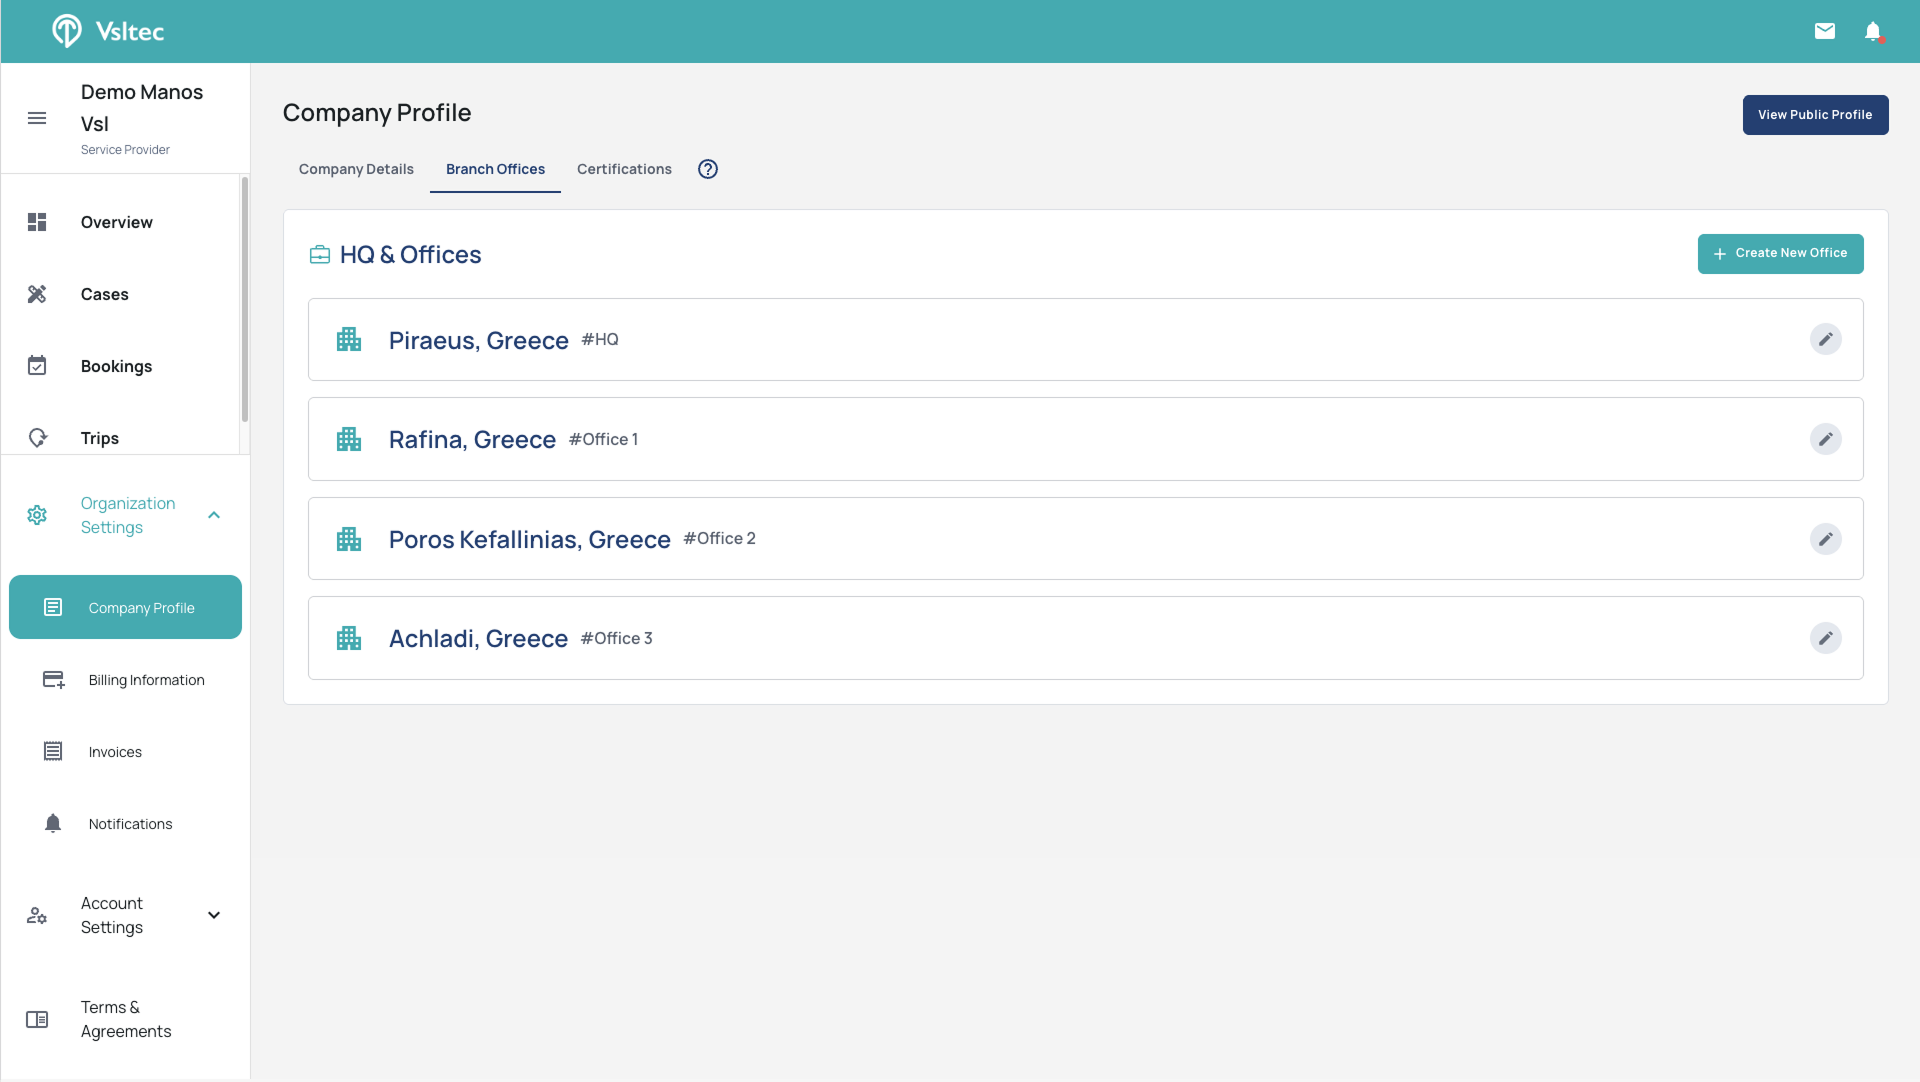
Your new Office is ready.
8
After approval your new Office is now listed in your HQ & Offices list
Edit your existing Offices information
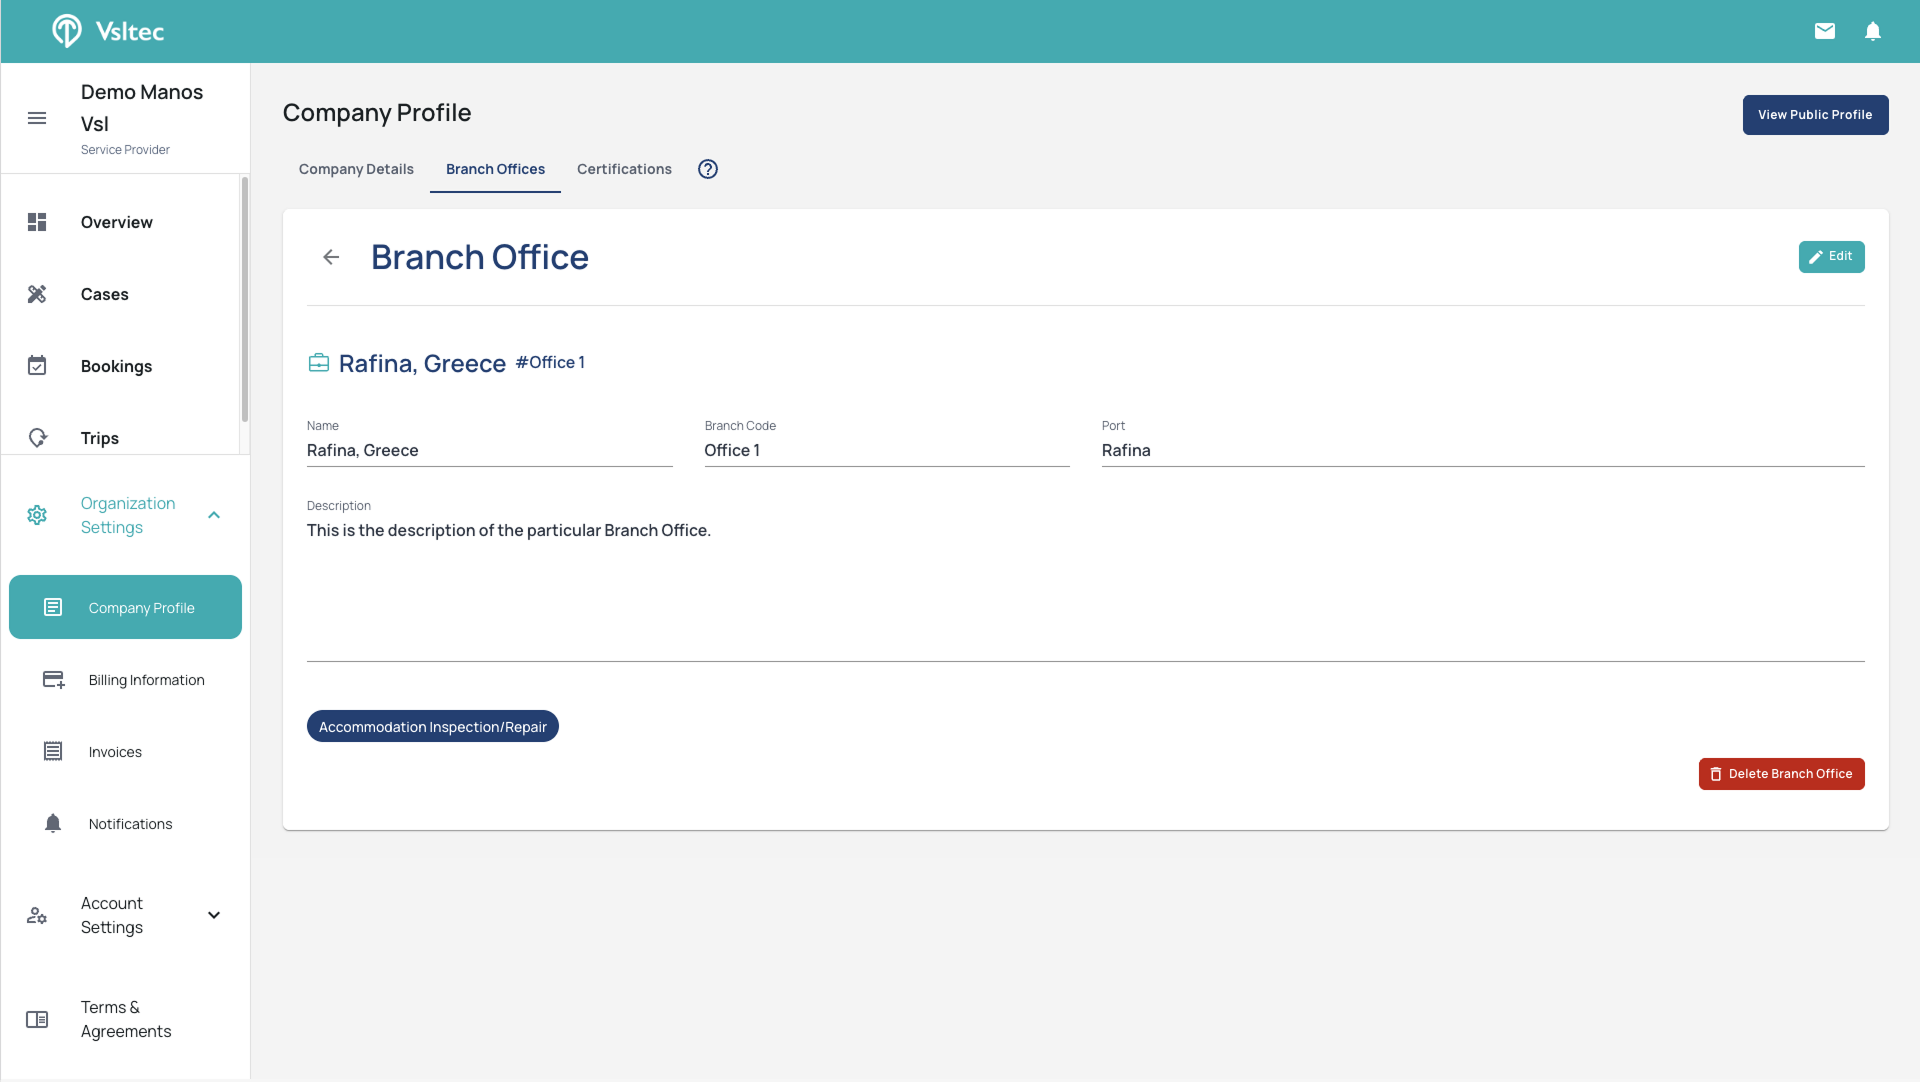
Access the Office information.
9
Click on the Office line or on the "Pencil" icon
Manage your Office information.
10
Click on the "Edit" button
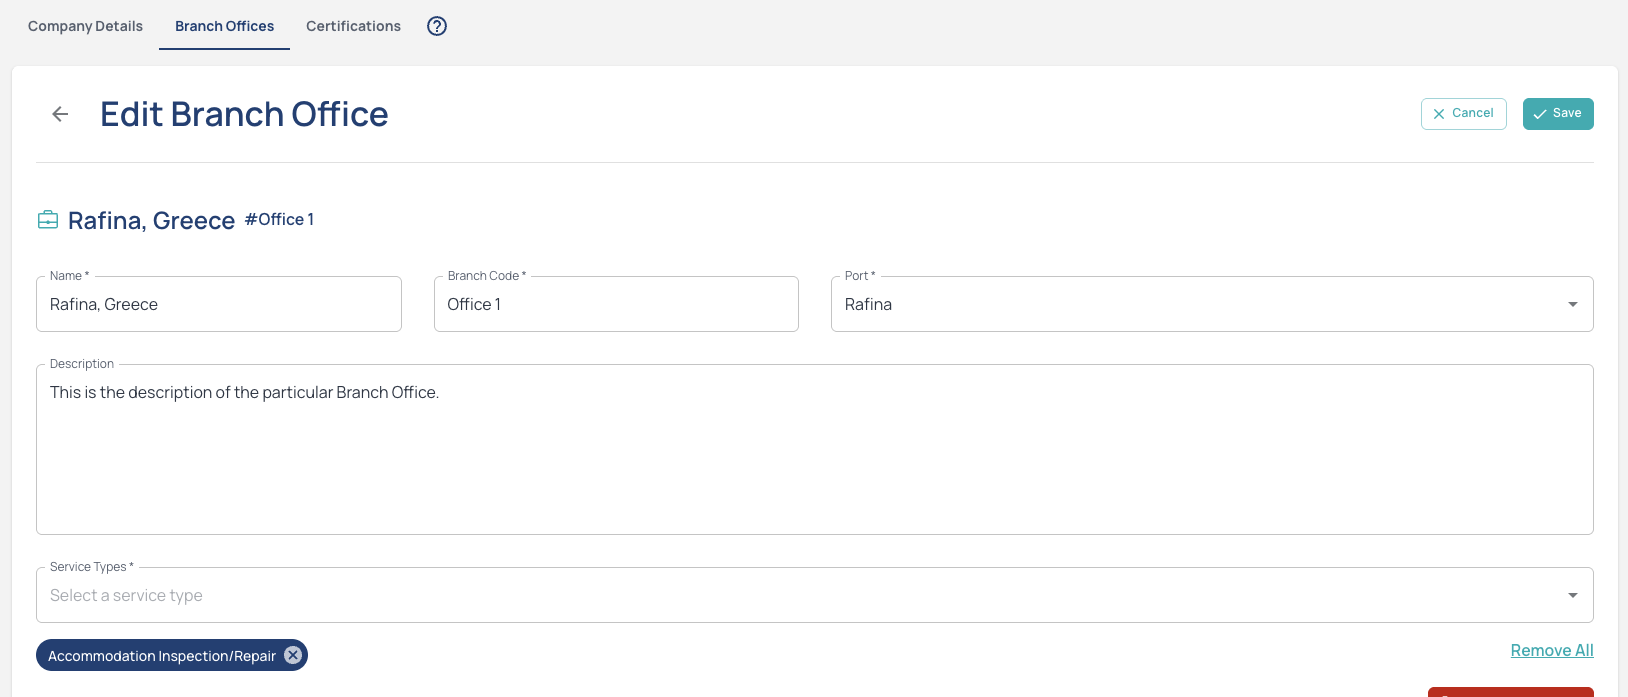
Make your changes.
11
Make all the necessary changes in the fields.
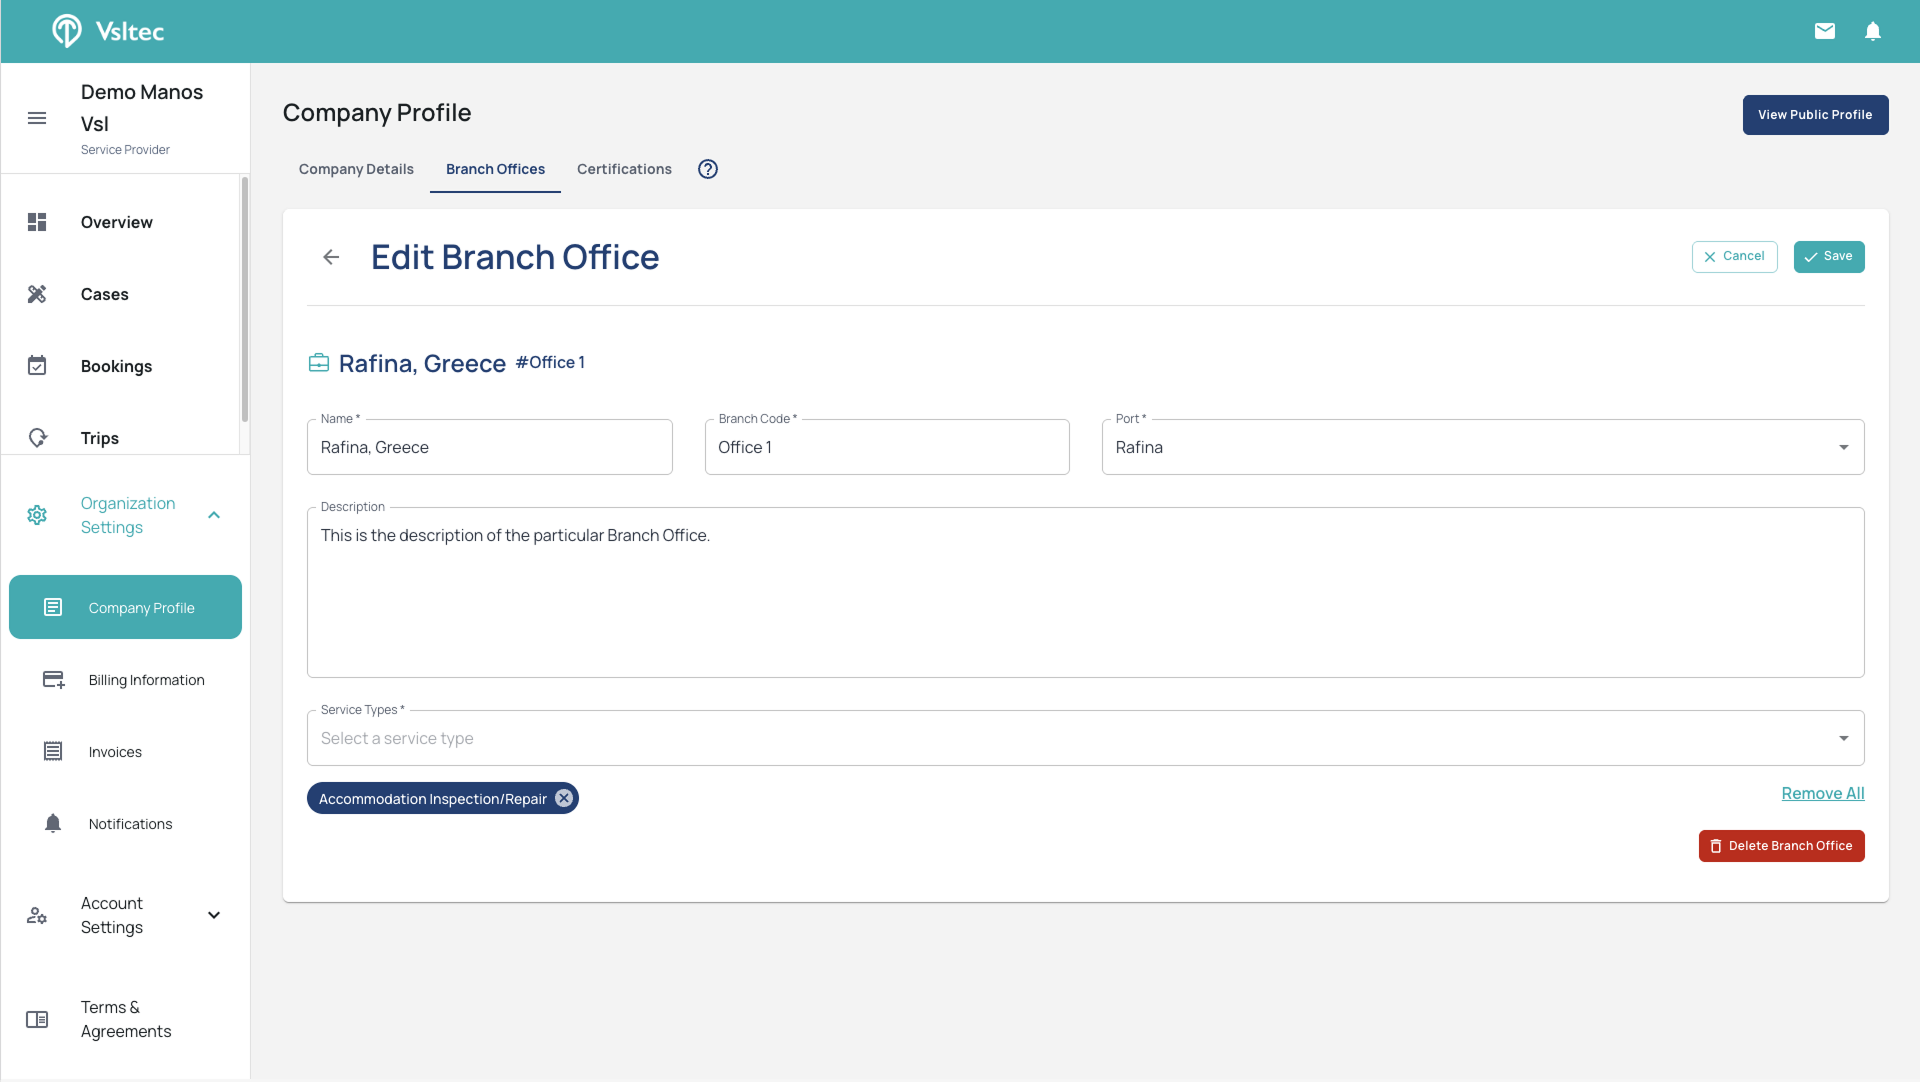
Save your changes.
12
After updating the Office information, click on the "Save" button
Your changes are saved.
13
Your changes are saved and now reflect in your Office information
