Figma Guide
This is a step-by-step guide for Figma
In this guide, we'll learn how to create a project in the new Figma setup. The process involves setting up a team, managing access permissions, and inviting necessary collaborators. This ensures that all stakeholders, including developers, project managers, and design leads, are involved from the start. We'll also cover how to create a design file for wireframes if needed.
Let's get started
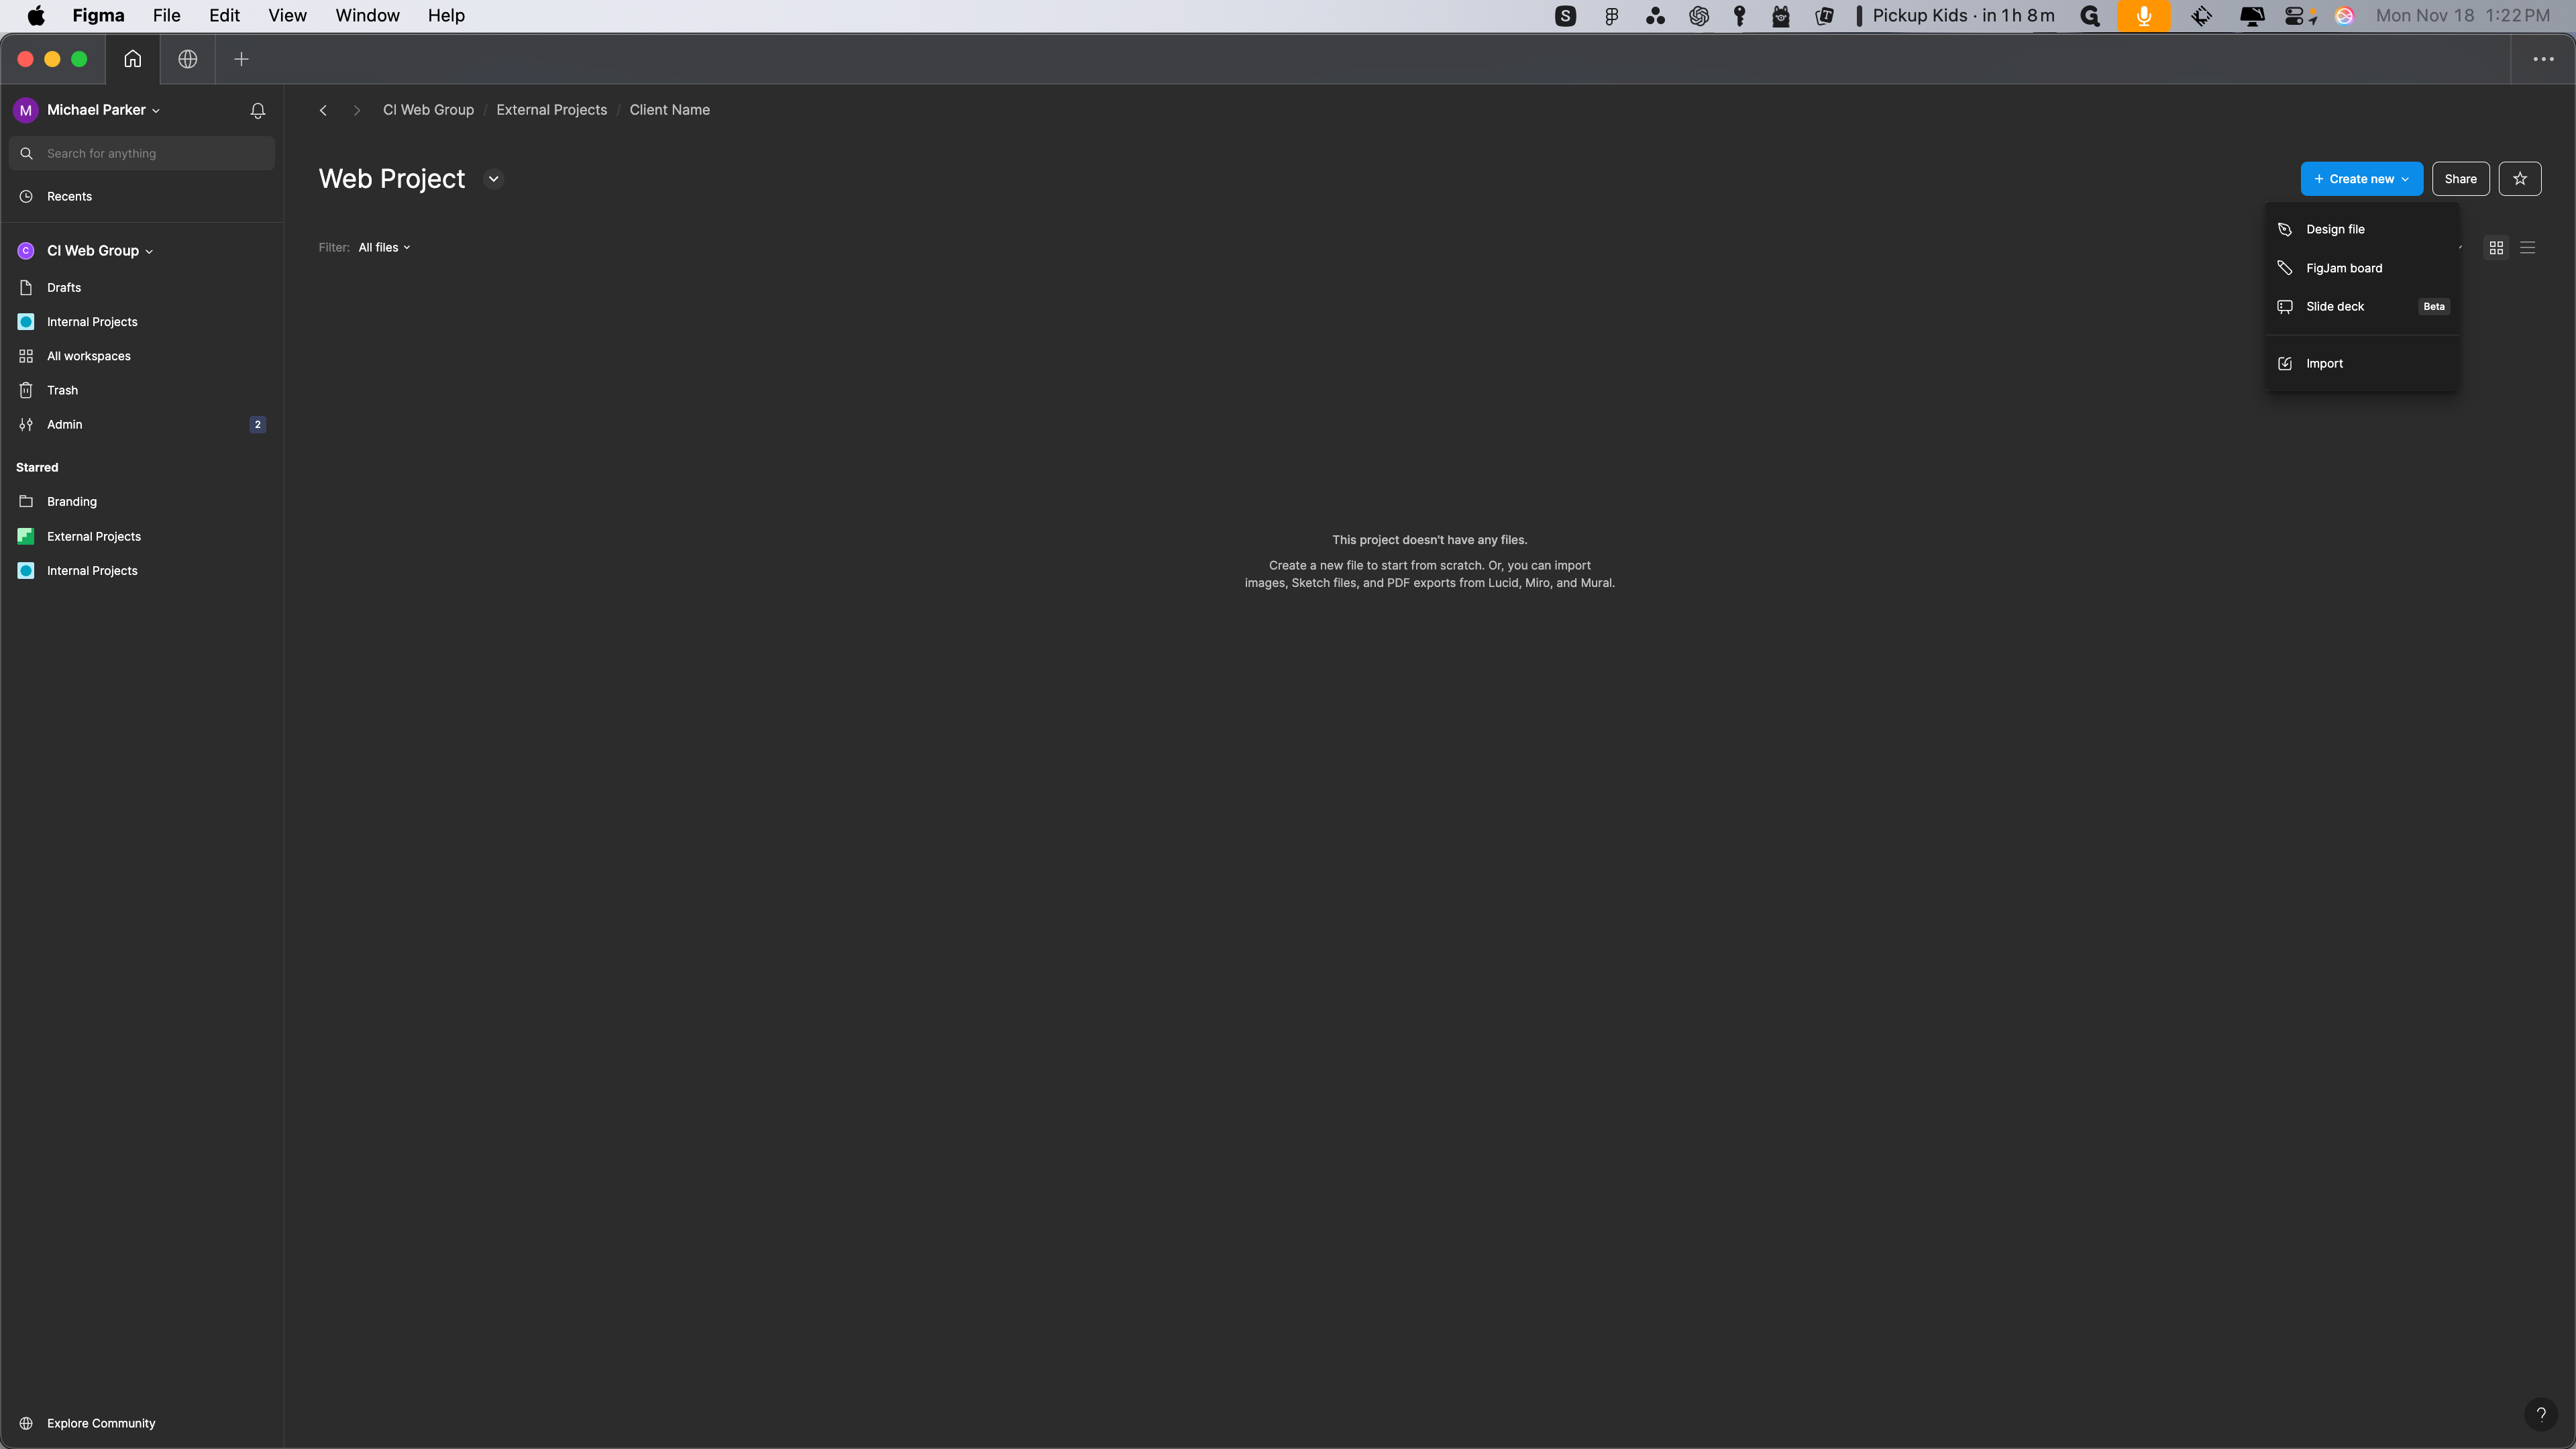
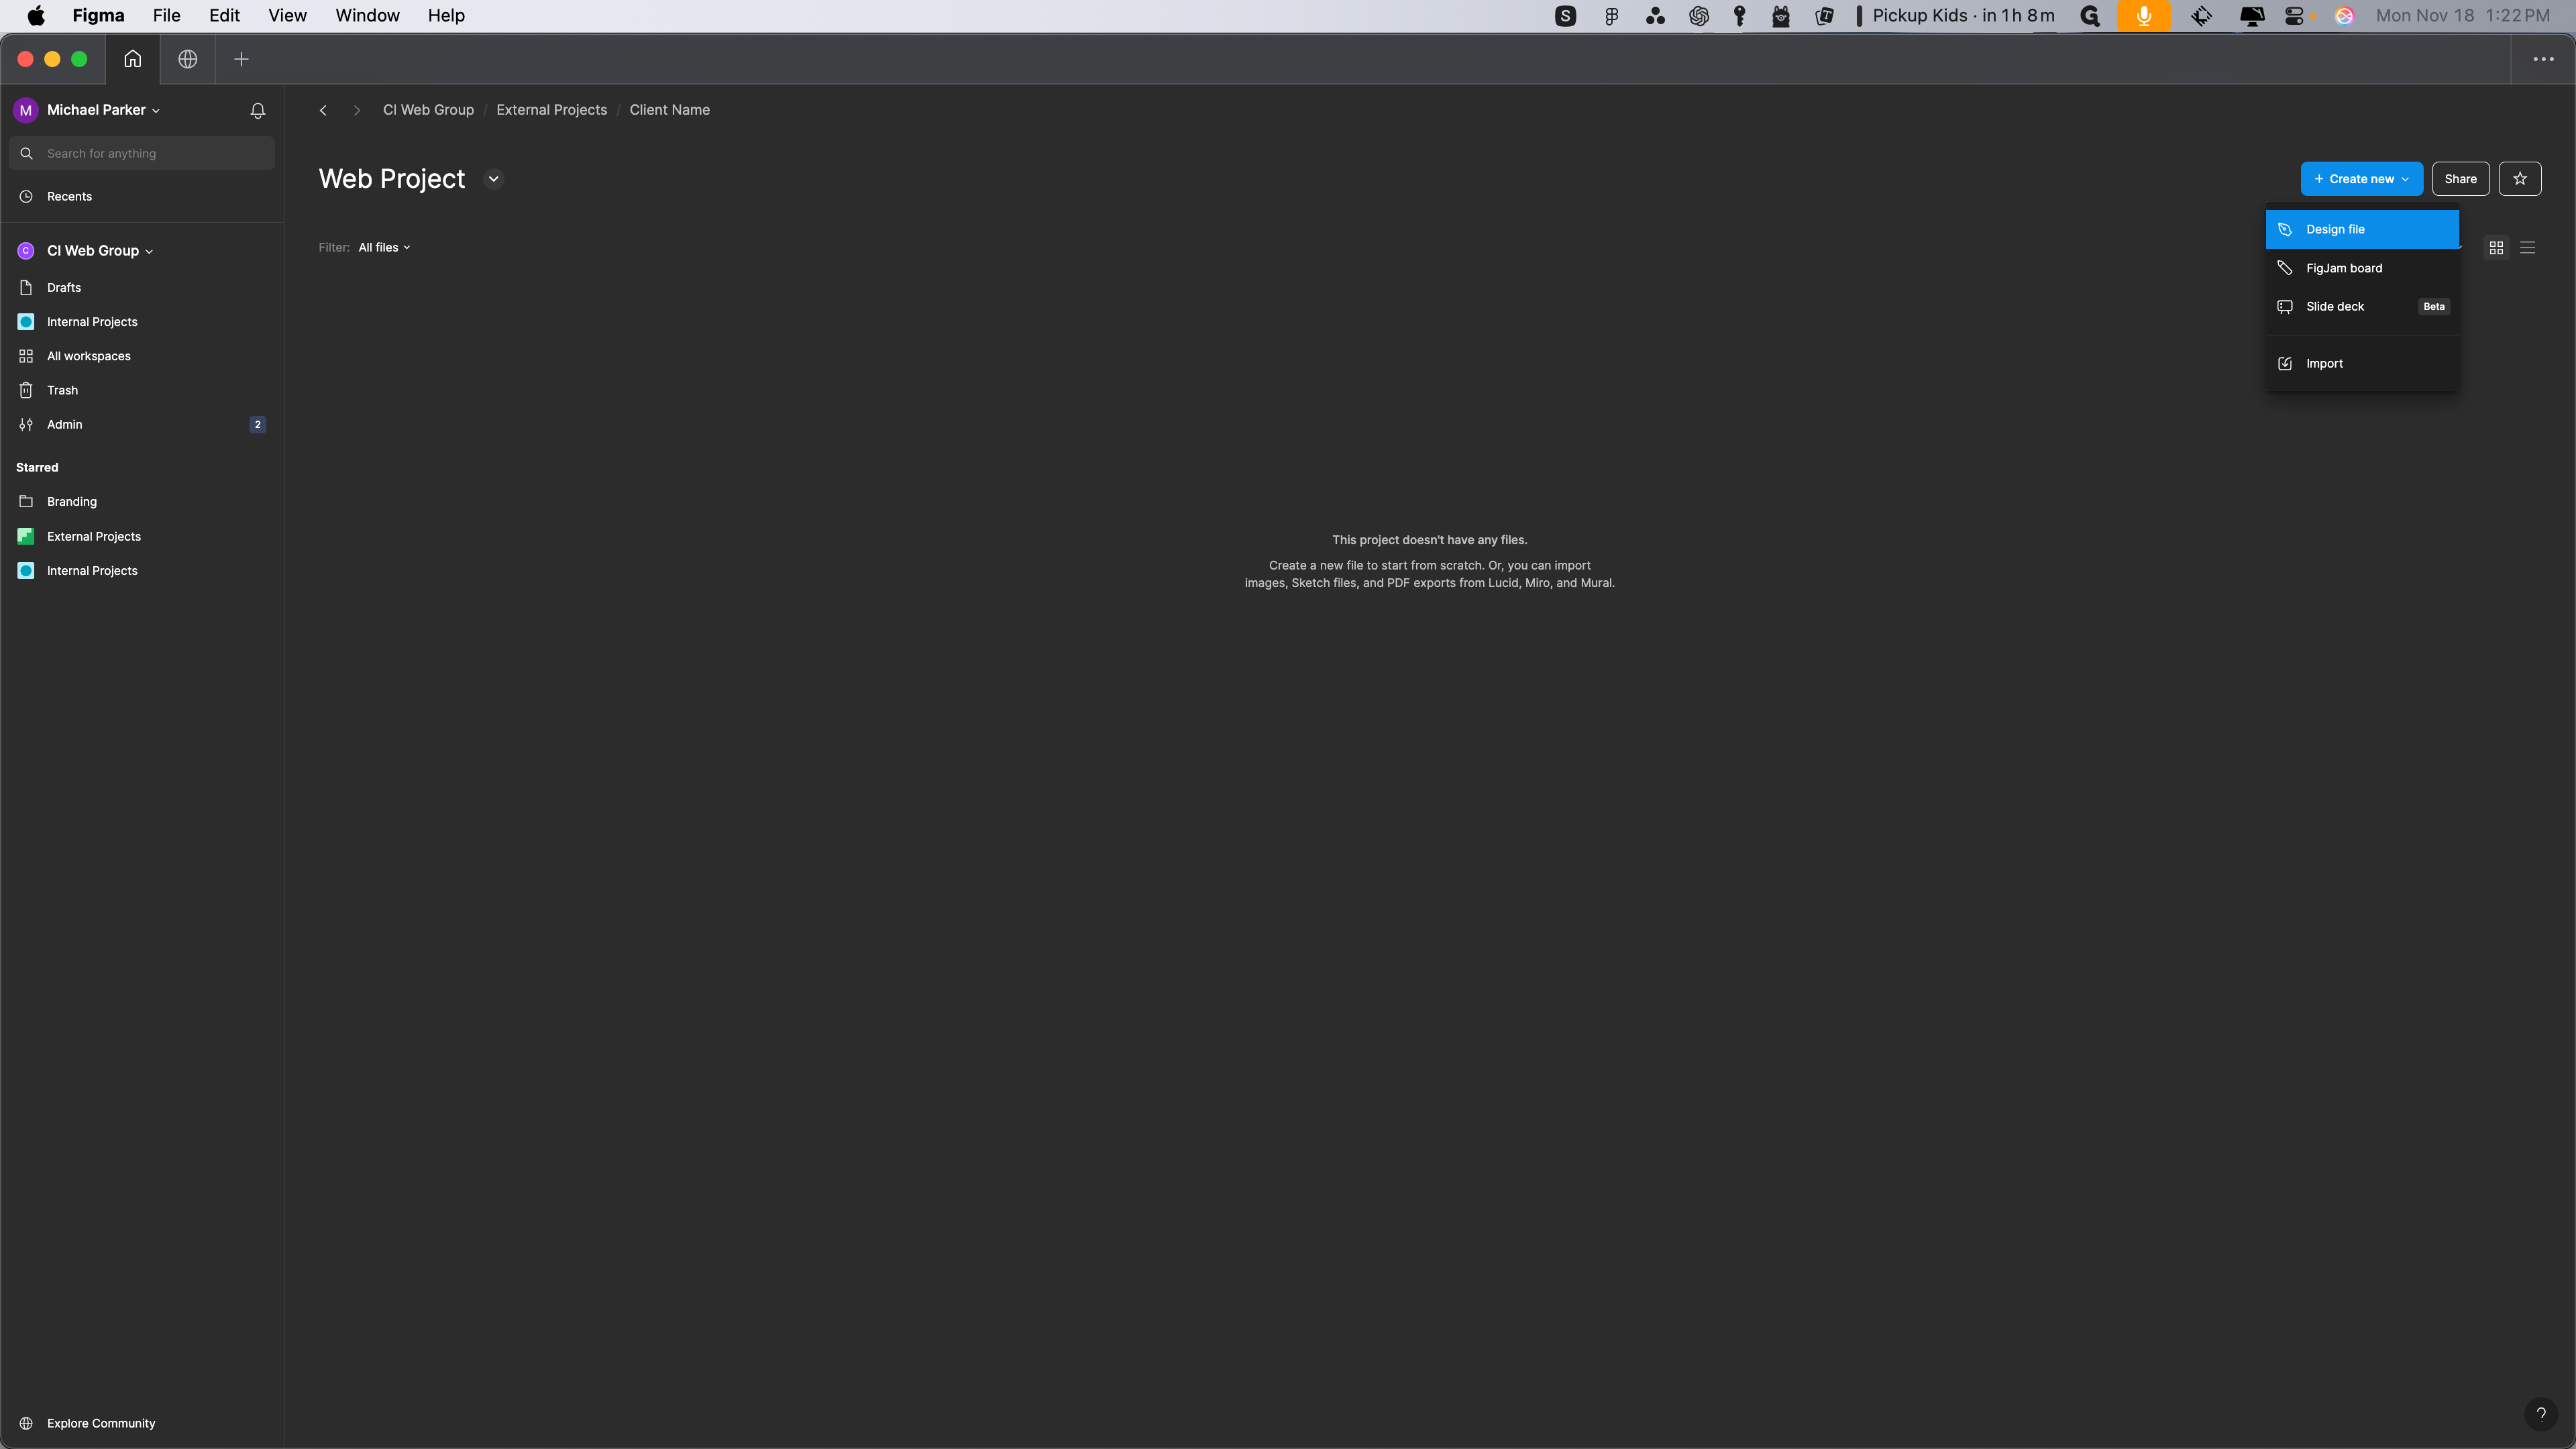
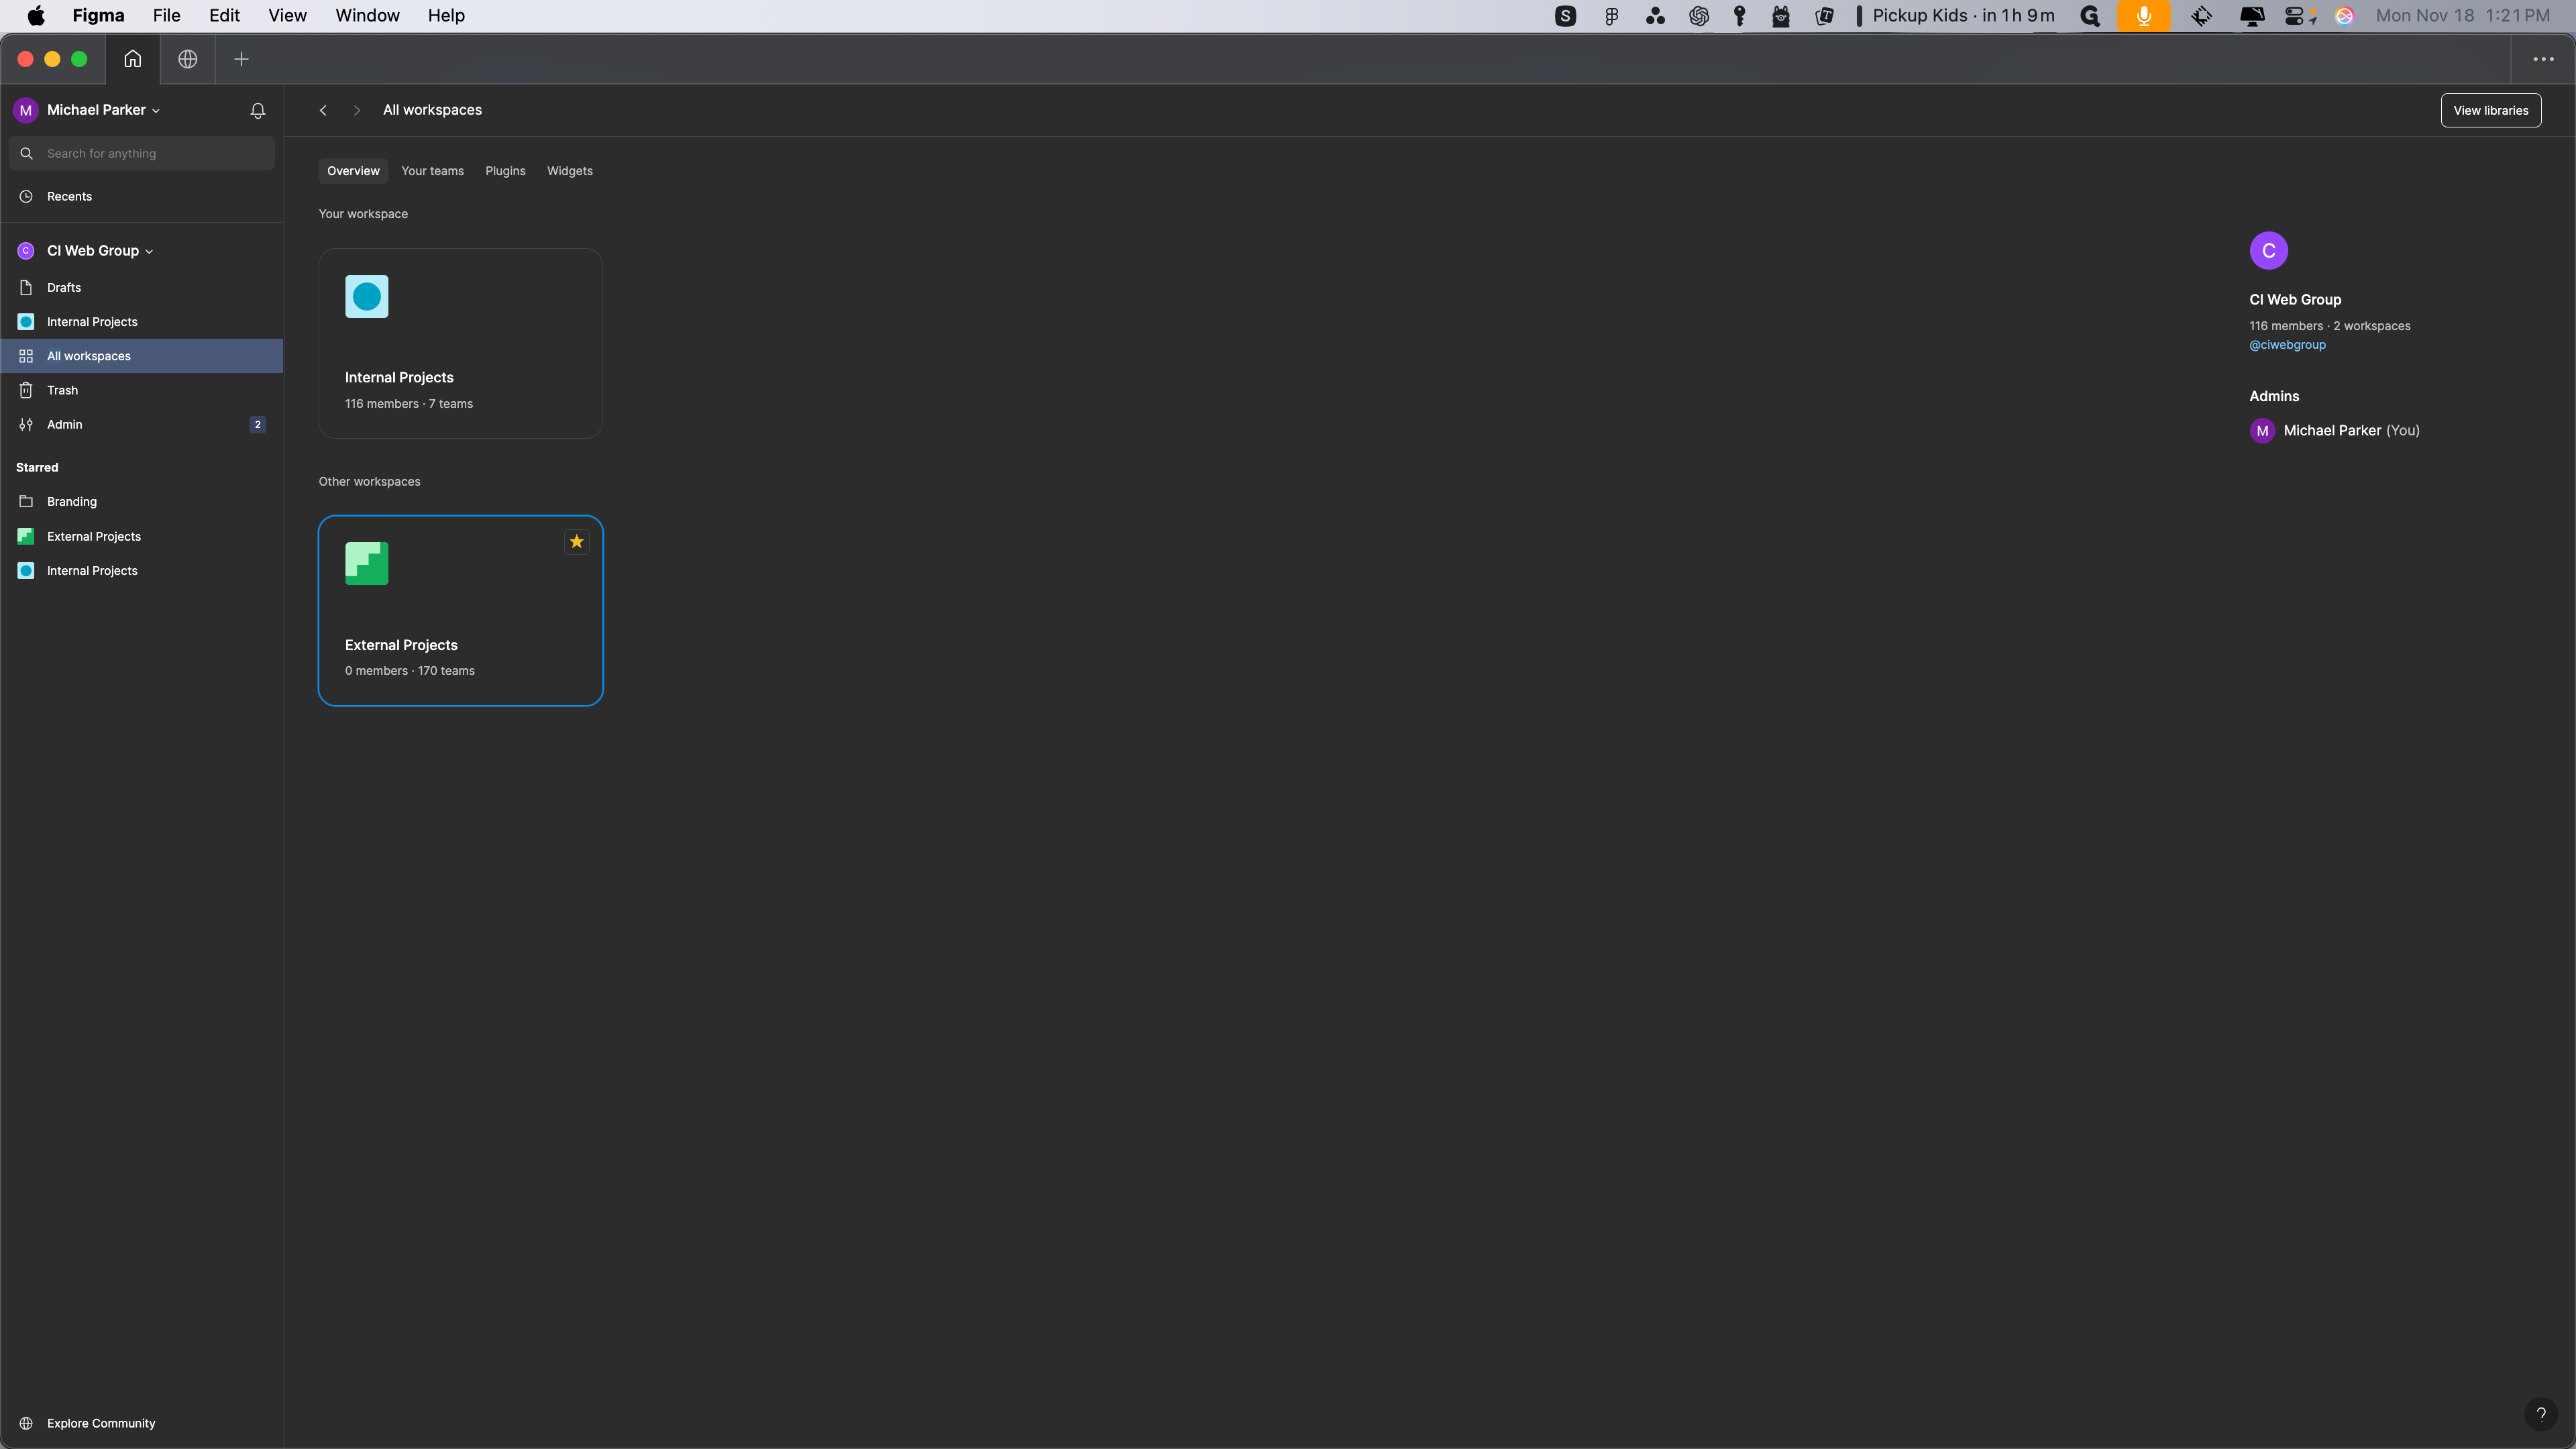
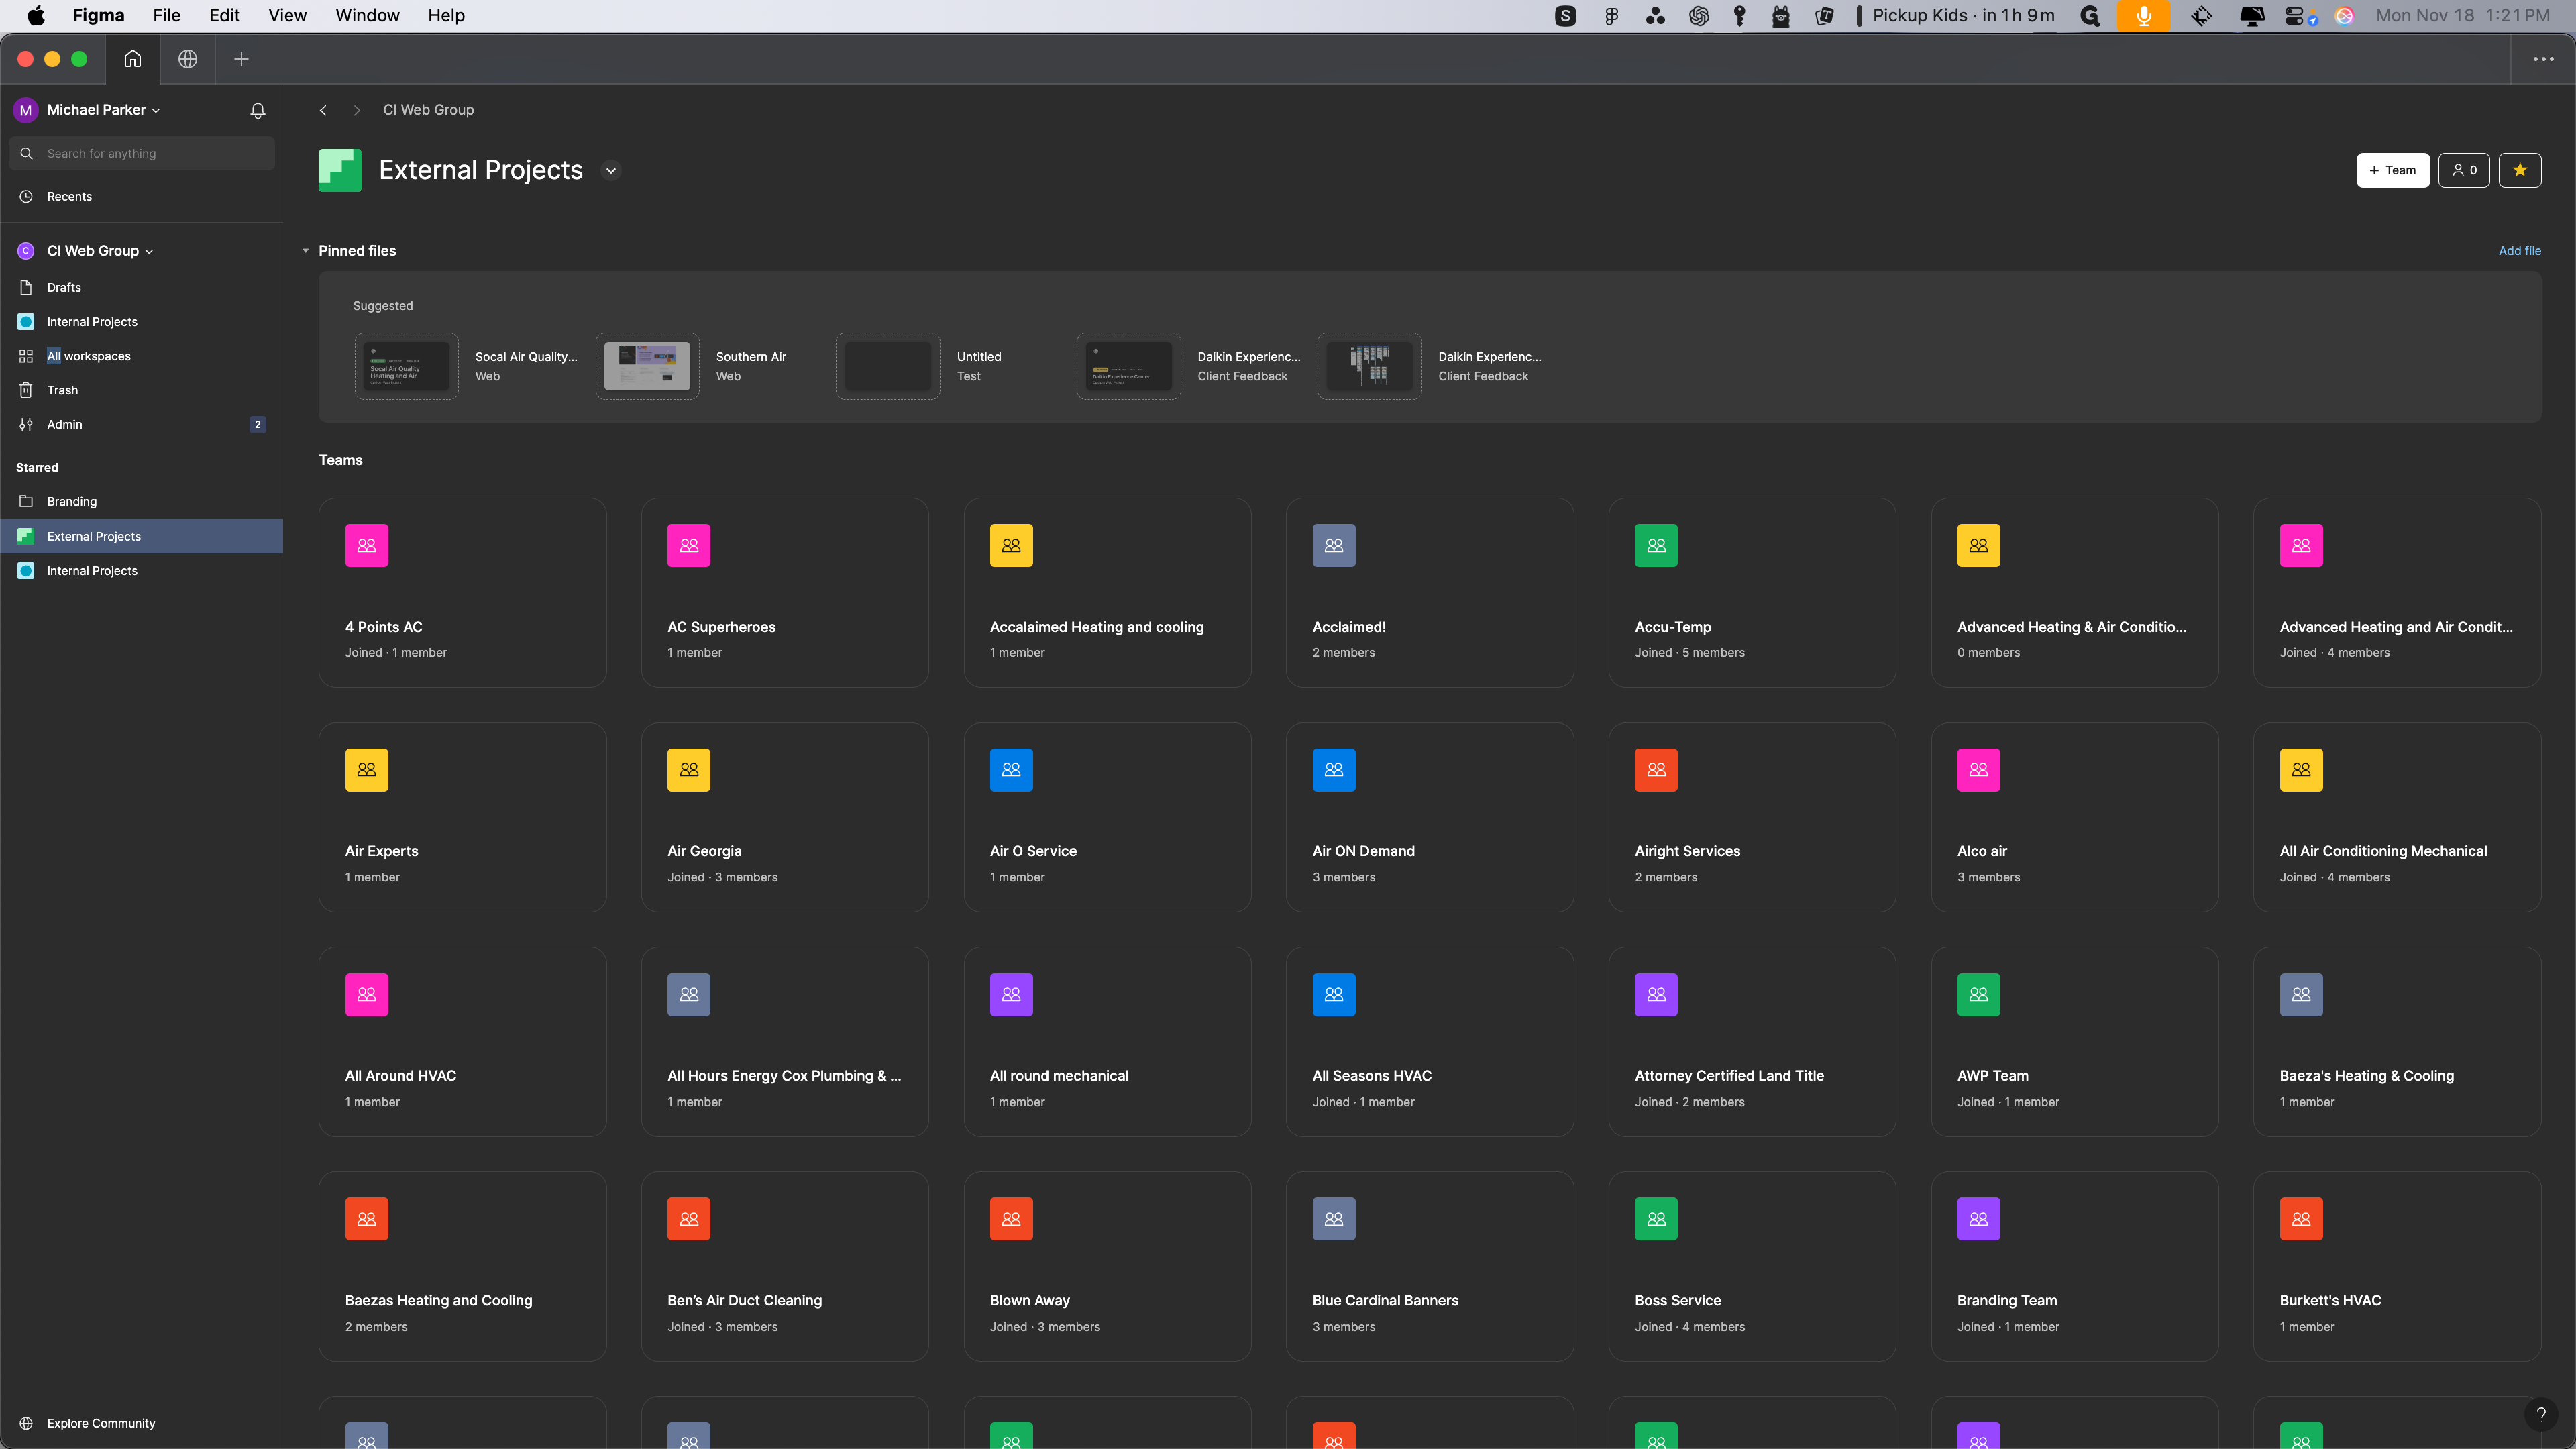
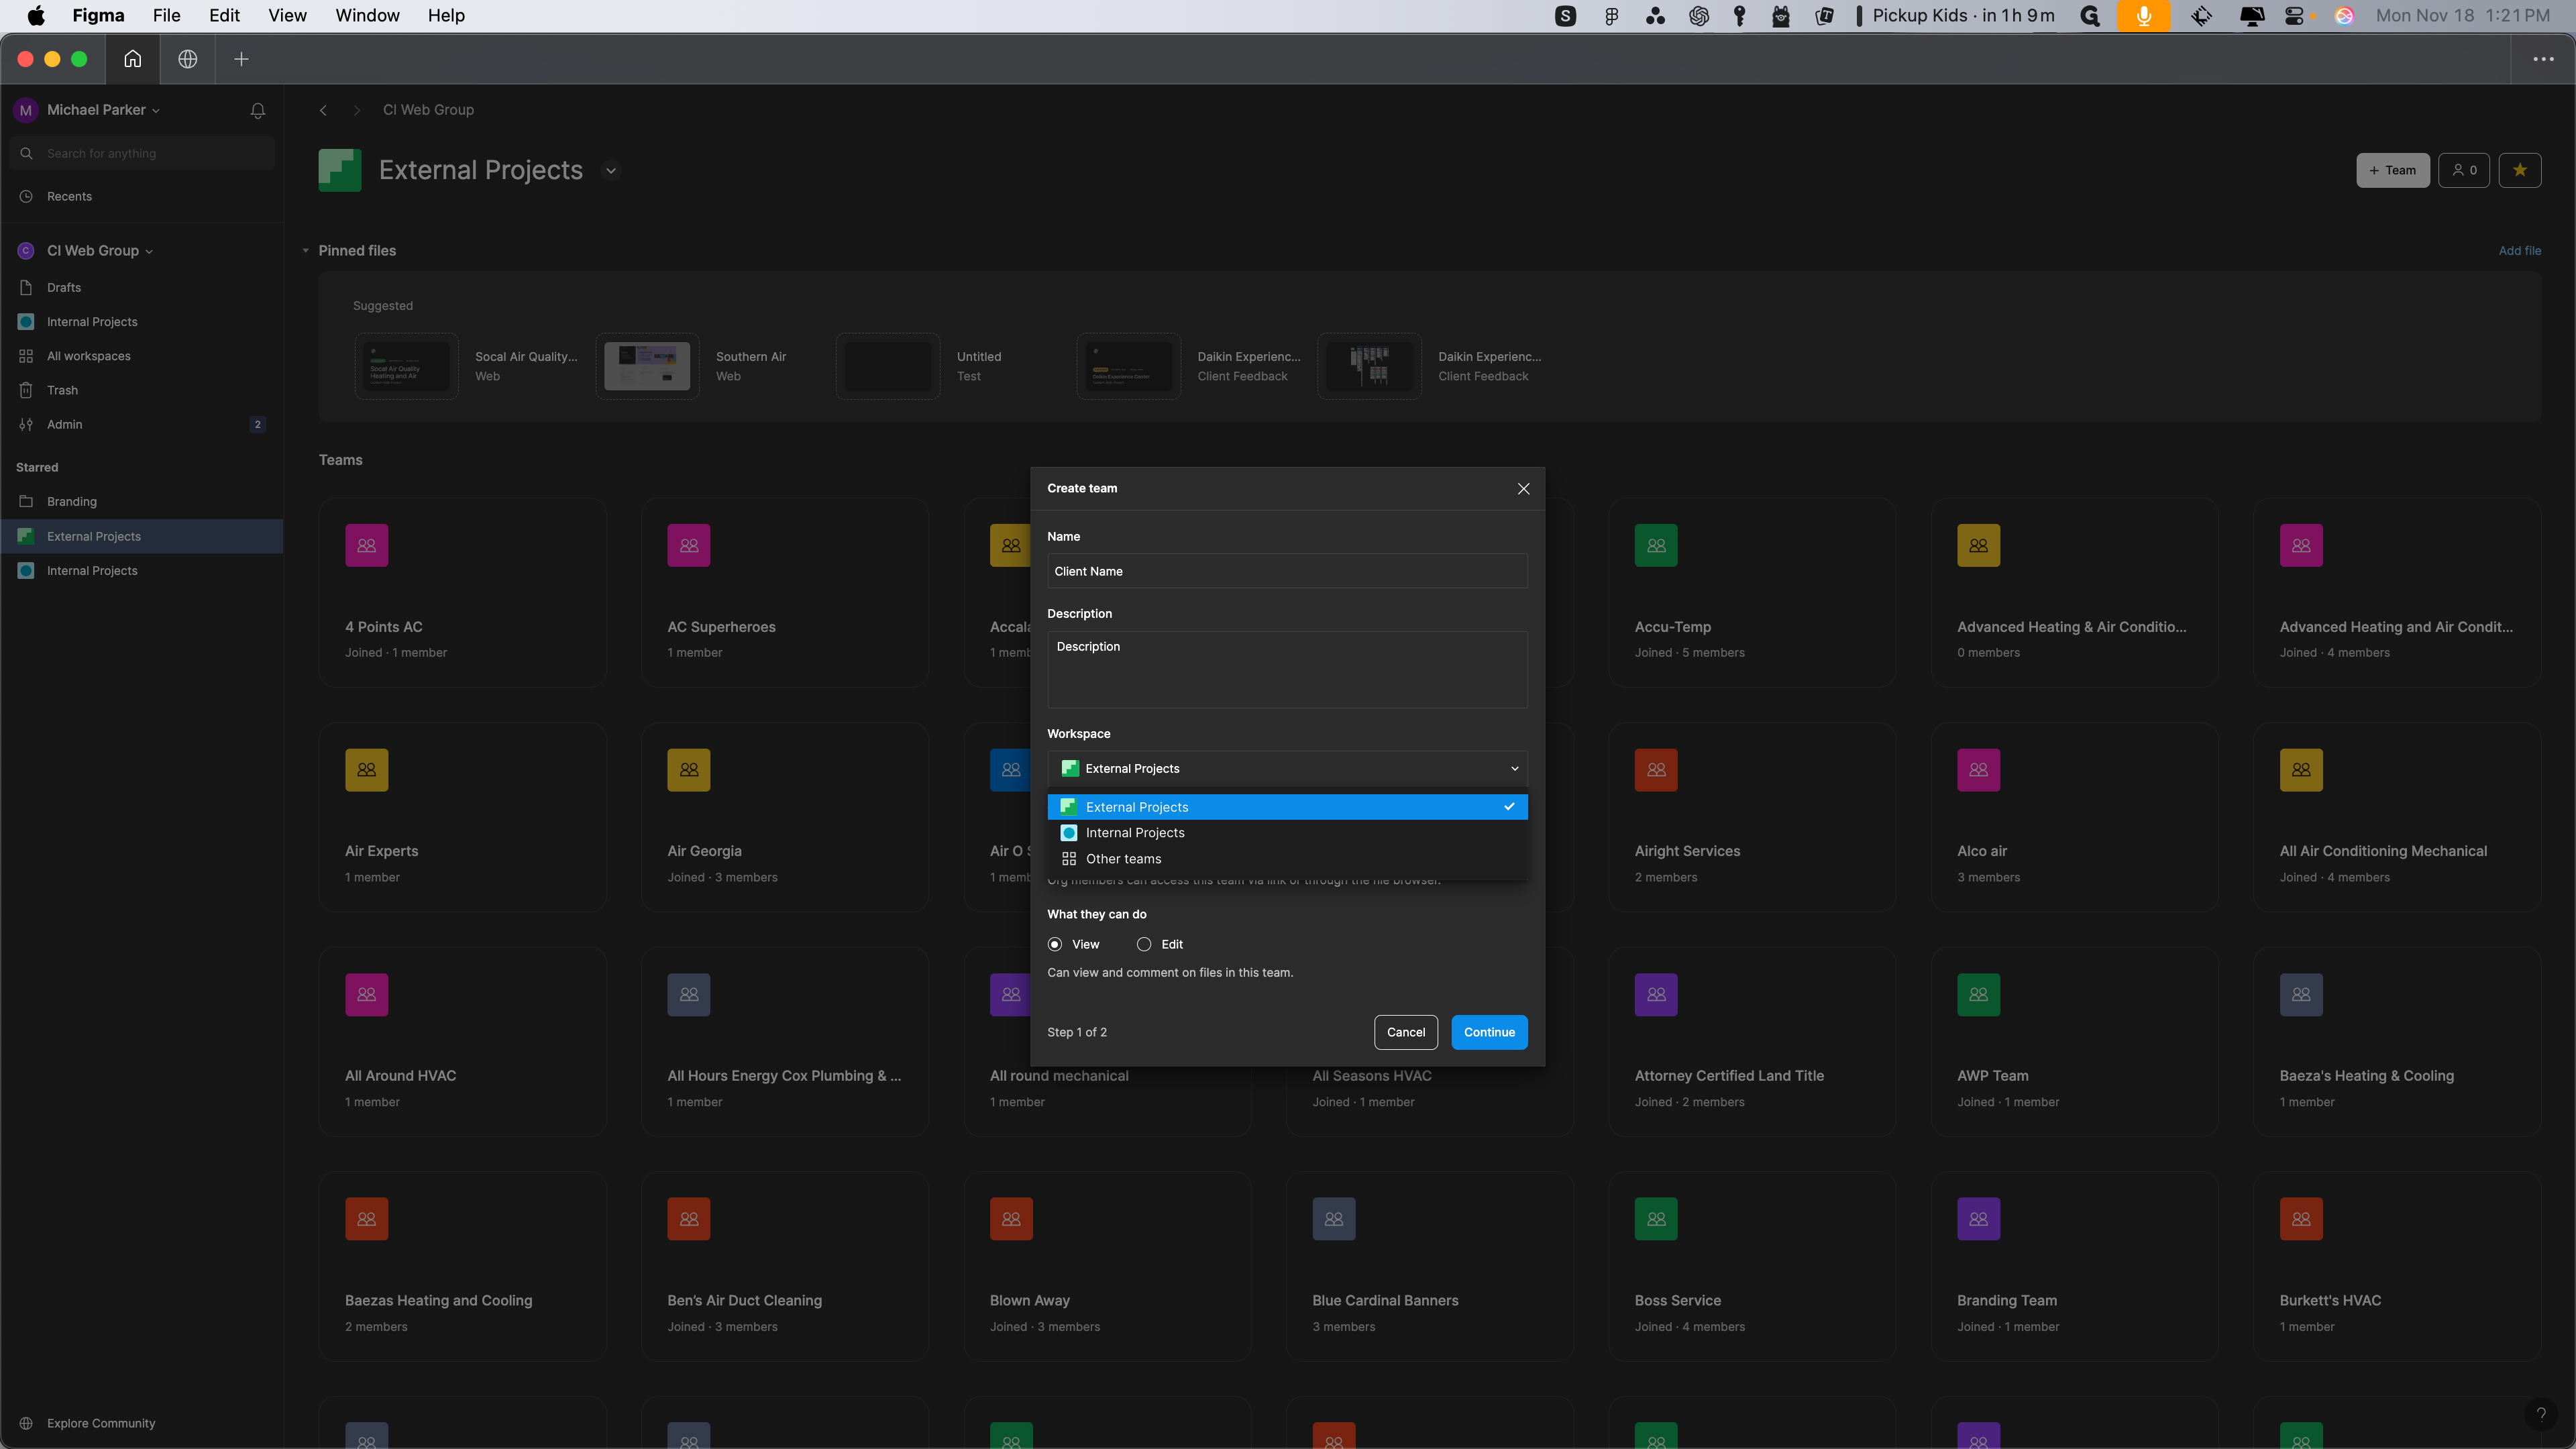
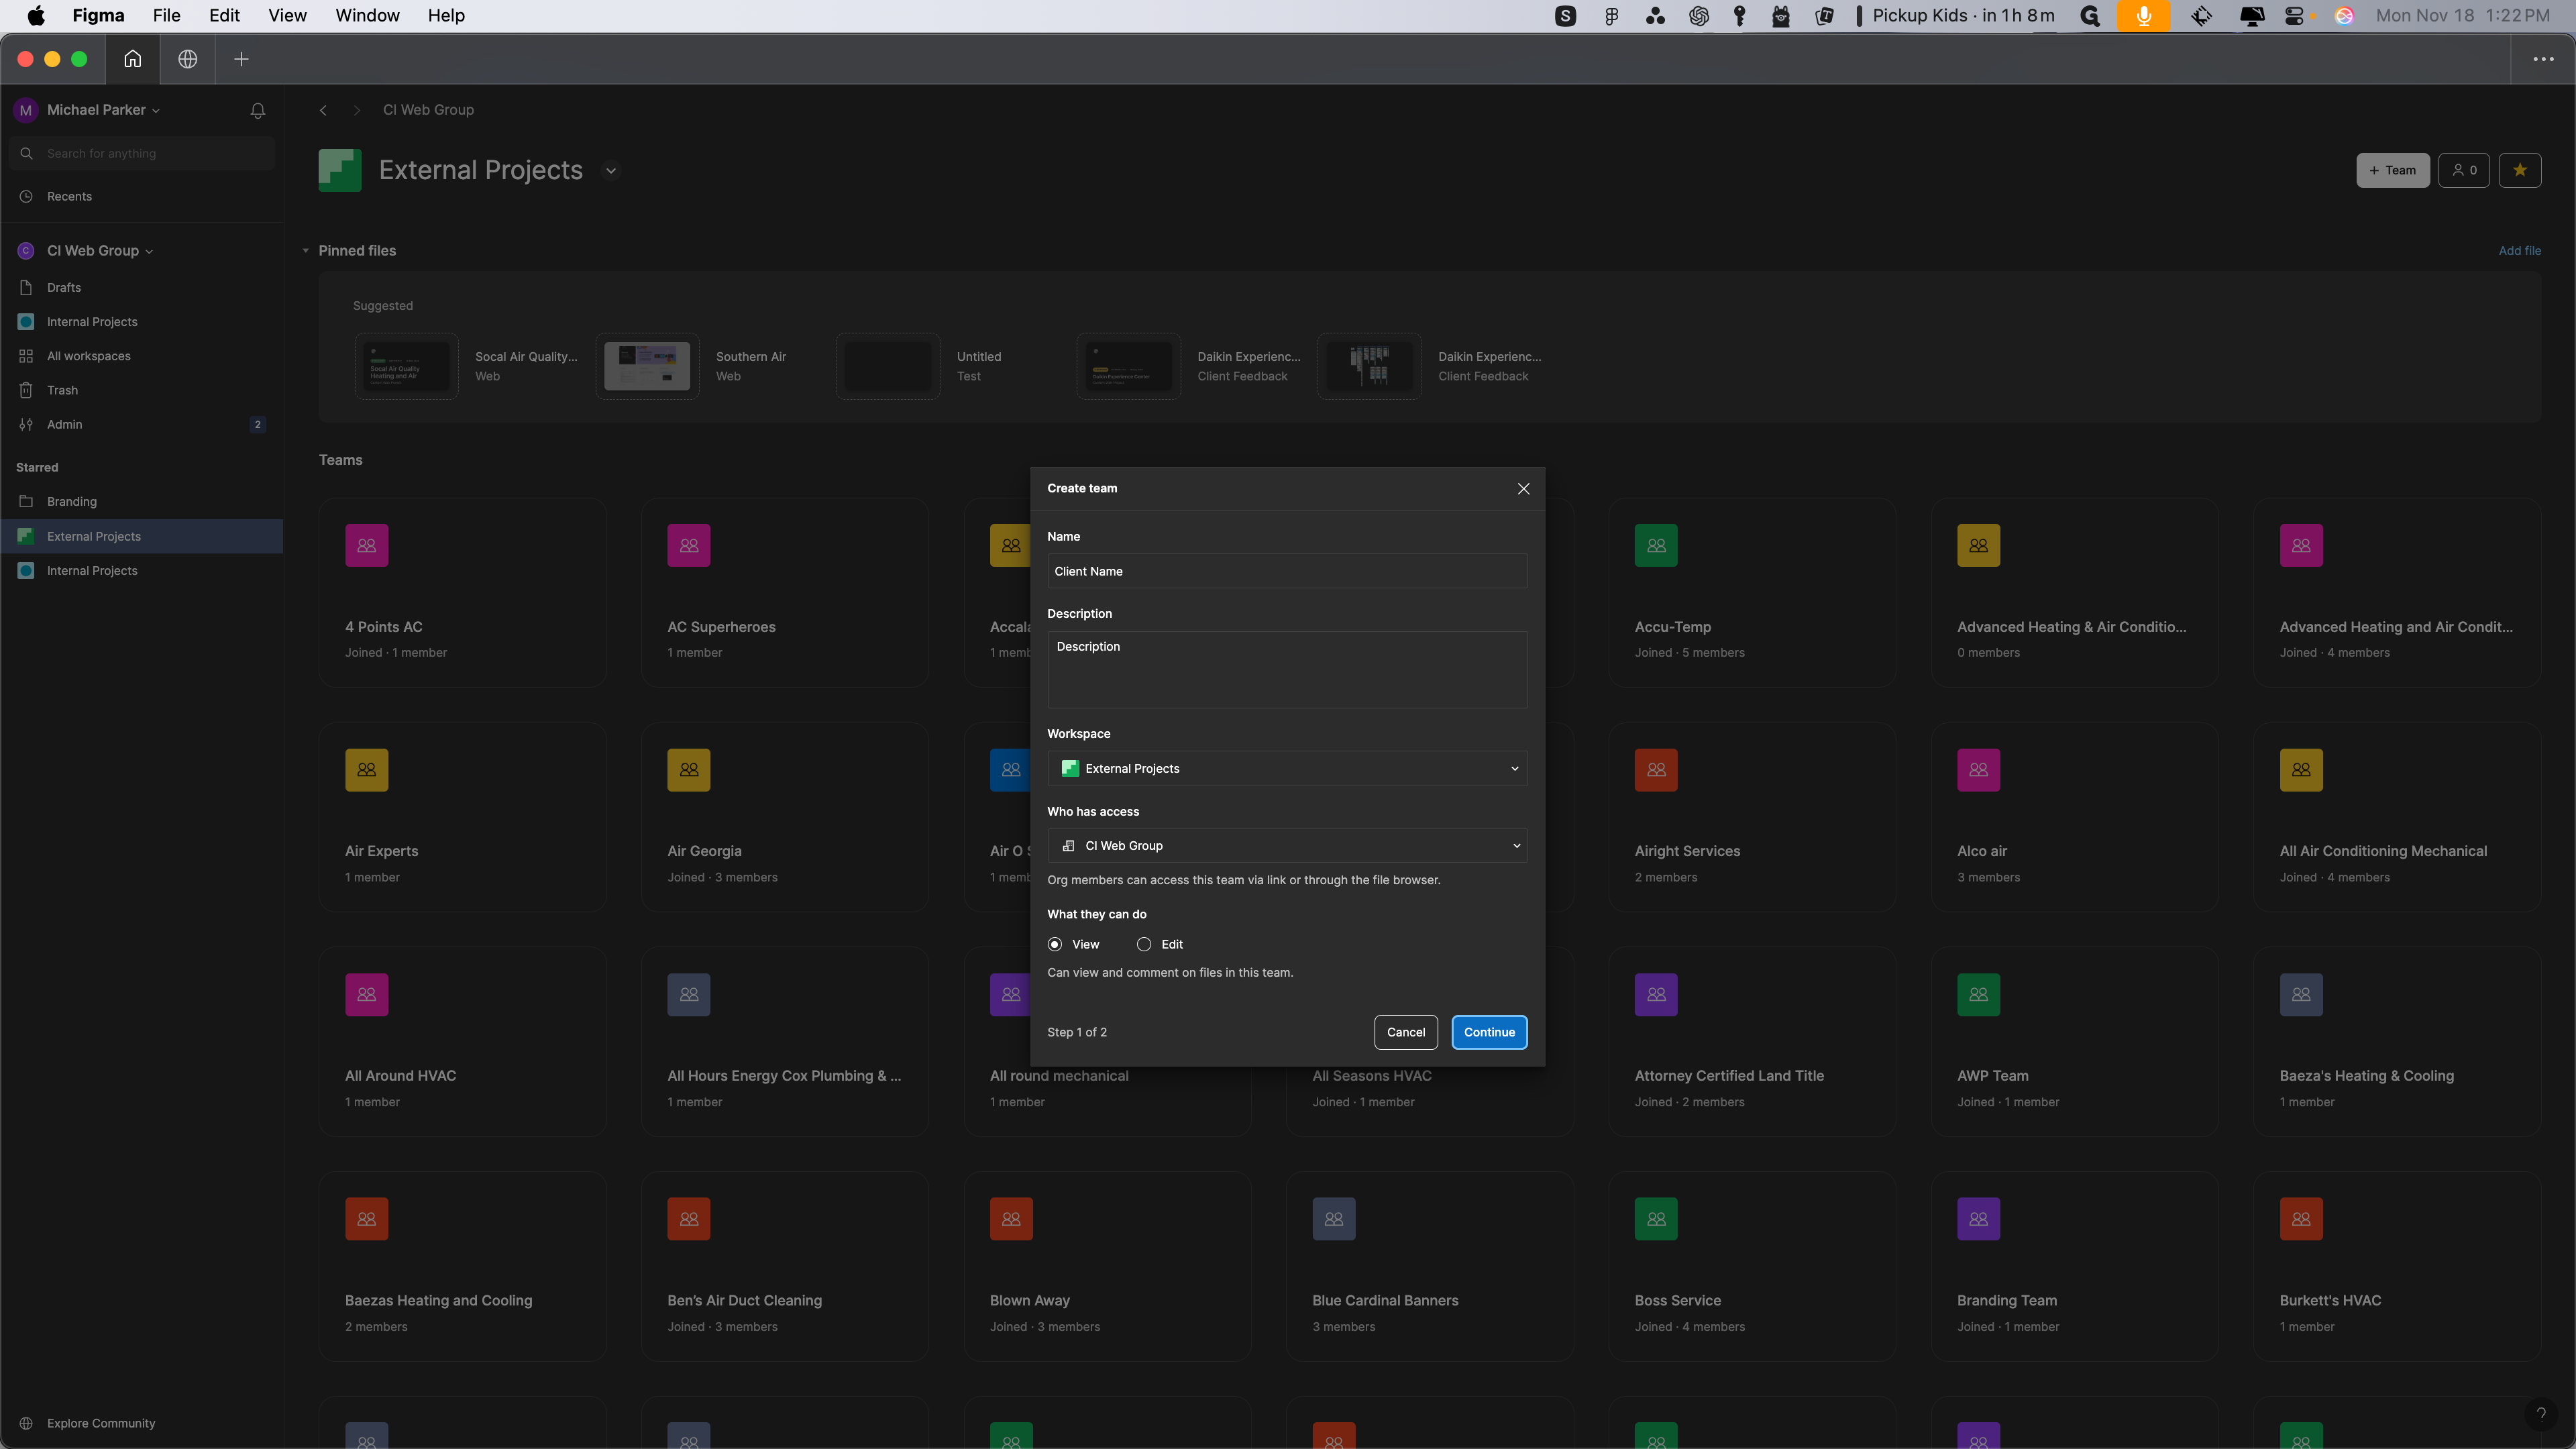
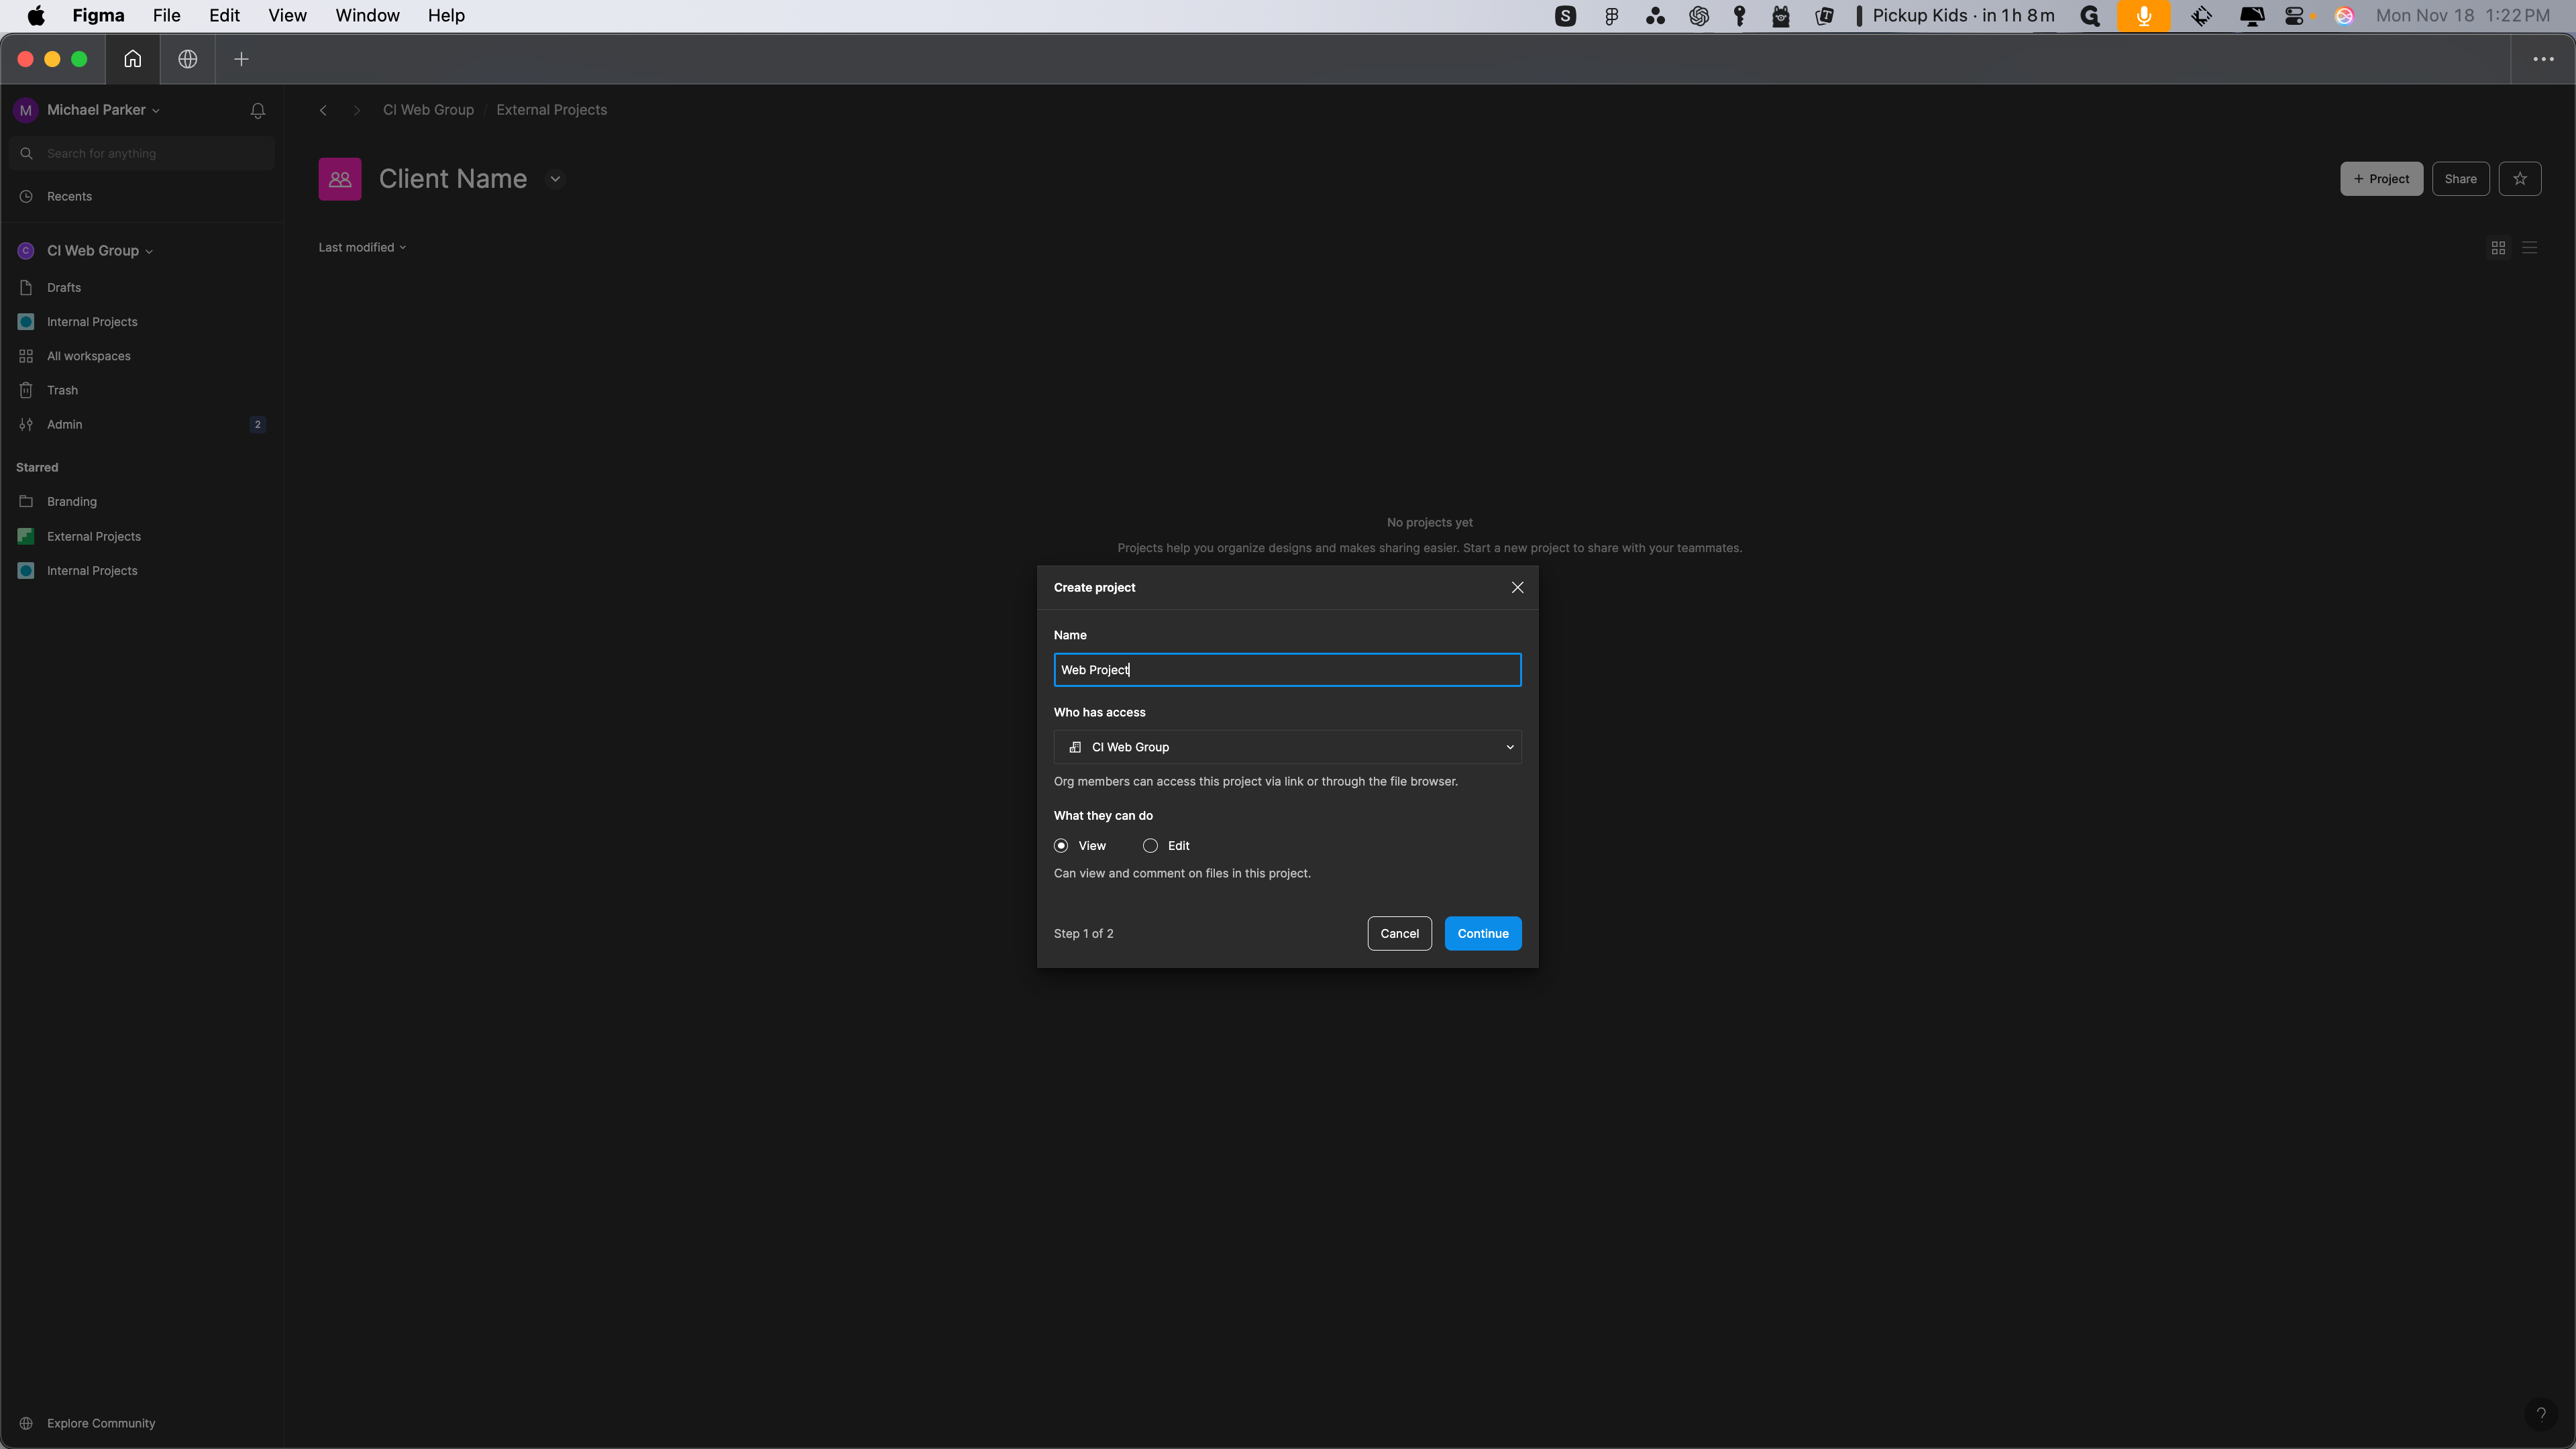
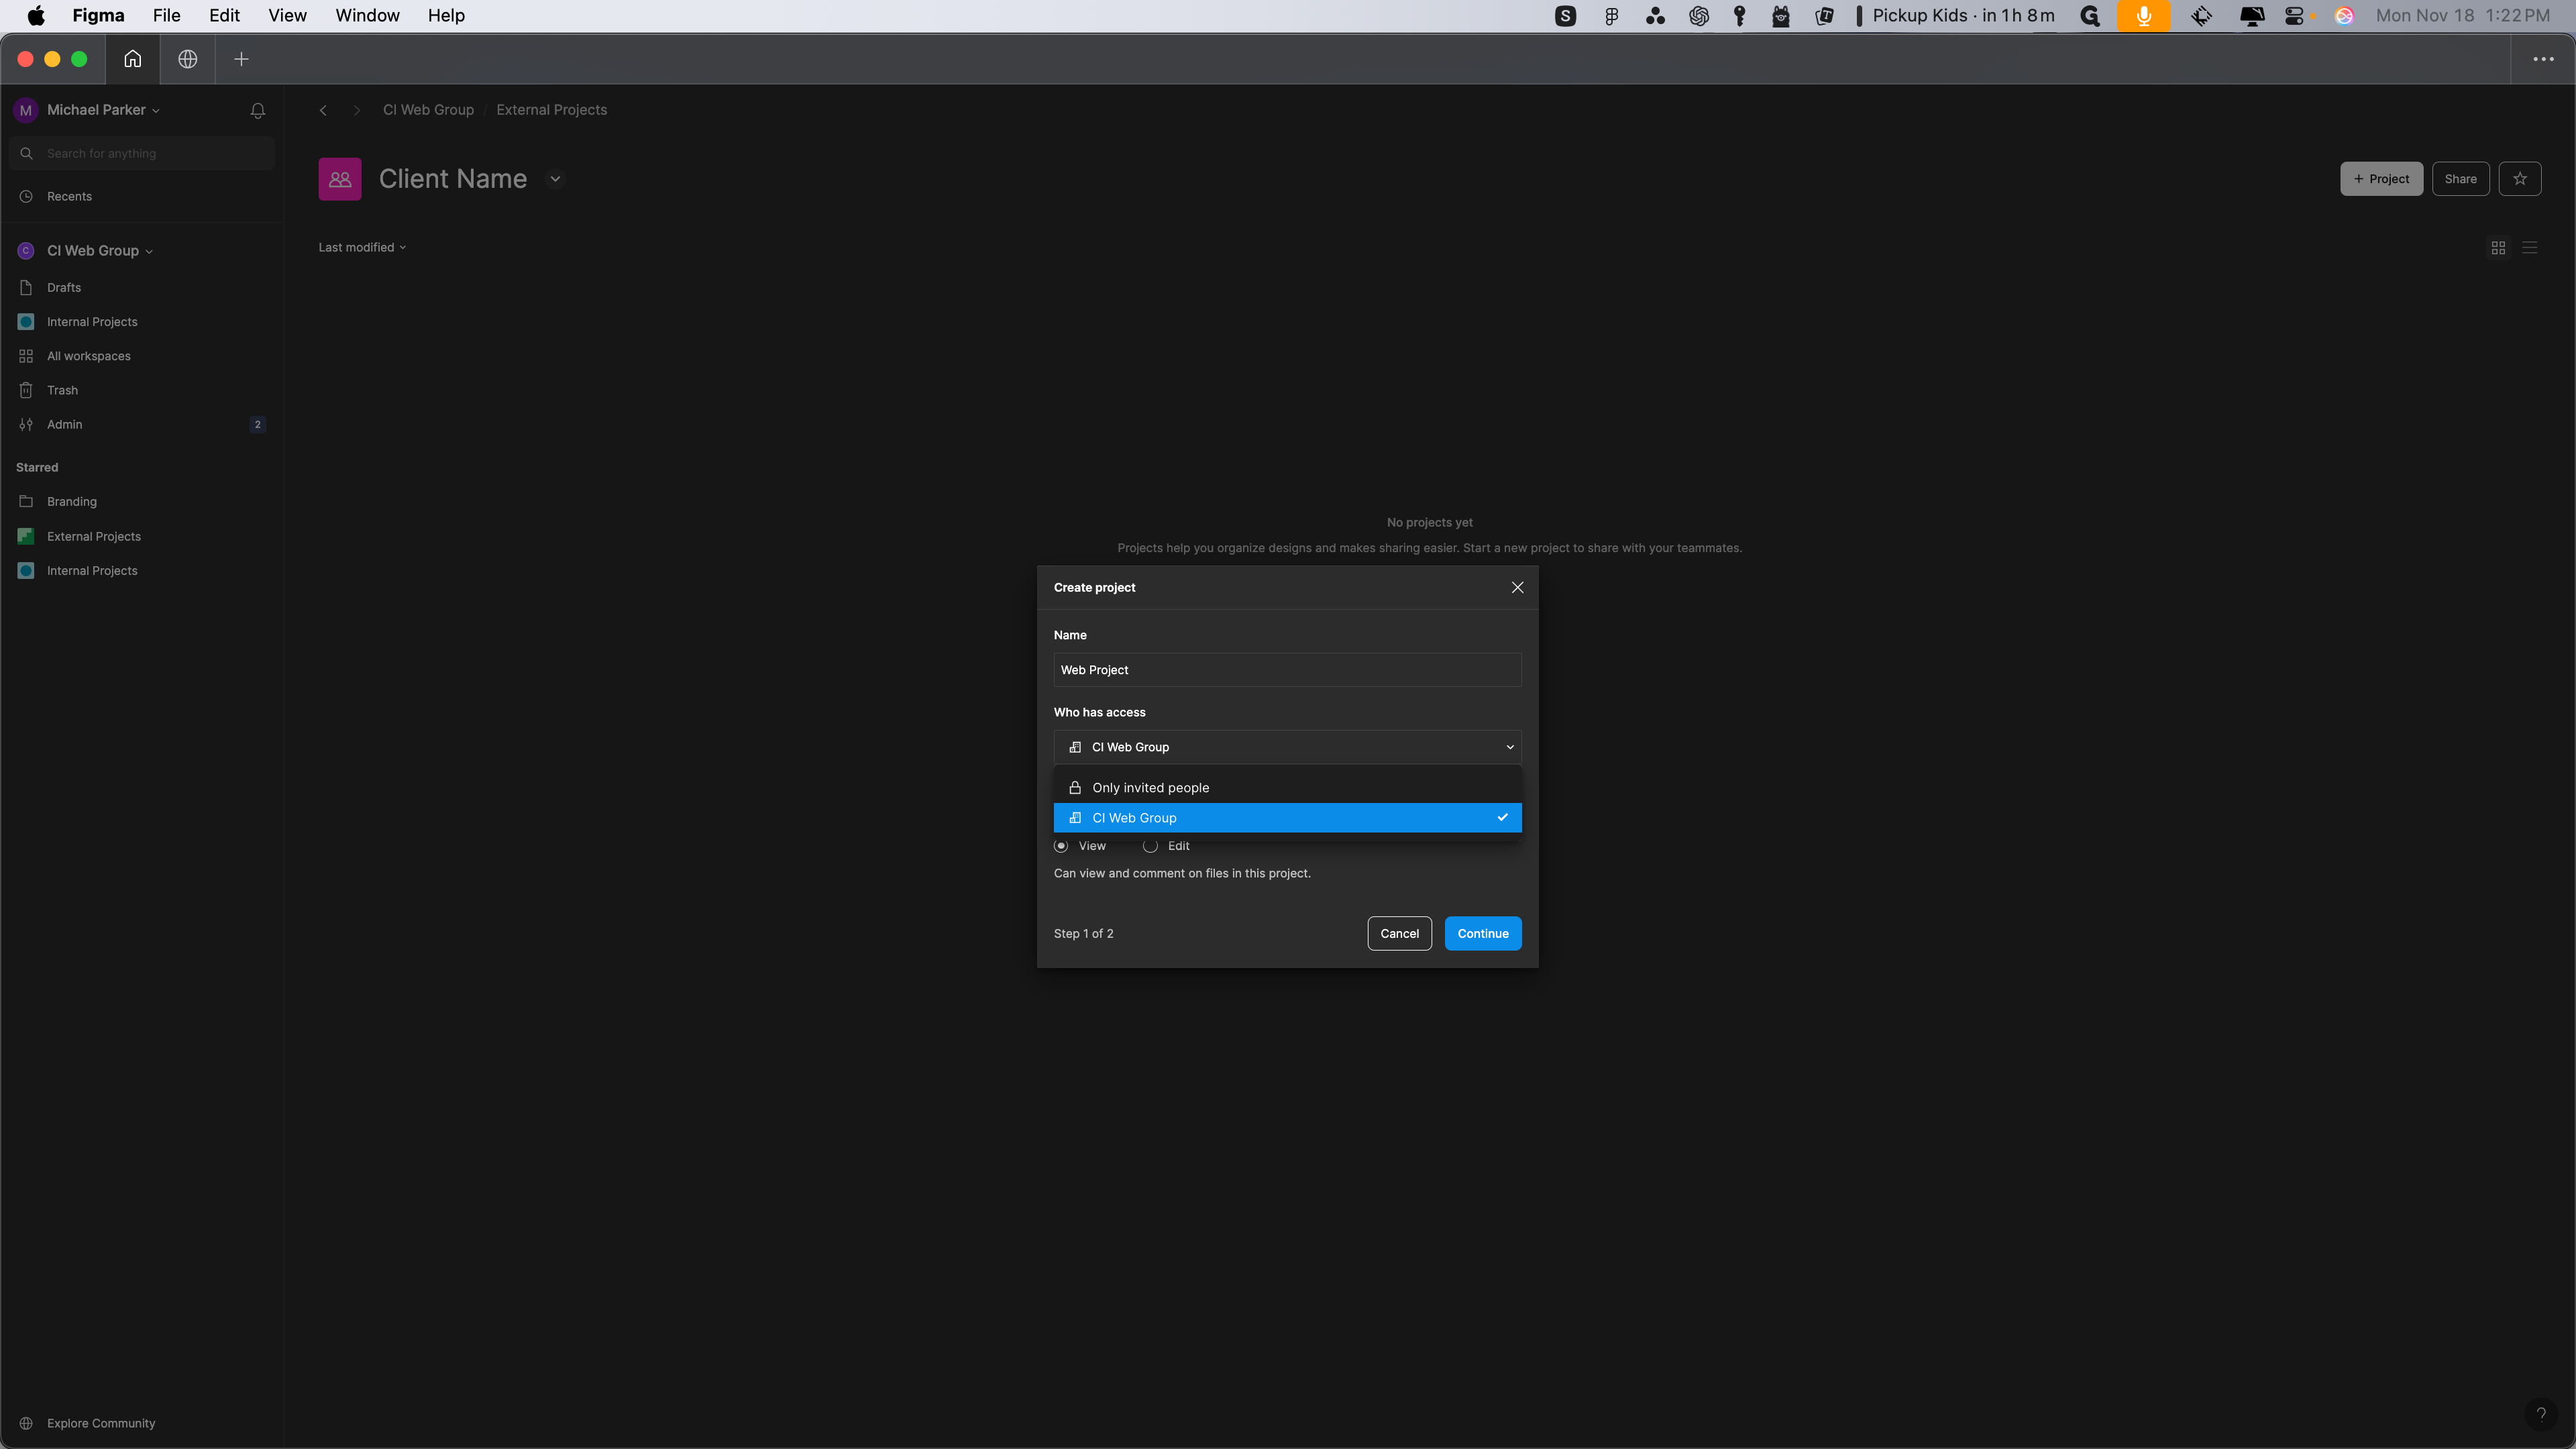
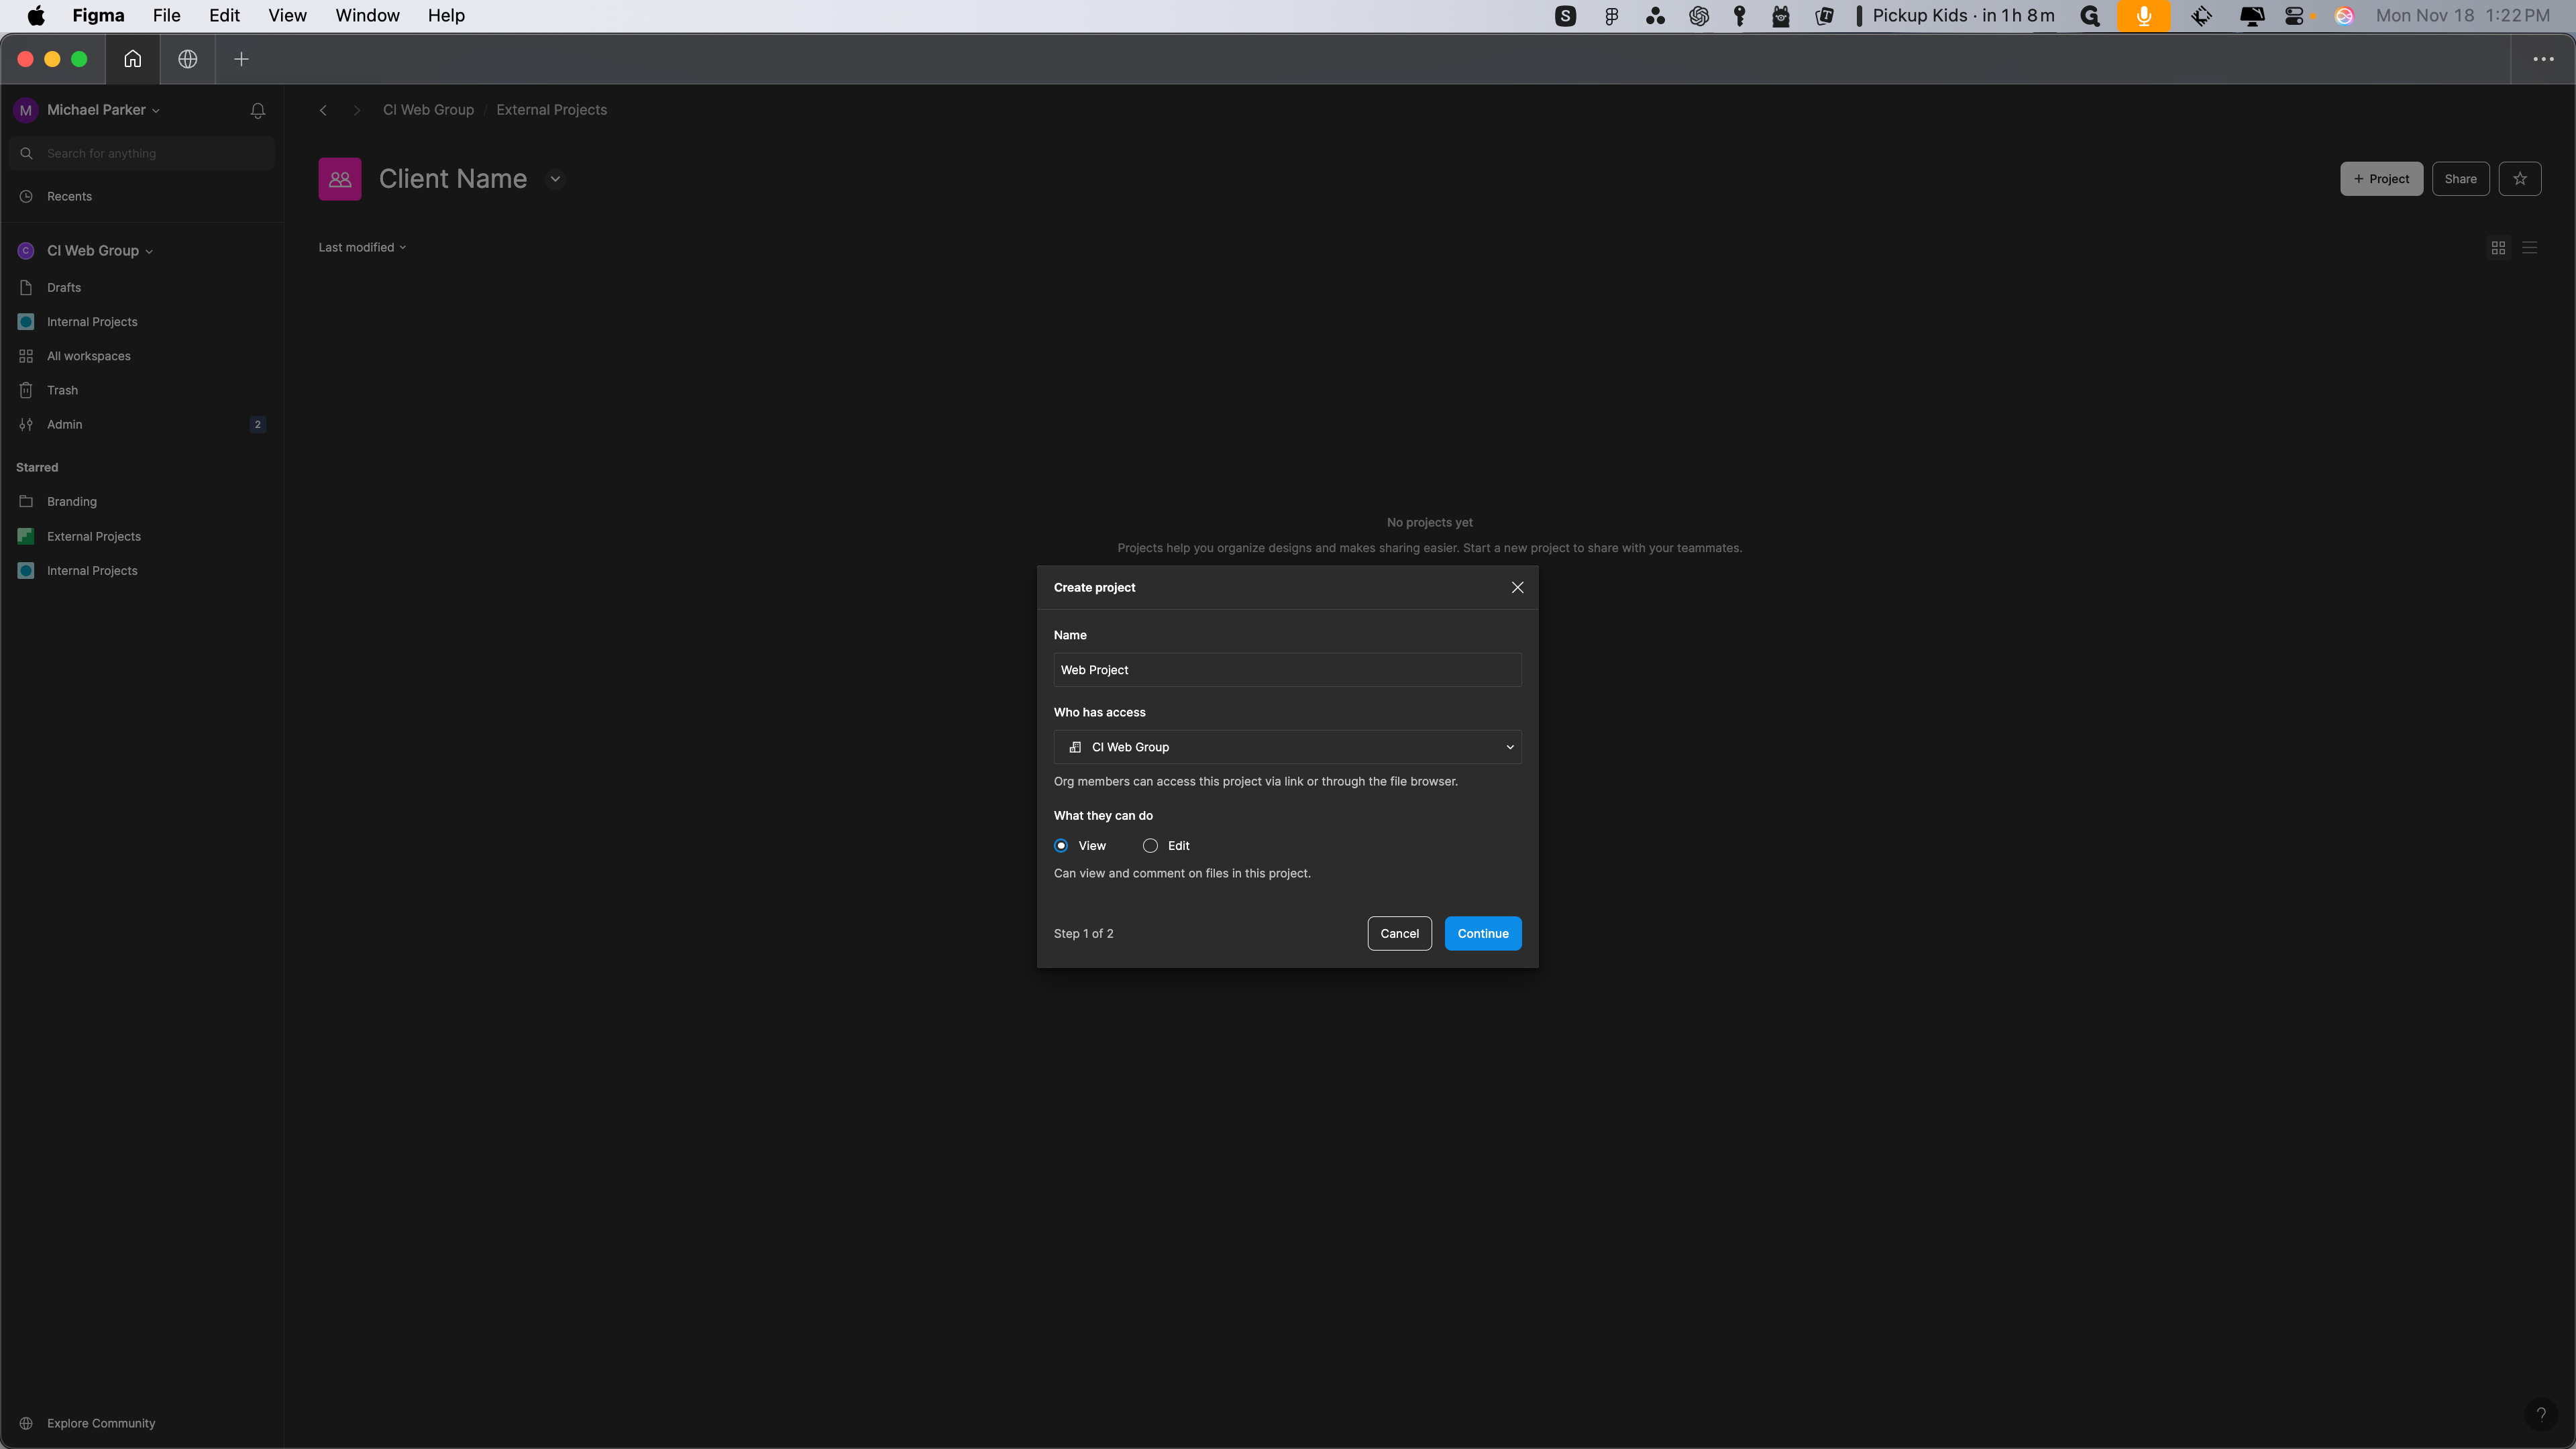
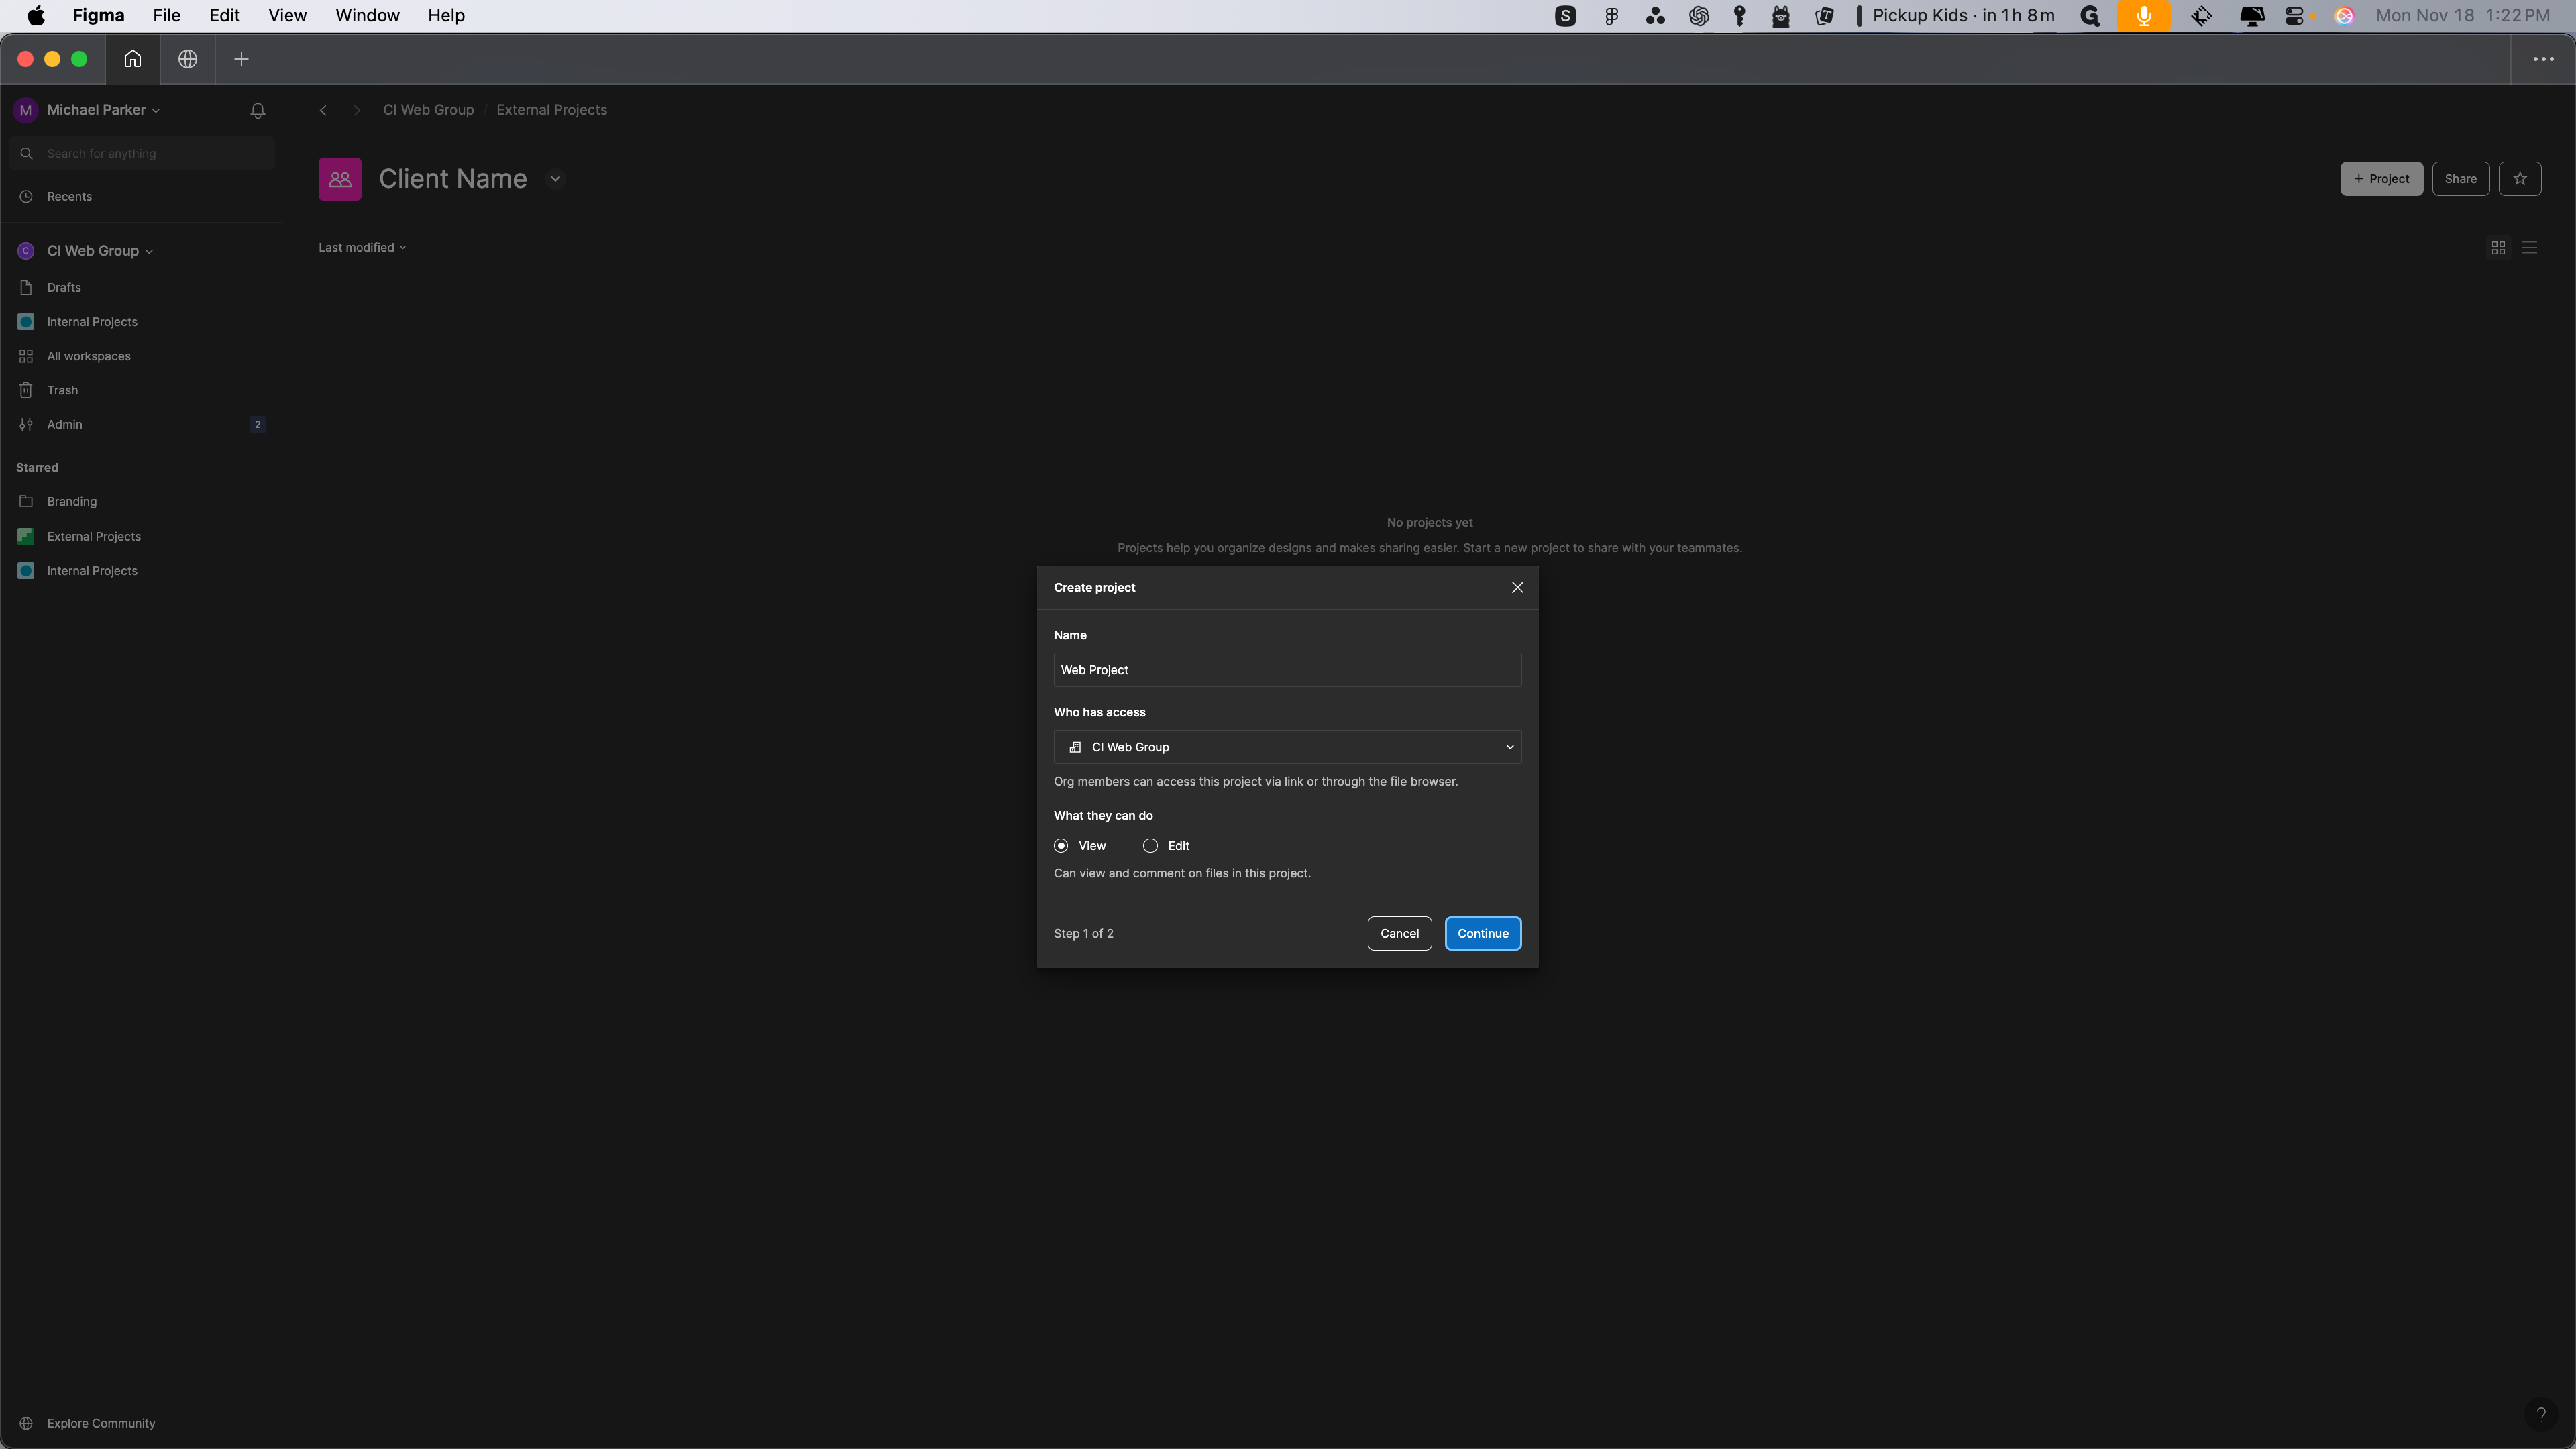
In the new Figma setup, here's how to create a project: 1. Go to all workspaces. 2. Navigate to external projects. 3. Select new team. 4. Enter the client name and add a description. 5. Ensure the workplace is set to external projects. 6. Confirm who has access, specifically the CI web group, and set it to at least view. 7. Click continue.
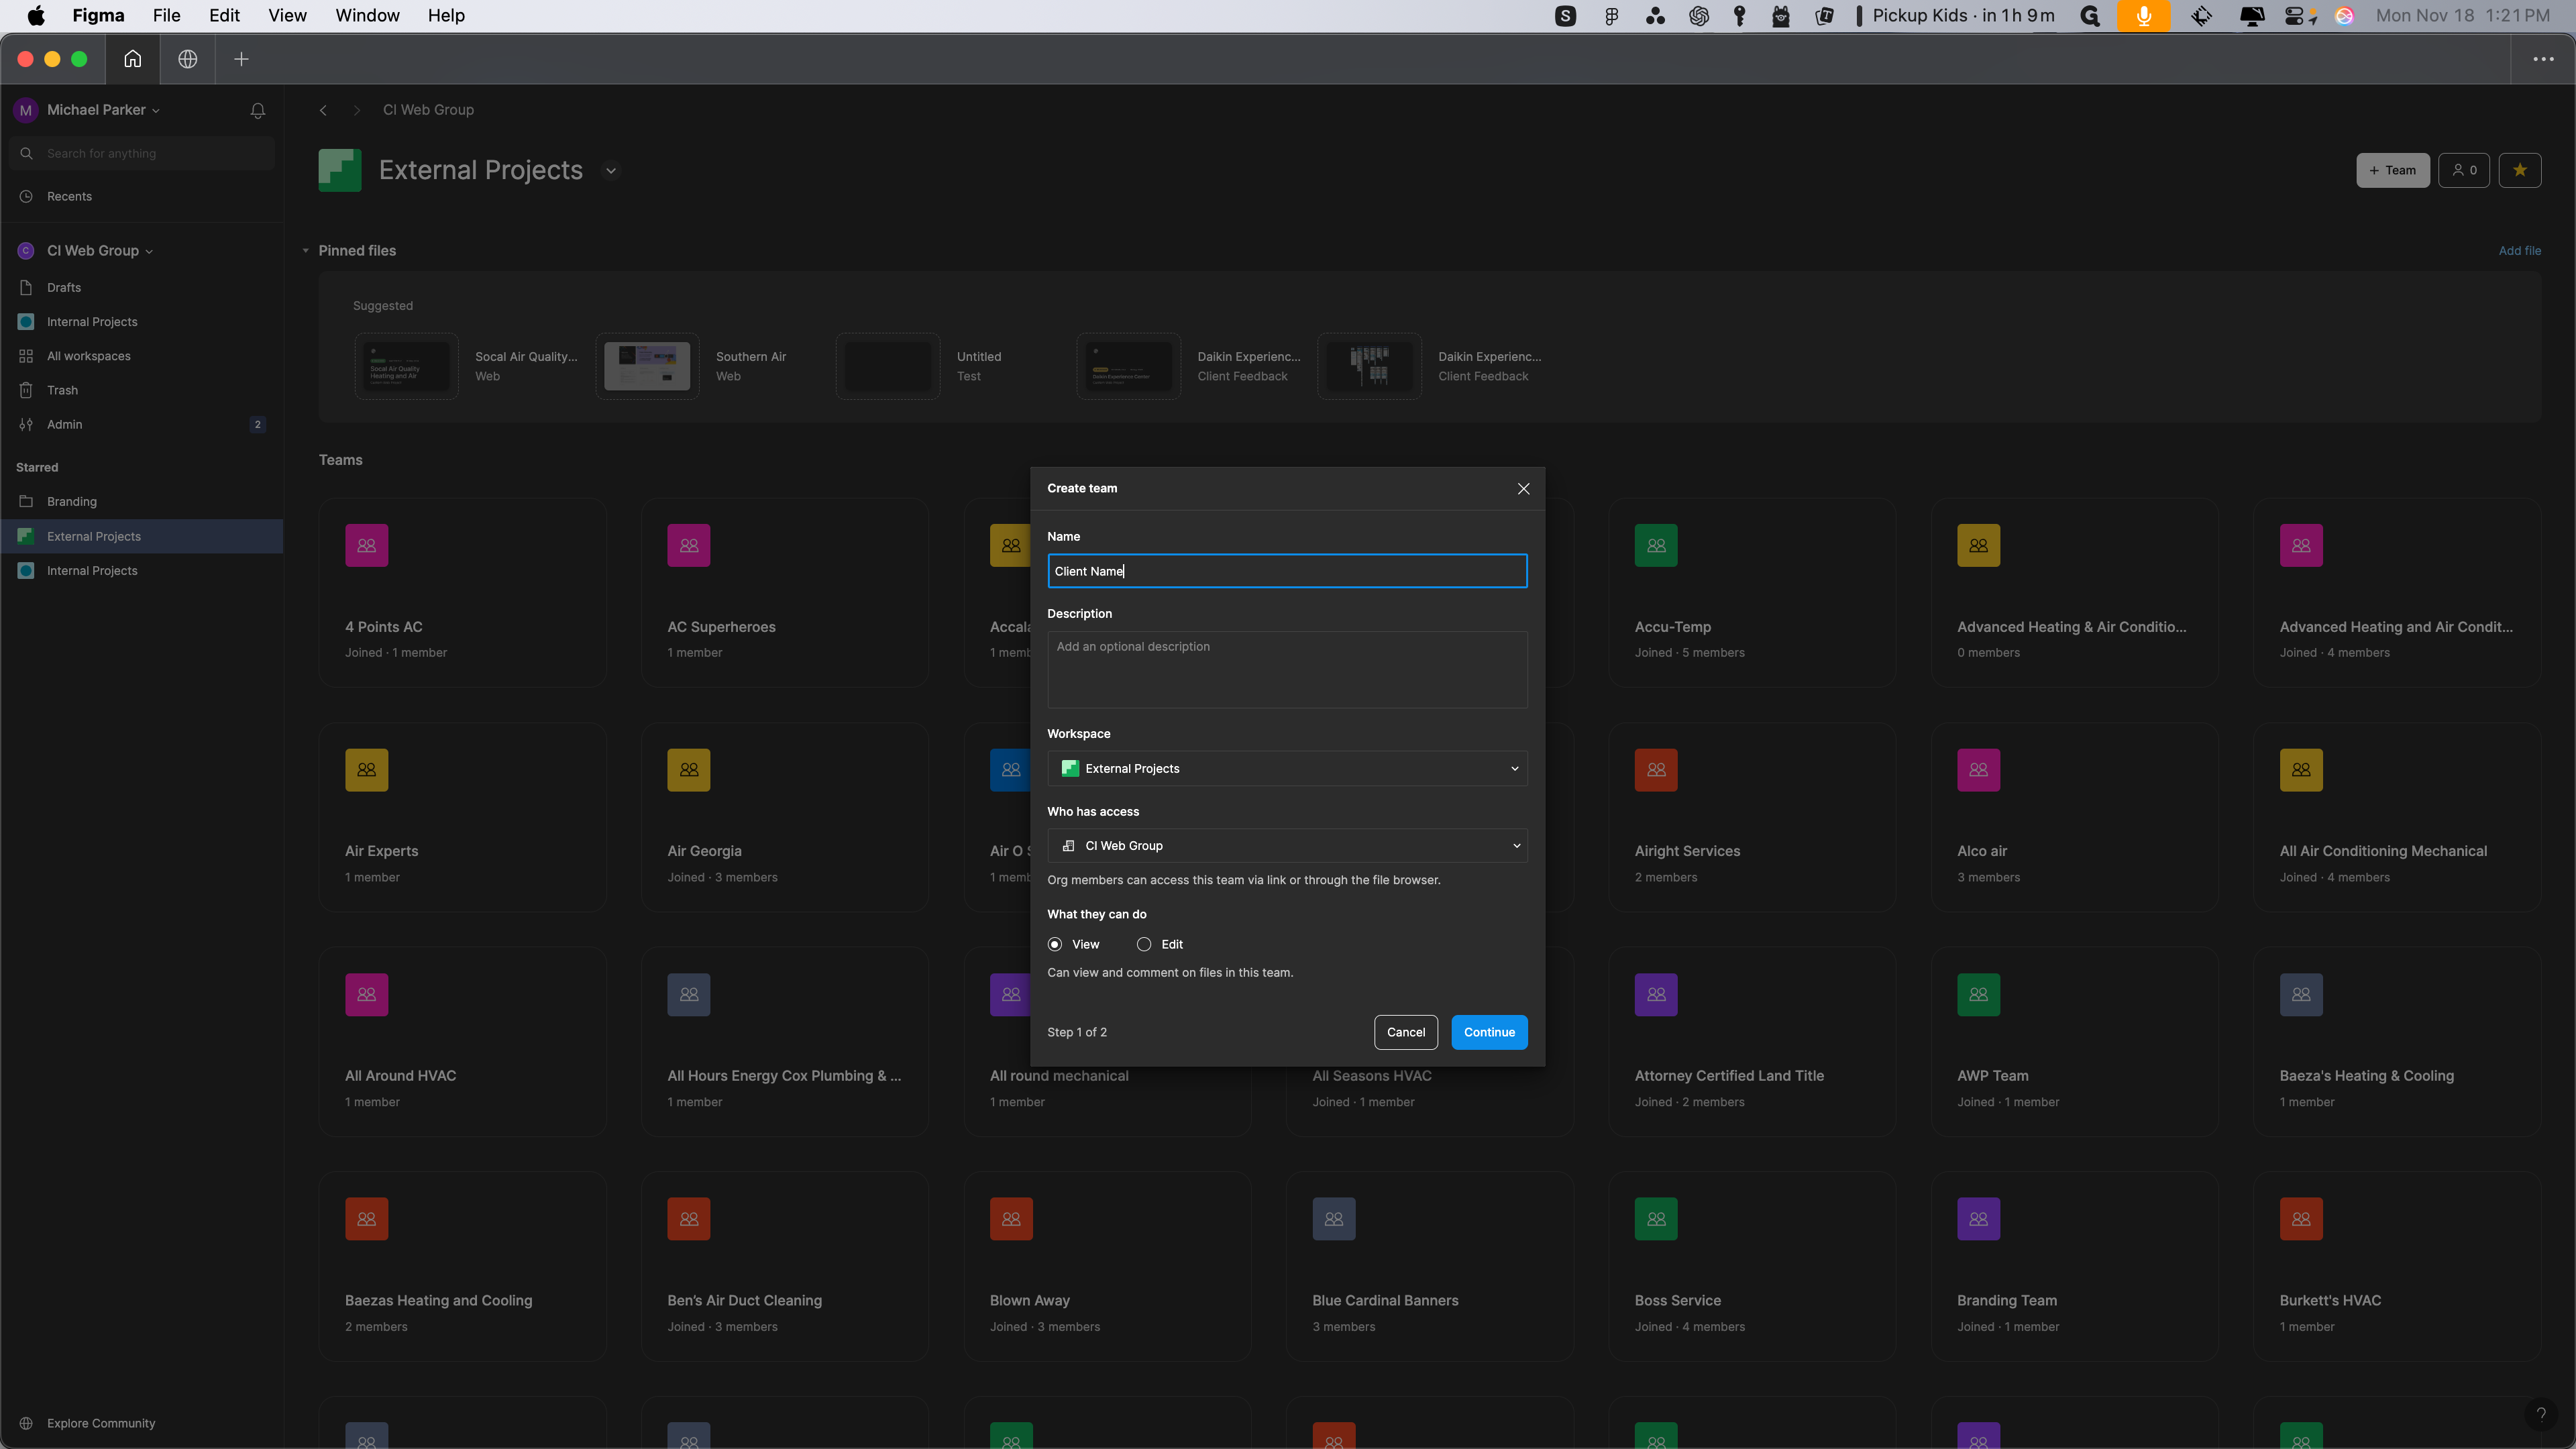

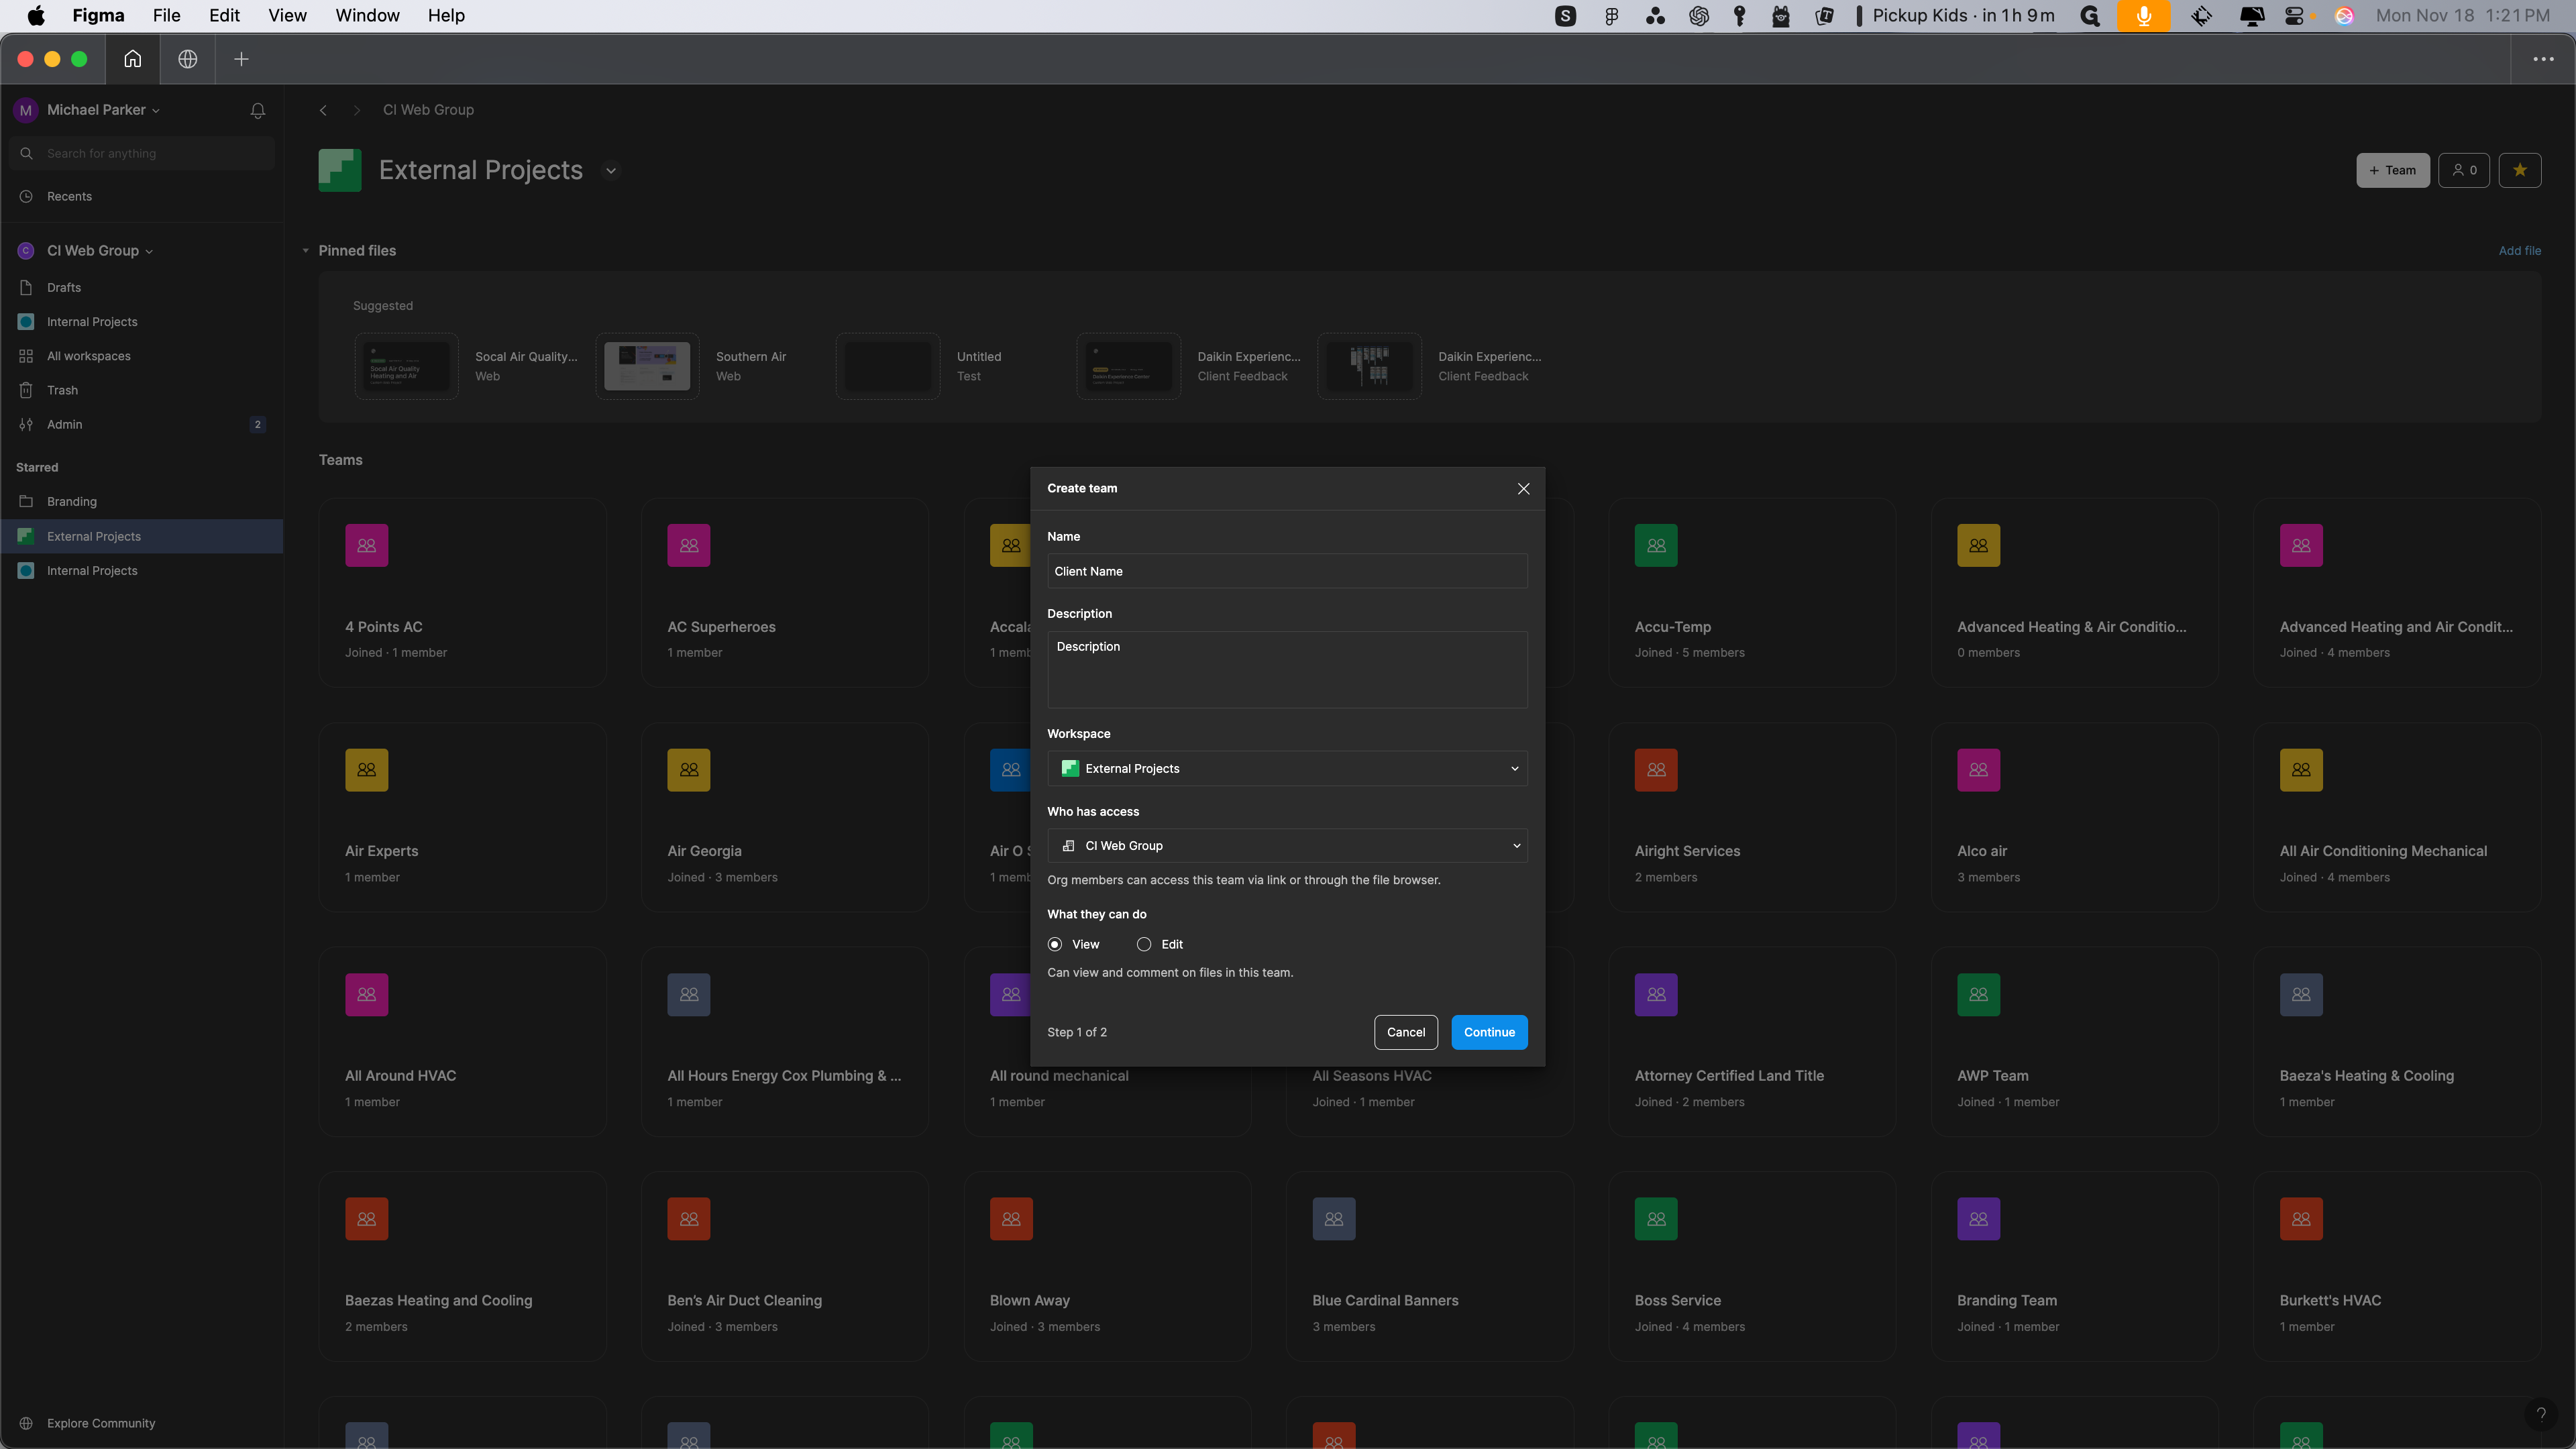

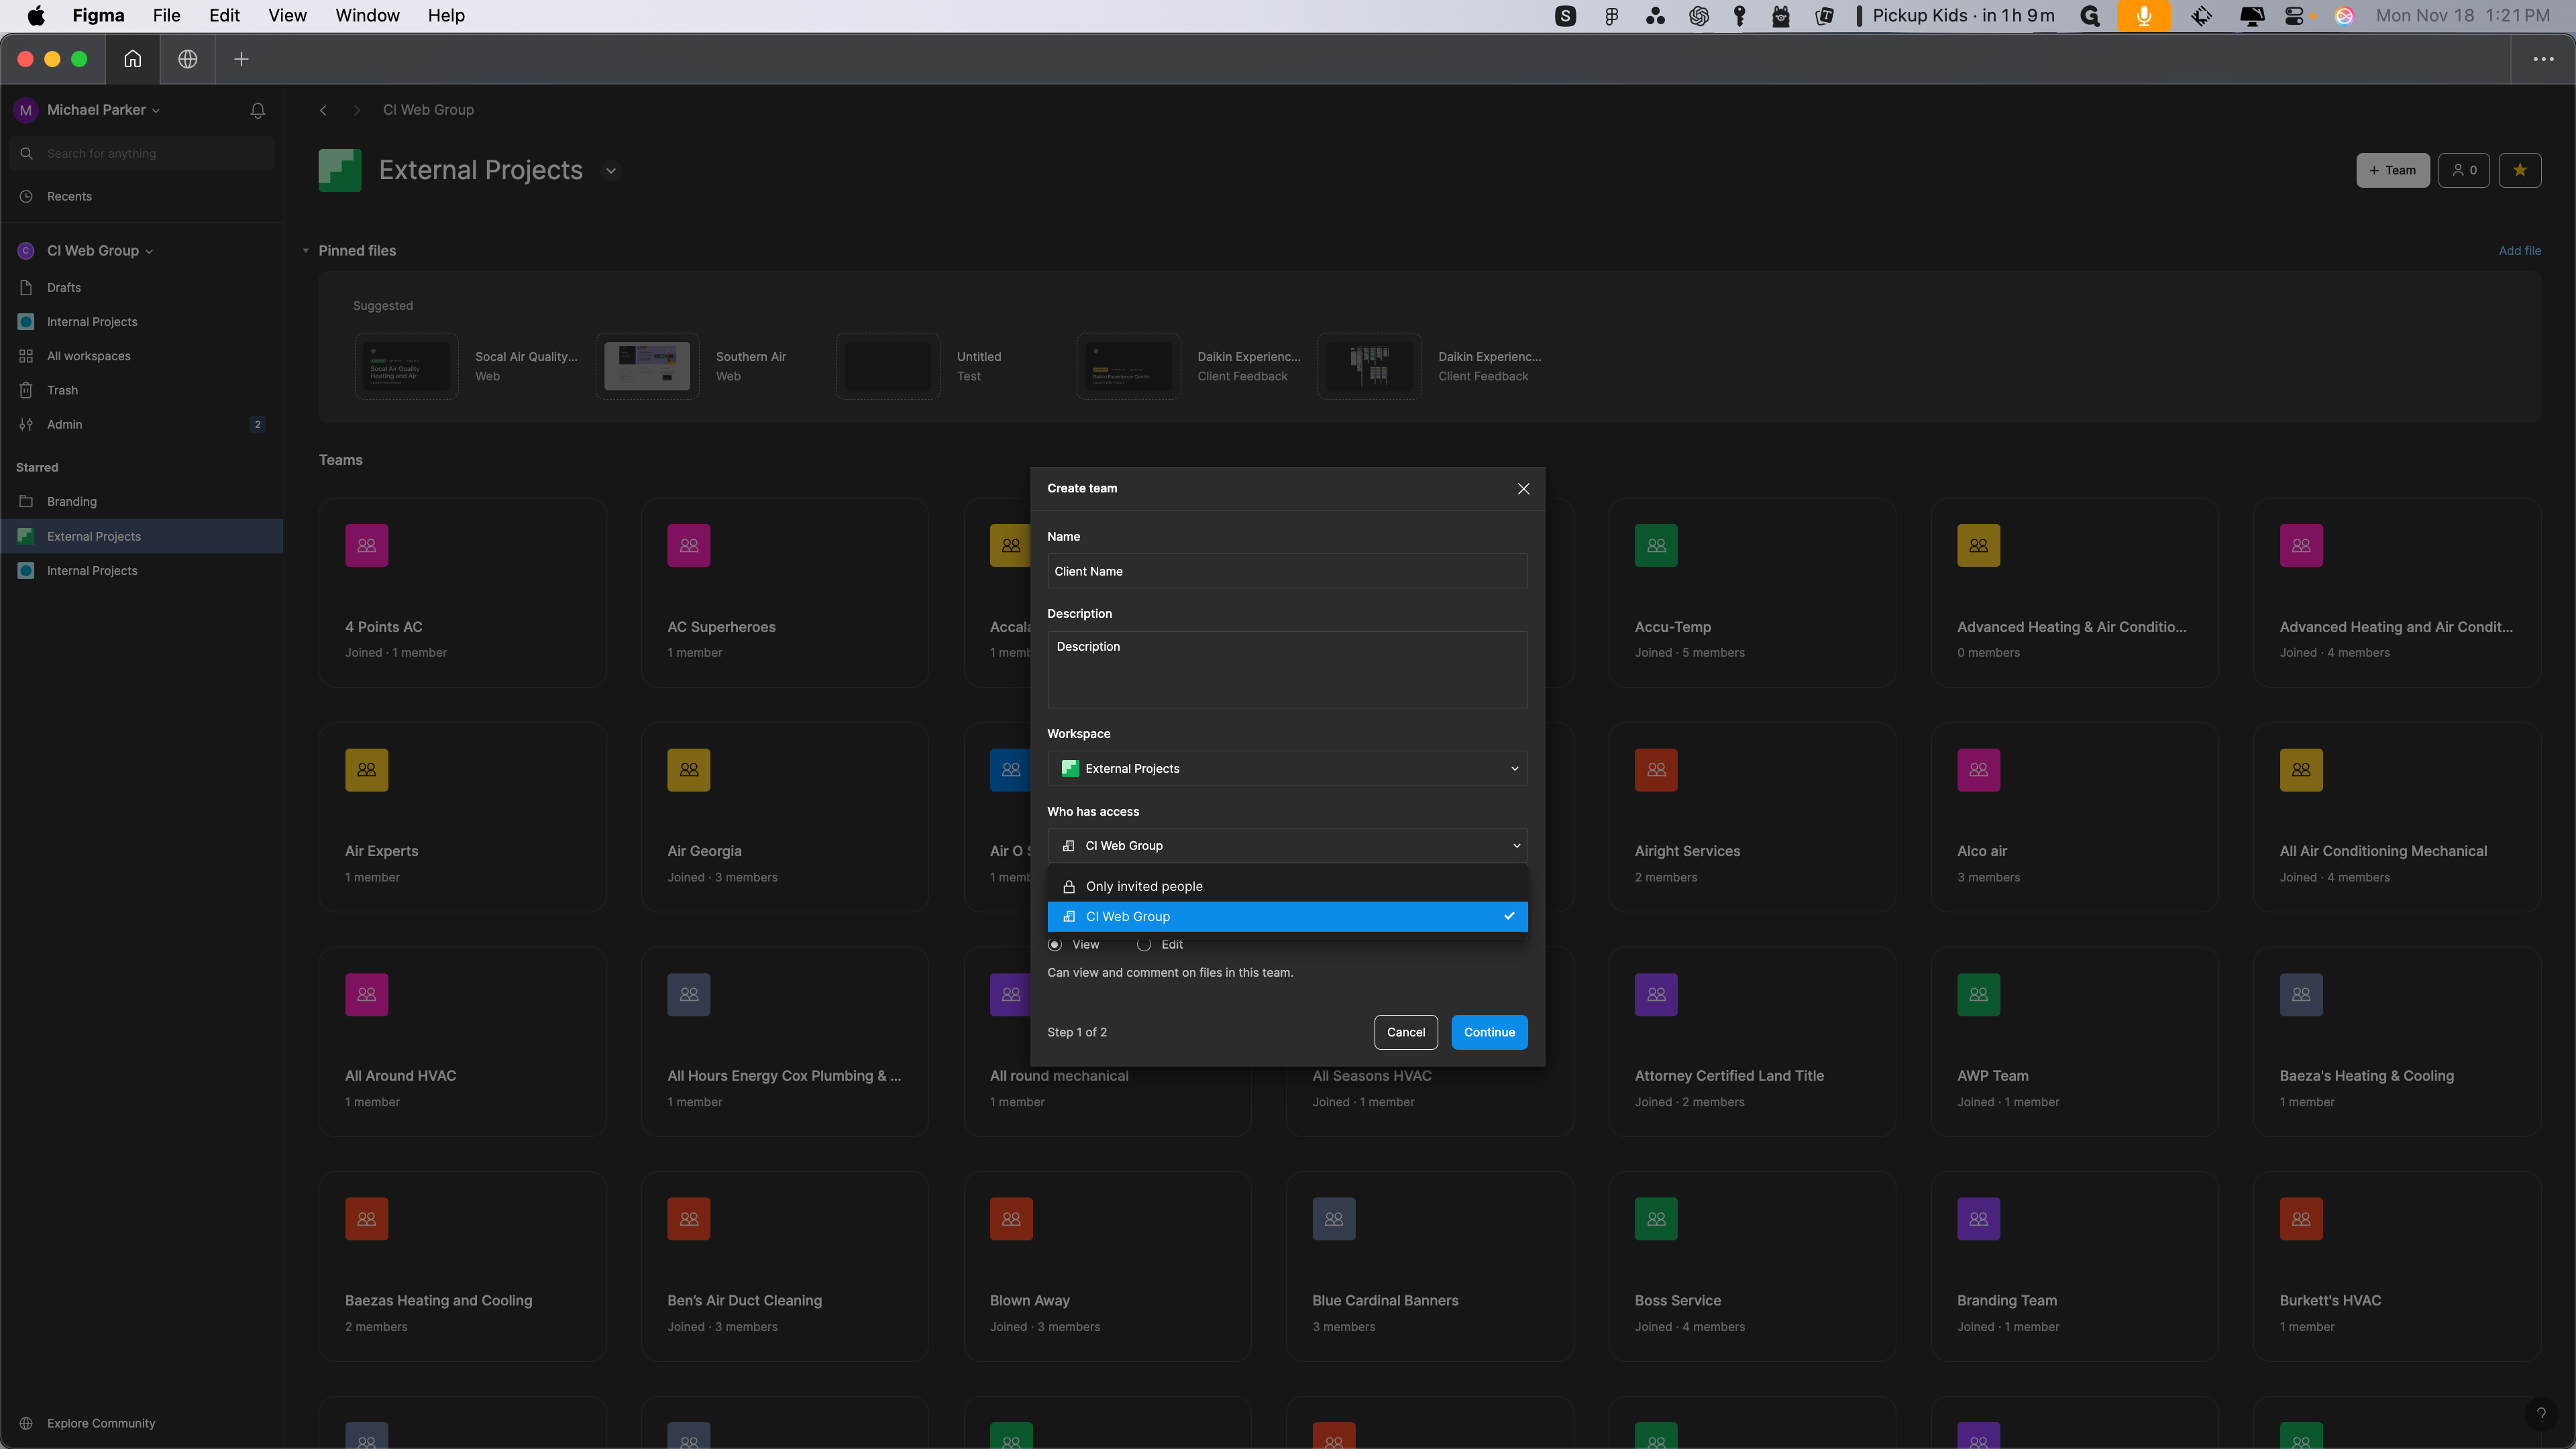


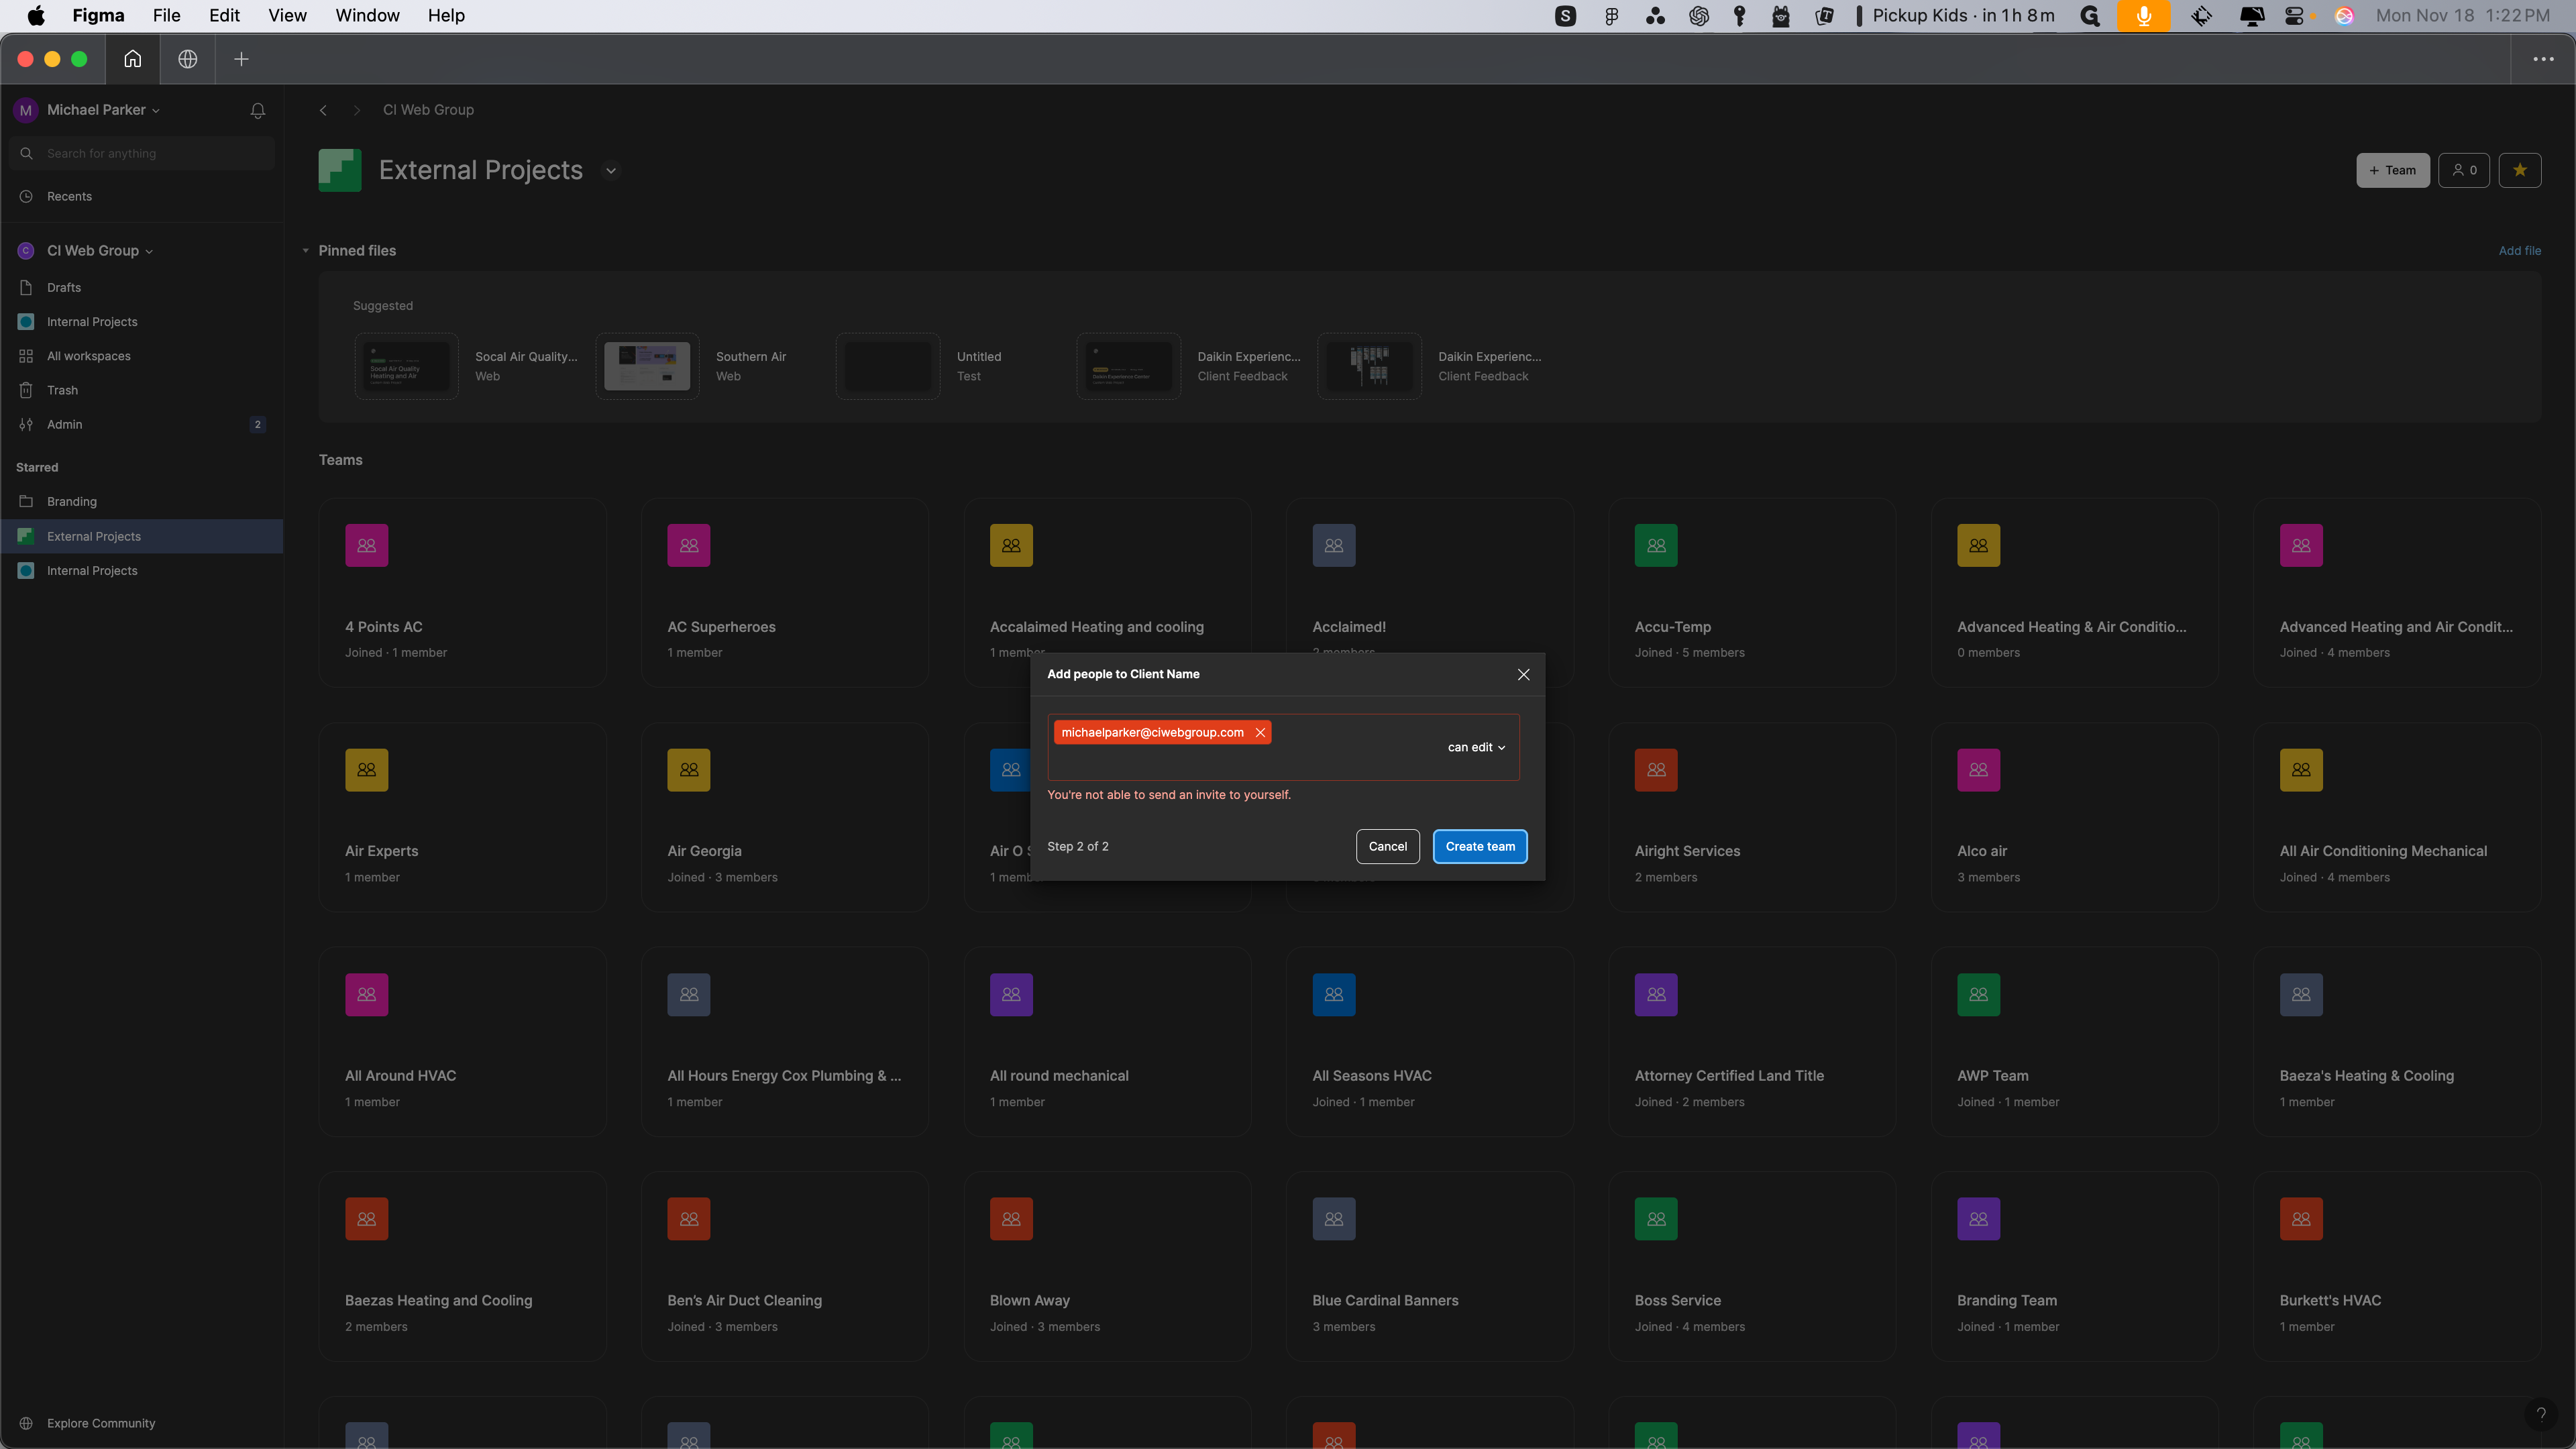
Always invite me, Michael Parker, at ciwebgroup.com, and then create the team.
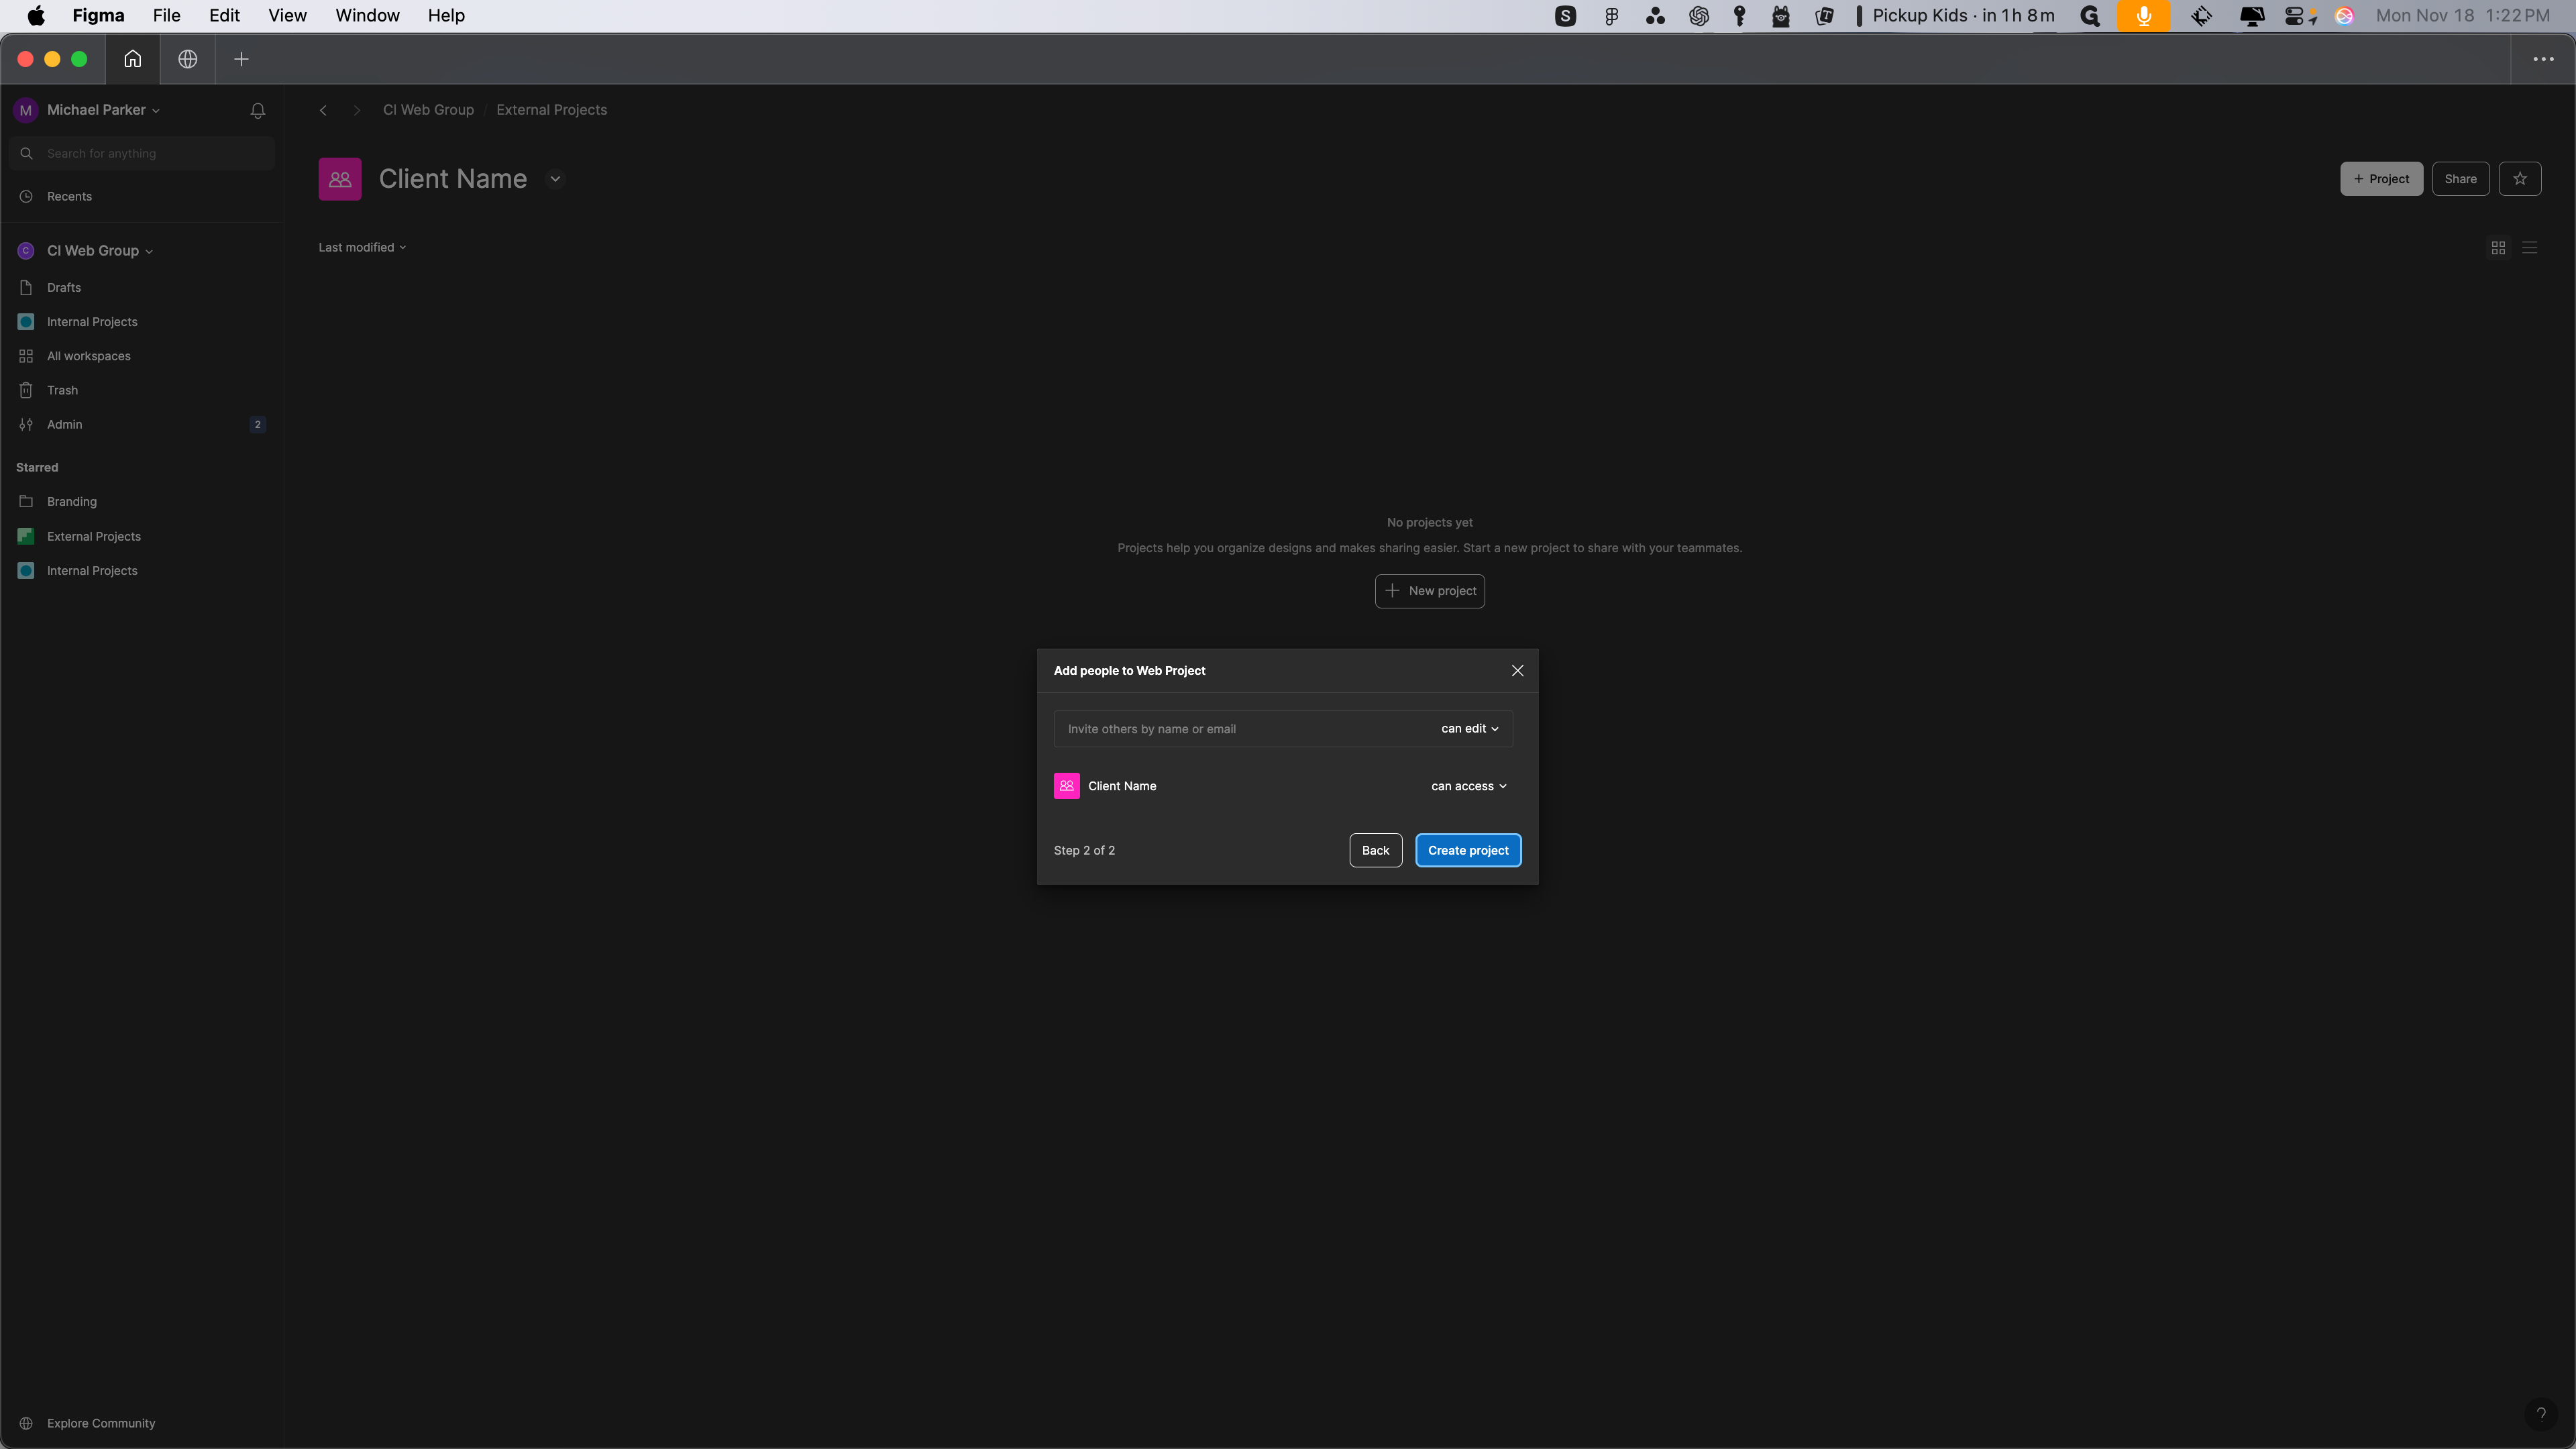
After creating the team, set up the web project. The CI web group with access can view it. Then, click continue.
Always invite everyone necessary for the project: the developer, the PM, the web strategist, the design lead, the creative director, and anyone else who needs to be involved.
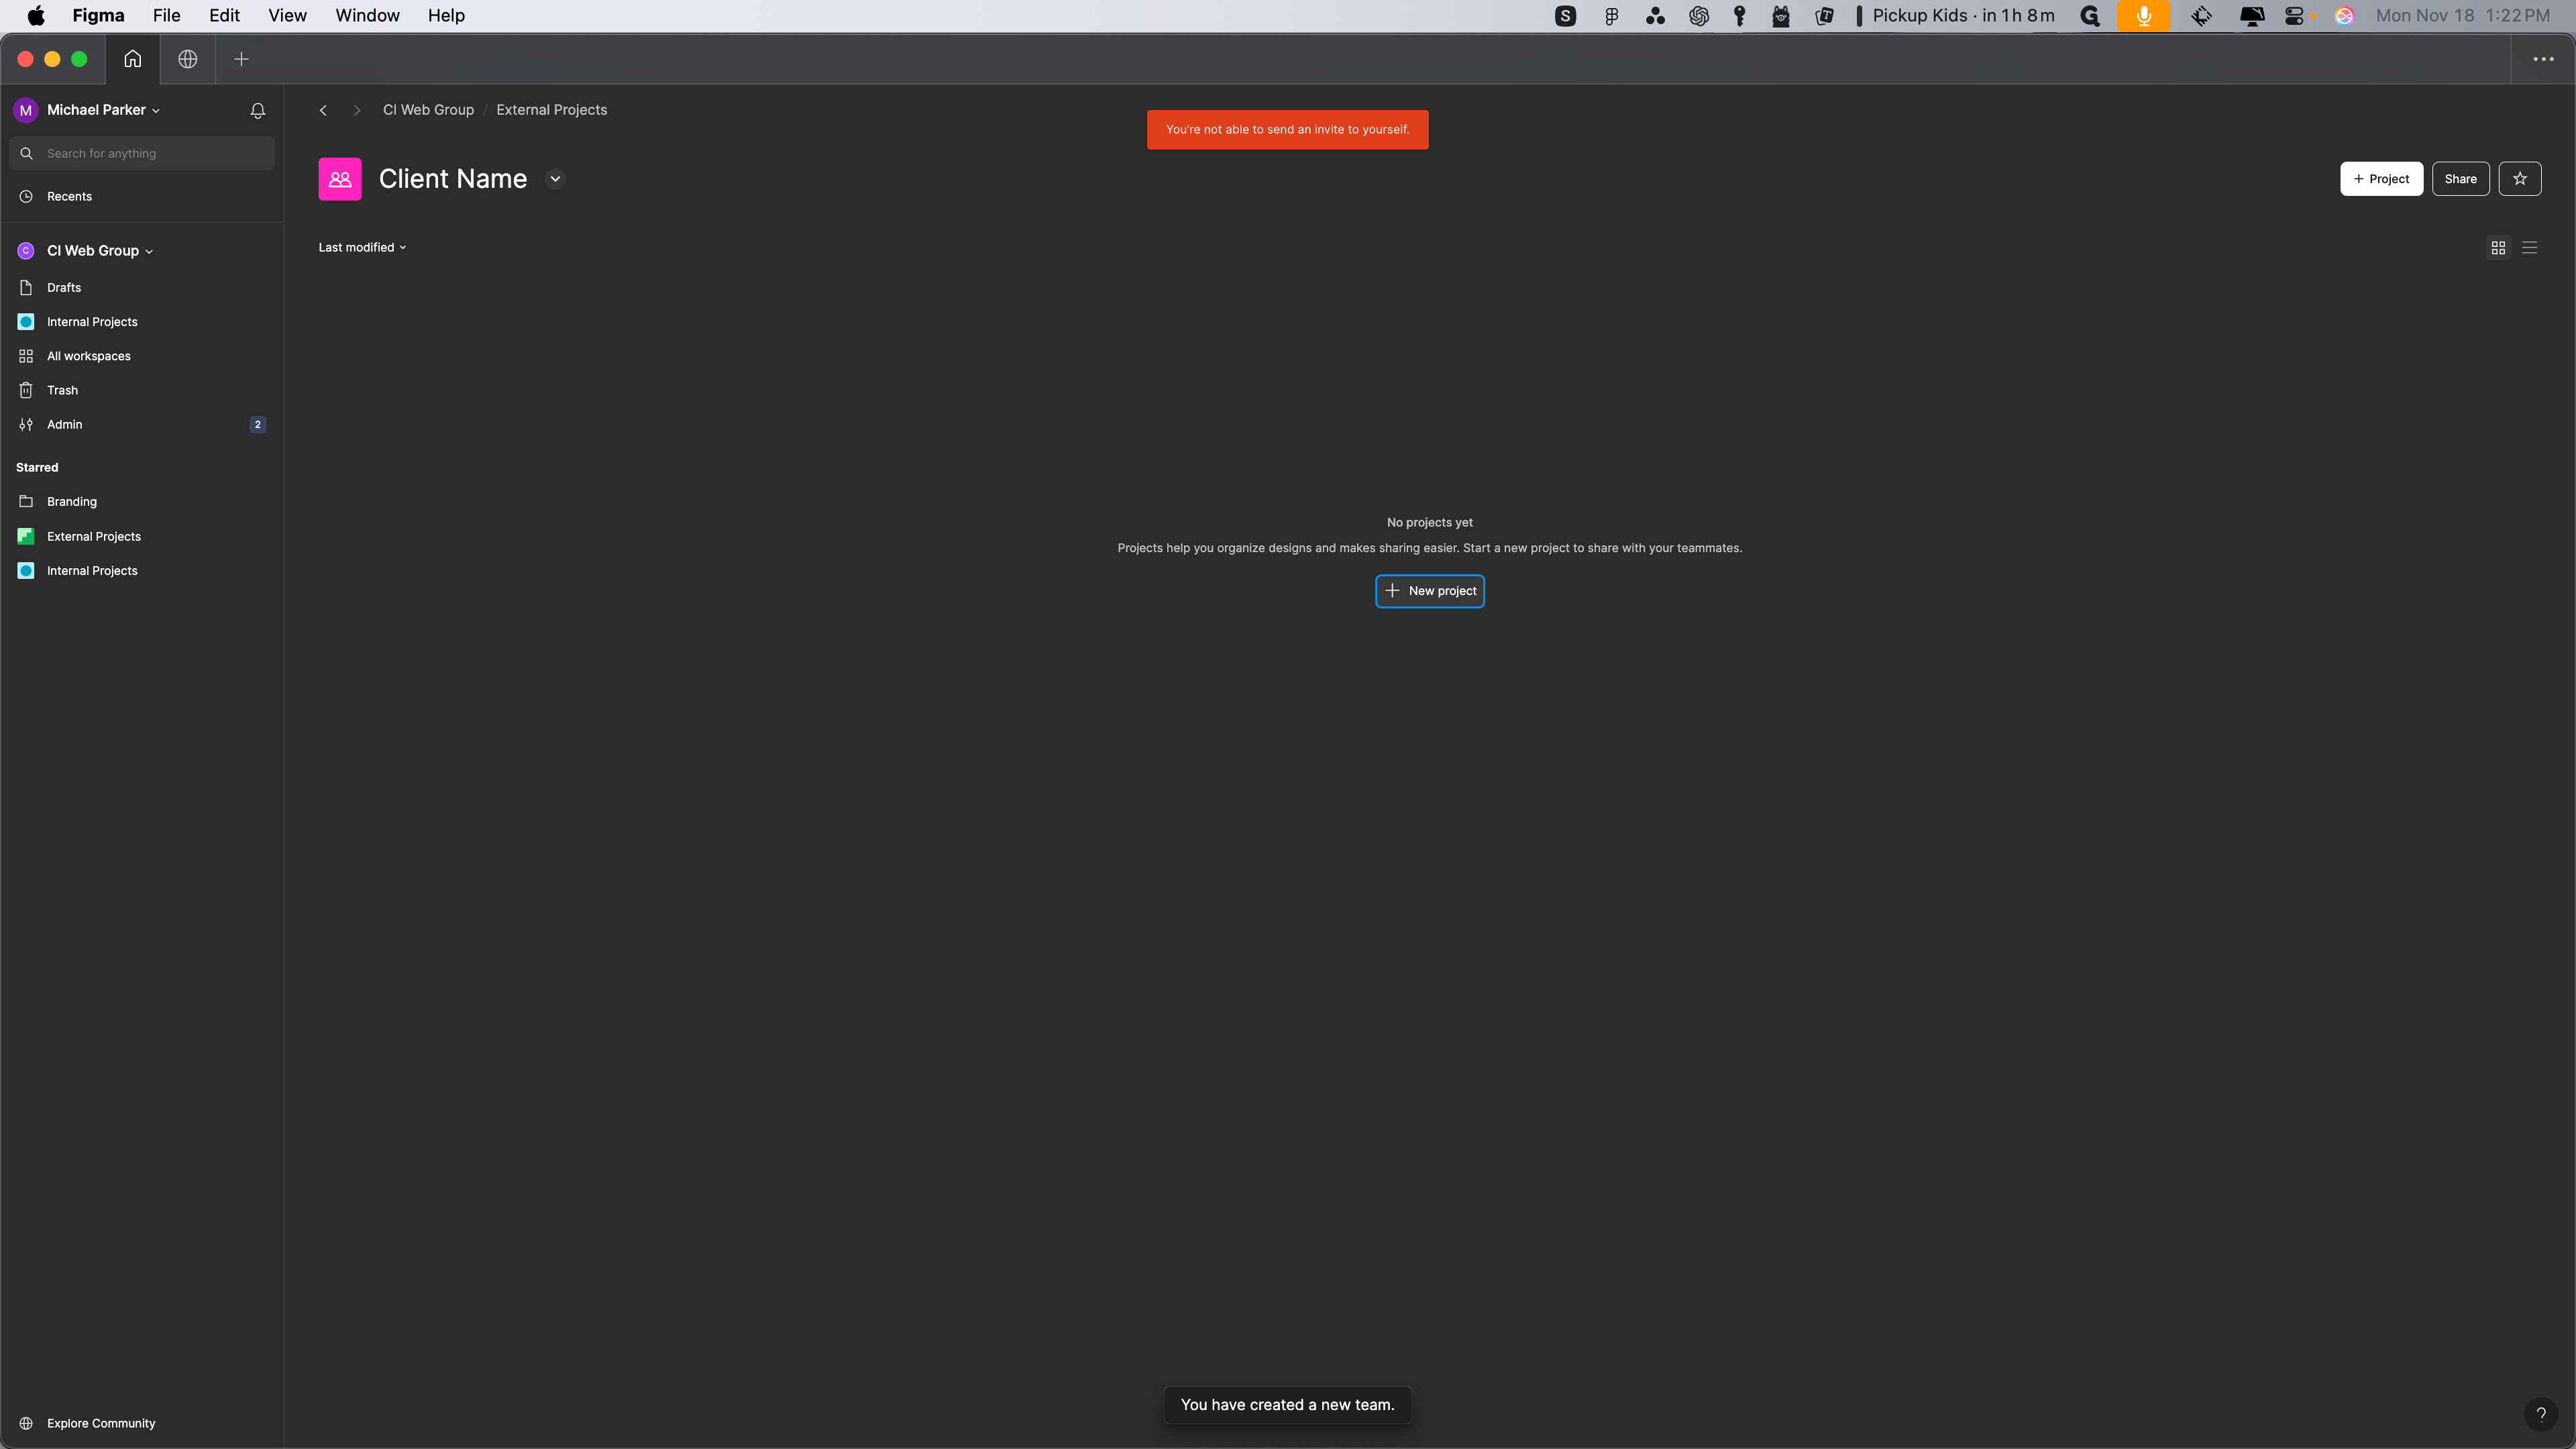
Create the project. Here, you can create your design file to import if needed for the wireframes. That's it.