Learn how to prepare the soundboard, projector, ProPresenter software, and physical items for a Wednesday night Celebrate Recovery meeting.
By Chris Copeland
This guide walks you through setting up the audio-visual equipment and organizing the physical space for a Wednesday night Celebrate Recovery (CR) event. By completing these steps, you ensure all microphones, presentations, and room supplies are ready for a smooth meeting.
This procedure is intended for the AV technician or event coordinator responsible for preparing the sound room and main hall before the event begins.
Audio and Soundboard Setup
1
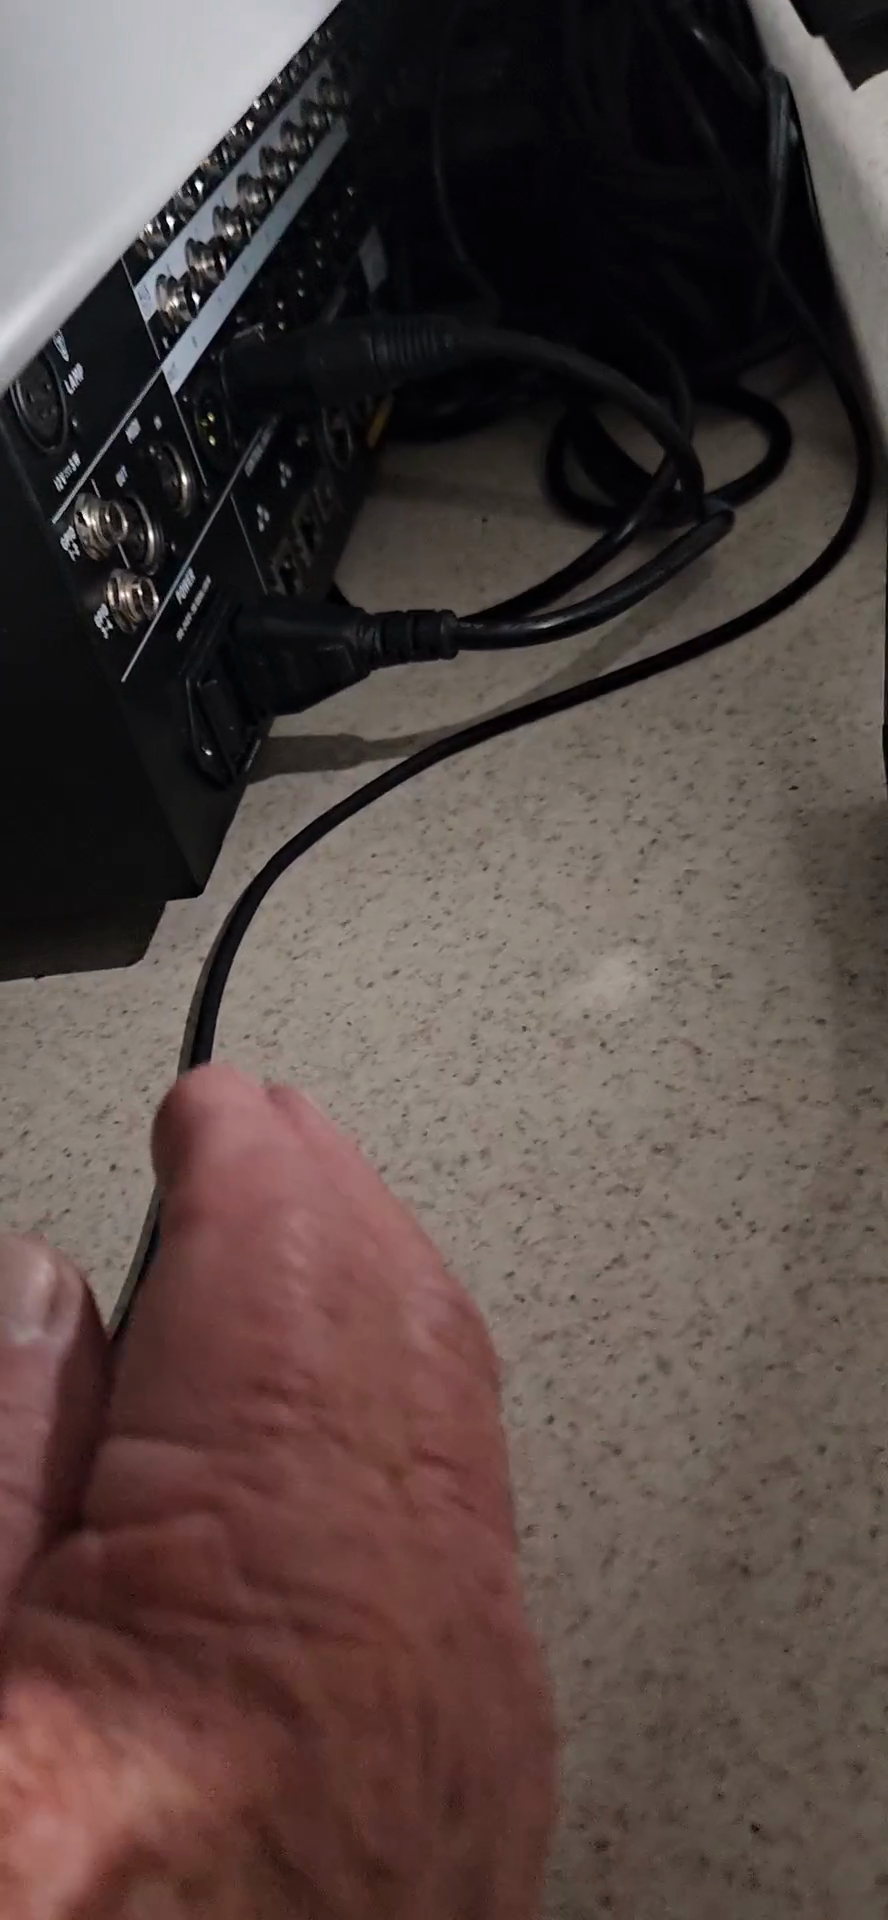
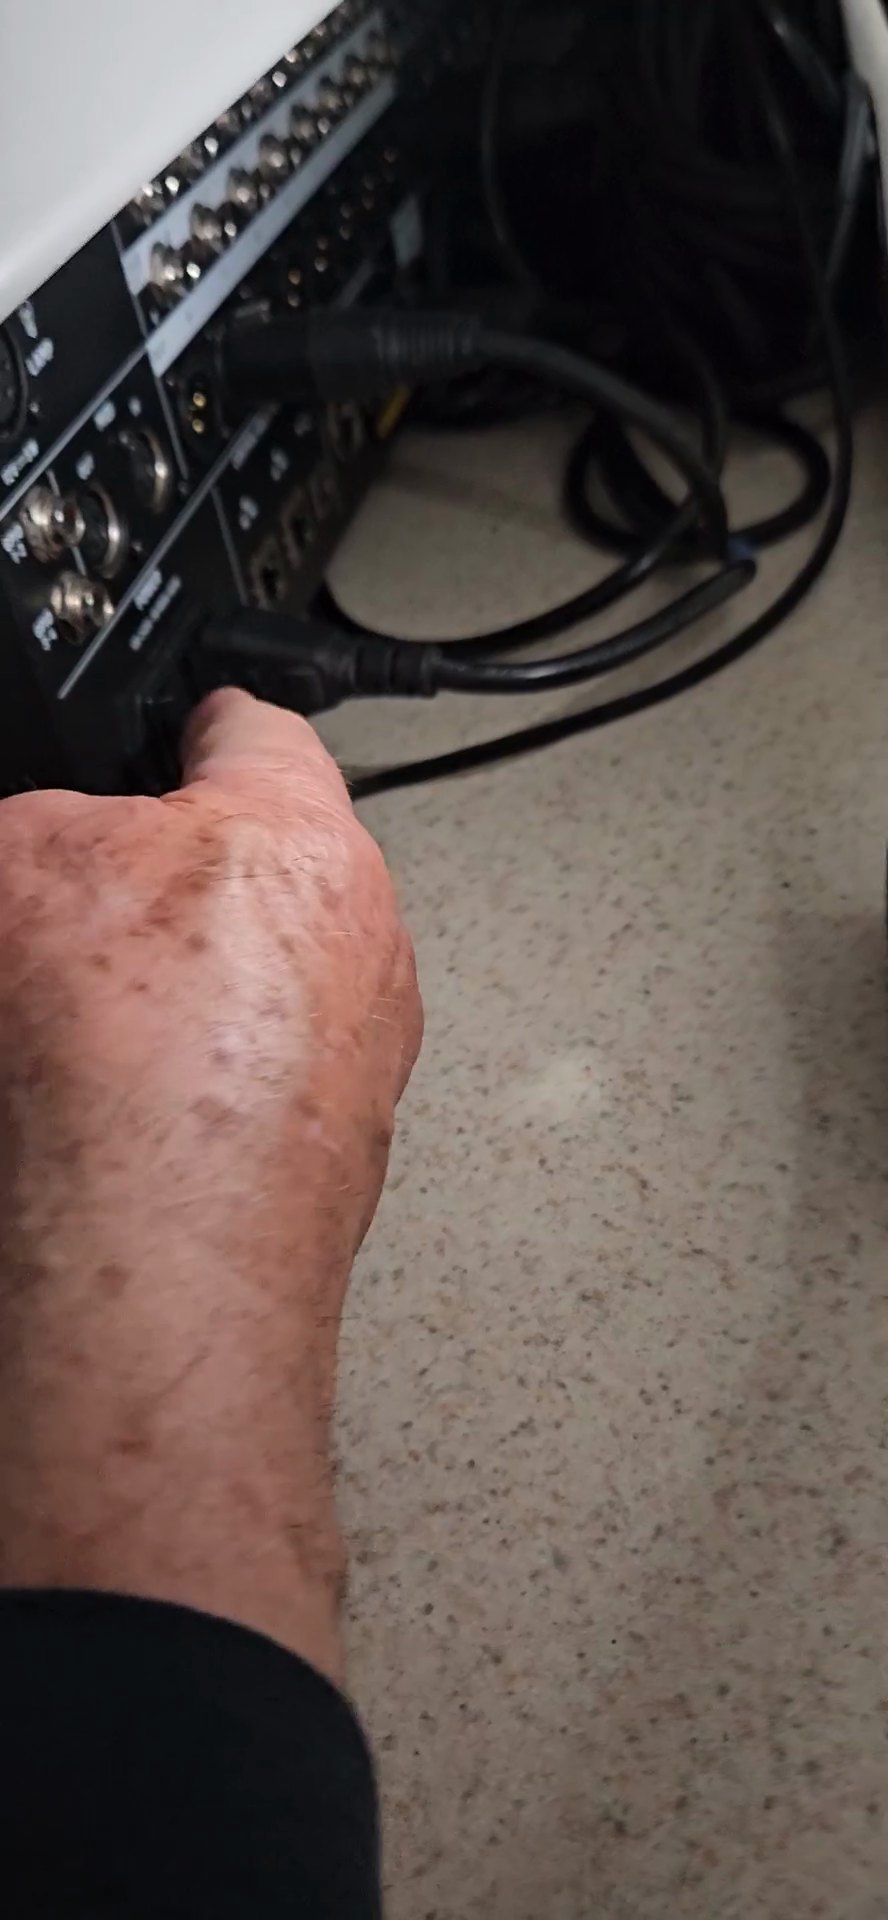
Locate the switch on the right-hand back of the soundboard, next to the power cord.
2
Turn on the switch to power up the soundboard.
3
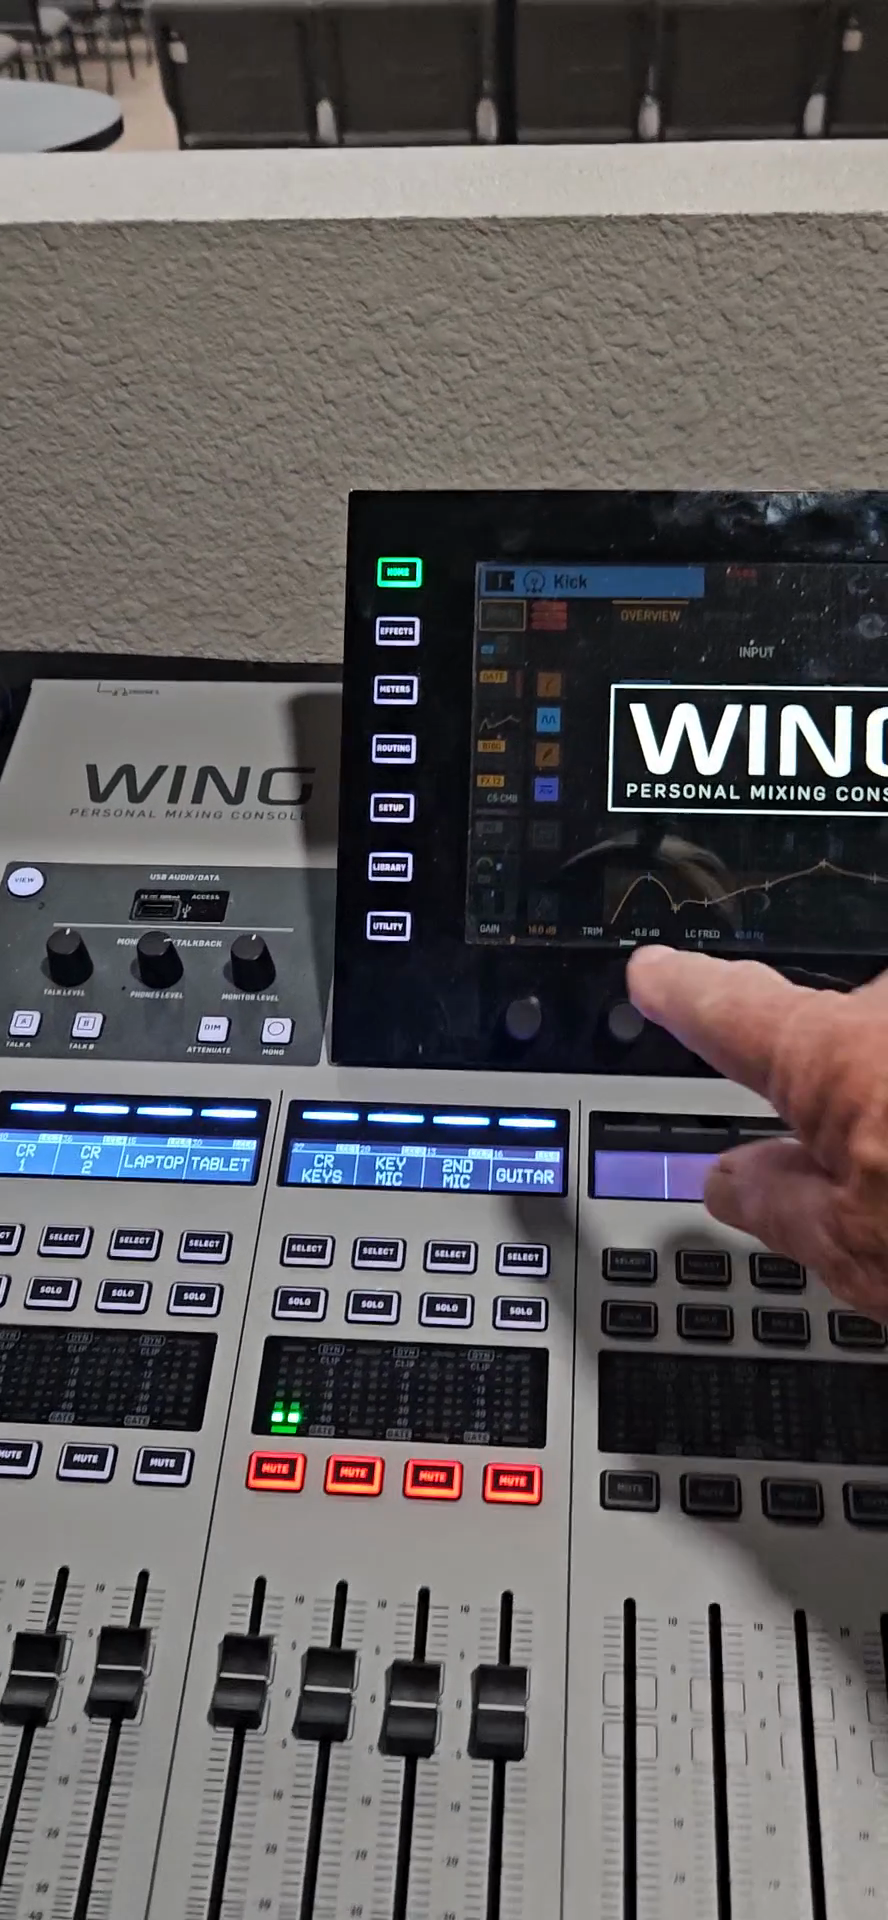
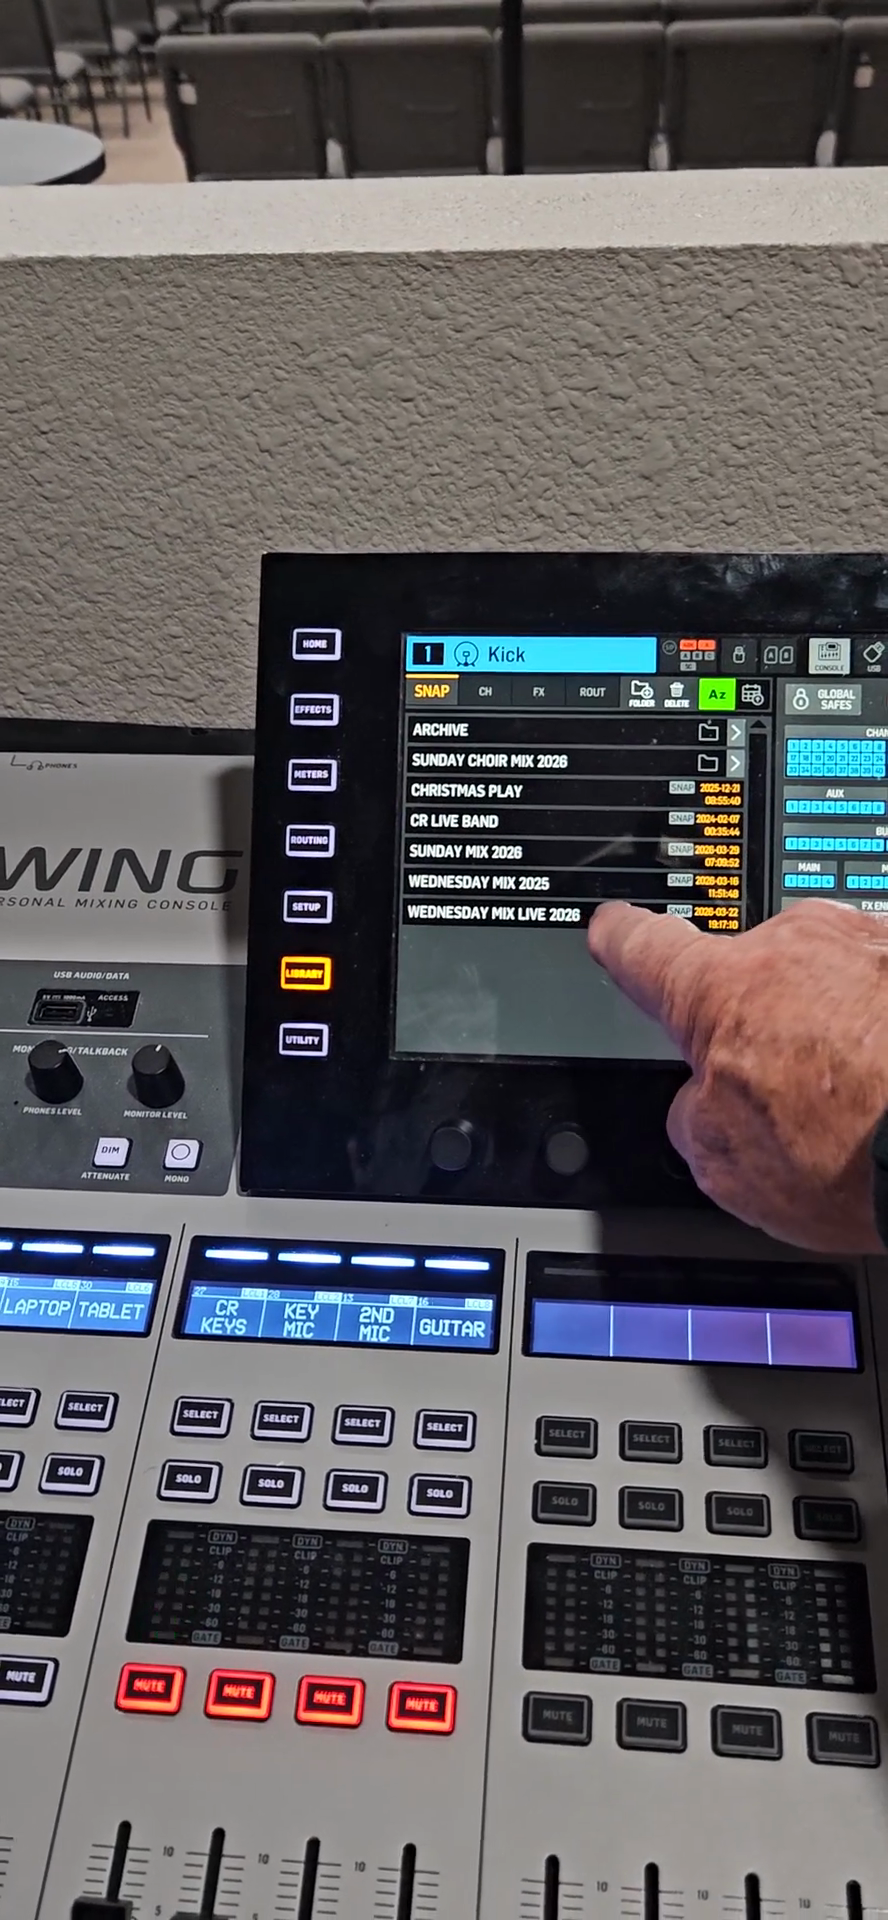
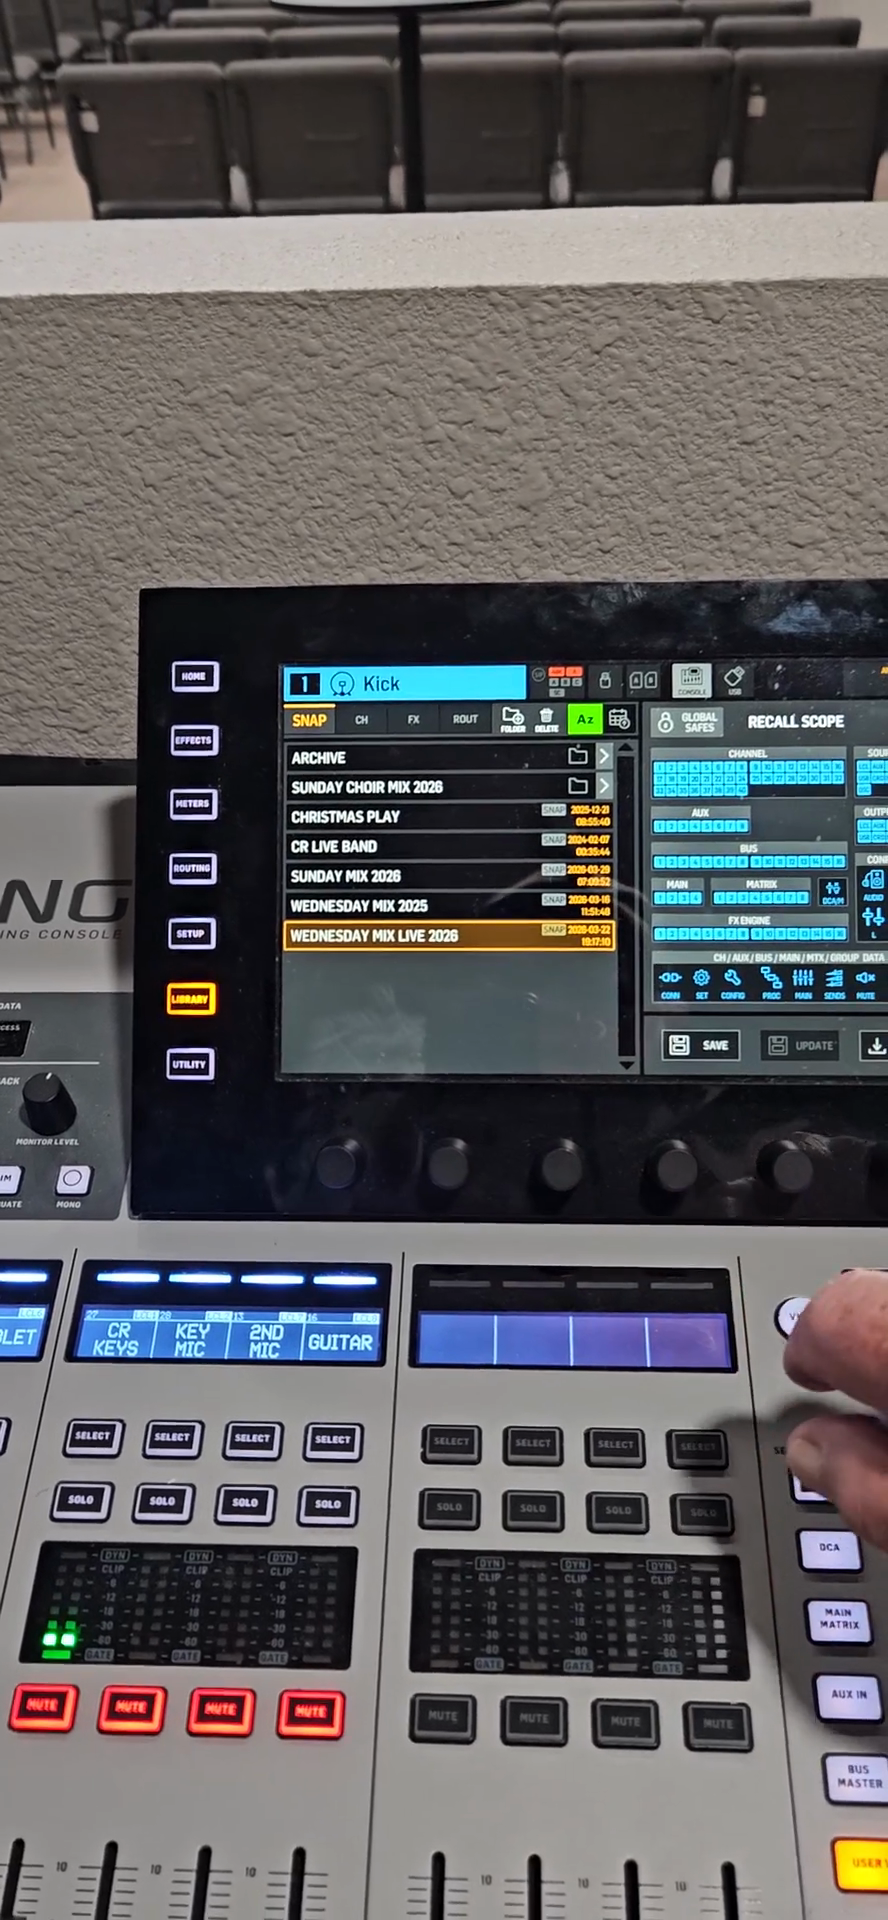
Tap LIBRARY on the left touchscreen menu.
4
Select the WEDNESDAY MIX LIVE configuration from the library list.
5
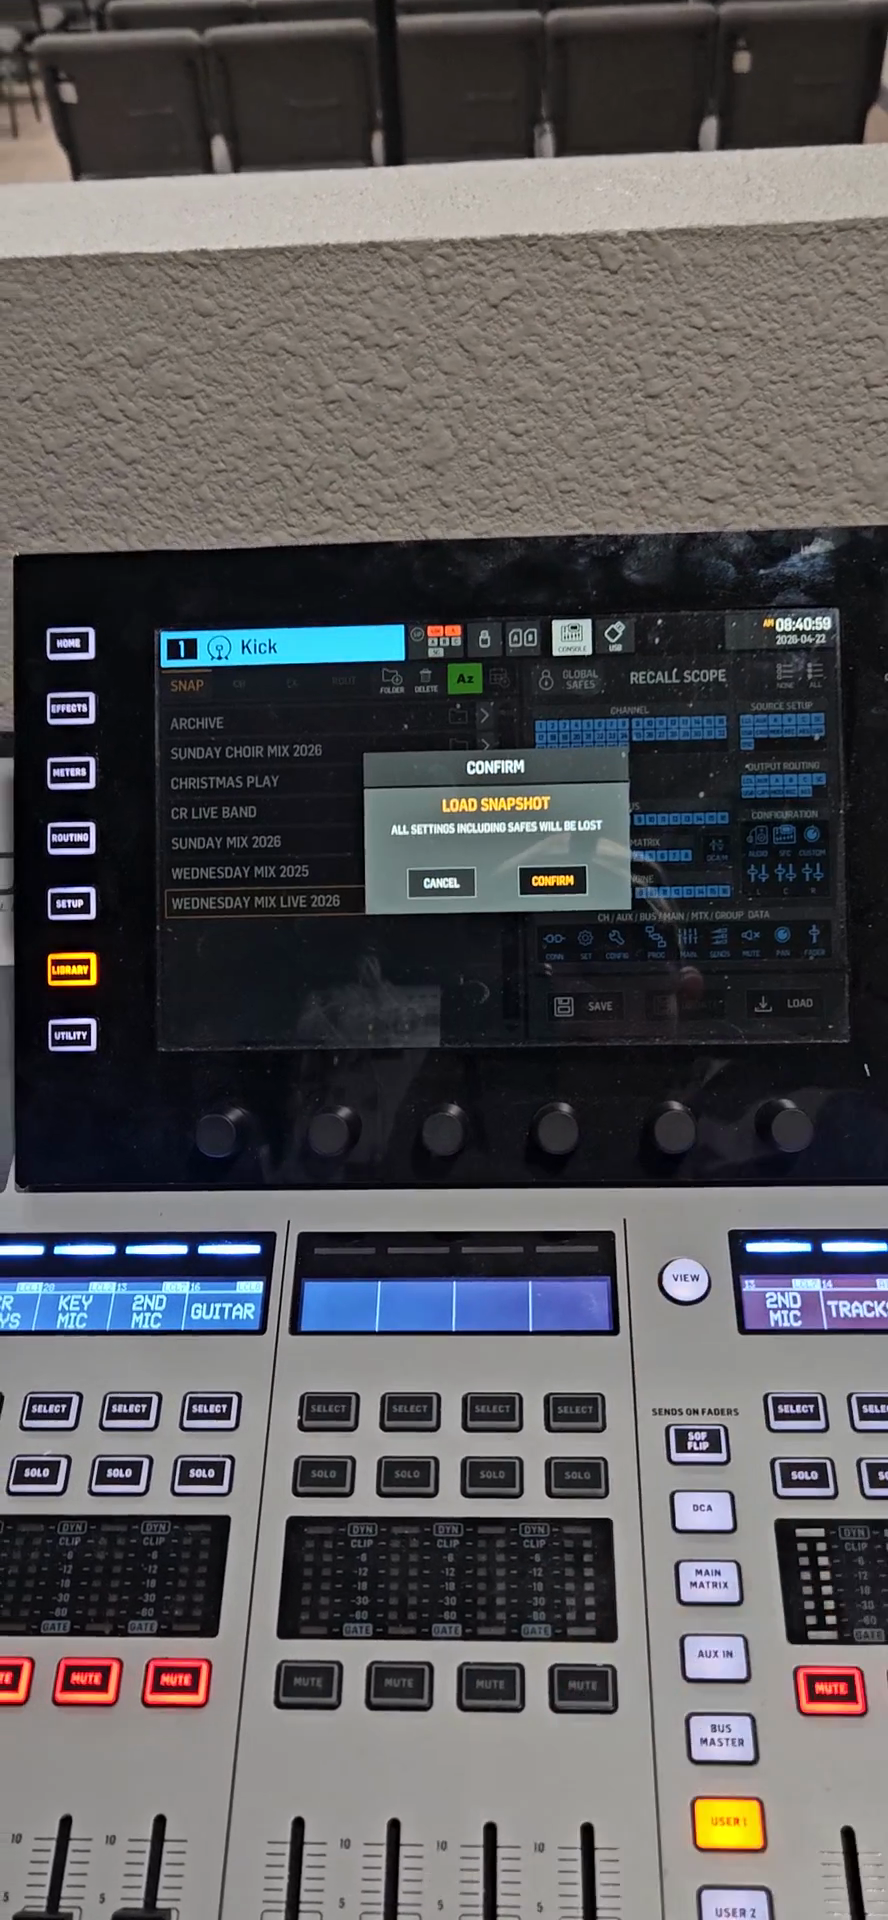
Tap LOAD.
6
Tap OK on the pop-up window to confirm and load the snapshot.
7
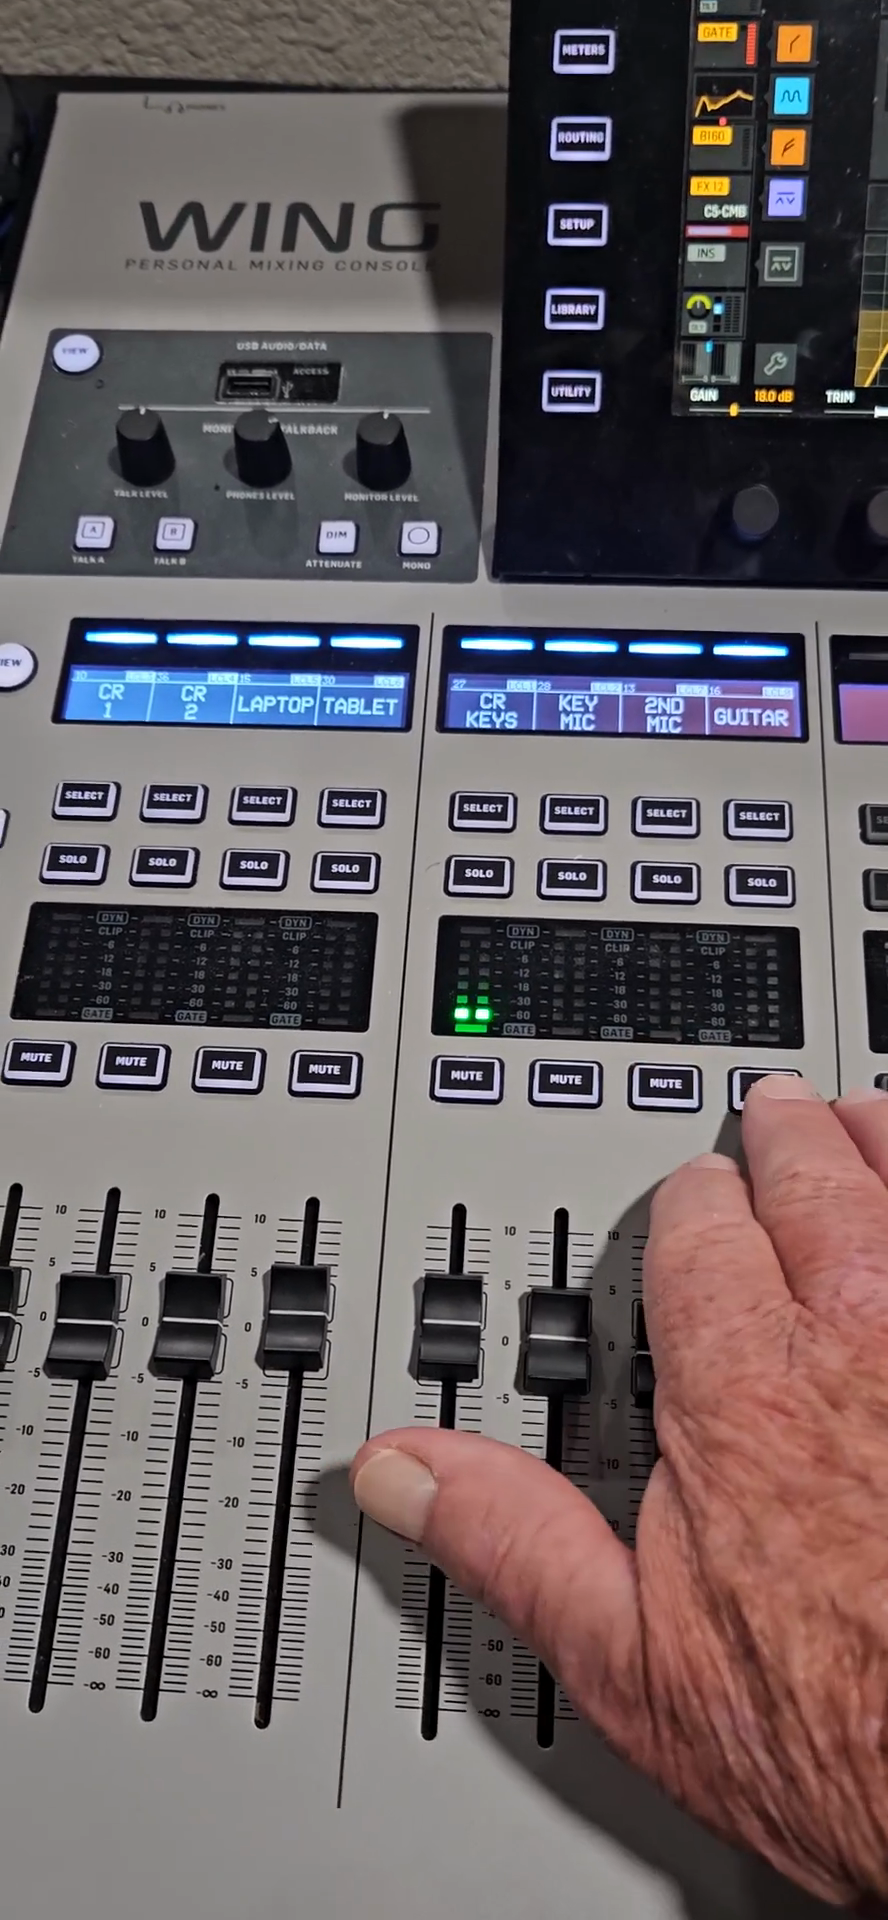
Press the mute buttons on the right-side channels for the corded microphones and keyboard if they are not actively in use.
Muting unused microphones and inputs prevents audio feedback from broadcasting over the speakers.
8
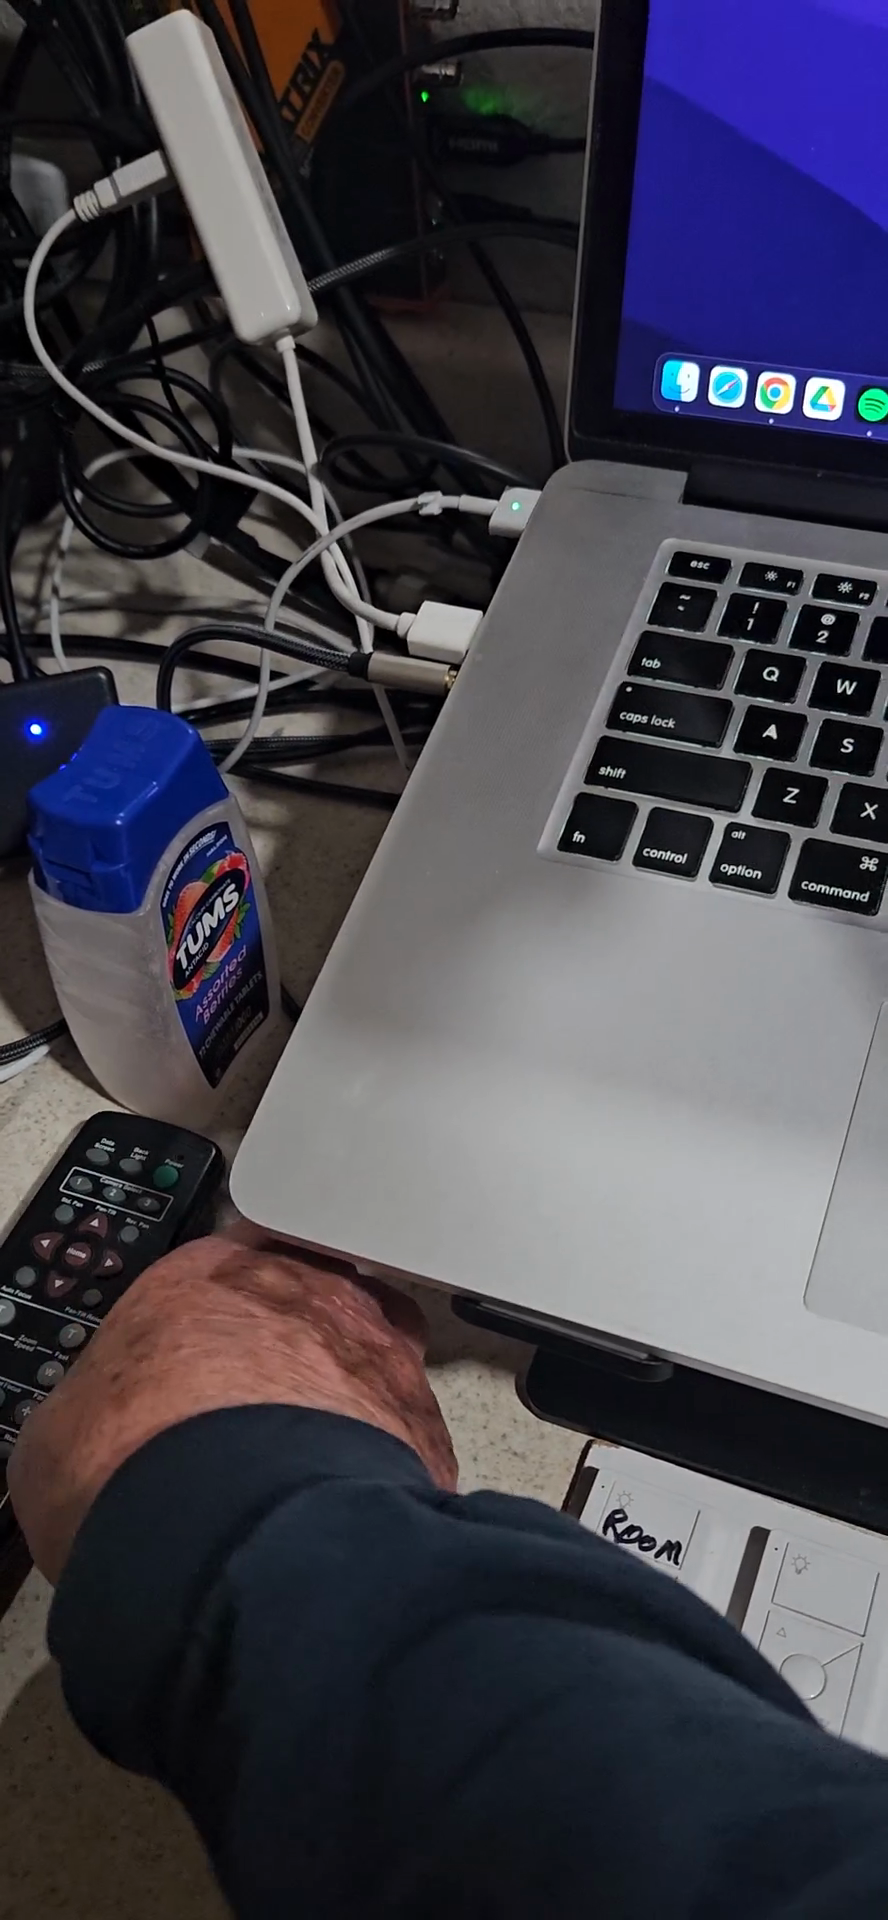
Turn on the main red power switch on the power conditioner at the back of the room to supply power to the cordless microphones.
Device Passwords and Settings
Unlock and configure the supplementary room devices according to the table below:
Device
Passcode / Setting
Purpose
CR Laptop
CR4TrueLife
Log in to access ProPresenter and media files
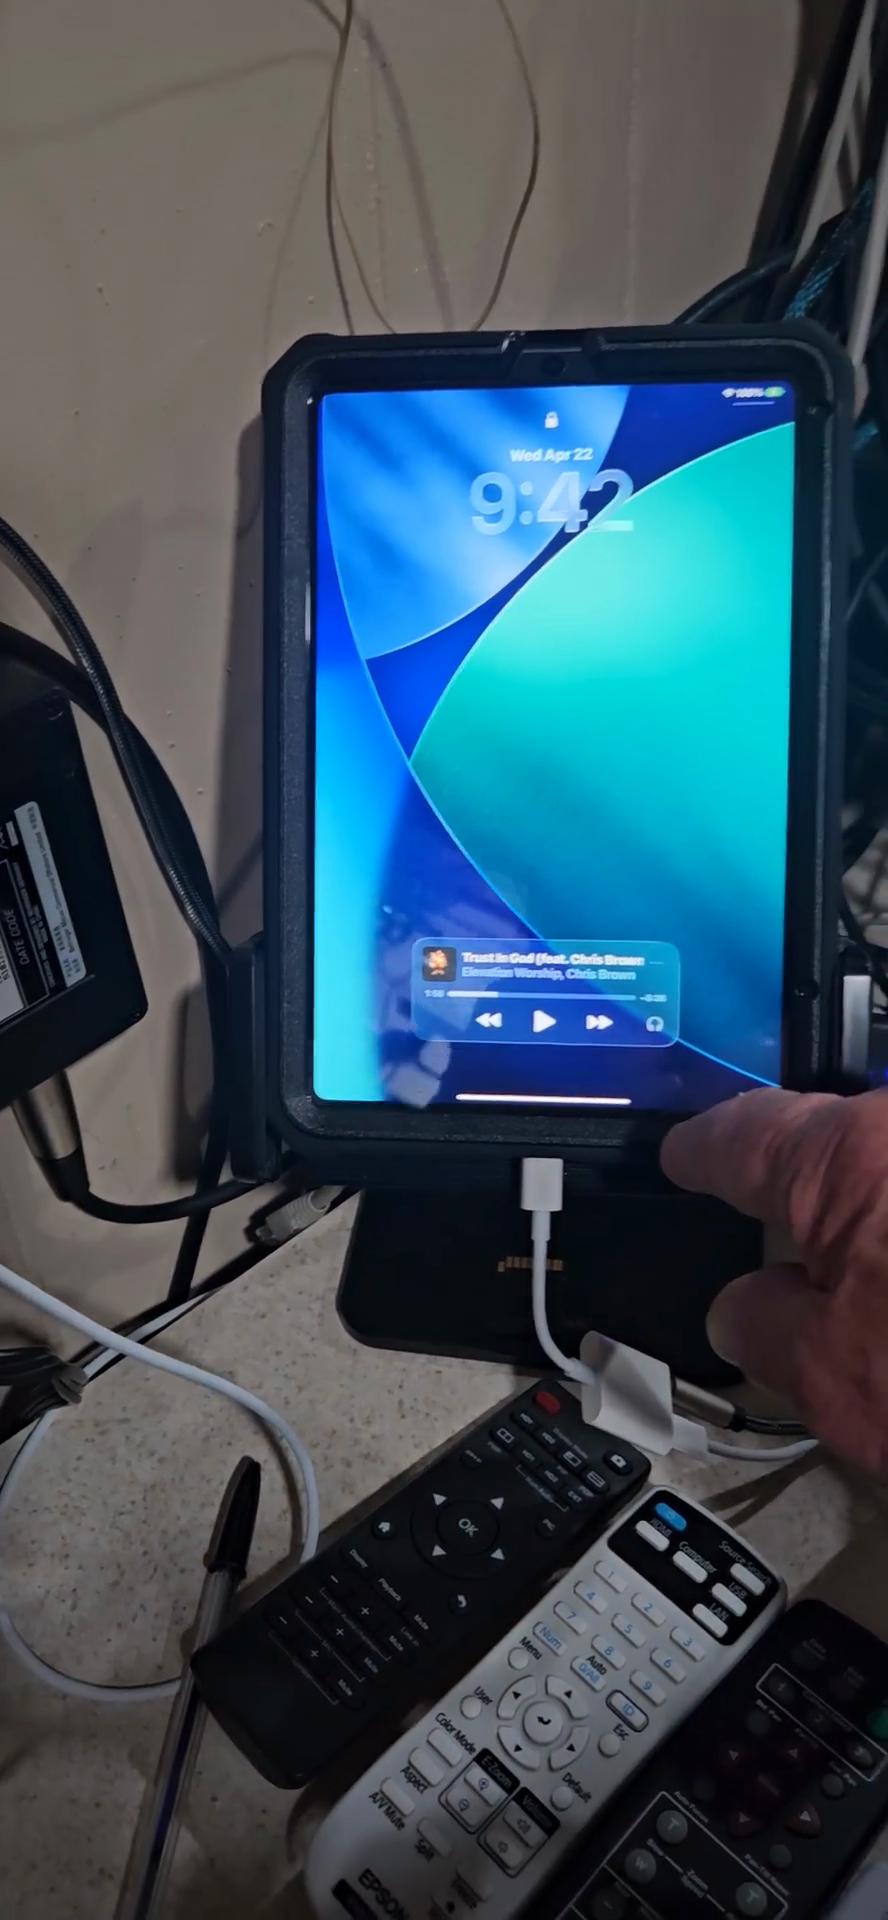
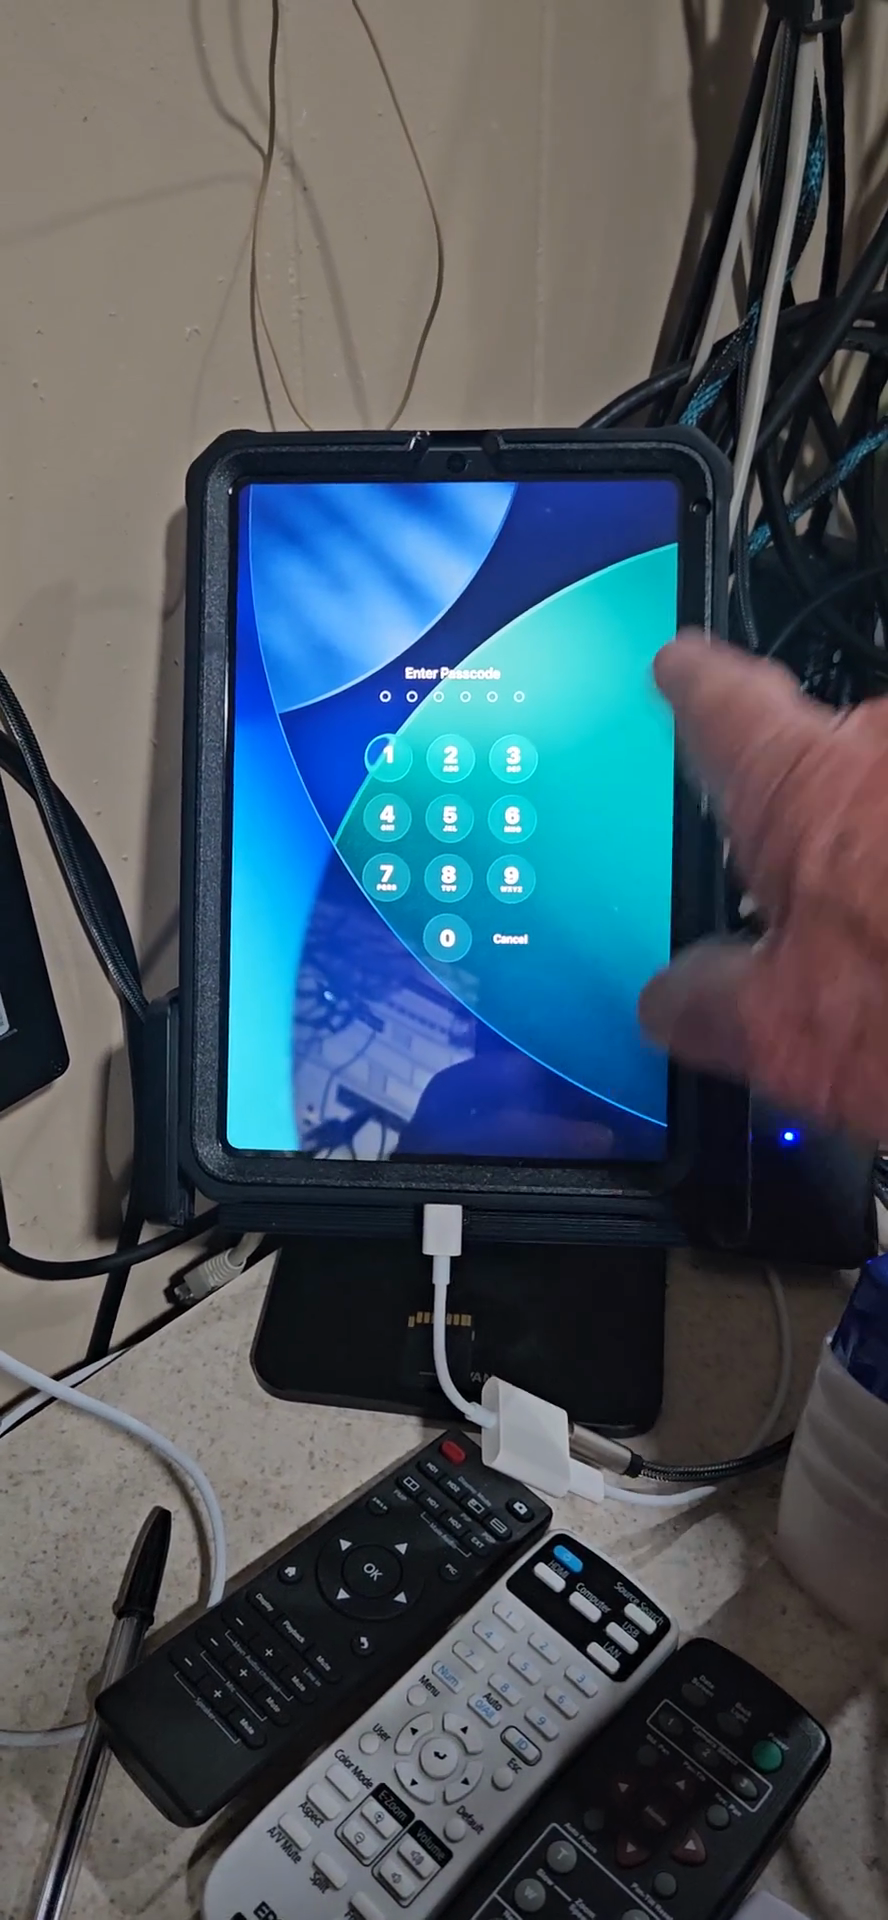
Tablet
301301
Unlock the tablet to play worship music over speakers
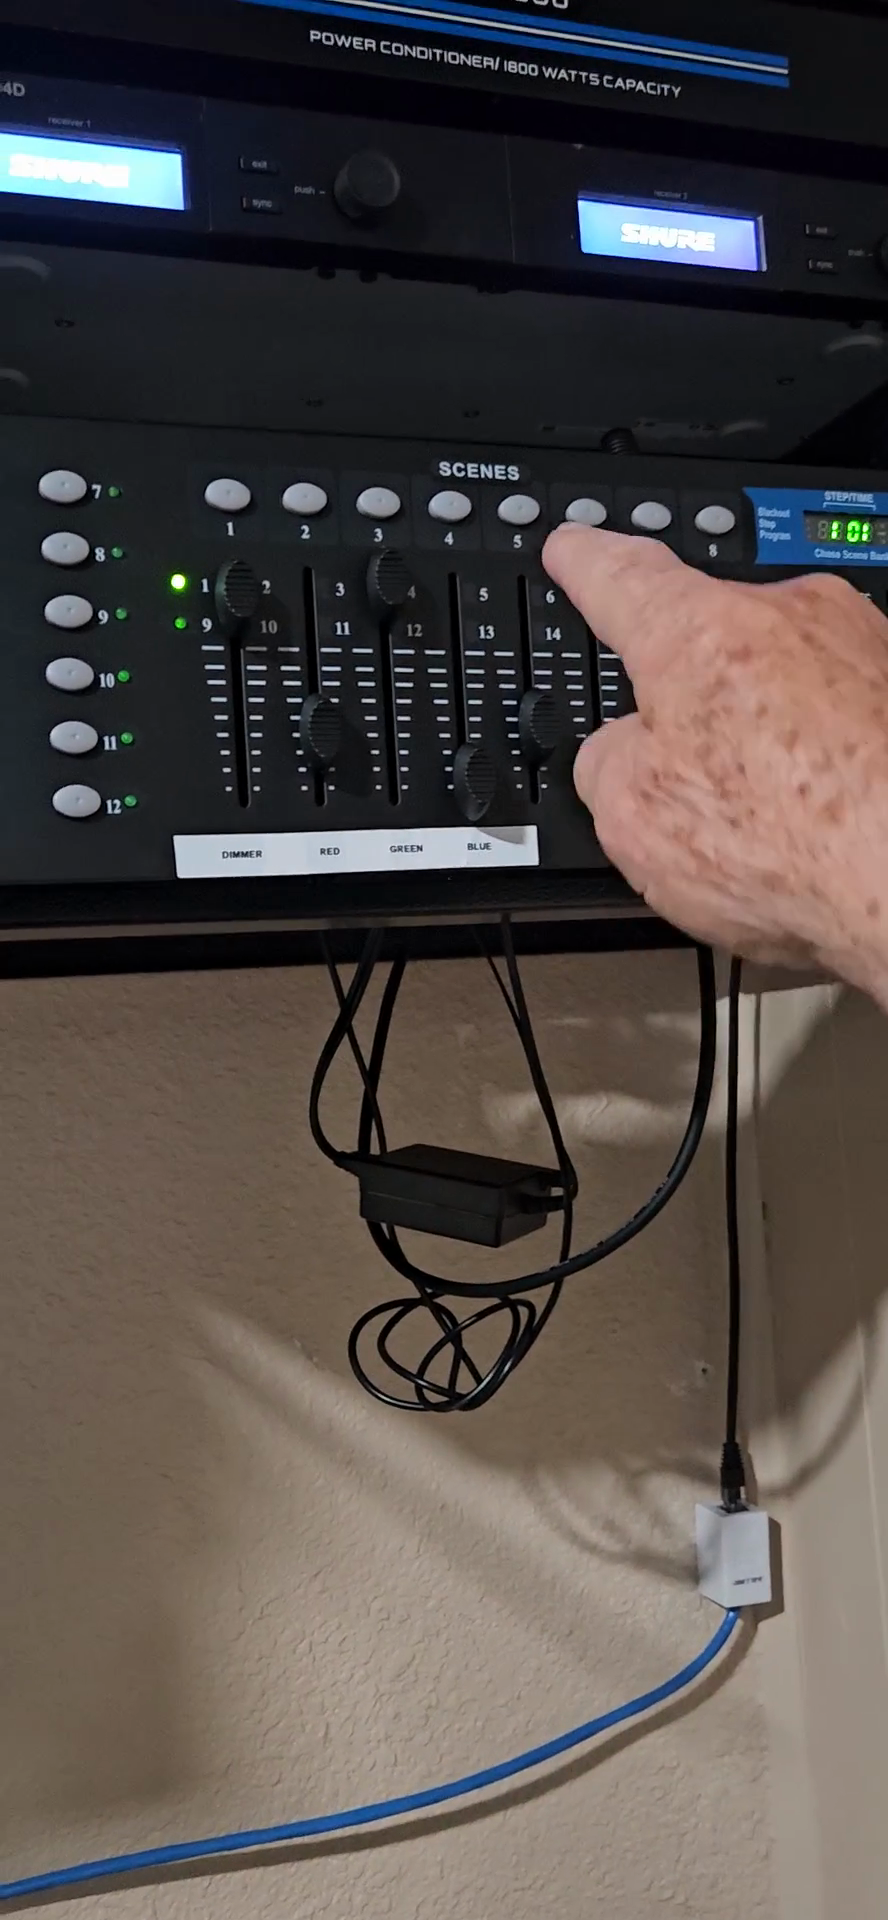
Lighting Console
Button 4
Select the correct uplighting profile for the stage
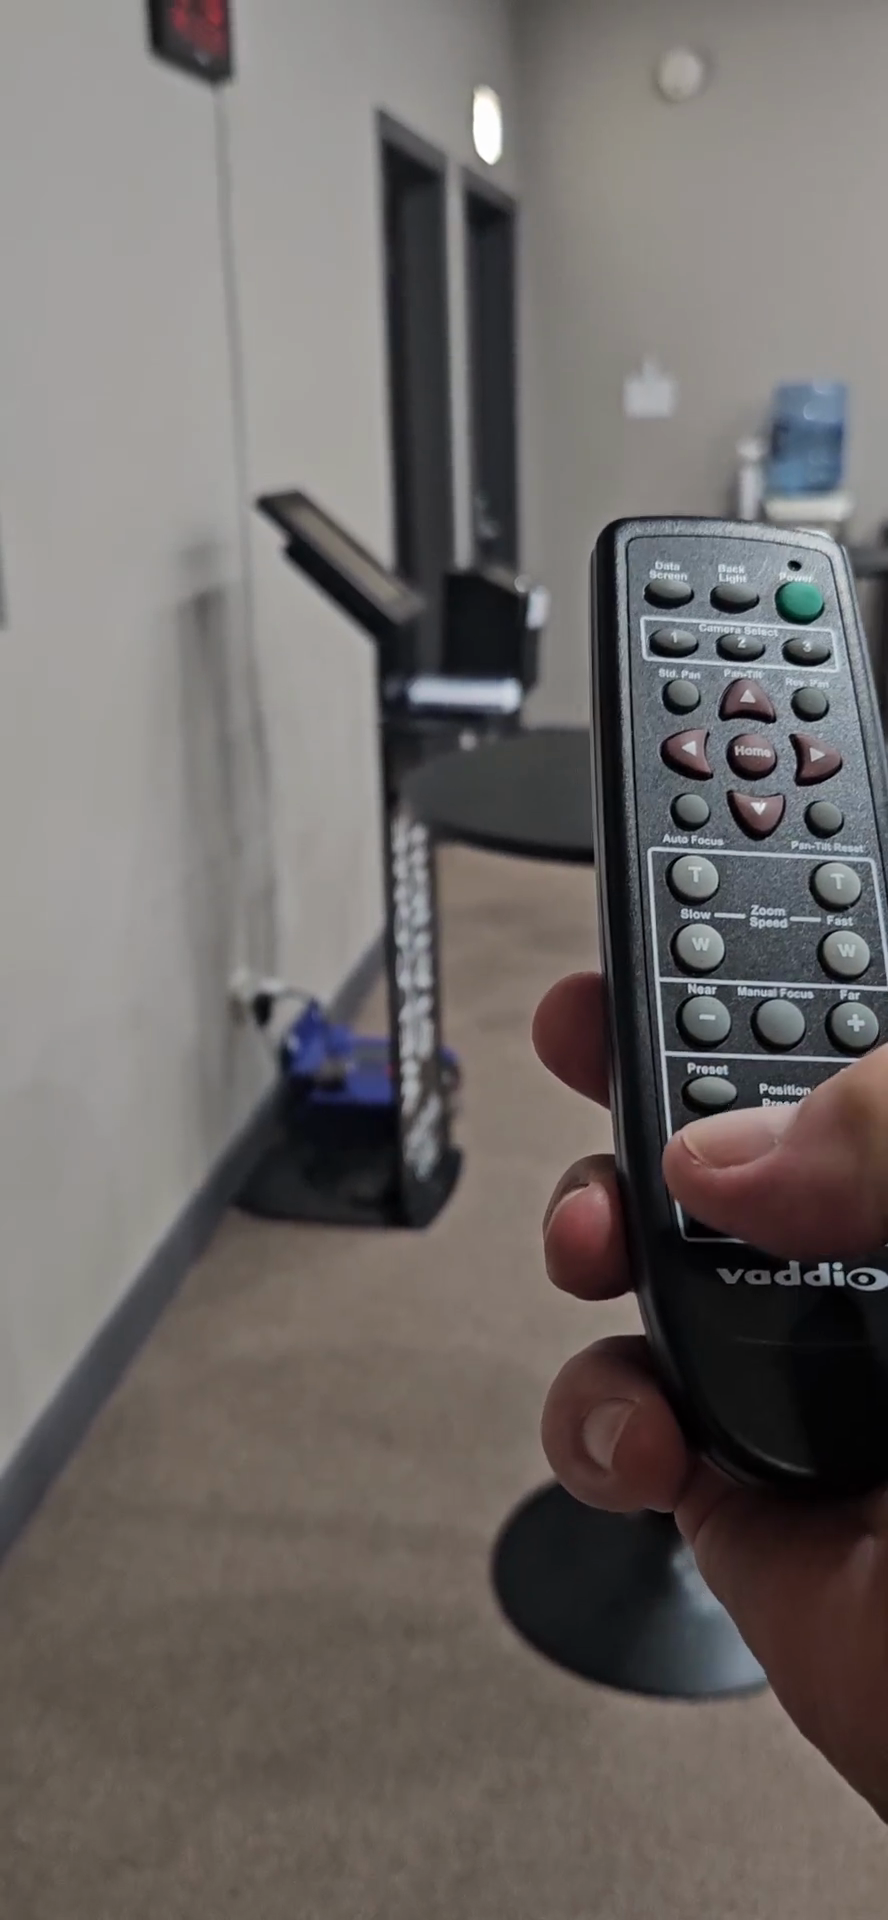
Camera Remote
Button 1
Zoom the camera to the default spot for the speaker
9
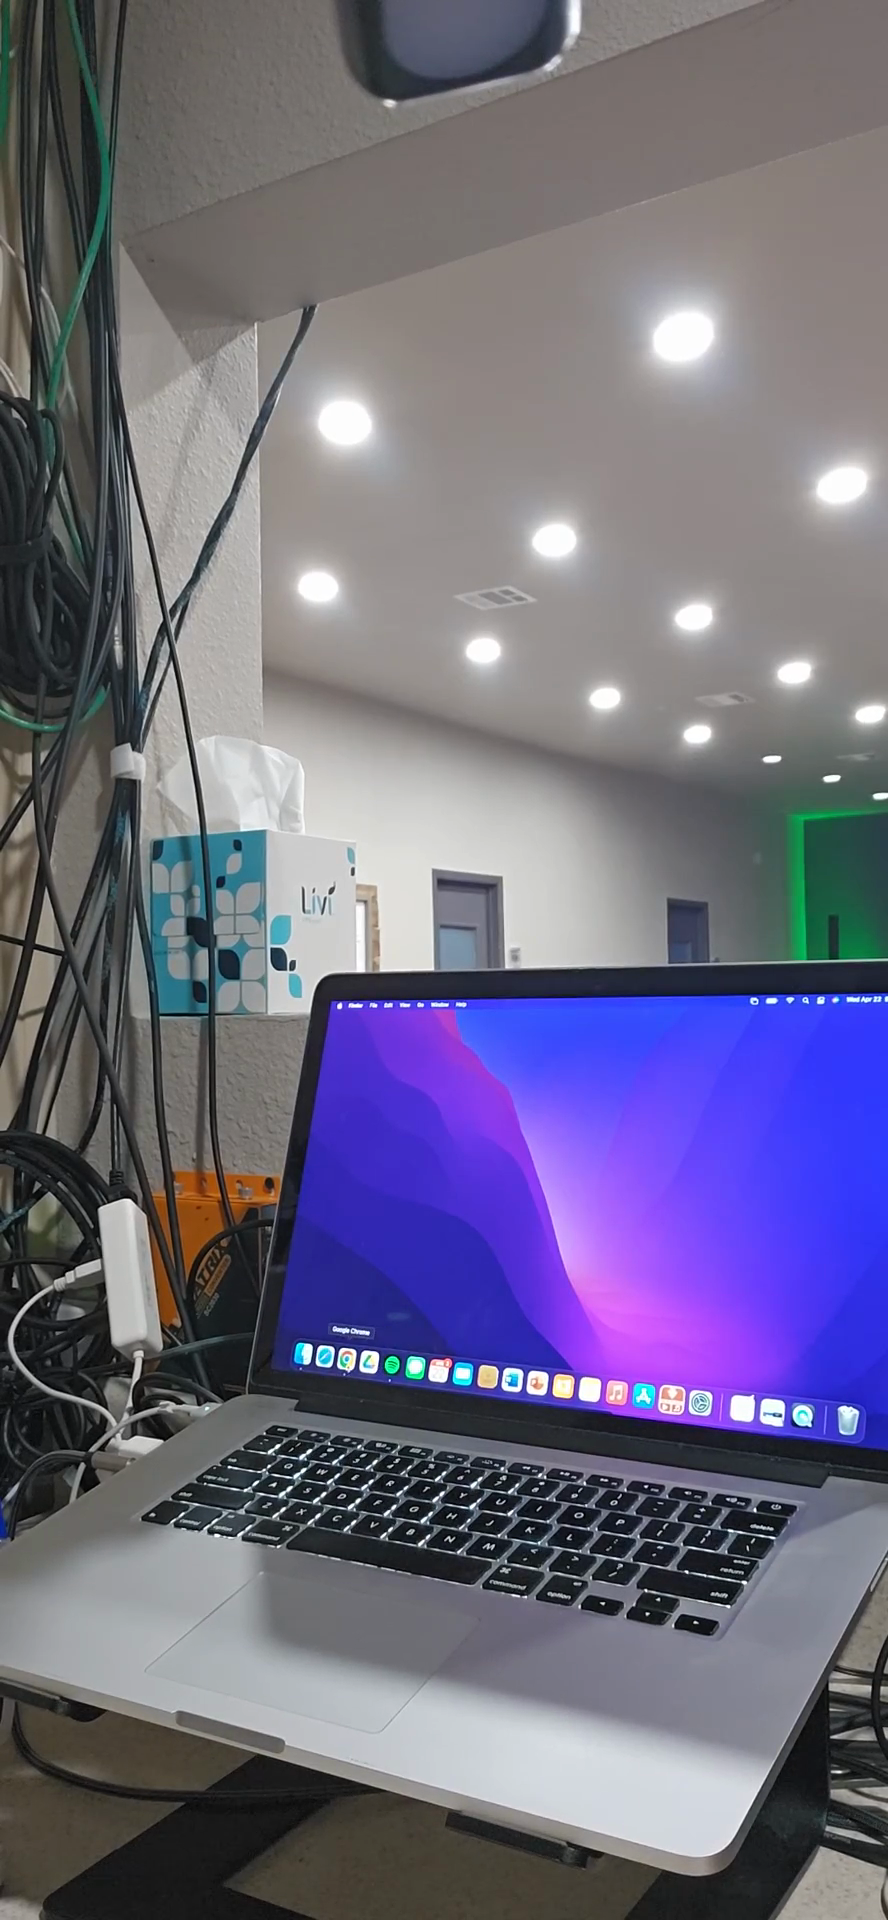
Enter the password CR4TrueLife on the laptop.
10
Swipe up on the tablet screen.
11
Enter the pin 301301.
12
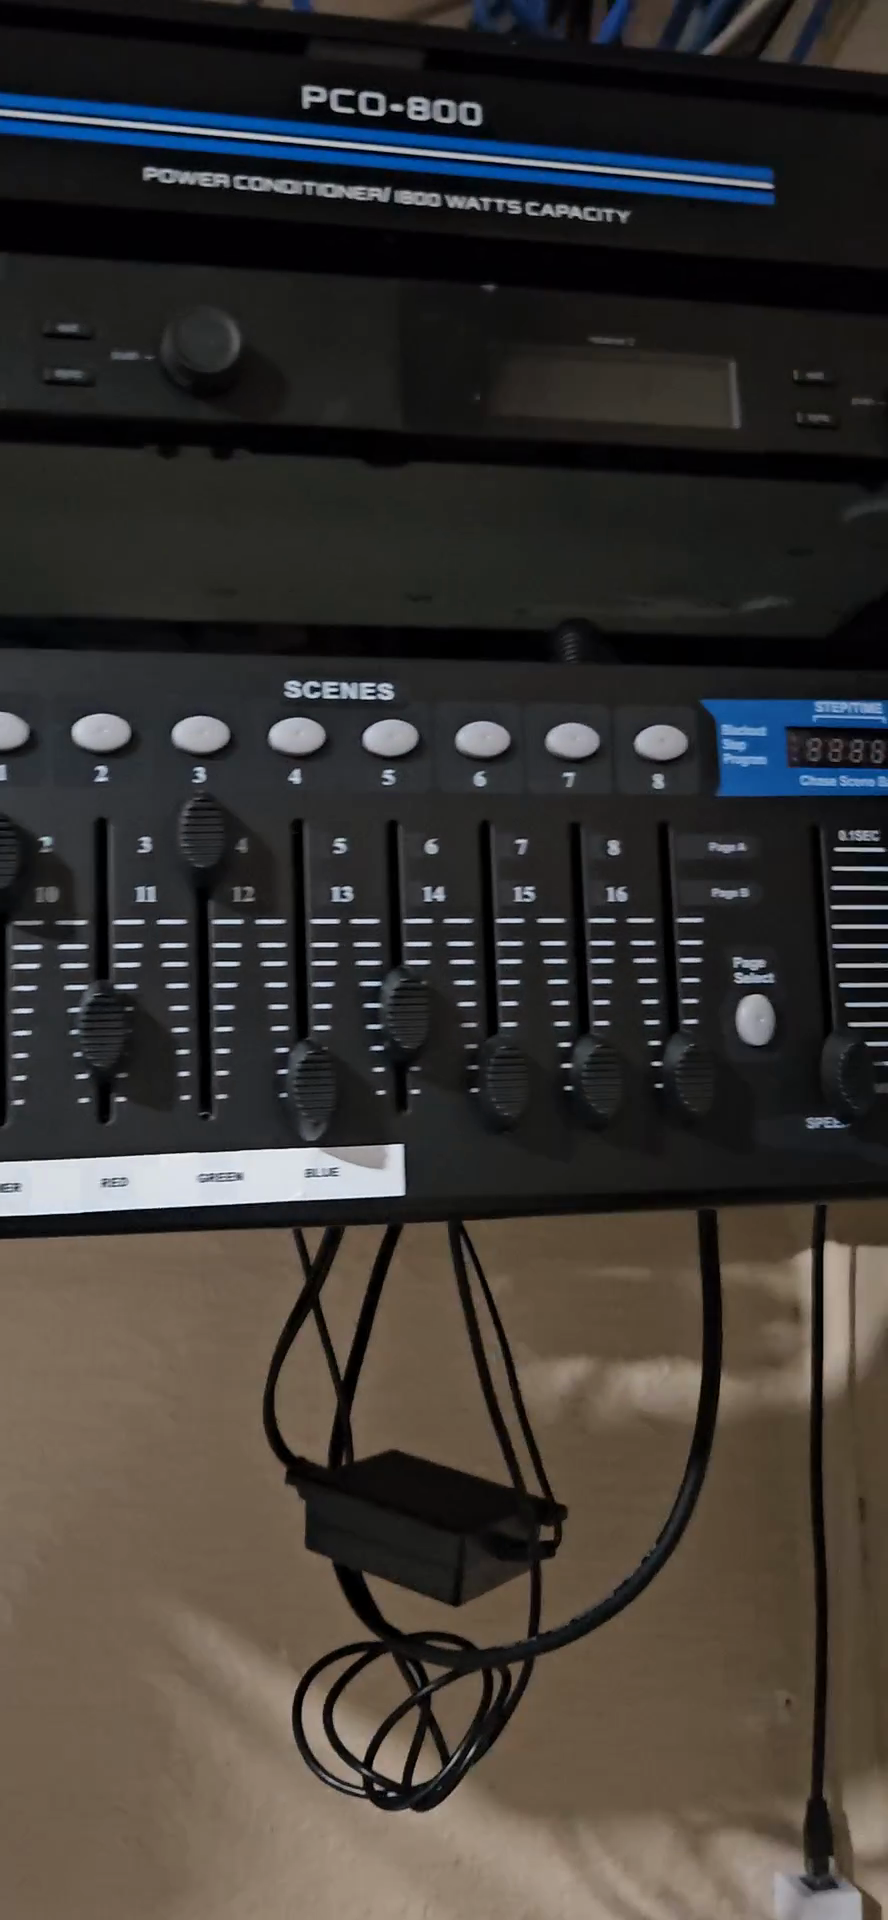
Select button 4 on the lighting controller console.
13
Verify the uplighting setup at the front of the room is correct.
14
Verify the overall sound system is operational.
Projector, Speakers, and Camera Setup
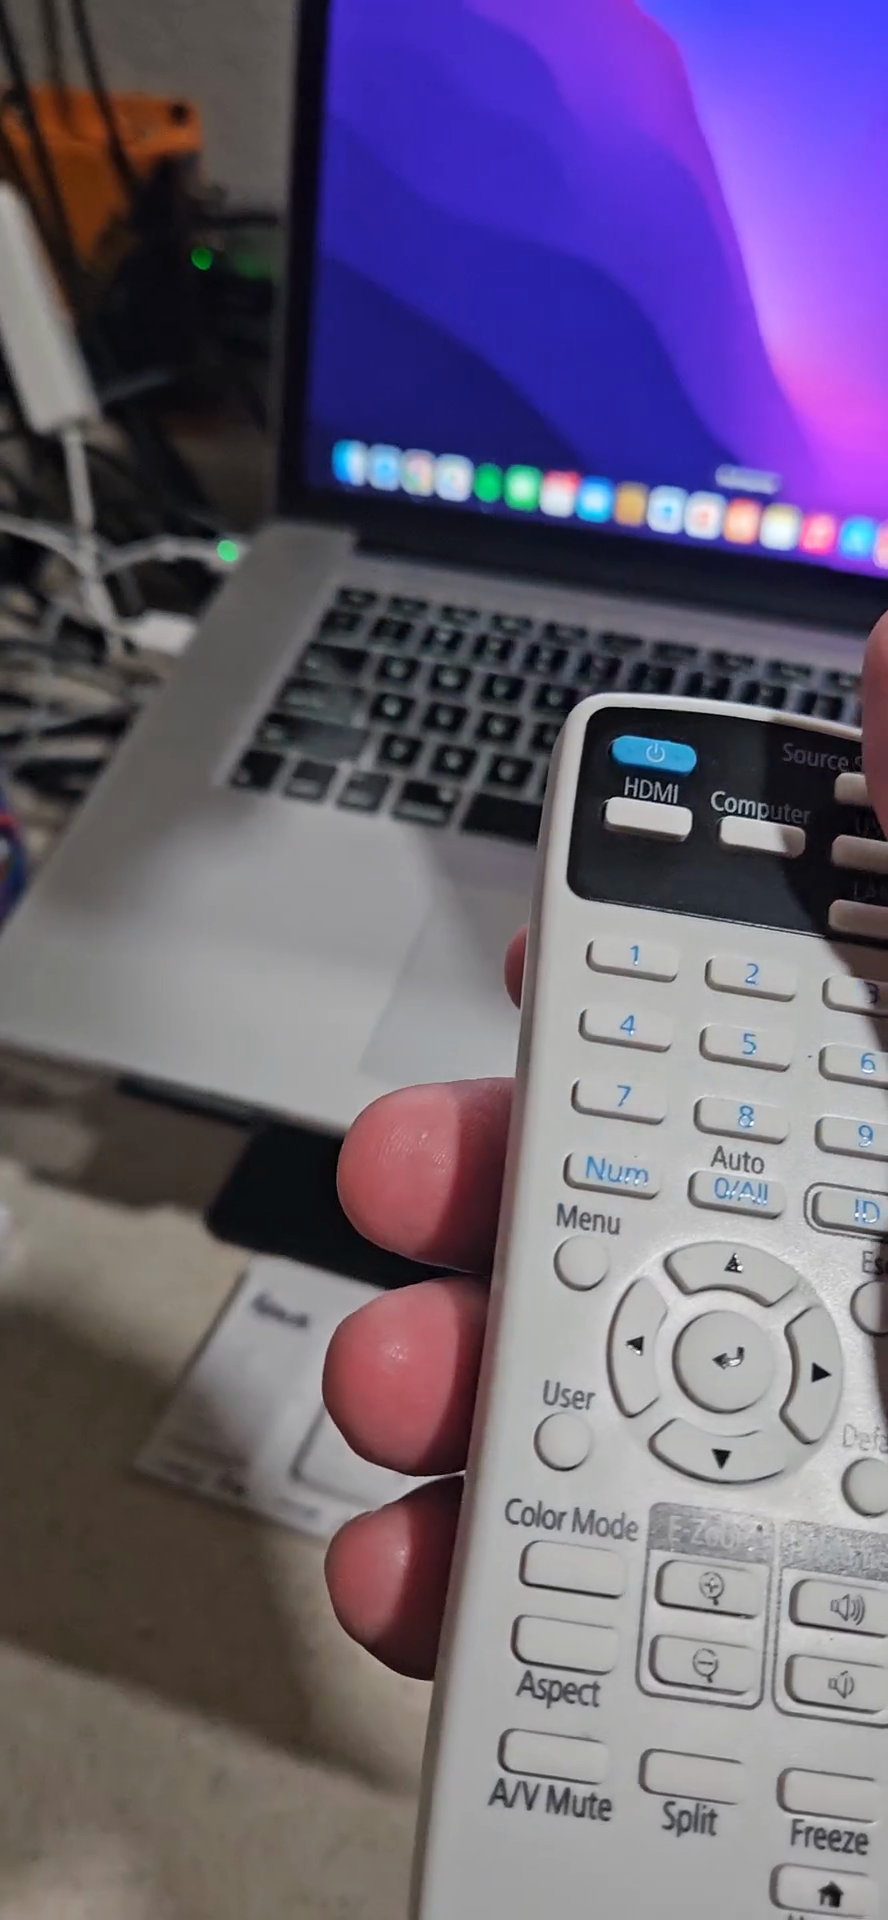
15
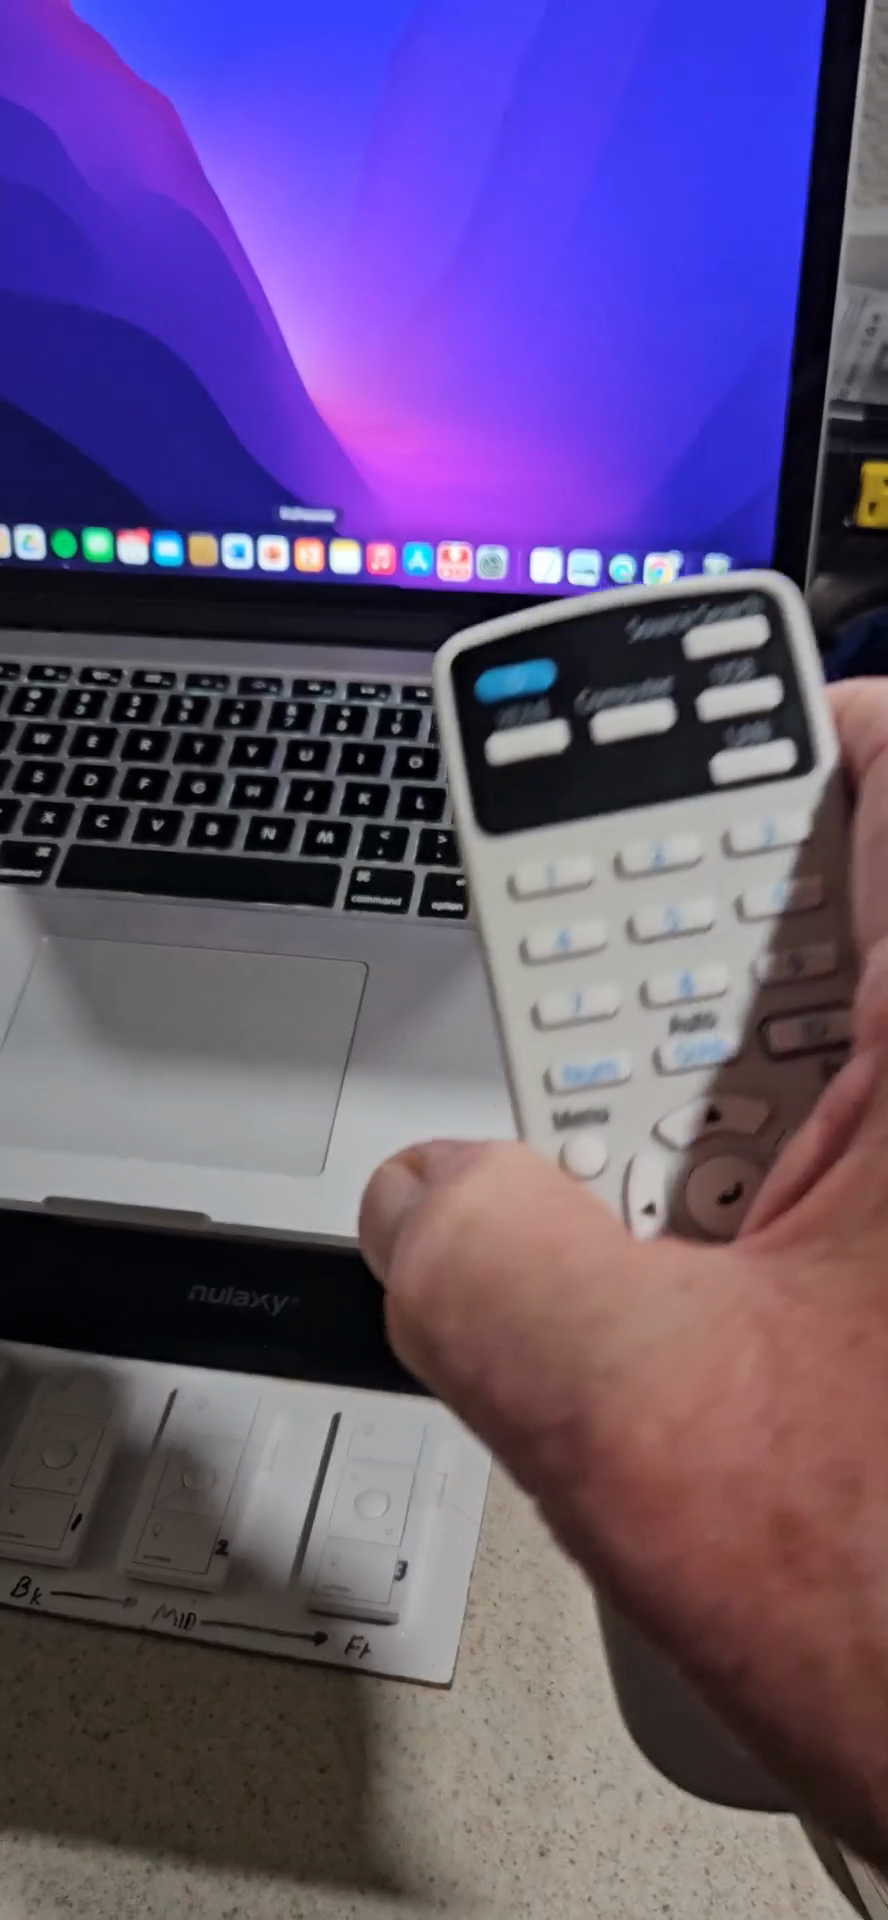
Press the blue power button on the white projector remote to turn on the projector.
16
Press the HDMI button on the projector remote to select the correct input.
17
Press the ON buttons on the small white remote to power up the speakers near the screen.
18
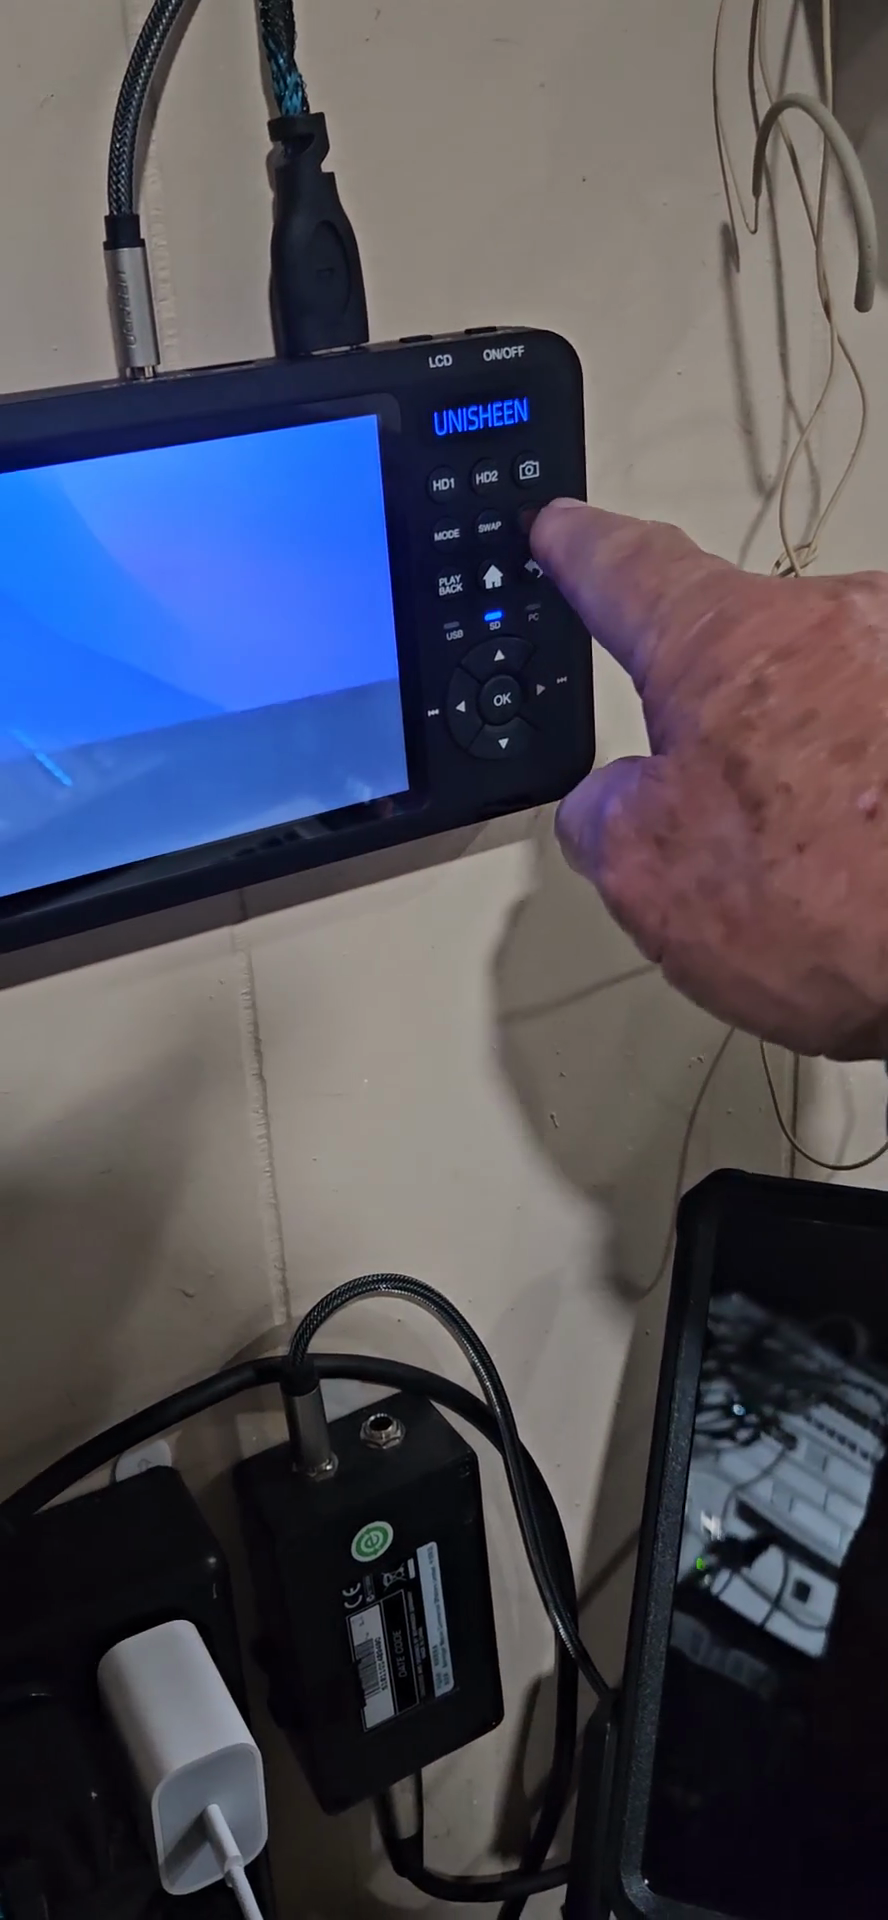
Push the red button with the camera icon on the video recording device if you are recording a guest speaker.
19
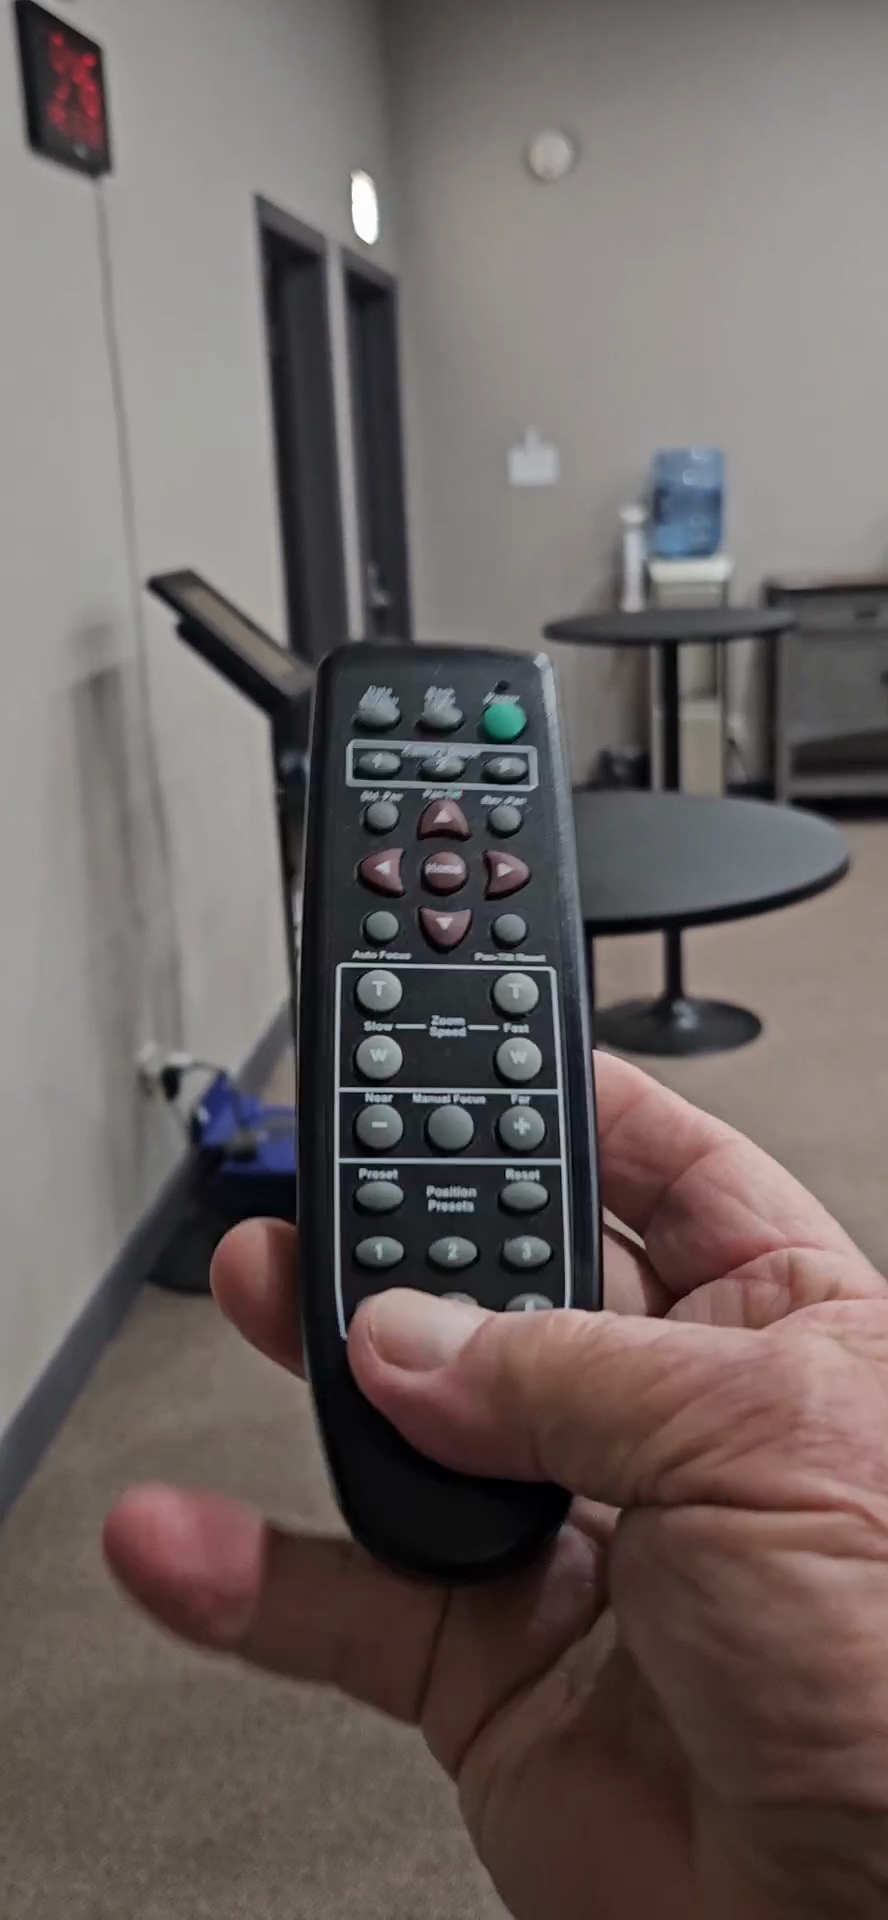
Turn on the Vaddio camera remote using the green power button.
20
Press 1 on the camera remote to frame the default spot for the speaker.
Downloading Songs from YouTube
21
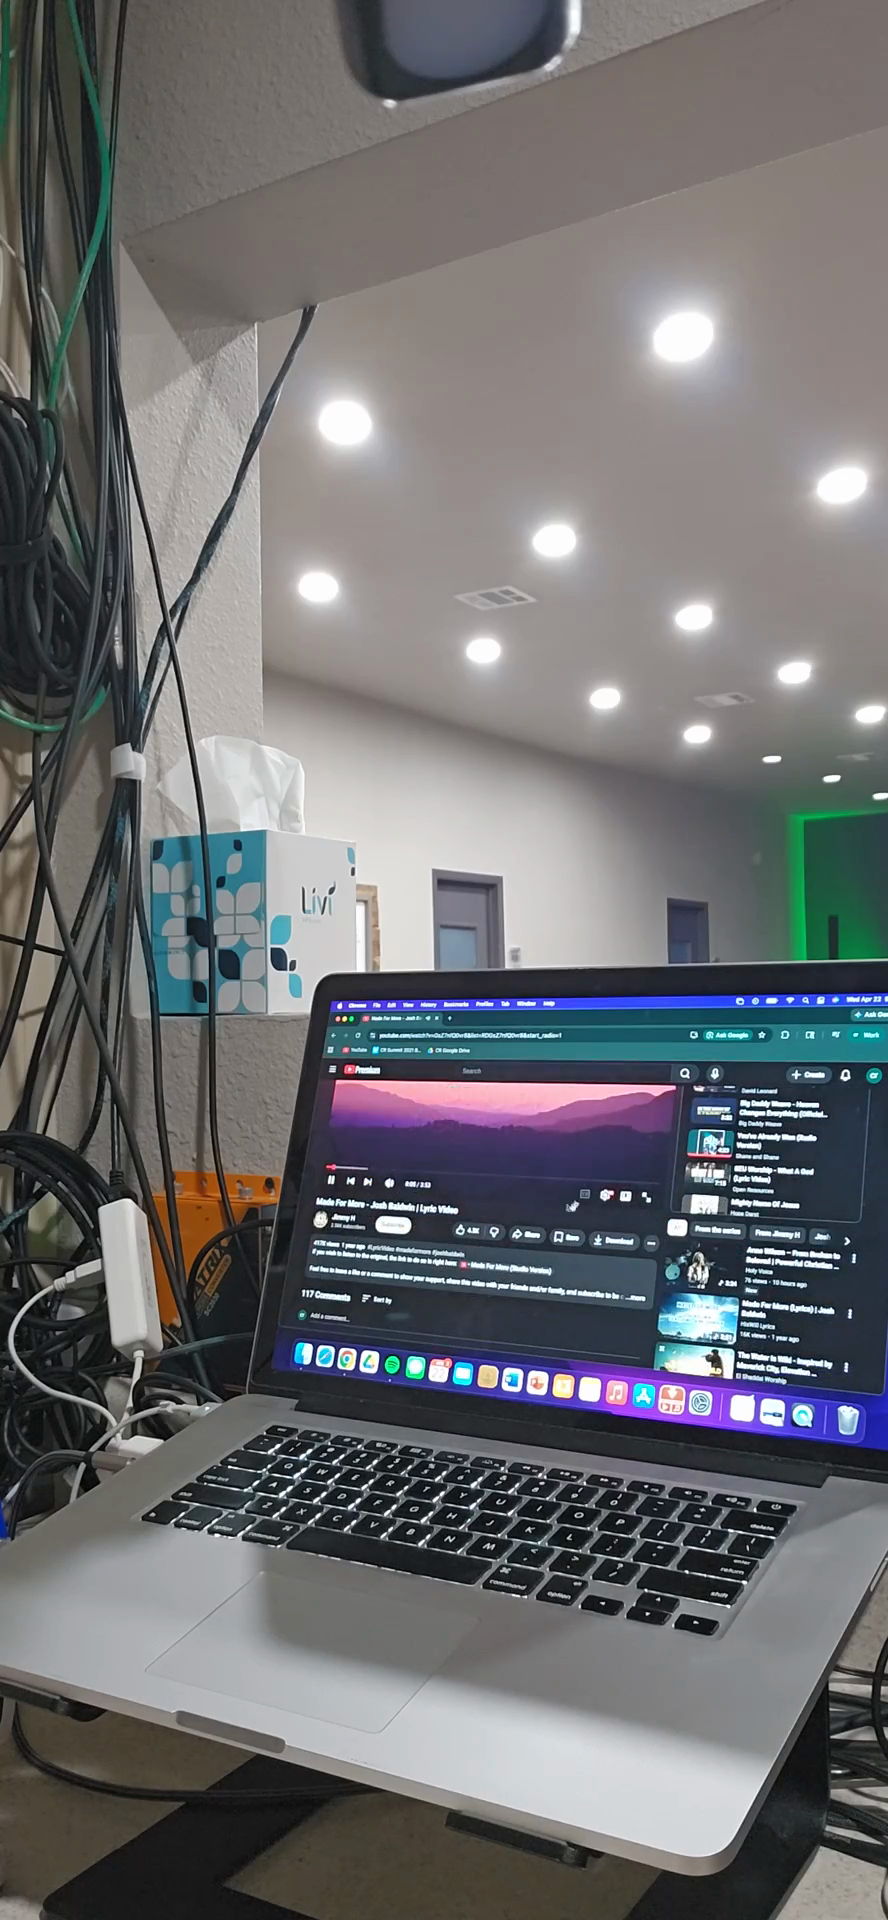
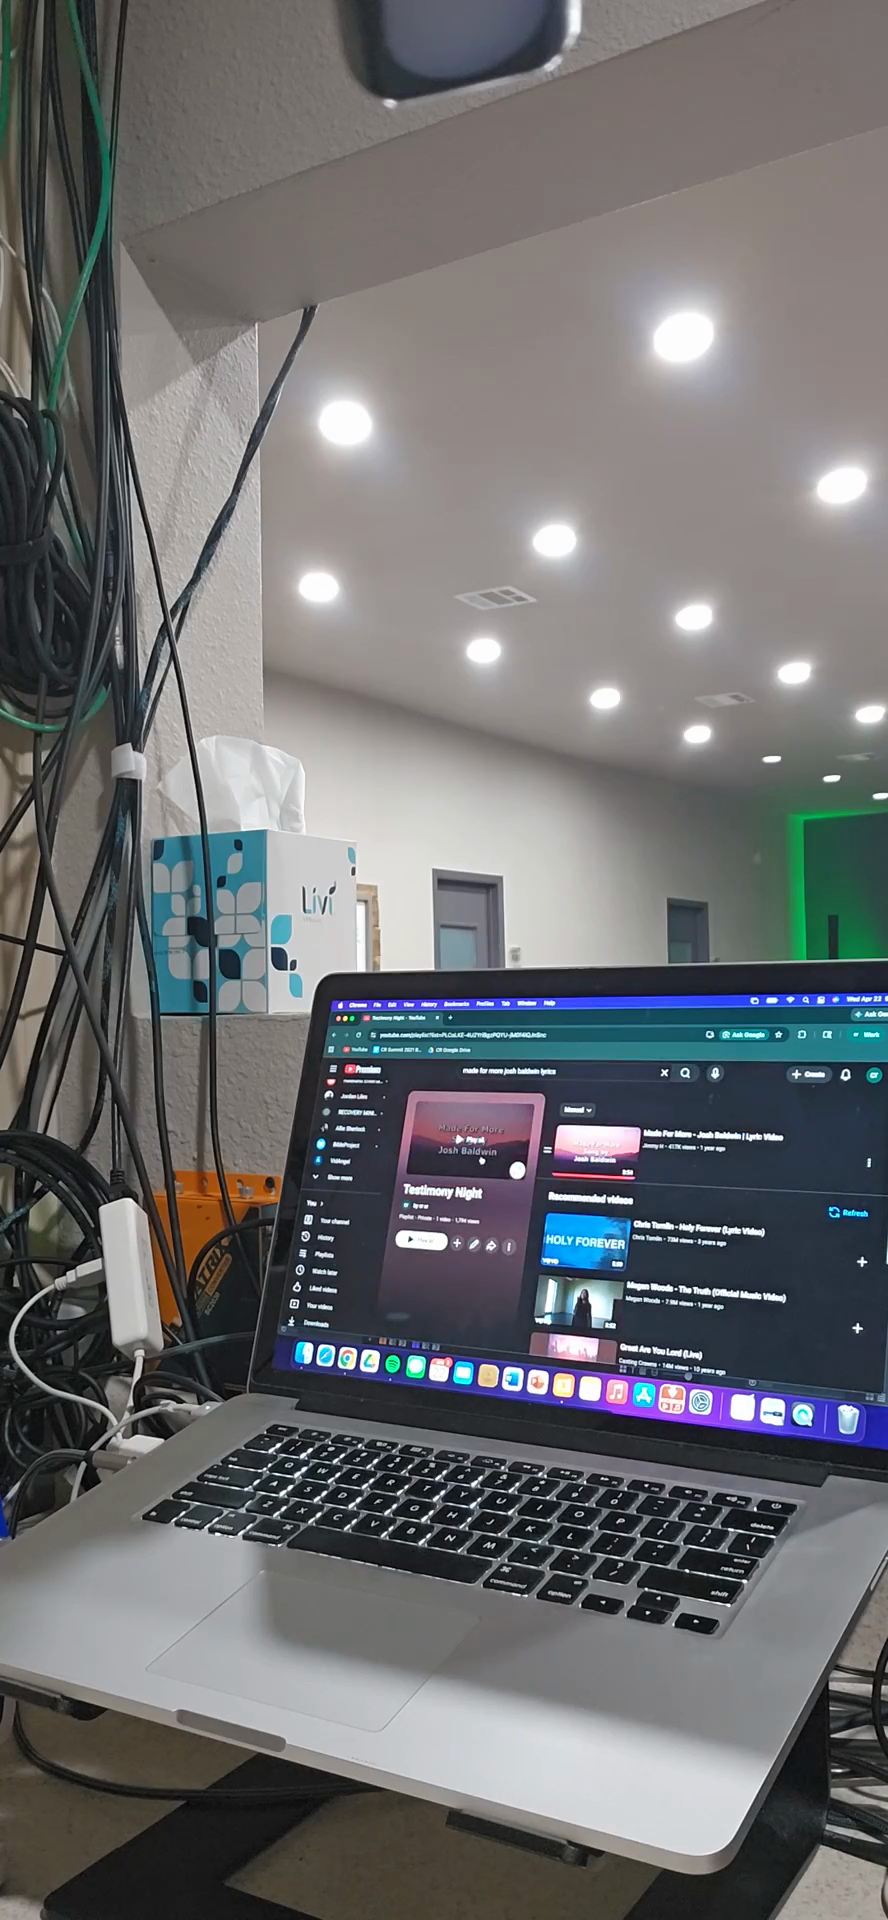
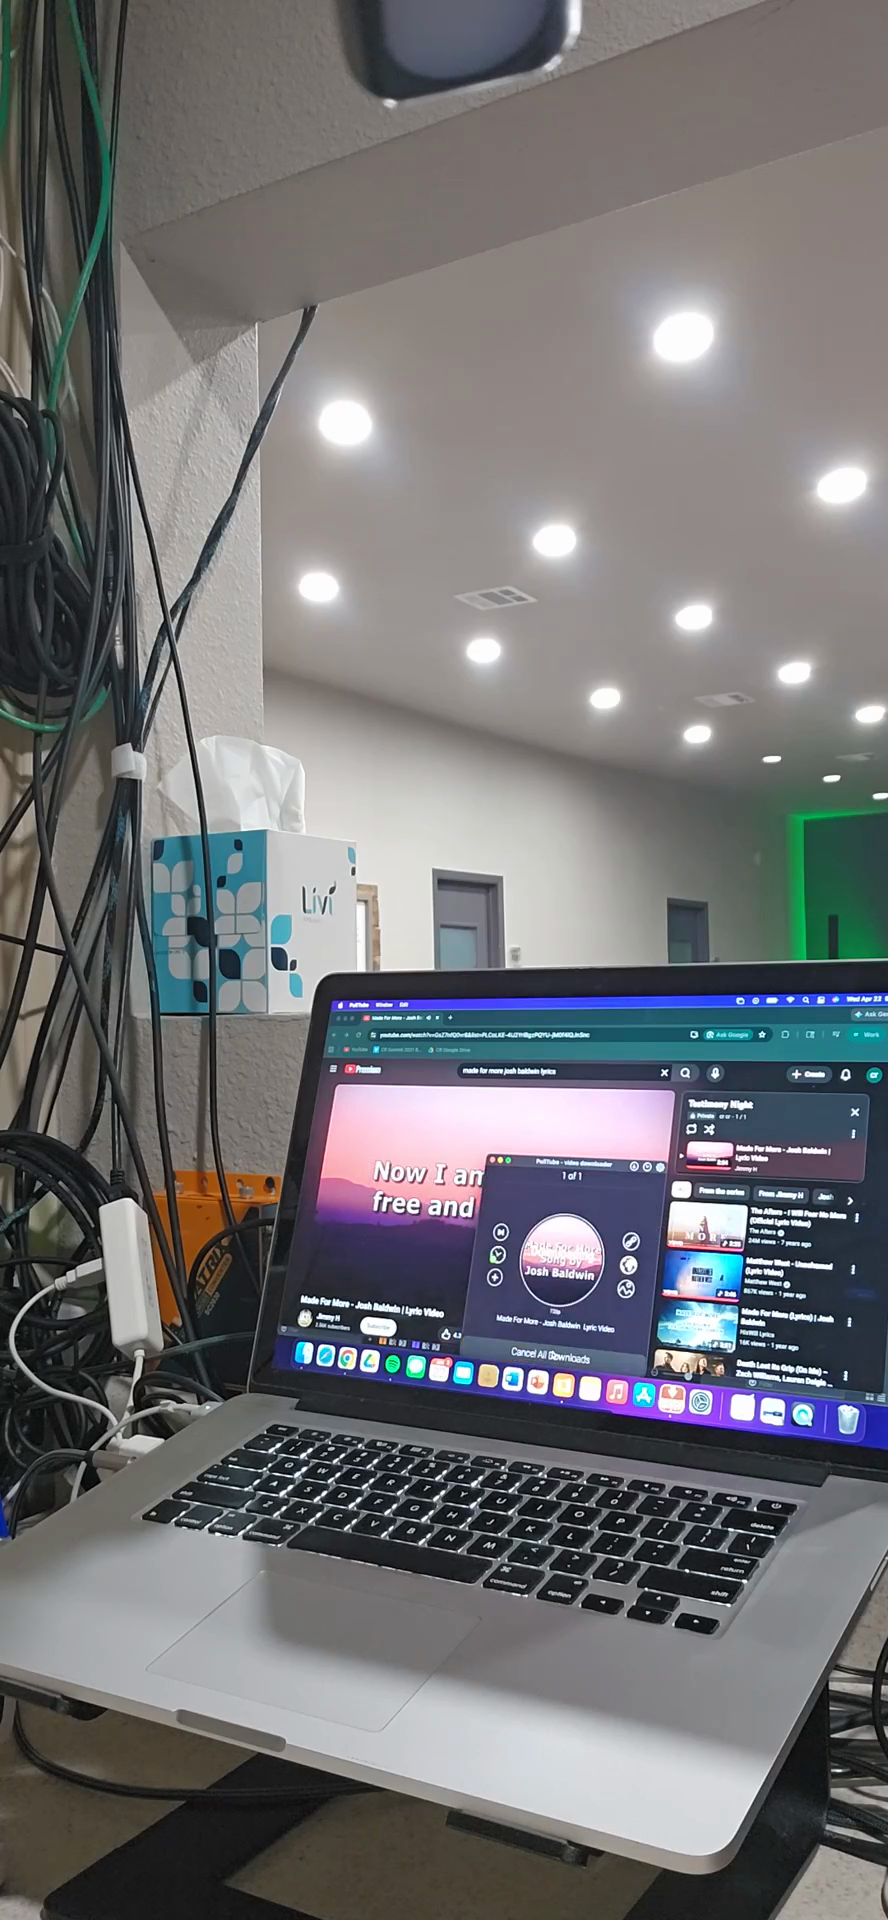
Open the Google Chrome web browser on the laptop.
22
Navigate to YouTube.
23
Search for the song you want to play during the meeting.
24
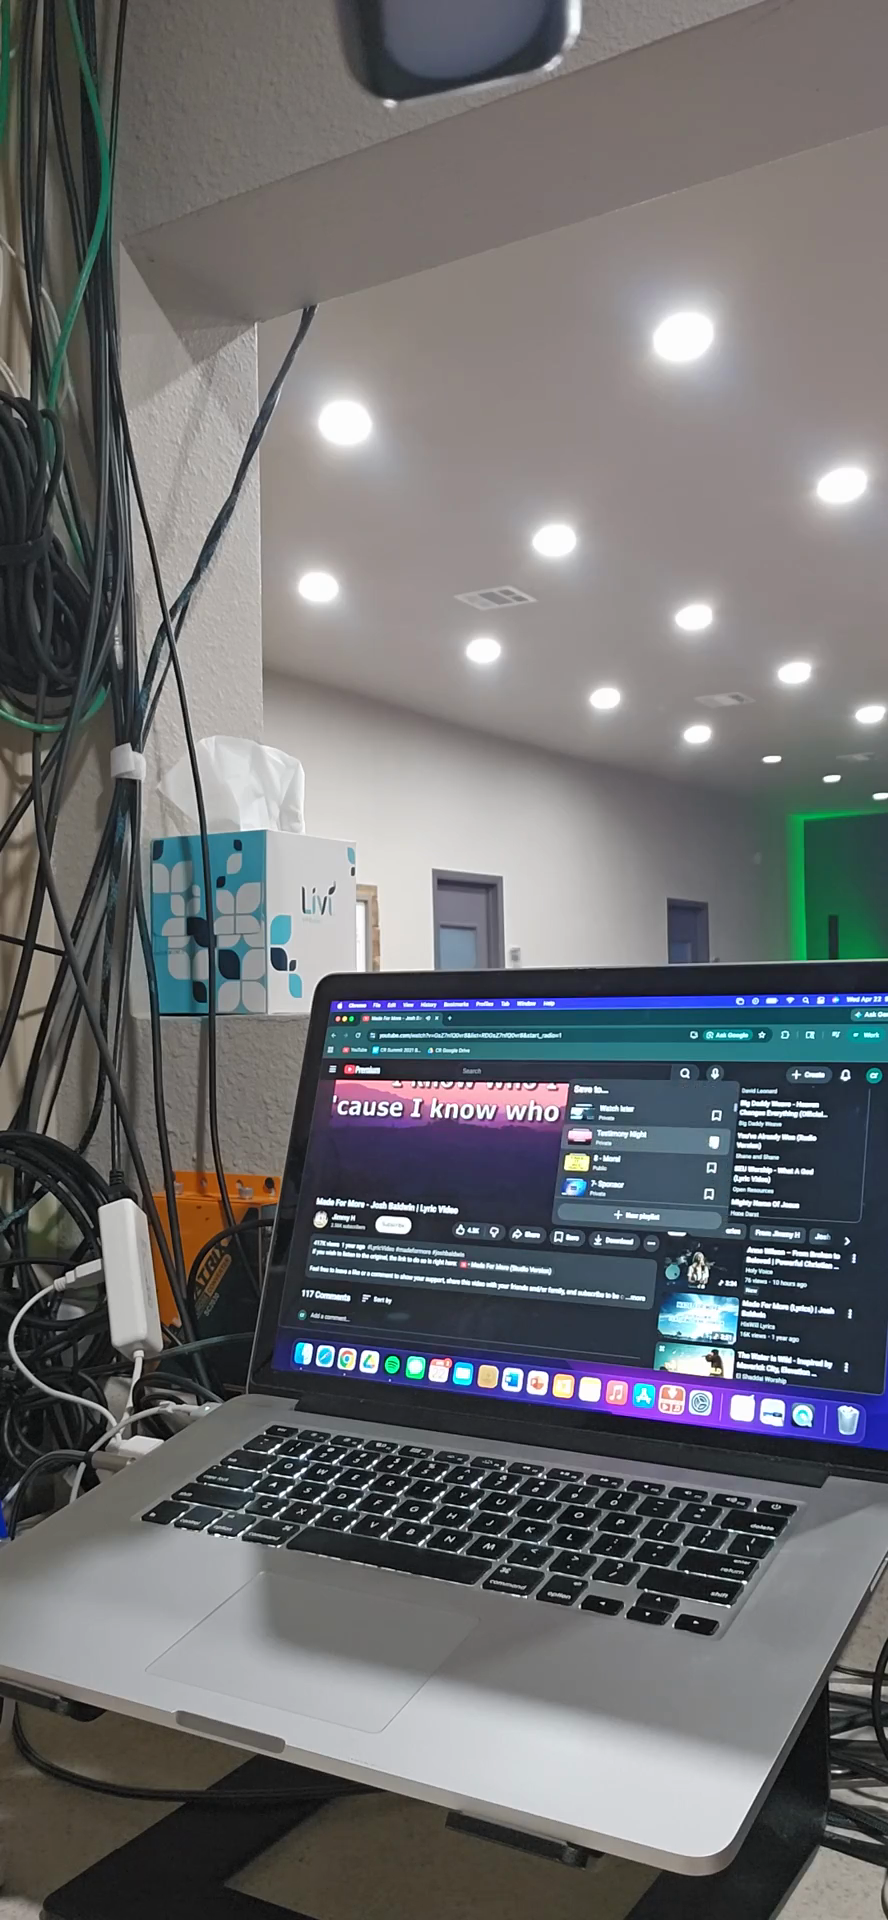
Click the Save button under the video title.
25
Select the Testimony Night folder to save the song.
26
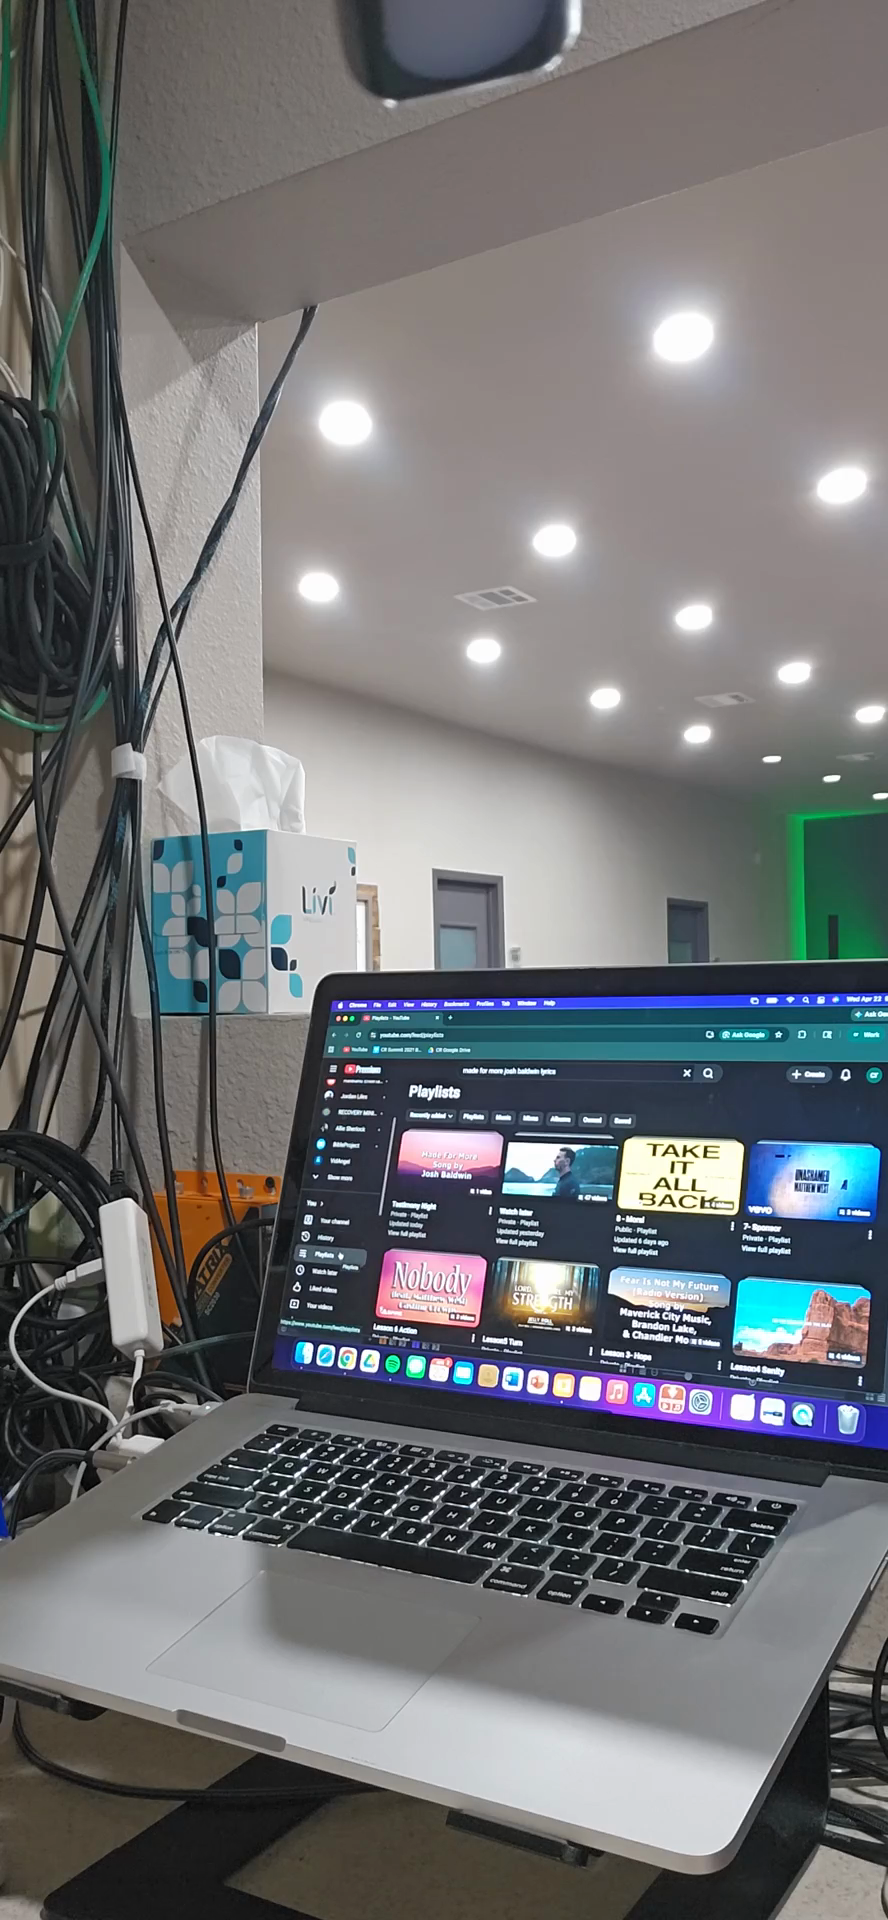
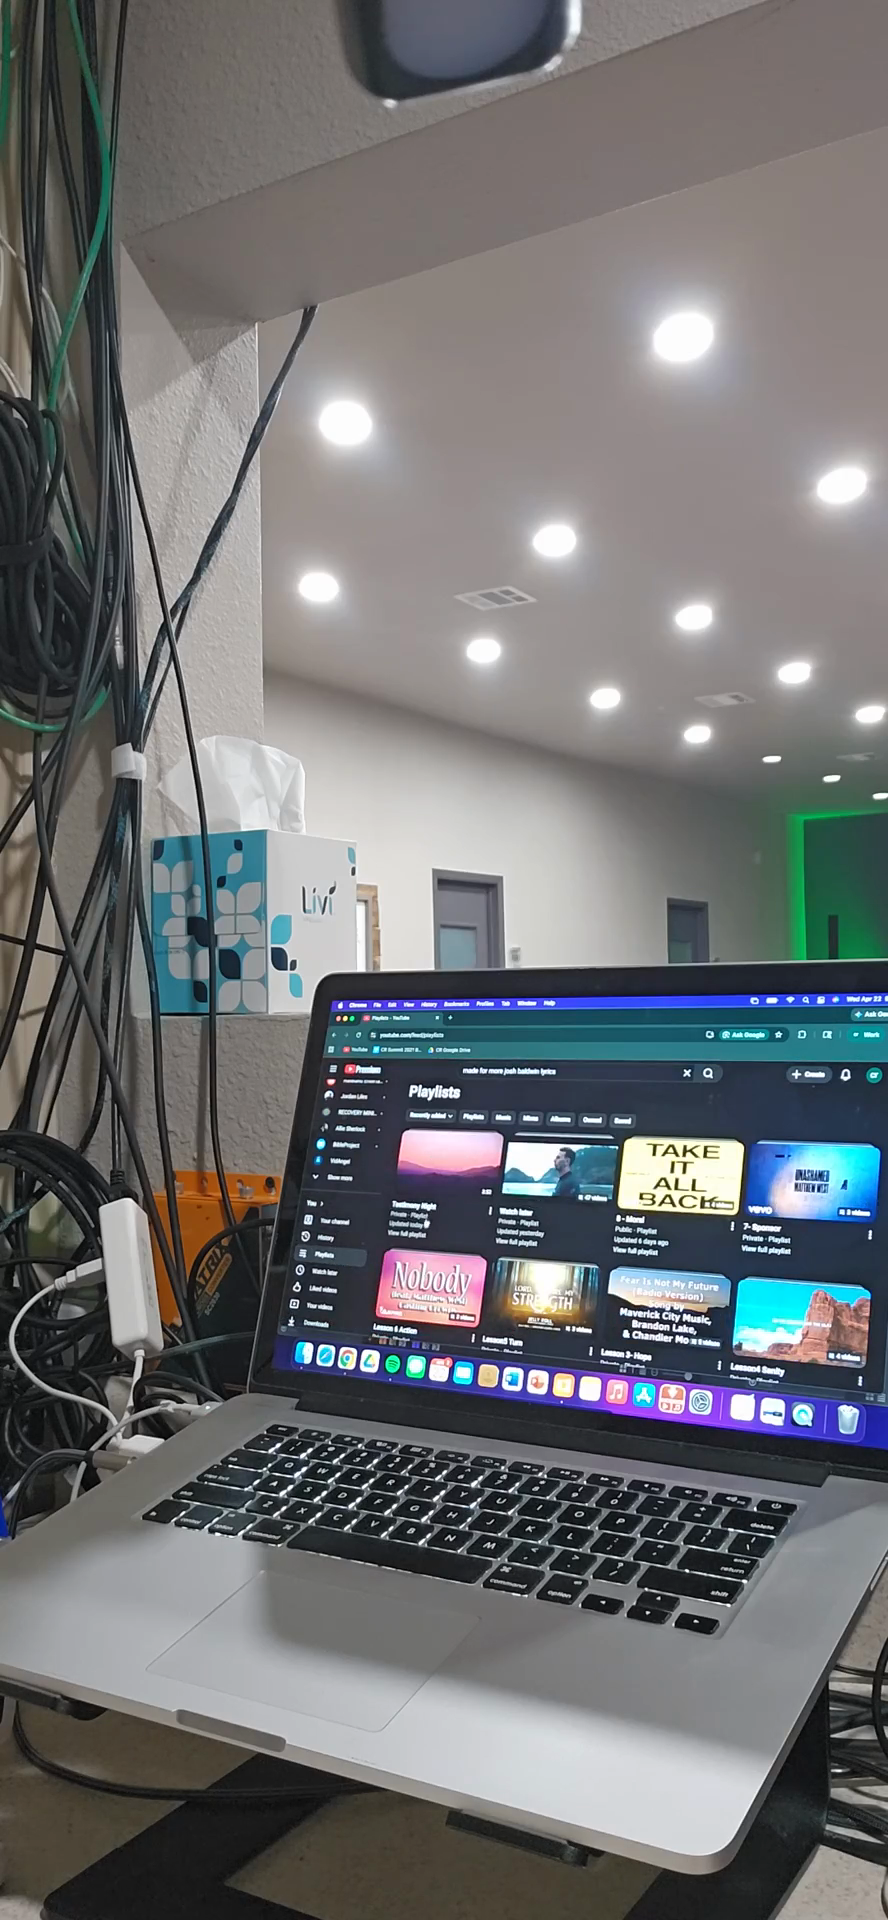
Click Playlists in the left-hand navigation menu.
27
Select the Testimony Night playlist.
28
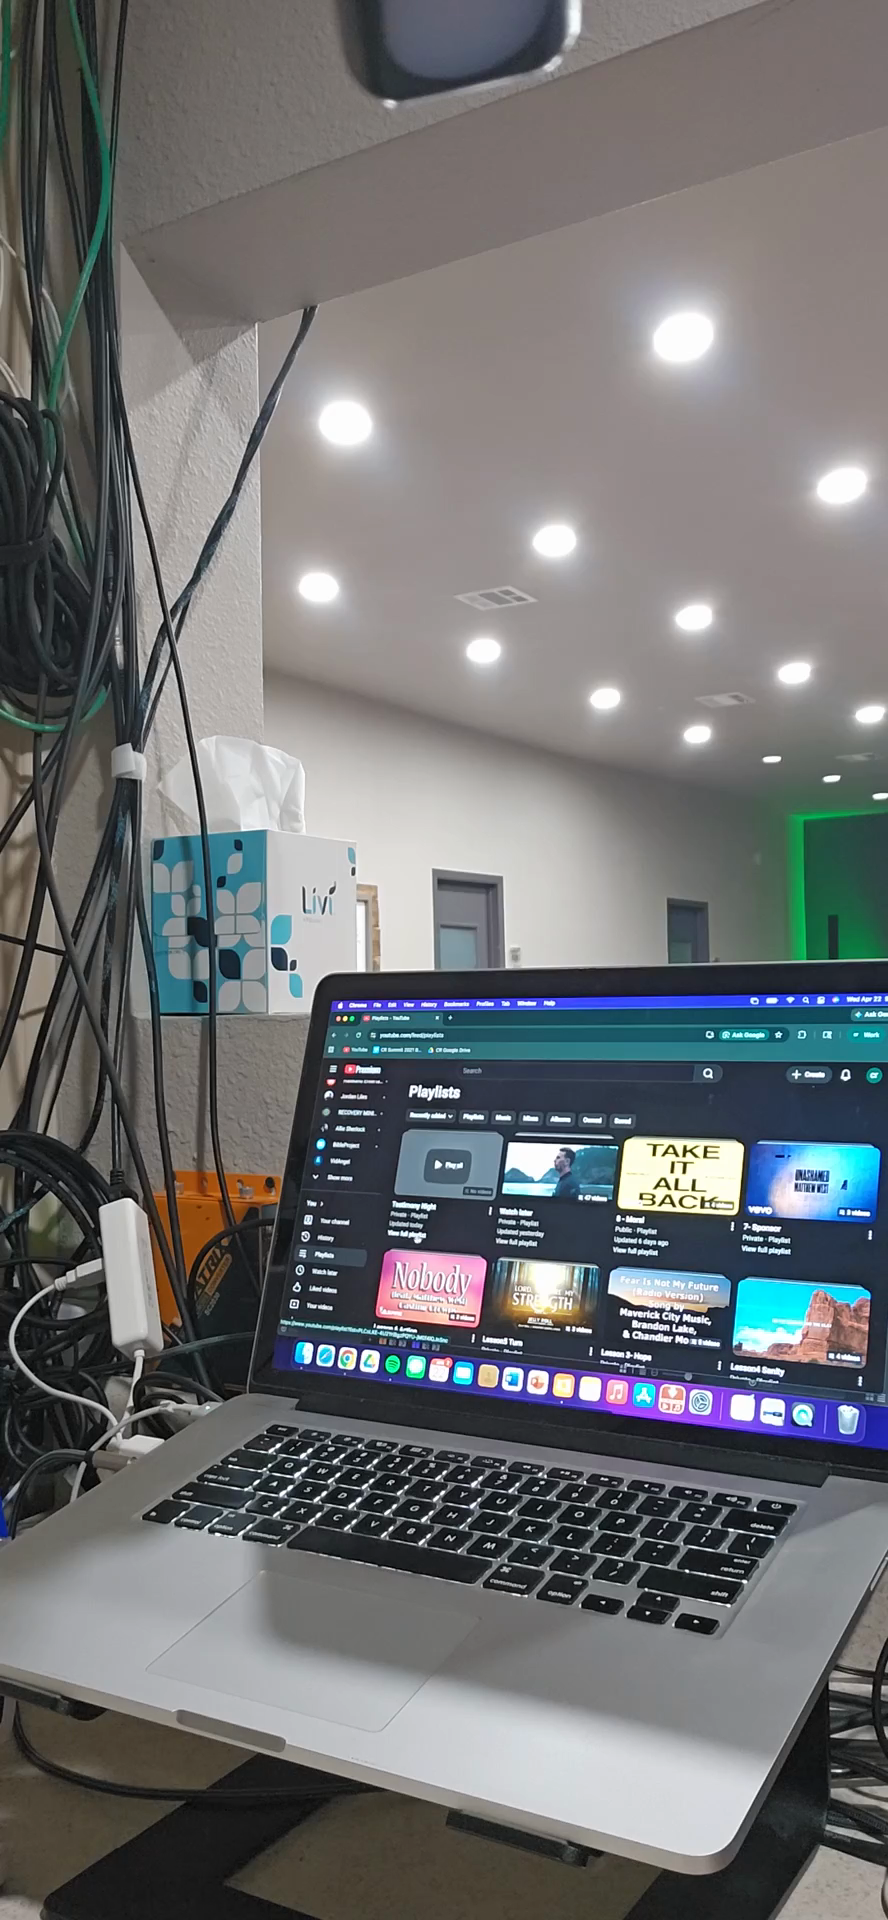
Click View full playlist to display the list of saved songs.
29
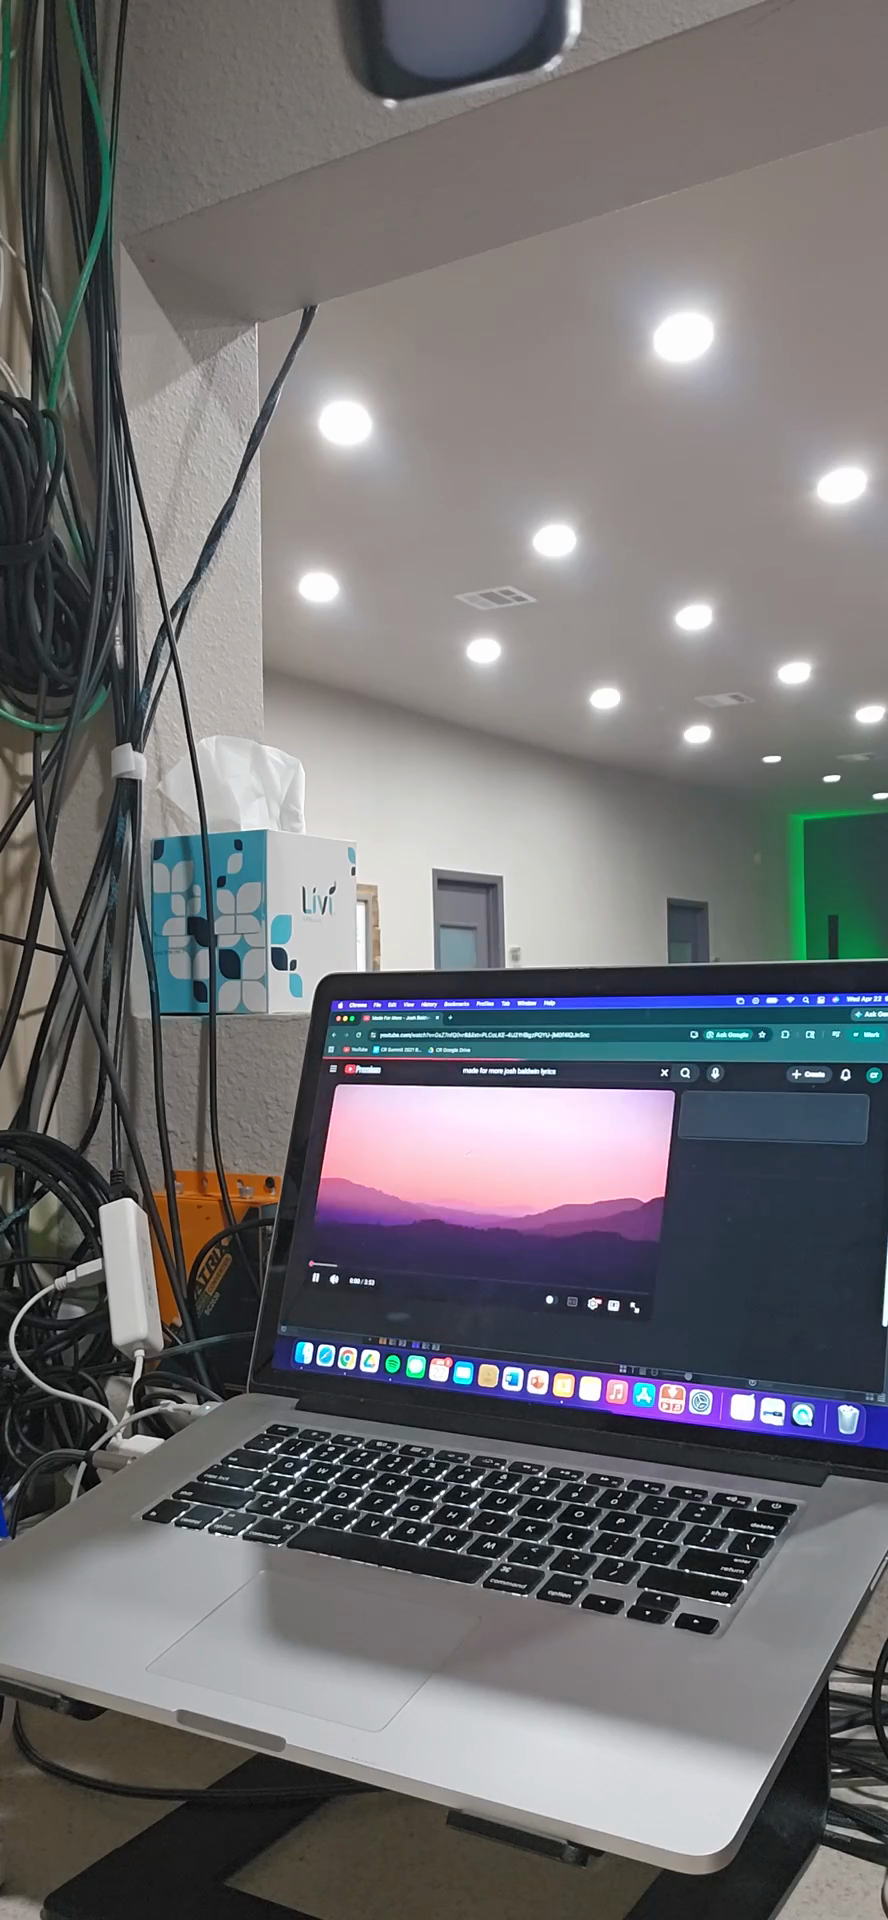
Click the newly saved song to begin playing it.
30
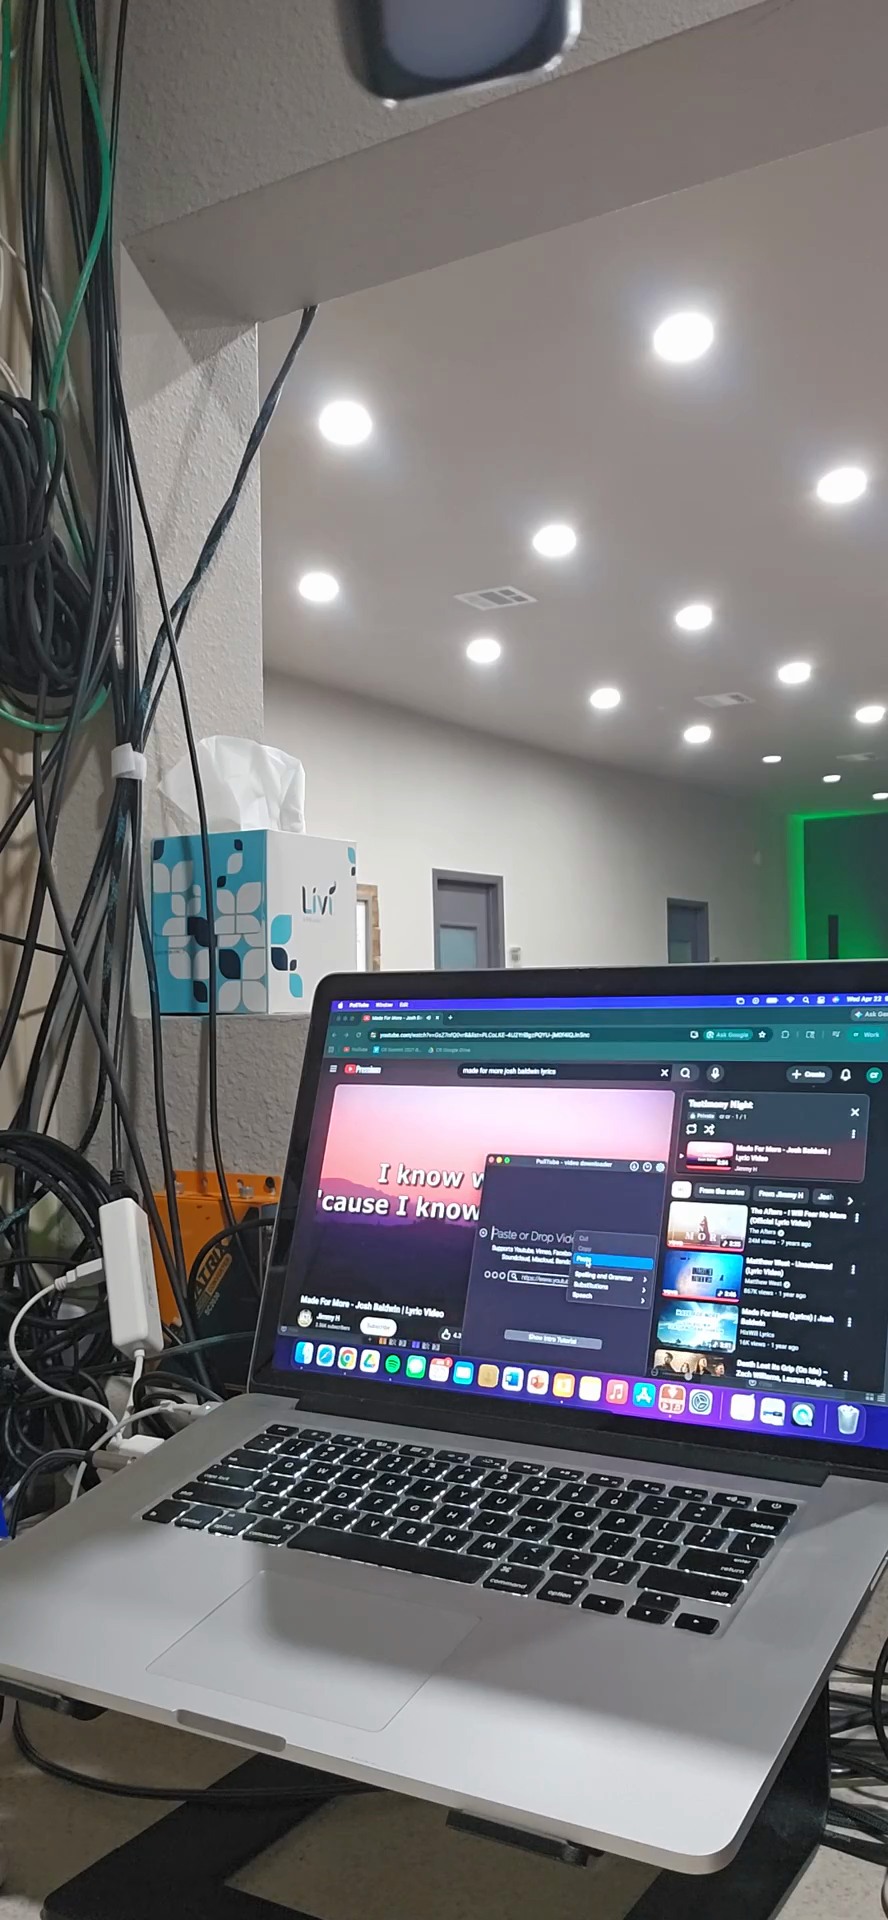
Copy the video's URL from the browser's address bar.
31
Paste the URL into the Pulltube window and select Video only.
32
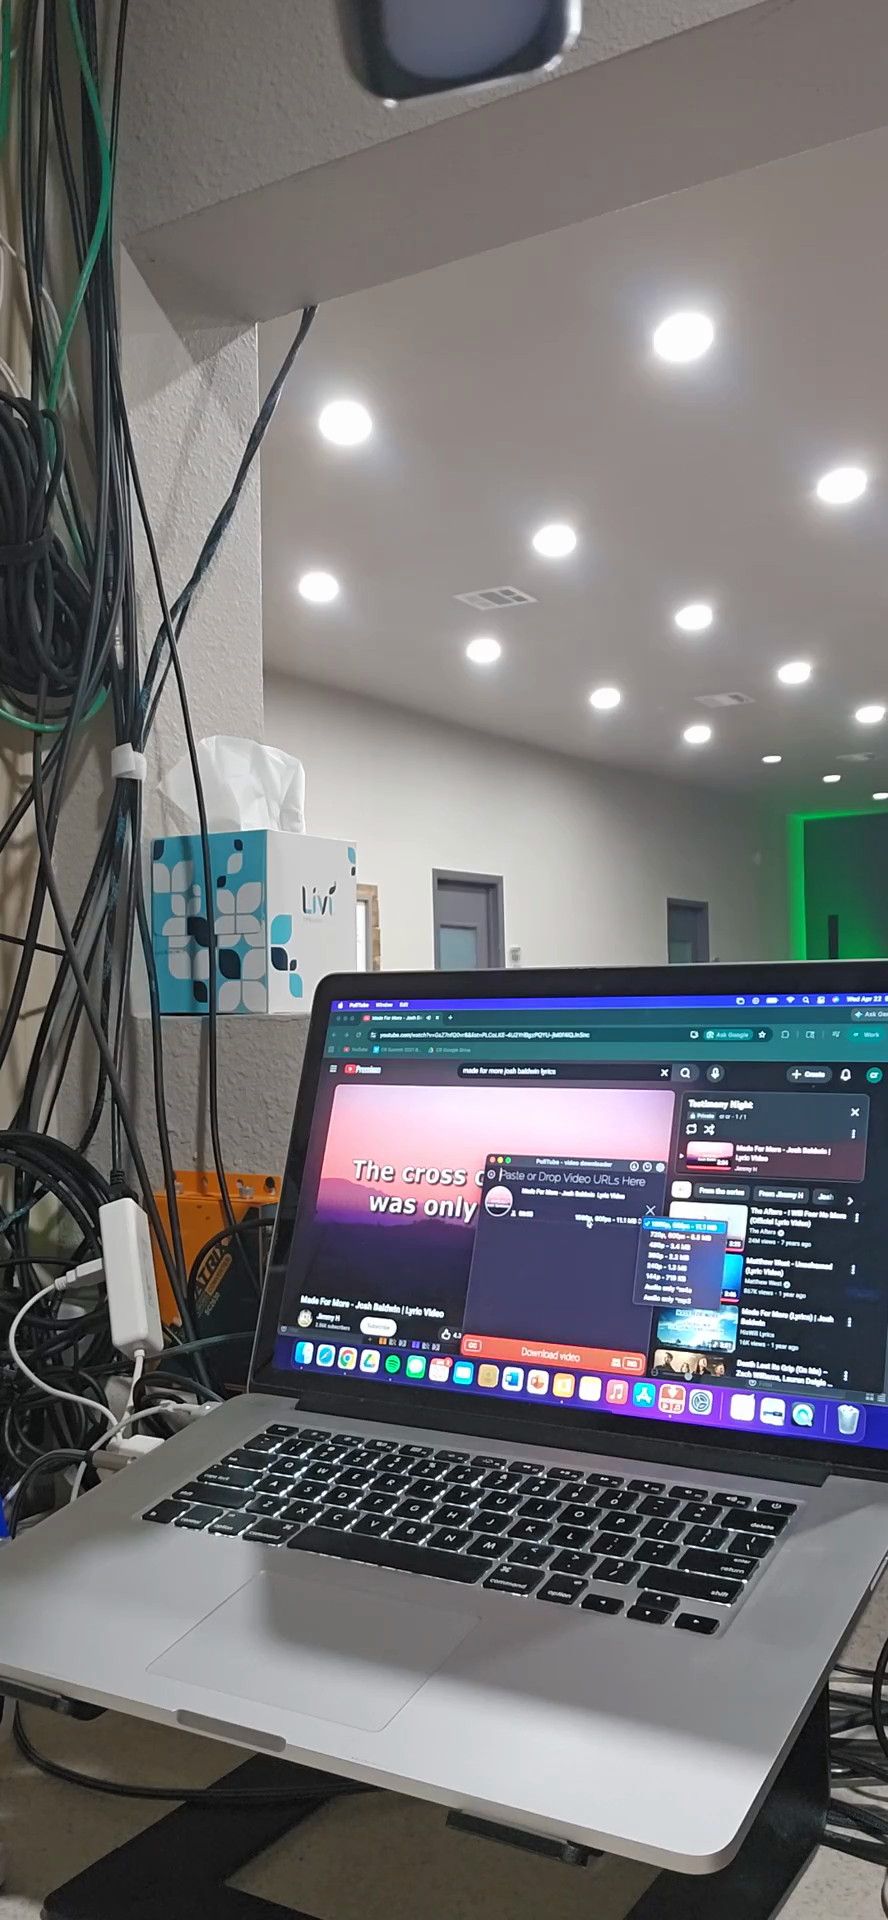
Change the download resolution from 1080p to 720p.
Lowering the resolution to 720p makes the file process faster and easier to manage in ProPresenter.
33
Click the circular Download Video icon to save the file to the Downloads folder.
Setting up ProPresenter
34
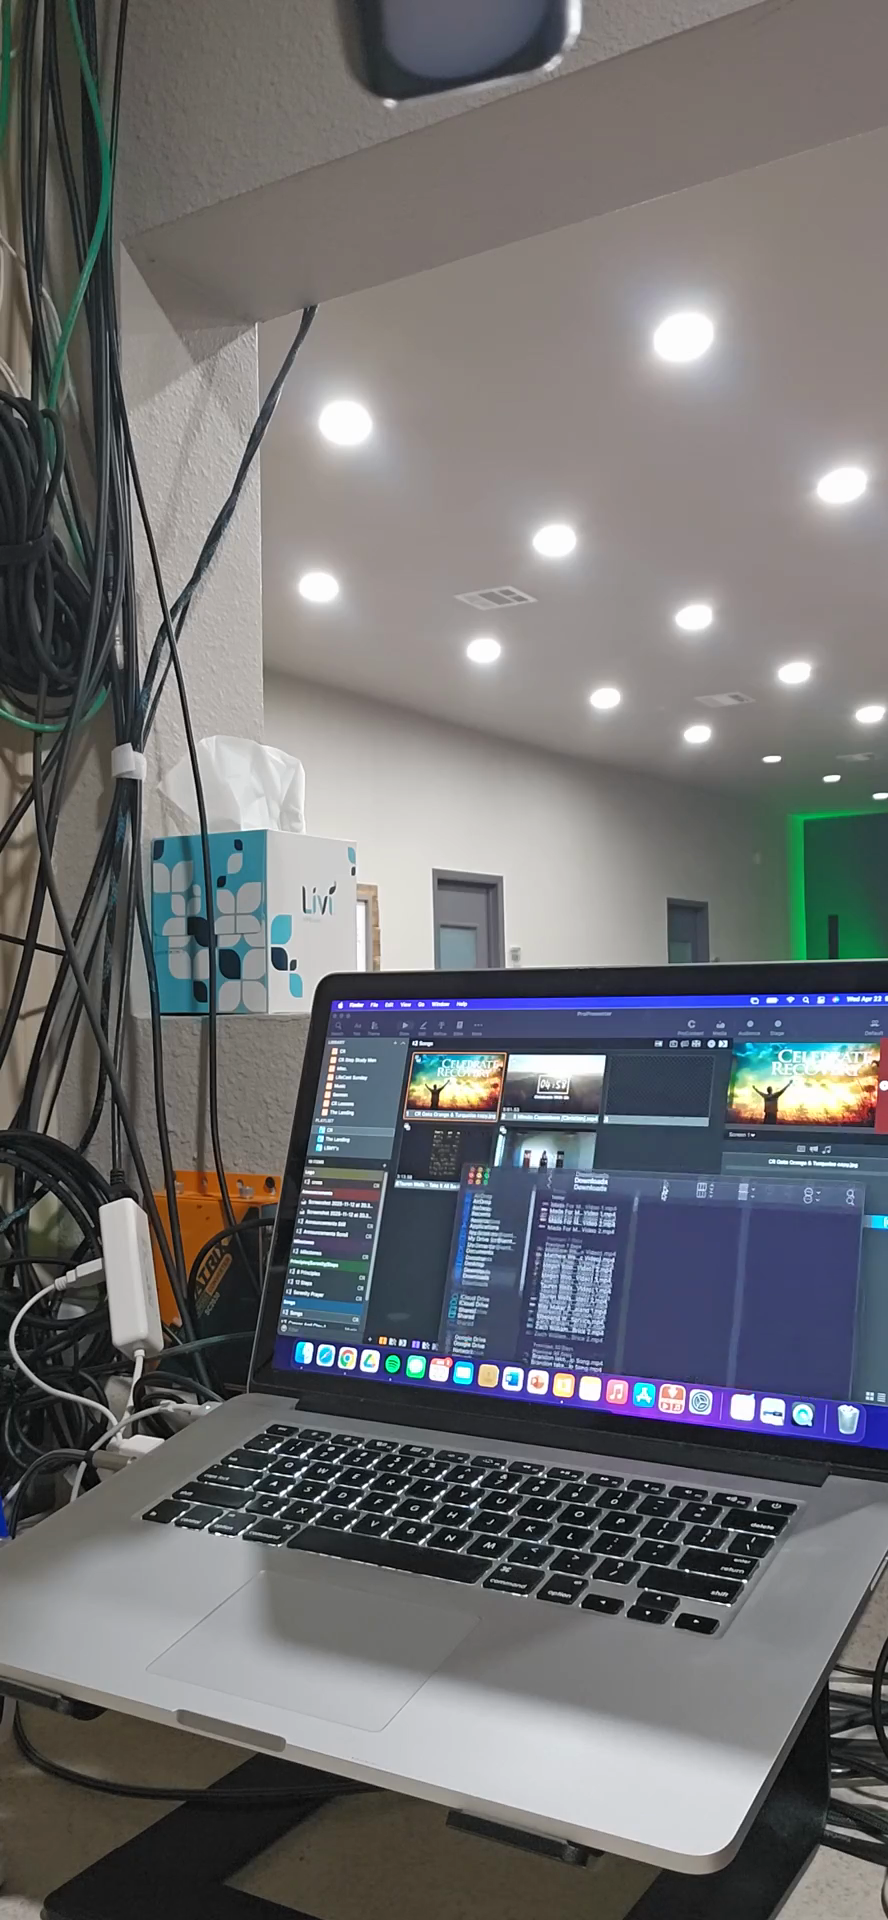
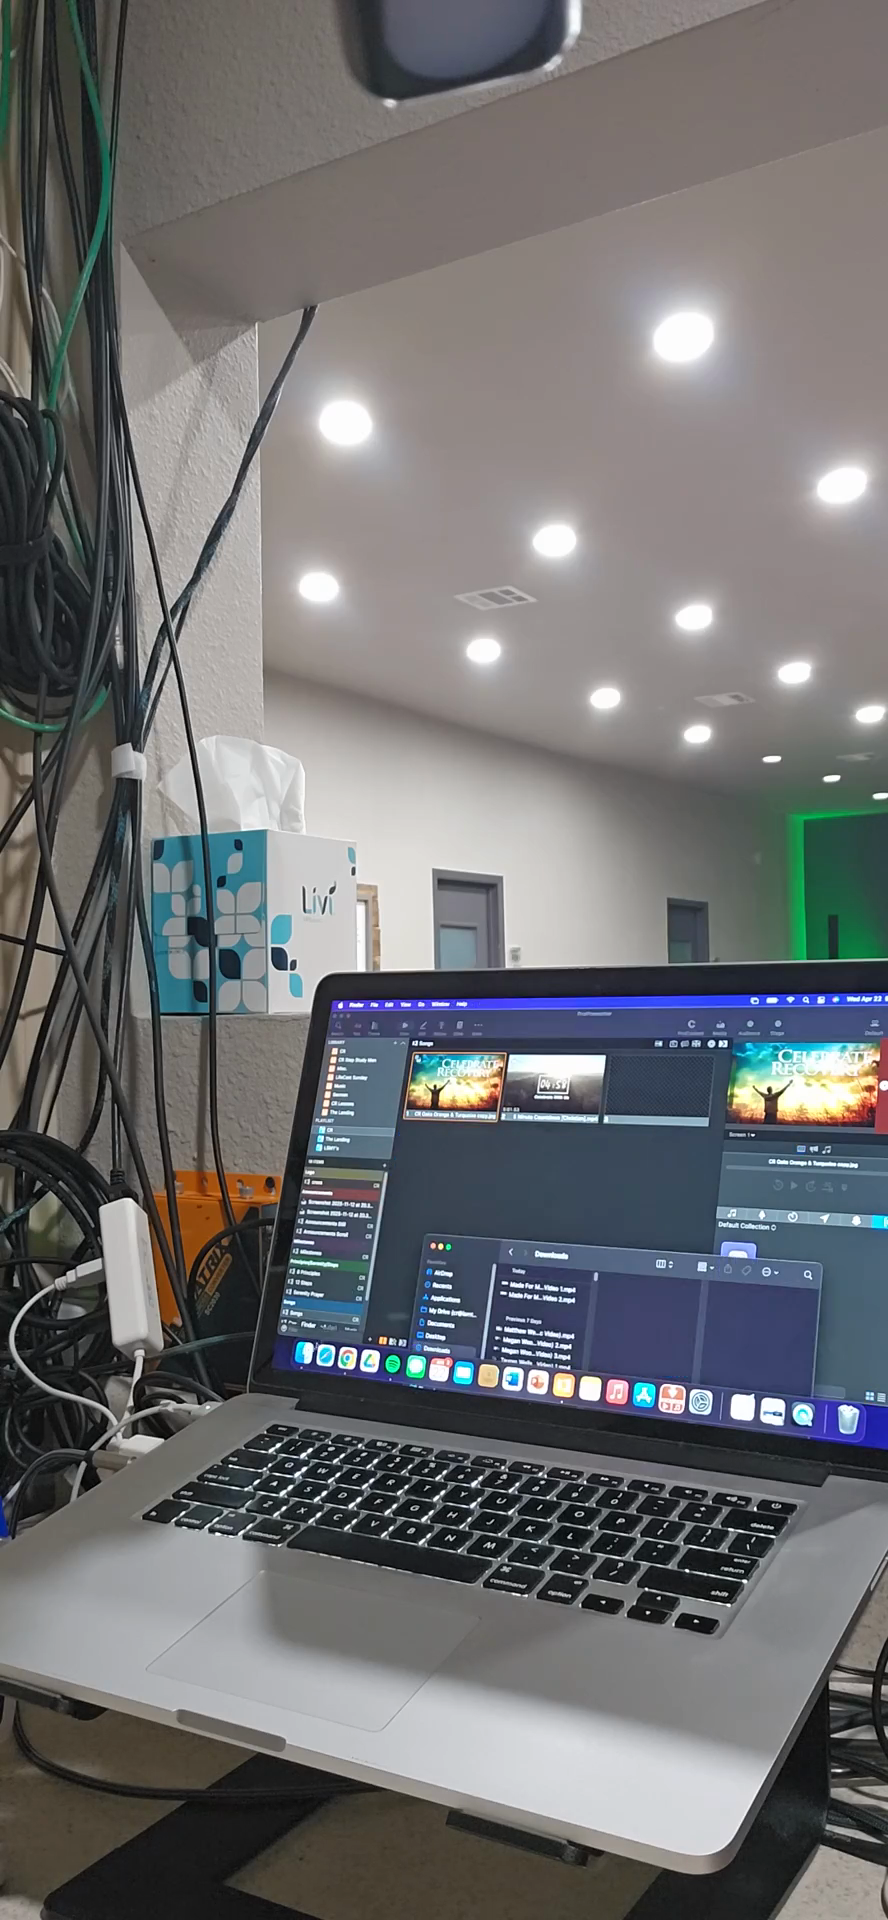
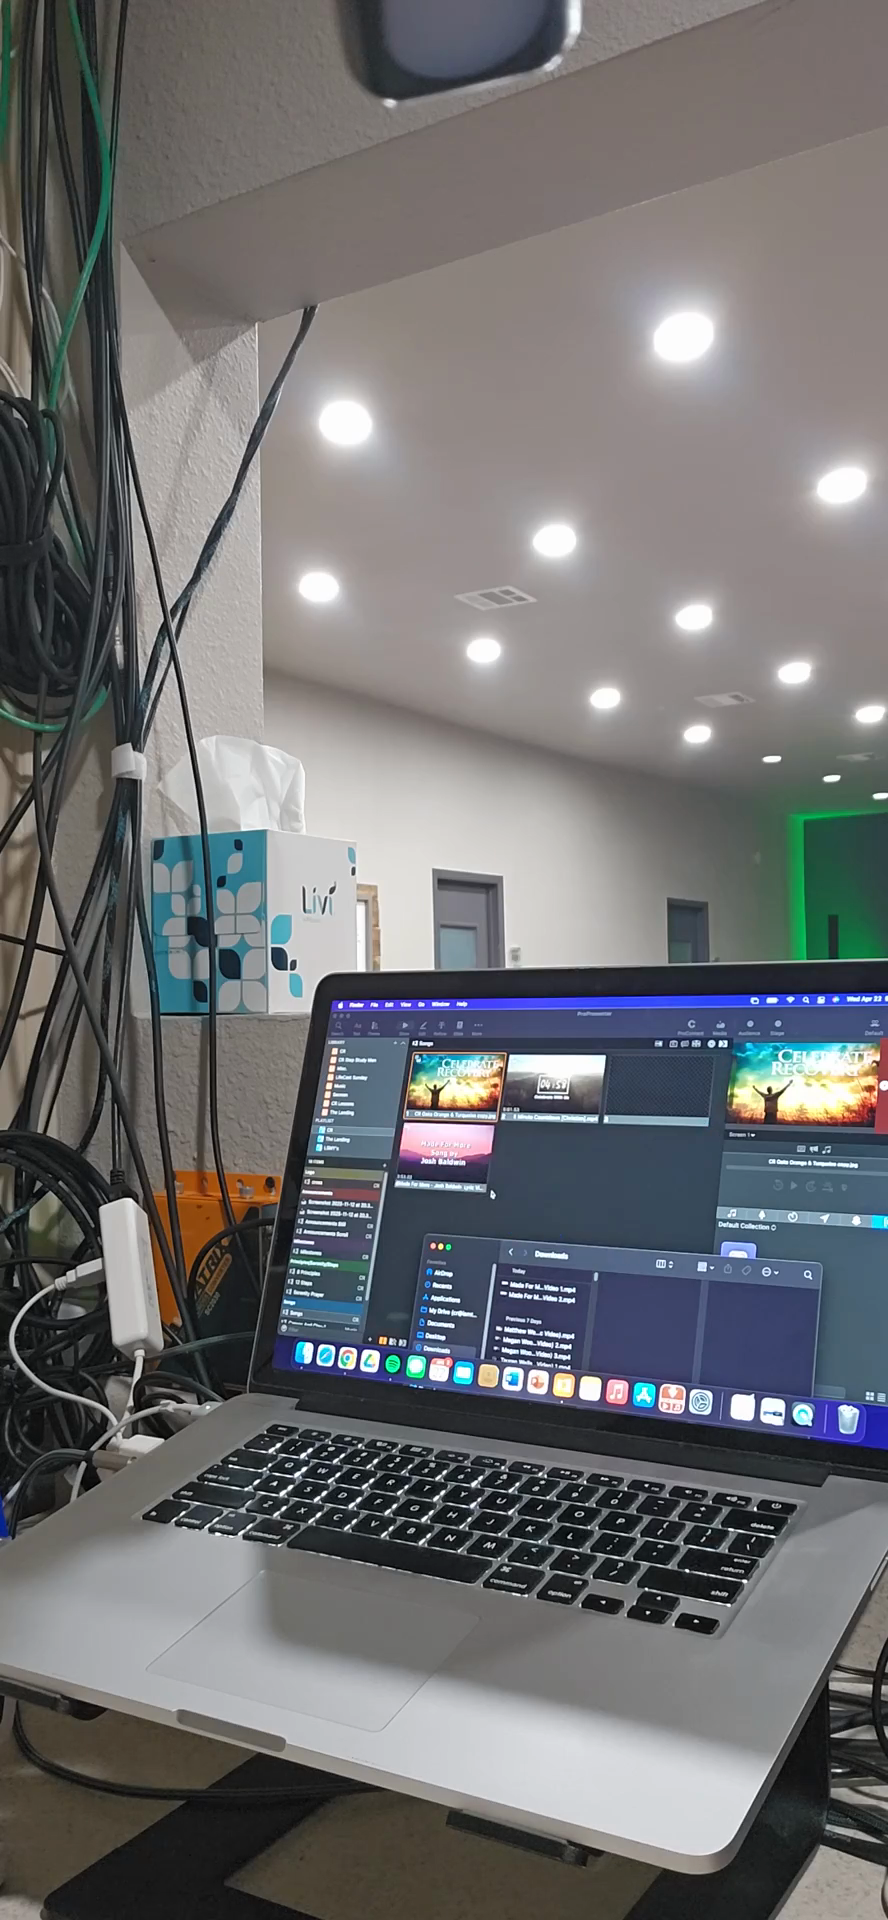
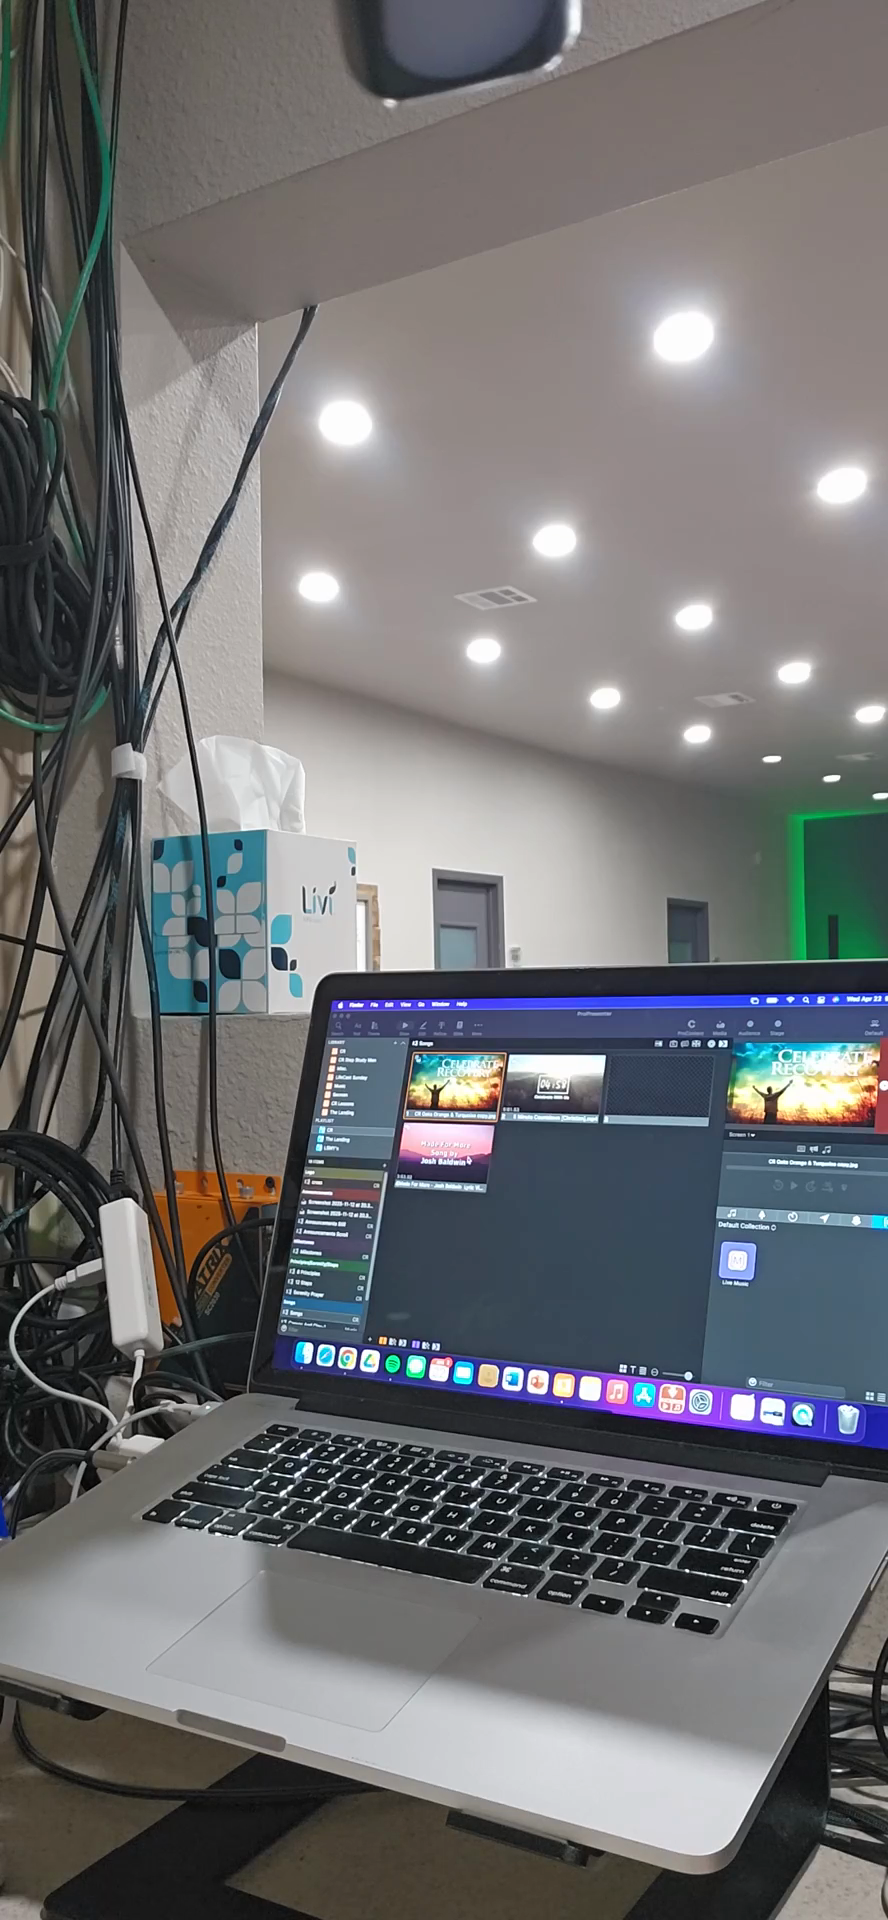
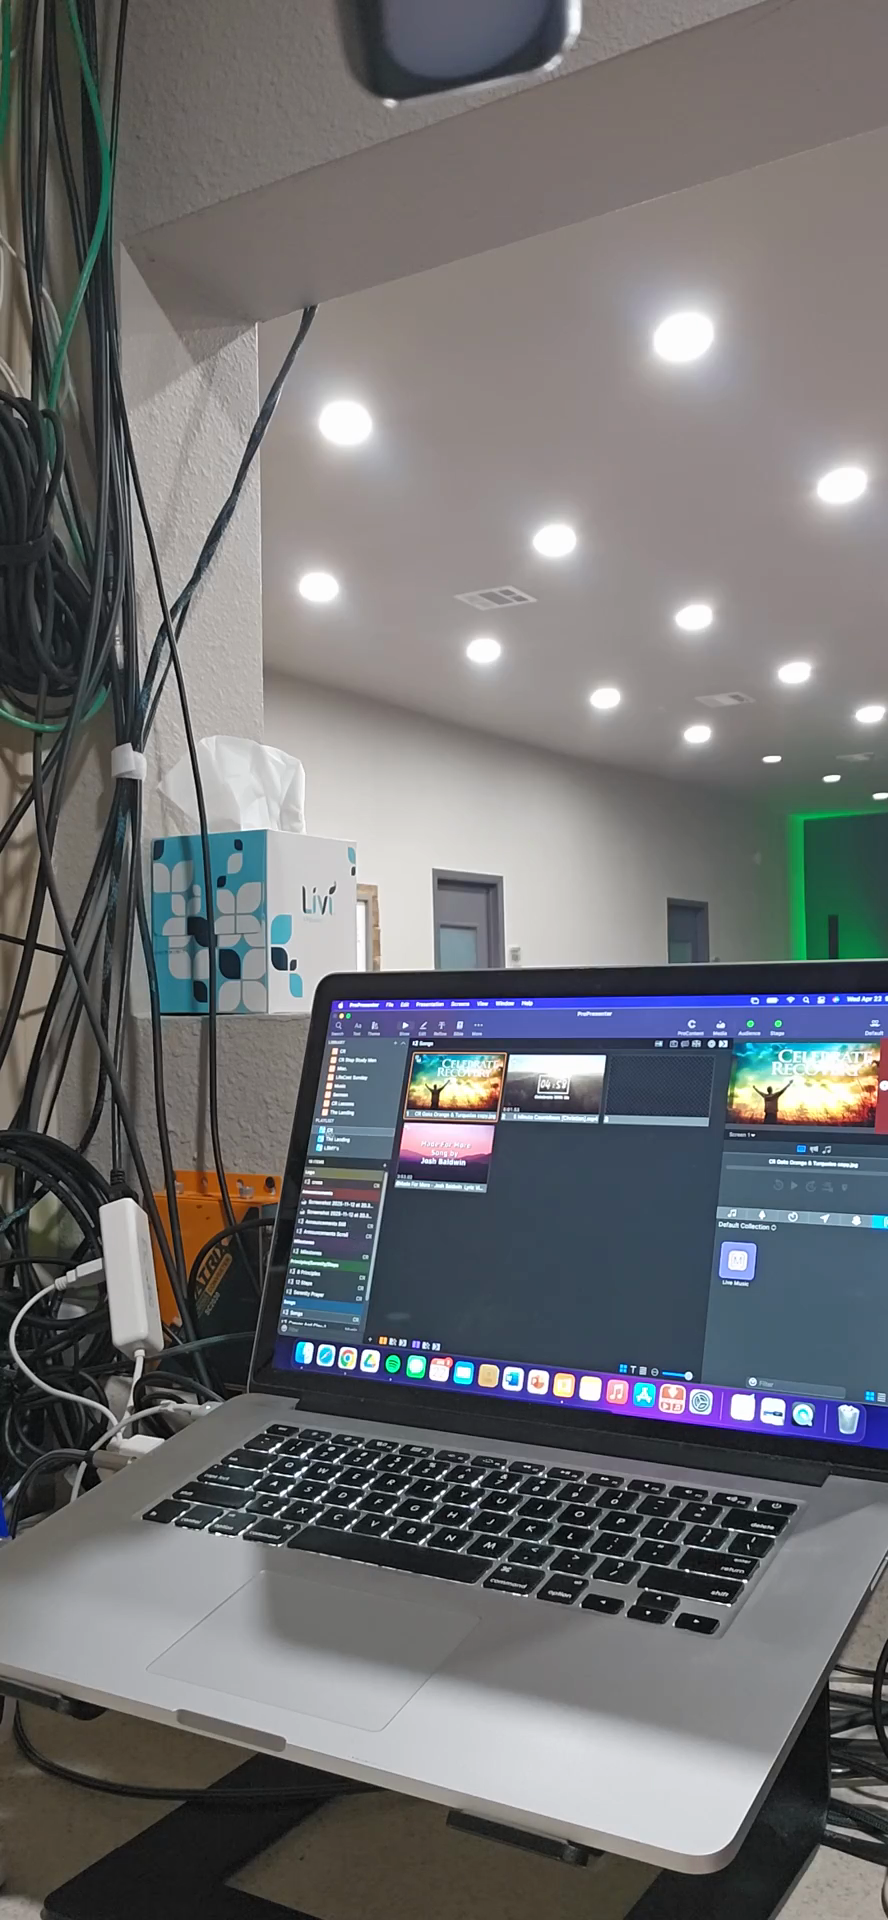
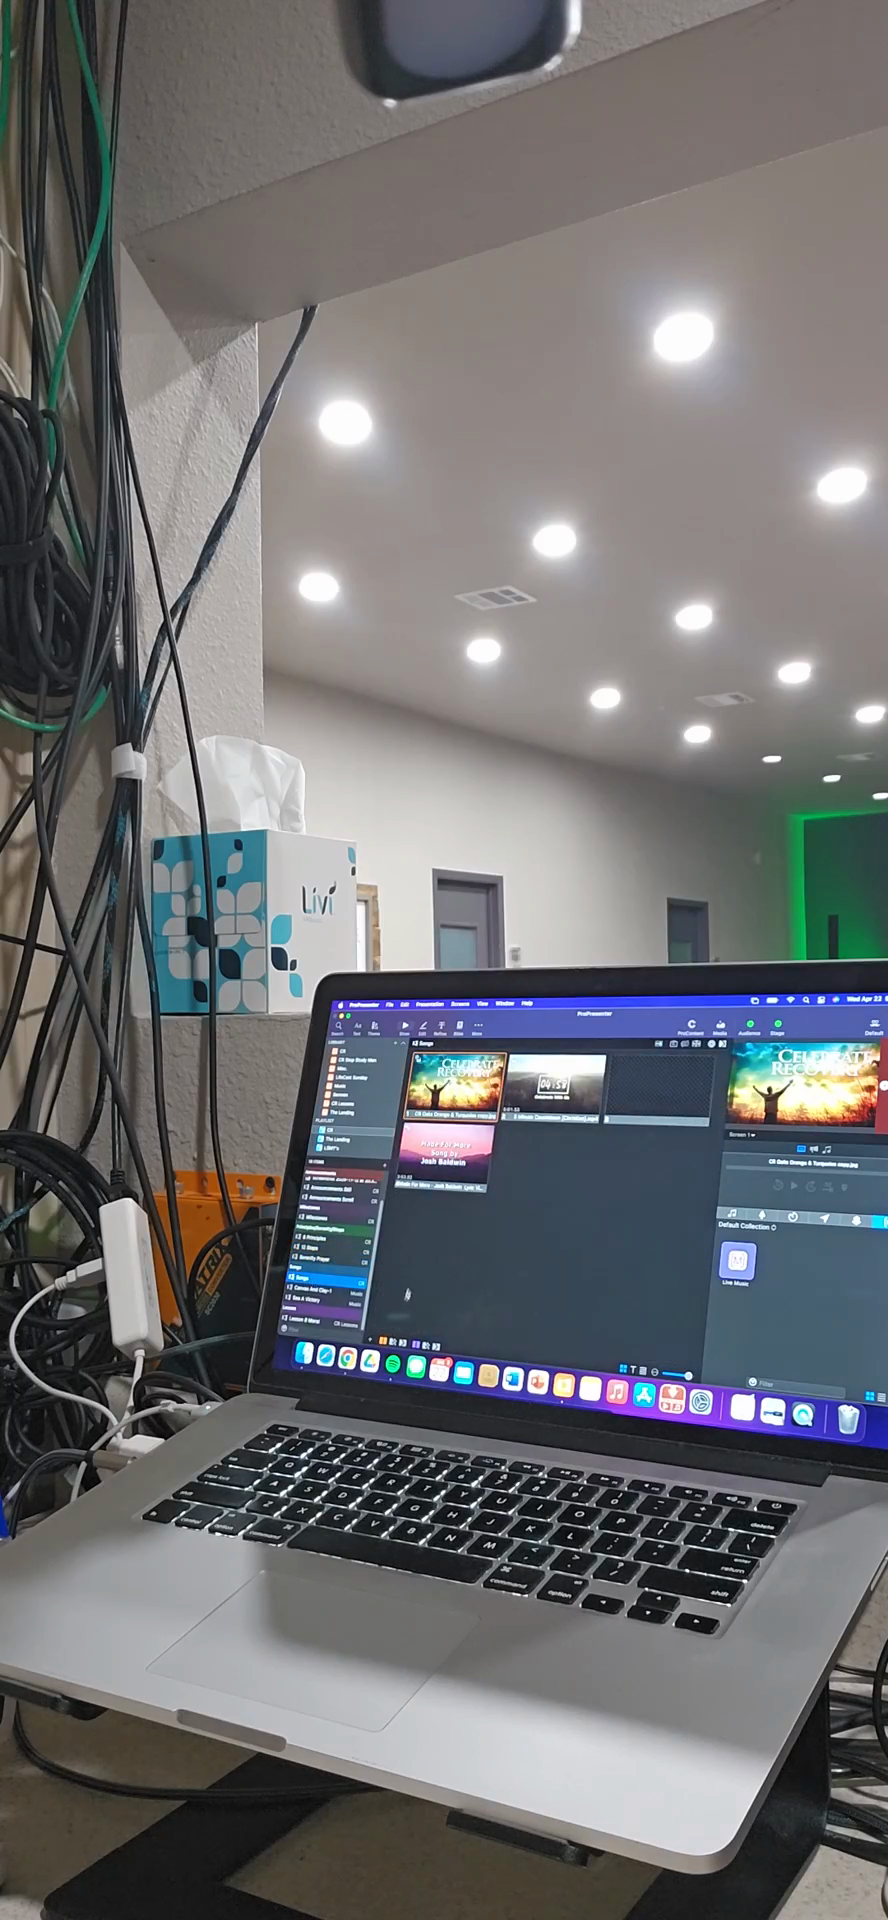
Open the ProPresenter application.
35
Go to Songs in the left sidebar.
36
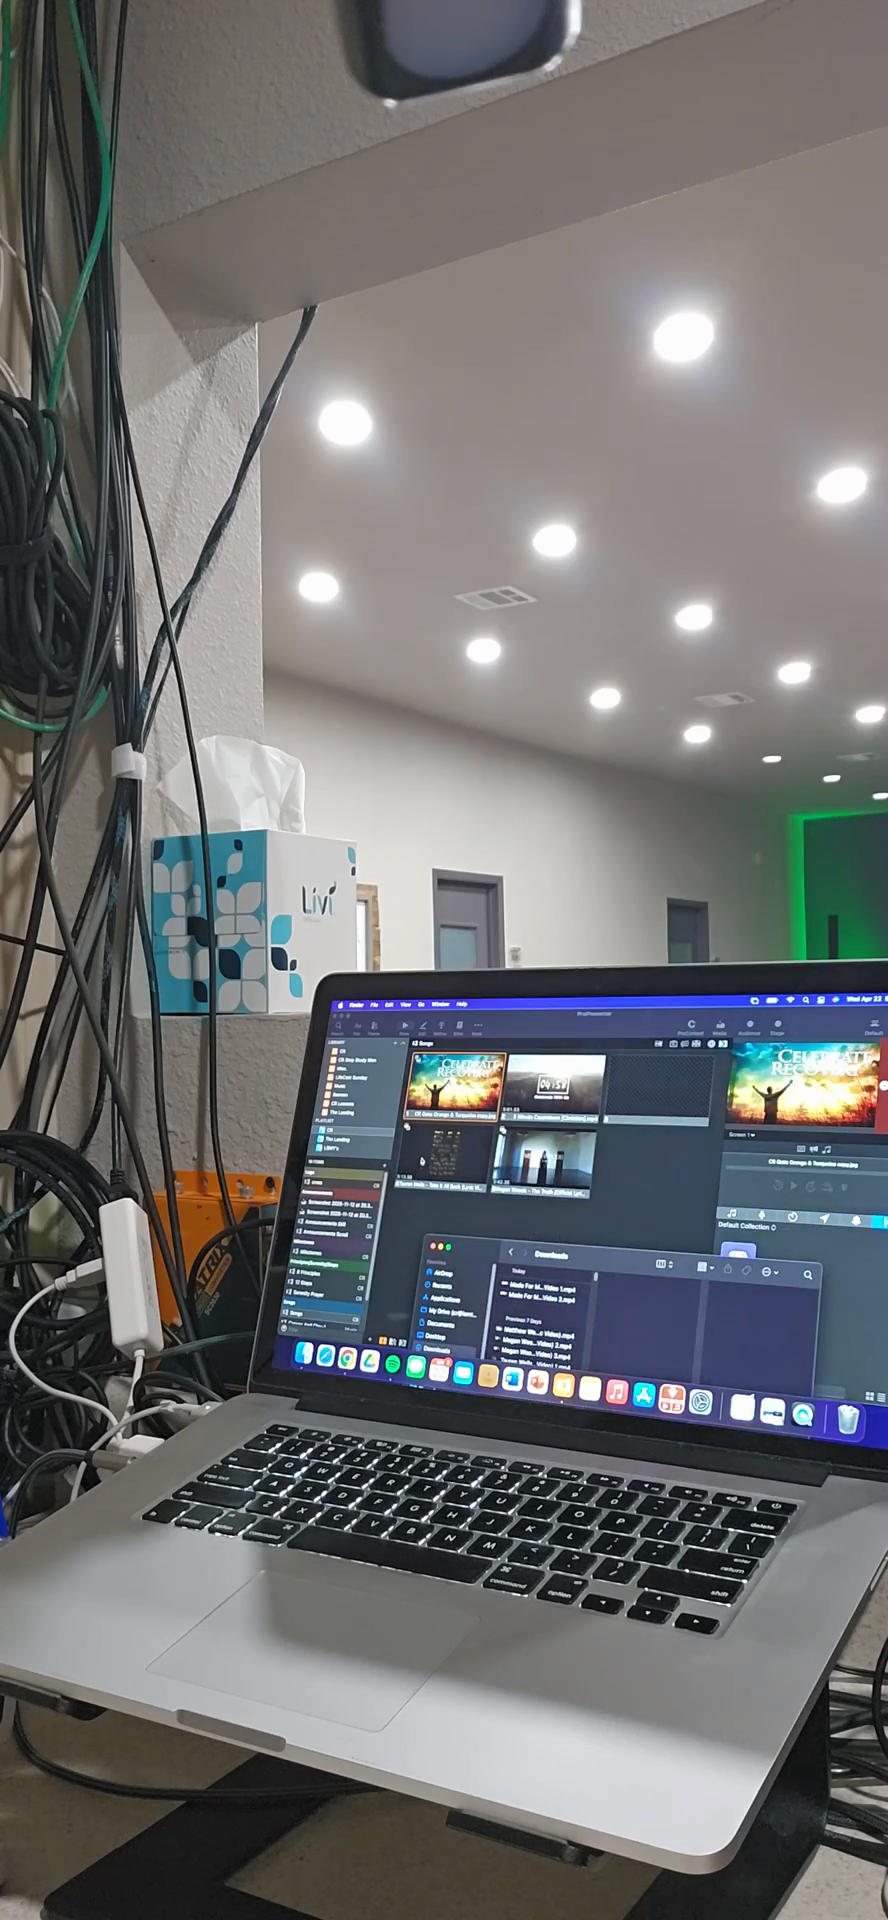
Delete the songs from the previous week's playlist.
37
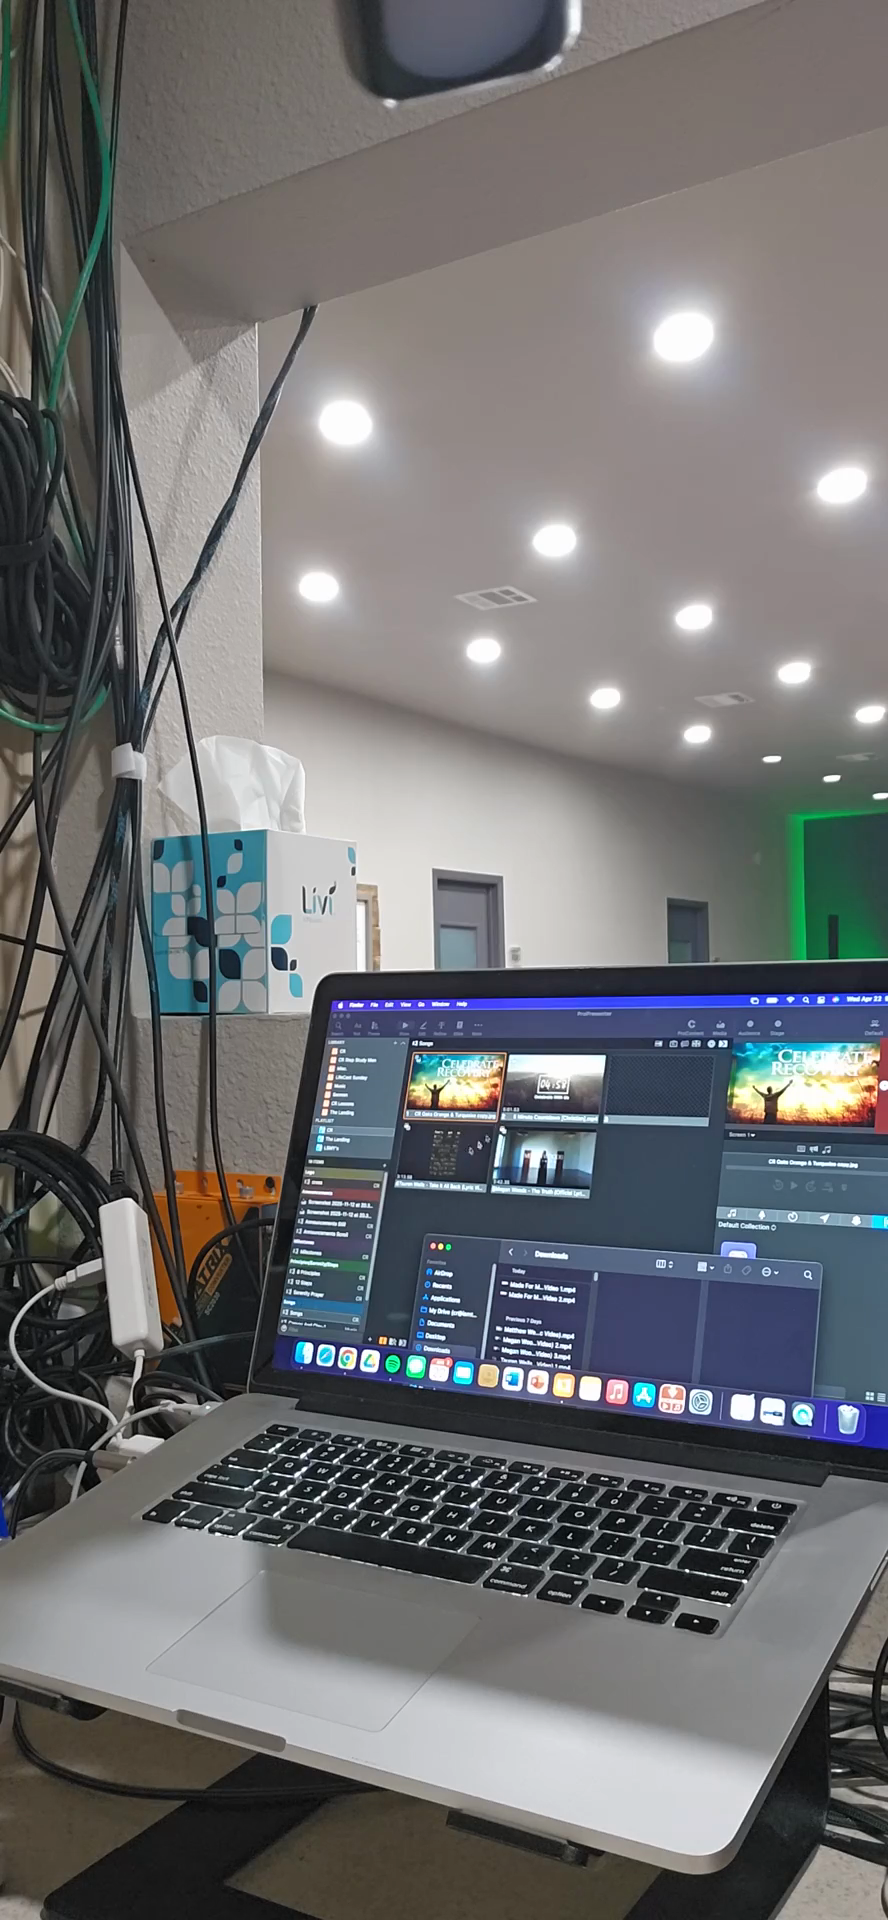
Open the Finder and navigate to your Downloads folder.
38
Click and drag each downloaded song file from the Finder into the ProPresenter playlist panel.
39
Click a song title in ProPresenter to prepare it for projection.
40
Expand the CR folder in the library panel to view meeting sections such as Announcements, Milestone Marker, Principles, Steps, and the Serenity Prayer.
41
Left-click any slide in the center area to project it.
Microphone Check and Physical Space Setup
42
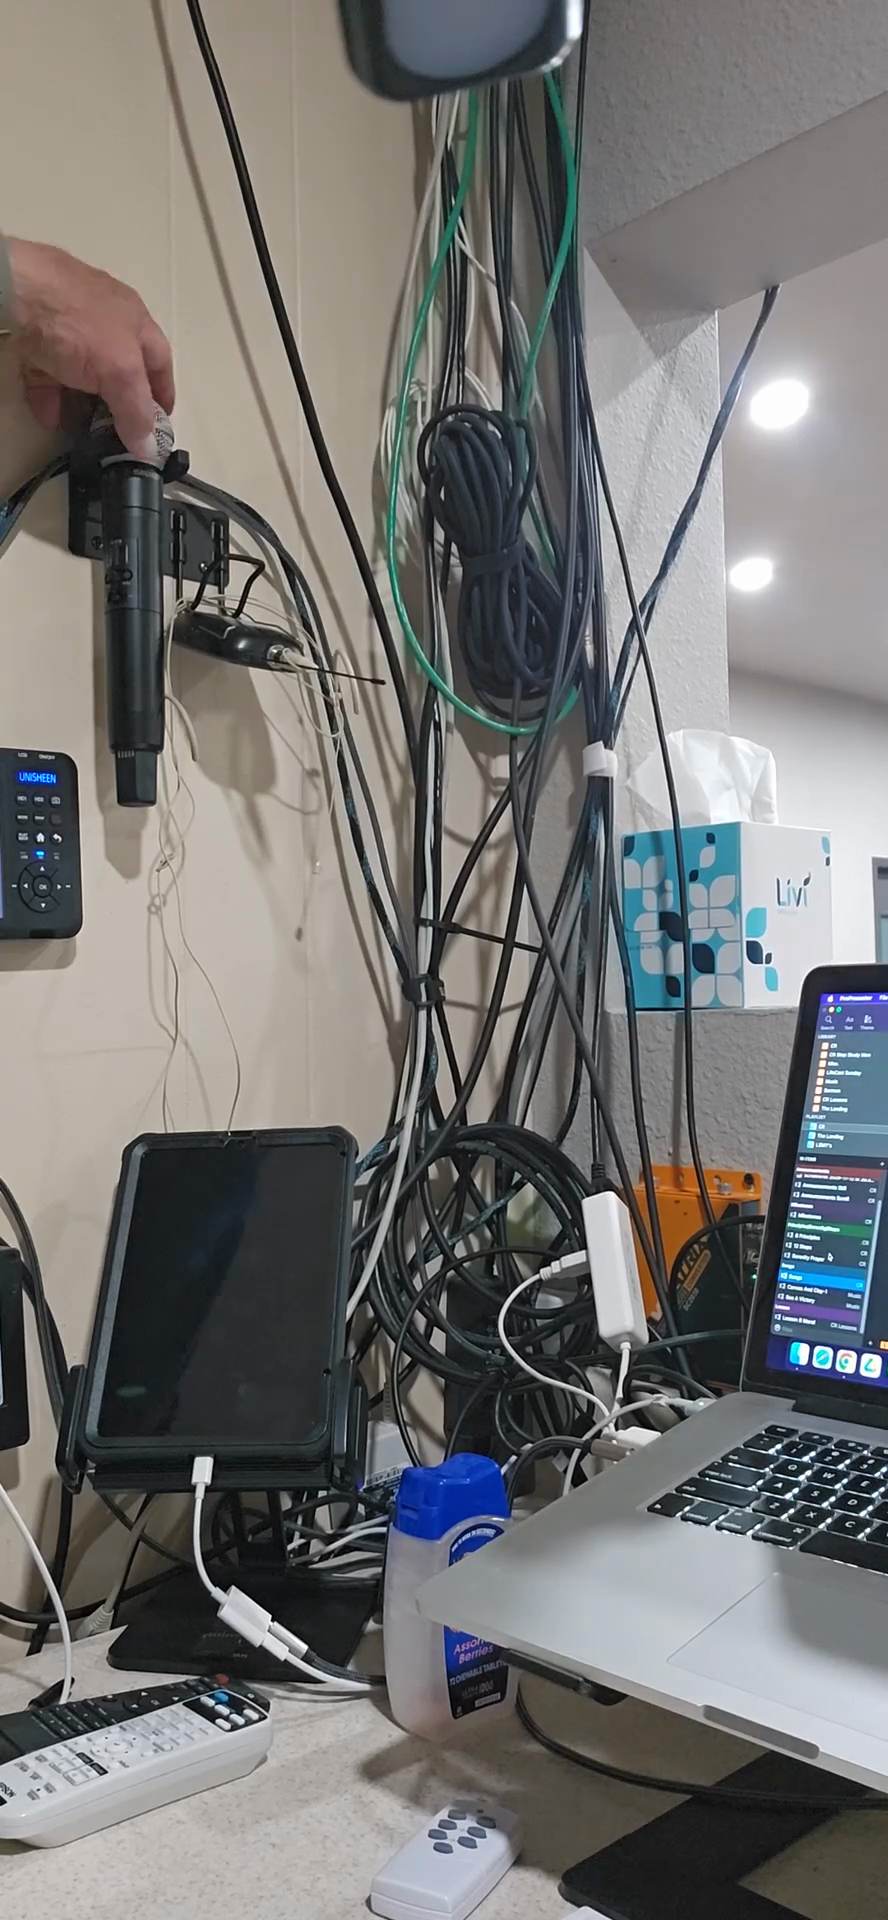
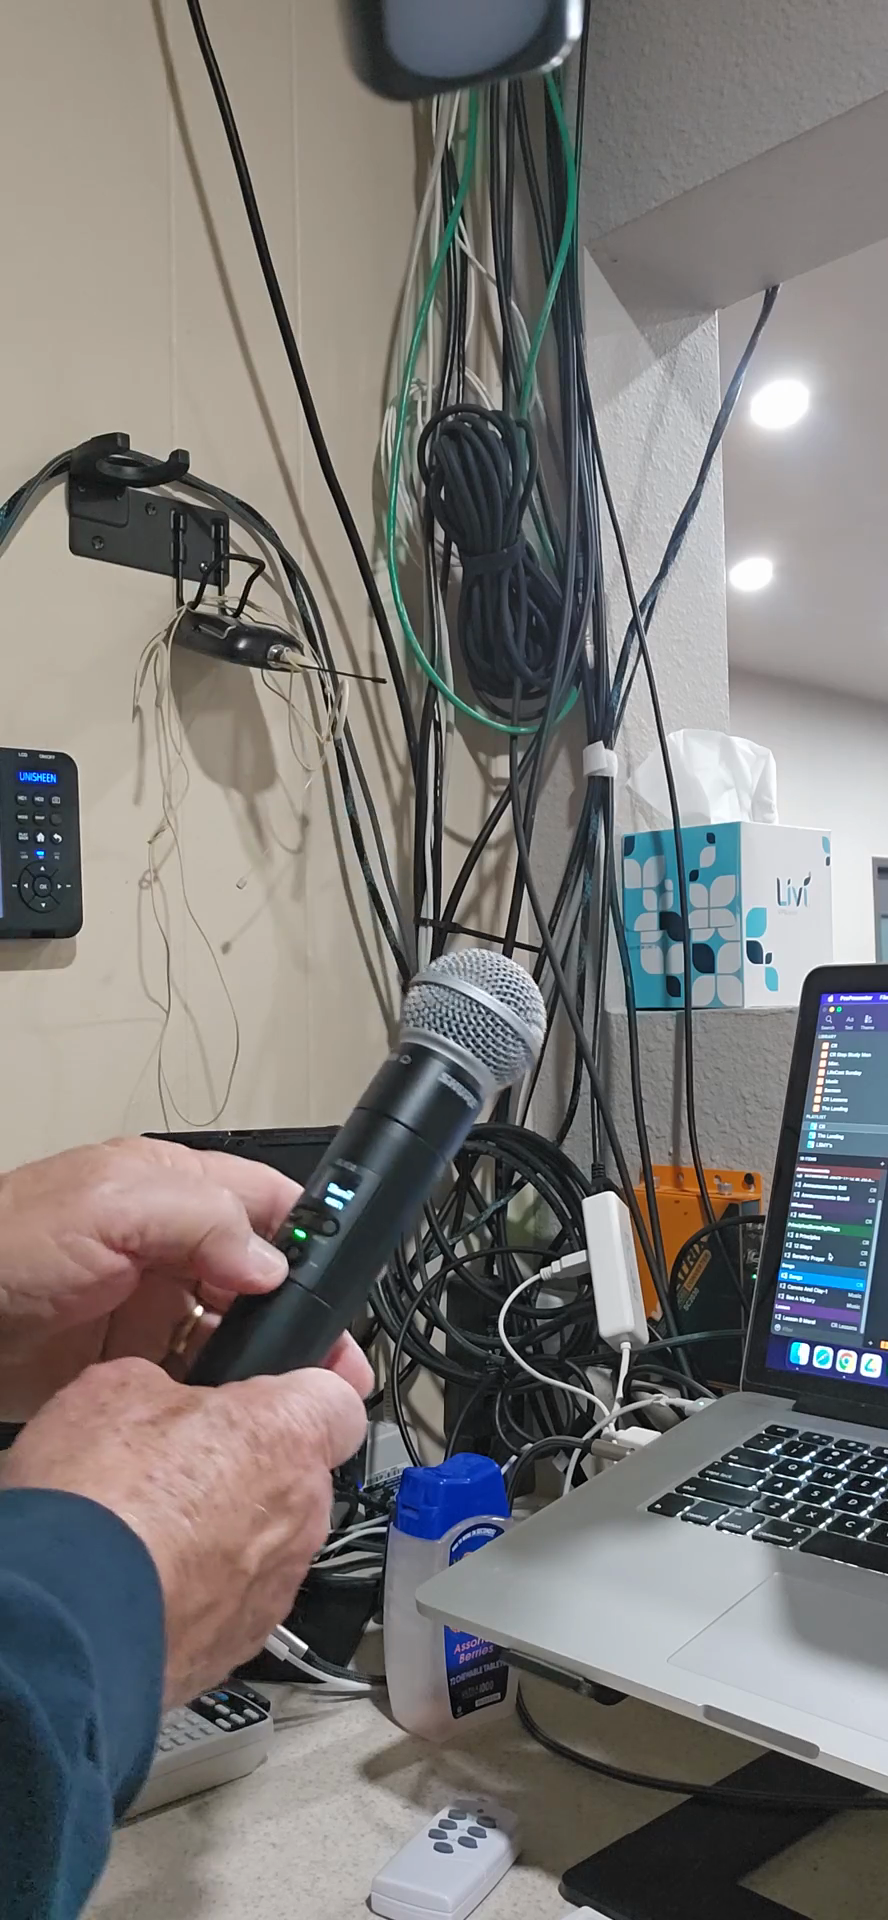
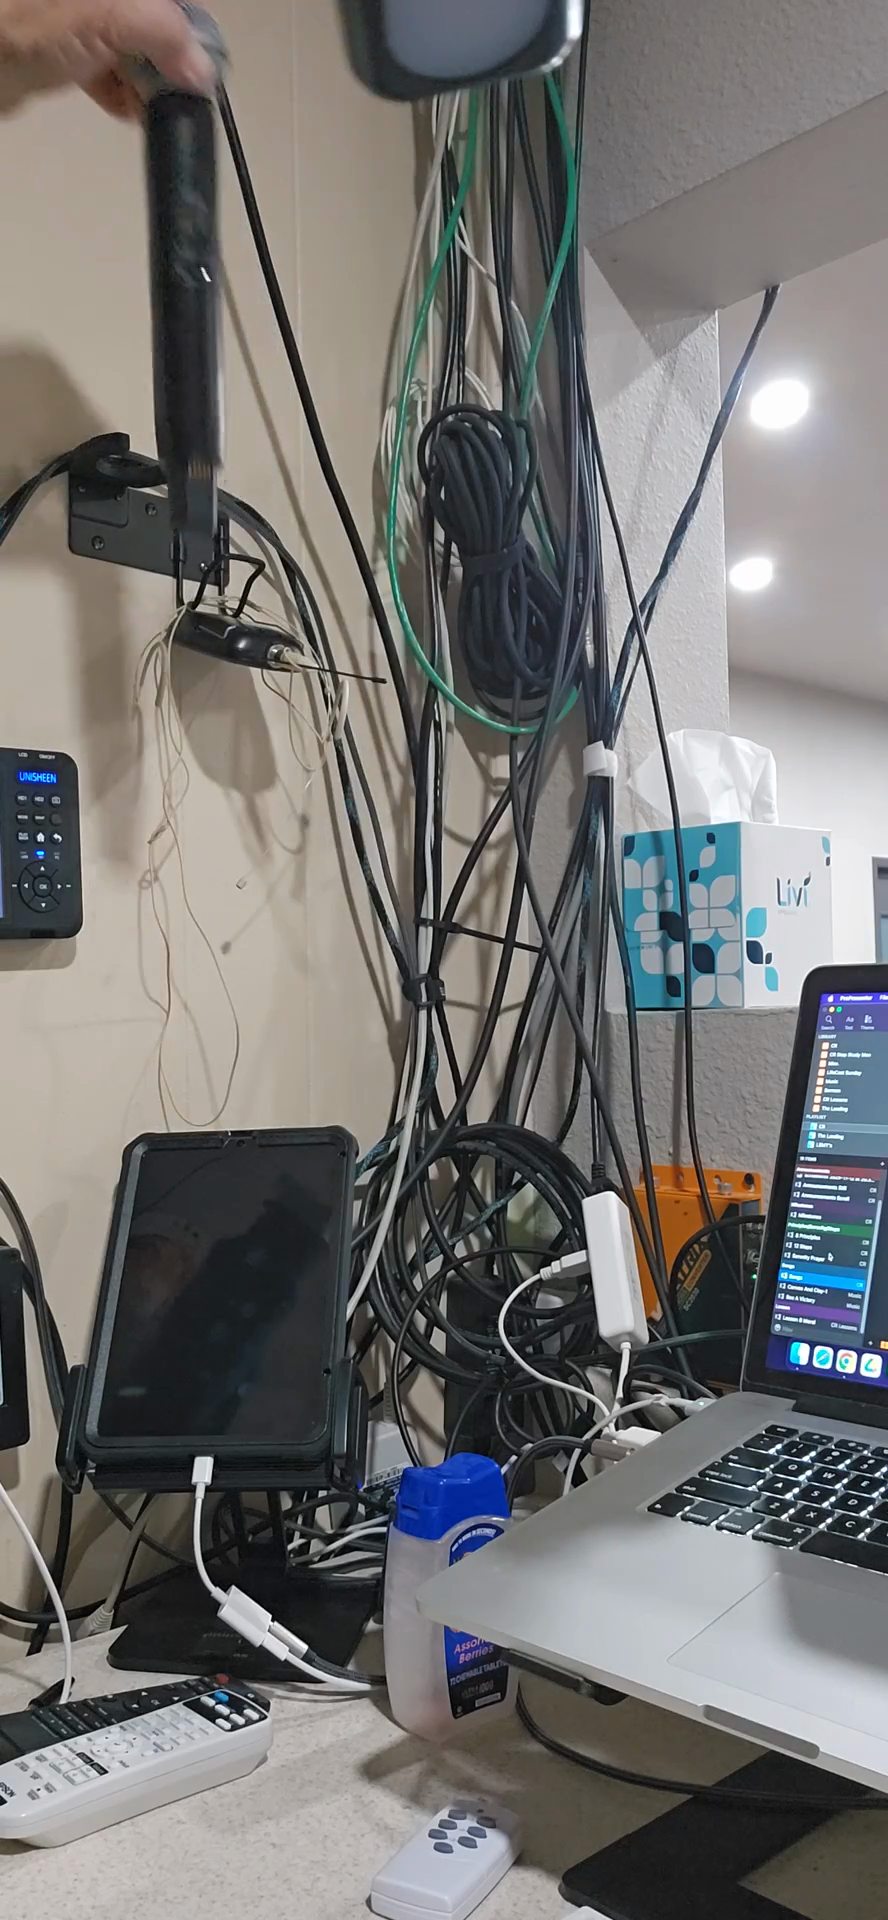
Grab a black wireless microphone from the wall-mounted clip.
43
Use the switch below the microphone's display screen to turn it on and test the audio.
44
Place the microphone on the stand up front for the speaker.
45
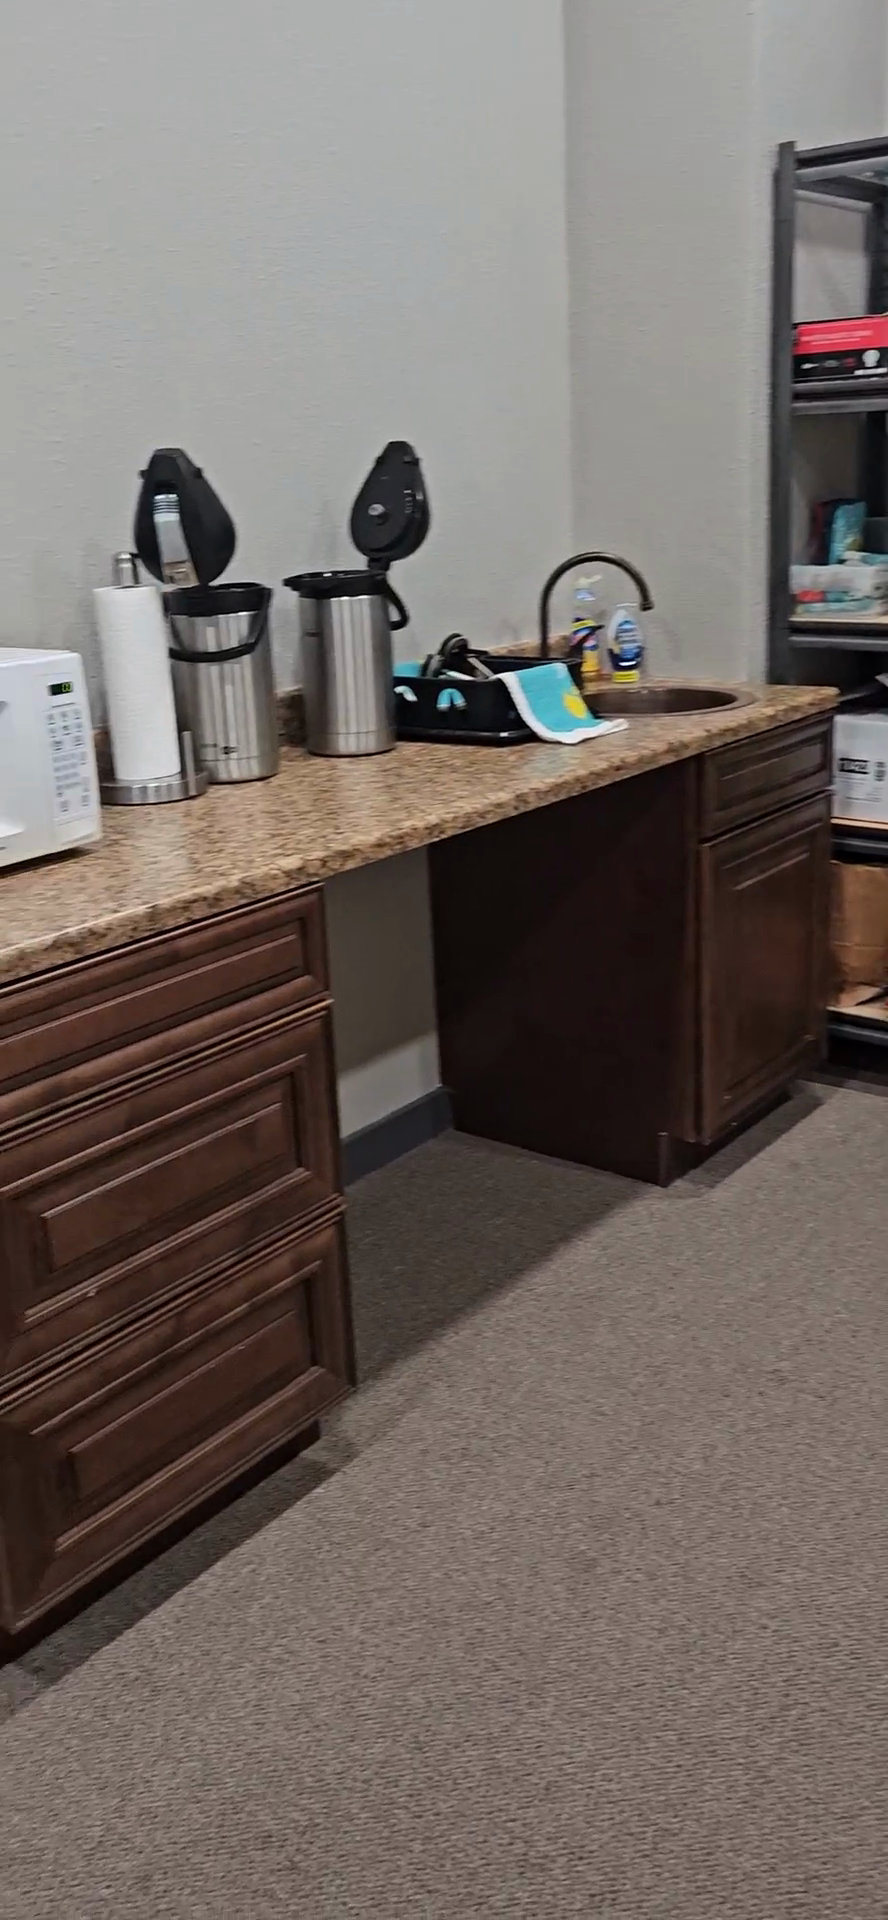
Check all supplies in the breakroom, ensuring desserts and the main course are ready.
46
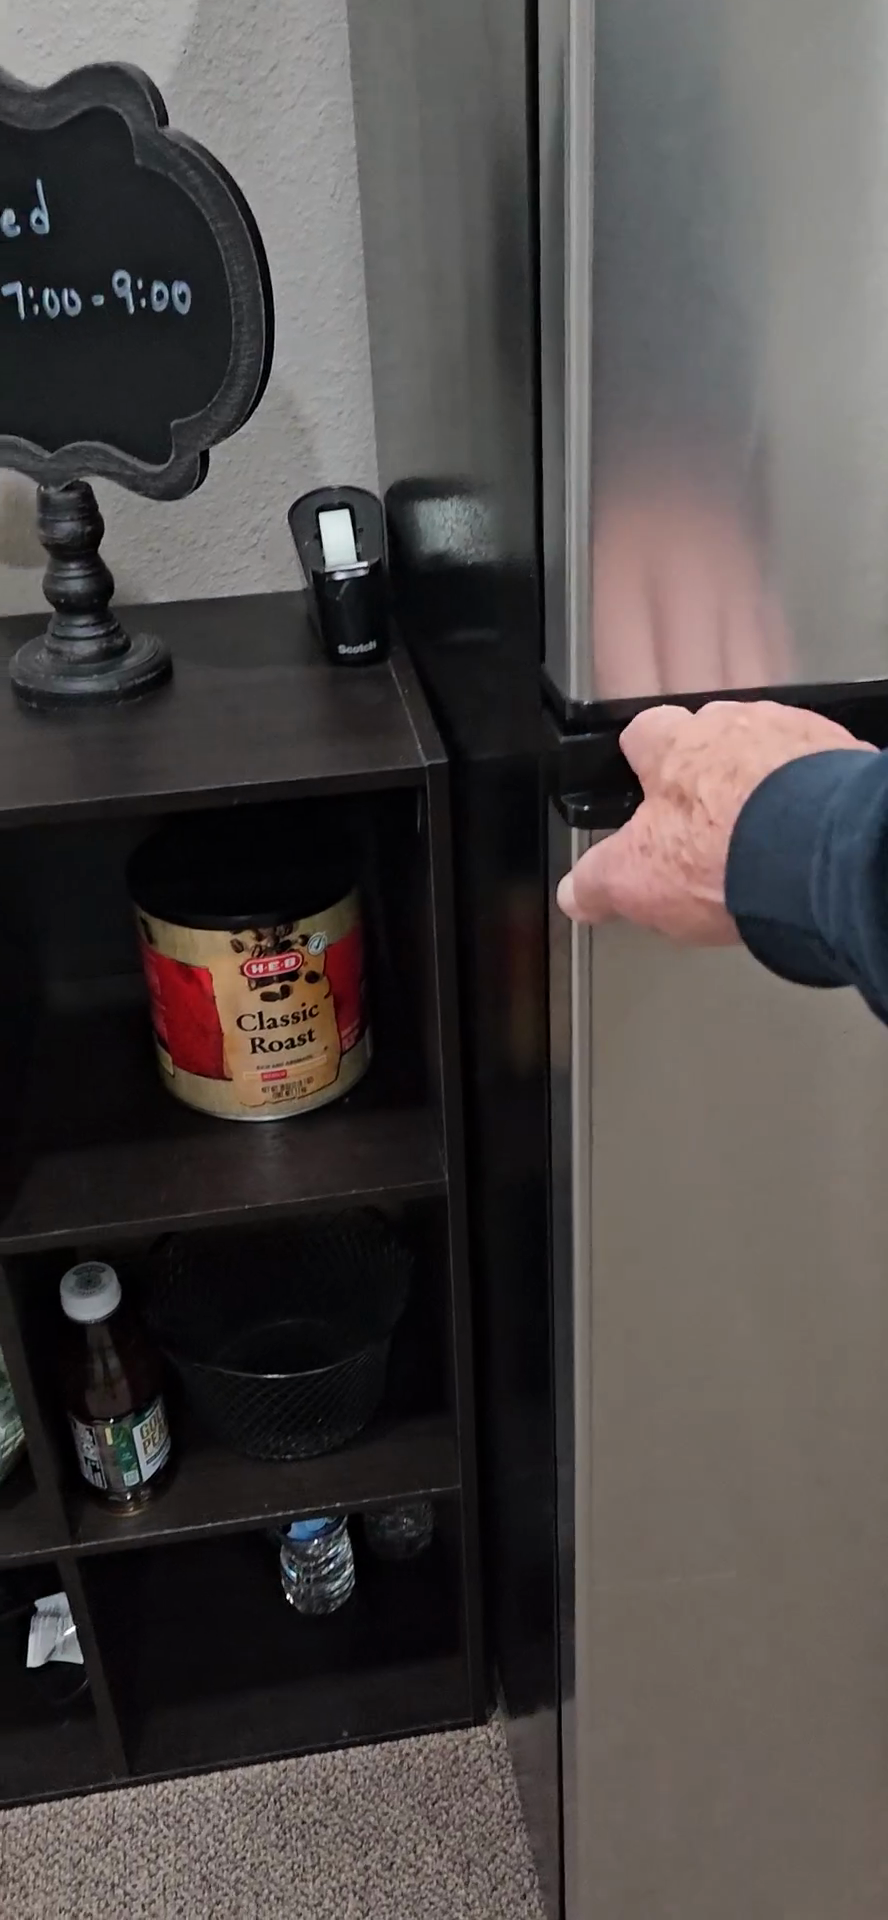
Check the refrigerator to ensure there is enough water.
47
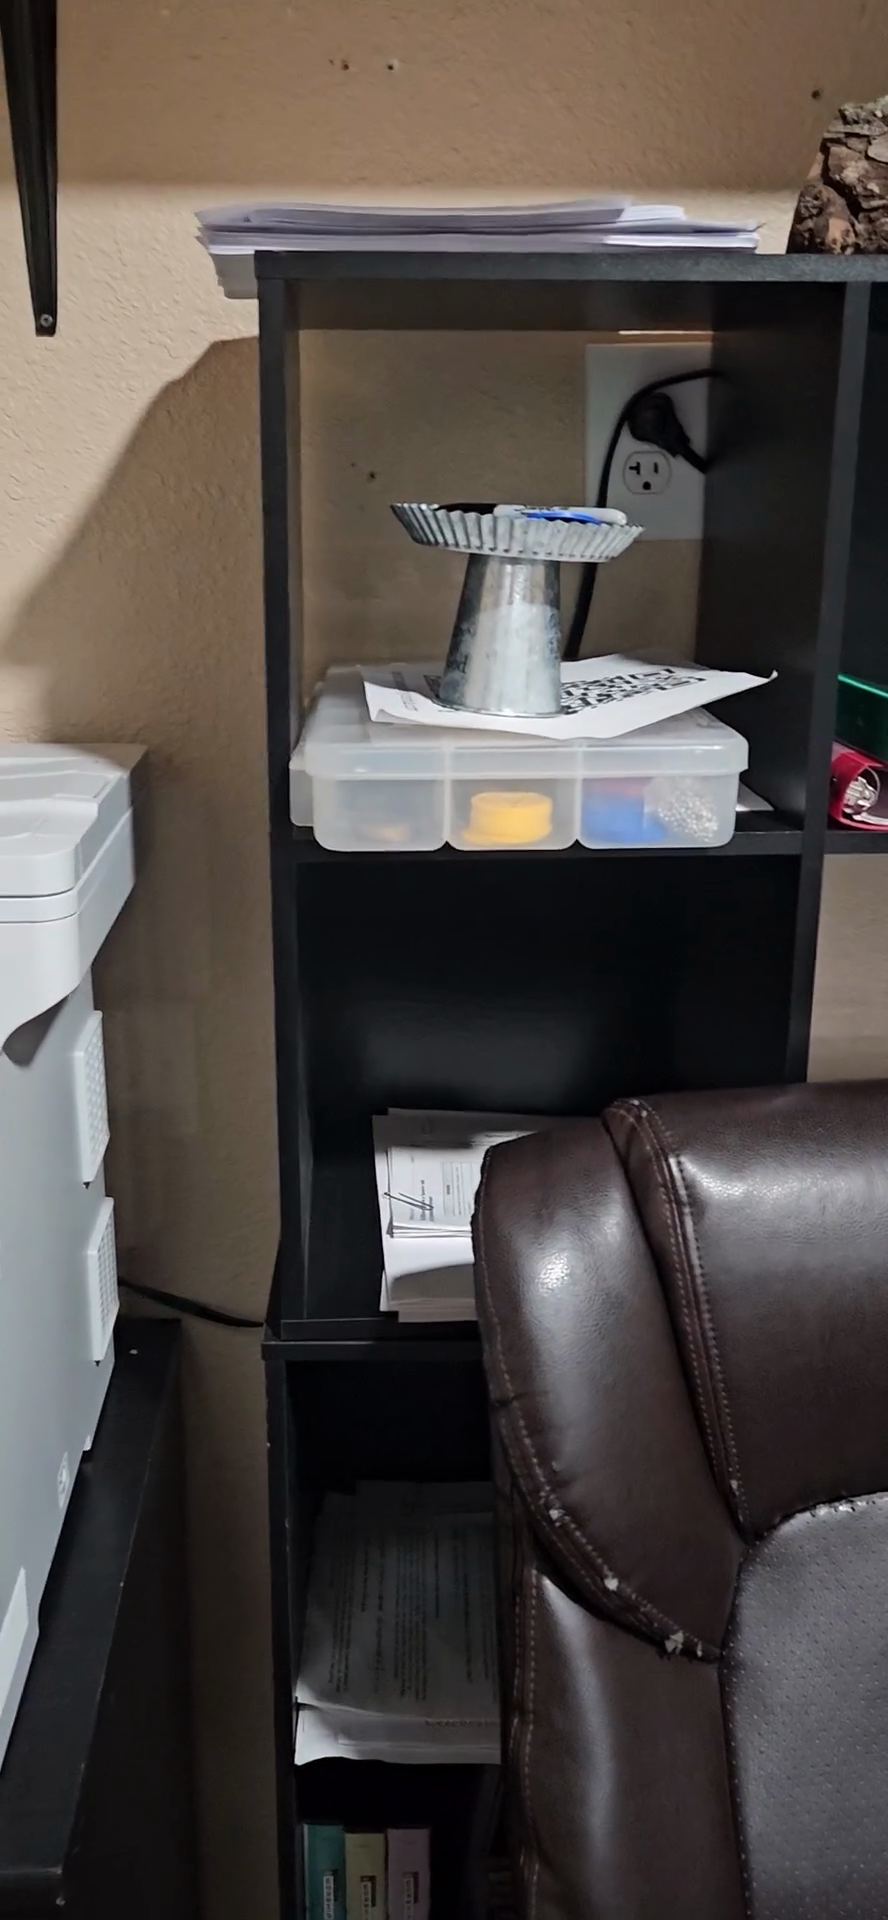
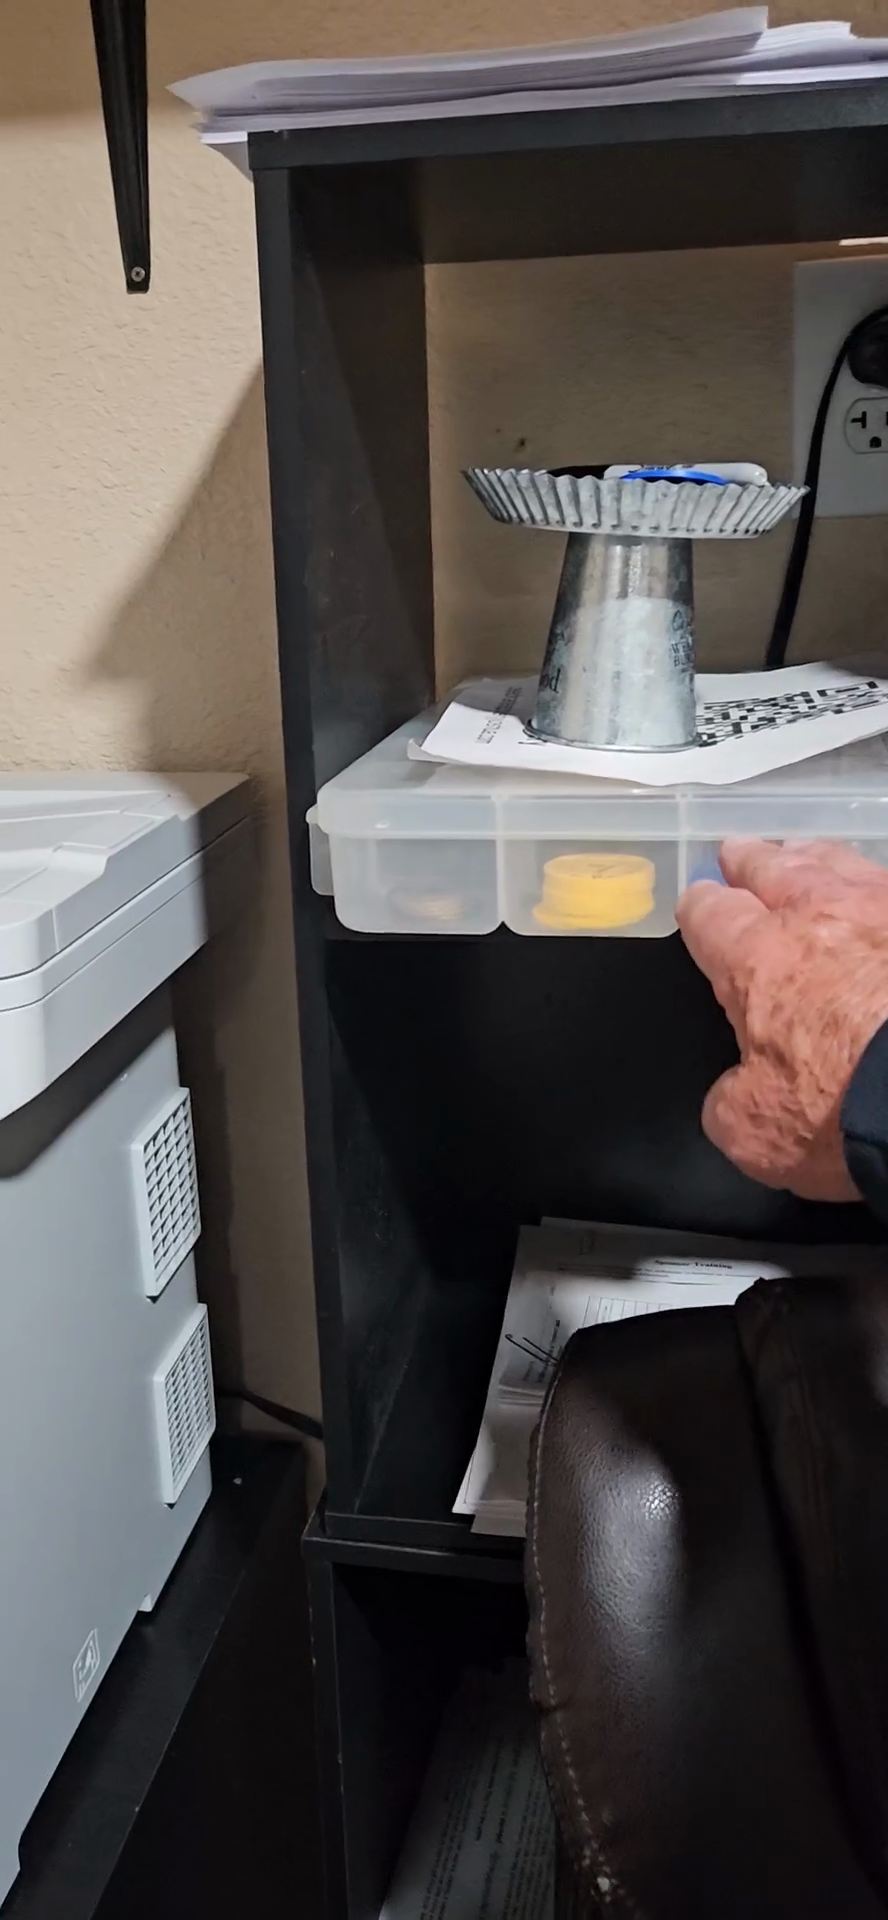
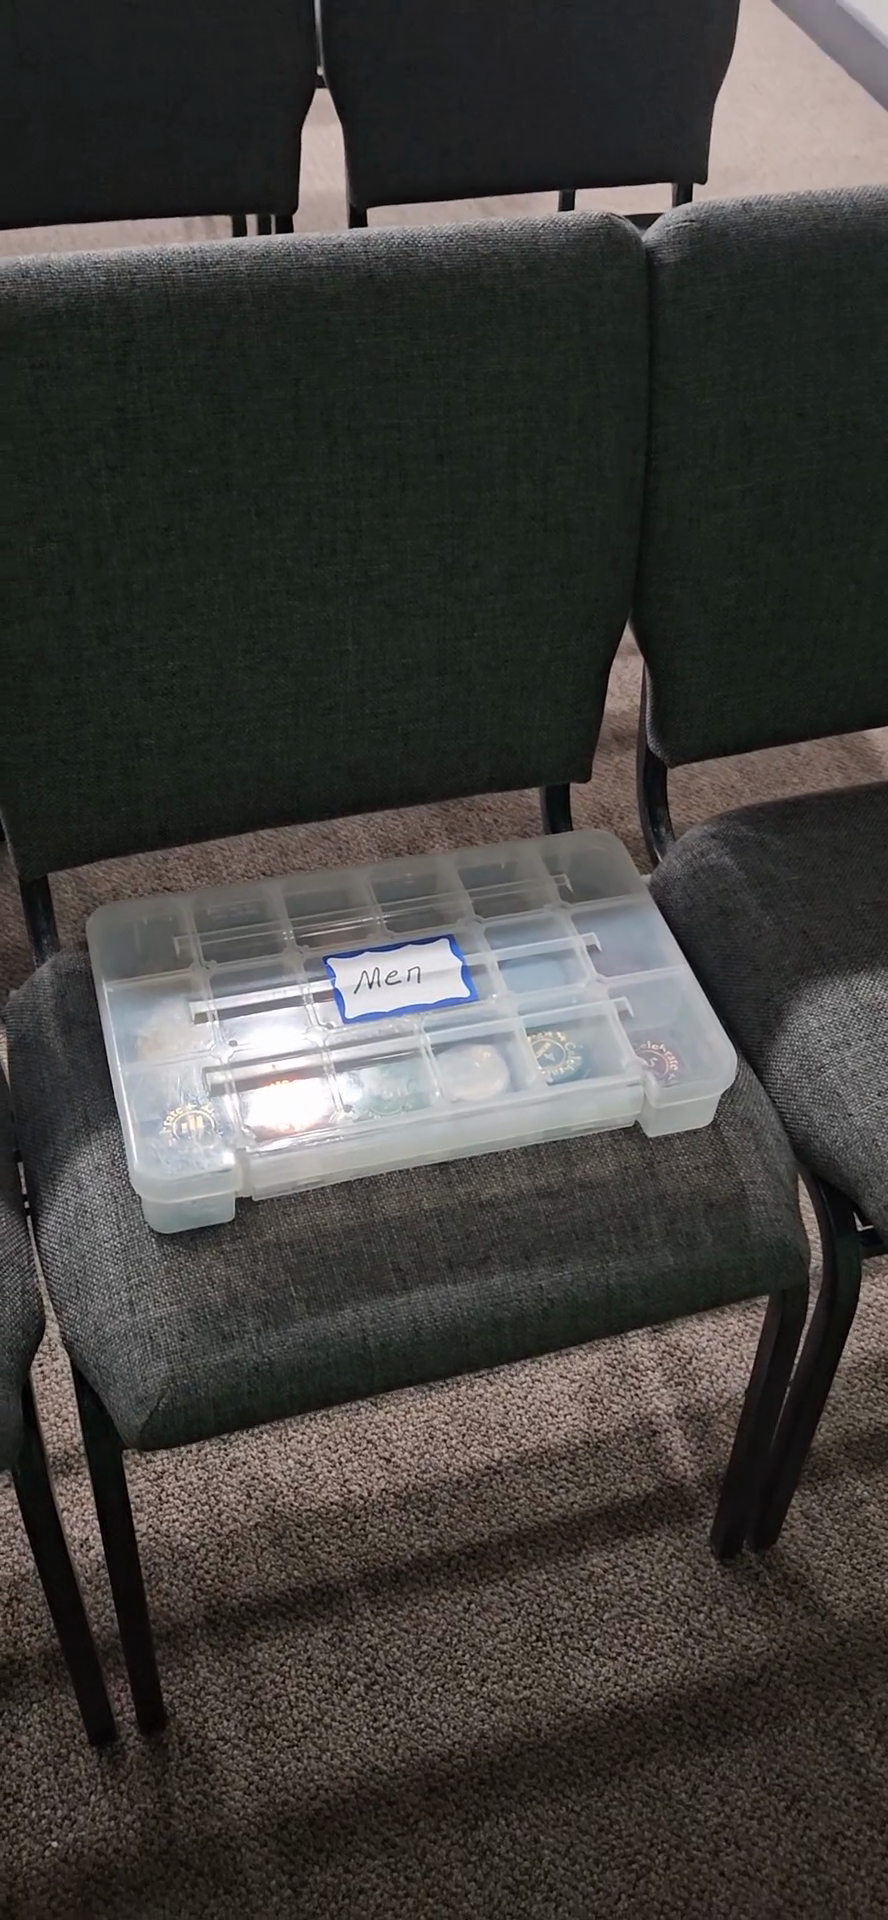
Grab the clear plastic container holding the milestone chips.
48
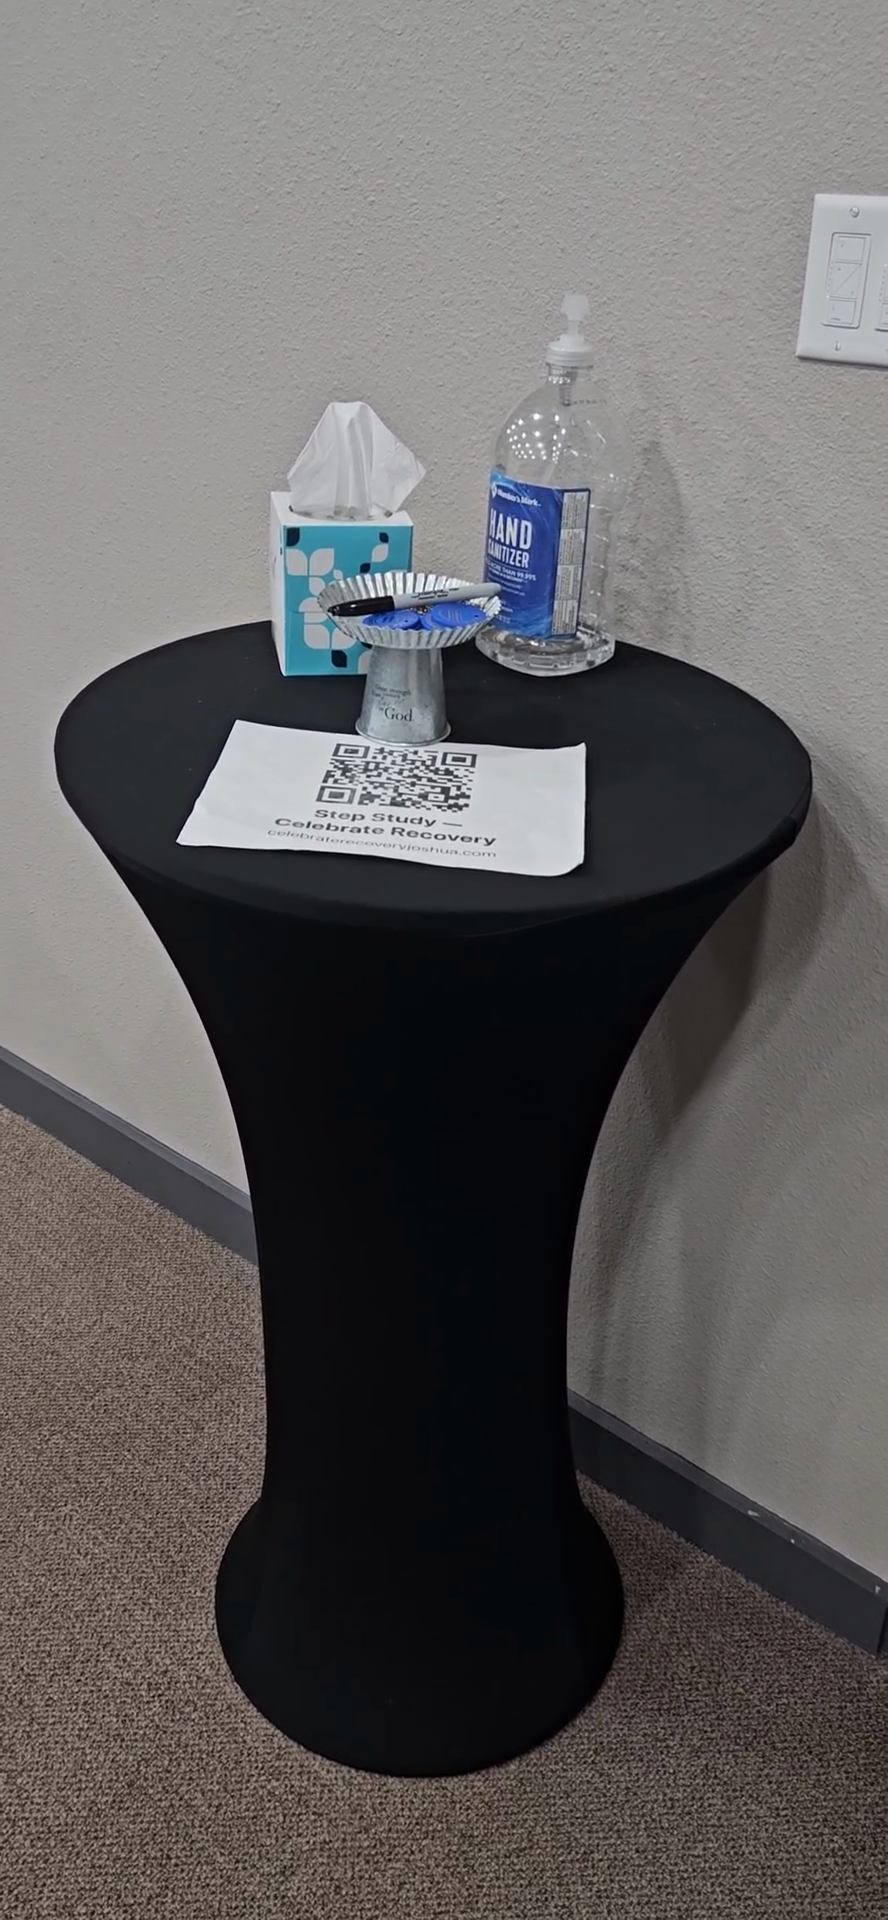
Grab the Step Study QR code scan sign.
49
Place the QR code and the small metal container for blue chips on the entrance table.
50
Place the main milestone marker box on a chair in the front row.
51
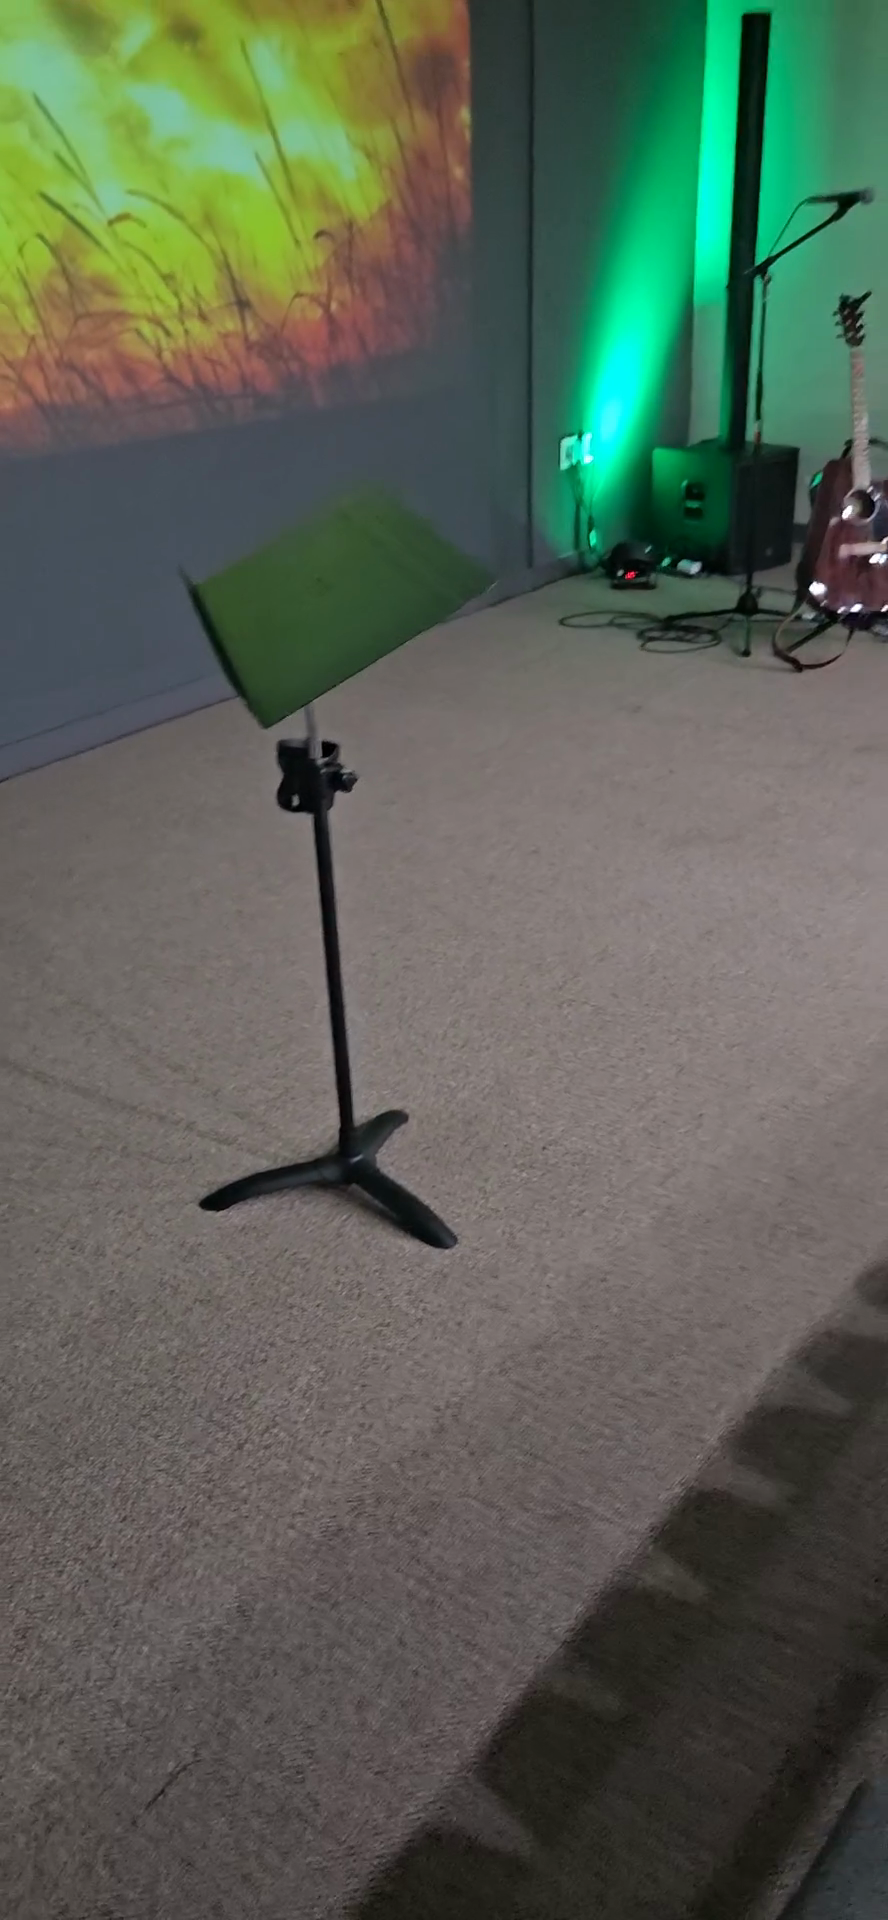
Pick up the metal stand by its base.
52
Place the stand near the front screen to prepare the area for announcements and the speaker.
Q: How do I prevent audio feedback from unused microphones?
A: Mute the channels for the corded mics and the keyboard on the right side of the soundboard when they are not actively being used.
Q: Why do we change the video resolution when downloading from YouTube?
A: Lowering the resolution from 1080p to 720p speeds up the processing and makes the video file easier to download and load into ProPresenter.
Q: Where should the milestone chips be placed for the meeting?
A: The small metal container for blue chips goes on the entrance table, while the main multi-colored milestone marker box is placed on a front-row chair.
Term
Definition
ProPresenter
A presentation software application used to display lyrics, lessons, and media to the projector screen.
Pulltube
A video downloading application used to extract and save media from platforms like YouTube.
Soundboard
An audio mixing console used to control the volume, muting, and input signals of microphones and instruments.
Power Conditioner
A device used to protect AV equipment from power surges and distribute power cleanly.
Milestone Chips
Colored tokens handed out during Celebrate Recovery to recognize specific periods of sobriety or recovery.