
How to Check Admin Rights and Manage Workspaces in ClickUp
Learn how to verify your administrative rights, manage members, and understand the core differences between spaces and workspaces in ClickUp.
This guide explains how to verify your administrative privileges in ClickUp and differentiate between spaces and workspaces. Completing these steps will ensure you are setting up team members, permissions, and billing correctly for your organizational environment.
This guide is intended for team leads, project managers, and workspace administrators who are setting up a ClickUp environment. Use this when onboarding new teams, auditing current user permissions, or deciding whether to build a new space versus an entirely new workspace.
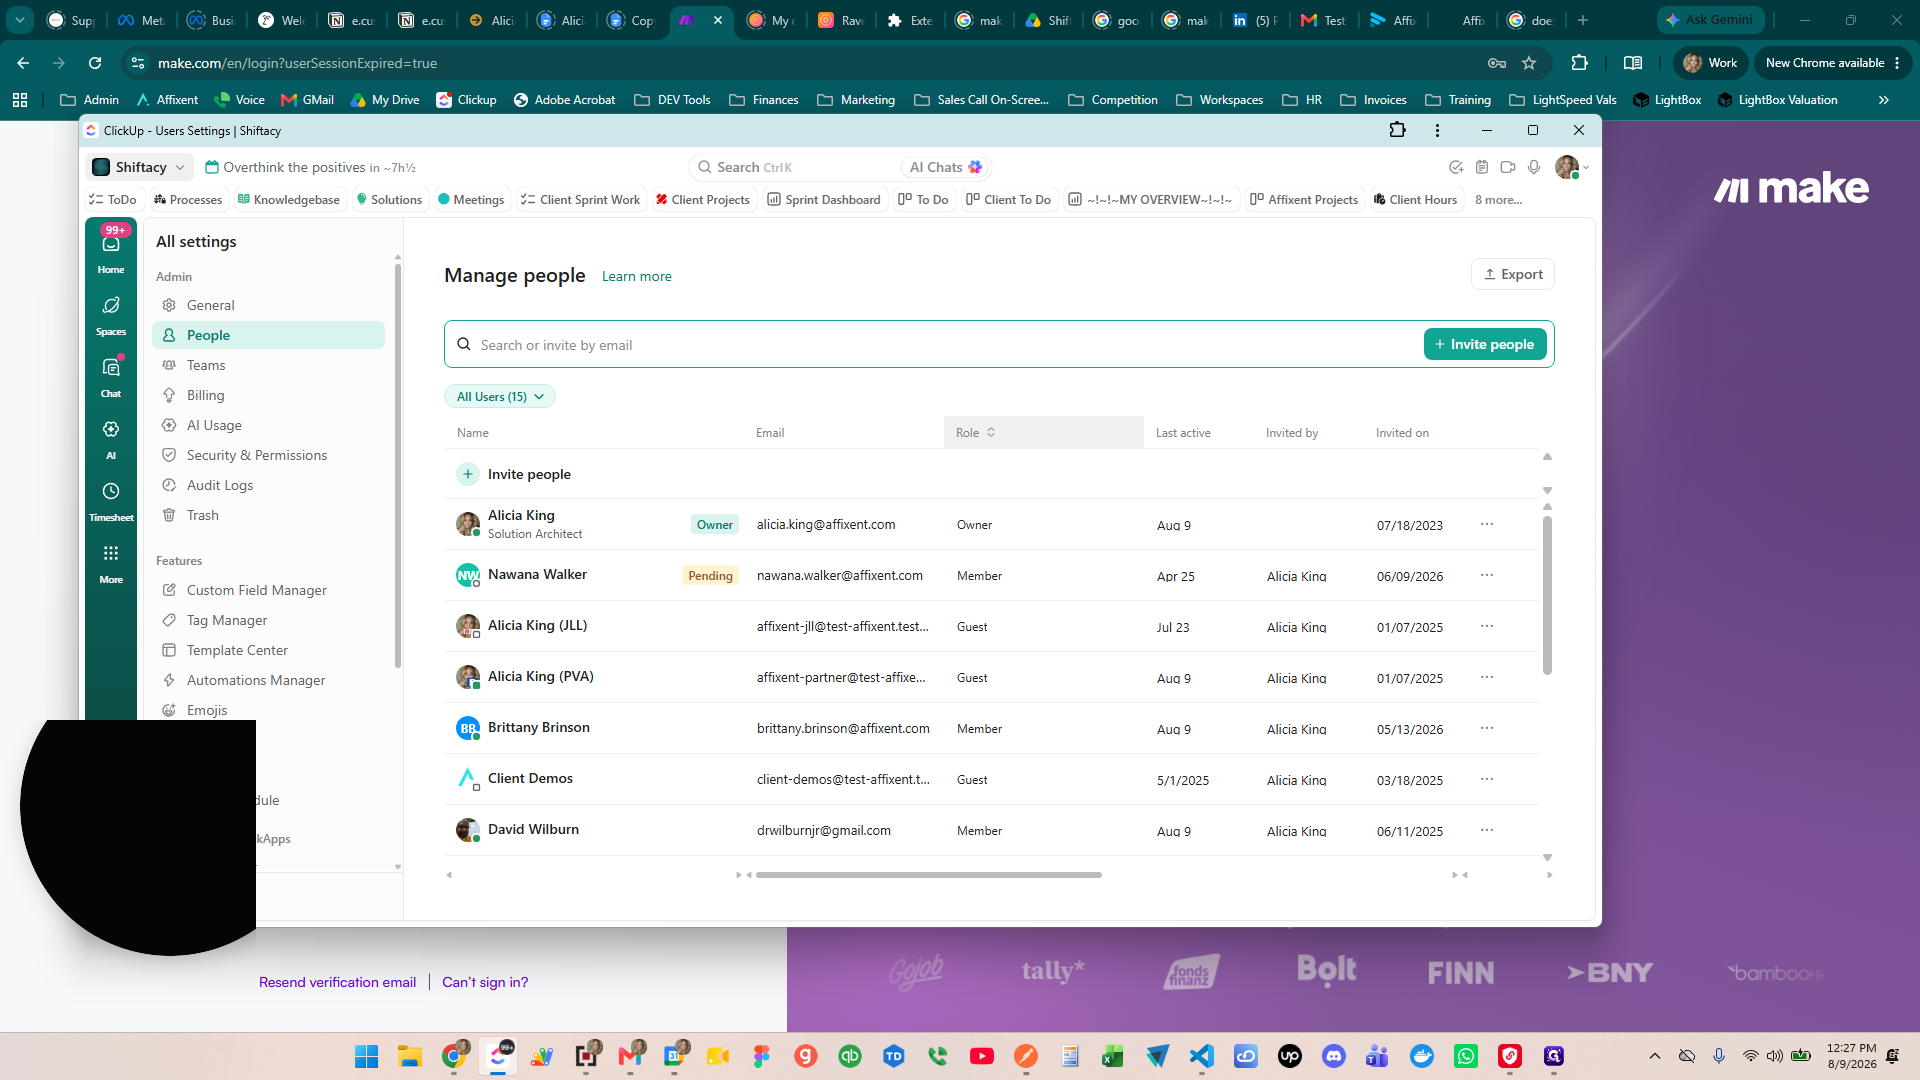
Checking Admin Rights
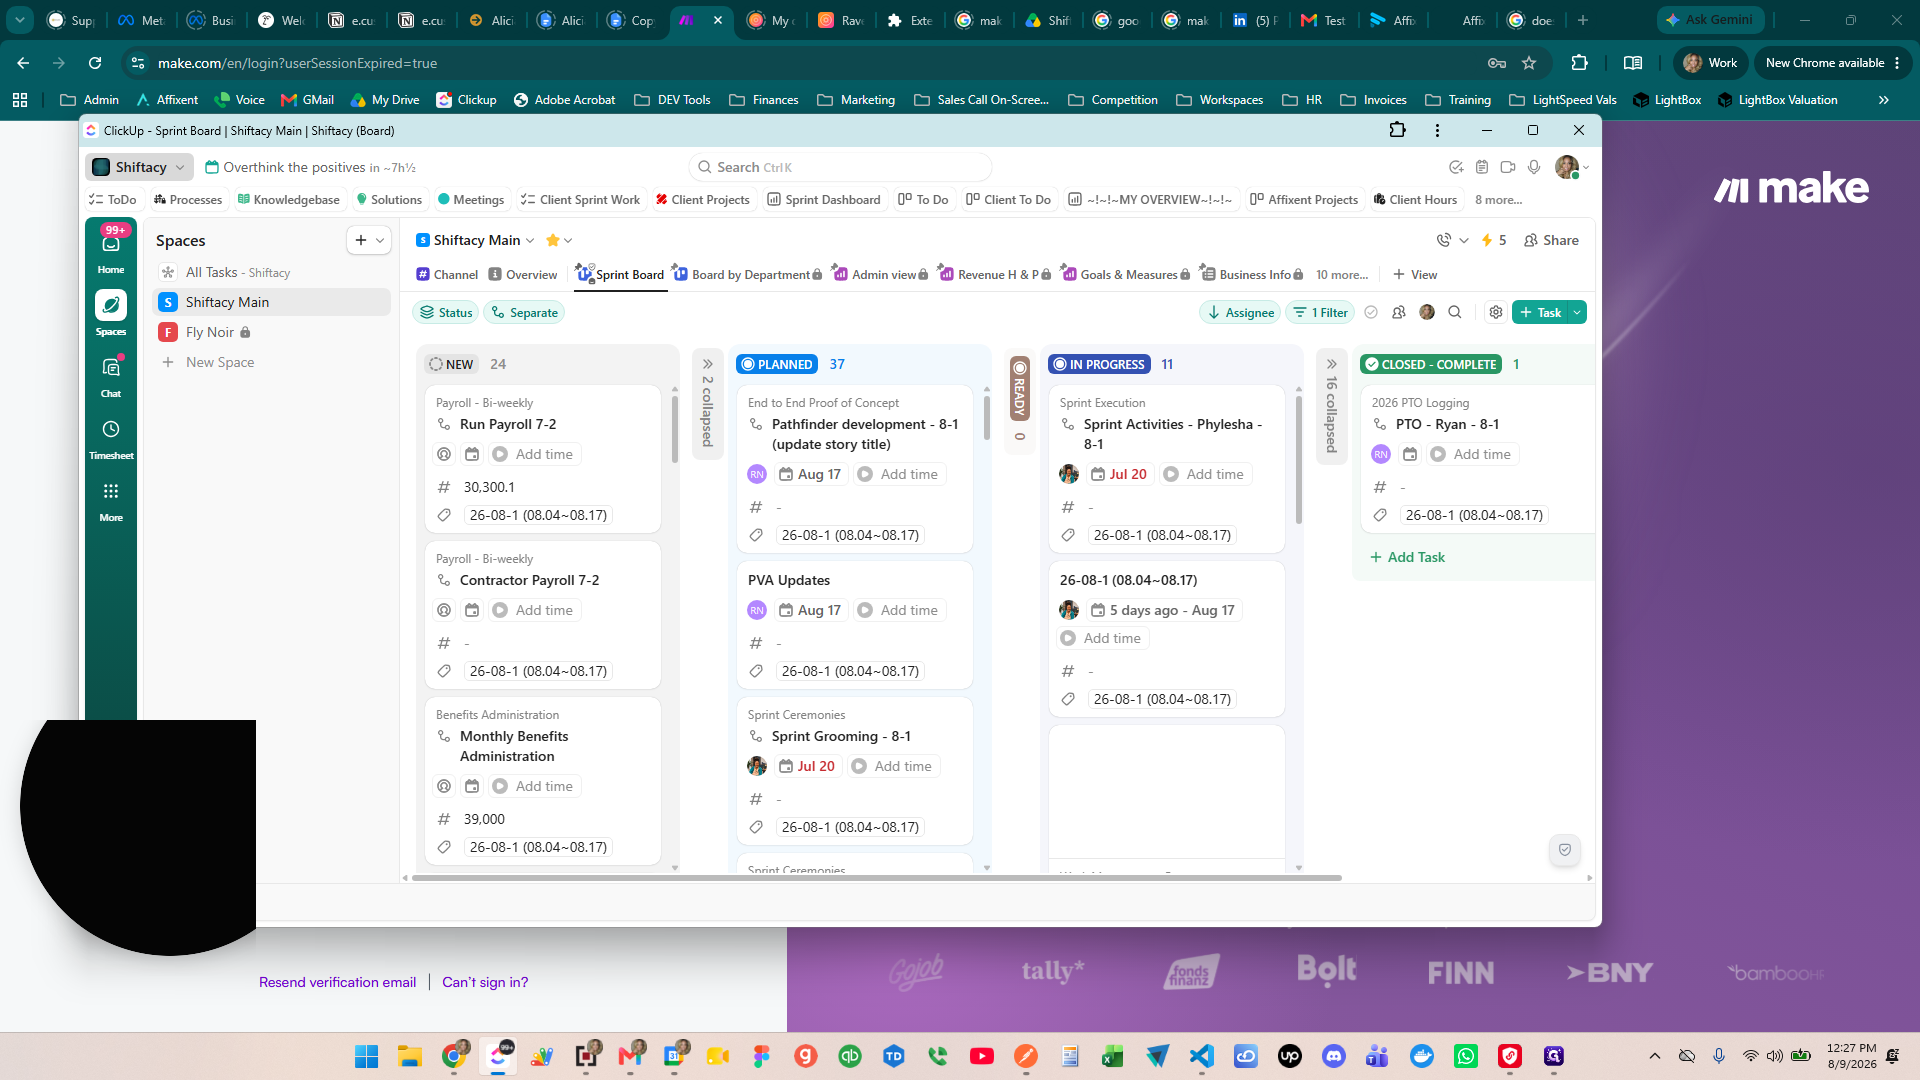
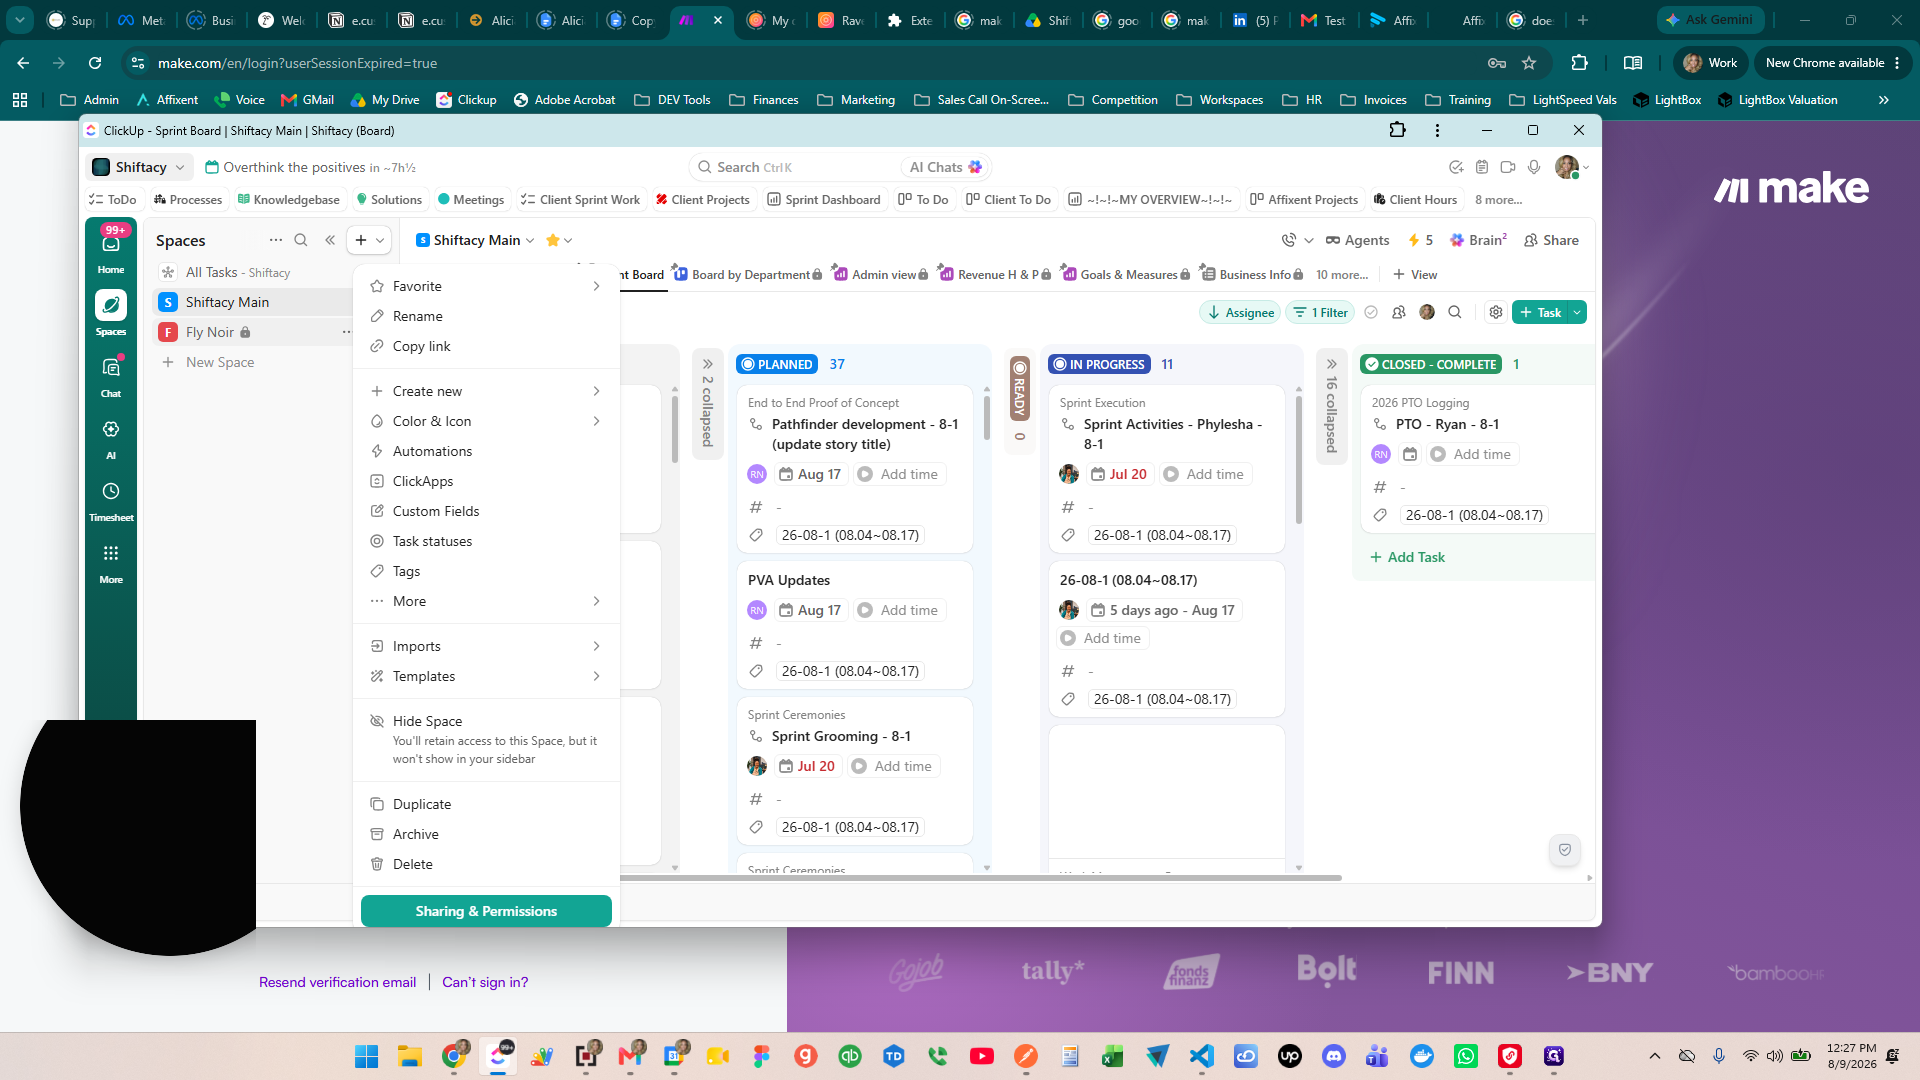
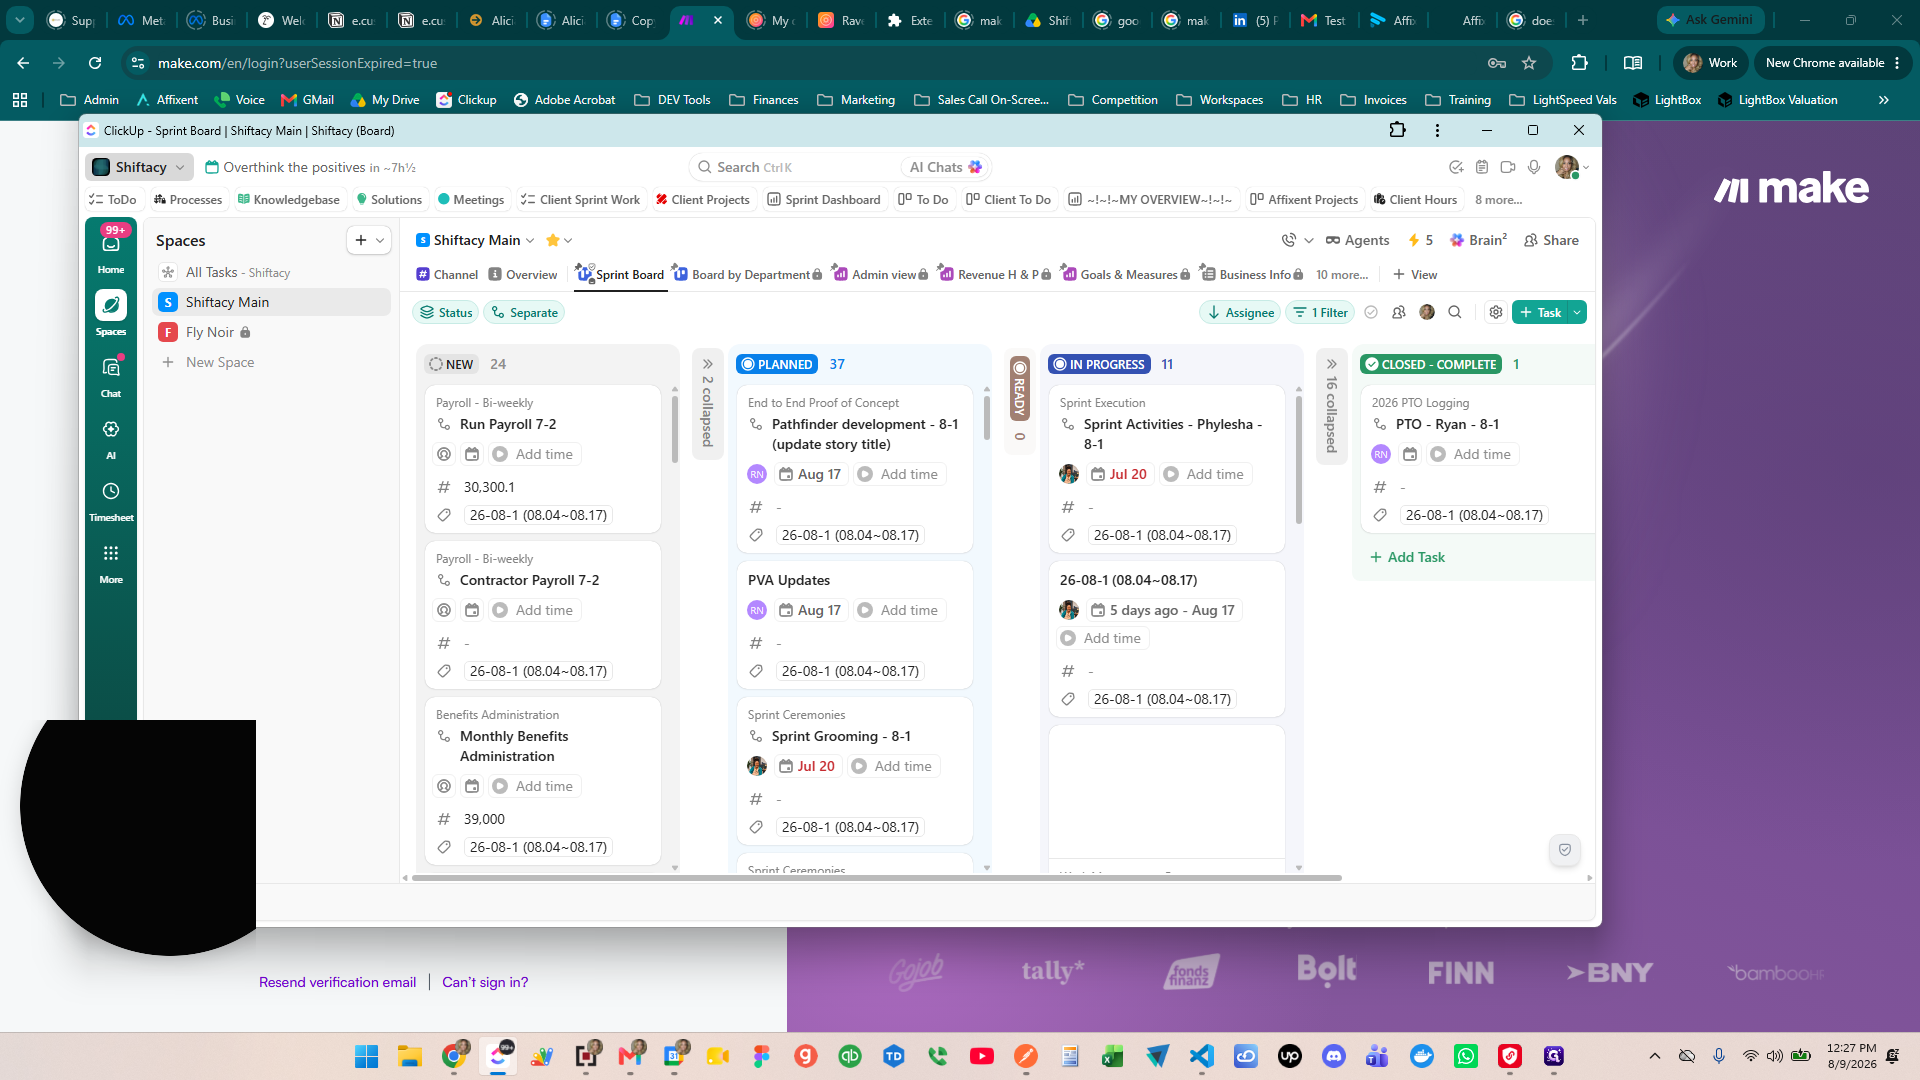
Creating a New Space within a Workspace
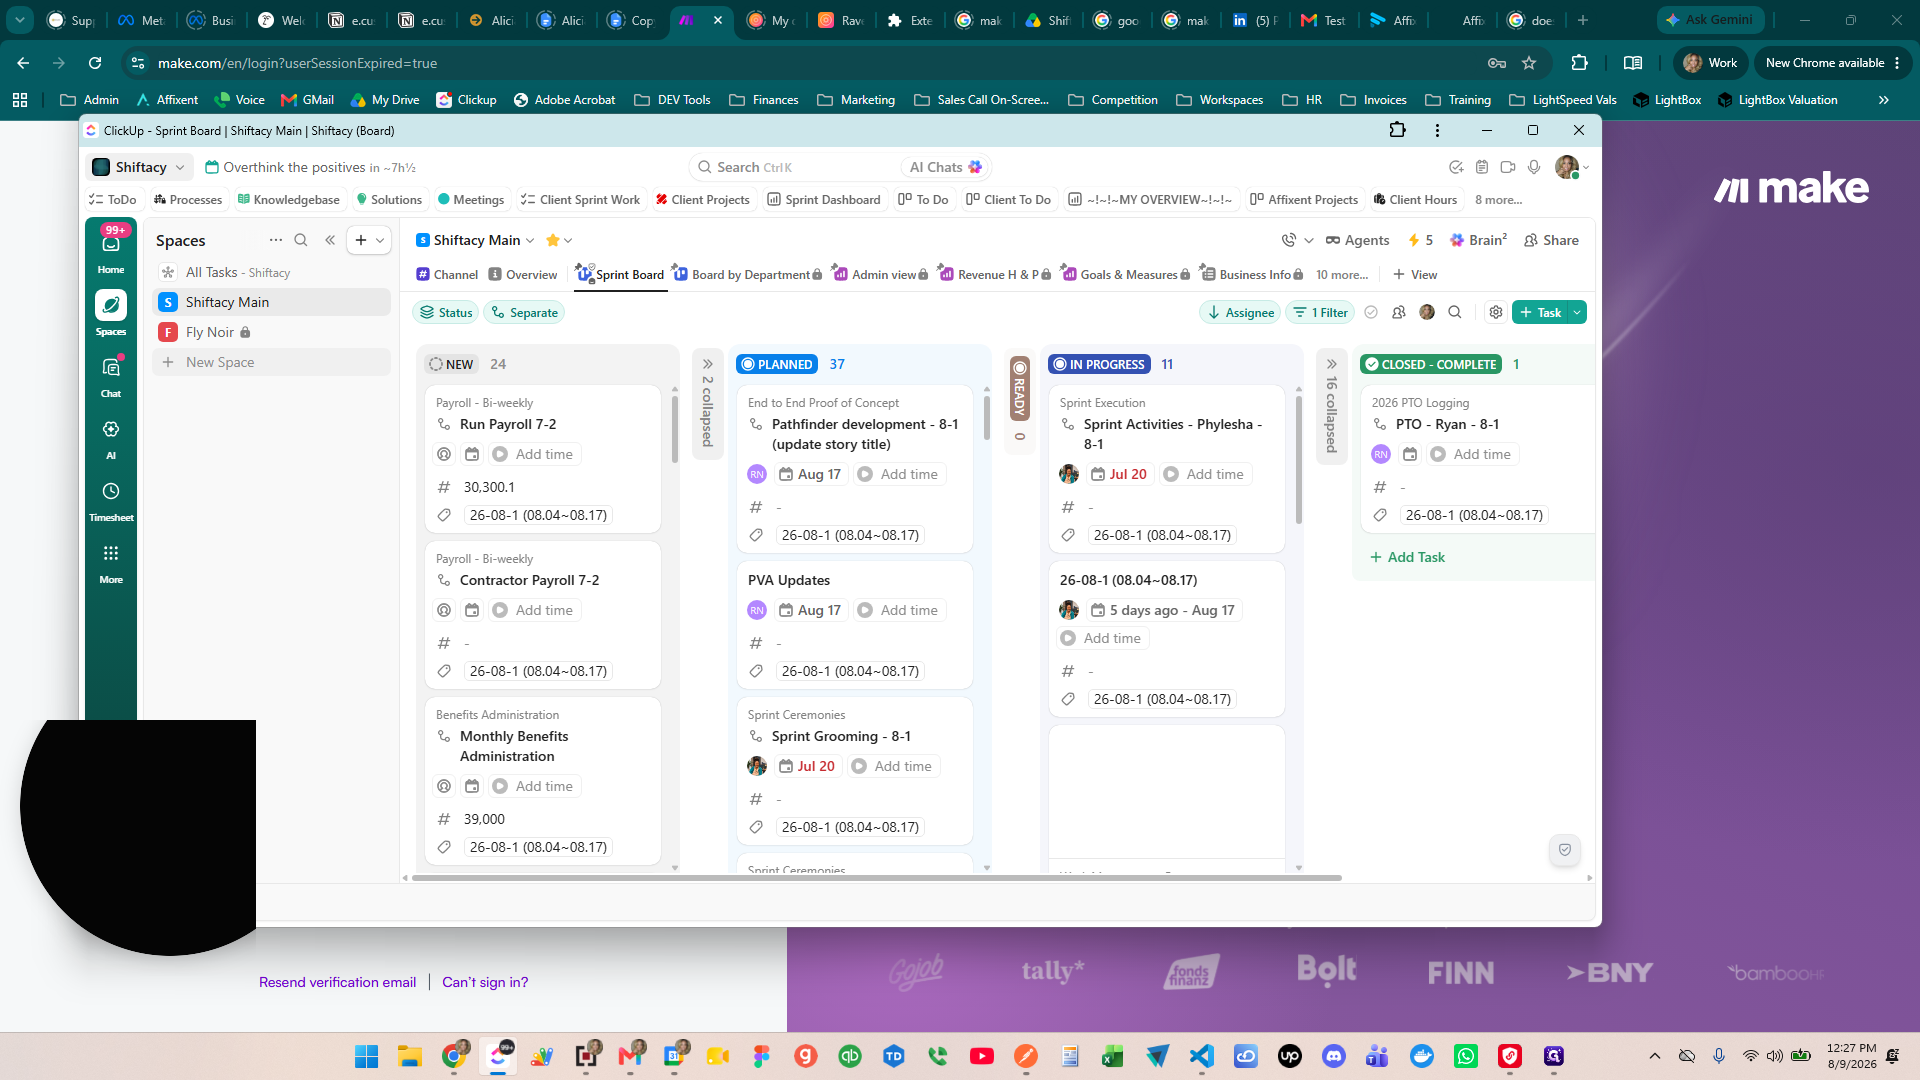
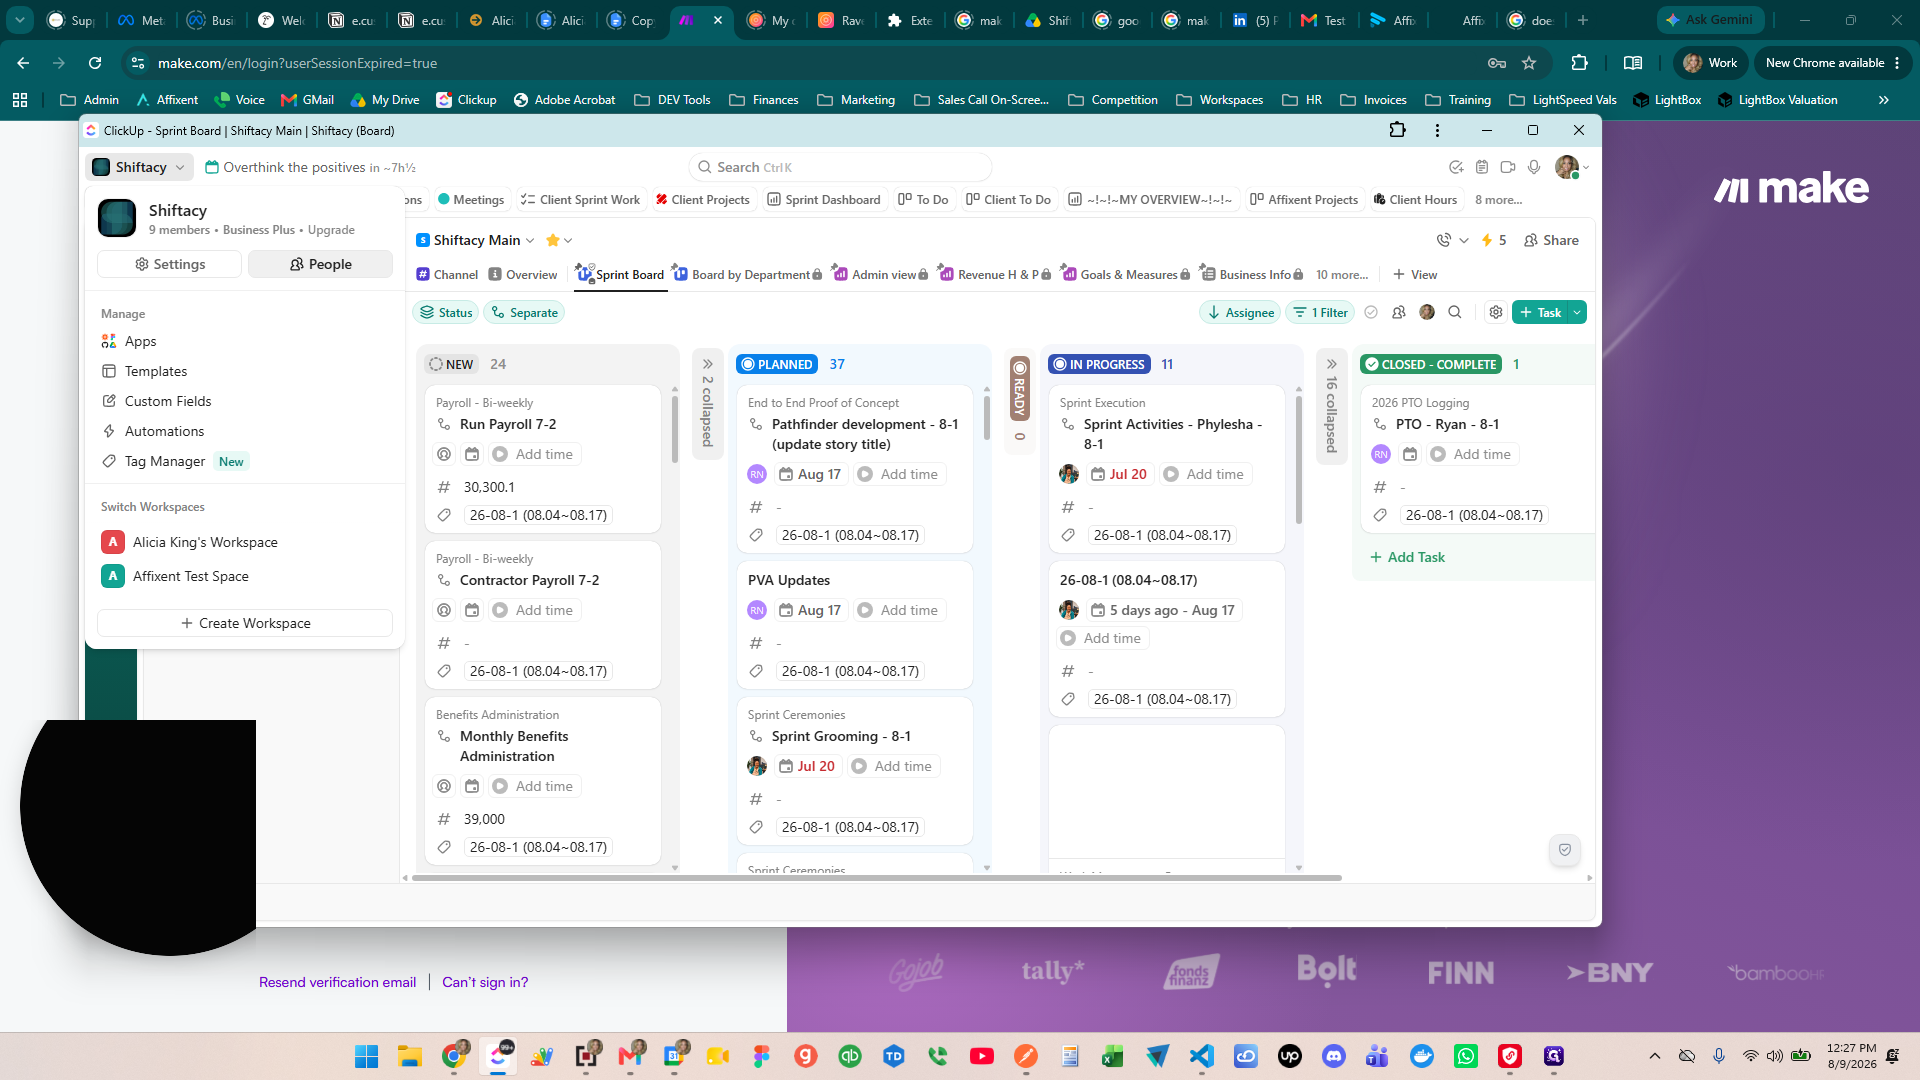
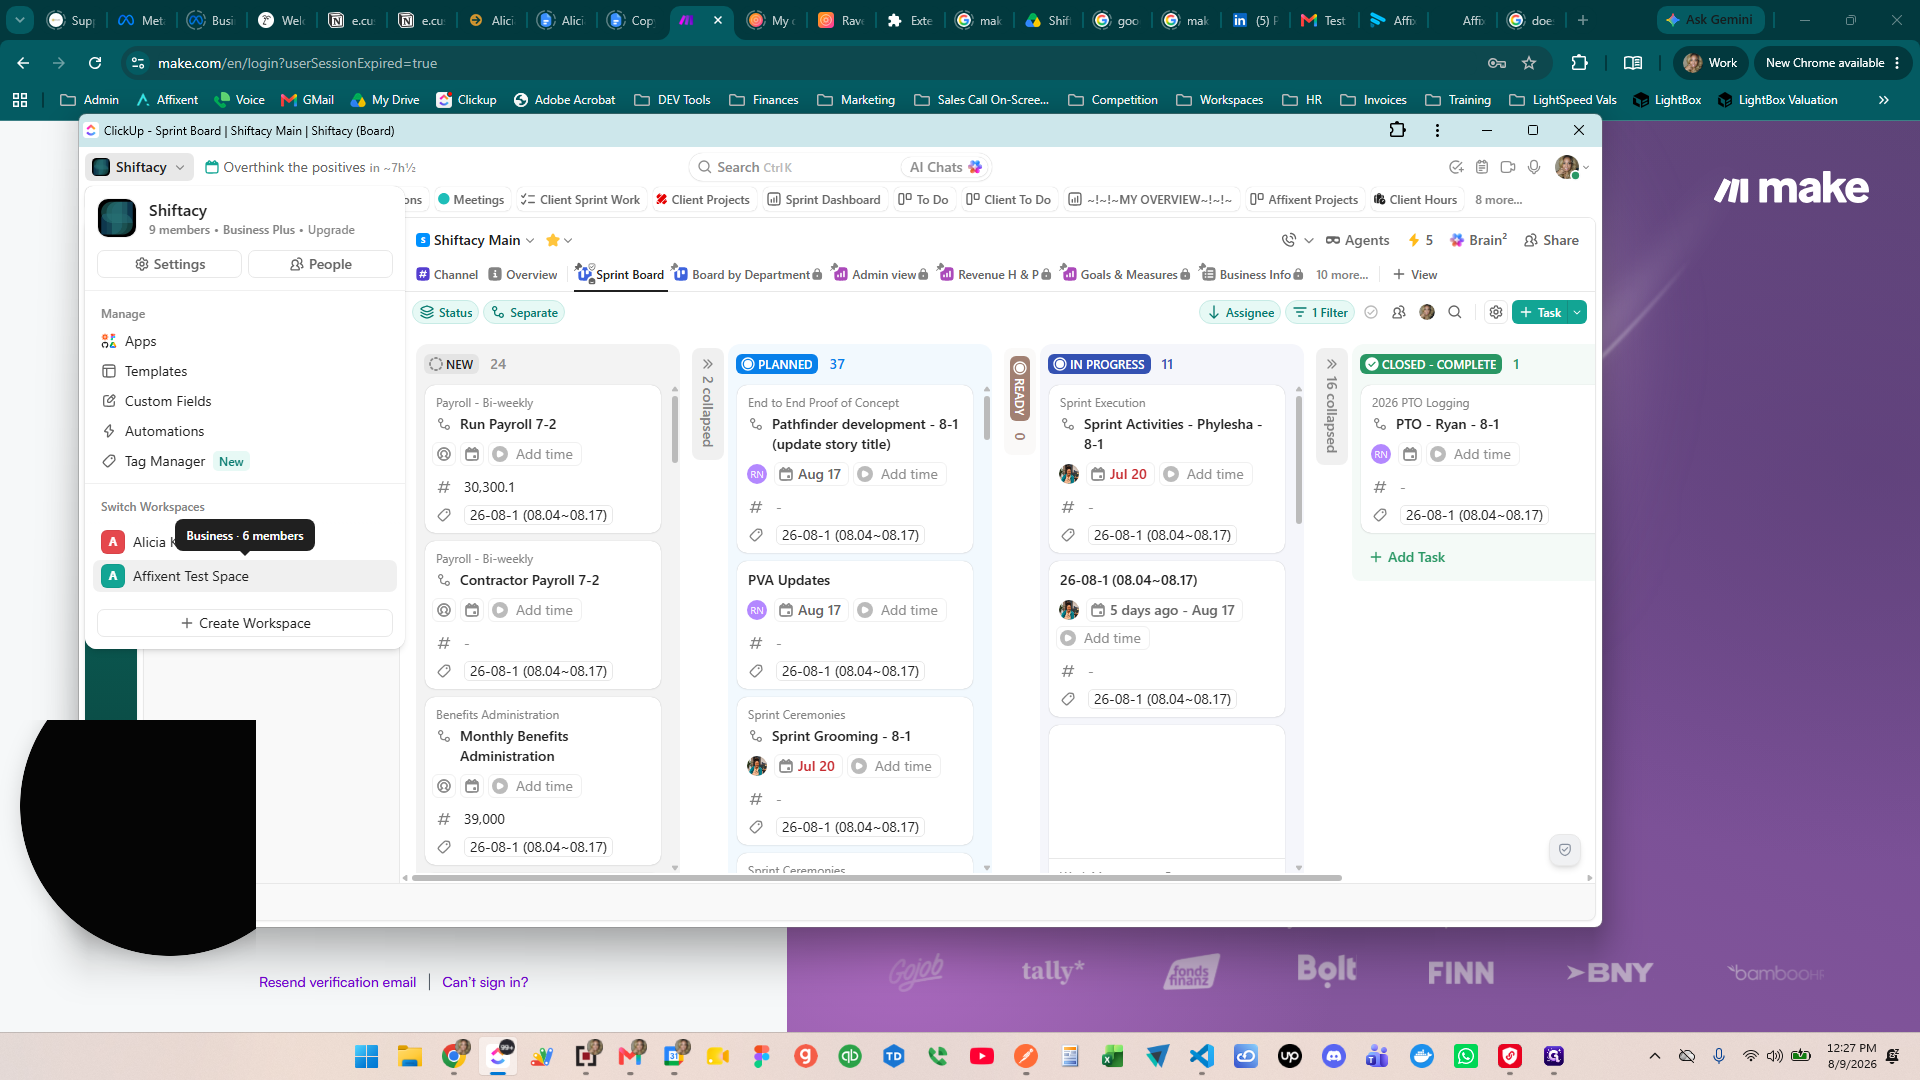
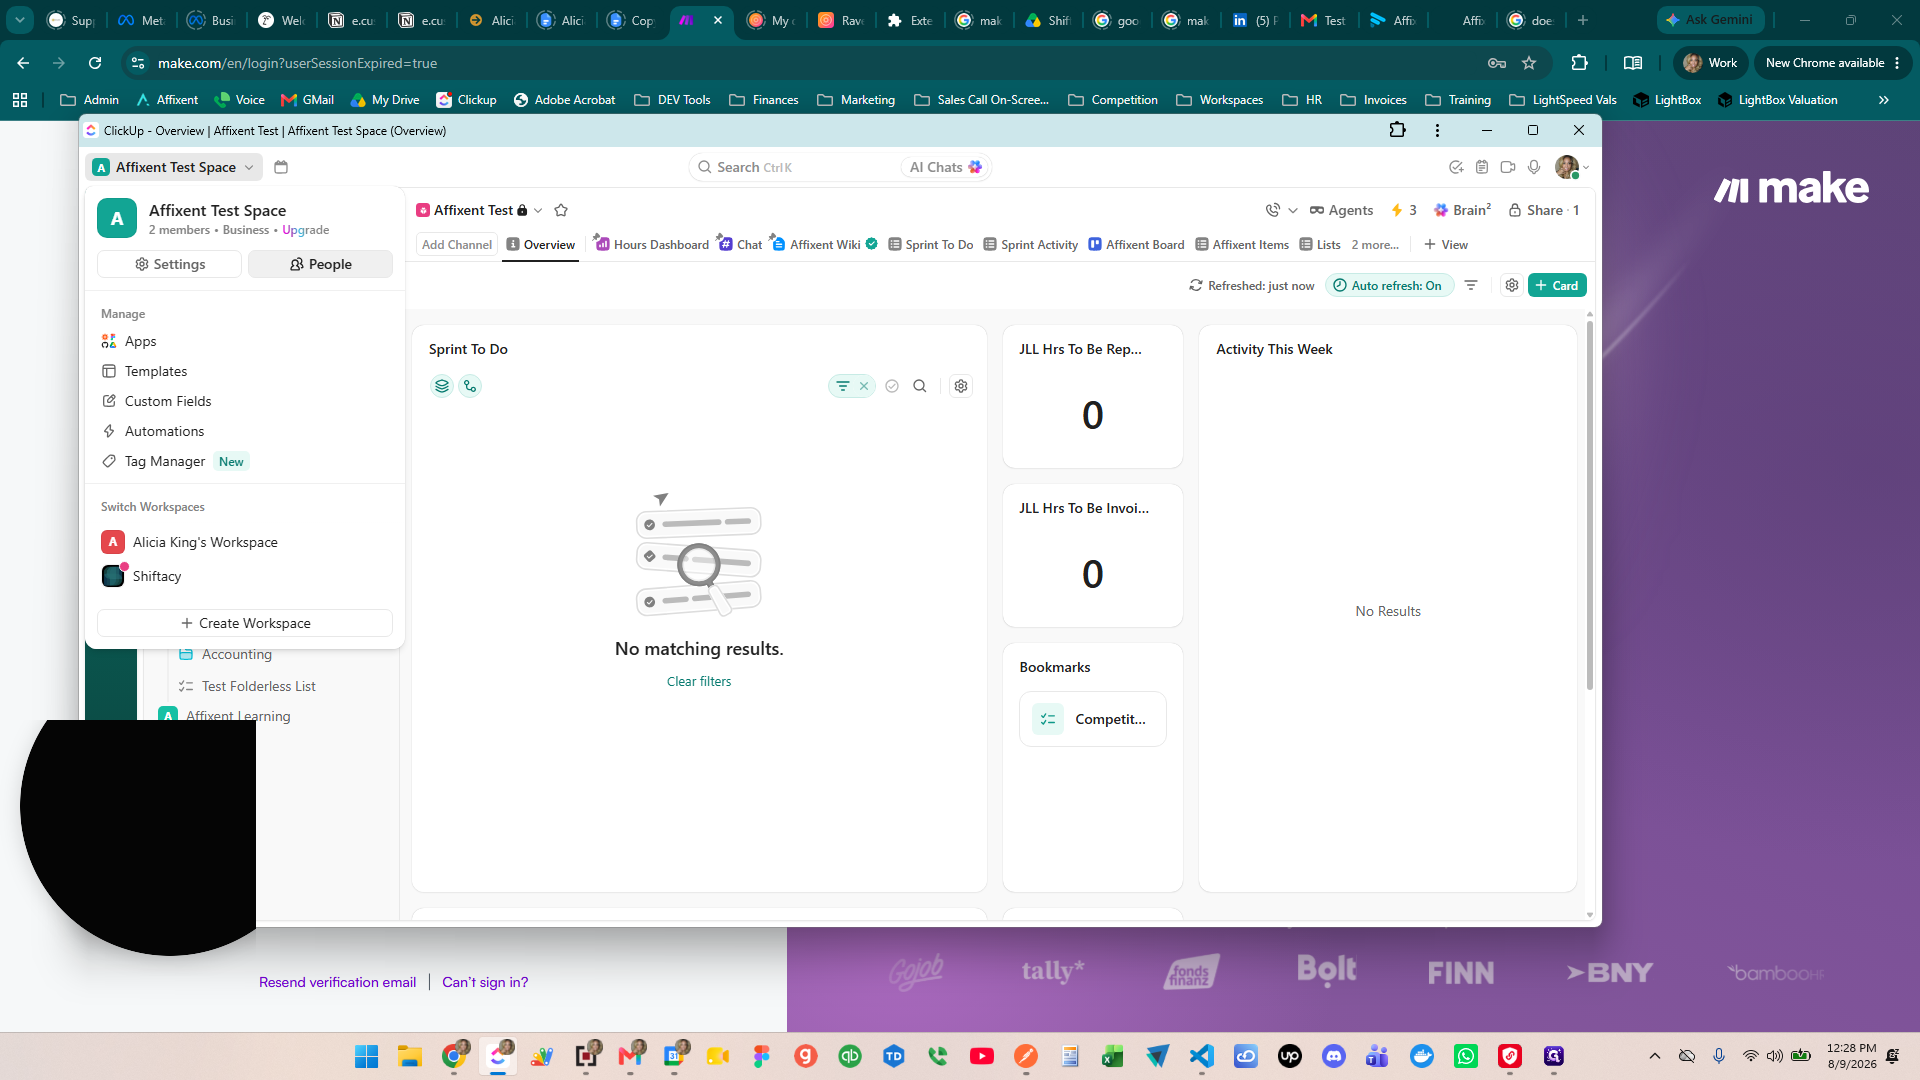
Switching Workspaces and Checking Billing
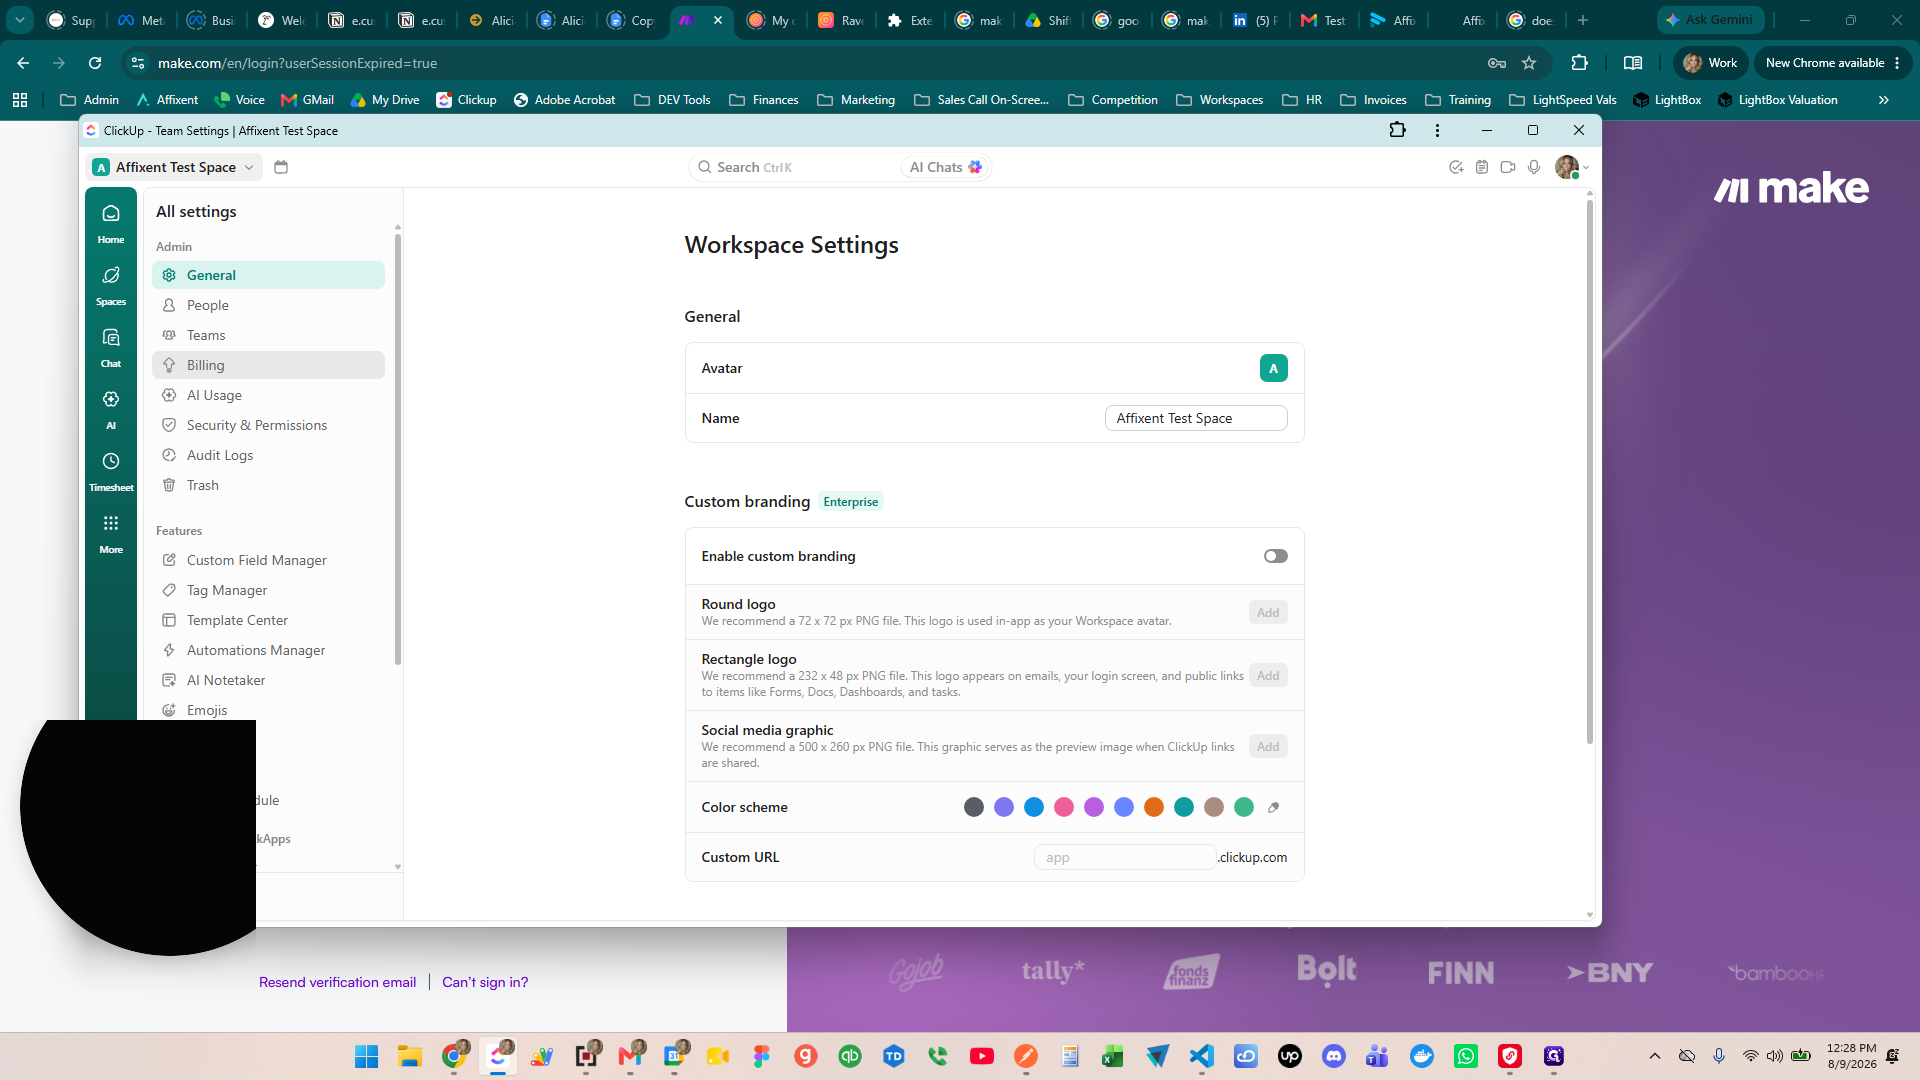
If you create an entirely new workspace instead of a space, it functions as a completely isolated environment with different rules, members, roles, and billing.
Q: Why don't I see my team members after creating a new environment?
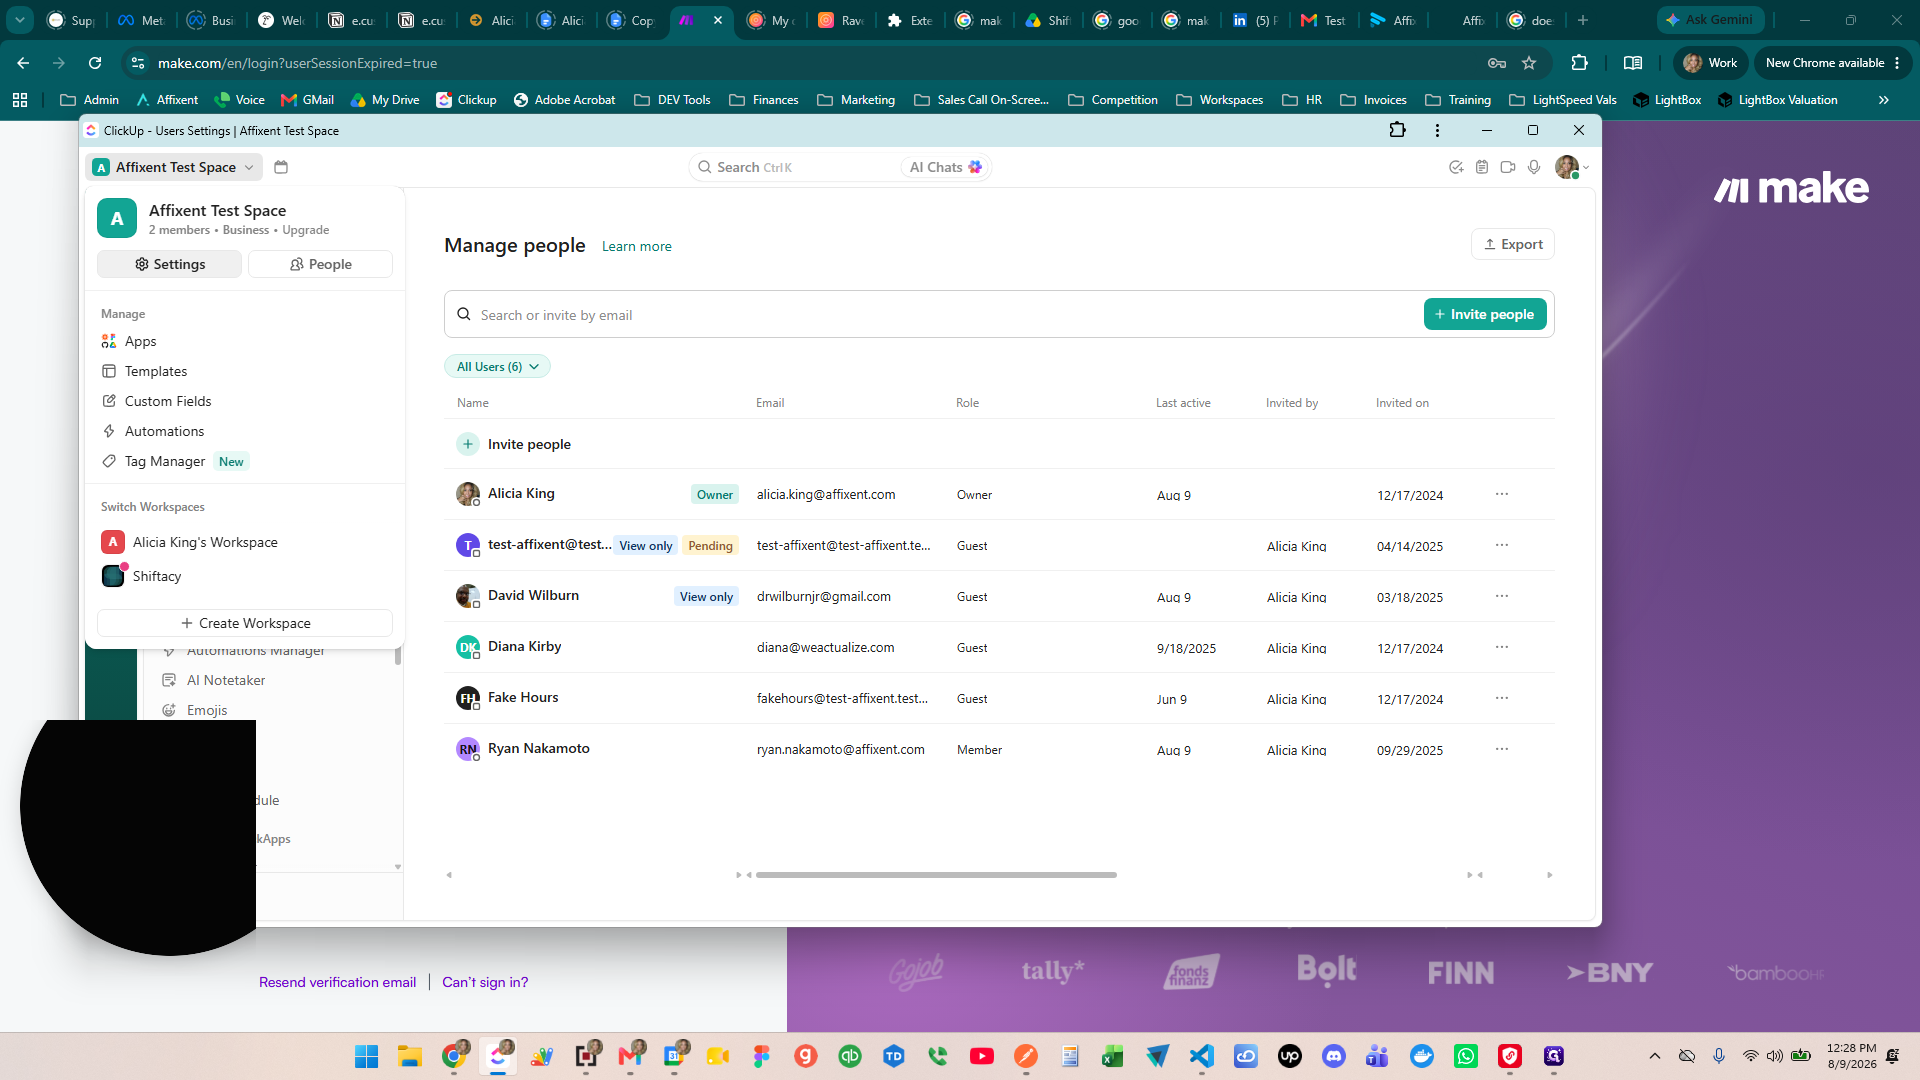
A: If you created an entirely new workspace instead of a space, it acts as a separate environment. You will need to invite users specifically to that new workspace.
Q: Are billing plans shared across different workspaces?
A: No, each workspace has its own separate billing and settings. Creating a new workspace will require a distinct subscription.
Q: How do I verify my admin status in a workspace?
A: Navigate to your workspace settings, click on the People tab, and sort by role to check if you hold an Admin title.
Term | Definition |
|---|---|
Workspace | The highest-level organizational unit in ClickUp that contains separate billing, settings, and members. |
Space | A sub-container within a workspace used to organize workflows without altering top-level billing or member access. |
Admin | A user role that provides administrative privileges to manage people, billing, and settings within a workspace. |