How to Close a Customer Pay Repair Order
Learn how to effectively close a customer pay repair order, modify labor times, adjust pricing, apply line discounts, and finalize the invoice.
Closing out a customer pay repair order (RO) involves confirming technician assignments, adjusting labor times and amounts, and ensuring all line items are correctly documented before generating the final invoice.
Here is how to review, modify, and close out an RO.
1. Open the Repair Order
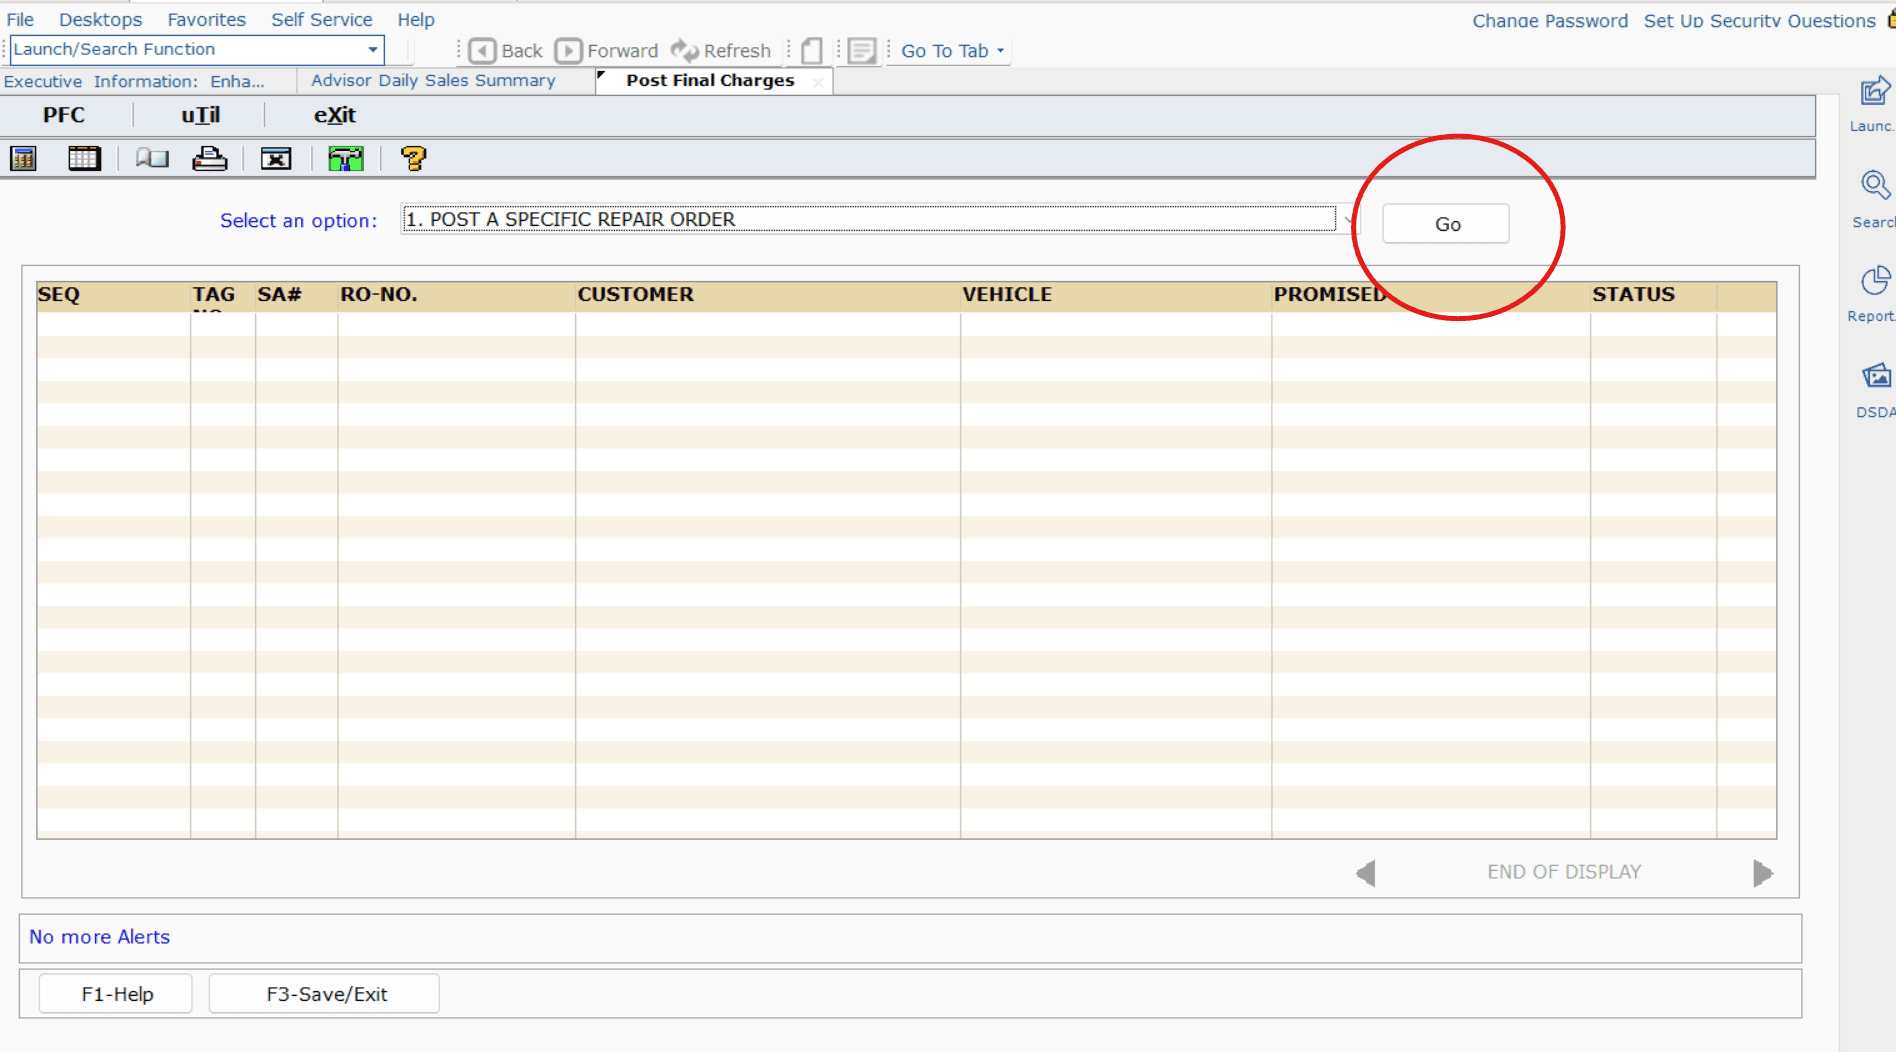

2. Close Individual Lines
You must close out each service line on the RO (e.g., Line A, Line B) individually to confirm the labor and operation codes.
R followed by a space and the line letter (e.g., R A) in the command prompt, then press Enter.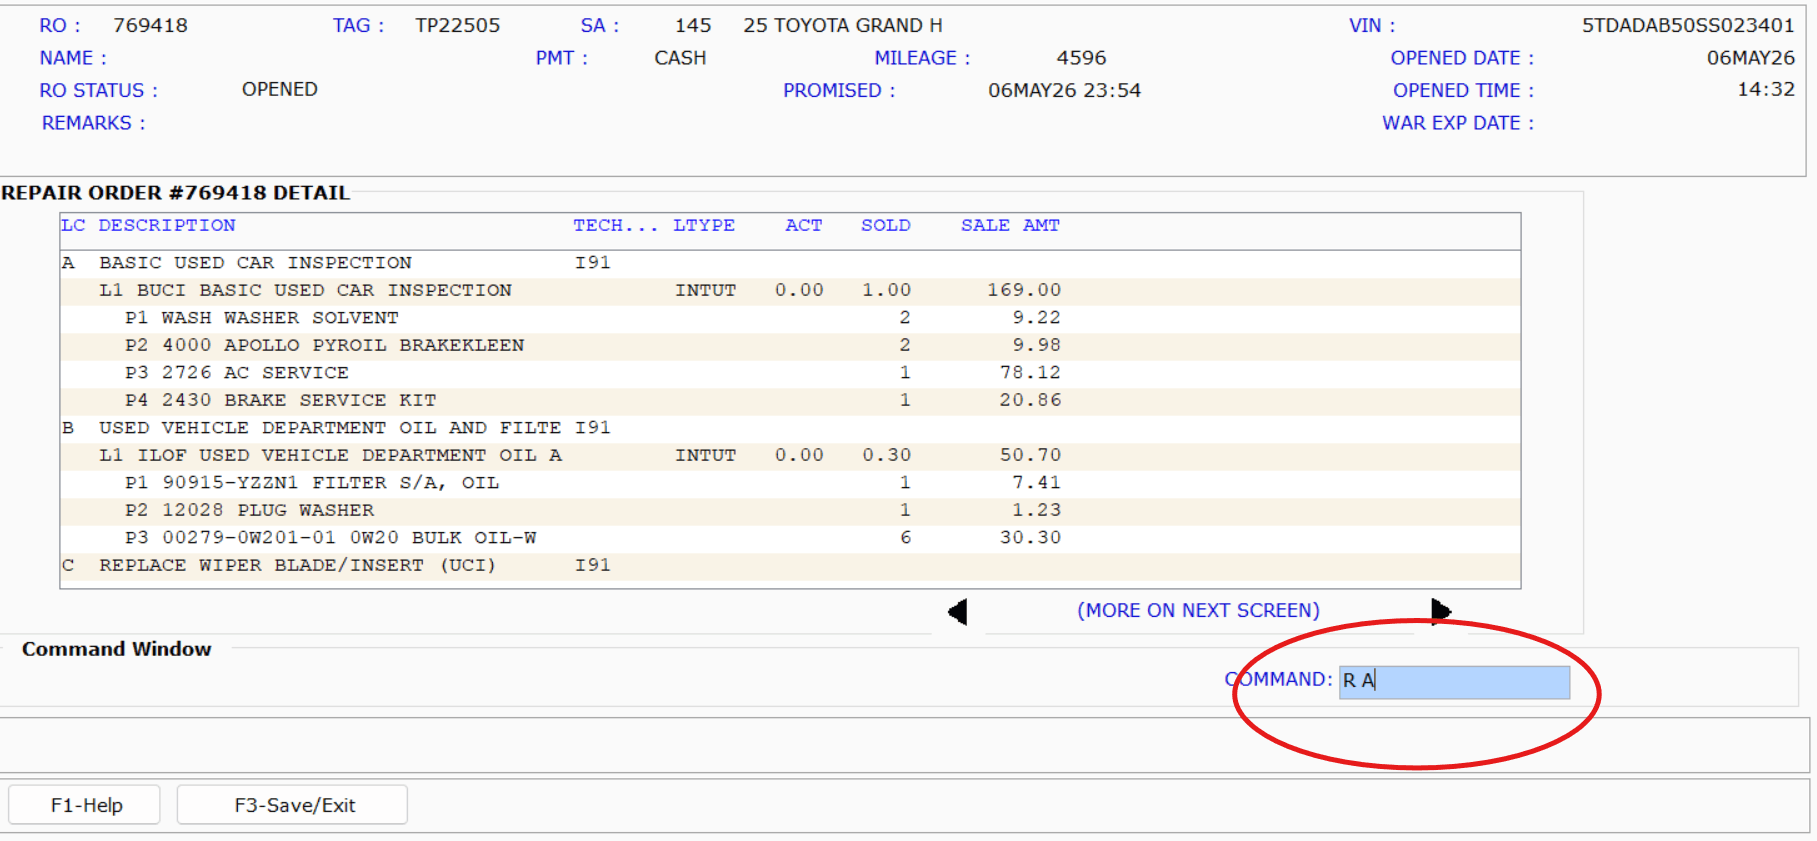
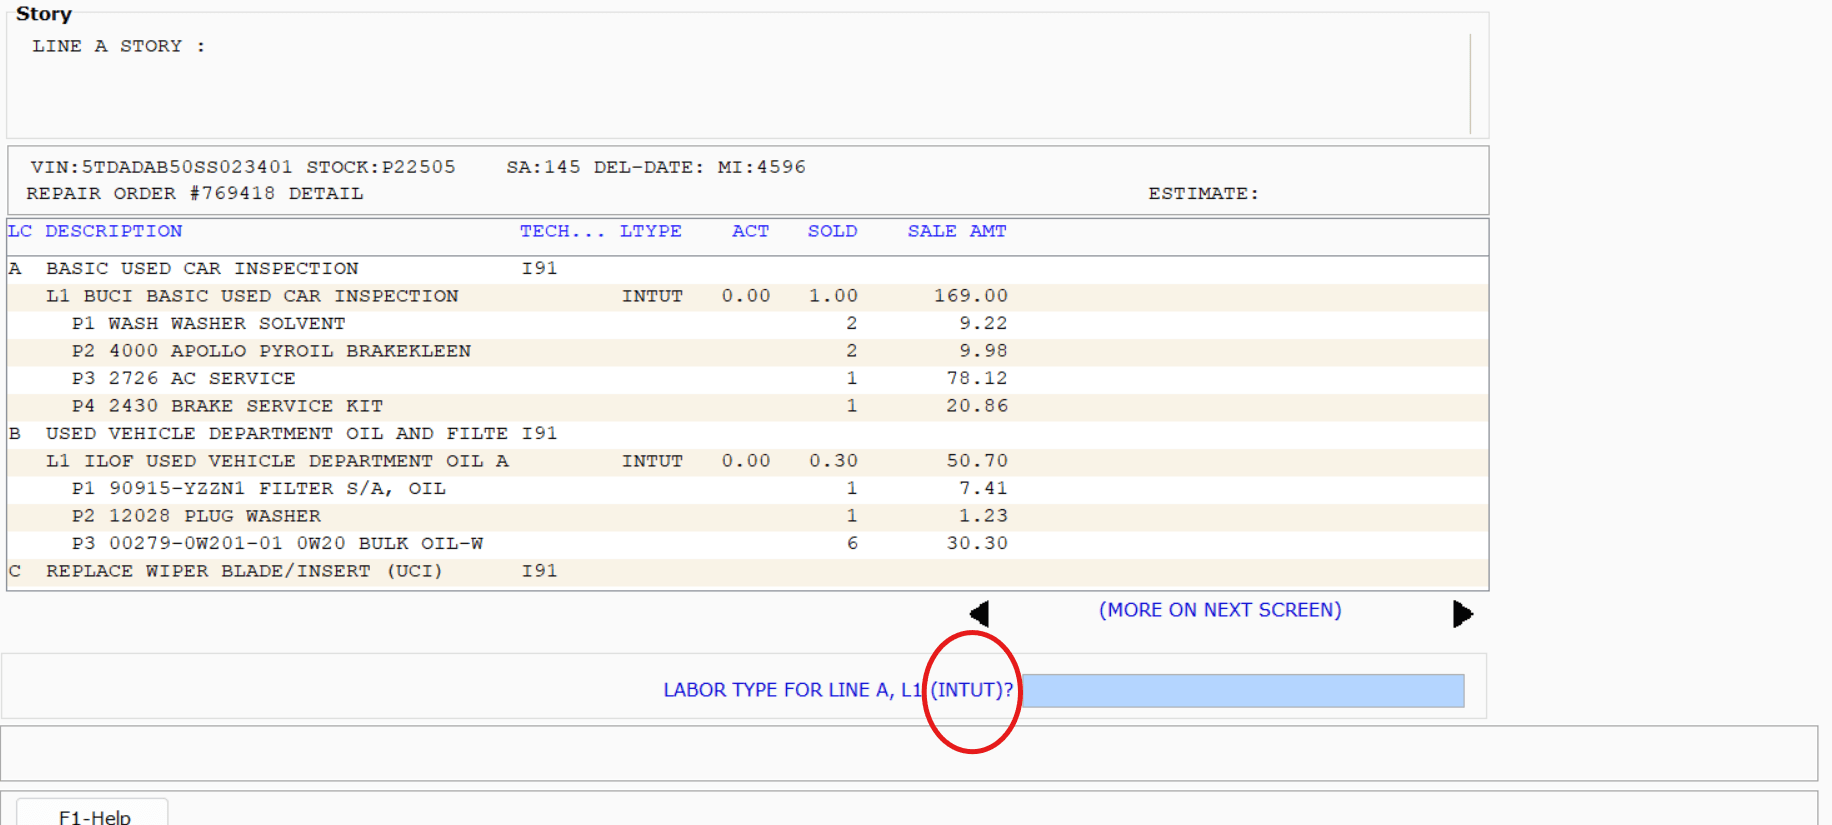

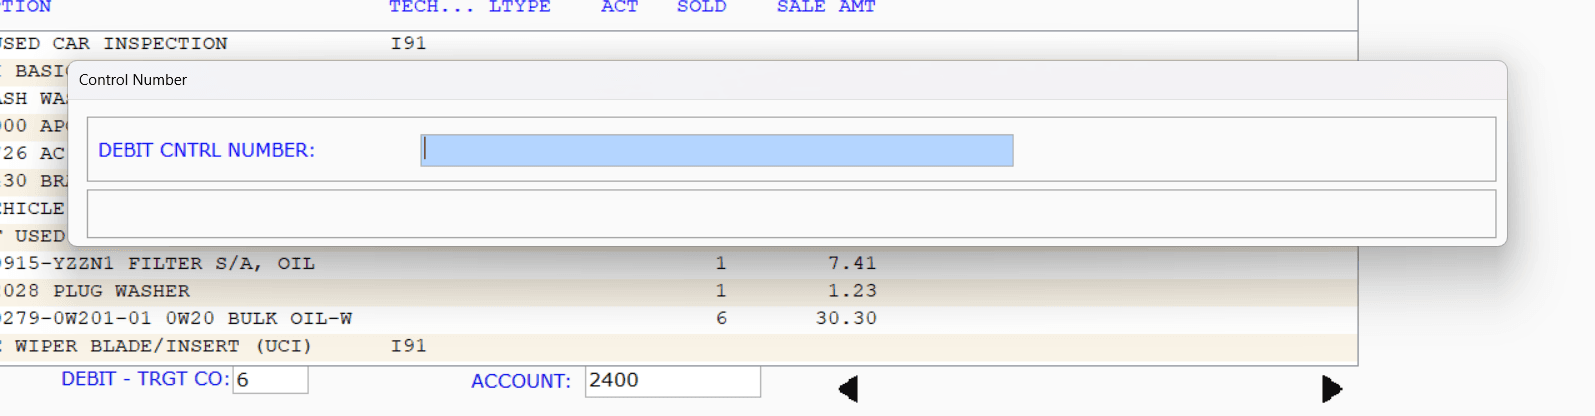
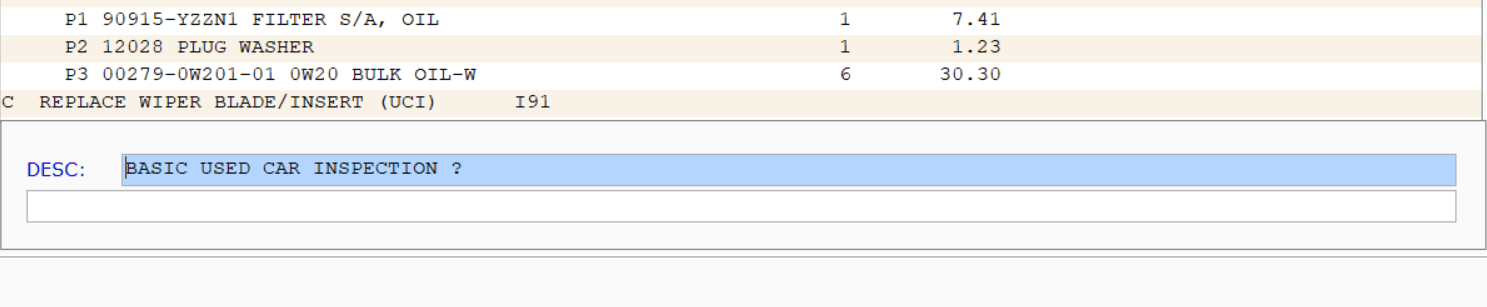

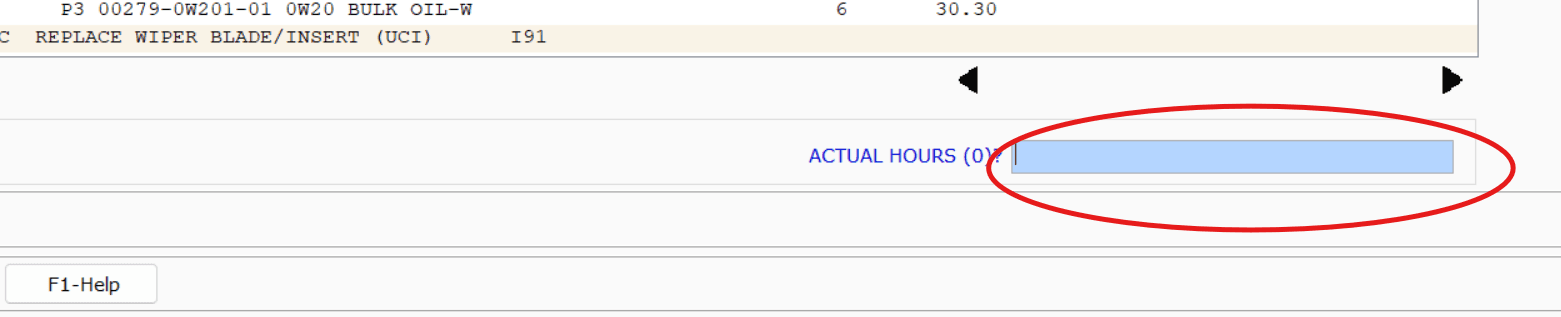
Repeat this process for every line on the RO.
N and press Enter to navigate to the next page.
3. Modify Discounts and Adjust Pricing
Sometimes lines require manual intervention to apply discounts or fix incorrect sale amounts.
Adding or Changing Line Discounts
ADC followed by a space and the line letter (e.g., ADC A).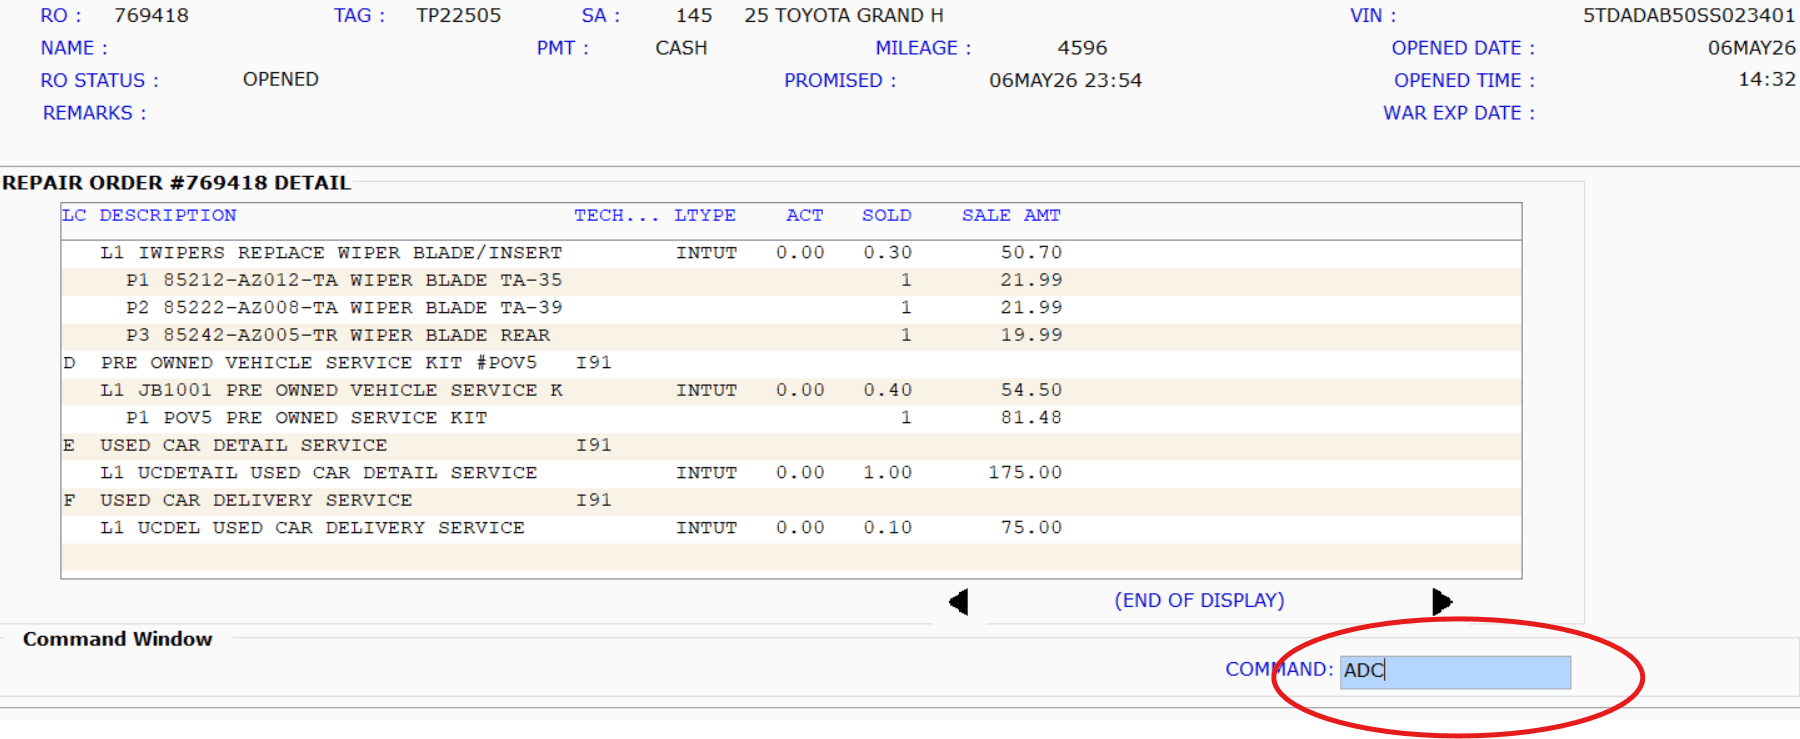
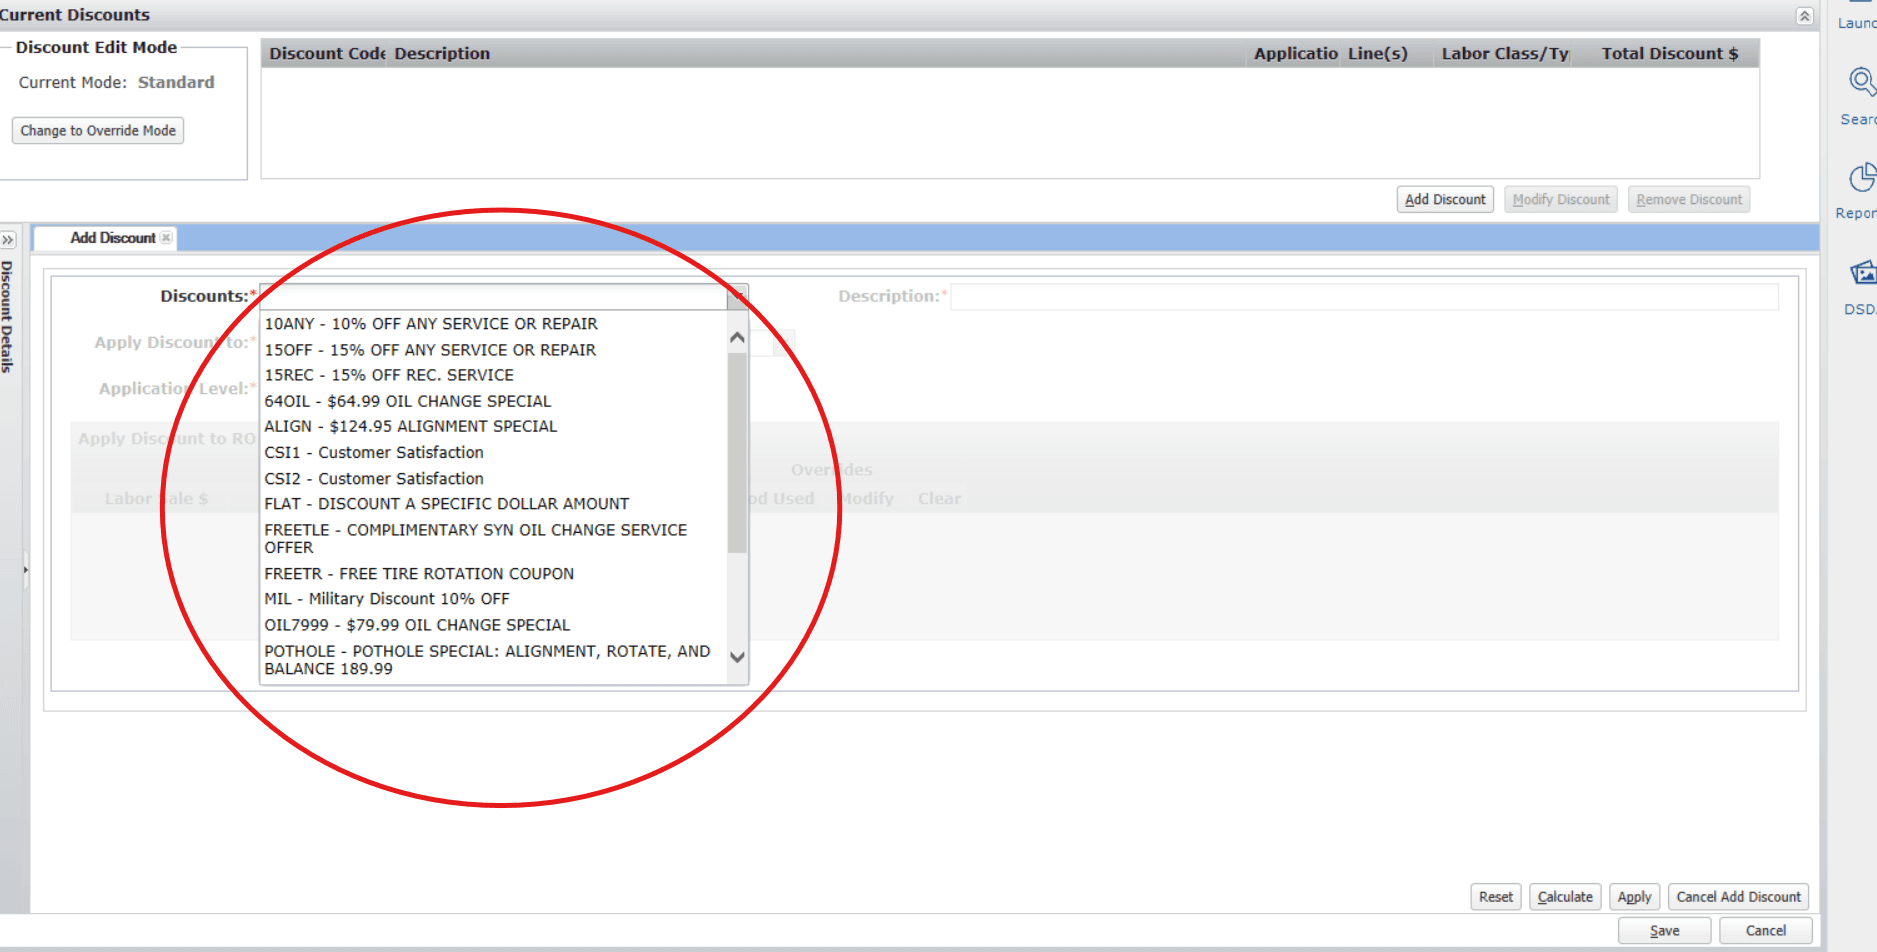
Adjusting the Sale Amount
If the flat labor amount is incorrect, manually adjust it using the Change Sale Amount (CSA) command.
CSA followed by the line letter and line number (e.g., CSA A 1).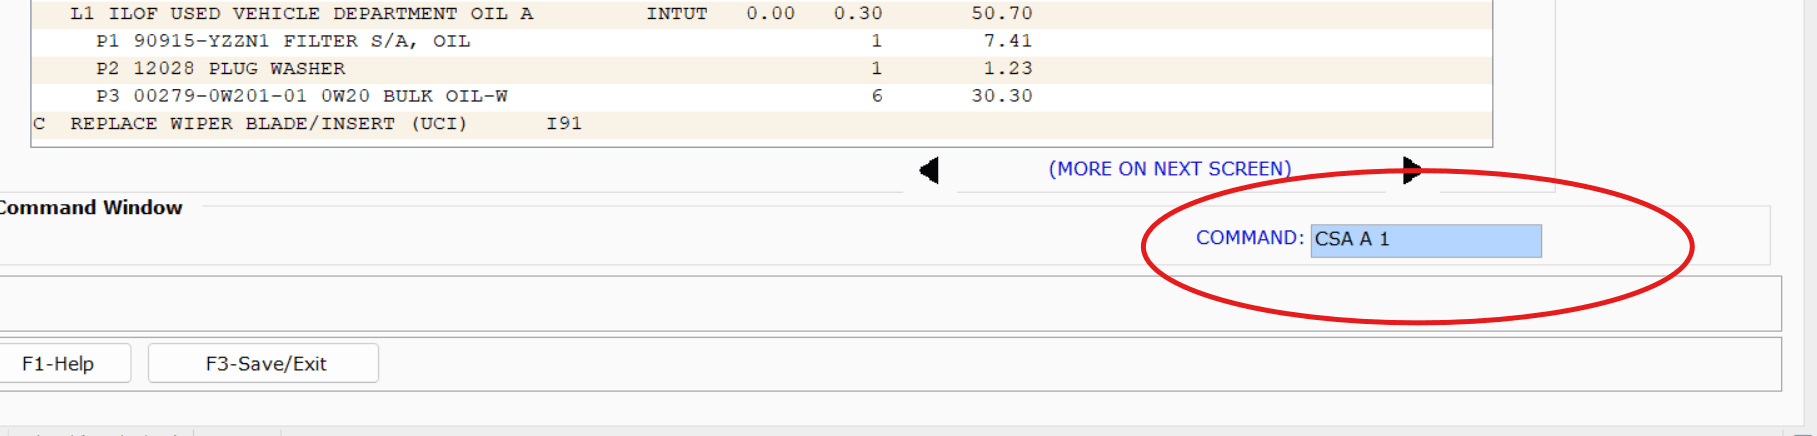
8000 or 80 depending on your system's exact formatting) and press Enter to apply.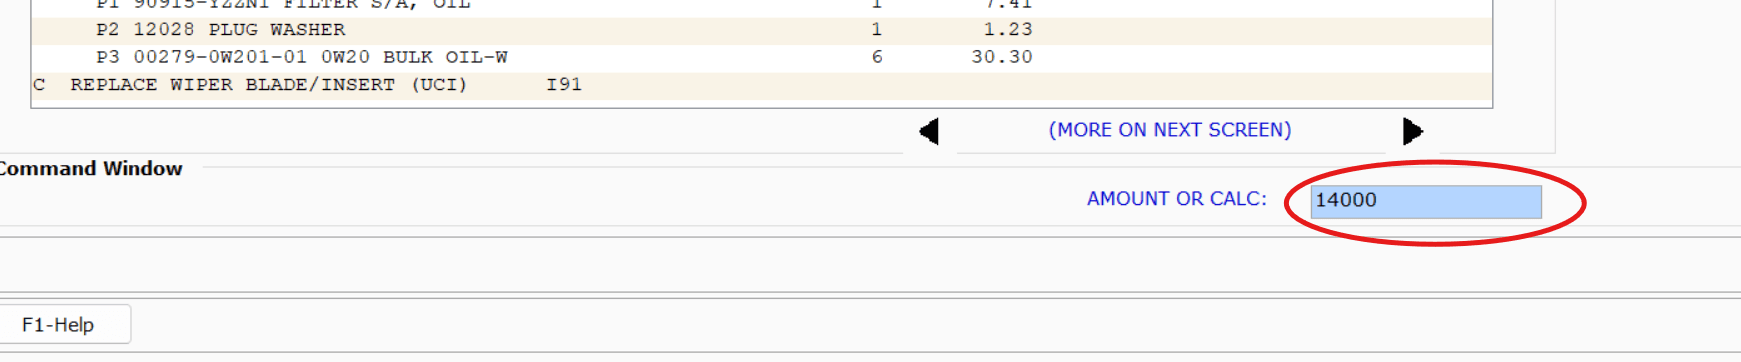
4. Add Inspection and Service Comments
To ensure warranty compliance and document services performed properly, you may need to add notes to specific lines.
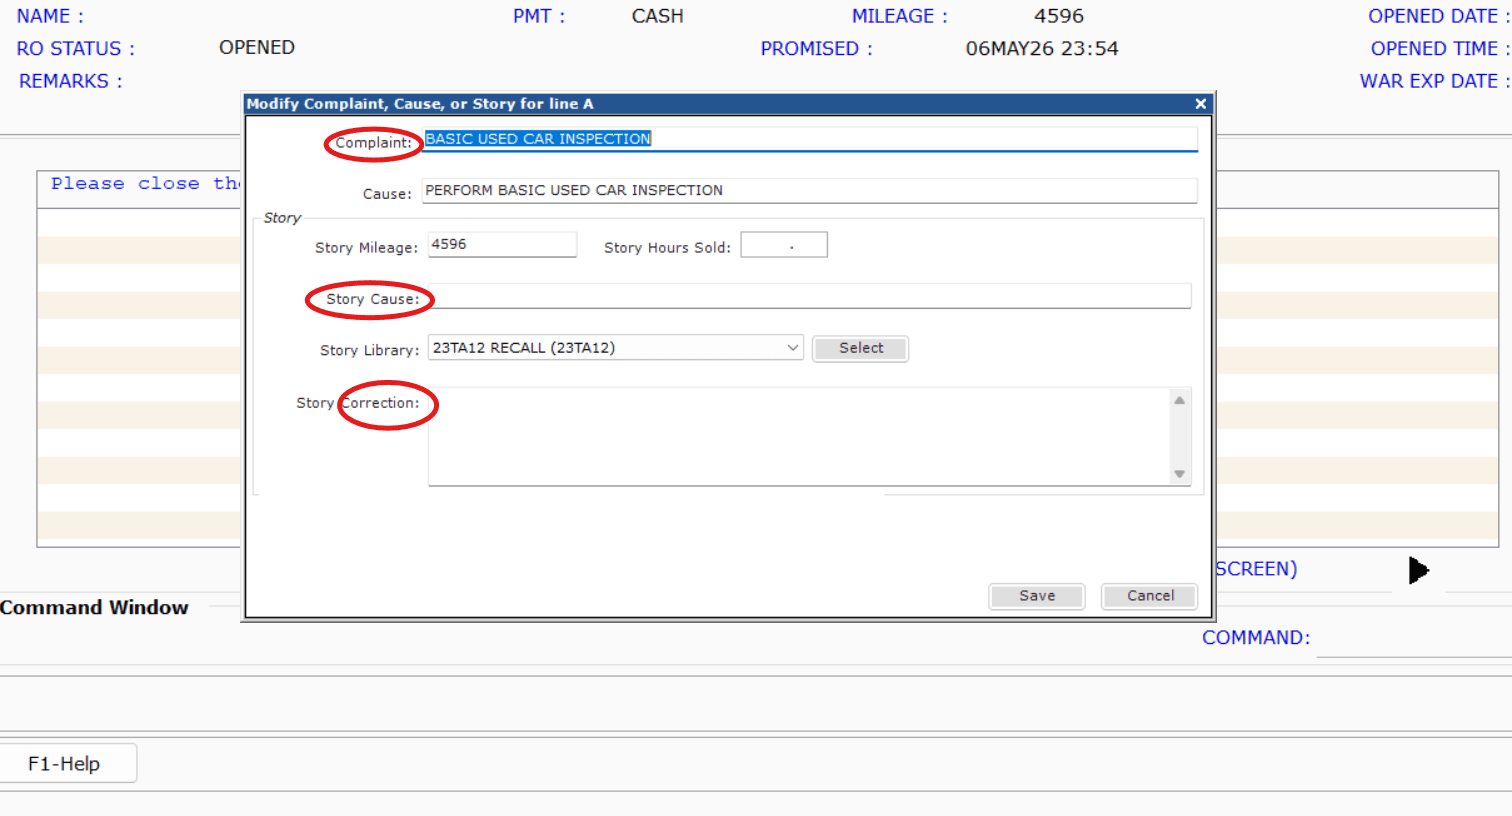
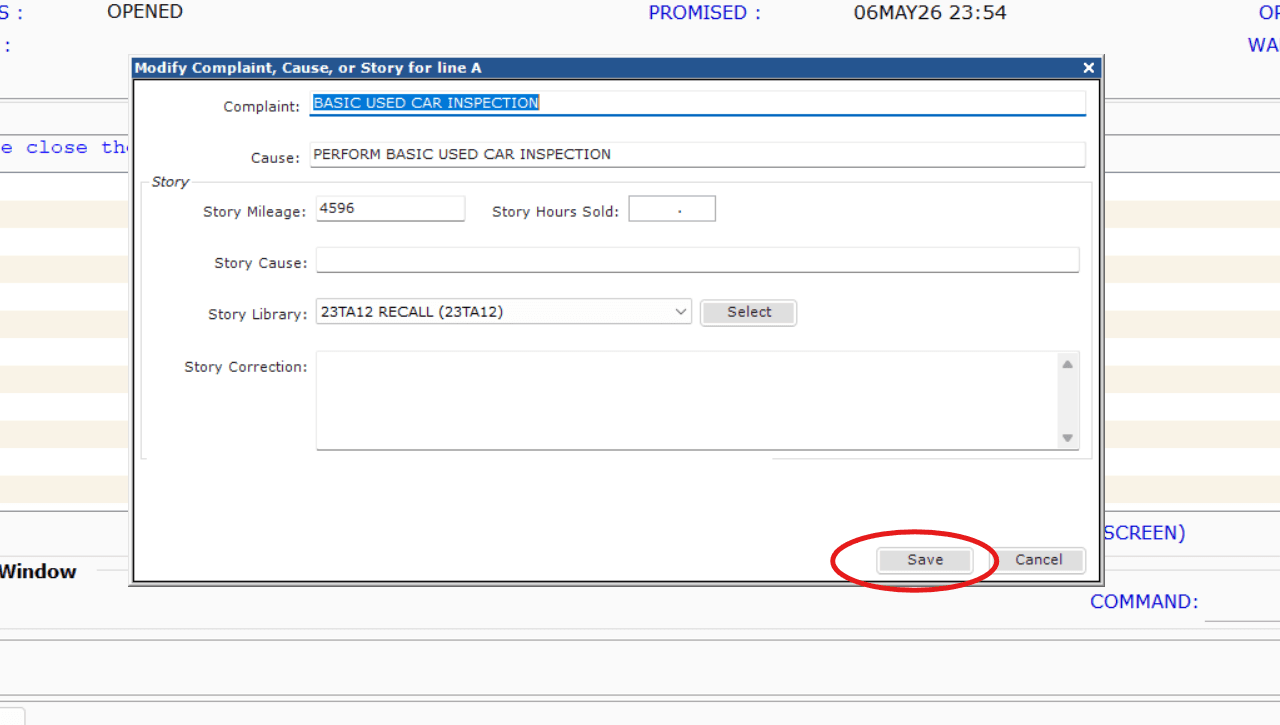
CCC followed by a space and the line letter (e.g., CCC A) to open the comments window.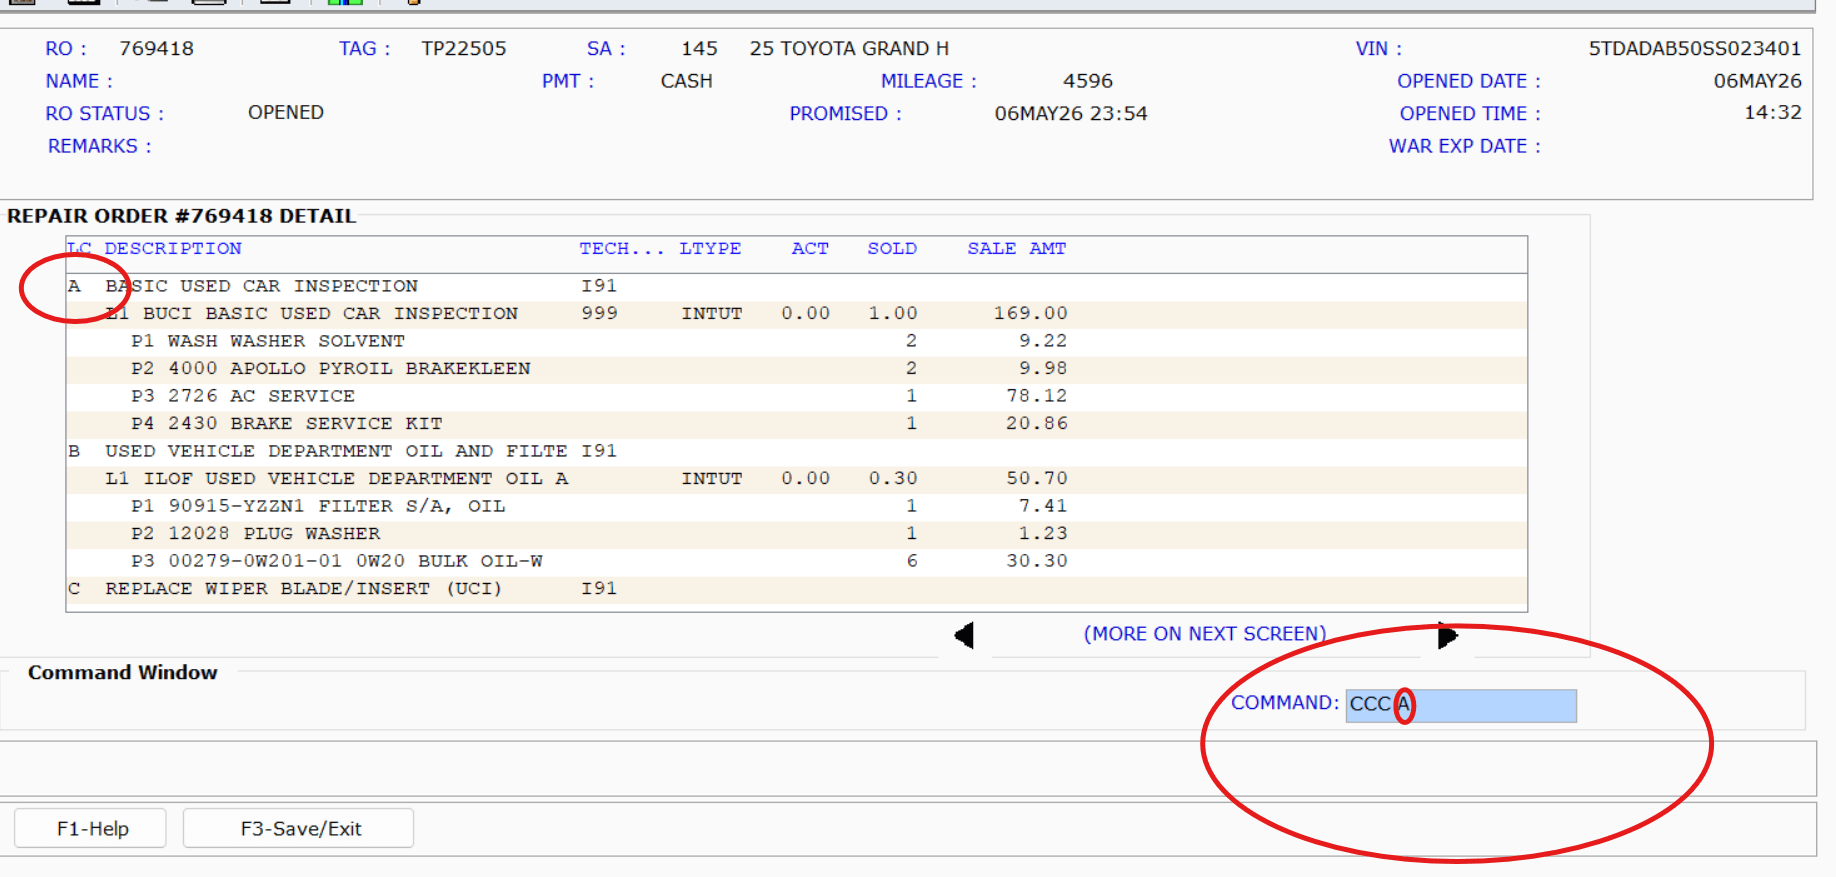
5. Print and Finalize the RO
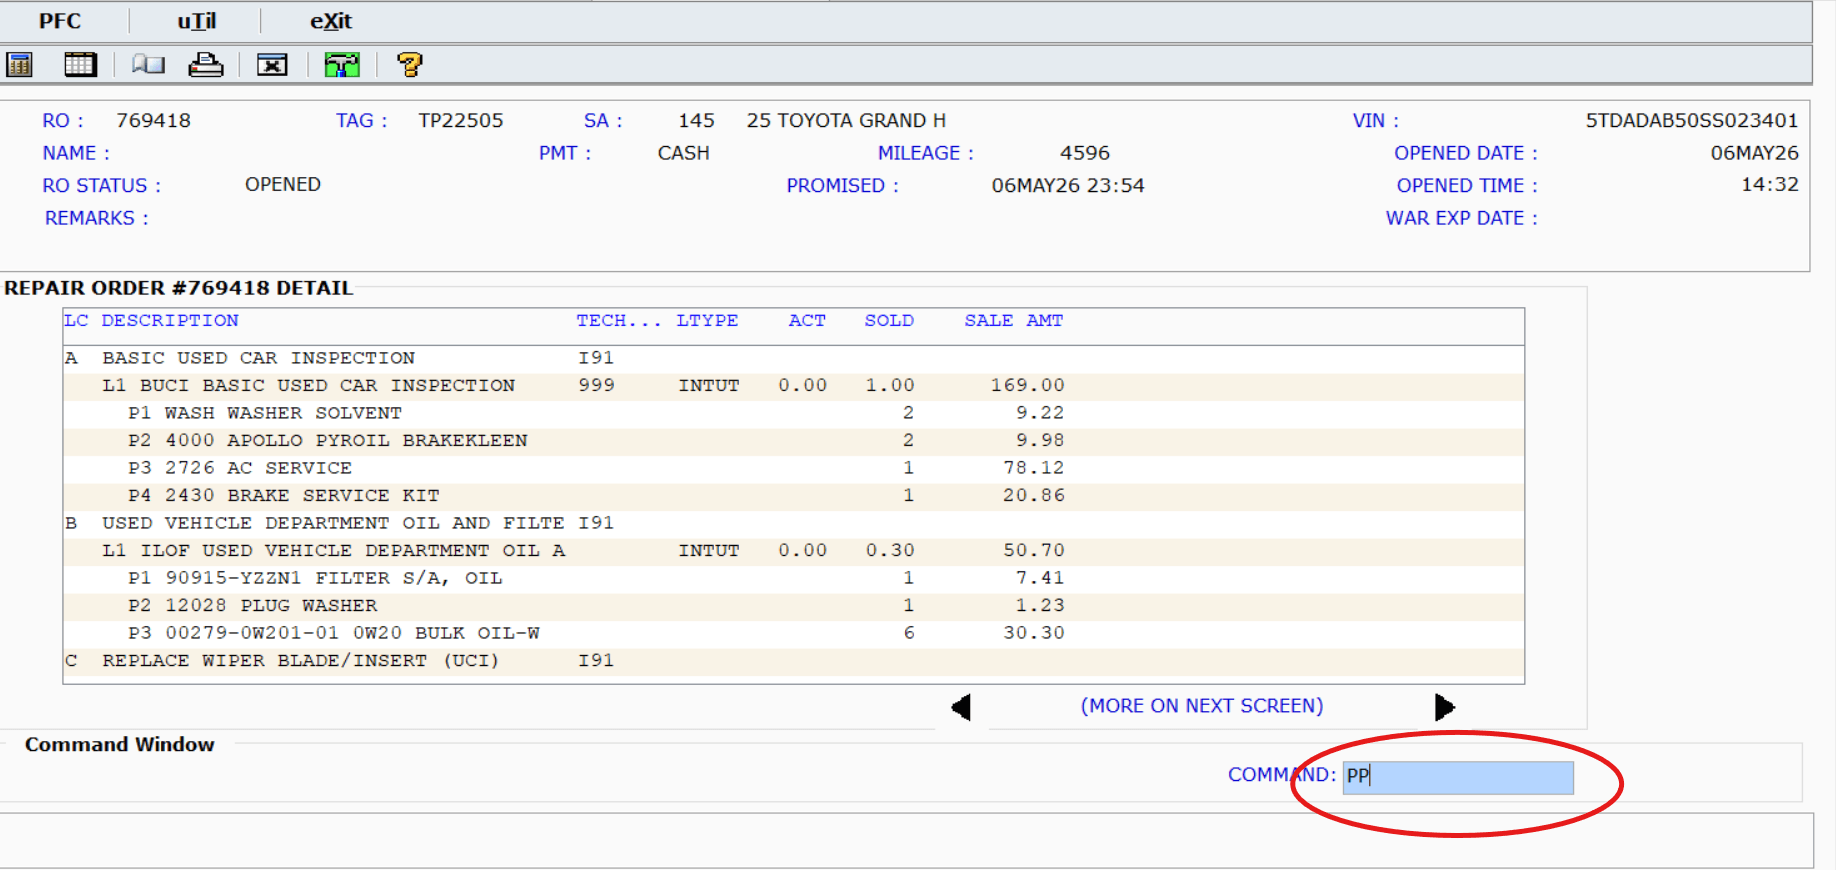
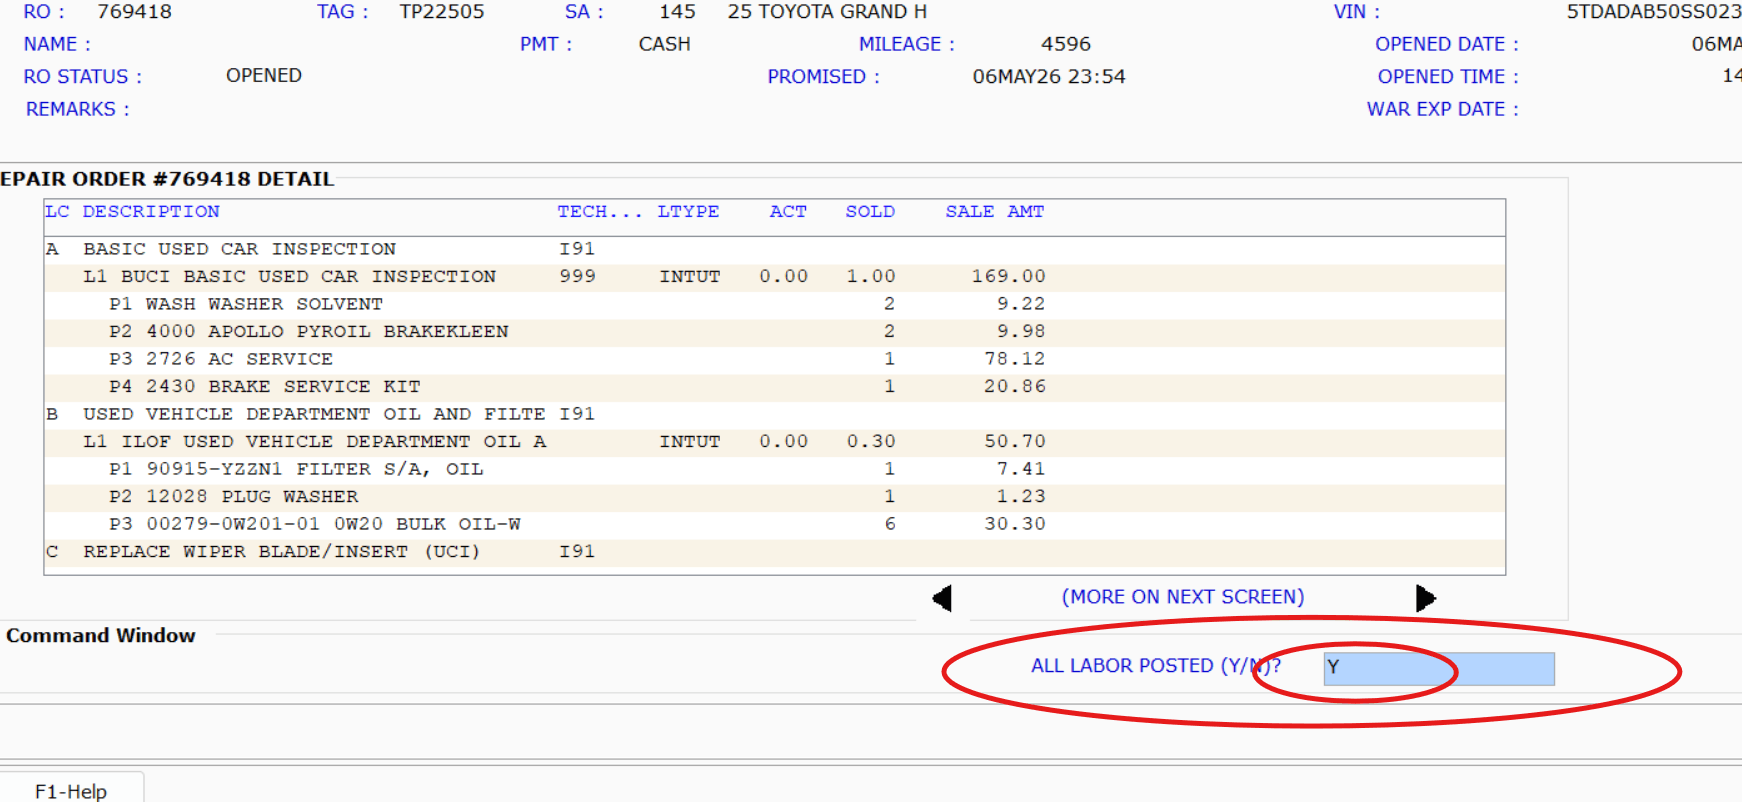
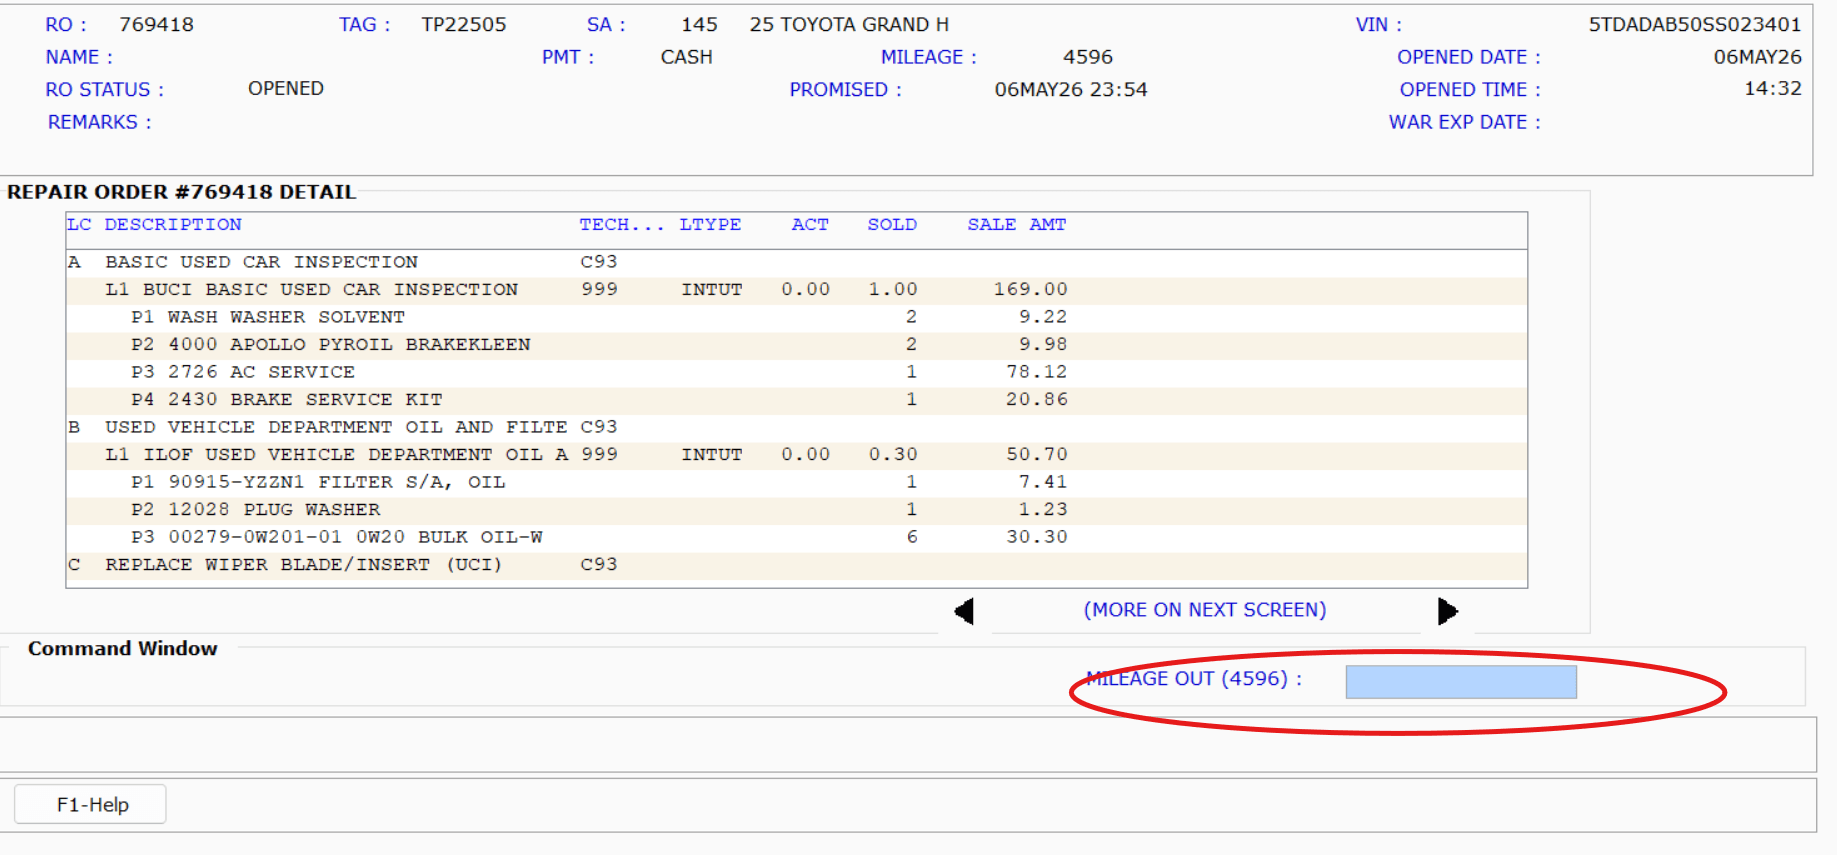
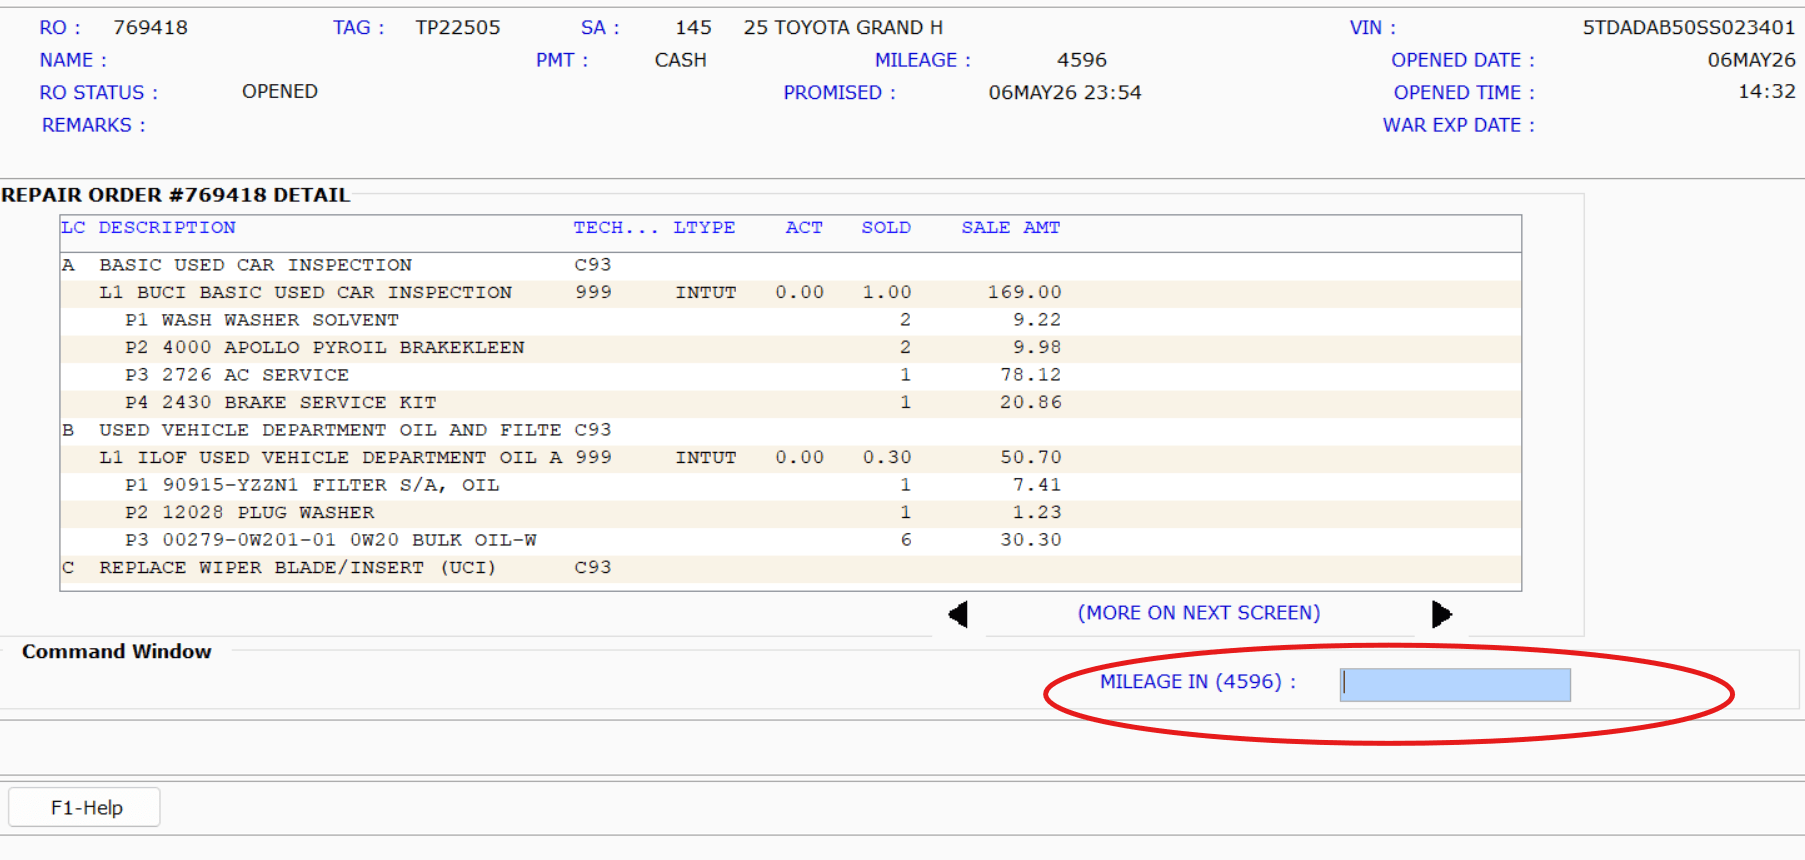
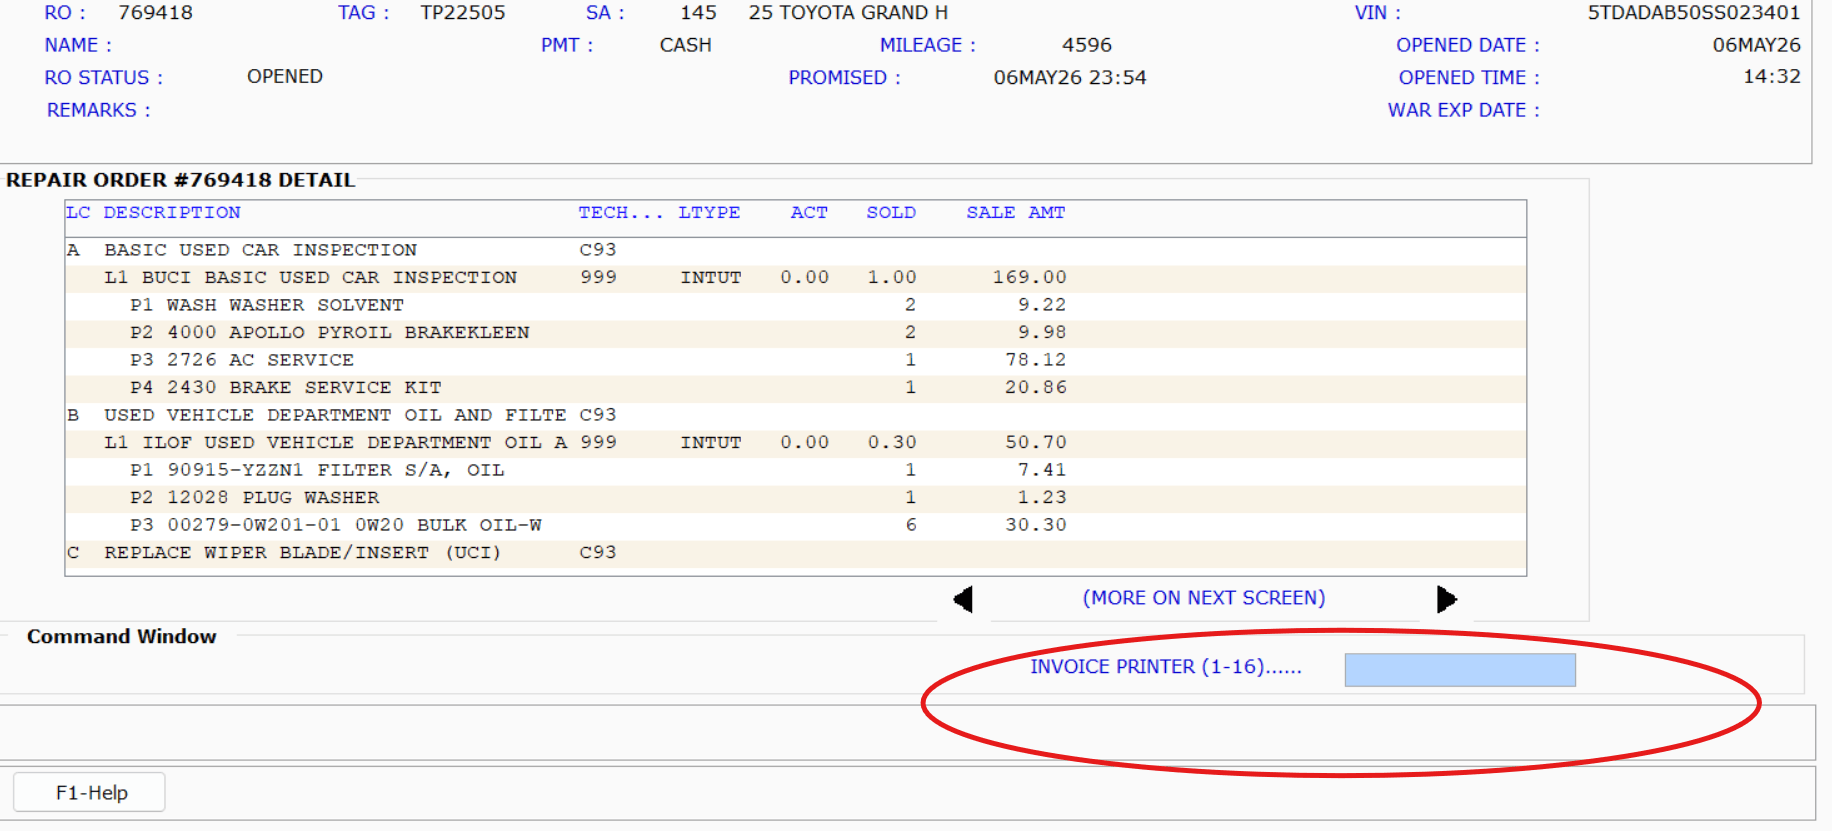
Once every line is closed, discounted, and documented, you are ready to print the final invoice.
PP at the command prompt and press Enter to initiate the printing process.