
Comprehensive Guide to Using the Login Software Dashboard
Learn how to navigate and utilize the login software dashboard, including managing safeguarding cases, staff, users, and monitoring risk trends. Perfect for client explanations and onboarding.
In this guide, we'll learn how to use the dashboard for the login software to manage locations, safeguardings, forms, wounds, and infections. We will also cover how to view and update records, track risk trends, and manage staff and user accounts. This will help you understand how to navigate the system and keep your service information up to date.
Let's get started
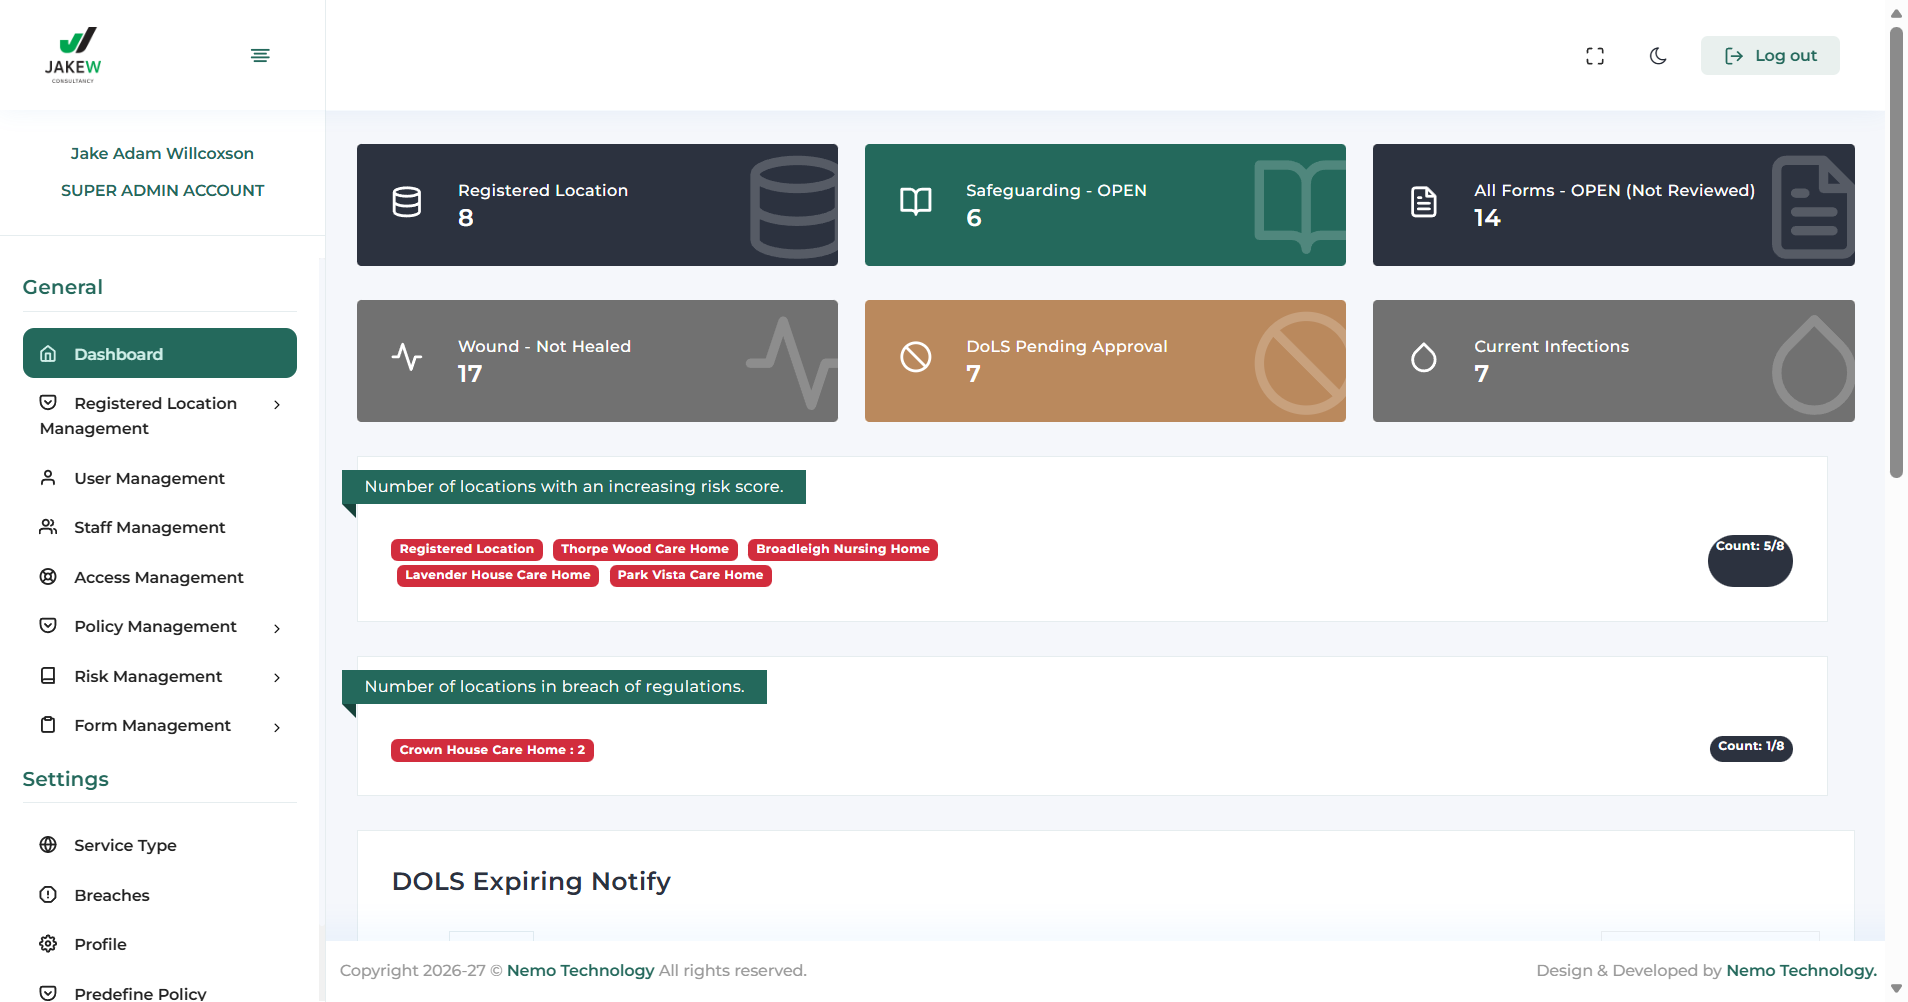
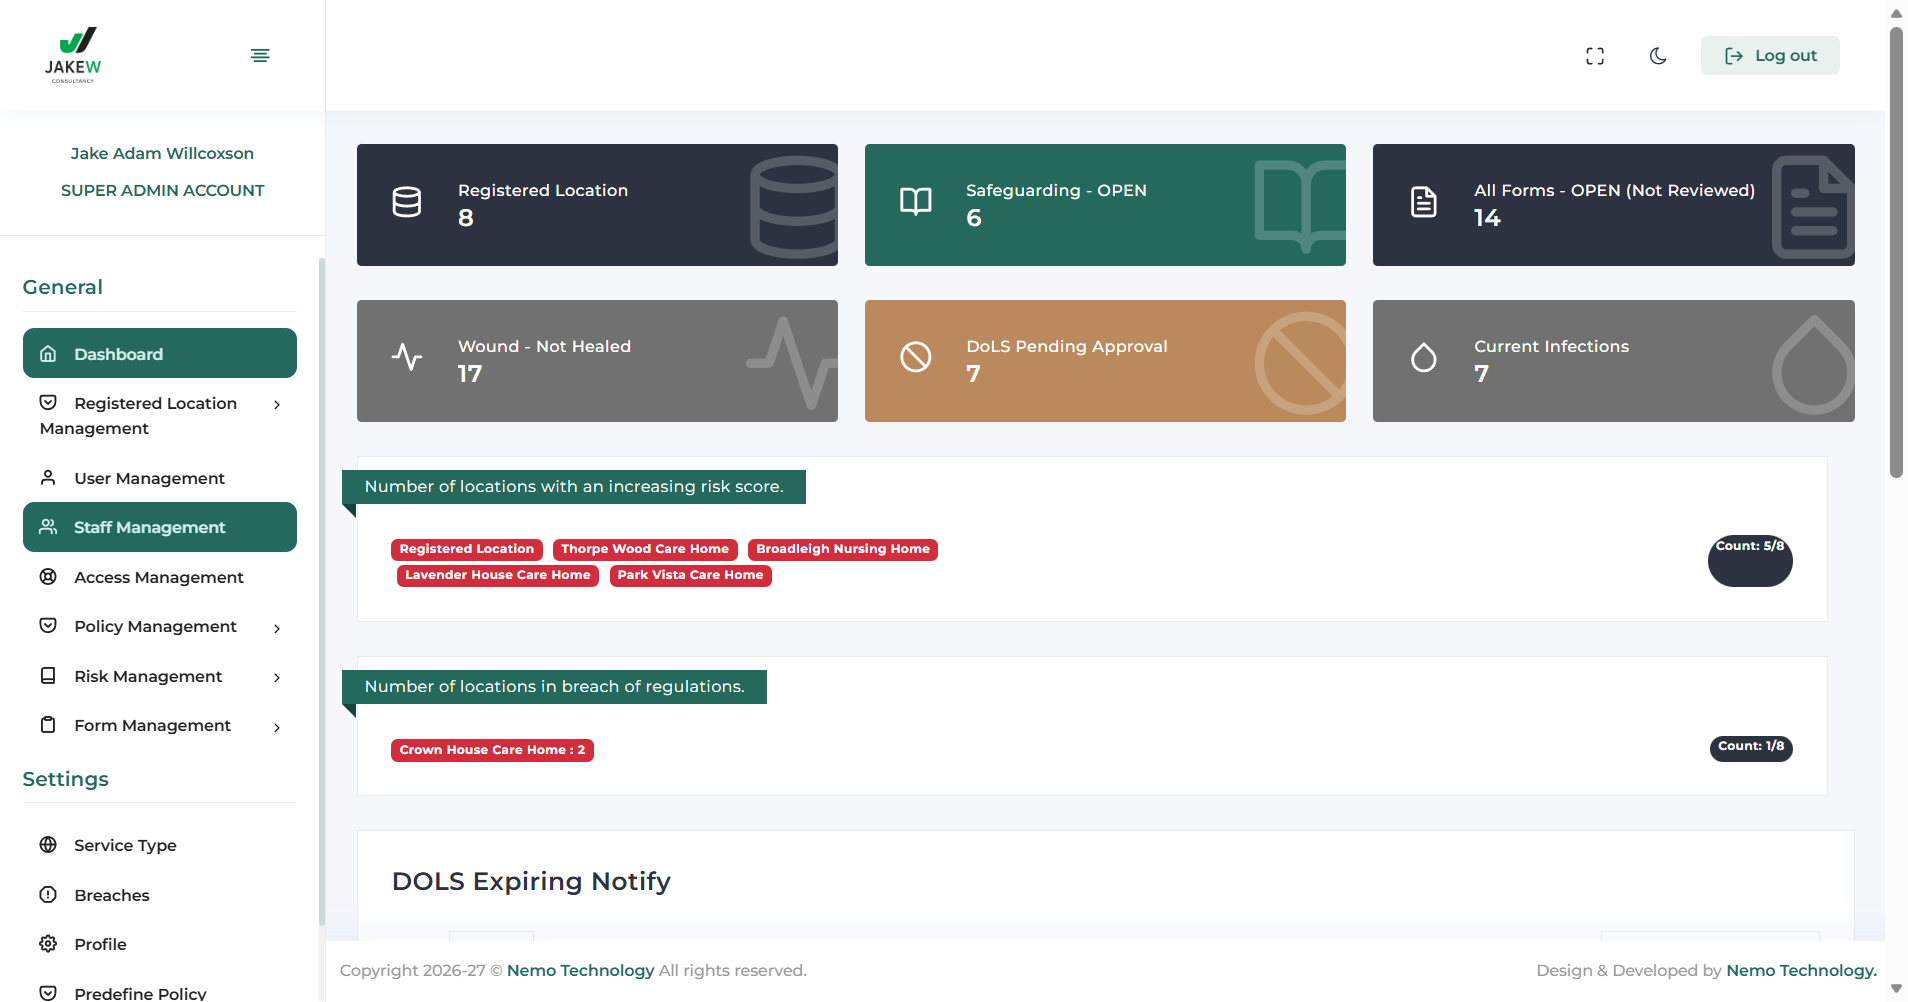
This is our dashboard for the login software. Use it if you need to explain anything to clients. This shows how many registered locations we have or they have. This shows how many safeguarding cases they have open. This shows how many forms have been submitted but not yet reviewed by managers. Shows how many wounds are unhealed, how many tasks are pending completion, and how many current infections a service has.
When I click on them, a list of open safeguardings appears.

This will bring up the list of forms themselves - I can view it by clicking there, edit to update it, or download the form. If I click on the yellow eye, they can view the completed form with all the information.
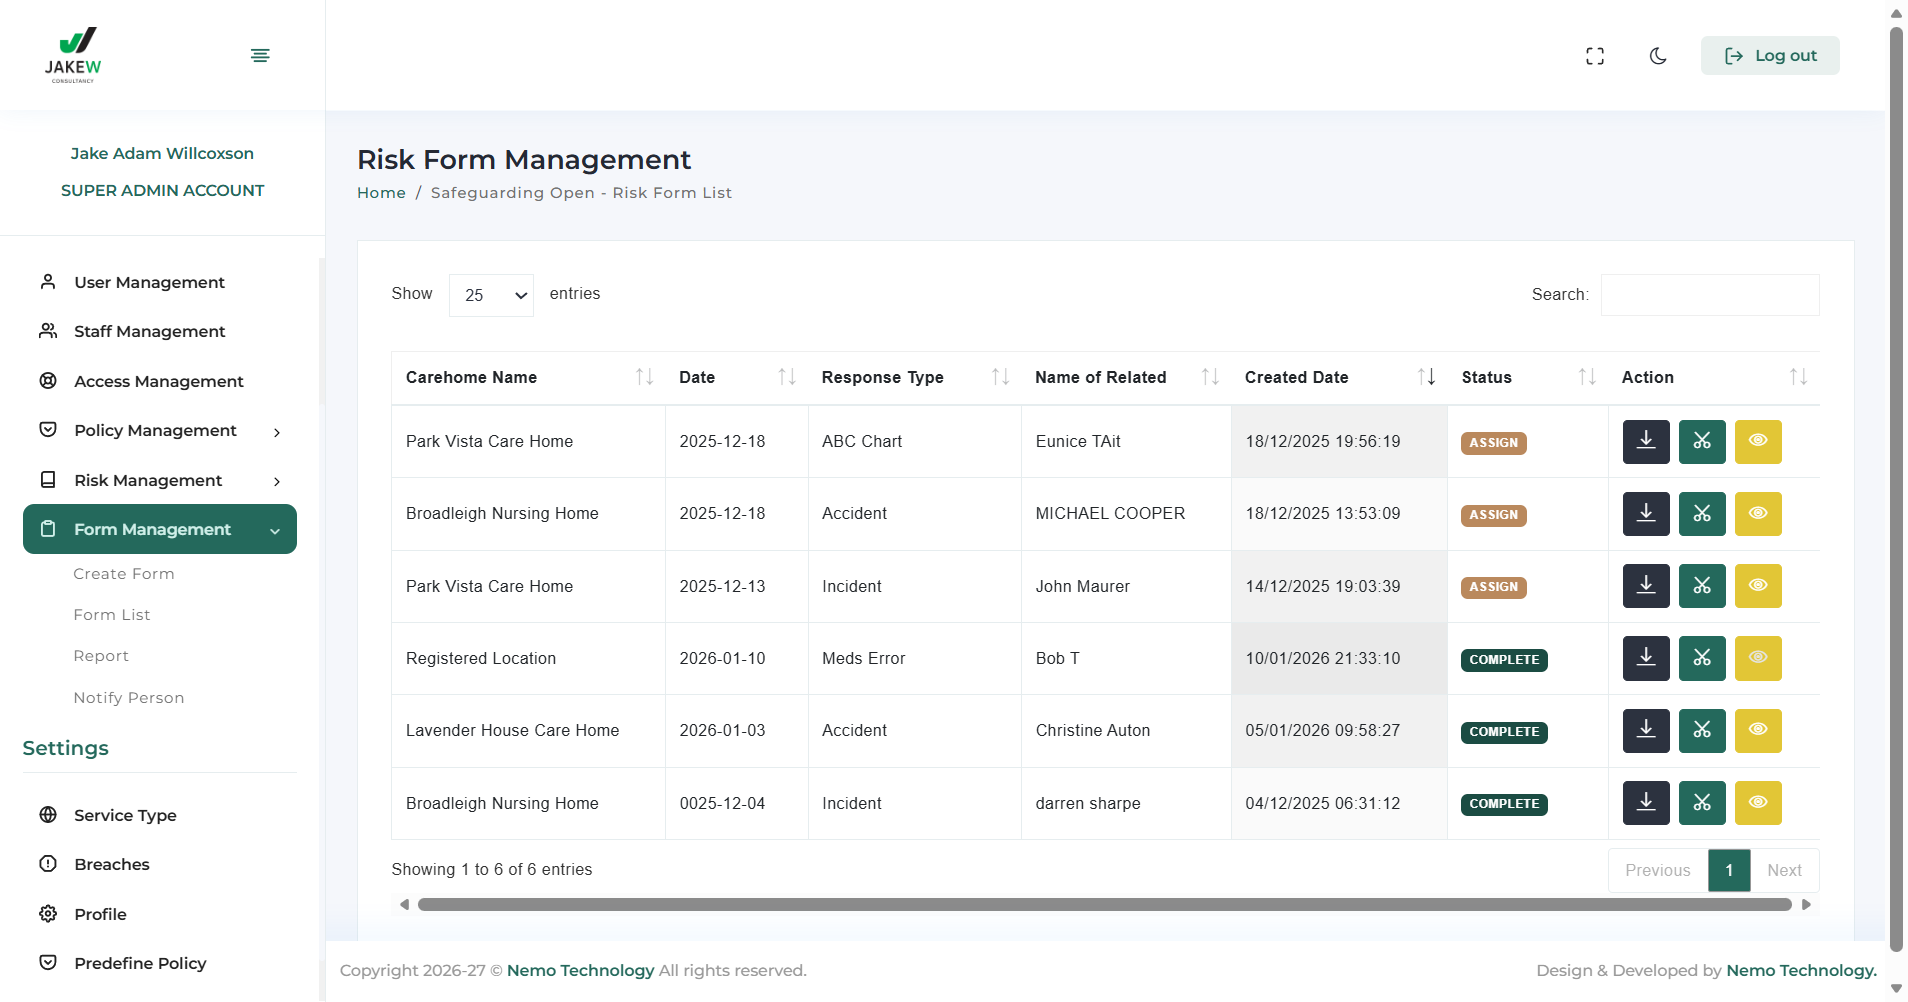
Then able to review the form and click back to dashboard

They can view the services that have an increased risk score.
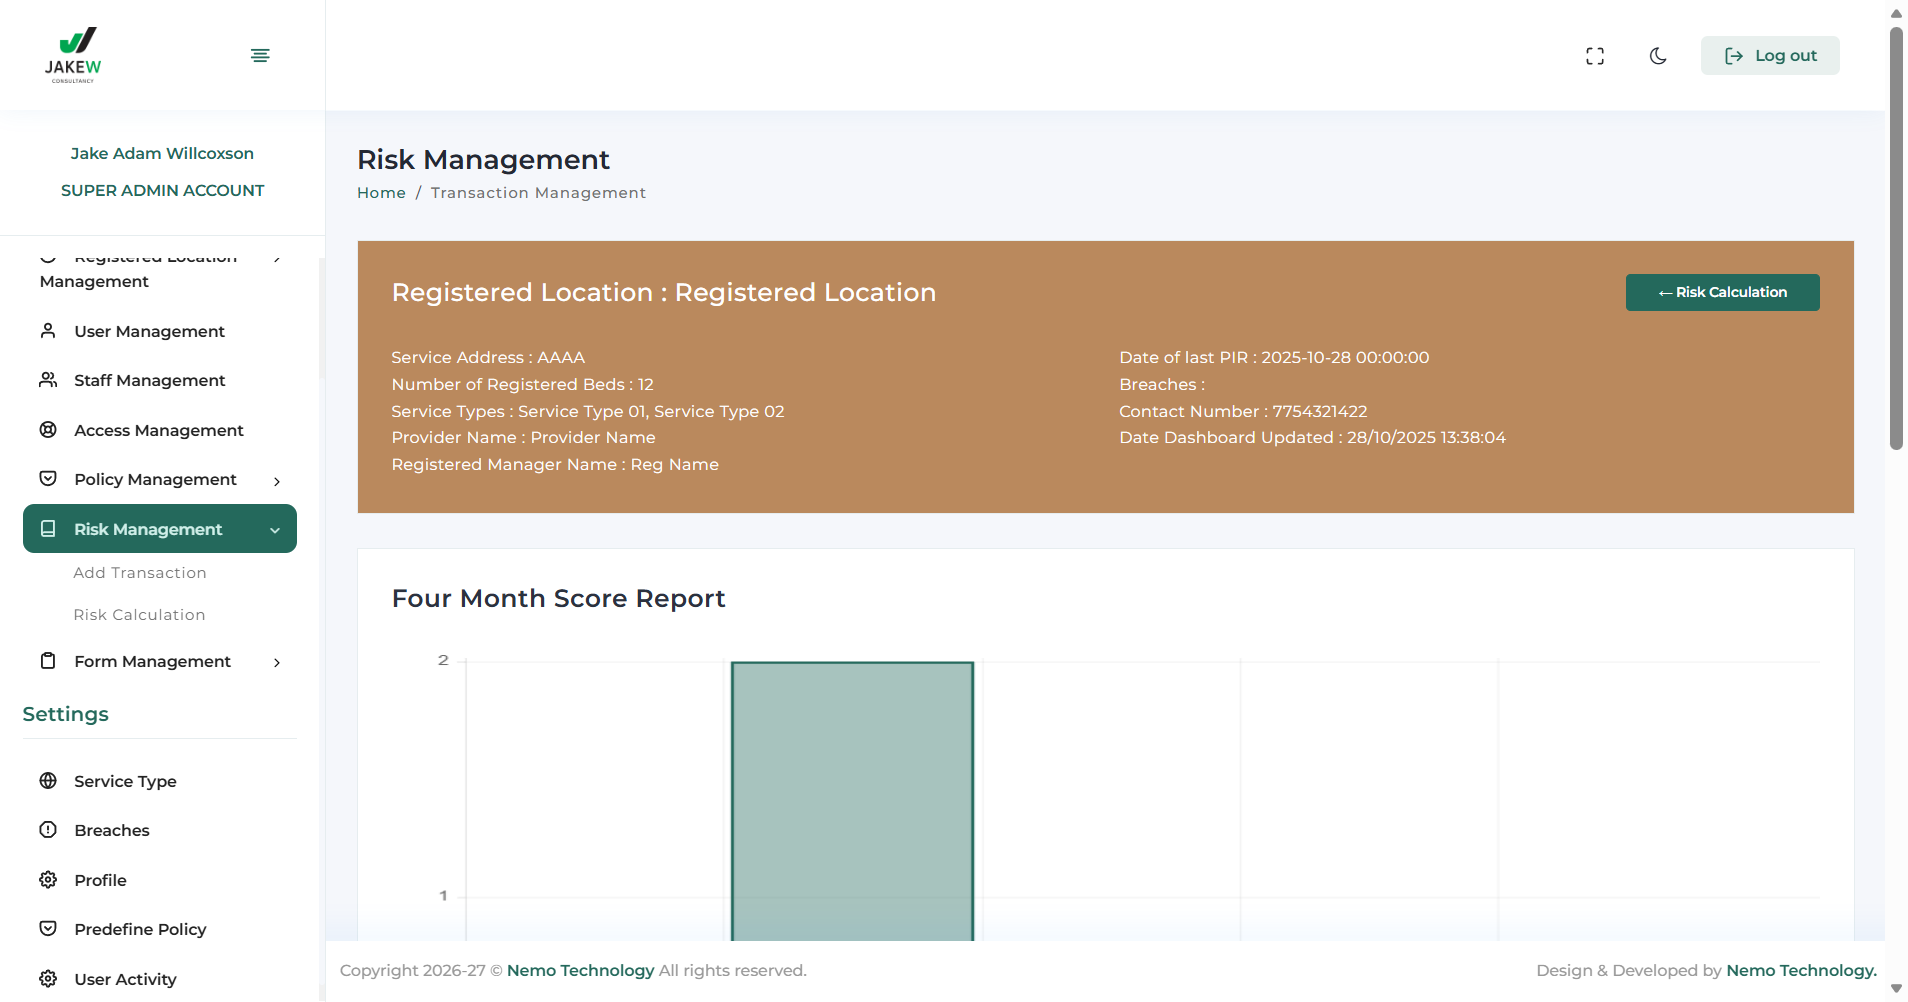
They can click on the sections, such as Safeguarding which will display the chart. This allows them to see trends over several months.

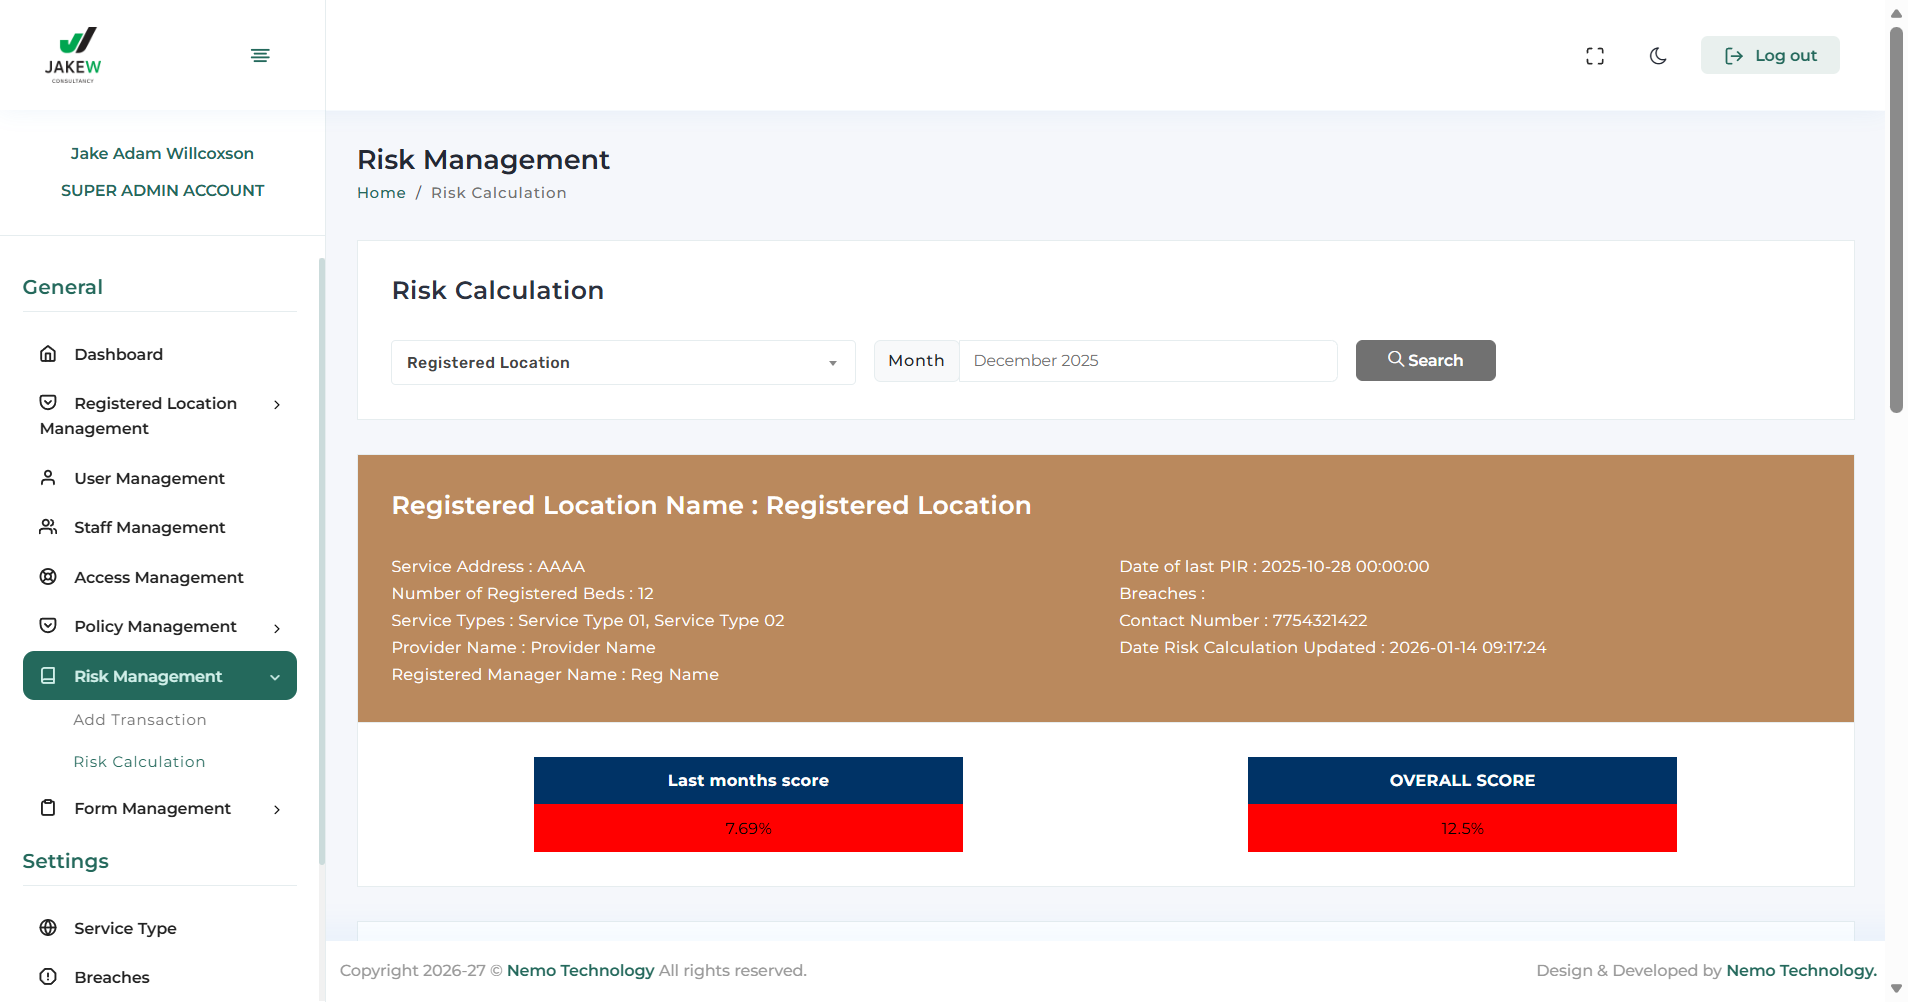
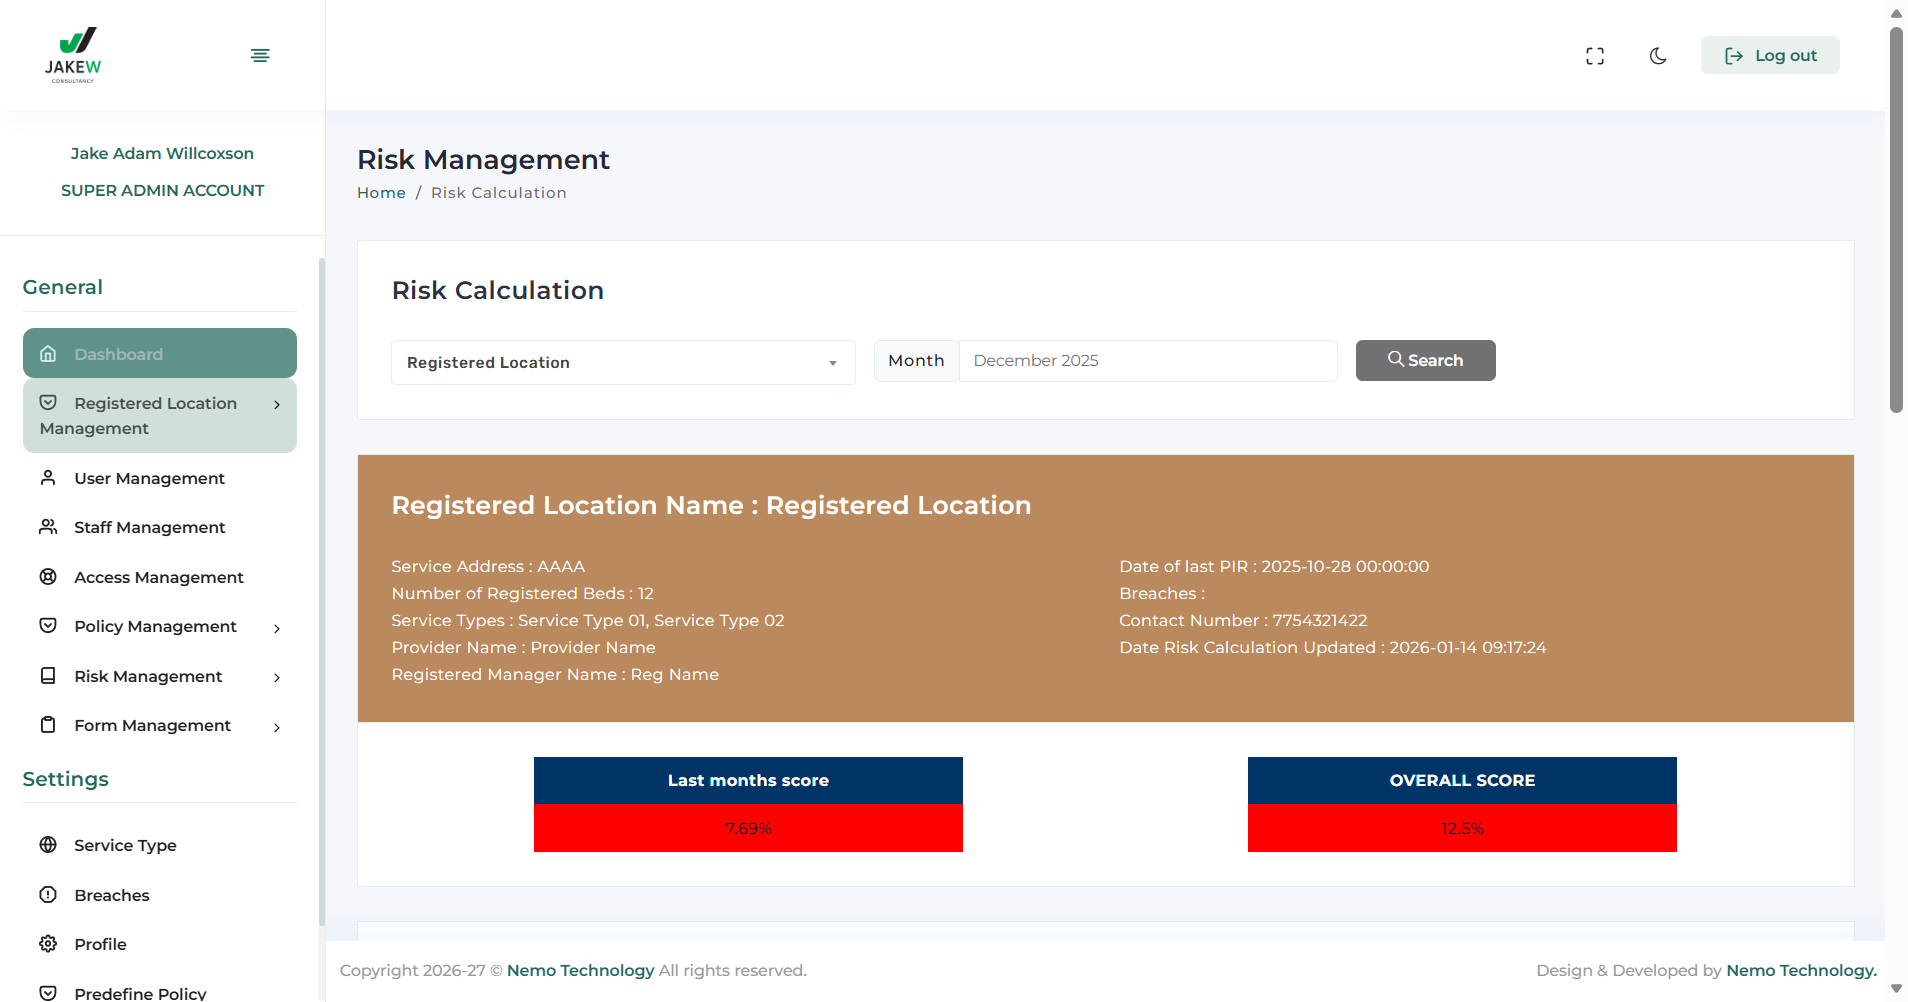
They can click here to return to risk calculation. This will display their overall monthly score, any data the system has captured, the date of the last PIR, and other registration details.
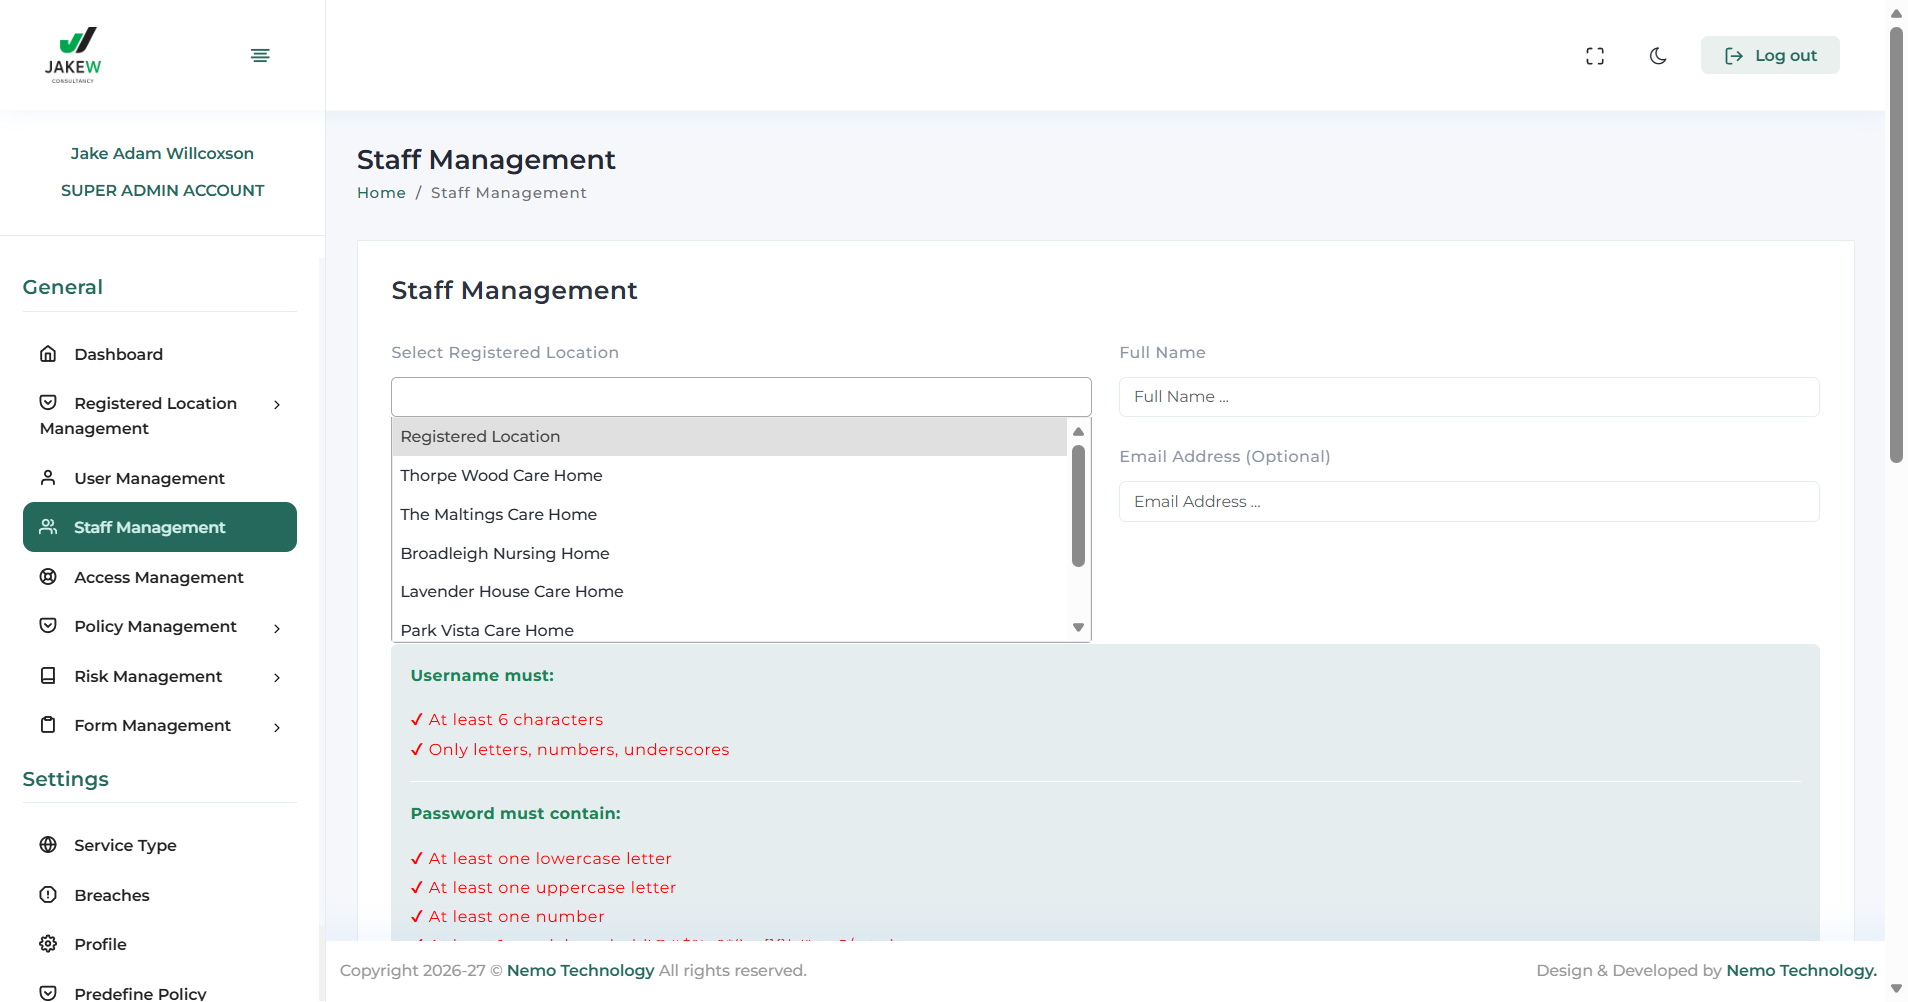
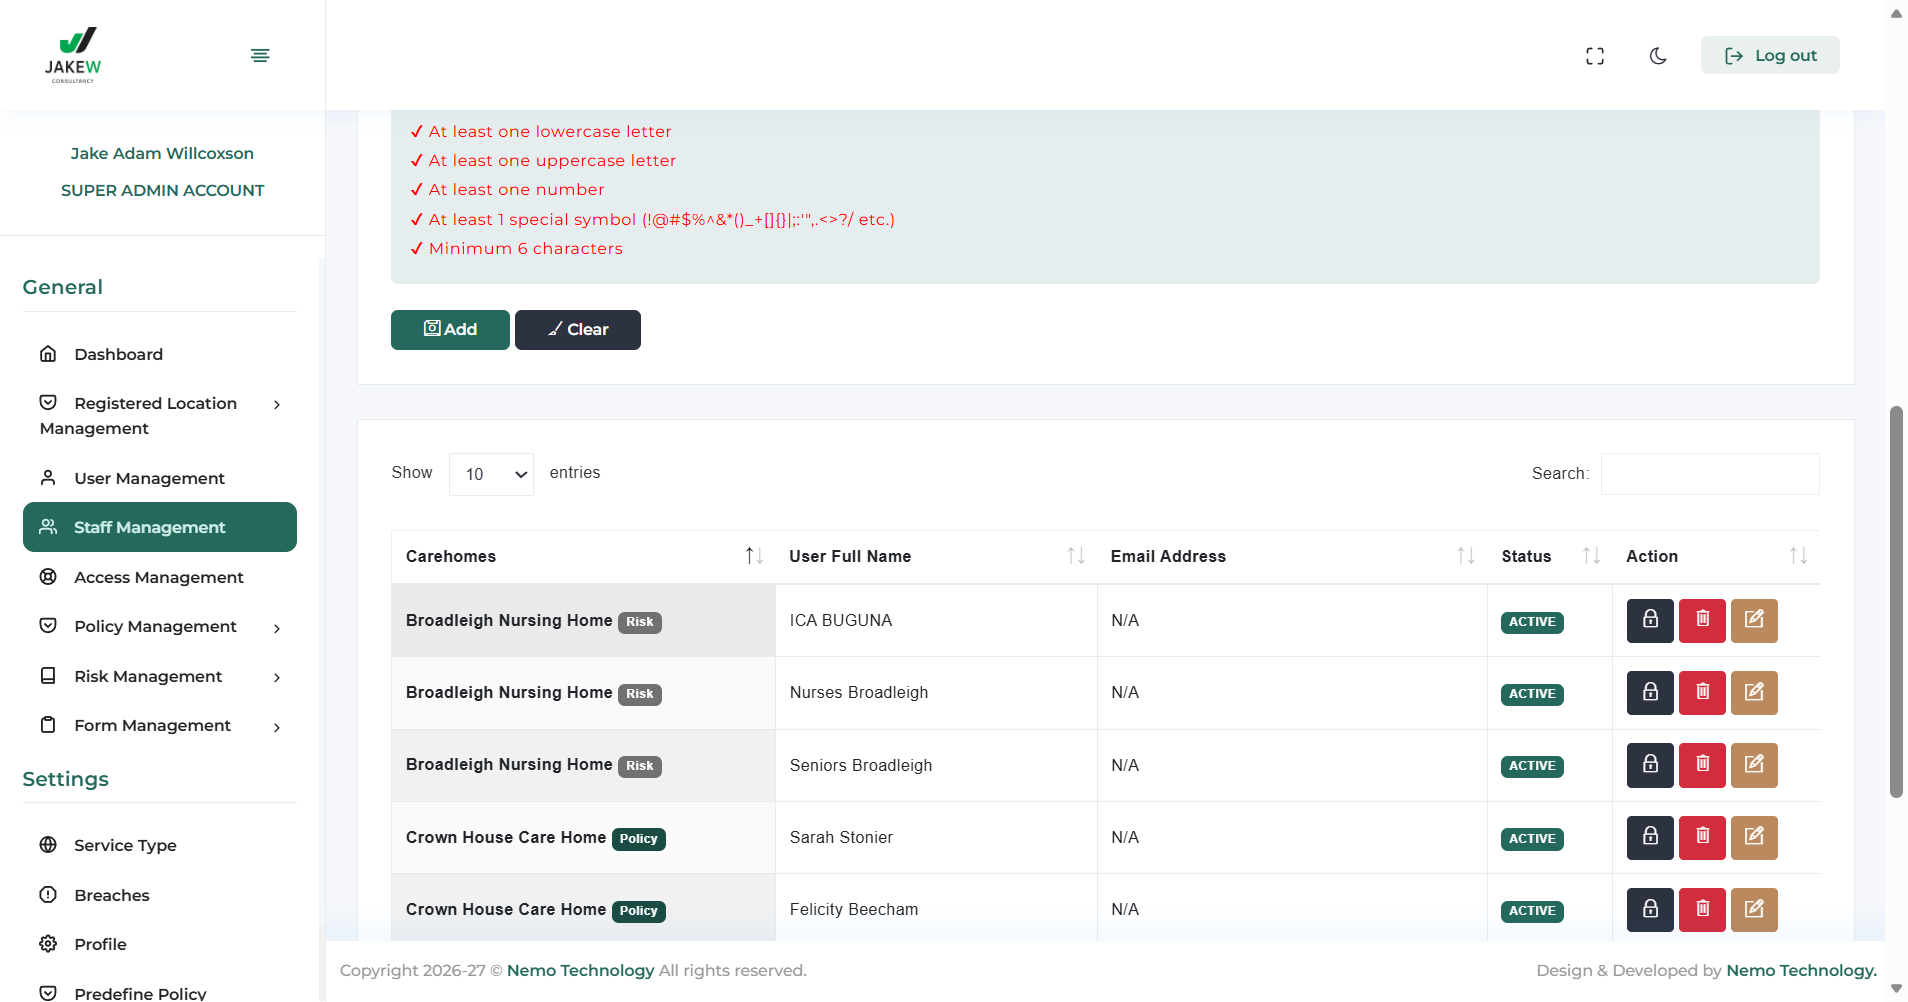
To add staff to the system, clients should click on Staff Management.
Select their location. Enter the staff member's name. Choose whether they need access to raise forms and view policies, only view policies, or just access policies.
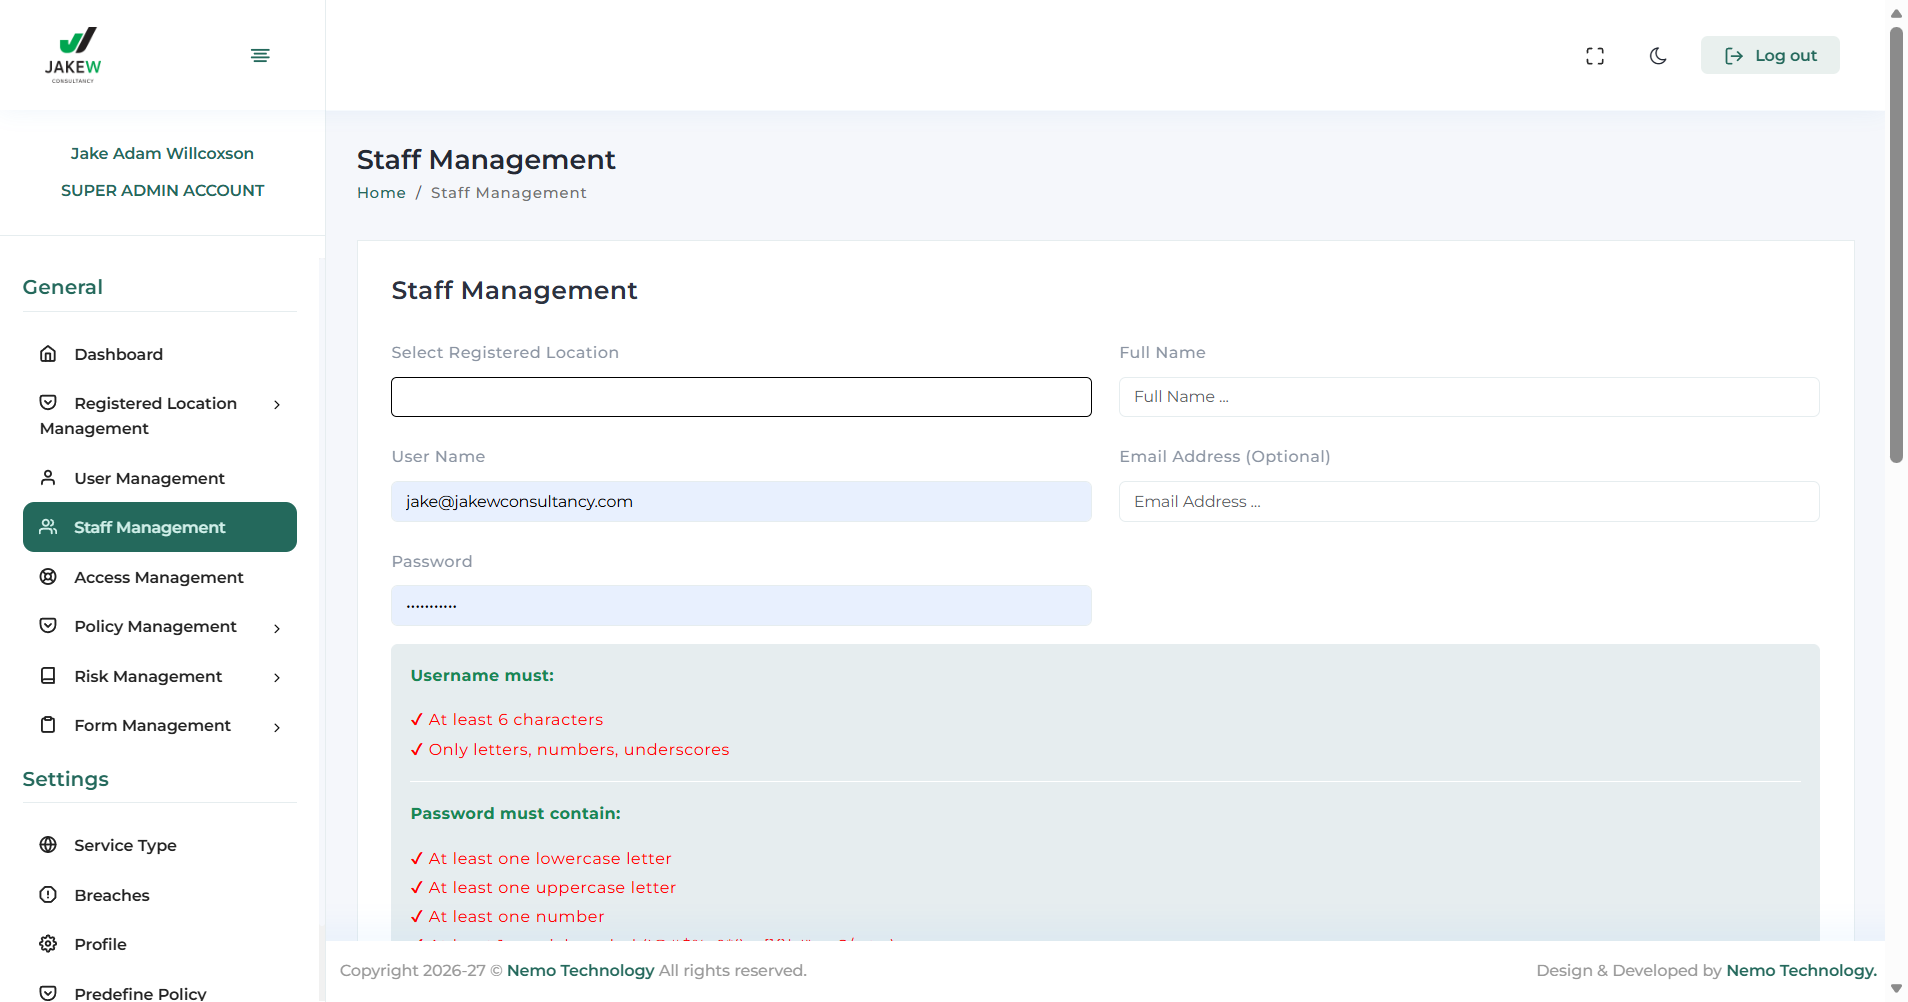
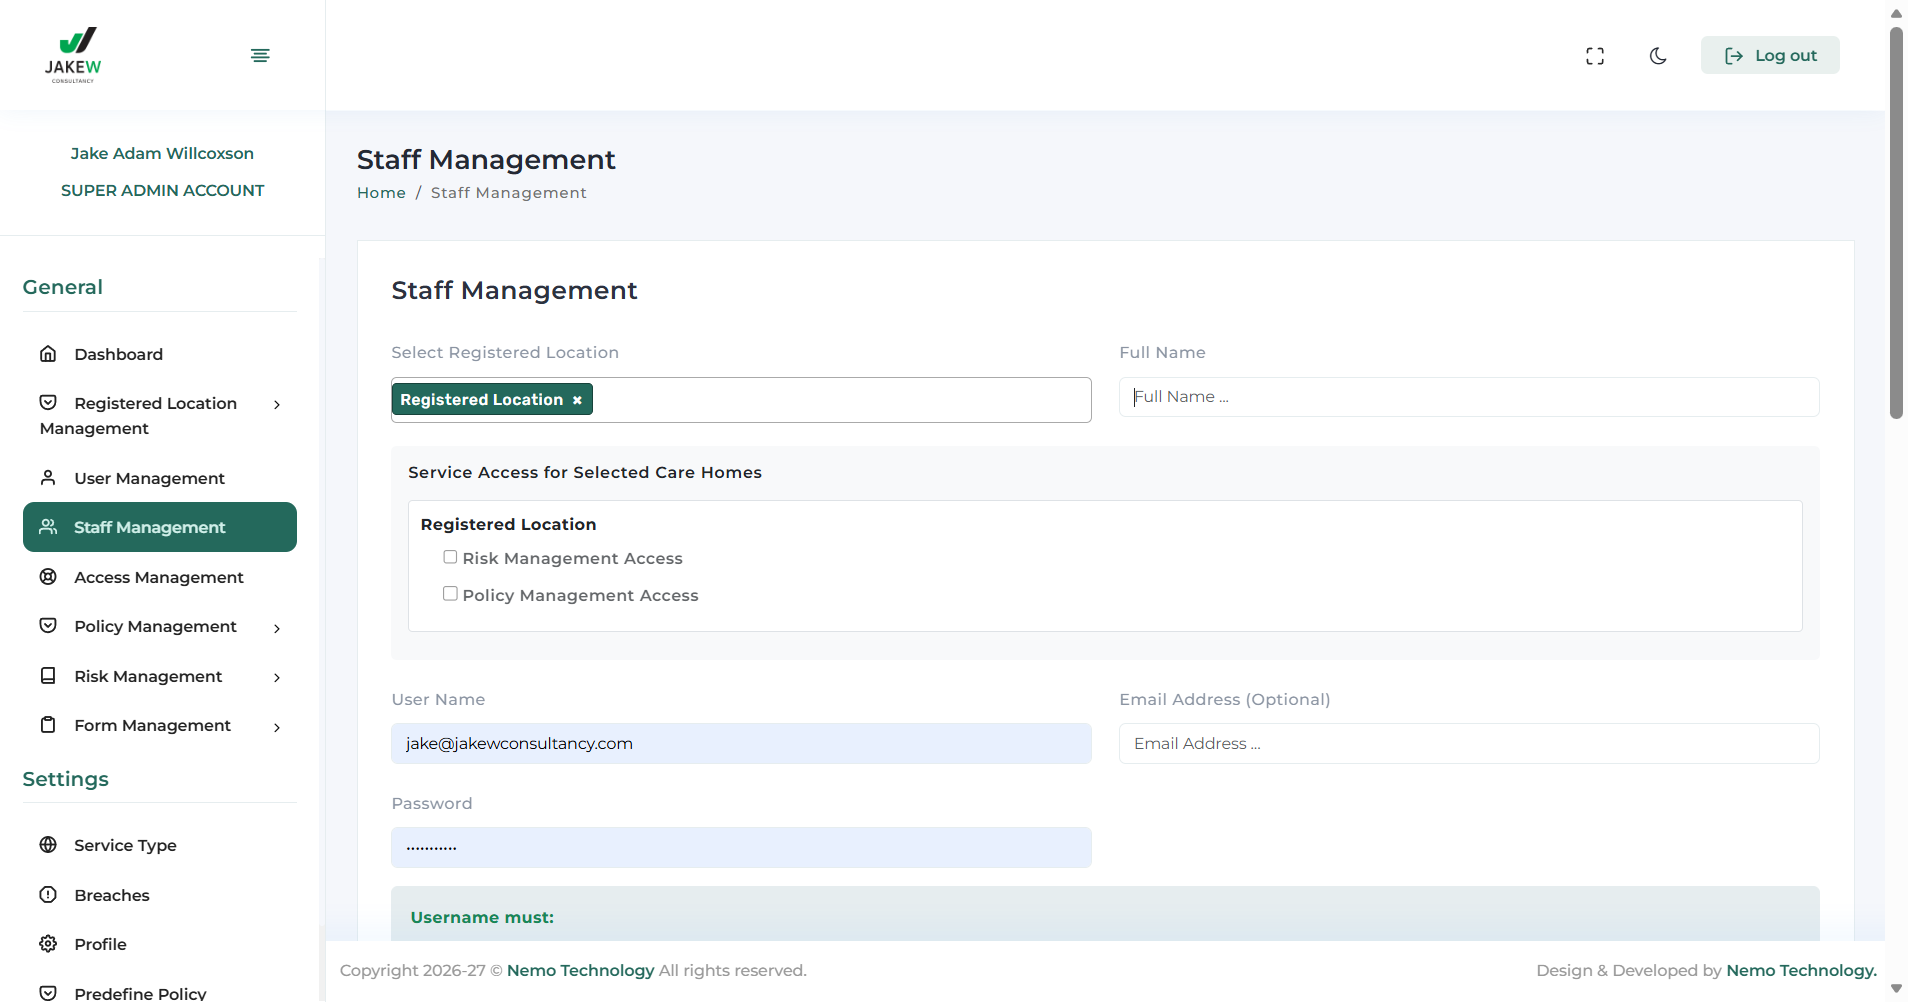
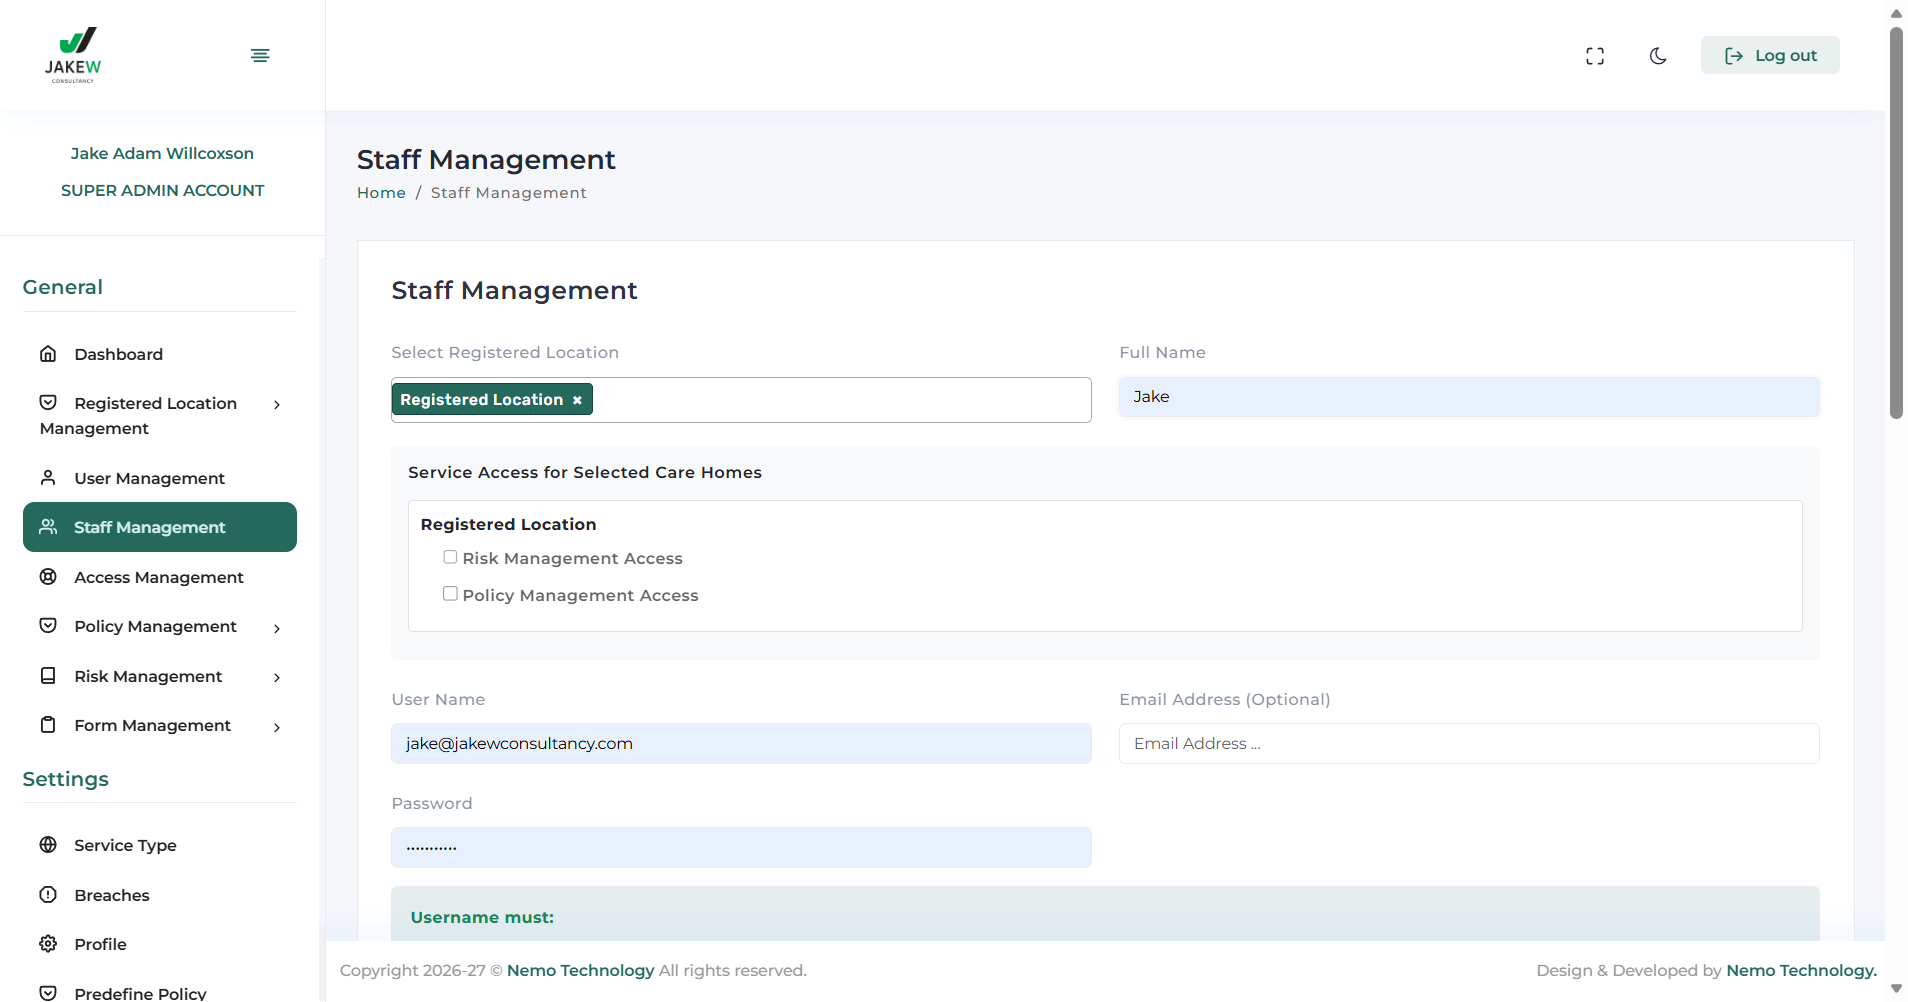
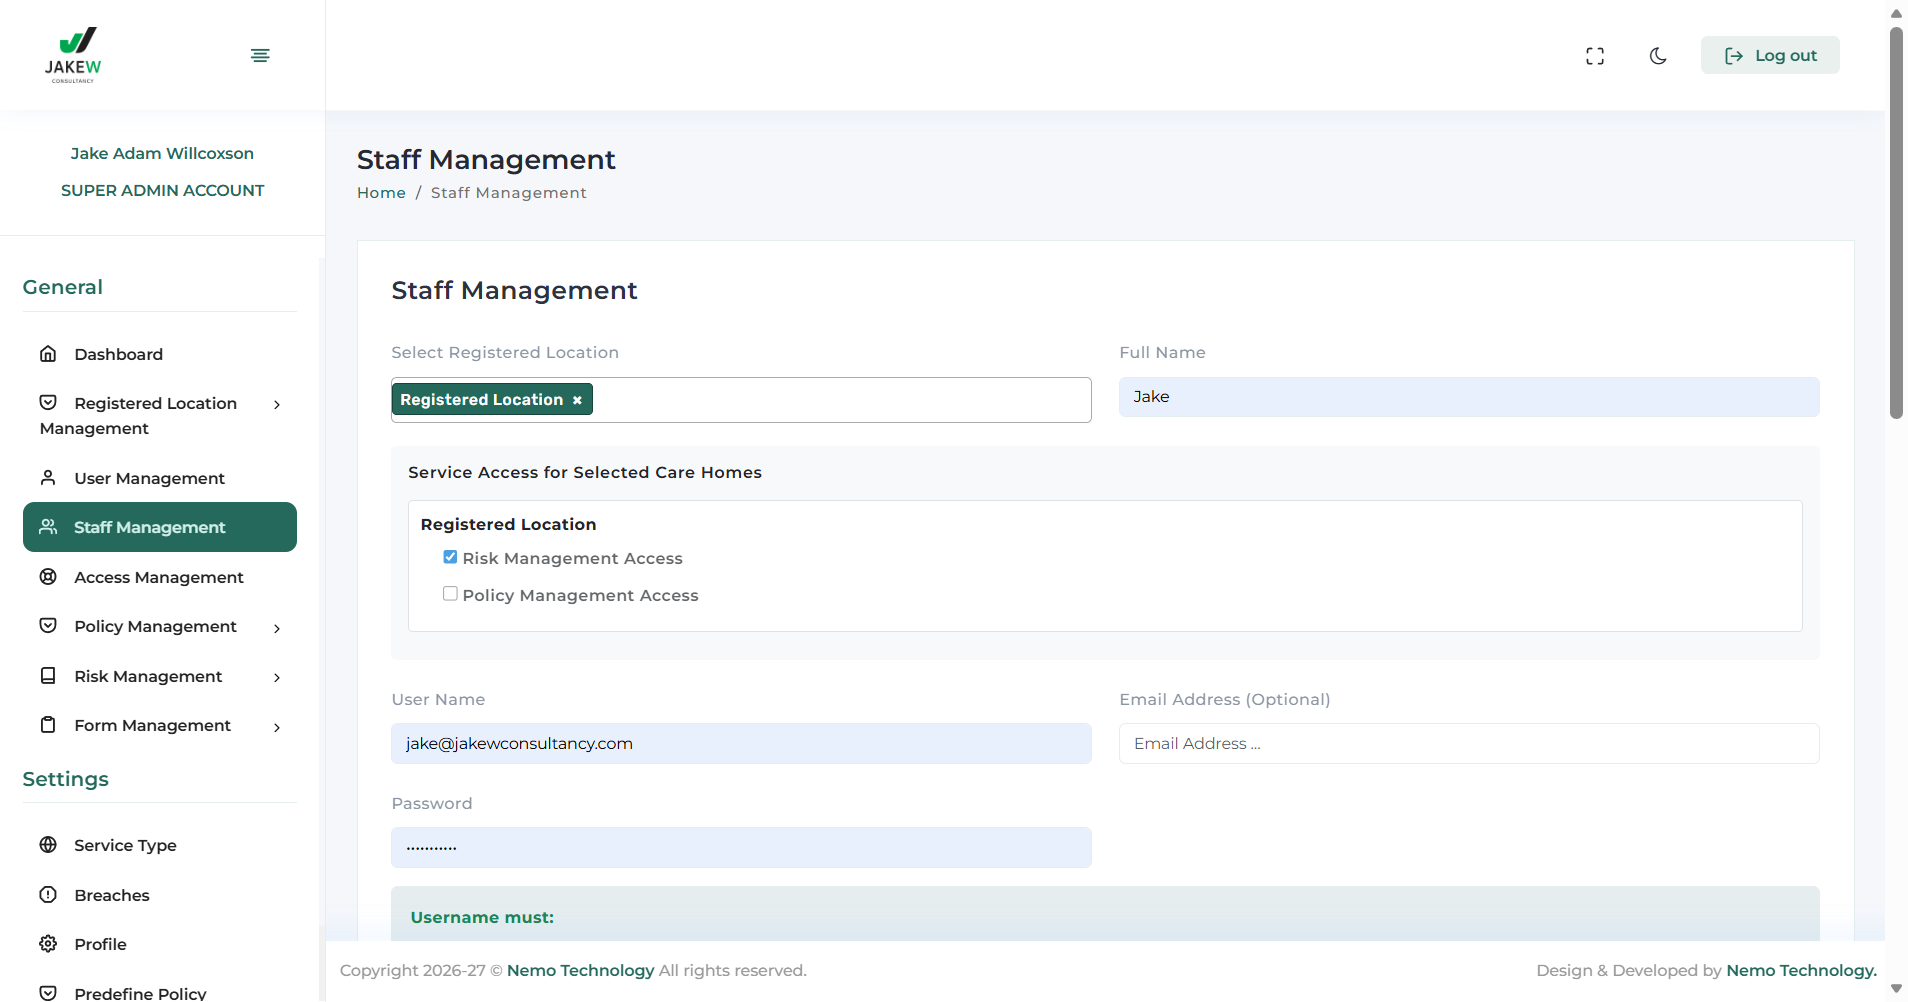
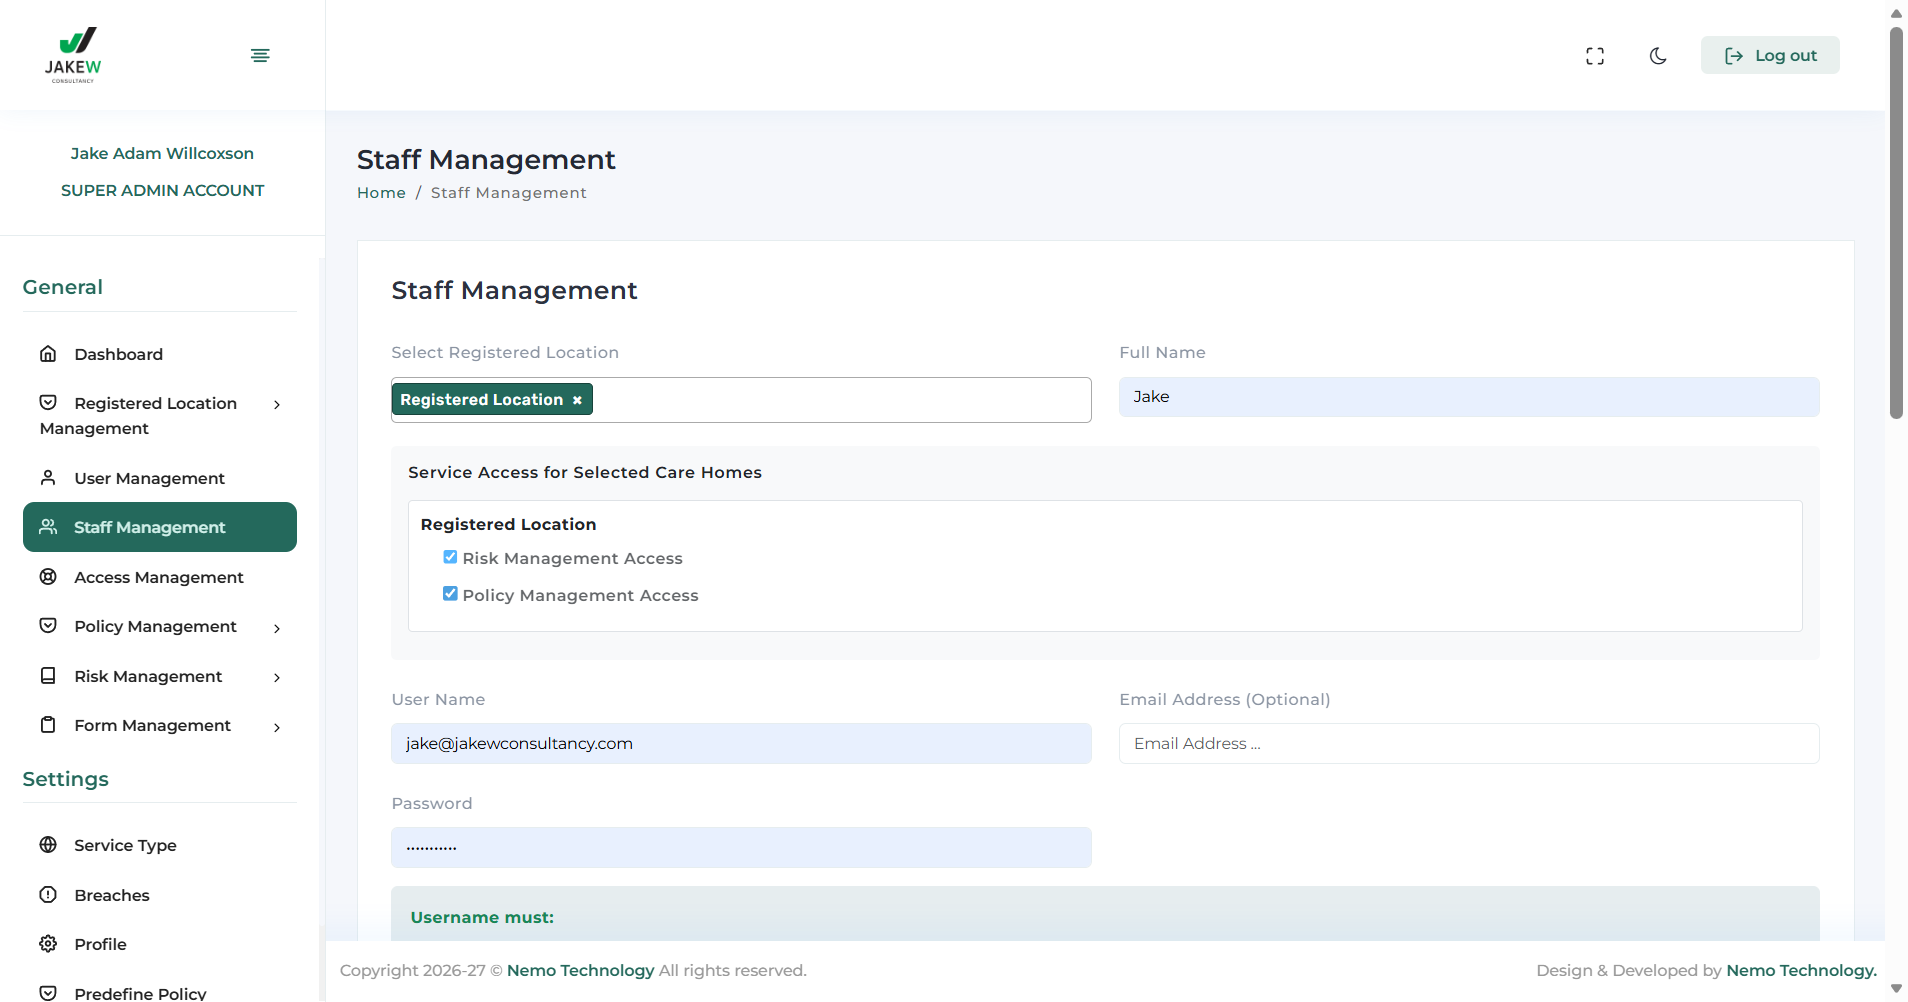
Create a username. Create a password. They do not need an email address. Then, simply click Add. Click on Staff Management and scroll down to view all current staff members. Click the pencil button to change a staff member's password or delete them if they have left.
To create users, note that users are defined as anyone who is a manager or above.

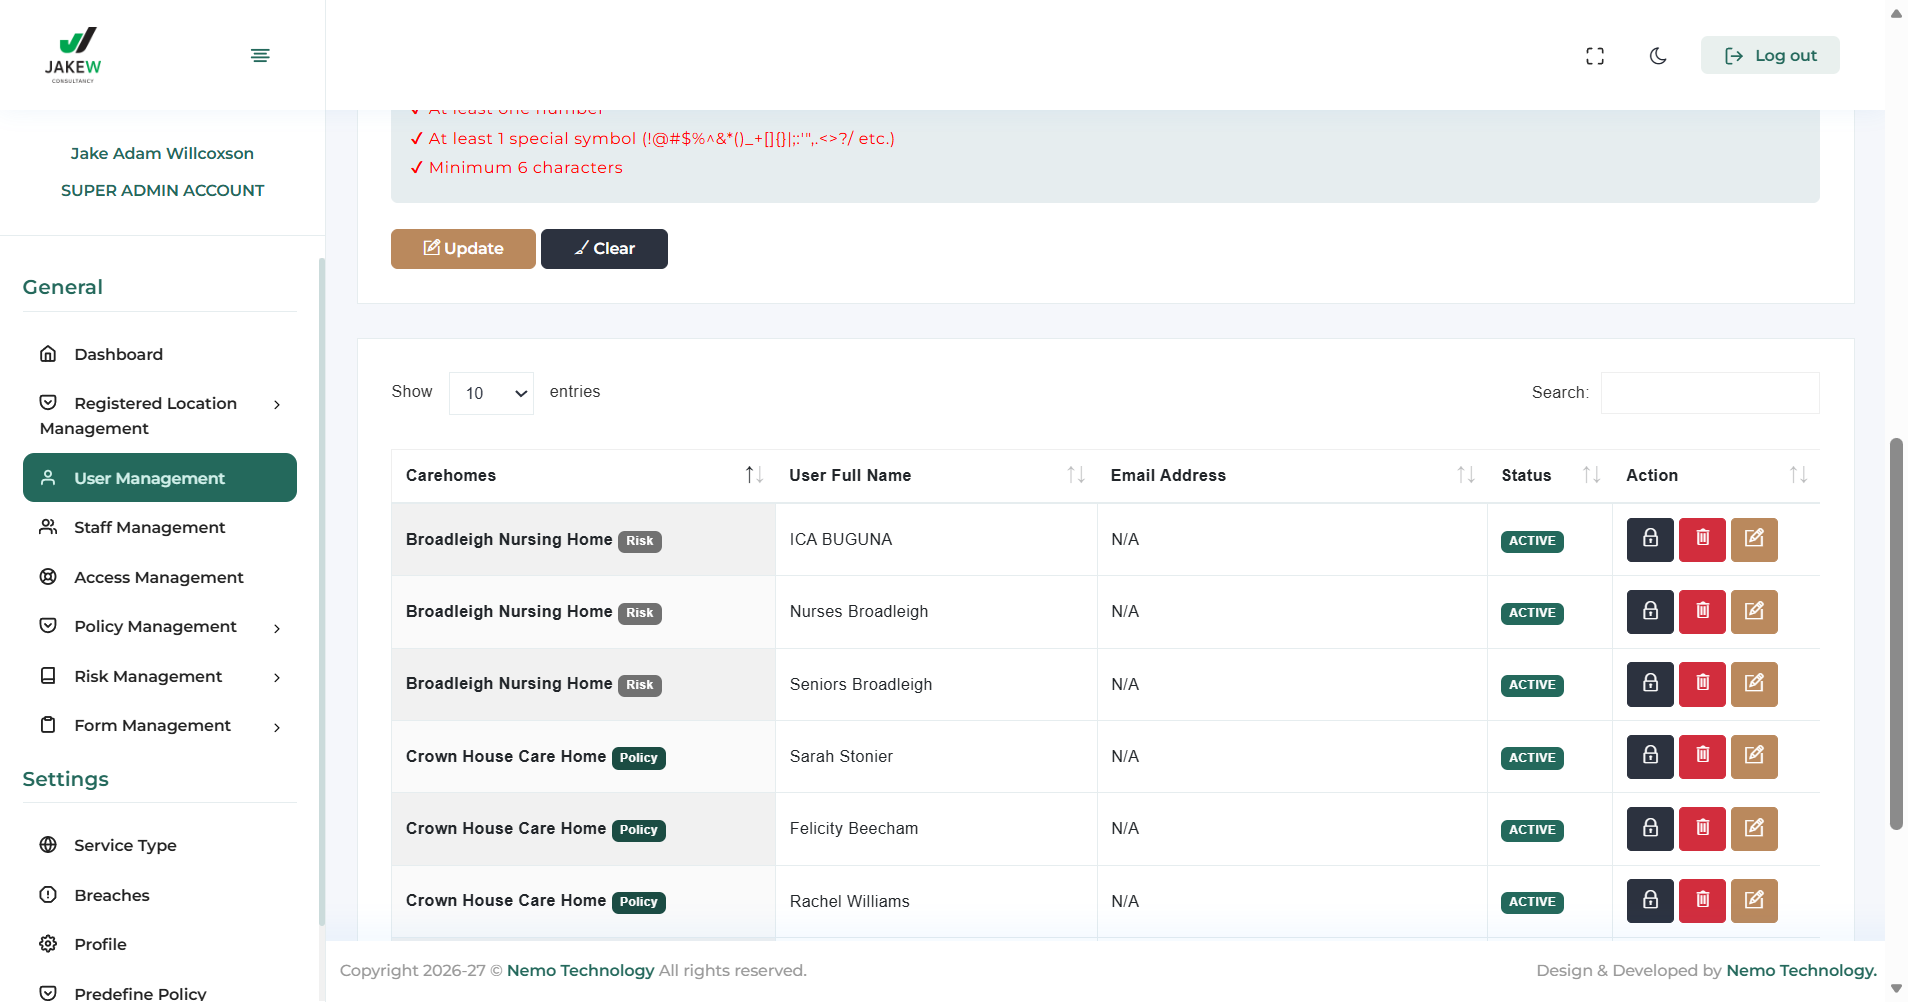
They... Click on User Management. Select if the user is a manager, regional manager, or owner. This determines if they have access to multiple sites.
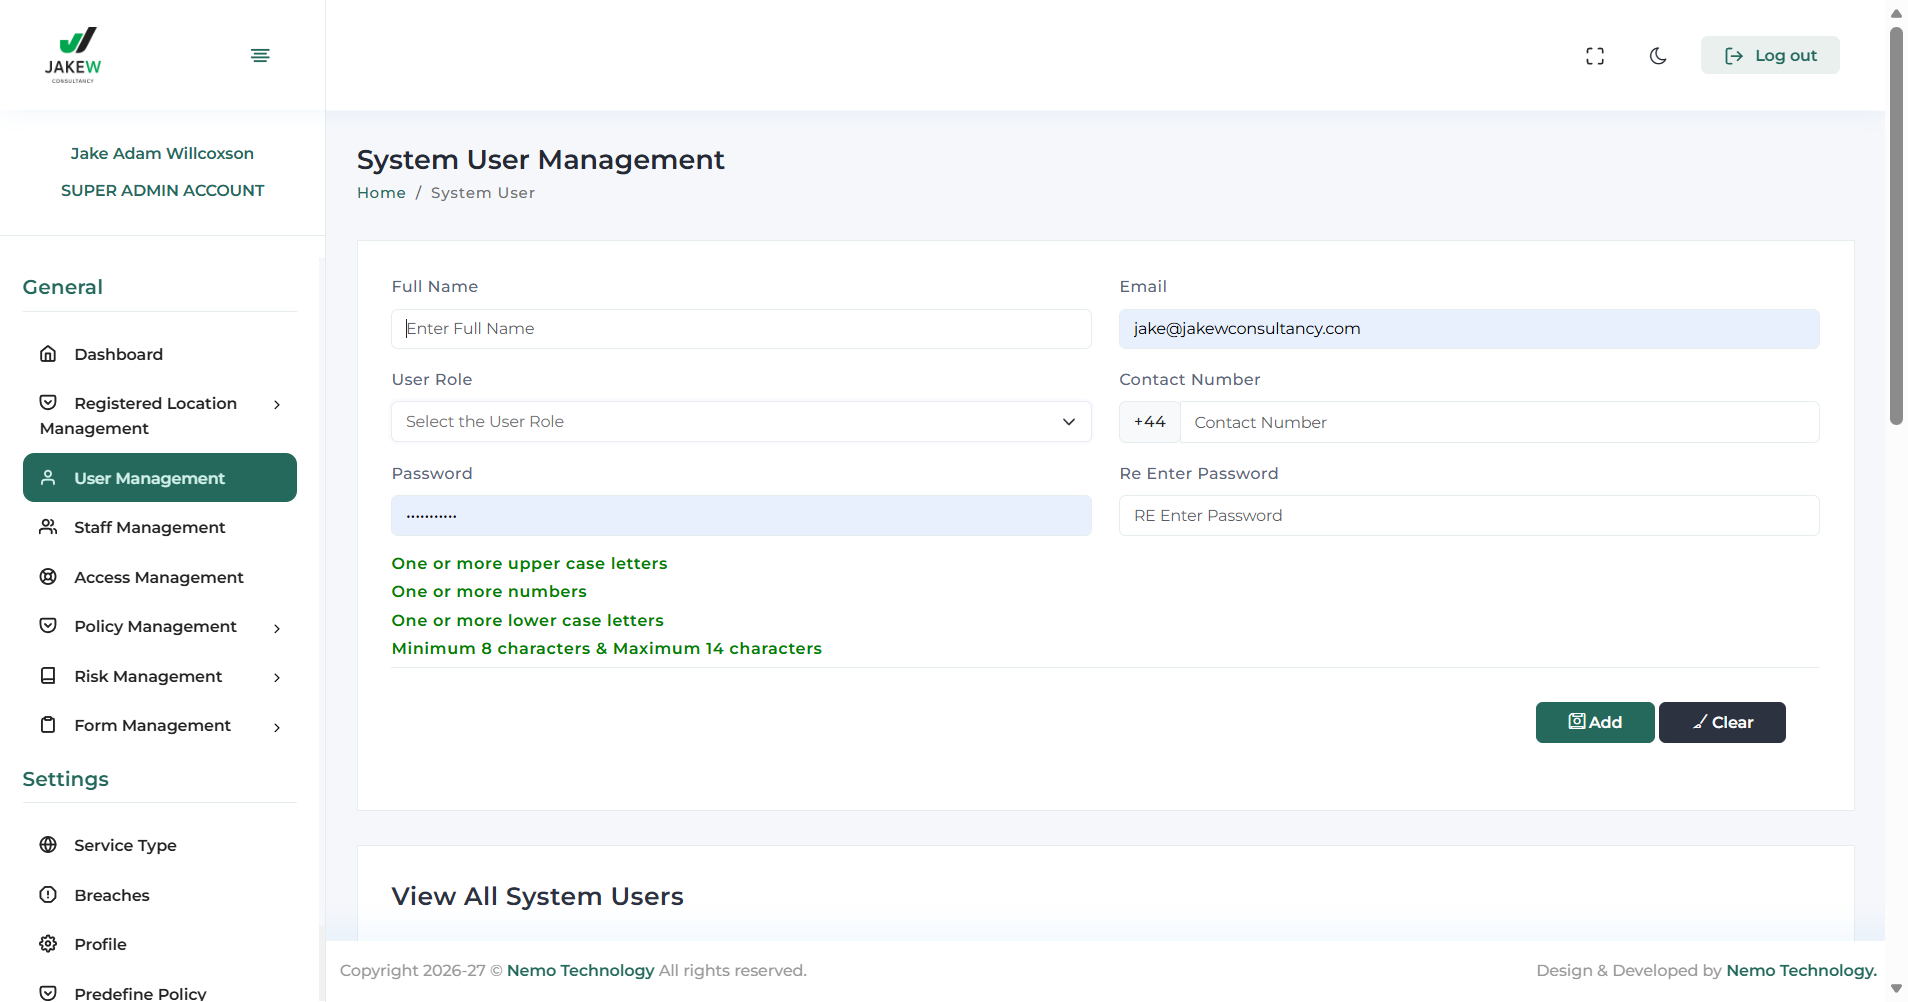
Type in the phone number and create a password.

This requires an email address; otherwise, it will not work.