Comprehensive User Guide: Understanding System Information for Your Dealership

Explore the complete user guide for your dealership's system information, including color codes, icons, calendar tabs, opportunity labels, points ranking, media types, and status badges. Learn how to navigate and interpret each element for optimal dealership management.

By Dominik Black

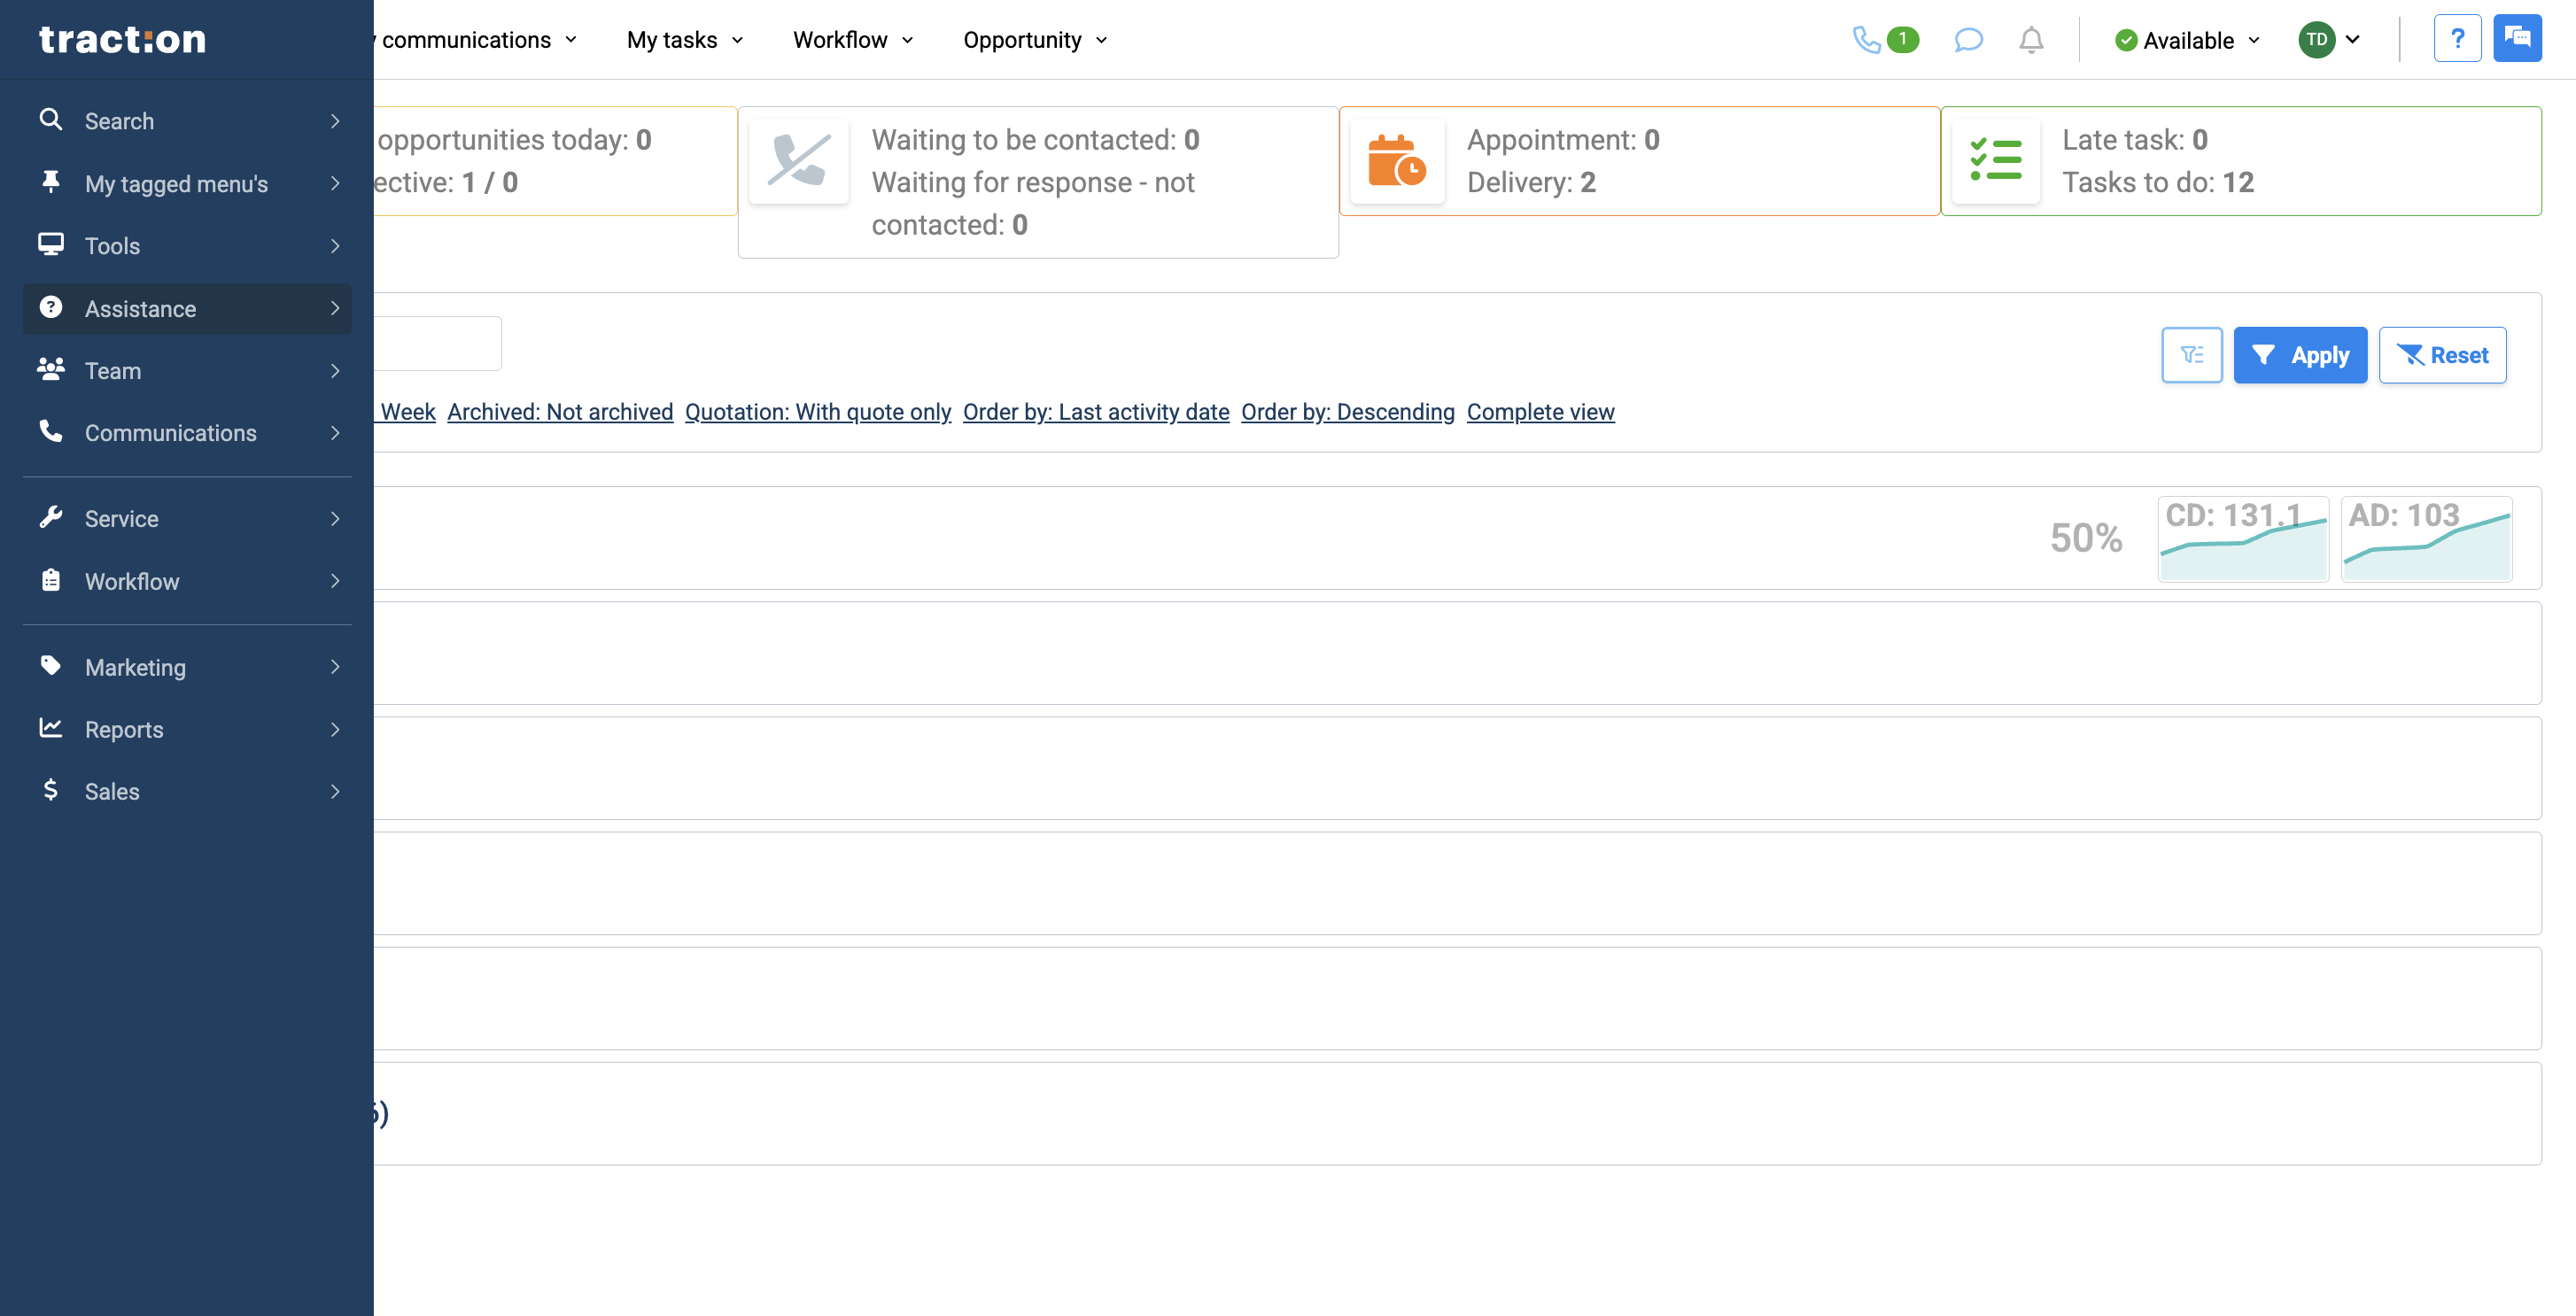
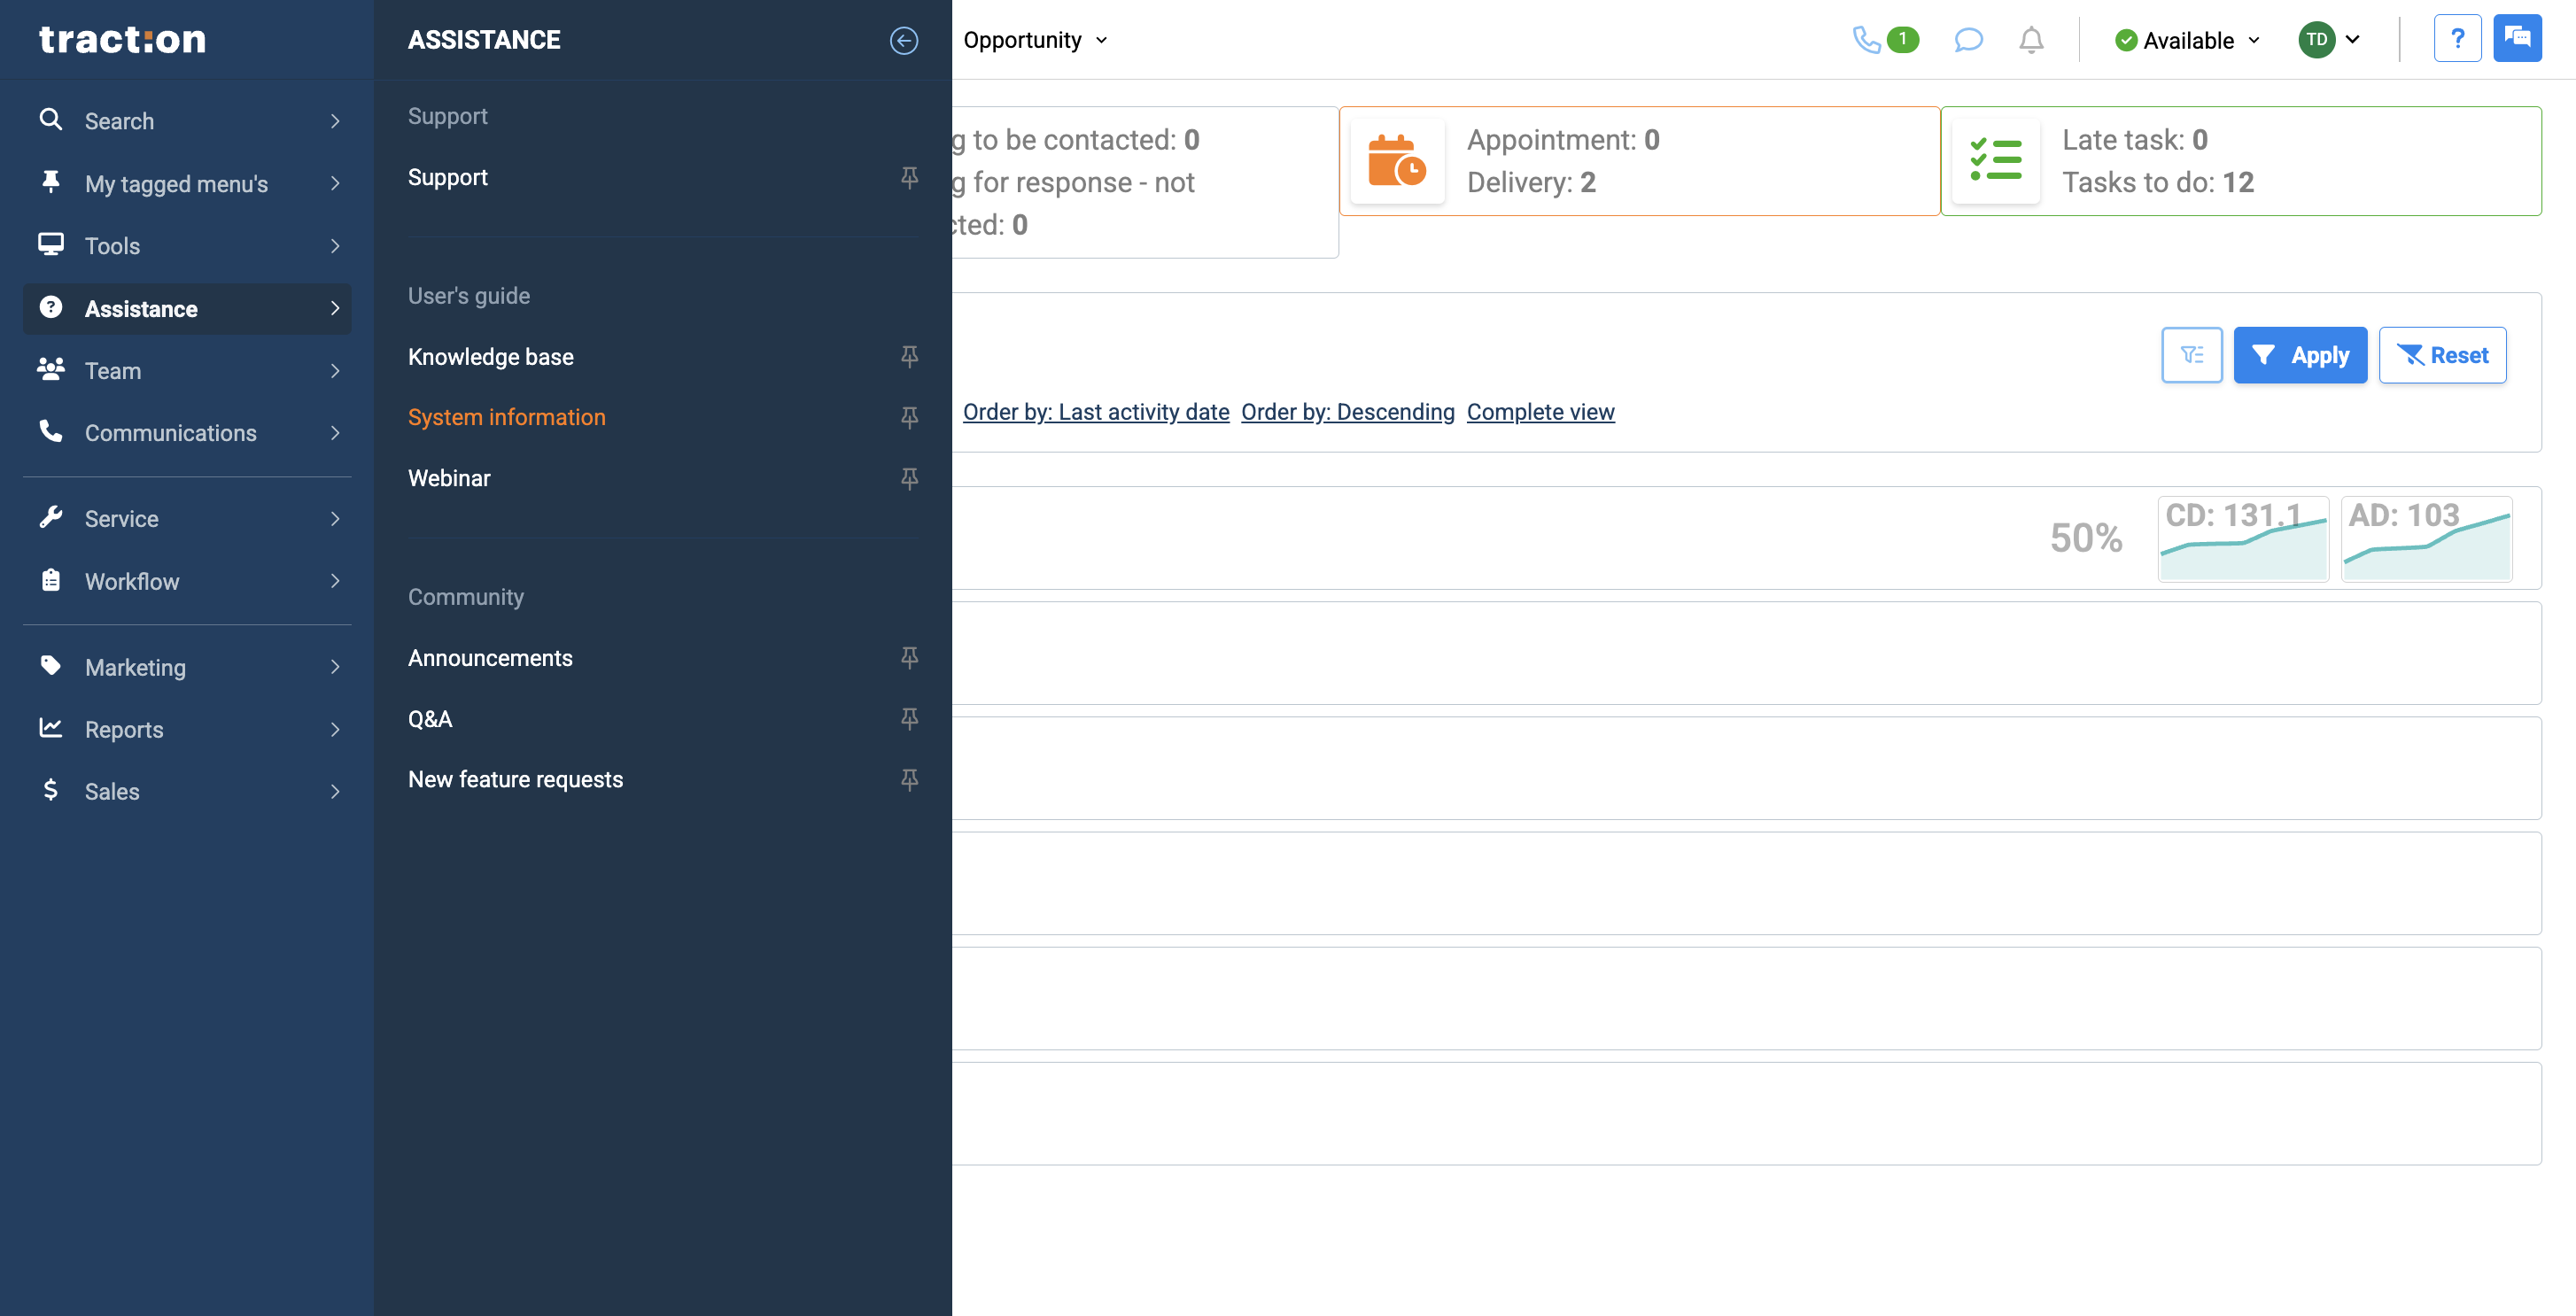
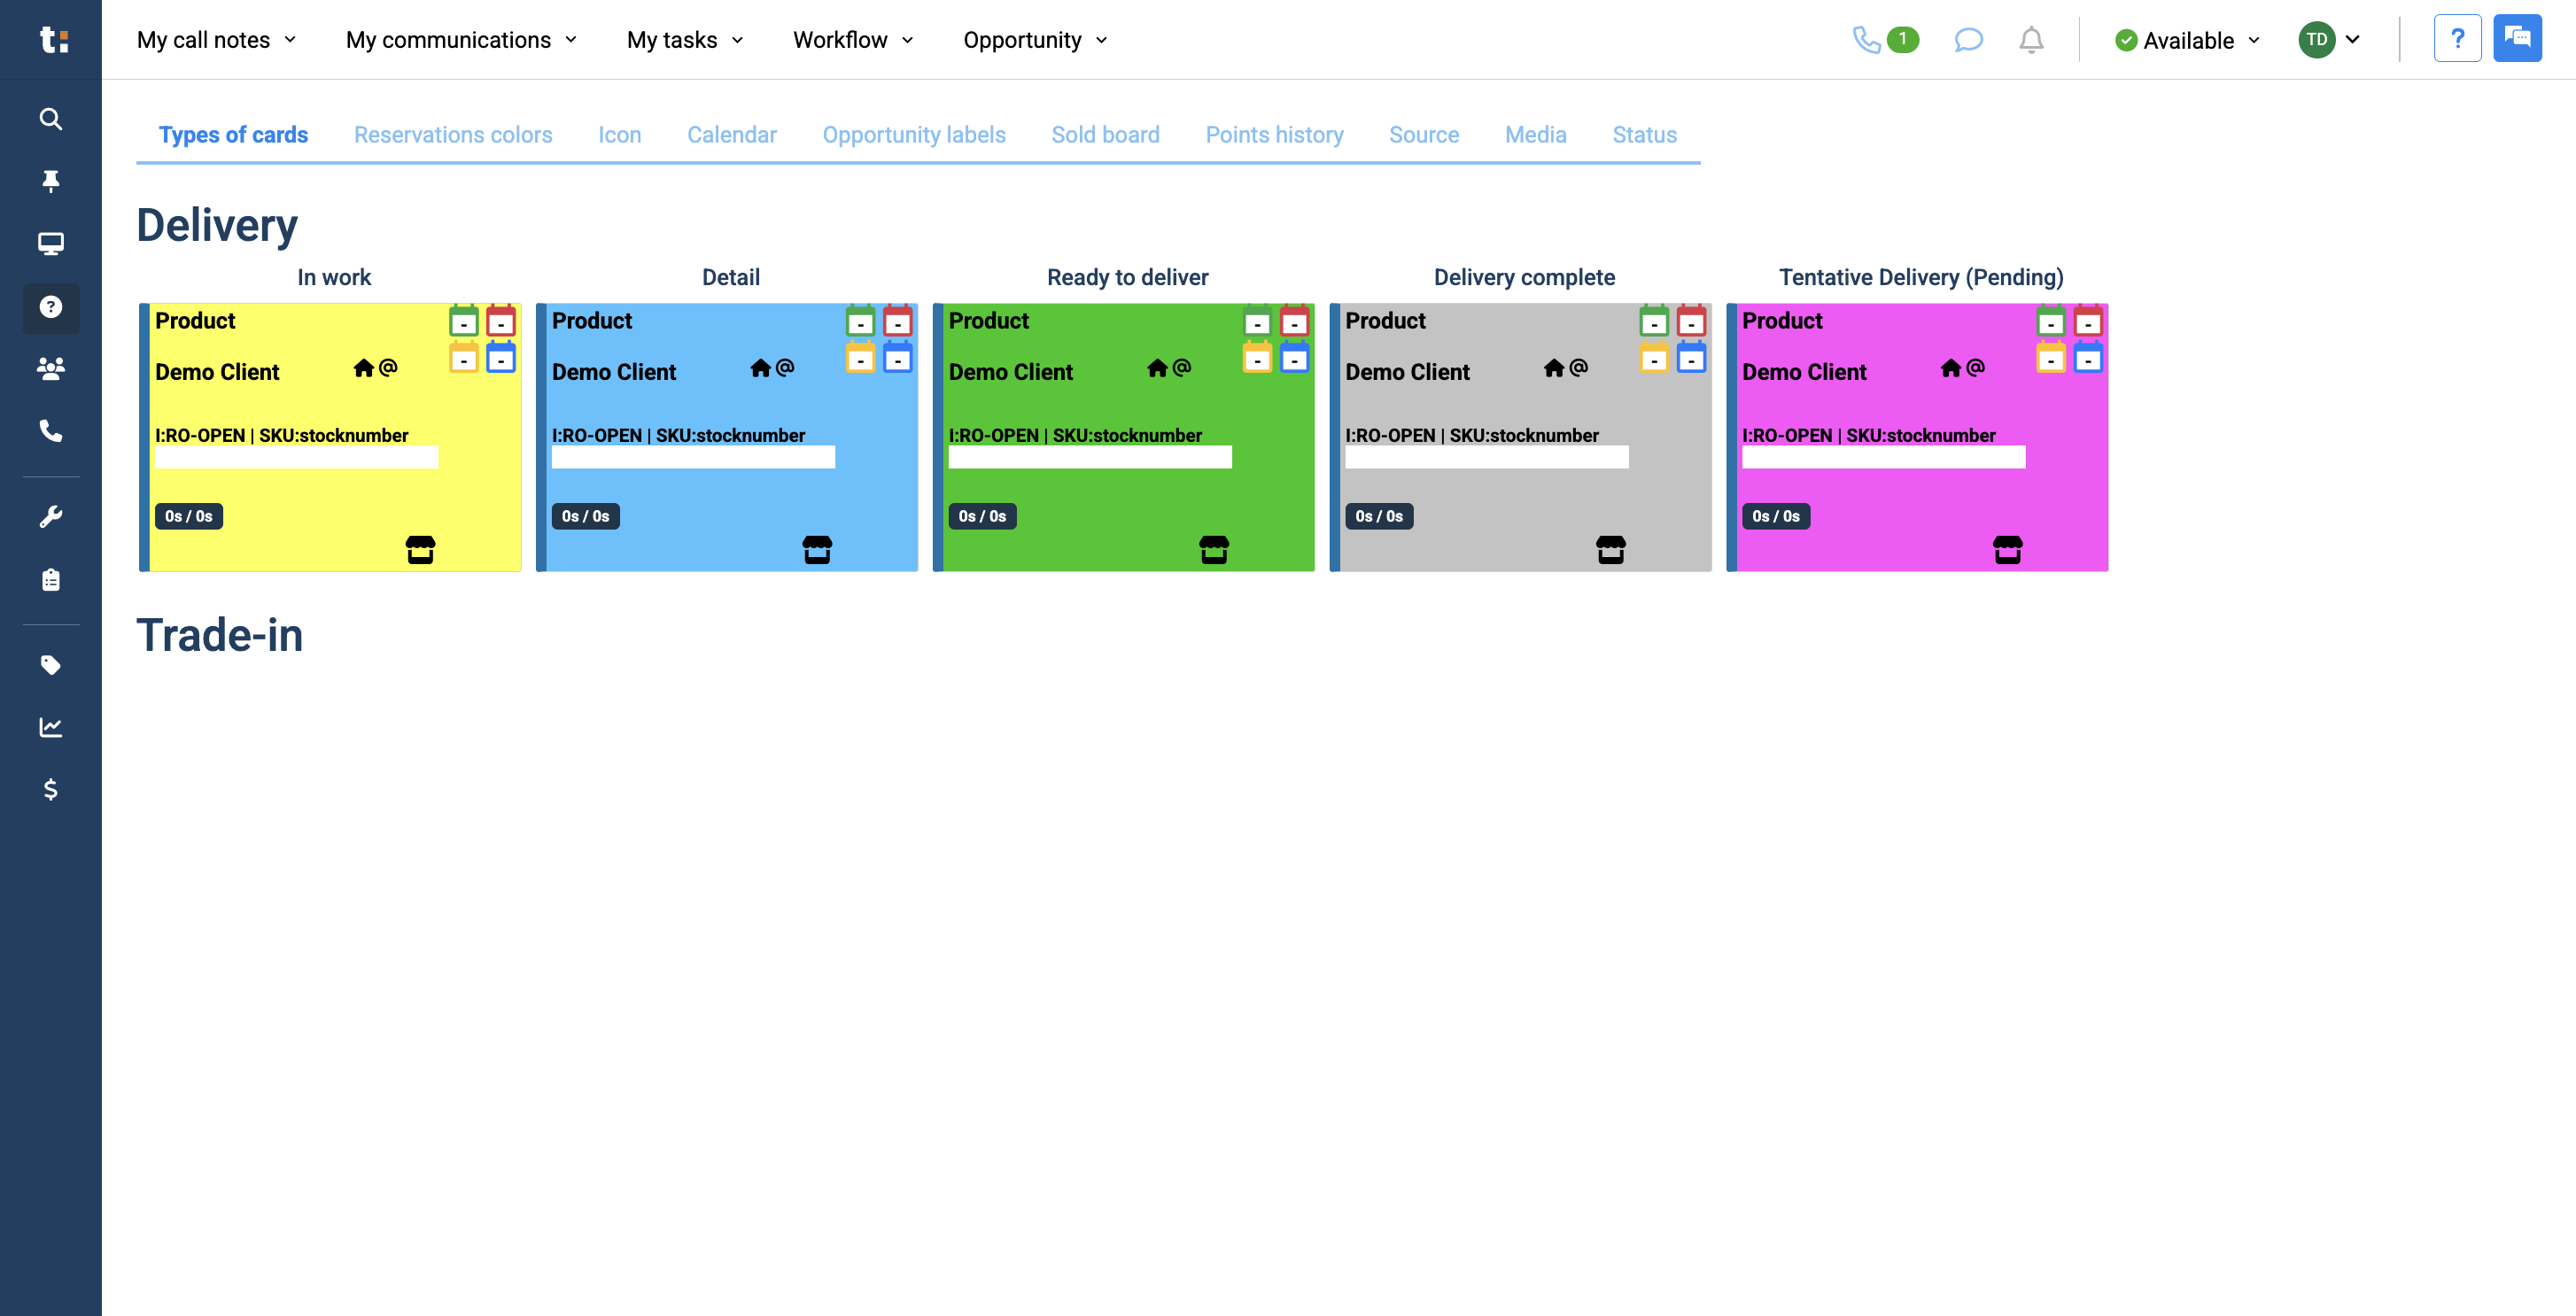
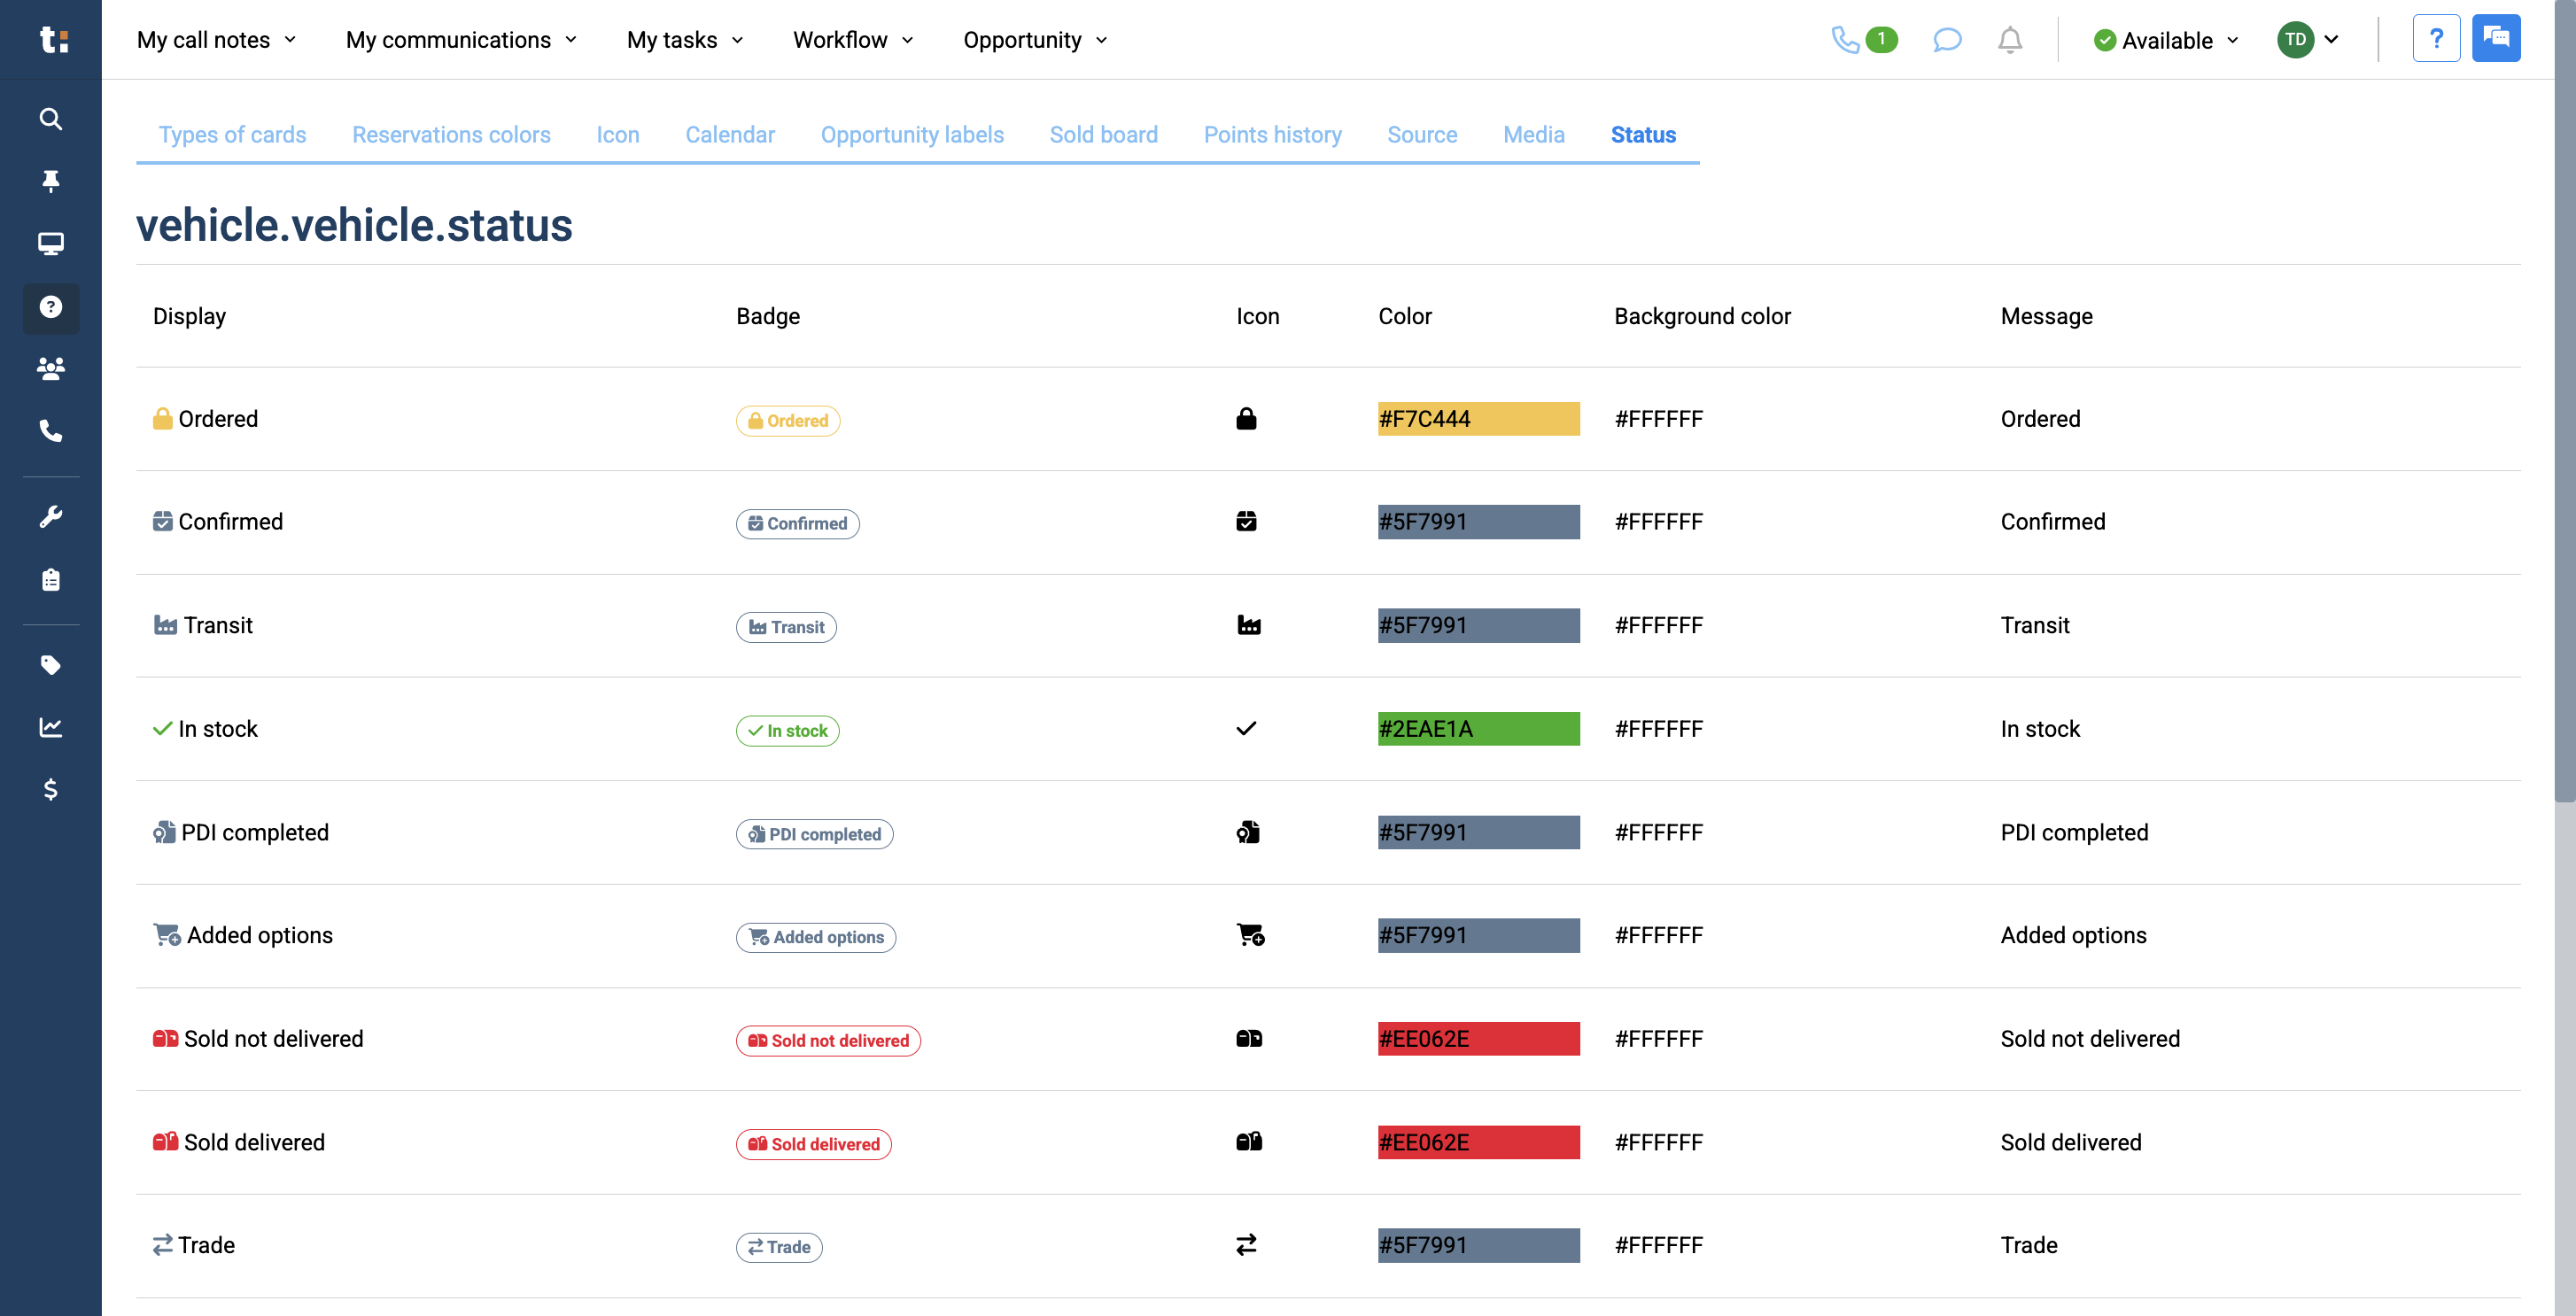
In this guide, we'll learn how to navigate the System Information section in your dealership's user guide. This section explains the meaning behind different colors, points, icons, and labels that have been set up for your dealership. Understanding these elements will help you interpret the status of cards, reservations, opportunities, and vehicles in your system.

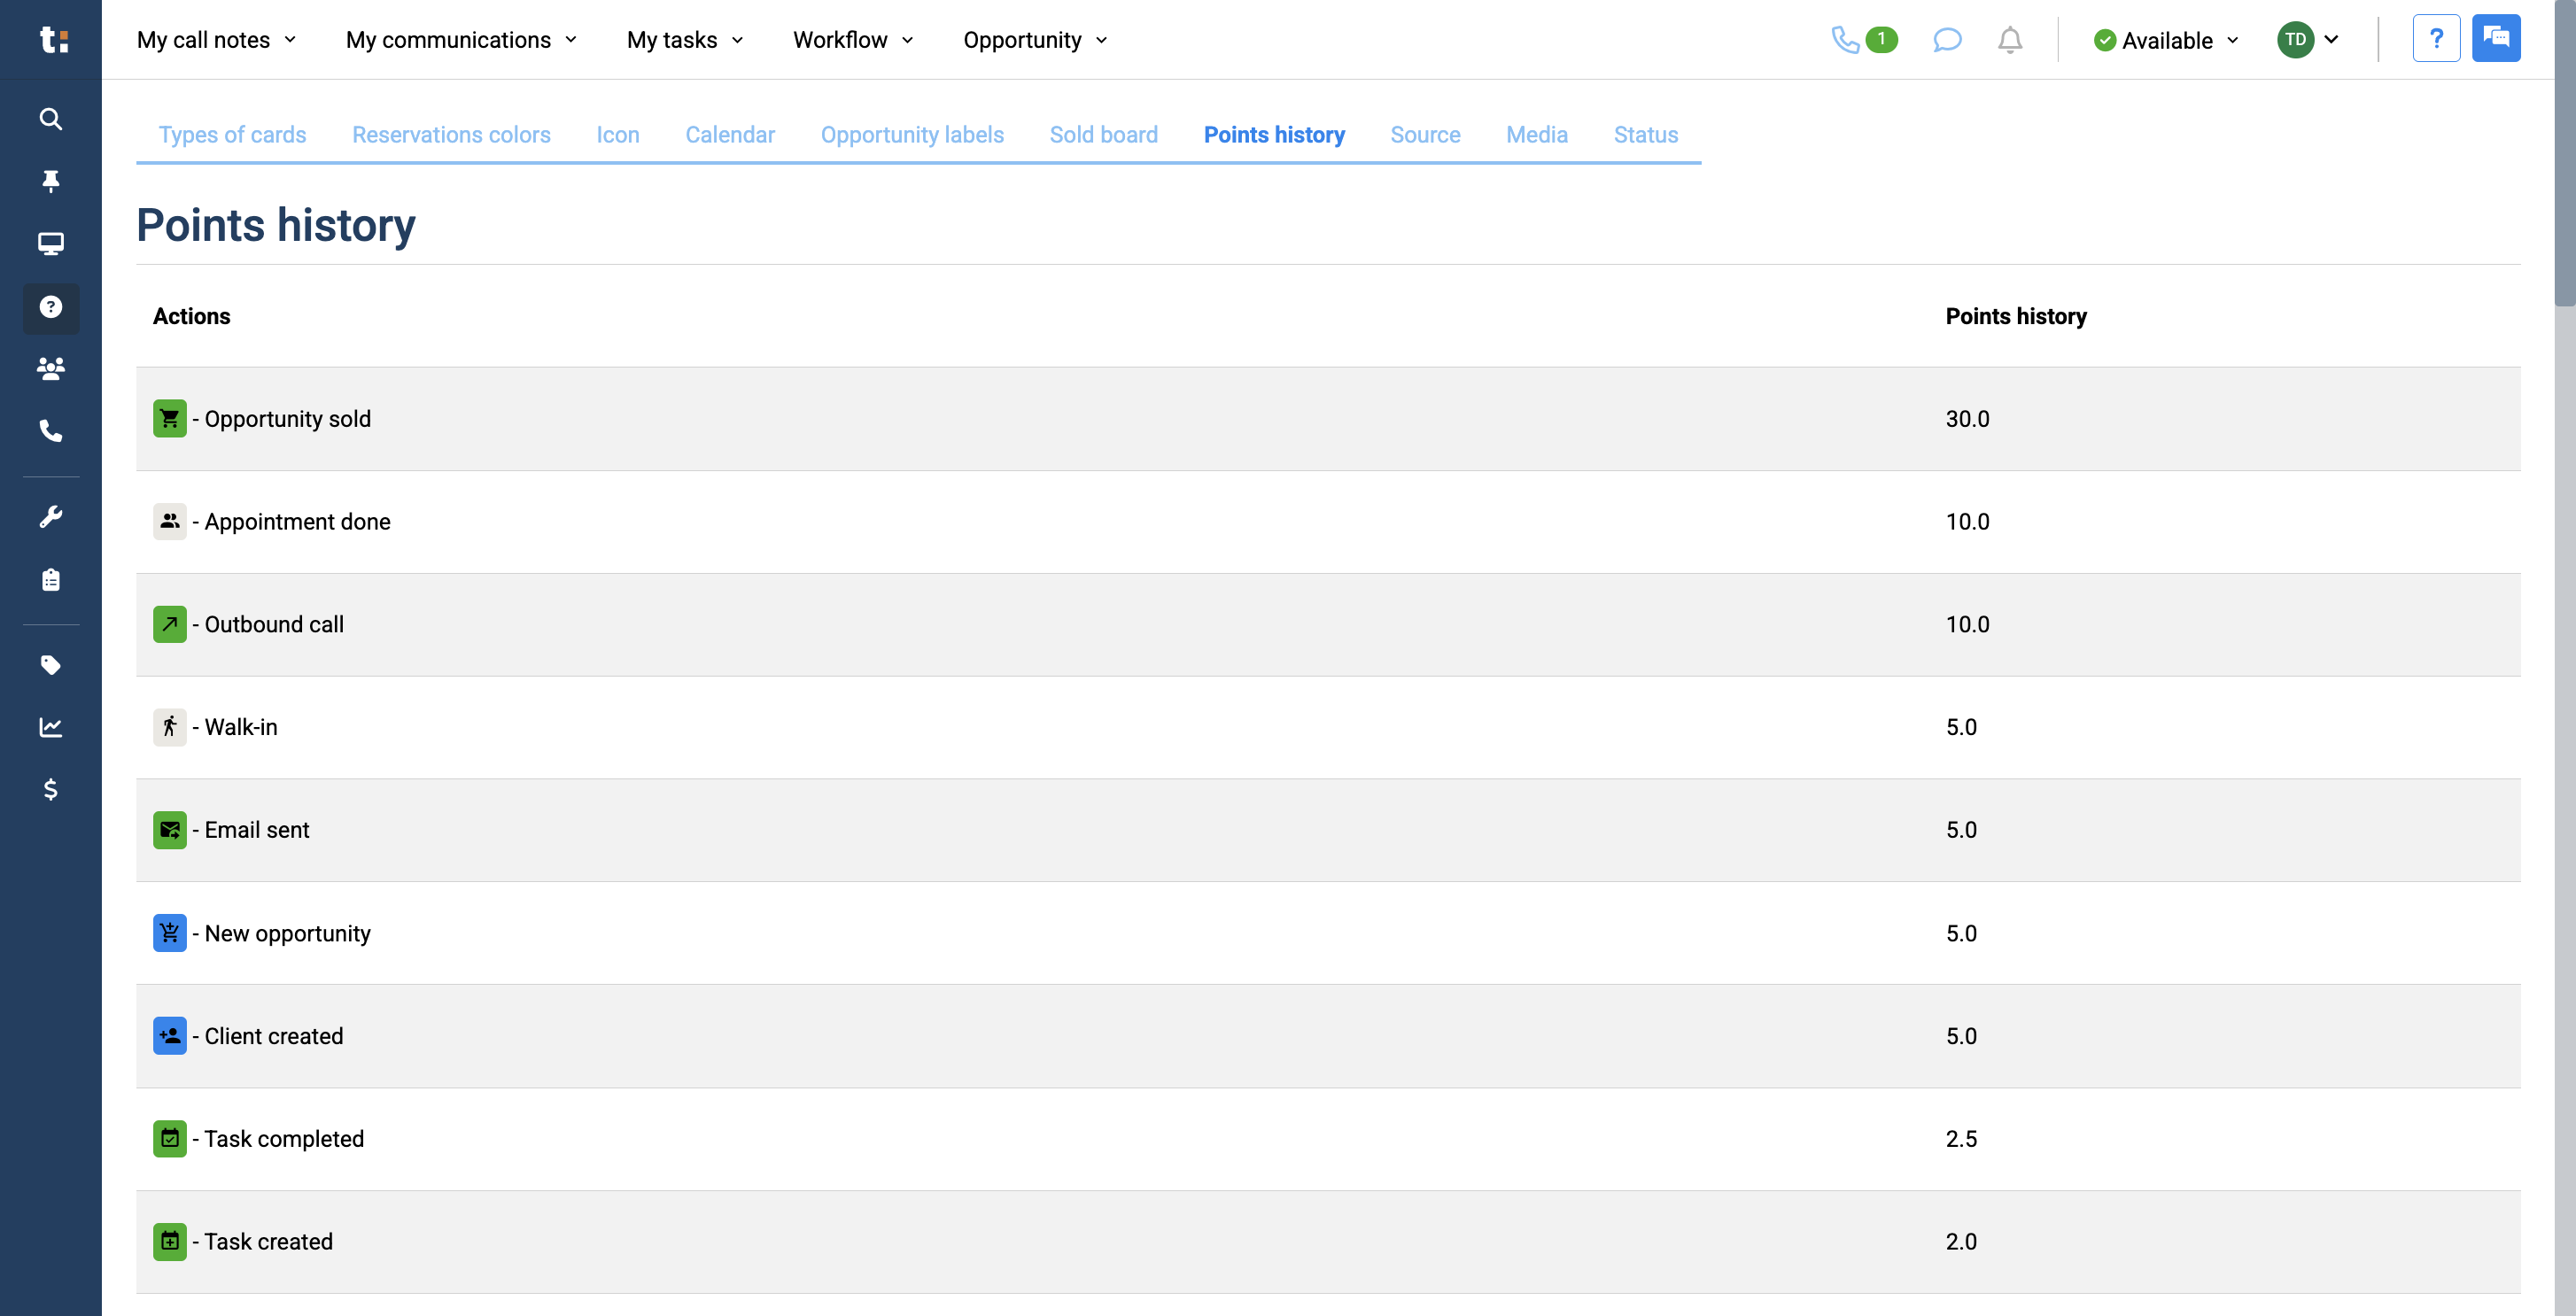
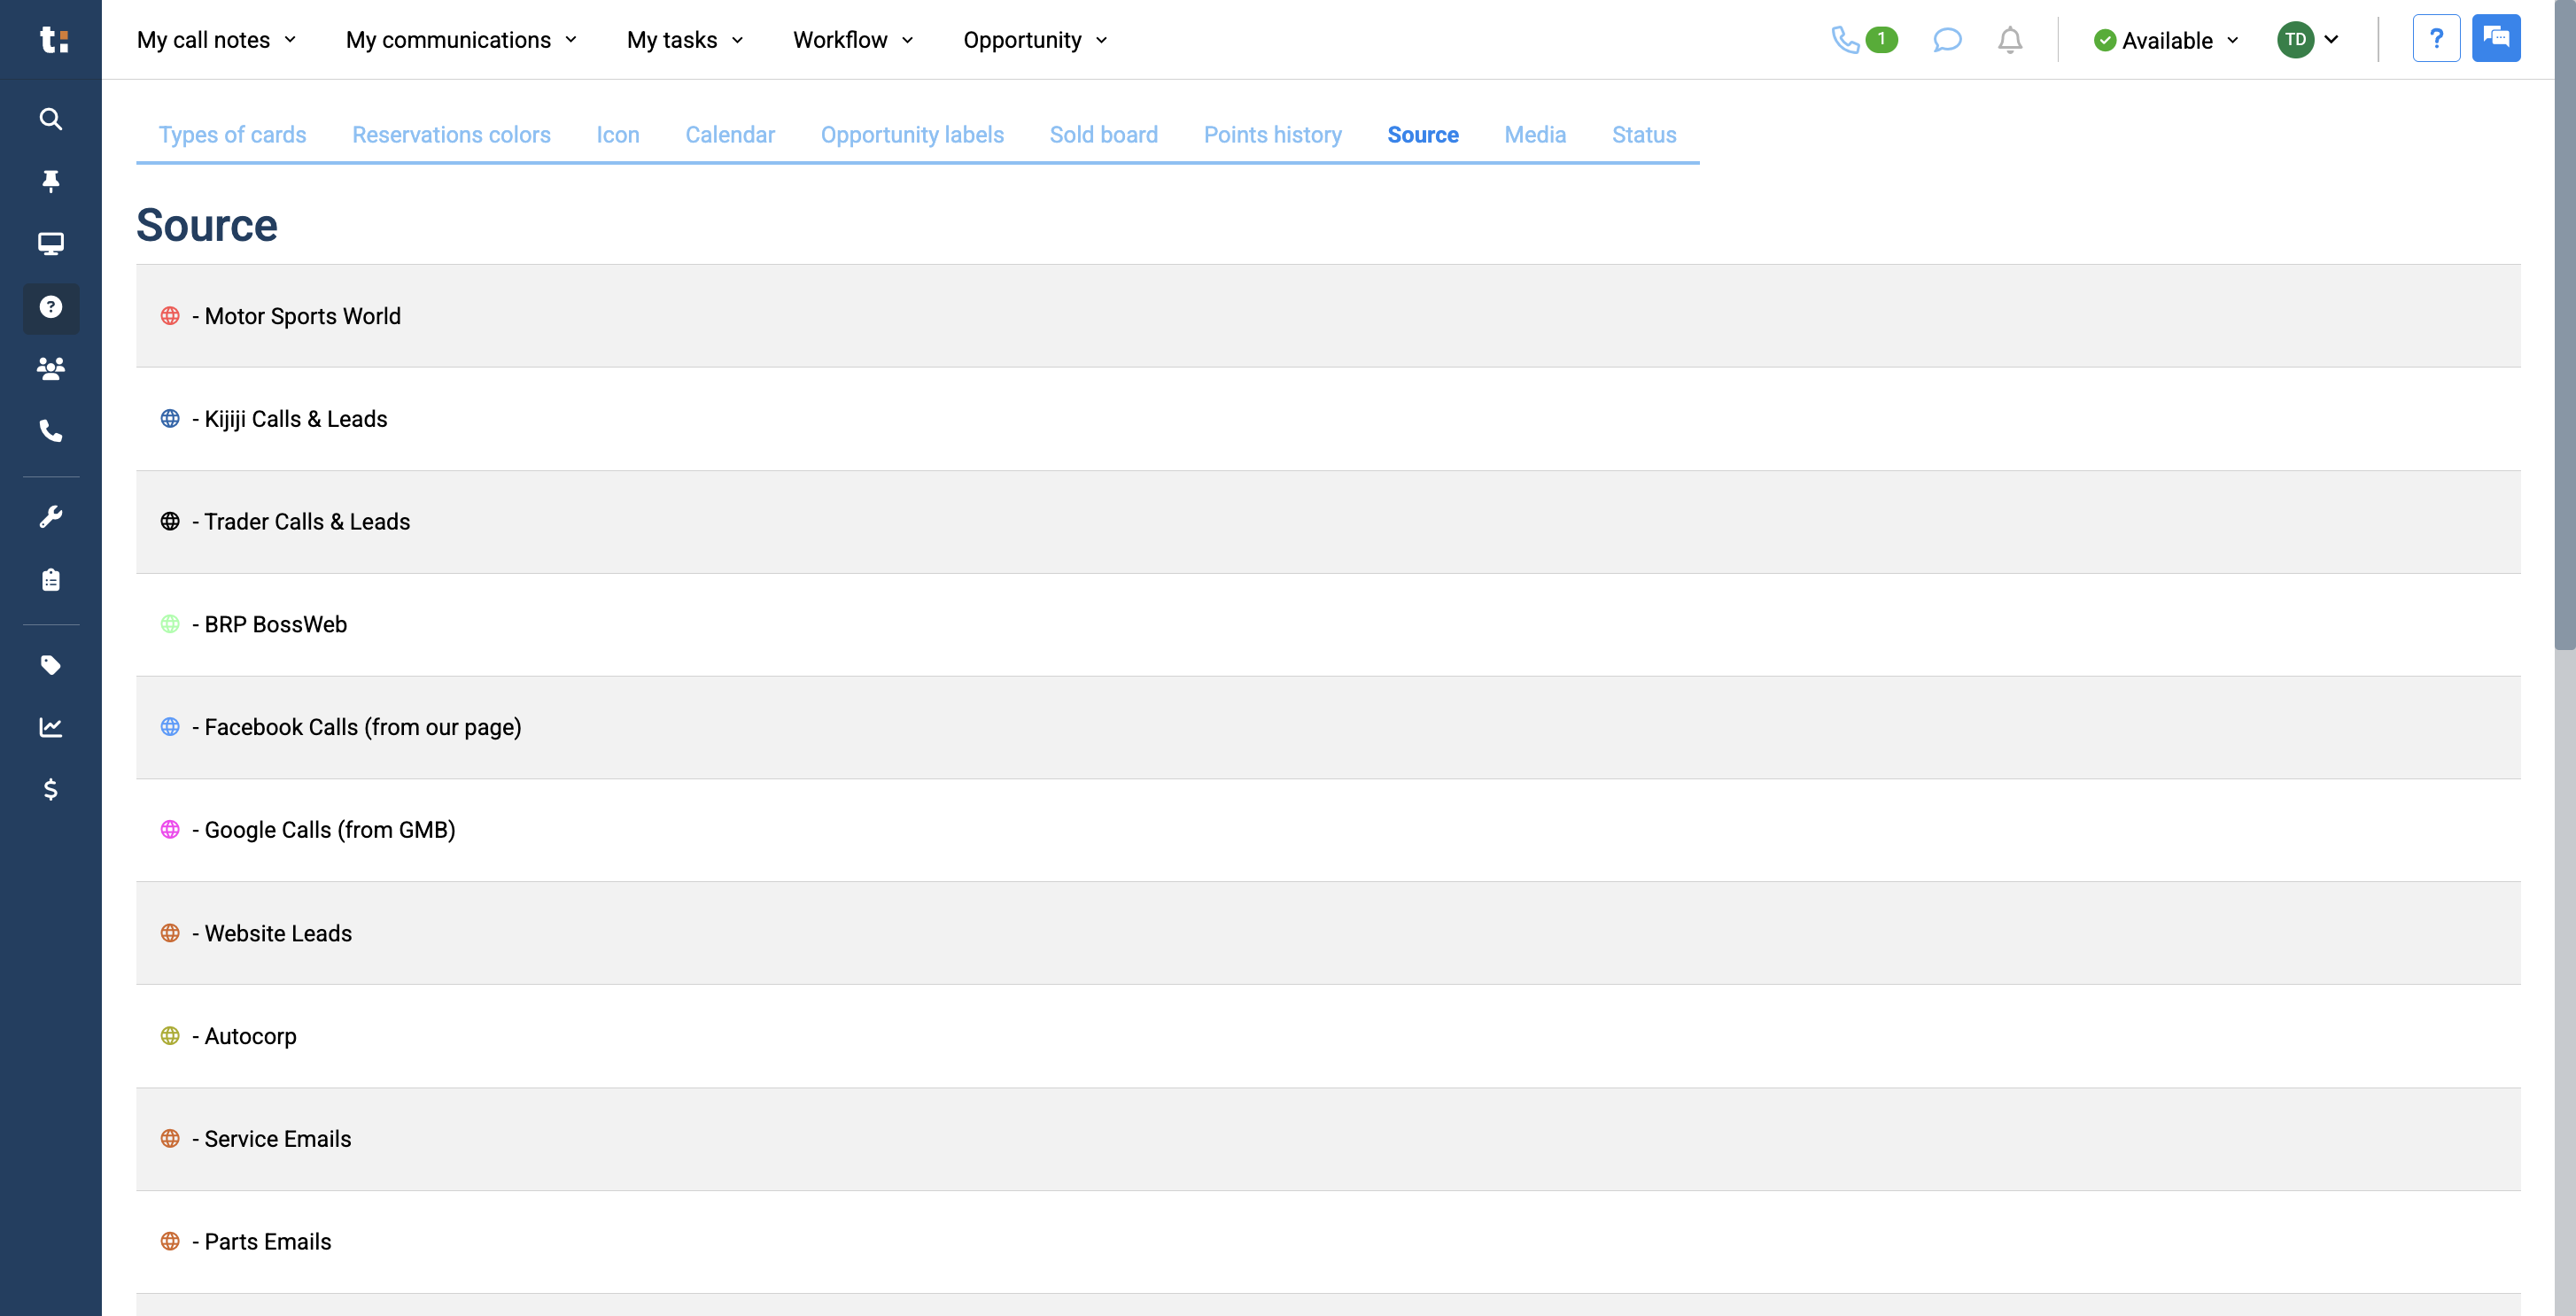
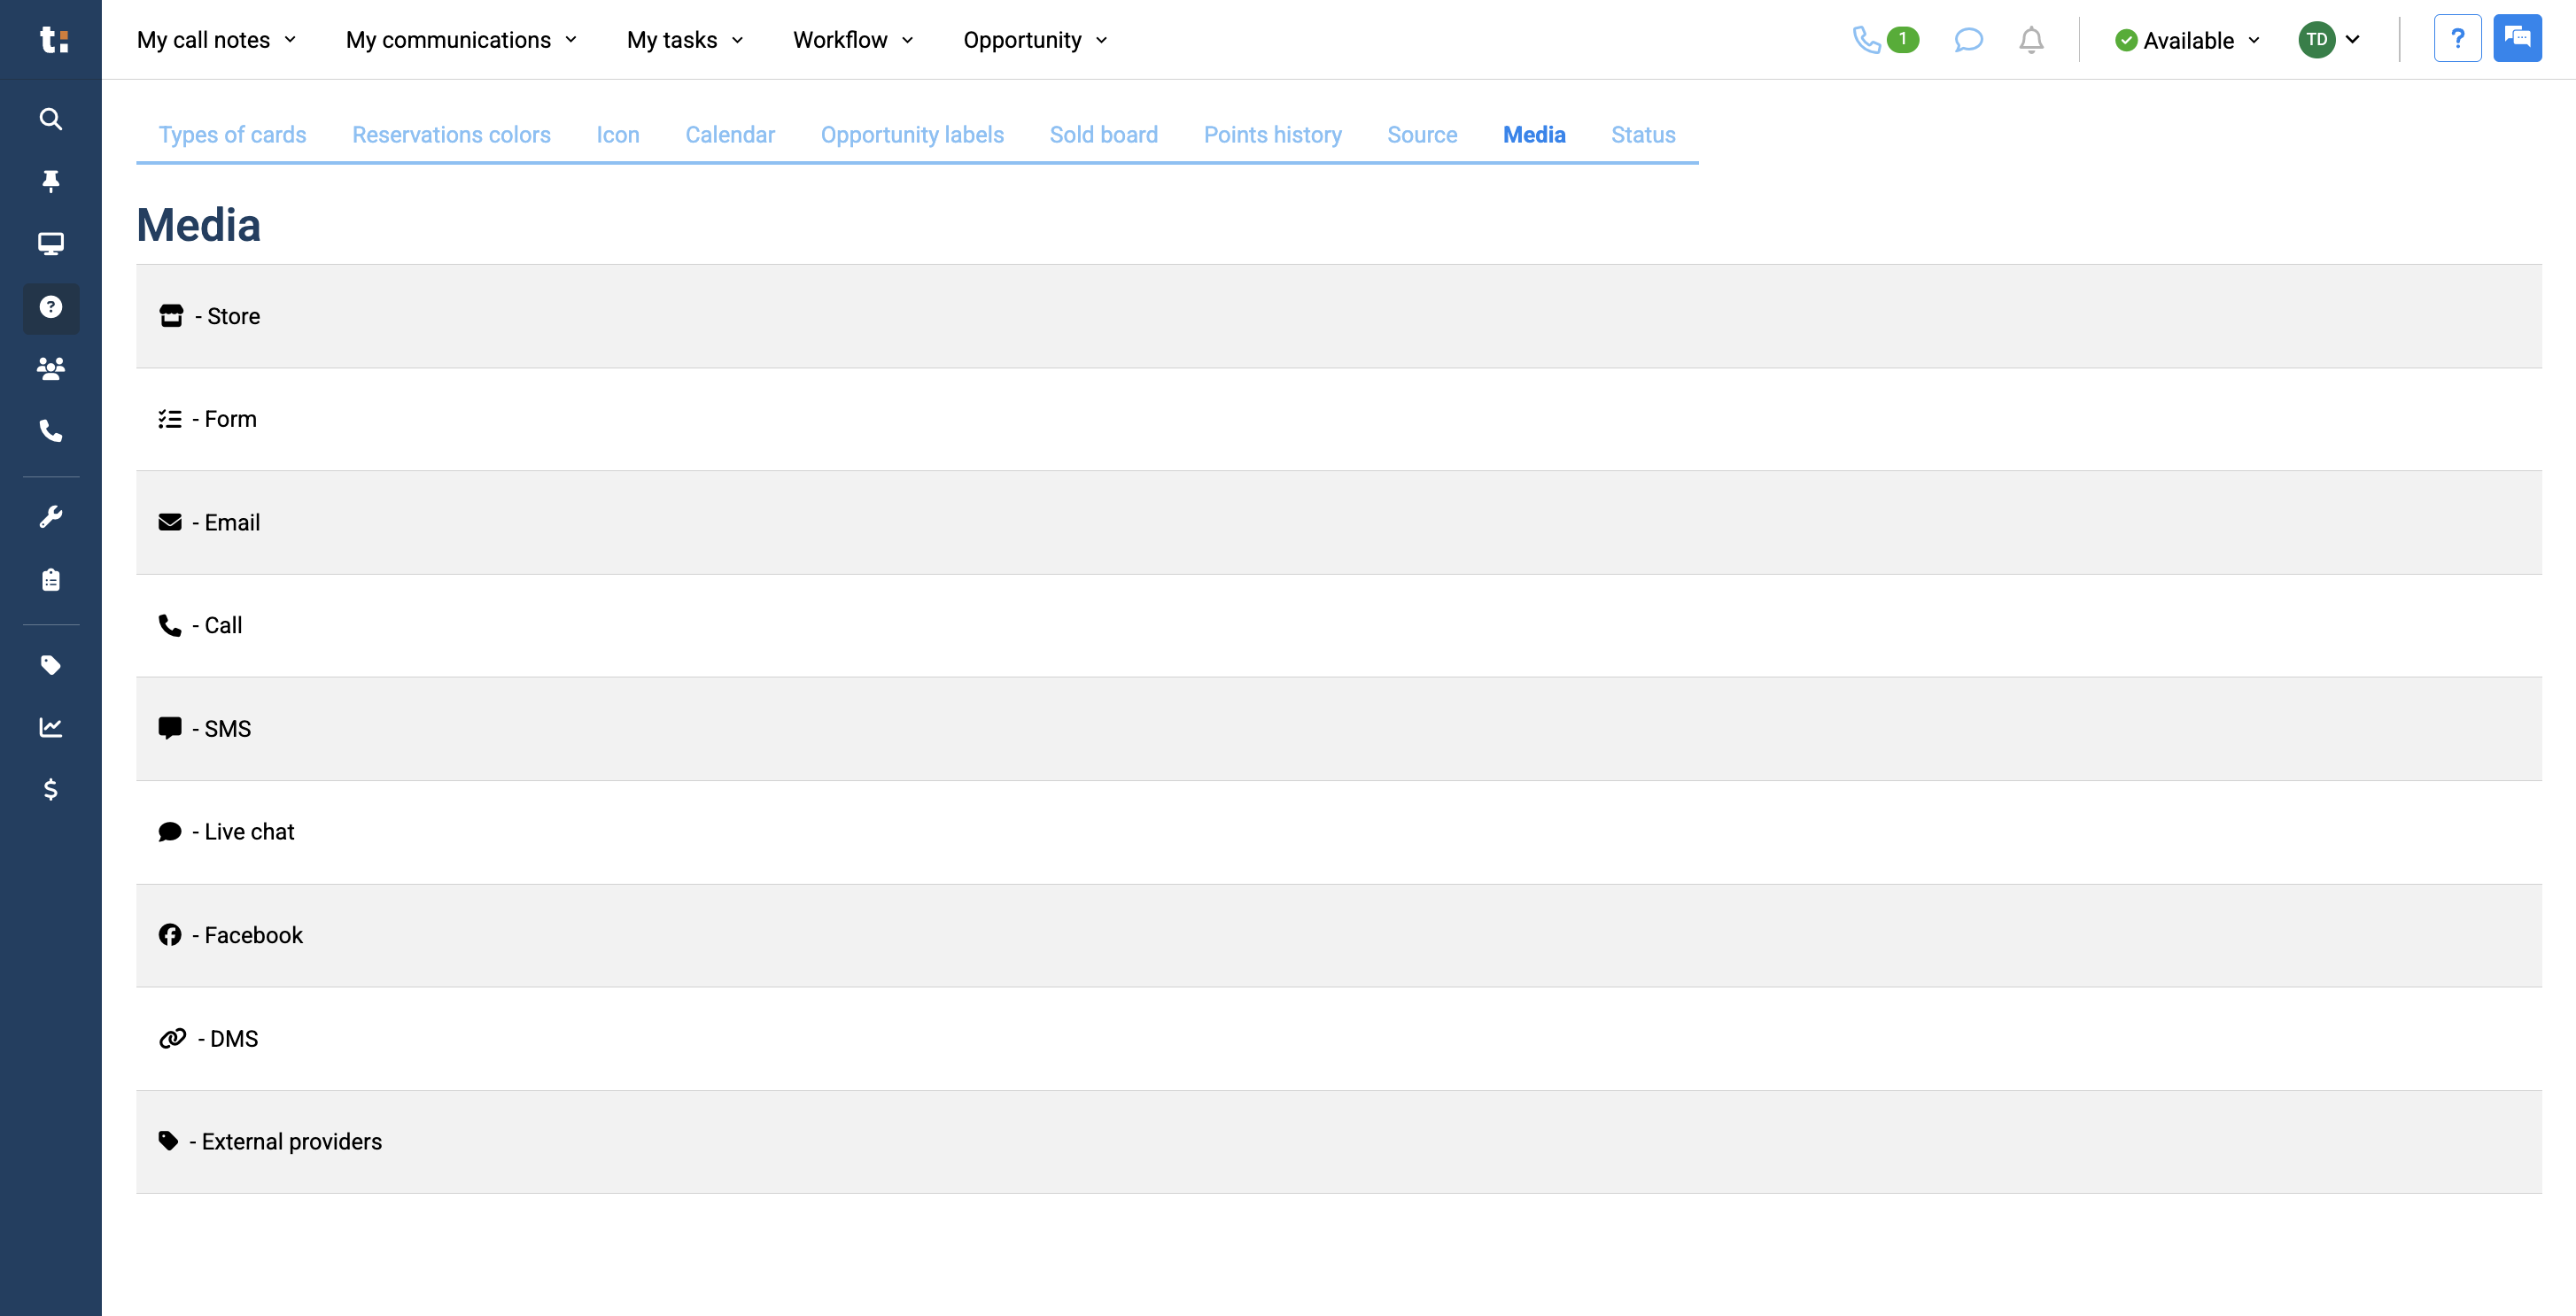
We'll also look at how the points ranking system works and how to find information about sources, media, and status badges.

Let's get started

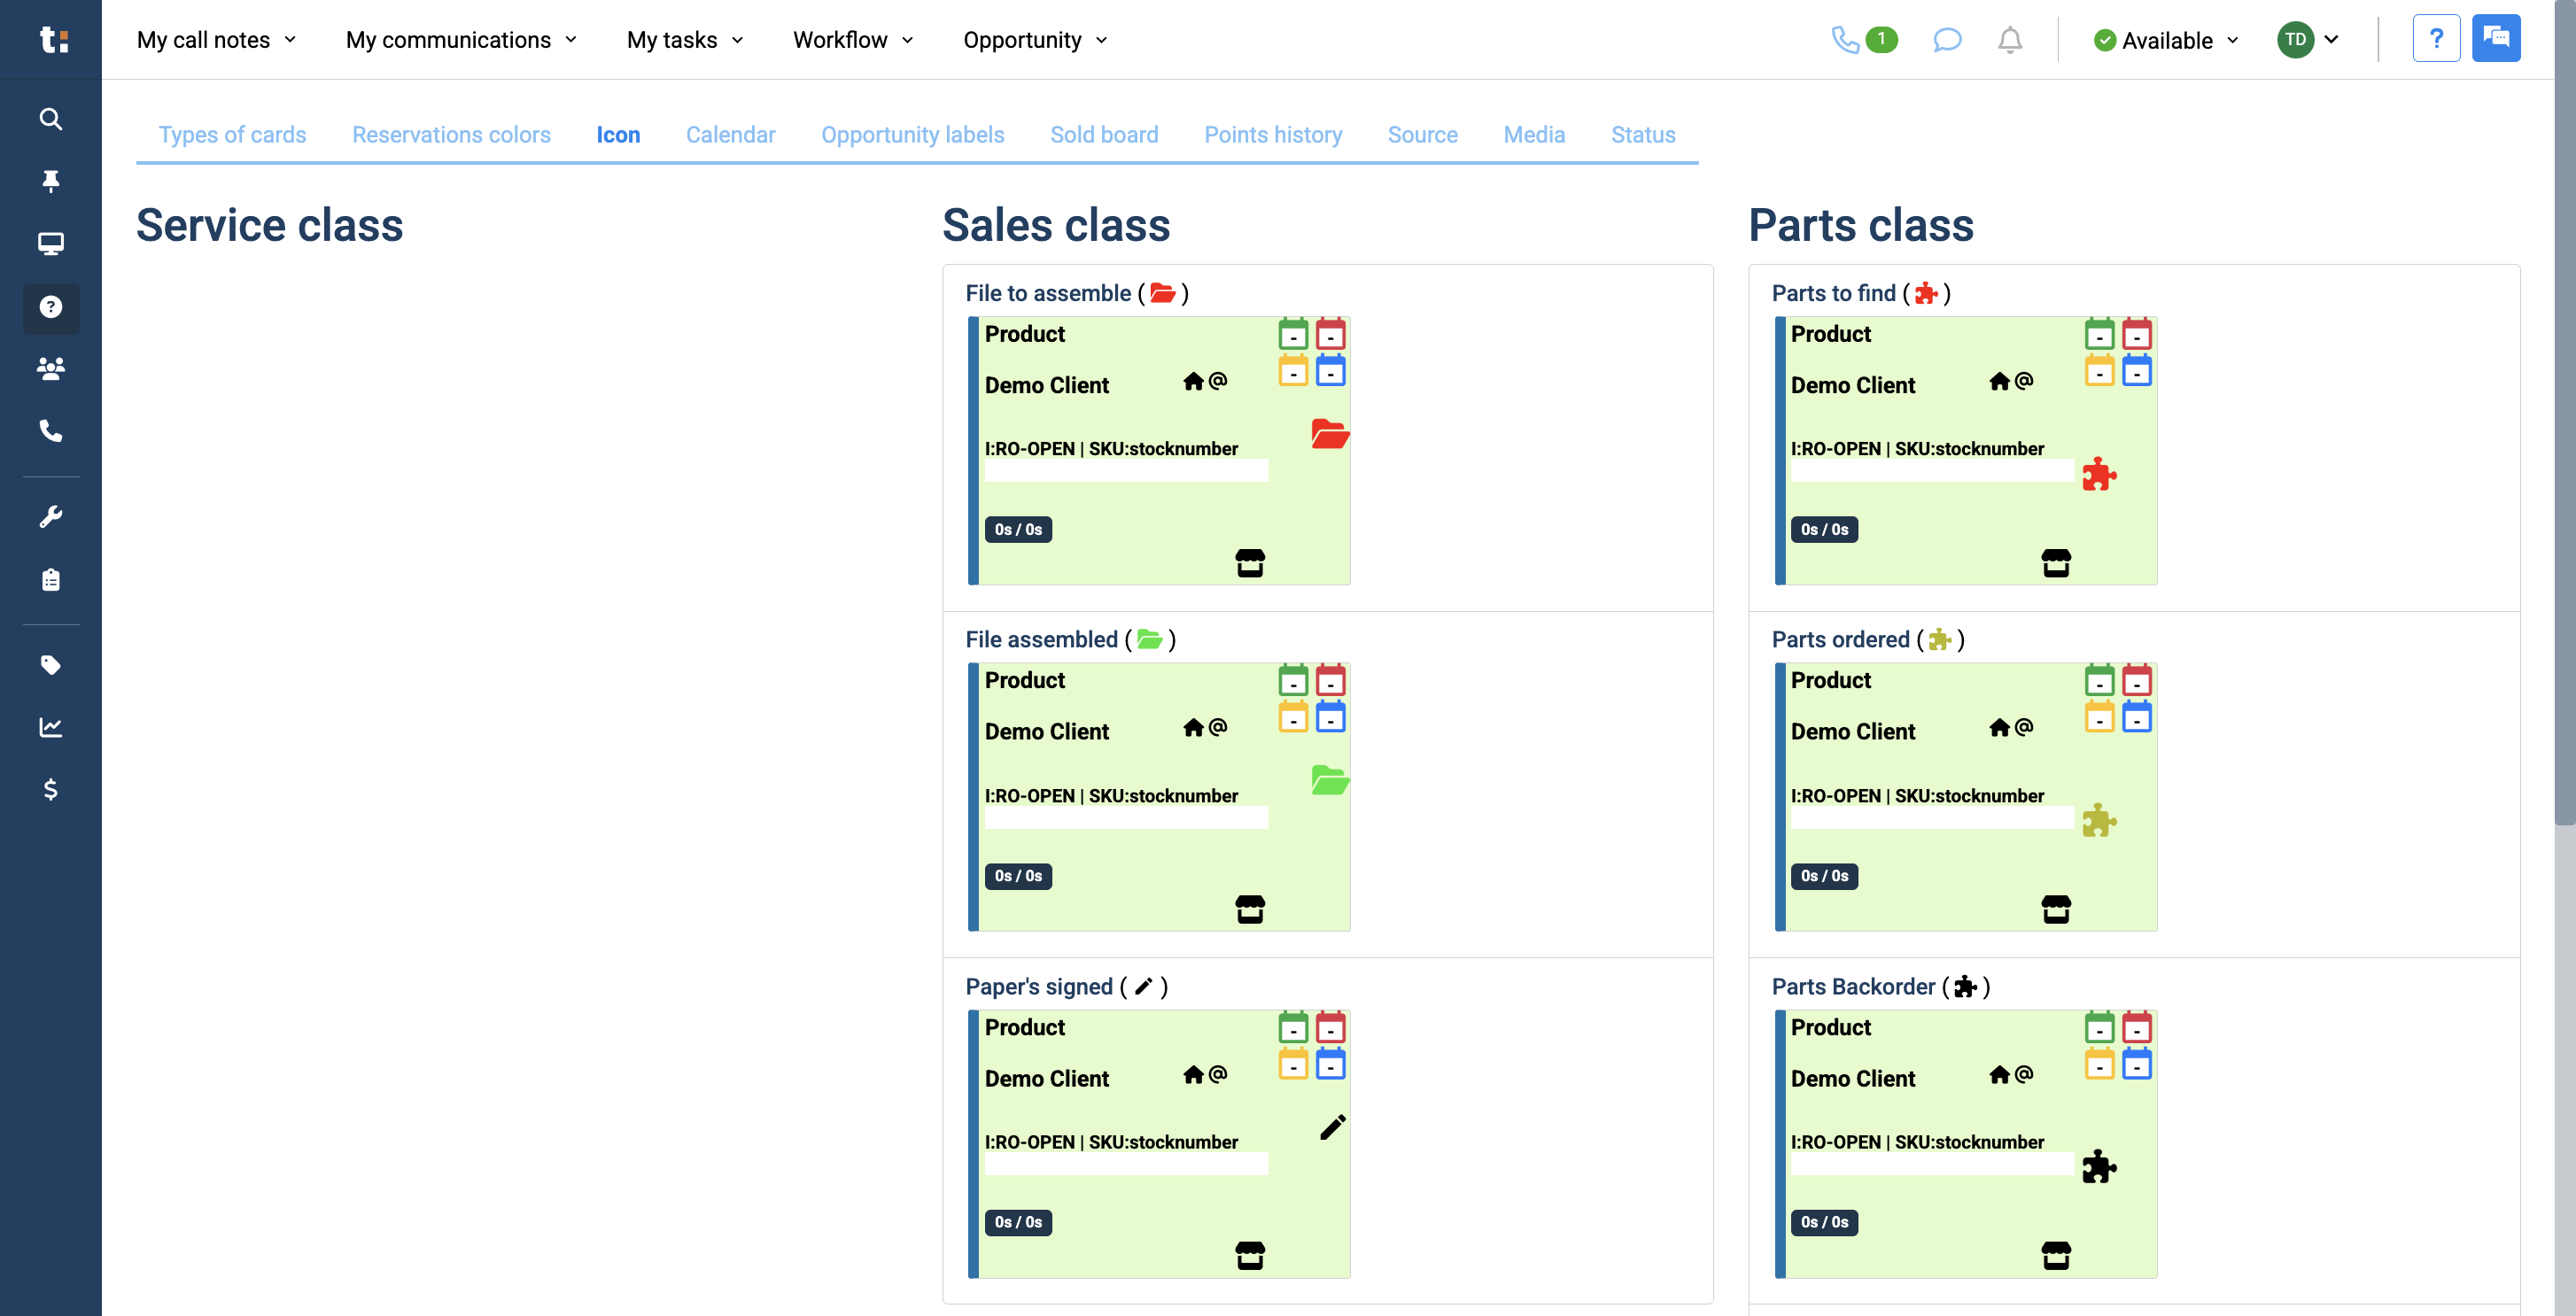
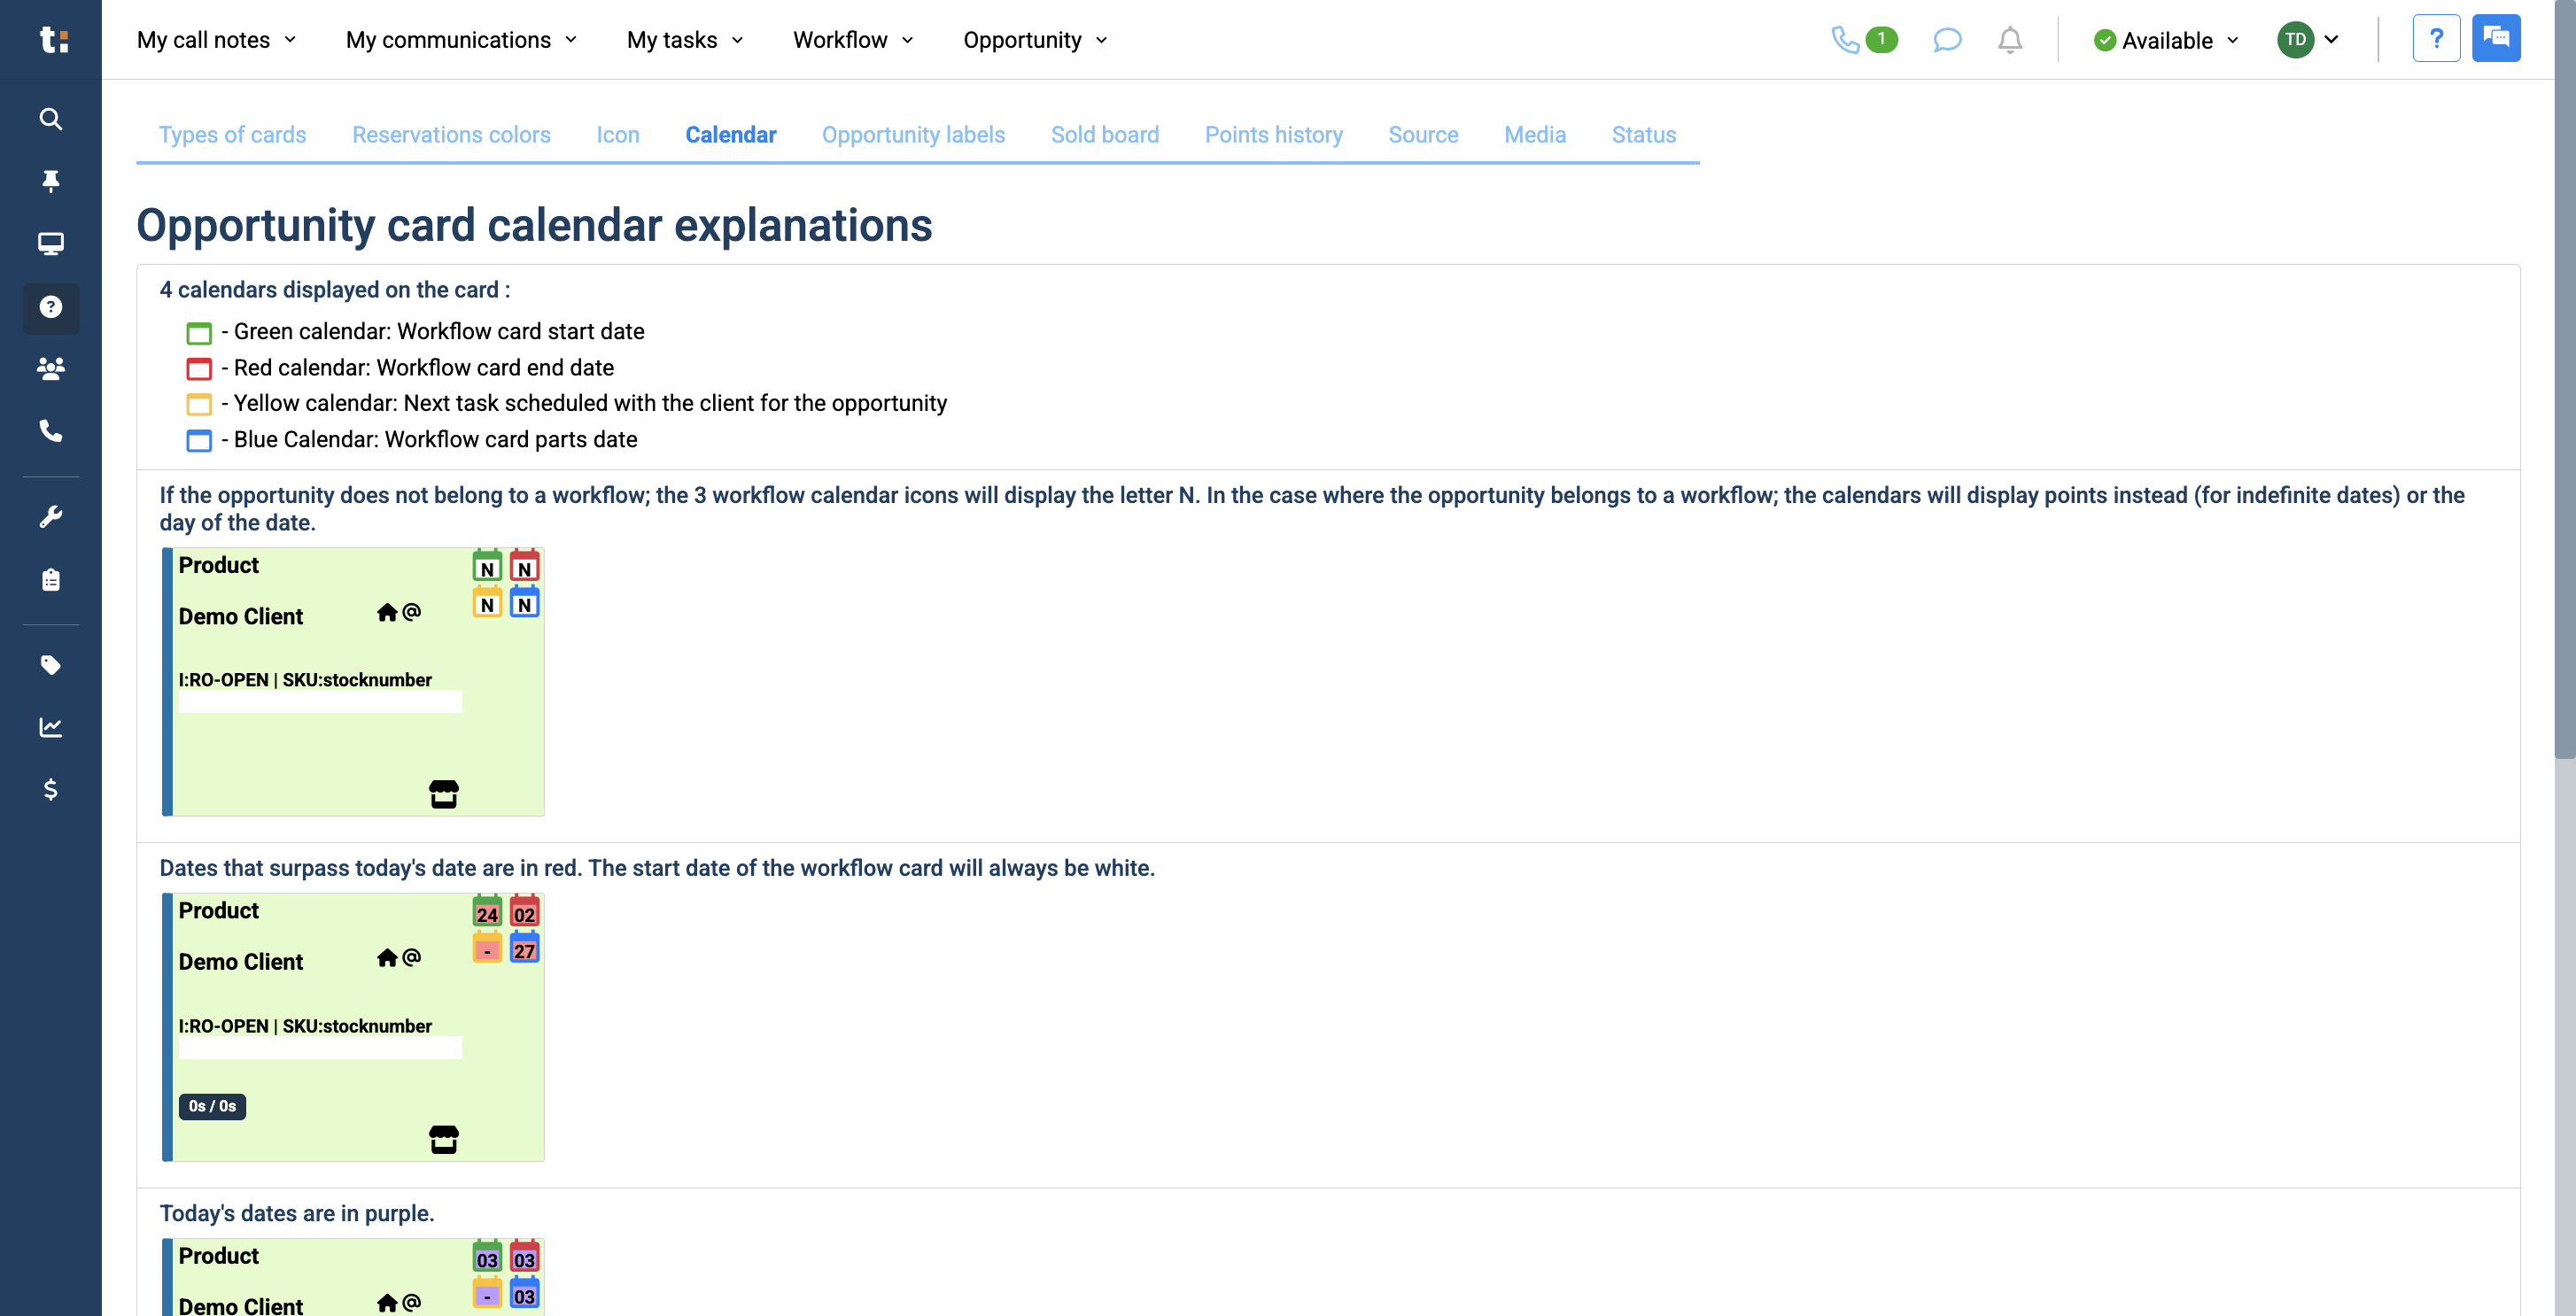
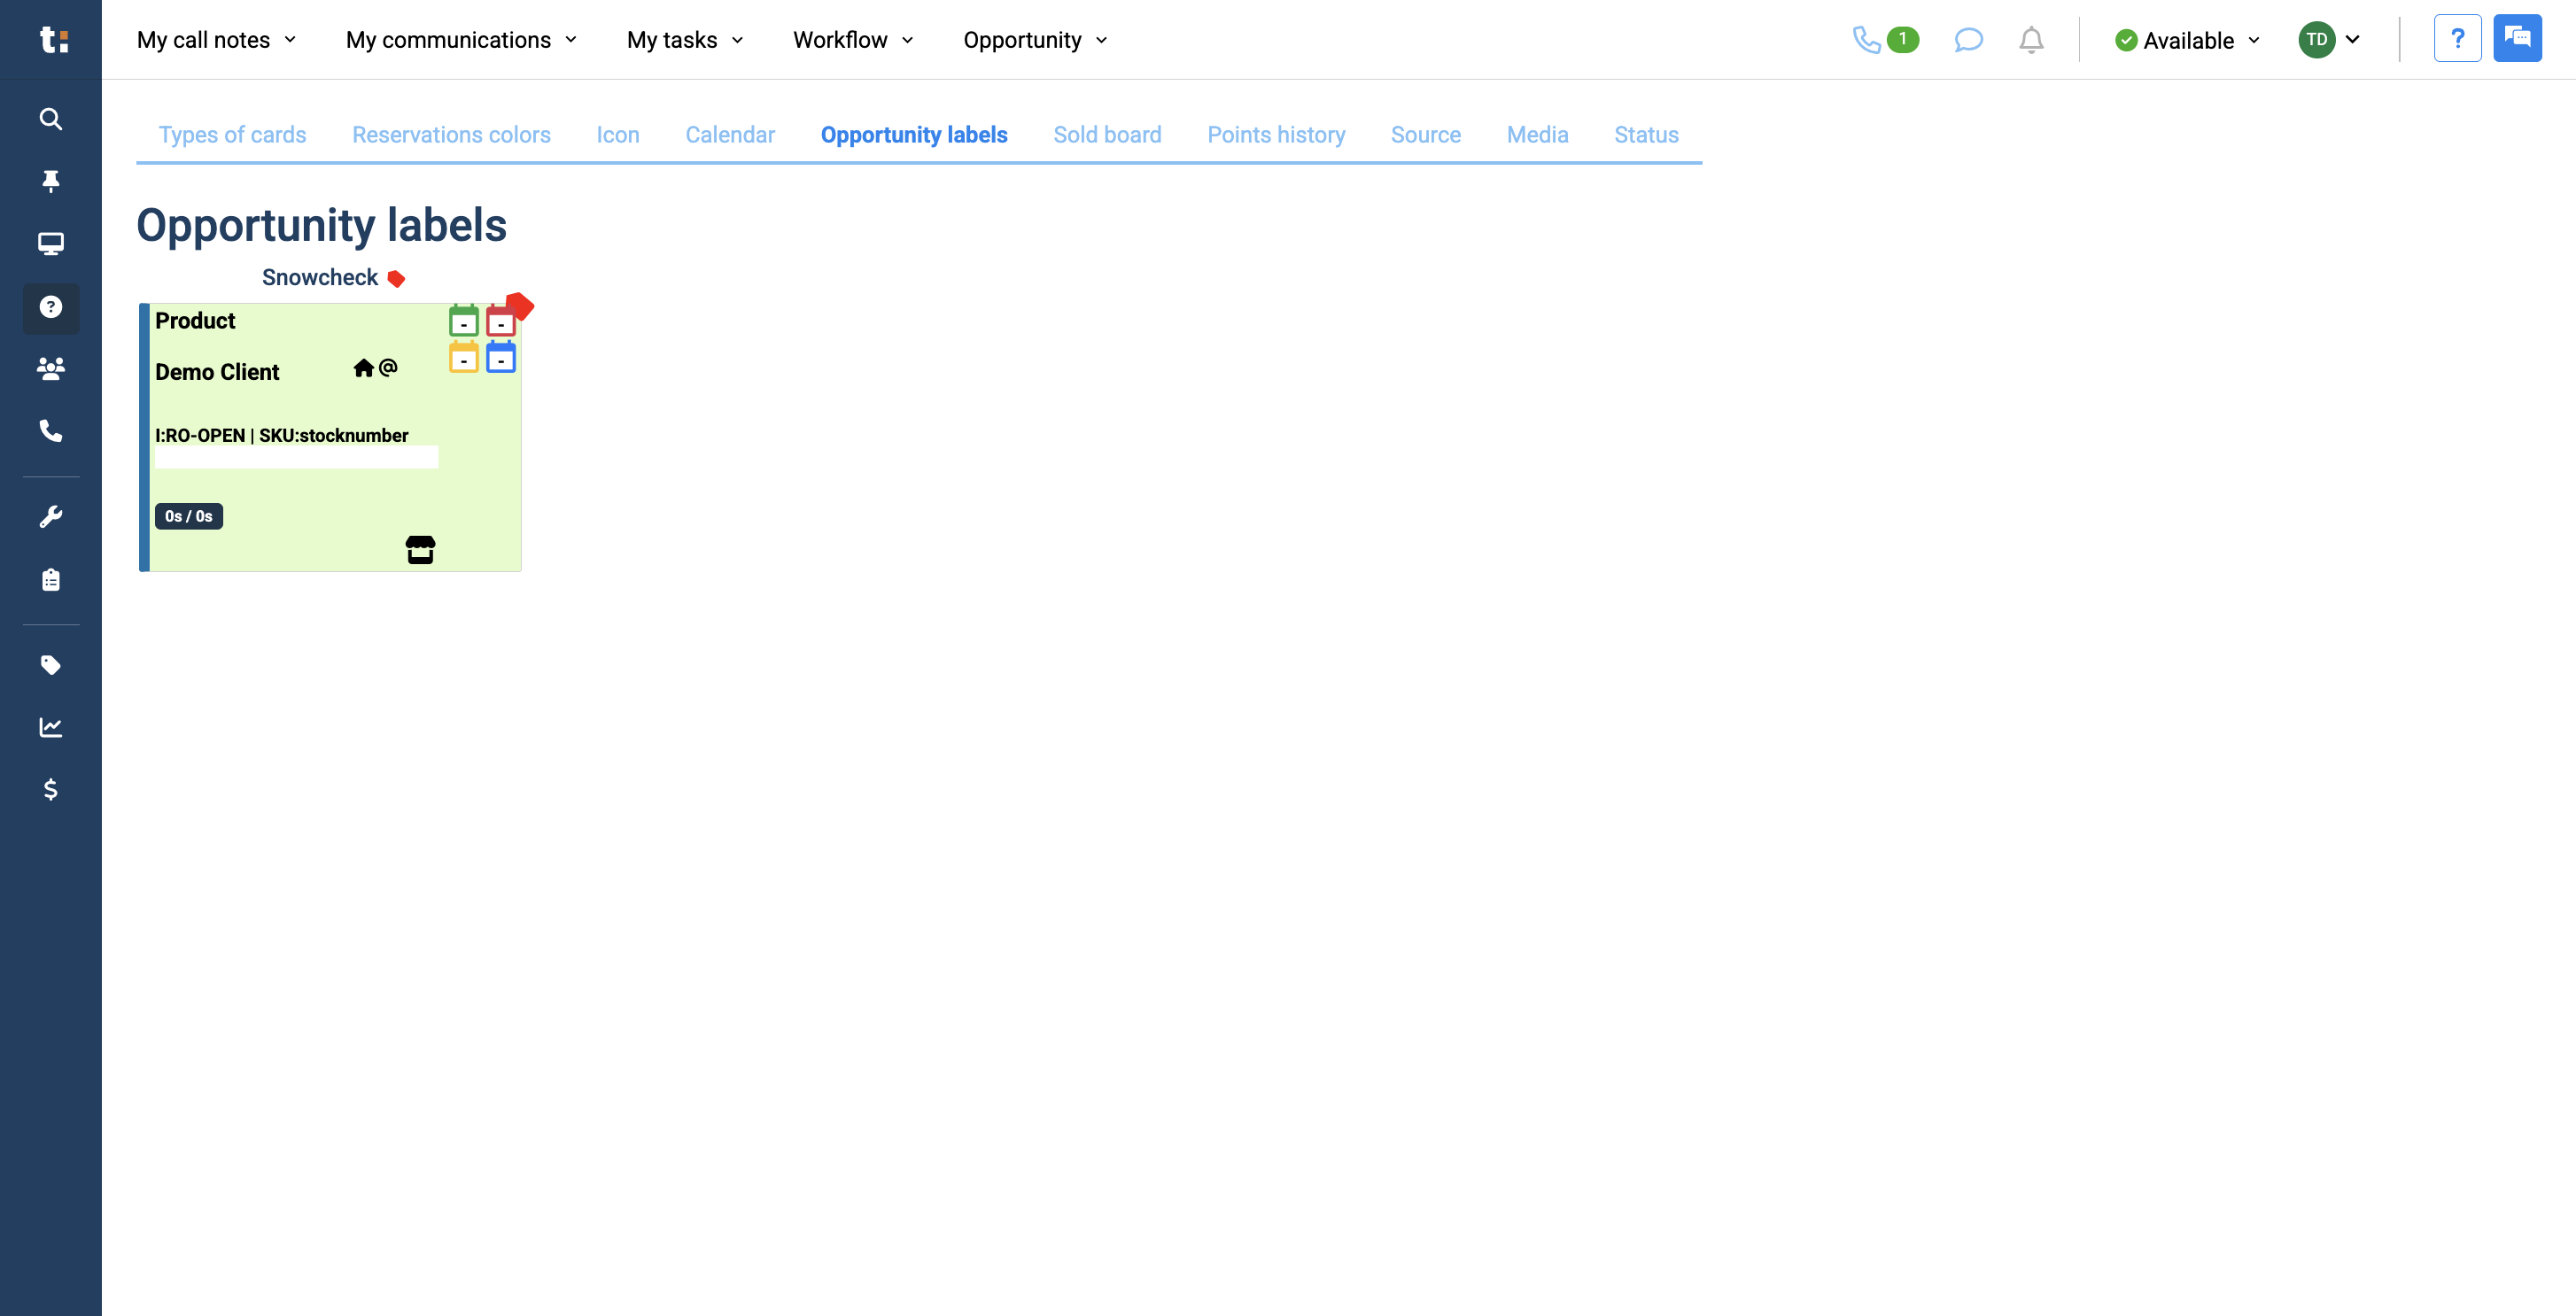
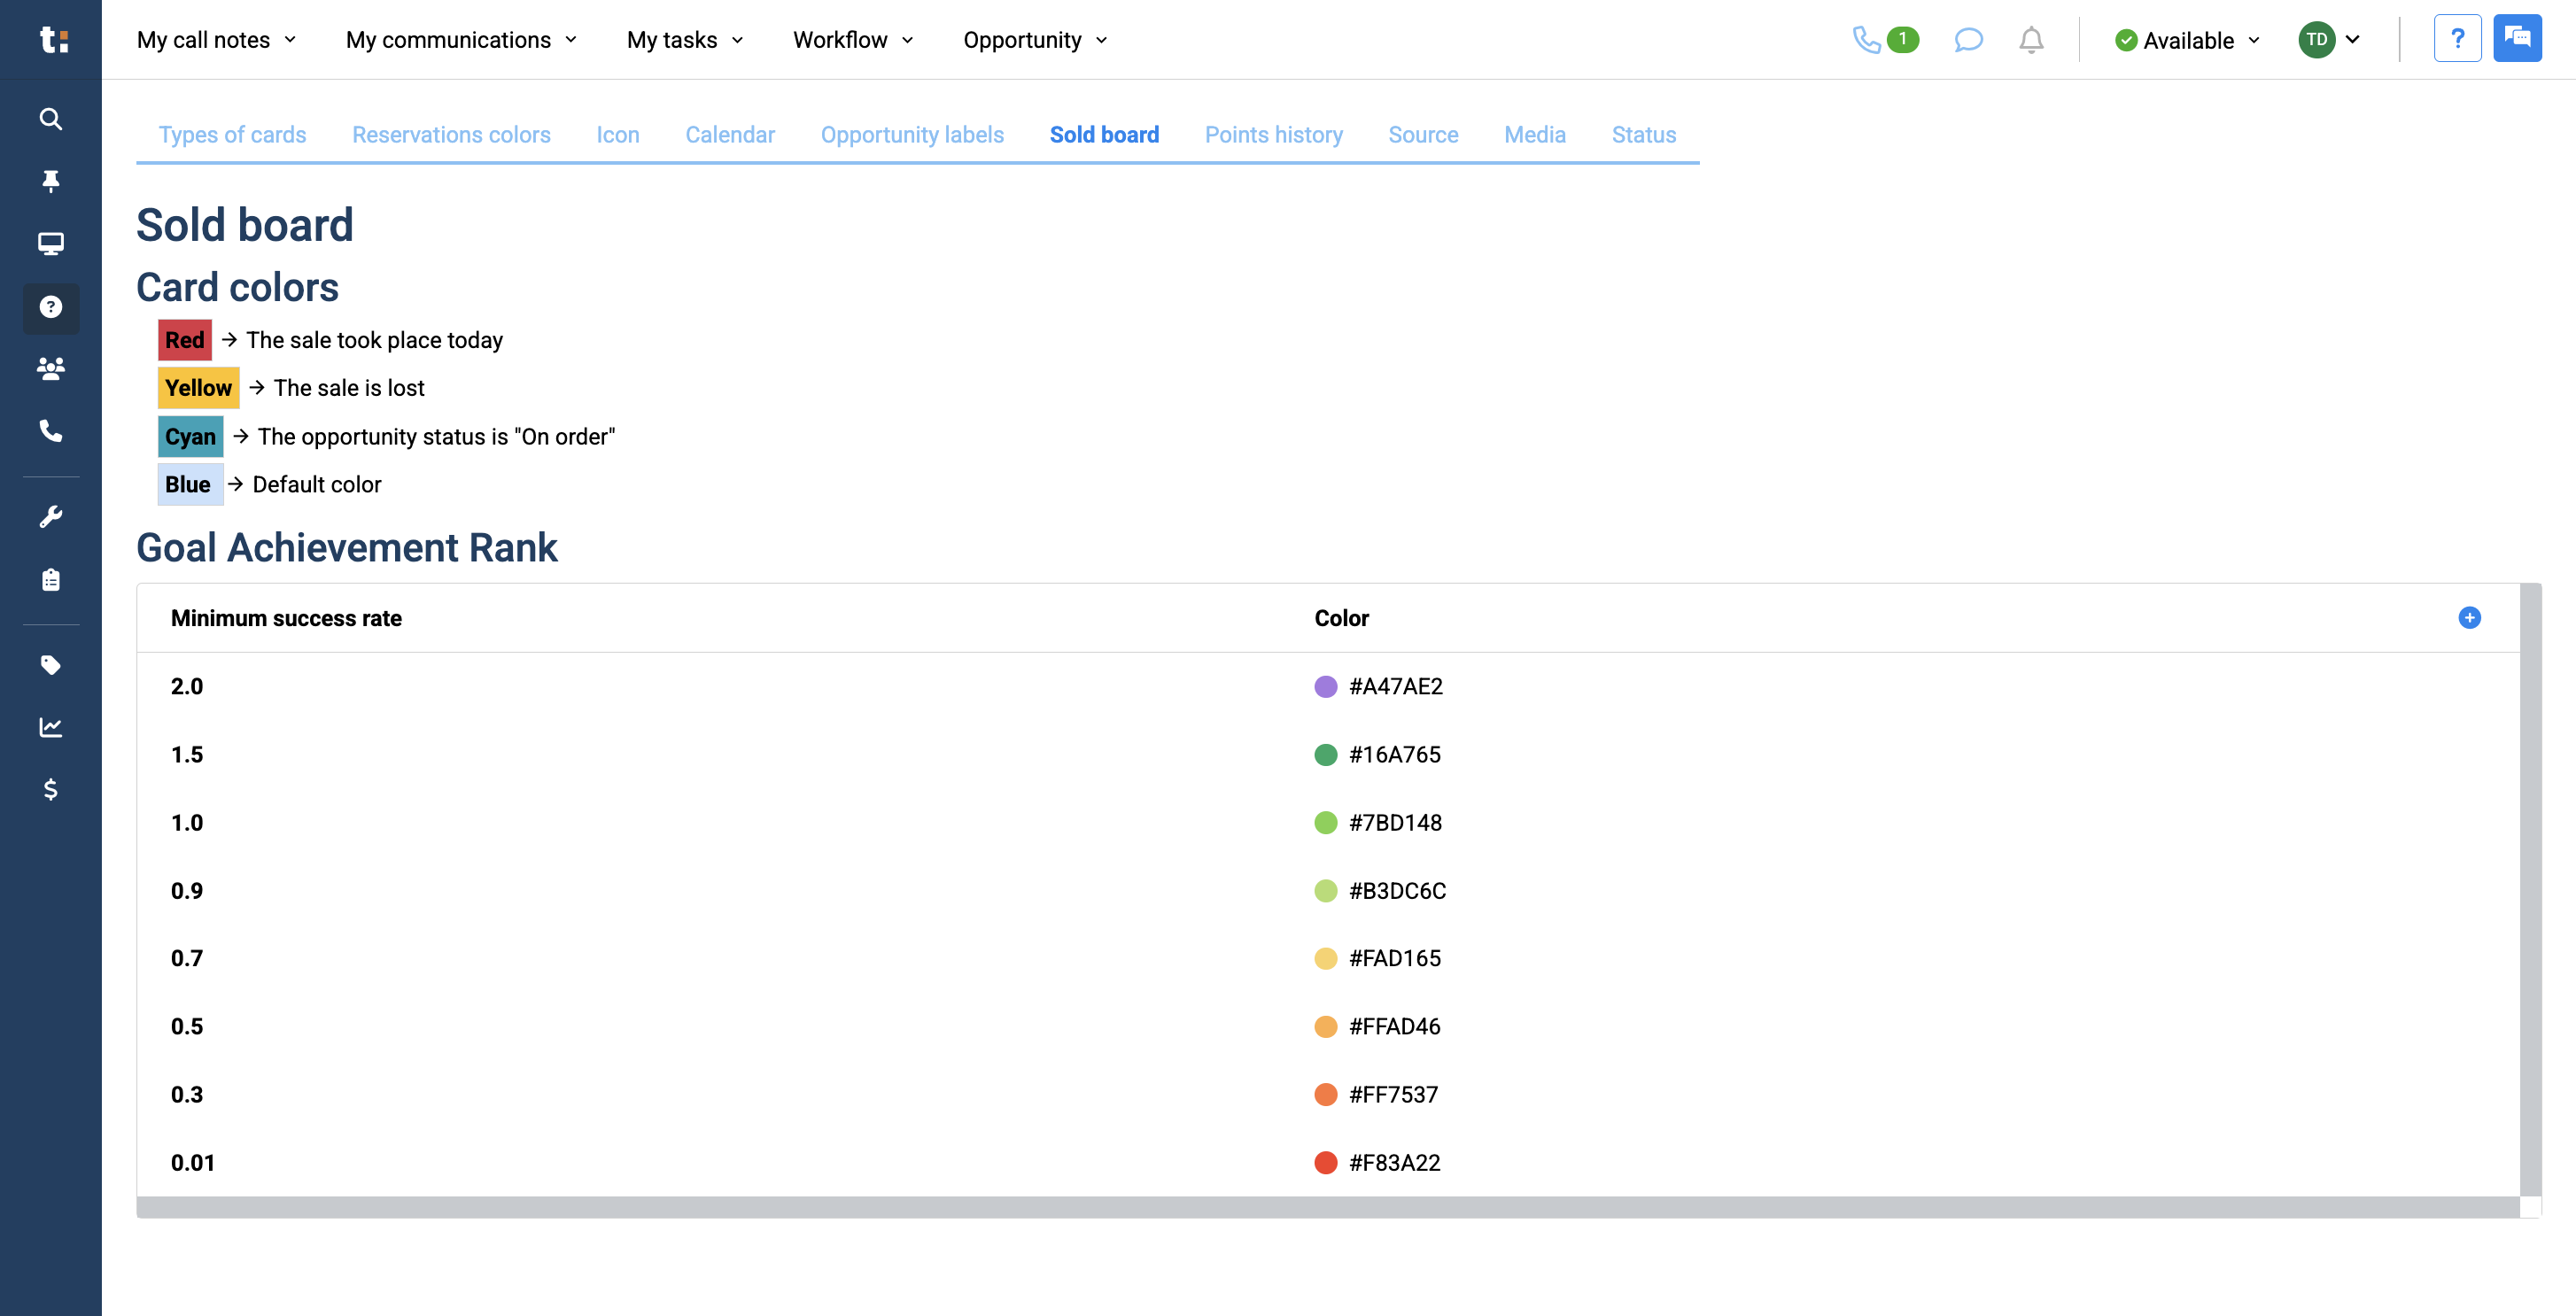
In this article, we will review the user guide, covering all system information. This includes the different types of colors, points, icons, and other elements configured for your dealership.

1
First, go to Assistance.
Step #1: First, go to Assistance.
2
Under User's Guide, click on System Information.
Step #2: Under User's Guide, click on System Information.

3
You have several tabs here. Each tab helps you understand the meaning of the information provided. First, we have the types of cards.
Step #3: You have several tabs here. Each tab helps you understand the meaning of the information provided. First, we have the types of cards.

4
These are the different types of colors you have chosen to indicate the specific status of each card by color code.
Step #4: These are the different types of colors you have chosen to indicate the specific status of each card by color code.

5
Reservation colors represent the bookings you have made, similar to card types, but specifically for your service calendar.
Step #5: Reservation colors represent the bookings you have made, similar to card types, but specifically for your service calendar.

6
Icons are the symbols you select for each class to show a specific status on a card.
Step #6: Icons are the symbols you select for each class to show a specific status on a card.

7
The Calendar tab explains what each calendar on the card means and what they represent.
Step #7: The Calendar tab explains what each calendar on the card means and what they represent.

8
Opportunity labels are labels you have created internally for your dealership and their meanings.
Step #8: Opportunity labels are labels you have created internally for your dealership and their meanings.

9
The Sold Board tab shows what the different colors mean on your sold board. If a card is red, yellow, cyan, or blue, this tab will explain its significance.
Step #9: The Sold Board tab shows what the different colors mean on your sold board. If a card is red, yellow, cyan, or blue, this tab will explain its significance.

10
Additionally, the points ranking system and color coordination are listed below.
Step #10: Additionally, the points ranking system and color coordination are listed below.

11
A point's history shows a complete list of points and the number of points you can earn for each action in Traction.
Step #11: A point's history shows a complete list of points and the number of points you can earn for each action in Traction.

12
The Source tab shows your complete list of sources.
Step #12: The Source tab shows your complete list of sources.
13
The Media tab displays all available media types.
Step #13:    The Media tab displays all available media types.

14
Lastly, there is a Status tab that displays all the badges found under a card, which indicate the status of a vehicle.
Step #14: Lastly, there is a Status tab that displays all the badges found under a card, which indicate the status of a vehicle.

If you still have questions after consulting this article, please feel free to contact our support team at: support@tractiondk.zohodesk.com