Configure SNMP and SSH on Cisco SG550 Series Switches
Learn how to configure SNMP communities and enable SSH password authentication on Cisco SG Series managed switches (like the SG550X) for remote network monitoring.
By Josh Frazier
Configuring SNMP and SSH access on your Cisco SG Series switch (such as the SG550X) is essential for remote management and integrating with network monitoring tools like Site24x7.
Log in to your switch's web management interface to get started.
Enable SNMP and SSH Services
First, you need to enable the base TCP/UDP services for both SNMP and SSH.
1
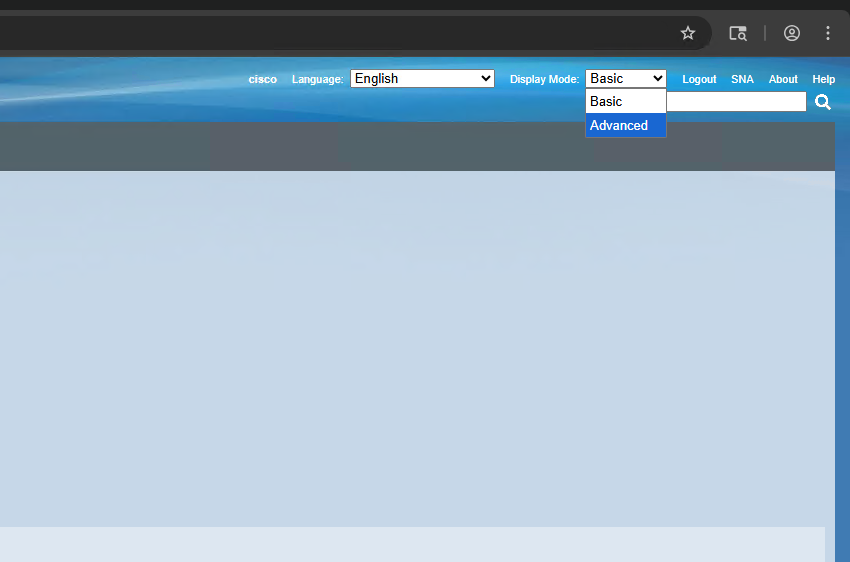
Select Advanced from the Display Mode dropdown in the top right corner of the dashboard to reveal all configuration options.
2
Under the Initial Setup section, click the Change Management Applications and Services link.

3
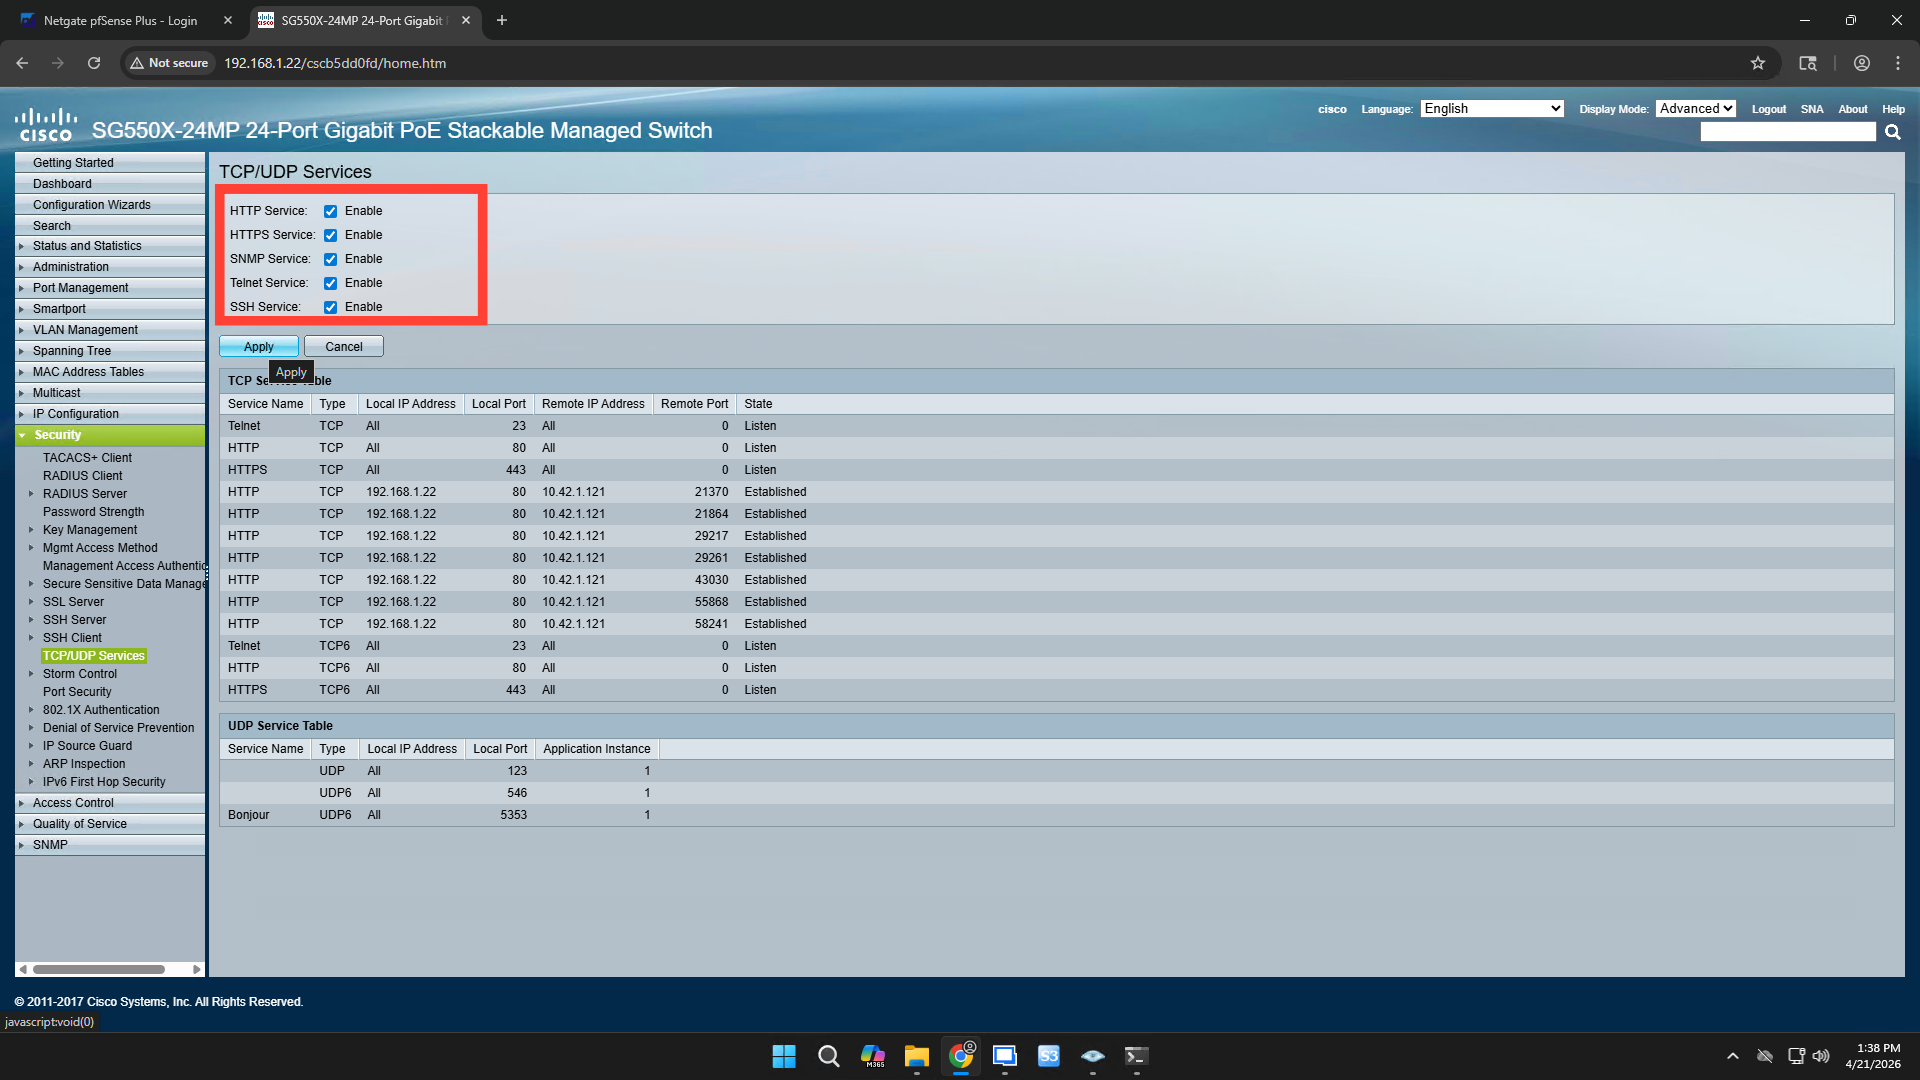
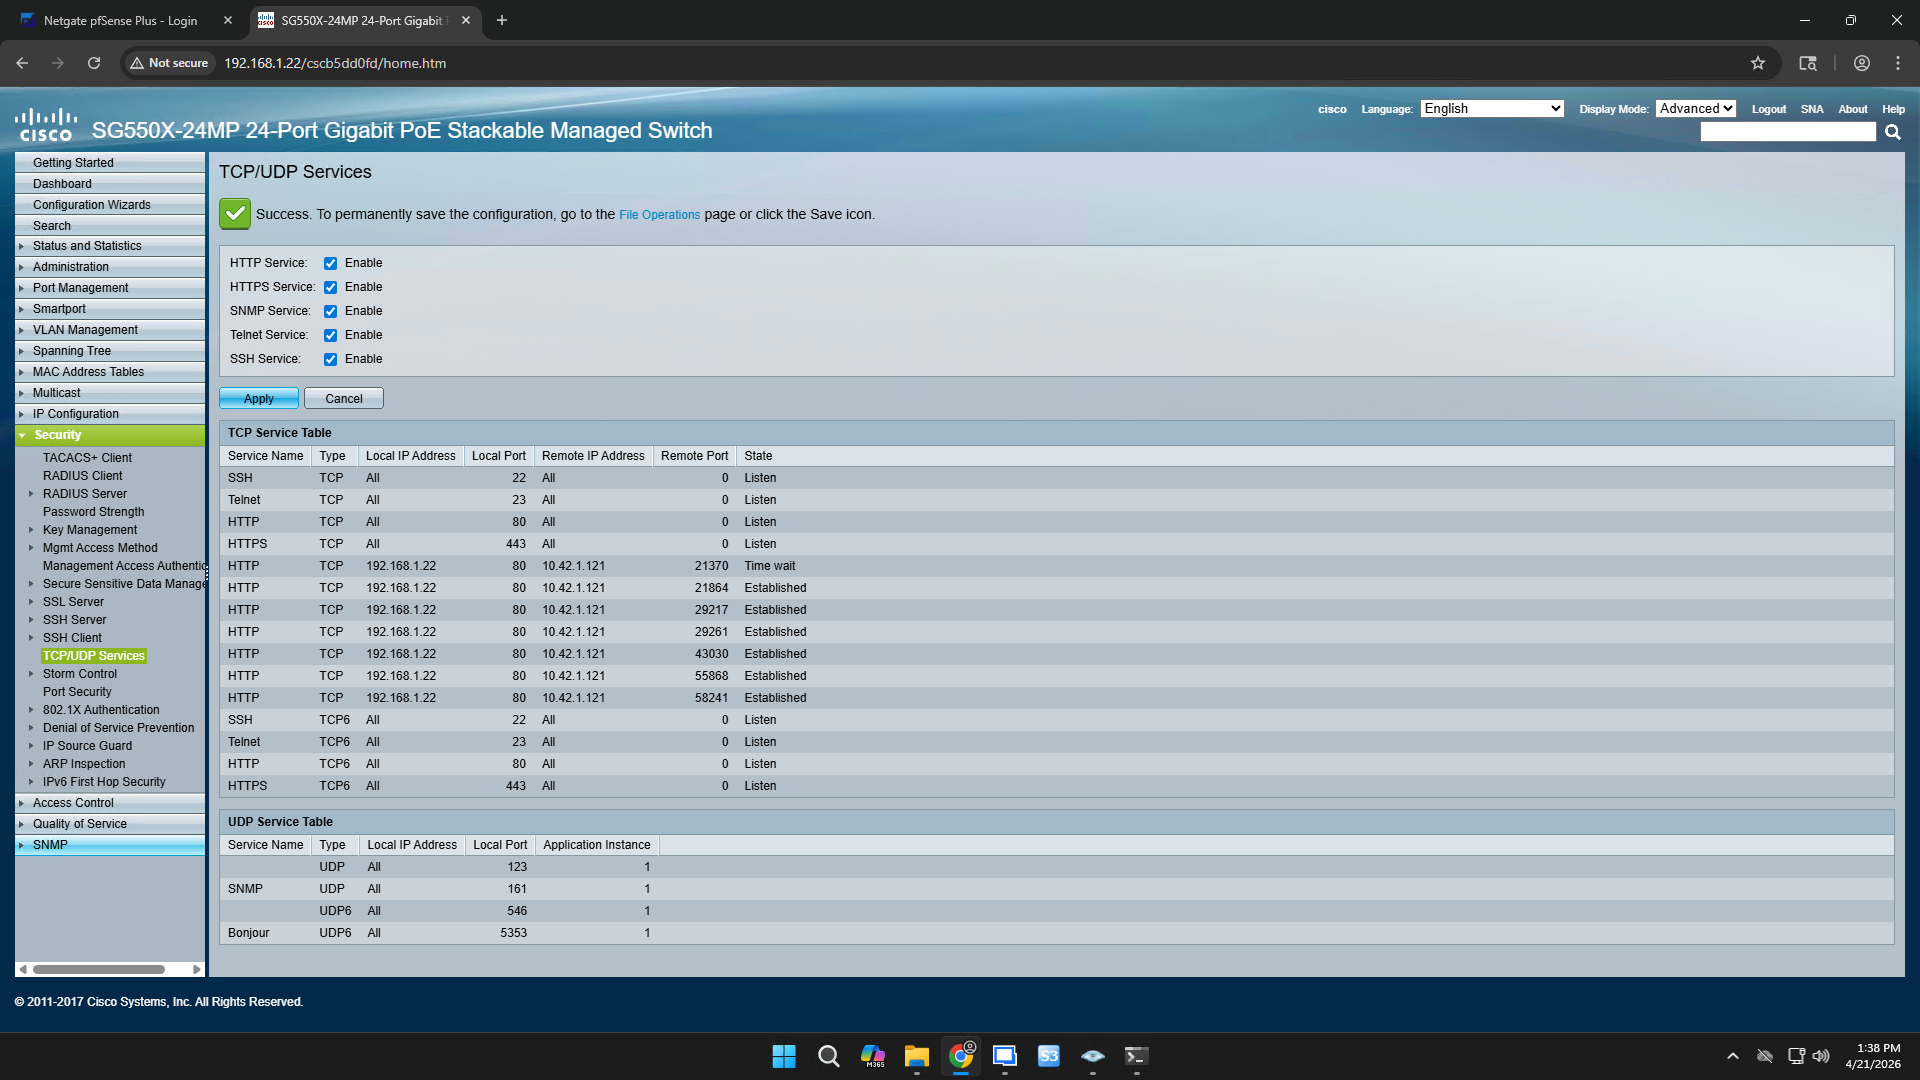
Check the boxes next to SNMP Service and SSH Service to enable them, then click Apply.
Configure SNMP Communities
Next, configure an SNMP community string so your on-premise poller can read data from the switch.
4
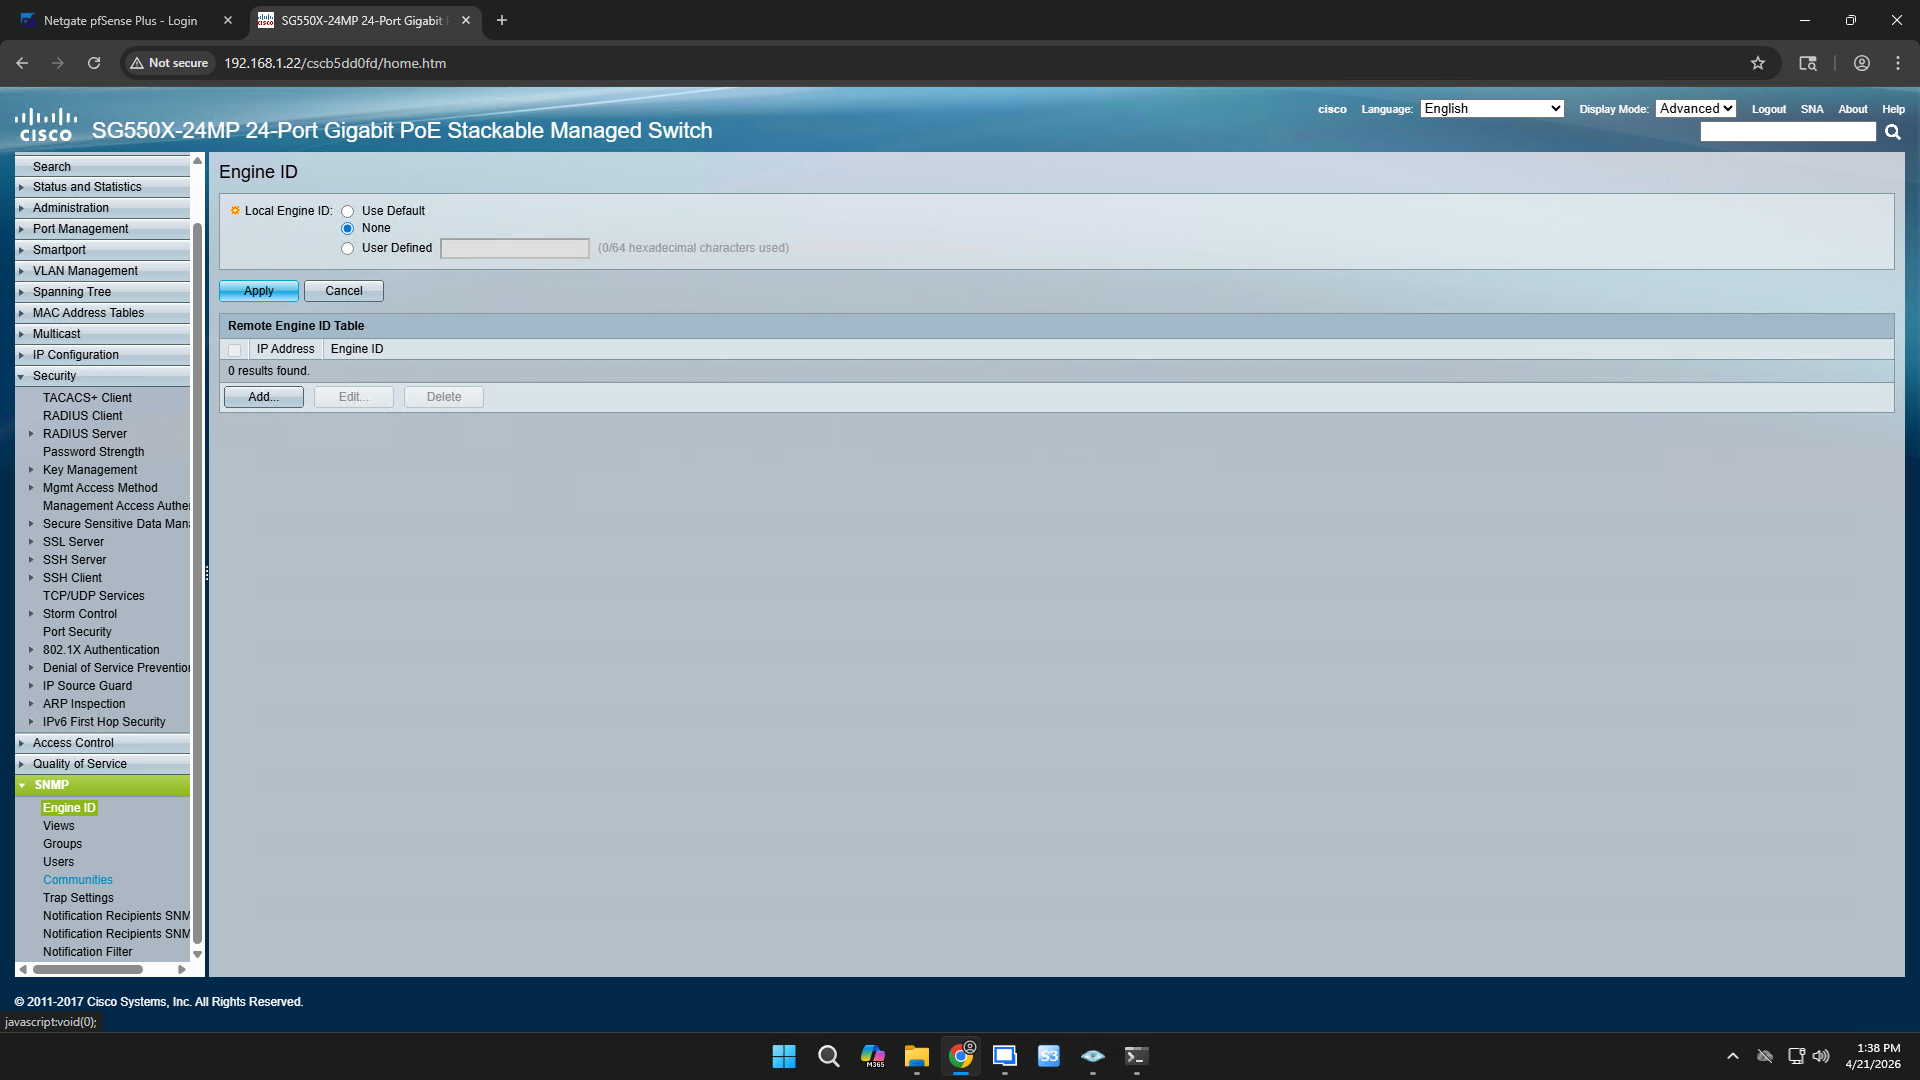
In the left-hand navigation pane, click SNMP to expand the section.
5
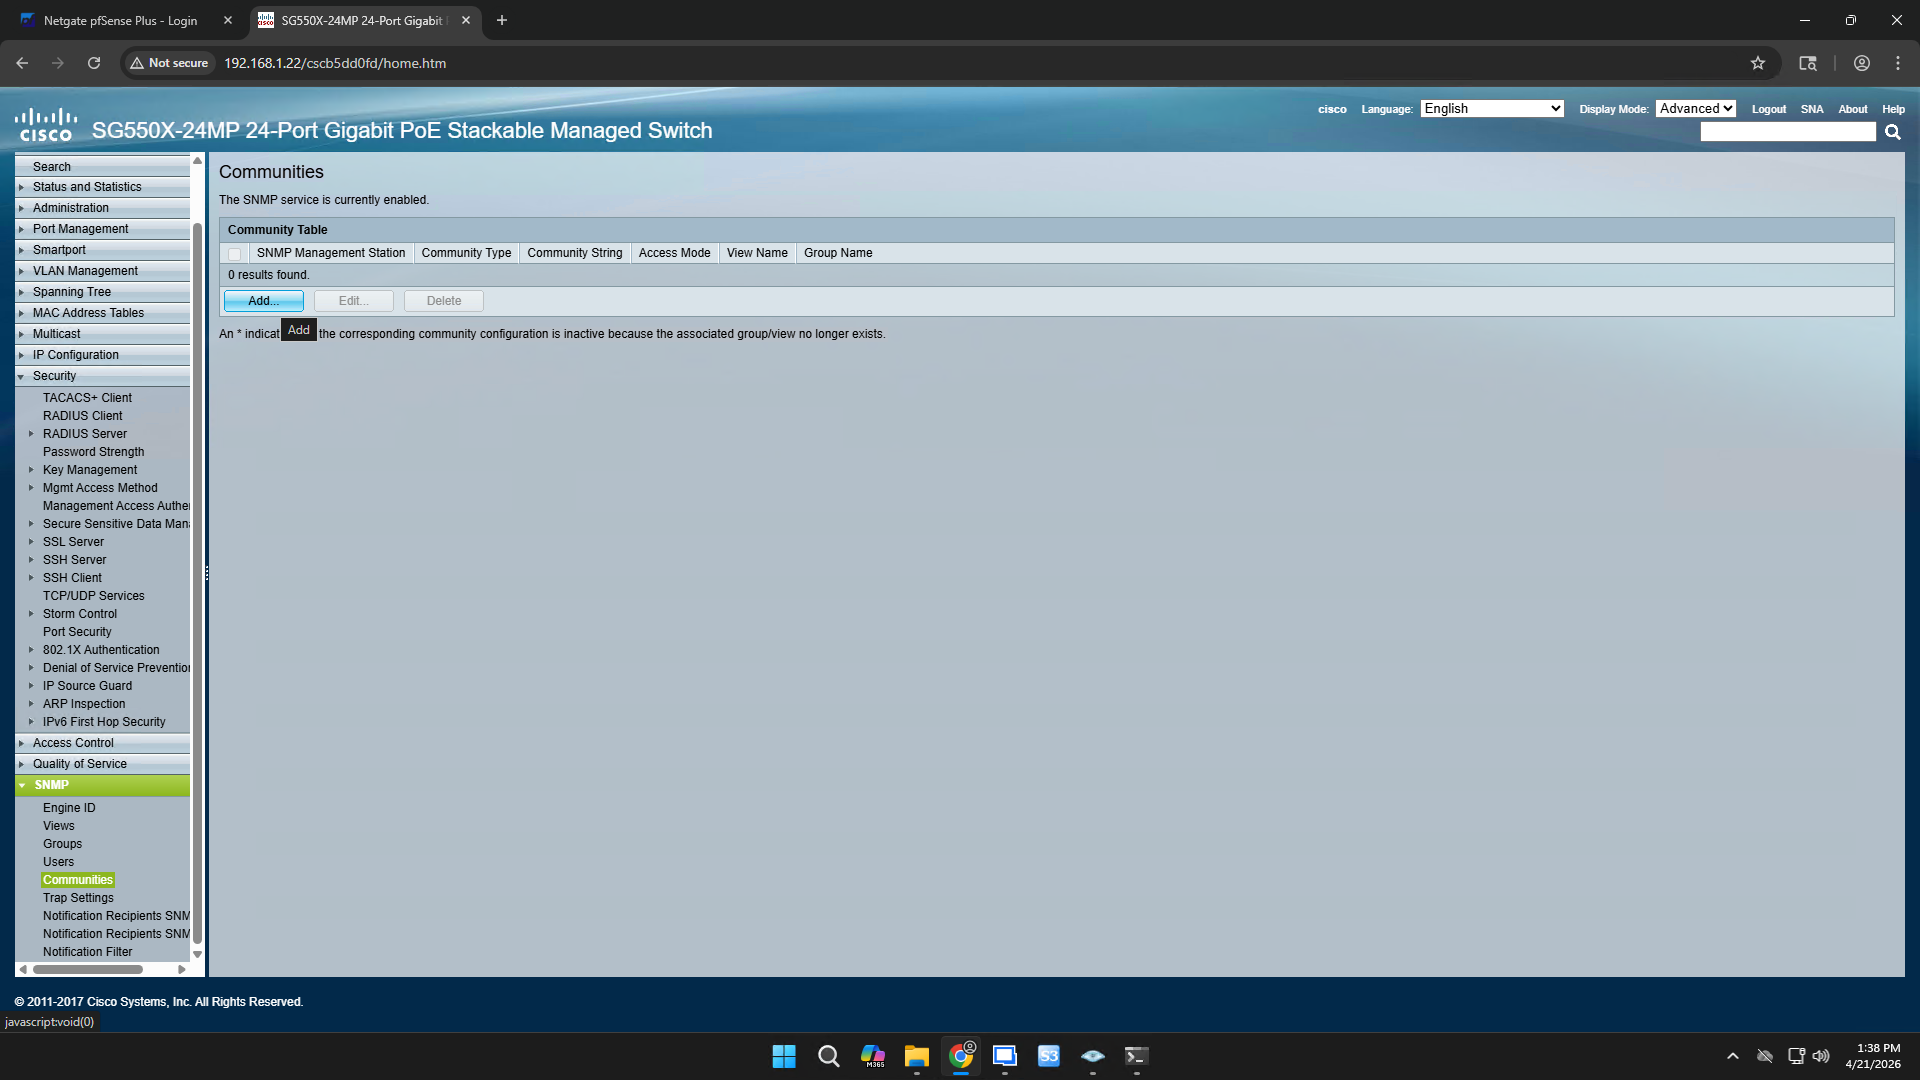
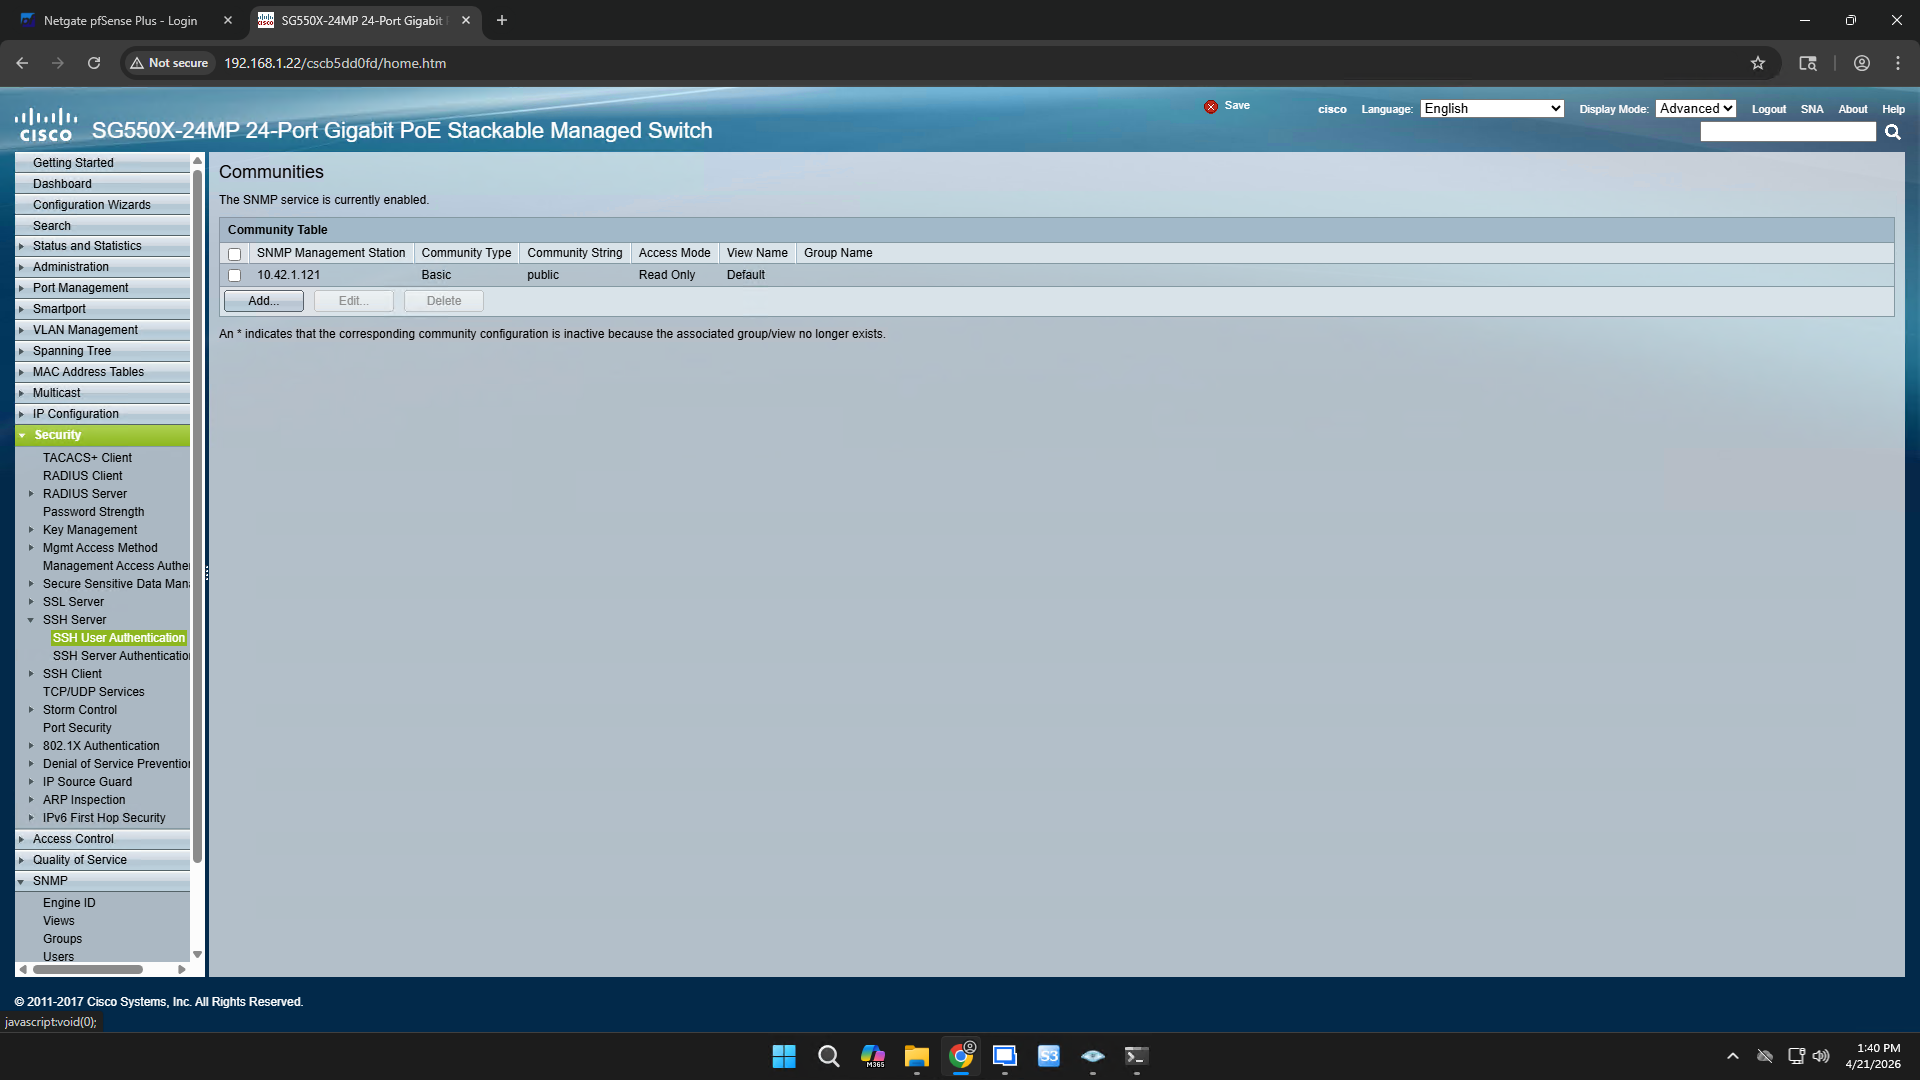
Click Communities.
6
Under the SNMP Communities table, click Add.
7
Enter the IP address of your monitoring poller (e.g., your Site24x7 server) and set the Community String to
public. Ensure the access mode is set to Read Only, then click Apply.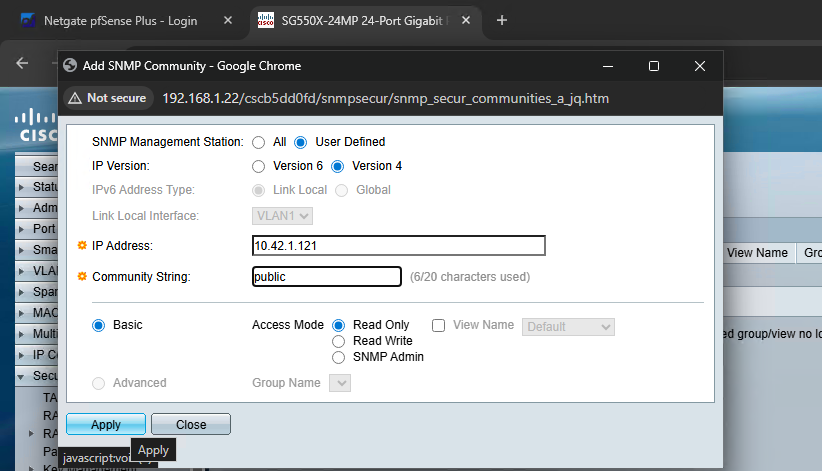
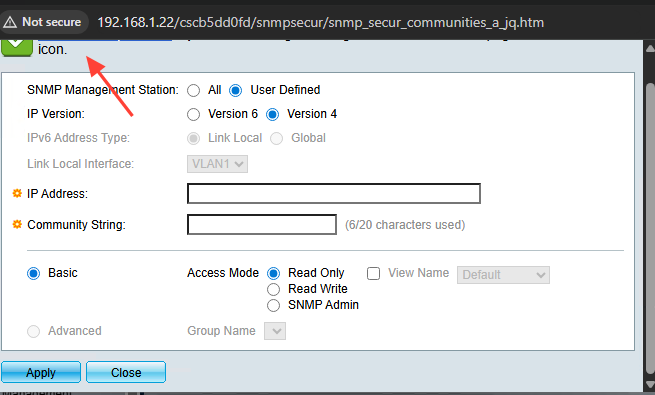
8
Once you see the success message, click Close to dismiss the modal window.
Enable SSH Password Authentication
Now, configure the SSH server to allow authentication via password.
9
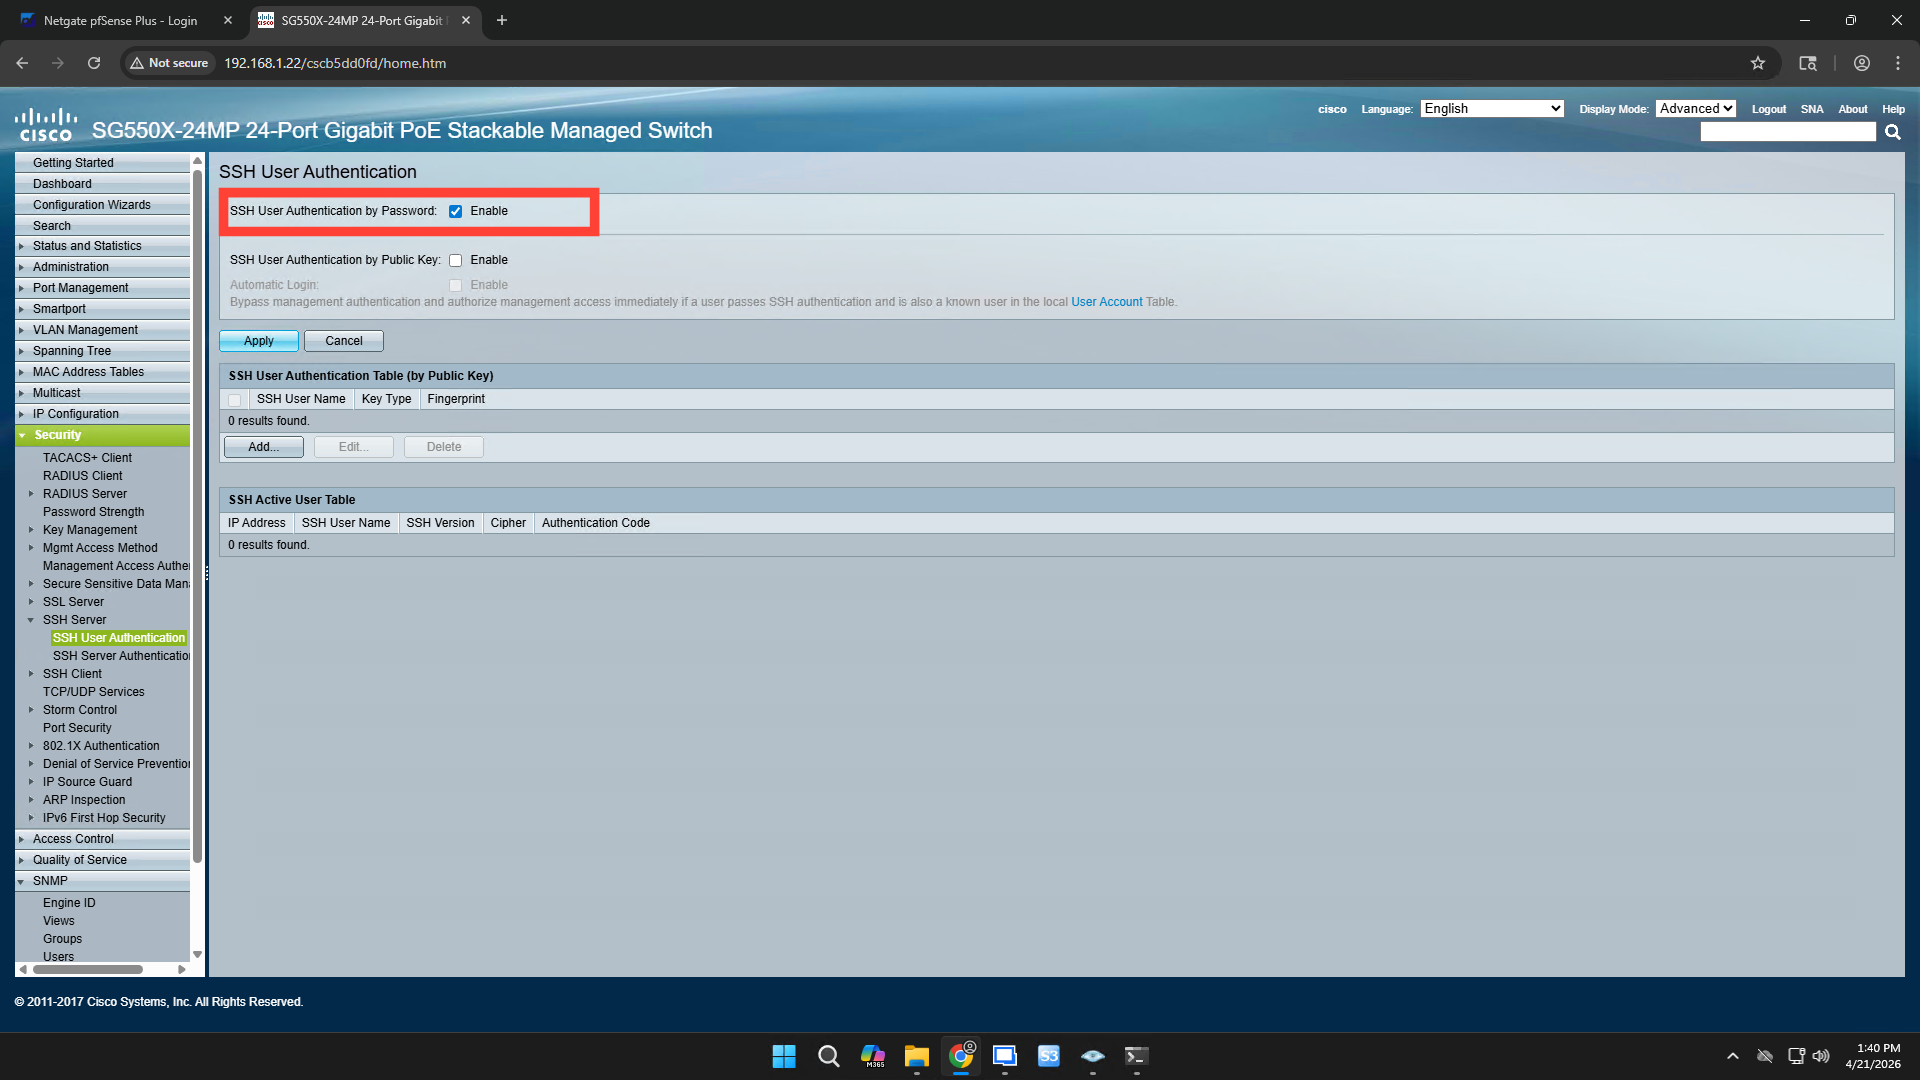
In the left-hand navigation menu, expand Security, then SSH Server, and select SSH User Authentication.
10
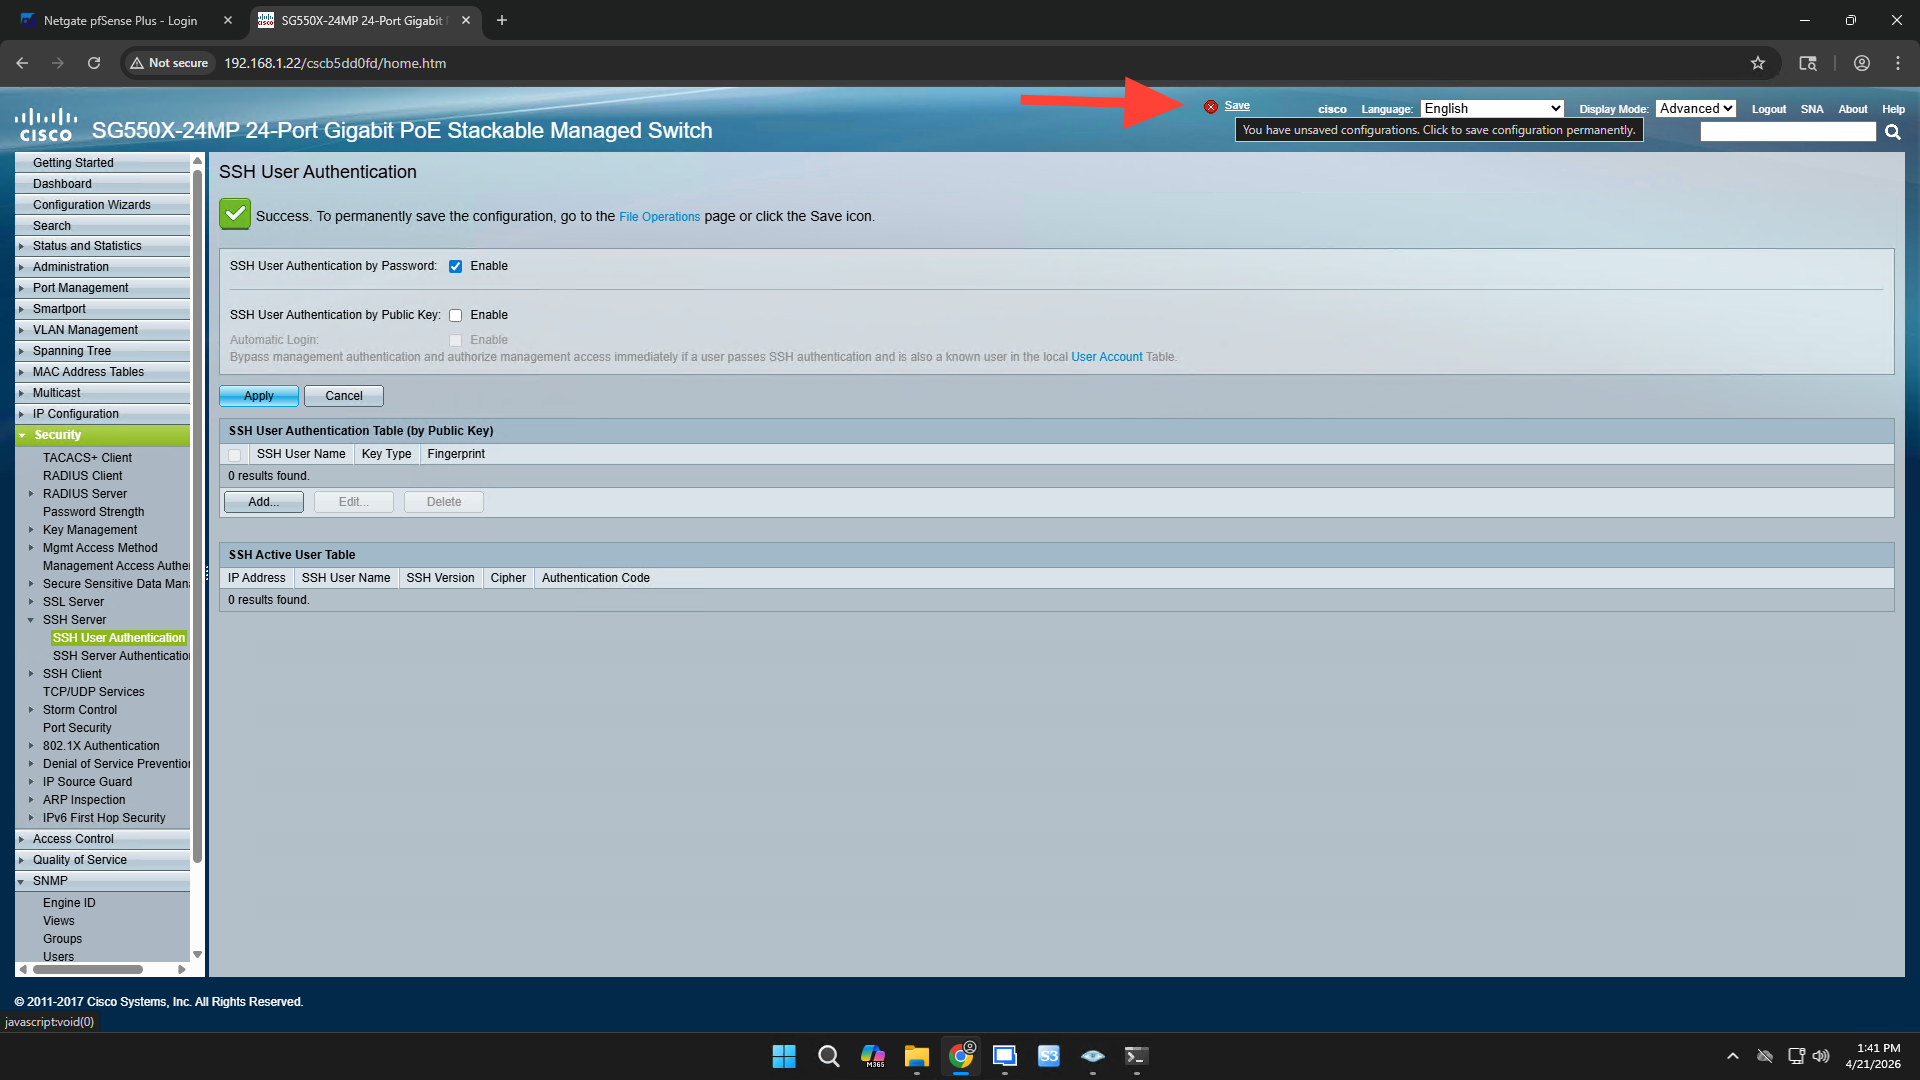
Check the box to enable SSH User Authentication by Password, then click Apply.
Save Your Configuration
Finally, commit your changes so they aren't lost if the switch reboots.
11
At the top of the interface, click Save (the blinking floppy disk icon) to copy the modified running configuration to the startup configuration.