Configuring VAR Graphics with SMARTConfigurator
Learn how to set up and trigger VAR (Video Assistant Referee) broadcast graphics using SMARTConfigurator, SMARTGraphics, and the VARdict application.
By Blair Morrison
1. Launching GFX
1
2

2. Load Your Match Rundown
3
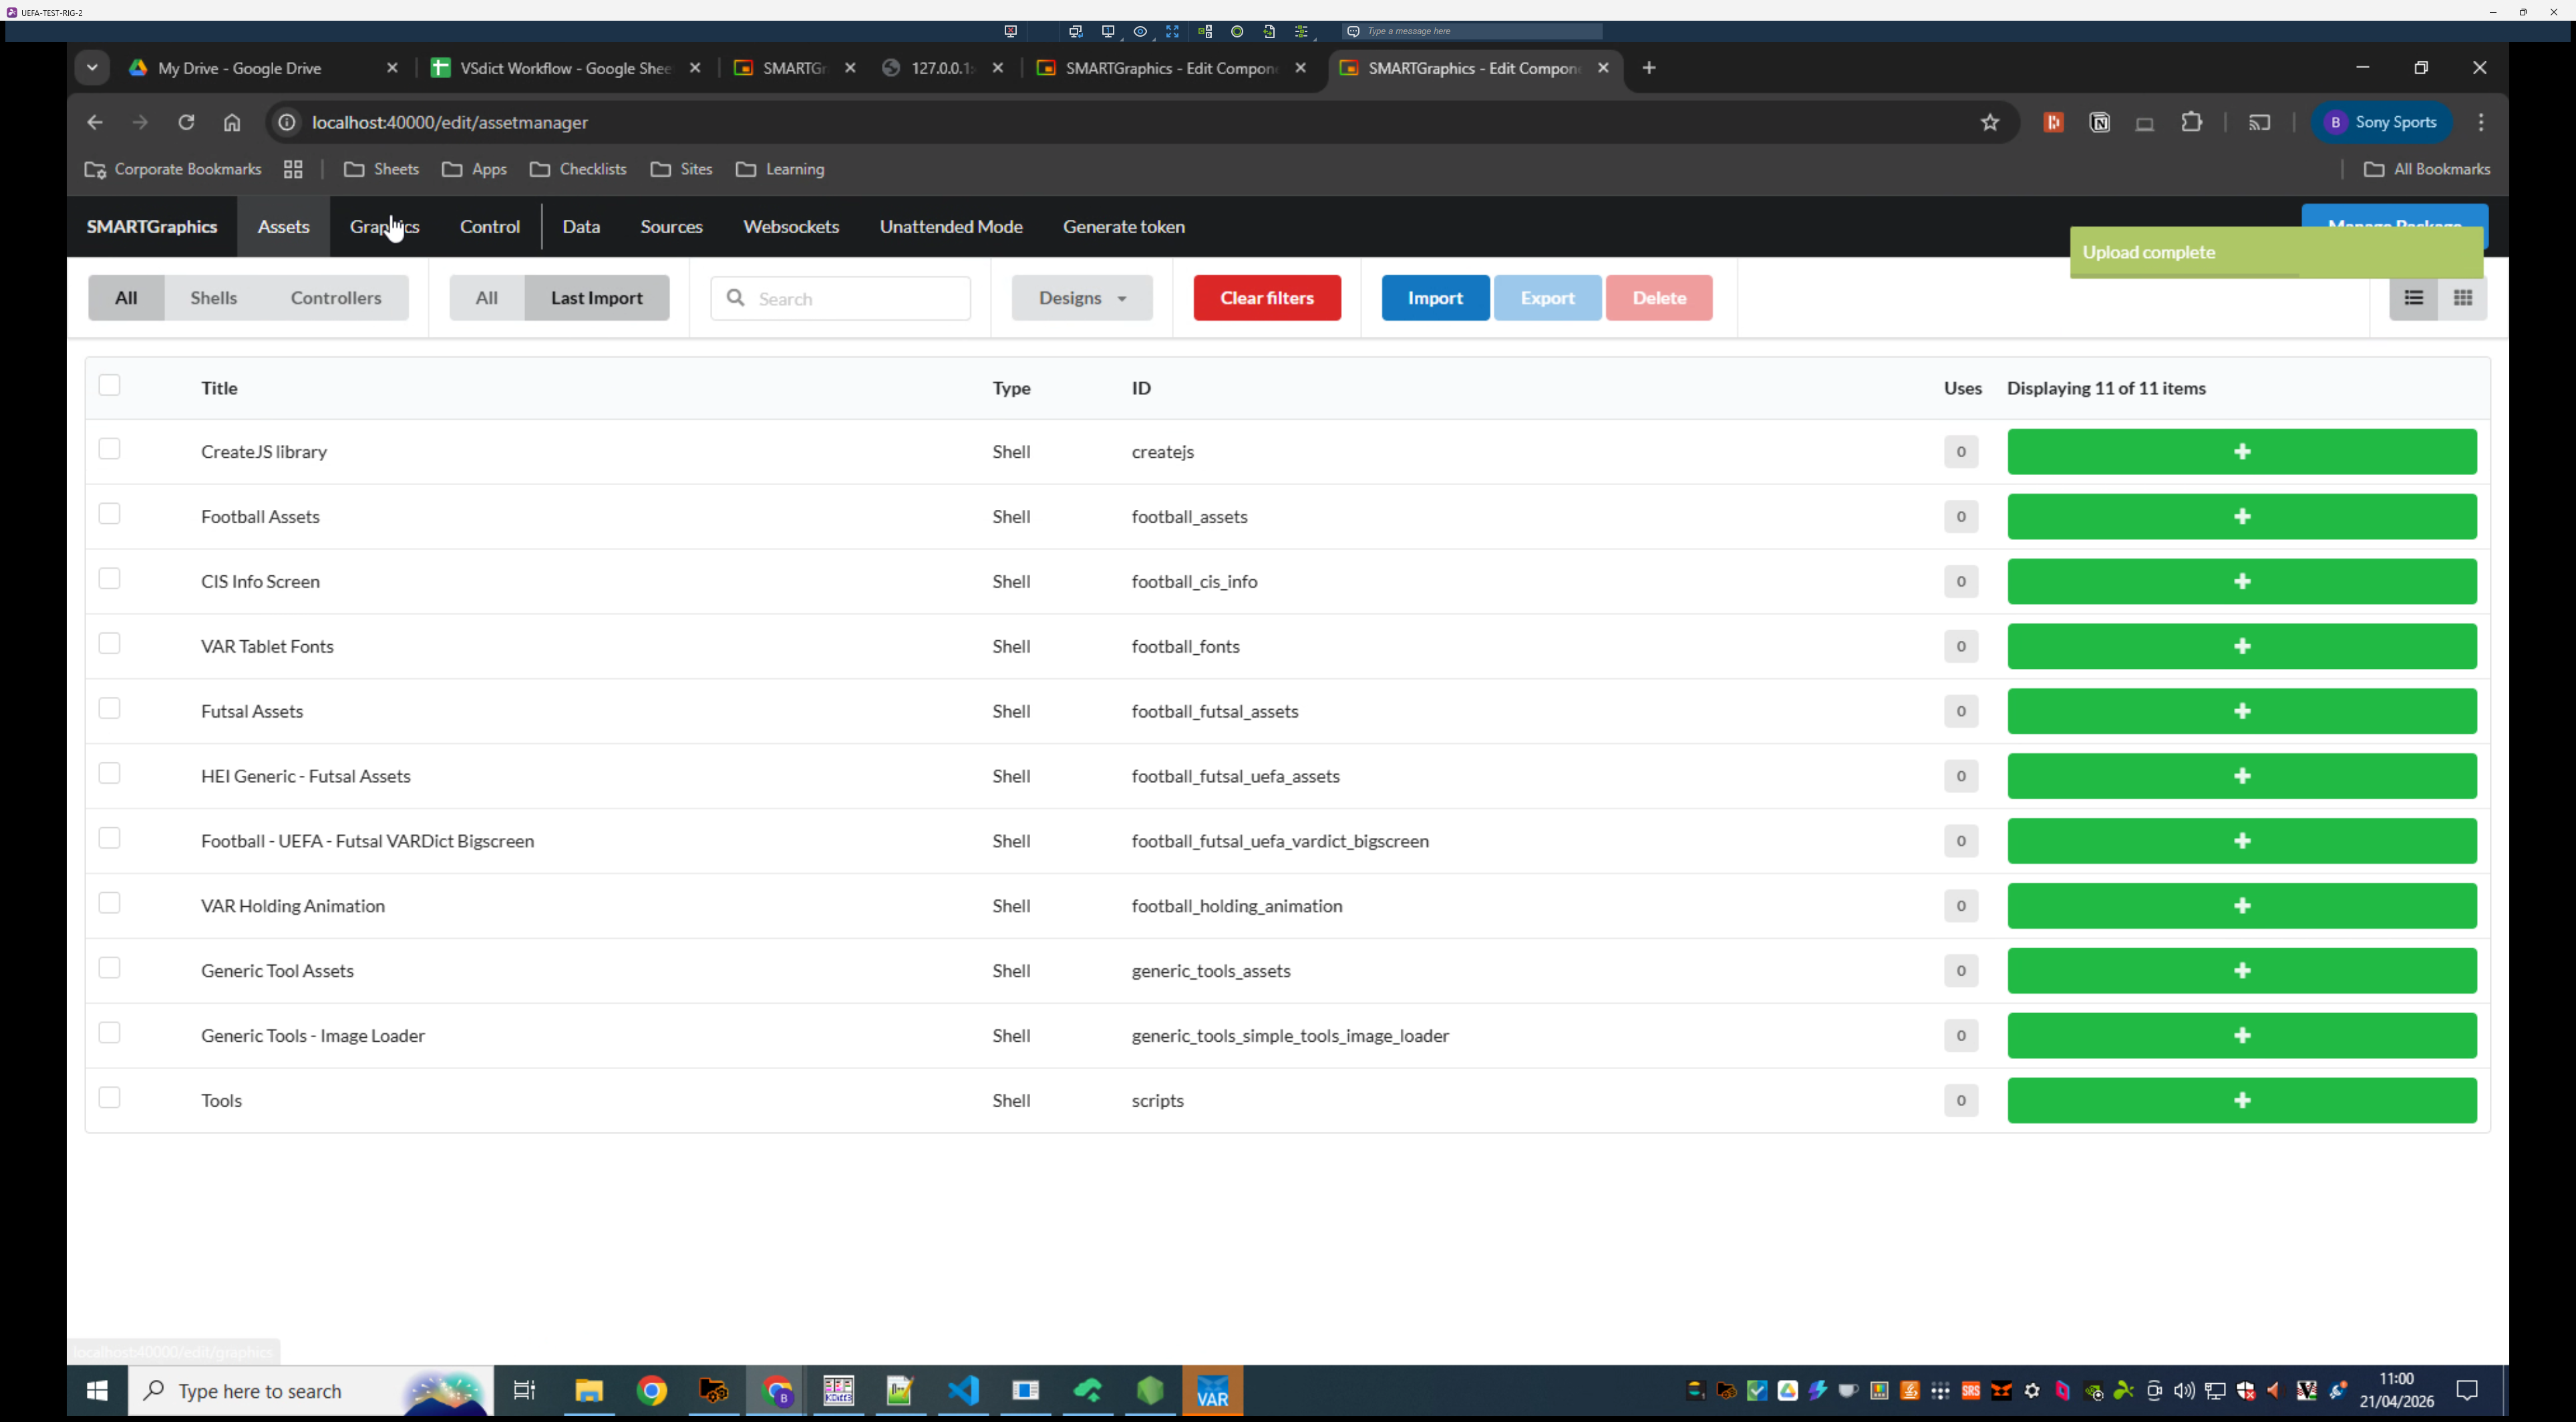
Navigate to the Assets tab in the top menu.
4
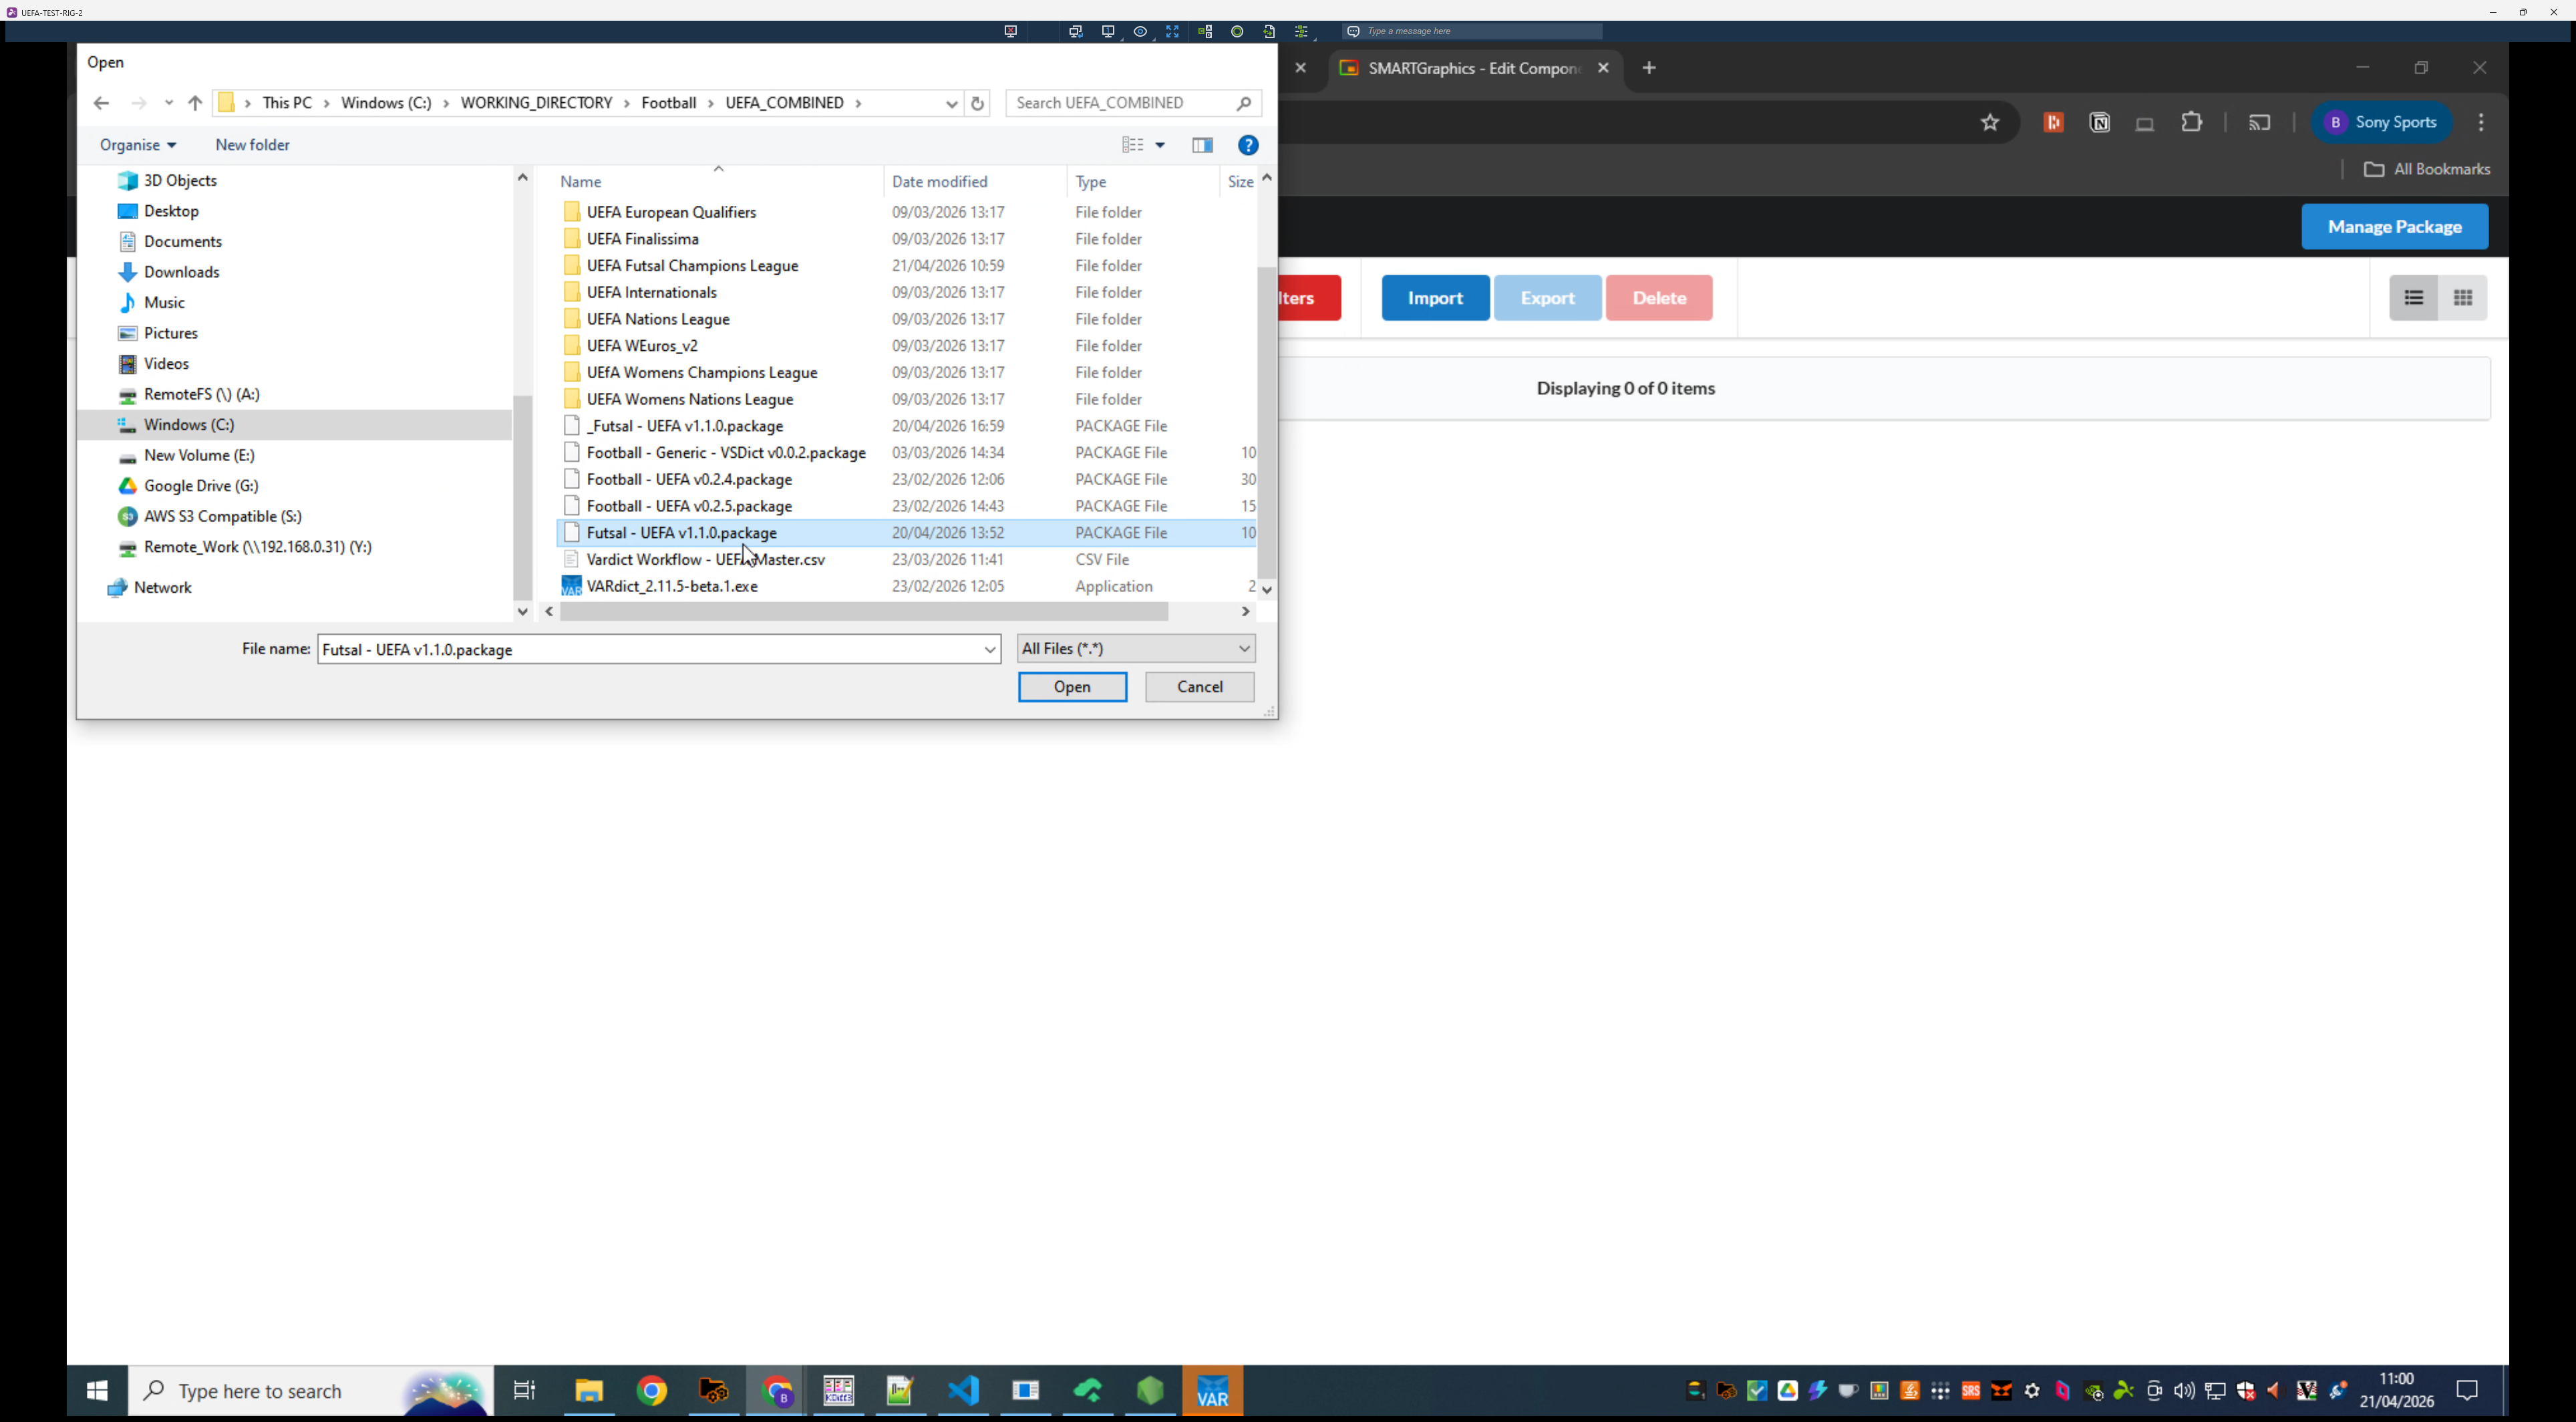
Upload your package - Futsal UEFA v1.1.0
5
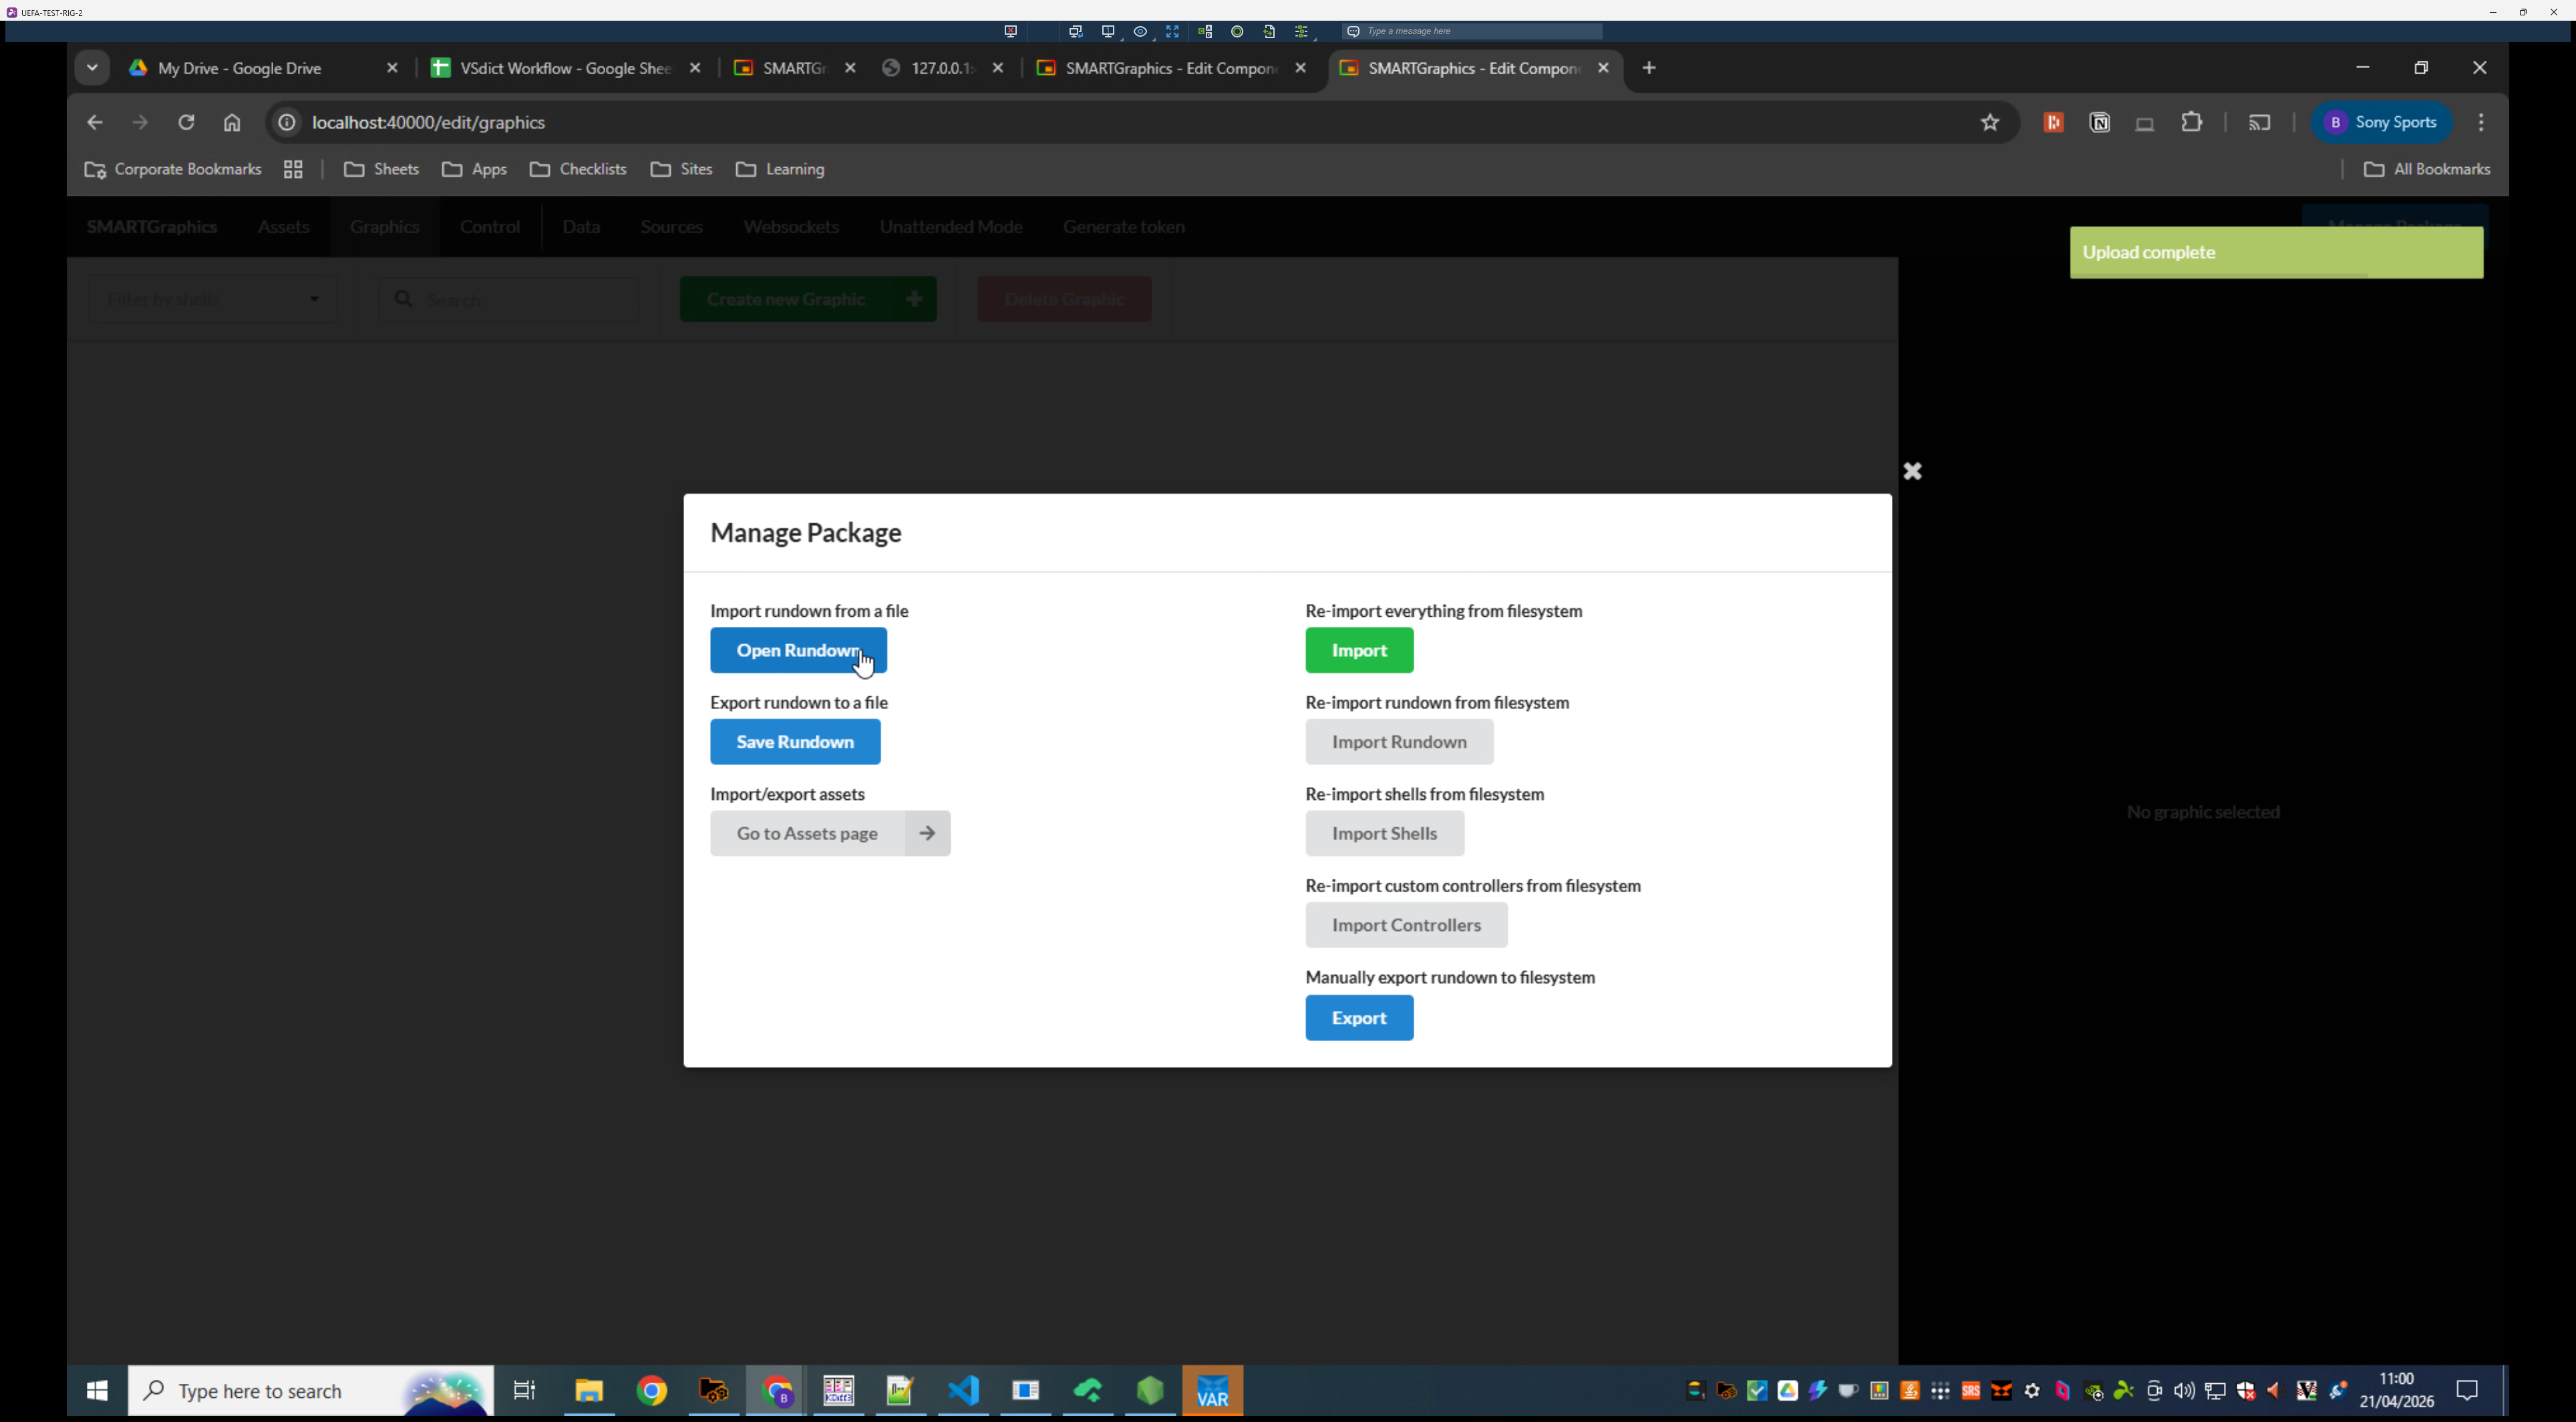
Switch to the Graphics tab.
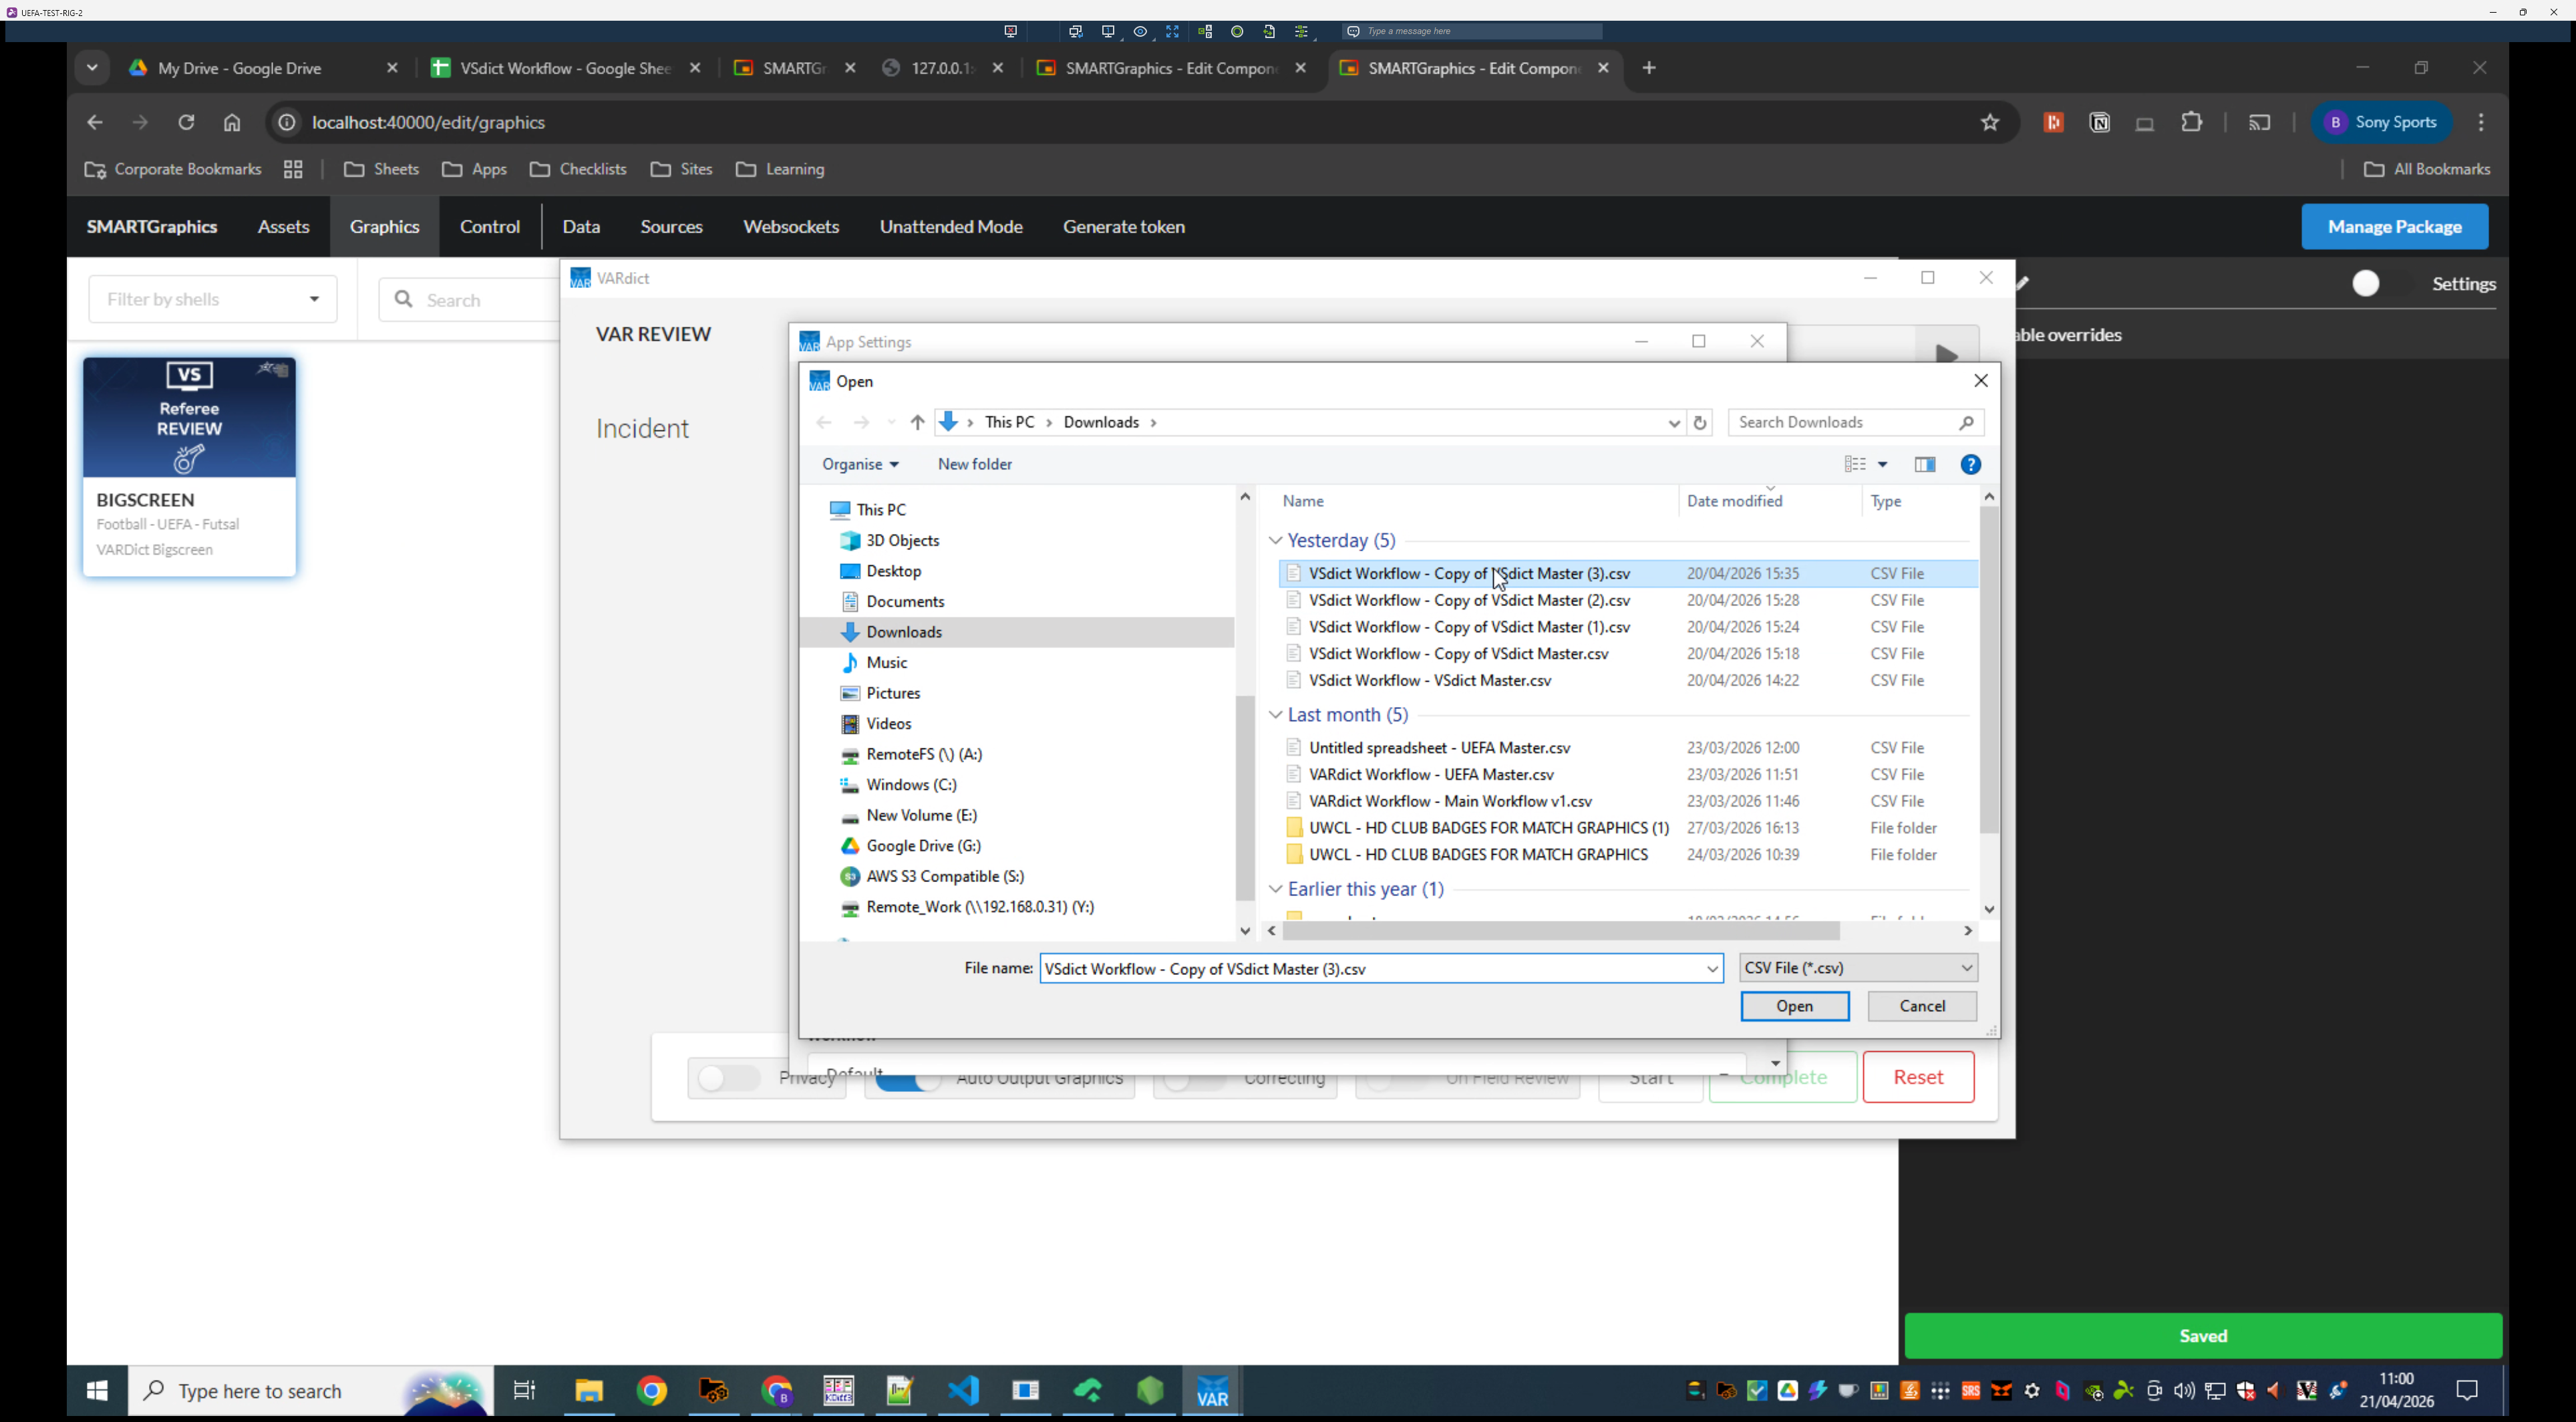
6
Click Open Rundown in the package manager.
7
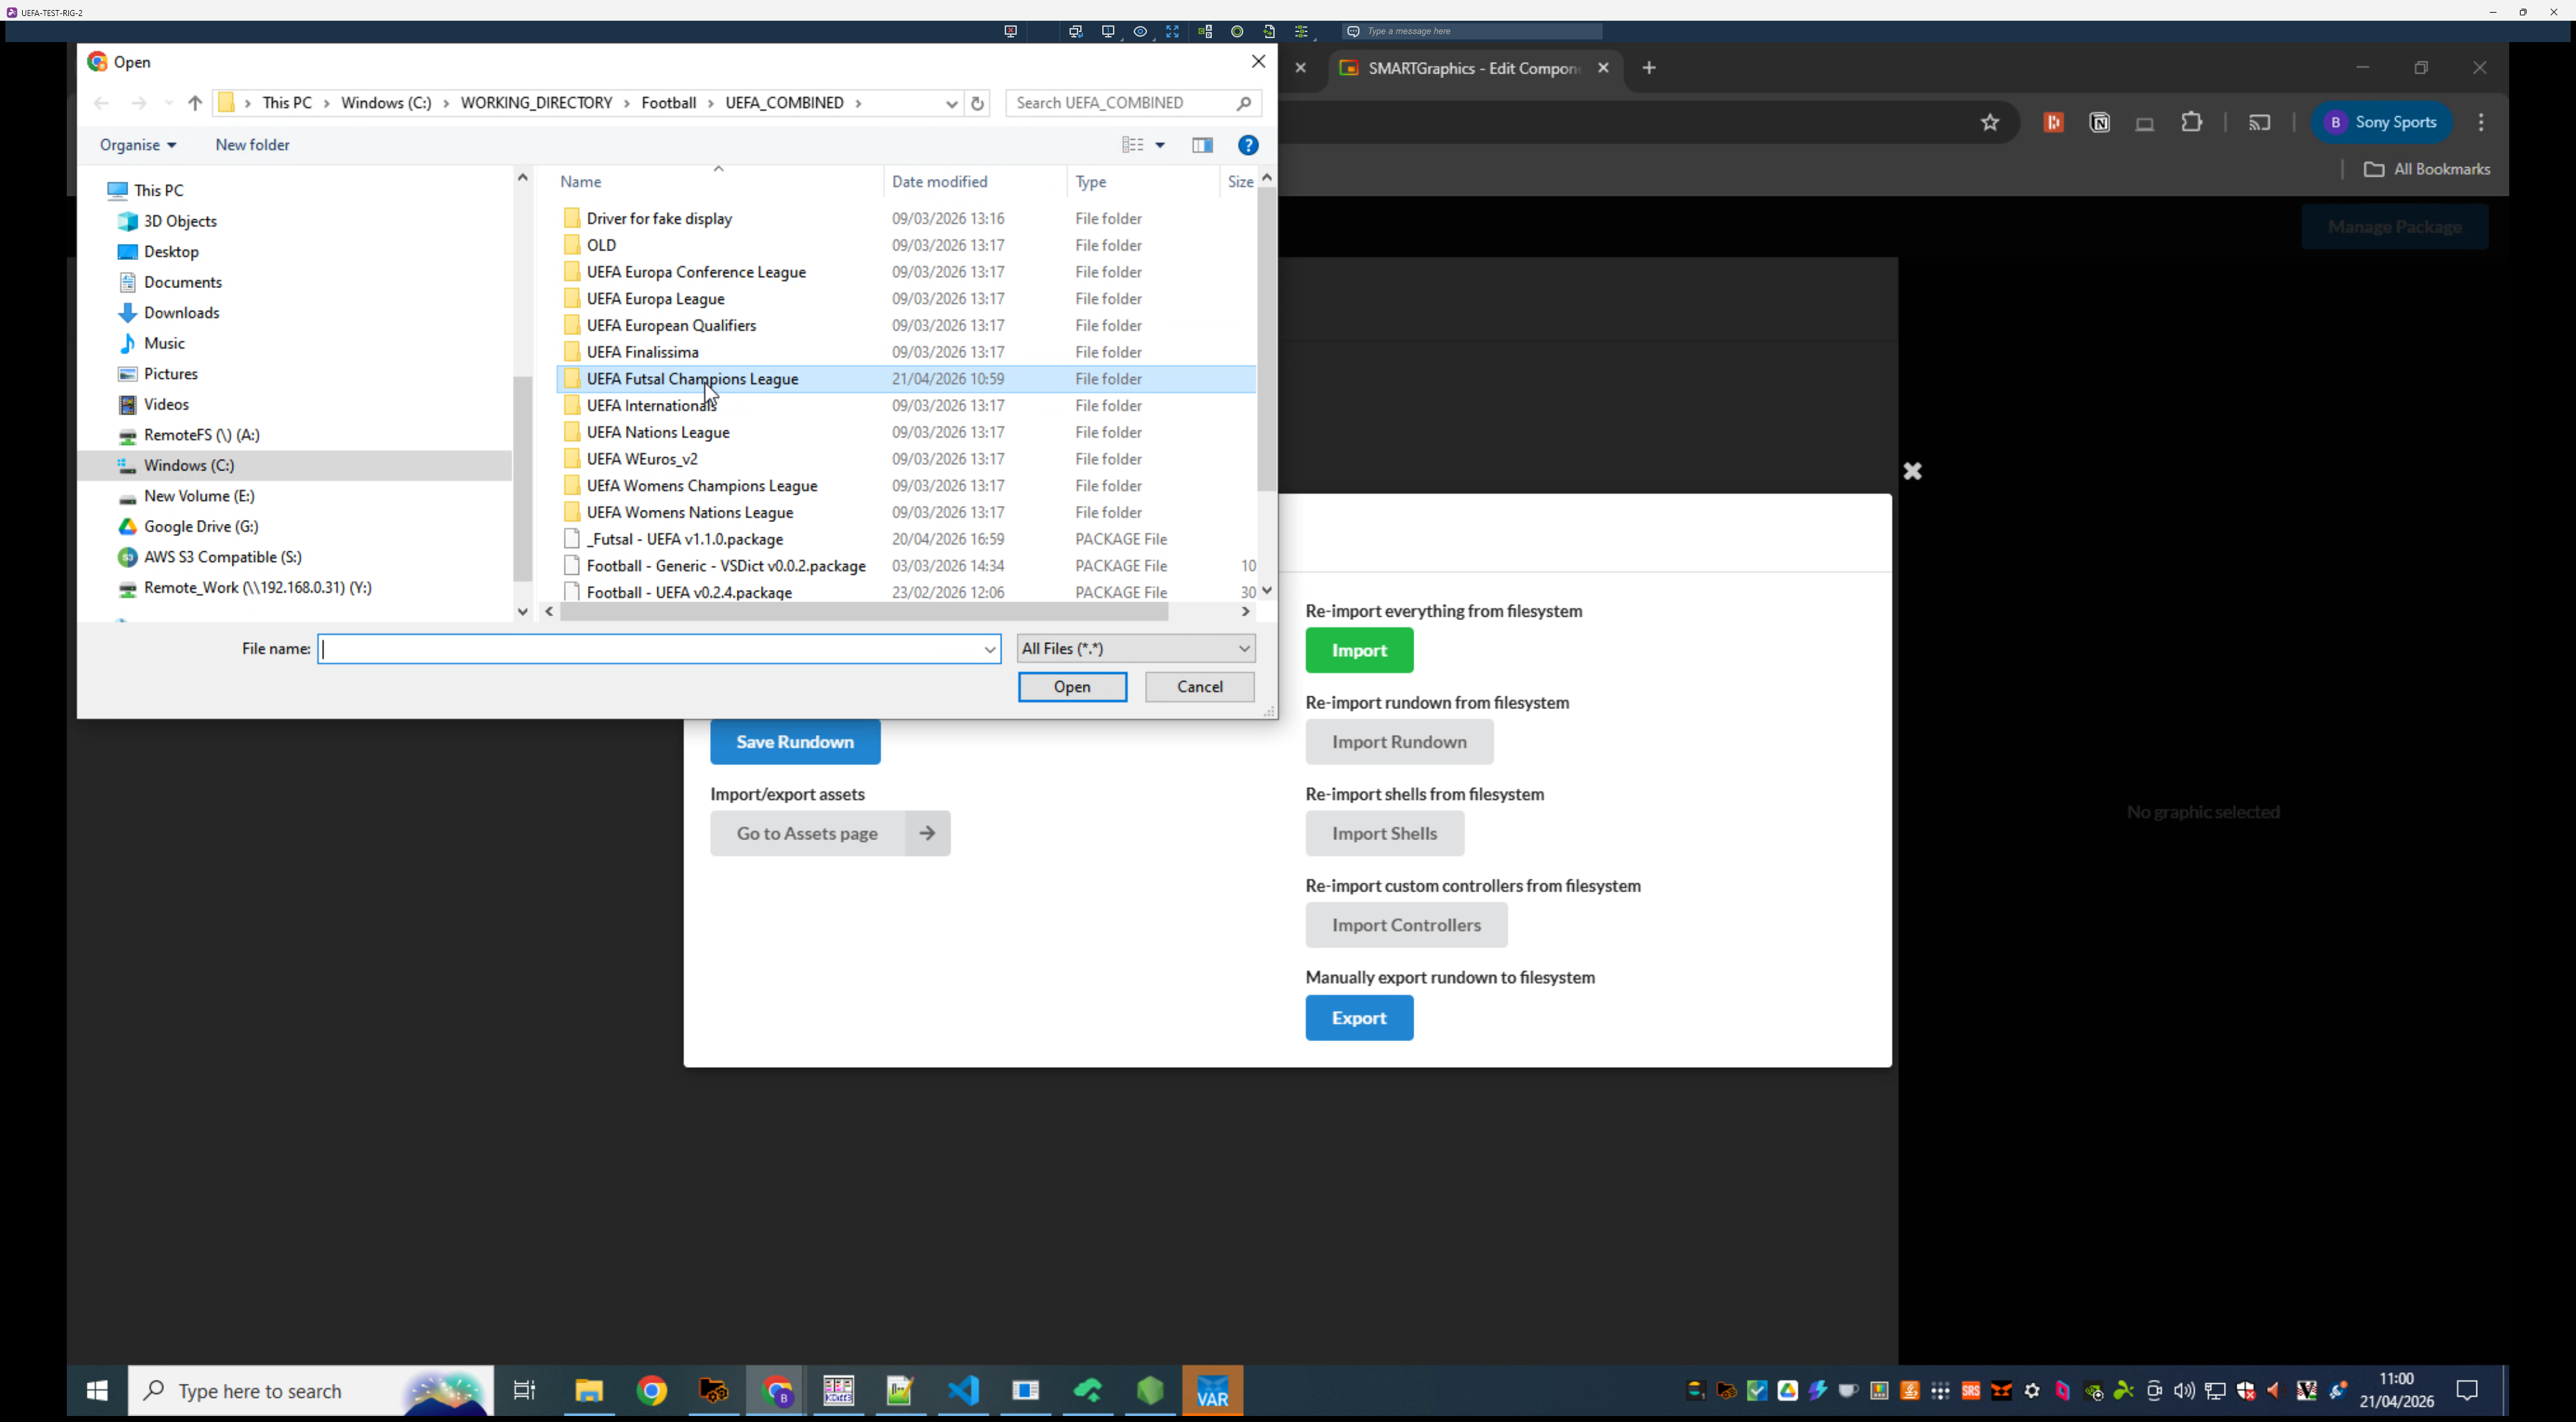
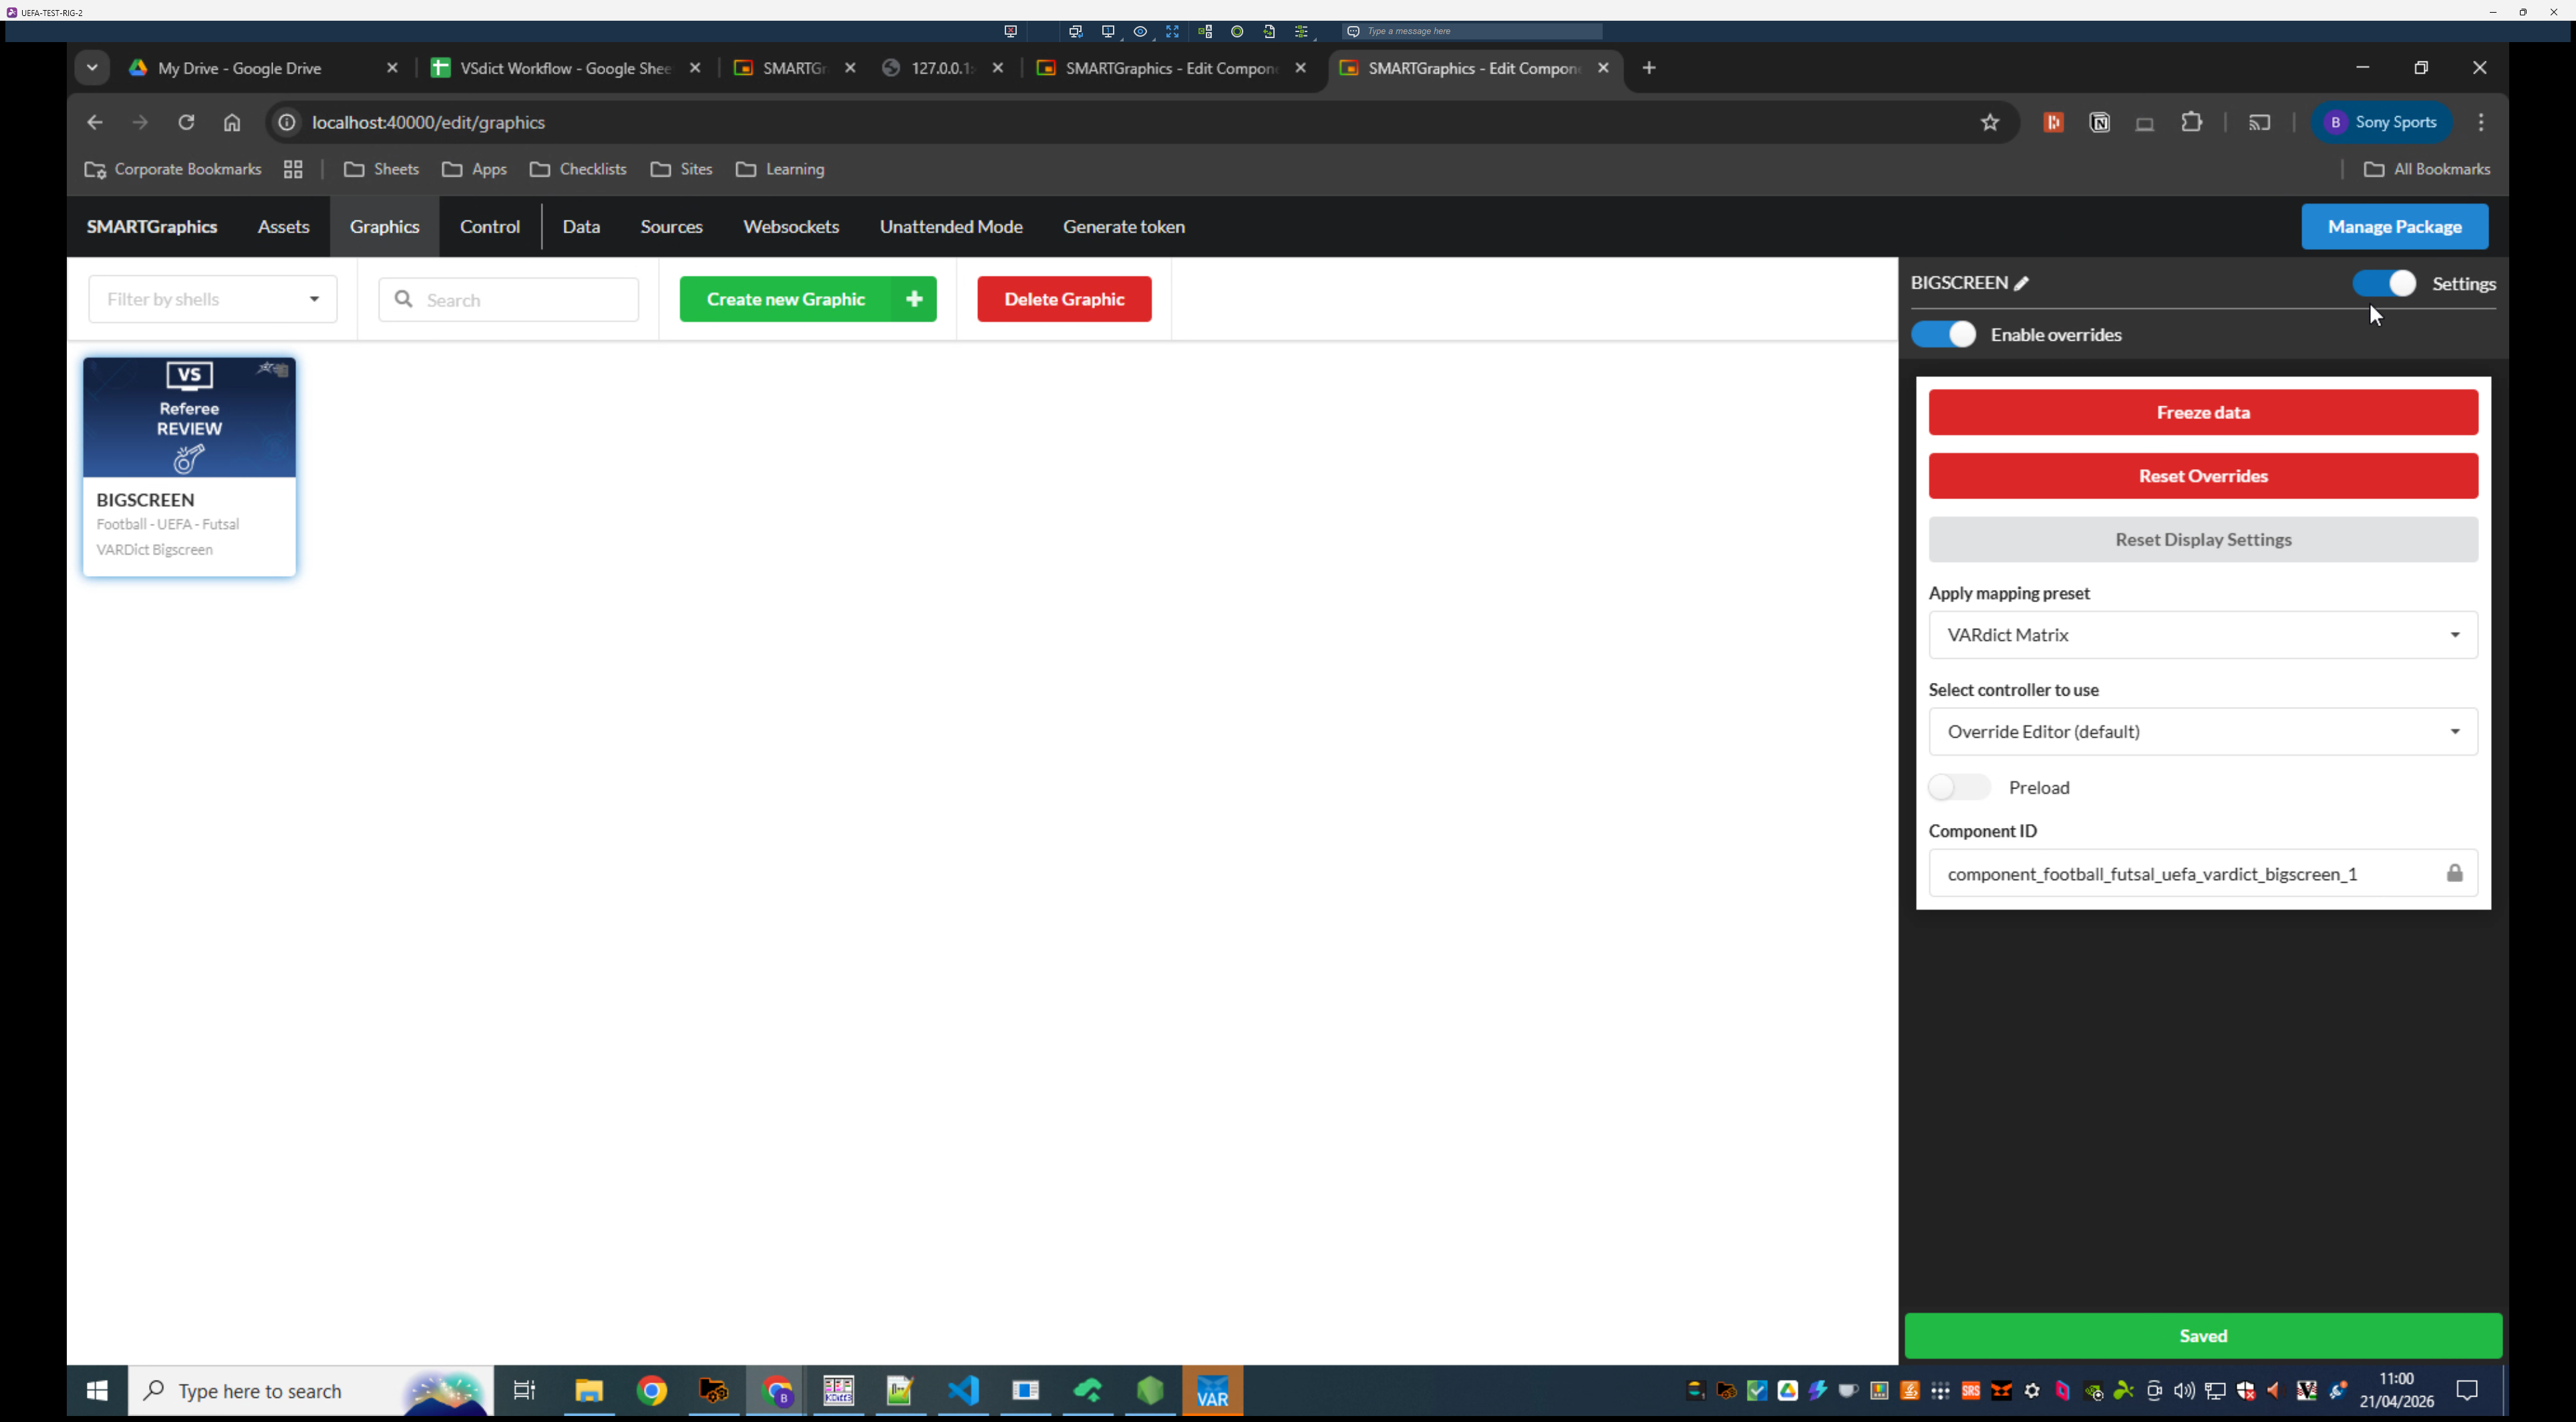
Double-click your match rundown and then open the rundown.json in this folder
Next, enable settings for specific graphic components if required by your technical director.
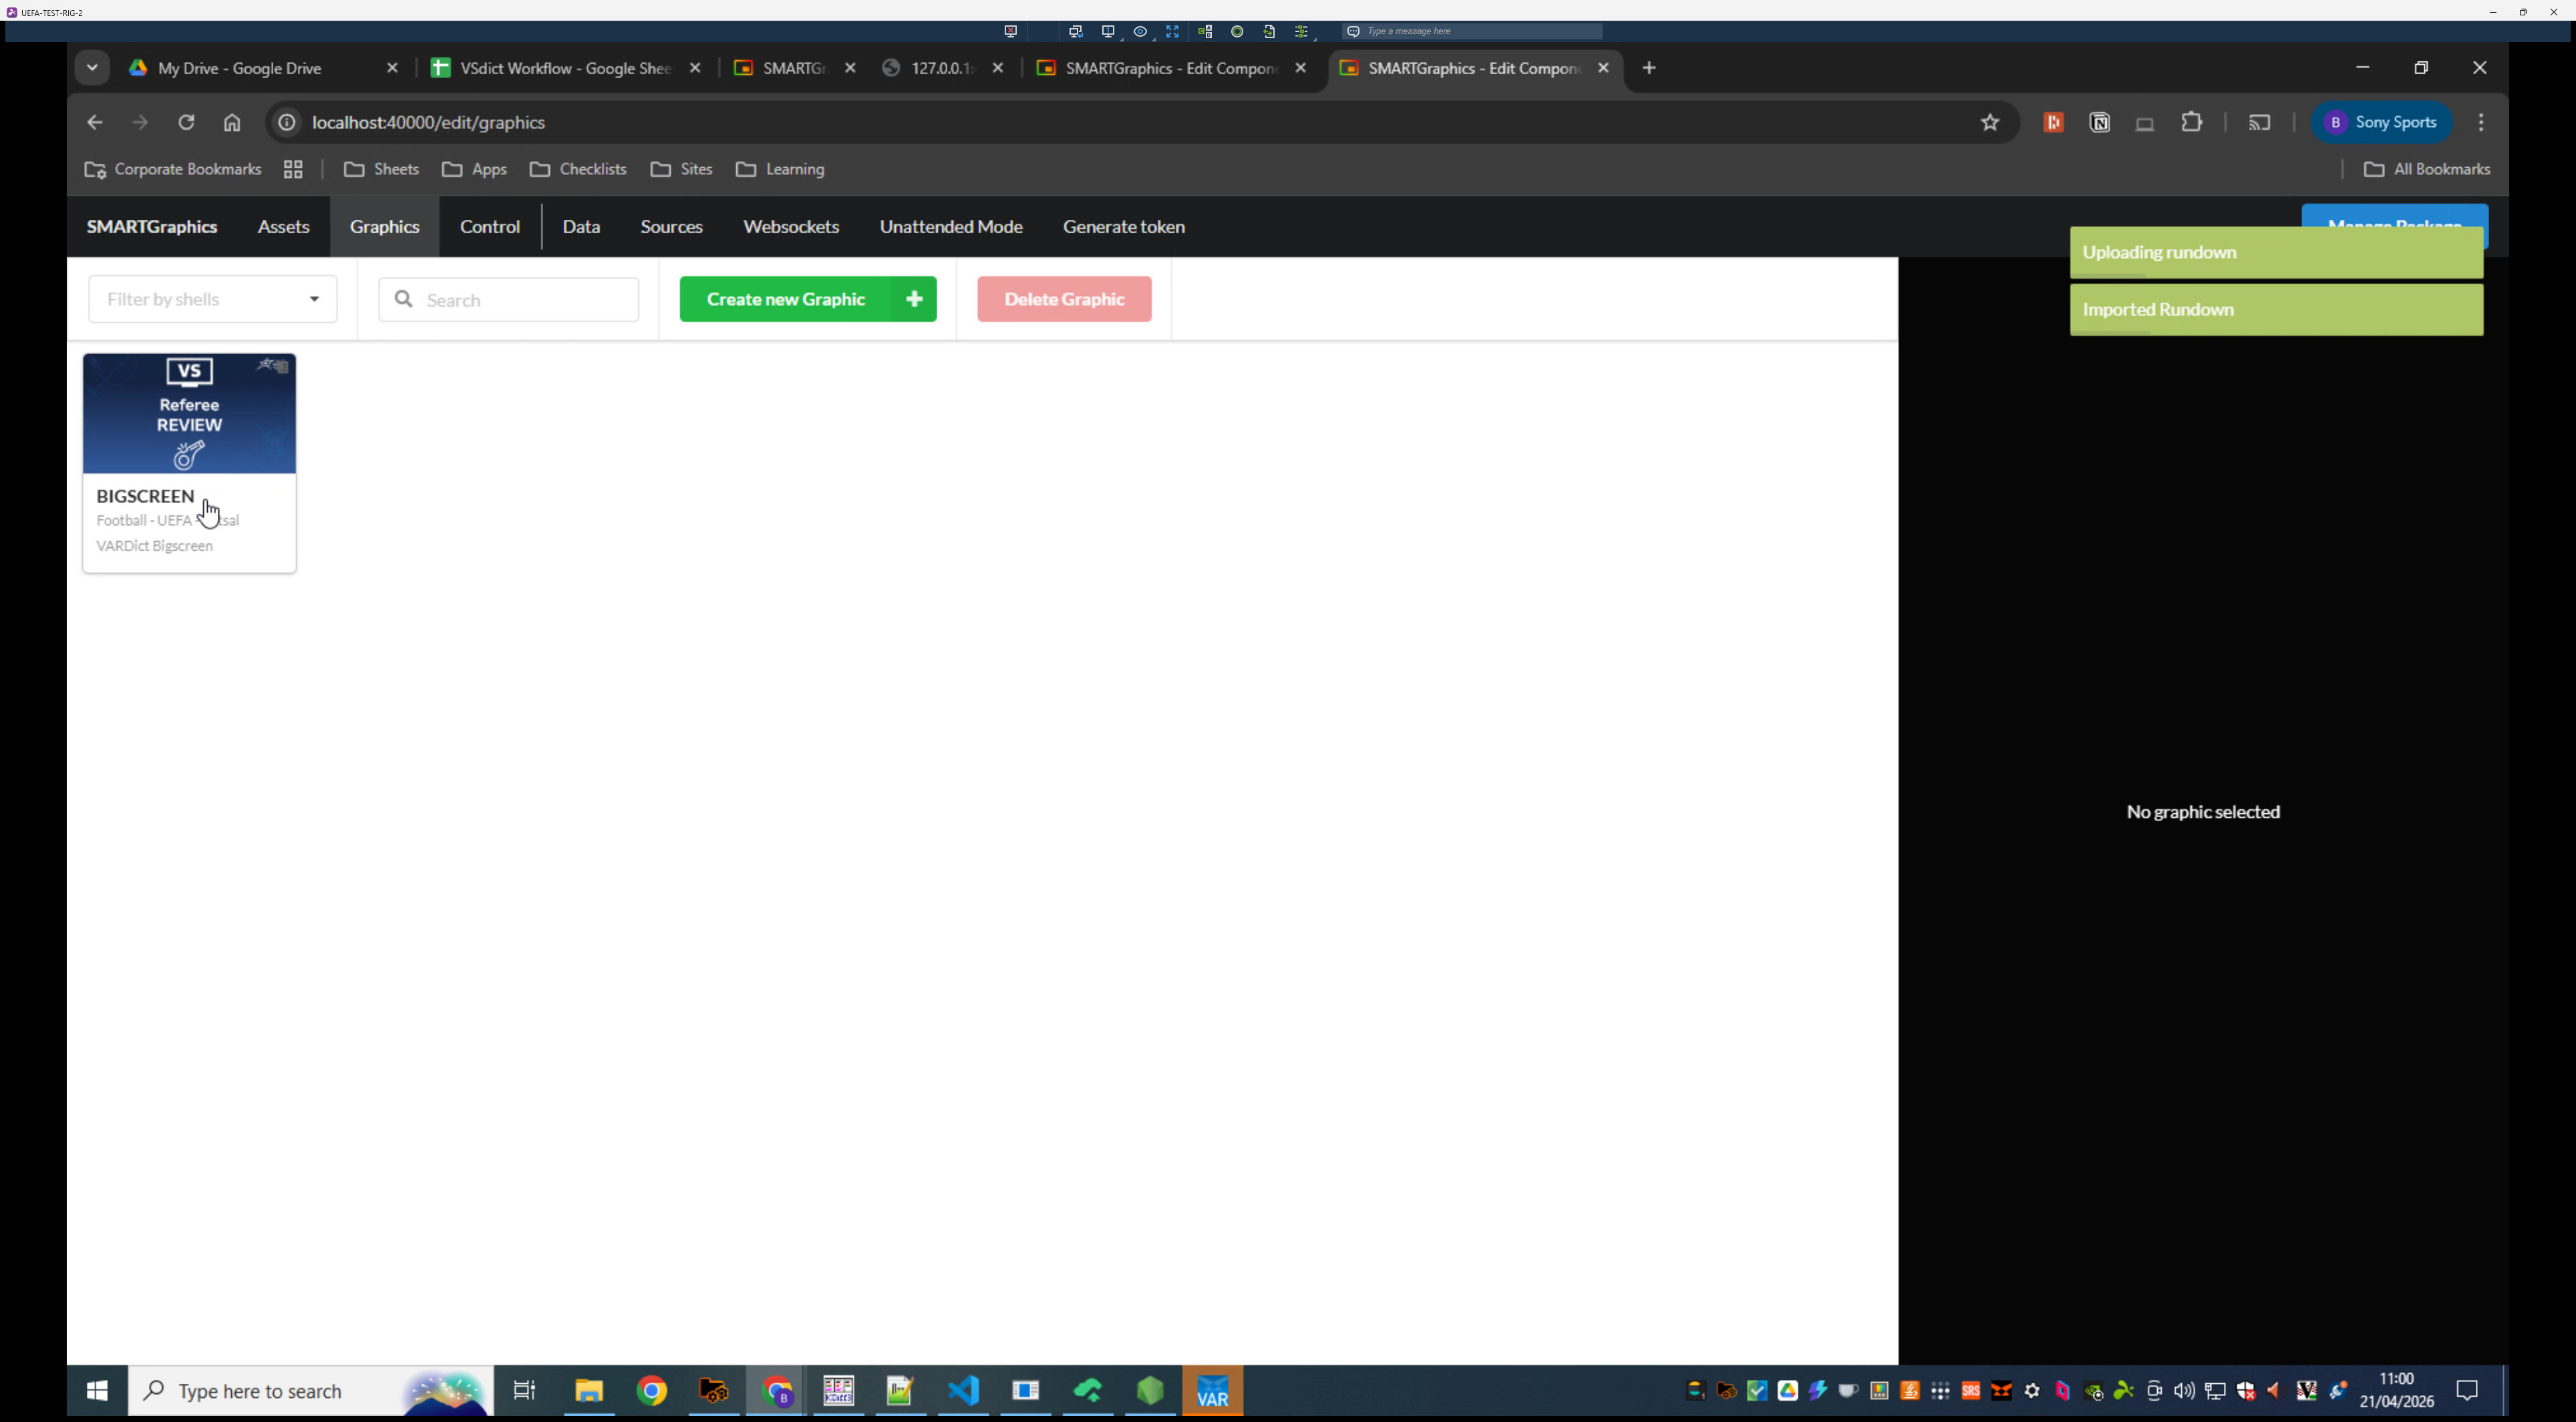
8
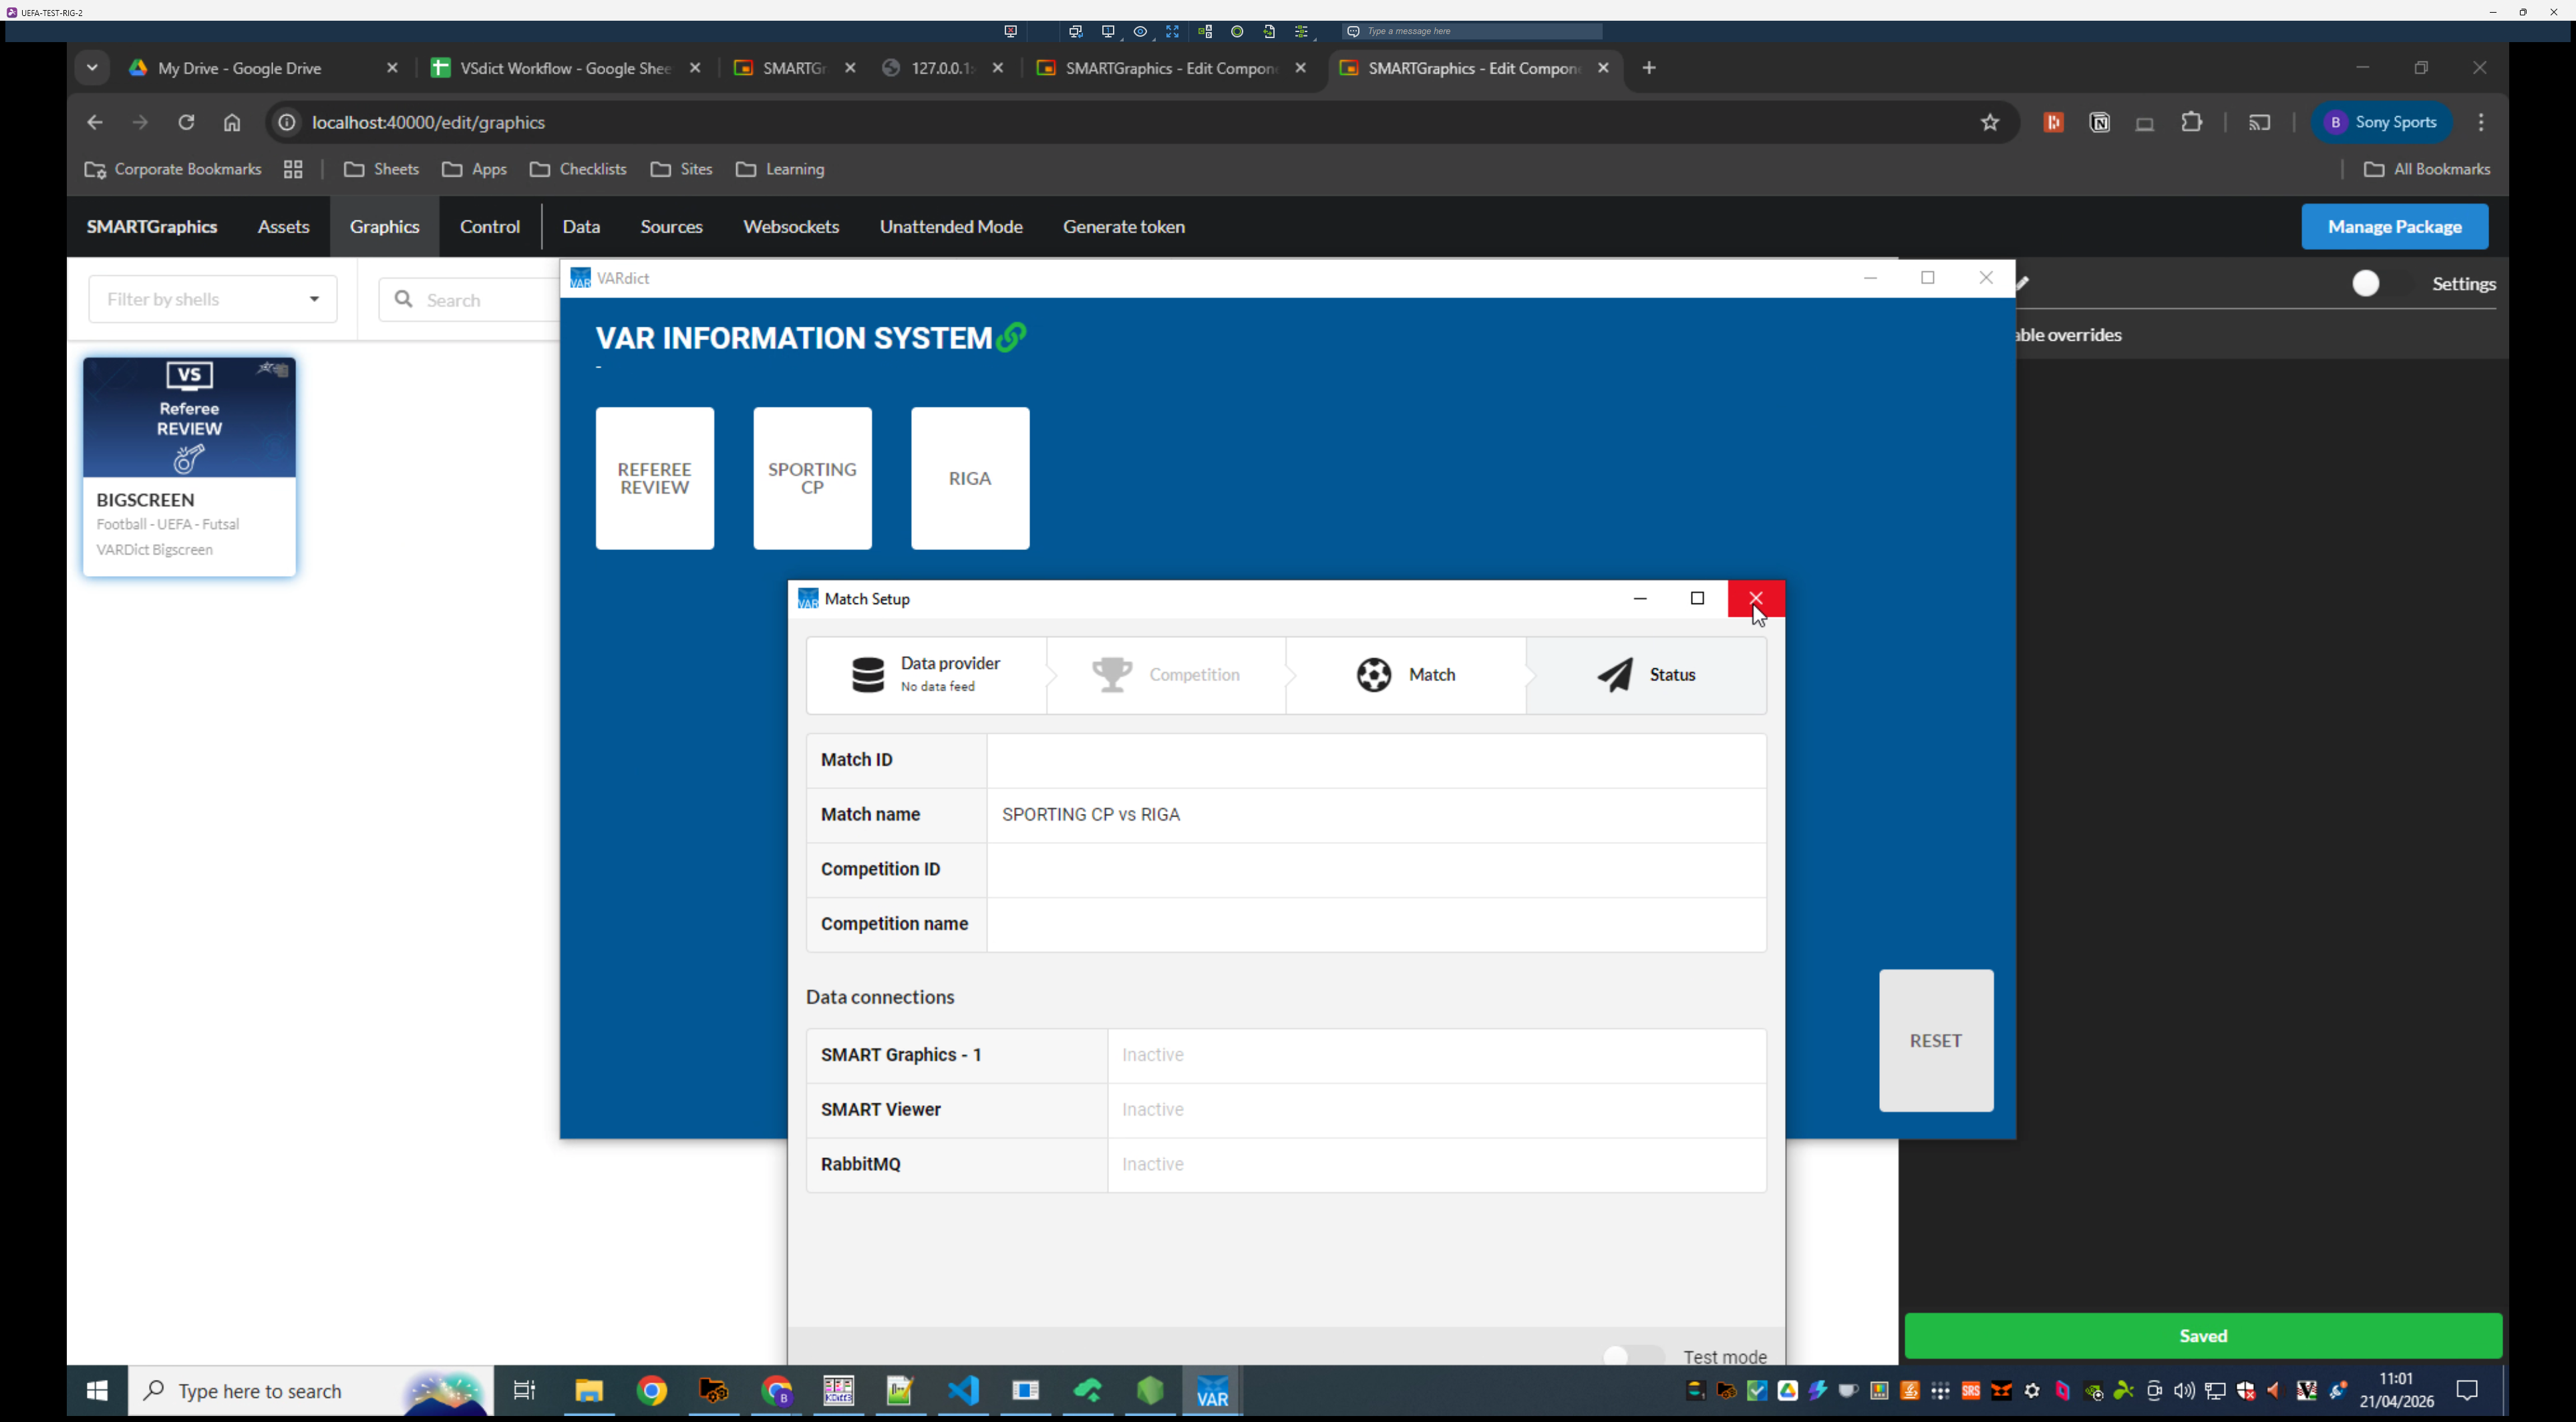
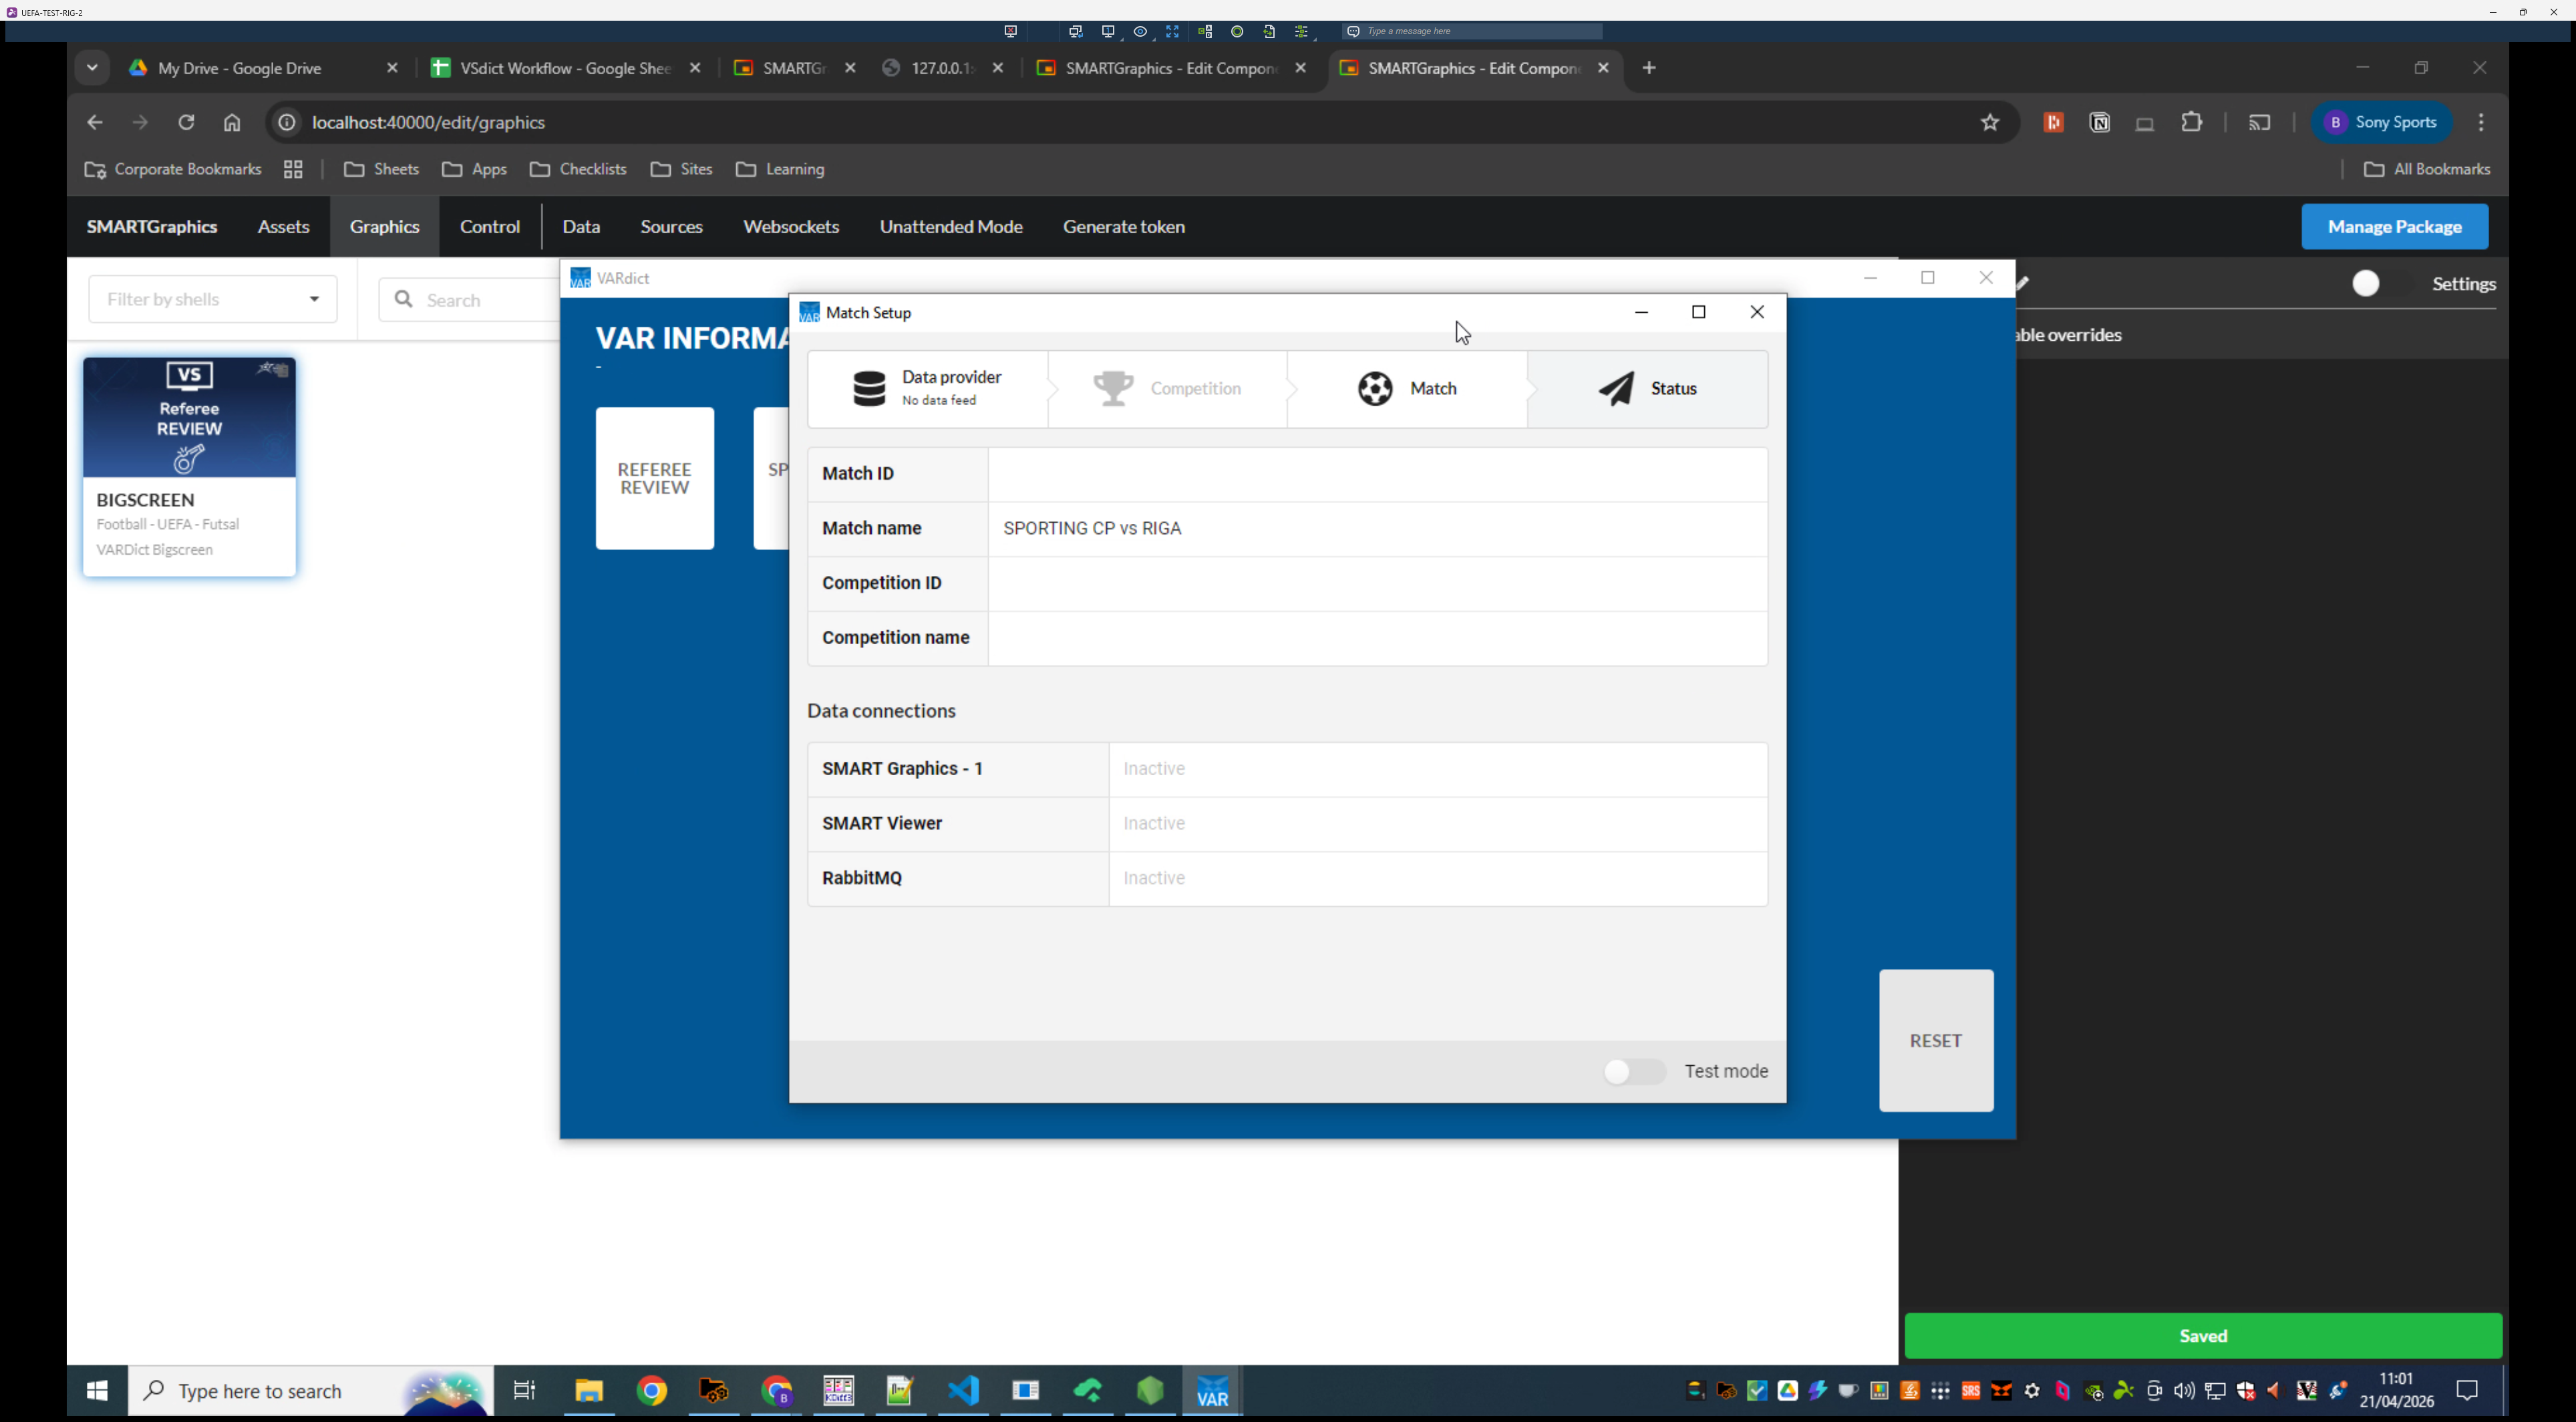
Select the BIGSCREEN Football - UEFA graphic card.
9
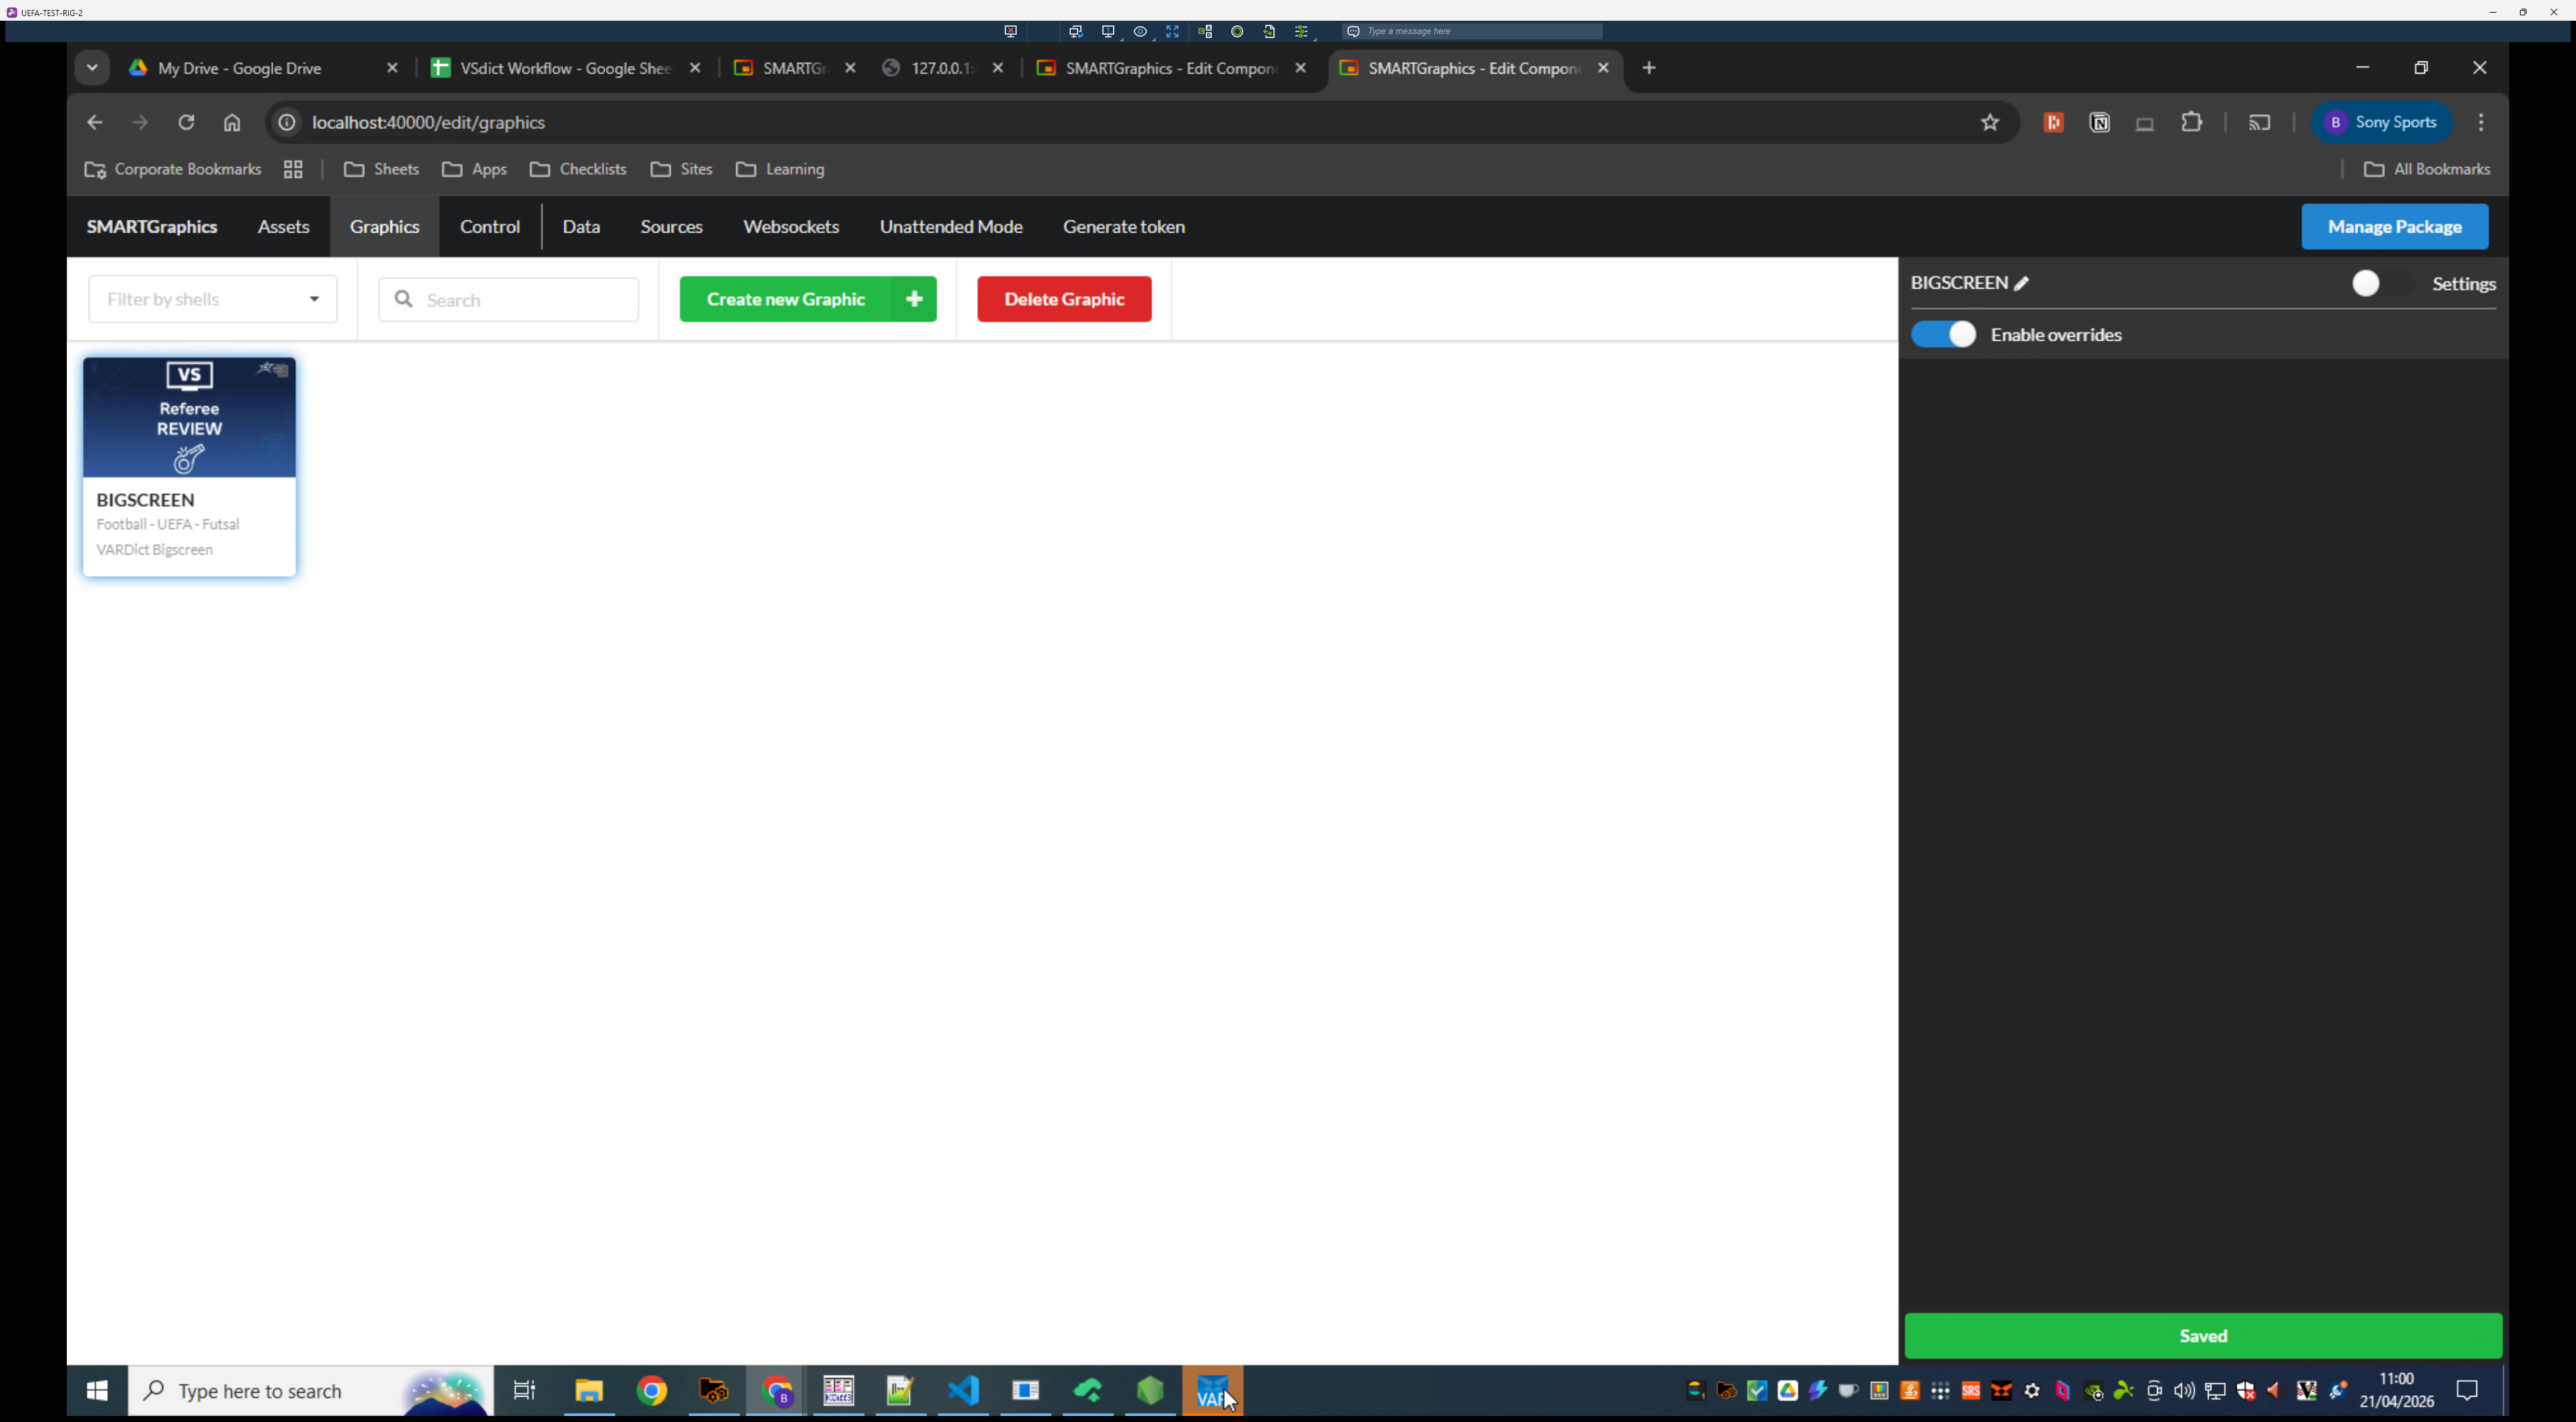
Toggle on Settings in the side configuration panel and confirm mapping preset is VARDict Matrix
3. Configure the VARdict Application
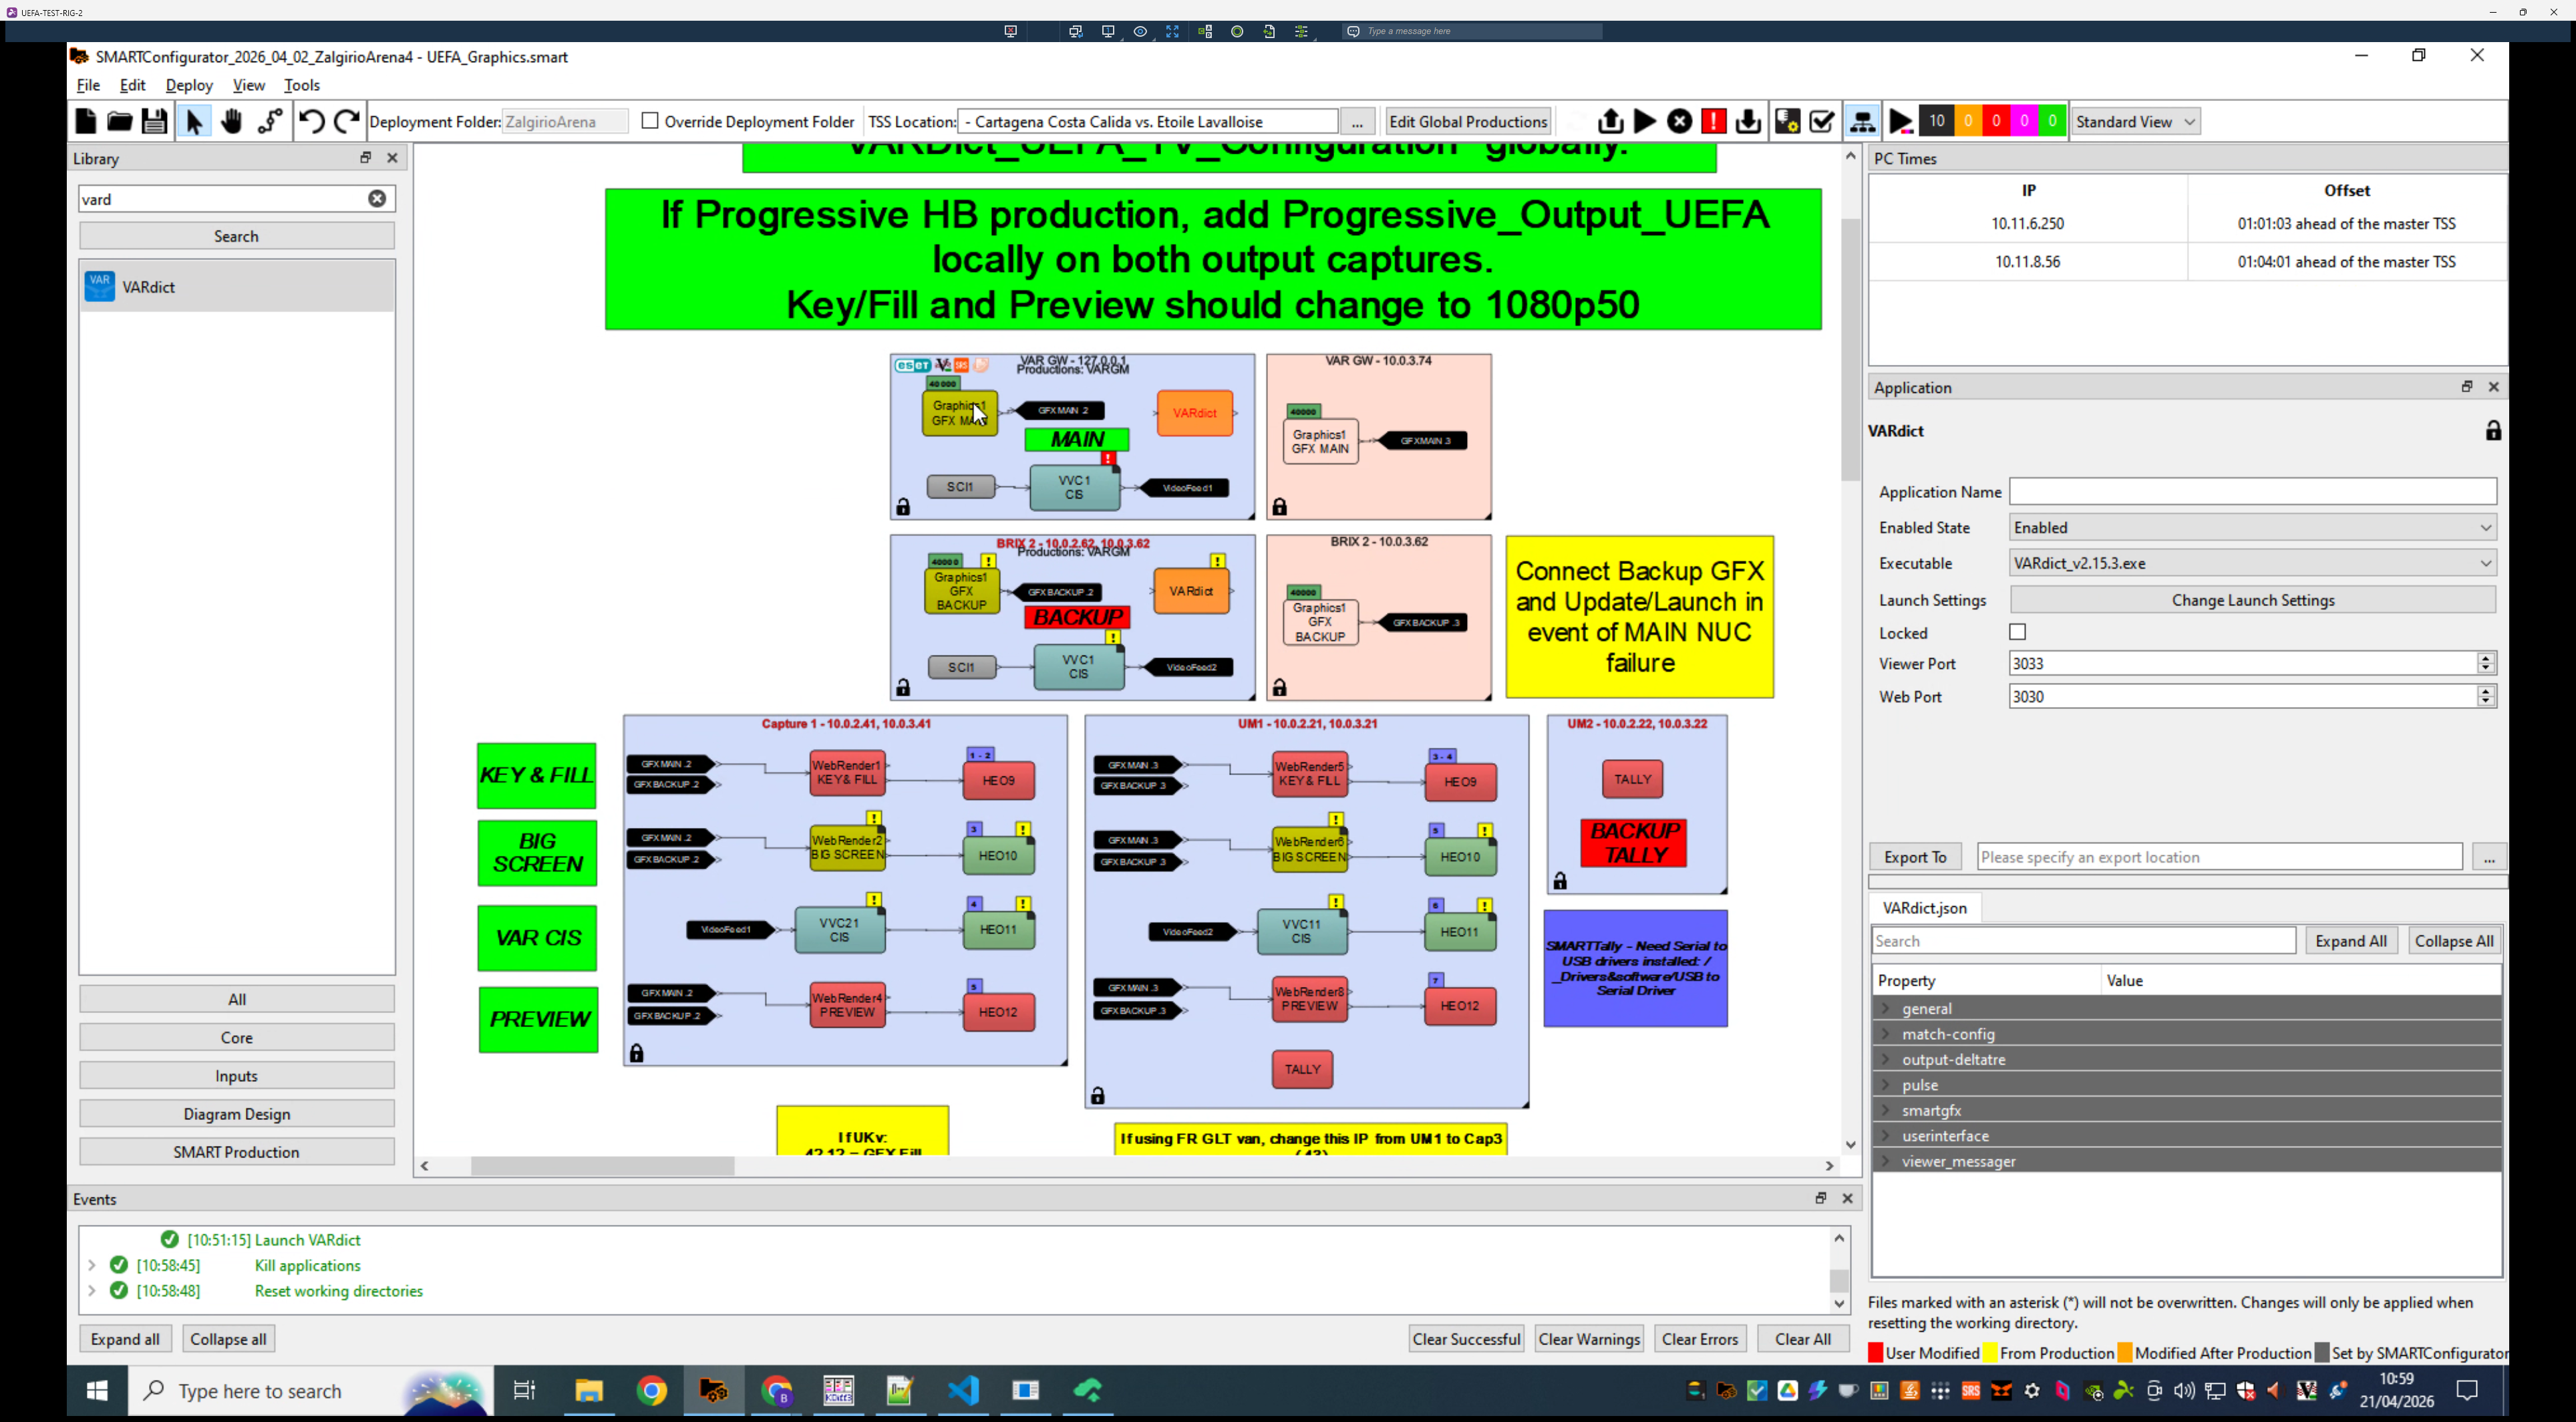
The VARdict desktop app controls the overlay logic. You need to map its outputs so your SMARTGraphics instance receives live event triggers.
10
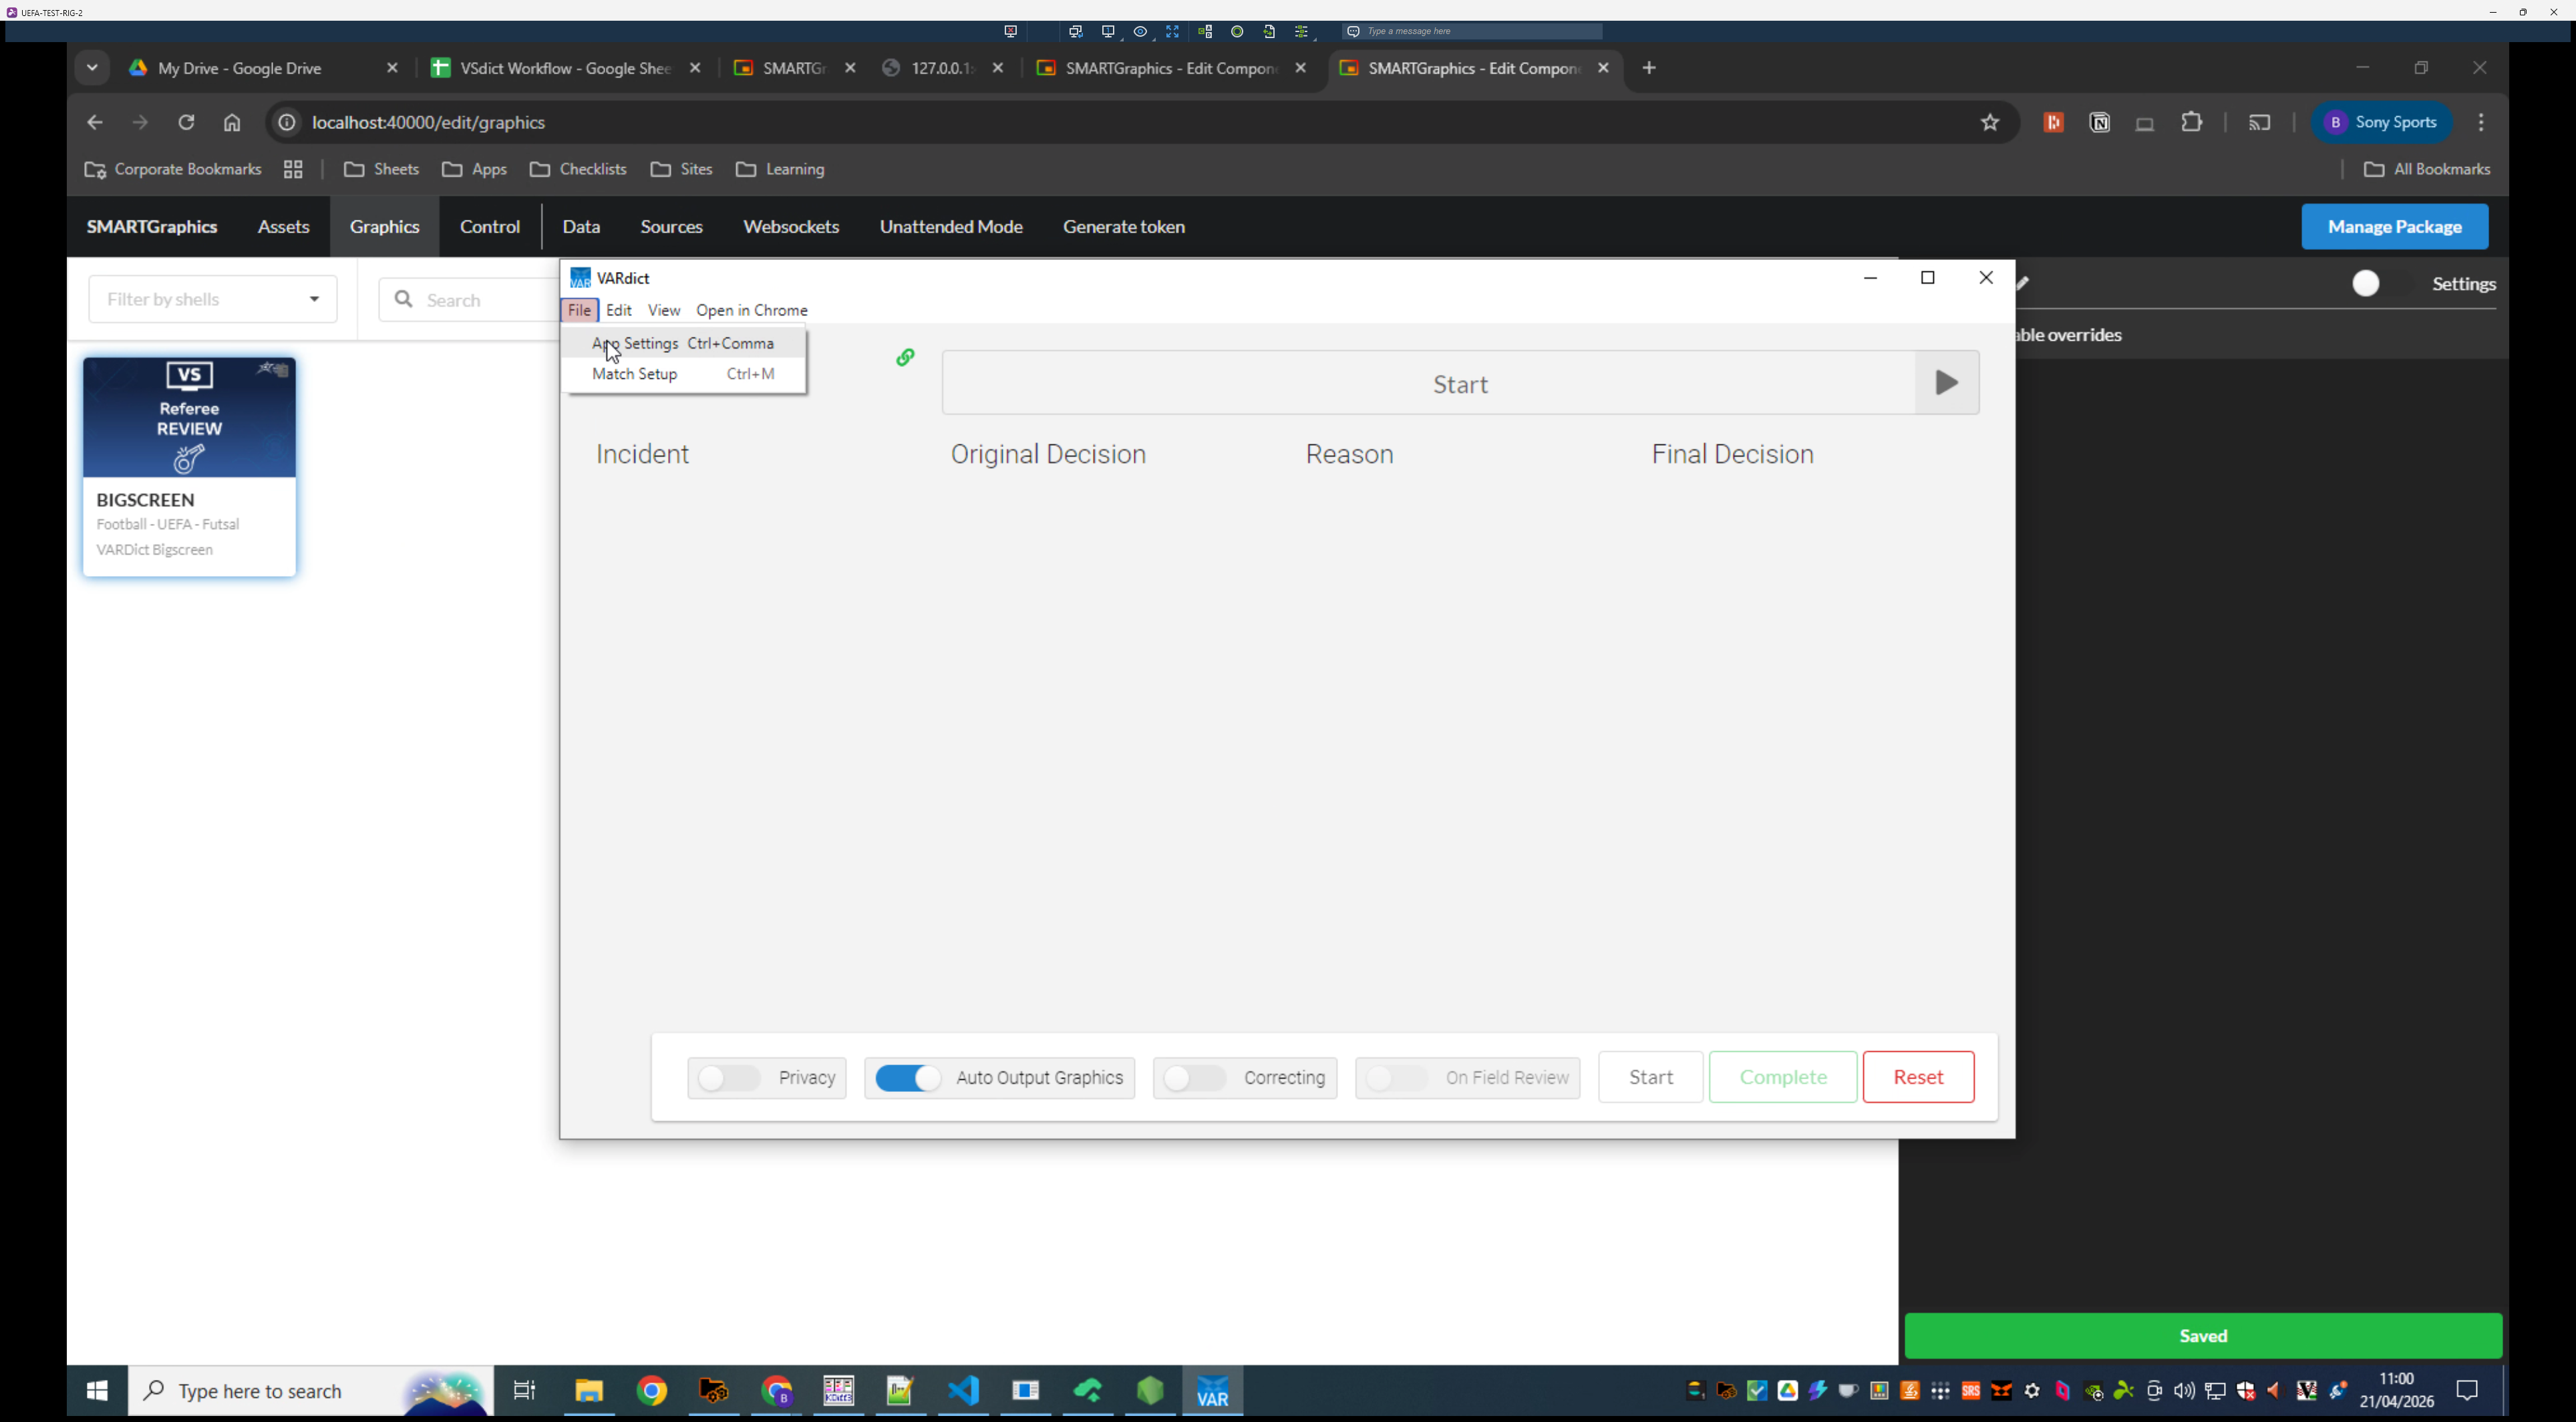
Once launched open the VARDict application from your Windows taskbar.
11
Press 'Alt' and open the File menu.

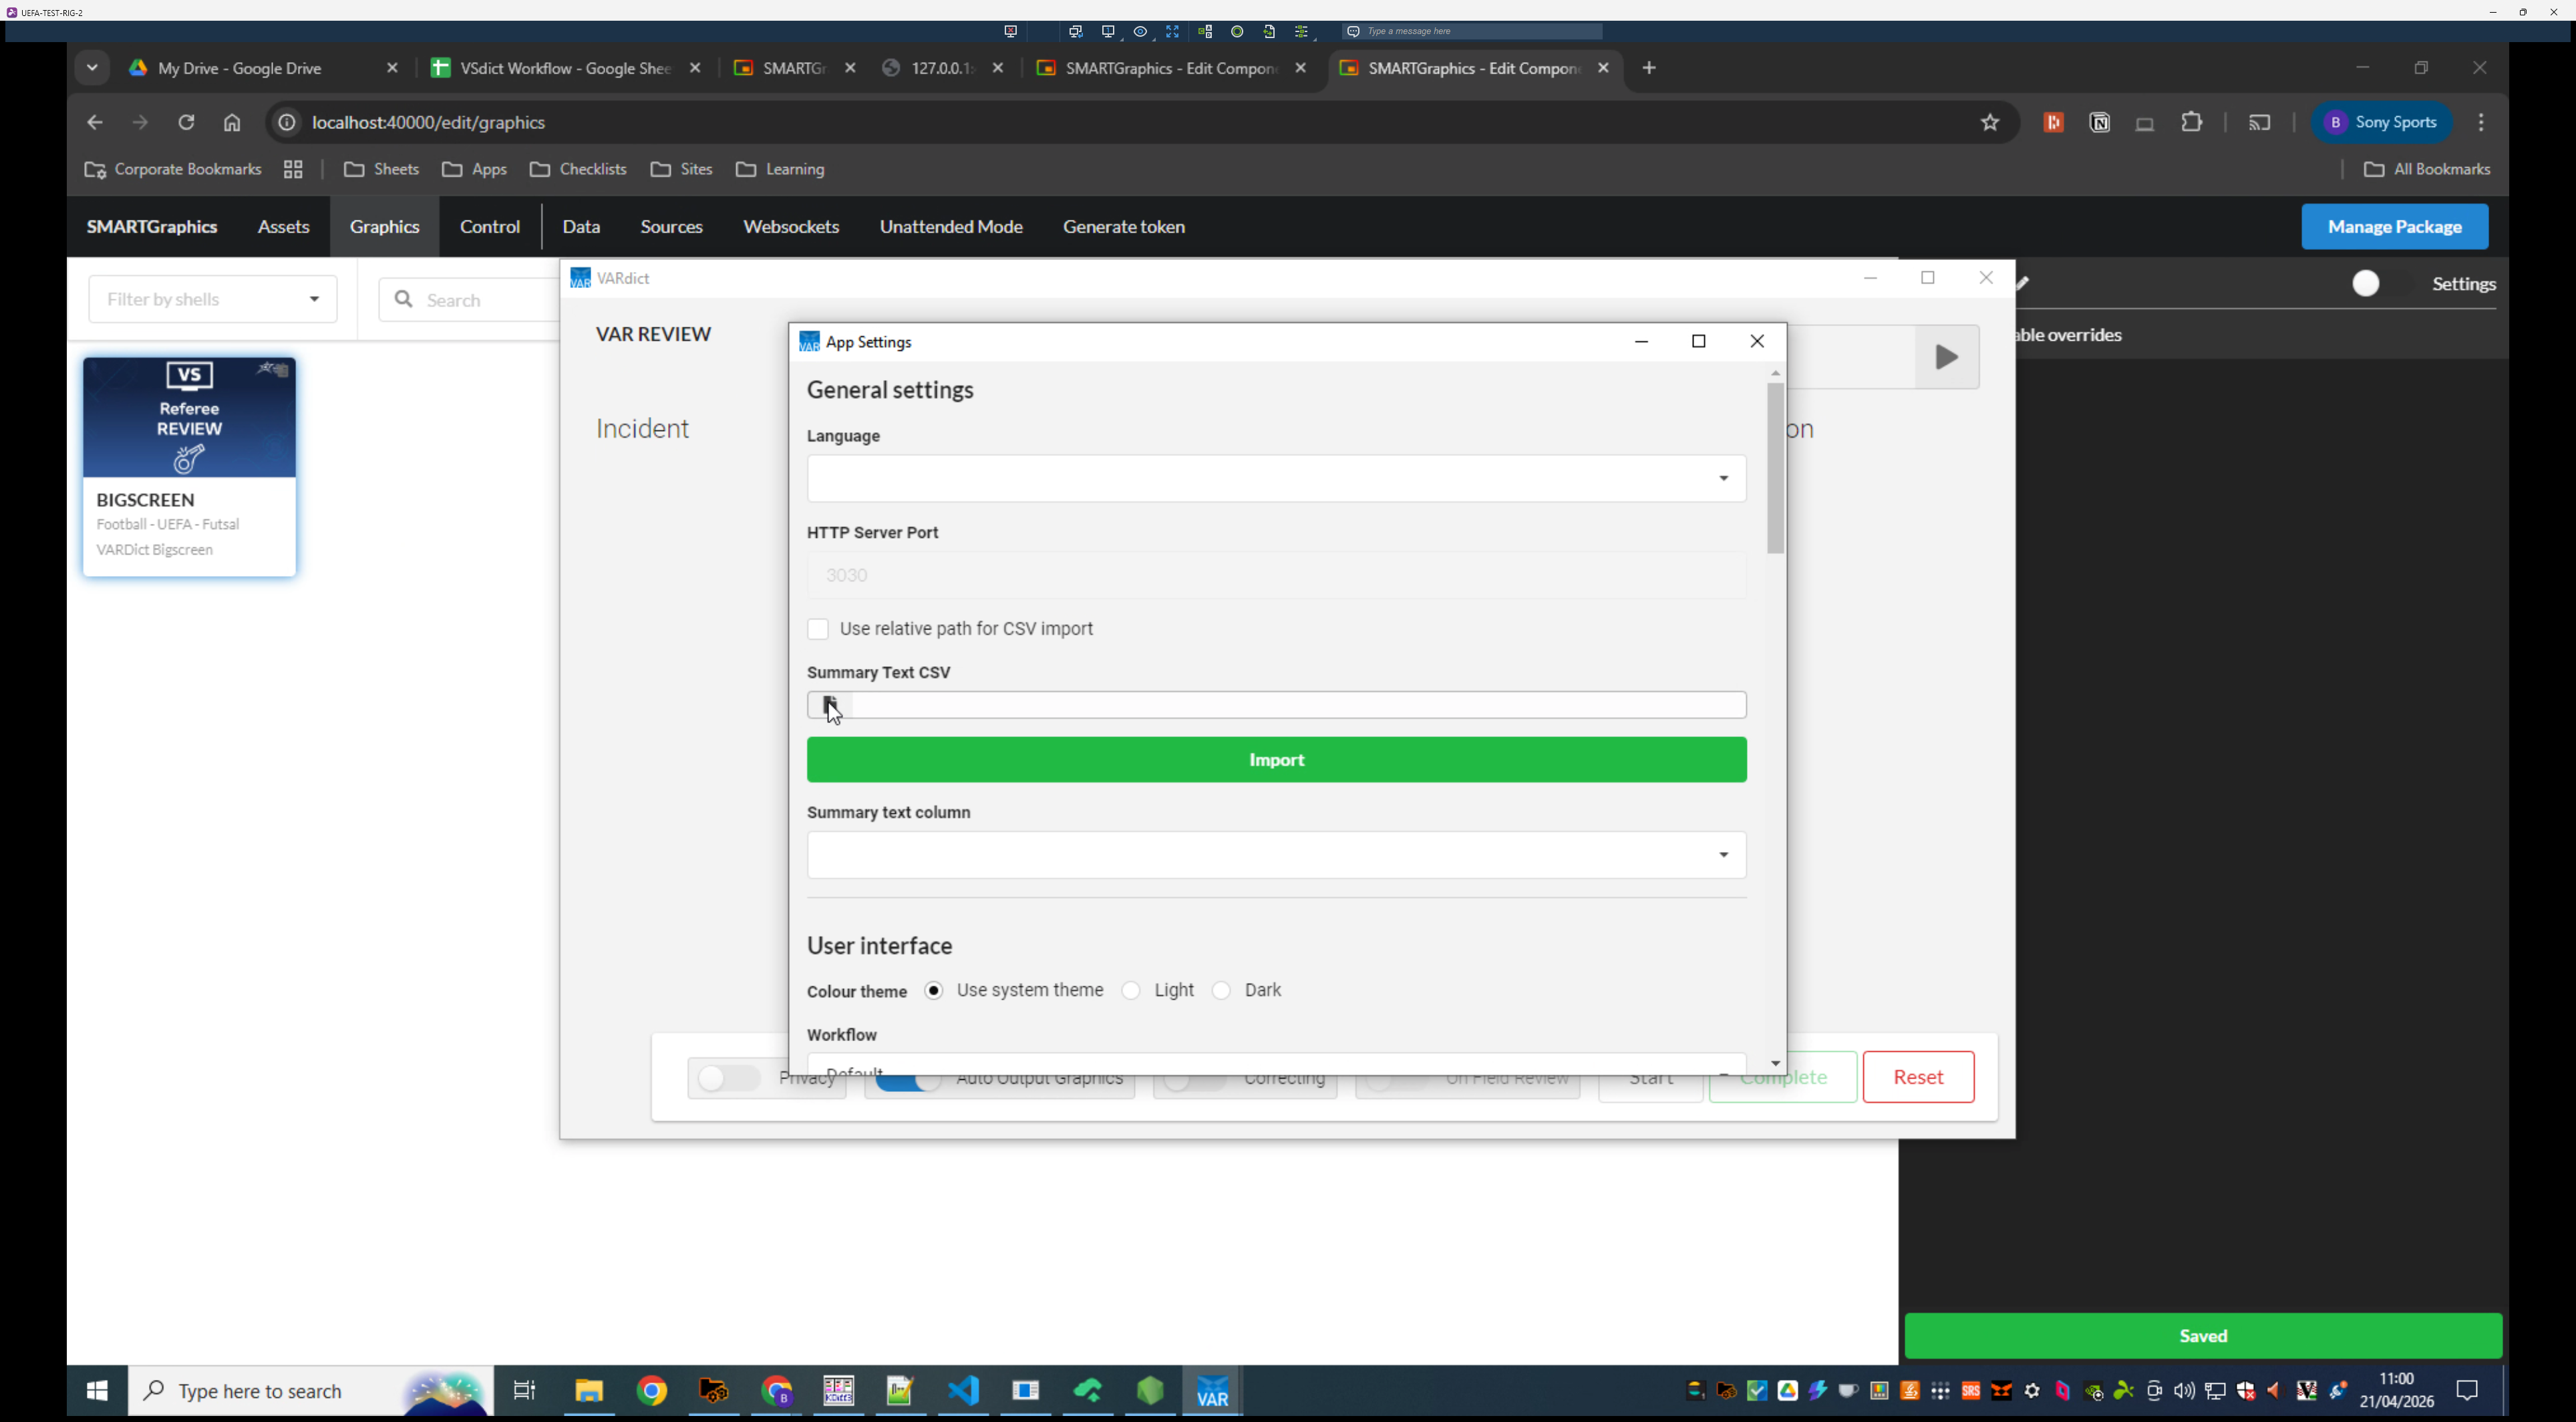
12
Click App Settings.
13
Under the Summary Text CSV section, click Import.
14
Locate and double-click the corresponding Workflow Master CSV file. This can be found in the UEFA_Combined folder on the FTP
15
Set the workflow to be FIFA_VS
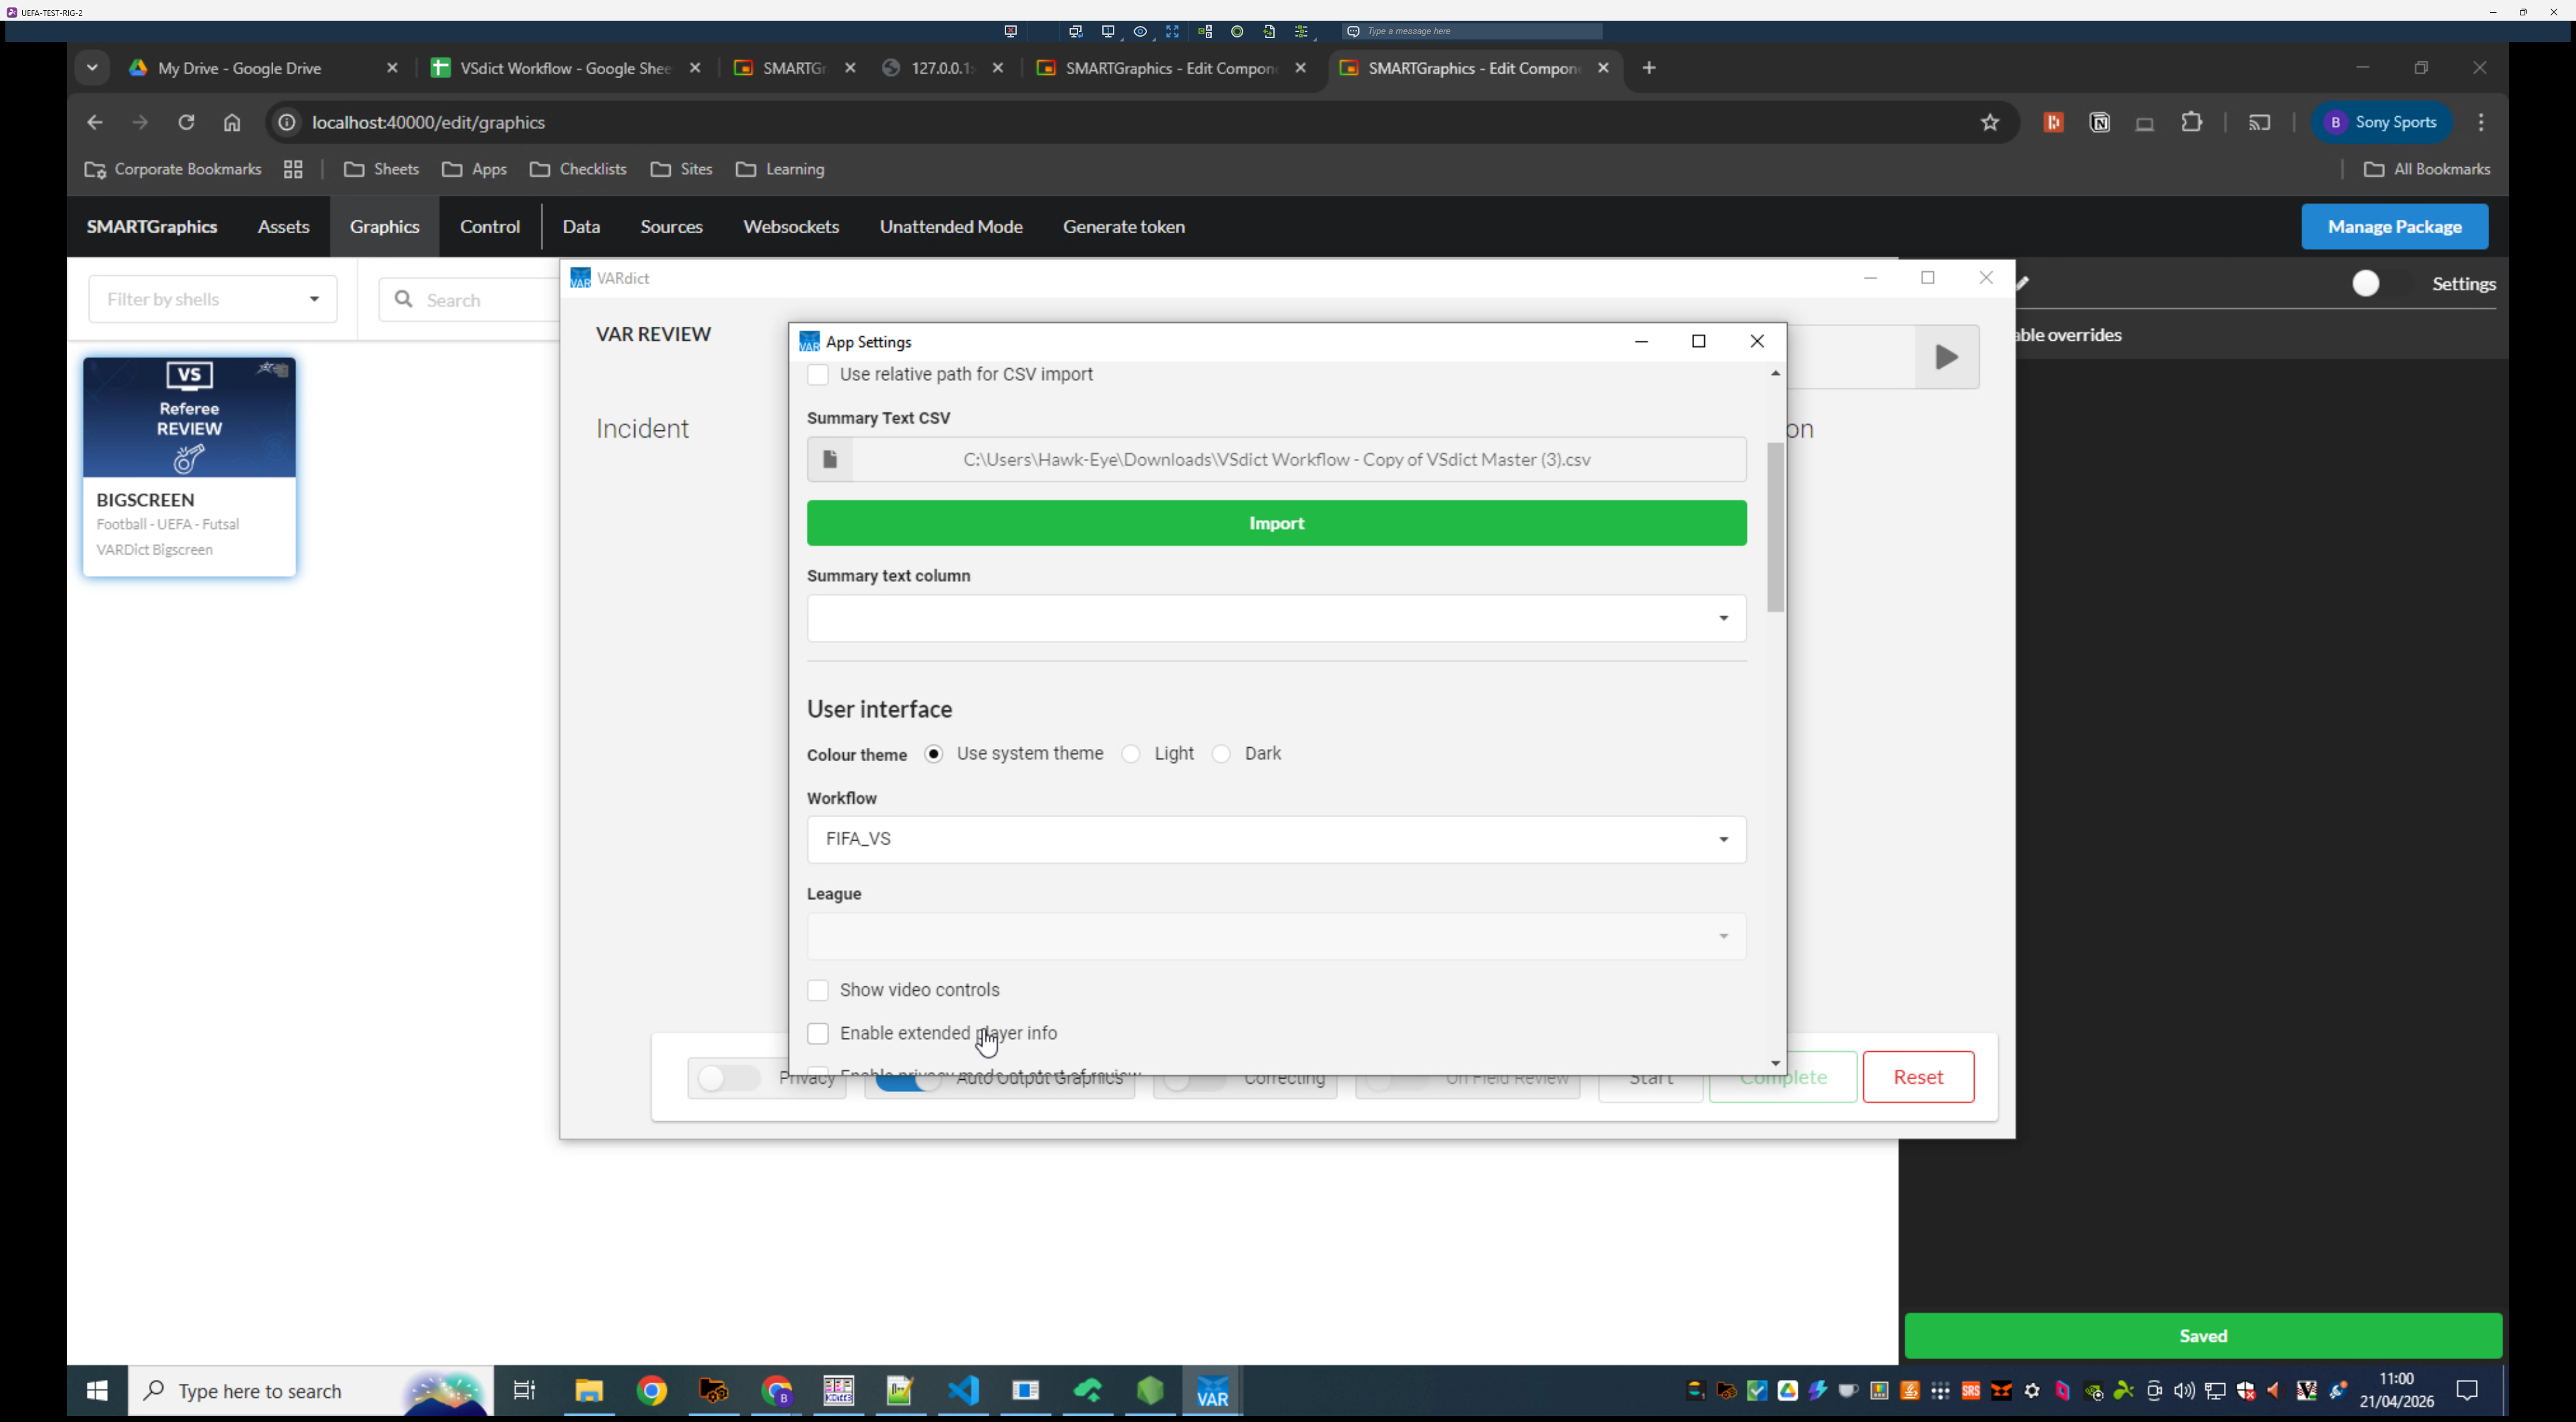
16
Toggle the SMART Graphics instance to Enabled.

17
Select Send all text columns under the Data outputs section. Select English in the summary text column

18
Open the File menu again.
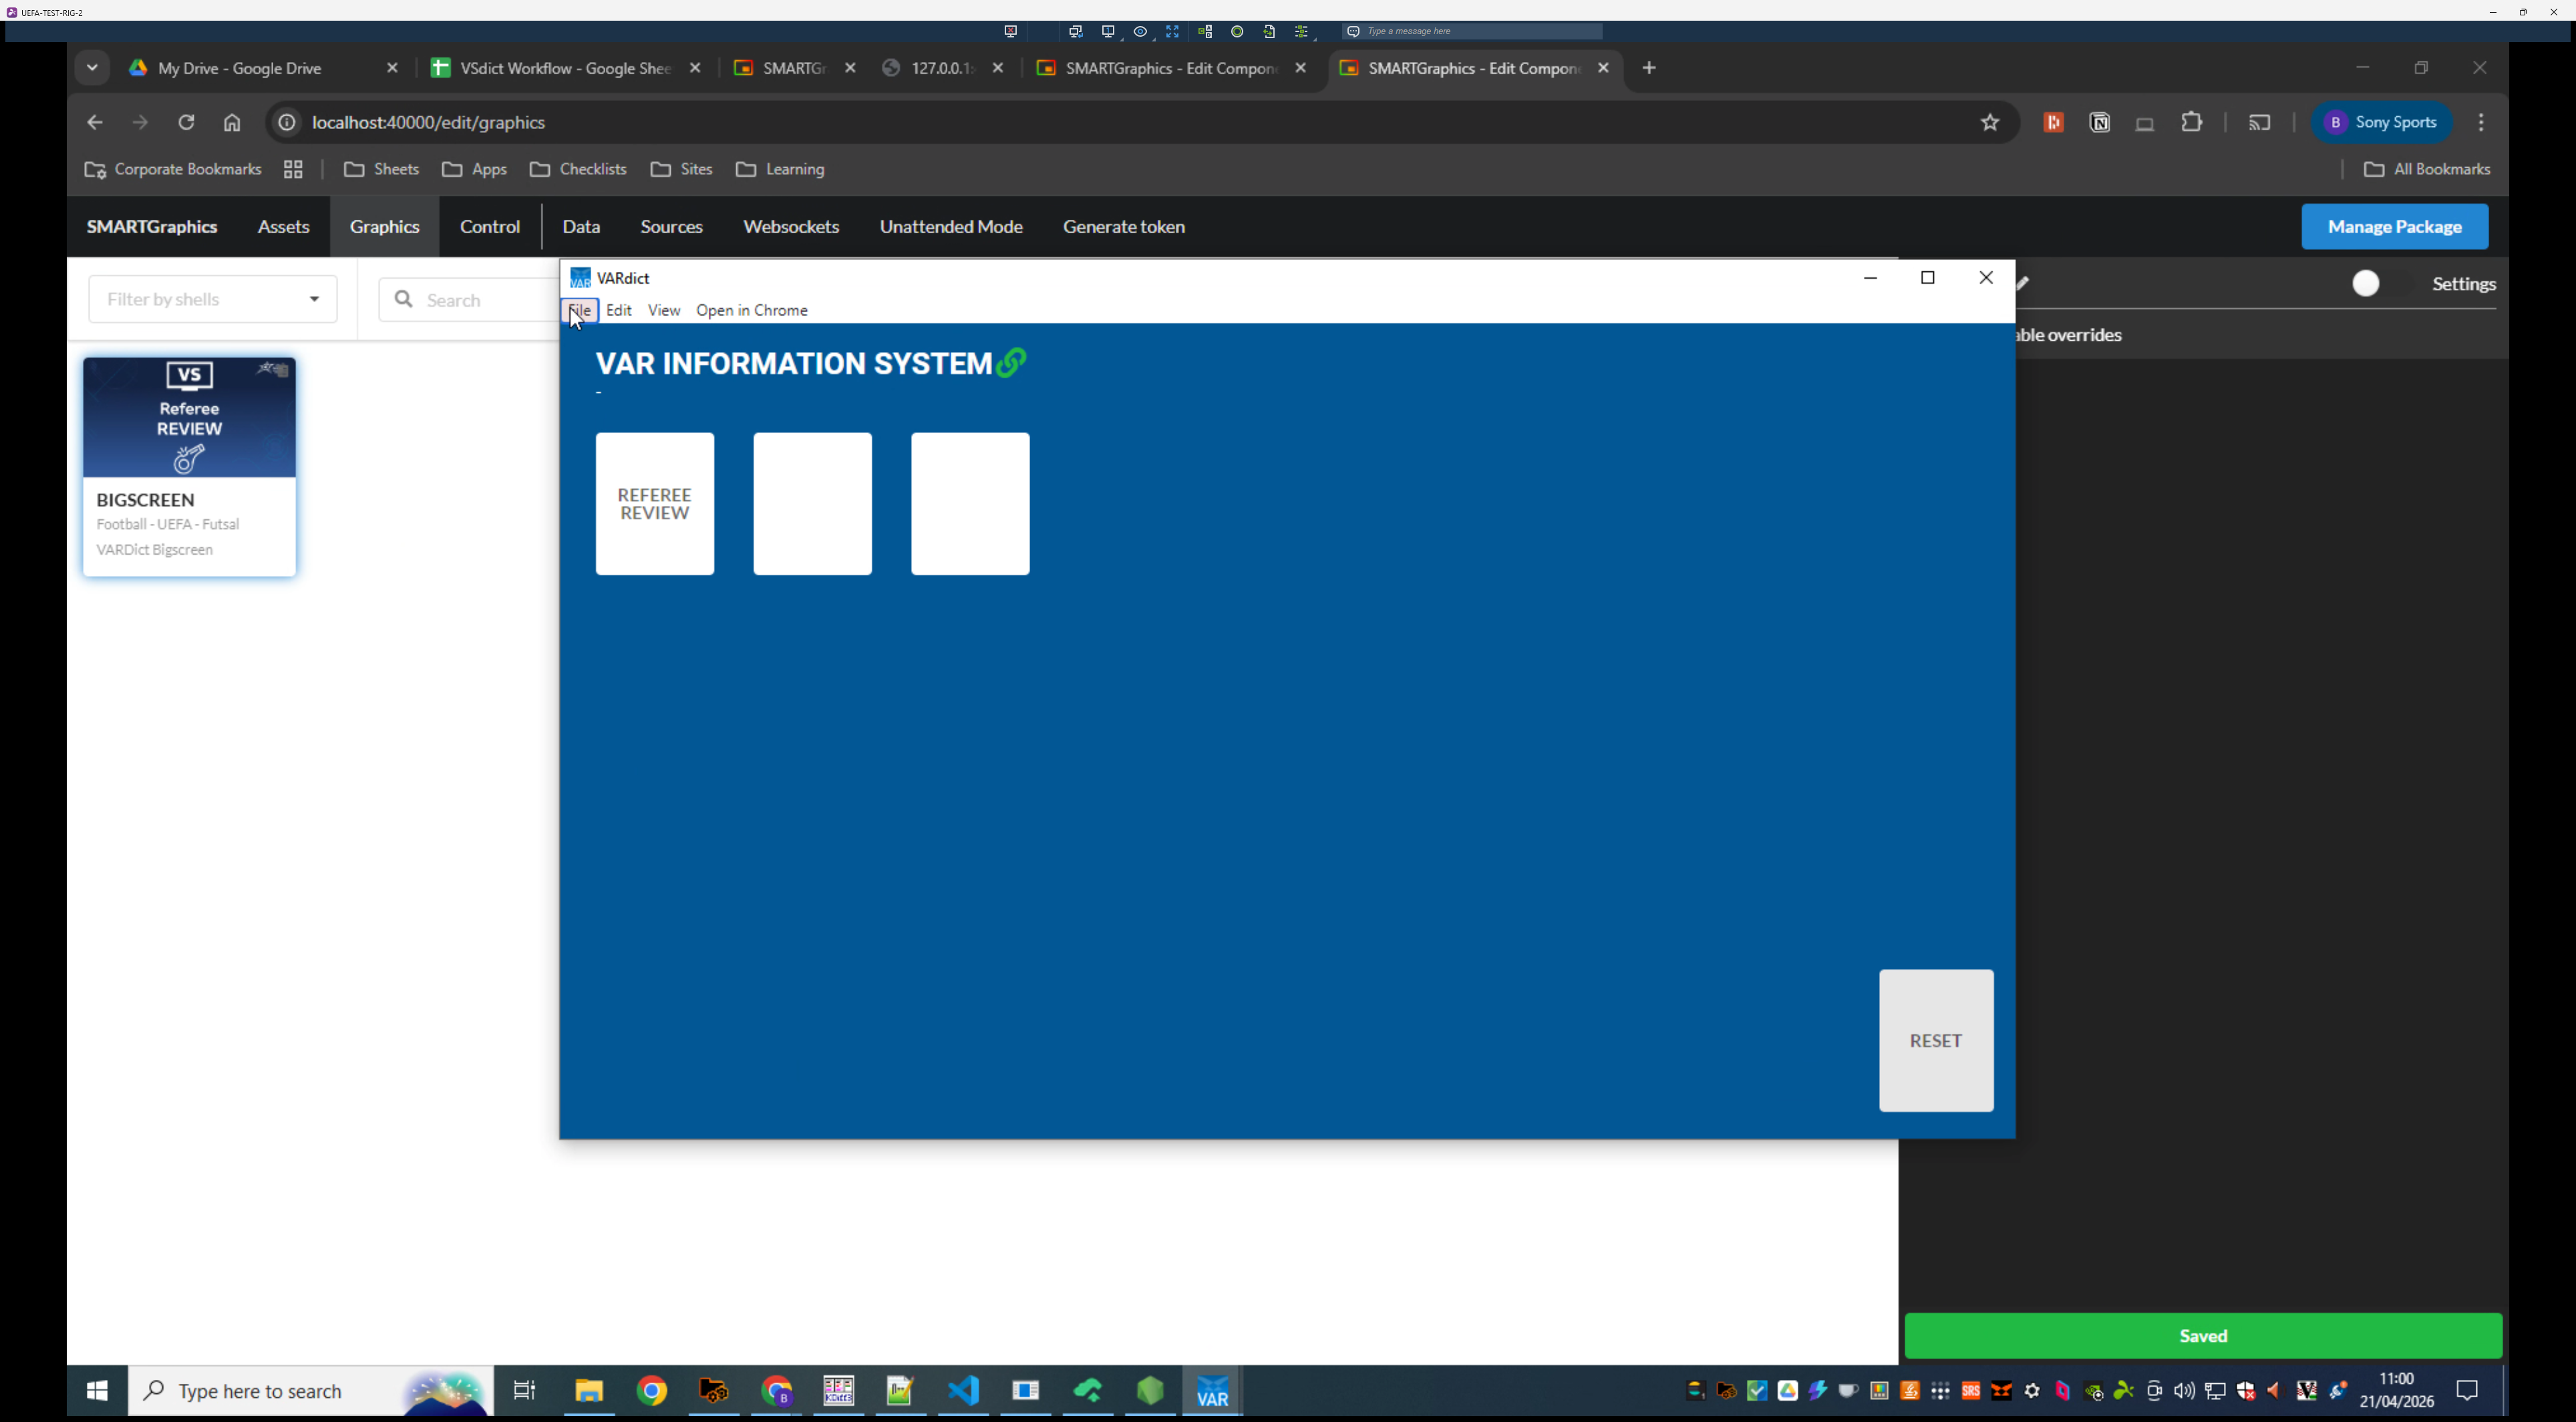
19
Select Match Setup.
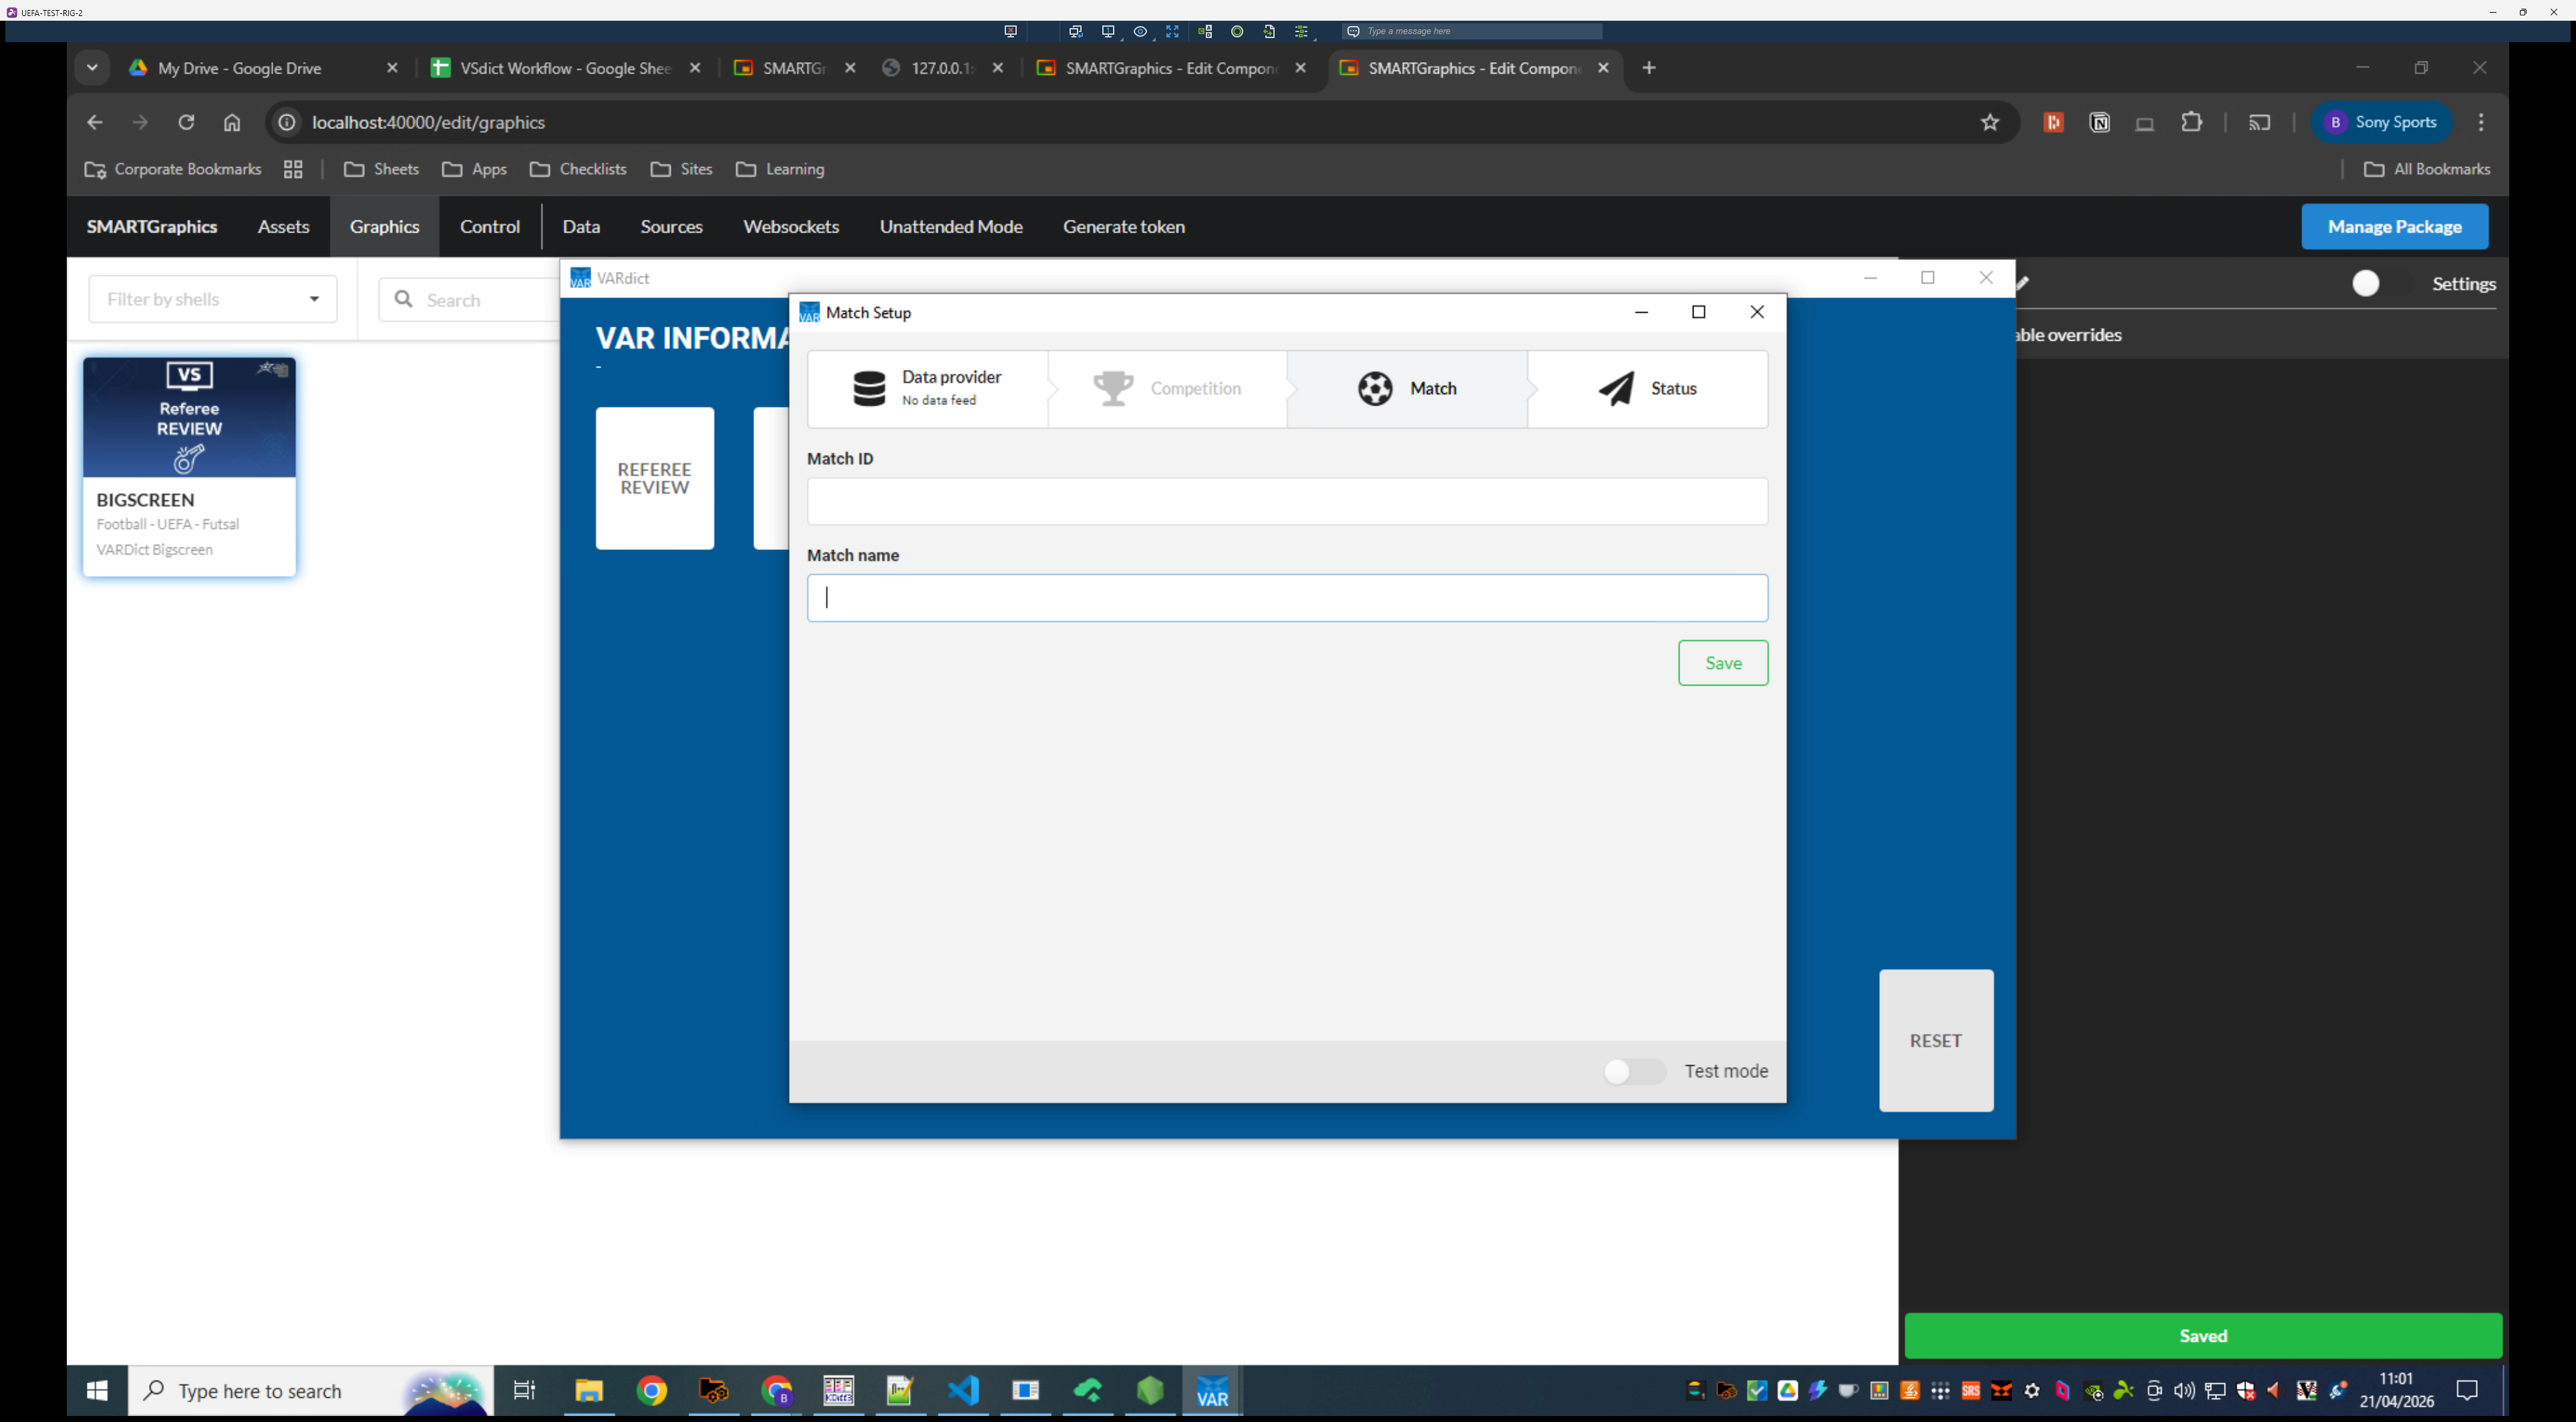
20
Enter your Match name - taking care to match the HOME vs AWAY format
21
Click Save.

22
Click the X to close the Match Setup dialog.