Icon

Continuation For Wall Art Product upload in GHL

Learn how to set up product variants, manage inventory quantities, and upload digital files for e-commerce products in GoHighLevel.

By Rozette Kean Gaudan

This guide demonstrates how to configure complex product variants and upload corresponding digital files in GoHighLevel. Completing these steps allows you to offer multiple designs, styles, and file downloads on a single product page.

This tutorial is intended for e-commerce managers and operations team members who are responsible for building and managing multi-variant product listings in their store.

Create Product Variants
1
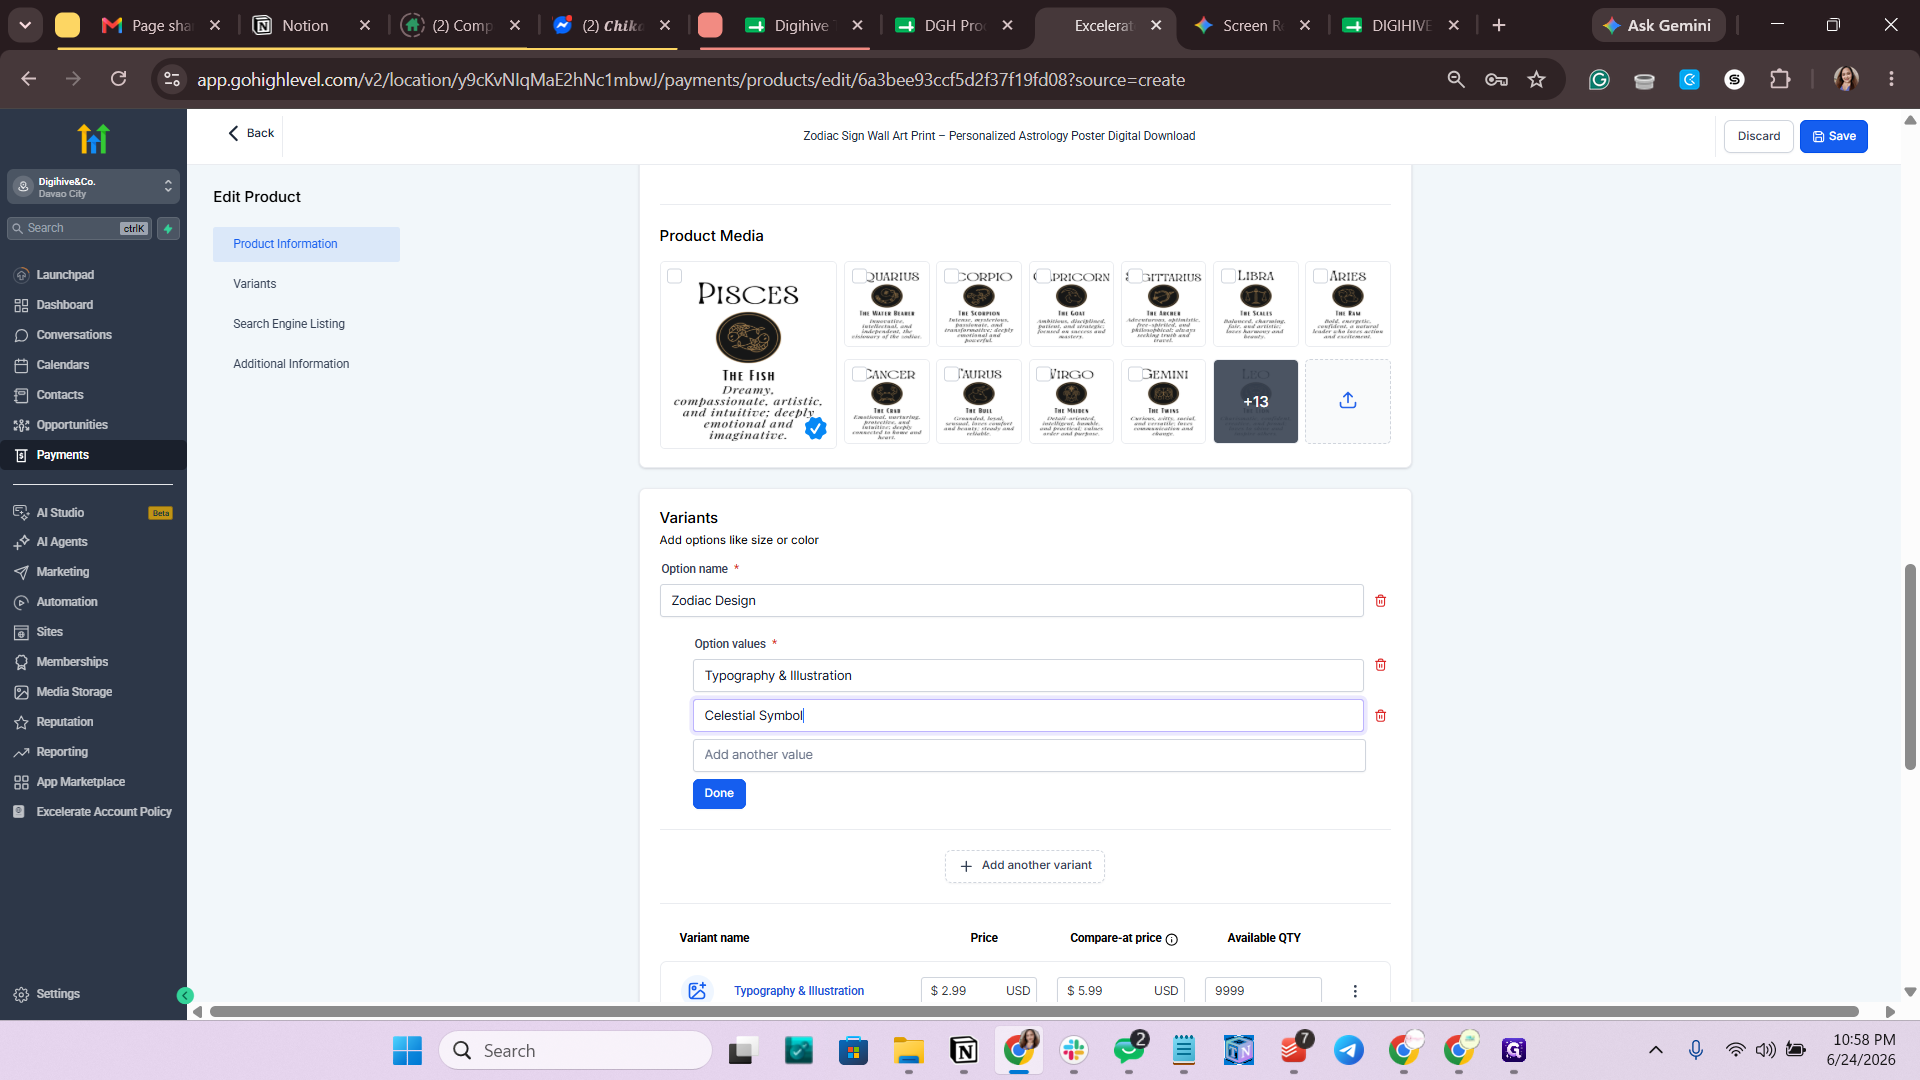
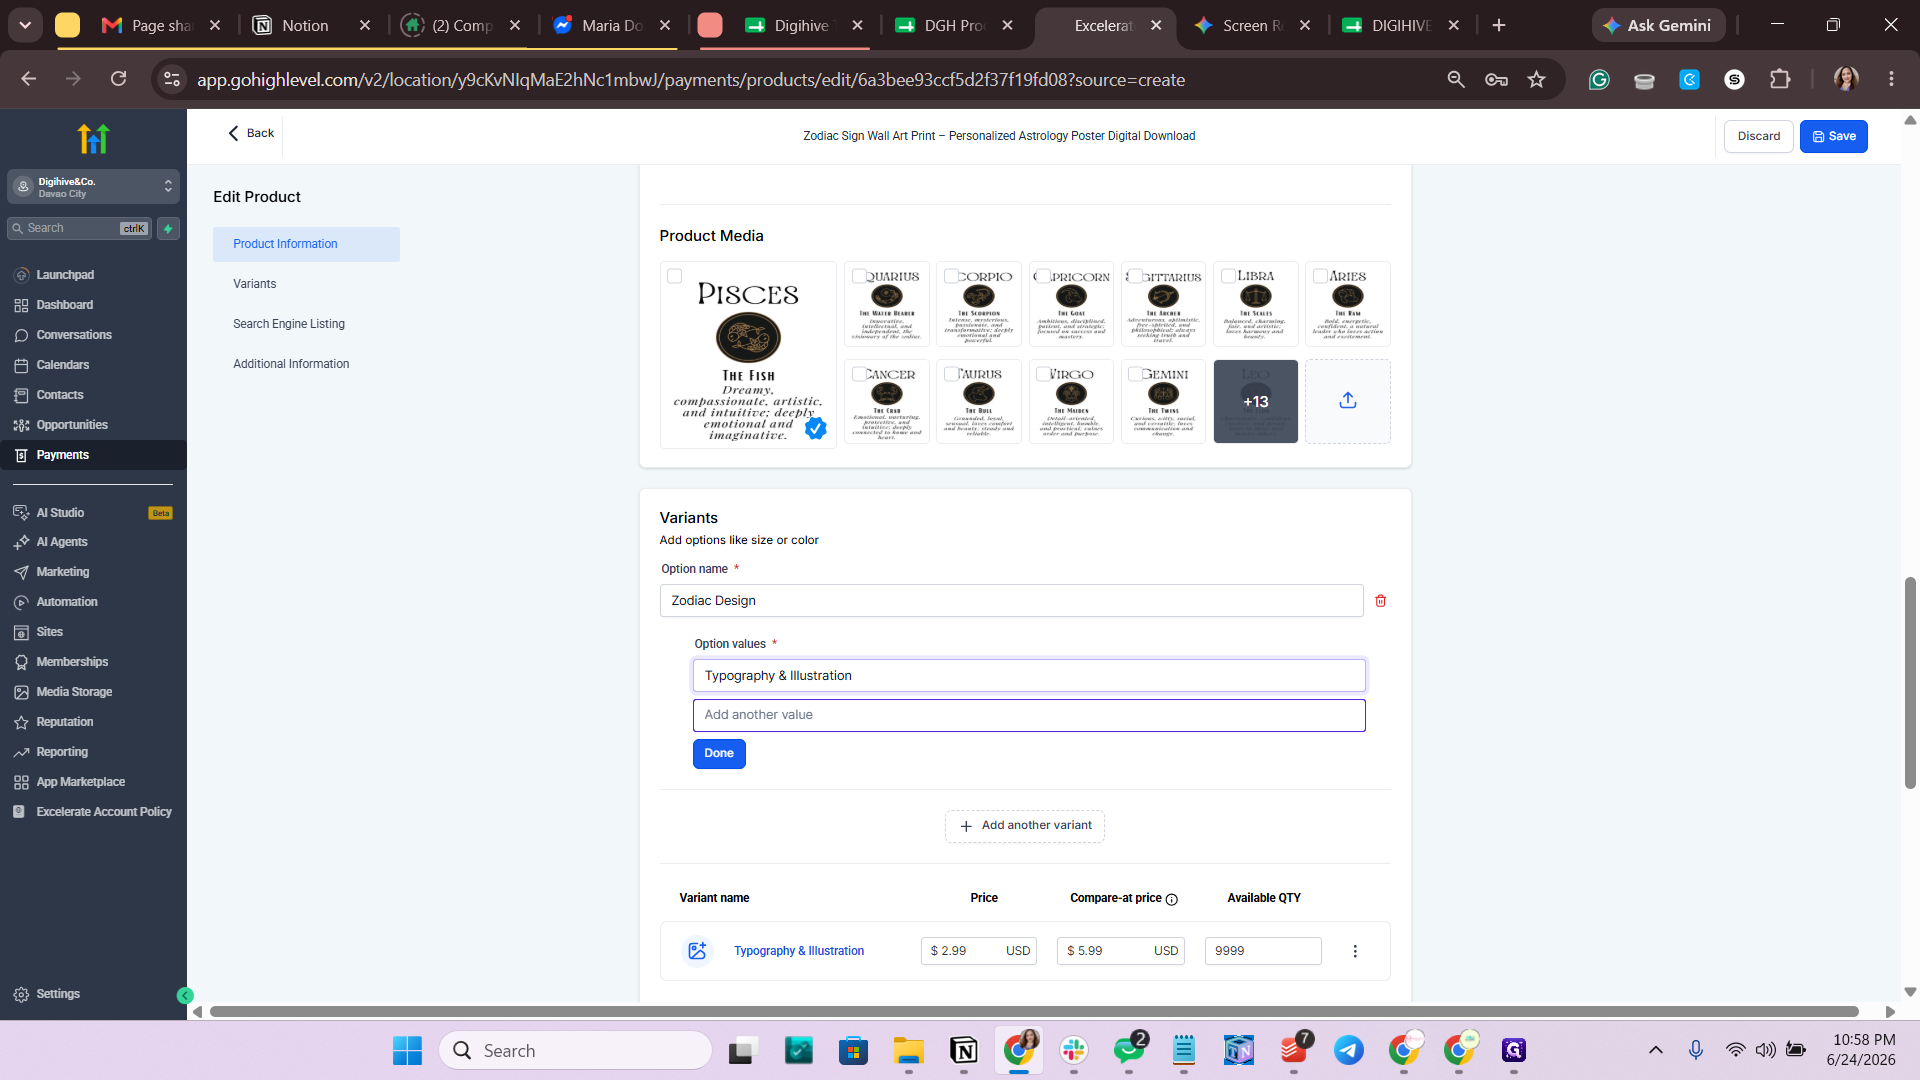
Click Add another value to input your first design category, such as "Typography & Illustration".
Step #1: Click Add another value to input your first design category, such as "Typography & Illustration".
2
Click Done to save the initial design variants.
Step #2: Click Done to save the initial design variants.
3
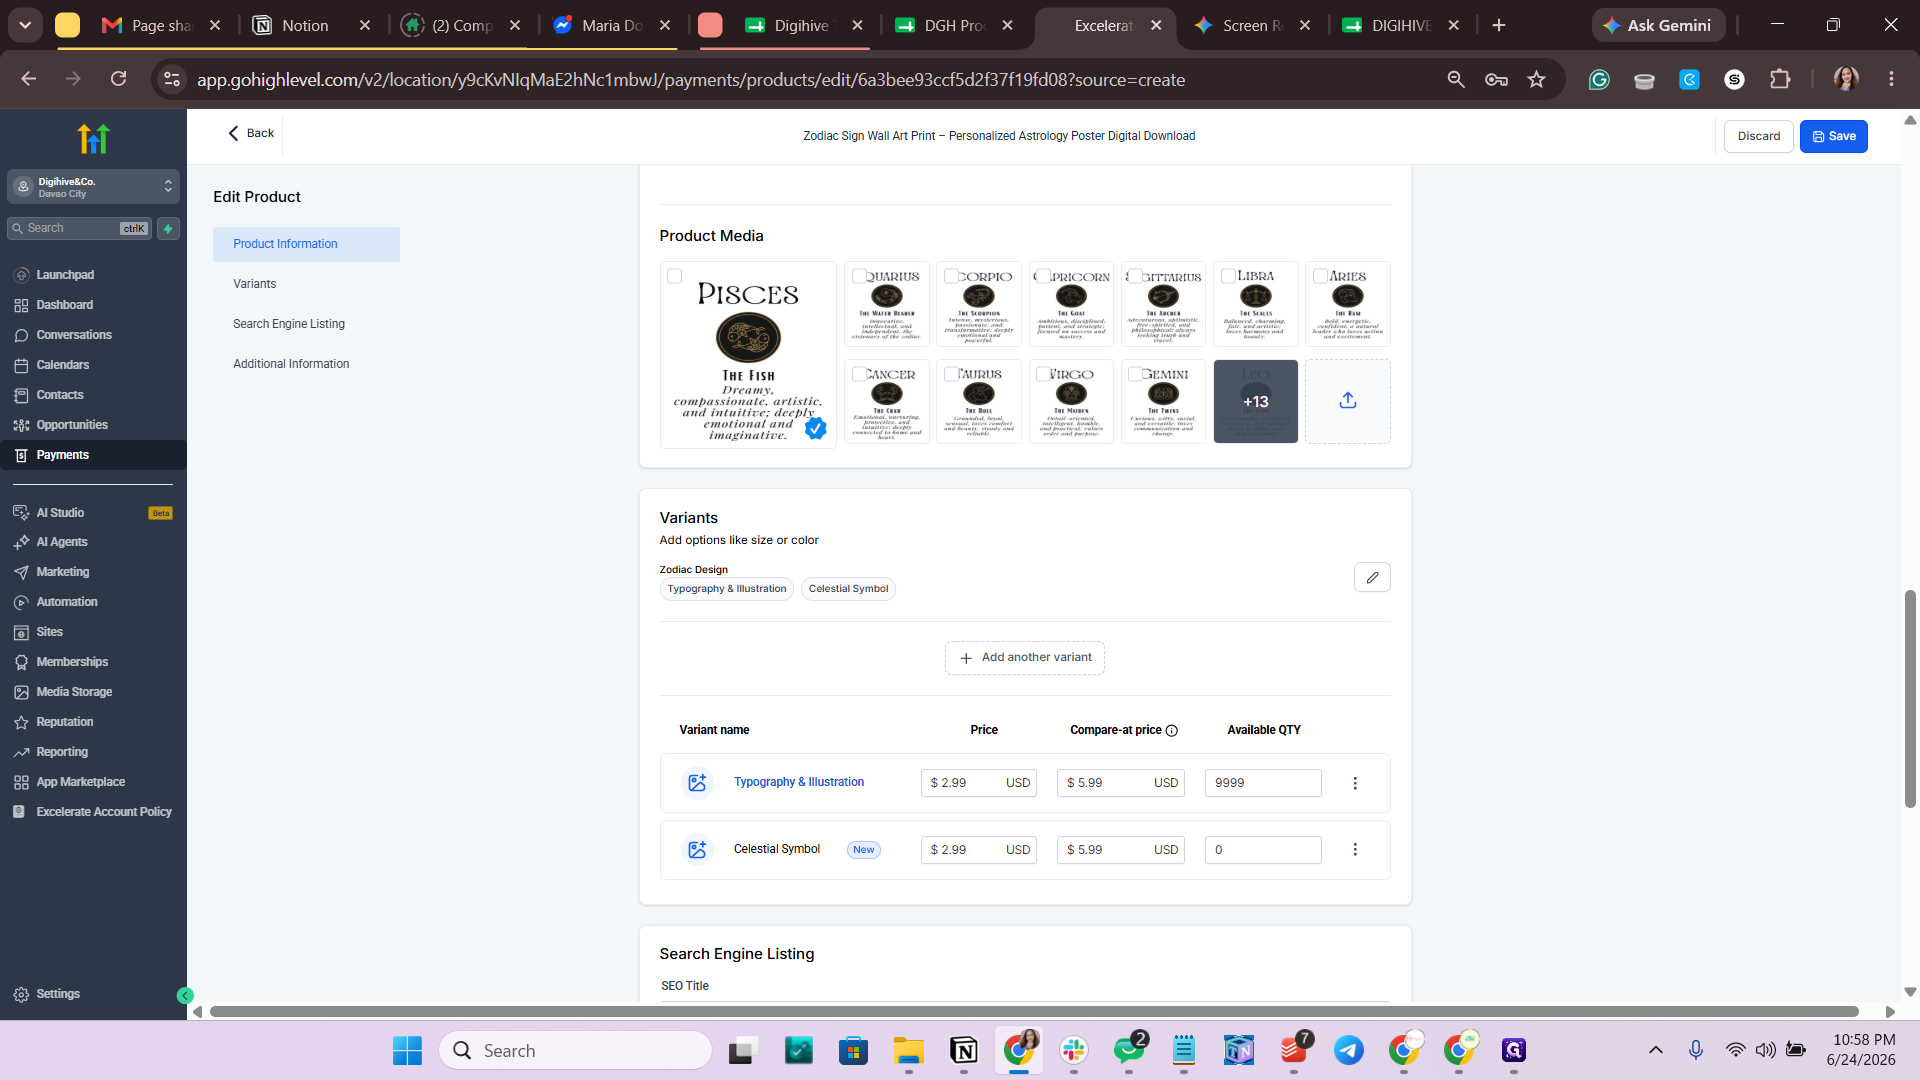
Click + Add another variant to configure the next option category.
Step #3: Click + Add another variant to configure the next option category.
4
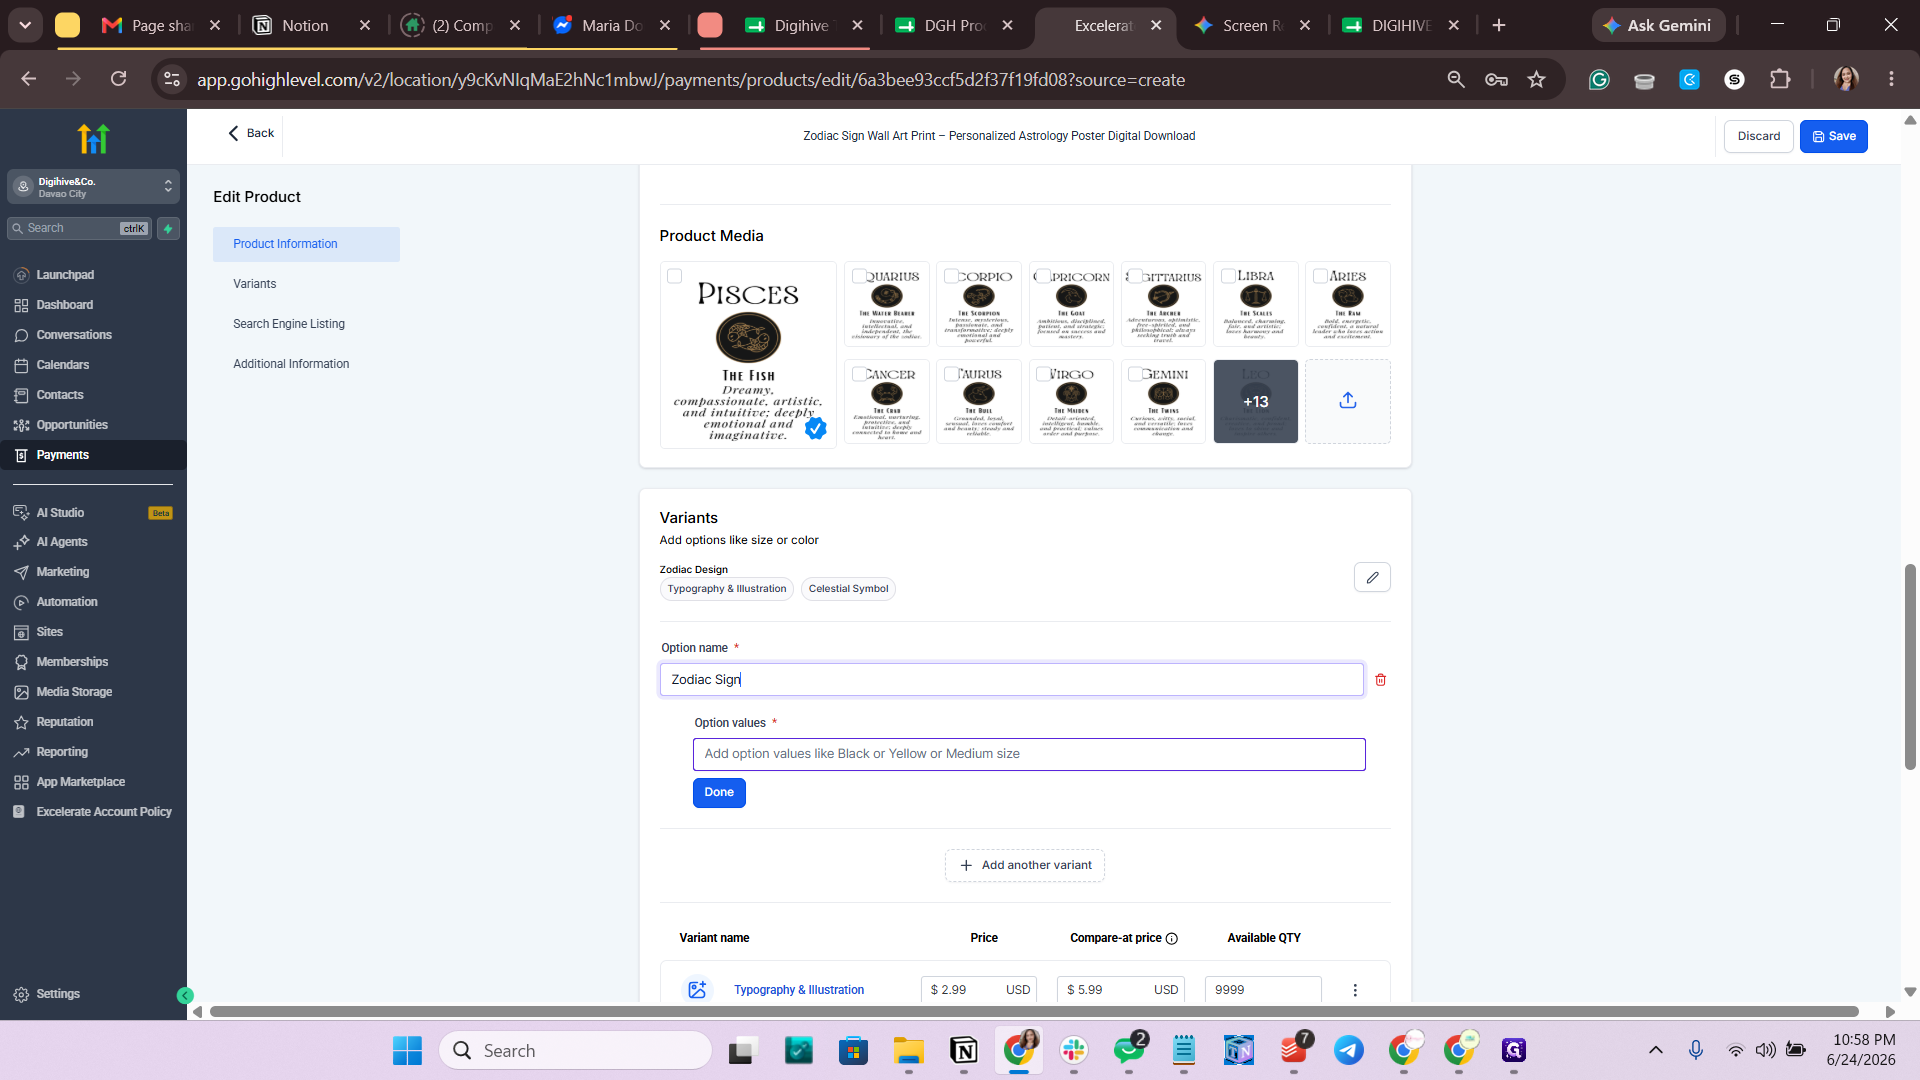
Type Zodiac Sign into the option name field.
5
Click into the Option values field and type your first sign, such as "Aries".
Step #5: Click into the Option values field and type your first sign, such as "Aries".
6
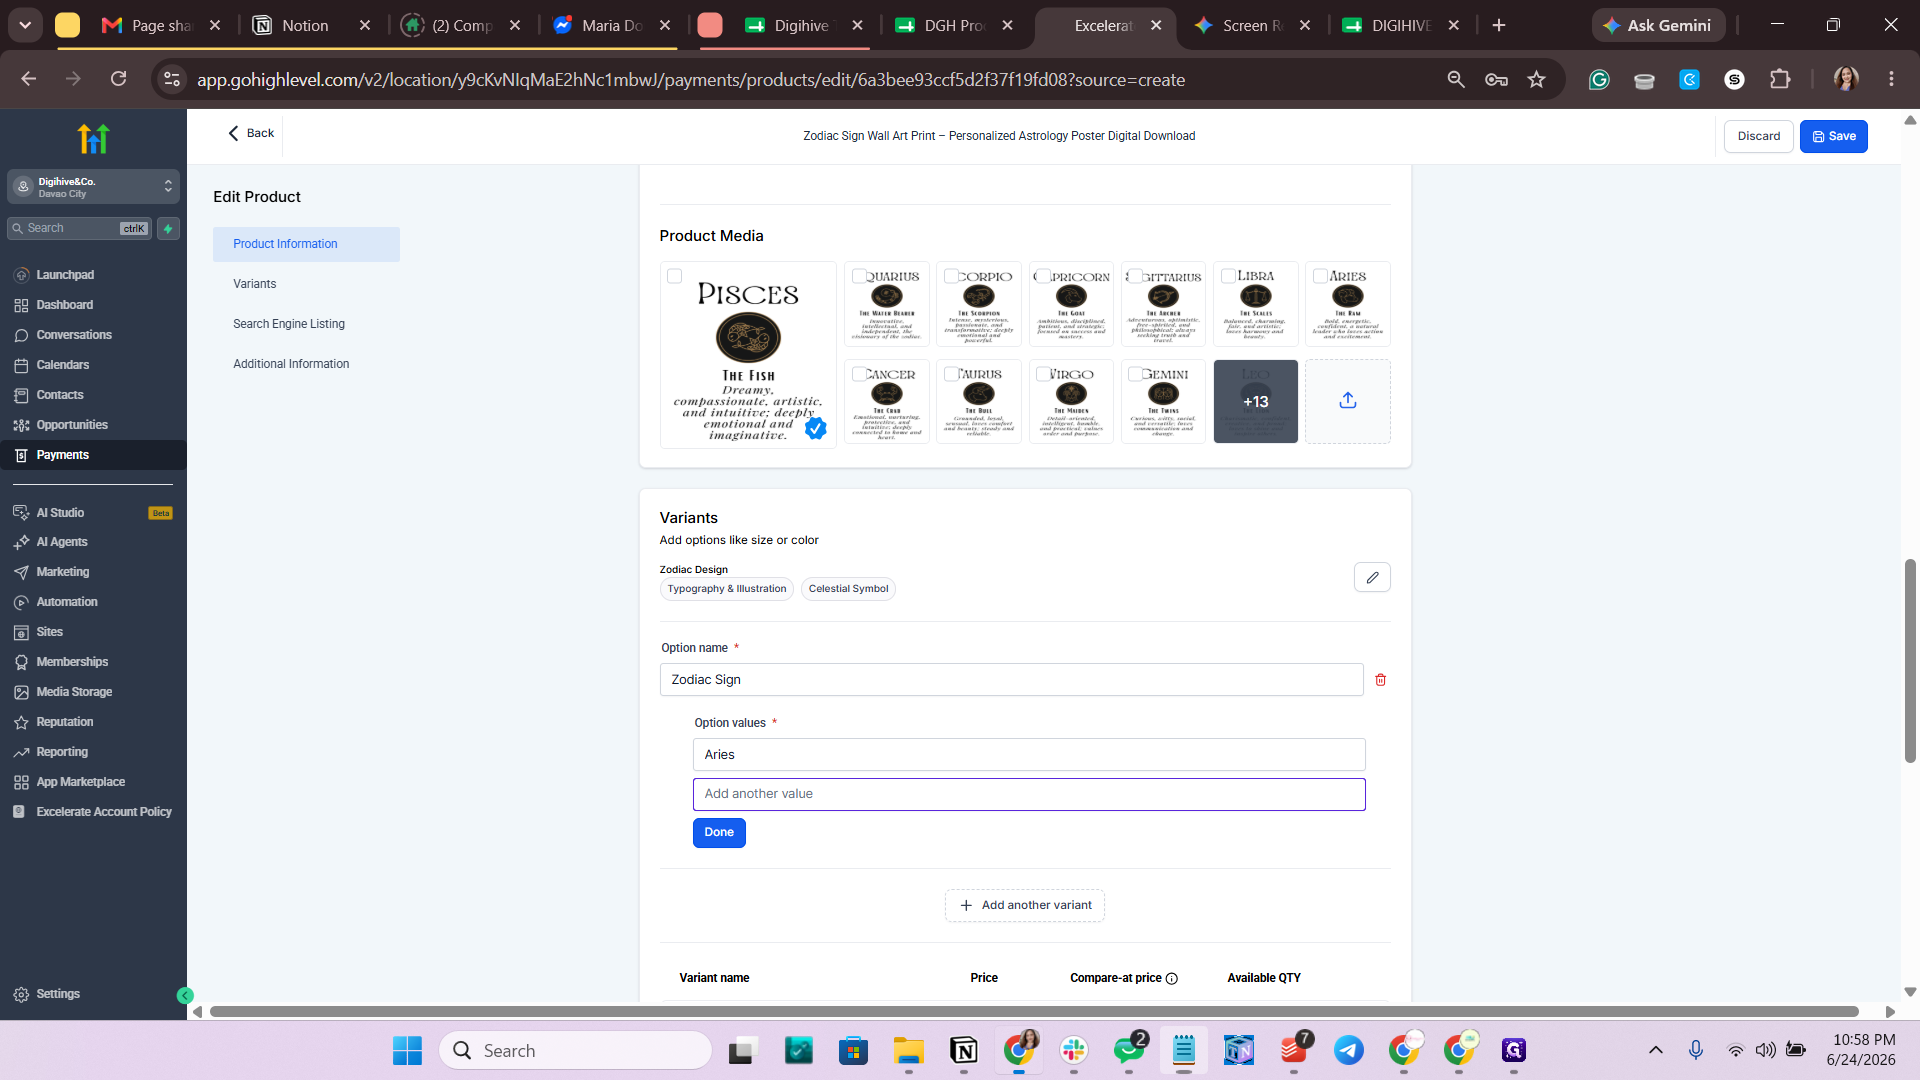
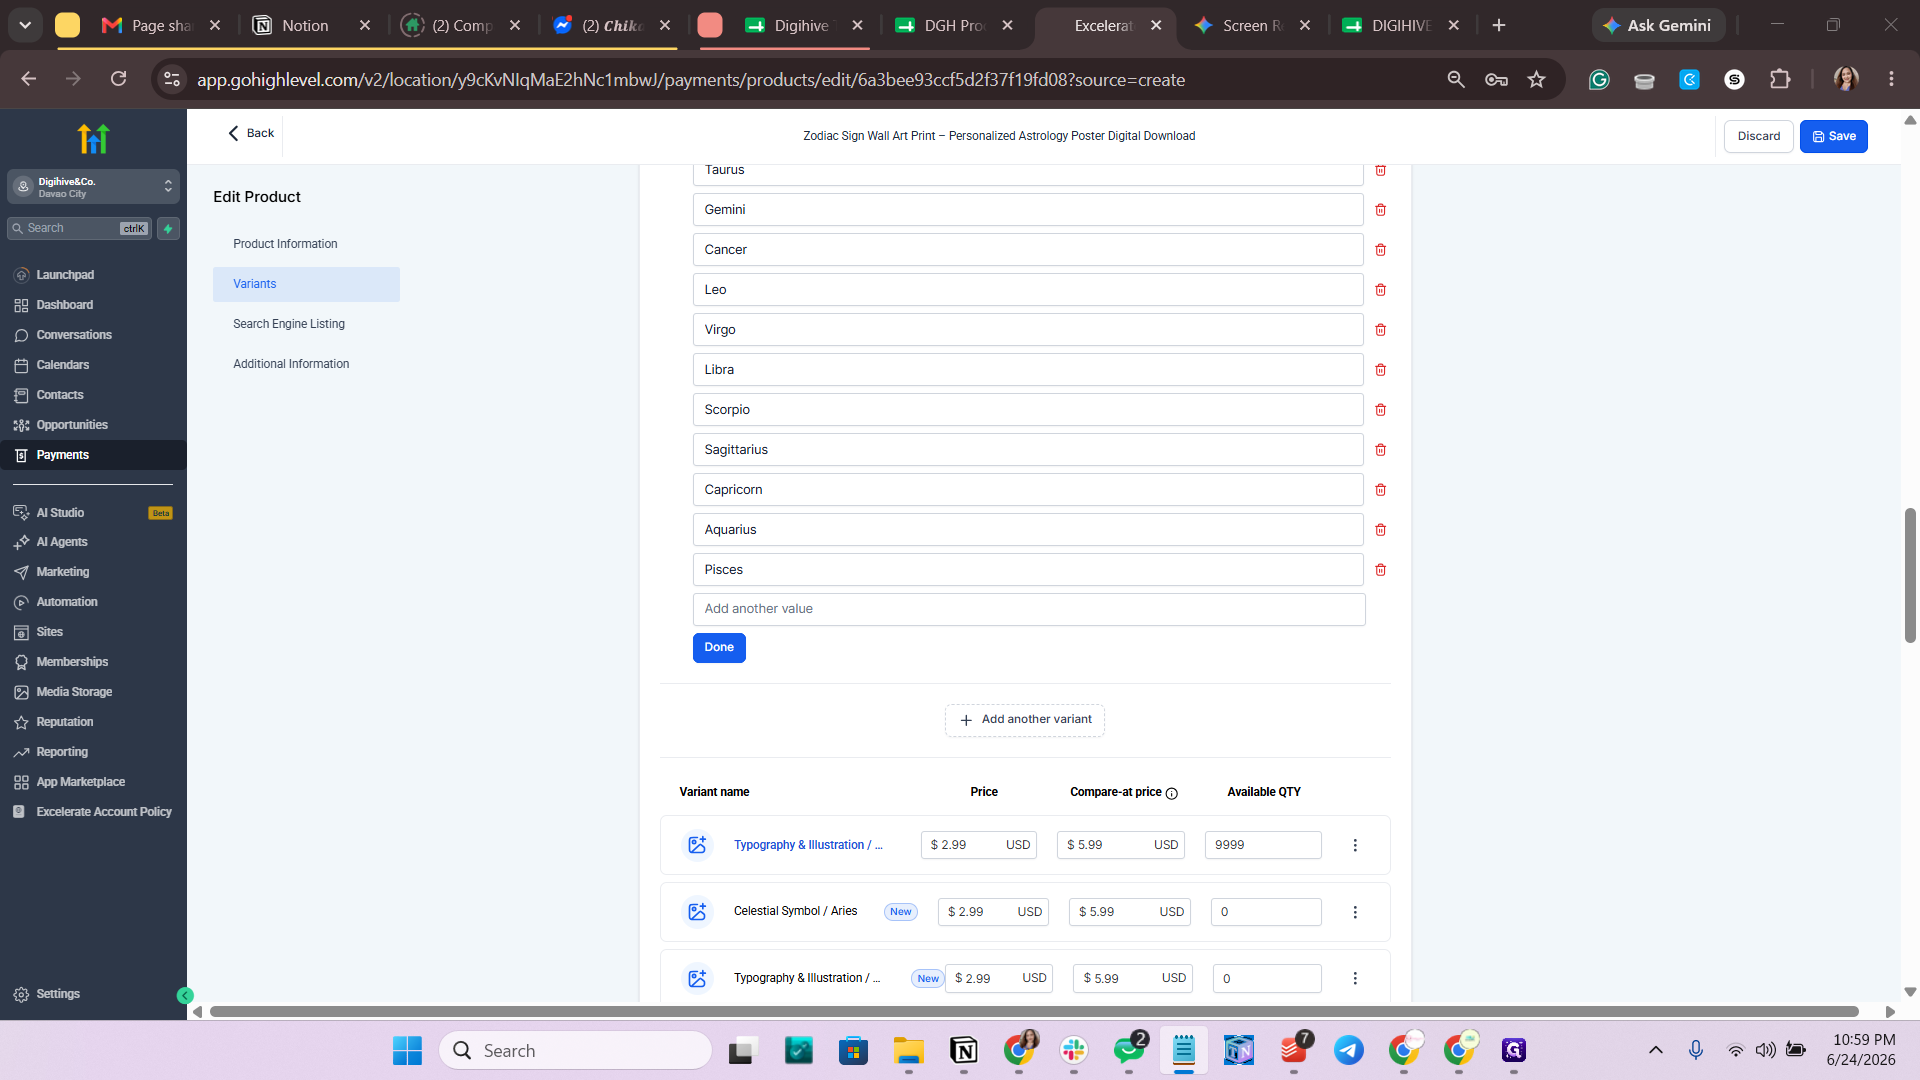
Click Add another value to enter the remaining signs.
Step #6: Click Add another value to enter the remaining signs.

Zodiac Sign

Aries

Taurus

Gemini

Cancer

Leo

Virgo

Libra

Scorpio

Sagittarius

Capricorn

Aquarius

Pisces

7
Once all signs are entered, click Done to generate the variant combinations.
Step #7: Once all signs are entered, click Done to generate the variant combinations.

Update Inventory

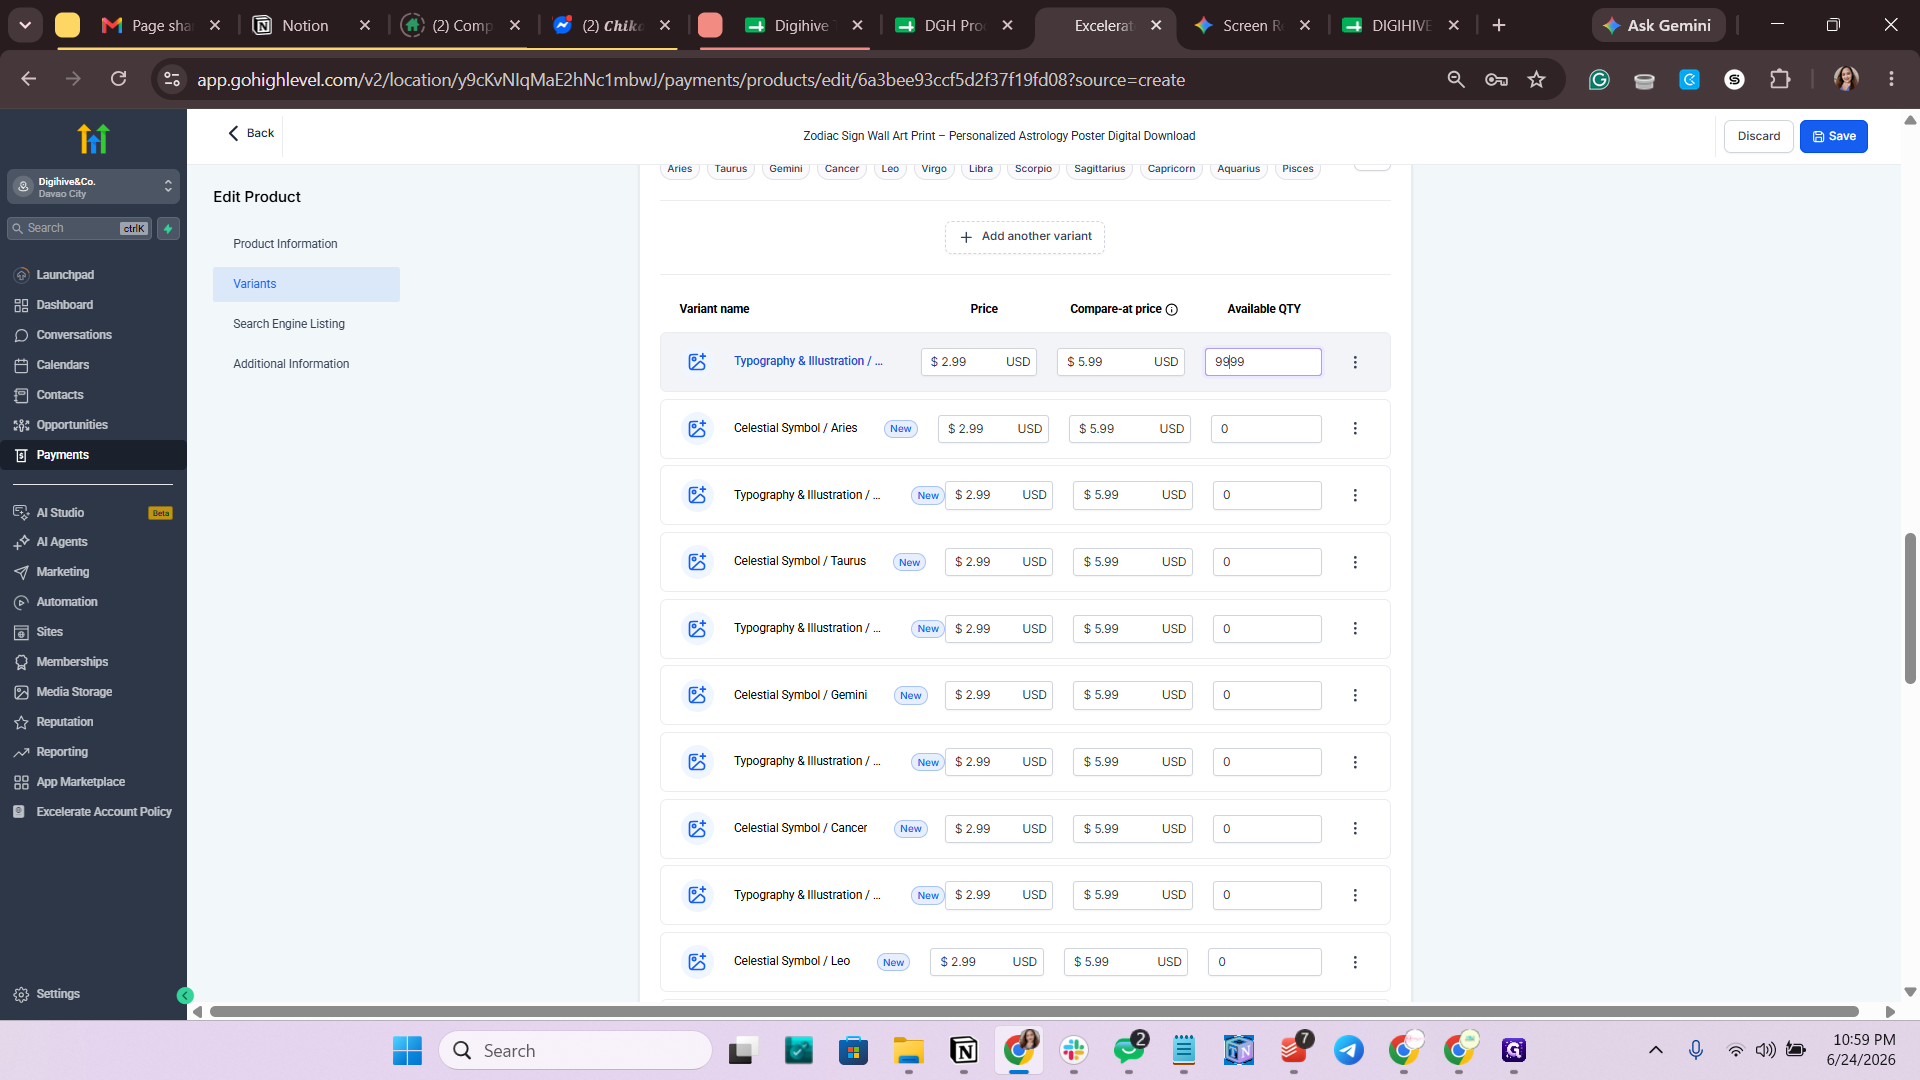
8
Double-click the Available QTY field for the first variant and enter your inventory amount.
Step #8: Double-click the Available QTY field for the first variant and enter your inventory amount.
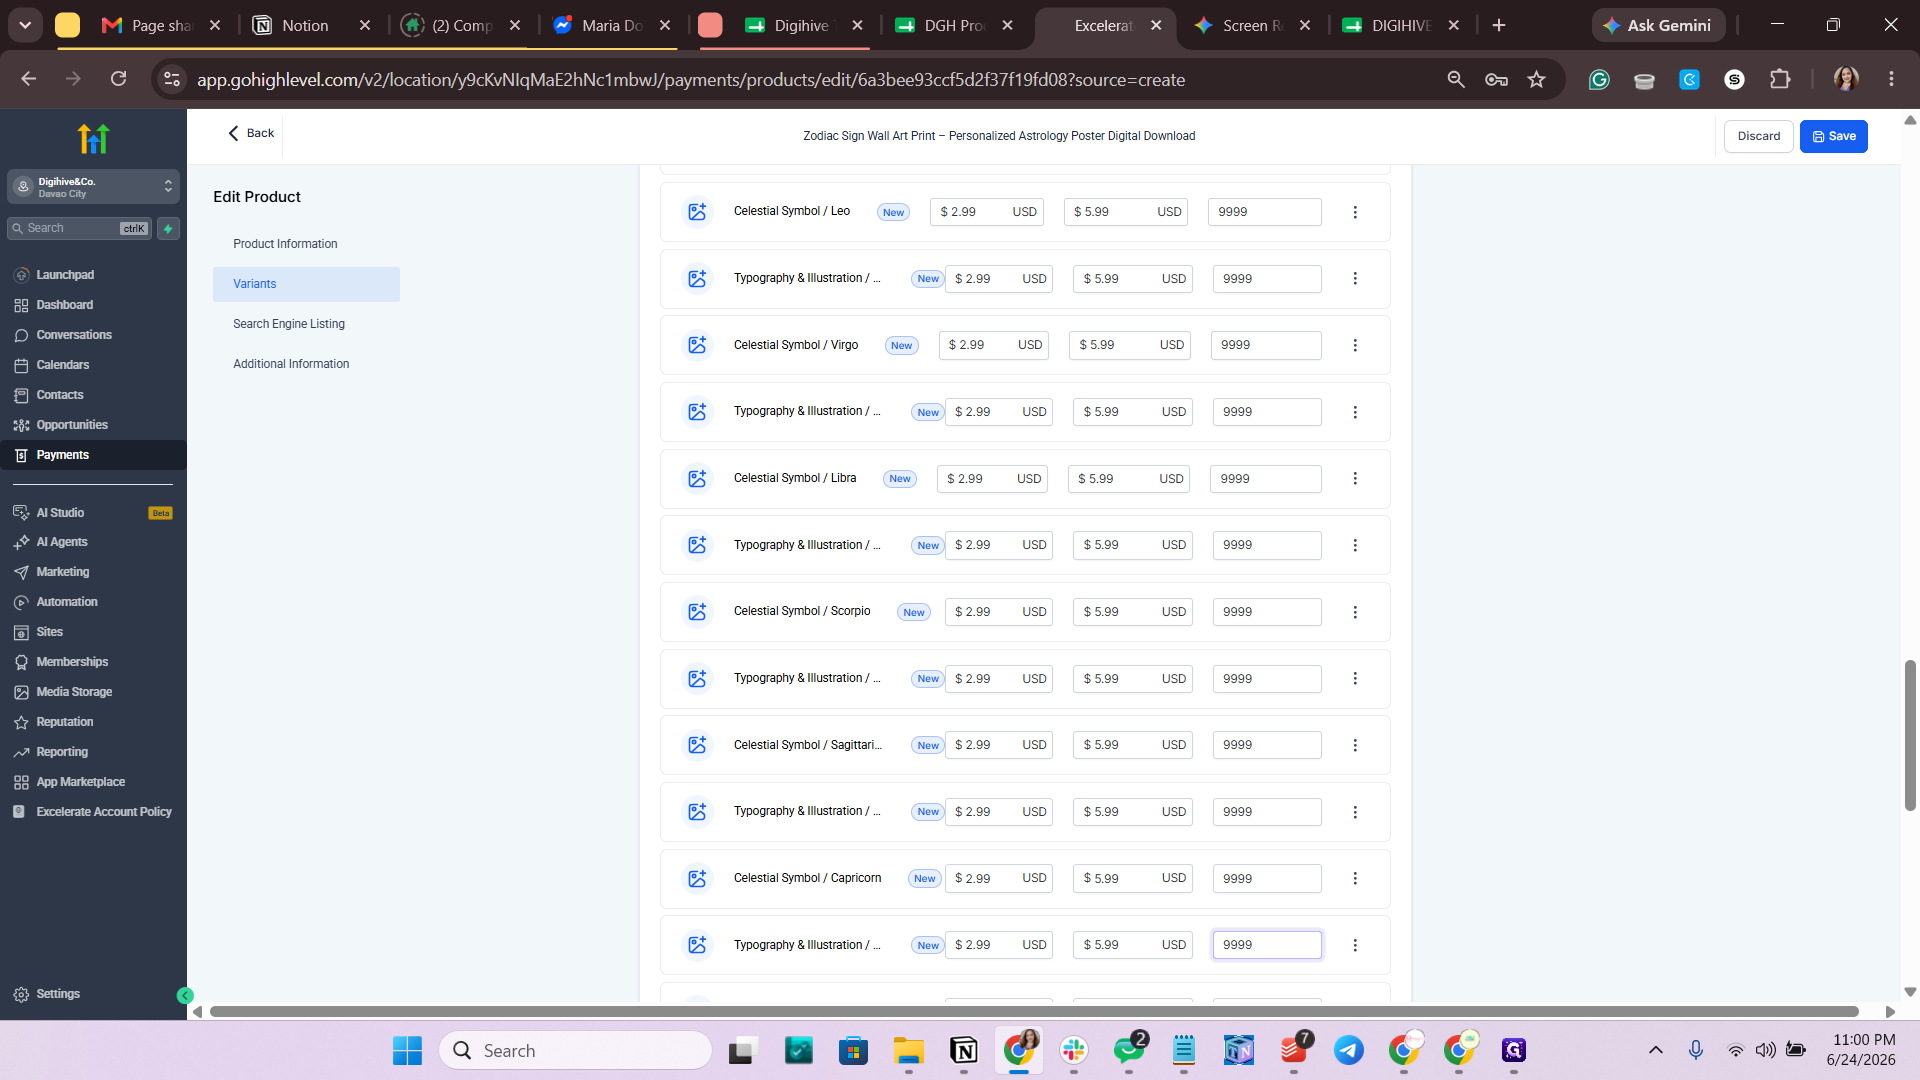
9
Repeat this process to set inventory for all generated variants, then click Save at the top of the page.
Step #9: Repeat this process to set inventory for all generated variants, then click Save at the top of the page.

Assign Images and Digital Files to Variants
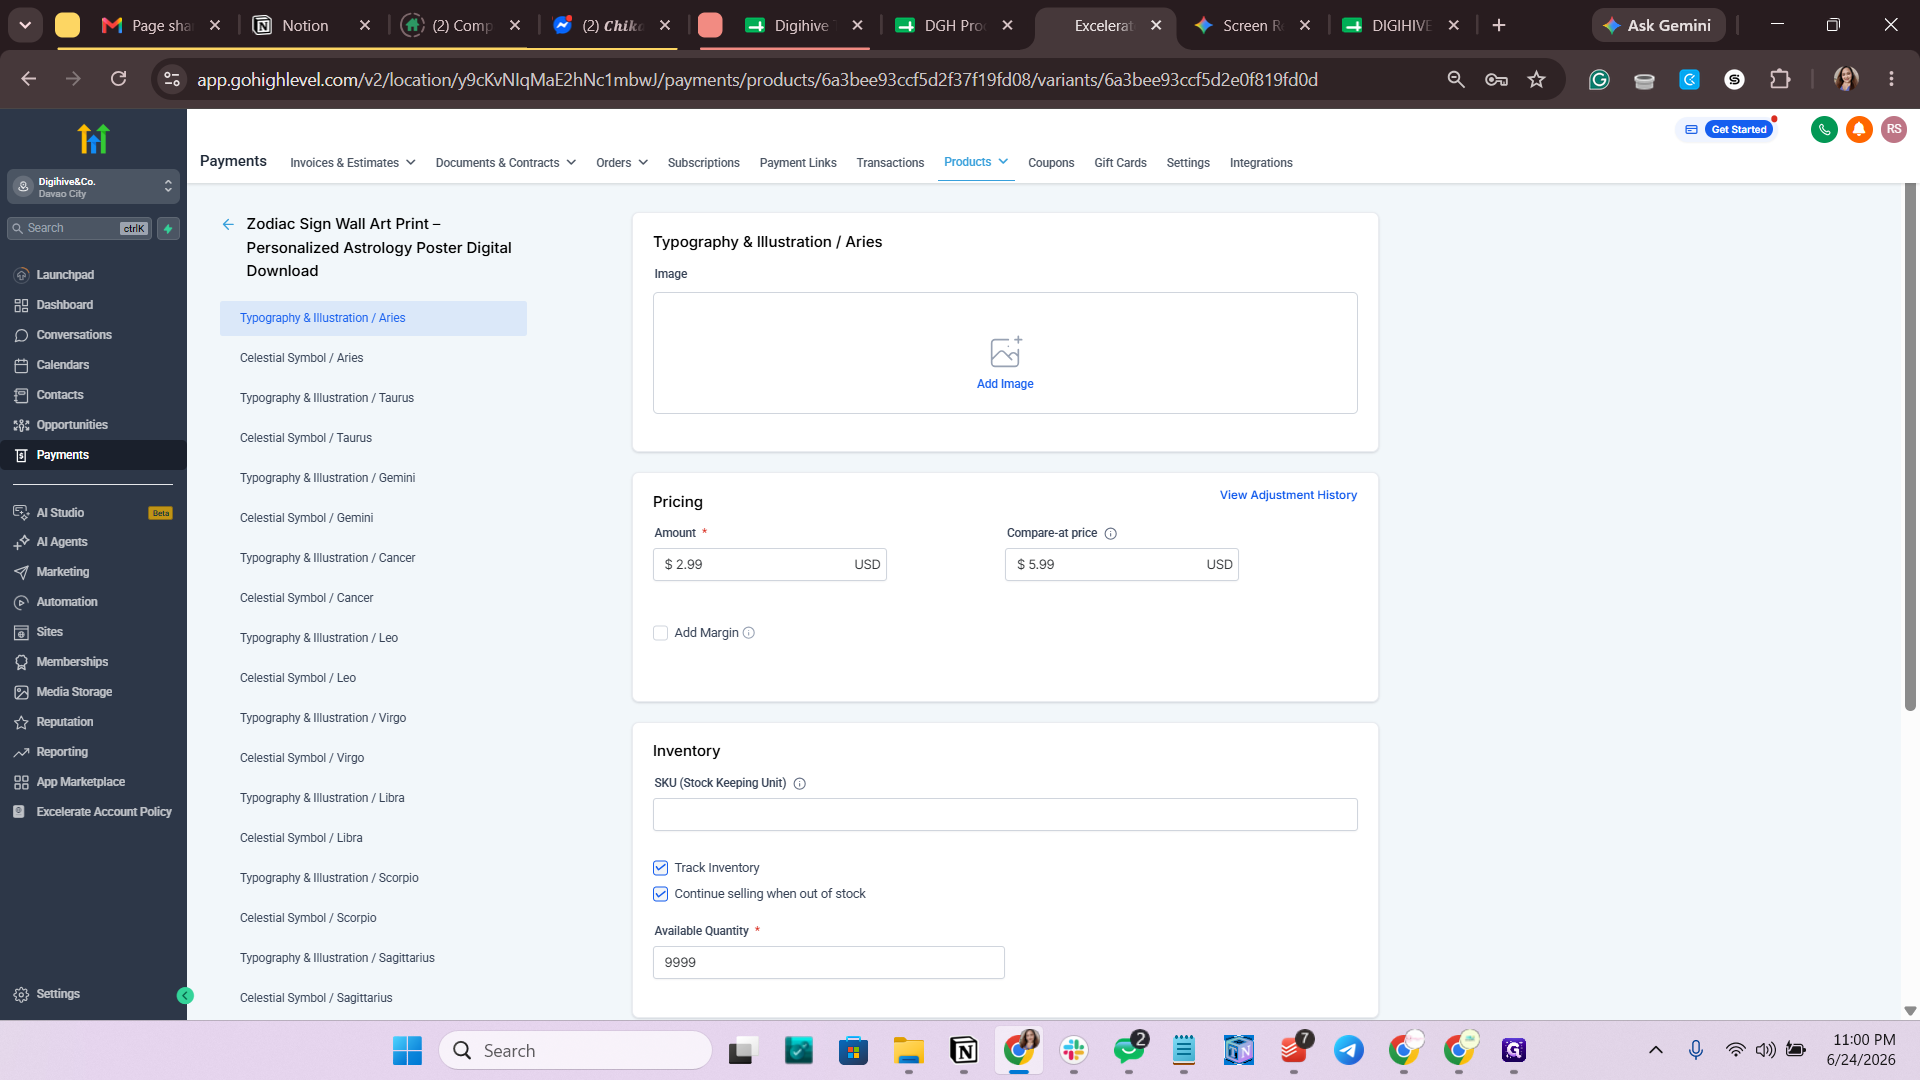
10
Hover over a variant row and click the Image placeholder to select its thumbnail.
Step #10: Hover over a variant row and click the Image placeholder to select its thumbnail.
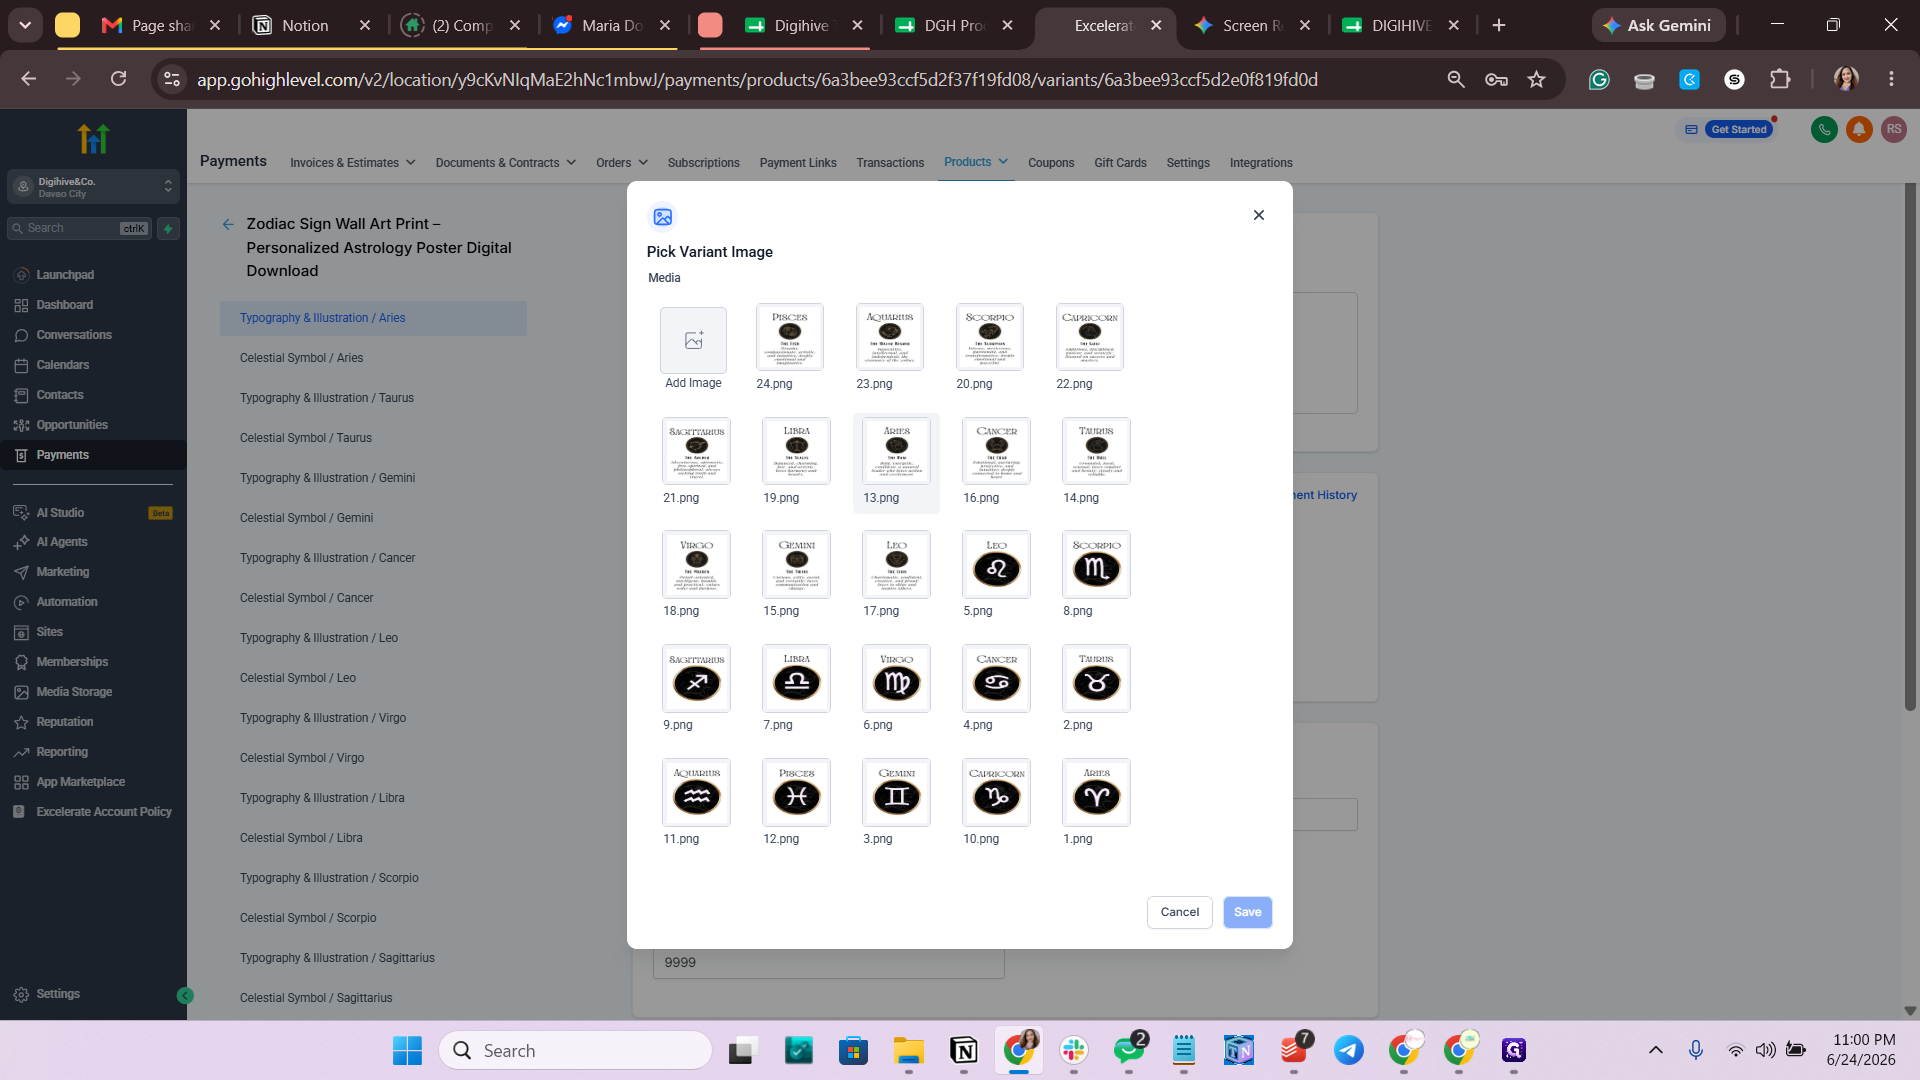
11
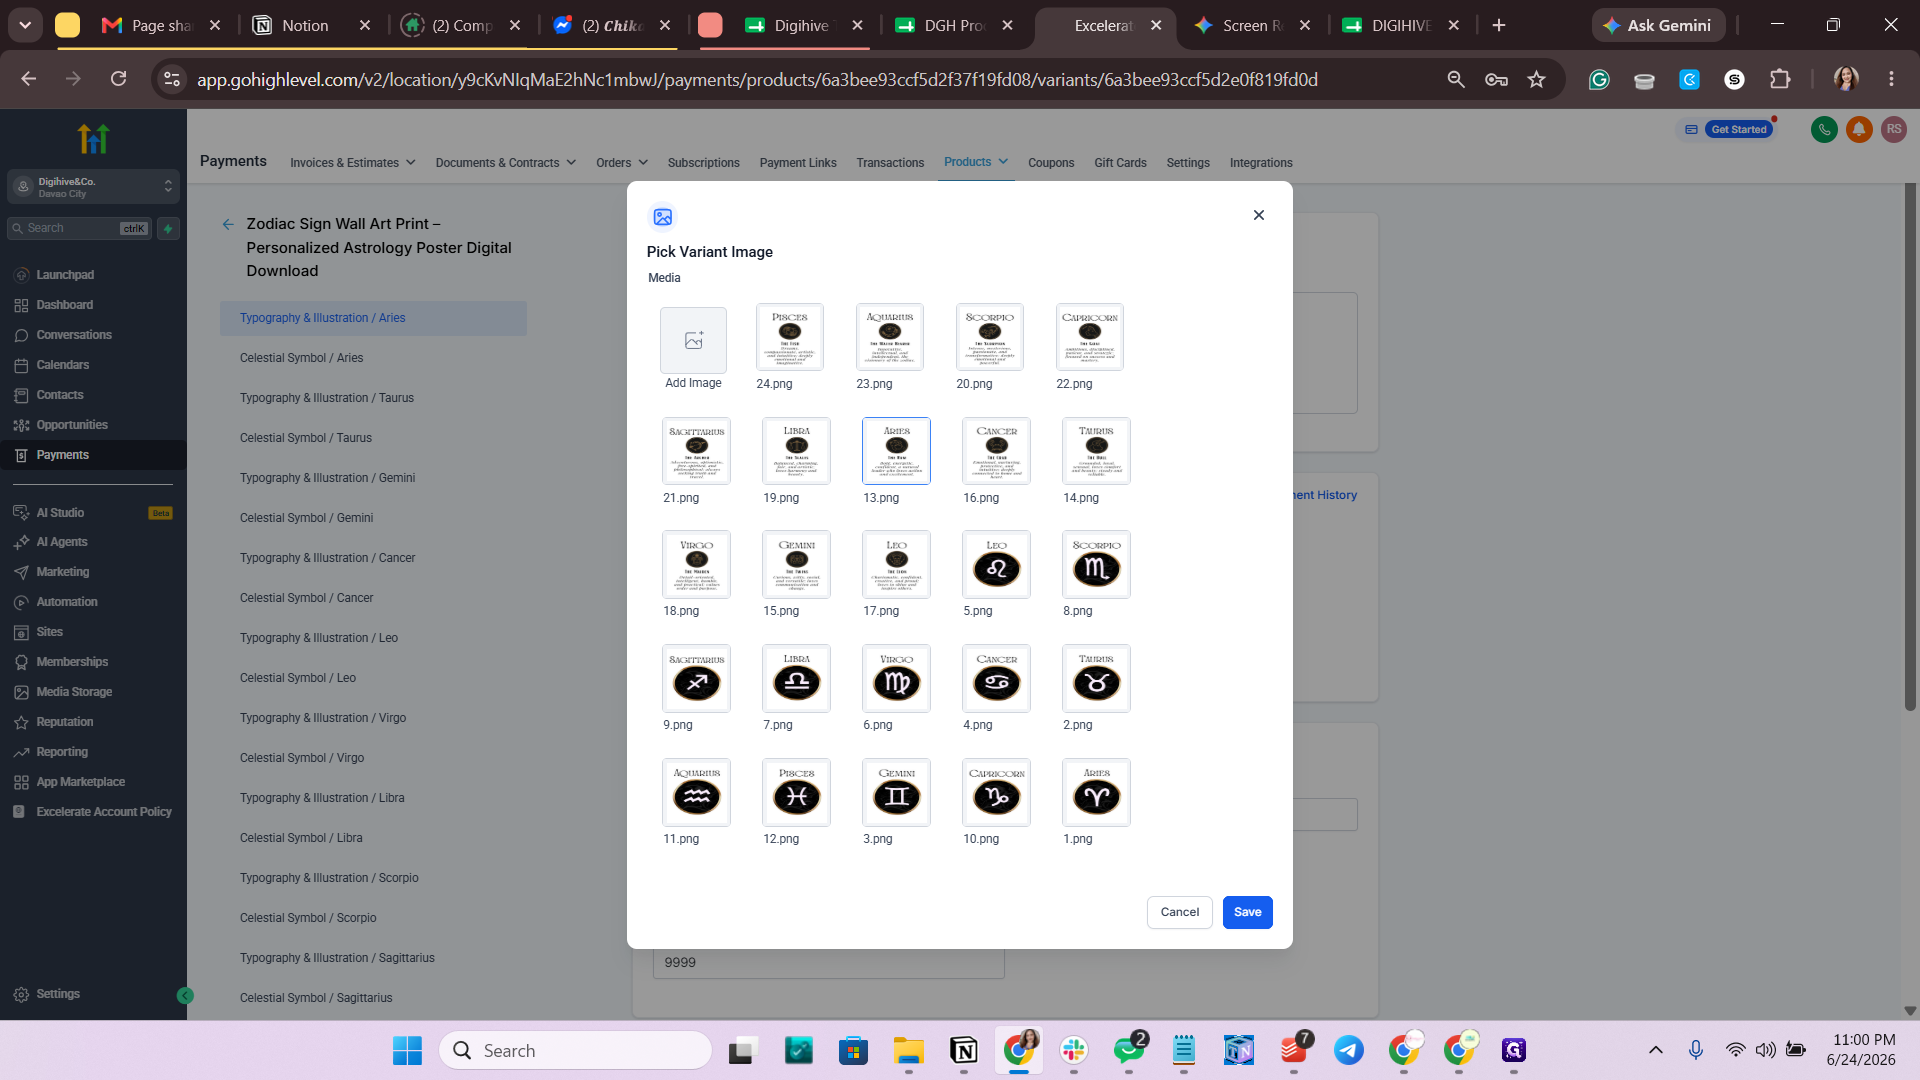
Select the corresponding image from your media library.
Step #11: Select the corresponding image from your media library.
12
Click Save to confirm the image selection.
Step #12: Click Save to confirm the image selection.
13
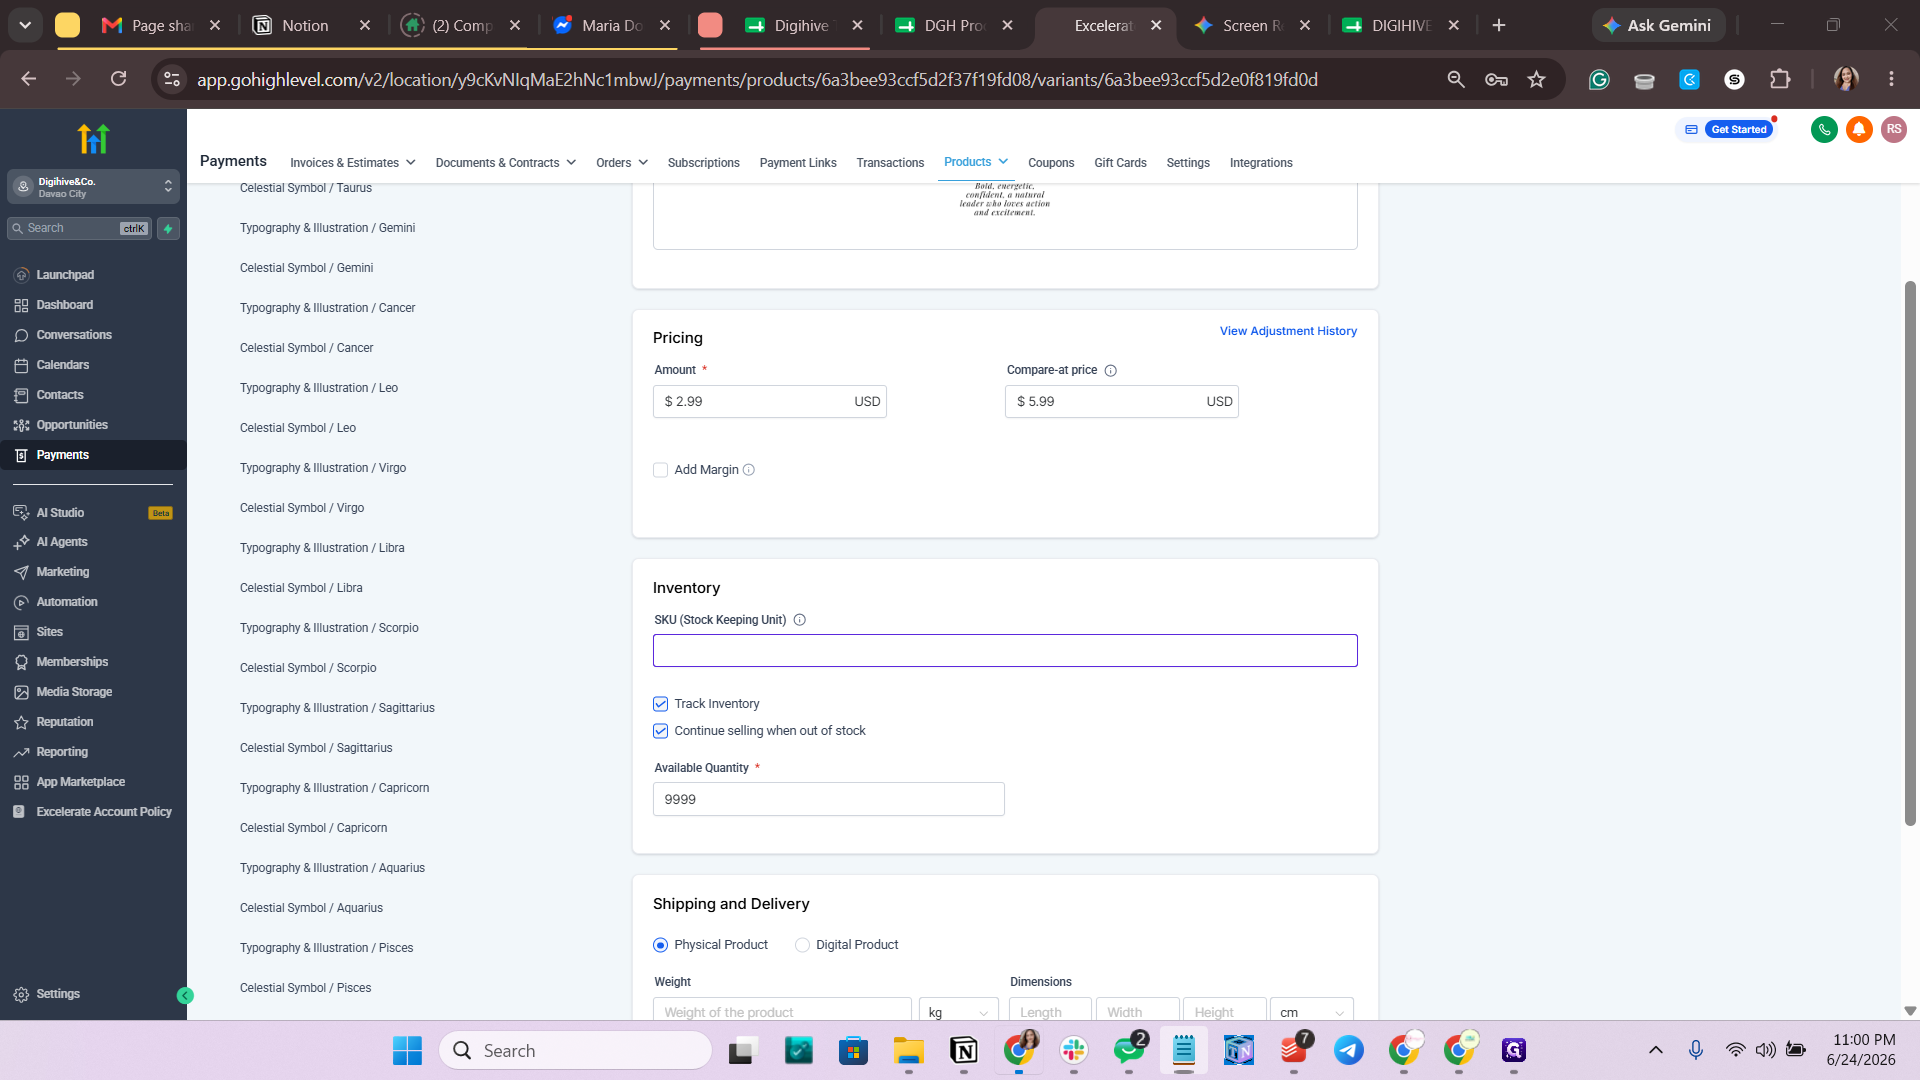
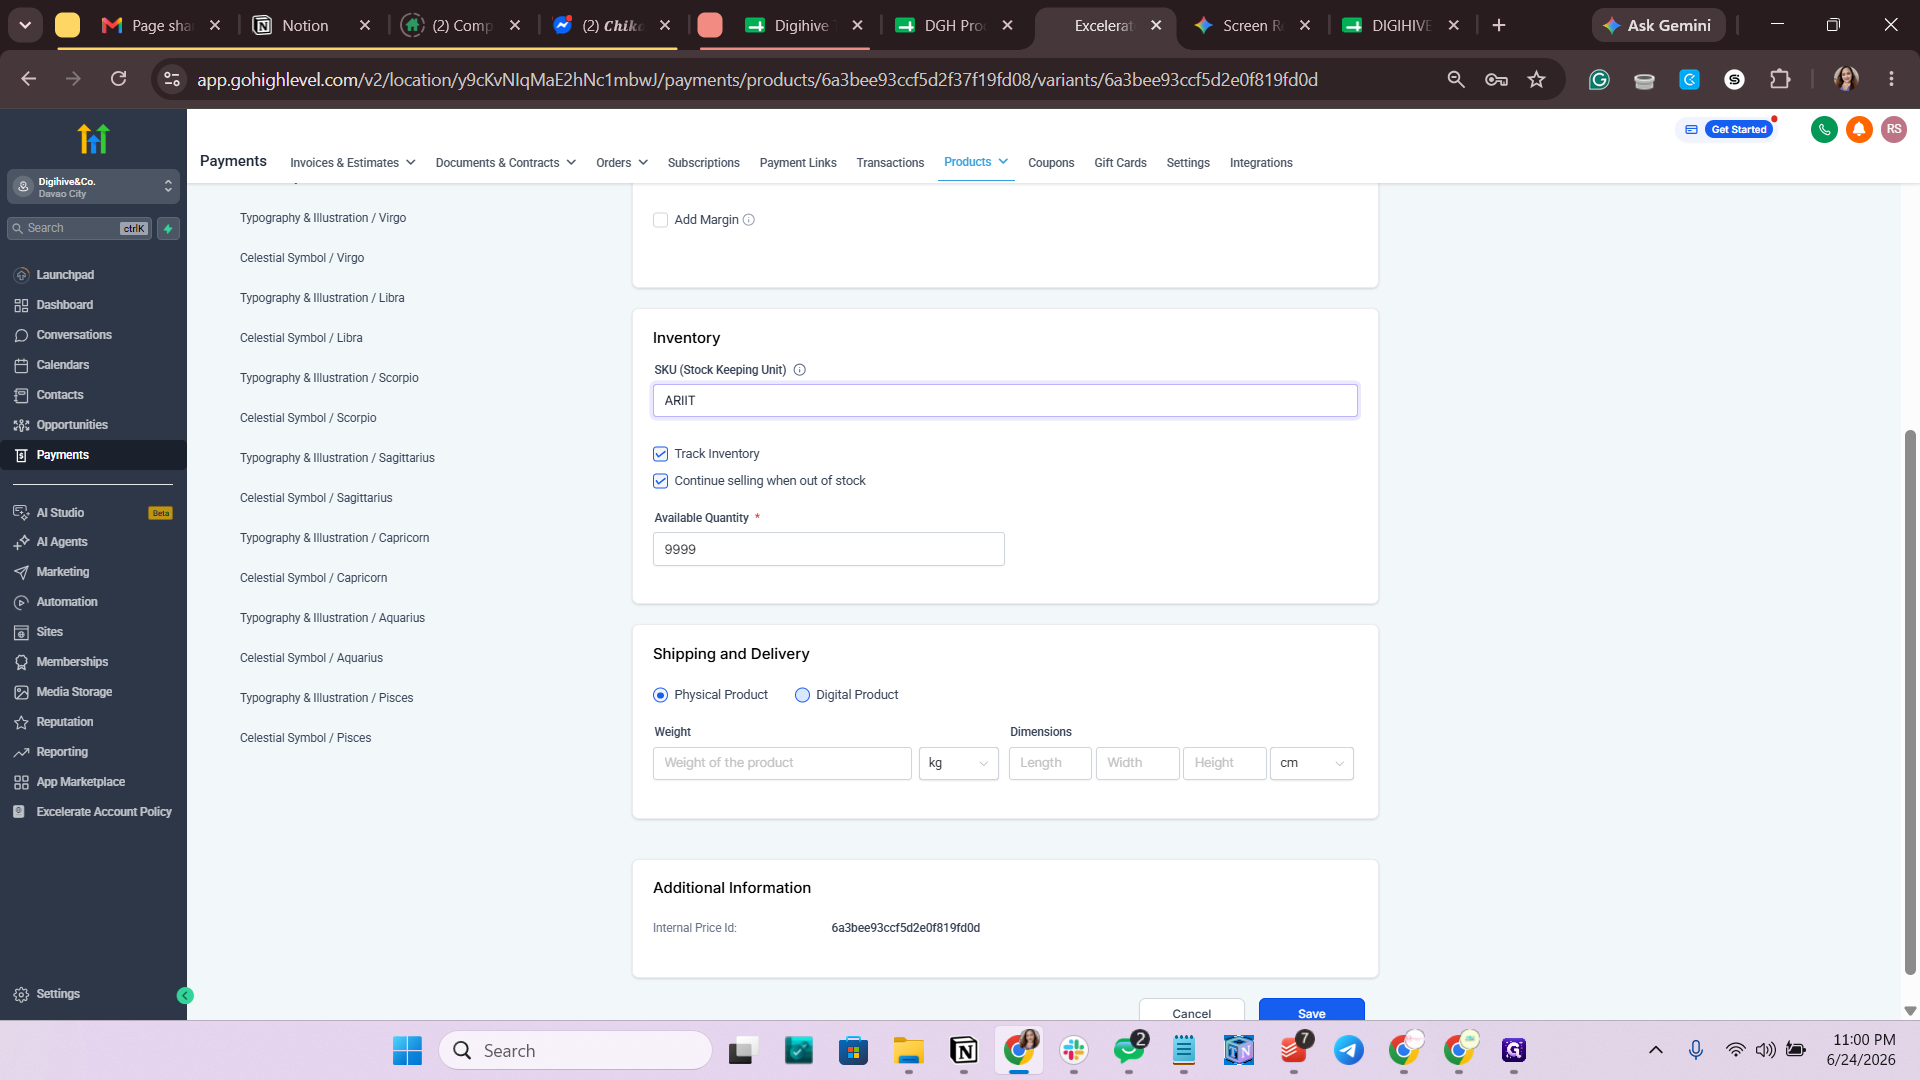
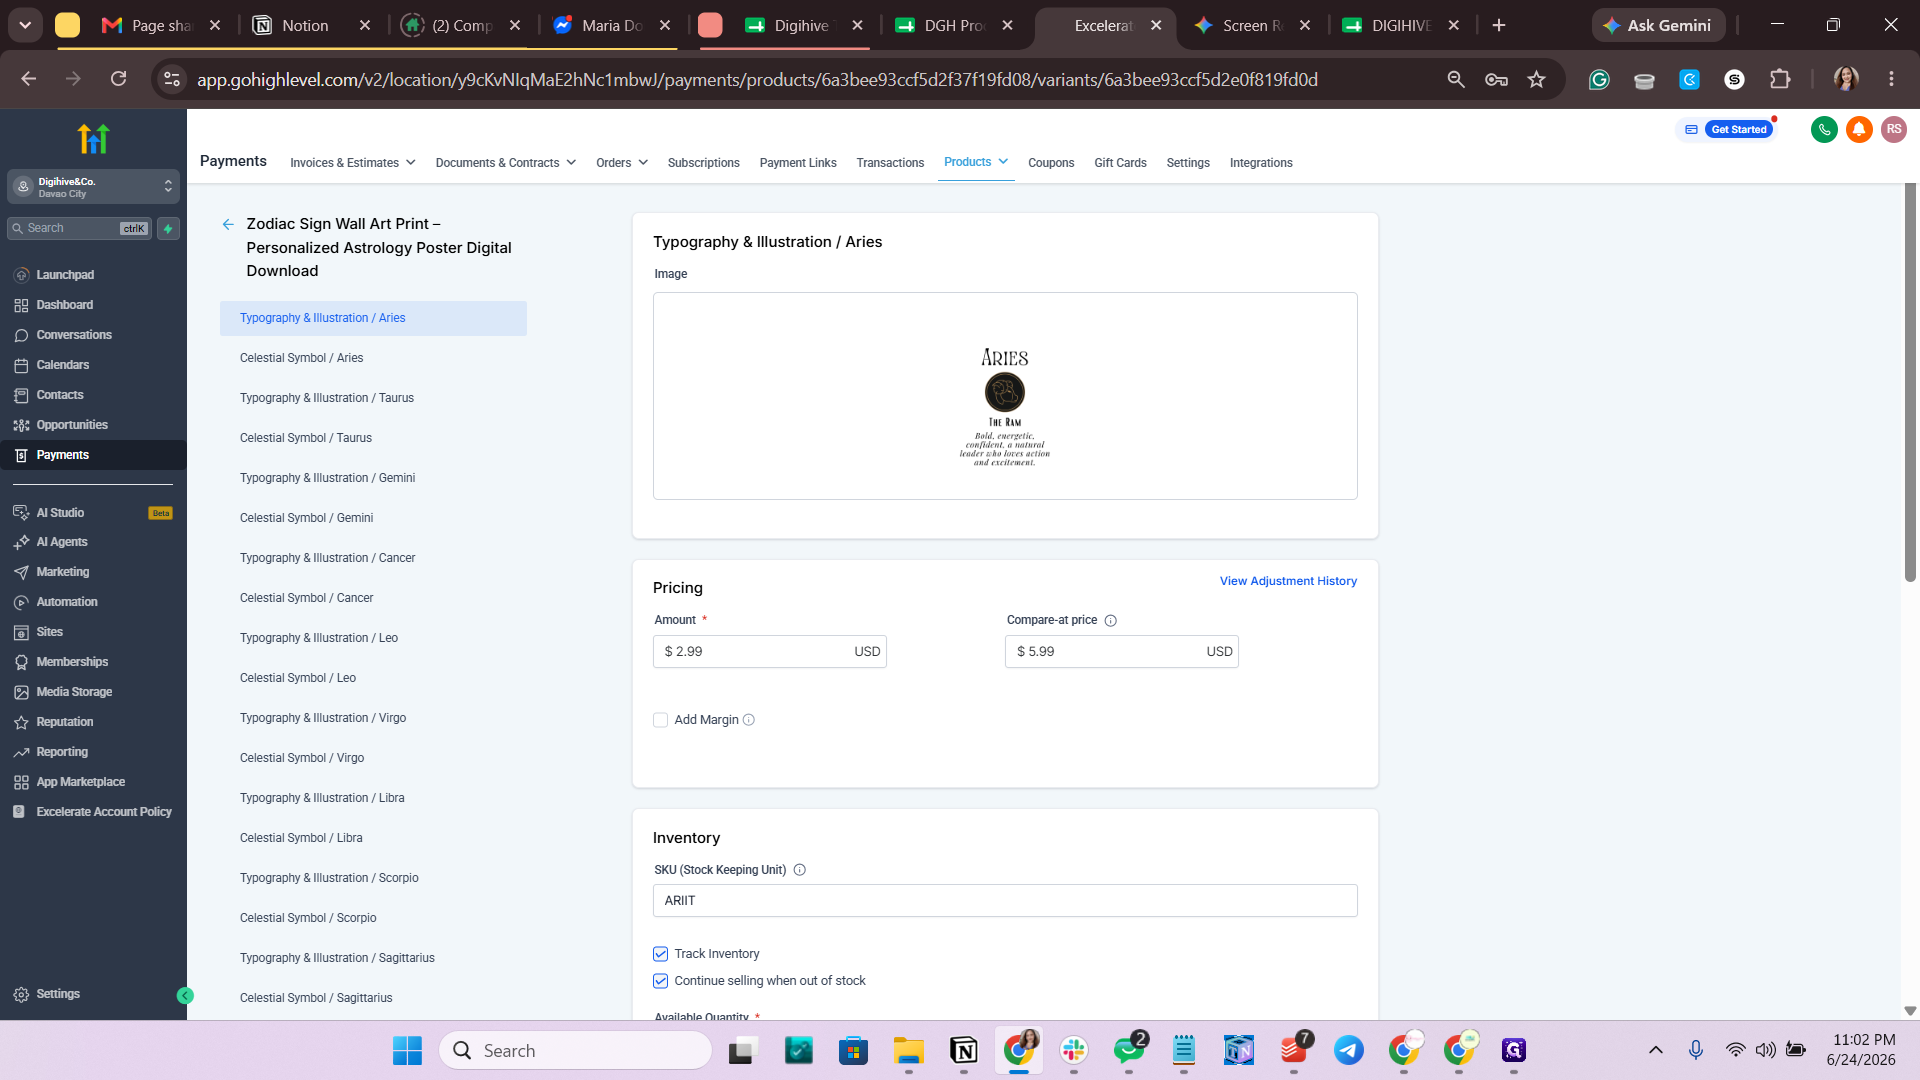
Enter the specific SKU for the variant in the Pricing section.
Step #13: Enter the specific SKU for the variant in the Pricing section.
14
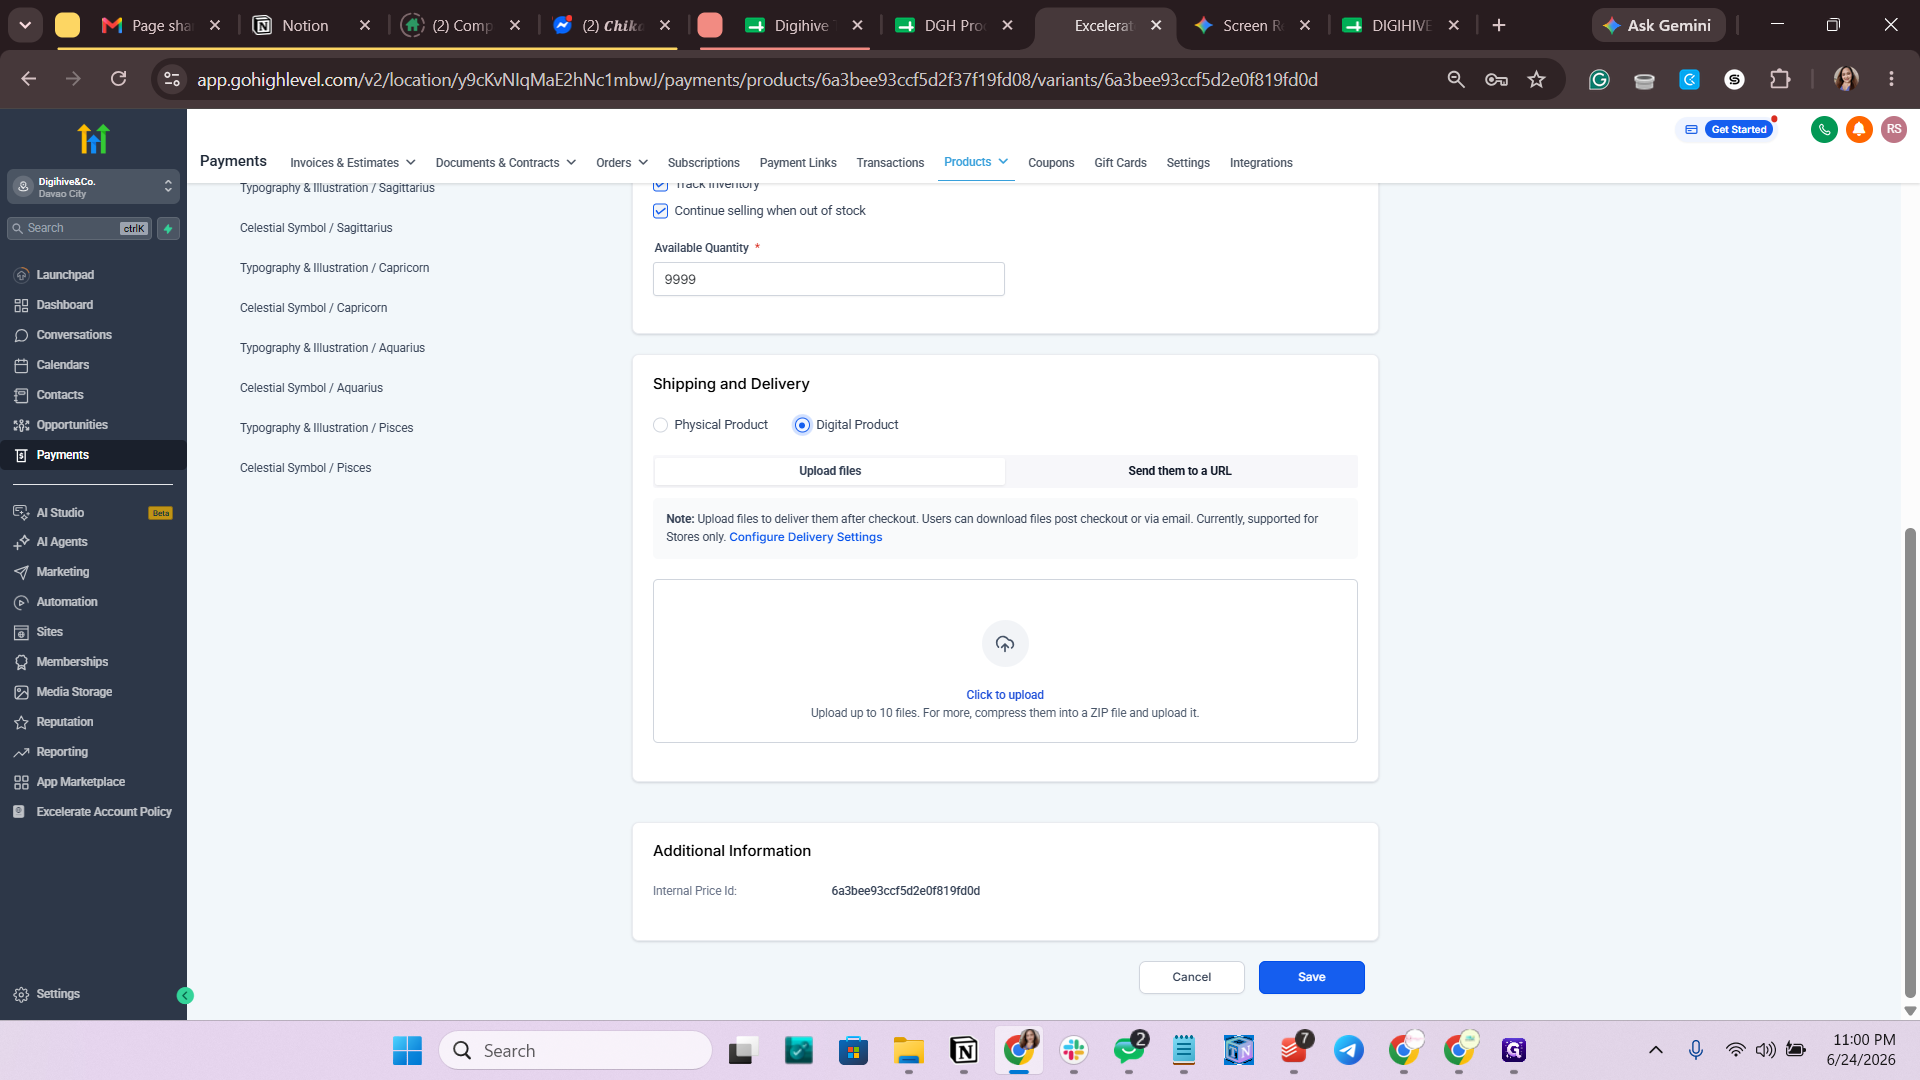
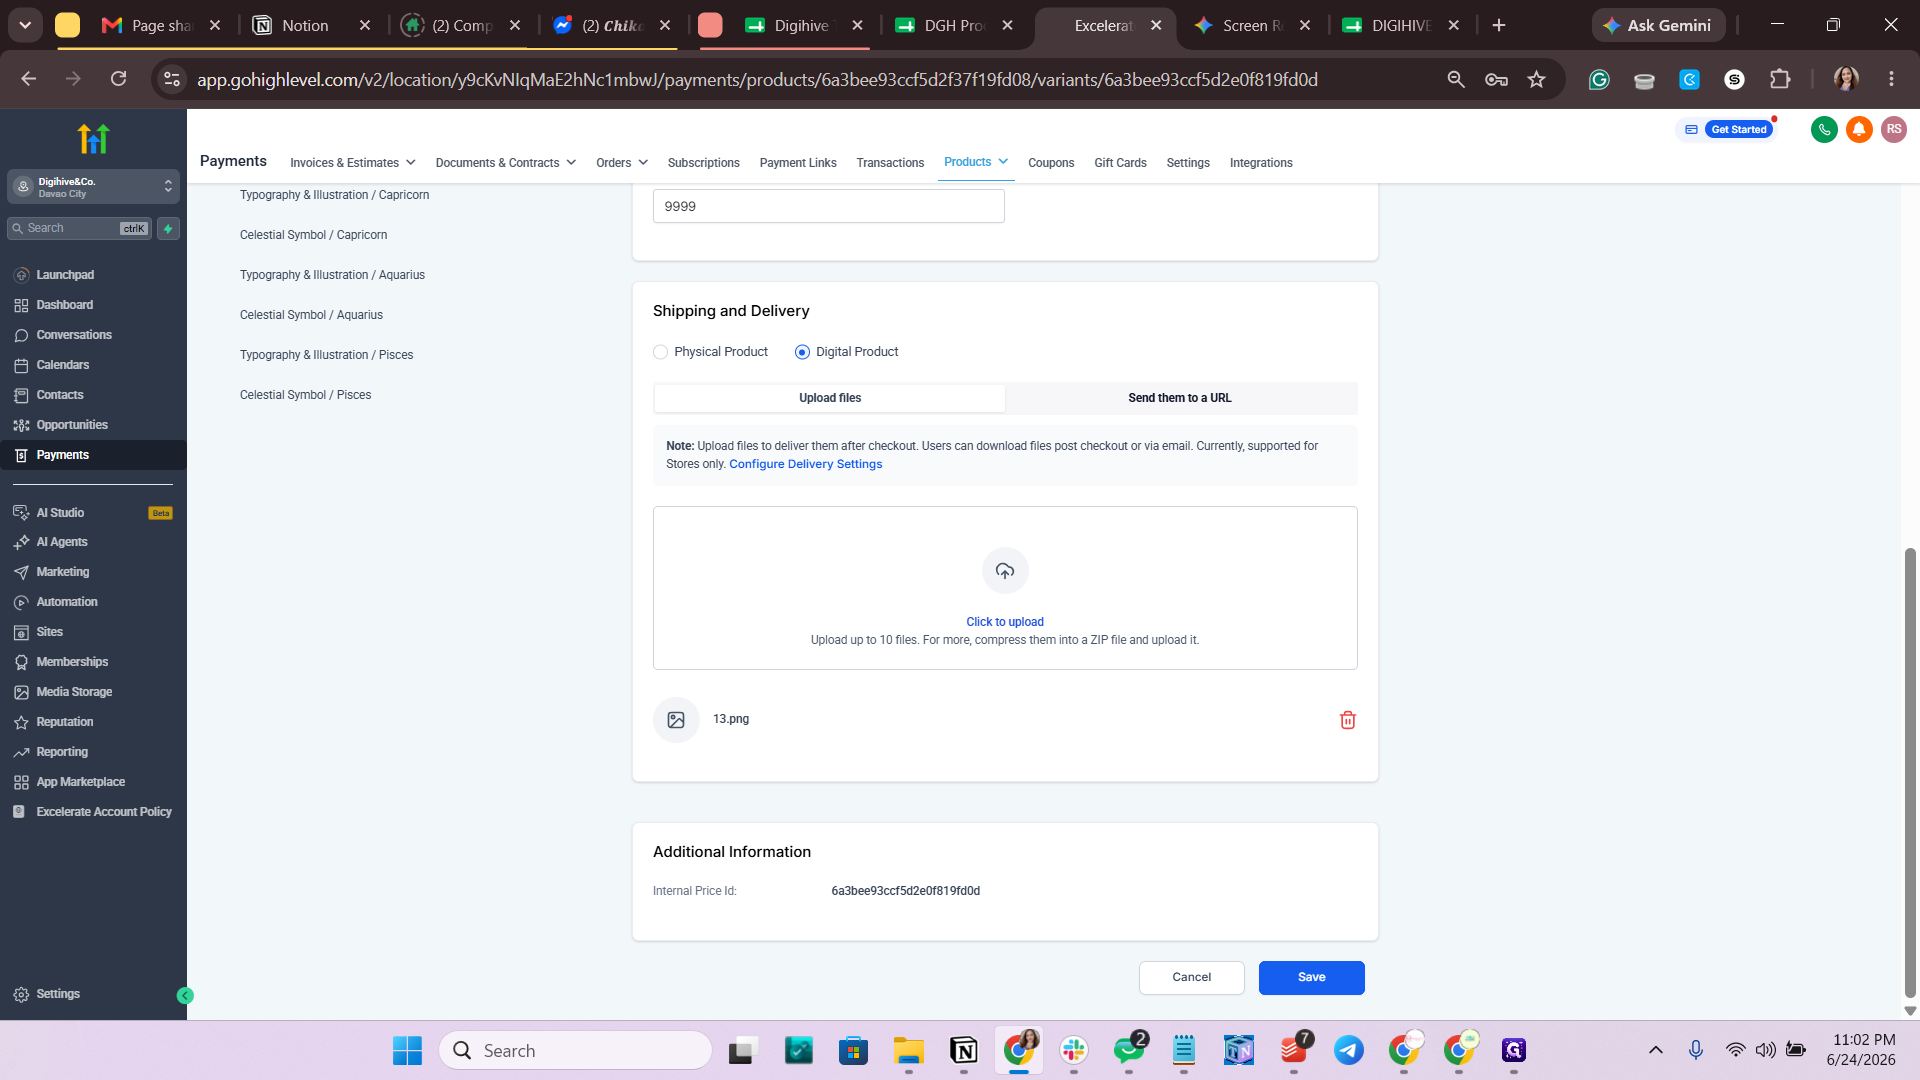
Under the Shipping and Delivery section, select Digital.
Step #14: Under the Shipping and Delivery section, select Digital.
15
Click Click to upload to attach the downloadable file.
Step #15: Click Click to upload to attach the downloadable file.
16
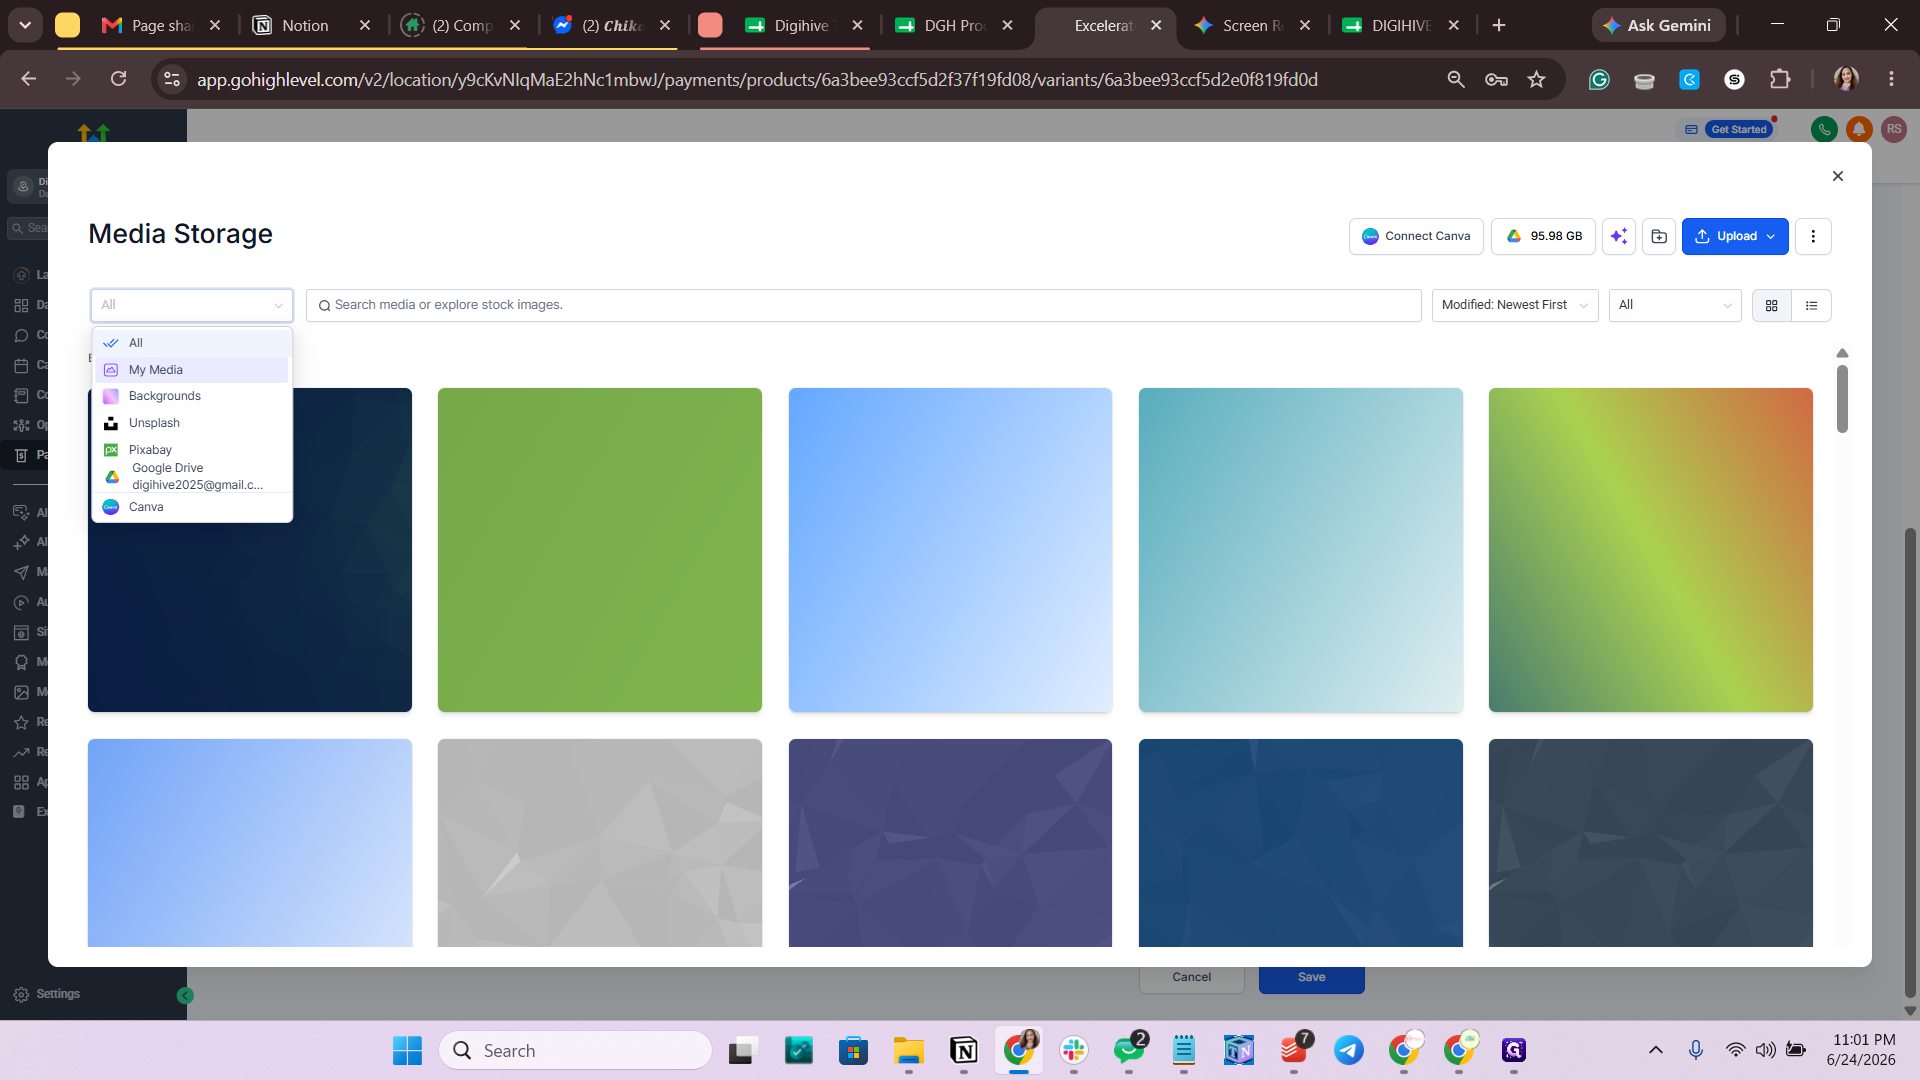
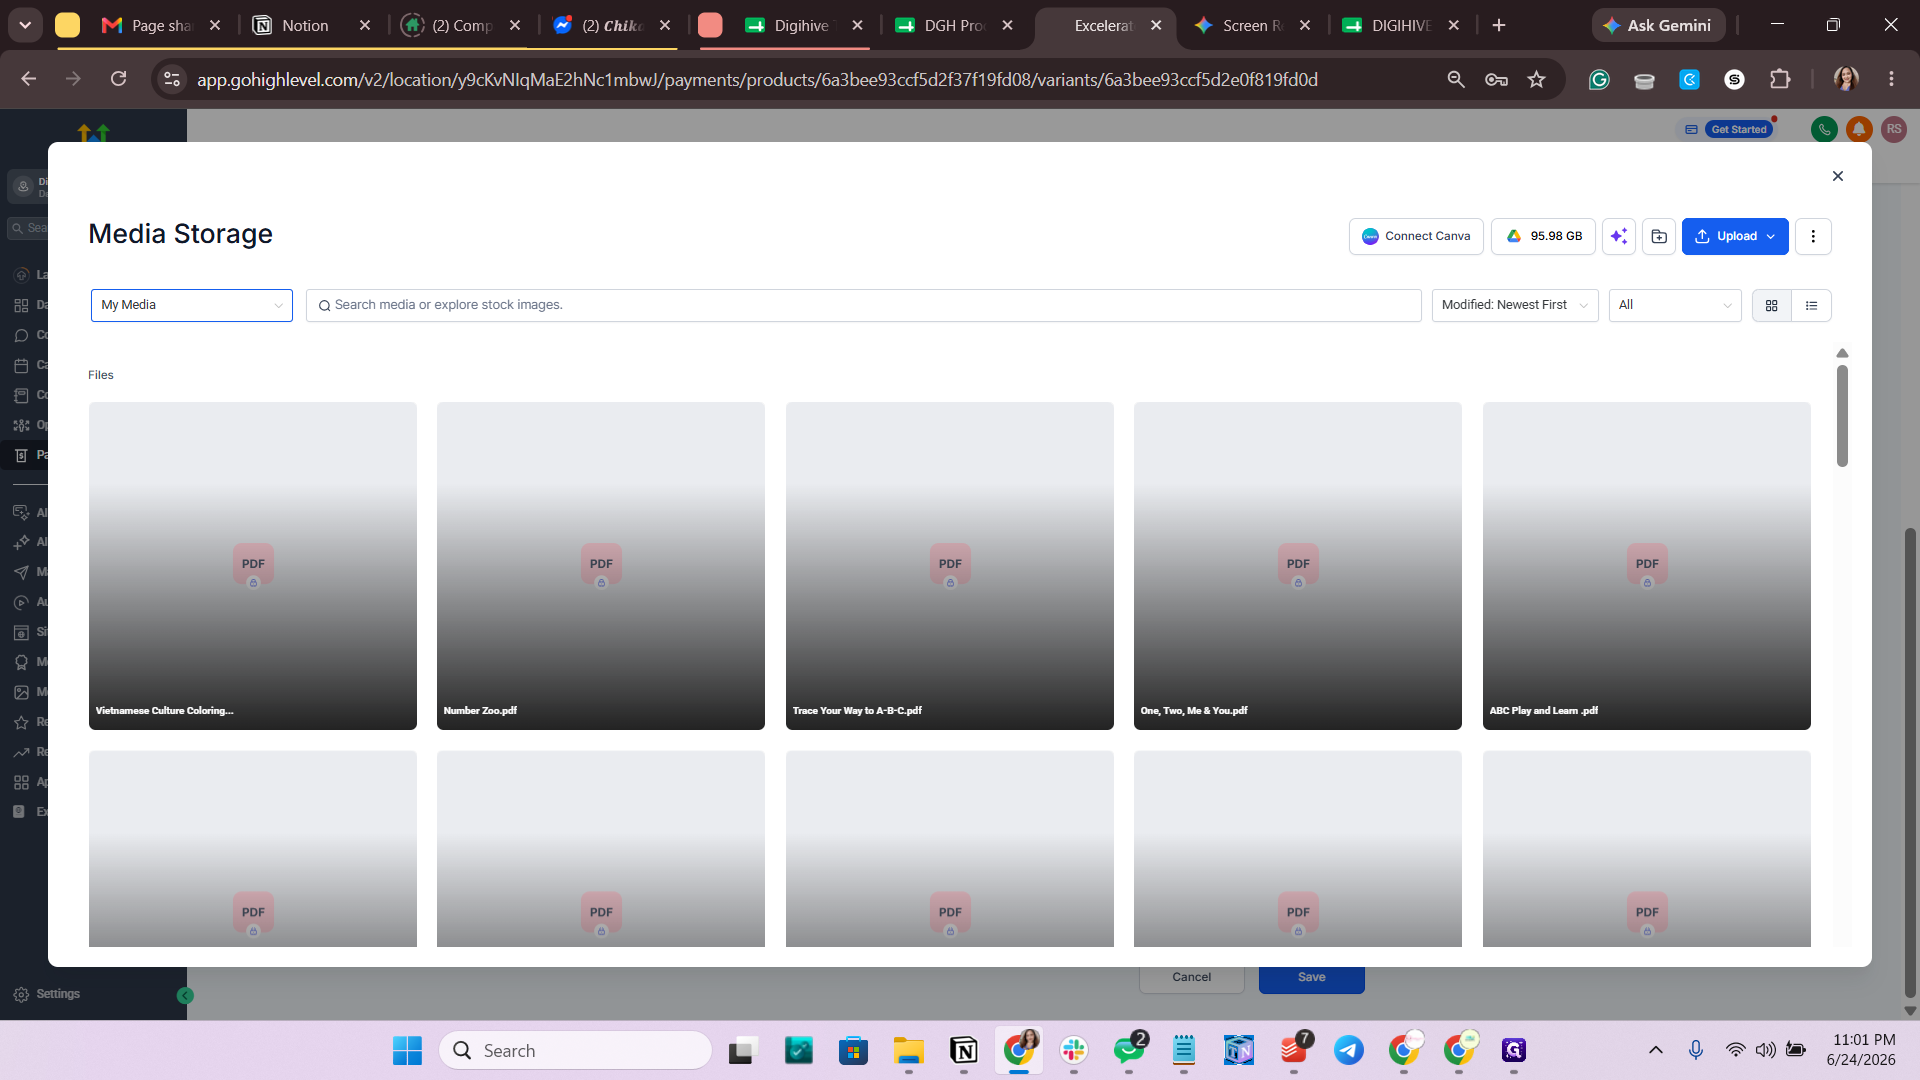
In the Media Storage modal, navigate to the My Media folder.
Step #16: In the Media Storage modal, navigate to the My Media folder.
17
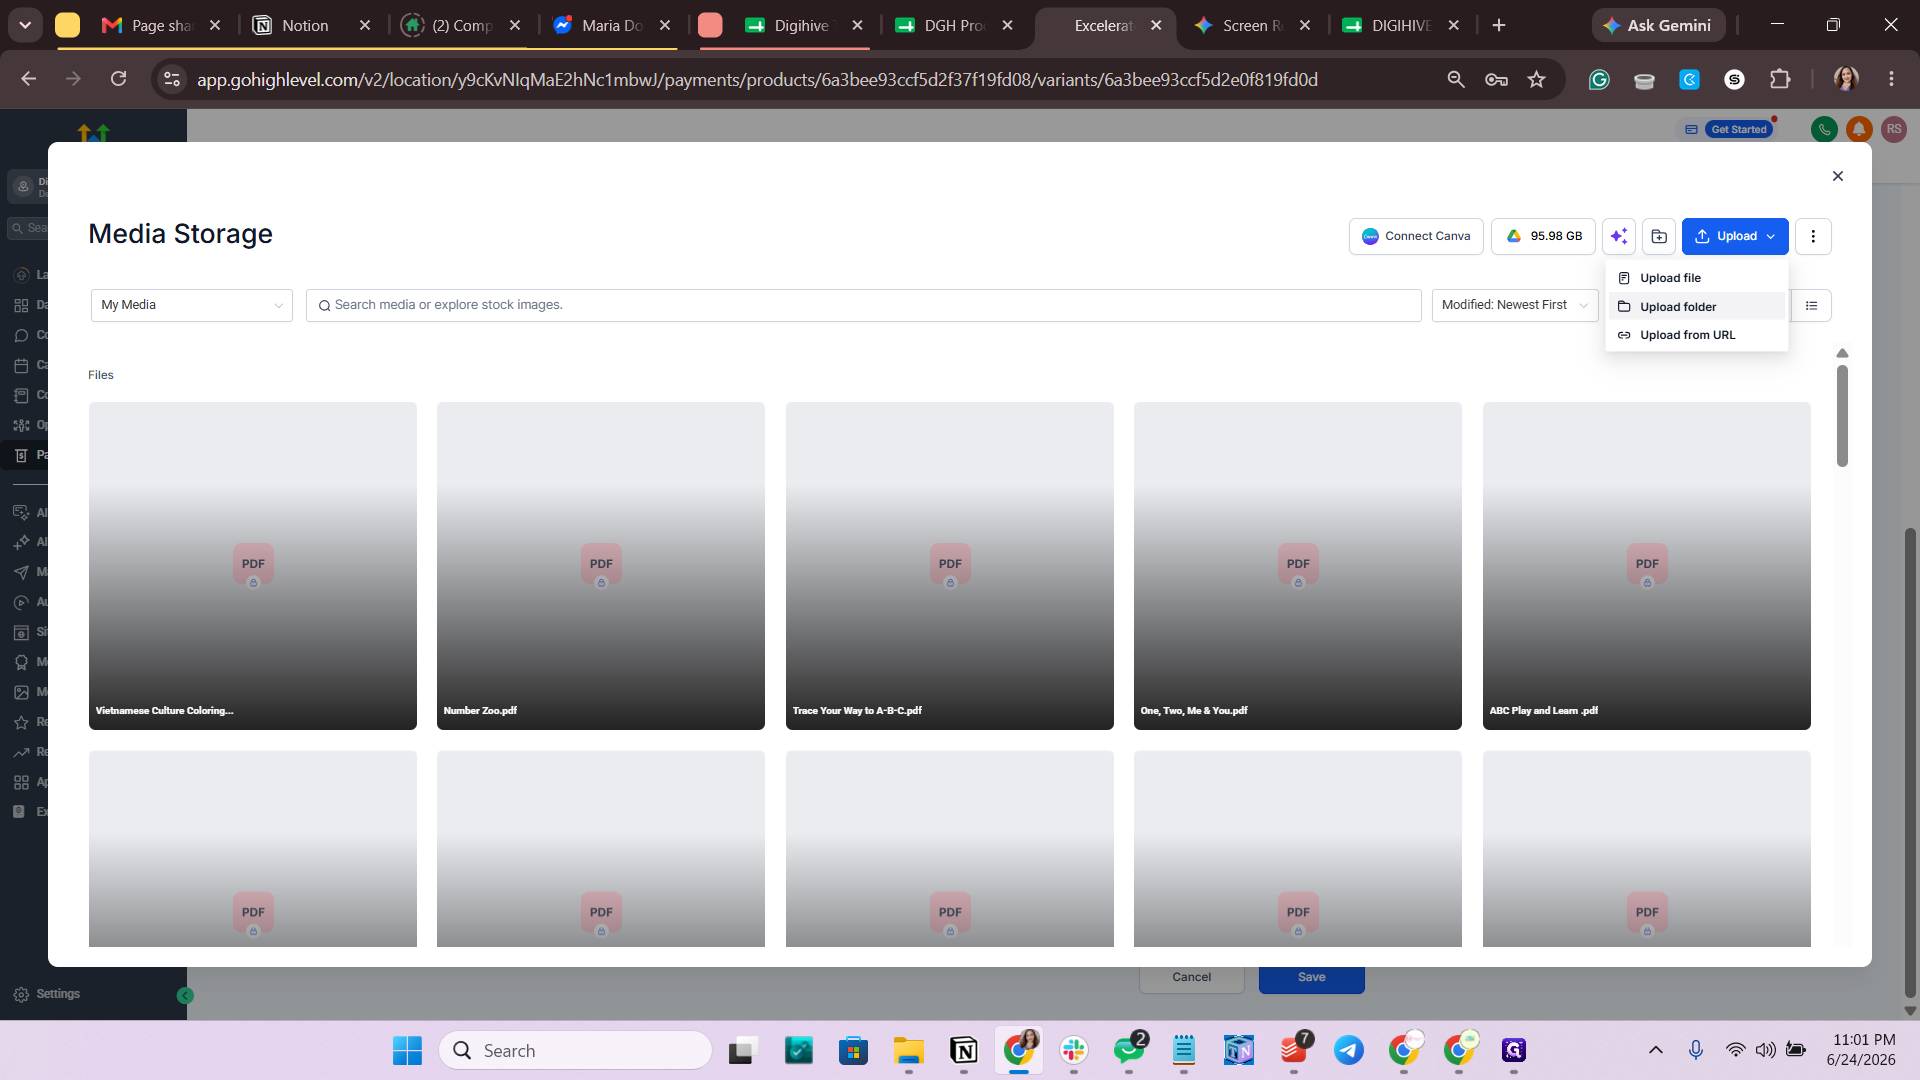
Click Upload to add new files.
Step #17: Click Upload to add new files.
18
Select Upload folder from the dropdown menu to upload your entire collection of files at once.
Step #18: Select Upload folder from the dropdown menu to upload your entire collection of files at once.
19
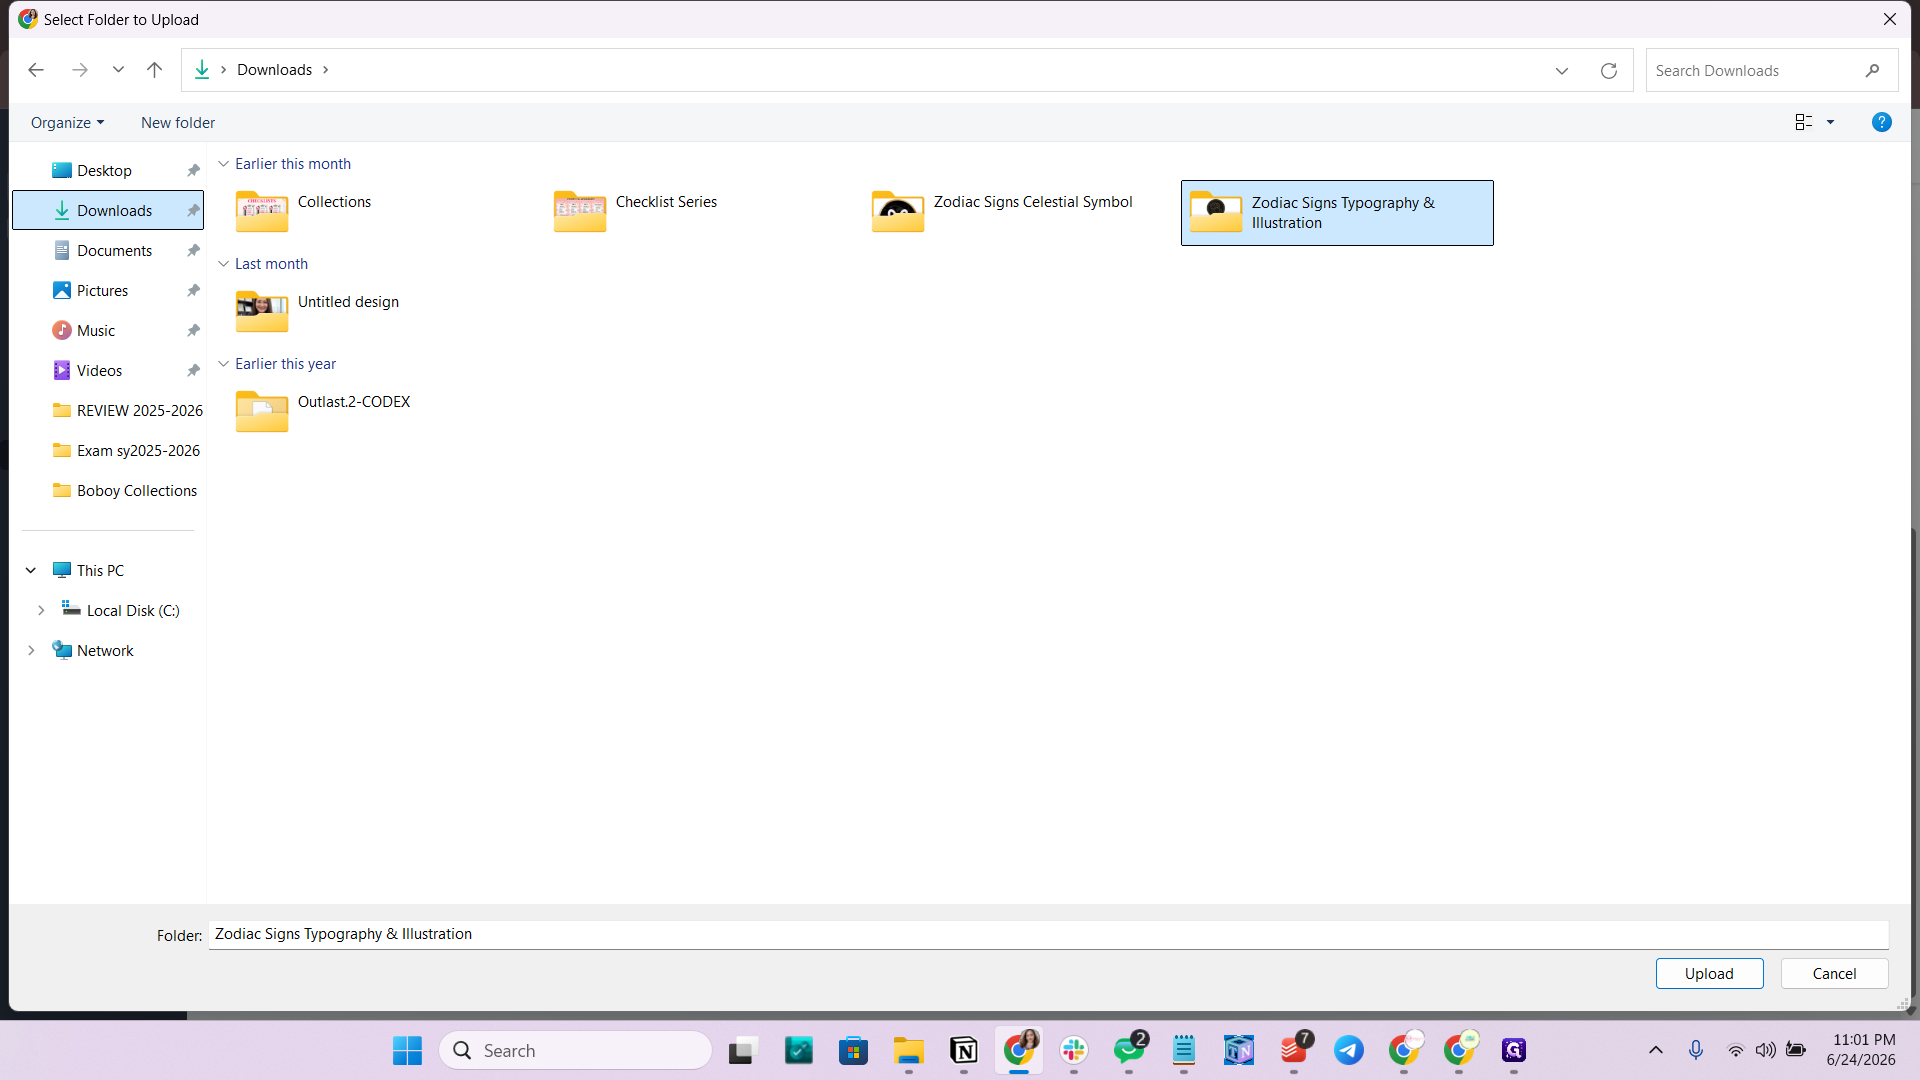
Locate and select the folder containing your files from your computer.
Step #19: Locate and select the folder containing your files from your computer.
20
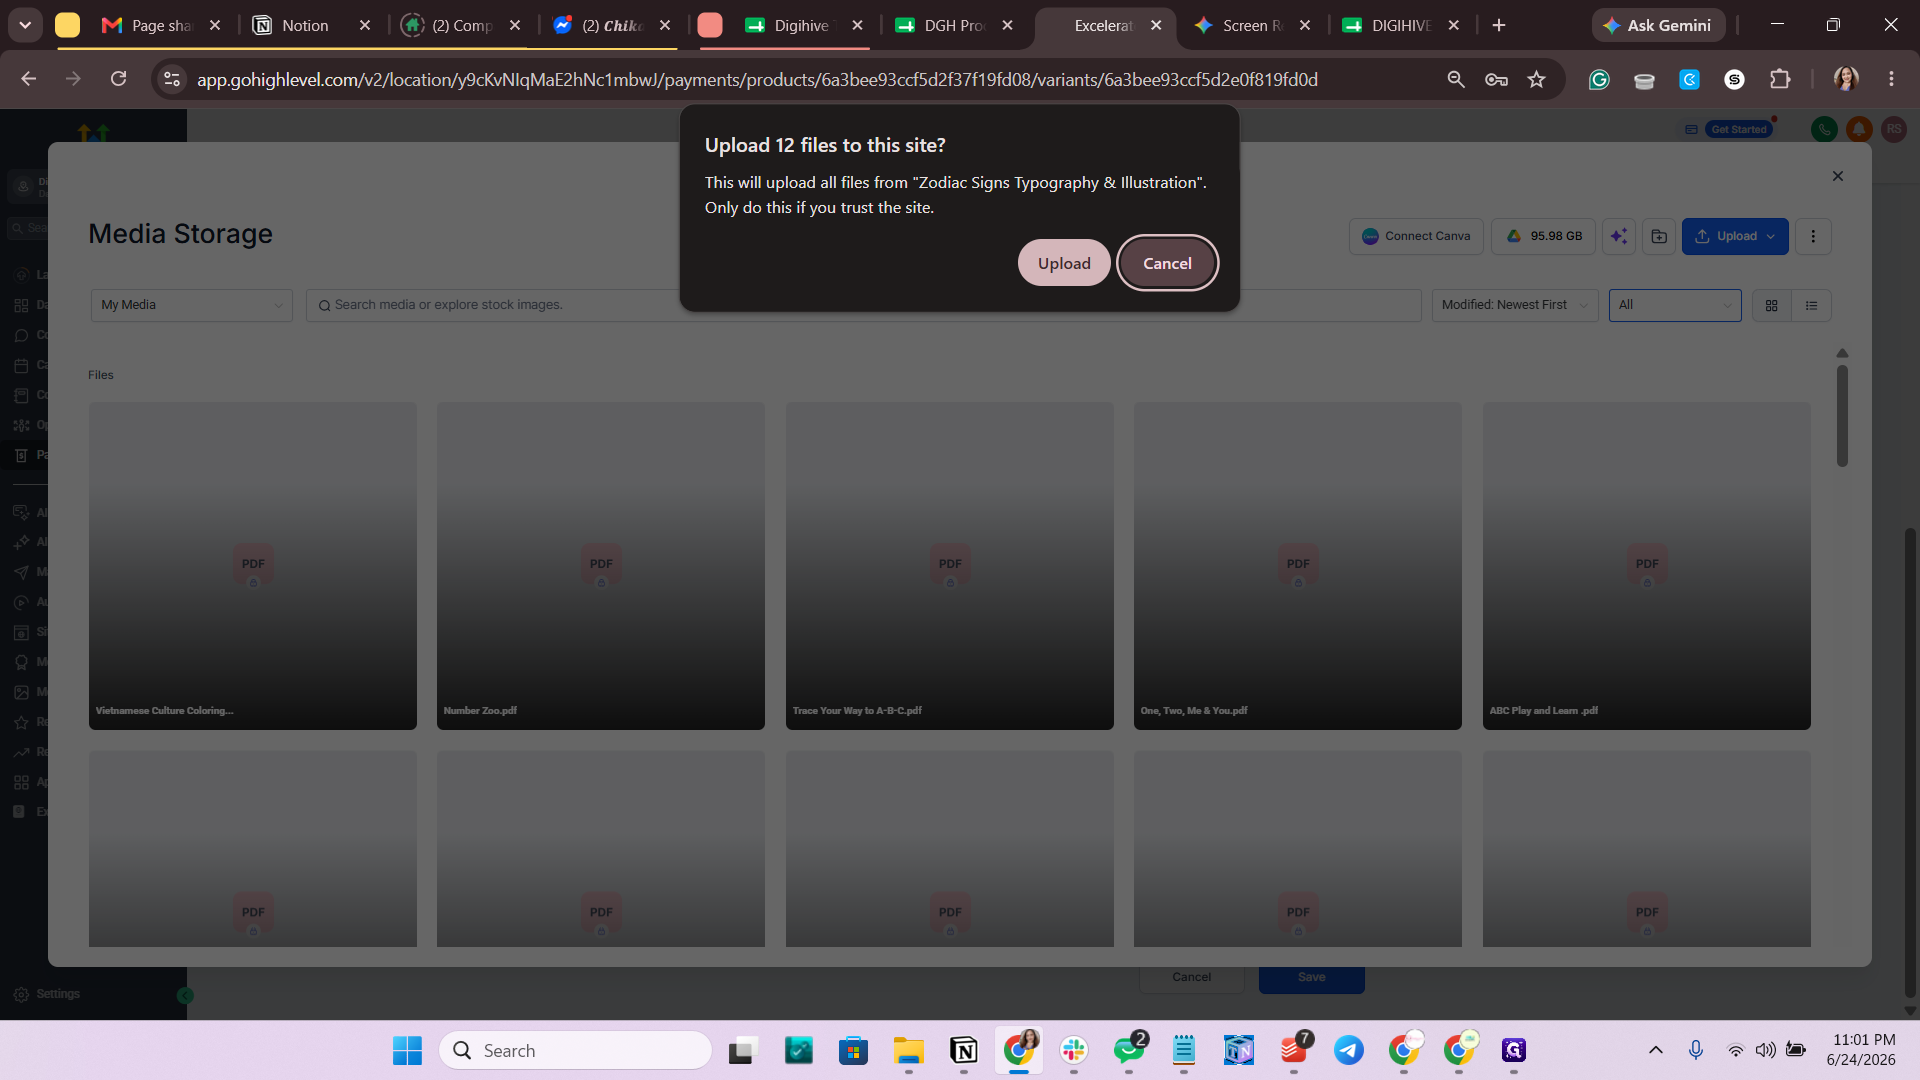
Click Upload on the browser confirmation prompt.
Step #20: Click Upload on the browser confirmation prompt.
21
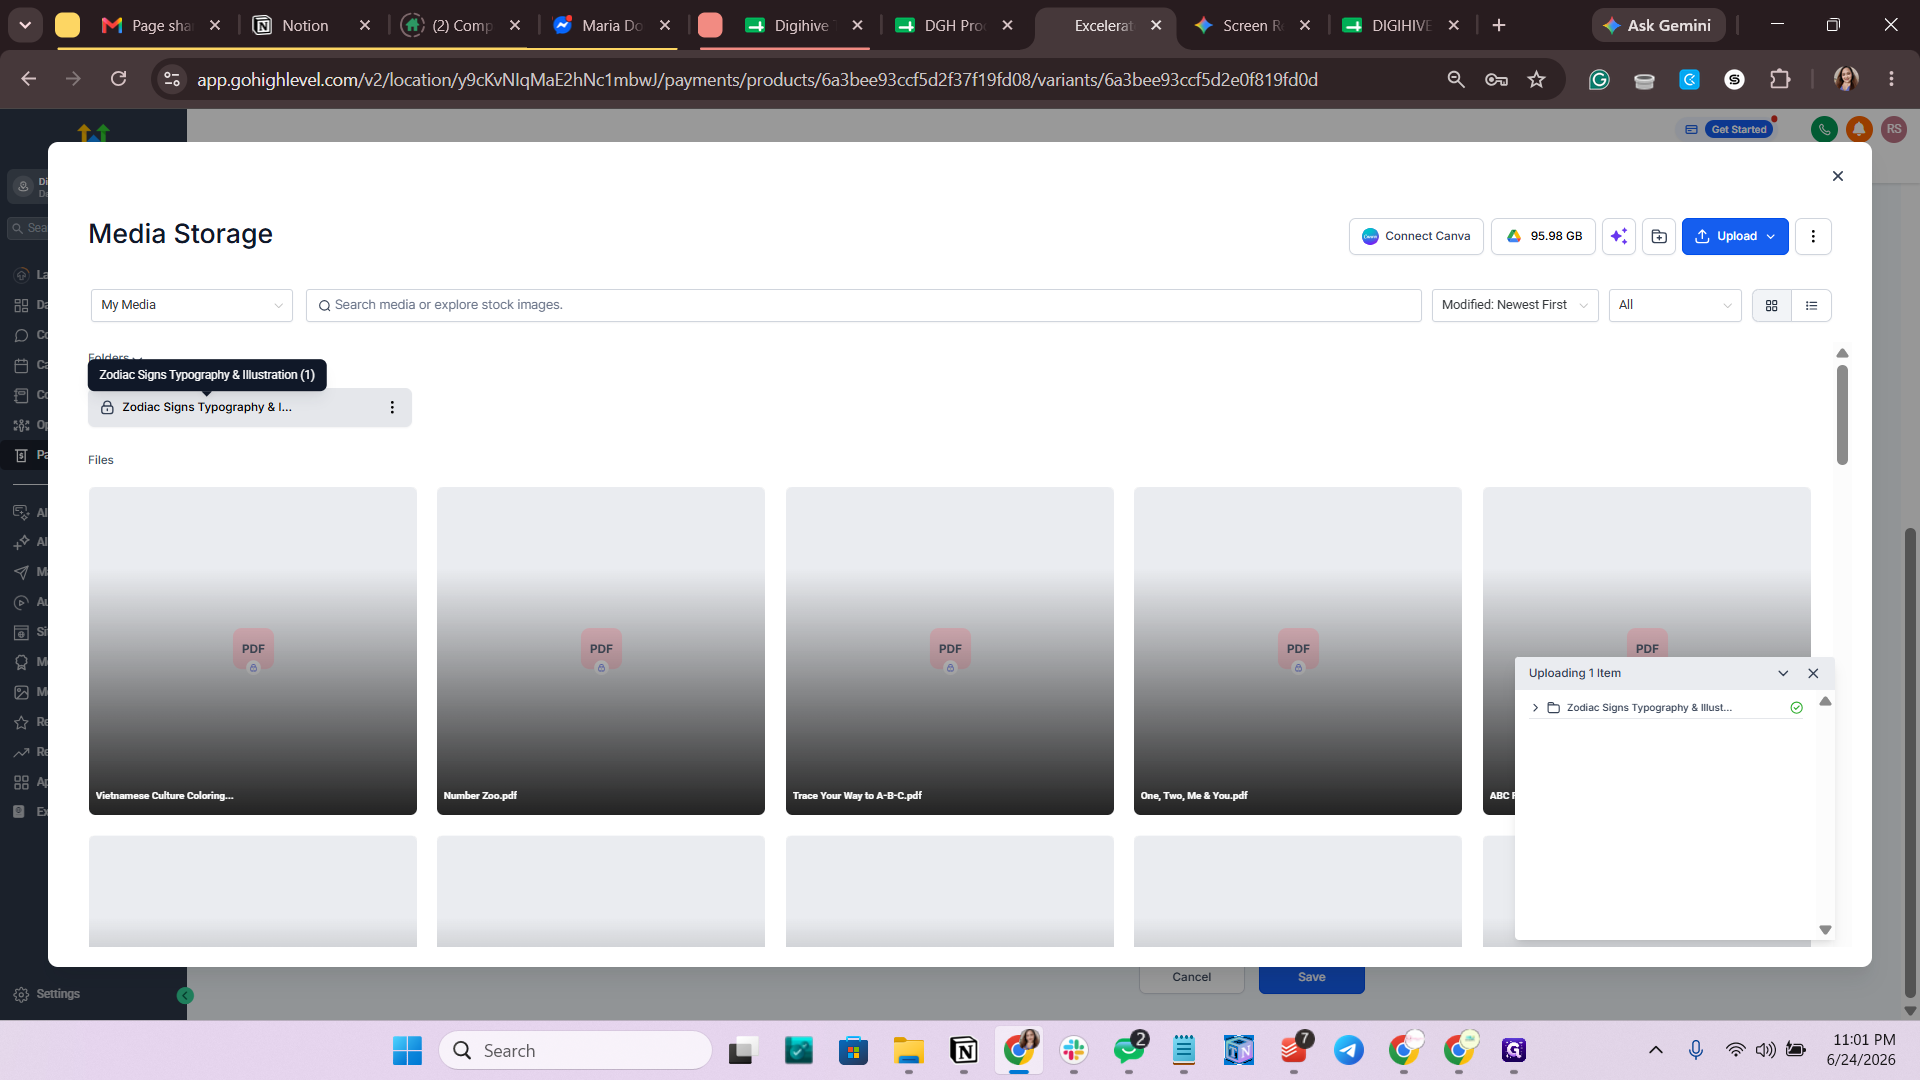
Double-click the newly uploaded folder to open it.
Step #21: Double-click the newly uploaded folder to open it.
22
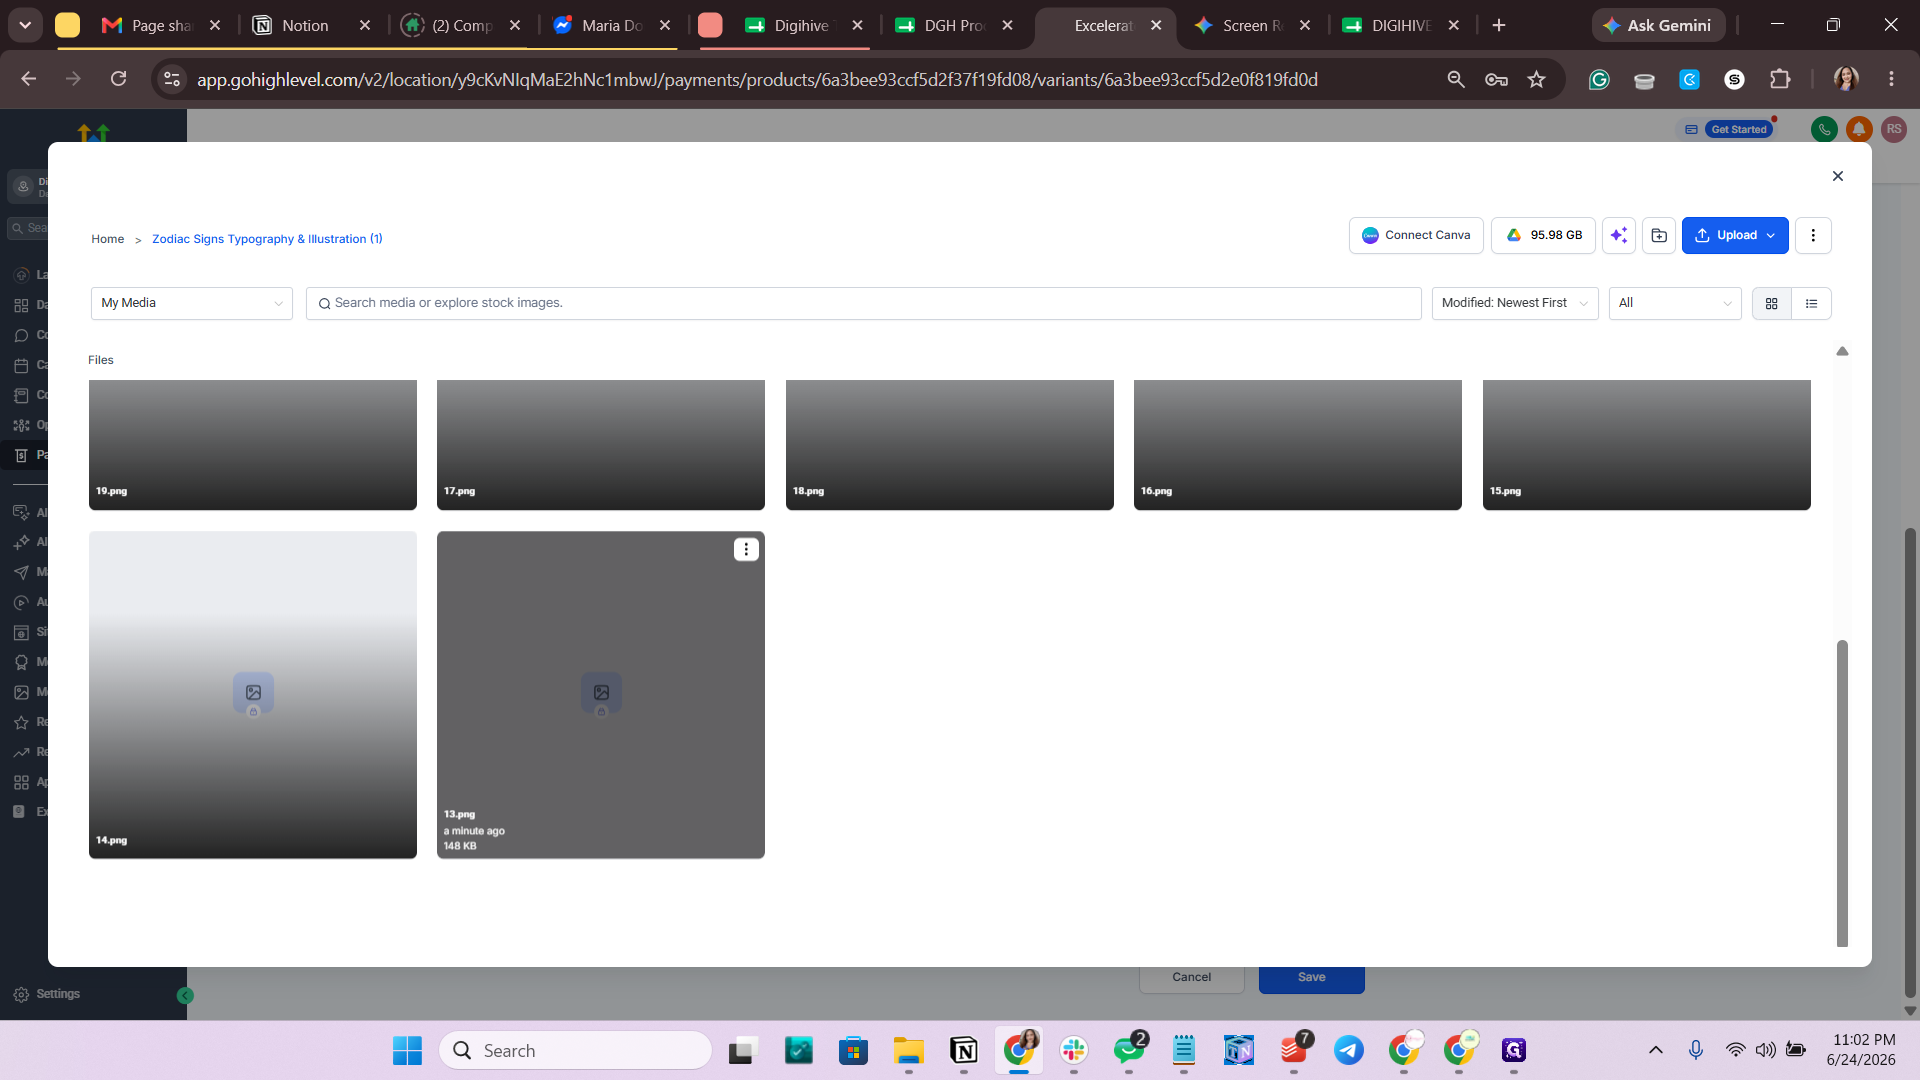
Select the specific file that matches the current variant.
Step #22: Select the specific file that matches the current variant.
23
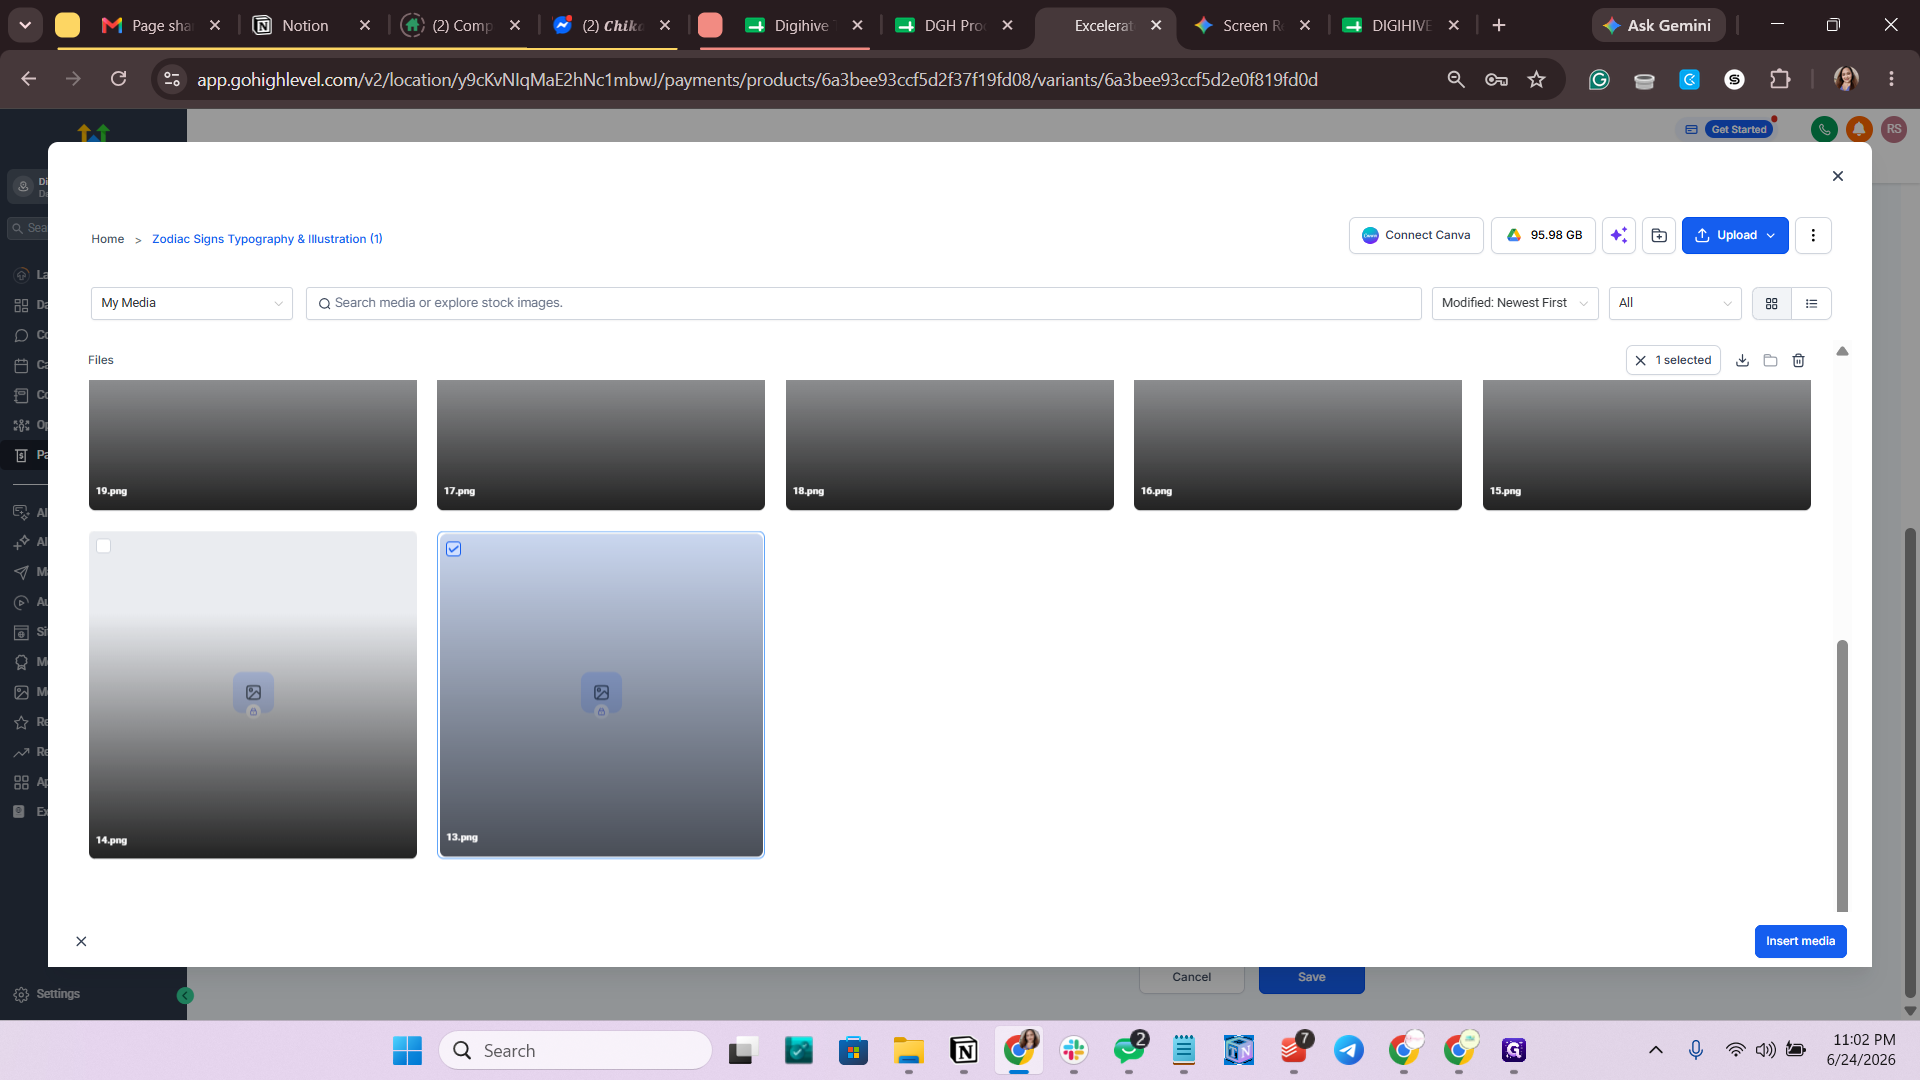
Click Insert media to attach it to the product.
Step #23: Click Insert media to attach it to the product.
24
Click Save at the bottom of the variant settings pane.
Step #24: Click Save at the bottom of the variant settings pane.
25
Click the Back arrow next to the product name to return to the main product page, then repeat the media upload process for the remaining variants.
Step #25: Click the Back arrow next to the product name to return to the main product page, then repeat the media upload process for the remaining variants.
26
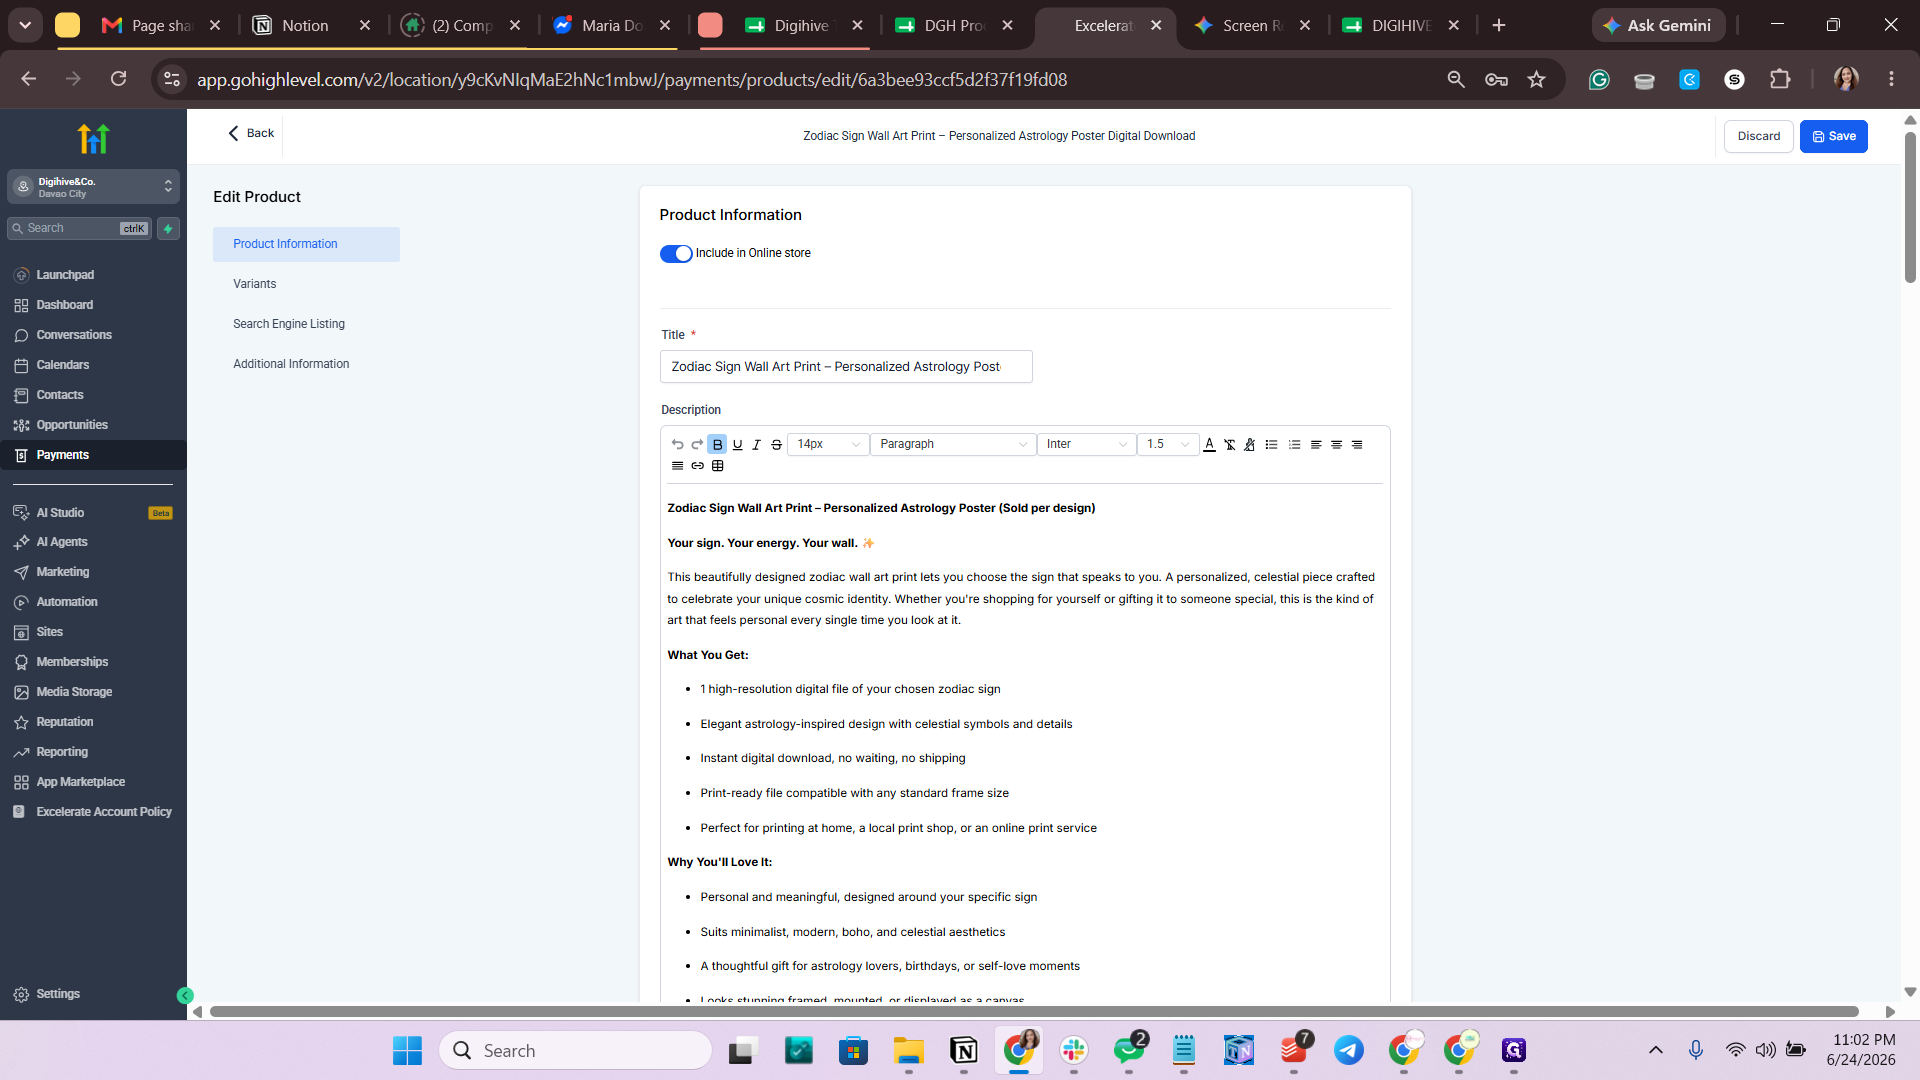
Once all configurations are complete, click Save in the top right corner.
Step #26: Once all configurations are complete, click Save in the top right corner.

Q: Why do I need to add so many variants?

A: For items like wall art, you often offer multiple designs (like Typography and Celestial Symbols) across various themes (like all 12 Zodiac signs). Using variants allows customers to select the exact combination they want from a single product page.

Q: Can I upload a whole folder of digital files at once?

A: Yes. When attaching digital files to a variant, you can choose "Upload folder" in the media manager to bring in your entire collection simultaneously, which speeds up mapping individual files to variants later.

Q: How can I prevent confusion when mapping digital files to variants?

A: It is highly recommended to name your digital files clearly on your computer (e.g., "Aries_Typography") before uploading them, making it easy to select the correct file for each specific product variant.

Term

Definition

Variant

A specific version of a product that offers options like size, color, or design style.

SKU

Stock Keeping Unit; a unique alphanumeric code used to track specific product inventory.