
Session Addition Feature
CourseStorm allows you to easily add and manage sessions with our Sessions Plugin.
In this guide, we'll learn how to efficiently add sessions to a class roster using CourseStorm. Doug from CourseStorm demonstrates the simplicity of this process, emphasizing the ease of adding new sessions with just a few clicks. By following these steps, you'll be able to seamlessly manage and update class schedules. Let's get started.
Adding Sessions
To begin, navigate to the CourseStorm Admin dashboard and locate the class for which you want to add a session. Follow Doug's example to input the session details such as date, time, and type. With a straightforward interface, you can swiftly create new sessions to enhance your class offerings.
Viewing Sessions on the Front End
After adding sessions, explore how they appear on the front end for users. By accessing the catalog in demo mode, observe how the sessions are displayed to potential participants. Understanding this view will help you ensure a user-friendly experience for those browsing available classes.
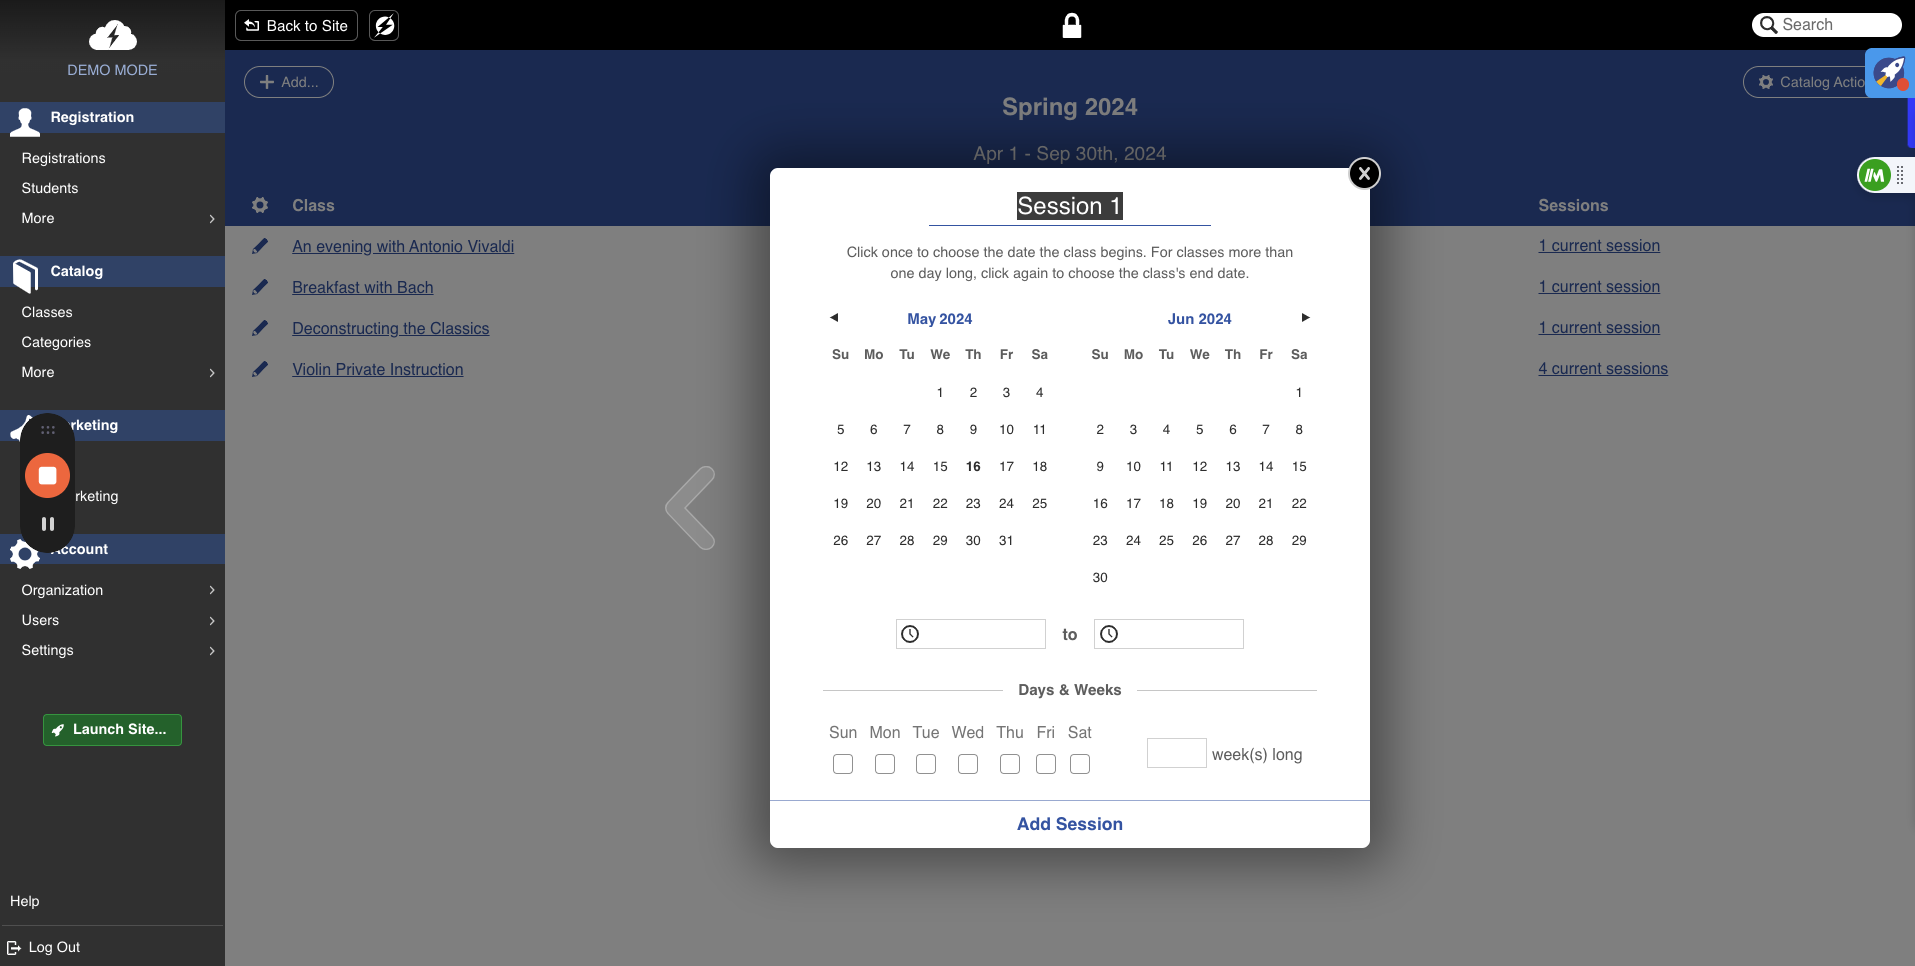
Doug from CoreStorm wanted to show you the updates. I emailed you about sessions. The display for the class roster now shows current sessions. By clicking on it, you can easily add a new session. All sessions are listed by date and time. Adding a new session is just a few clicks away. Let's name this new session "Wednesday A."

I may want to schedule this for the 22nd at 4 p.m. for that specific session or private lesson.


I

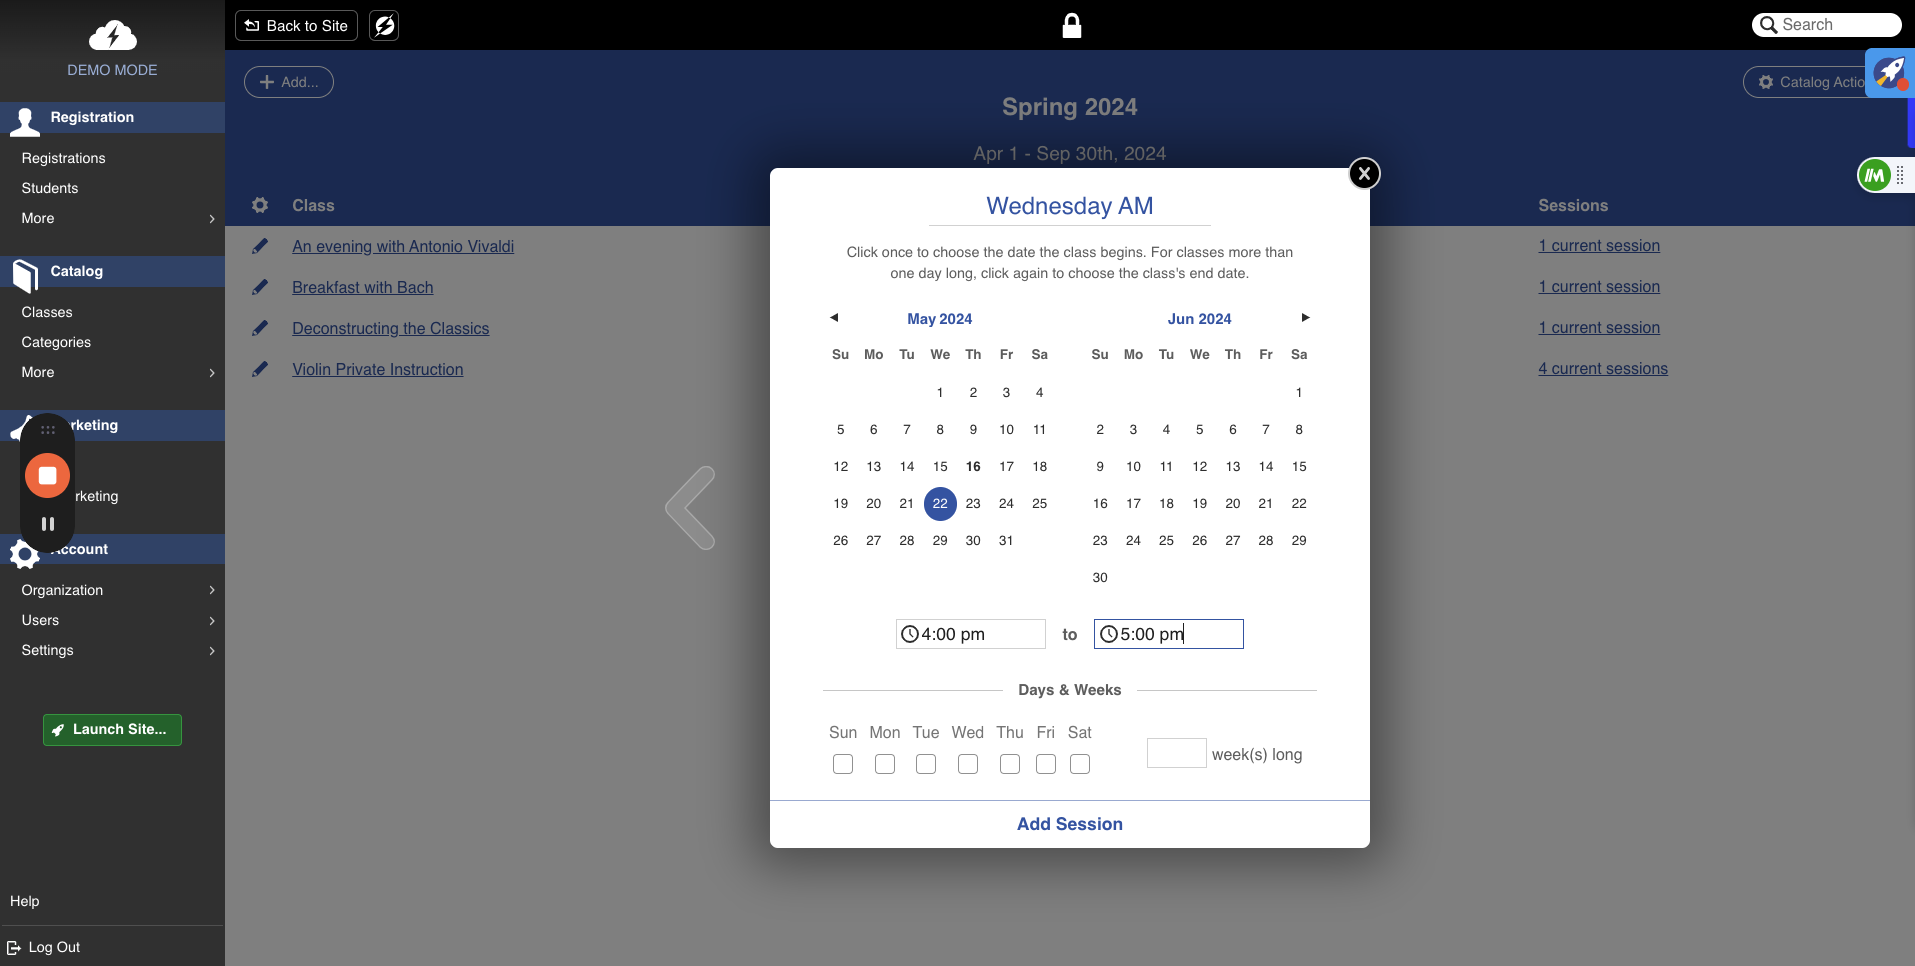
On Wednesday, click the button to "Add Session". Now, the session is added. Let's check the front end to see how it looks with the Sessions Plugin. Simply browse "all classes" in the catalog.

Click "Violin Private Instruction" to display available sessions to register for. You'll see "Next available session is on May 20th," with four additional sessions through May 22nd. This is an overview of our Sessions Plugin. Feel free to ask if you have more questions.
