
Course Catalog Project Tour: Mock-Up, Features, and Setup Guide
Get a behind-the-scenes look at the course catalog project, including a walkthrough of the mock-up, features like categories, tags, enrollment, and how courses are structured using Member Vault and WordPress.
In this guide, we'll learn how to navigate and manage a course catalog project using a WordPress website and Member Vault as the learning management system.
We will look at how to set up course pages, organize categories and tags, and add important details like syllabi, videos, and additional materials. This guide will also cover how to use mock-ups to plan your catalog and how to ensure customers can access course information and enroll easily.
Let's get started
Hello, Karina. This is Robin Dickinson. I will give you a brief tour of the course catalog project. I'll show you a little about my program, but not everything. I will have a separate guide about that. I'm using a new program called Glitter to record this. I've been looking for a tool to create SOPs and also make videos for customers to show them how to do things.
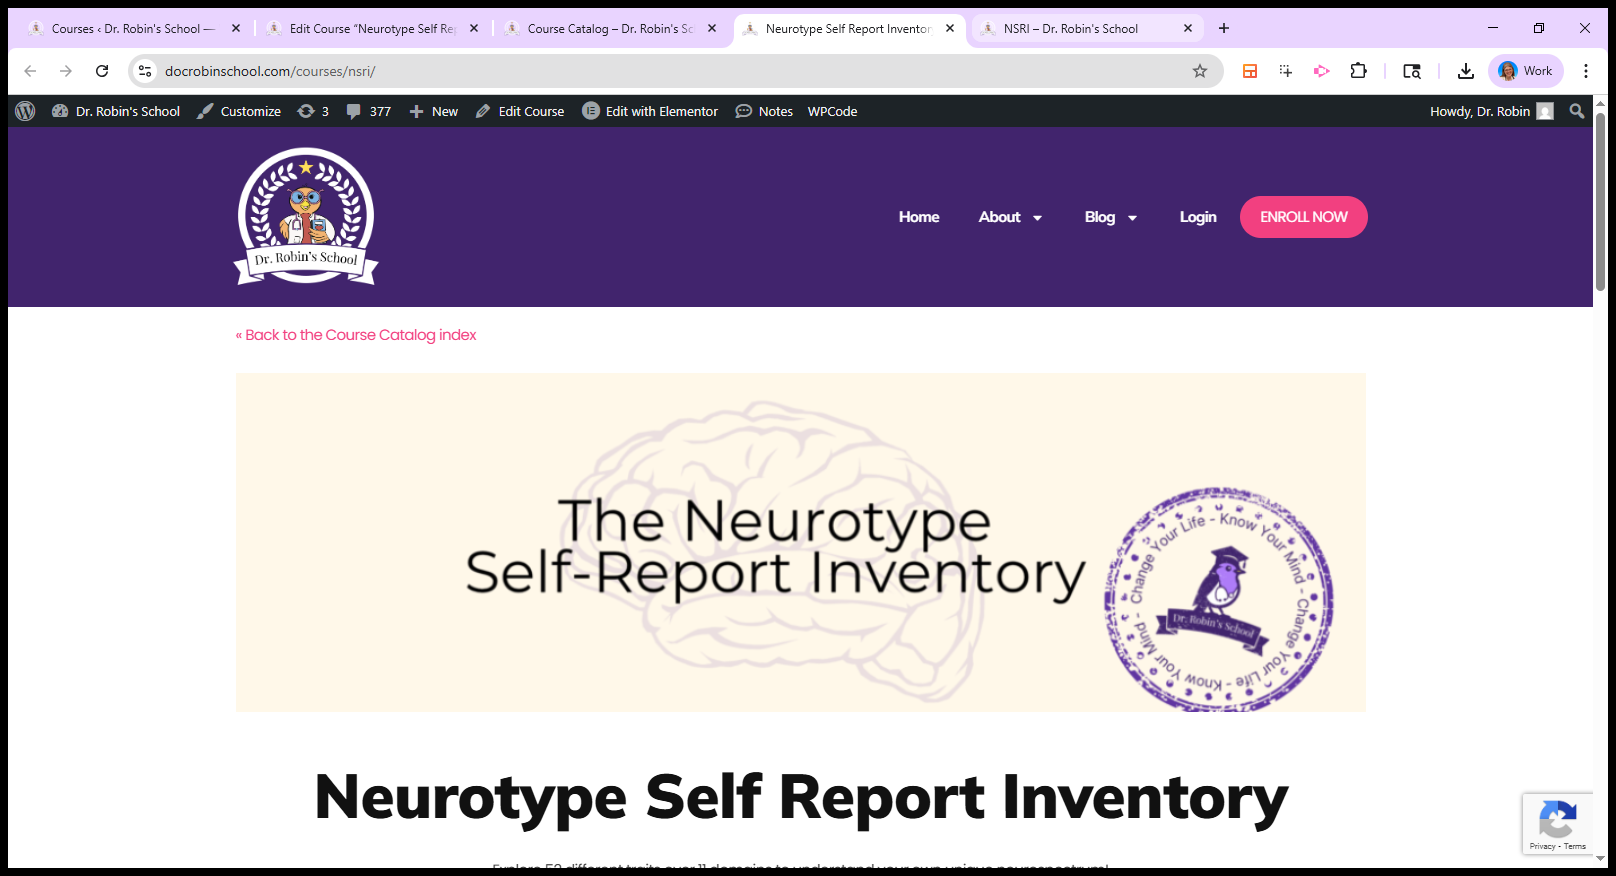
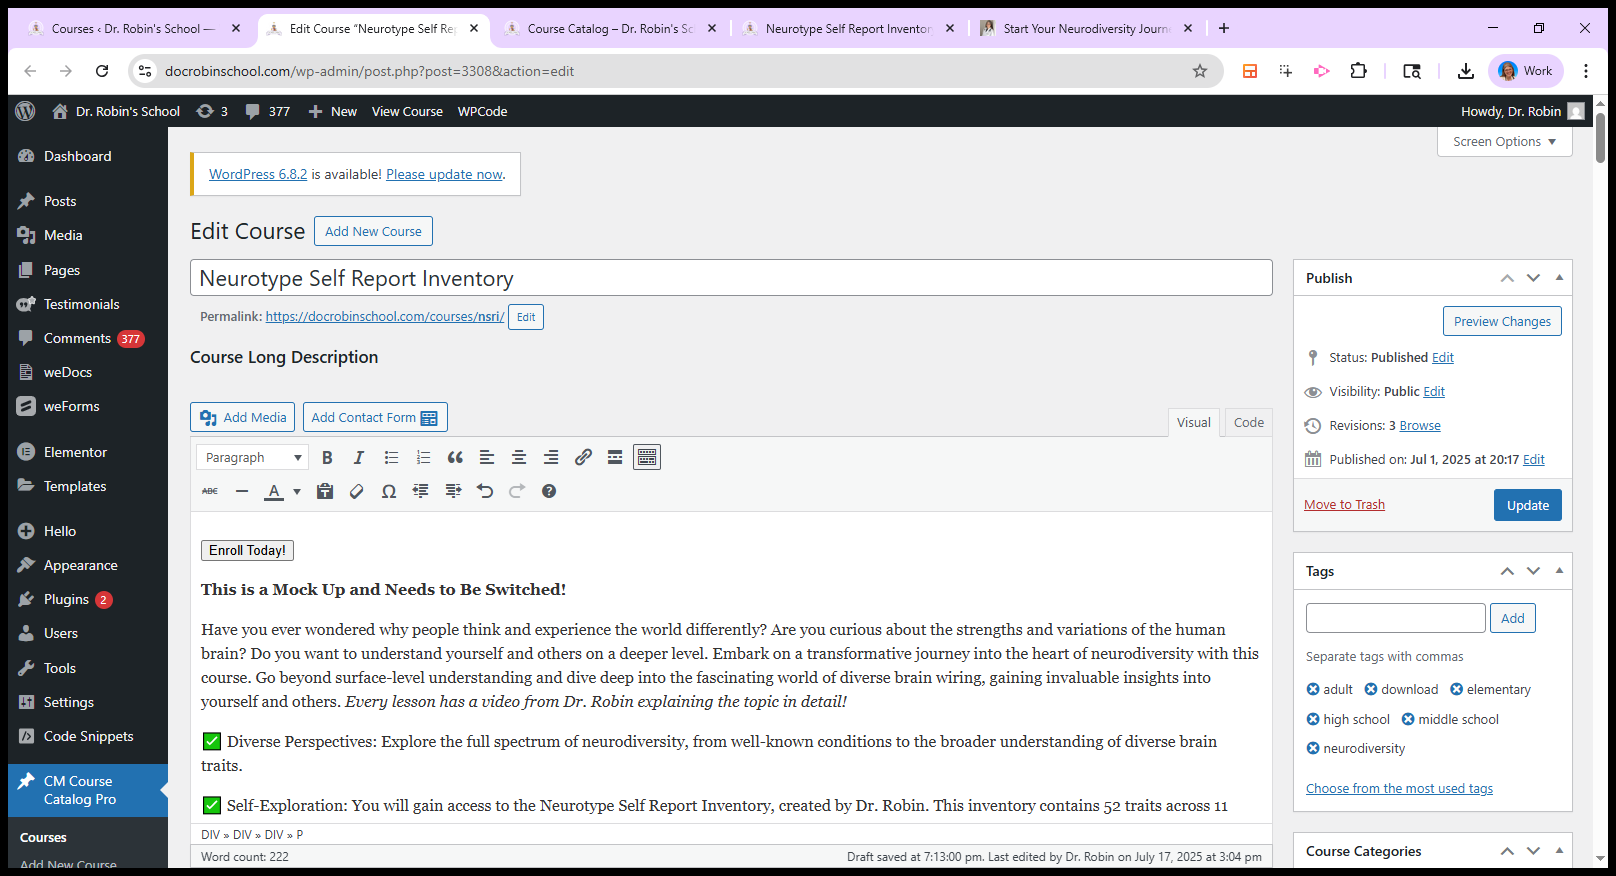
Not just videos, but also screenshots and similar items. This seems like what I need, so I'm testing it. I've never used it before. Let's see how this goes. This is the course catalog page as it appears to customers.
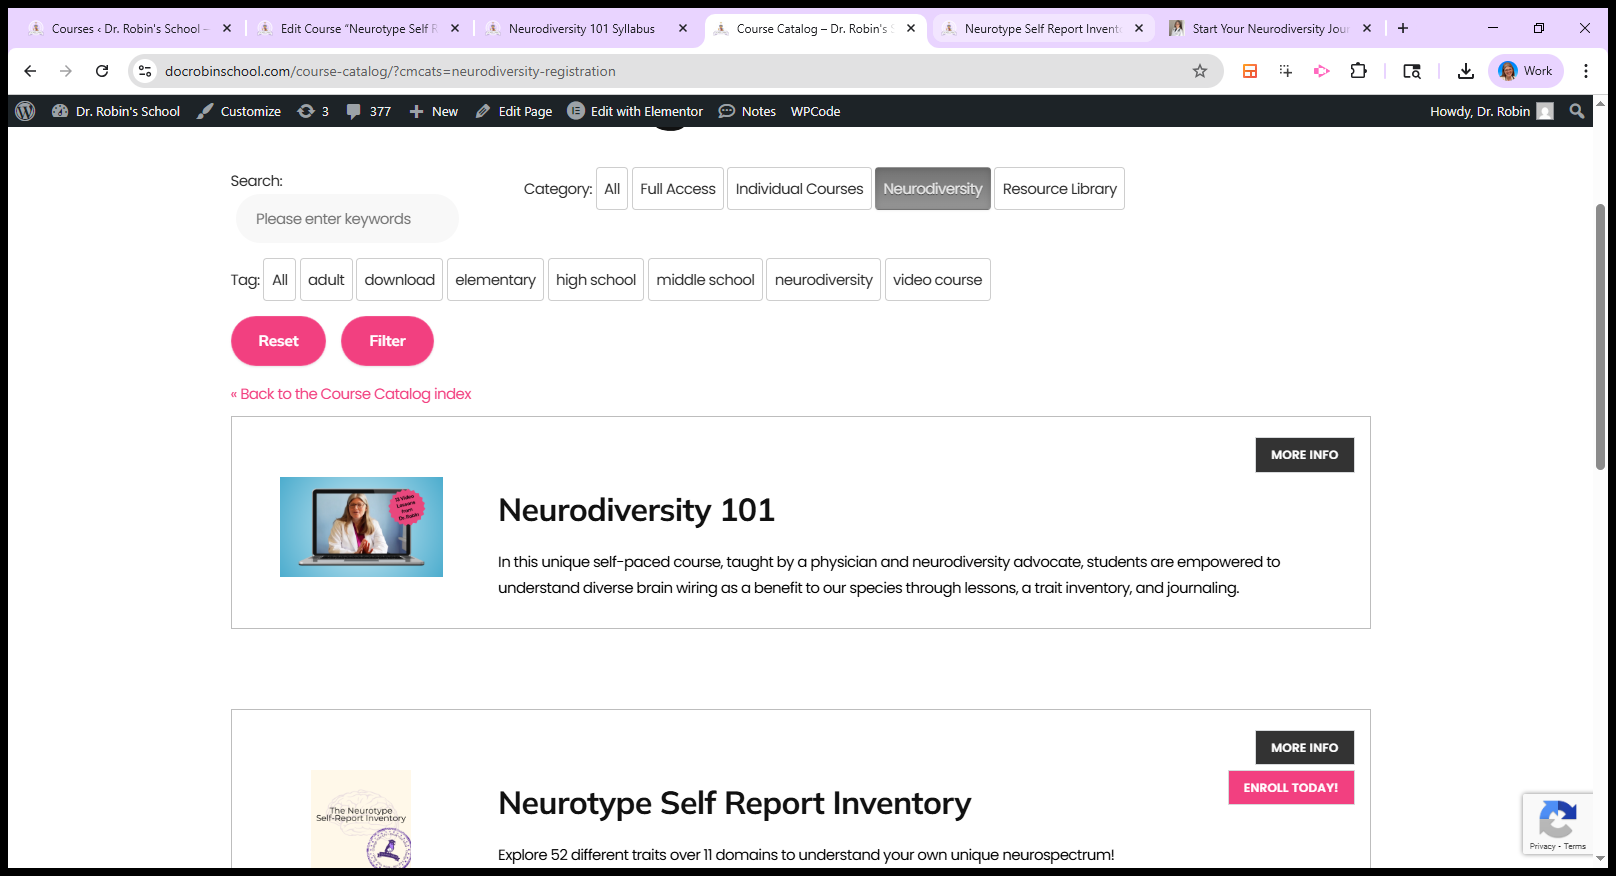
This is just a mock-up. I have no idea what happened with the pink and green. Completely unreadable. Need to fix that. I'm the only person who handles this, so here is the course catalog.
People will be able to choose categories and tags here.
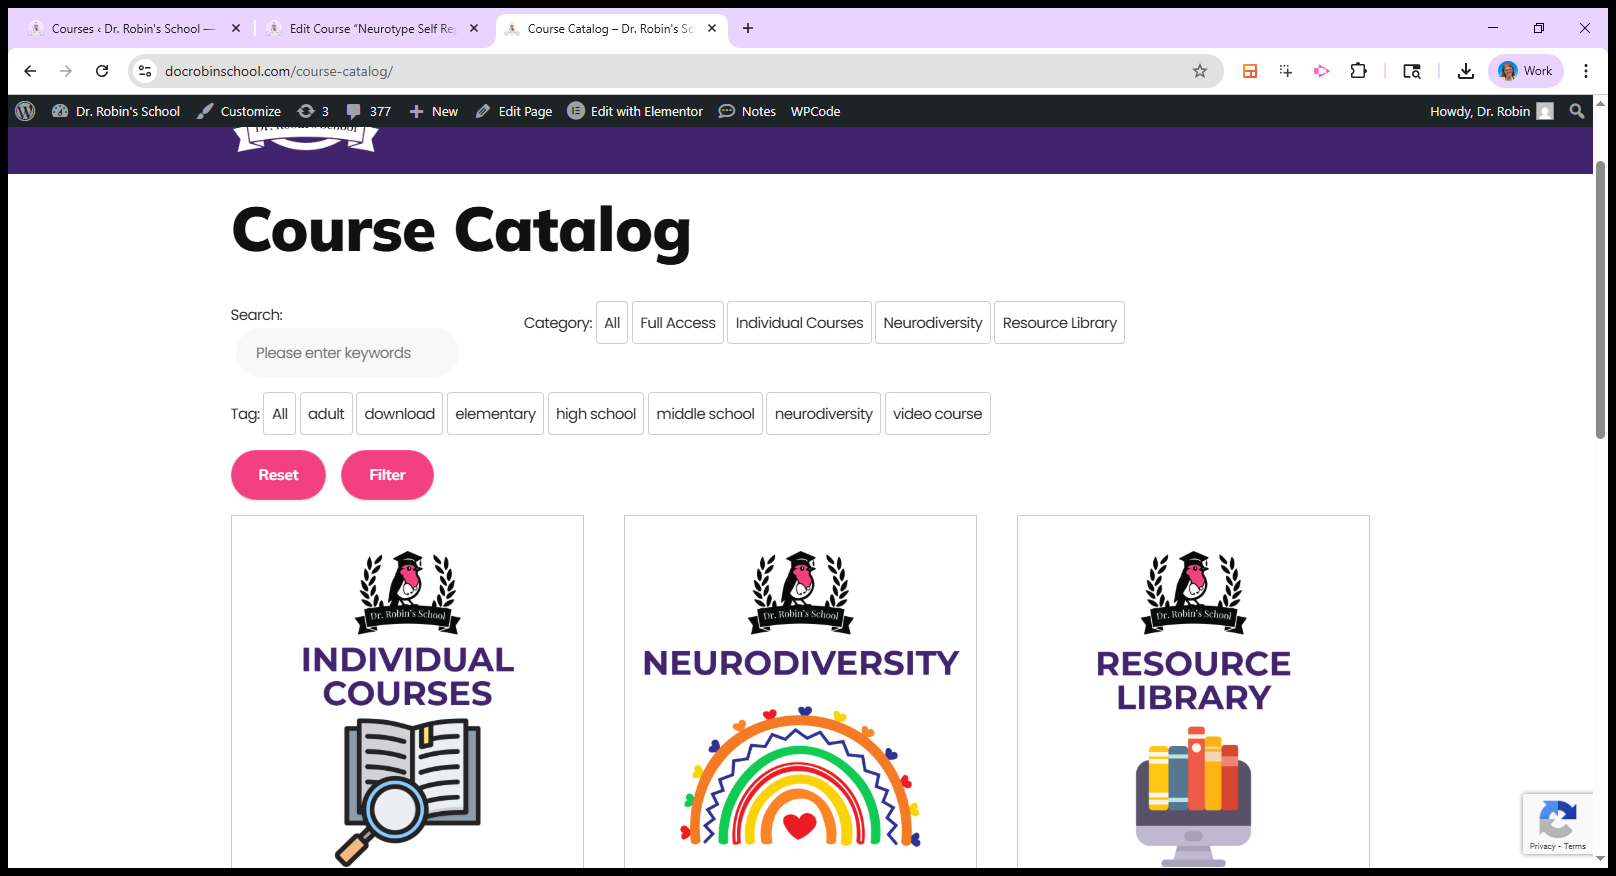
They will then be able to choose categories using this. Let's say we choose neurodiversity.
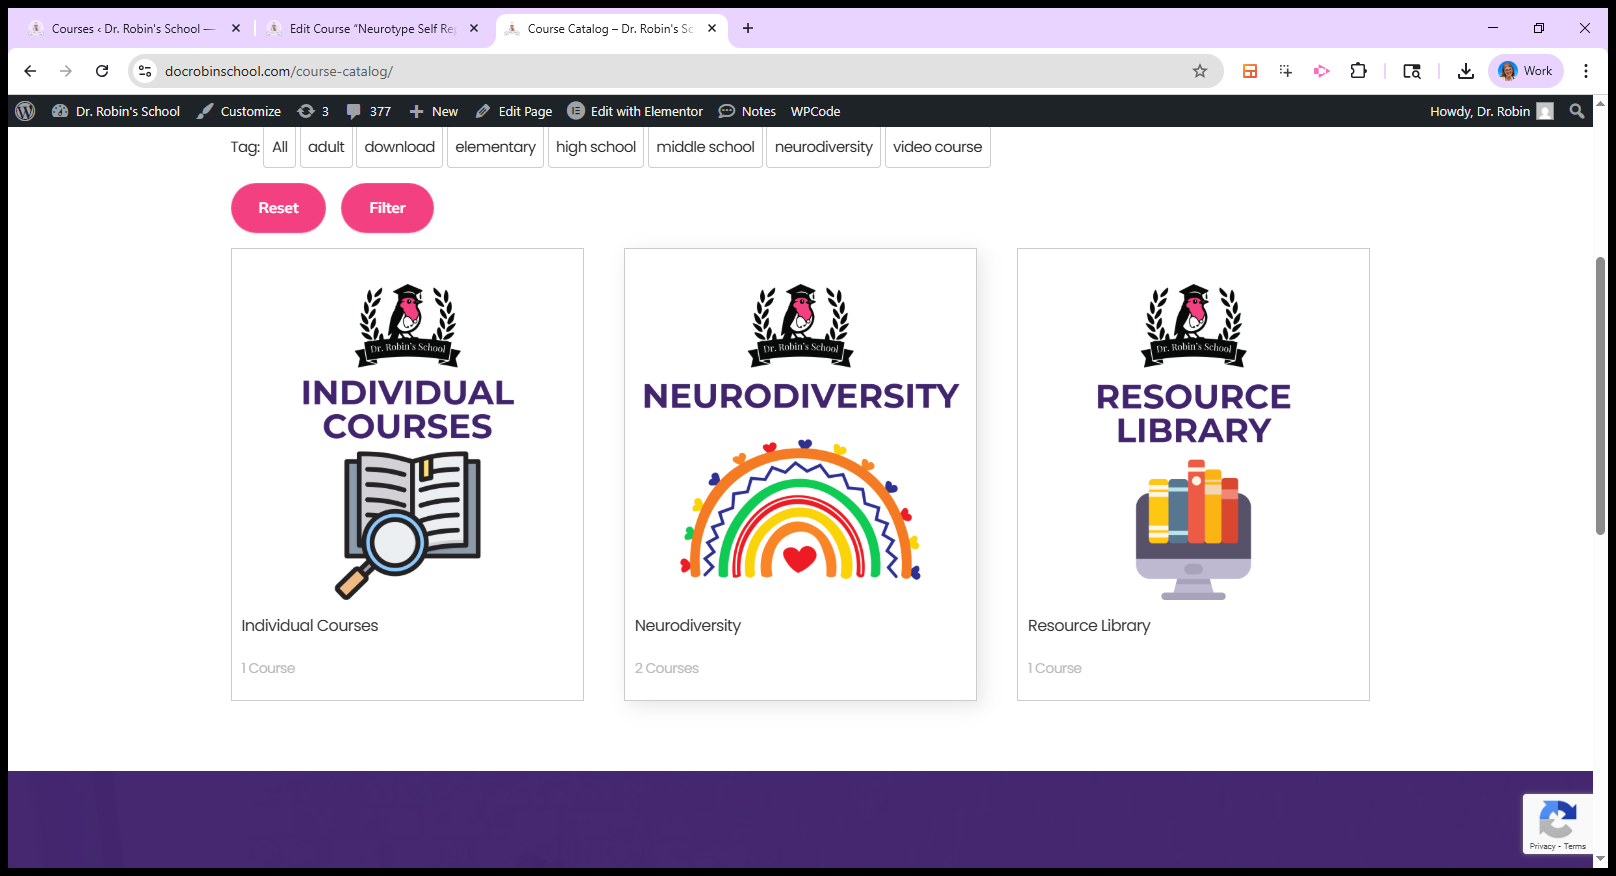
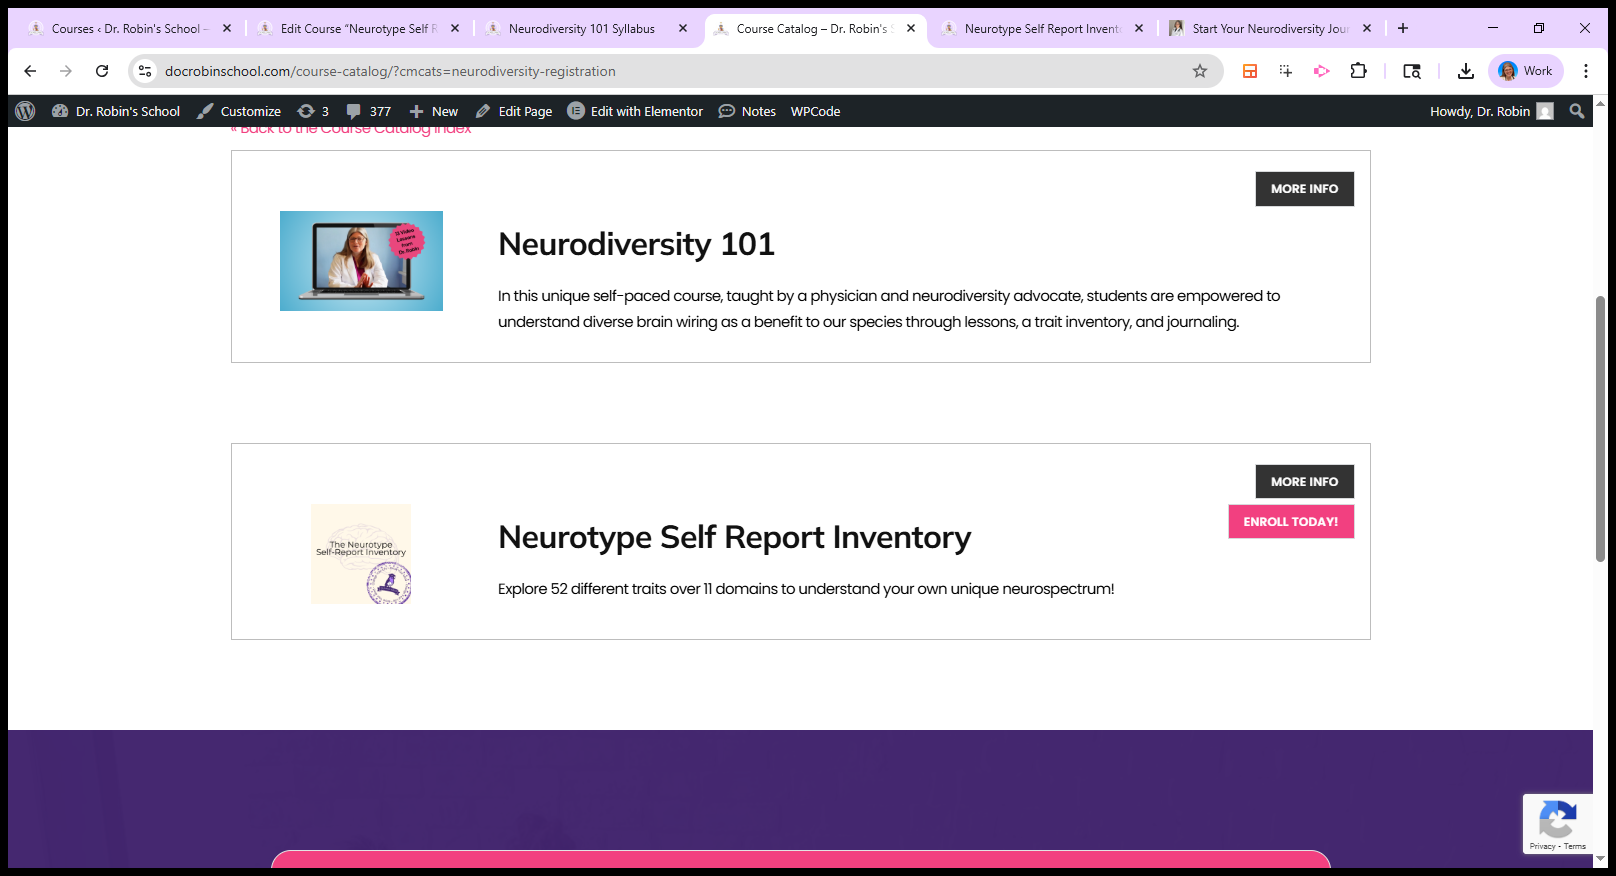
I put that in first. I’m not sure, I think it’s just because it’s easier. Hopefully, it won't take too long to load, since I'm also recording and my computer is struggling. This is what the course catalog will look like. Click on an item to see a list of everything in that category. There are usually two buttons, but this is only a mock-up.
You may see different or unusual images. "More Info" and "Enroll Today" are two different buttons. If you click on "More Info," you'll see a standard course catalog page, similar to what you find in college.
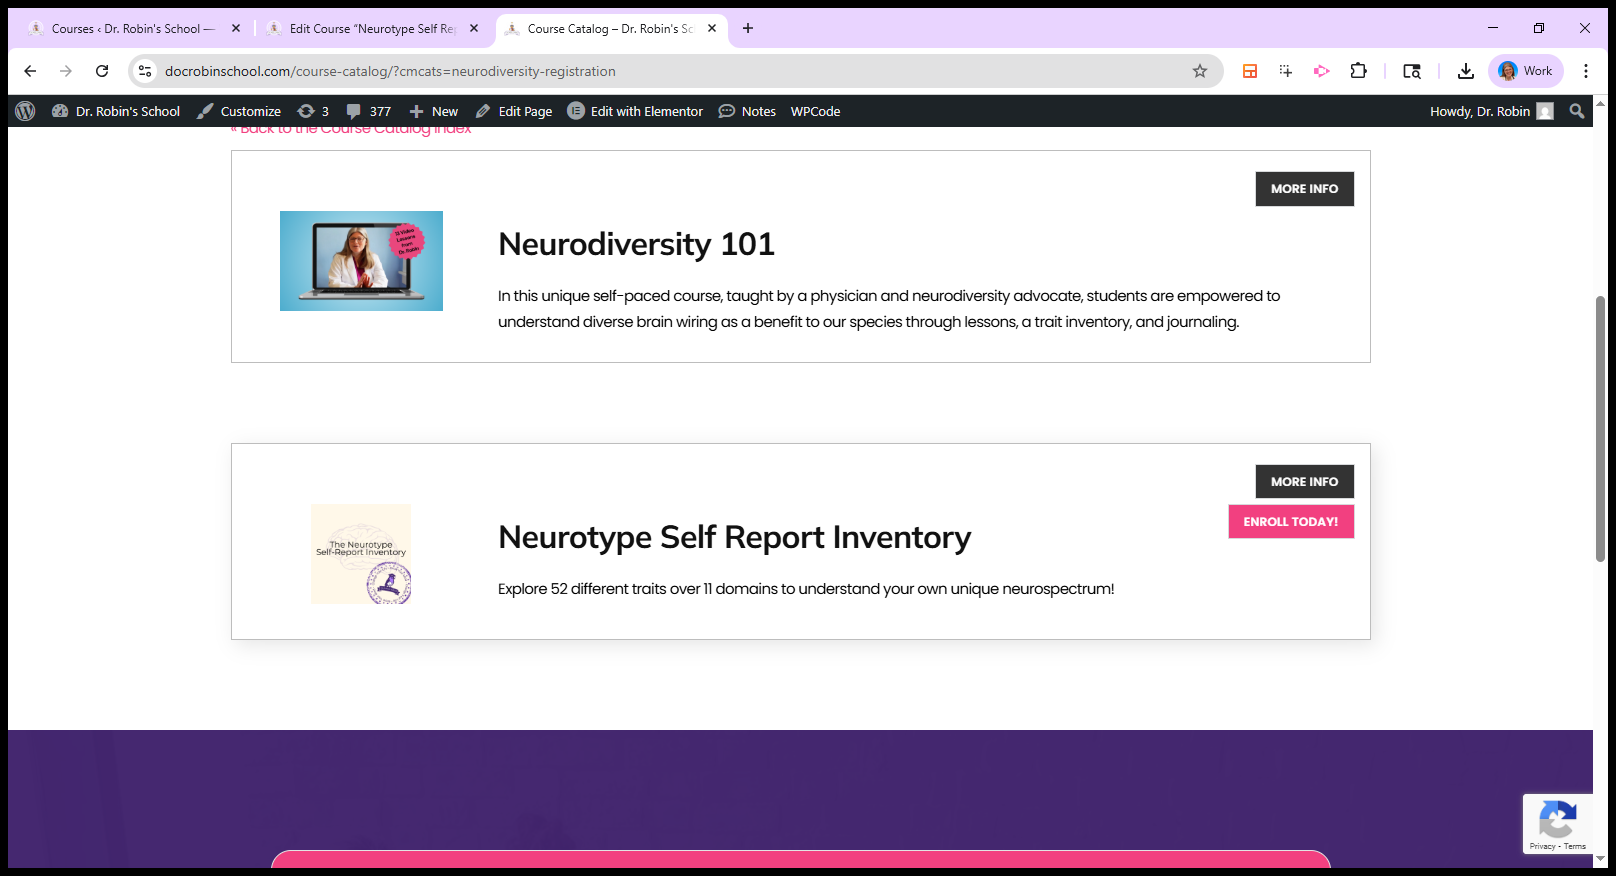

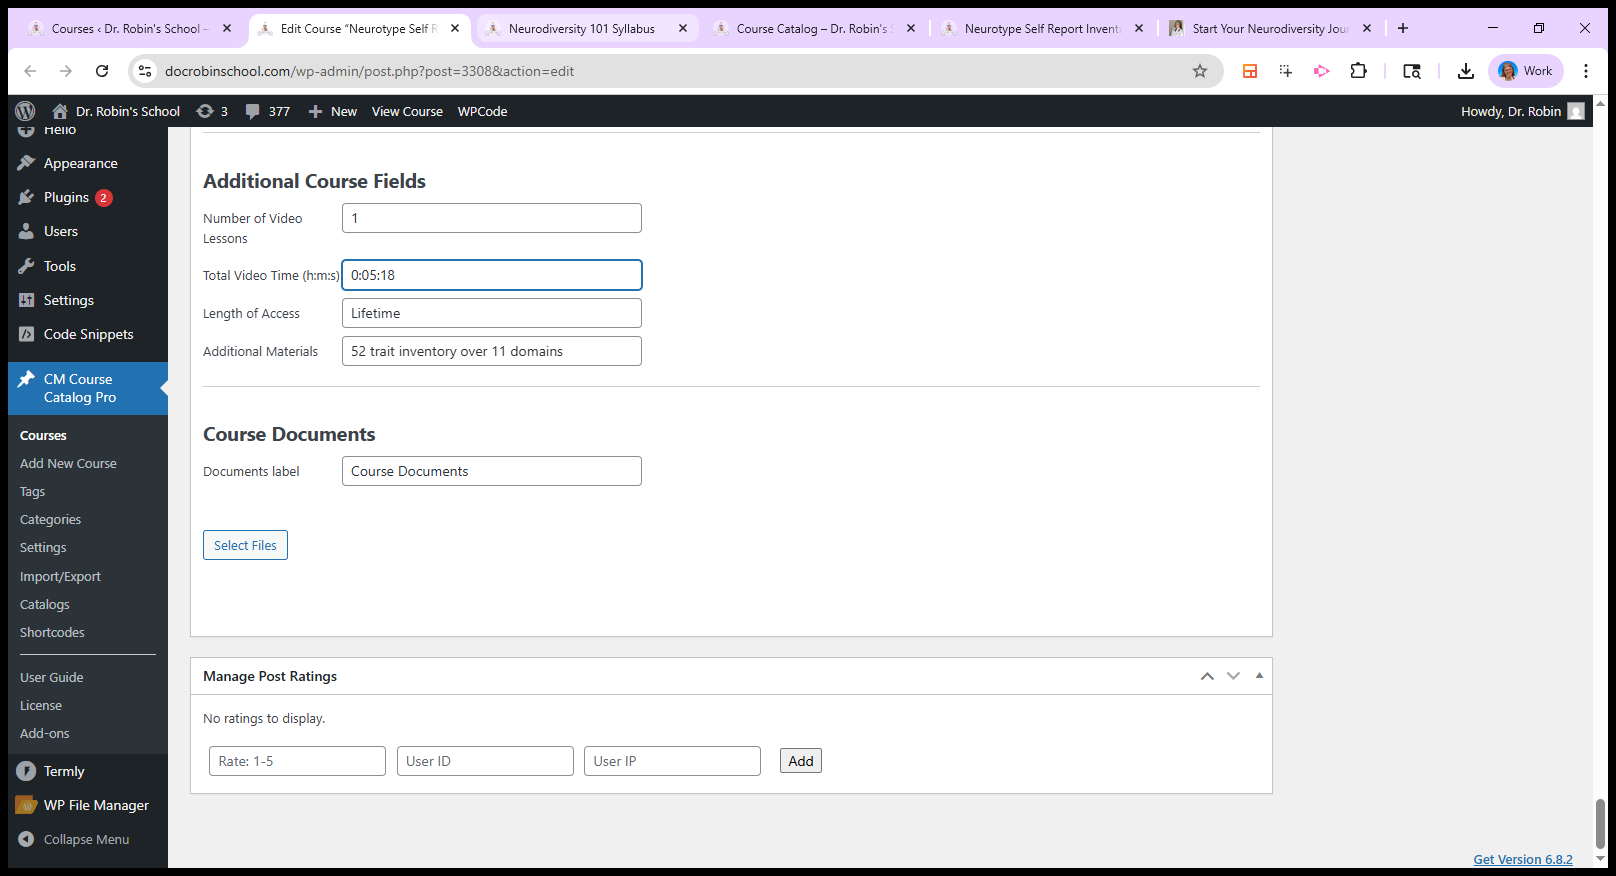
You can see it has different categories and tags, and shows the number of video lessons, which is one in this case.

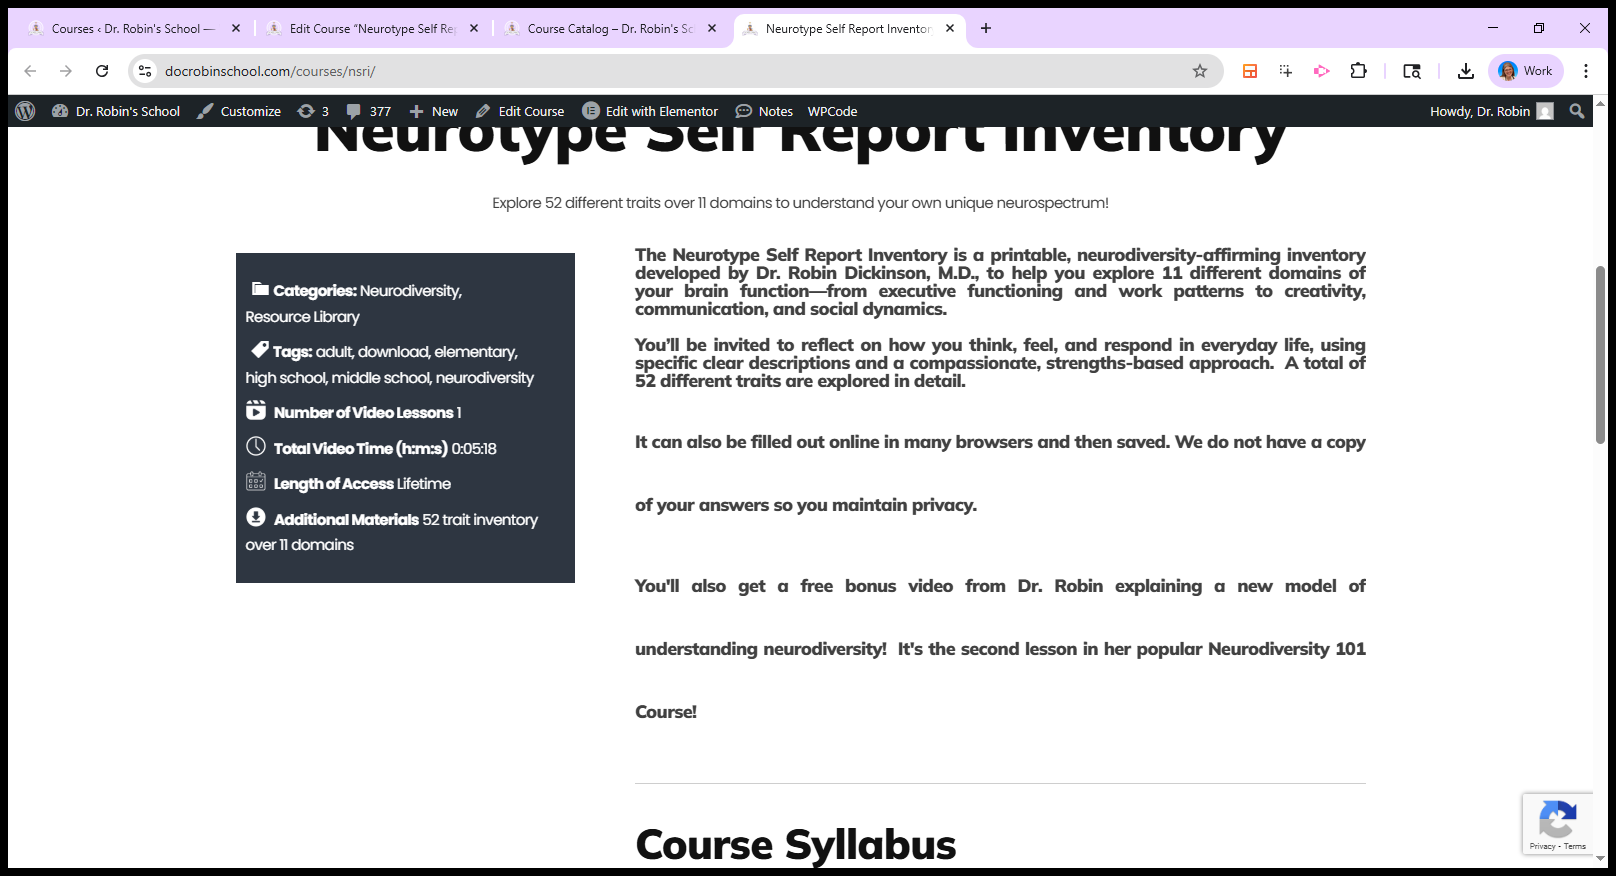
Total time: five minutes and 18 seconds.


This is a freebie. Length of access: lifetime, plus additional materials.


Trait inventory of related domains. You are already familiar with this. So that's that one. If you click on "Enroll Today," you will be taken to the sales page instead.


If you click on "Enroll Today" below, you should see the Enroll Today option here.
Again, this is a mock-up.
This is the sales page. There should be a video here, but there isn't, and that's fine.

It includes the usual sales page elements, such as promises of a happy outcome, "Get instant access," "Sign up now," and similar calls to action on every button. Oh, these are testimonials and...
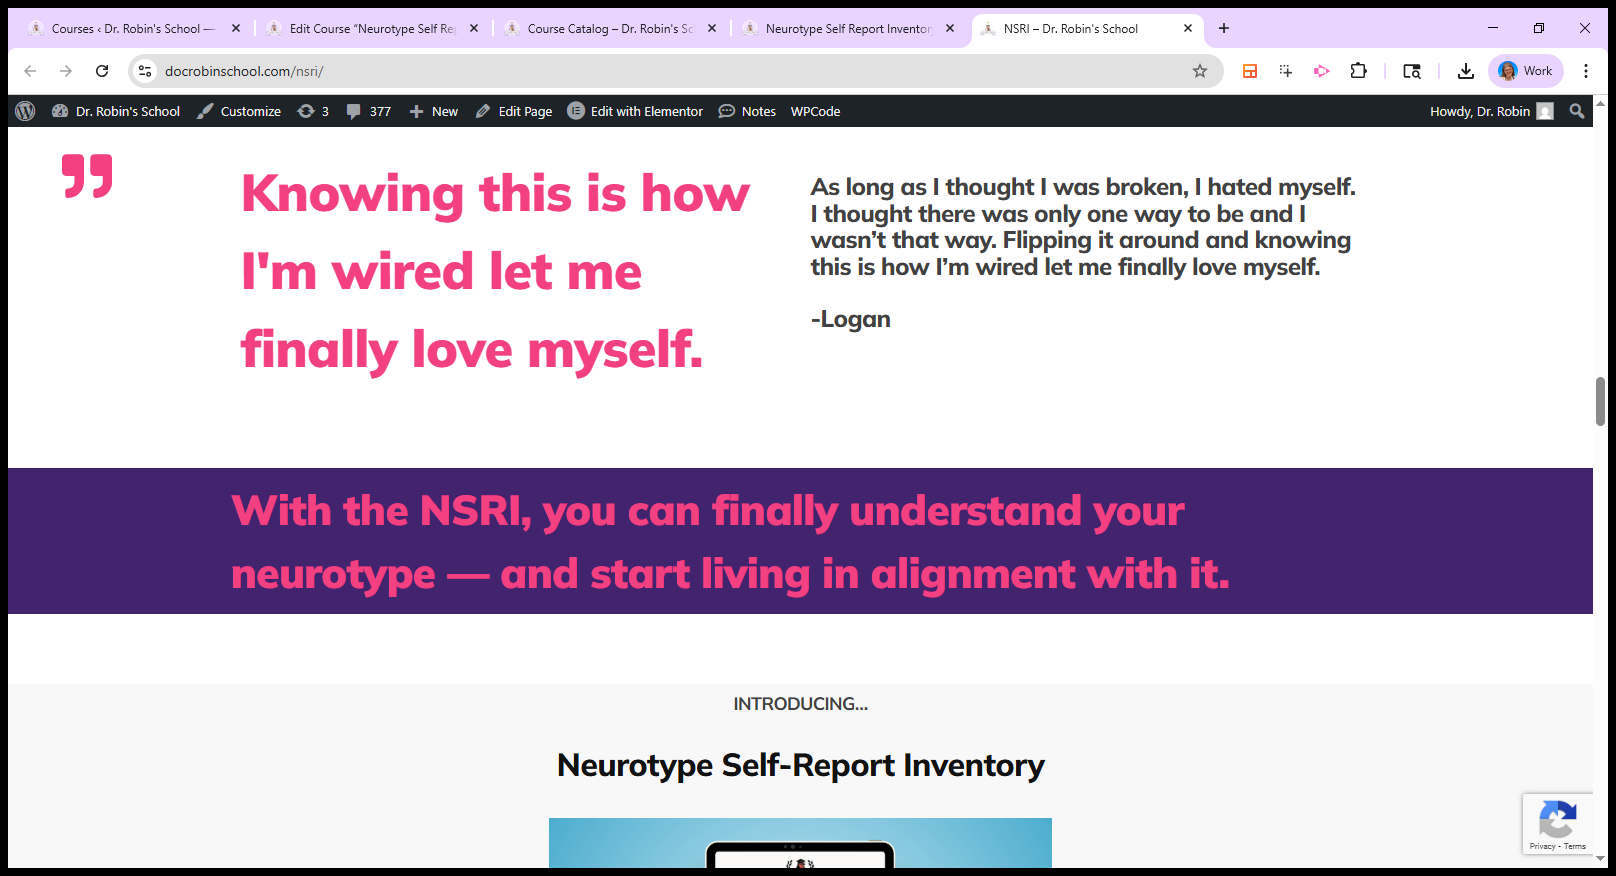
Each of these buttons will do the same thing. "Here's your bonus content," and so on. Pick any of them, and go here to sign up.
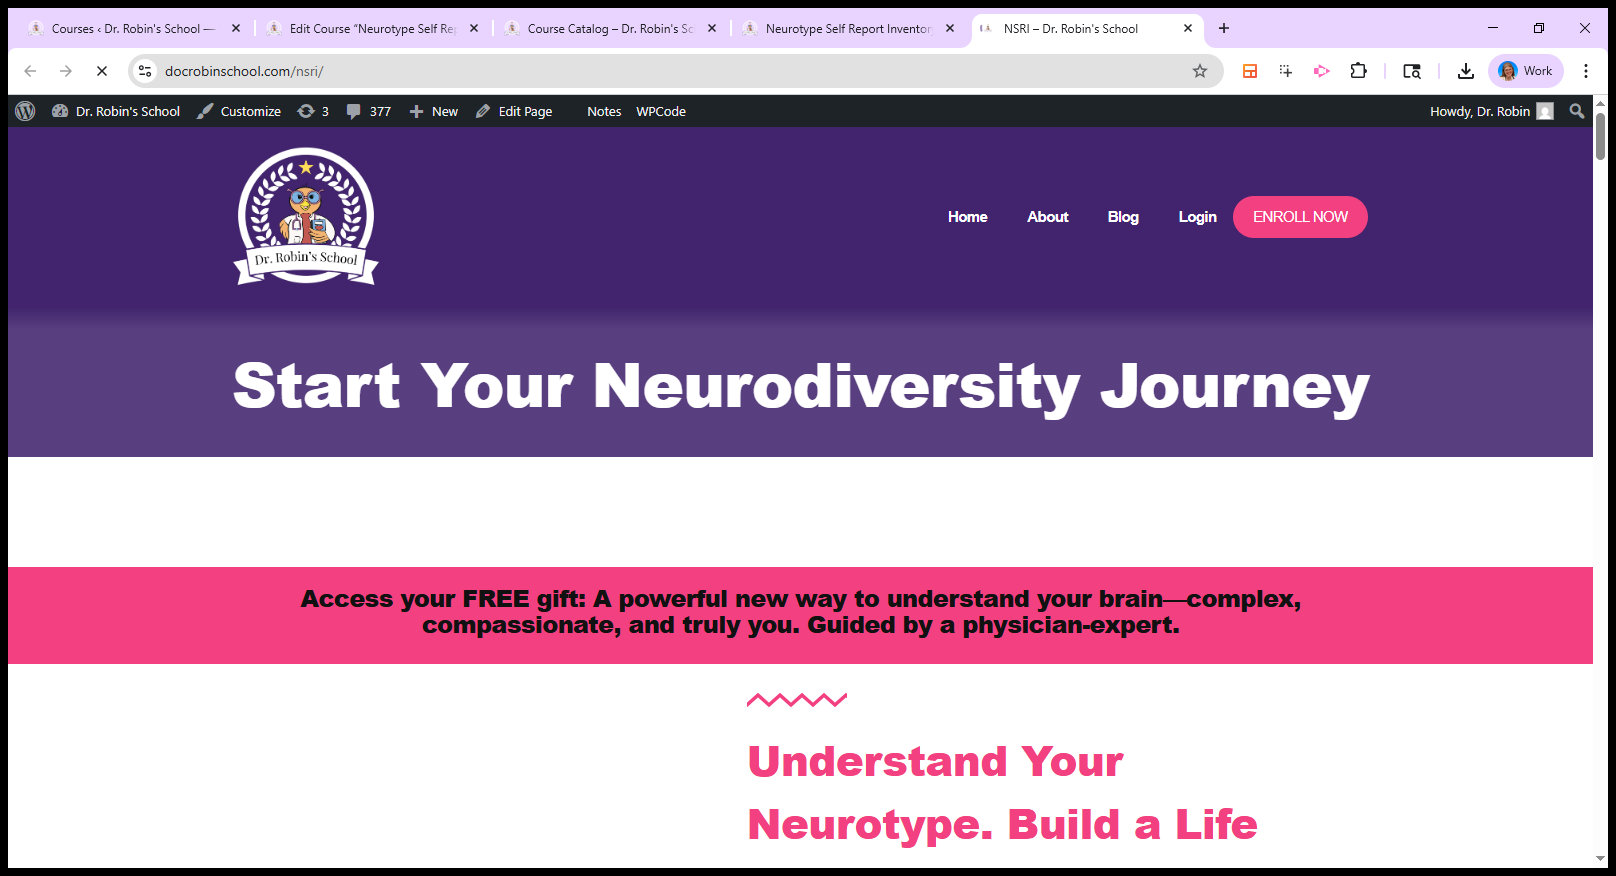
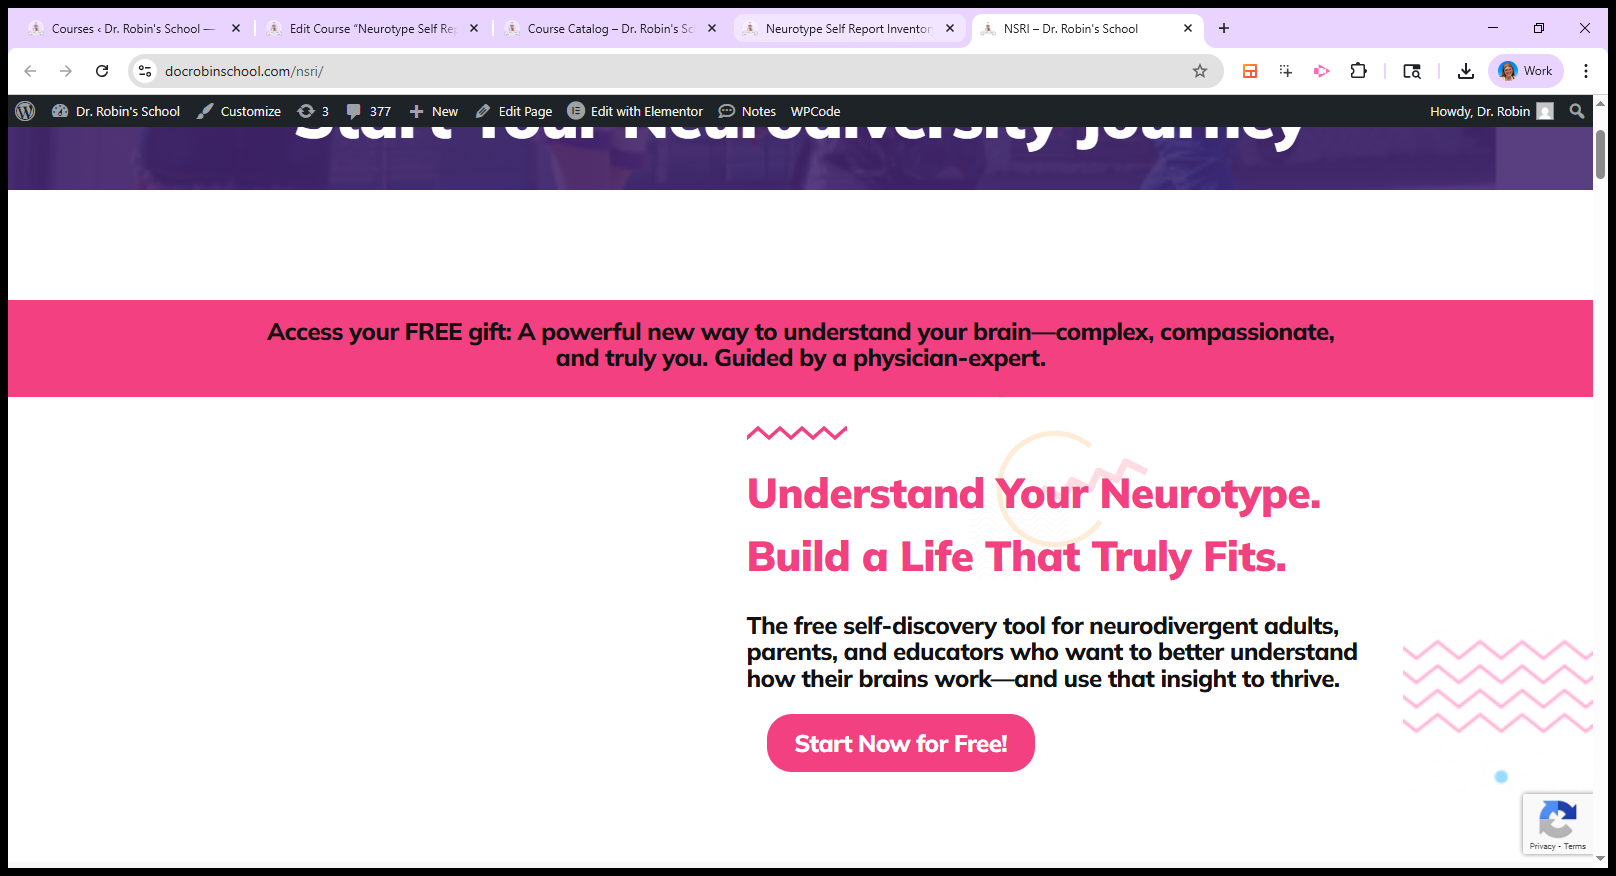
This is the freebie. This is my learning management system, Member Vault. This is where it will be located.
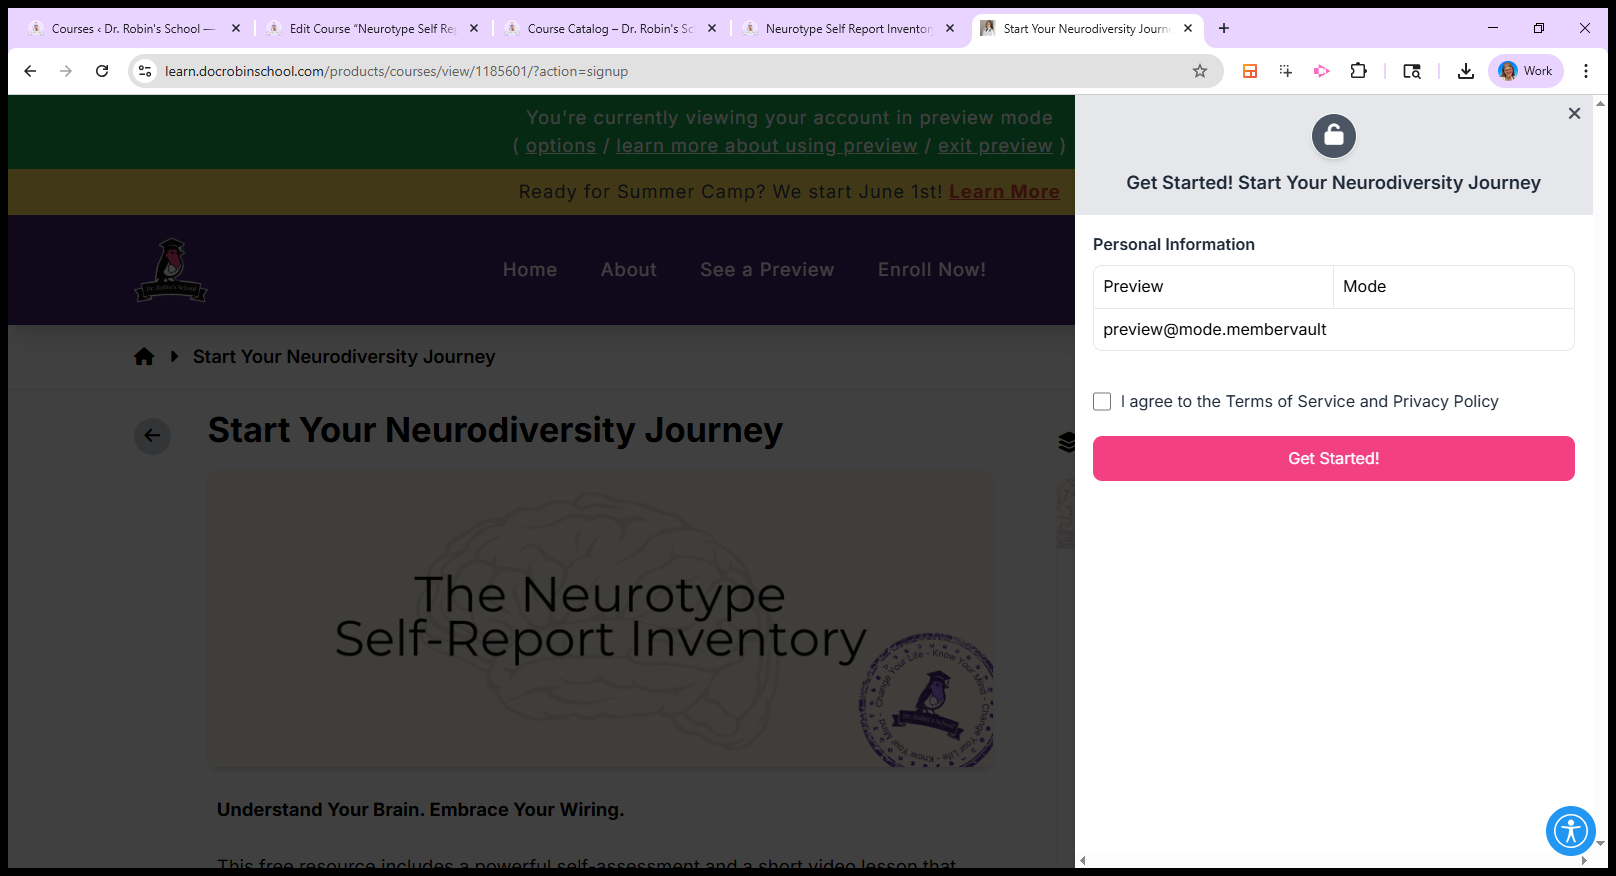
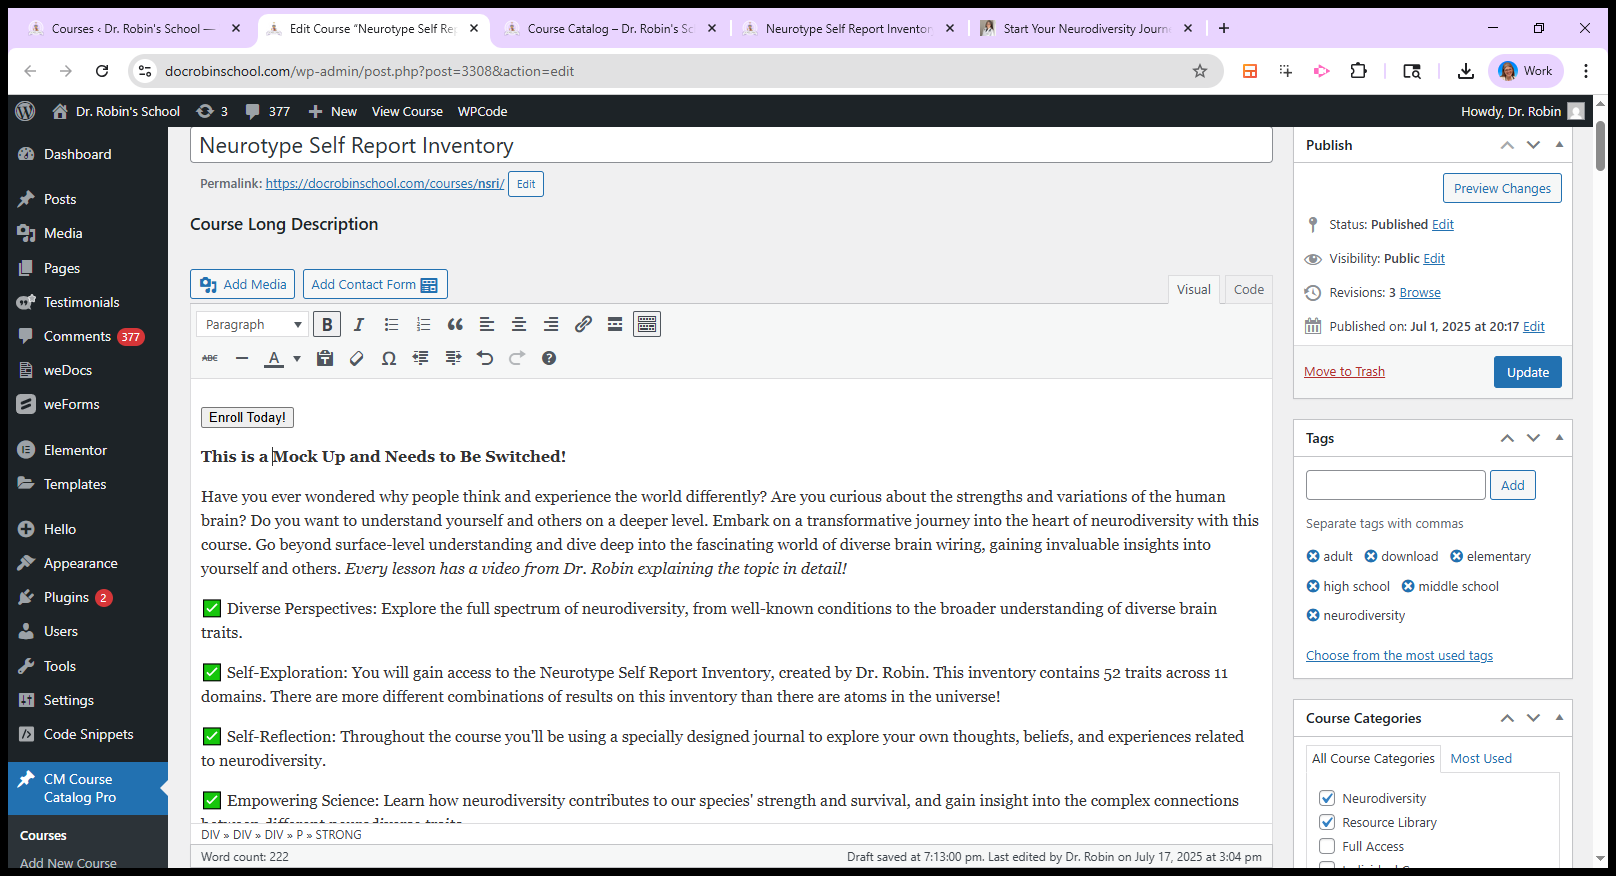
I'm logged in, so you can see what's inside. Once they sign up, they will have access to everything here. So, back to the course catalog. This is the inside.
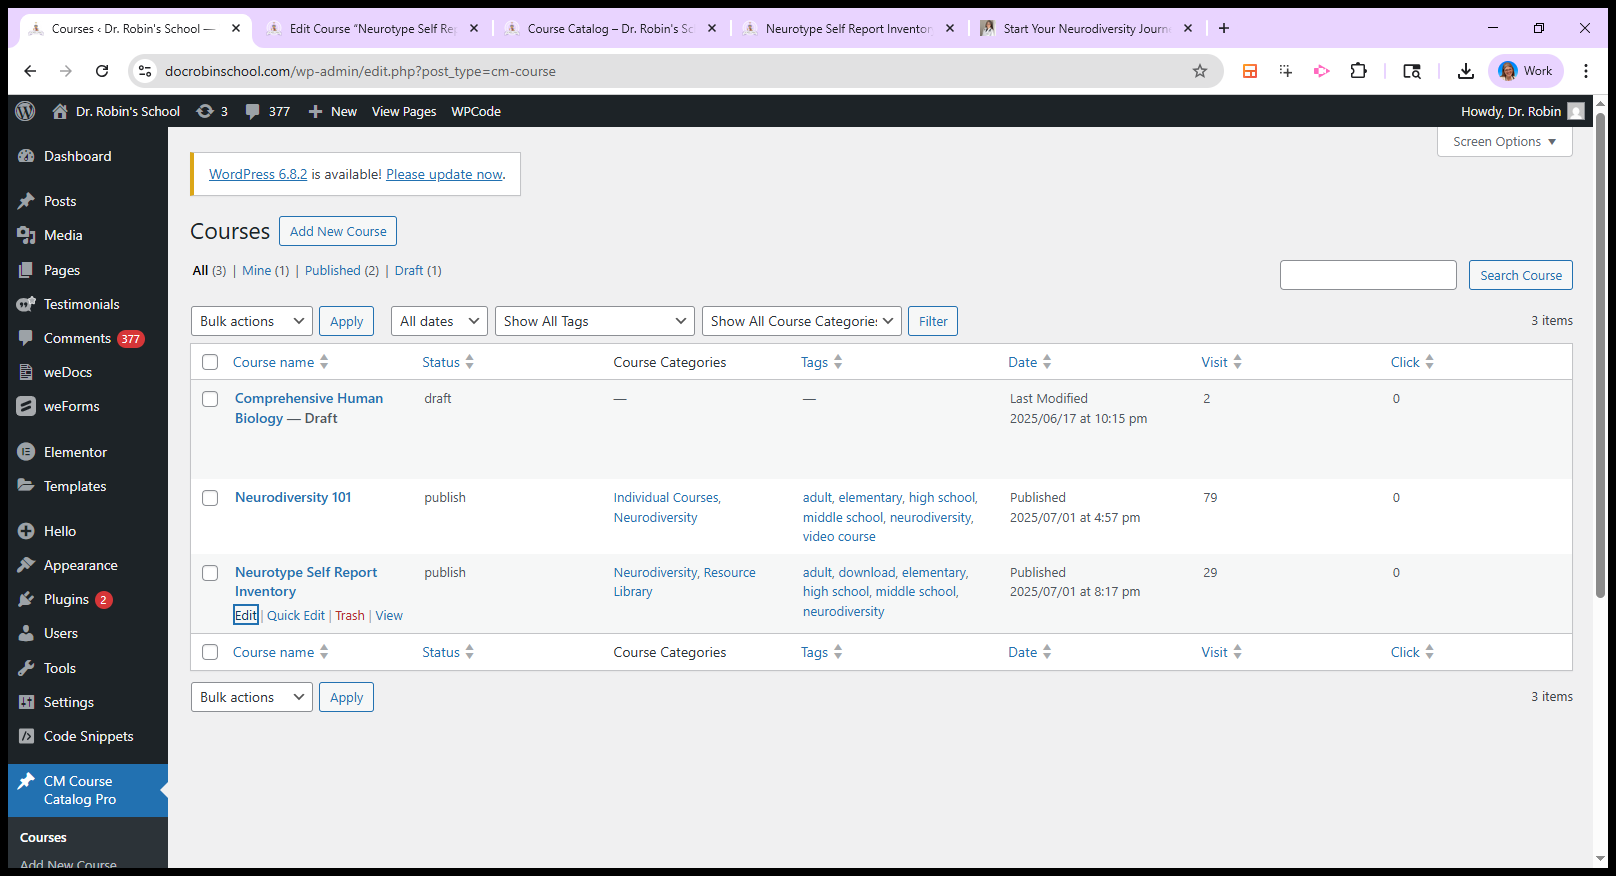
This is the inside of my WordPress website. This is the plugin. There will be a page like this for each course, and there are many courses. There are so many of them. I'll send you a list by email.
Each one will have this, which is the course page.

Let me show you what this looks like. We copy the Enroll Today button each time.
Down here, scroll past several items and skip them. Here we go. Here is where you add the syllabus. Hopefully, this is the correct syllabus.
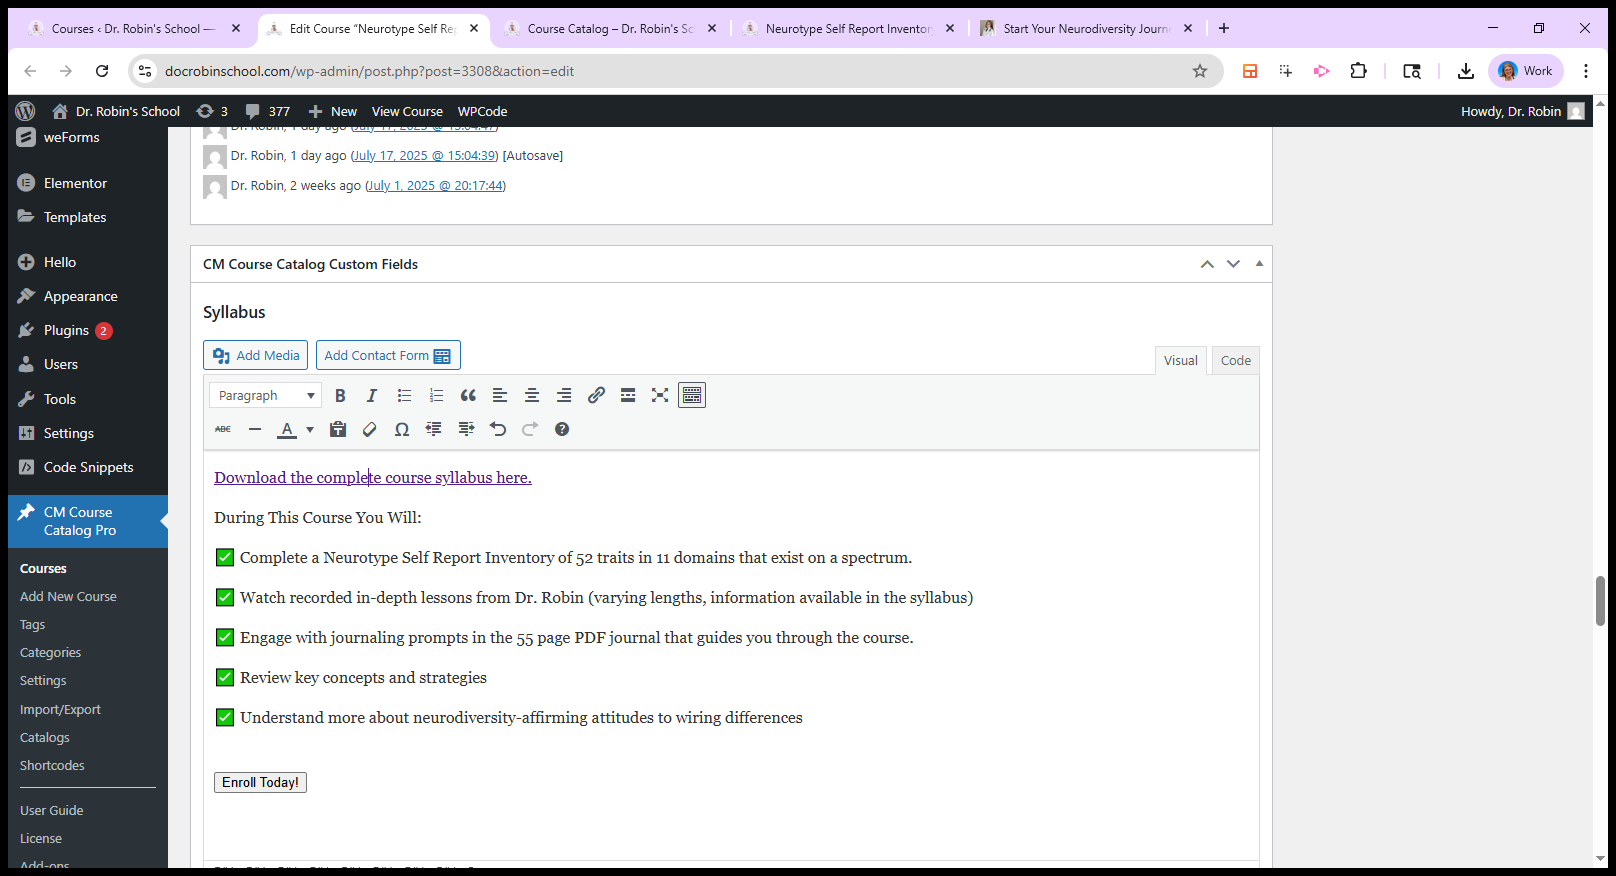
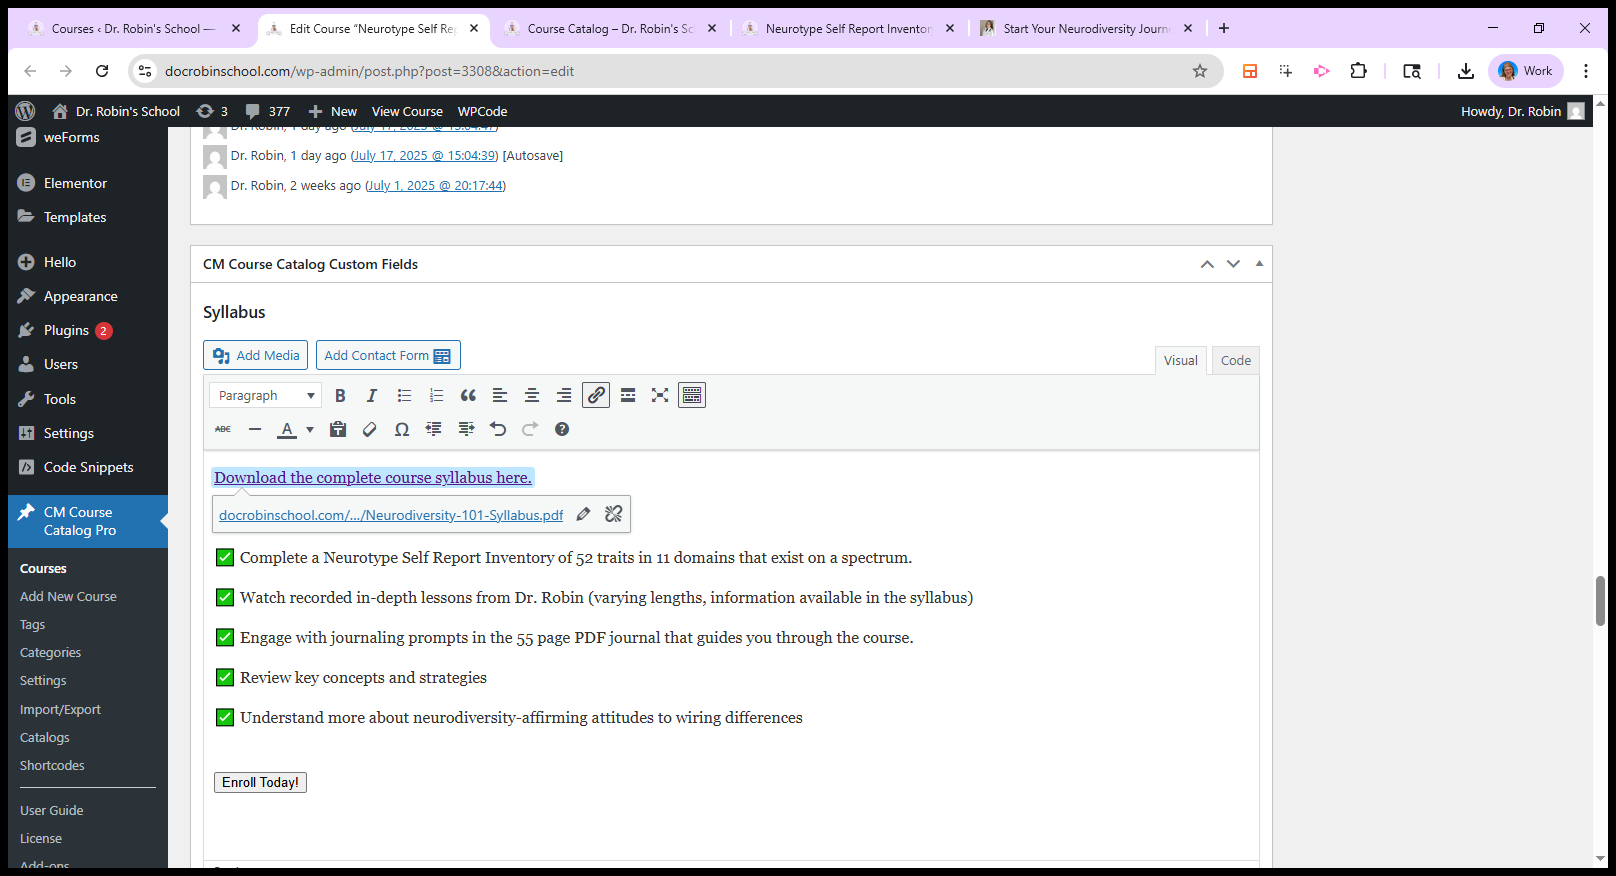
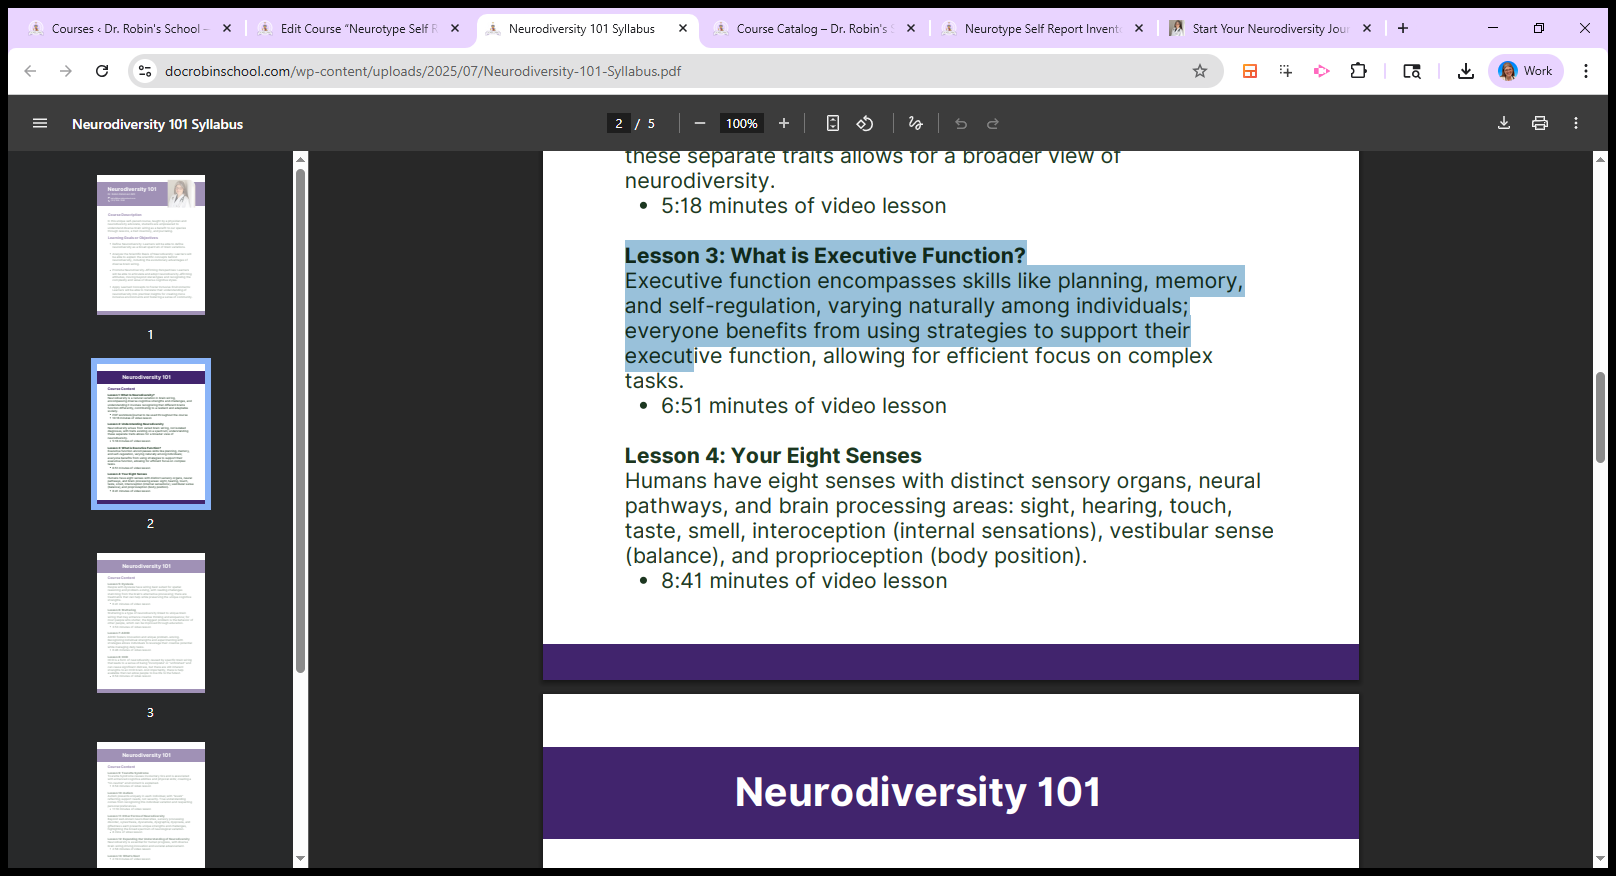
There we go. Each course will have a syllabus, mostly created by AI. For example, this is the syllabus for Neurodiversity 101, though it may not match exactly what this course covers.
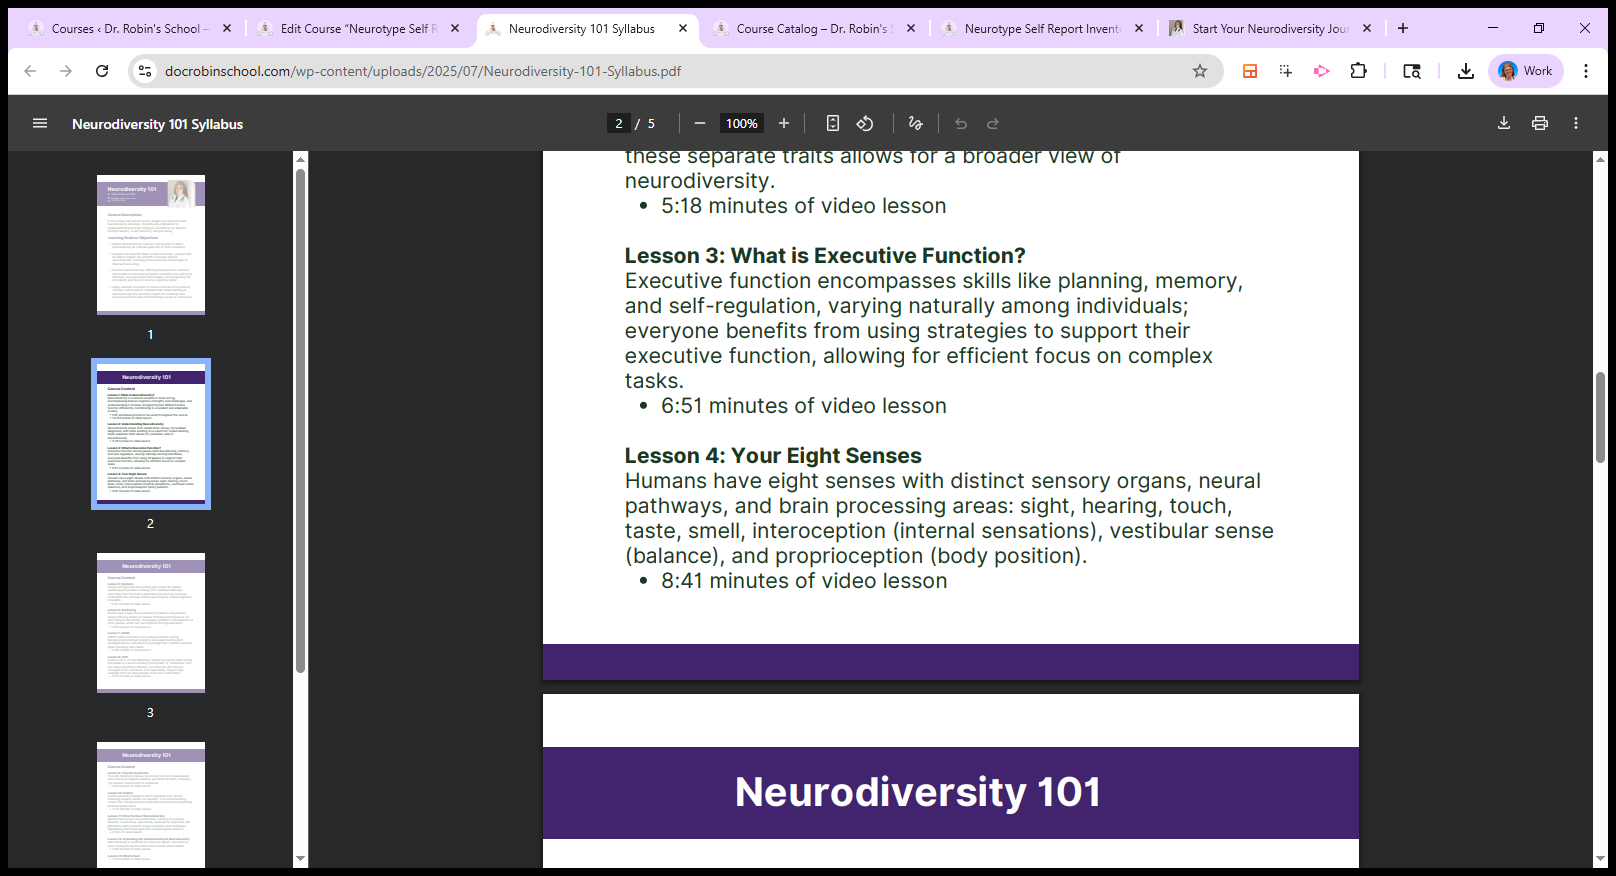
It shows the length of the video lesson and its contents.


I fed the scripts into AI to make it easy.

Here’s what that is.

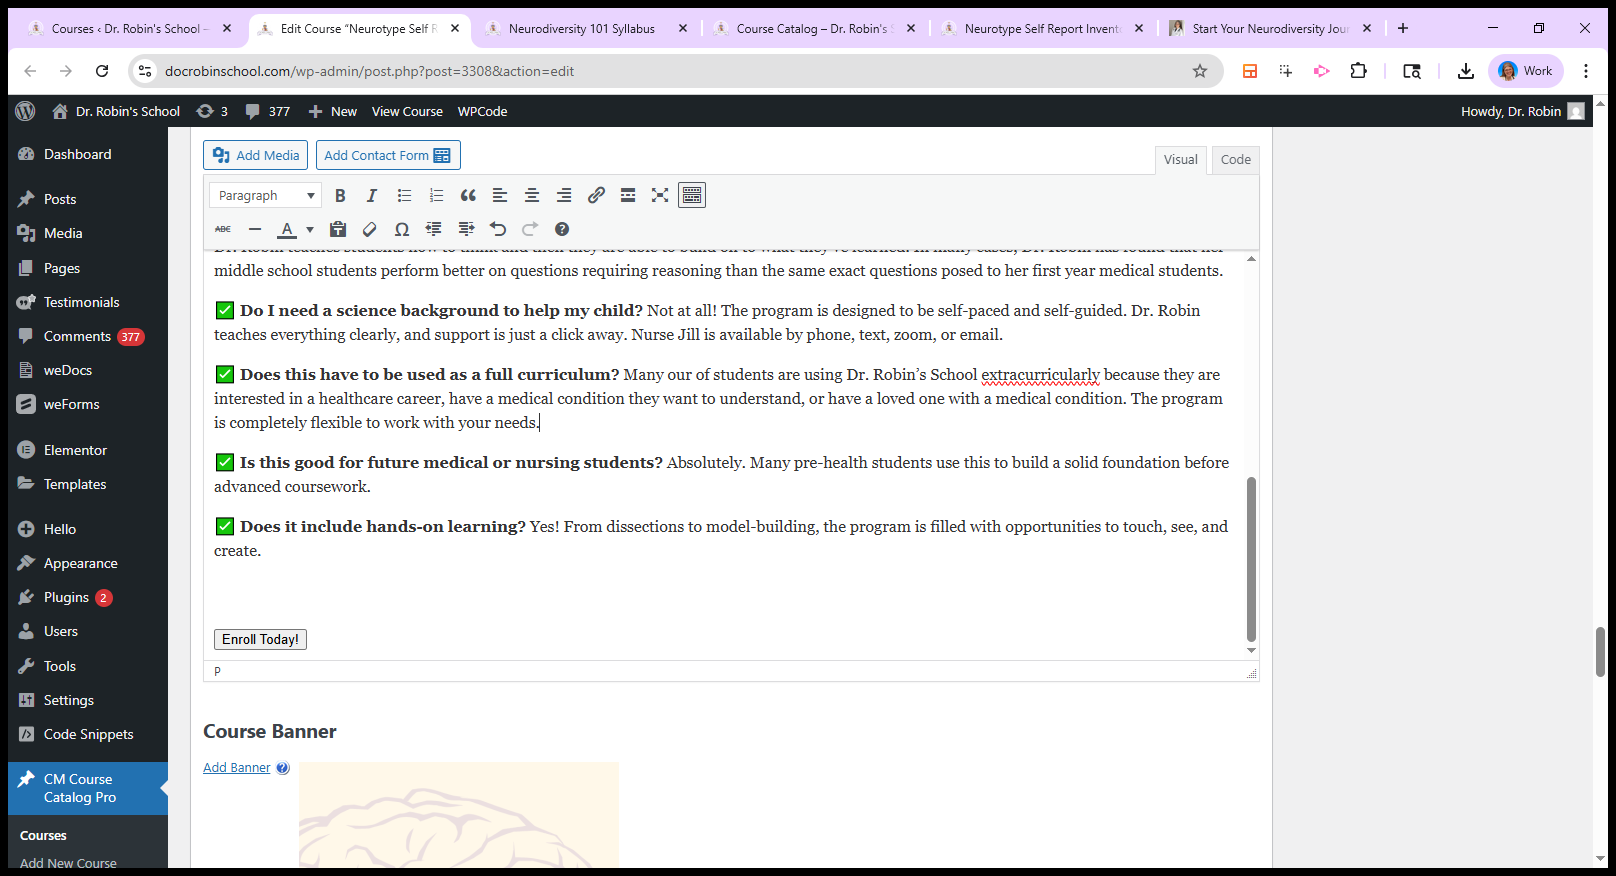
Below, you'll find additional information such as frequently asked questions and learning objectives. That's this part here.
Next, we have course pictures. Here is the picture gallery. Videos, pricing, links, and related information.
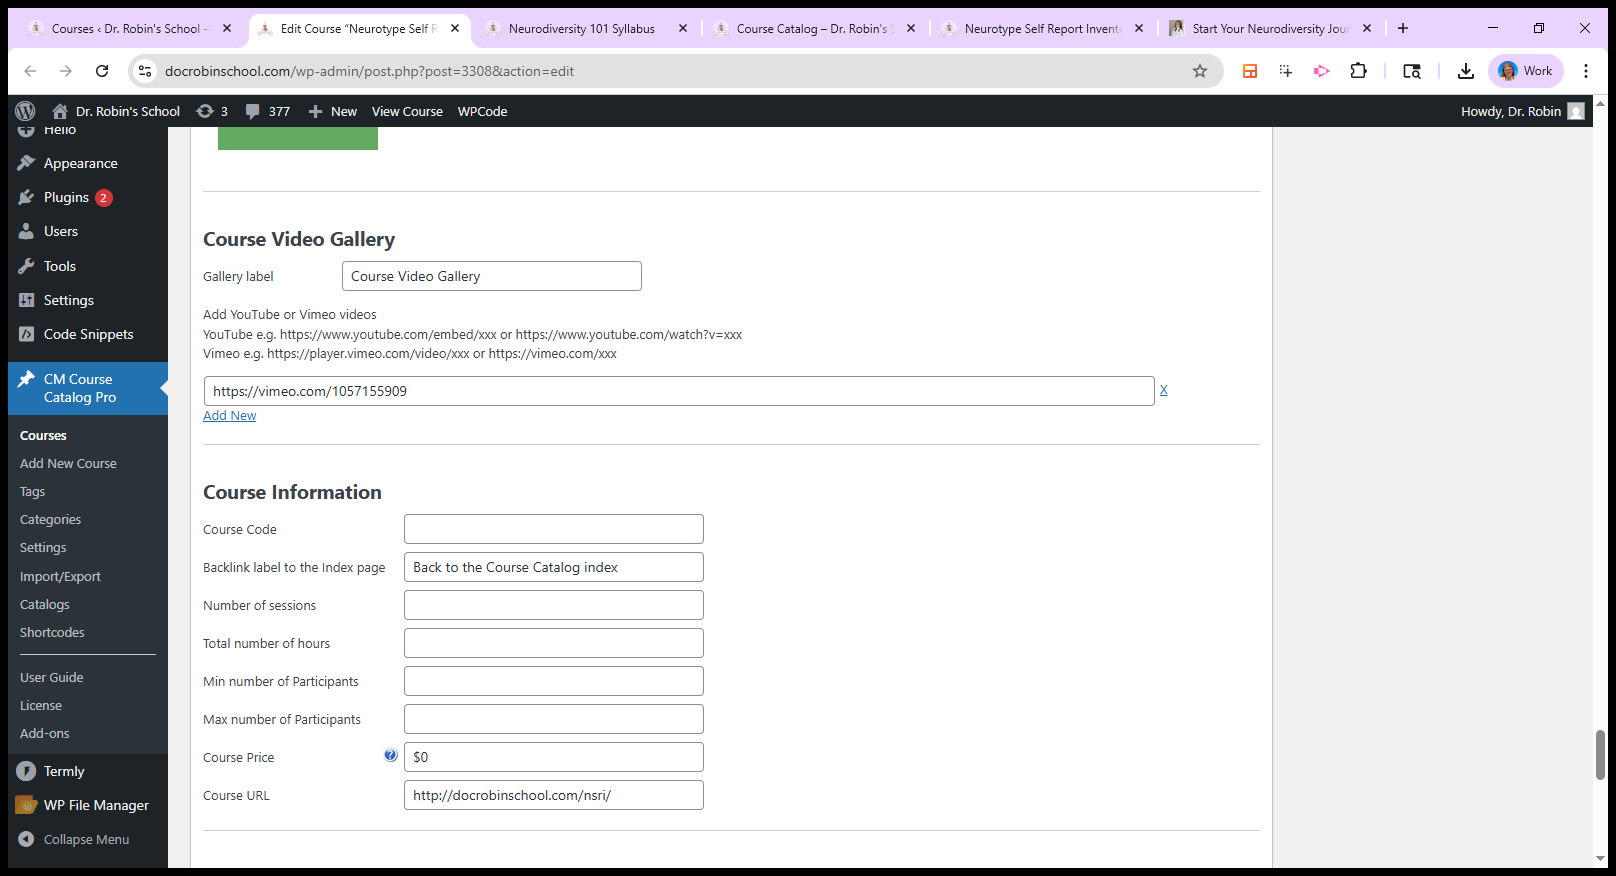
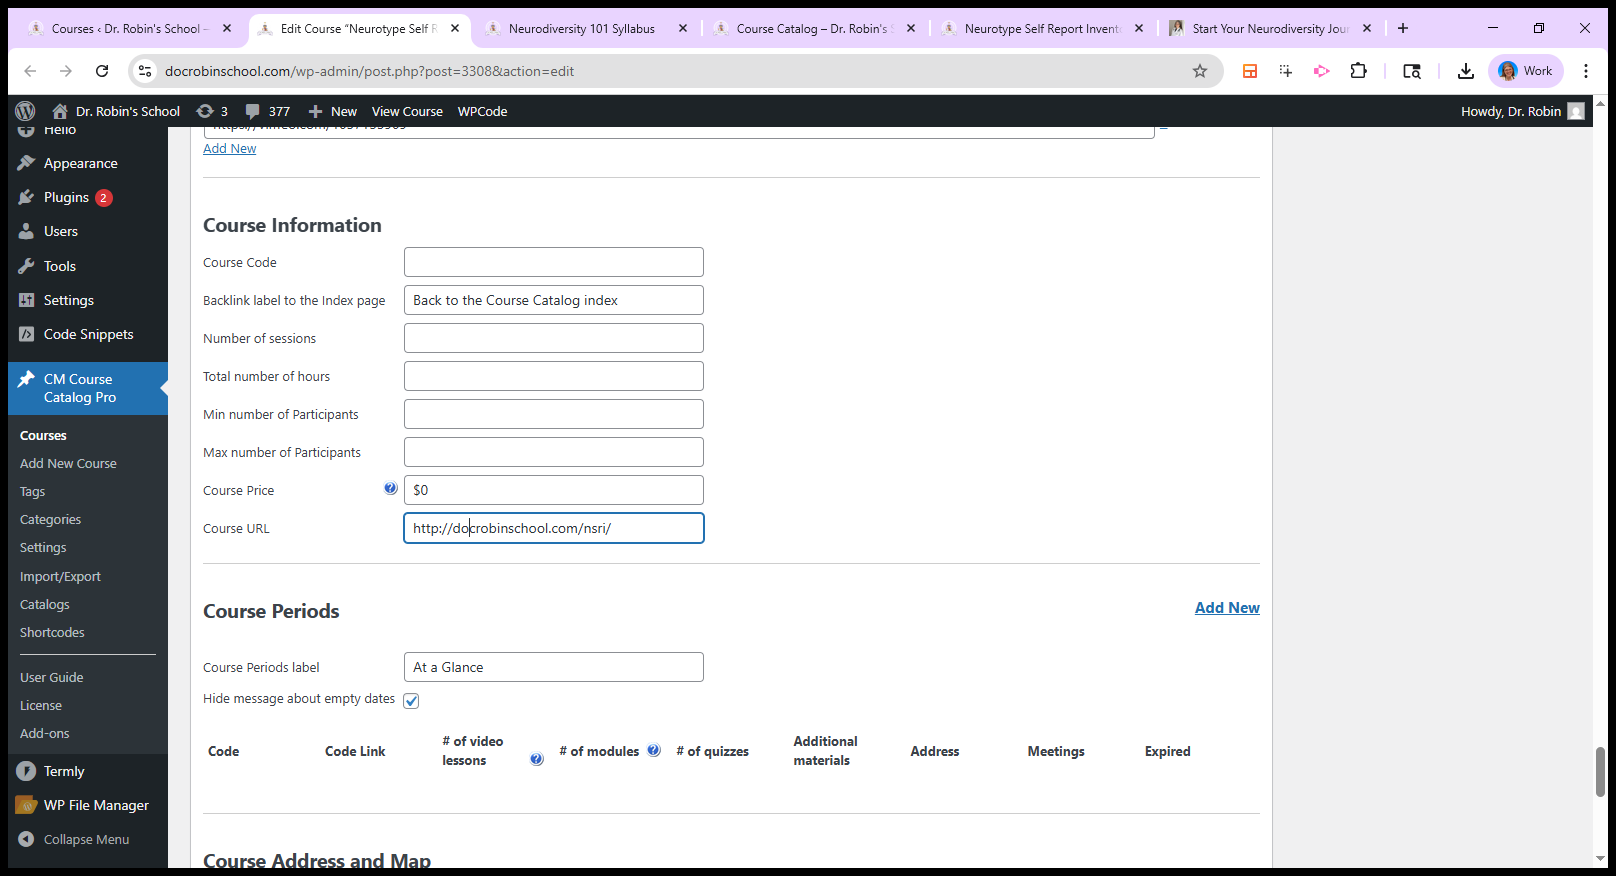

So you just put all of that in. Enter the video time and duration here. That’s it.

That will create all those pages.
The main task is to create each piece for every item in the curriculum. This is the first part of your job, which I am currently focused on. You'll see that it naturally leads into systems-related topics. I will make a second video to show you more.