How to Create and Apply Targeting Bundle Lists

Learn how to create a new bundle list, define targeting rules, and apply them to demand channels before publishing changes.

By Jenya Glomb

This guide explains how to create a custom bundle list and apply it as a targeting rule to a demand channel. Completing this workflow ensures your demand partners only receive traffic from the specific applications you define.

This workflow is intended for ad operations and programmatic campaign managers. Use it when setting up new demand integrations or refining existing traffic filters to include or exclude specific application IDs.

Create a Bundle List
1
Click Integrations in the left sidebar menu.
Step #1: Click Integrations in the left sidebar menu.
2
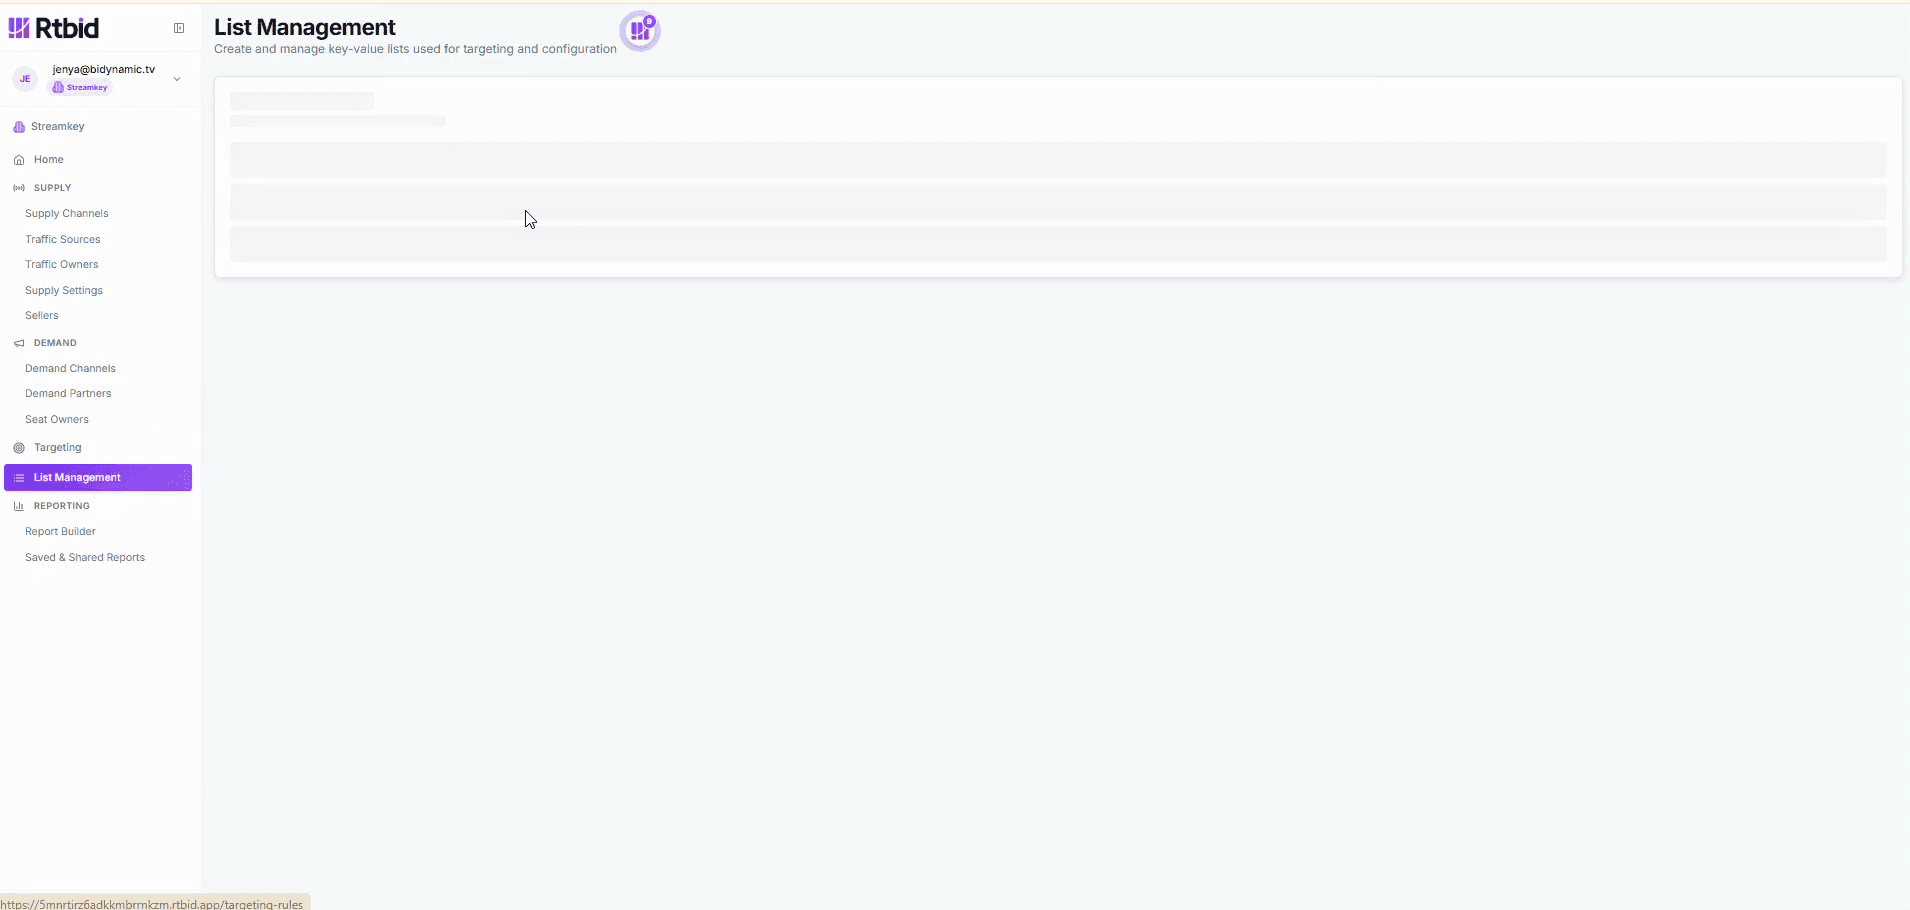
Click List Management to access your configured lists.
Step #2: Click List Management to access your configured lists.
3
Click the New List button to open the list creation modal.
Step #3: Click the New List button to open the list creation modal.
4
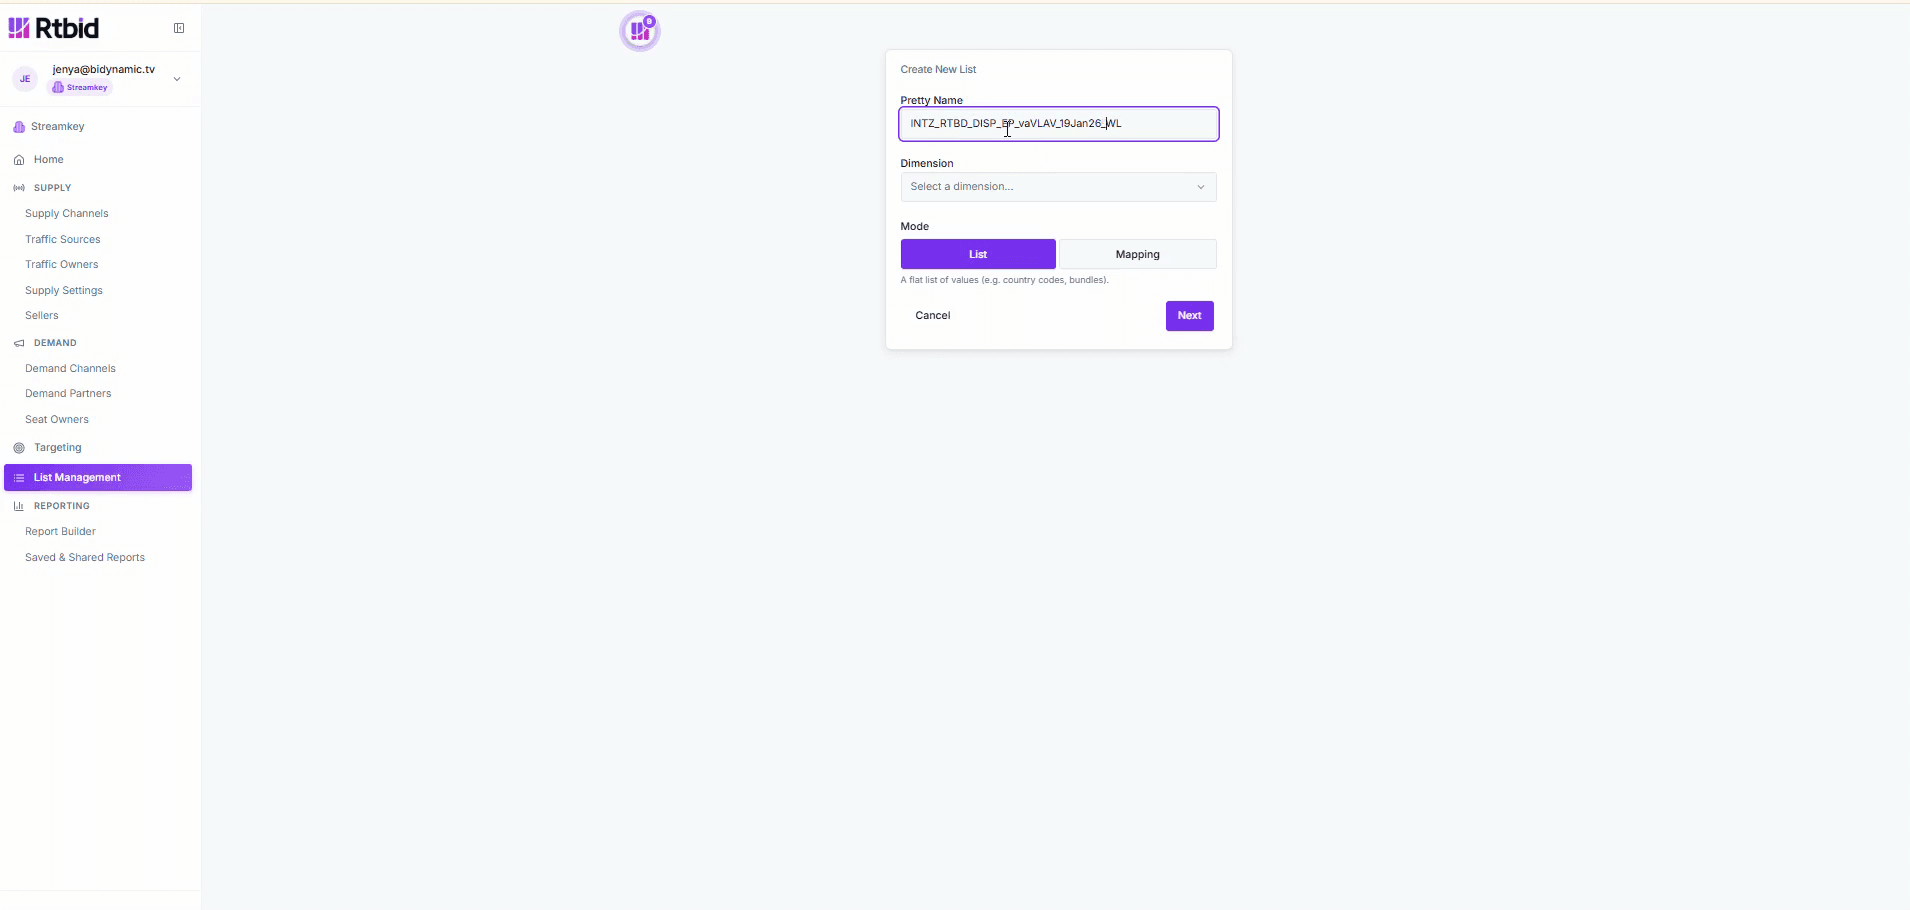
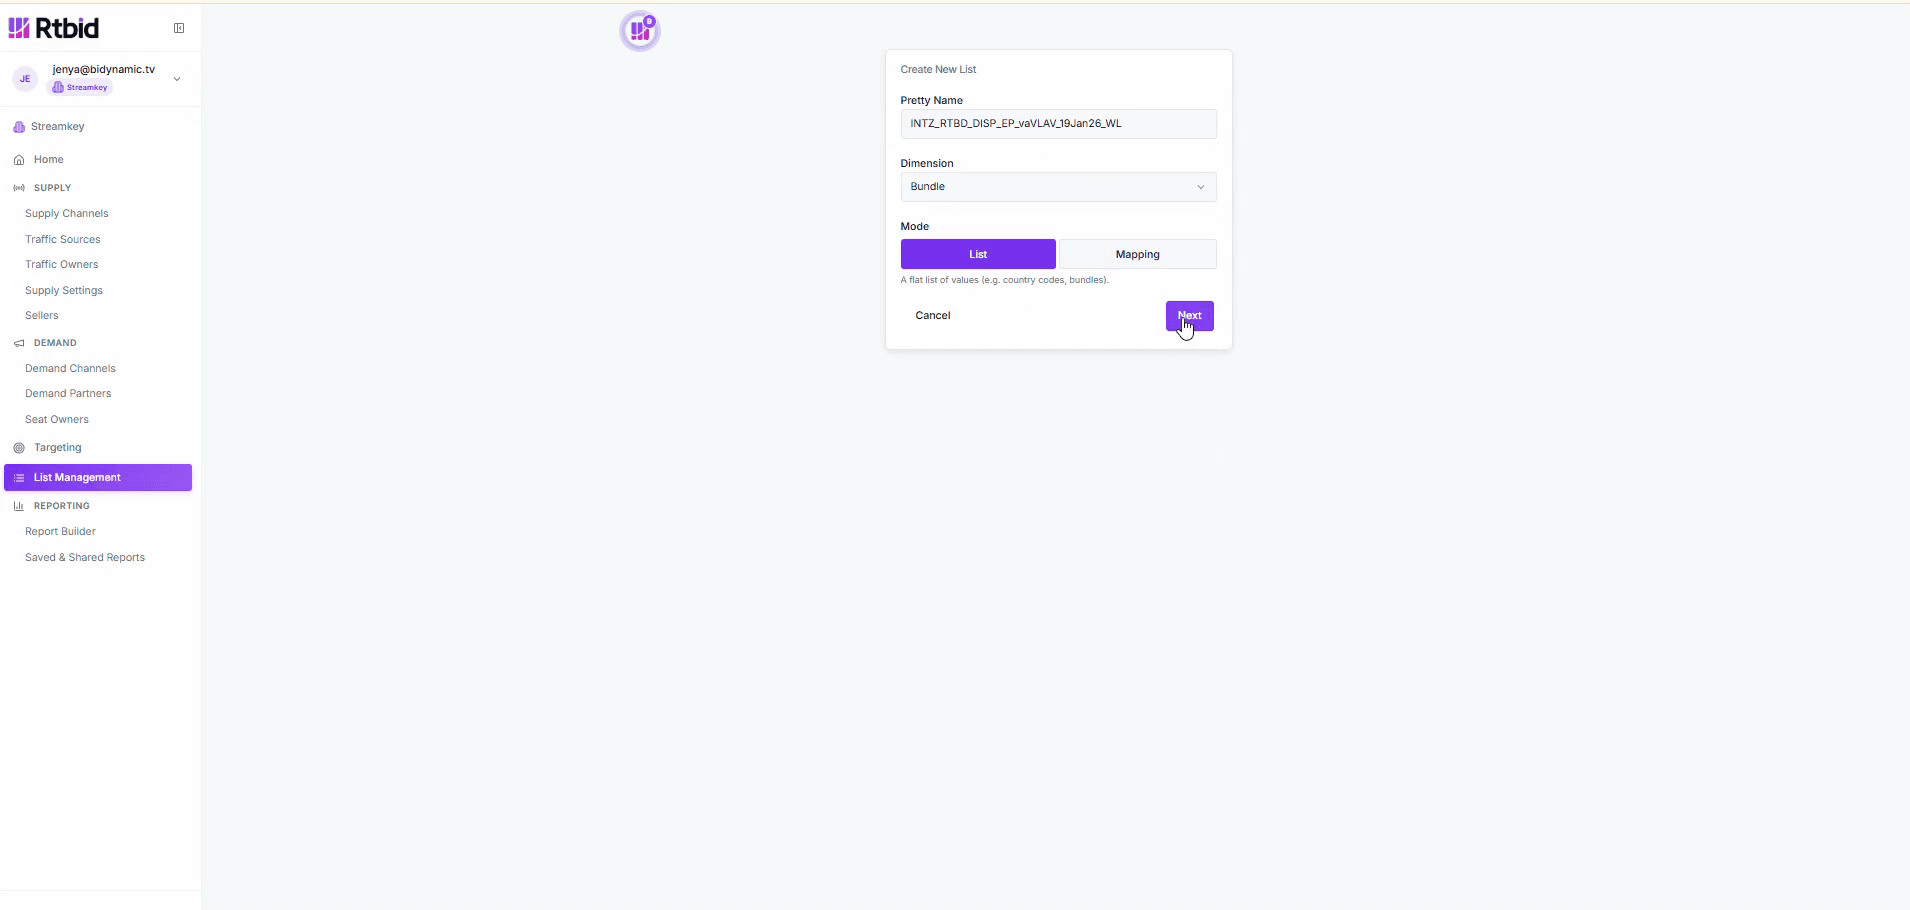
Enter a unique identifier in the Pretty Name field.
5
Click the Dimension dropdown menu.
Step #5: Click the Dimension dropdown menu.
6
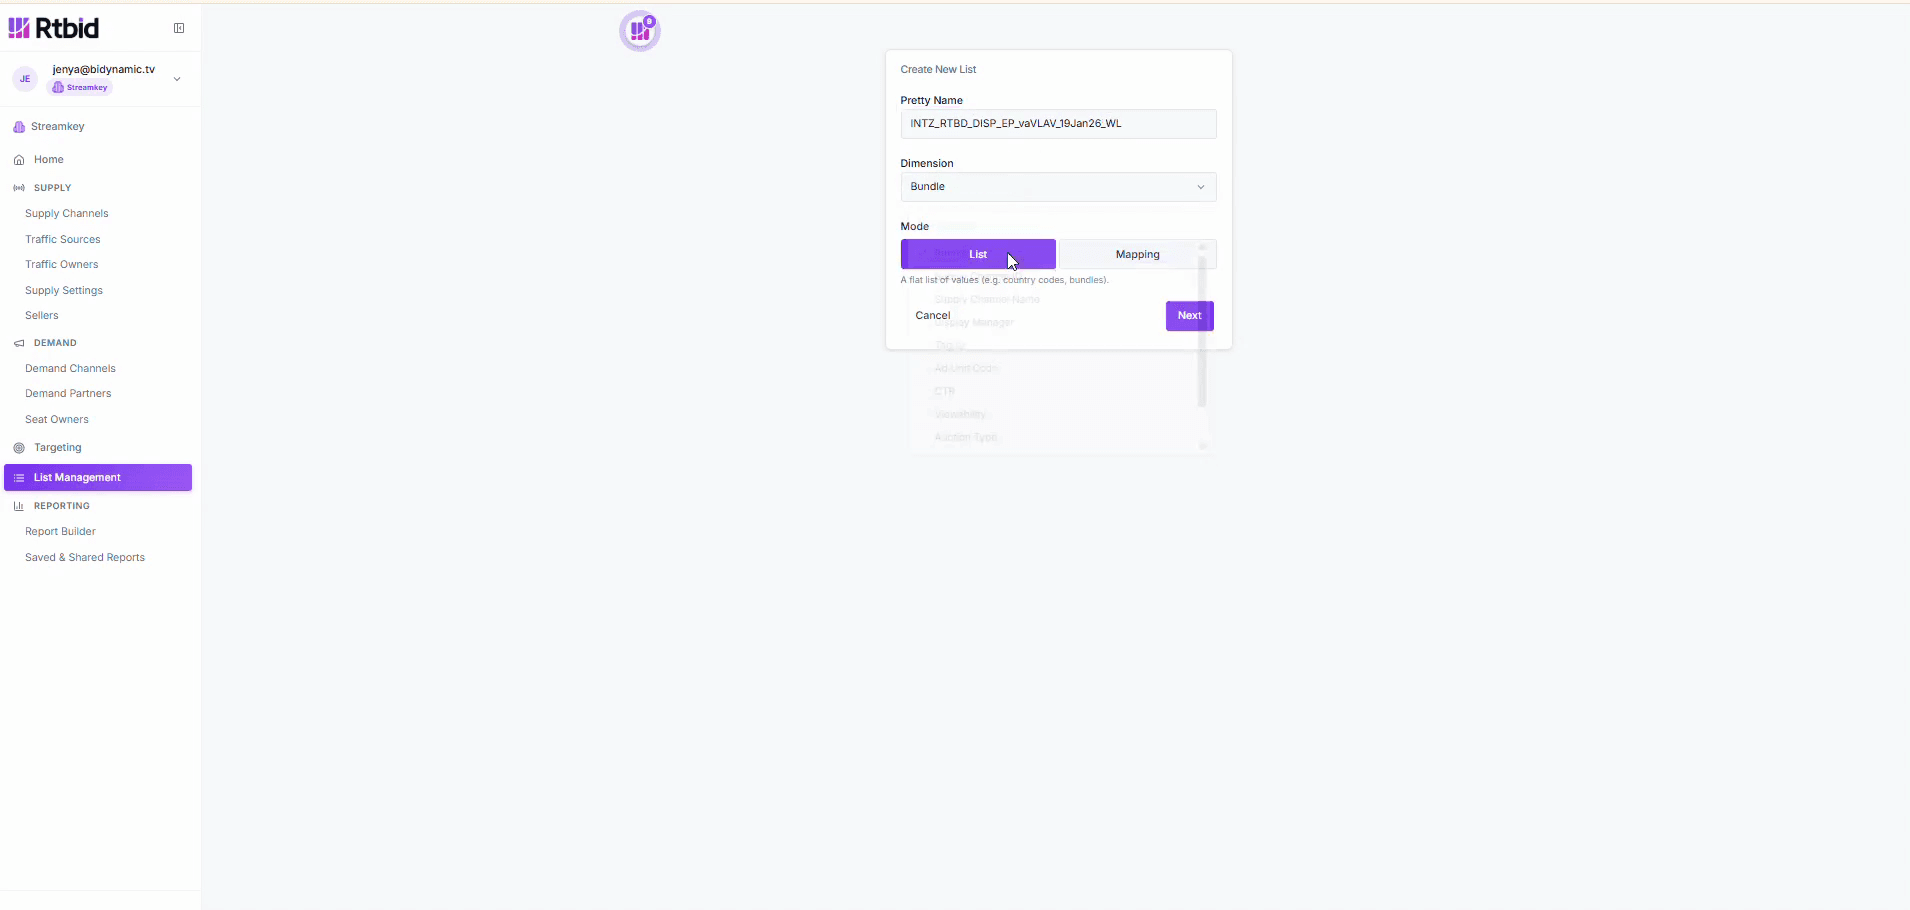
Select Bundle to set the dimension type for this list.
Step #6: Select Bundle to set the dimension type for this list.
7
Click Next to proceed to the values section.
Step #7: Click Next to proceed to the values section.
8
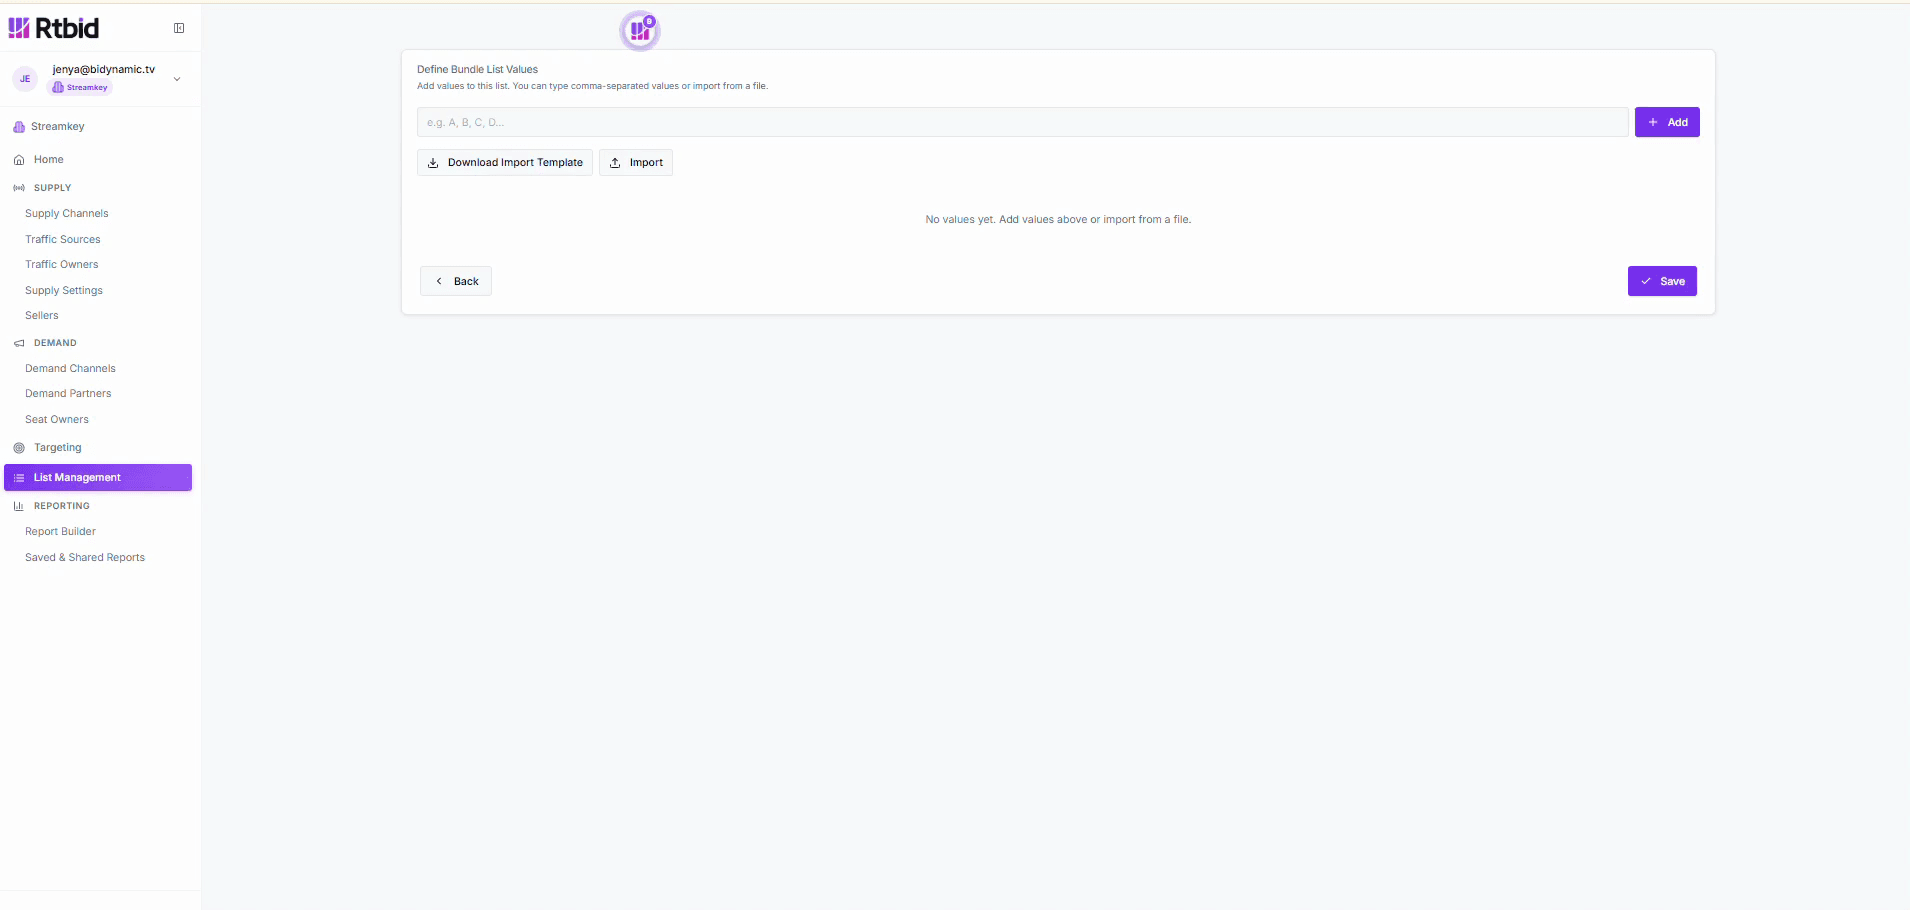
Click the Enter values field.
Step #8: Click the Enter values field.
9
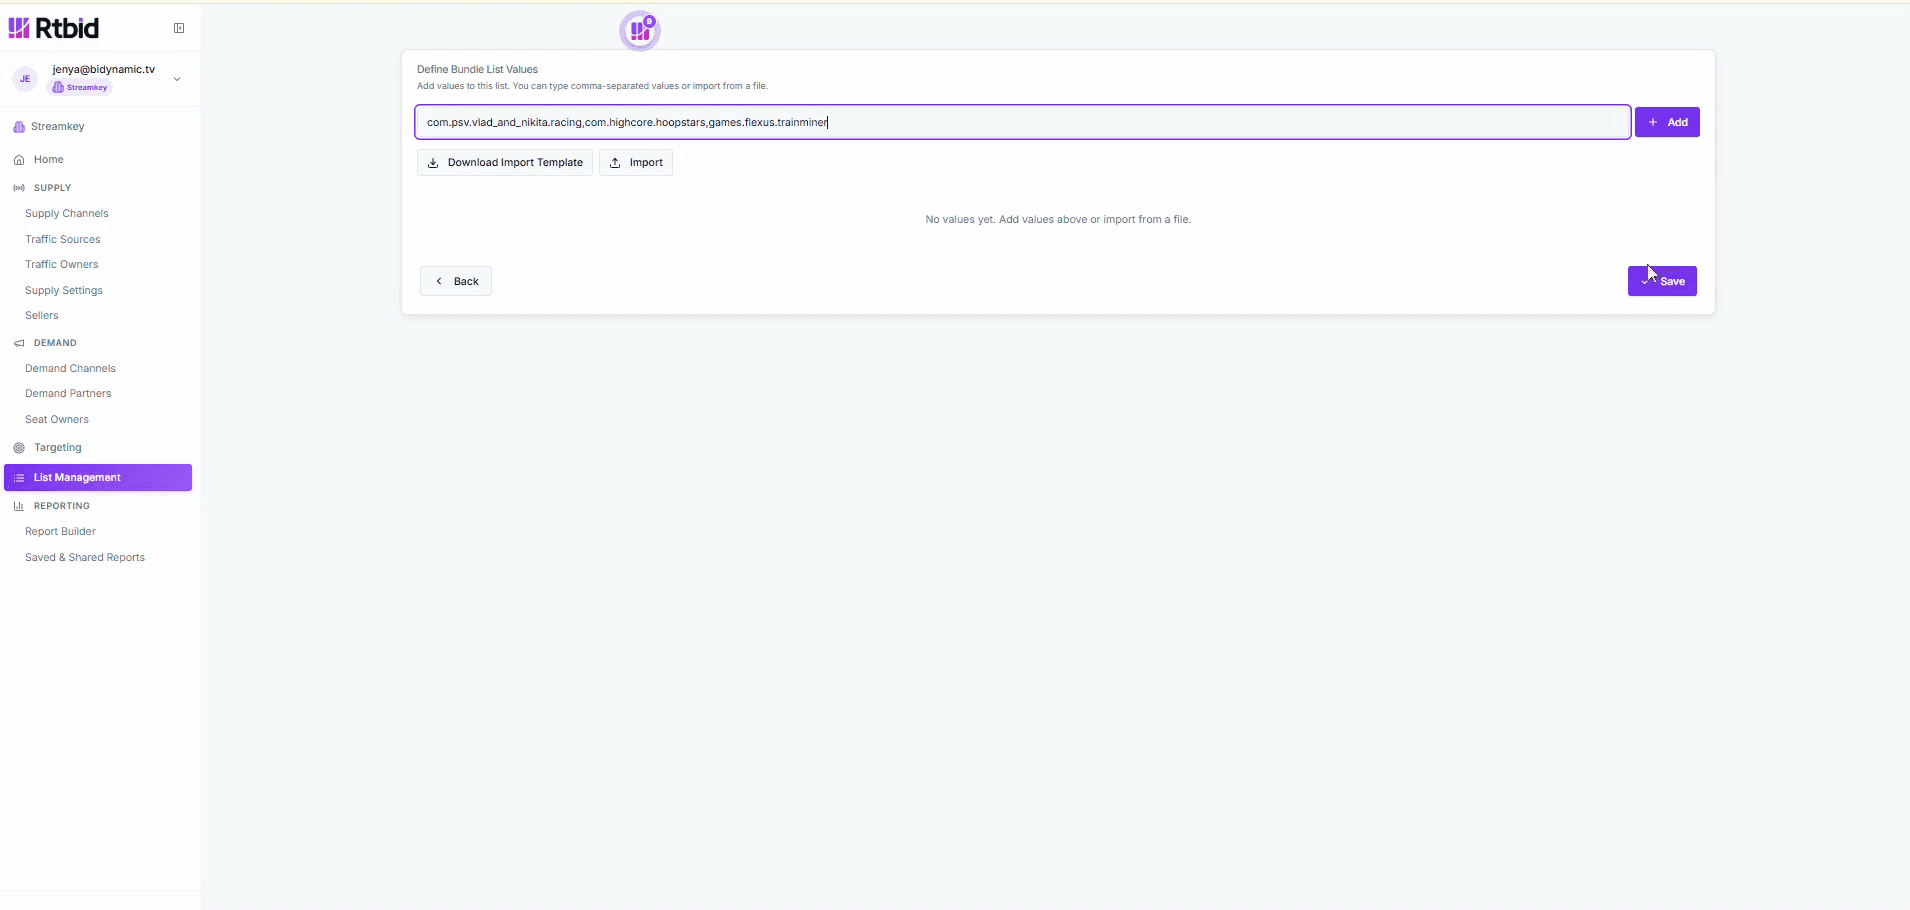
Type your comma-separated bundle IDs (e.g., com.play.vlad_and_niki,racing.com.highlane.hospital) into the input field.
10
Click Save to confirm and store your new list.
Step #10: Click Save to confirm and store your new list.

Create and Apply a Targeting Rule
11
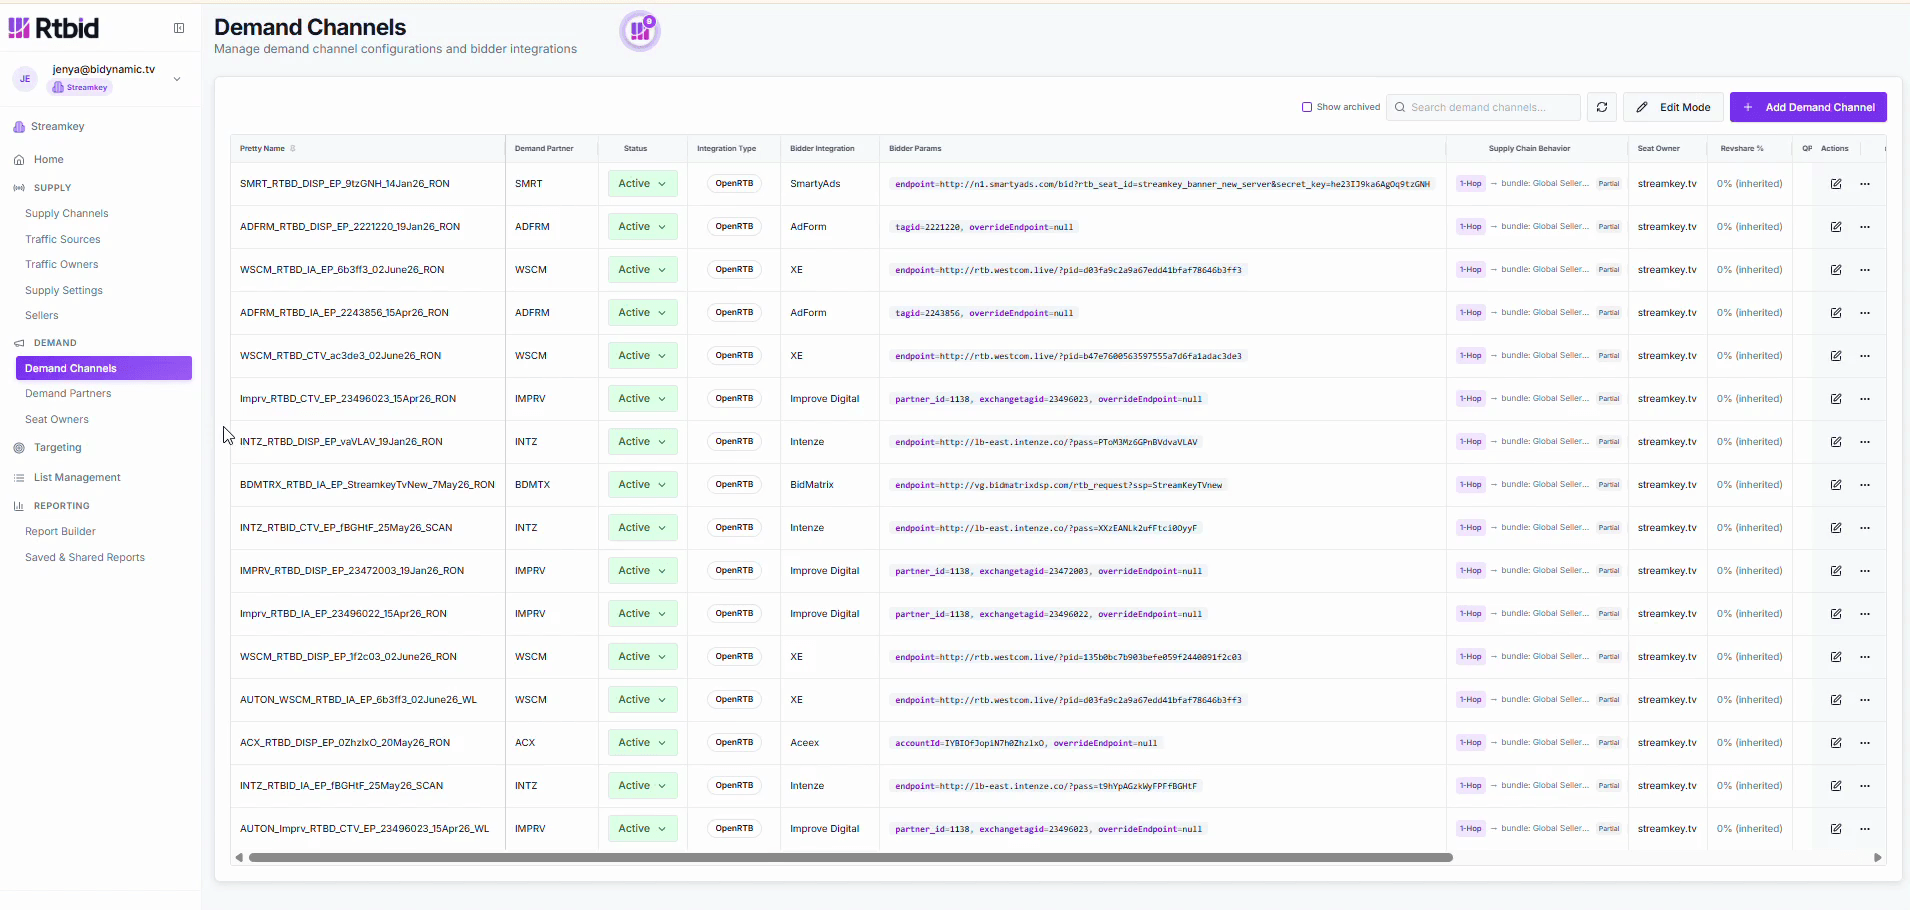
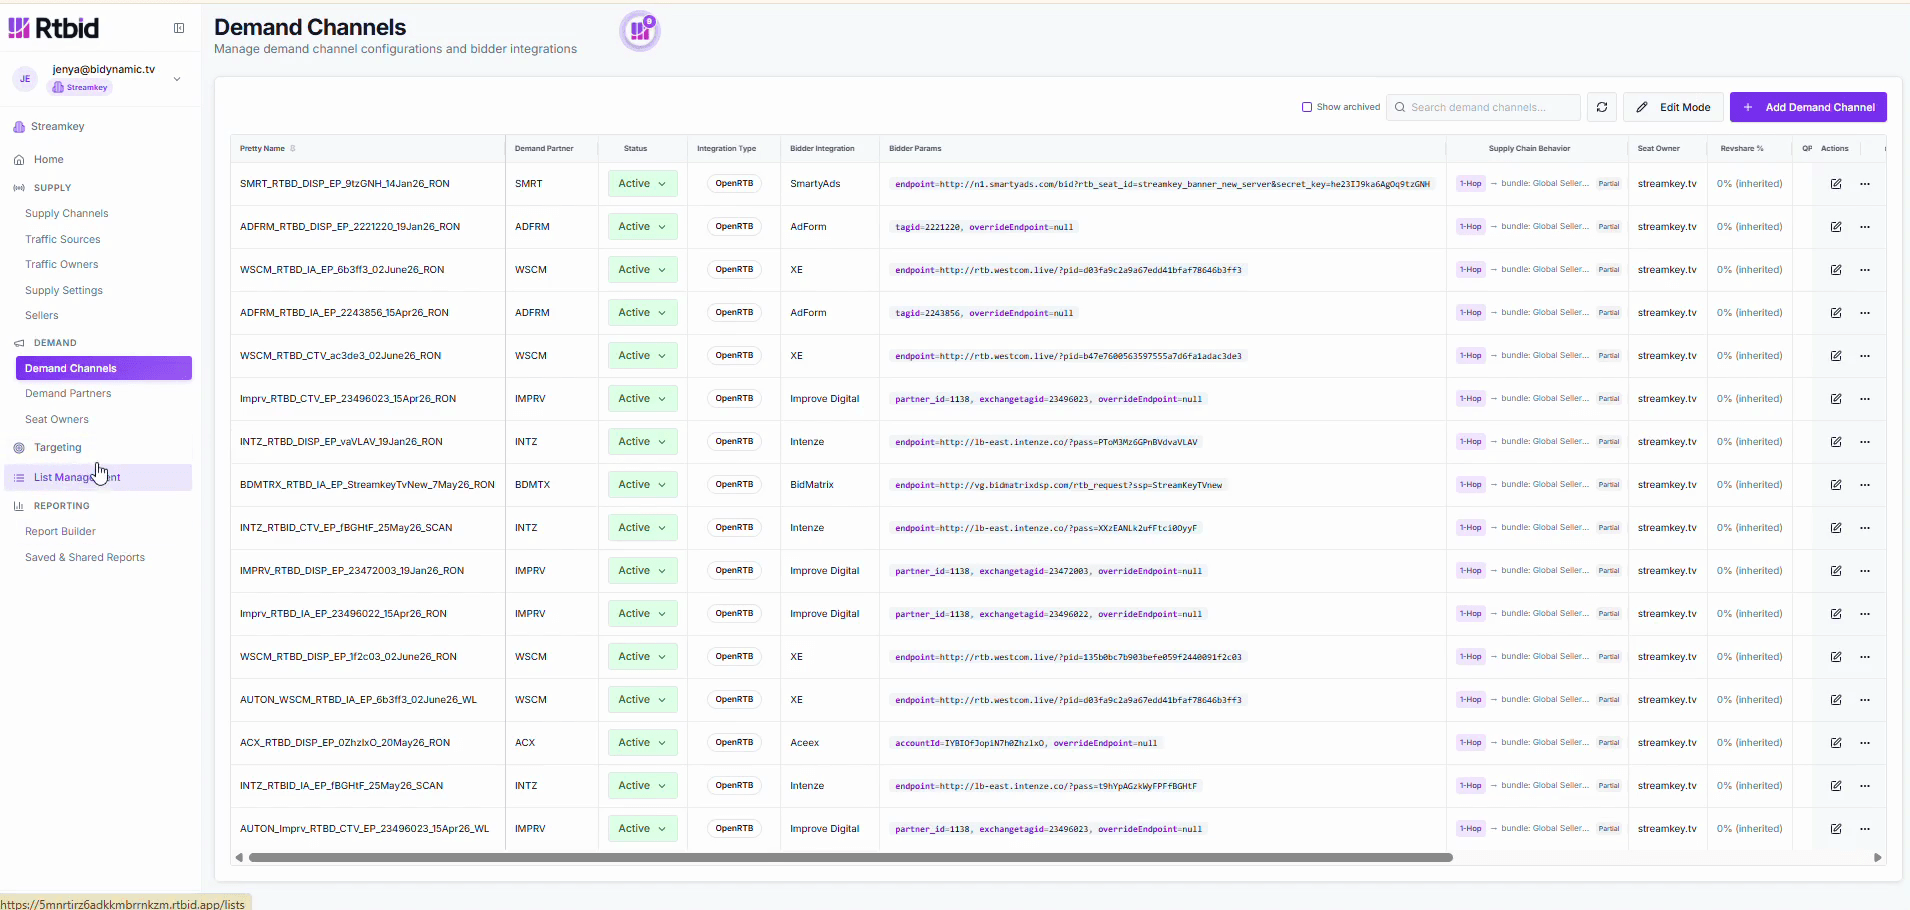
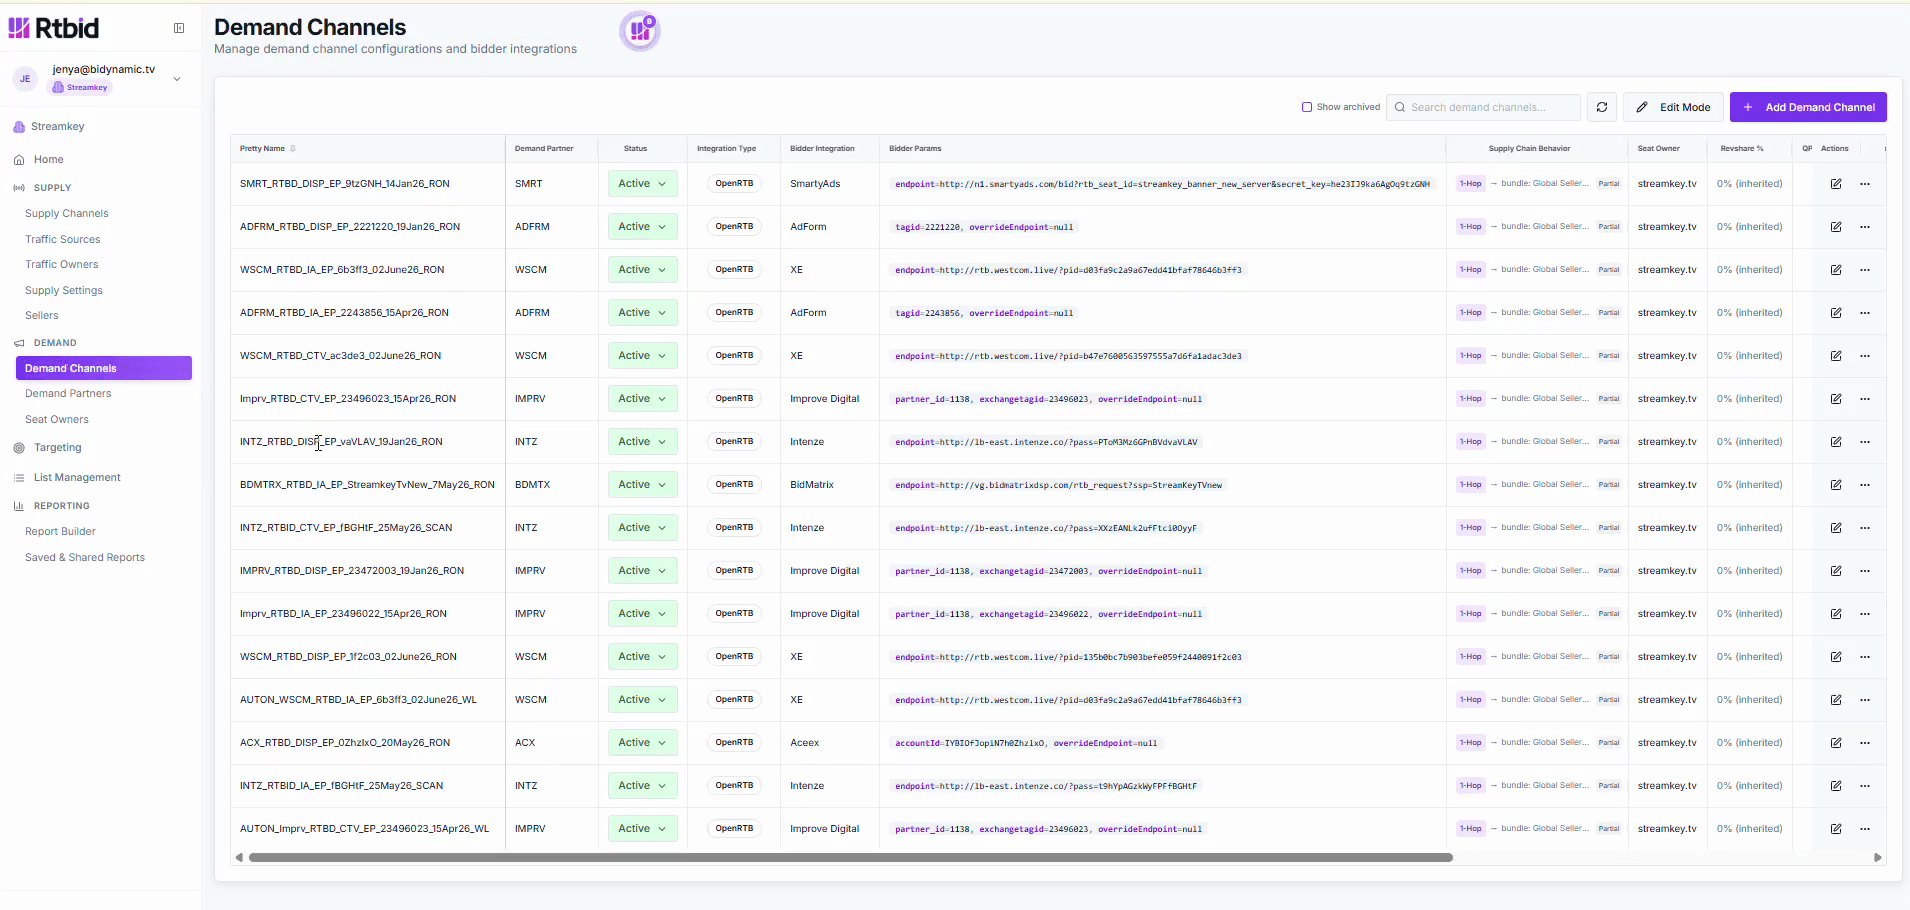
Click Demand Channels from the navigation menu.
Step #11: Click Demand Channels from the navigation menu.
12
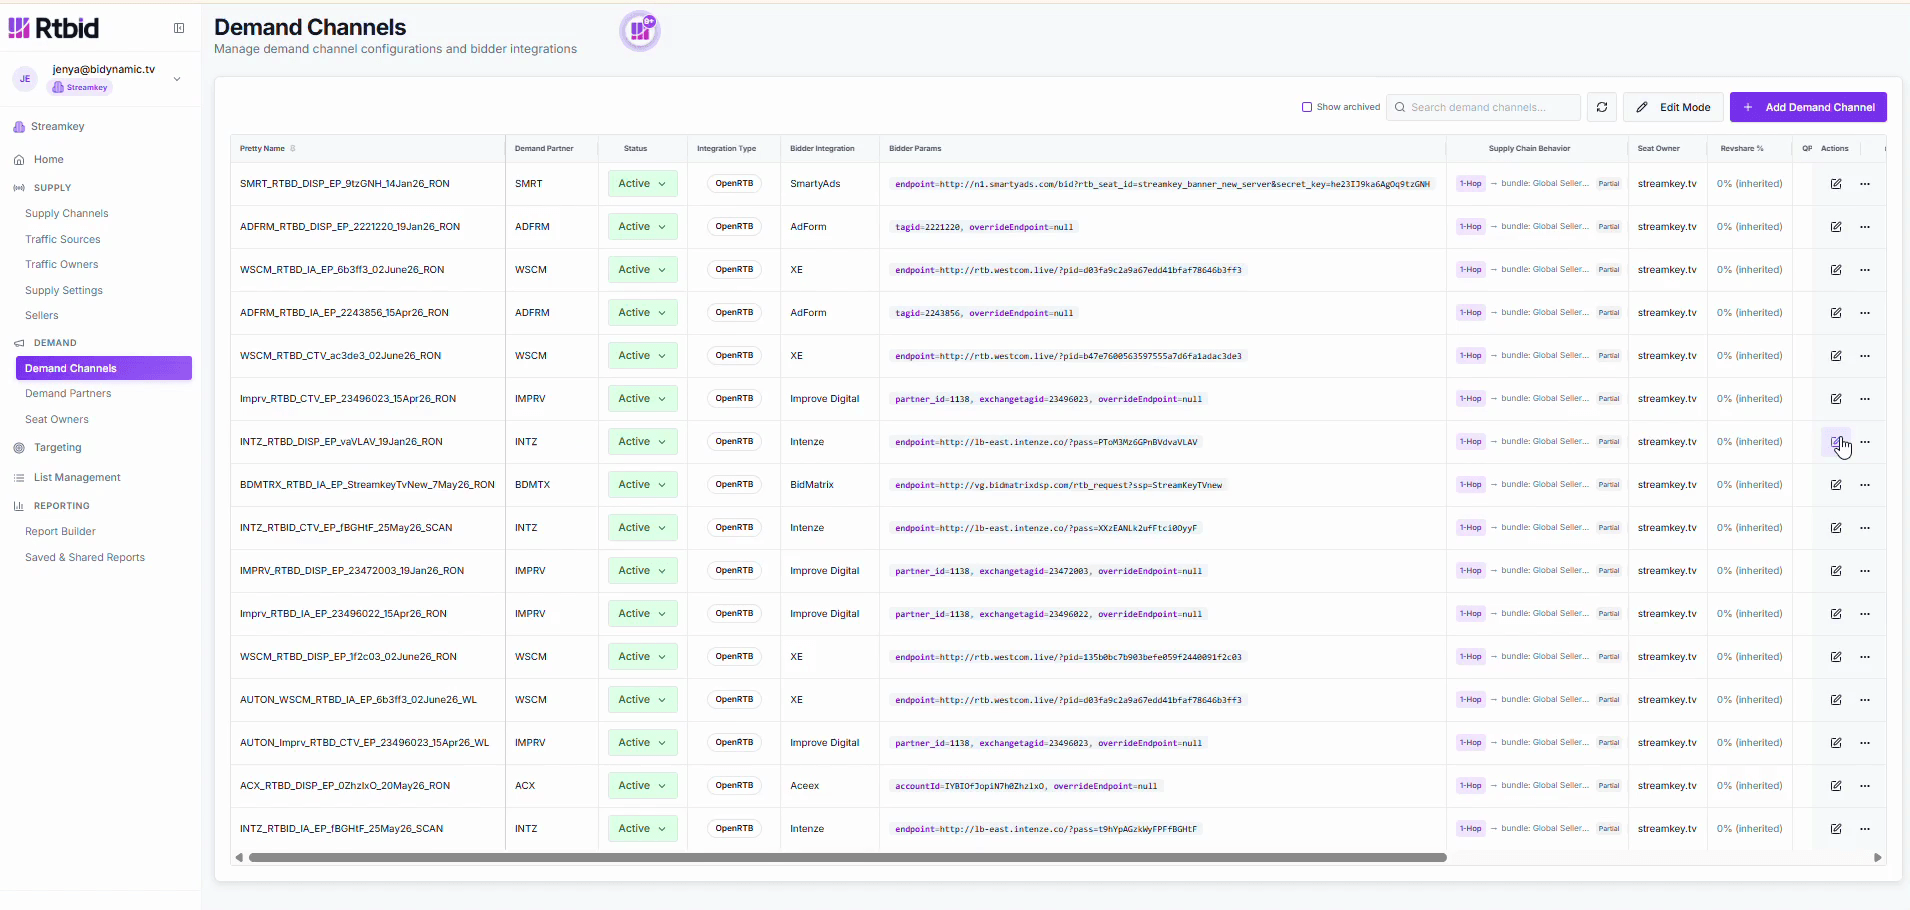
Locate the desired demand channel and click the Edit icon (pencil) in the far-right Actions column.
Step #12: Locate the desired demand channel and click the Edit icon (pencil) in the far-right Actions column.
13
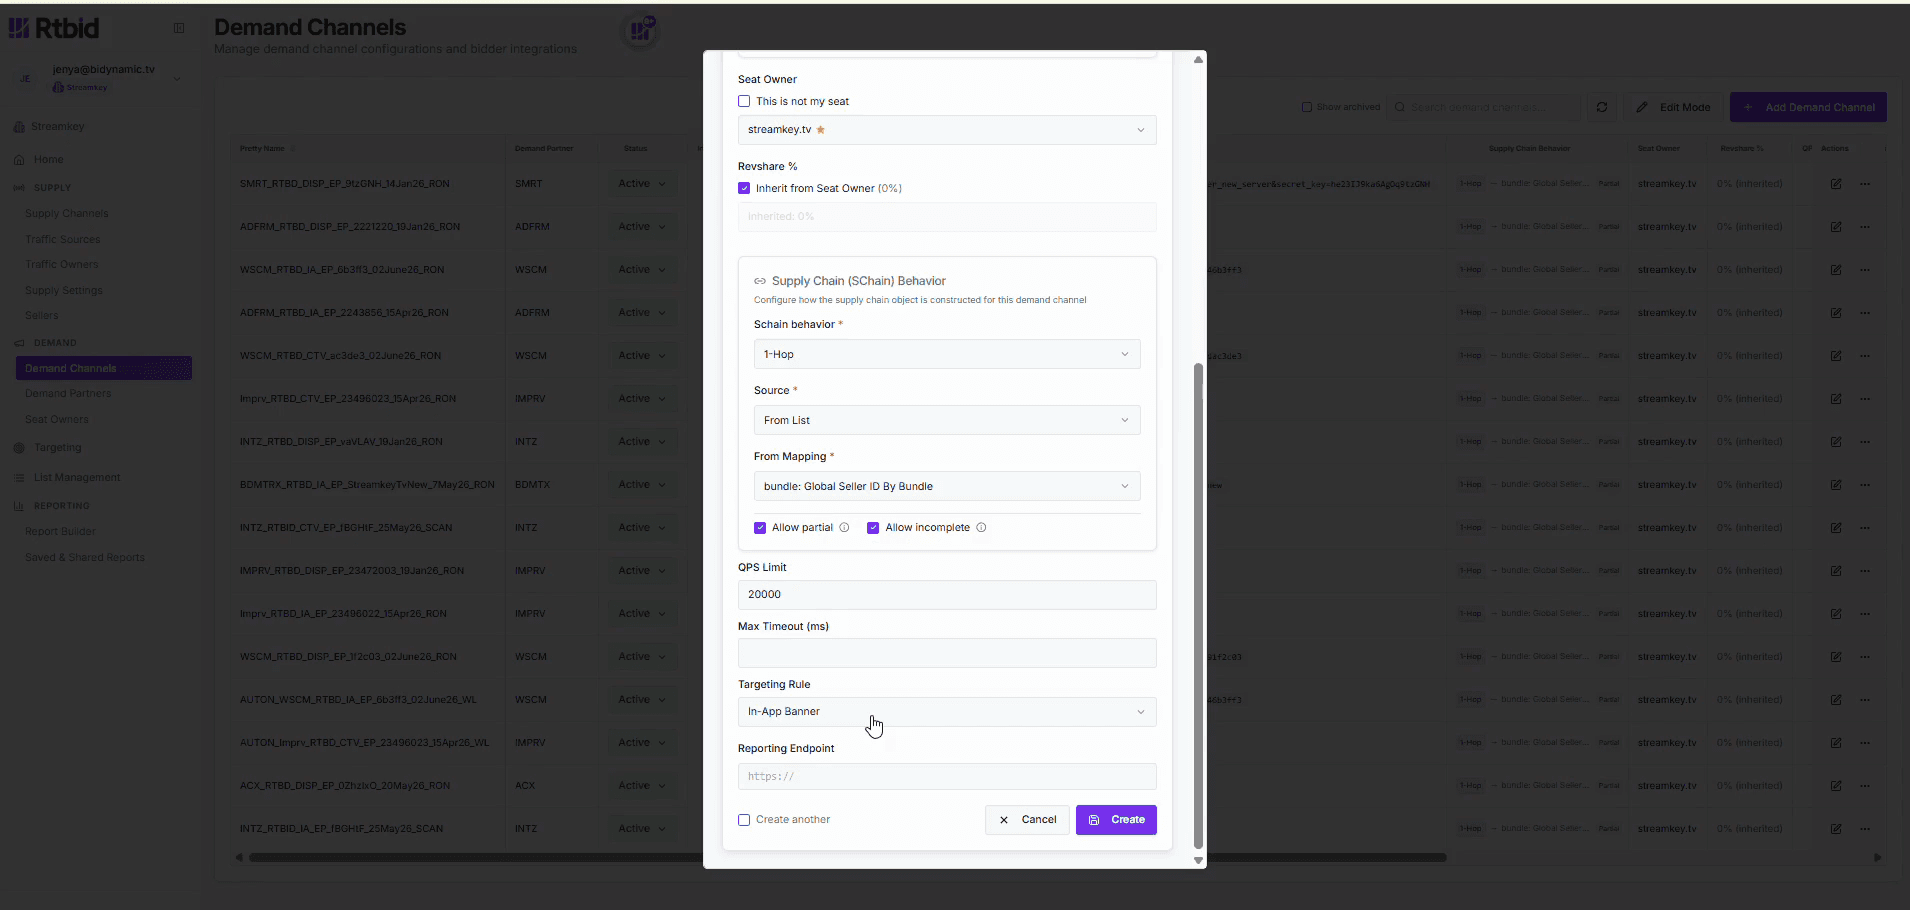
Click the Targeting Rule dropdown menu inside the configuration modal.
Step #13: Click the Targeting Rule dropdown menu inside the configuration modal.
14
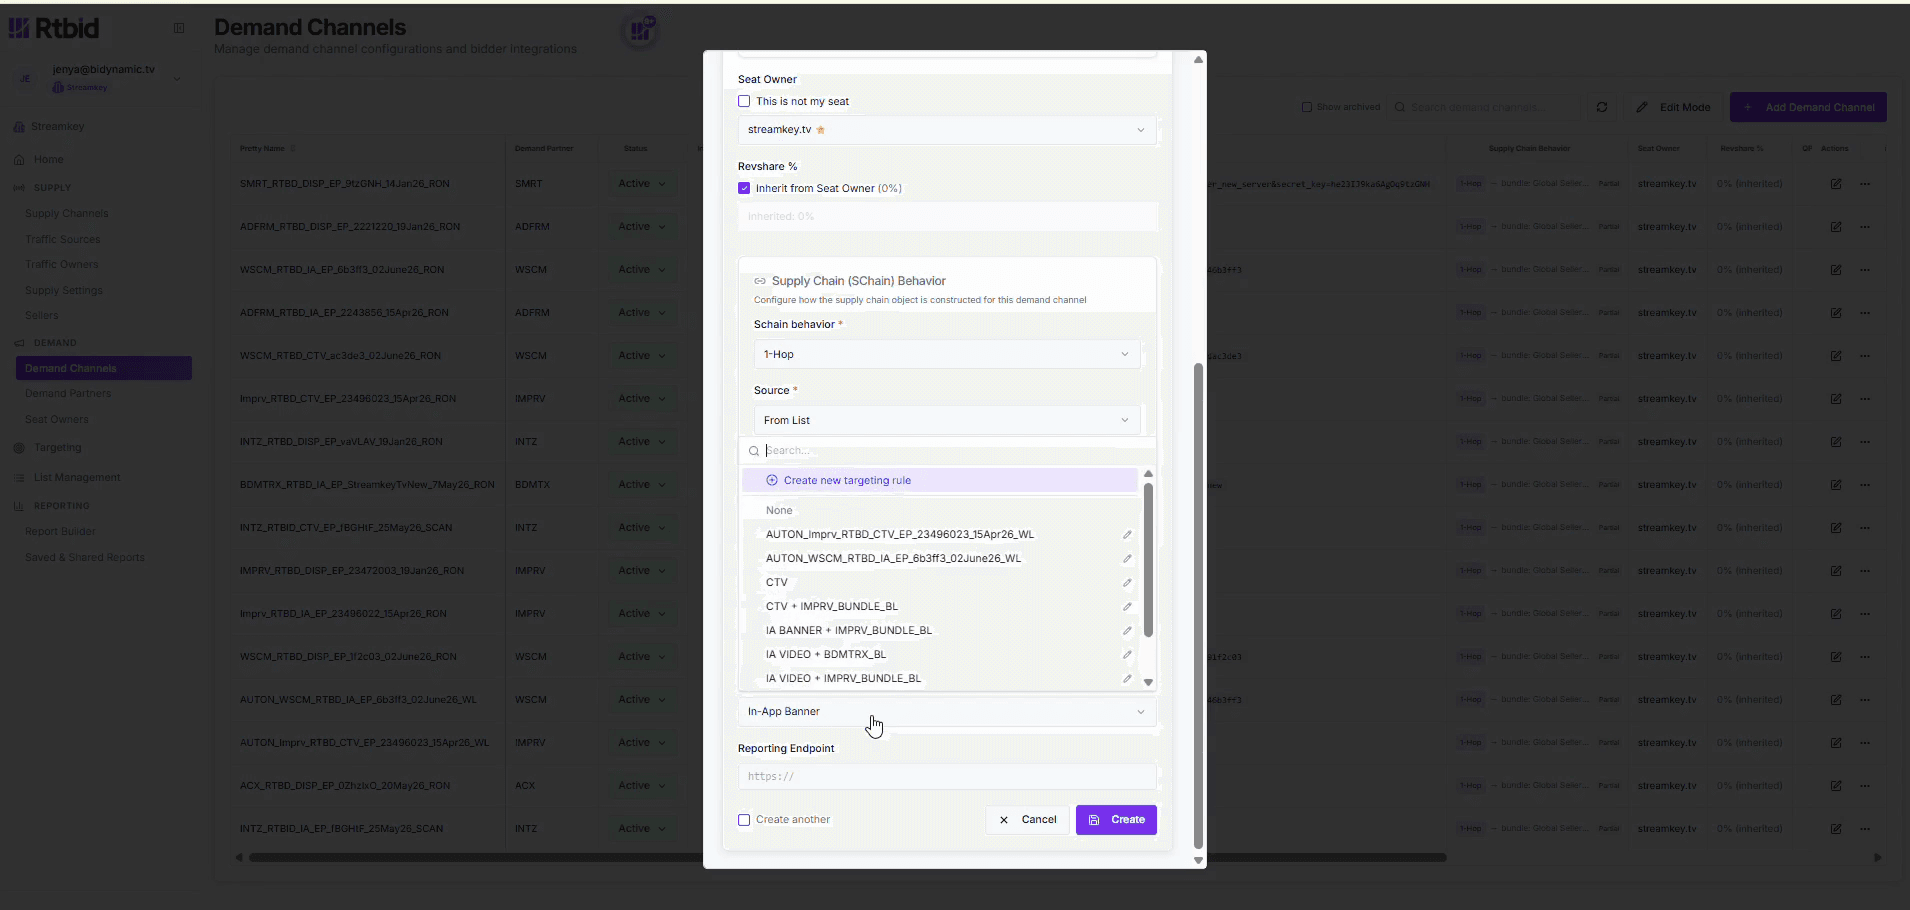
Select Create new targeting rule.
Step #14: Select Create new targeting rule.
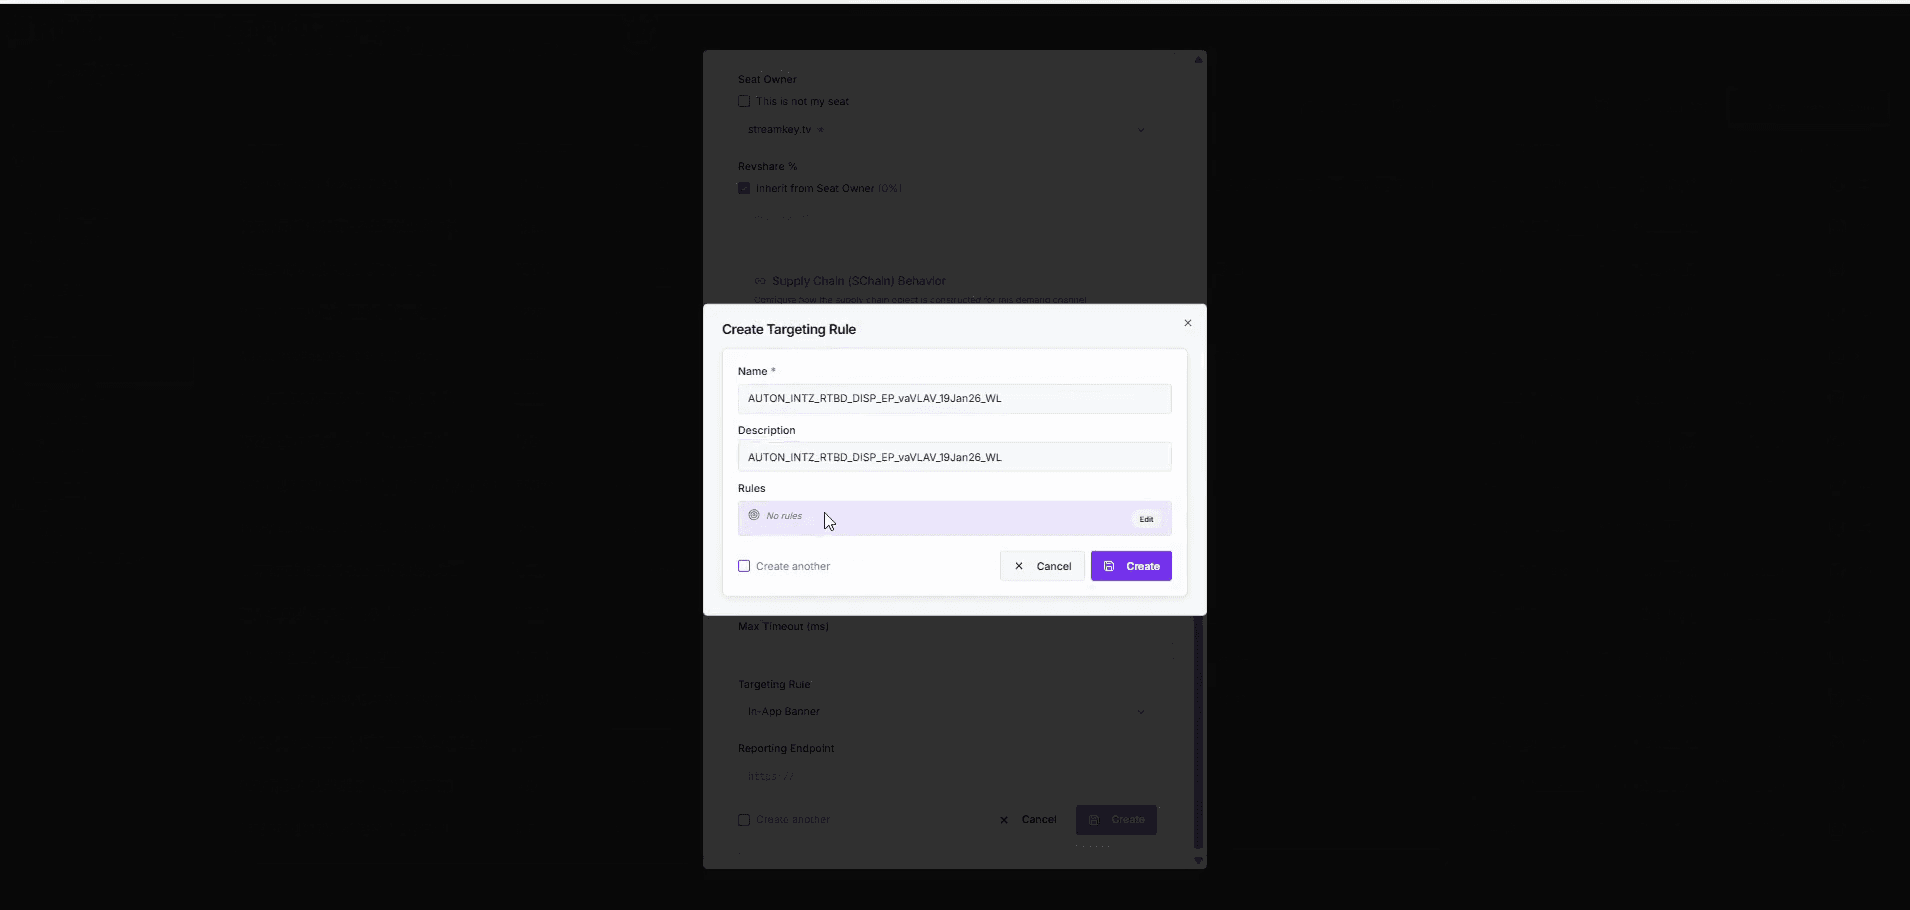
15
Type a name for the new rule in the Name field.
16
Enter an optional description in the Description field.
17
Click Edit under the Rules section to define the condition.
Step #17: Click Edit under the Rules section to define the condition.
18
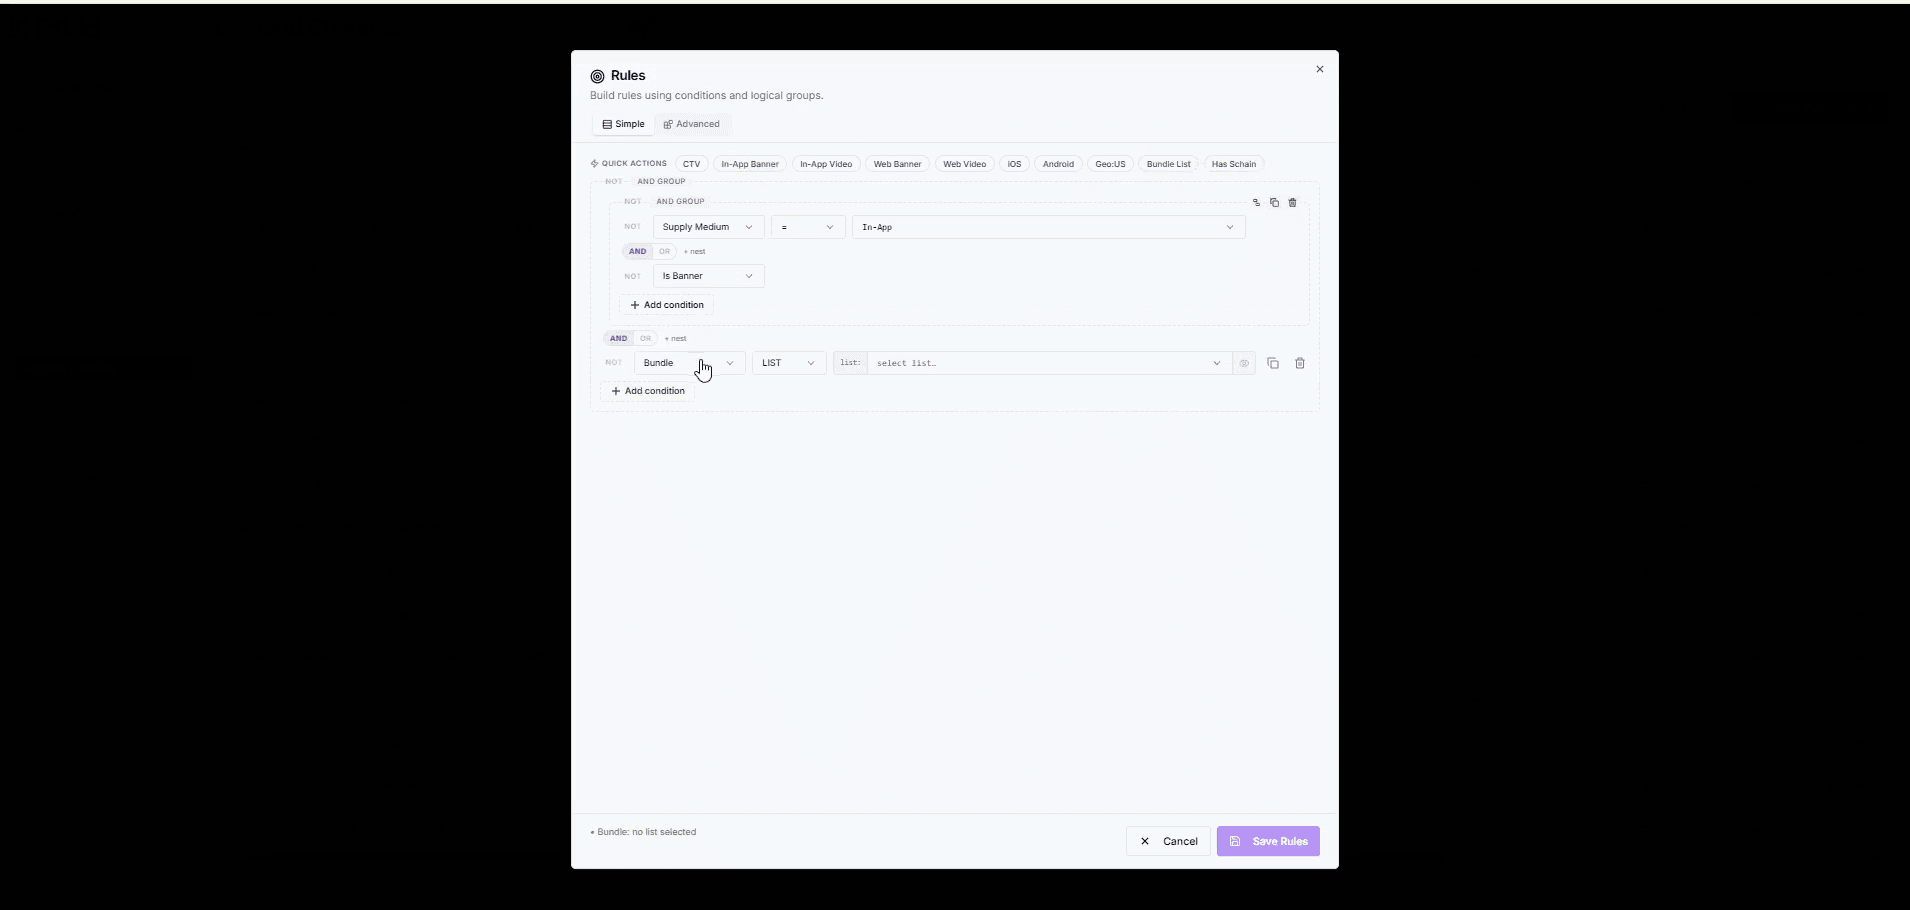
Select Bundle from the rule type dropdown.
Step #18: Select Bundle from the rule type dropdown.
19
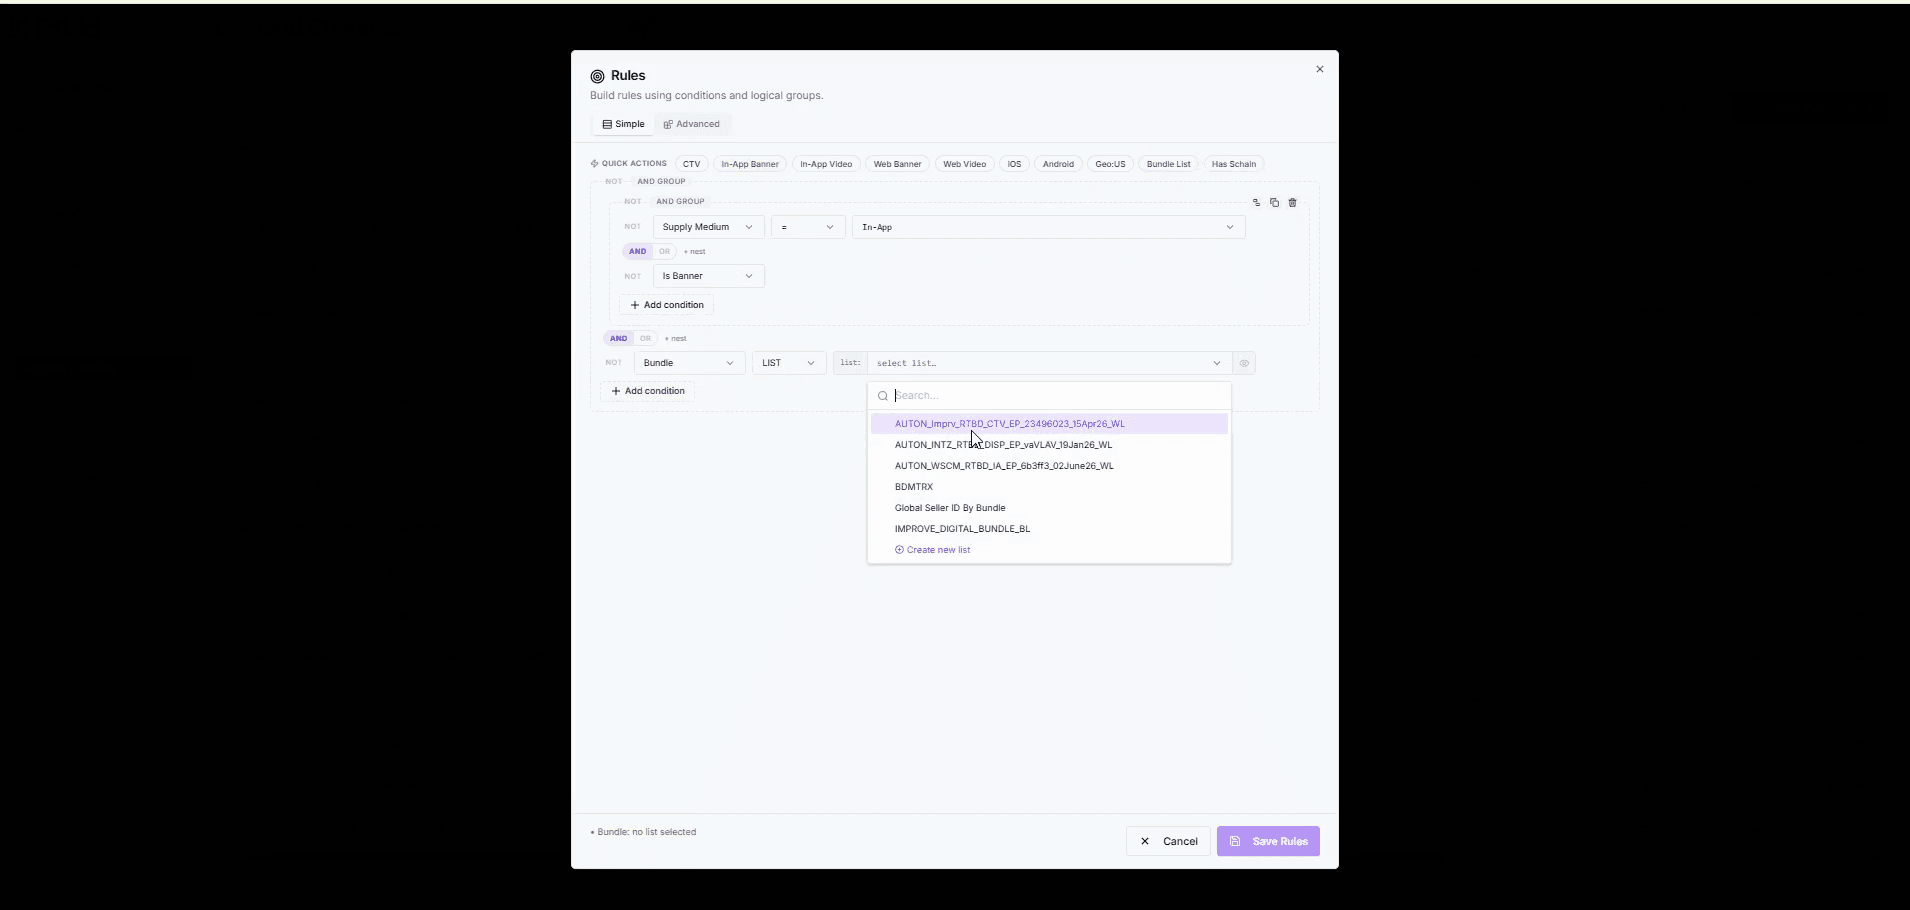
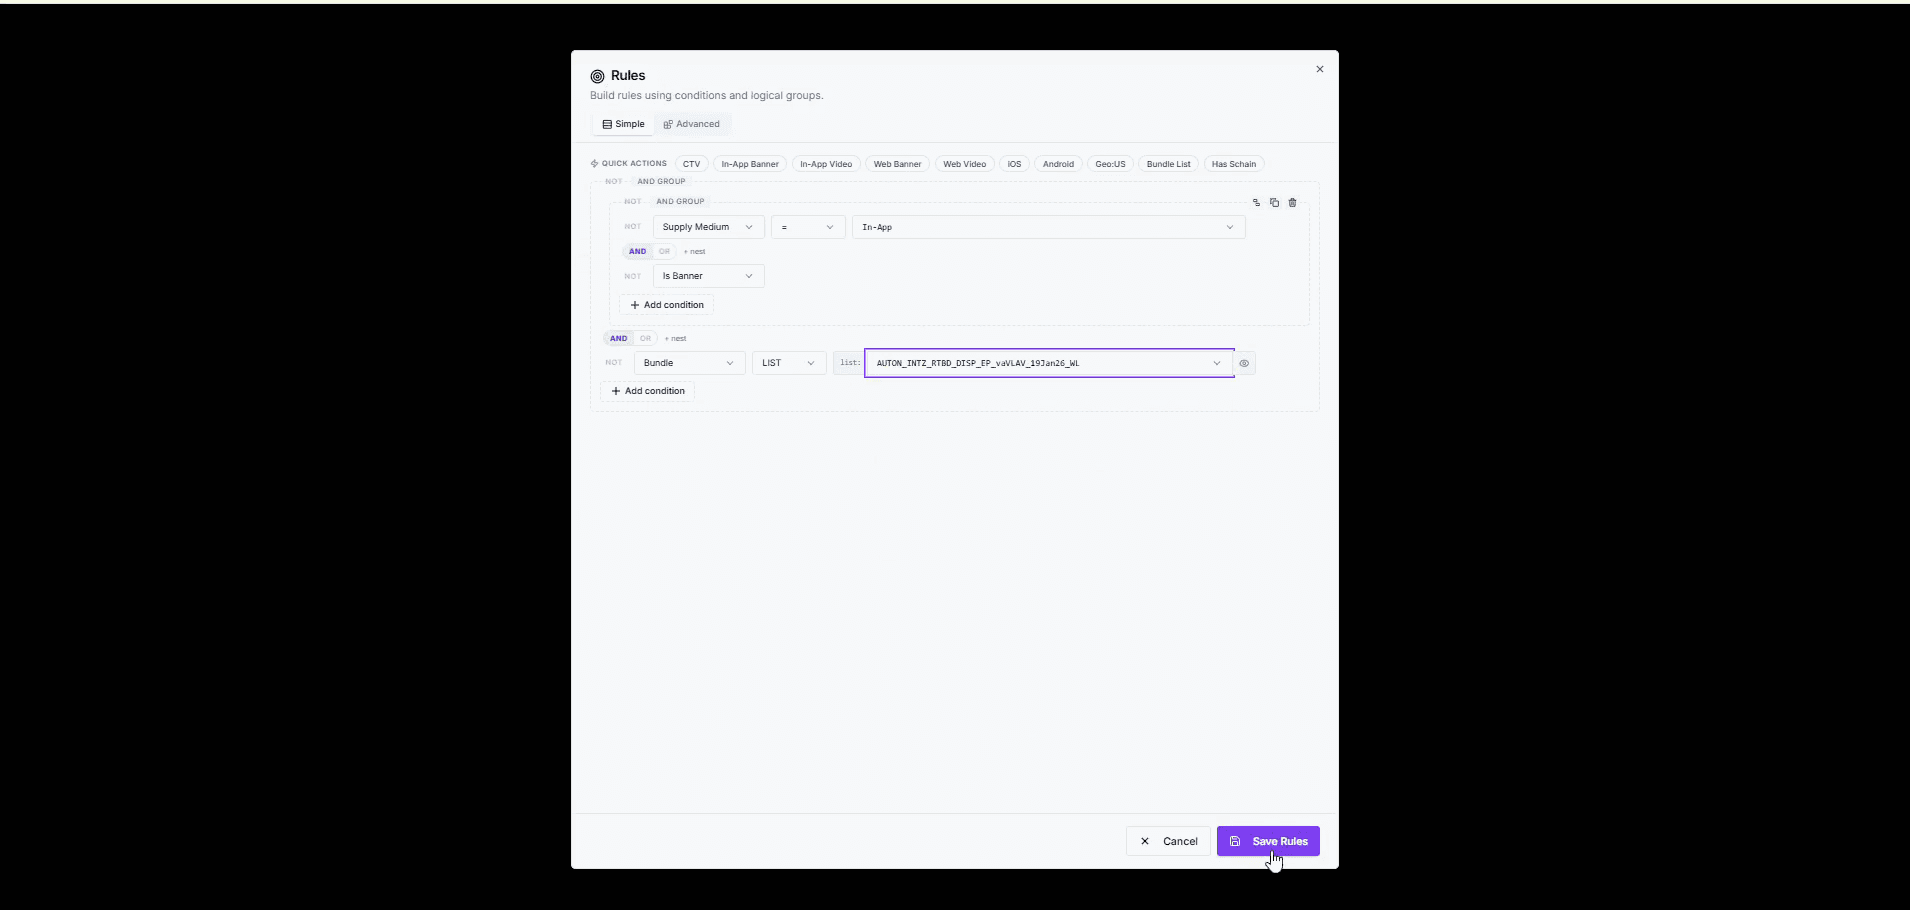
Select the bundle list you created earlier from the available options.
Step #19: Select the bundle list you created earlier from the available options.
20
Click Save Rules.
Step #20: Click Save Rules.
21
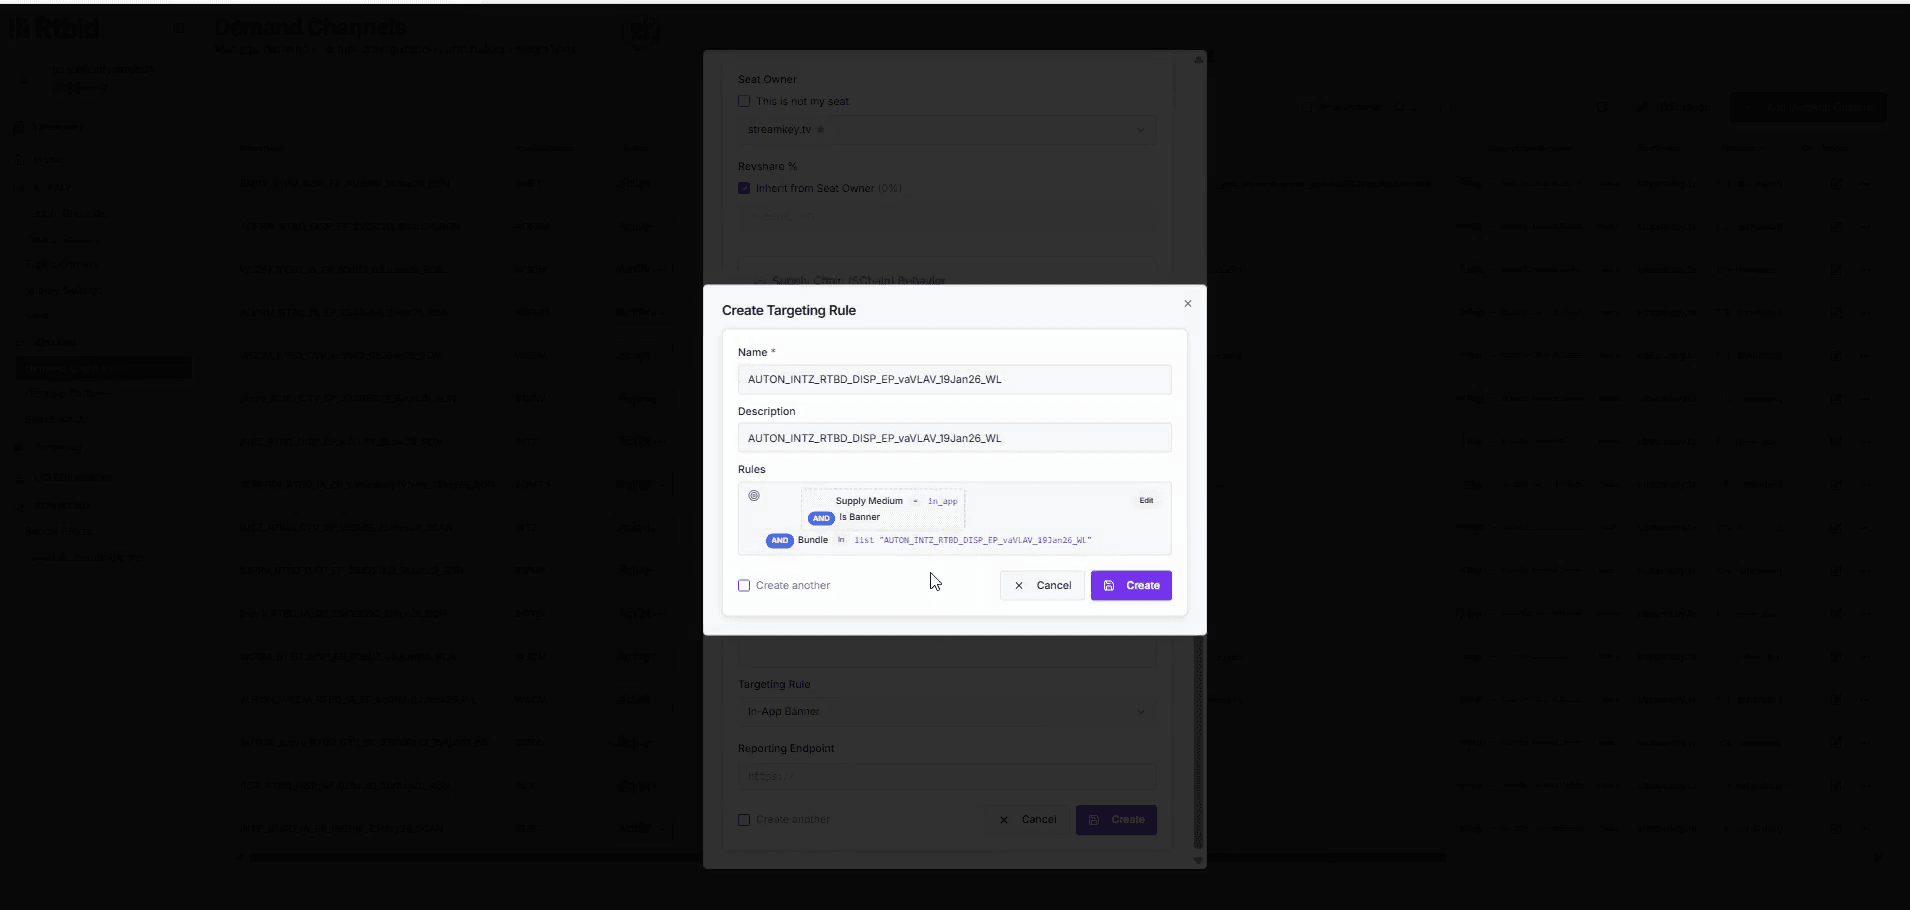
Click Create to finalize the new targeting rule.
Step #21: Click Create to finalize the new targeting rule.
22
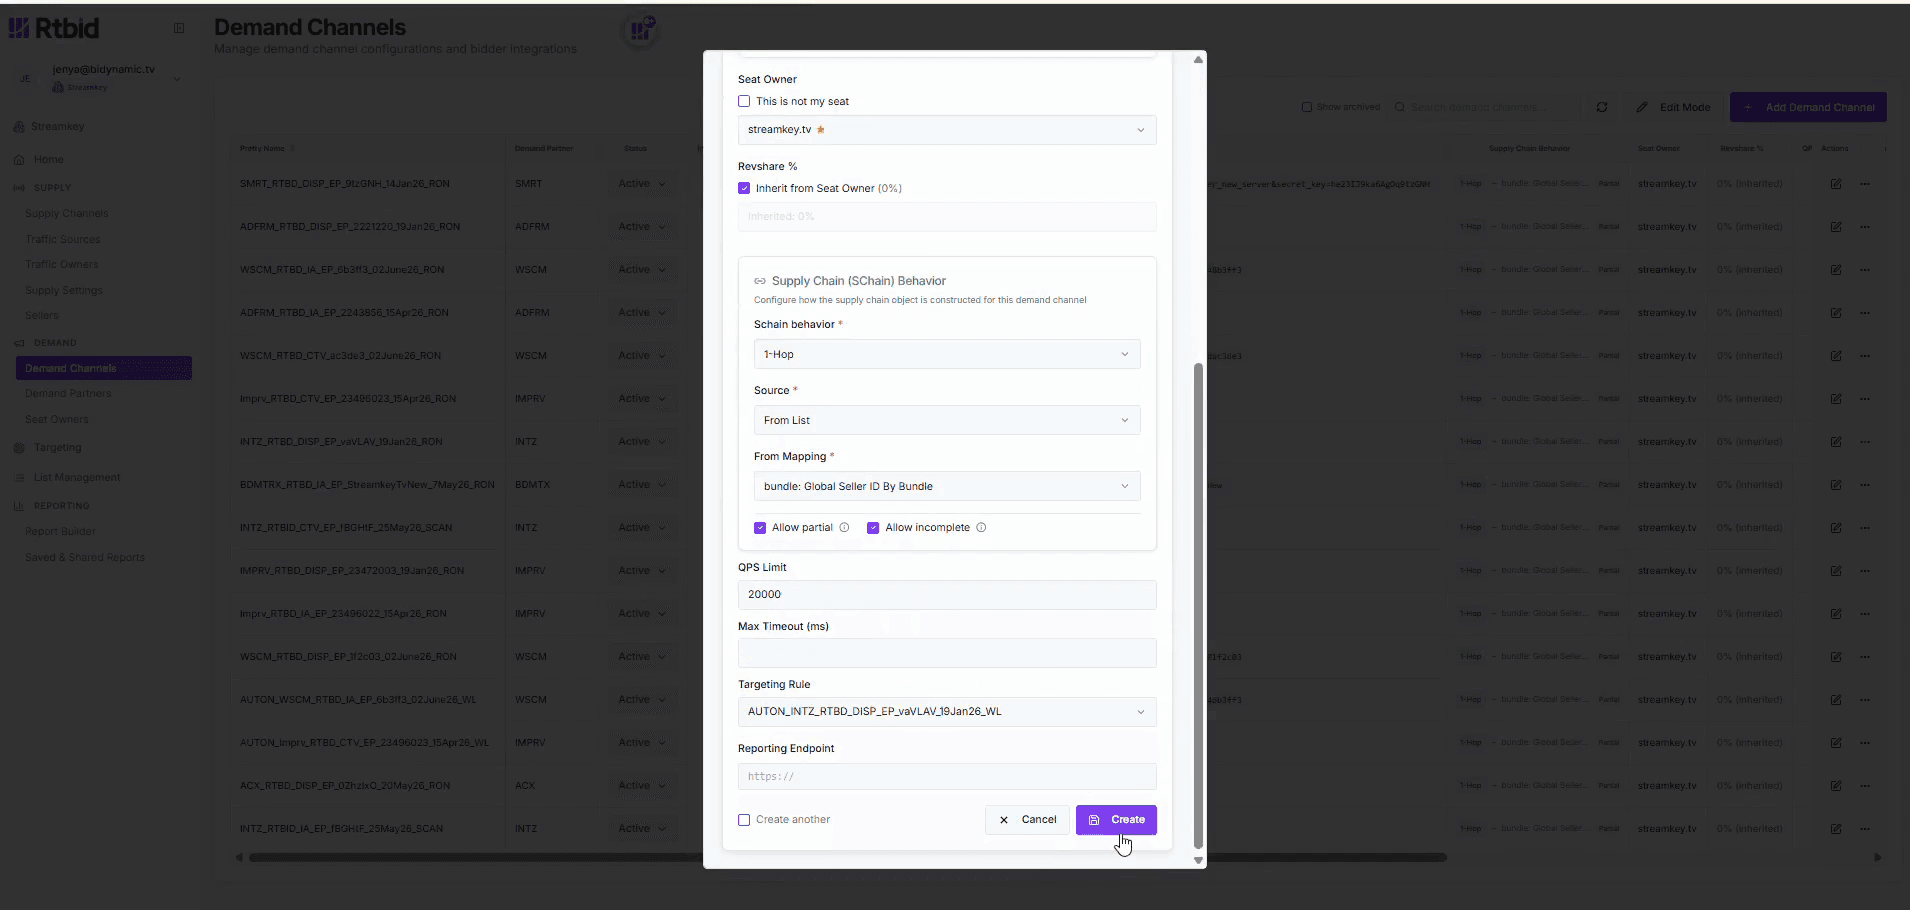
Click Create on the main demand channel modal to save your updated configuration.
Step #22: Click Create on the main demand channel modal to save your updated configuration.

Publish Your Changes

23
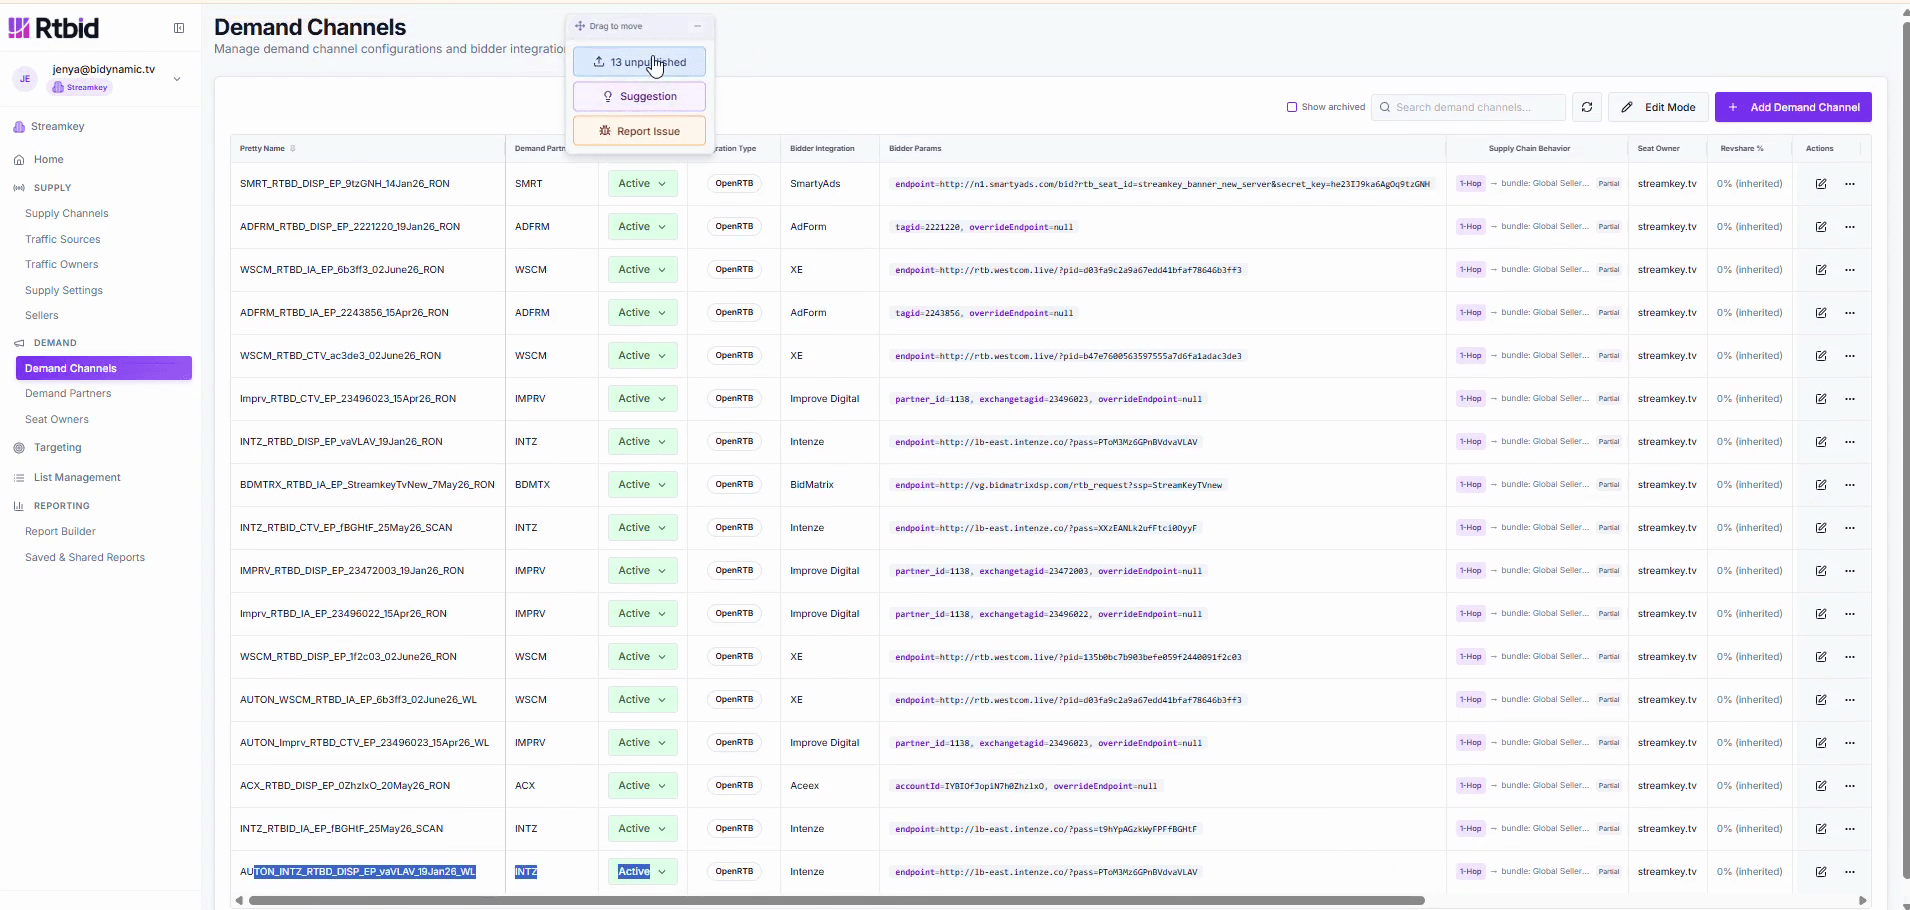
Click the Unpublished button located near the top of the interface.
Step #23: Click the Unpublished button located near the top of the interface.
24
Check the box next to the pending updates to select them for publishing.
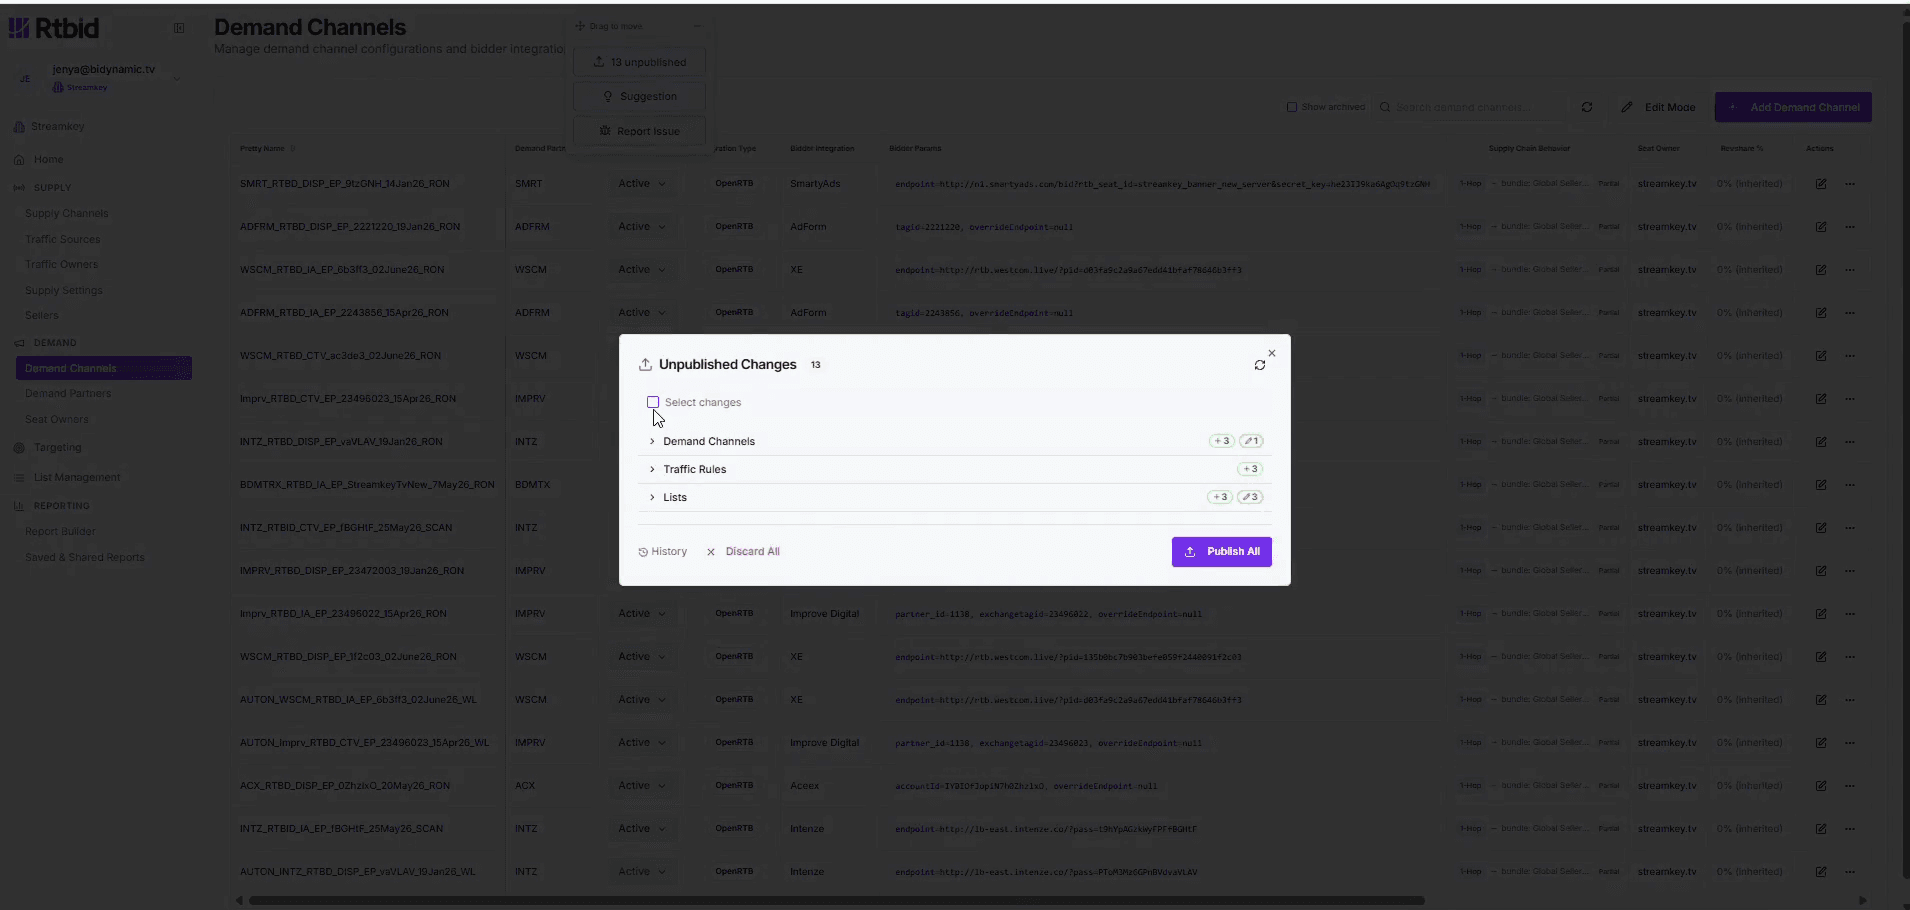
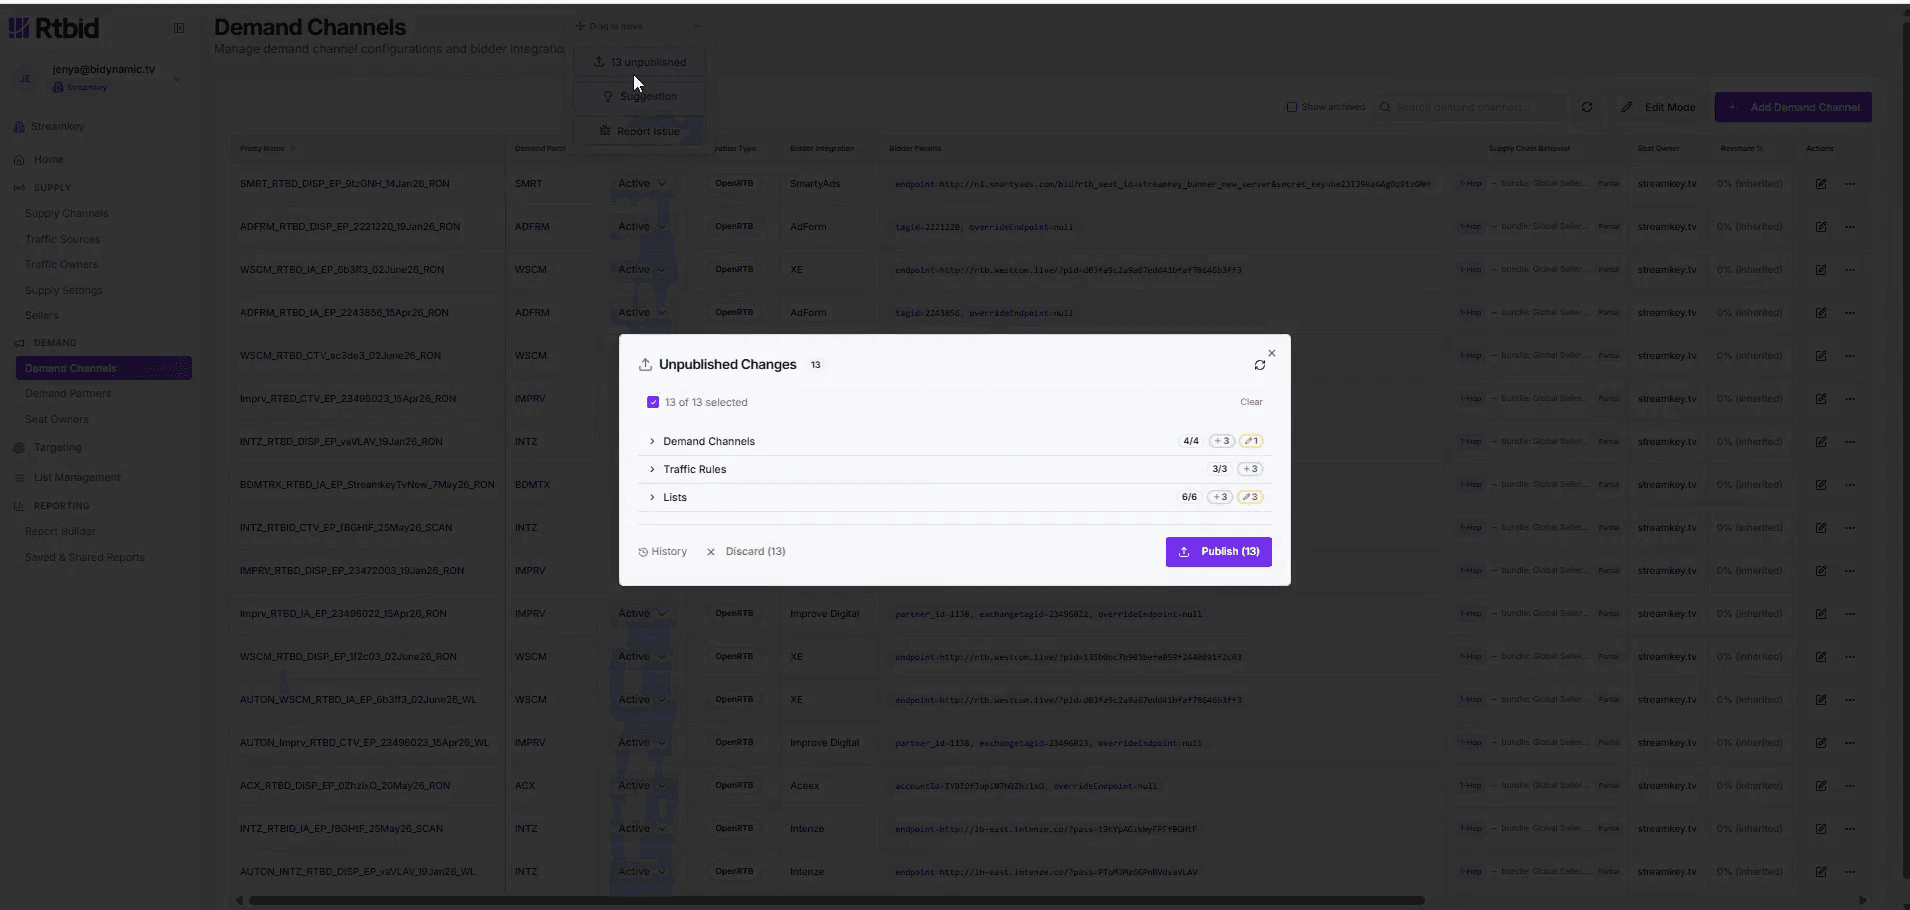
Step #24: Check the box next to the pending updates to select them for publishing.
25
Click Publish to deploy the updates live.
Step #25: Click Publish to deploy the updates live.

Term

Definition

Bundle List

A grouping of specific application IDs or properties used to filter and target inventory.

Demand Channel

A configured integration or pathway where advertising traffic is routed and managed.

Targeting Rule

A specific set of conditions applied to control which inventory a demand channel receives.