Icon

How to Create a Booking from the Timeline View

Learn how to quickly create a new restaurant reservation directly from the timeline view, including linking guest history and sending confirmations.

By Jan Danneberg

This guide explains how to create a new restaurant reservation directly from the timeline view. By selecting a table and time slot directly on the schedule, you can rapidly capture guest details, apply booking scenarios, and finalize reservations.

This process applies to front-of-house staff, hosts, and reservation managers handling incoming bookings and actively managing floor capacity.

Initiate a Timeline Booking

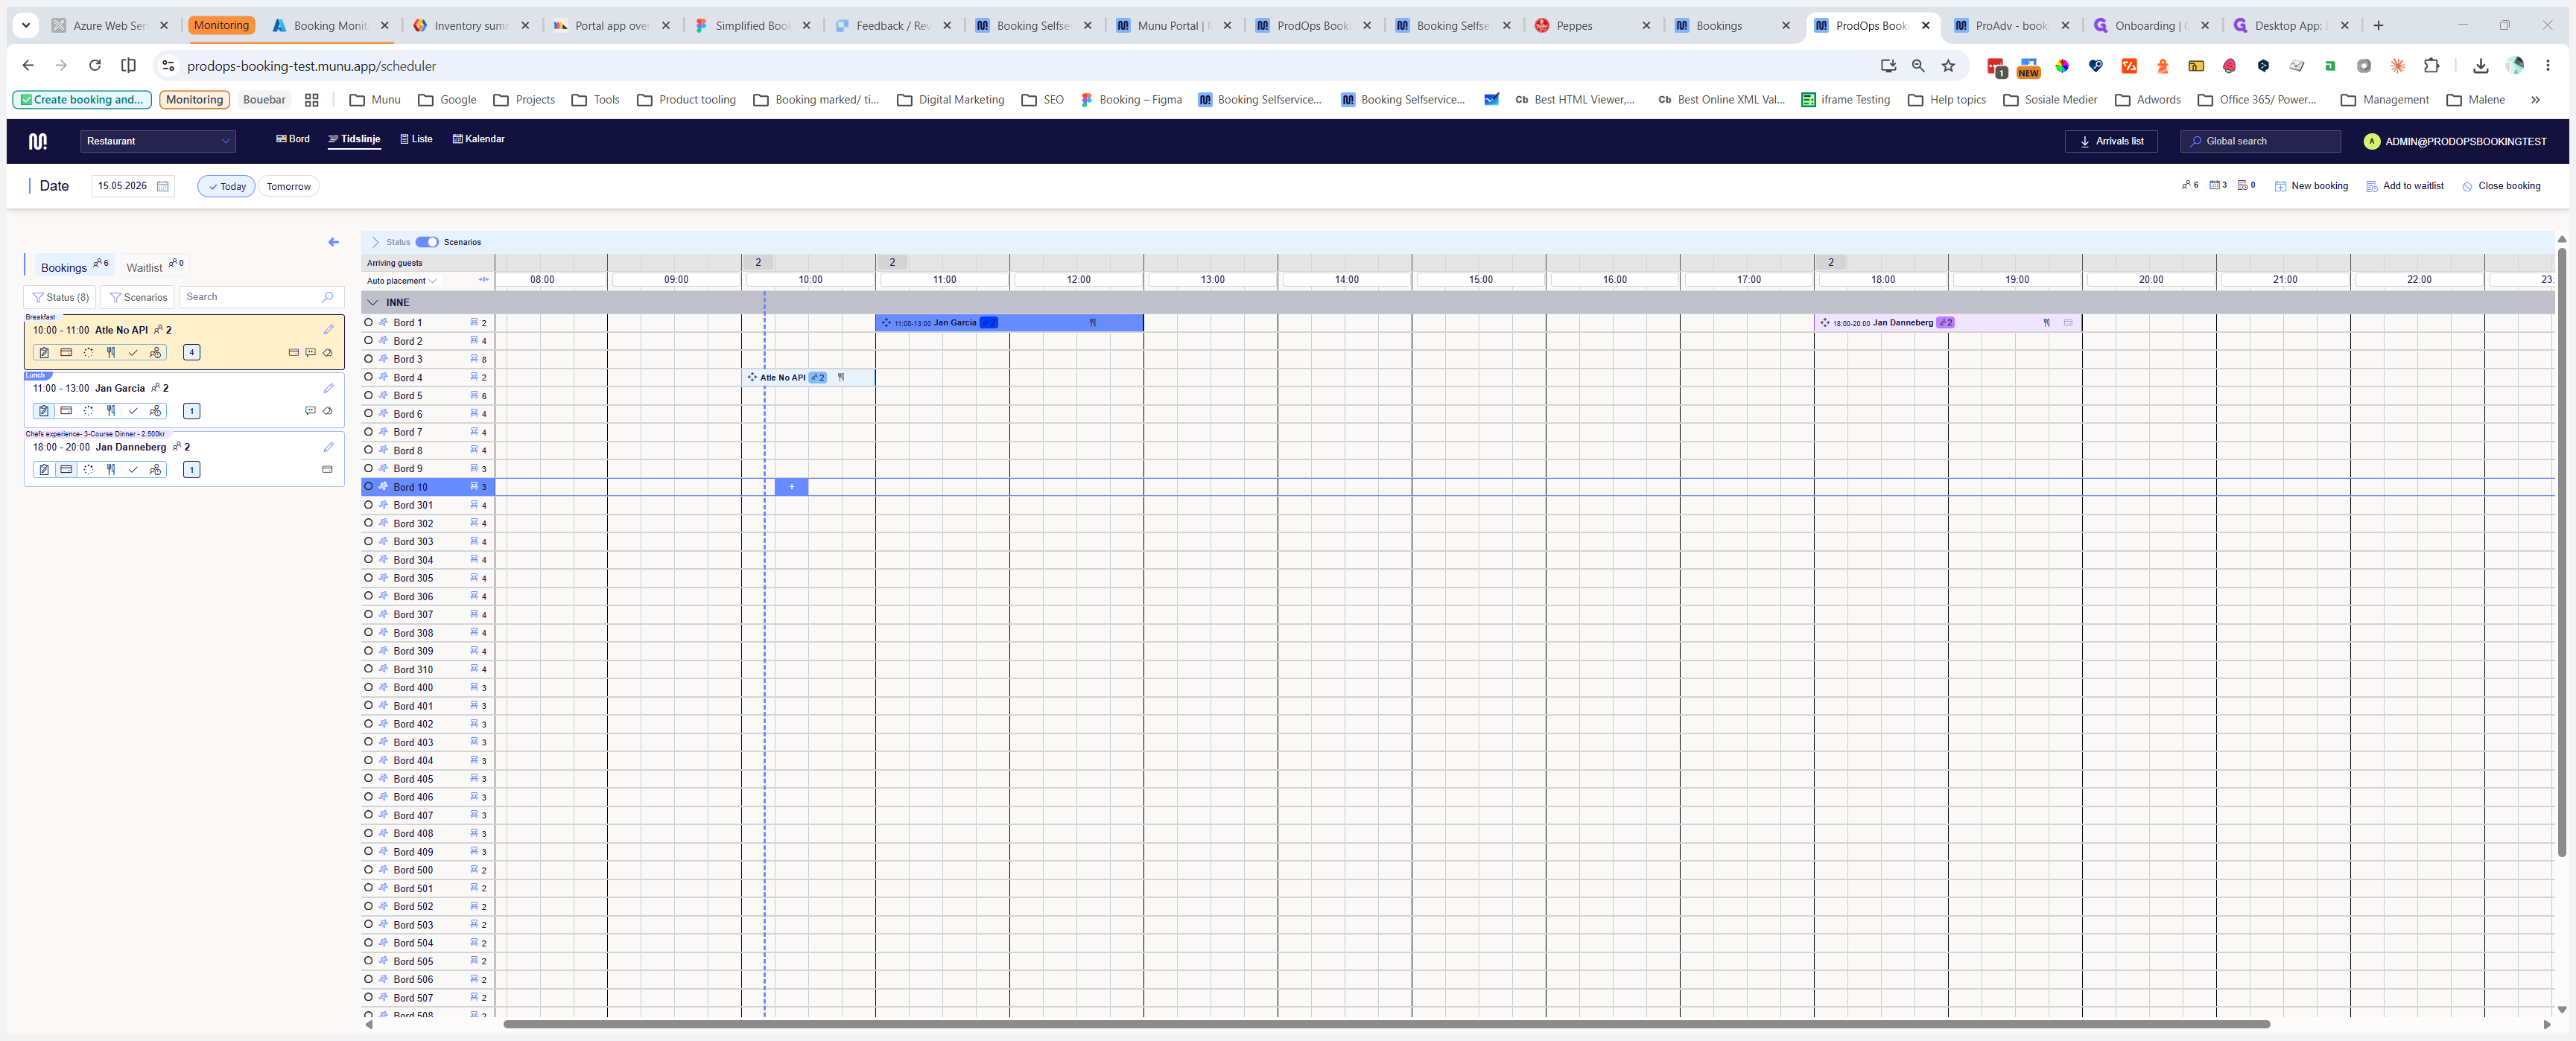
Navigate to your timeline dashboard to view current and future table availability.

1
Hover over an empty time slot for your desired table and click the + icon to open a new booking.
Step #1: Hover over an empty time slot for your desired table and click the + icon to open a new booking.

Enter Guest Details

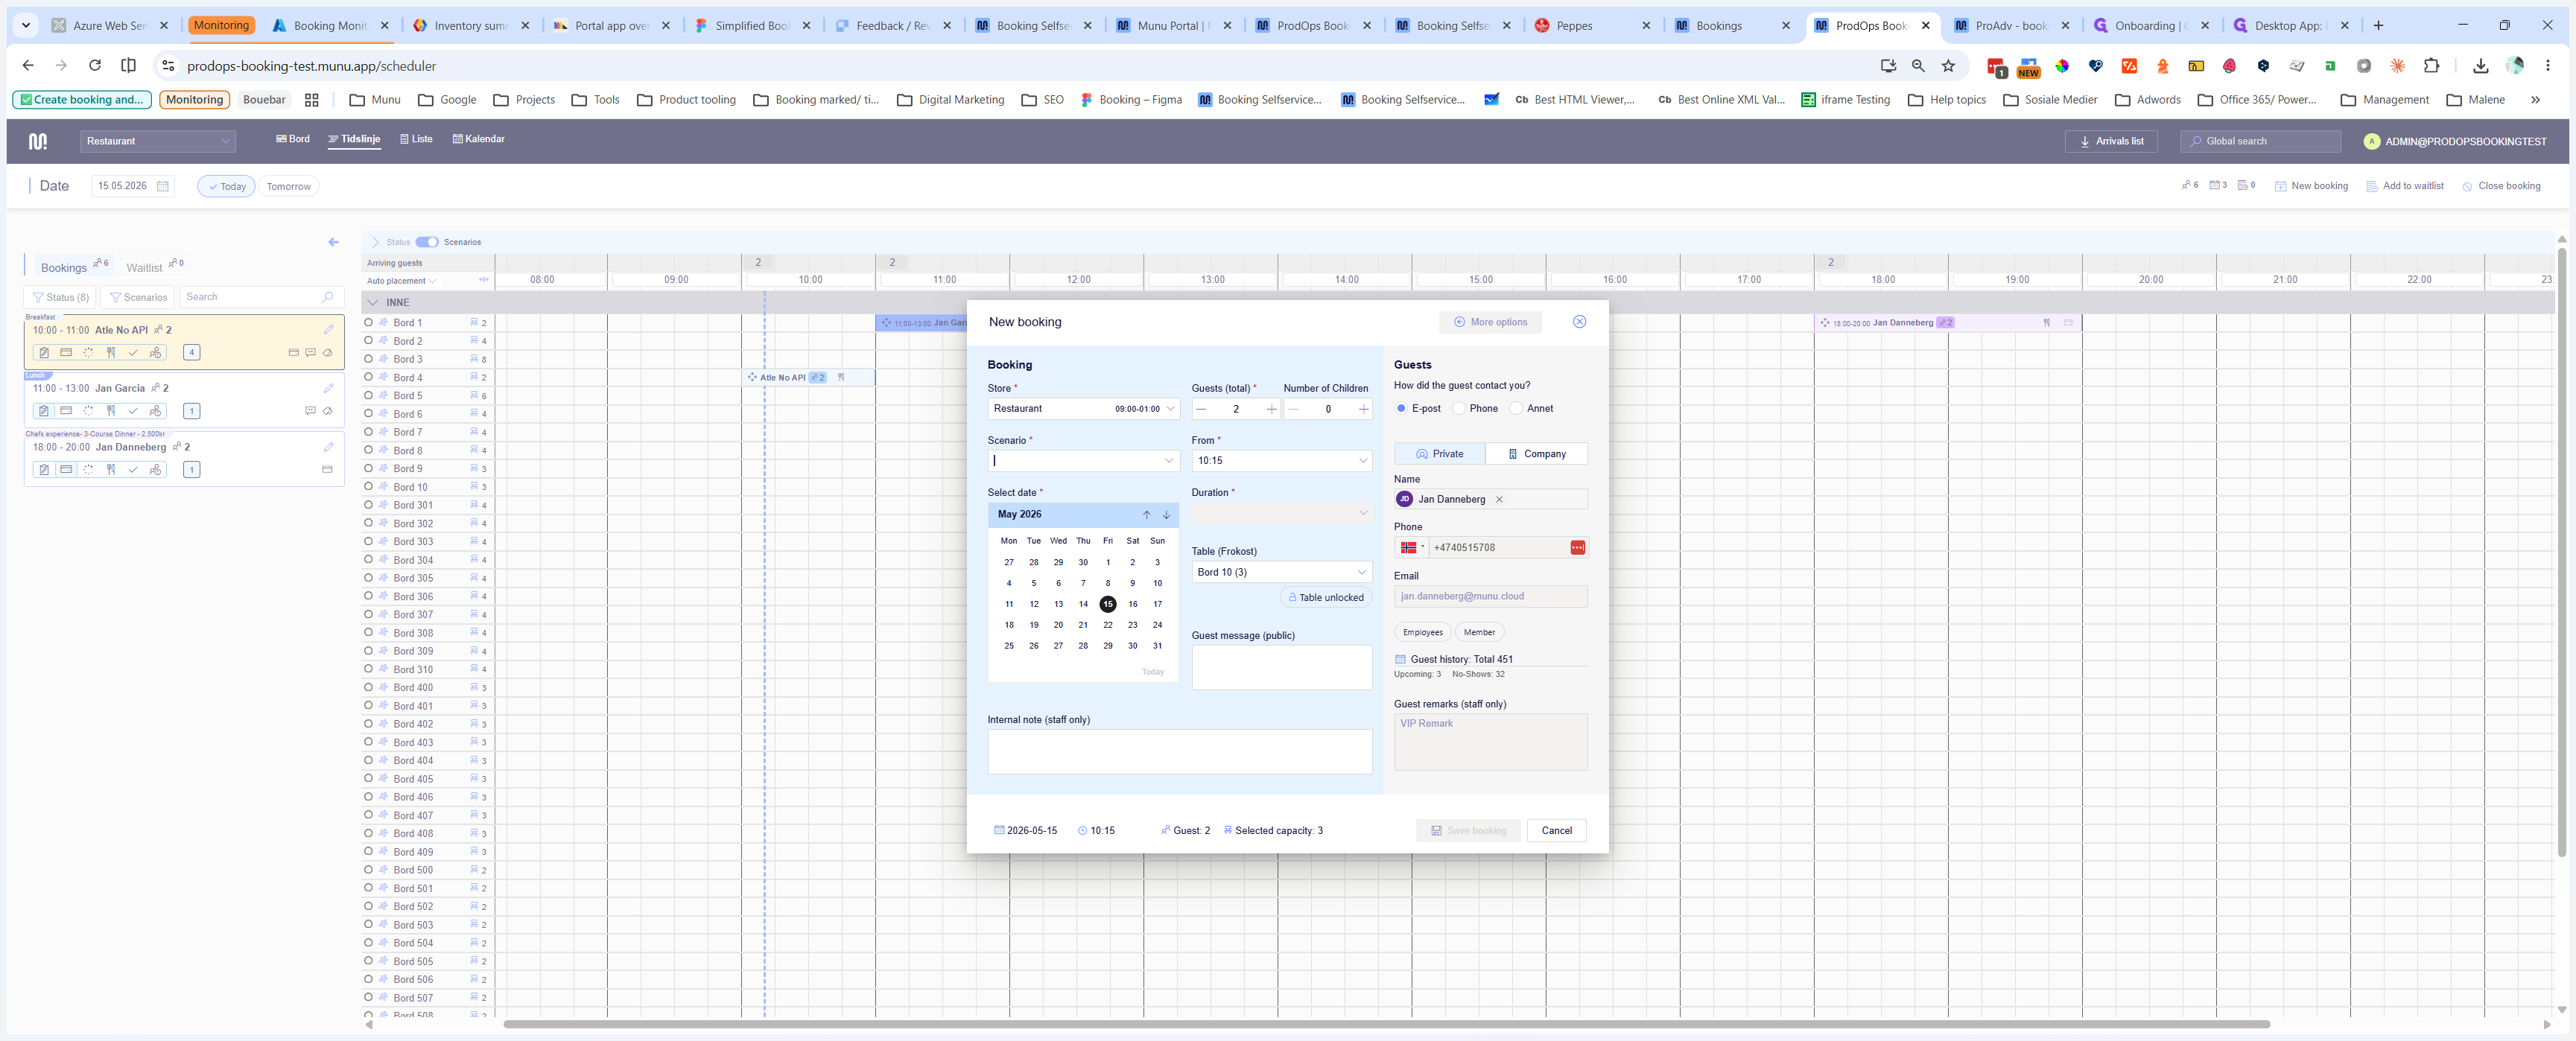
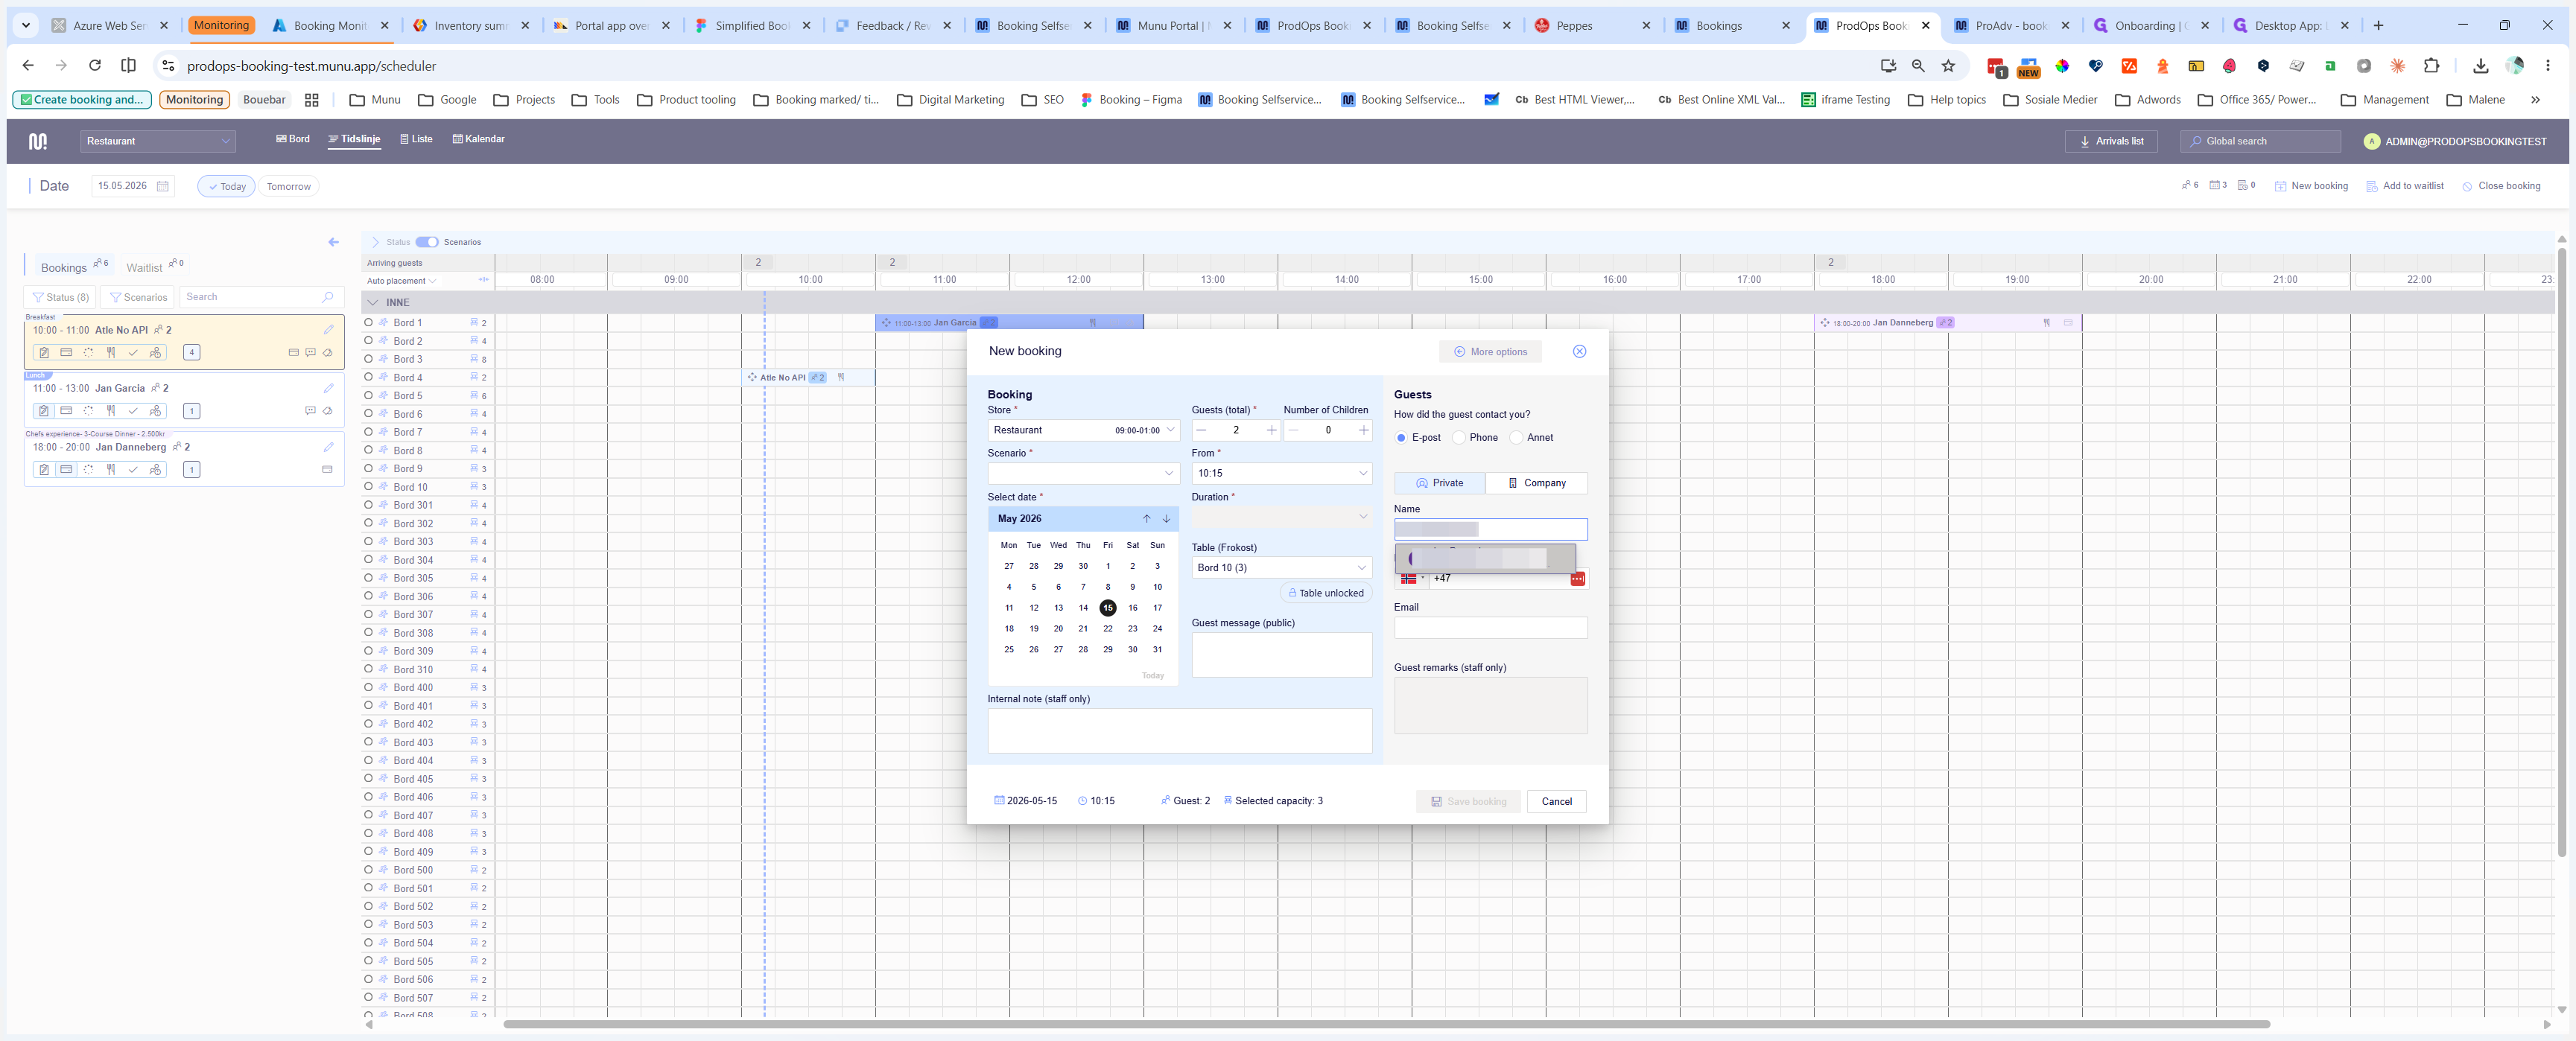
The "New booking" modal will appear on screen. Capture the guest's contact information first to link the reservation to an existing profile if they are a returning customer.

2
Click into the Phone input field and begin typing the guest's phone number or name.
Step #2: Click into the Phone input field and begin typing the guest's phone number or name.
3
Select the matching guest record from the autocomplete dropdown menu.
Step #3: Select the matching guest record from the autocomplete dropdown menu.

Finalize the Reservation

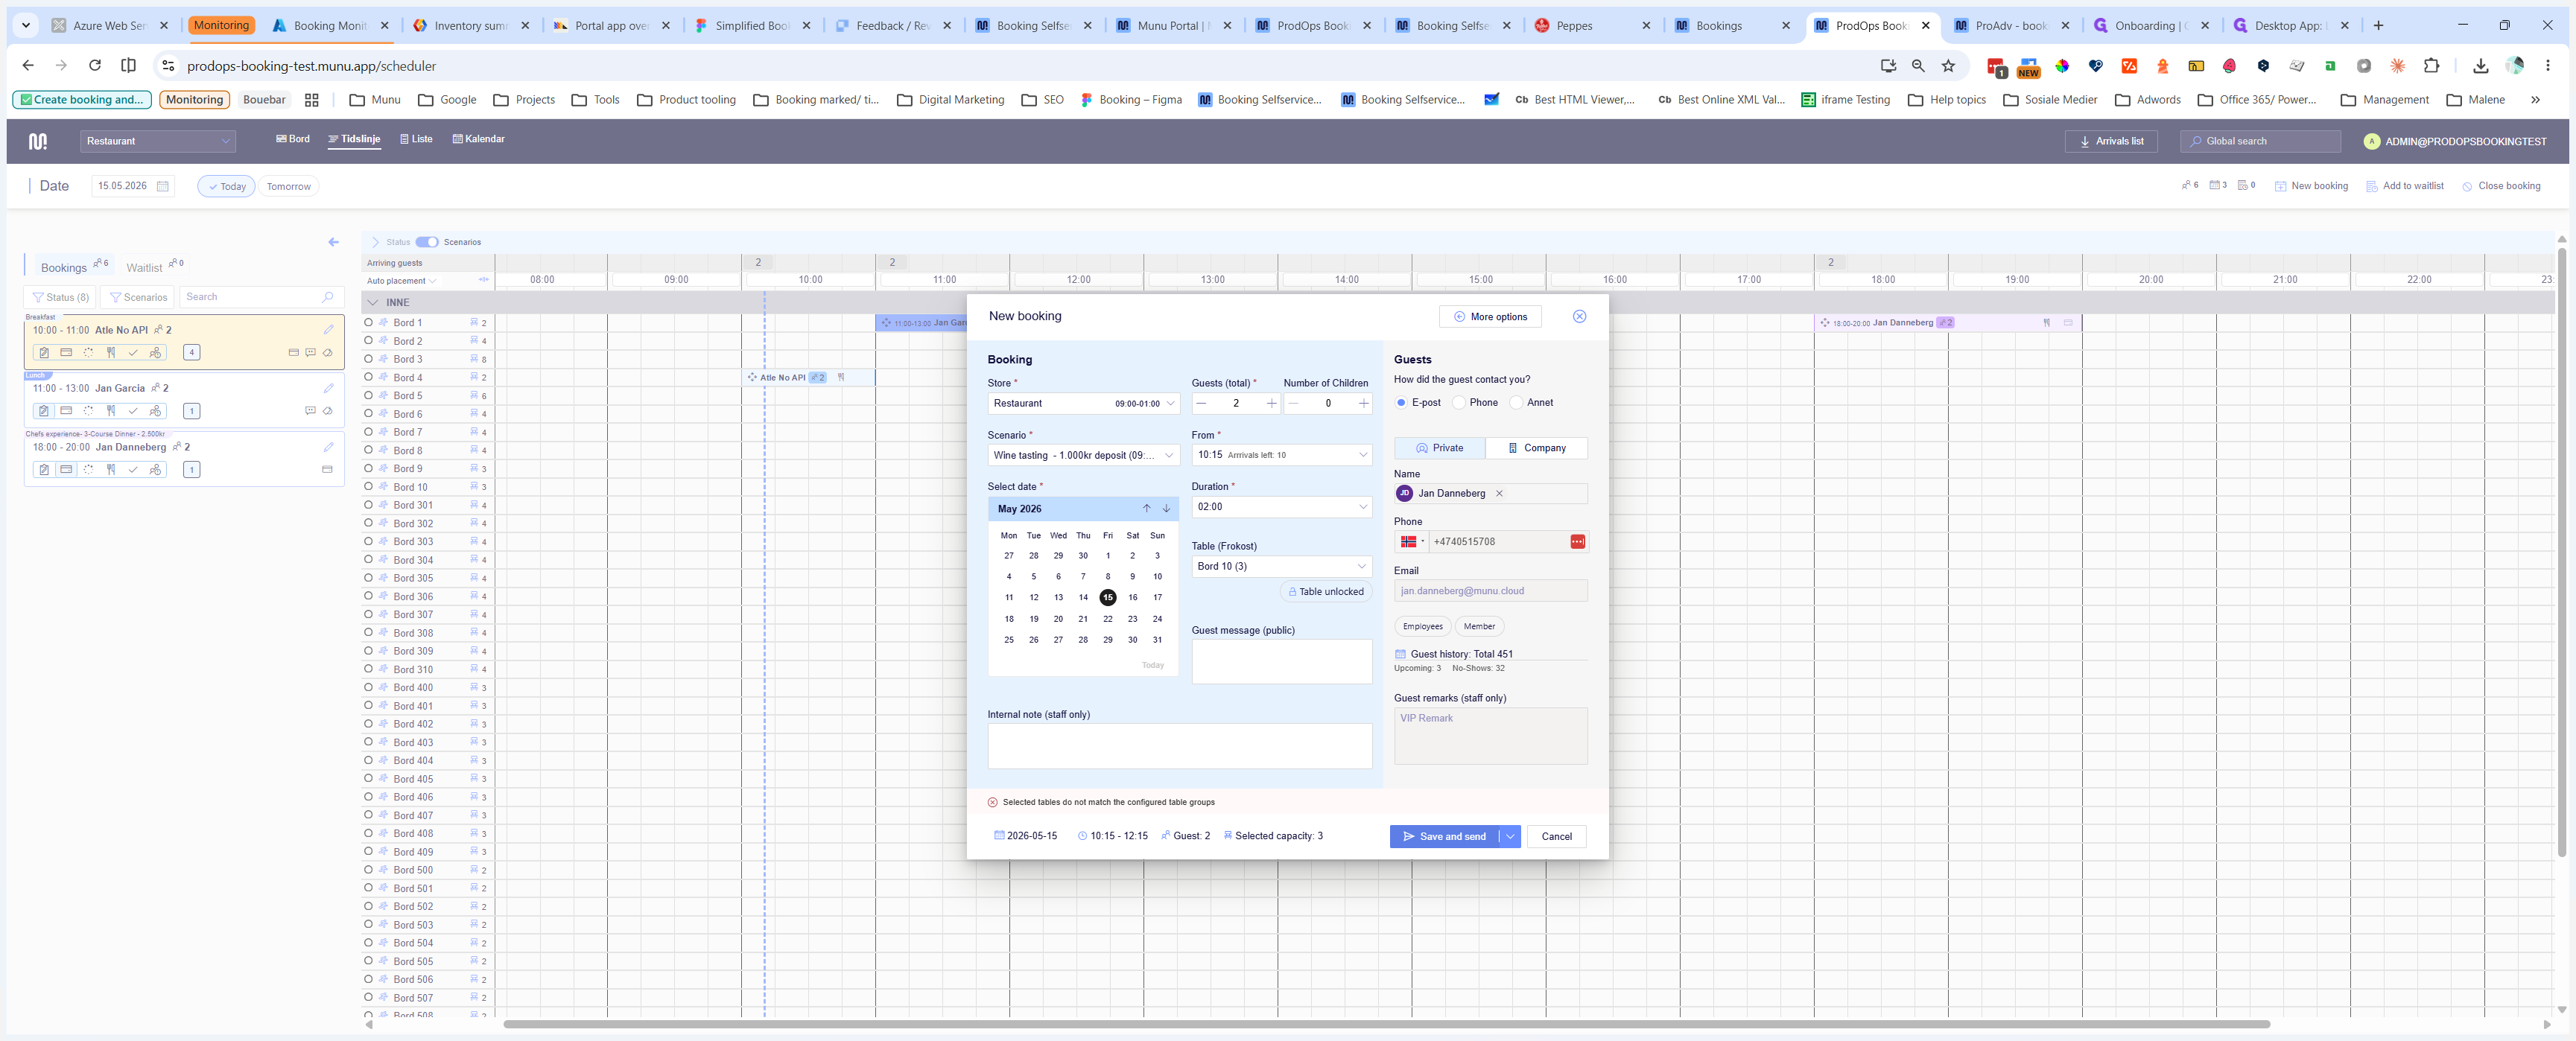
Verify that the reservation basics are correct, then apply any special scenarios or deposits required for the booking.

4
Use the calendar selector to verify or adjust the reservation date.
Step #4: Use the calendar selector to verify or adjust the reservation date.
5
Choose the appropriate event type or scenario from the list, such as Wine tasting - 1.000kr deposit.
Step #5: Choose the appropriate event type or scenario from the list, such as Wine tasting - 1.000kr deposit.
6
Click Save and send to confirm the reservation and automatically dispatch a confirmation message to the guest.
Step #6: Click Save and send to confirm the reservation and automatically dispatch a confirmation message to the guest.