Learn how to quickly generate, format, and brand a multi-page lead magnet using Canva AI, Canva templates, and your custom Brand Kit.
By Anacani Walters
Canva's AI tools offer a powerful starting point for generating content outlines and basic layouts for a lead magnet. By combining Canva AI with professional templates and your own Brand Kit, you can create a fully branded, multi-page lead magnet in minutes.
Generating the Initial Draft with Canva AI
1
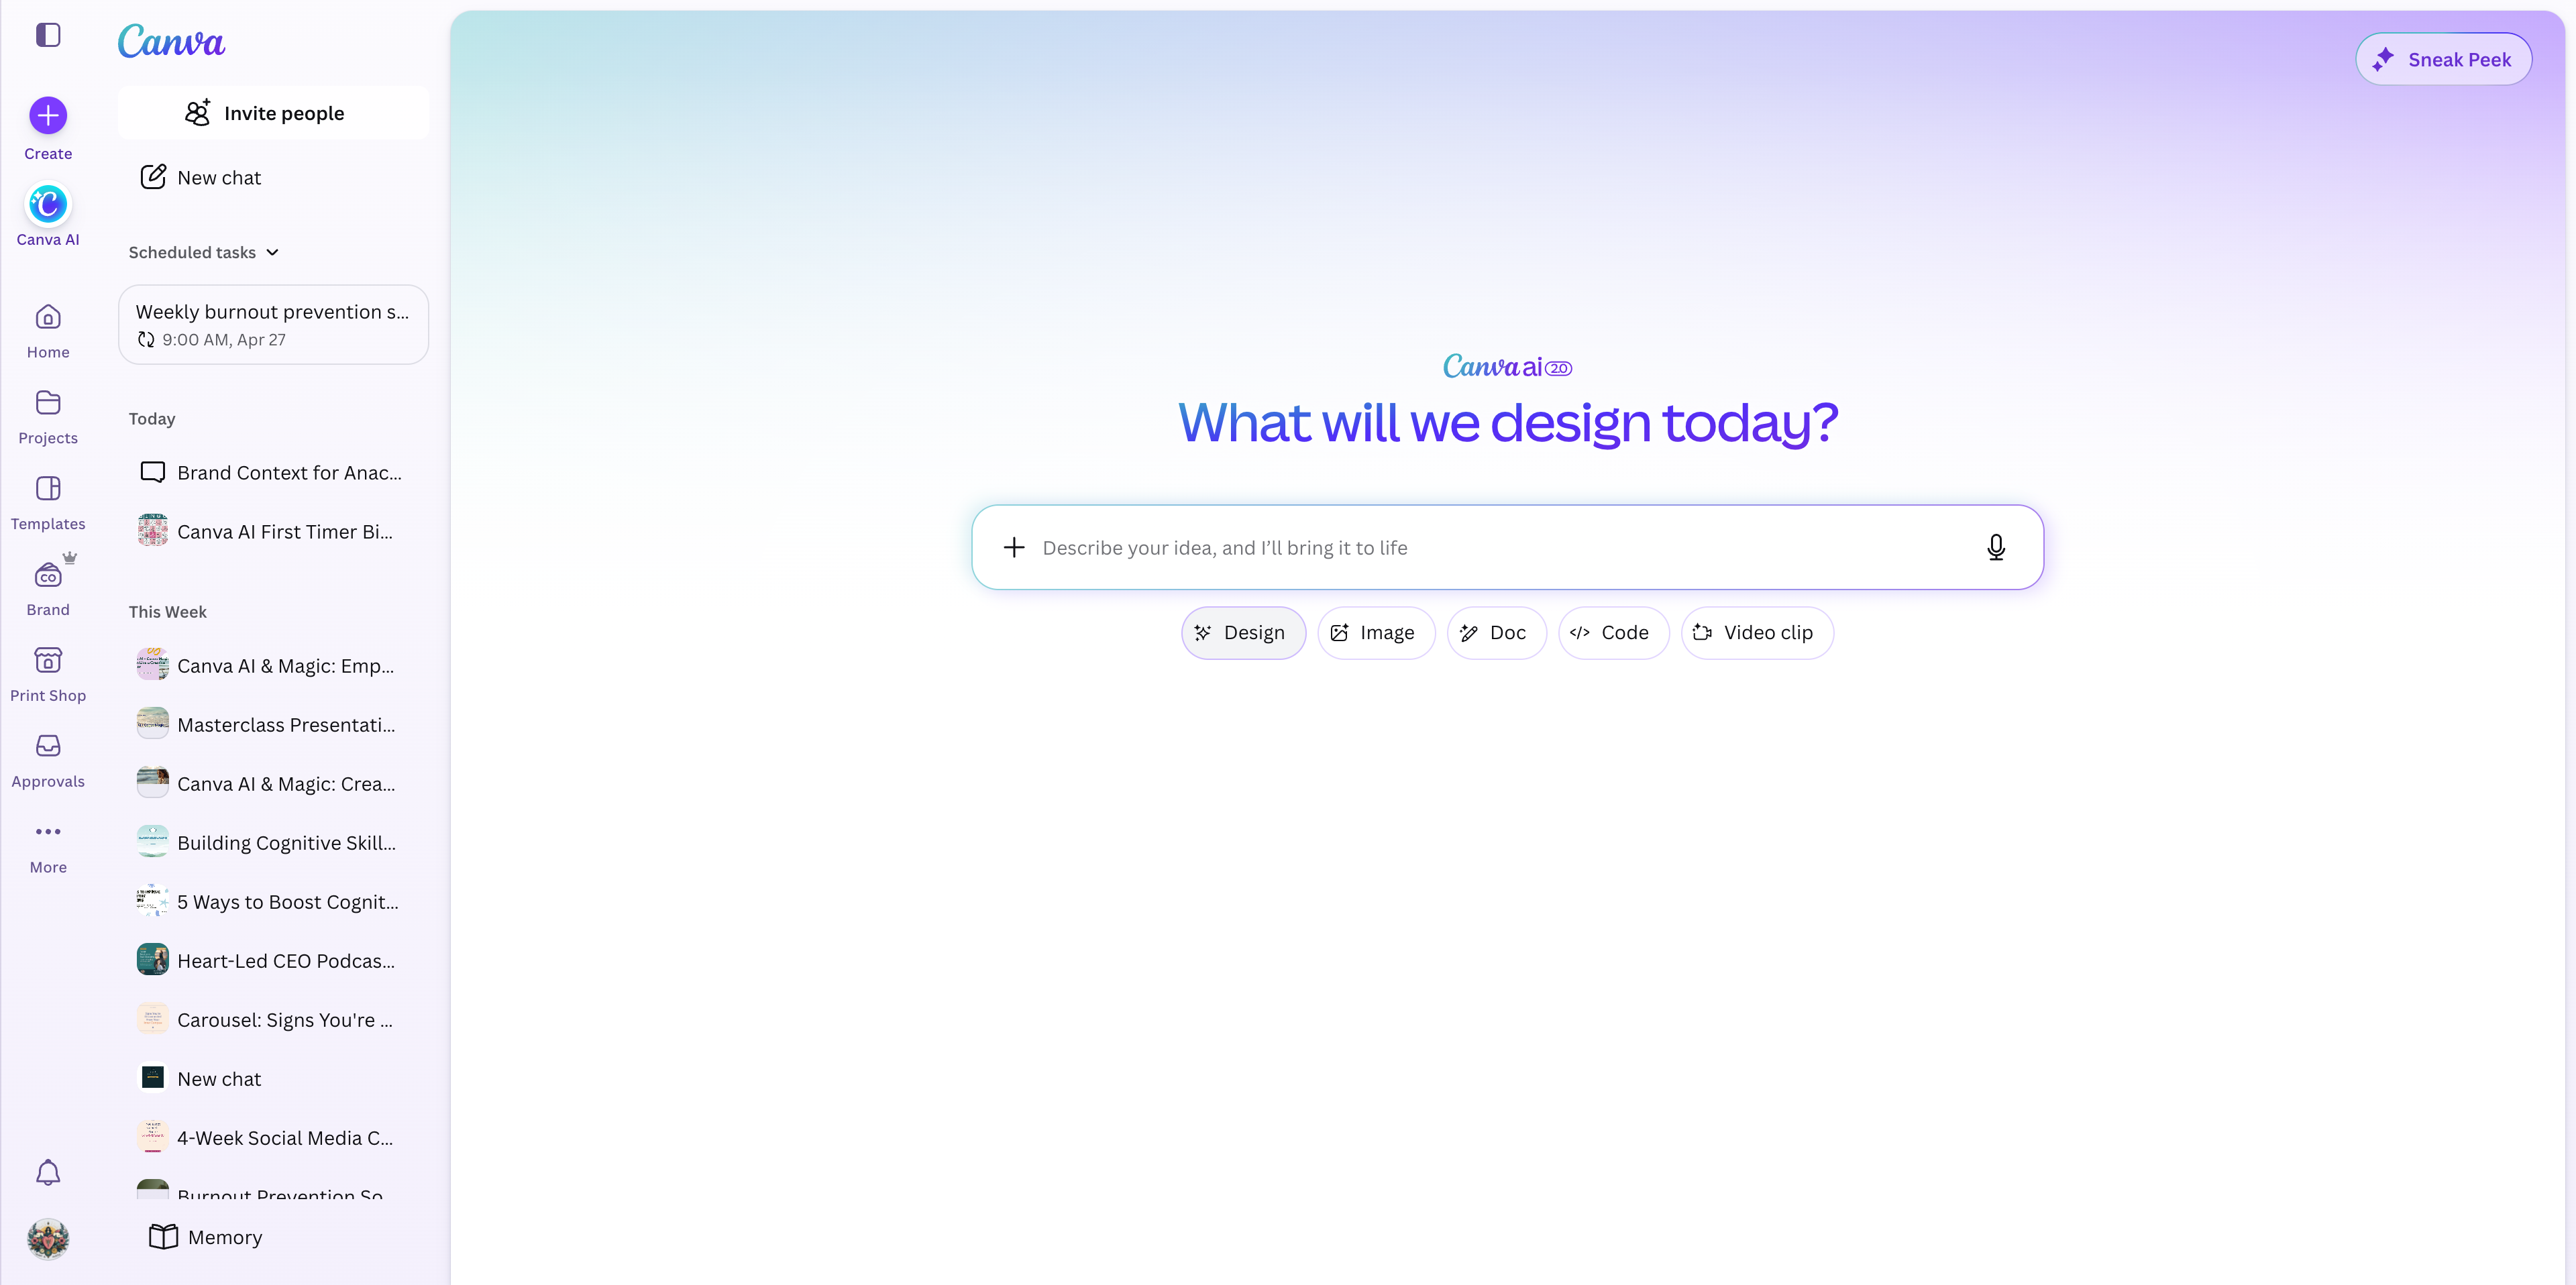
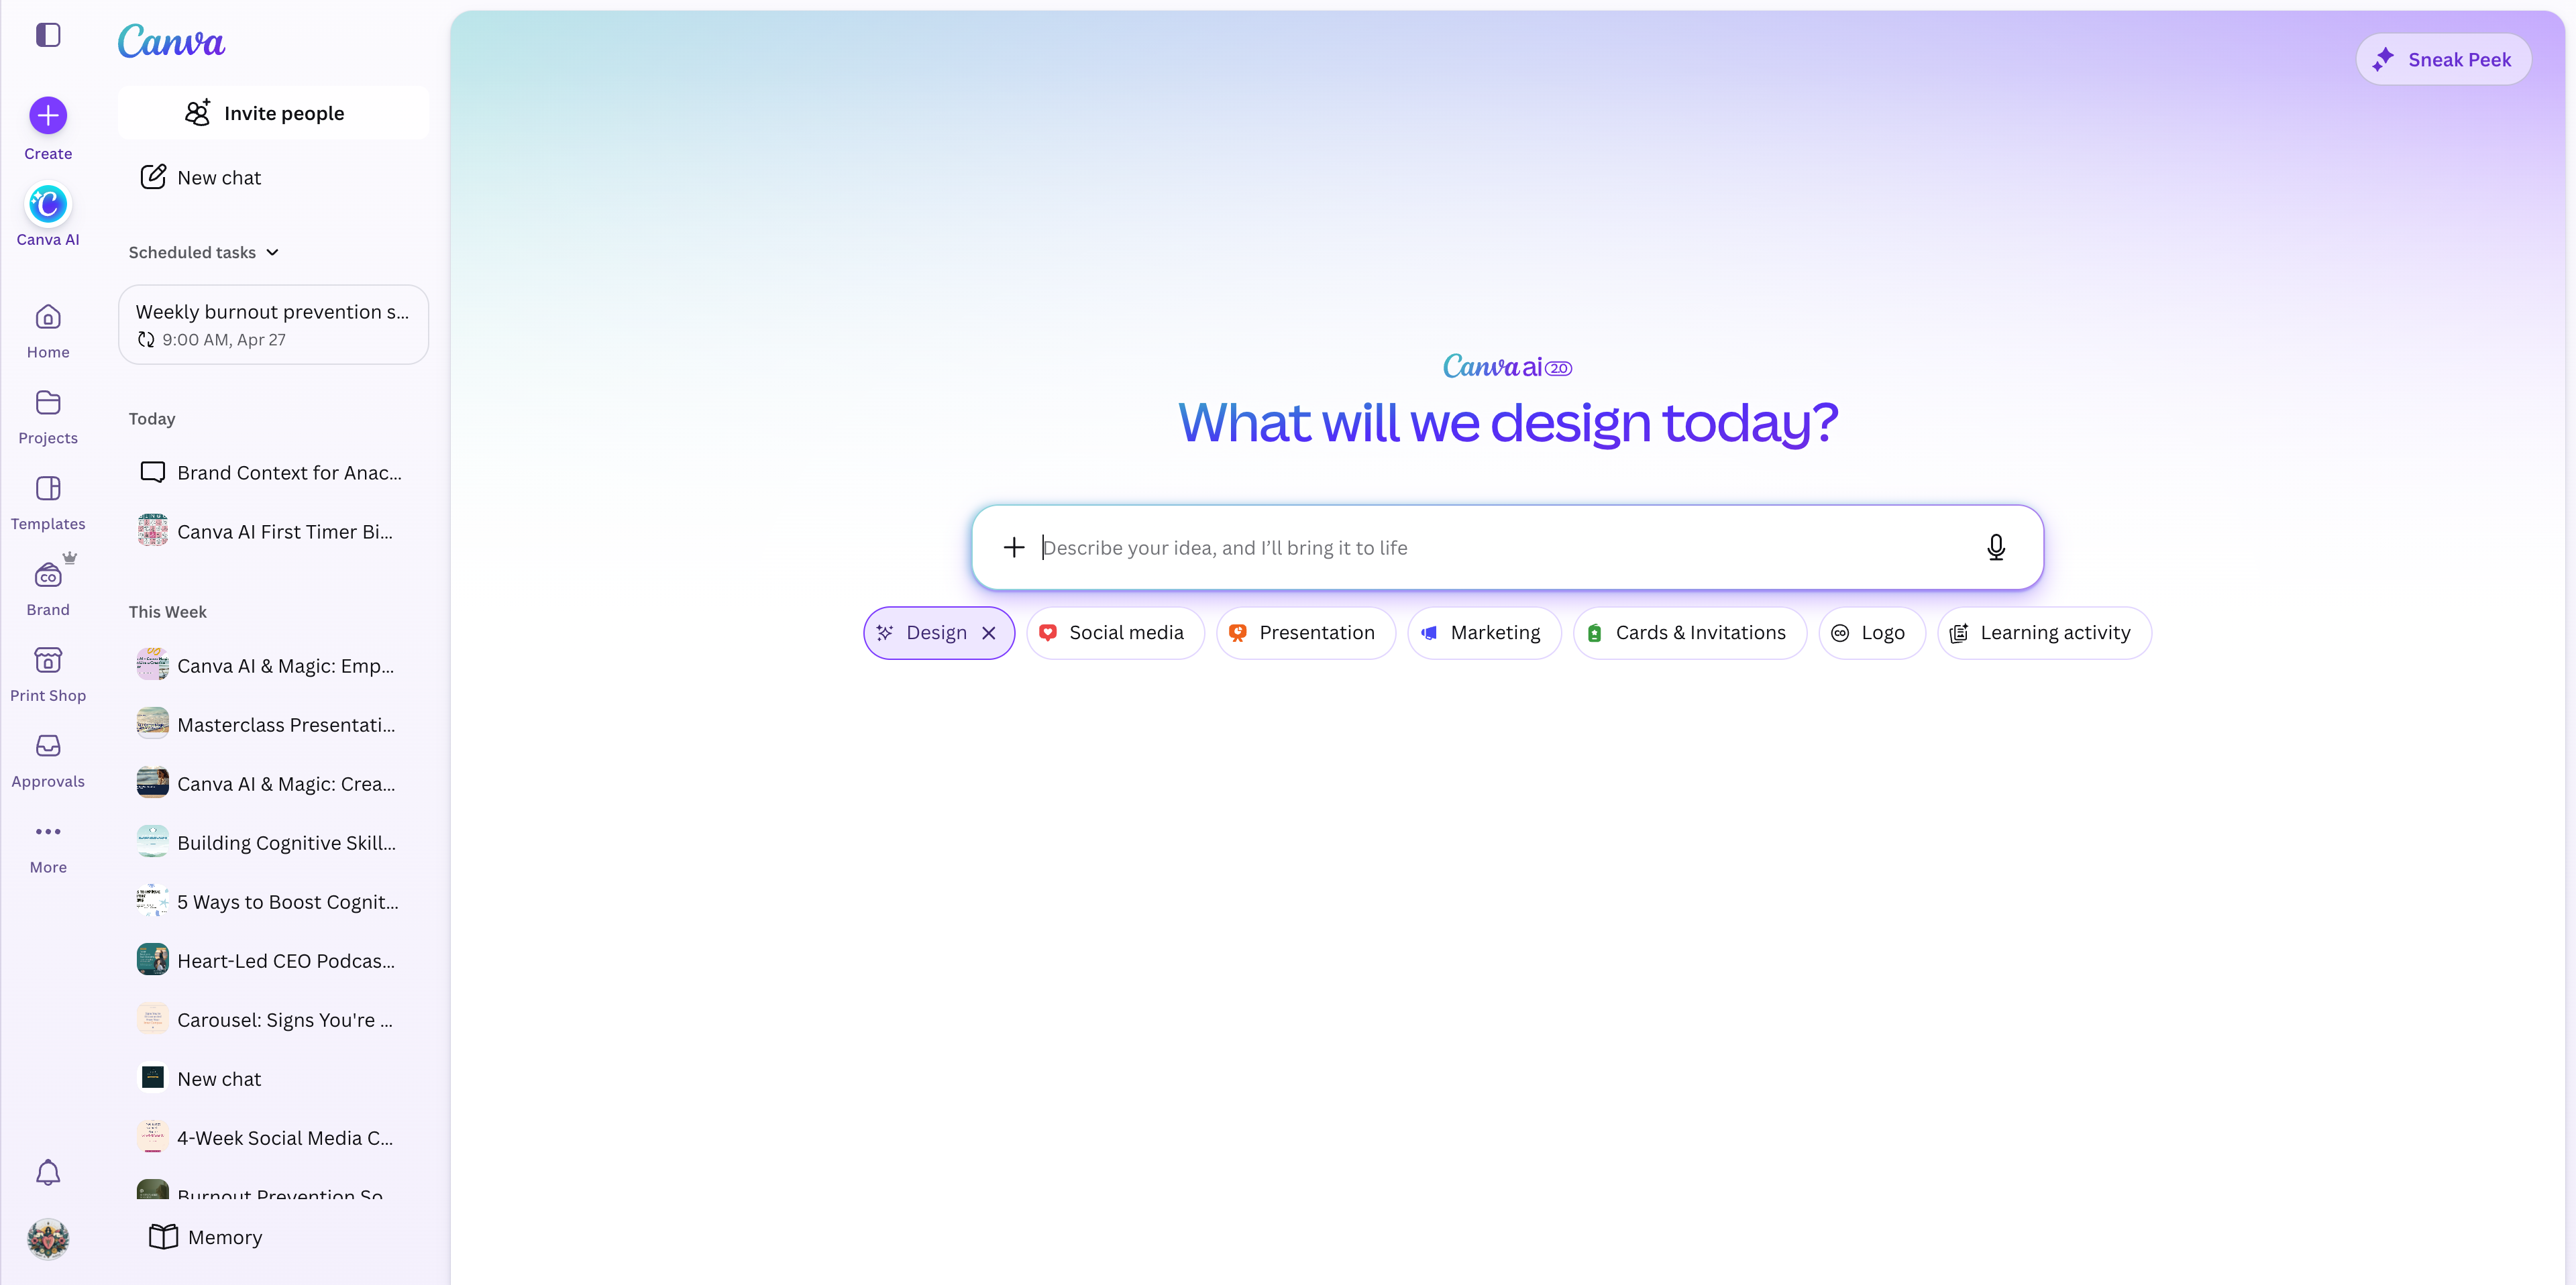
From the Canva homepage, select Design.
2
Click on the + Describe your idea text box.
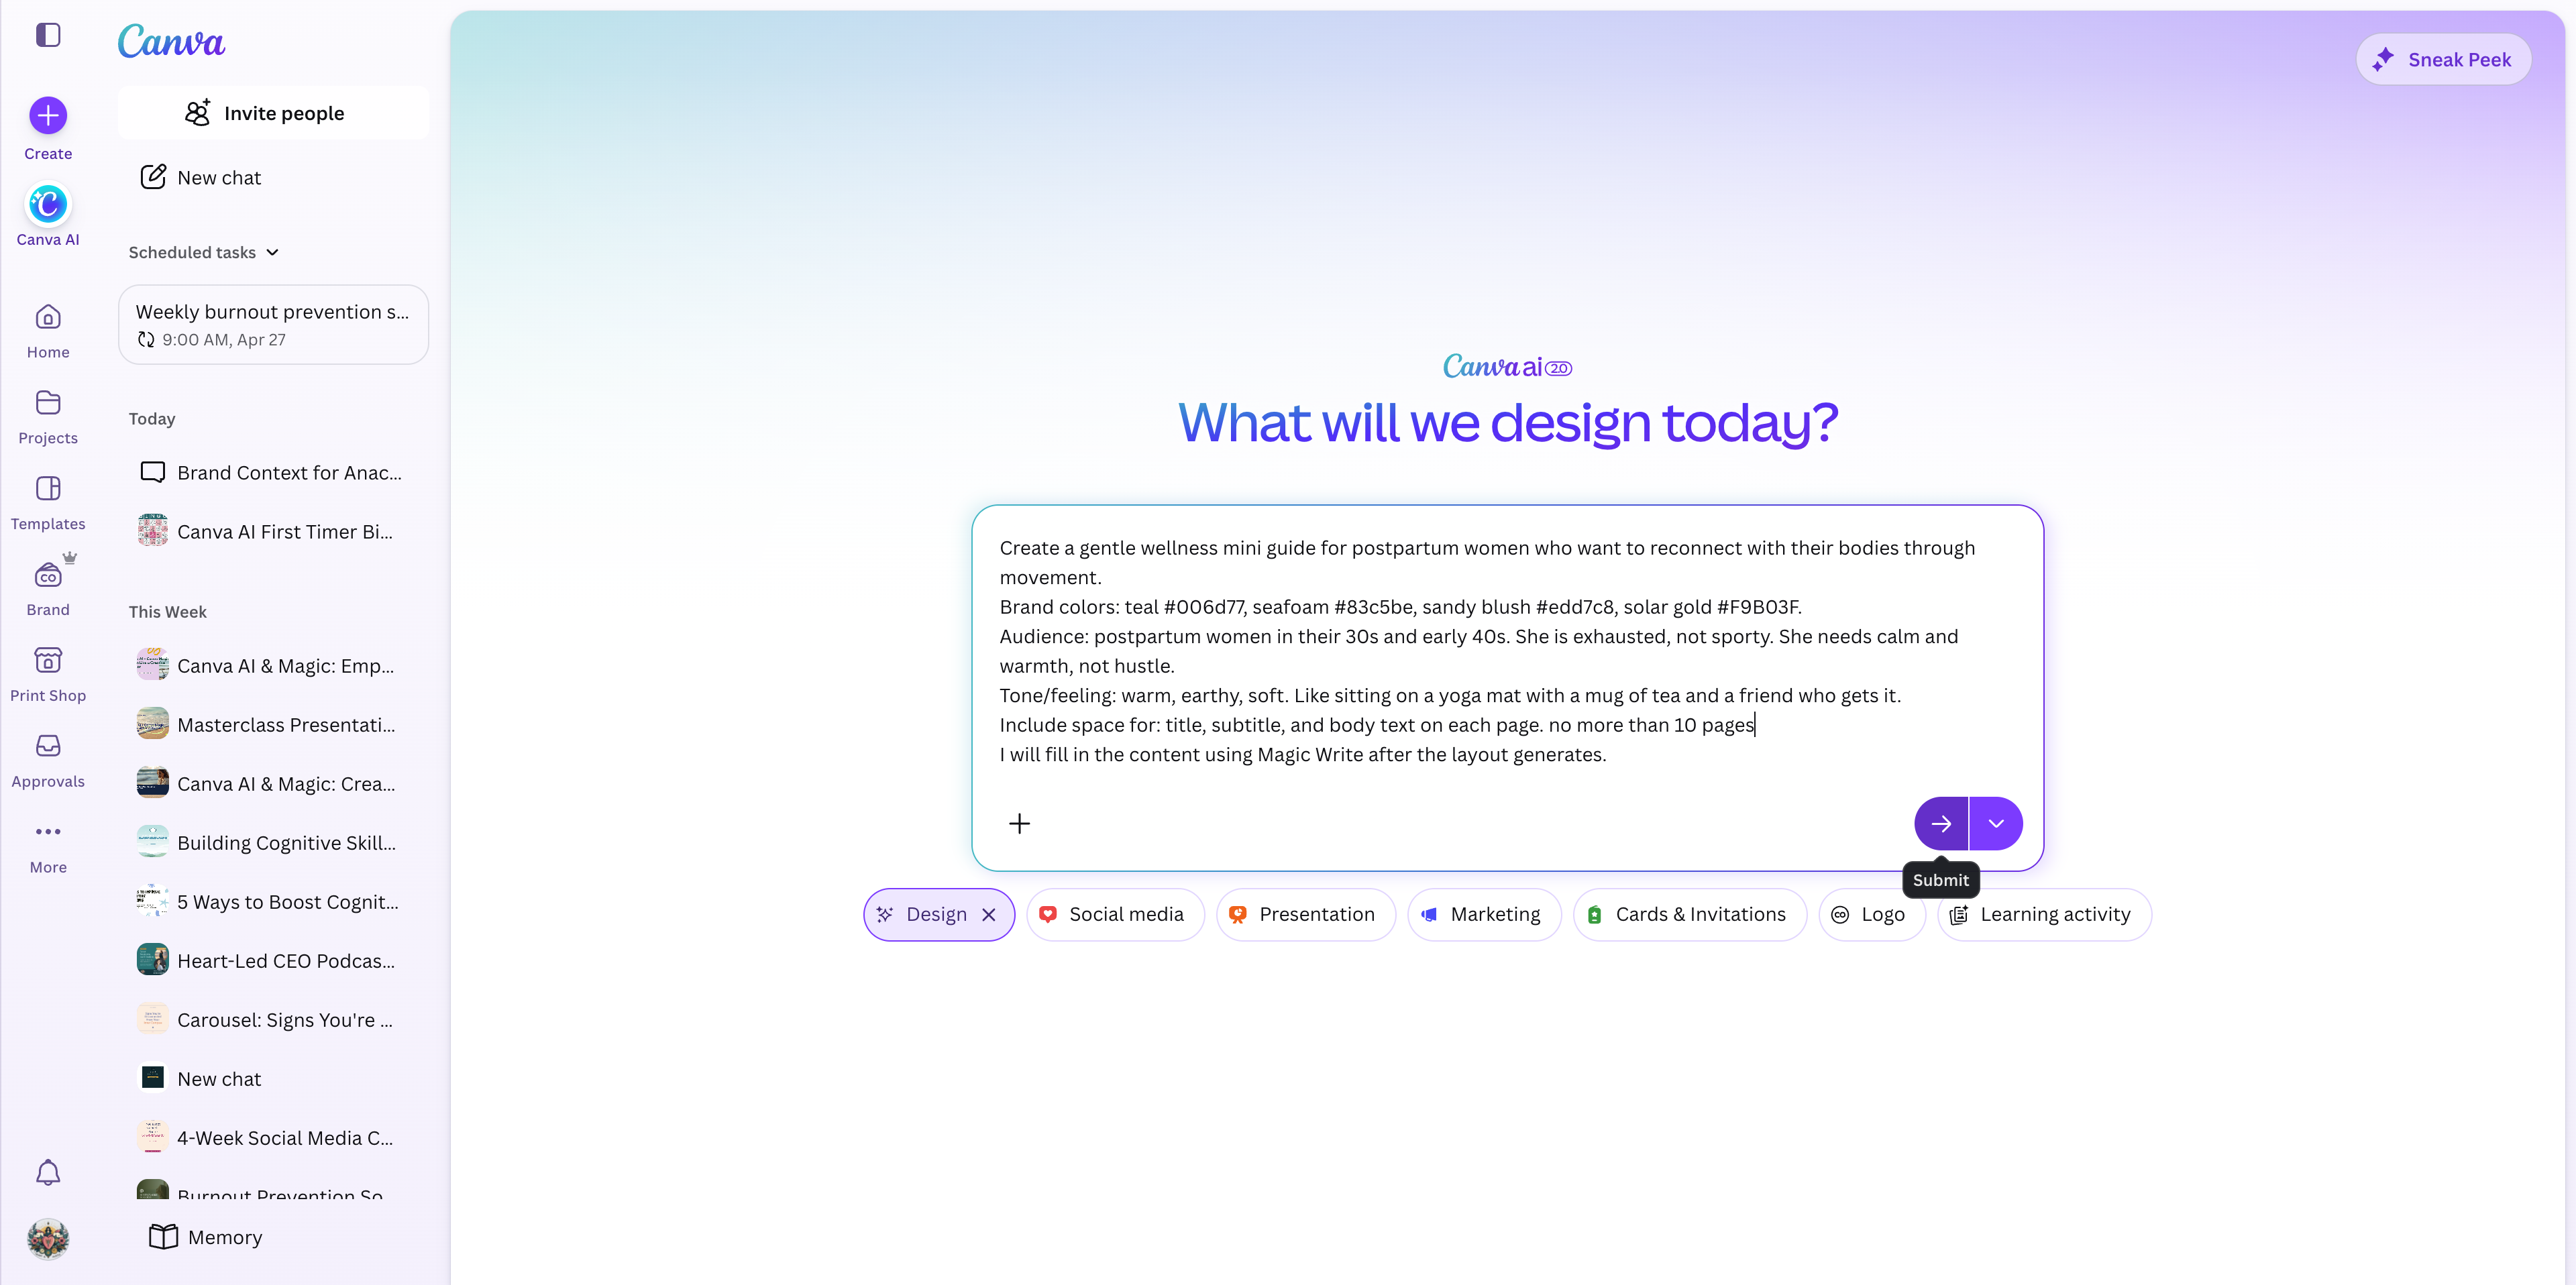
3
Paste a detailed prompt outlining your lead magnet. Include the topic, target audience, tone, and the exact number of pages you need.
4
Click the Submit arrow to generate the design.
Canva AI is still evolving and might occasionally output the wrong dimensions (like a trifold instead of standard letter size). If this happens, you can refine your instructions directly in the AI chat.
5
If the layout isn't right, click the Describe your idea box again.
6
Add constraints to your prompt, such as "Format as 8.5x11 inch pages" and "Provide exactly 8 pages templated for copy."
7
Press Enter to regenerate the document.
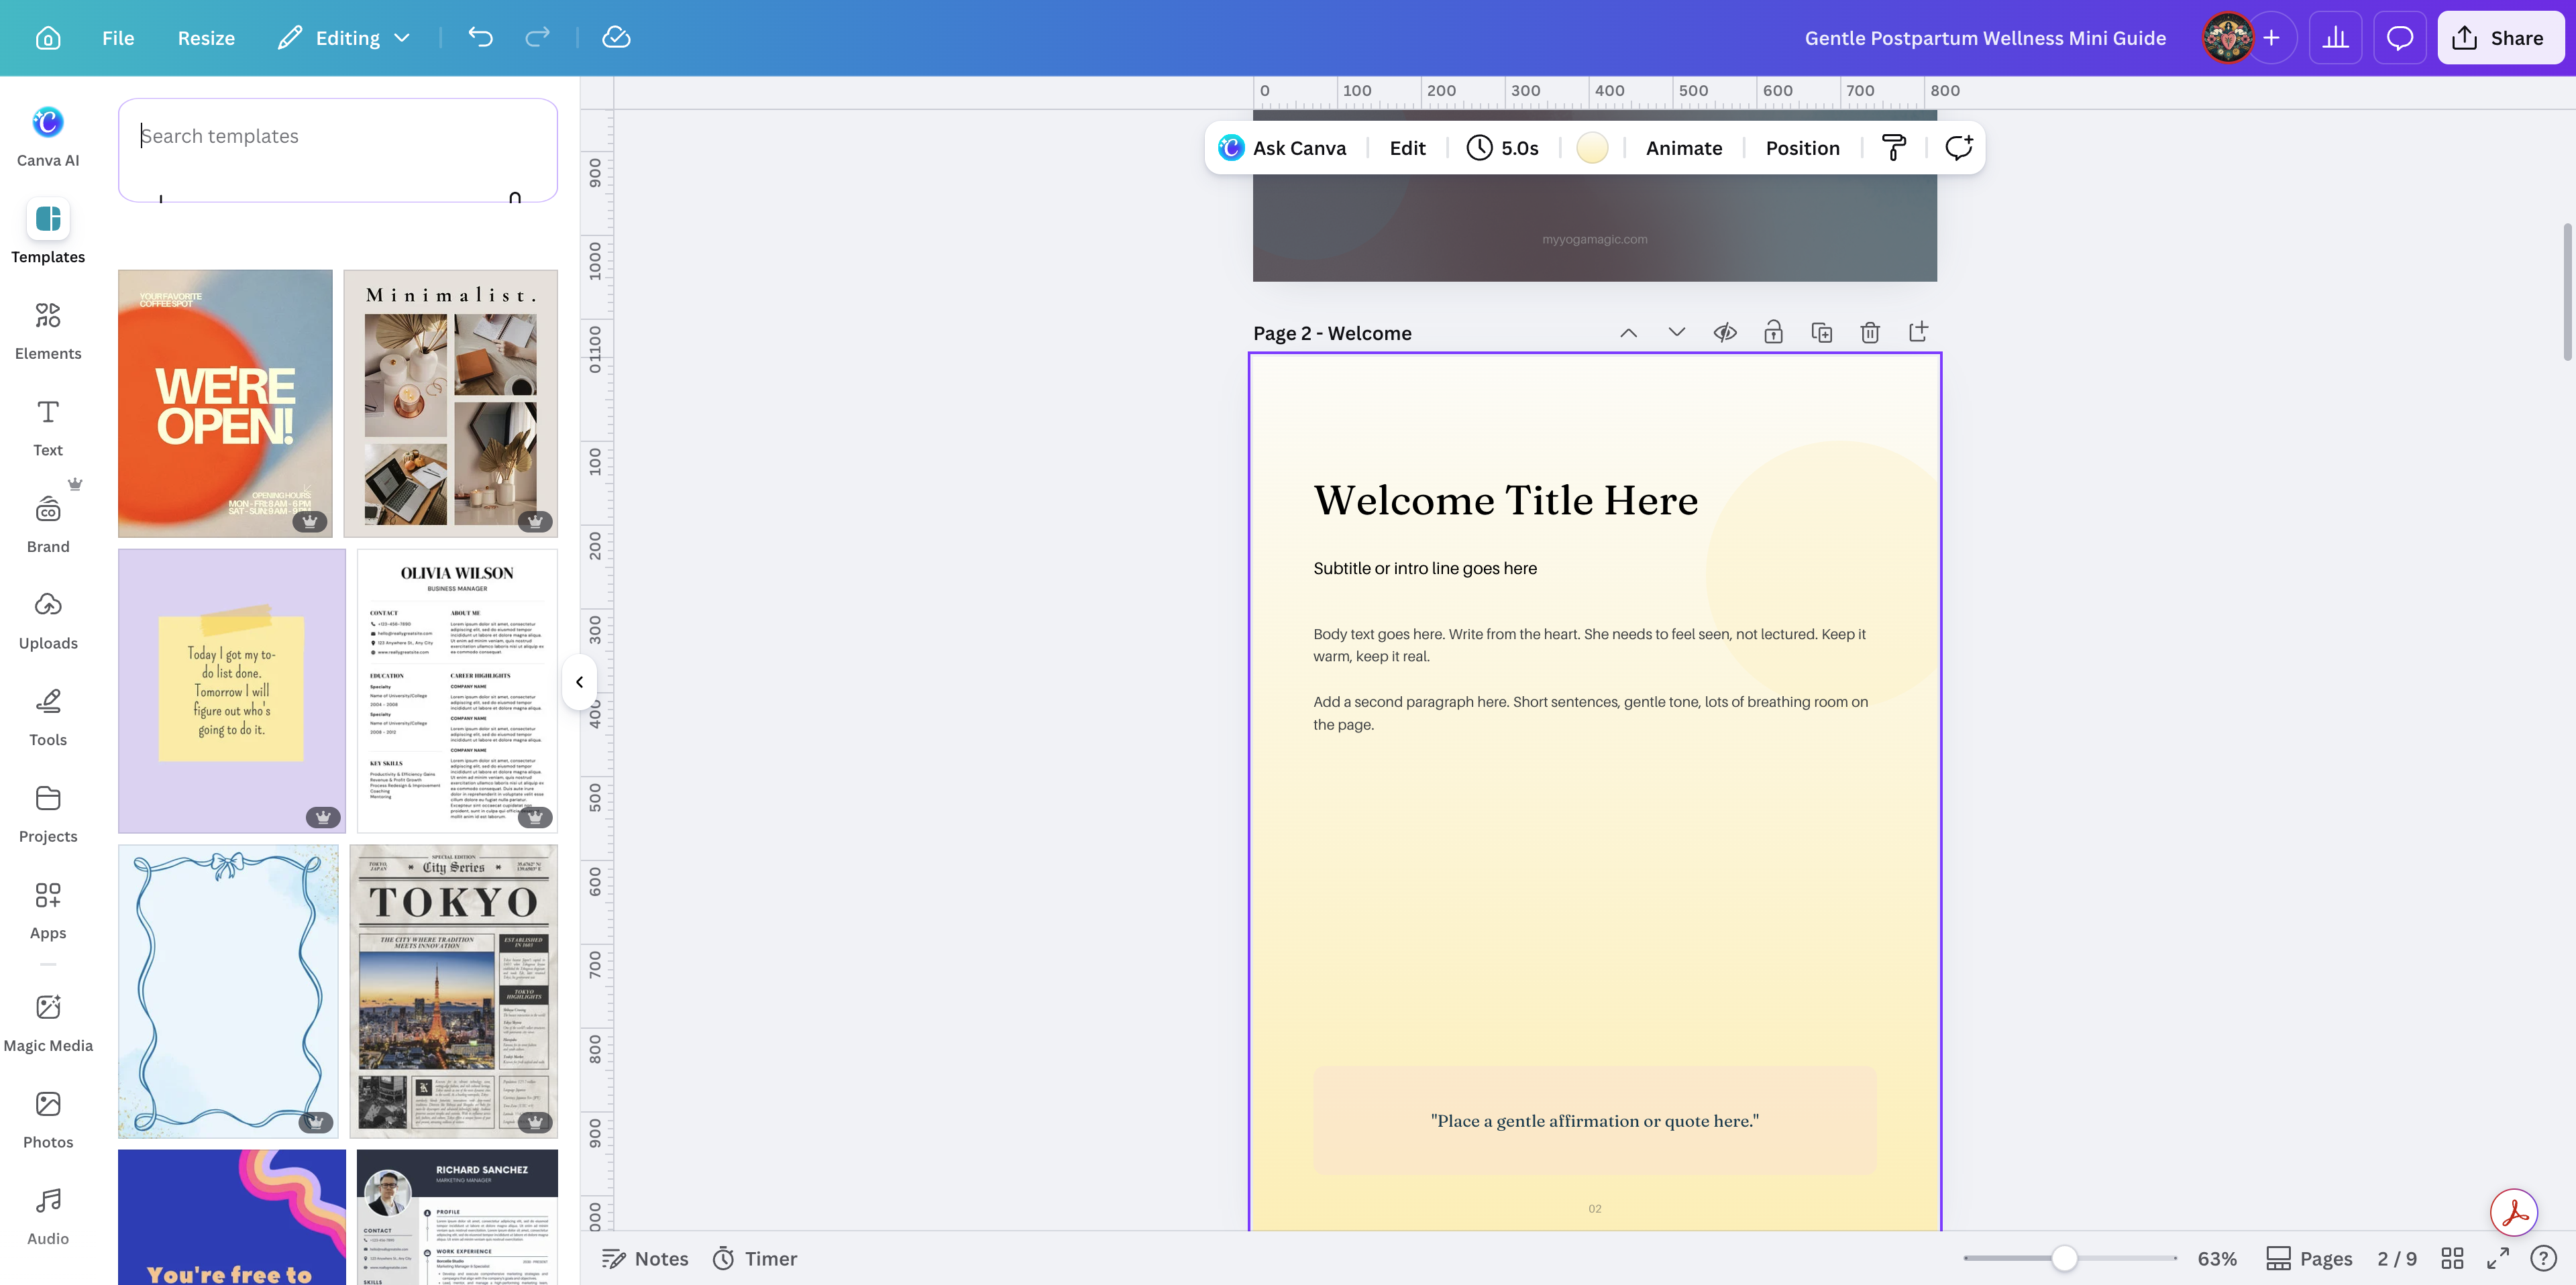
Enhancing Pages with Canva Templates
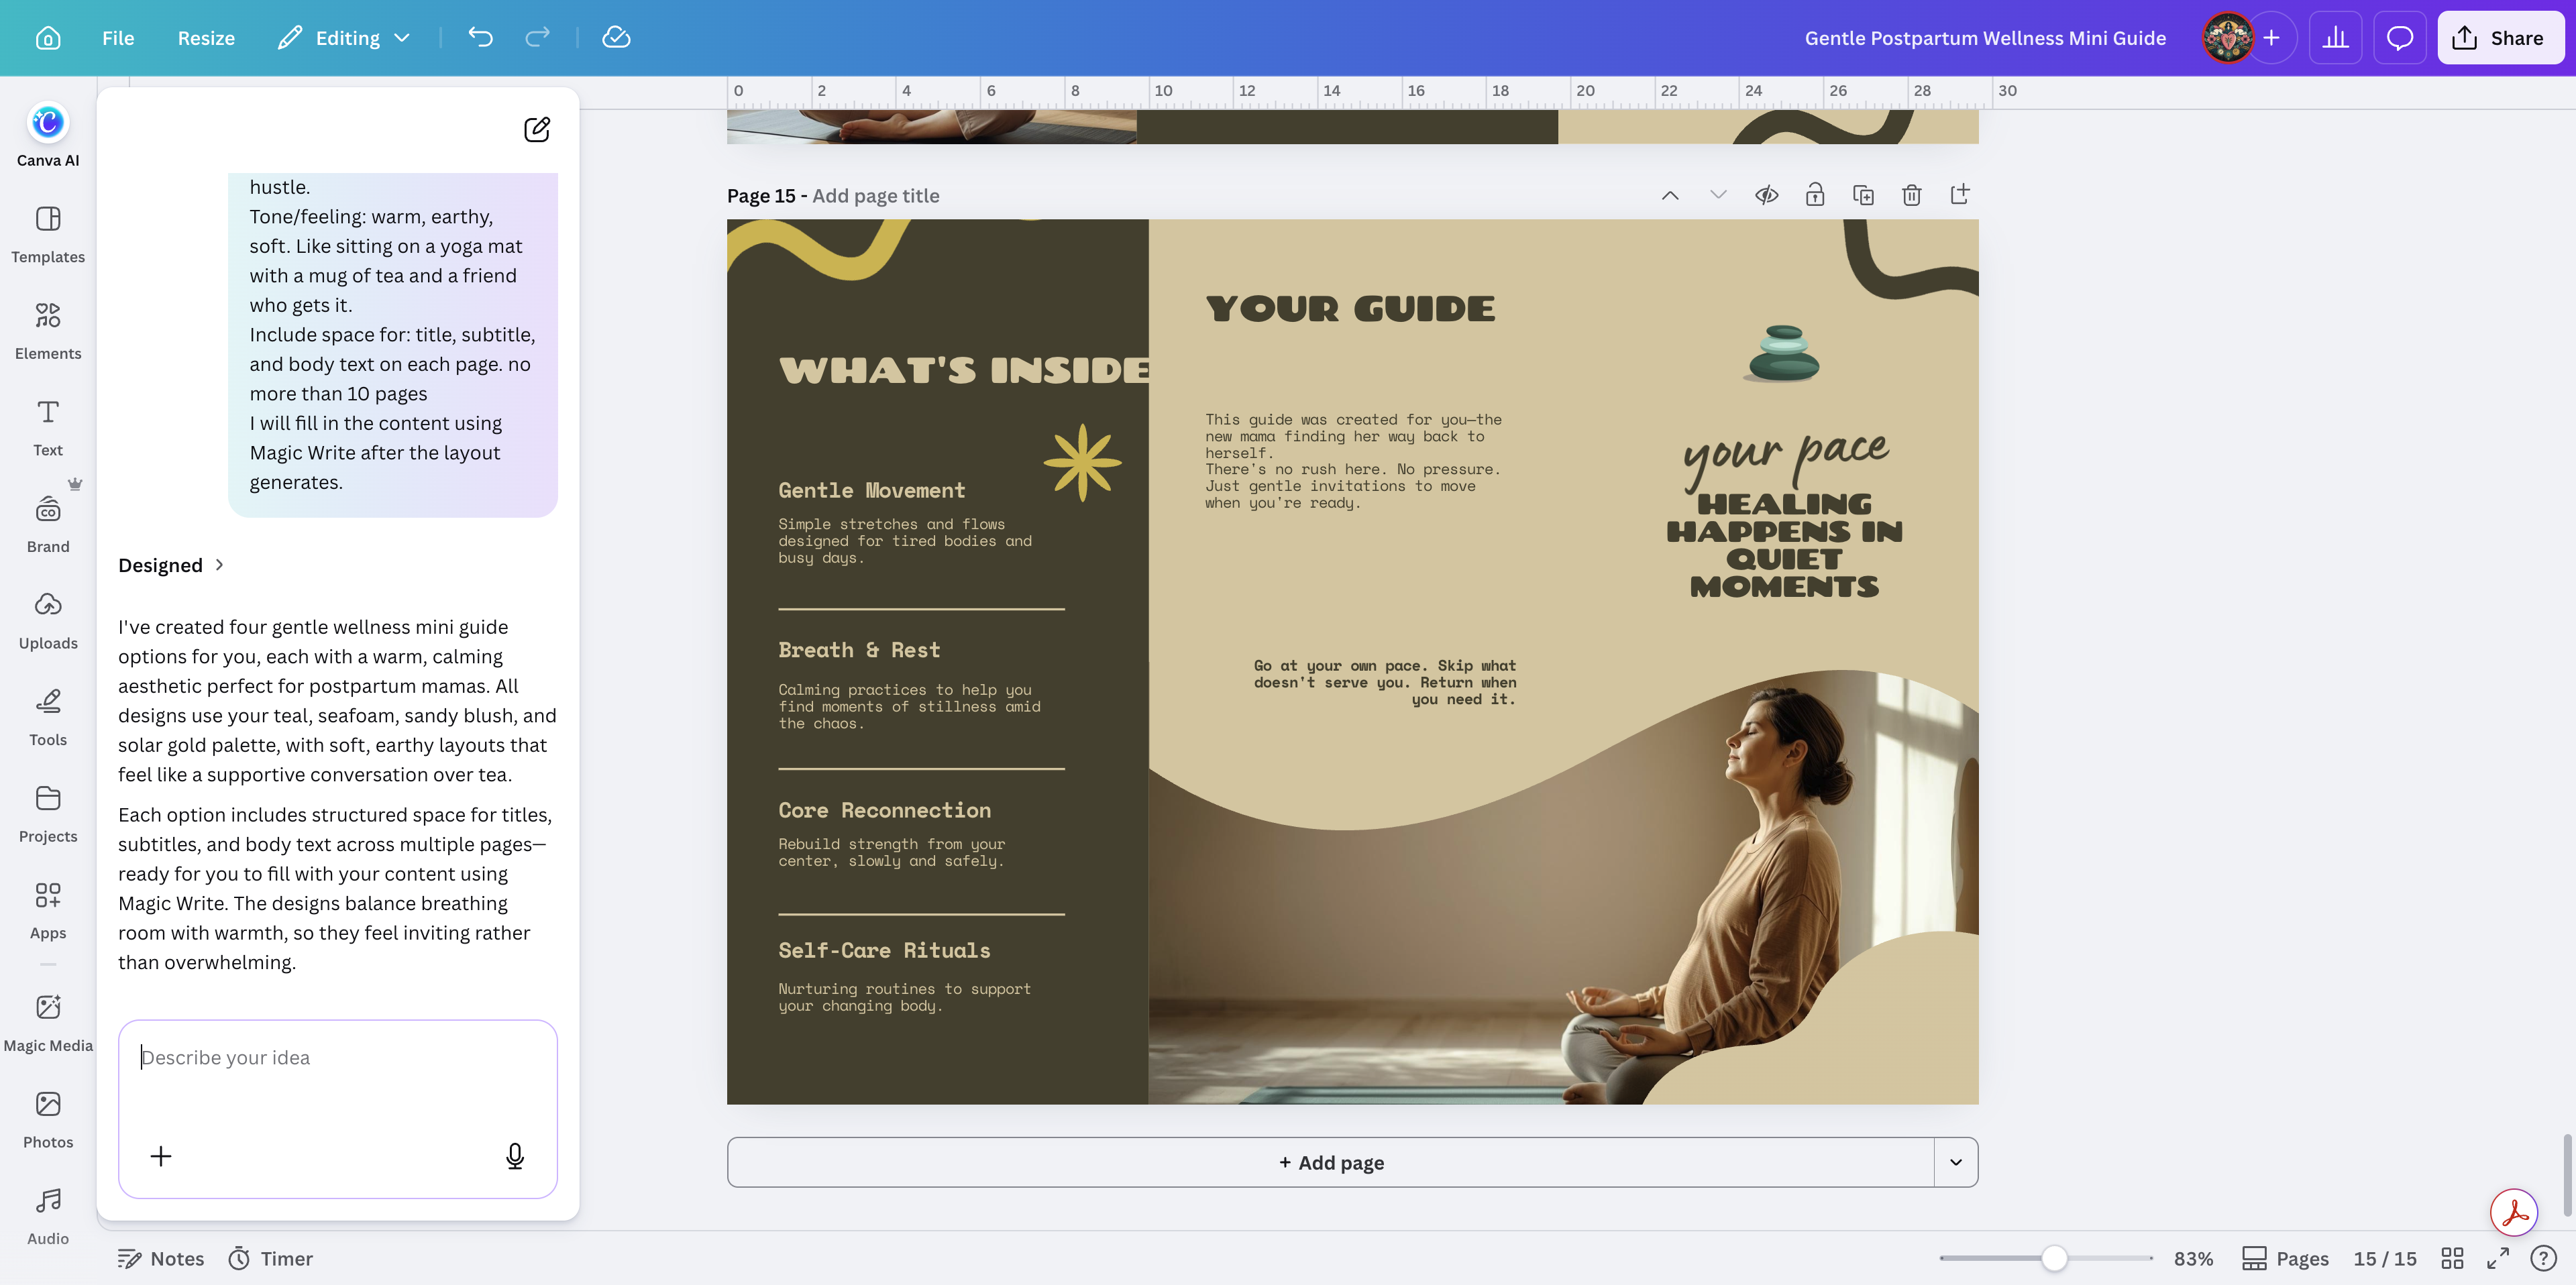
While the AI handles the structure and placeholder content, the AI-generated visuals may be a bit basic. You can quickly swap out individual pages with polished templates from Canva's library.
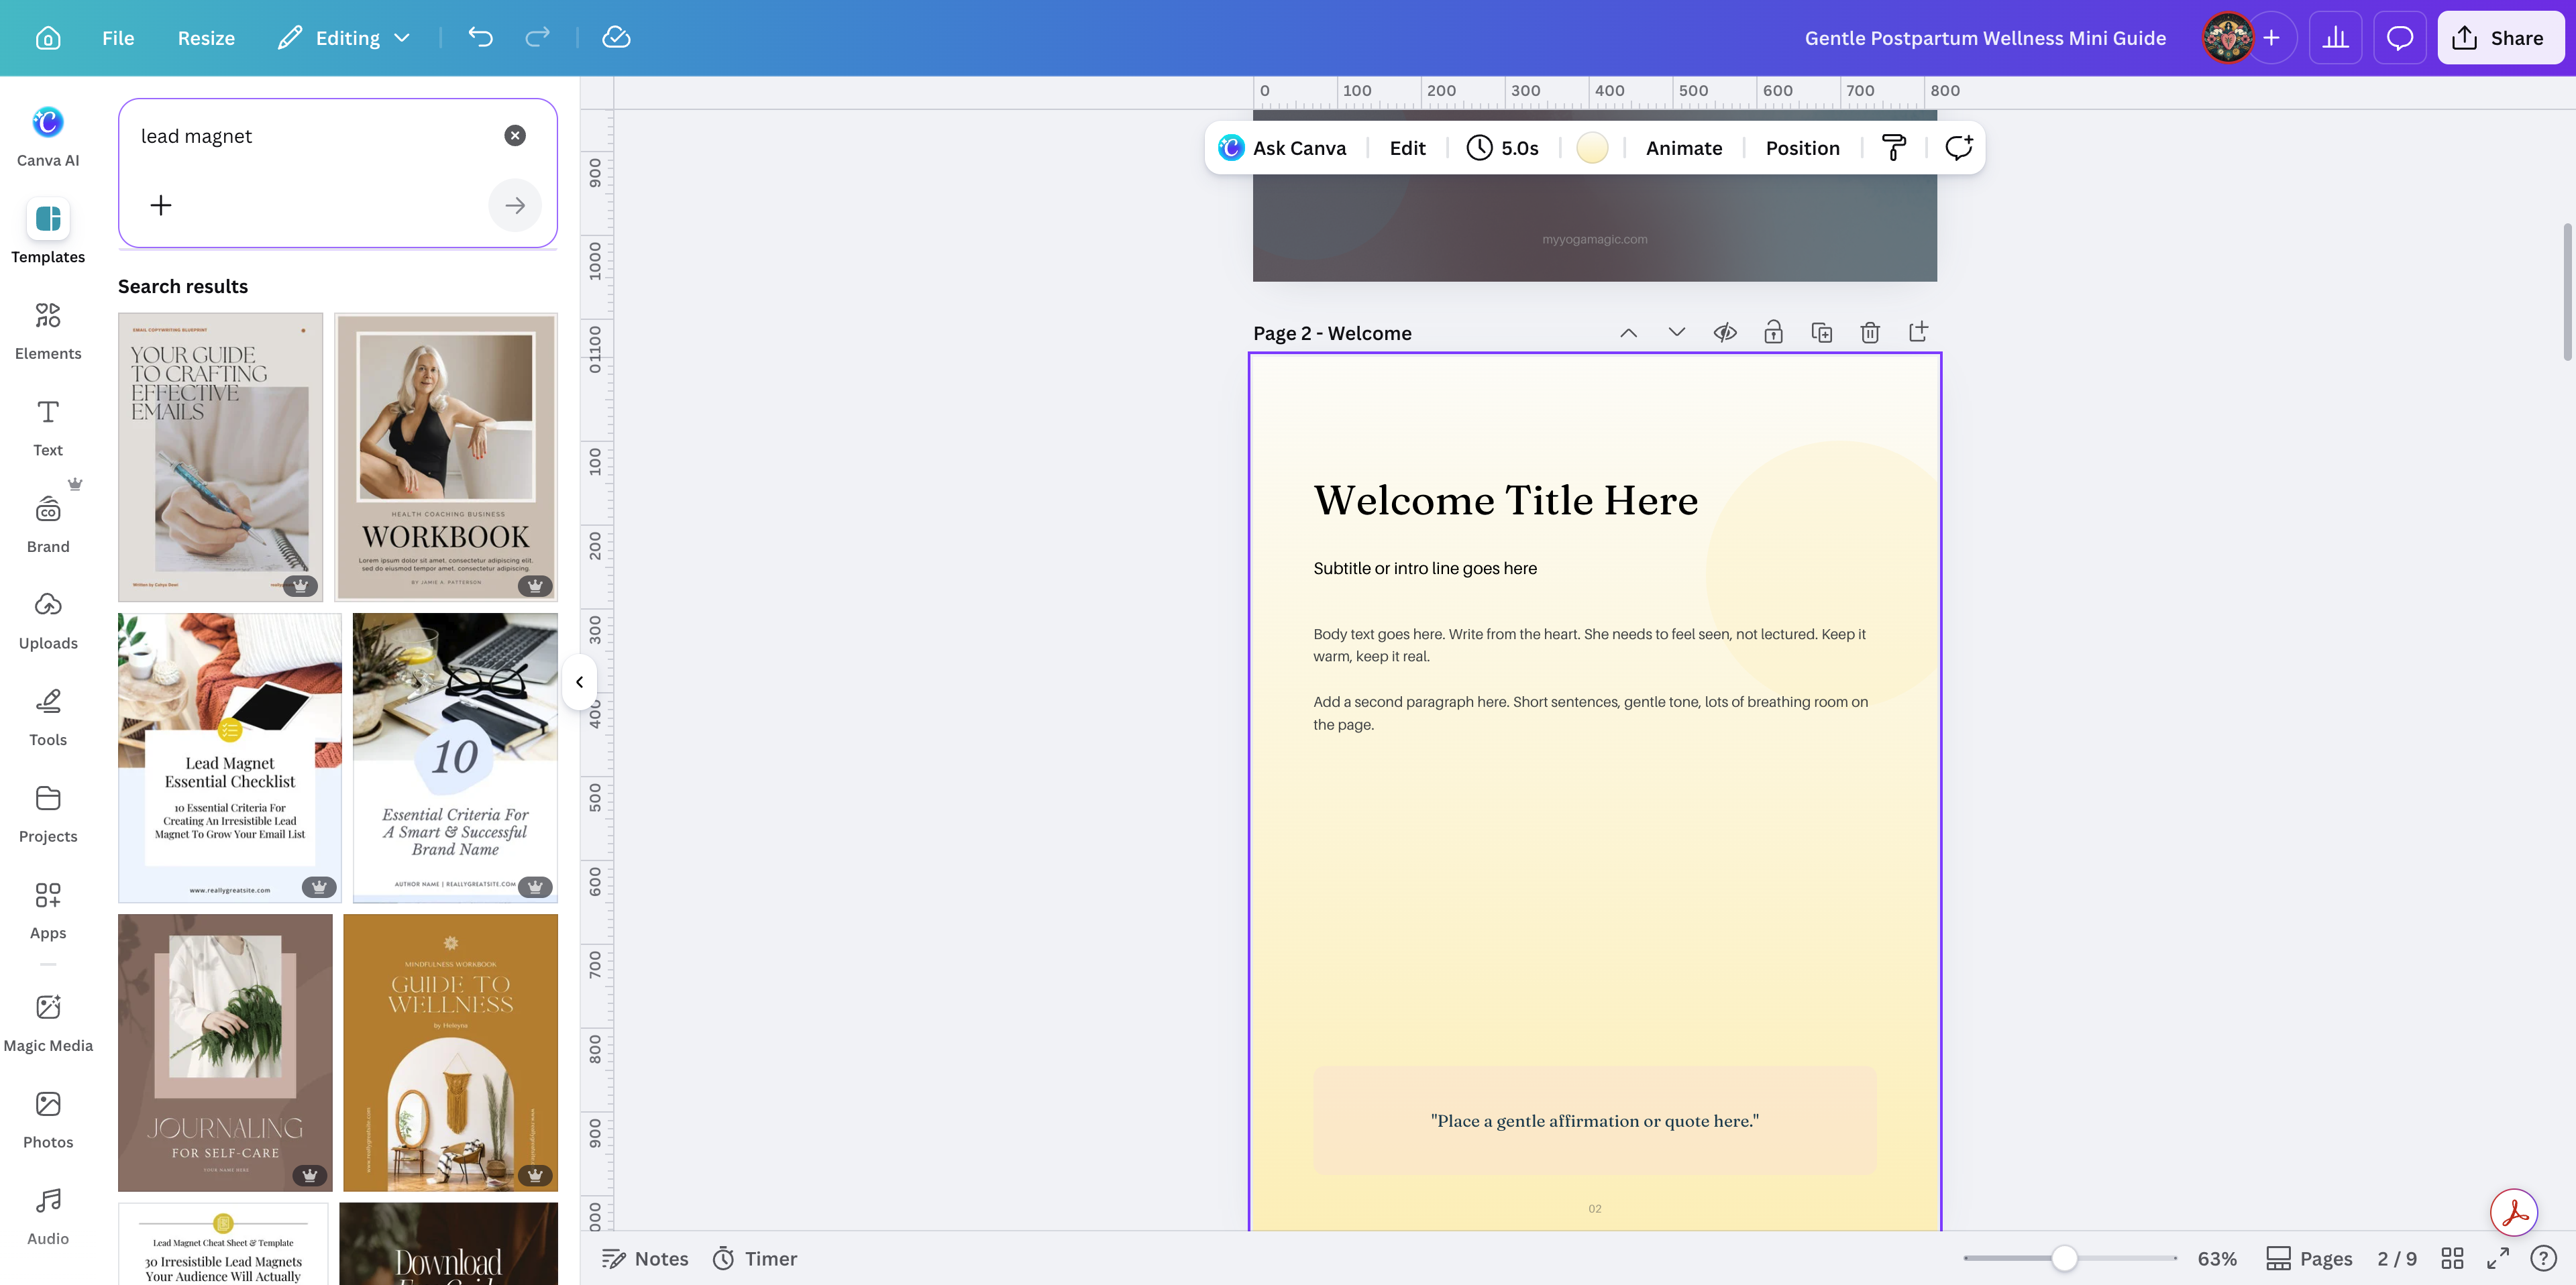
8
Open the Design tab in the left sidebar to search templates.
9
Type "lead magnet" and hit Enter to browse layouts.
10
Select a template that matches the type of page you are editing (e.g., a welcome page, chapter intro, or quote layout).
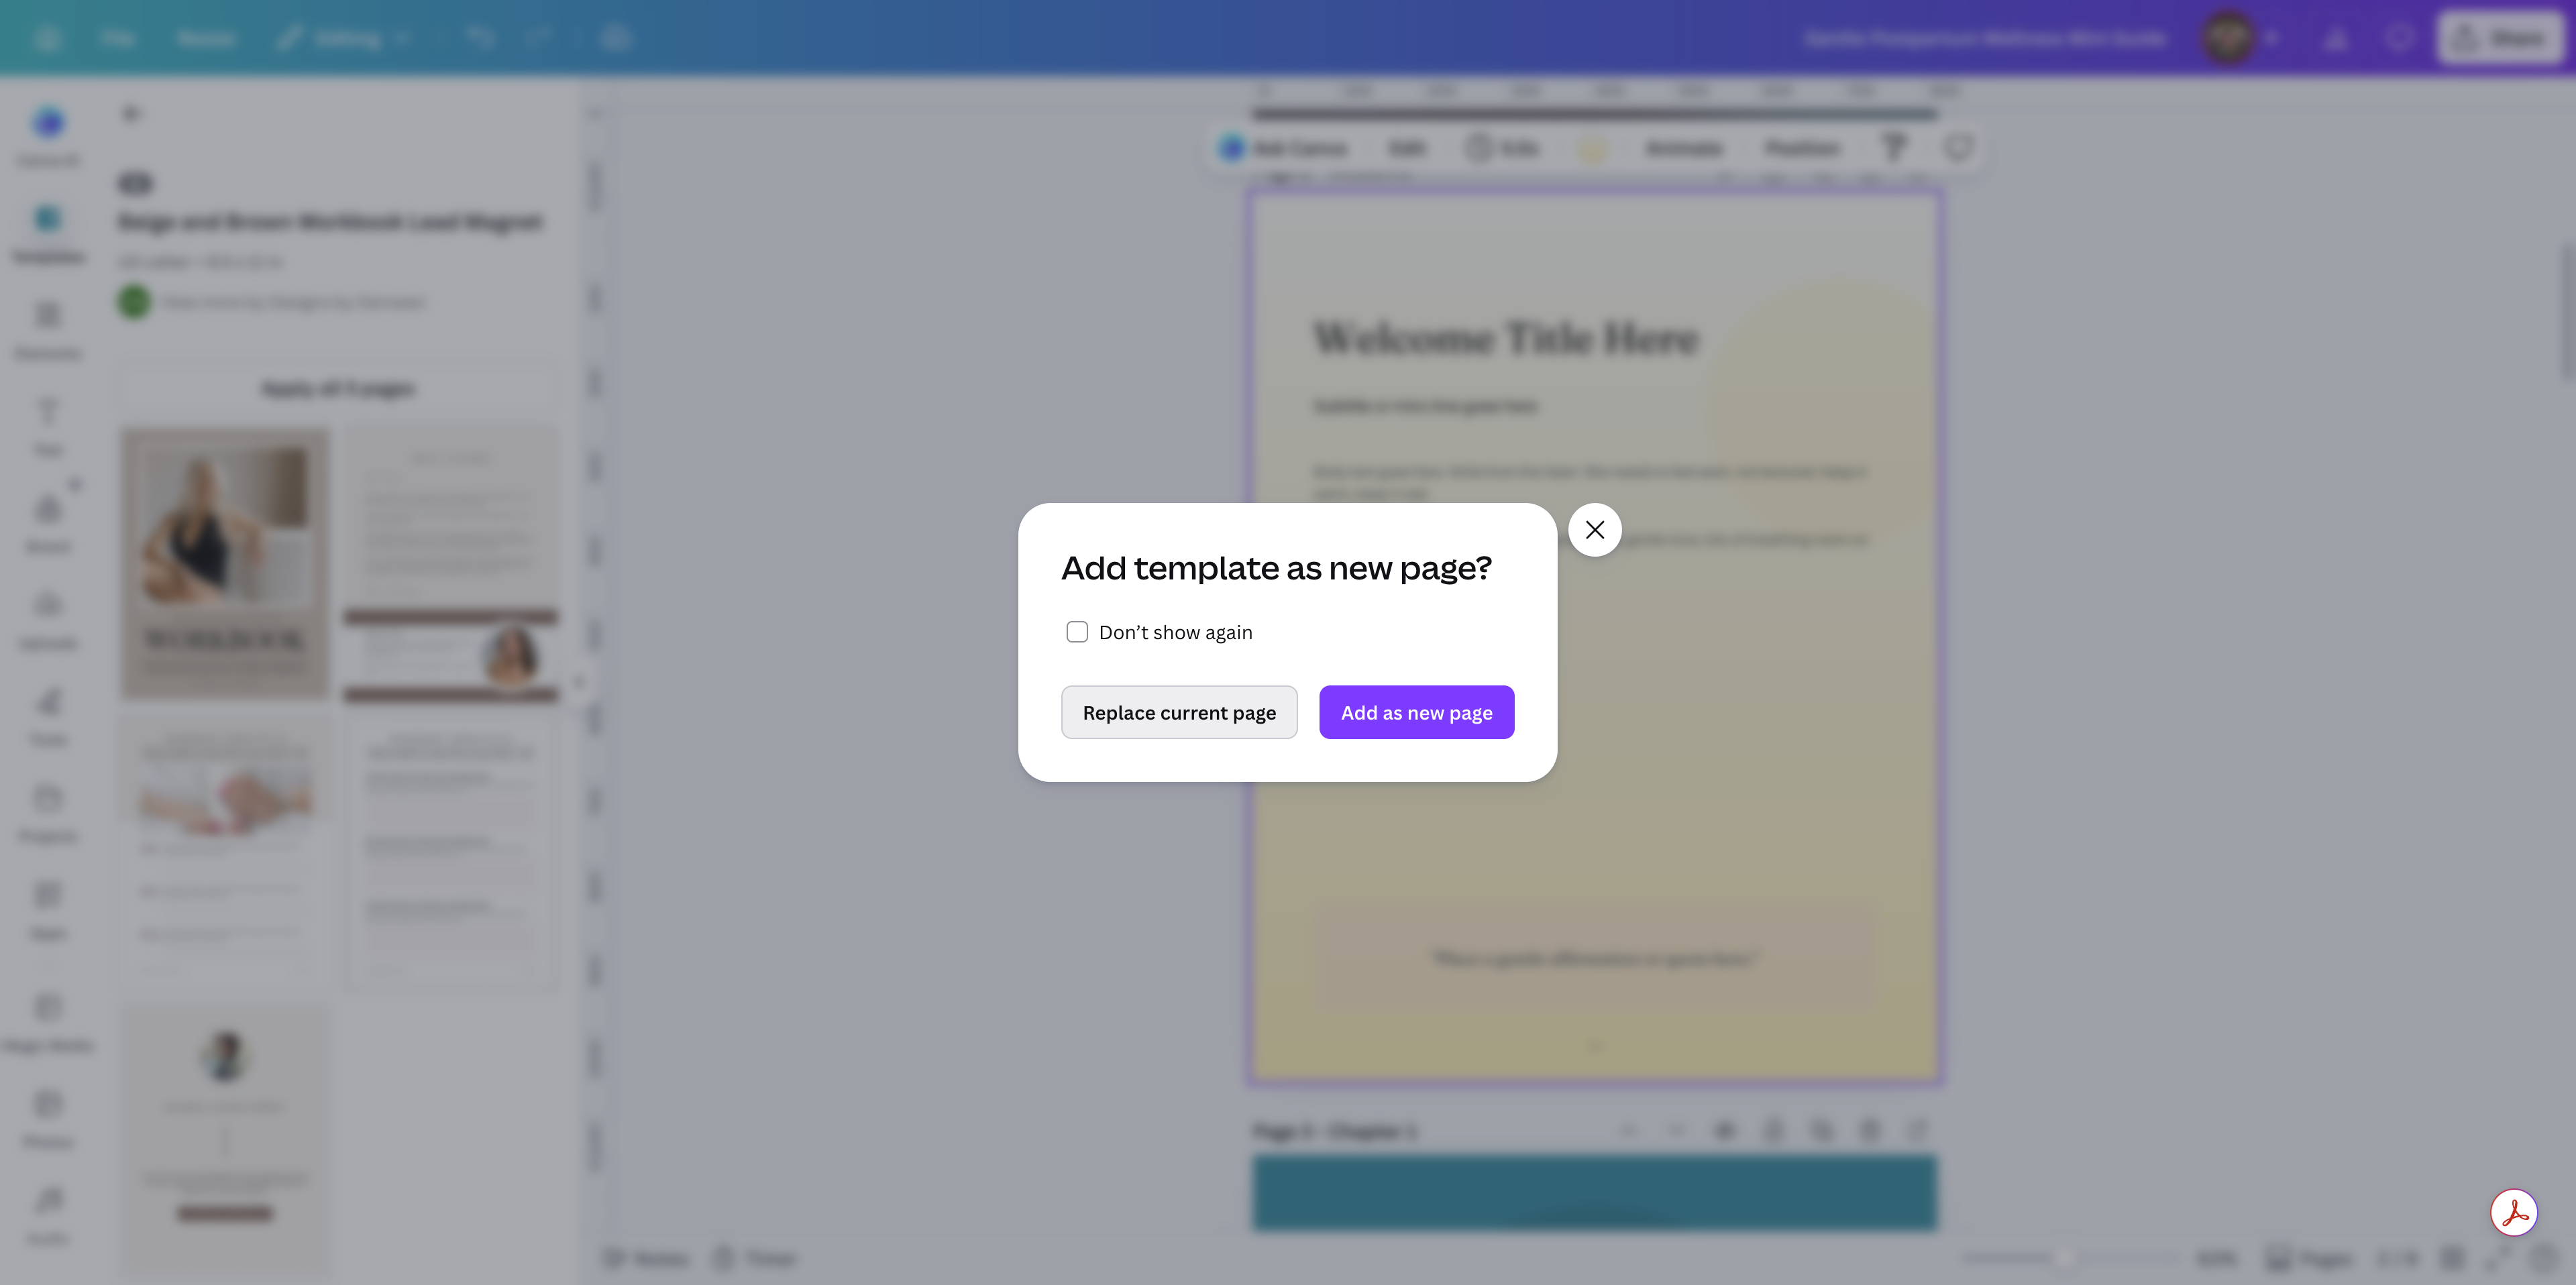
11
Click Replace current page.
Repeat this process for your cover page, content chapters, and closing call-to-action page.
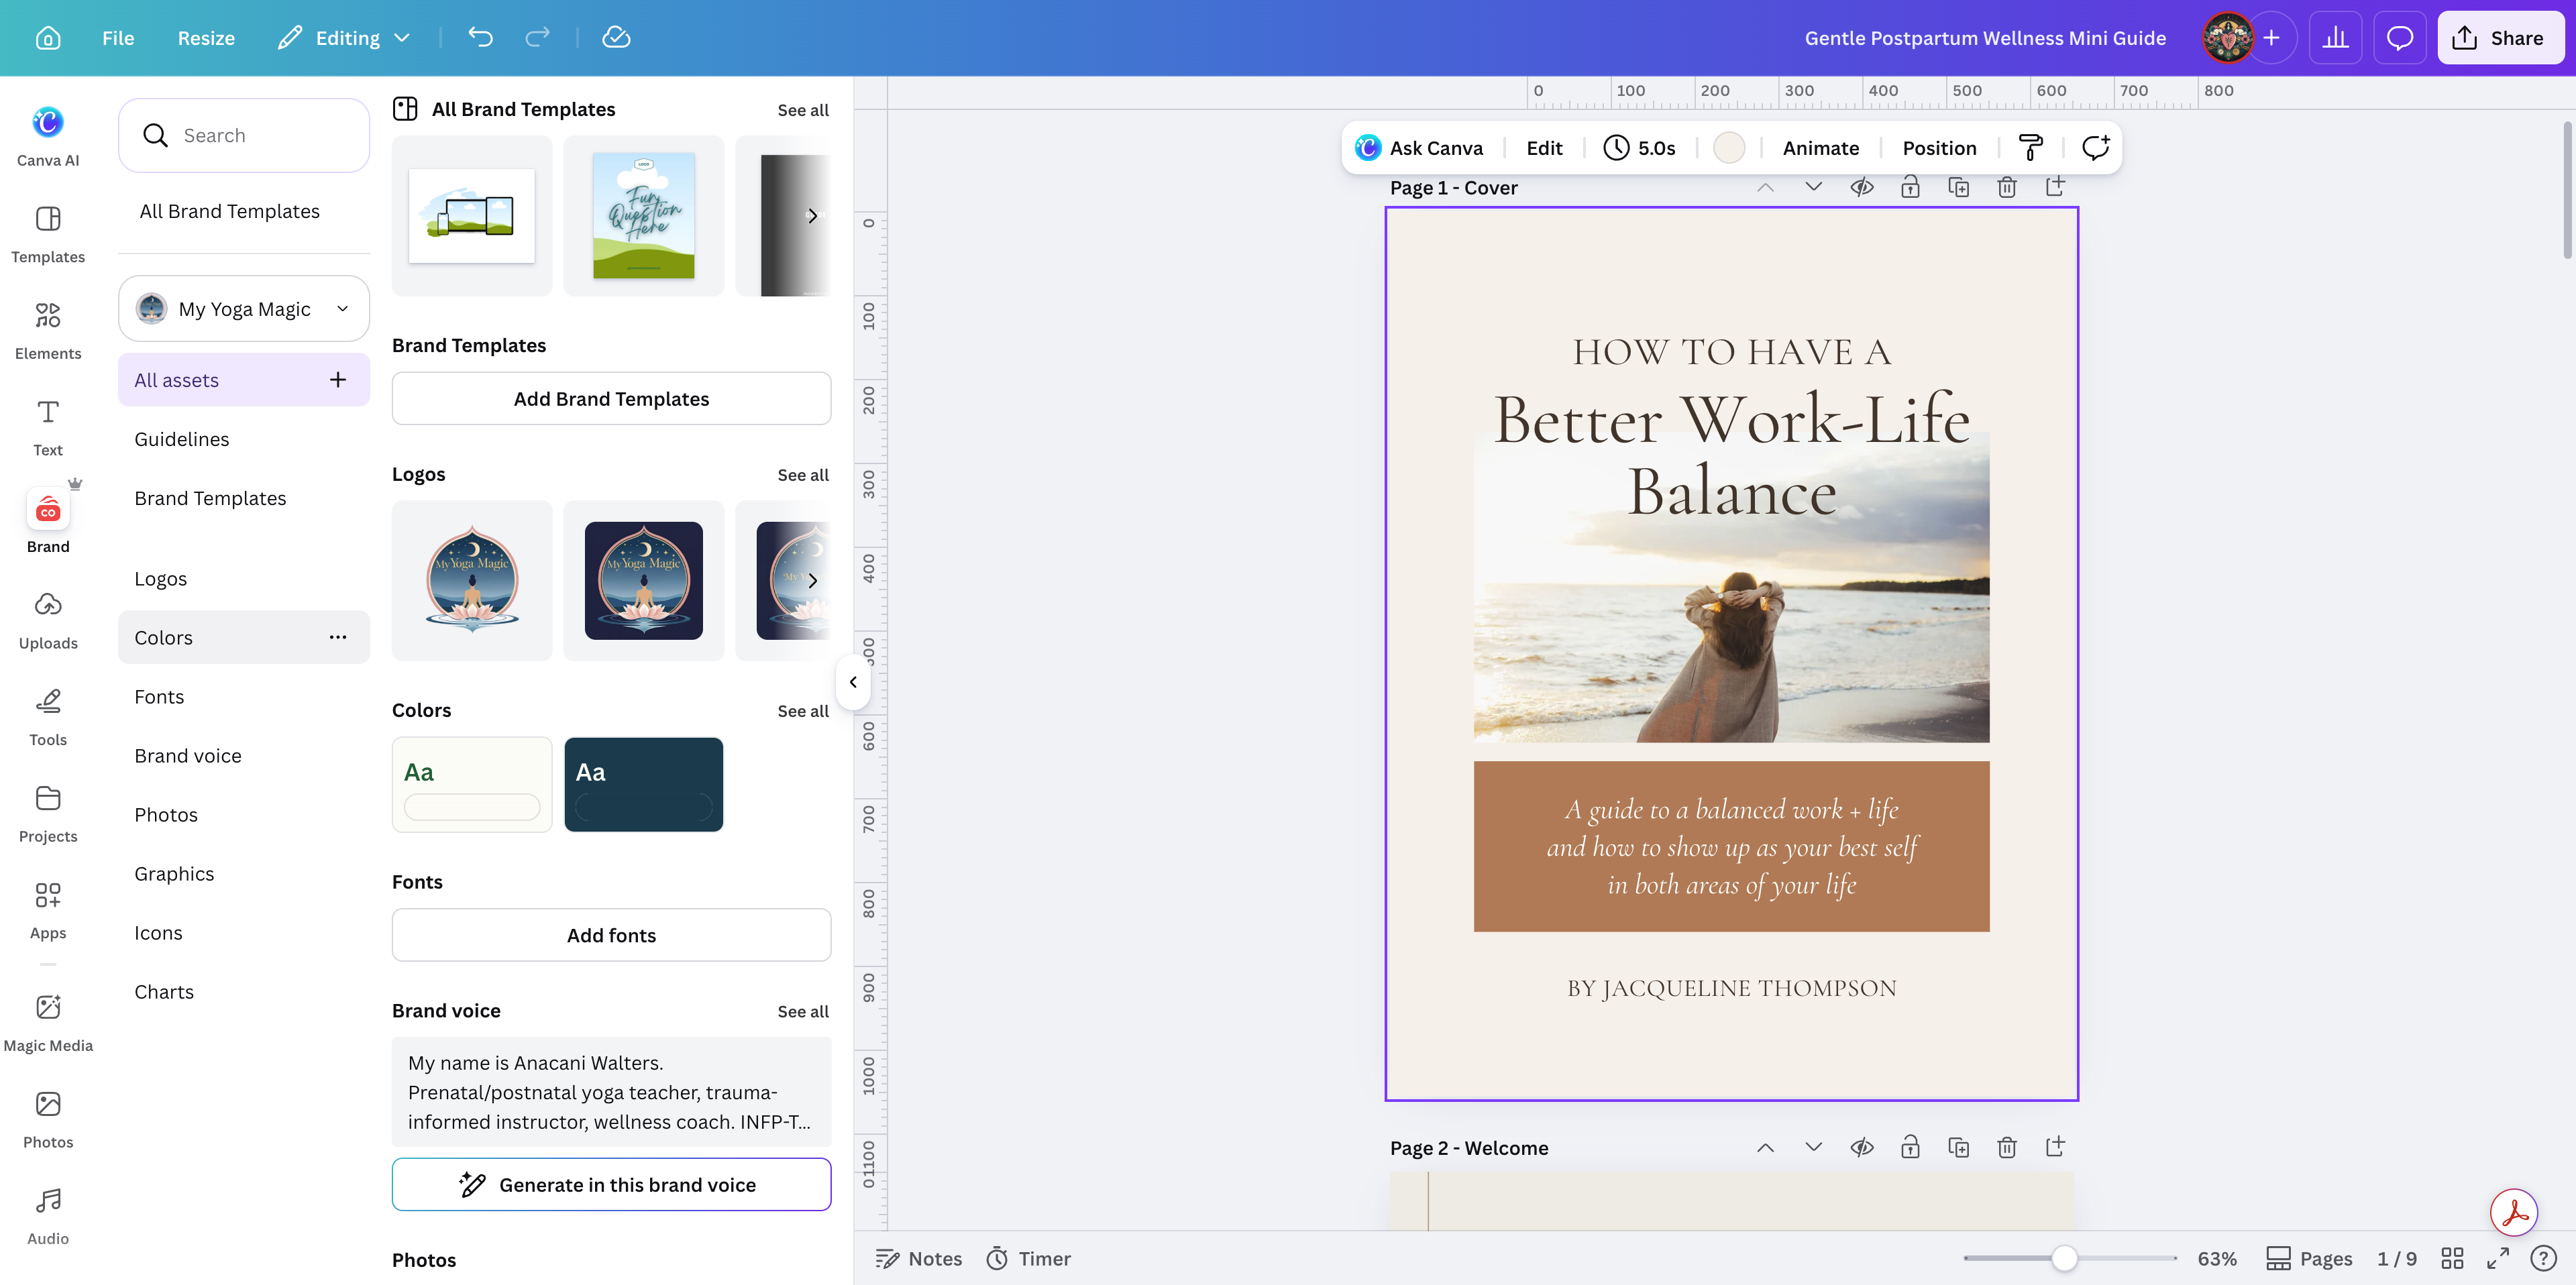
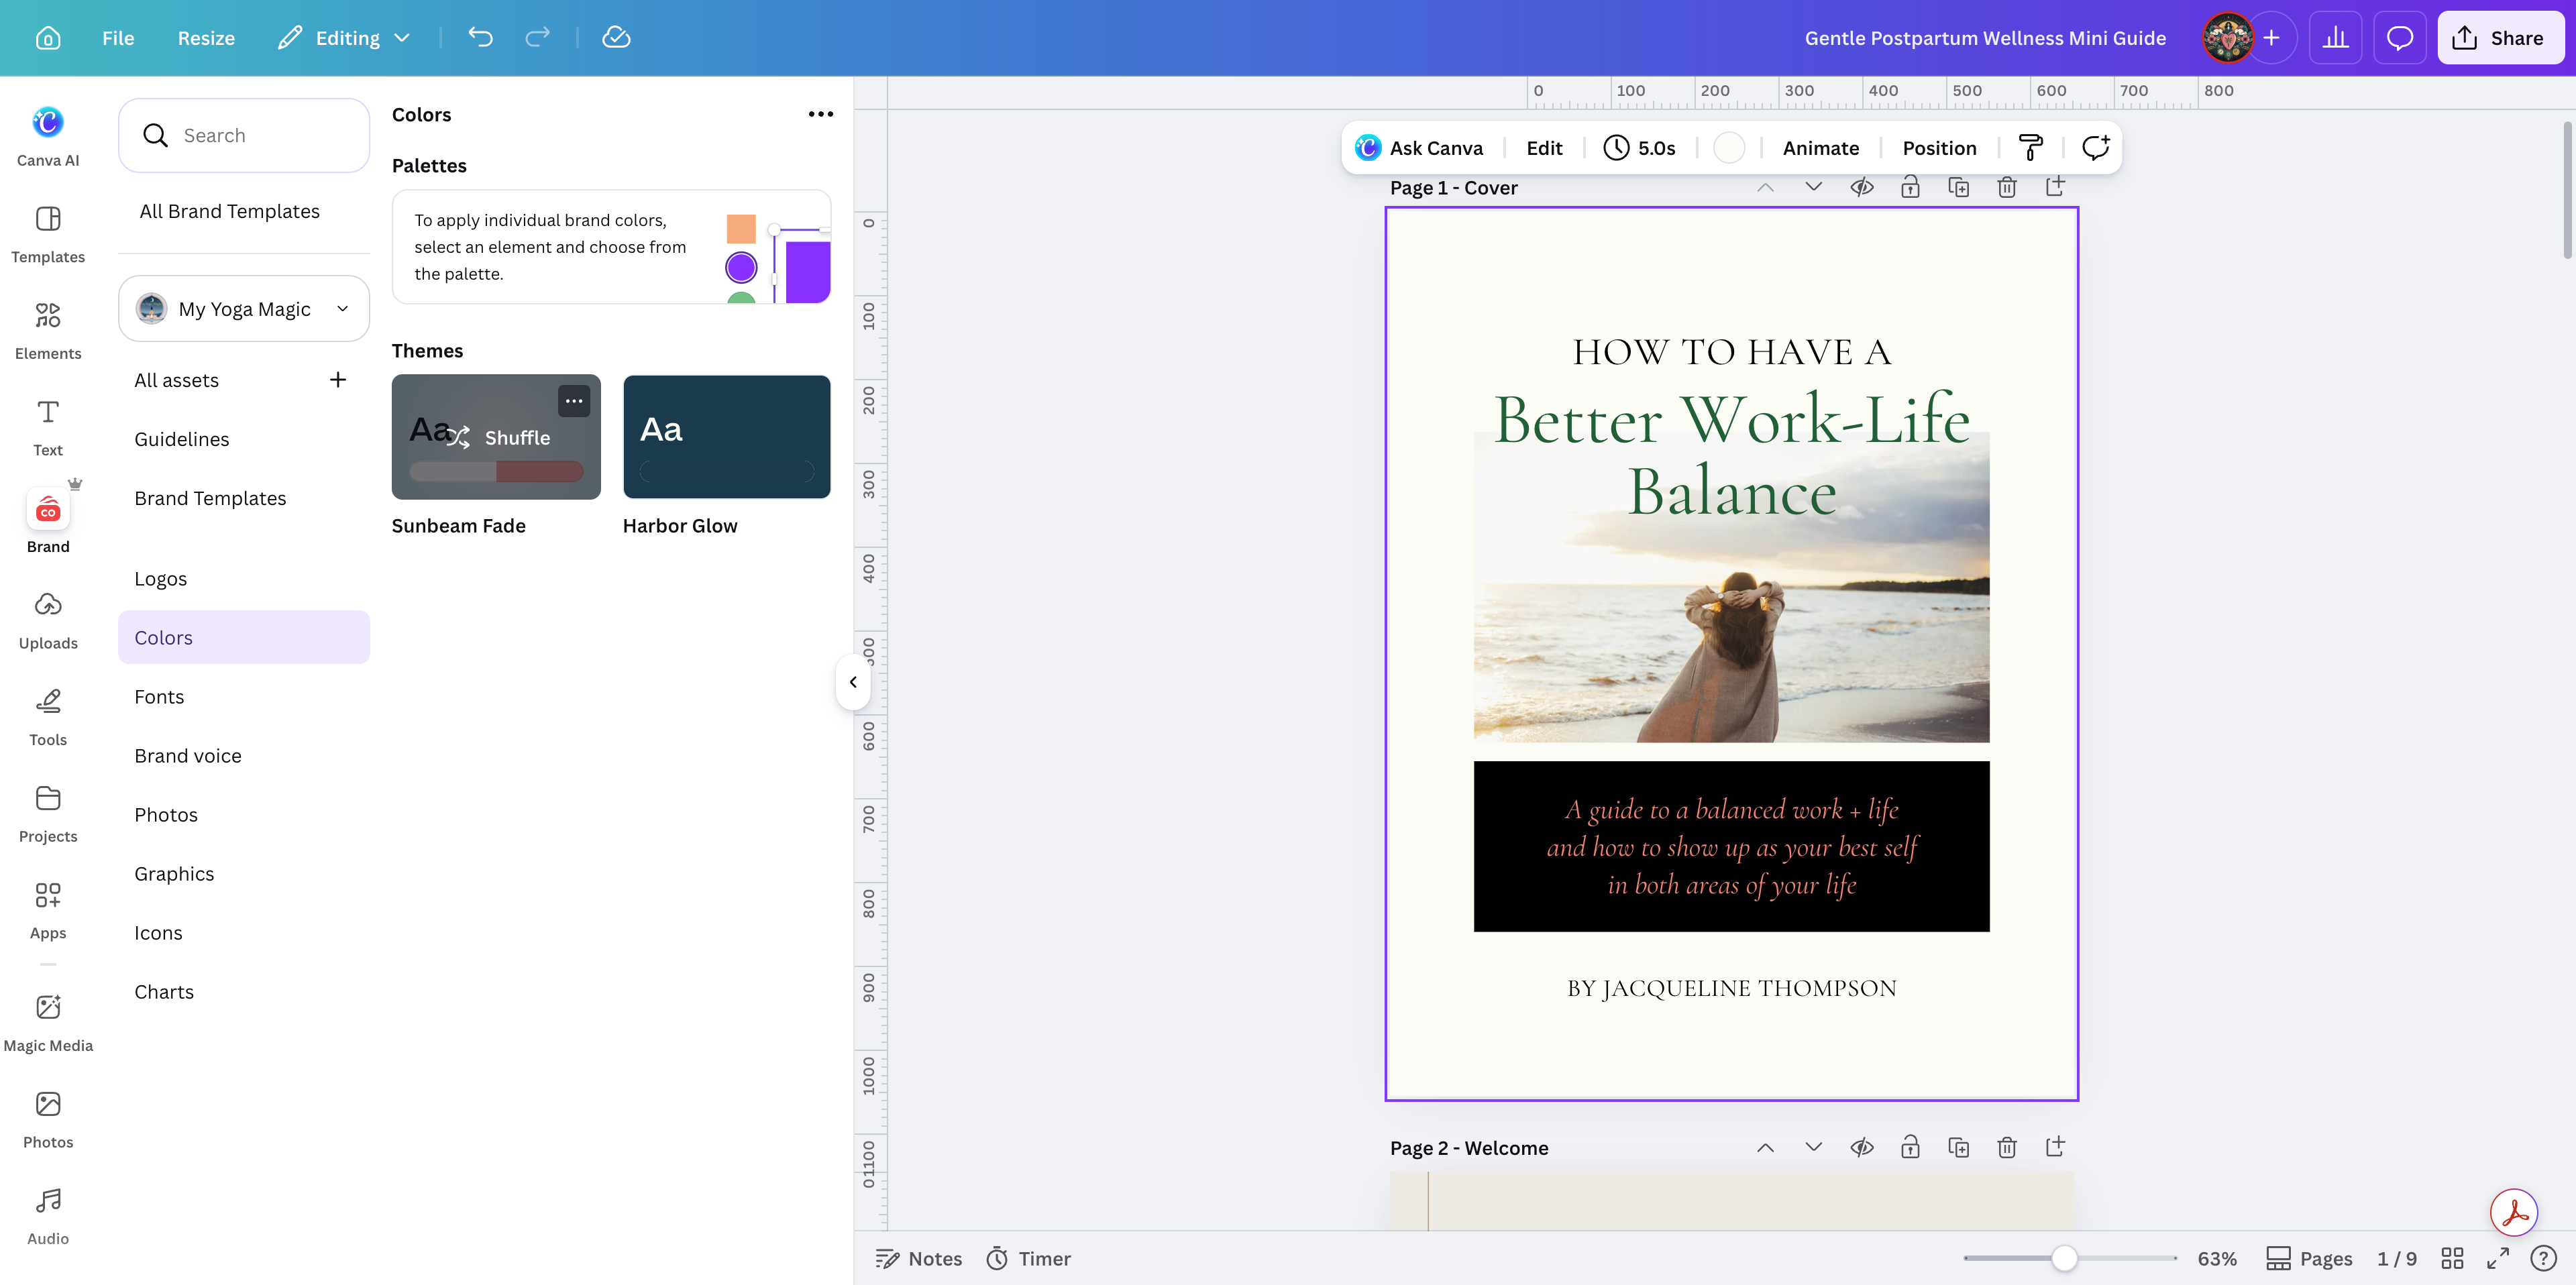
Applying Your Brand Kit
Once the layouts are in place, apply your brand identity so the lead magnet looks cohesive and custom to your business.
12
Navigate to the Brand tab in the left sidebar and select Colors.
13
Click Shuffle on your brand color palette. Keep clicking until you find a color combination you like for the current page.
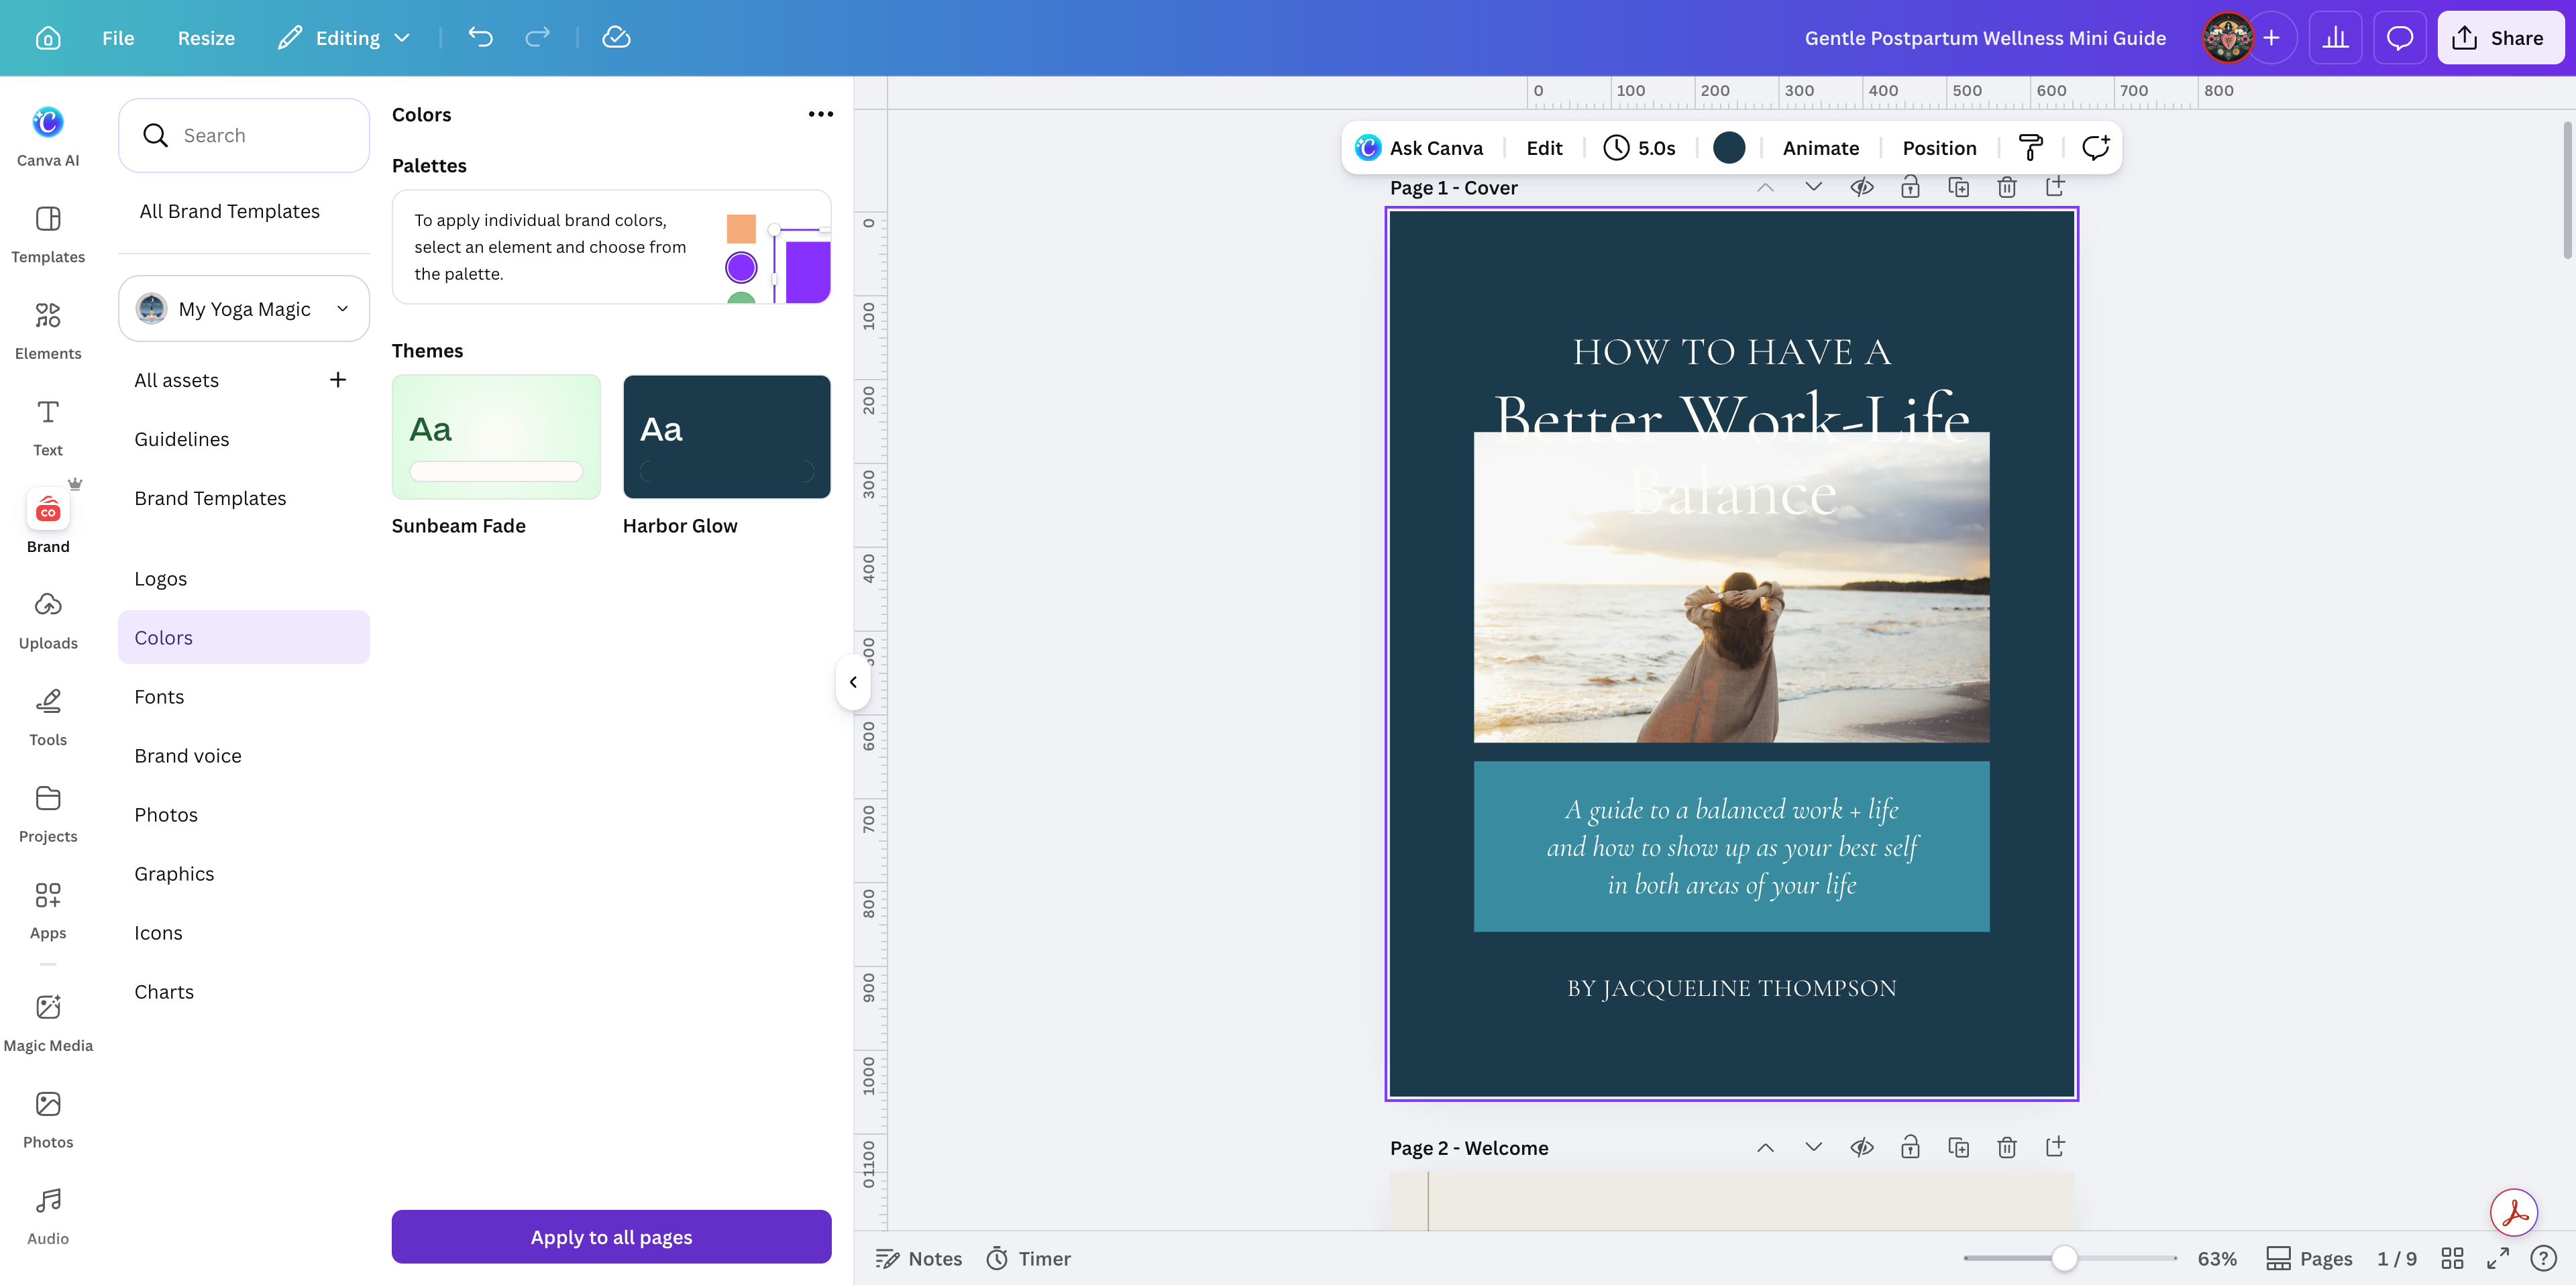
14
Click Apply to all pages at the bottom of the panel to uniformly style the entire lead magnet.
Your document now shares a unified color scheme. You can manually adjust any specific text elements that need better contrast.
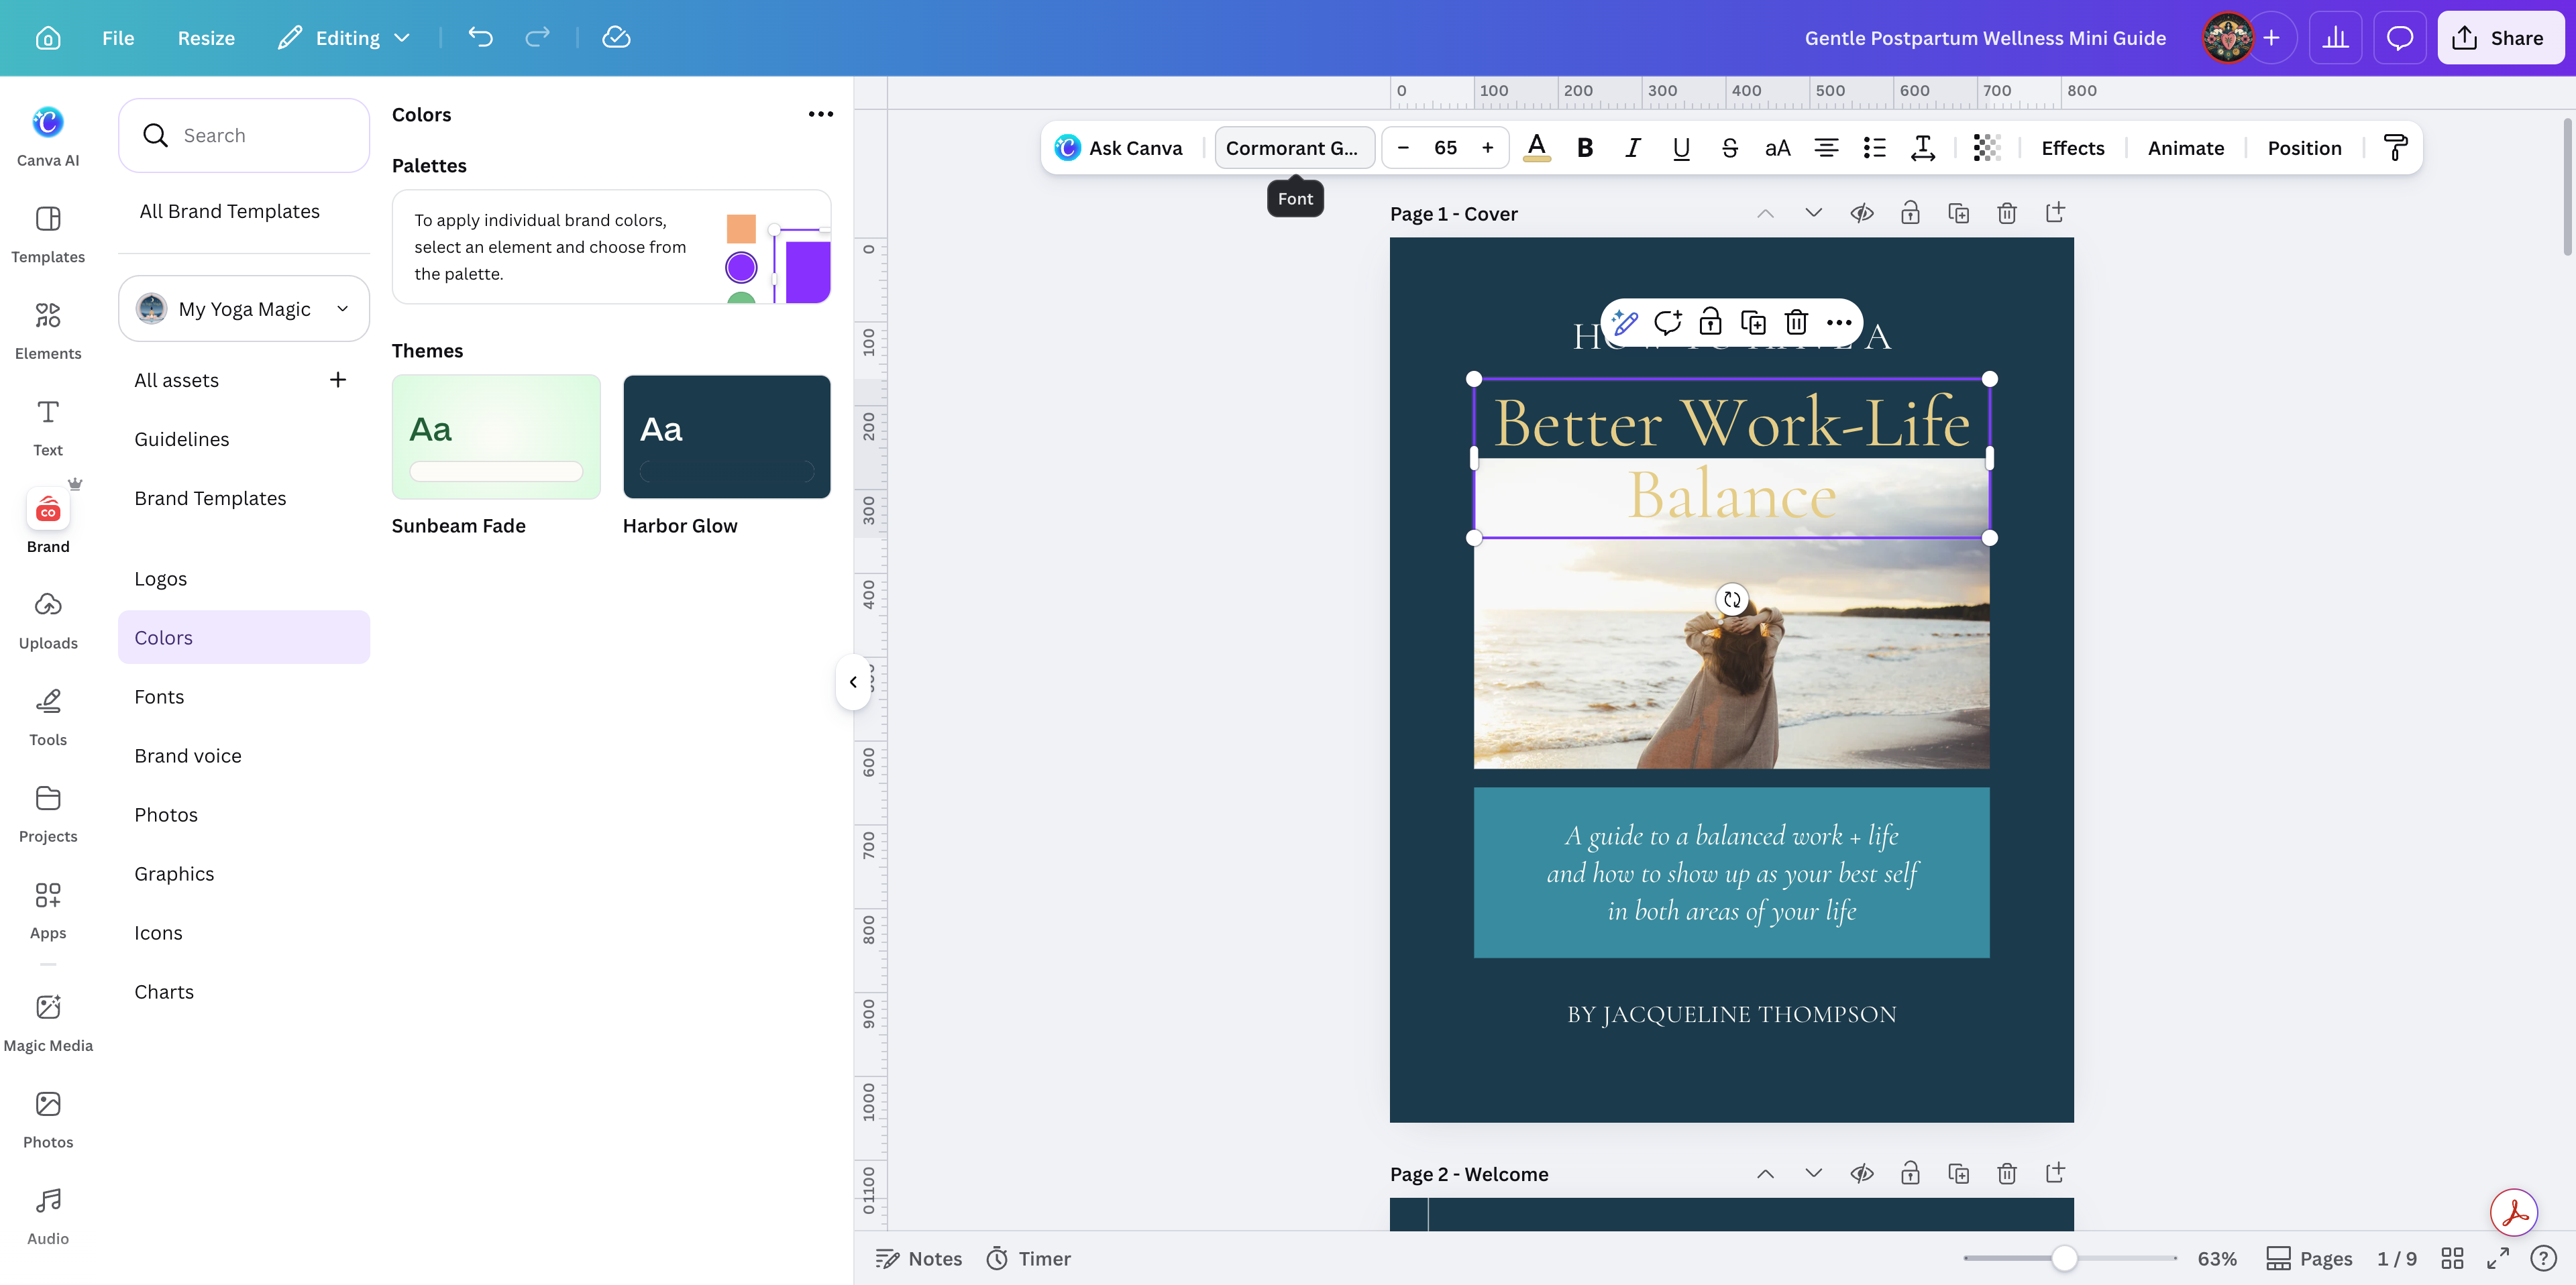
15
Select a text box on the canvas.
16
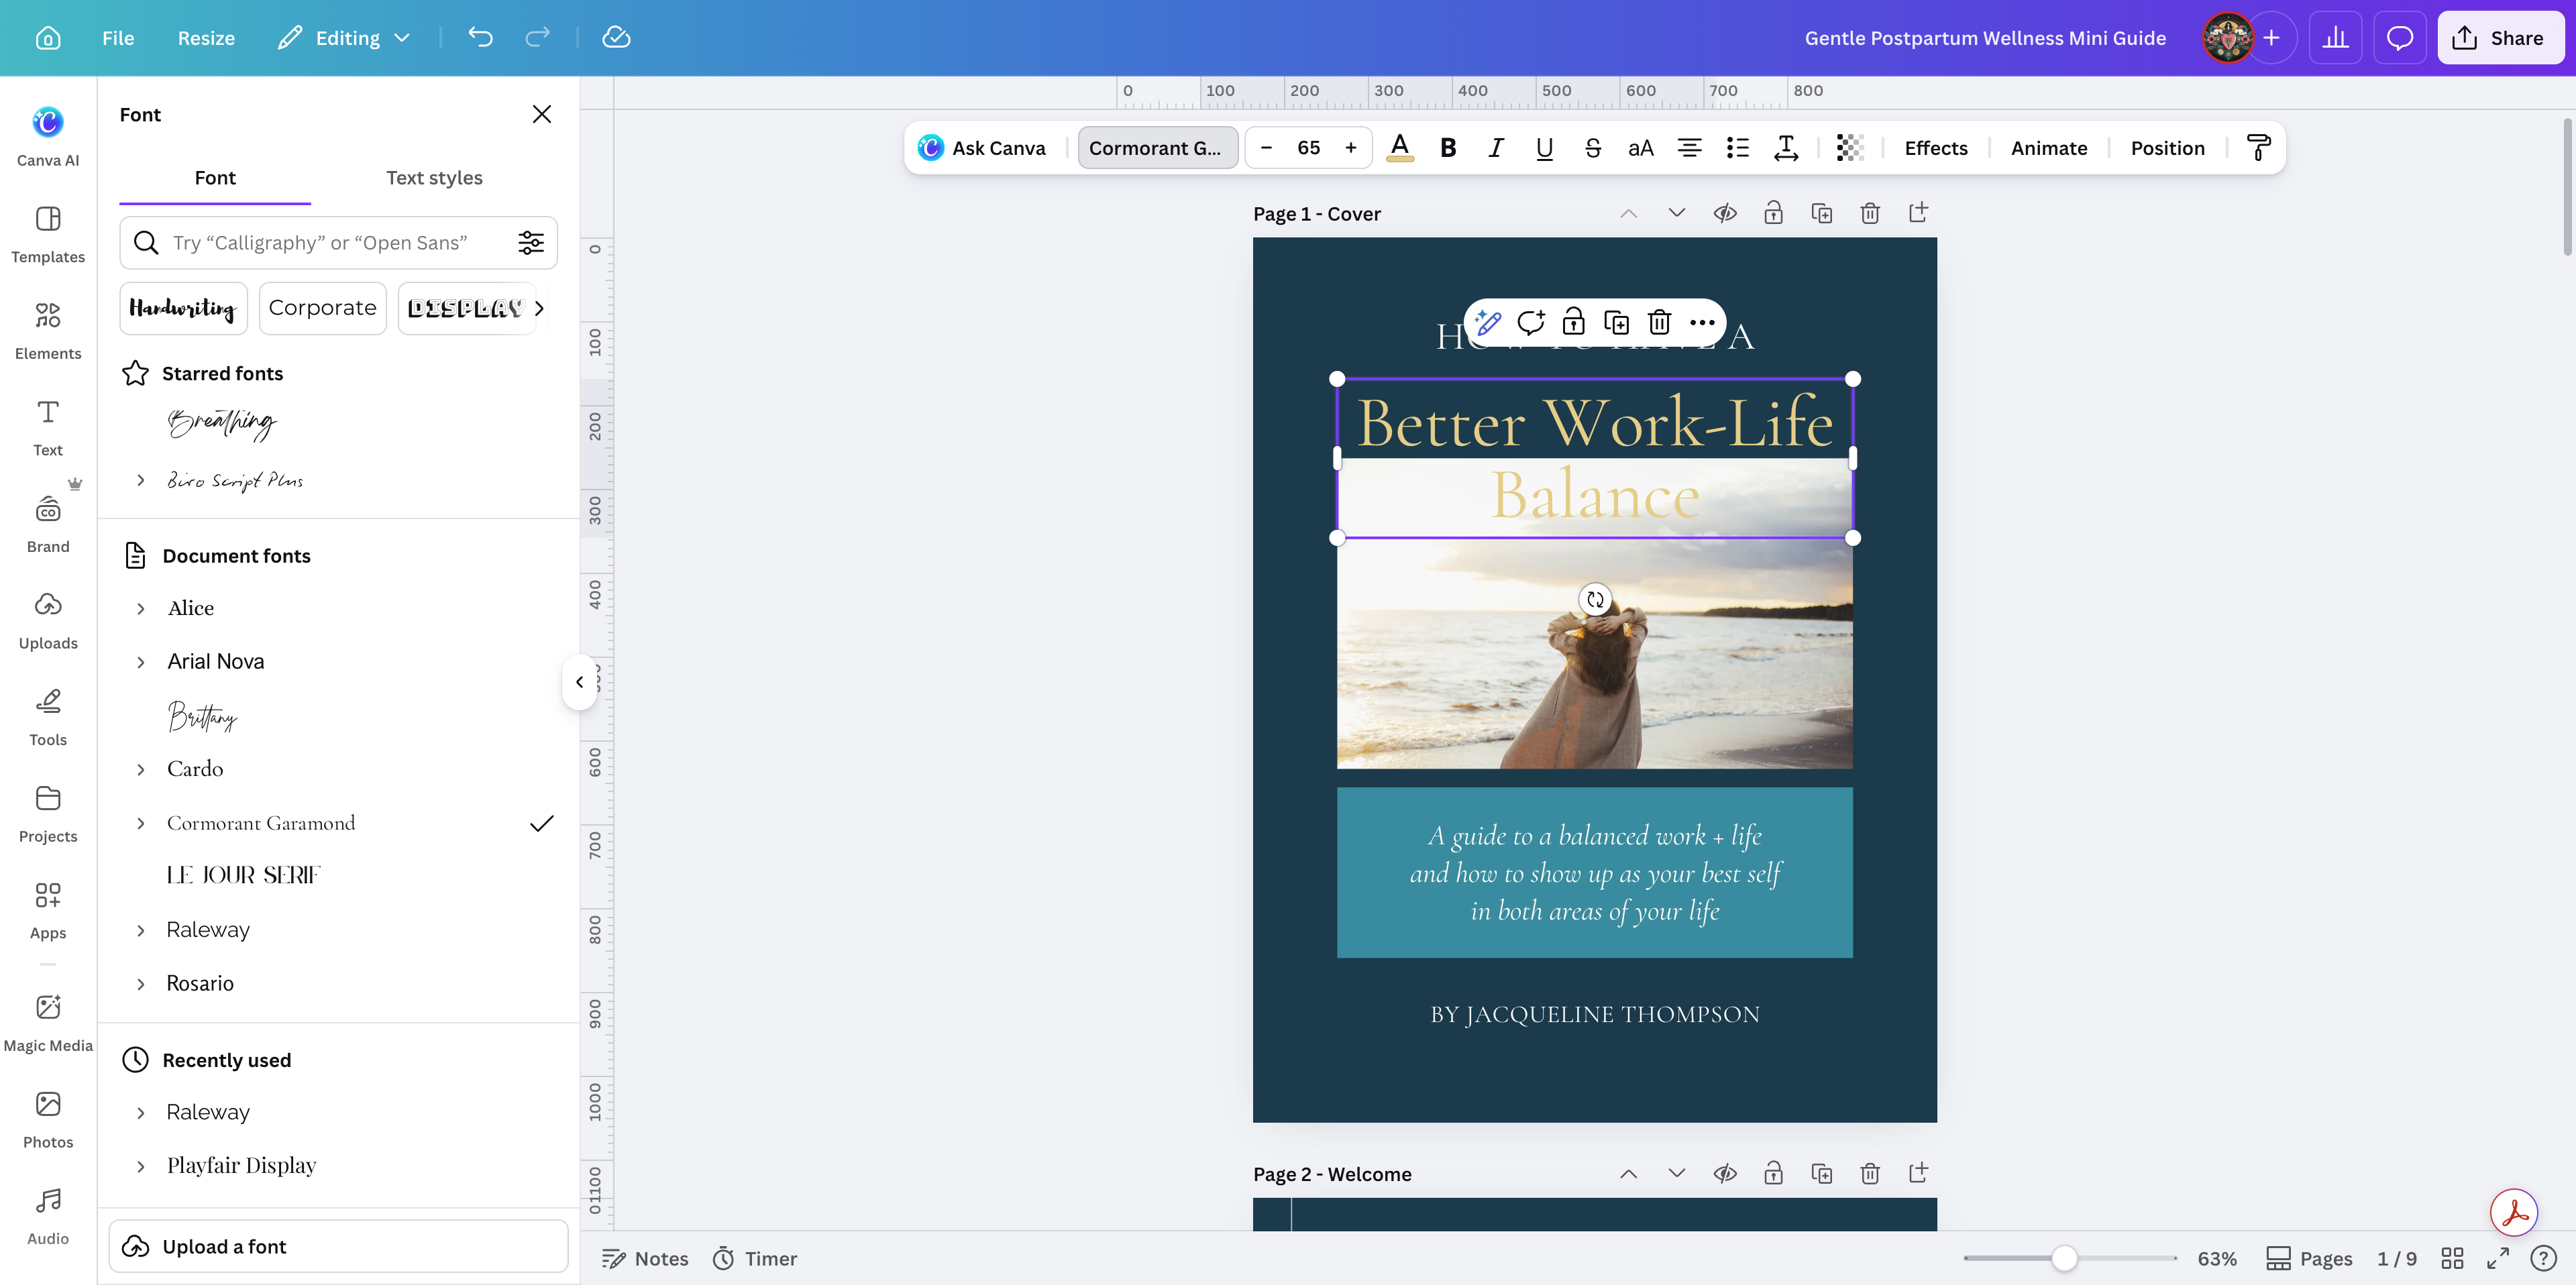
Click the font dropdown menu in the top toolbar.
17
Choose your brand font to replace the template's default typography.
From here, you simply need to replace the placeholder images with your own photos and paste your final copy into the designed pages.