Updating Client Invoice Log | Square + Coda
Learn how to review a client's scope of work in Notion, generate a new invoice using Square, and record the billed services in your database.
This guide demonstrates how to accurately create a client invoice in Square and record it within a Notion database. Completing this process ensures that clients are billed correctly according to their scope of work and maintains an organized invoicing history.
This guide is intended for freelancers, account managers, and billing specialists. It should be used at the end of a billing cycle or when setting up an invoice for new monthly services.
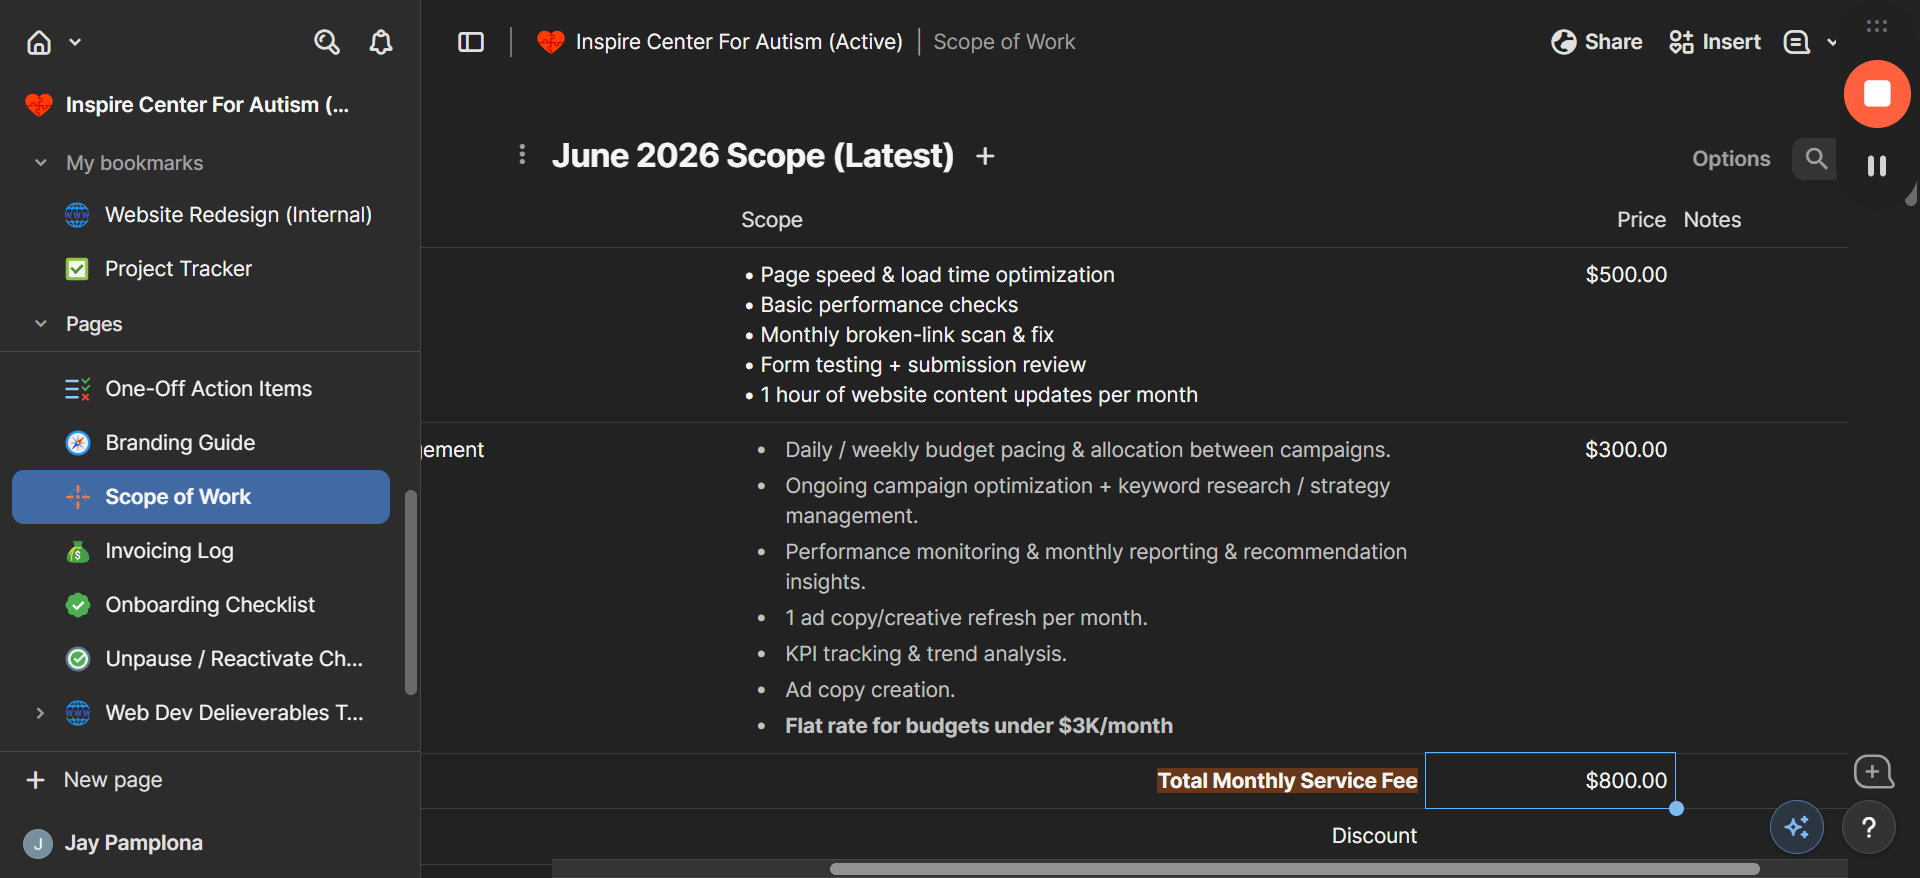
Before generating a new invoice, verify the client's current monthly fees and agreed-upon services so you bill the correct amount.
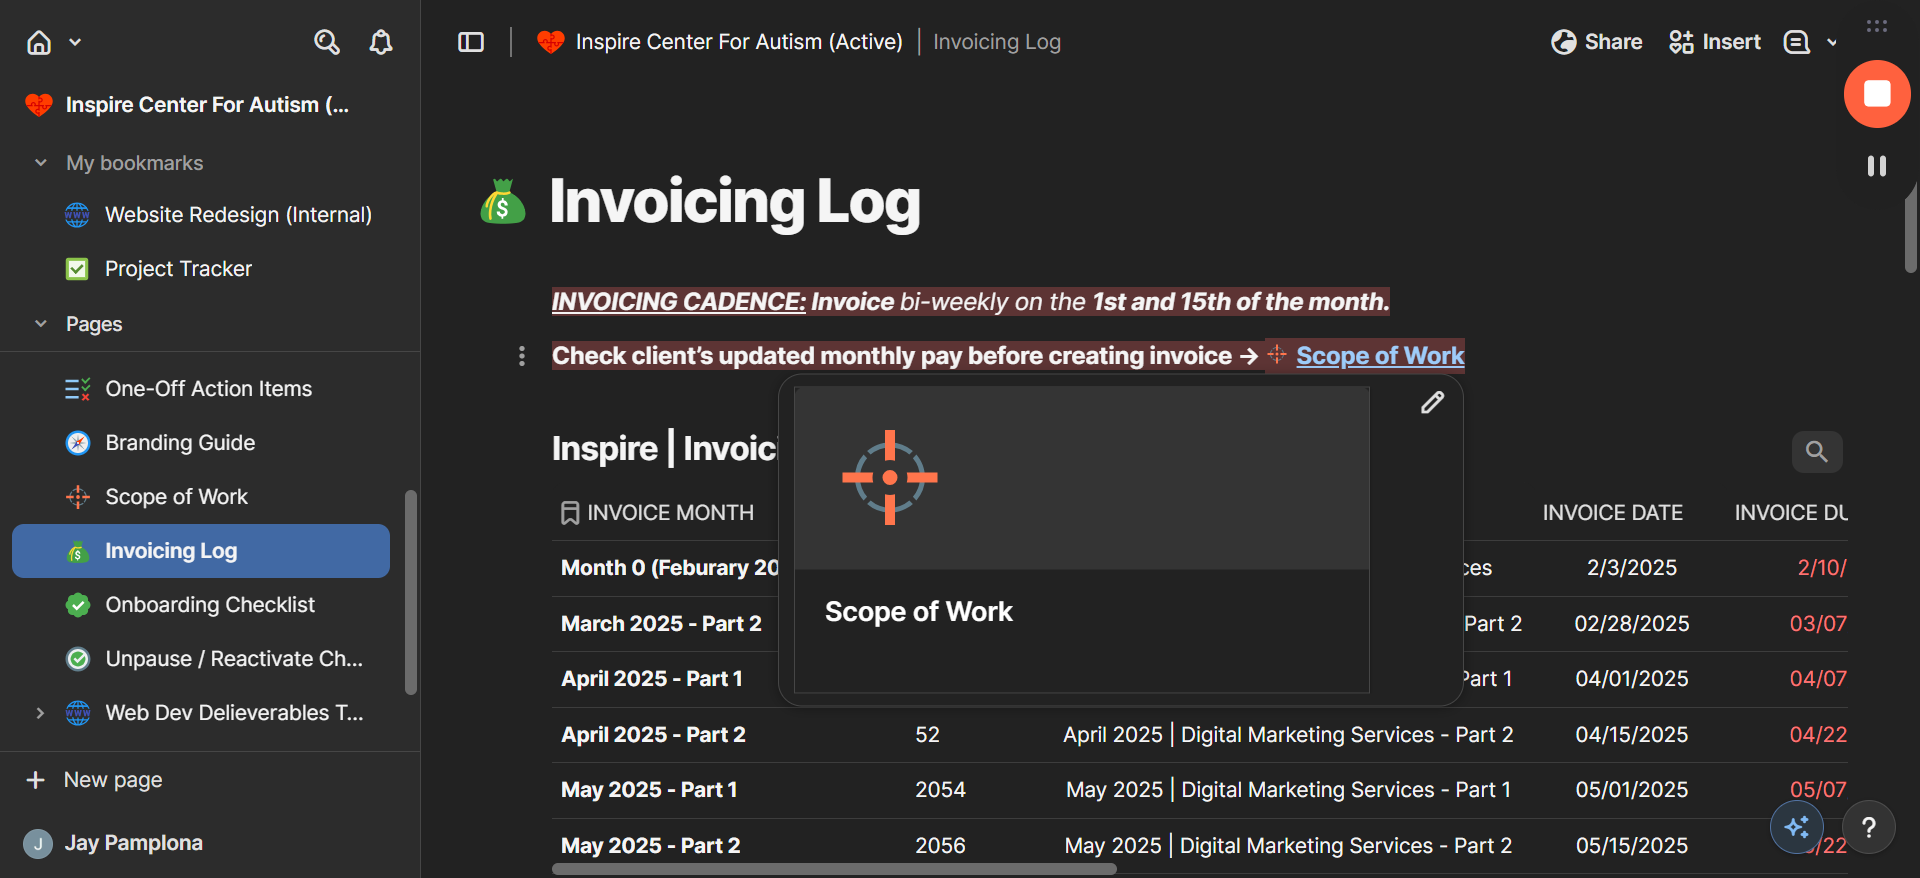
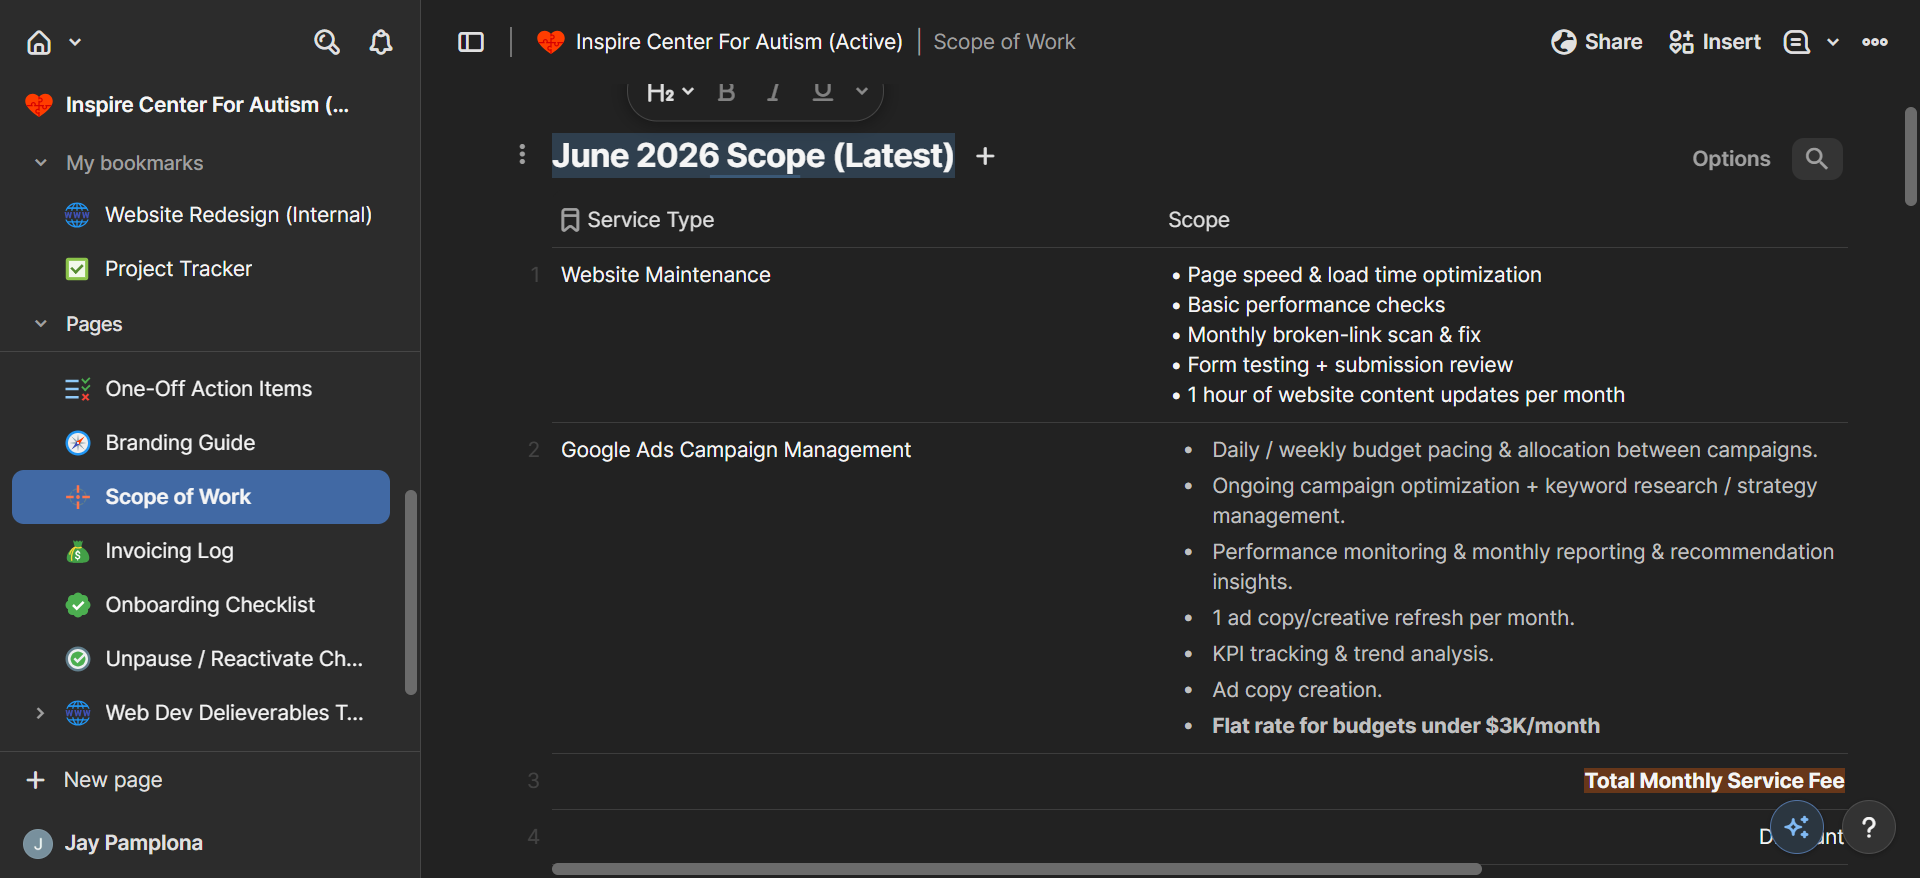
1. Review the Client Scope in Notion
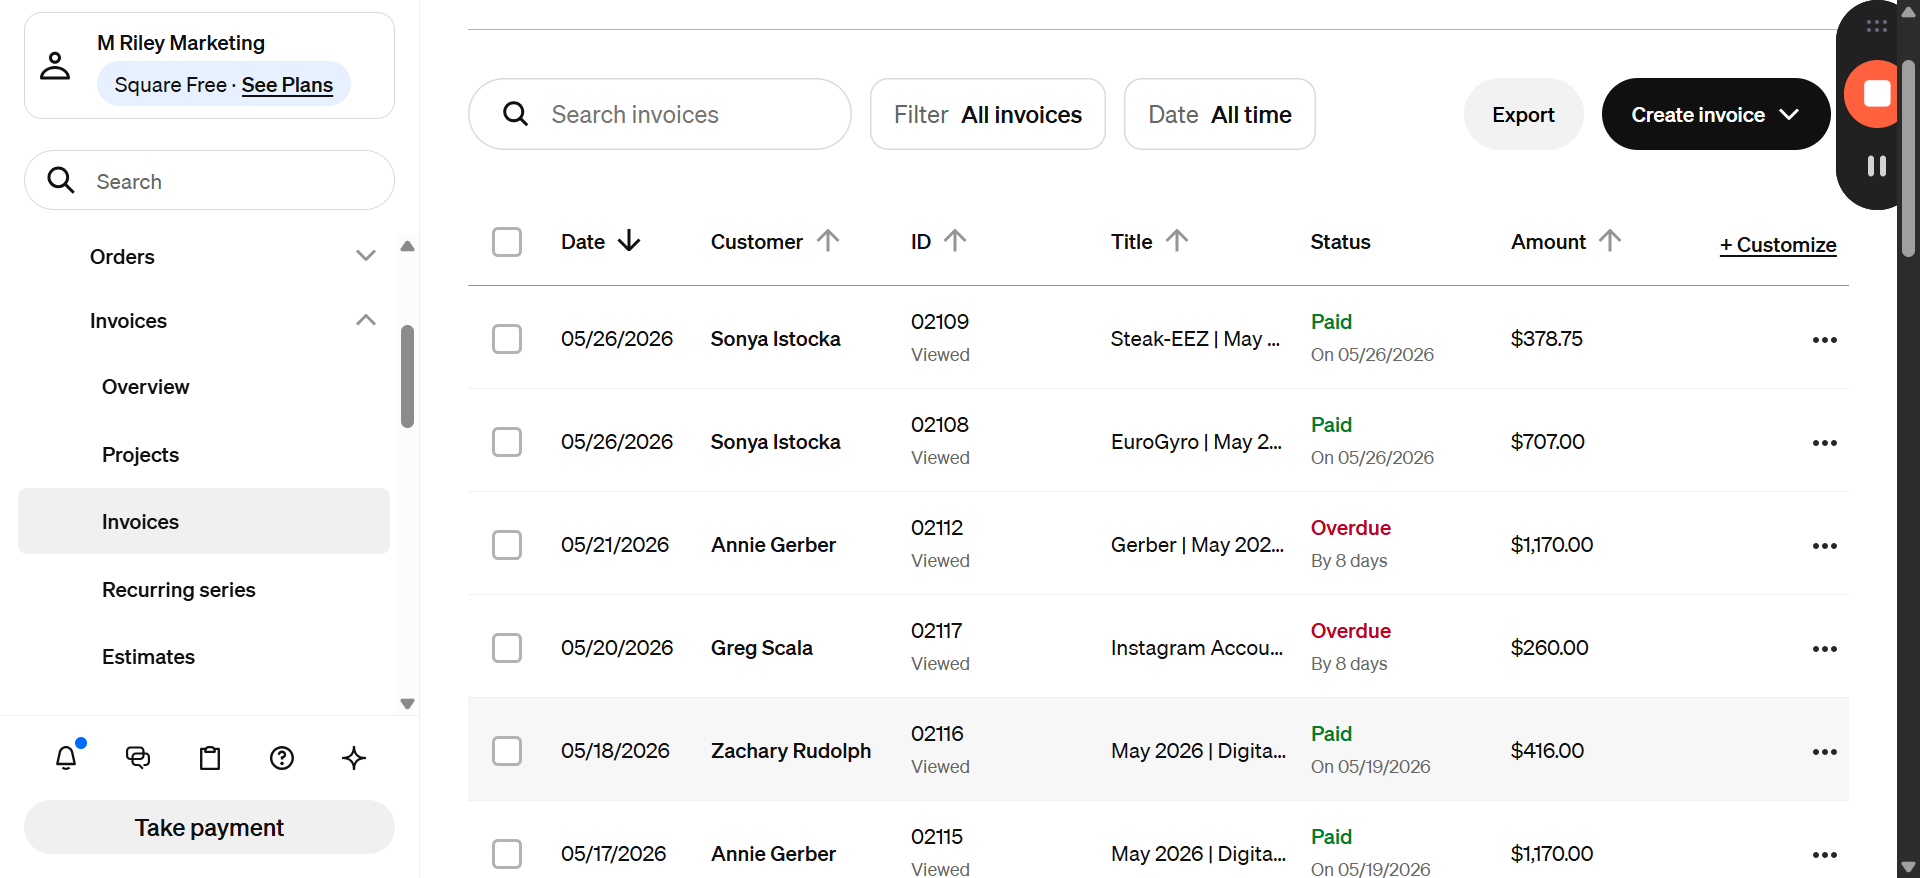
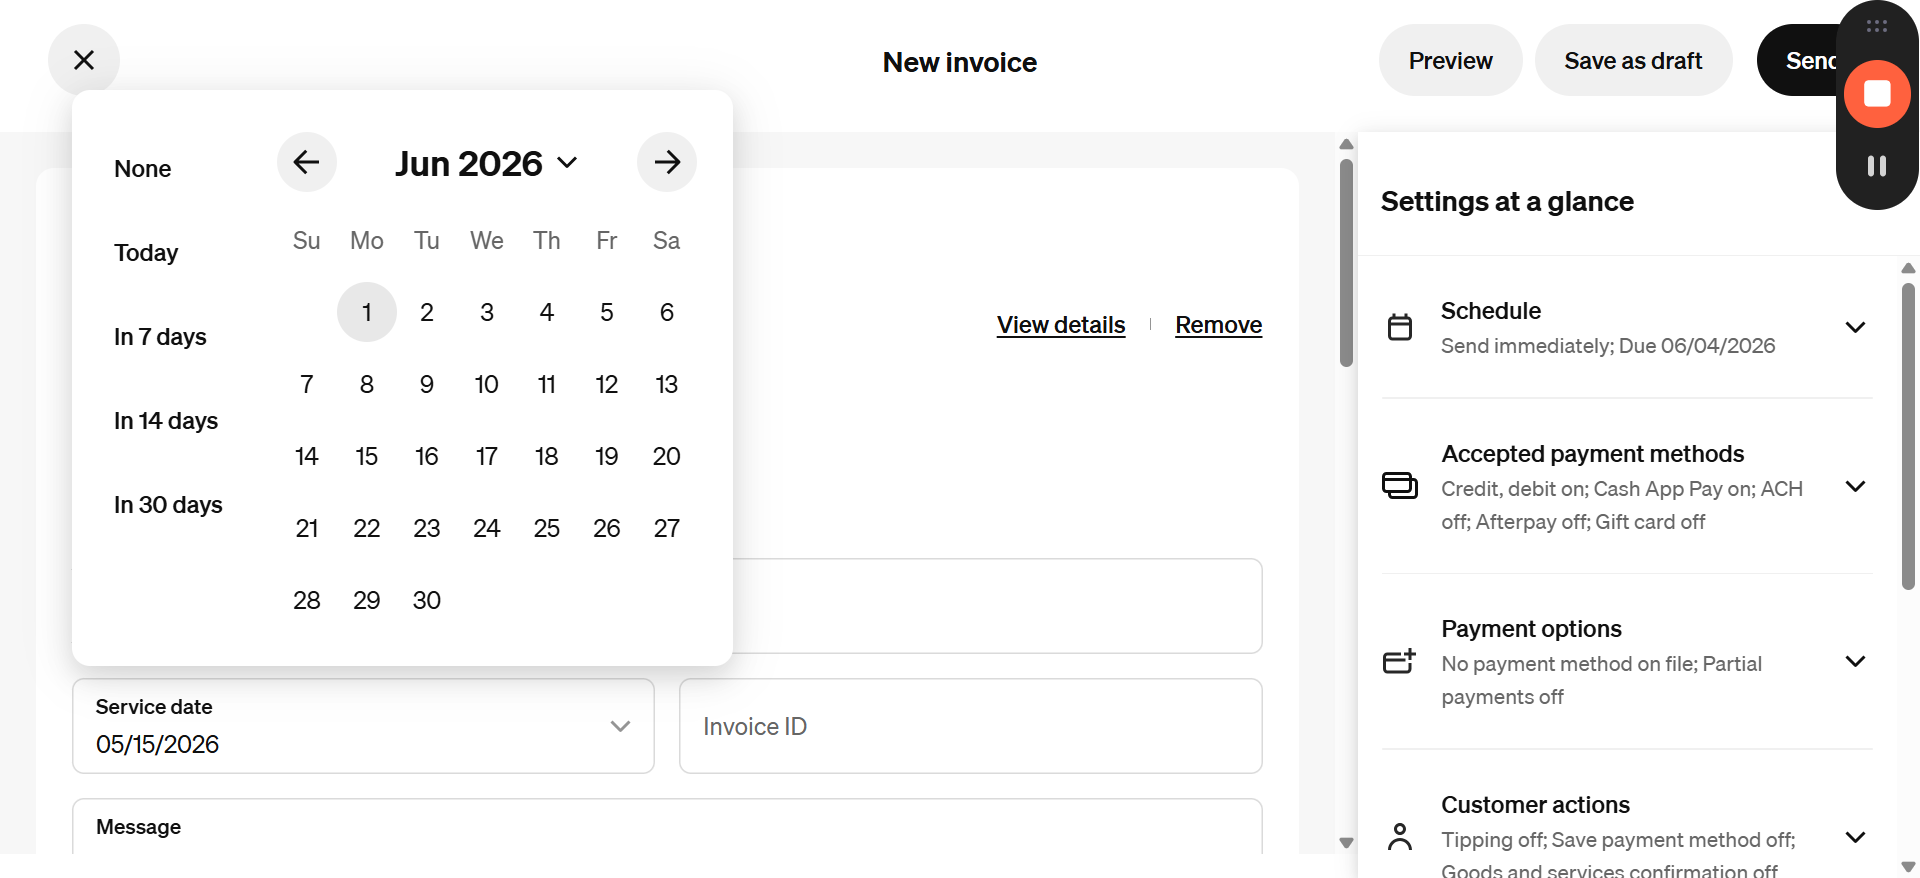
2. Create the Invoice in Square
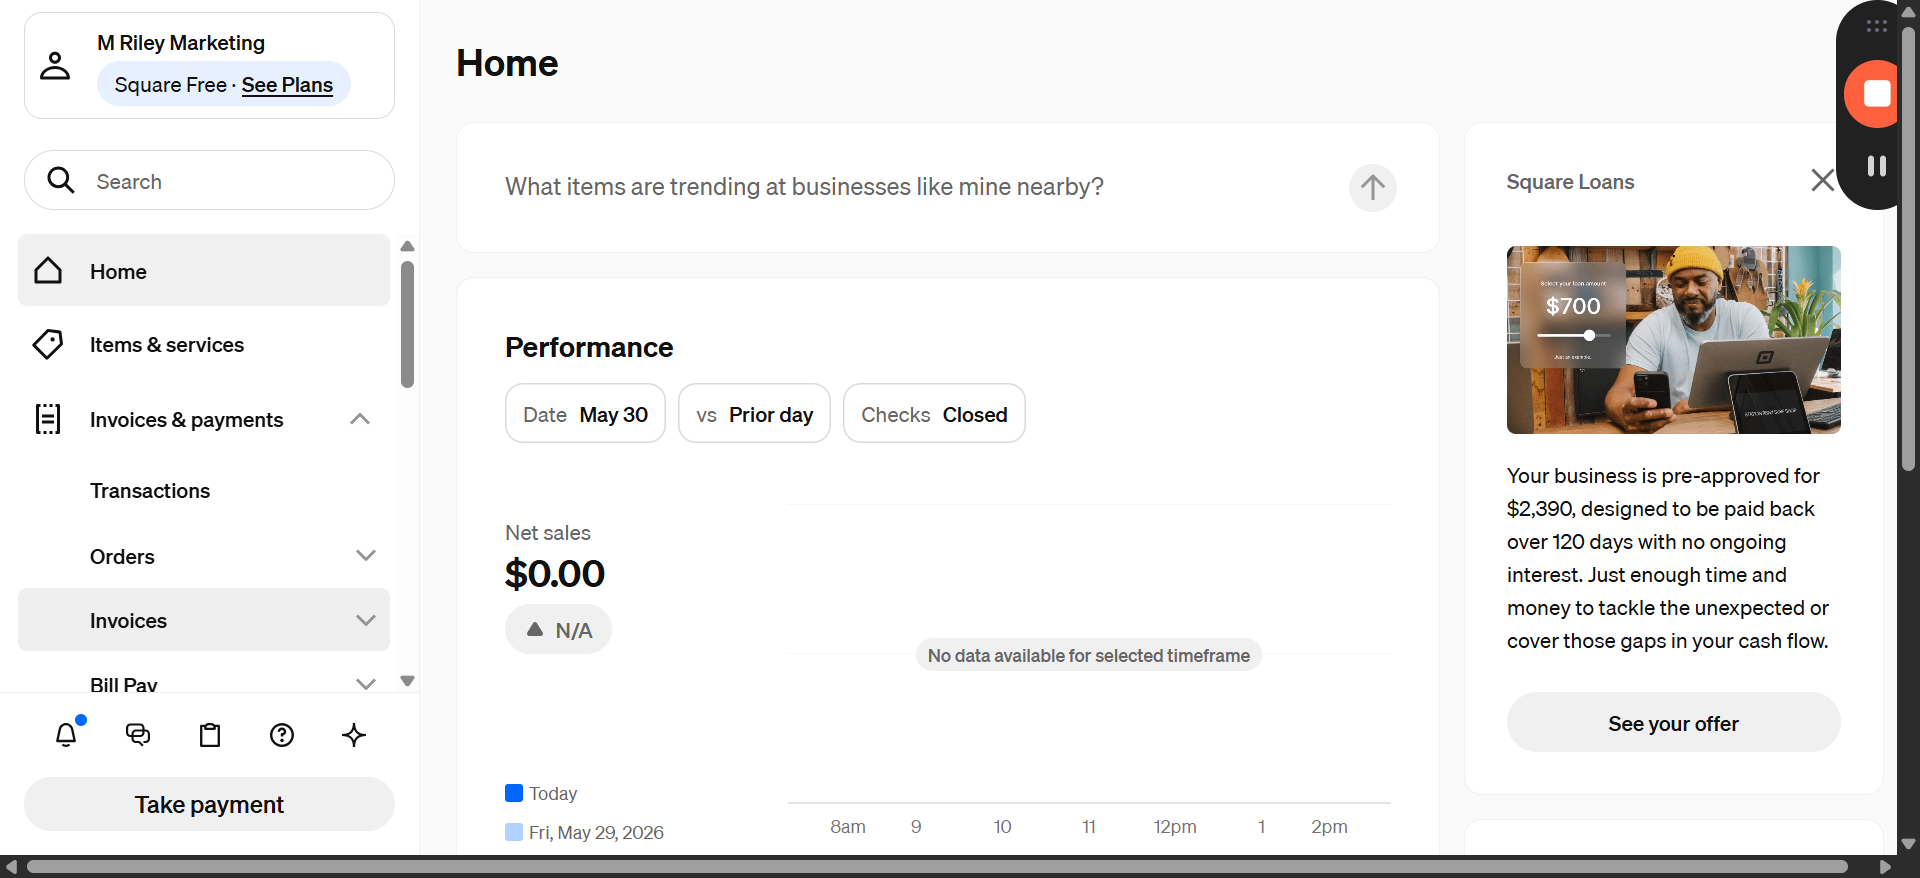
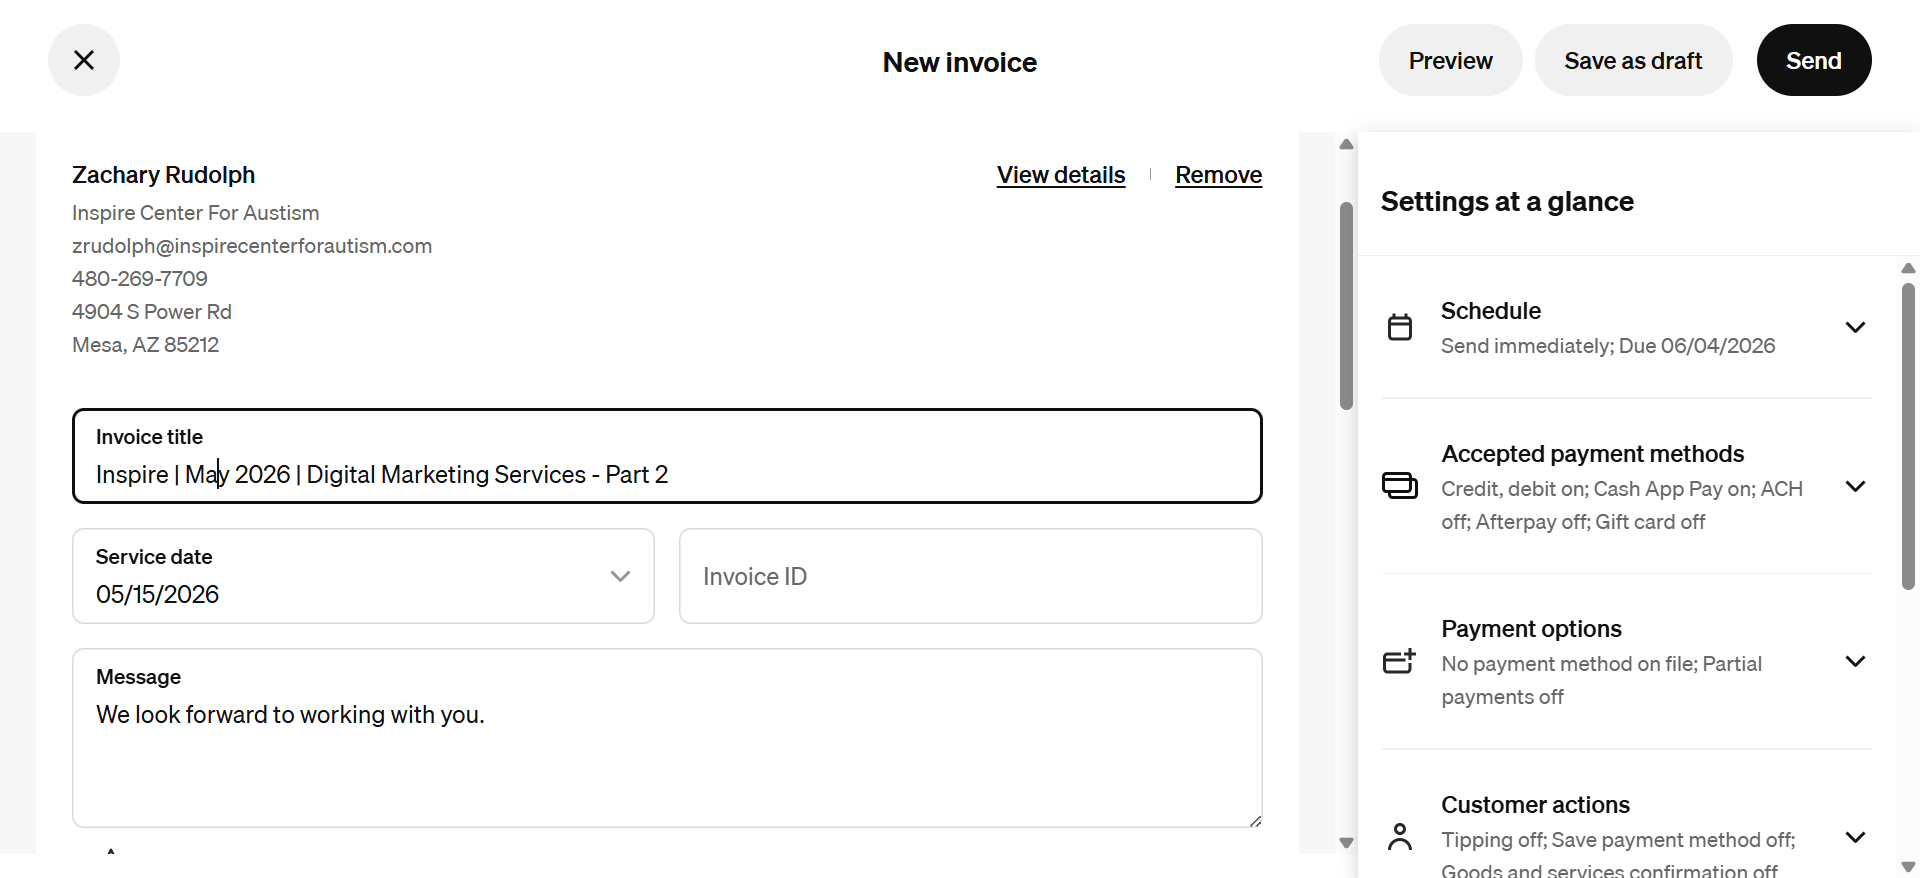
Inspire | June 2026 | Digital Marketing Services).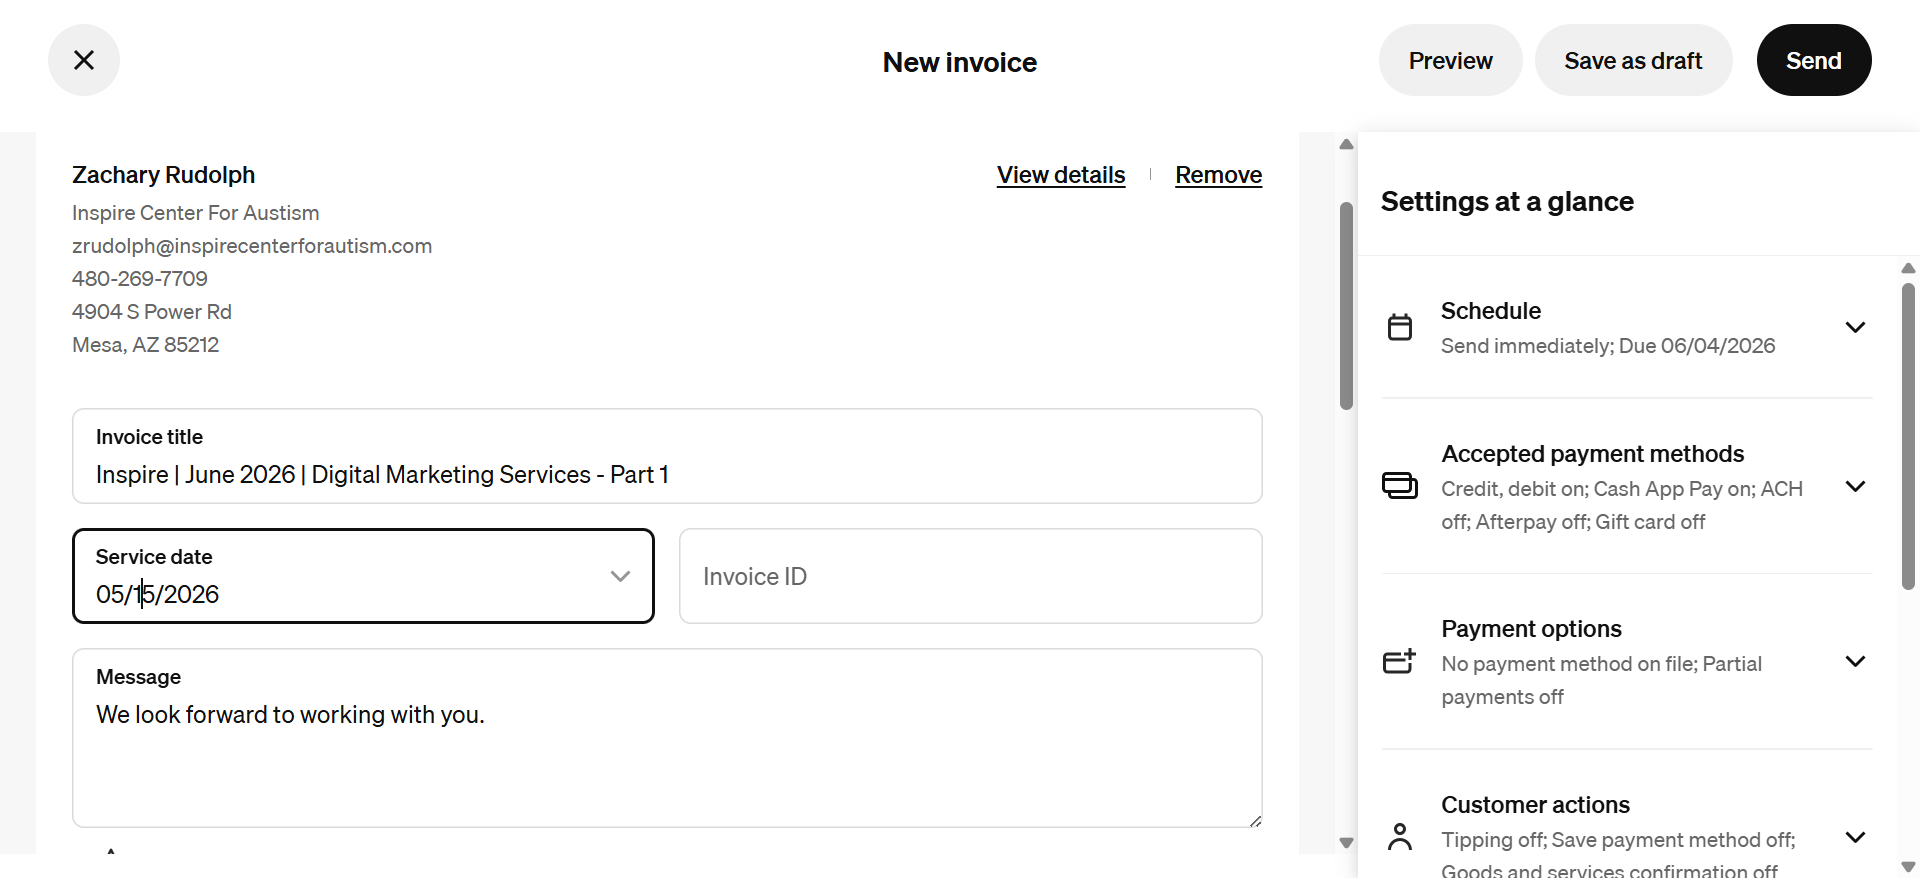
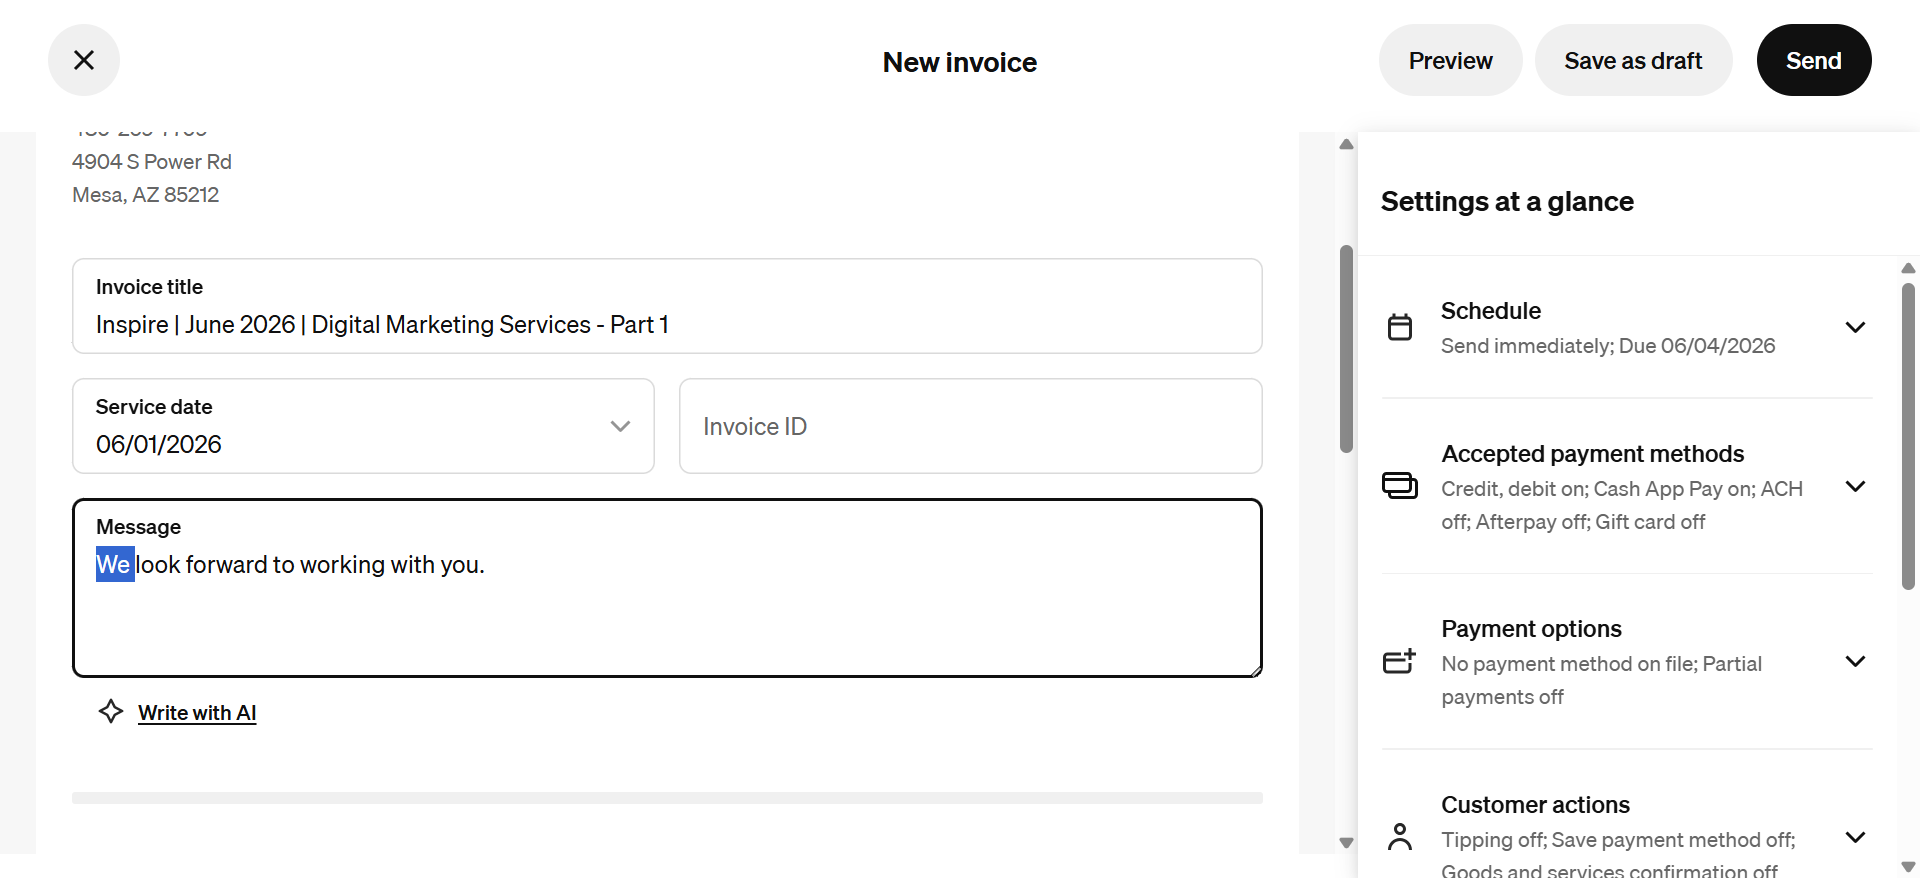
Dear Zachary,, followed by your standard invoice message.3. Log the Invoice in Notion
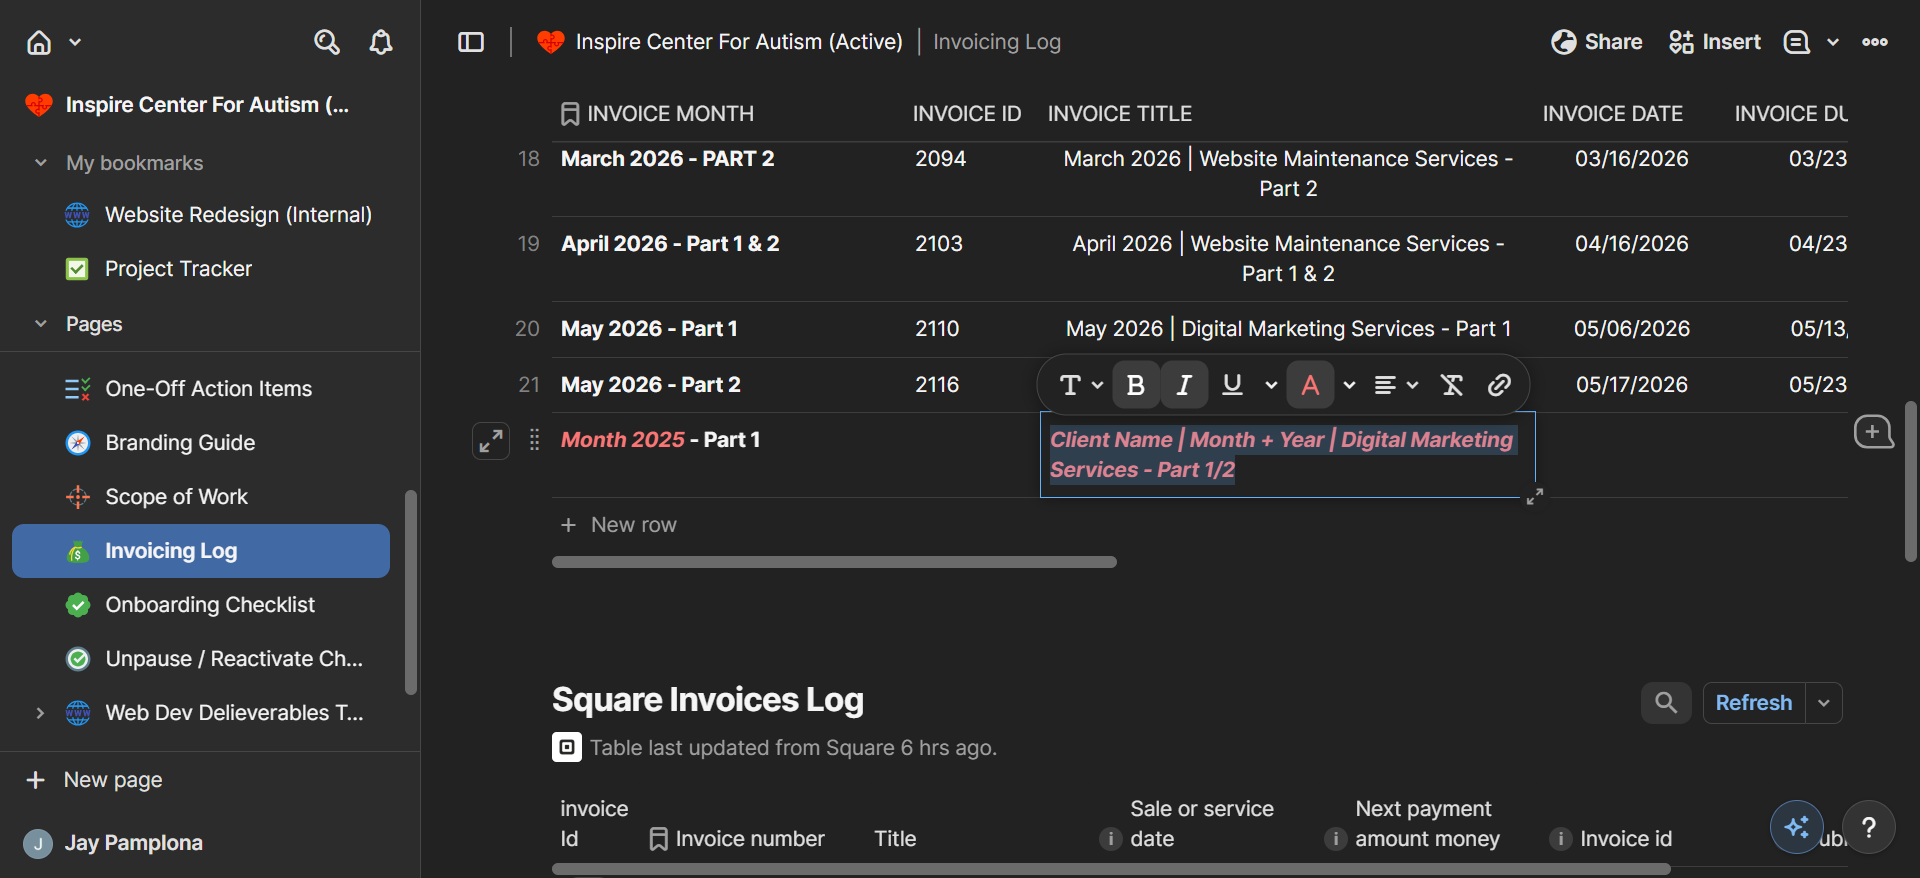
Term | Definition |
|---|---|
Scope of Work | A document that outlines the specific services, tasks, and costs agreed upon between a business and a client. |
Invoicing Log | A tracking database used to record when invoices are sent, their associated service periods, and current payment statuses. |