Icon

How to Create and Manage Records in Business Manager Cloud

Learn how to effectively create new entries, edit existing record details, and print physical record labels using the Record Management module in Business Manager Cloud.

By City of Pittsburgh mailroom

This guide walks you through the process of creating, editing, and printing records in Business Manager Cloud. Completing these steps ensures that physical or digital documents are accurately tracked, updated, and labeled for storage.

This workflow is primarily used by administrative and records management staff. Follow these steps whenever you need to log a new batch of records, update storage details for full boxes, or generate labels for physical filing.

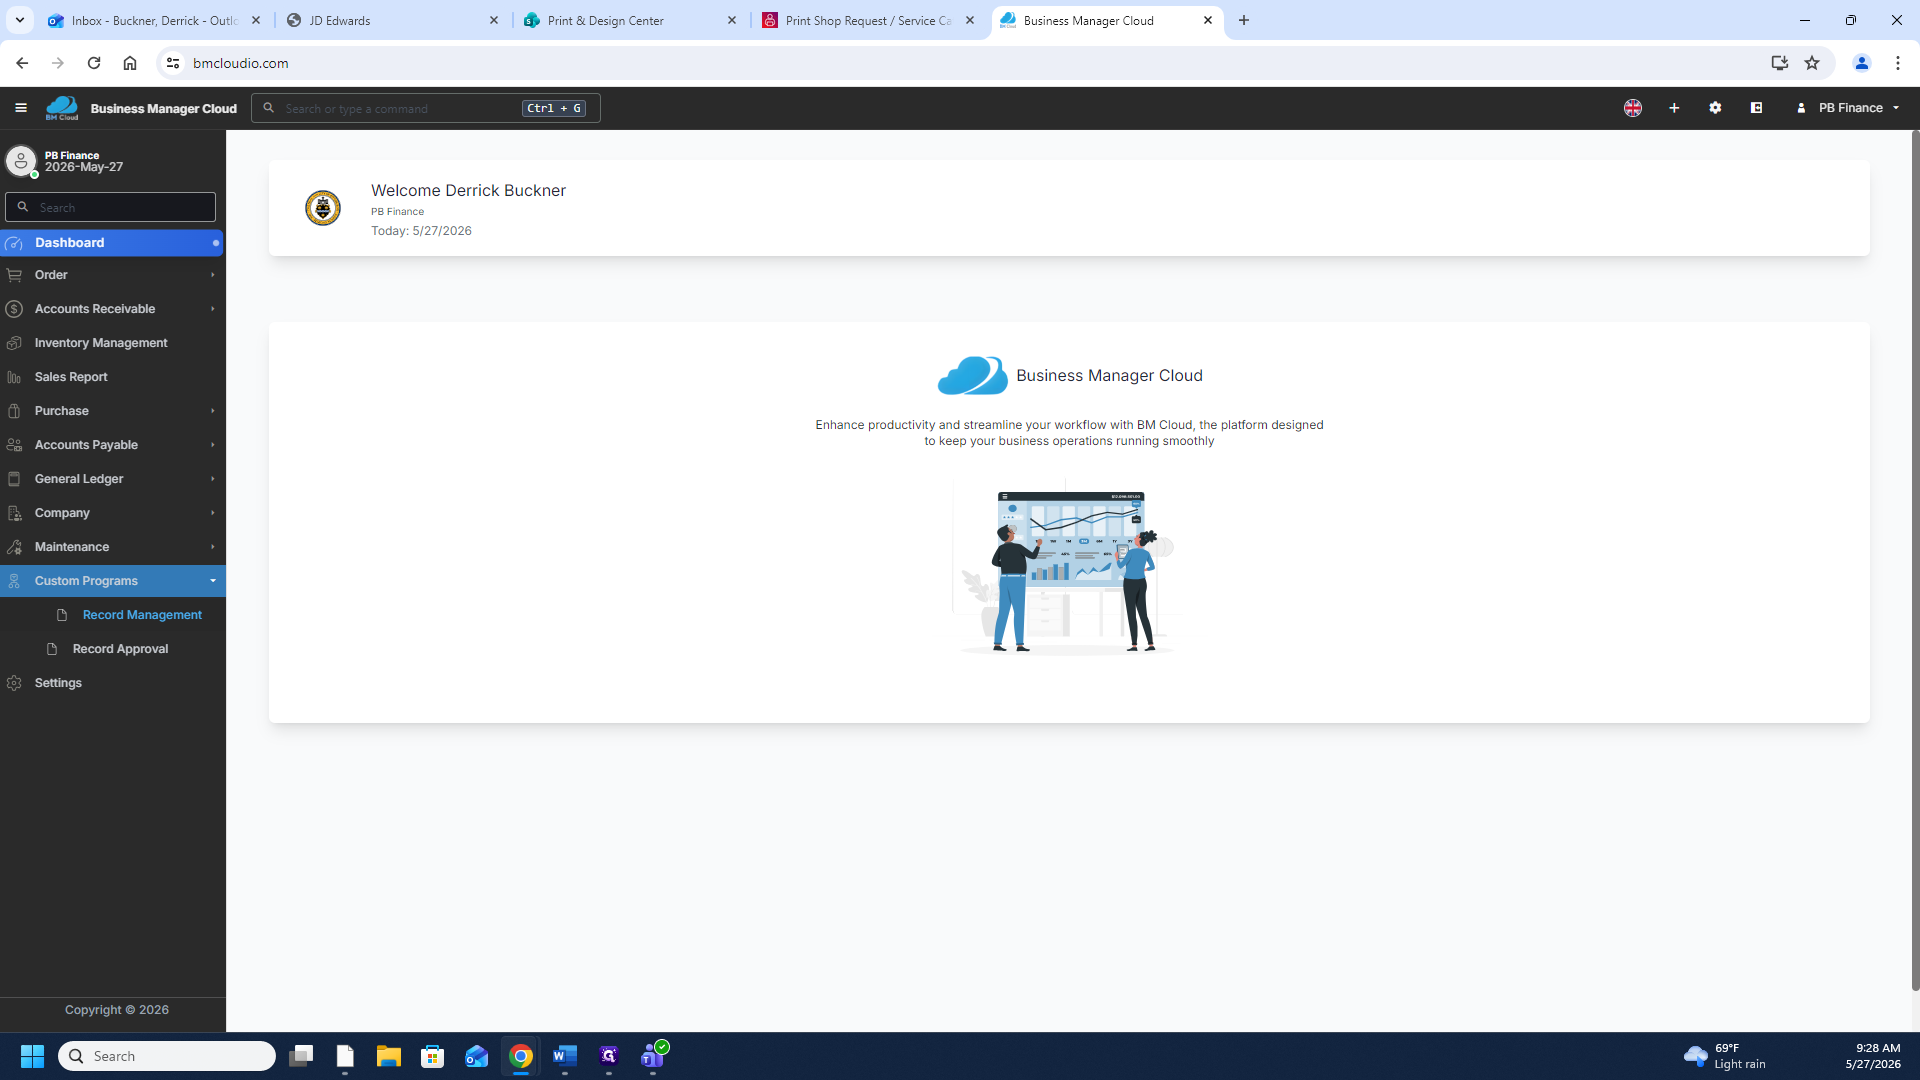
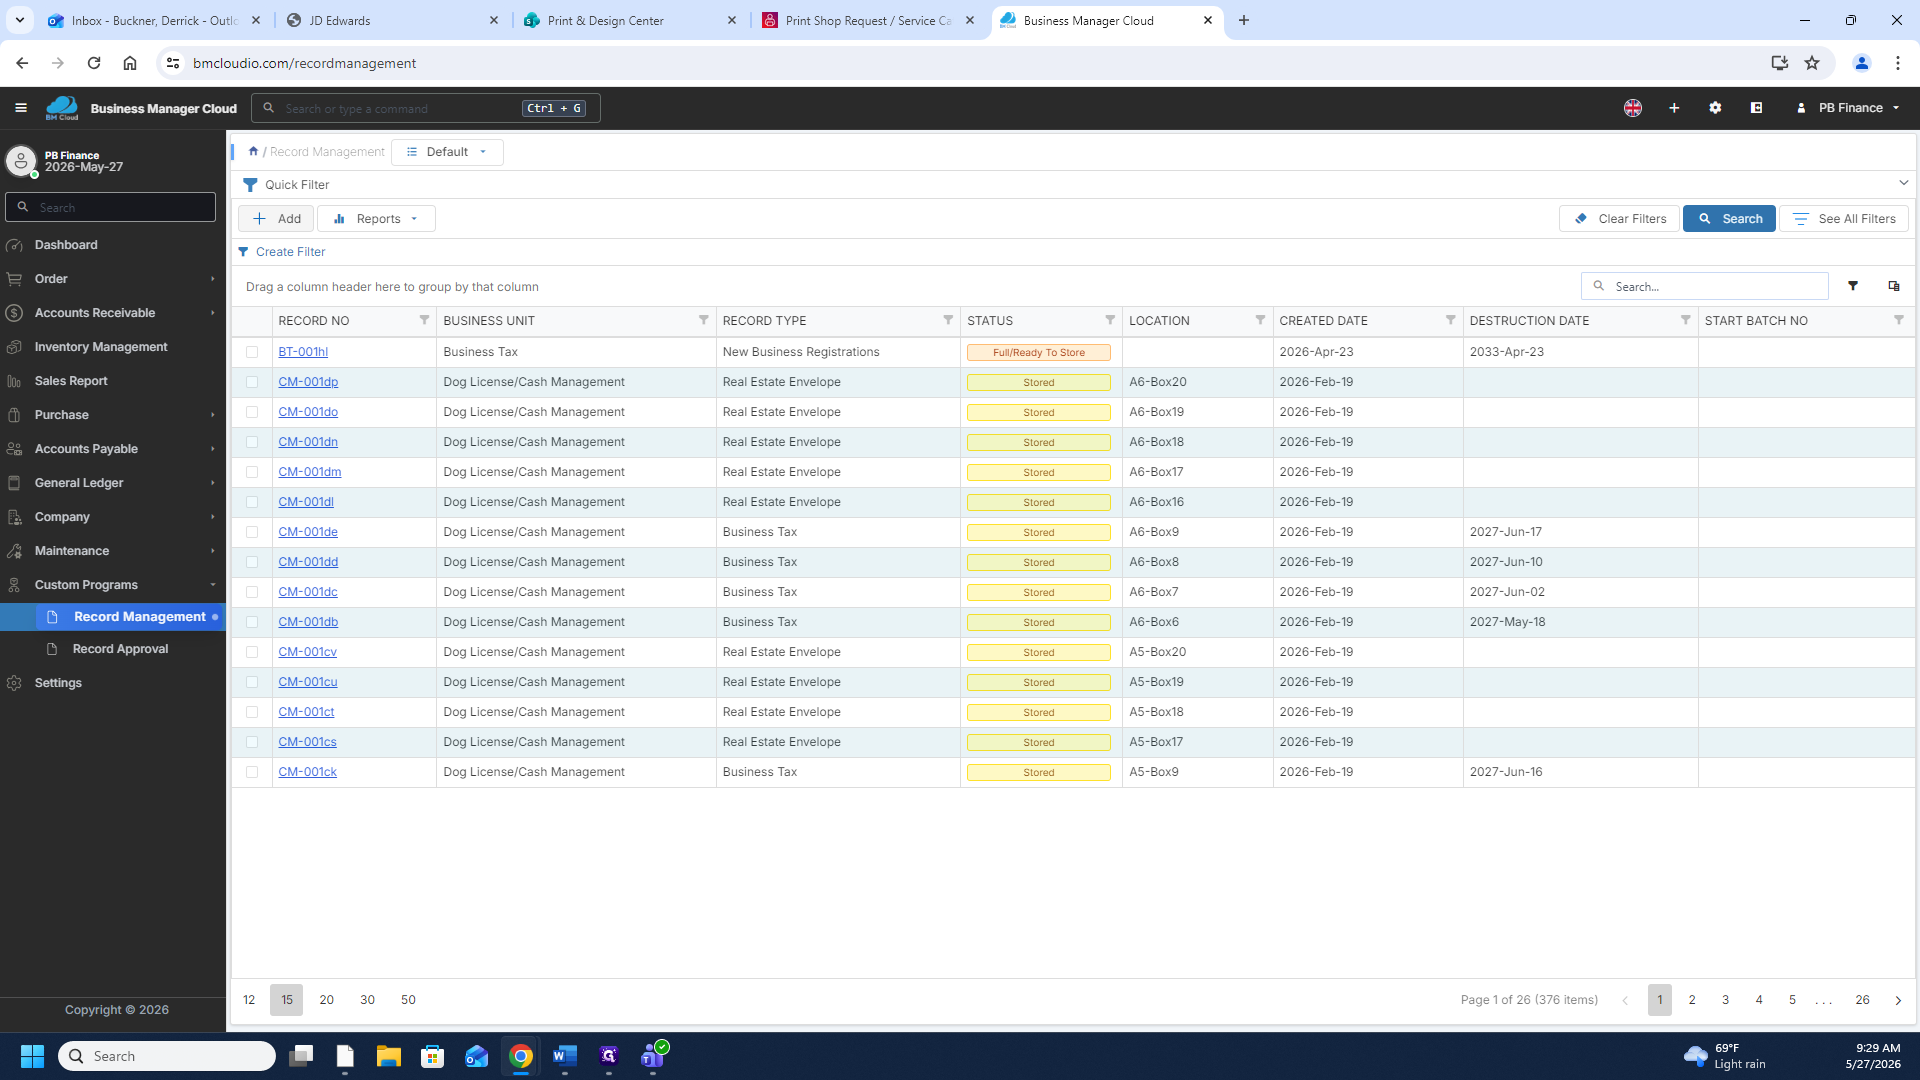
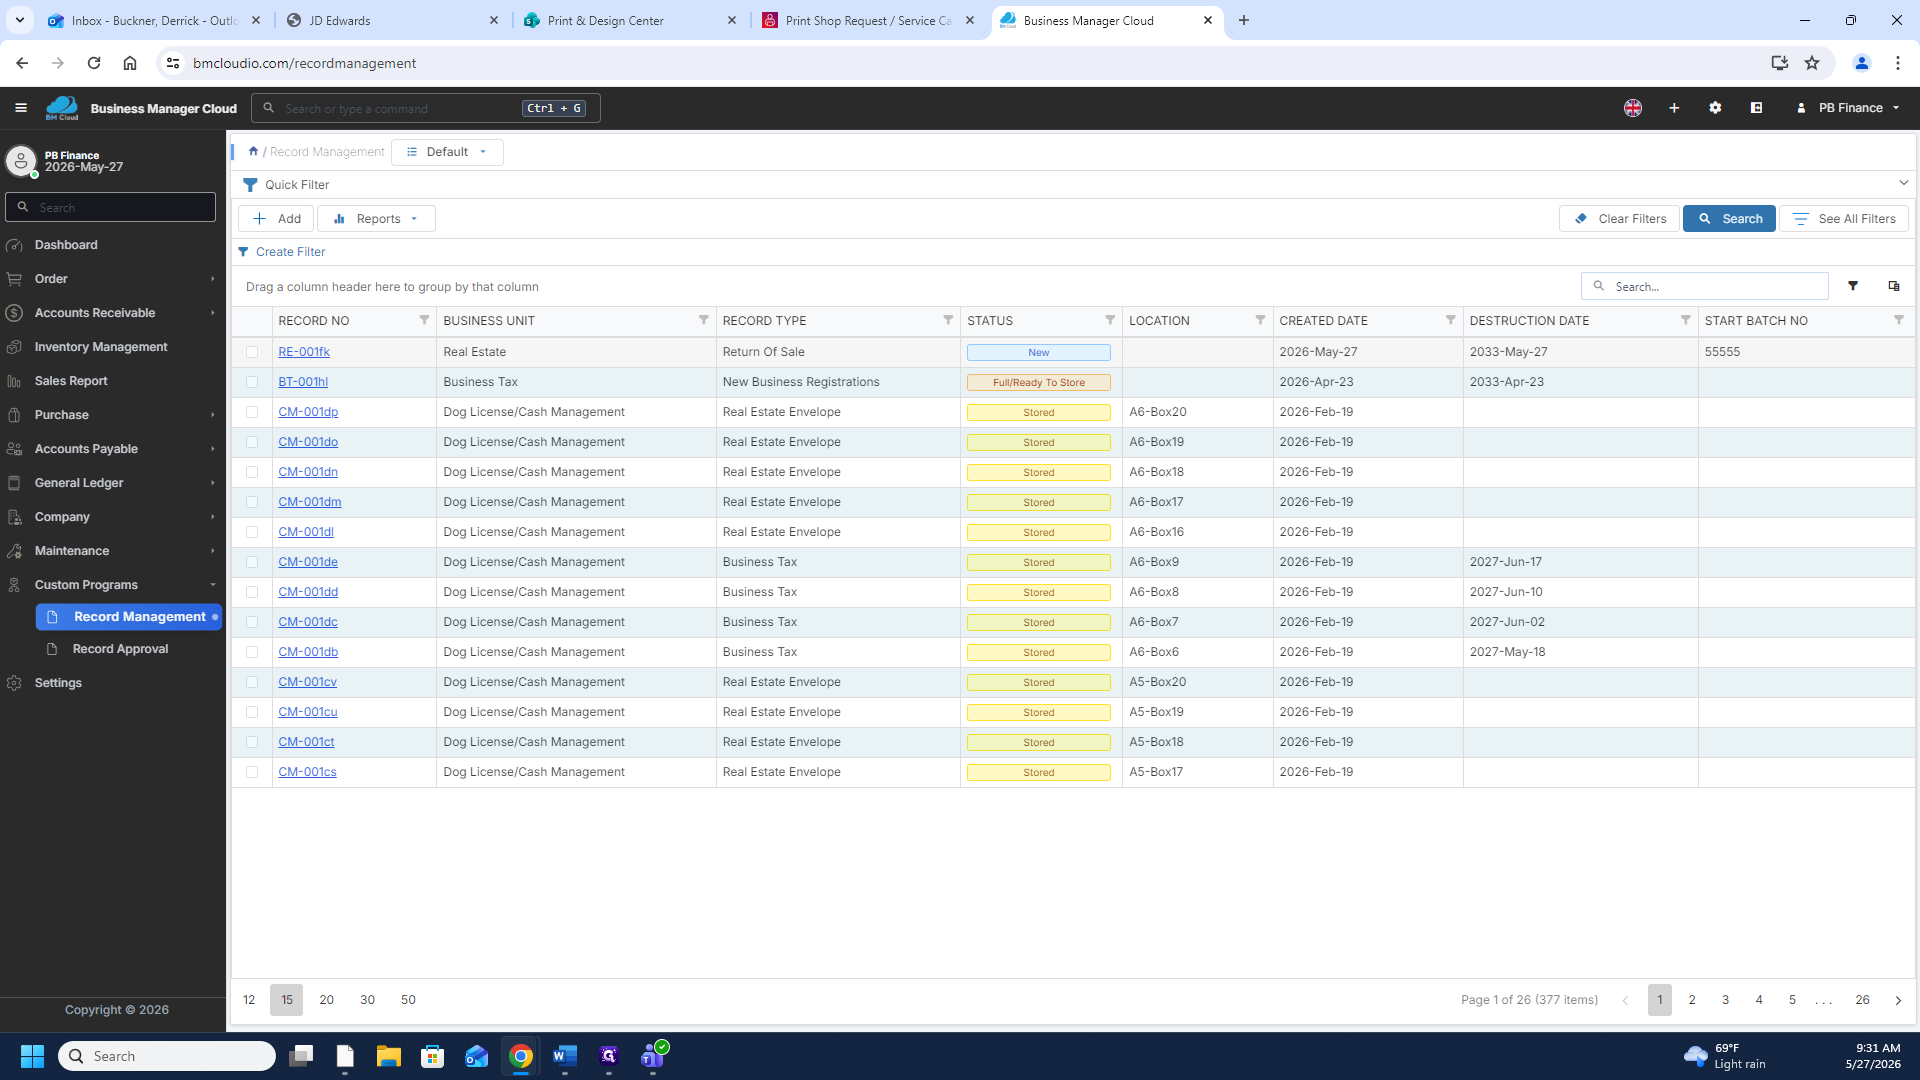
Navigate to Record Management
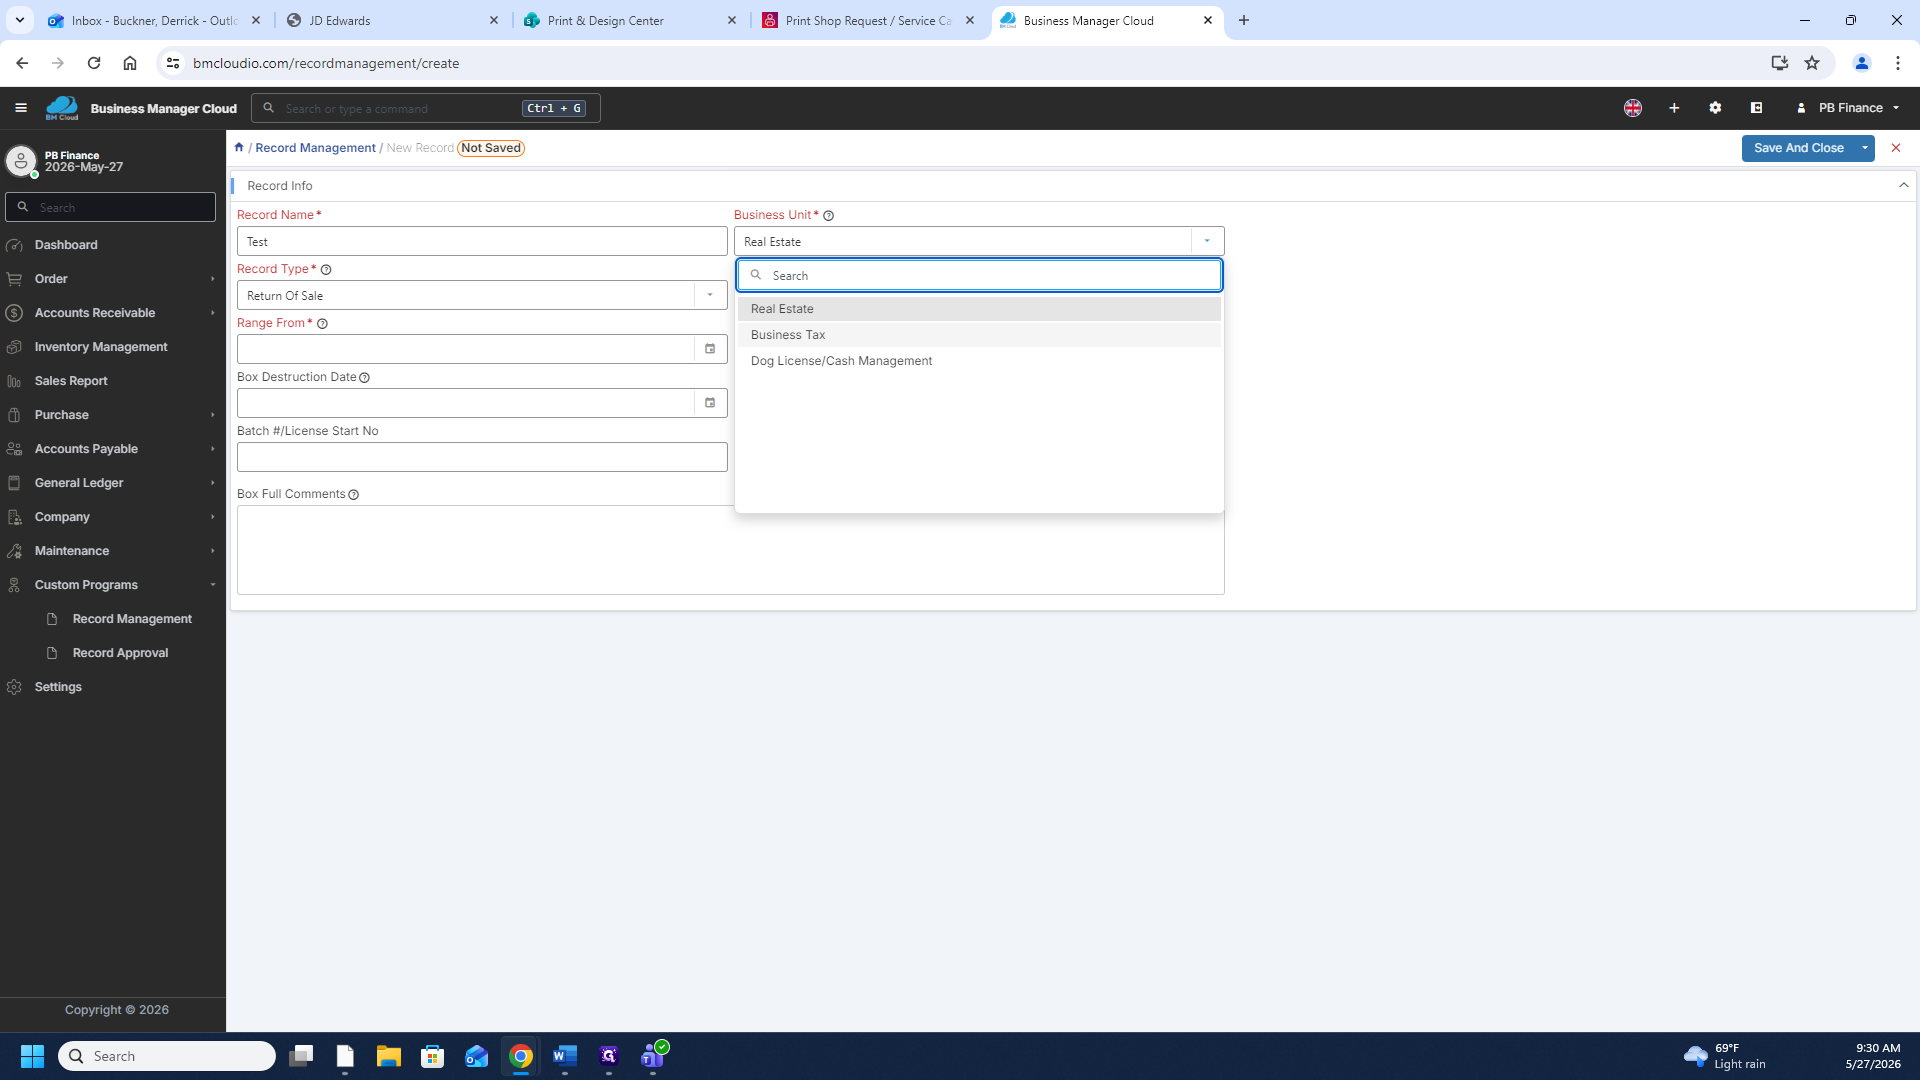
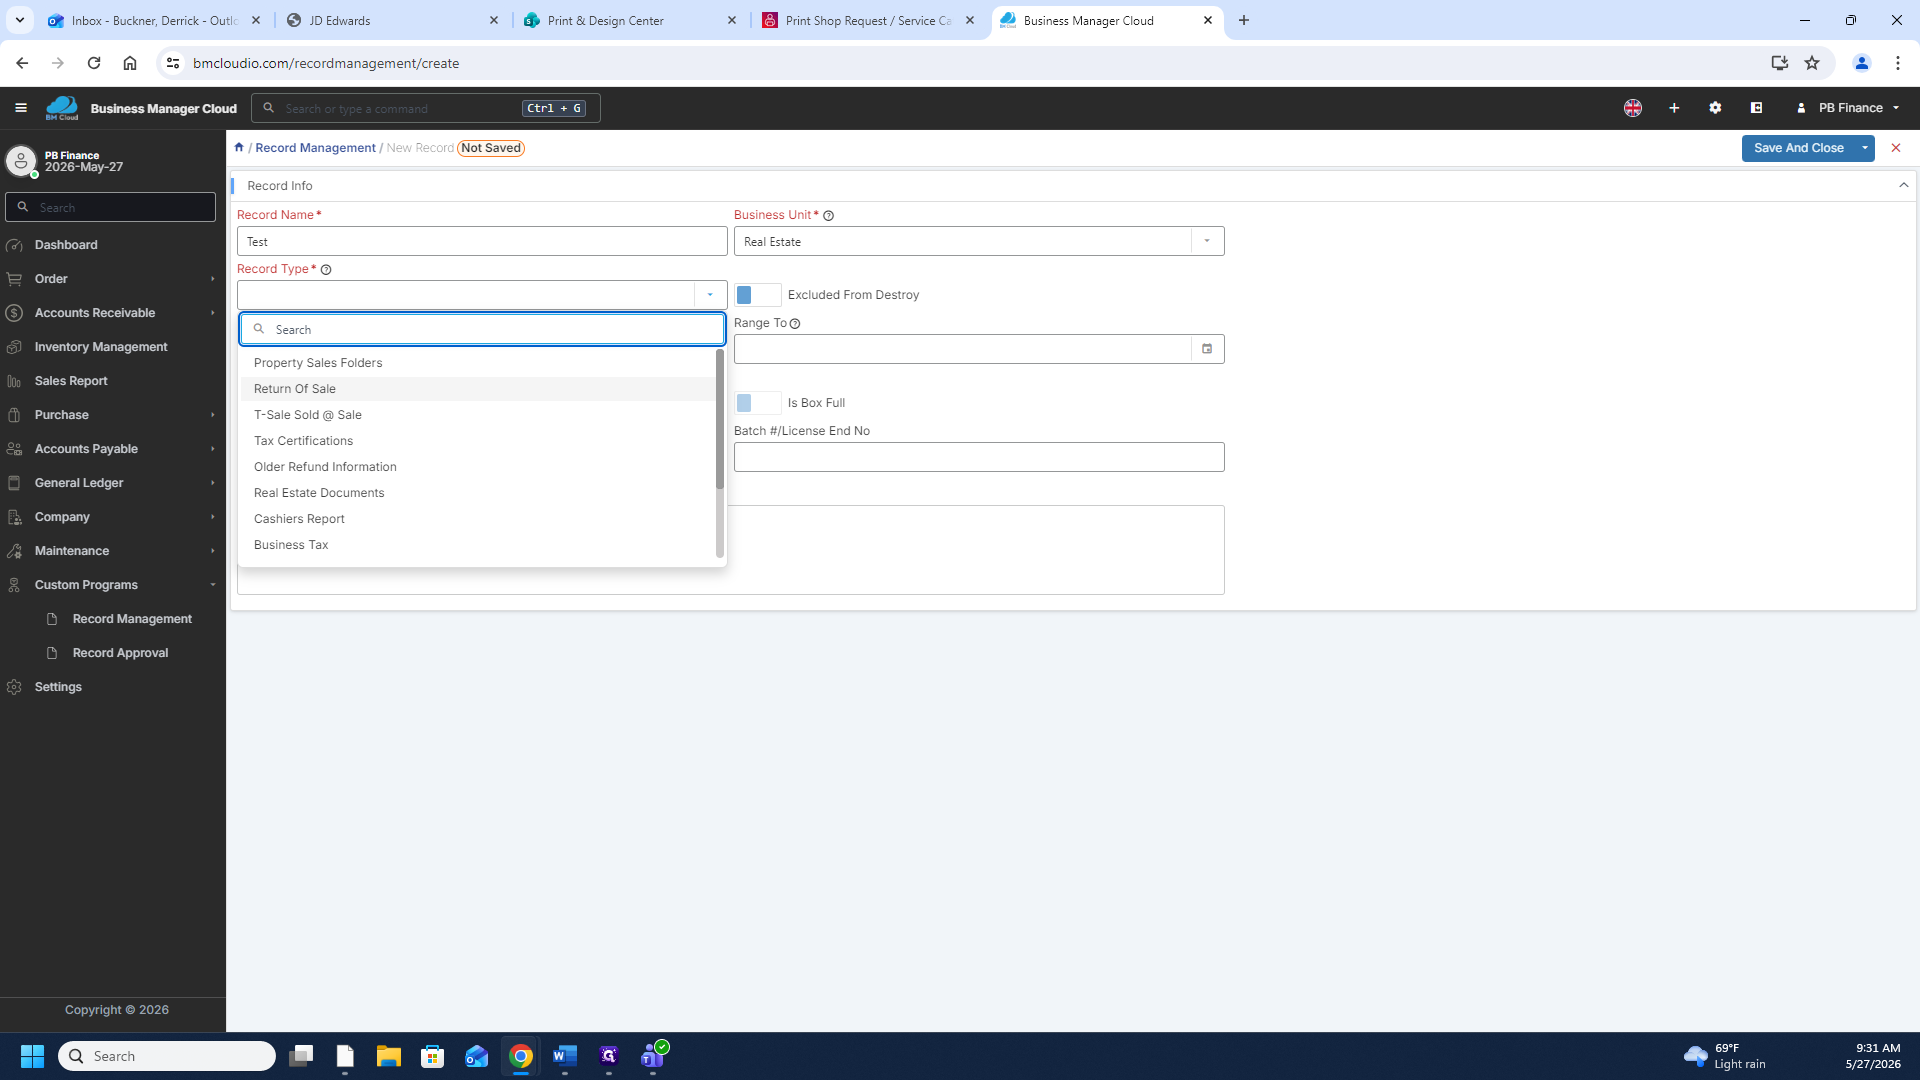
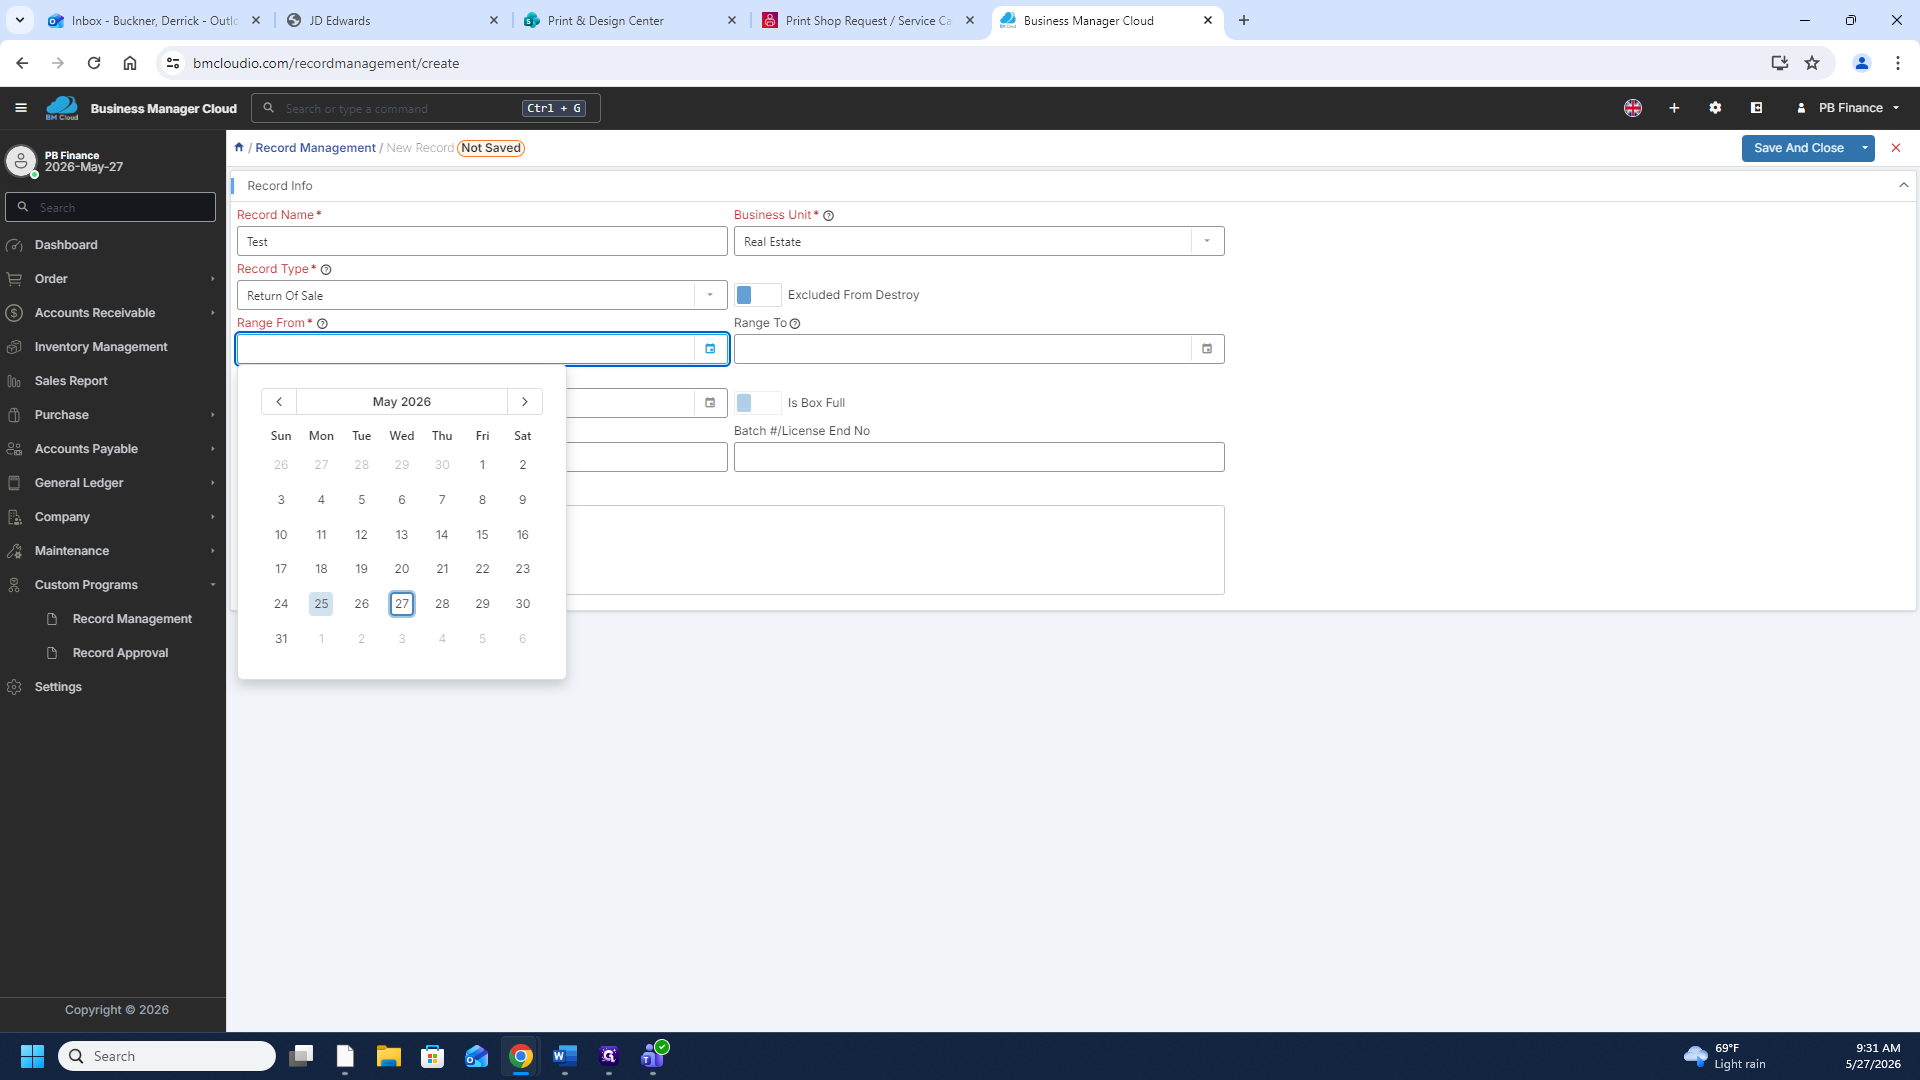
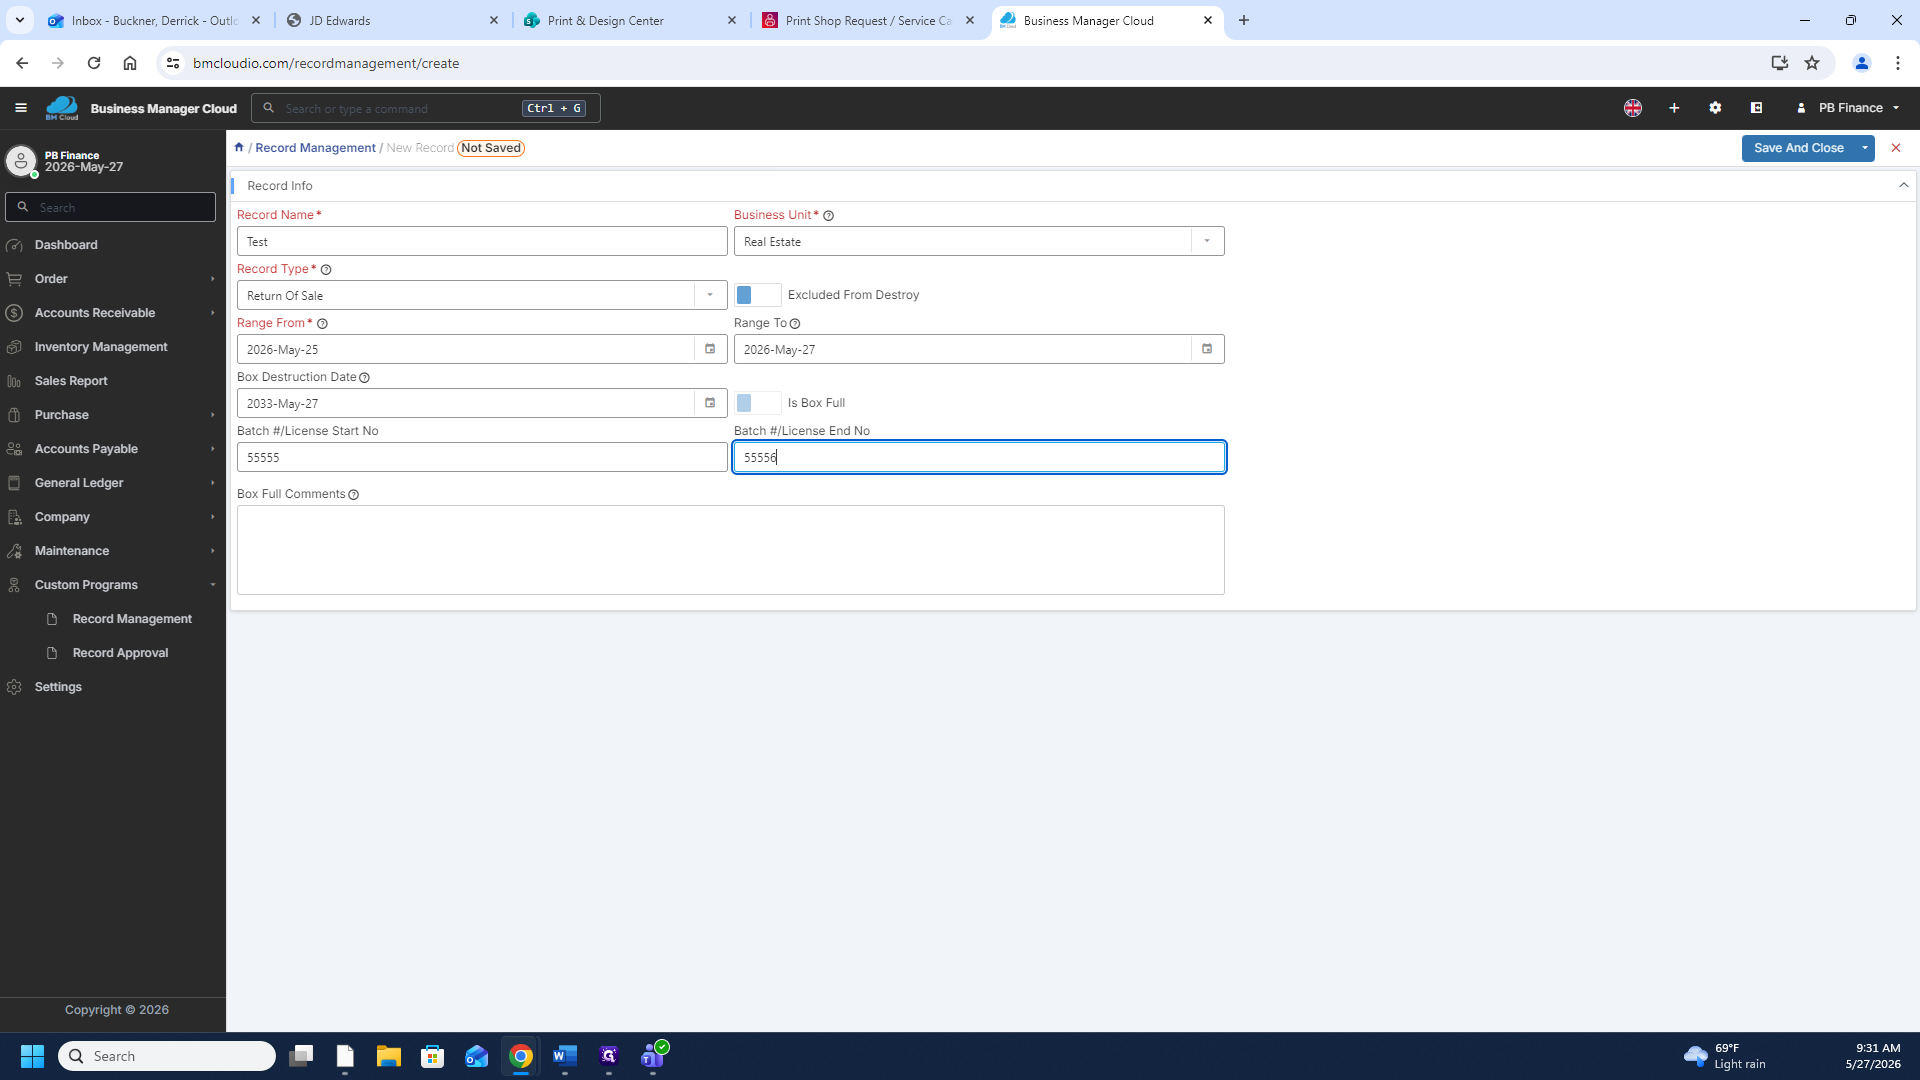
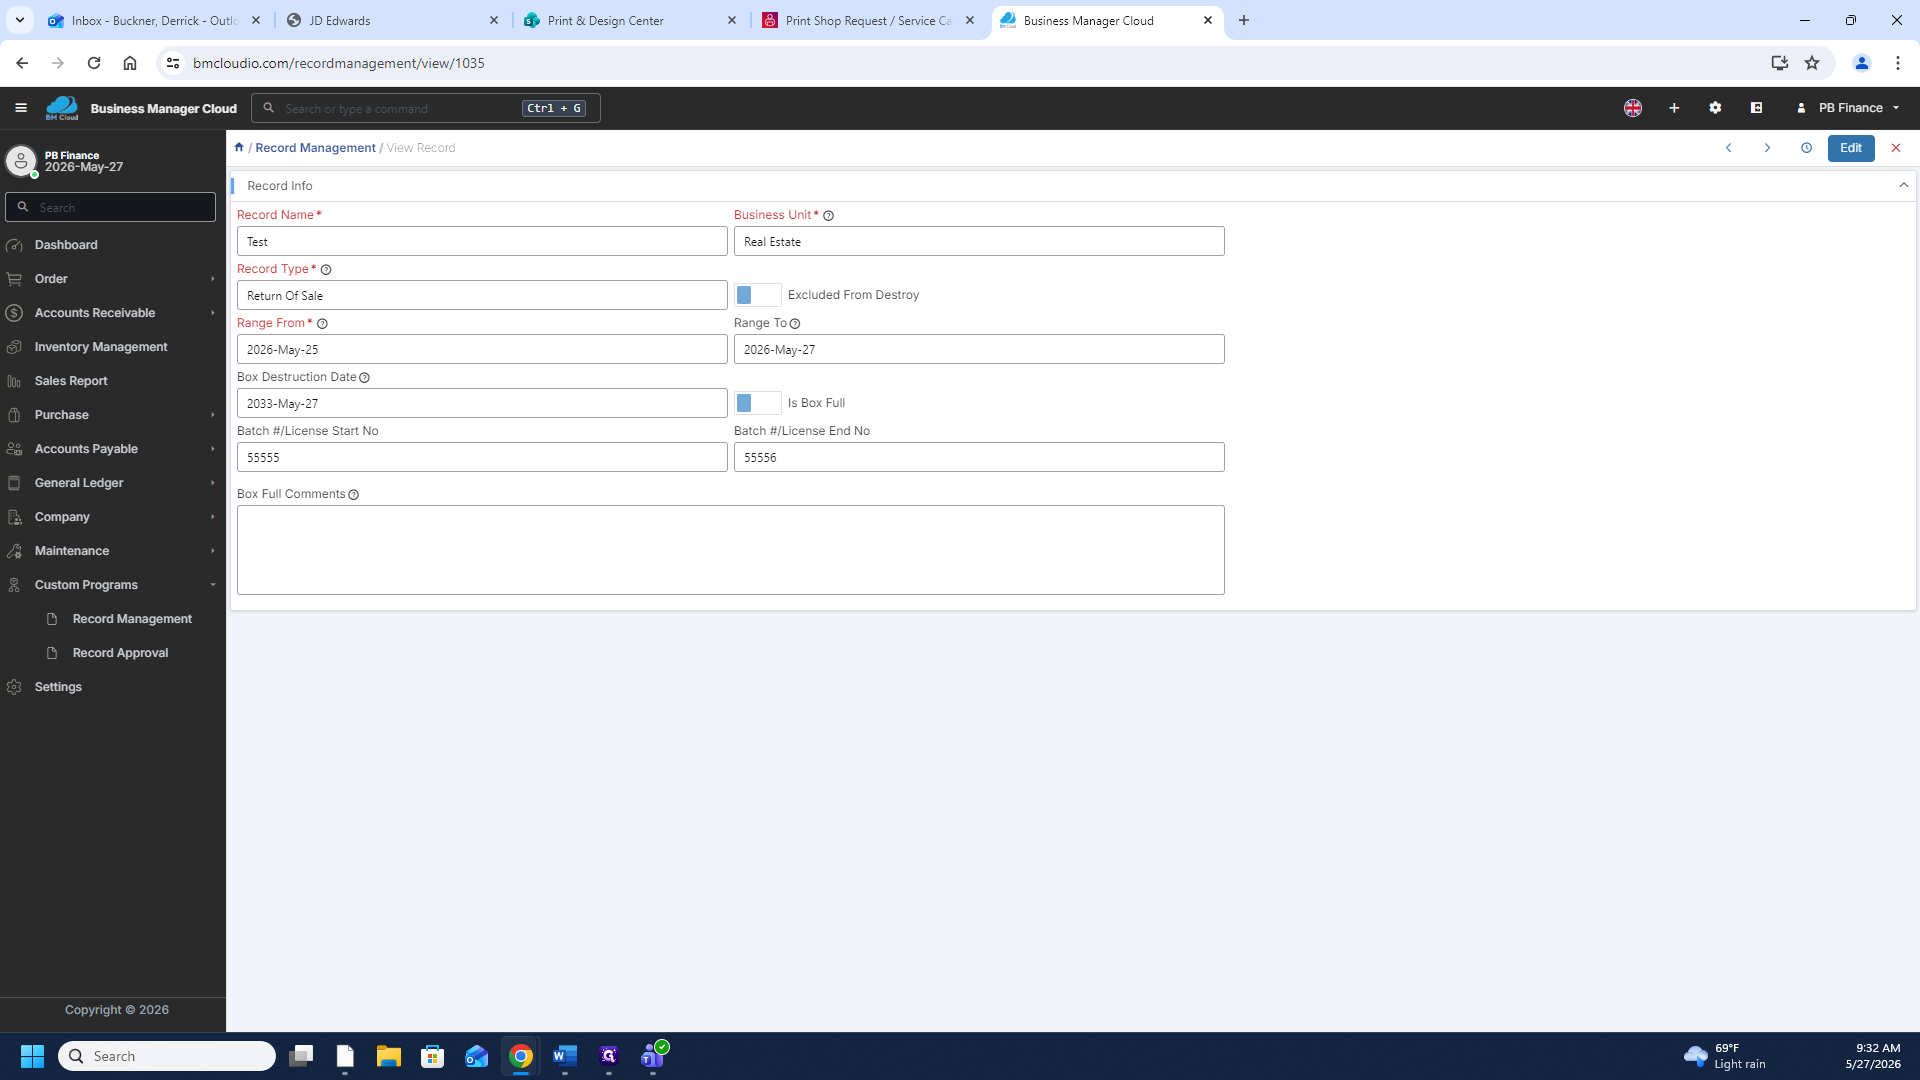
1
Click Log into Account to access the Business Manager Cloud dashboard. Records Management
Step #1: Click Log into Account to access the Business Manager Cloud dashboard. Records Management
2
In the main navigation menu, click Custom Programs.
Step #2: In the main navigation menu, click Custom Programs.
3
Select Record Management from the expanded sidebar options.
Step #3: Select Record Management from the expanded sidebar options.

Add a New Record

4
Click + Add to begin creating a new record entry.
Step #4: Click + Add to begin creating a new record entry.
5
Type your chosen identifier into the Record Name field.
6
Click the Business Unit dropdown and select the relevant department, such as Business Tax.
Step #6: Click the Business Unit dropdown and select the relevant department, such as Business Tax.
7
Click the Record Type dropdown and choose the classification, such as Return Of Sale.
Step #7: Click the Record Type dropdown and choose the classification, such as Return Of Sale.
8
Use the calendar picker for the Range From field to select the starting date for your record batch.
Step #8: Use the calendar picker for the Range From field to select the starting date for your record batch.
9
Use the calendar picker for the Range To field to select the ending date.
Step #9: Use the calendar picker for the Range To field to select the ending date.
10
Enter the initial number in the Batch #/License Start No field.
11
Enter the final number in the Batch #/License End No field.
12
Click Save And Close to finalize your new record.
Step #12: Click Save And Close to finalize your new record.

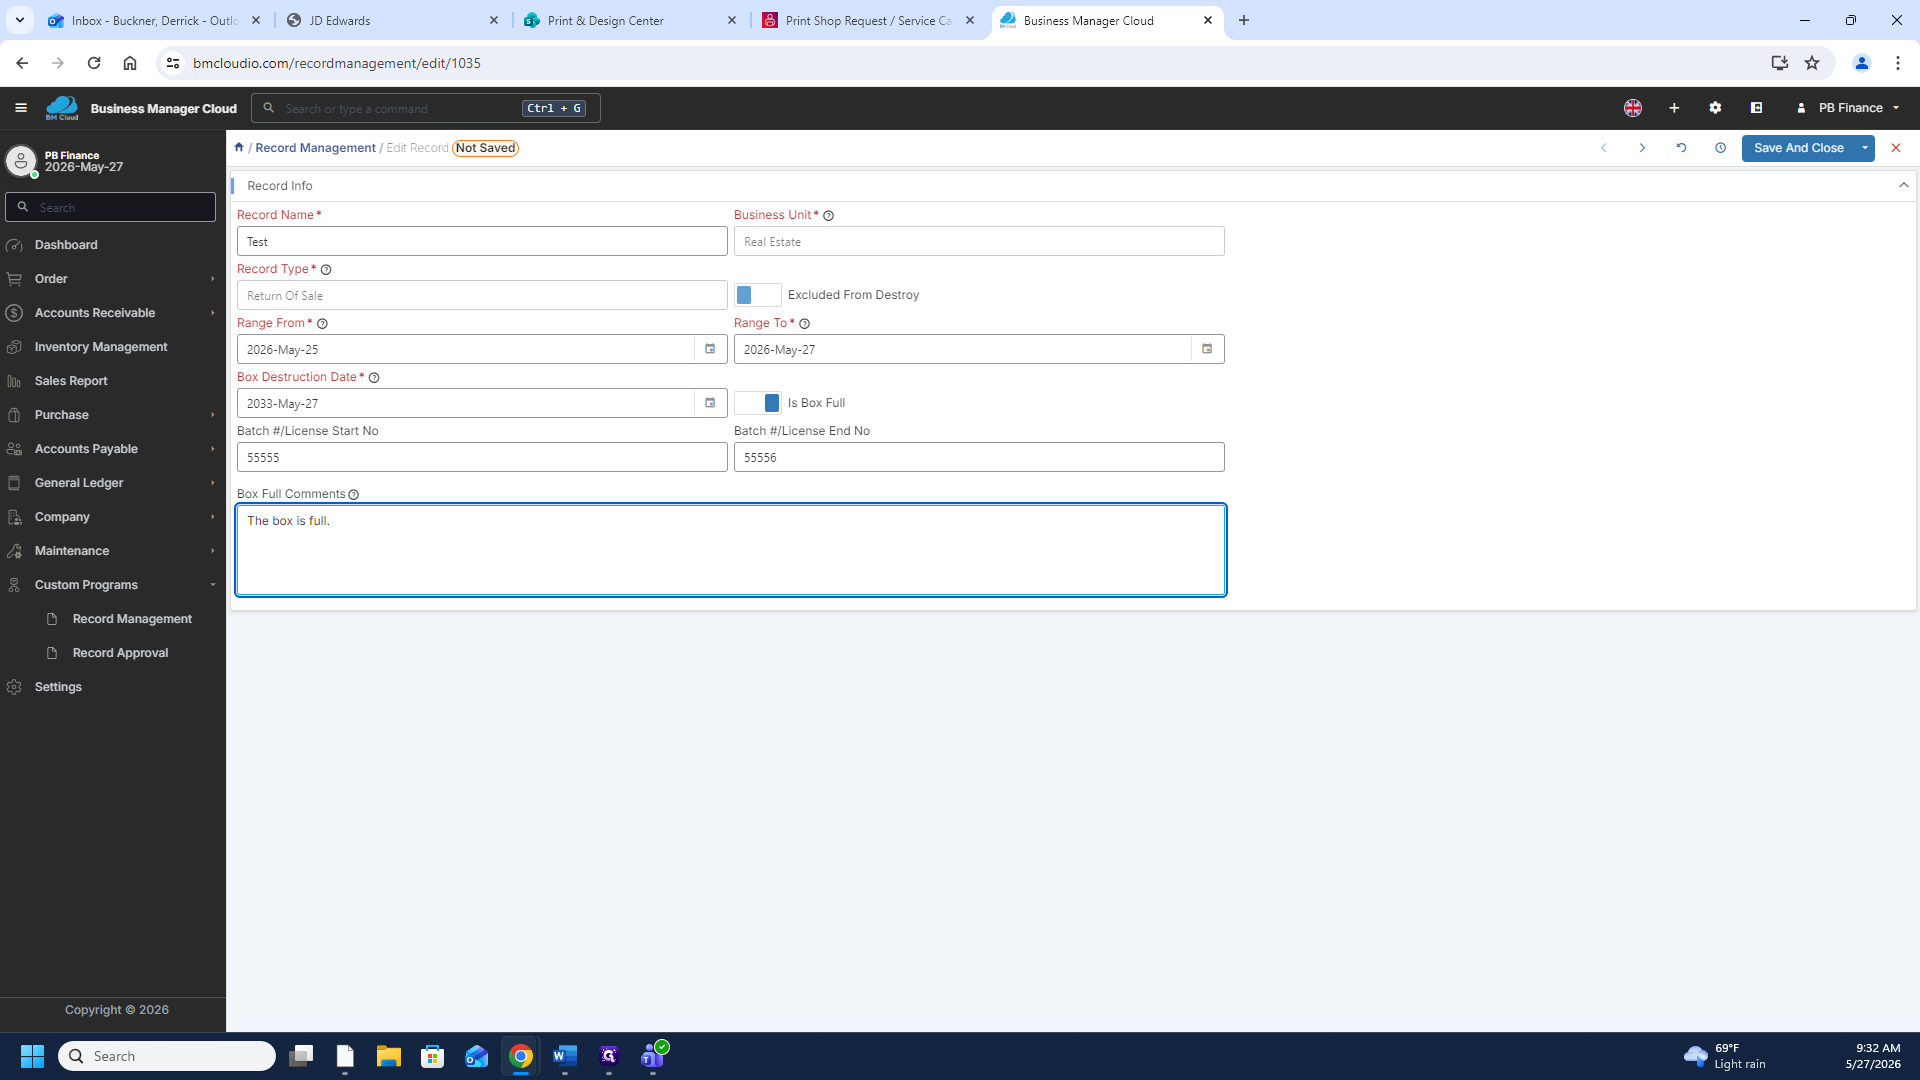
Edit an Existing Record
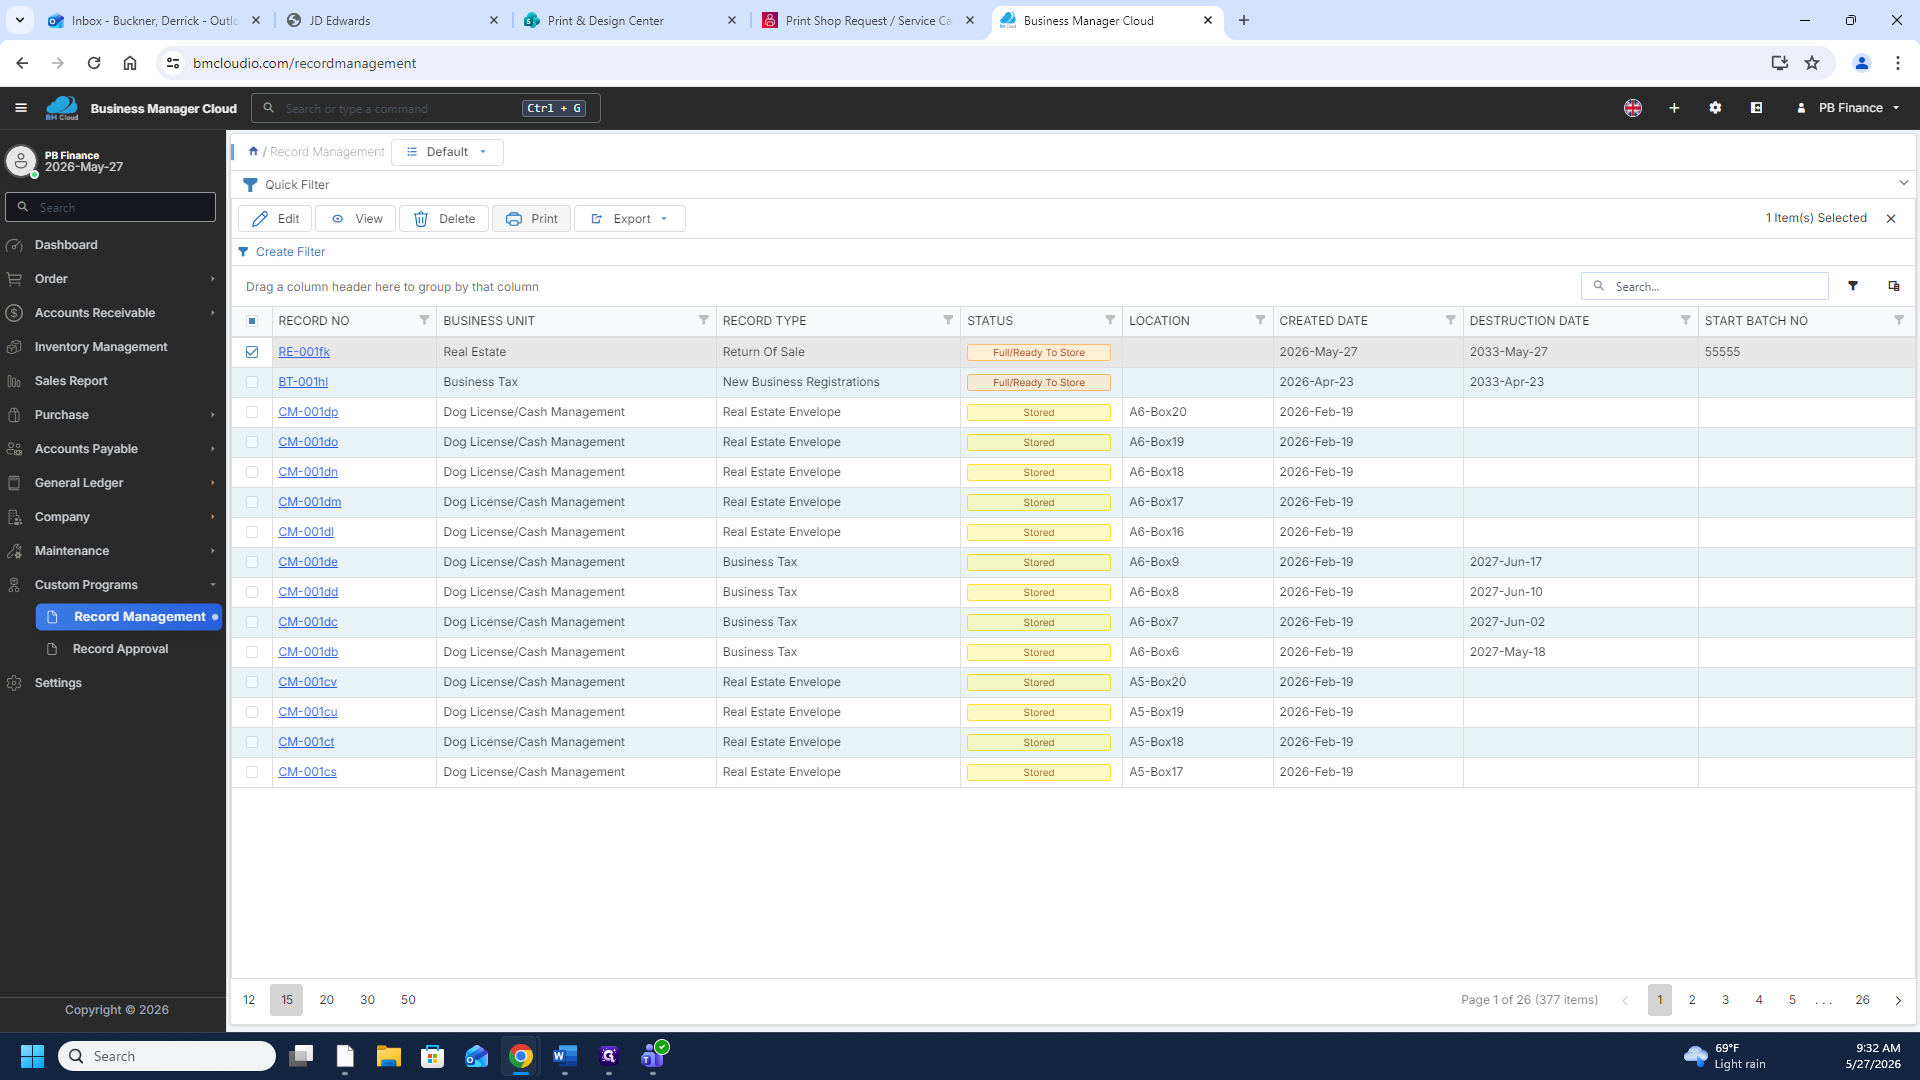
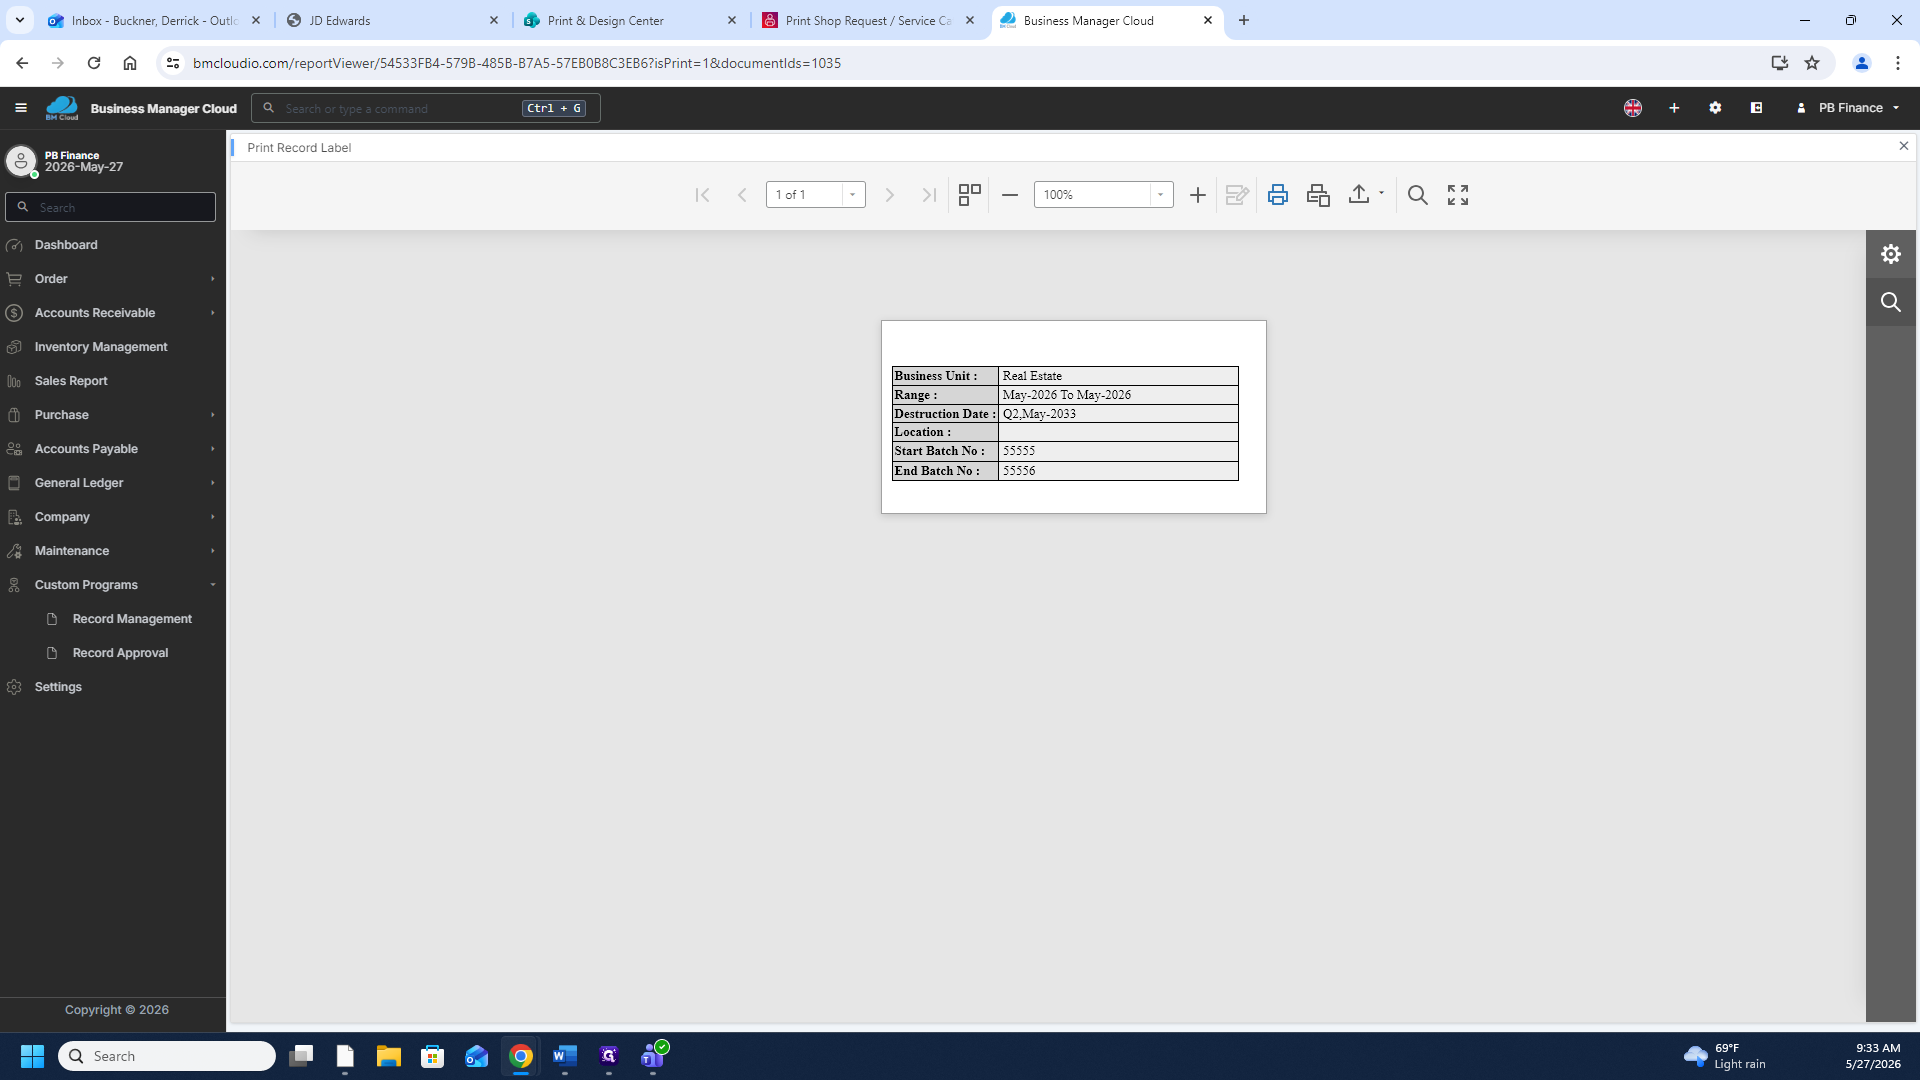
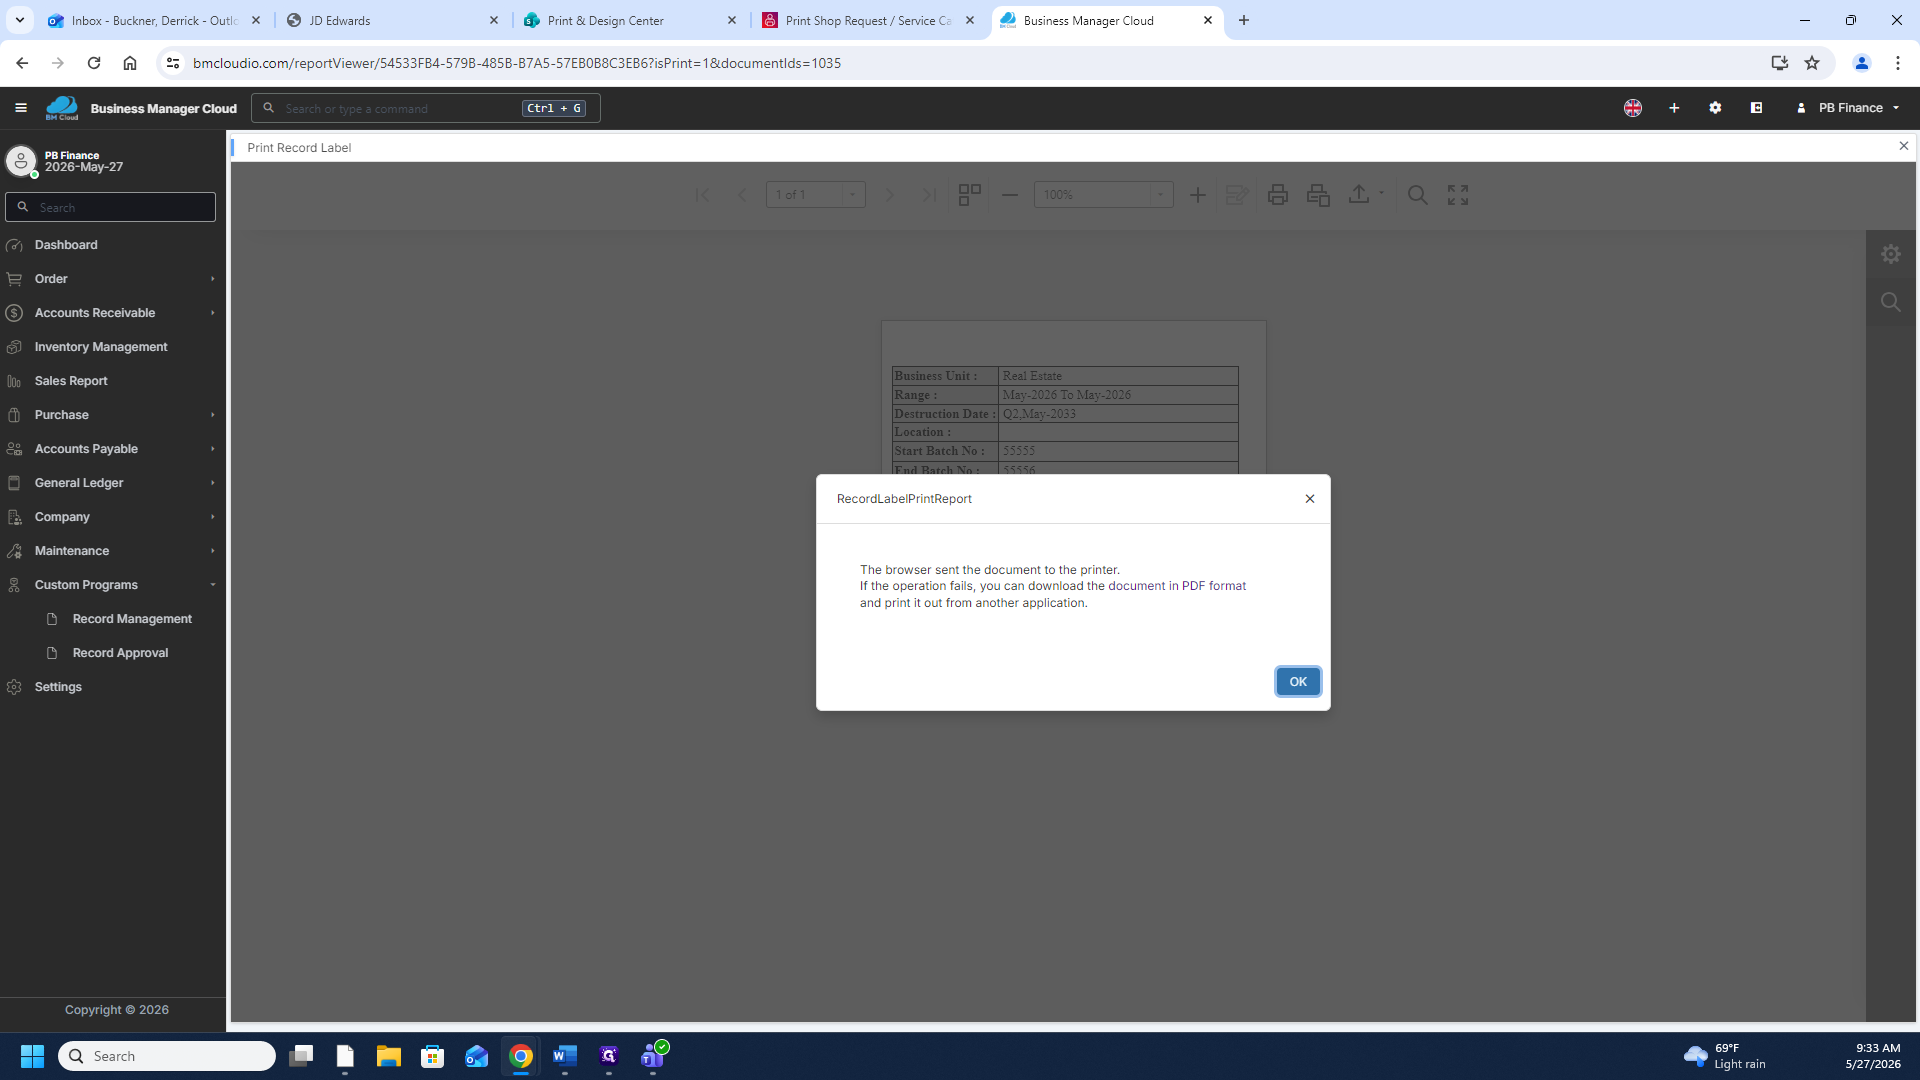
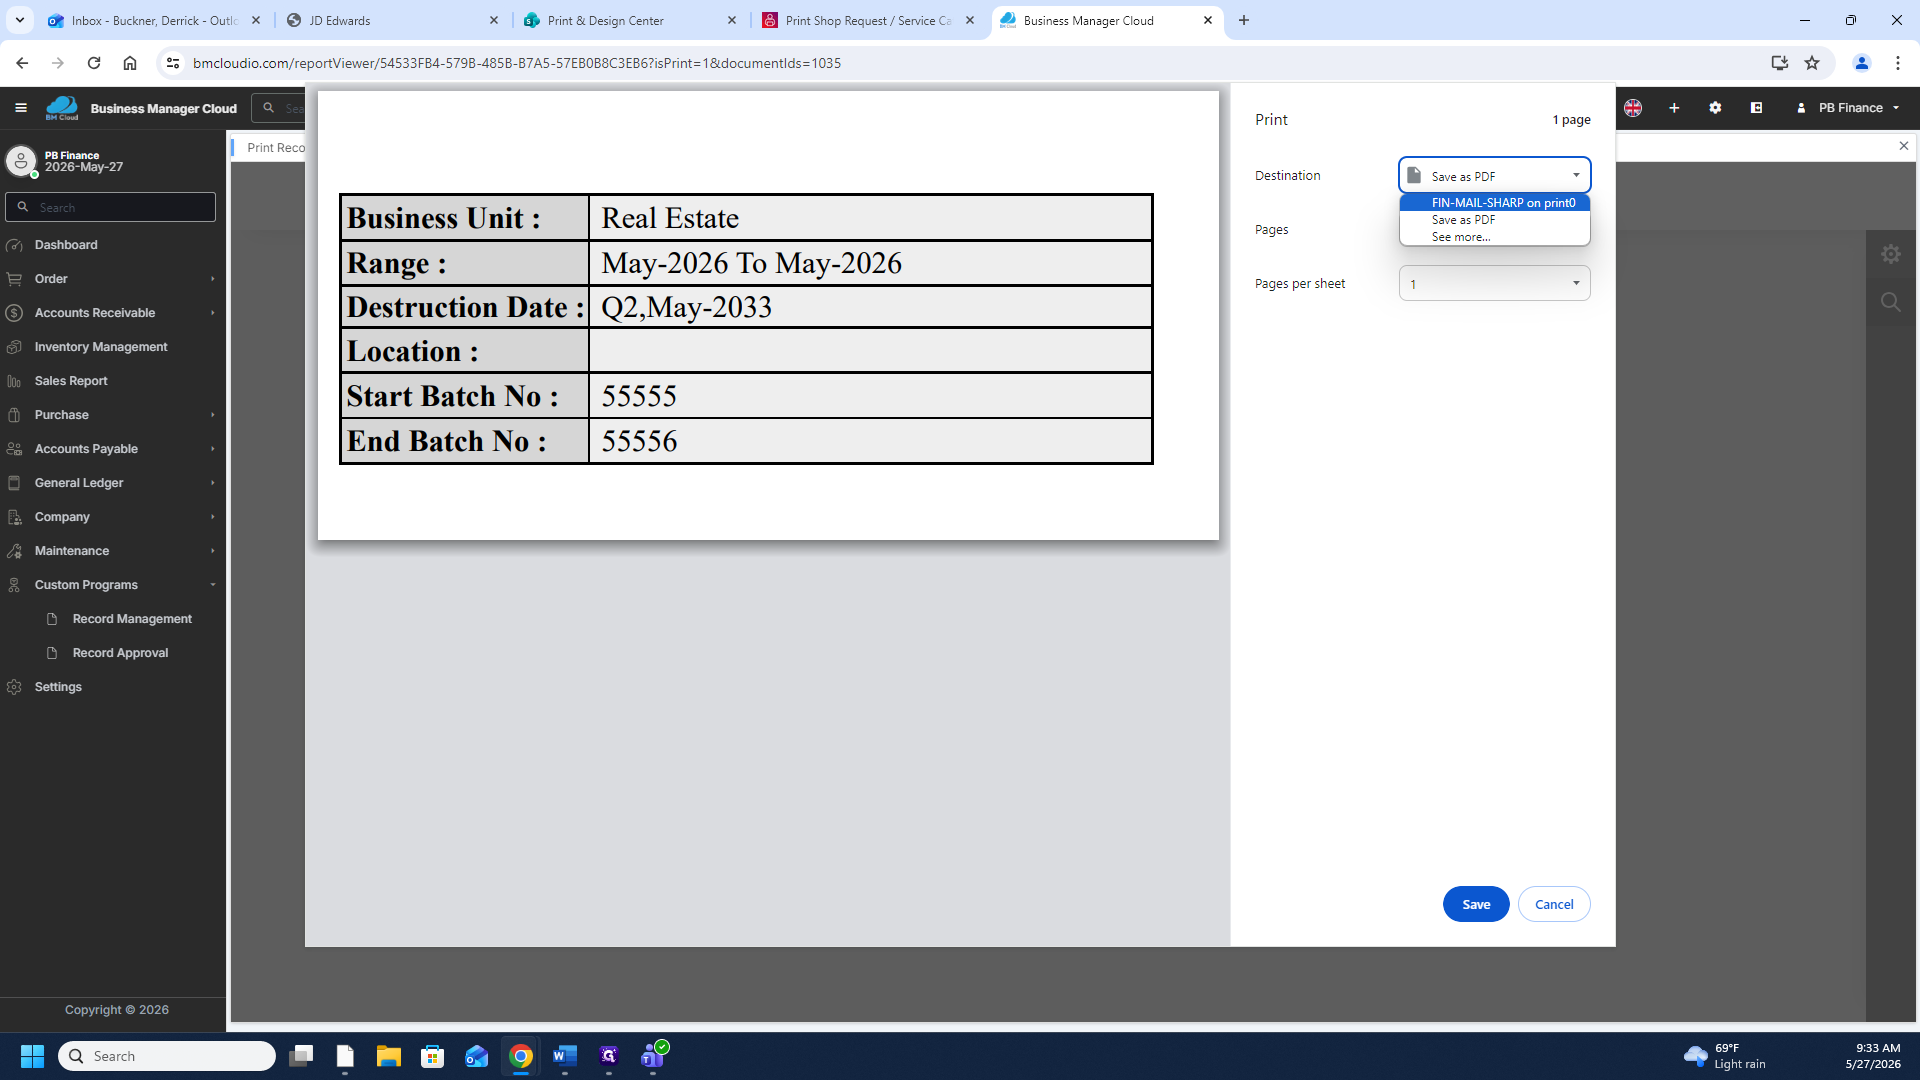
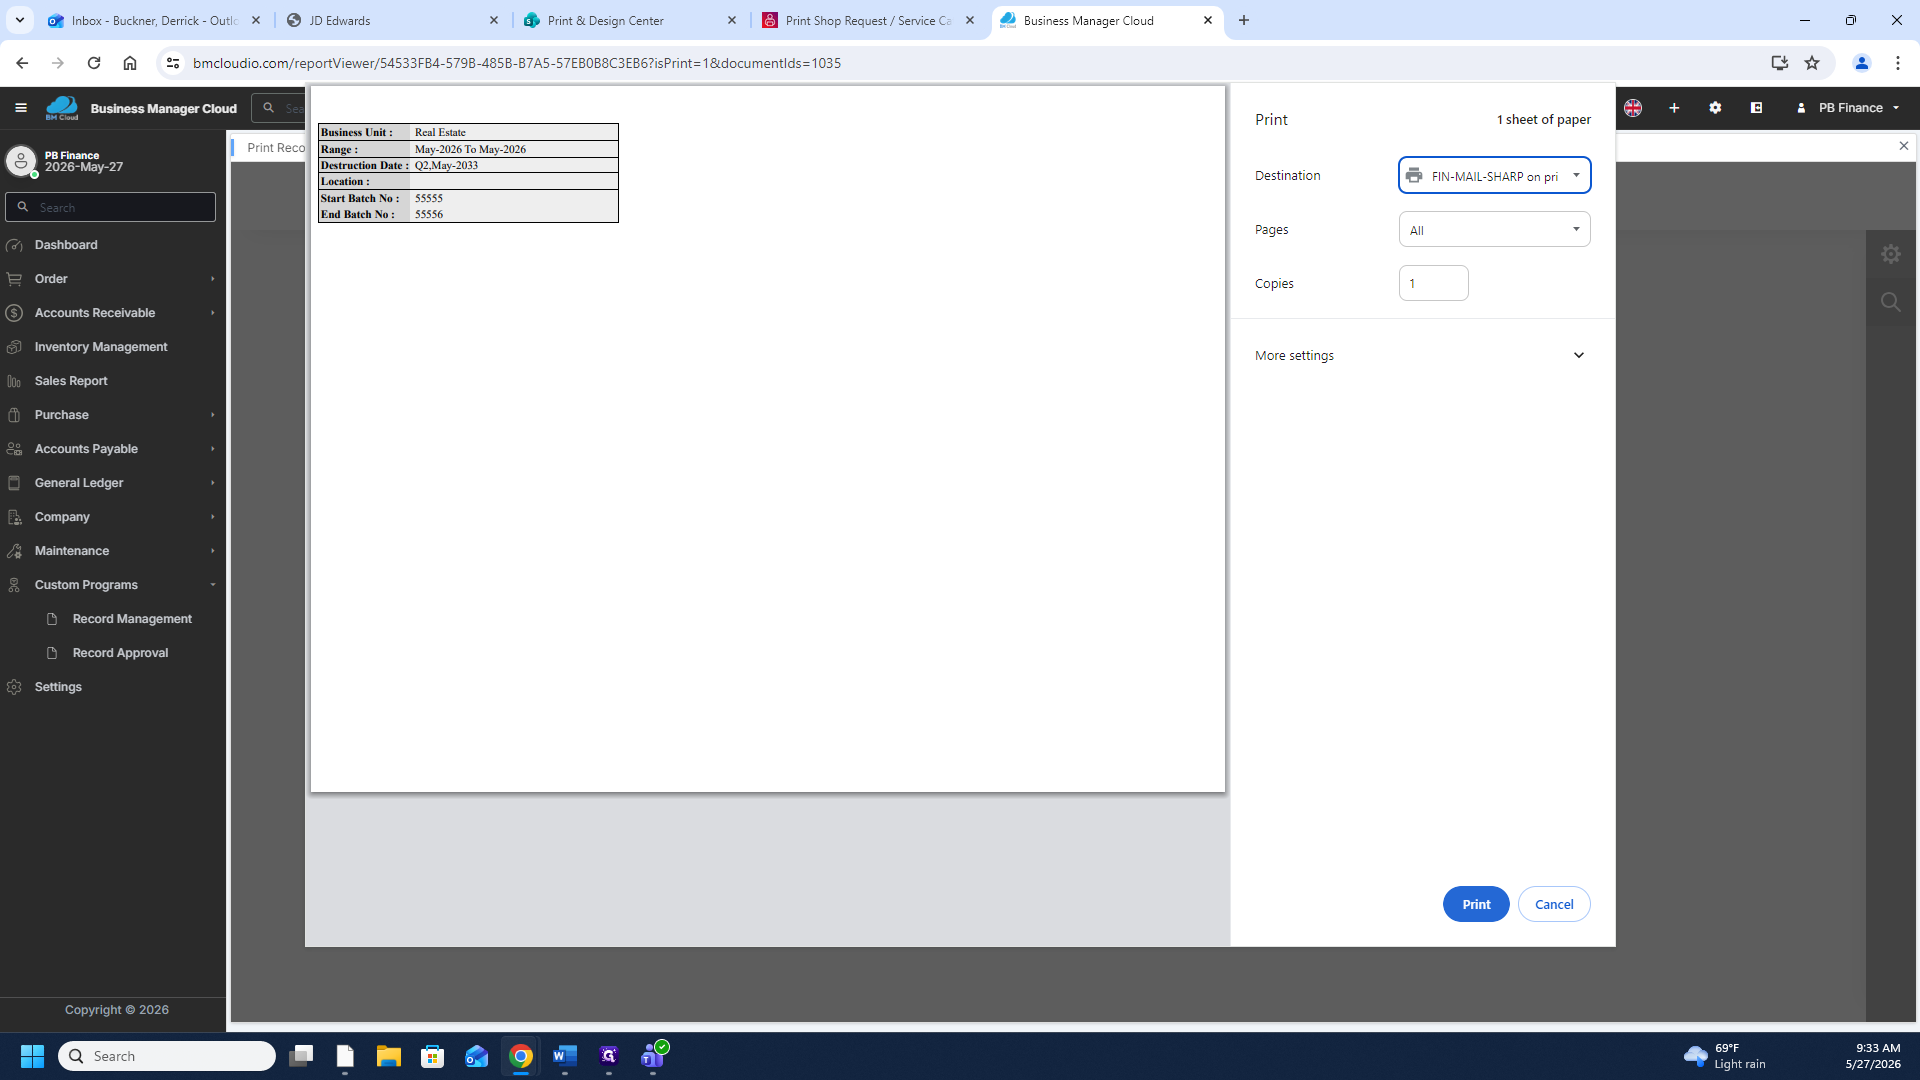
13
From the dashboard, click the ID link of the record you wish to modify (e.g., RE - 001fk).
Step #13: From the dashboard, click the ID link of the record you wish to modify (e.g., RE - 001fk).
14
Click Edit to unlock the record fields.
Step #14: Click Edit to unlock the record fields.
15
Locate the Box Full Comments text area at the bottom of the form and enter relevant details, such as "The box is full."
16
Click Save And Close to apply your updates.
Step #16: Click Save And Close to apply your updates.

Print Record Labels

17
Check the box in the leftmost column of the data grid to select the record you want to print.
Step #17: Check the box in the leftmost column of the data grid to select the record you want to print.
18
Click the Print Record Label icon located in the upper toolbar.
Step #18: Click the Print Record Label icon located in the upper toolbar.
19
Click OK on the confirmation dialog stating the document is ready.
Step #19: Click OK on the confirmation dialog stating the document is ready.
20
Select your destination from the printer dropdown menu (e.g., a physical printer or Save as PDF).
Step #20: Select your destination from the printer dropdown menu (e.g., a physical printer or Save as PDF).
21
Click Print to dispatch the label.
Step #21: Click Print to dispatch the label.
22
Click OK on the final system modal confirming the print action.
Step #22: Click OK on the final system modal confirming the print action.
23
Click the × button to close the report viewer and return to the dashboard.
Step #23: Click the × button to close the report viewer and return to the dashboard.

Term

Definition

Business Manager Cloud

A centralized web application used for administrating business operations, managing documents, and organizing company data.

Record Management

A specialized module within the software designated for tracking, updating, and documenting physical and digital records.

Batch Number

A sequential identification number used to track and trace grouped items or licenses entered into the system.

How to Create and Manage Records in Business Manager Cloud