
How to Create and Organize Documents in Google Shared Drives
Learn how to securely organize team assets by creating Google Docs within Shared Drives, using Document Tabs, and transferring ownership of existing files.
This guide demonstrates how to properly create, organize, and move Google Docs within organizational Shared Drives. Completing these steps ensures your team's resources are centrally stored, accurately permissioned, and easily navigable.
This workflow applies to any team member who creates a shared file in Google Drive.
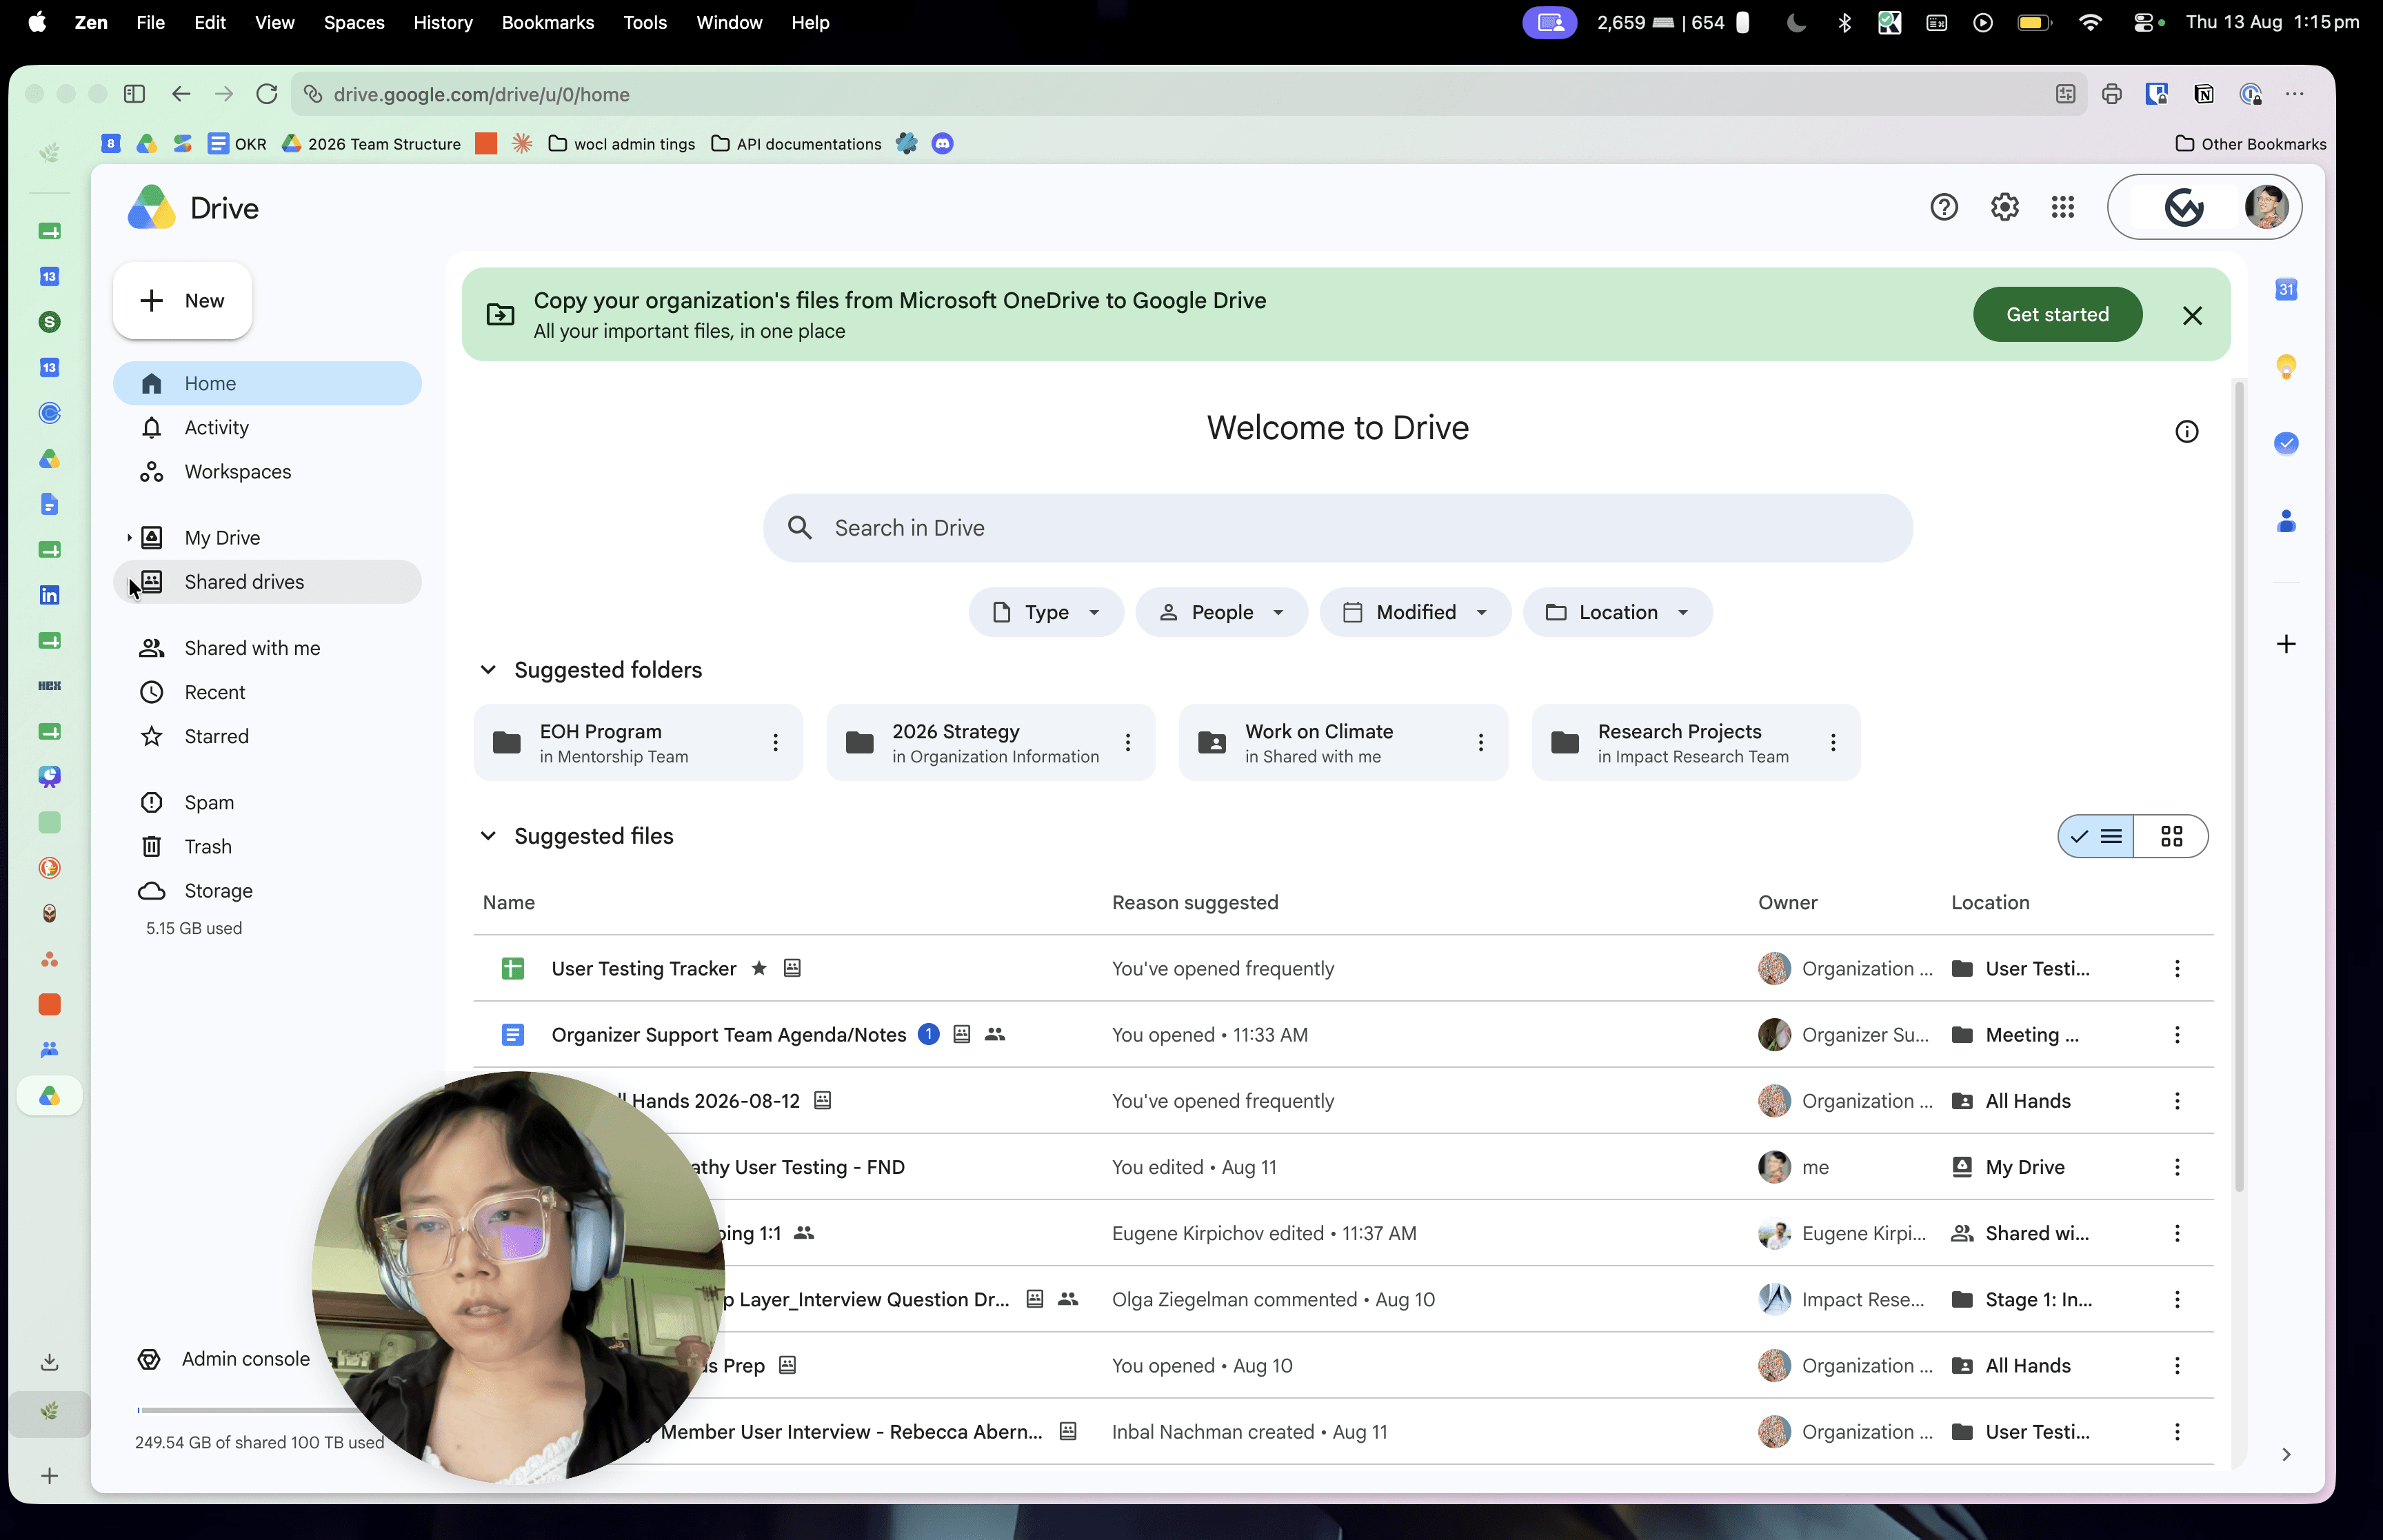
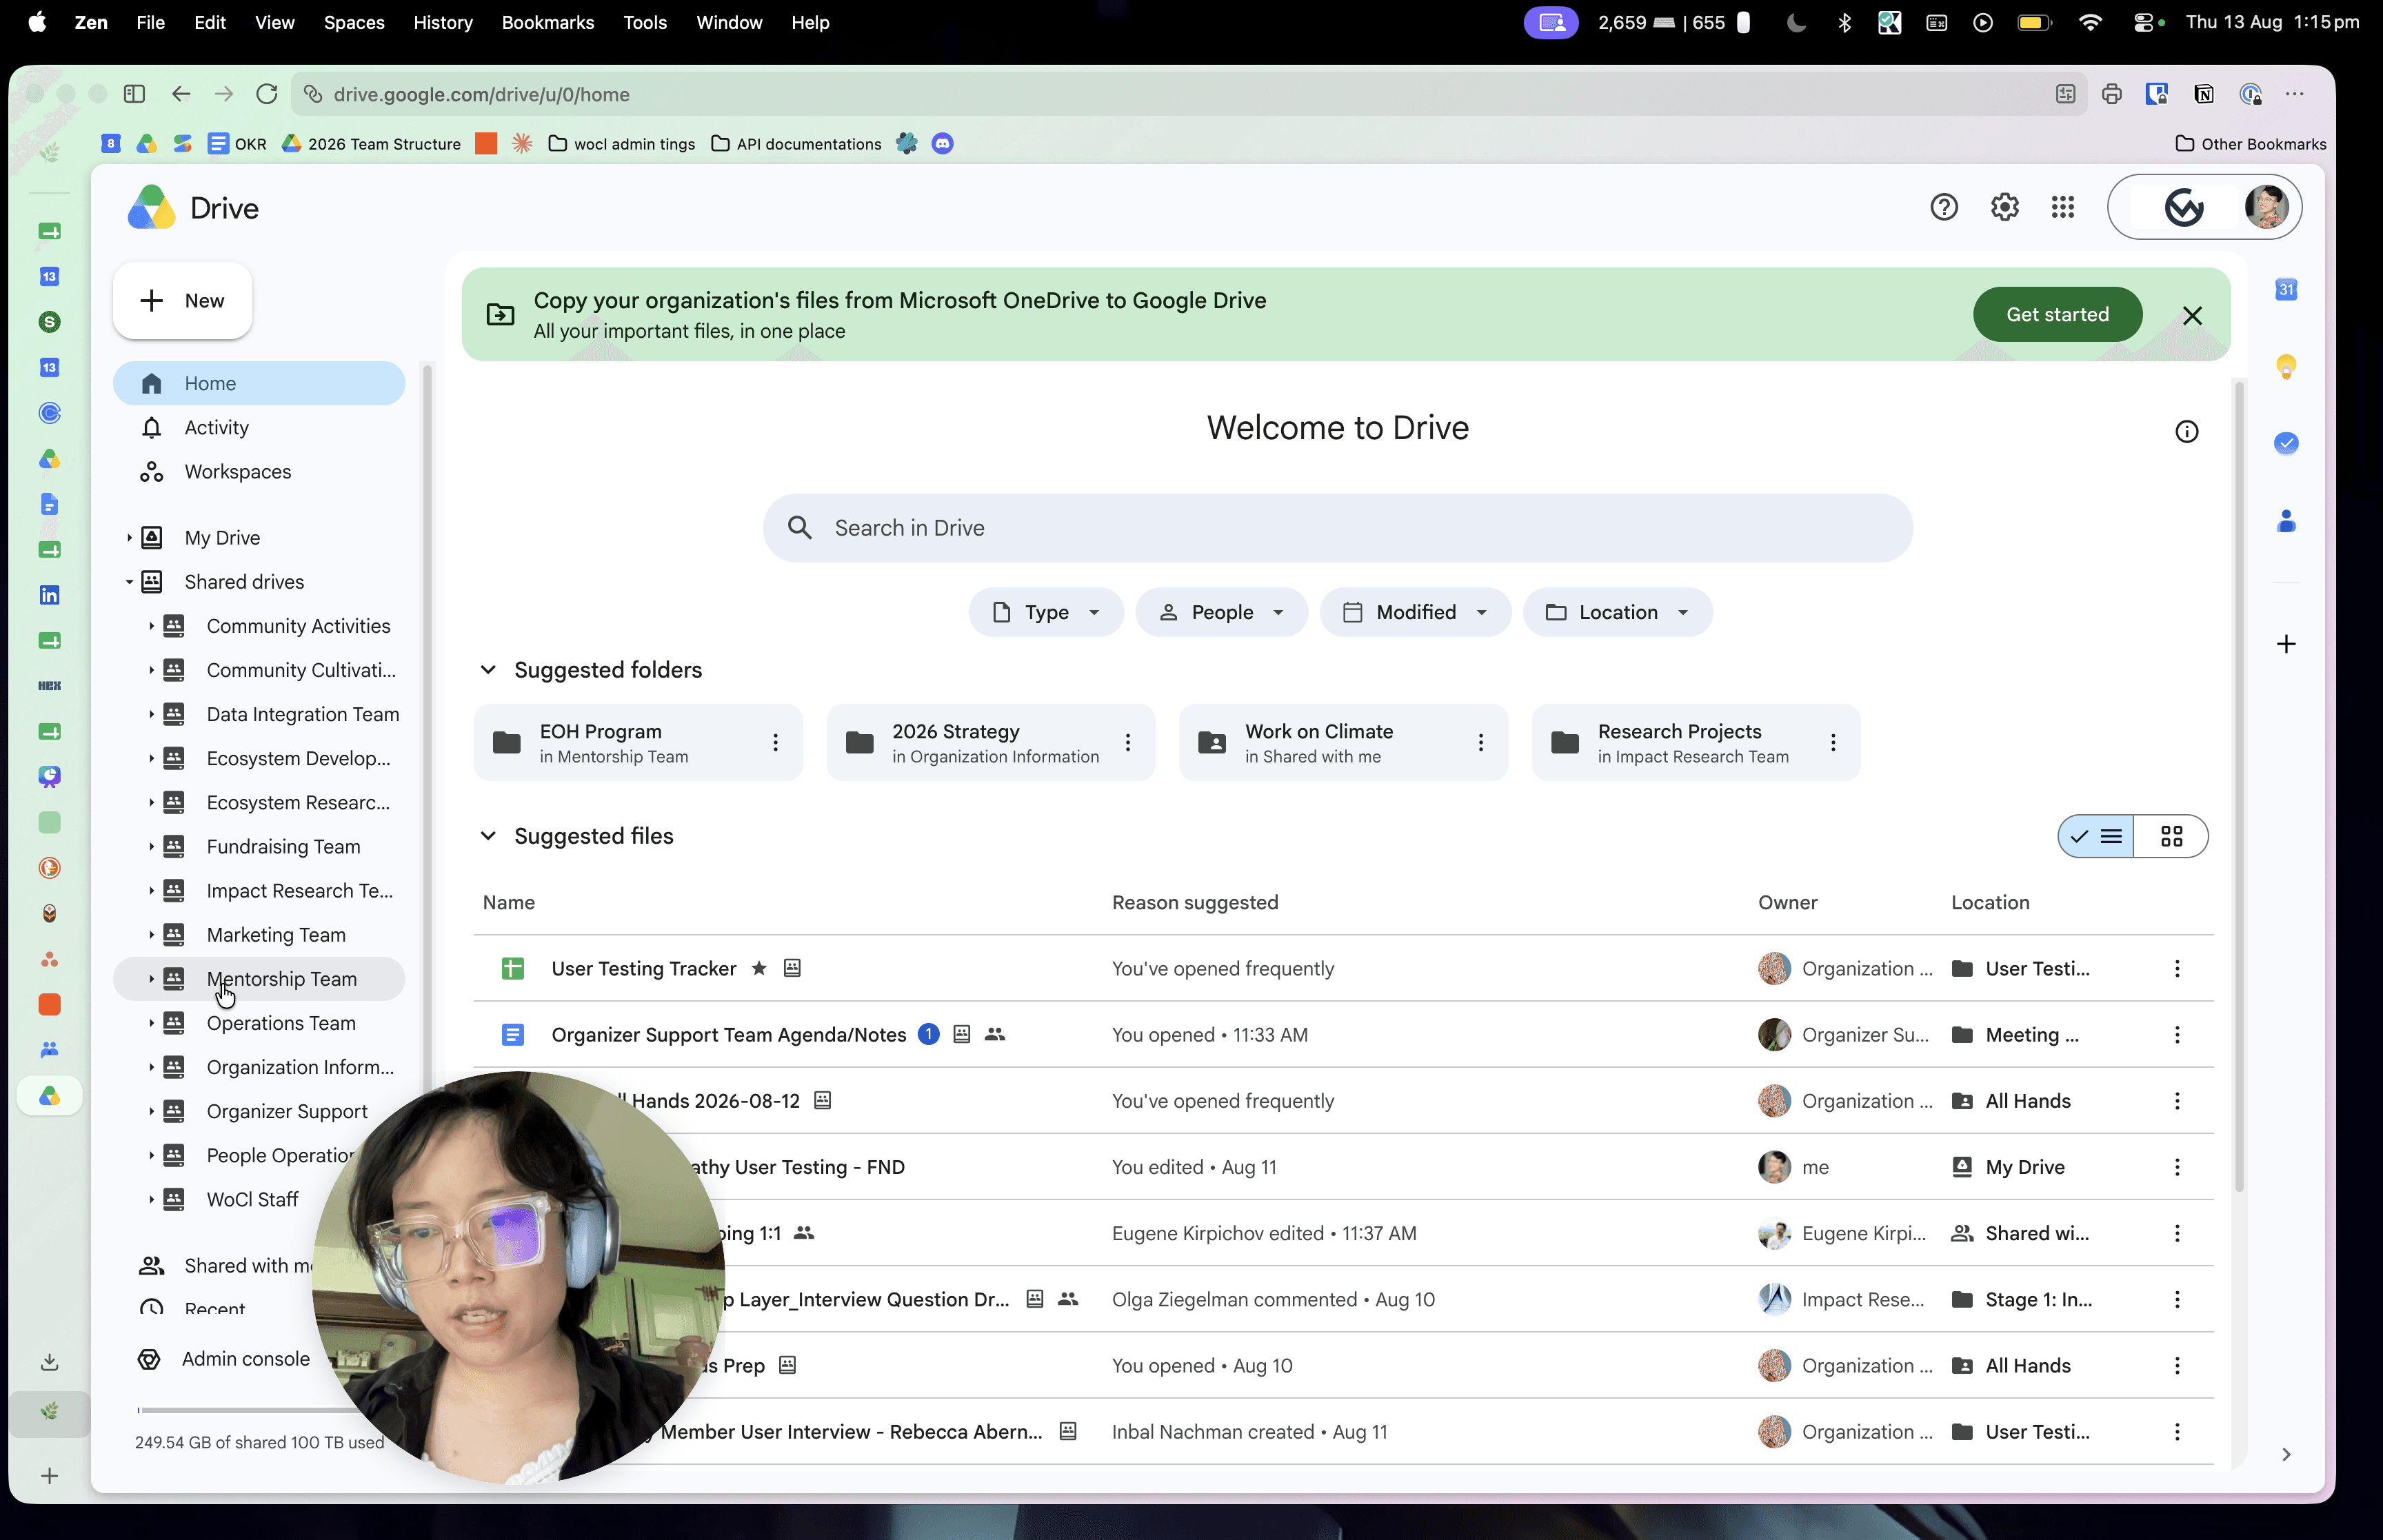
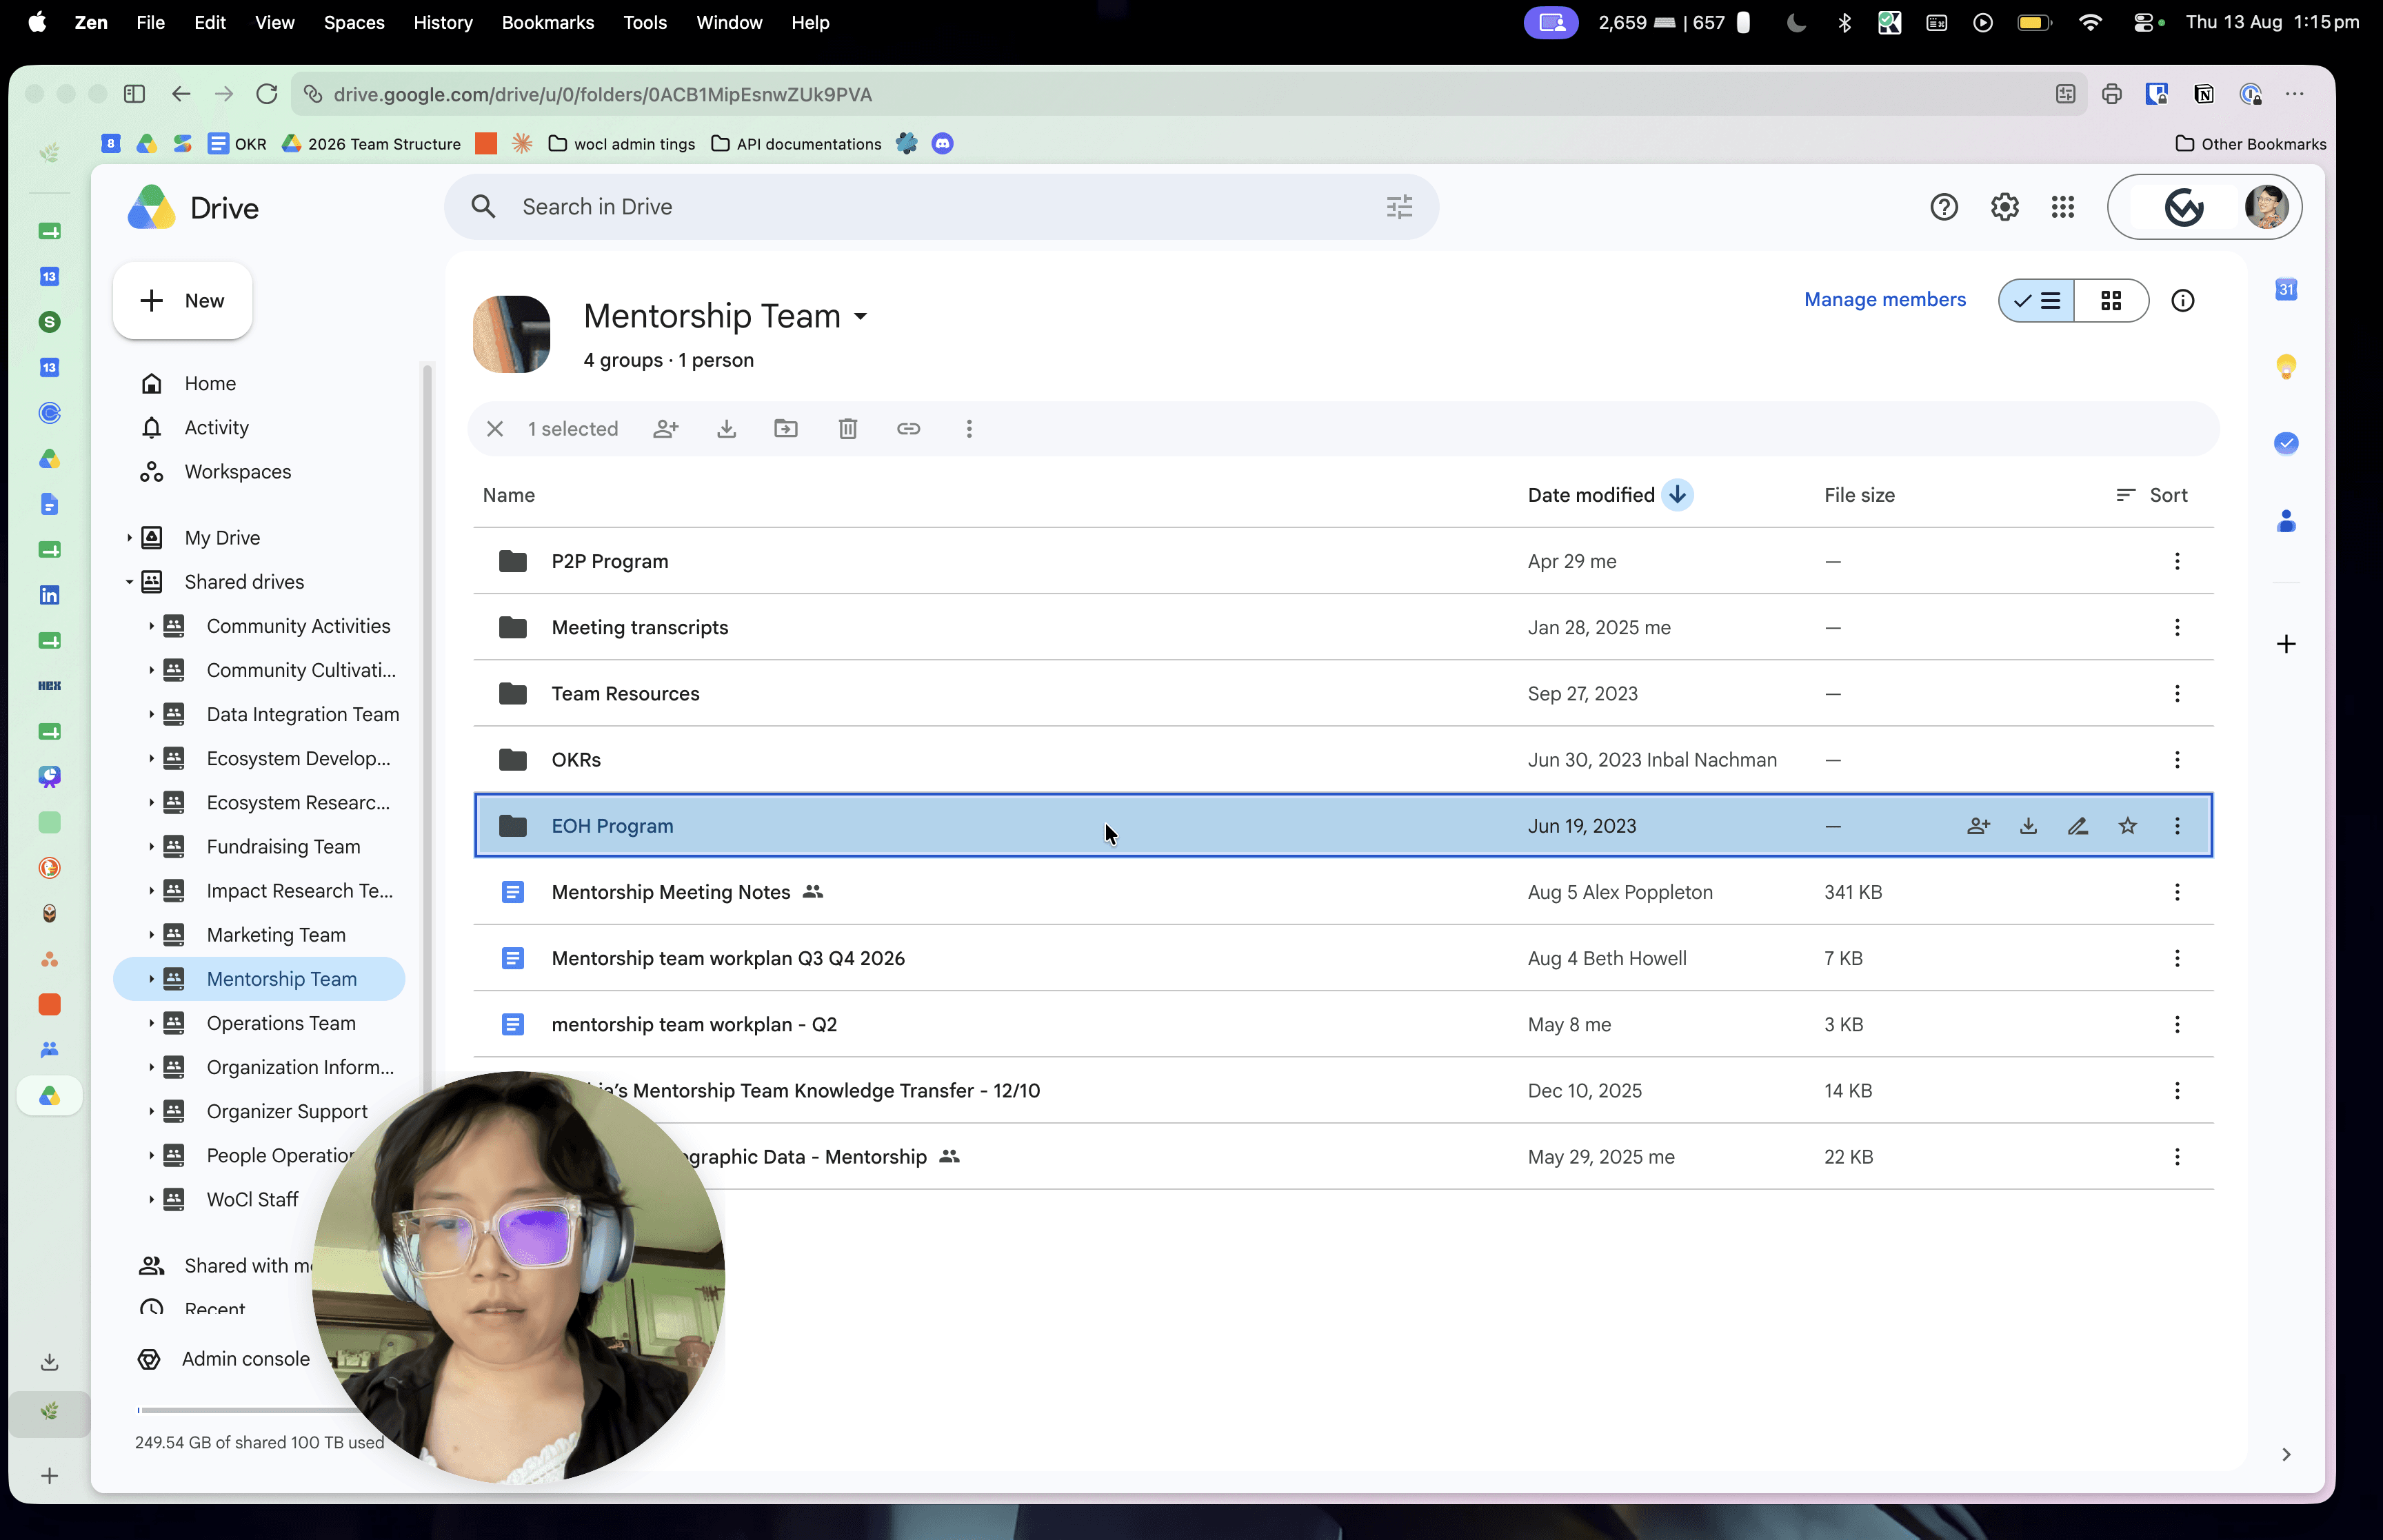
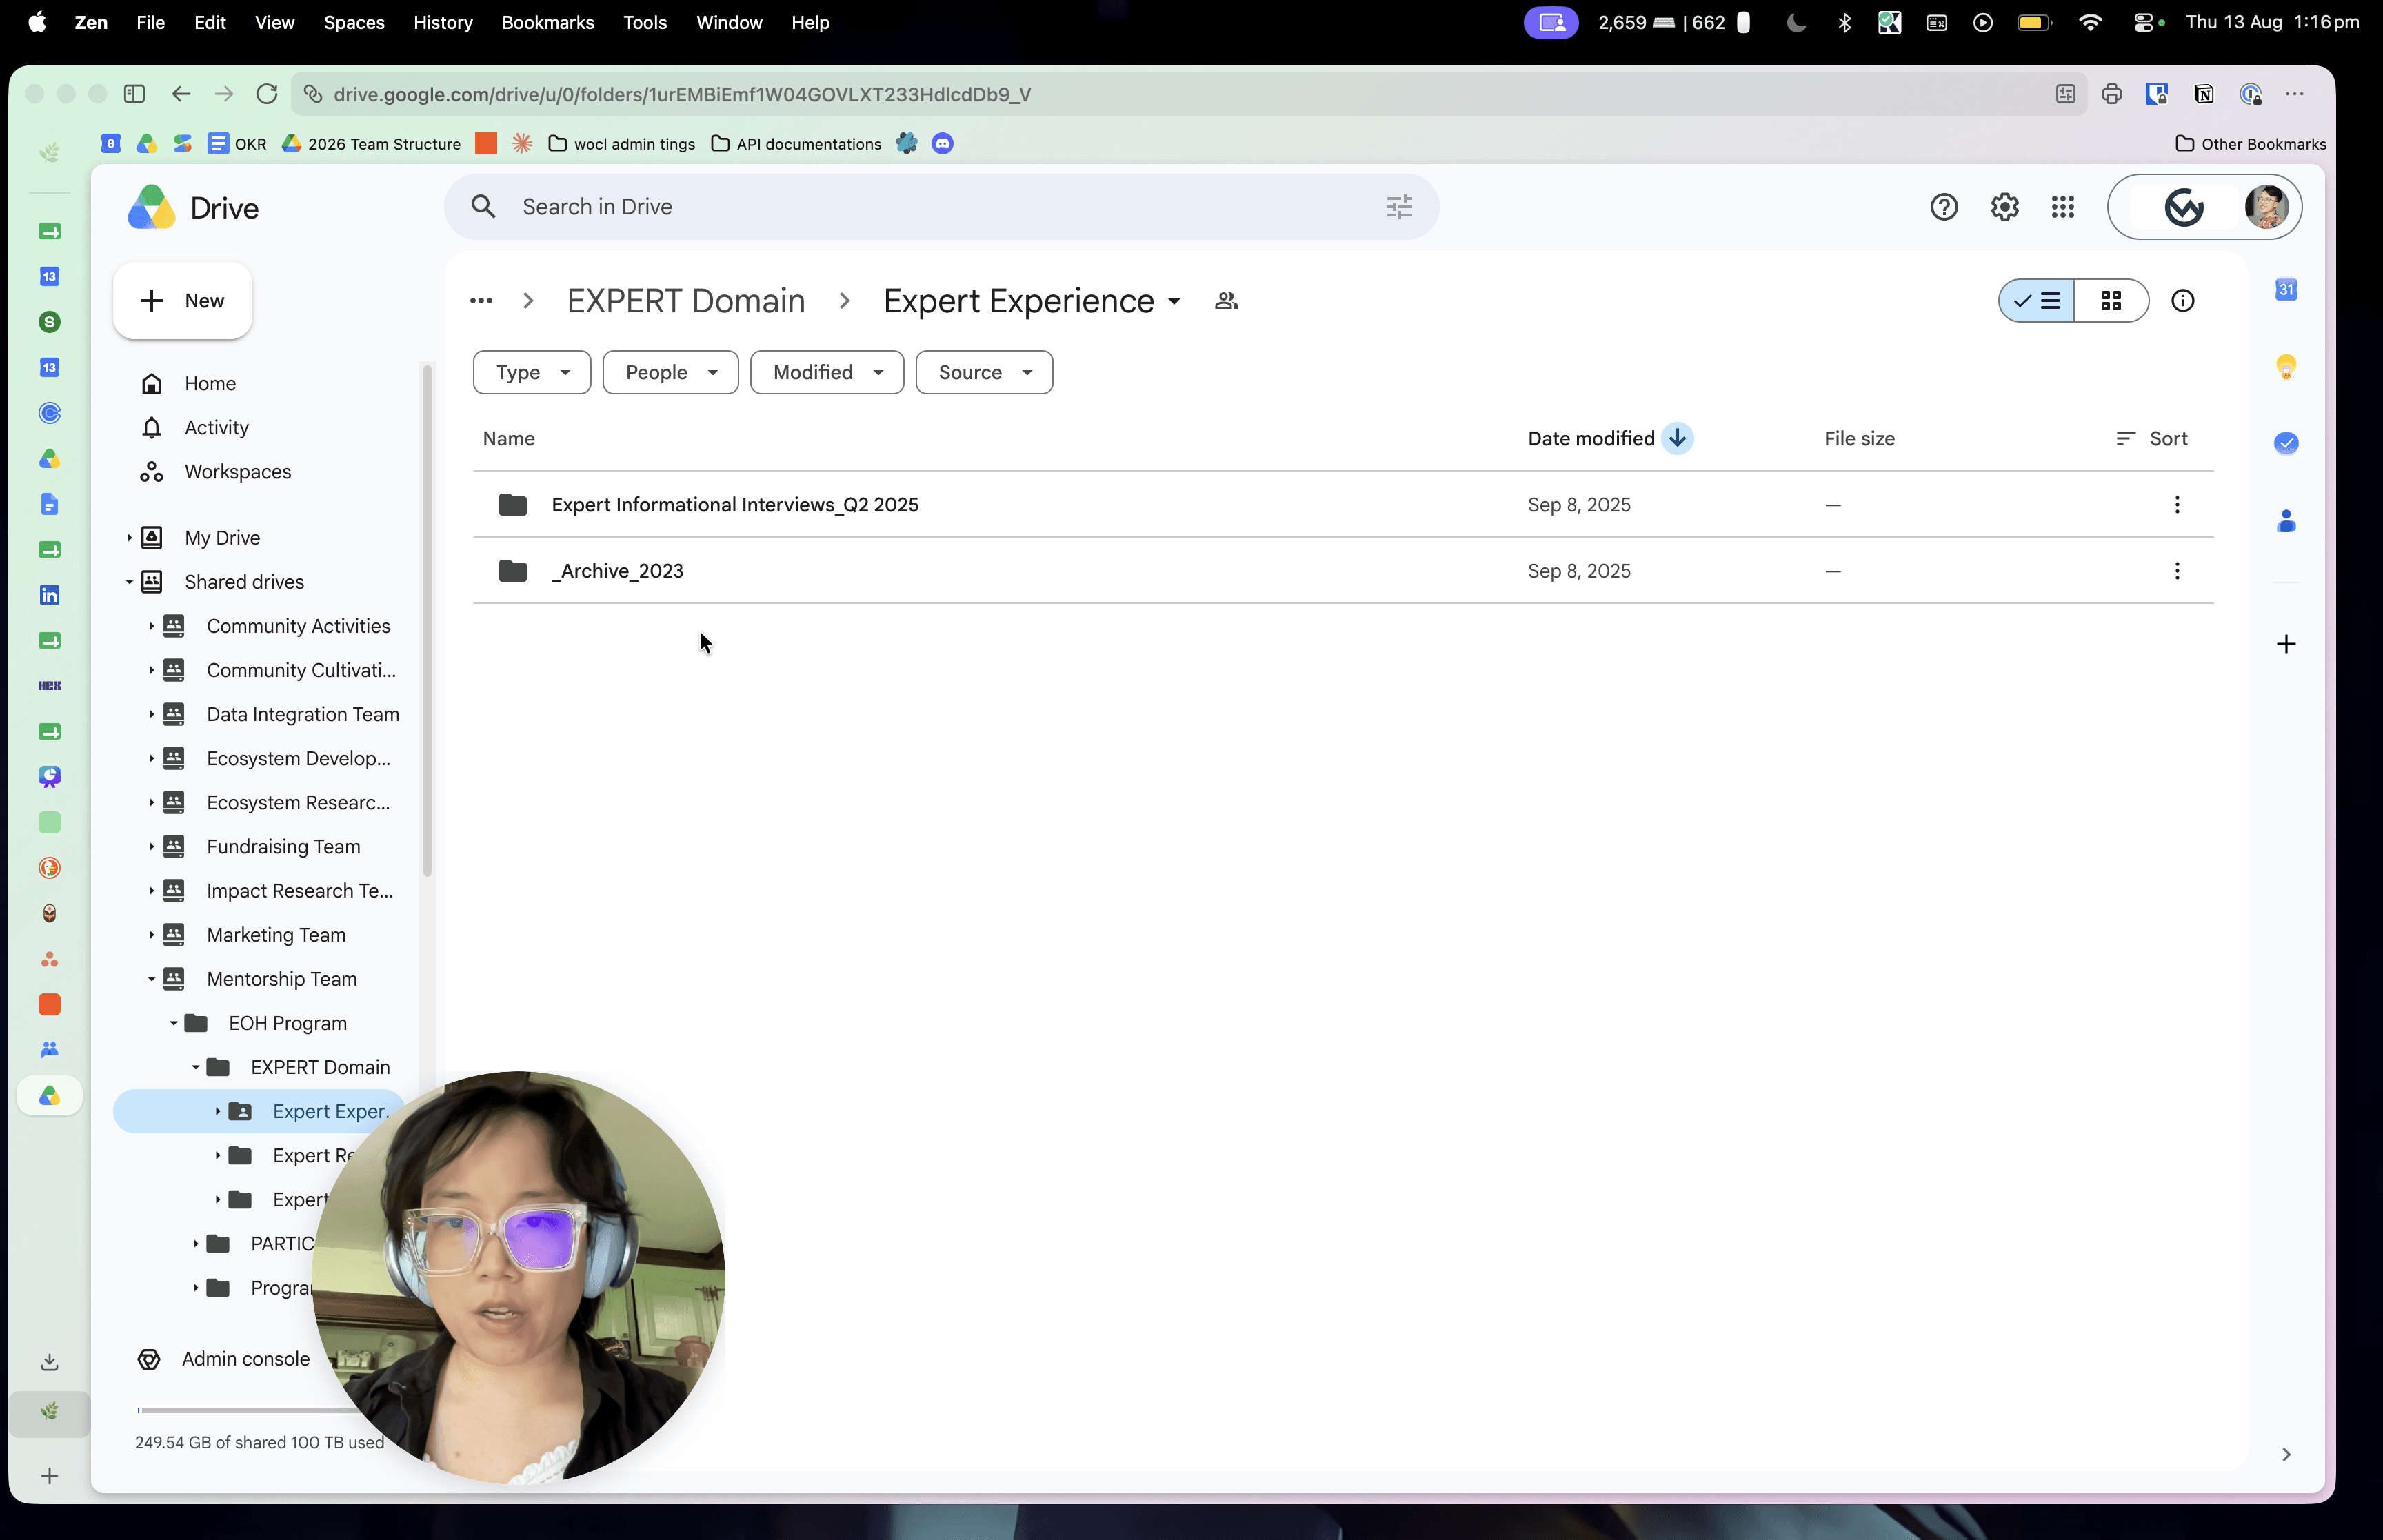
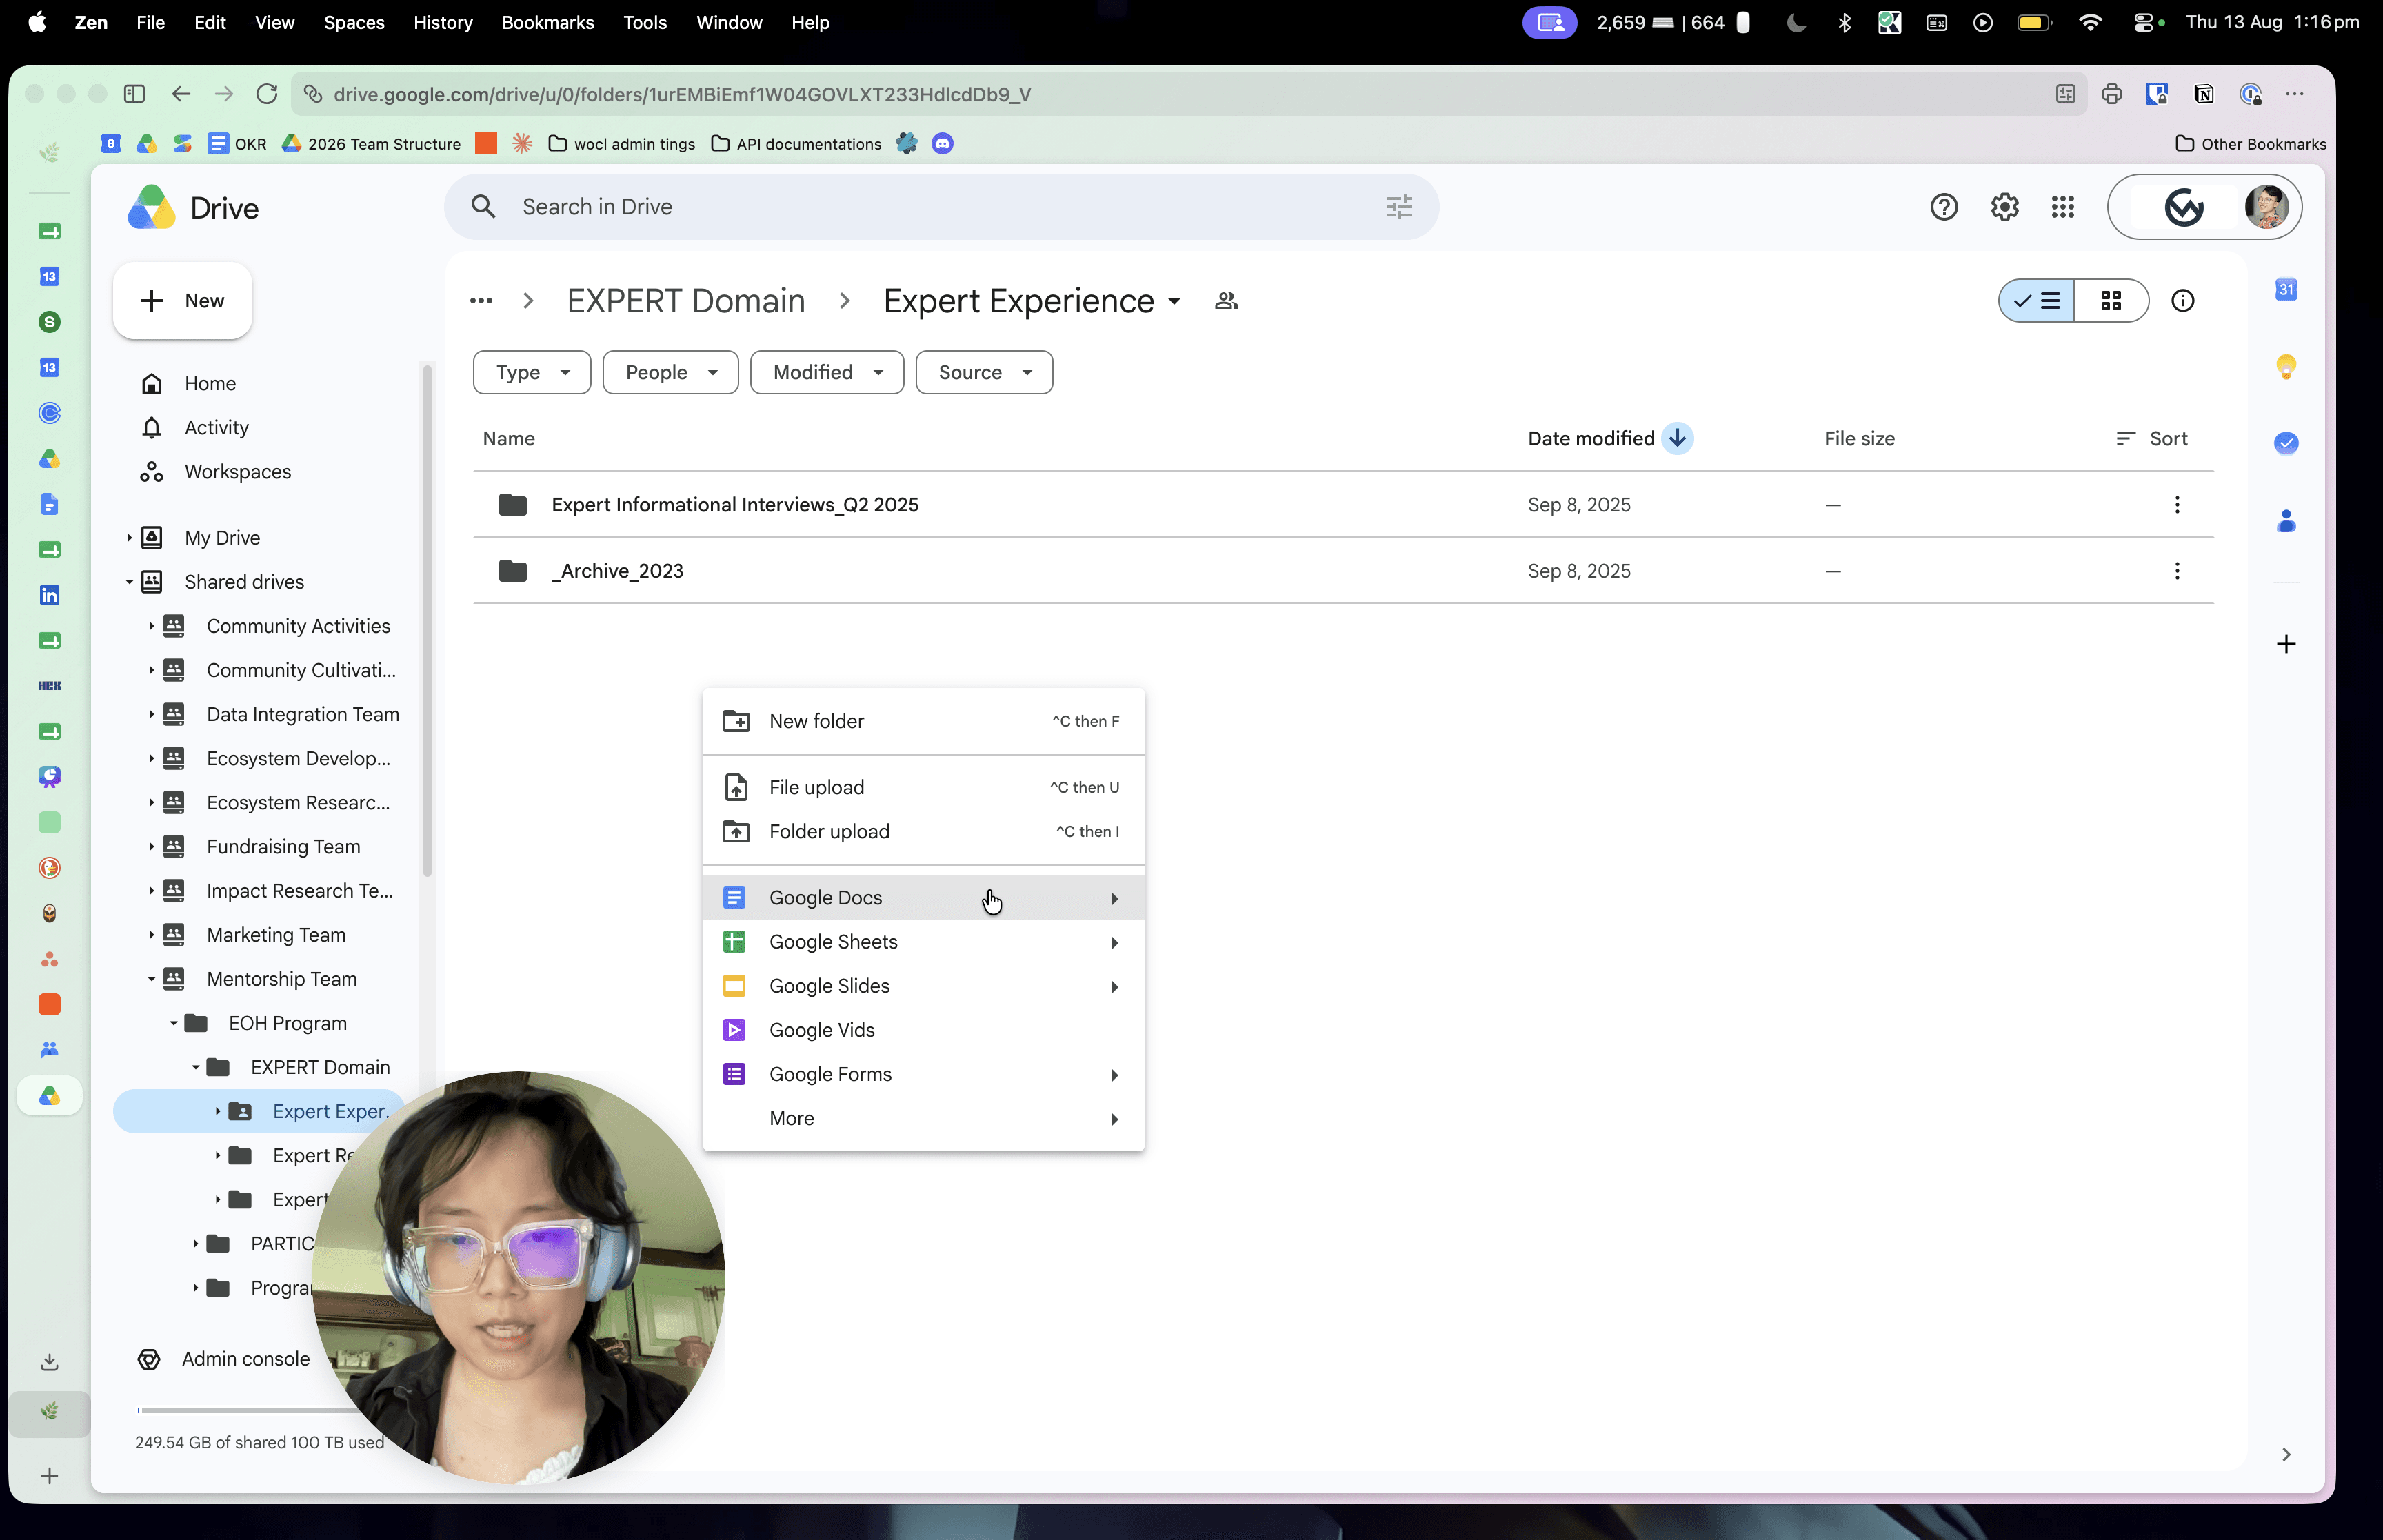
Create a New Document Inside a Shared Drive
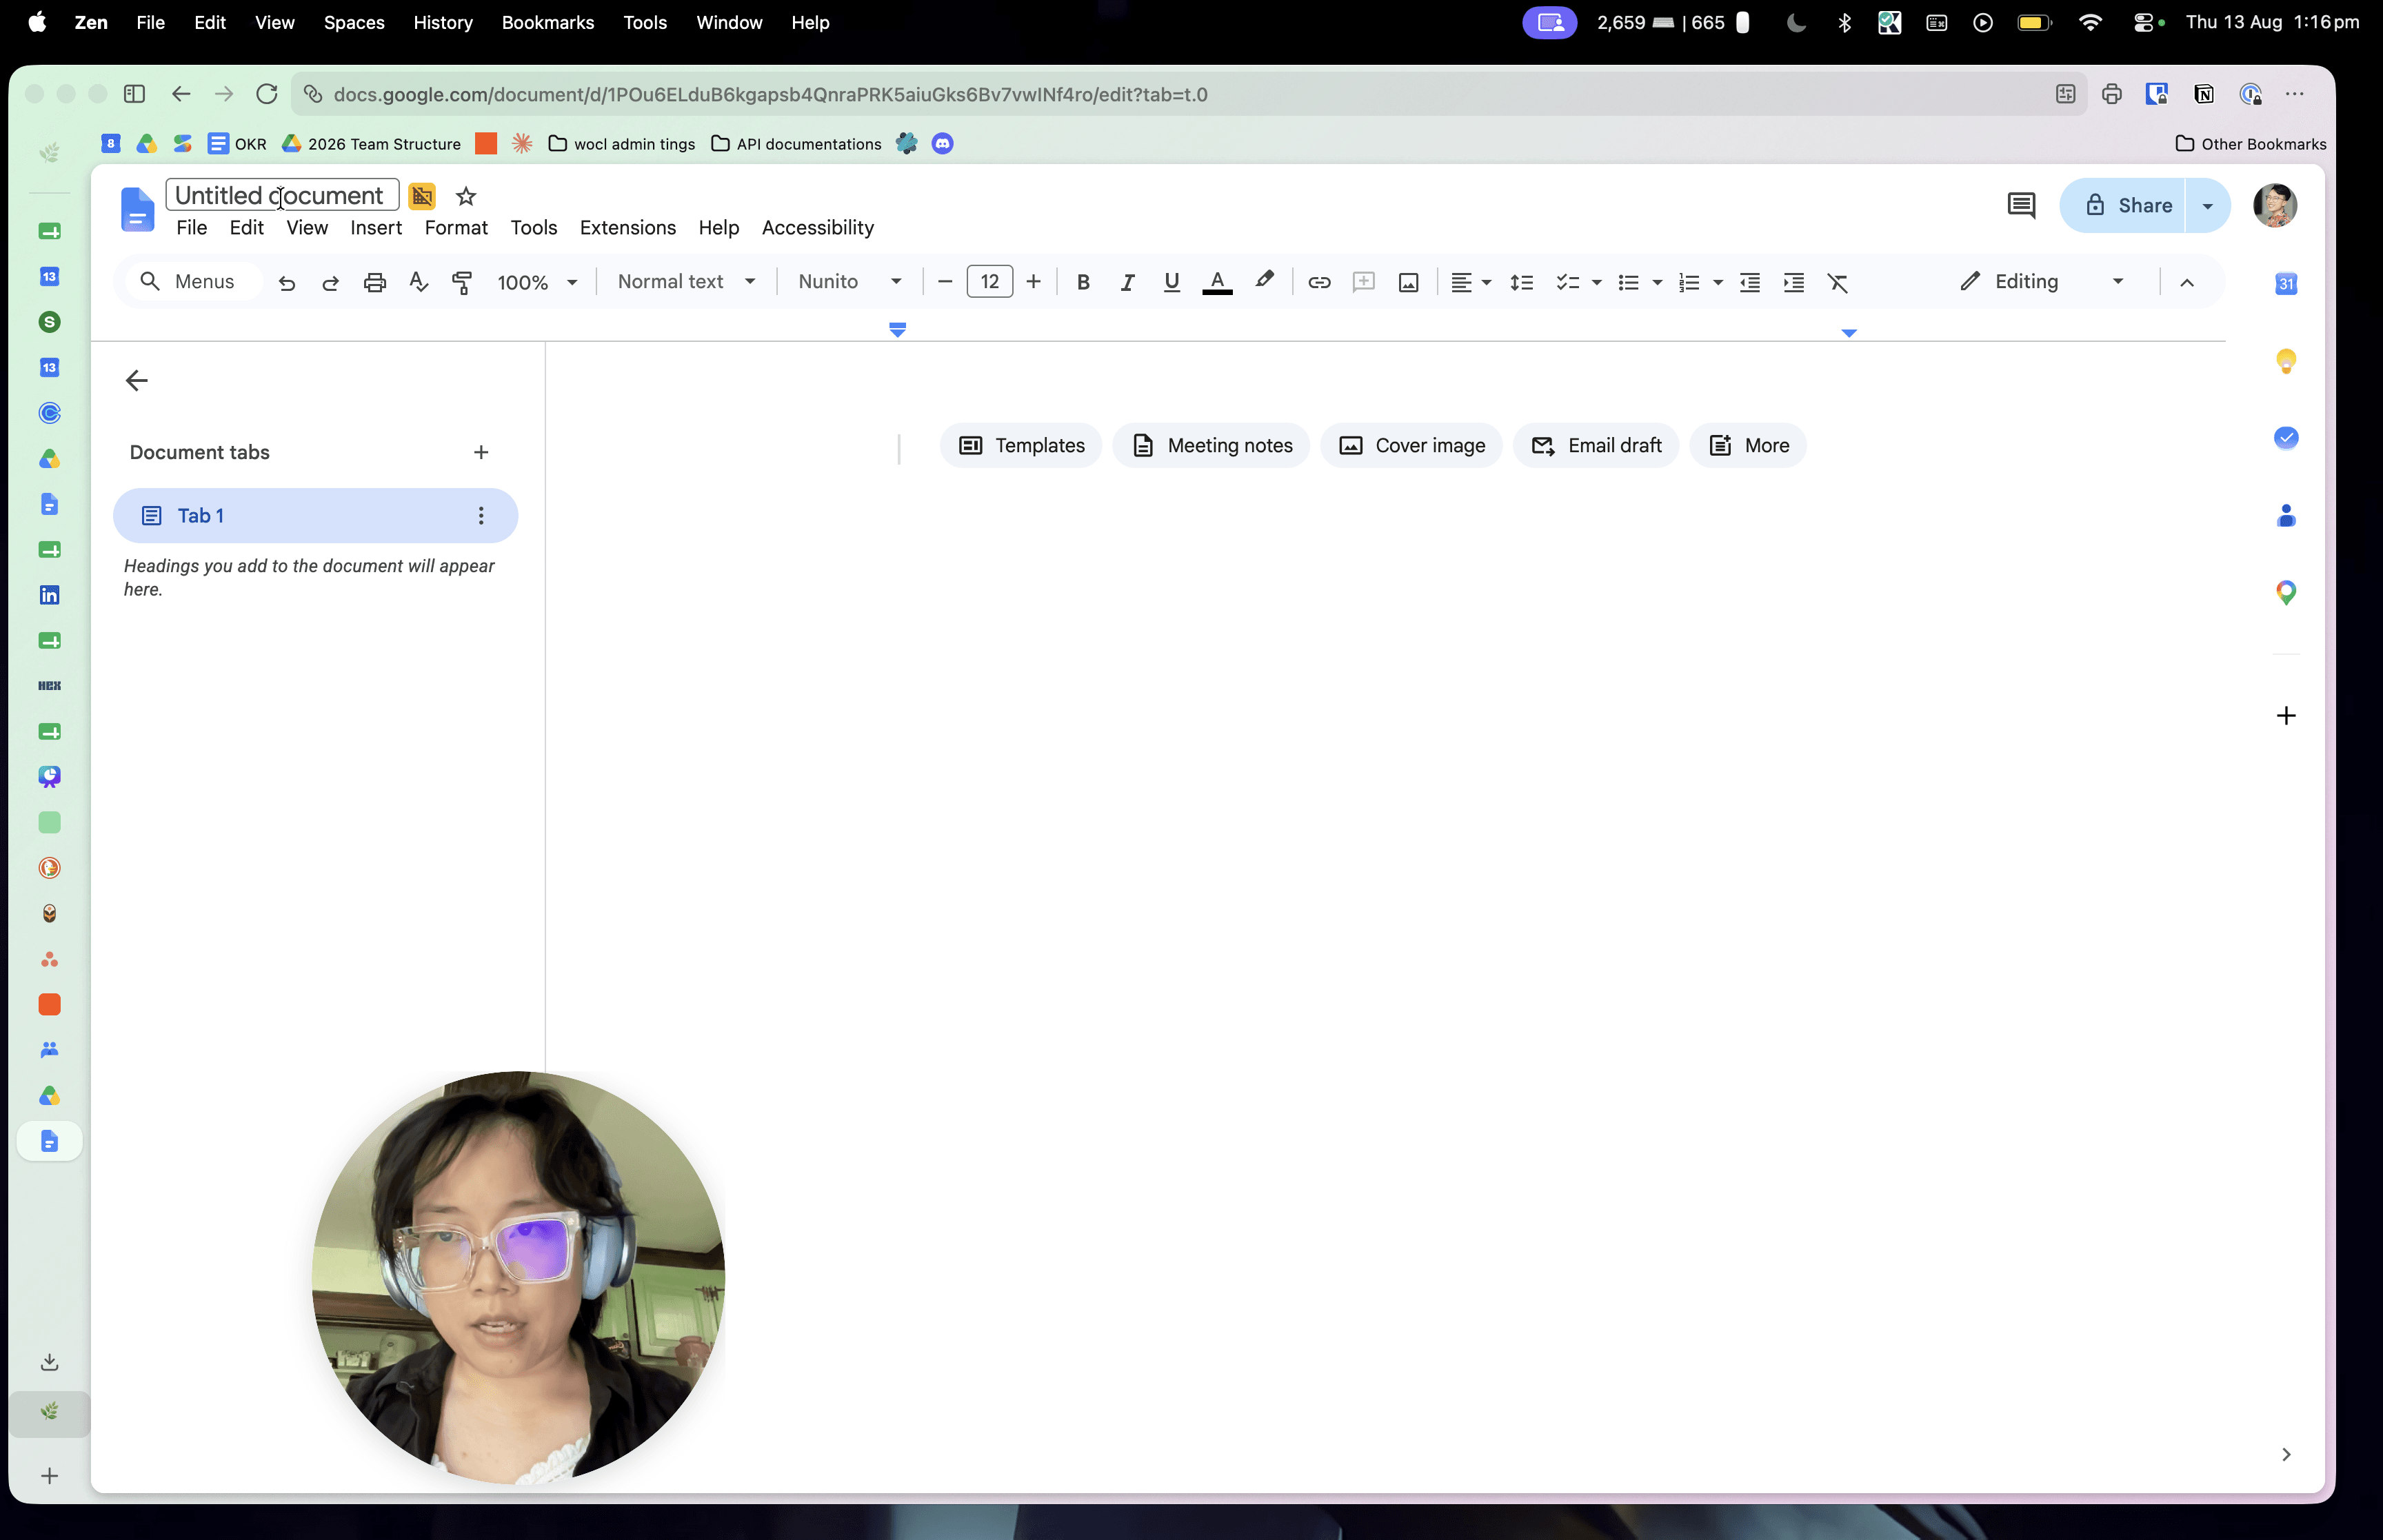
Creating a document directly inside a Shared Drive is the most efficient method, as the document instantly inherits the correct team sharing settings.
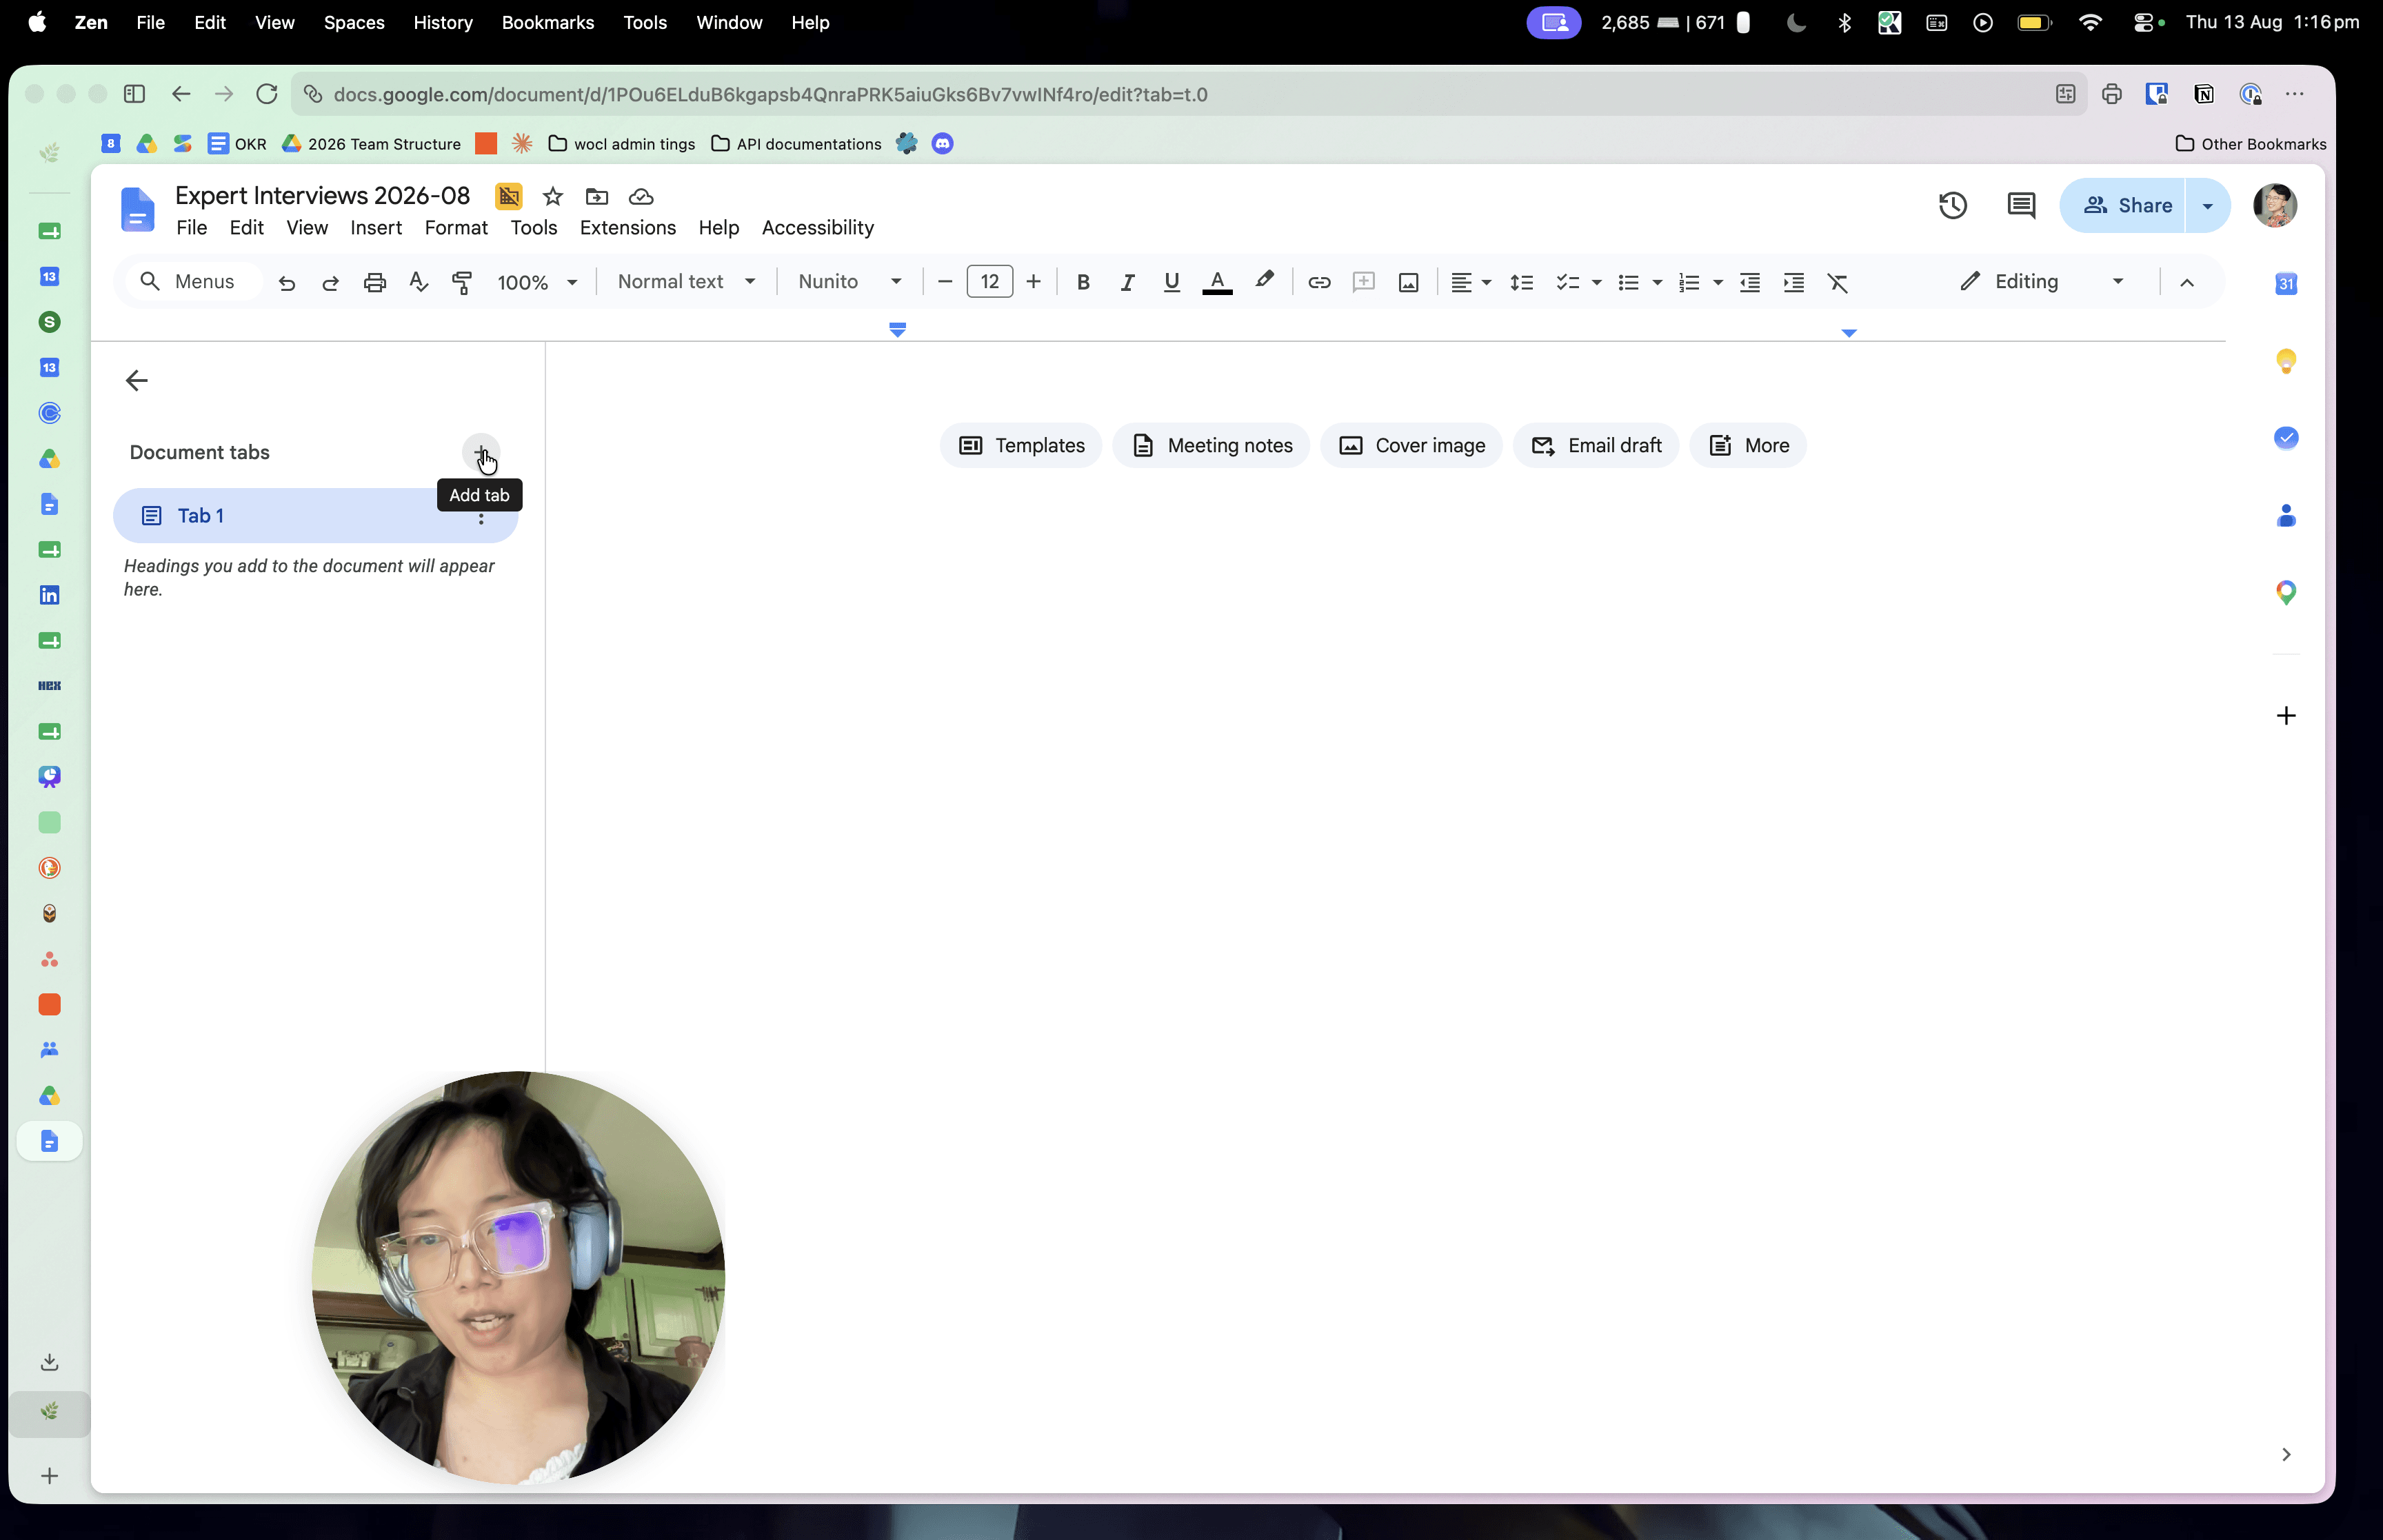
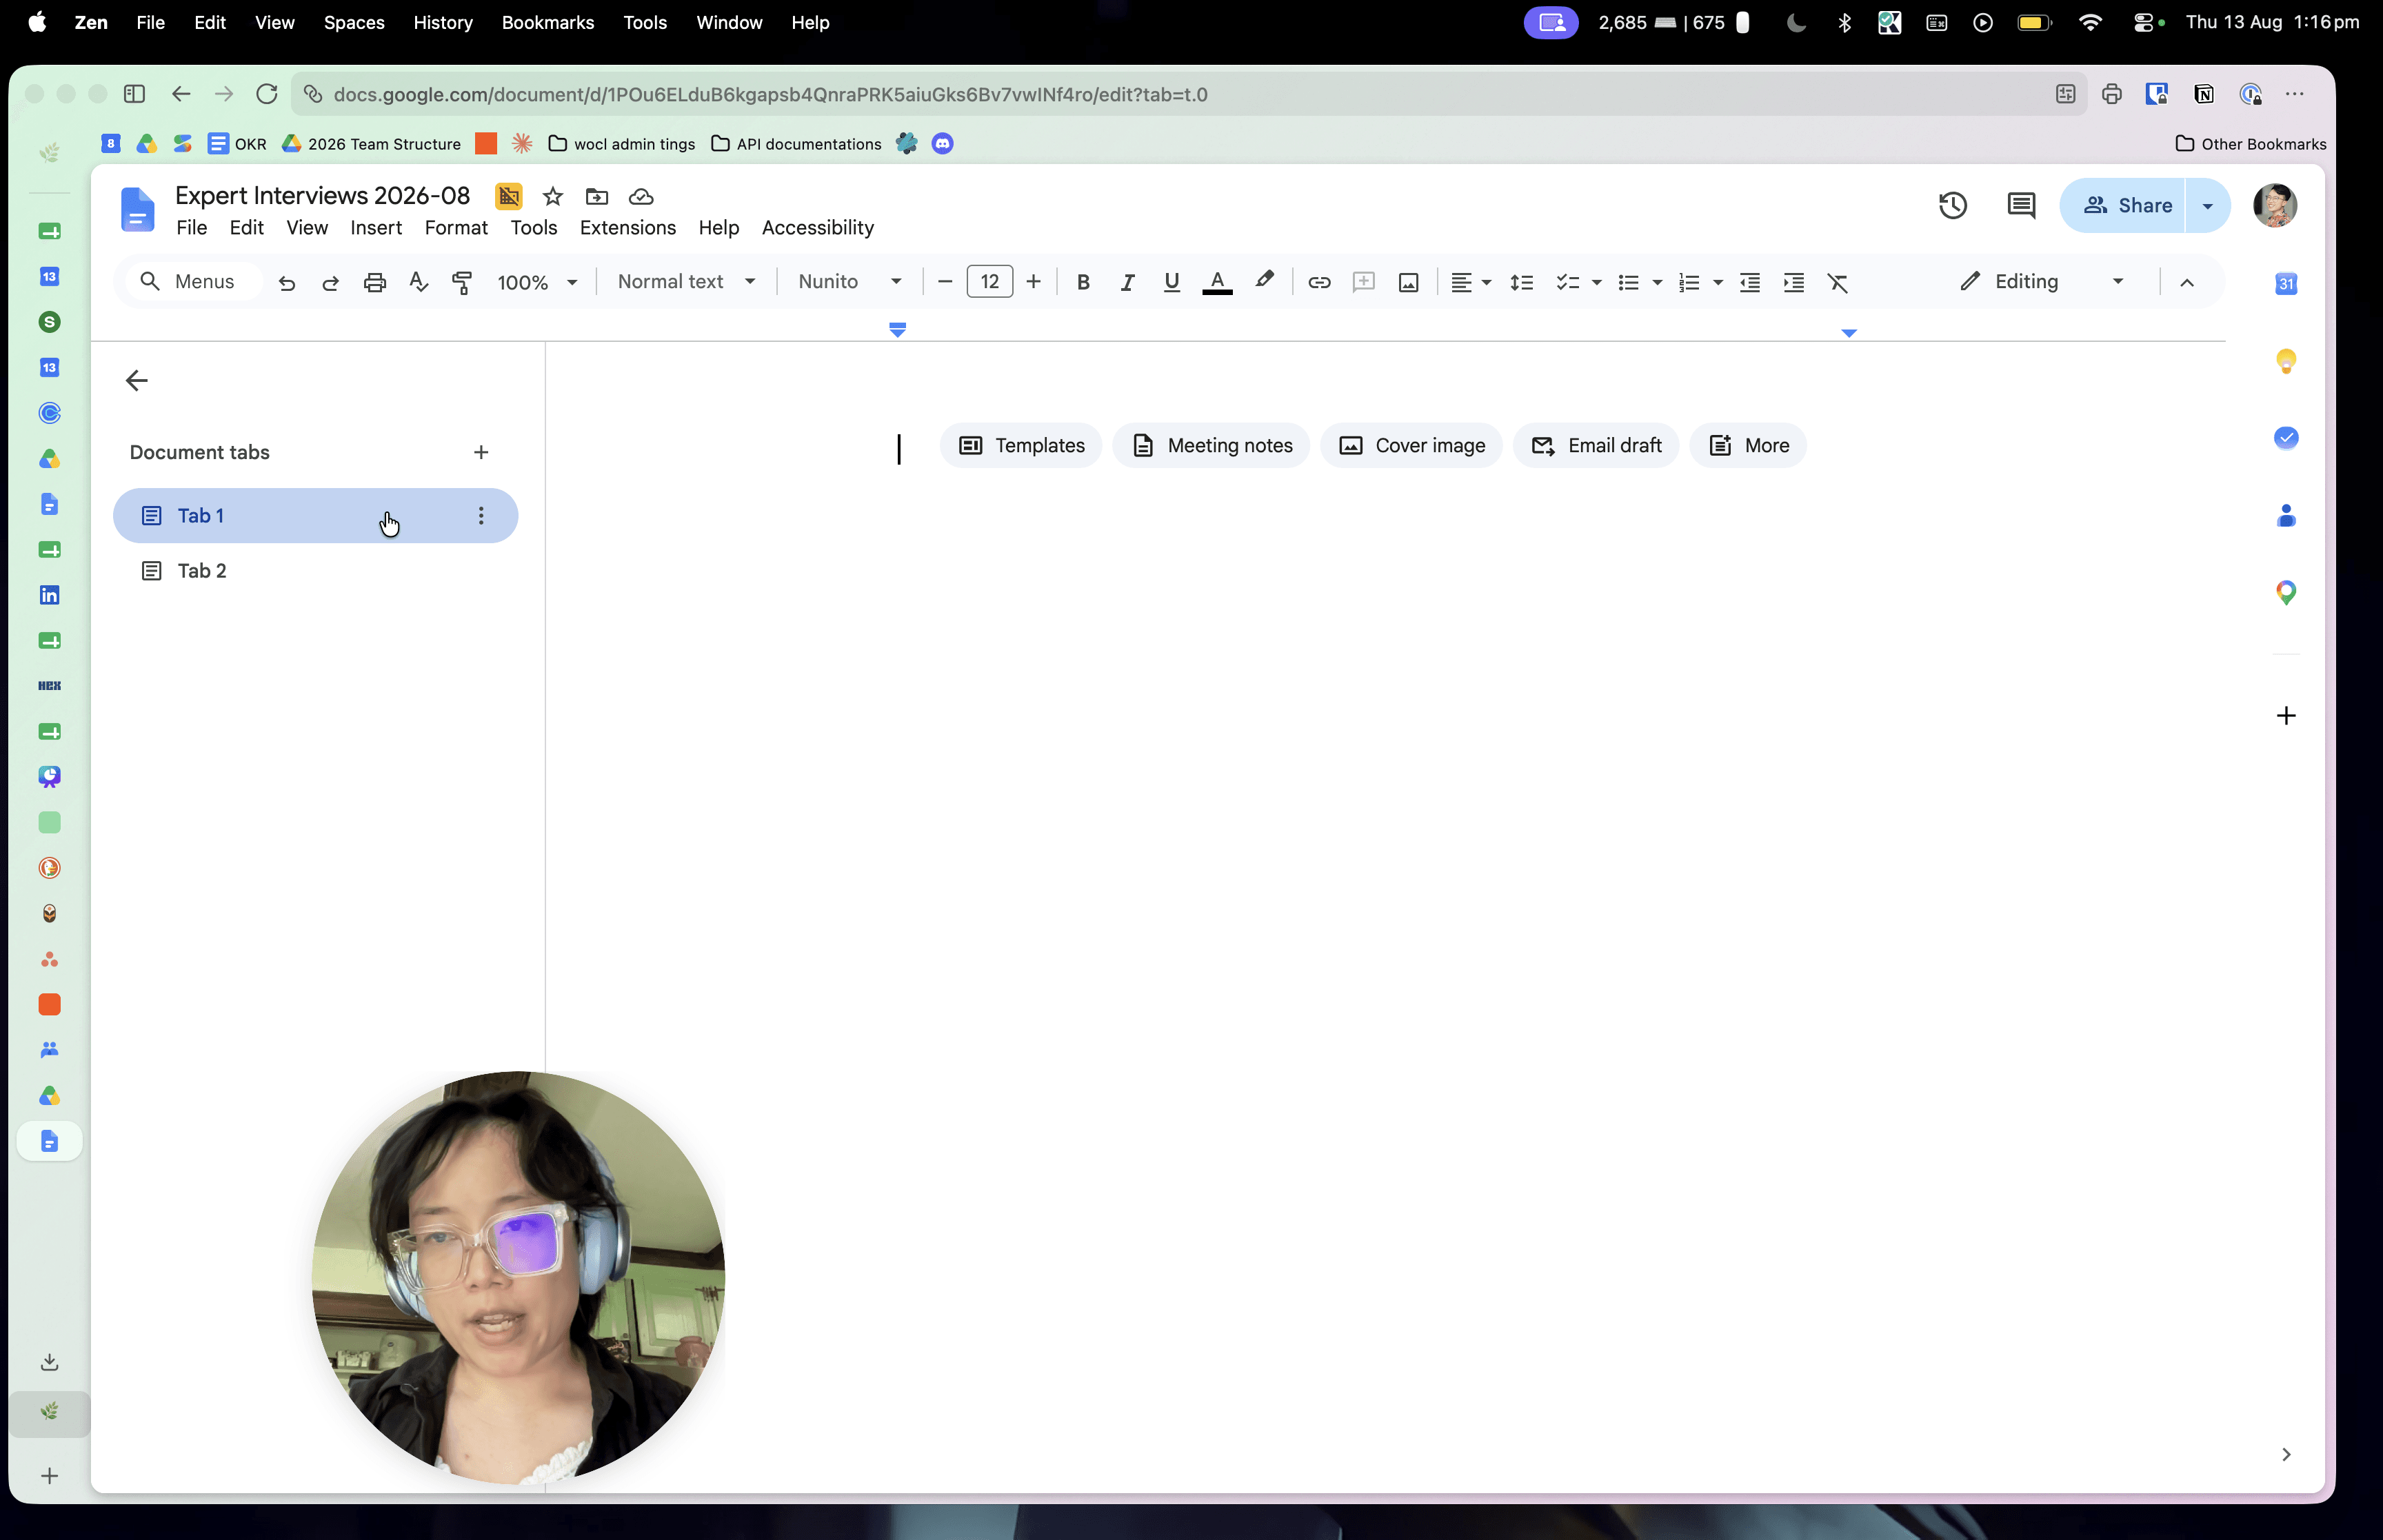
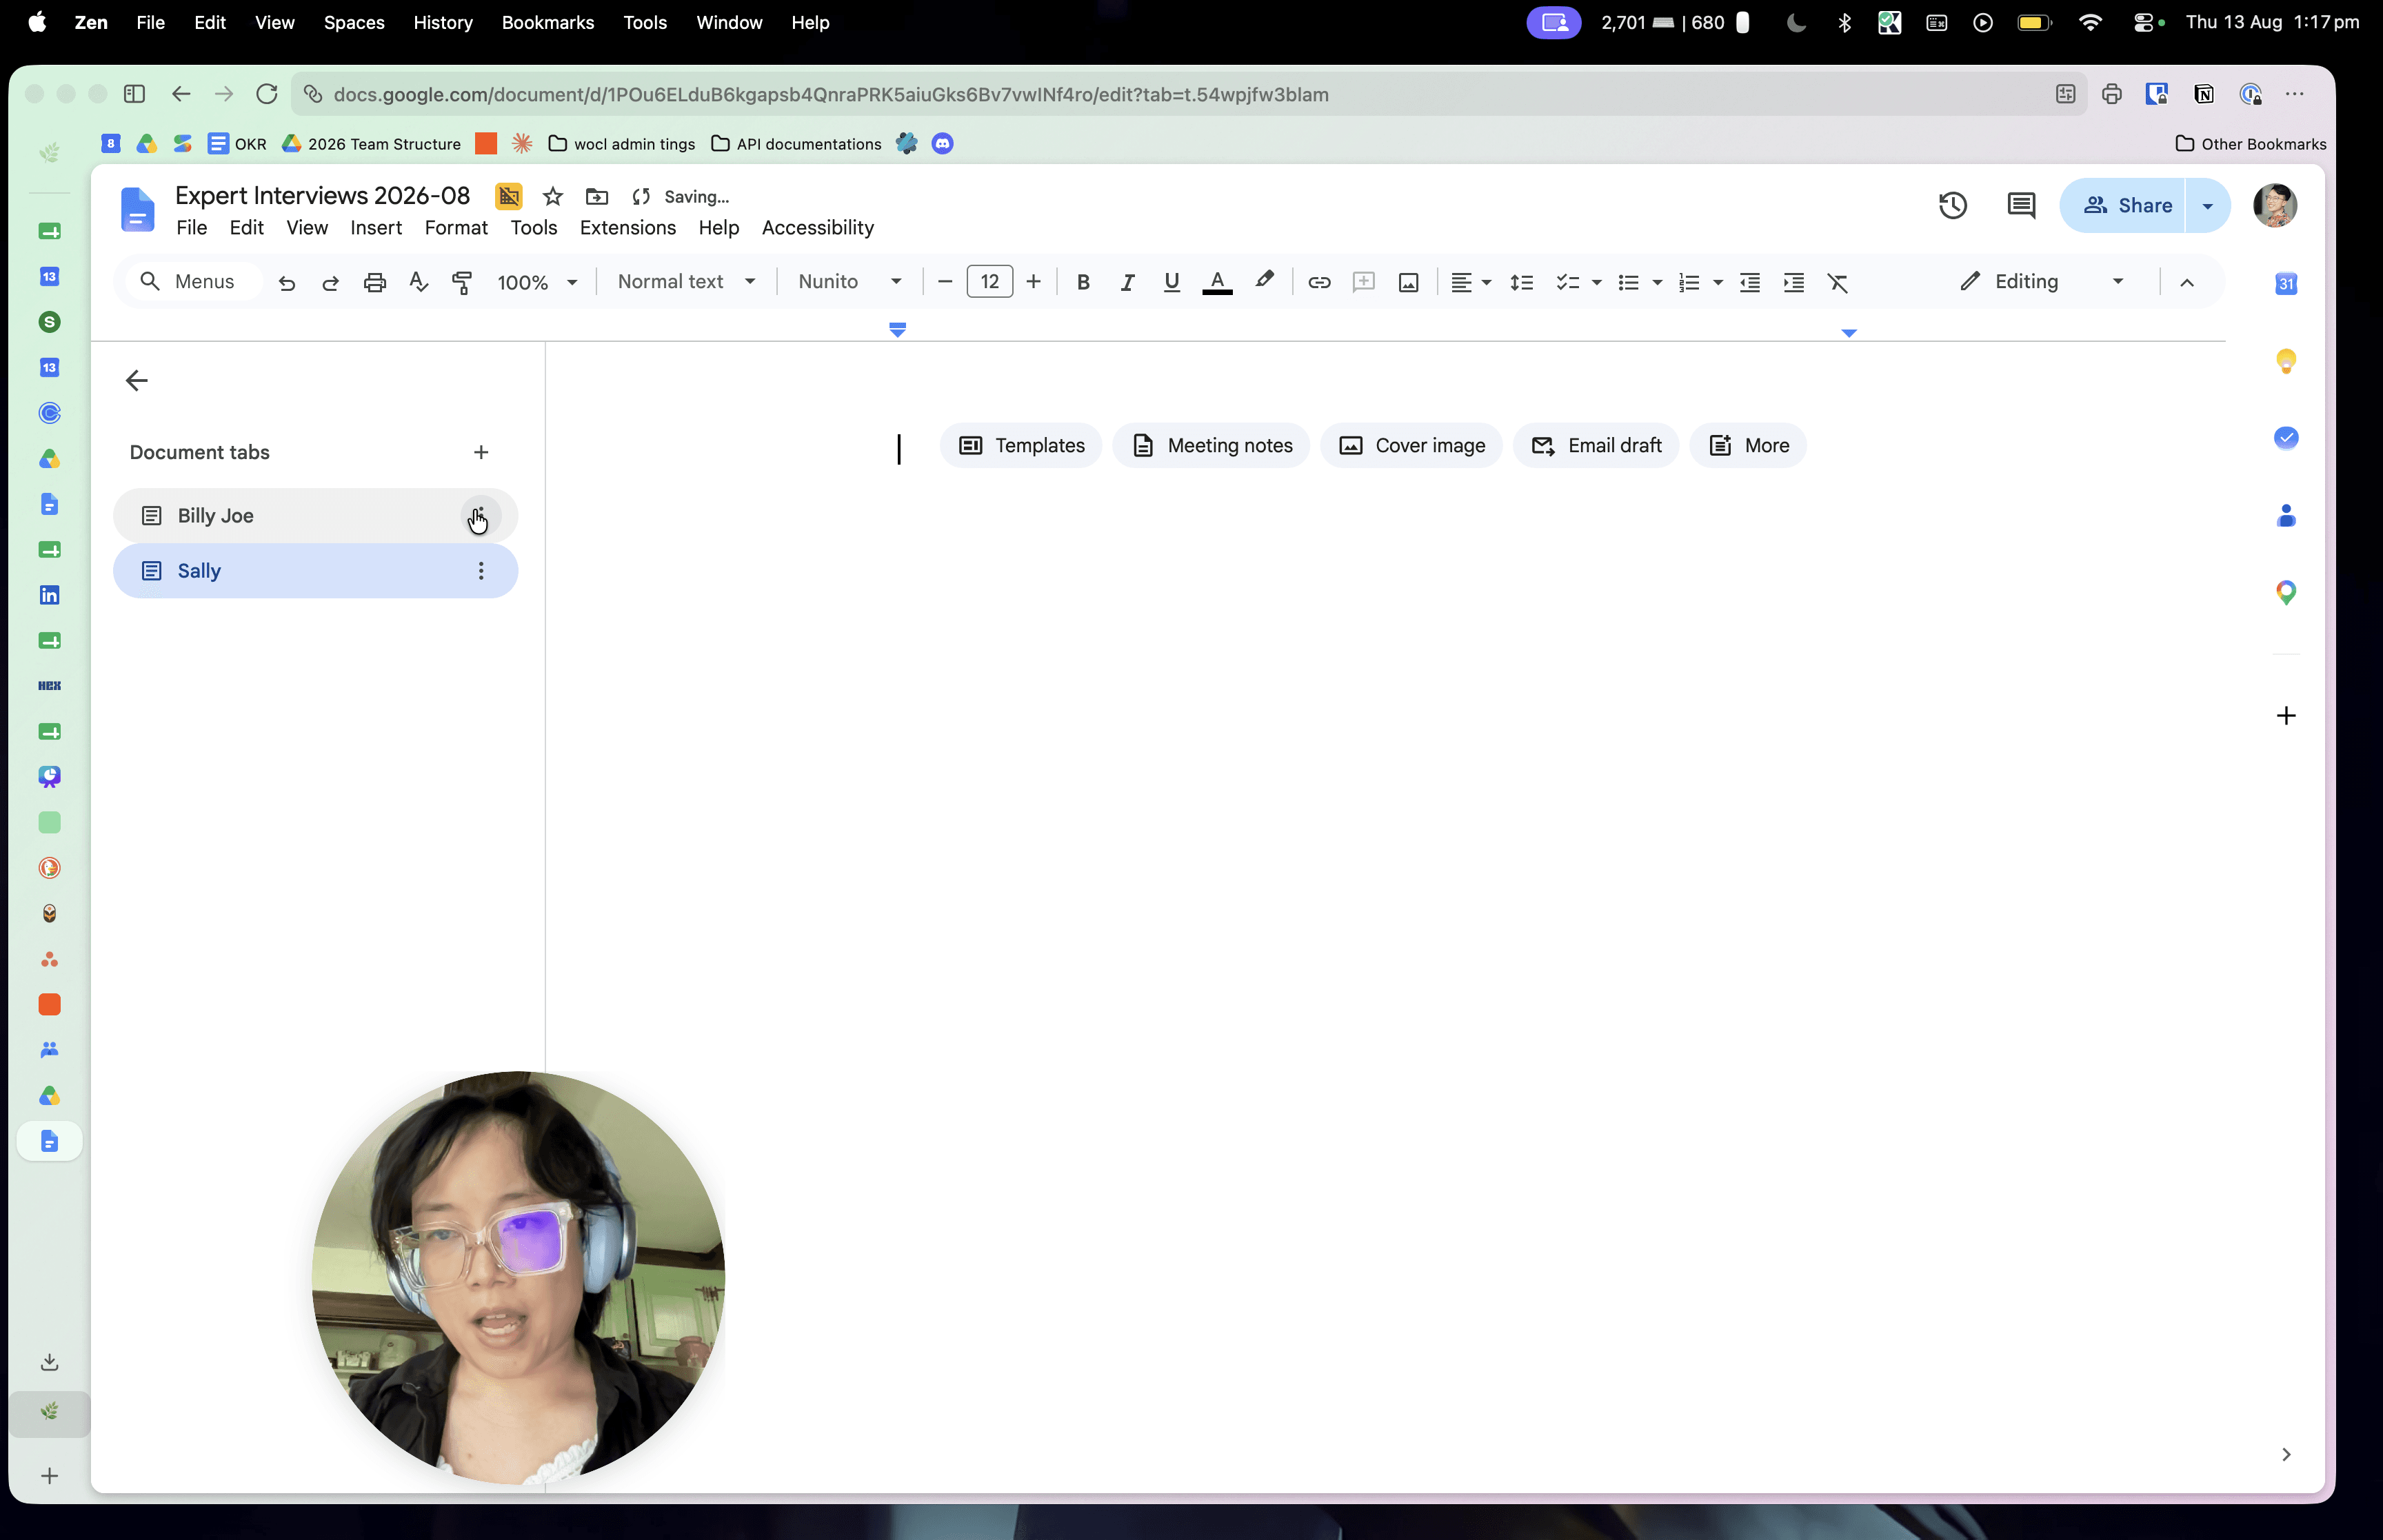
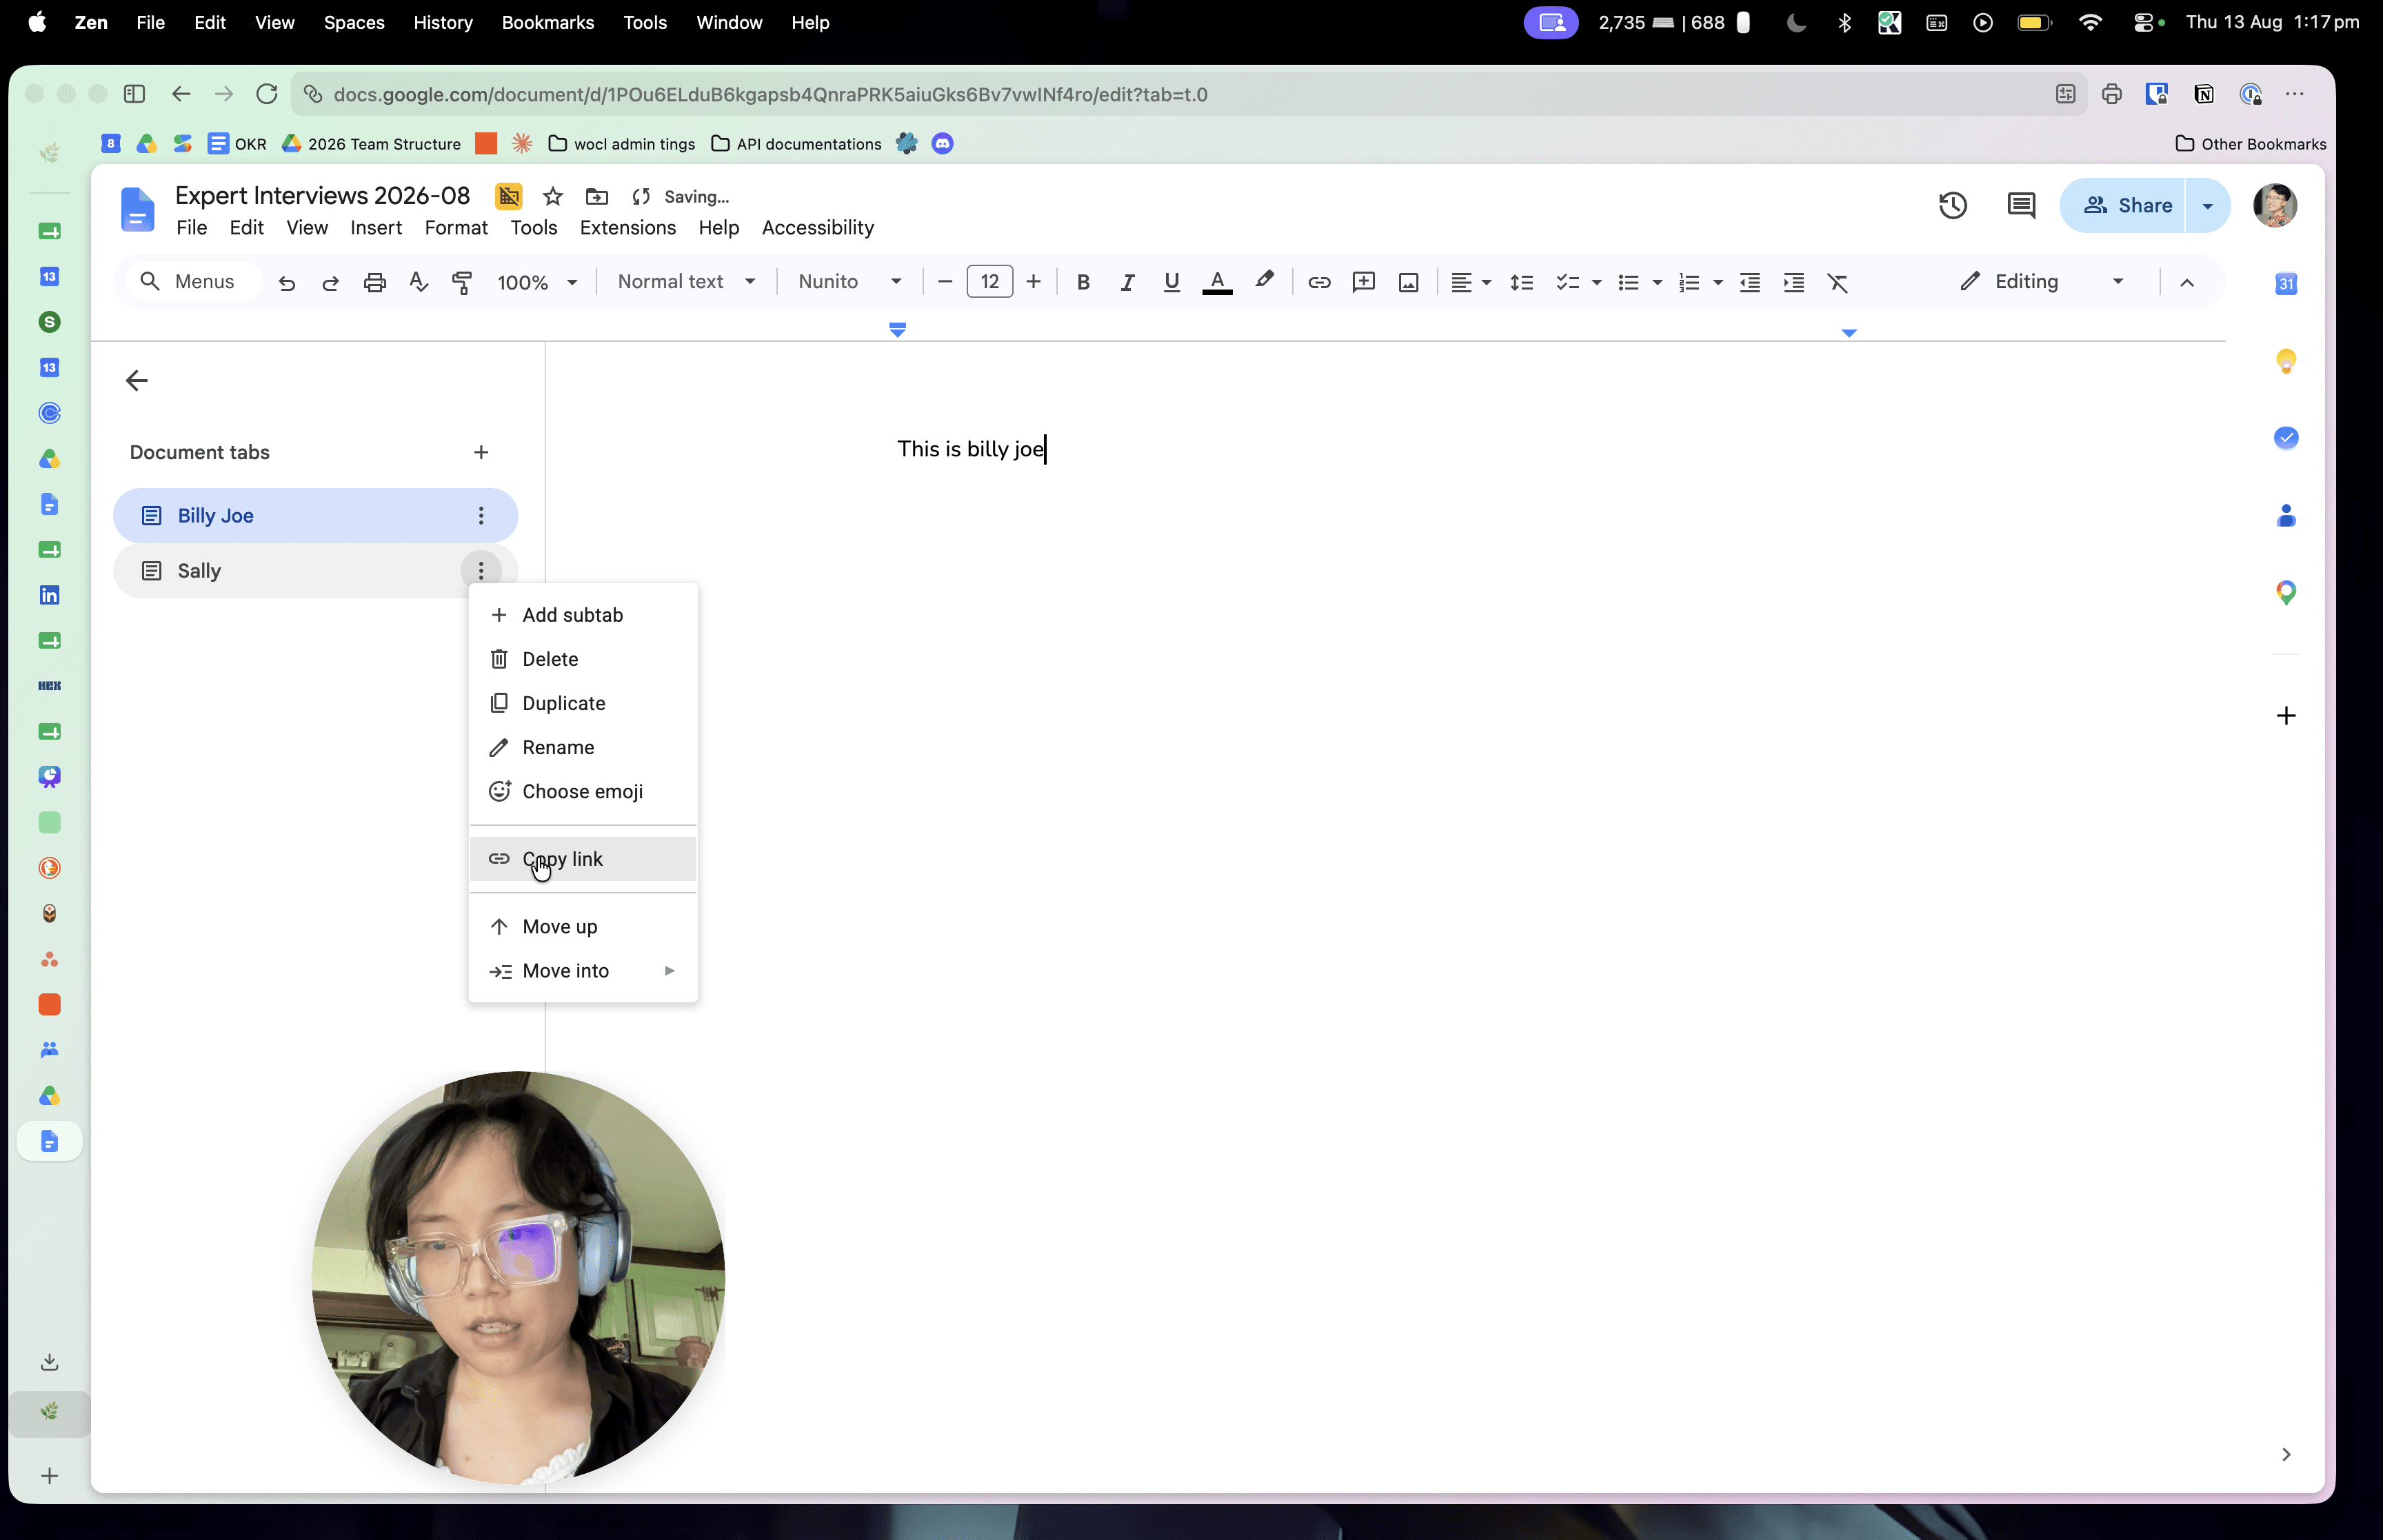
Organize Content with Document Tabs
Google Docs offers tabs to help break long documents into distinct sections.
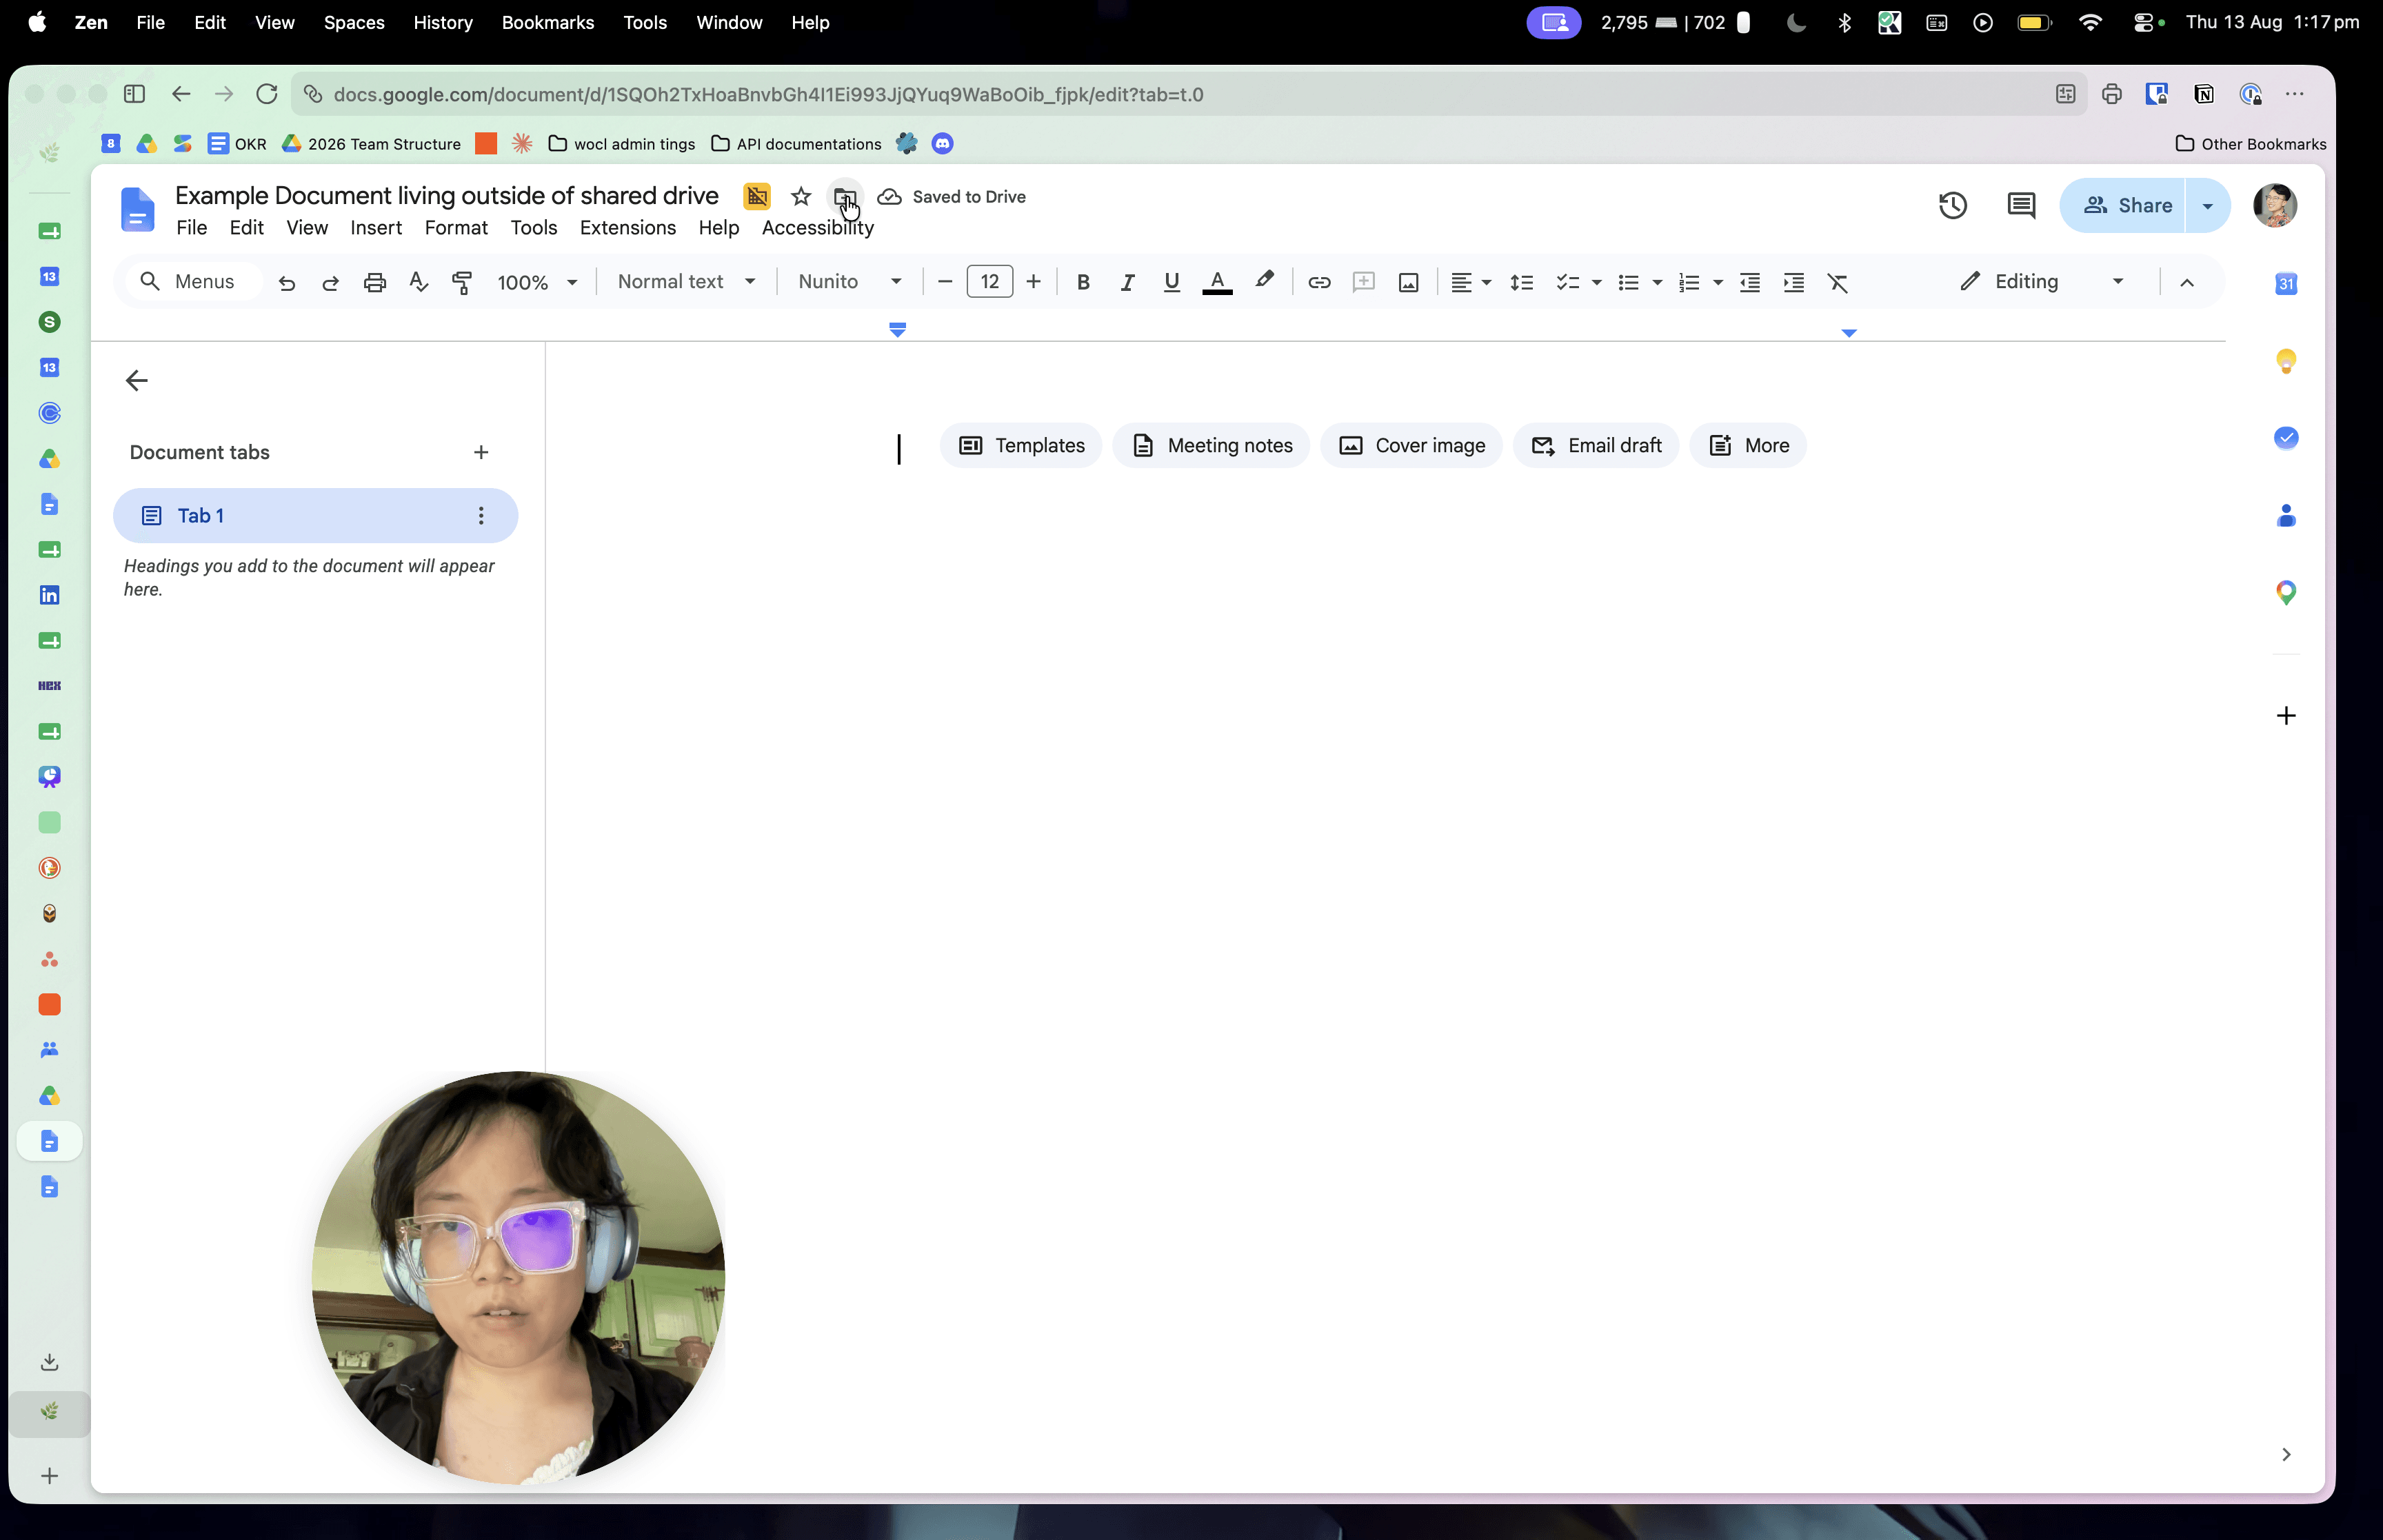
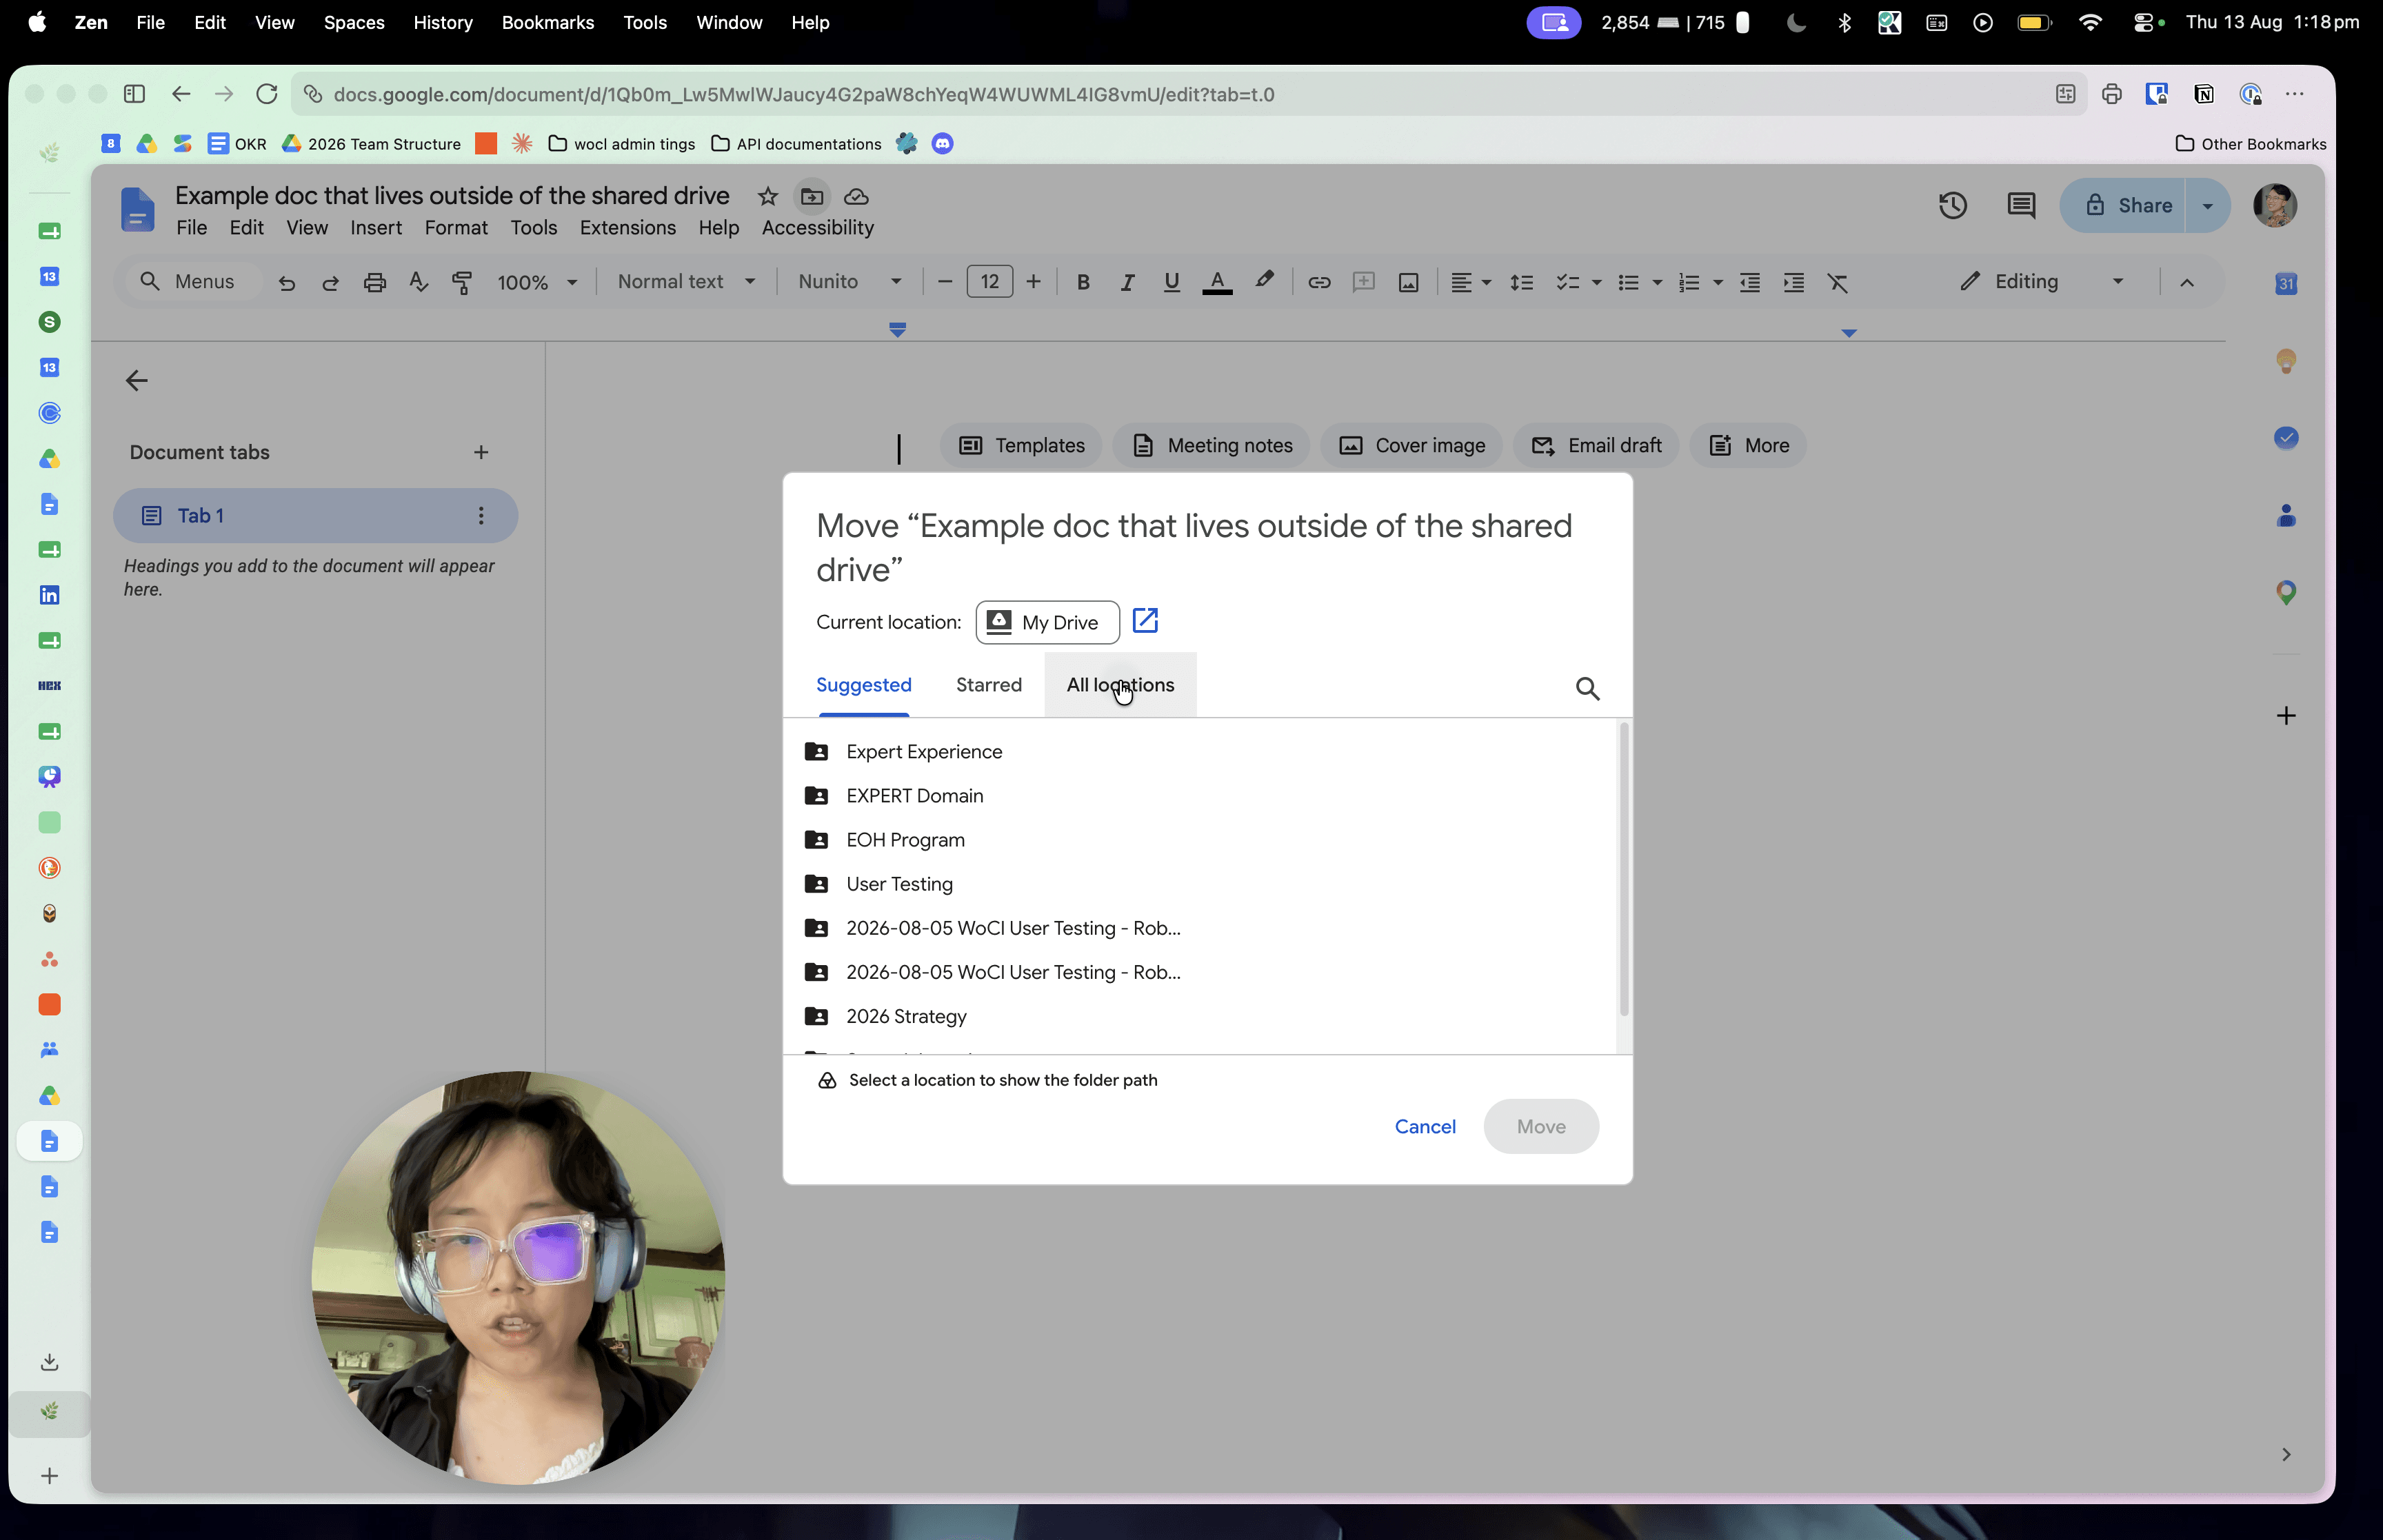
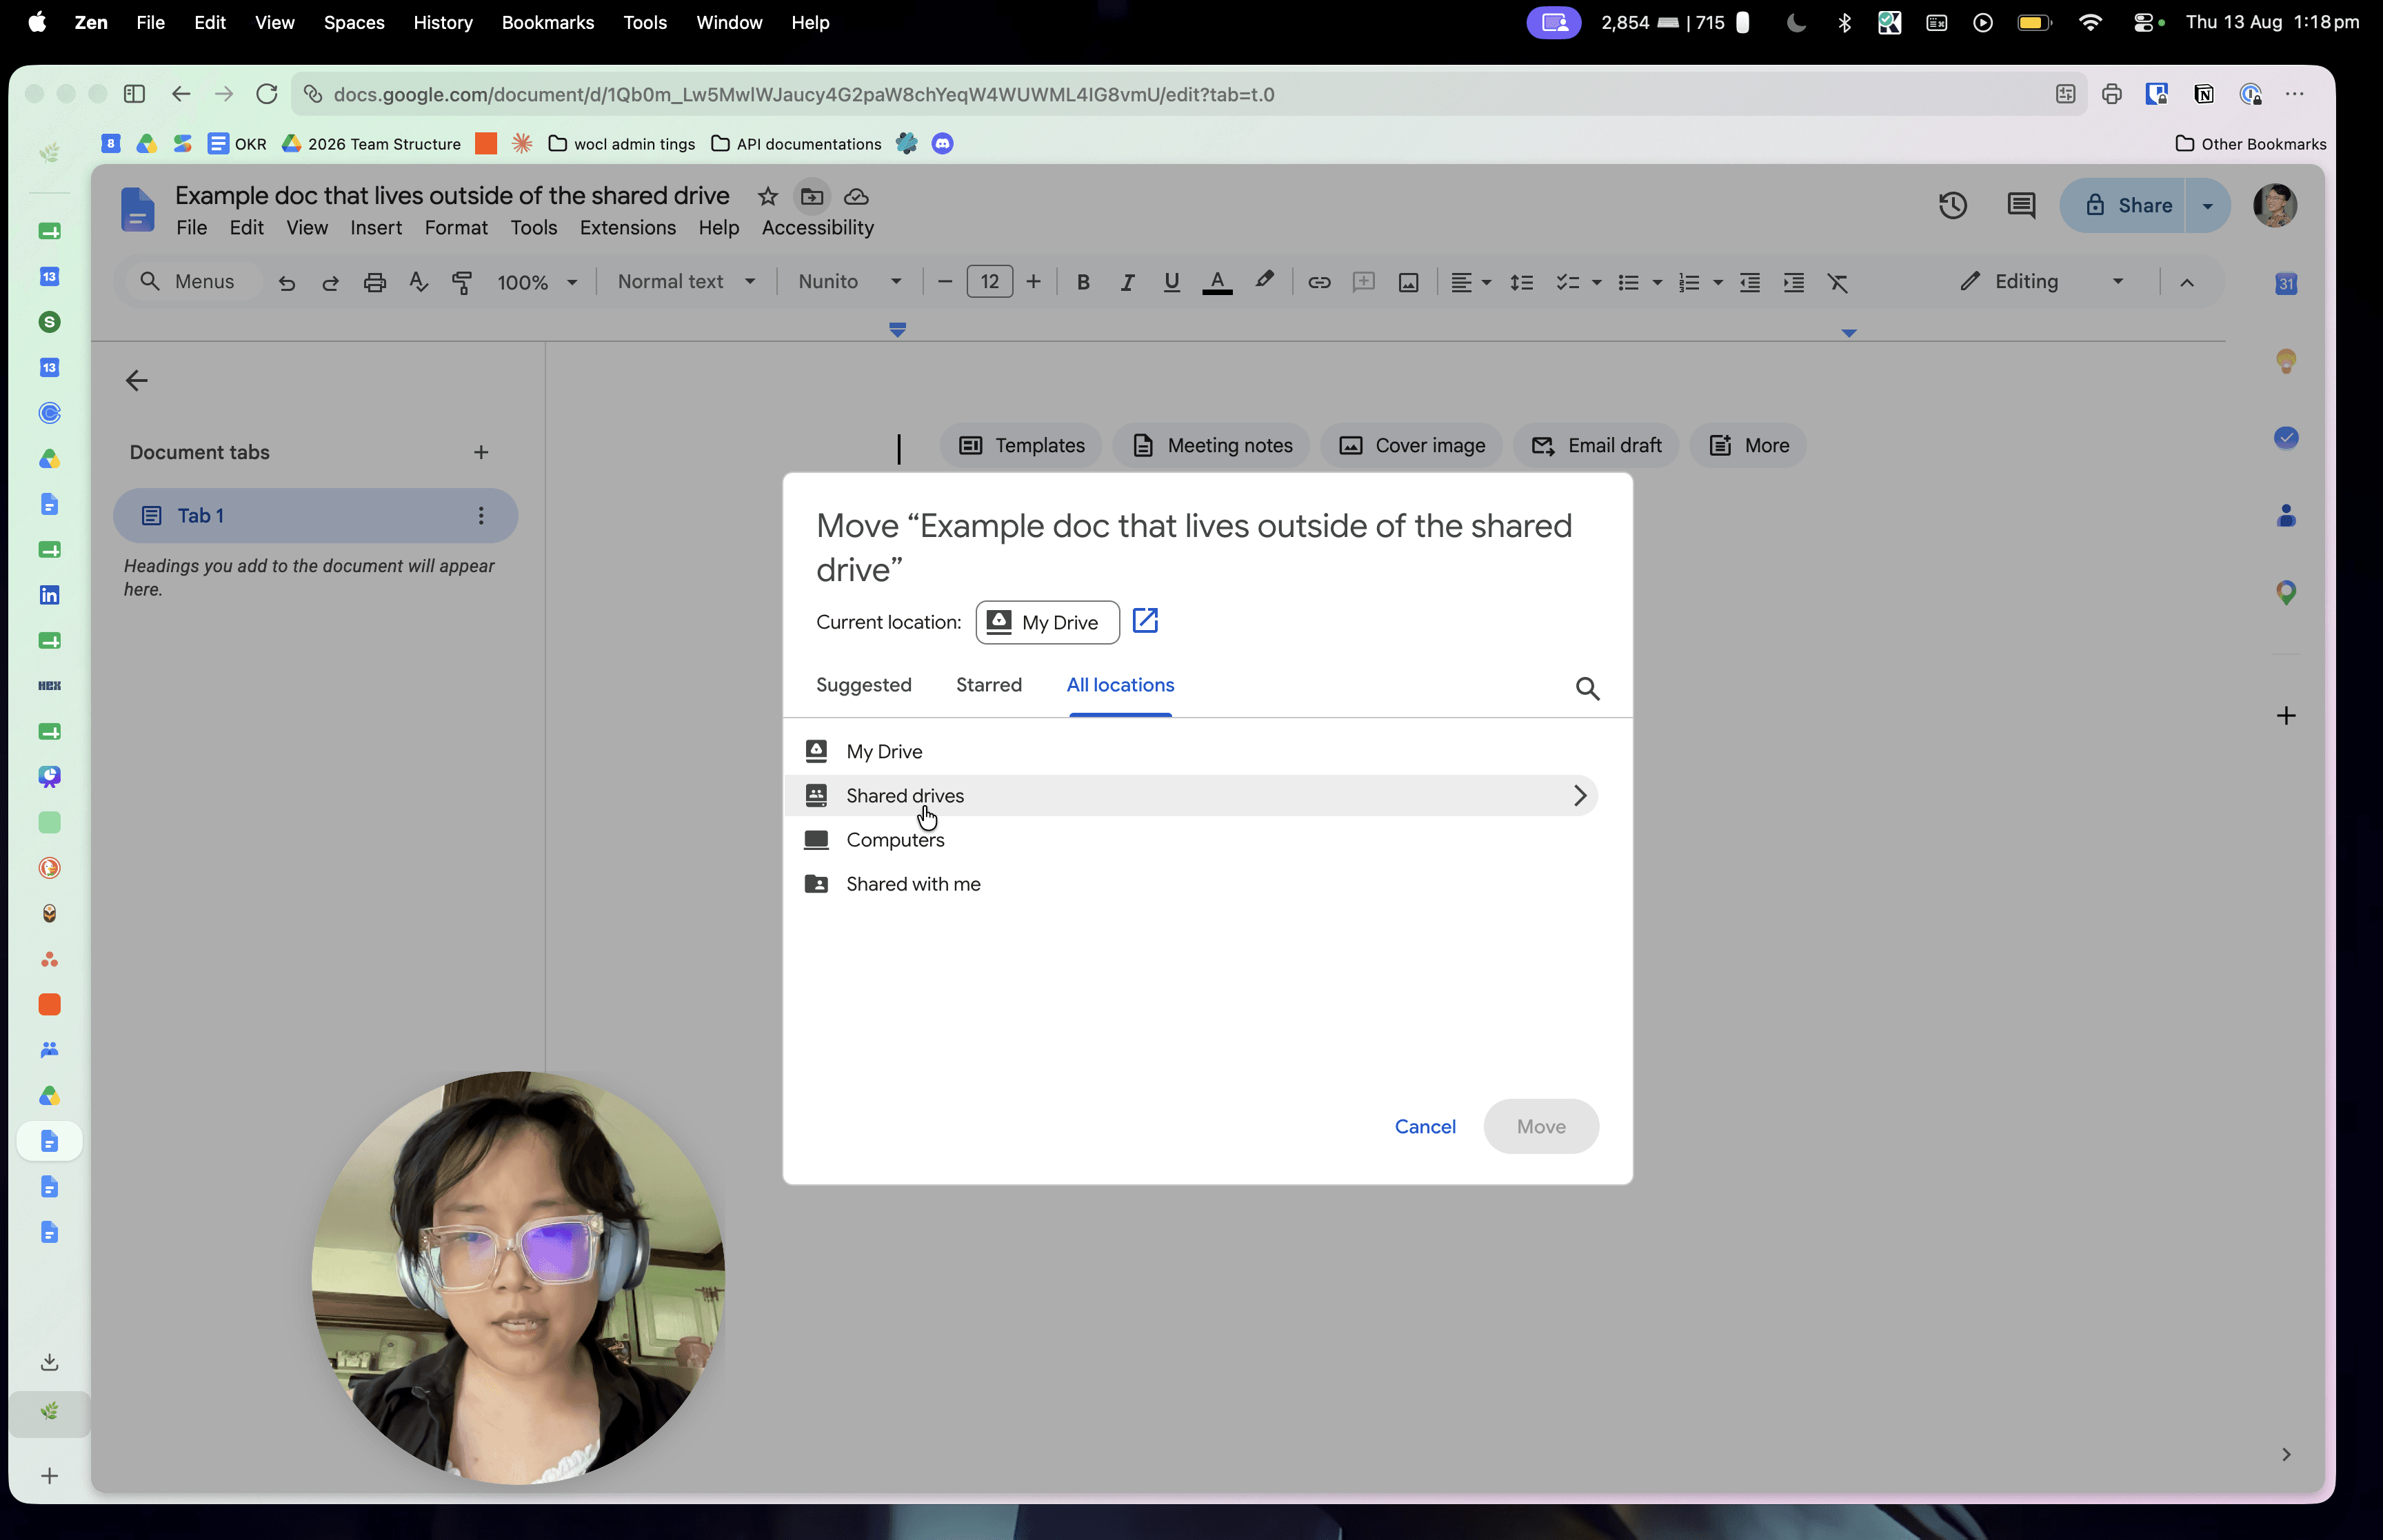
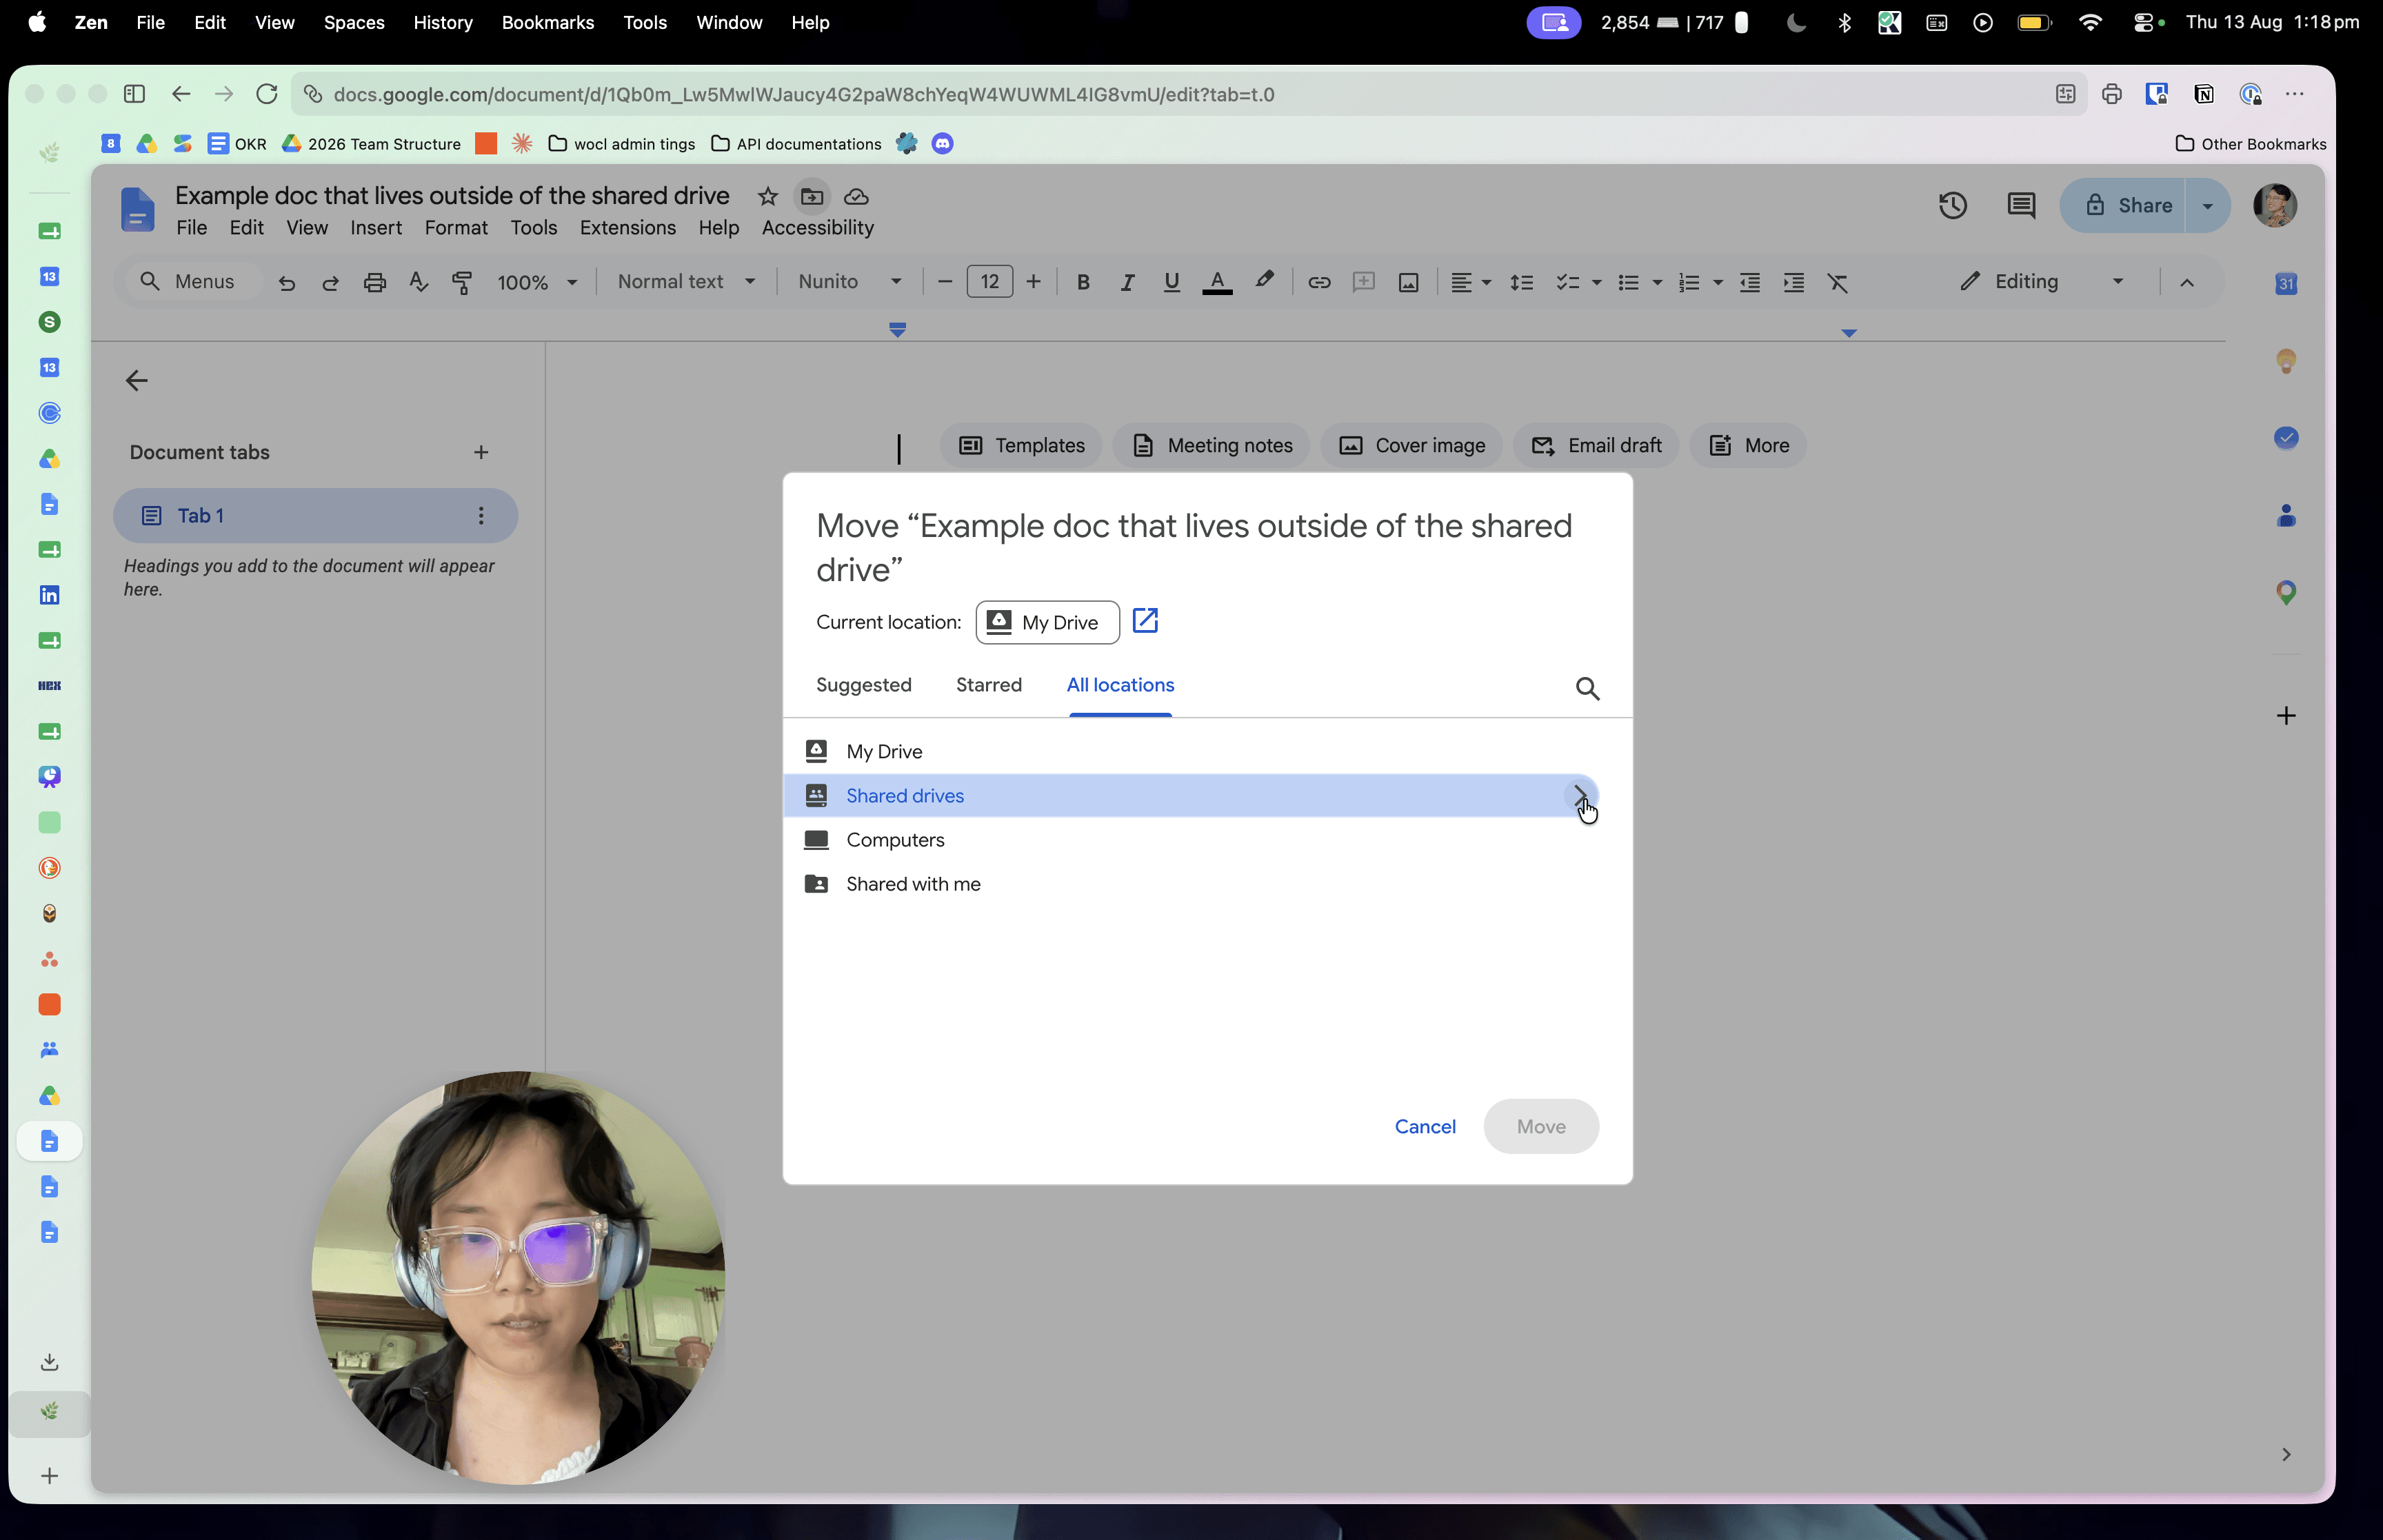
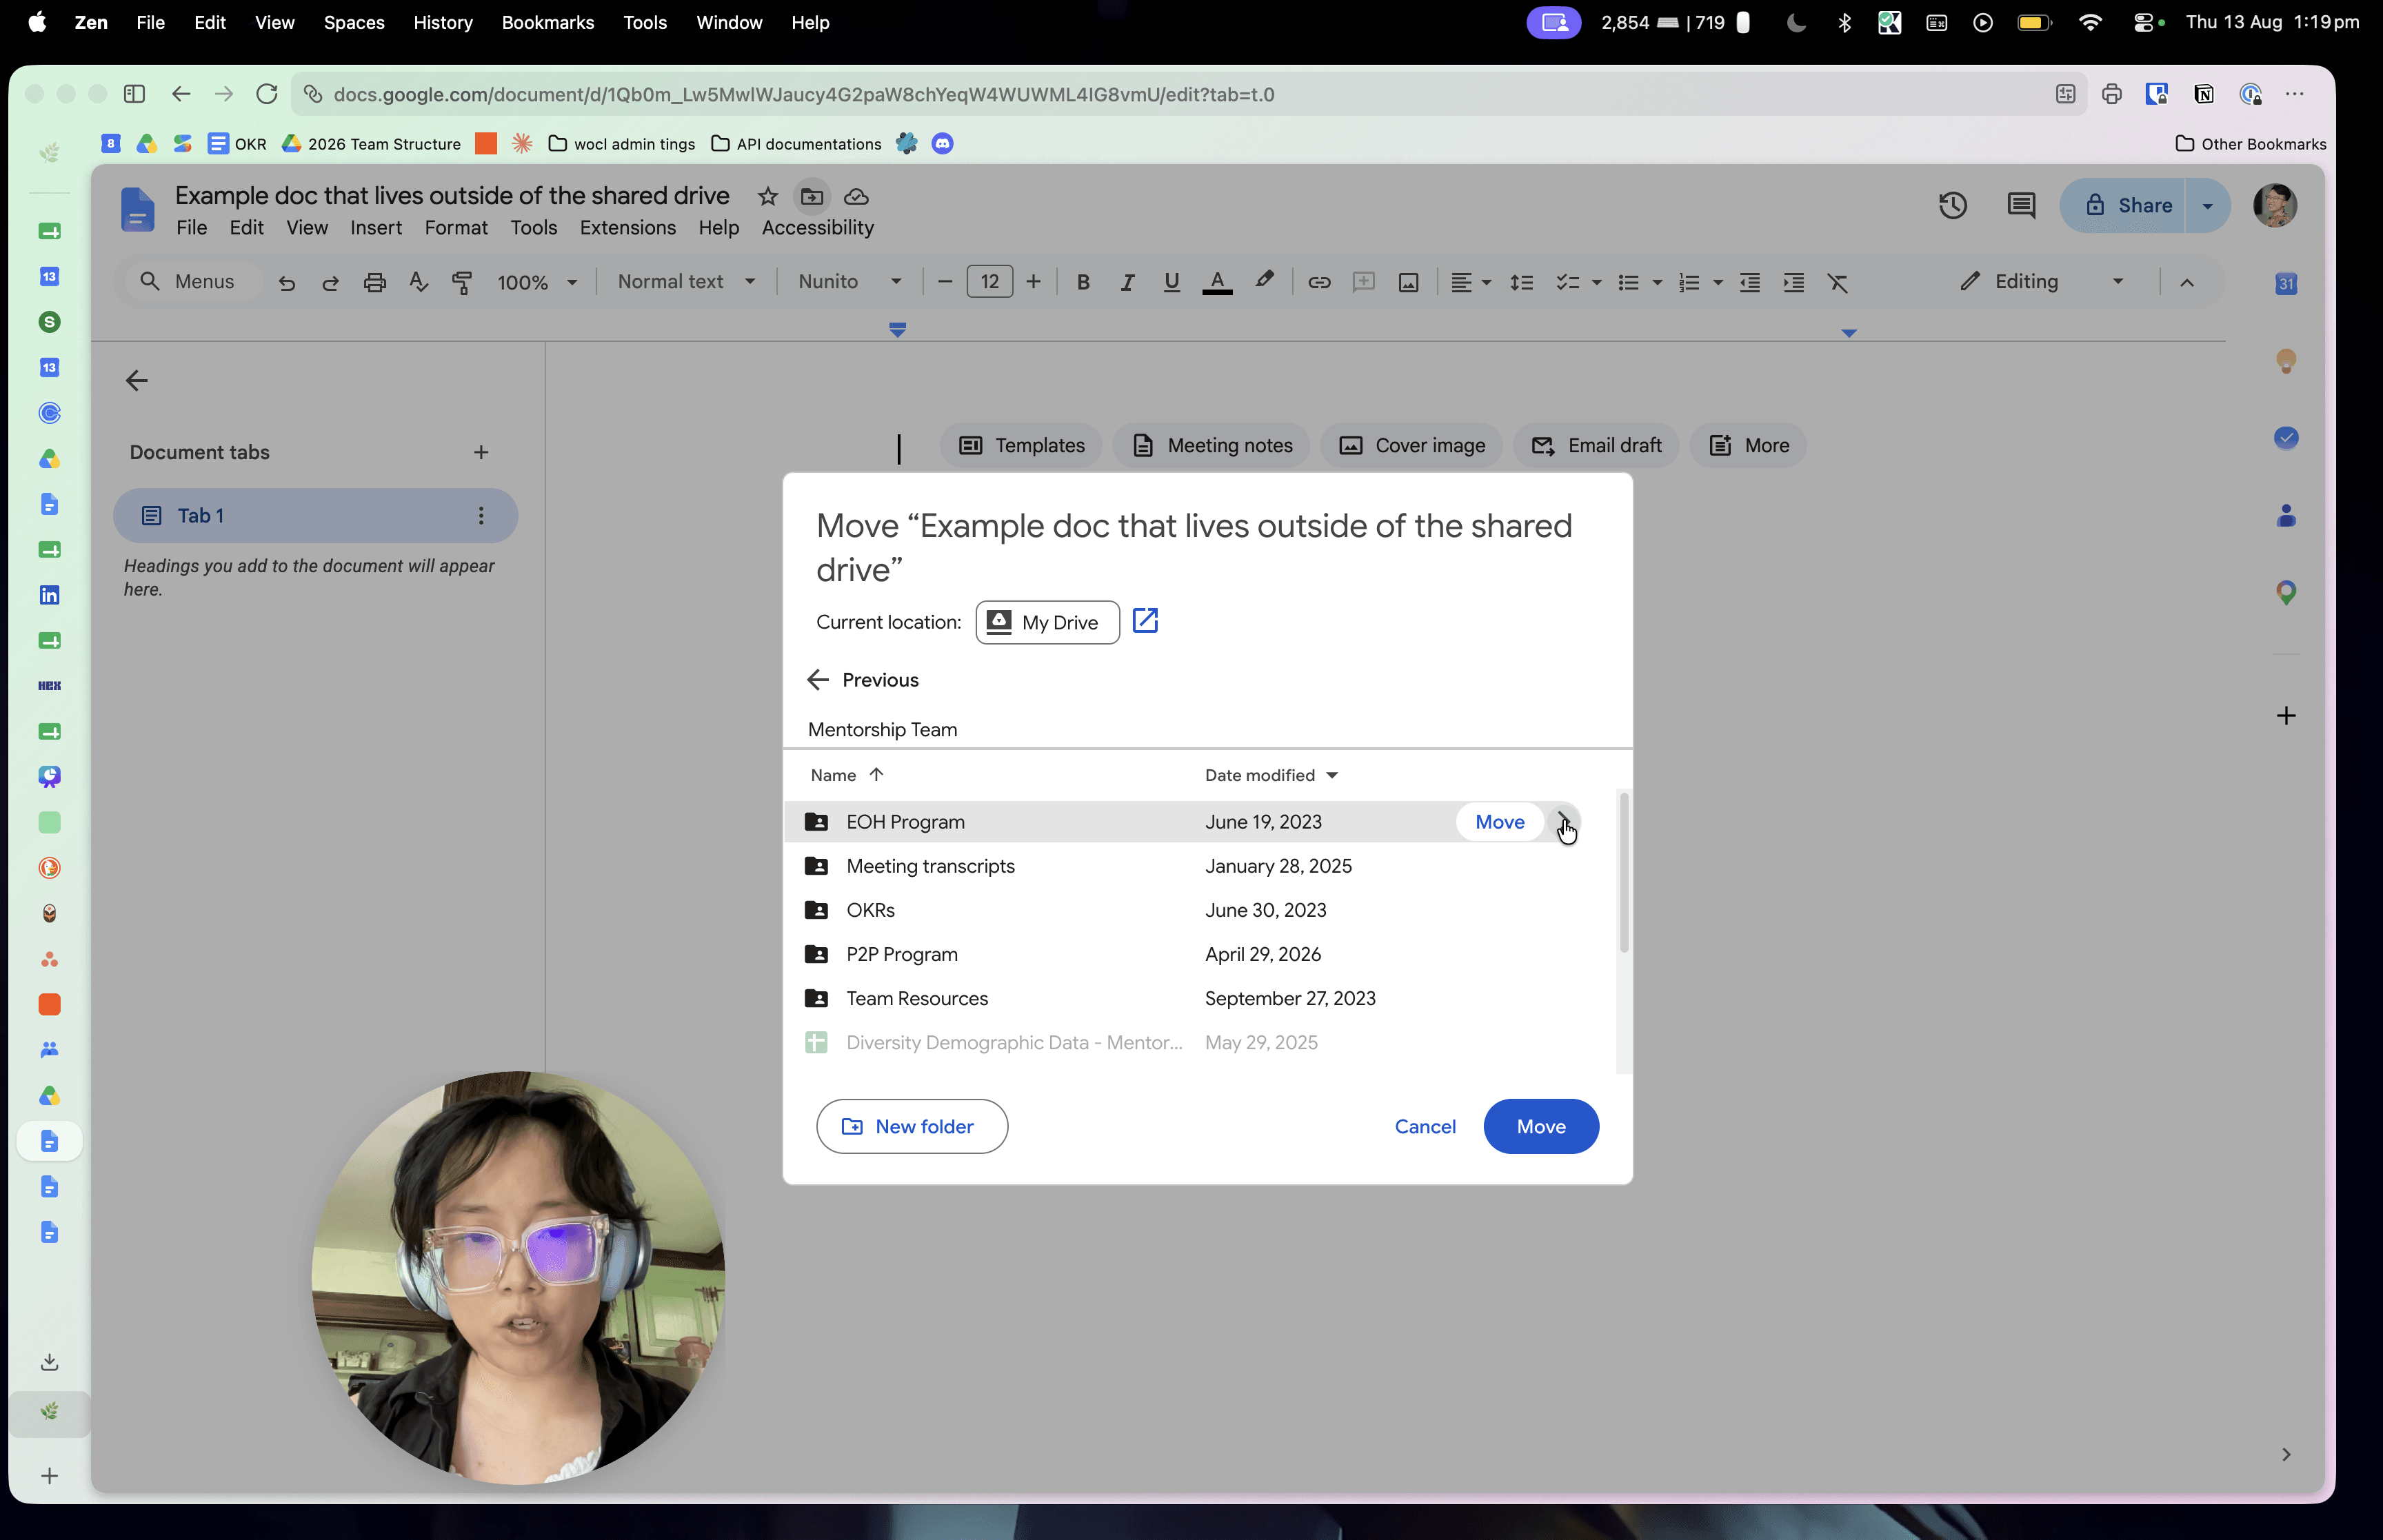
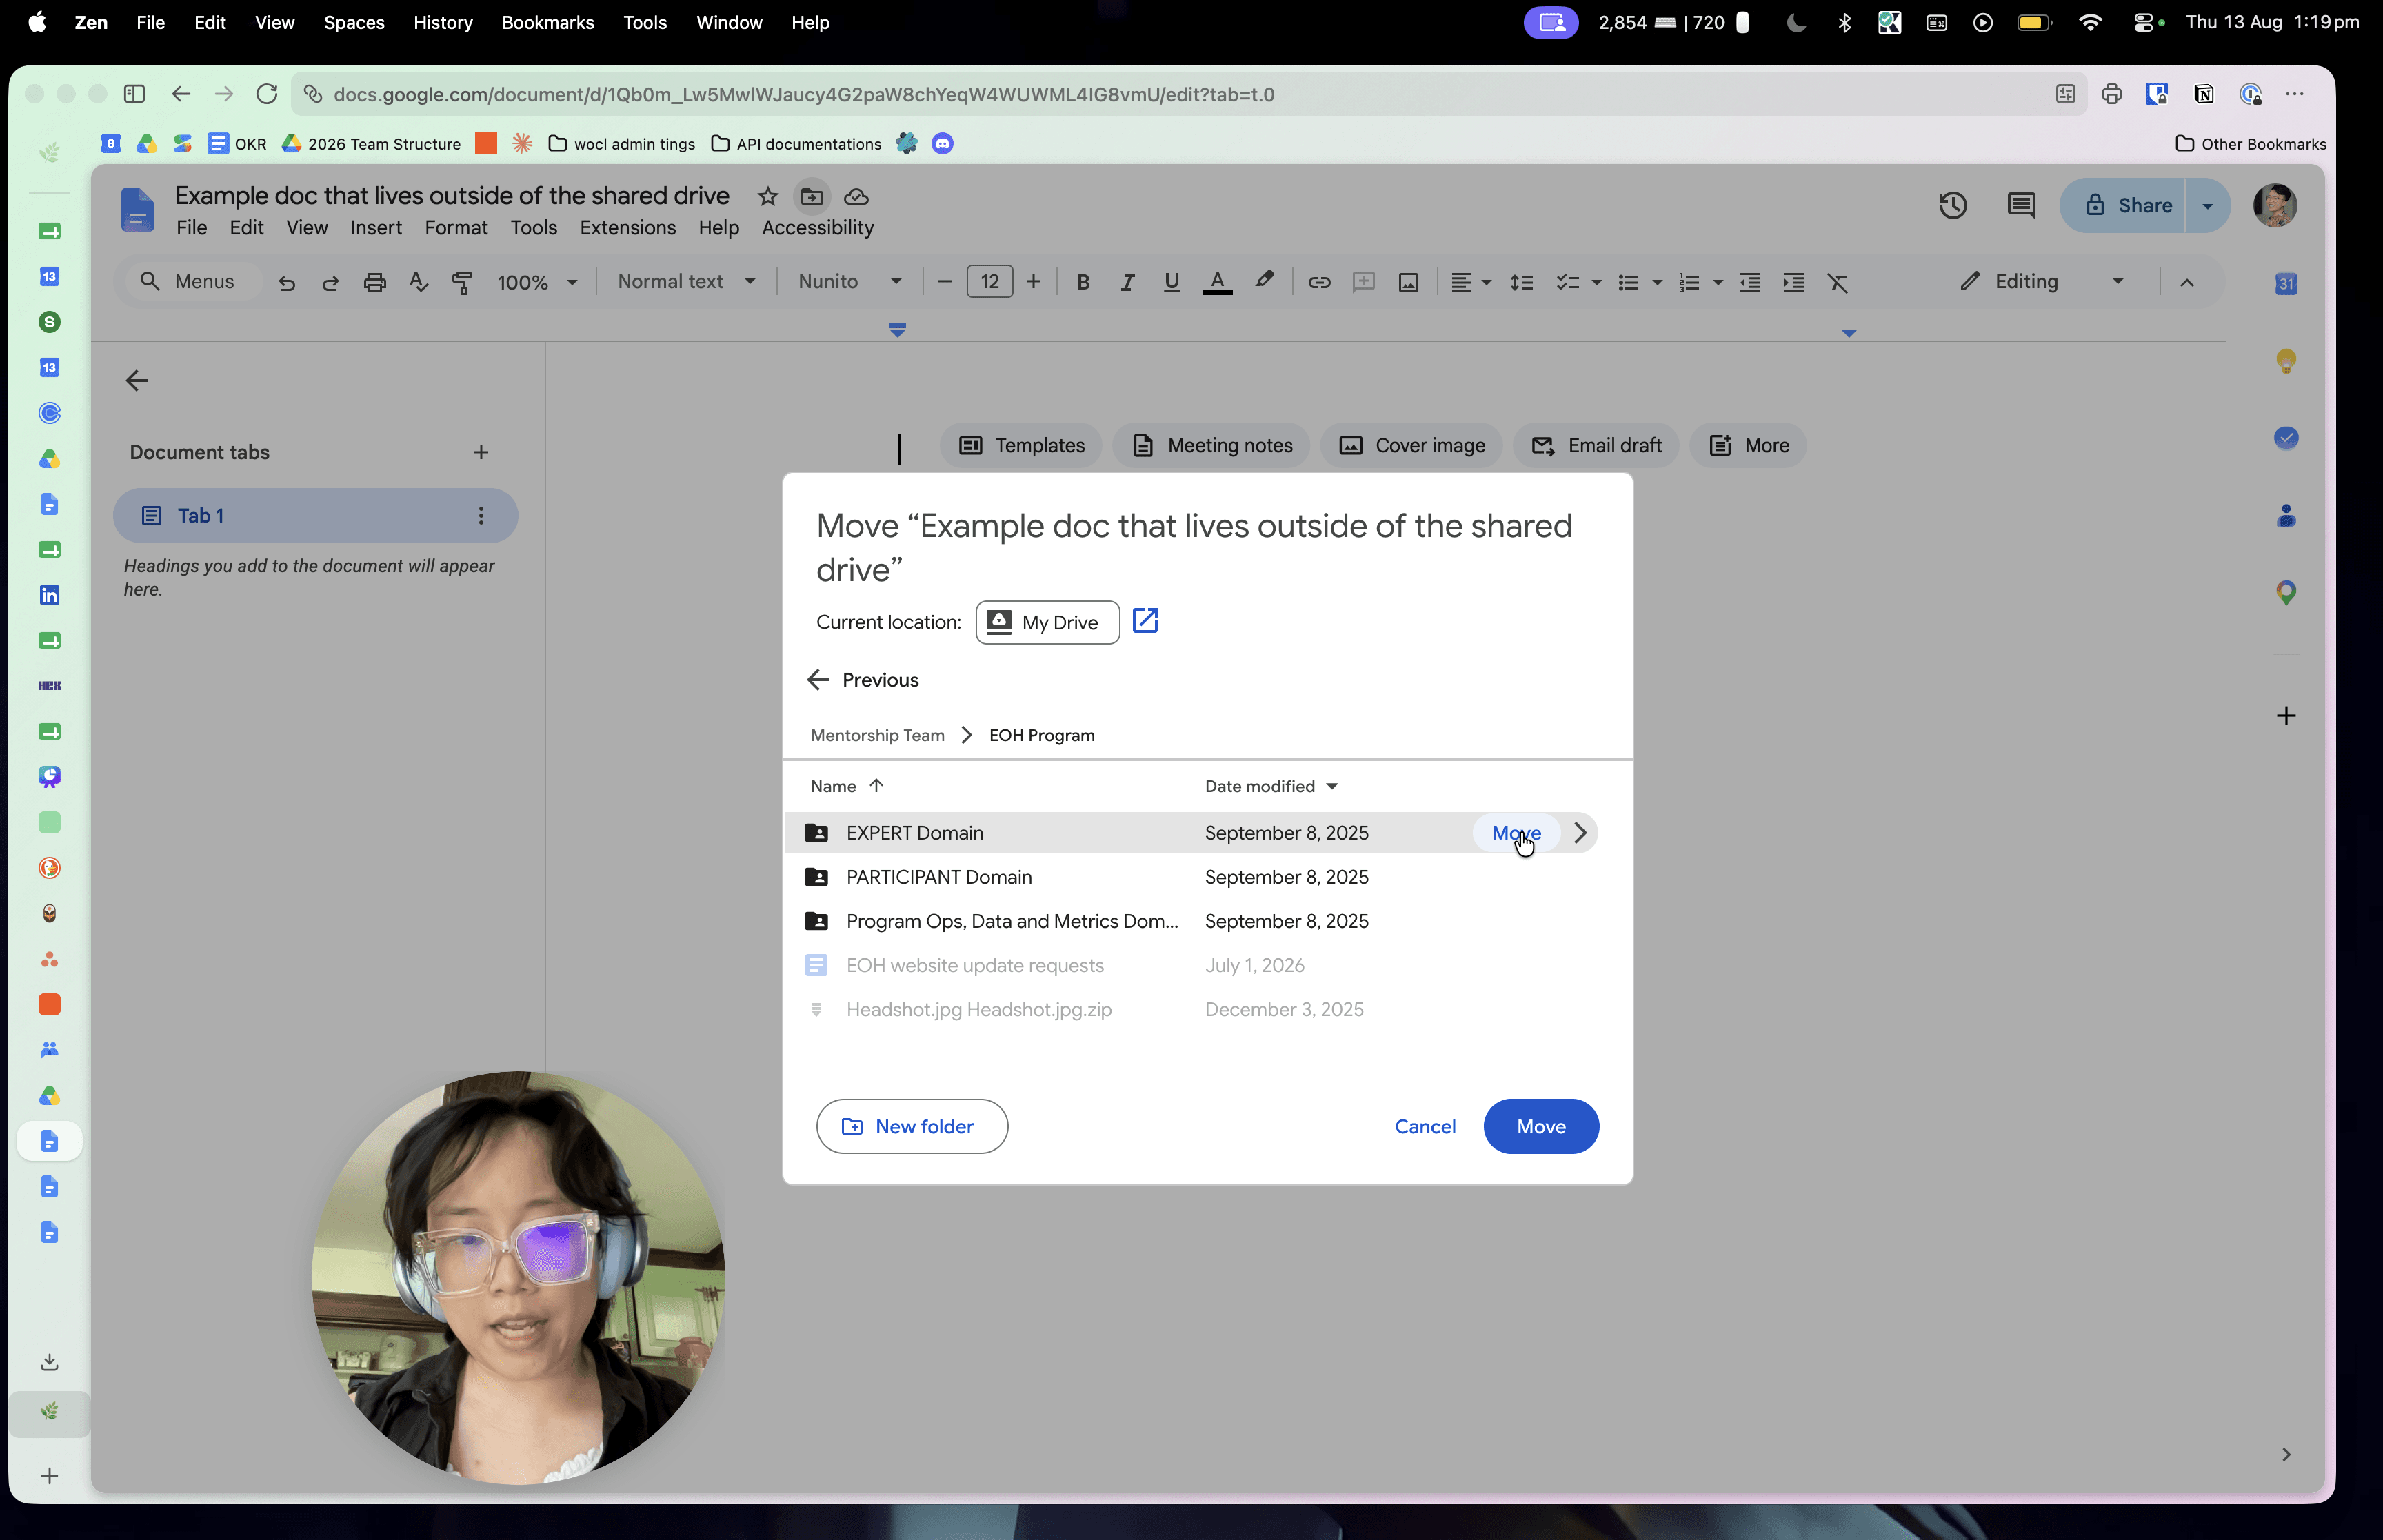
Move an Existing Document to a Shared Drive
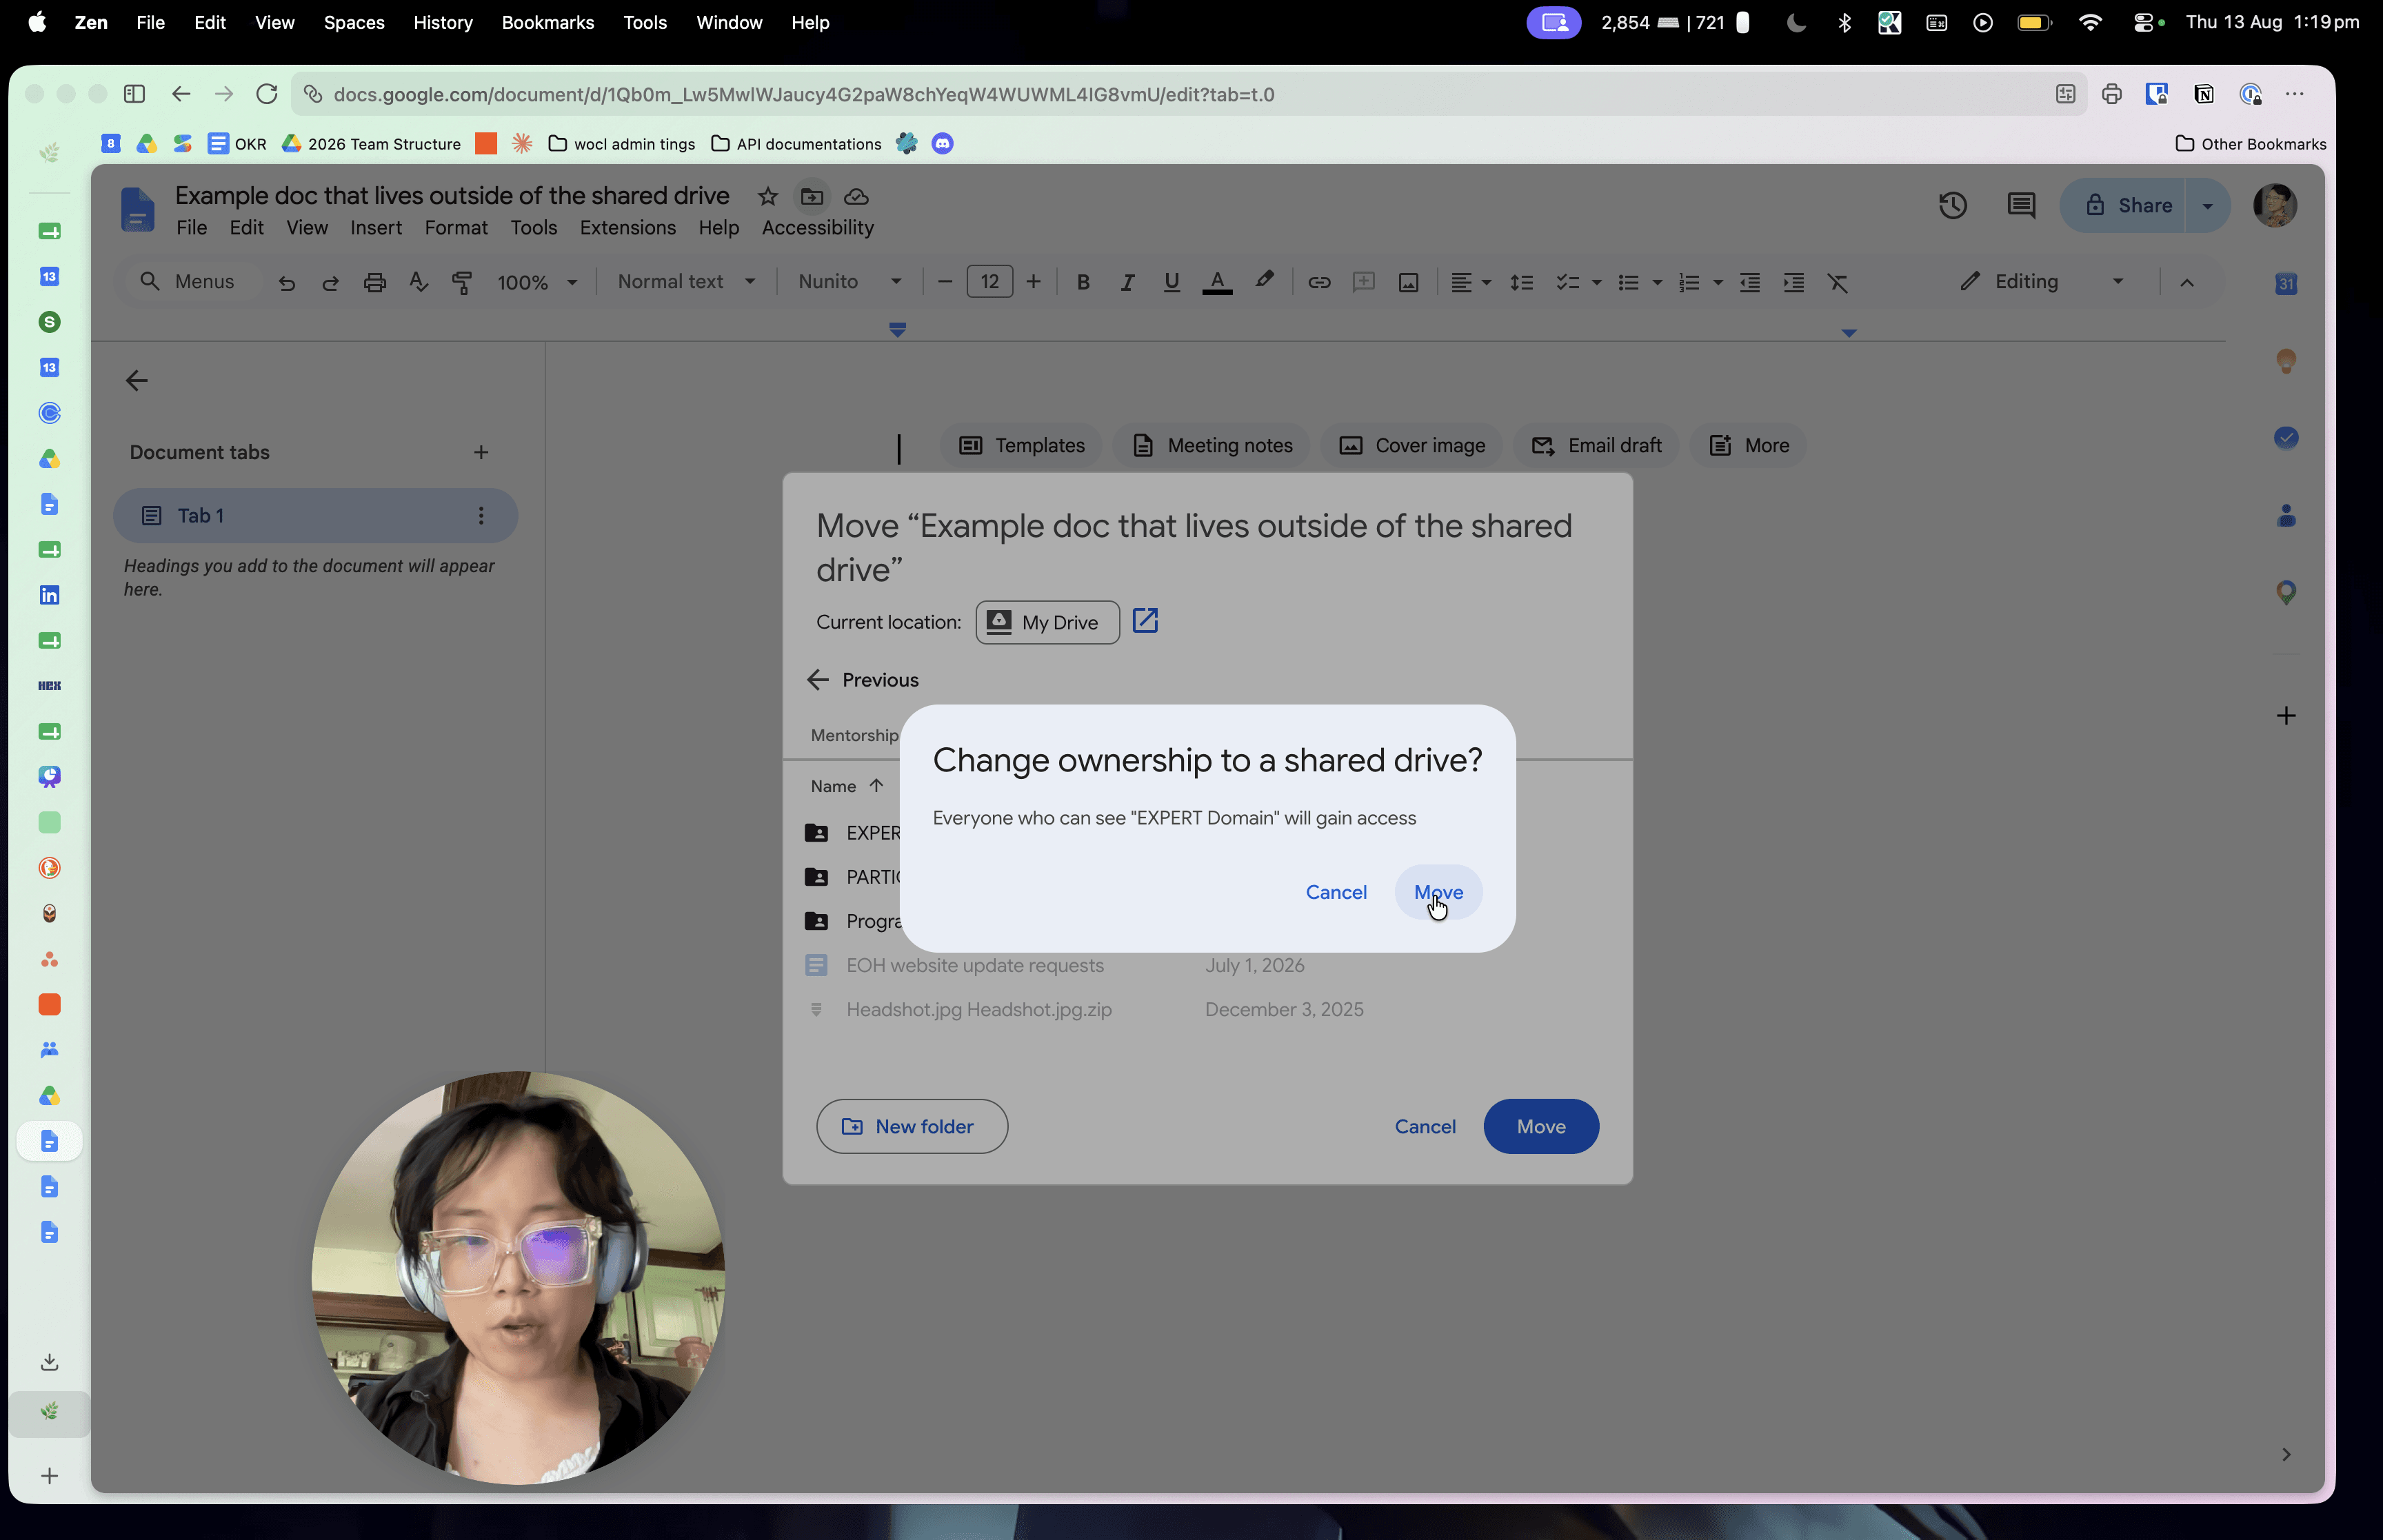
If you started a document in your personal "My Drive," you can seamlessly transfer it to a Shared Drive when it's ready for the team.
Q: What happens to sharing permissions when I create a document directly in a Shared Drive?
A: The document automatically inherits the default shared permissions of that drive, meaning your team instantly gains access without you needing to manually adjust share settings.
Q: Can I share documents with specific people?
A: Yes, but as a best practice, we prefer to share documents with teams to keep permissions tidy as our volunteer base changes over time.
Q: Who owns a file once it is moved from "My Drive" into a Shared Drive?
A: Once you confirm a file move into a Shared Drive, you forfeit personal ownership, and the organization assumes ownership of the document.
Term | Definition |
|---|---|
Shared Drive | A specialized organizational space in Google Drive where files belong to a team or organization rather than an individual. |
Document Tabs | A structural Google Docs feature that allows you to divide a single document into separate, individually linkable sections. |