Learn how to import contacts, create targeted audience segments, design custom email templates, and configure automated marketing workflows.
By Reservety
This guide explains how to import customer contacts, group them into targeted segments, and design custom marketing campaigns.
Completing these steps allows you to send targeted promotional materials and set up automated follow-ups for events like cart abandonment.
This workflow is intended for marketing teams and business owners using Reservety. Use these processes to run targeted promotions, send newsletters, or automatically recover failed orders through dynamic email sequences.
Importing Contacts
Before you can send targeted emails, you need to populate your marketing contact list. Navigate to the marketing dashboard to begin.
1
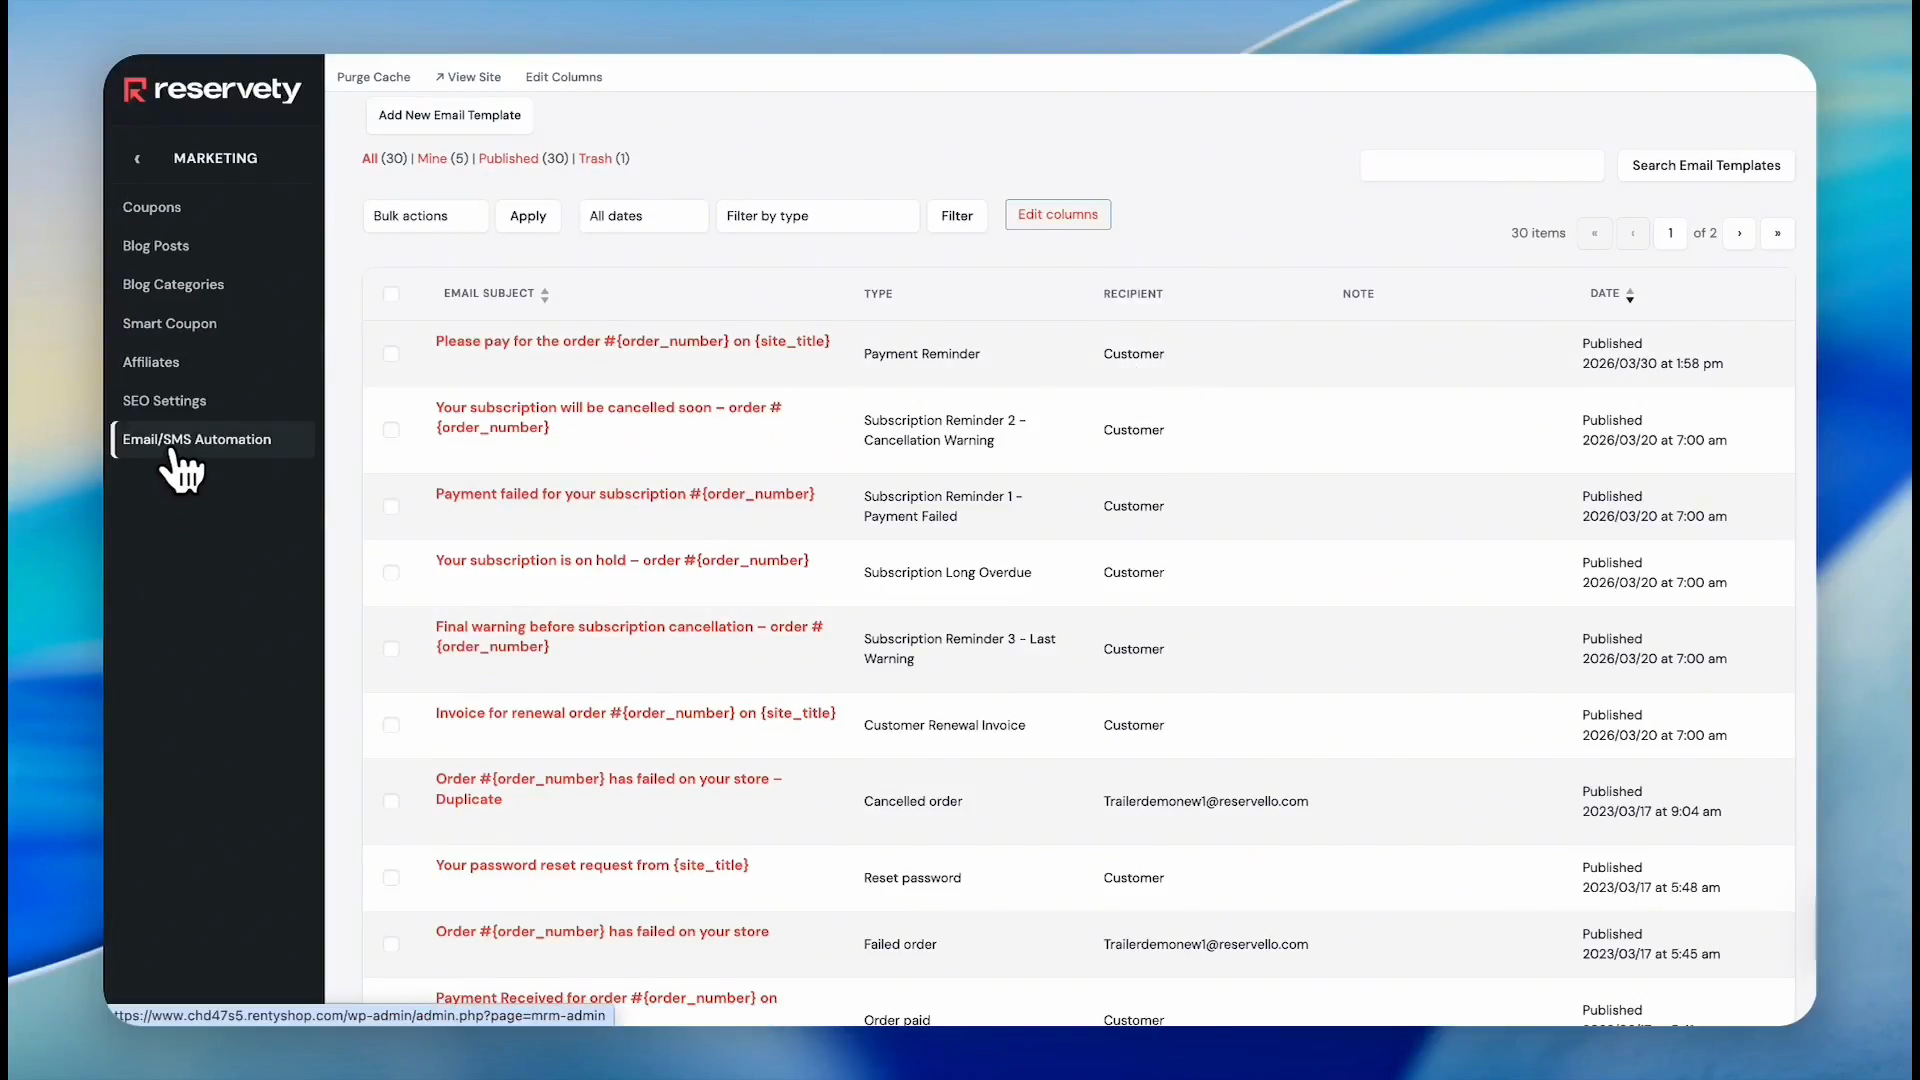
Click on Marketing, and select Email/SMS Automation in the sidebar navigation.
2
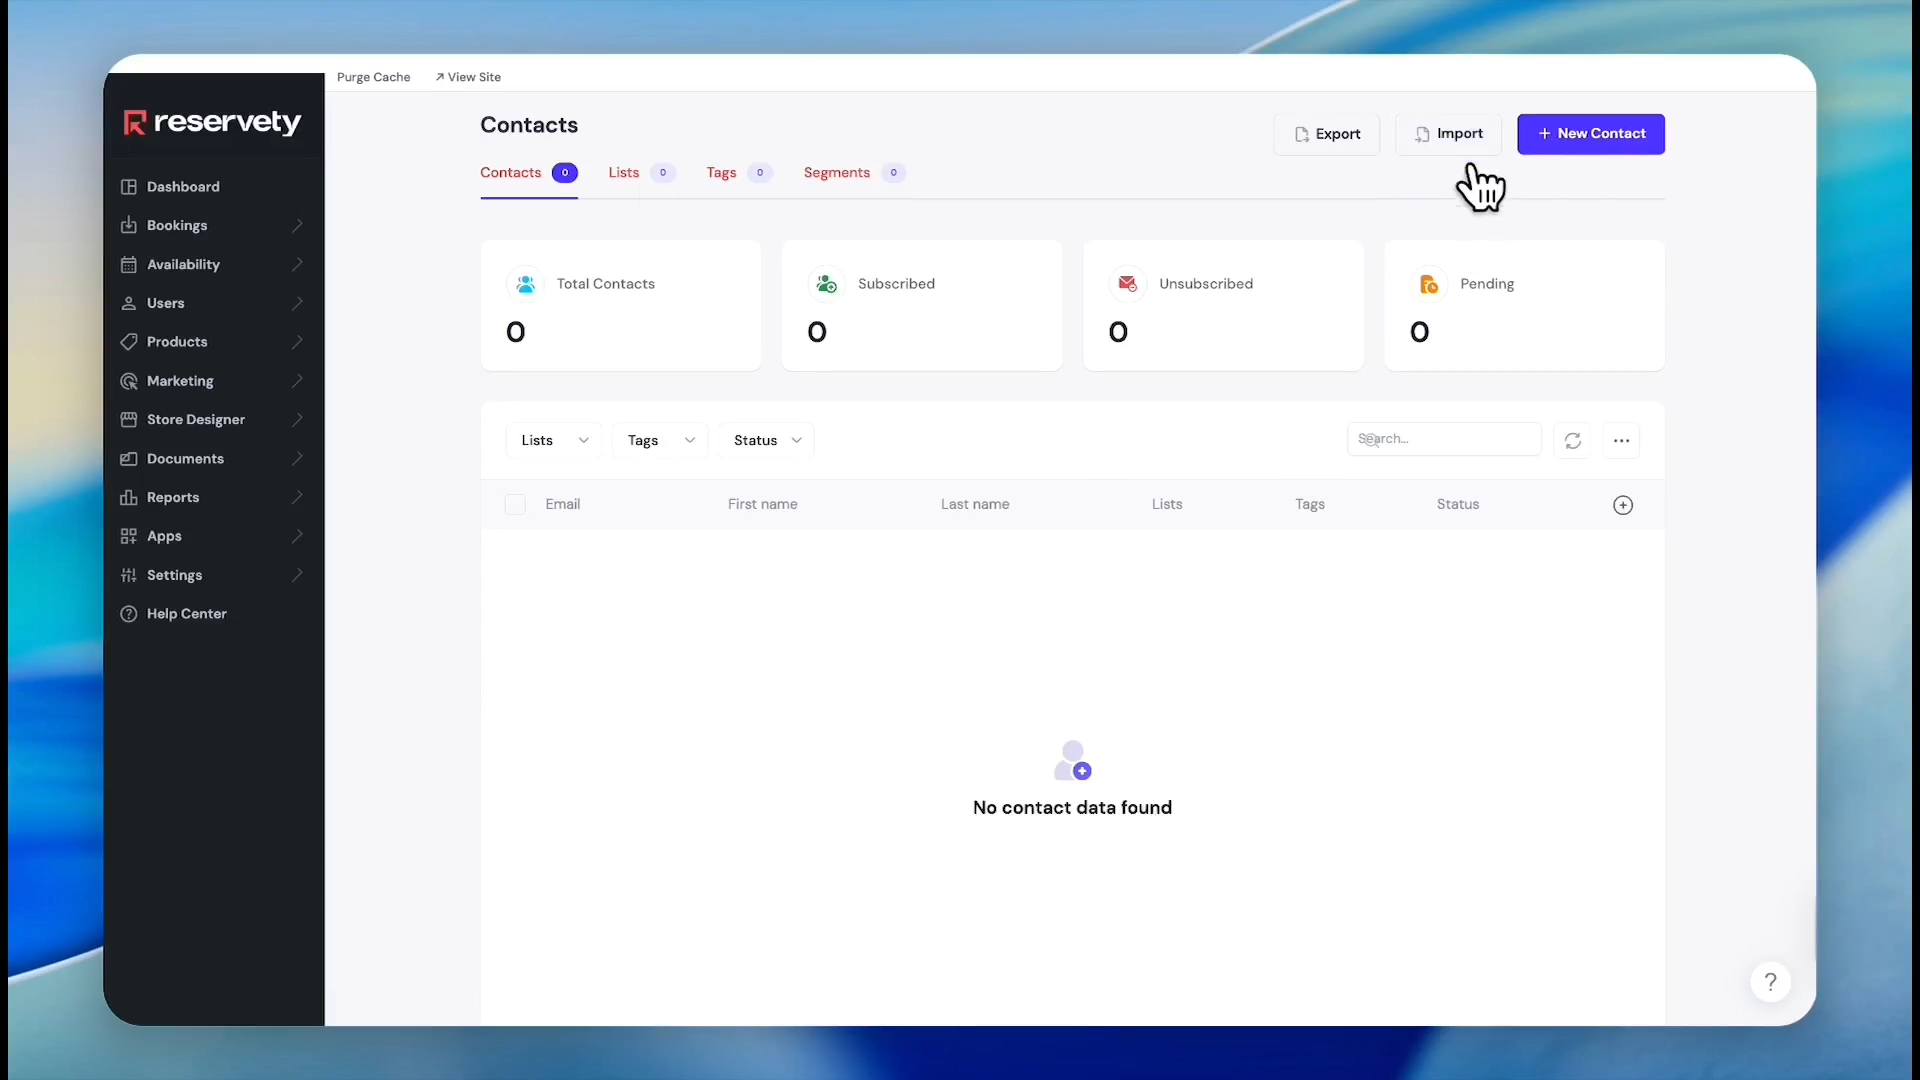
Click Contacts.
3
Click Import in the top right corner.
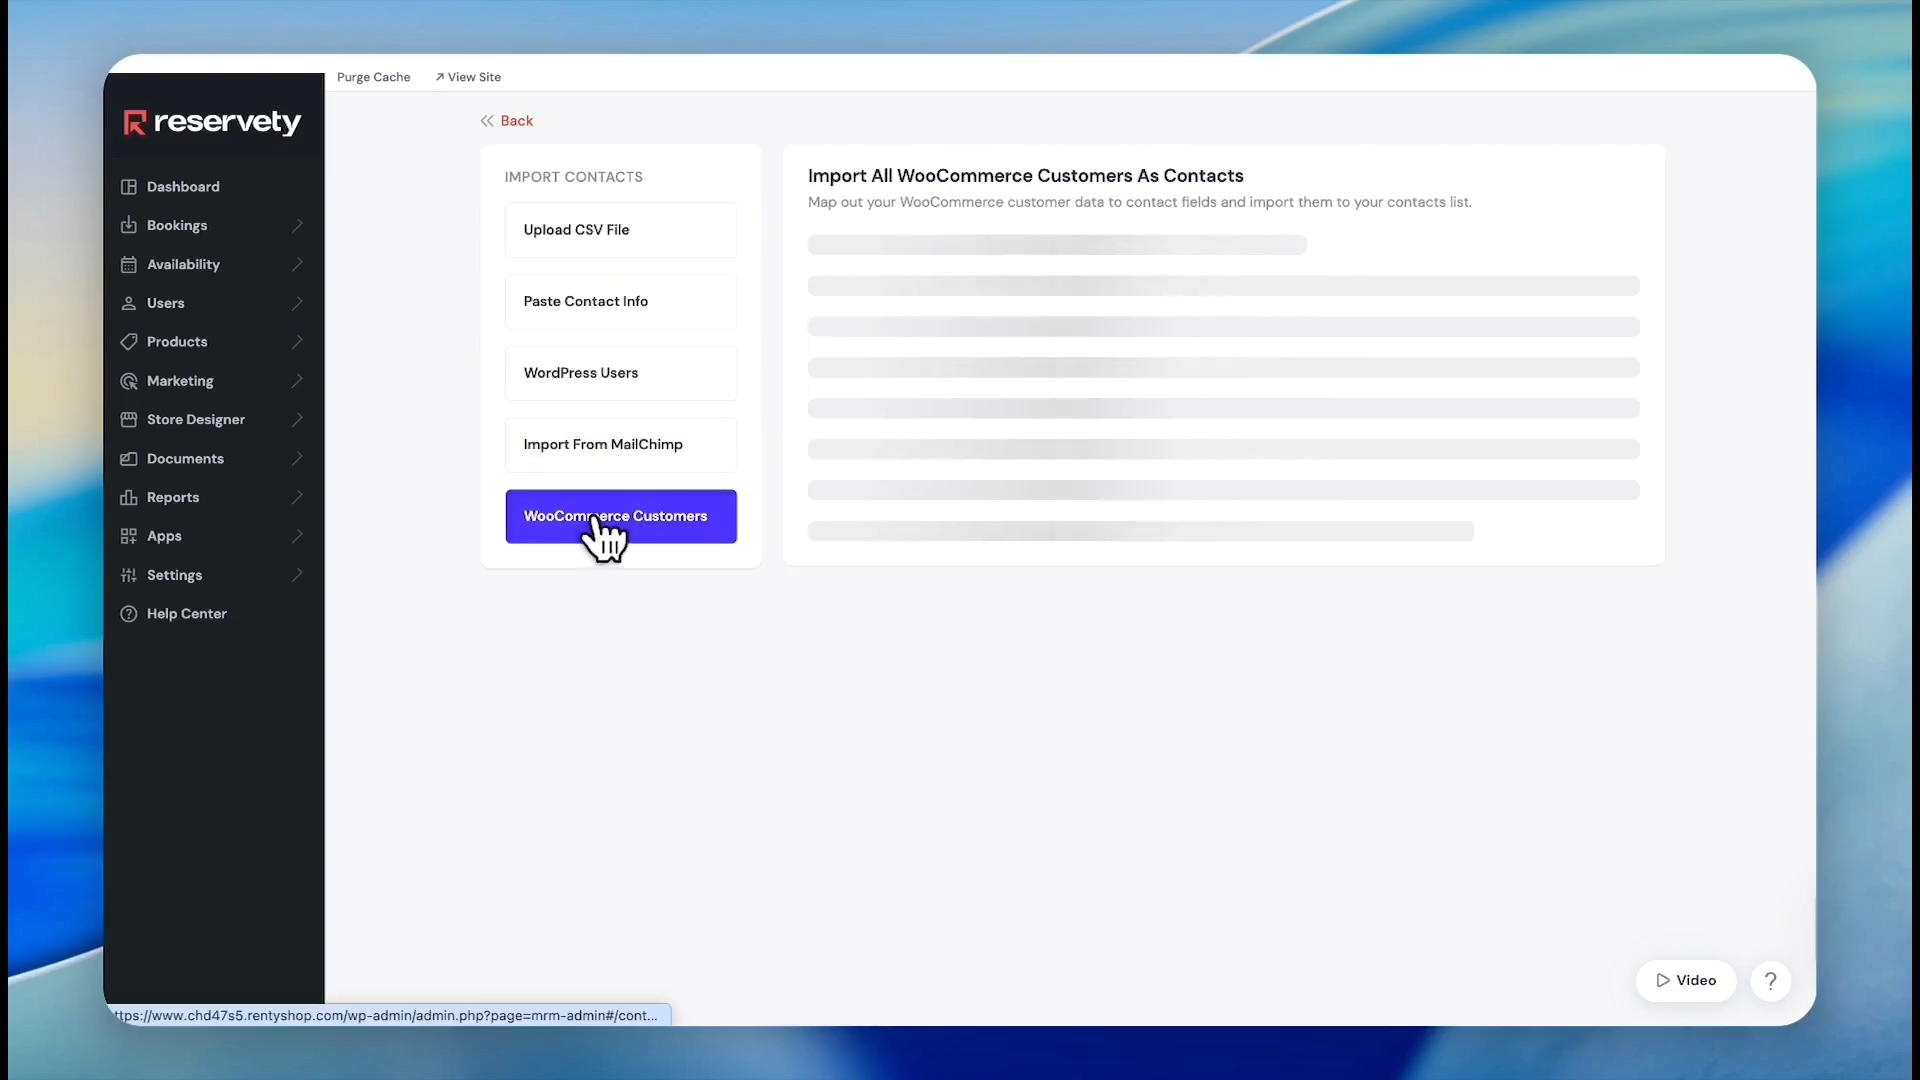
The system provides multiple ways to import your customer data.
Import Method
Description
Upload CSV
Upload an external spreadsheet containing your customer contact data.
Copy/Paste
Manually paste raw contact information directly into the system.
Mailchimp
Sync existing marketing contacts directly from your Mailchimp account.
WooCommerce
Import customer records from your integrated WooCommerce storefront.
4
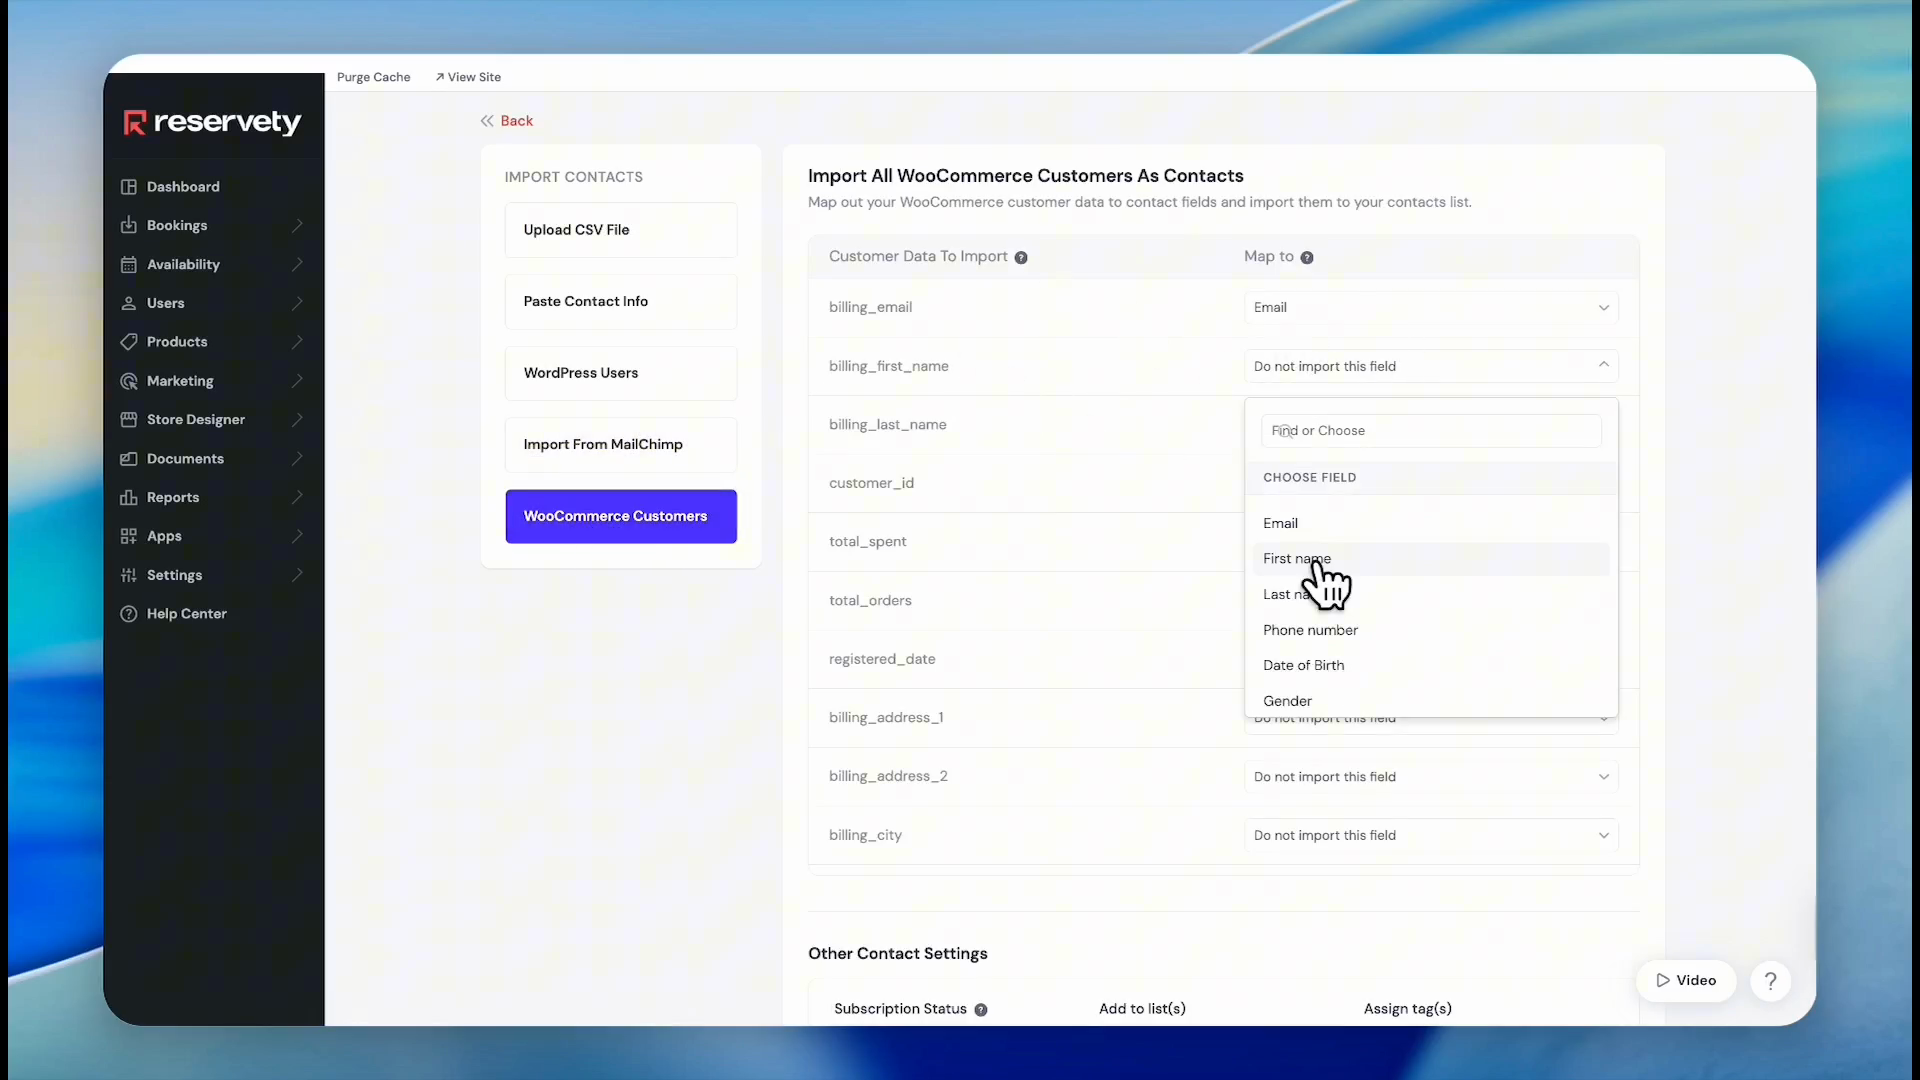
In this case, select WooCommerce Customers from the import options.
5
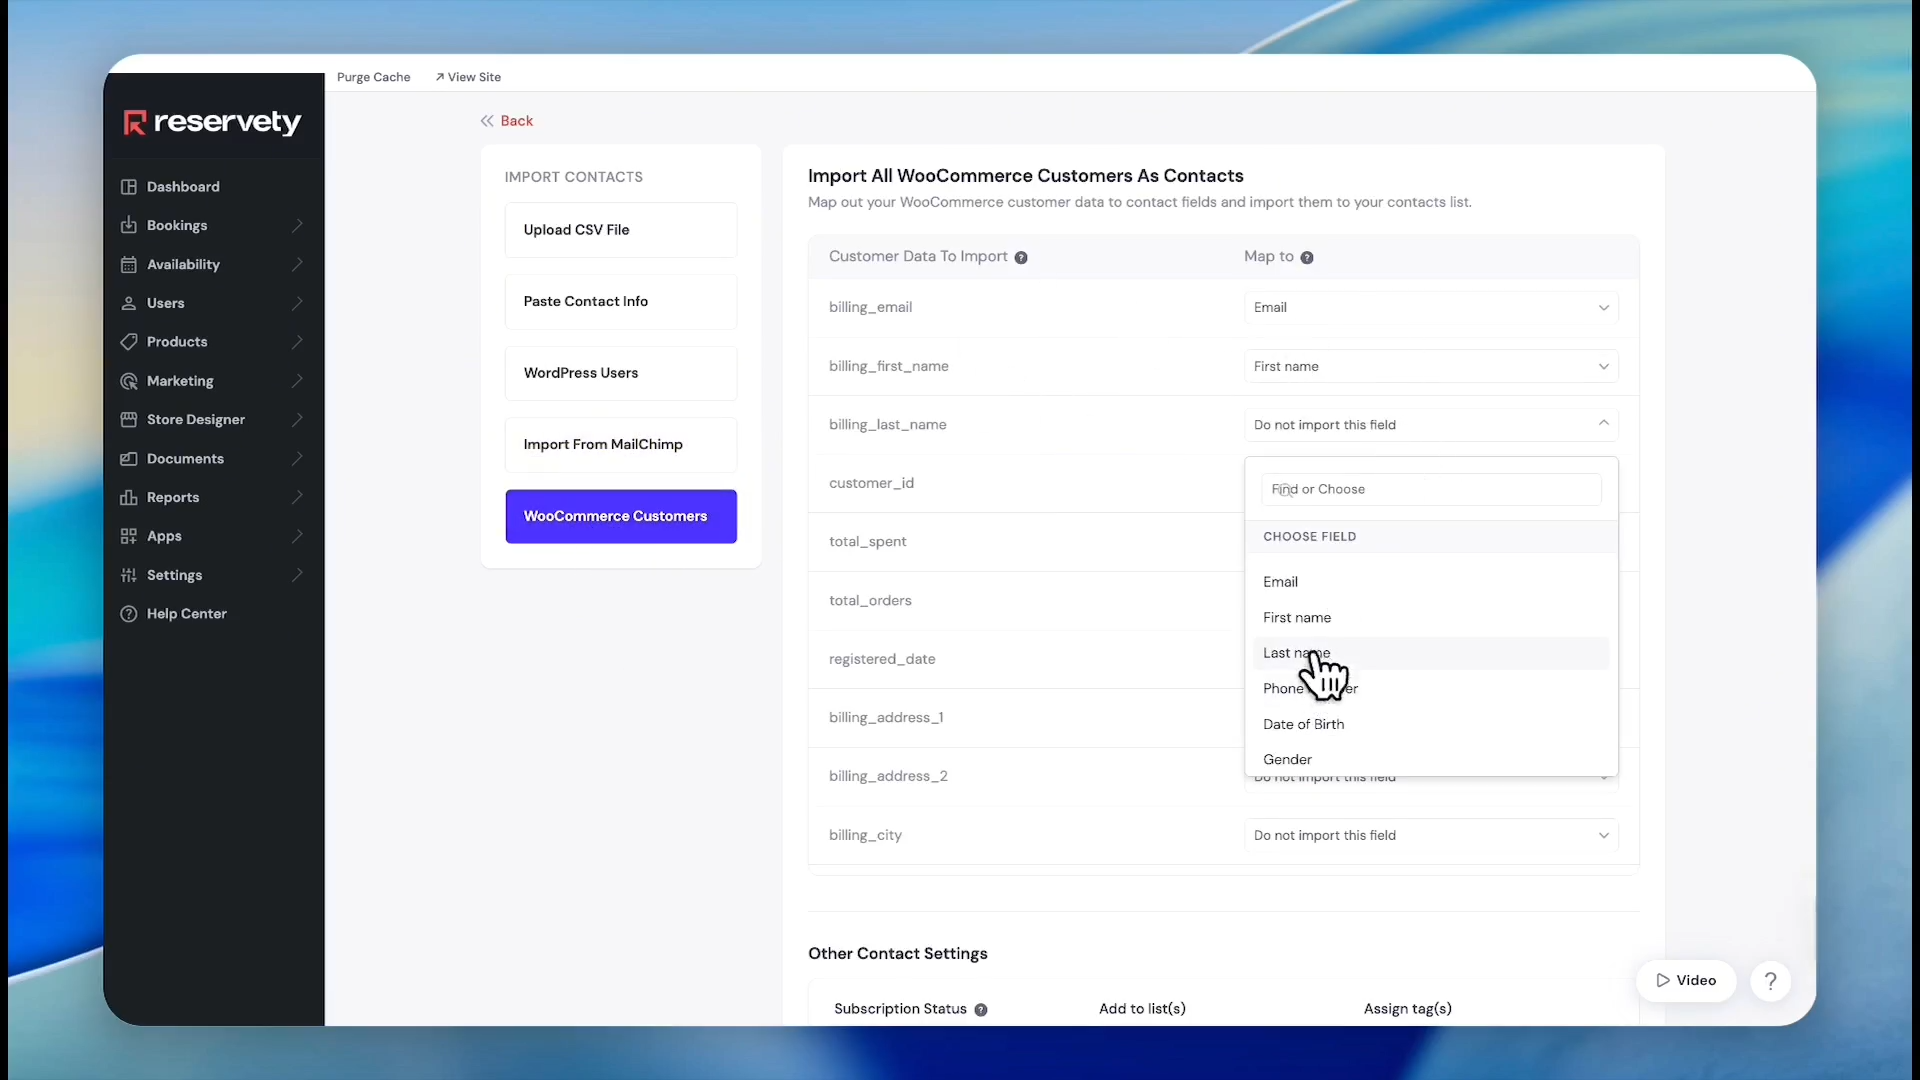
Map the First Name field to pull in customer first names.
6
Map the Last Name field to pull in customer billing last names.
7
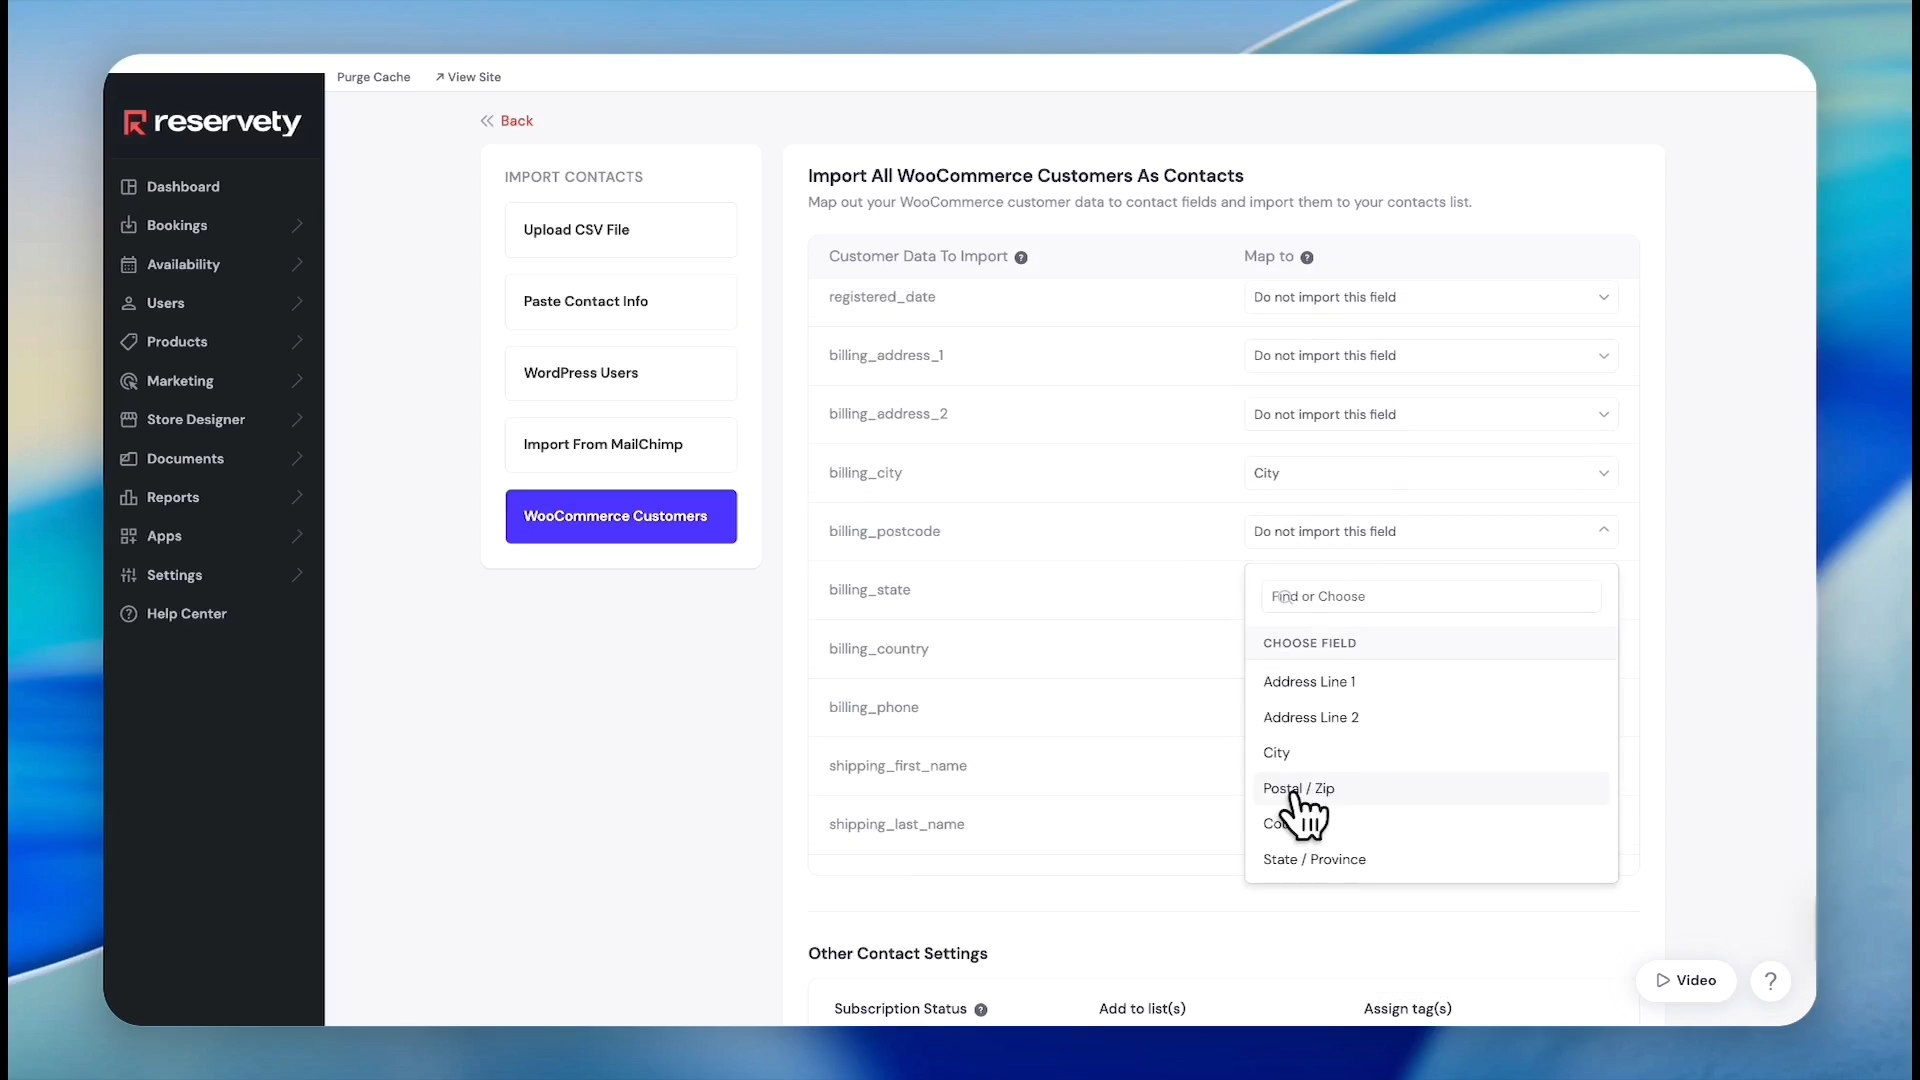
Map the City field to capture billing city data.
8
Map the Zip Code field.
9
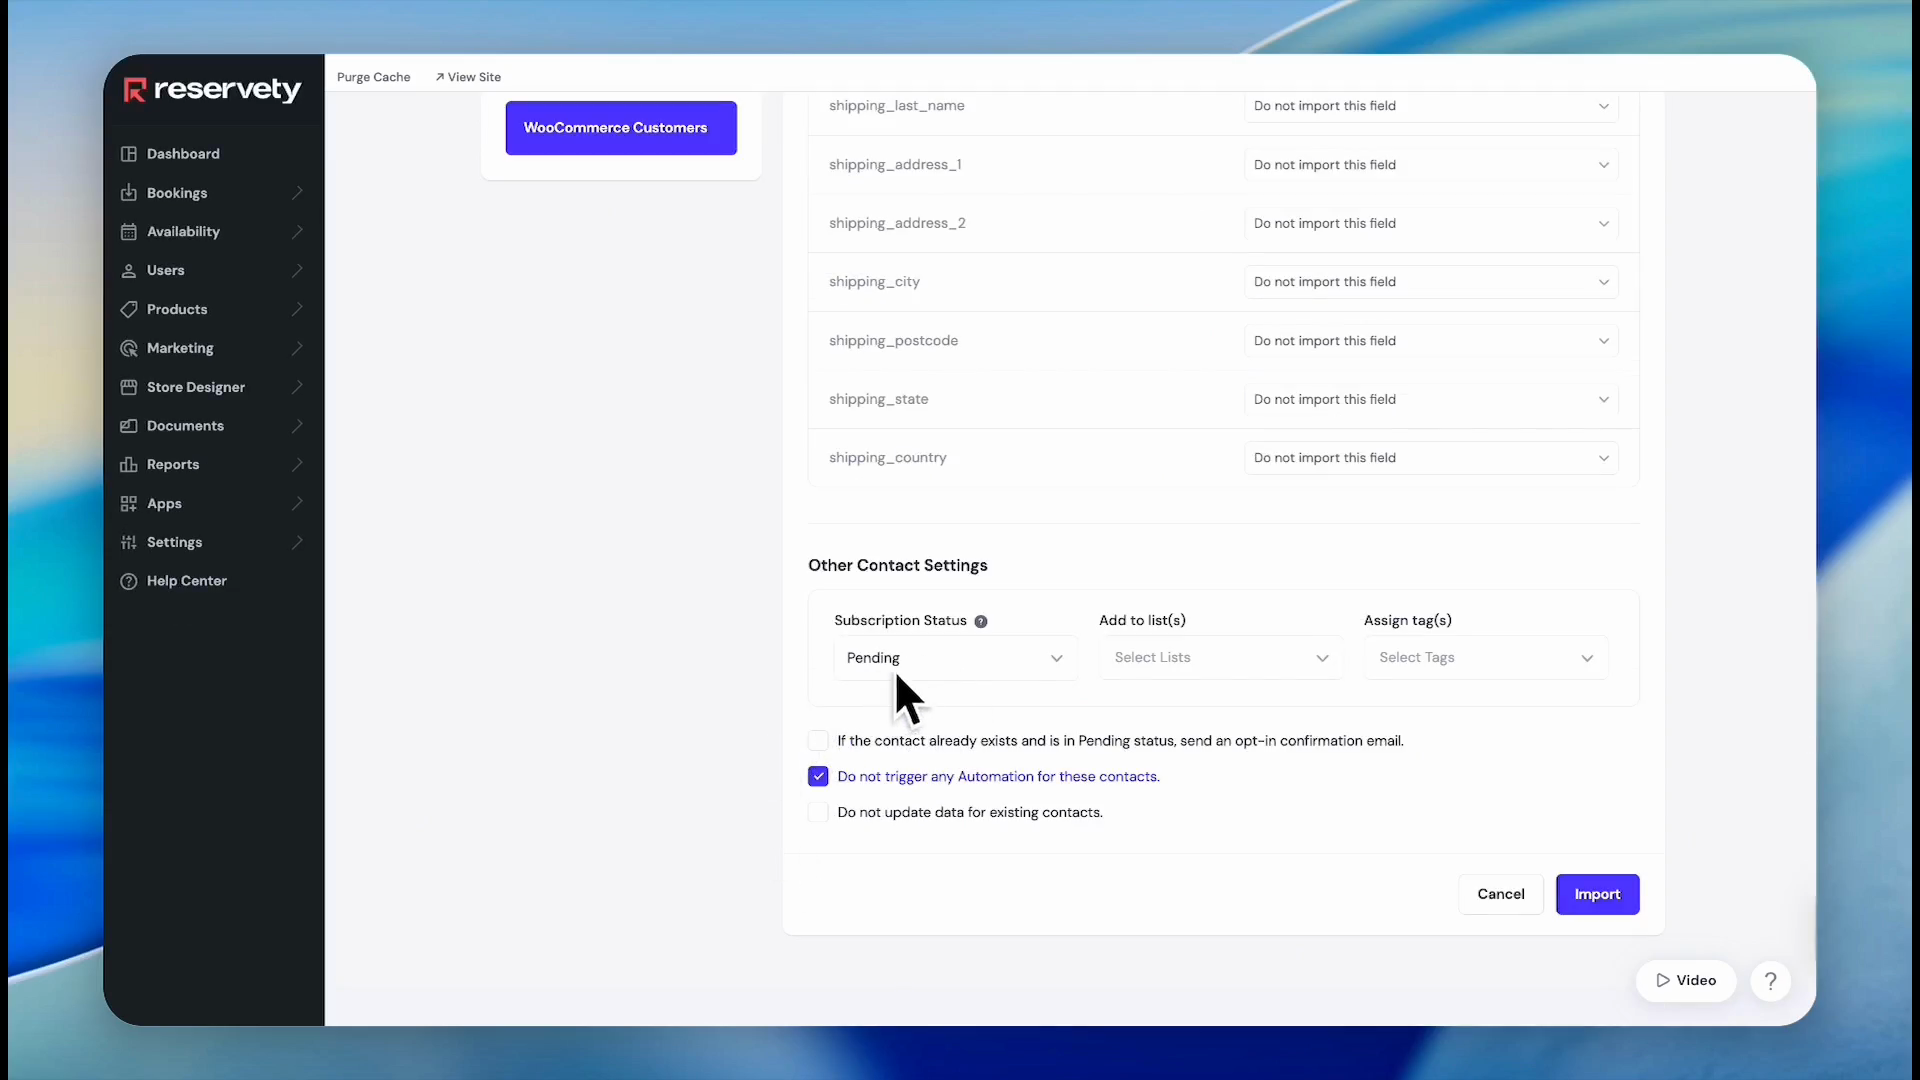
Select the desired subscription status for imported users, then click Import.
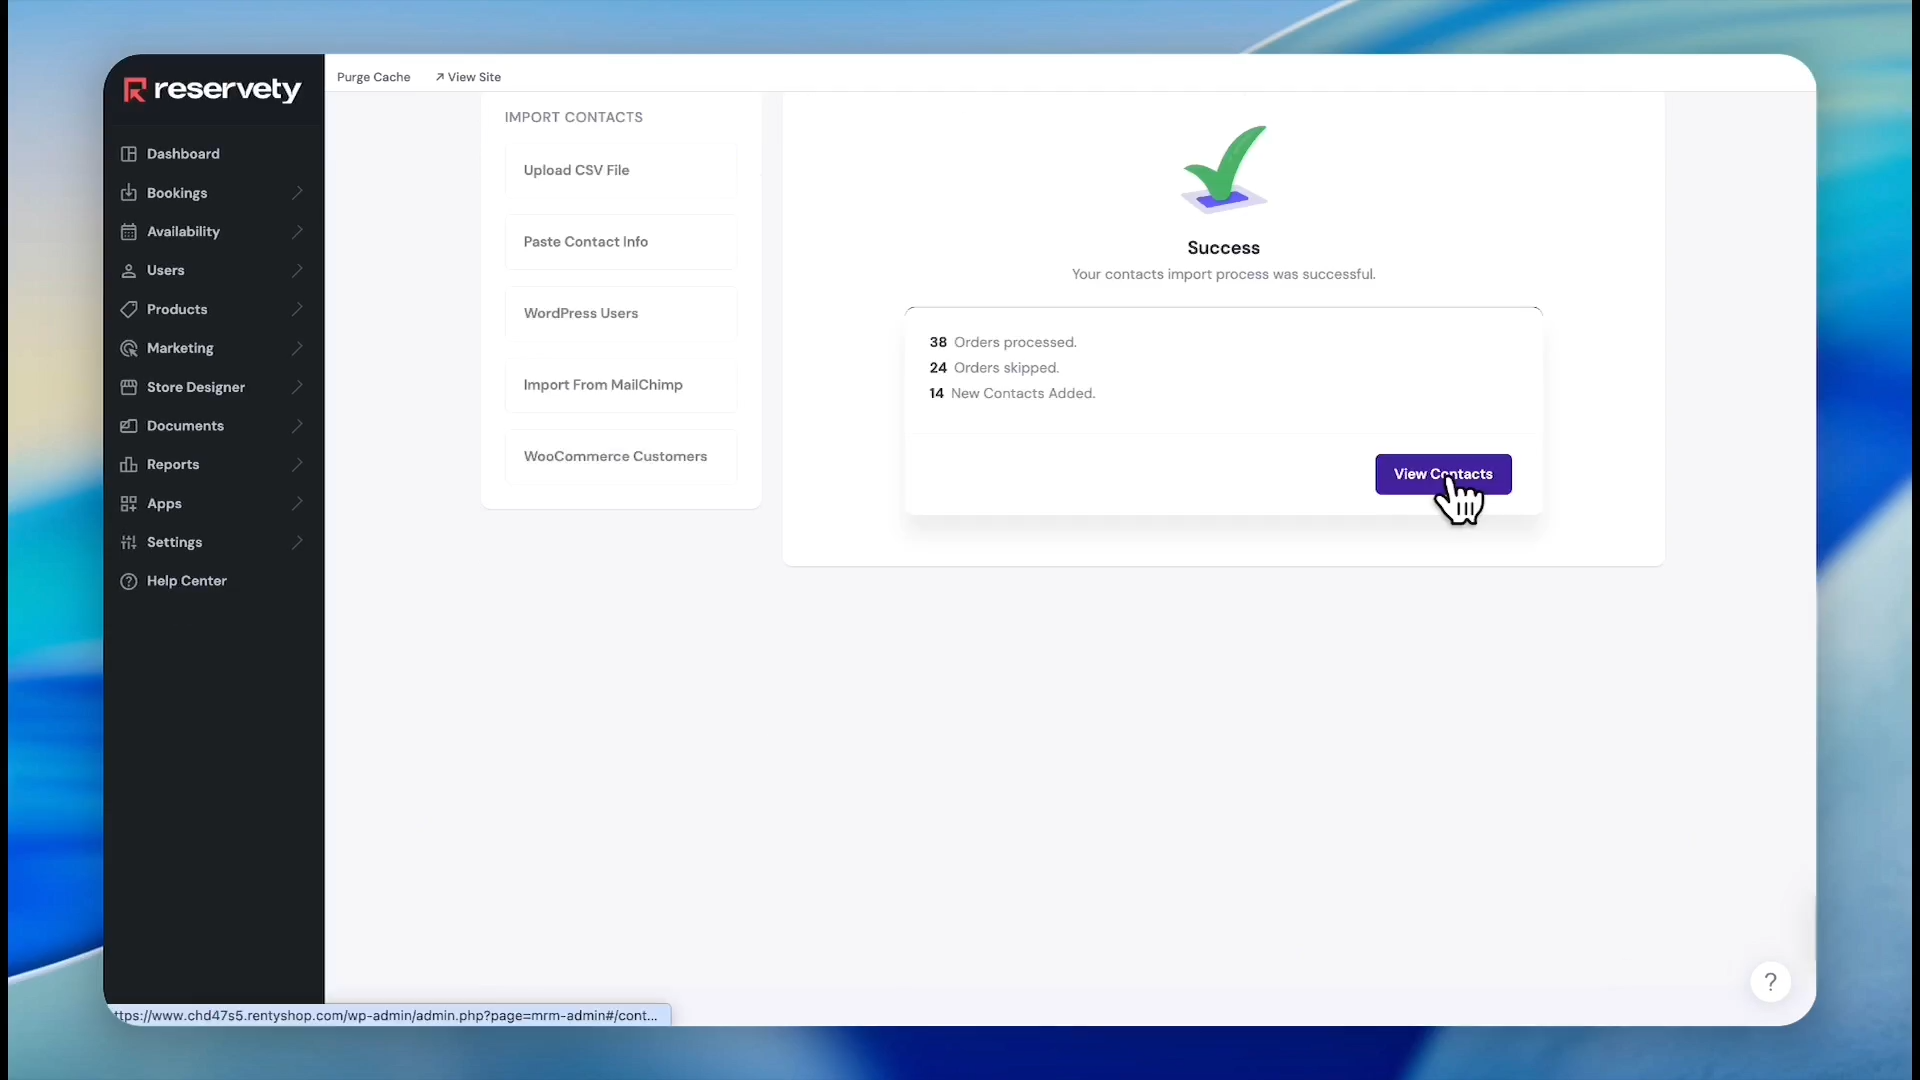
10
Click View Contacts to verify your imported list.
Creating Tags and Segments
To send a campaign to a specific group, first categorize your contacts with tags, then use those tags to define dynamic segments.
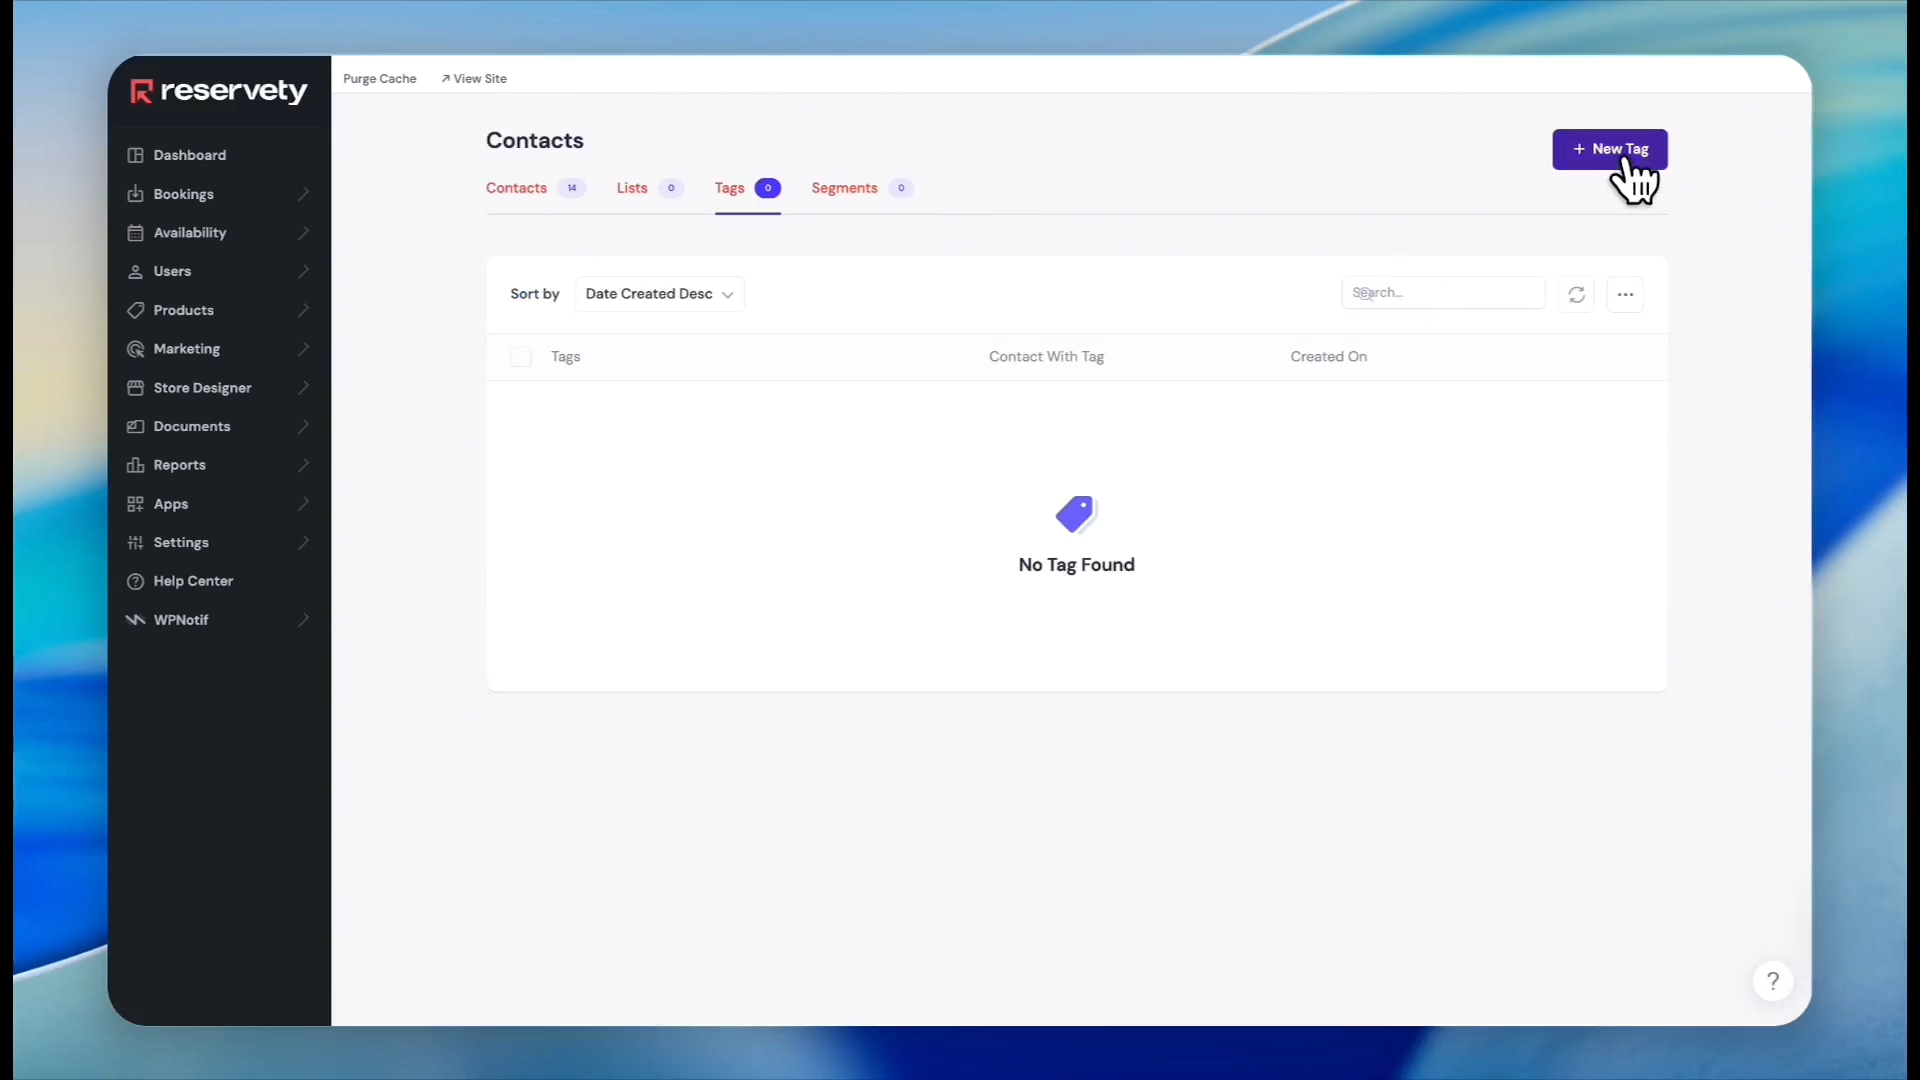
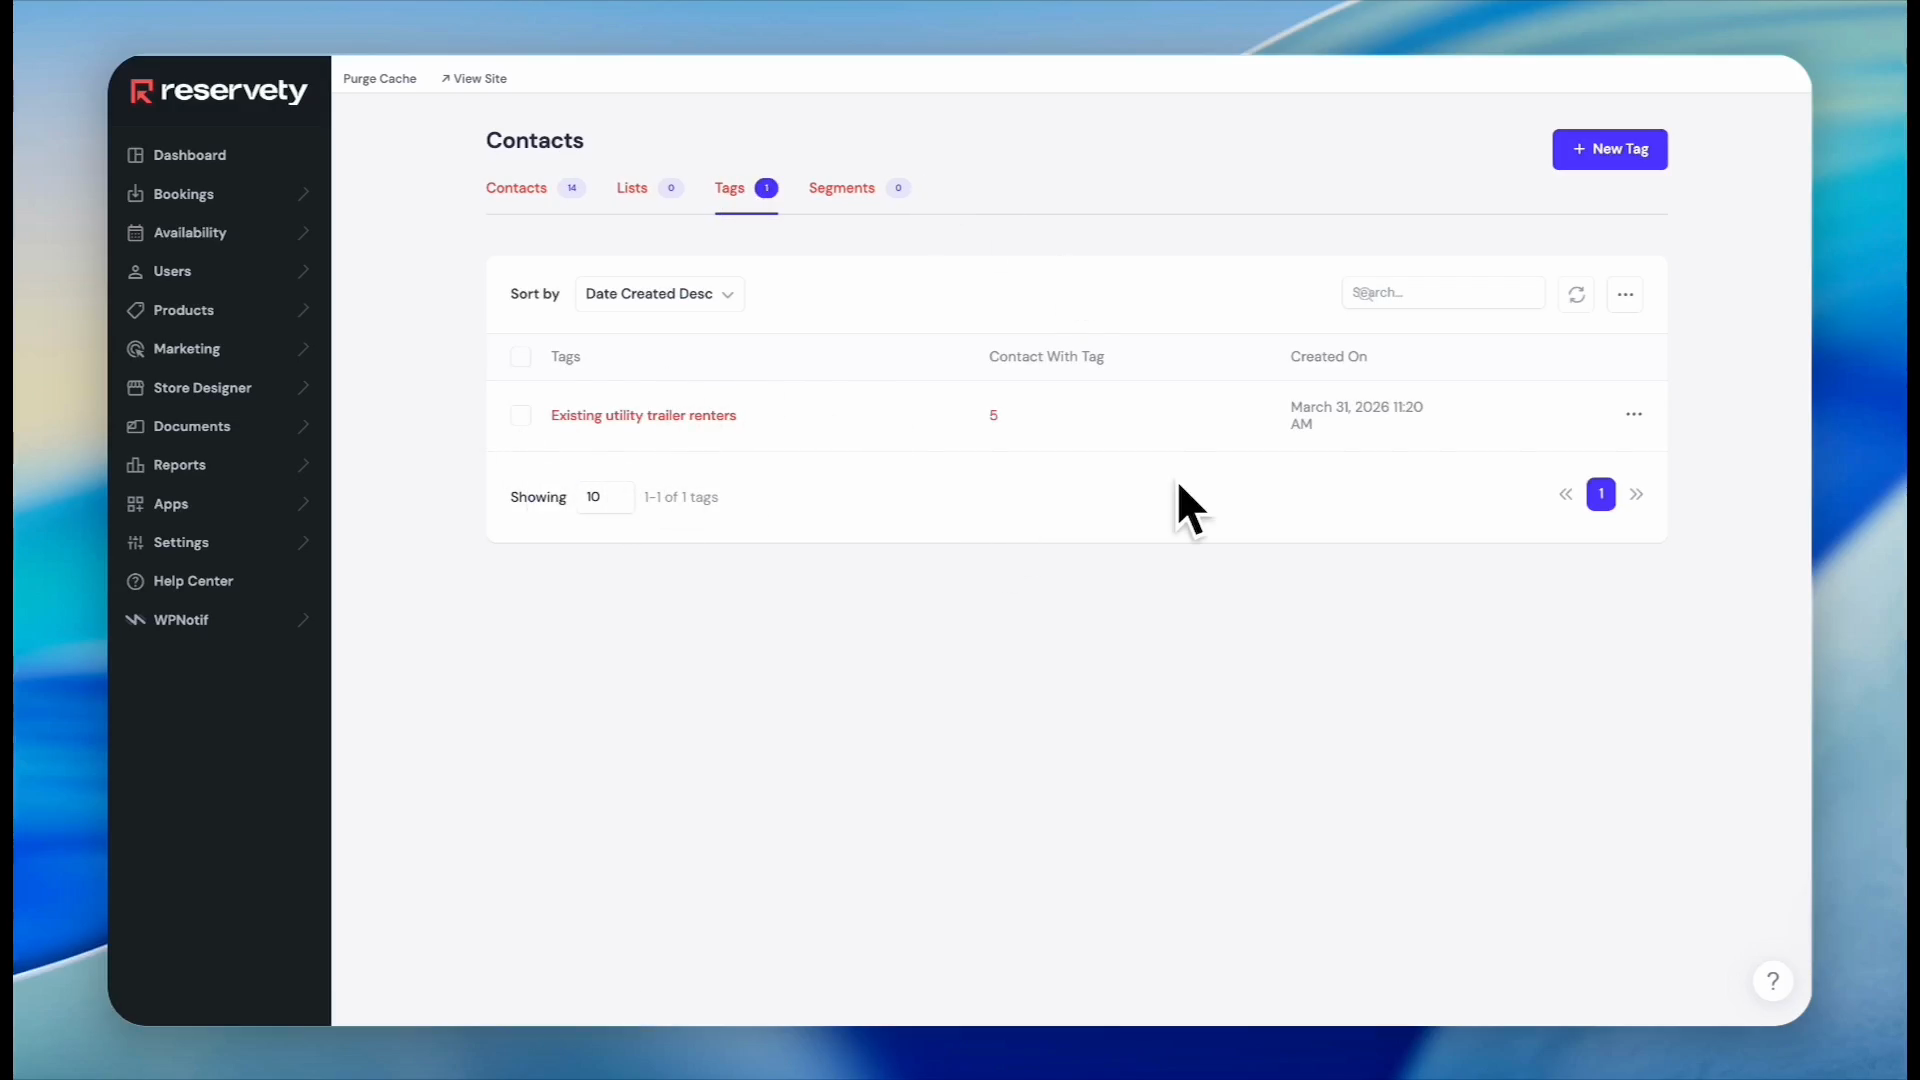
11
Navigate to the Tags tab and click + New Tag.
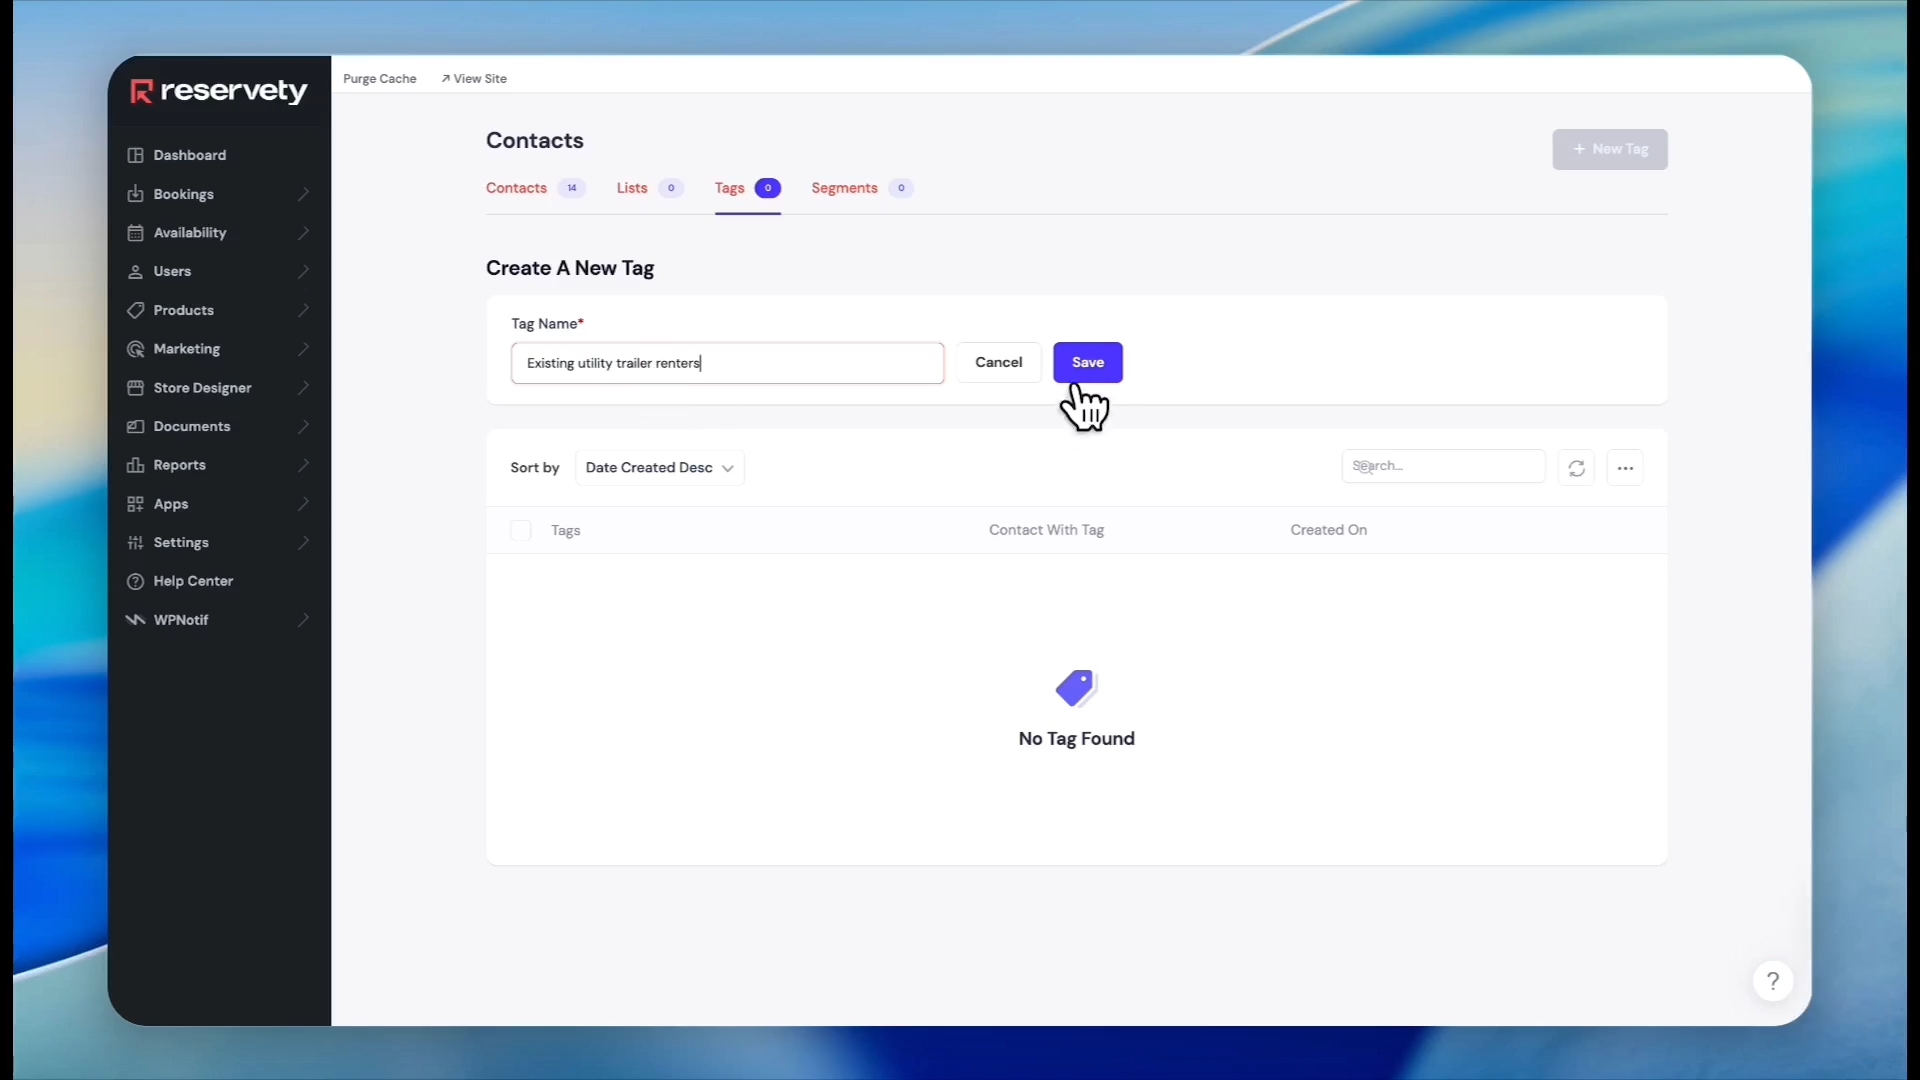
12
Click into the Tag Name field.
13
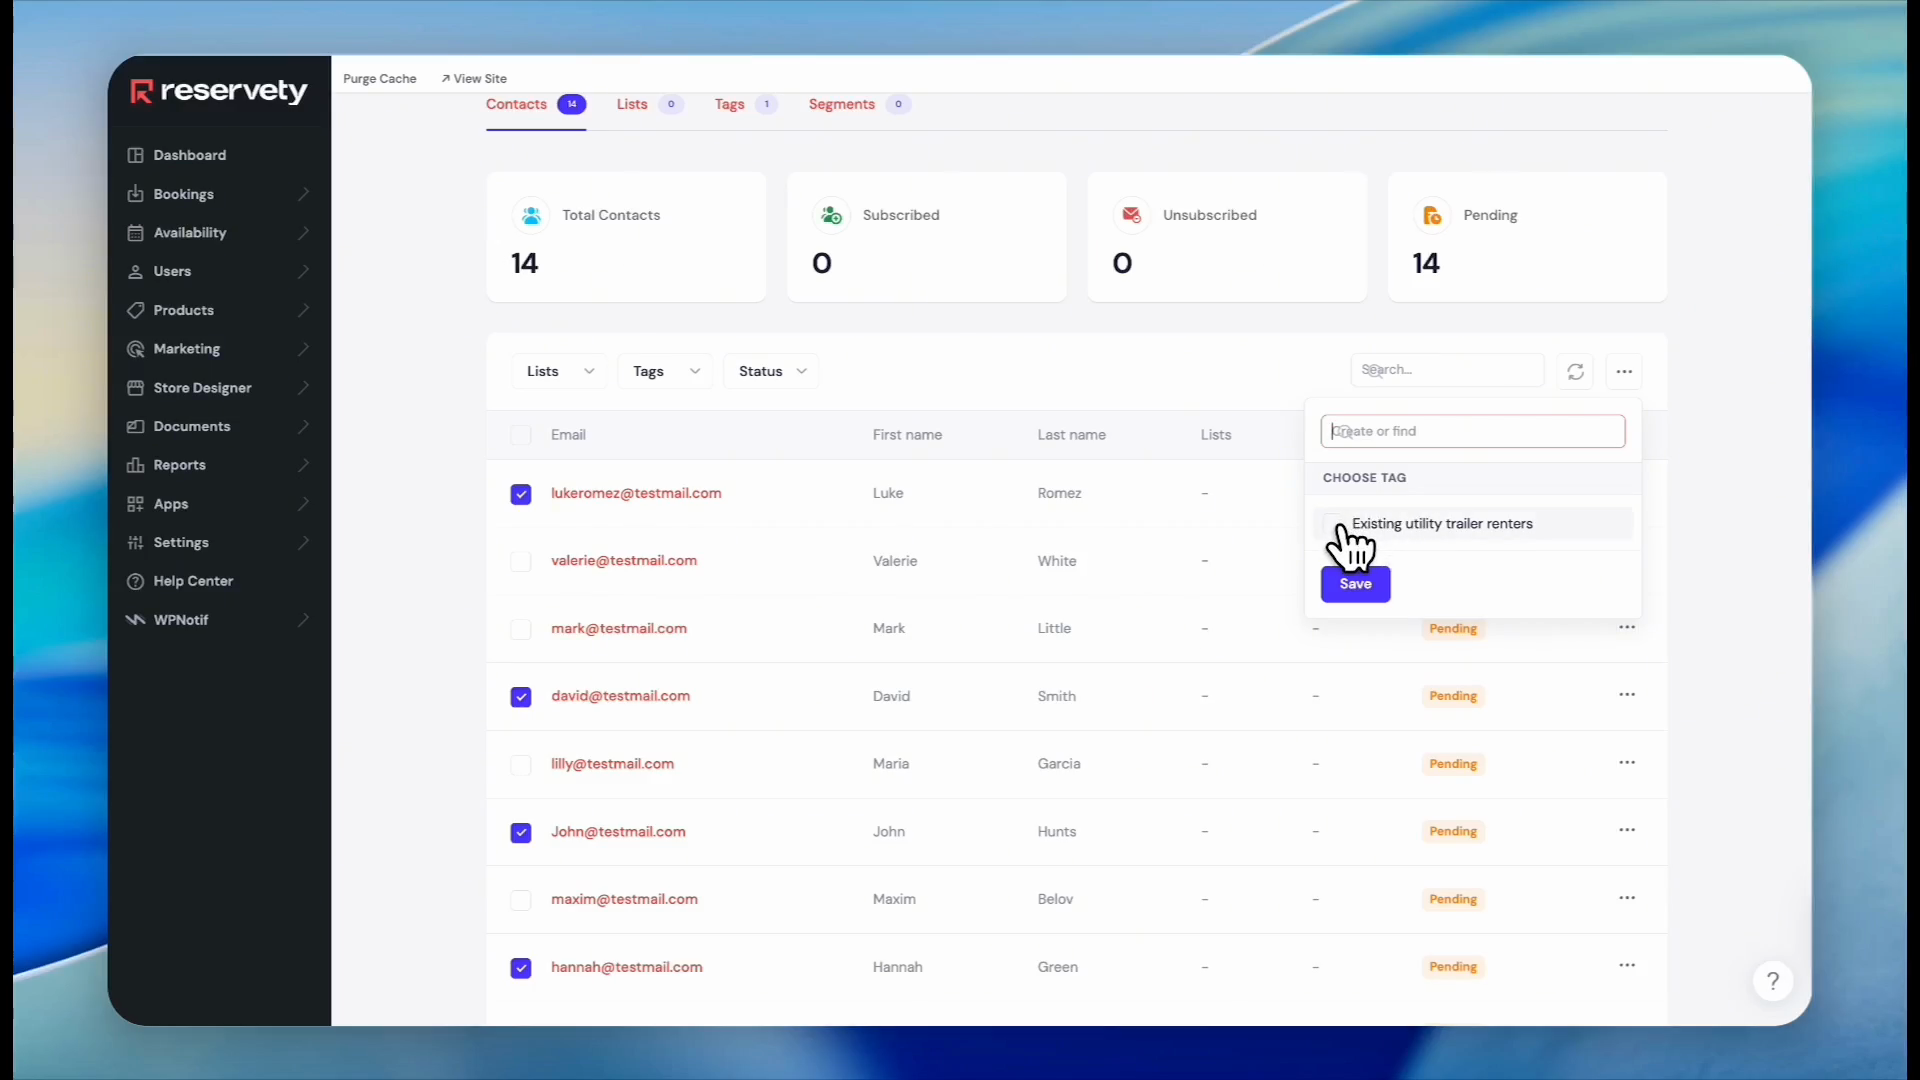
Type a descriptive name for your tag, such as "Existing utility trailer renters".
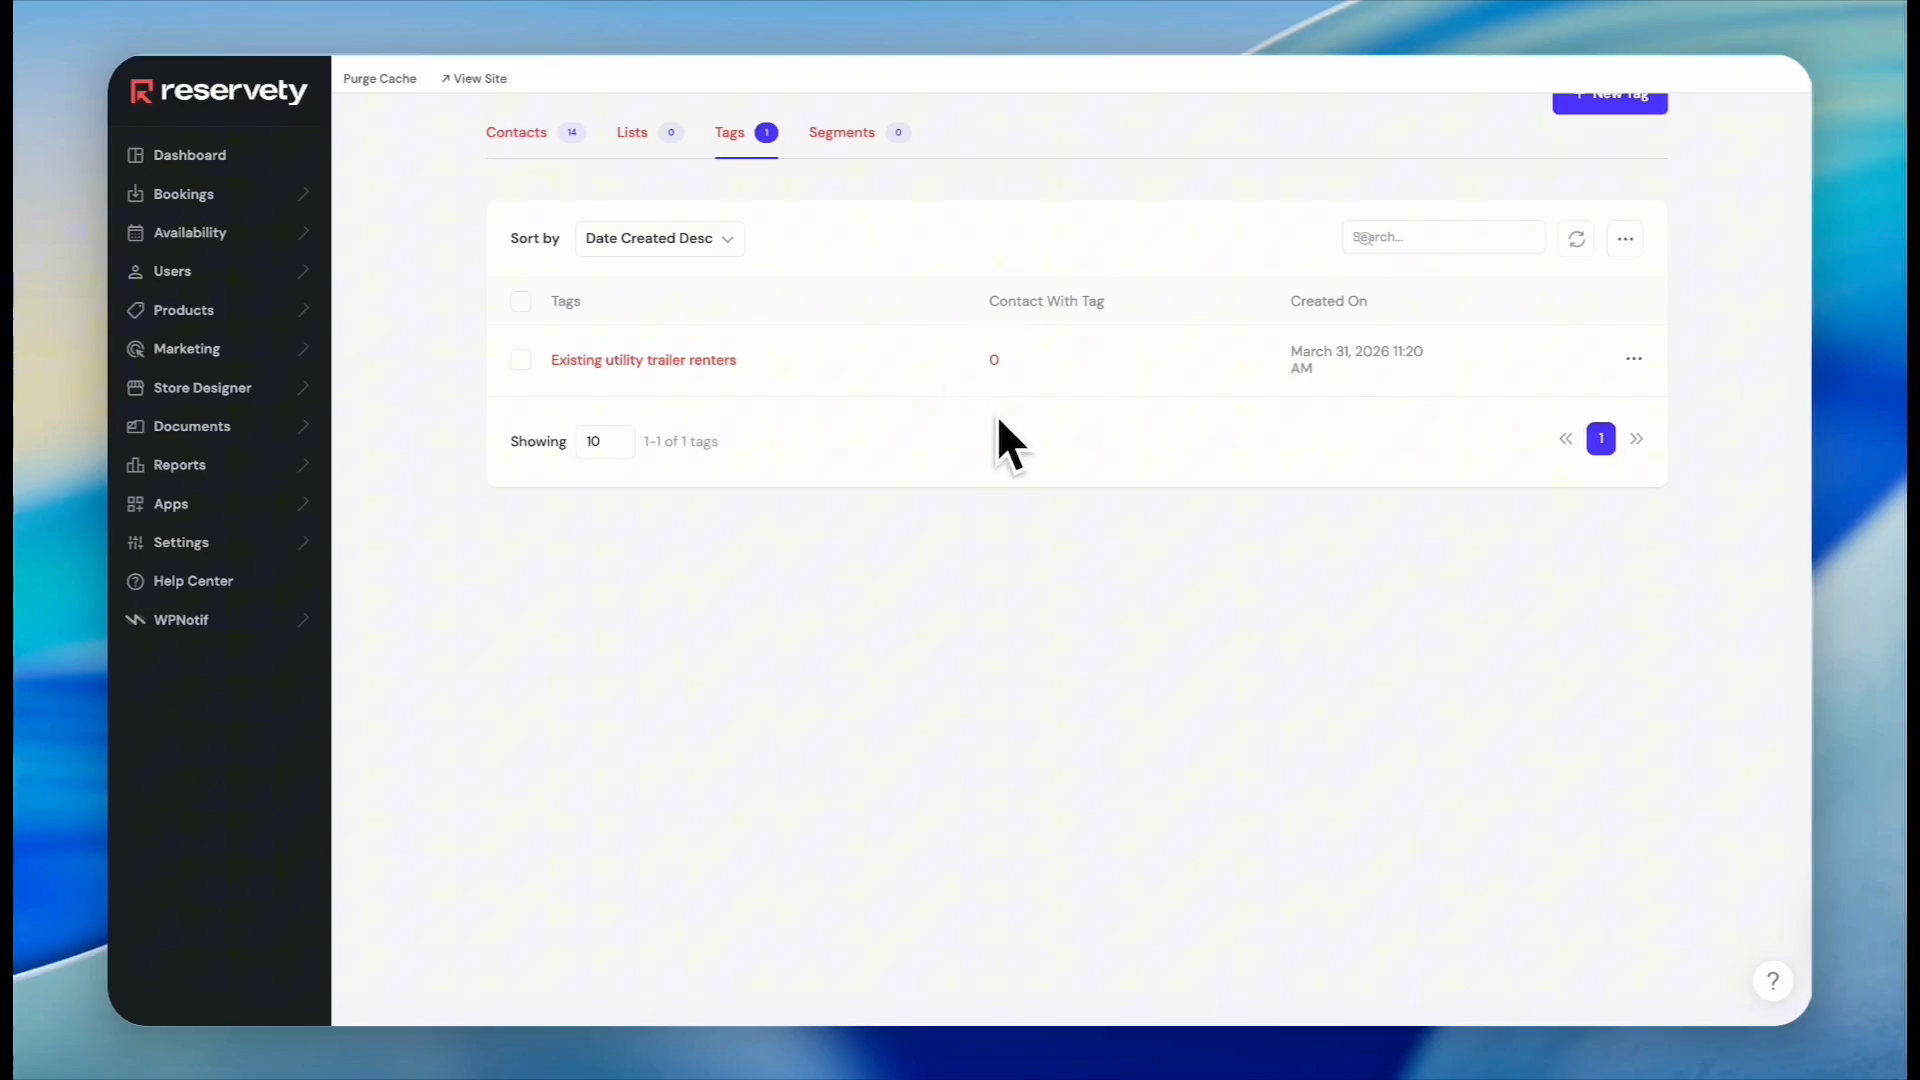
14
Click Save.
15
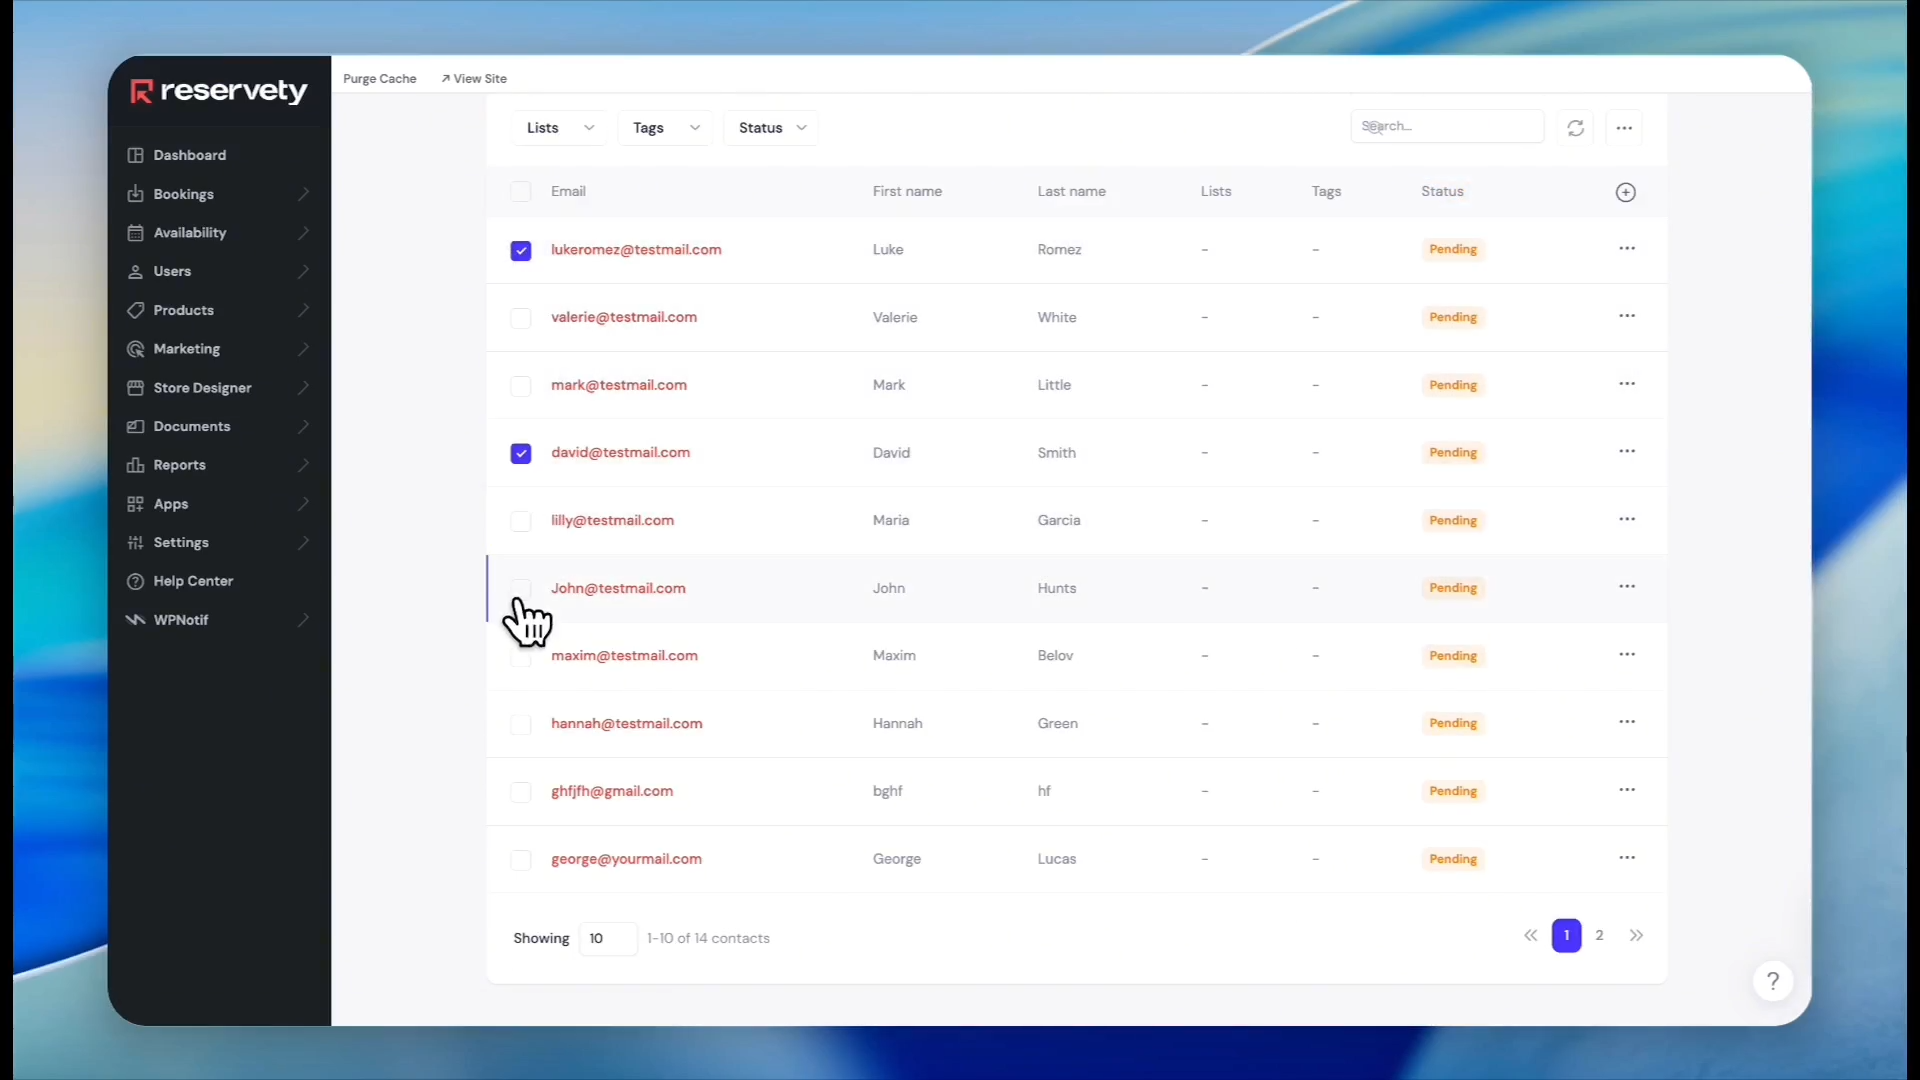
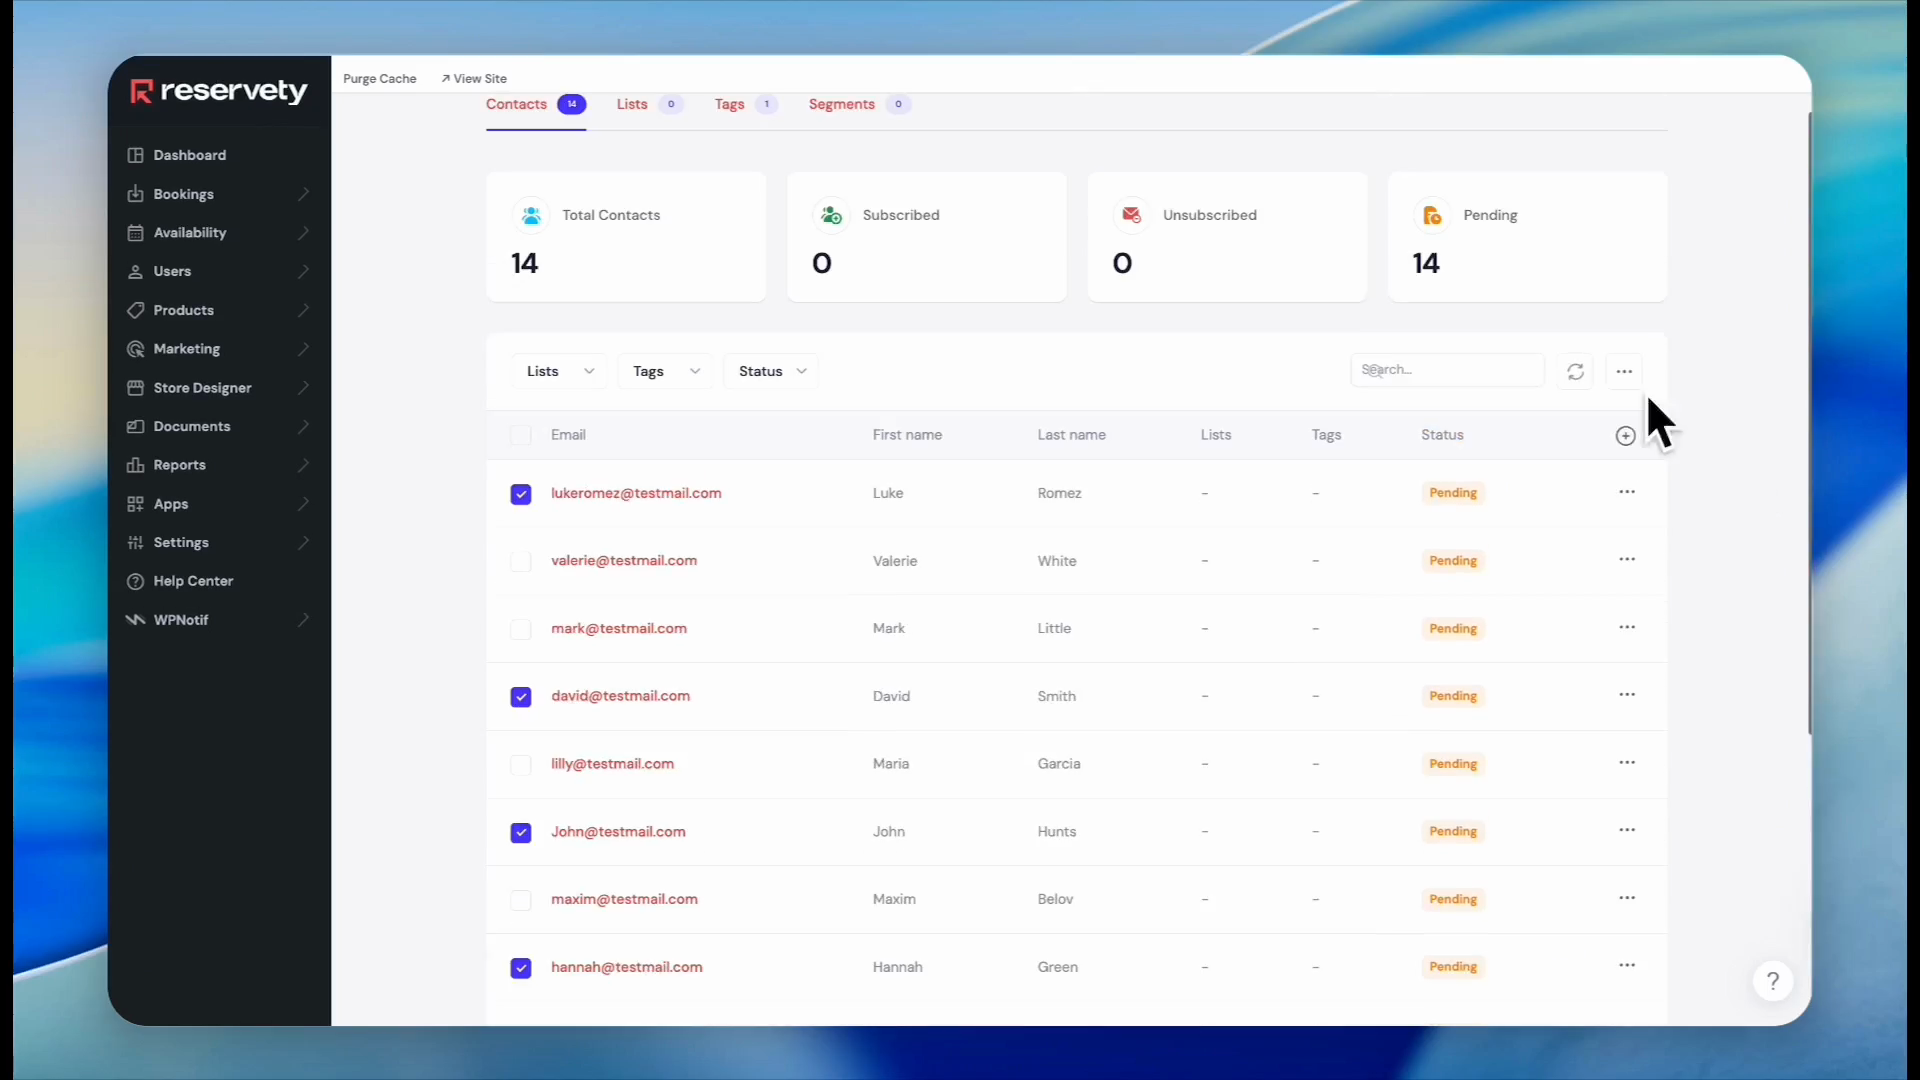
Navigate back to the Contacts tab.
16
Check the boxes next to all the contacts that should receive your new tag.
17
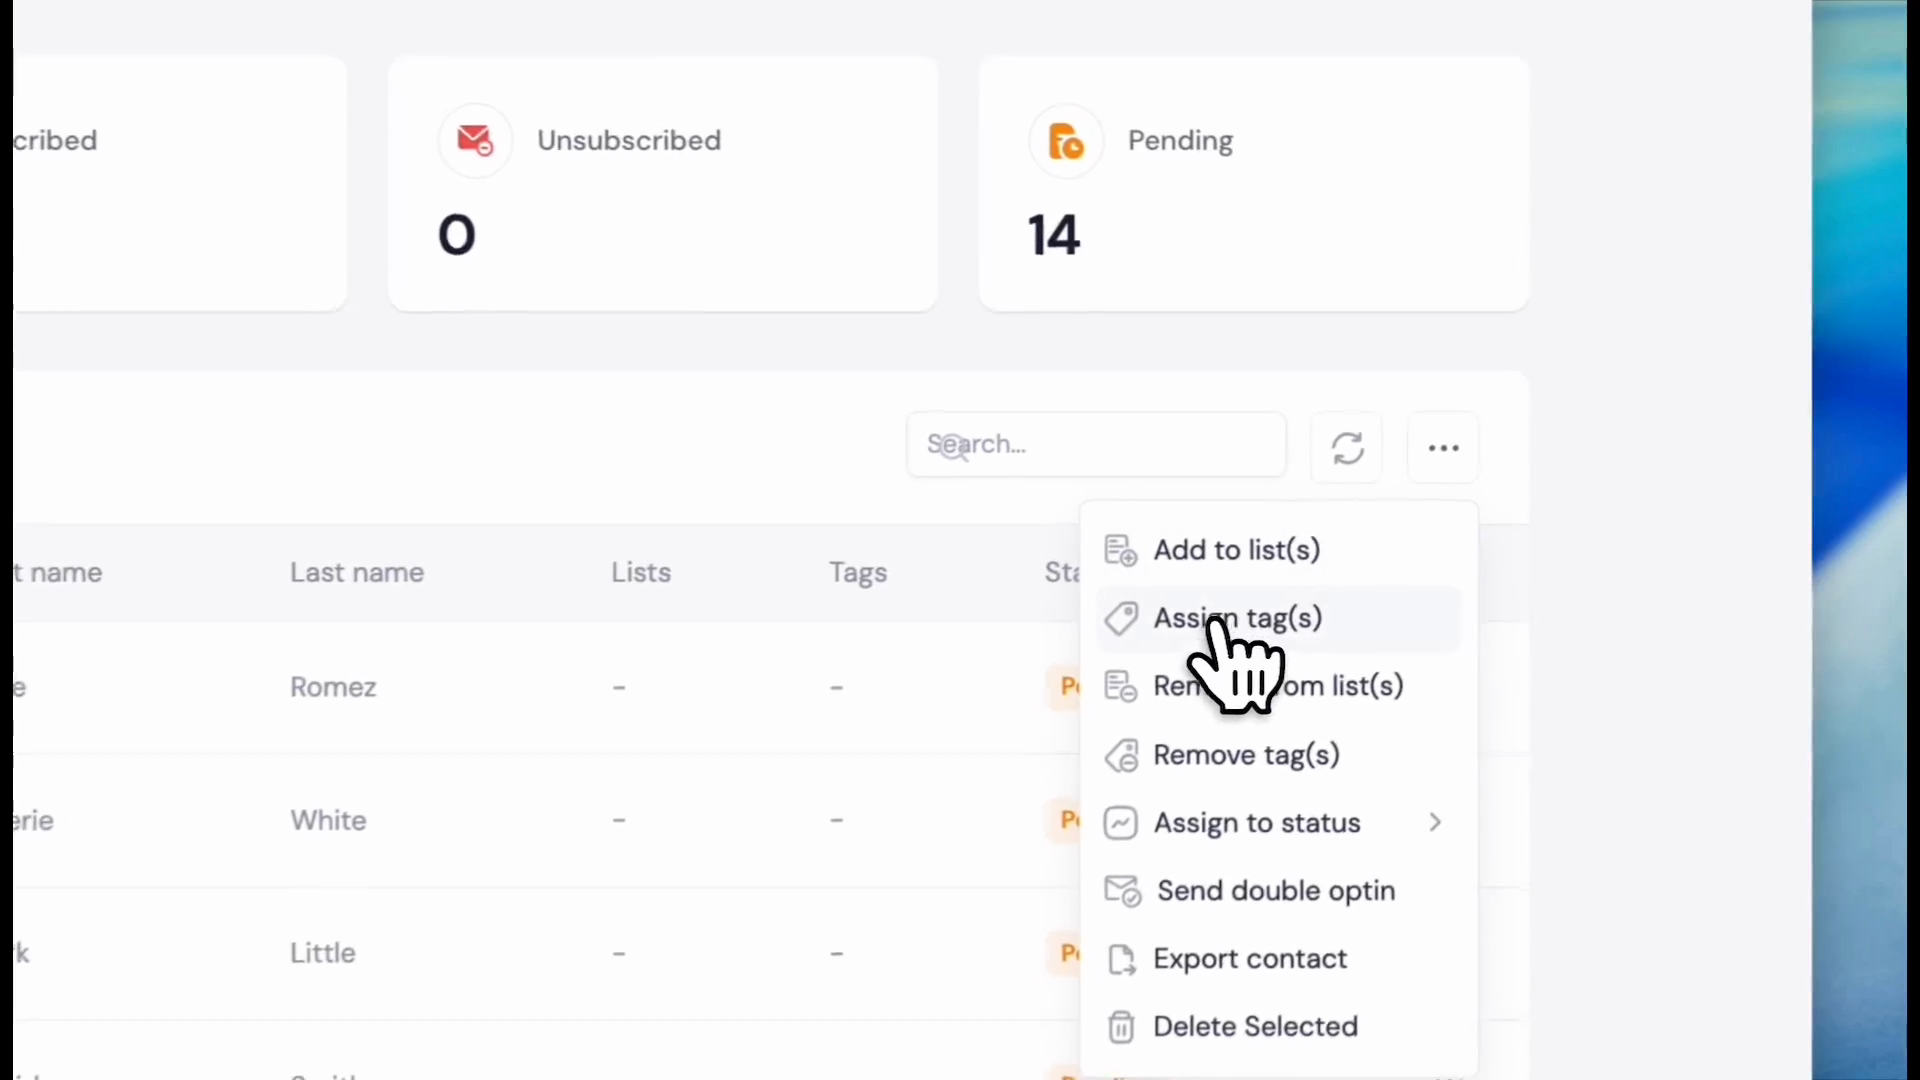
Click the three dots icon next to the search bar.
18
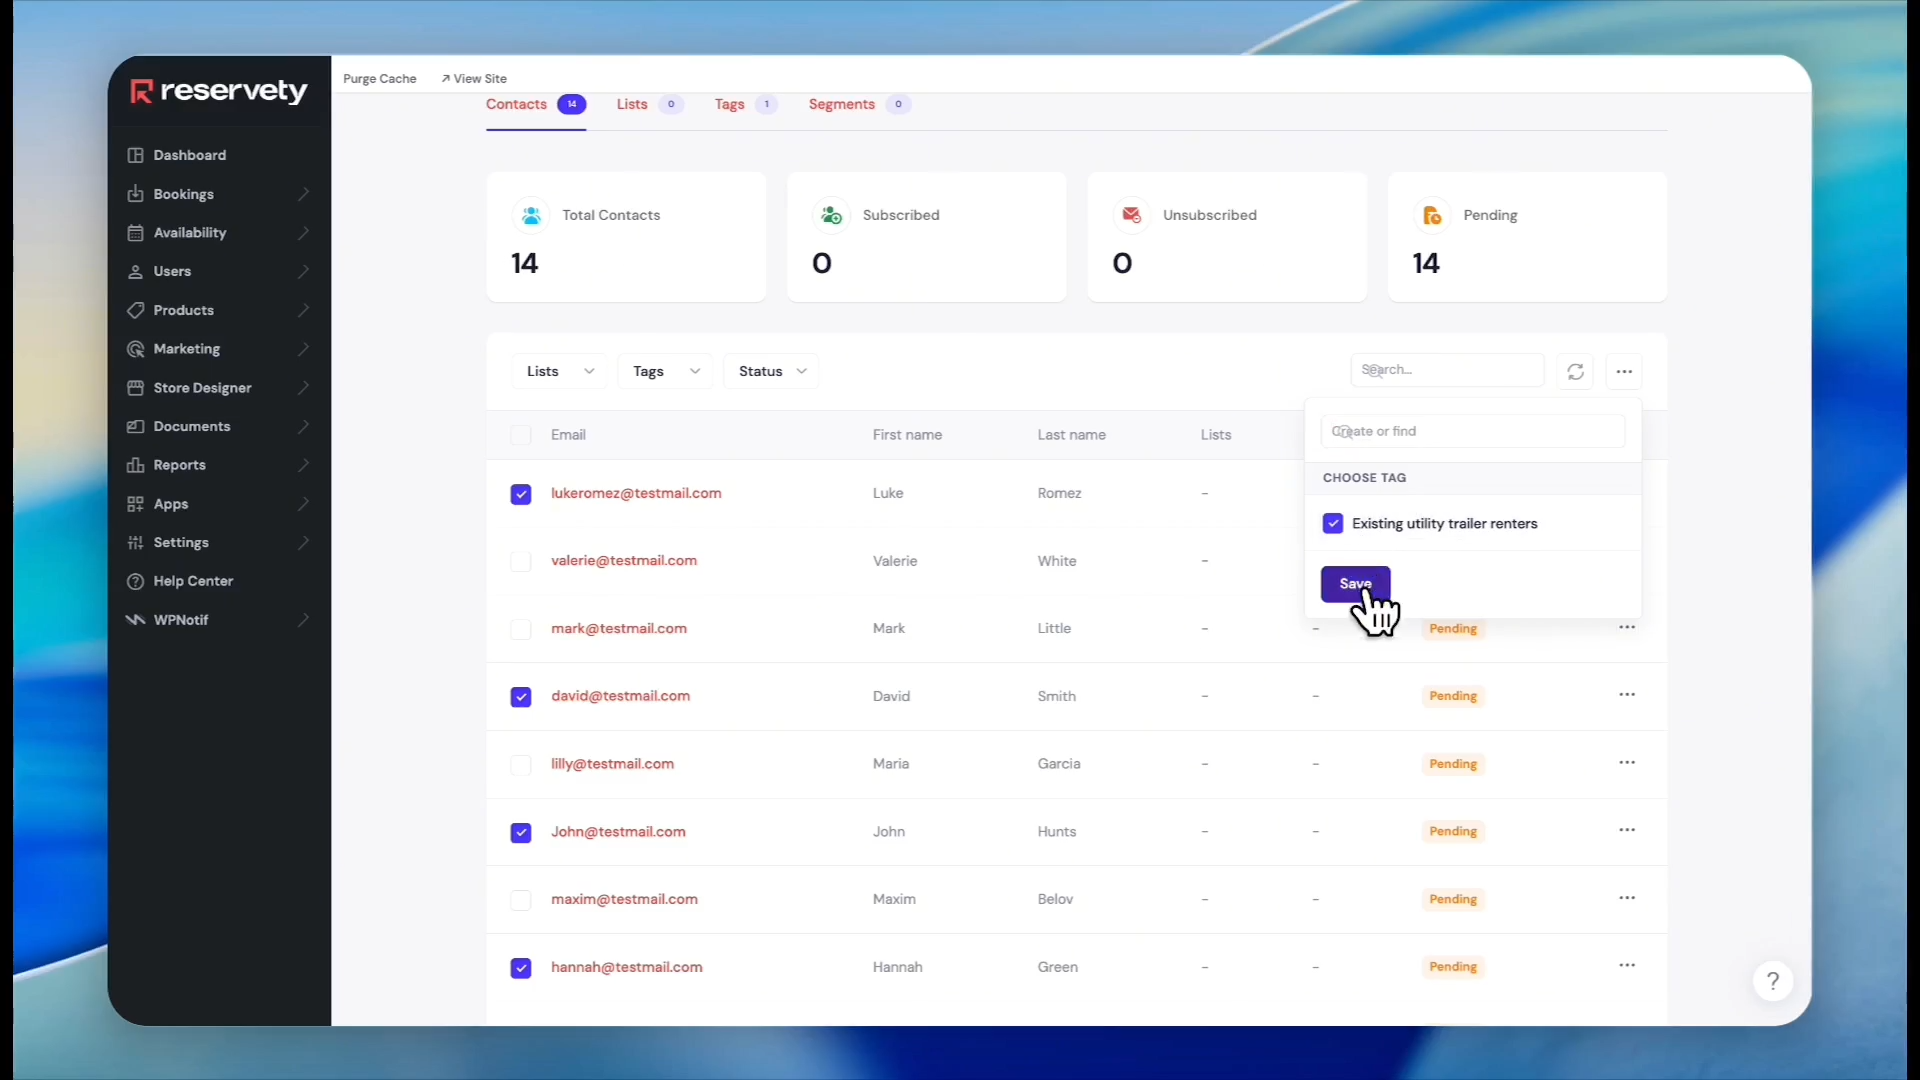
Click Assign tag(s).
19
Select the tag you just created from the list.
20
Click Save to apply the tag to the selected users.
With your contacts successfully tagged, create the segment rule.
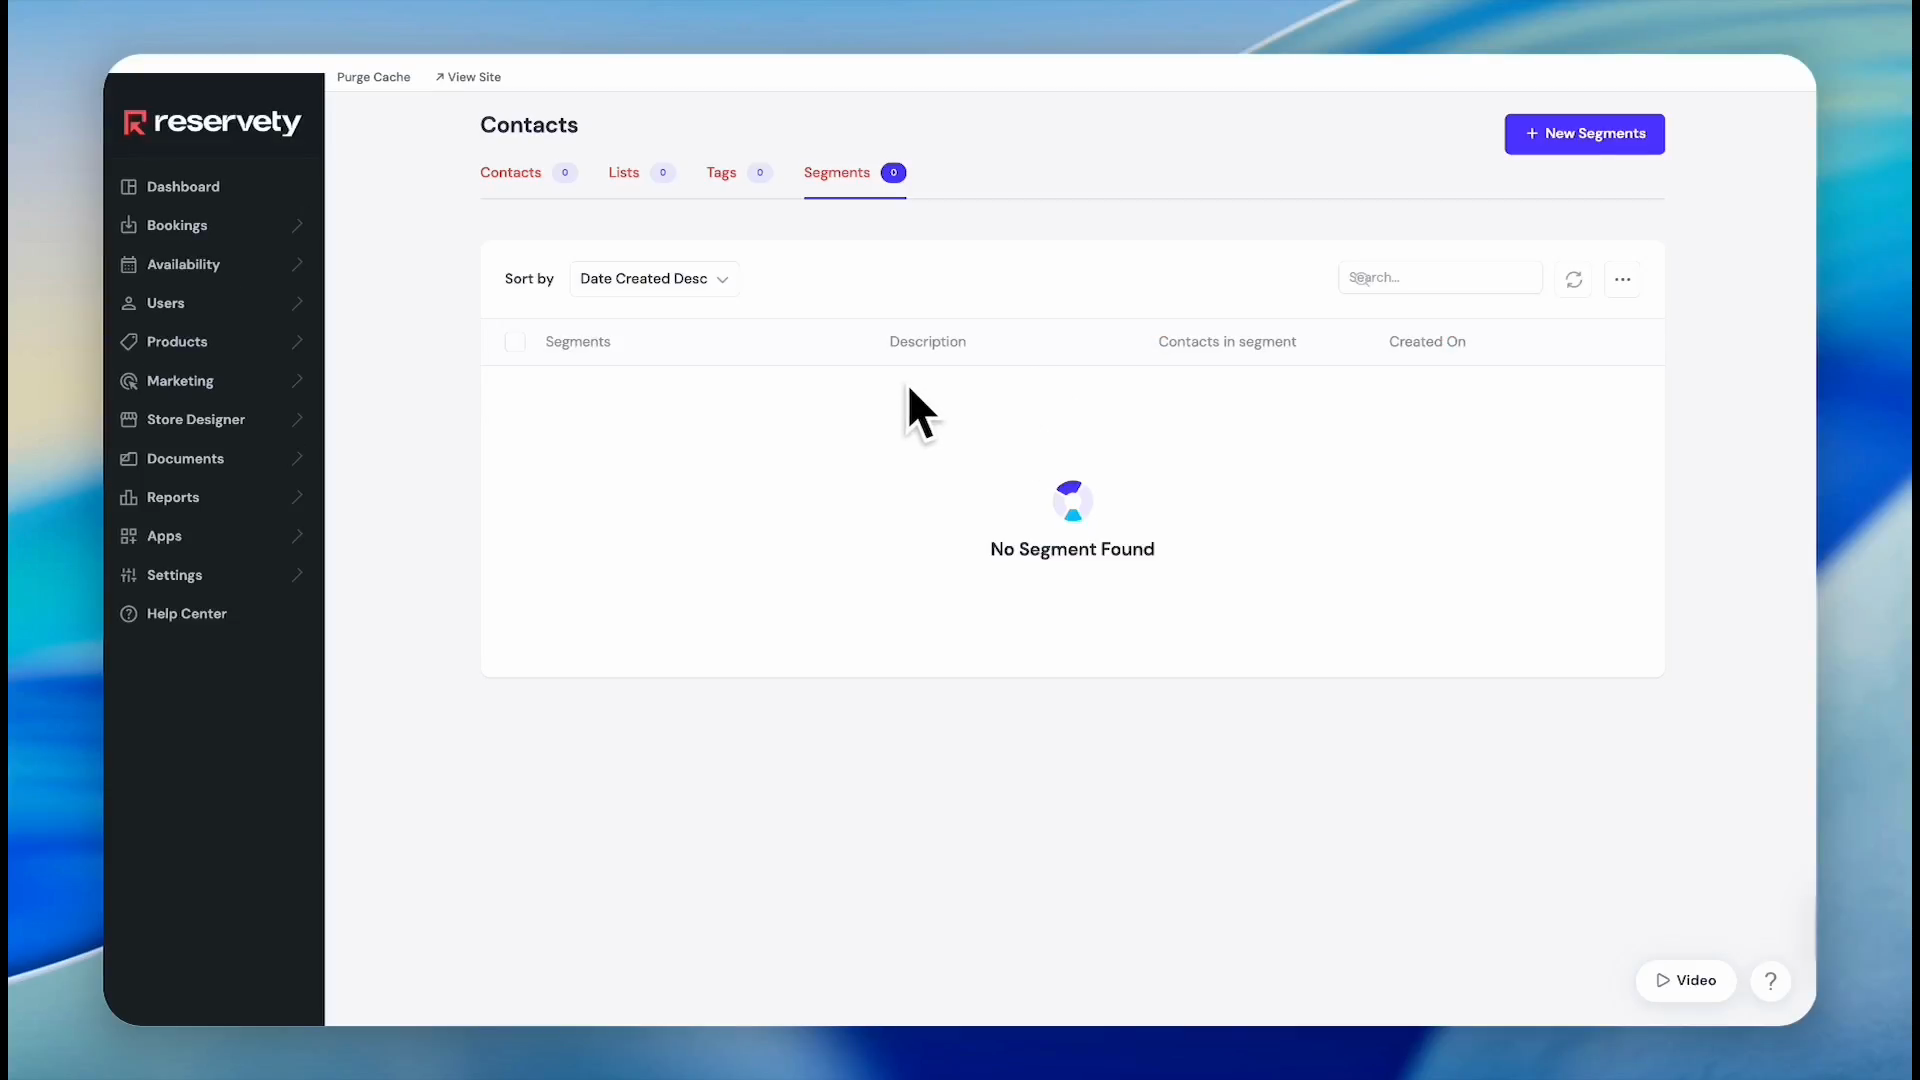
21
Click the Segments tab.
22
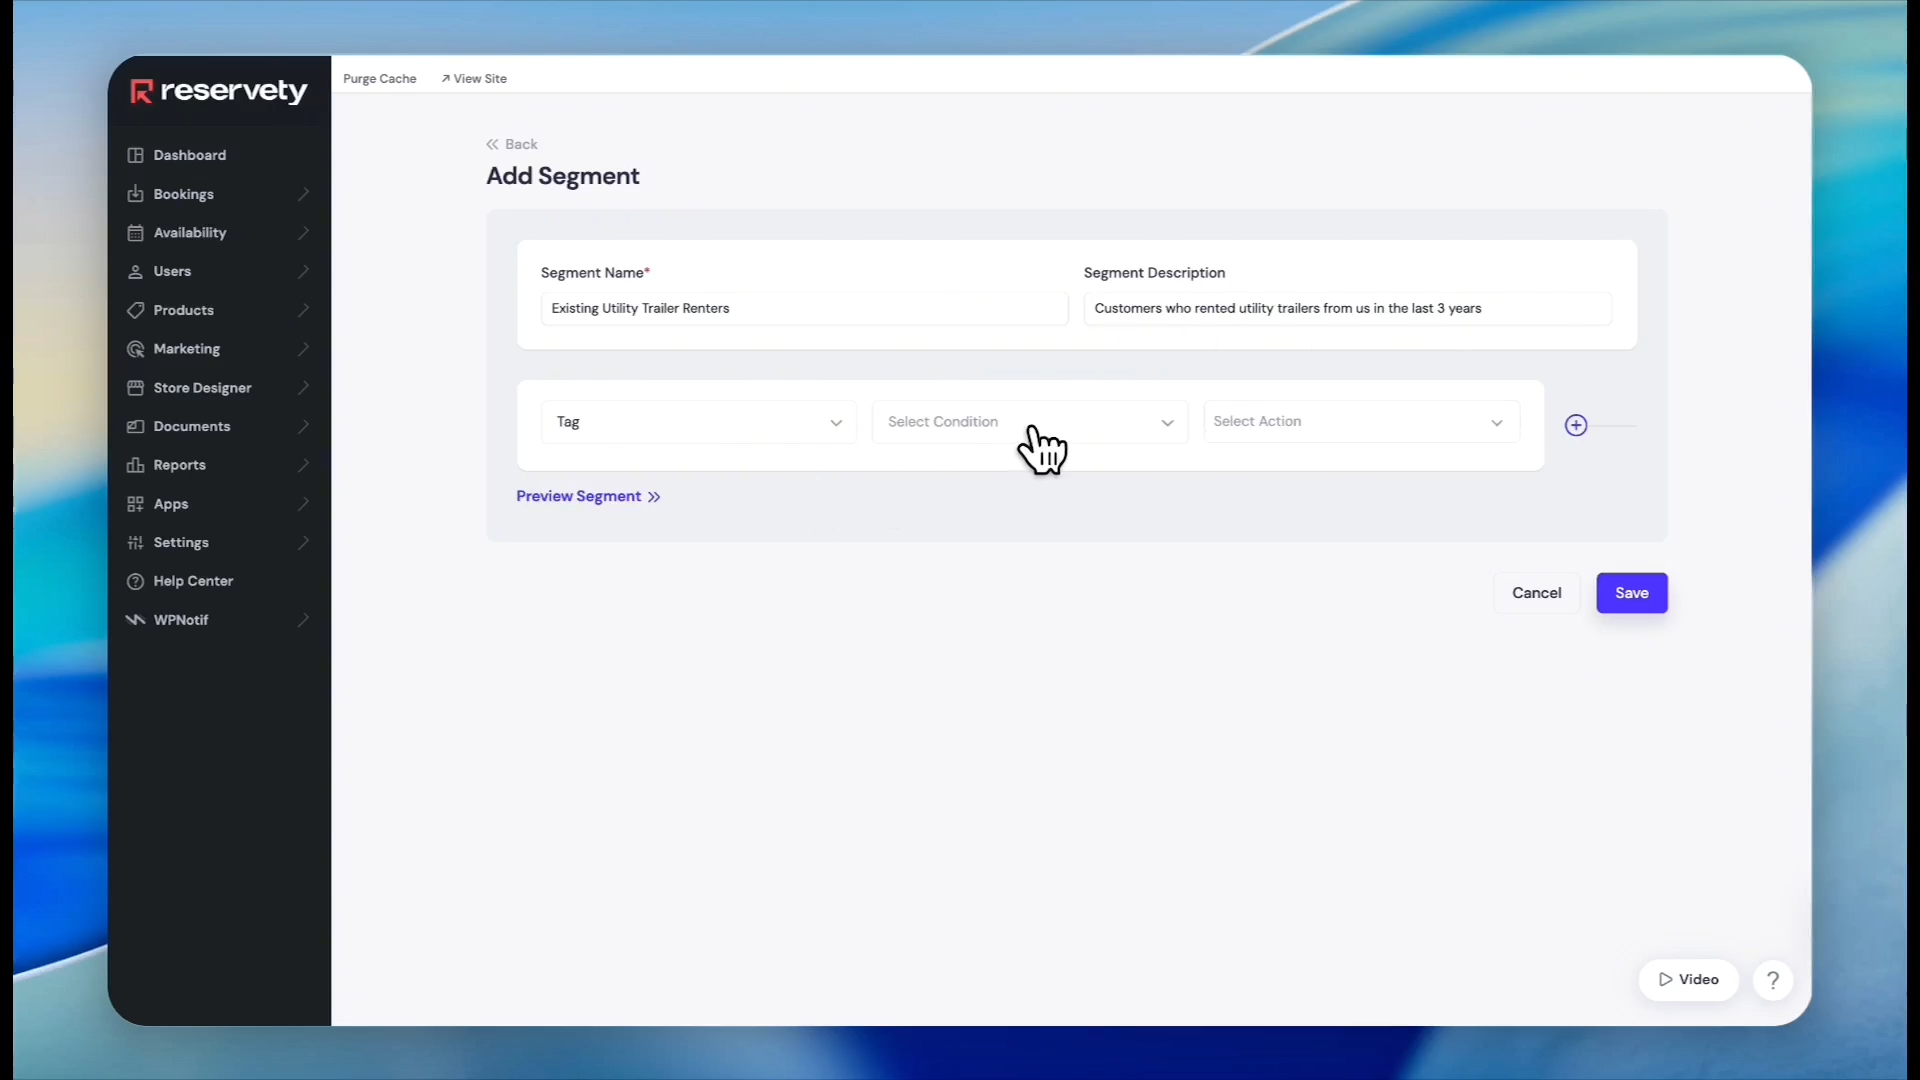
Click + New Segments.
23
Type a name for your new segment.
24
Enter a brief description explaining the segment criteria.
25
Click the Select Field Type dropdown menu.
26
Click Contact Segment.
27
Click Tag to base the segment on contact tags.
28
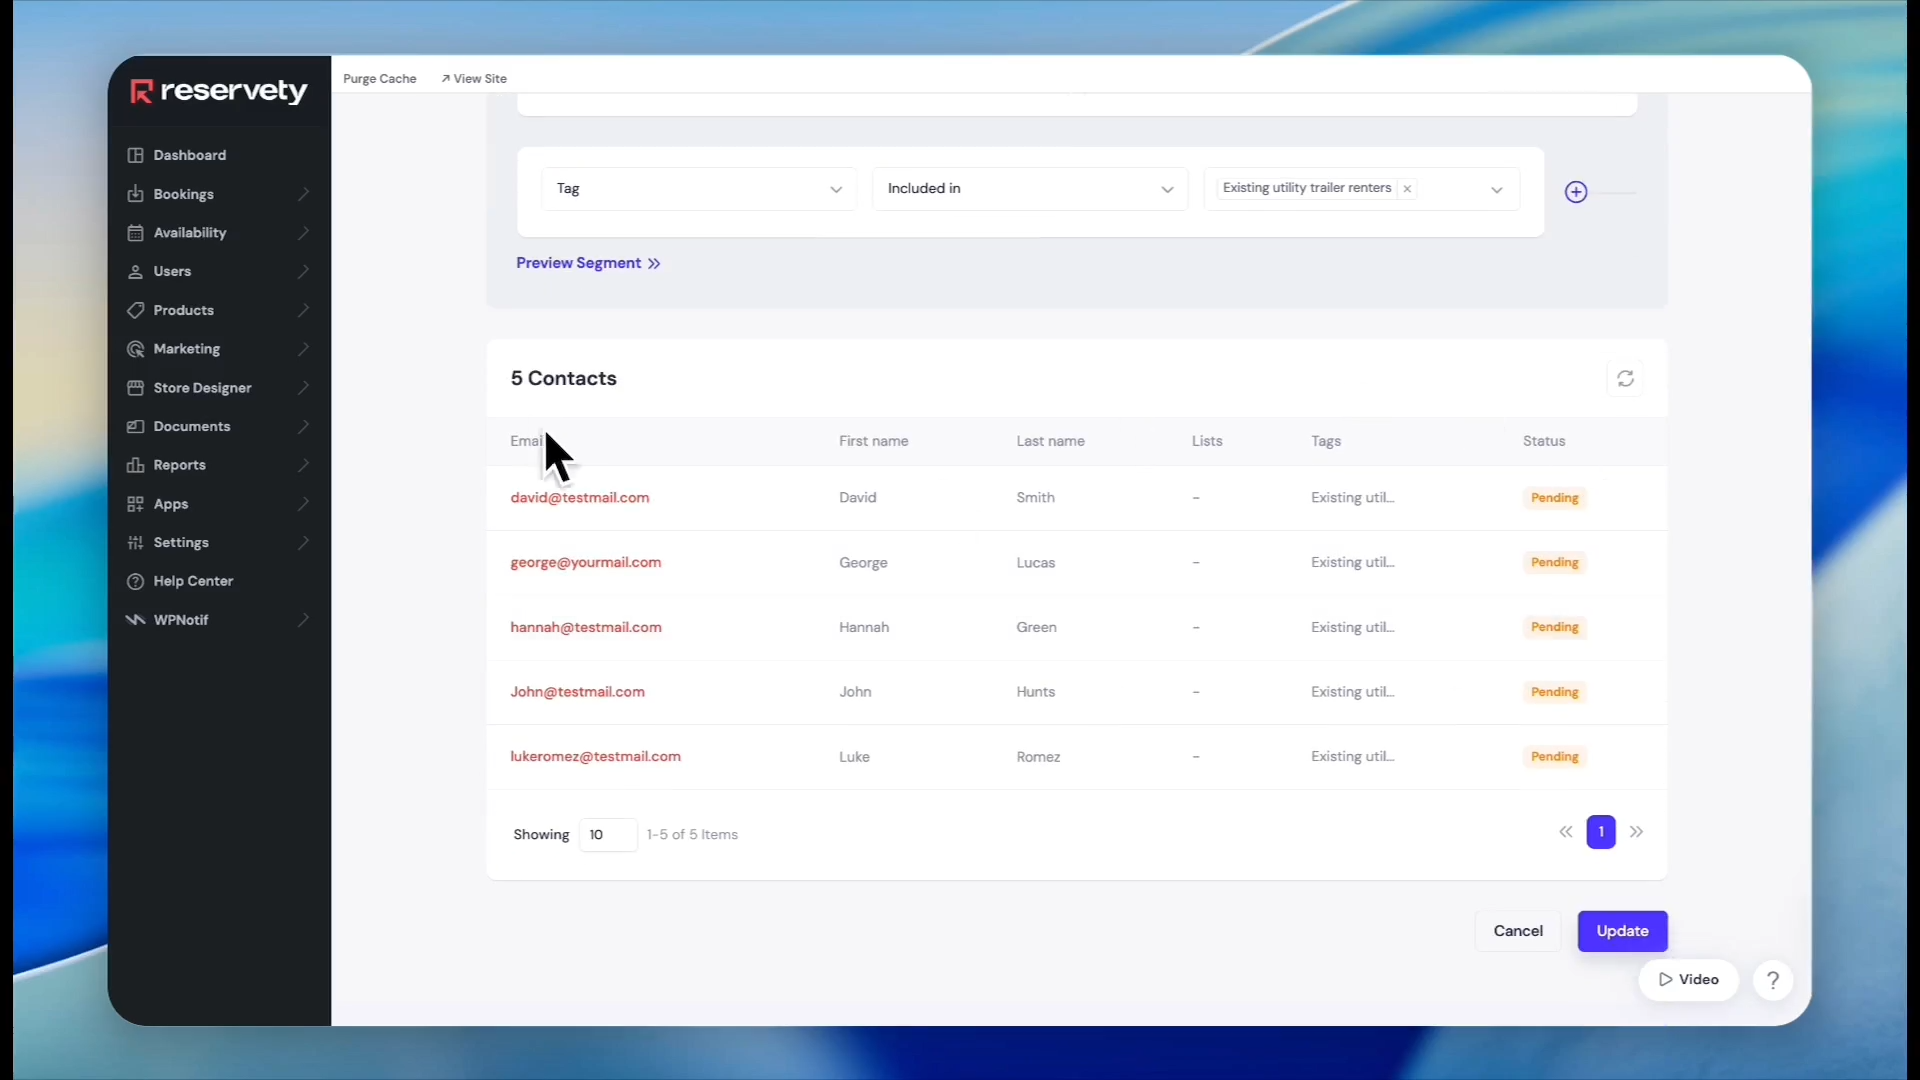
Click the Select Condition dropdown menu.
29
Select Included In.
30
Click the Select Action dropdown menu.
31
Check the box next to your newly created tag.
32
Click Save to create the segment.
33
Click Preview Segment to verify that the correct contacts are captured by your criteria.
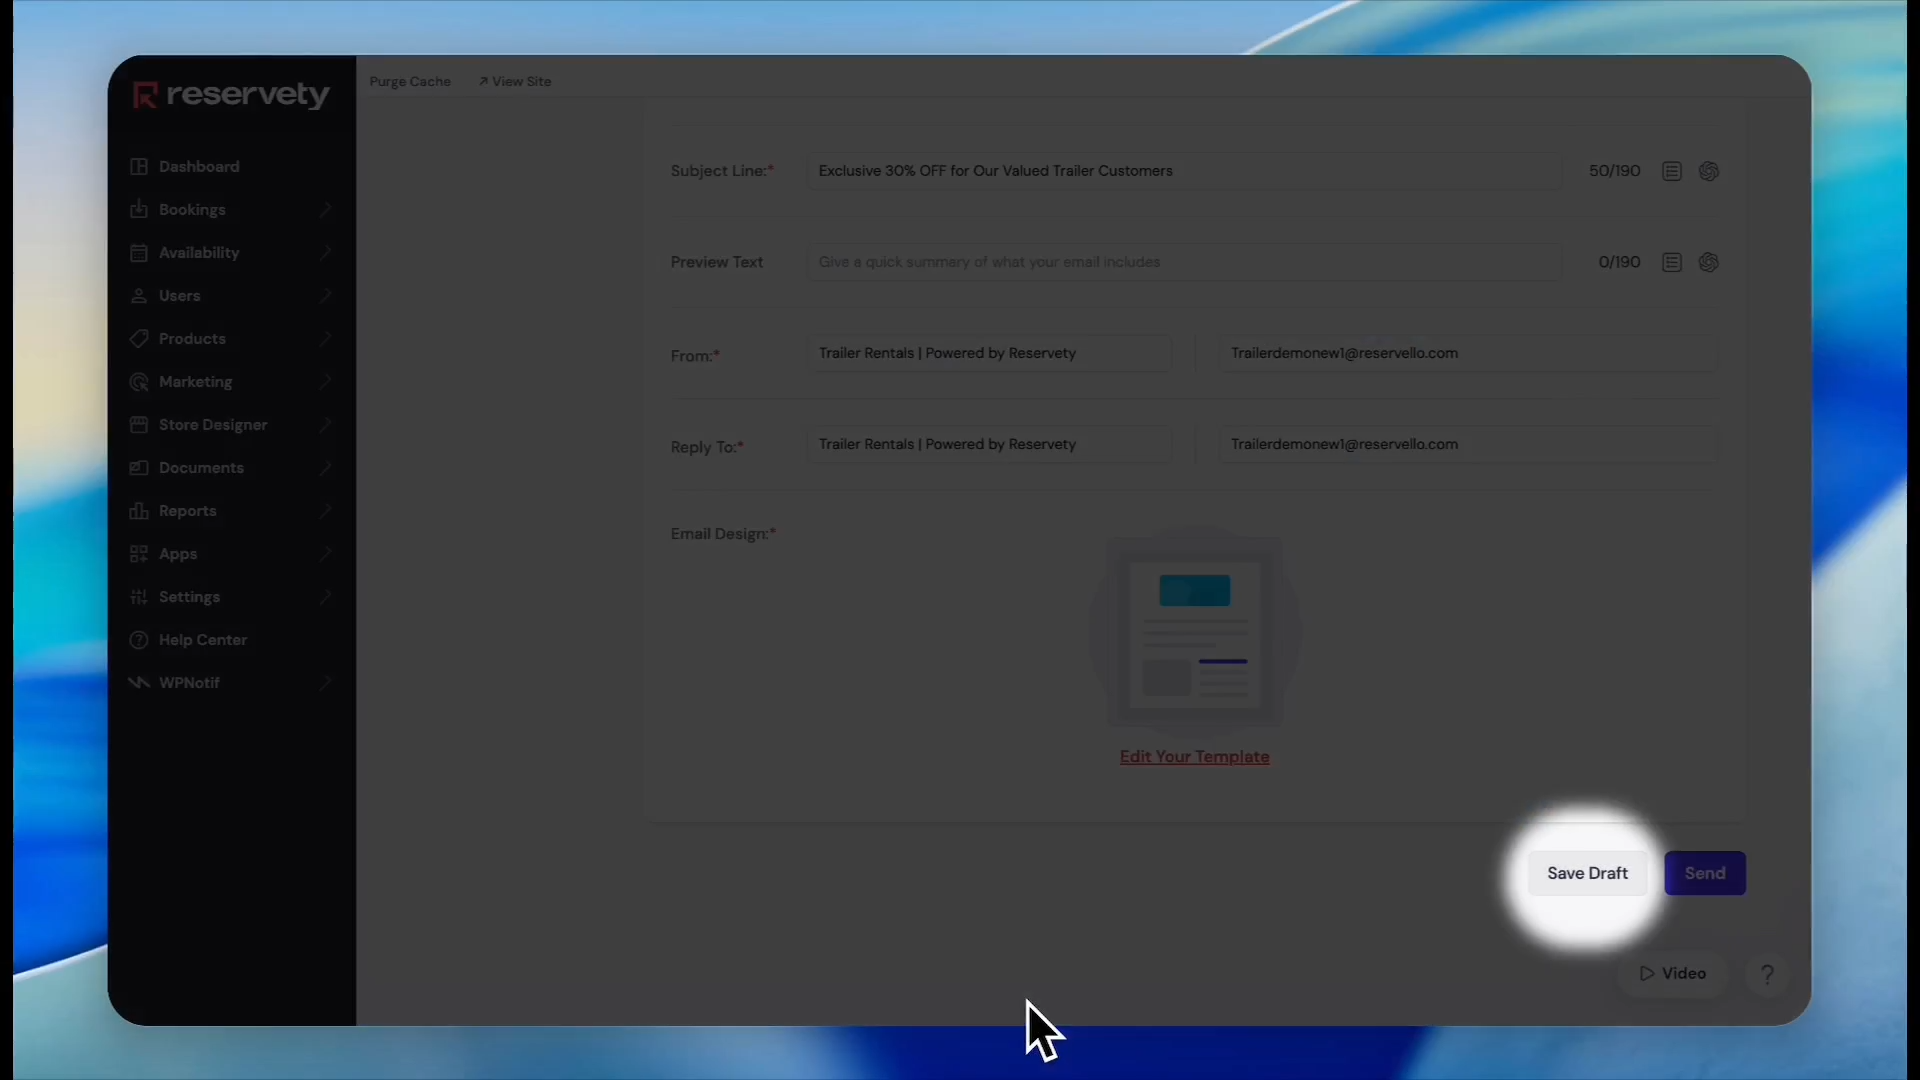
Building a Segmented Campaign
With your segment defined, you can now structure an email campaign directed strictly to those contacts.
34
Click Campaigns in the main navigation menu. Then, click Add Campaign.
Enter a title for your campaign and an engaging subject line for the email.
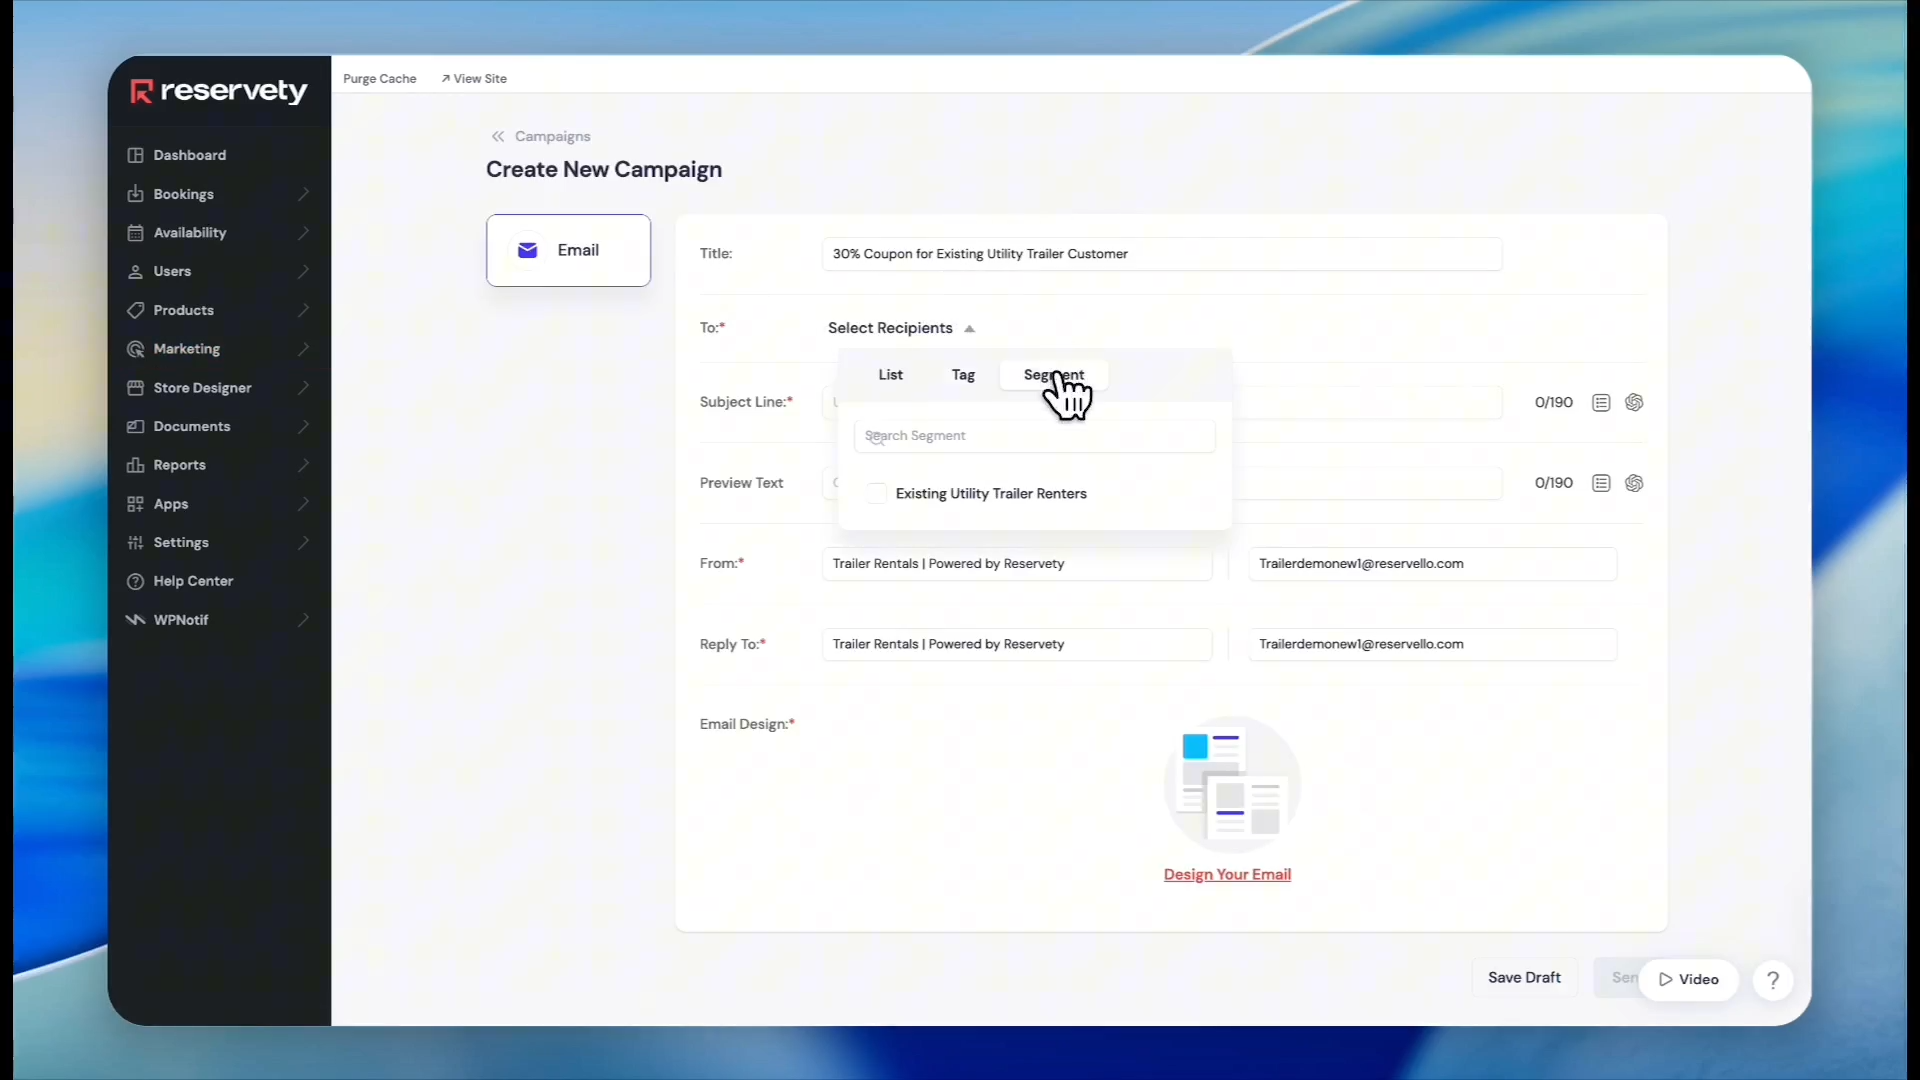
35
Click the Select Recipients dropdown menu and choose the Segment tab.
36
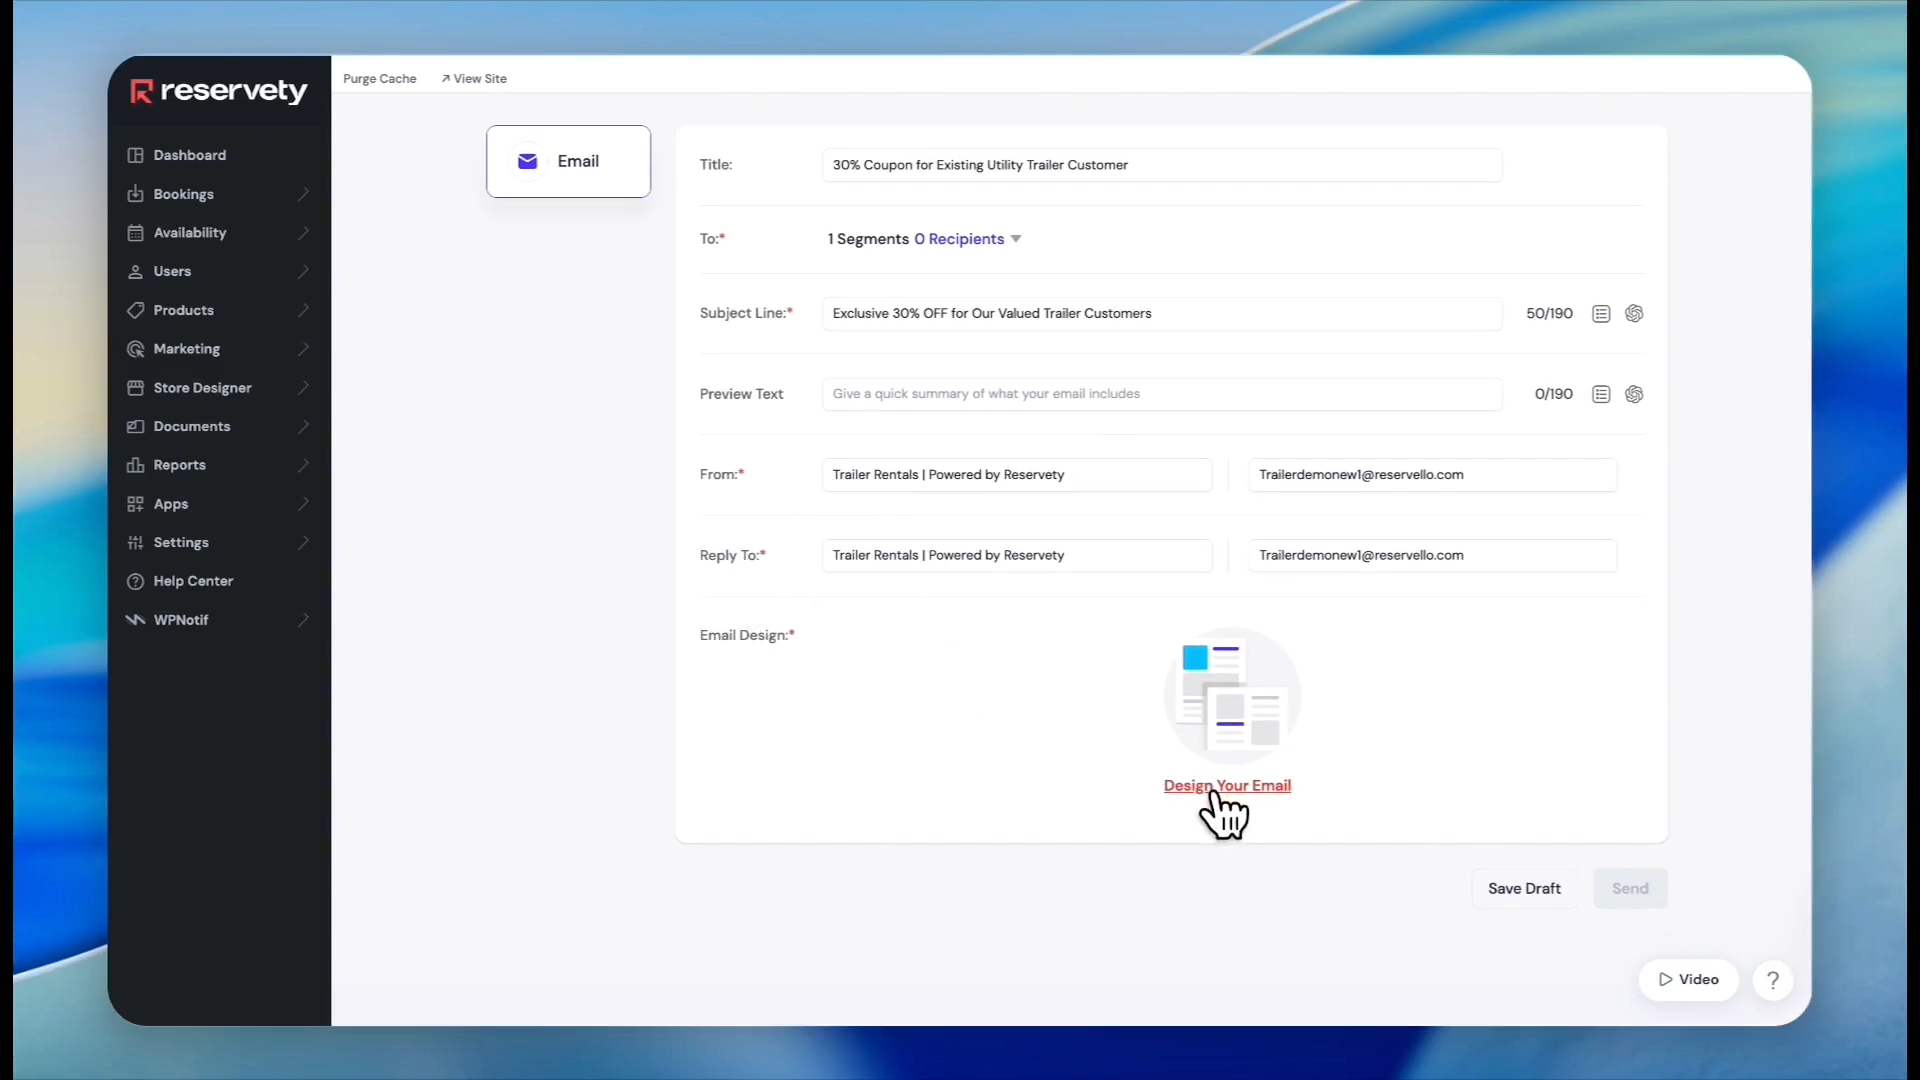
Select the segment you built in the previous step.
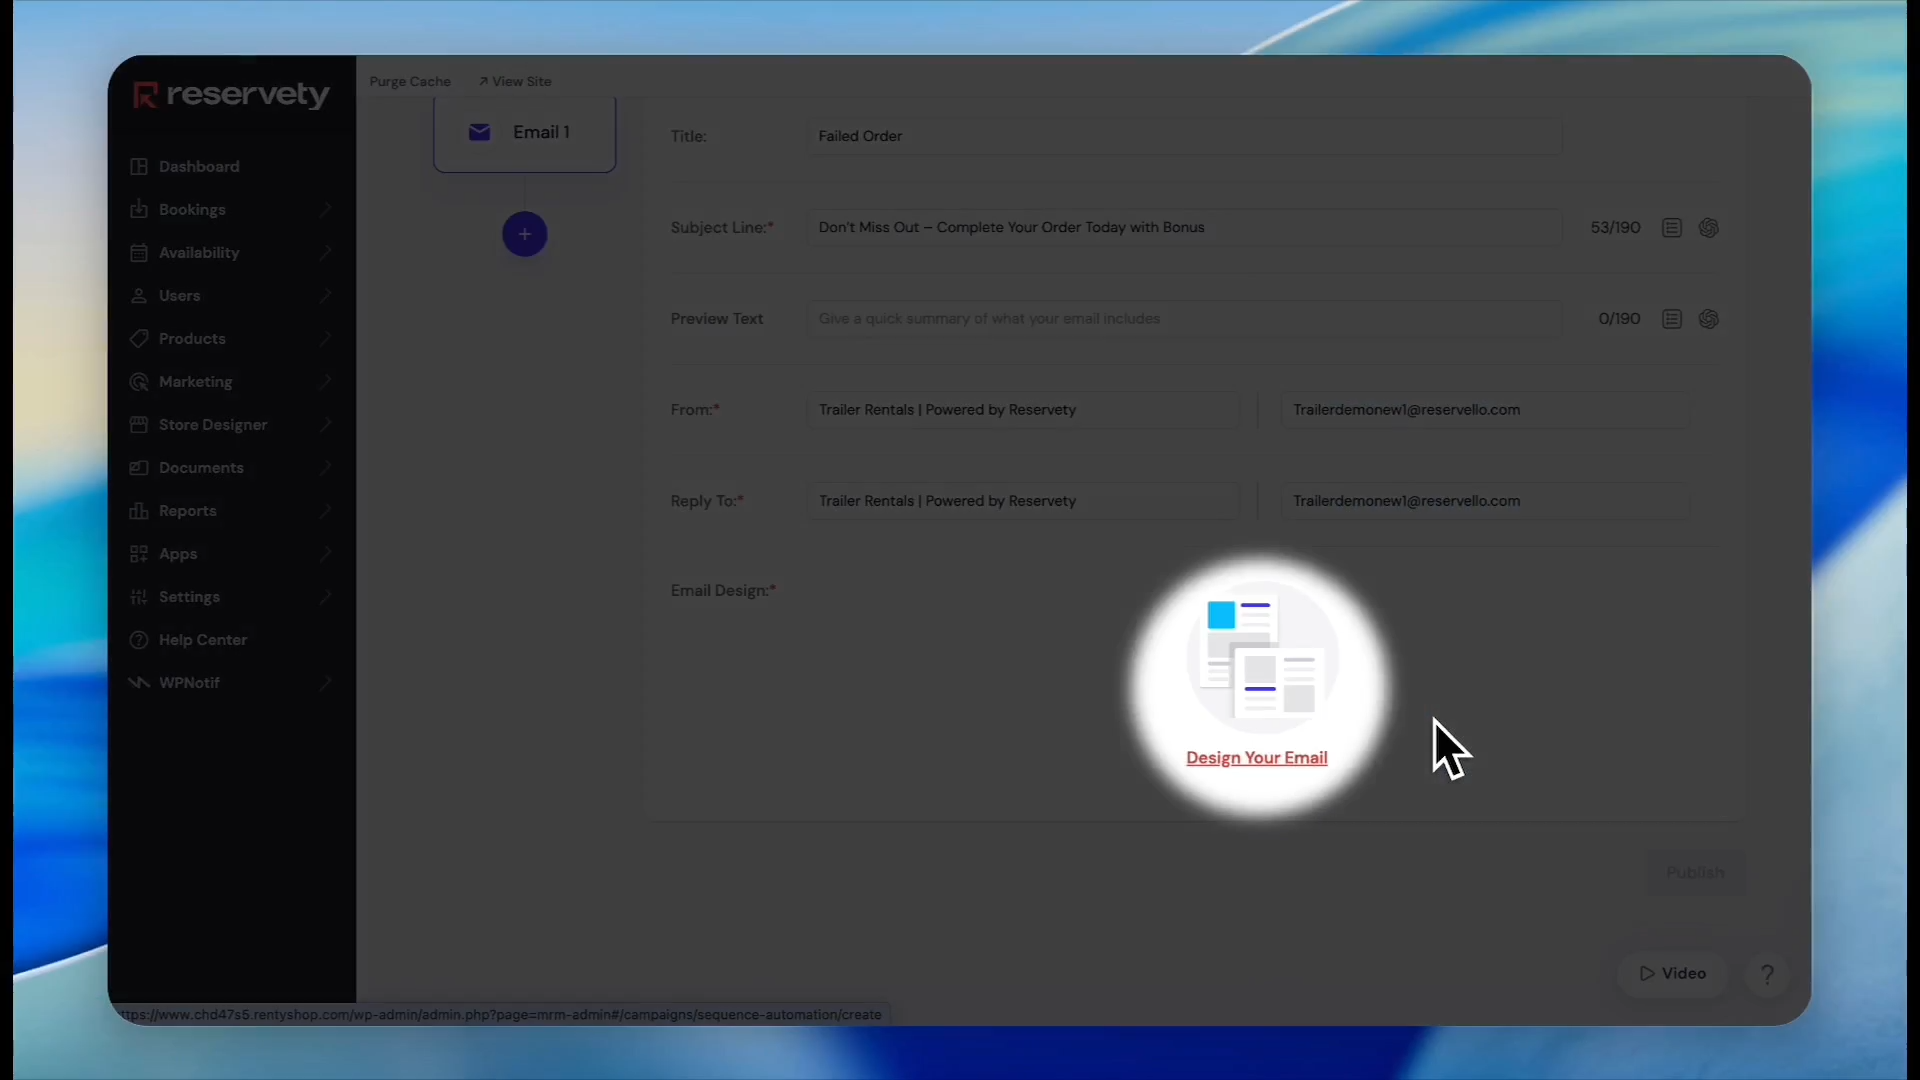
37
Click Design Your Email to open the template builder.
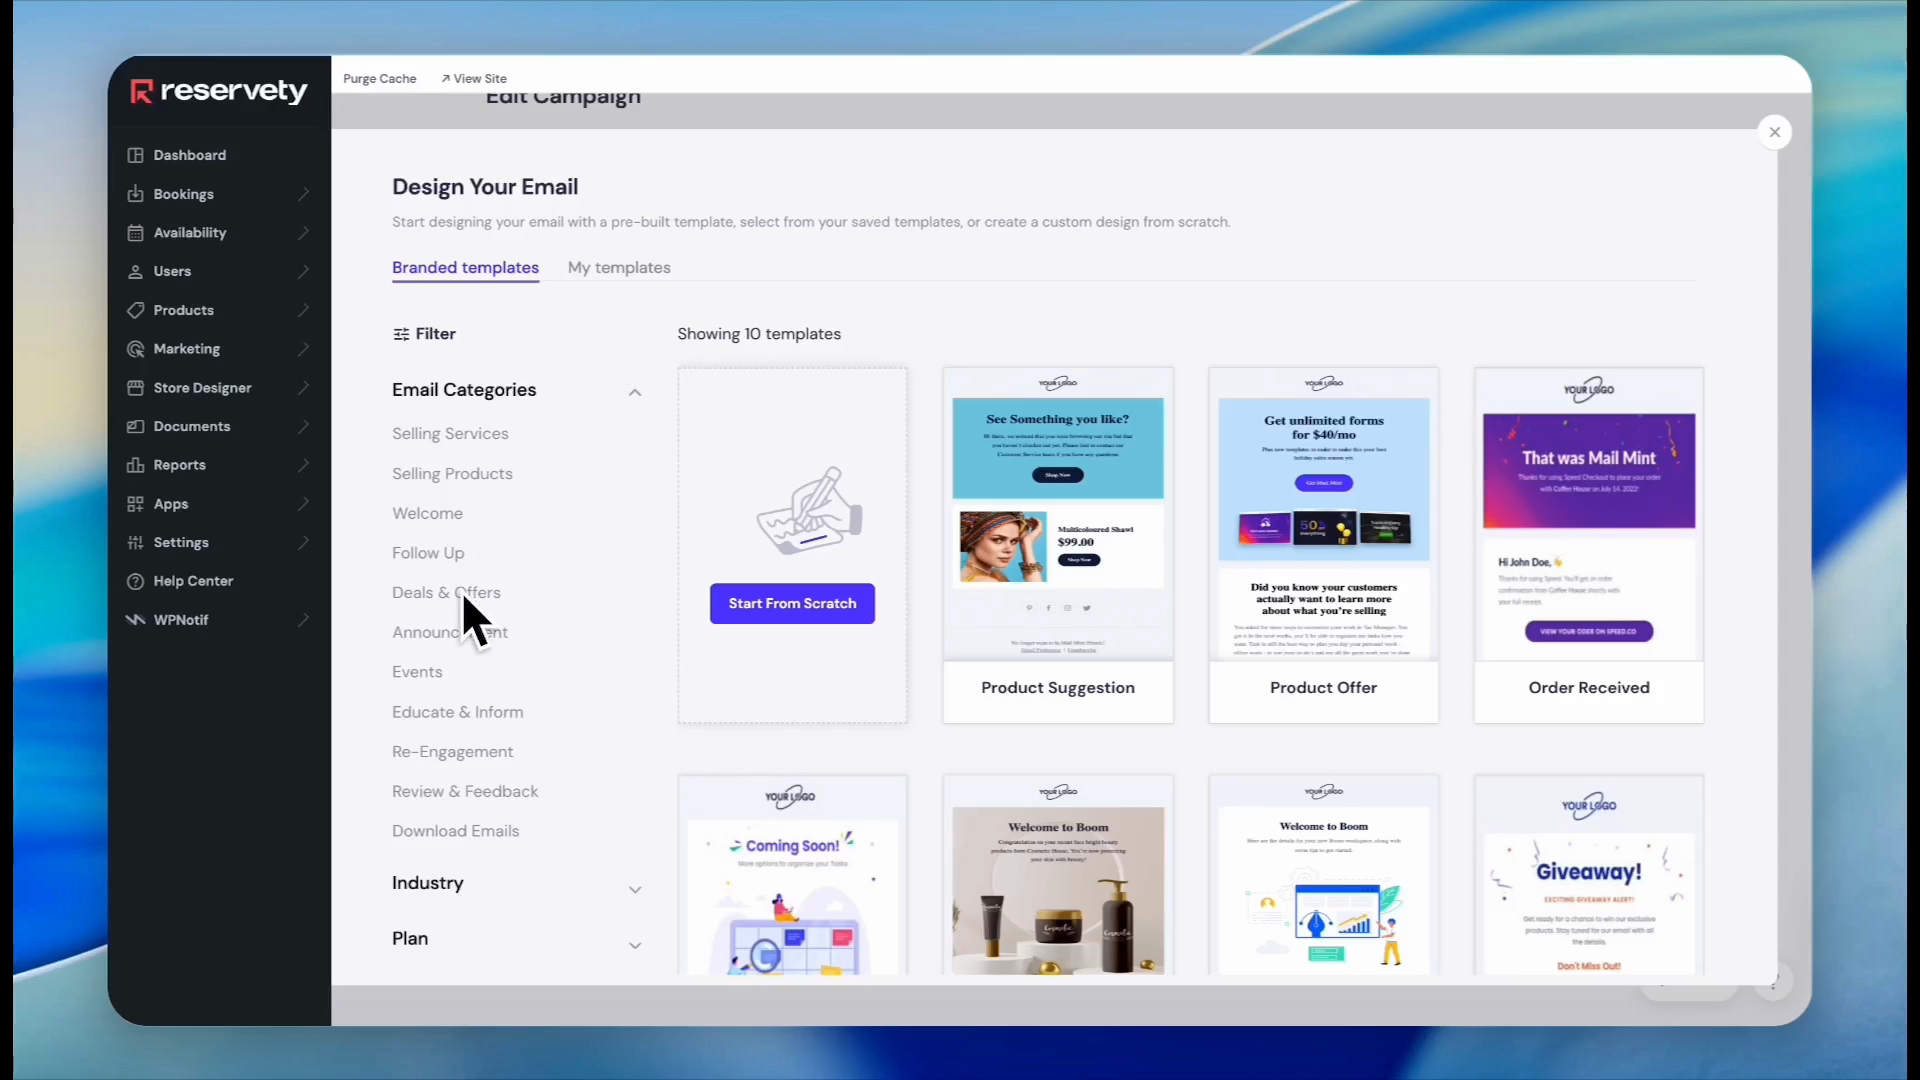
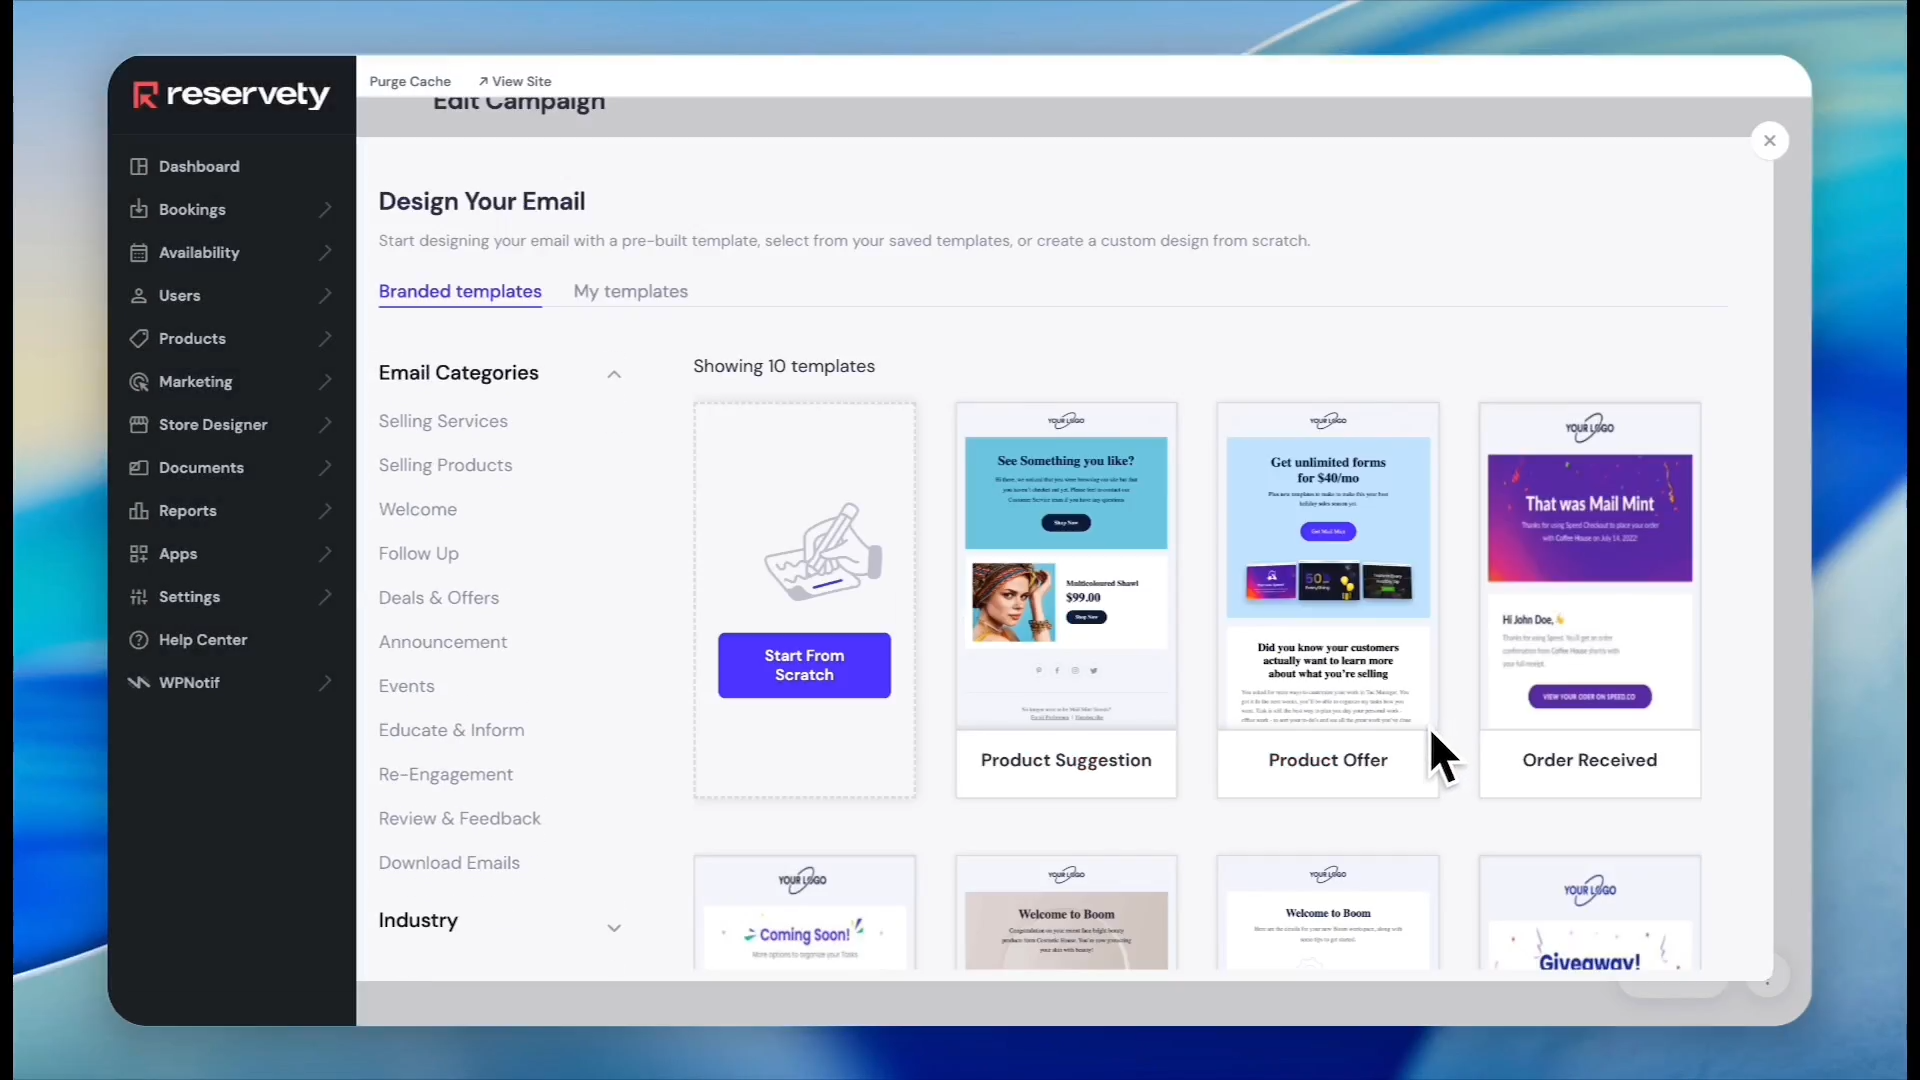
38
Select a layout category, such as Deals & Offers.
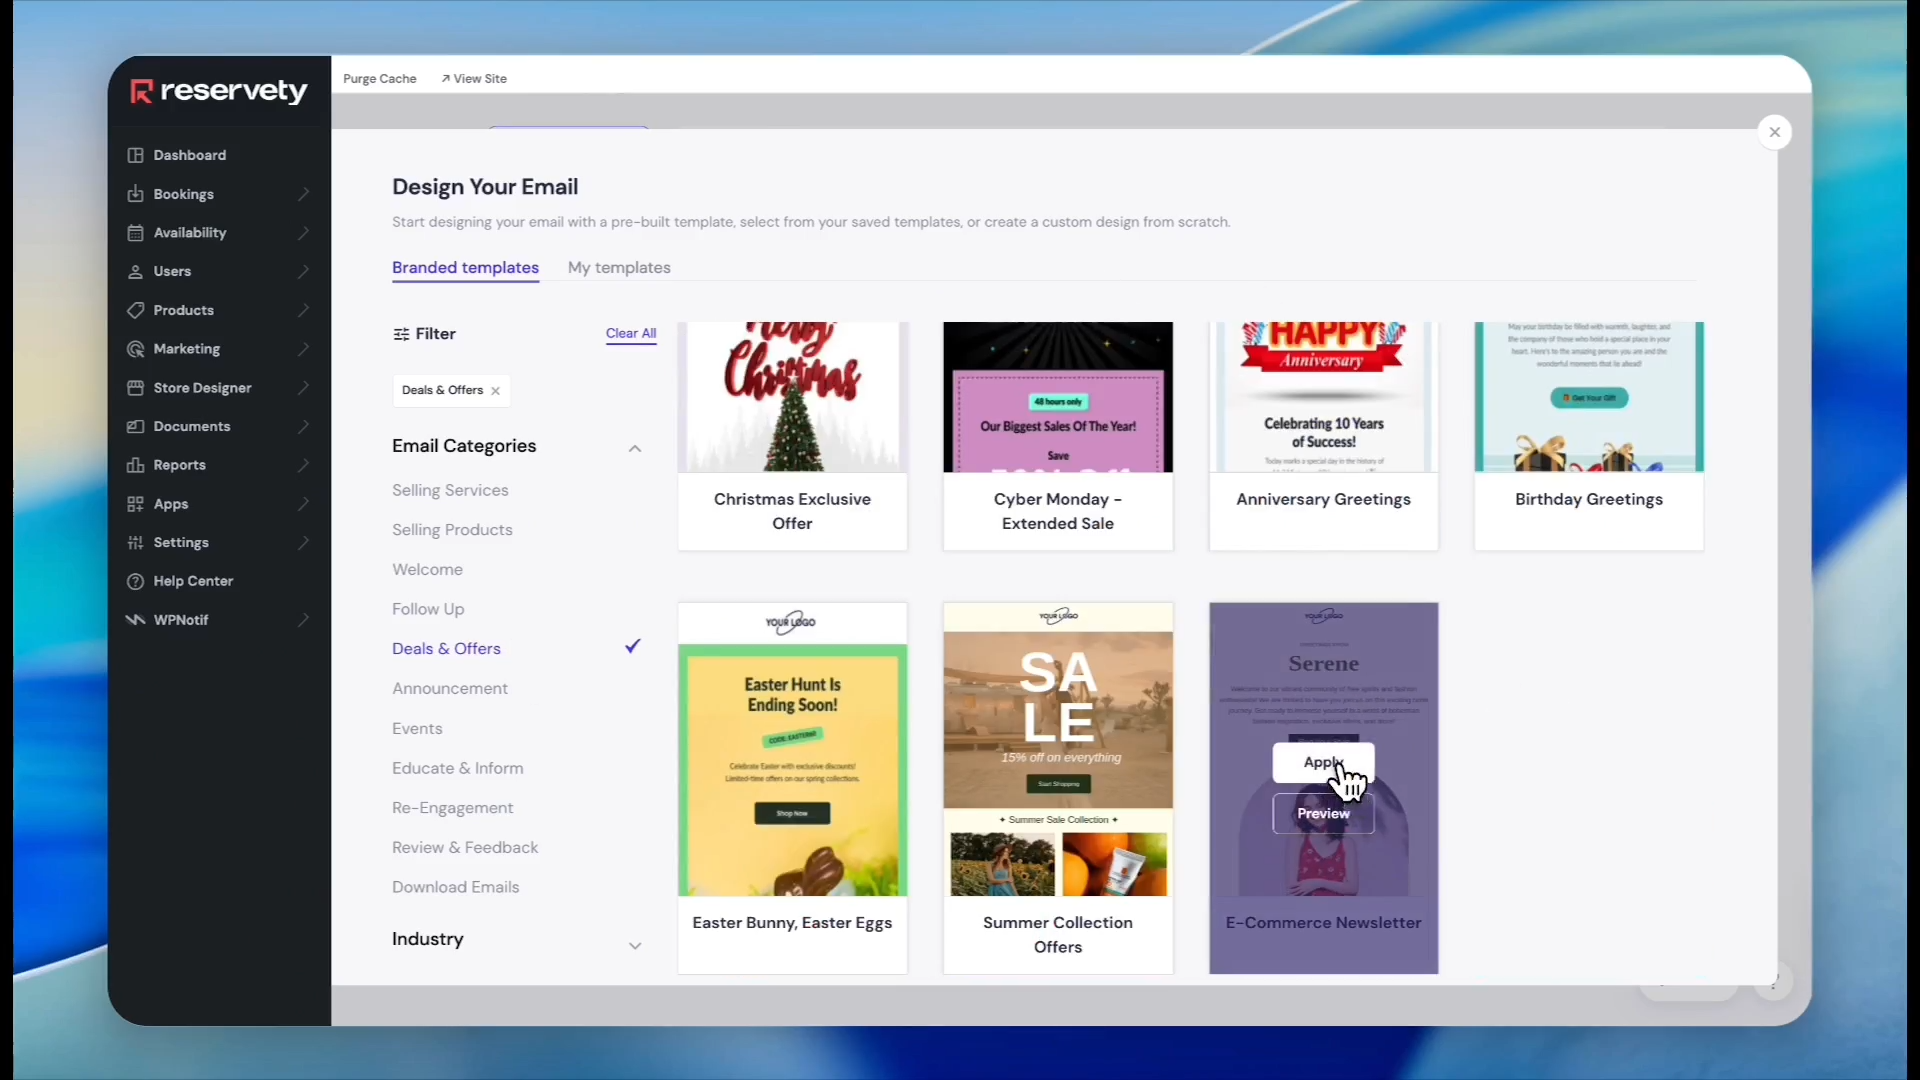
39
Hover over a template and click Apply.
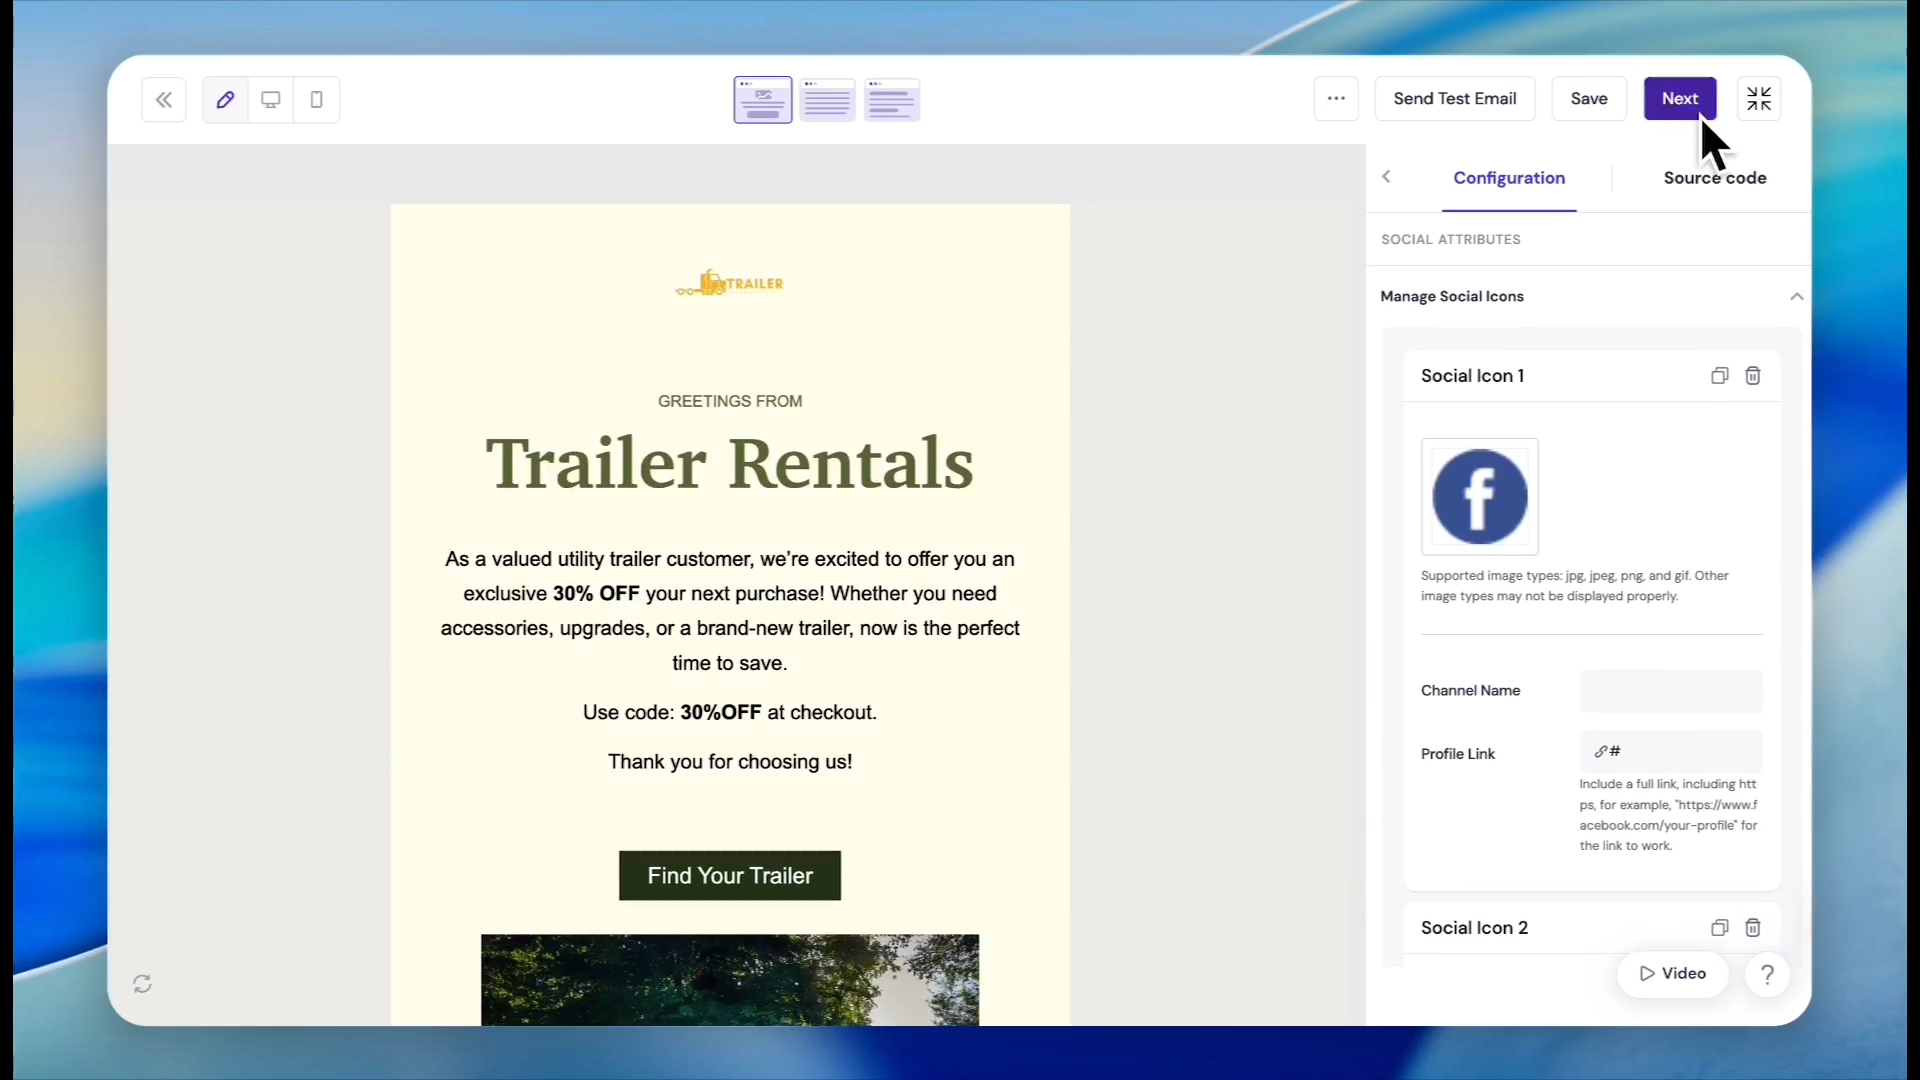
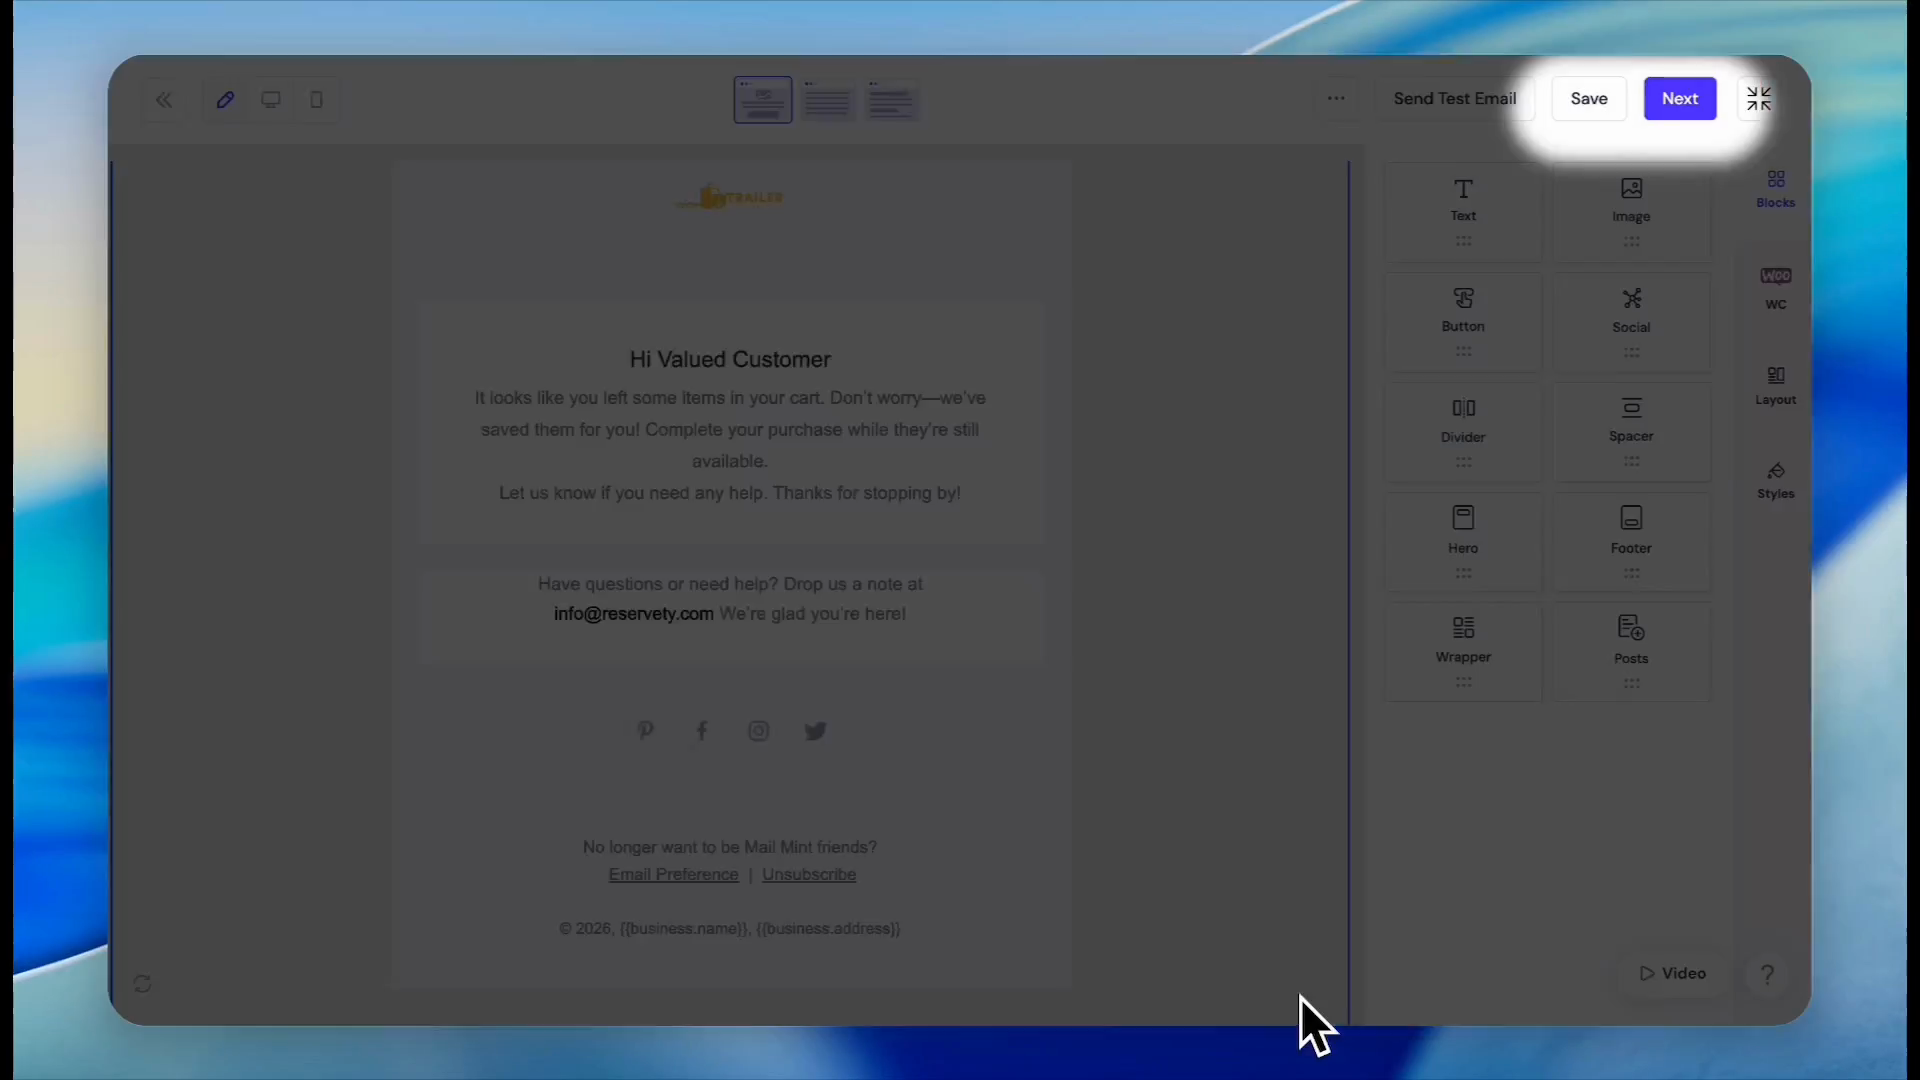
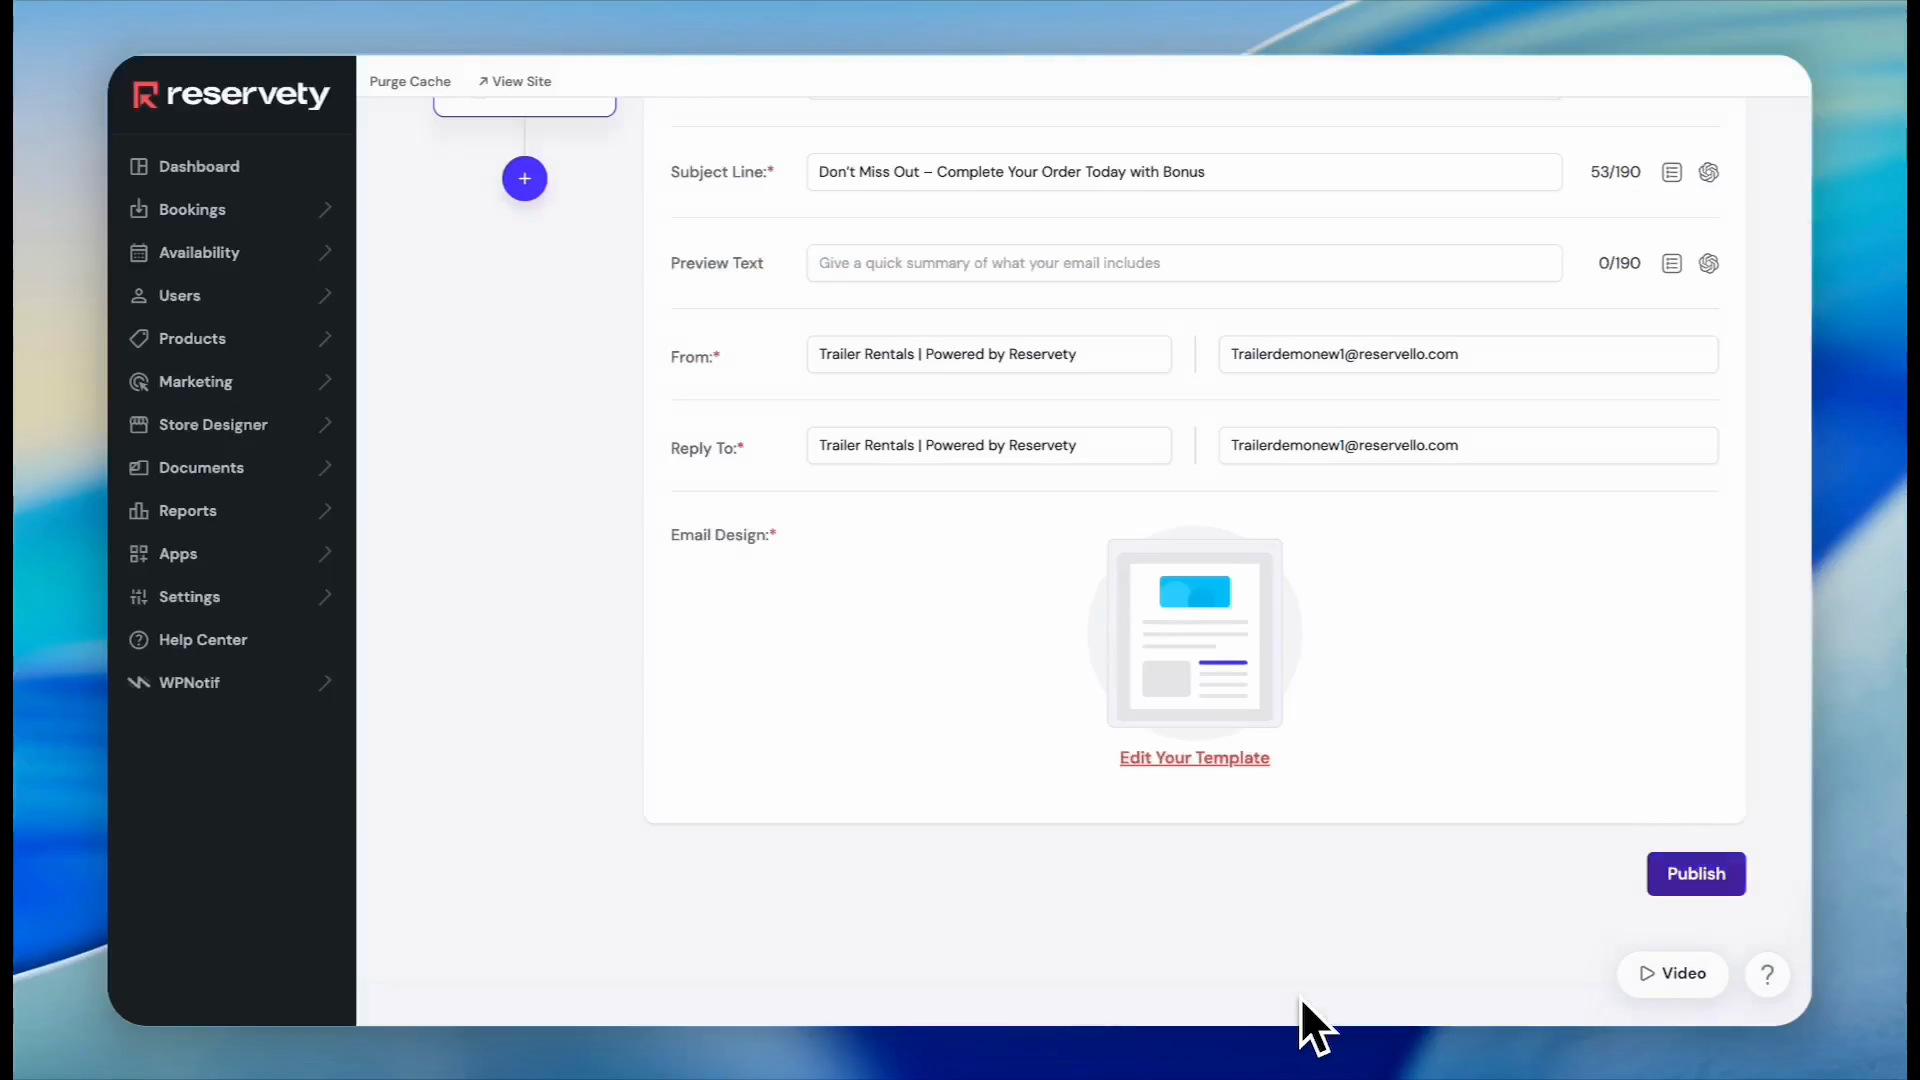
Designing the Email Template
Customize the applied layout to match your branding, messaging, and call to action.
40
Click the default logo image in the template builder.
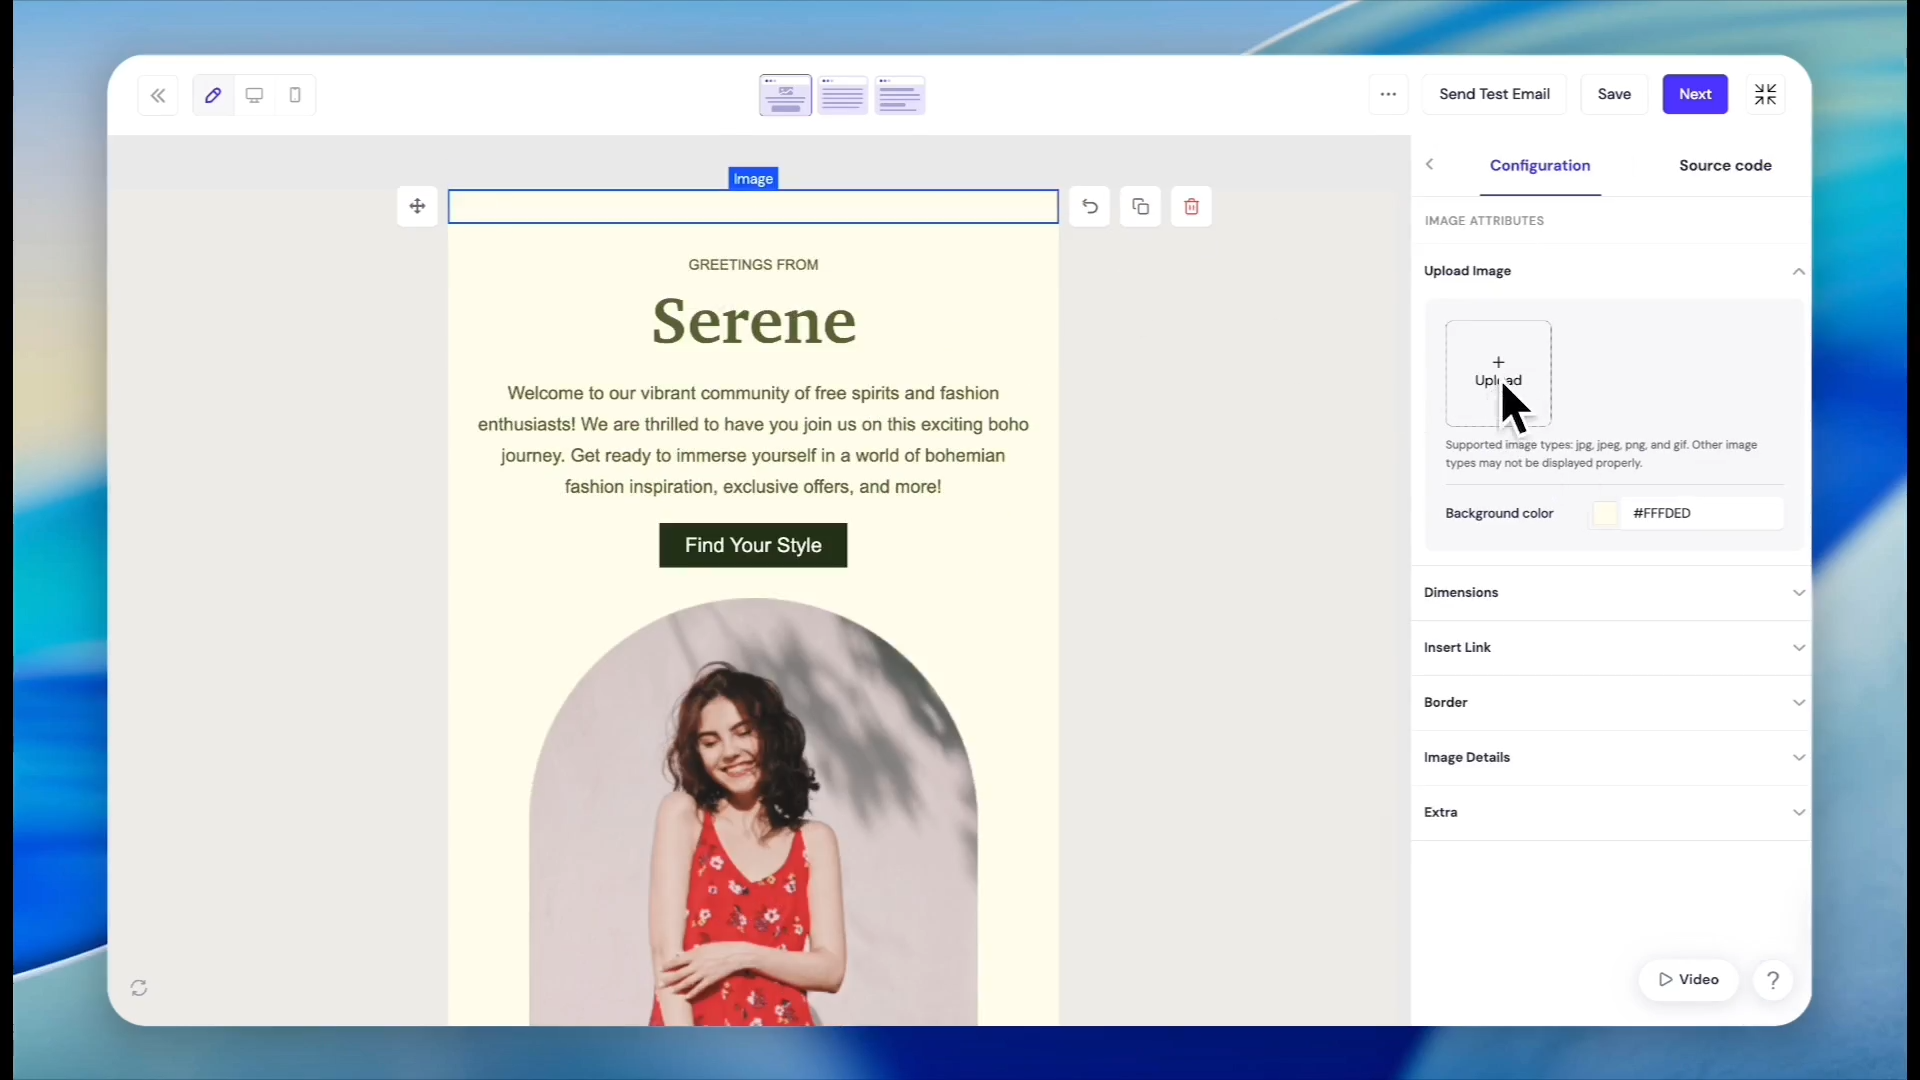
41
Click the X icon in the sidebar to remove the default image.
42
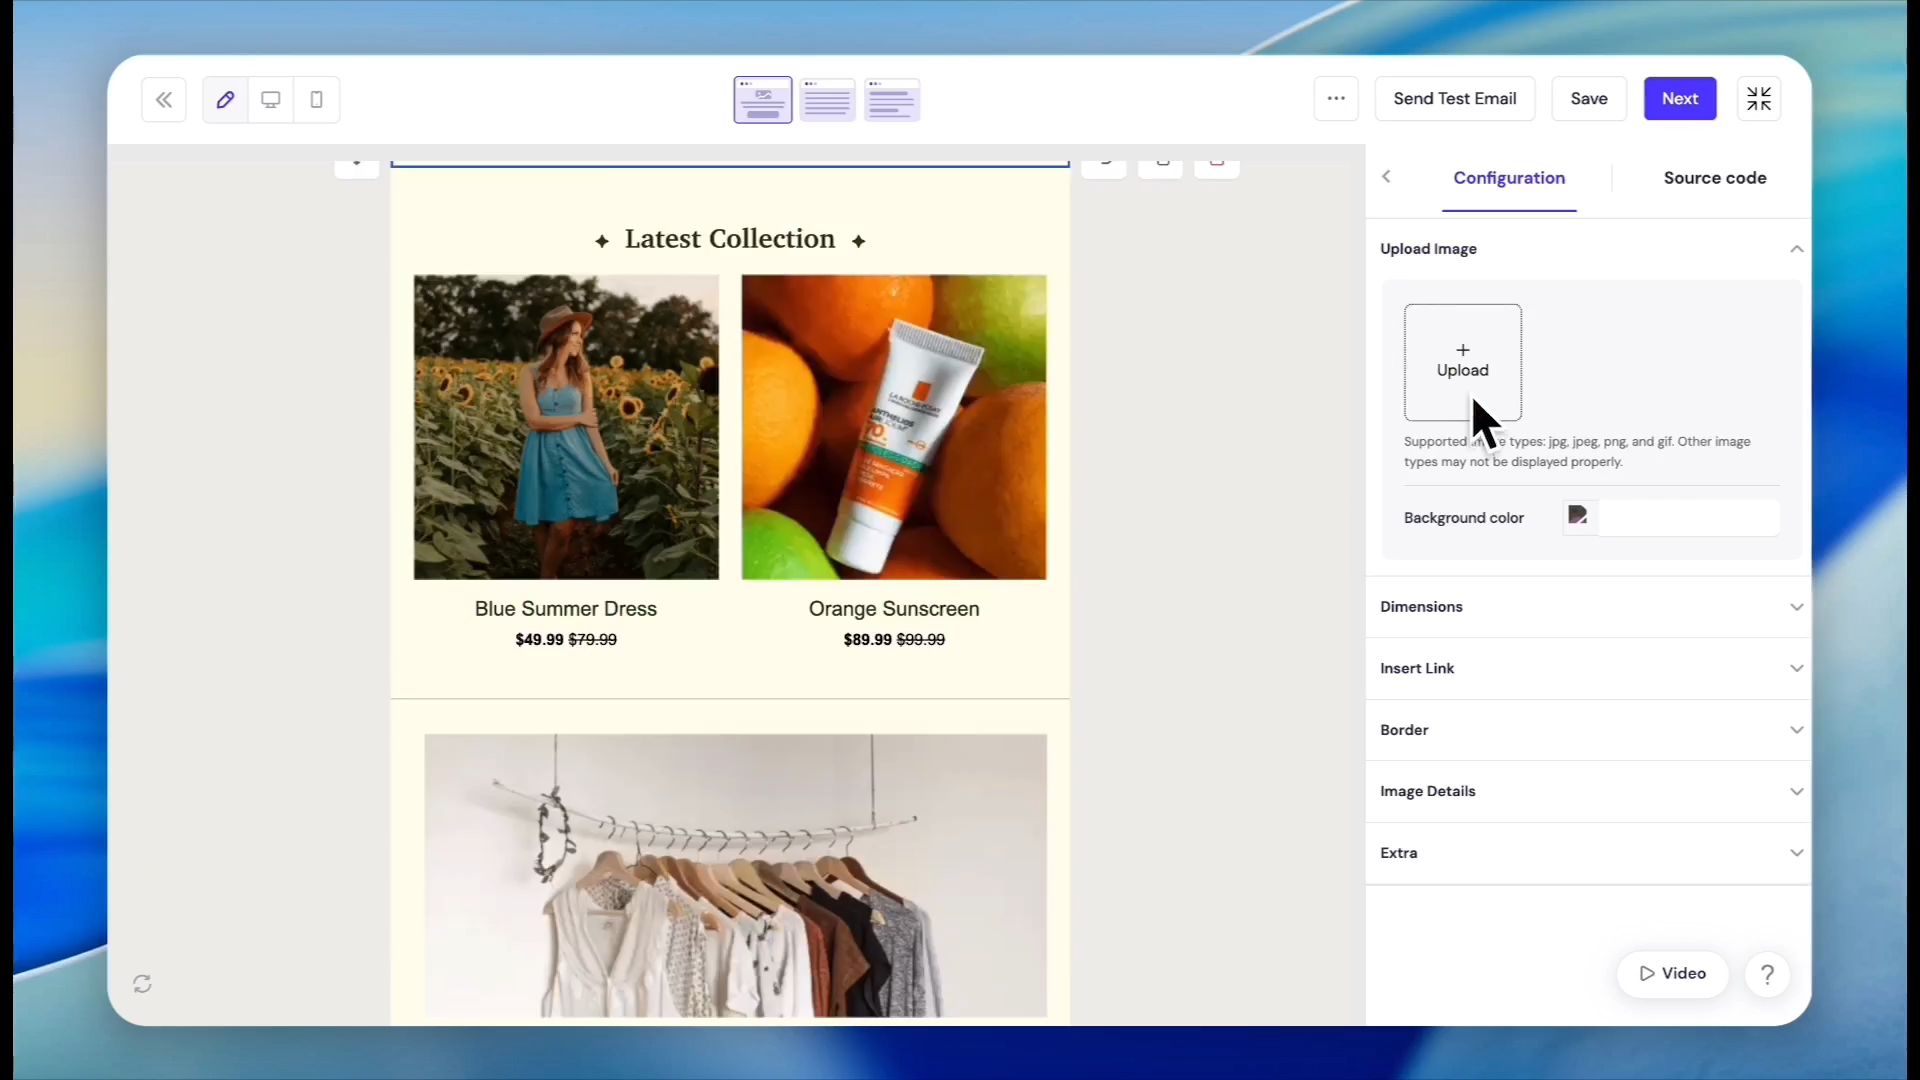
Click the upload area in the sidebar to add your own logo.
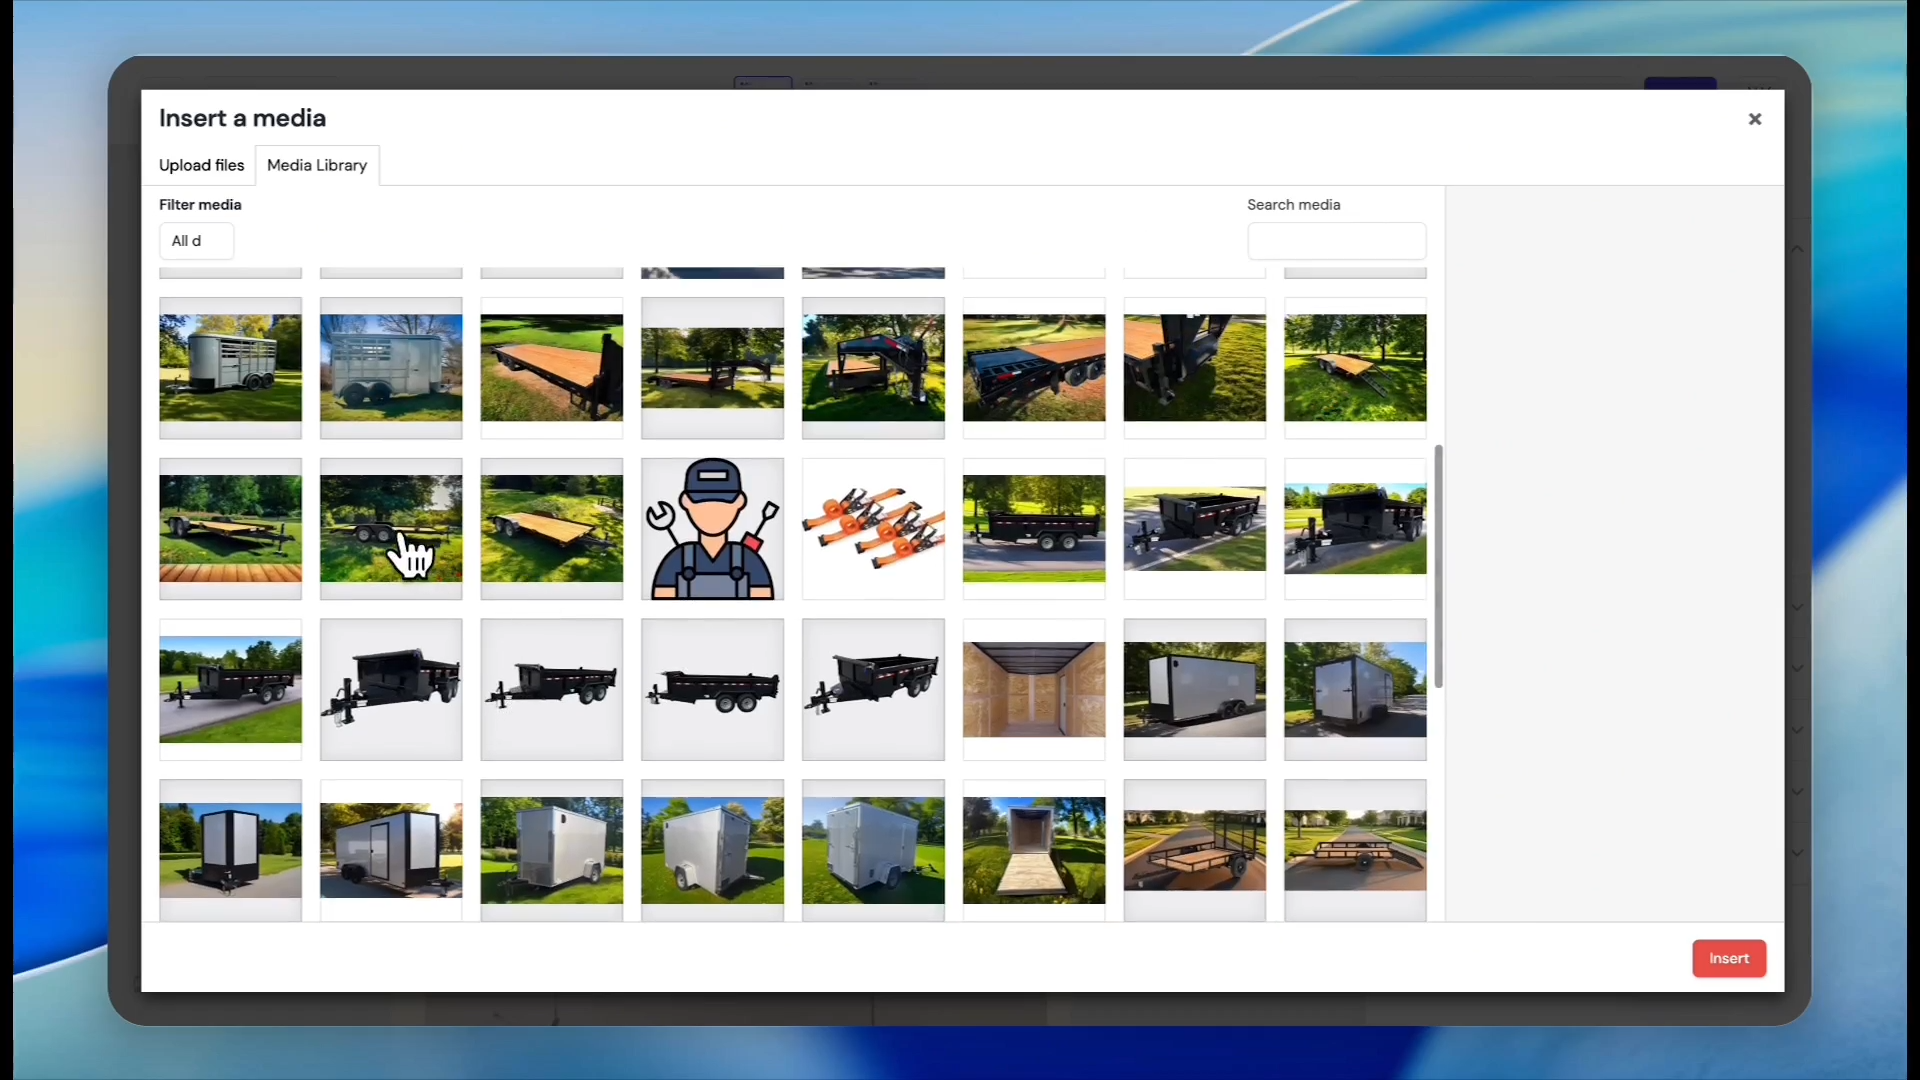
43
Select your logo image from the media library.
44
Click Insert.
45
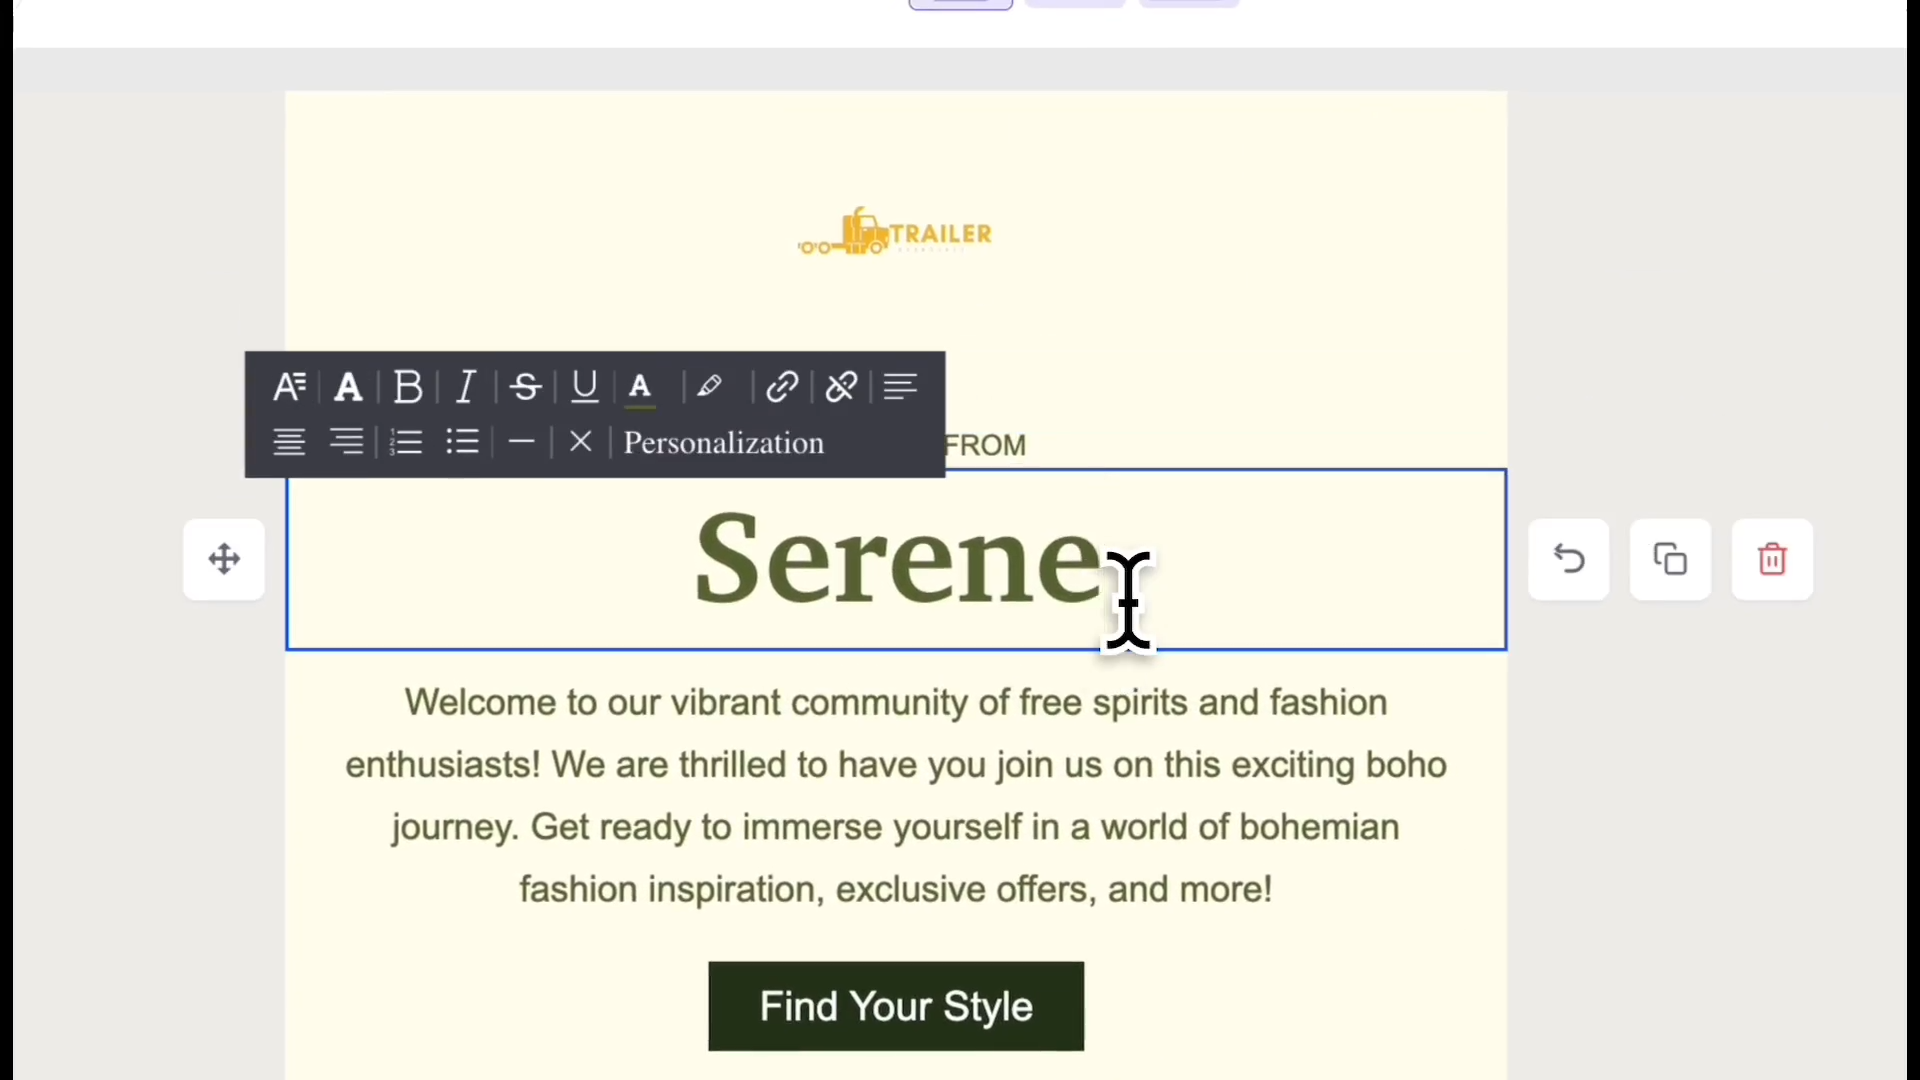
Click the main heading text to edit it.
46
Type your company name or custom heading.
47
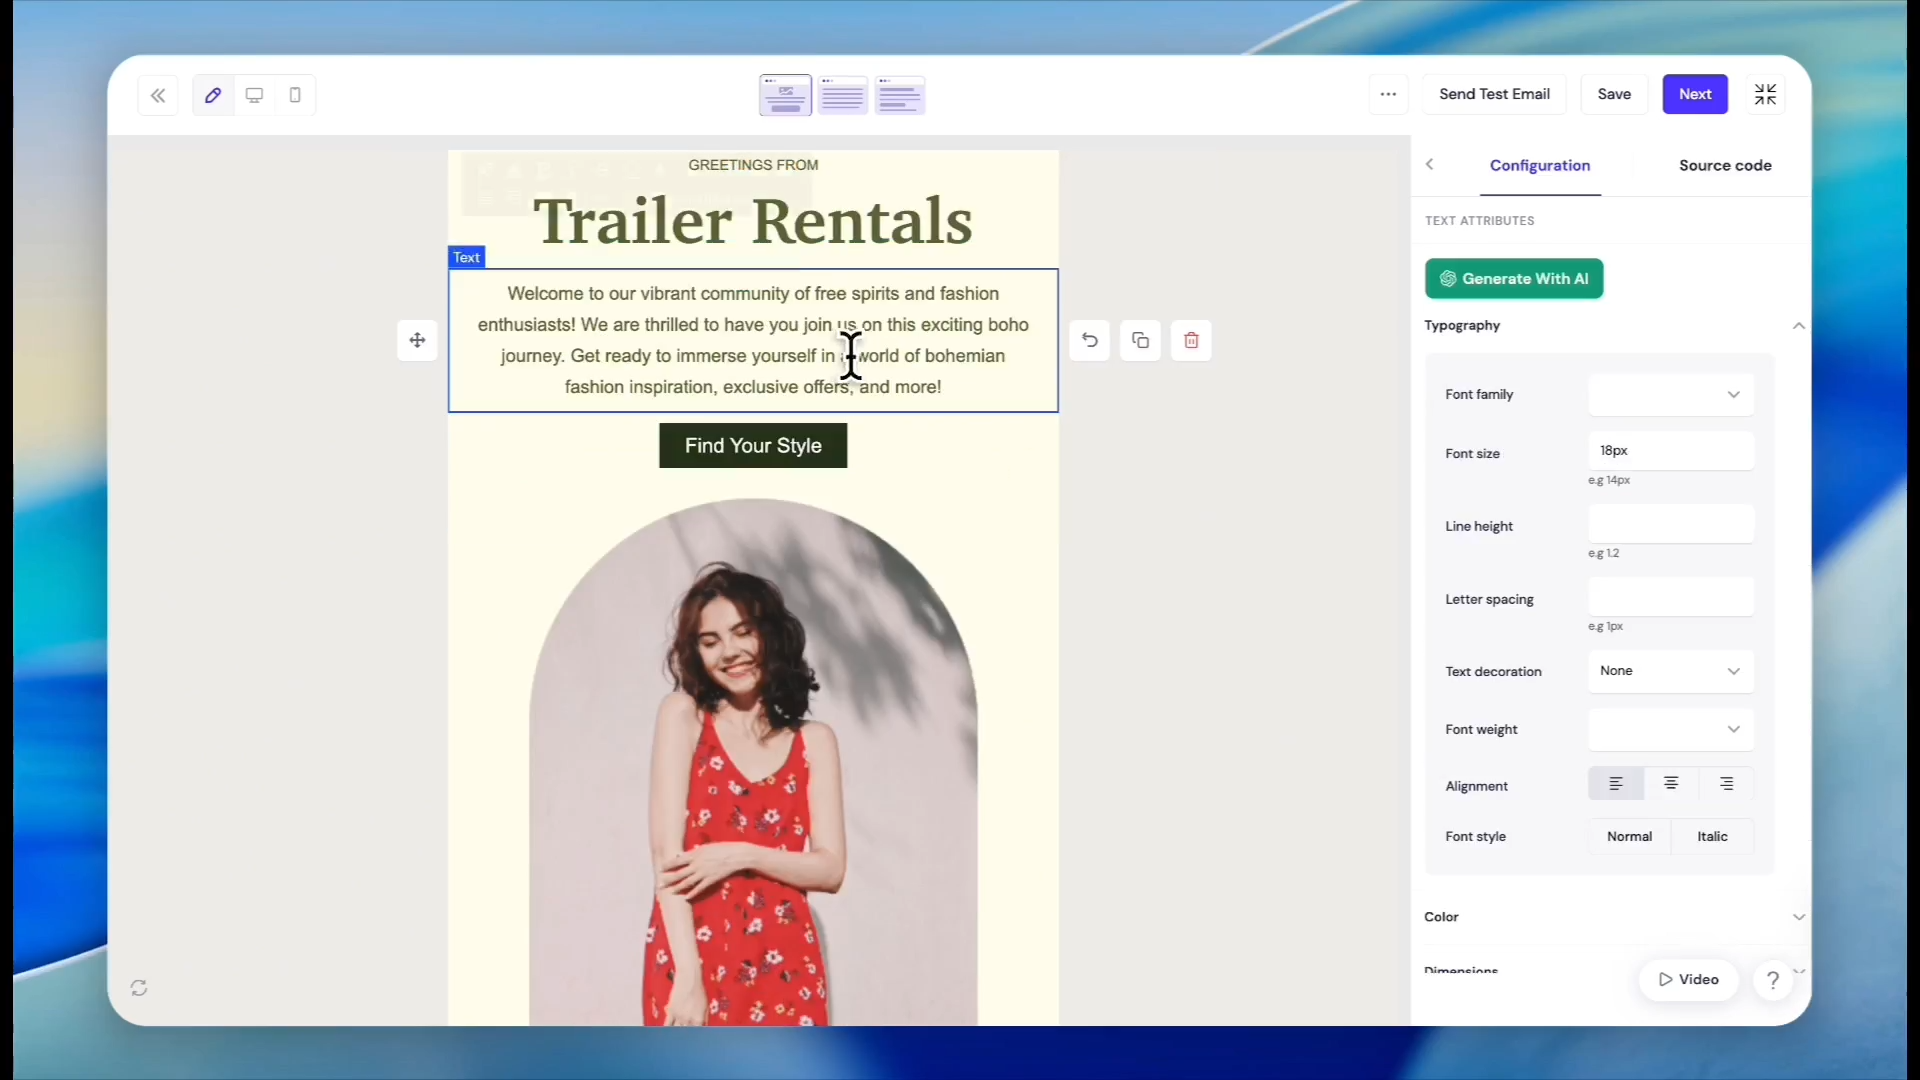
Select the main body paragraph text block. Type your custom promotional message.
If you need to include a discount code, you can easily access it in a new tab via Marketing> Coupons. Copy the existing code and paste it directly into your email text block.
48
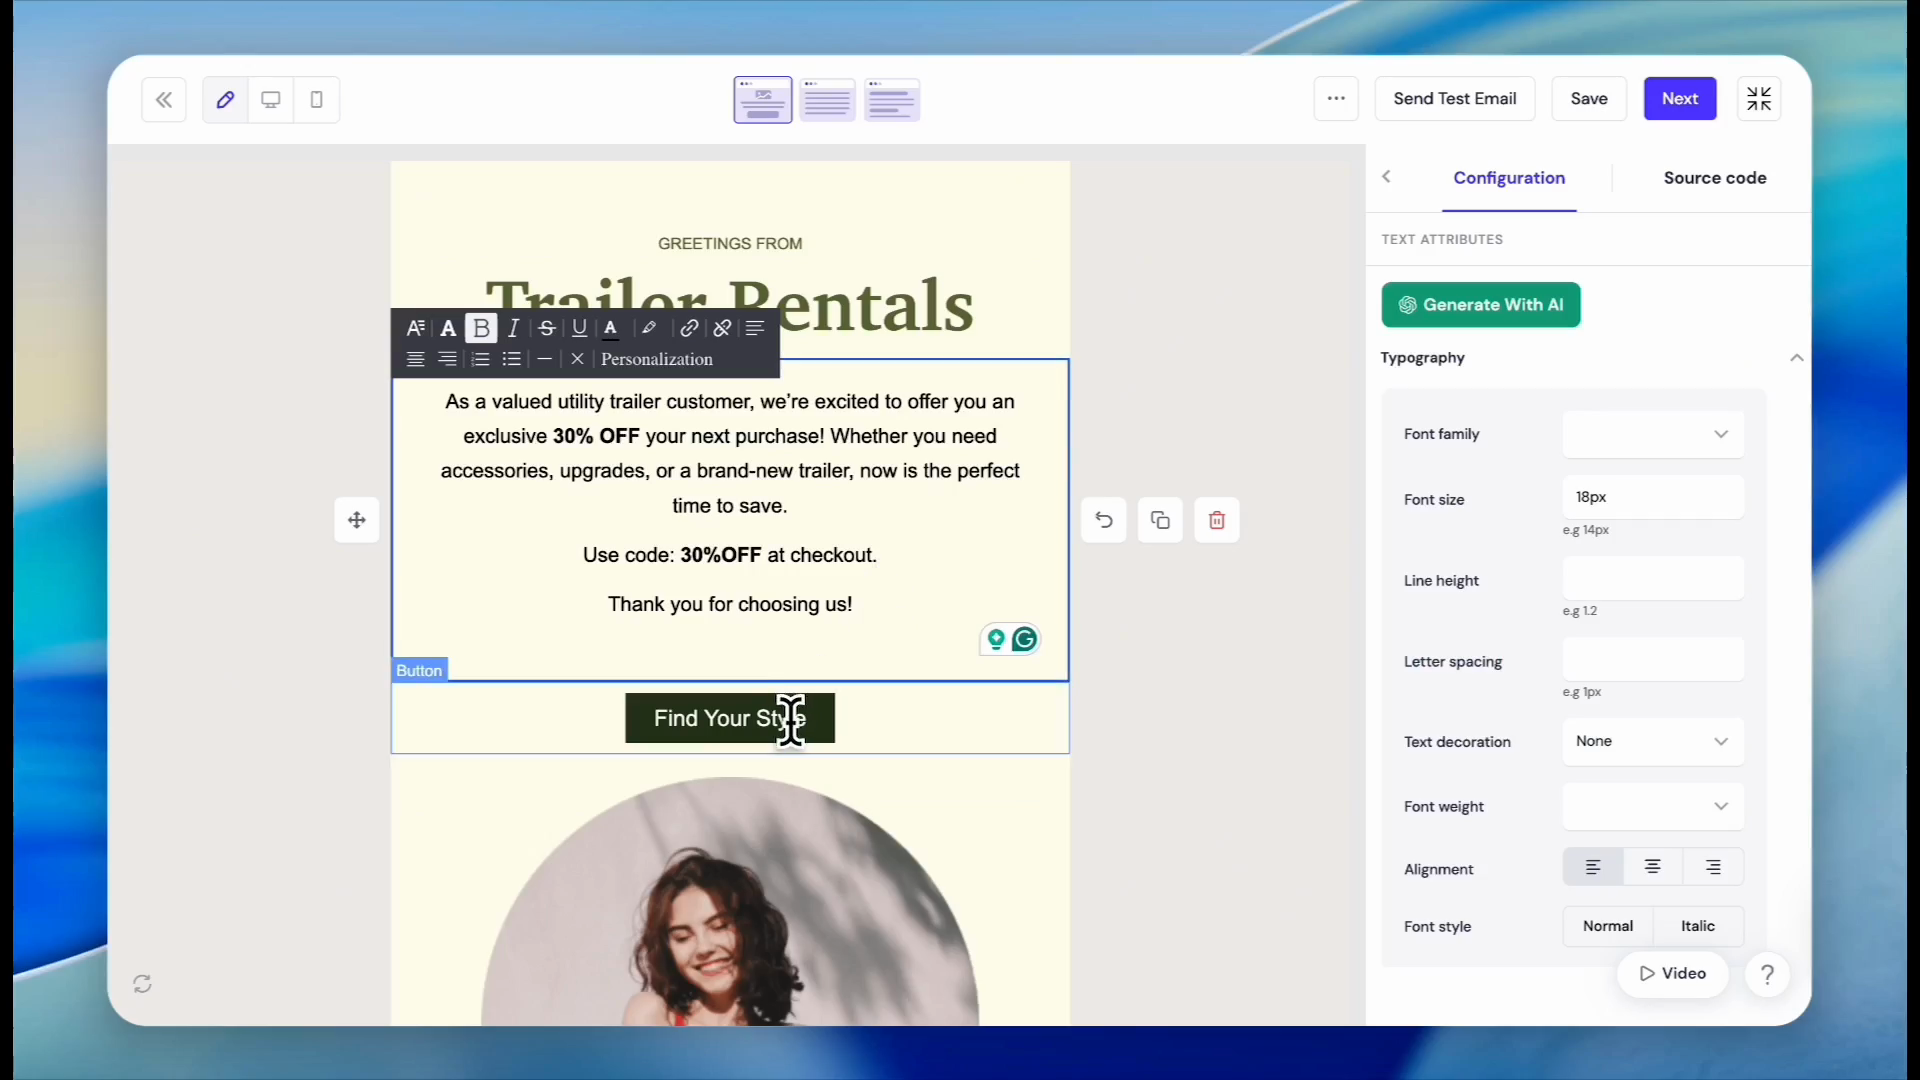
Paste your coupon code into the email template text block. Click the button element in your template to access its properties.
49
Edit the button text (e.g., "Find your trailer").
50
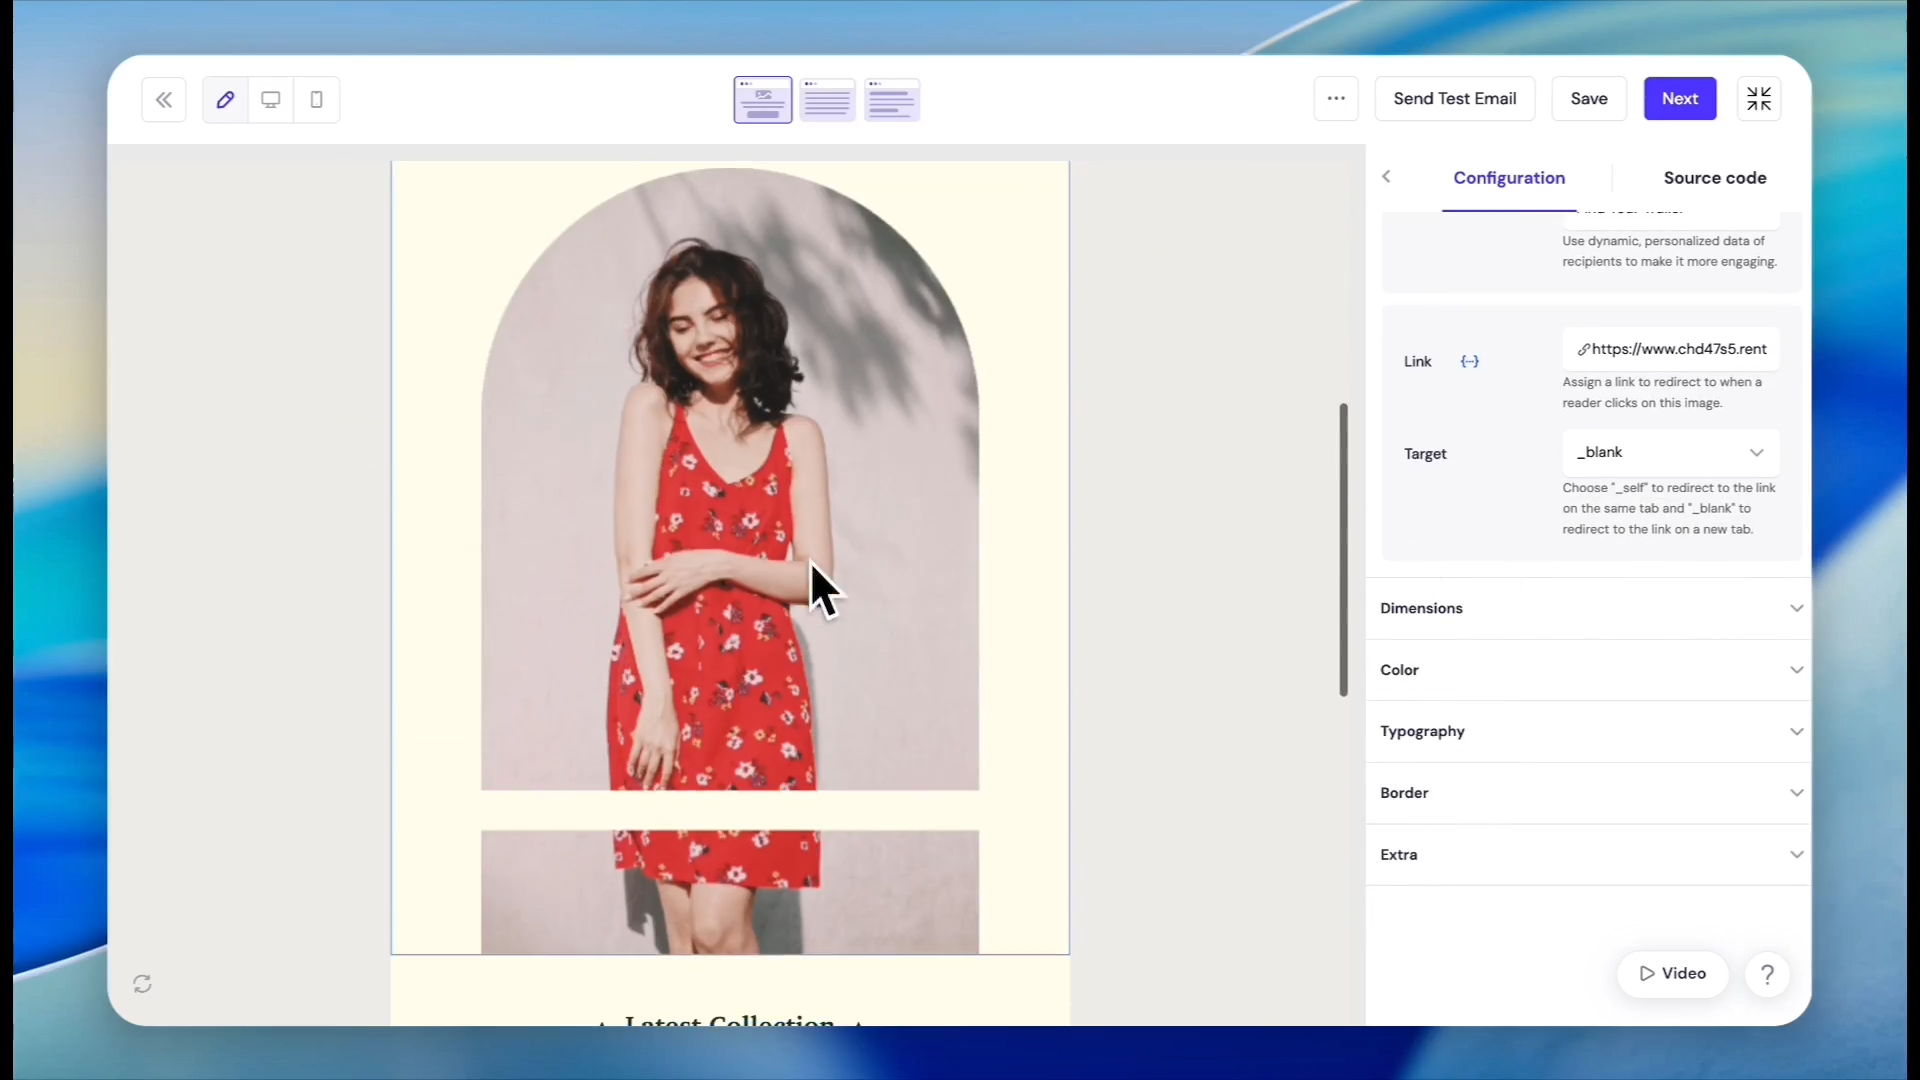
Paste your target product category URL into the button link field in the sidebar.
51
Click any unwanted stock images in the template body.
52
Click Upload in the sidebar to replace it.
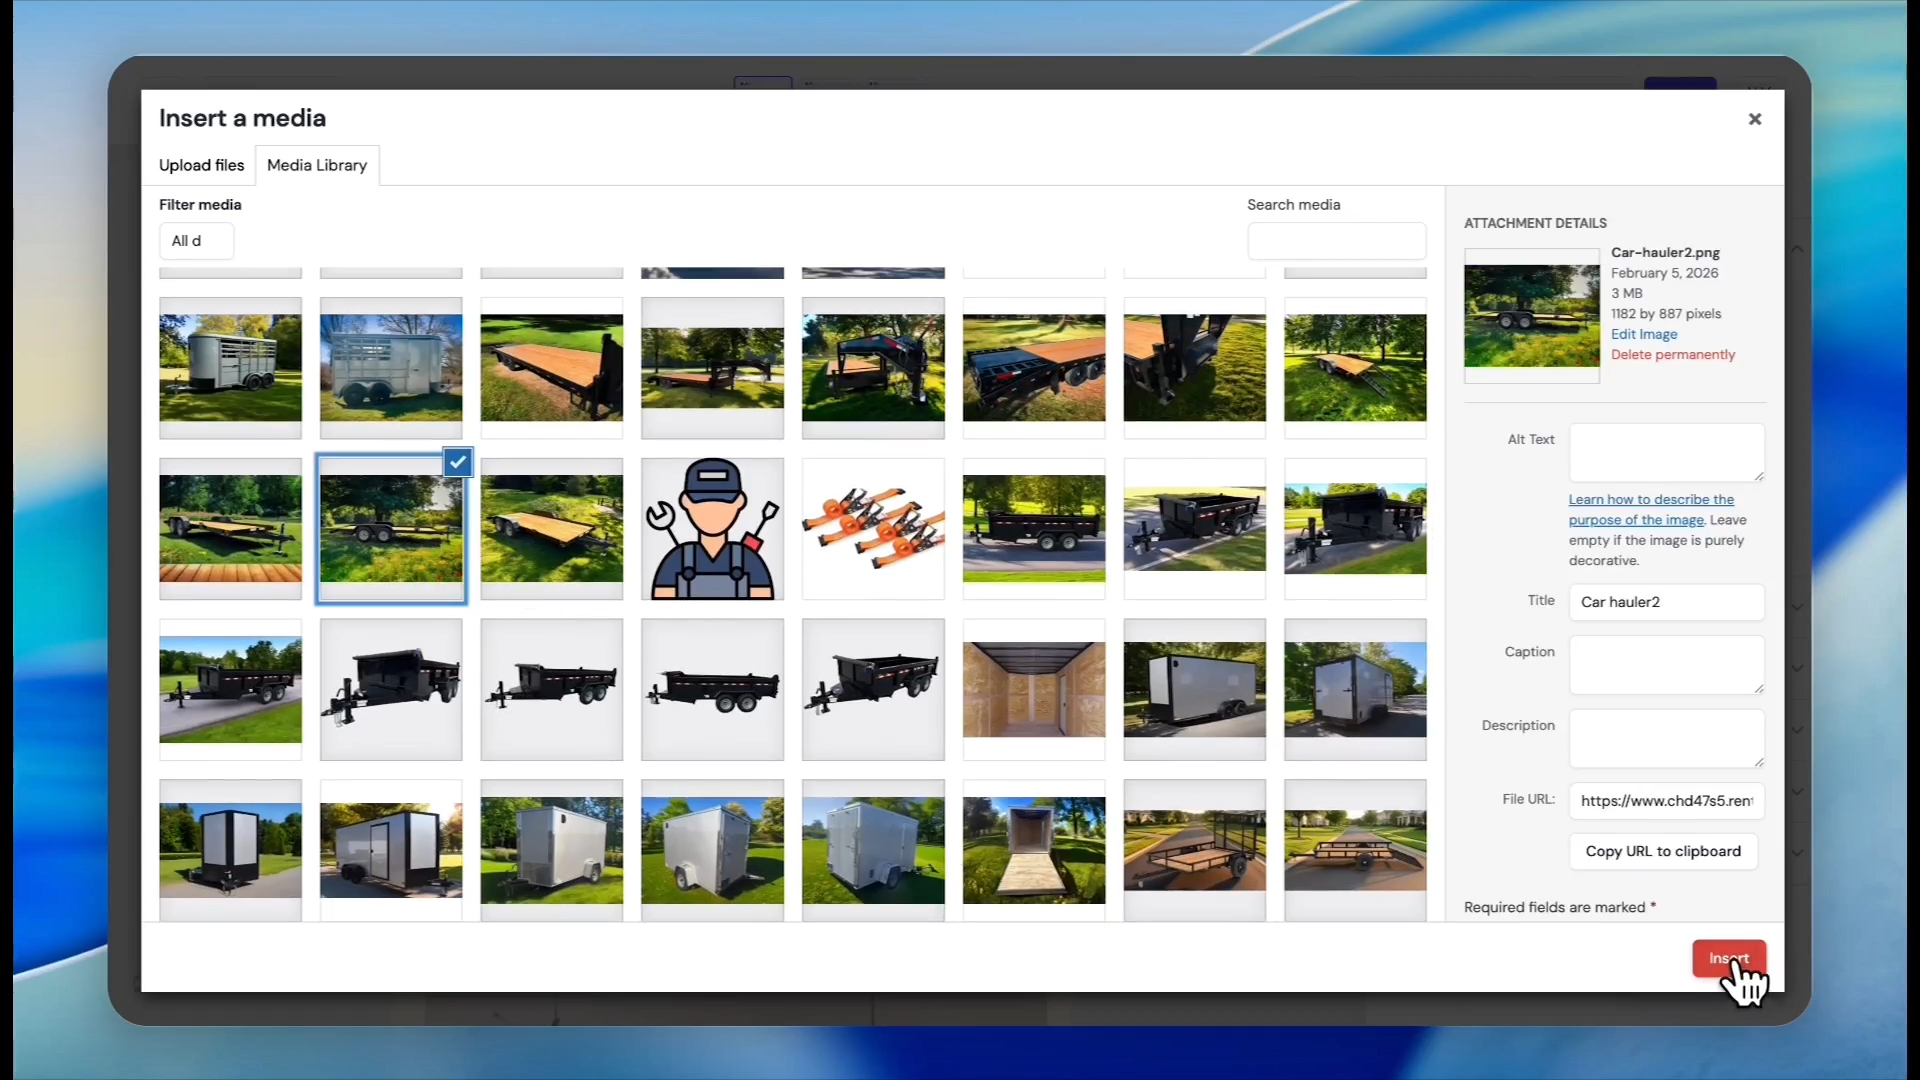
53
Select an image from the library.
54
Click Insert.
55
Click the trash can icon on any extra layout sections to remove them from your design.
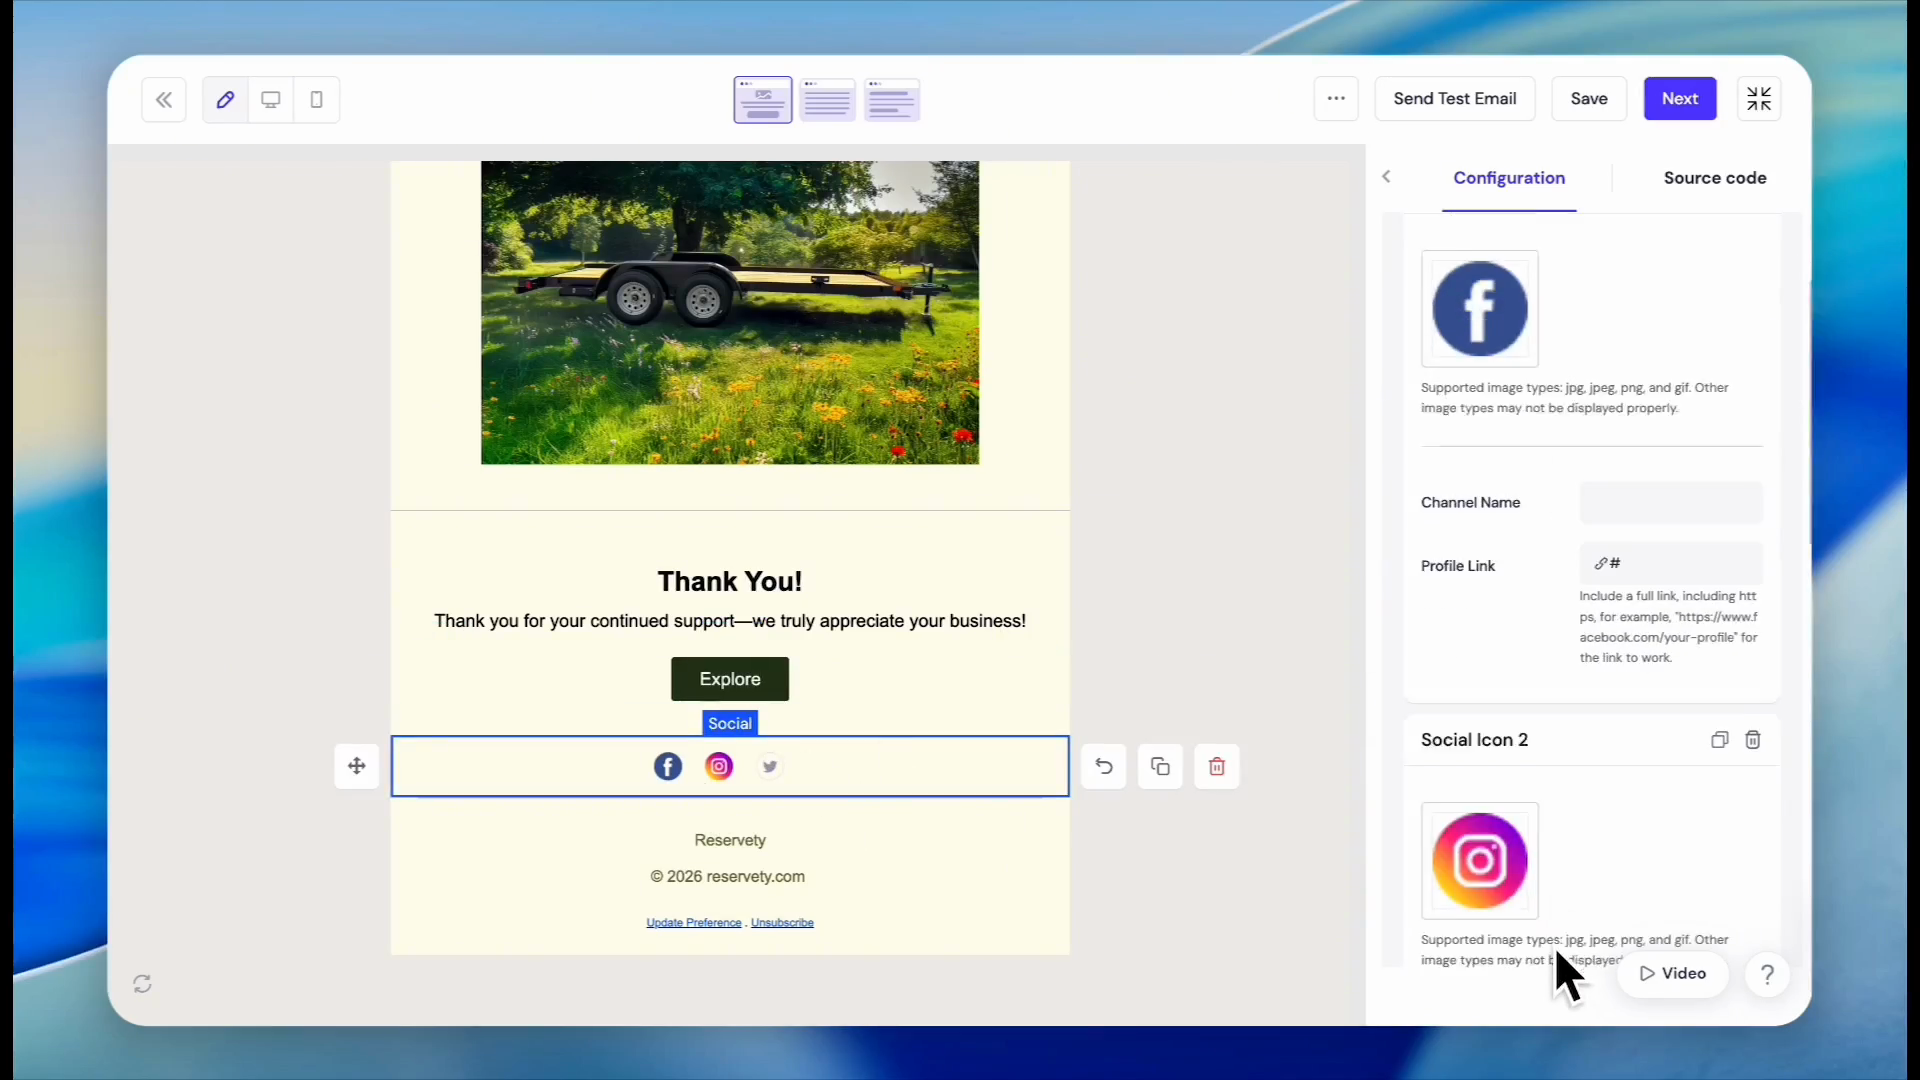
56
Click the social media icons at the bottom of the template to link them to your profiles via the sidebar.
57
Click Next once your design is complete.
58
Click Save Draft to store the campaign, or proceed to send it.
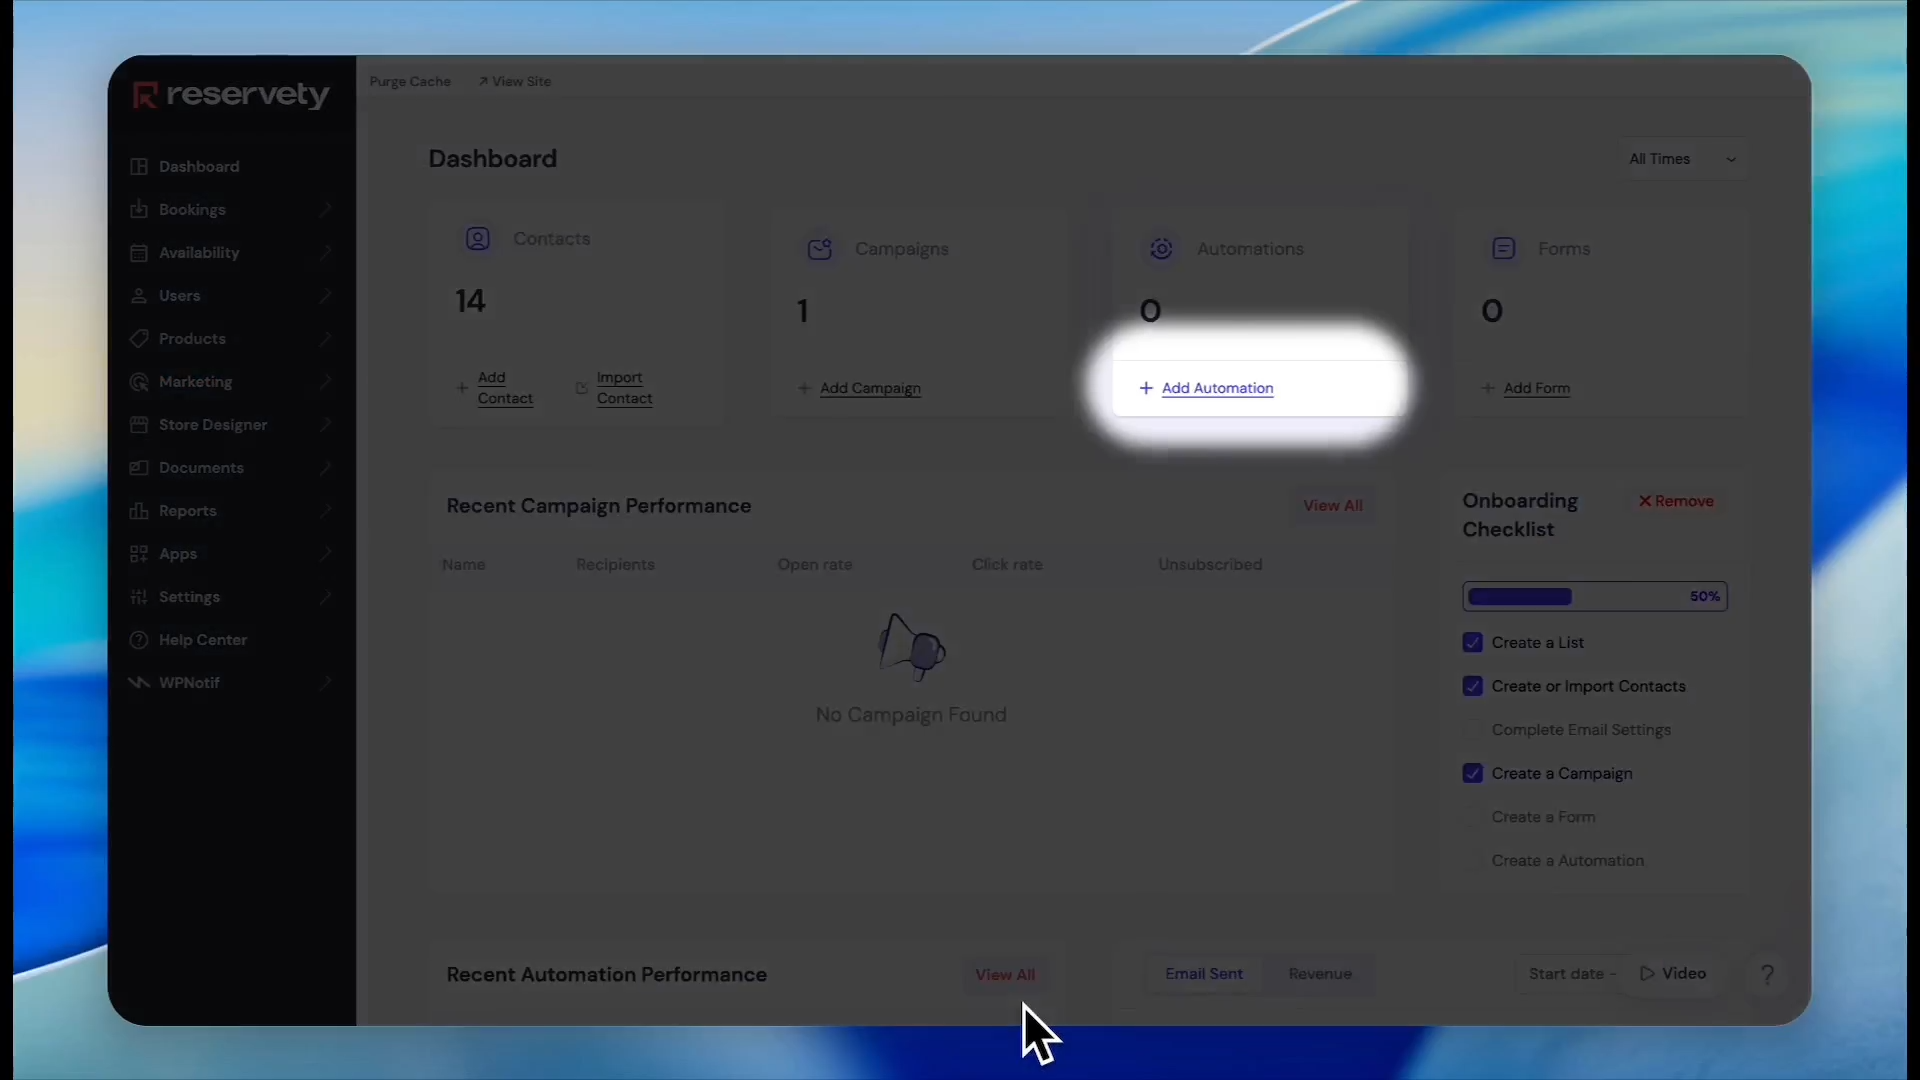
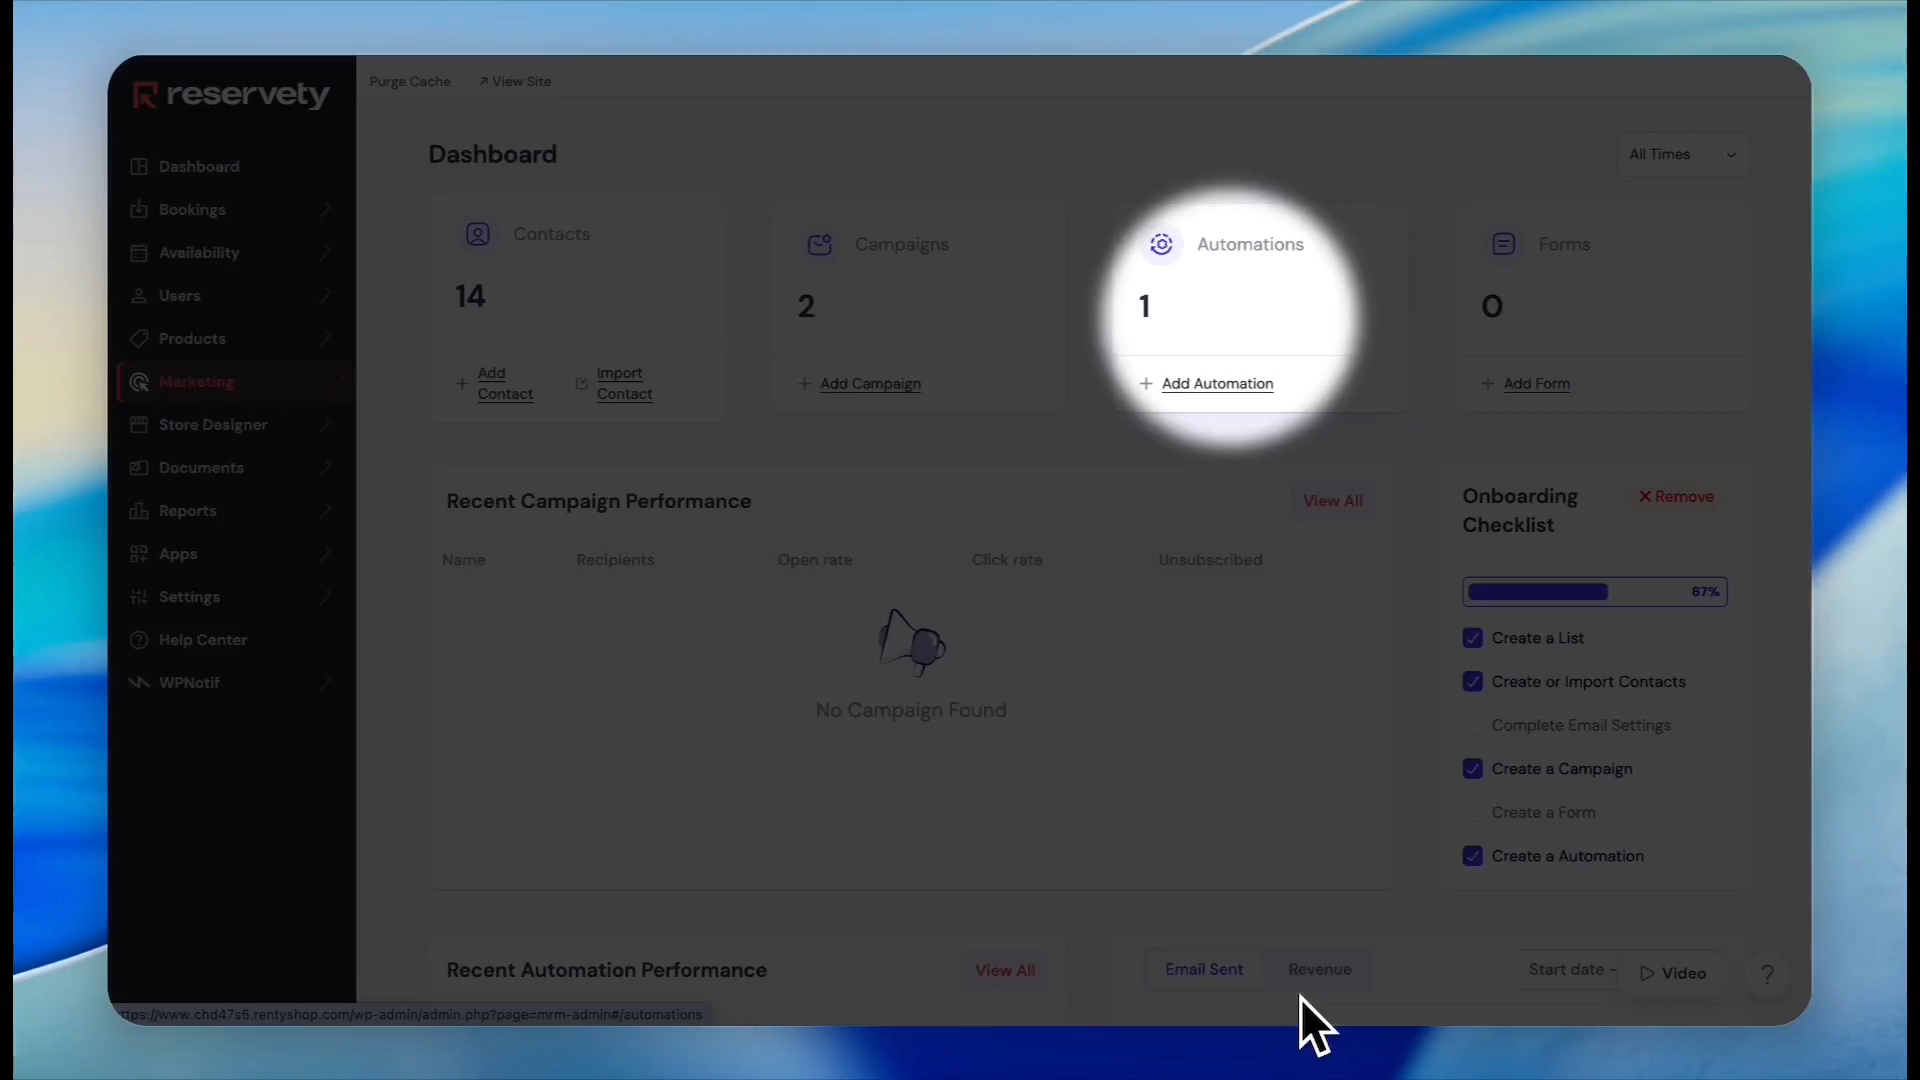
Setting up Automated Campaigns
Automated workflows allow you to trigger specific messaging sequences based on customer actions, like failing to complete an order.
59
Click Add Automation on the main dashboard.
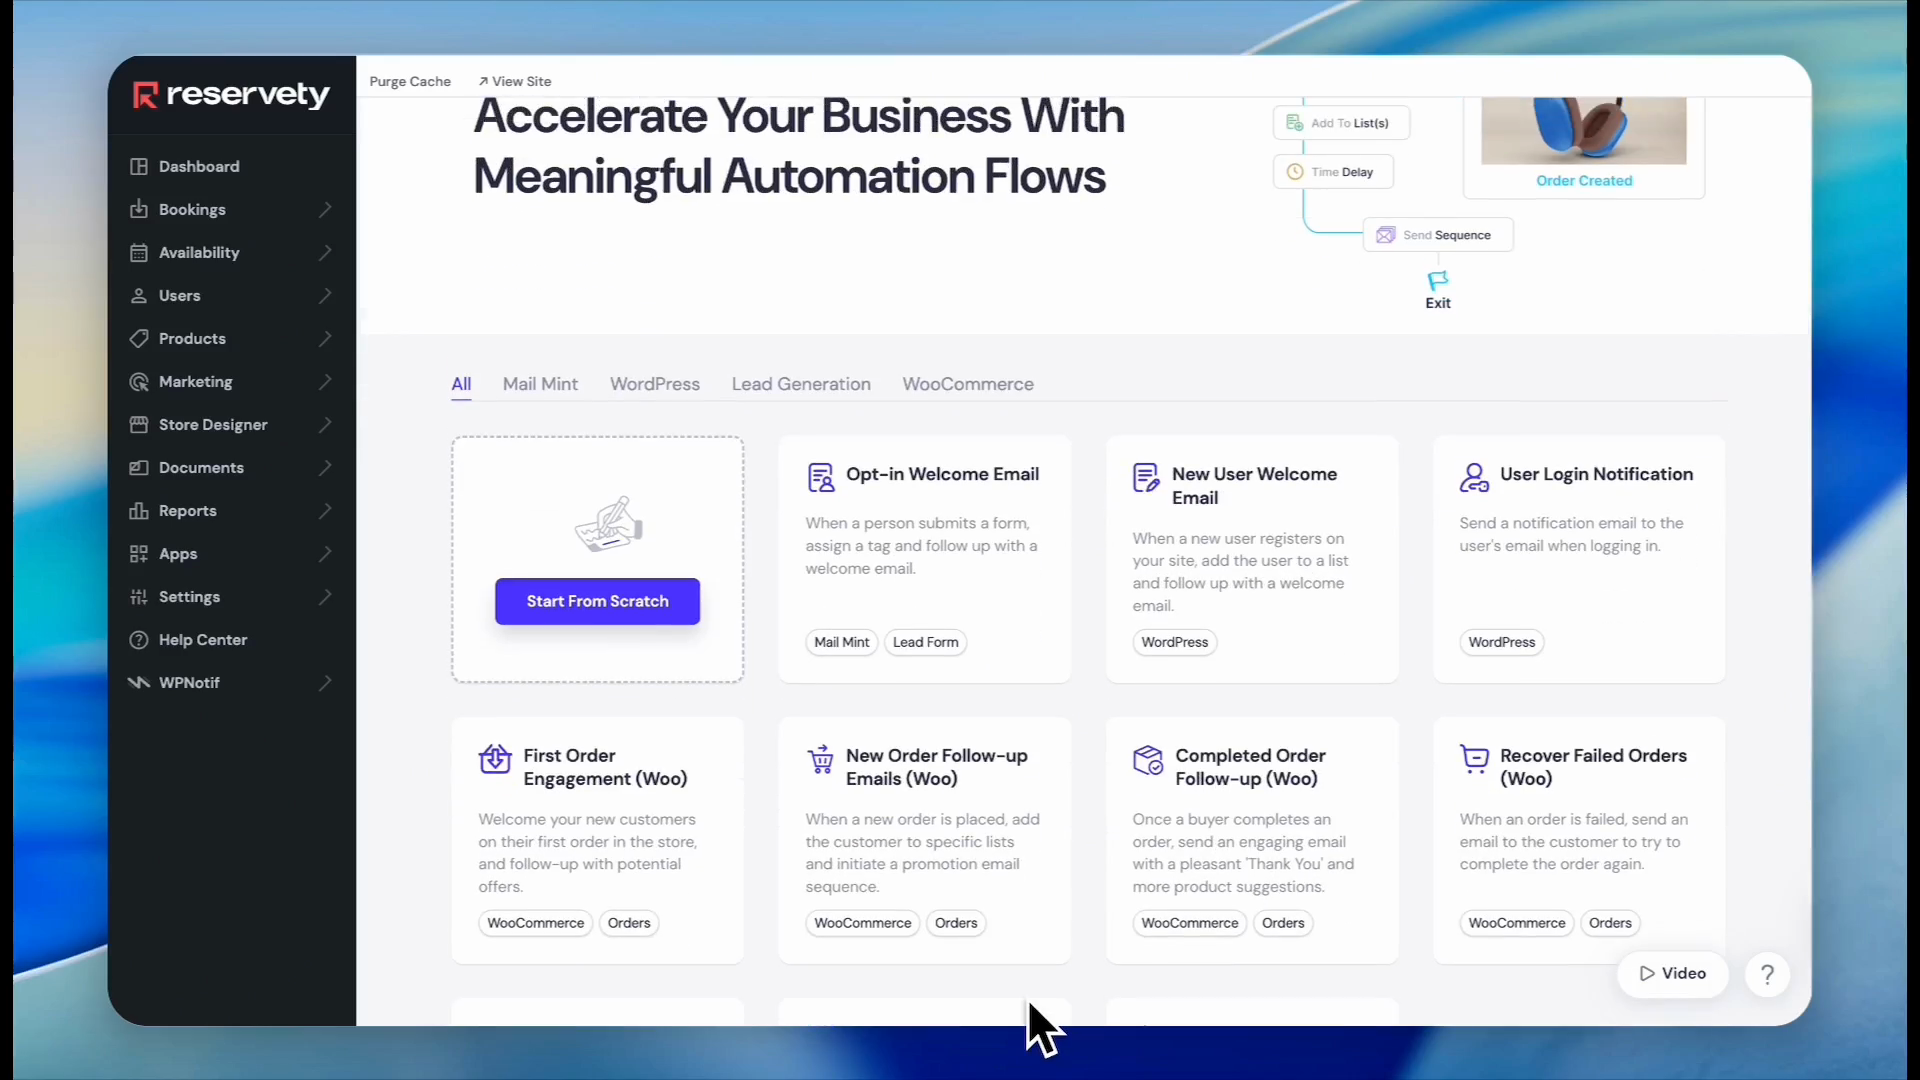
60
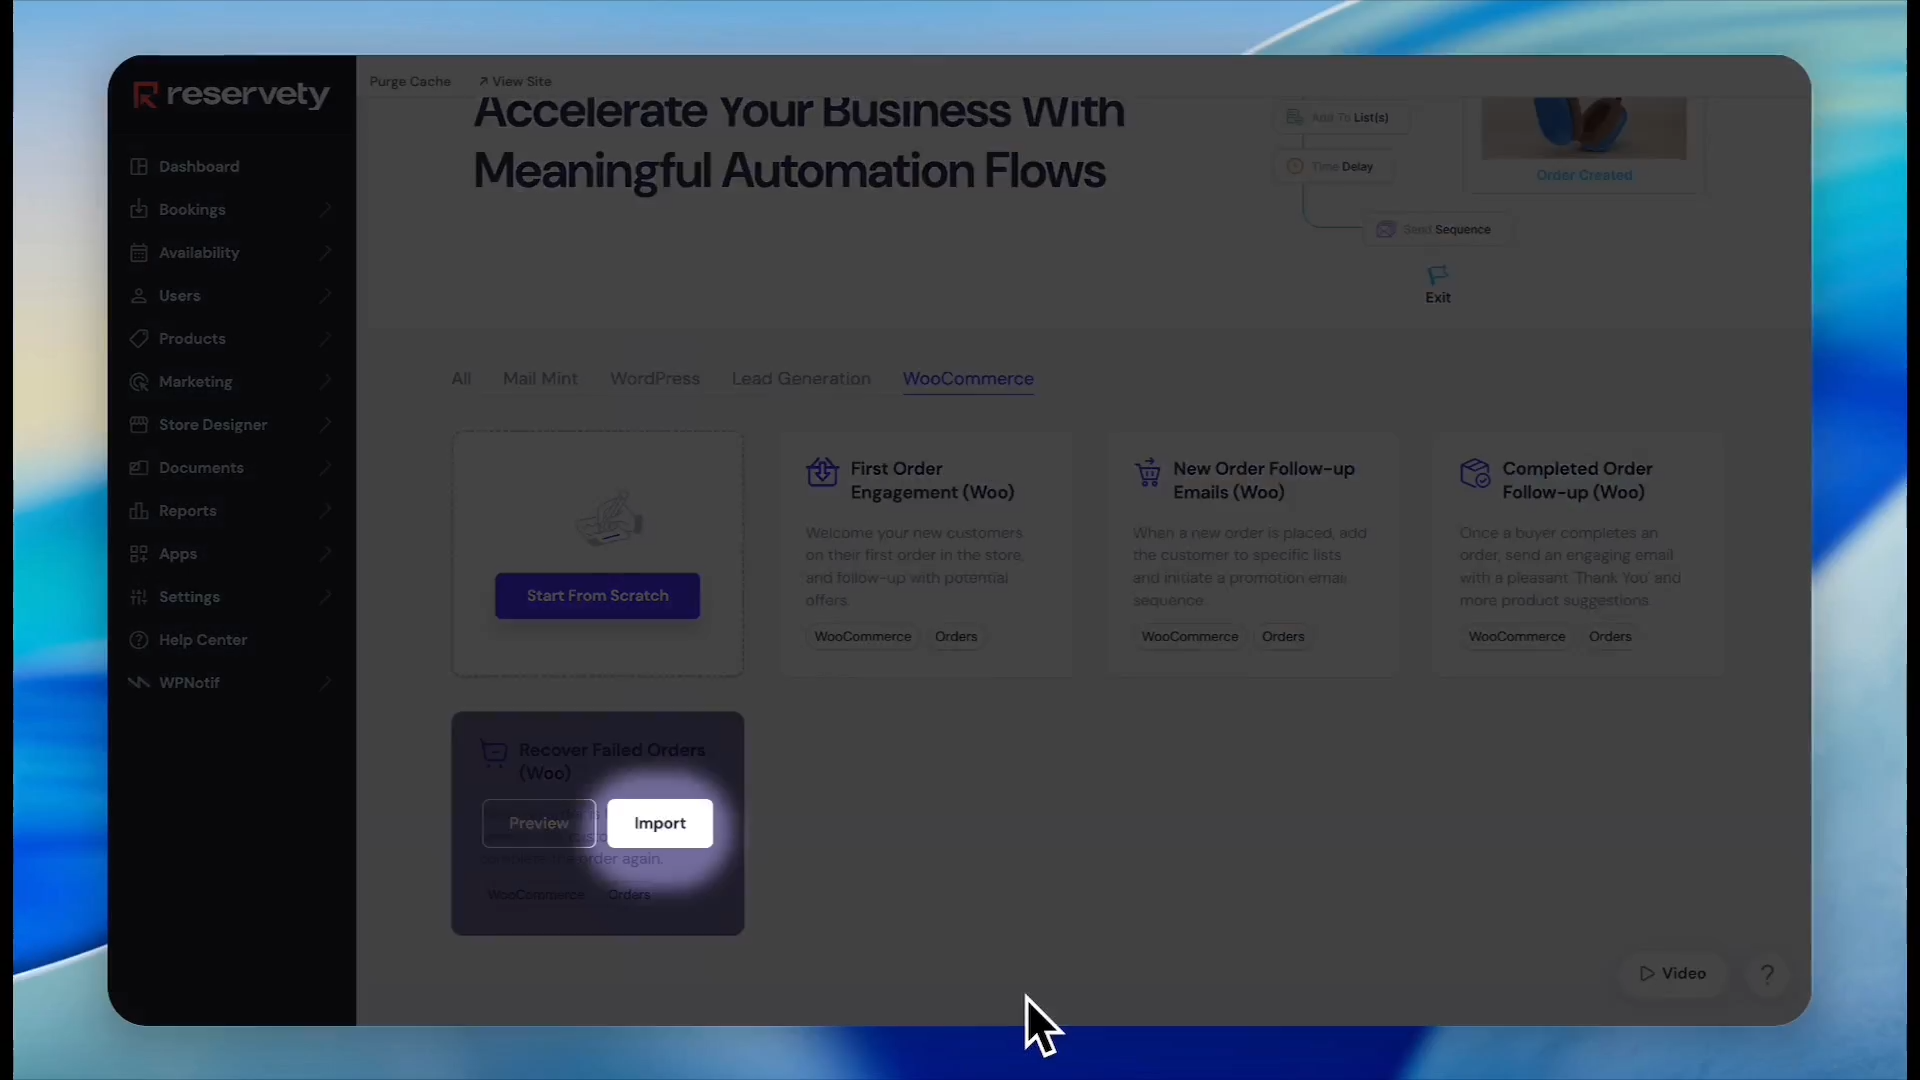
Click the WooCommerce tab to filter the available automation templates.
61
Click Import on the "Recover Failed Orders" template.
You must design the email sequence that the workflow will use before you activate it.
62
Navigate back to the main Email/SMS Automation settings.
63
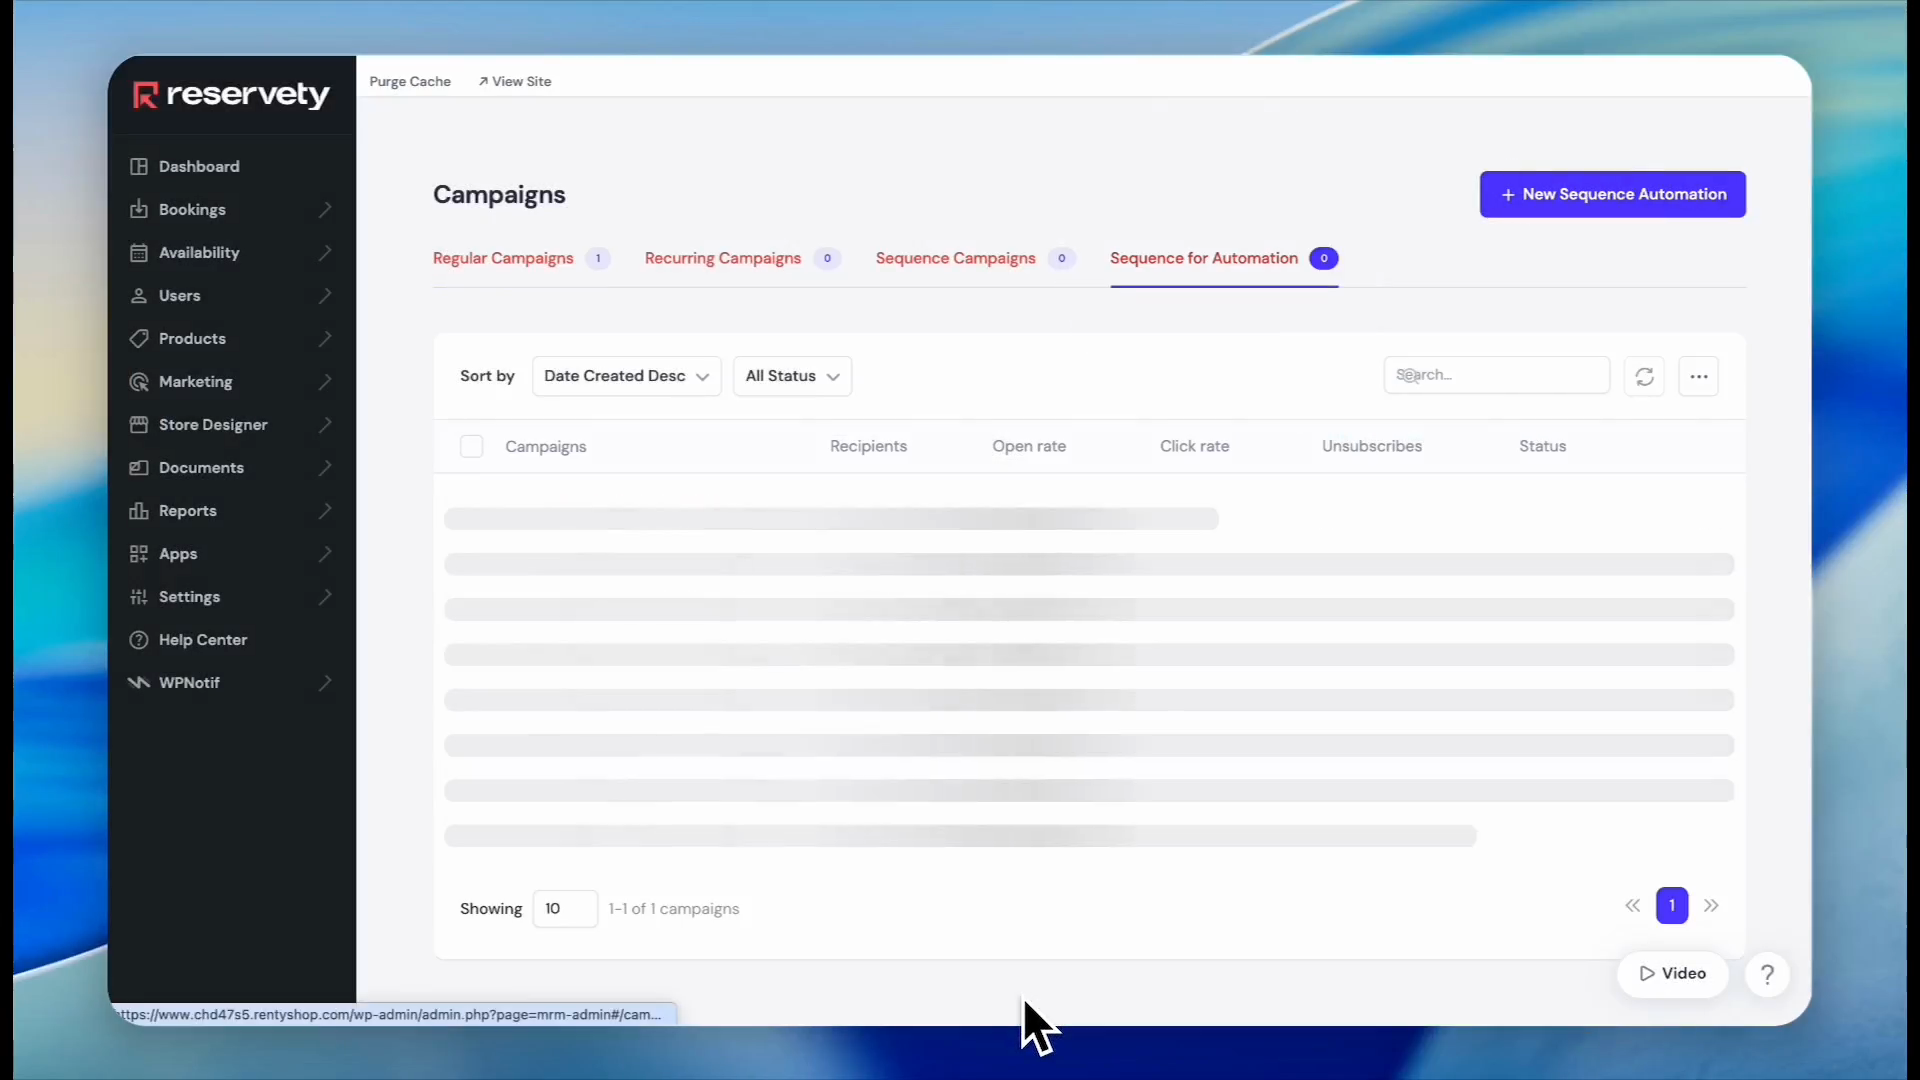
Click Campaigns.
64
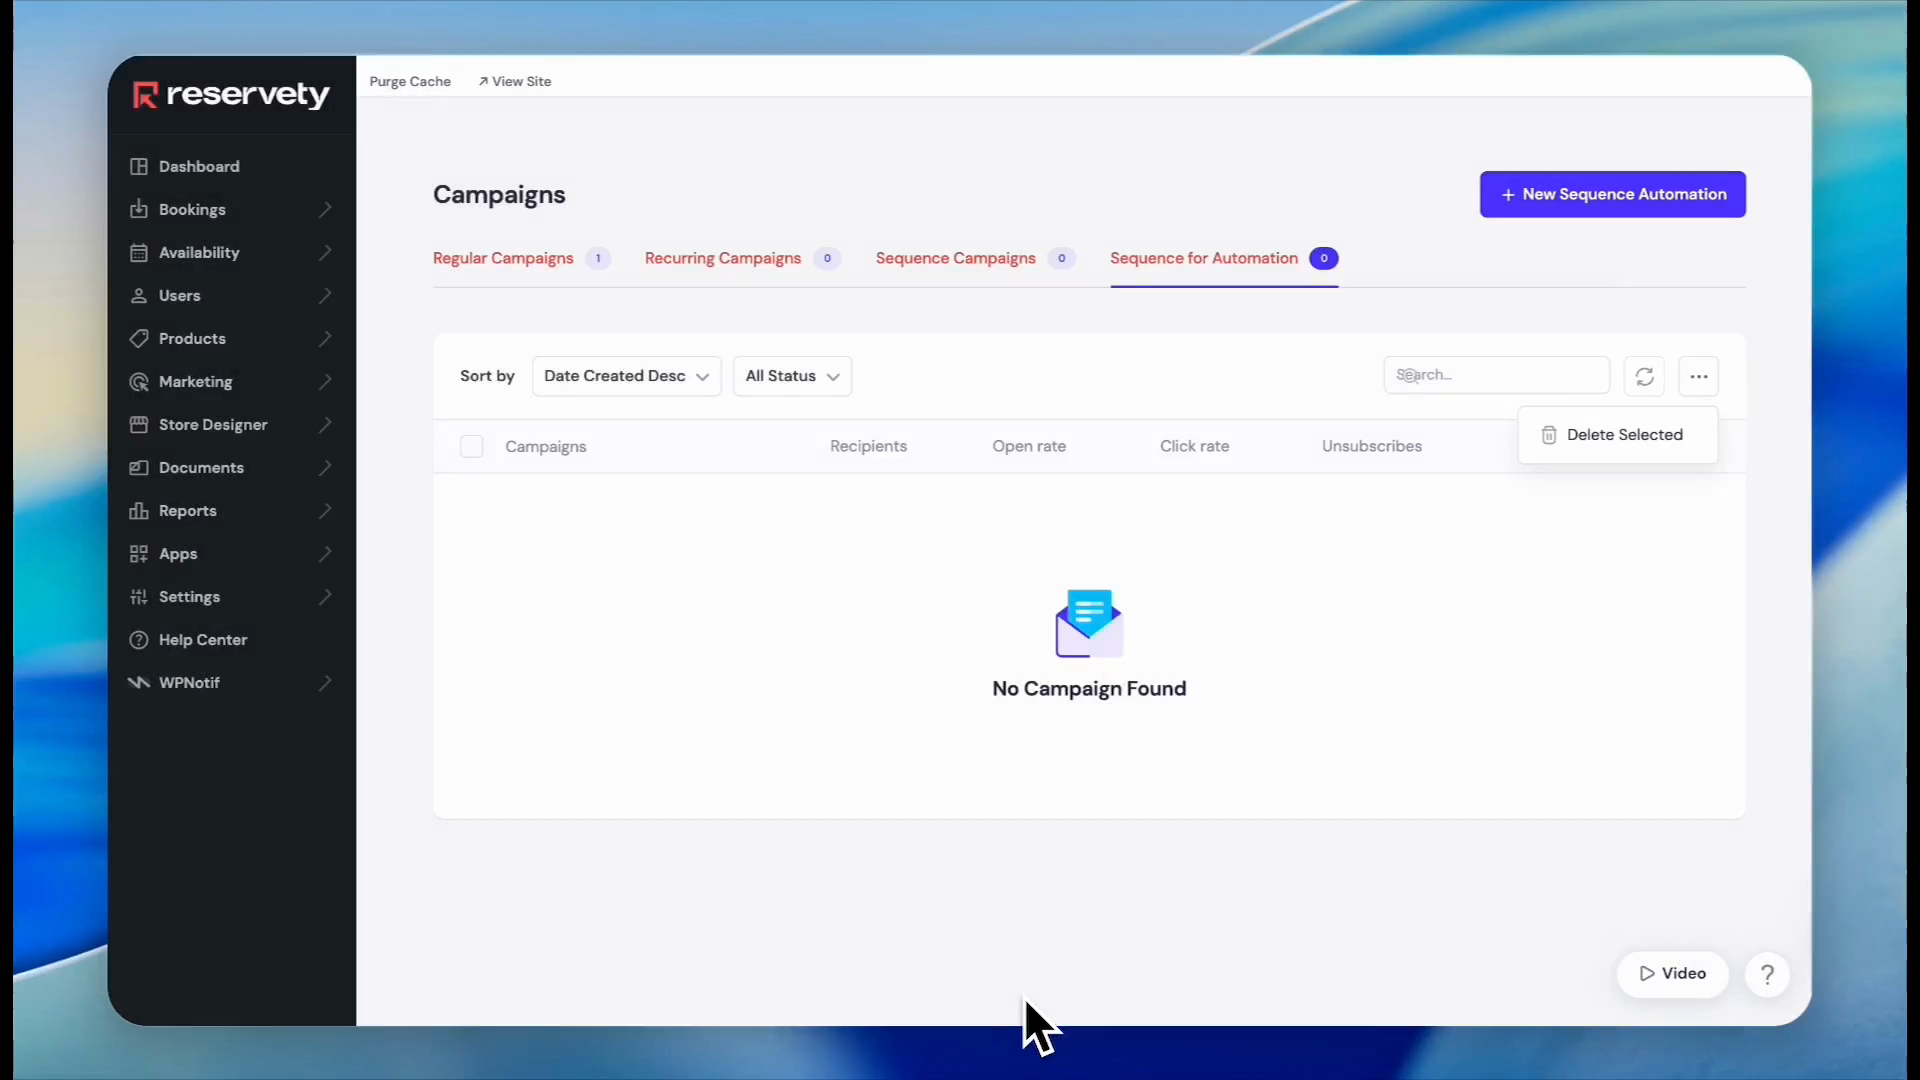
Click the Sequence for Automation tab.
65
Click the three dots icon in the top right.
66
Click New Sequence Automation.
67
Type a title for your automated sequence, such as "Failed Order".
68
Type a compelling subject line for the recovery email.
69
Click Design Your Email.
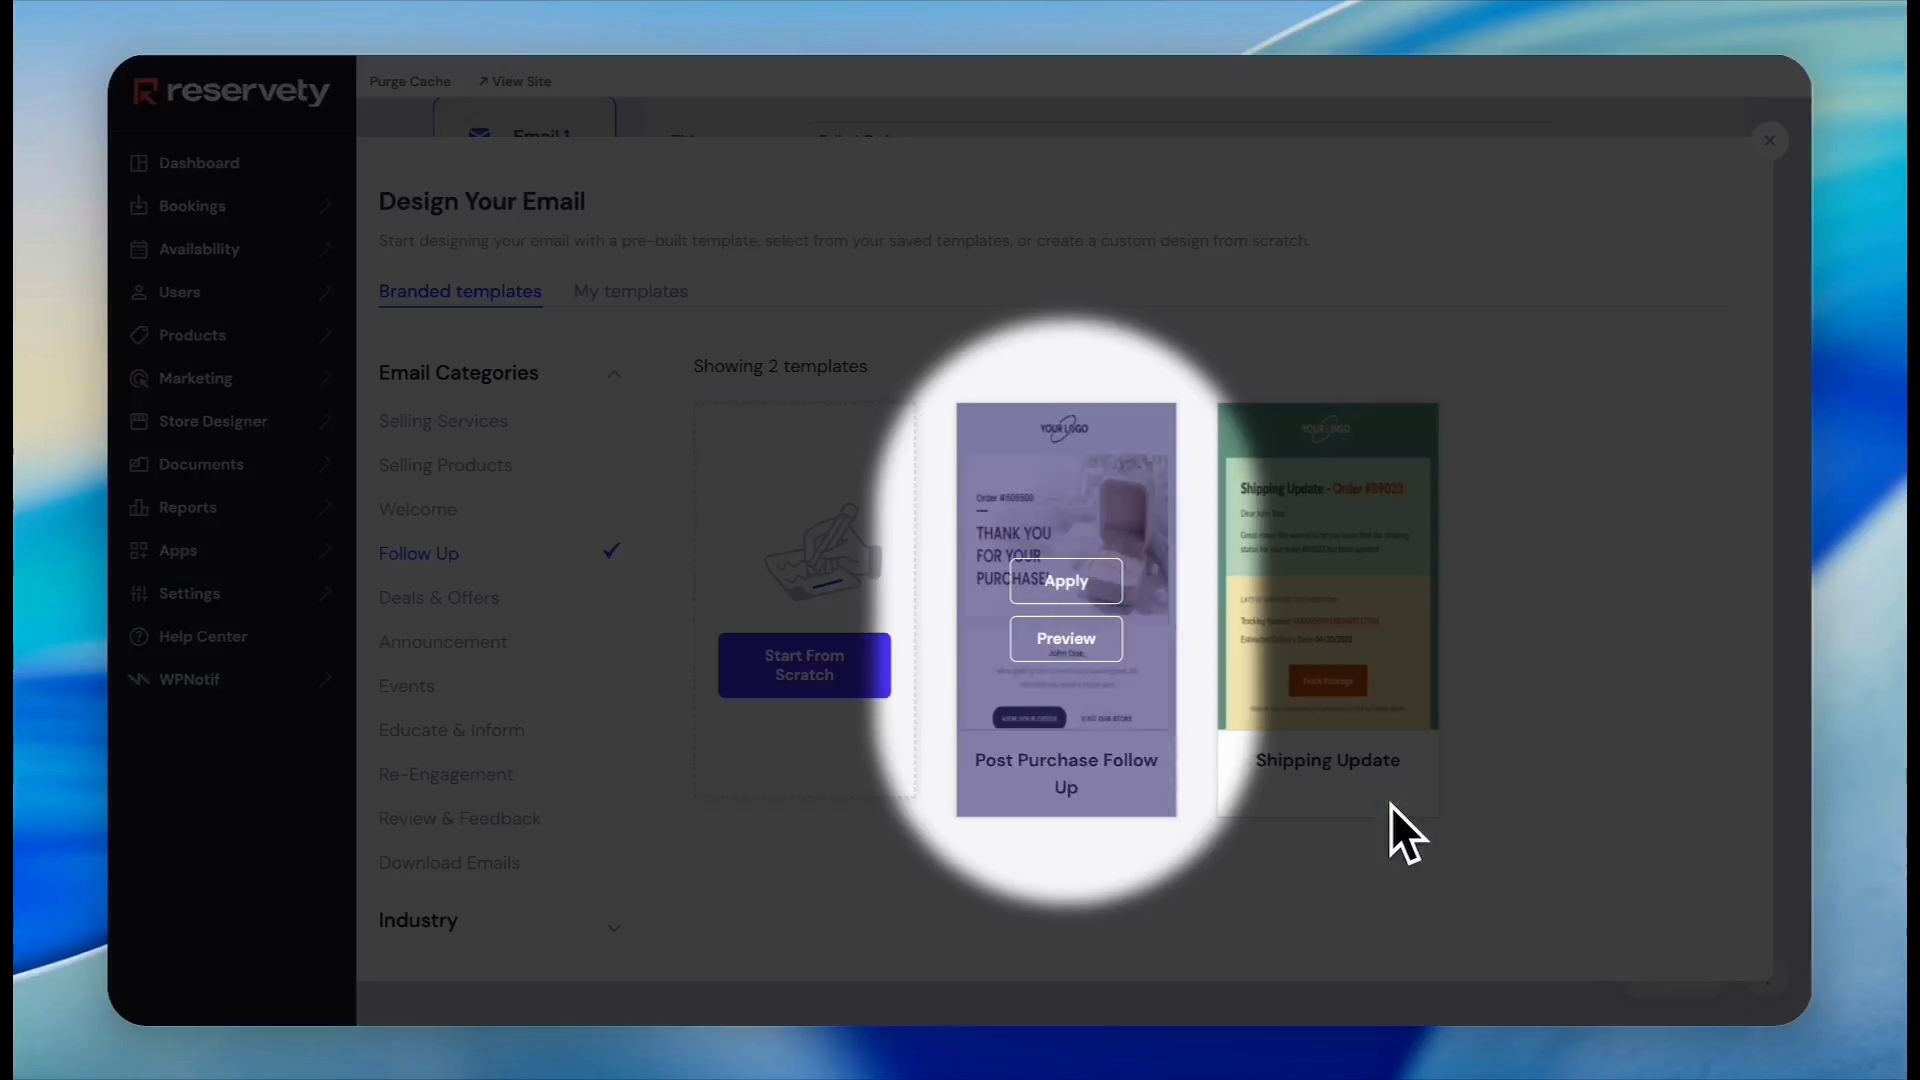
70
Select the Follow Up category from the sidebar.
71
Click Apply on a follow-up template.
Customize this generic template using the same methods explored earlier. Once complete, proceed to publish the sequence.
72
Click Next.
73
Click Publish.
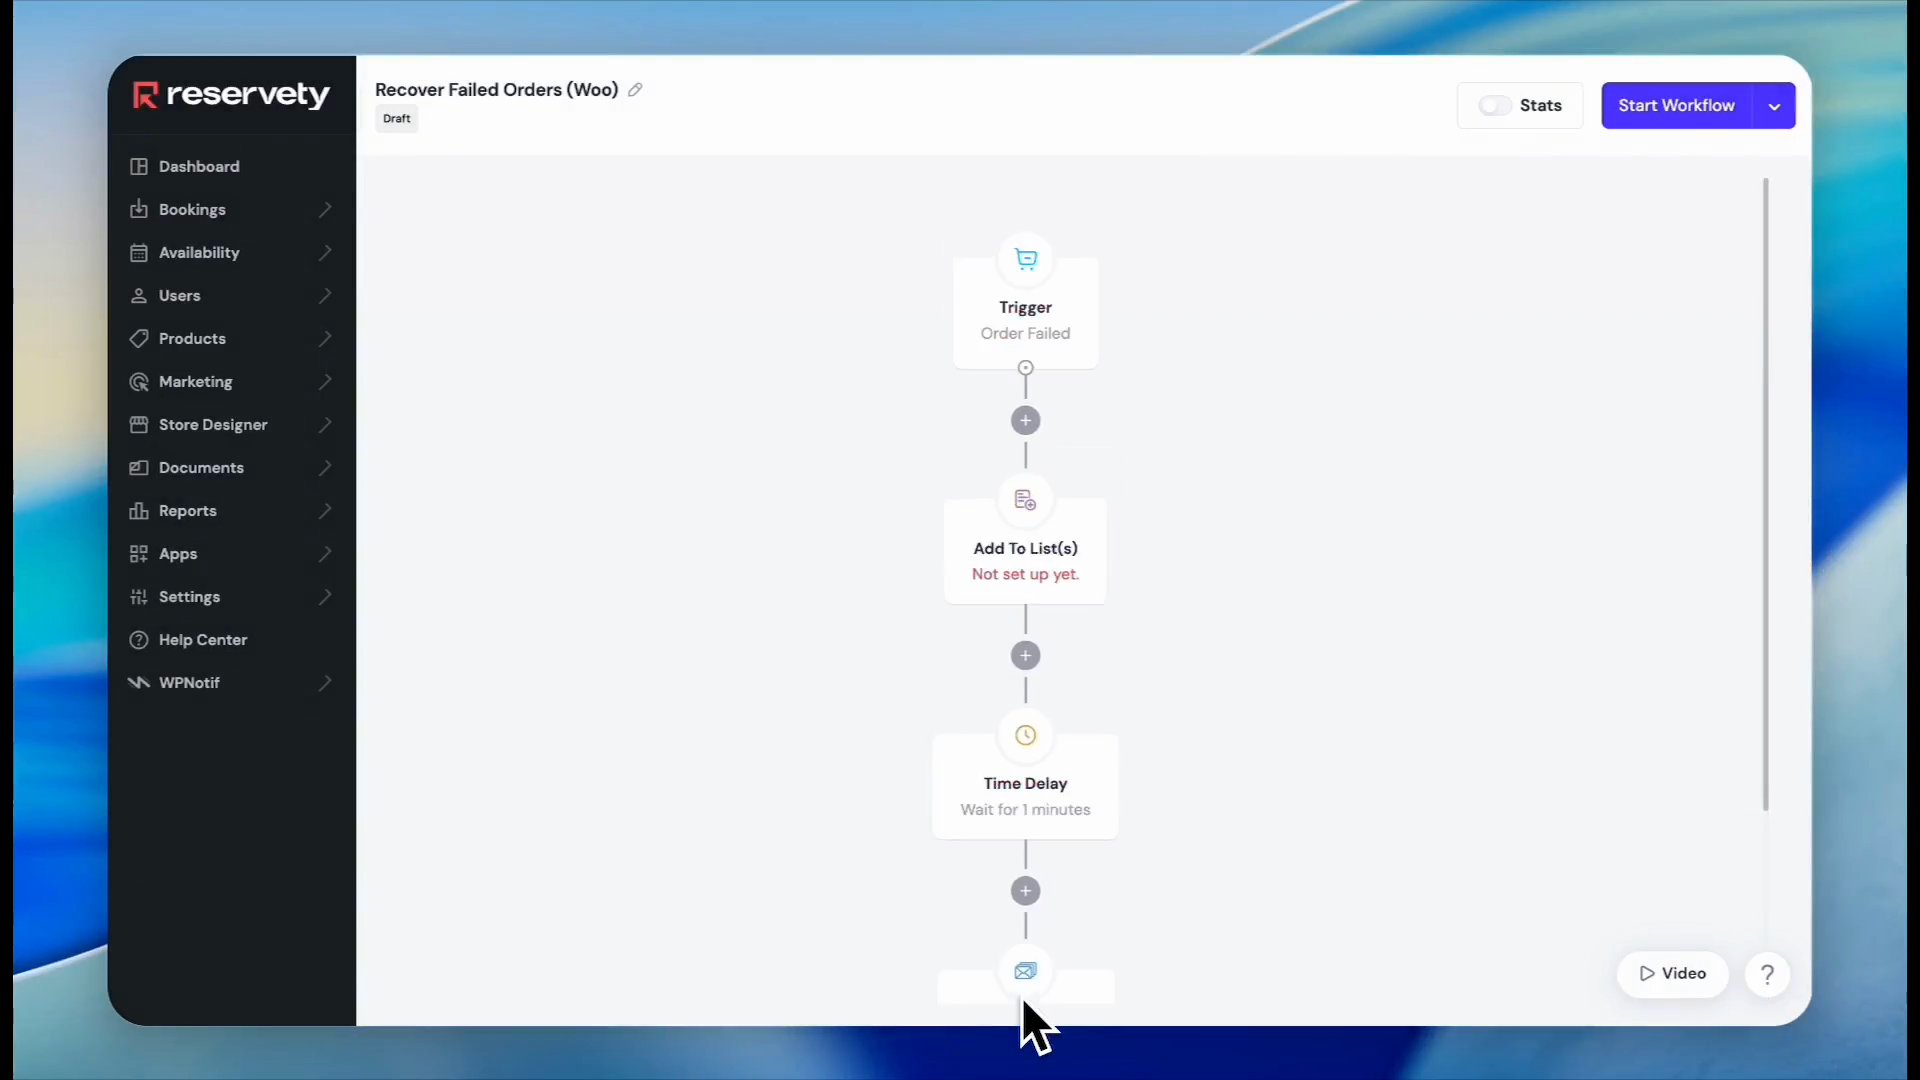
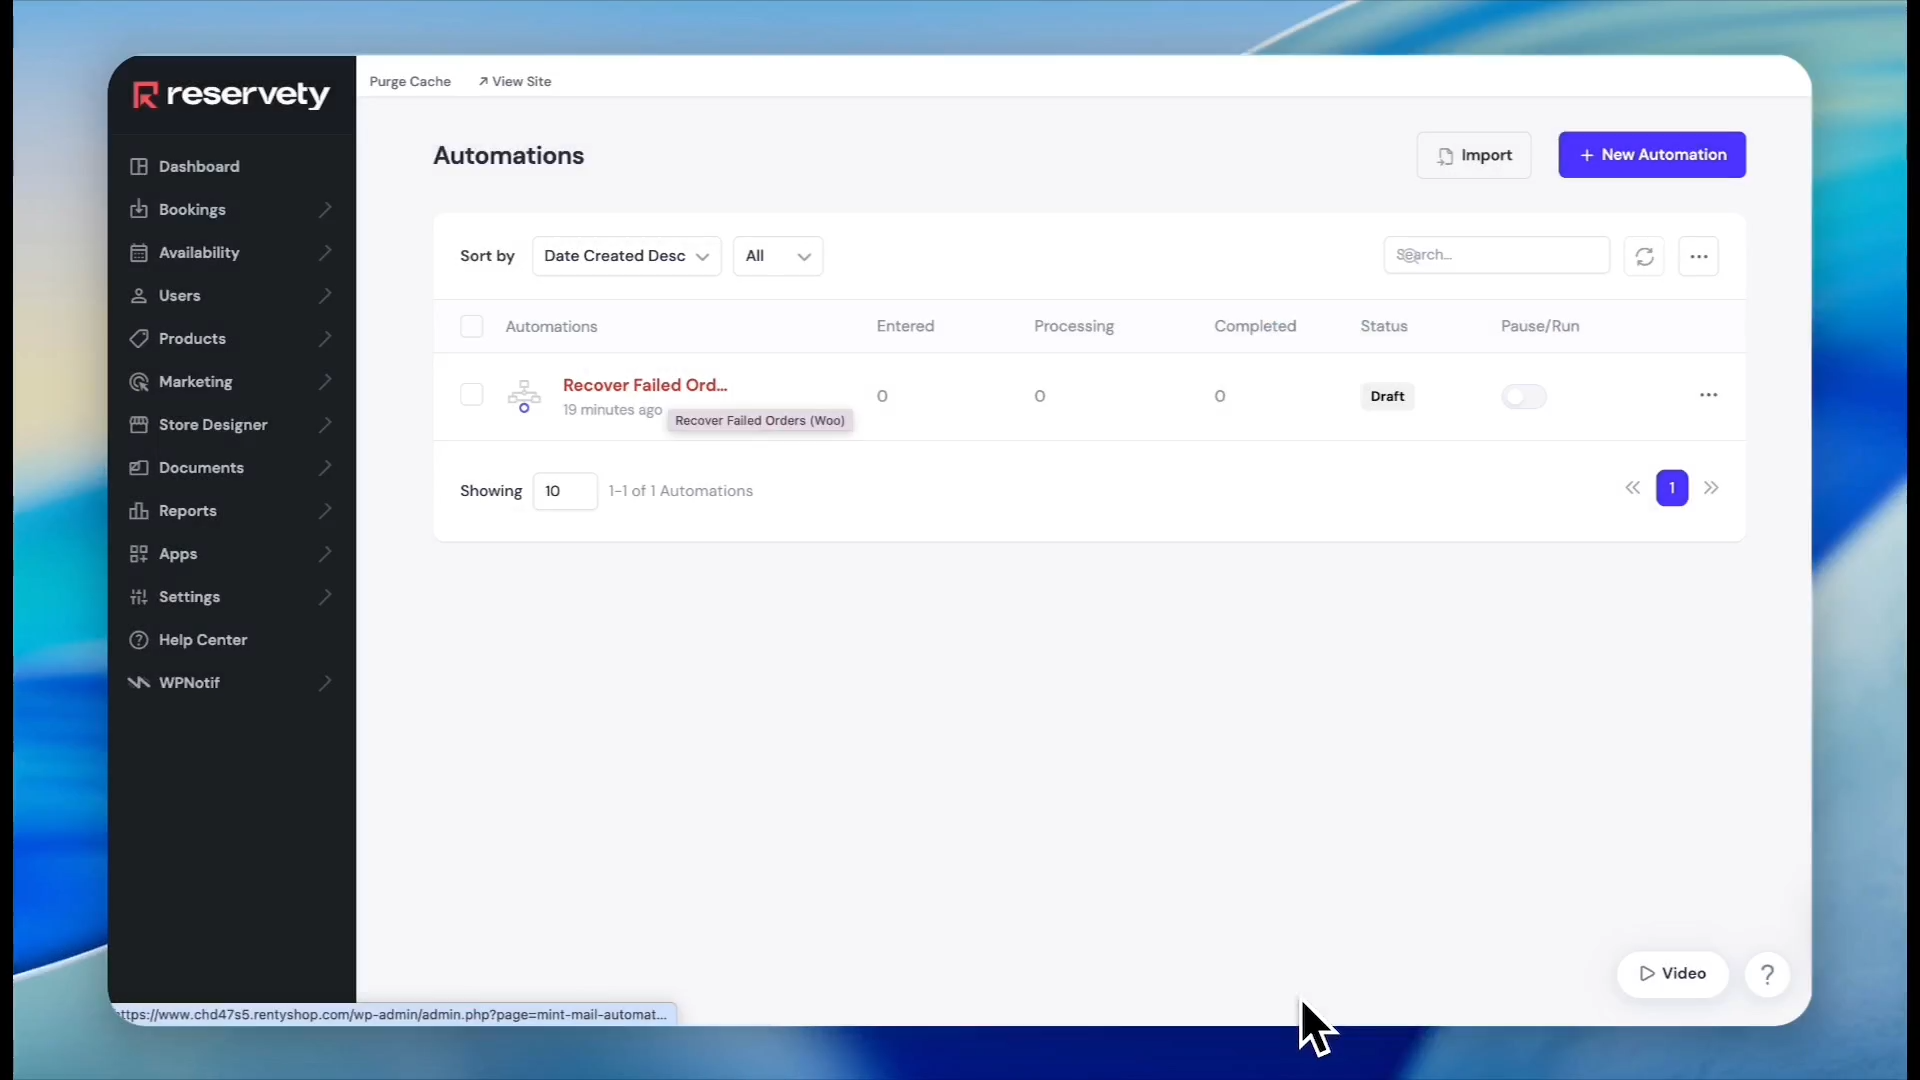
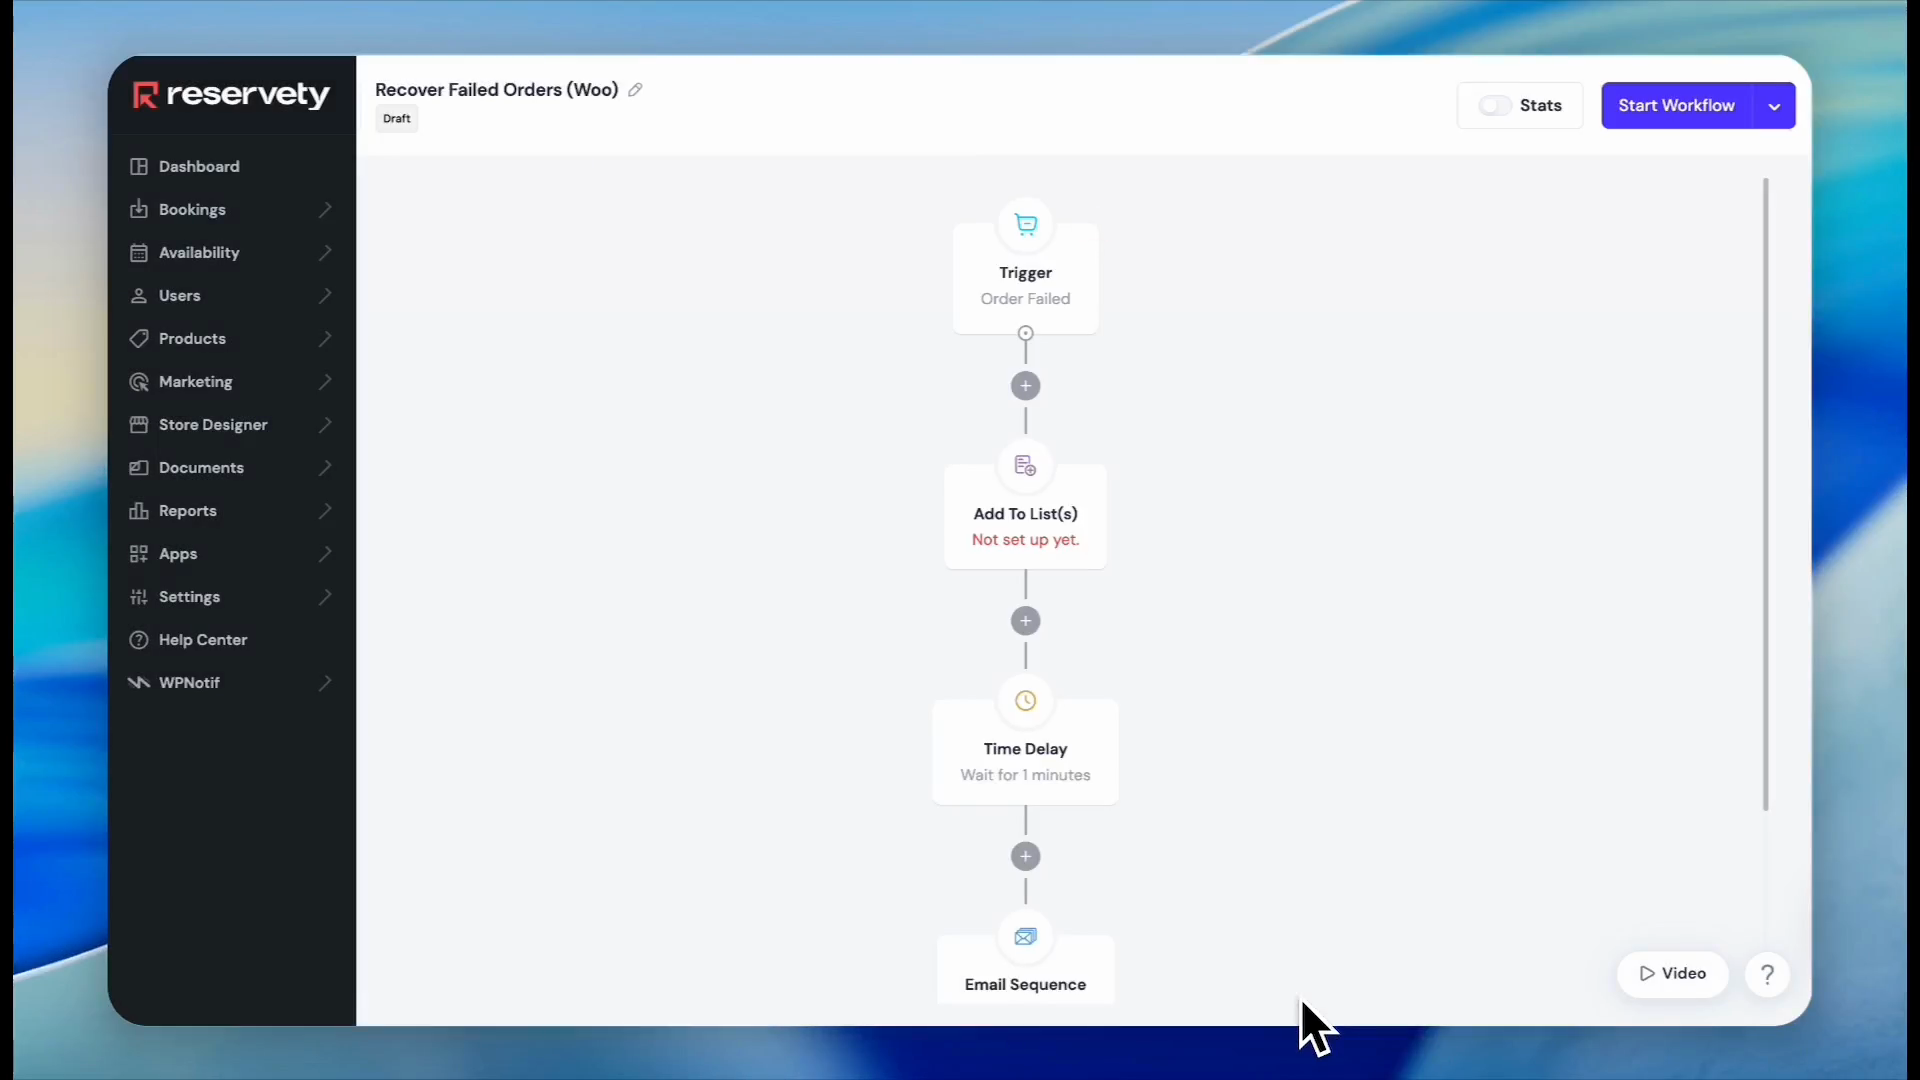
Finally, assemble the logic nodes in your automation workflow builder.
74
Click Automations in the sidebar.
75
Click on your newly imported "Recover Failed Orders" workflow.
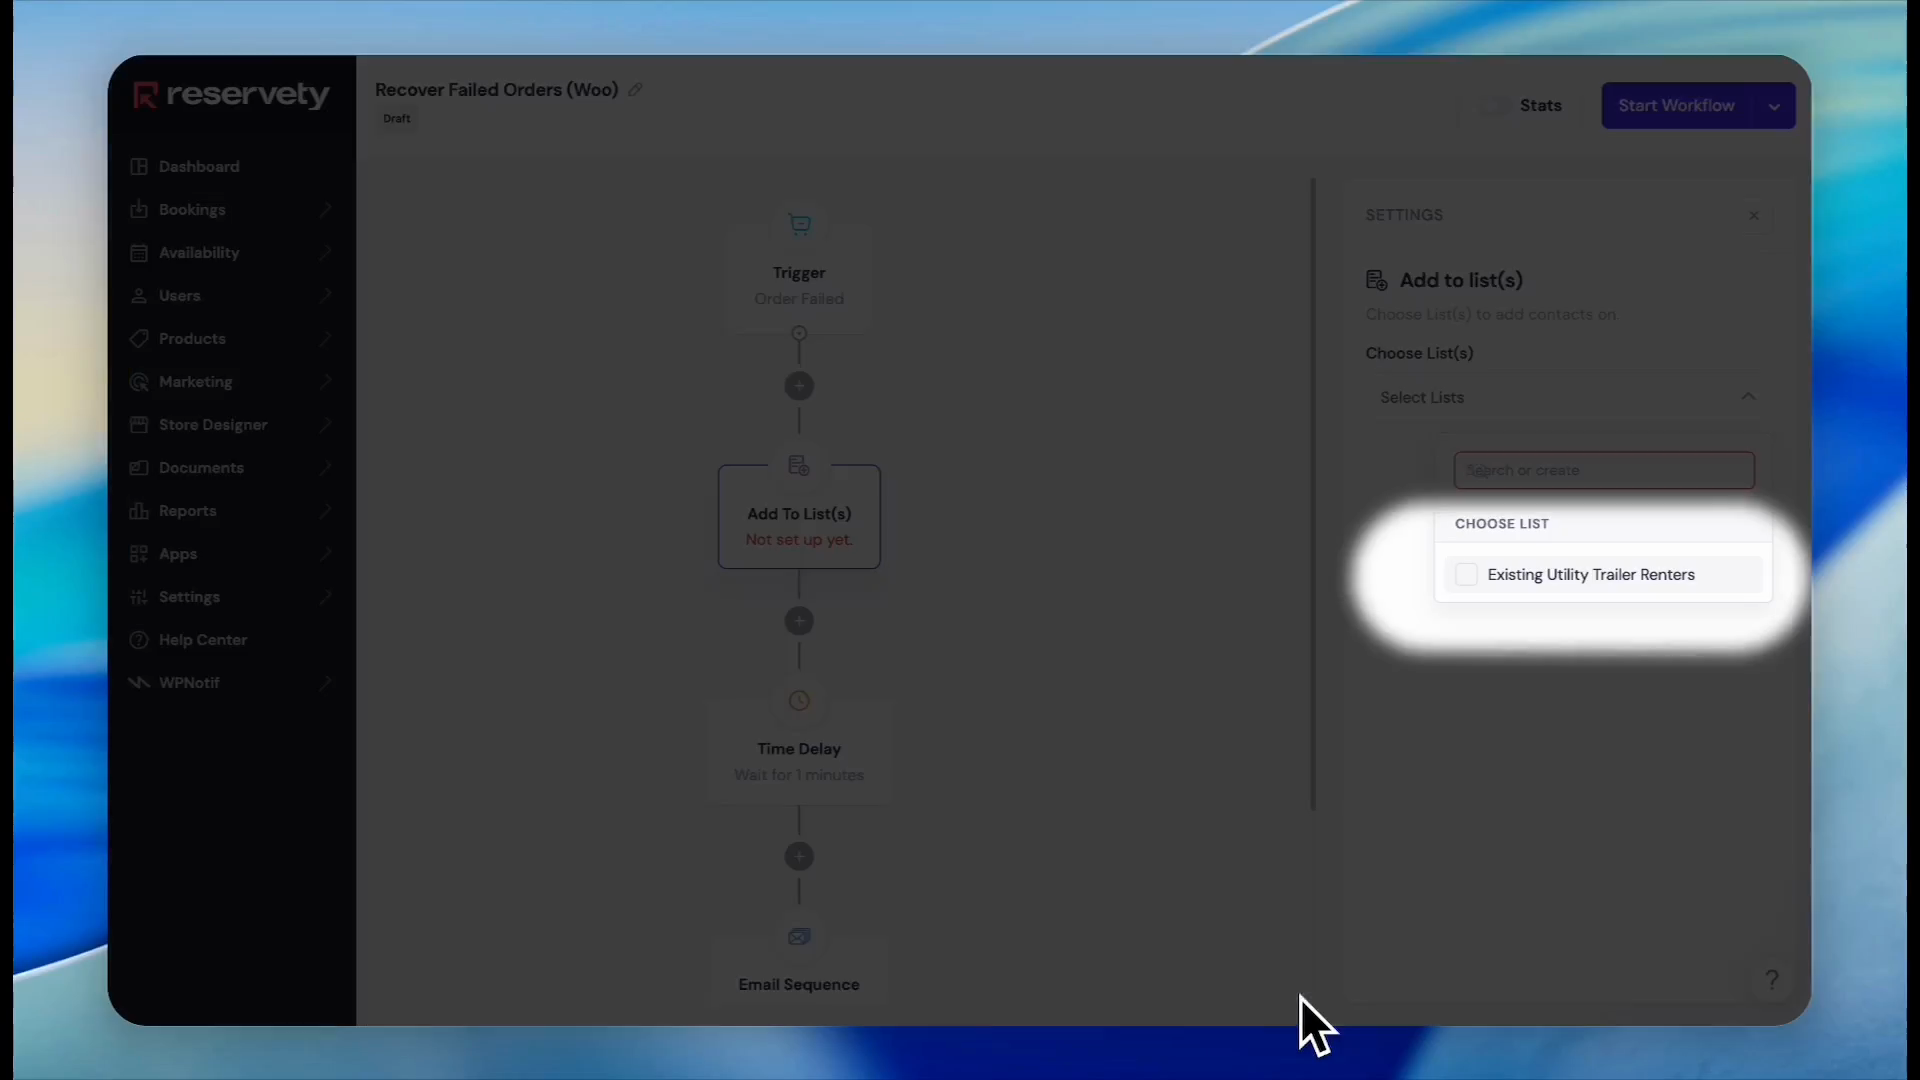
76
Click the Add To List(s) block in the workflow diagram.
77
Check the box to assign the affected customers to your desired contact list or segment.
78
Click the Time Delay block.
79
Configure how long the system should wait before sending the email (e.g., 10 minutes).
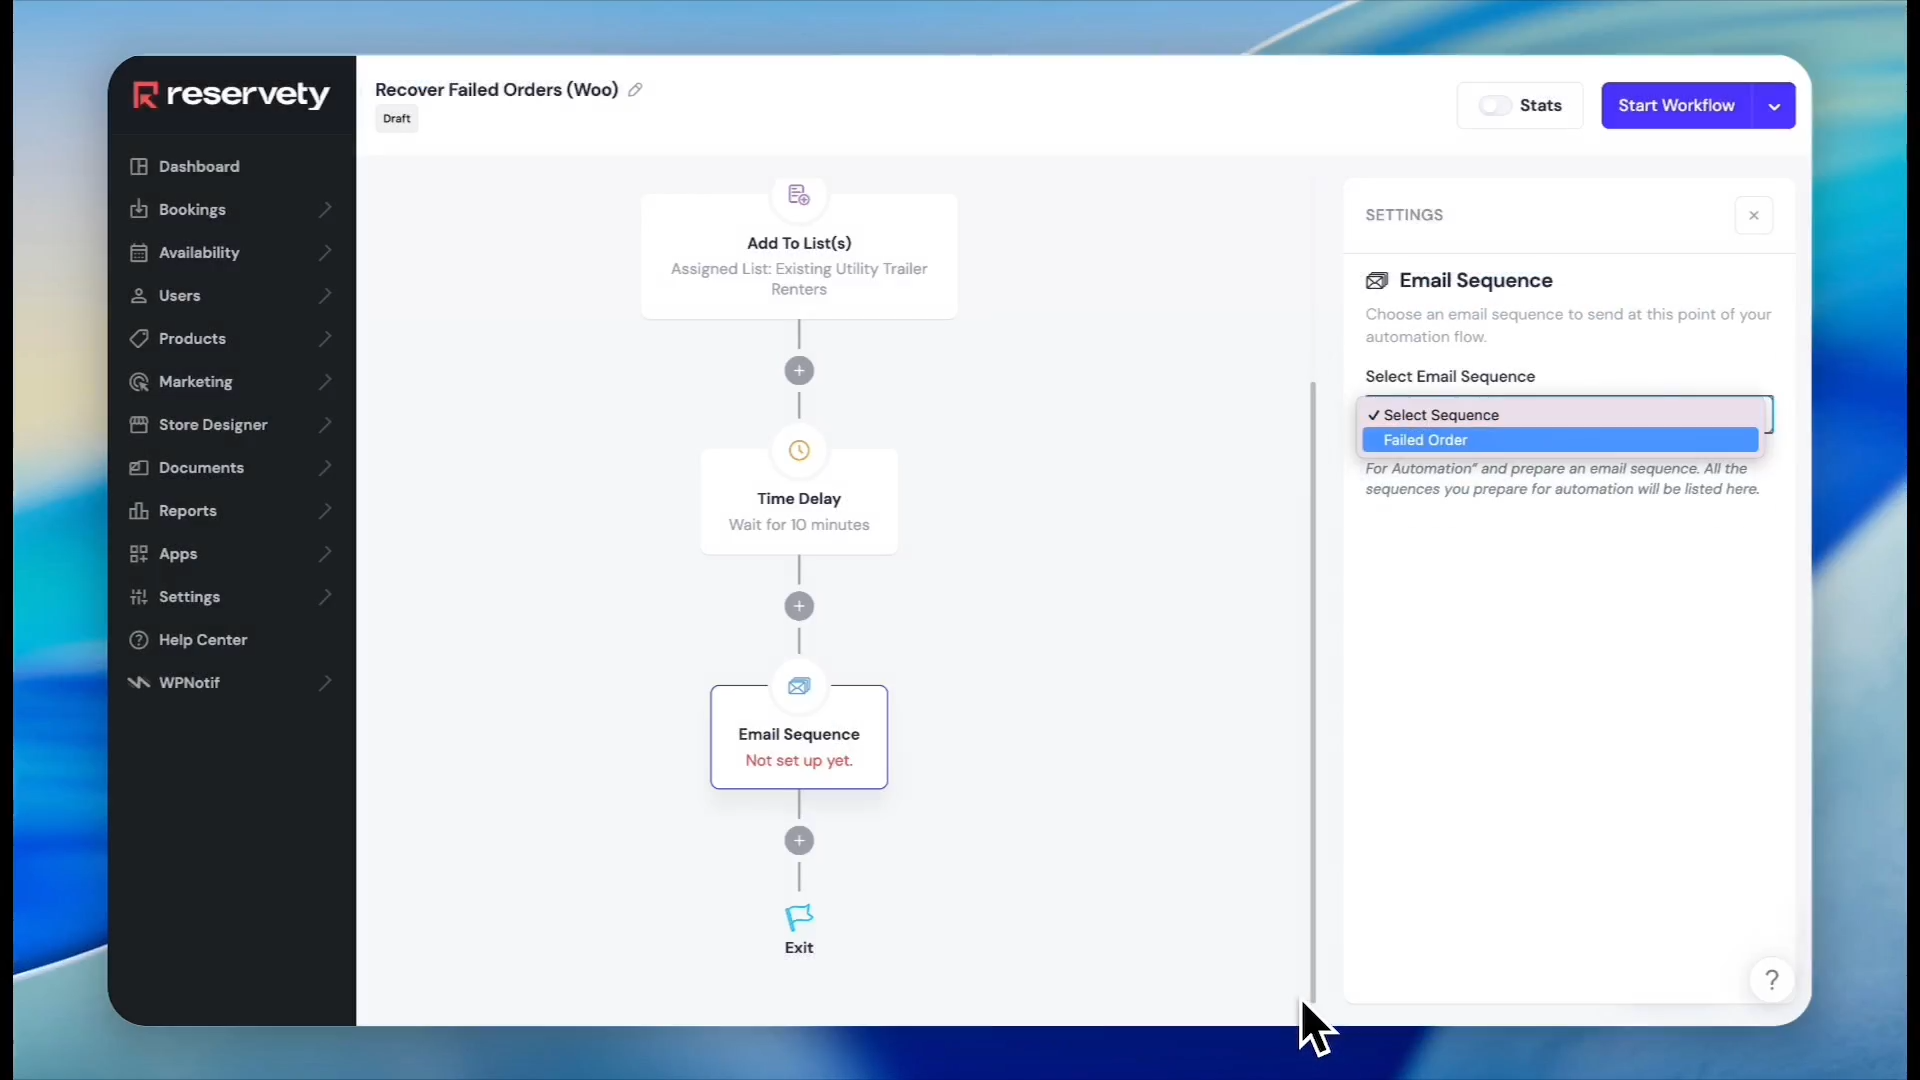
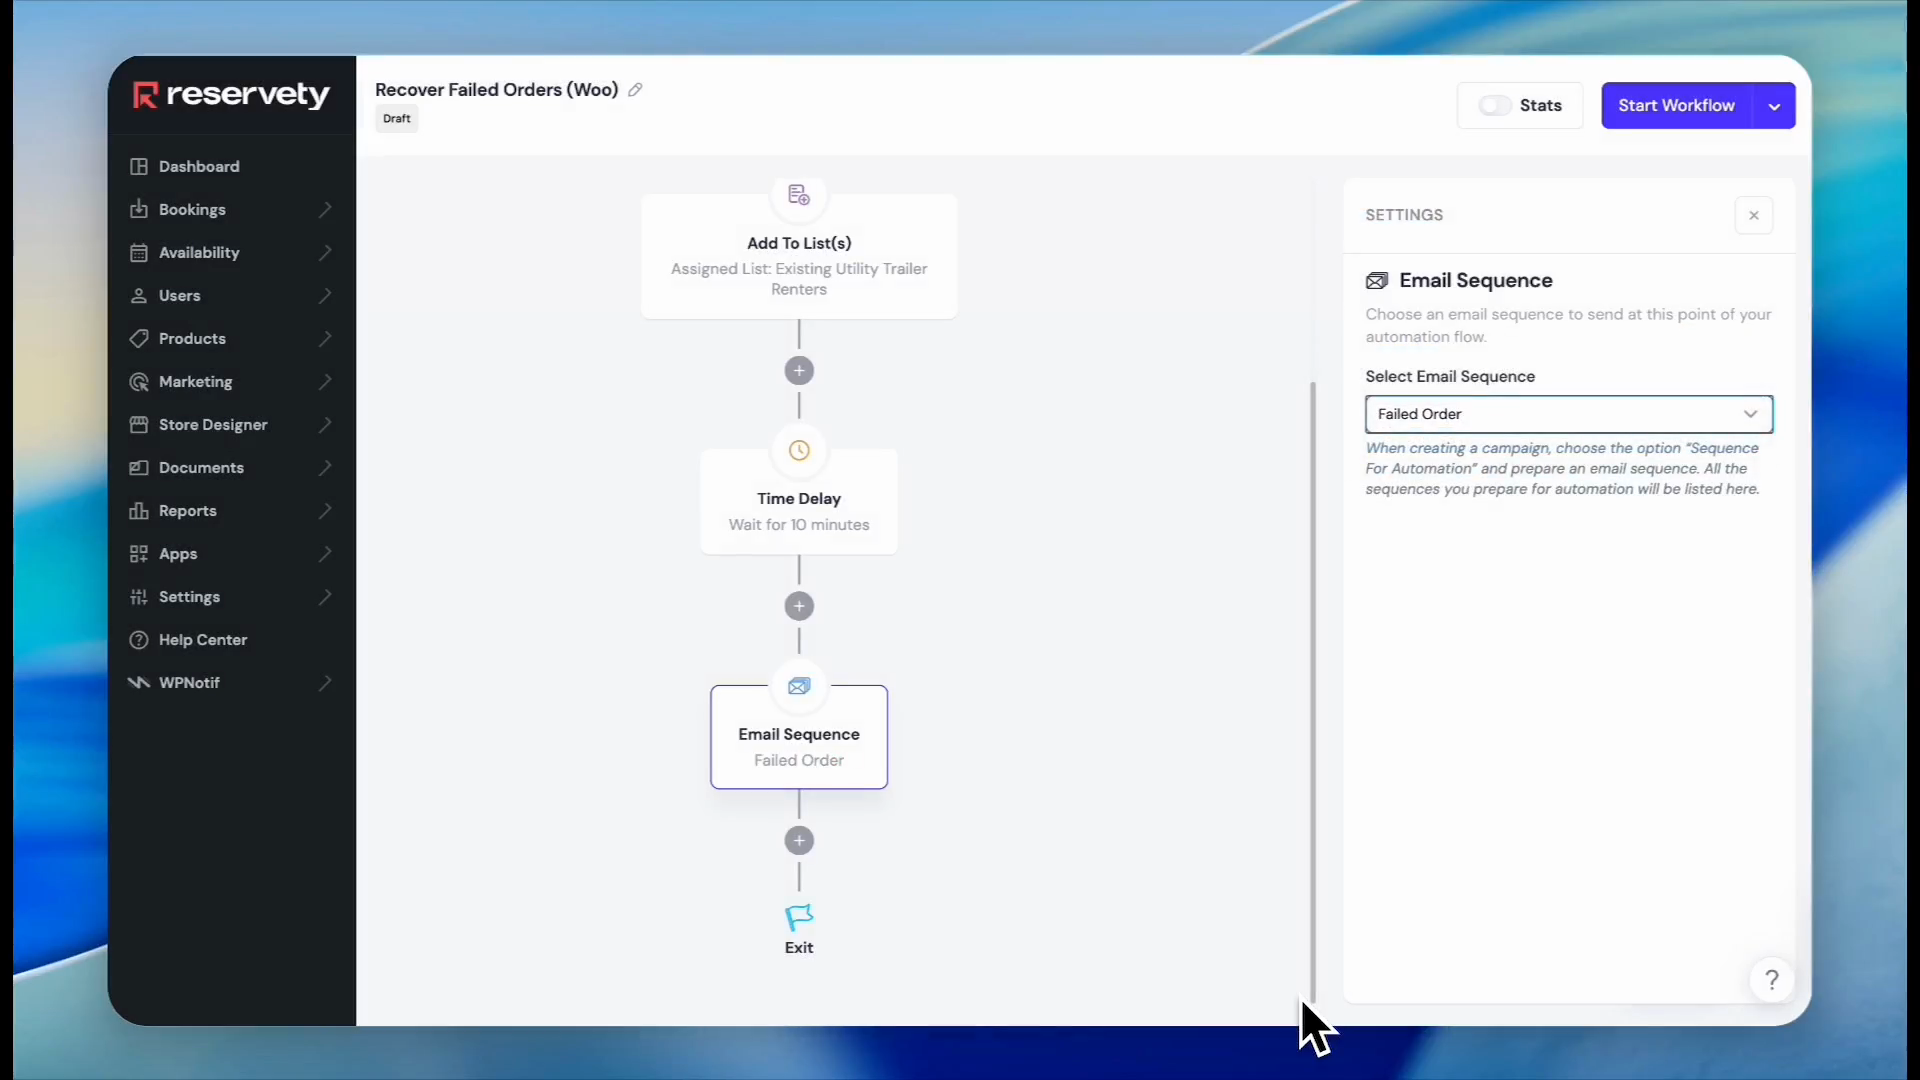
80
Click the Email Sequence block.
81
Click the sequence selection dropdown menu. Select the "Failed Order" sequence you published earlier.
82
Click Start Workflow to activate the automation.
83
Click Report in the top right corner to track the performance of this automated campaign over time.
Q: How do I group specific customers for targeted emails?
A: You must first assign a custom tag to the desired contacts. Once tagged, you use those labels as condition criteria to build a dynamic audience segment.
Q: Can I reuse existing promotional coupons in my email campaigns?
A: Yes. Navigate to Marketing > Coupons to copy an active coupon code, then paste it directly into a text block within your email design.
Q: How do I direct email recipients to a specific product category on my site?
A: Navigate to your website's desired category page, copy the URL from your browser's address bar, and paste it into the button link field in your email template.
Q: How do I track the performance of an automated campaign?
A: Open your active automation workflow and click Report in the top right corner to view real-time analytics.
Term
Definition
Segment
A dynamic group of contacts defined by specific conditions (like tags) used for targeted campaigns.
Campaign
A specific email or SMS message sent to a selected audience or segment.
Sequence for Automation
A predefined email message template designed to be triggered automatically by a specific event.
Automation Workflow
A series of automated steps—such as delays, list additions, and emails—triggered by a customer action.
Tags
Custom labels are assigned to customer records to easily categorize and identify them for segmentation.