Icon

How to Create a Internal Support Ticket in Zoho CRM Issue Tracker

Learn how to log technical issues, associate related records, assign priority, and notify colleagues using the Issue Tracker module in Zoho CRM.

By Adam McElwee

This guide explains how to properly log a new internal support issue using the Issue Tracker module in Zoho CRM. By carefully categorizing the problem we can track all issues, ensure timely resolutions and monitor patterns to prevent future problems.

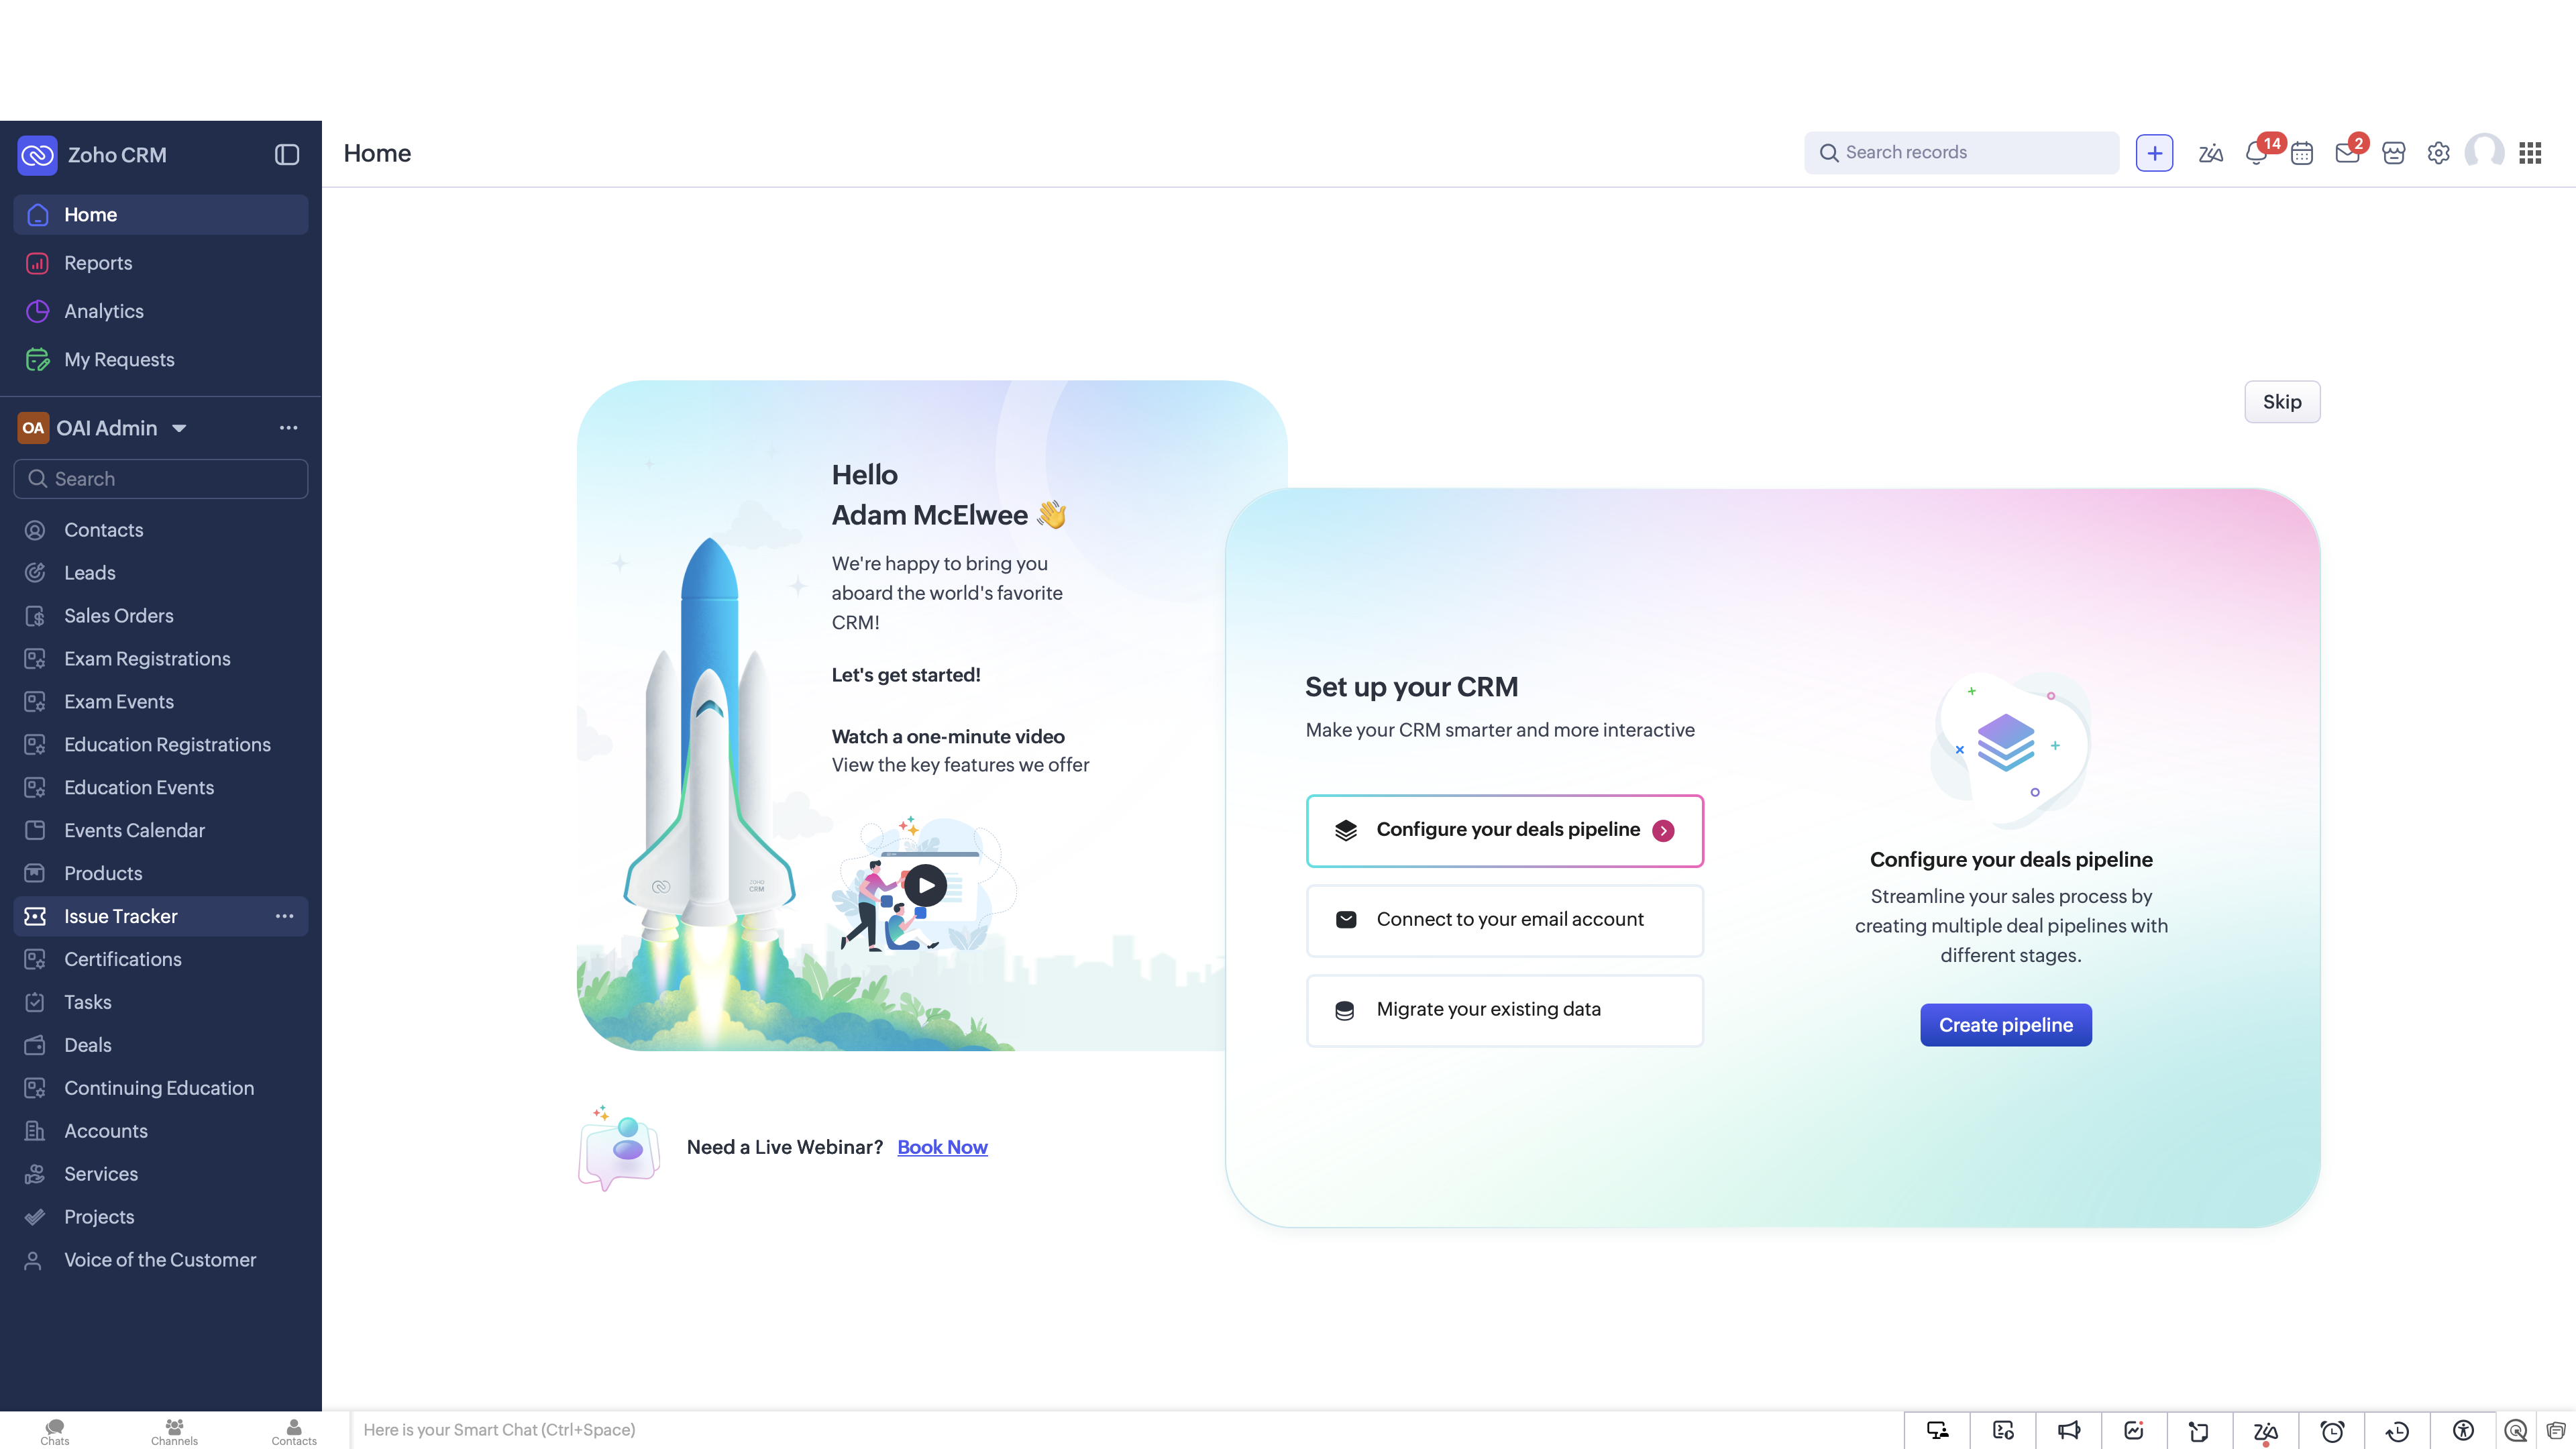
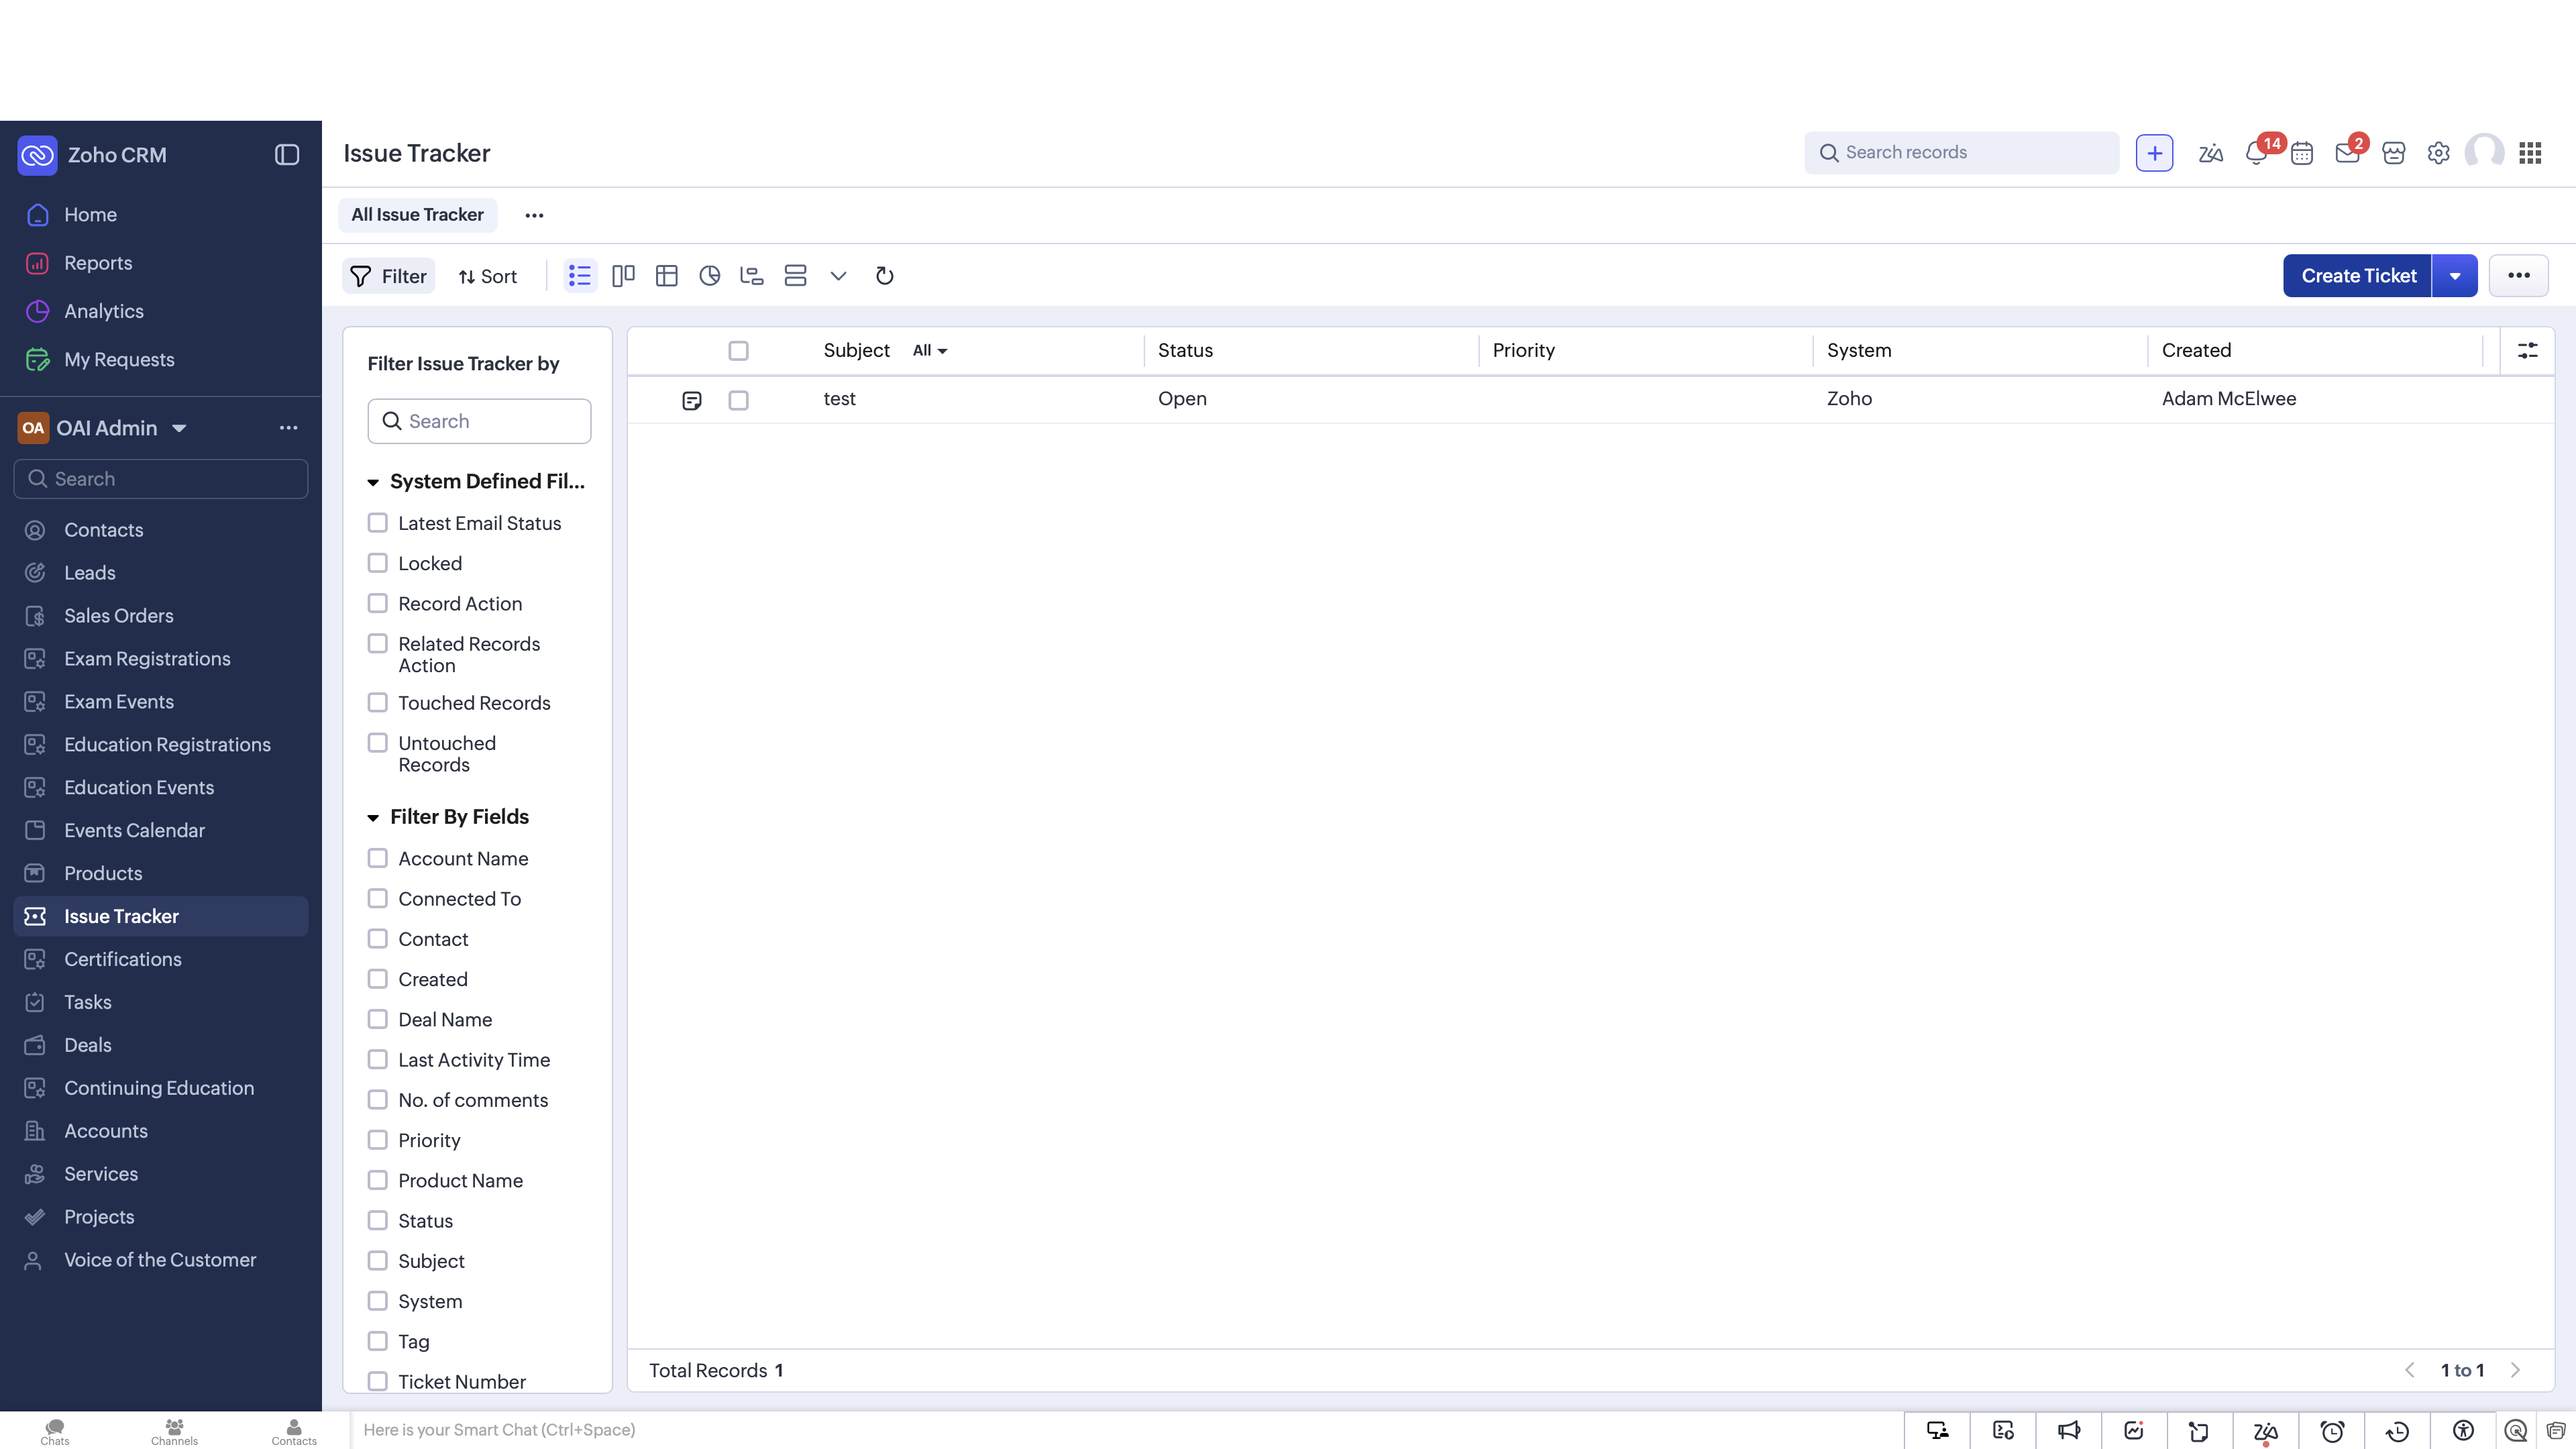
Navigating to the Issue Tracker

1
Click Issue Tracker in your Zoho CRM navigation menu.
Step #1: Click Issue Tracker in your Zoho CRM navigation menu.
2
Click Create Ticket in the top right corner.
Step #2: Click Create Ticket in the top right corner.

Filling Out the Ticket Form

3
Select the relevant product from the Product Name dropdown. If no product is associated with this issue, leave blank.
Step #3: Select the relevant product from the Product Name dropdown. If no product is associated with this issue, leave blank.
4
Set the Priority to accurately reflect the urgency (e.g., Medium).
Step #4: Set the Priority to accurately reflect the urgency (e.g., Medium).
5
Choose the ticket Type, selecting Problem for a bug or technical issue.
Step #5: Choose the ticket Type, selecting Problem for a bug or technical issue.

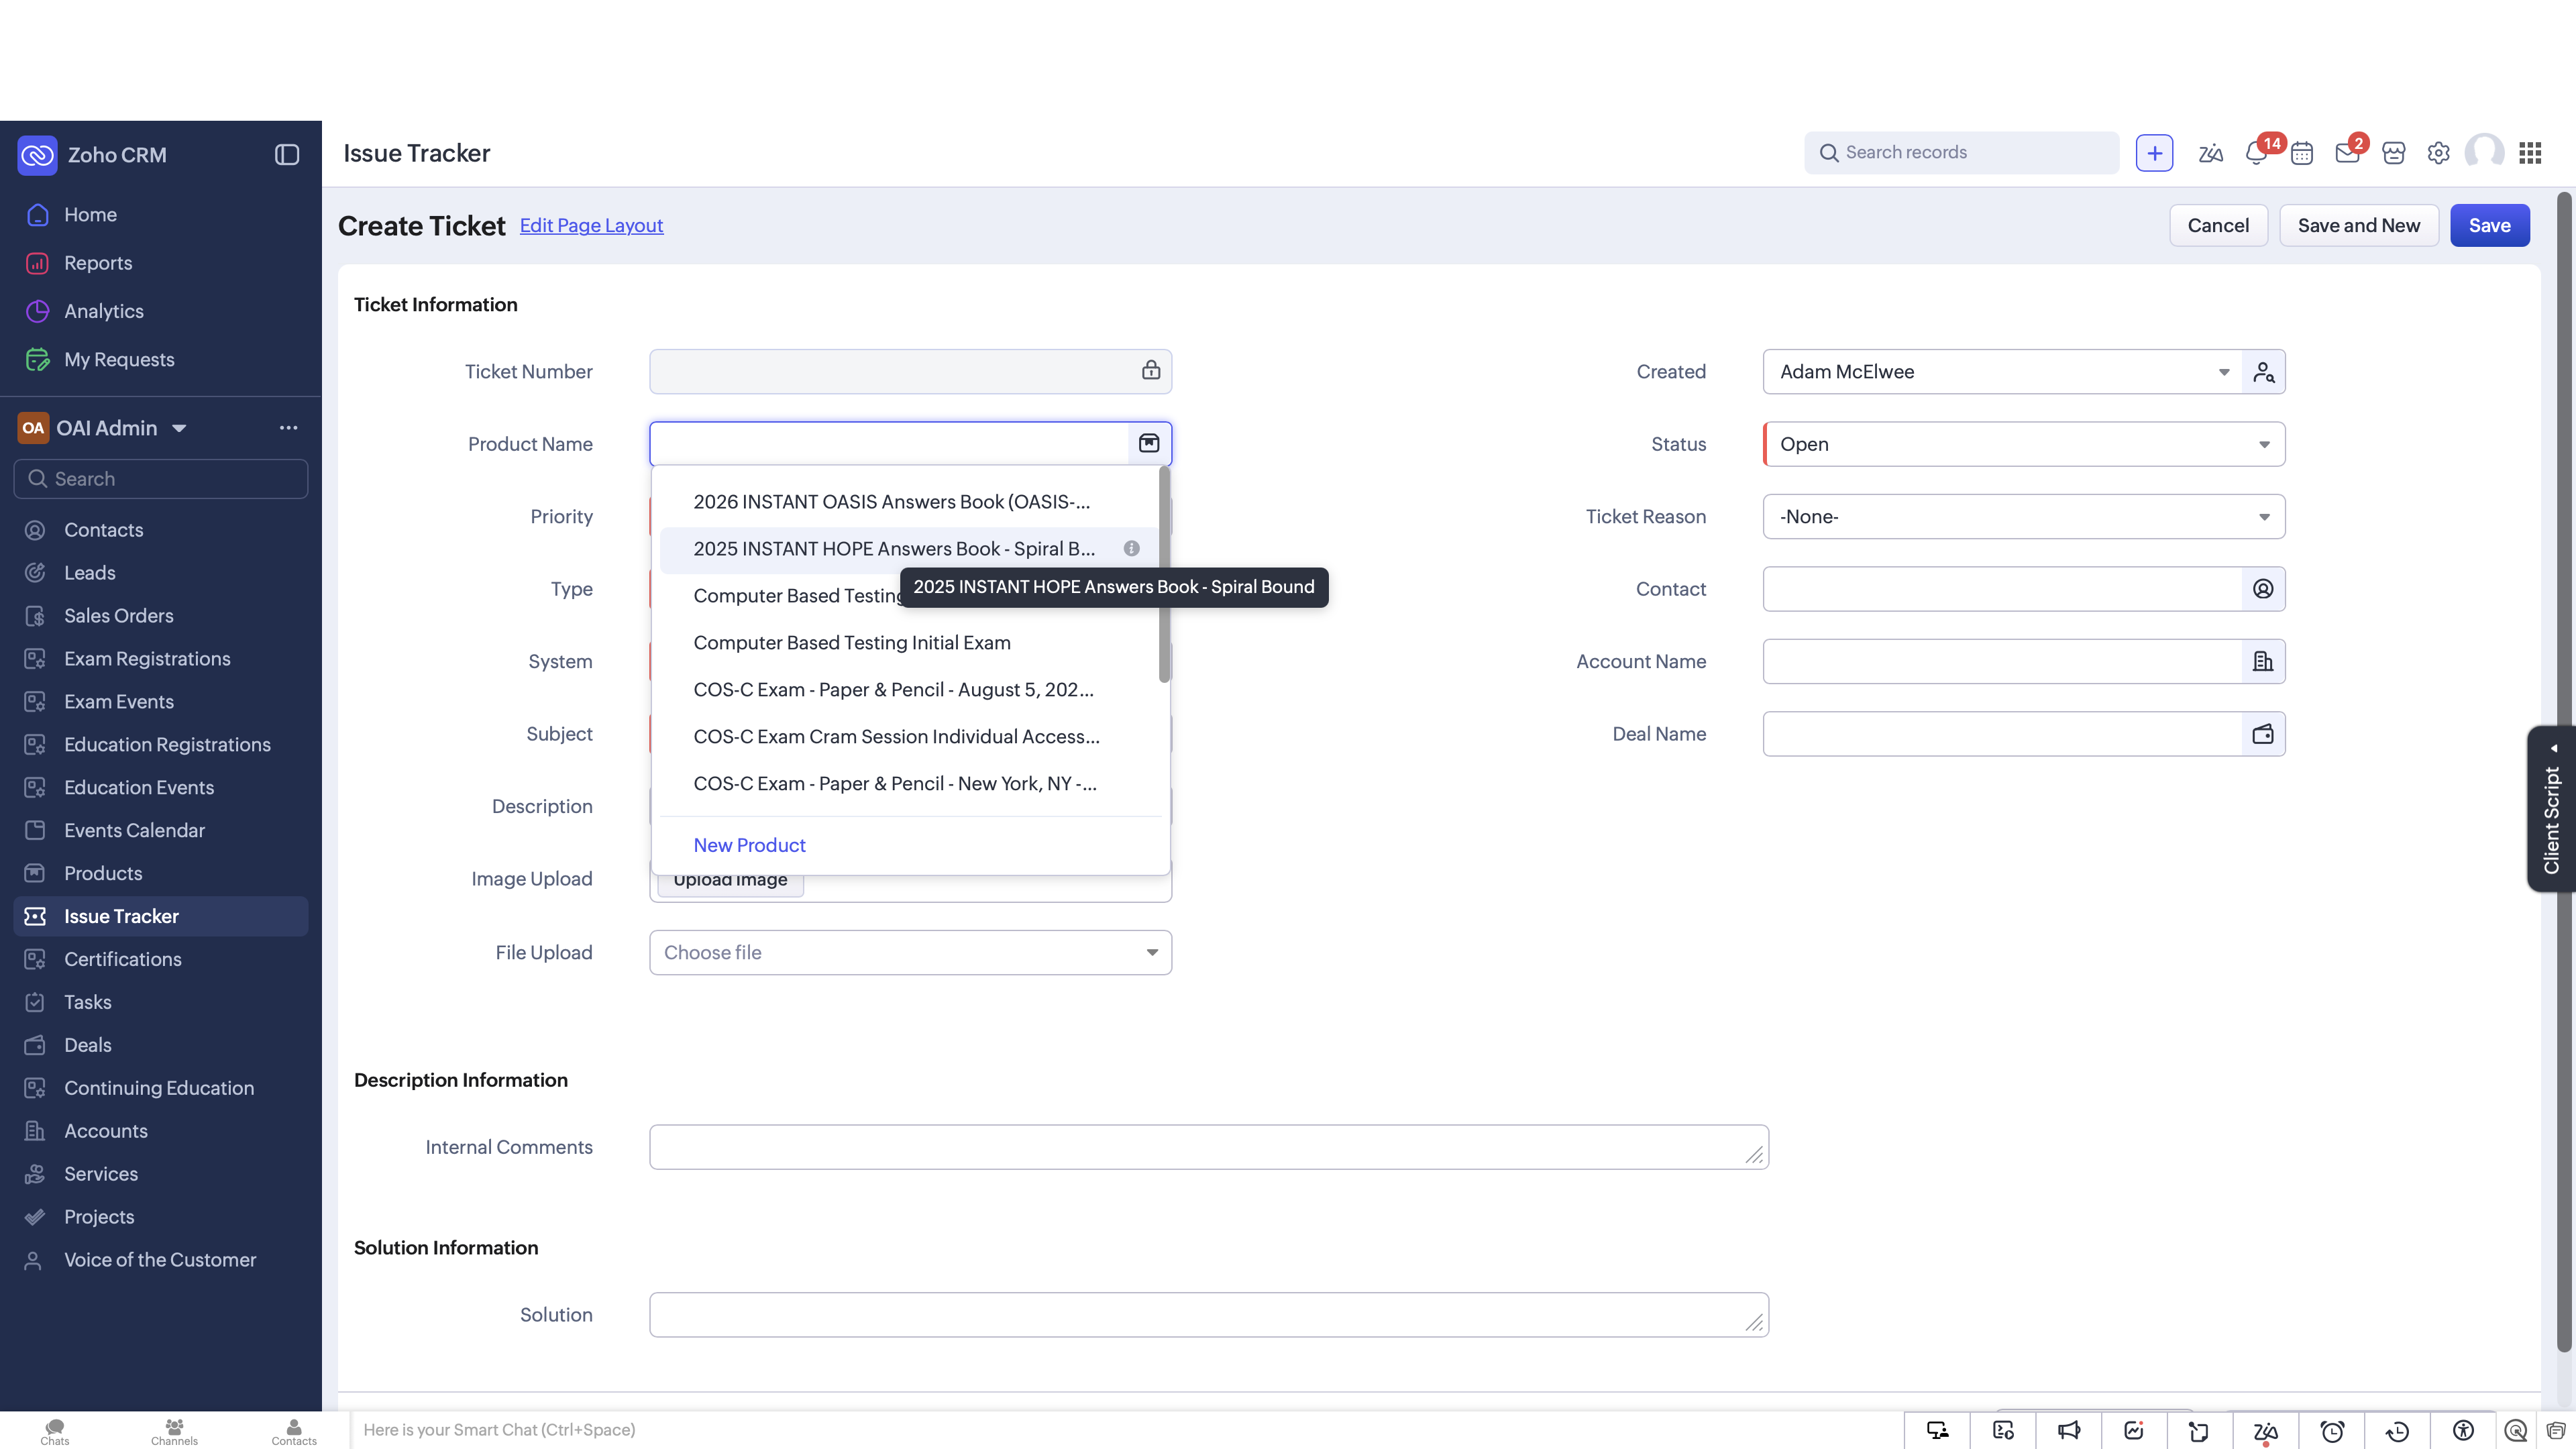
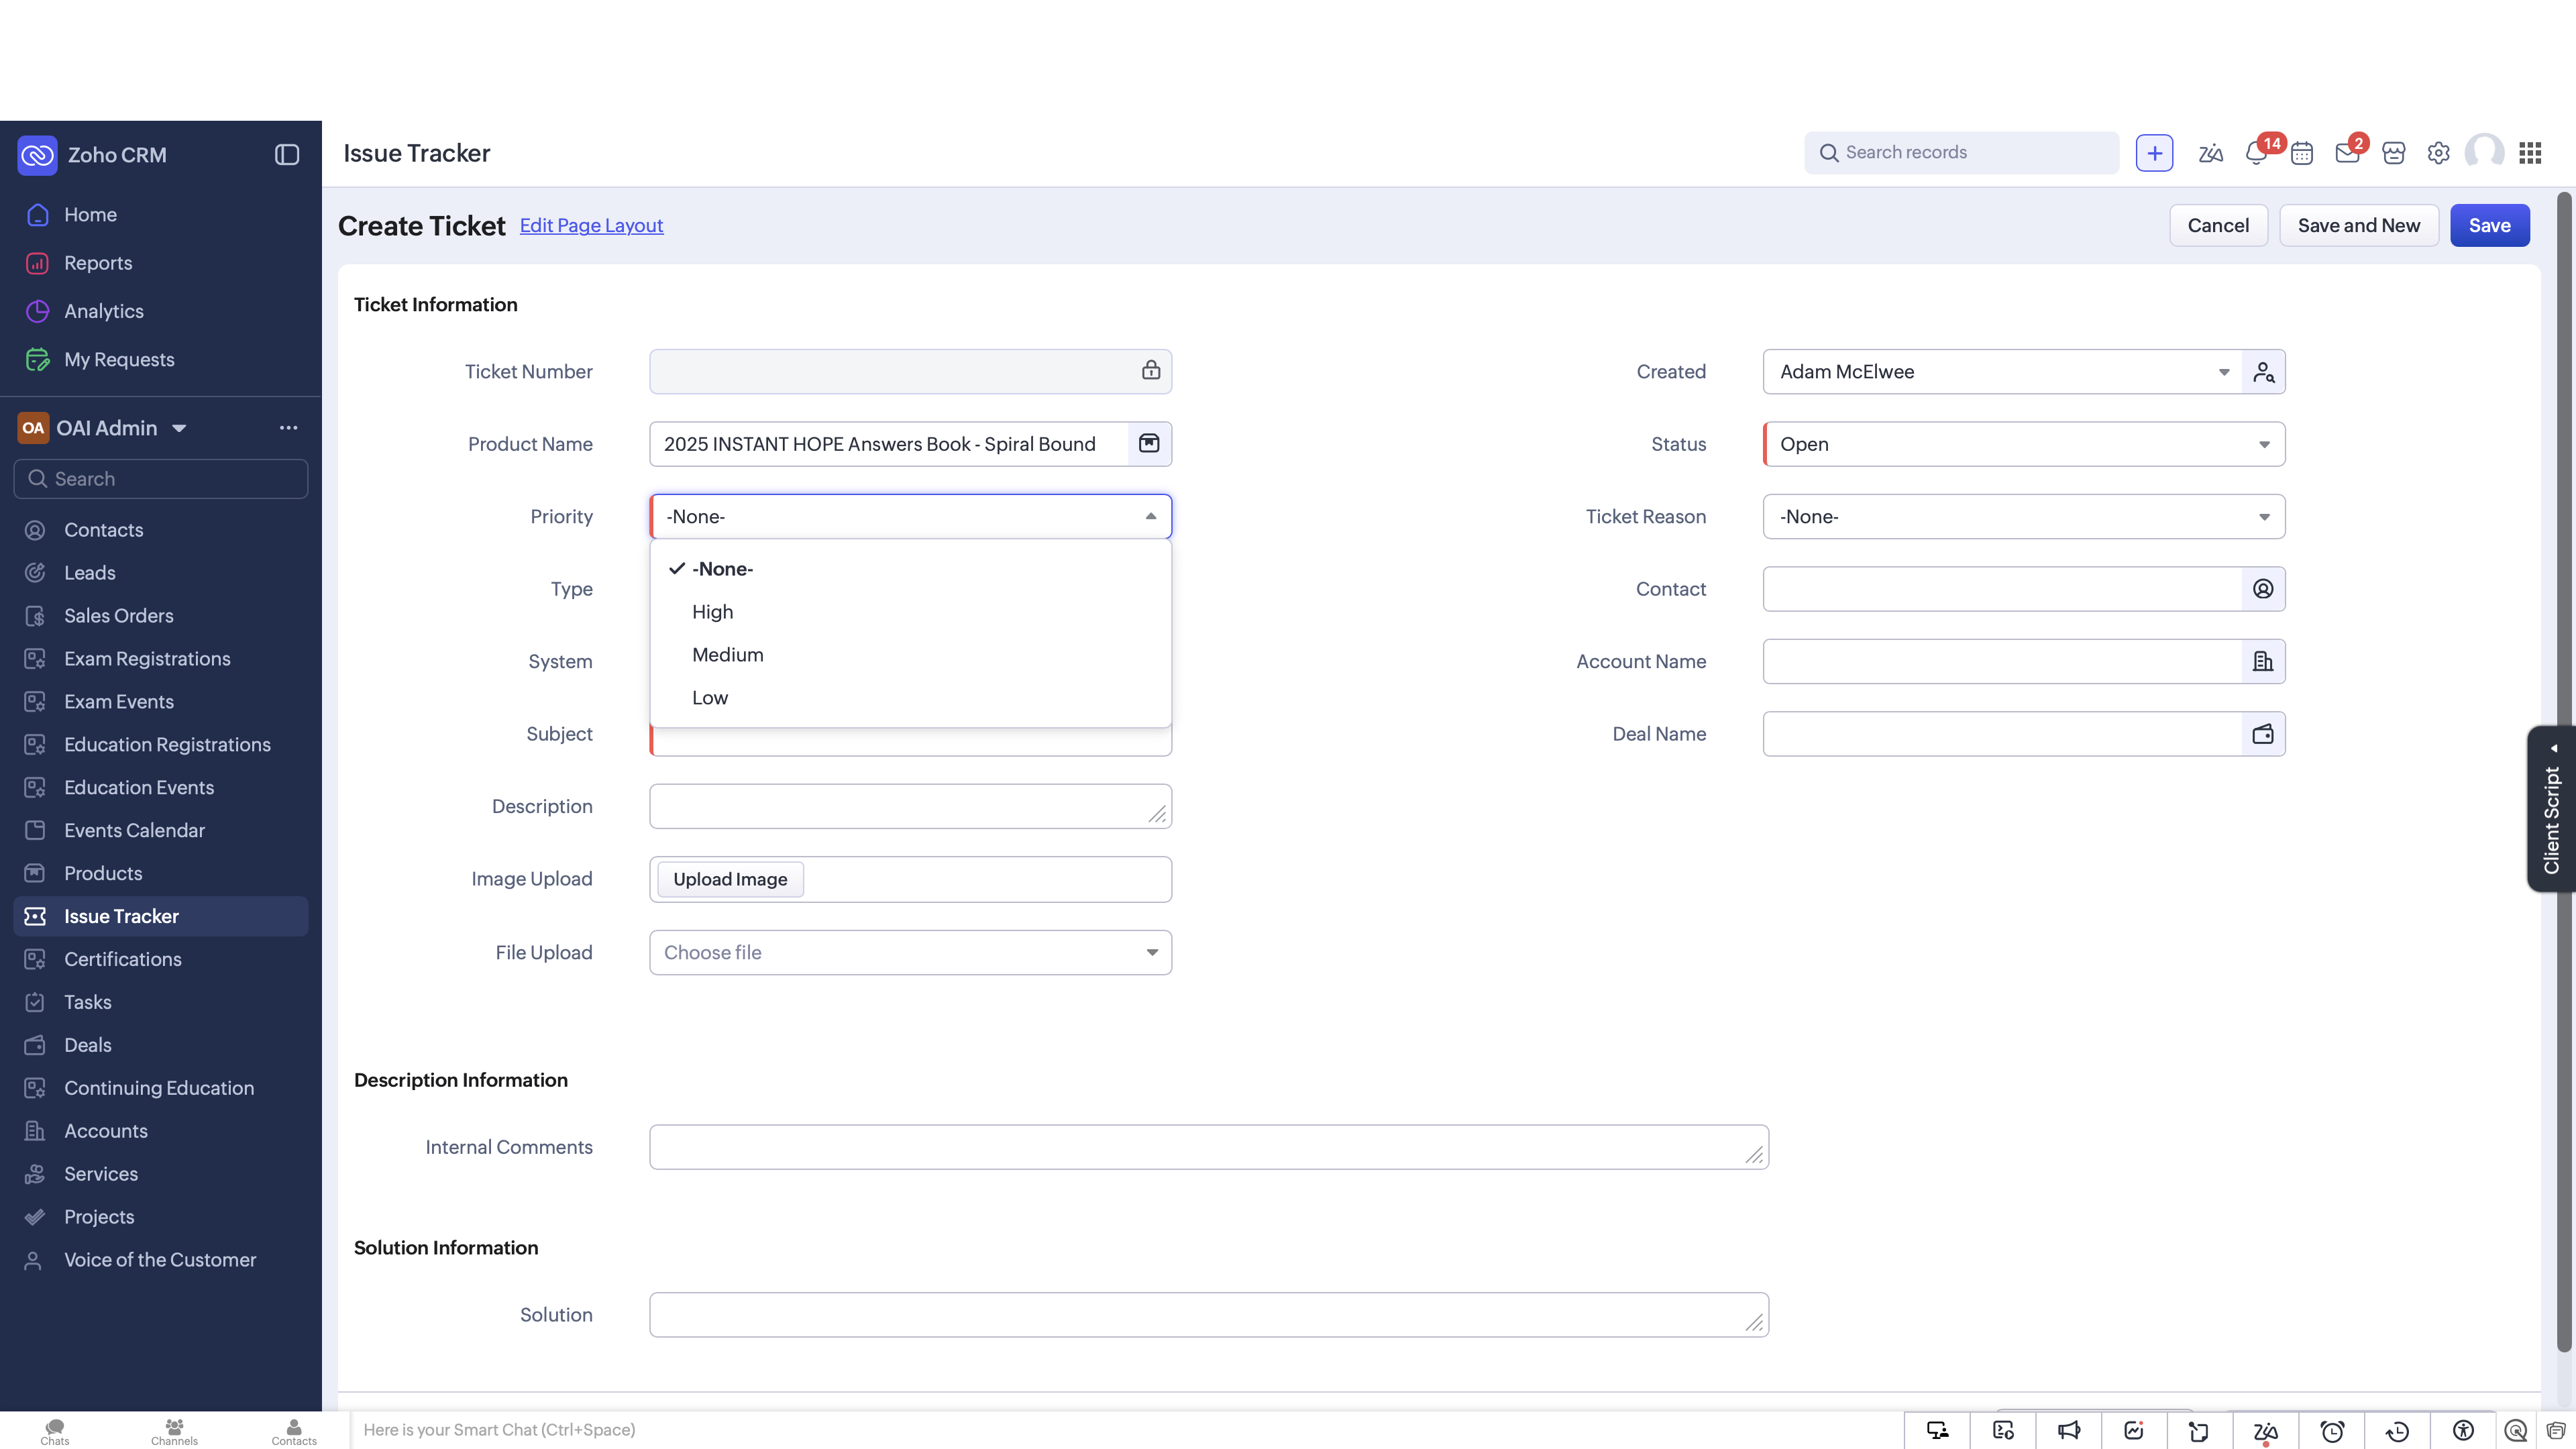
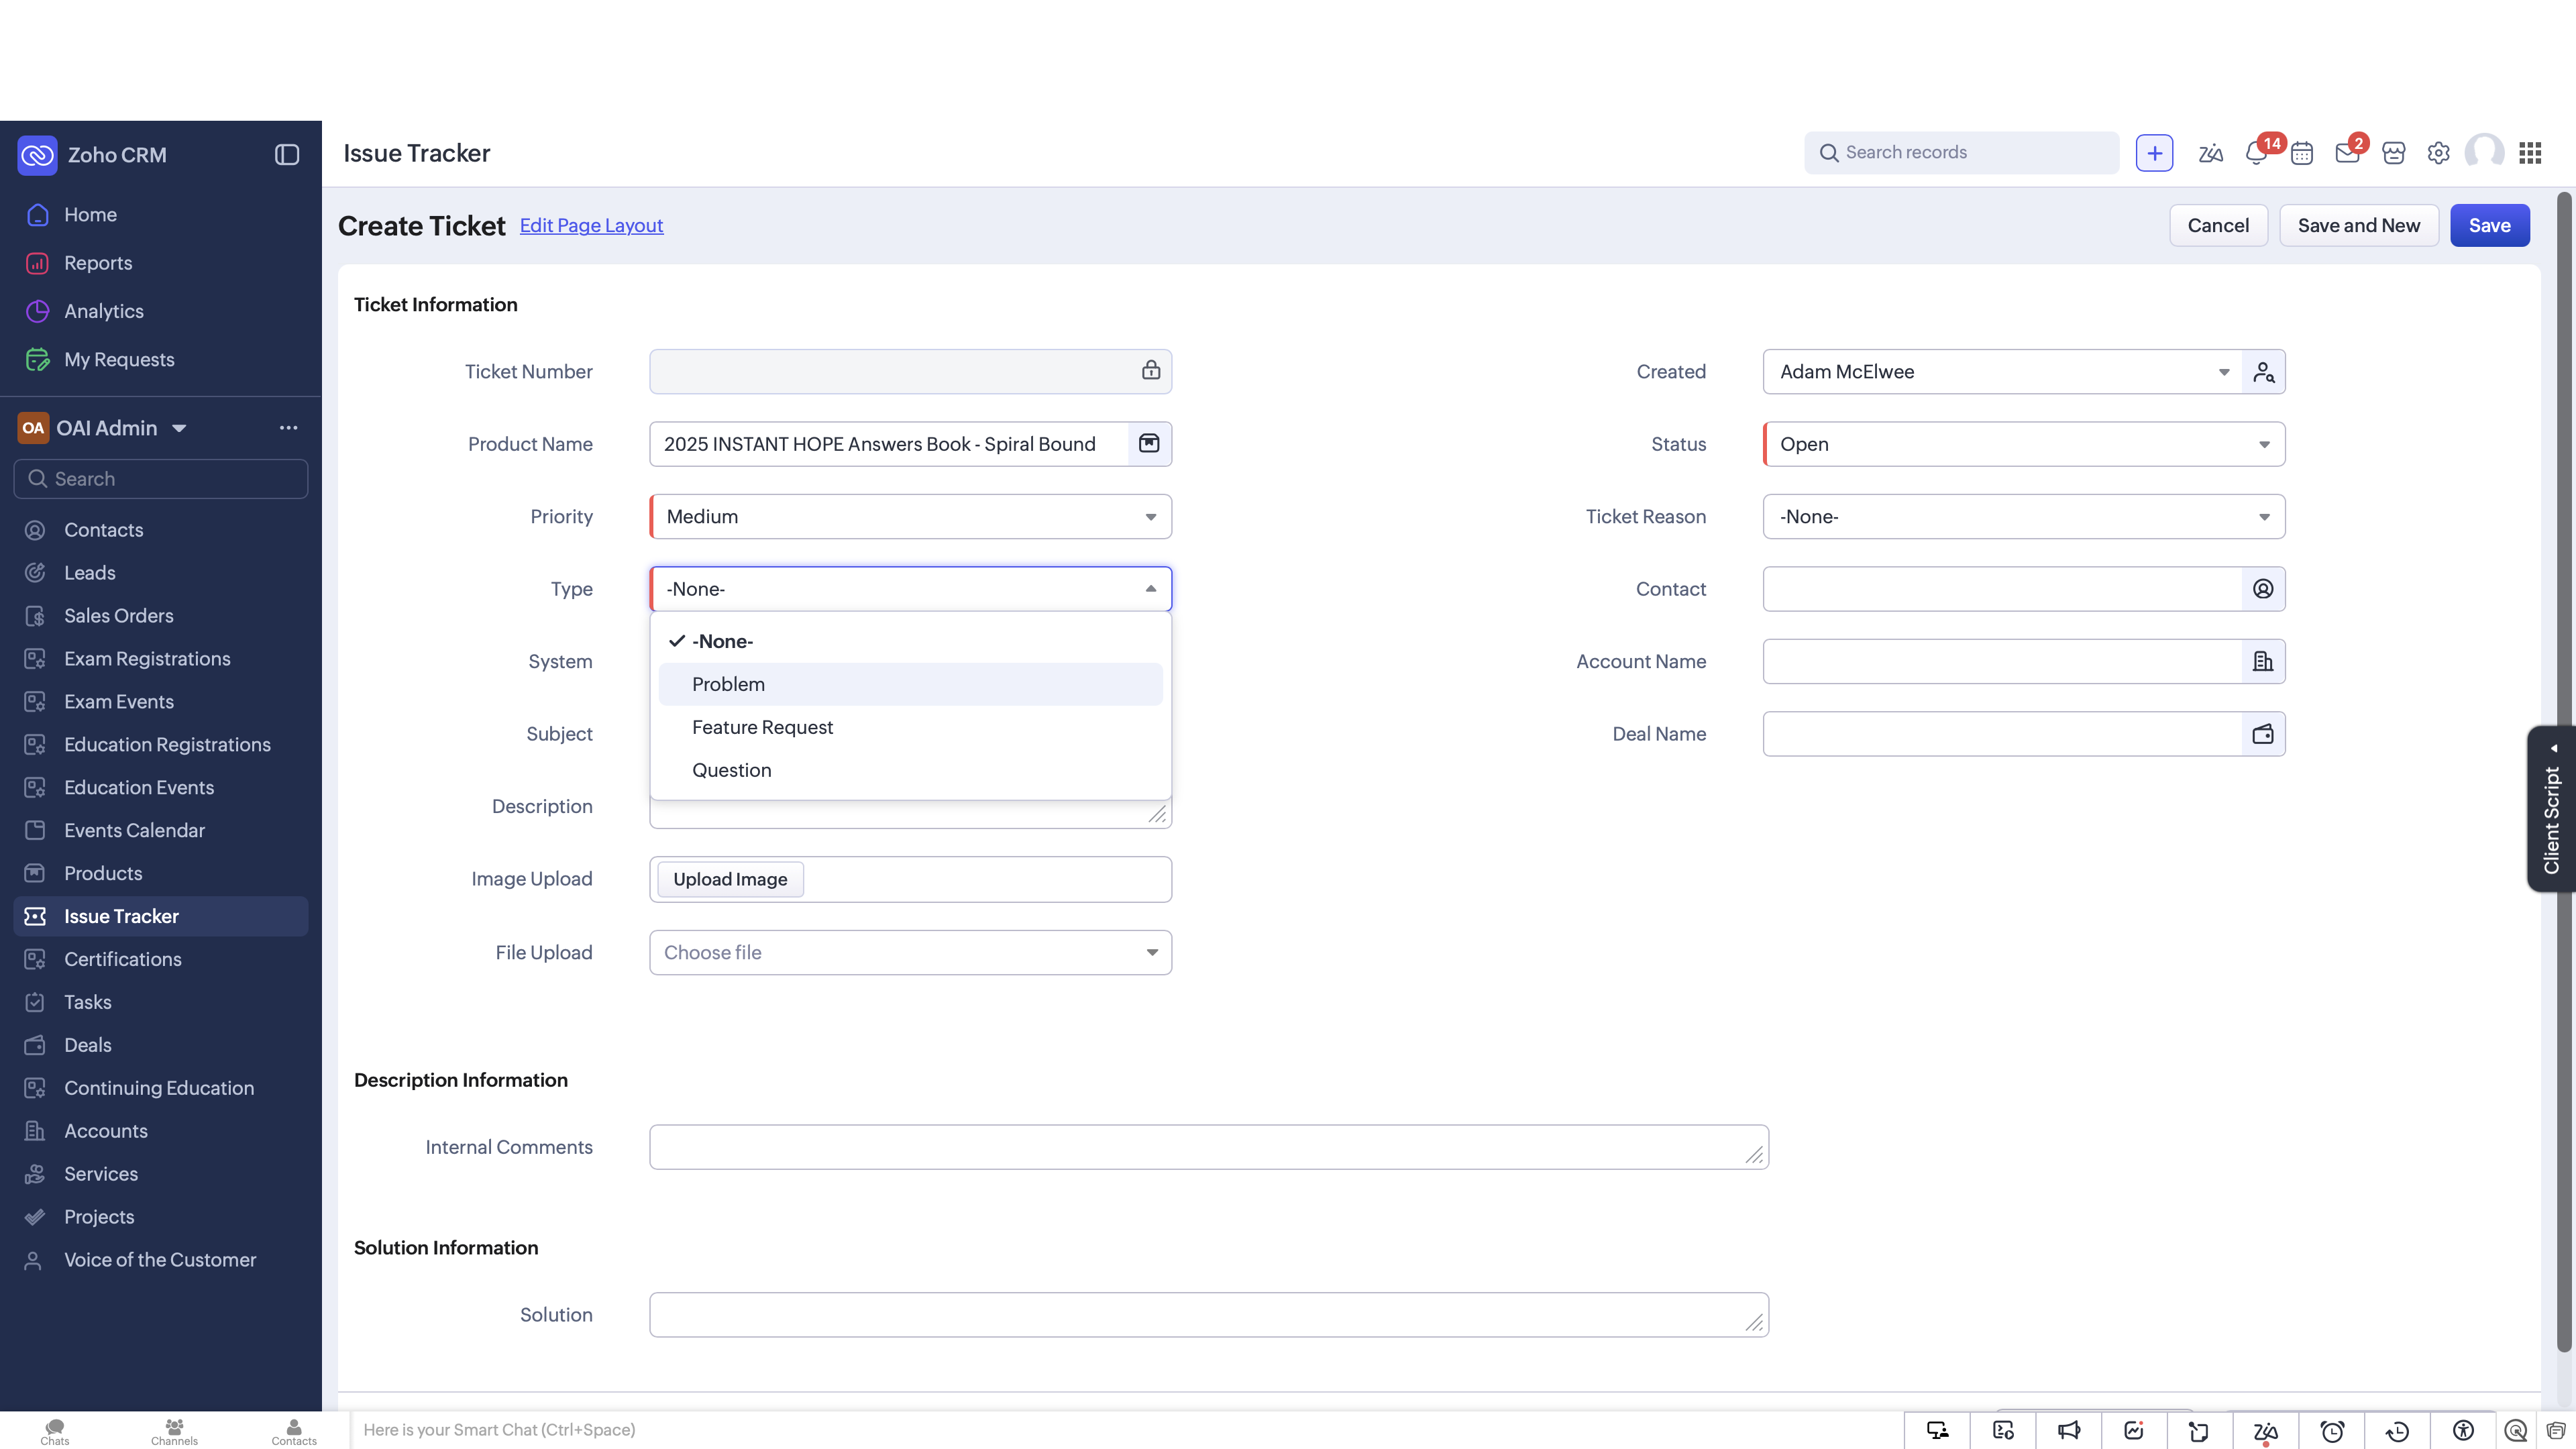
When creating your ticket, you may need to categorize the root request. Here are the common ticket types and their purposes:

Ticket Type

Description

Problem

Used for unexpected bugs, errors, or broken functionality.

Feature Request

Used when a user requests a new capability or enhancement.

Question

Used for general inquiries or clarification on how to use a feature.

6
Specify the System where the issue occurred (e.g., Zoho, Woo, IES, or Website).
Step #6: Specify the System where the issue occurred (e.g., Zoho, Woo, IES, or Website).
7
Enter a clear, descriptive summary in the Subject field.
Step #7: Enter a clear, descriptive summary in the Subject field.

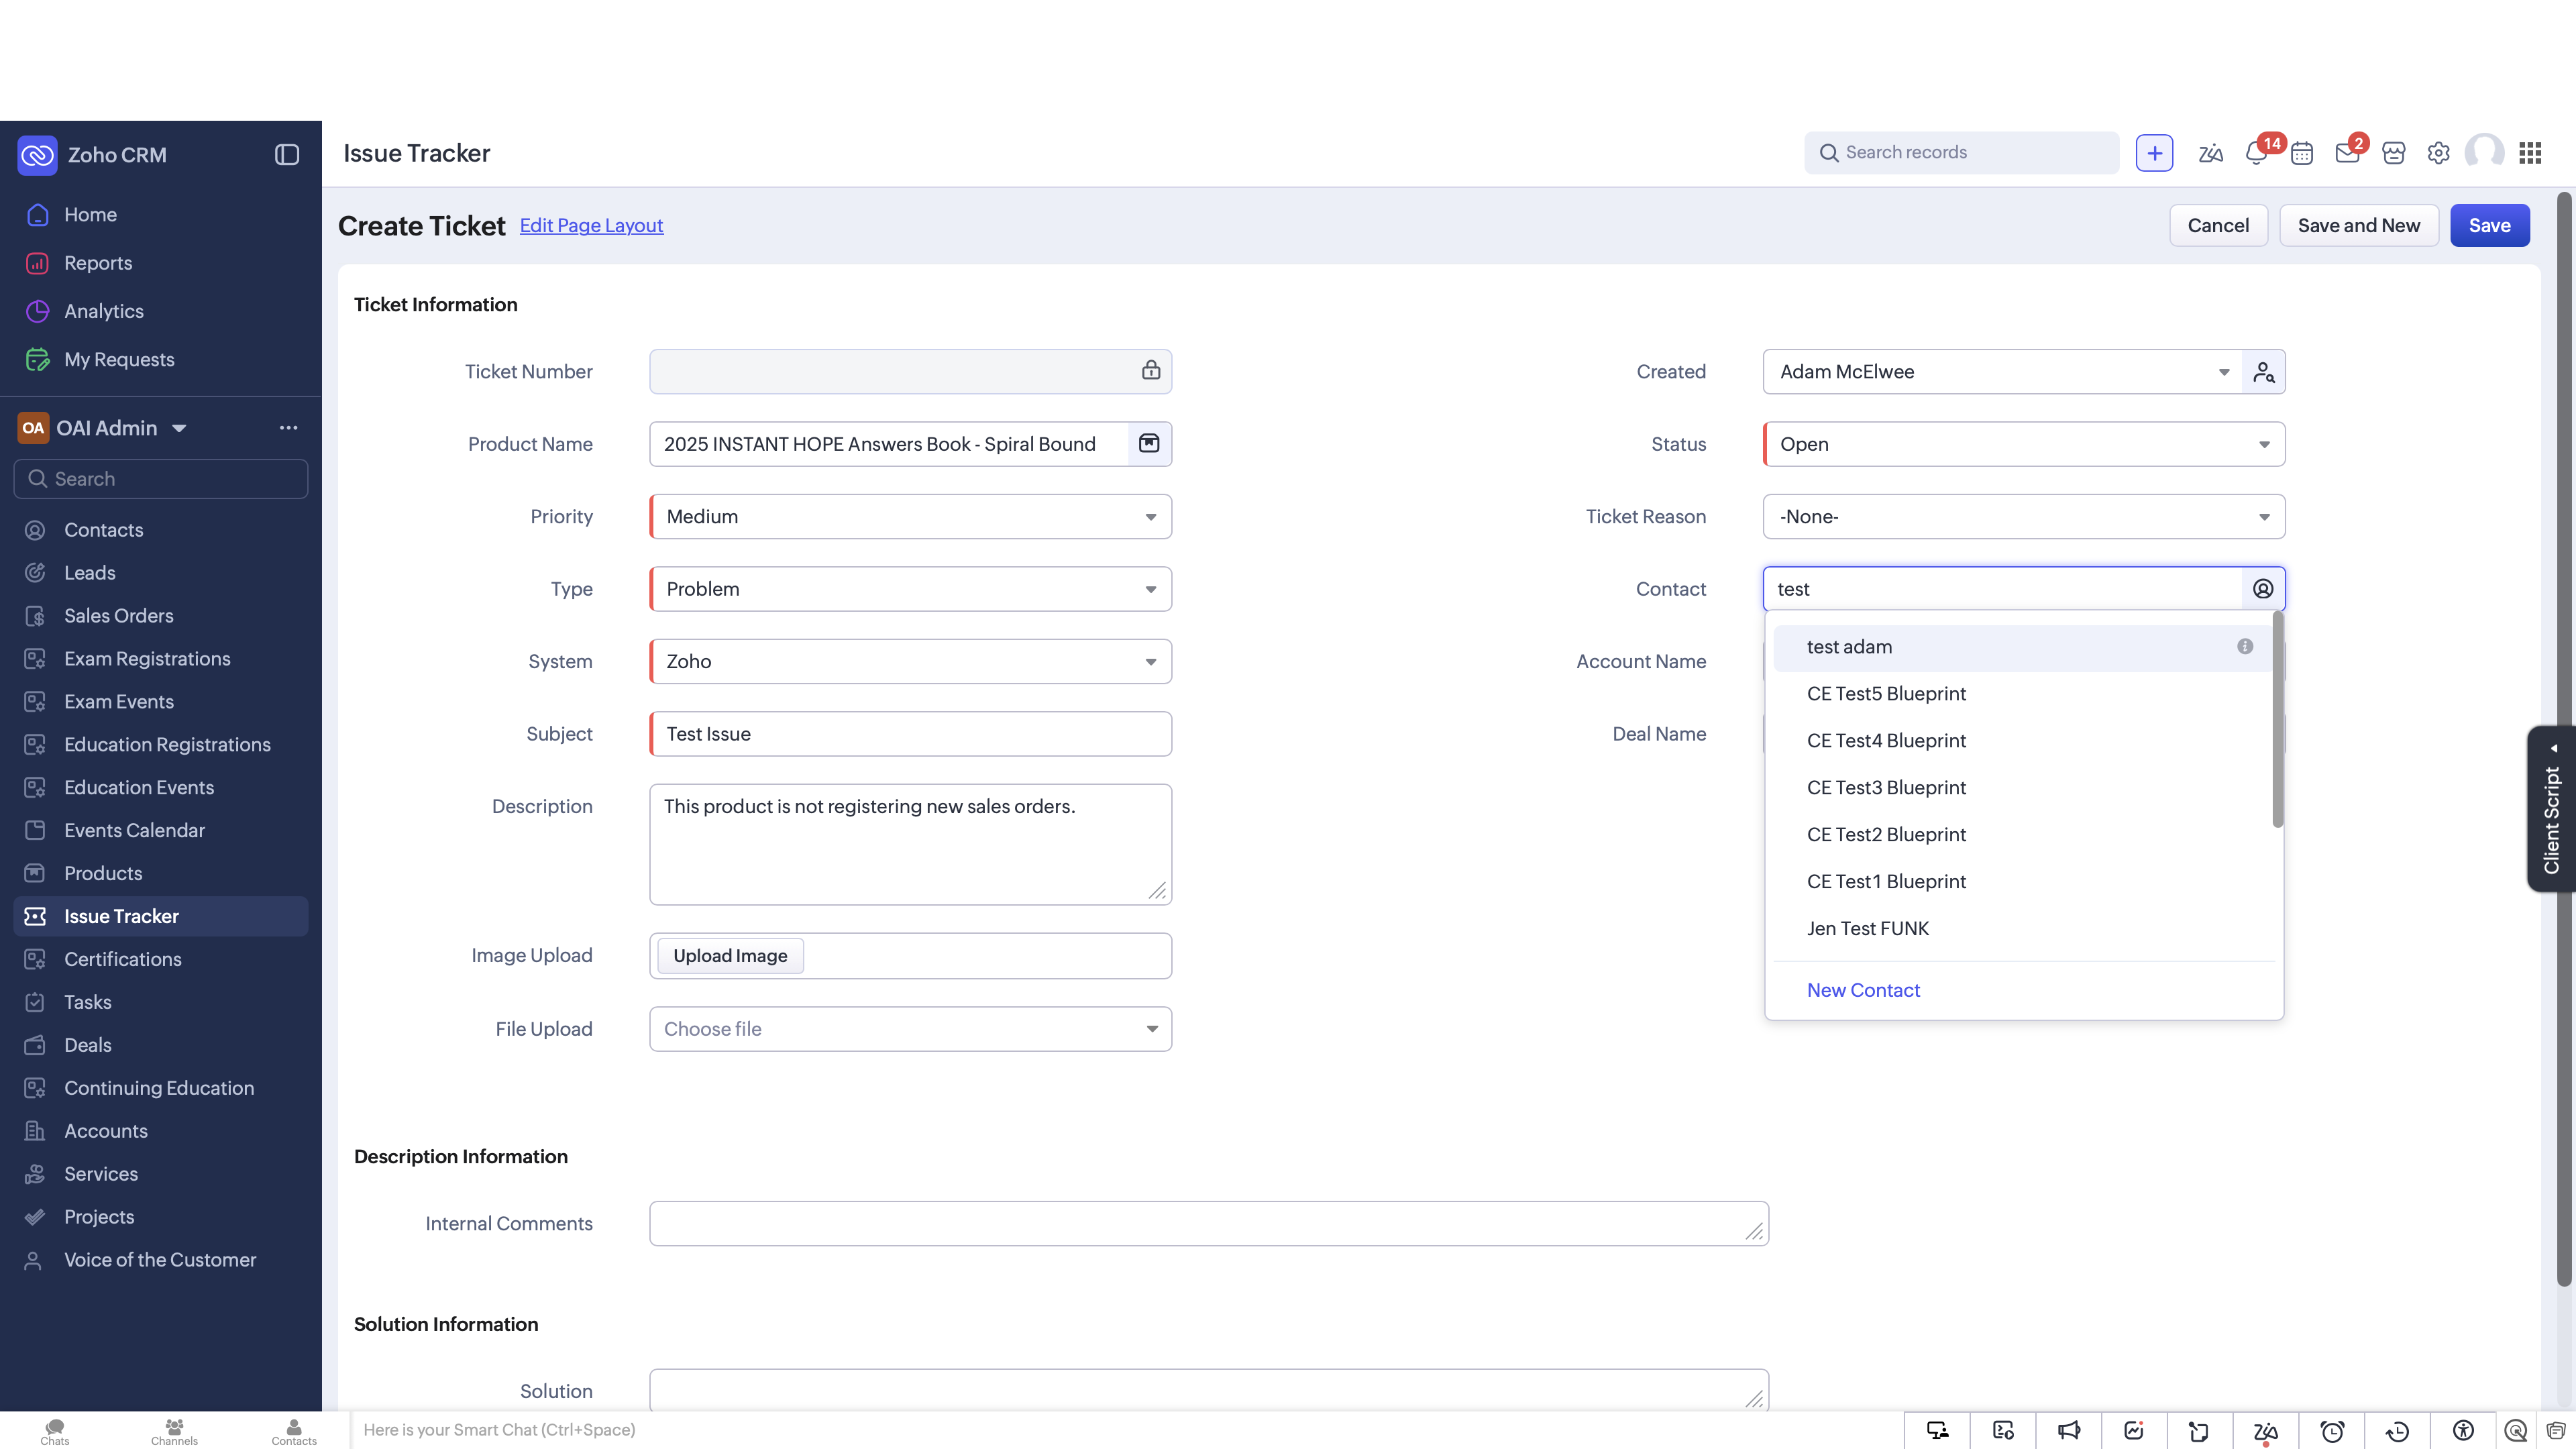
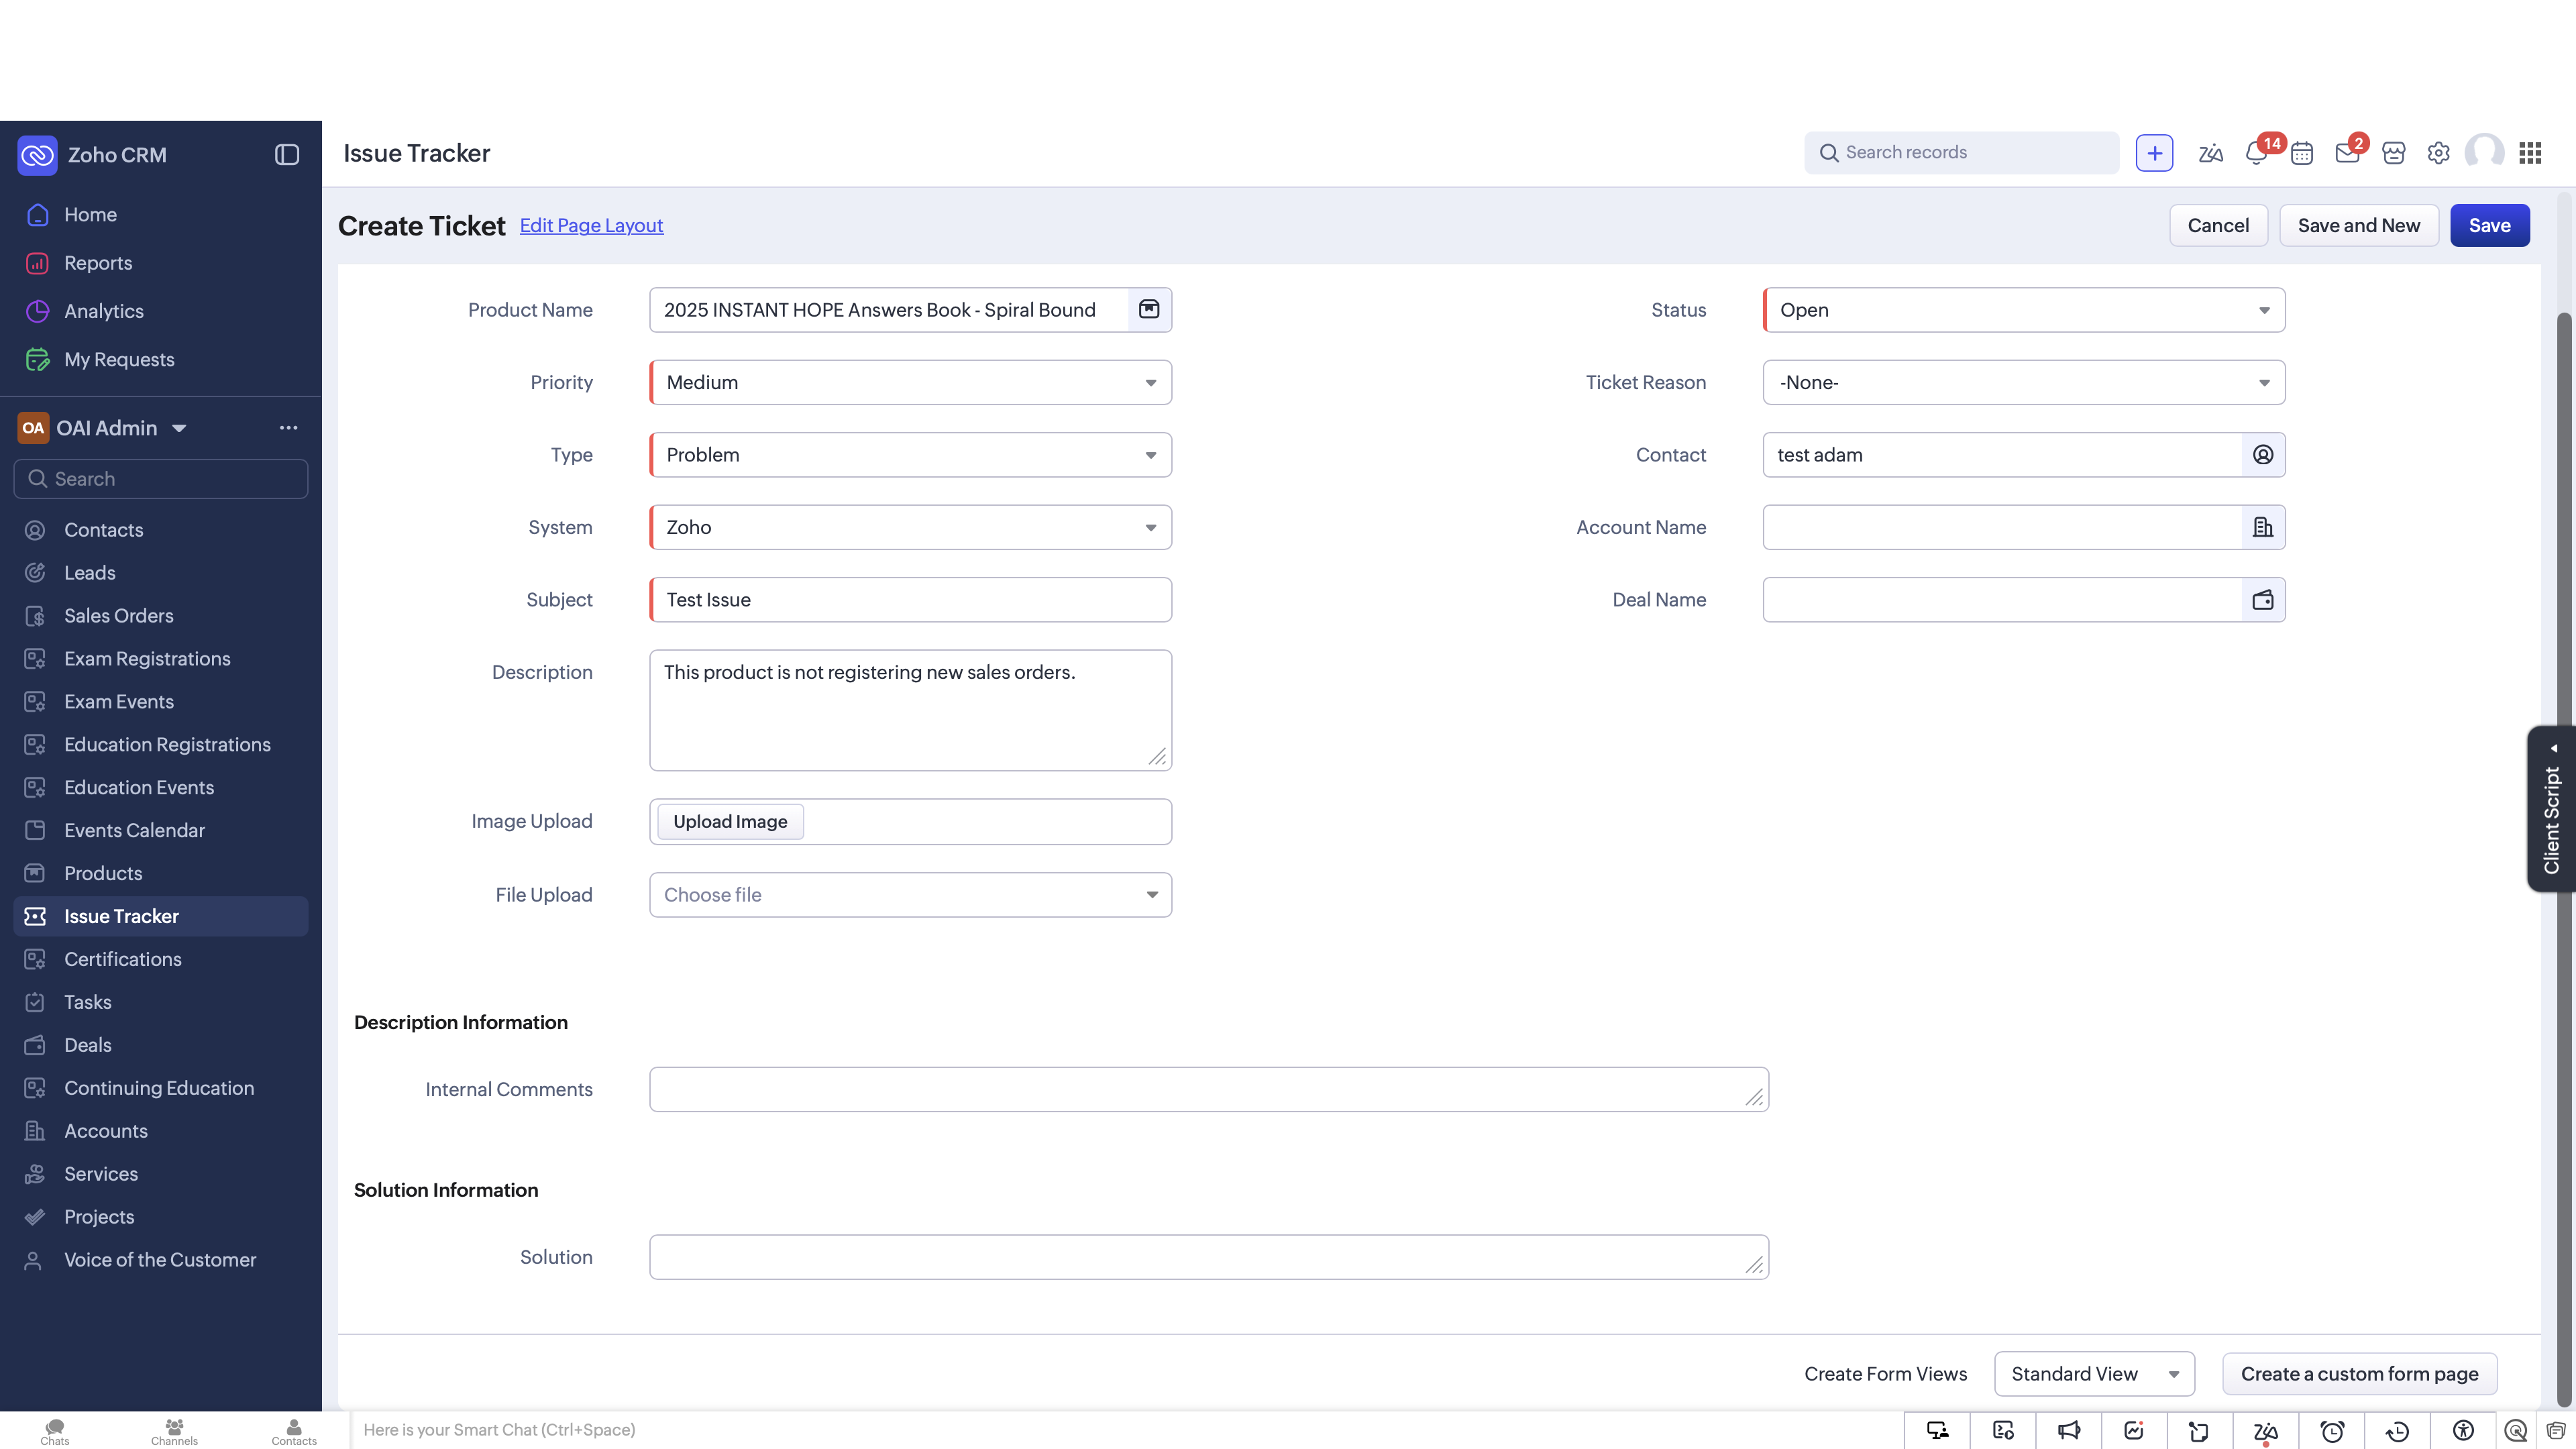
Linking Related Records

Associating your ticket with existing CRM records keeps your data unified and prevents informational silos.

8
Search for and select the associated Contact. If it's not associated with a contact, leave blank.
Step #8: Search for and select the associated Contact. If it's not associated with a contact, leave blank.

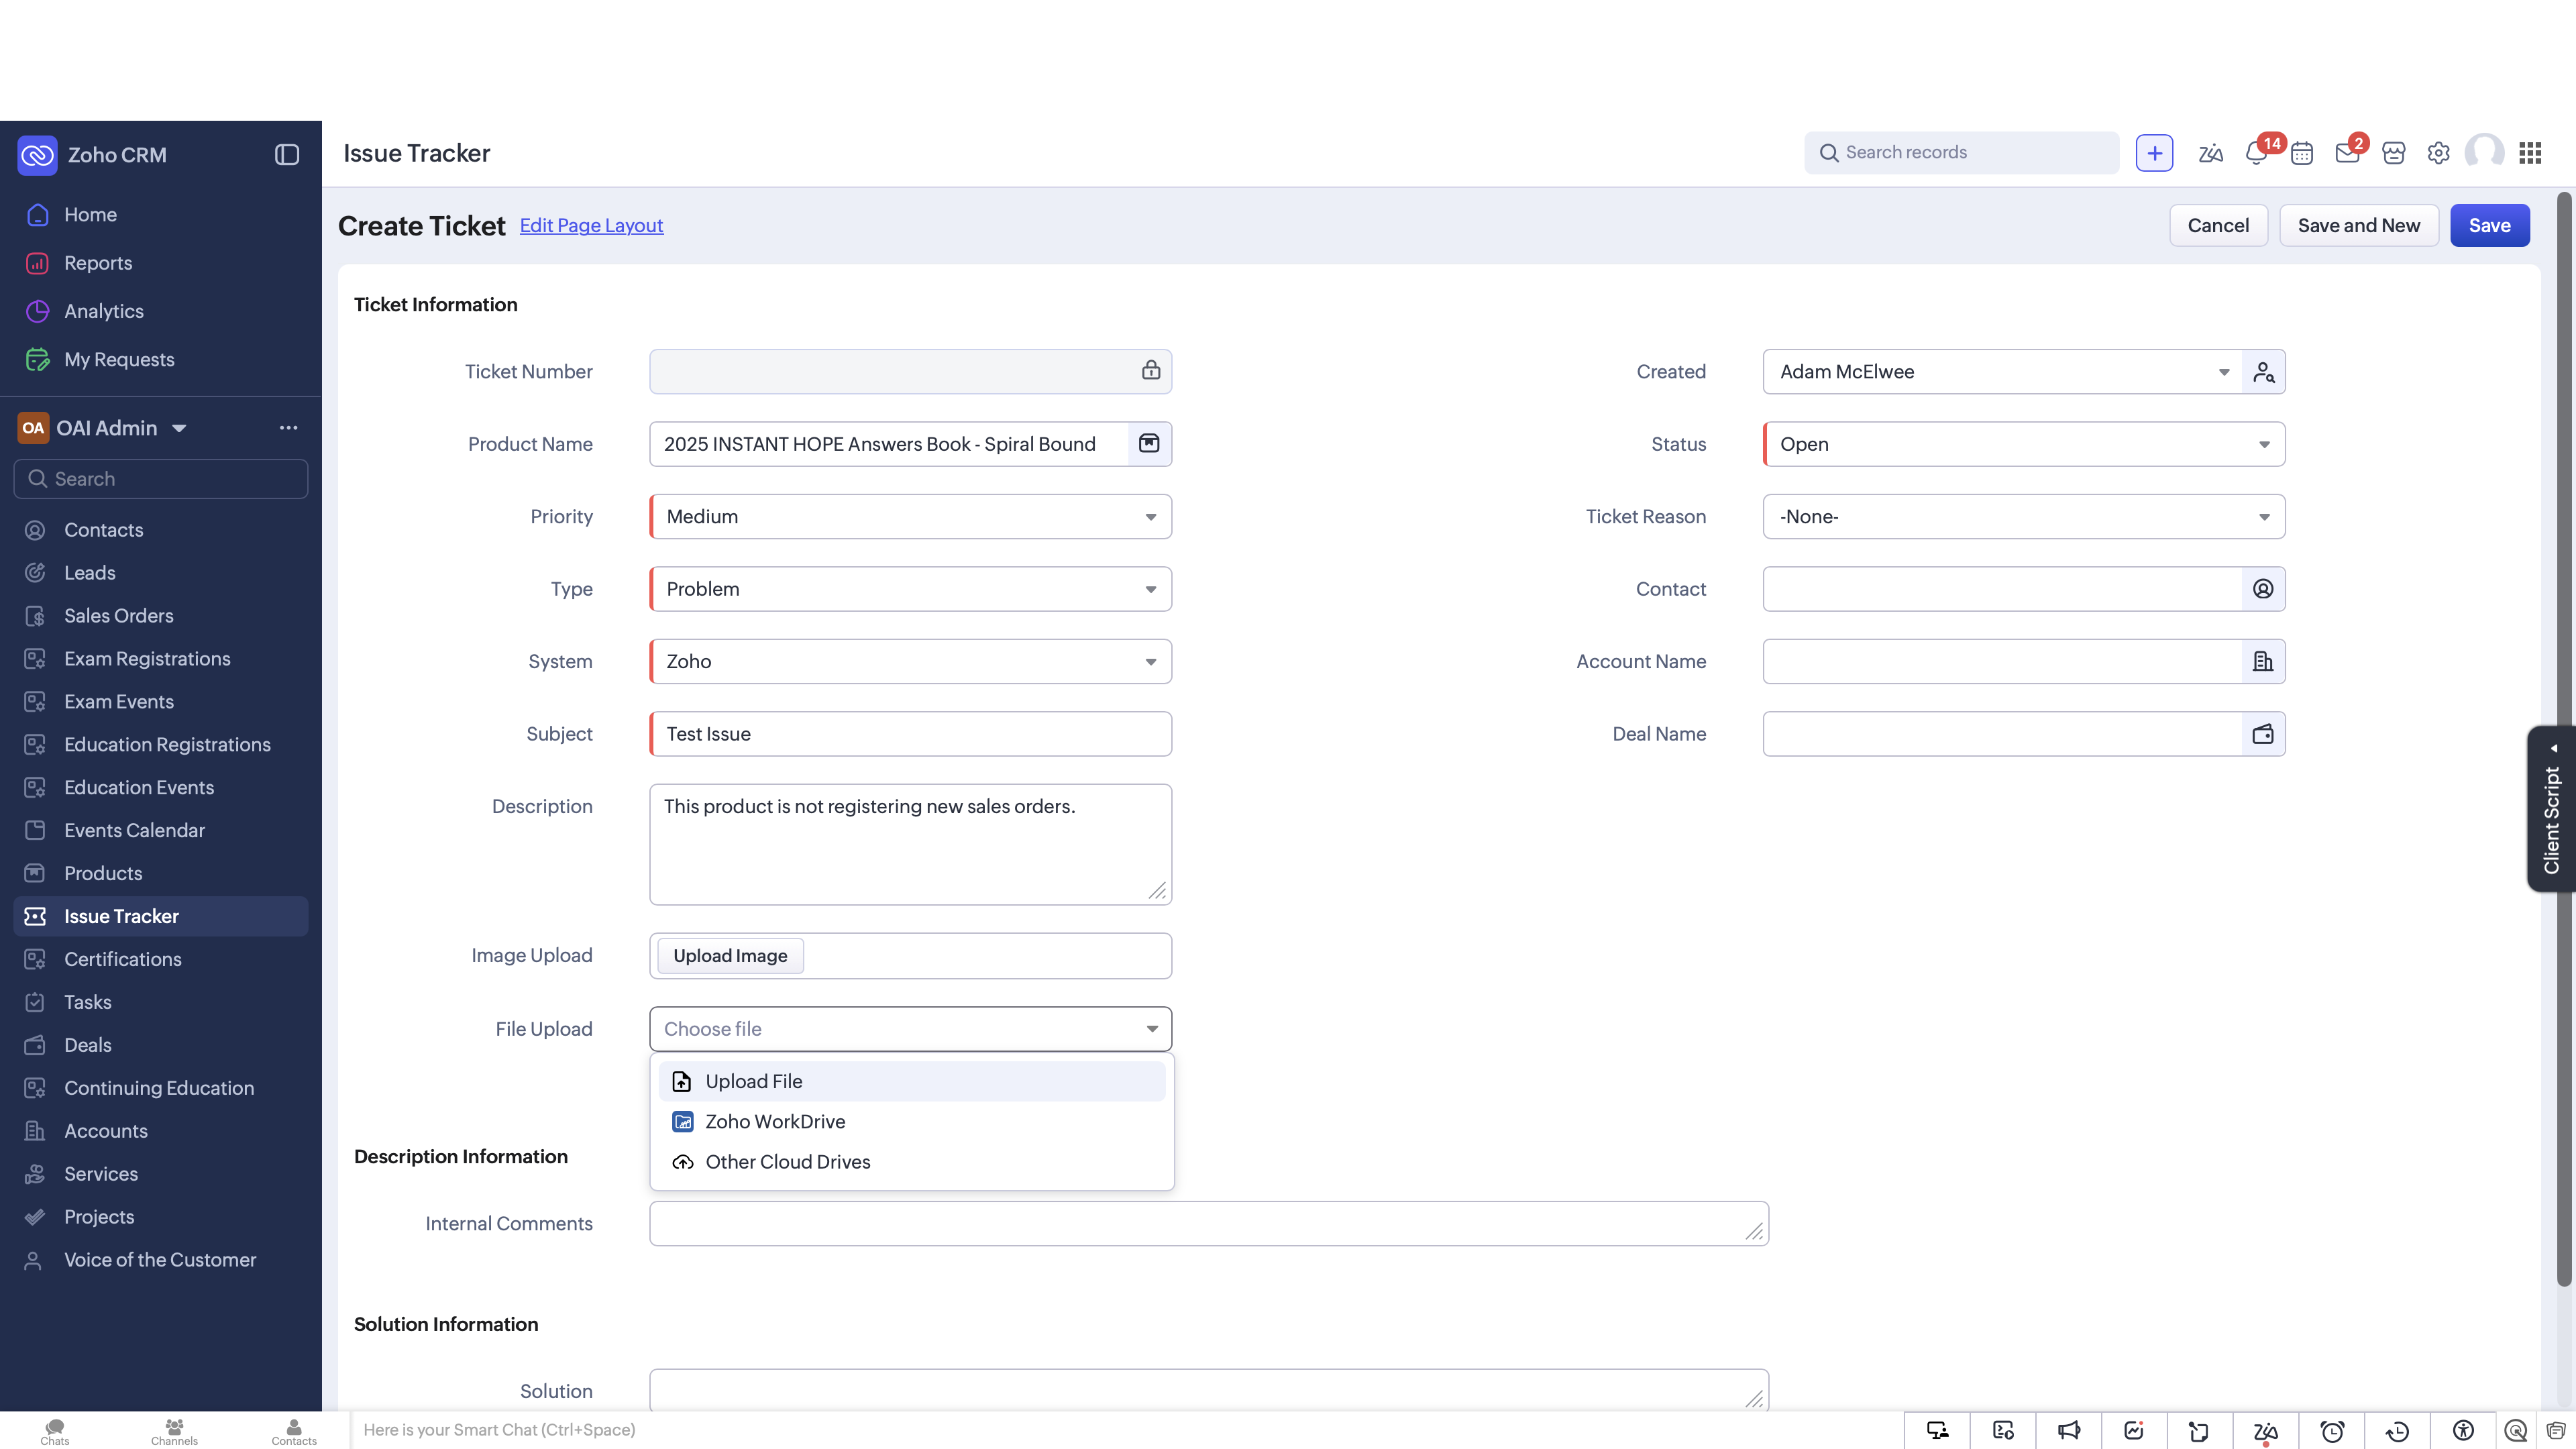
Attachments and Saving

9
If you have screenshots or logs, click Choose file to upload documents from your device or Zoho WorkDrive.
Step #9: If you have screenshots or logs, click Choose file to upload documents from your device or Zoho WorkDrive.
10
Click Save to officially create the ticket.
Step #10: Click Save to officially create the ticket.

Collaborating on a Ticket

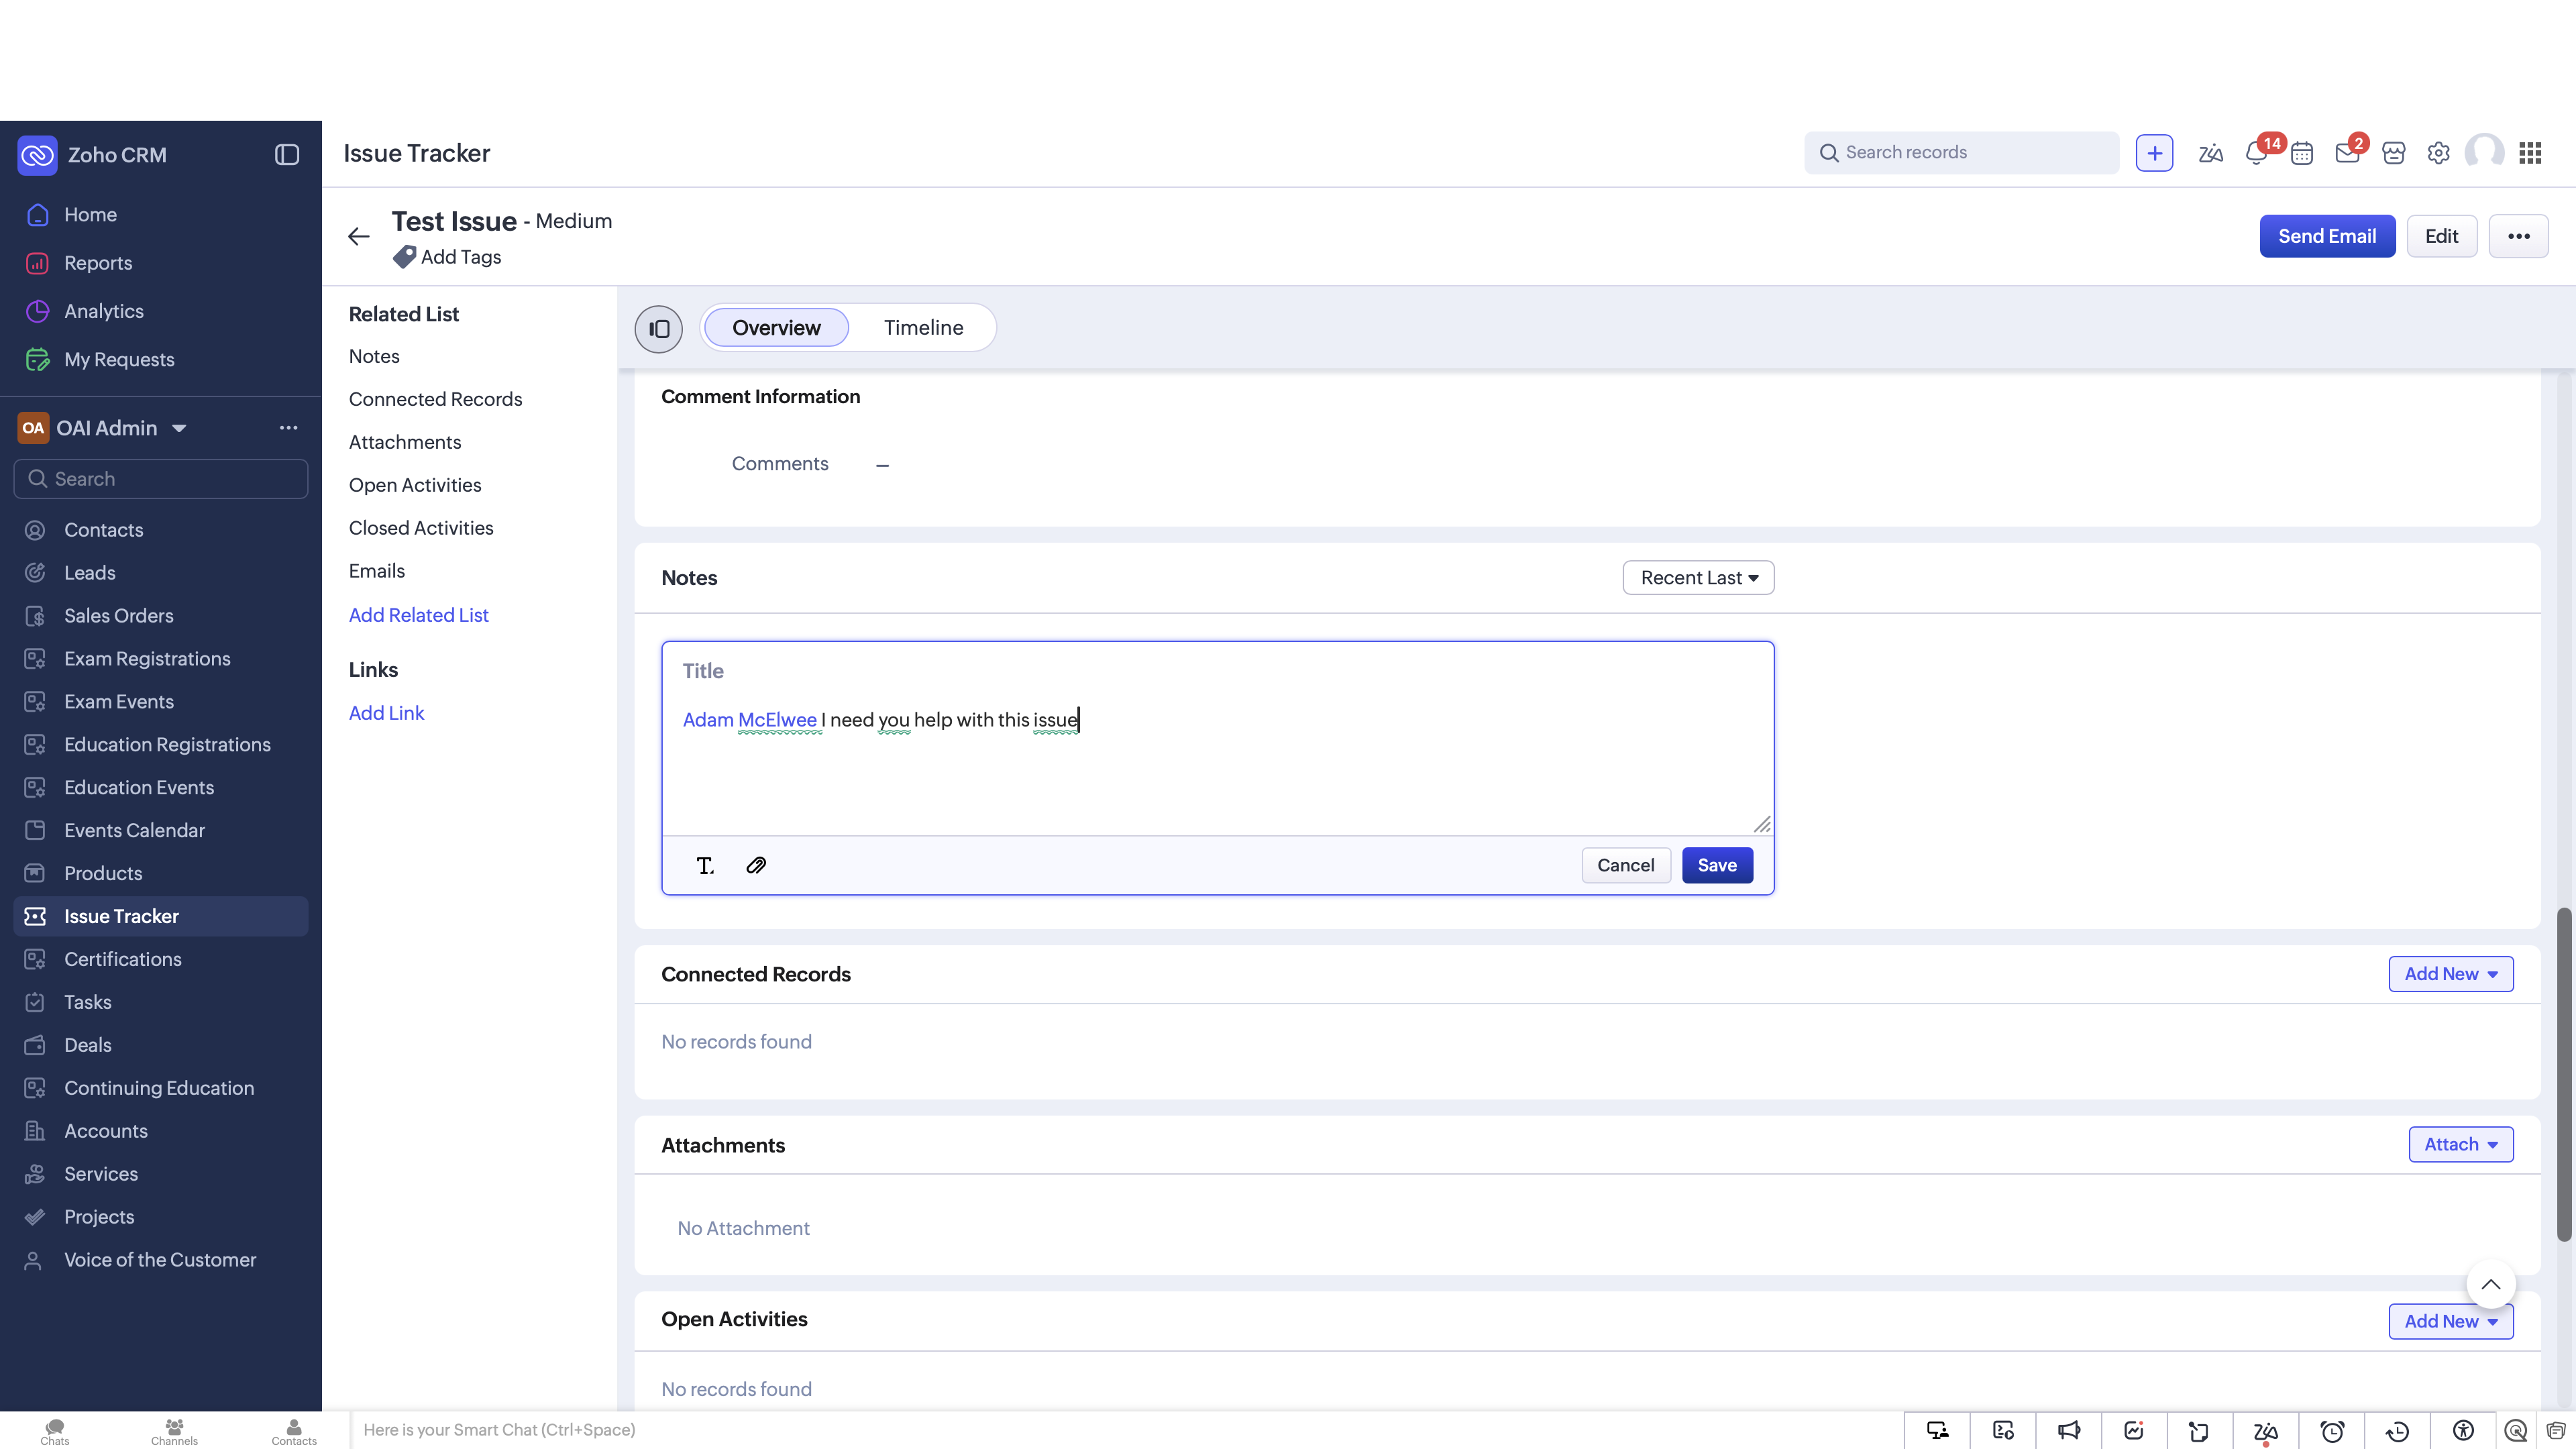
Once a ticket is saved, you can pull other team members into the conversation without leaving the CRM.

11
Navigate to the Notes section of the newly created ticket record.
Step #11: Navigate to the Notes section of the newly created ticket record.
12
Type @ followed by a colleague's name (e.g., Adam McElwee) to tag them in your note.
Step #12: Type @ followed by a colleague's name (e.g., Adam McElwee) to tag them in your note.
13
Click Save to post the note and instantly notify the mentioned user.
Step #13: Click Save to post the note and instantly notify the mentioned user.

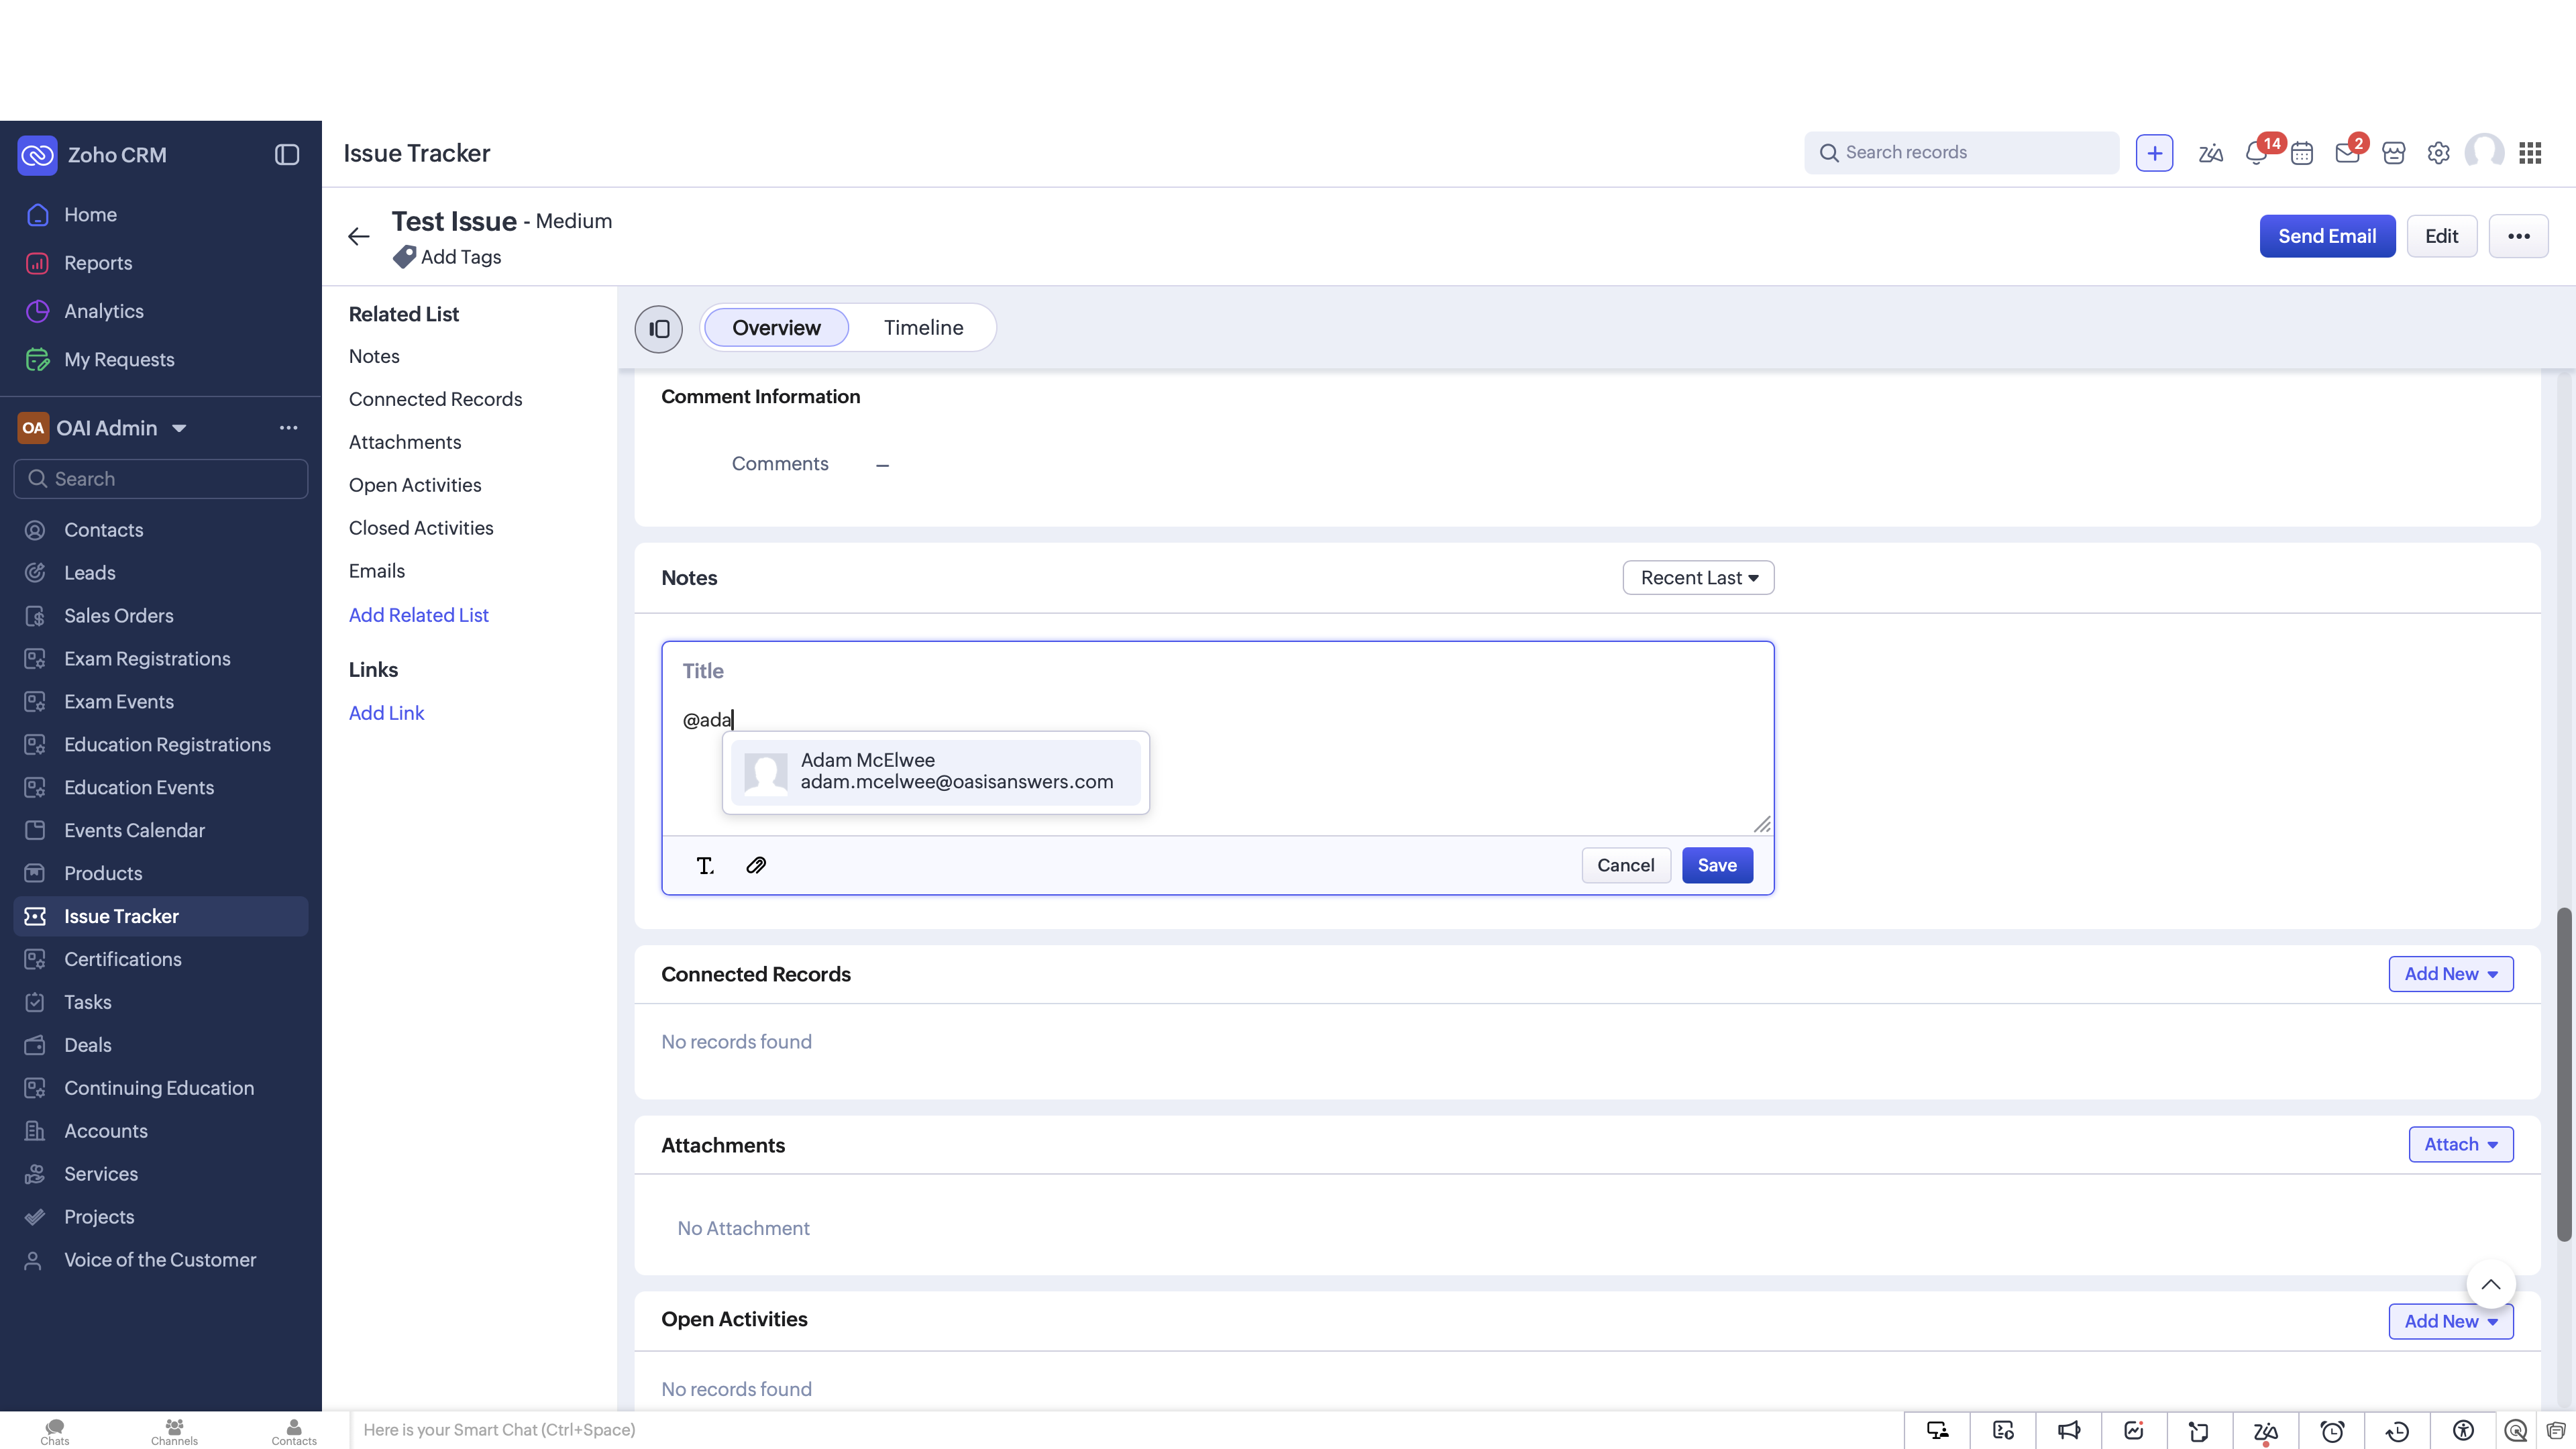
Q: Can I attach diagnostic files or screenshots to a new ticket?

A: Yes, scroll to the bottom of the ticket creation form and click "Choose file" to upload documents directly from your device or from cloud providers like Zoho WorkDrive.

Q: How do I notify a specific team member that a ticket needs their attention?

A: After saving the ticket, go to the Notes section of the record. Type the "@" symbol followed by the person's name to mention them, which will immediately send them an alert.