Tutorial: Flyer Page 4 - Demographic Map
Learn how to create the 5-mile demographic map for a flyer.
In this guide, we'll learn how to create the 5-mile demographic map for a flyer using Adobe Illustrator. The process involves locating the subject property on a map and placing mileage reference rings on it. It's important to maintain the correct scale between the map and the rings, so any resizing must be done proportionally. We'll adjust the map to display the site correctly and ensure the background fills the artboard. Finally, we'll export the map as a PNG with specific settings for optimal quality.
Let's get started
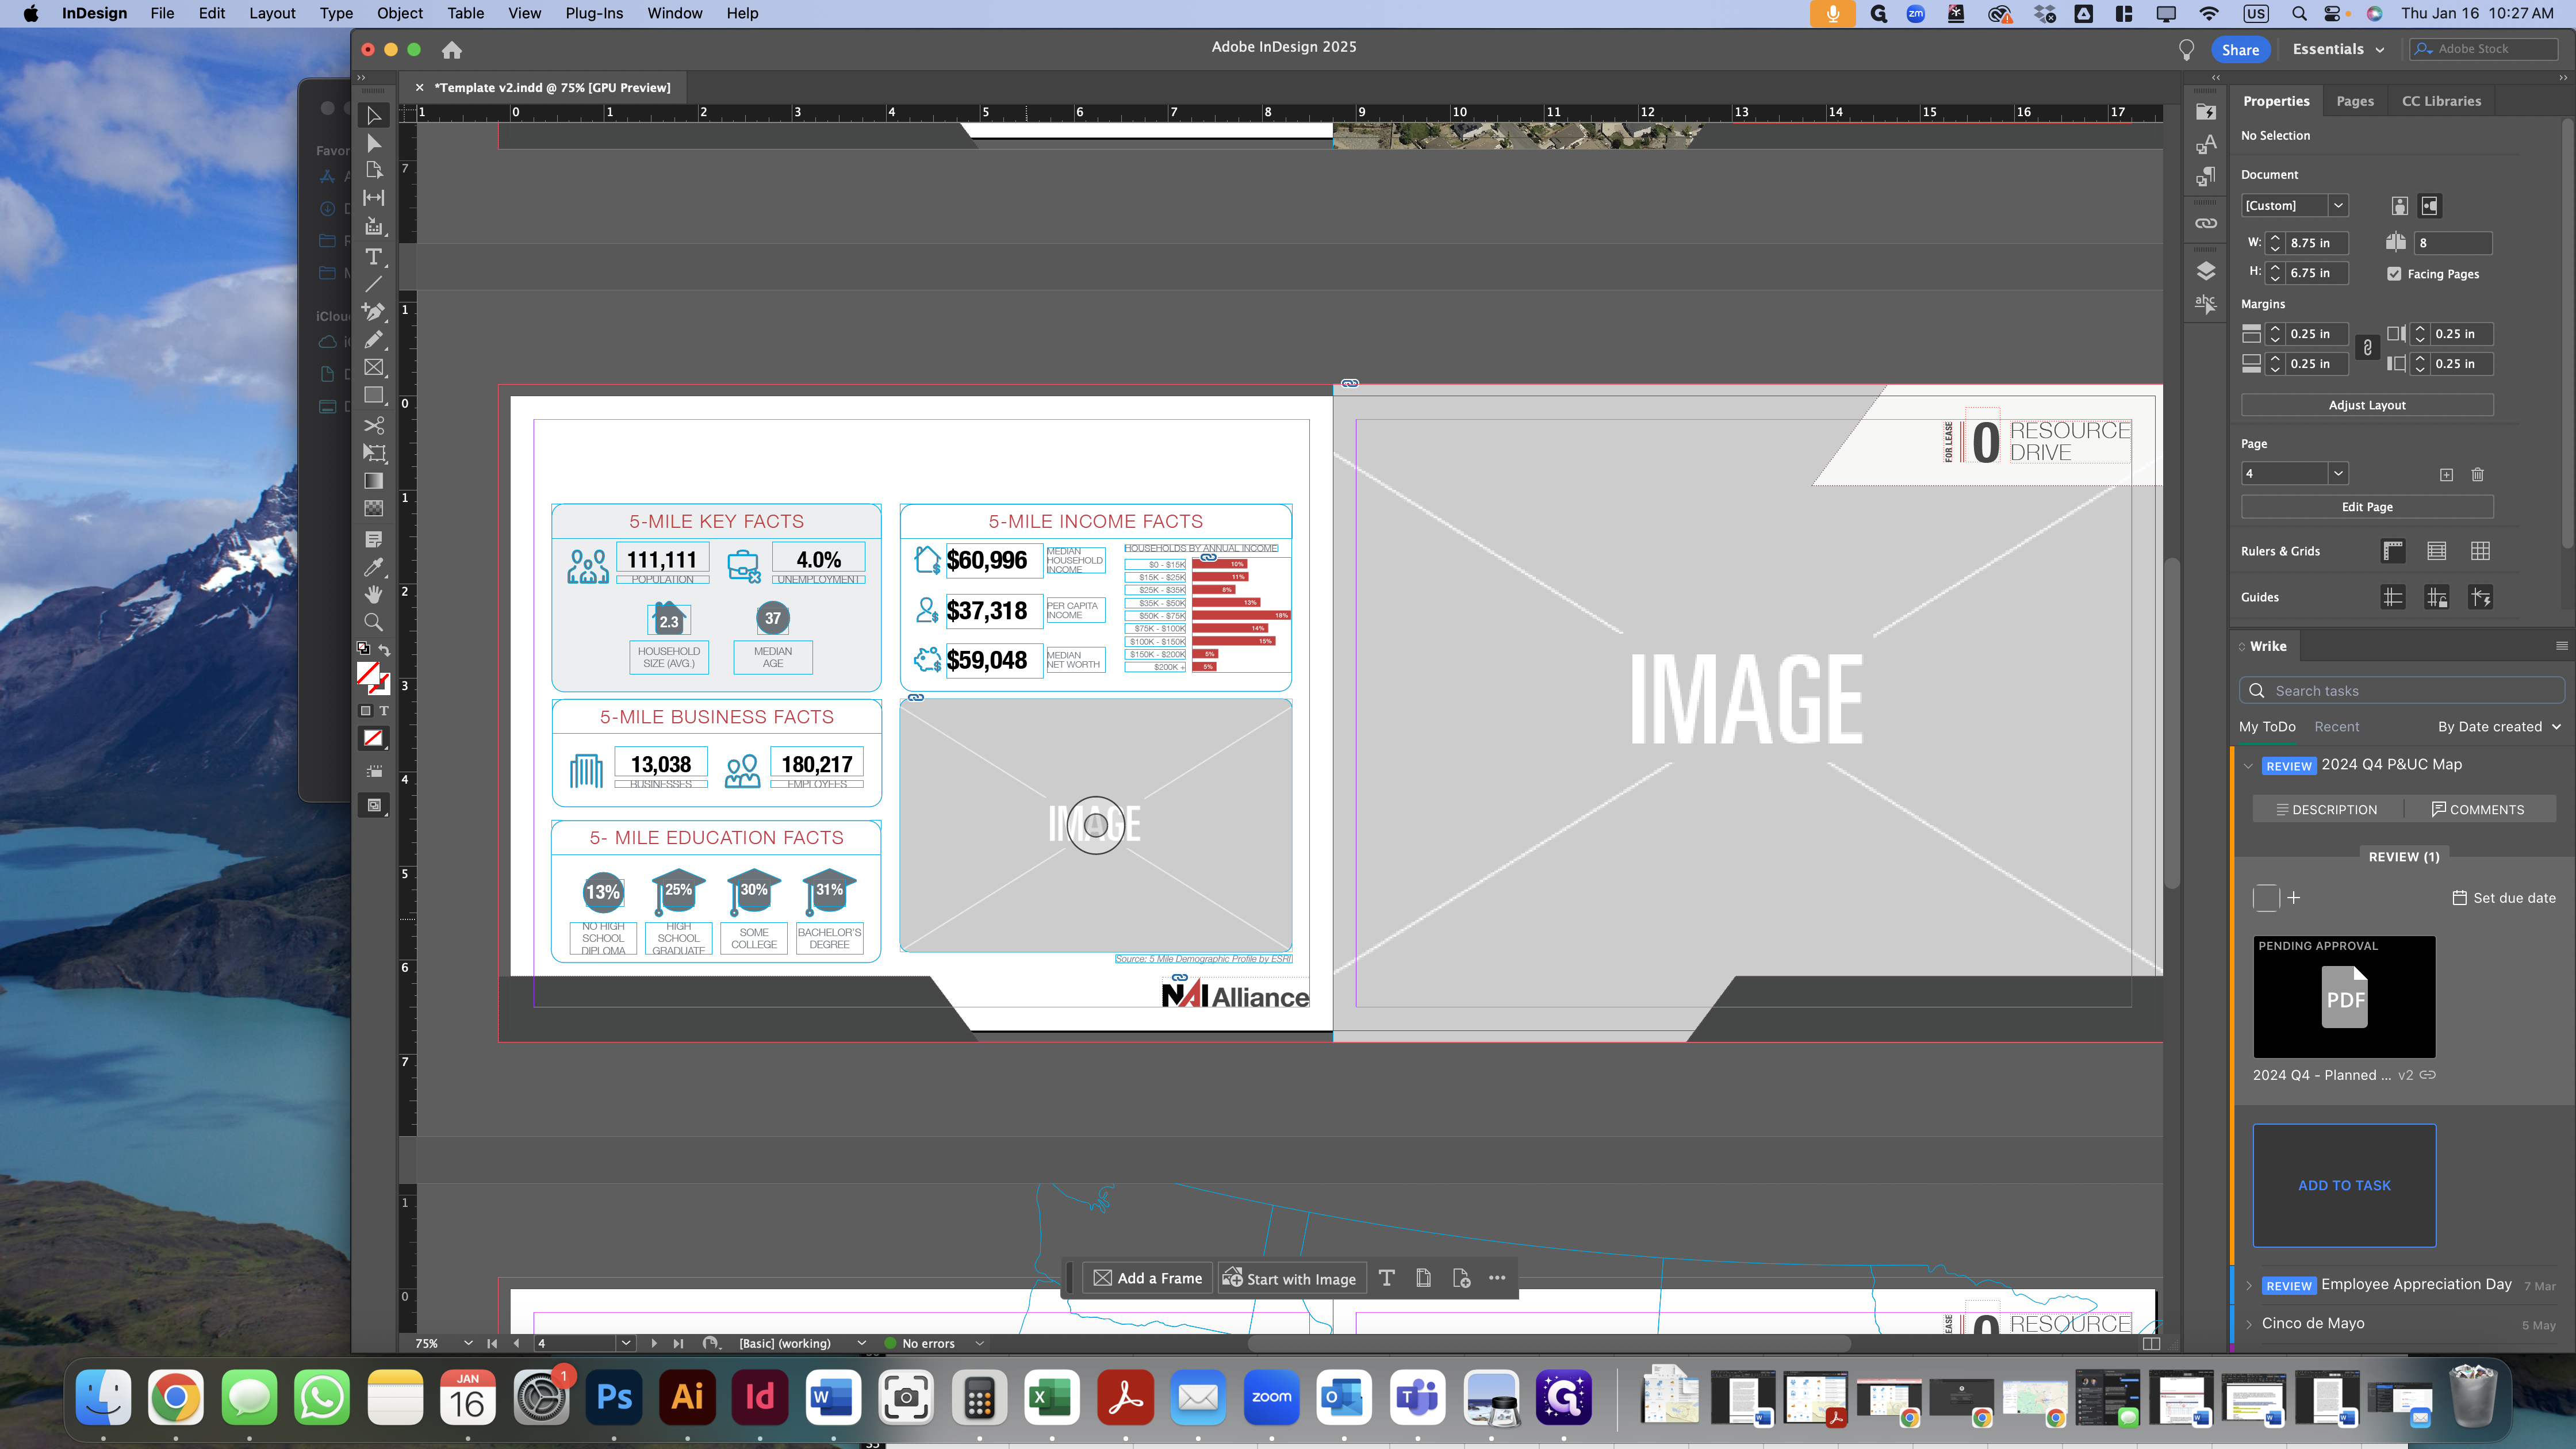
We are going to create the five-mile demographic map for the fourth page of our flyer, which will fit in this image slot.
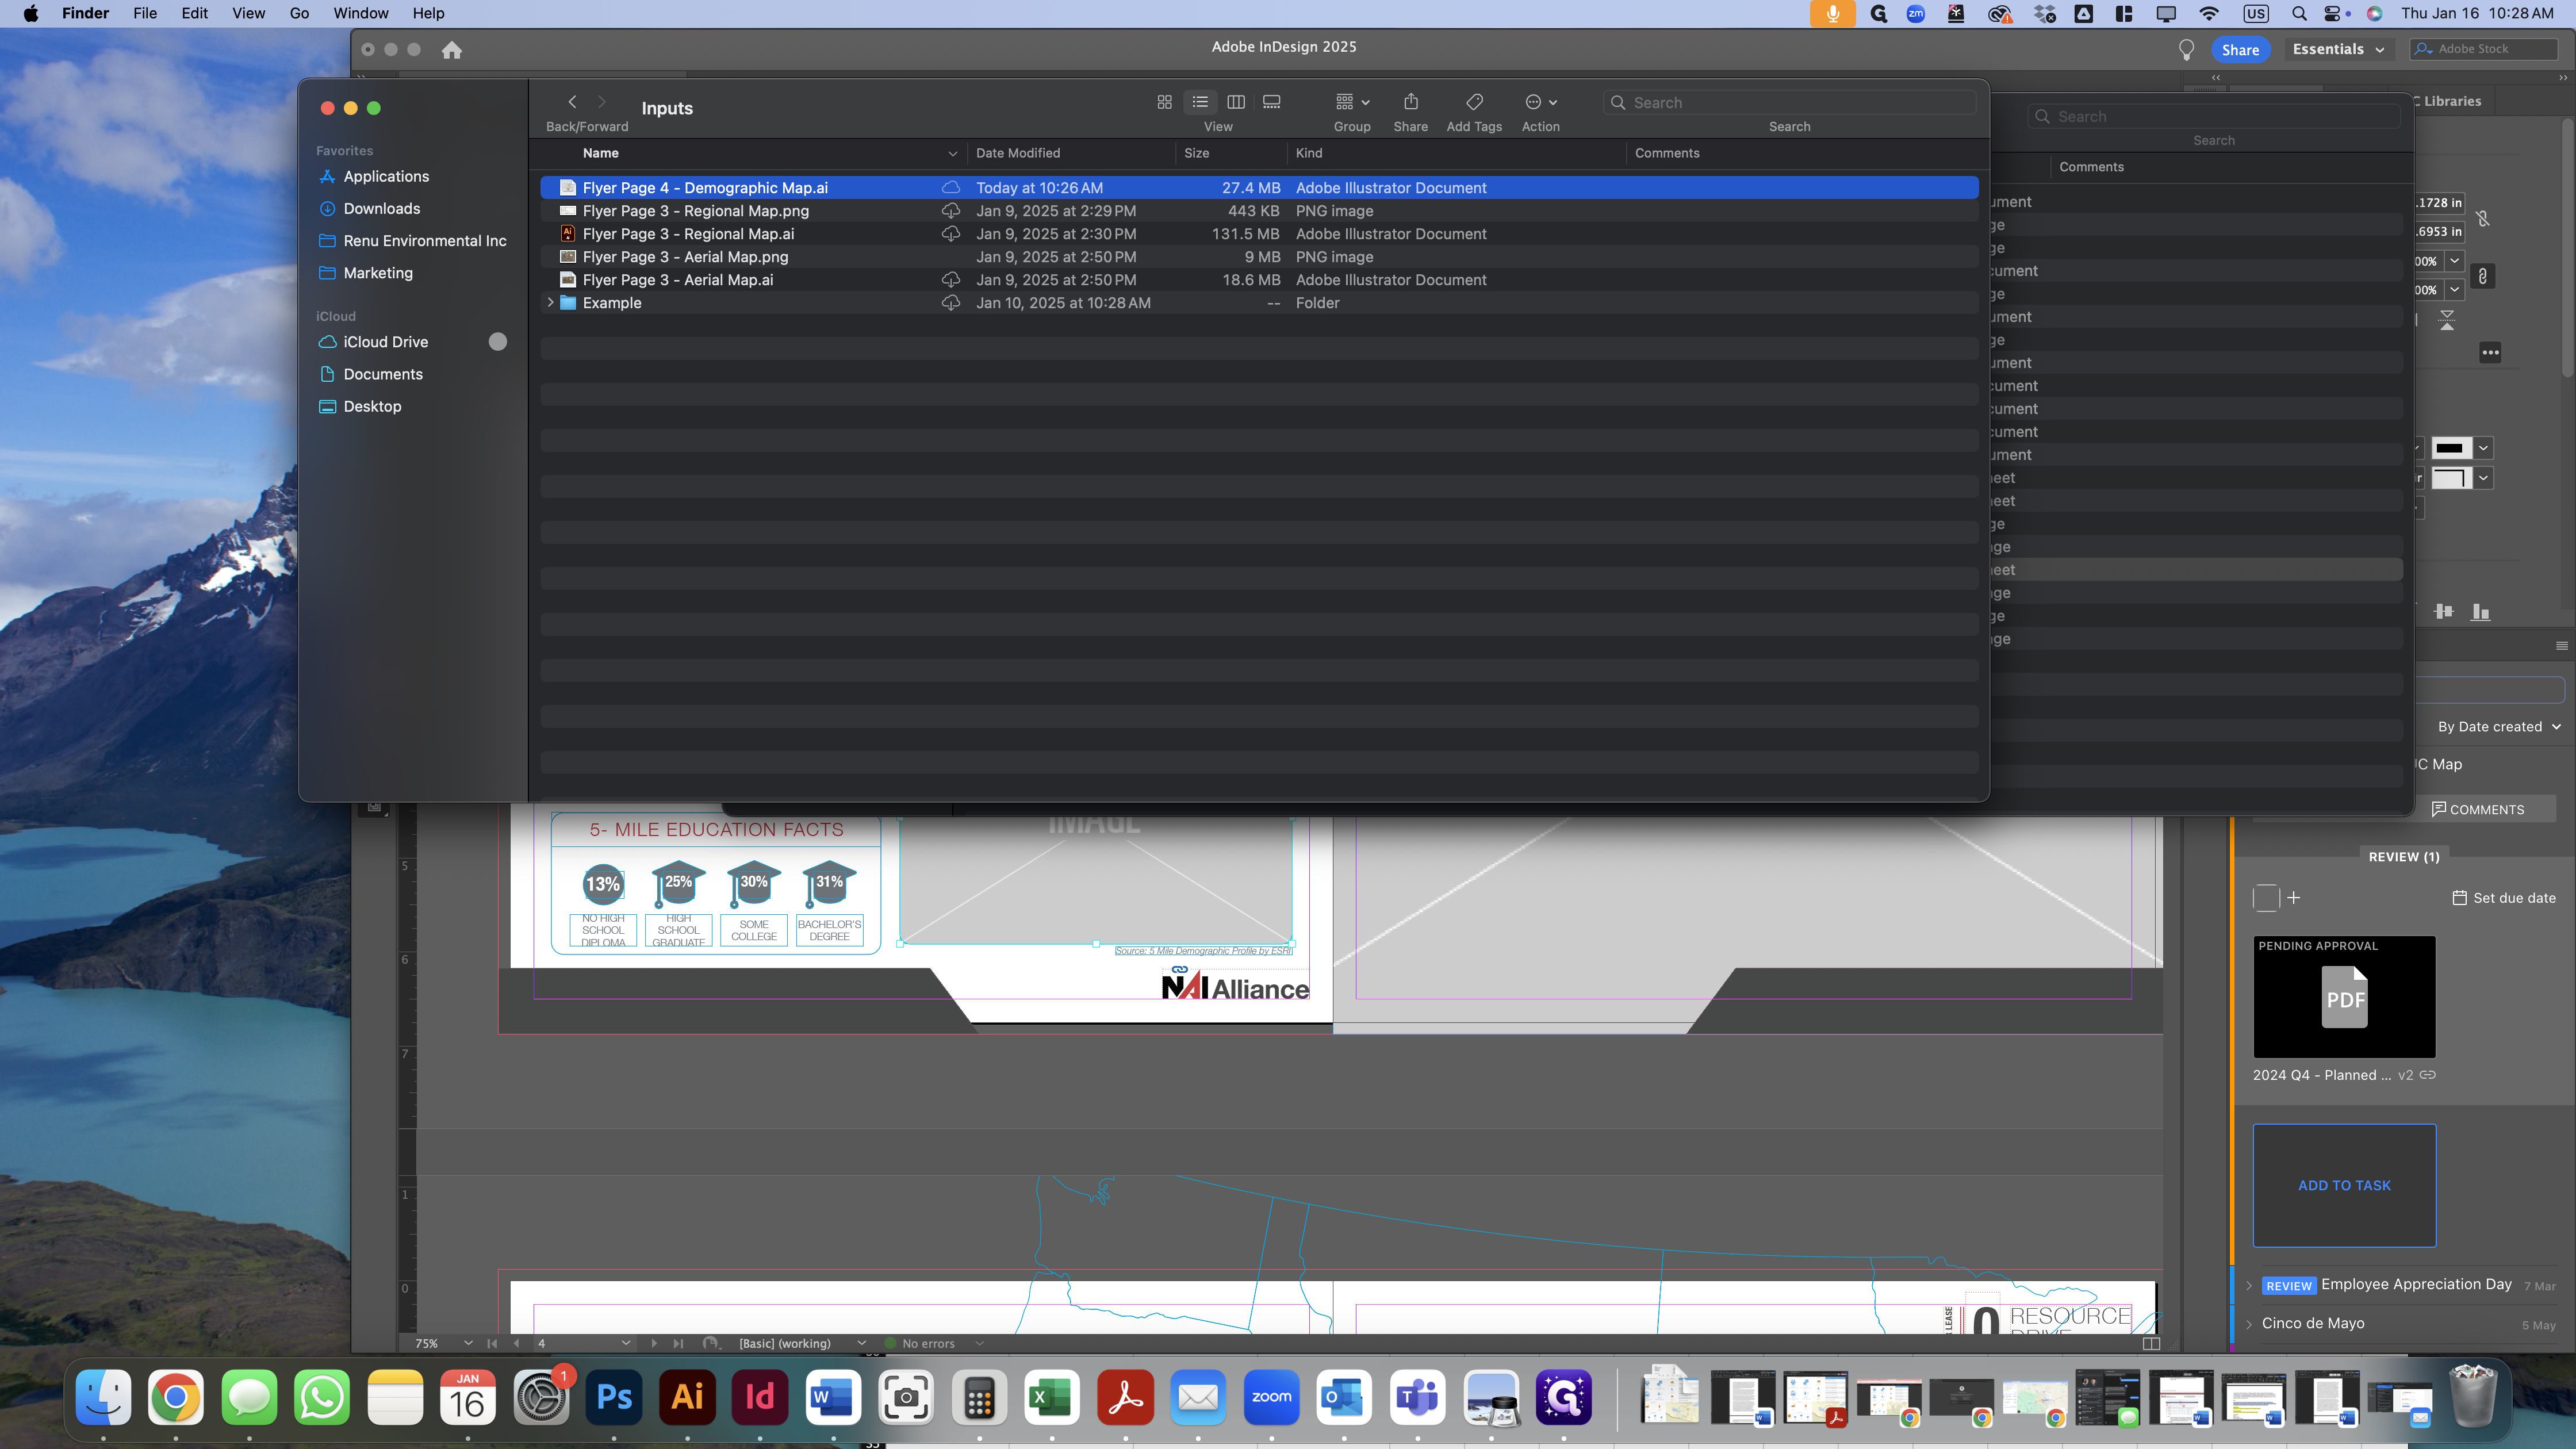
First, go to the templates folder.

Copy the template into the project folder you're working on. Open the project folder, navigate to "inputs," and paste the template.
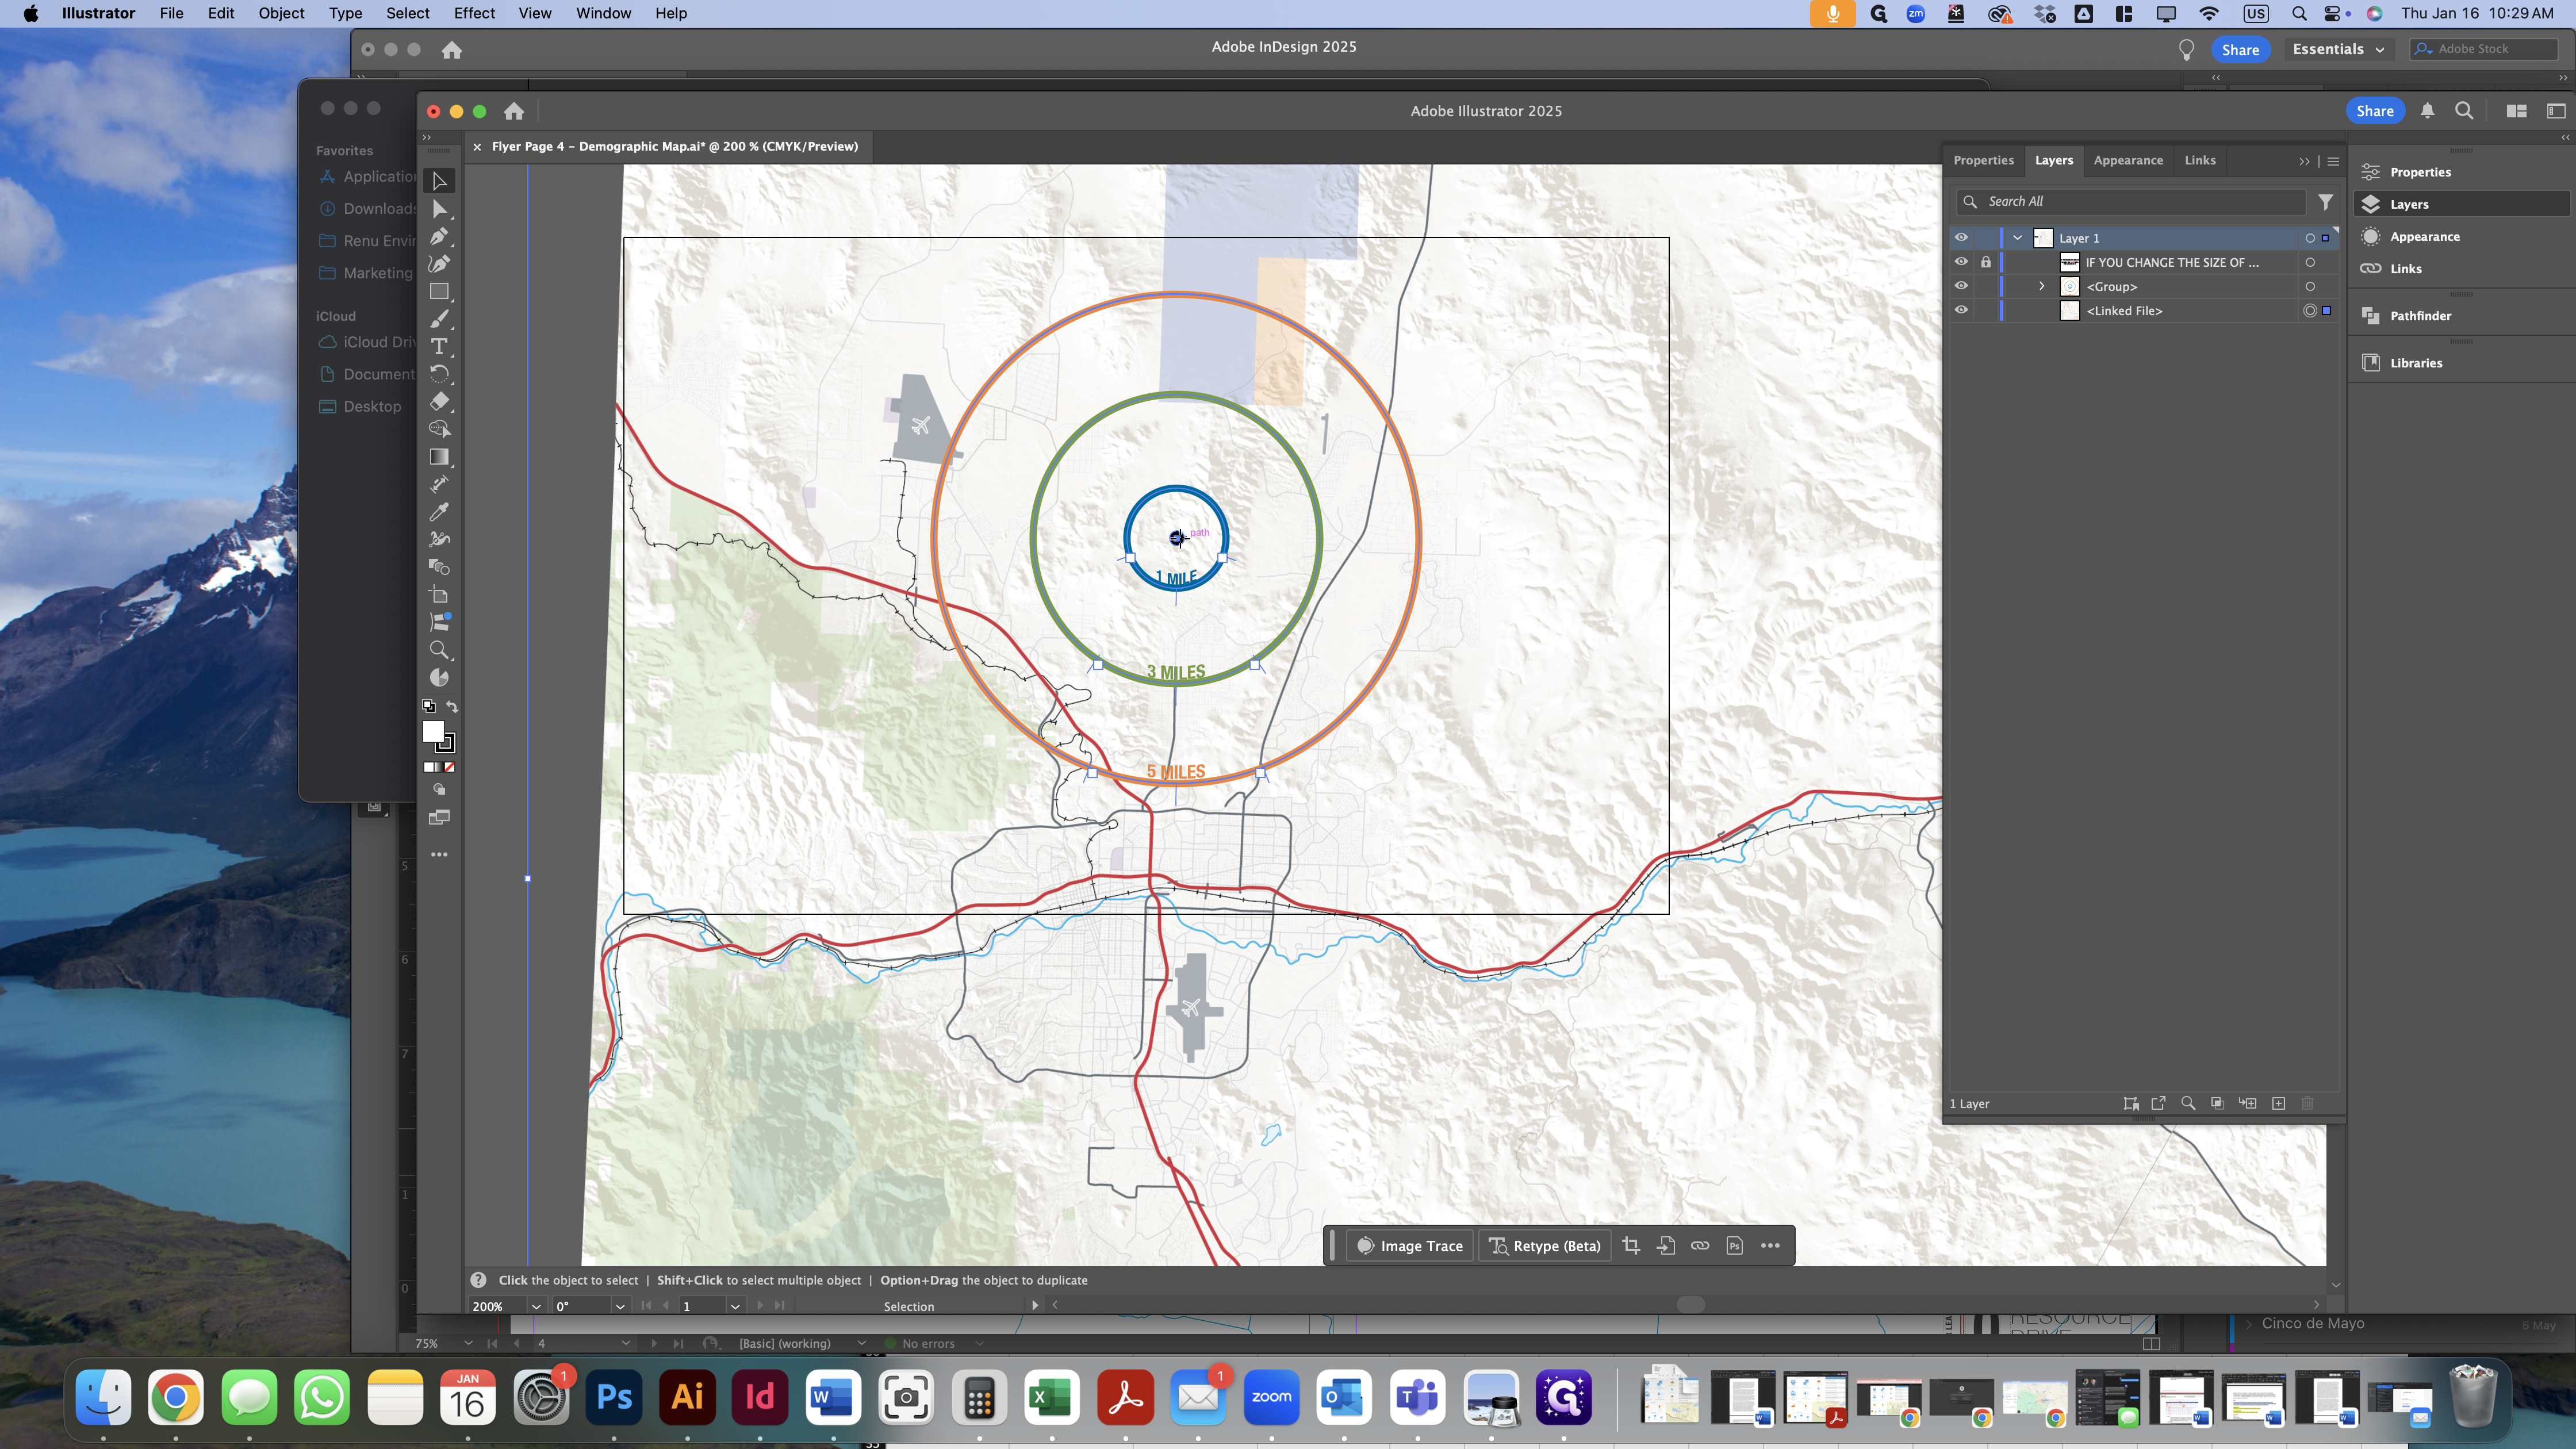
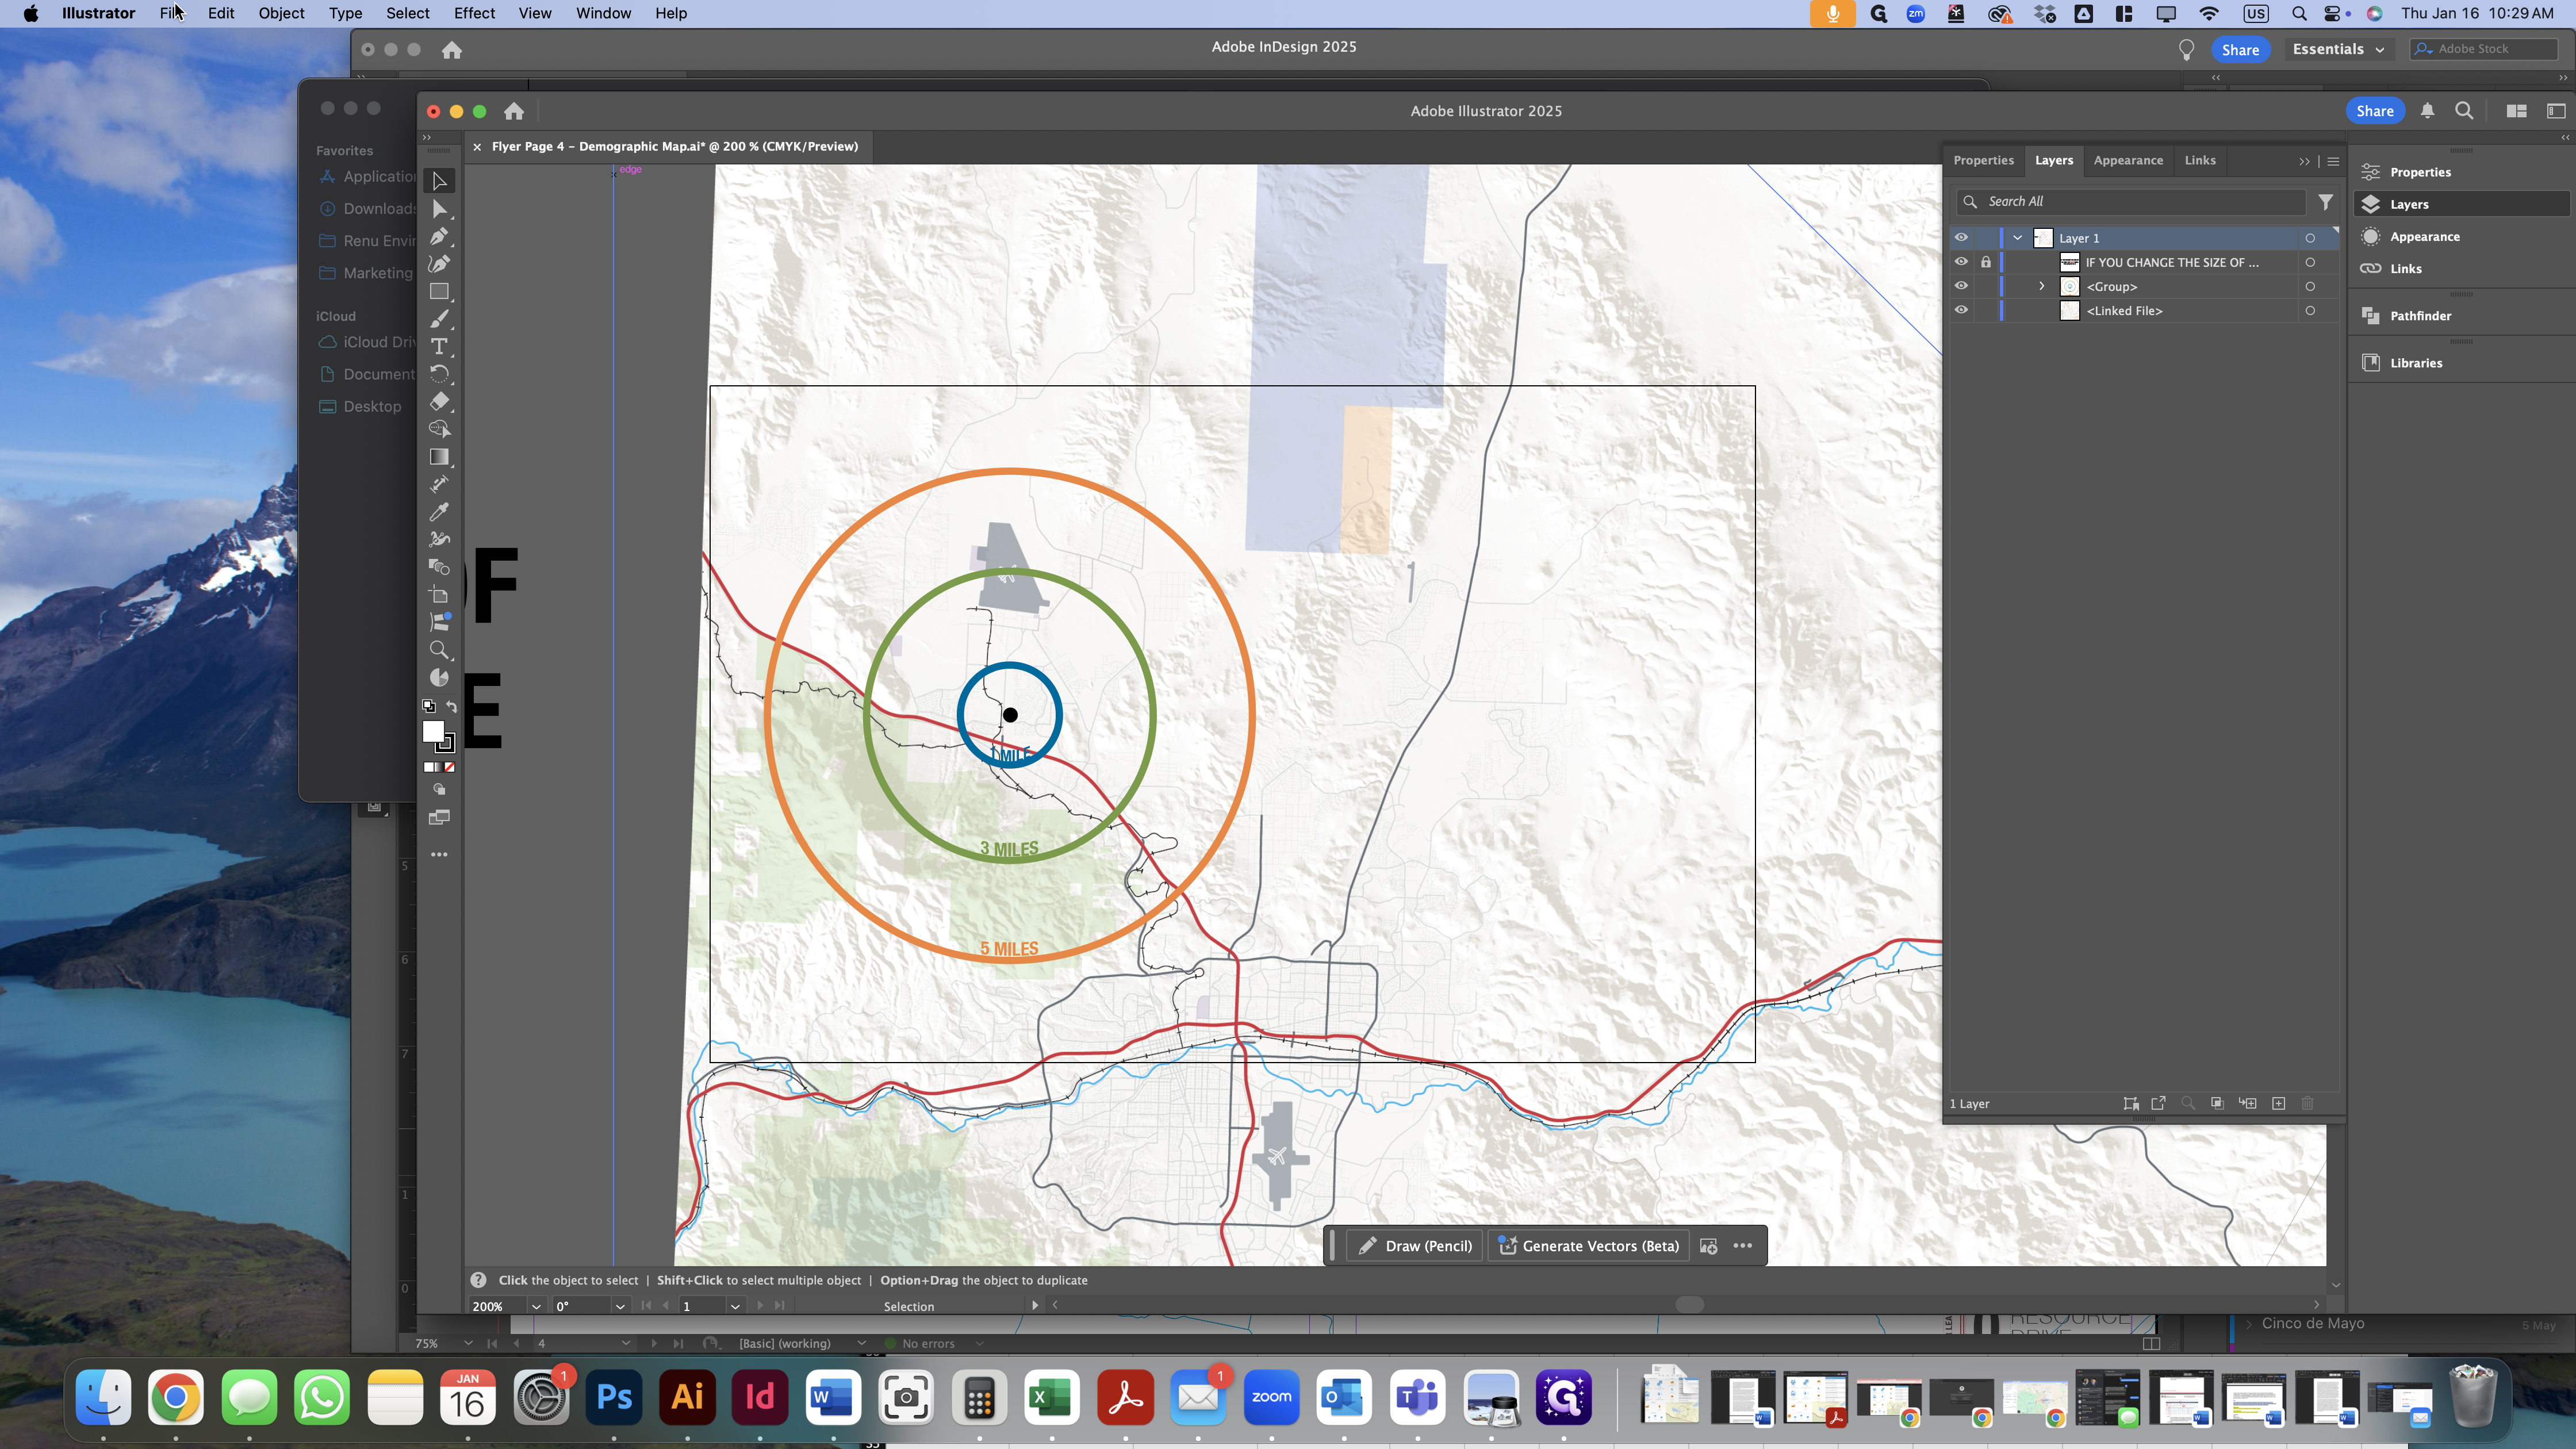
To adjust the map size correctly, select and scale both elements together. Move the map to display the site, ensuring the map background fills the entire artboard.
Next, take the entire group of rings and drag the center black dot to the site location. Feel free to check Google Maps if you're unsure of the site's location.
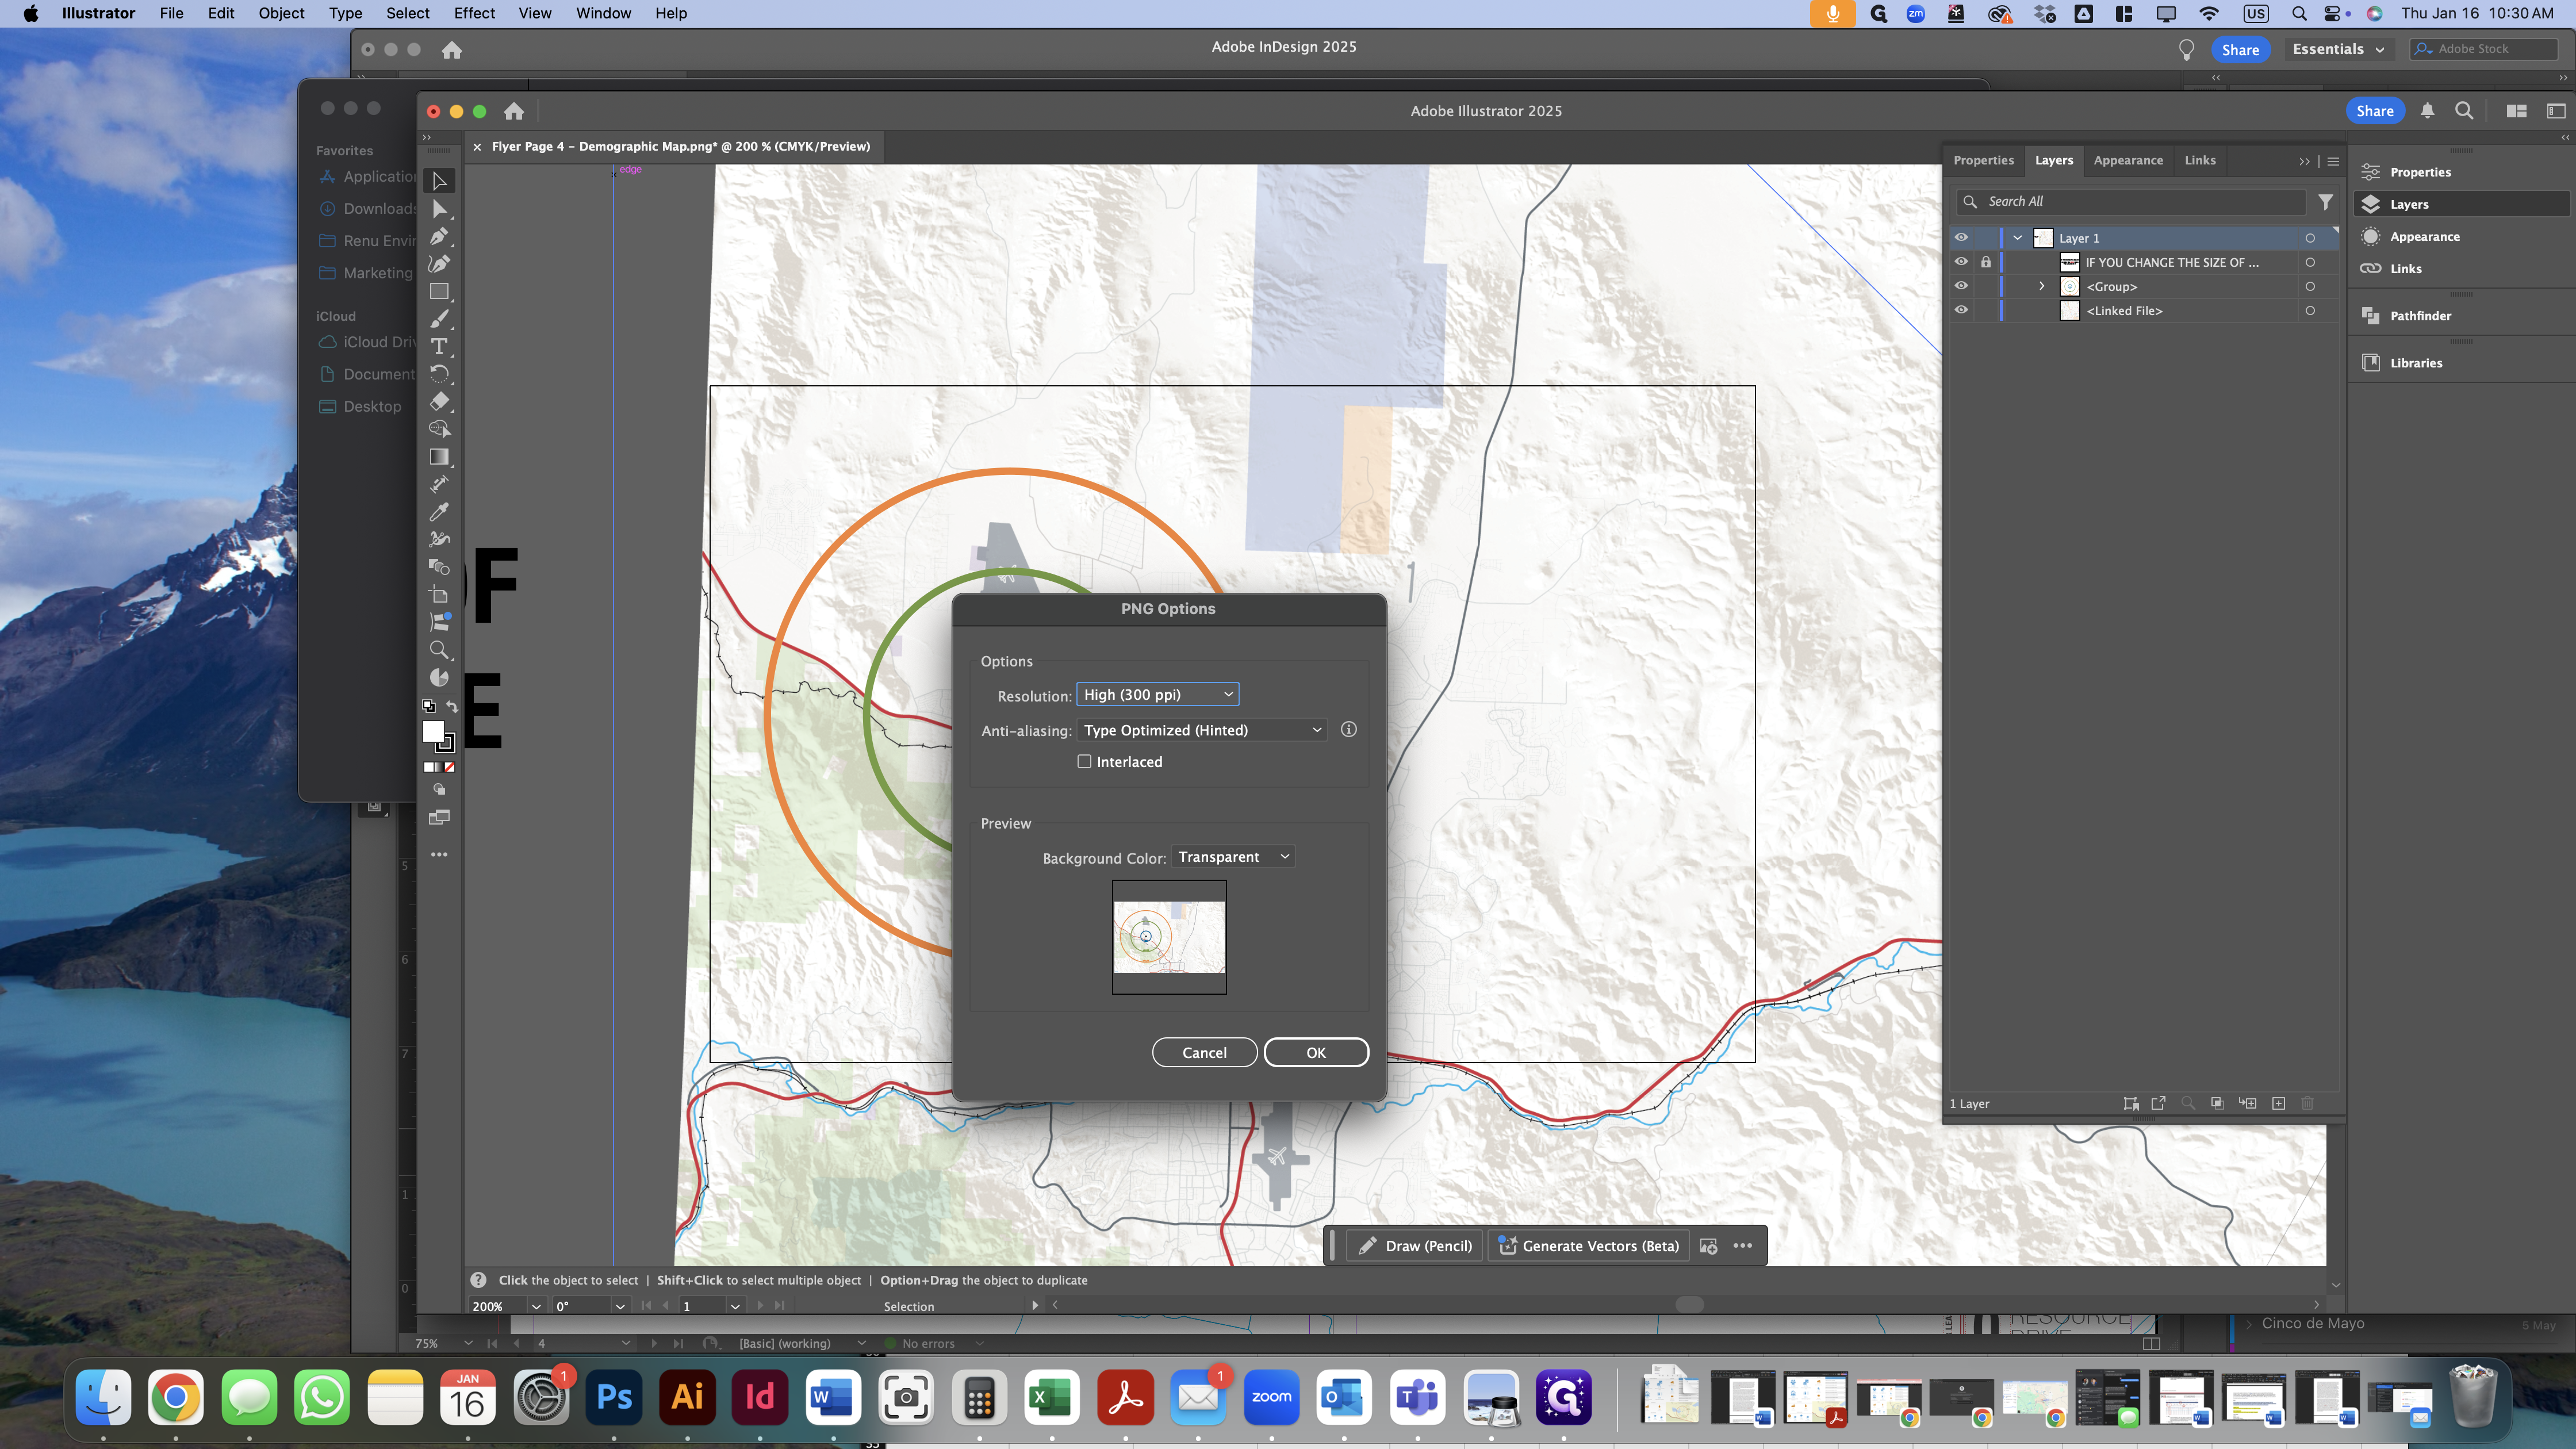
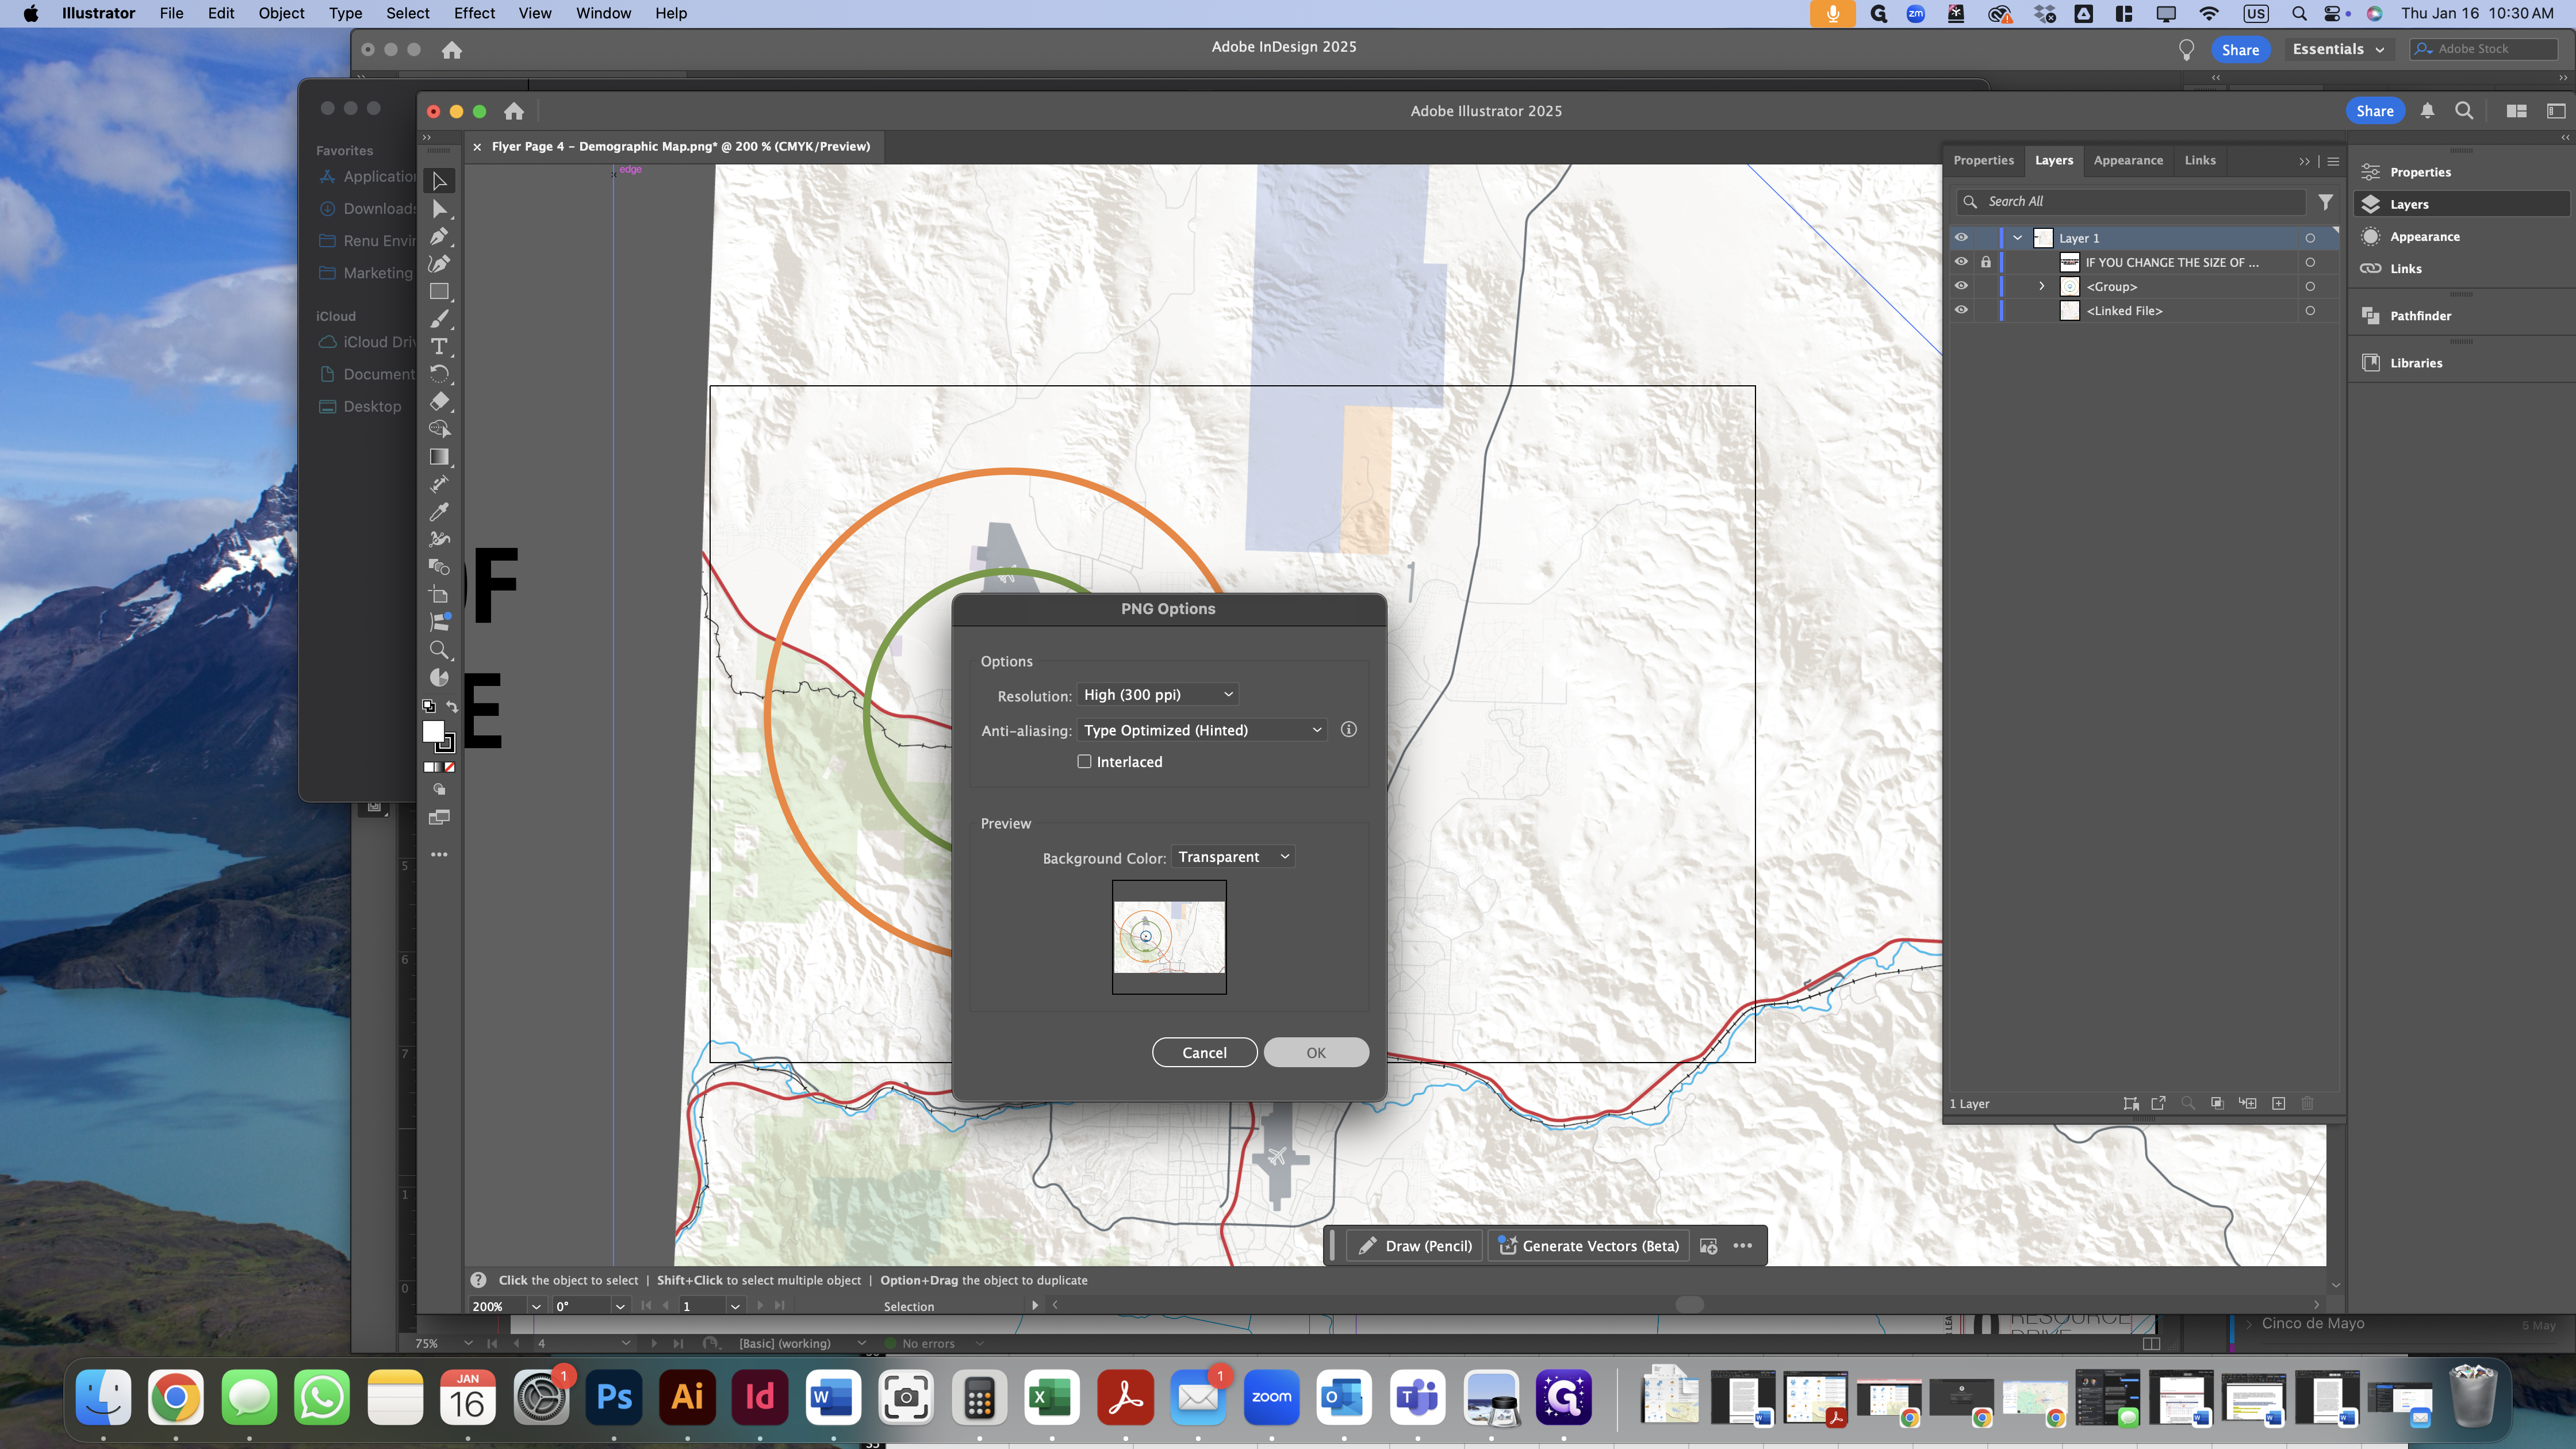
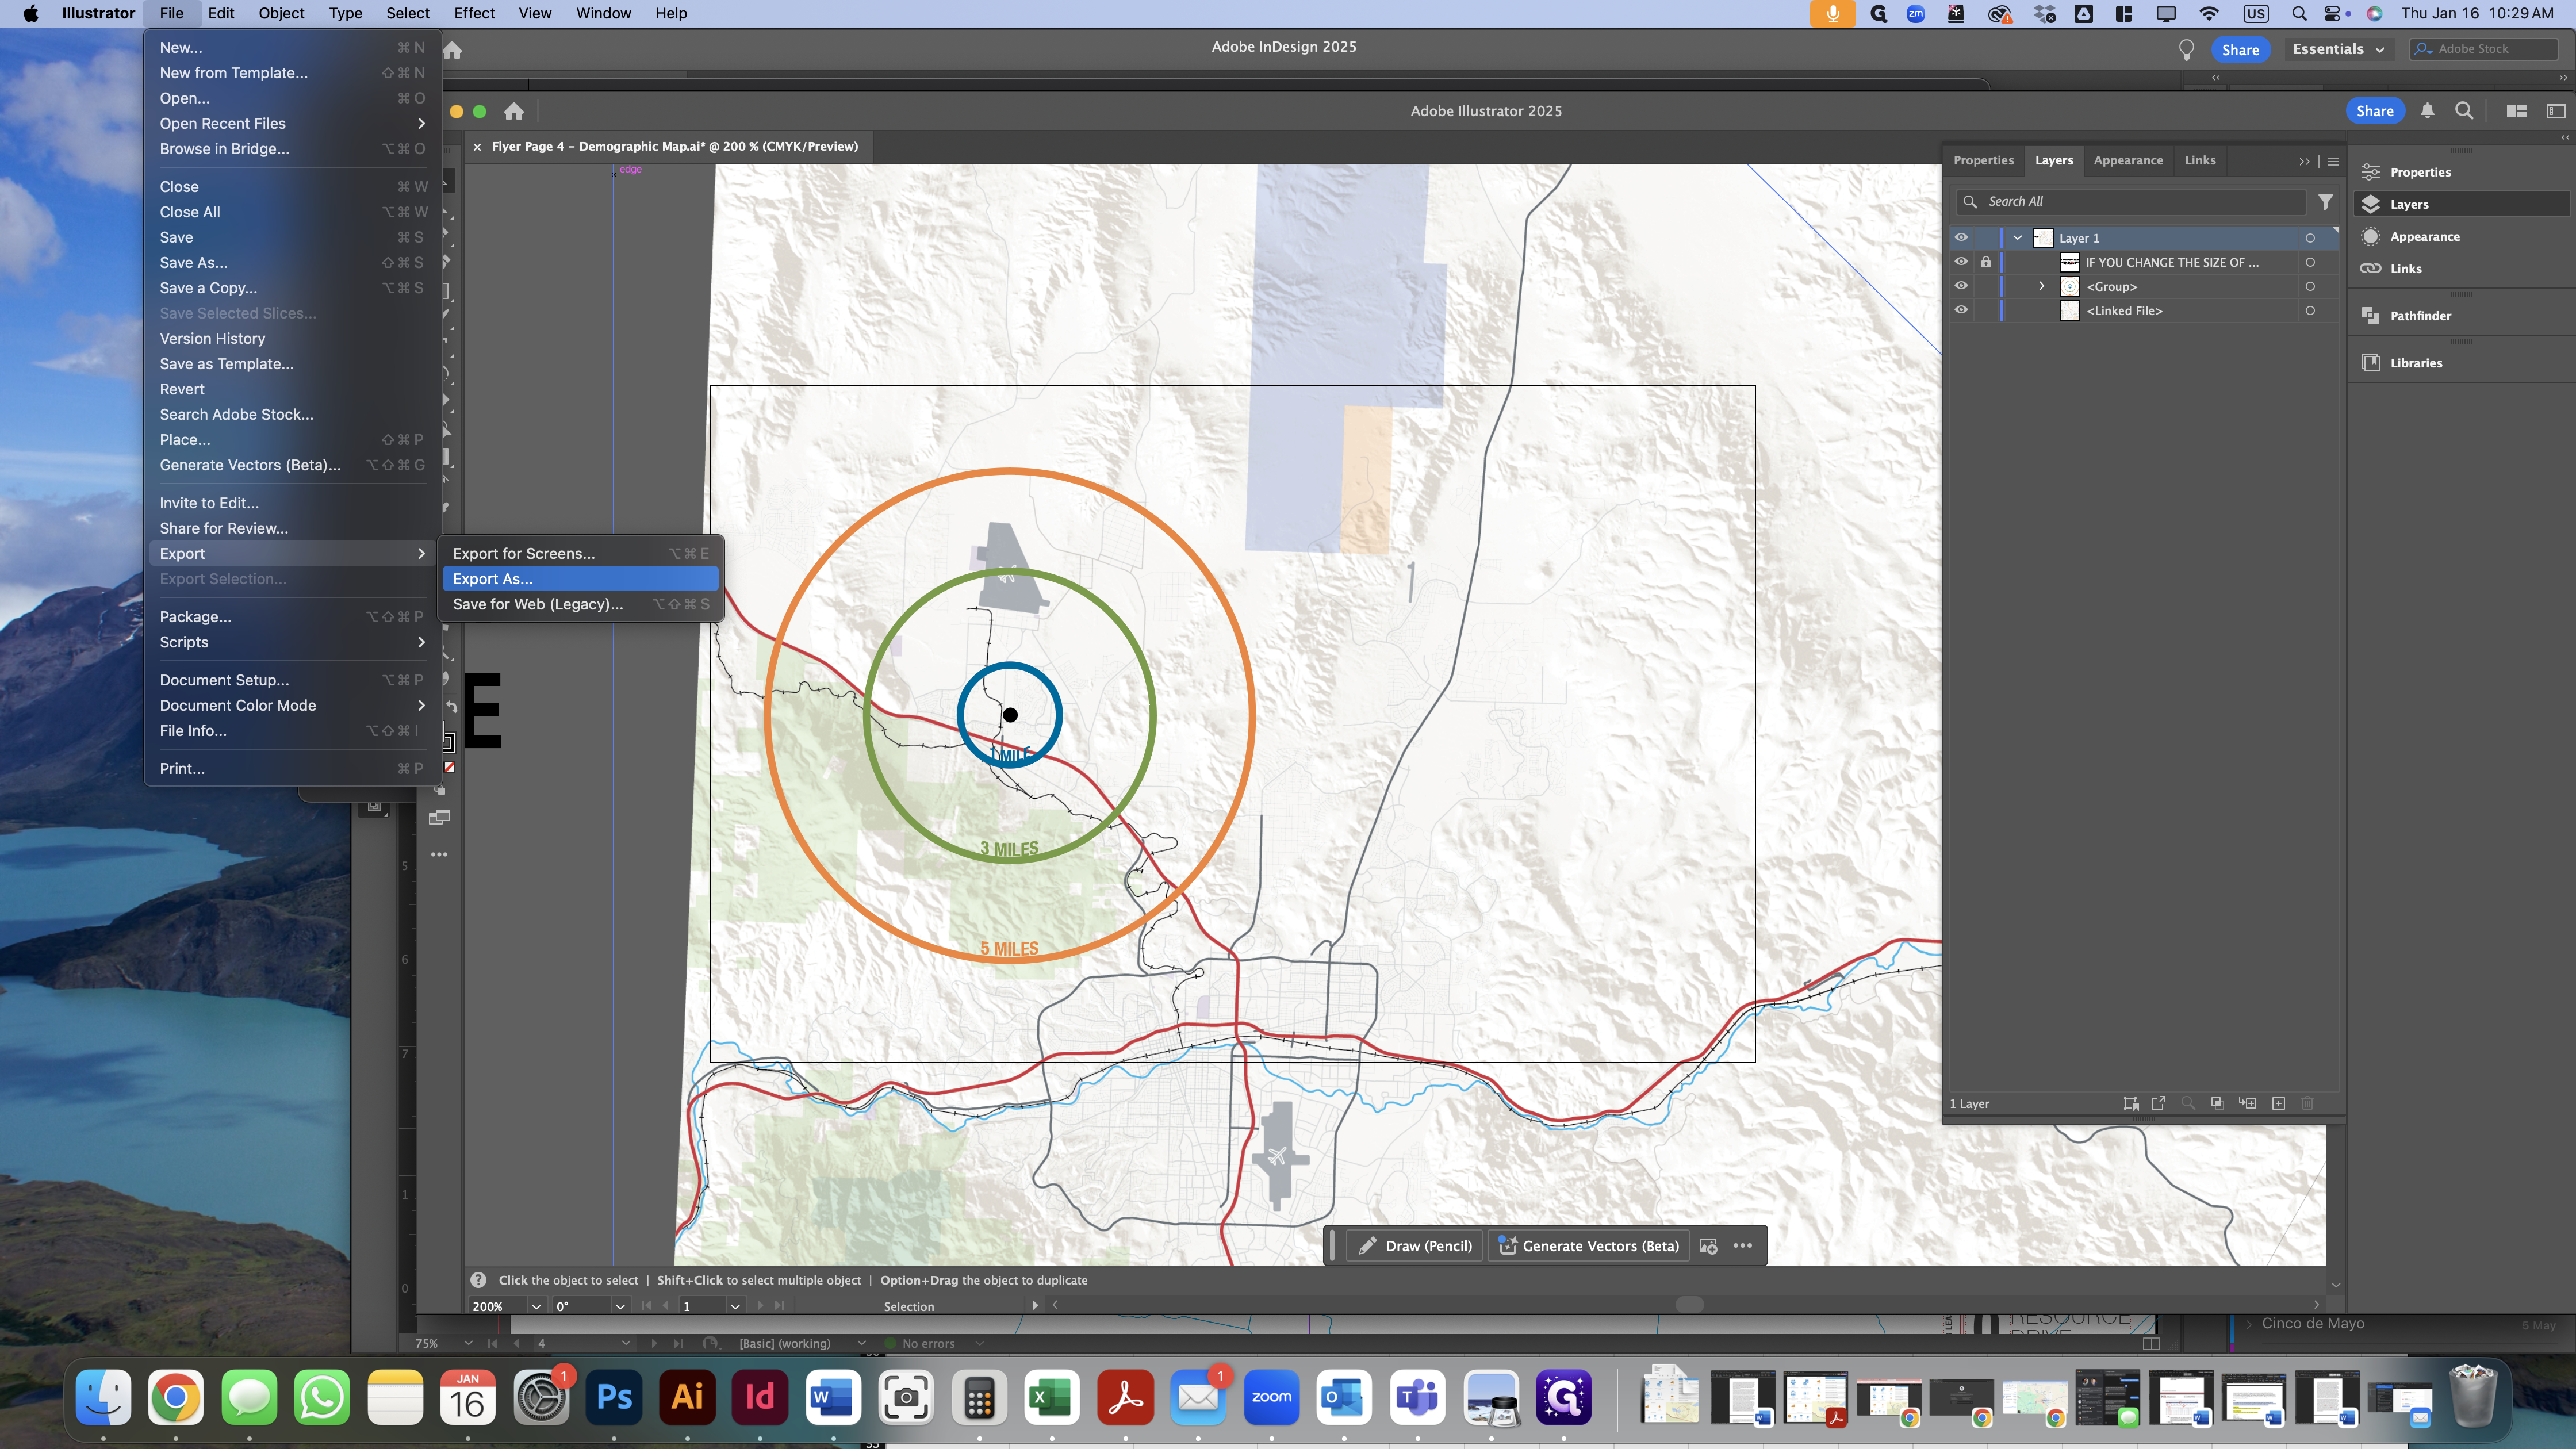
Next, export the map as a PNG.
We will use high resolution and type-optimized anti-aliasing. The background color will be set to transparent.

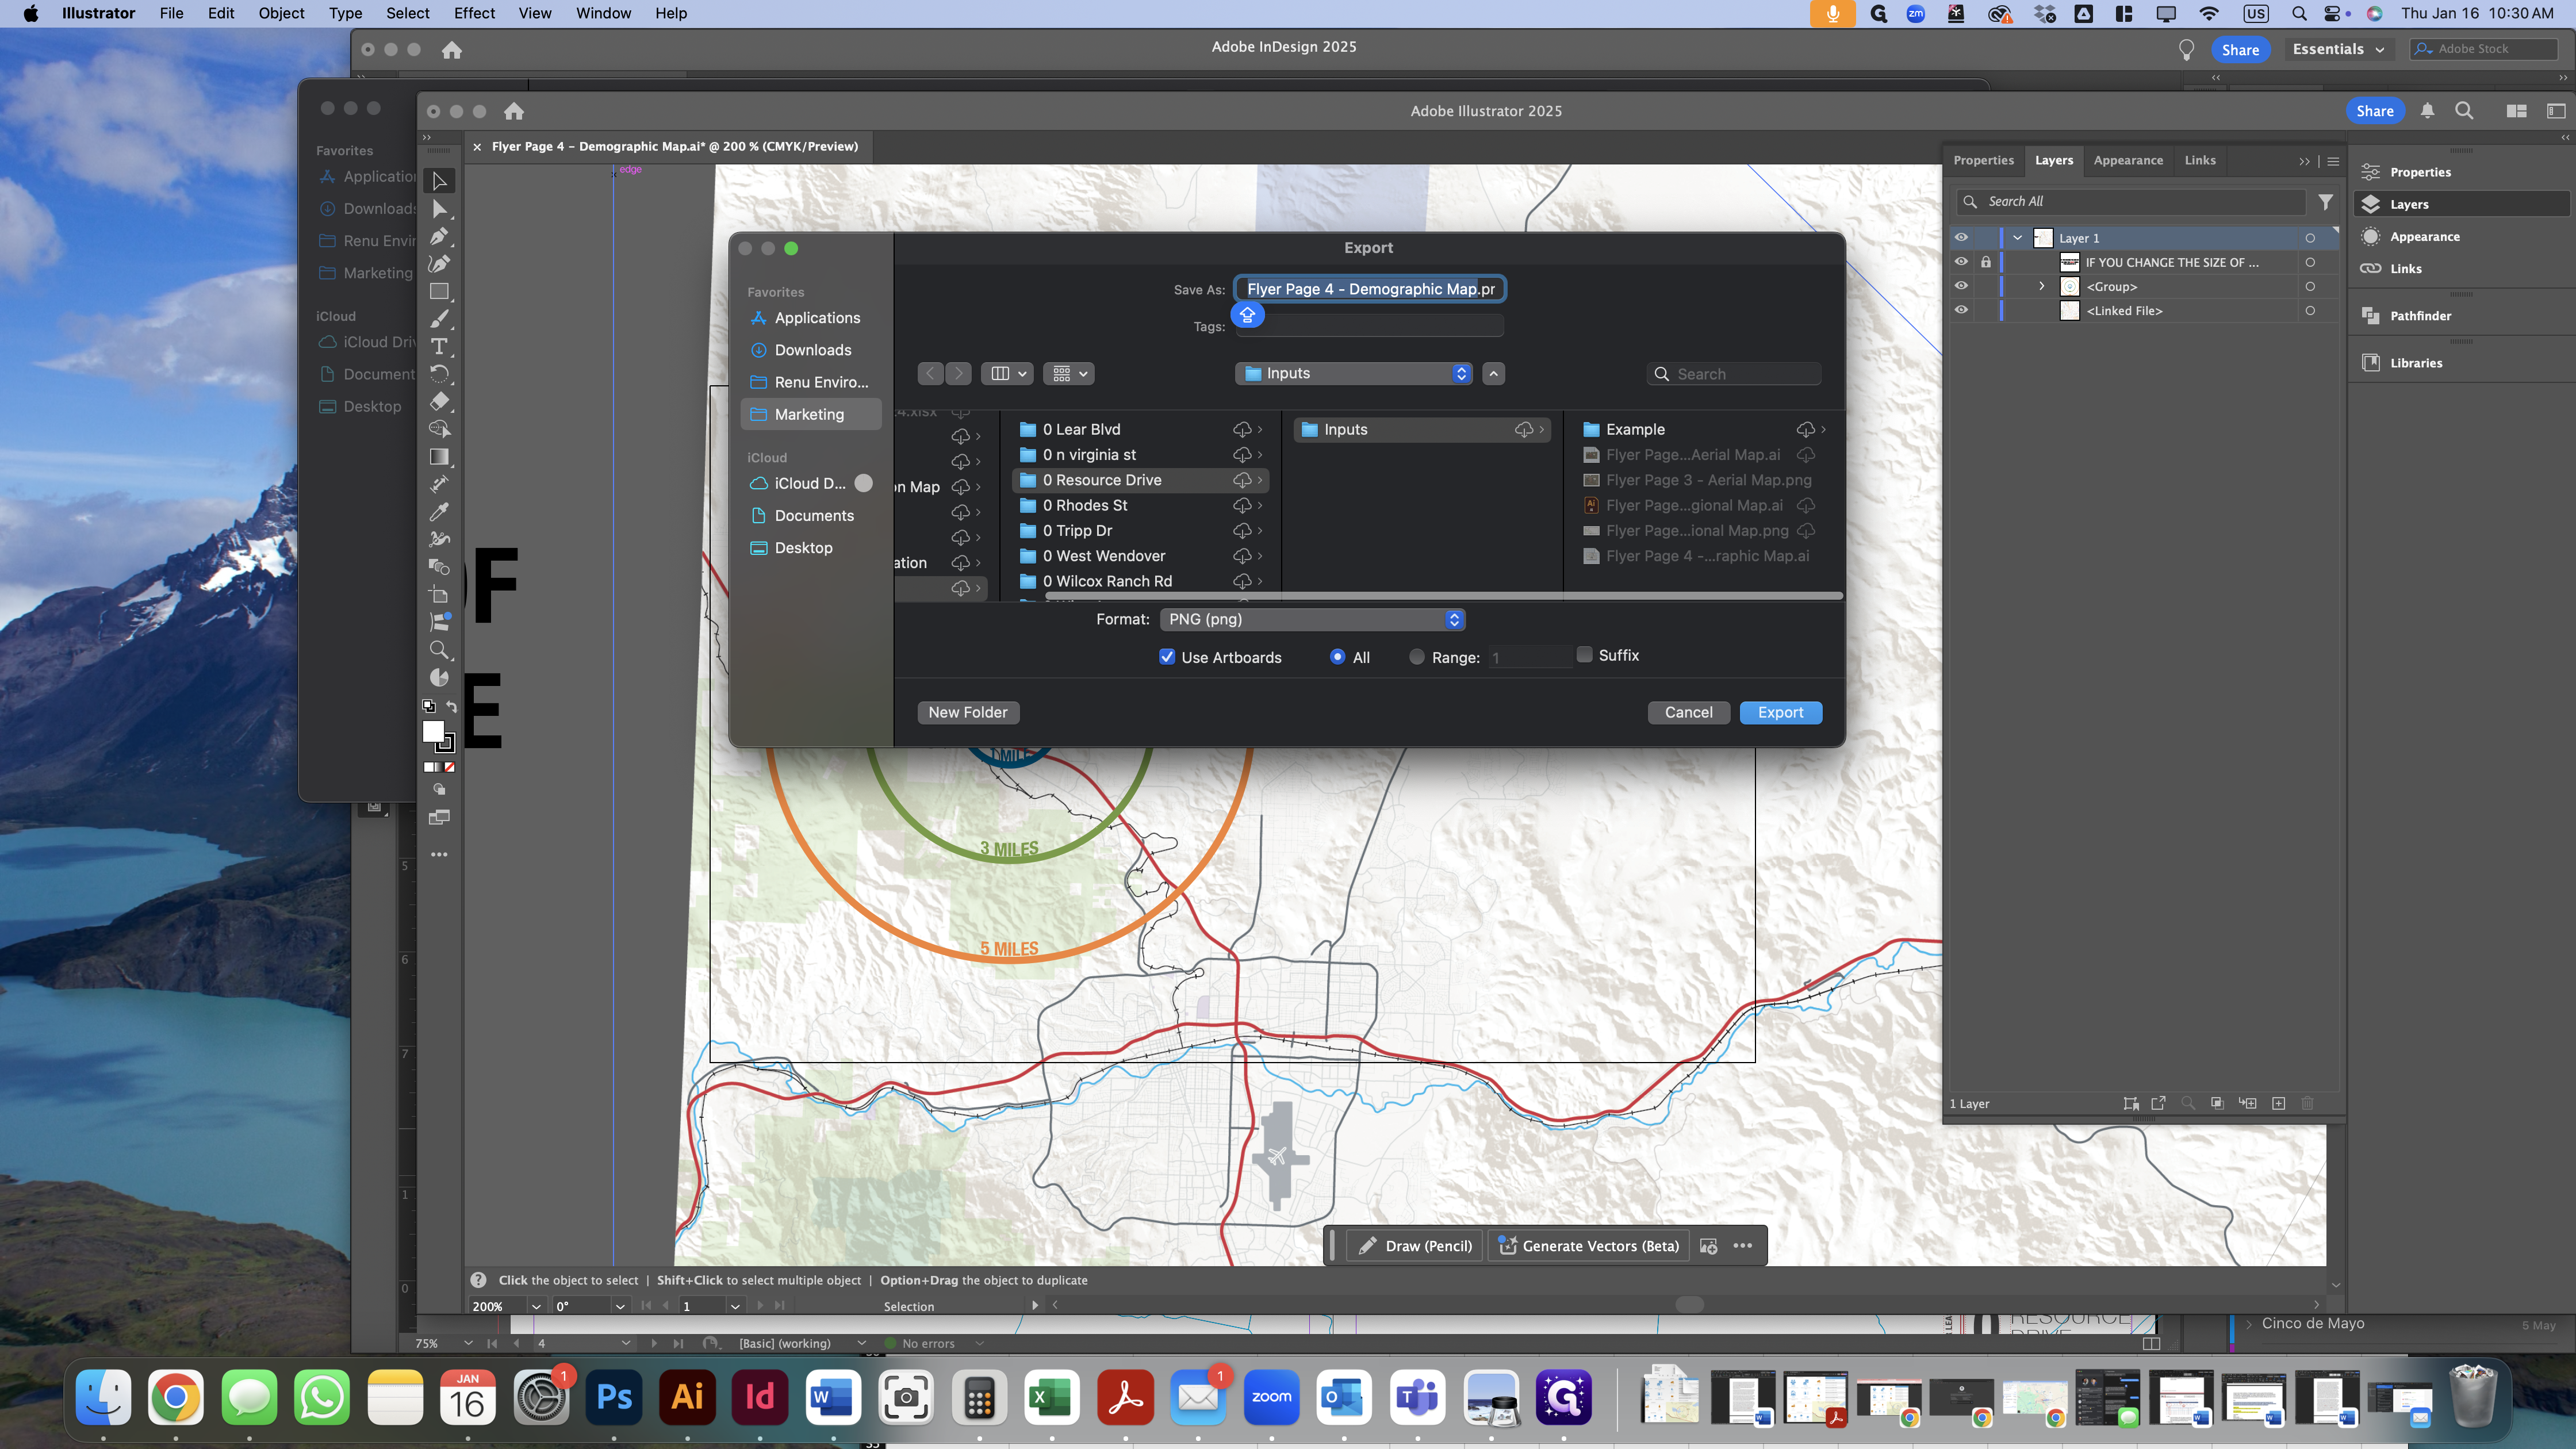
Resolution: High
Anti-aliasing: Type Optimized
Background Color: Transparent