Creating a New Input: A Comprehensive Guide
Learn how to create a new input, add tags for content segmentation, enable recording for VOD content, and set up geo-restrictions for your live streams.
In this guide, we'll learn how to create a new input for your content management system. Inputs play a crucial role in organizing and controlling the visibility of your content. By adding specific tags to your input, you can effectively segment and group your content. Additionally, tags enable you to apply various restrictions such as paywalls and geo-restrictions. Let's dive into the process of creating a new input to enhance the management and accessibility of your content.
Steps to Create a New Input:
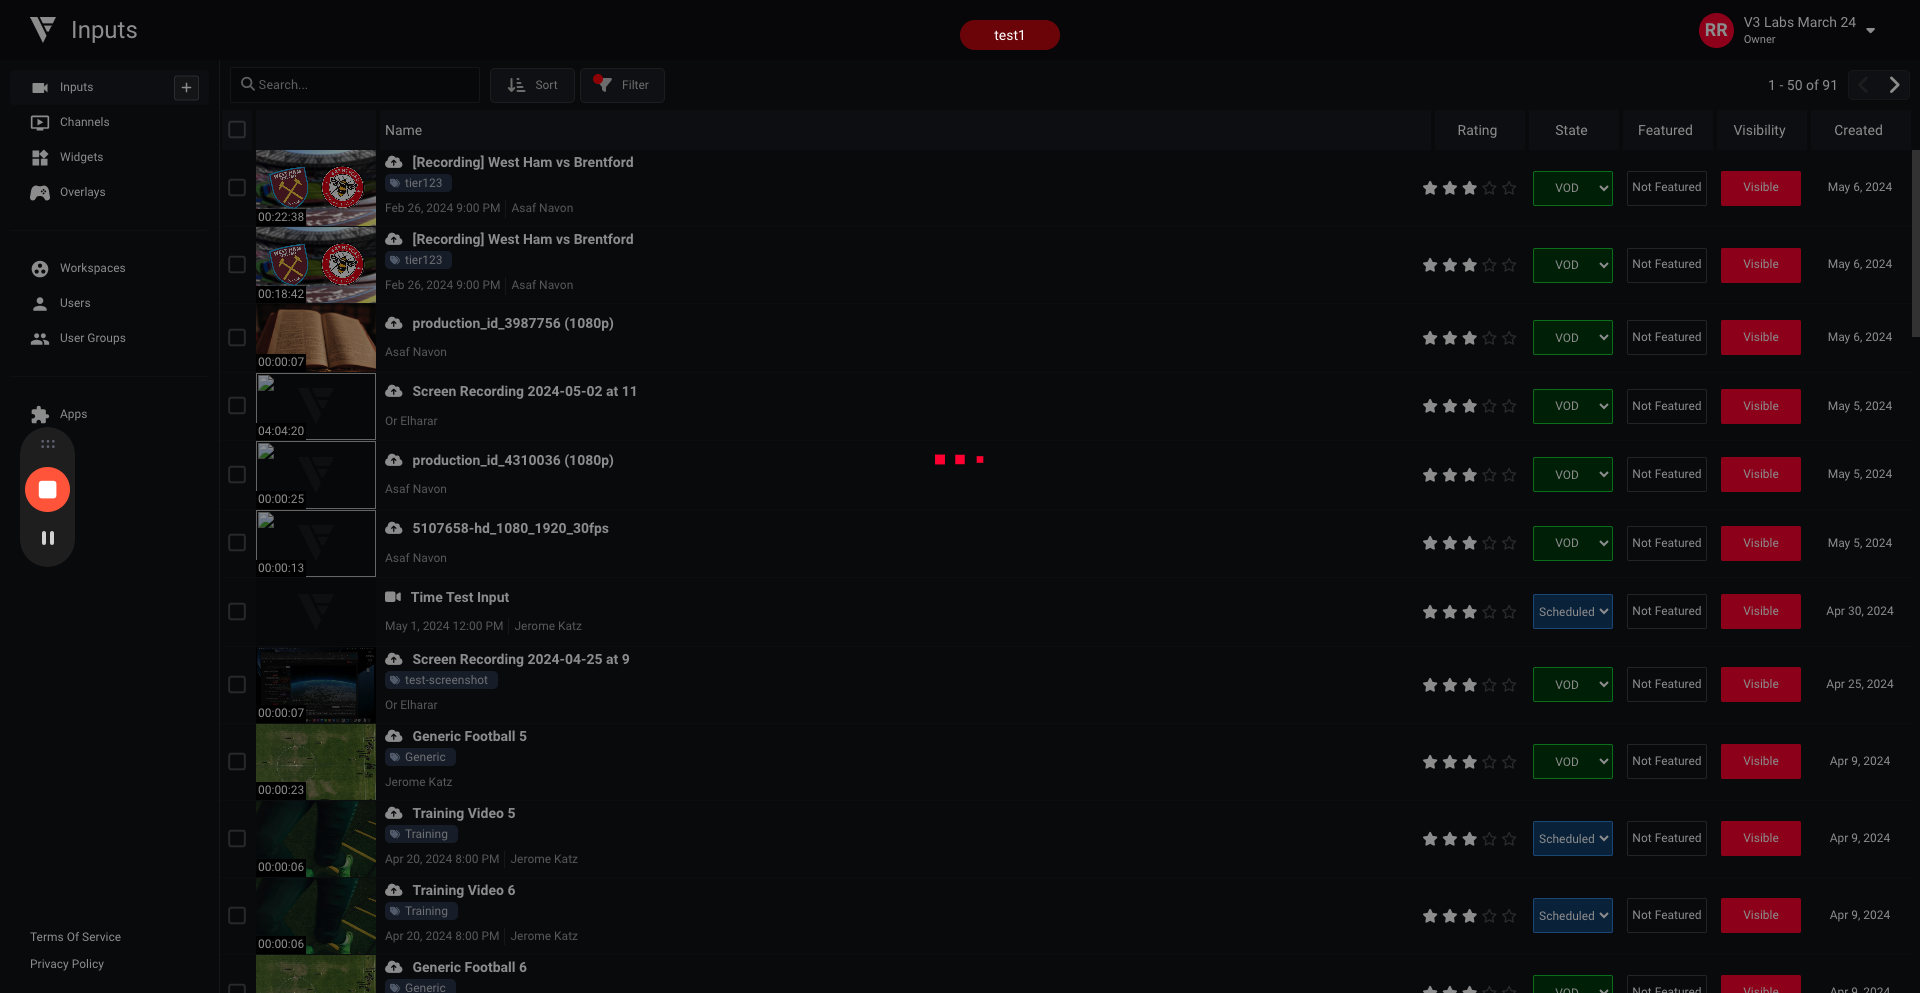
Access Inputs Section: Navigate to the Inputs tab in your content management system.
Add a New Input: Click on the Plus icon to initiate the creation of a new input.
Input Details: Provide a name for the input and add relevant tags such as premium, league name, and standard for categorization.
Content Management: Define the input settings such as enabling recording to transform live content into VOD and setting geo-restrictions, like limiting access to specific regions.
Finalize and Publish: Once you have configured the input details, save the changes to make your content available according to the specified settings.
Let's get started.
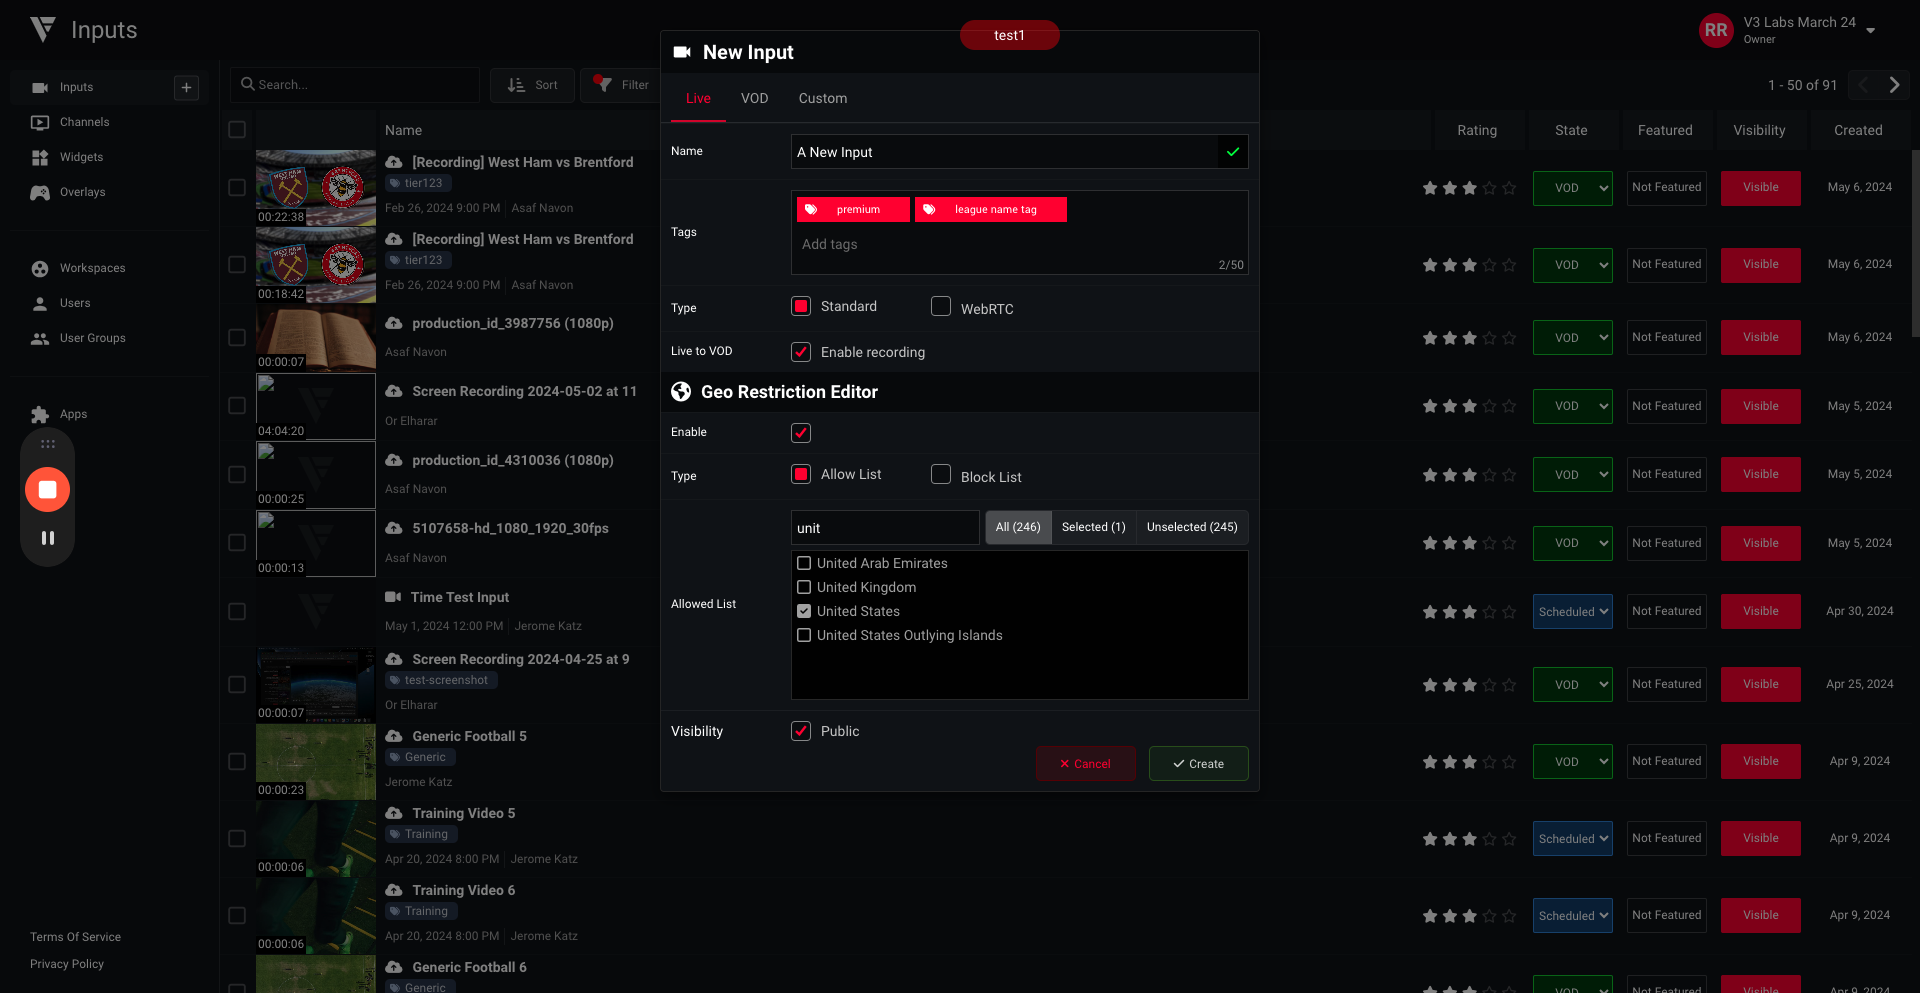
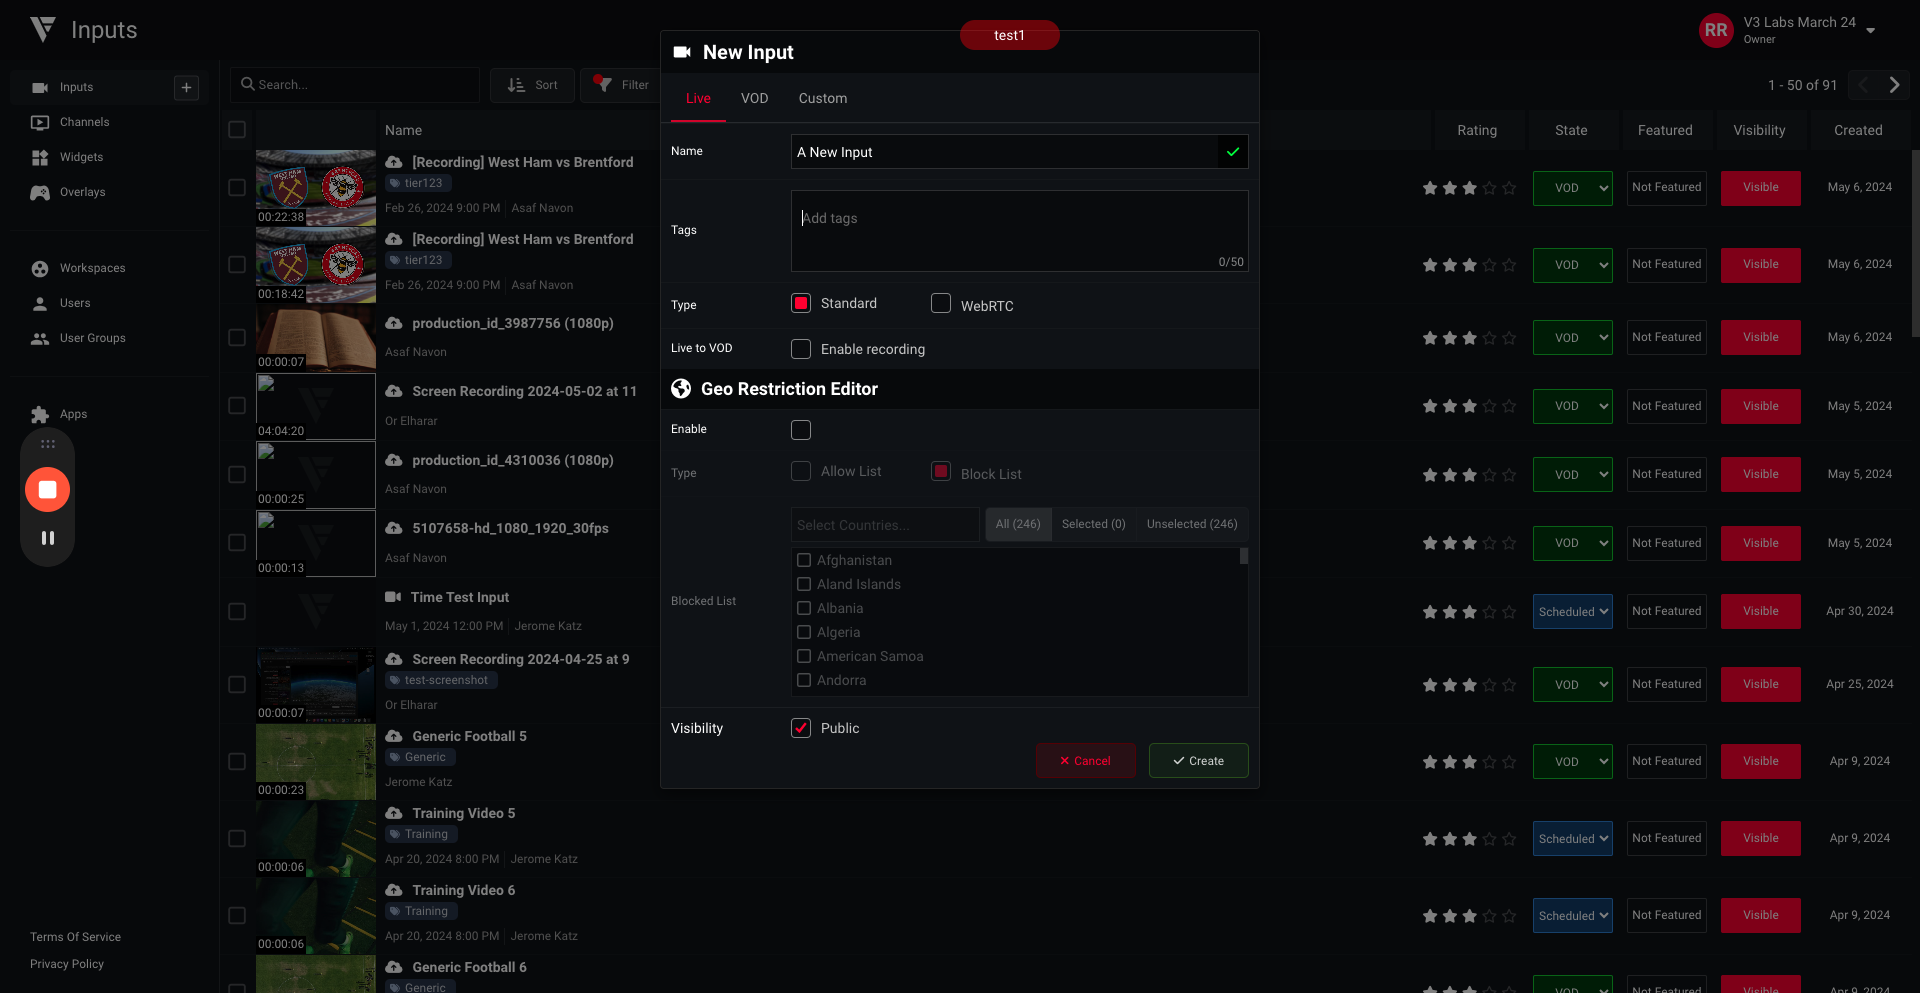
To create a new input, go to "Inputs" and click on the plus icon.
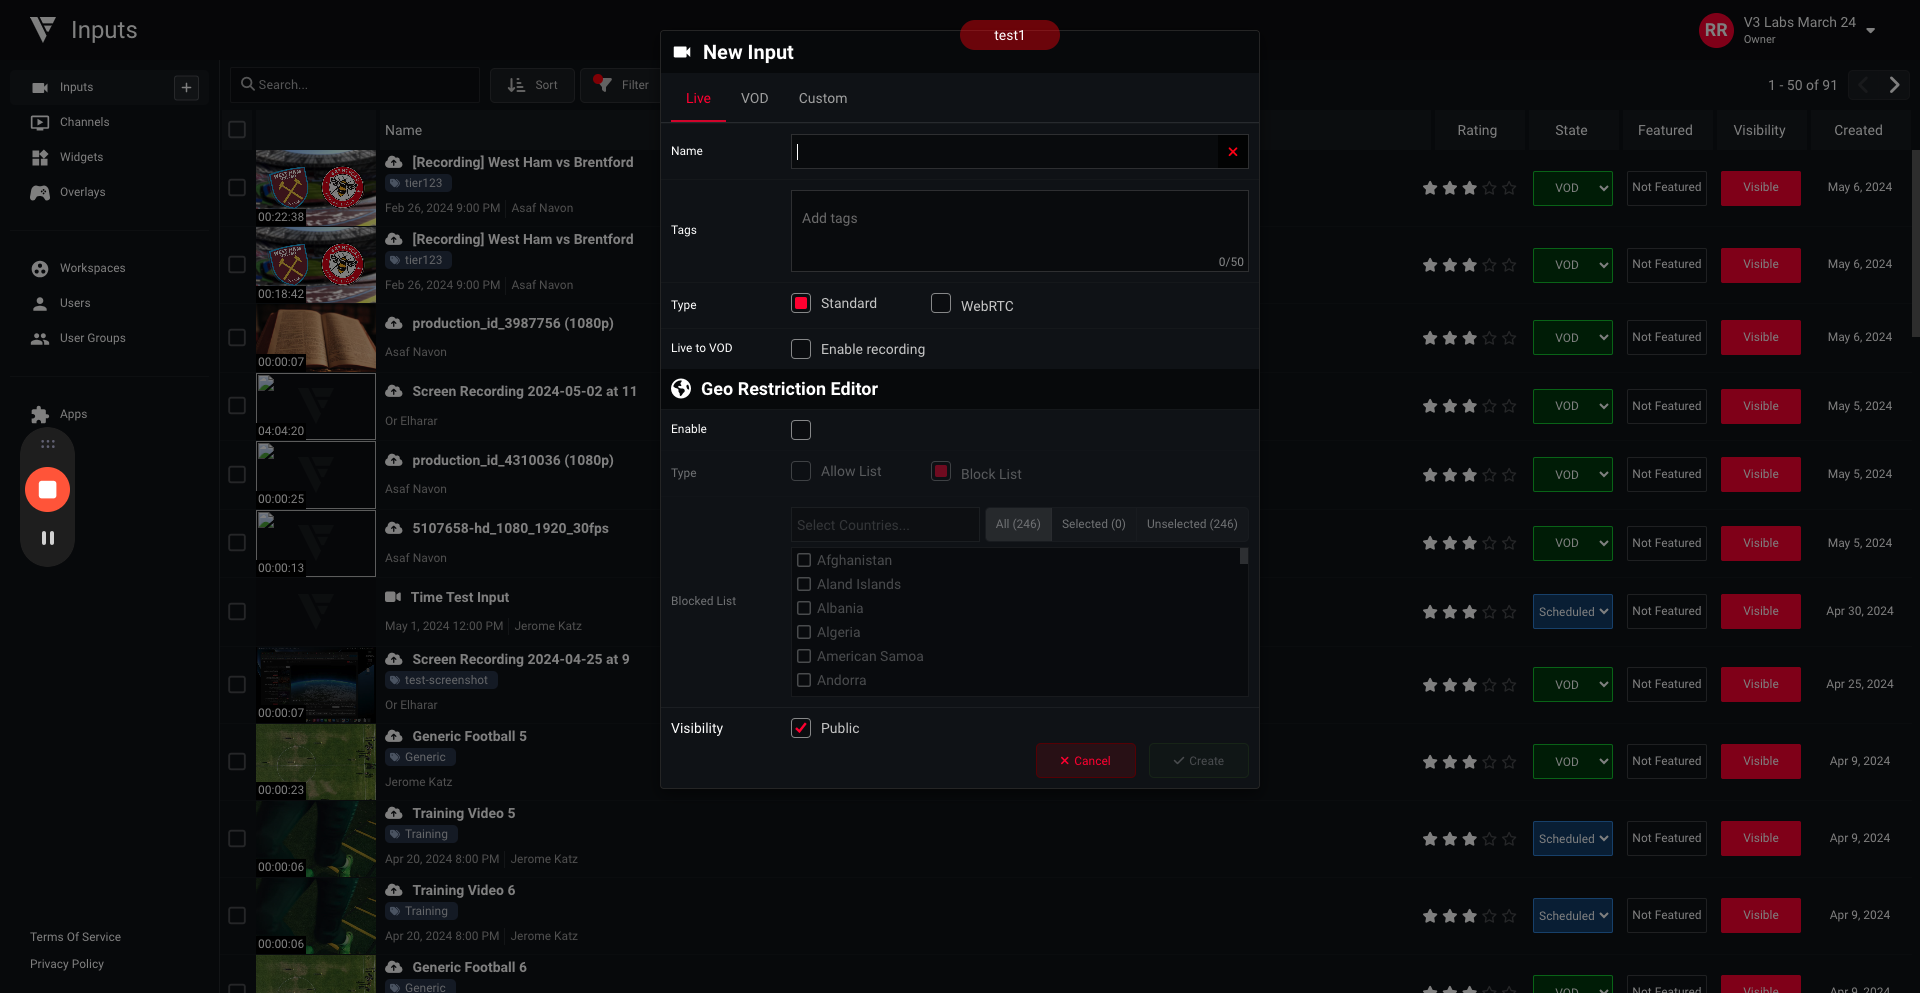
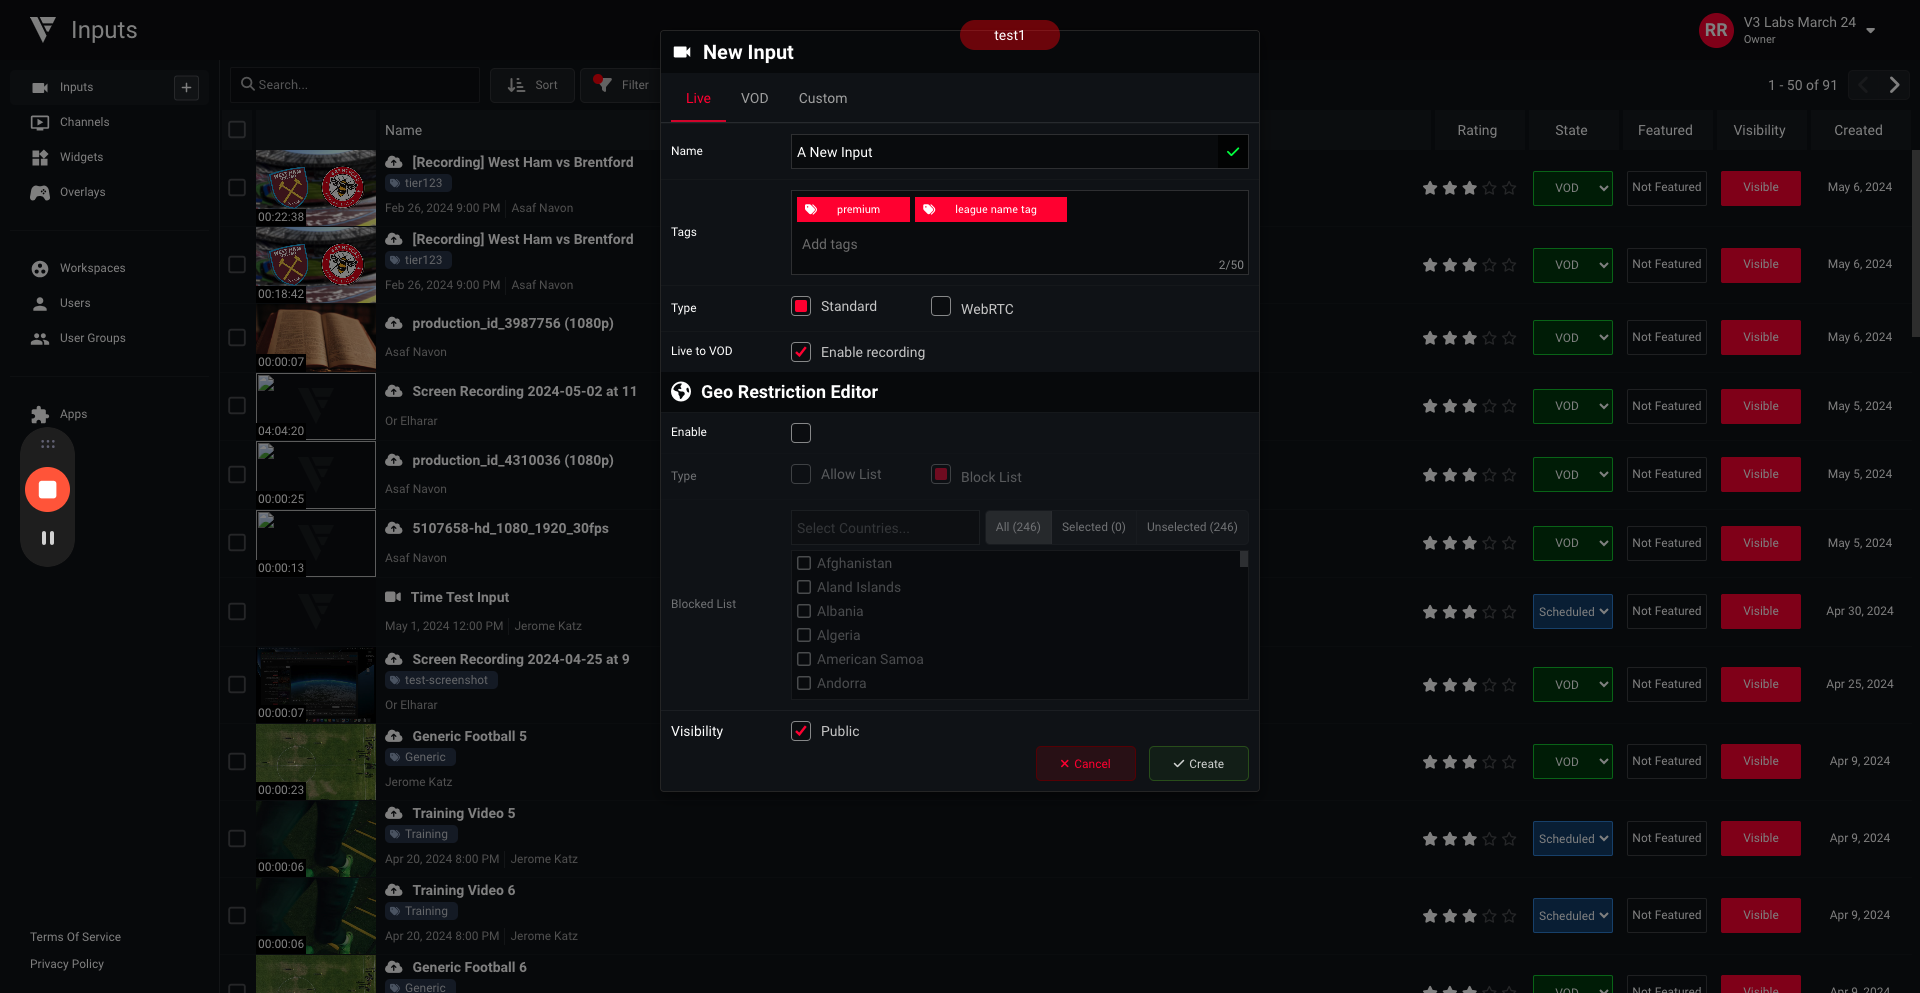
Add the name of the input. Add the tags that you want.
You add tags to segment content, group content, and overlay paywalls. I will add a premium tag and a league name tag. Then, I will define this as a standard tag for live content.
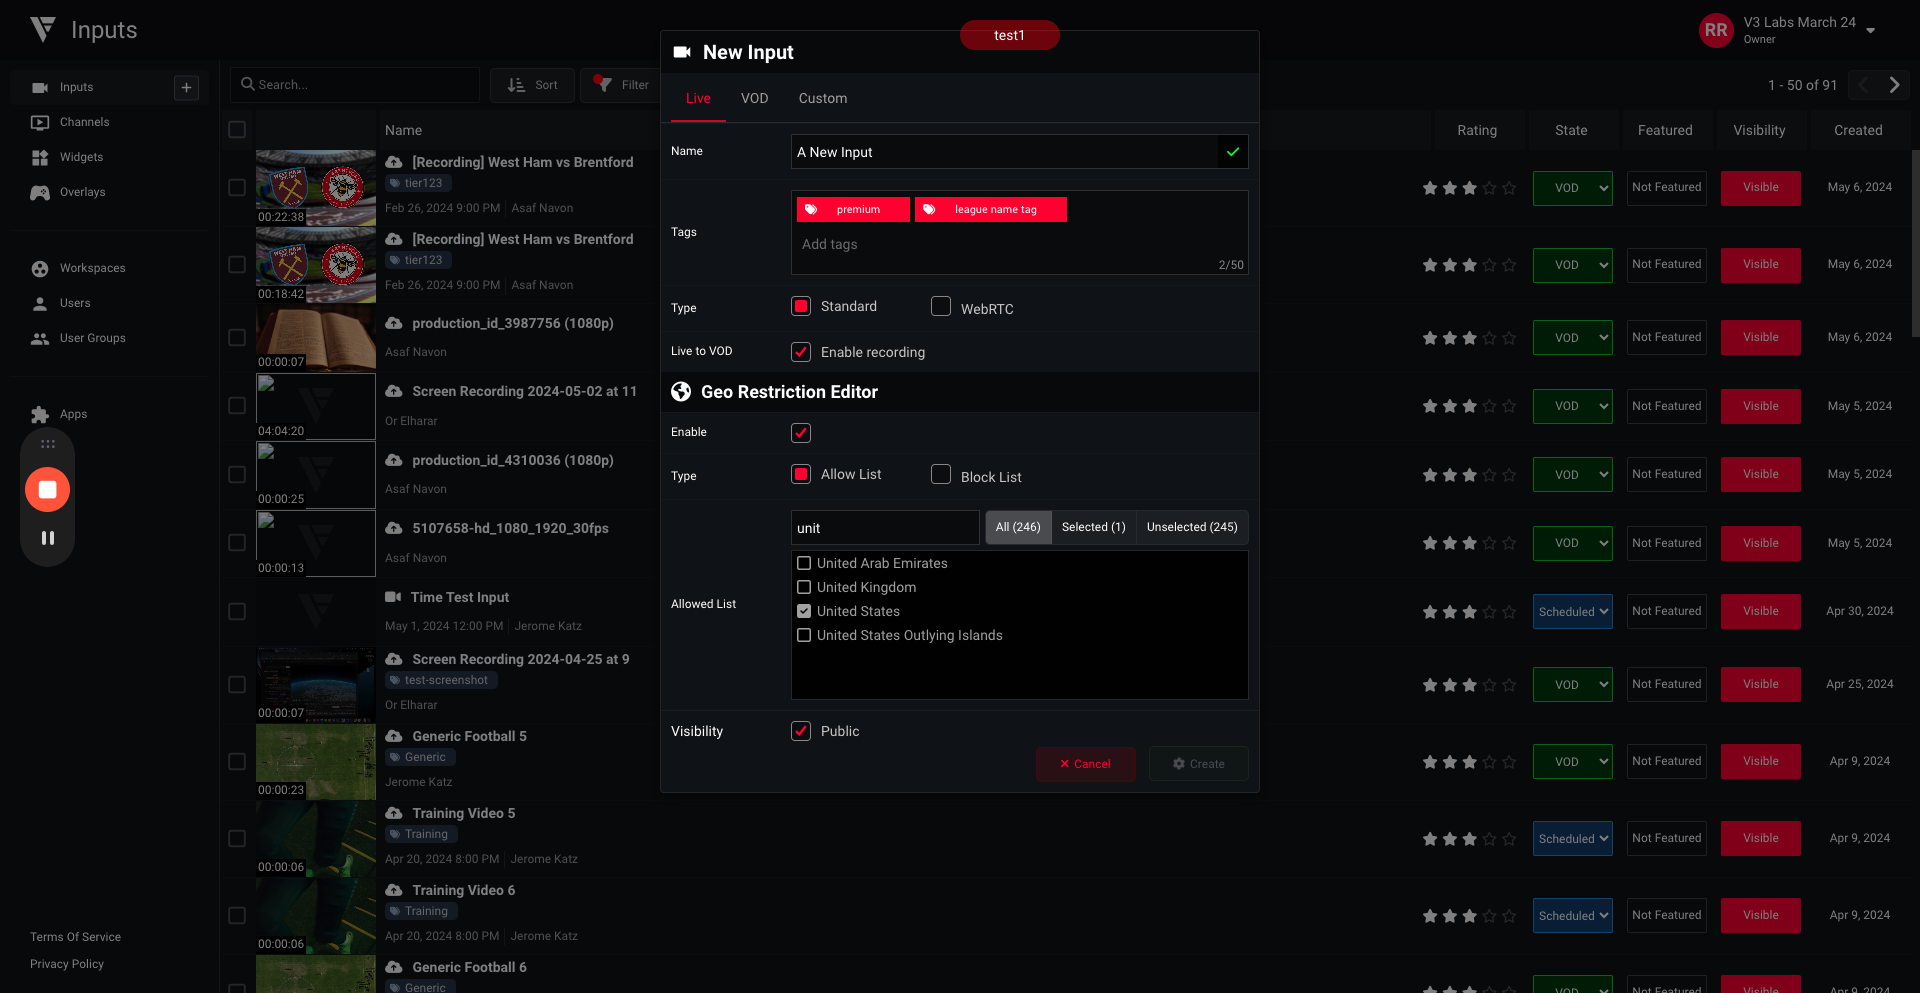
I will enable recording to turn the live stream into a VOD content piece. Additionally, I will enable geo-restrictions, for instance, in the United States.


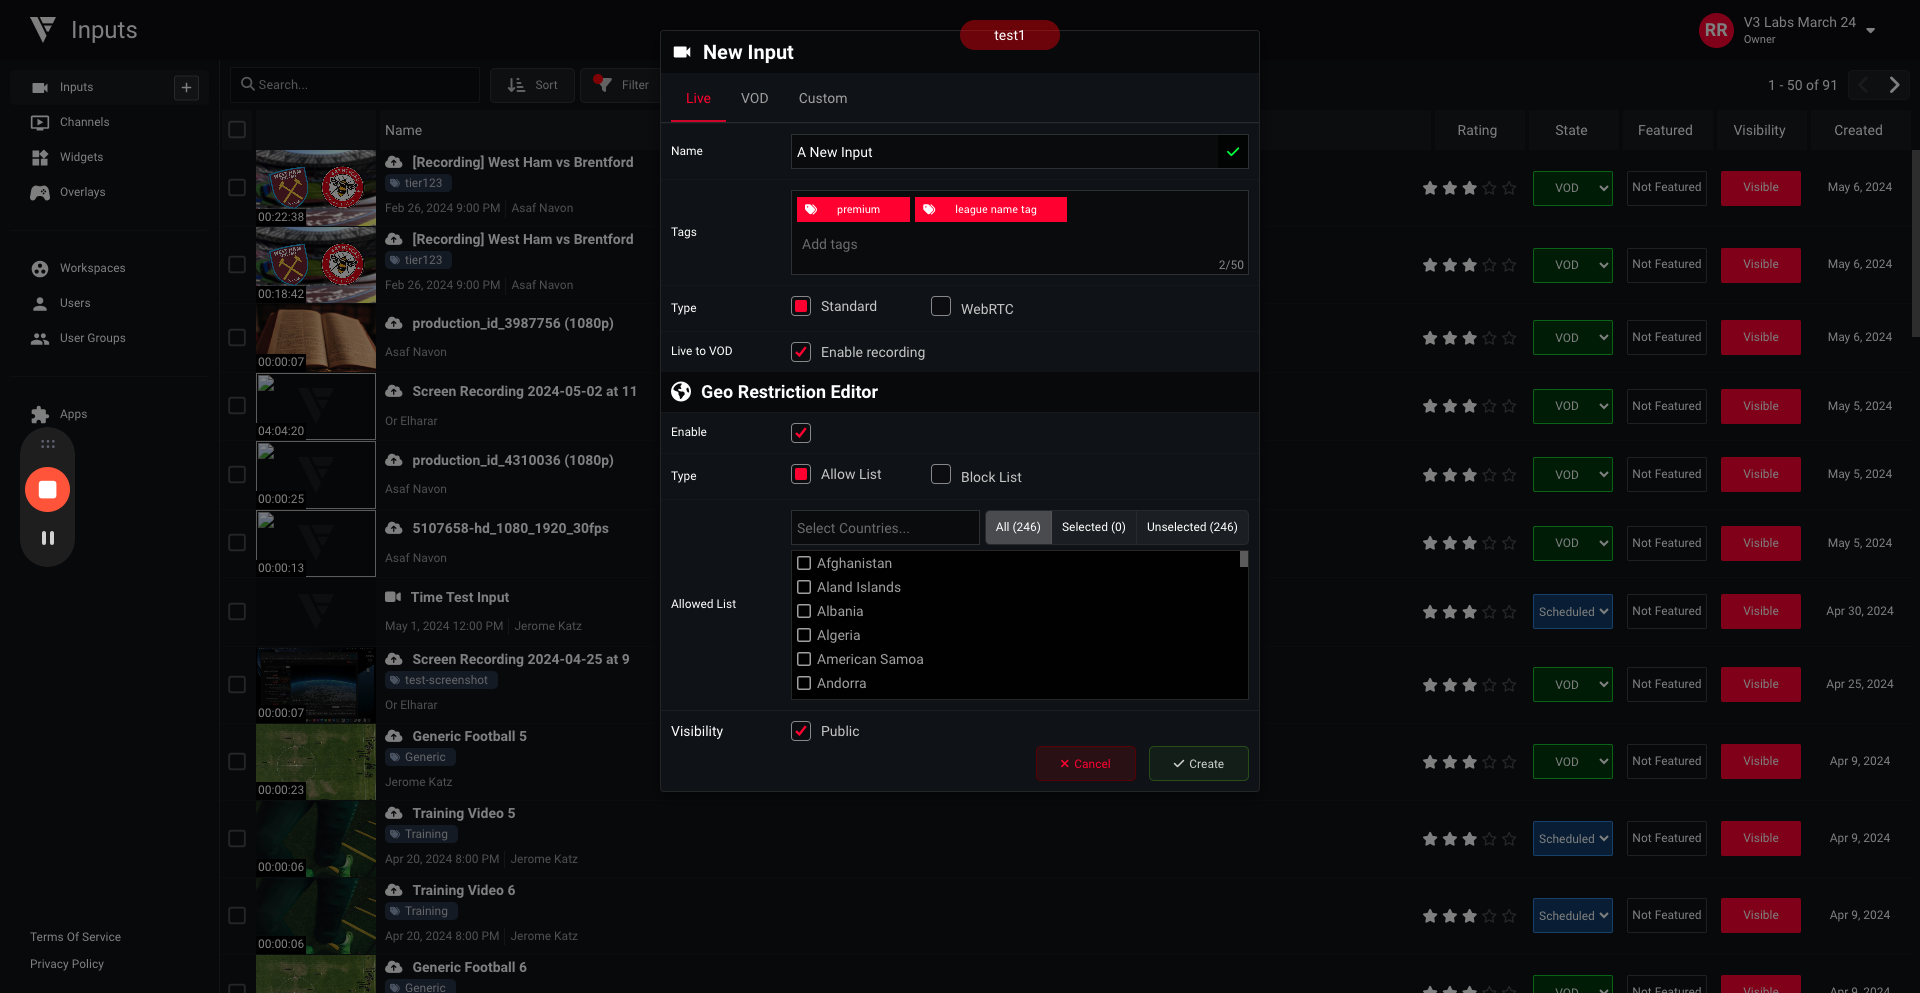

This video will only be available in the United States and will be publicly accessible as soon as I create it.