
Creating a New Sequence in Outreach
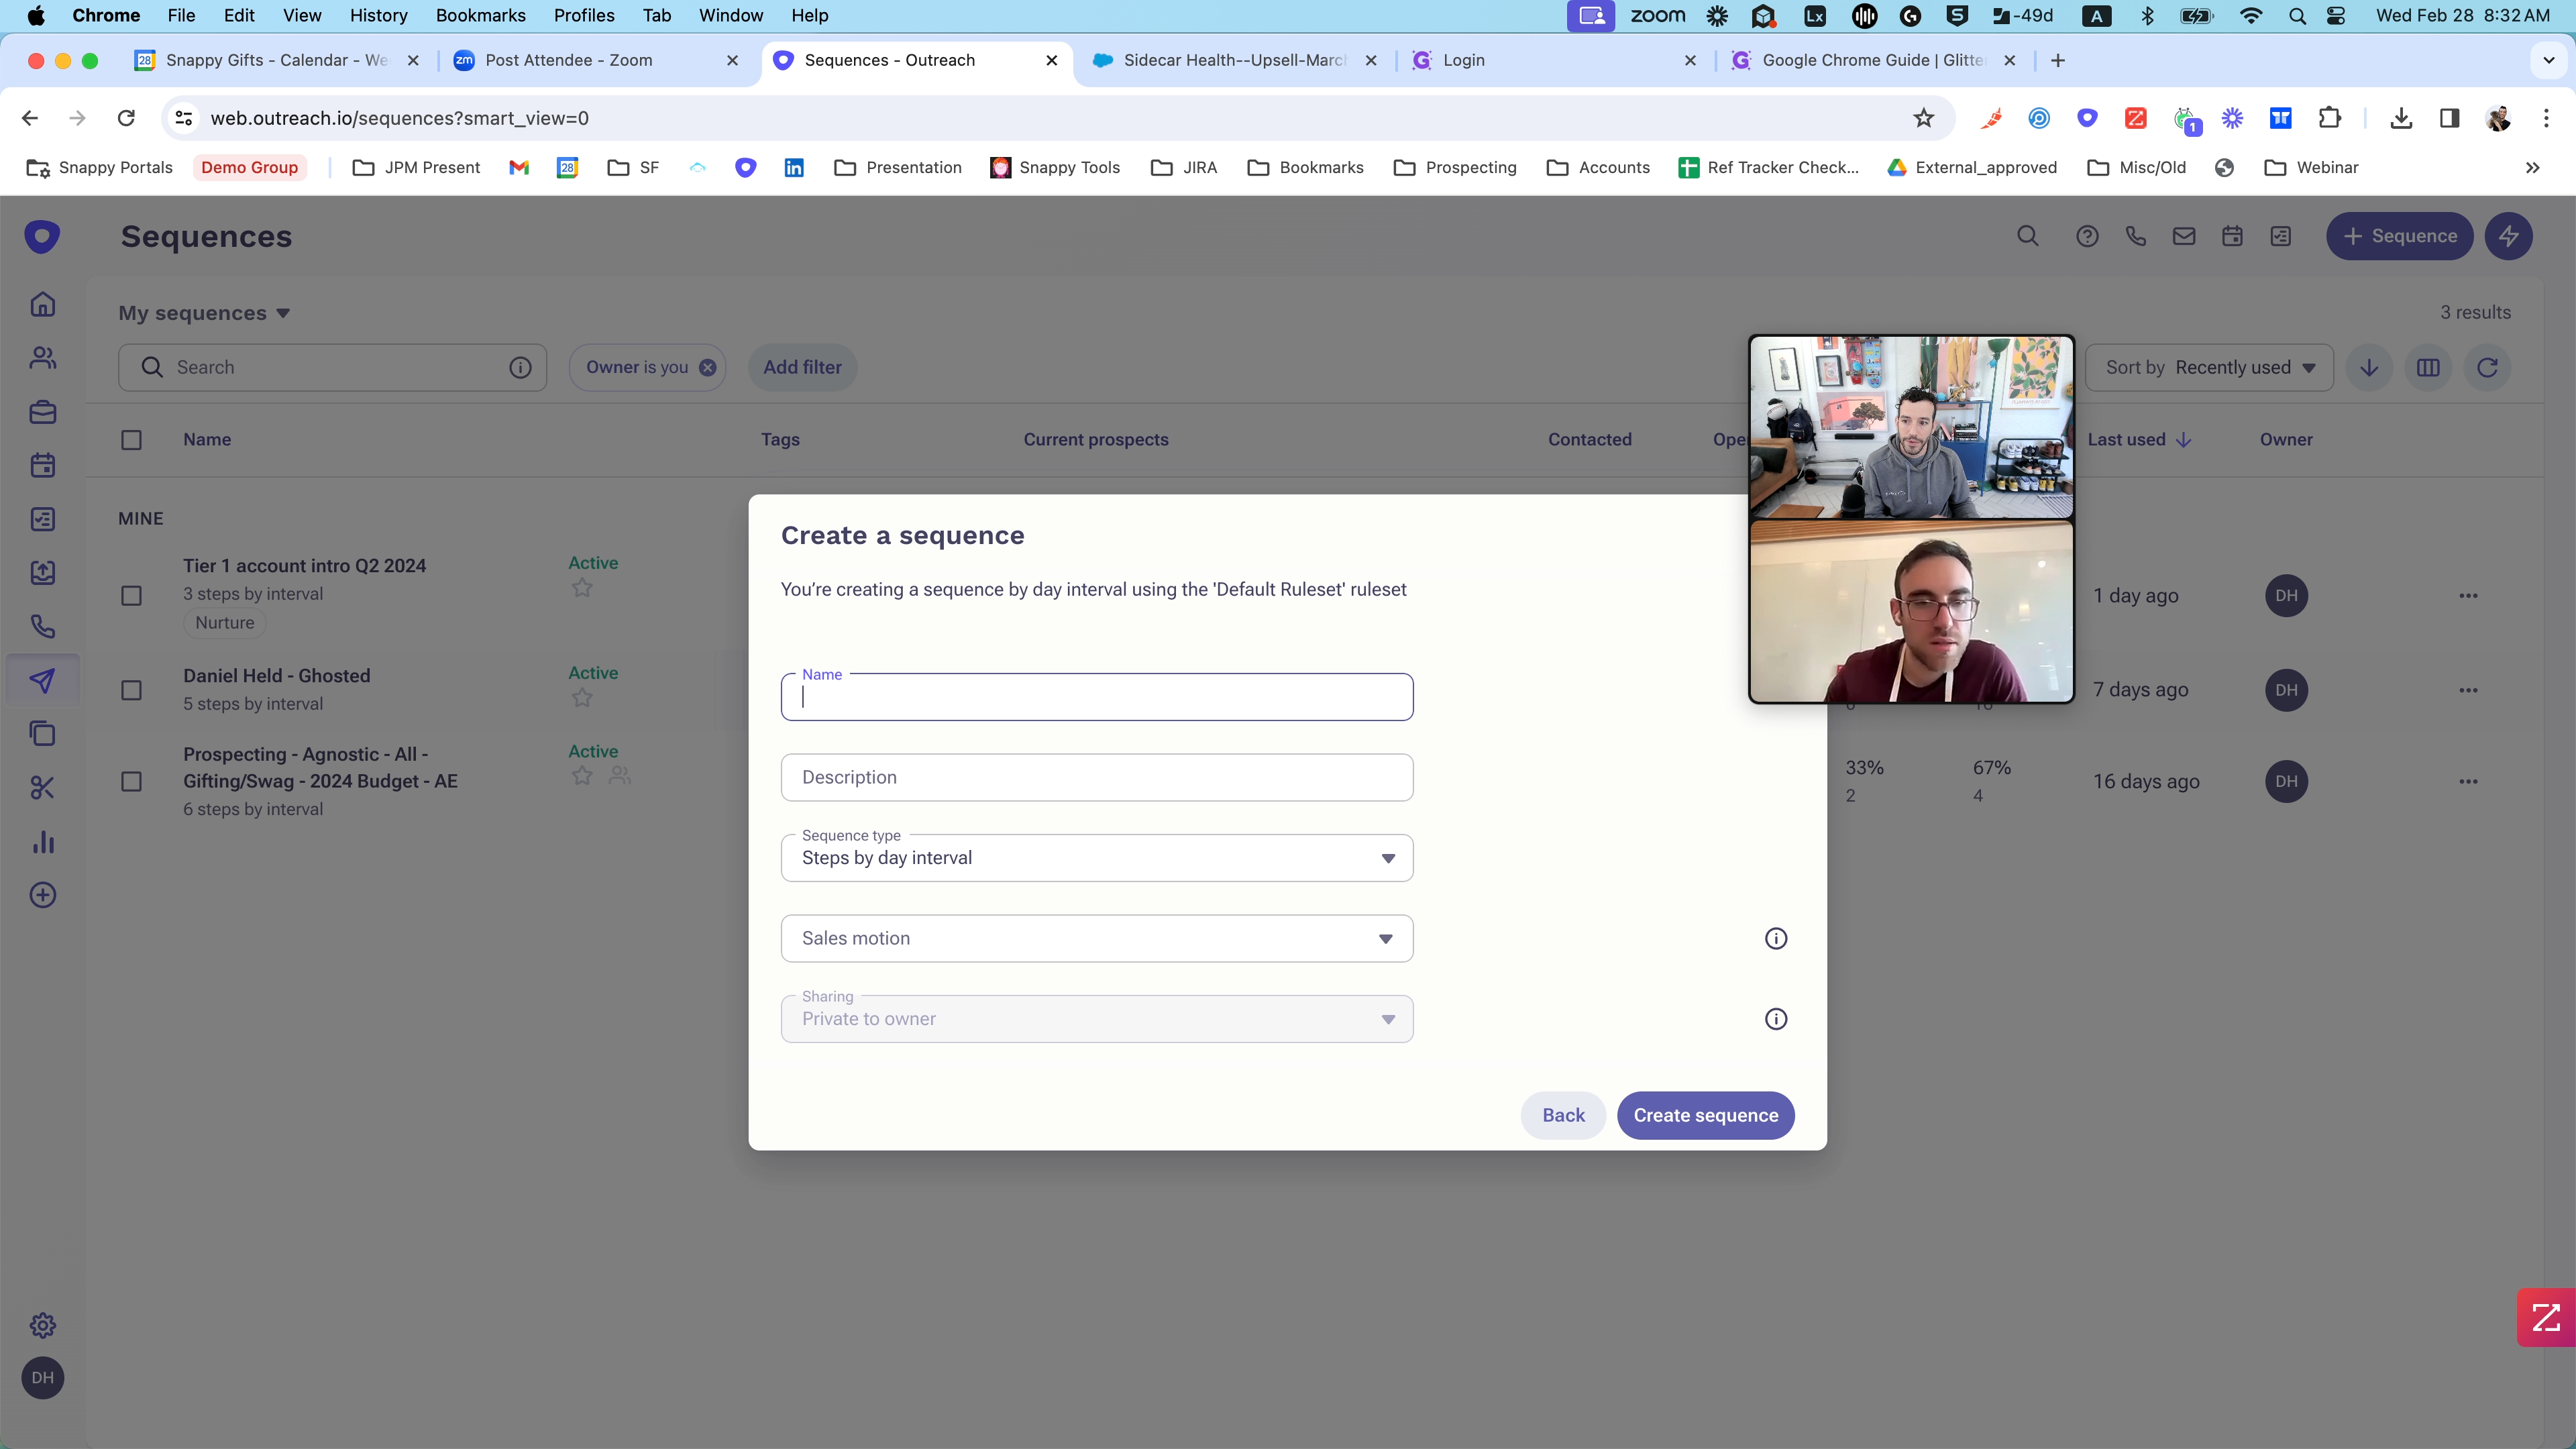
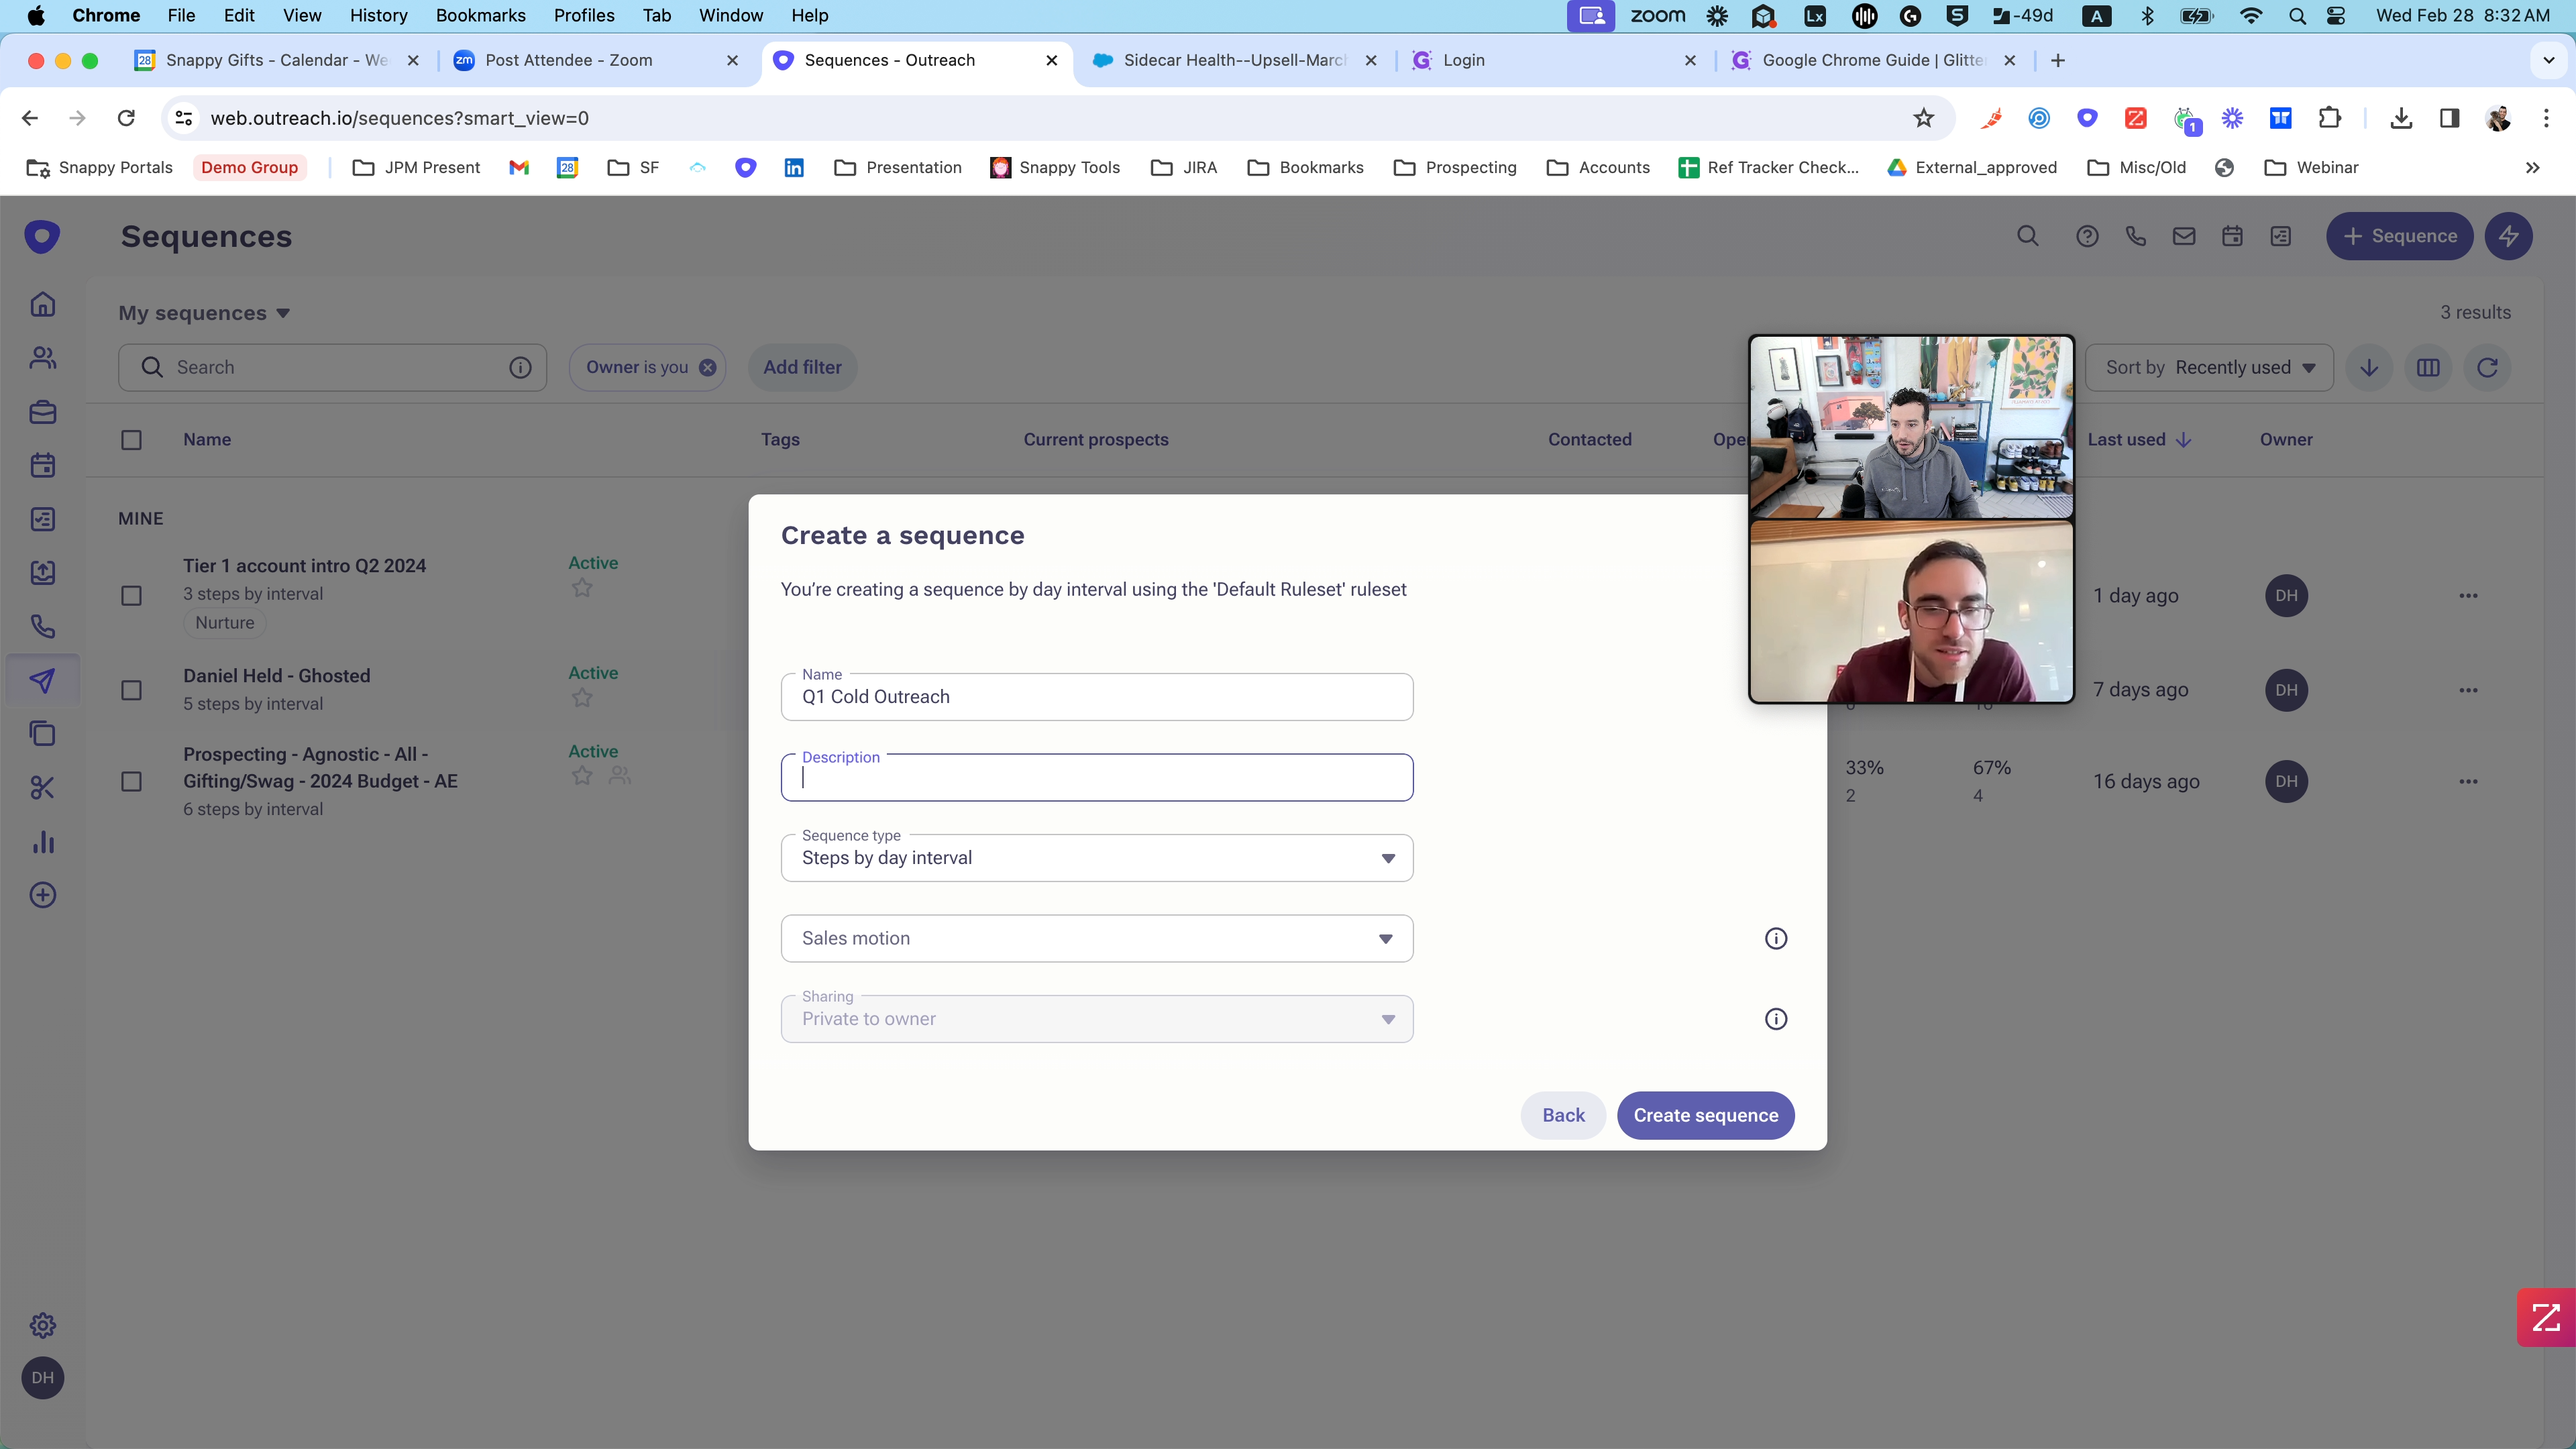
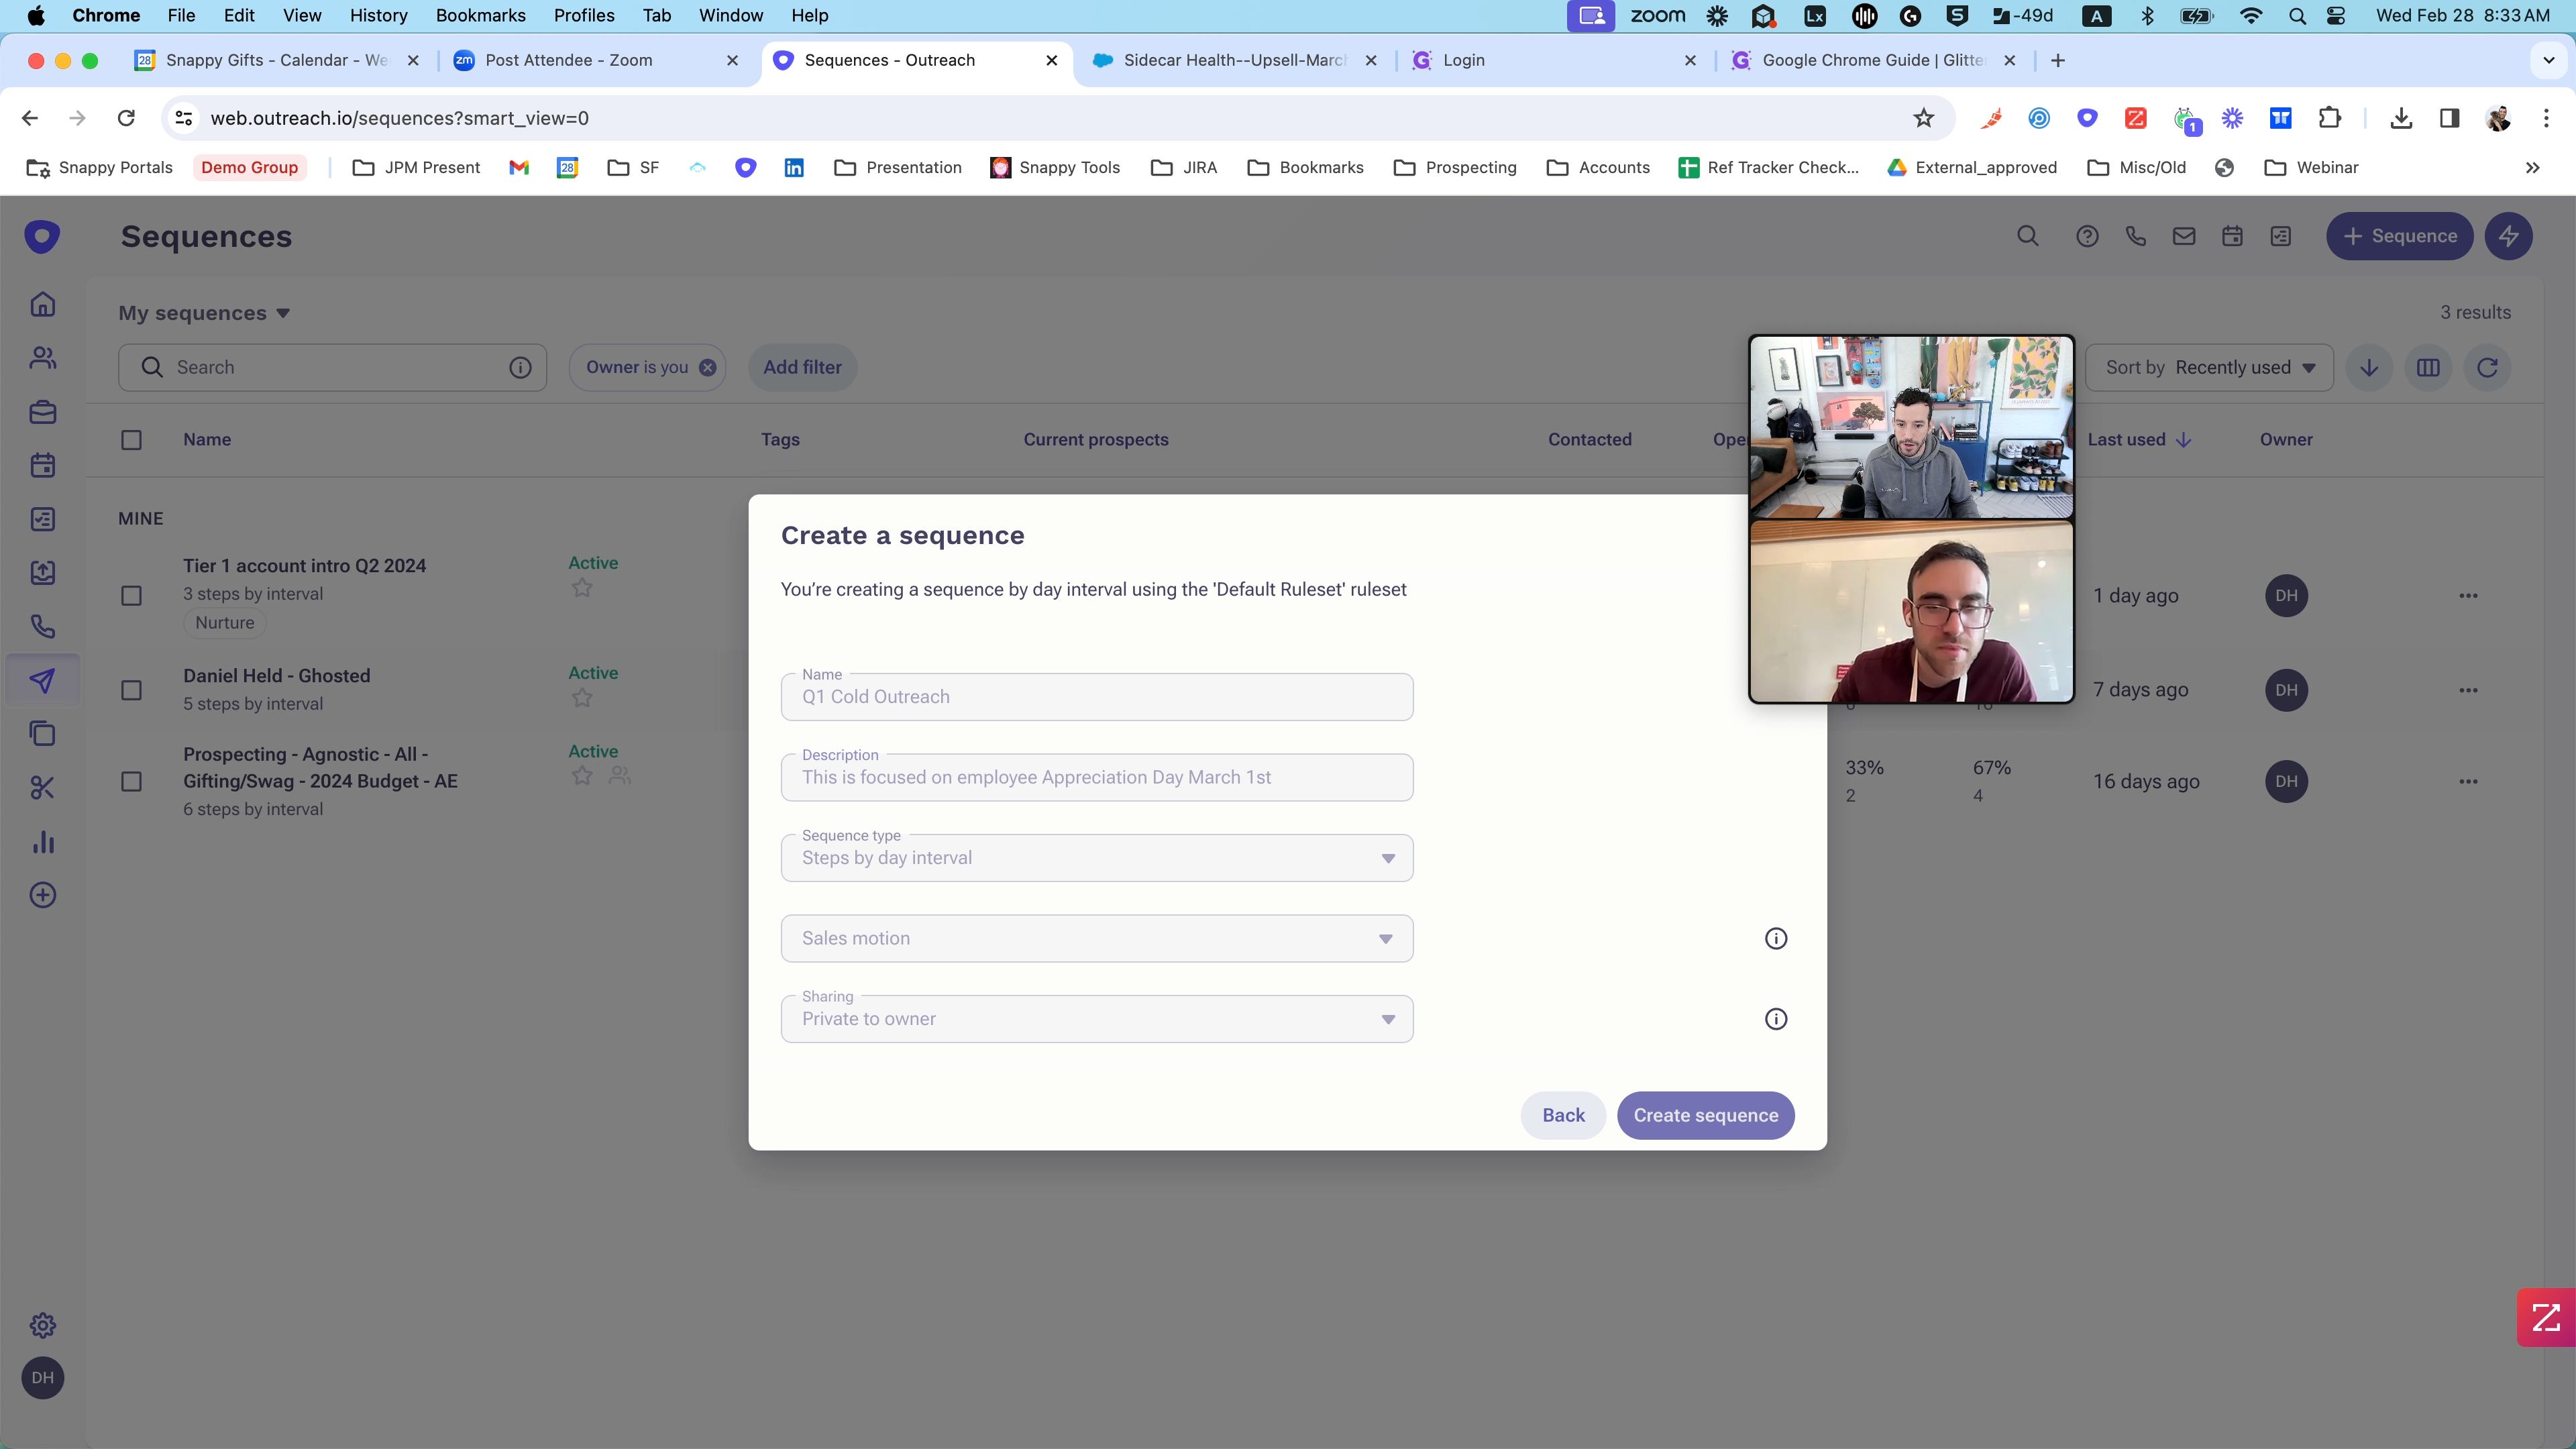
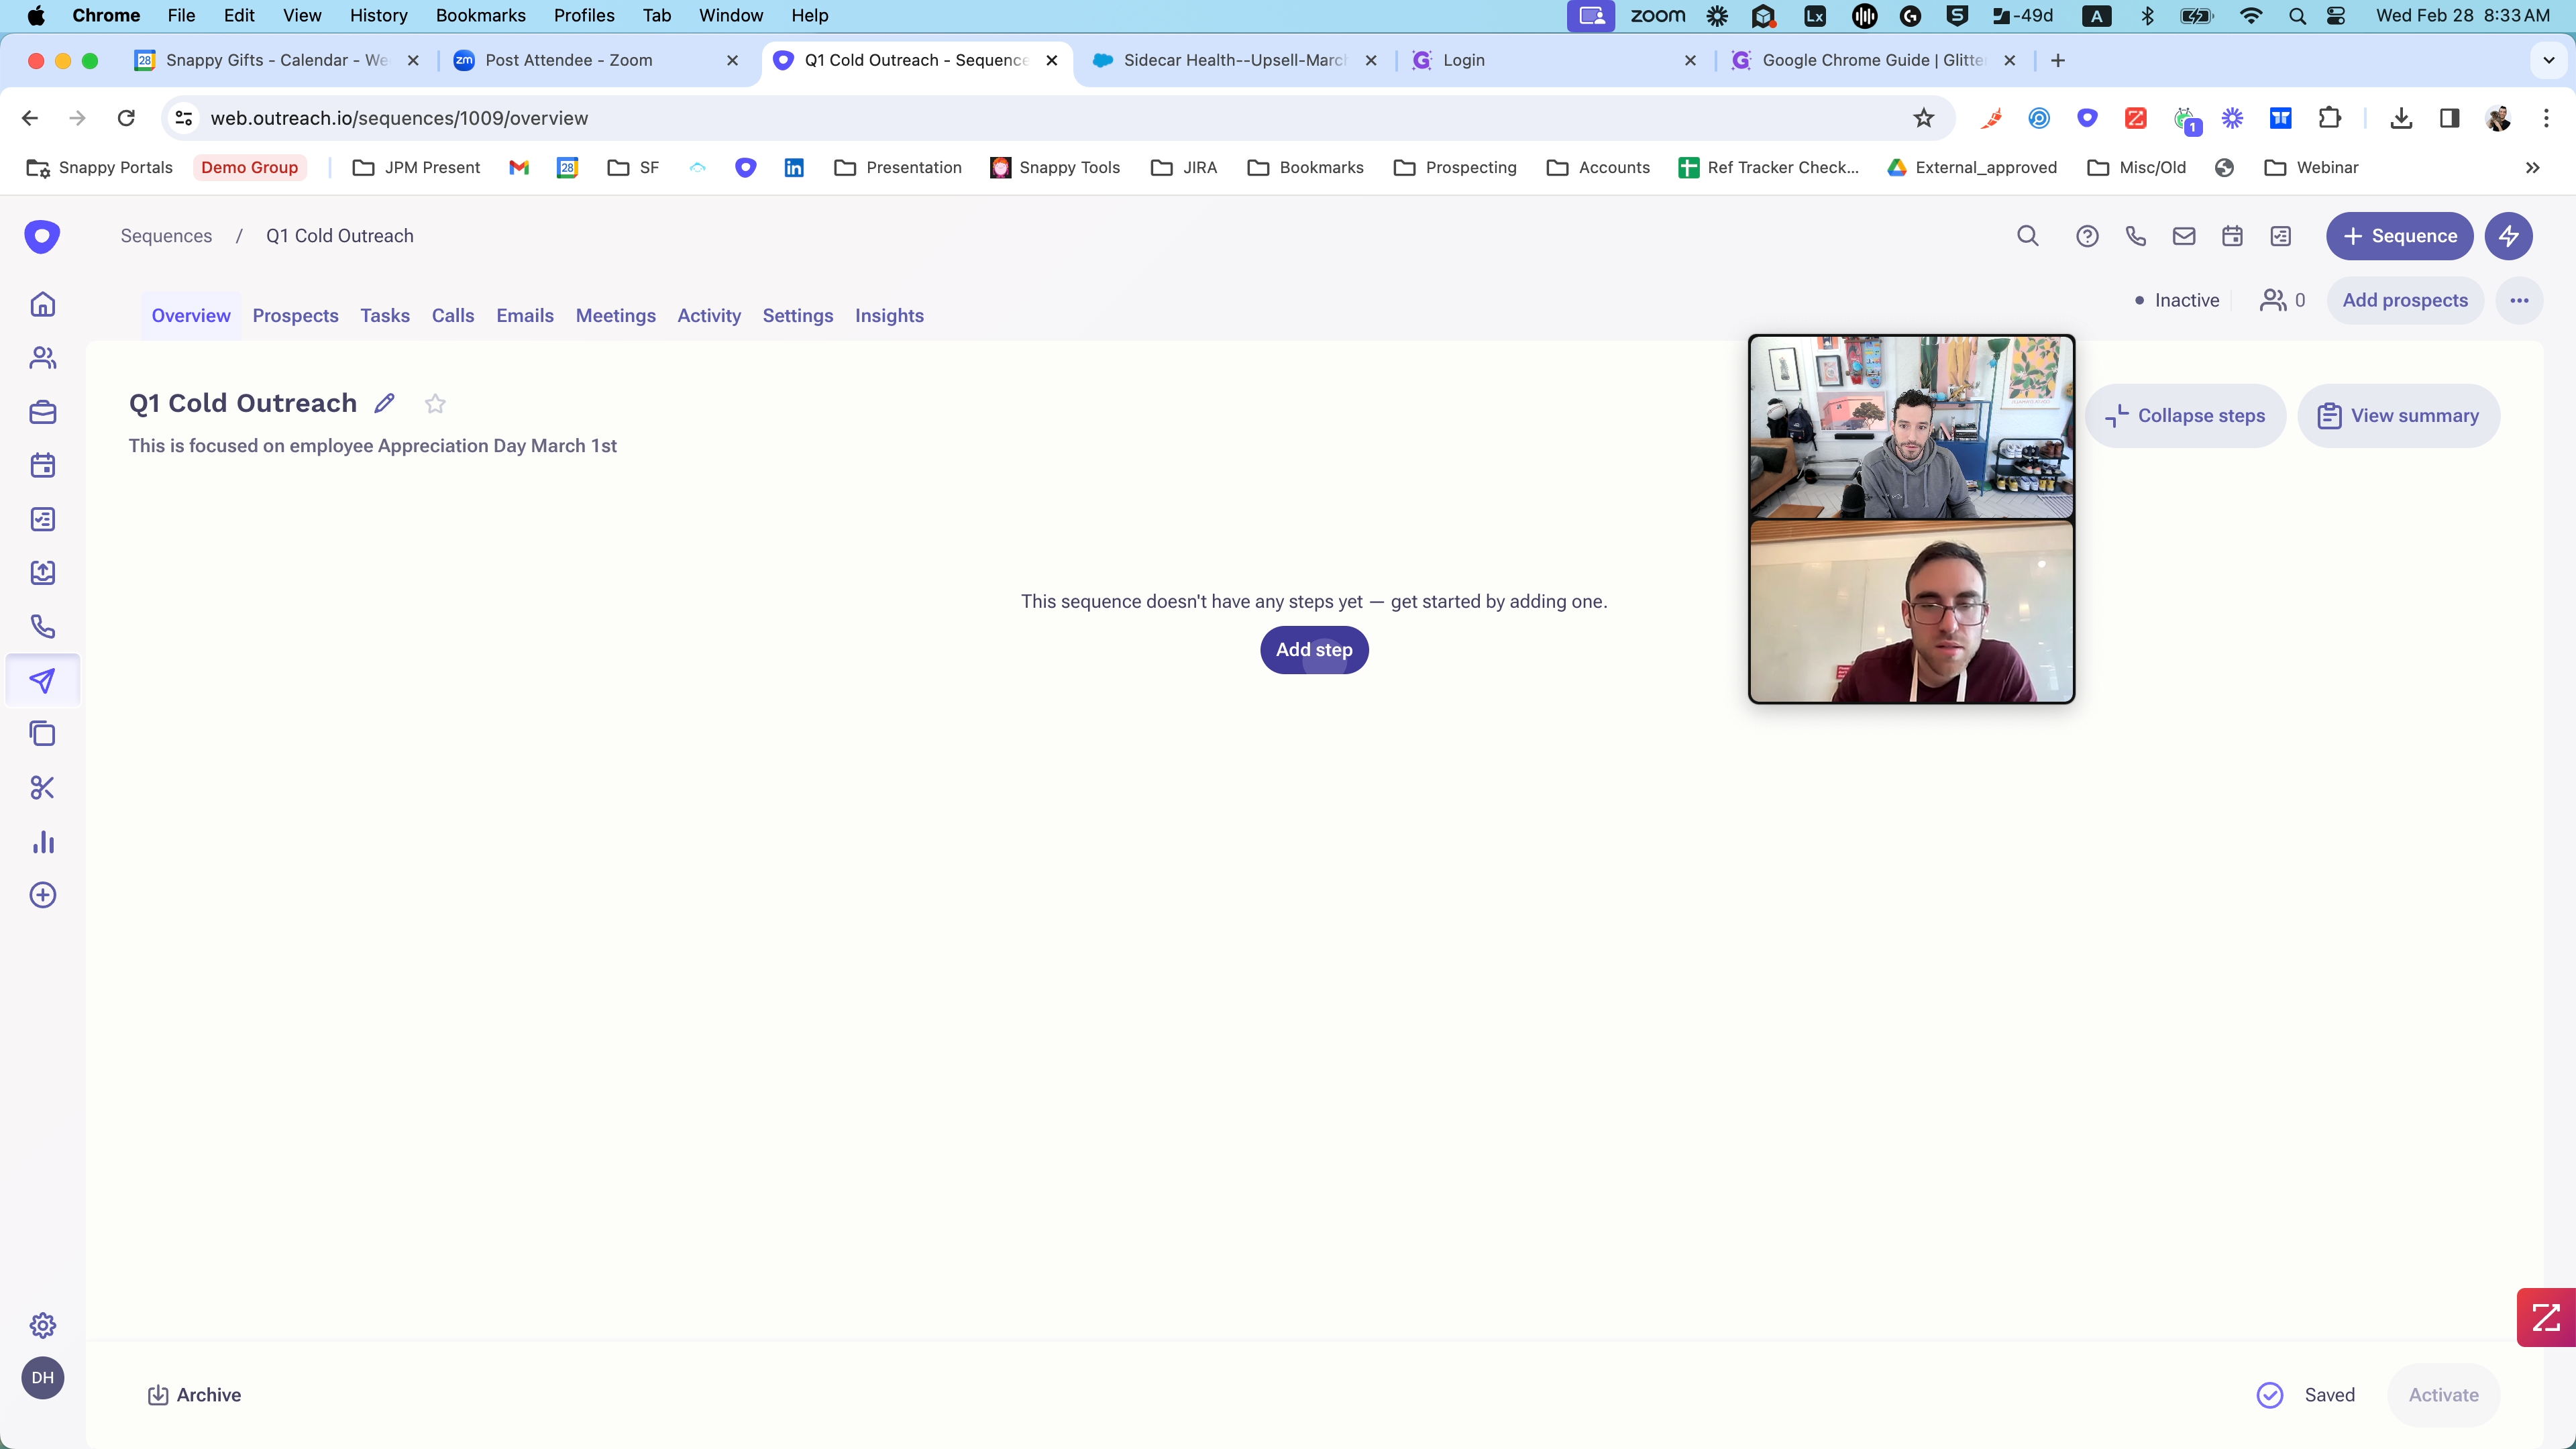
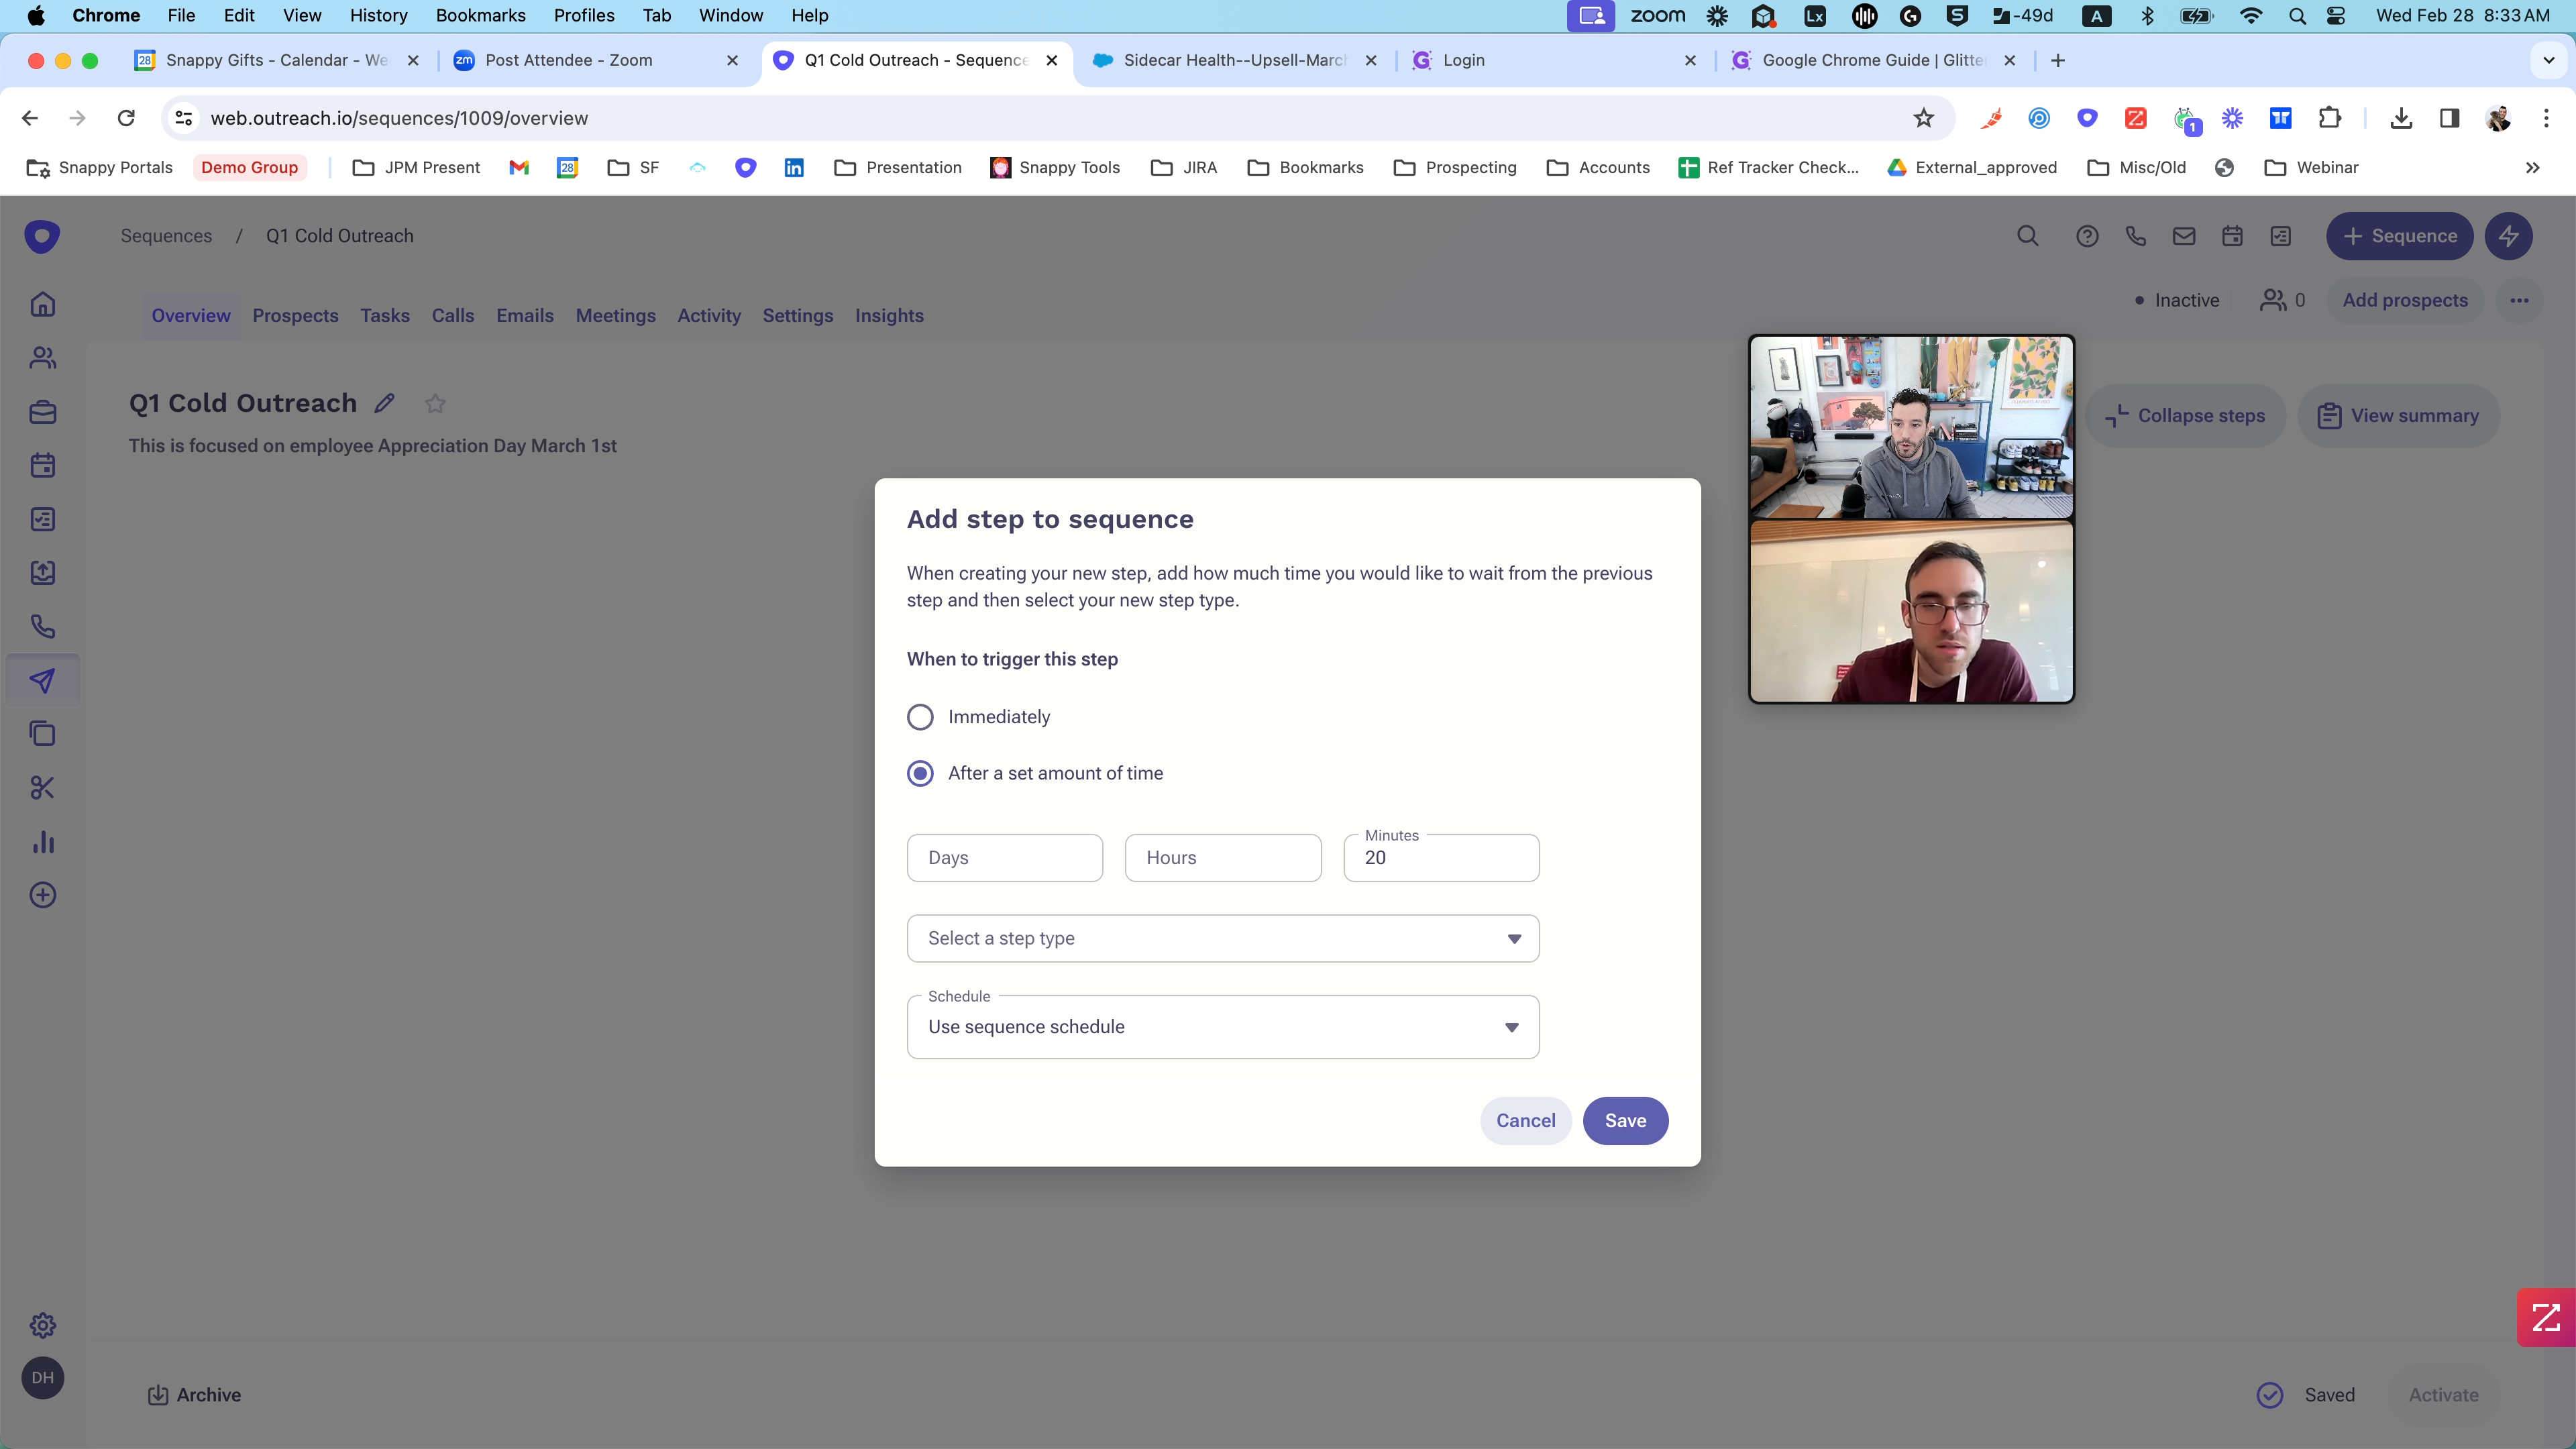
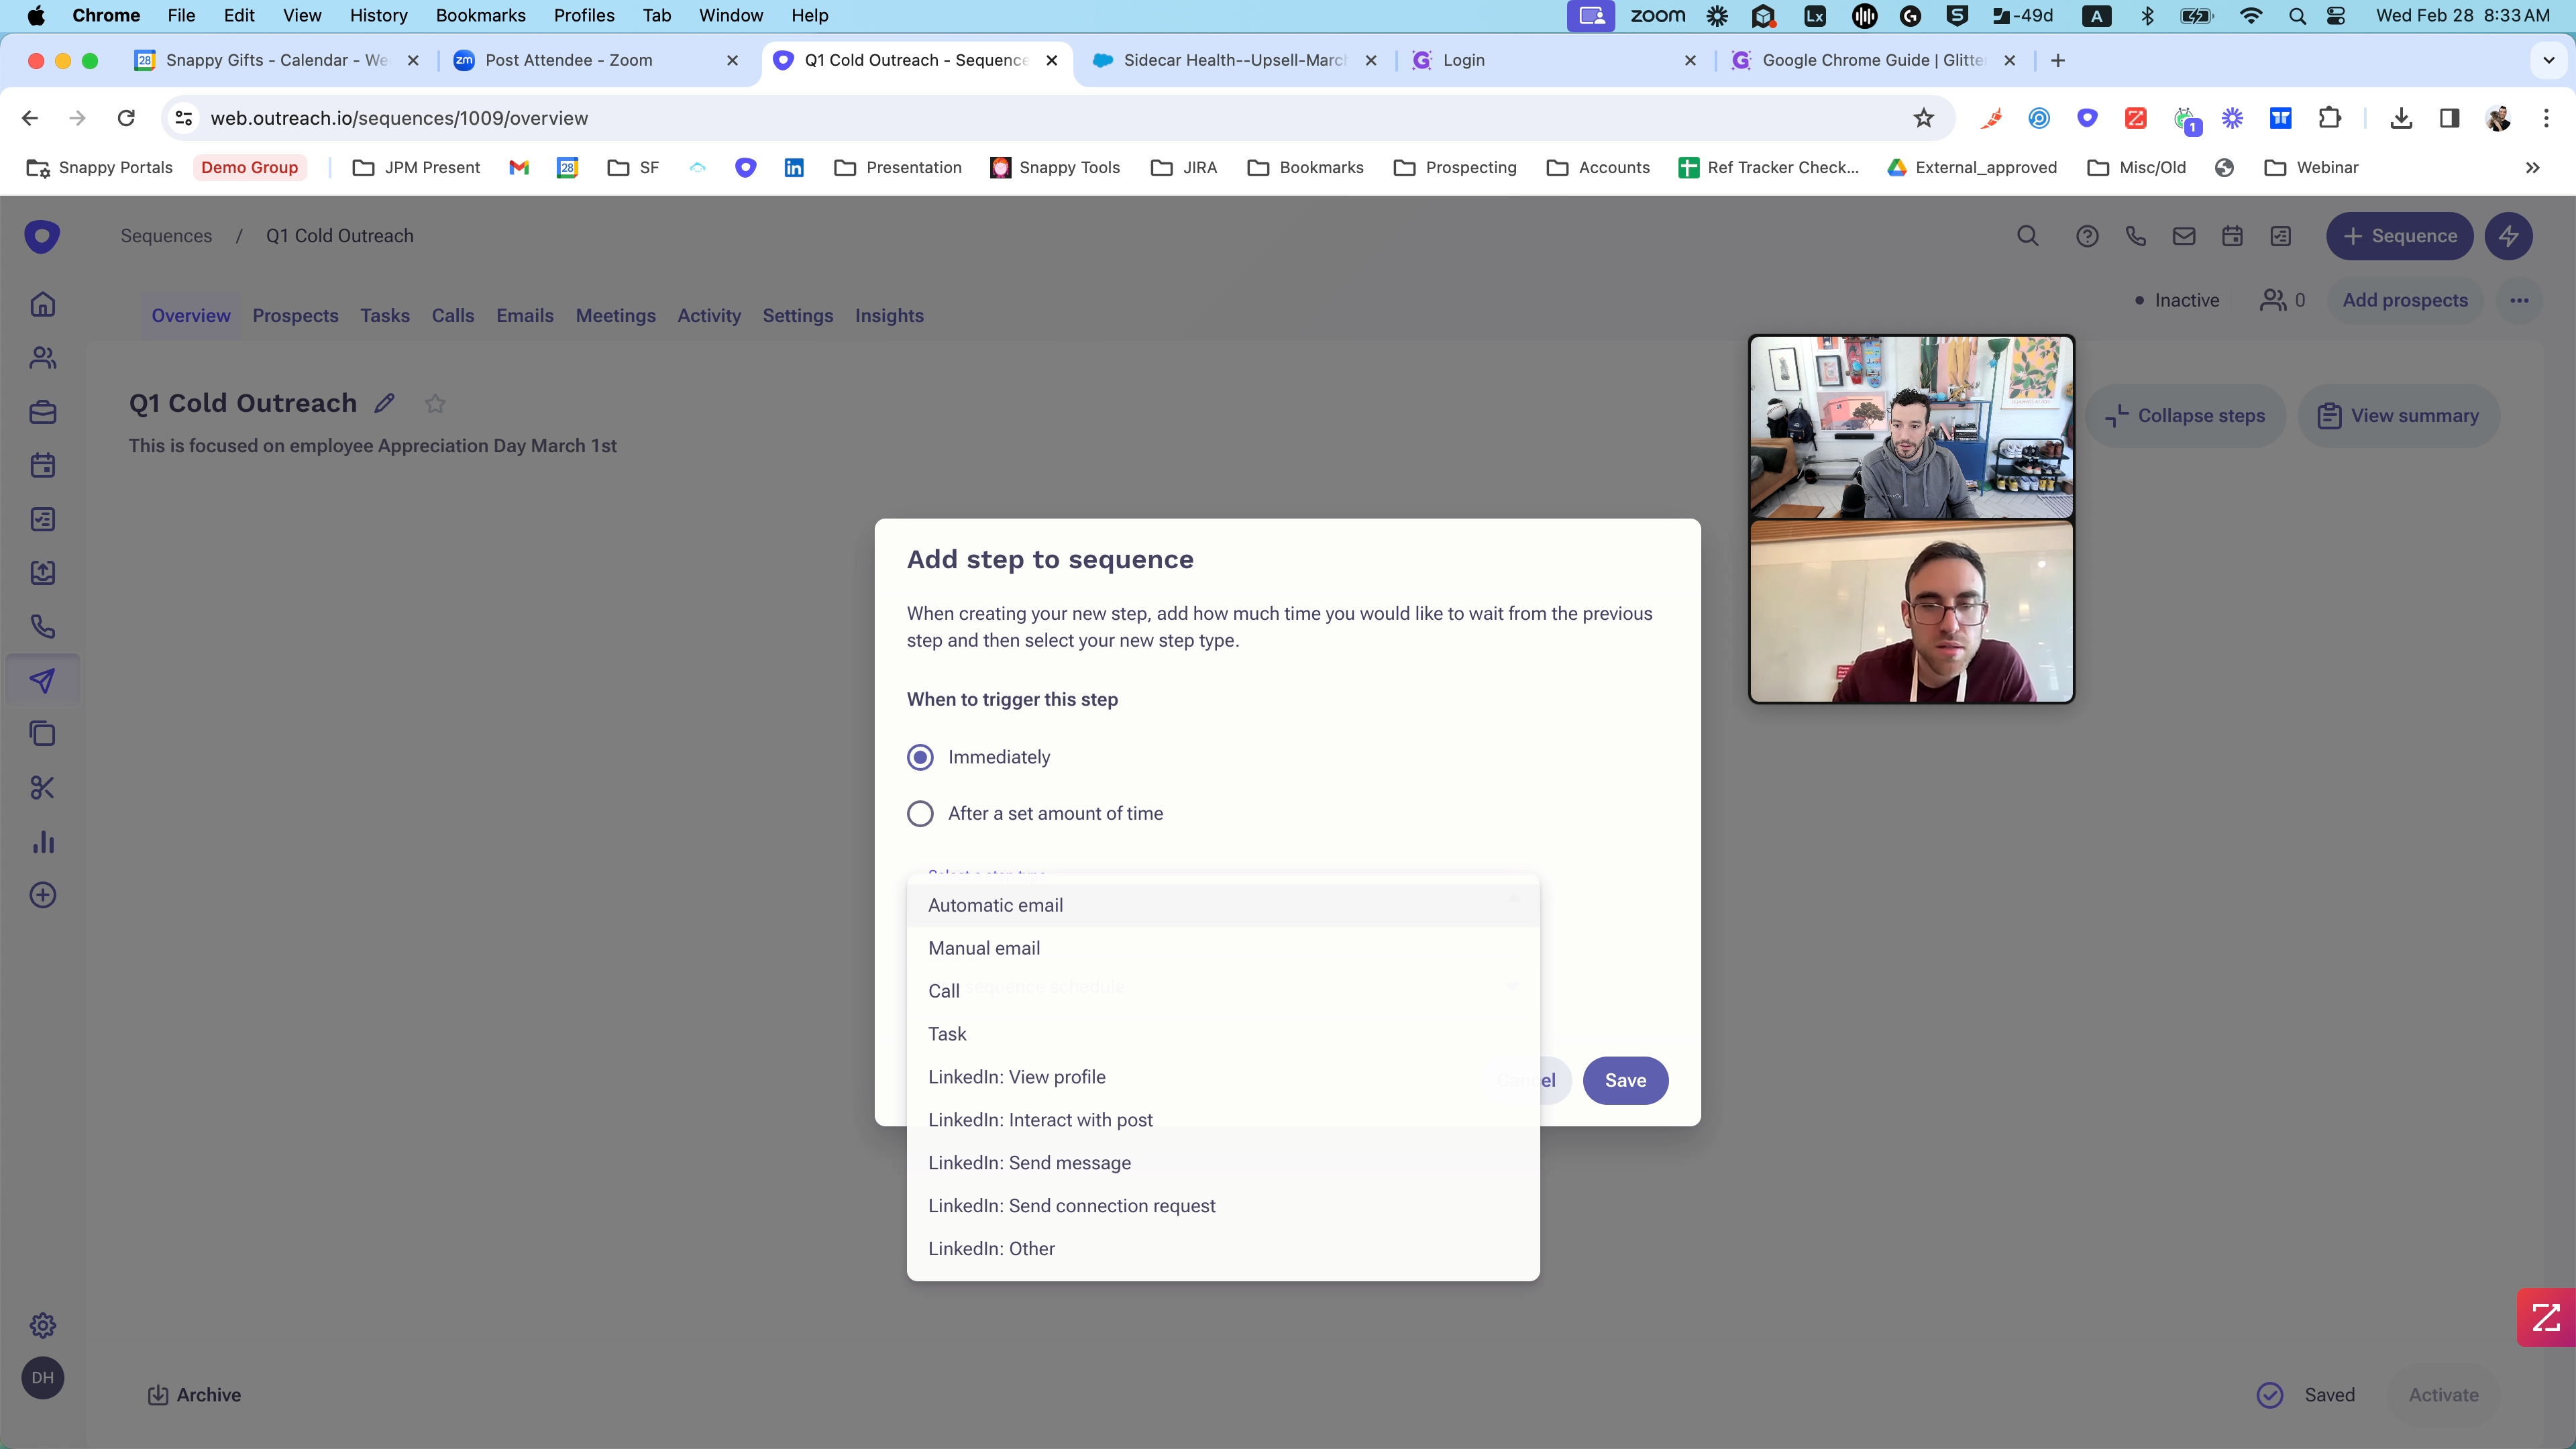
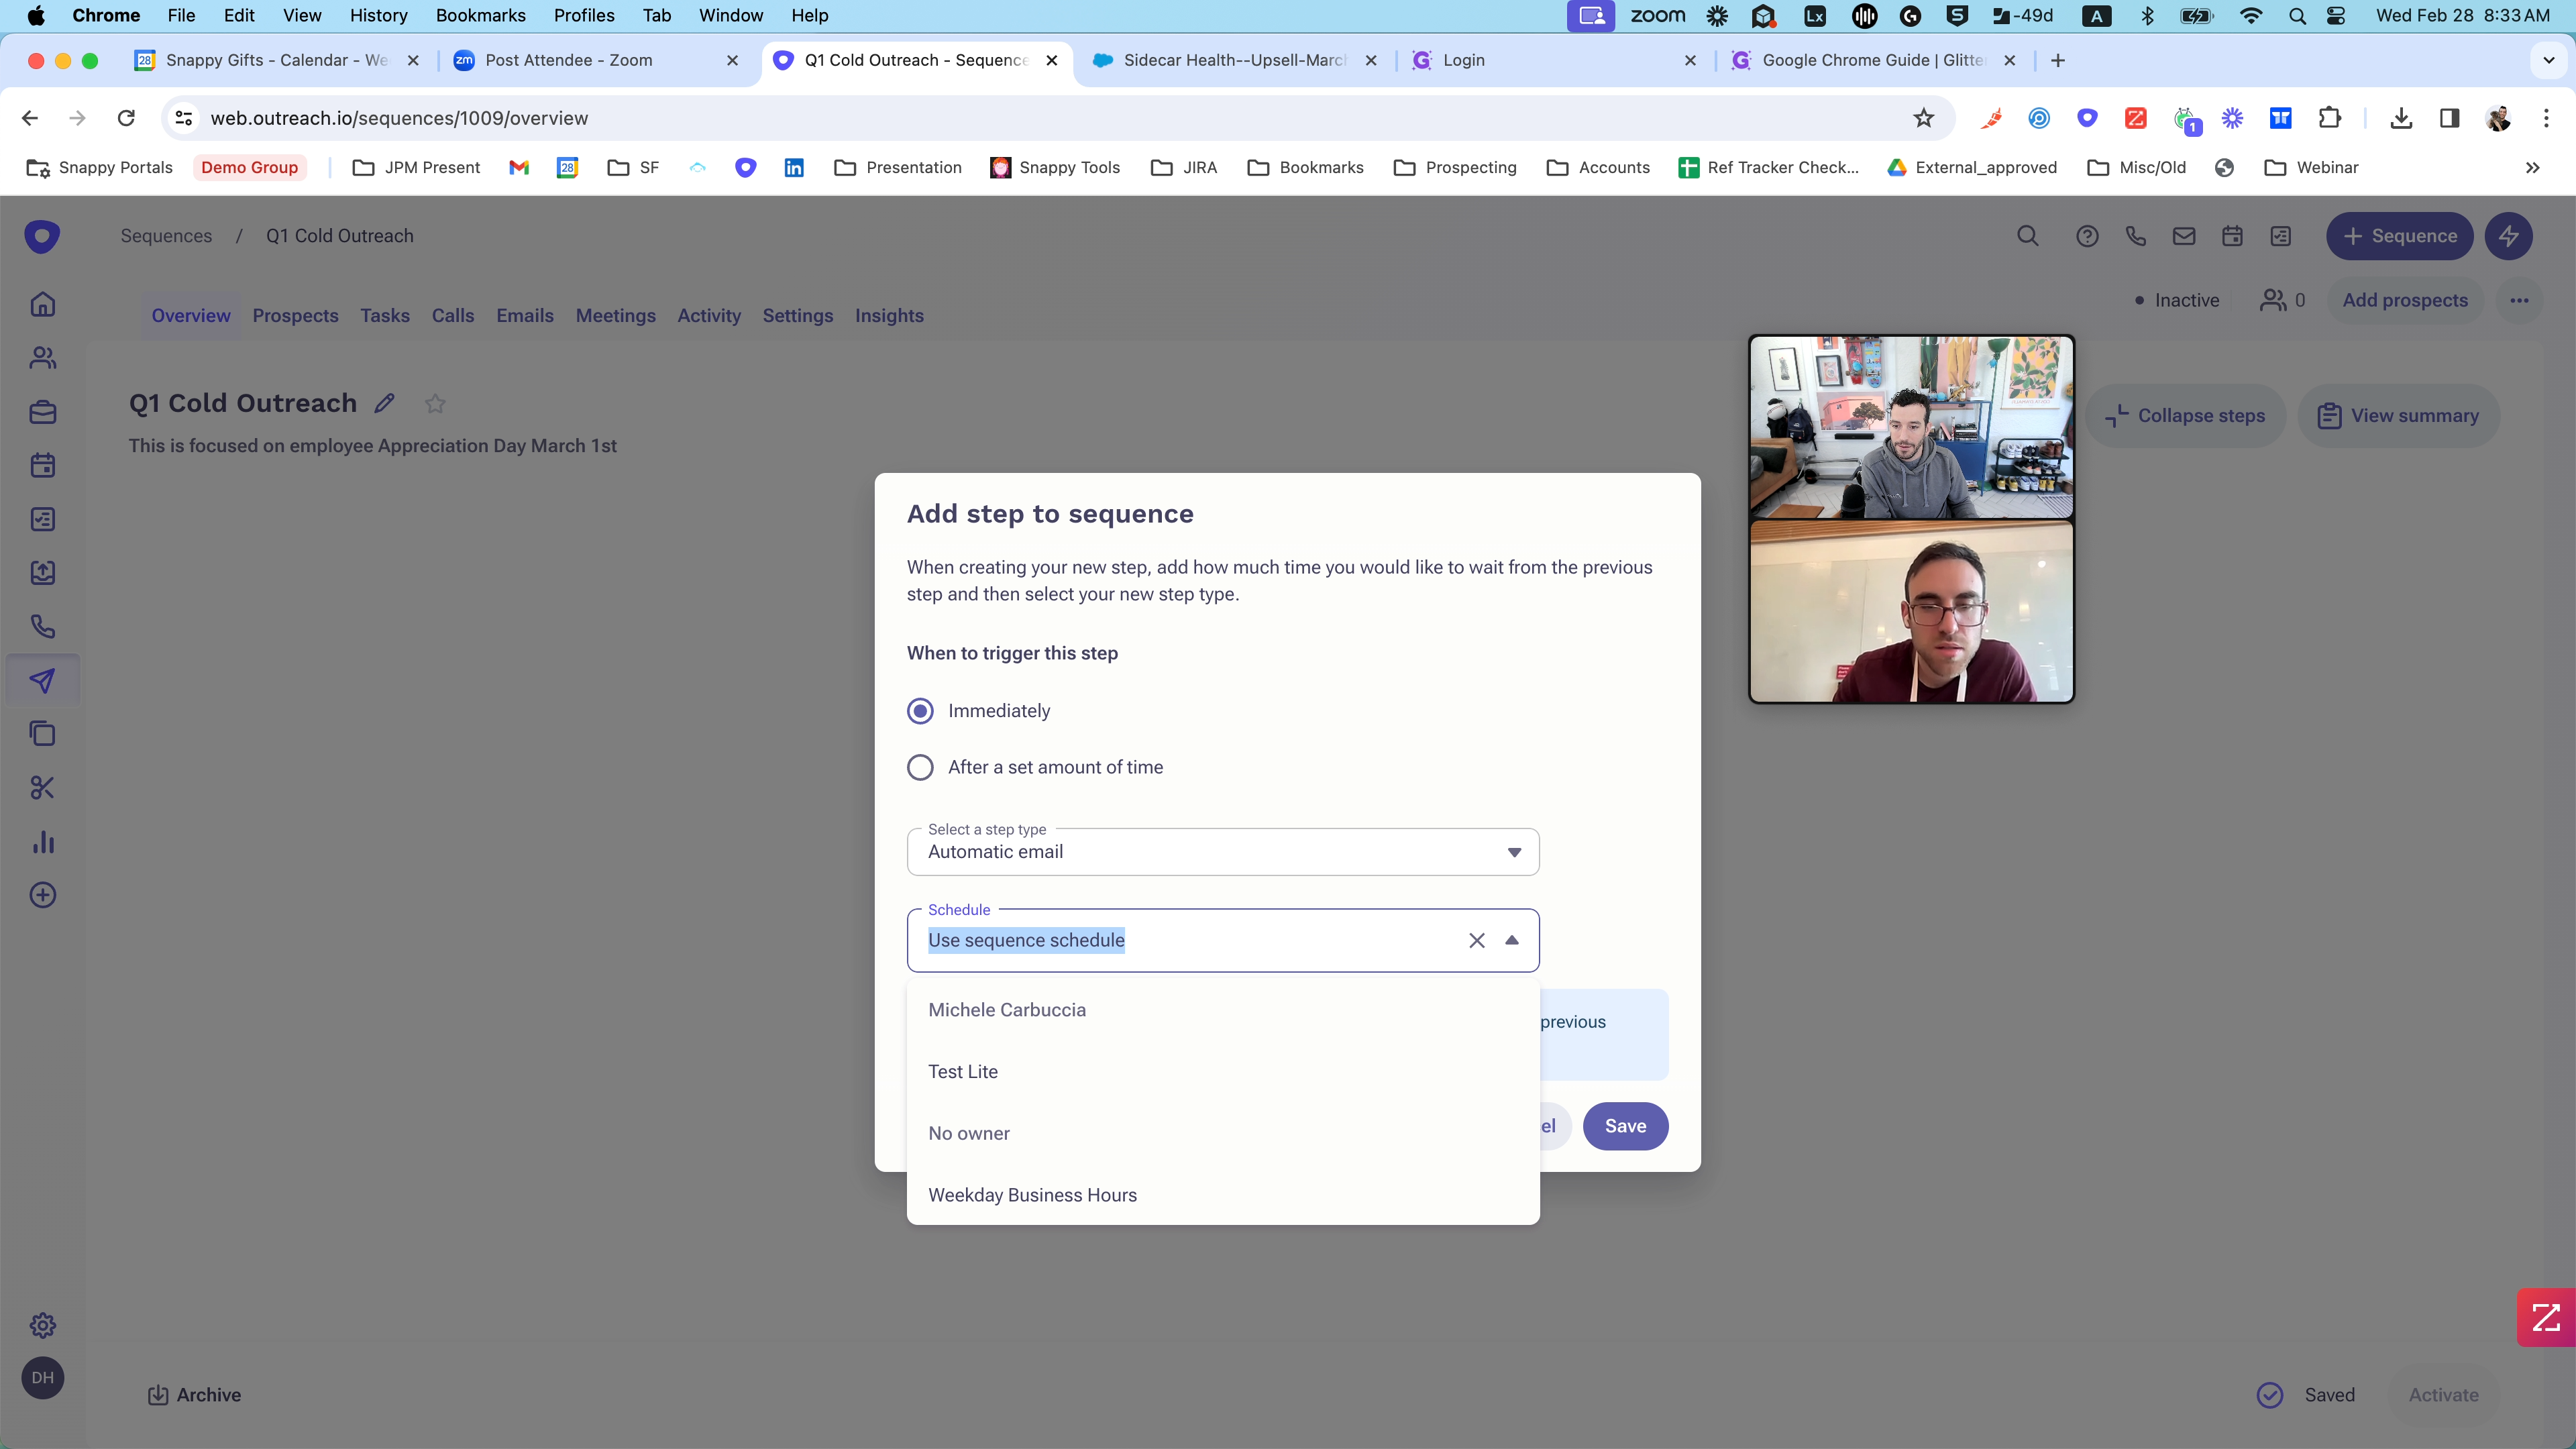
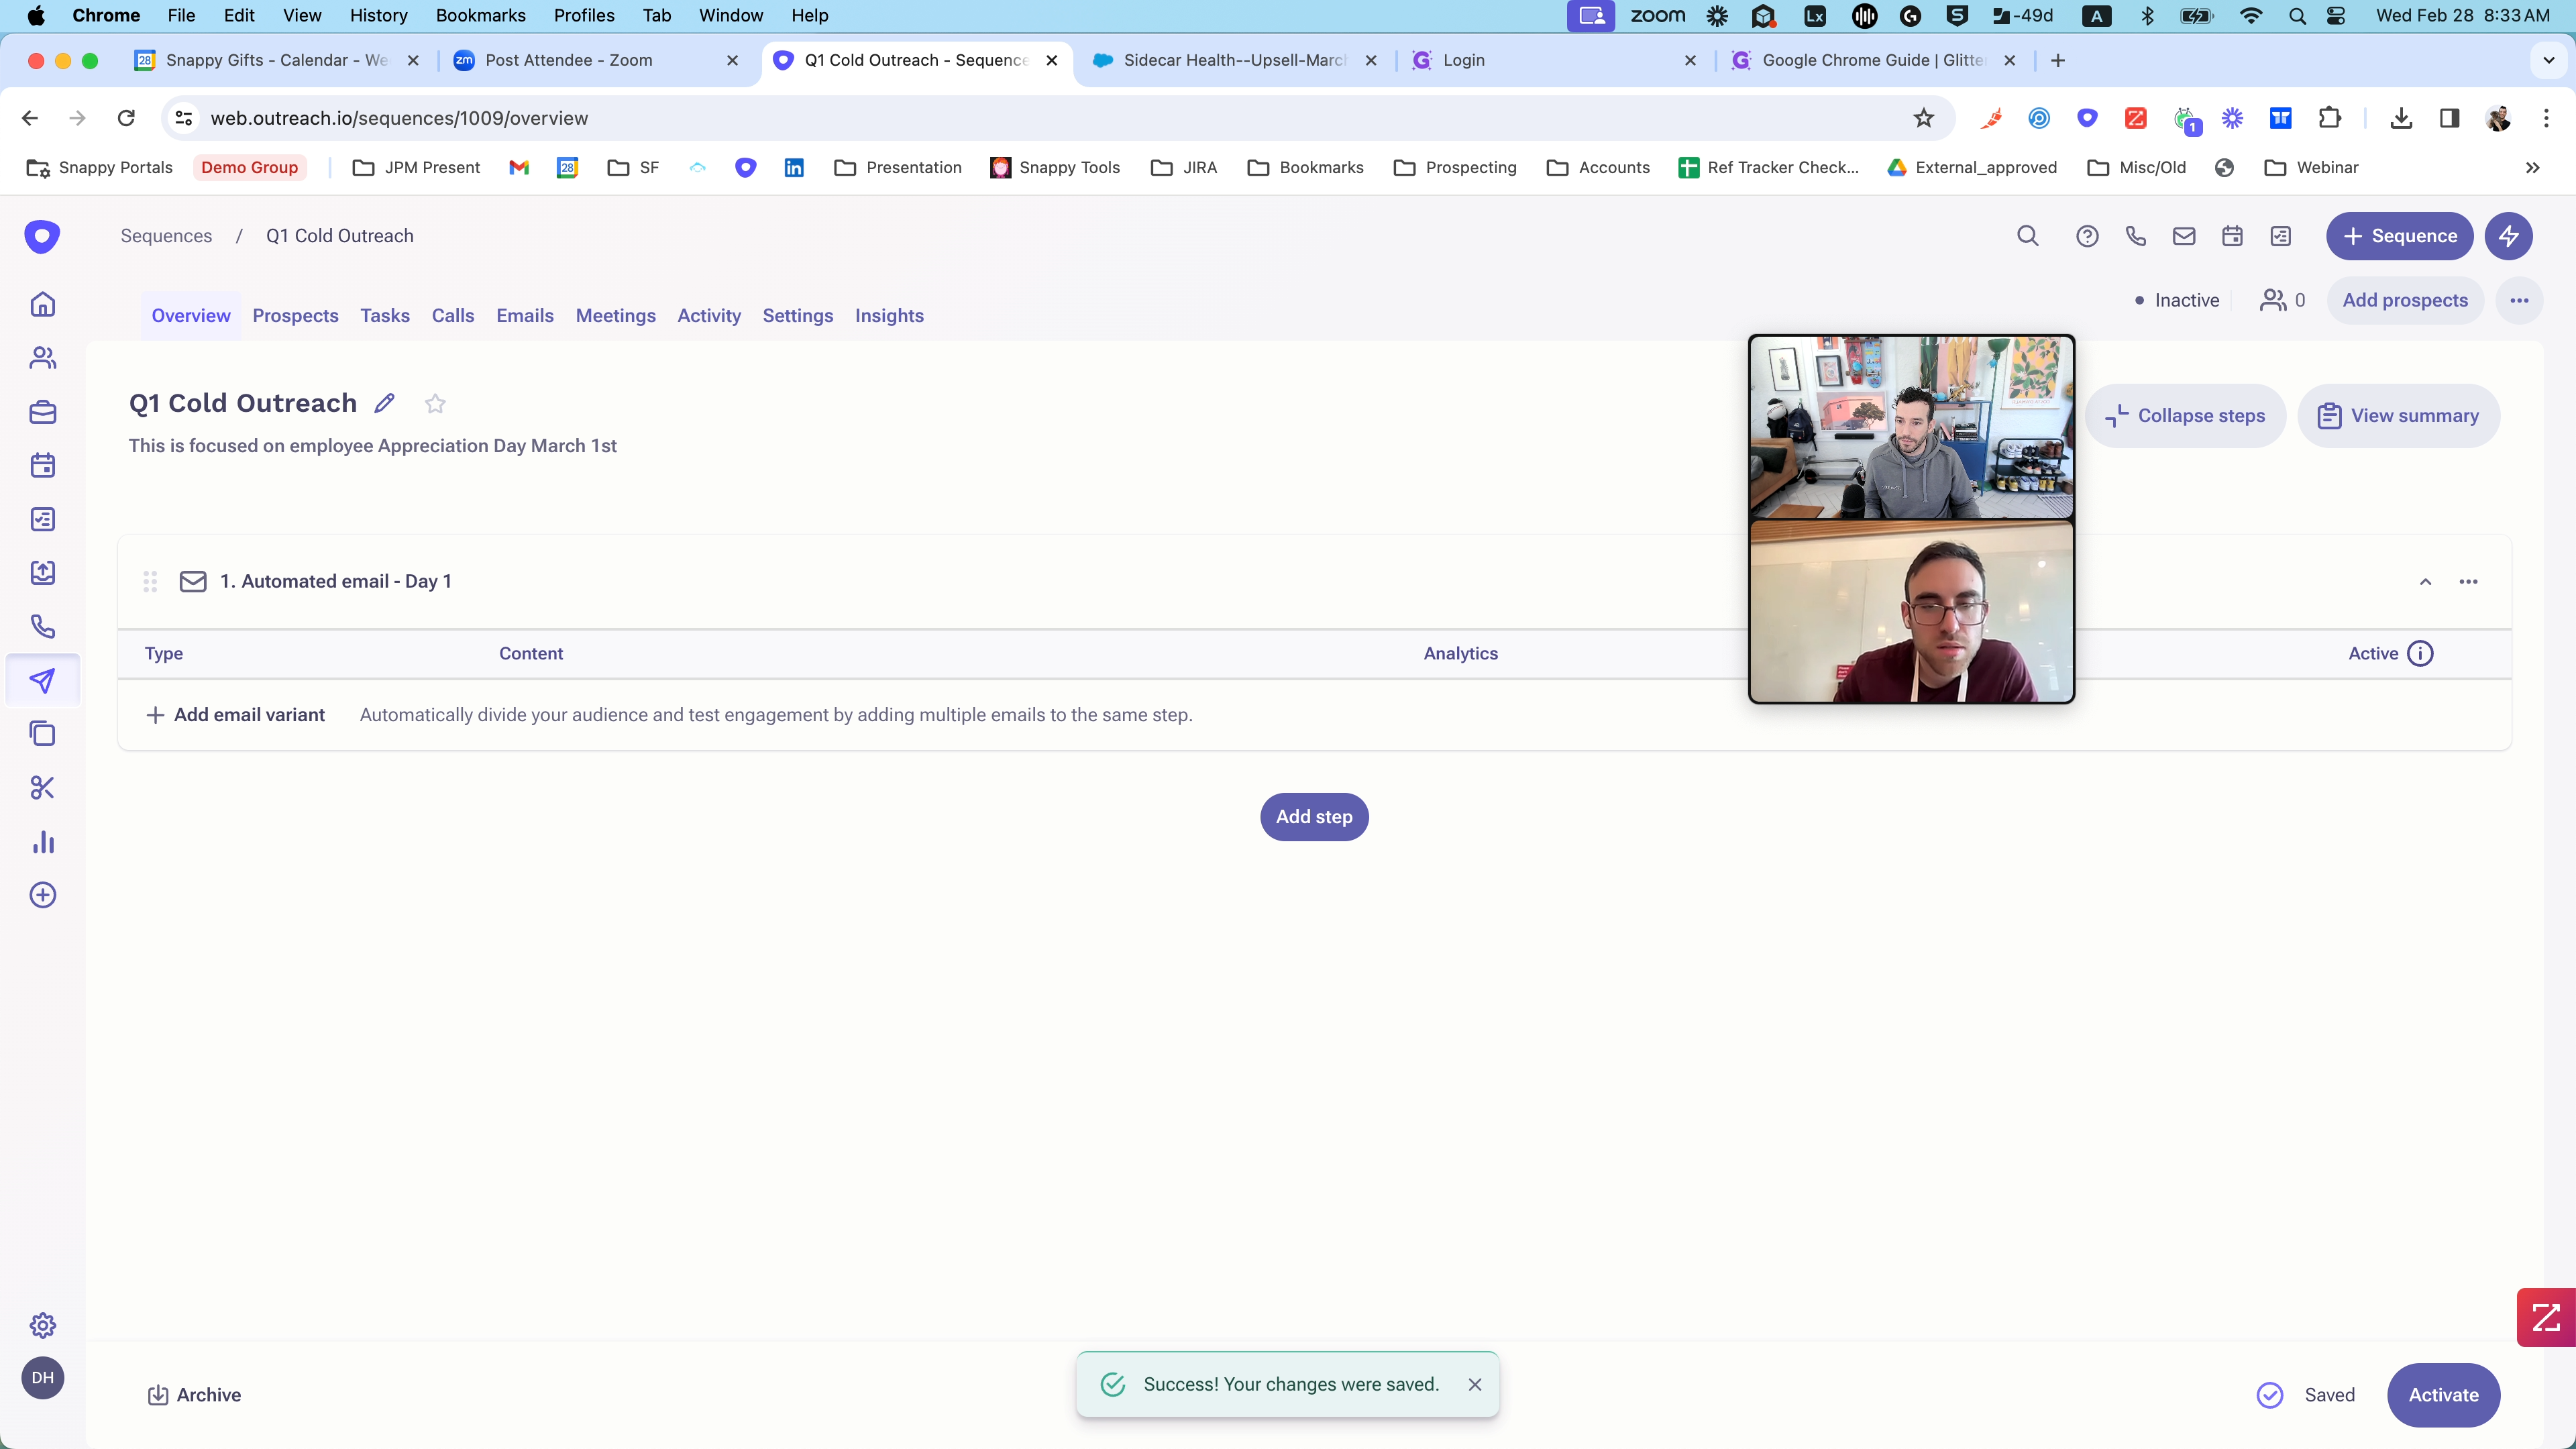
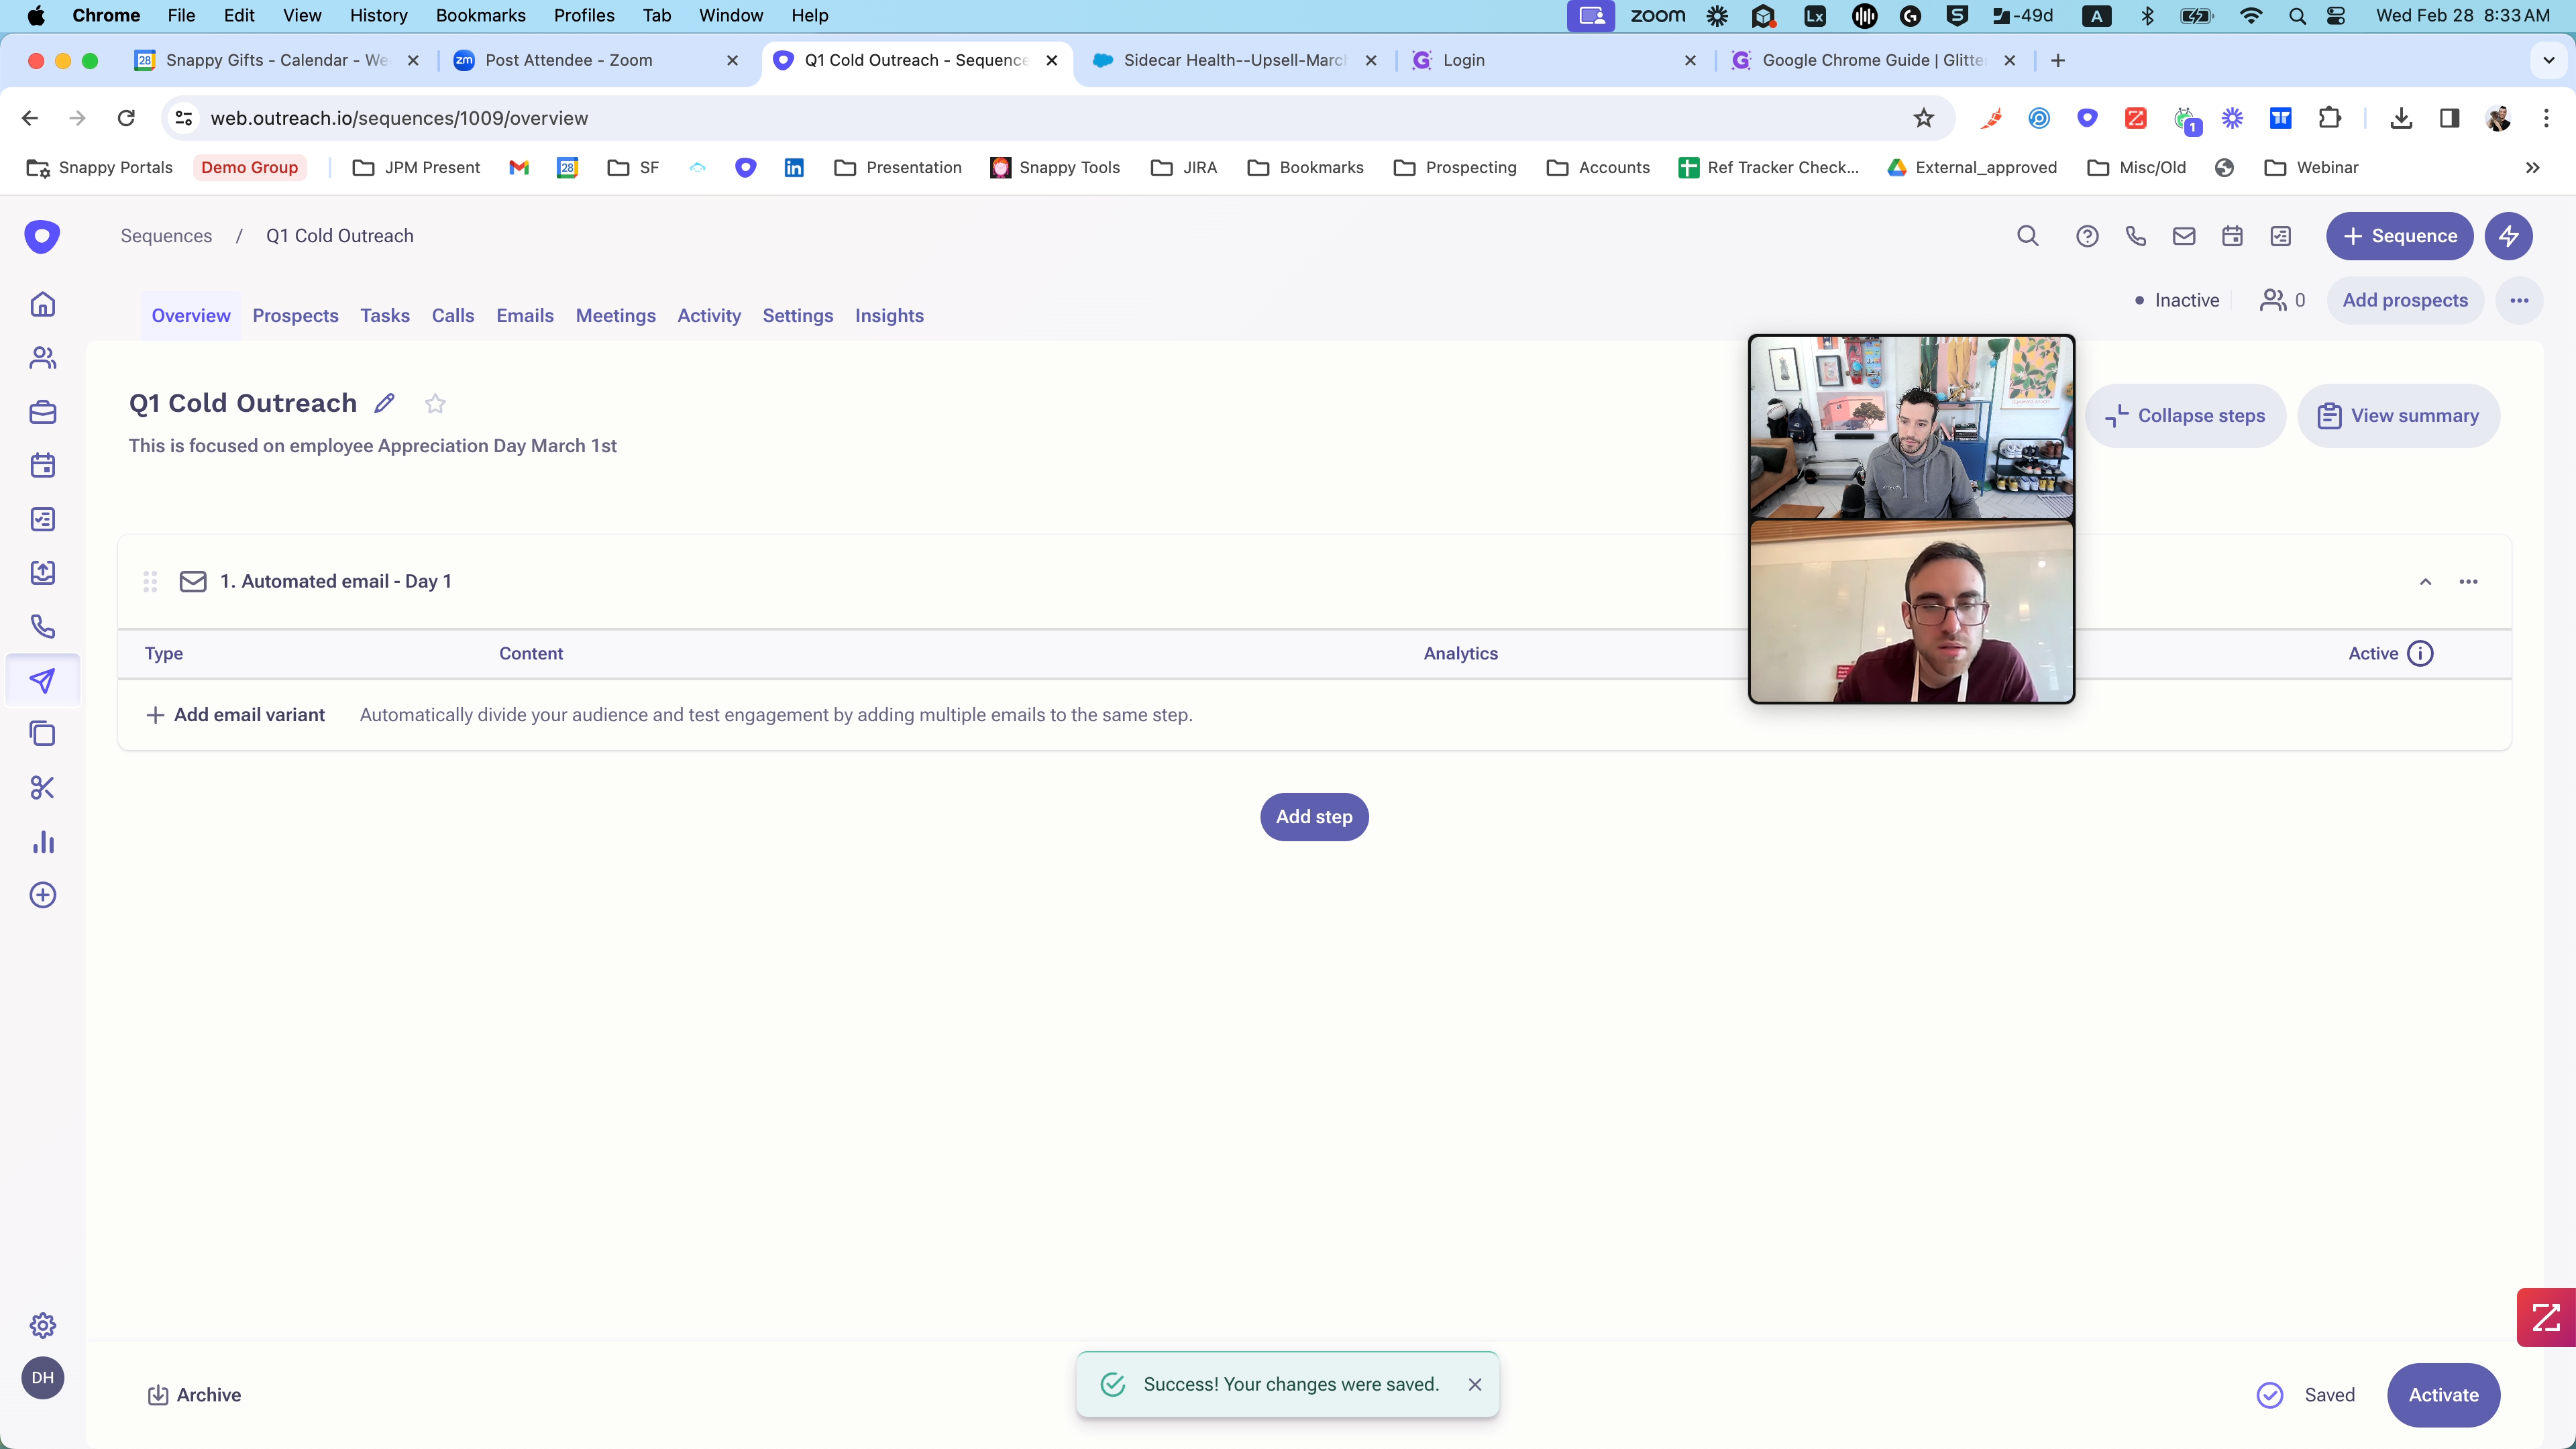
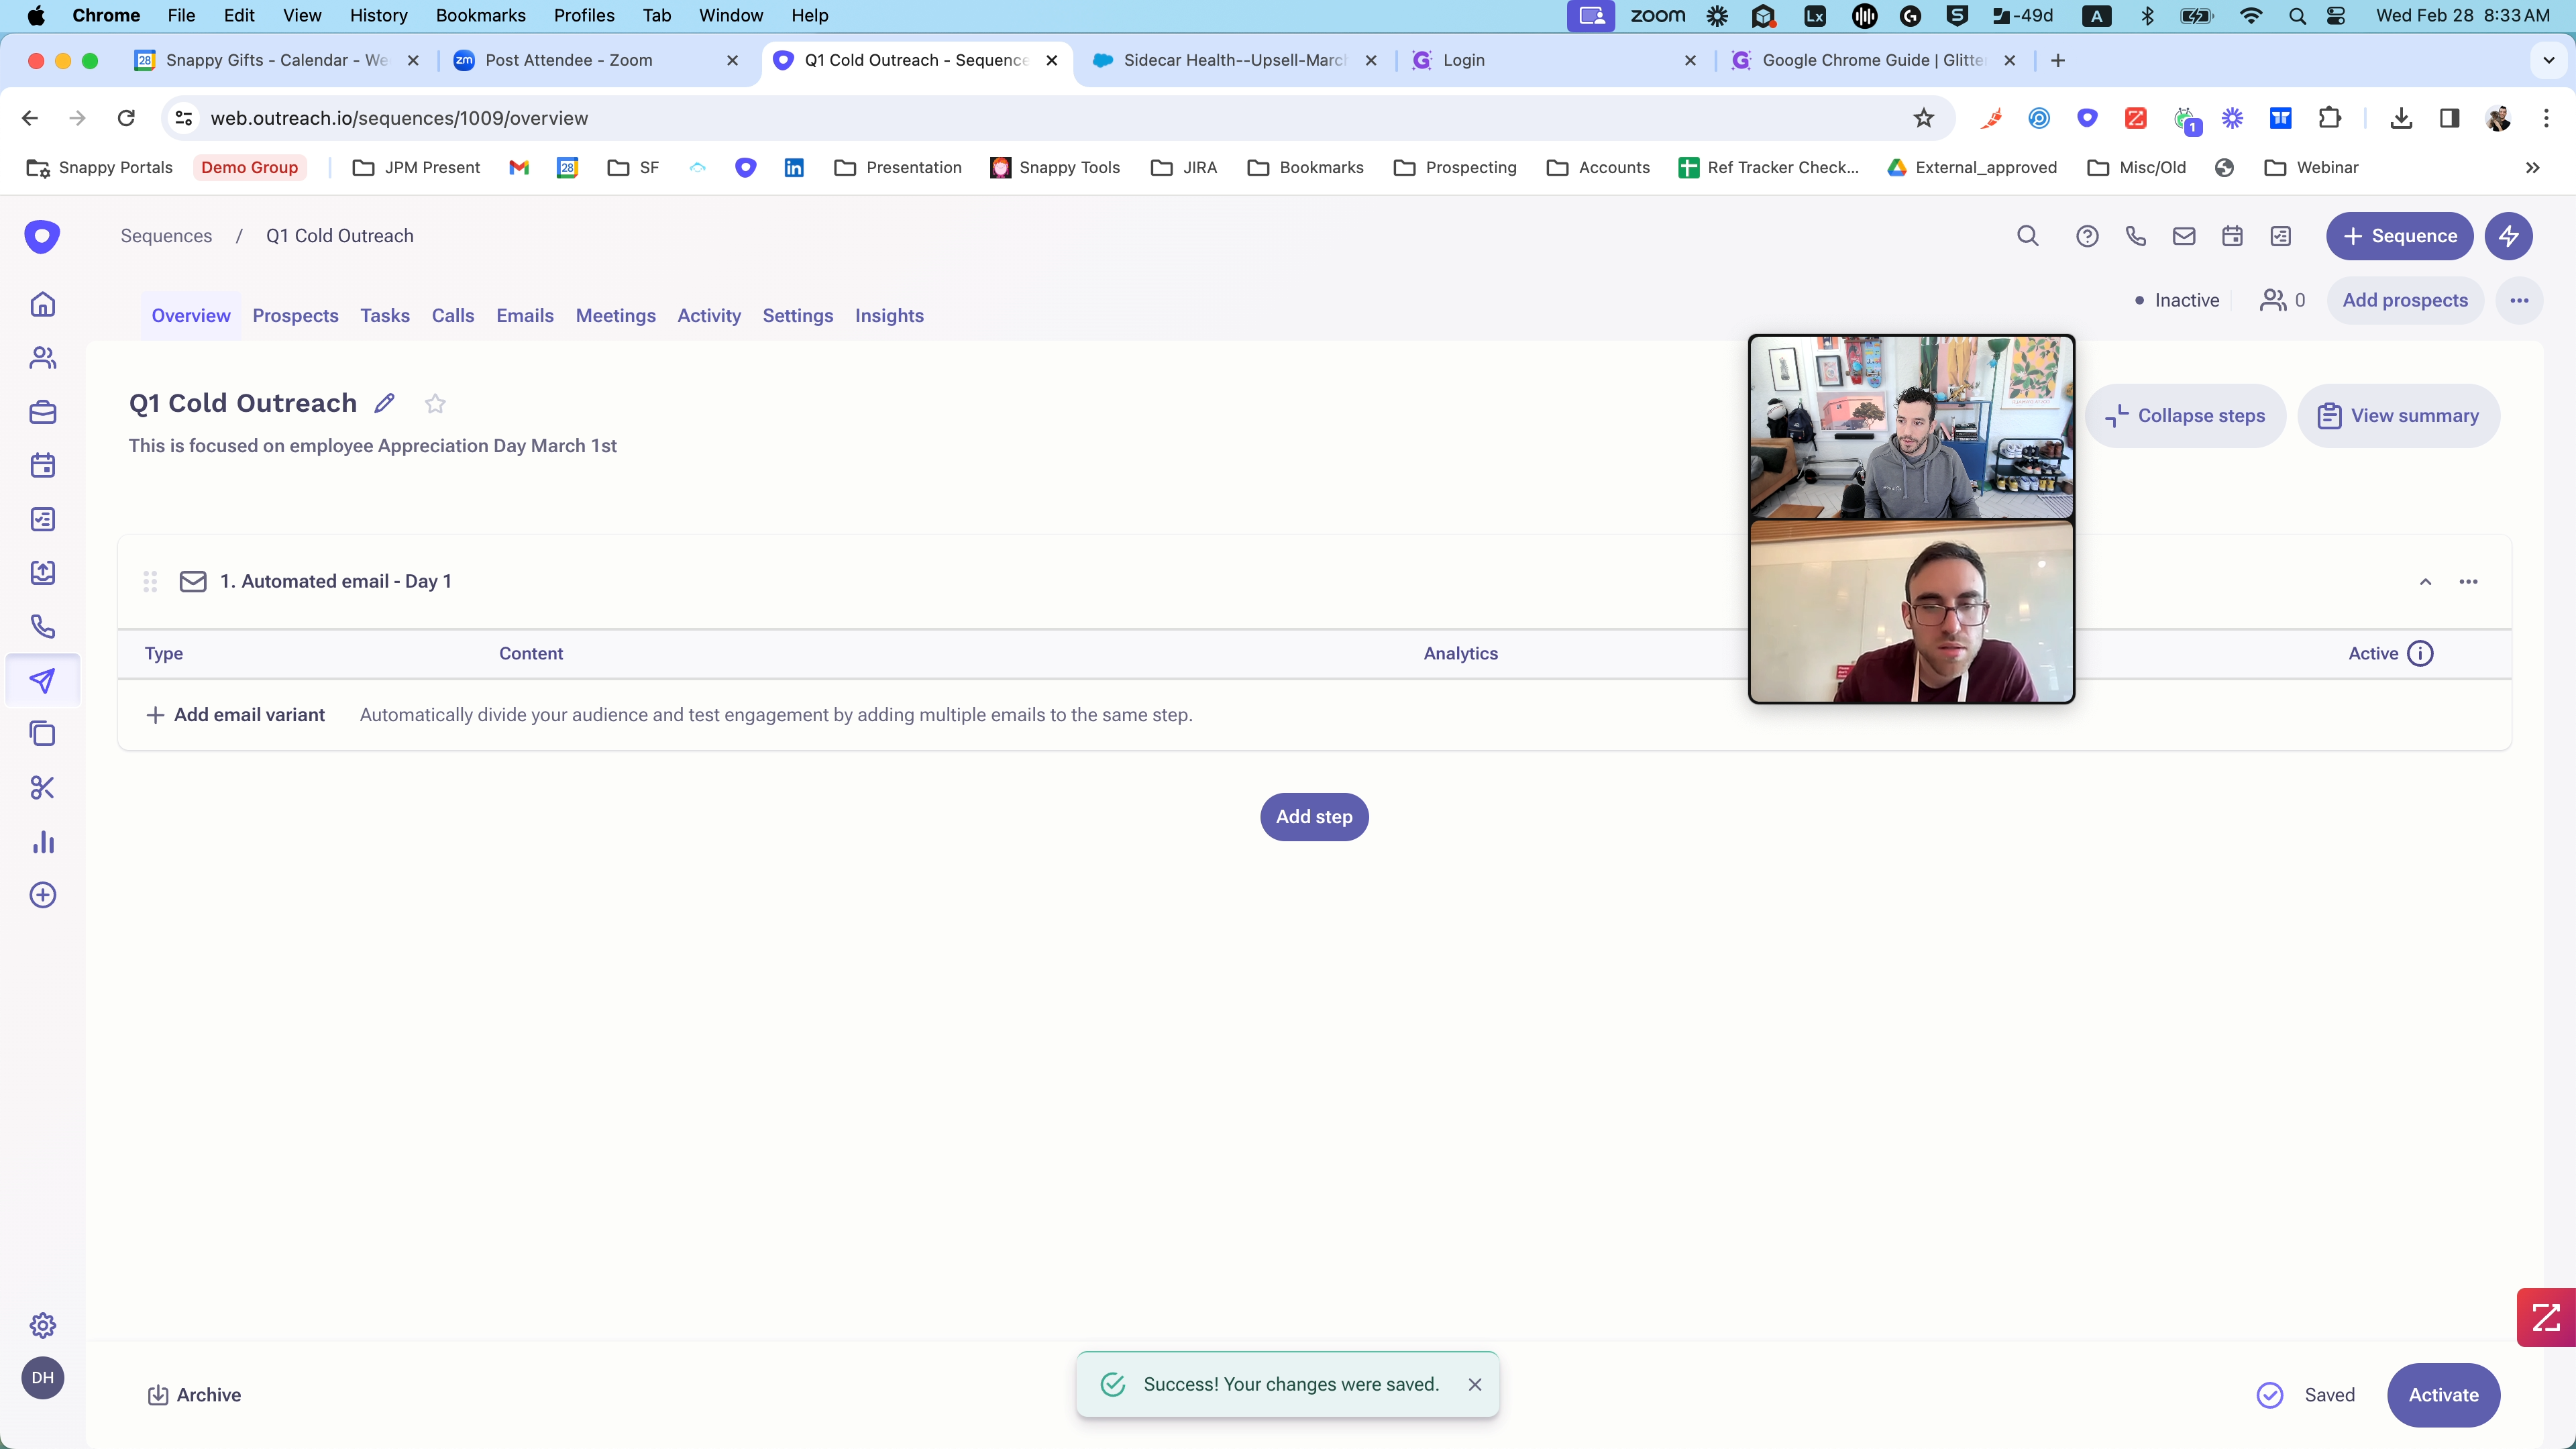
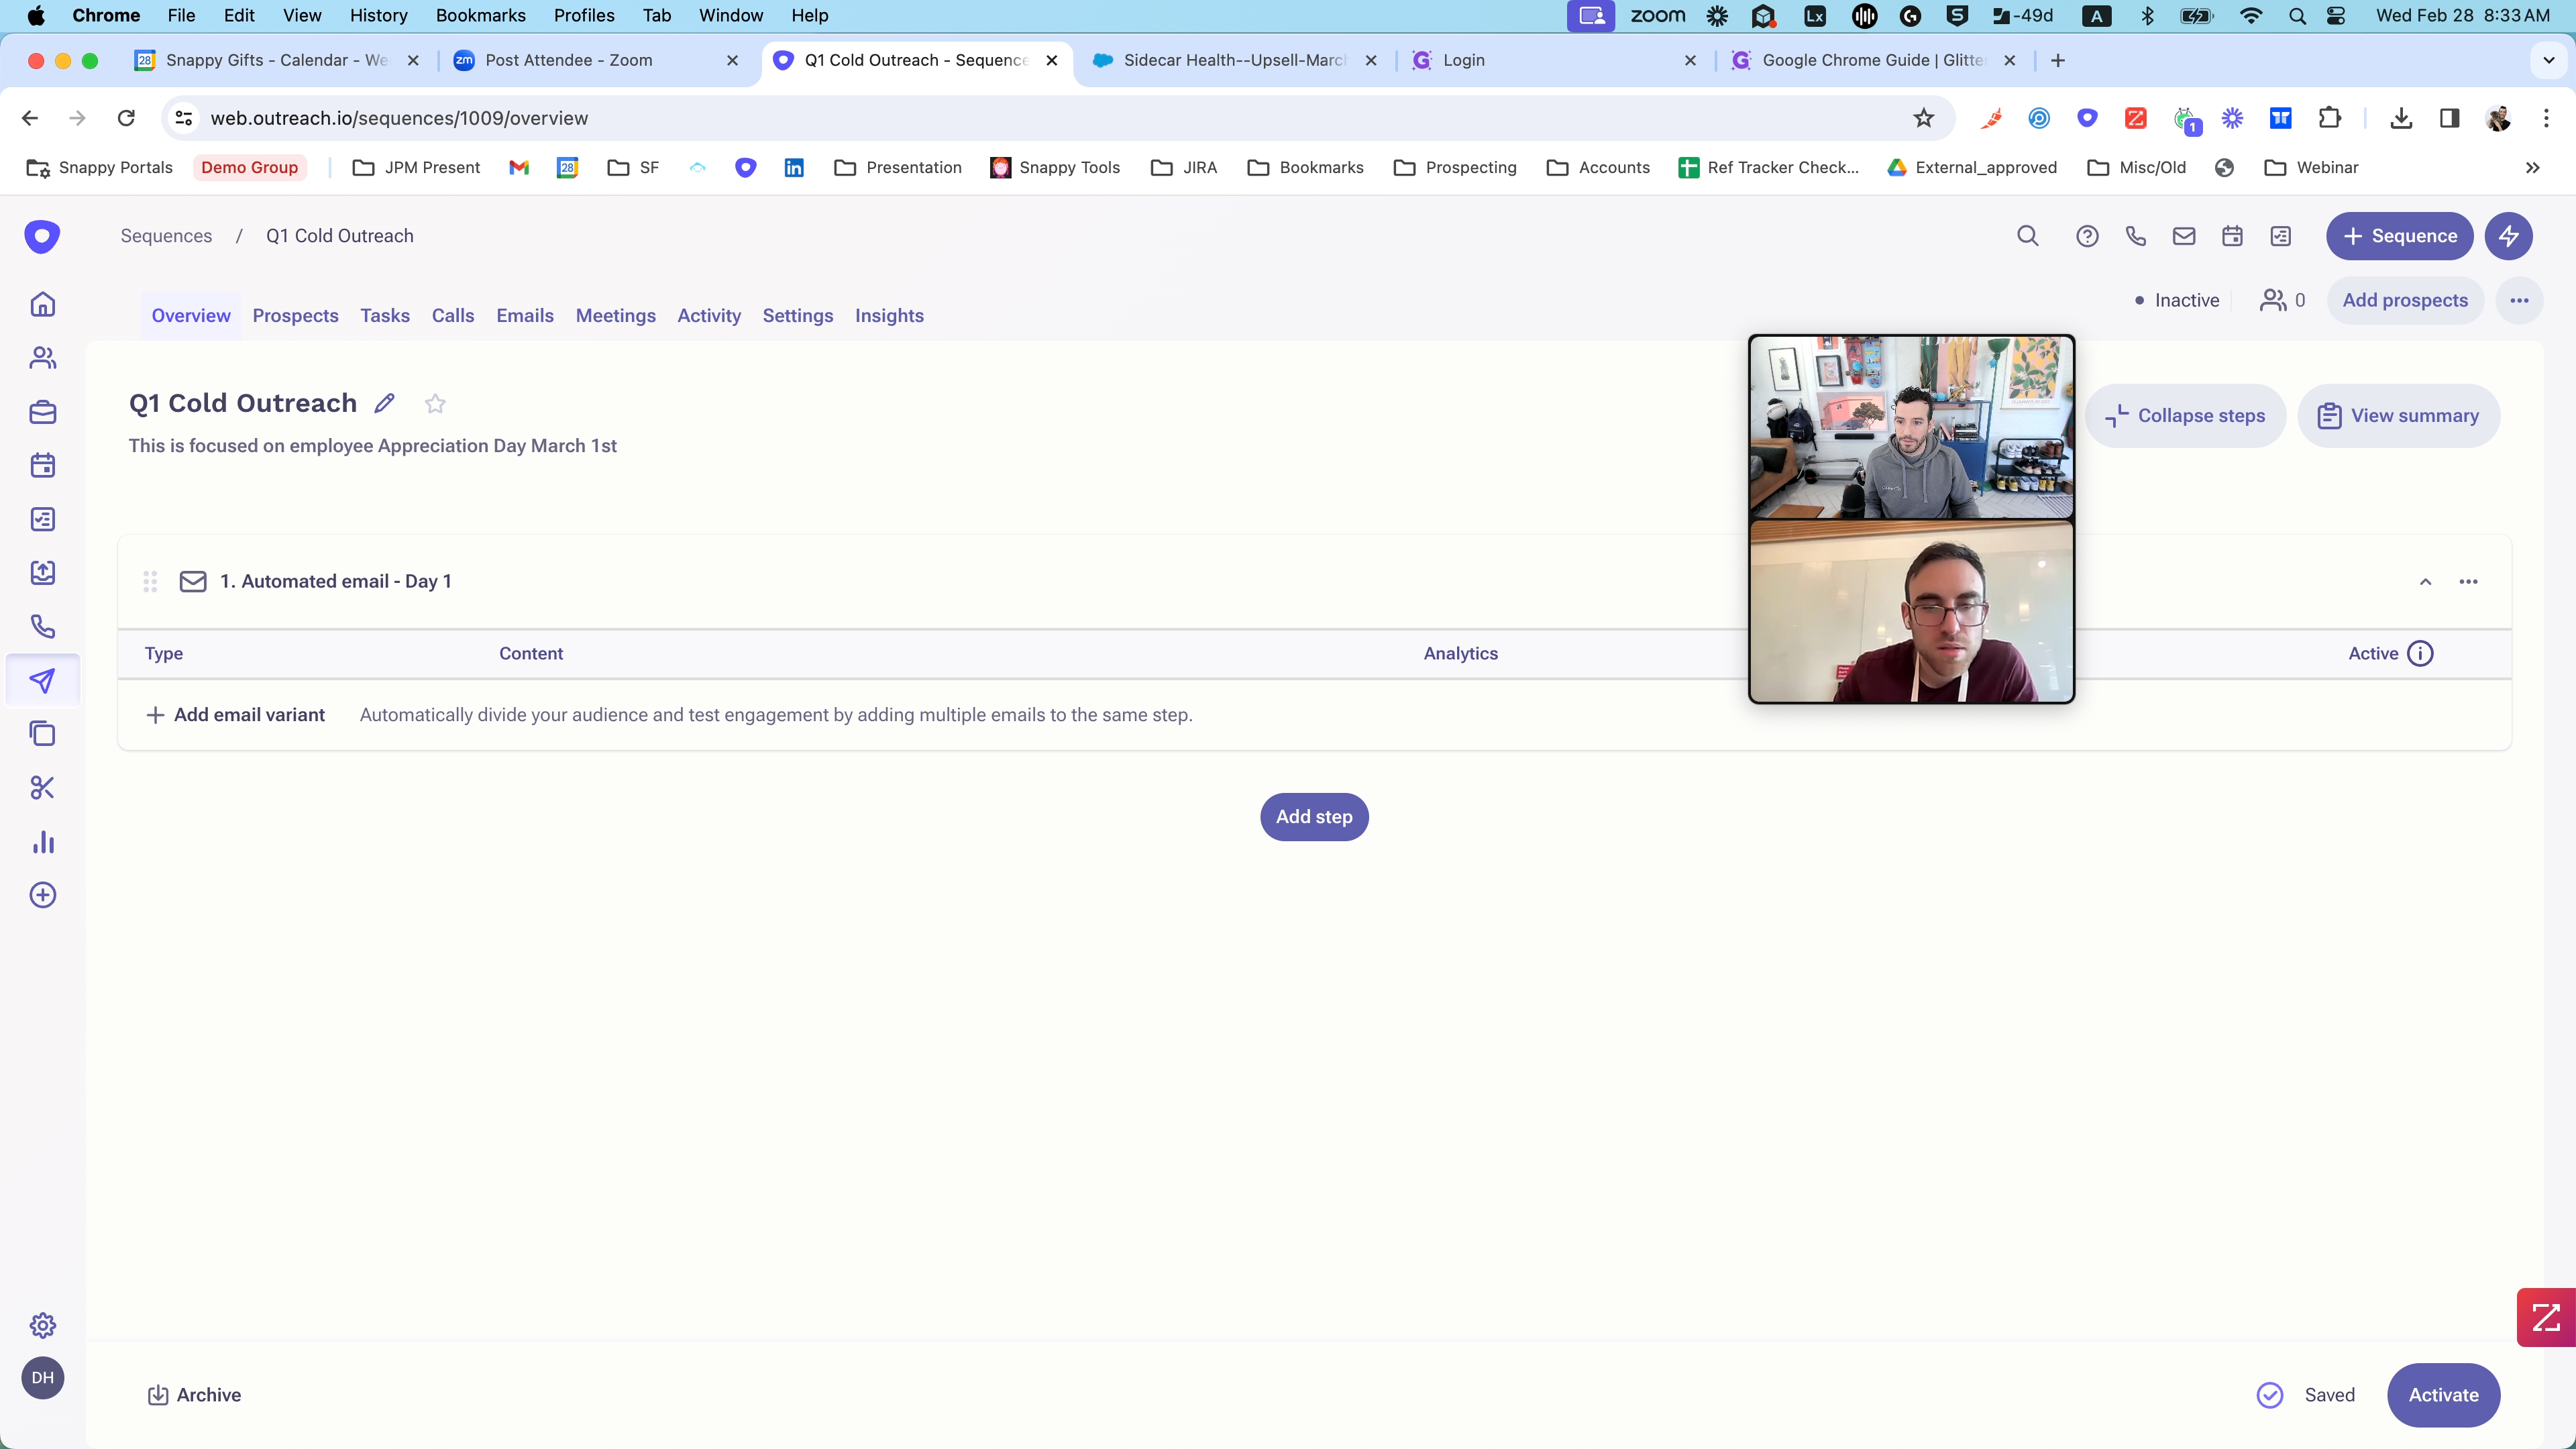
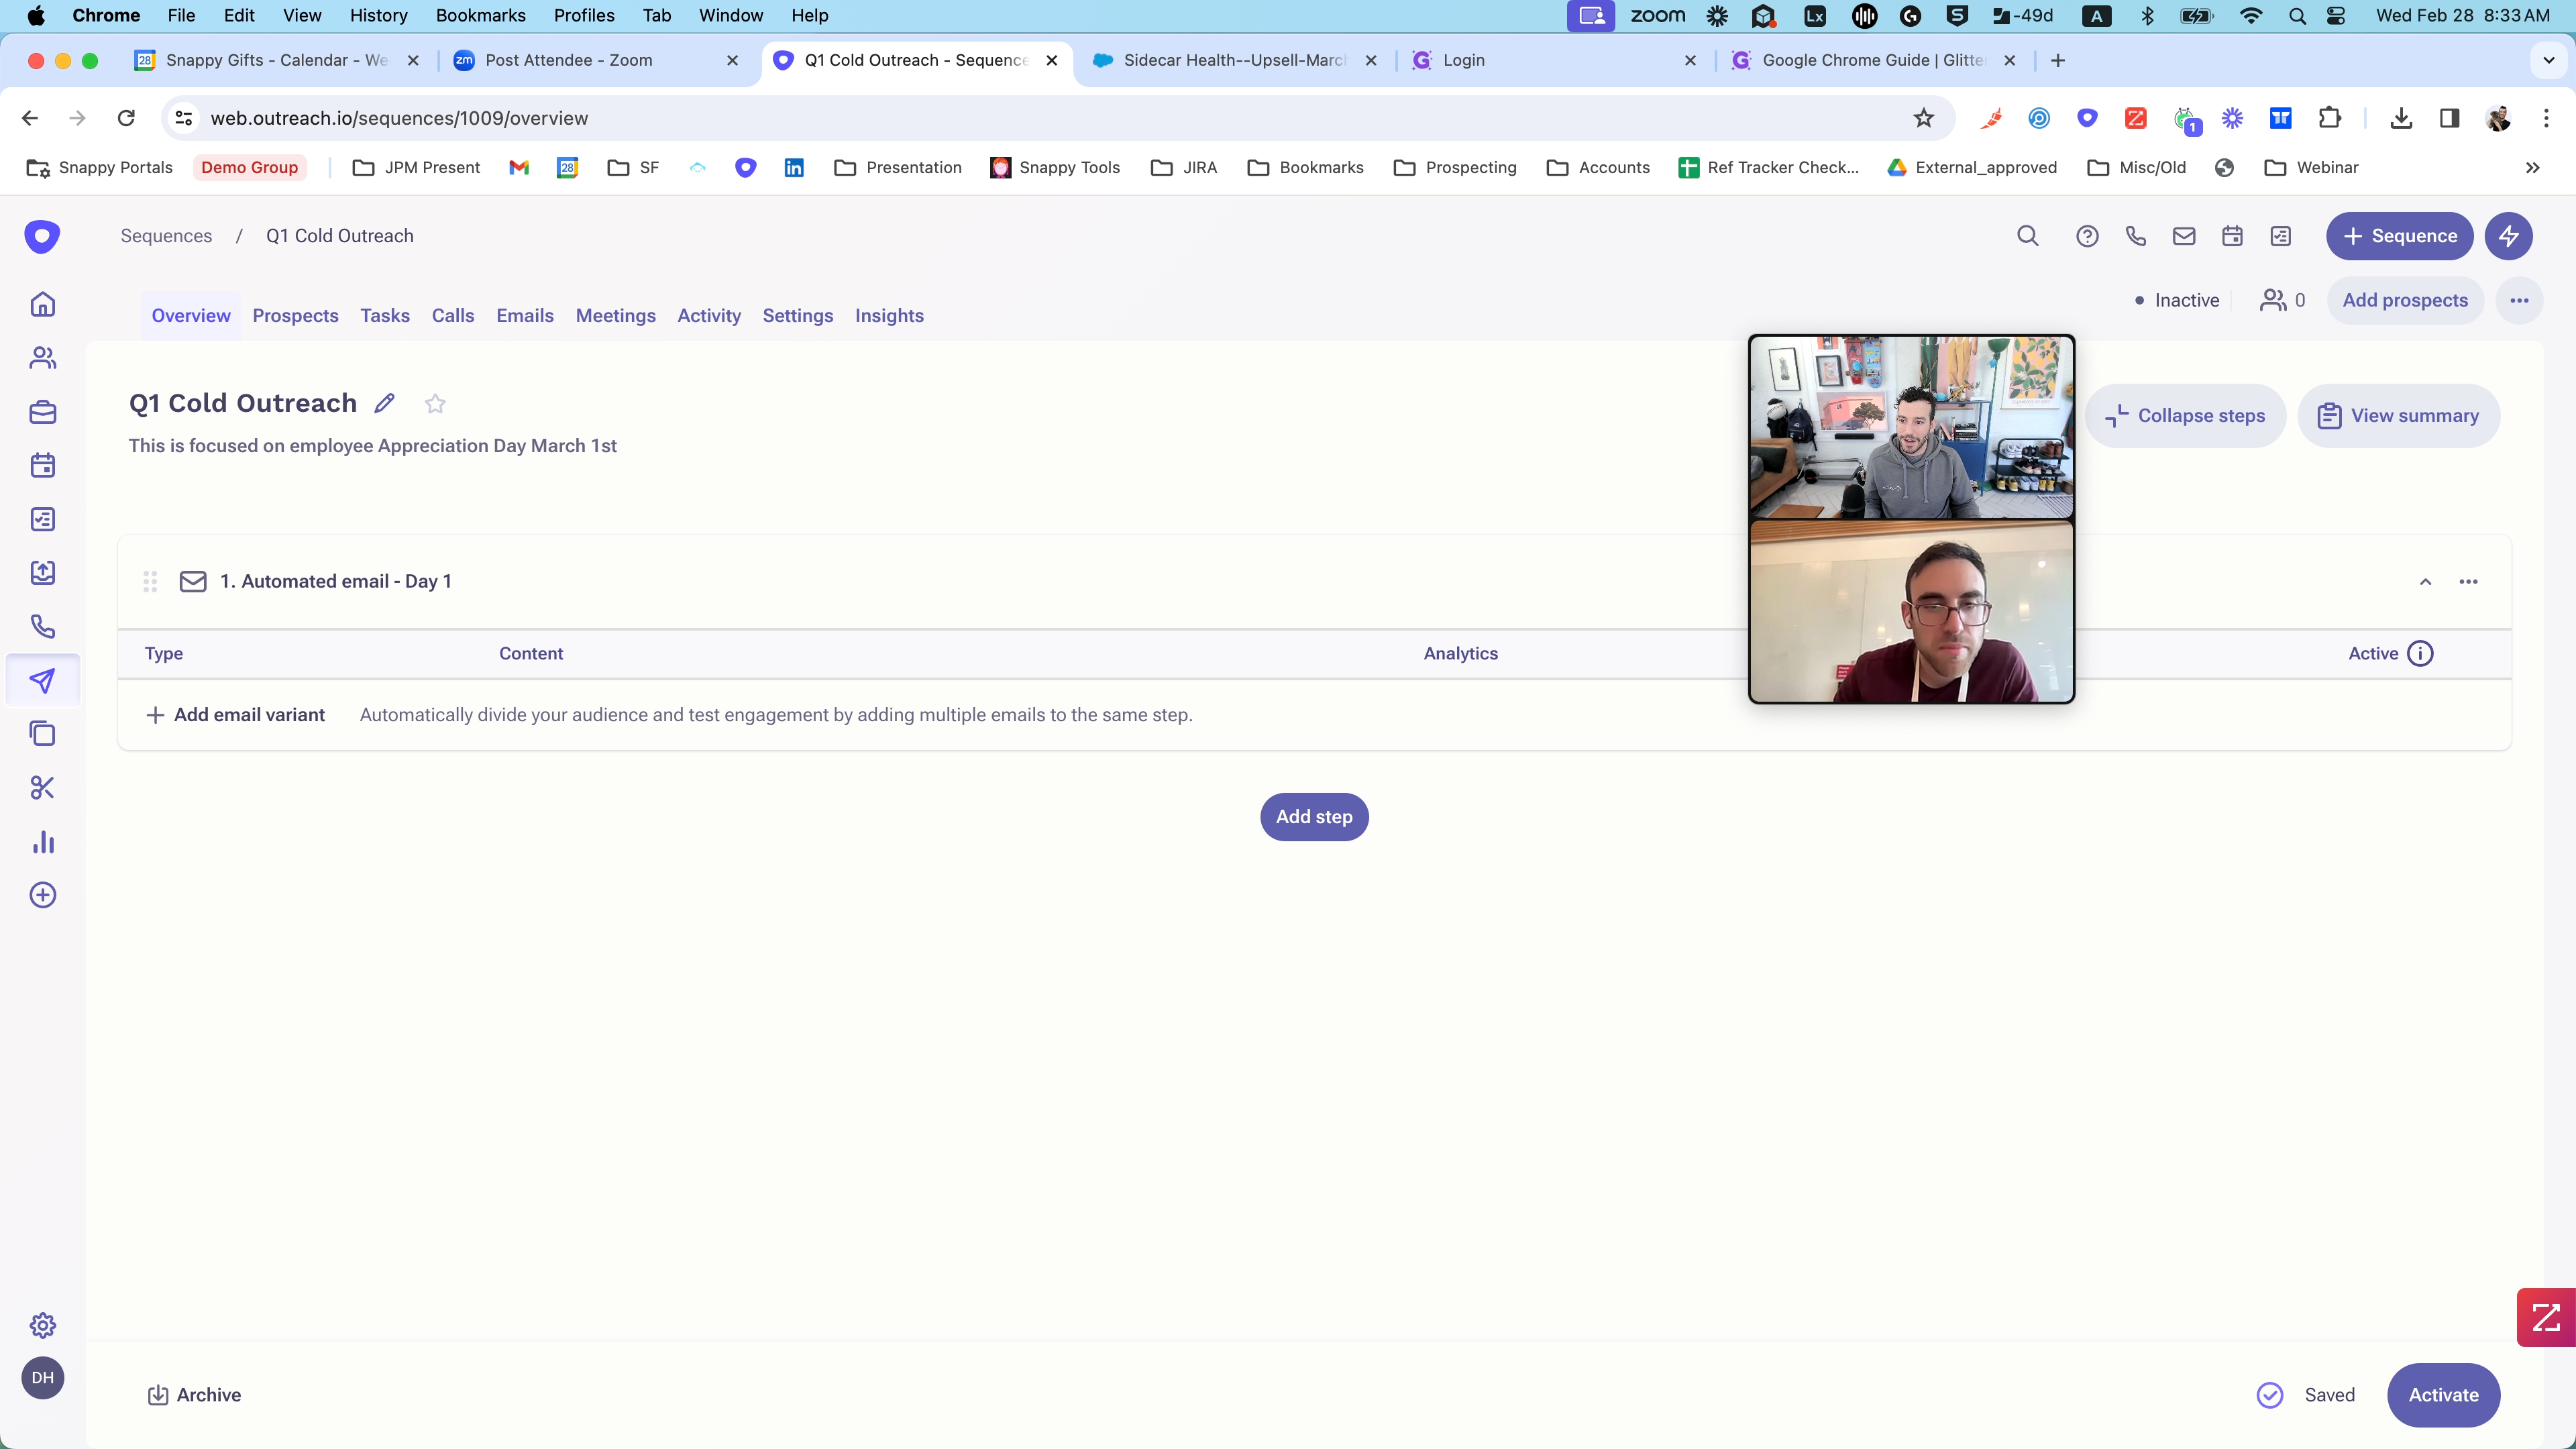
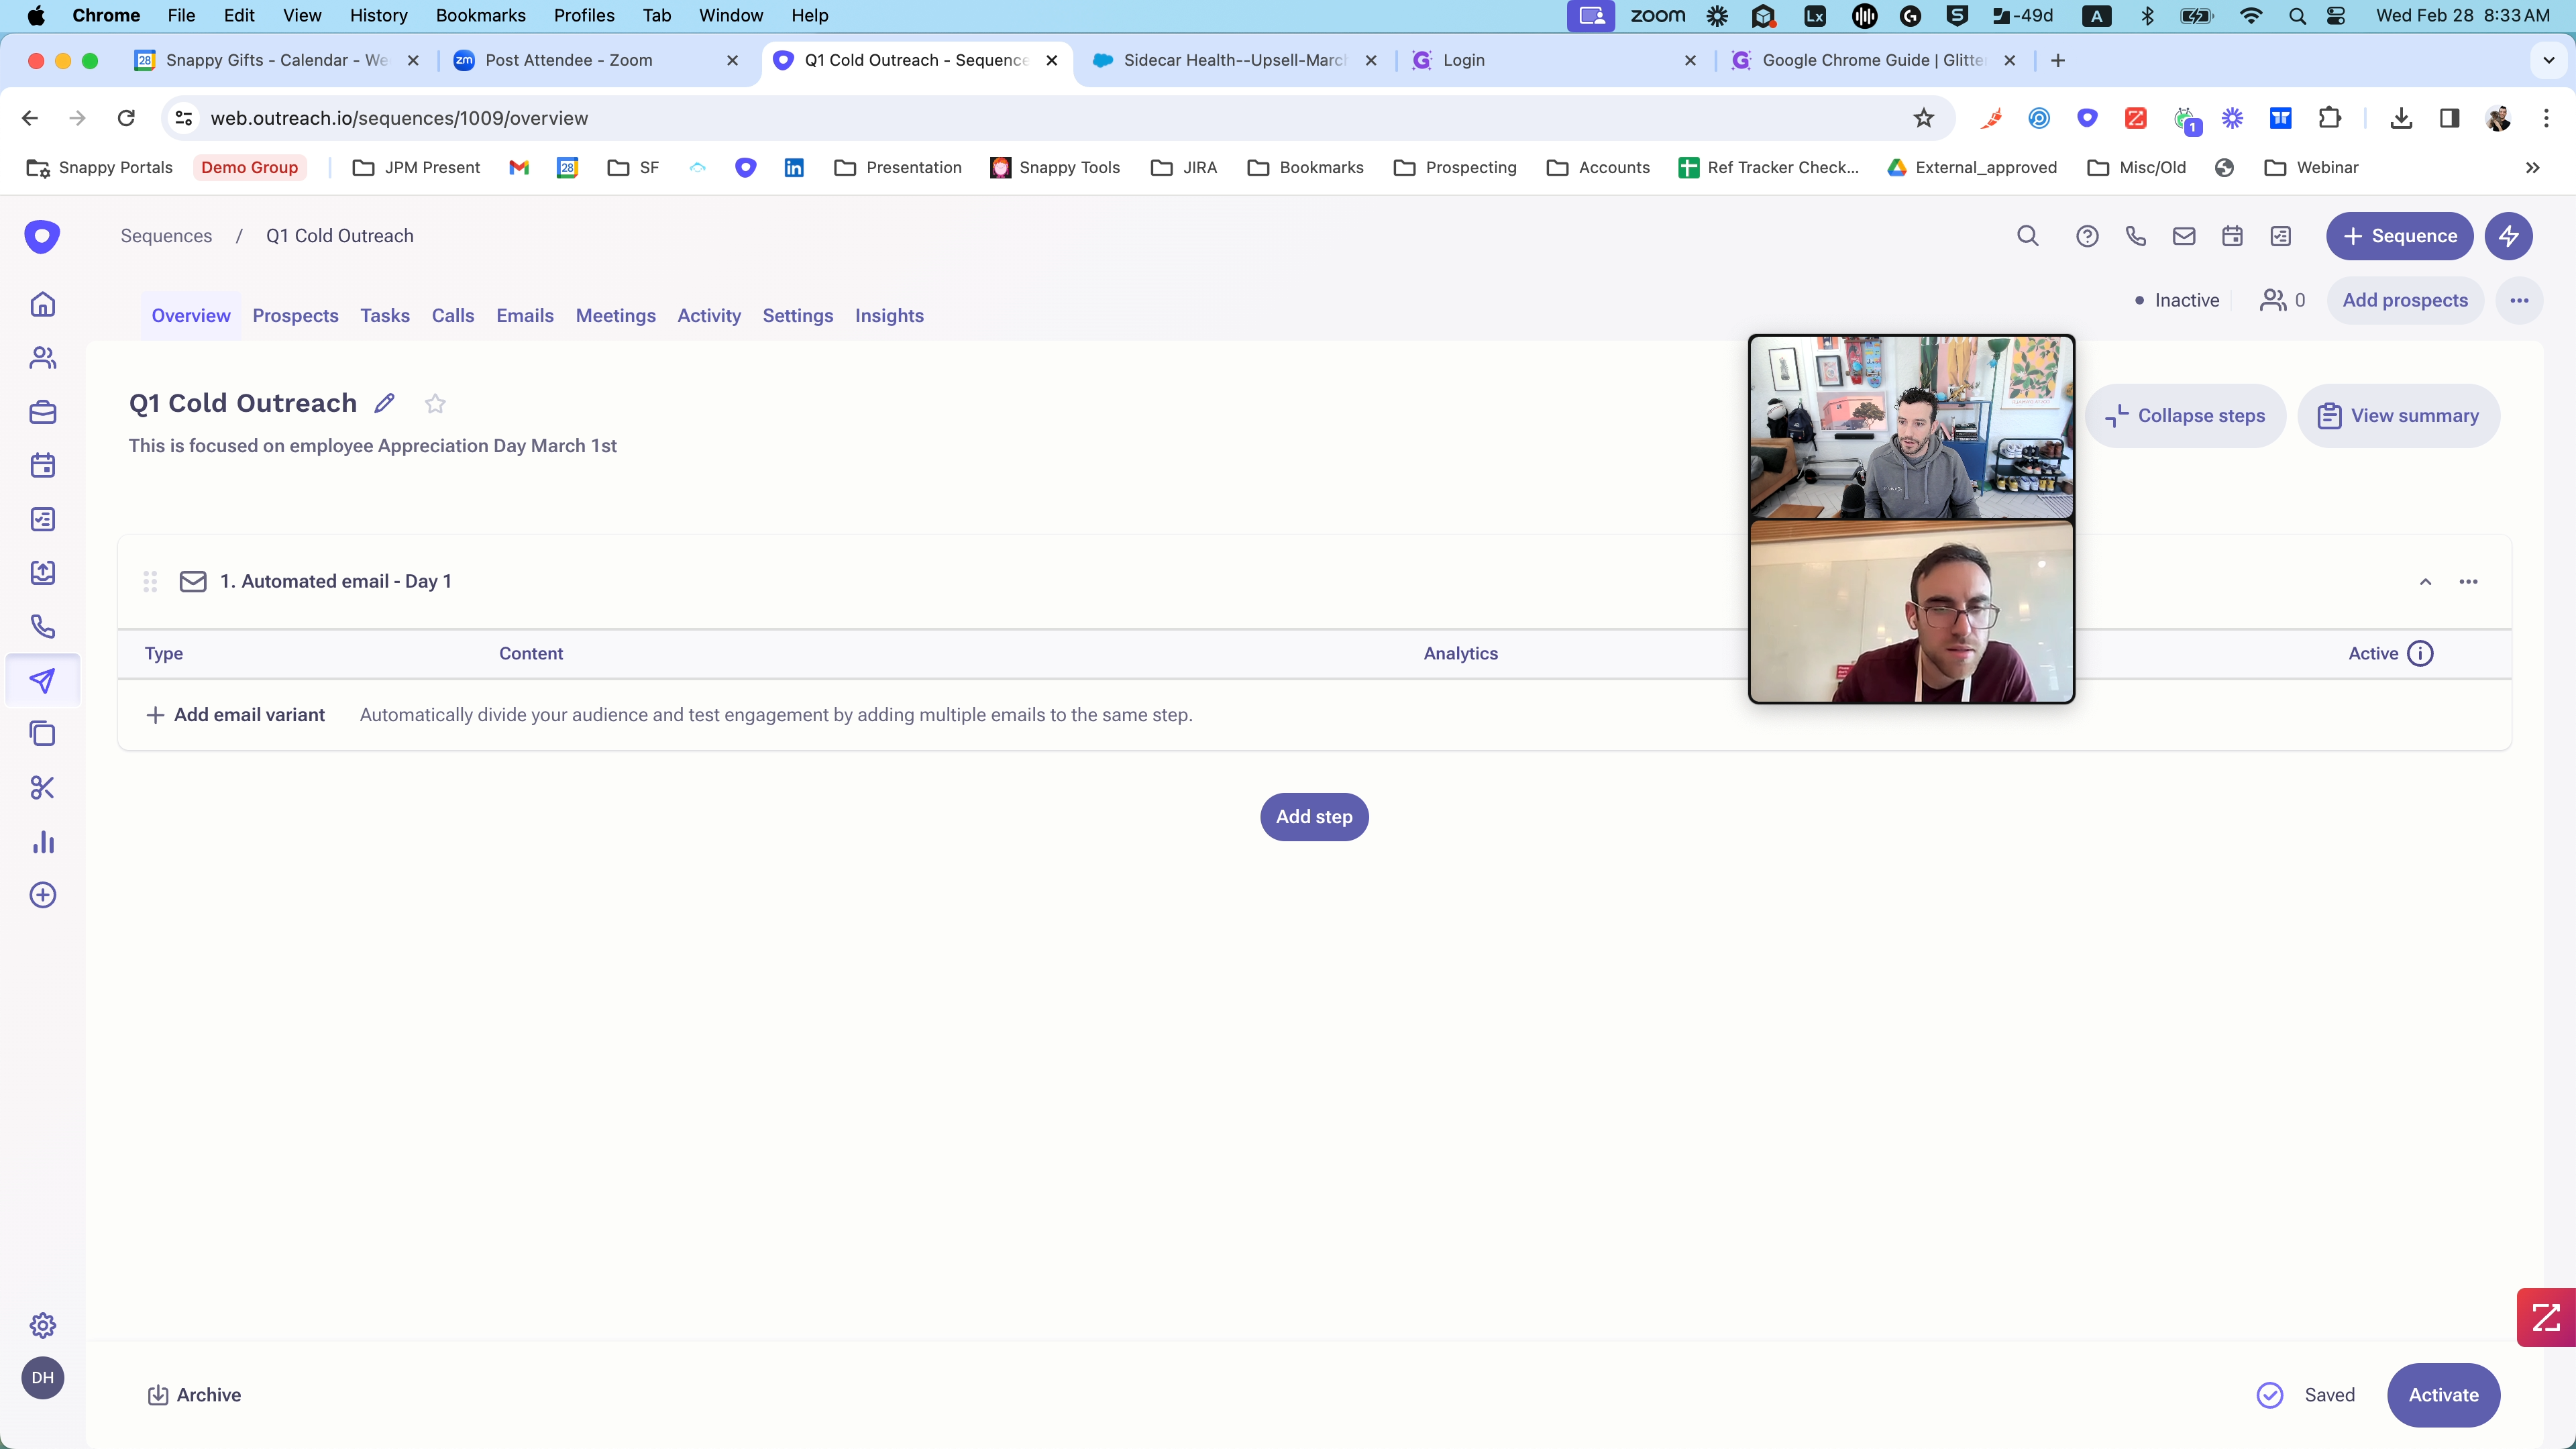
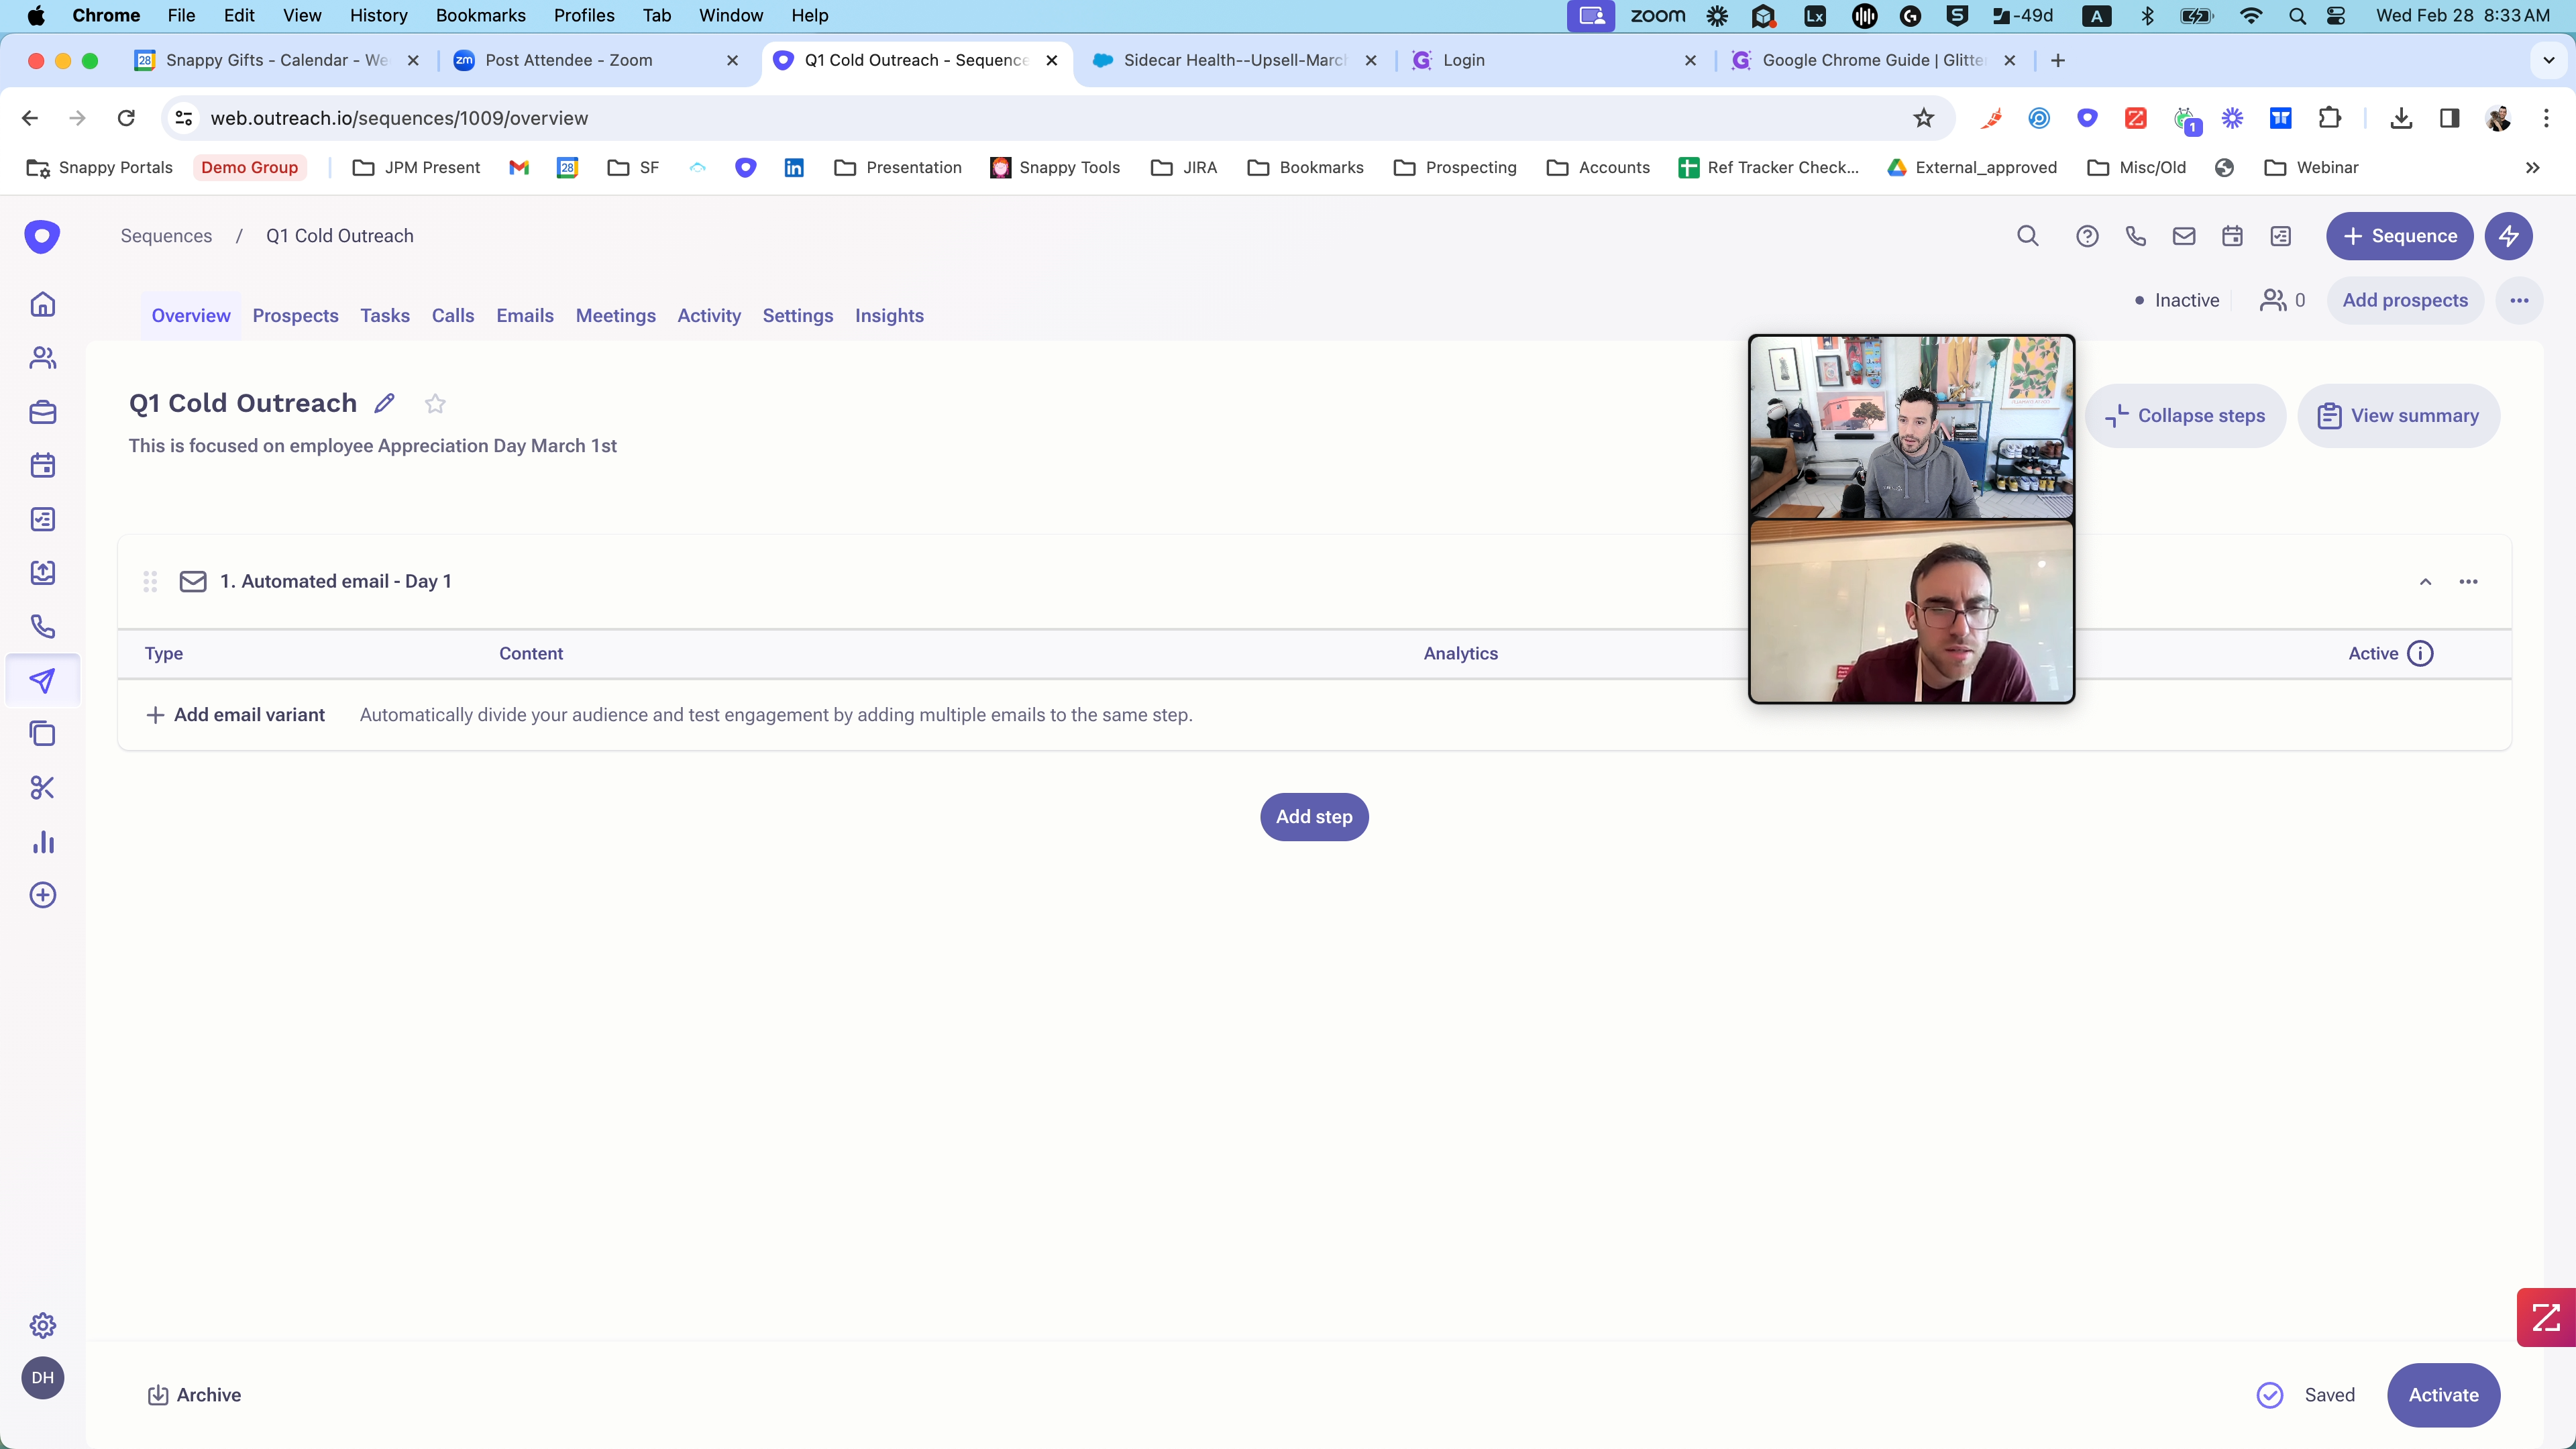
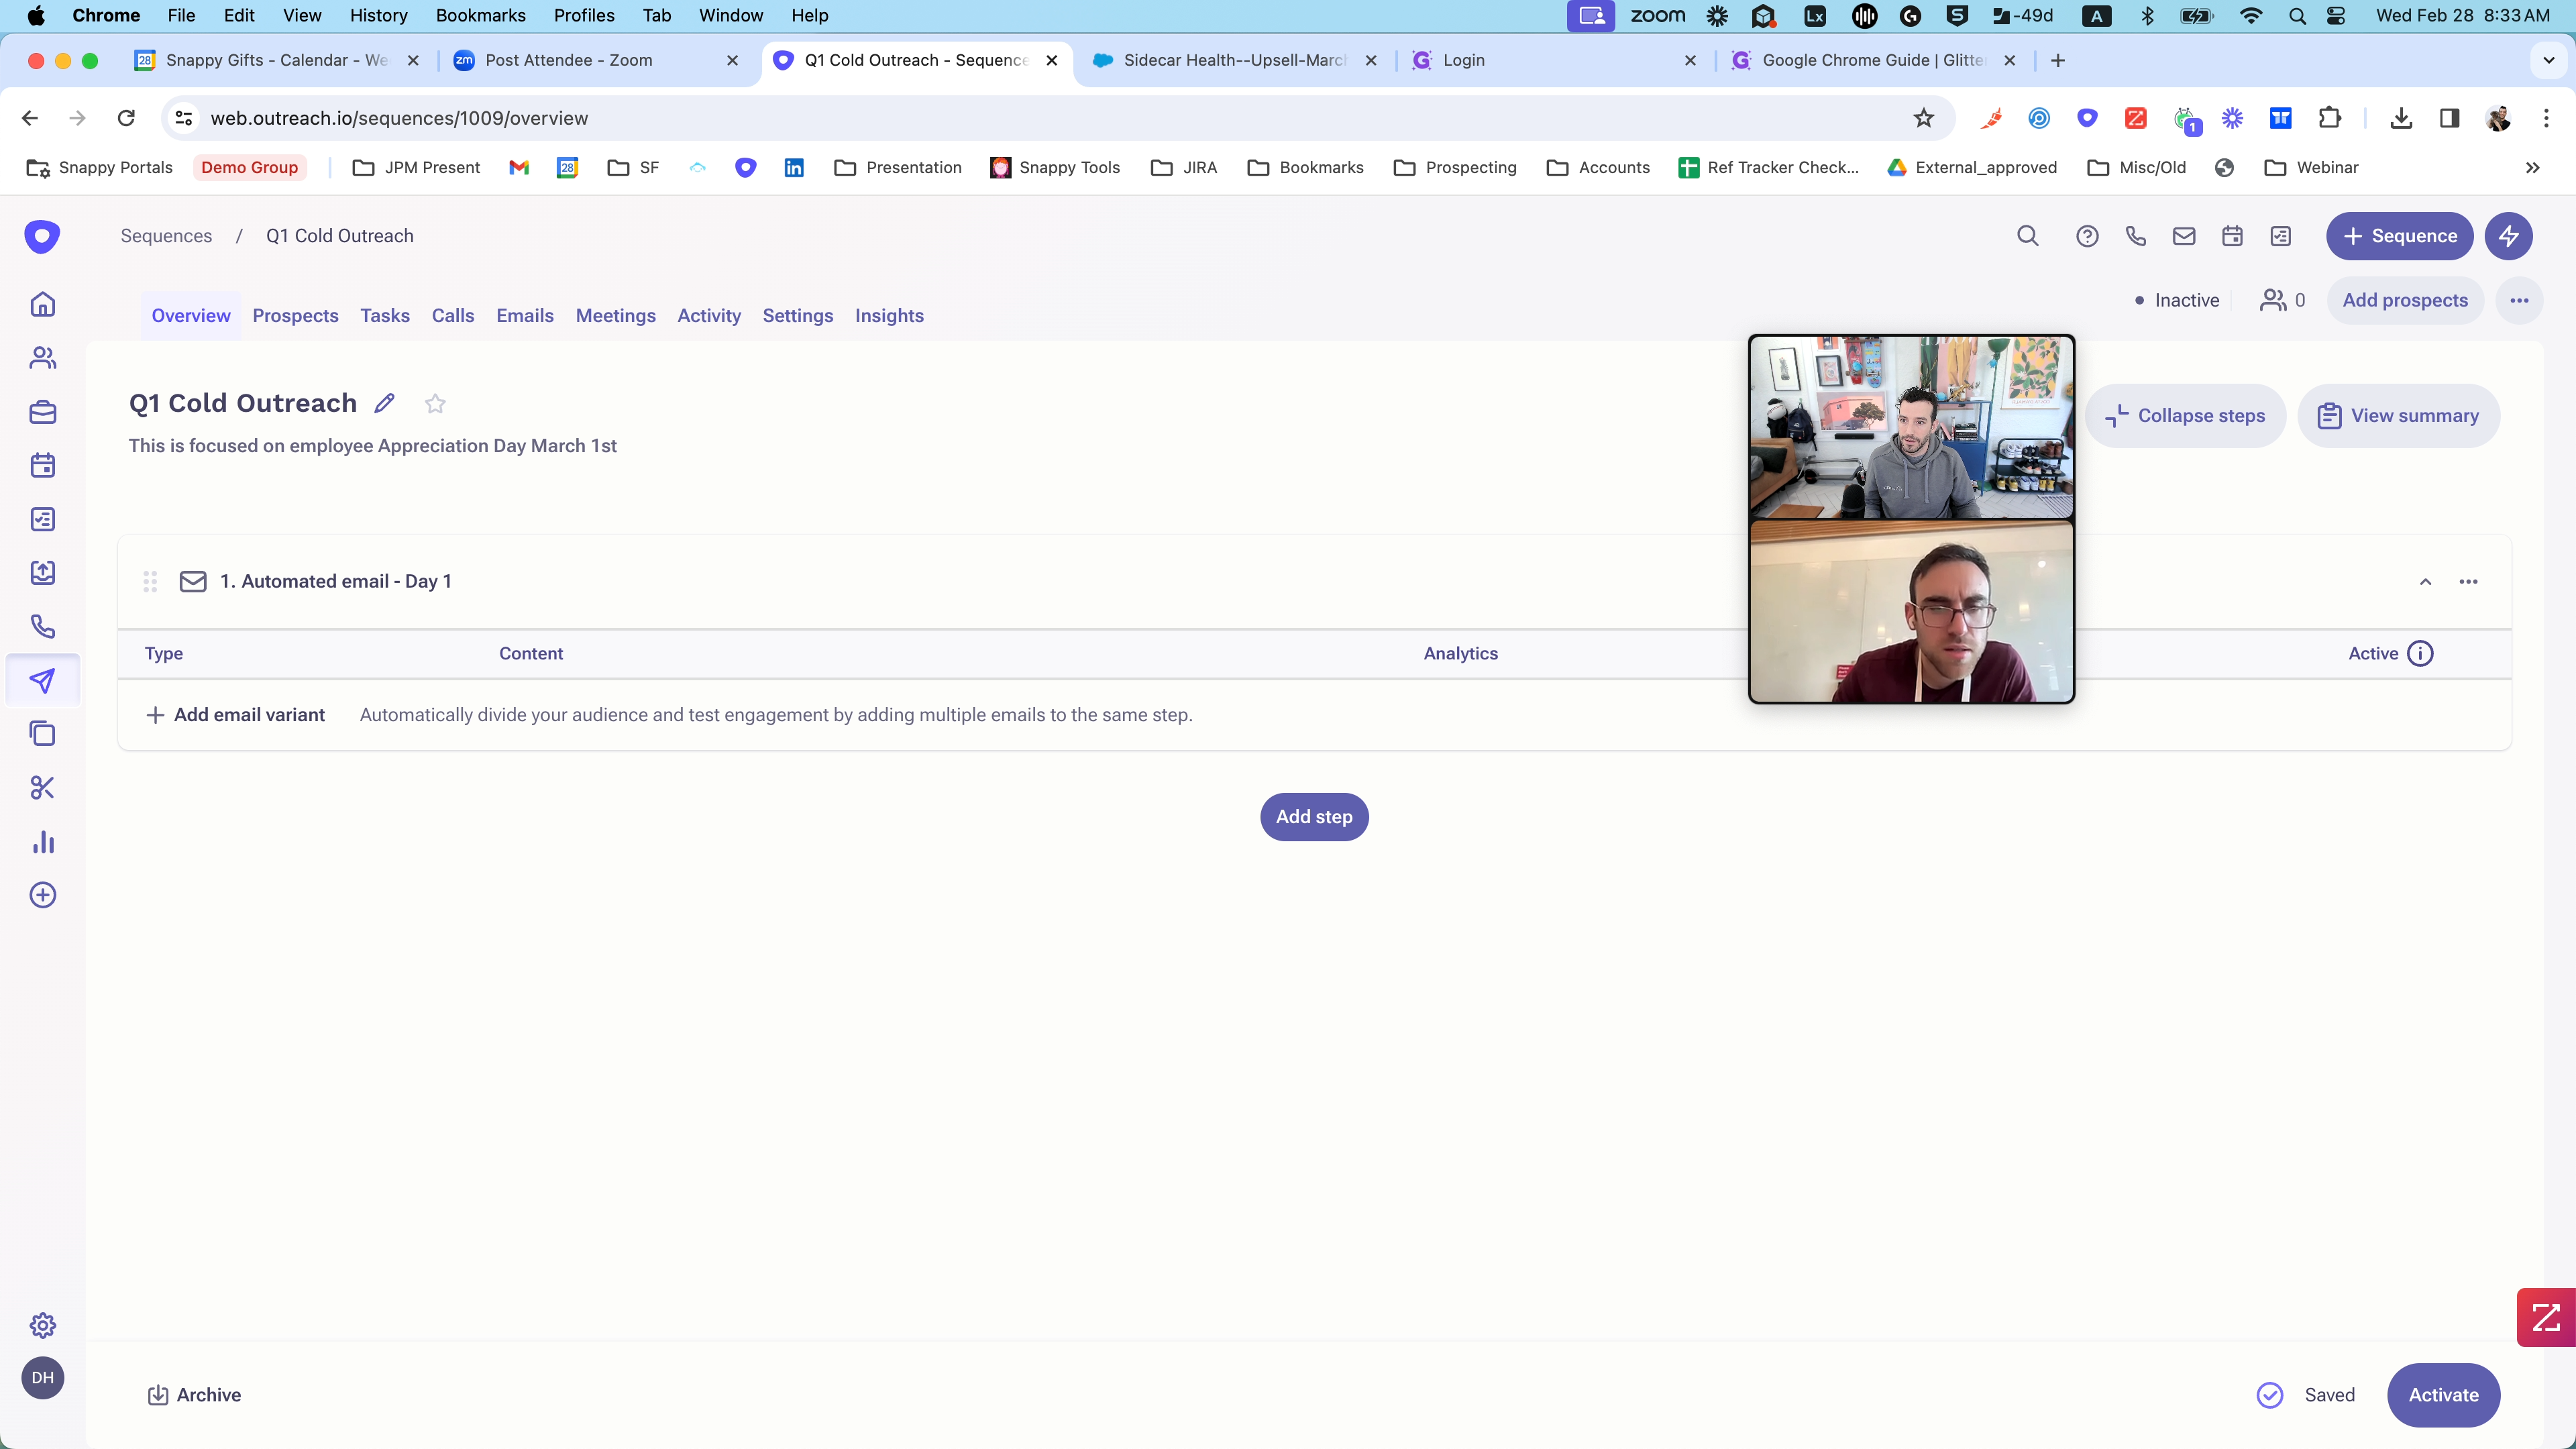
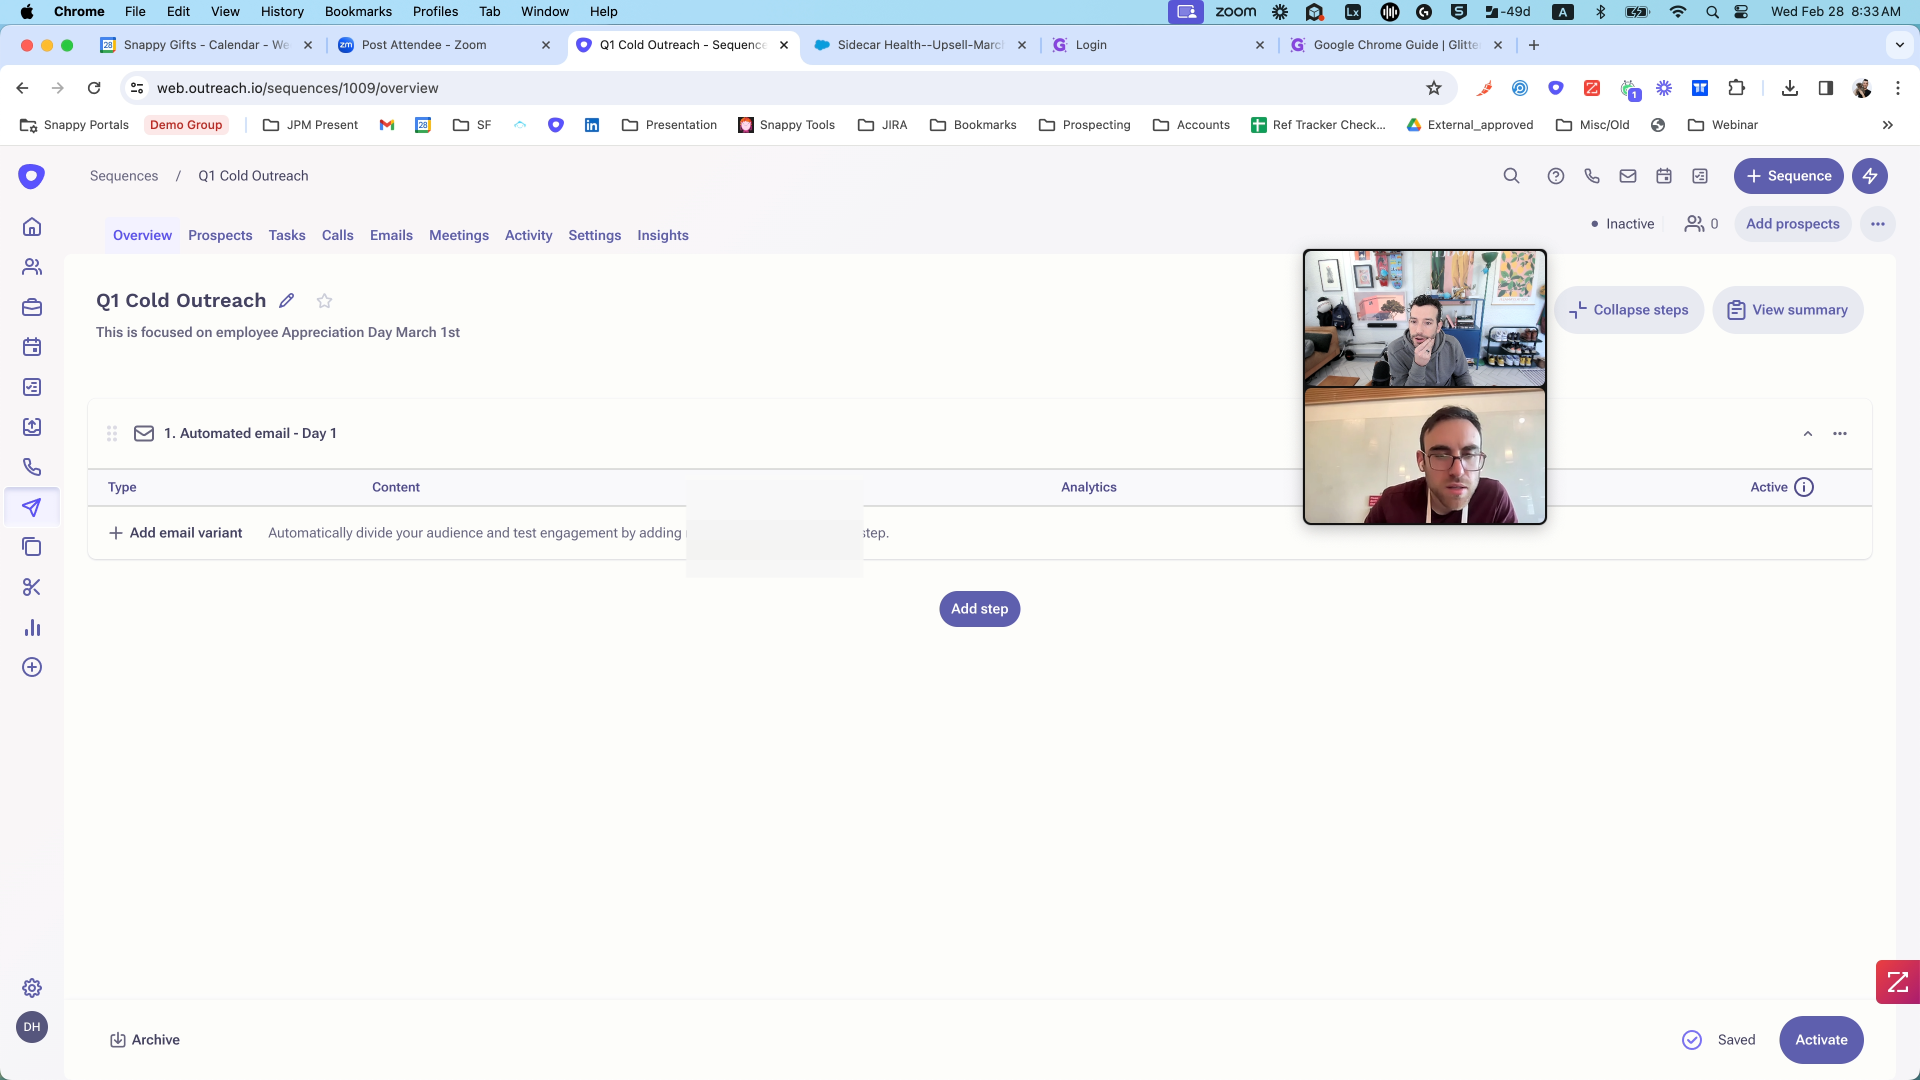
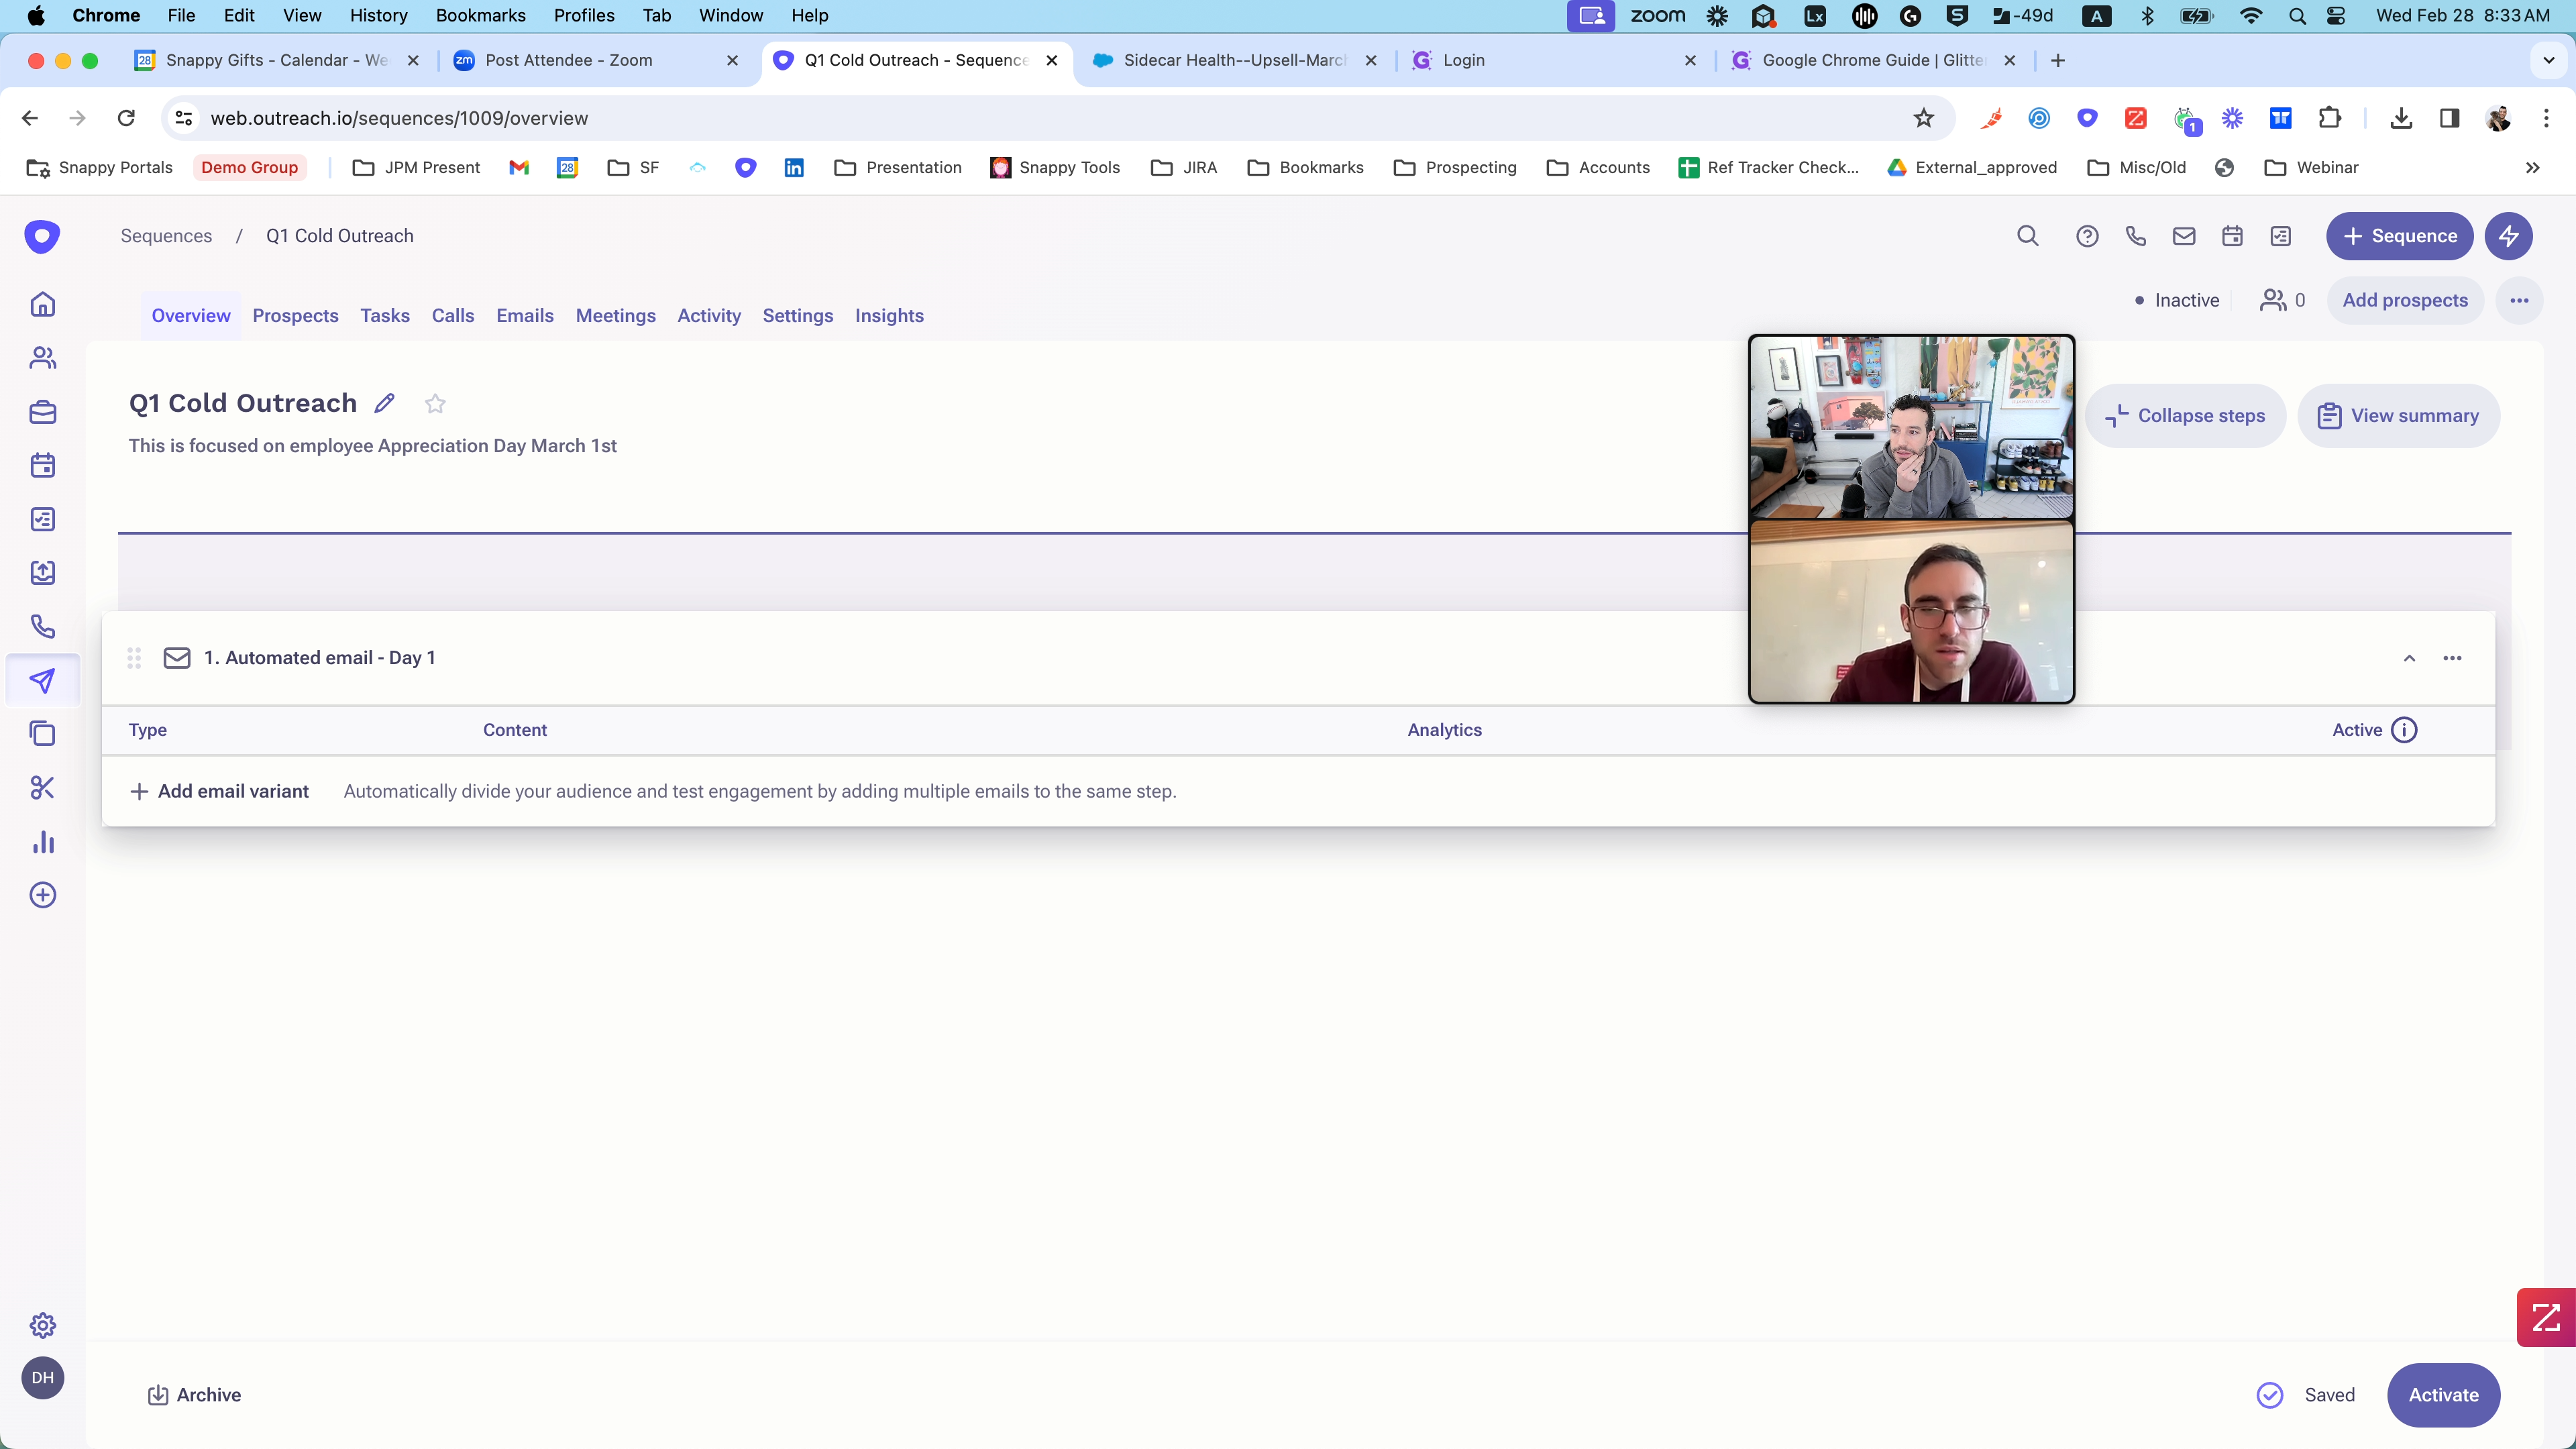
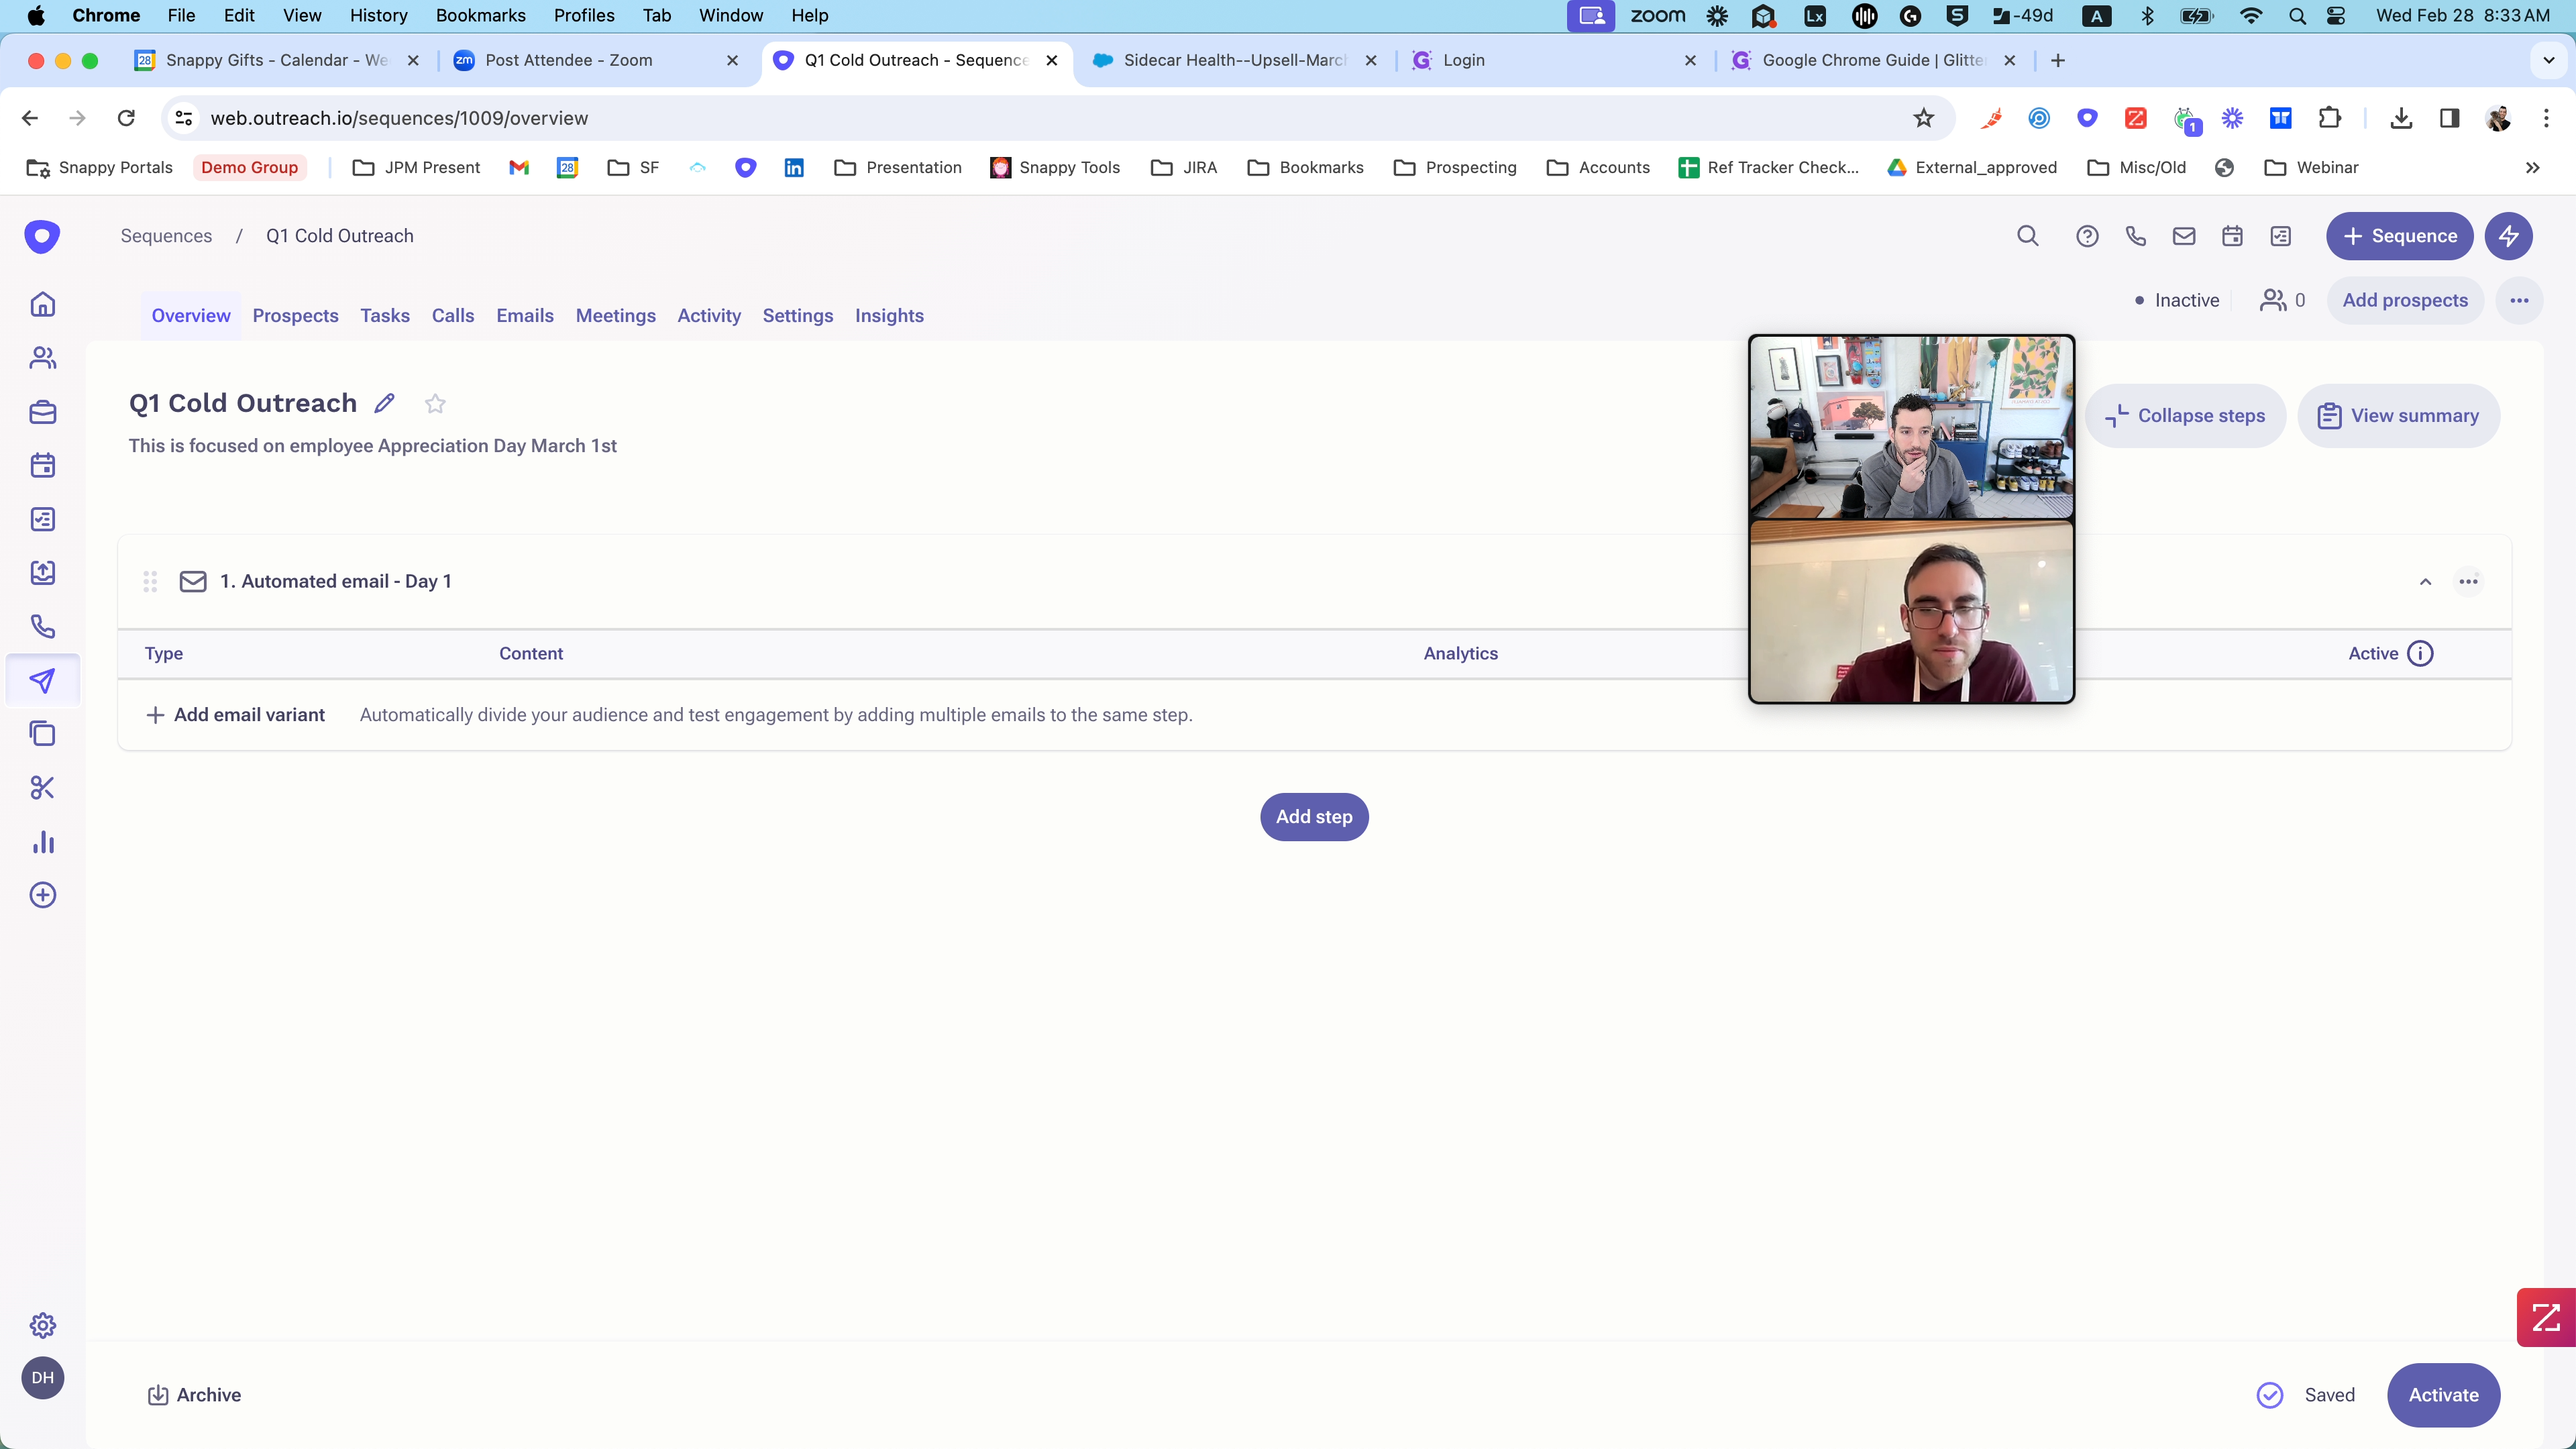
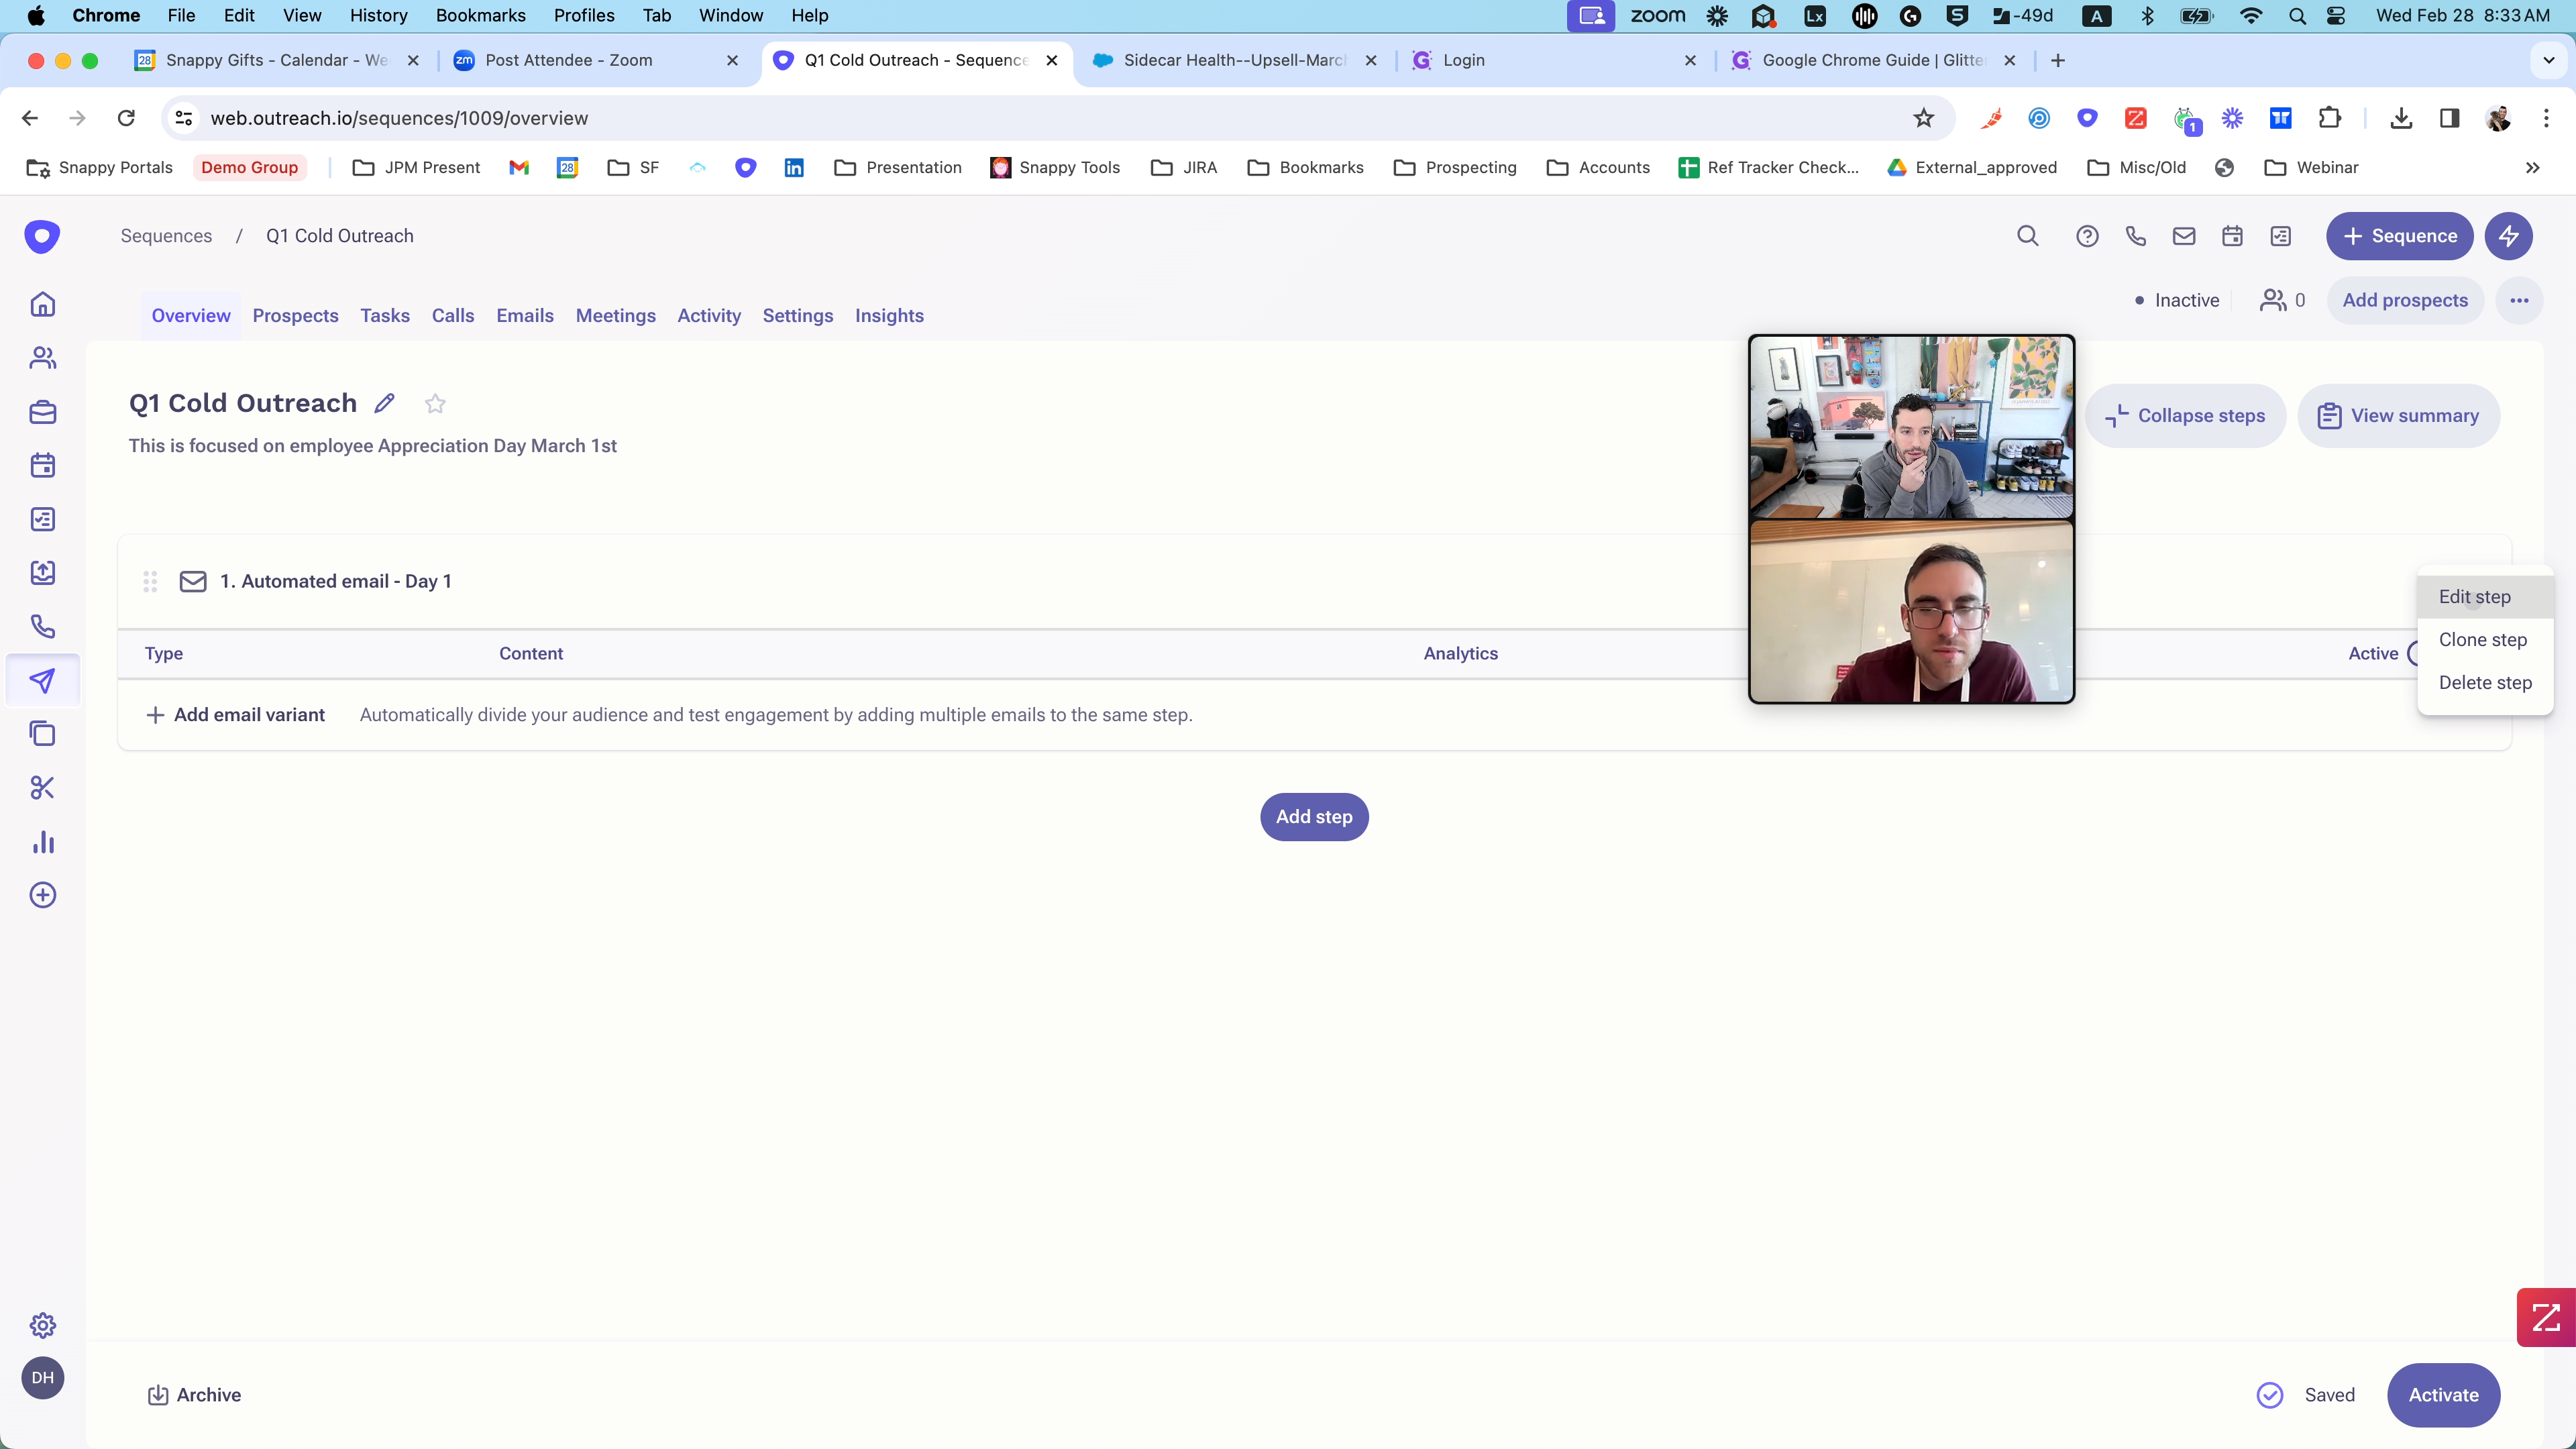
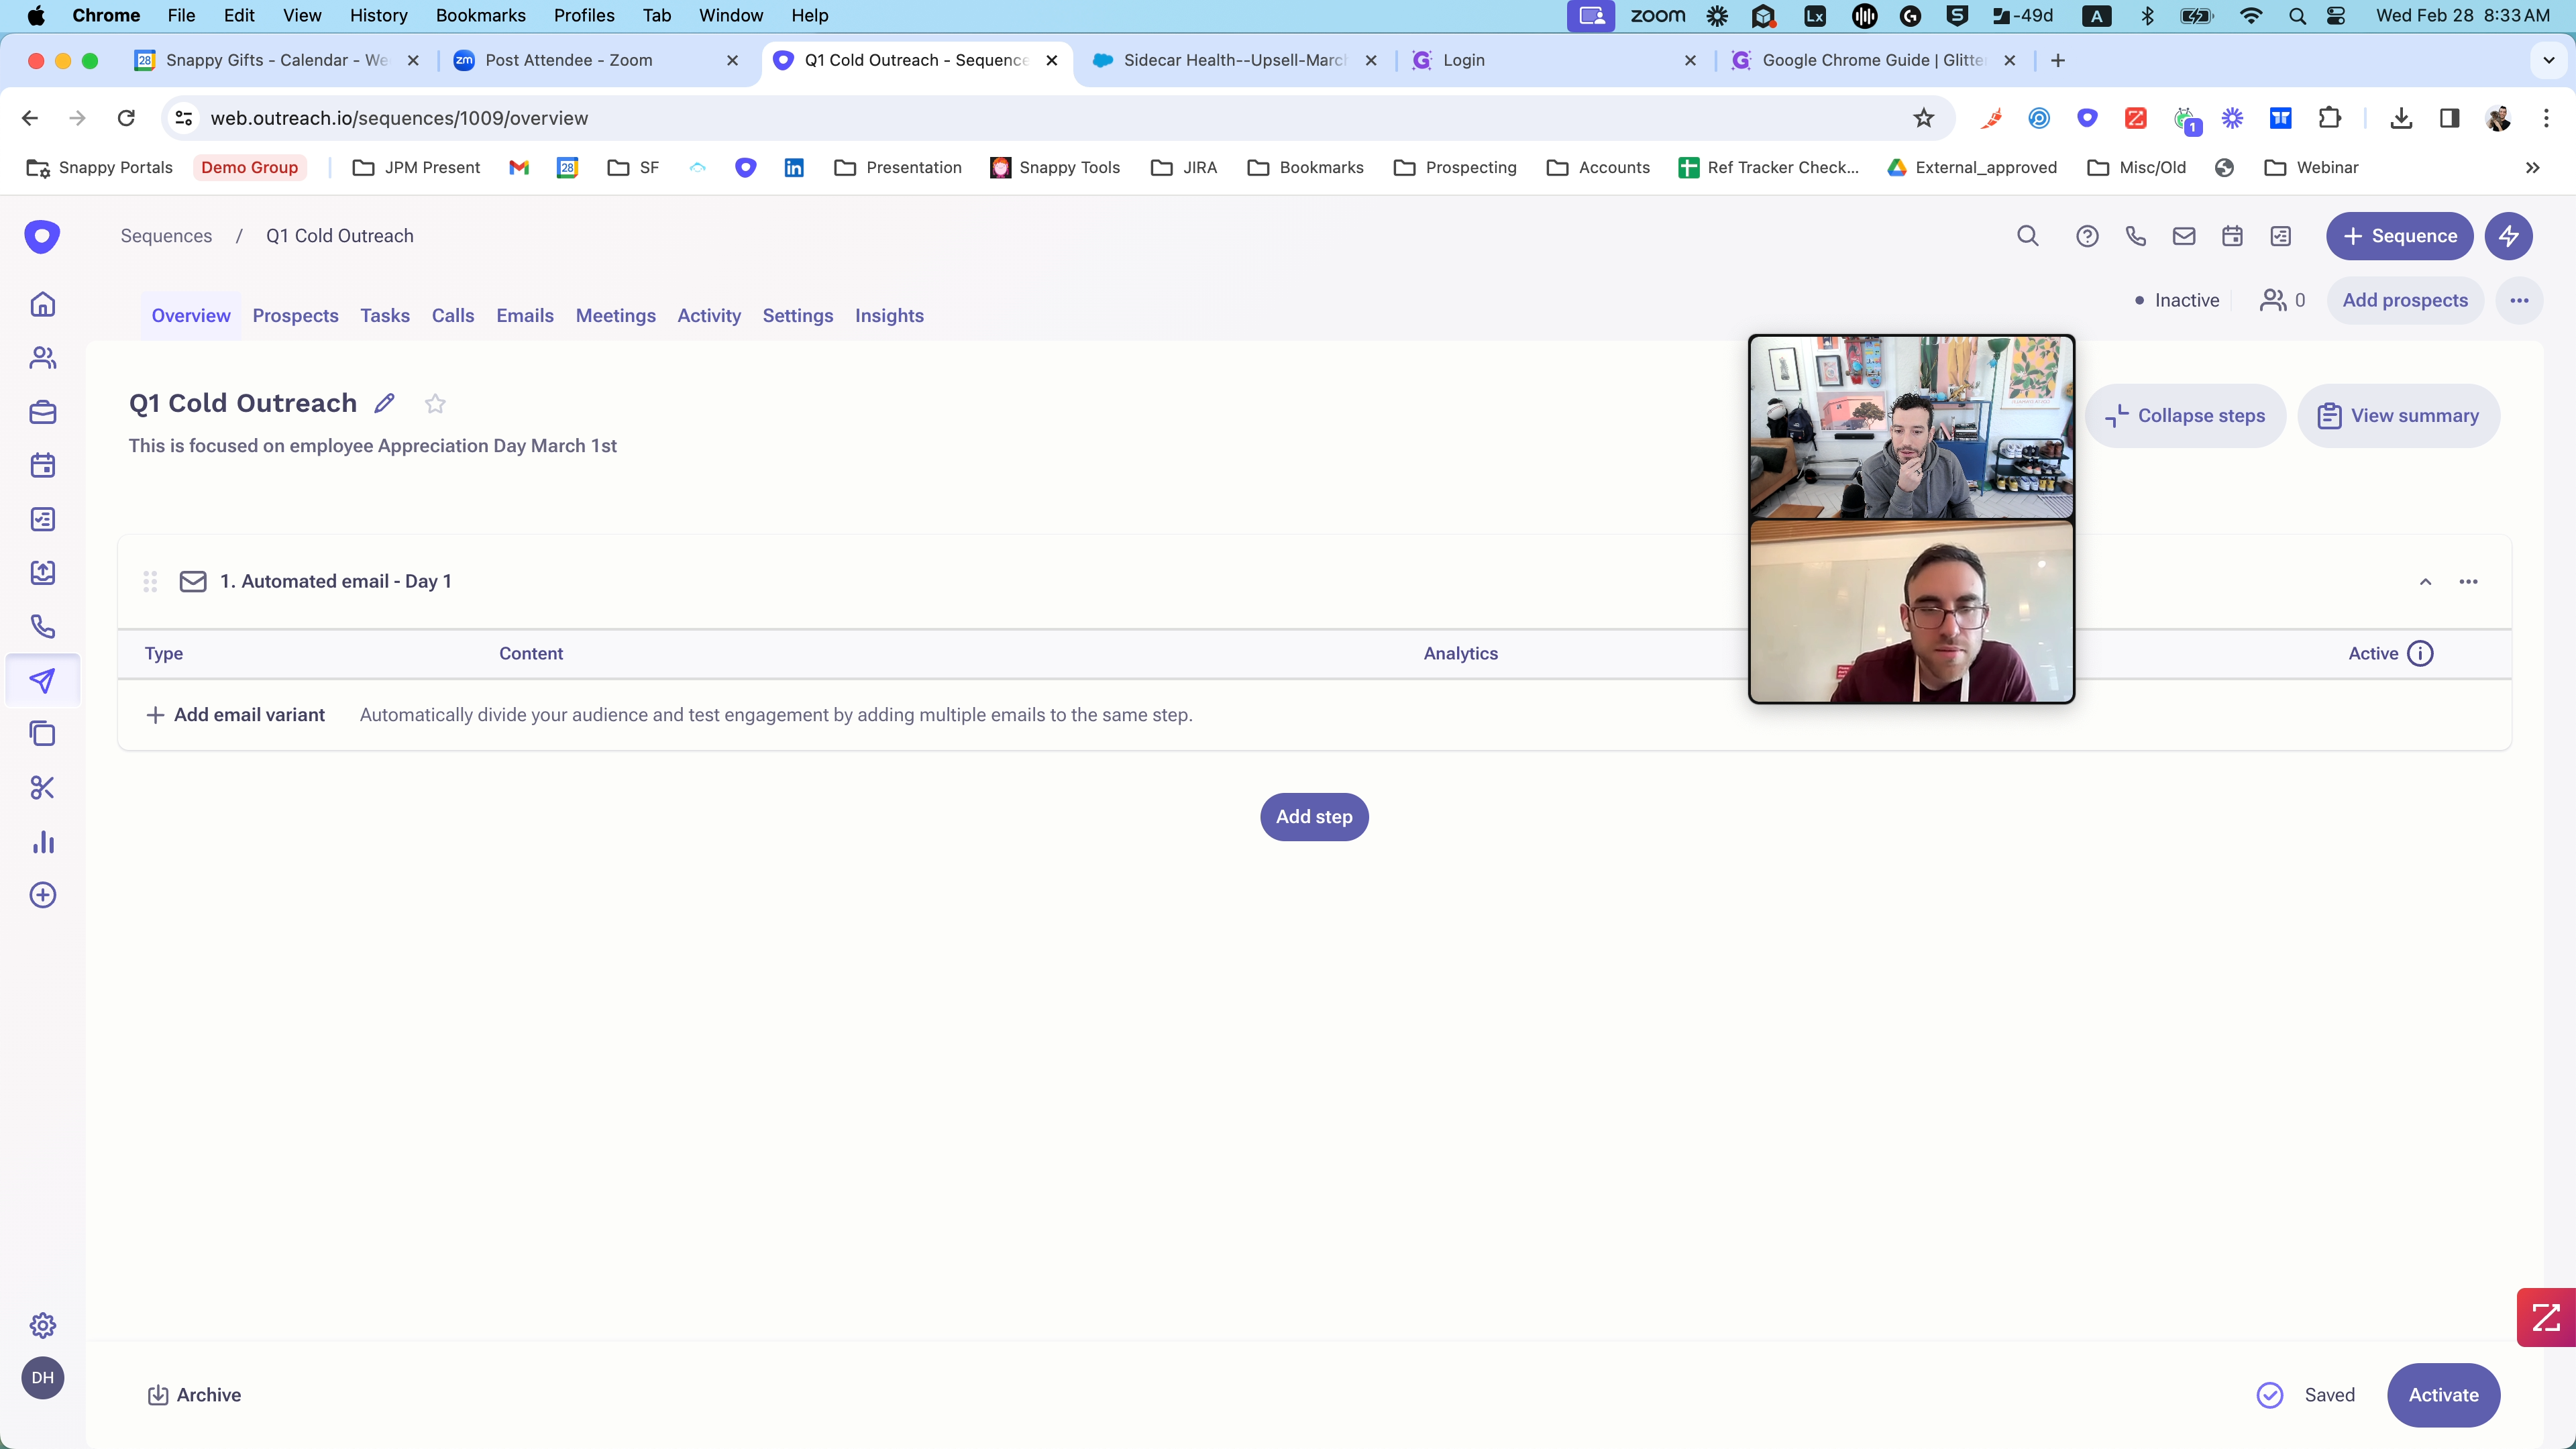
A step-by-step guide on how to create a new sequence in Outreach from scratch, starting with navigating to the Sequences tab and naming it as Q1 Cold Outreach.
In this guide, we'll learn how to create a new sequence in Outreach. If you're looking to streamline your outreach efforts and engage with your audience more effectively, mastering the process of setting up sequences is crucial. By following these steps, you'll be able to tailor your outreach strategy to suit your specific goals and target audience. Let's dive in.
Setting Up a New Sequence in Outreach
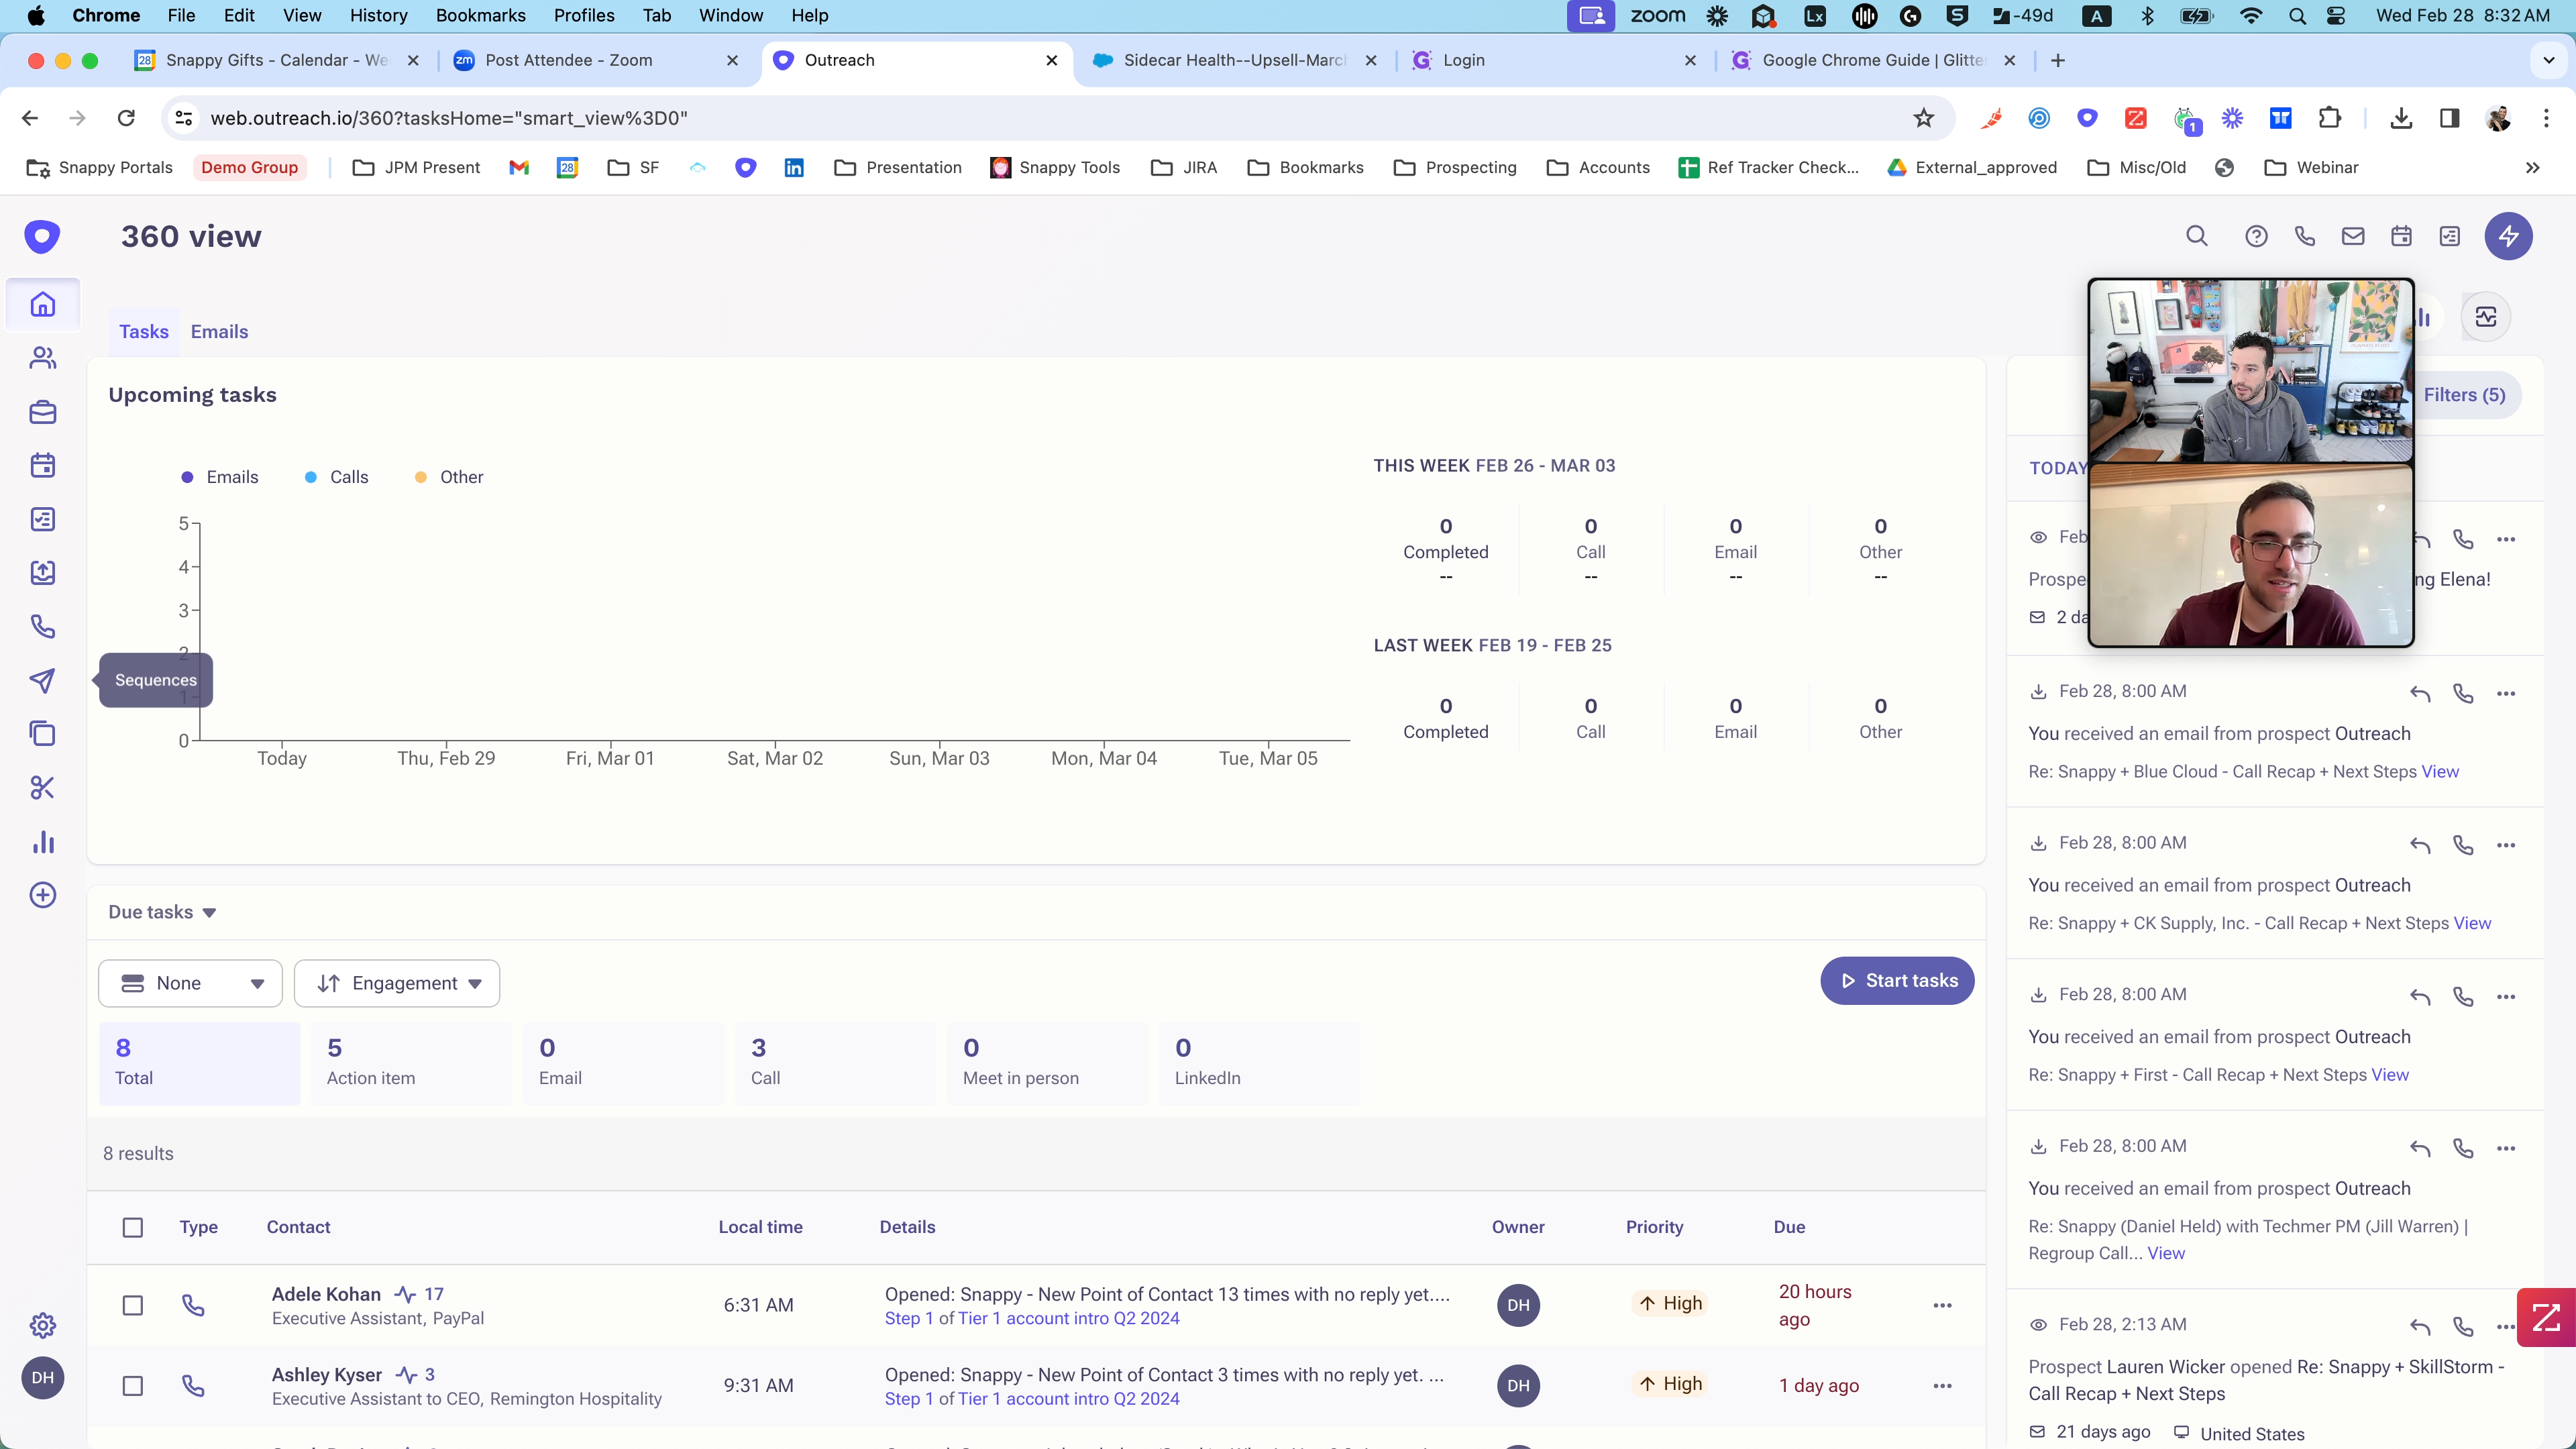
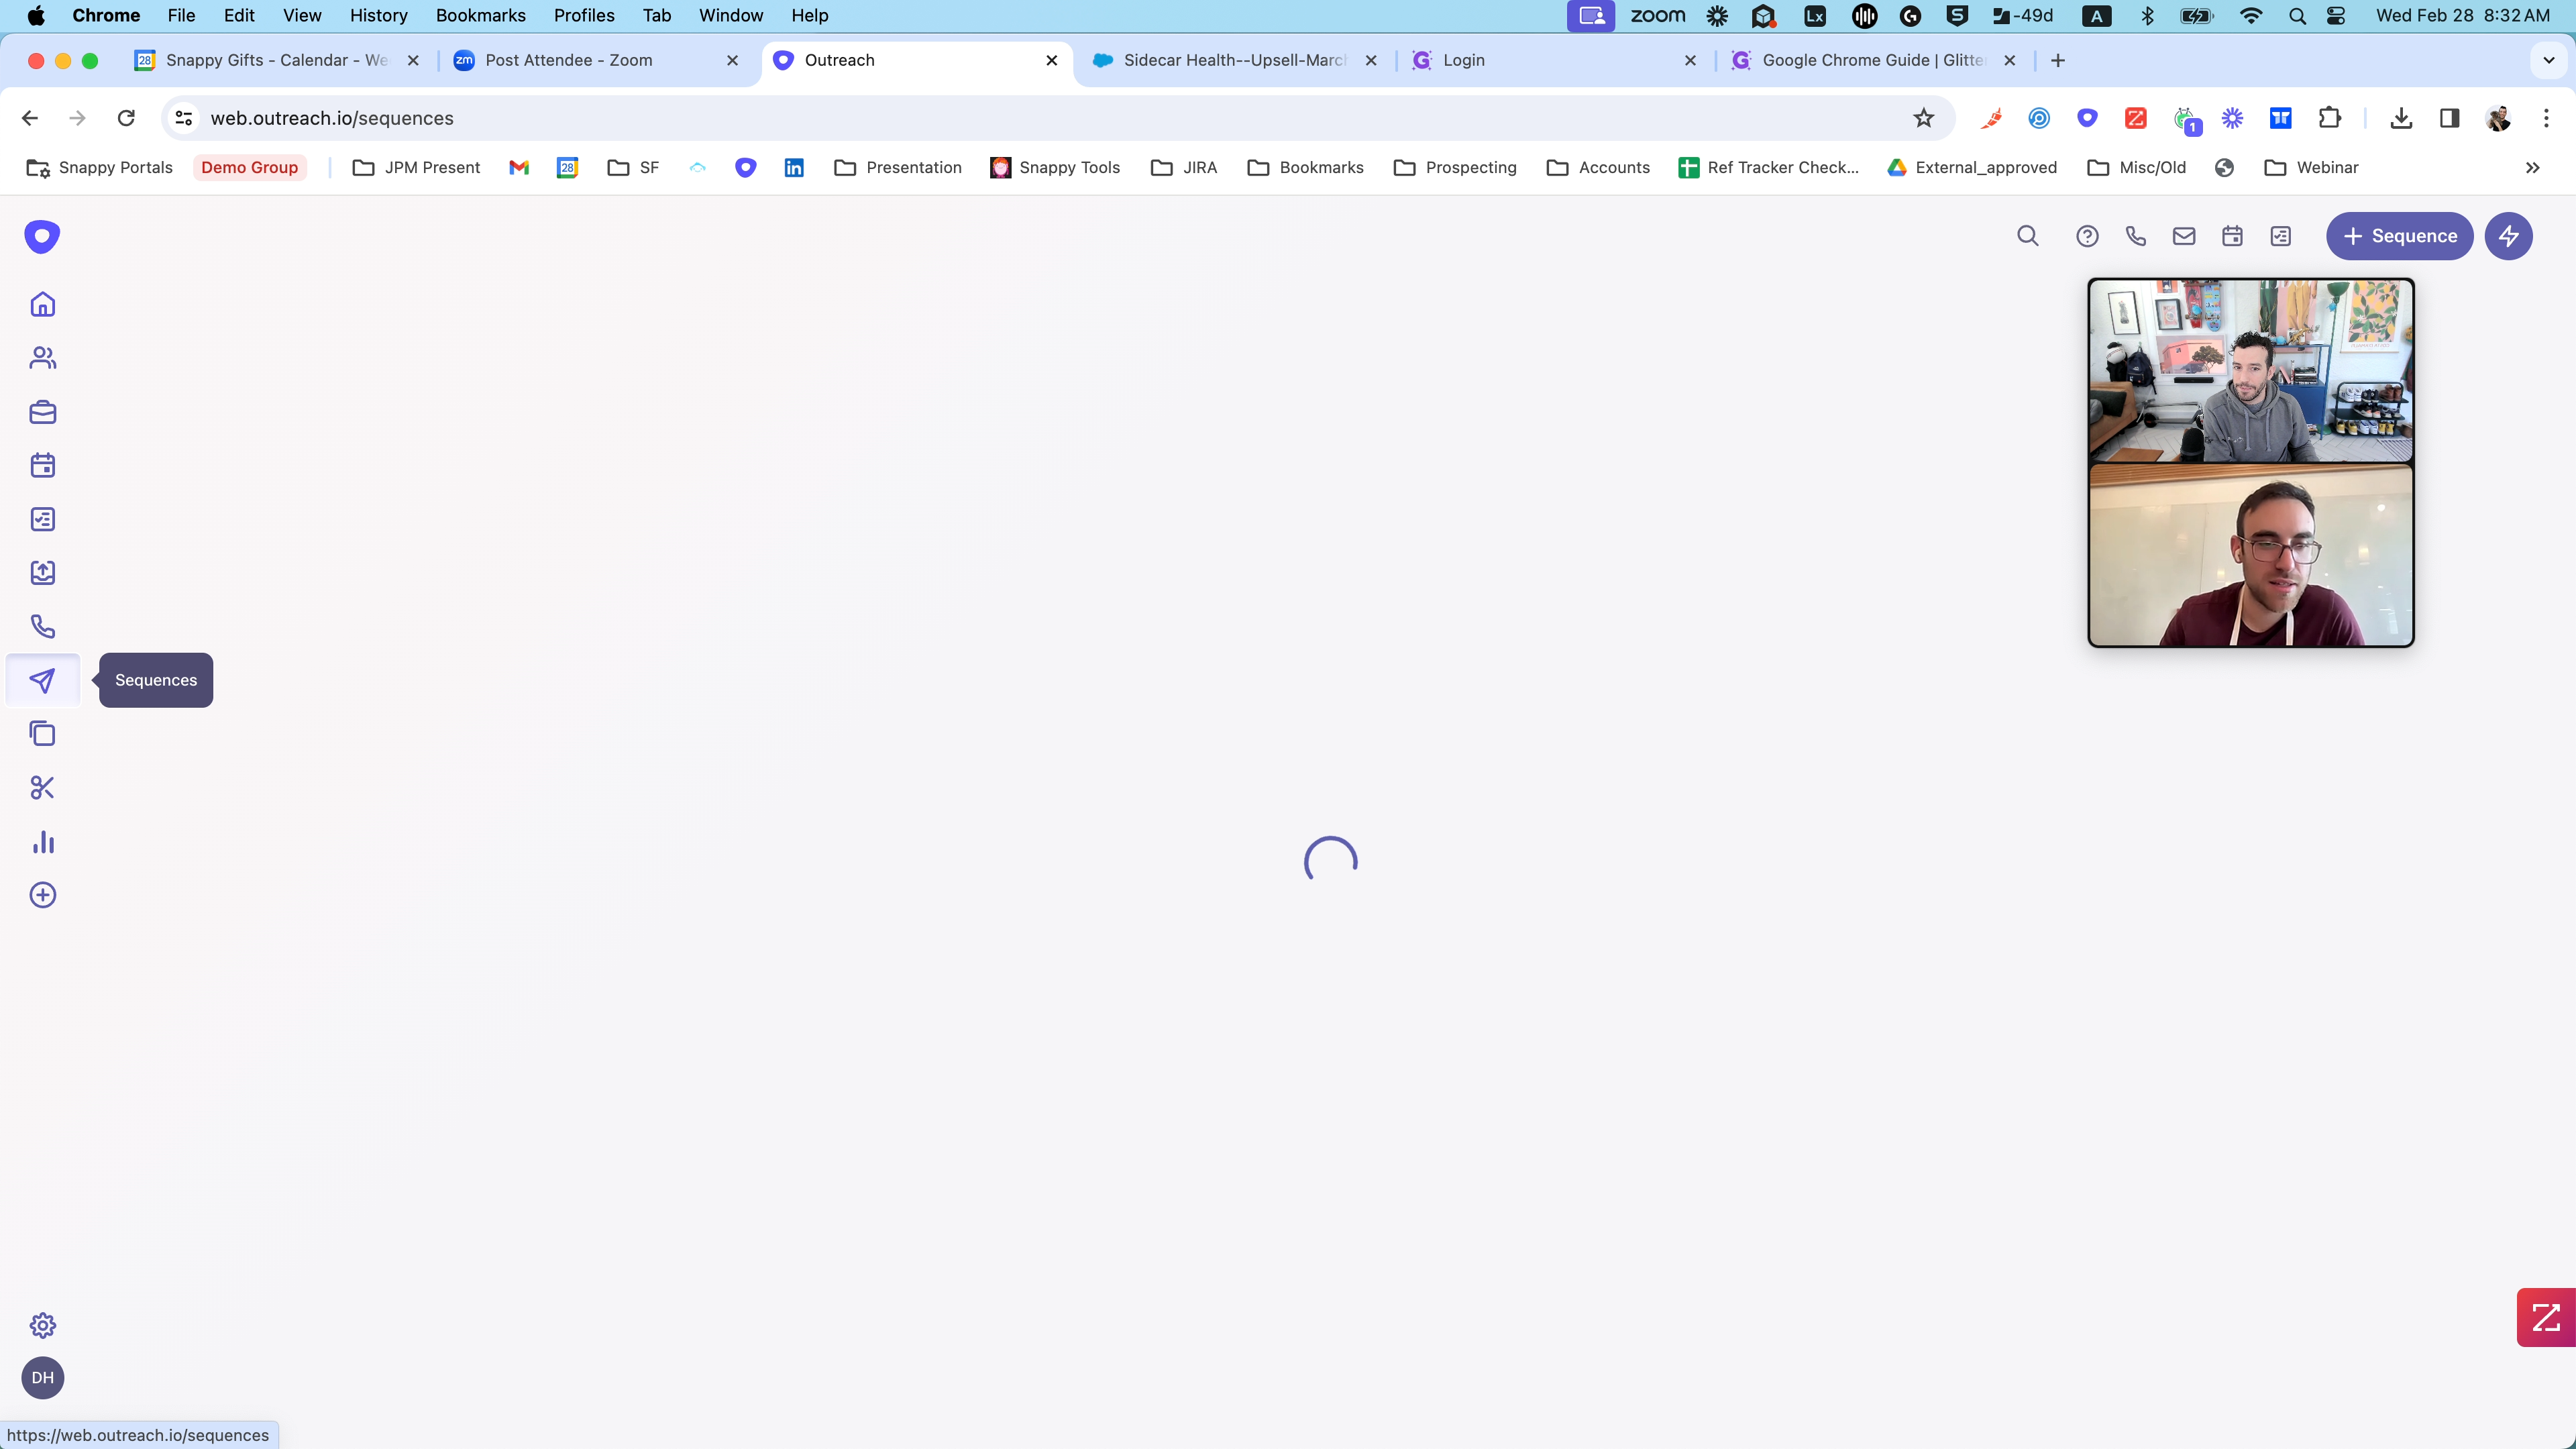
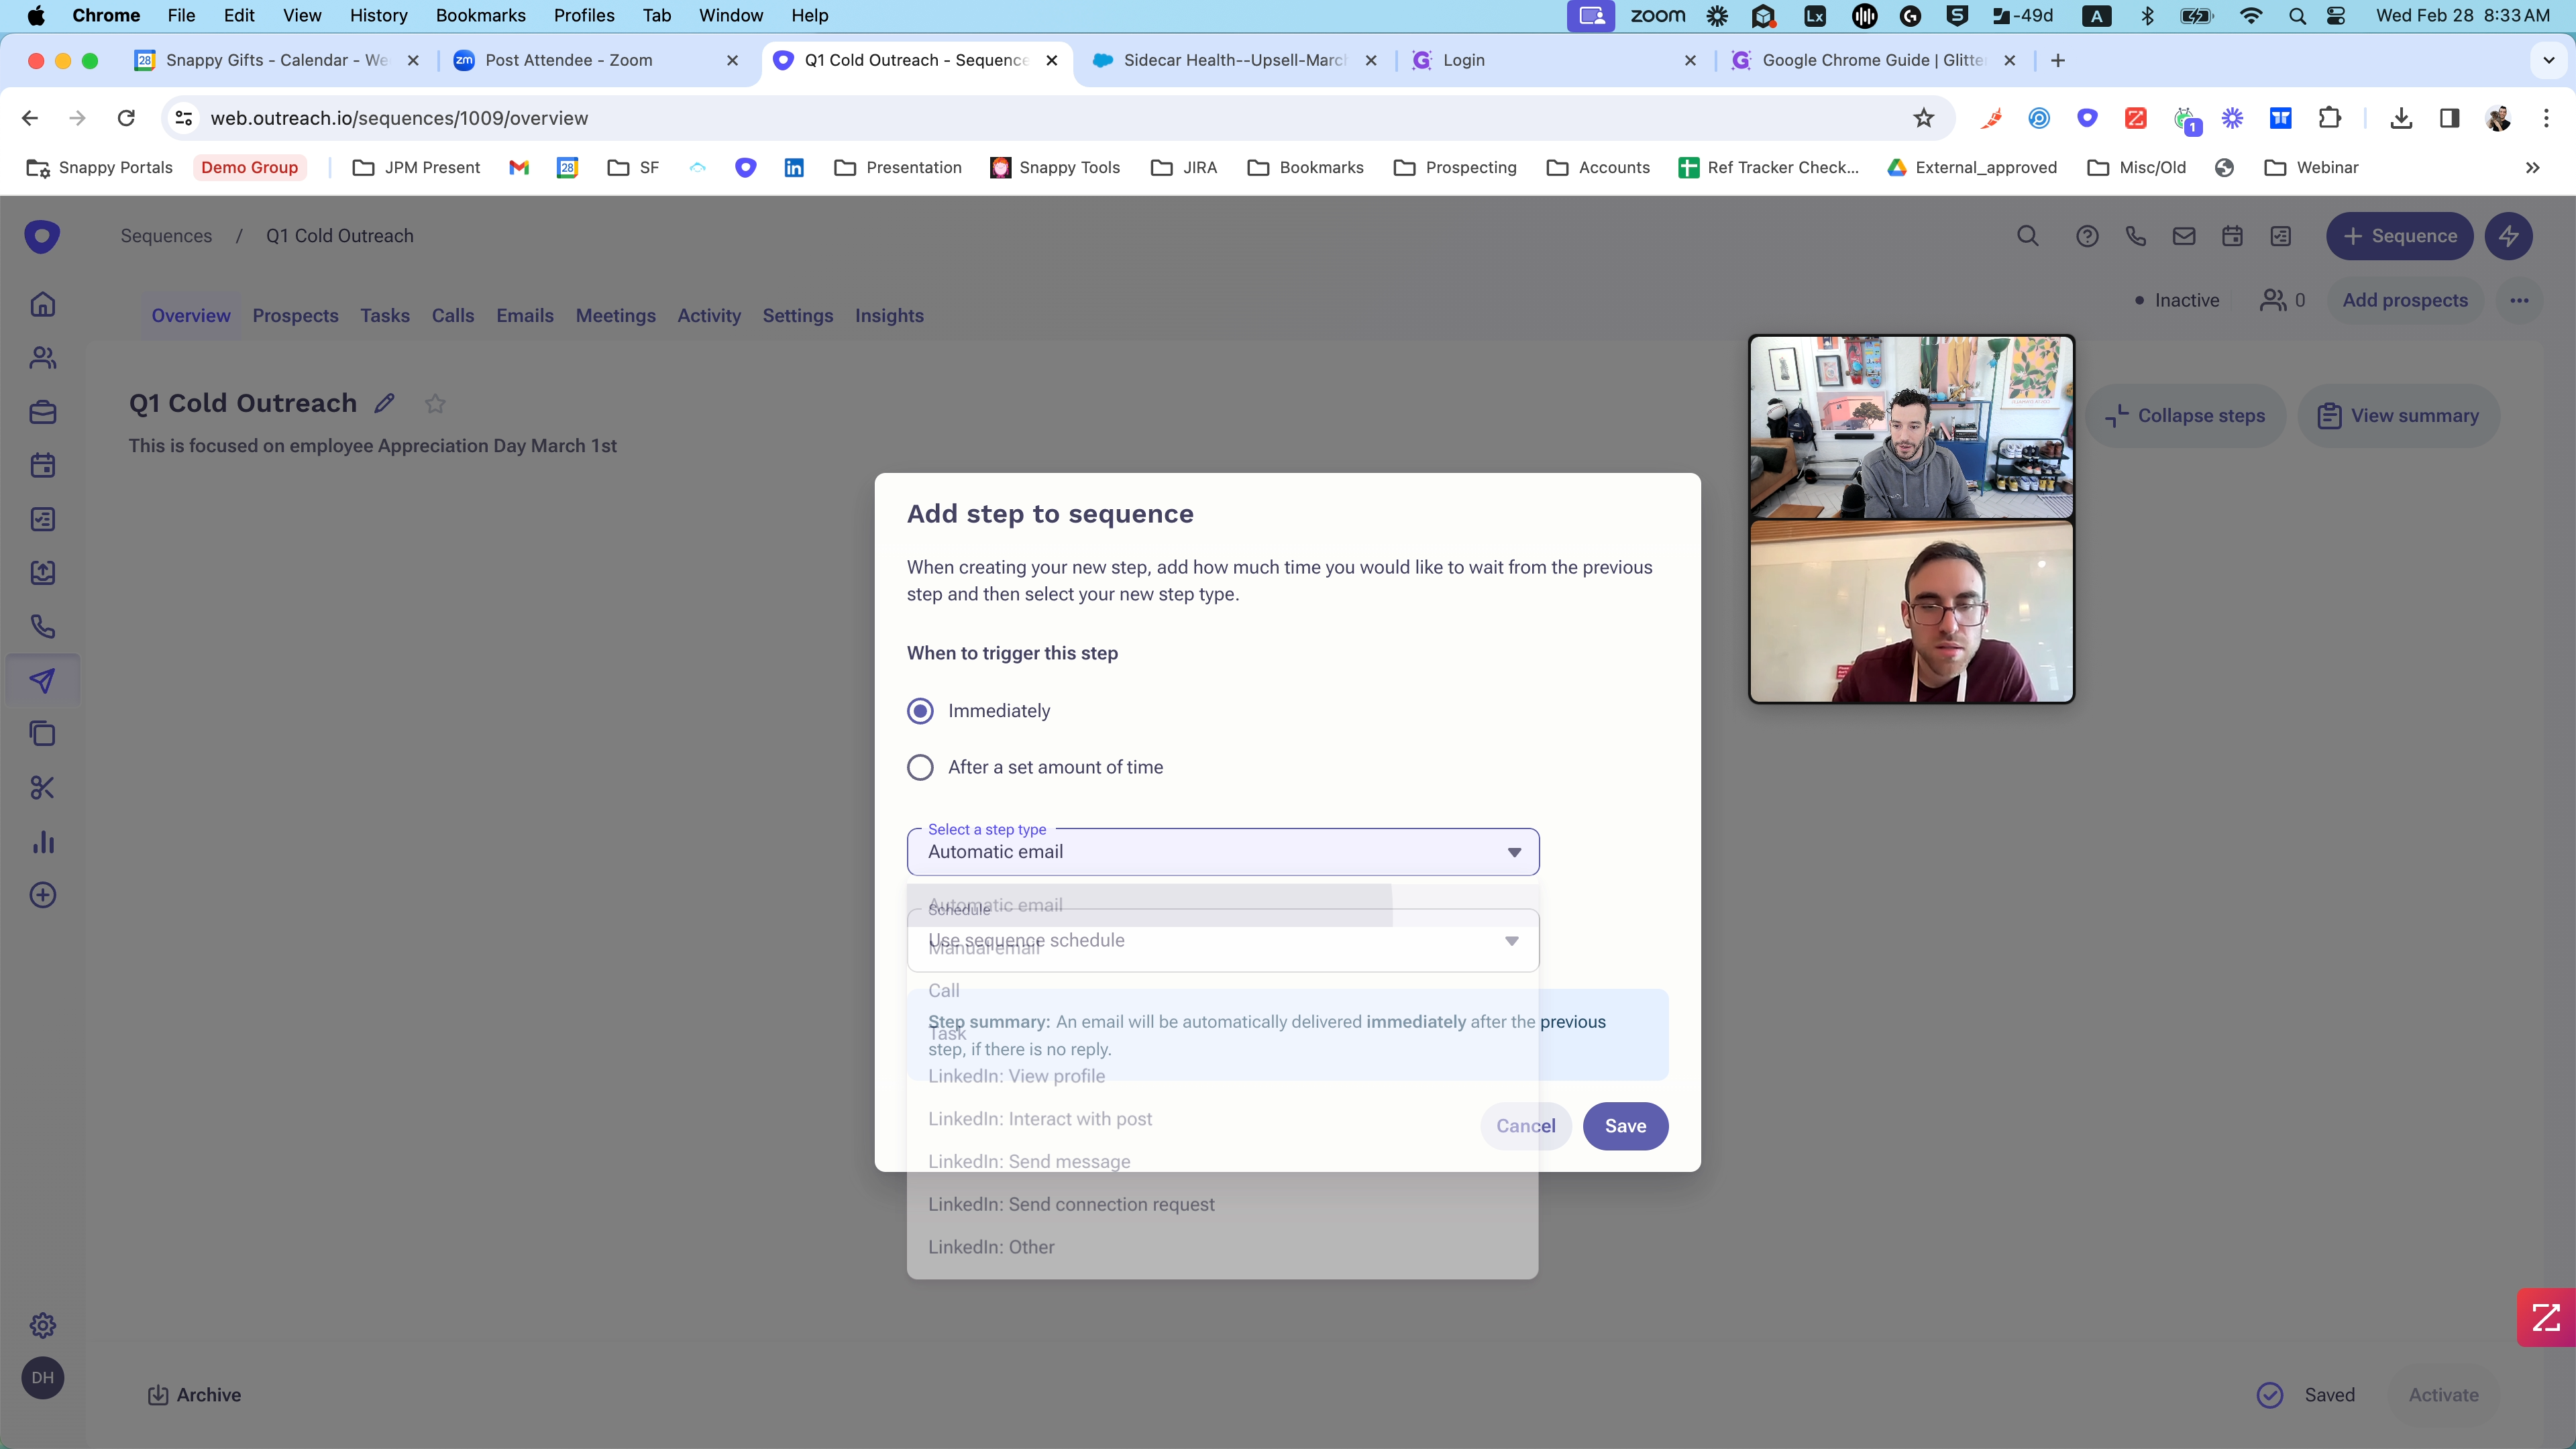
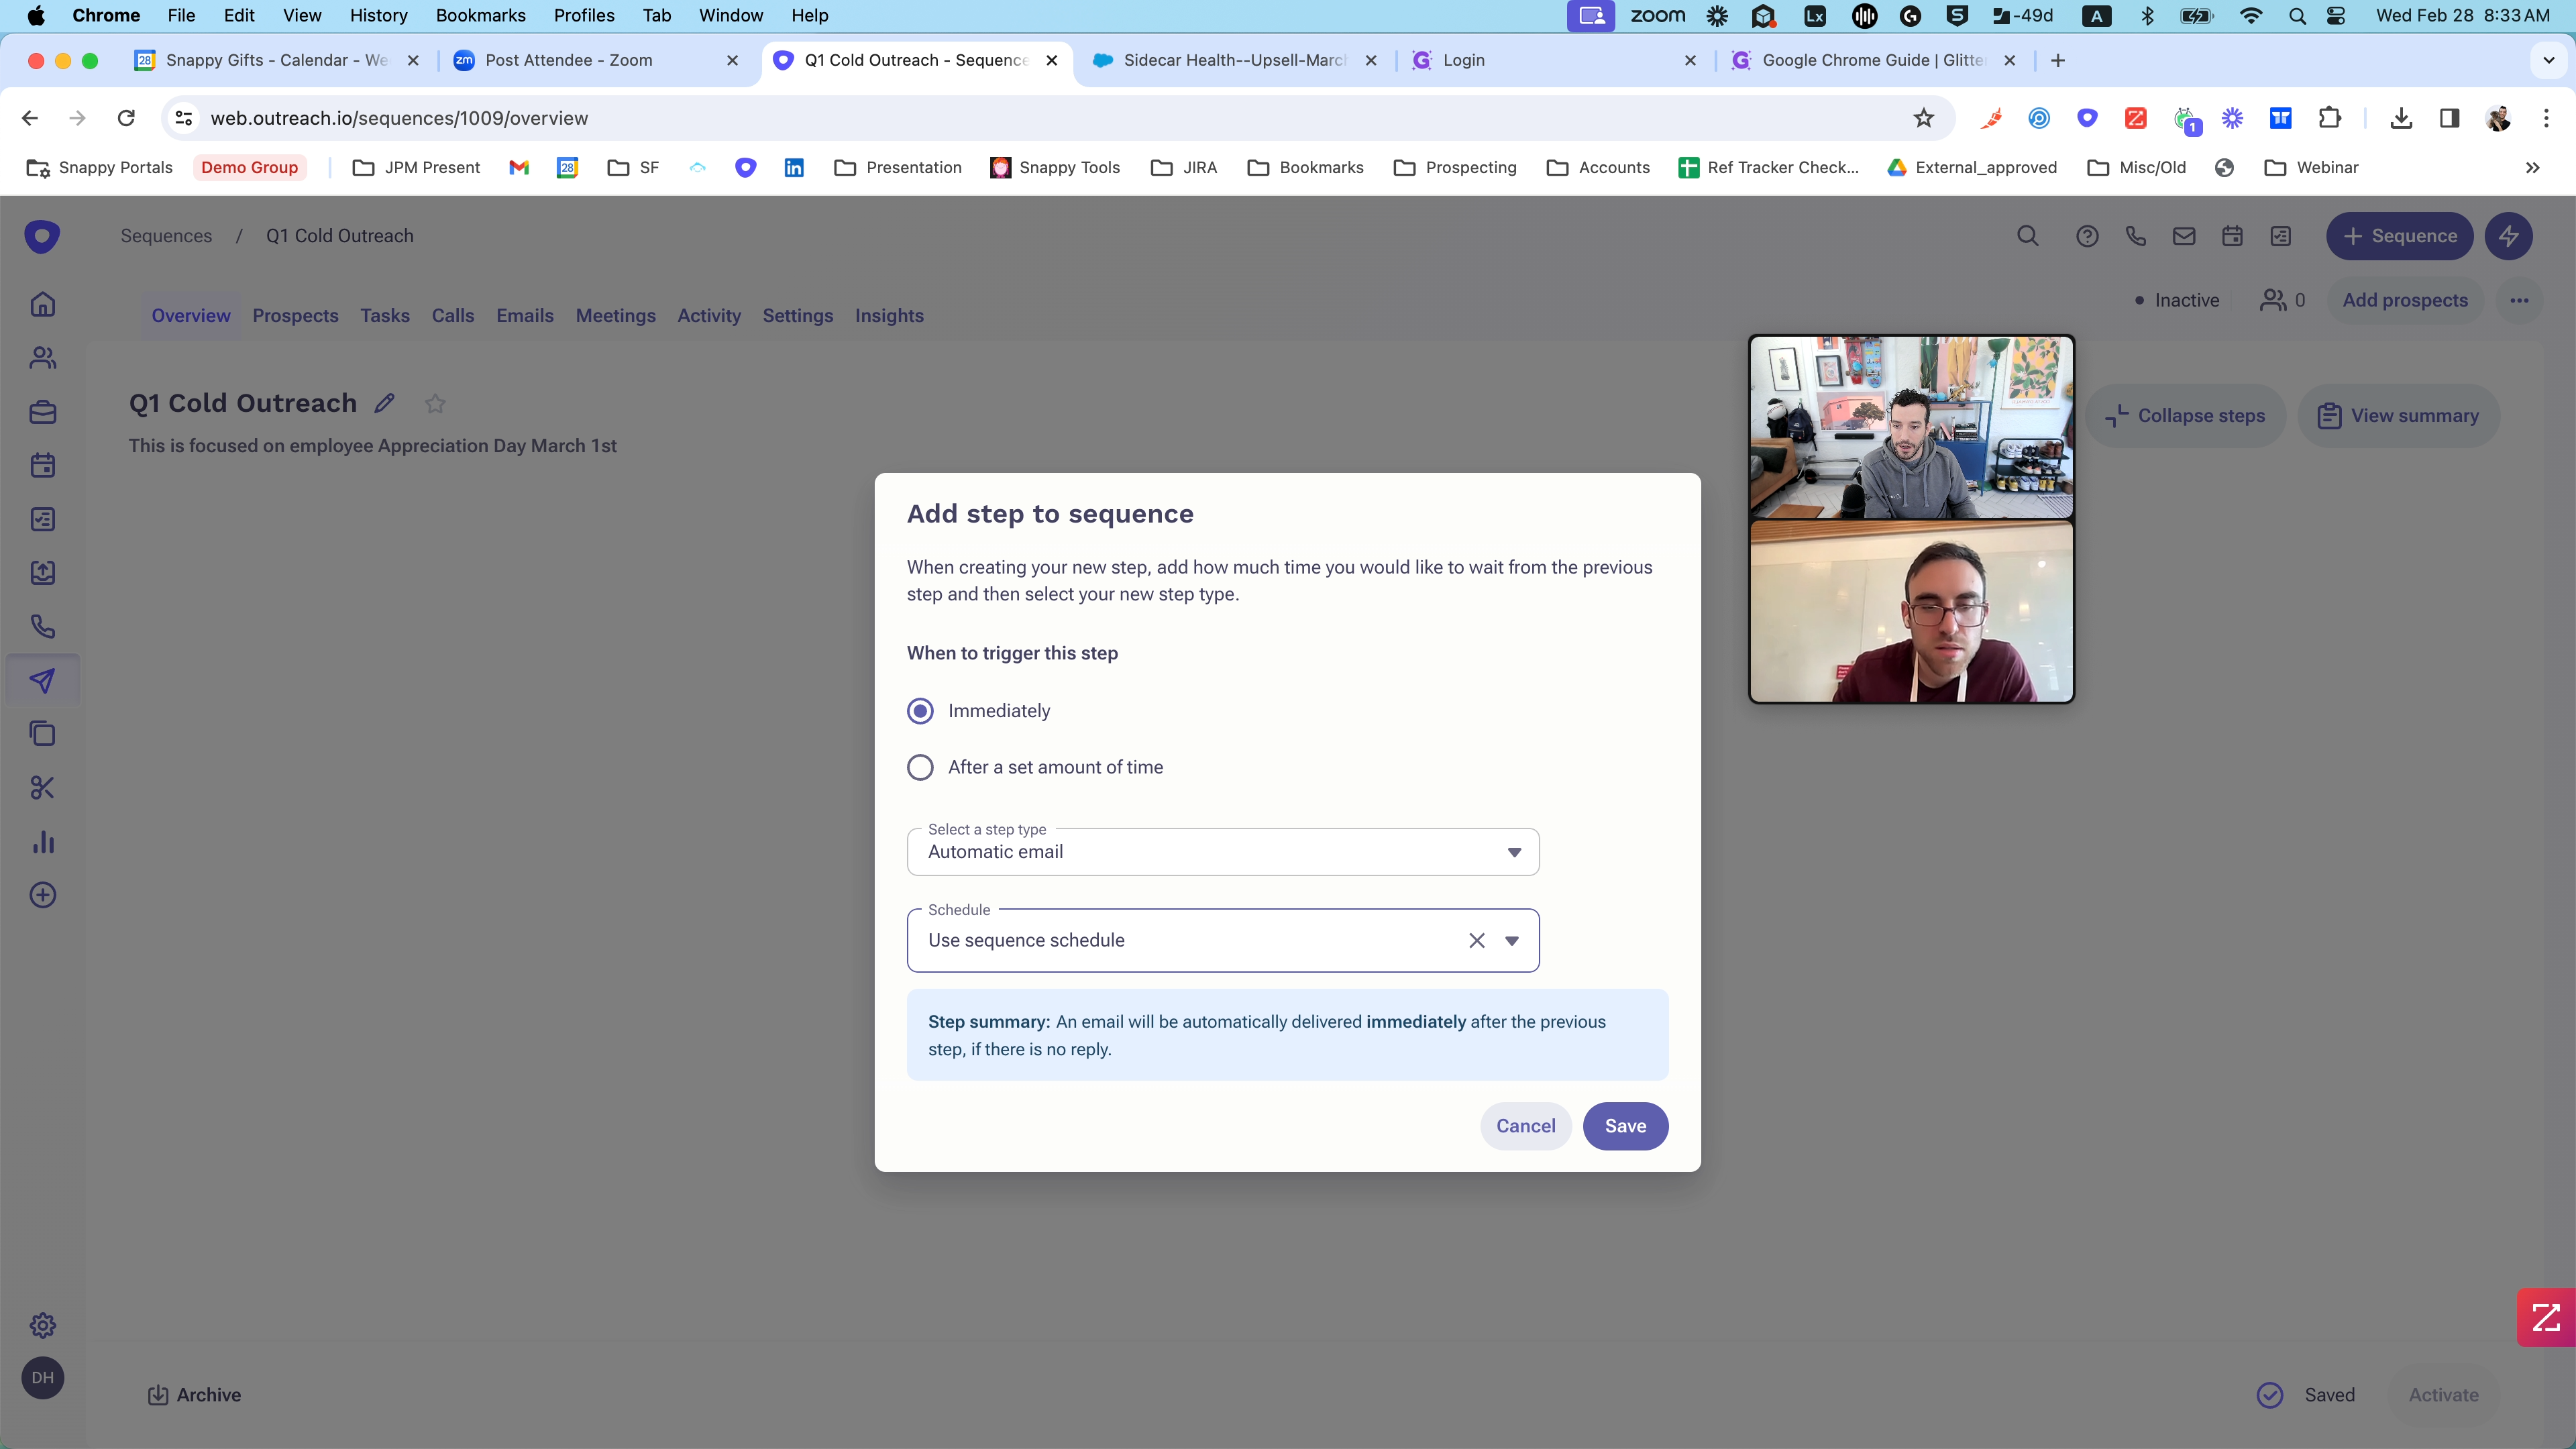
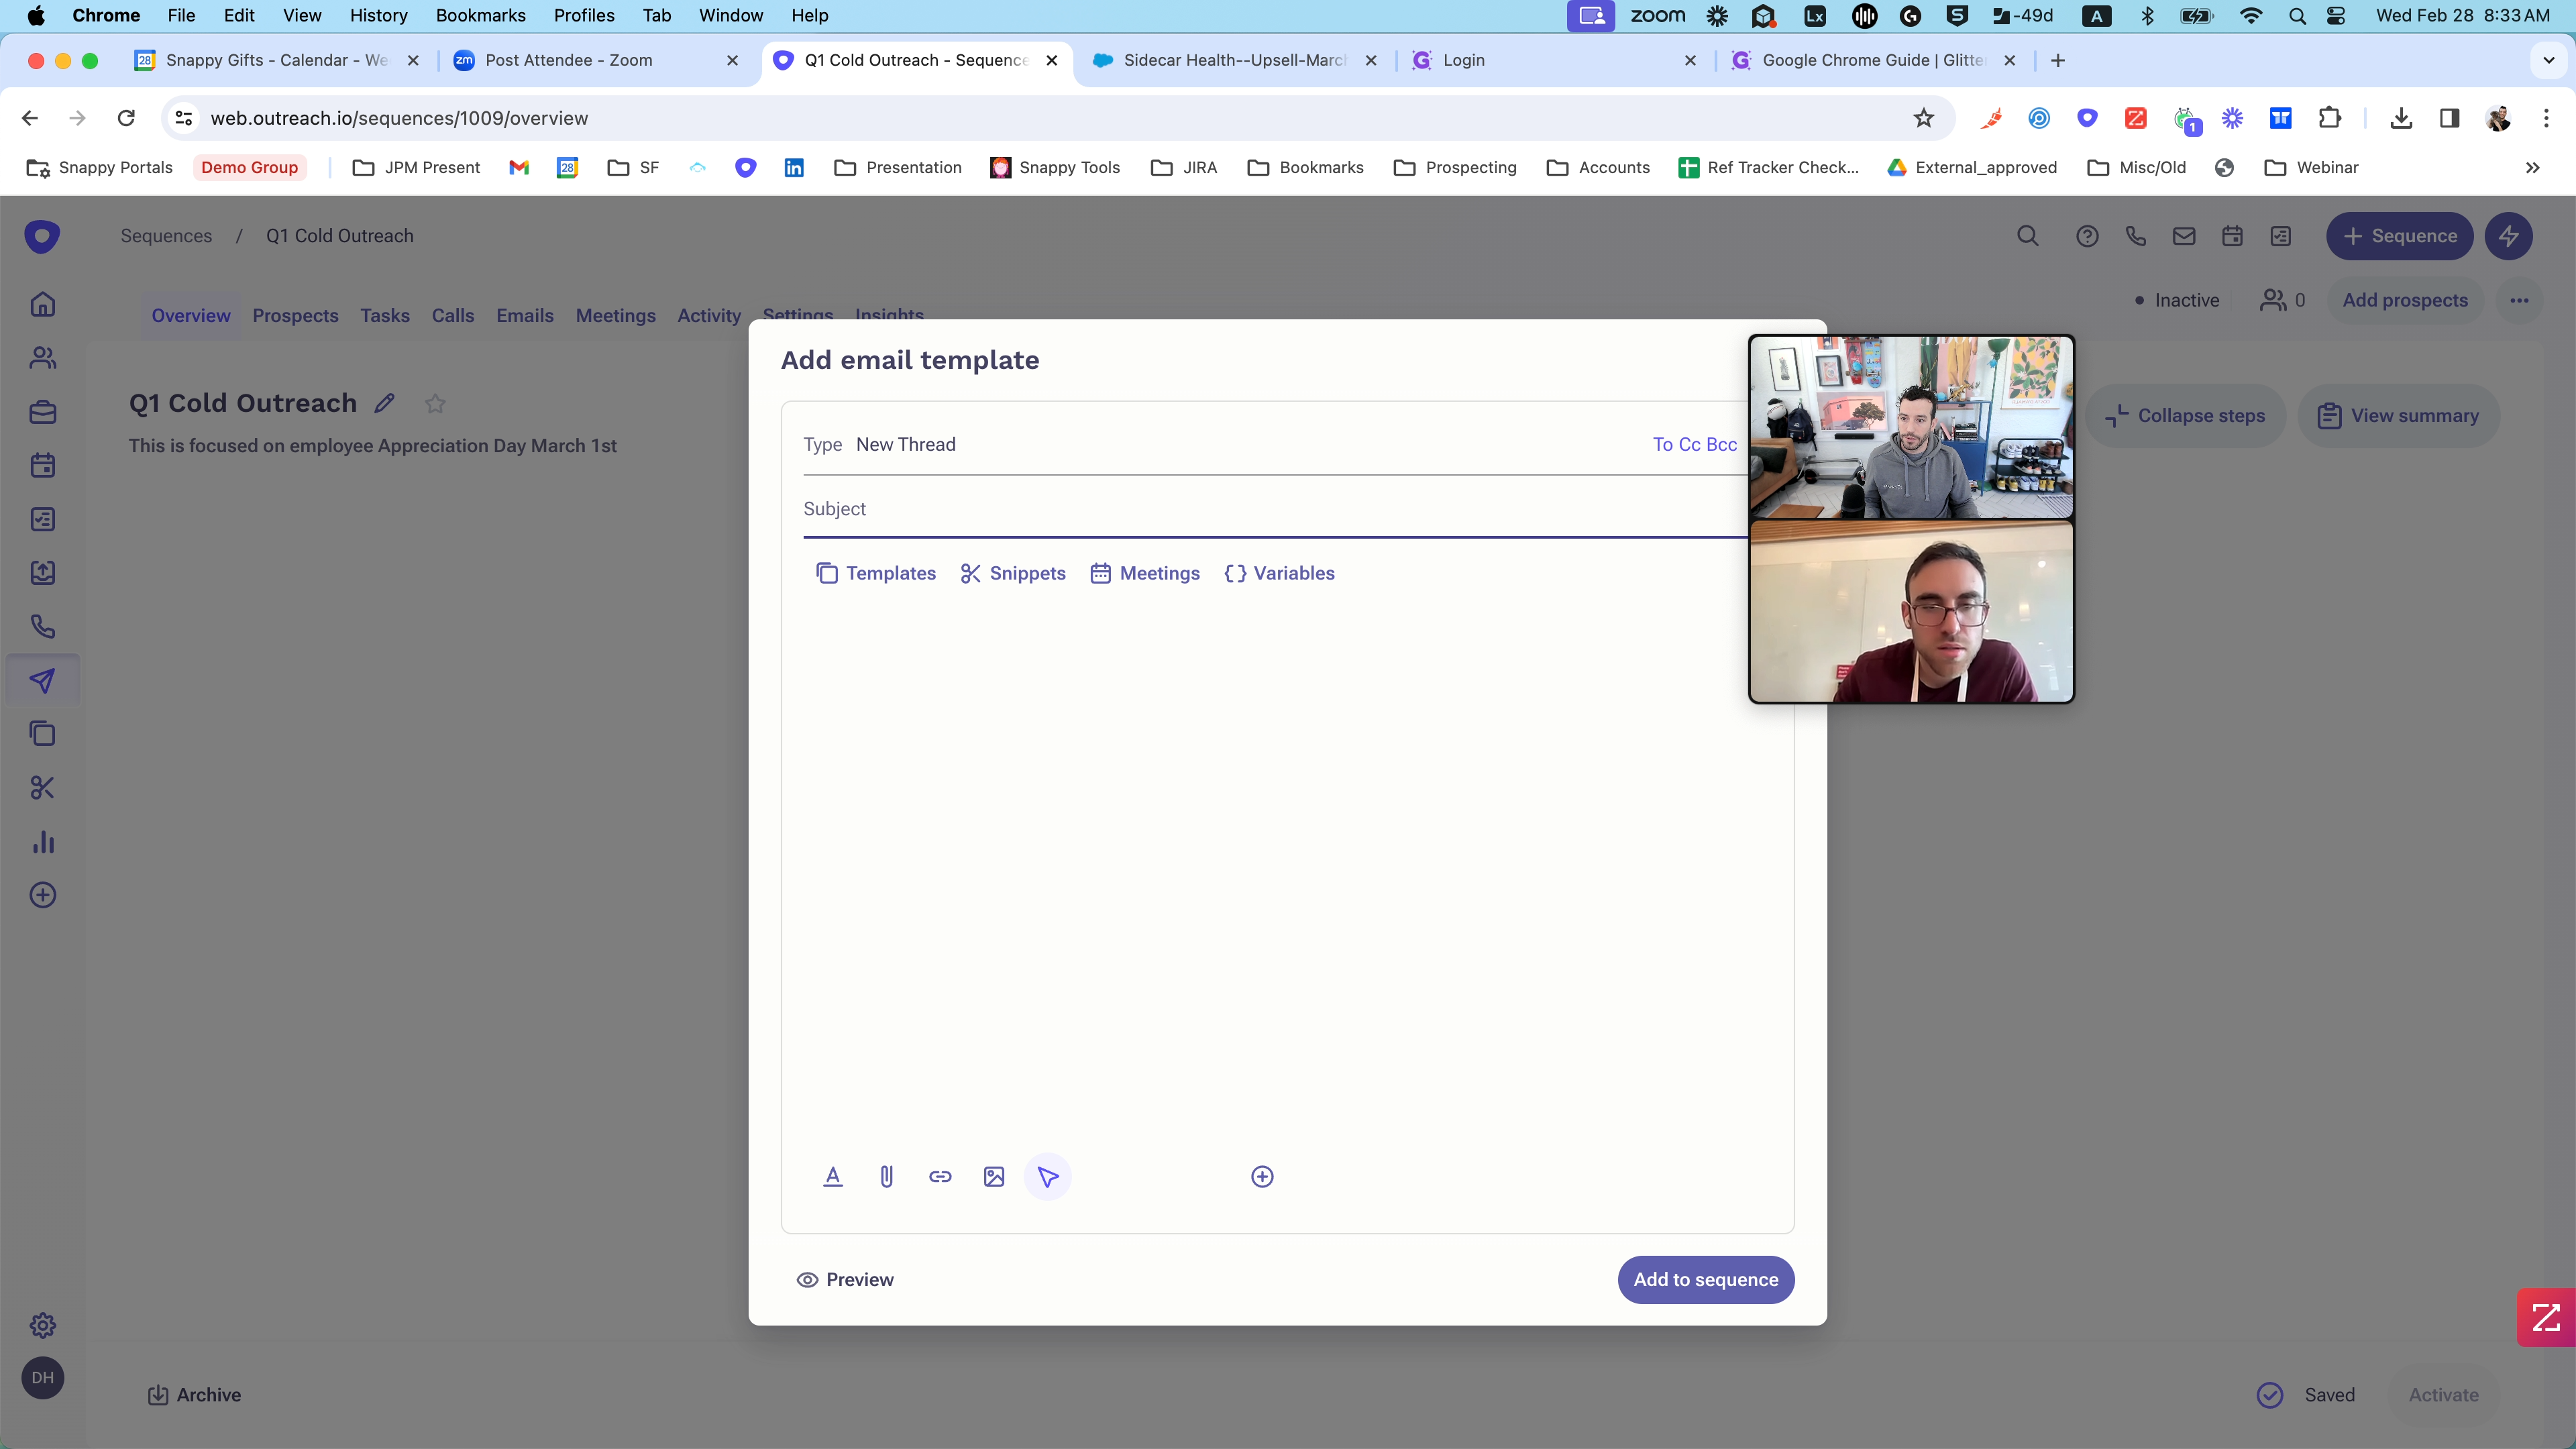
To begin, navigate to the Sequences tab on the homepage of Outreach. From there, you can initiate the process of creating a new sequence. Opt for a blank sequence to have the freedom to craft a personalized outreach strategy from the ground up.
Naming Your Sequence
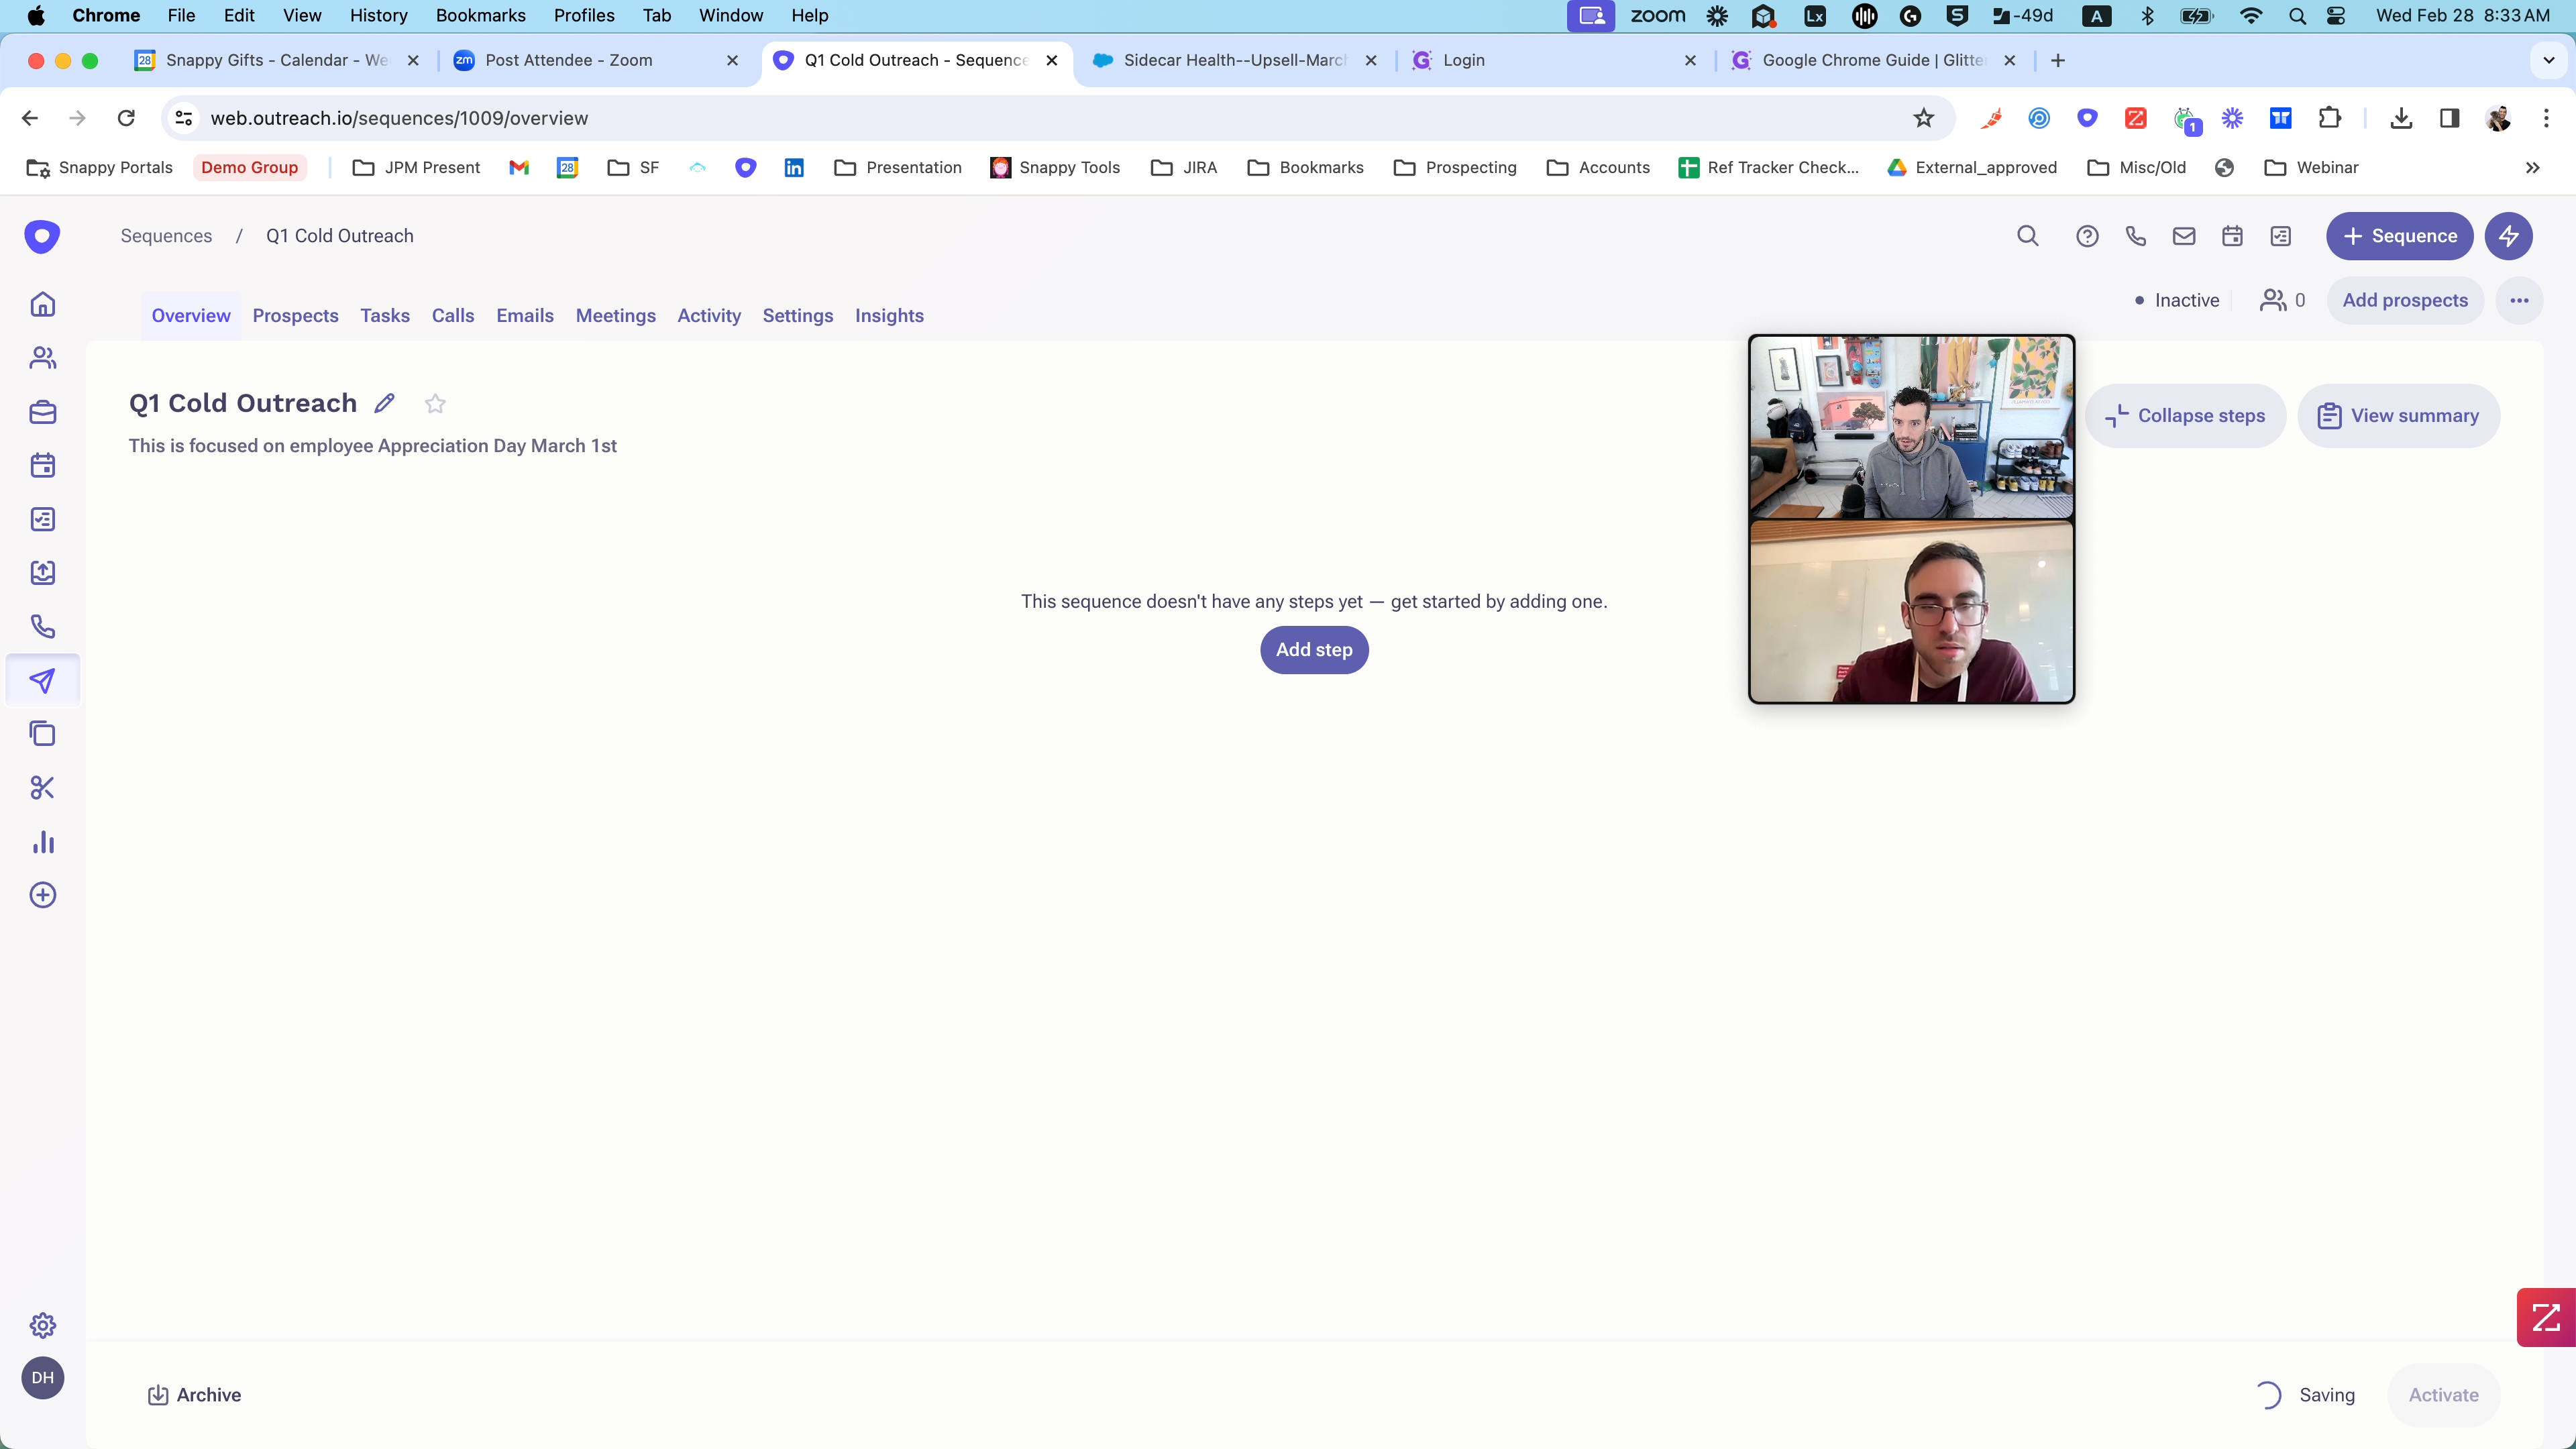
The first step involves giving your sequence a distinct name that reflects its purpose. Whether it's for cold outreach, follow-ups, or specific campaigns, a clear and descriptive title like "Q1 Cold Outreach" can help you stay organized and focused on your objectives.
Let's get started.
All right, hey friends! Today, I want to show you how to create a new sequence in Outreach. The first step is to navigate to your Sequences tab when you're on the homepage of Outreach.
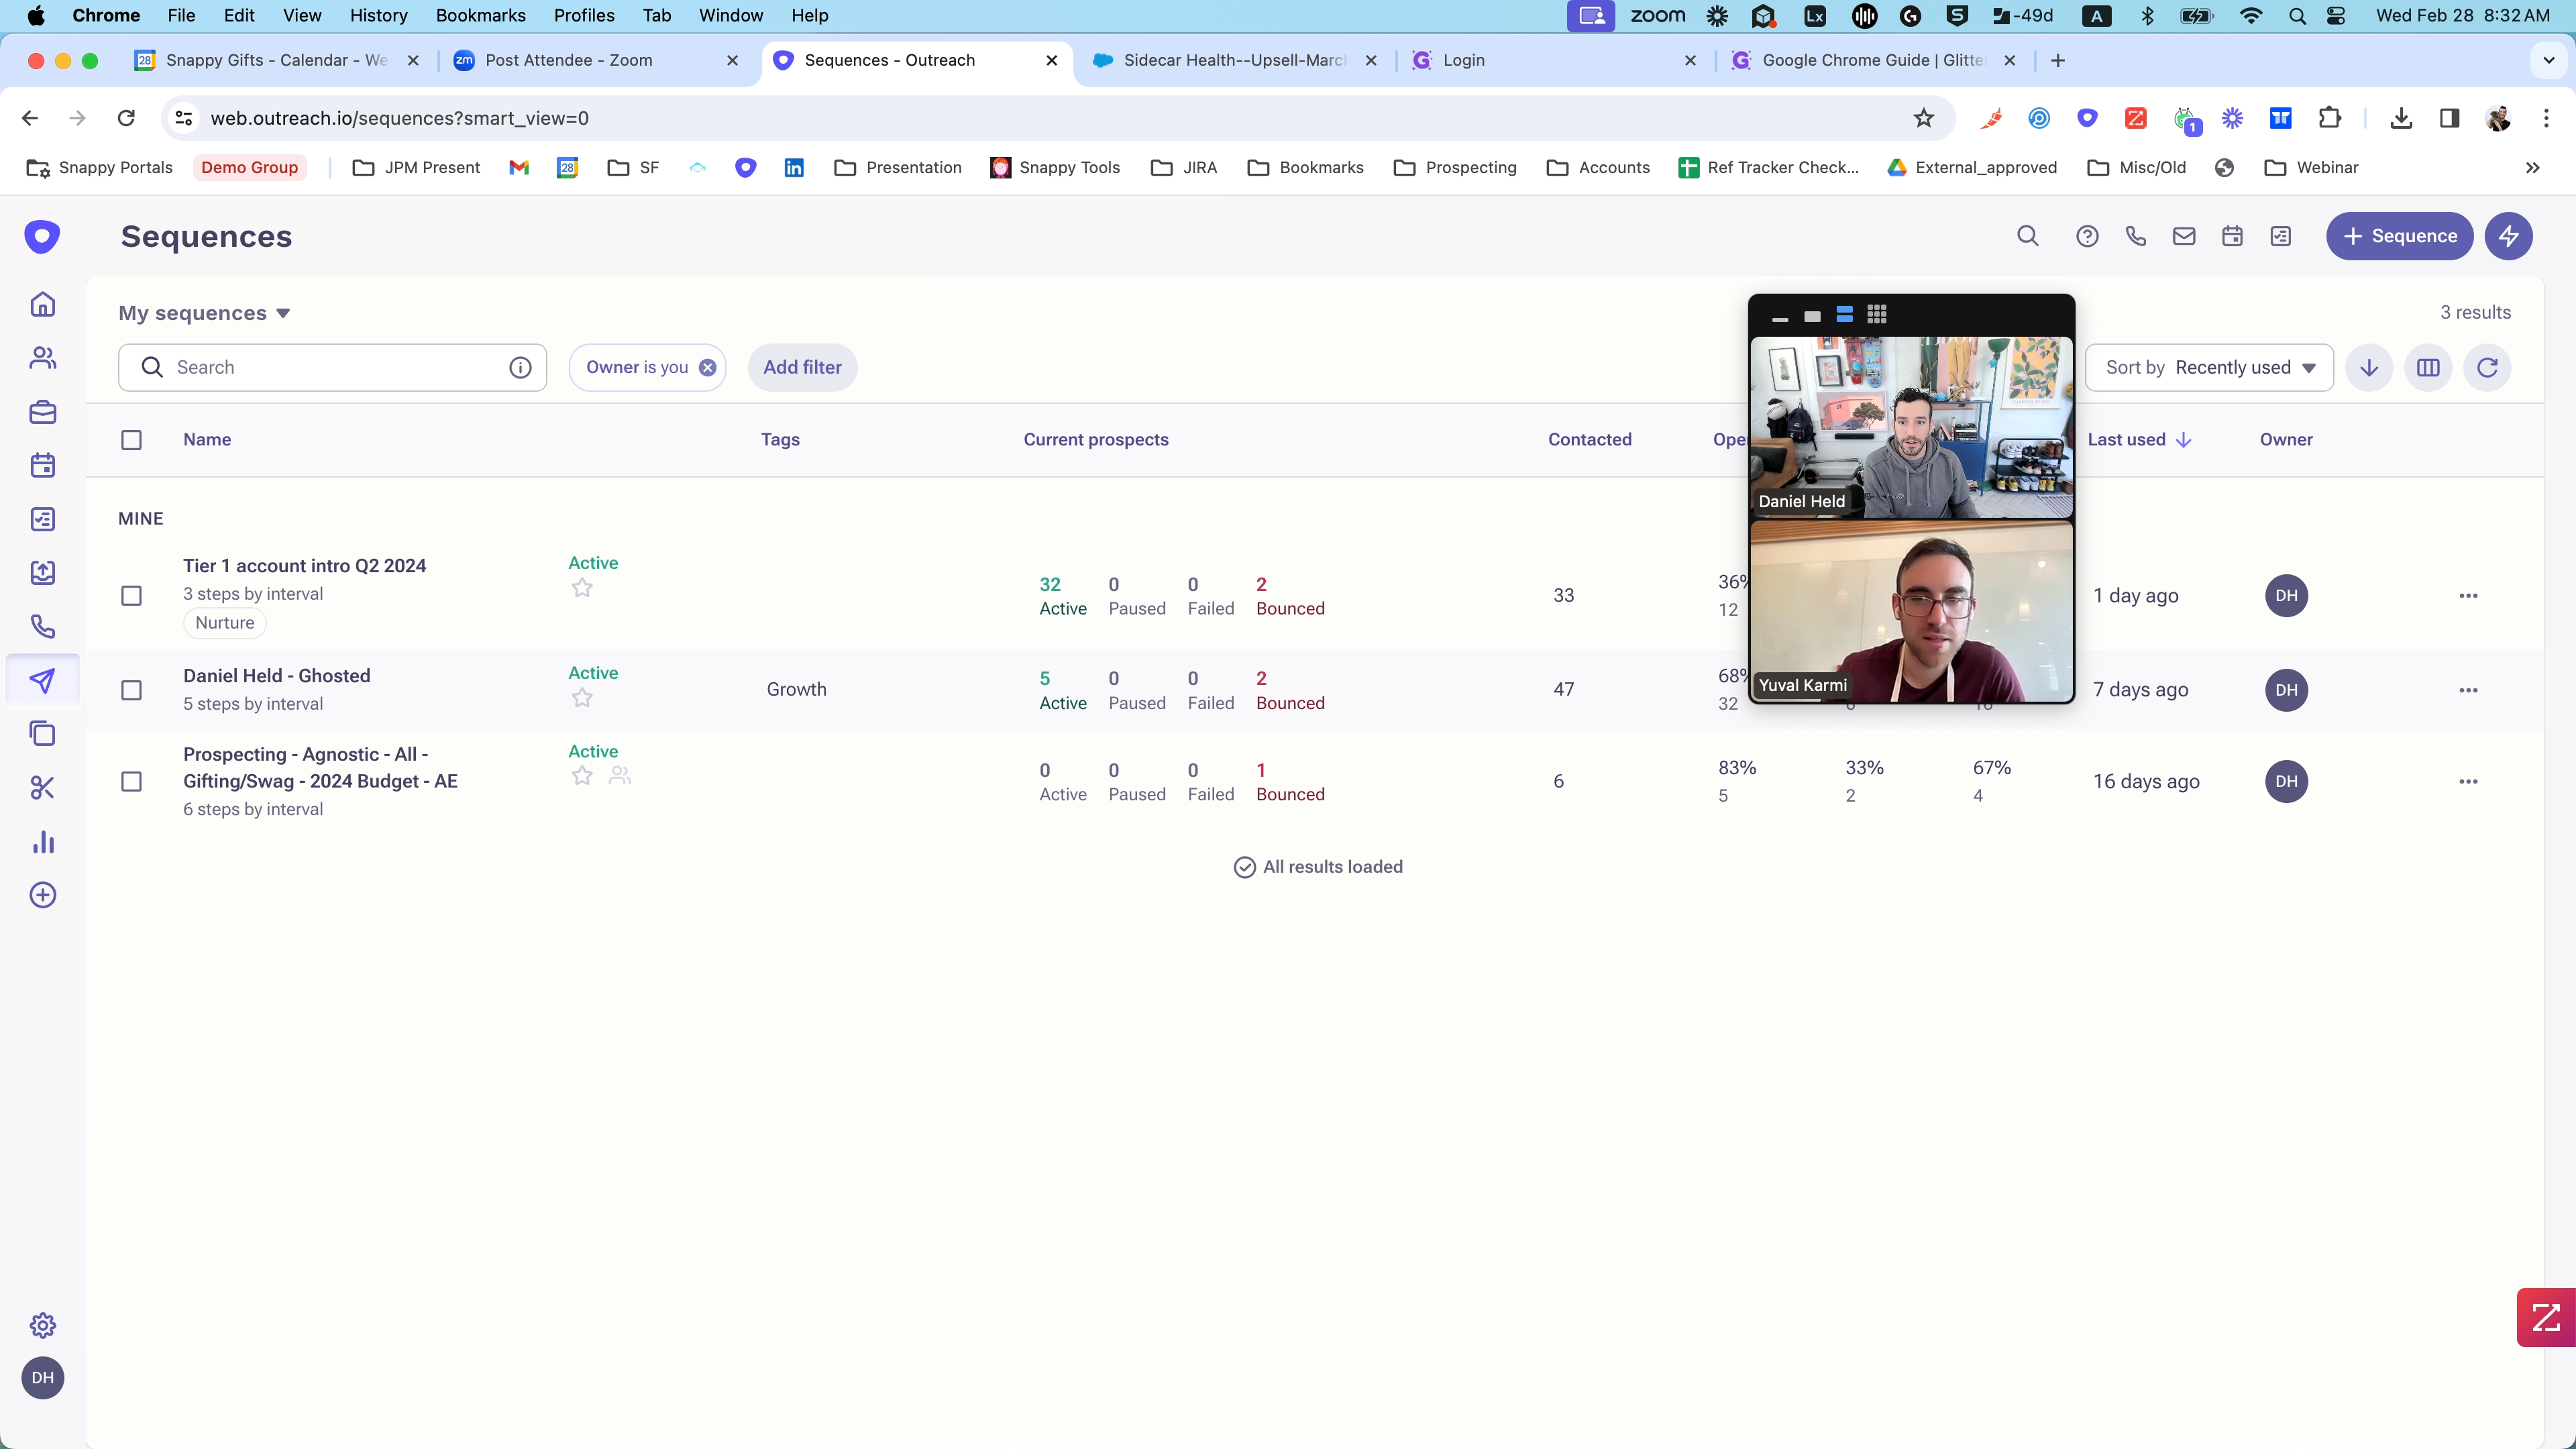
You will then create a new sequence.
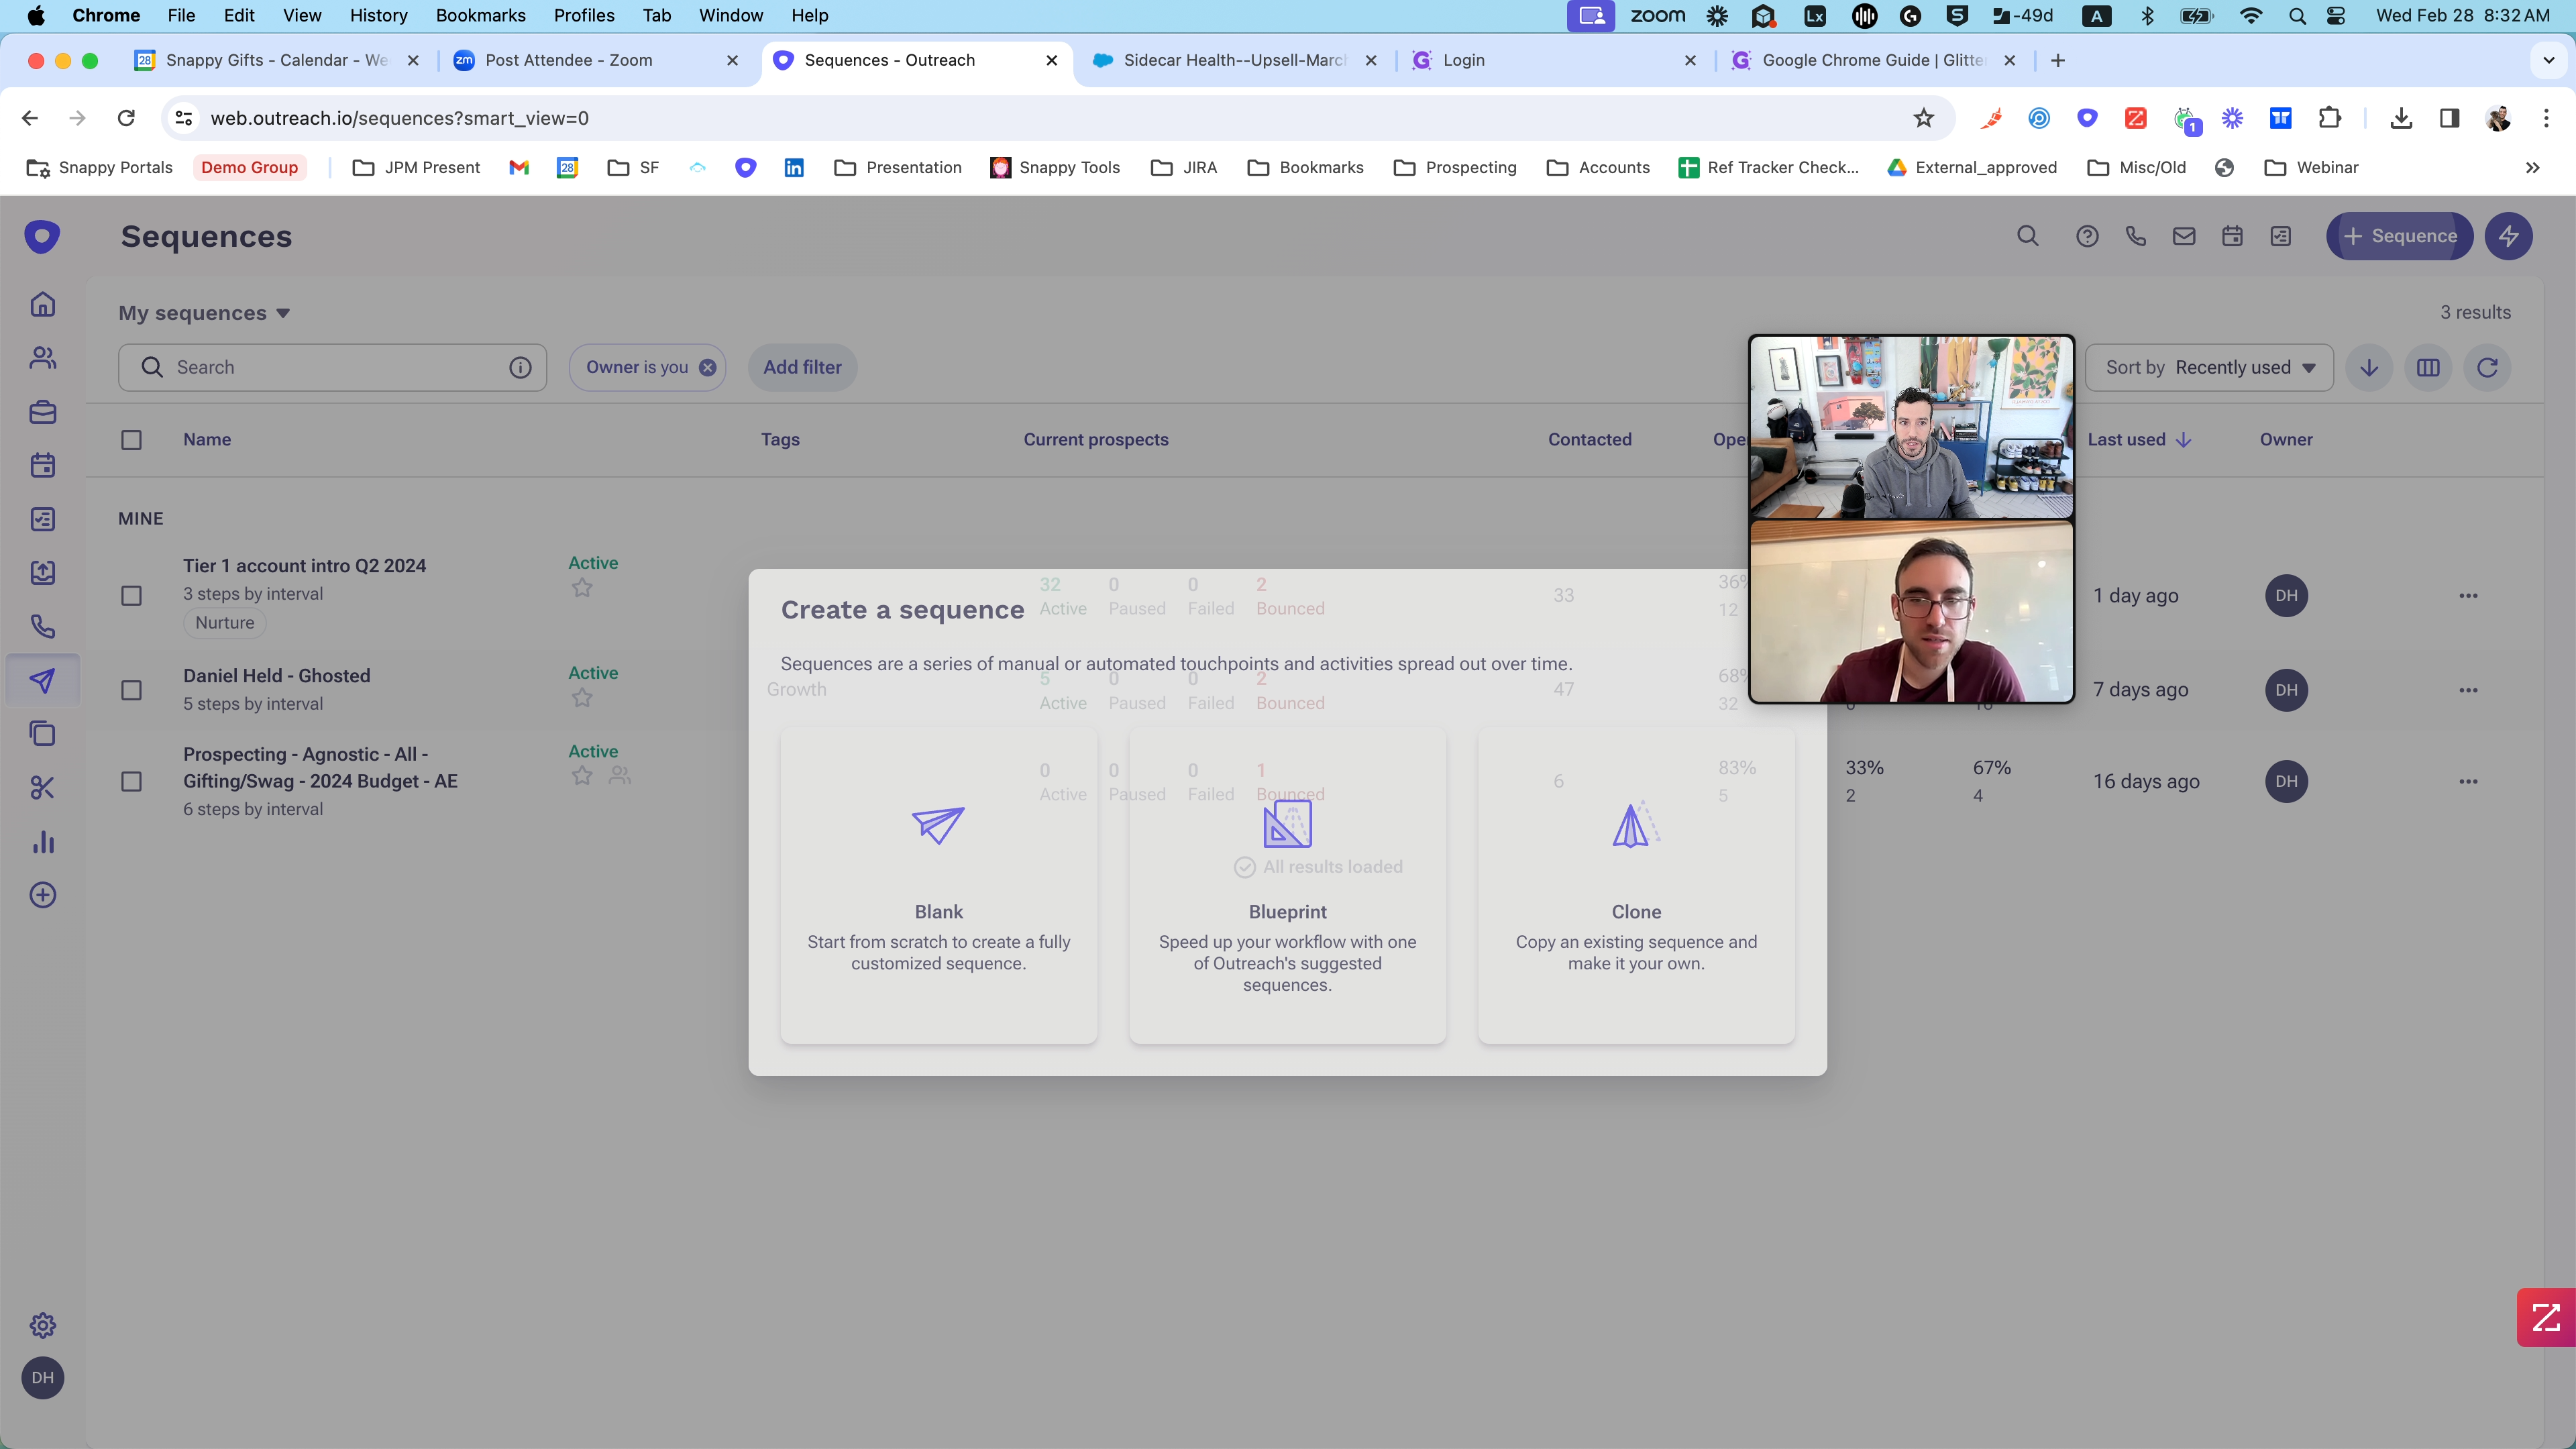
We will select a blank sequence to begin from scratch and unleash our creativity.
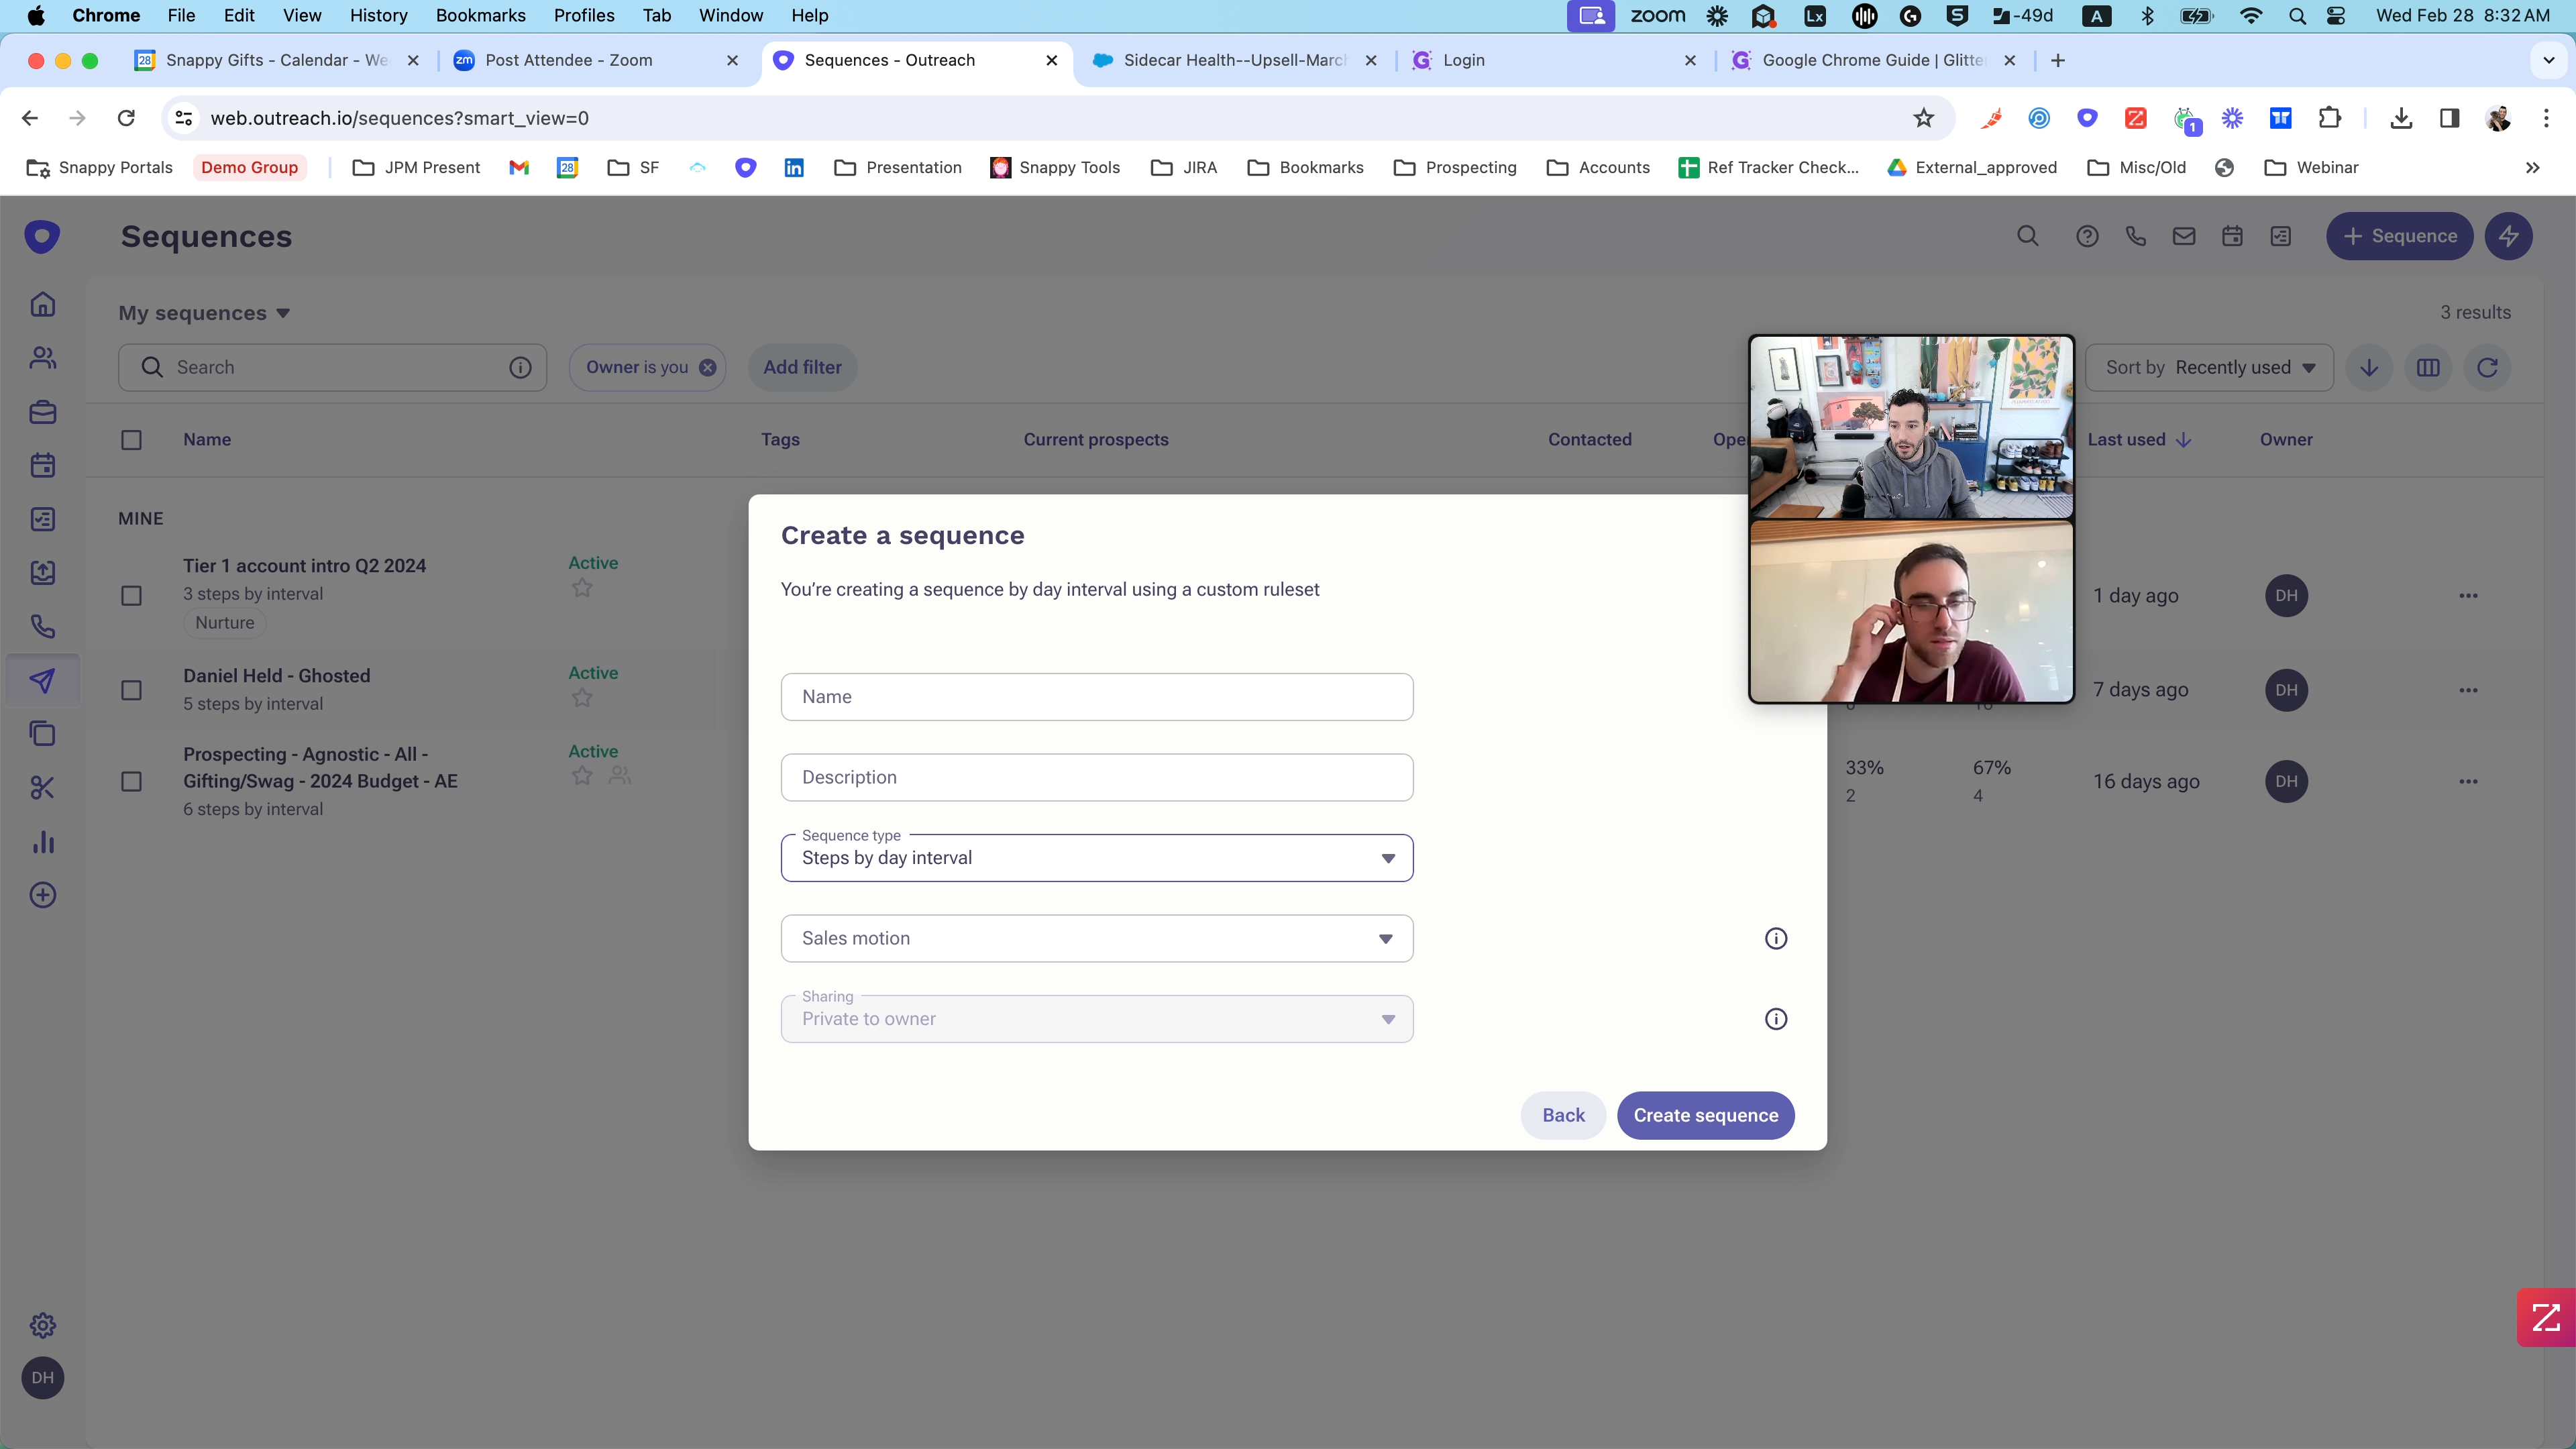
Step one: Name it as Q1 Cold Outreach.
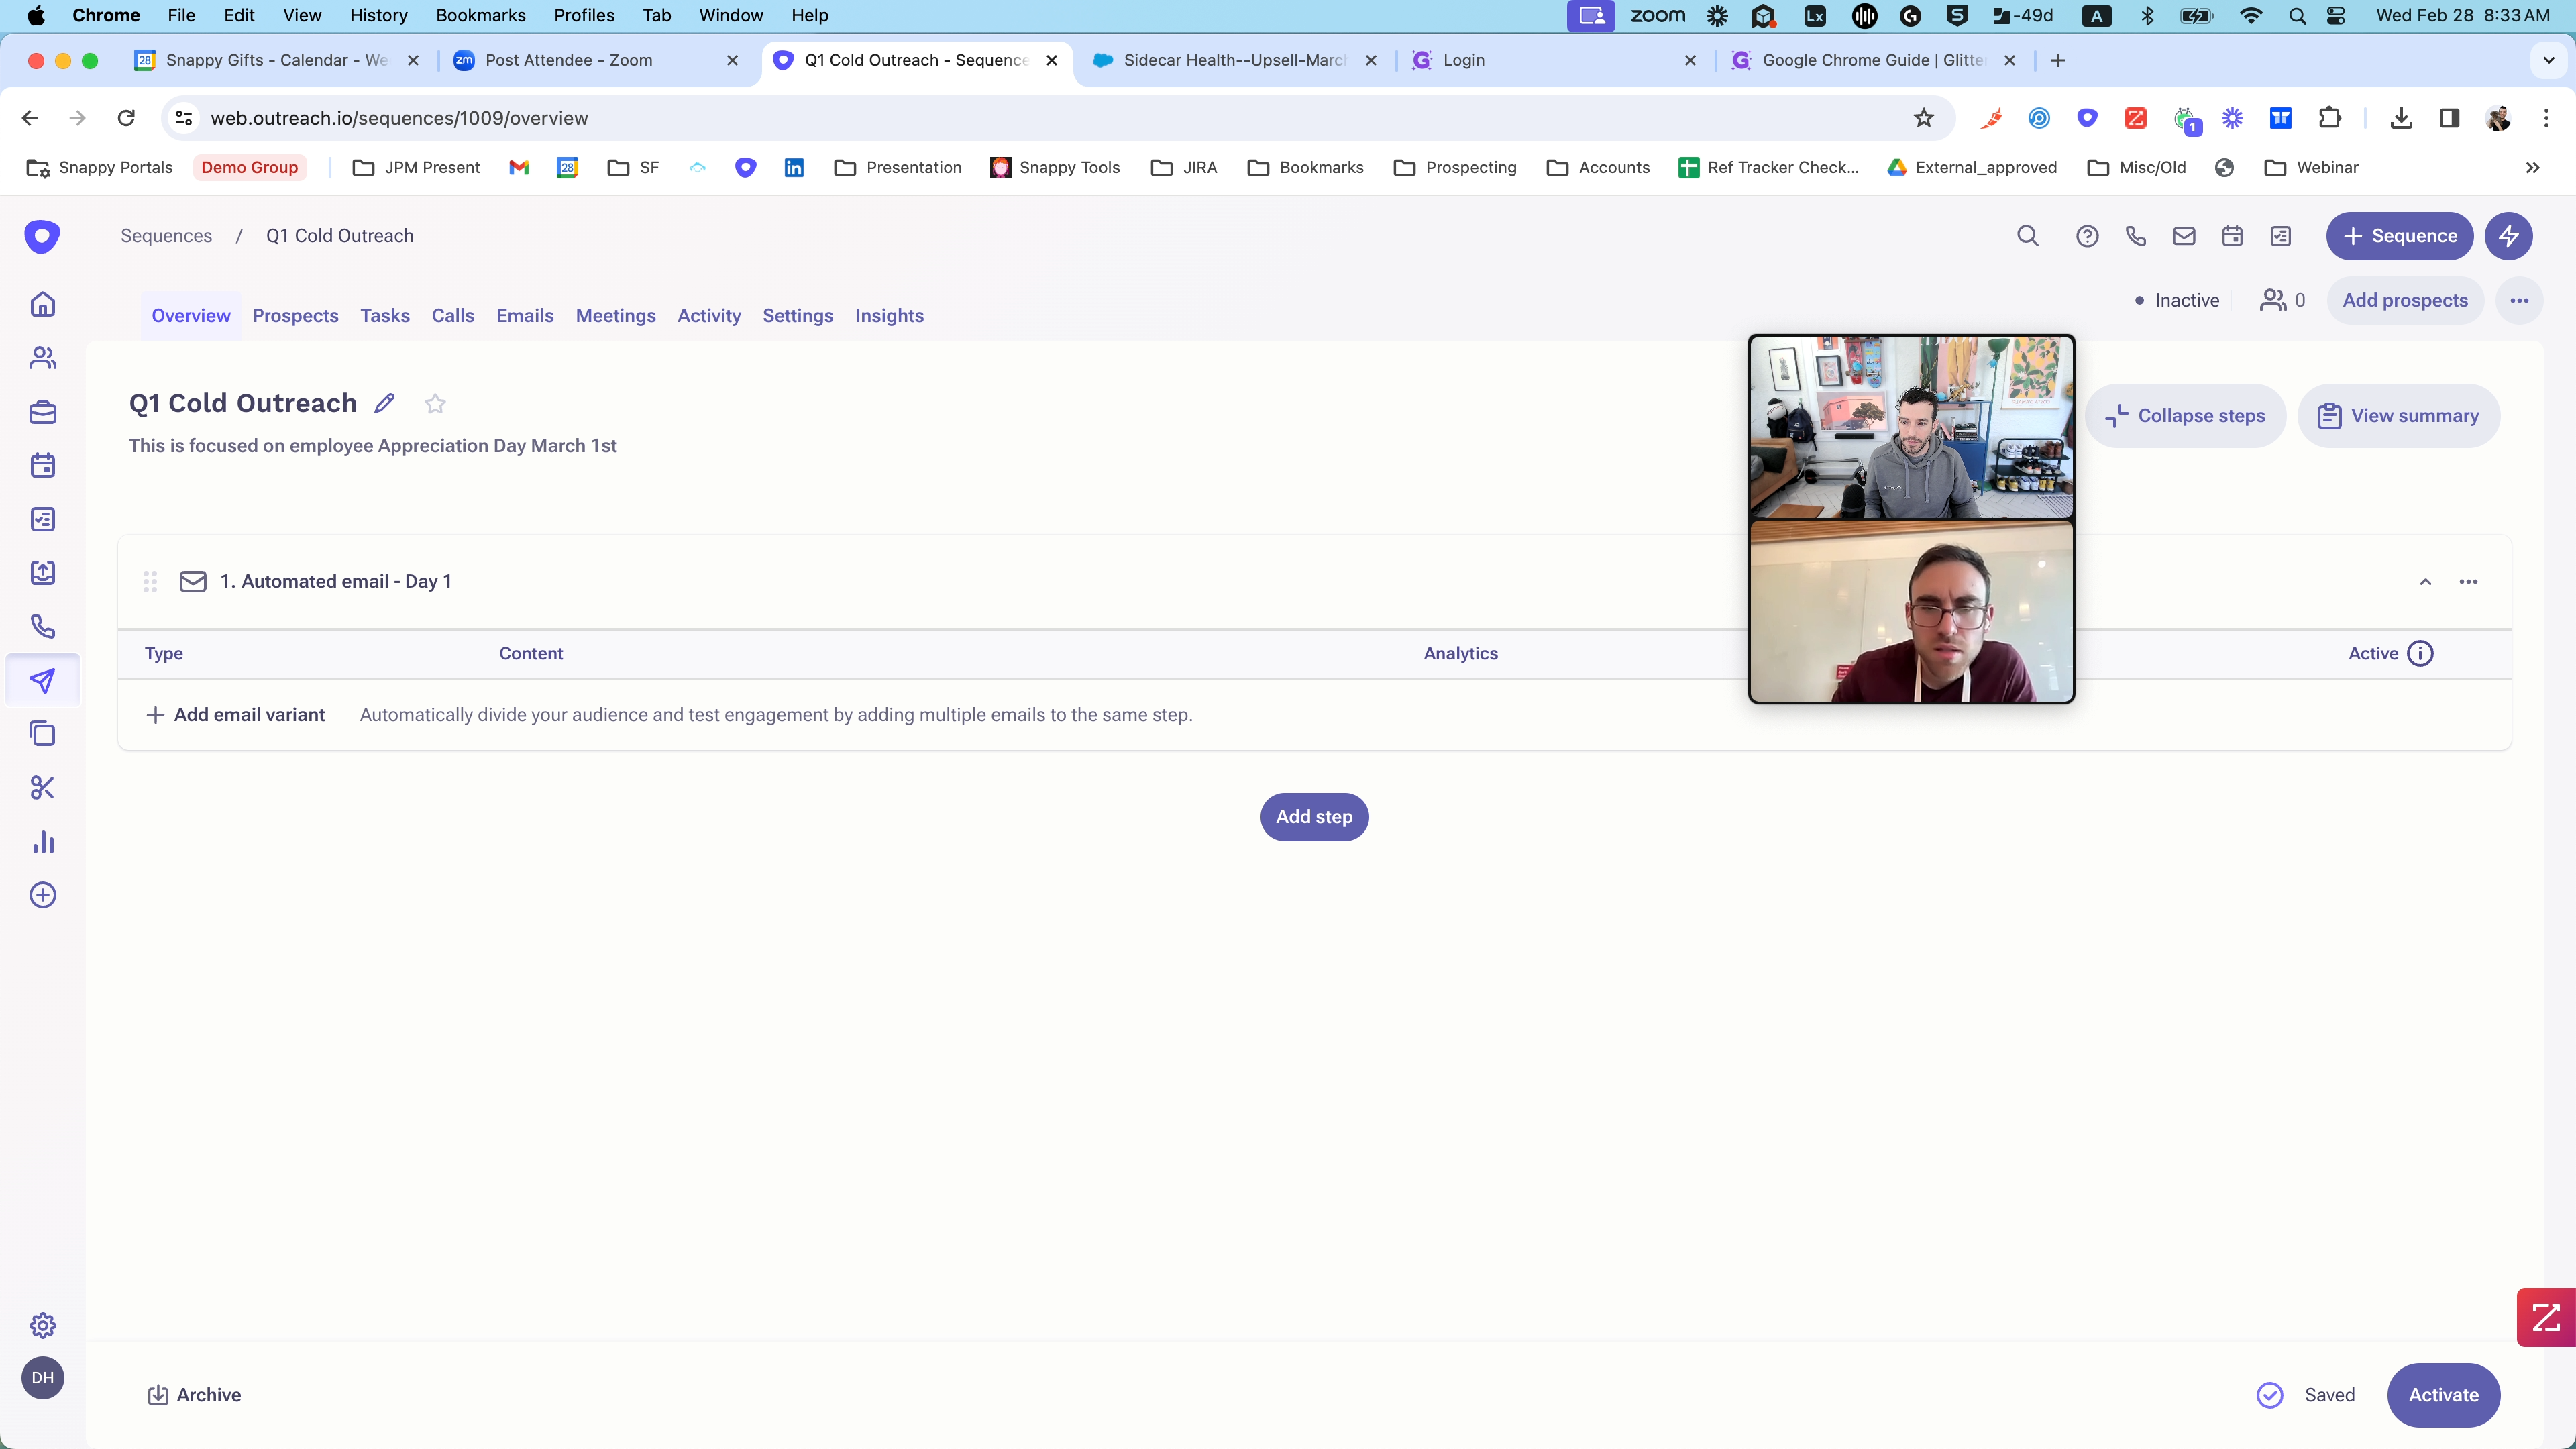
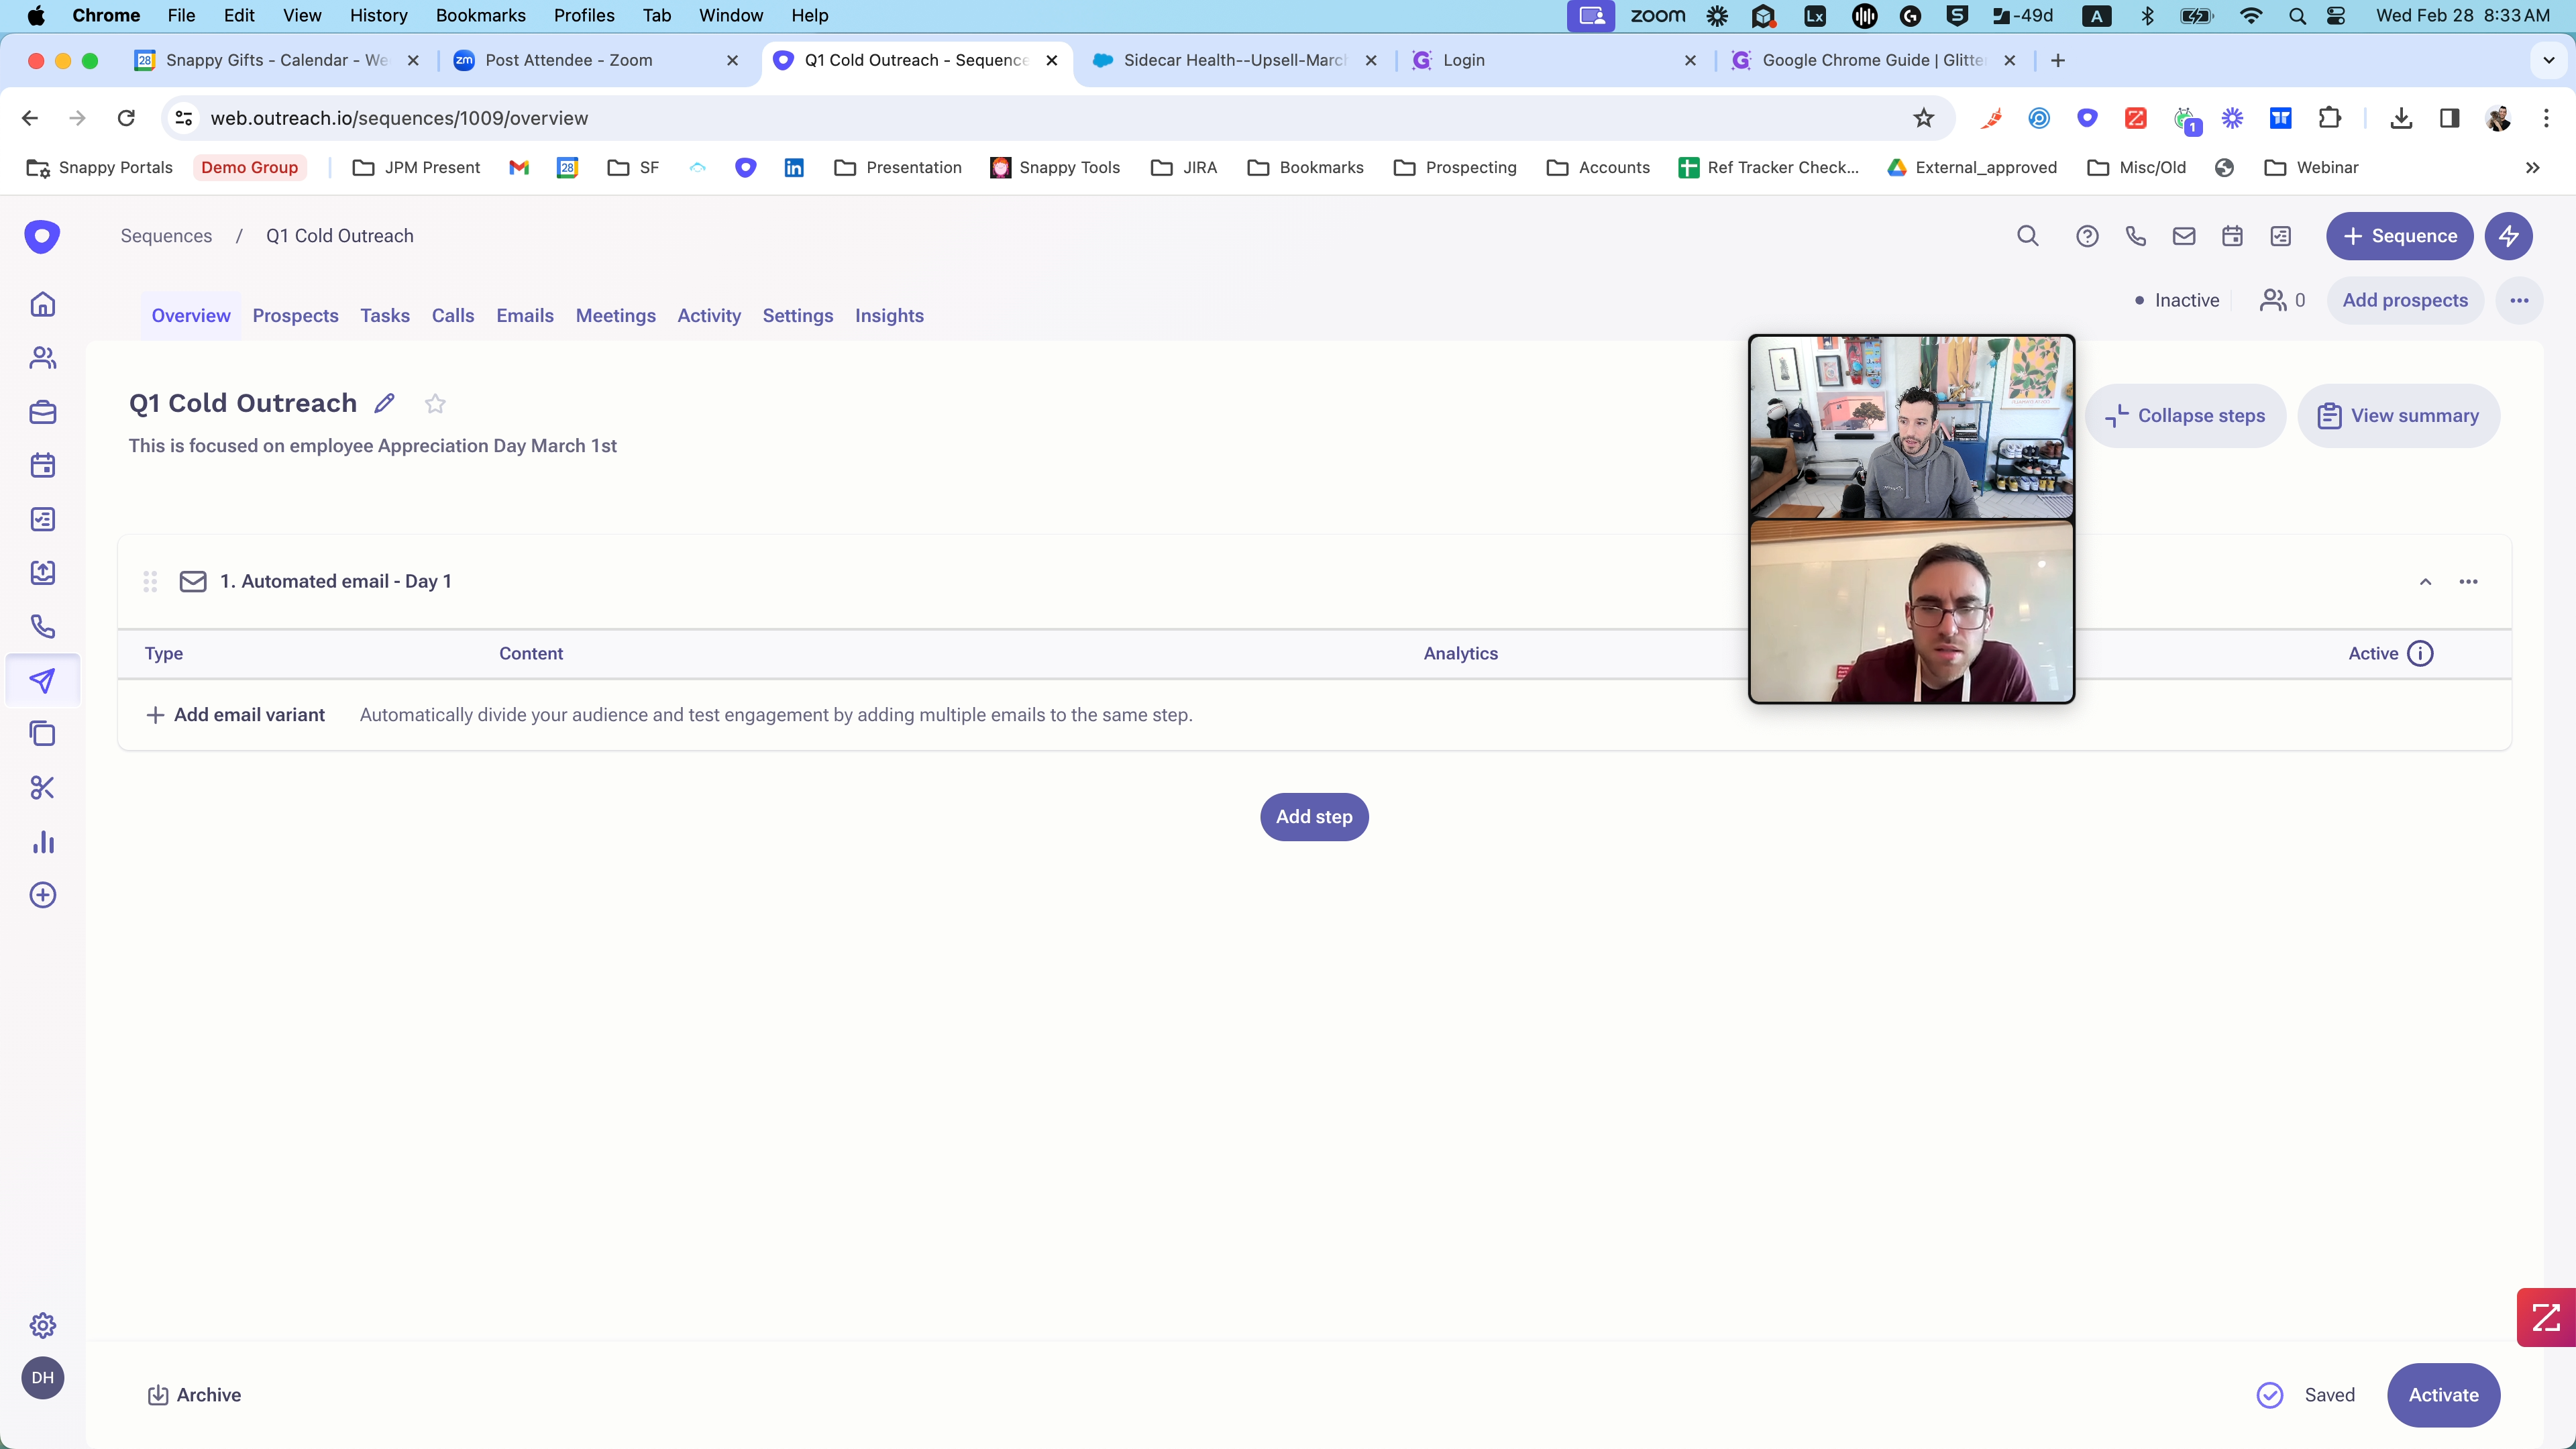
If I refresh the browser, will this affect Glitter? Maybe not, as I don't believe it's connected to Glitter.
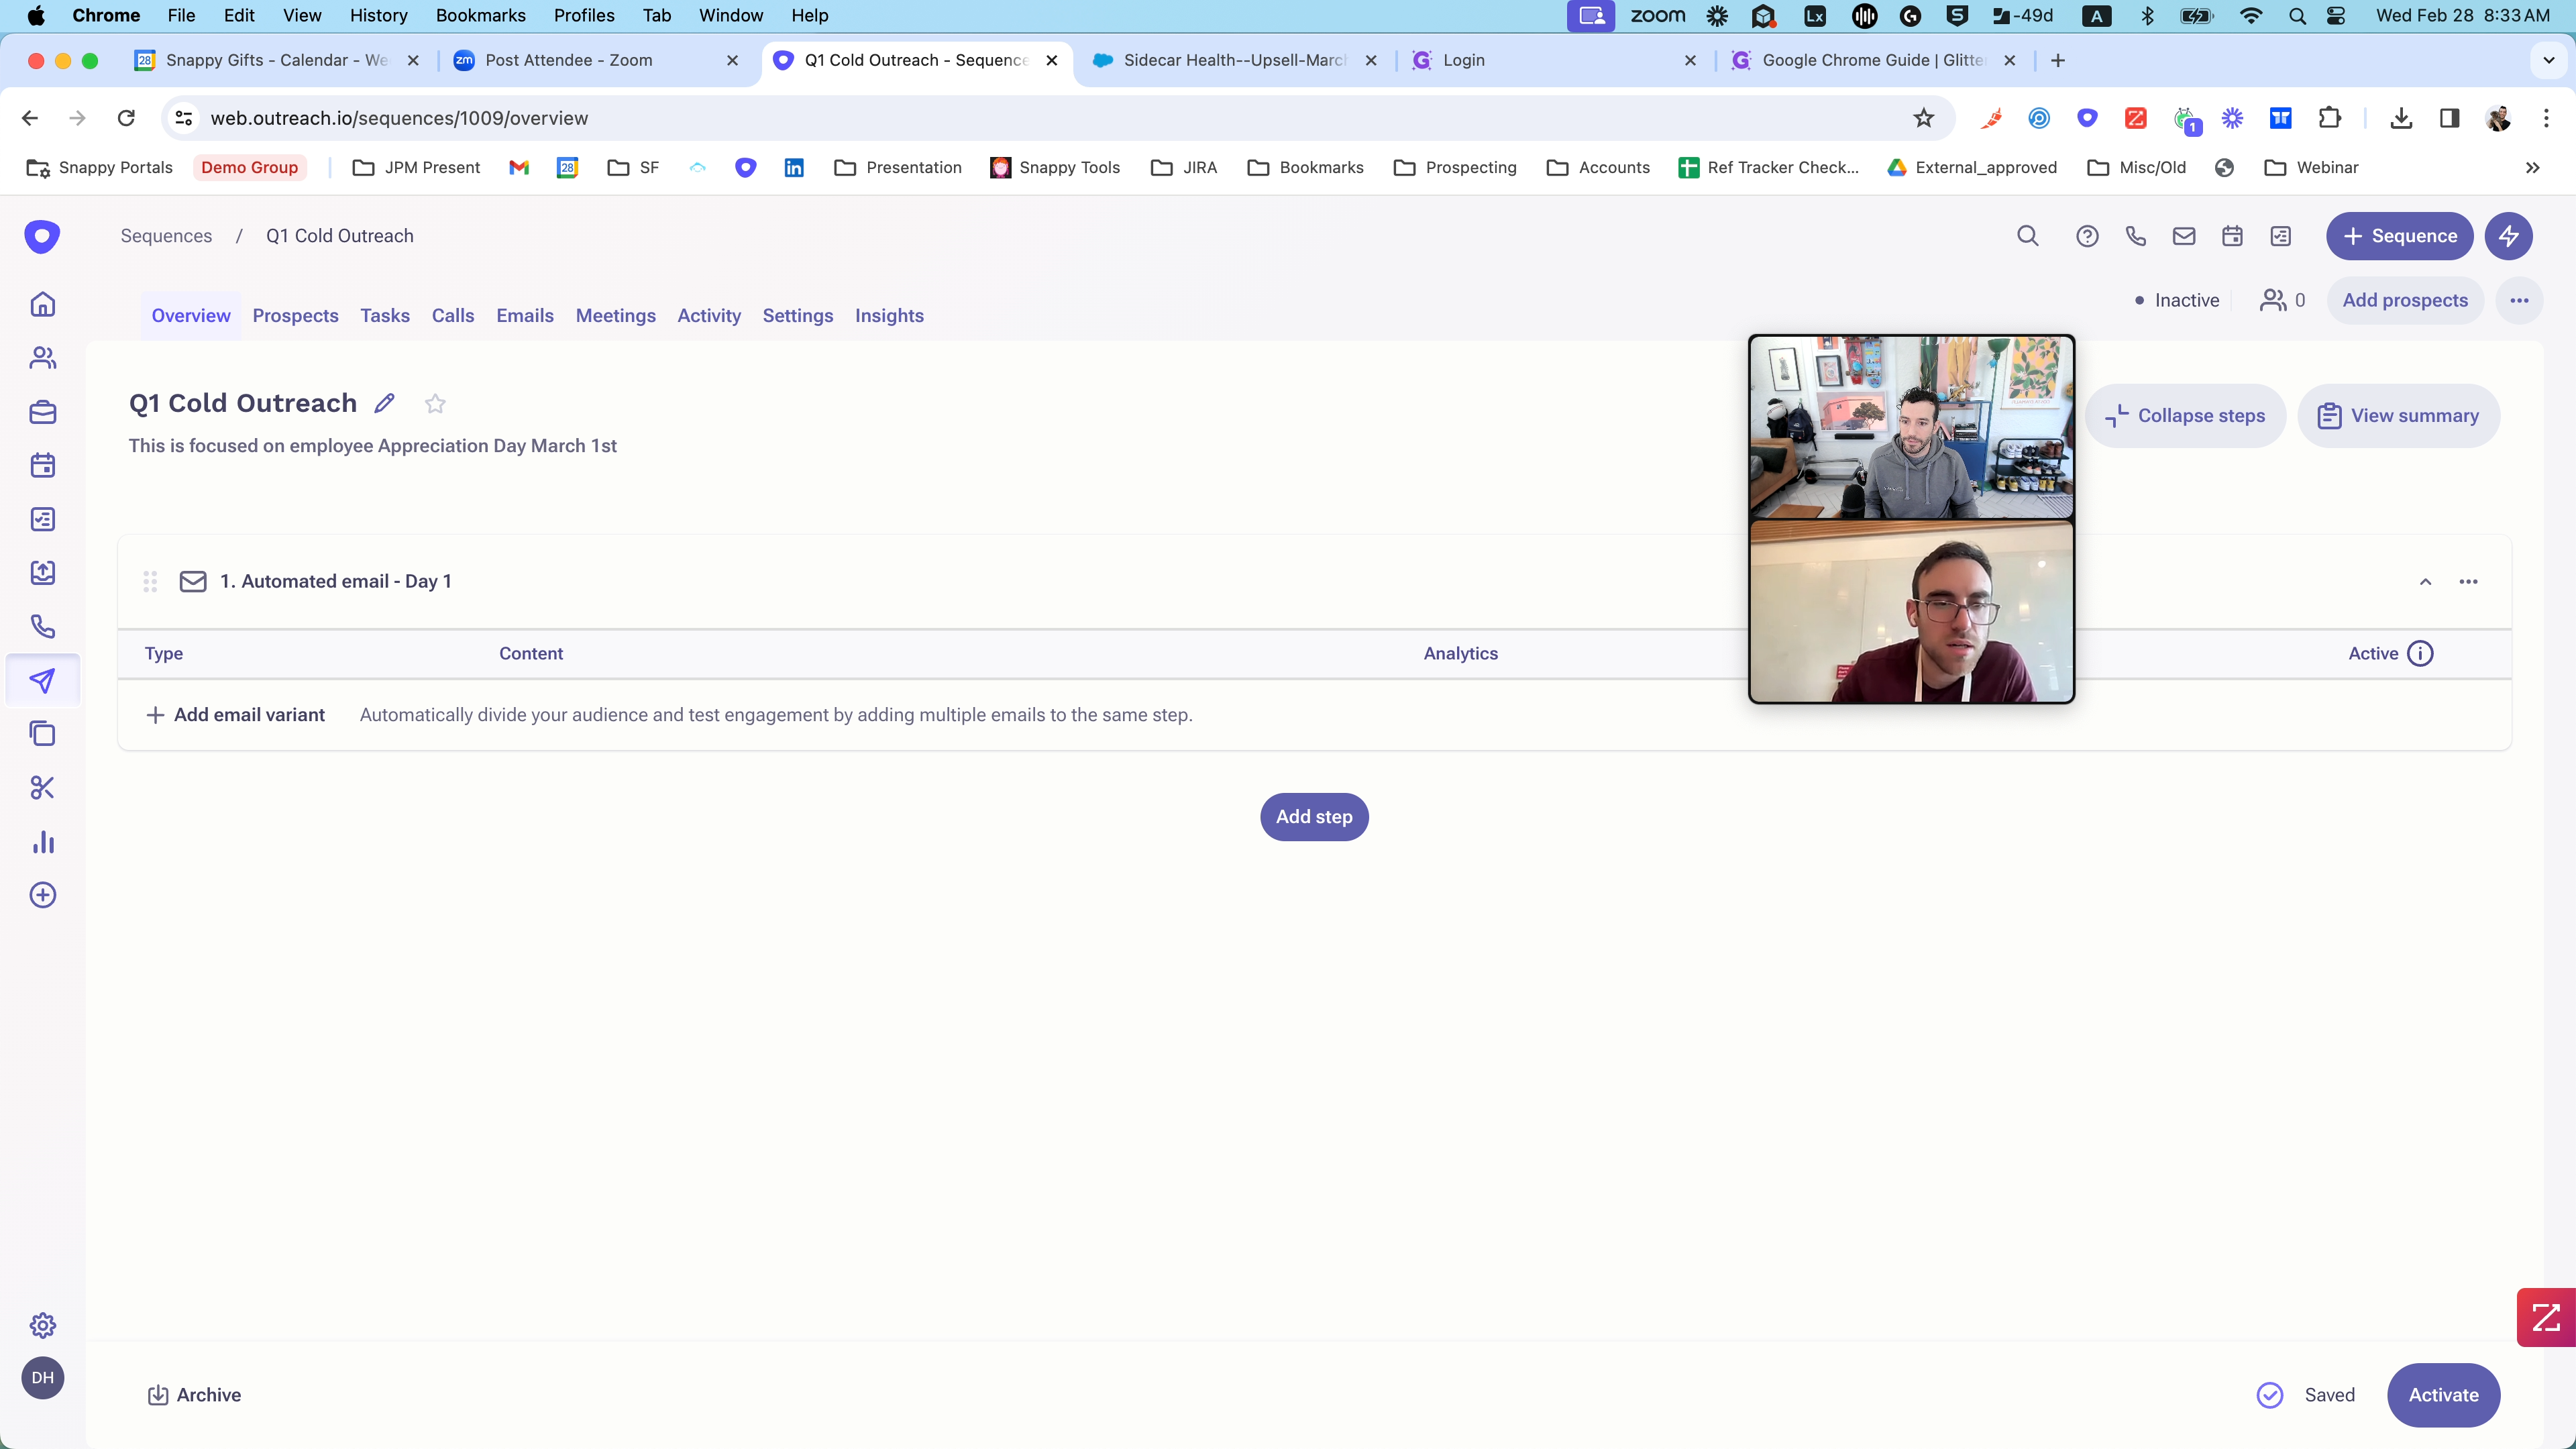
This seems to be related to Glitter Outreach. Okay.
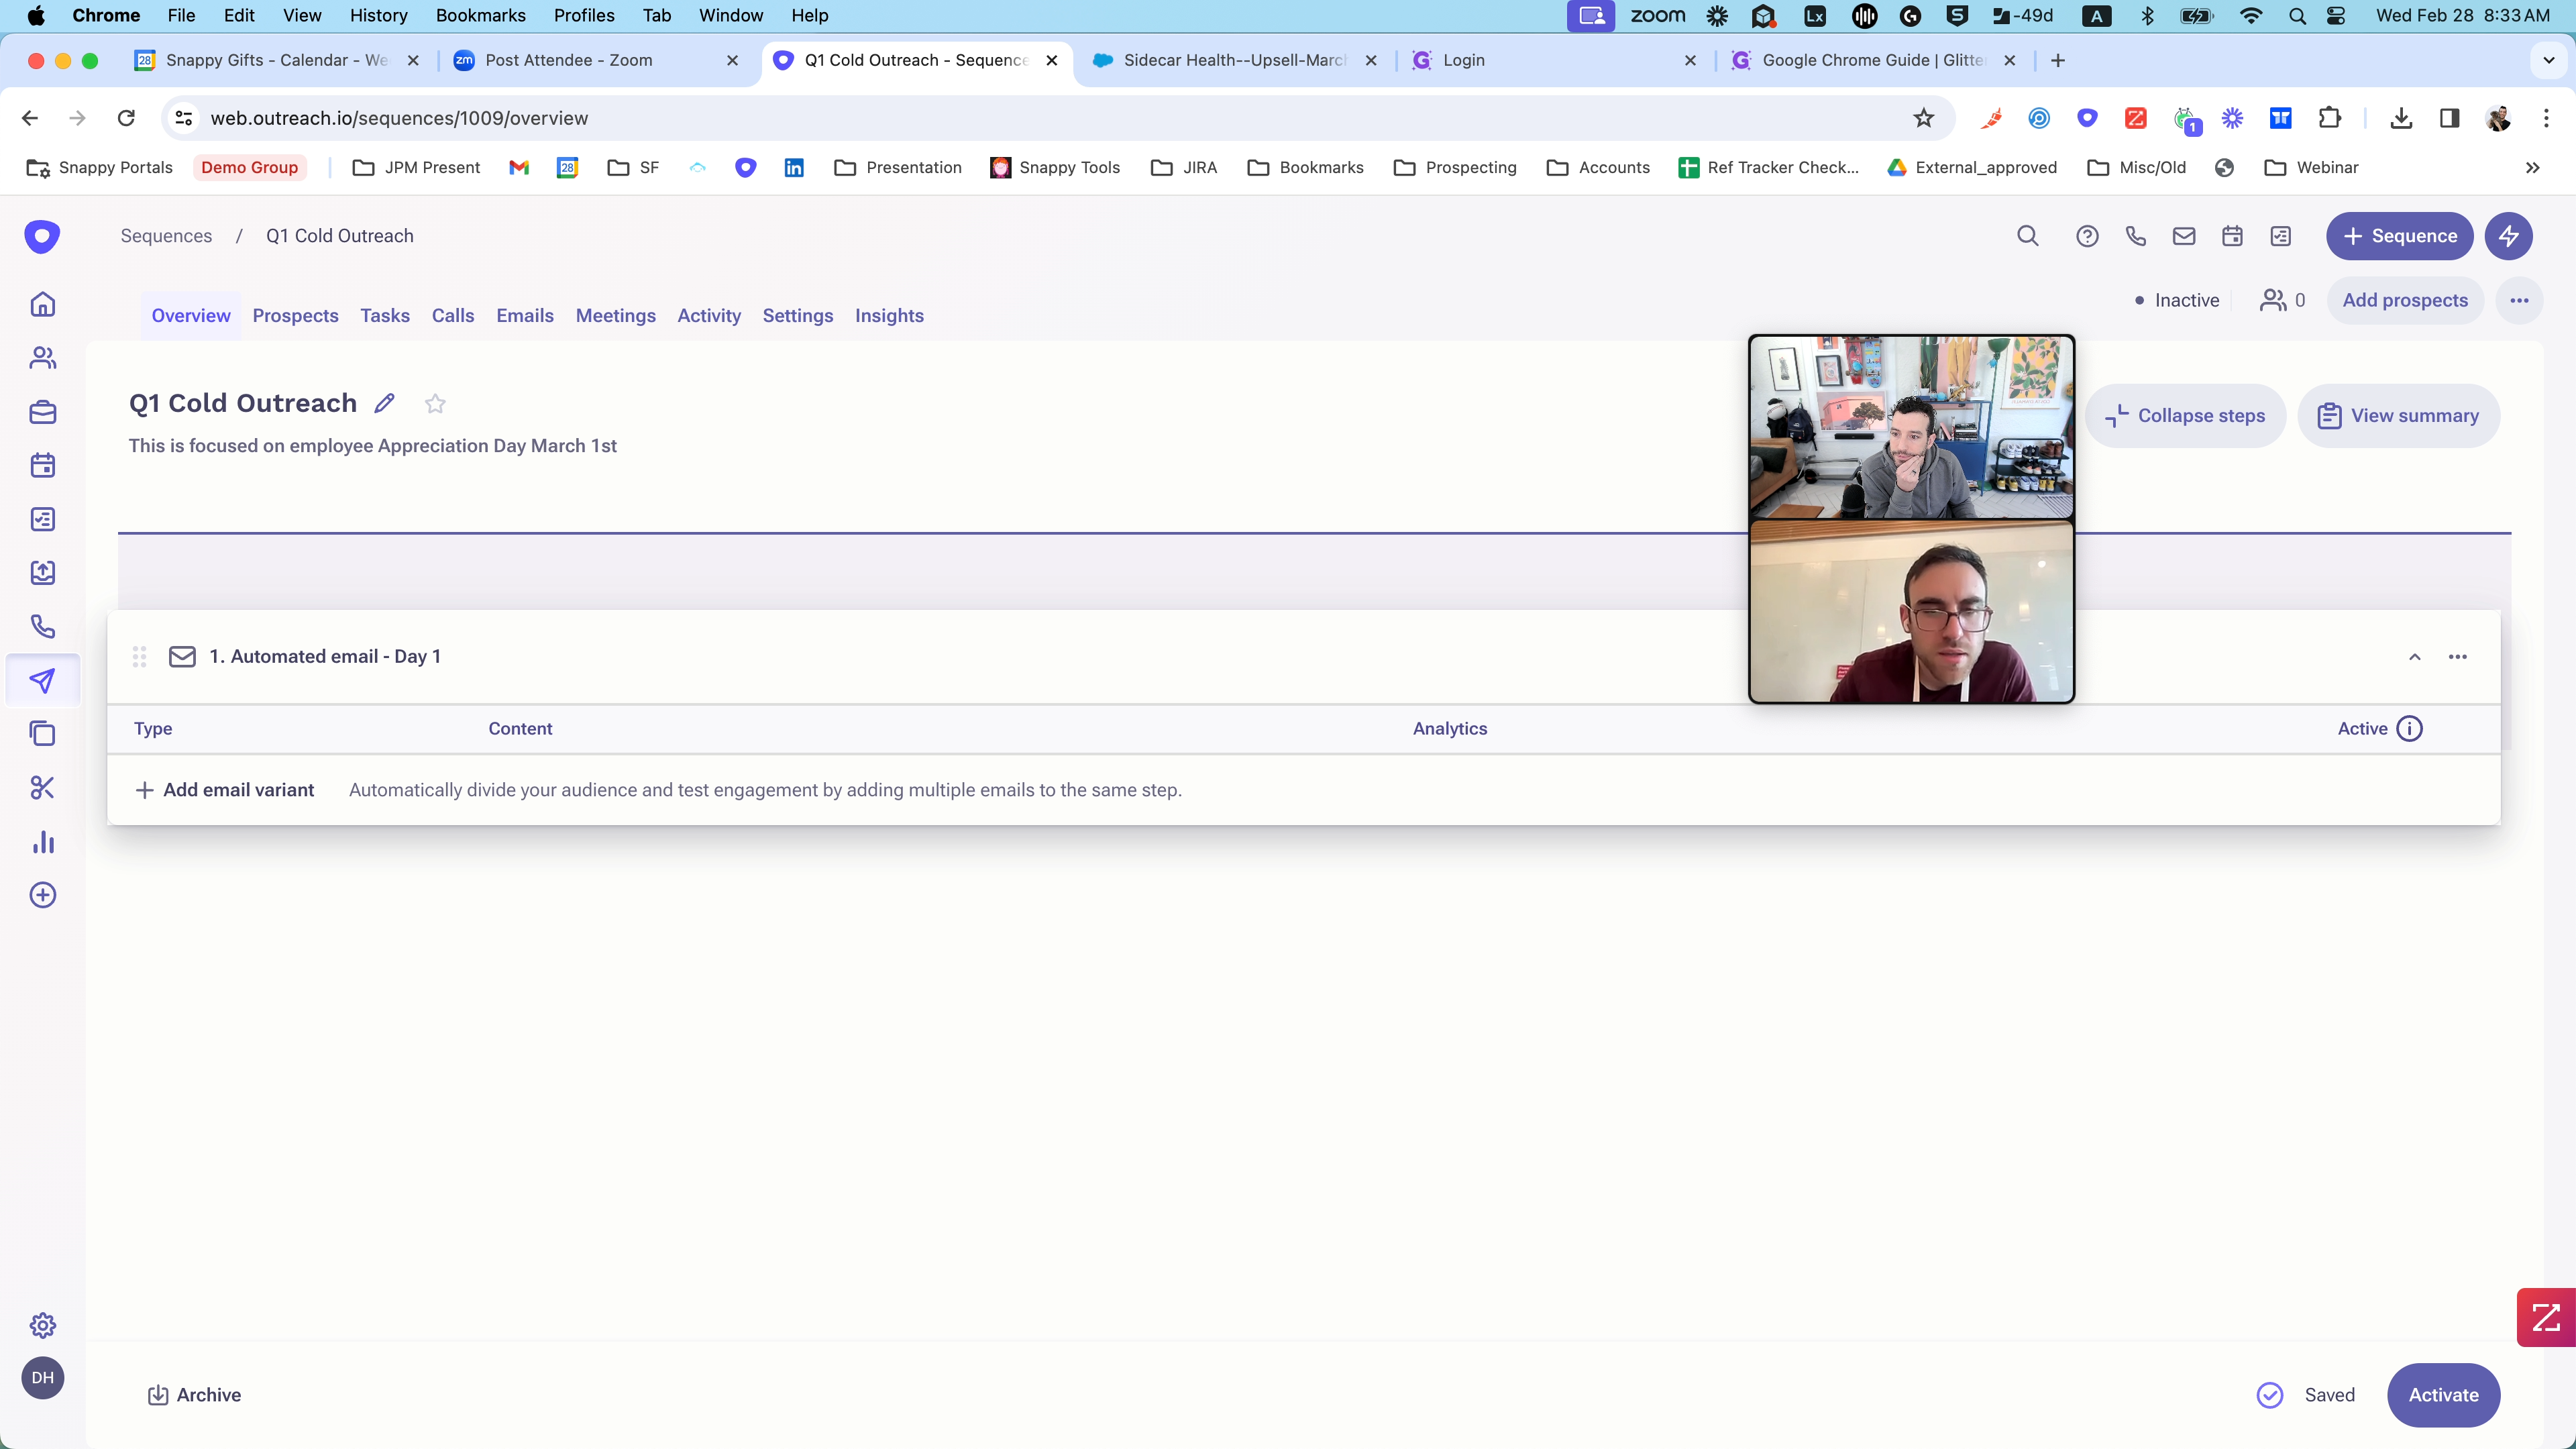
Oh, they changed the UI.
Sure,
Alright.
Let's redo this.