How to Customize and Bulk Print Invoices and Packing Slips
Learn how to customize your invoice and packing slip templates, and bulk-print them for multiple orders using Reservety.
By Reservety
Configuring your document templates in Reservety ensures your brand looks professional and your fulfillment team has the exact information they need. Follow this guide to customize your invoices and packing slips, and learn how to generate them in bulk.
Customizing Invoice Templates
1
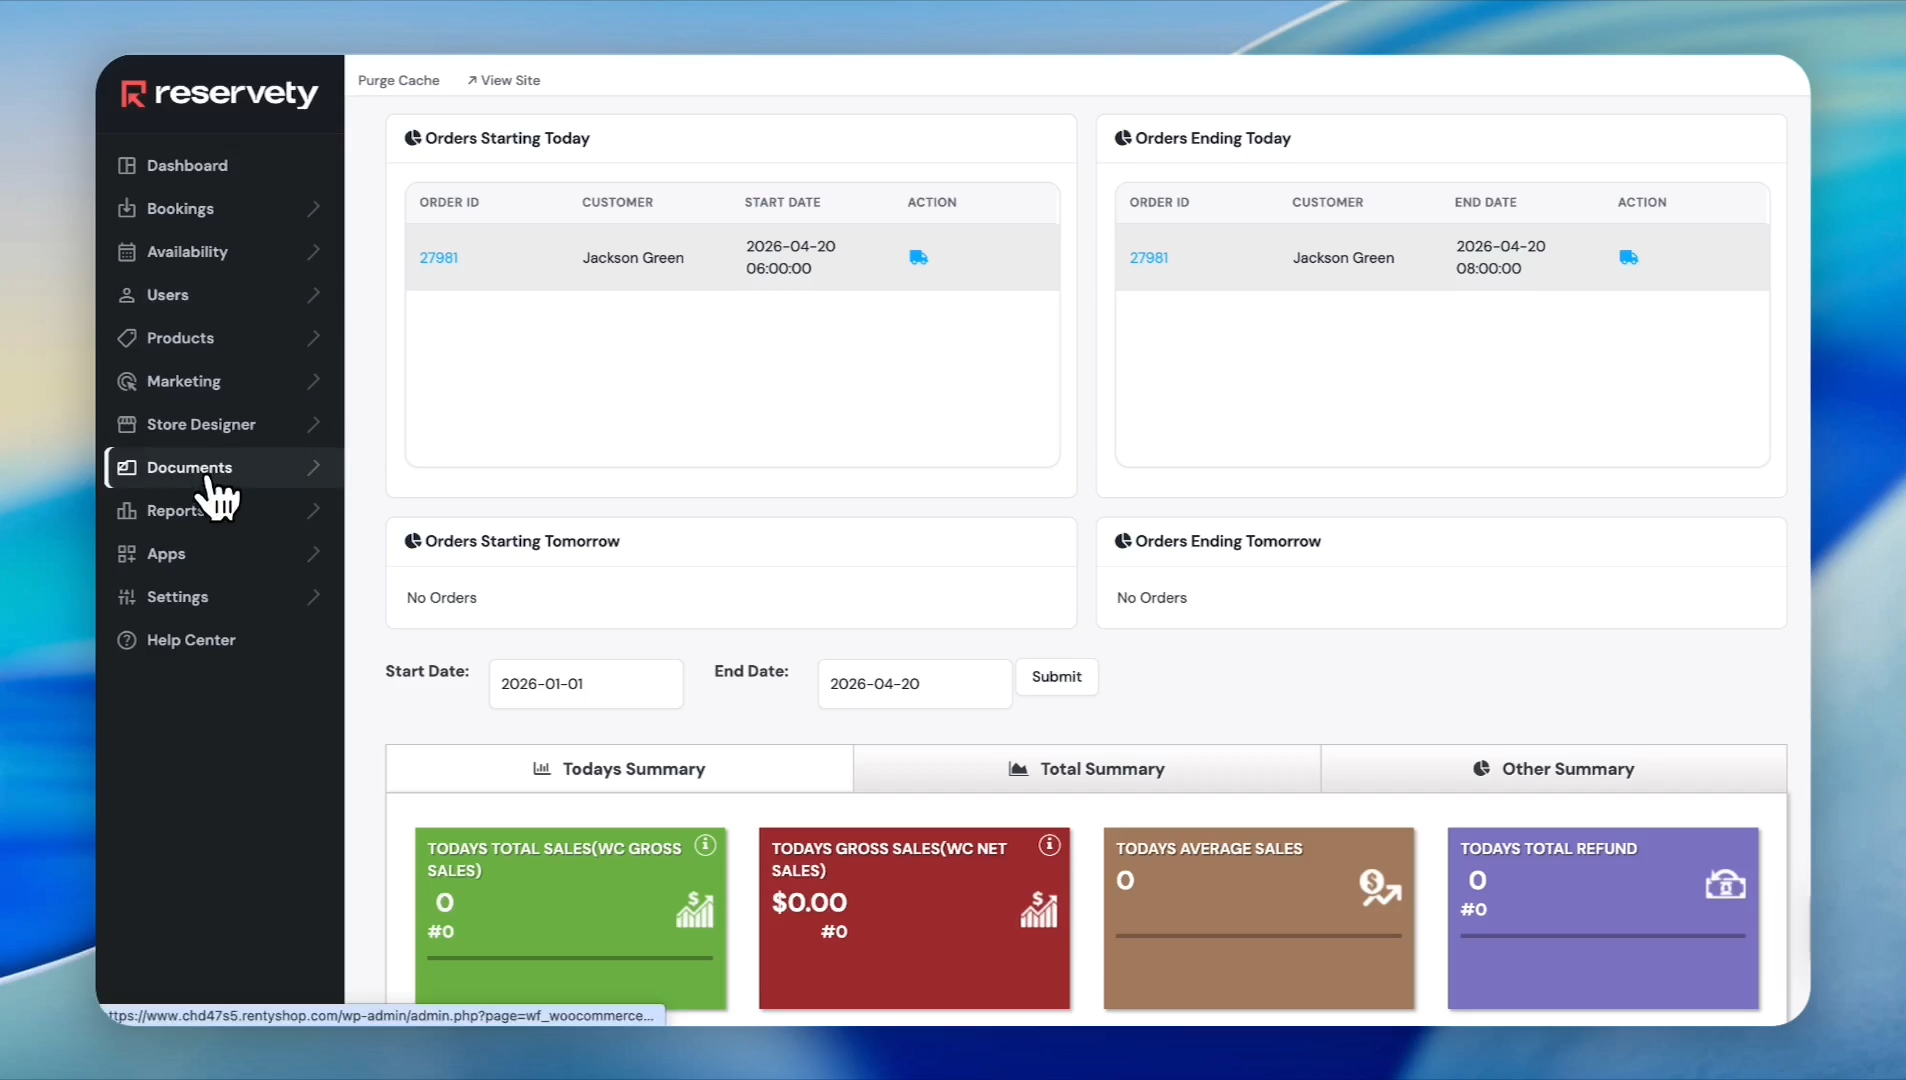
Log in to your rental dashboard and click View Admin.
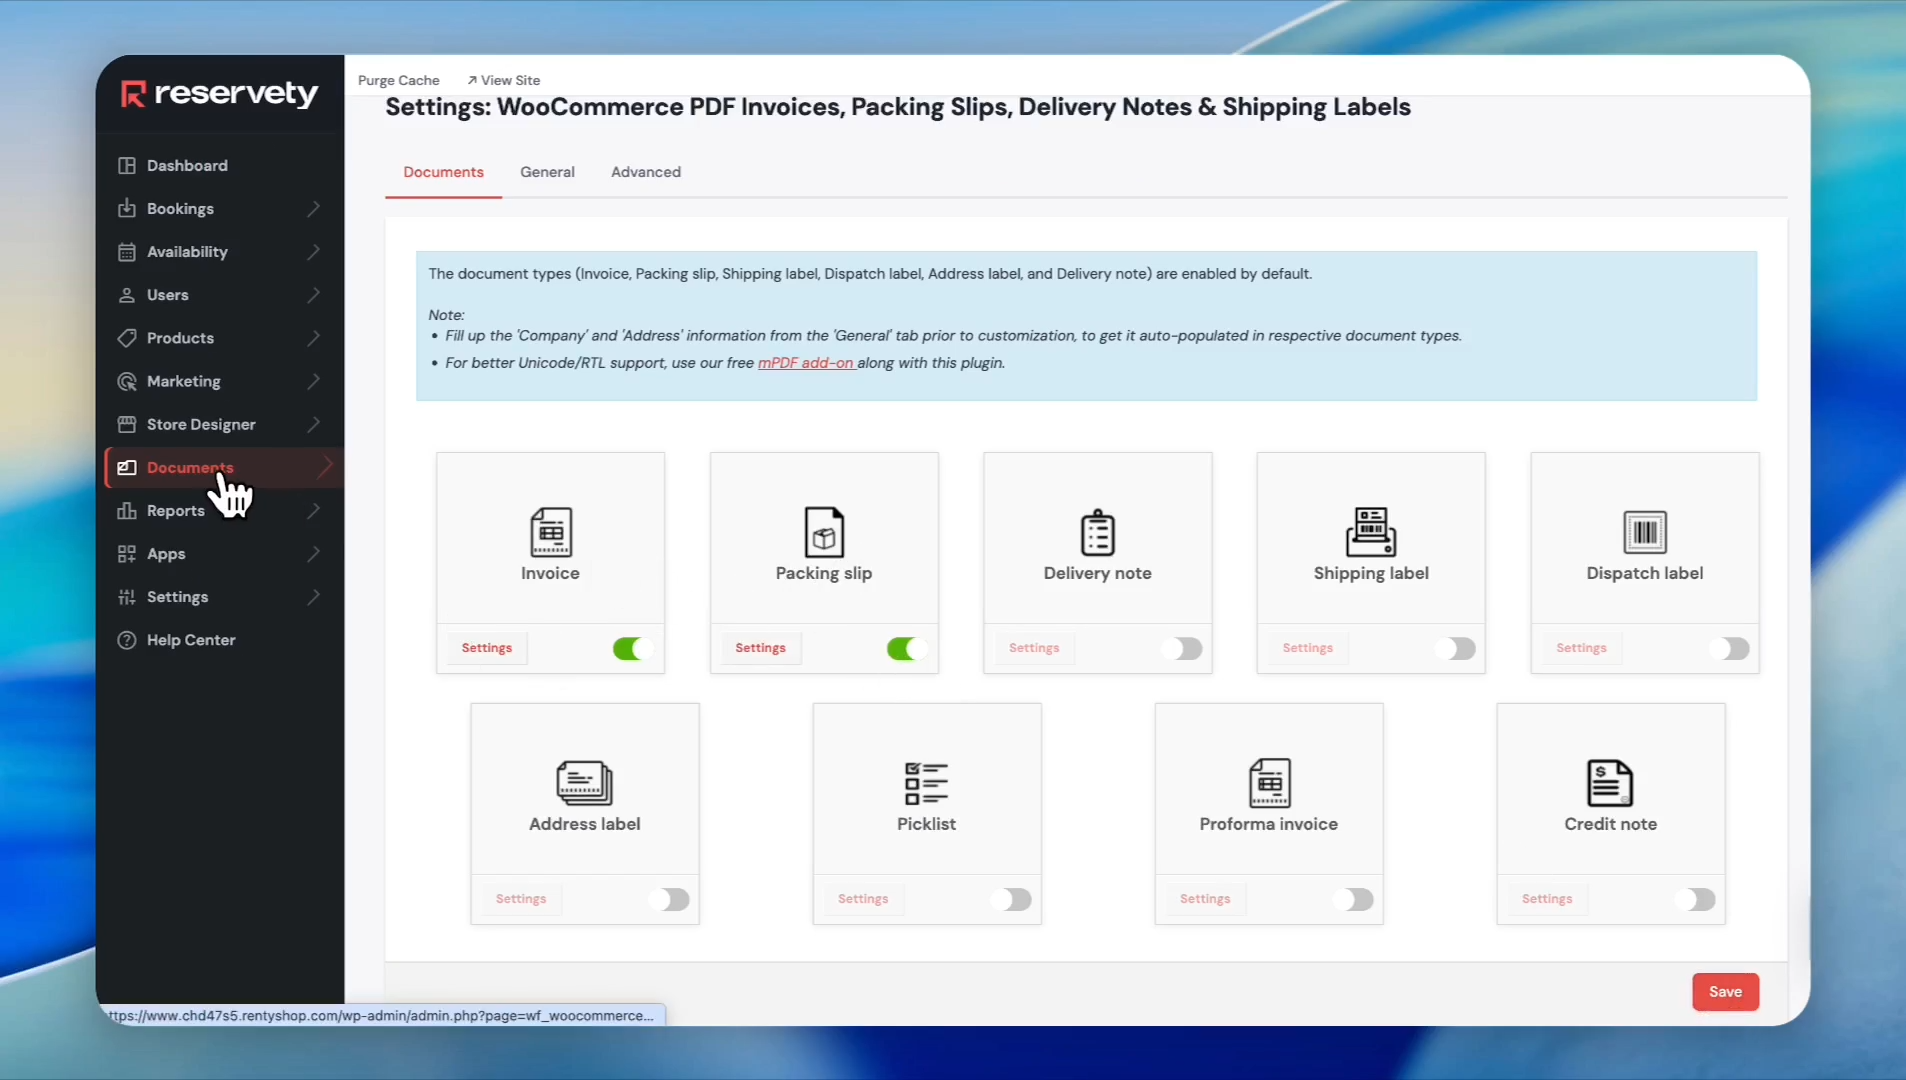
2
In the sidebar, click Documents.
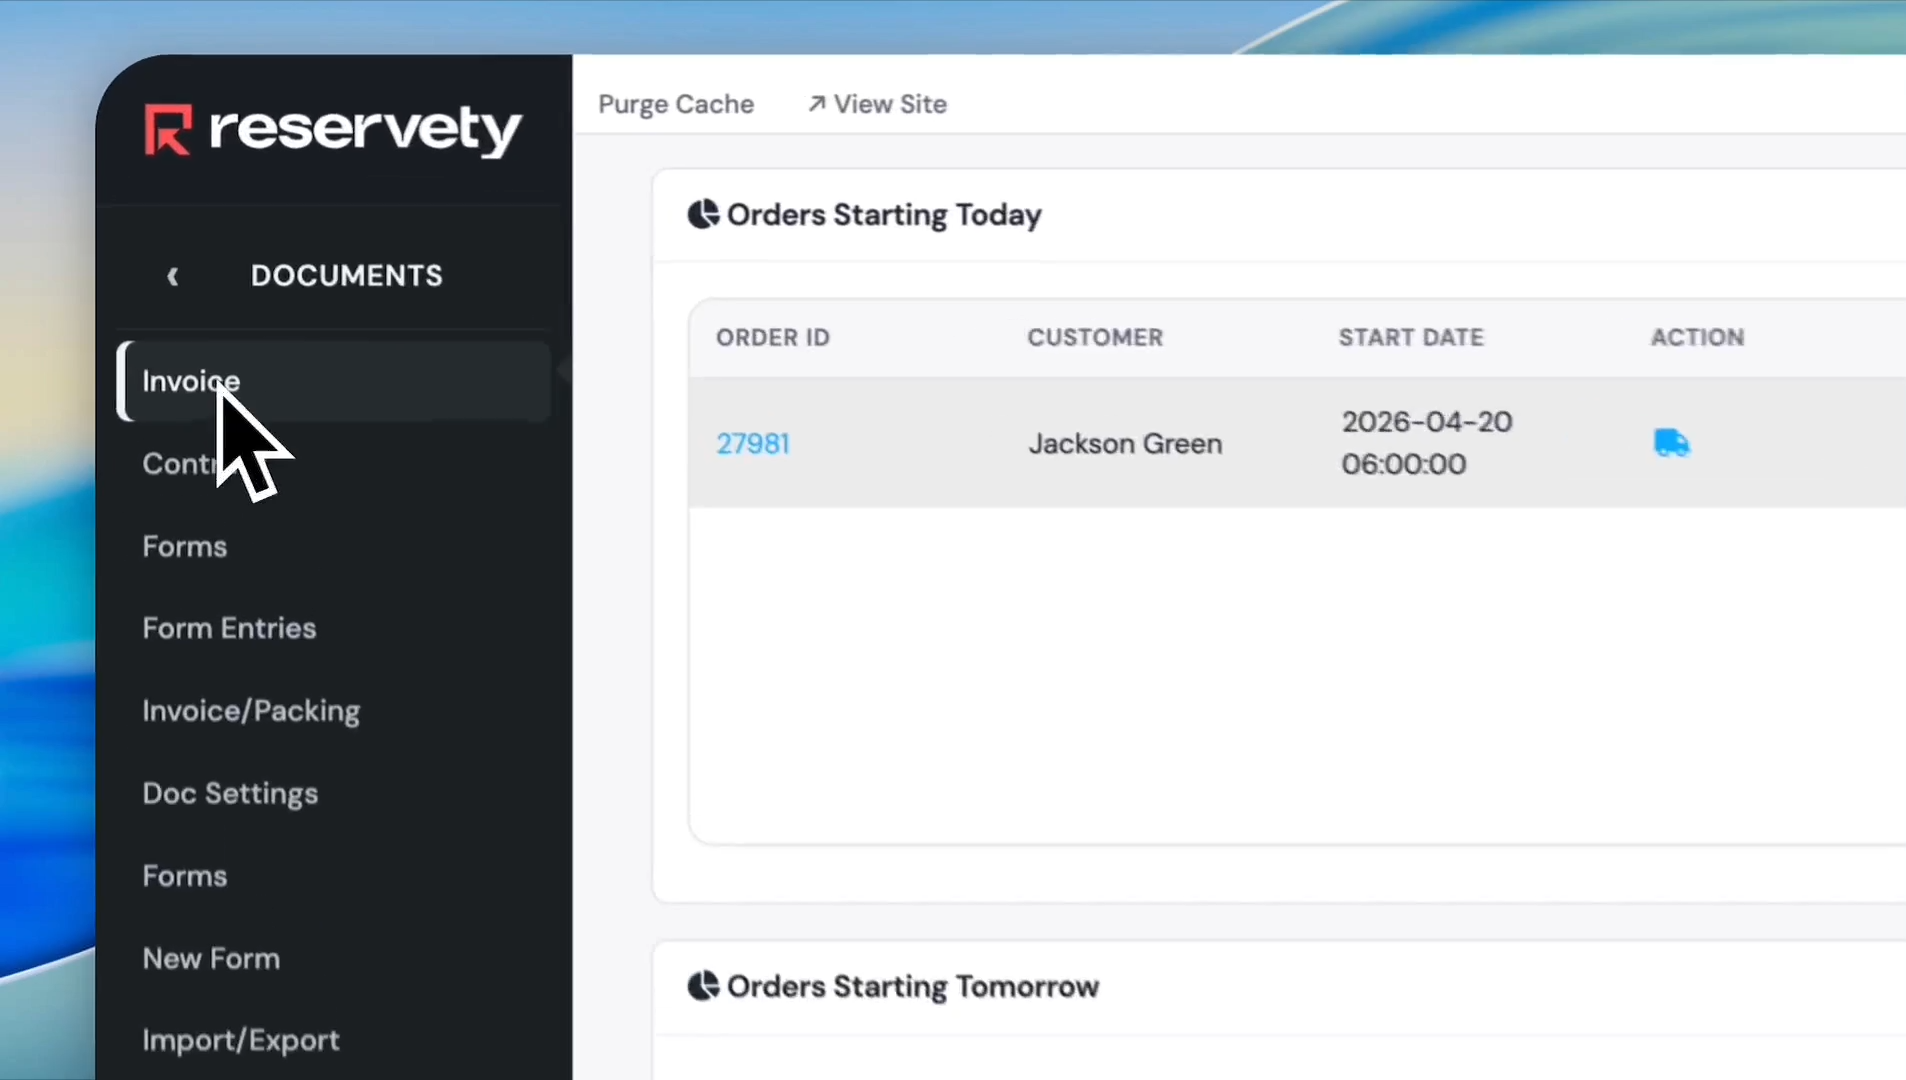
3
Select Invoice.
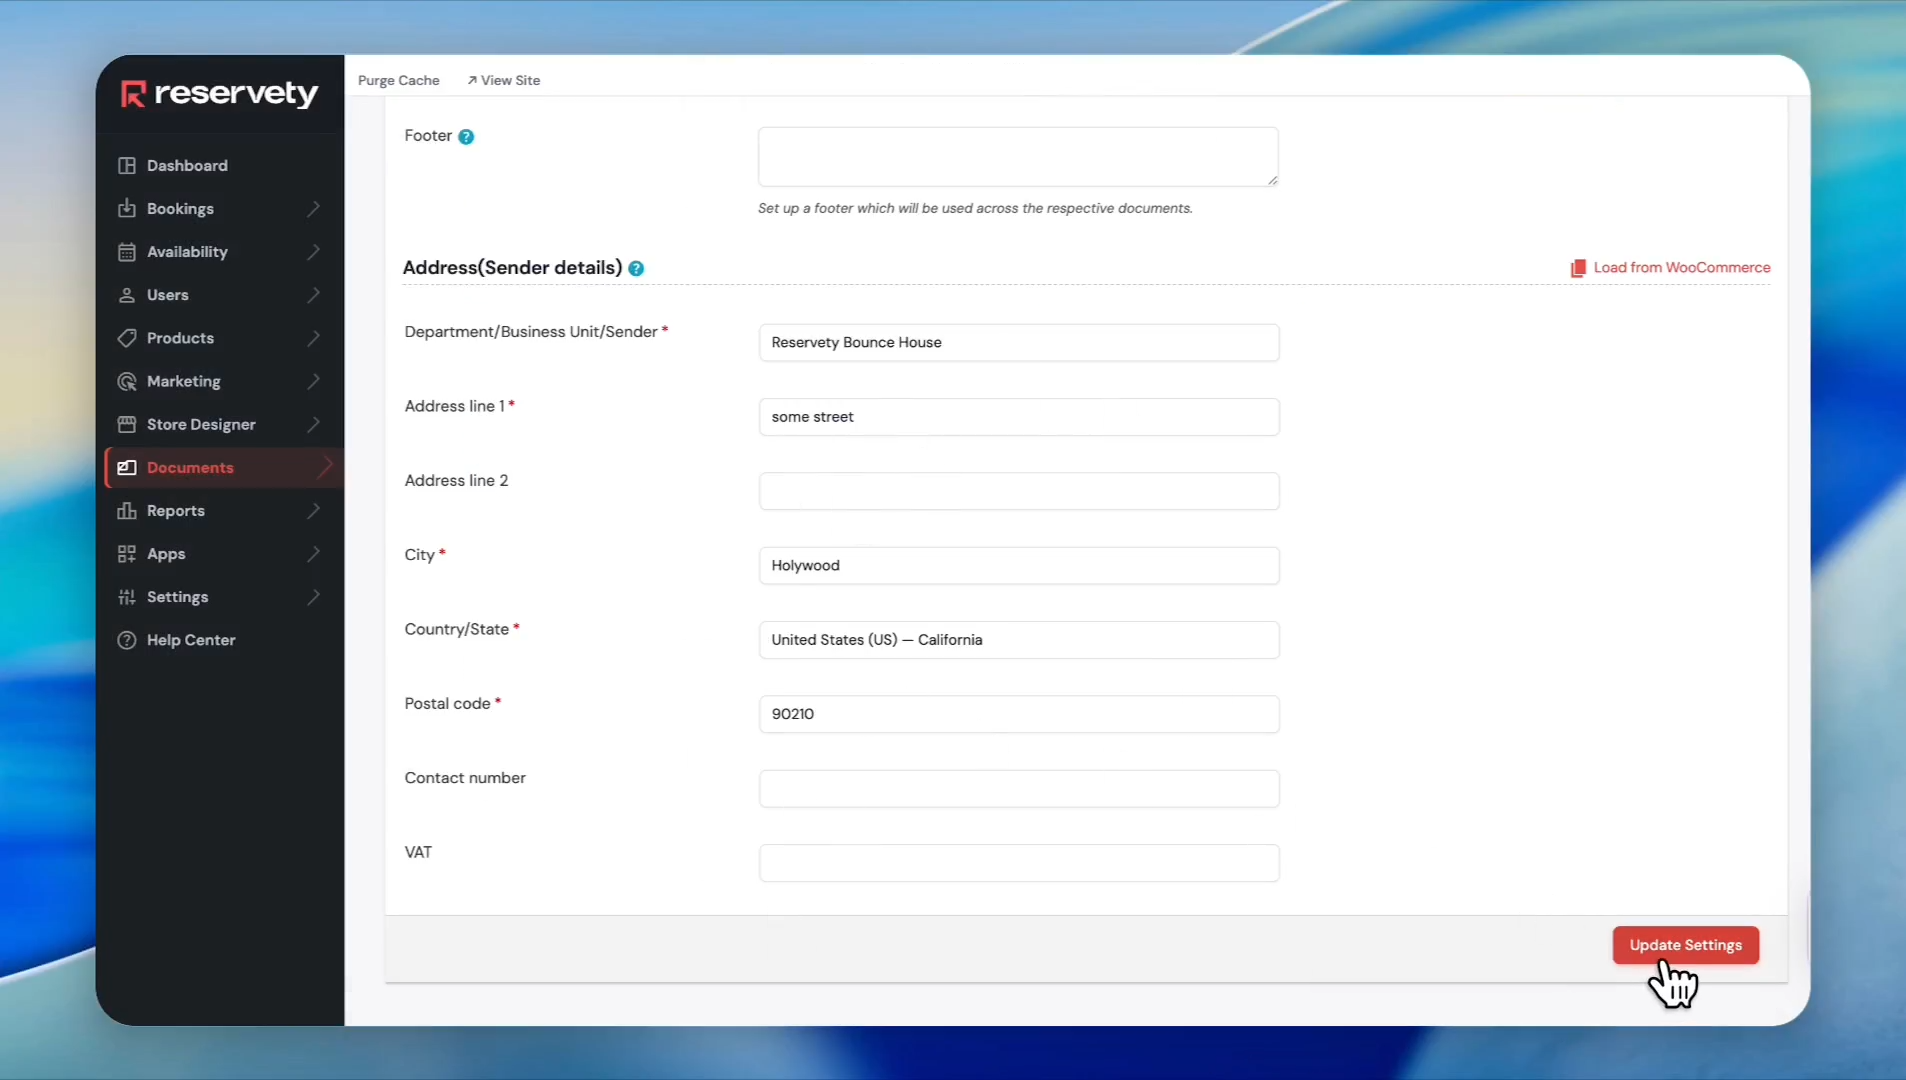
4
Under General settings, choose whether to group invoices by category.
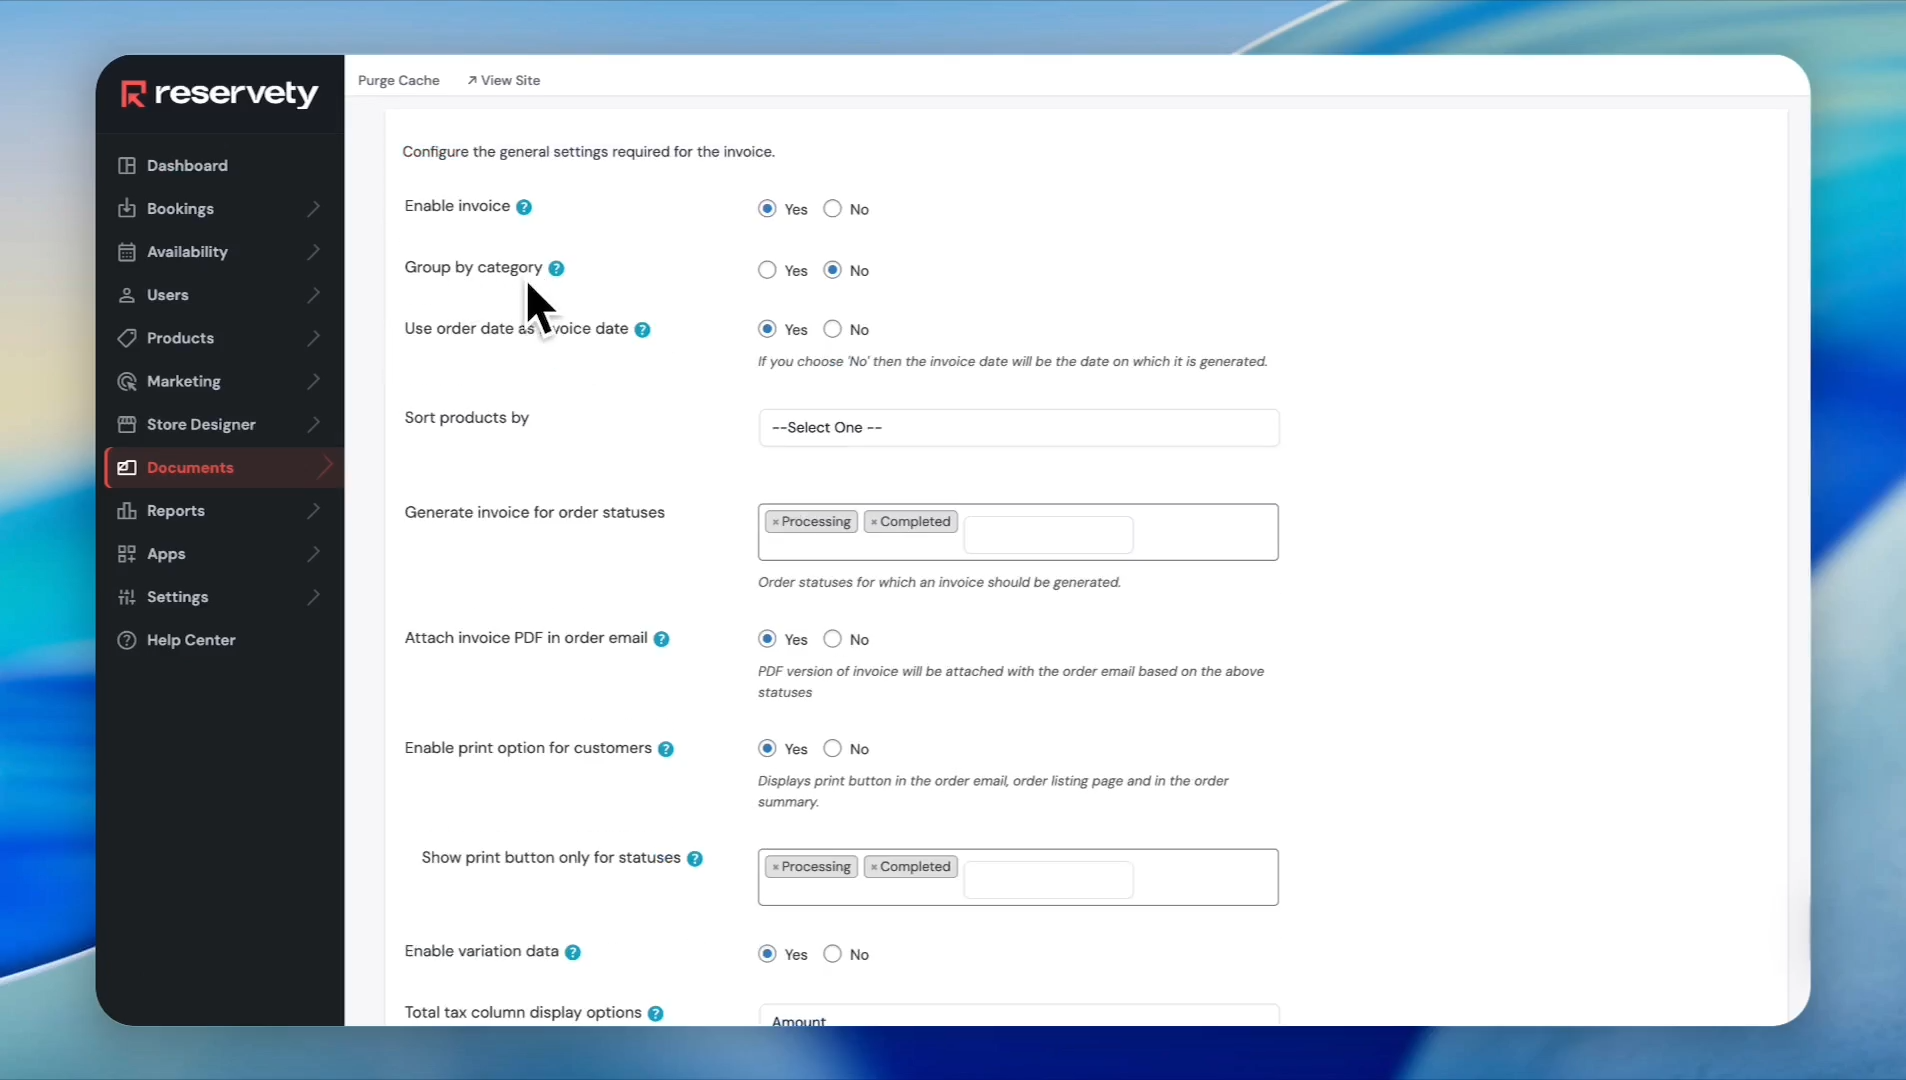
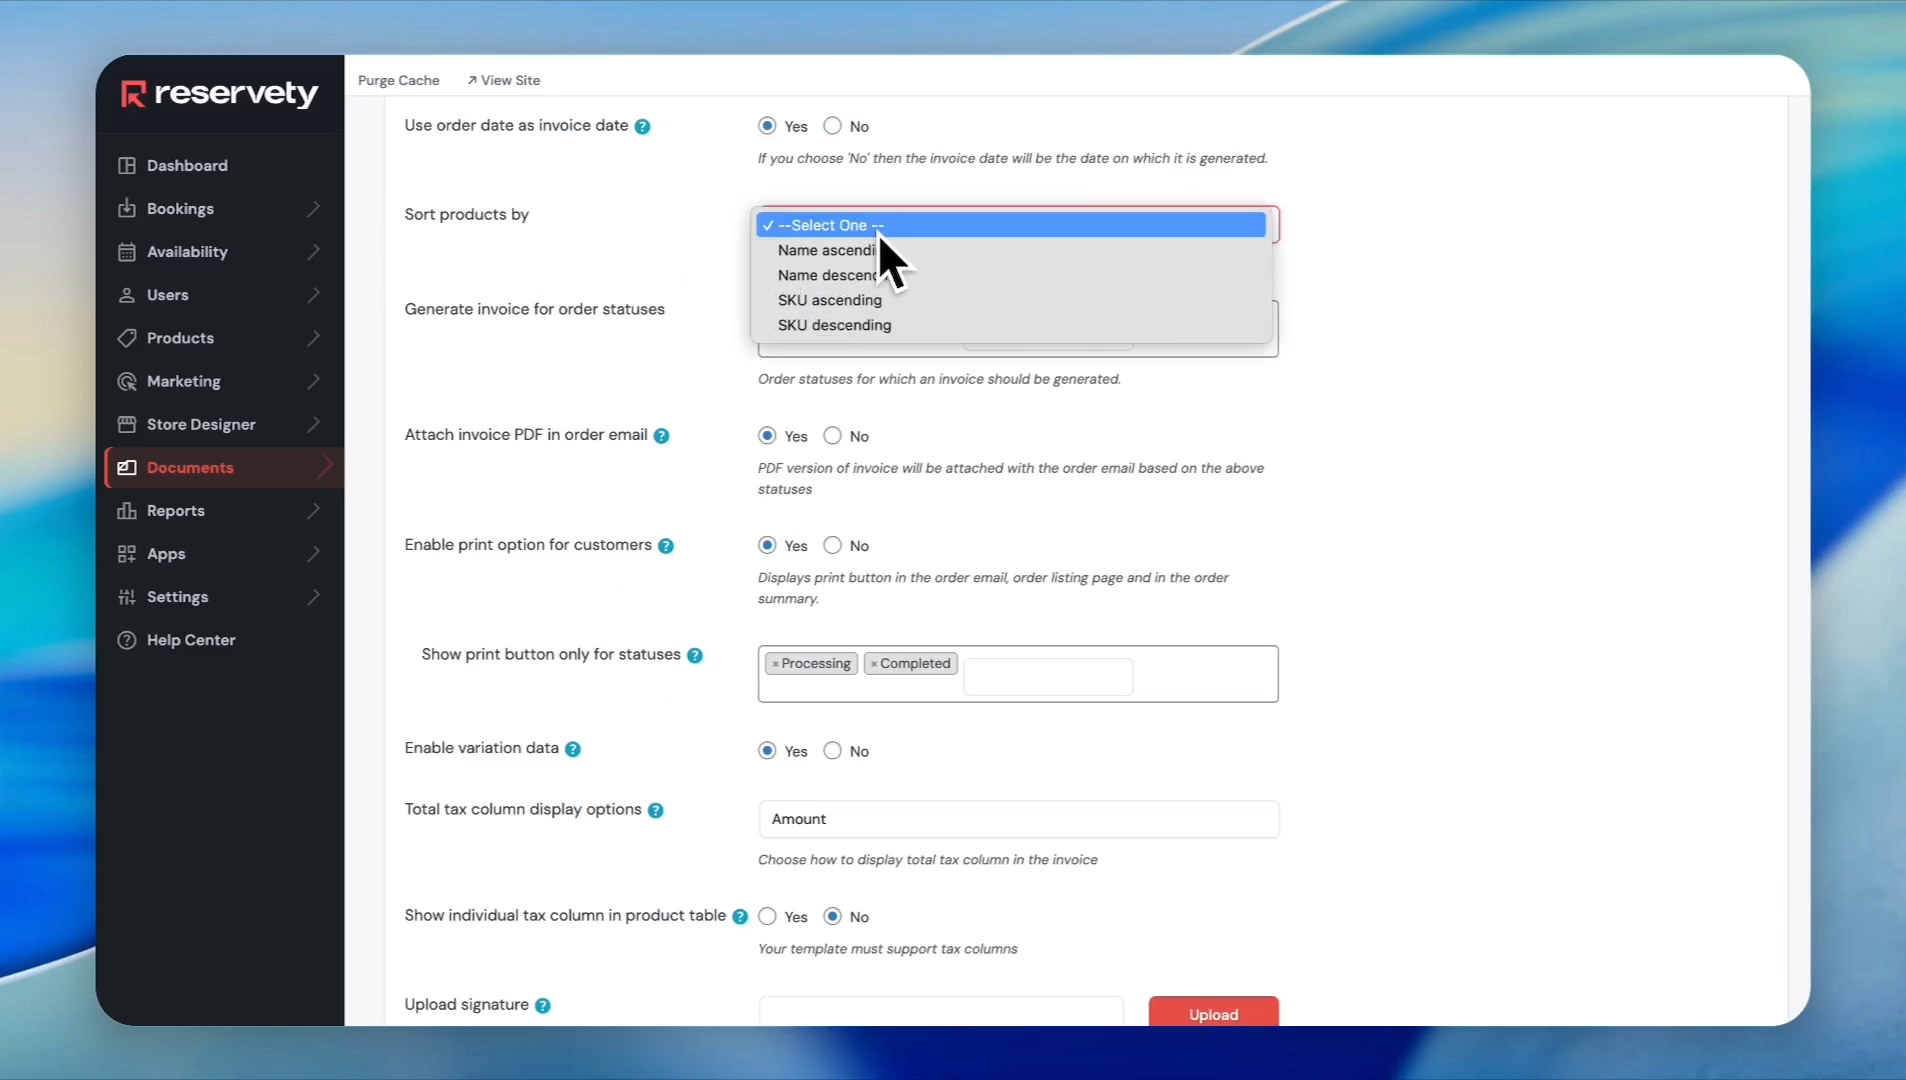
5
Select a preferred sorting order, such as product name or SKU.
6
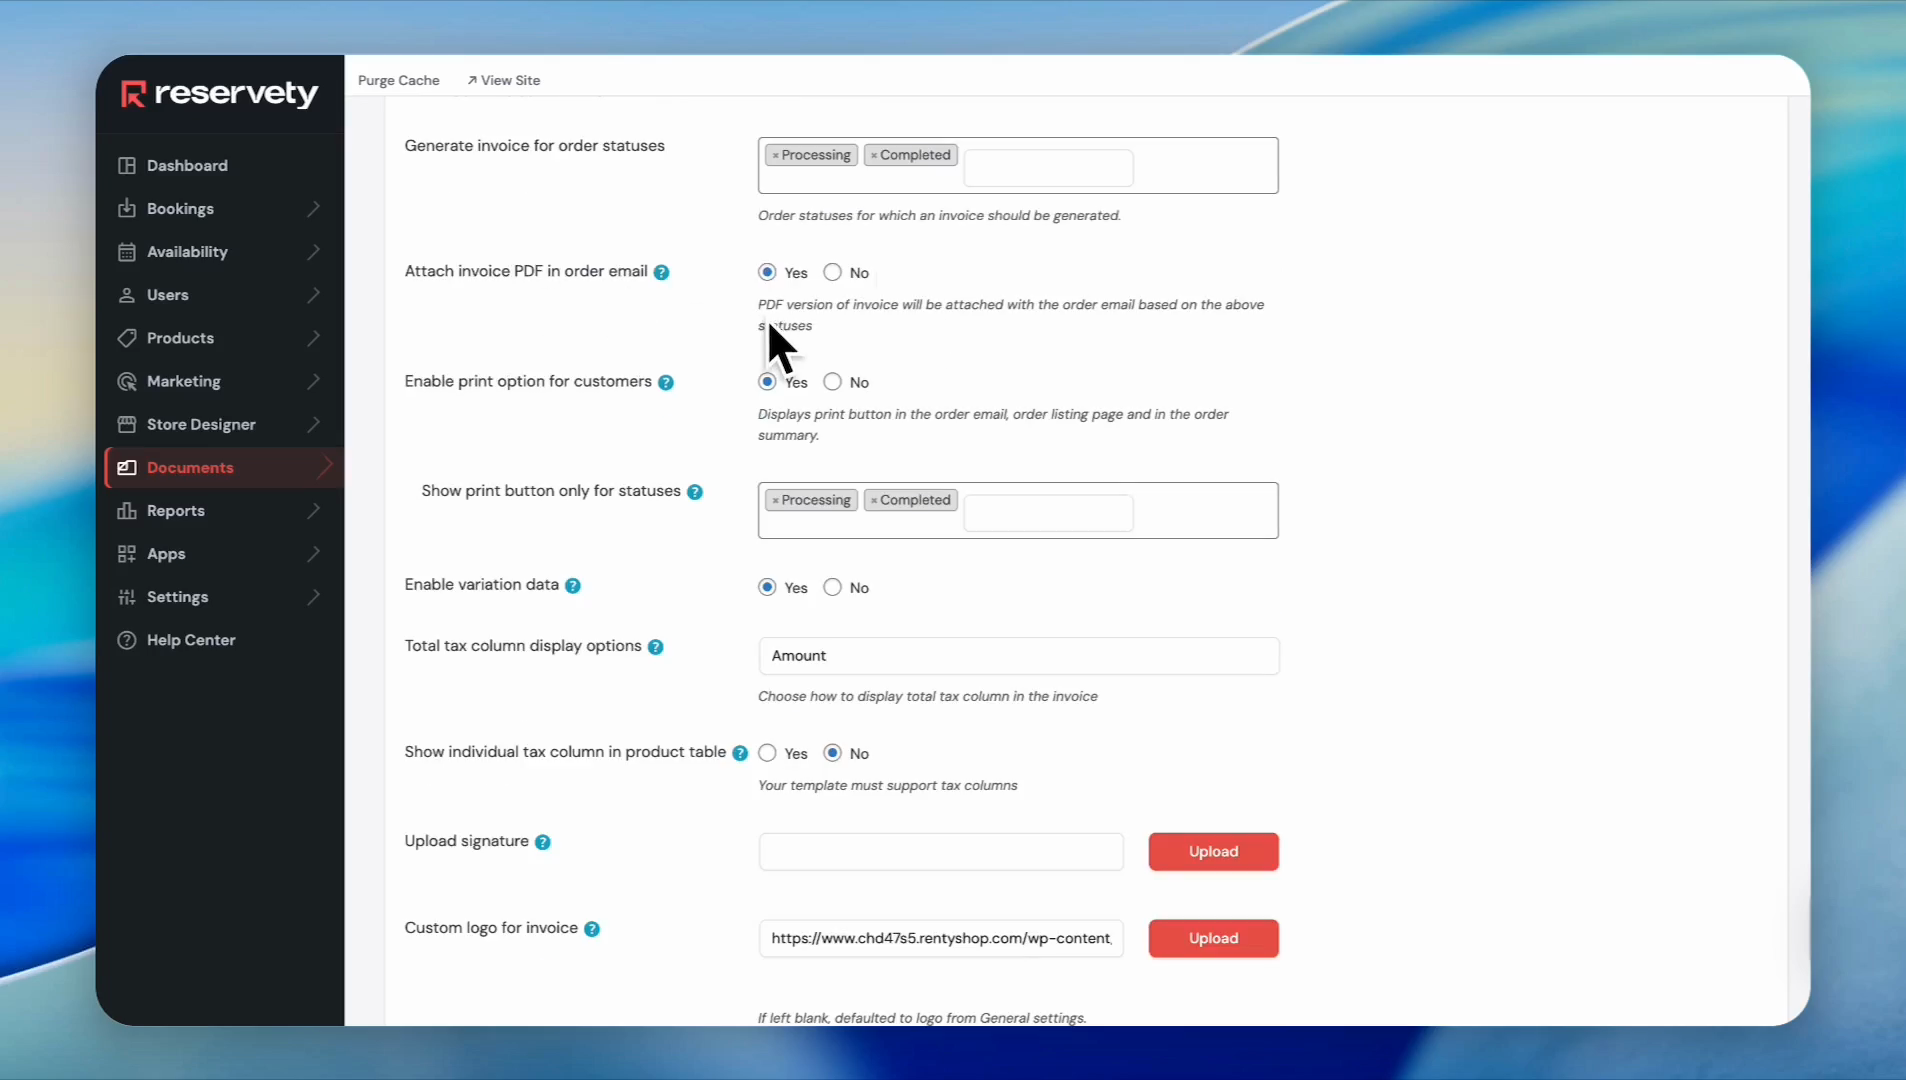
Enable the option to attach the invoice PDF to order emails.
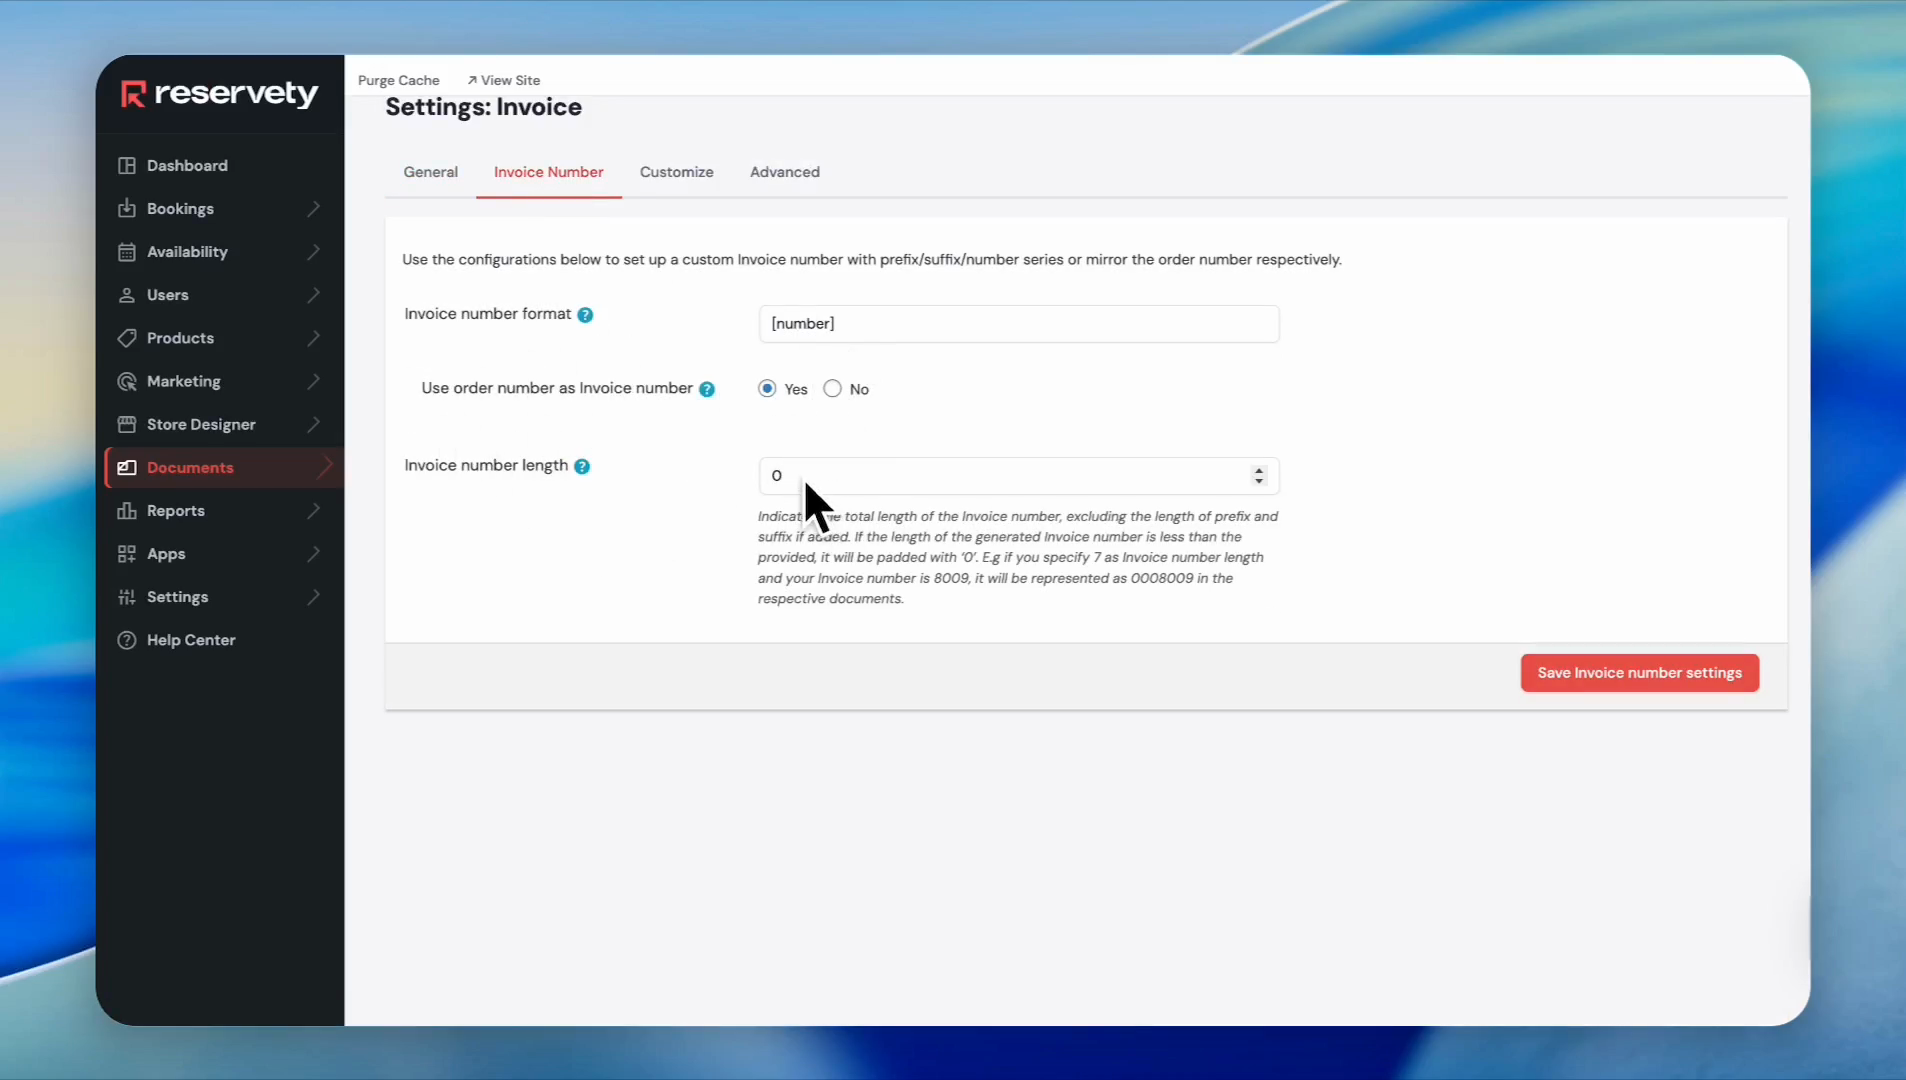
7
Click the Invoice Number tab to configure your numbering structure and constraints.
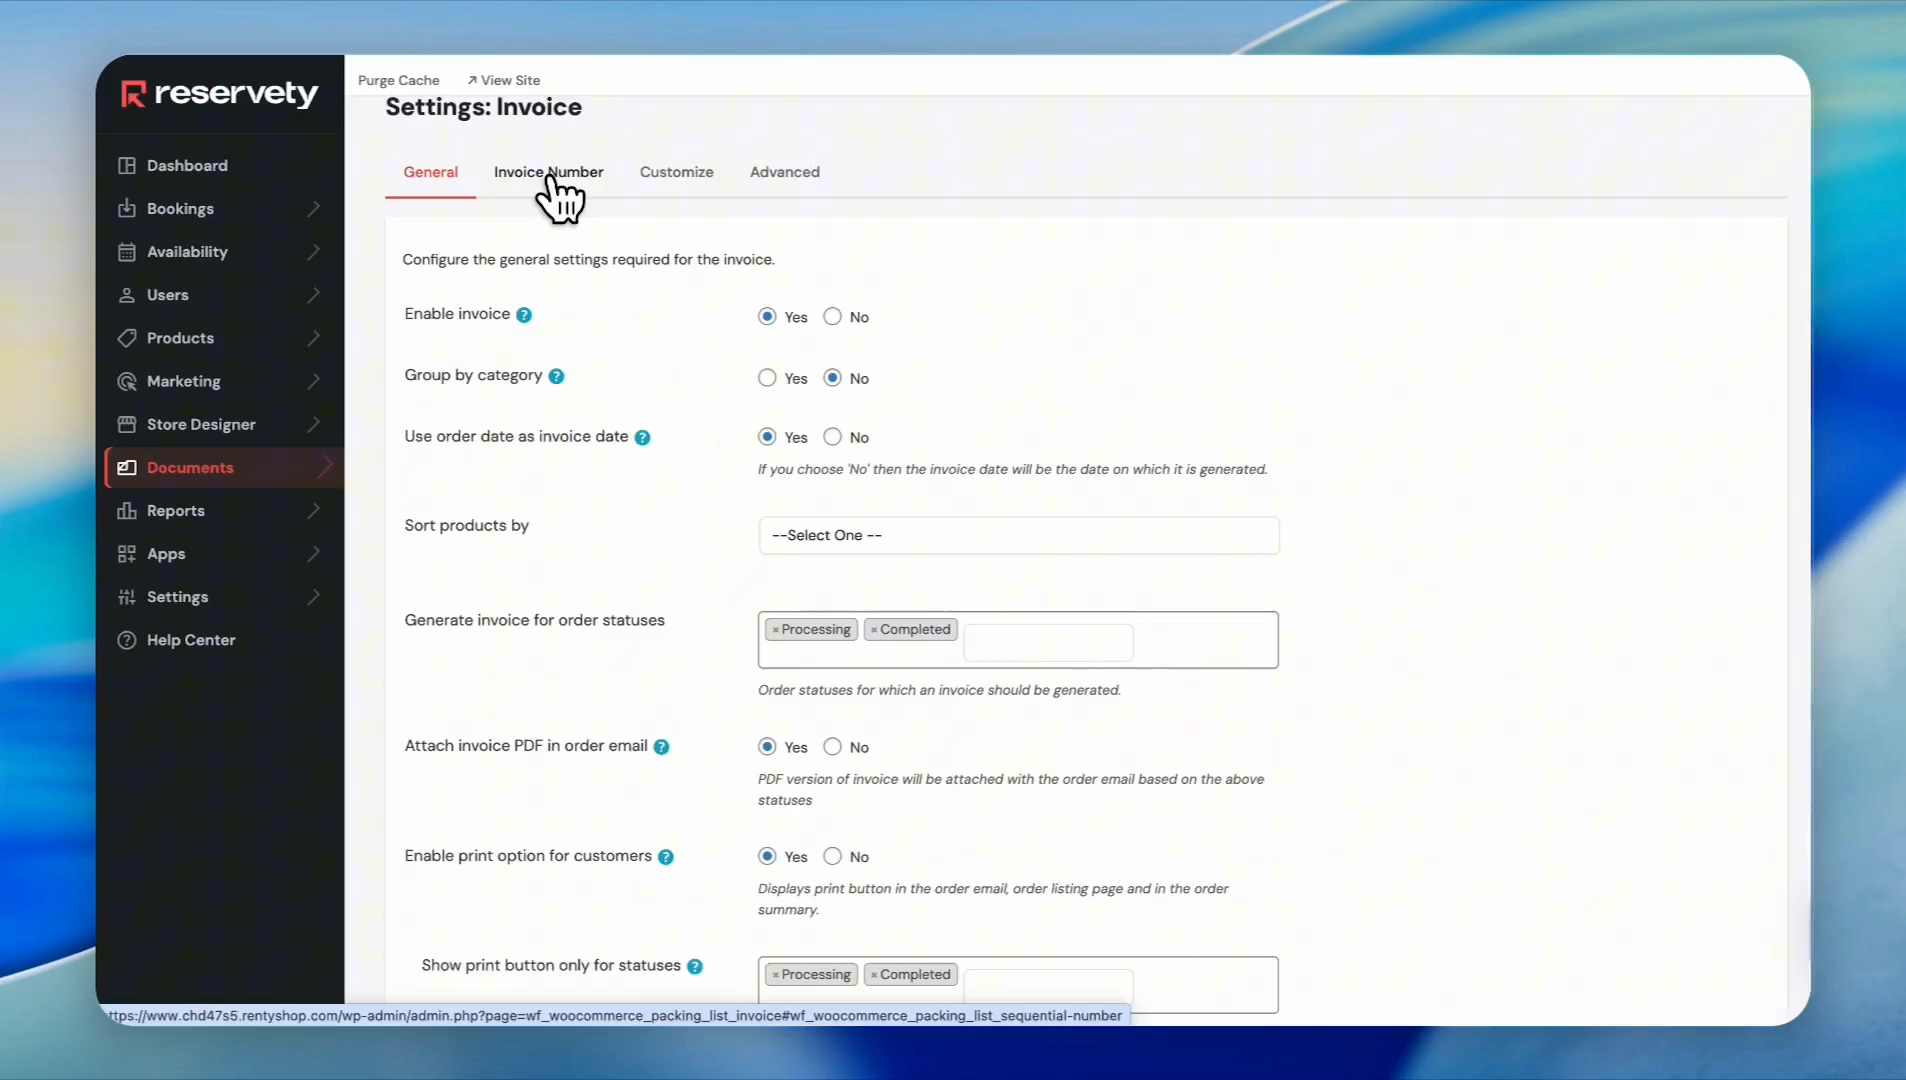
8
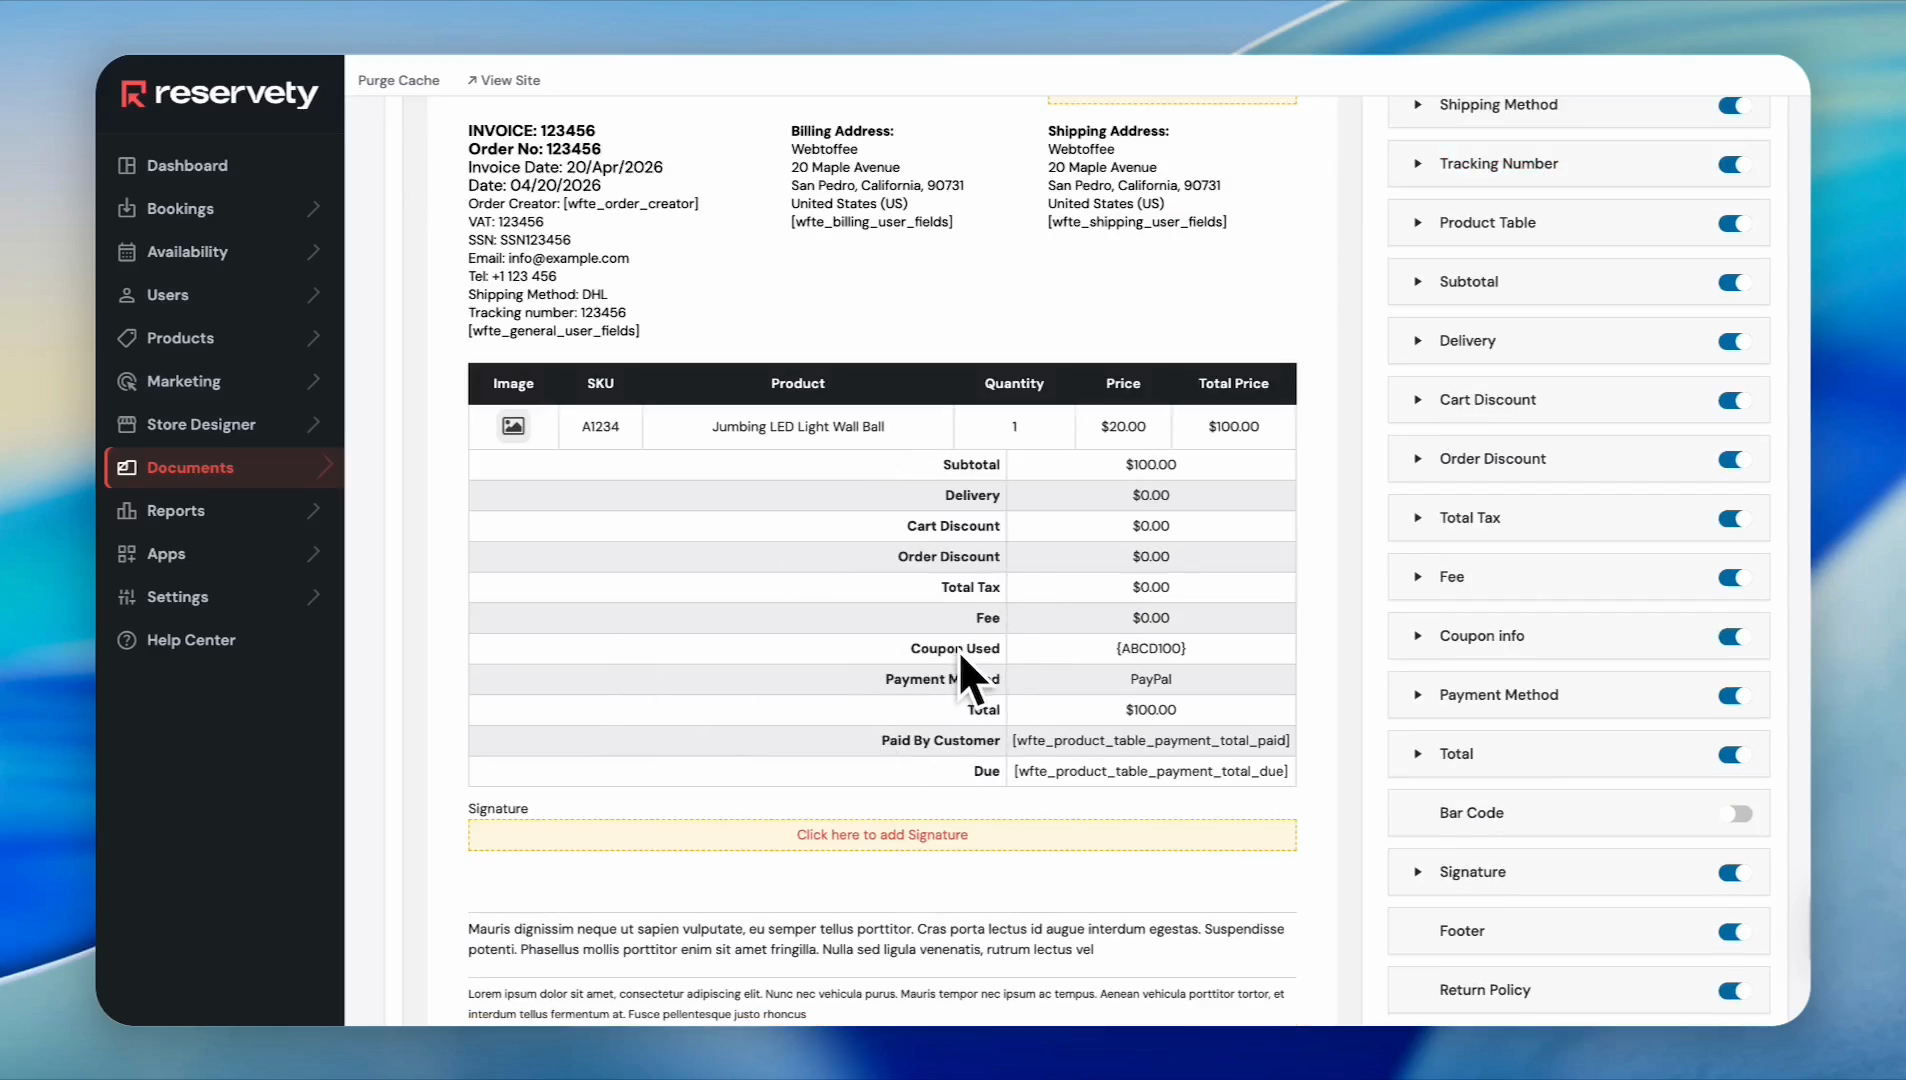
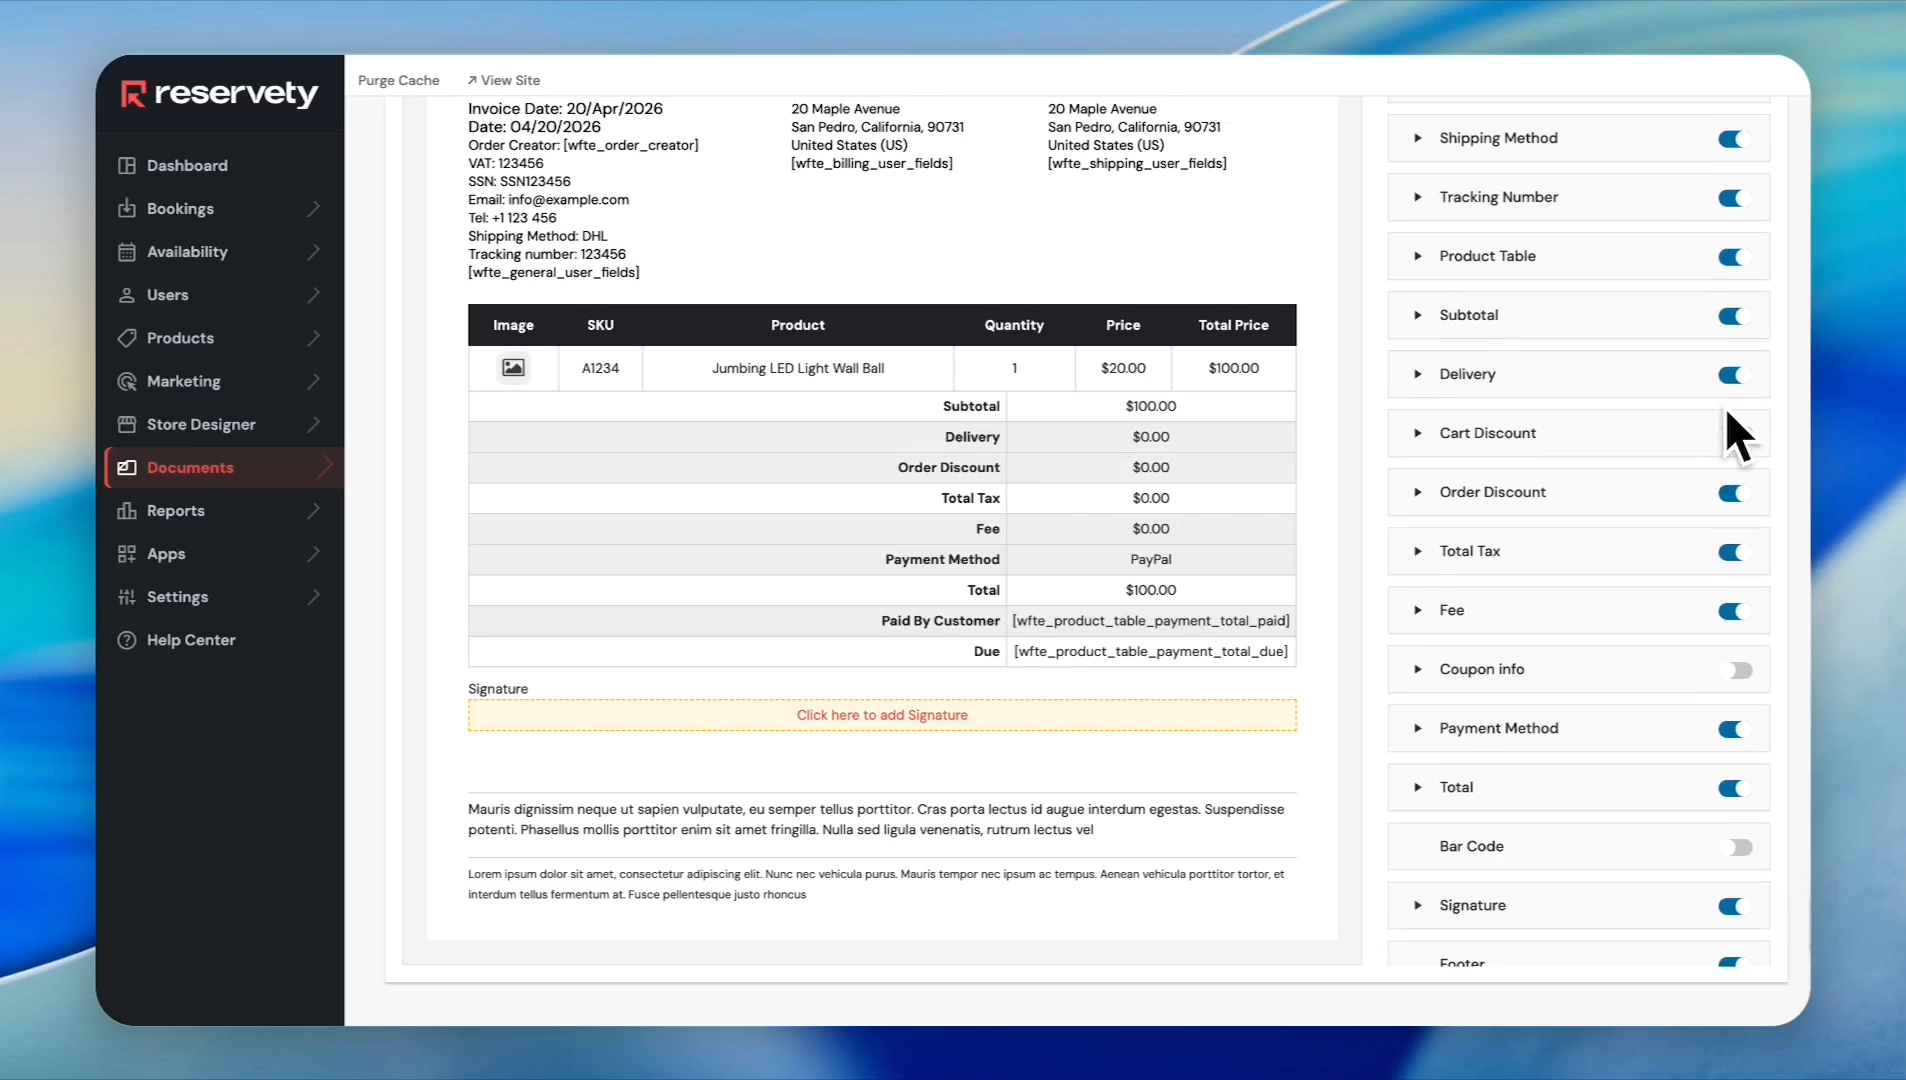
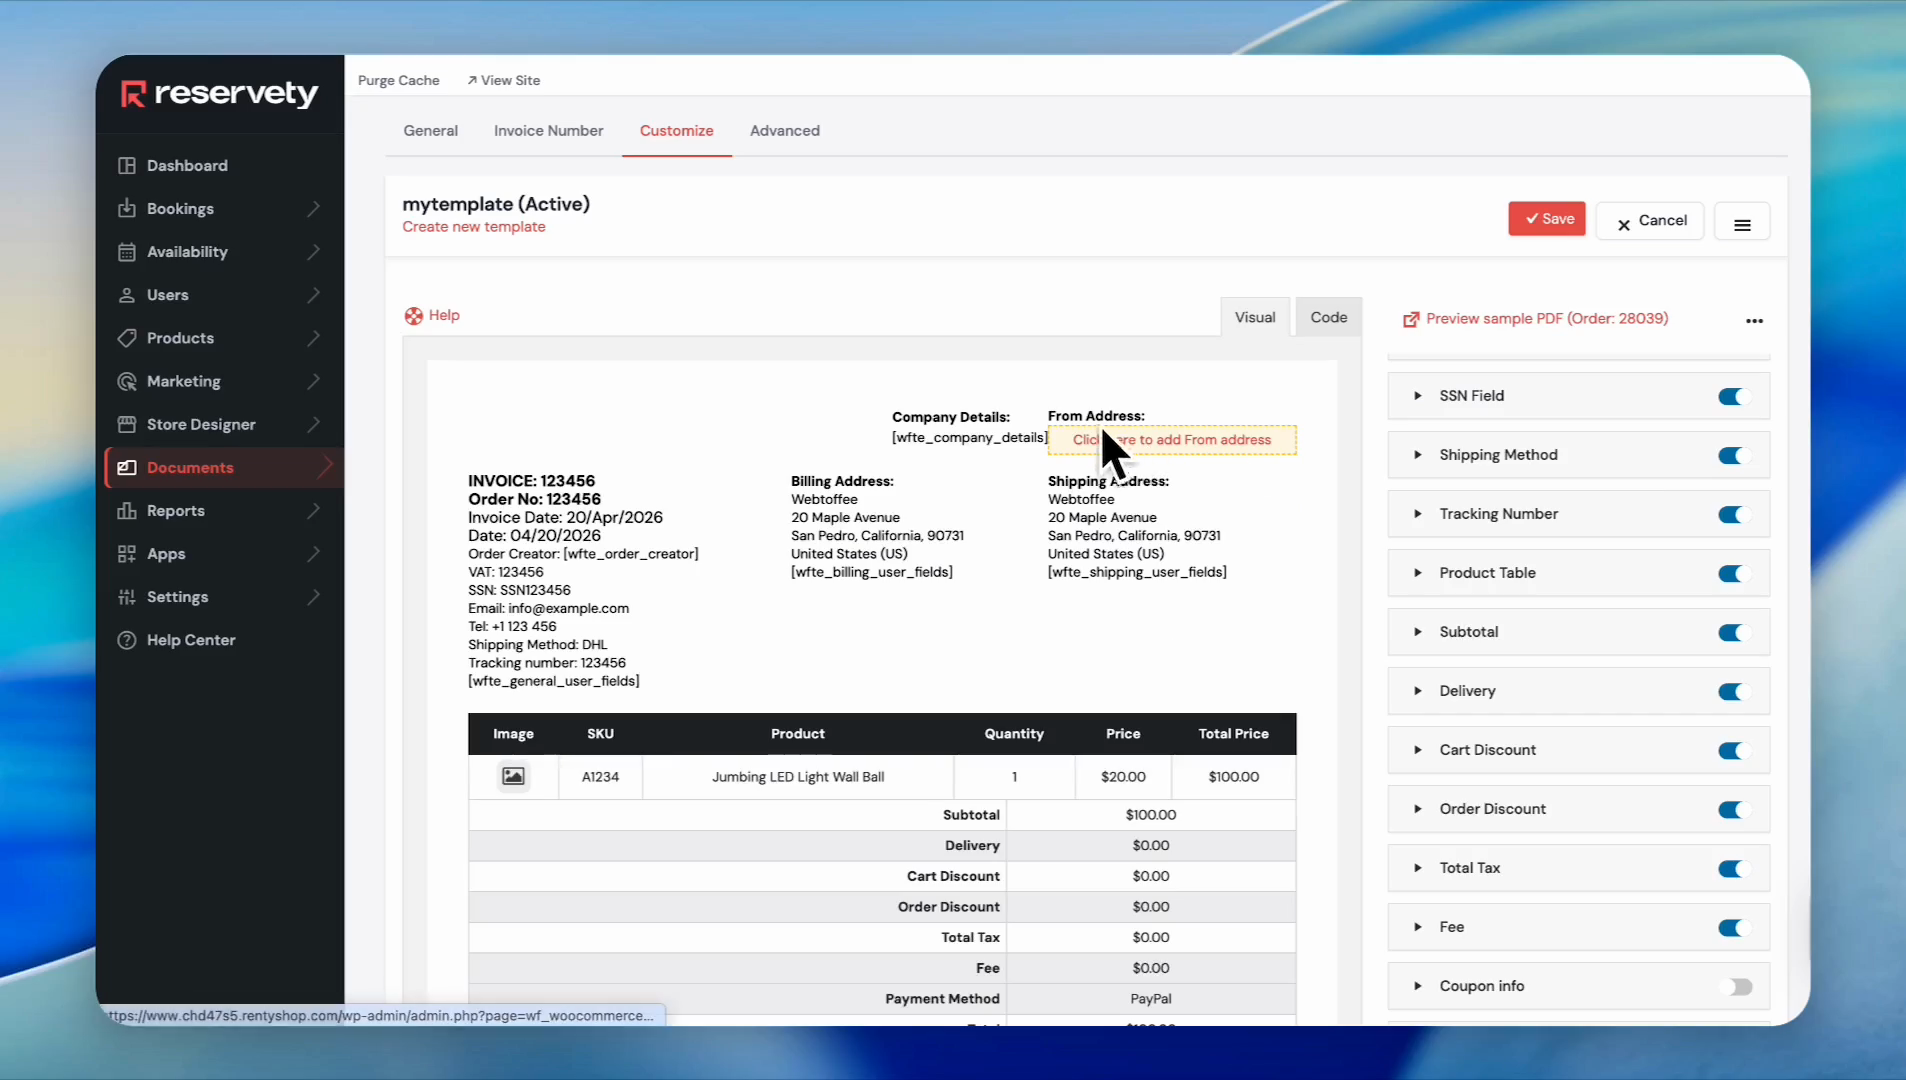
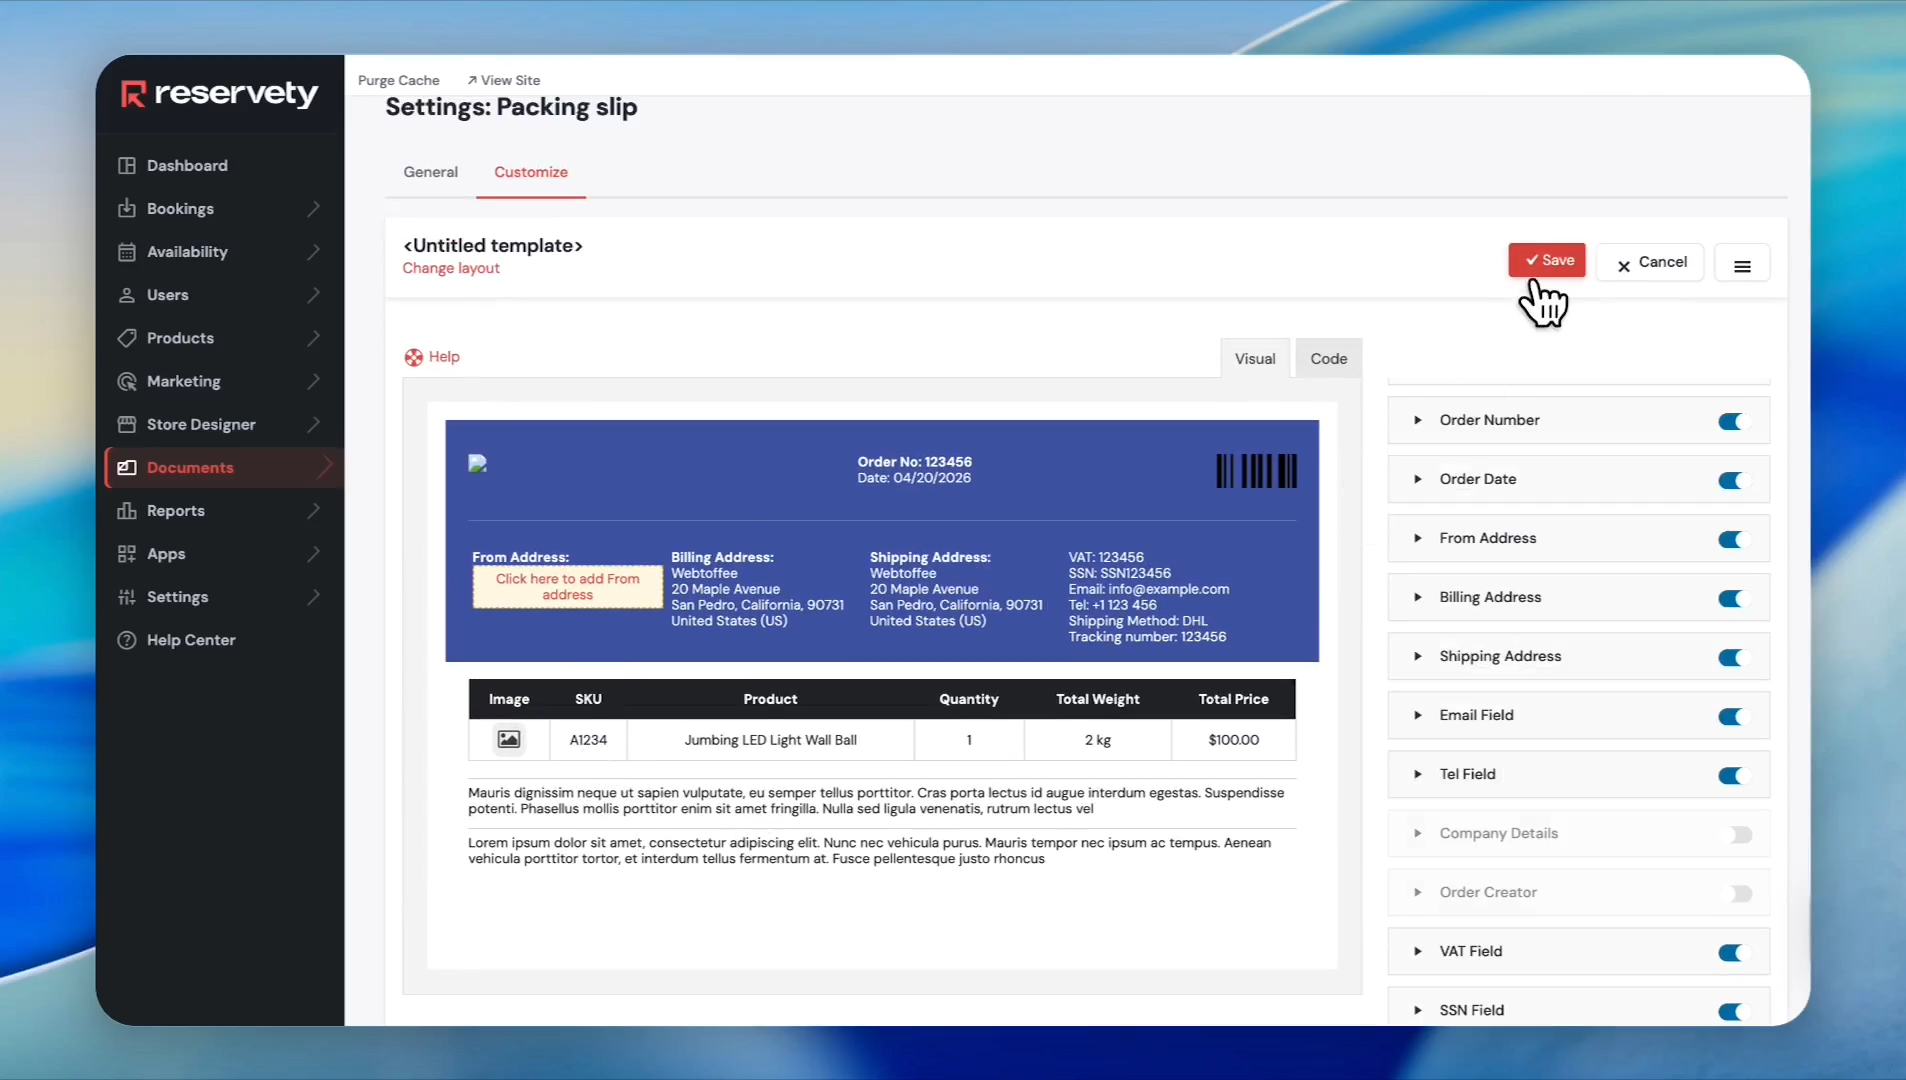
Click the Customize tab to modify the visual layout.
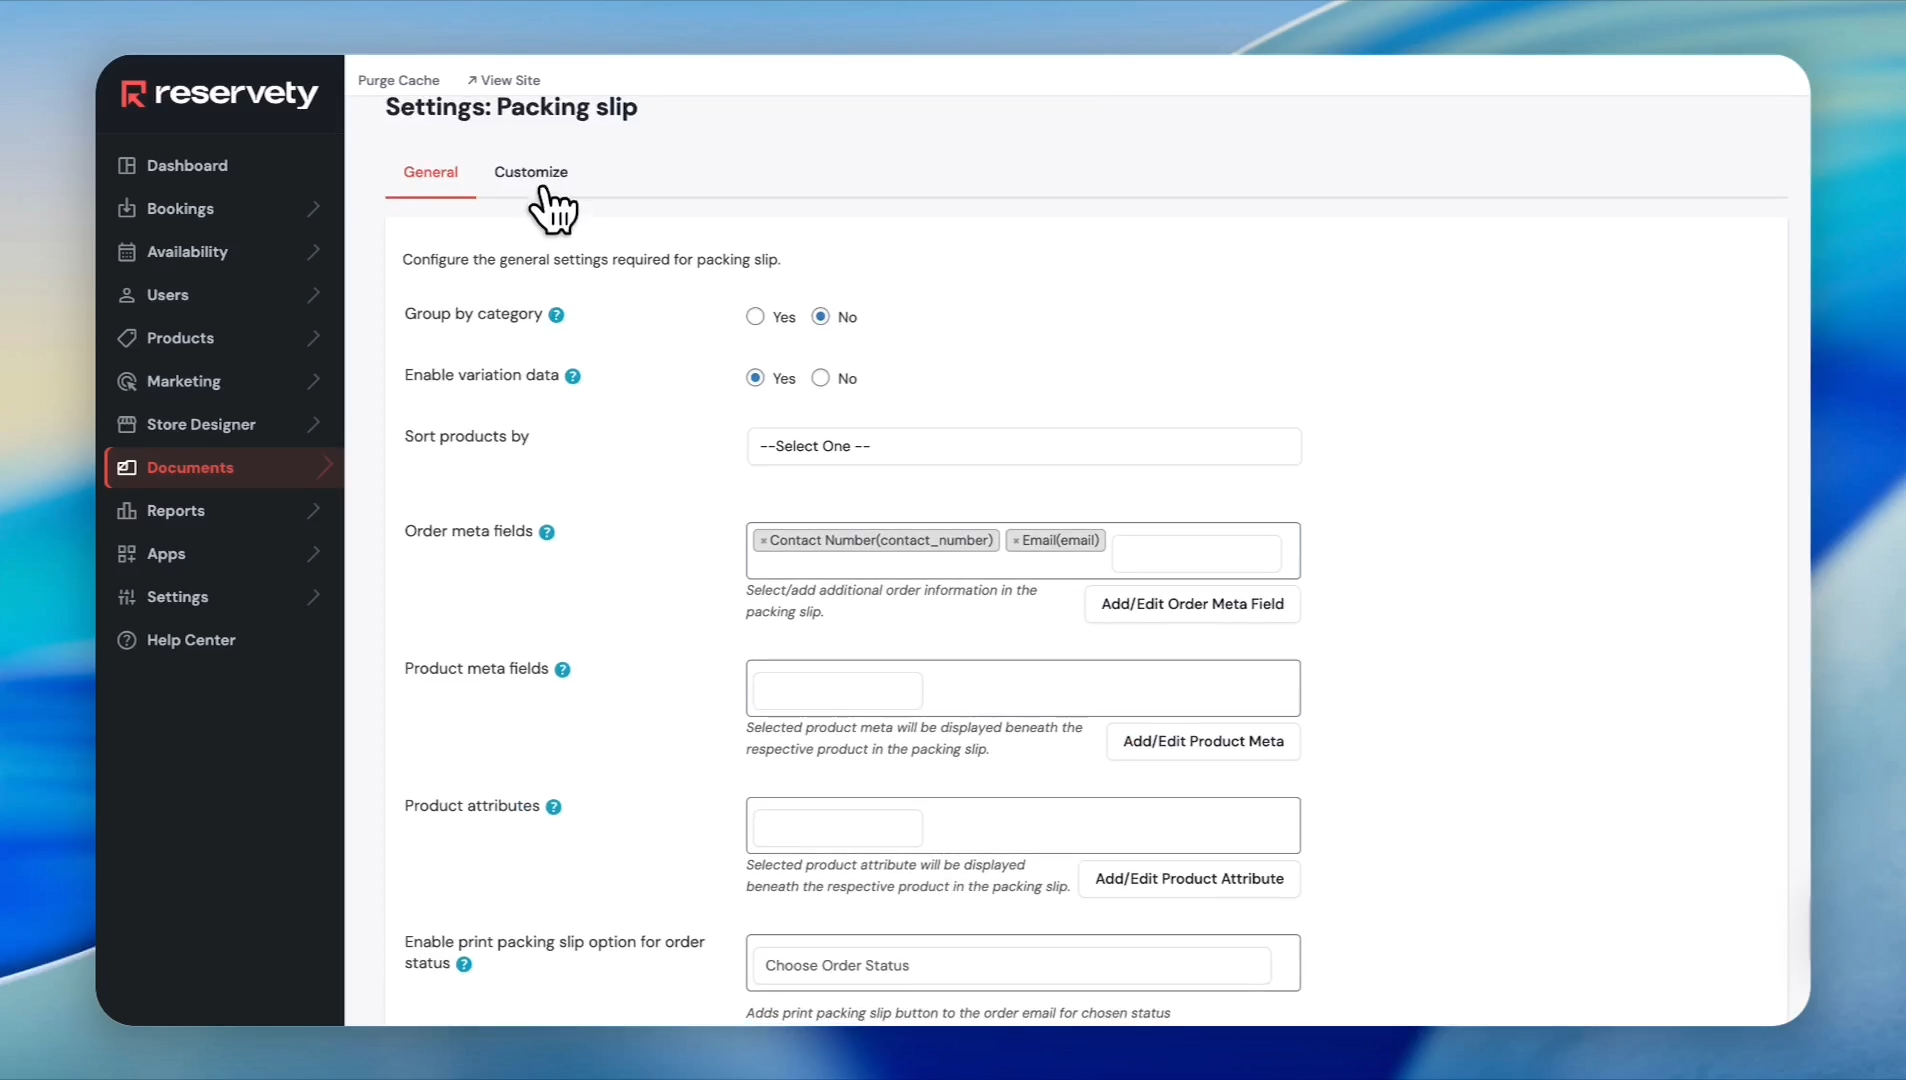
9
You can add and remove sections from the invoice. For example, toggle off Coupon Info to remove it from the document.
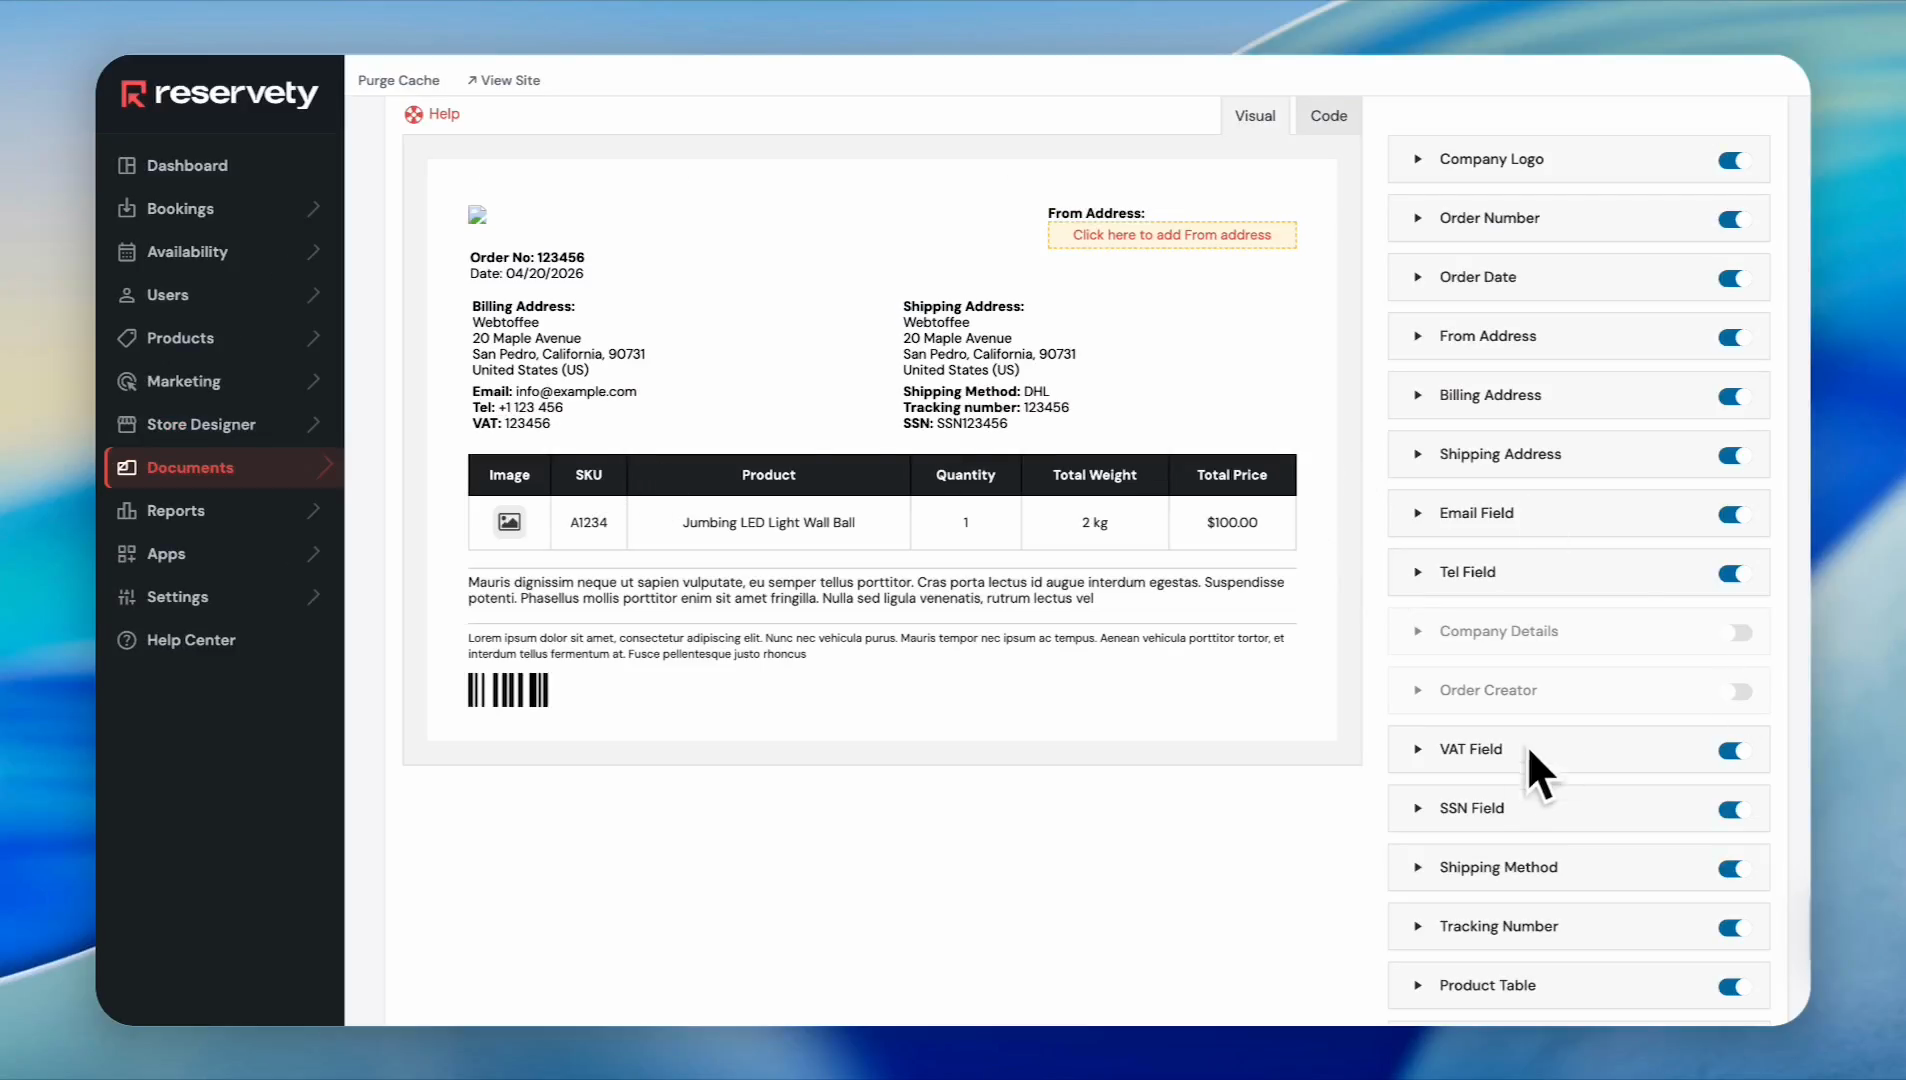
10
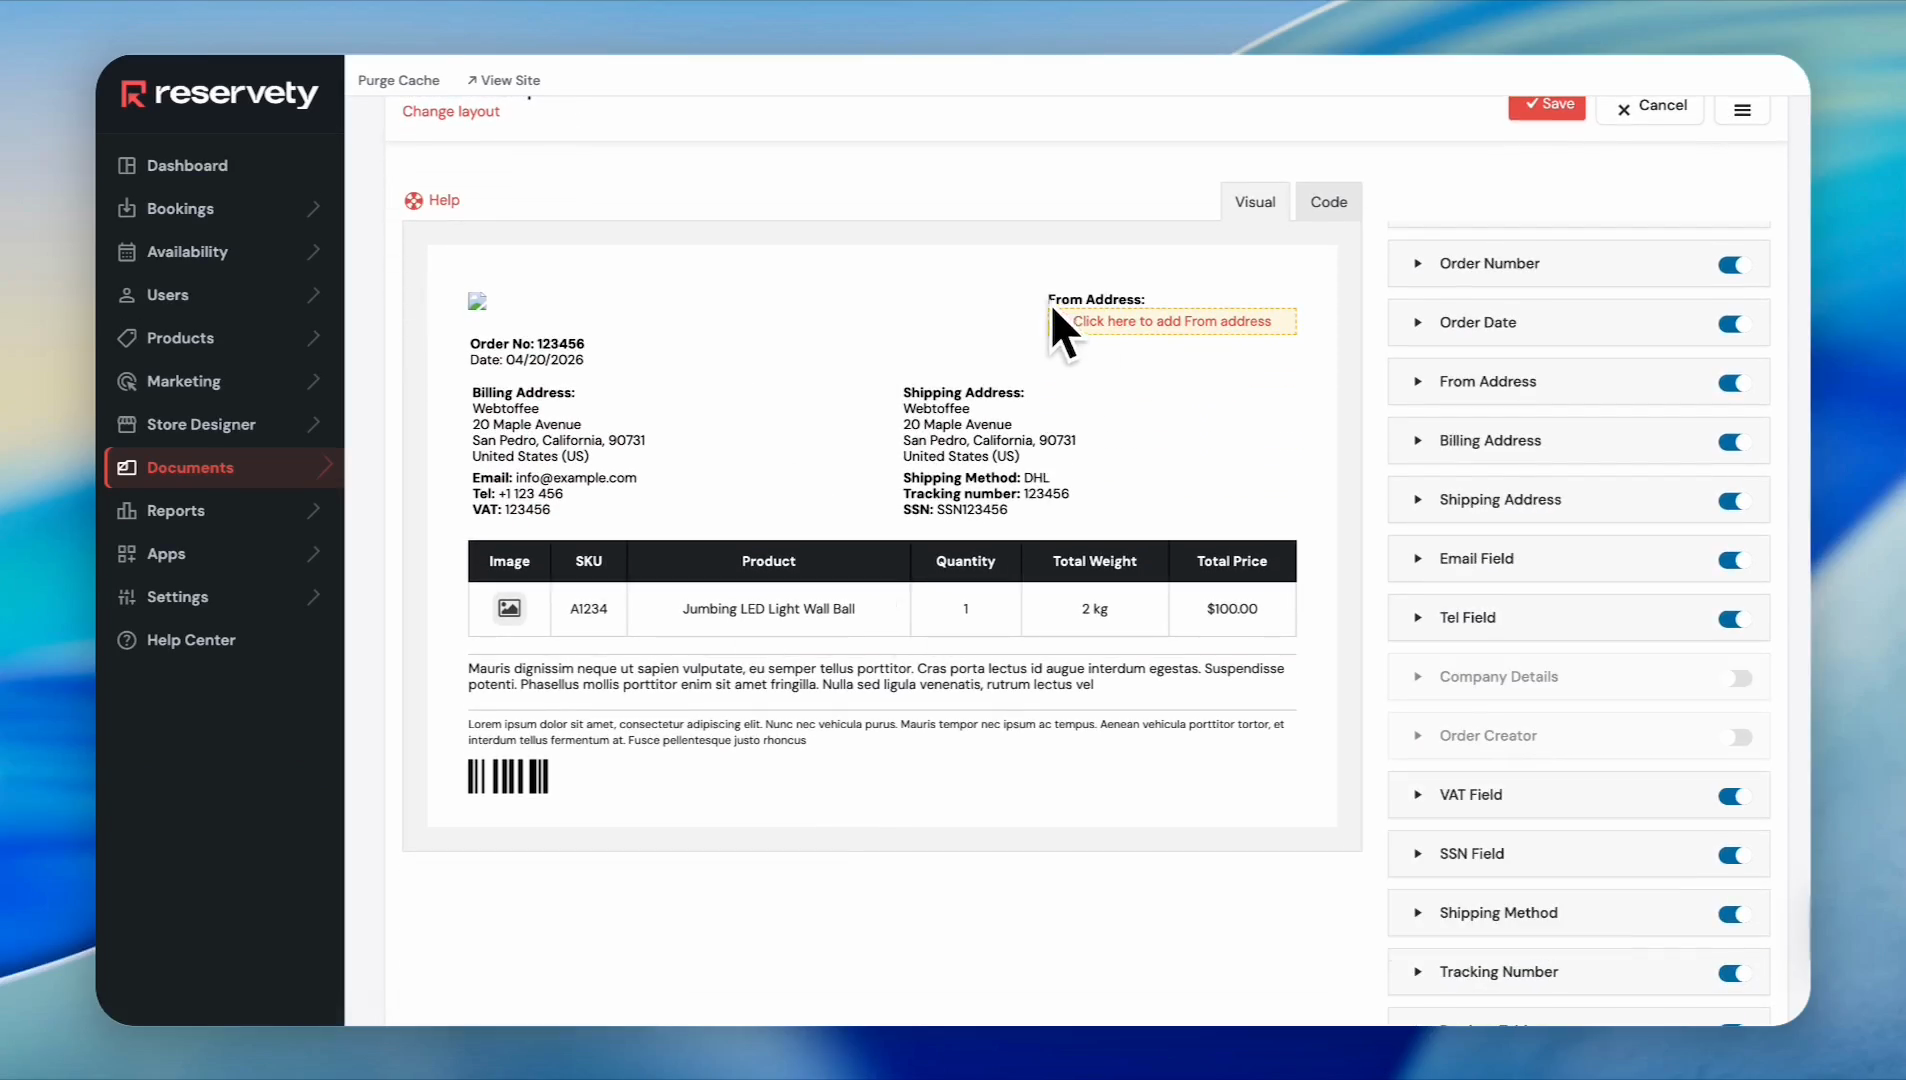
Switch off Cart Discount to remove cart discount info.
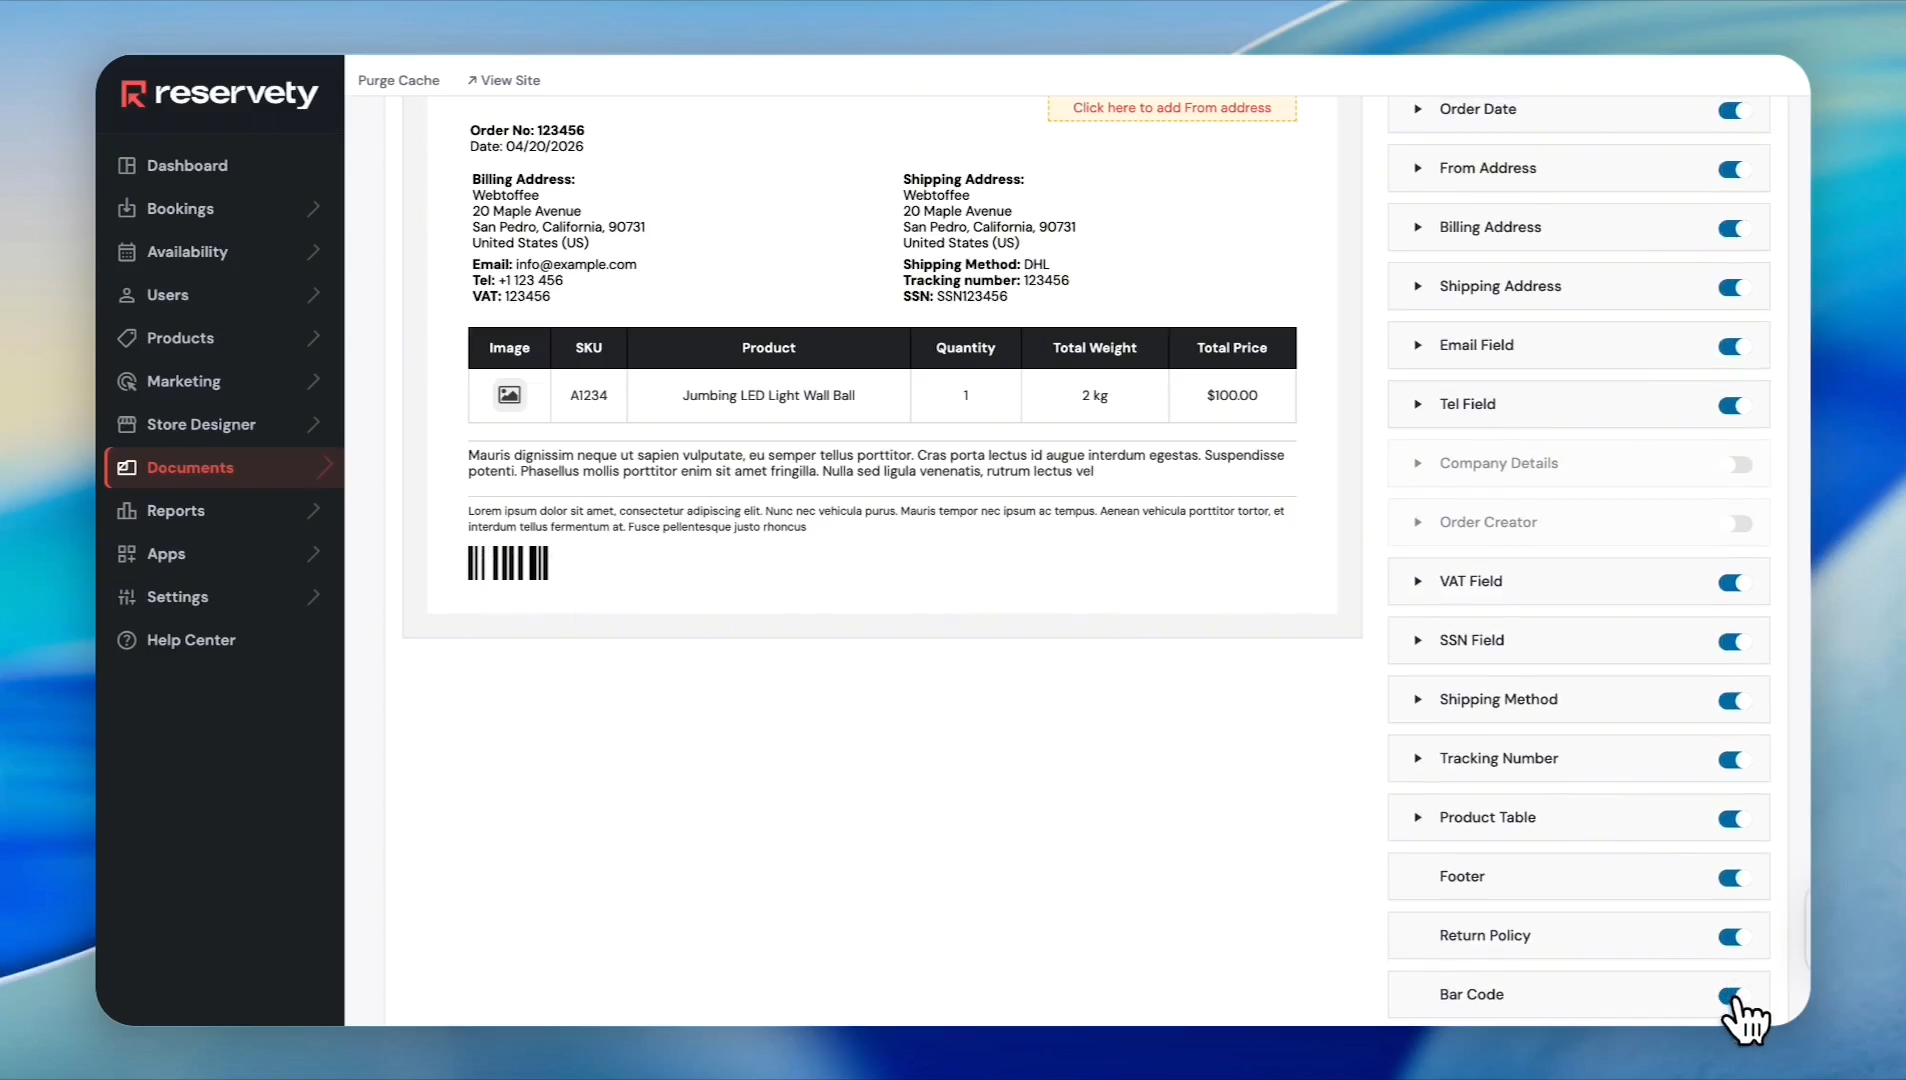
11
Click the From Address block on the preview to insert your business sender details.
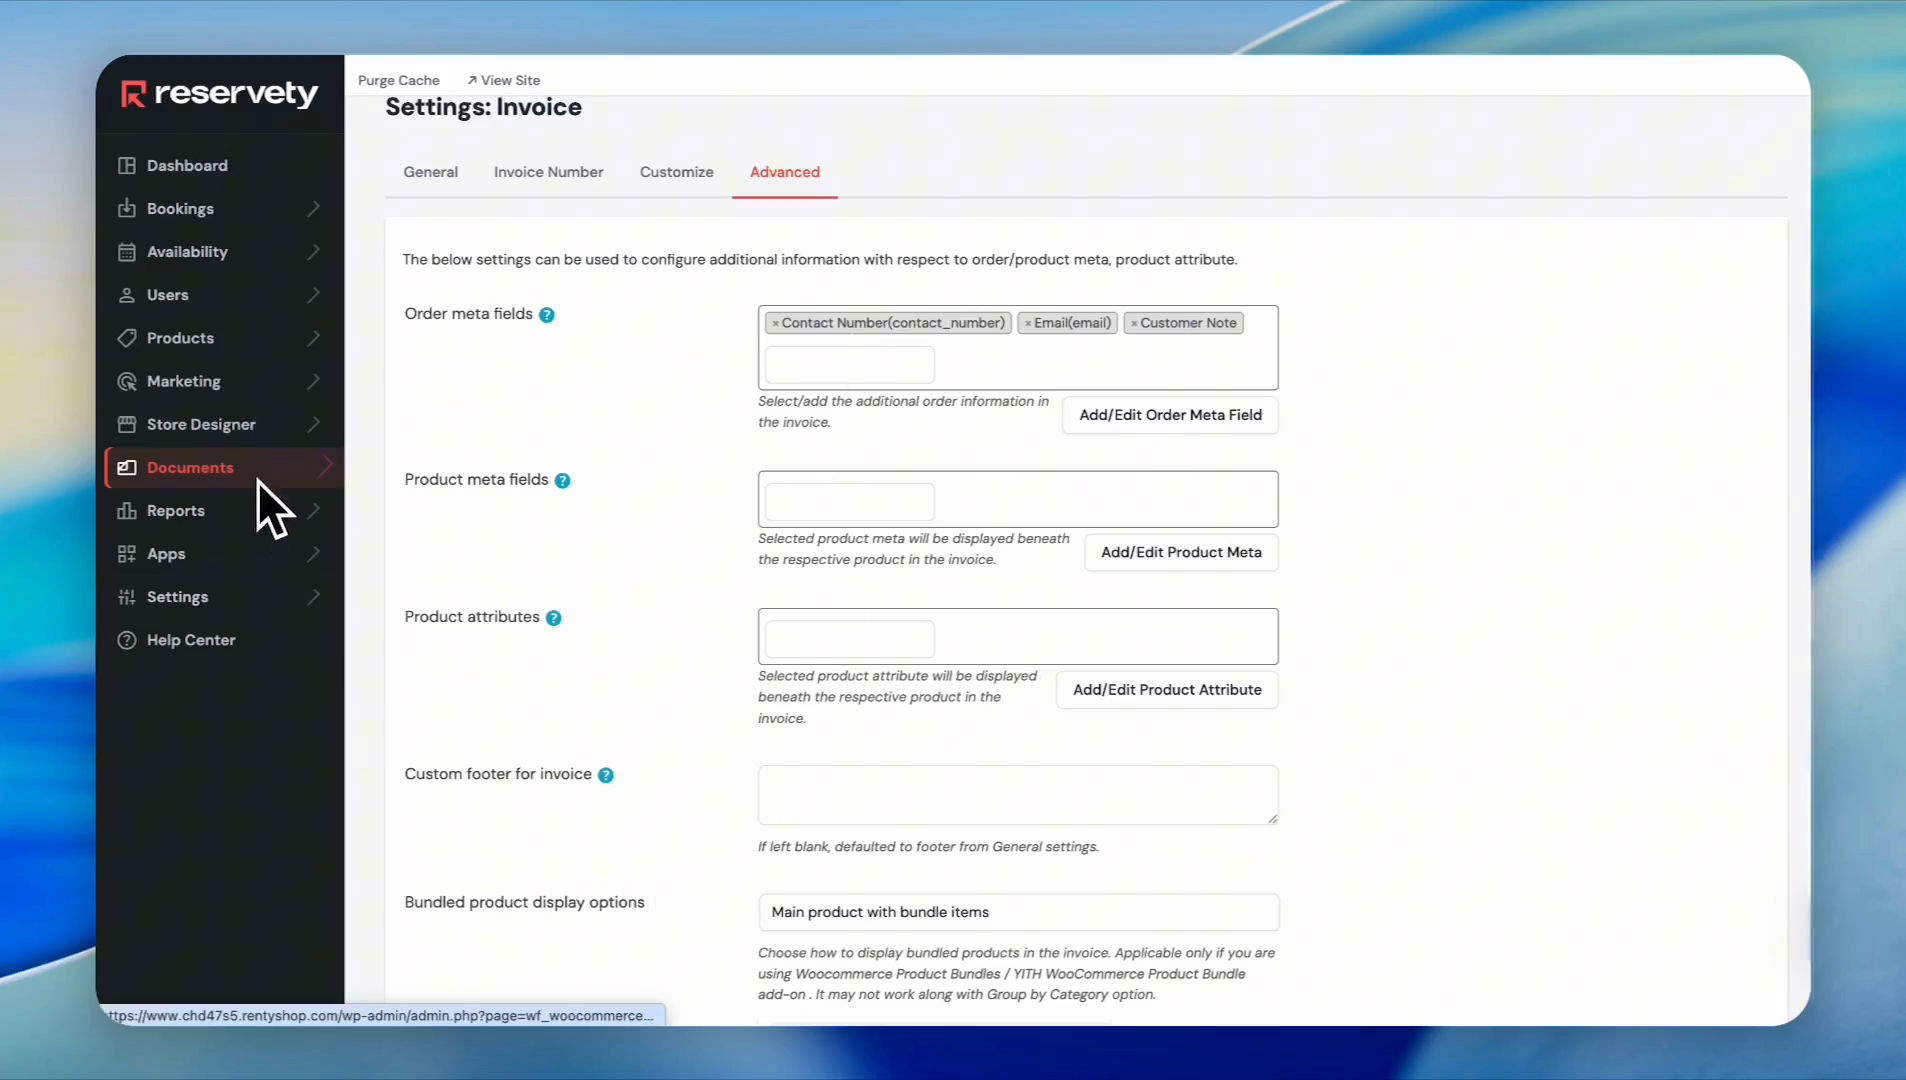
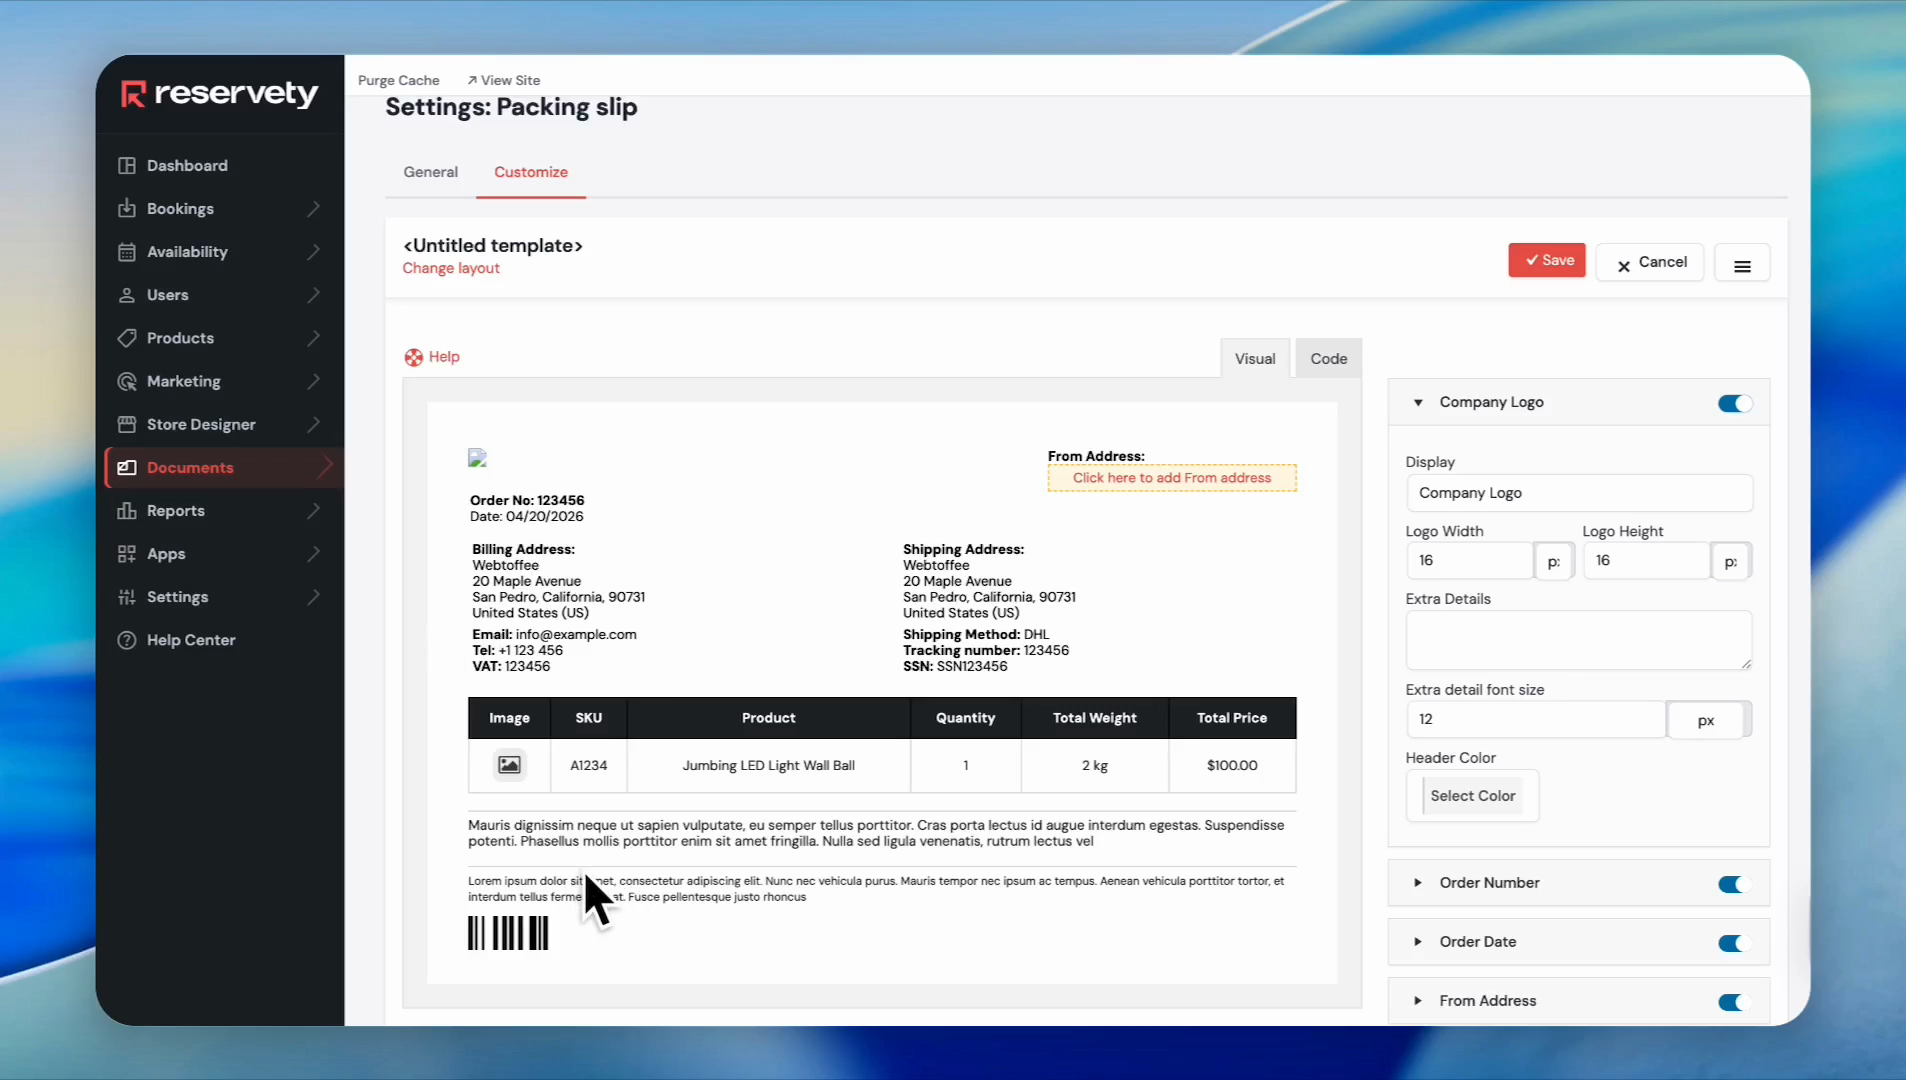
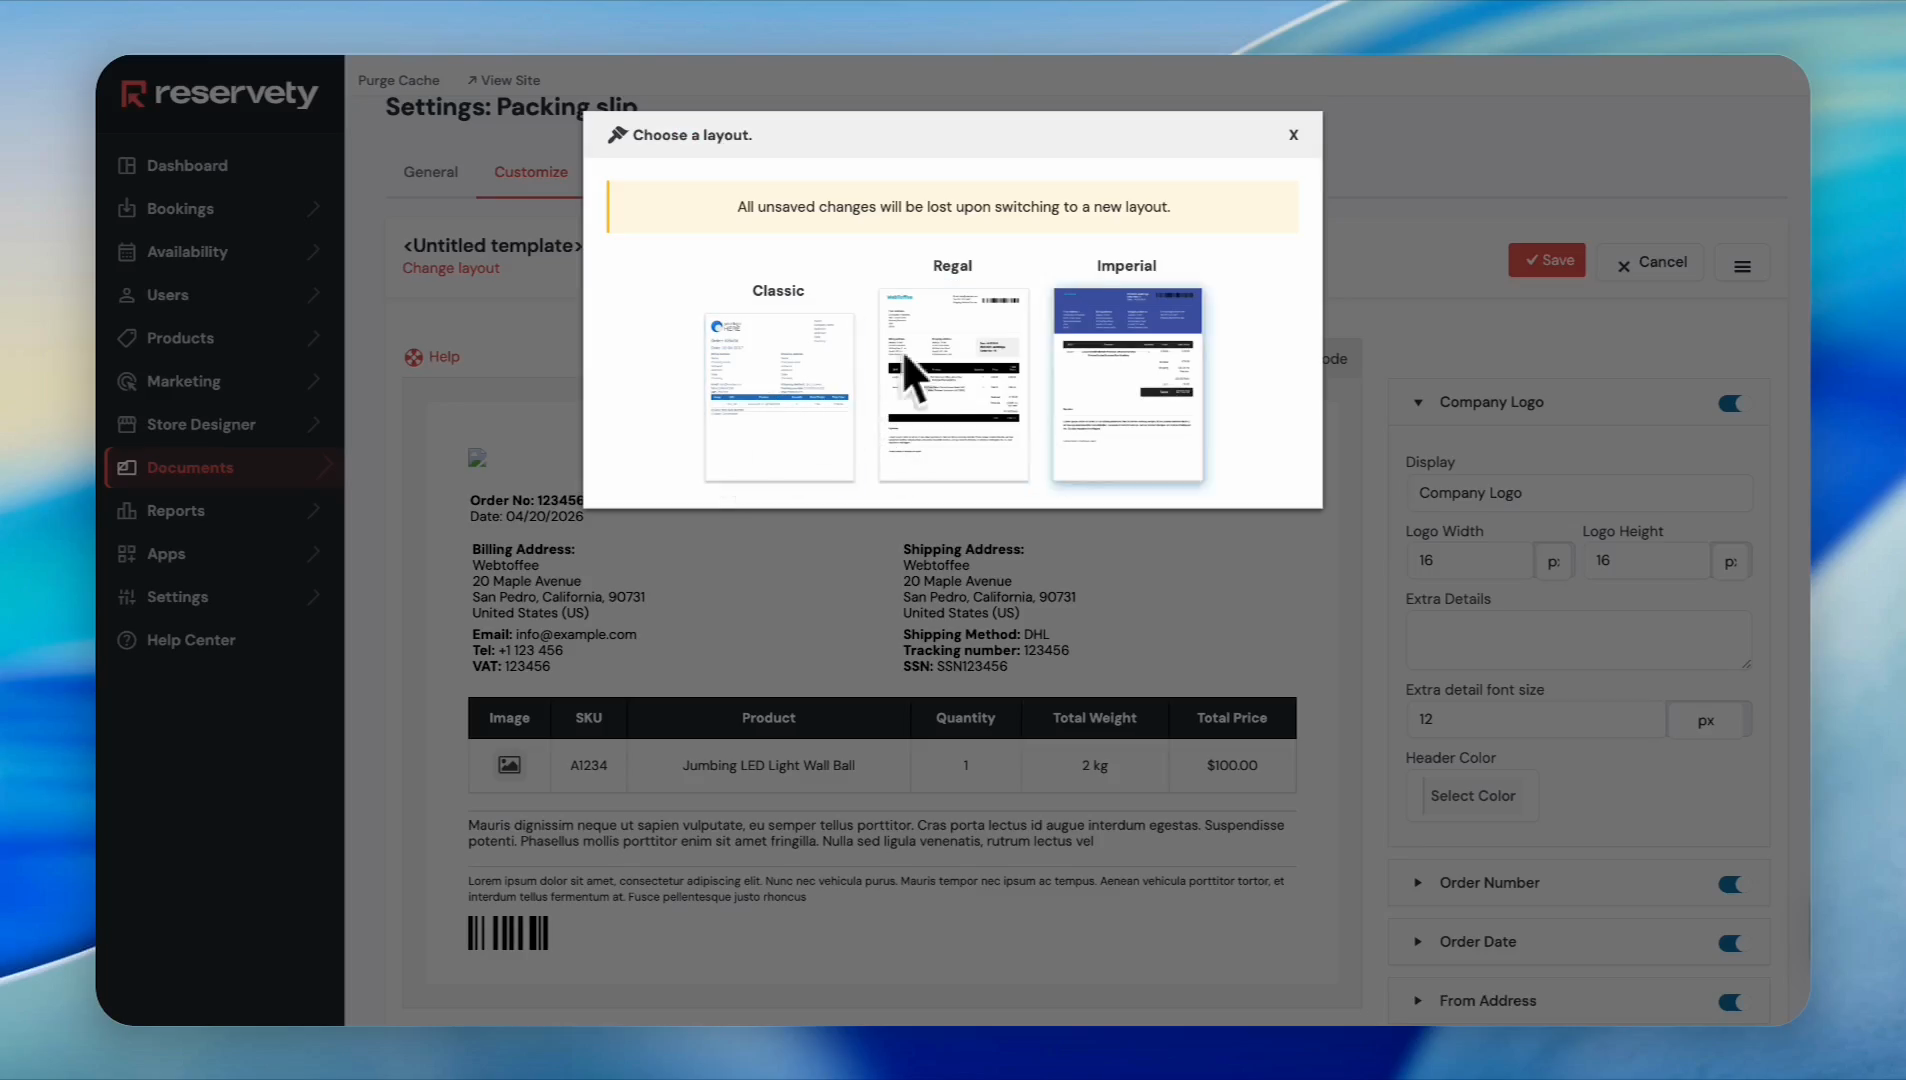
12
Click the Advanced tab.
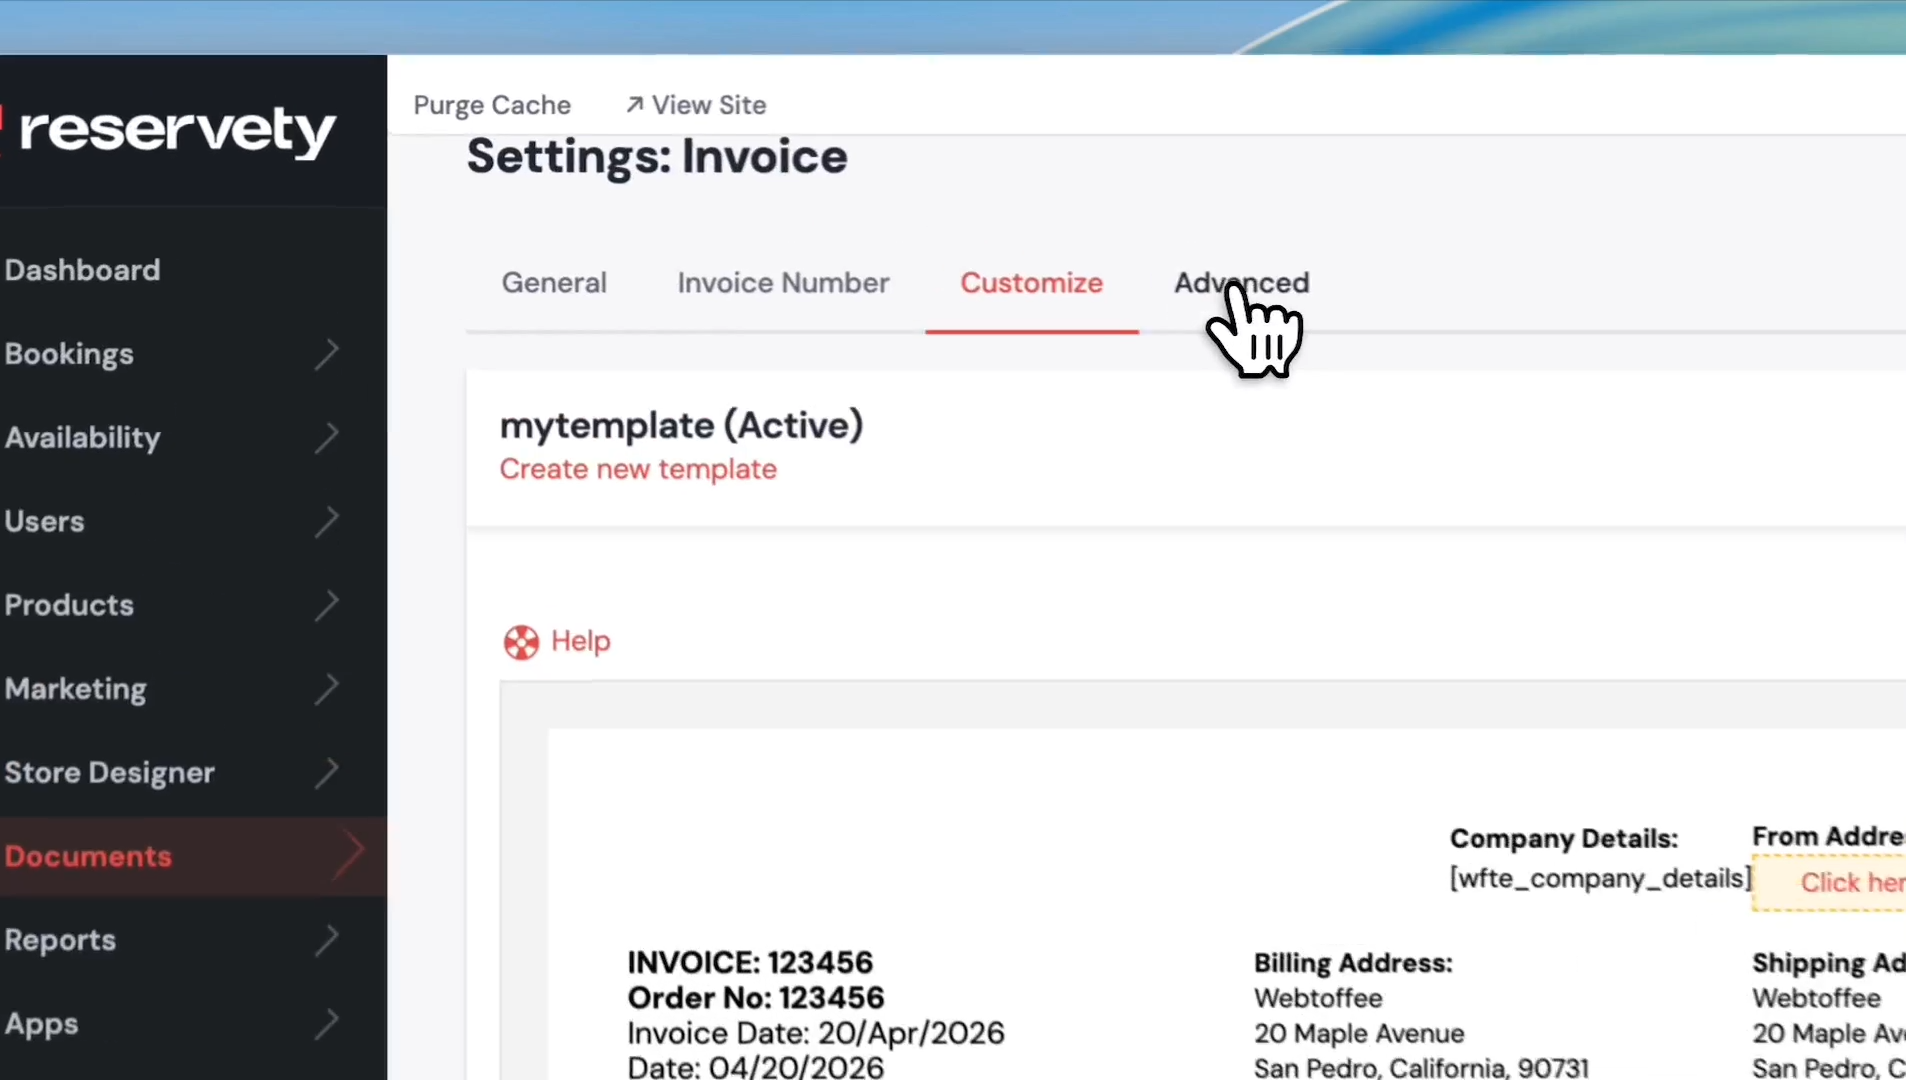
13
Enter custom text into the Custom footer for invoice field to display standard terms or thank-you notes.
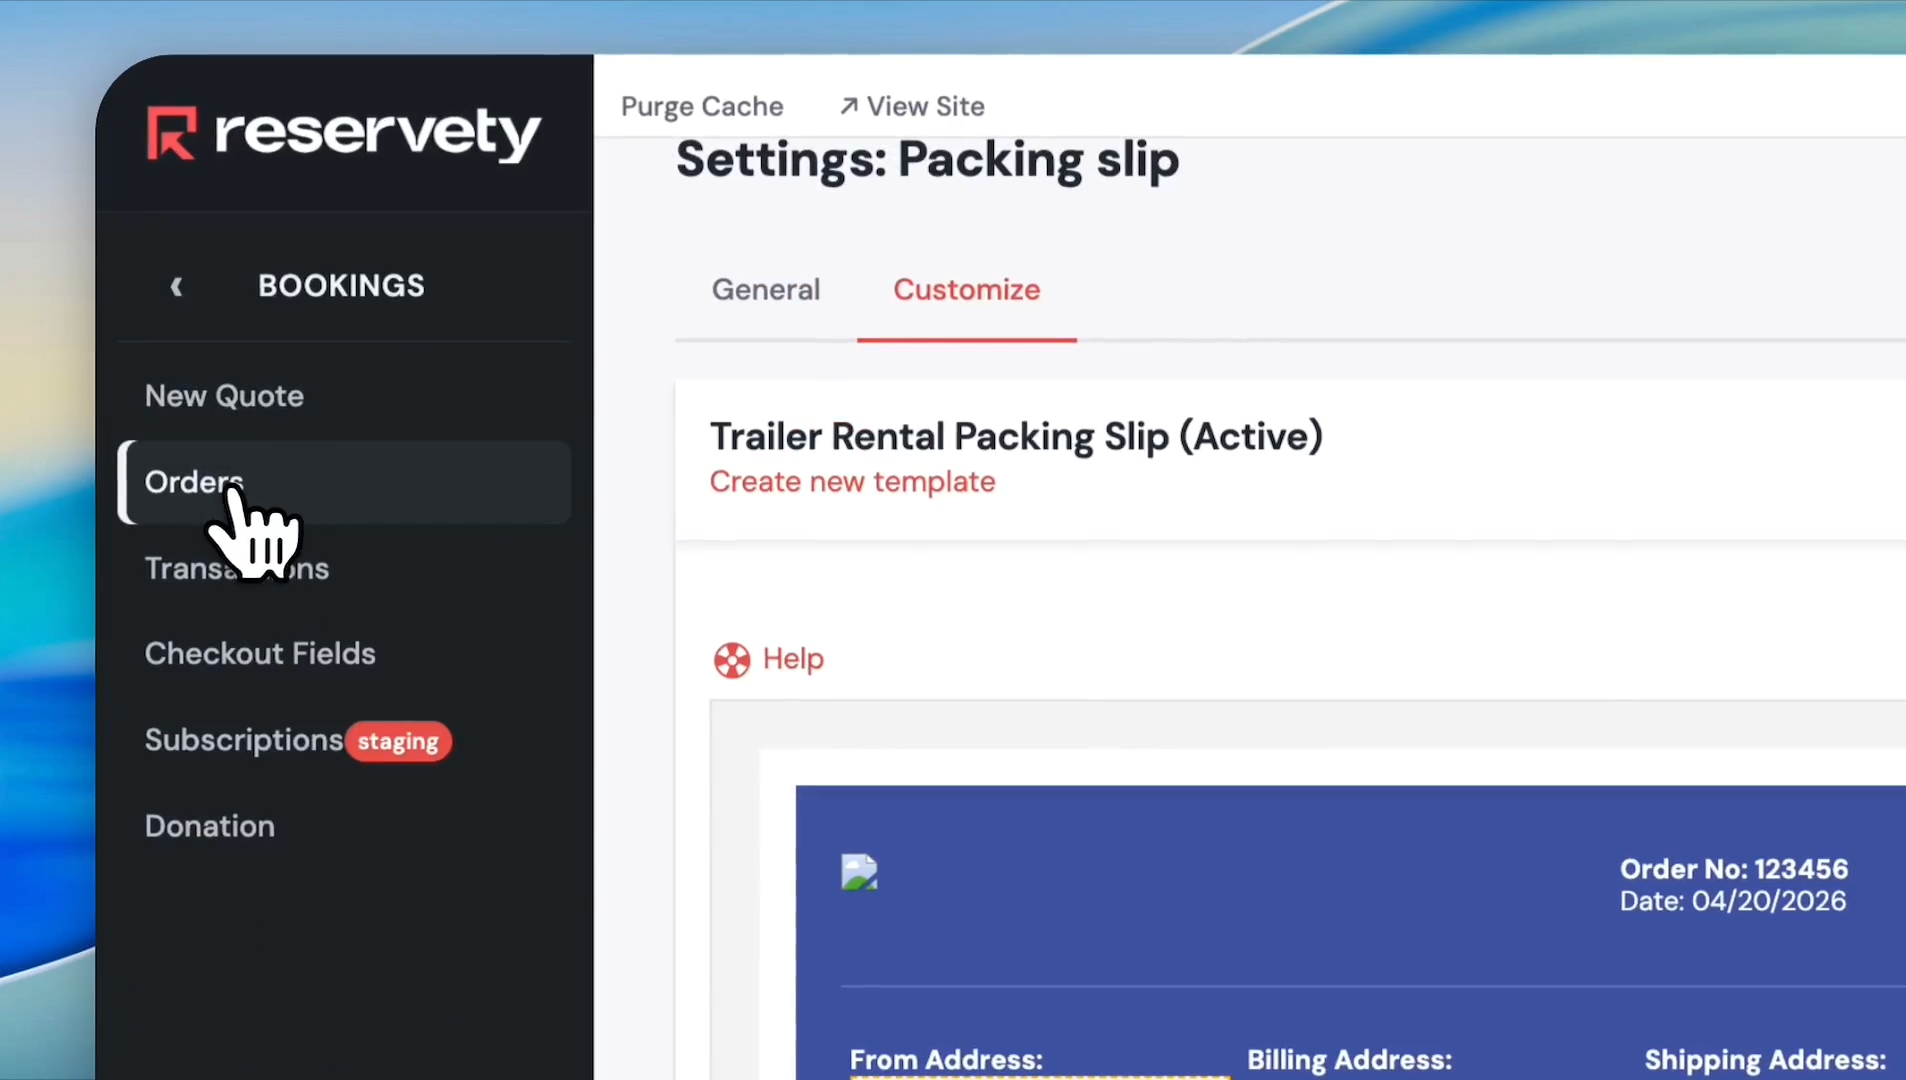
14
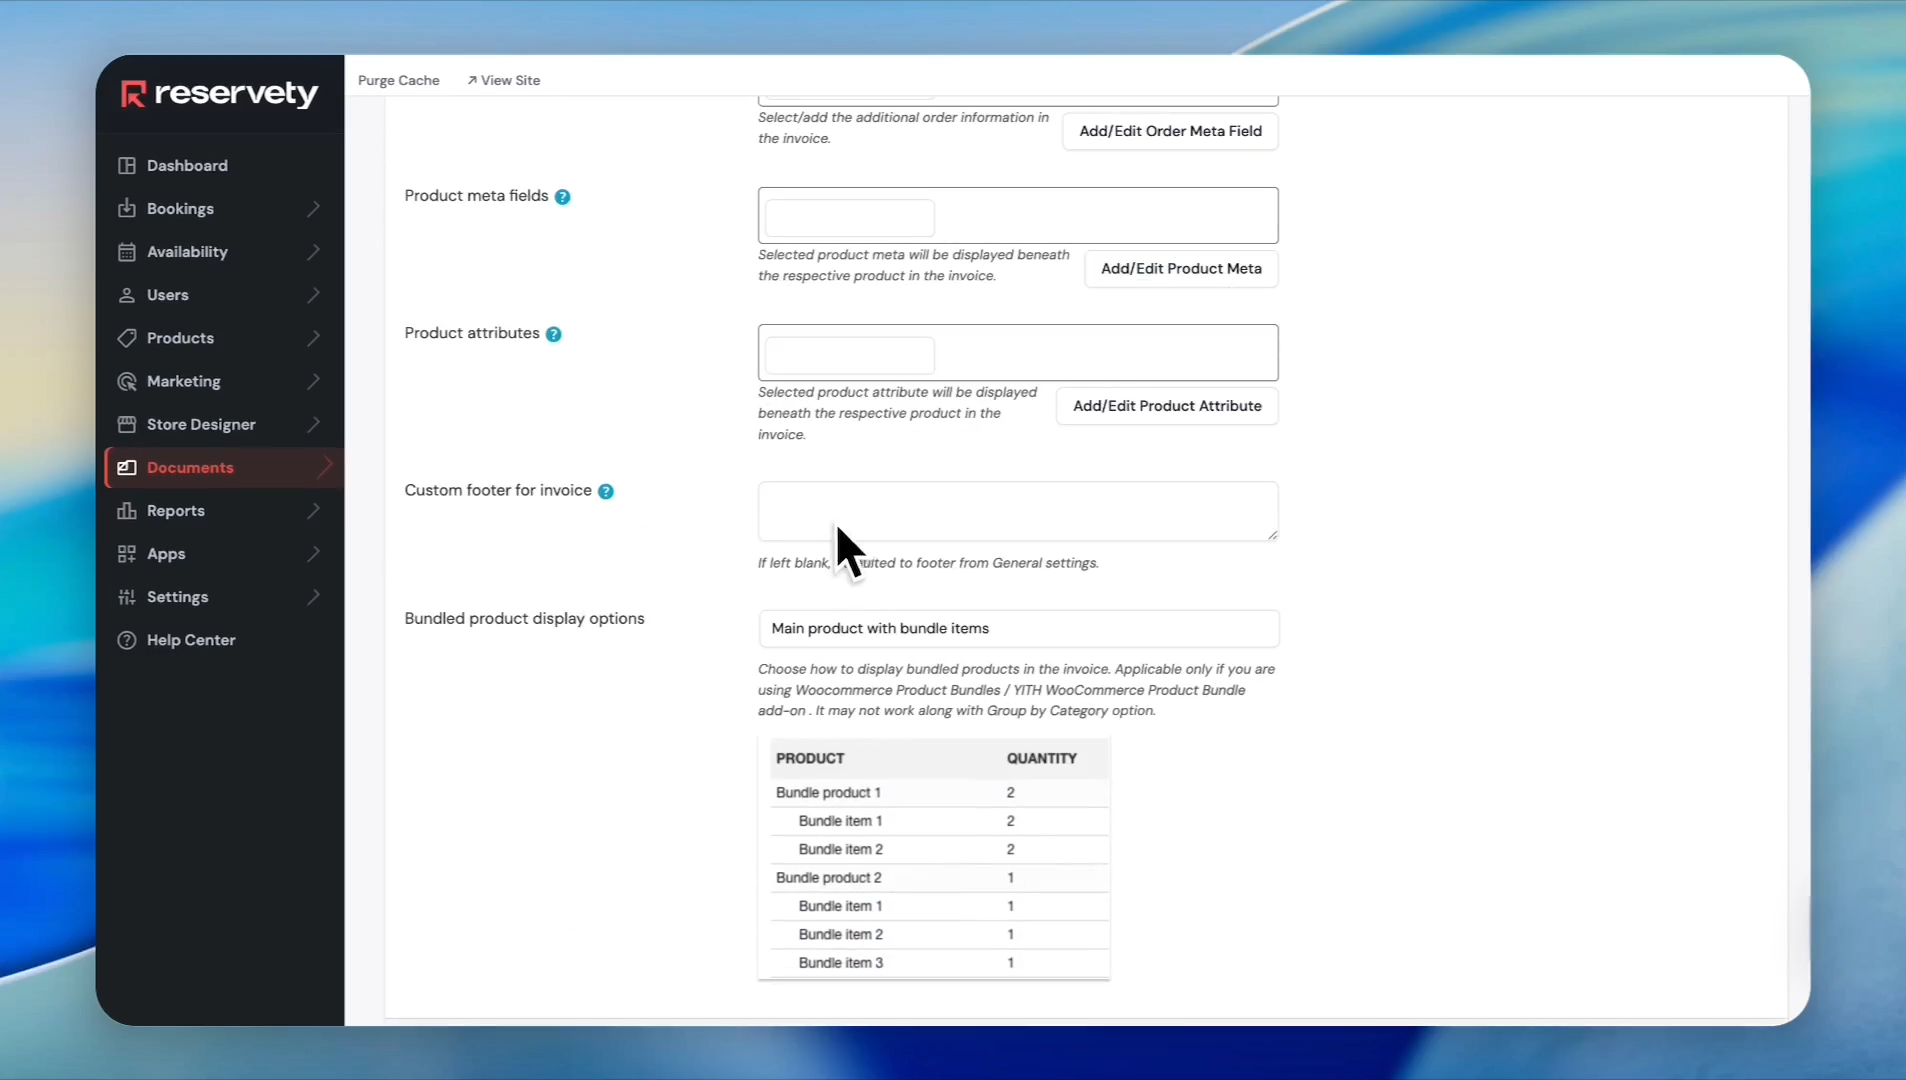
Select an option from the Bundled product display options dropdown.
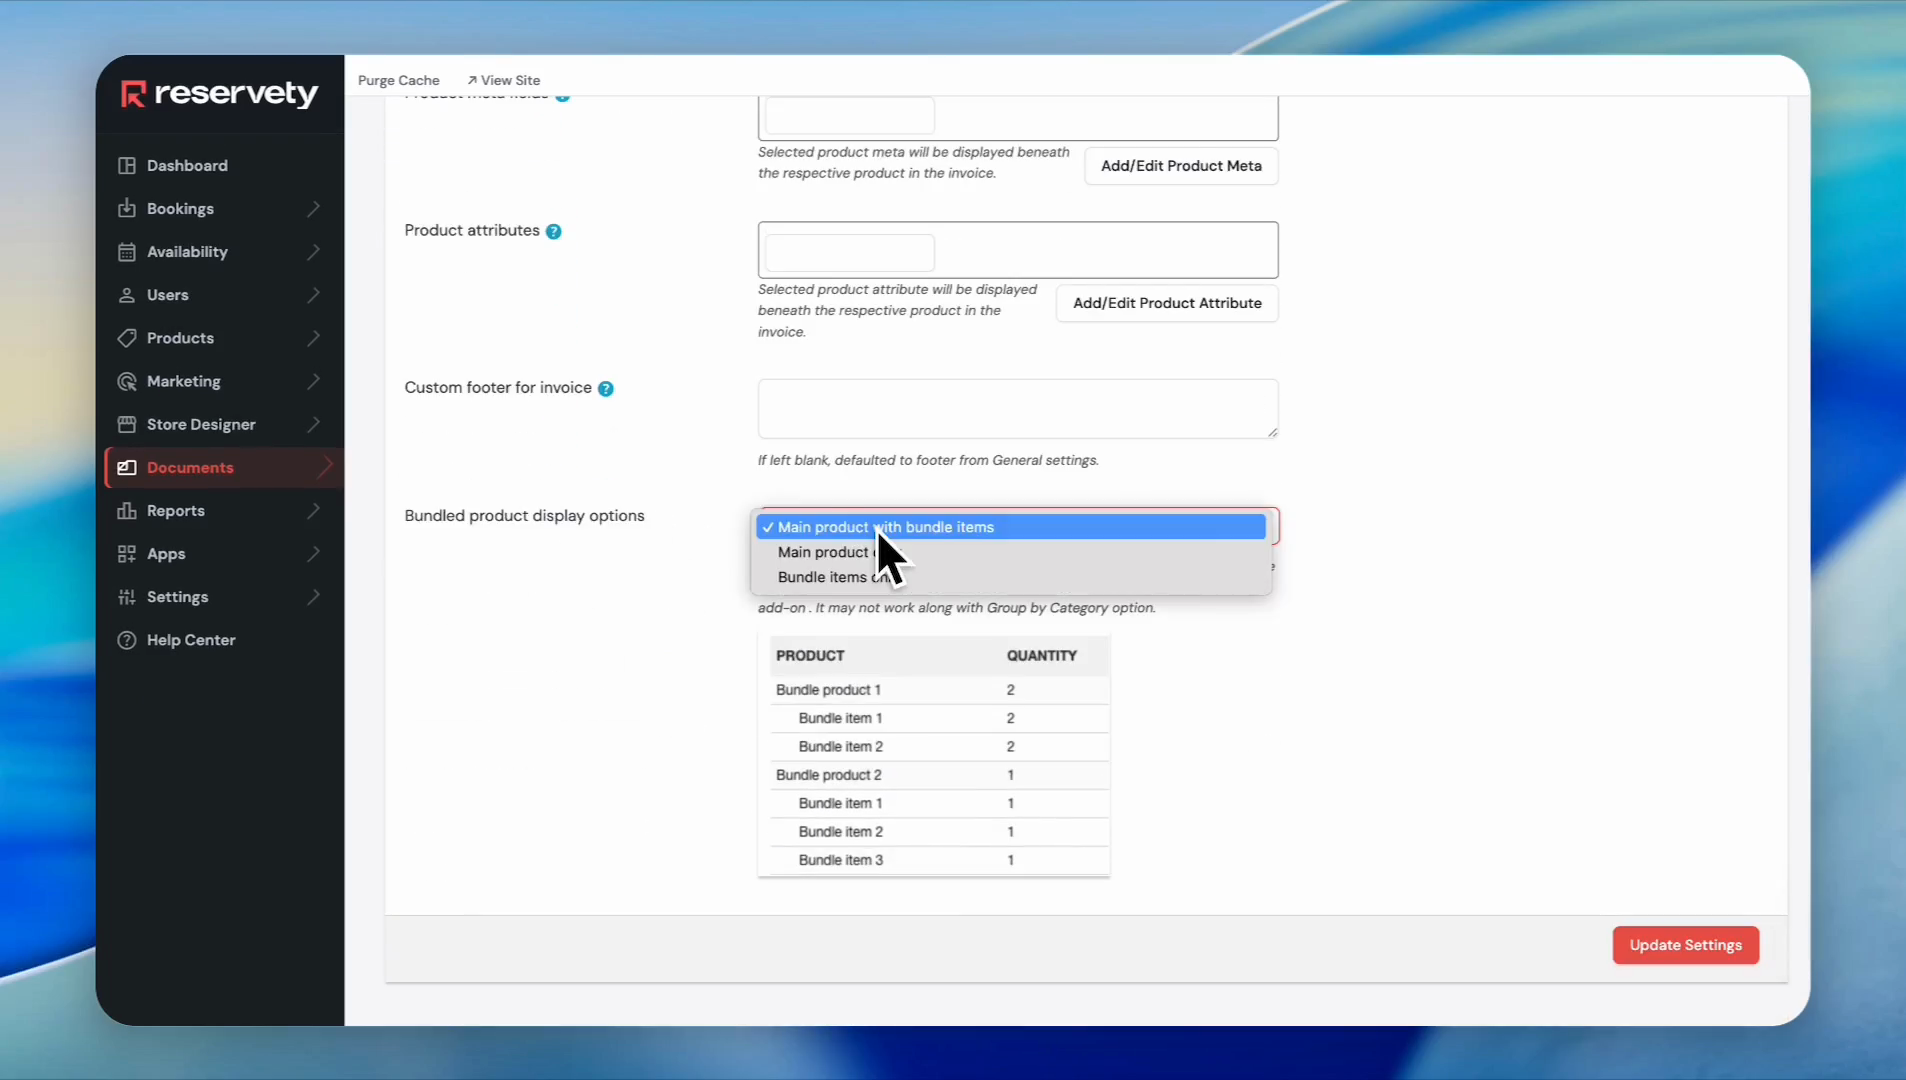
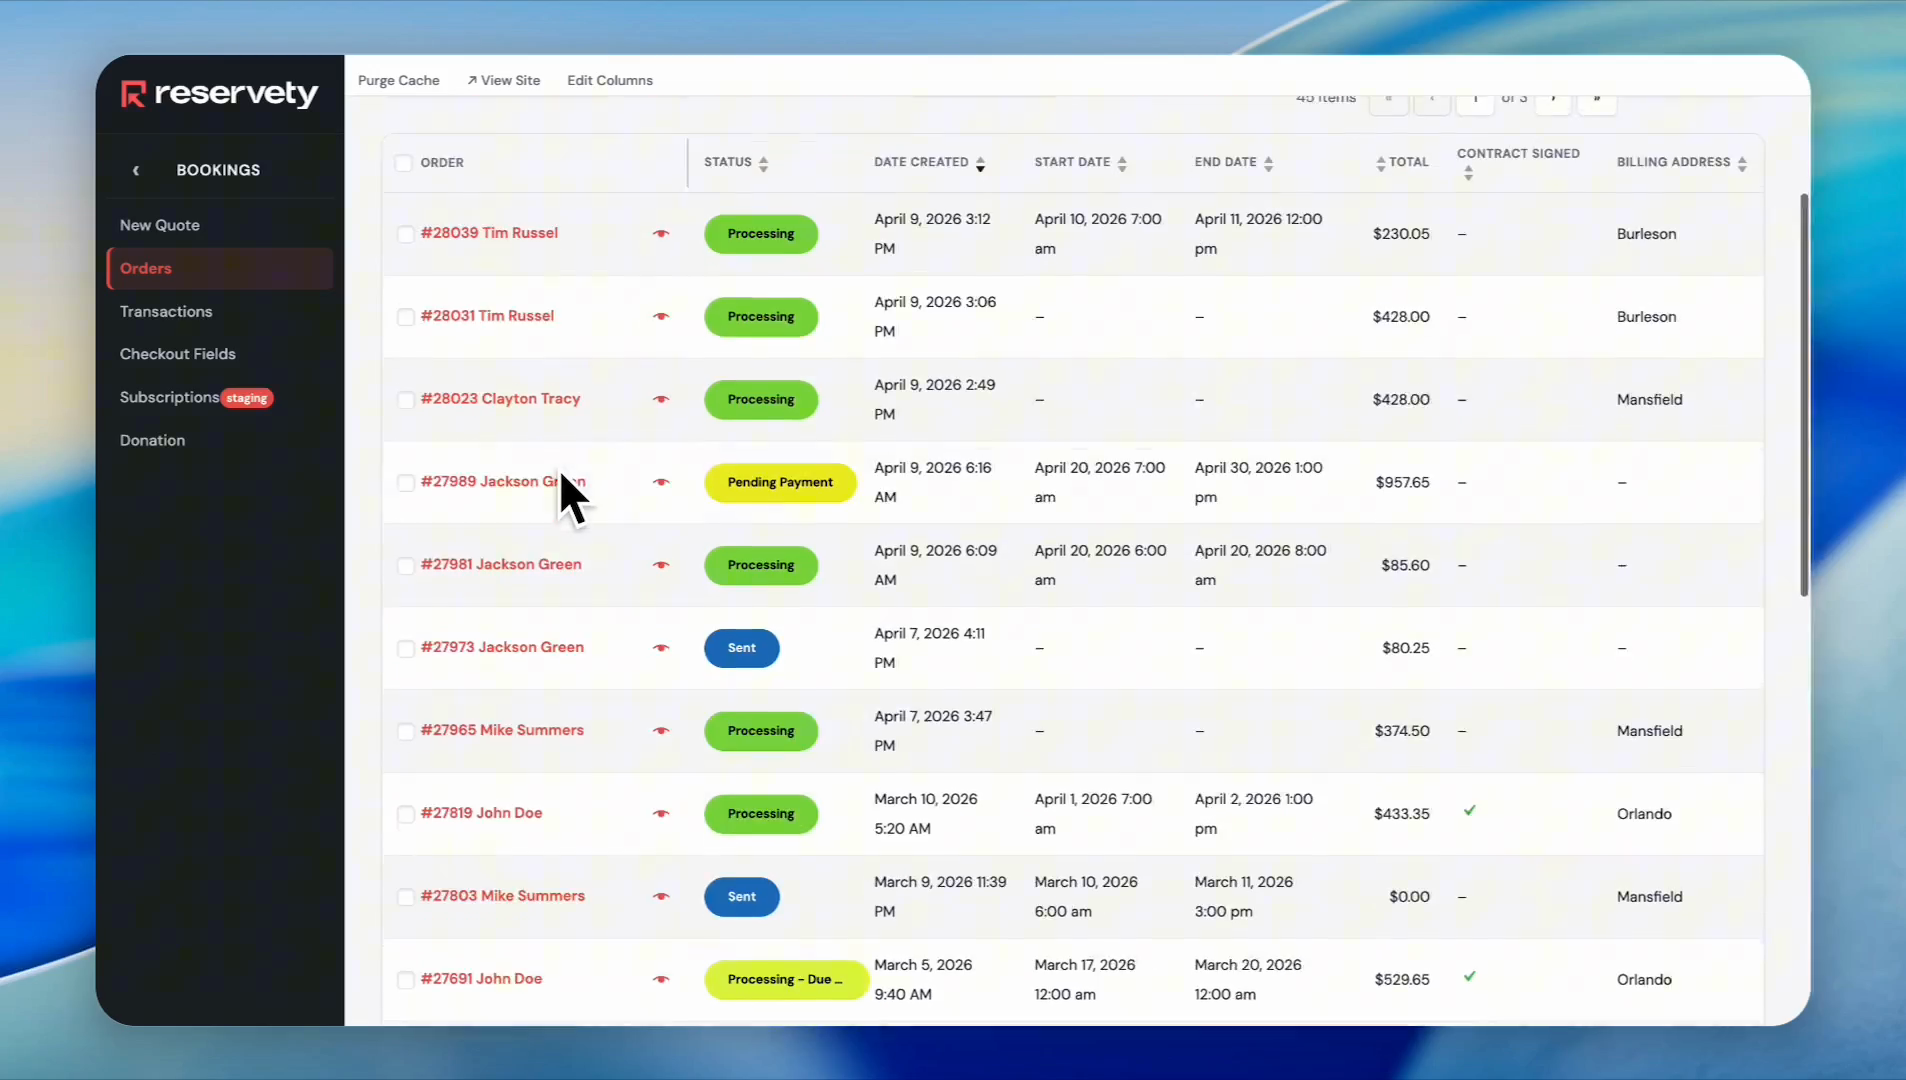
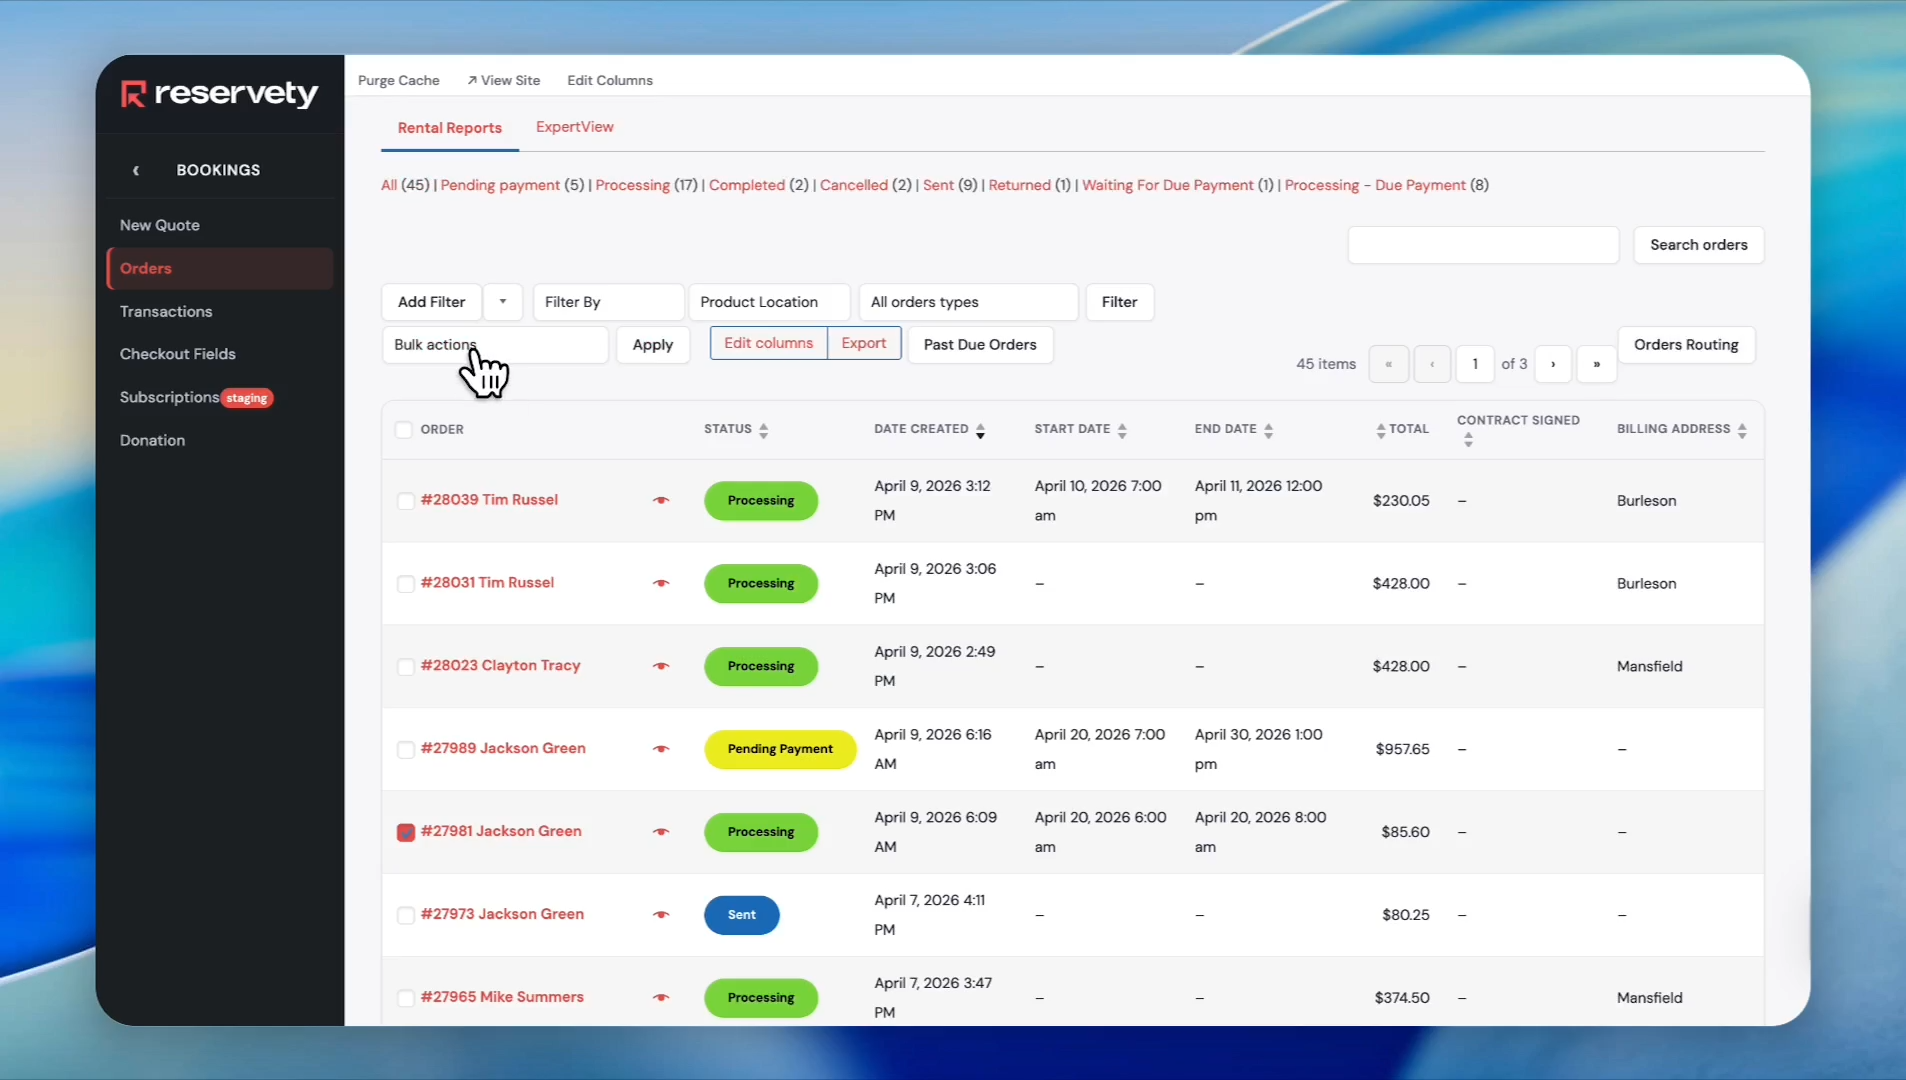
15
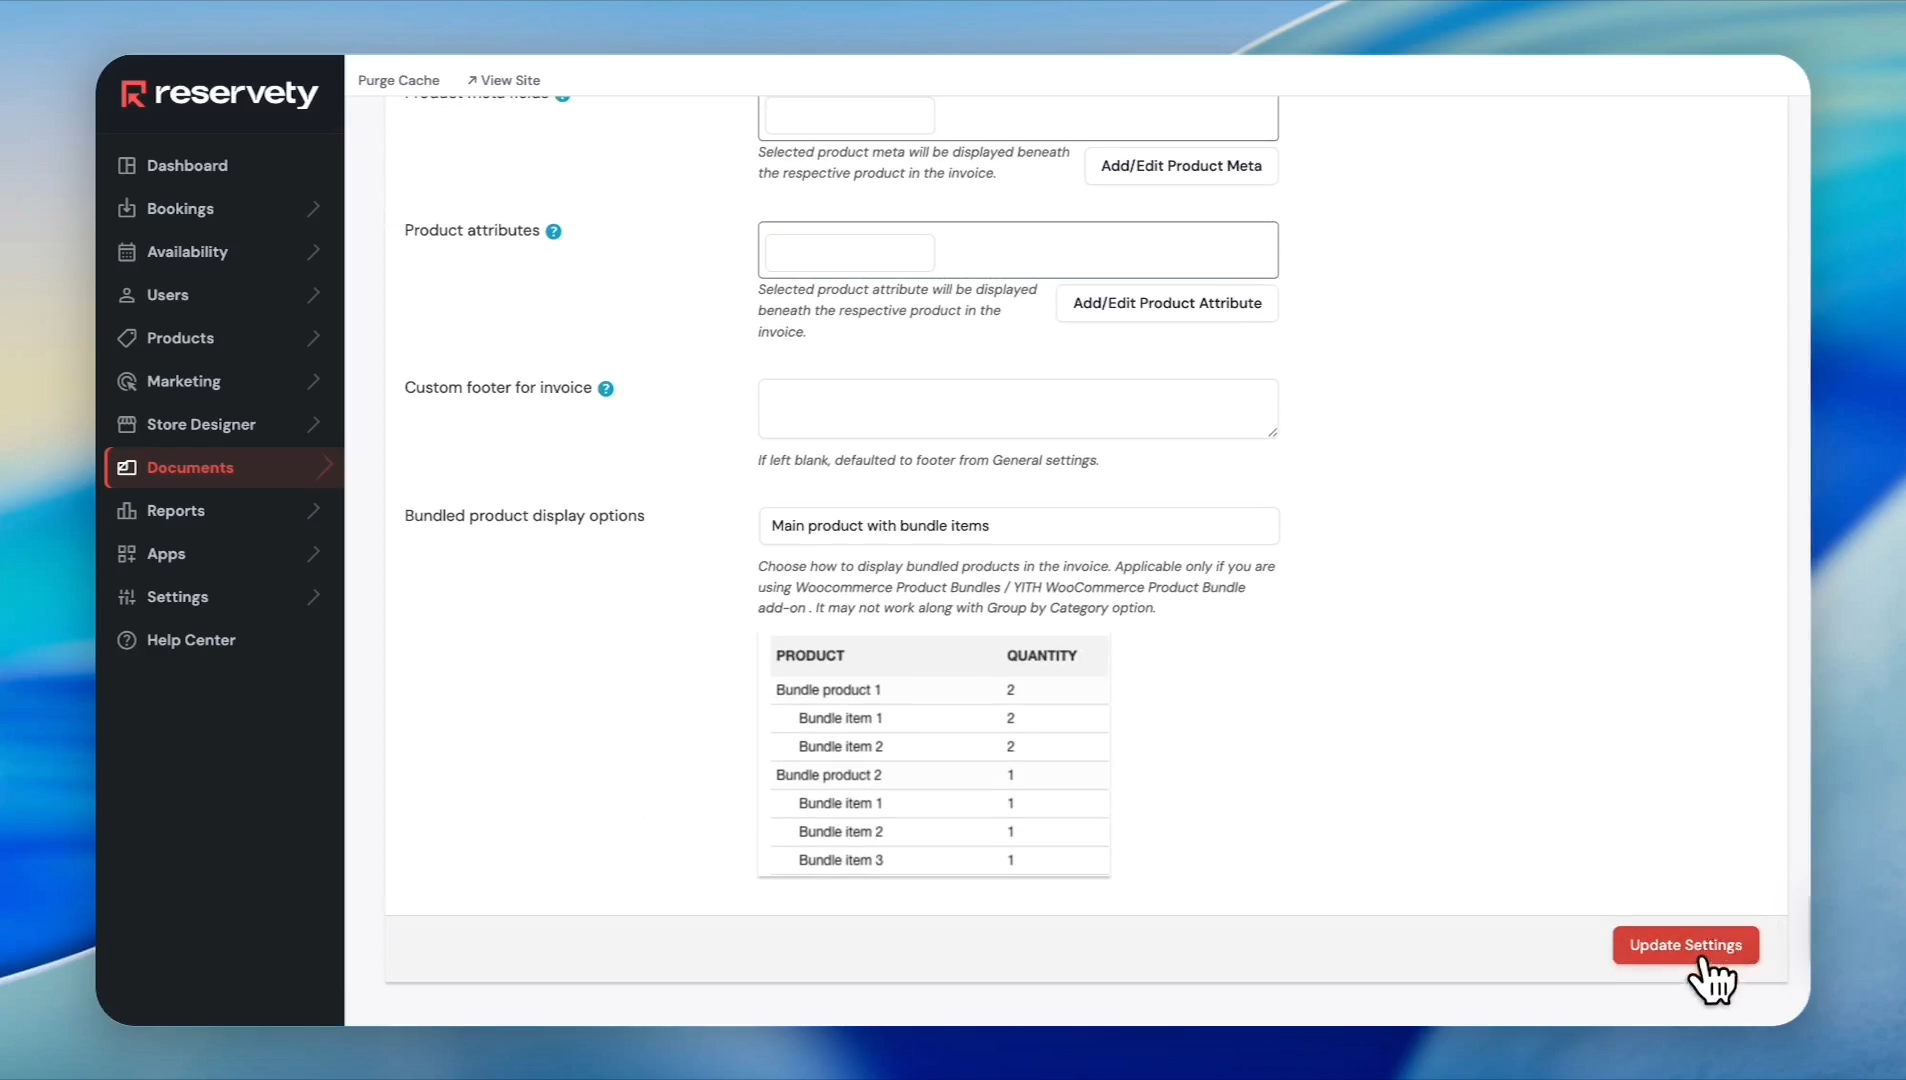
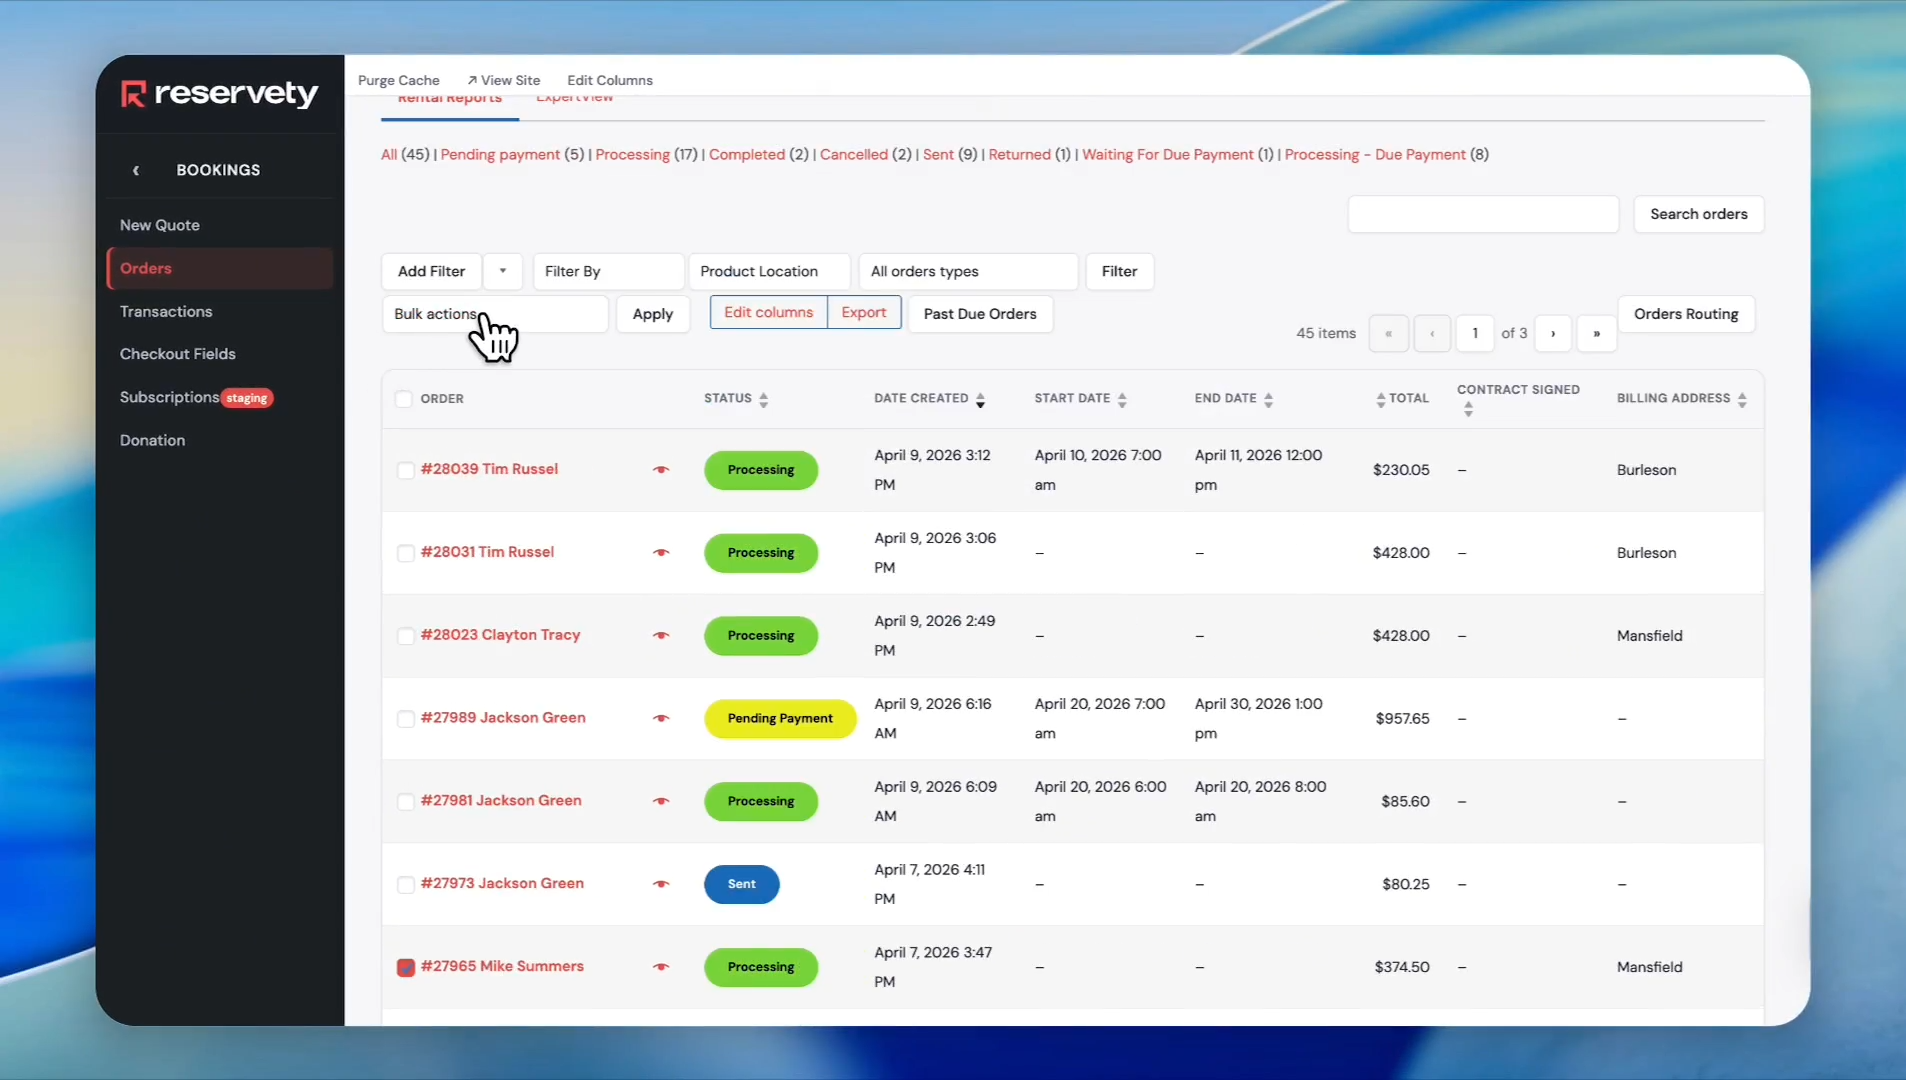
Click Update Settings to save the invoice template.
Customizing Packing Slips
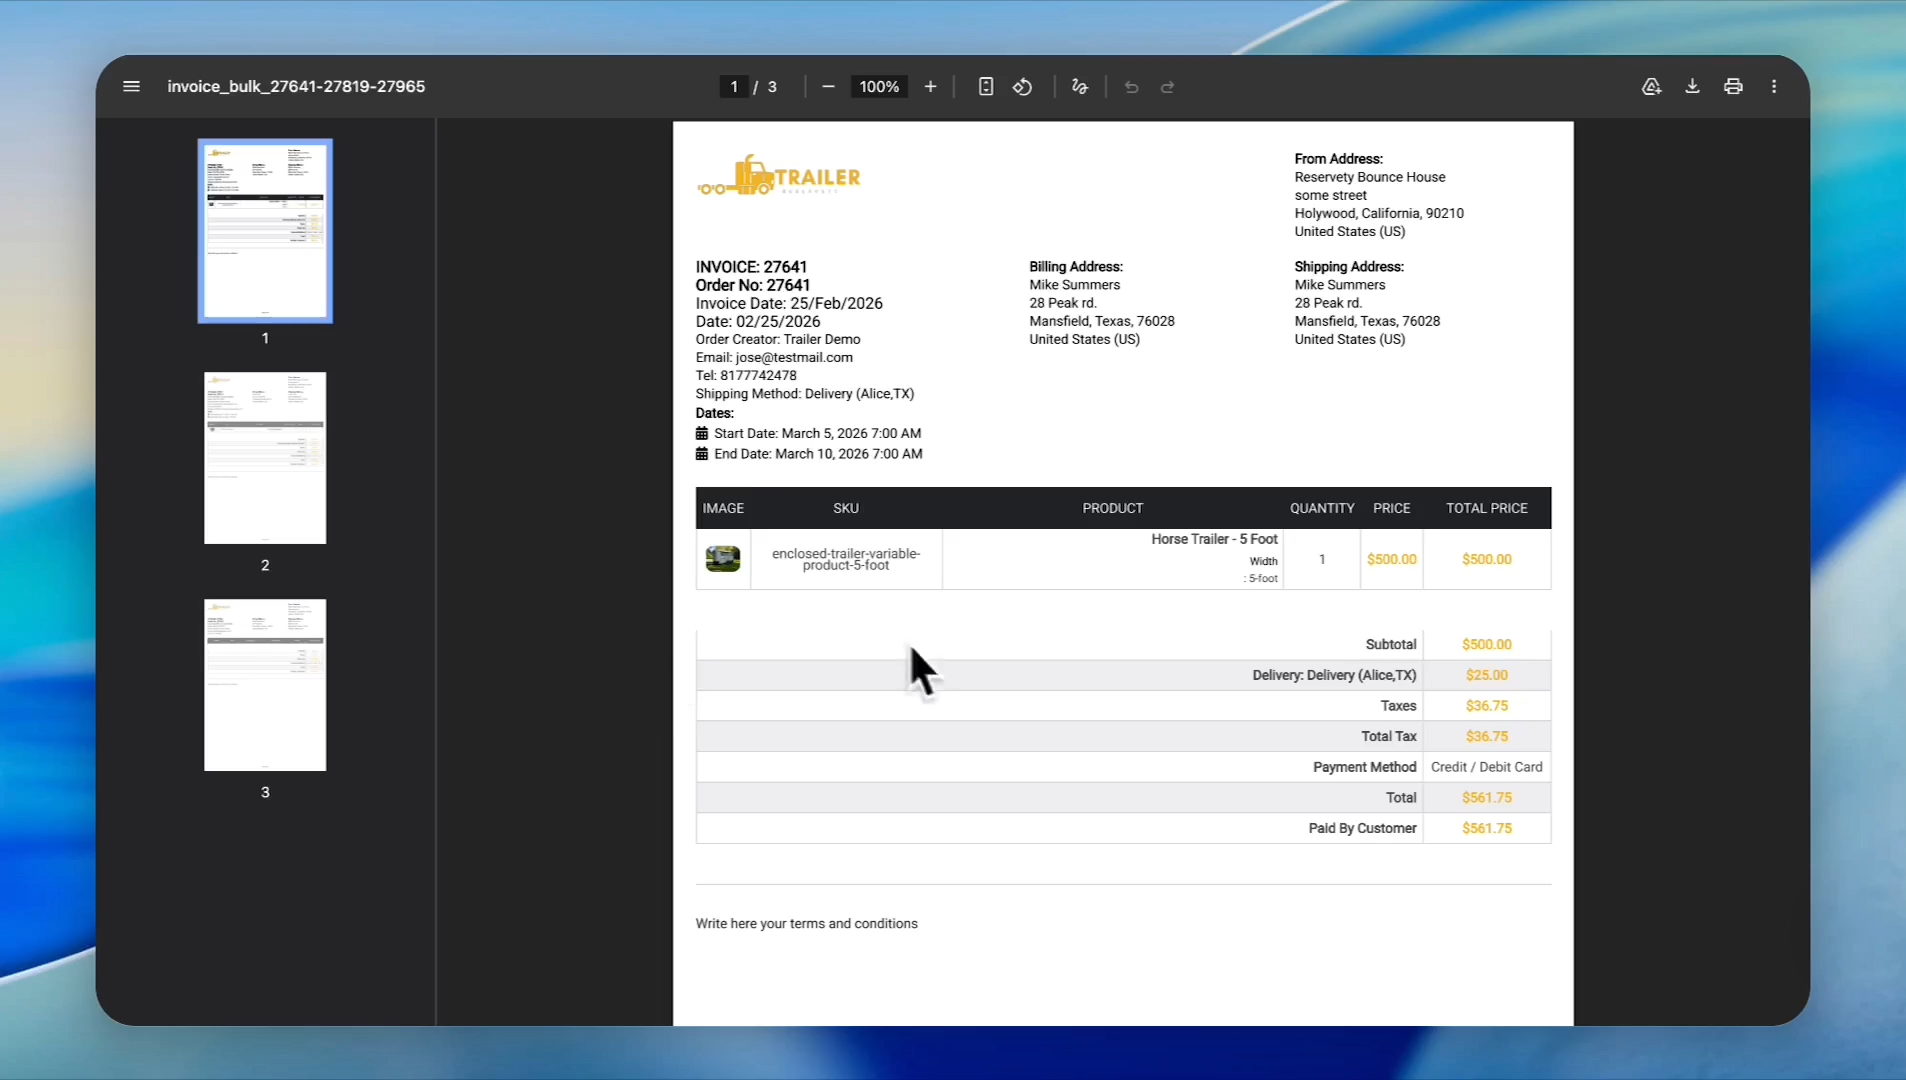
Ensure your warehouse or fulfillment team sees exactly what they need to process an order effectively.
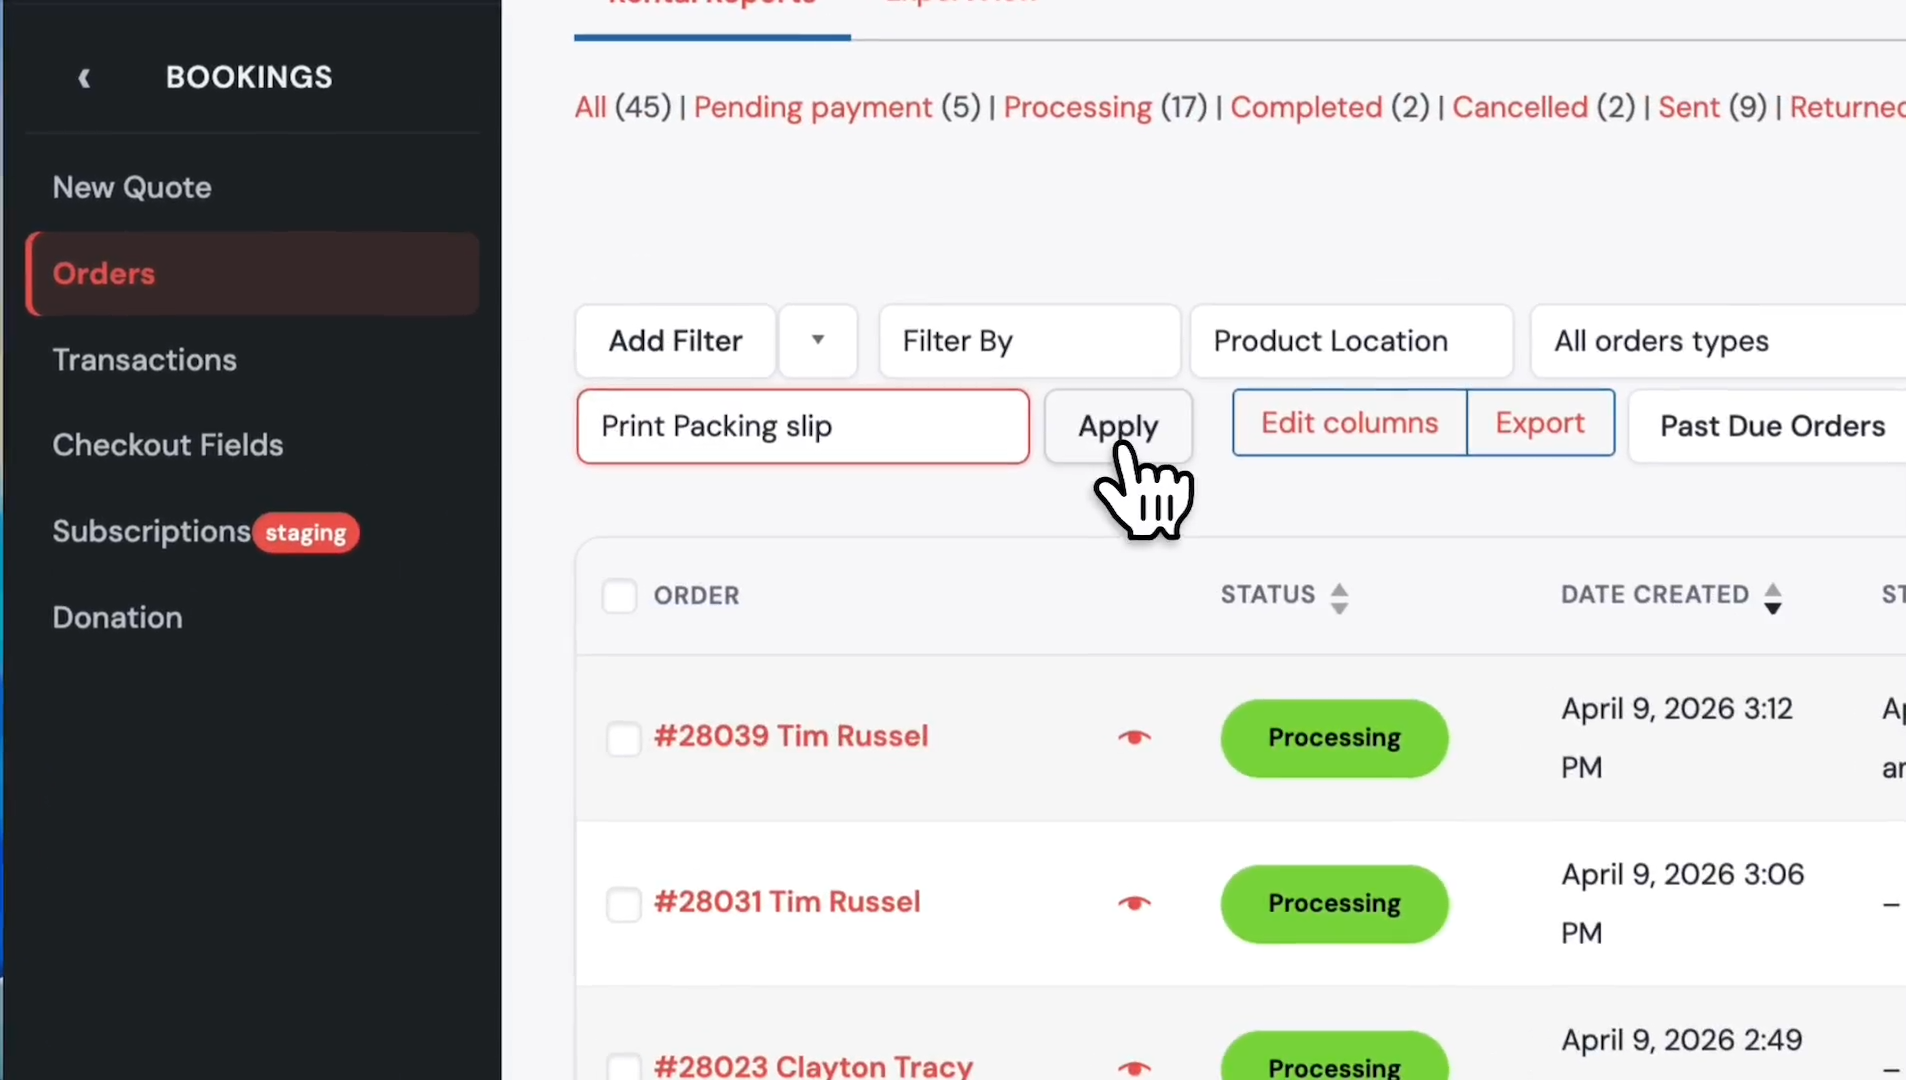
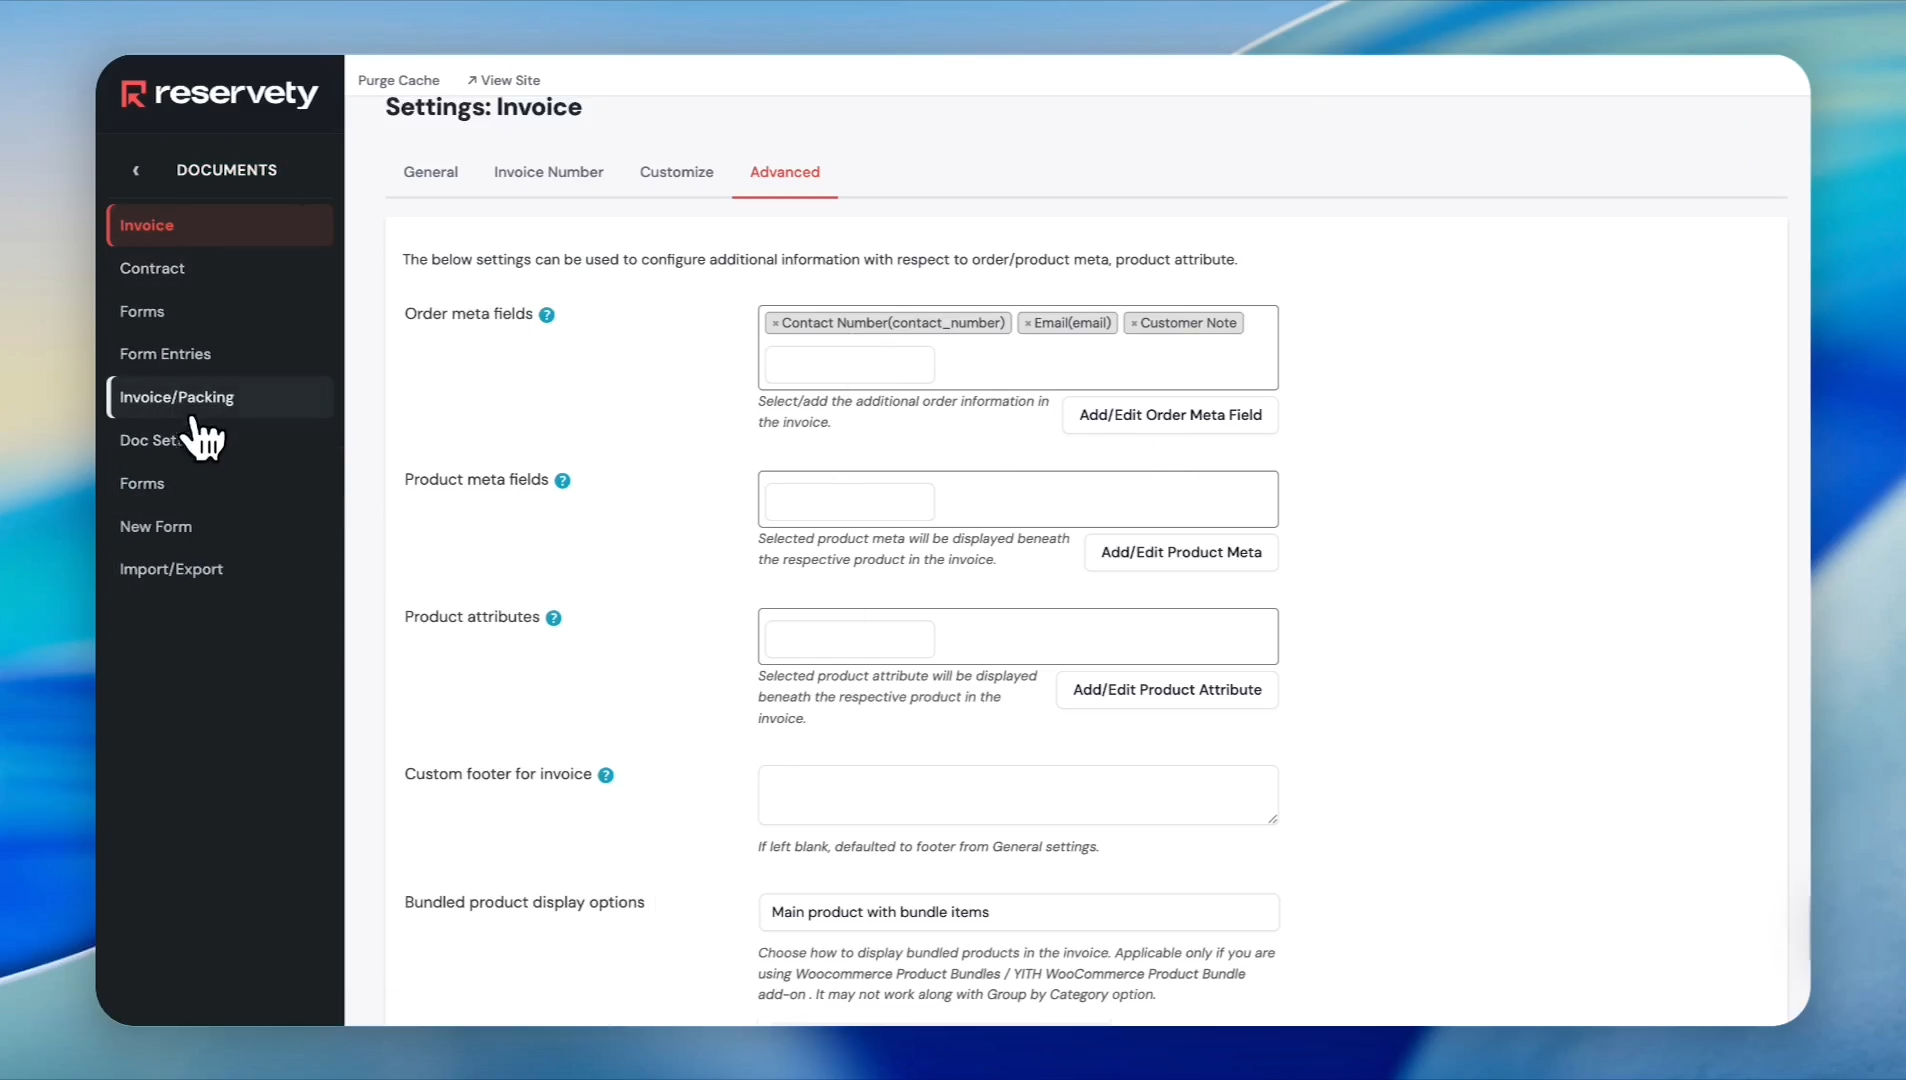
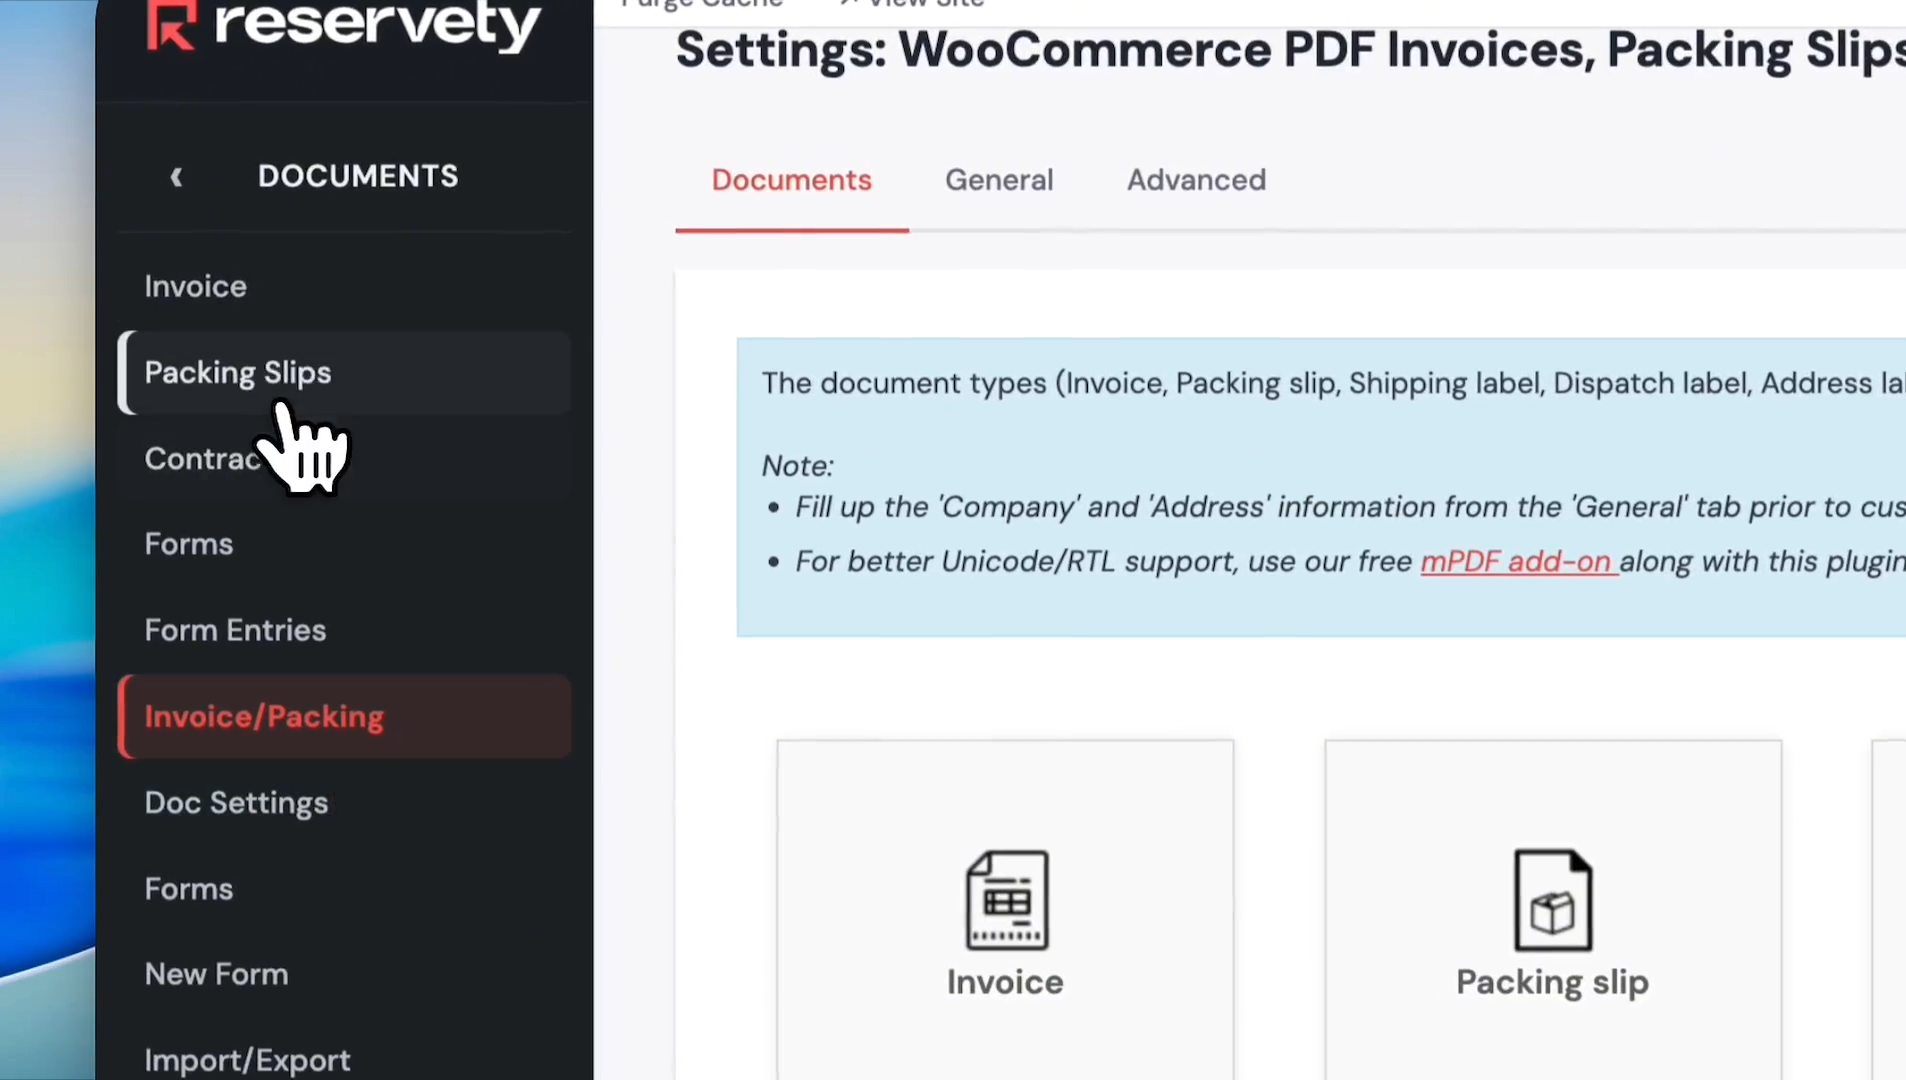
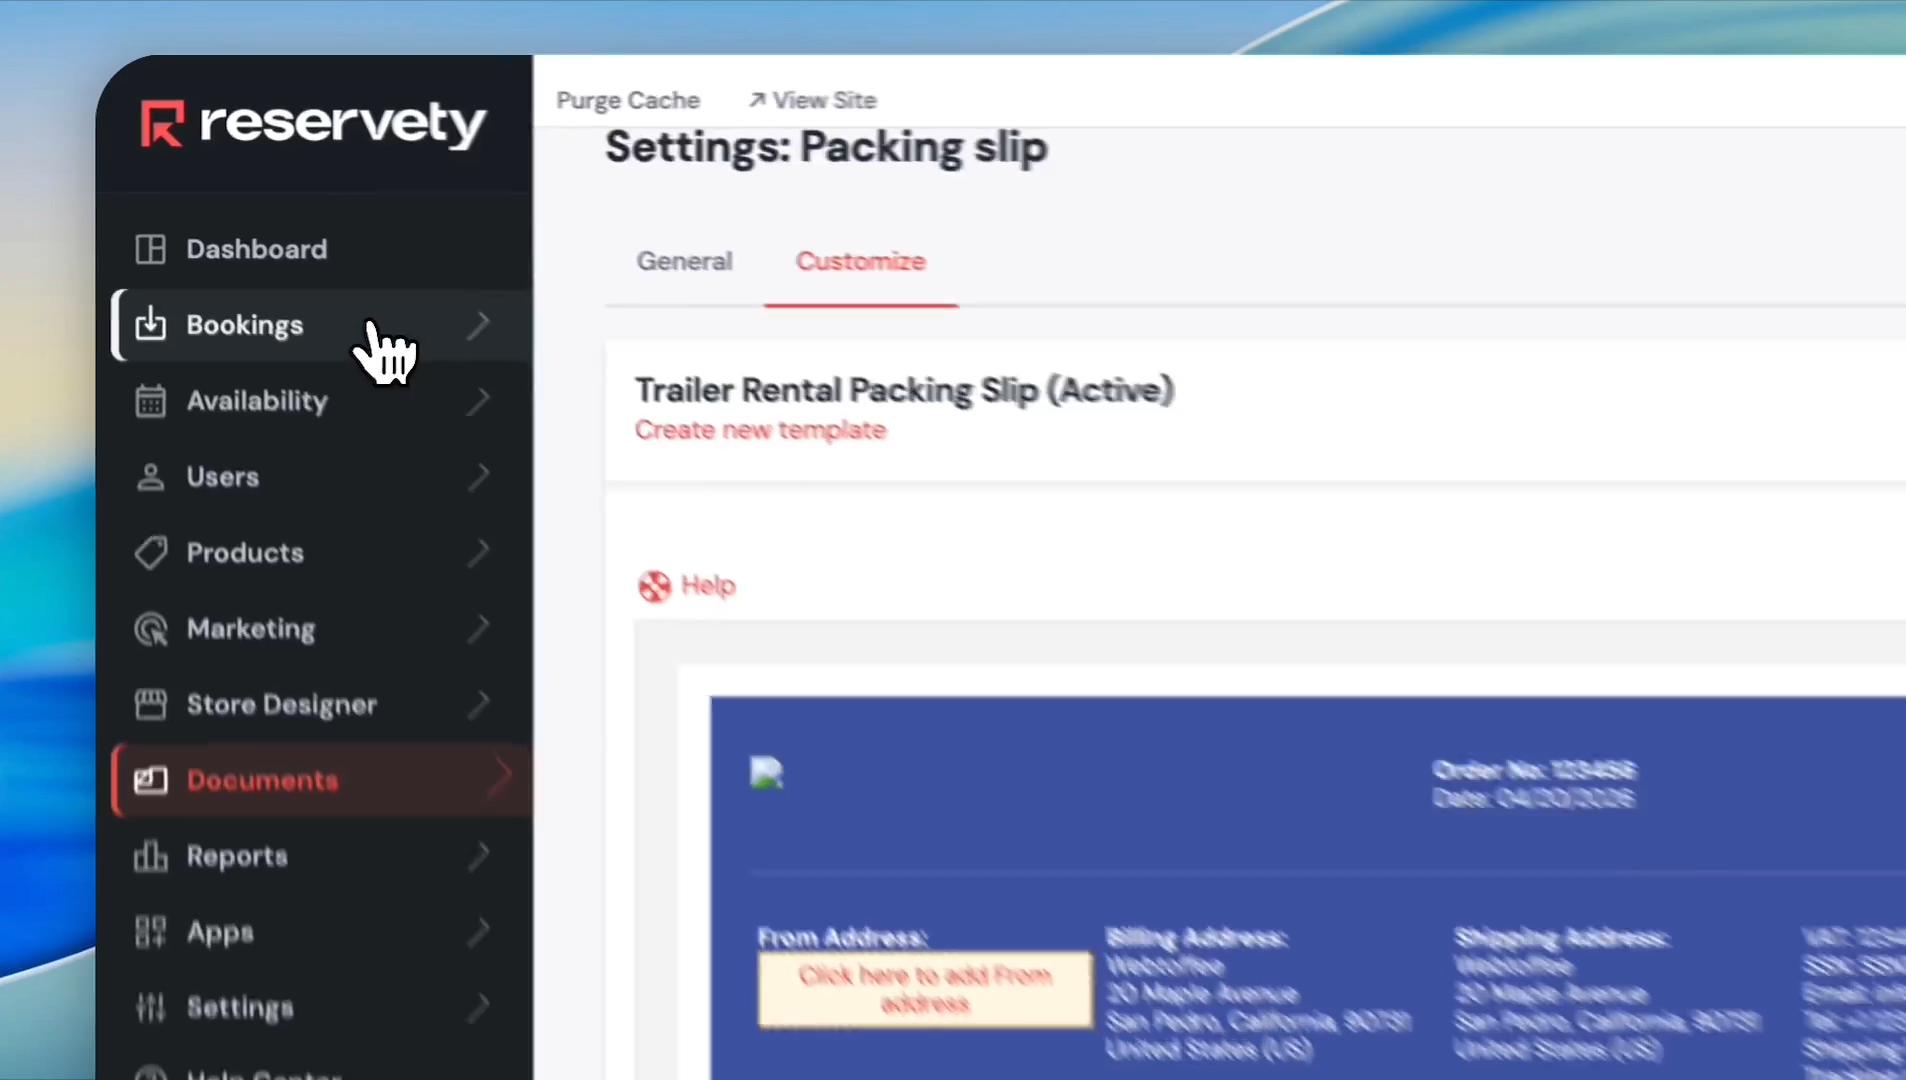
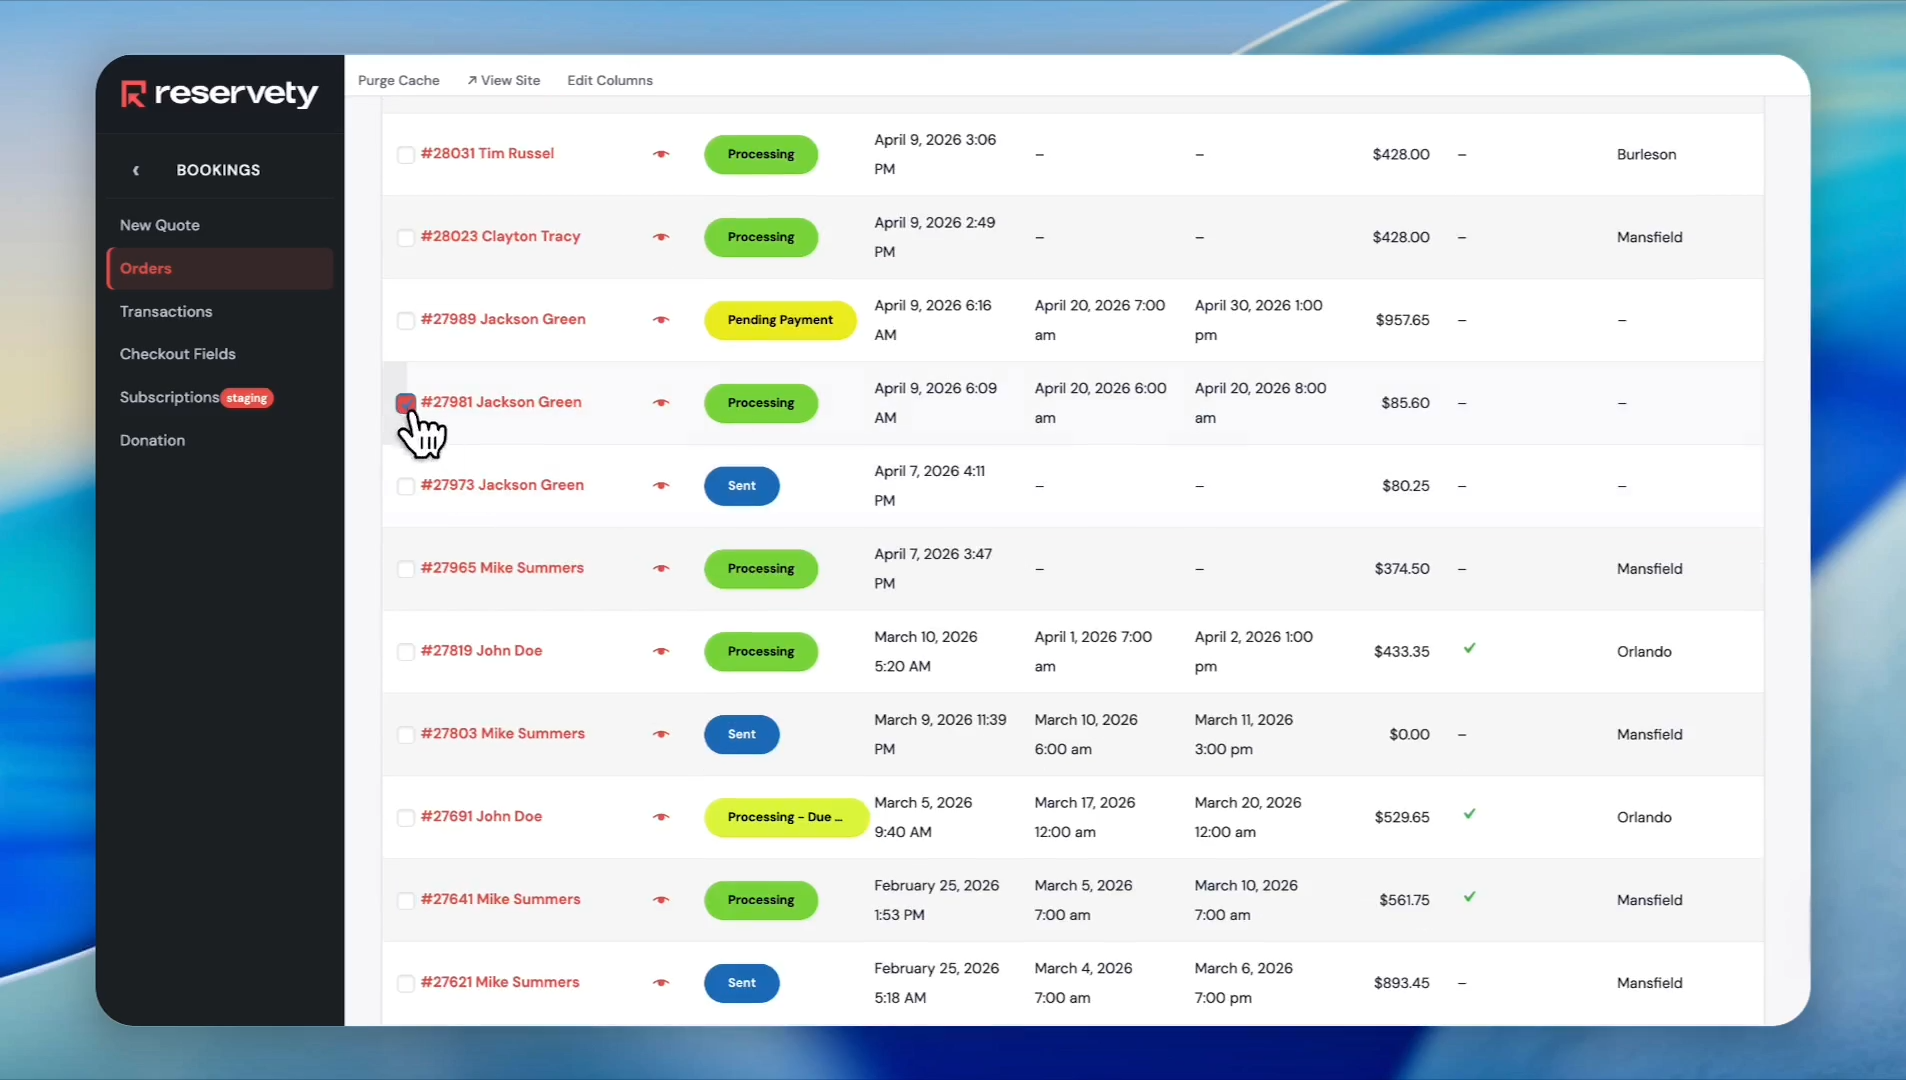
16
Navigate back to Documents in the left sidebar.
17
Click the Invoice/Packing option.
18
Enable the Packing slip toggle.
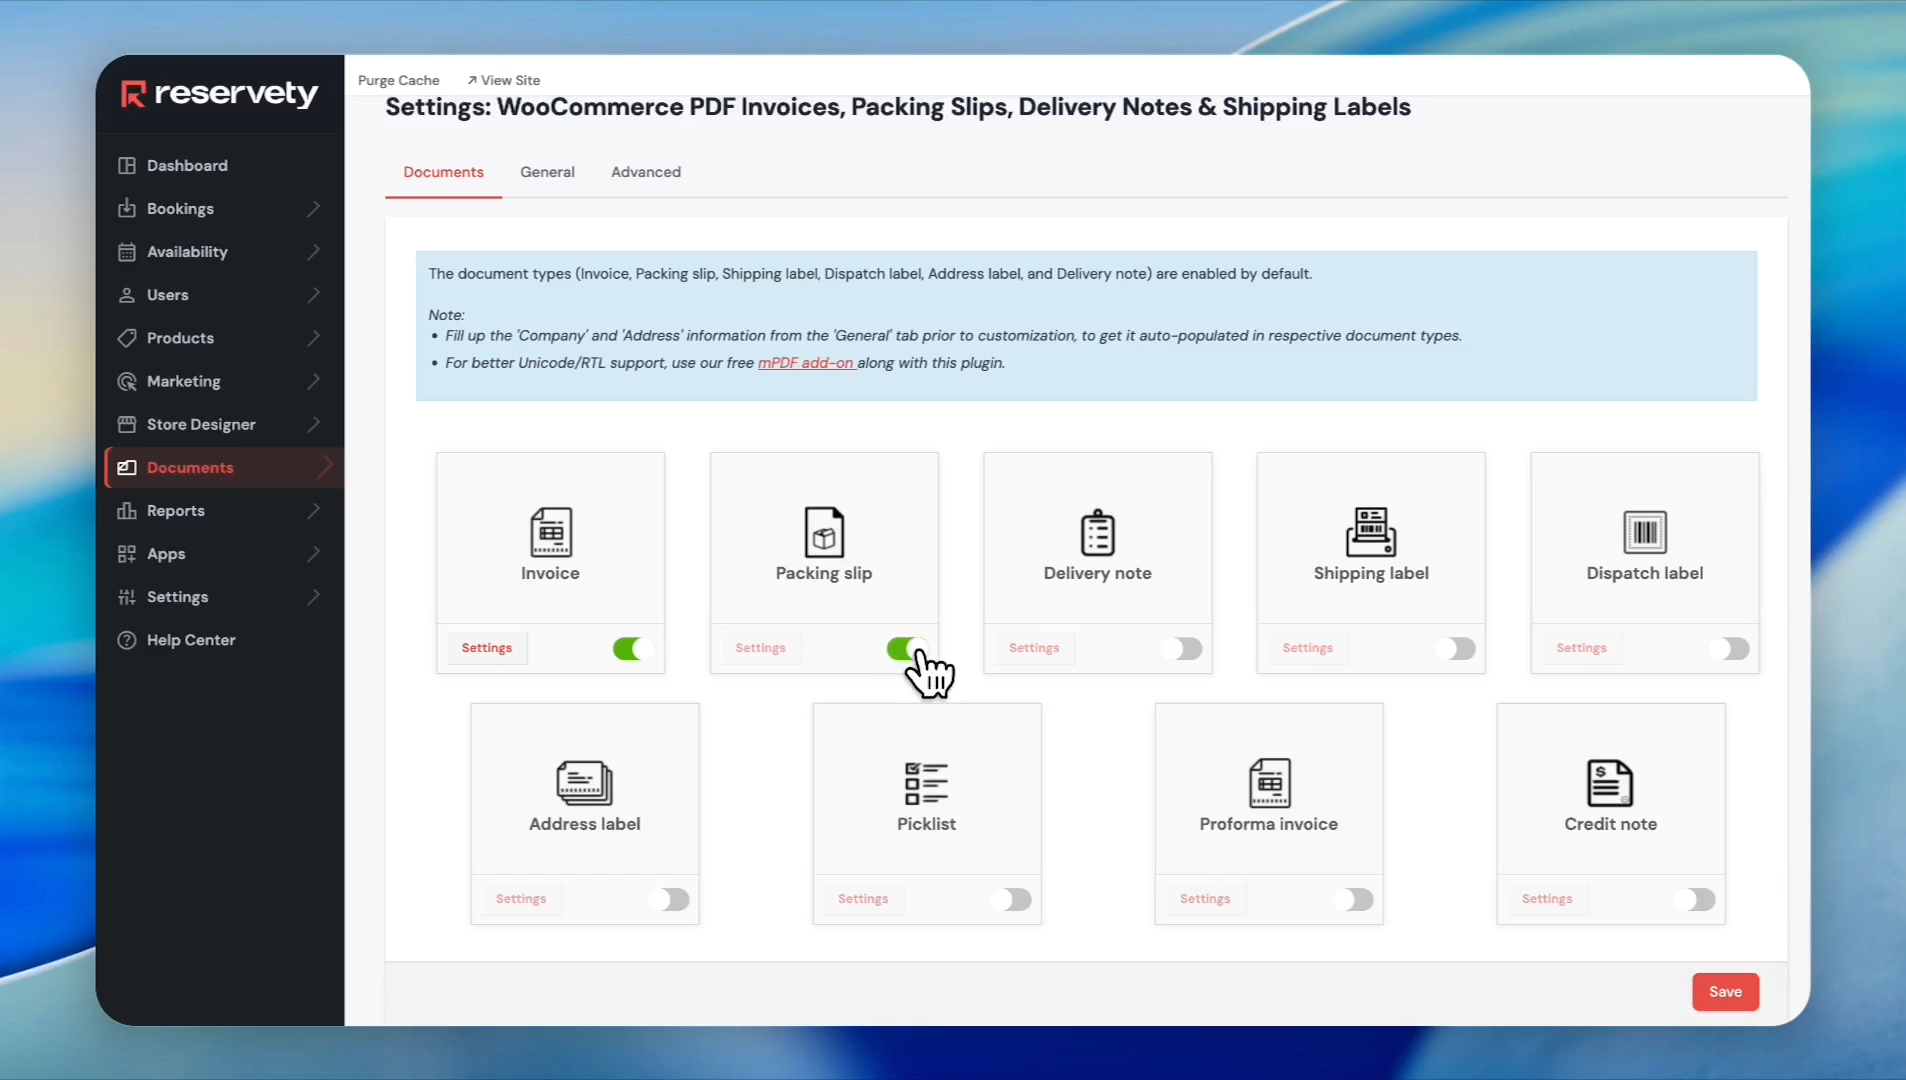
19
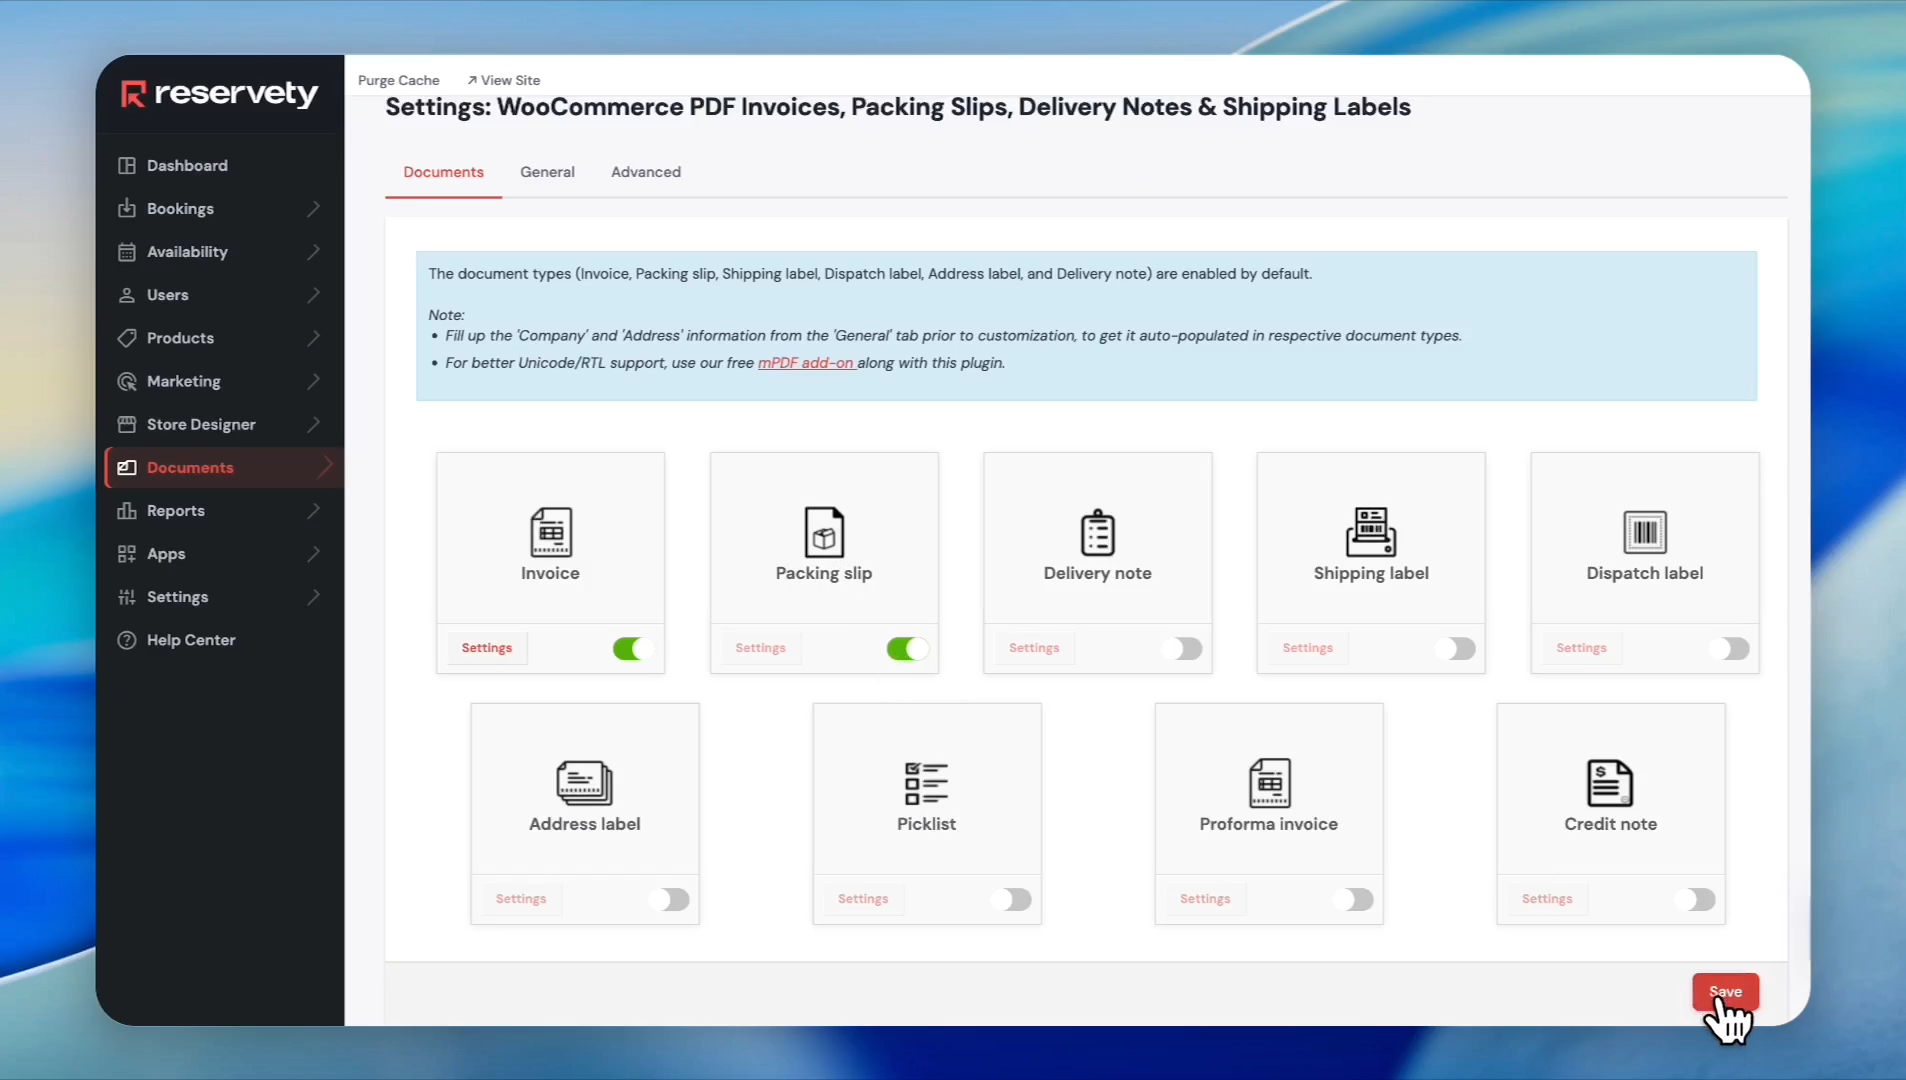
Click Save.
20
Click on Documents once more.
21
Select Packing Slips.
22
Sort your line items by selecting a sorting rule, such as "SKU descending".

23
Click the Customize tab.
24
Click to add or edit your From Address block.
25
Turn off the Bar Code toggle if you don't use barcode scanners for fulfillment.
26
Turn off the SSN Field toggle.
27
Click Change layout to choose a different template theme.
28
Select a theme, such as the Imperial layout.
29
Click Save.
30
Click Update Settings to finalize the configuration.
Bulk Printing Invoices and Packing Slips
Print multiple documents simultaneously straight from the Orders view.
31
Click Bookings in the left sidebar.
32
Navigate to Orders.
33
Check the boxes next to the orders you want to process.
34
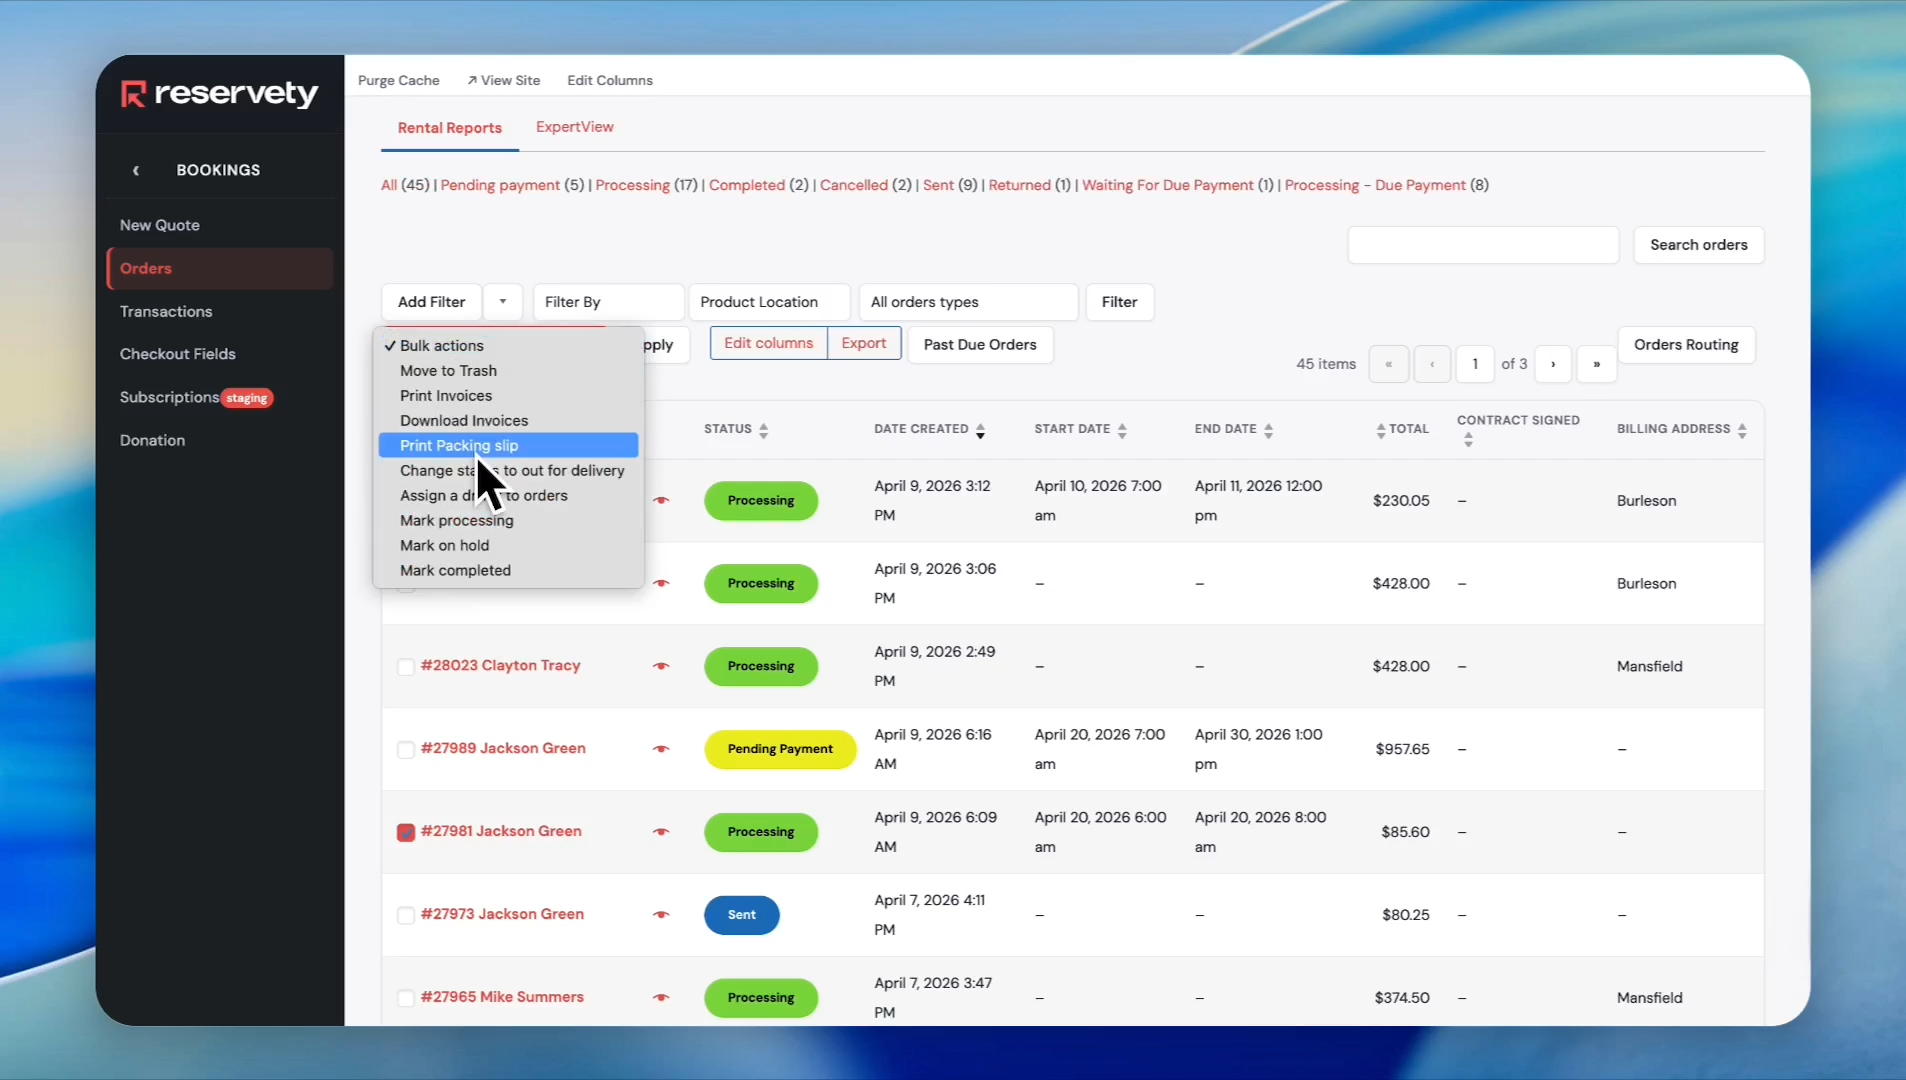
Open the Bulk actions dropdown menu.
35
Select Print Invoices.

36
Click the Apply button. The invoices will be compiled into a single view, where you can print or download the PDF.
37
Check the boxes next to your desired orders again.
38
Open the Bulk actions dropdown menu.
39
Select Print Packing slip.
40
Click Apply to generate and download the packing slips.