Icon

Datroom Database Walkthrough: User Management, Credits, and Best Practices

Explore a detailed walkthrough of the Datroom database, covering user management, application decisions, credit allocations, and best practices for internal notes and session handling.

By Tristan Sigerson

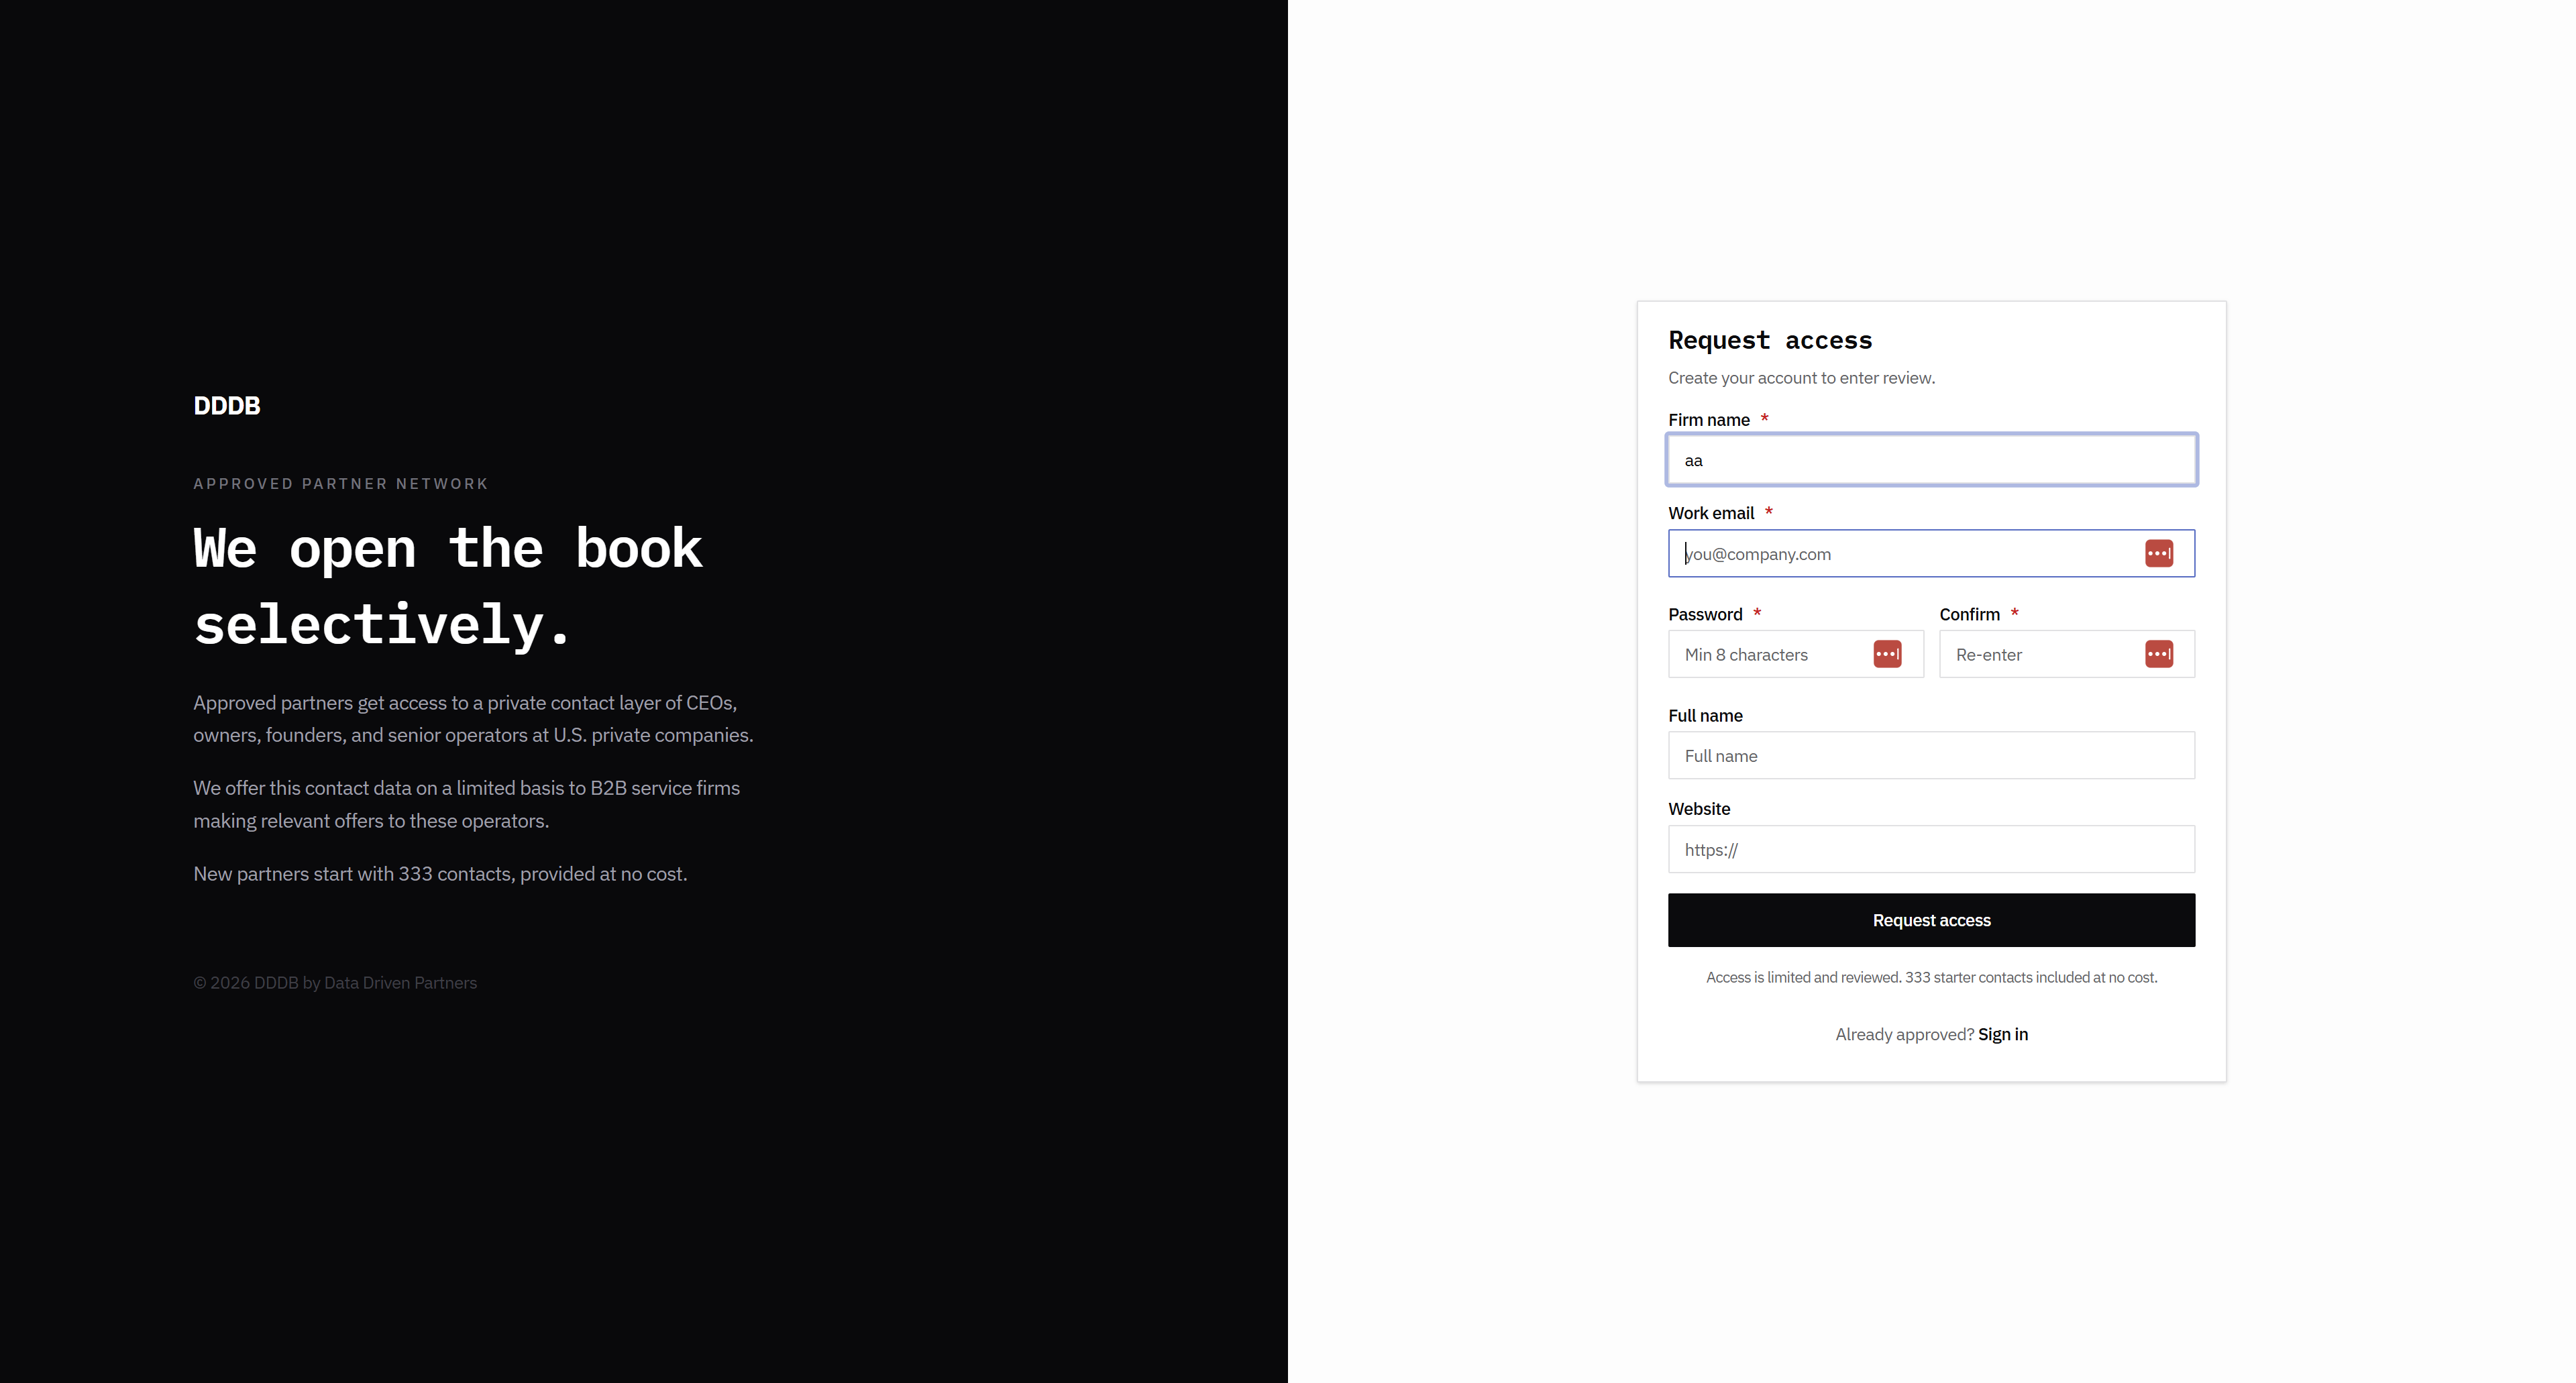
In this guide, we'll learn how to review and manage user applications in the Datroom database. We will cover how to handle user statuses, update decision labels, manage credits, and add internal notes for declined users. This guide will help you keep your application process organized and clear.

Let's get started

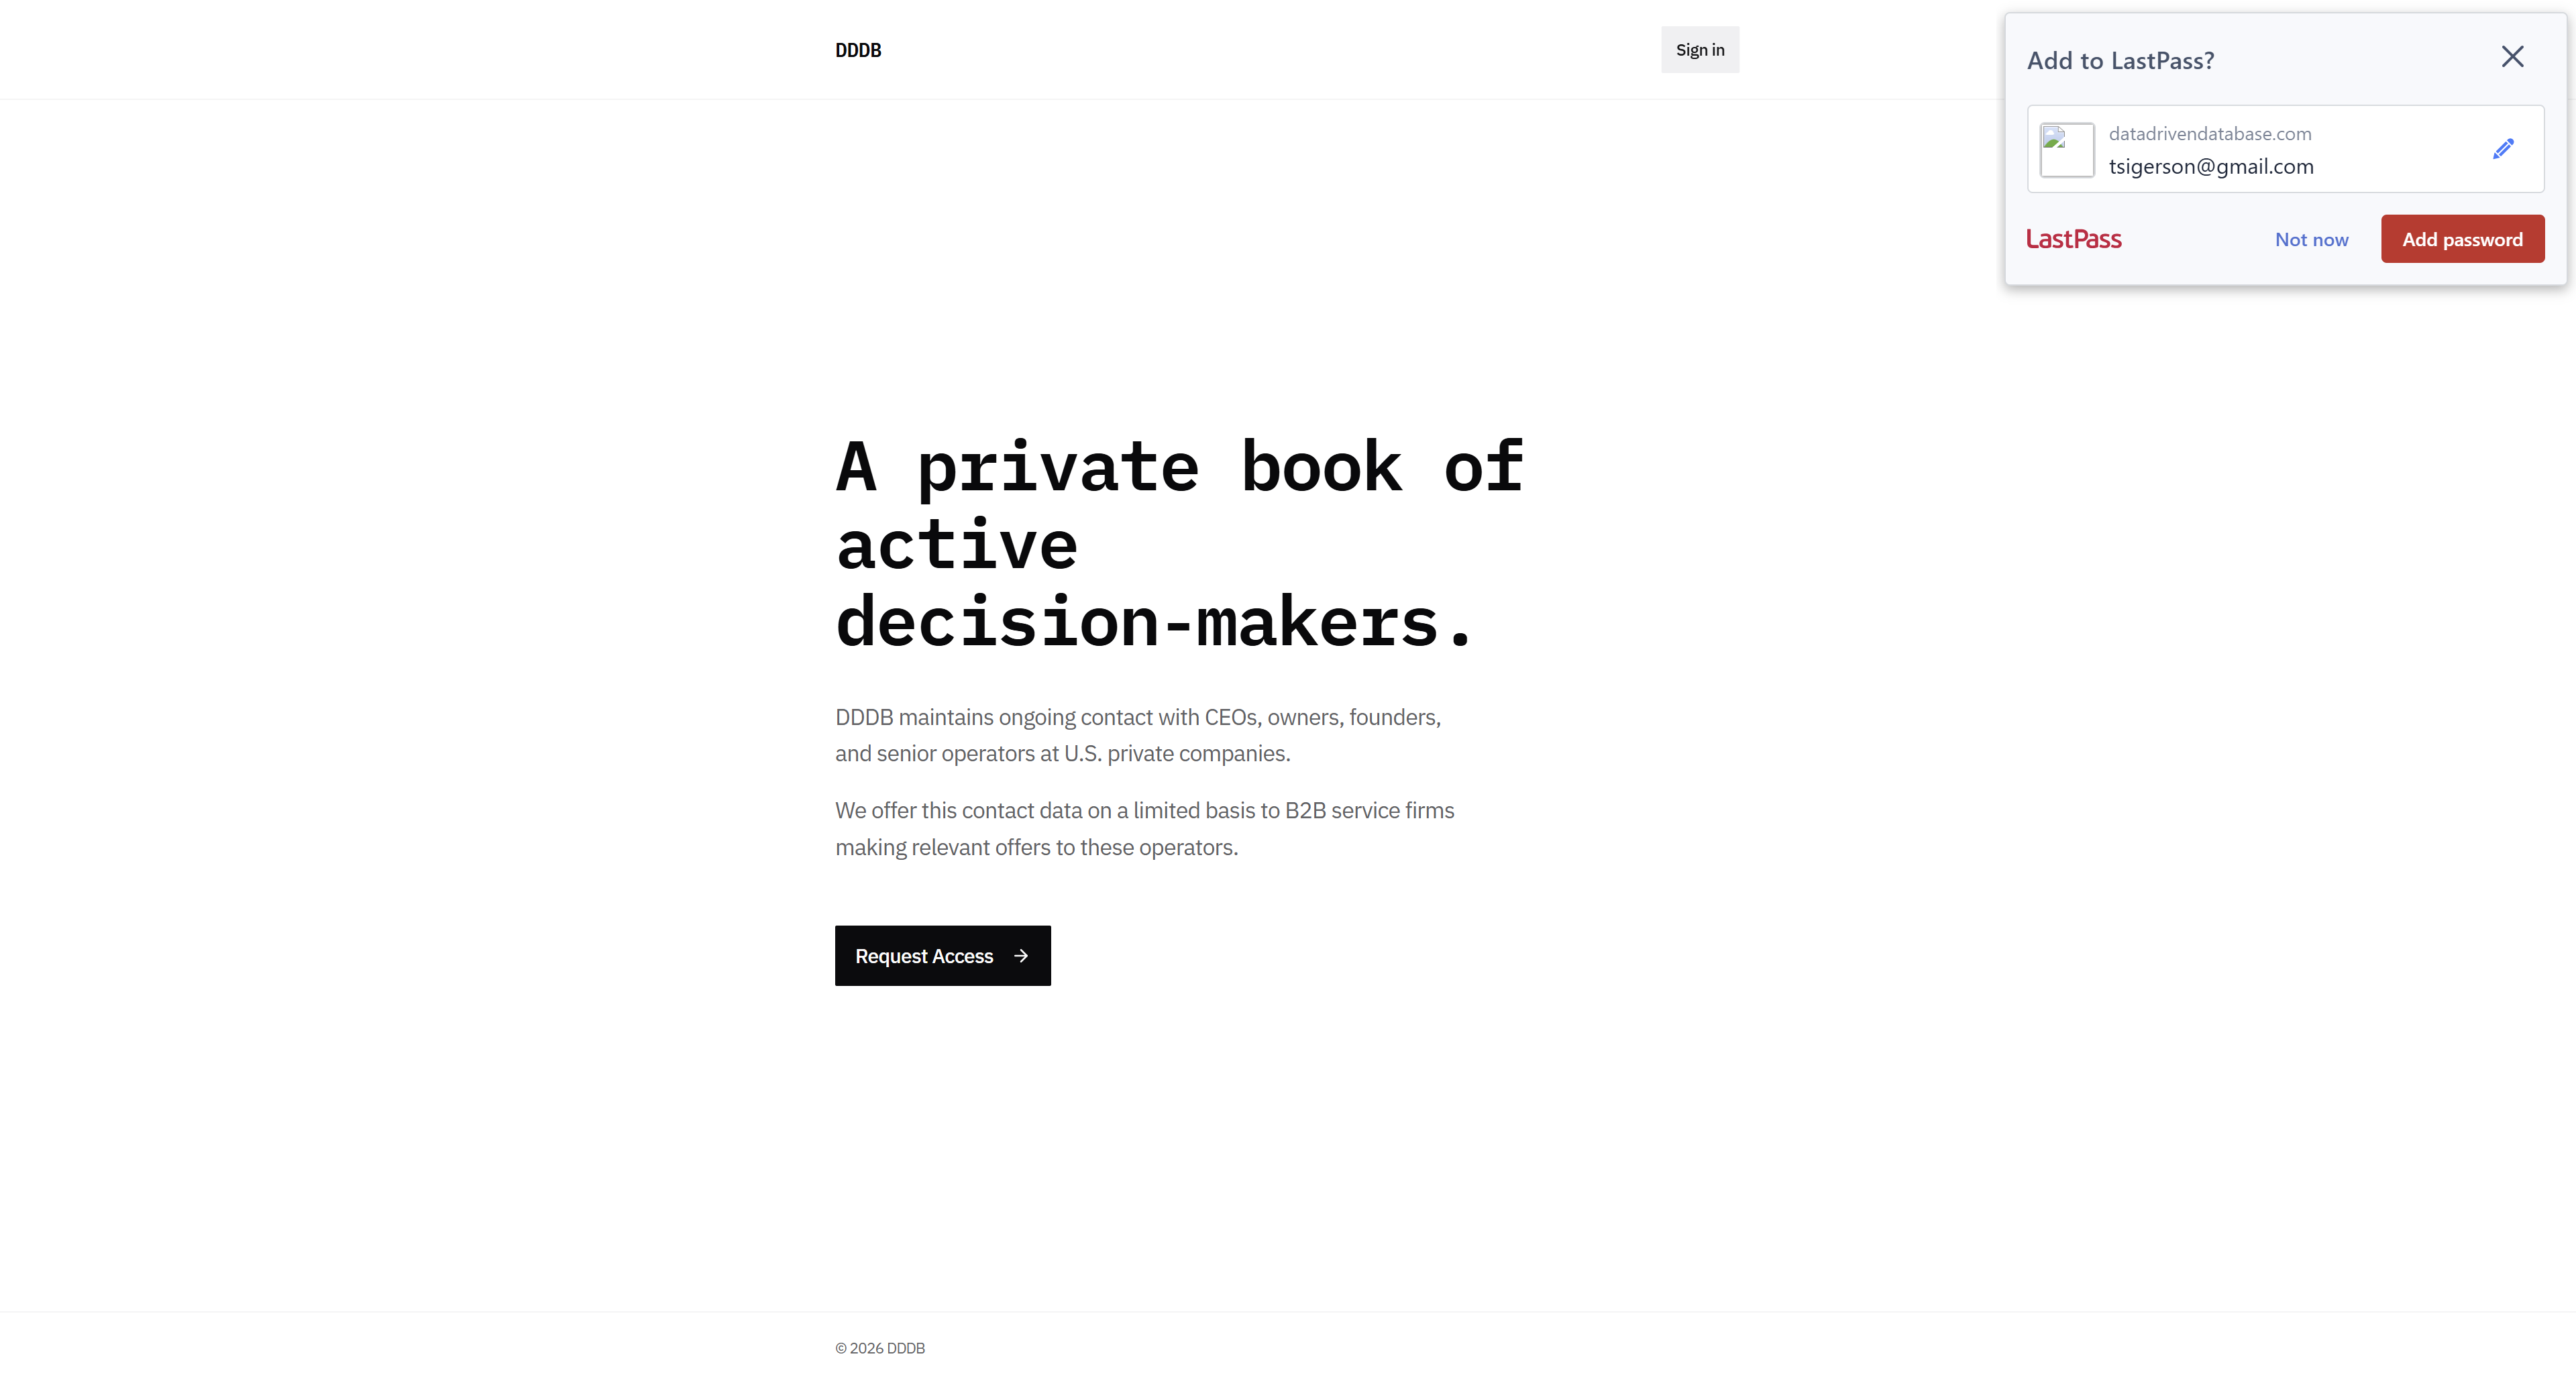
Okay. Doing a Datroom database walkthrough. Start from the top; it's user. Okay, this looks good. We had a few bullet points, such as "Never sold to more than two parties." These bullet points should go under the subheader, followed by a sentence and two sub-bullet points.

1
Go to DDDB
2
Click here
Step #2: Click here
3
Click here
Step #3: Click here
4
Click on "DDDB"
Step #4: Click on "DDDB"
5
Click on "DDDB"
Step #5: Click on "DDDB"
6
Click on "DDDB"
Step #6: Click on "DDDB"
7
Click on "DDDB"
Step #7: Click on "DDDB"
8
Click here
Step #8: Click here
9
Click here
Step #9: Click here
10
Click here
Step #10: Click here

Okay, that worked.

11
Click here
Step #11: Click here
12
Click here
Step #12: Click here
13
Click here
Step #13: Click here
14
Type "aa"
15
Click here
Step #15: Click here
16
Type "tsigerson@gmail.com + TabBongo9999$ + TabBongo9999$"
17
Click here
Step #17: Click here
18
Type "aa"
19
Click here
Step #19: Click here

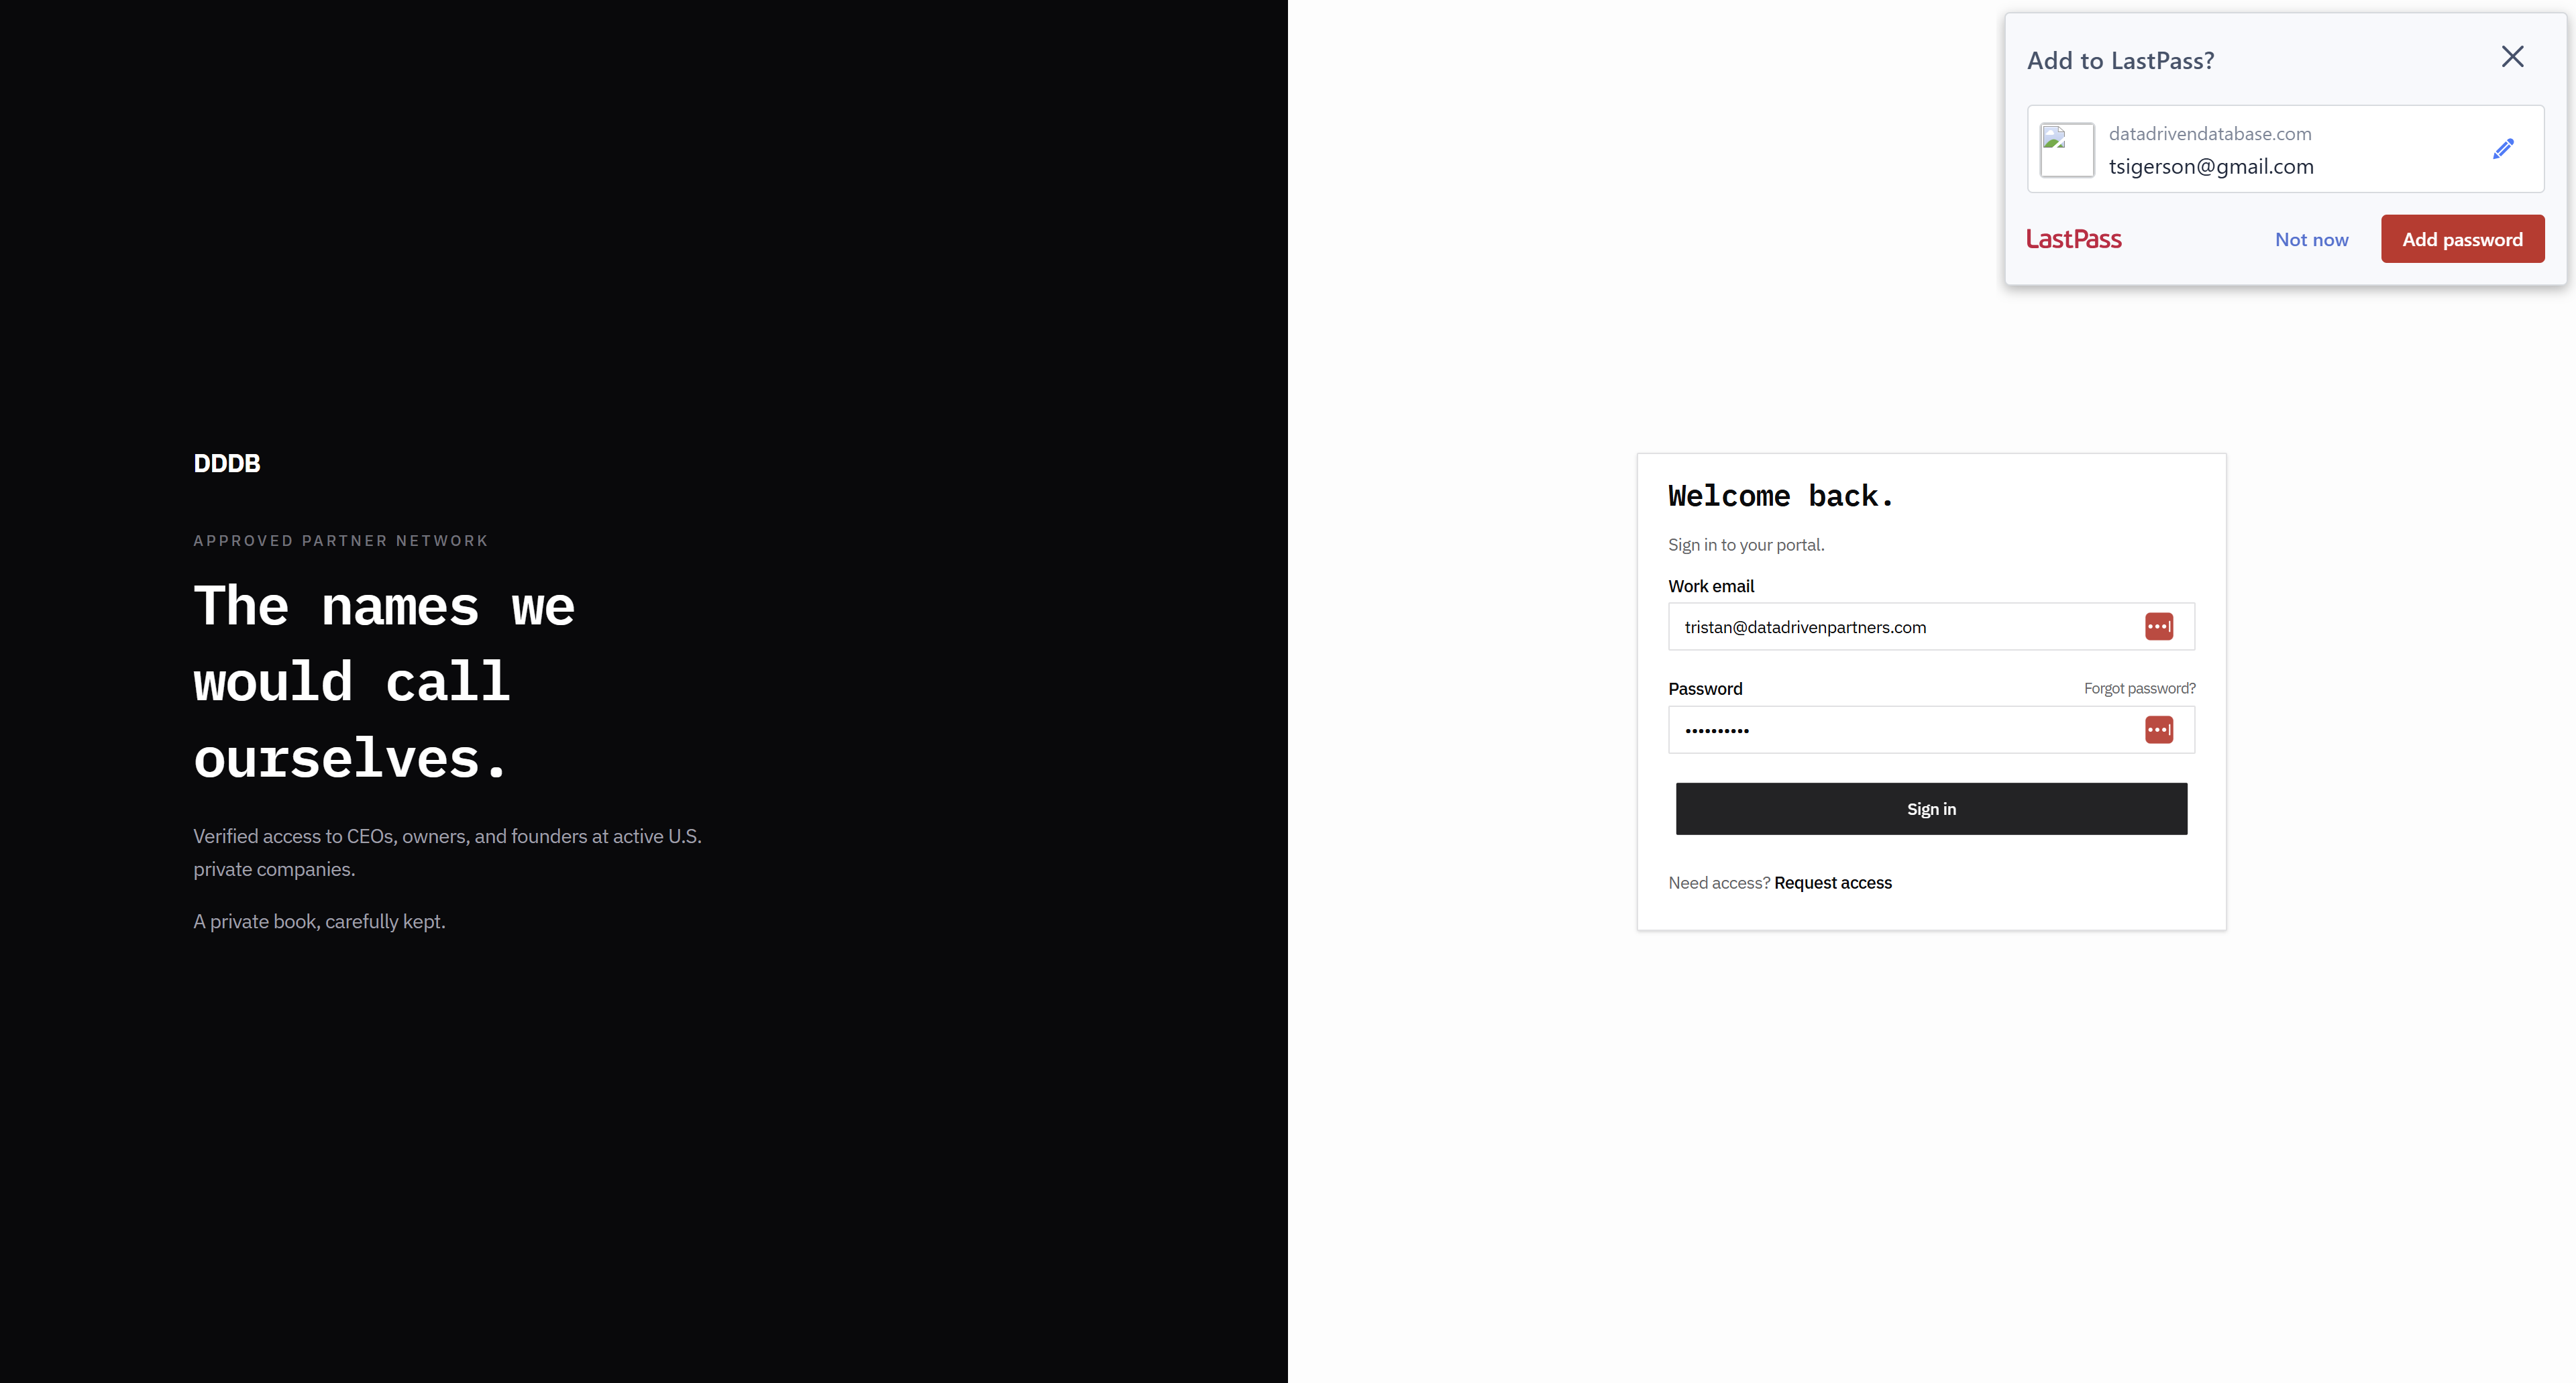
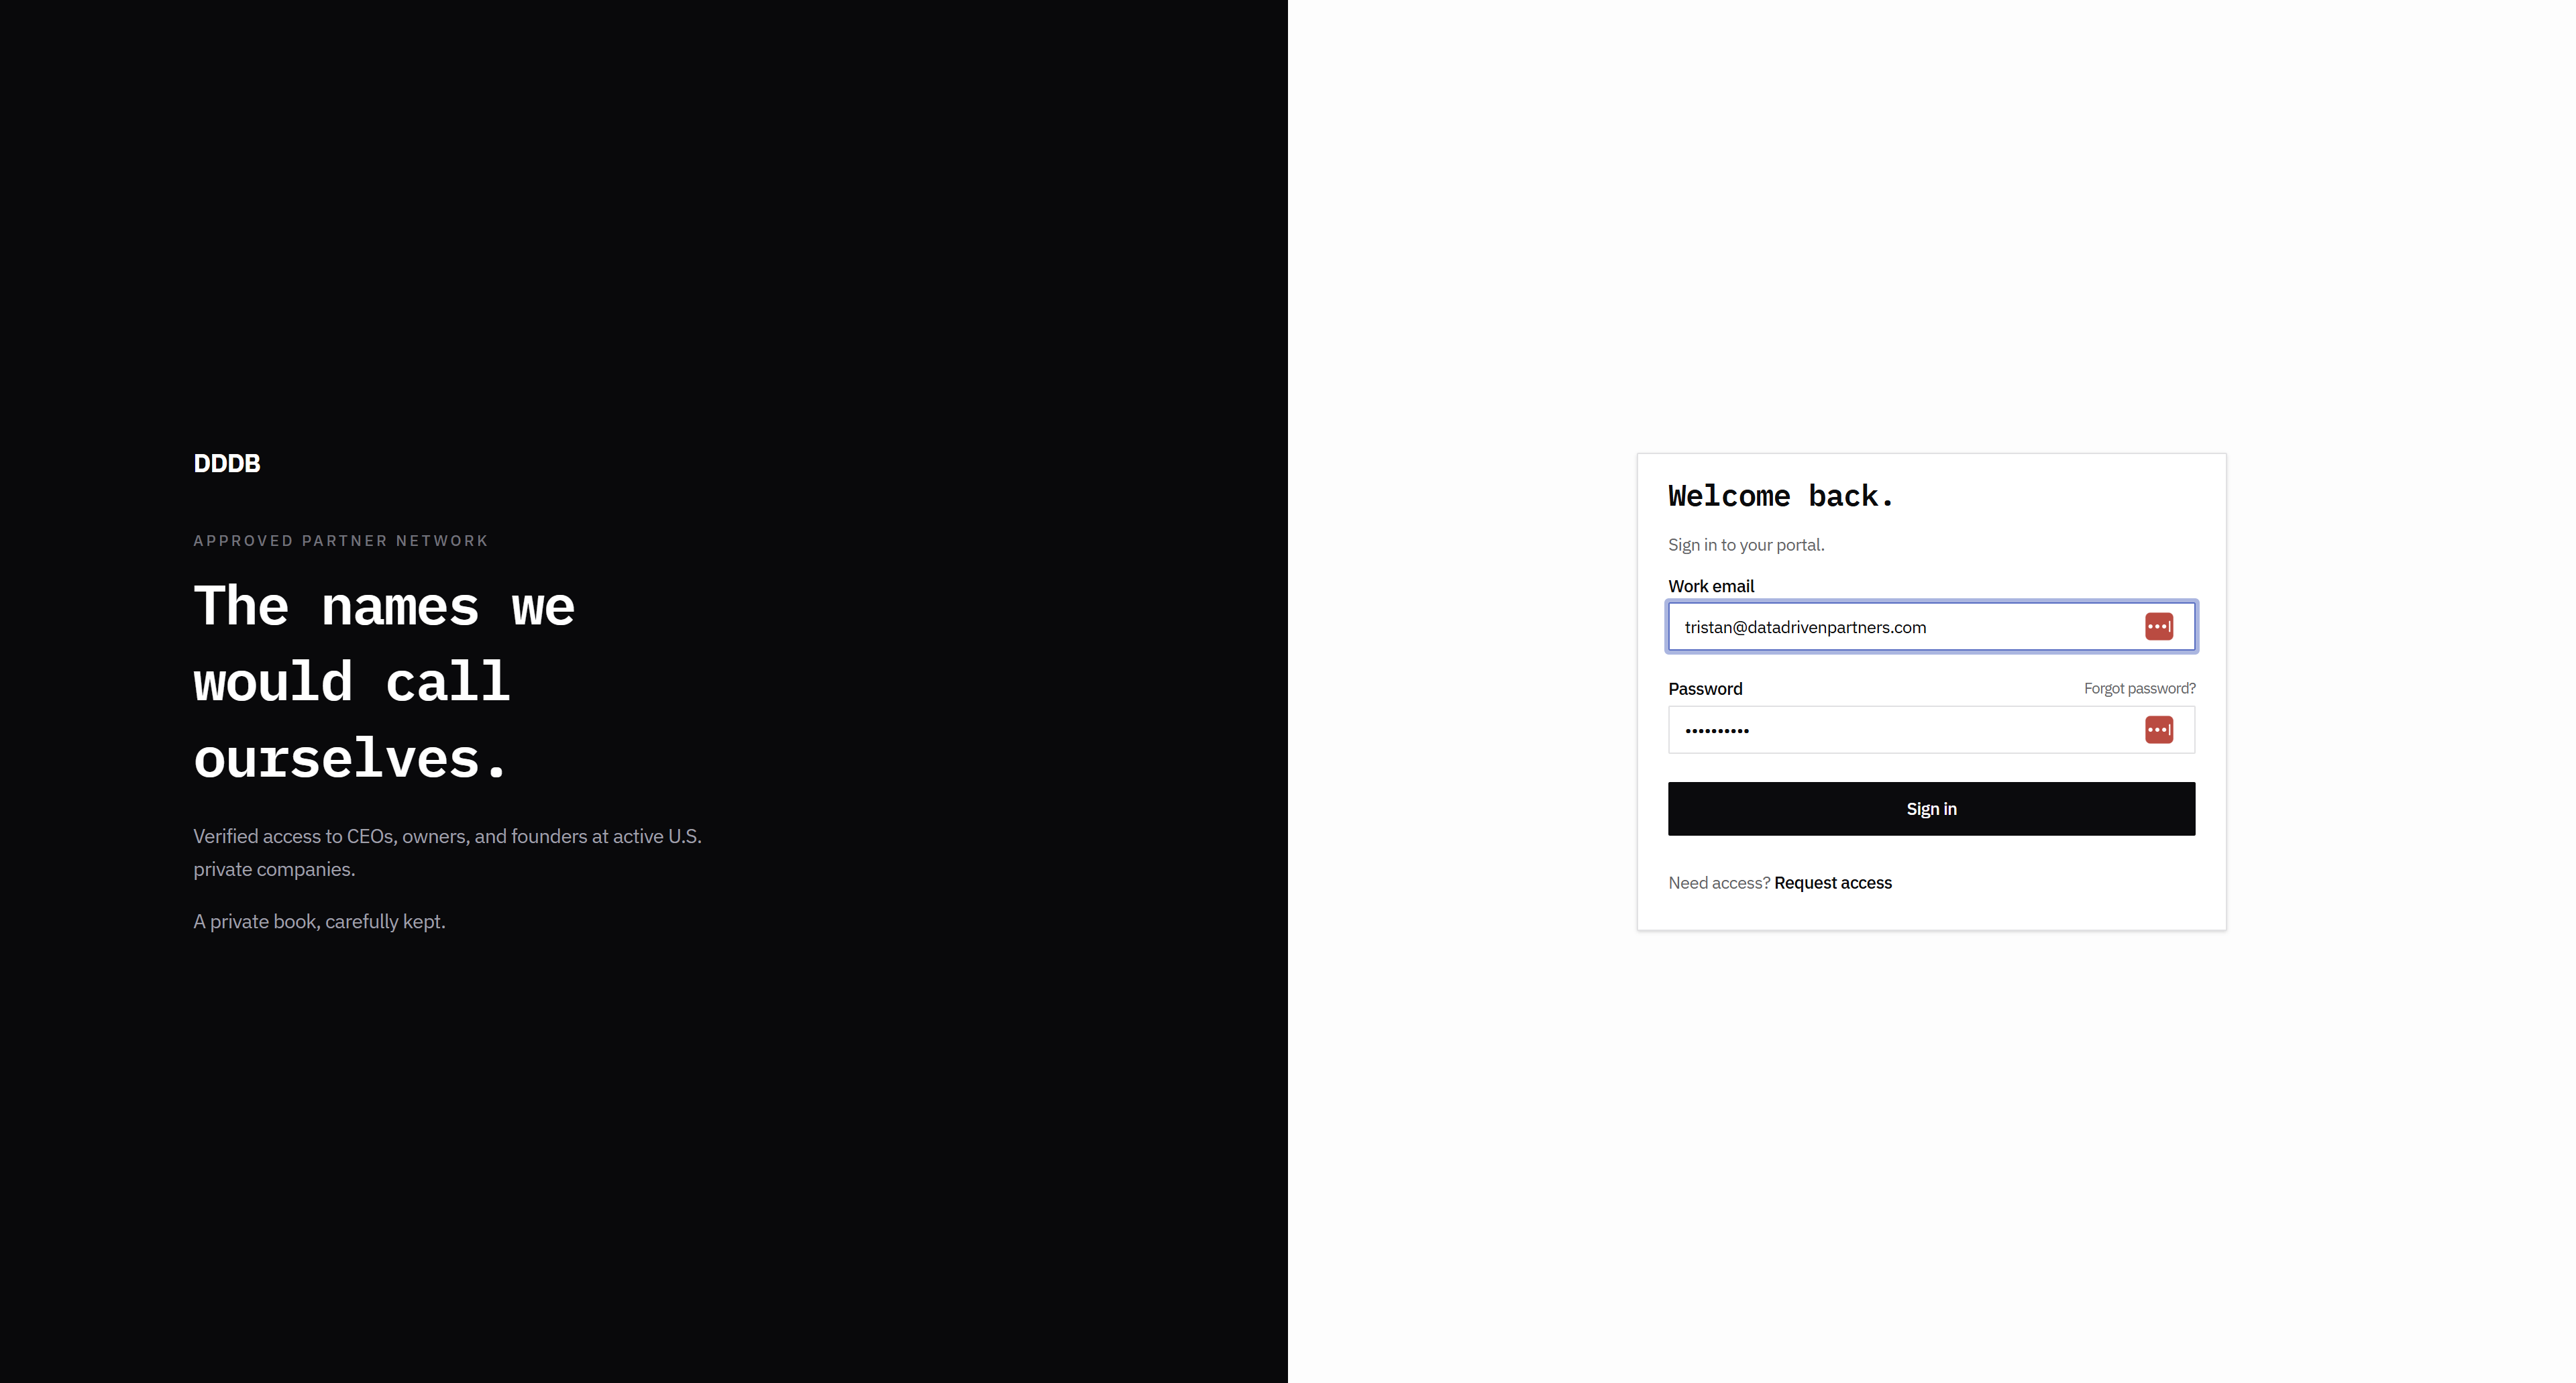
That seemed to be fine. I mentioned that we should change this to names we would use for ourselves, which might sound like we are calling ourselves names.

20
Click here
Step #20: Click here
21
Click here
Step #21: Click here
22
Click here
Step #22: Click here

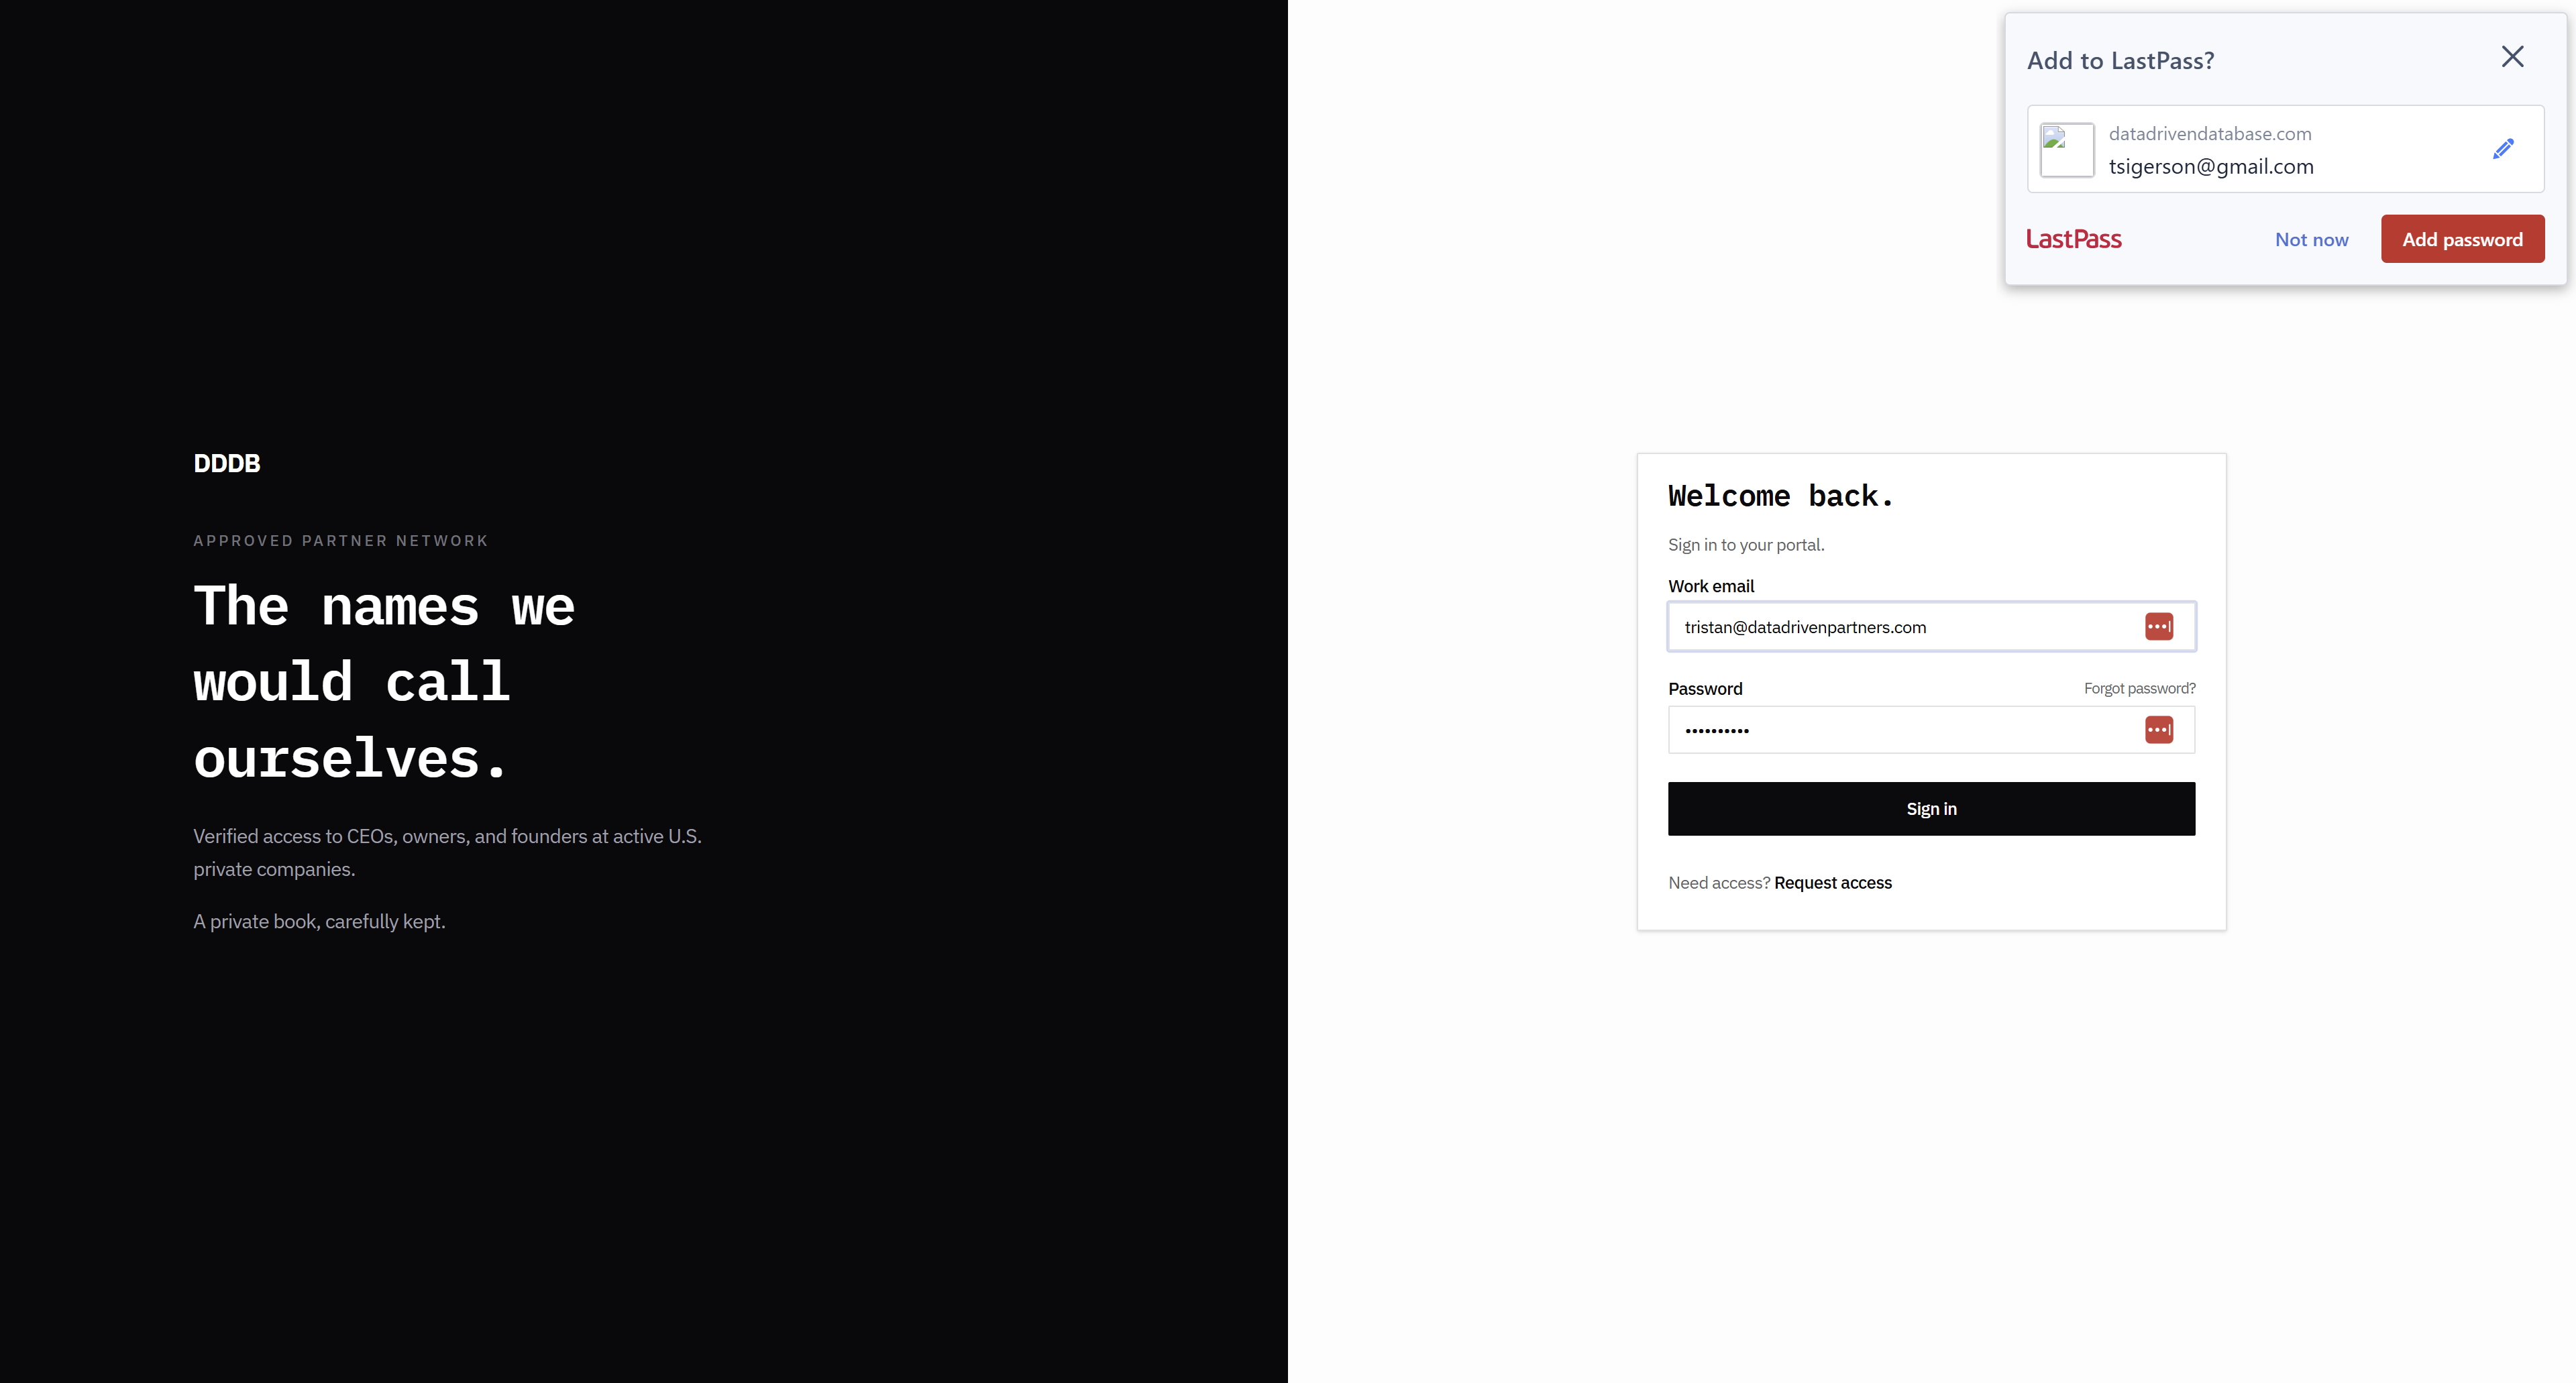
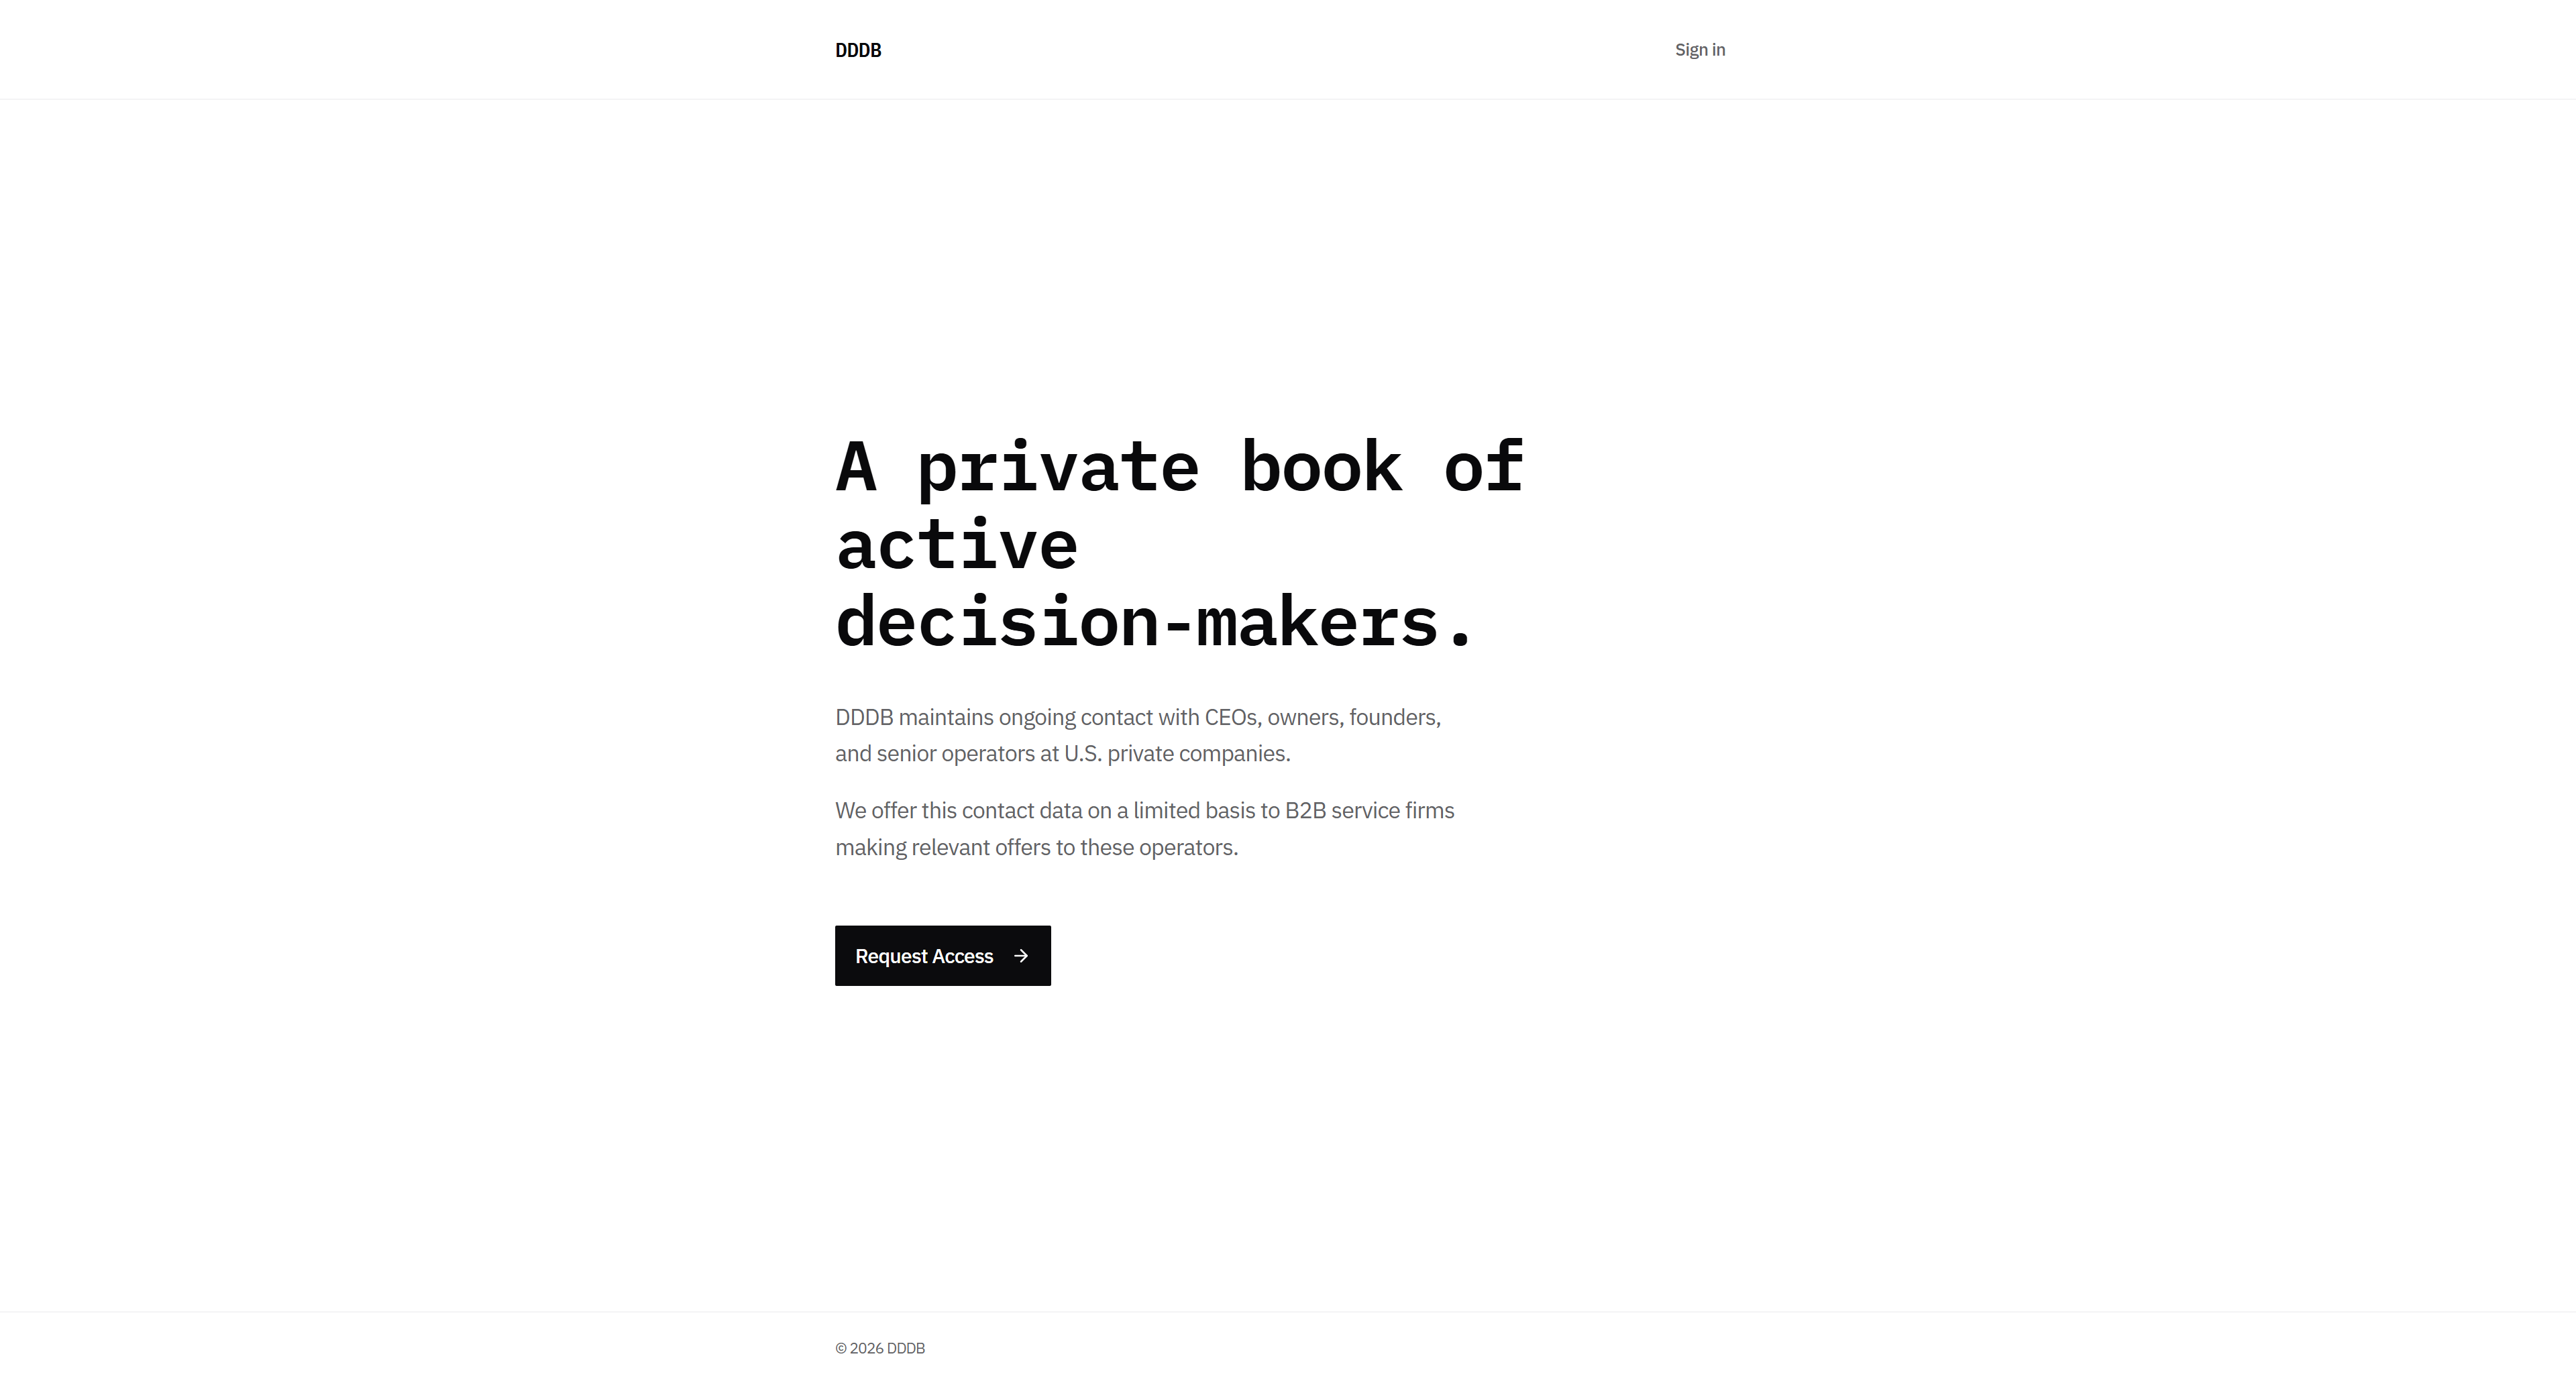
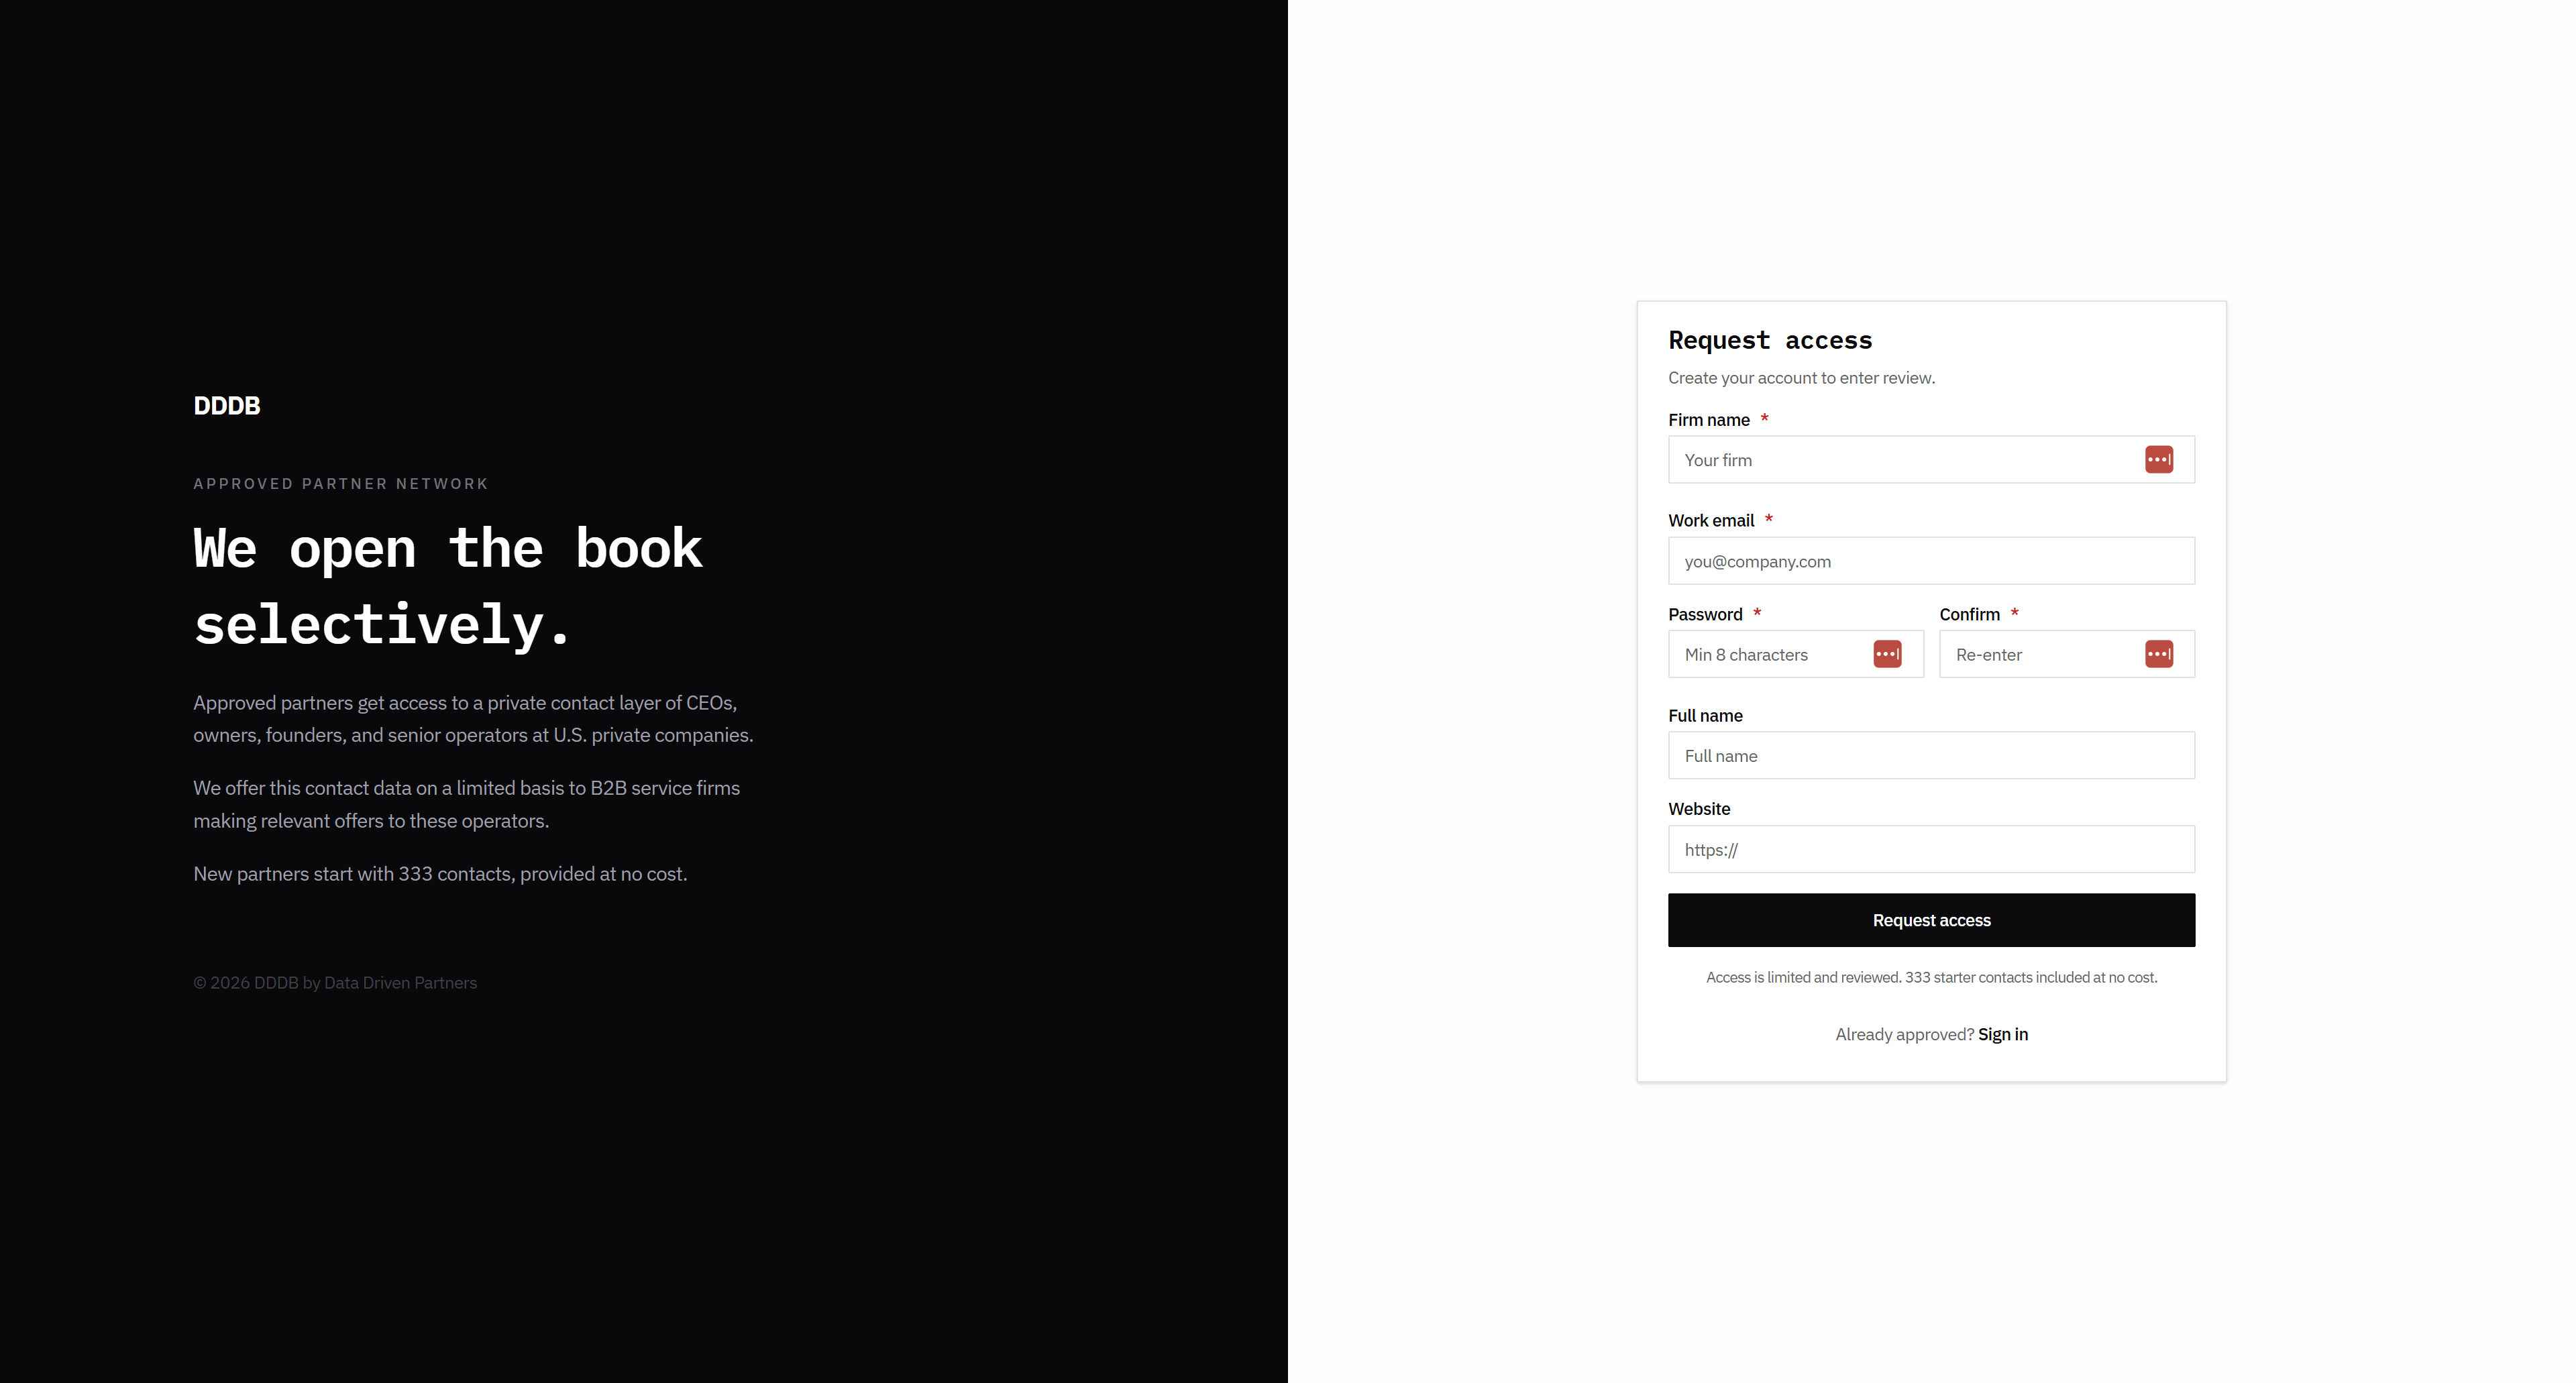
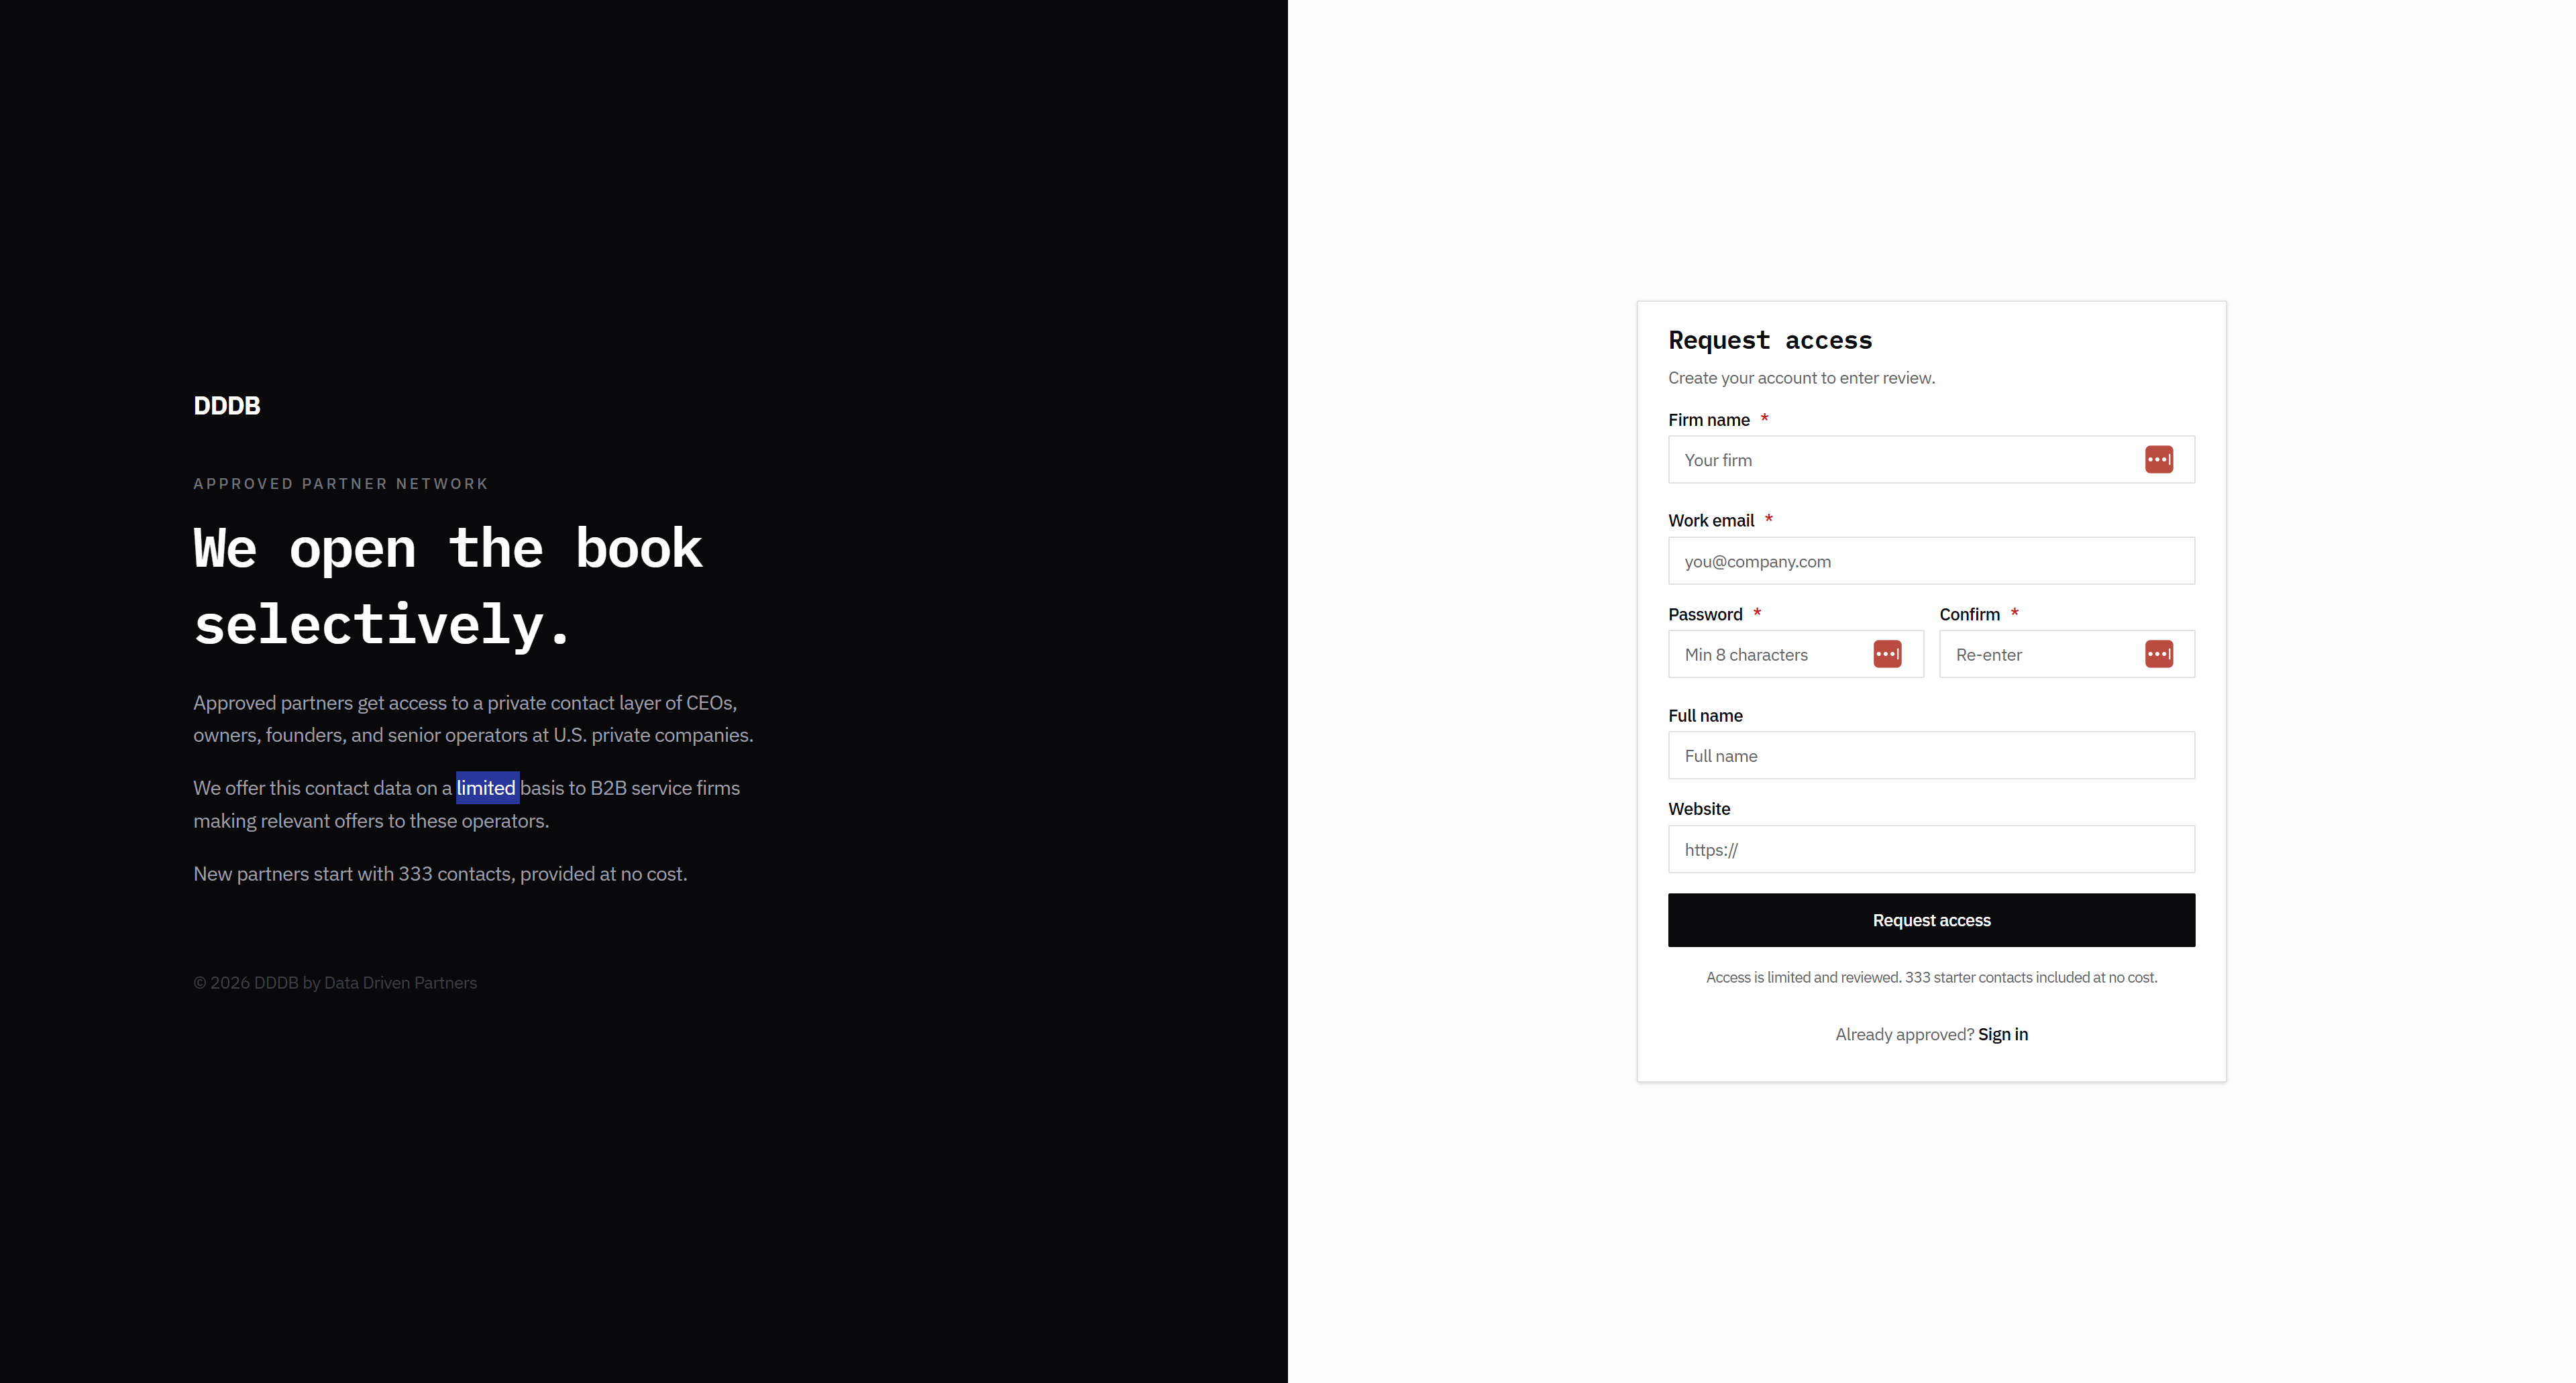
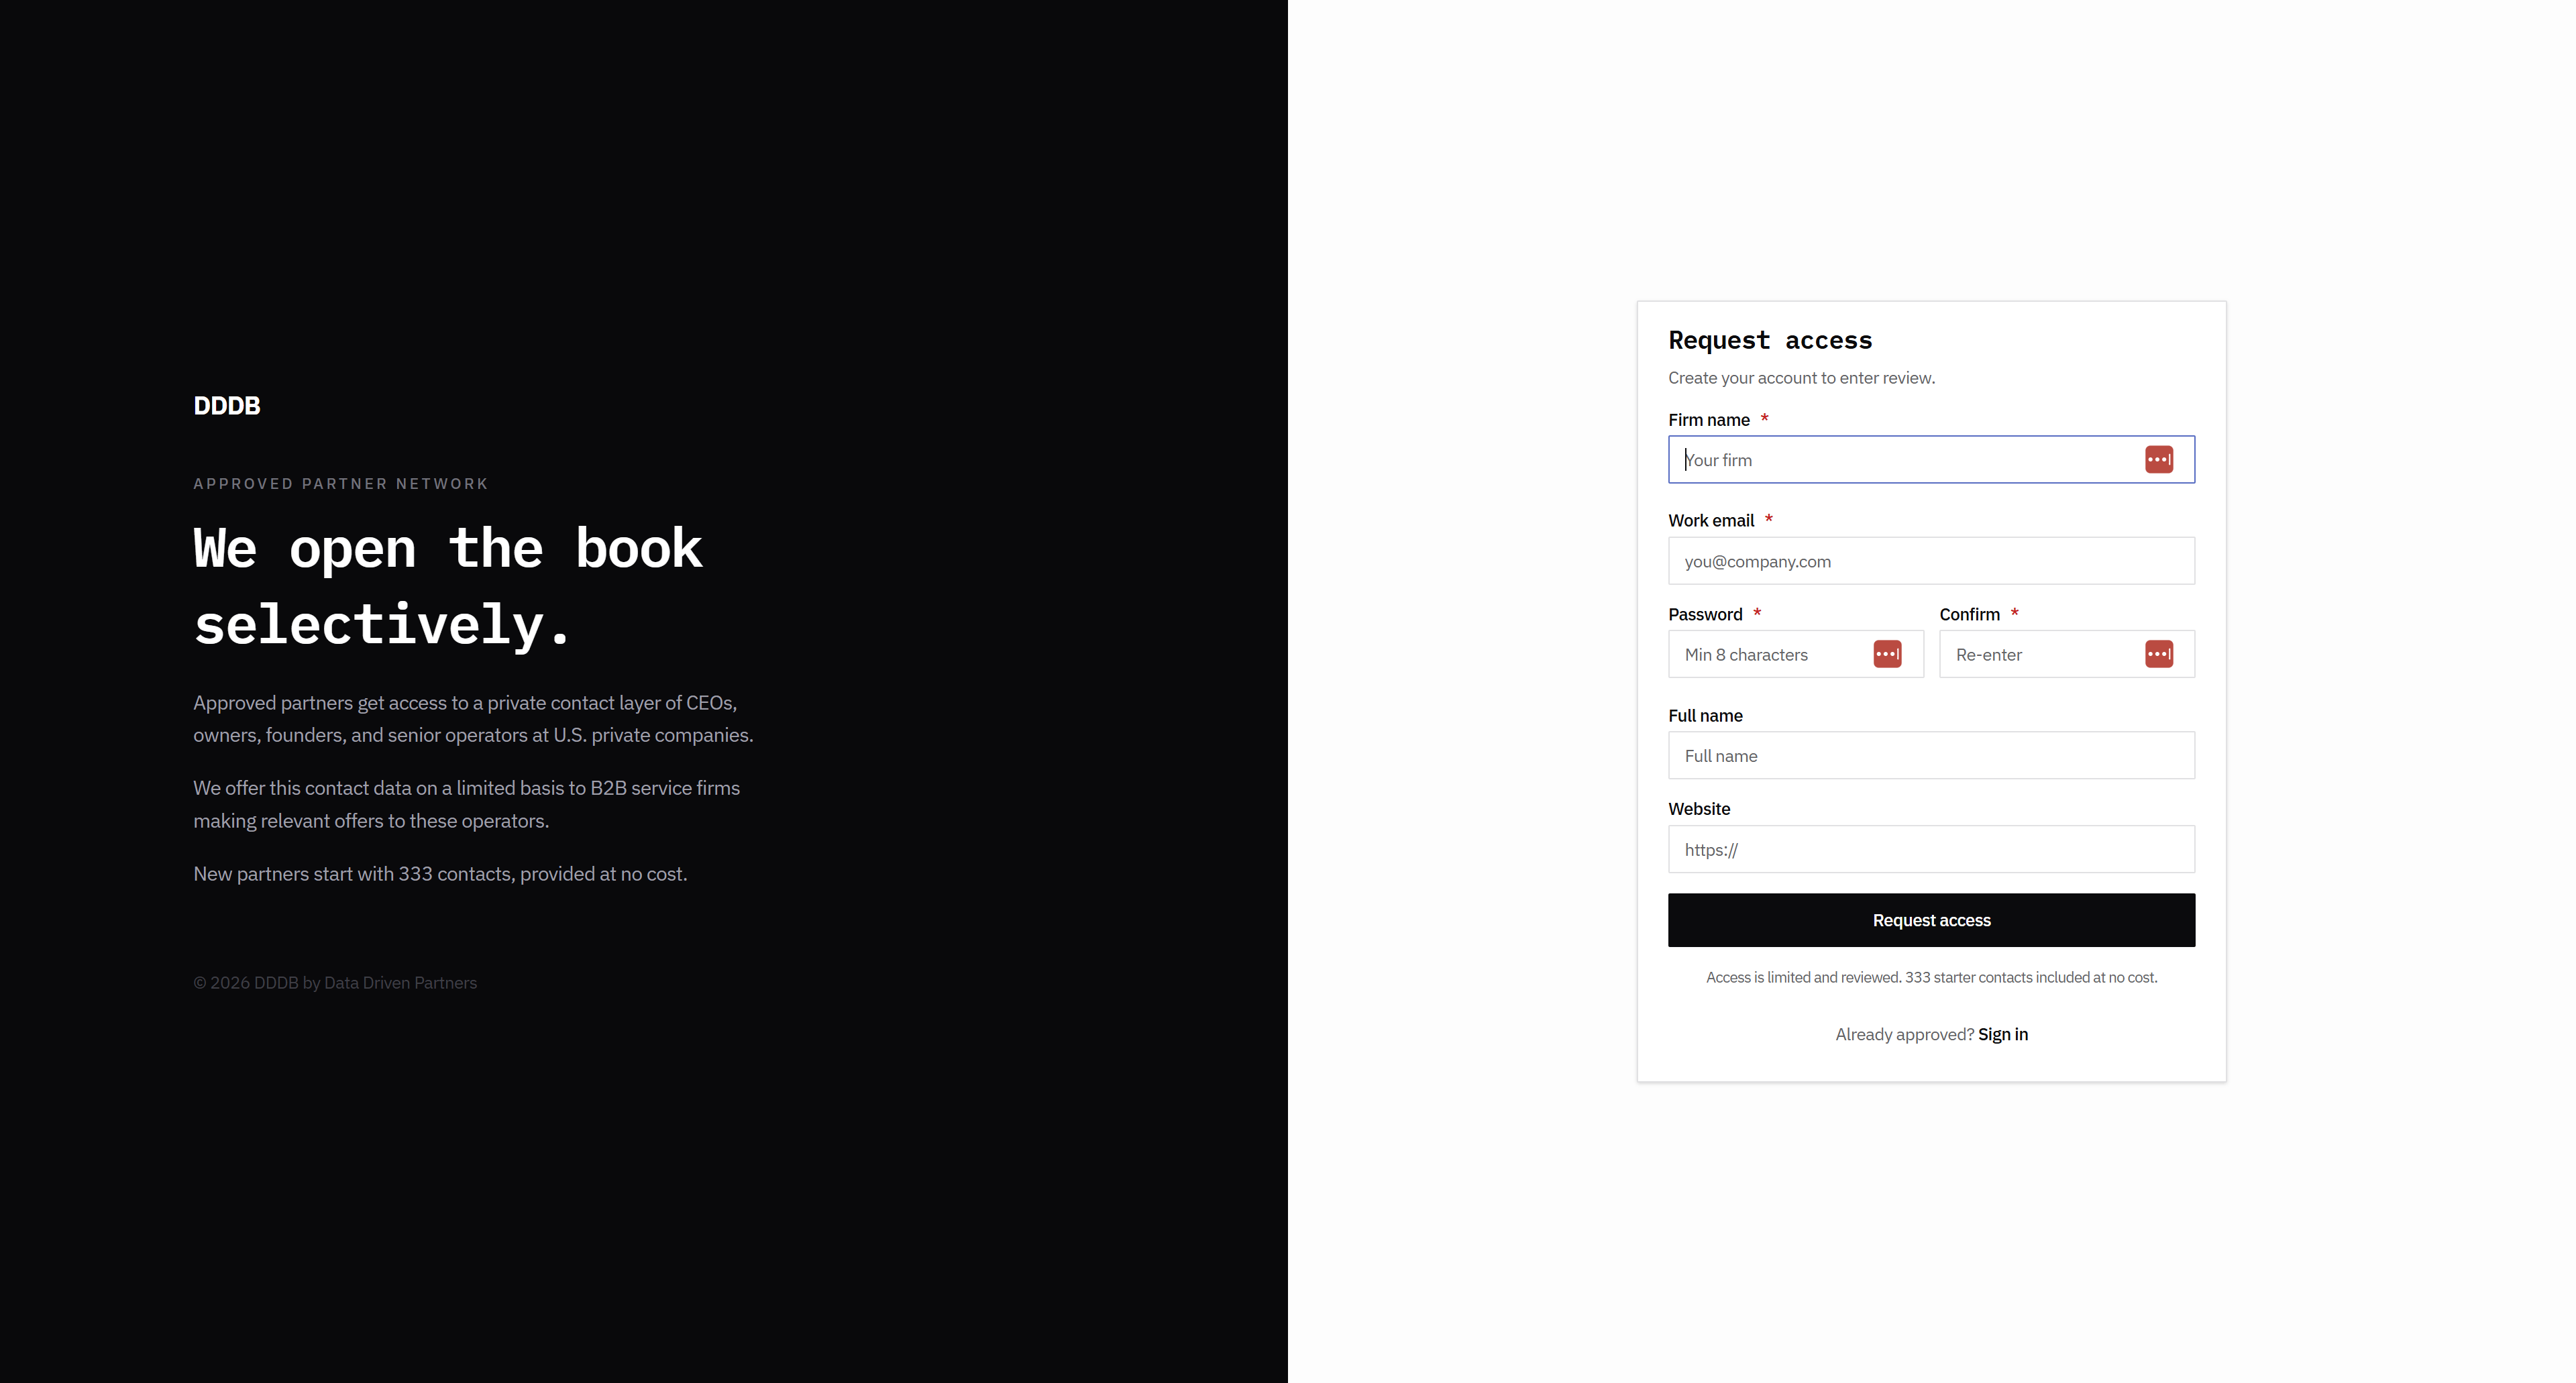
If we don't see it on the sign-in, look at one of our other examples. We have done a number of these, but not this one.

23
Click here
Step #23: Click here
24
Click here
Step #24: Click here

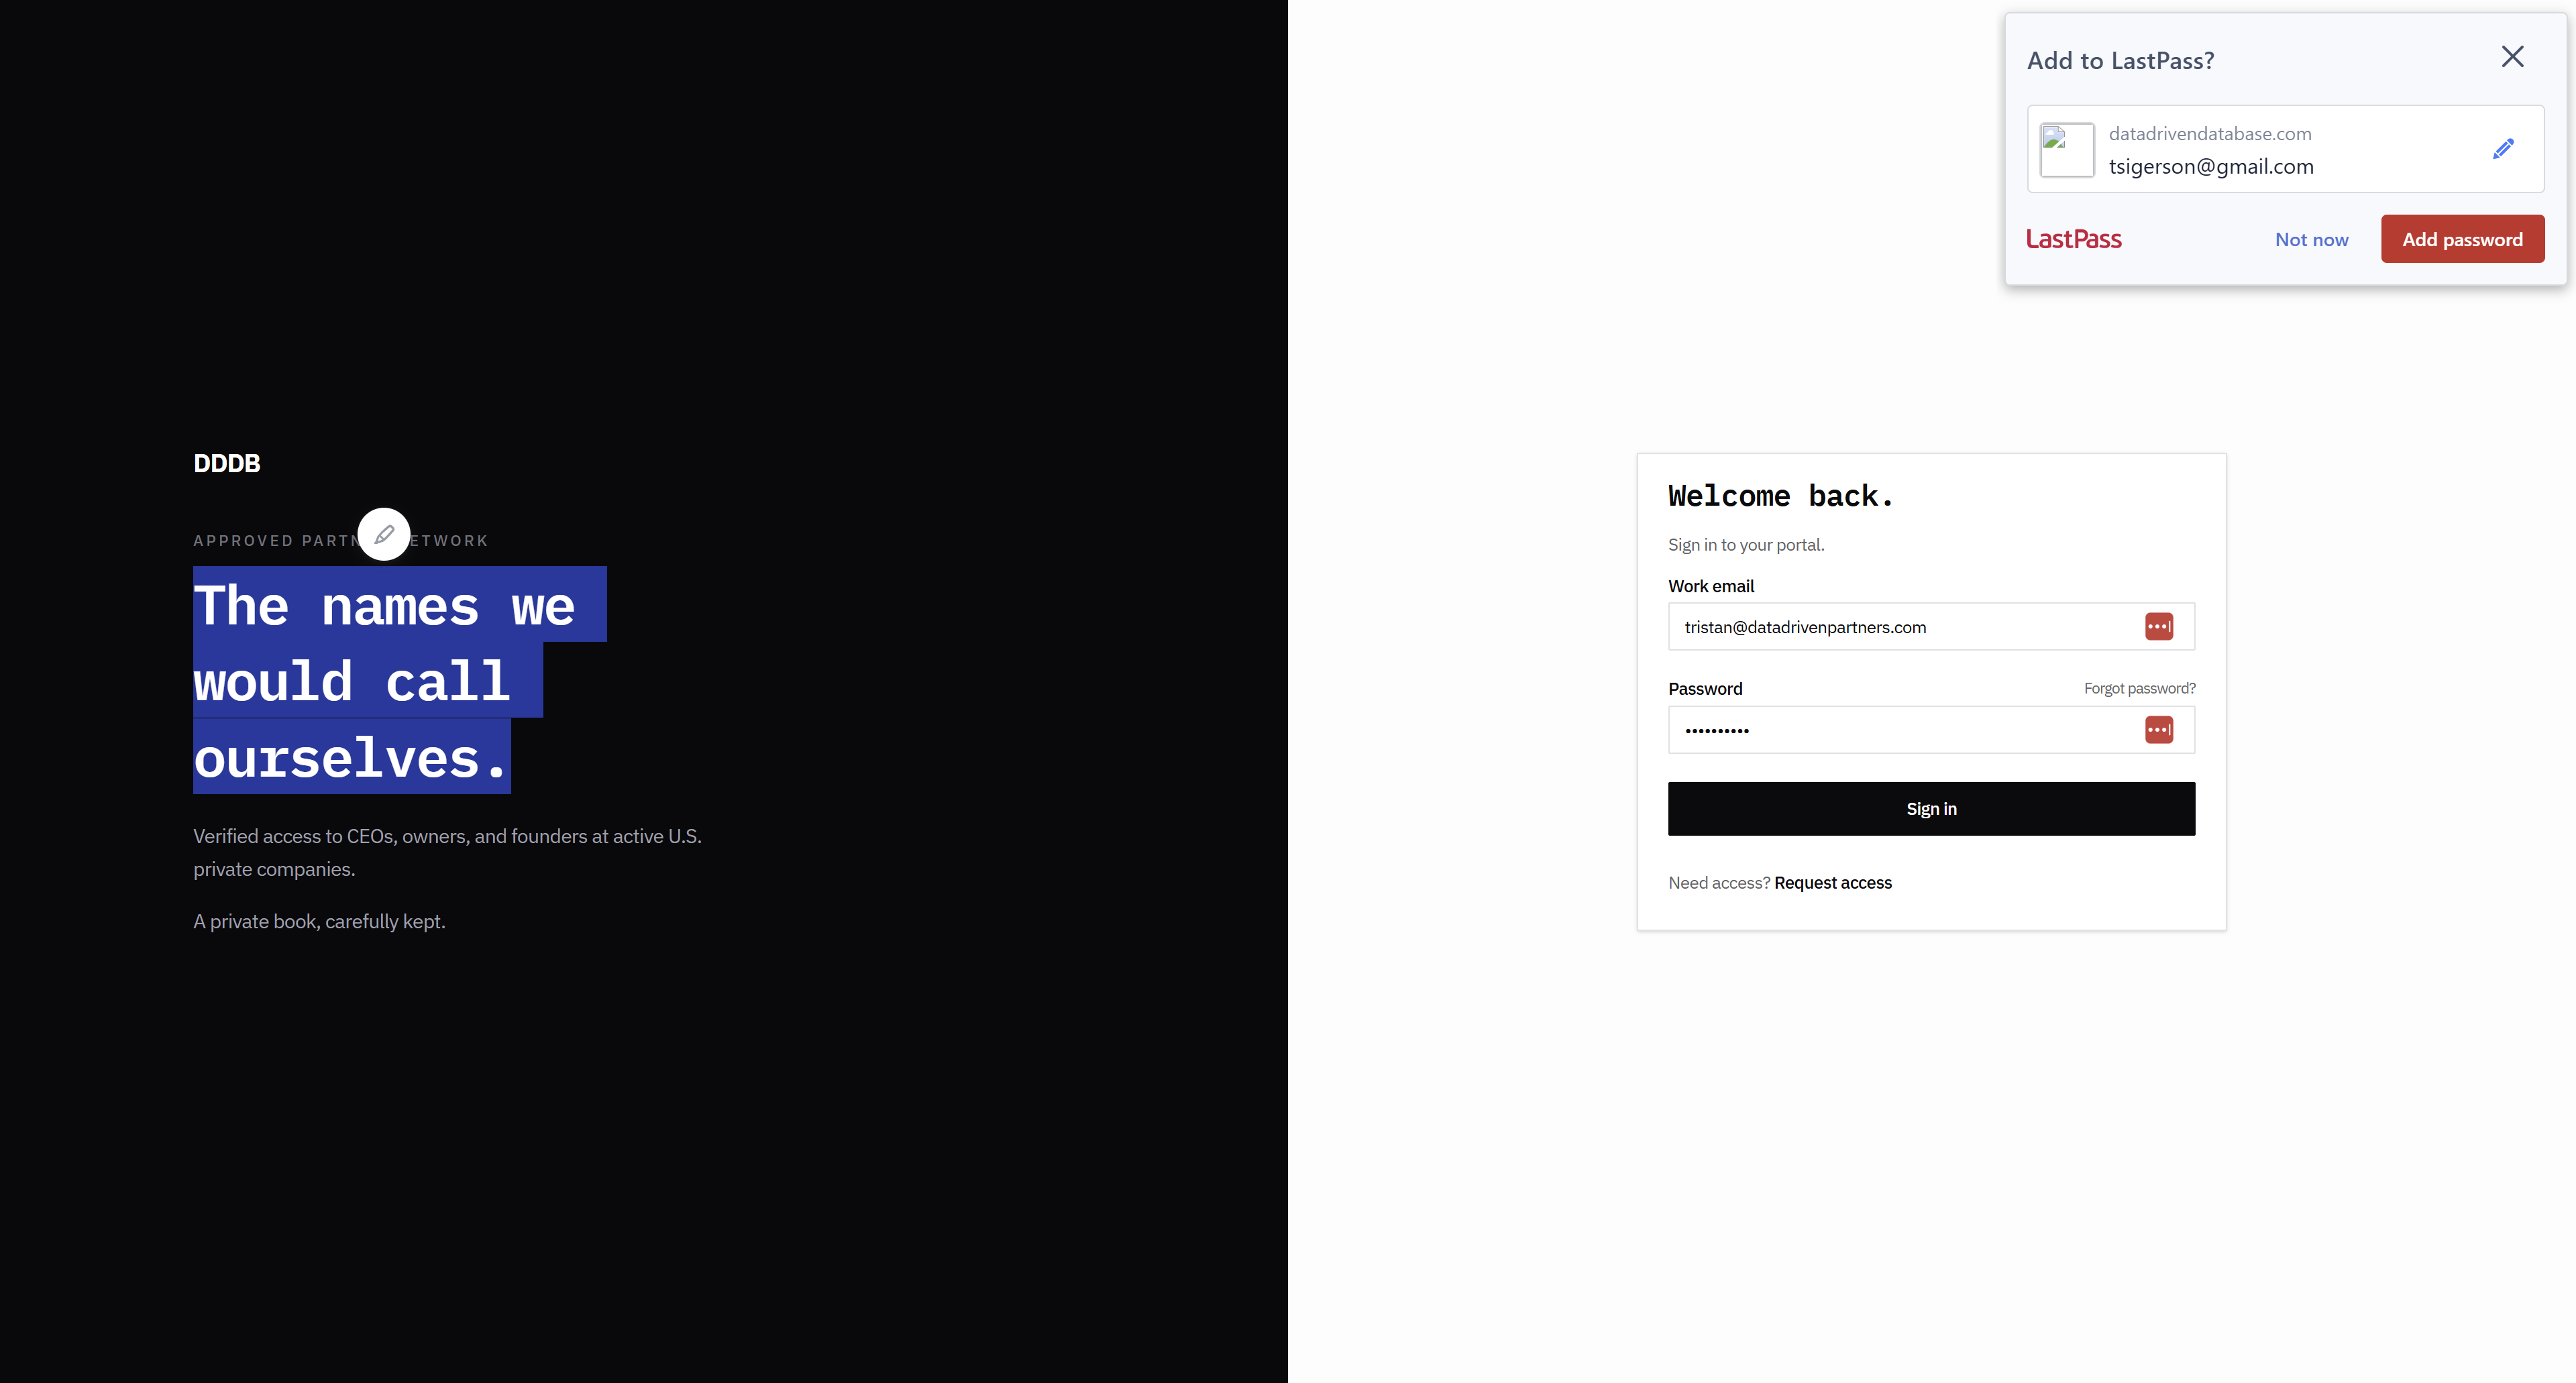
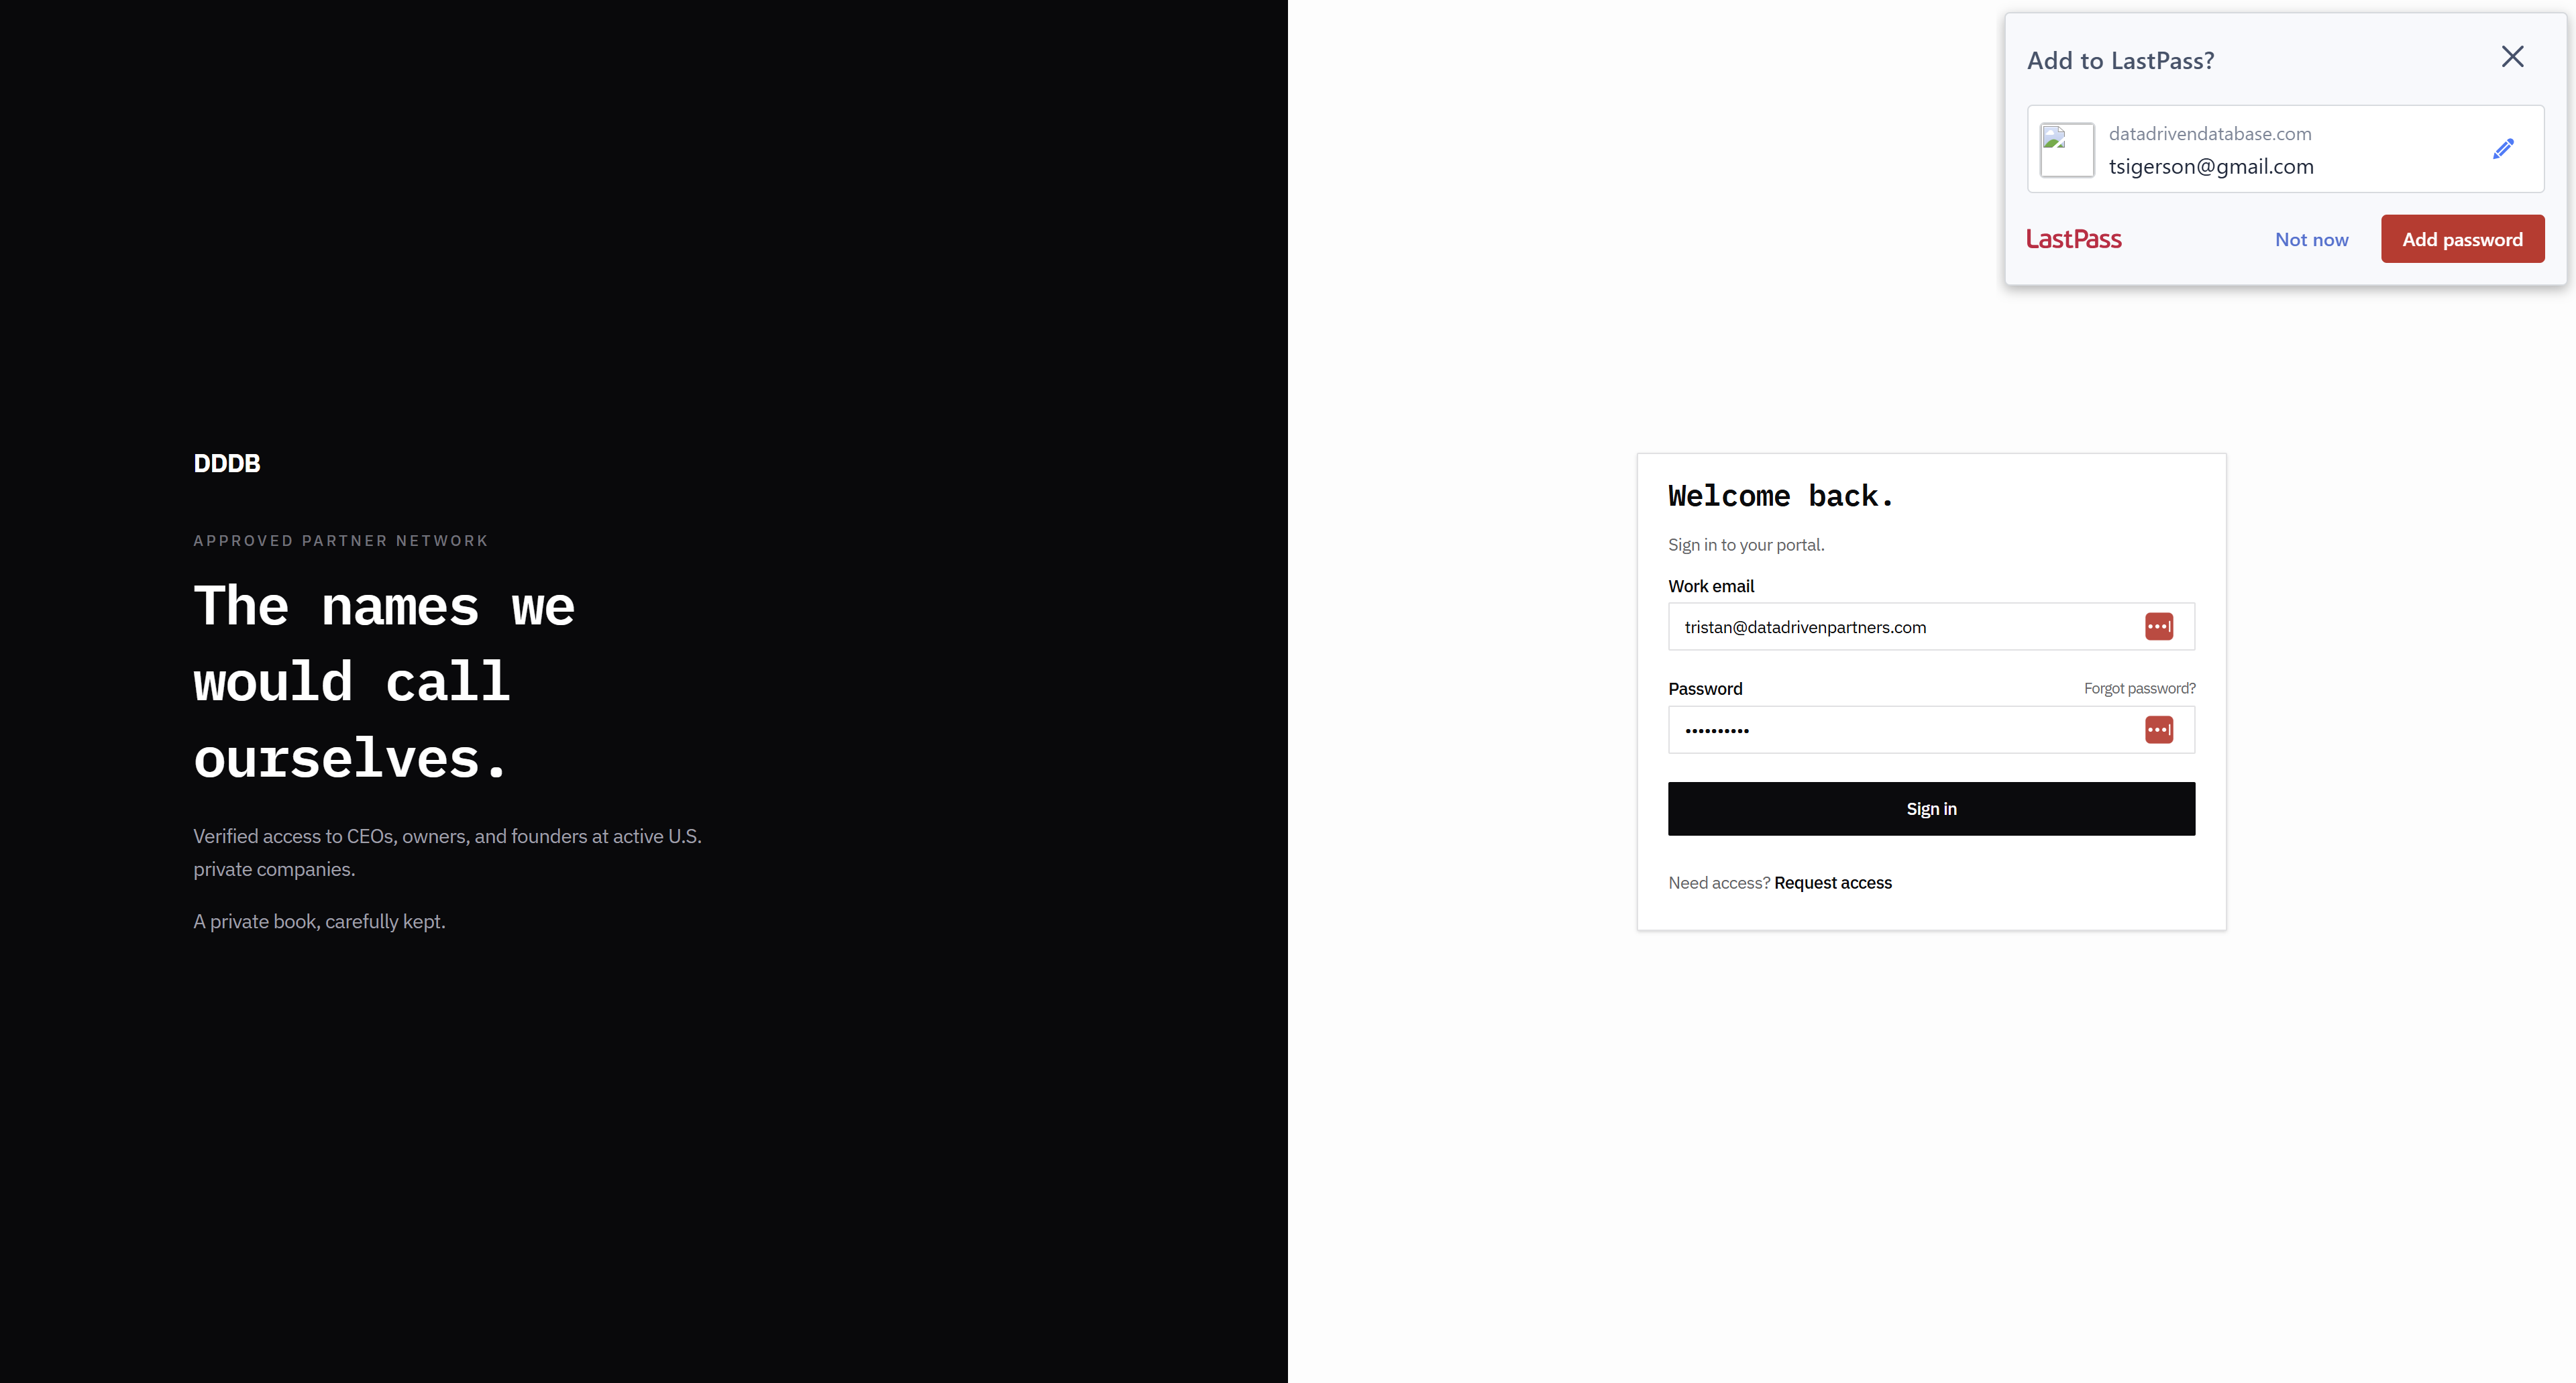
Welcome back sounds a bit friendly. We see applications.

25
Click here
Step #25: Click here
26
Click on "Companies"
Step #26: Click on "Companies"
27
Click on "Contacts"
Step #27: Click on "Contacts"

Here we see a Duke on email. We should check this and not allow Duke to receive emails in this system.

28
Click here
Step #28: Click here
29
Click here
Step #29: Click here

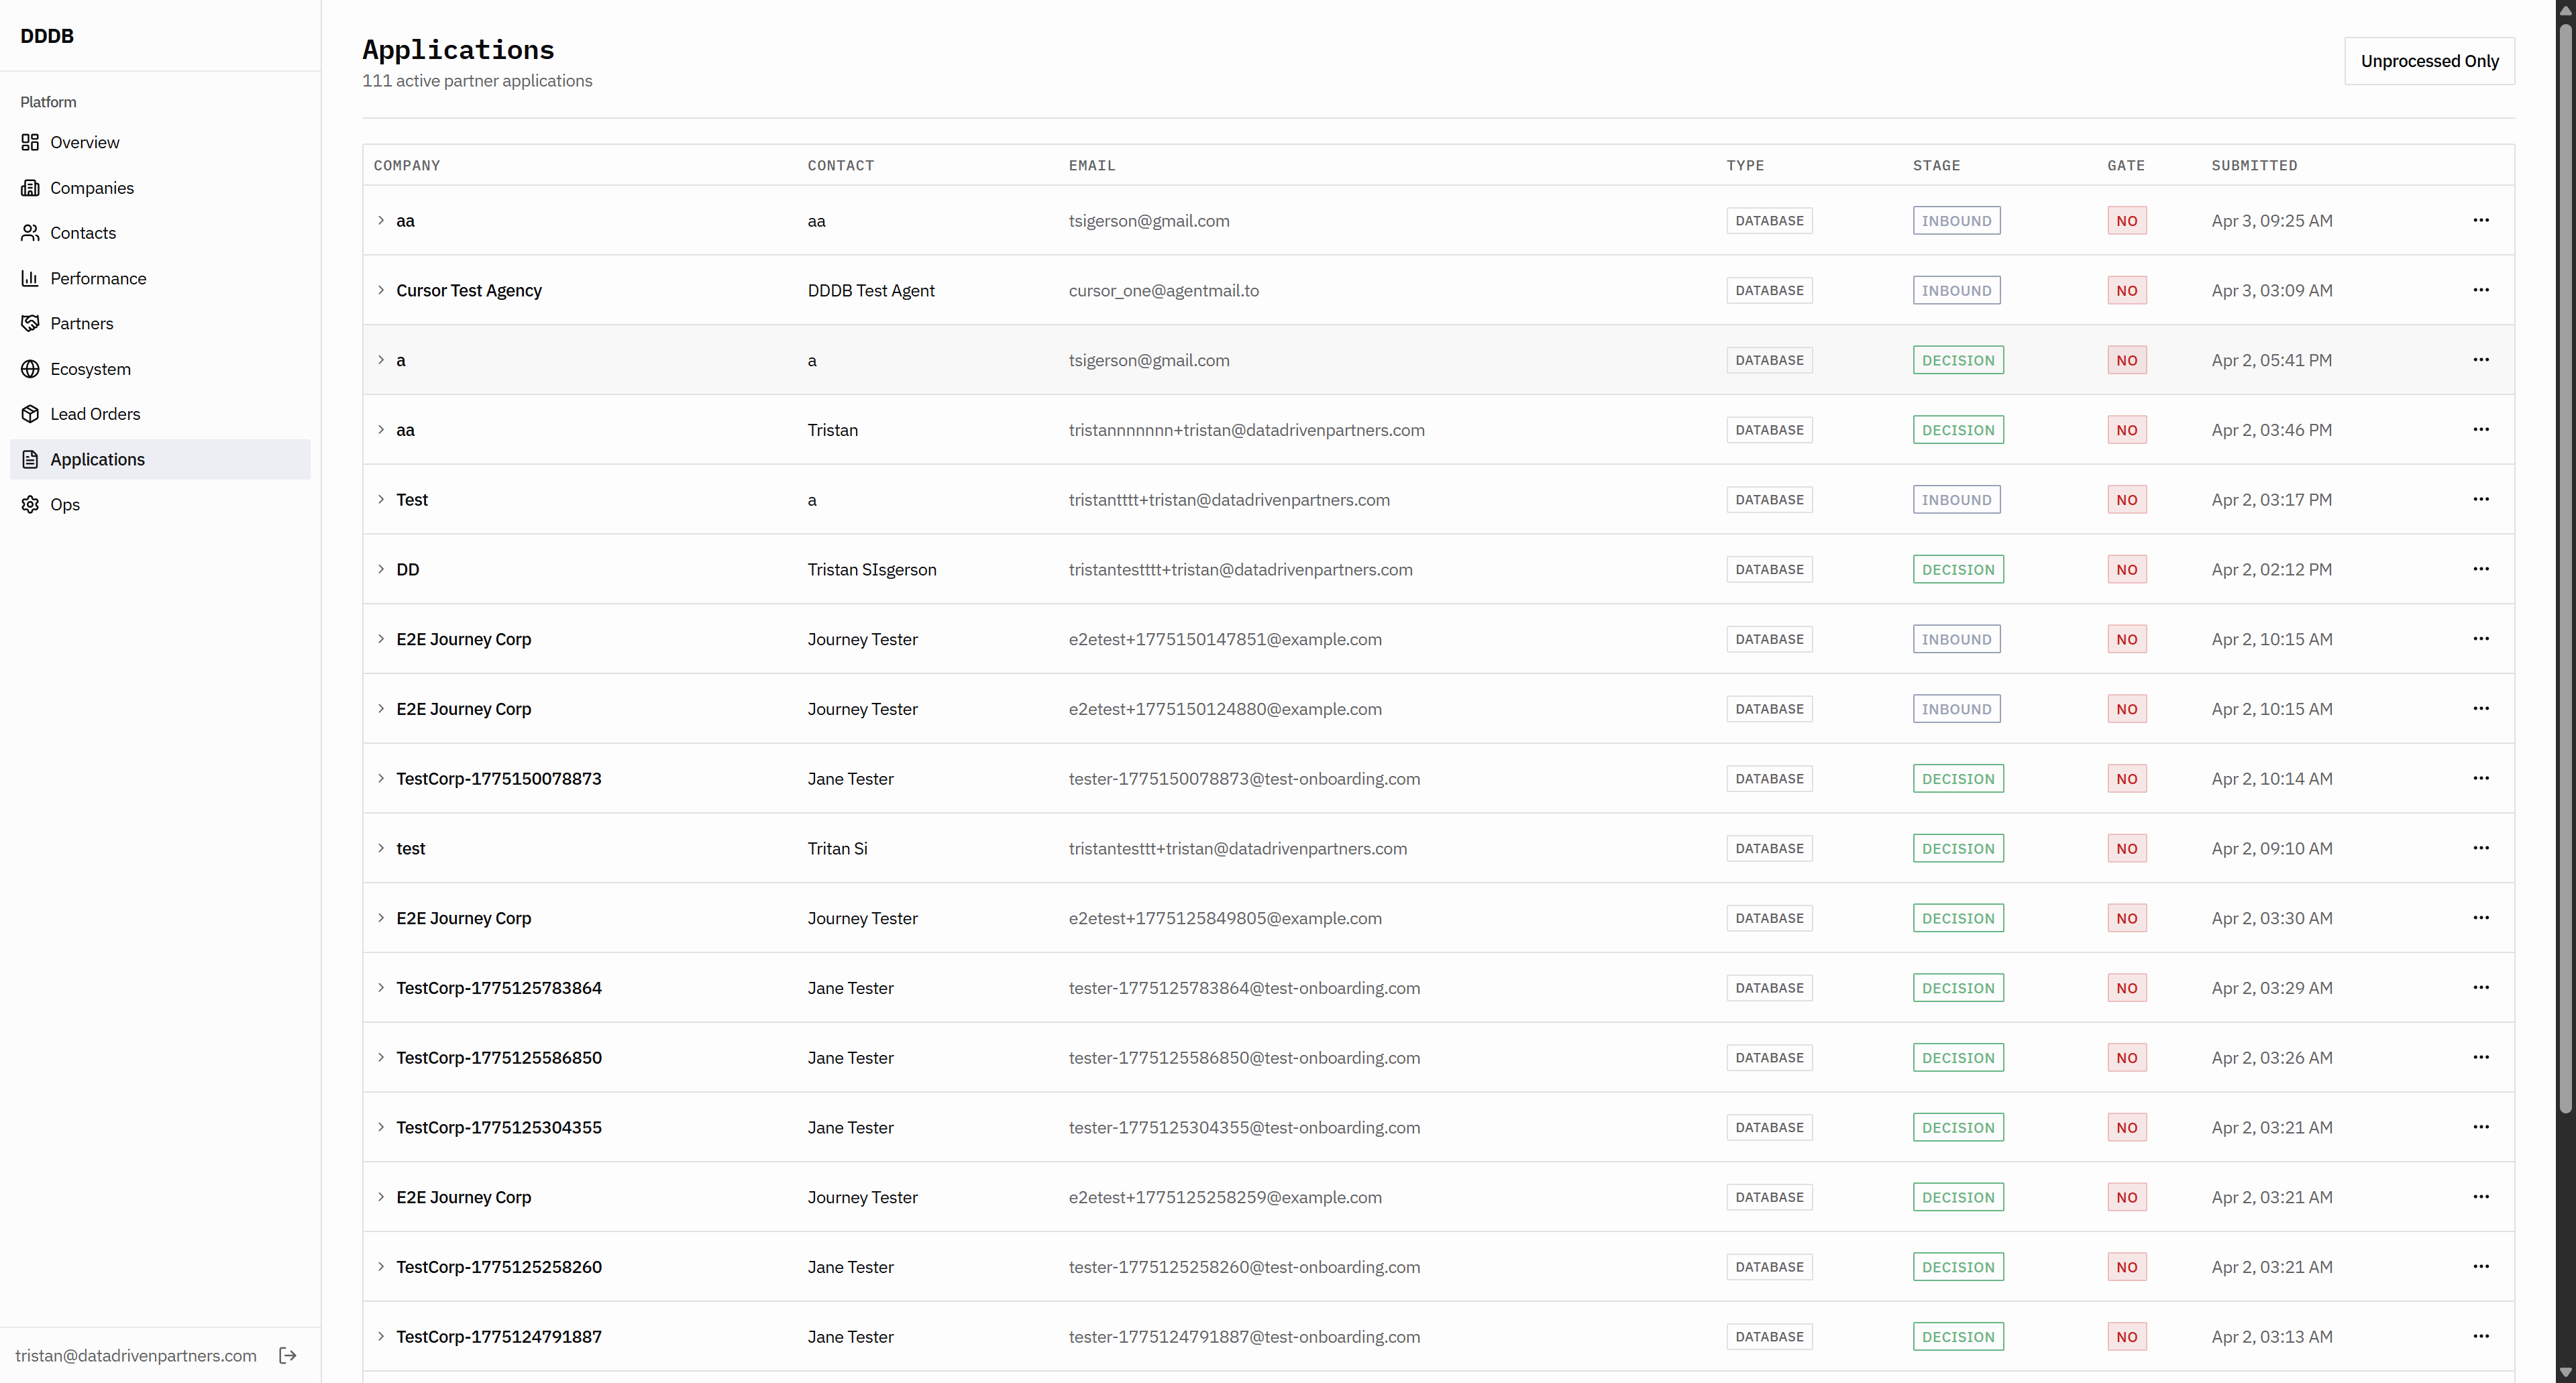
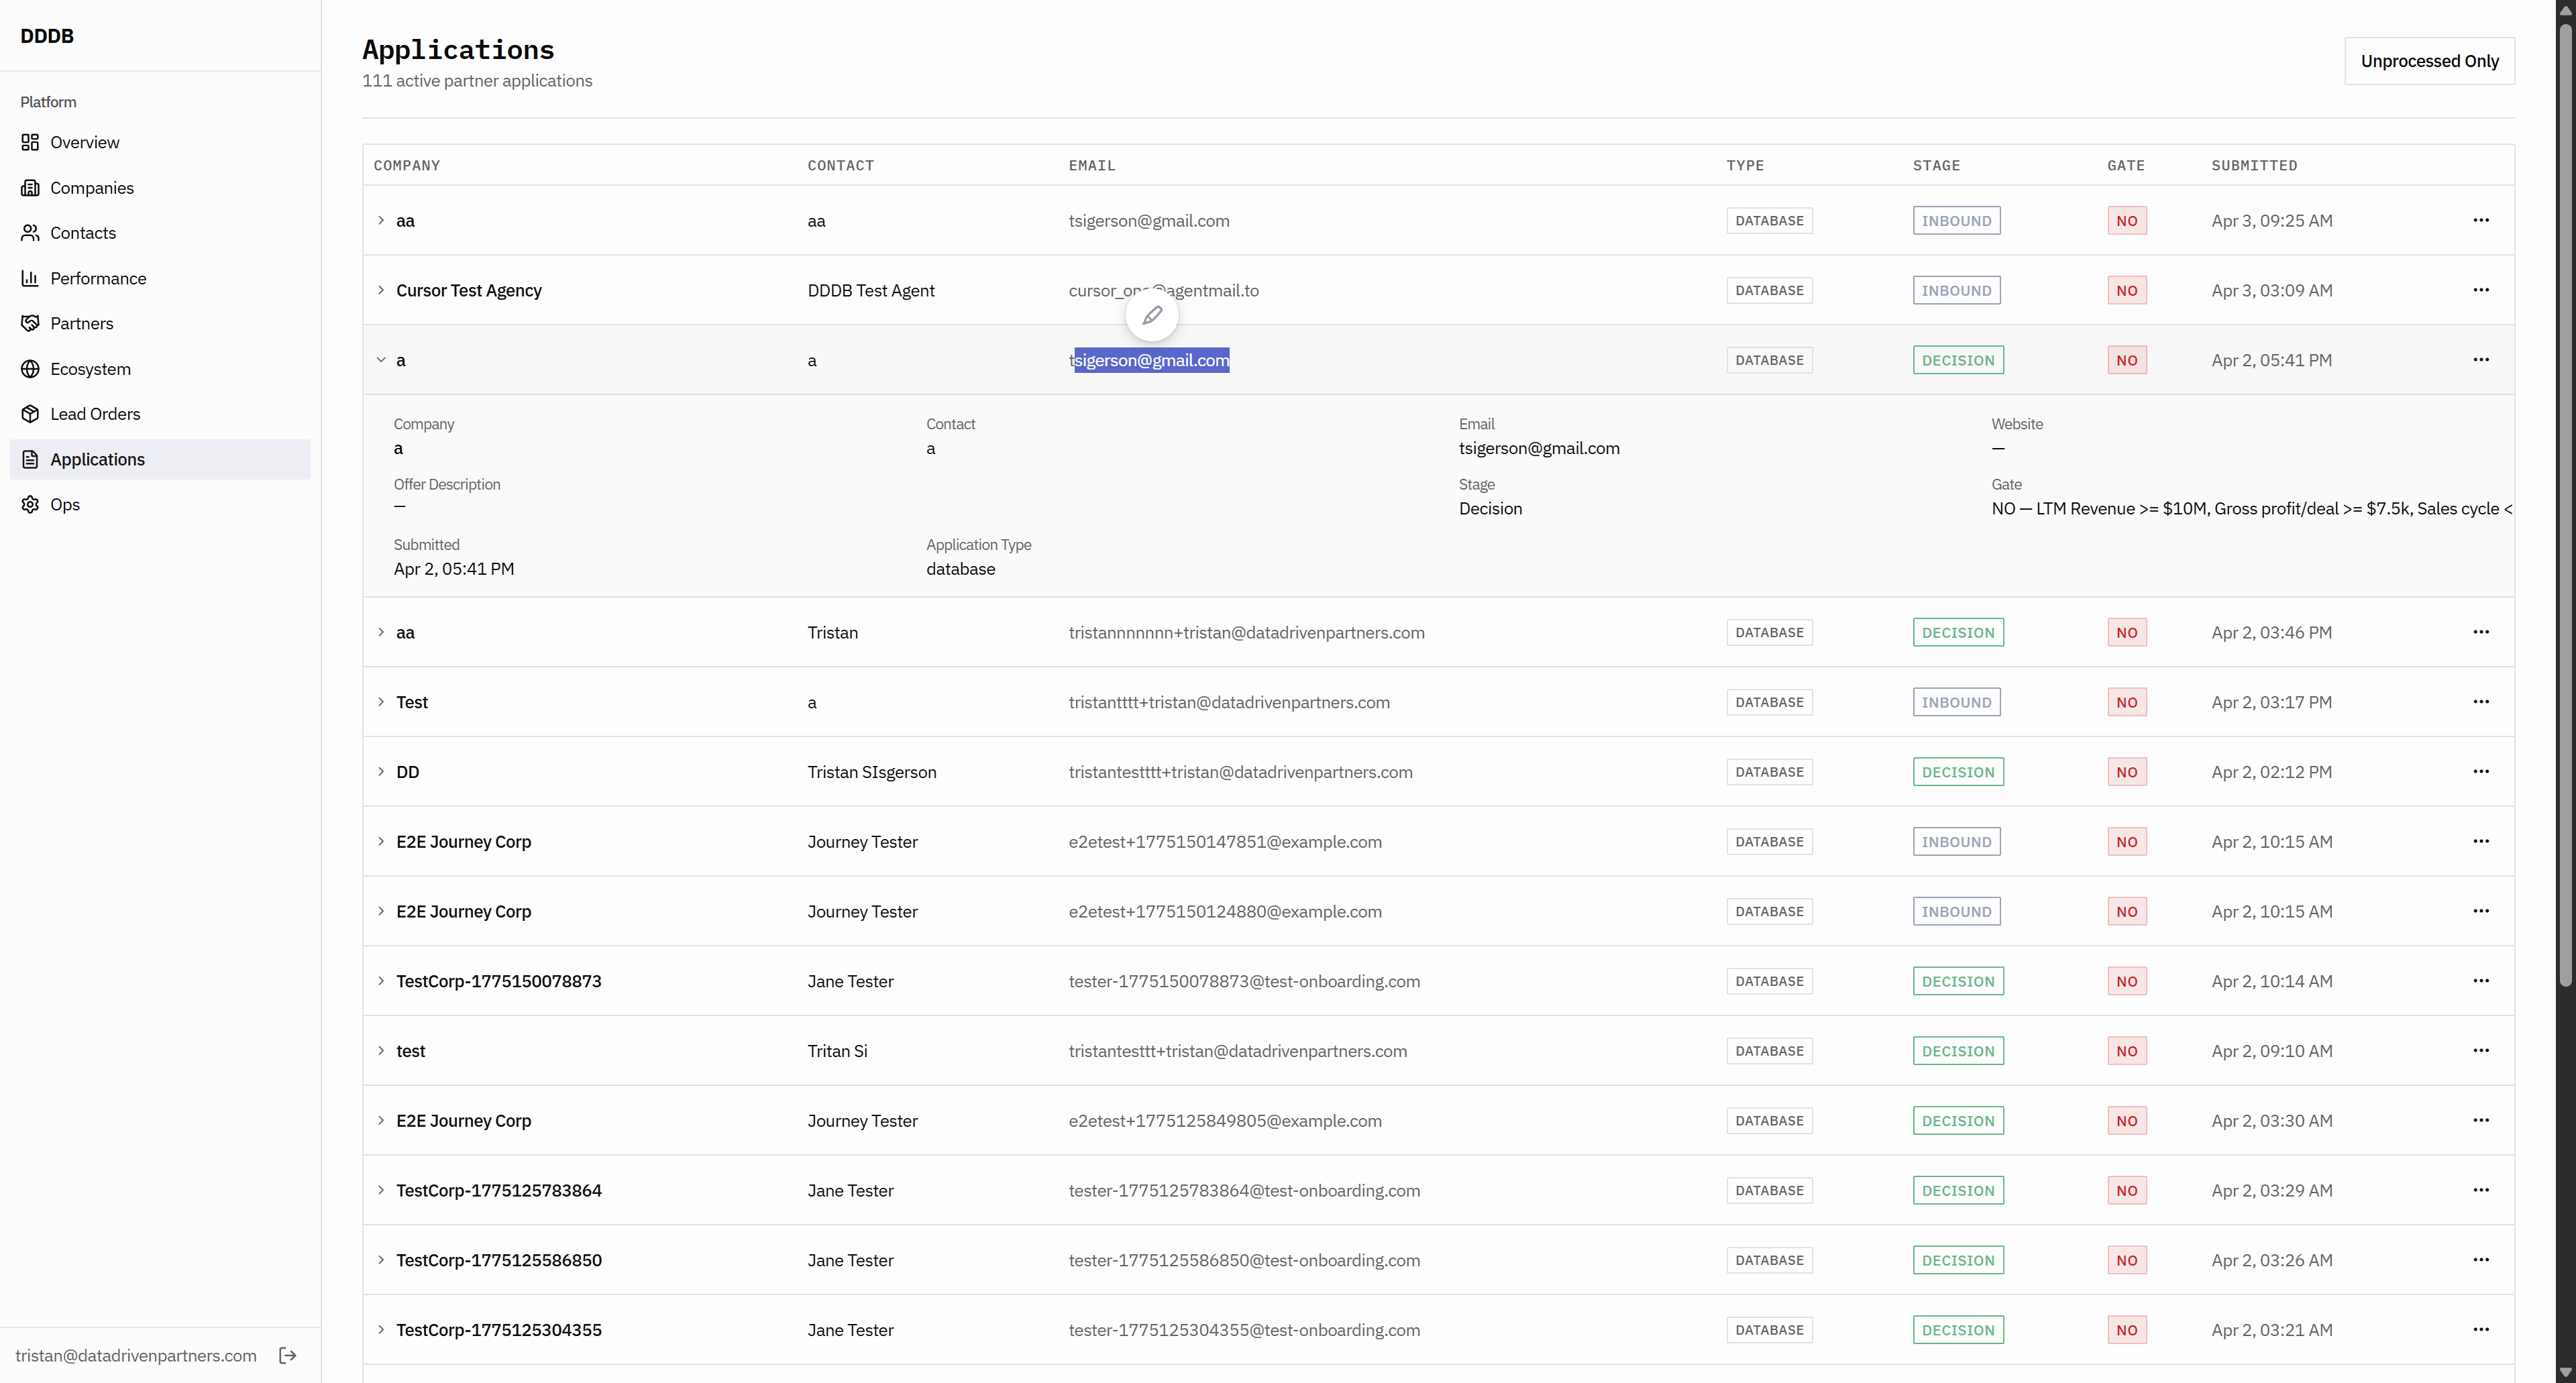
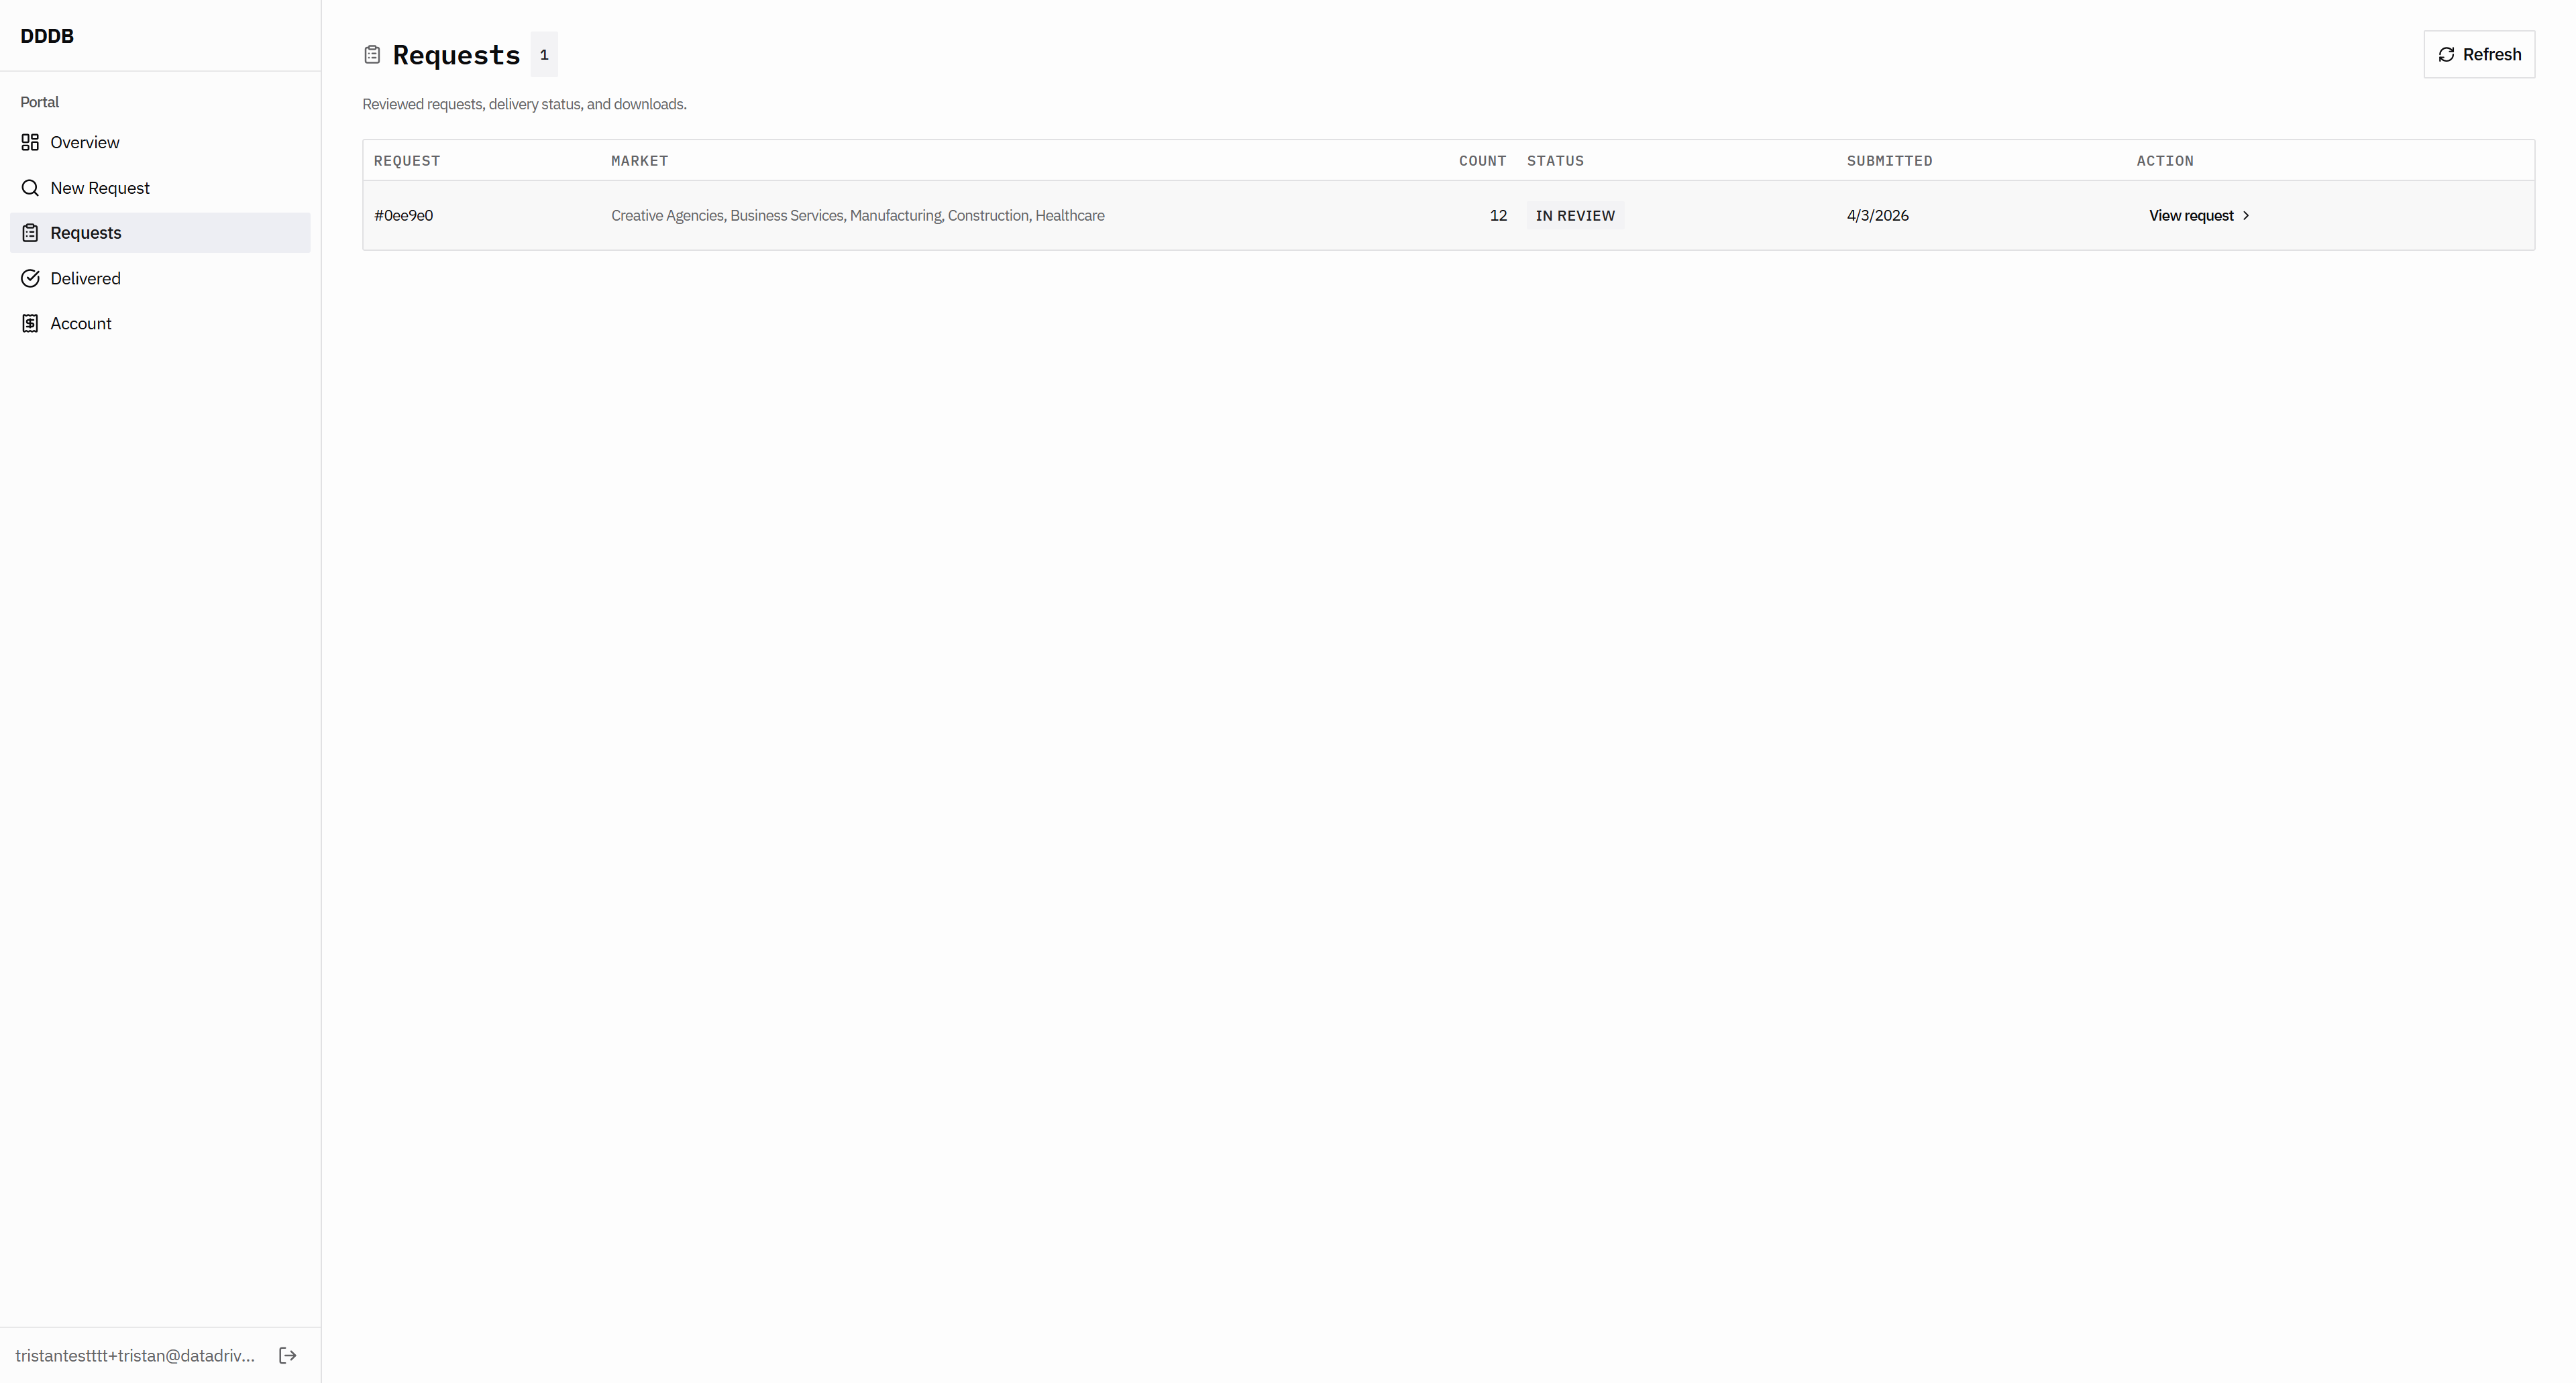
When we reach the decision stage, we should change it to either "declined" or "accepted," not just "decision." Green may indicate a positive decision. That's unclear. All right, I'll reject this user.

30
Click here
Step #30: Click here

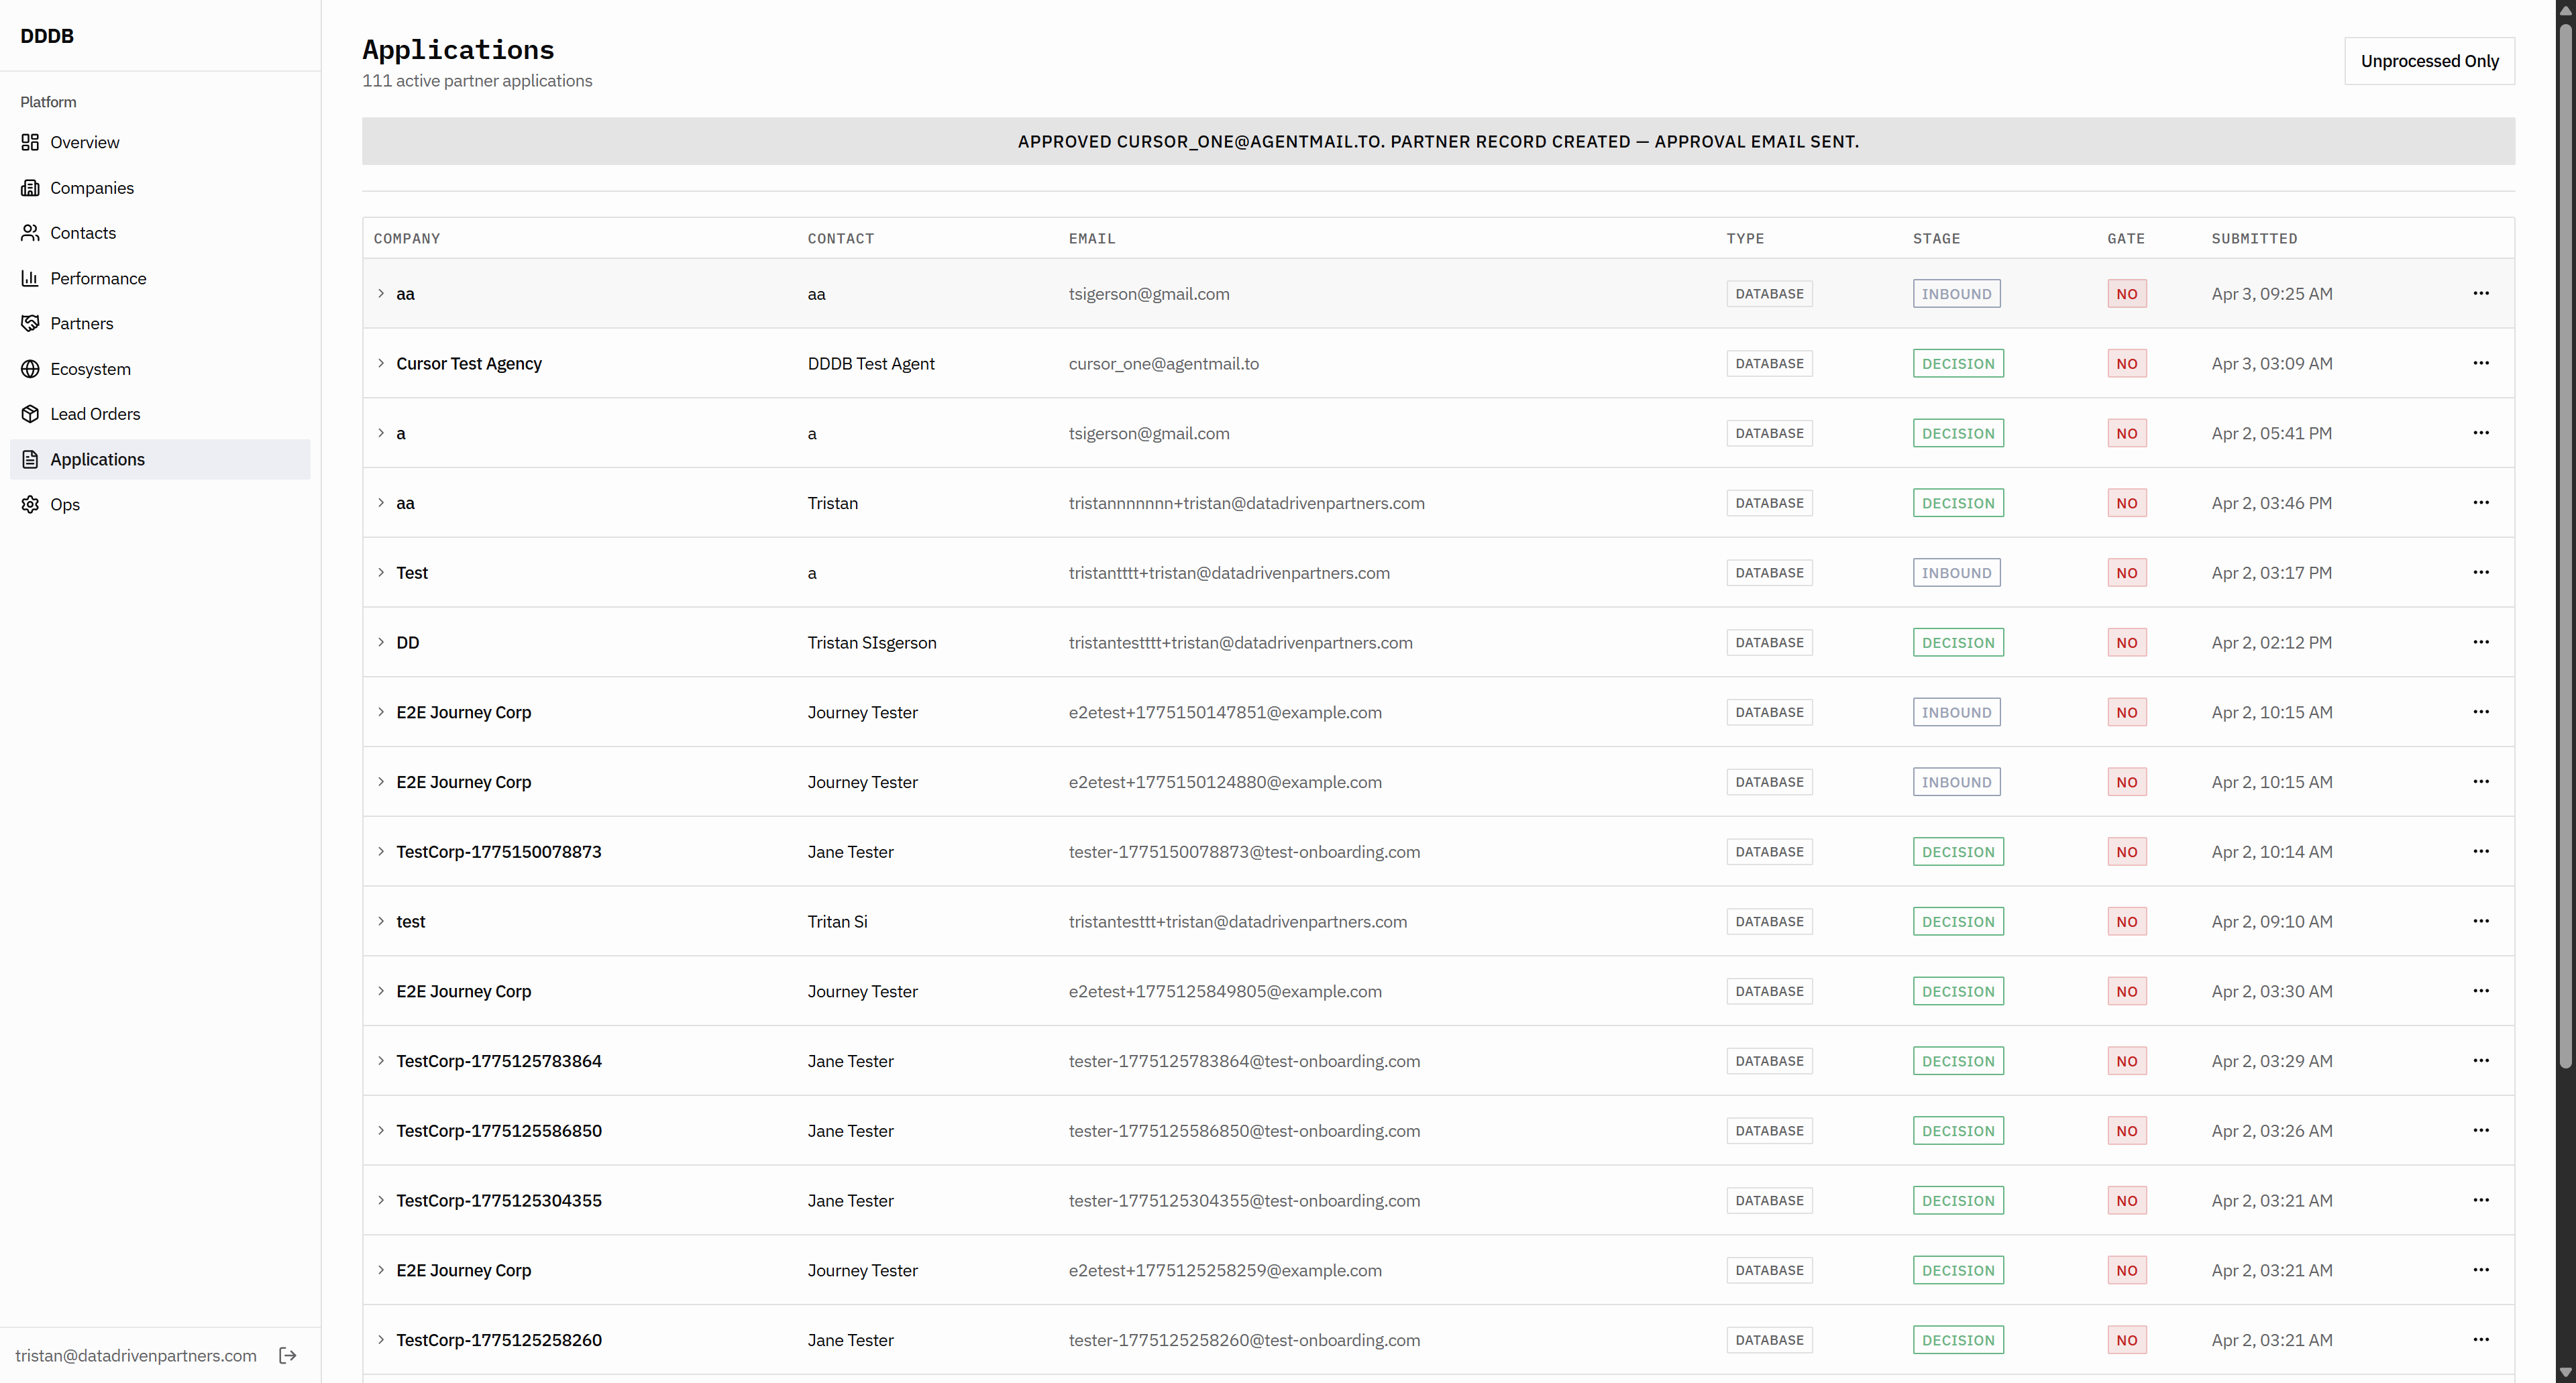
Application okay, good.

31
Click here
Step #31: Click here

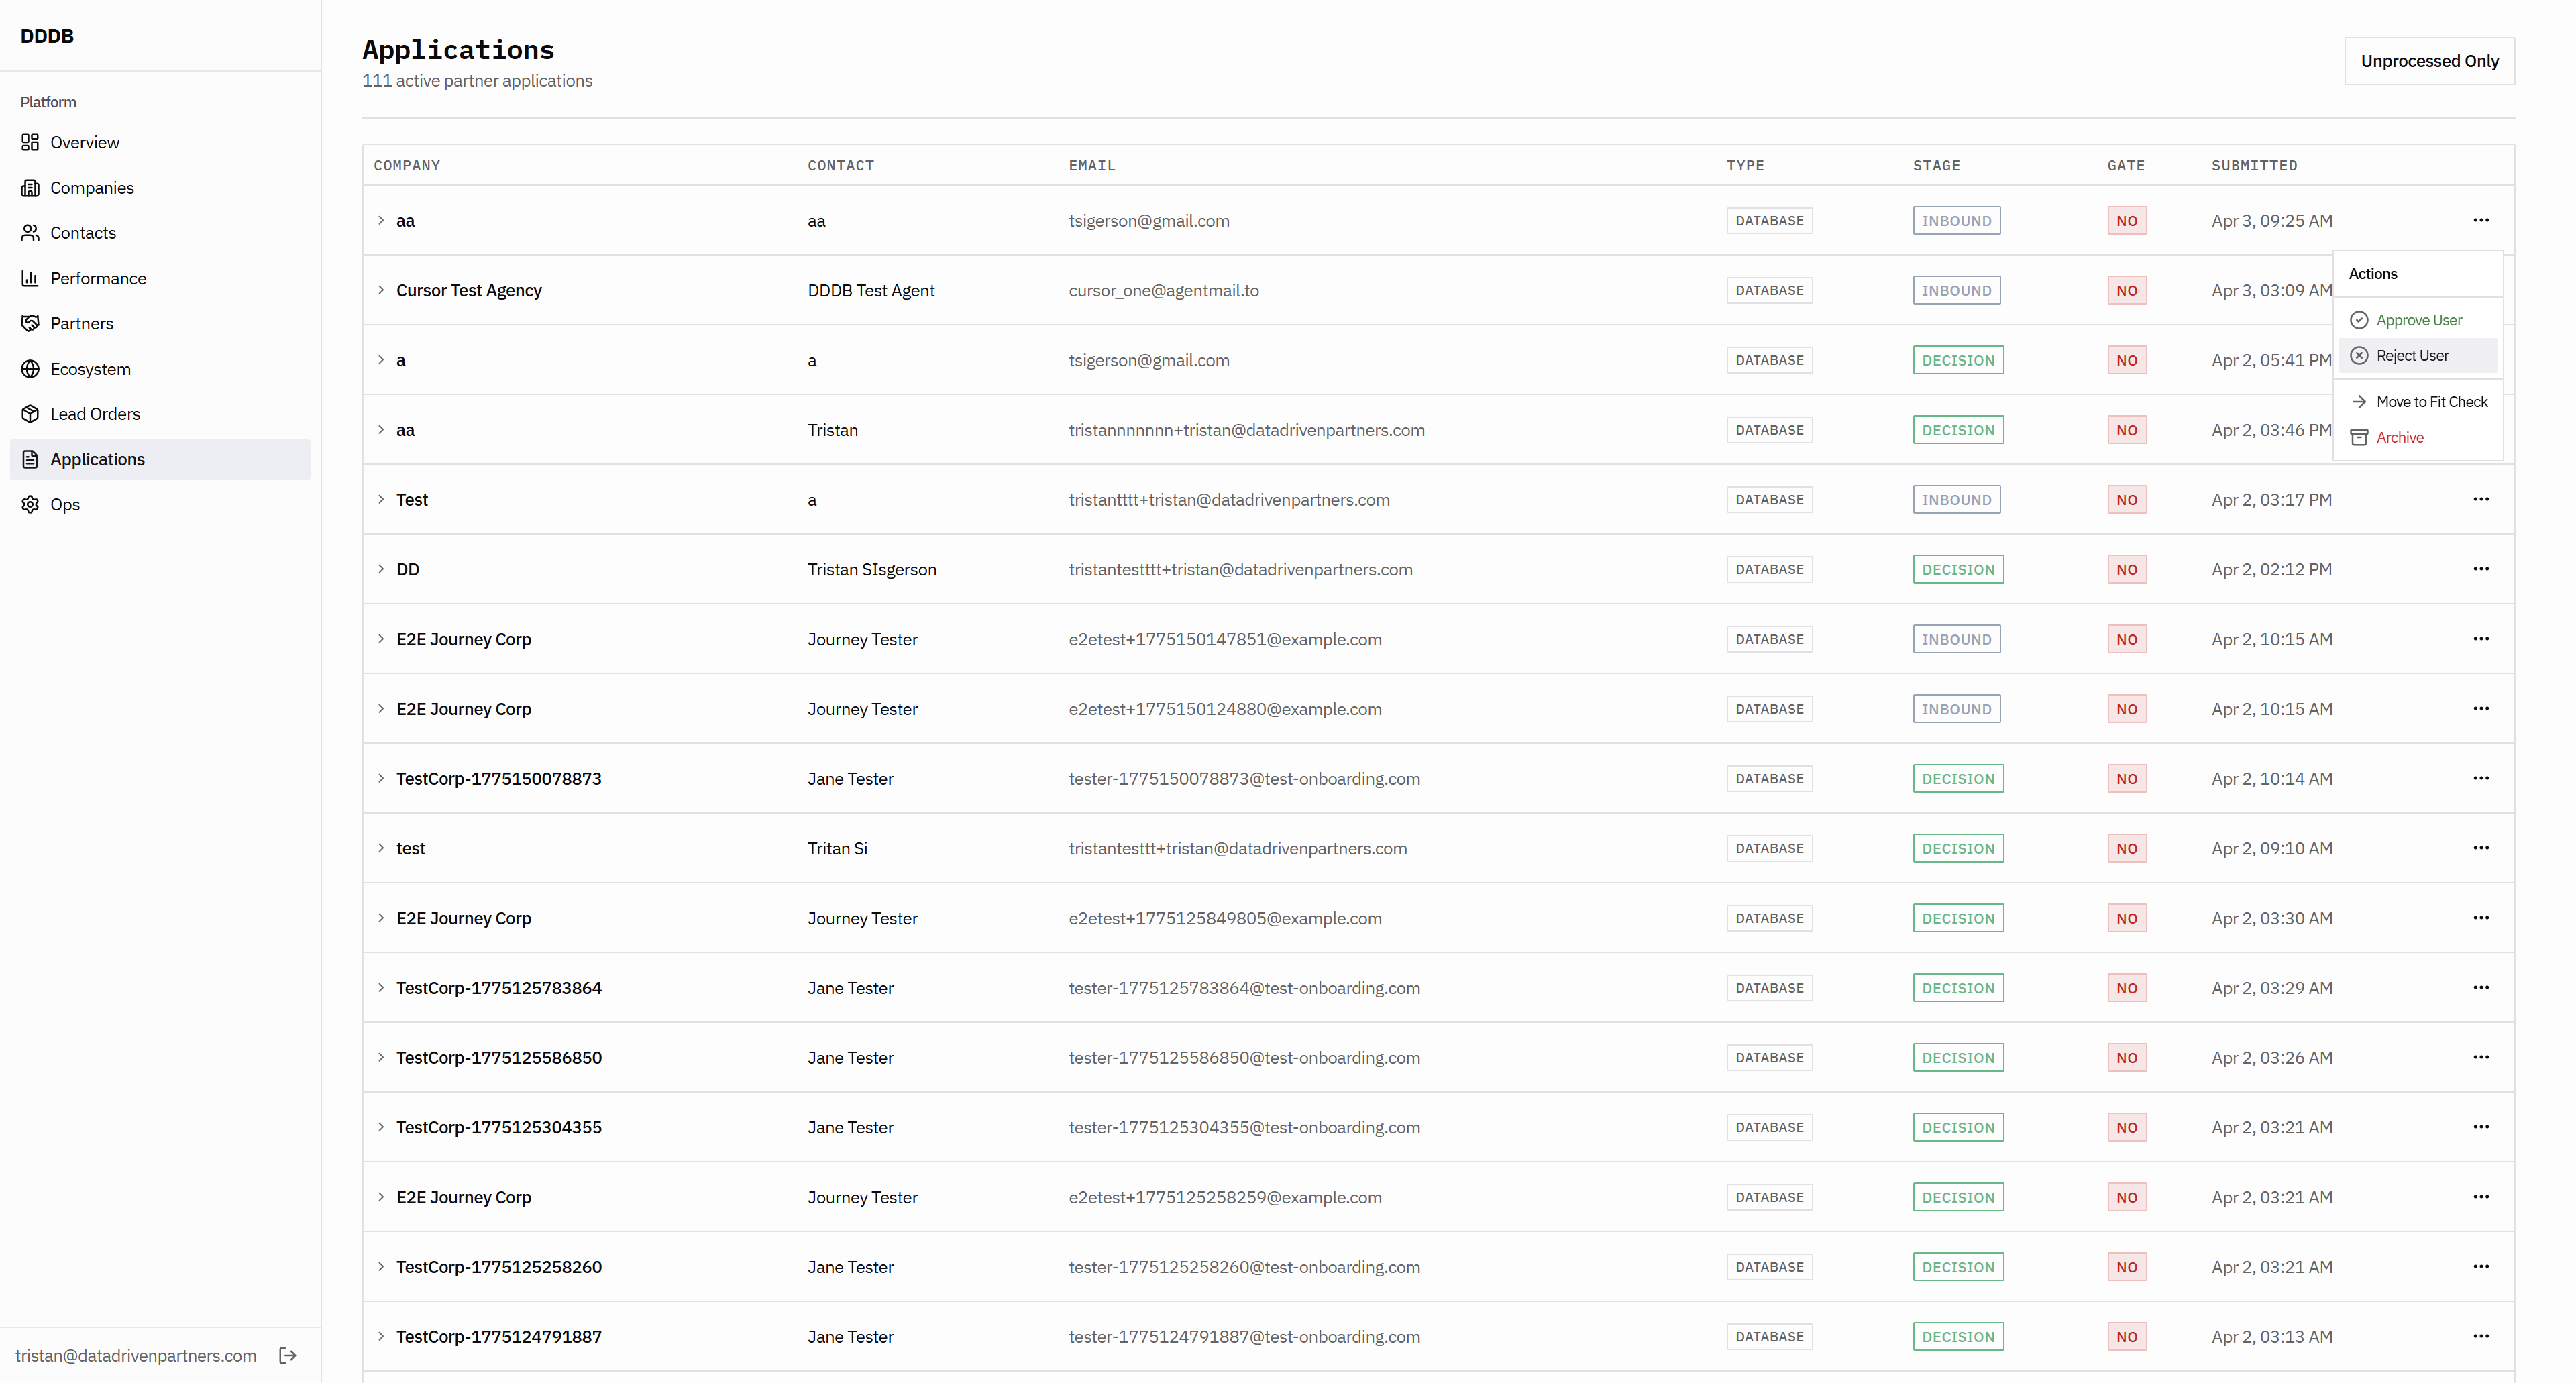
I will approve this user to see if it appears.

32
Click here
Step #32: Click here

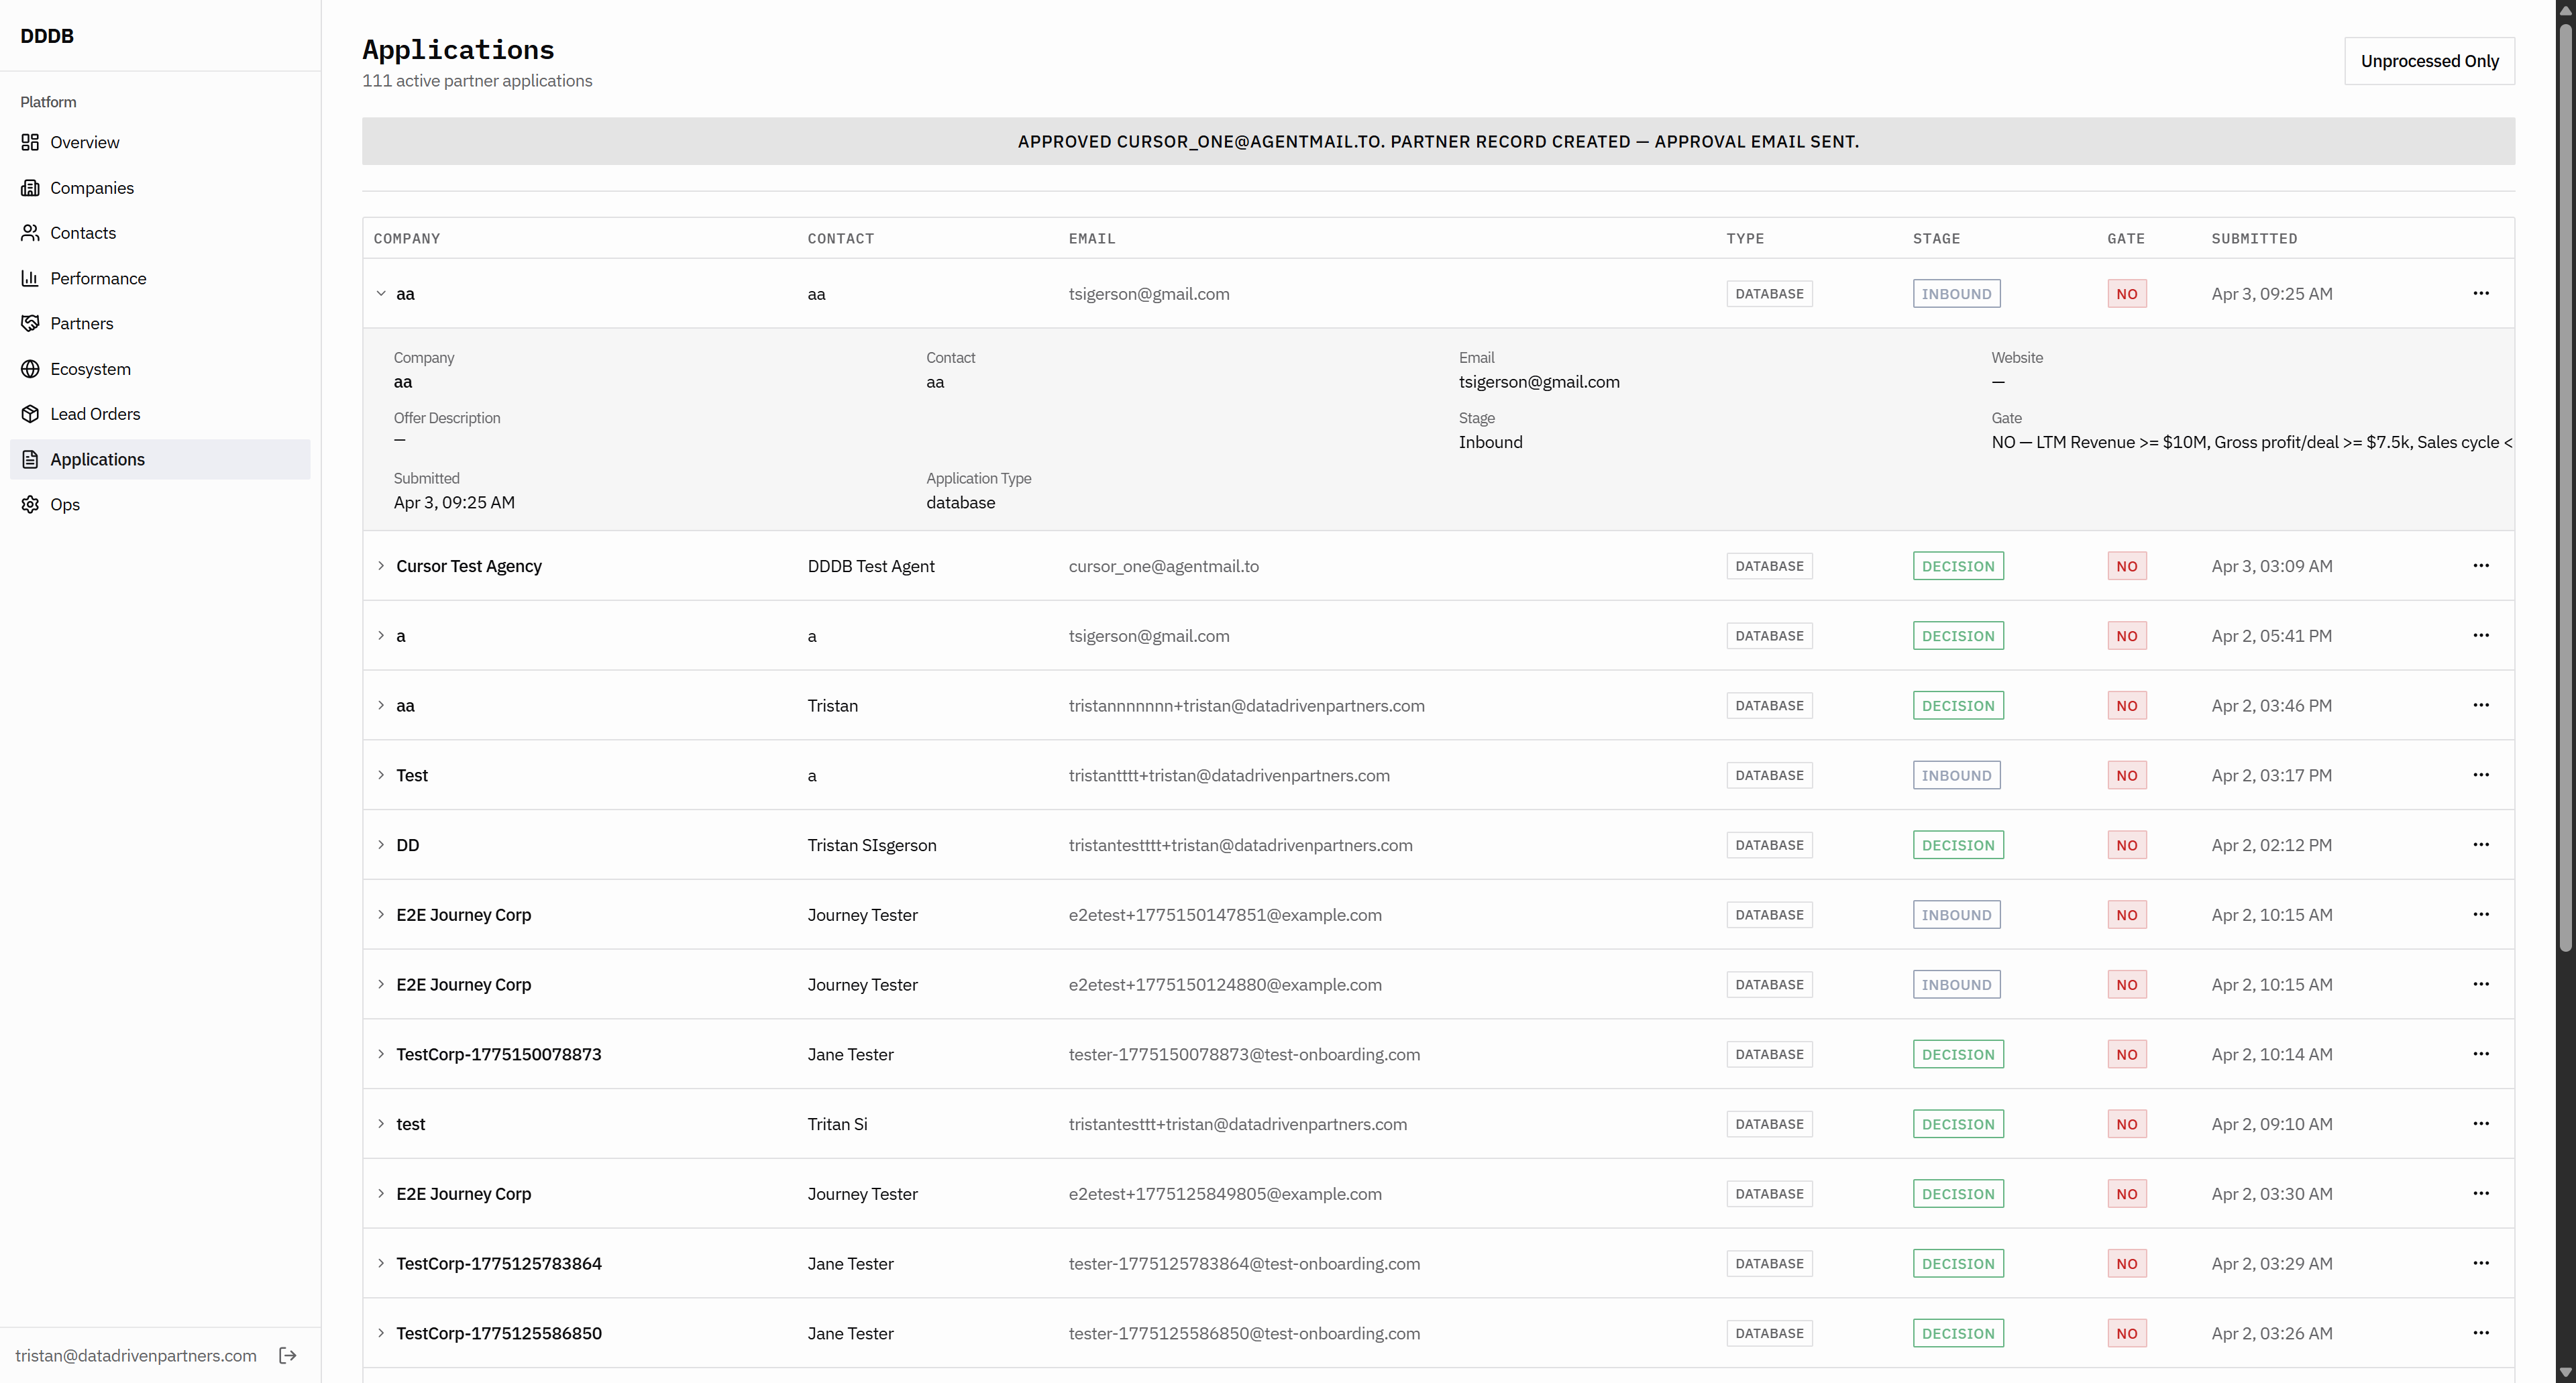
This needs to be fixed. The cutting here is not good.

33
Click here
Step #33: Click here
34
Click here
Step #34: Click here

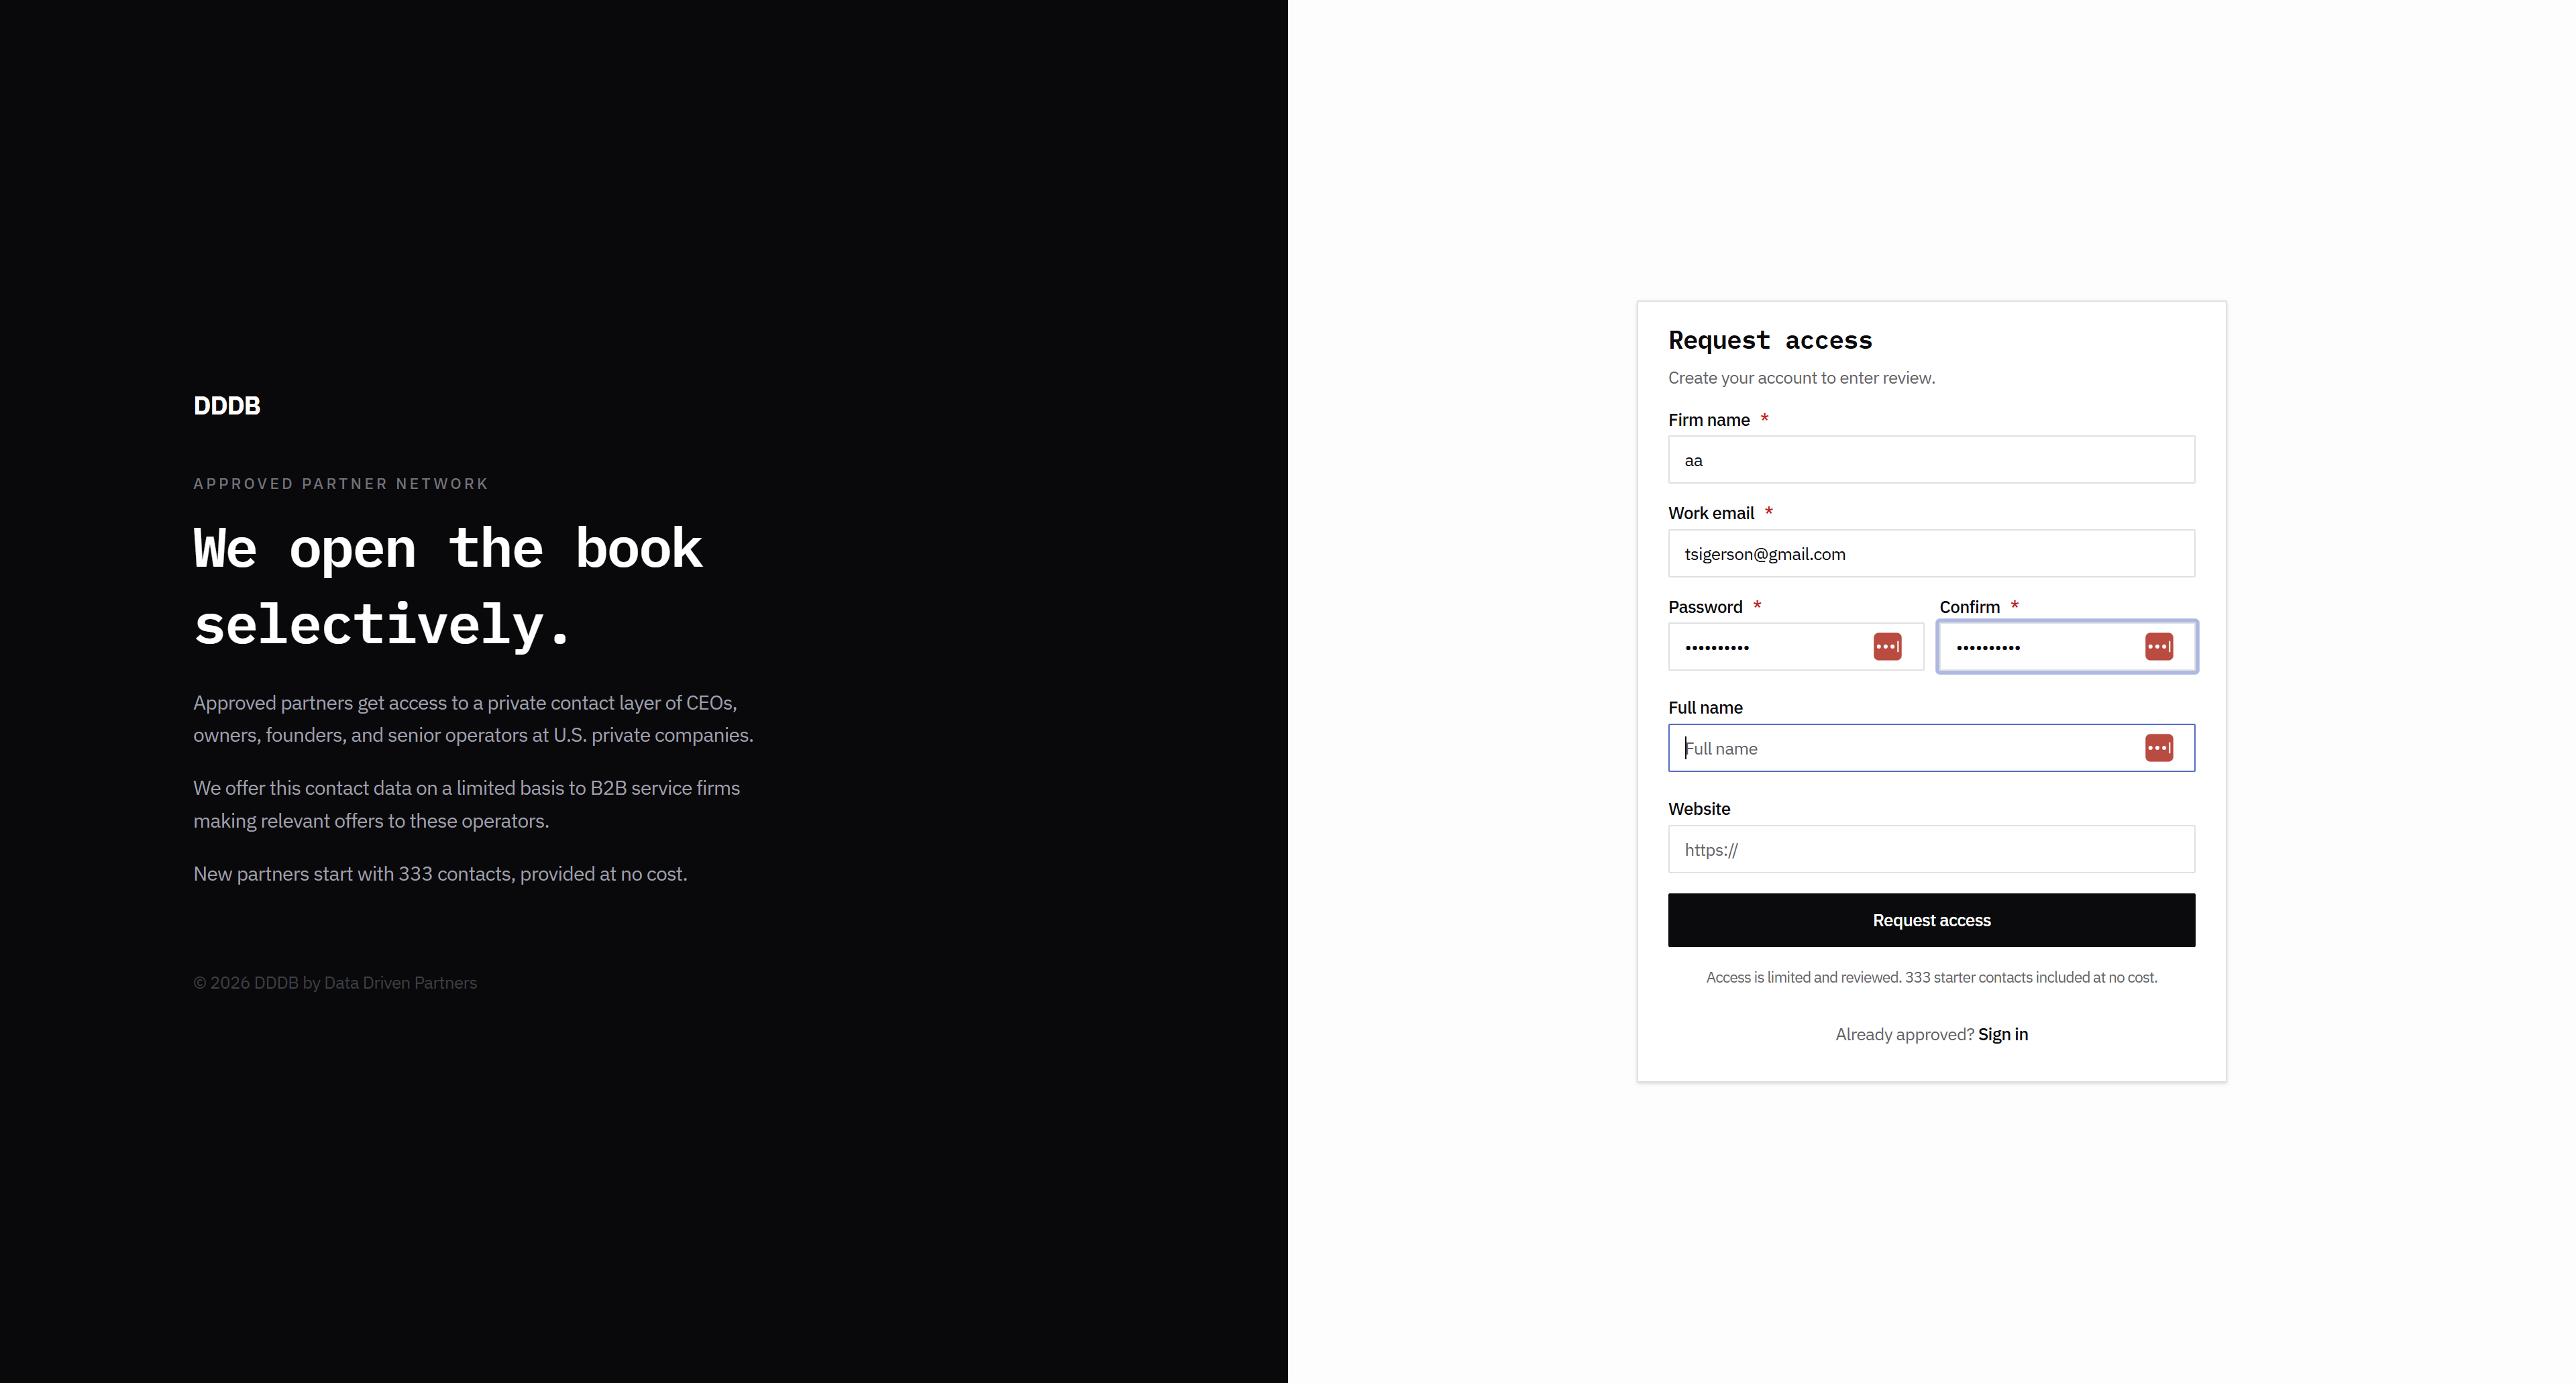
It might be good to have an internal notes section here. If I decline someone, I could add a note explaining why.

35
Click on "CONTACT"
Step #35: Click on "CONTACT"
36
Click on "✓ aa"
Step #36: Click on "✓ aa"
37
Click here
Step #37: Click here
38
Click here
Step #38: Click here

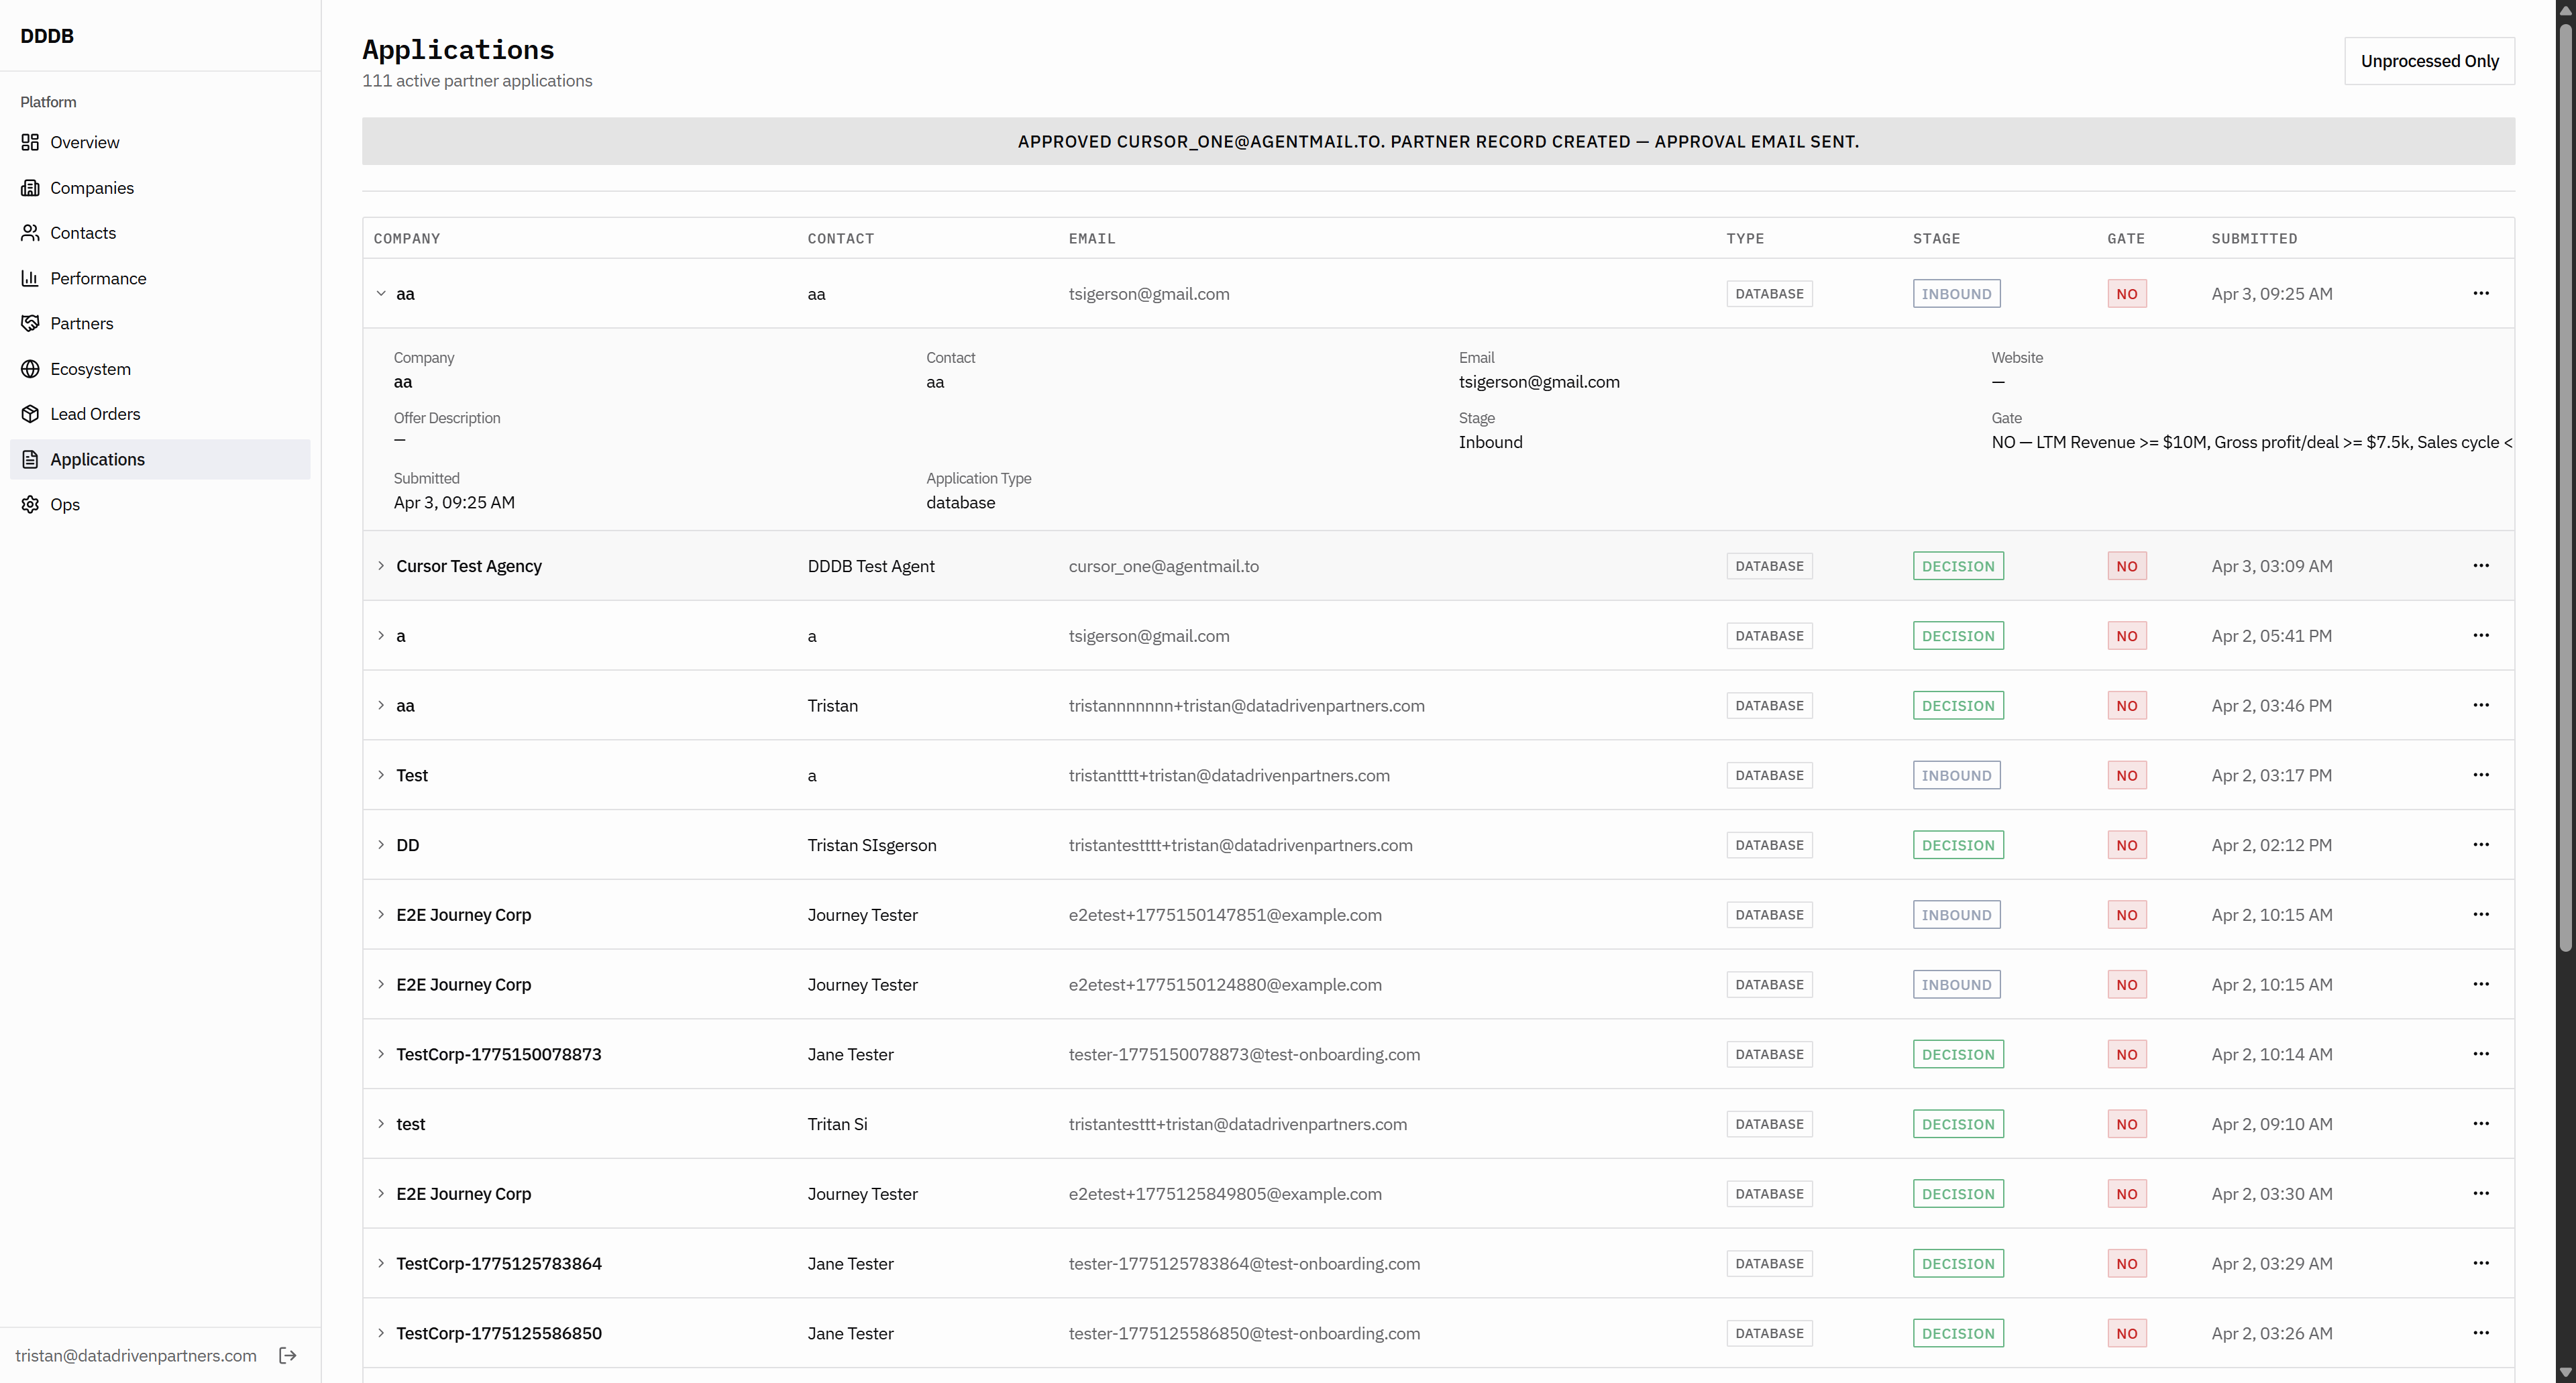
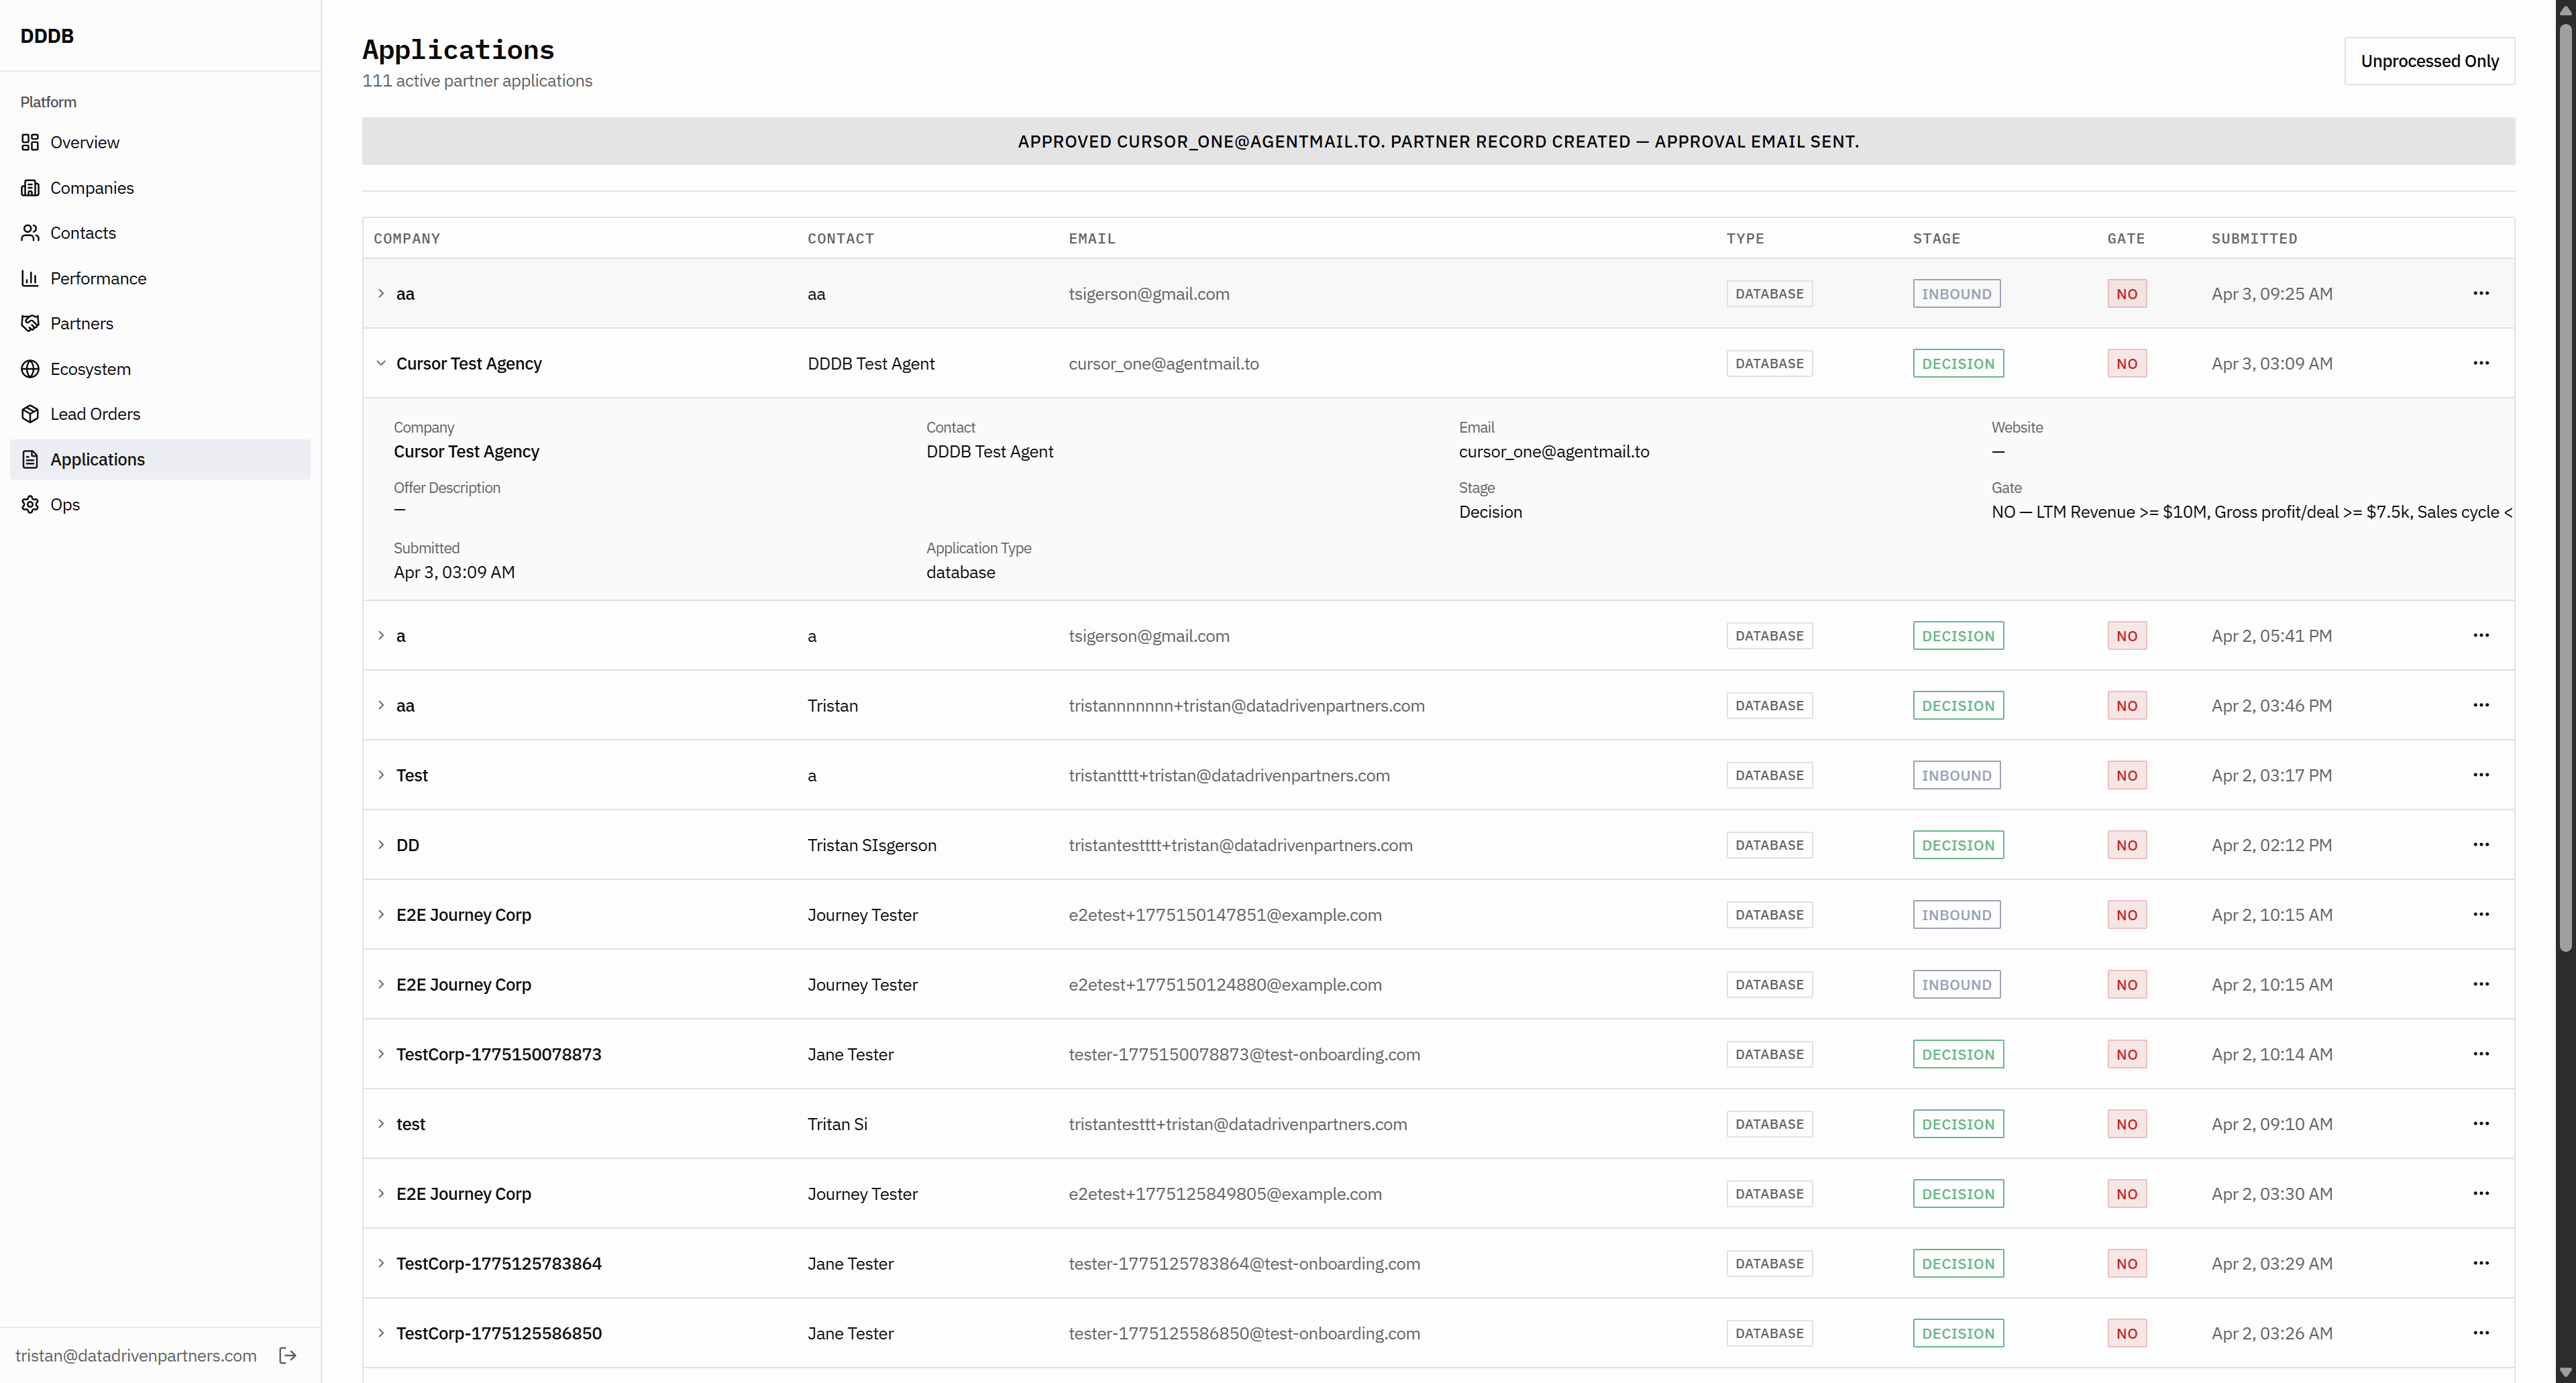
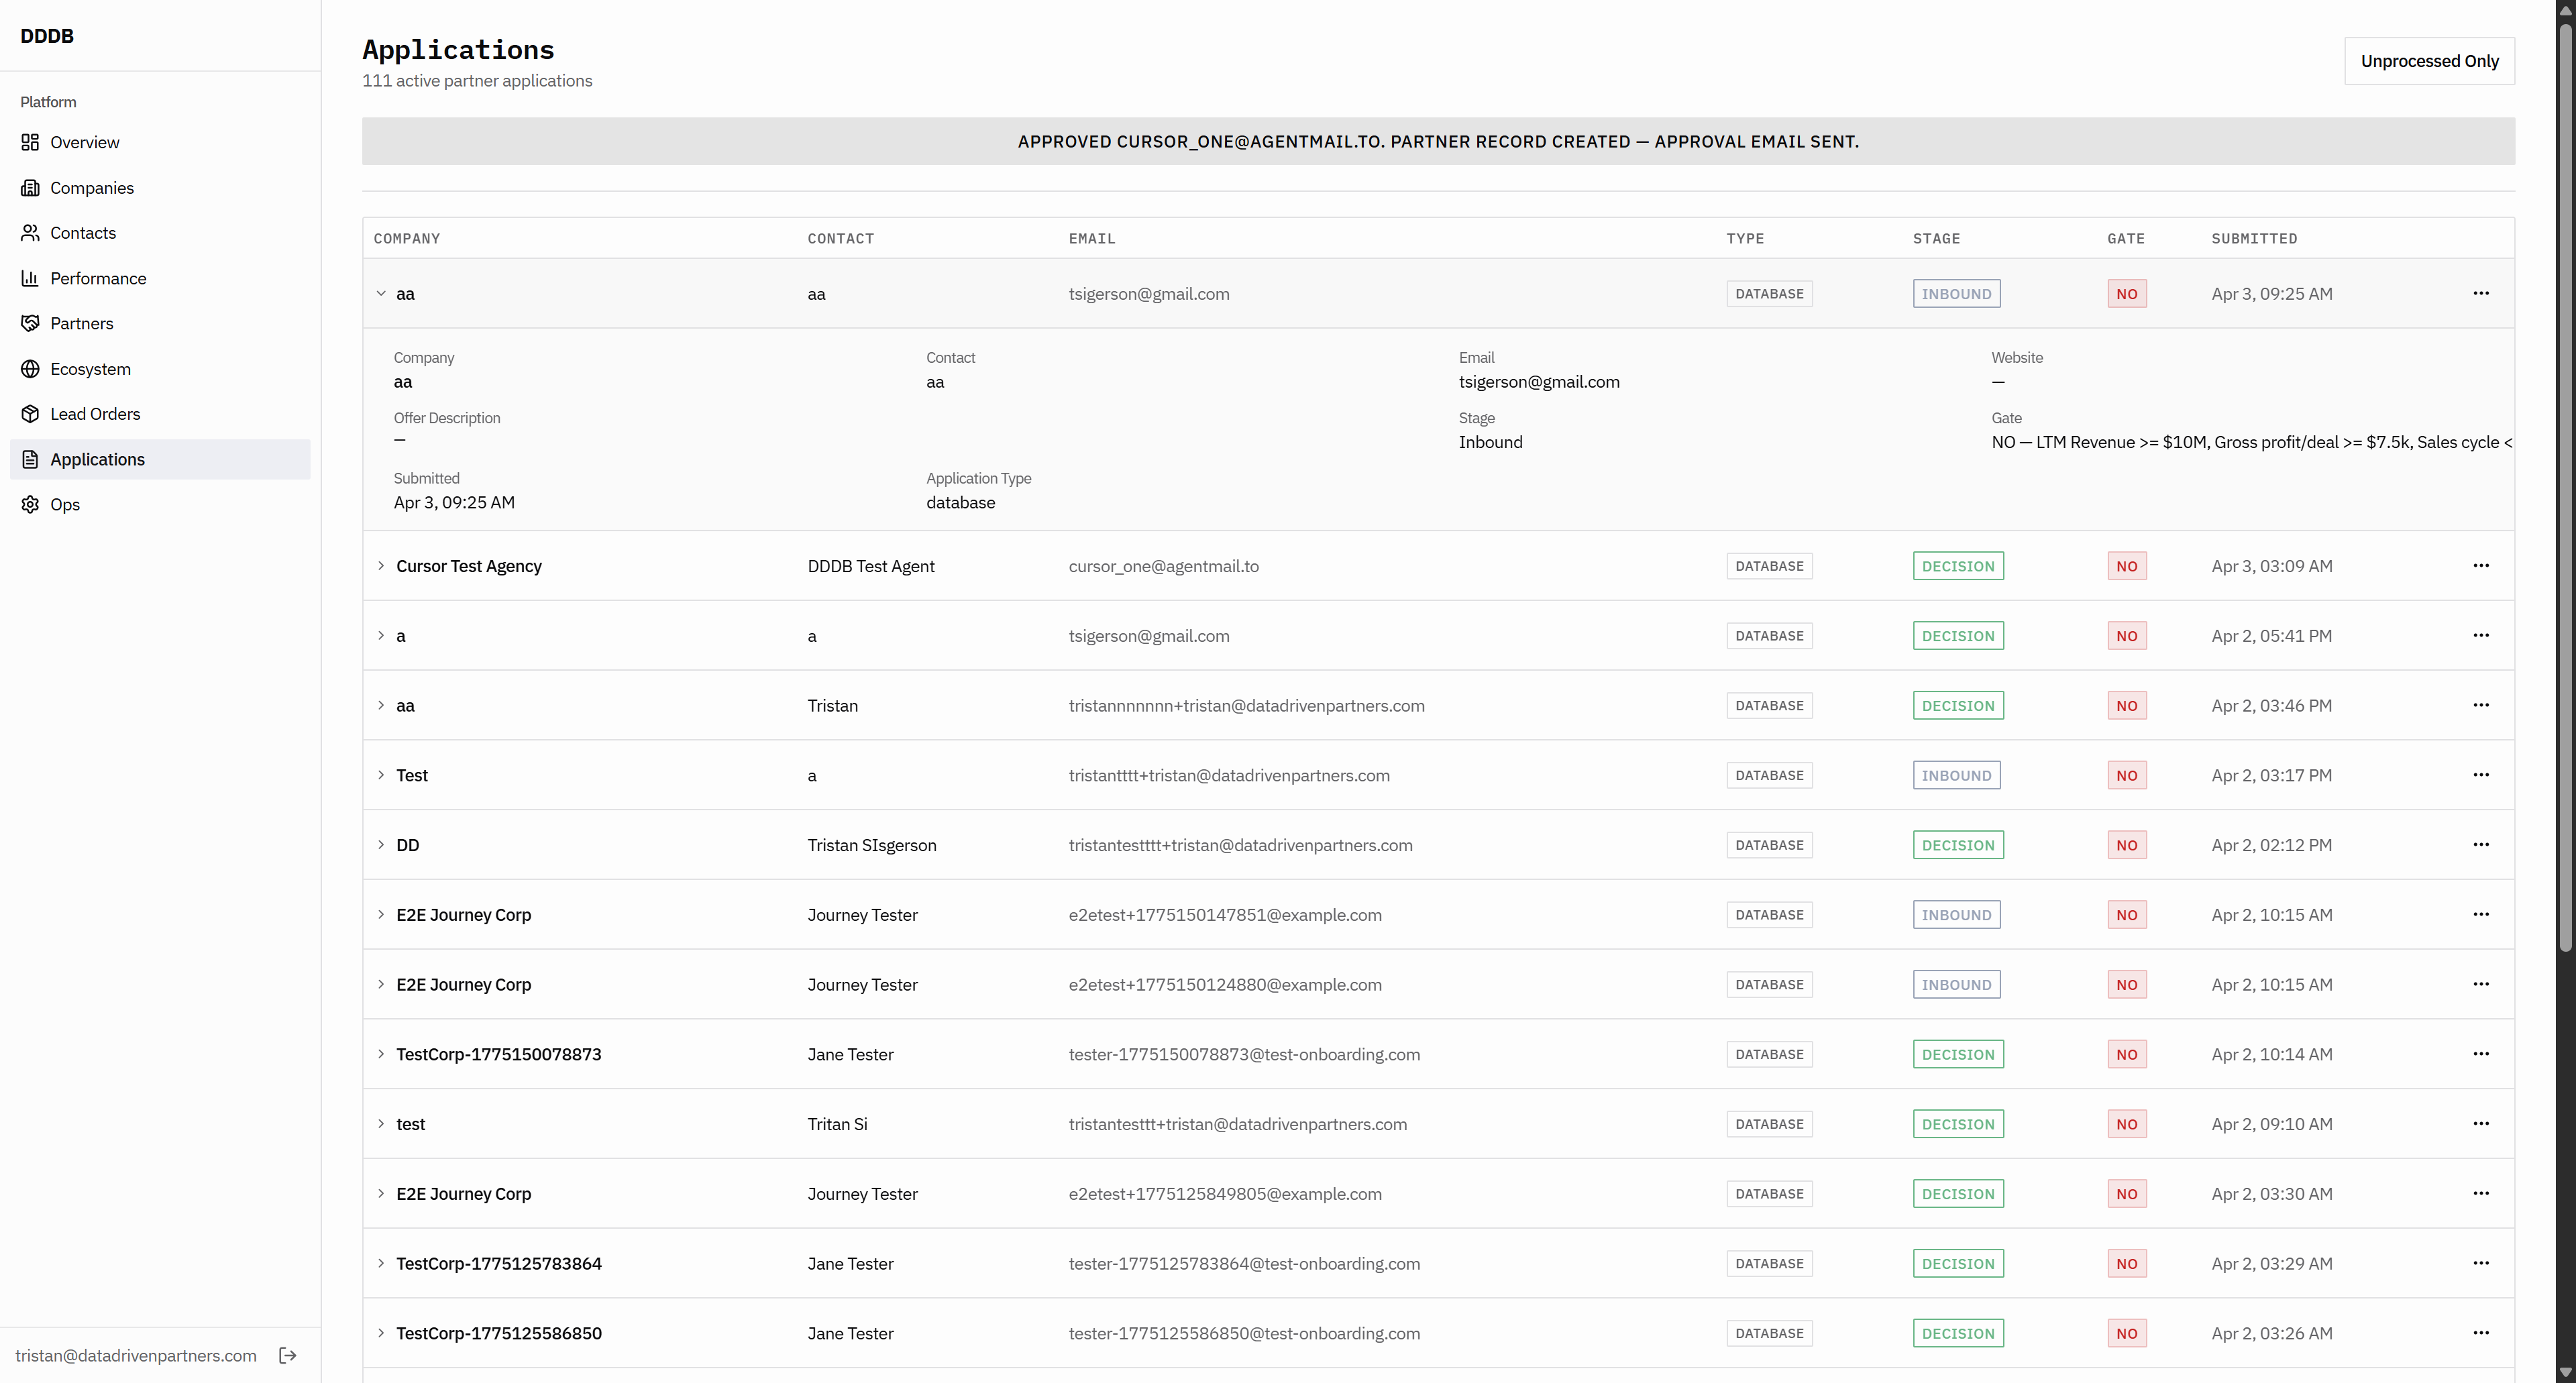
We wouldn't send that to them, but it's for our own internal notes on members or users. I'm assigning it to the user as requested. They should change it so it is declined.

39
Click here
Step #39: Click here
40
Click on "Contacts"
Step #40: Click on "Contacts"
41
Click here
Step #41: Click here
42
Click here
Step #42: Click here
43
Type "Ctrl + A"
44
Click here
Step #44: Click here
45
Type "undefinedundefined"
46
Click here
Step #46: Click here
47
Type "undefinedundefined"
48
Type "Ctrl + A"
49
Click here
Step #49: Click here
50
Type "tsigerson@gmail.com"
51
Click here
Step #51: Click here
52
Click here
Step #52: Click here

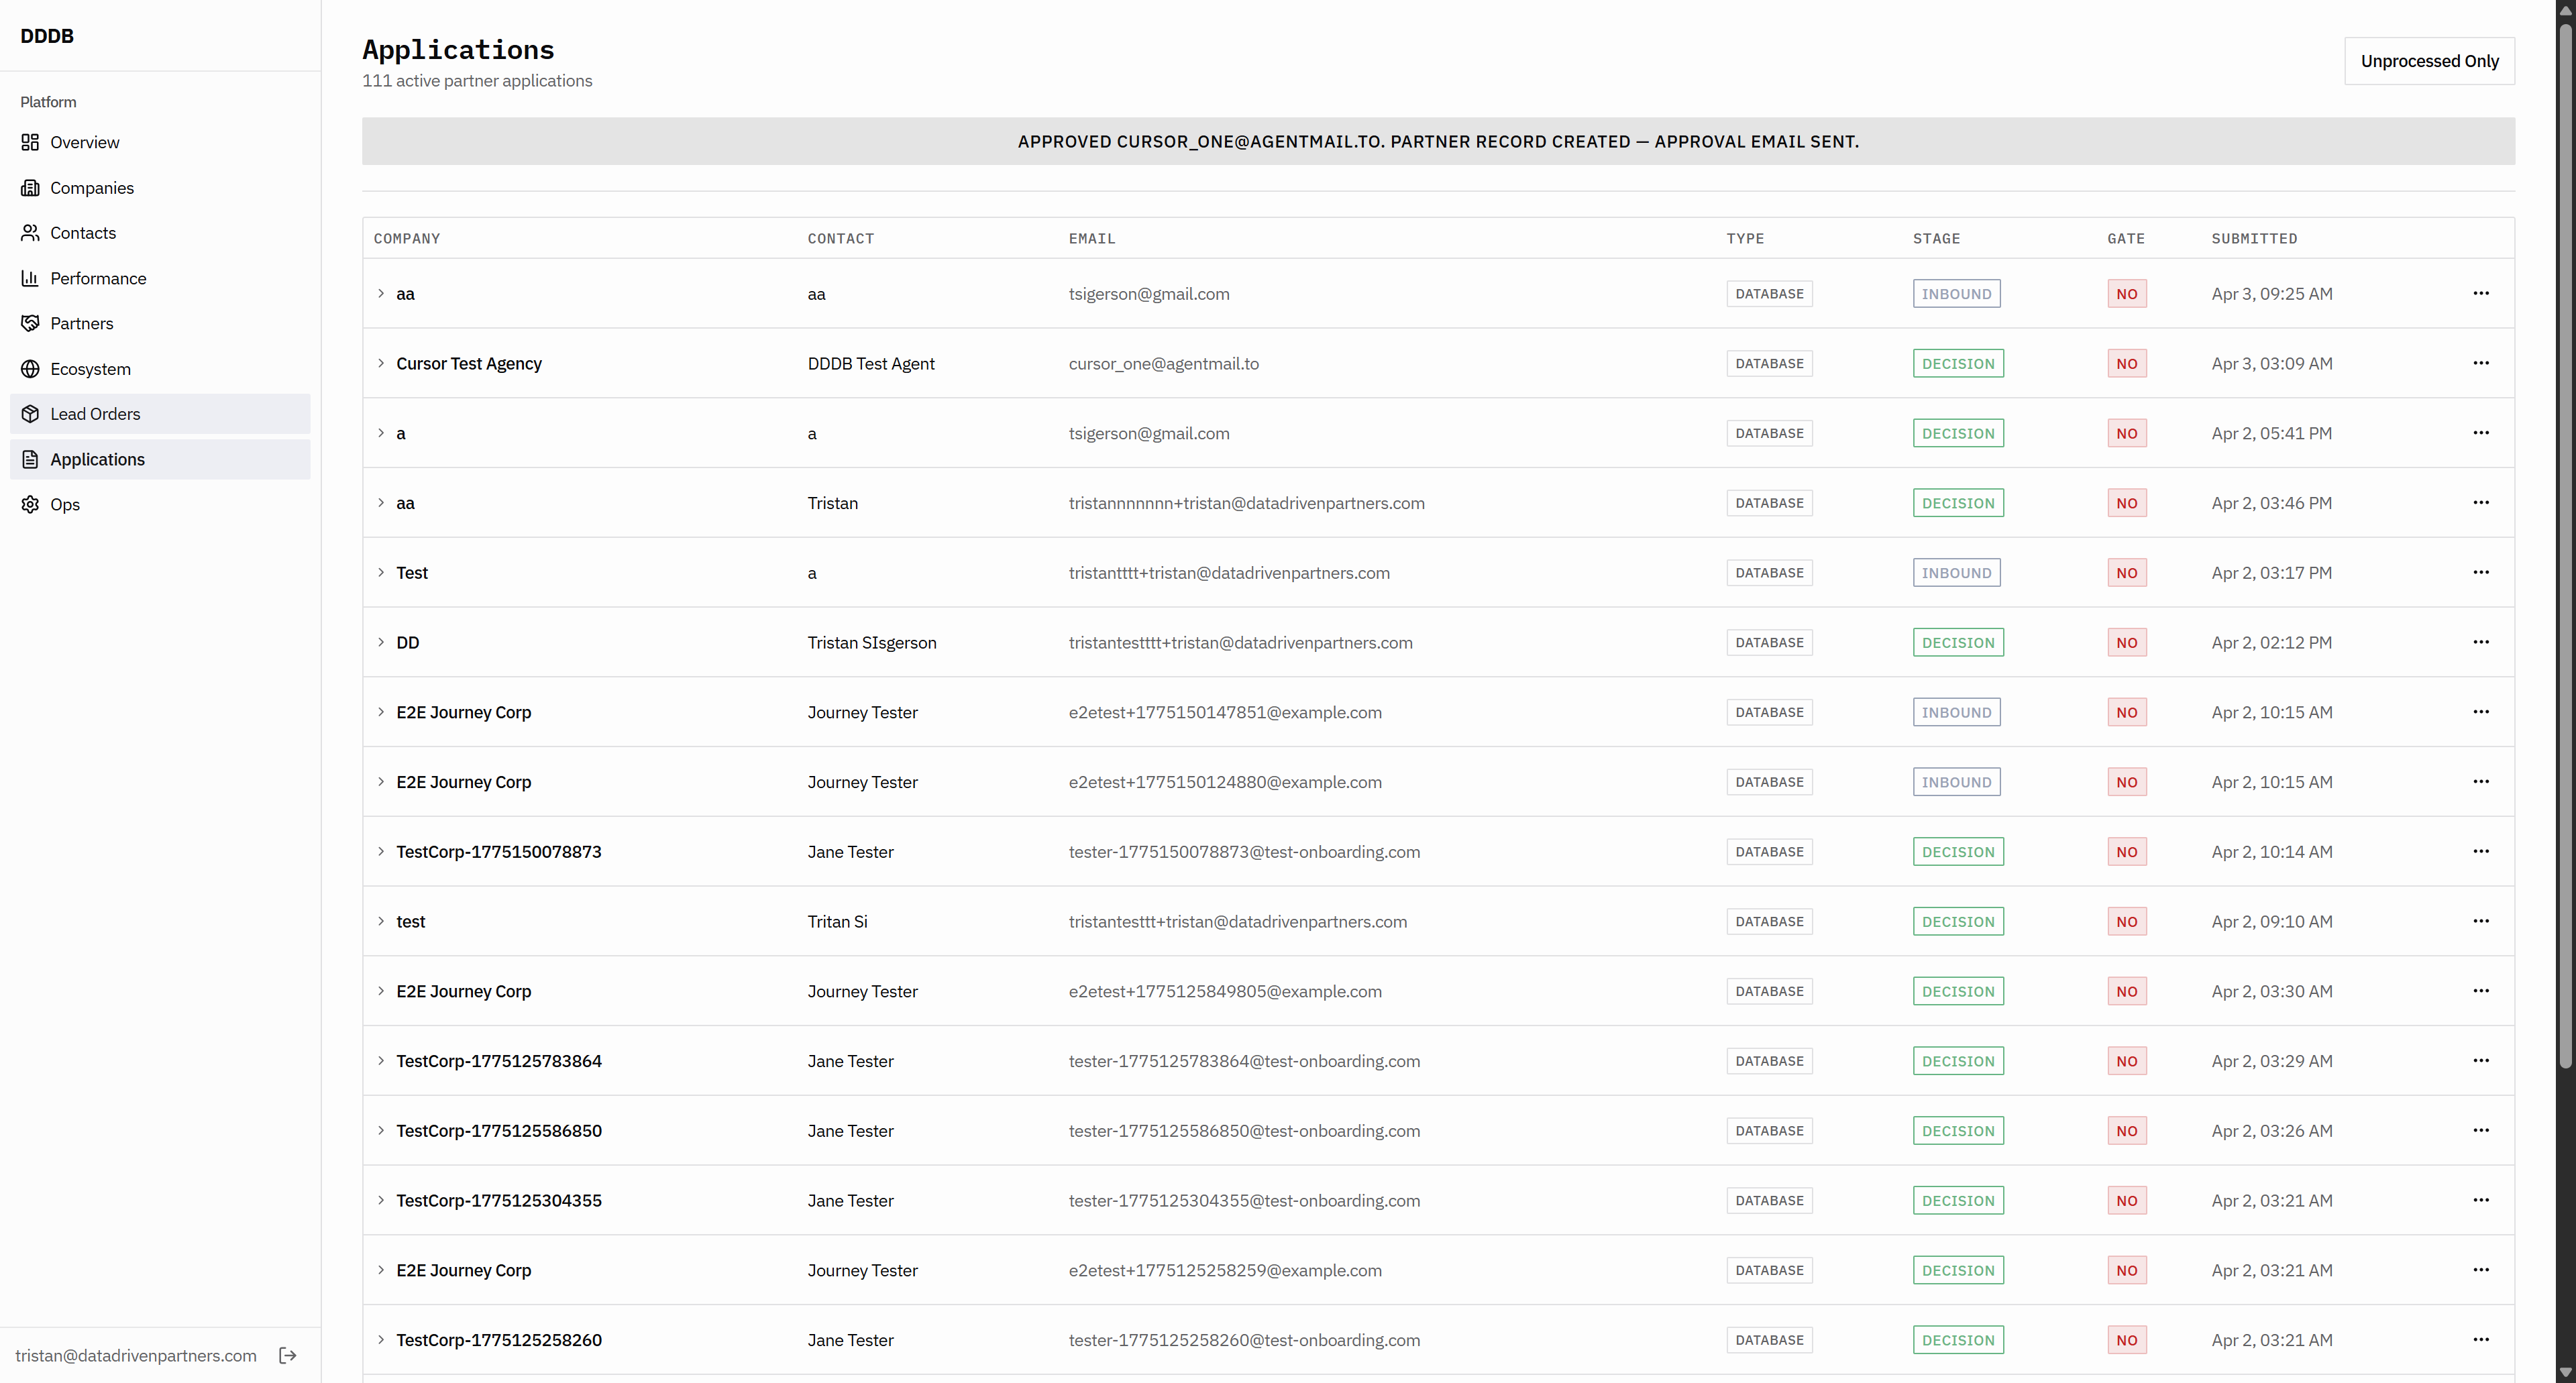
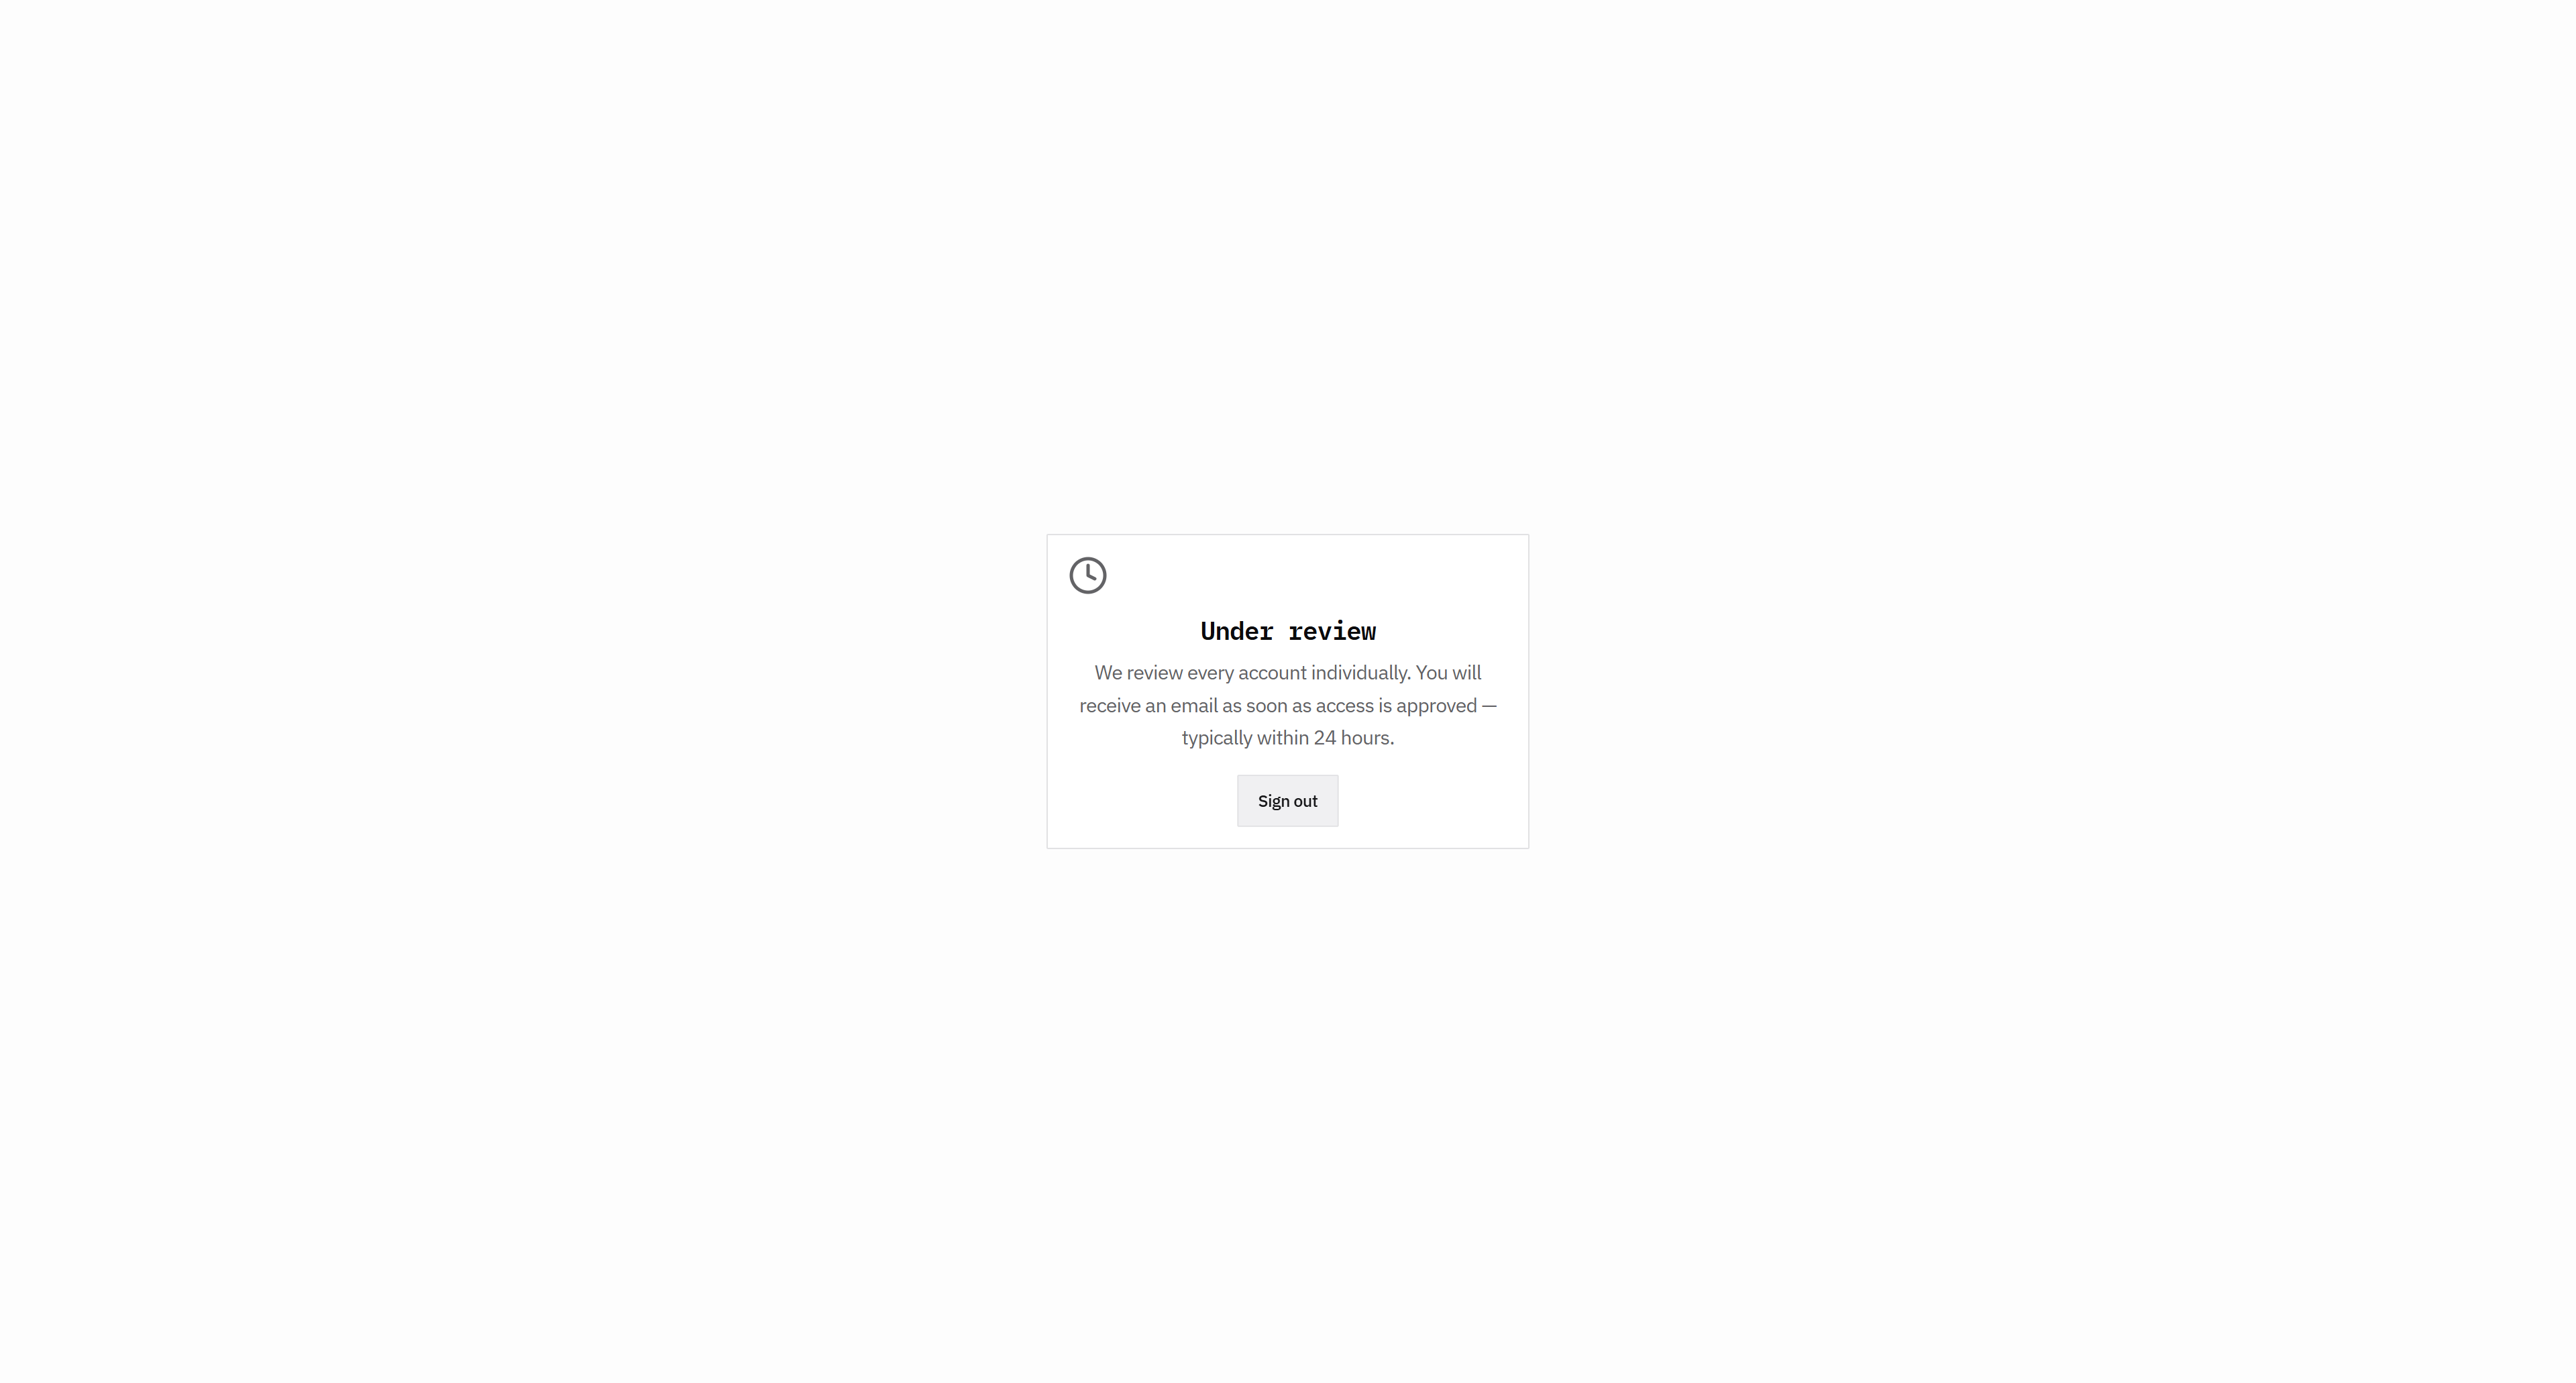
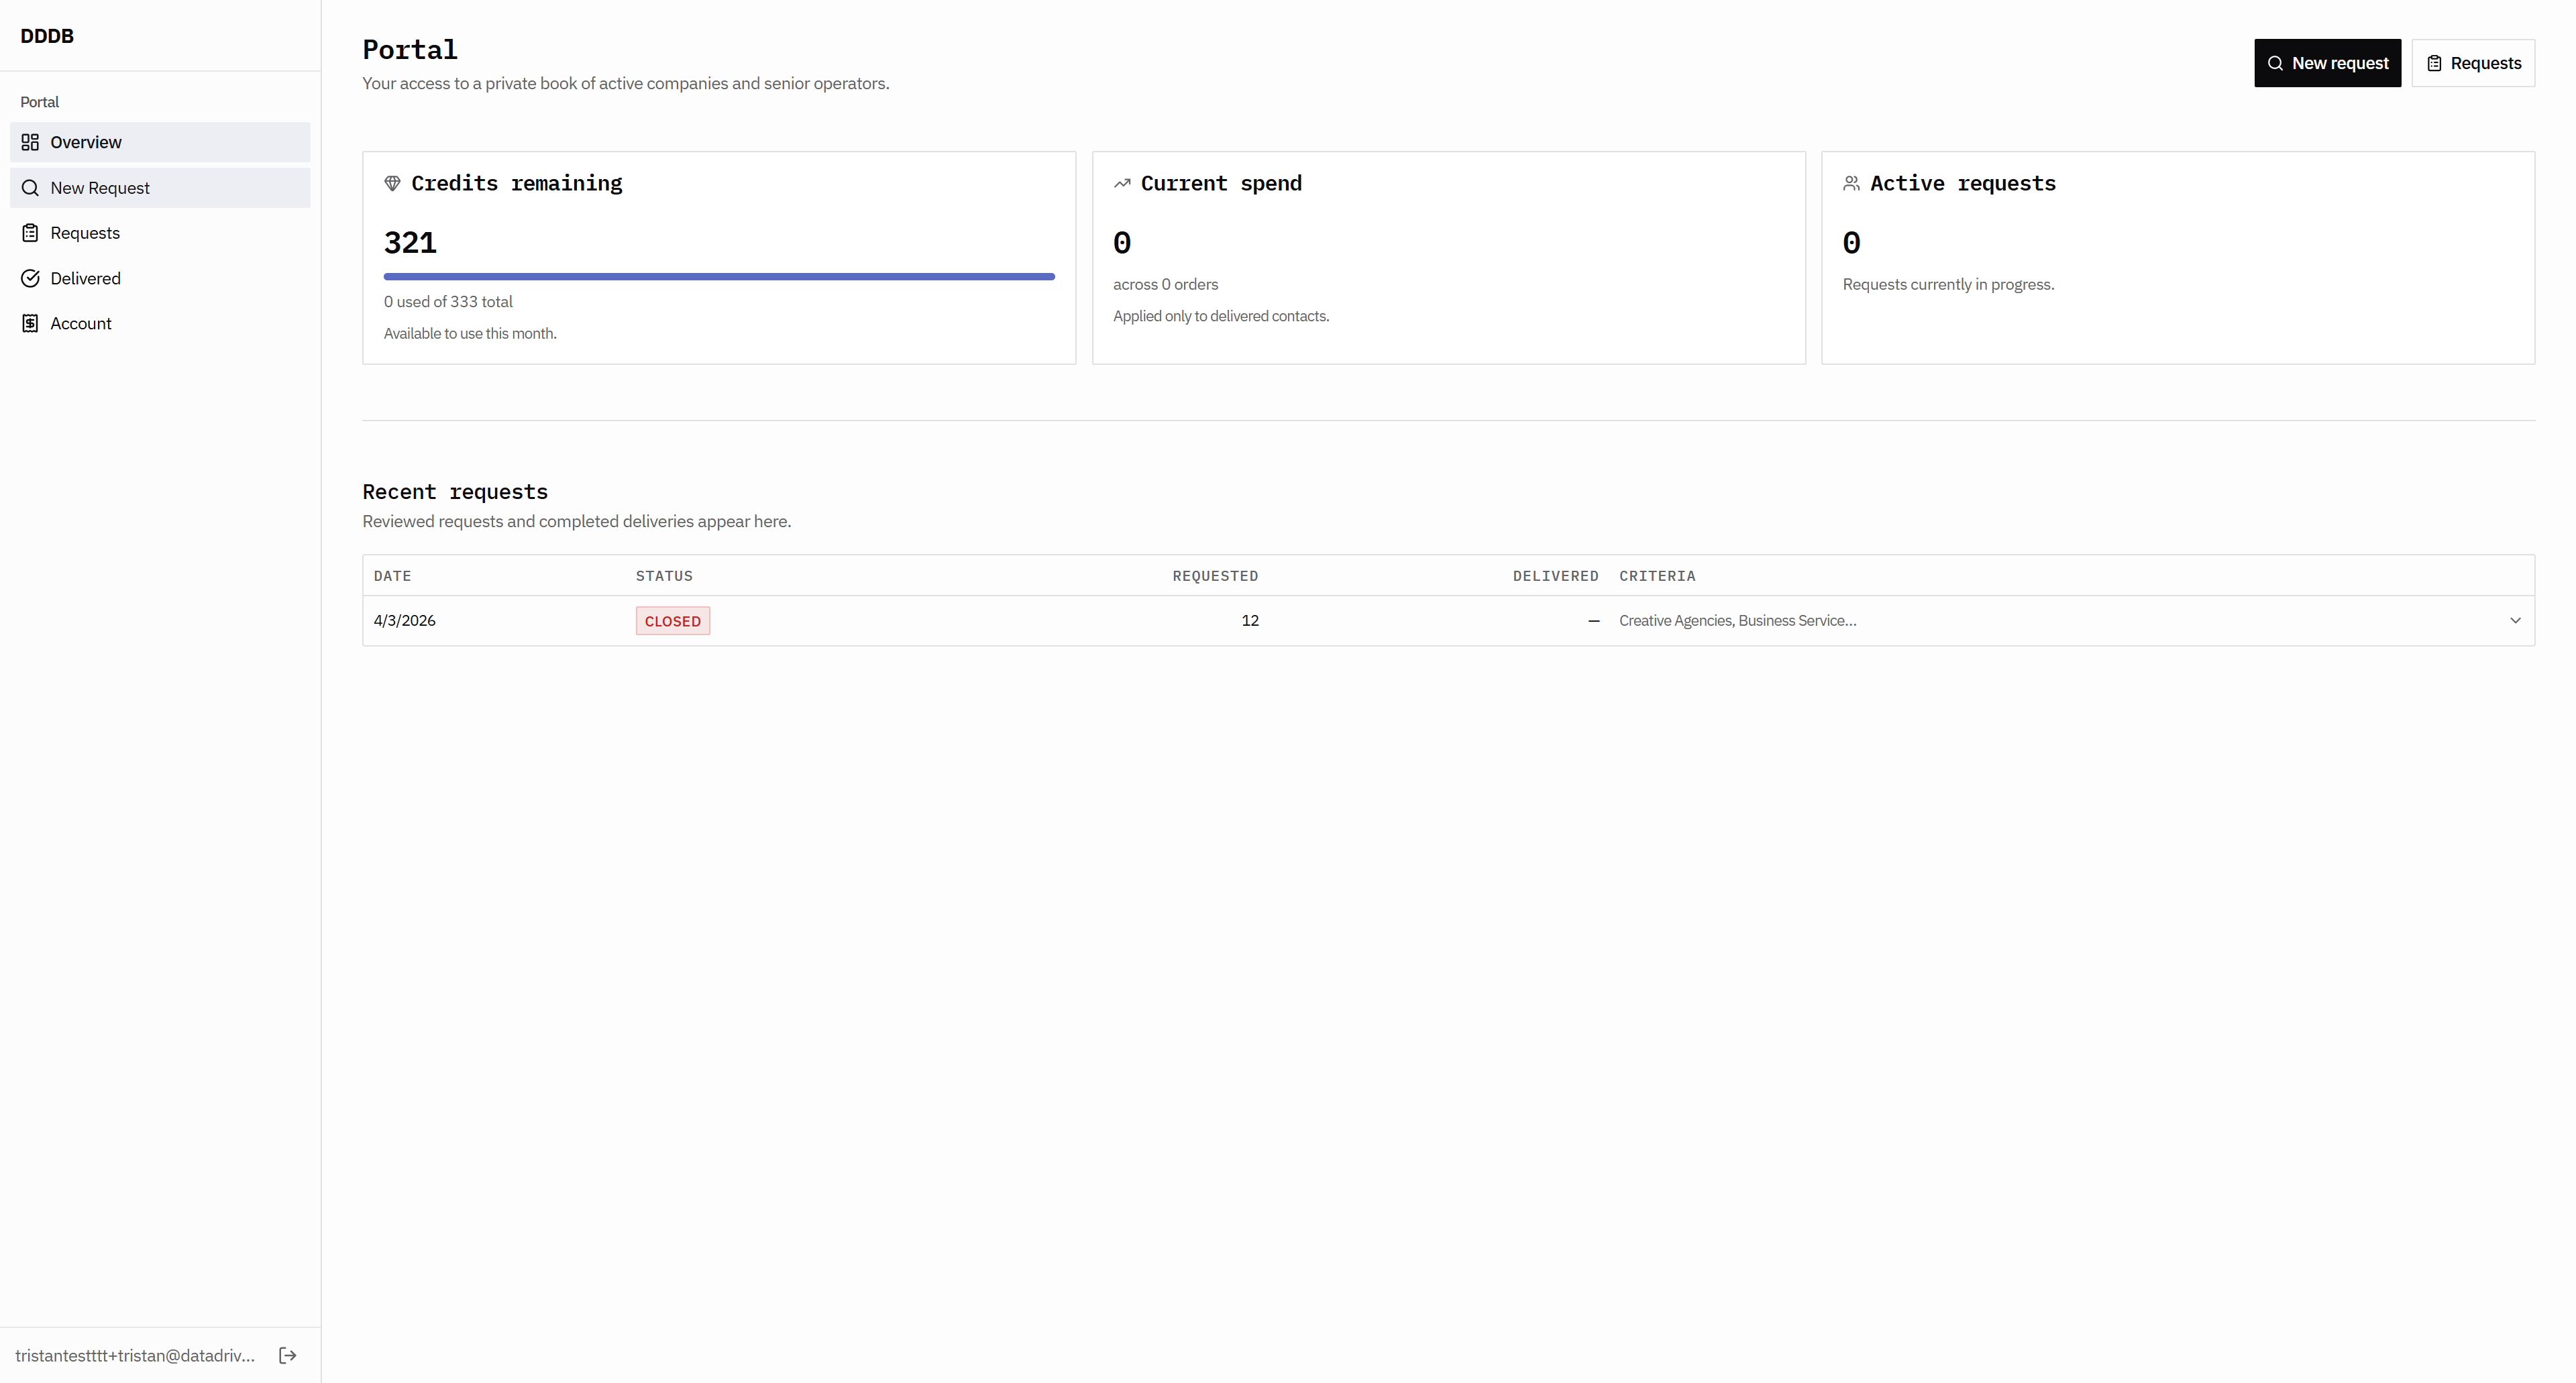
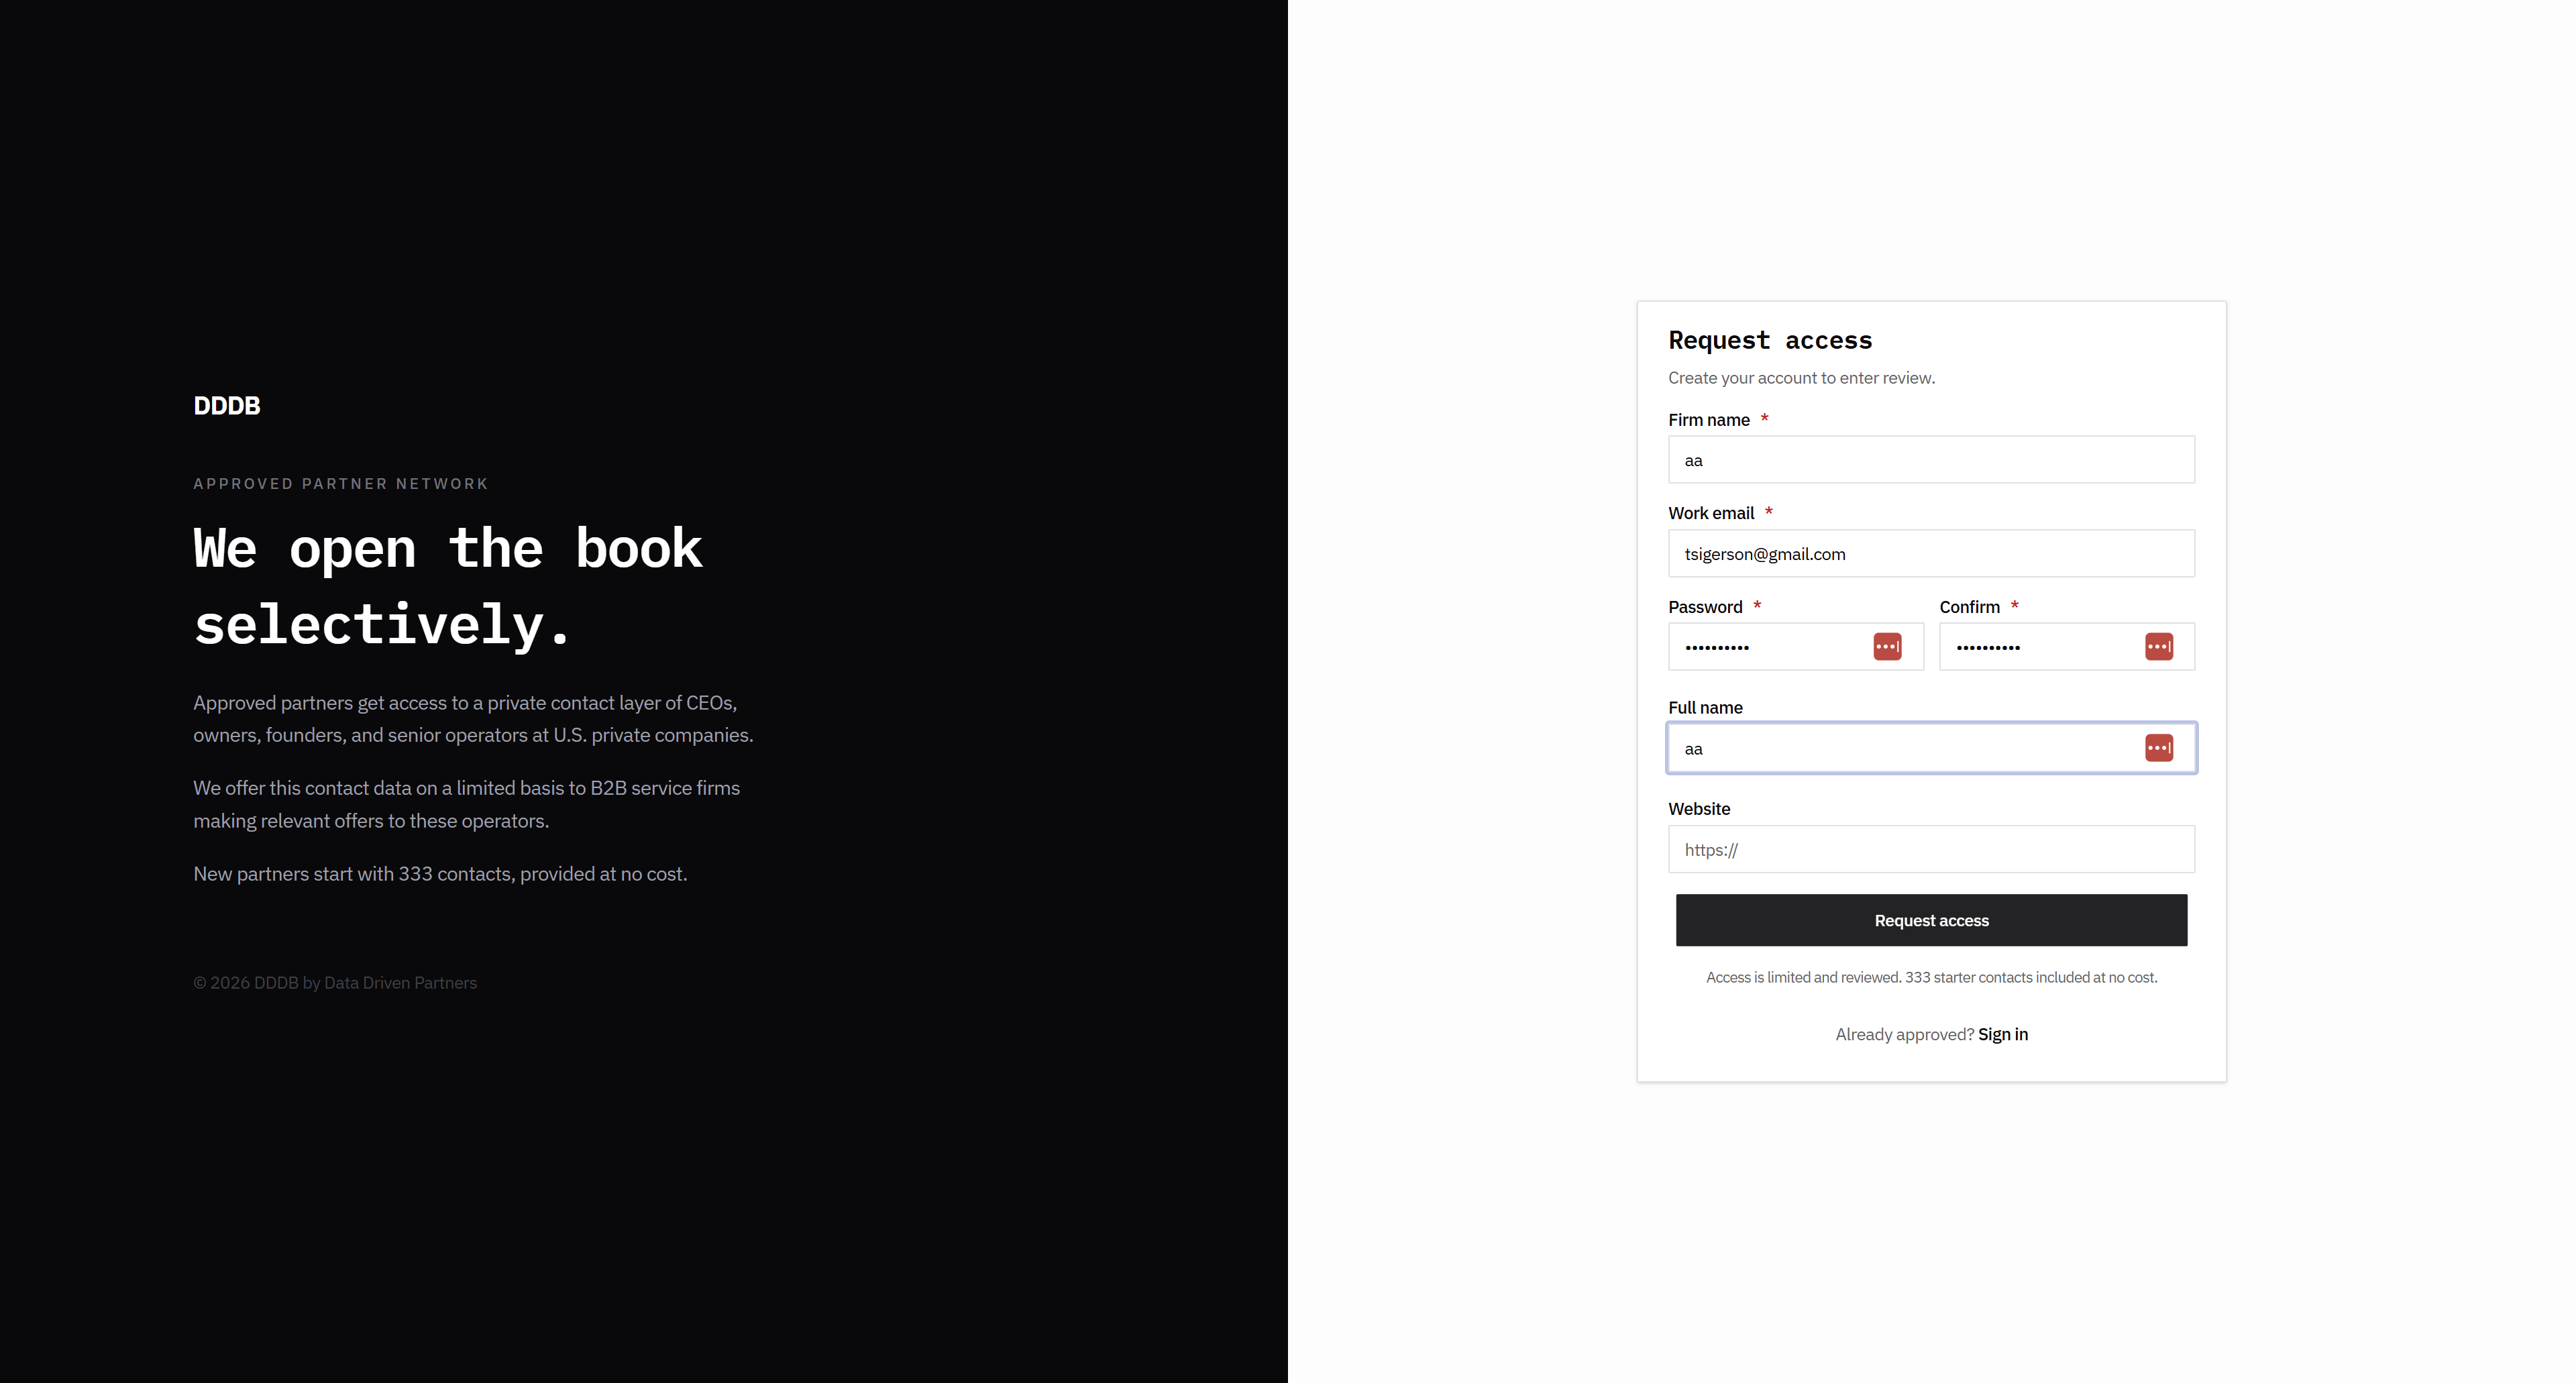
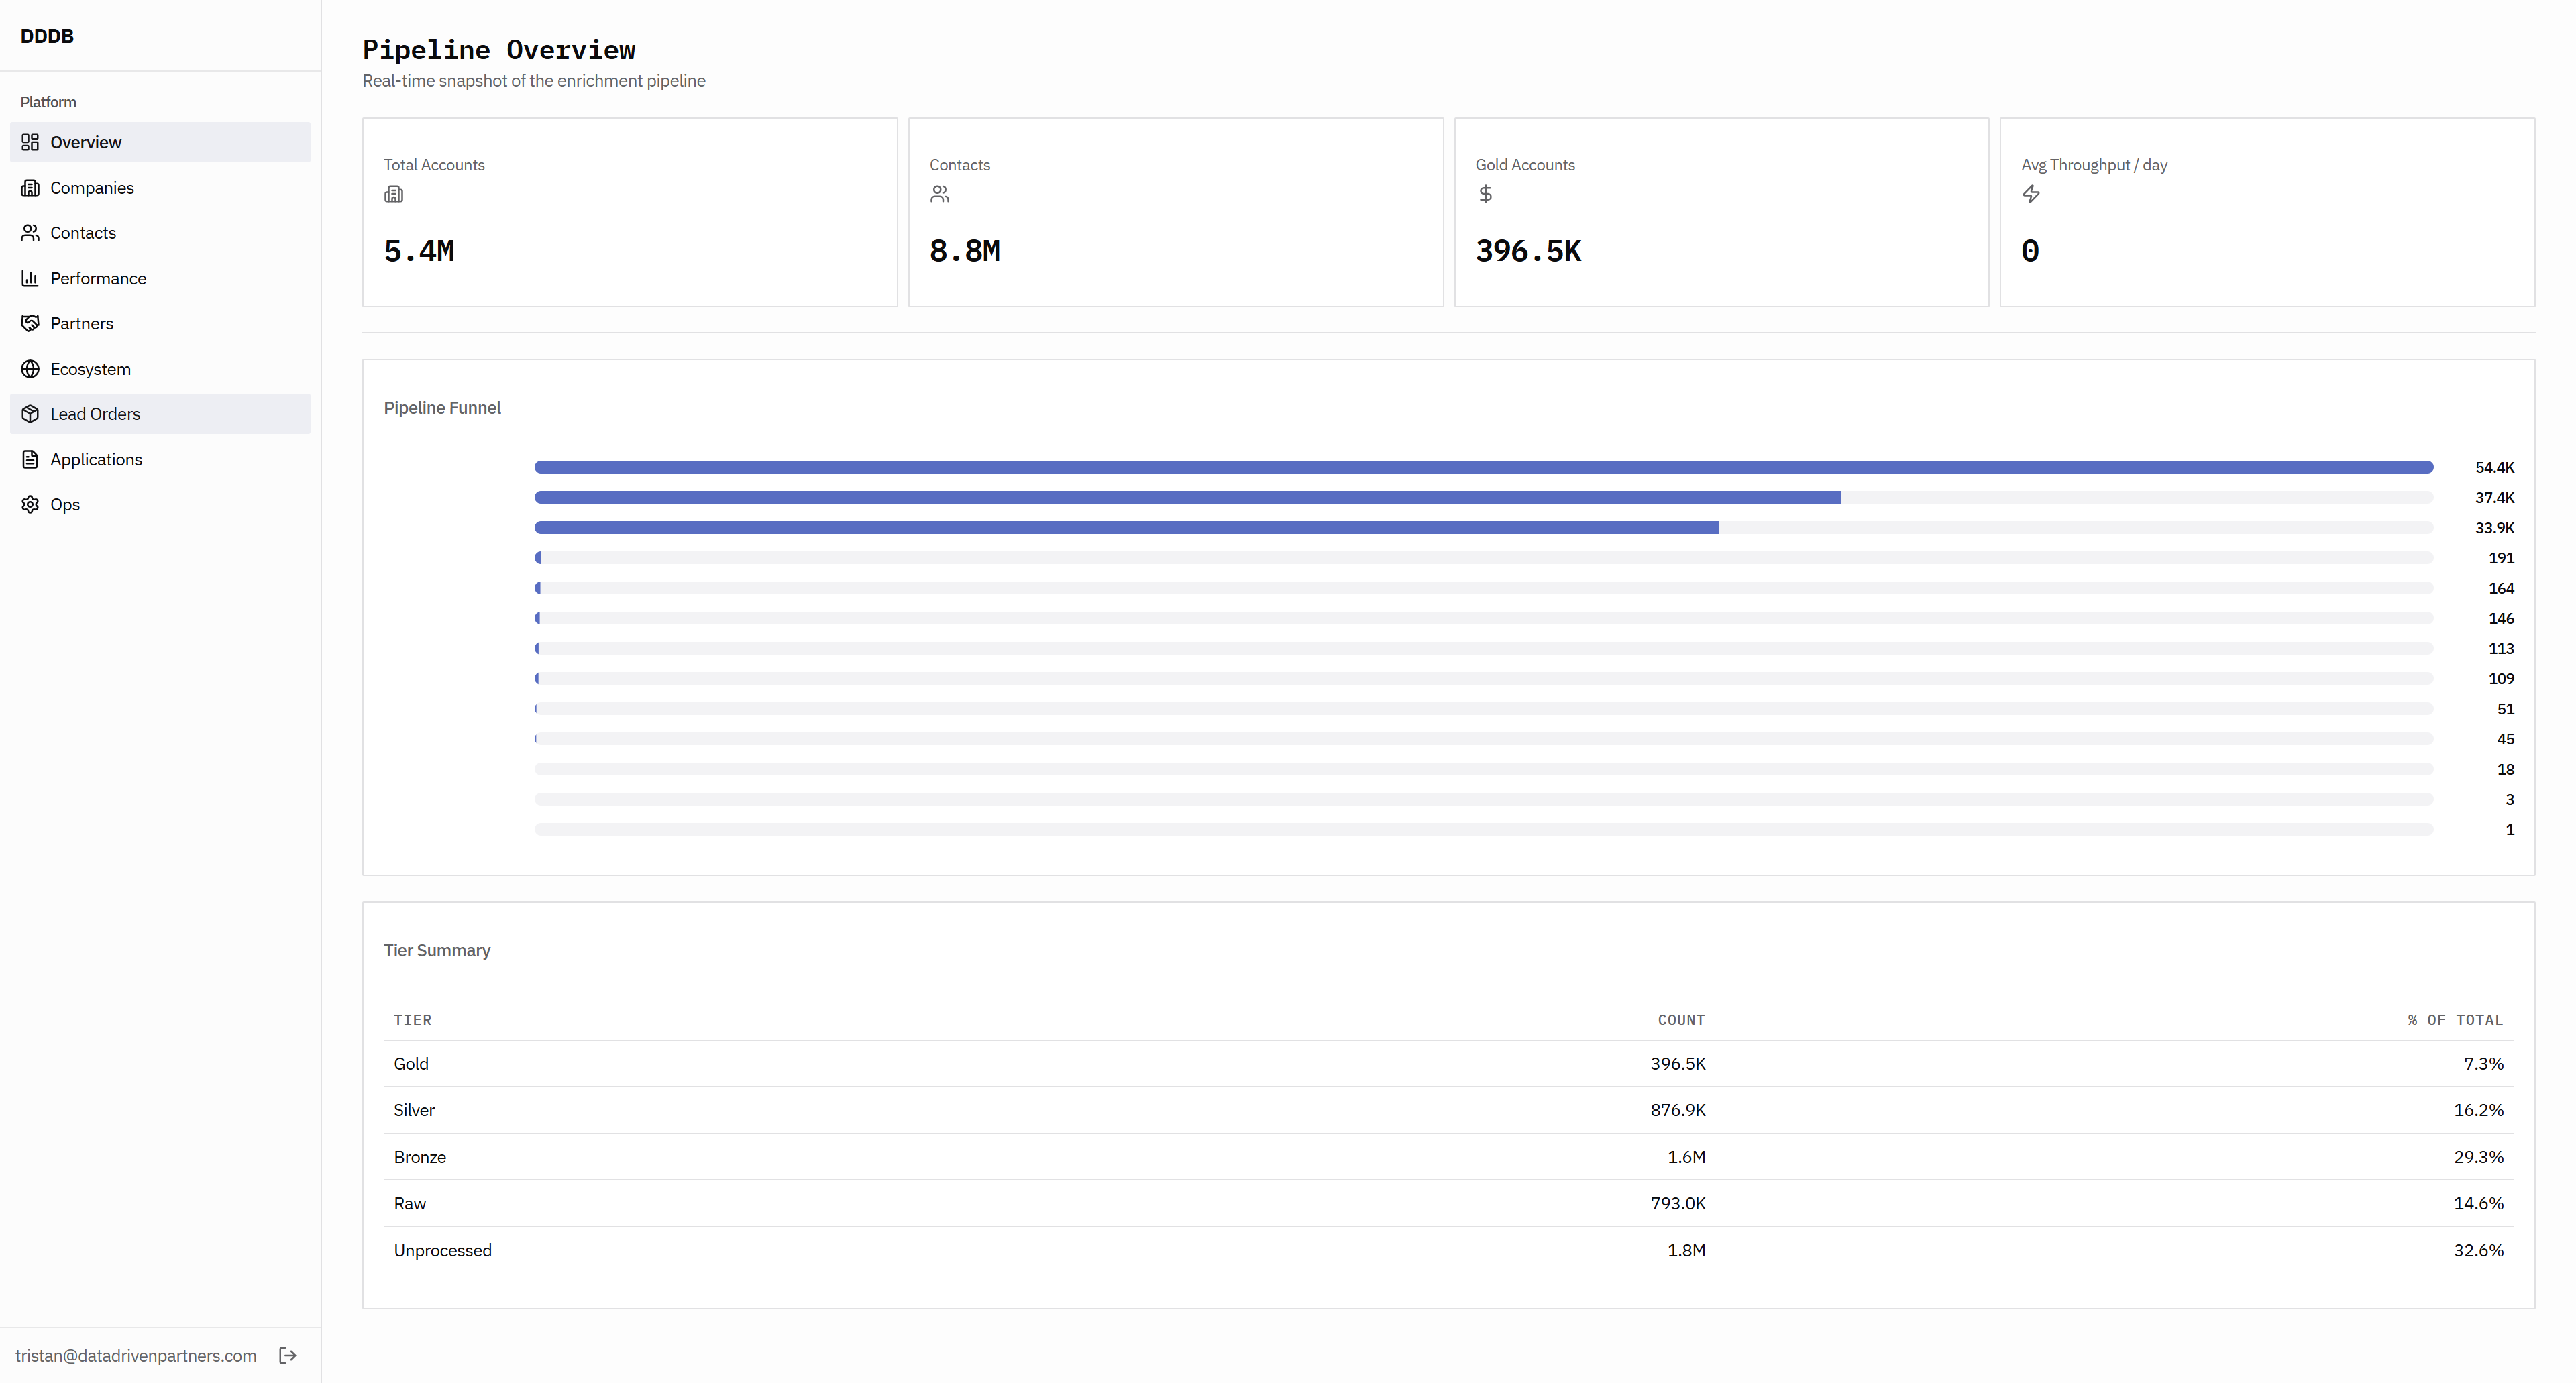
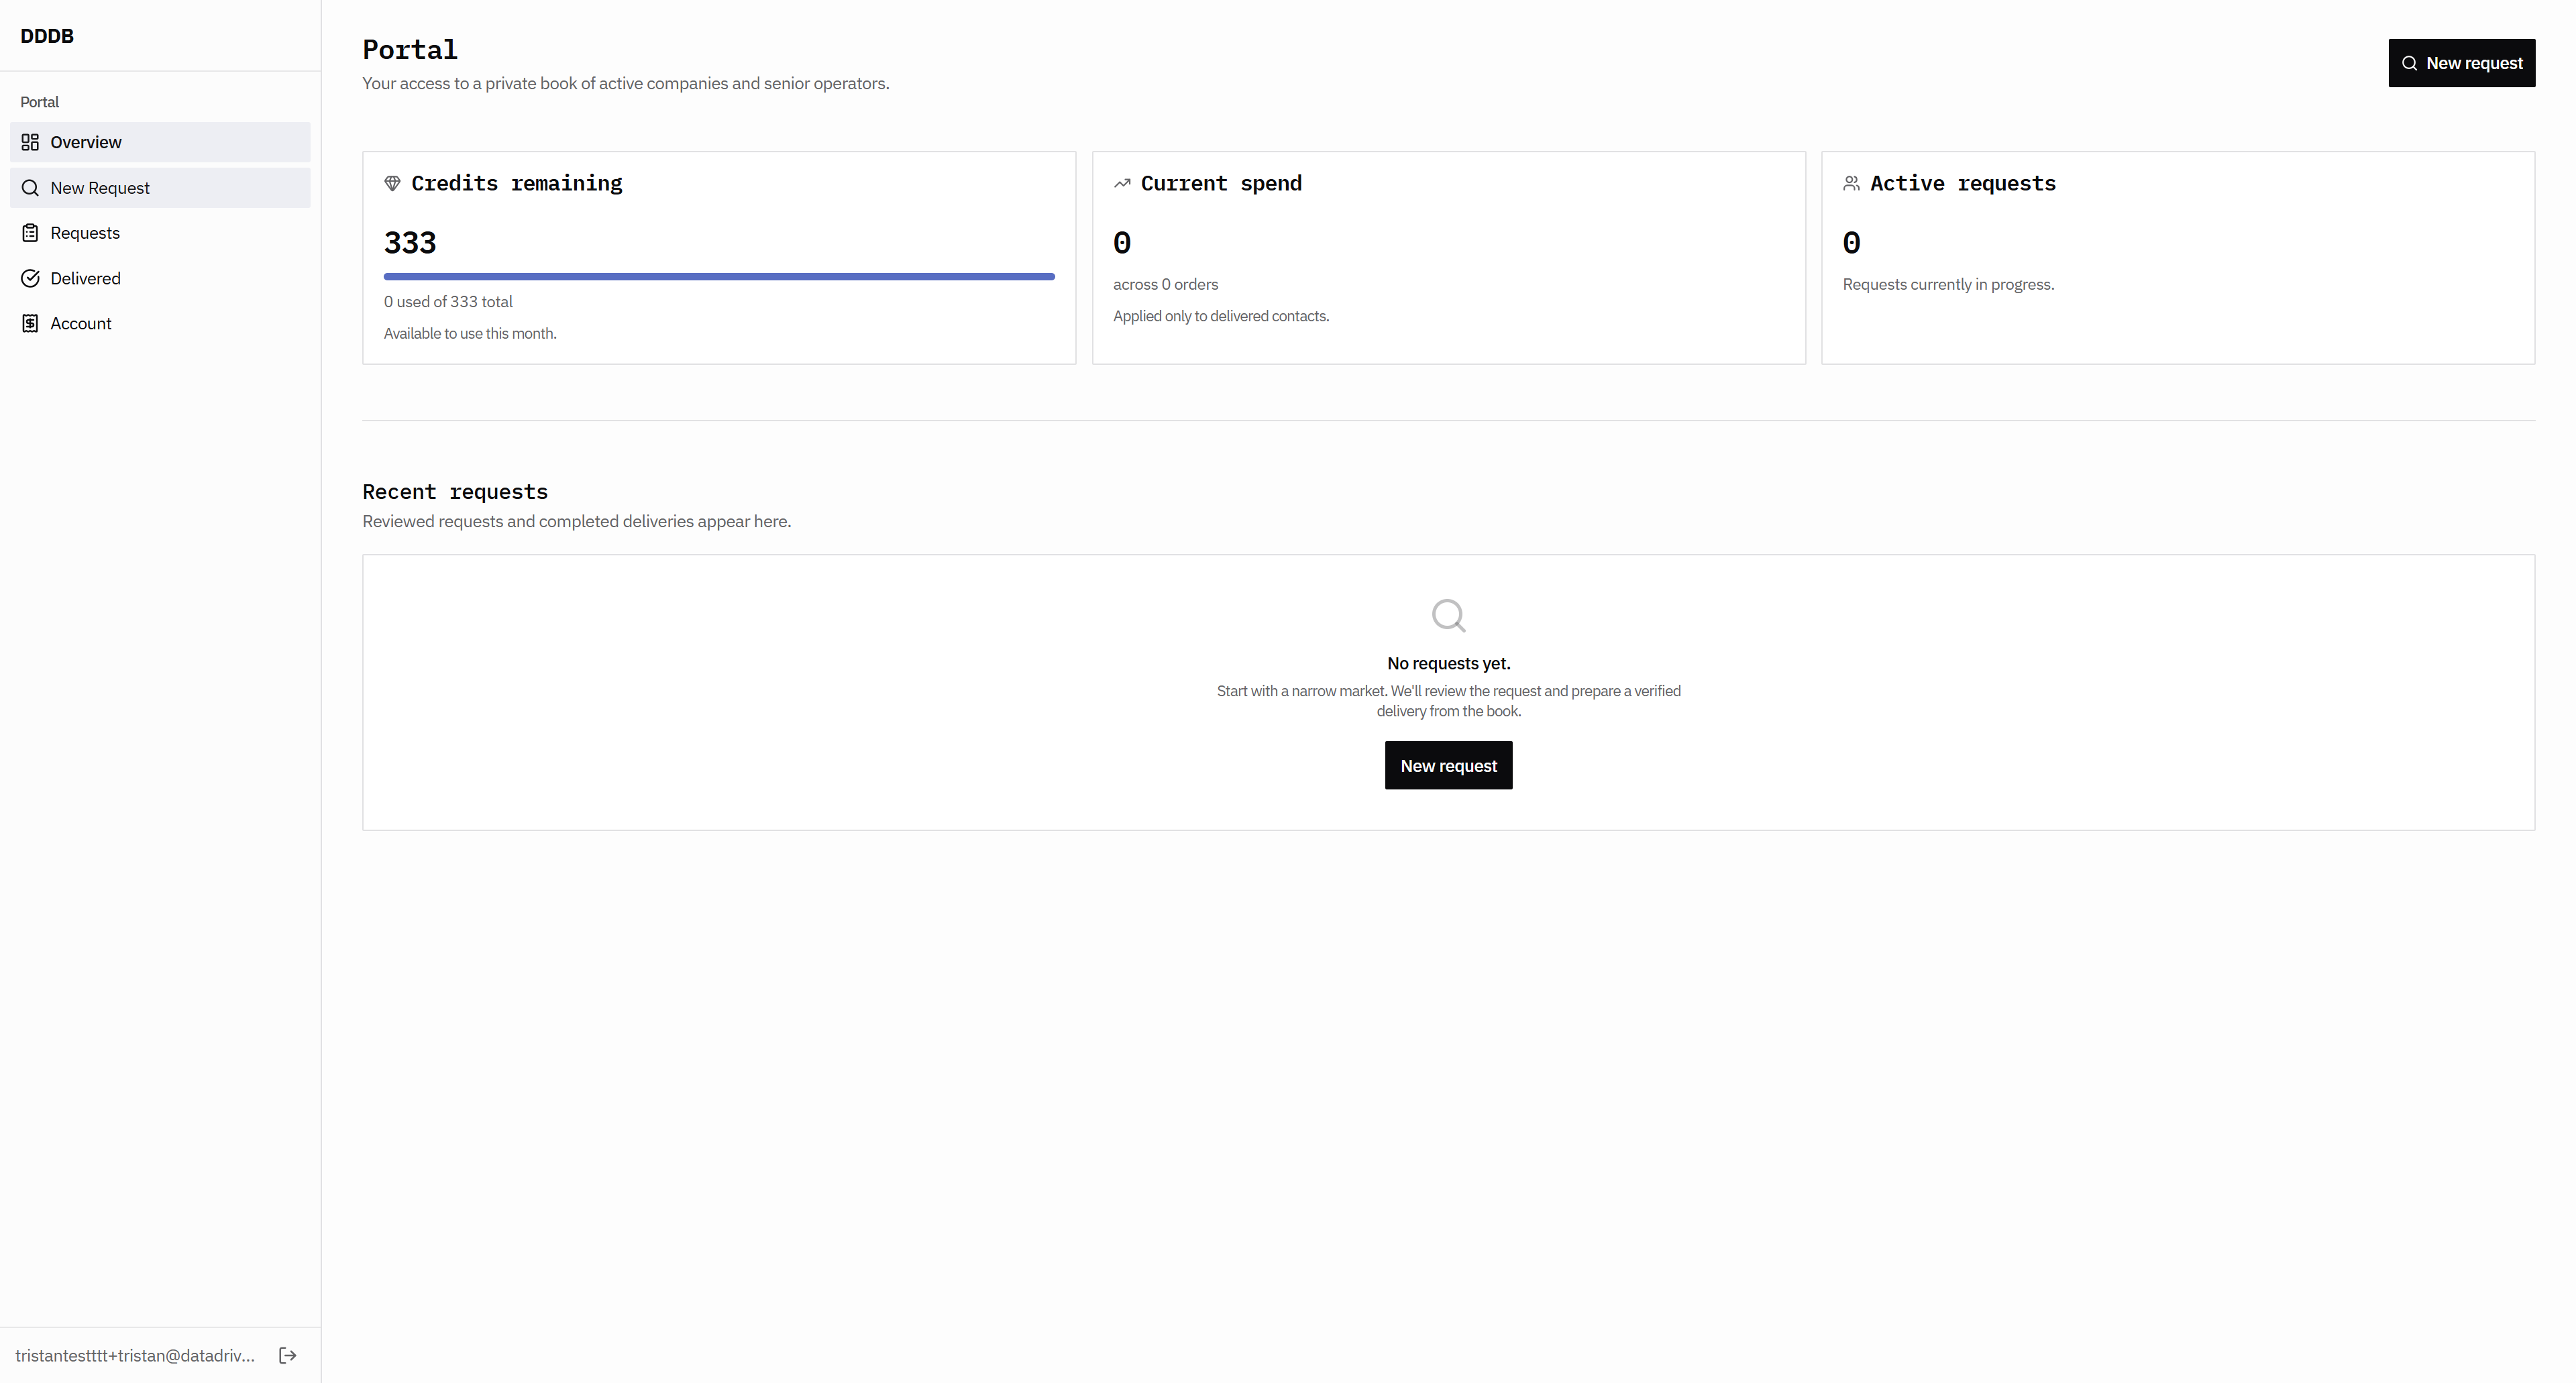
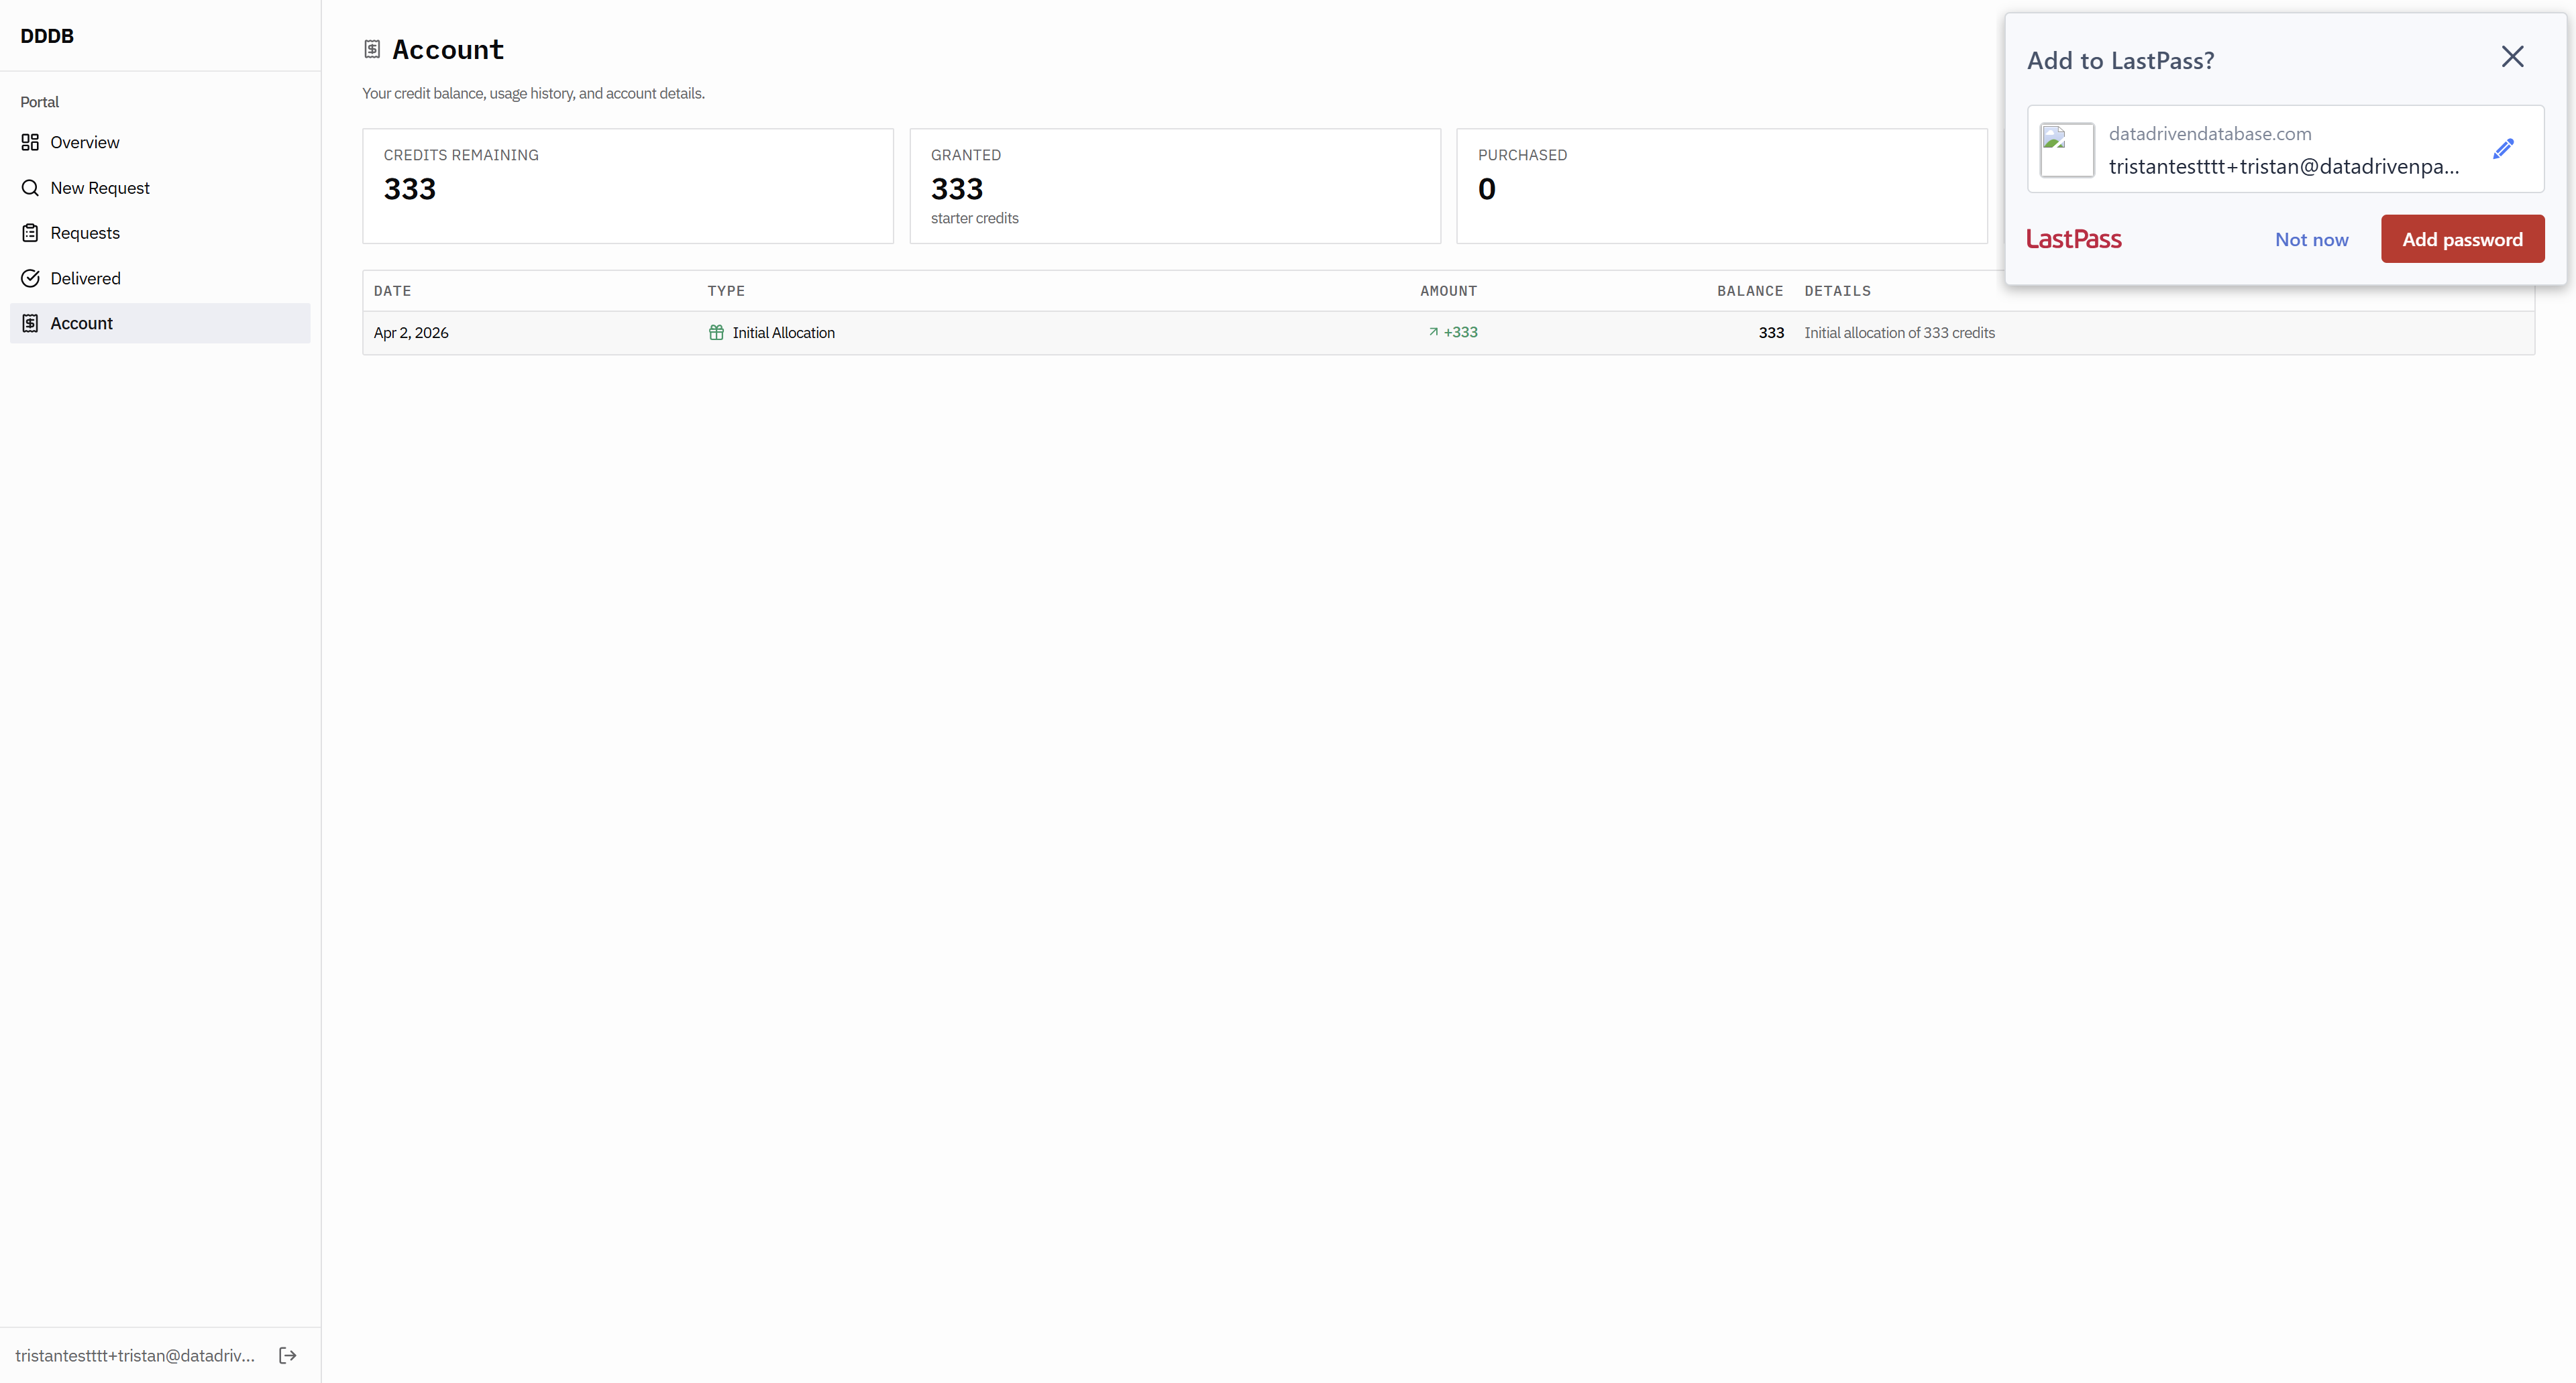
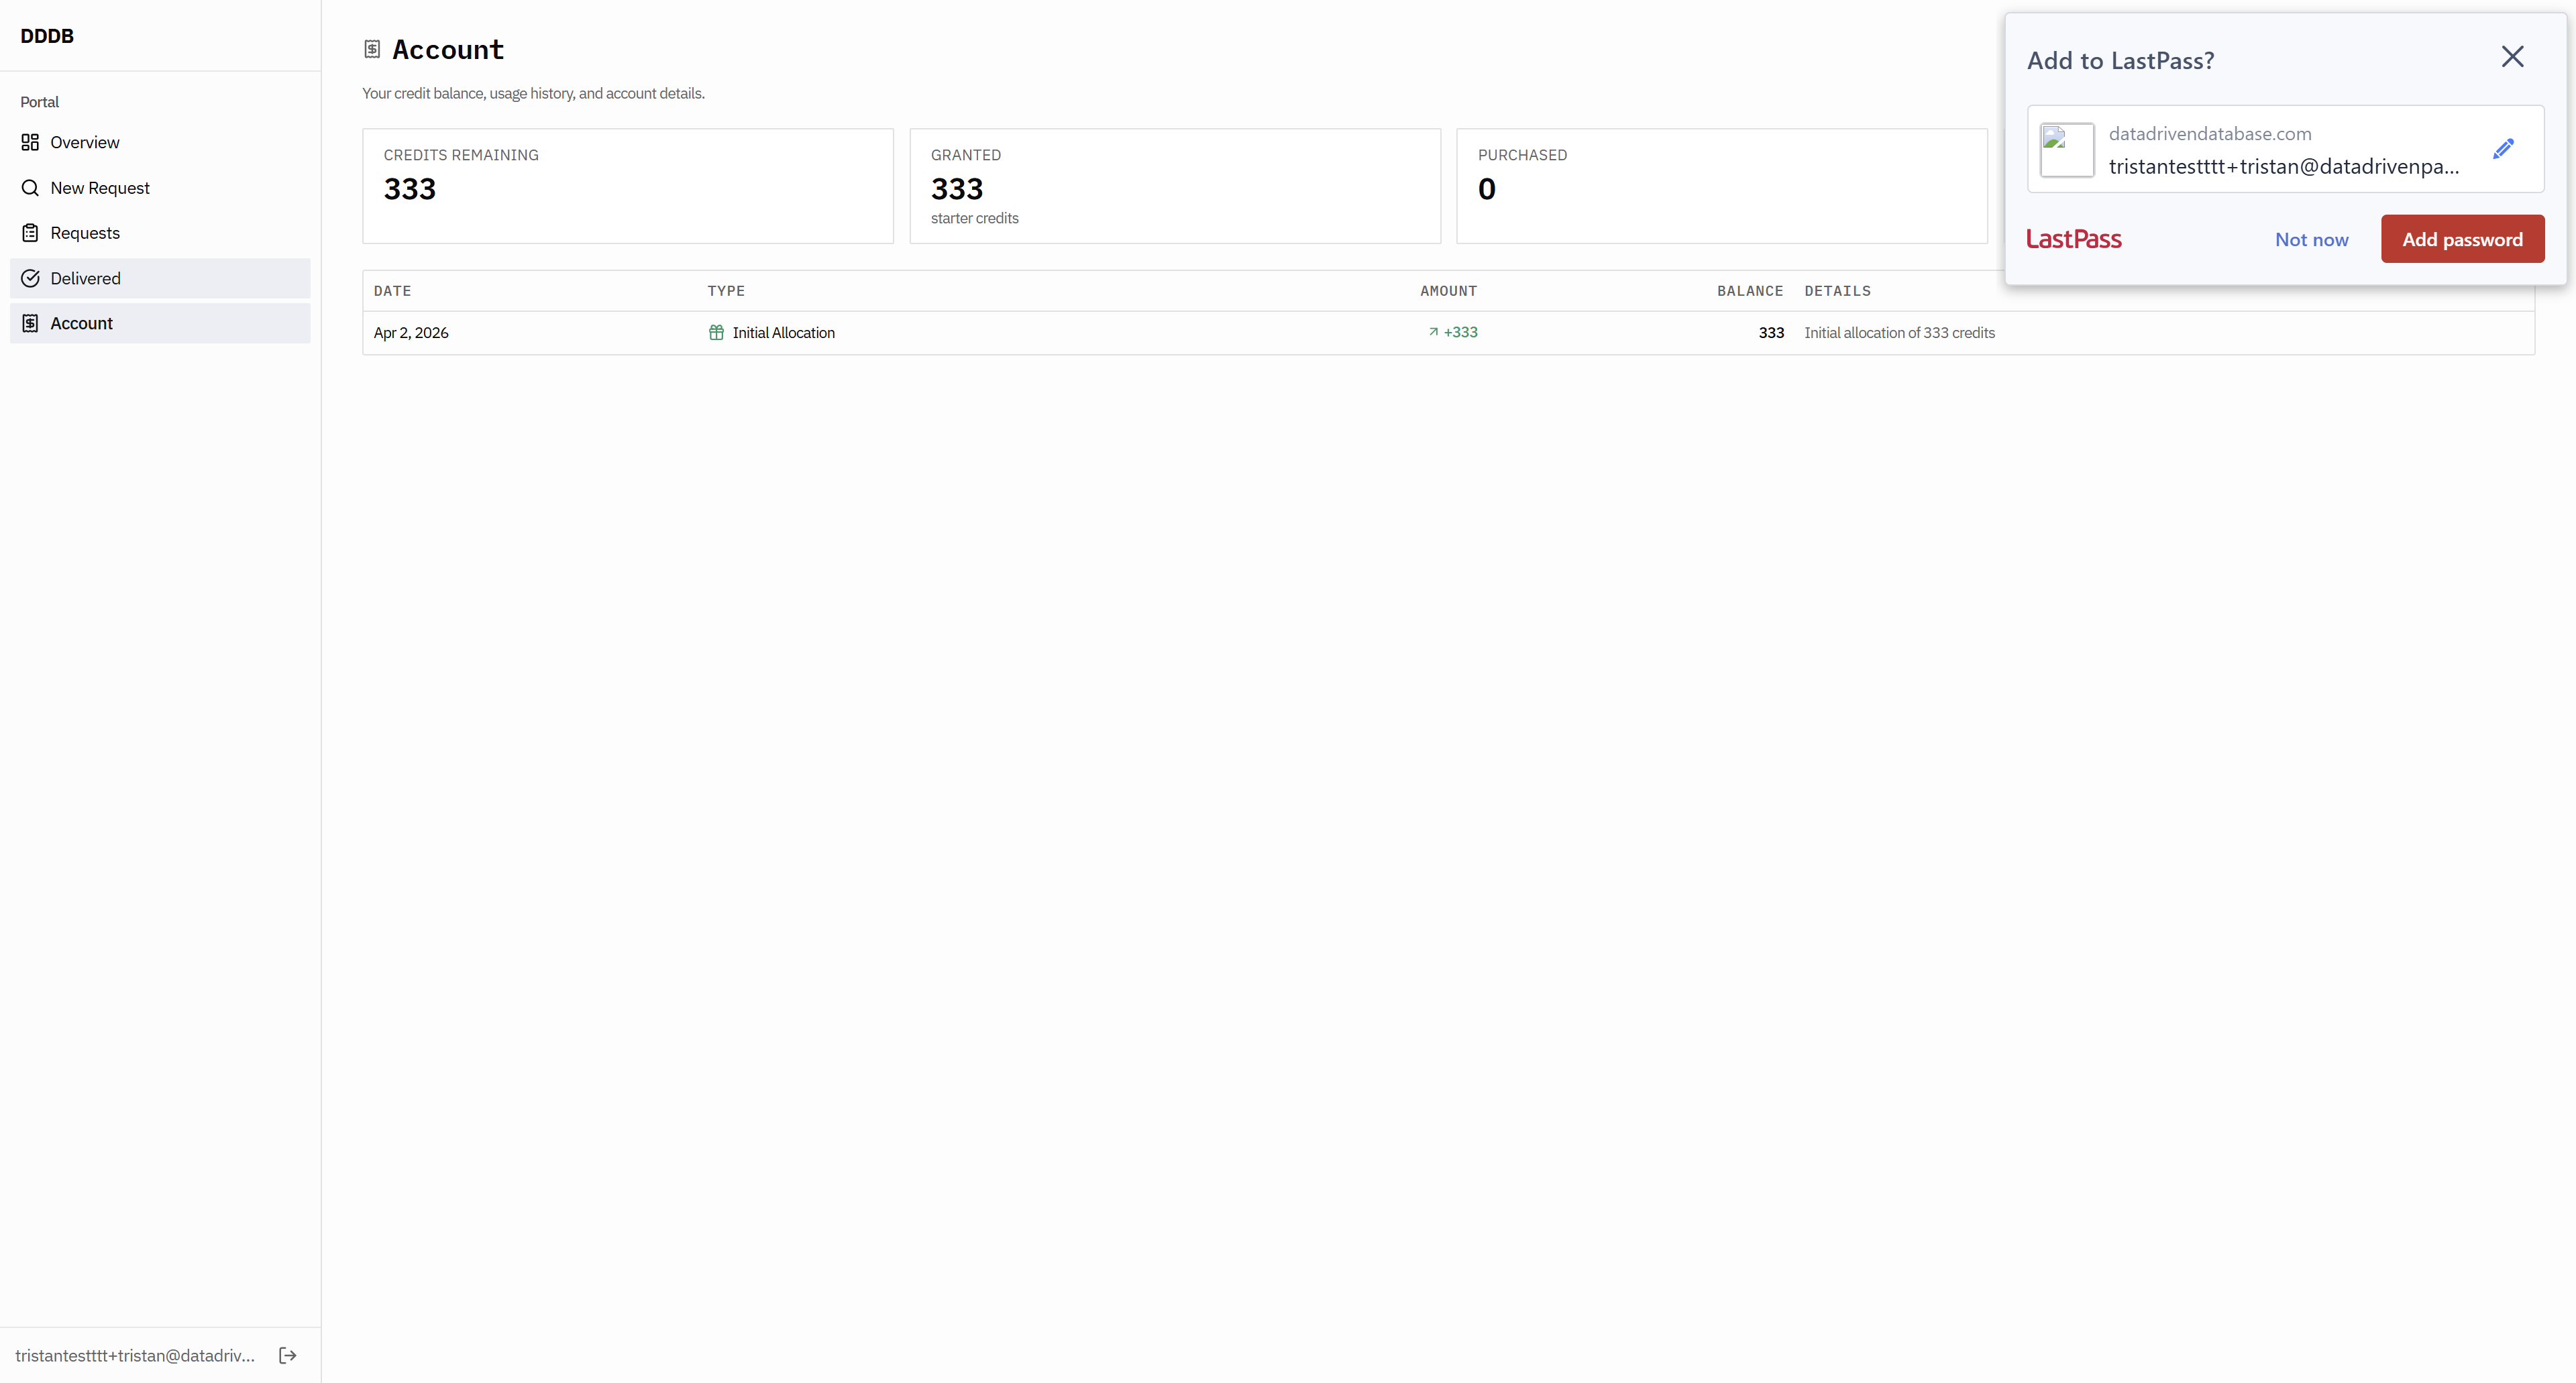
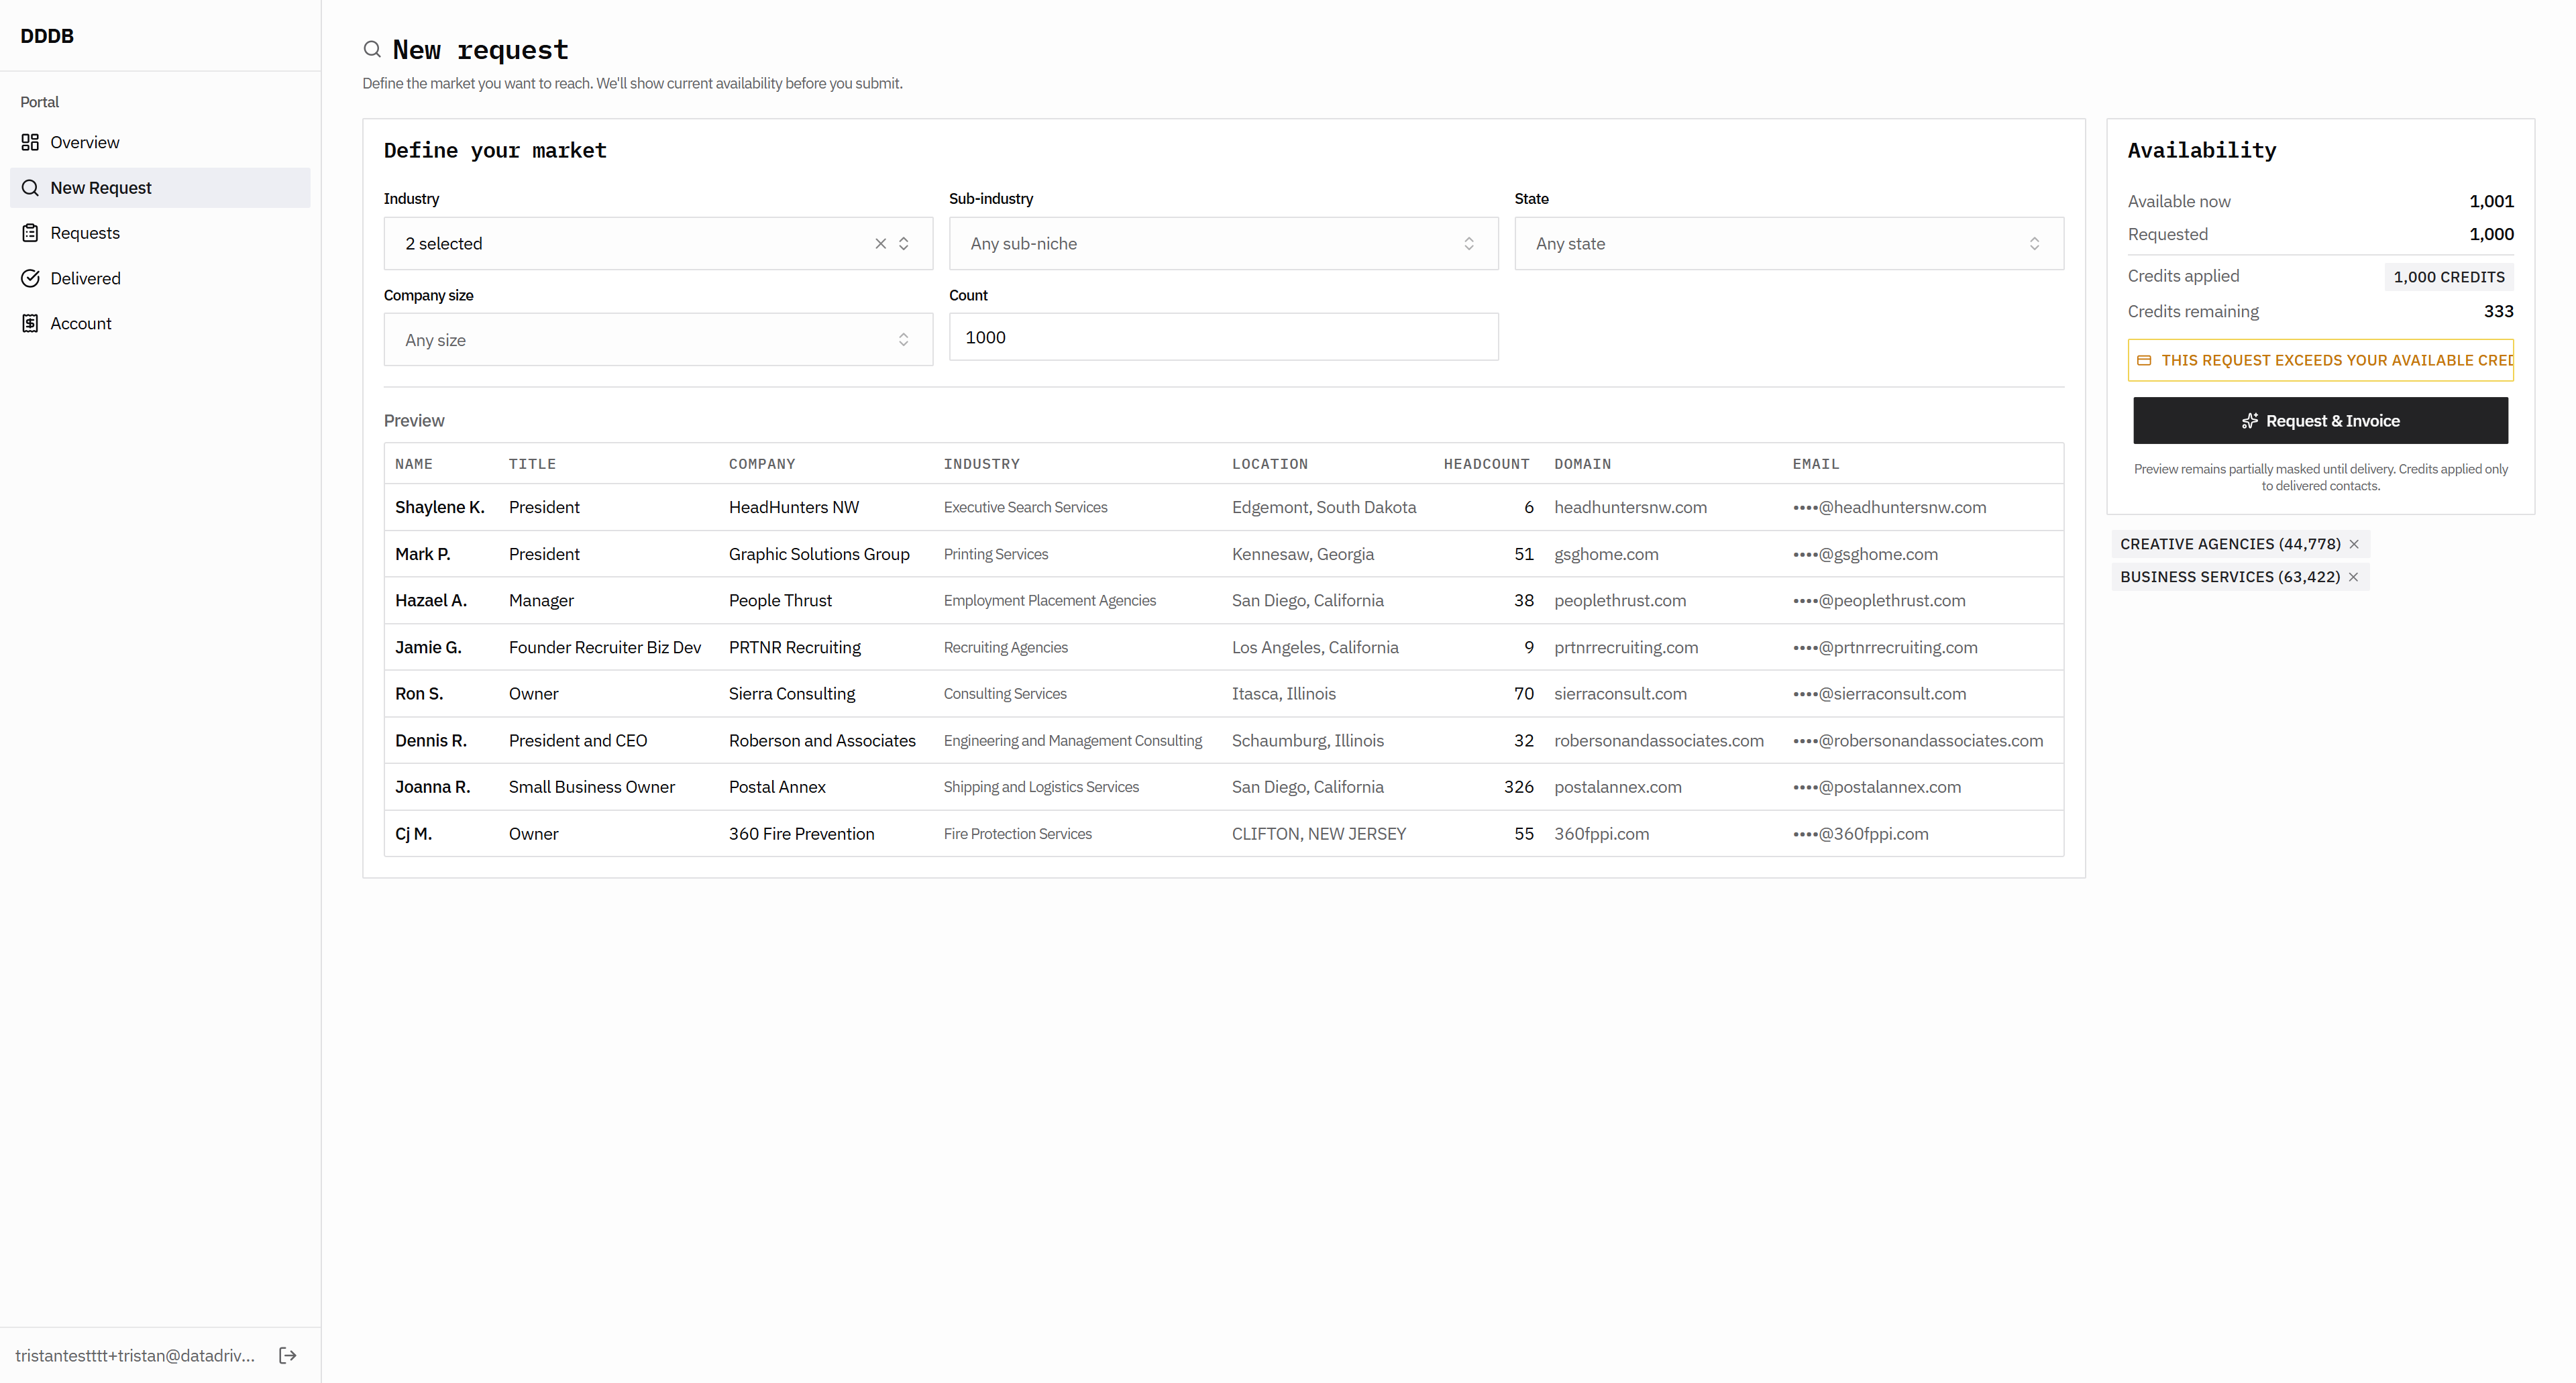
If you decline, you should move from under review to declined without giving a reason. Just state declined. This is not exactly correct, like credits remaining.

53
Click here
Step #53: Click here
54
Click here
Step #54: Click here
55
Click here
Step #55: Click here
56
Type "undefinedundefined"
57
Click here
Step #57: Click here

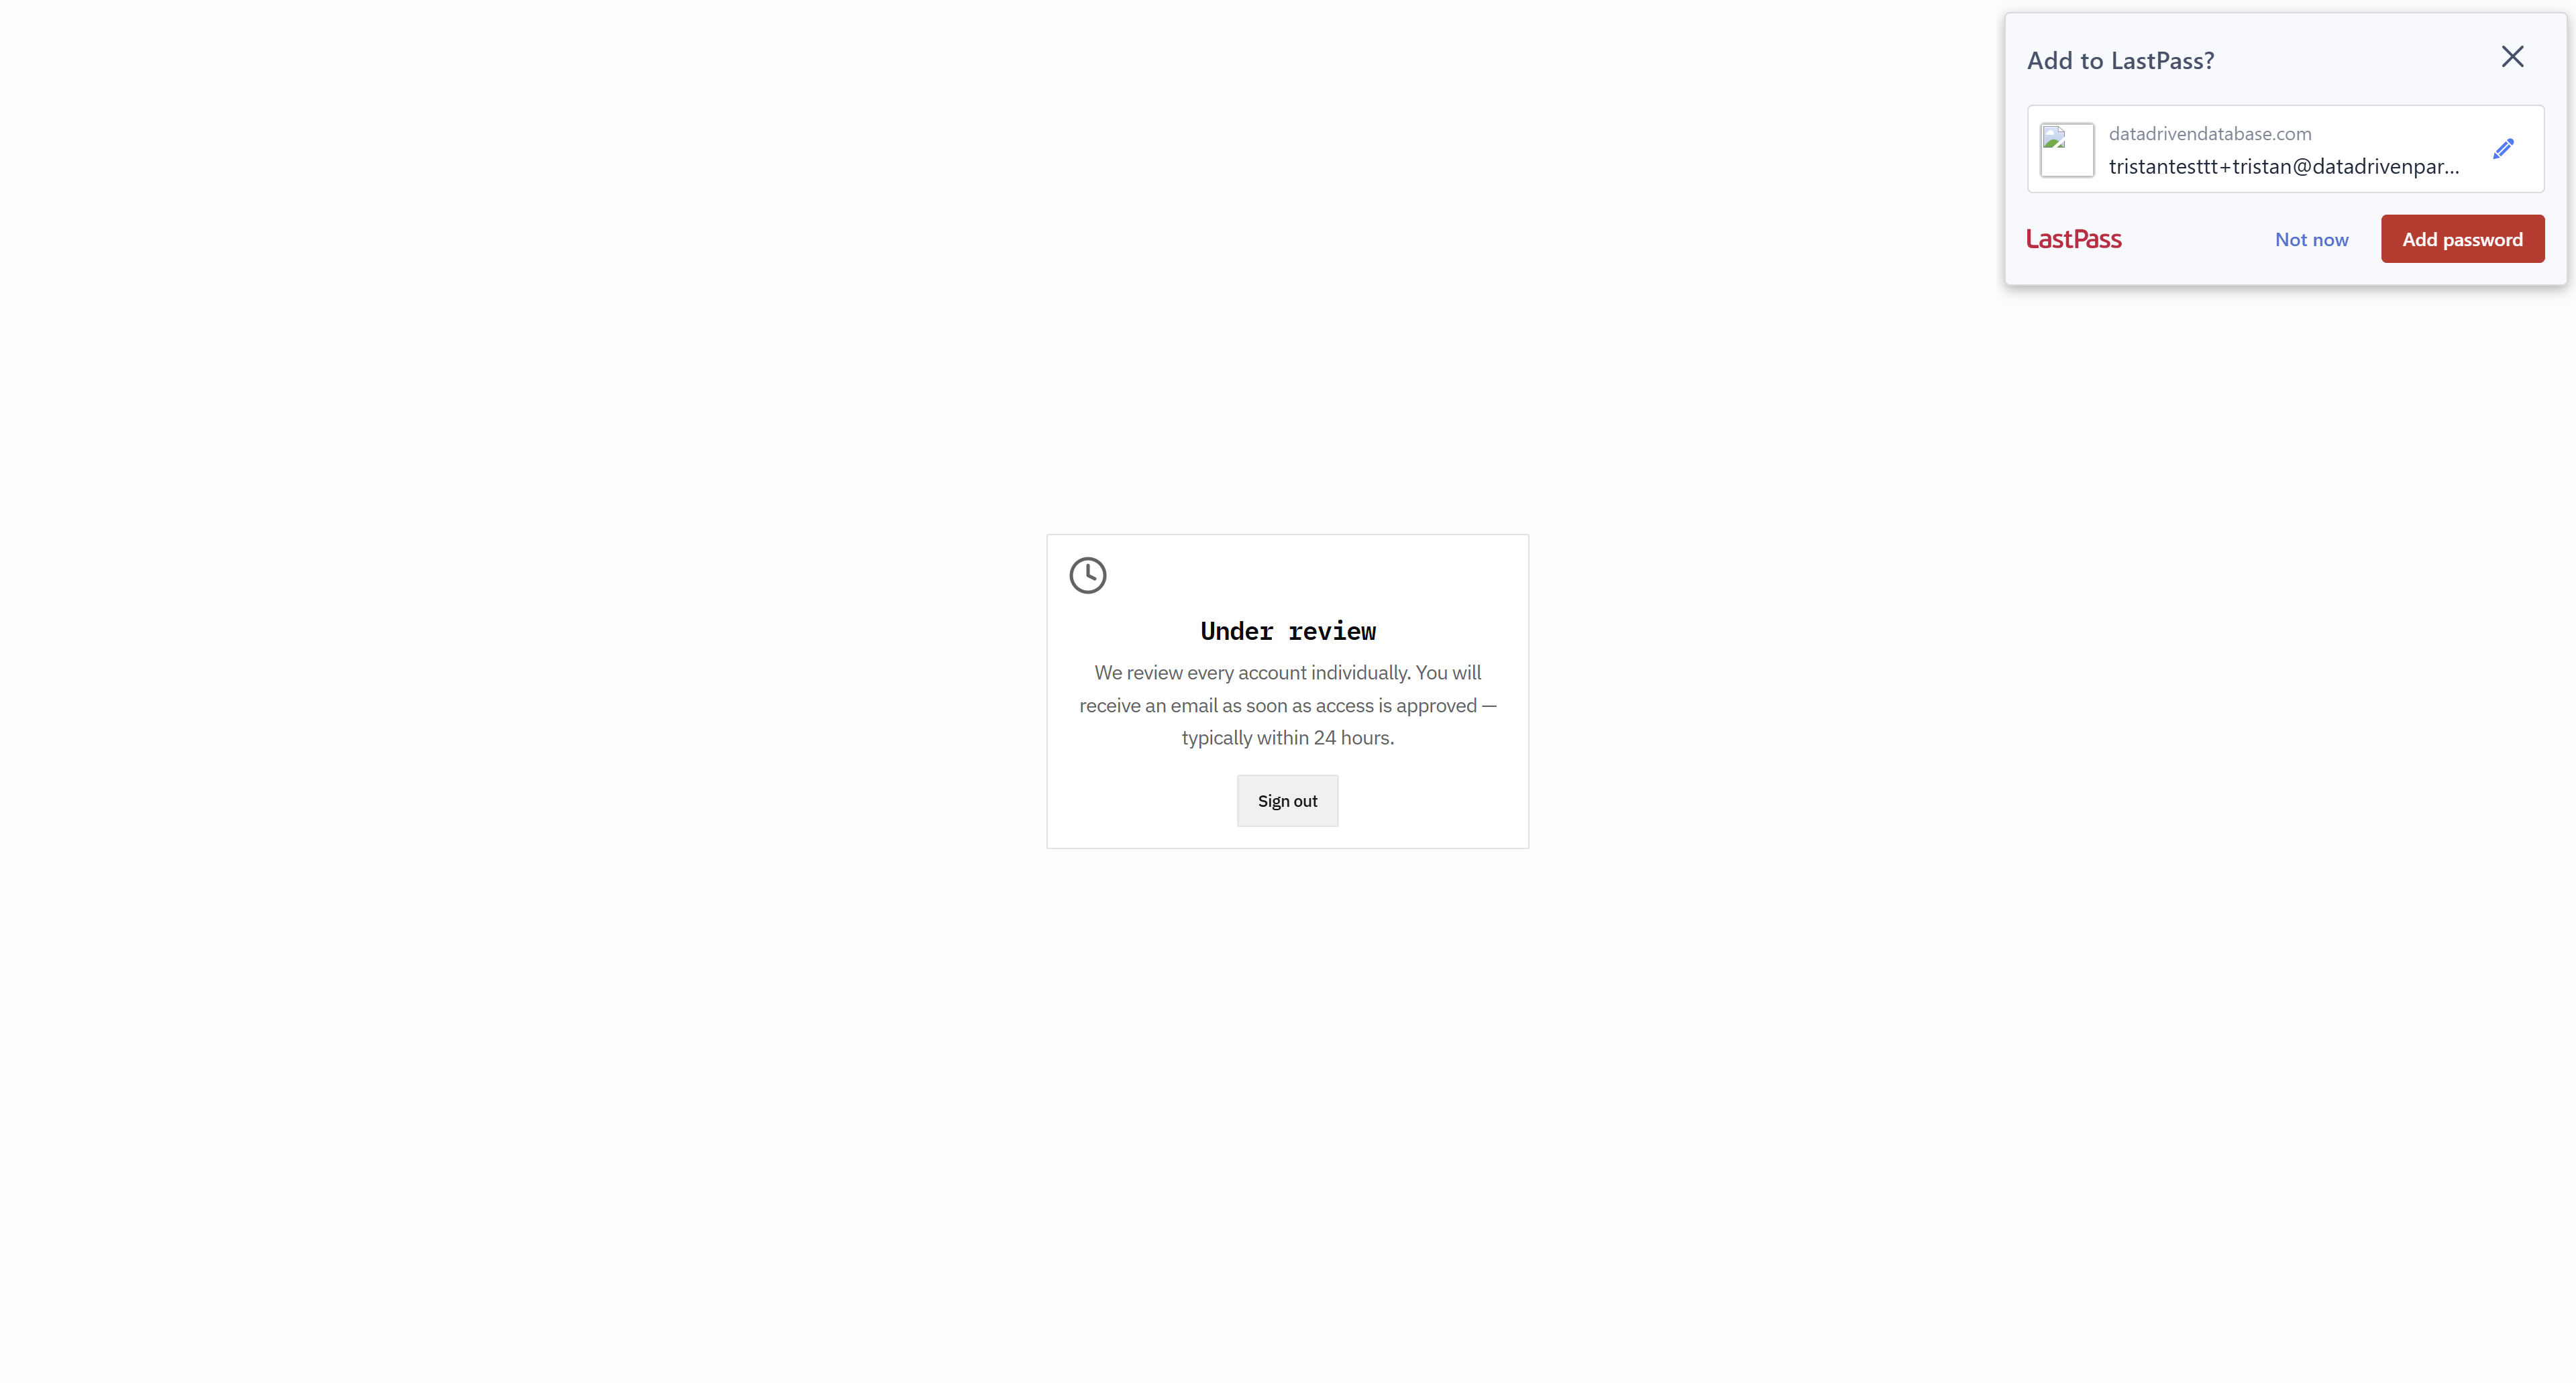
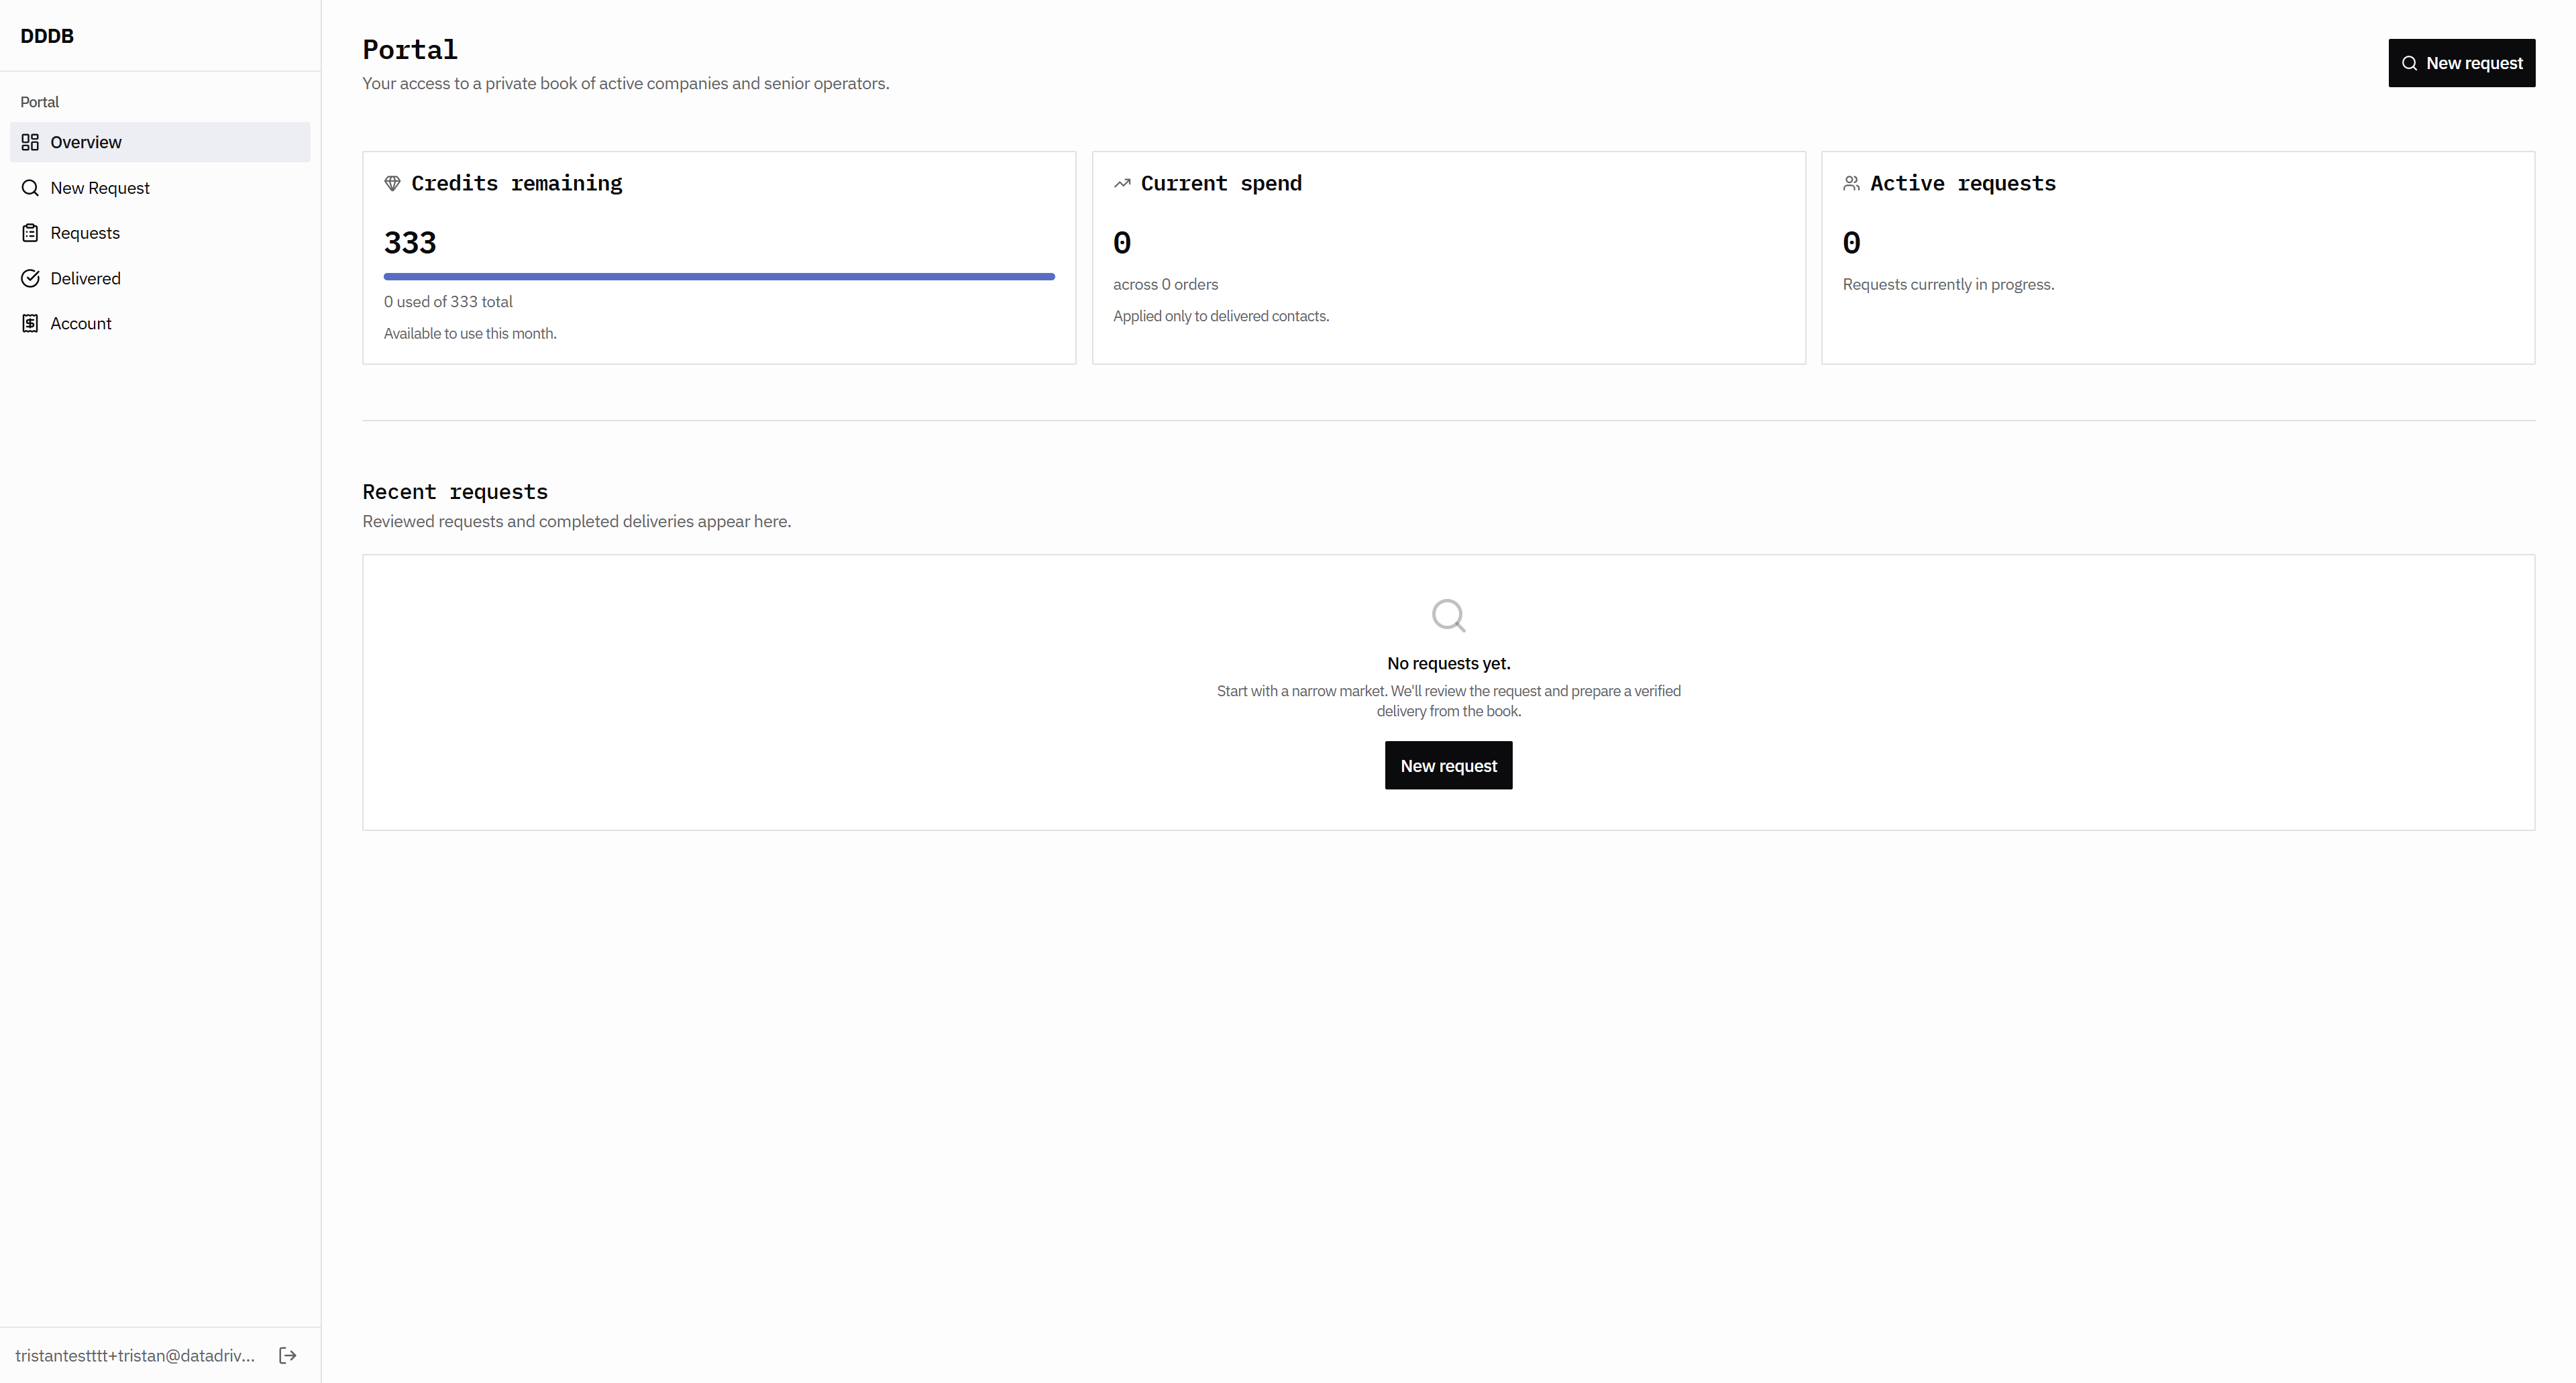
We have free credits, and then there is a monthly allocation of 1,000. Look at the previous generation of this, because it's 300. They receive 333 credits upon signing up. After that, they can purchase 1,000 credits each month. So it's not available ... This would be 333 credits. A different category would show the total amount spent, such as the total monthly allotment used.

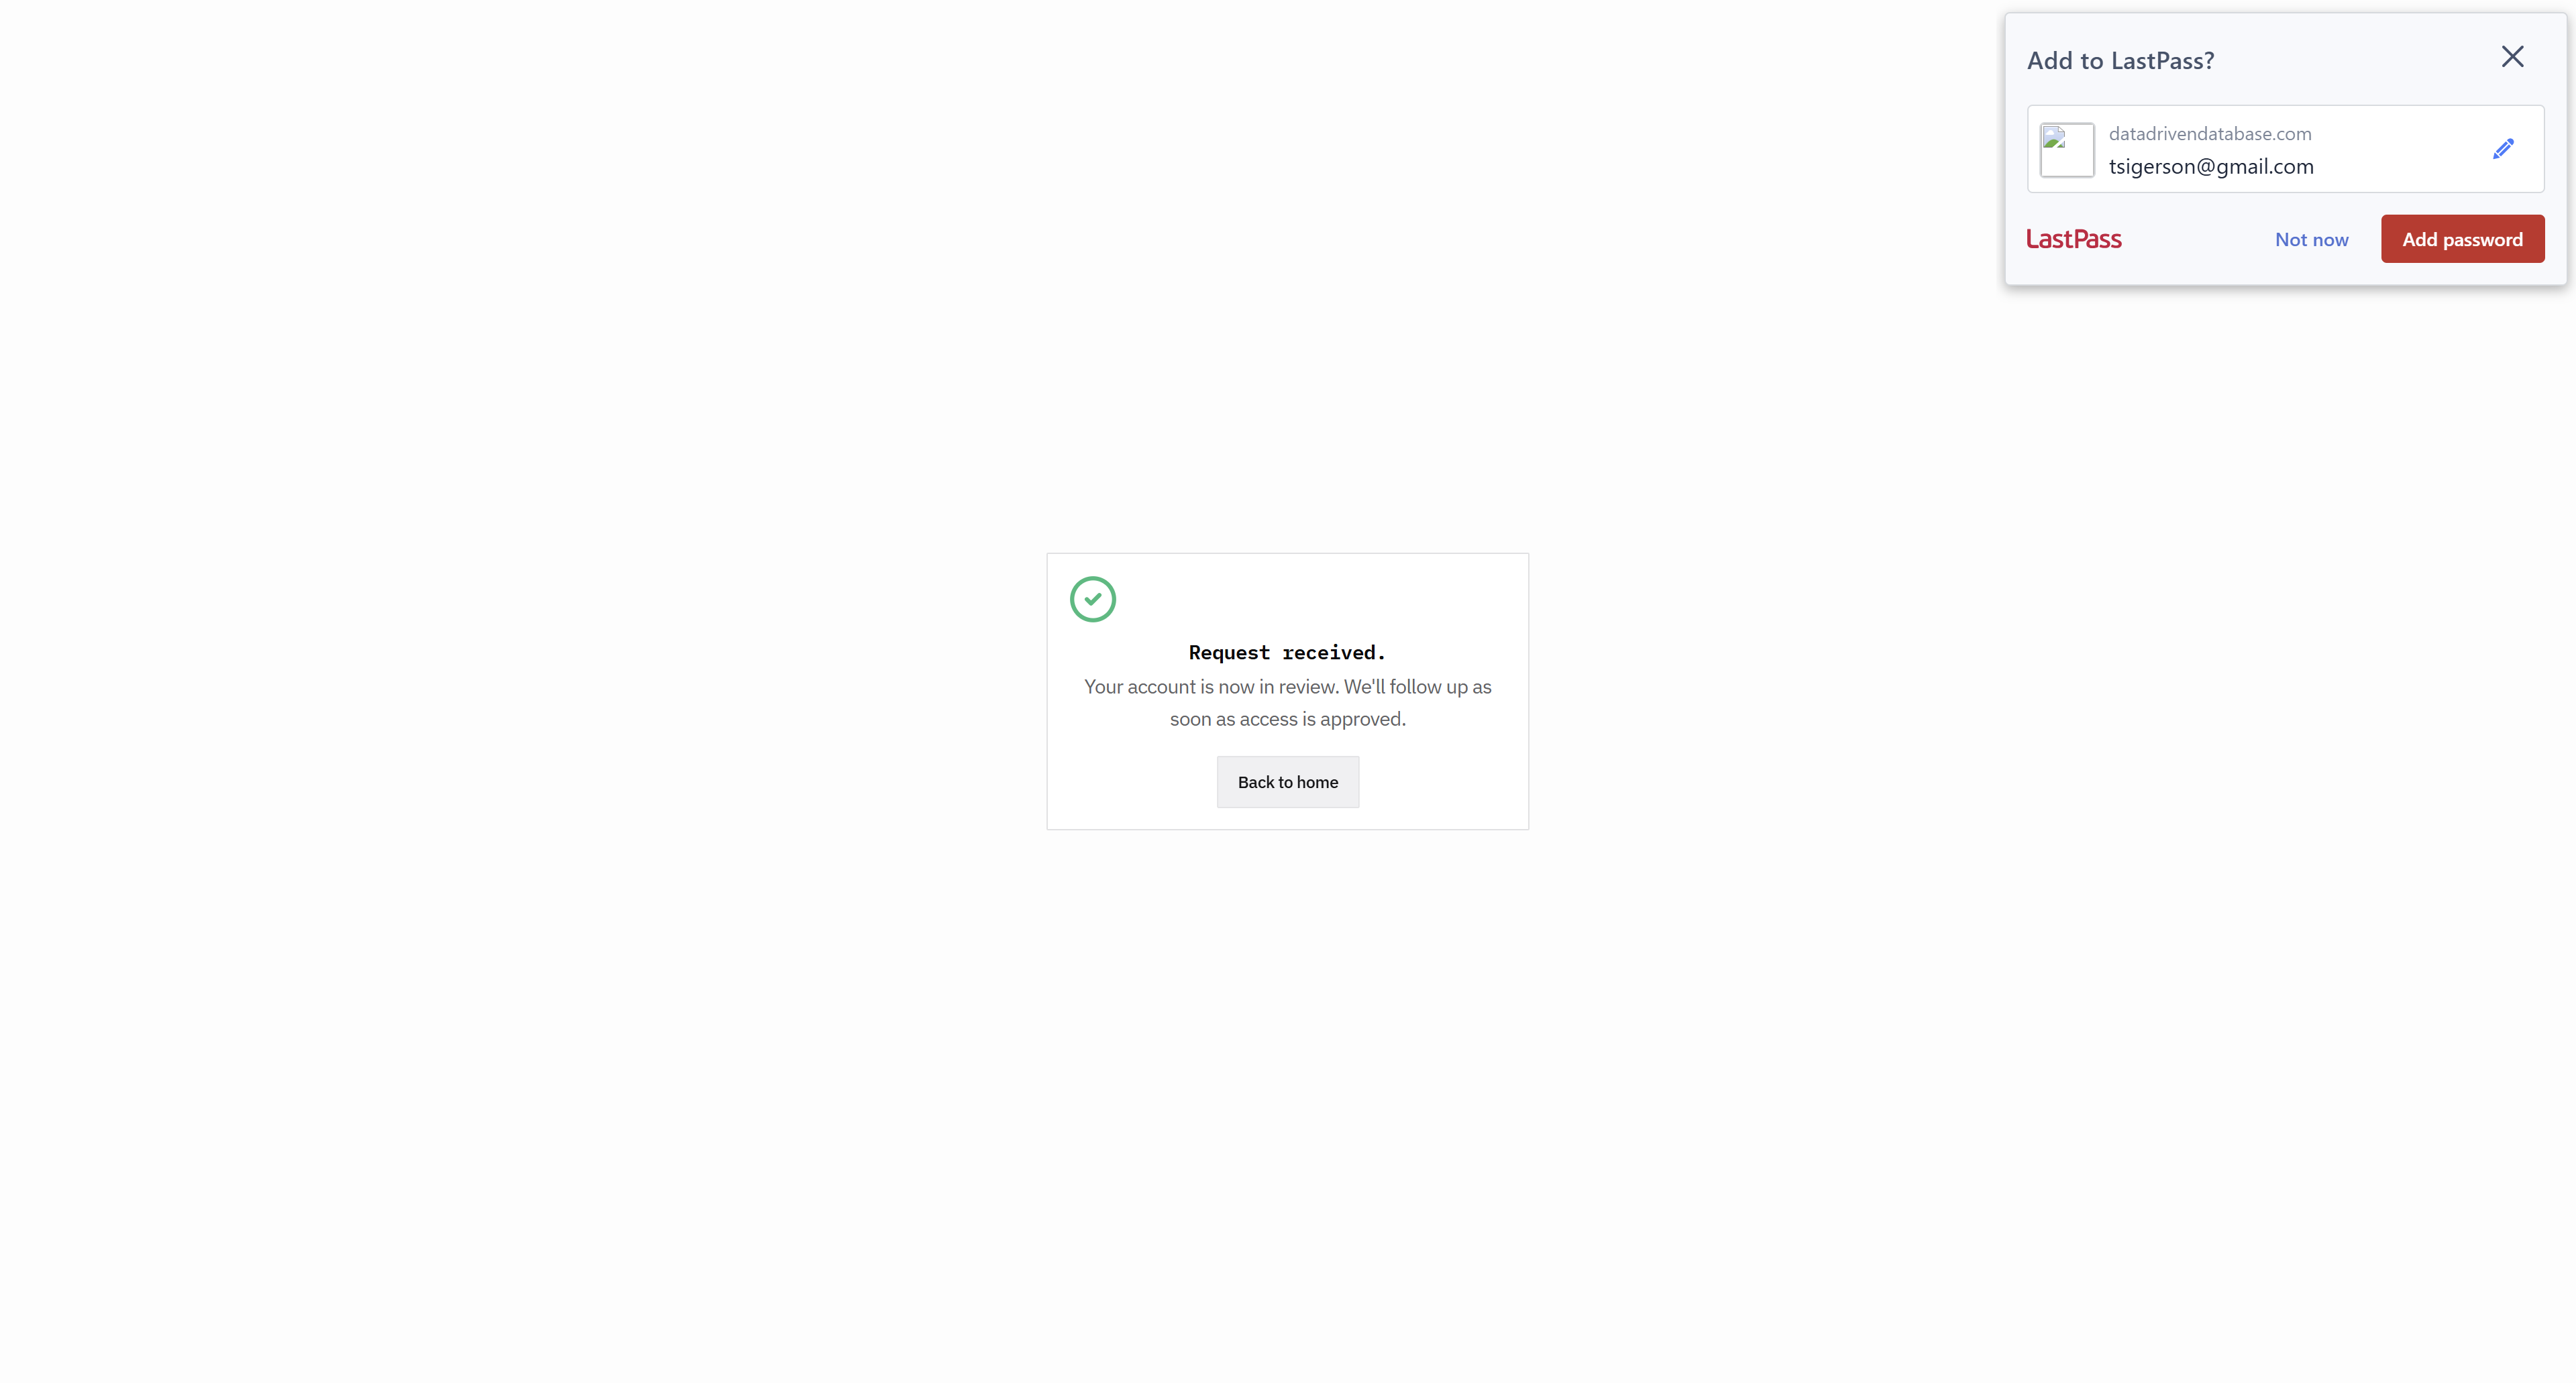
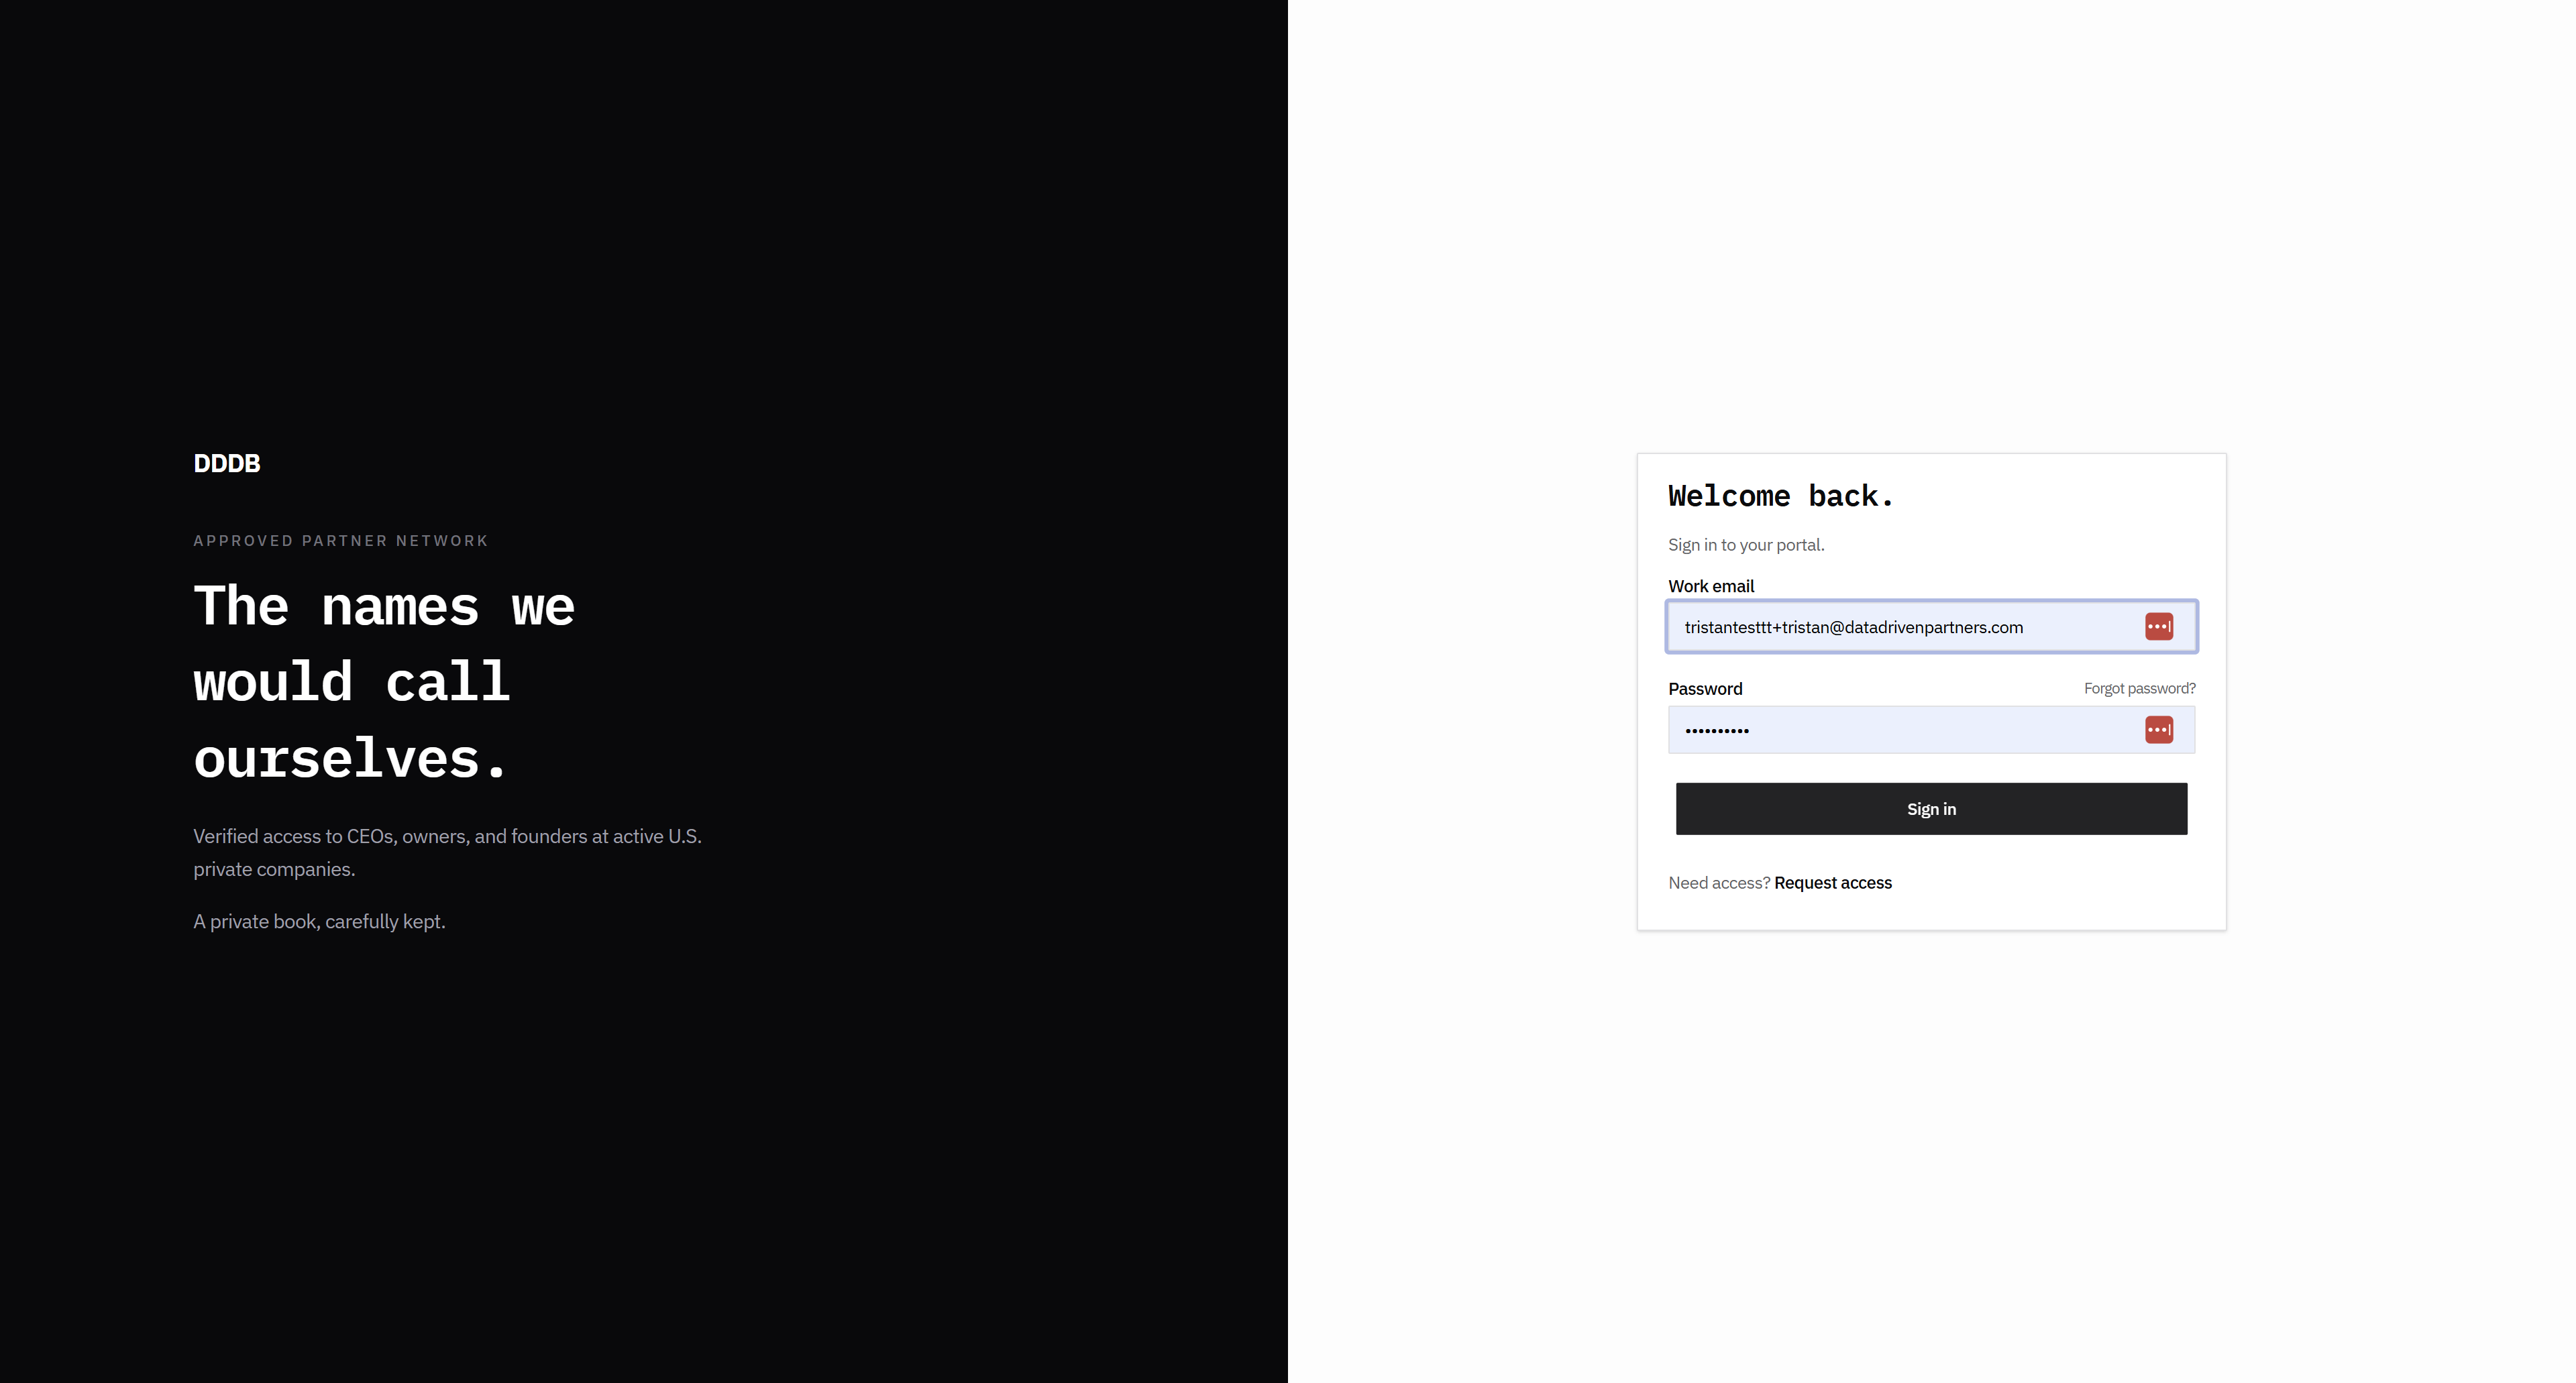
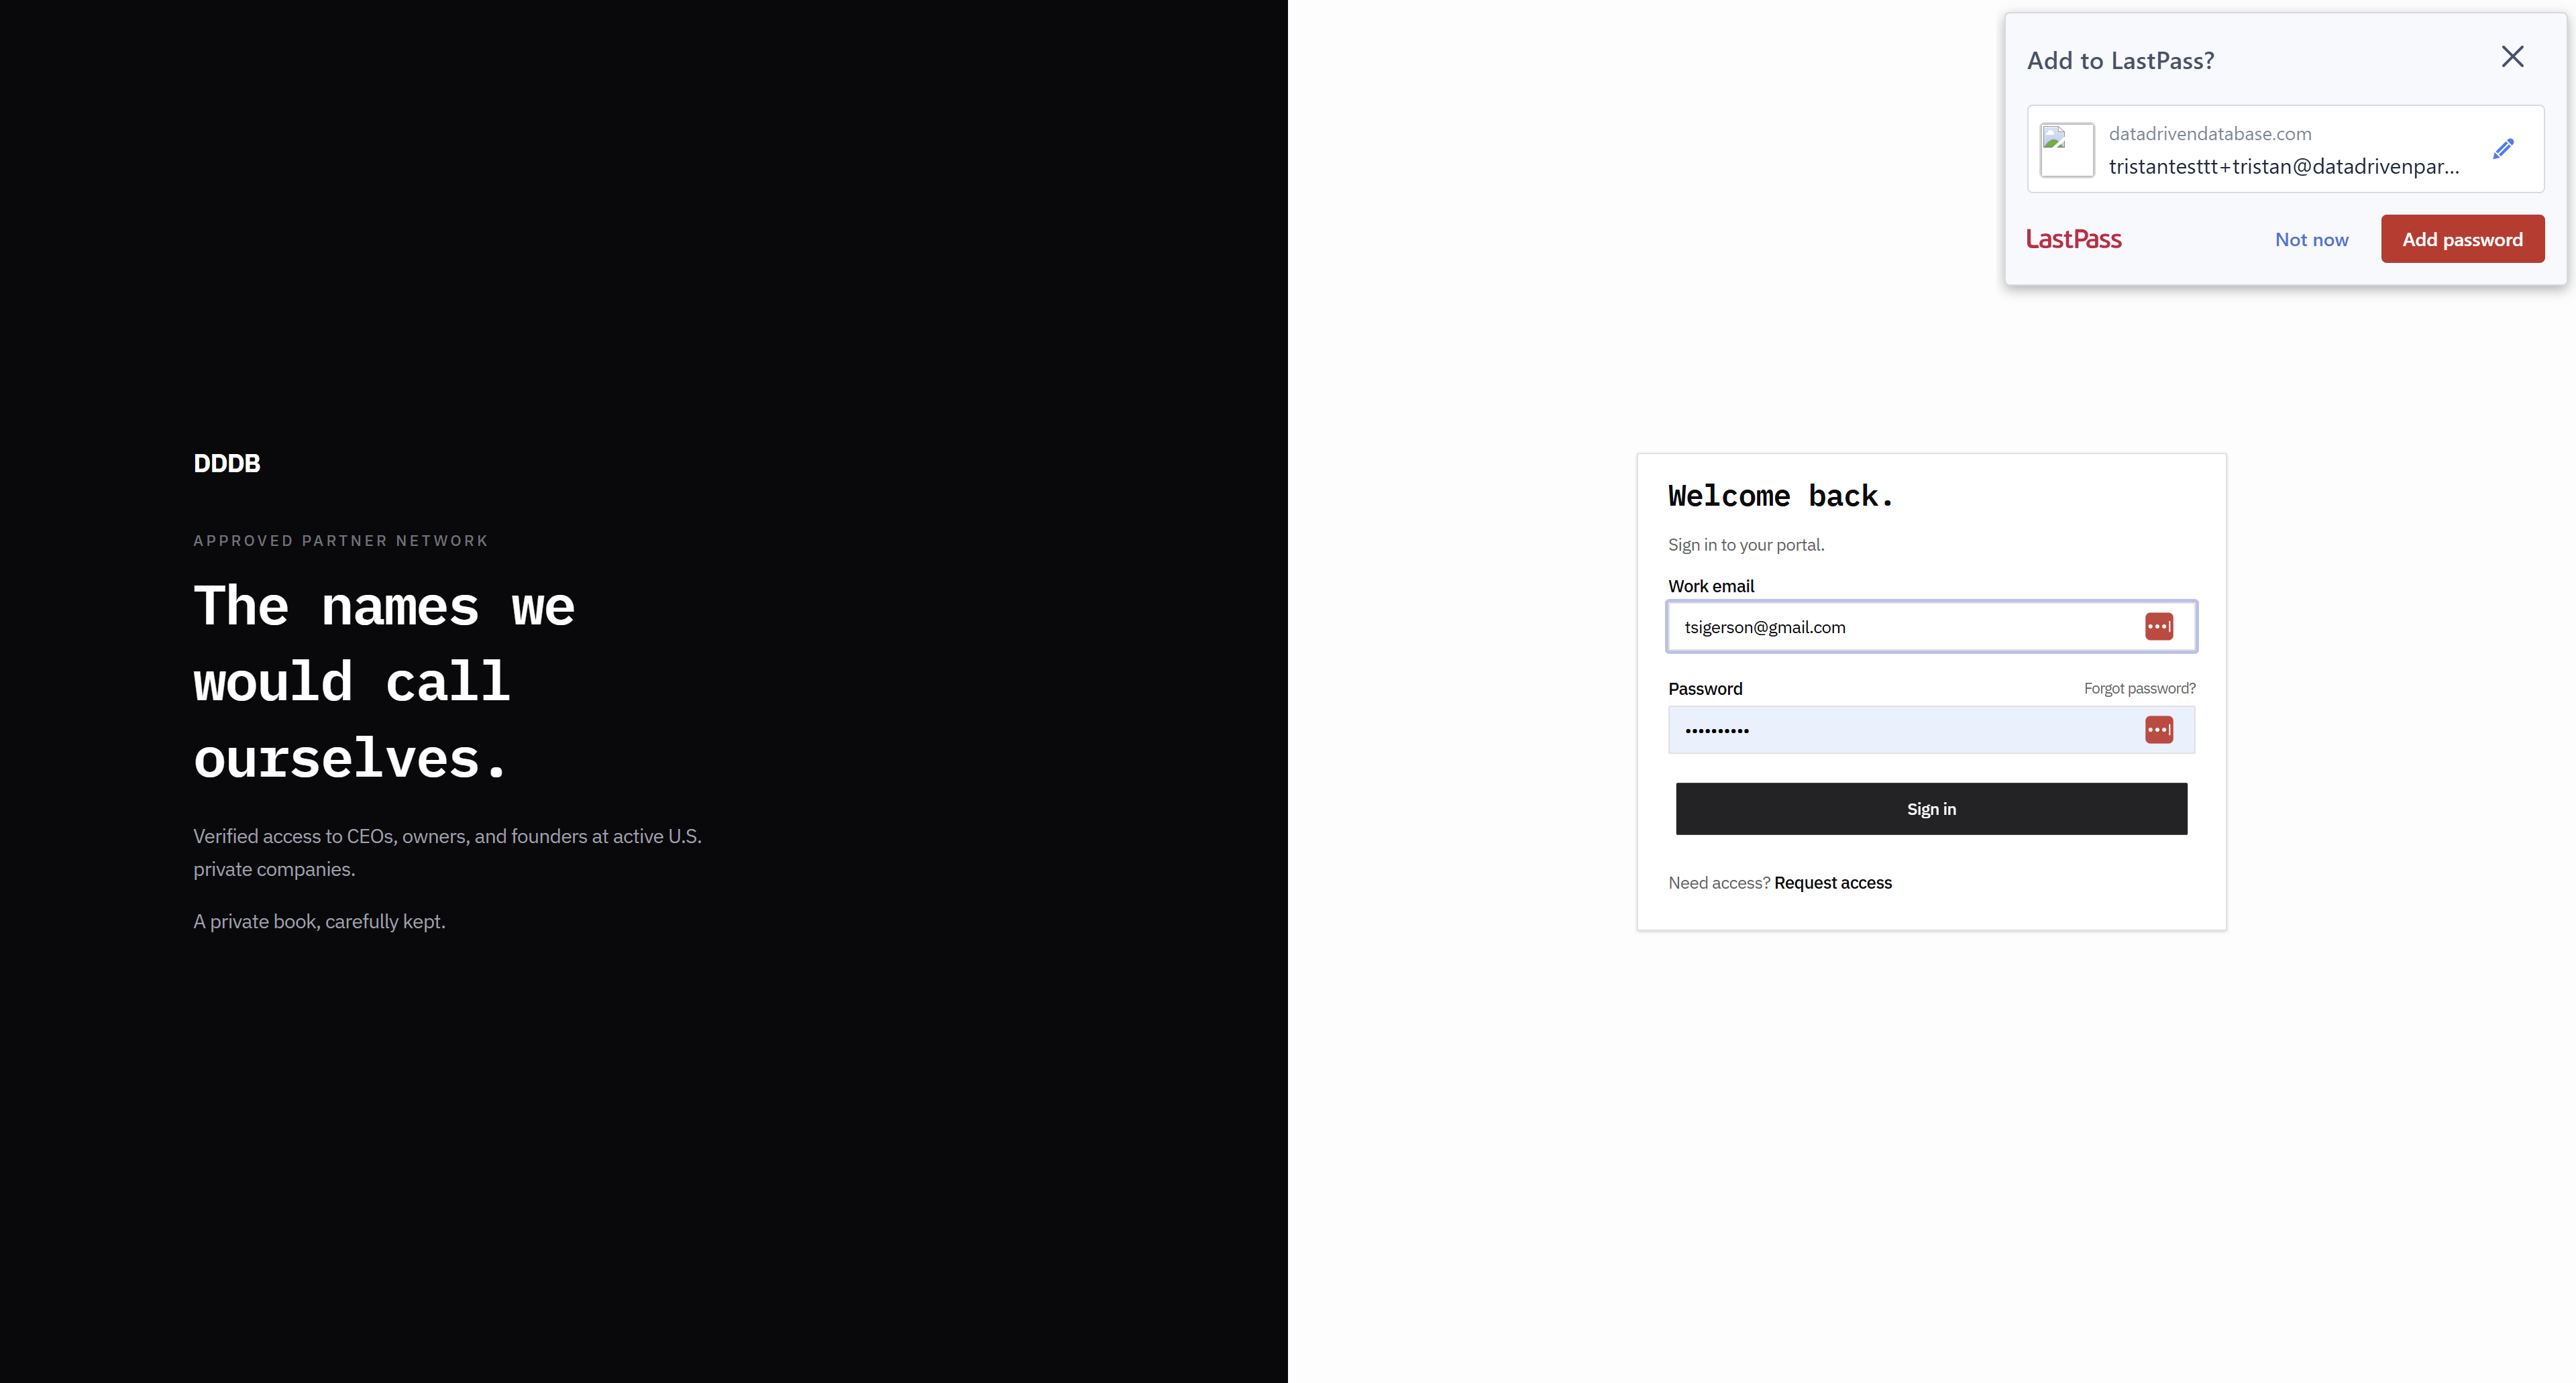
I'm not sure if this token is saved in the browser or why it is pre-populated on this screen or in the search.

58
Click on "Portal"
Step #58: Click on "Portal"
59
Click here
Step #59: Click here
60
Click on "Overview"
Step #60: Click on "Overview"
61
Click on "Overview"
Step #61: Click on "Overview"
62
Click here
Step #62: Click here
63
Click here
Step #63: Click here
64
Click on "Overview"
Step #64: Click on "Overview"
65
Click here
Step #65: Click here
66
Click here
Step #66: Click here

The session should follow best practices. I'm not sure if I left this at this stage last time, but I don't think so. I think it's from a different account. Here, this goes to one.

67
Click here
Step #67: Click here
68
Click here
Step #68: Click here
69
Click on "Define your market"
Step #69: Click on "Define your market"
70
Type "Backspace"
71
Type "Backspace"
72
Type "Backspace"
73
Type "Backspace"
74
Type "Backspace"
75
Type "Backspace"
76
Type "Backspace"
77
Type "Backspace"
78
Type "Backspace"

I understand that's the minimum.

79
Type "Backspace"
80
Type "Backspace"
81
Type "Backspace"

If I try two, I can't write two thousand.

82
Type "Backspace"

I can't write 2,000, get back to 300, or figure out how to do this in this field.

83
Type "Backspace"
84
Type "Backspace"
85
Type "Backspace"
86
Type "Backspace"
87
Type "Backspace"
88
Type "Backspace"

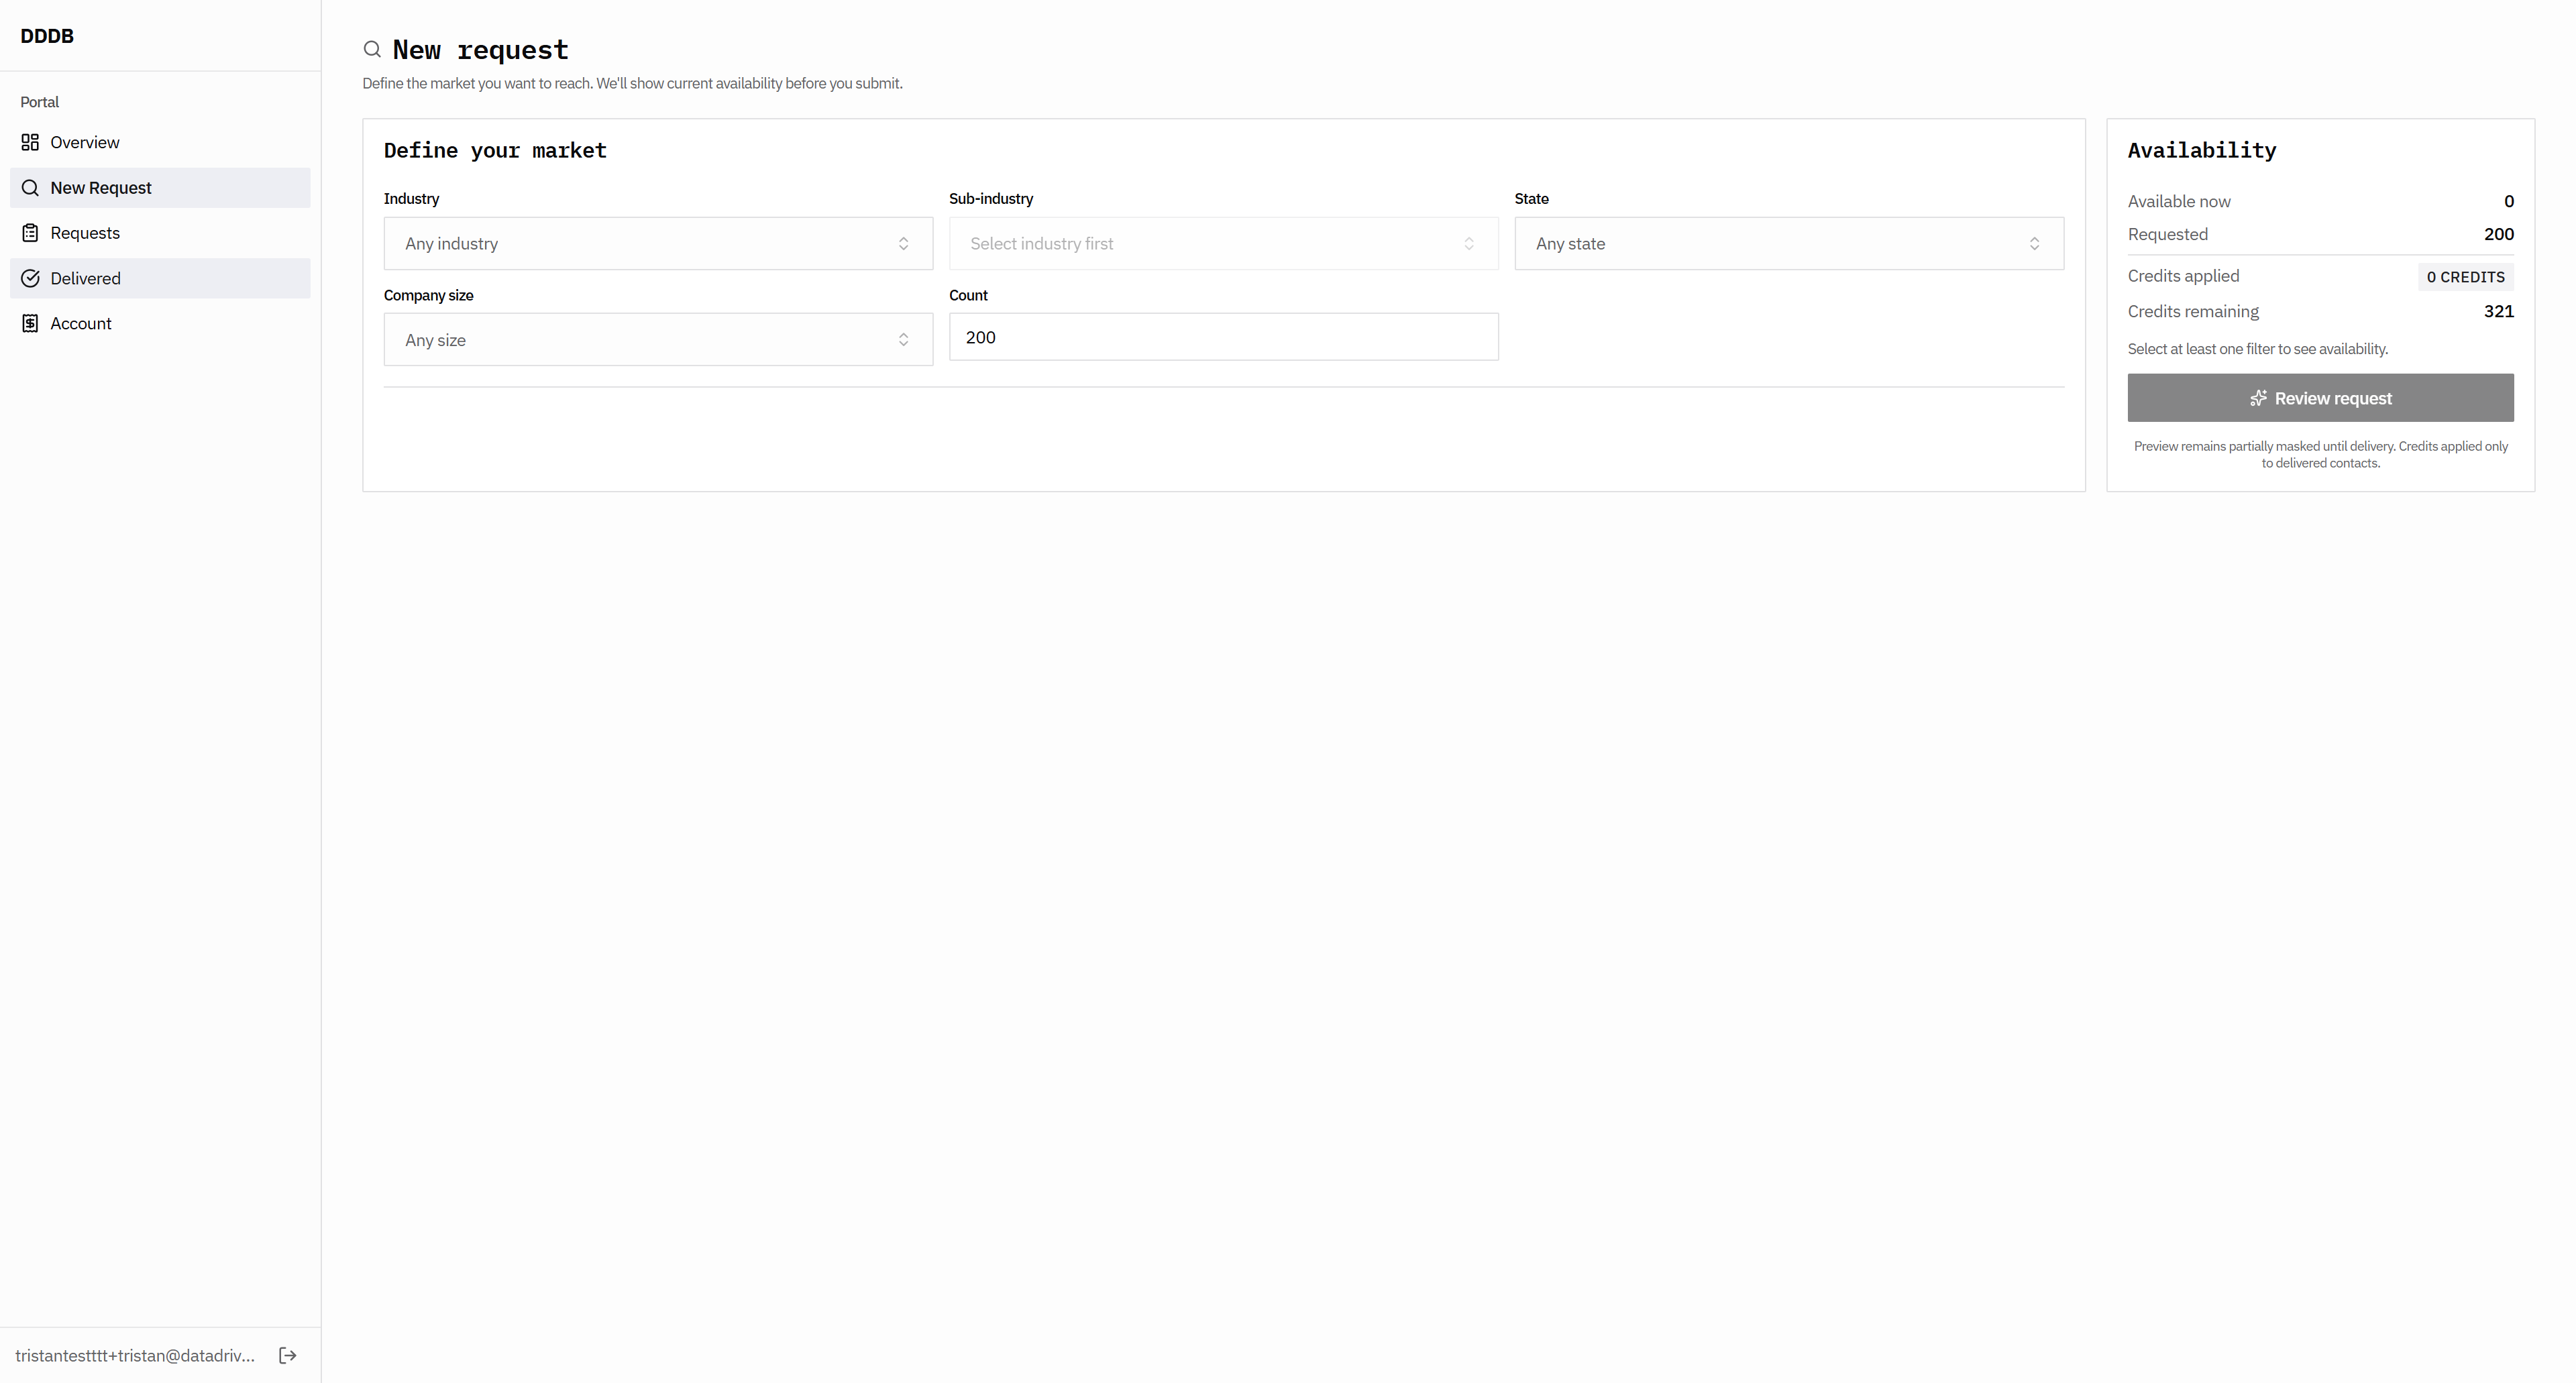
I'm not sure where it says, "1001 available now." Every time I click here, the total available should be different from what you can order for a month.

89
Type "2"
90
Click here
Step #90: Click here
91
Click here
Step #91: Click here
92
Click here
Step #92: Click here
93
Click here
Step #93: Click here
94
Click here
Step #94: Click here
95
Click here
Step #95: Click here
96
Click here
Step #96: Click here
97
Click here
Step #97: Click here

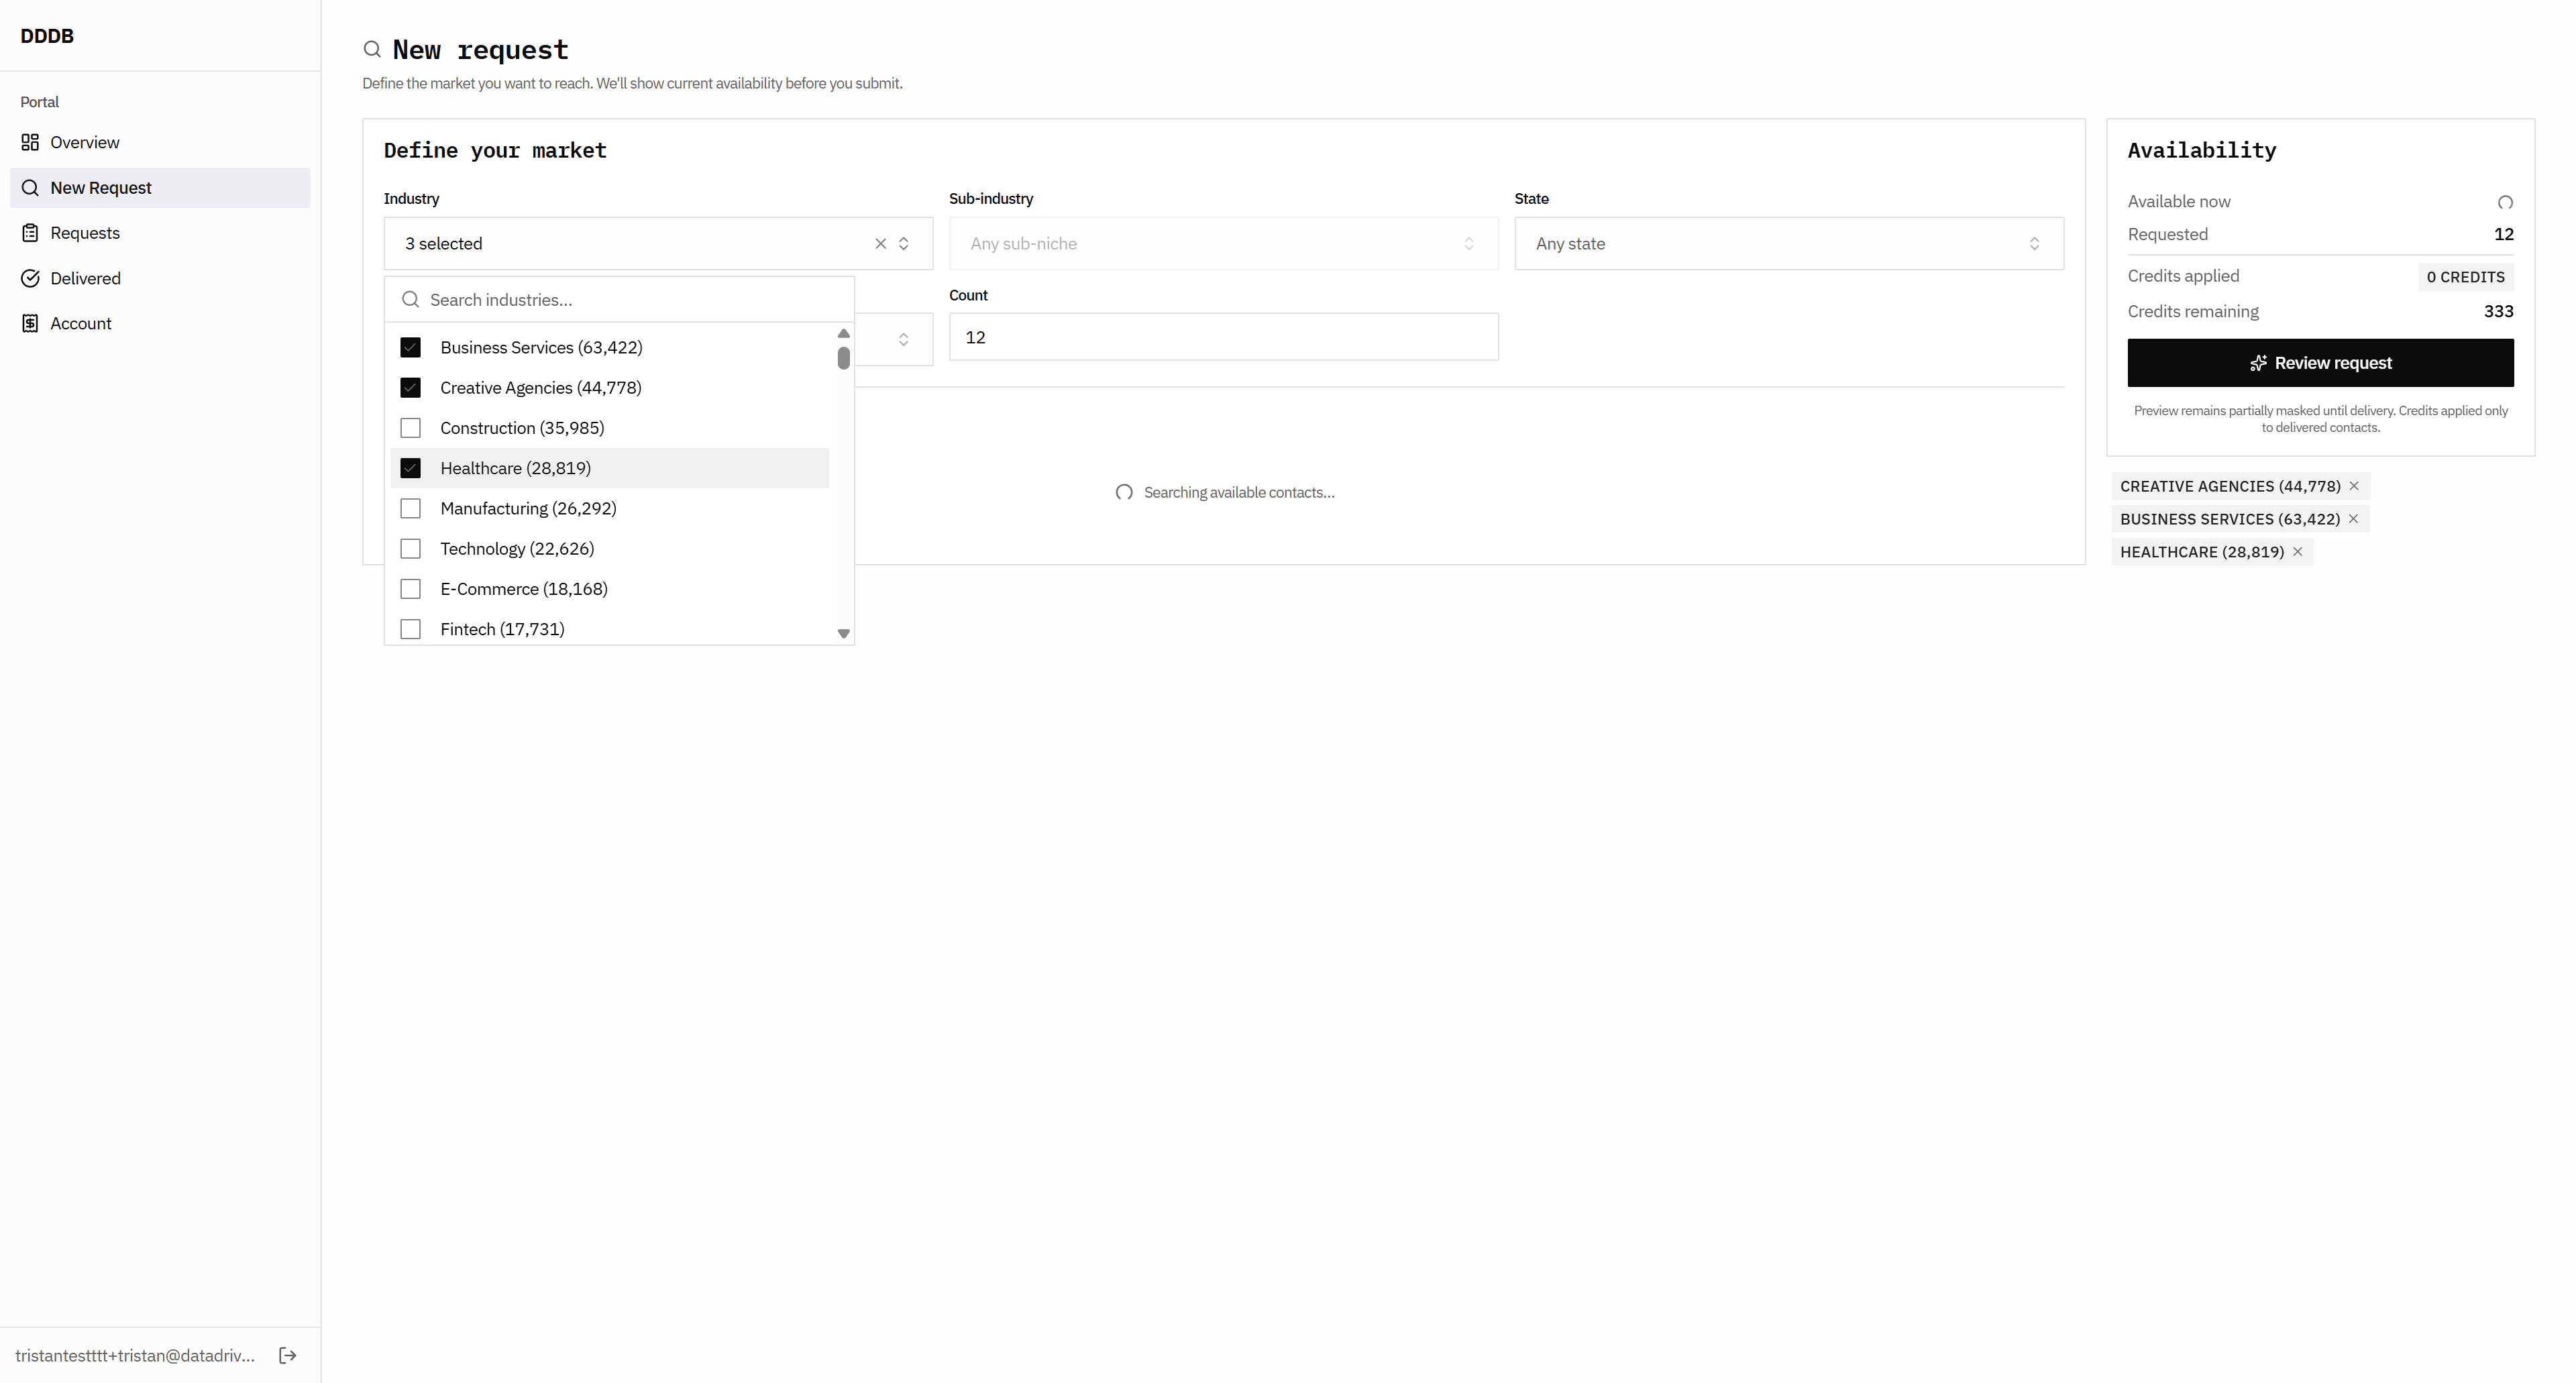
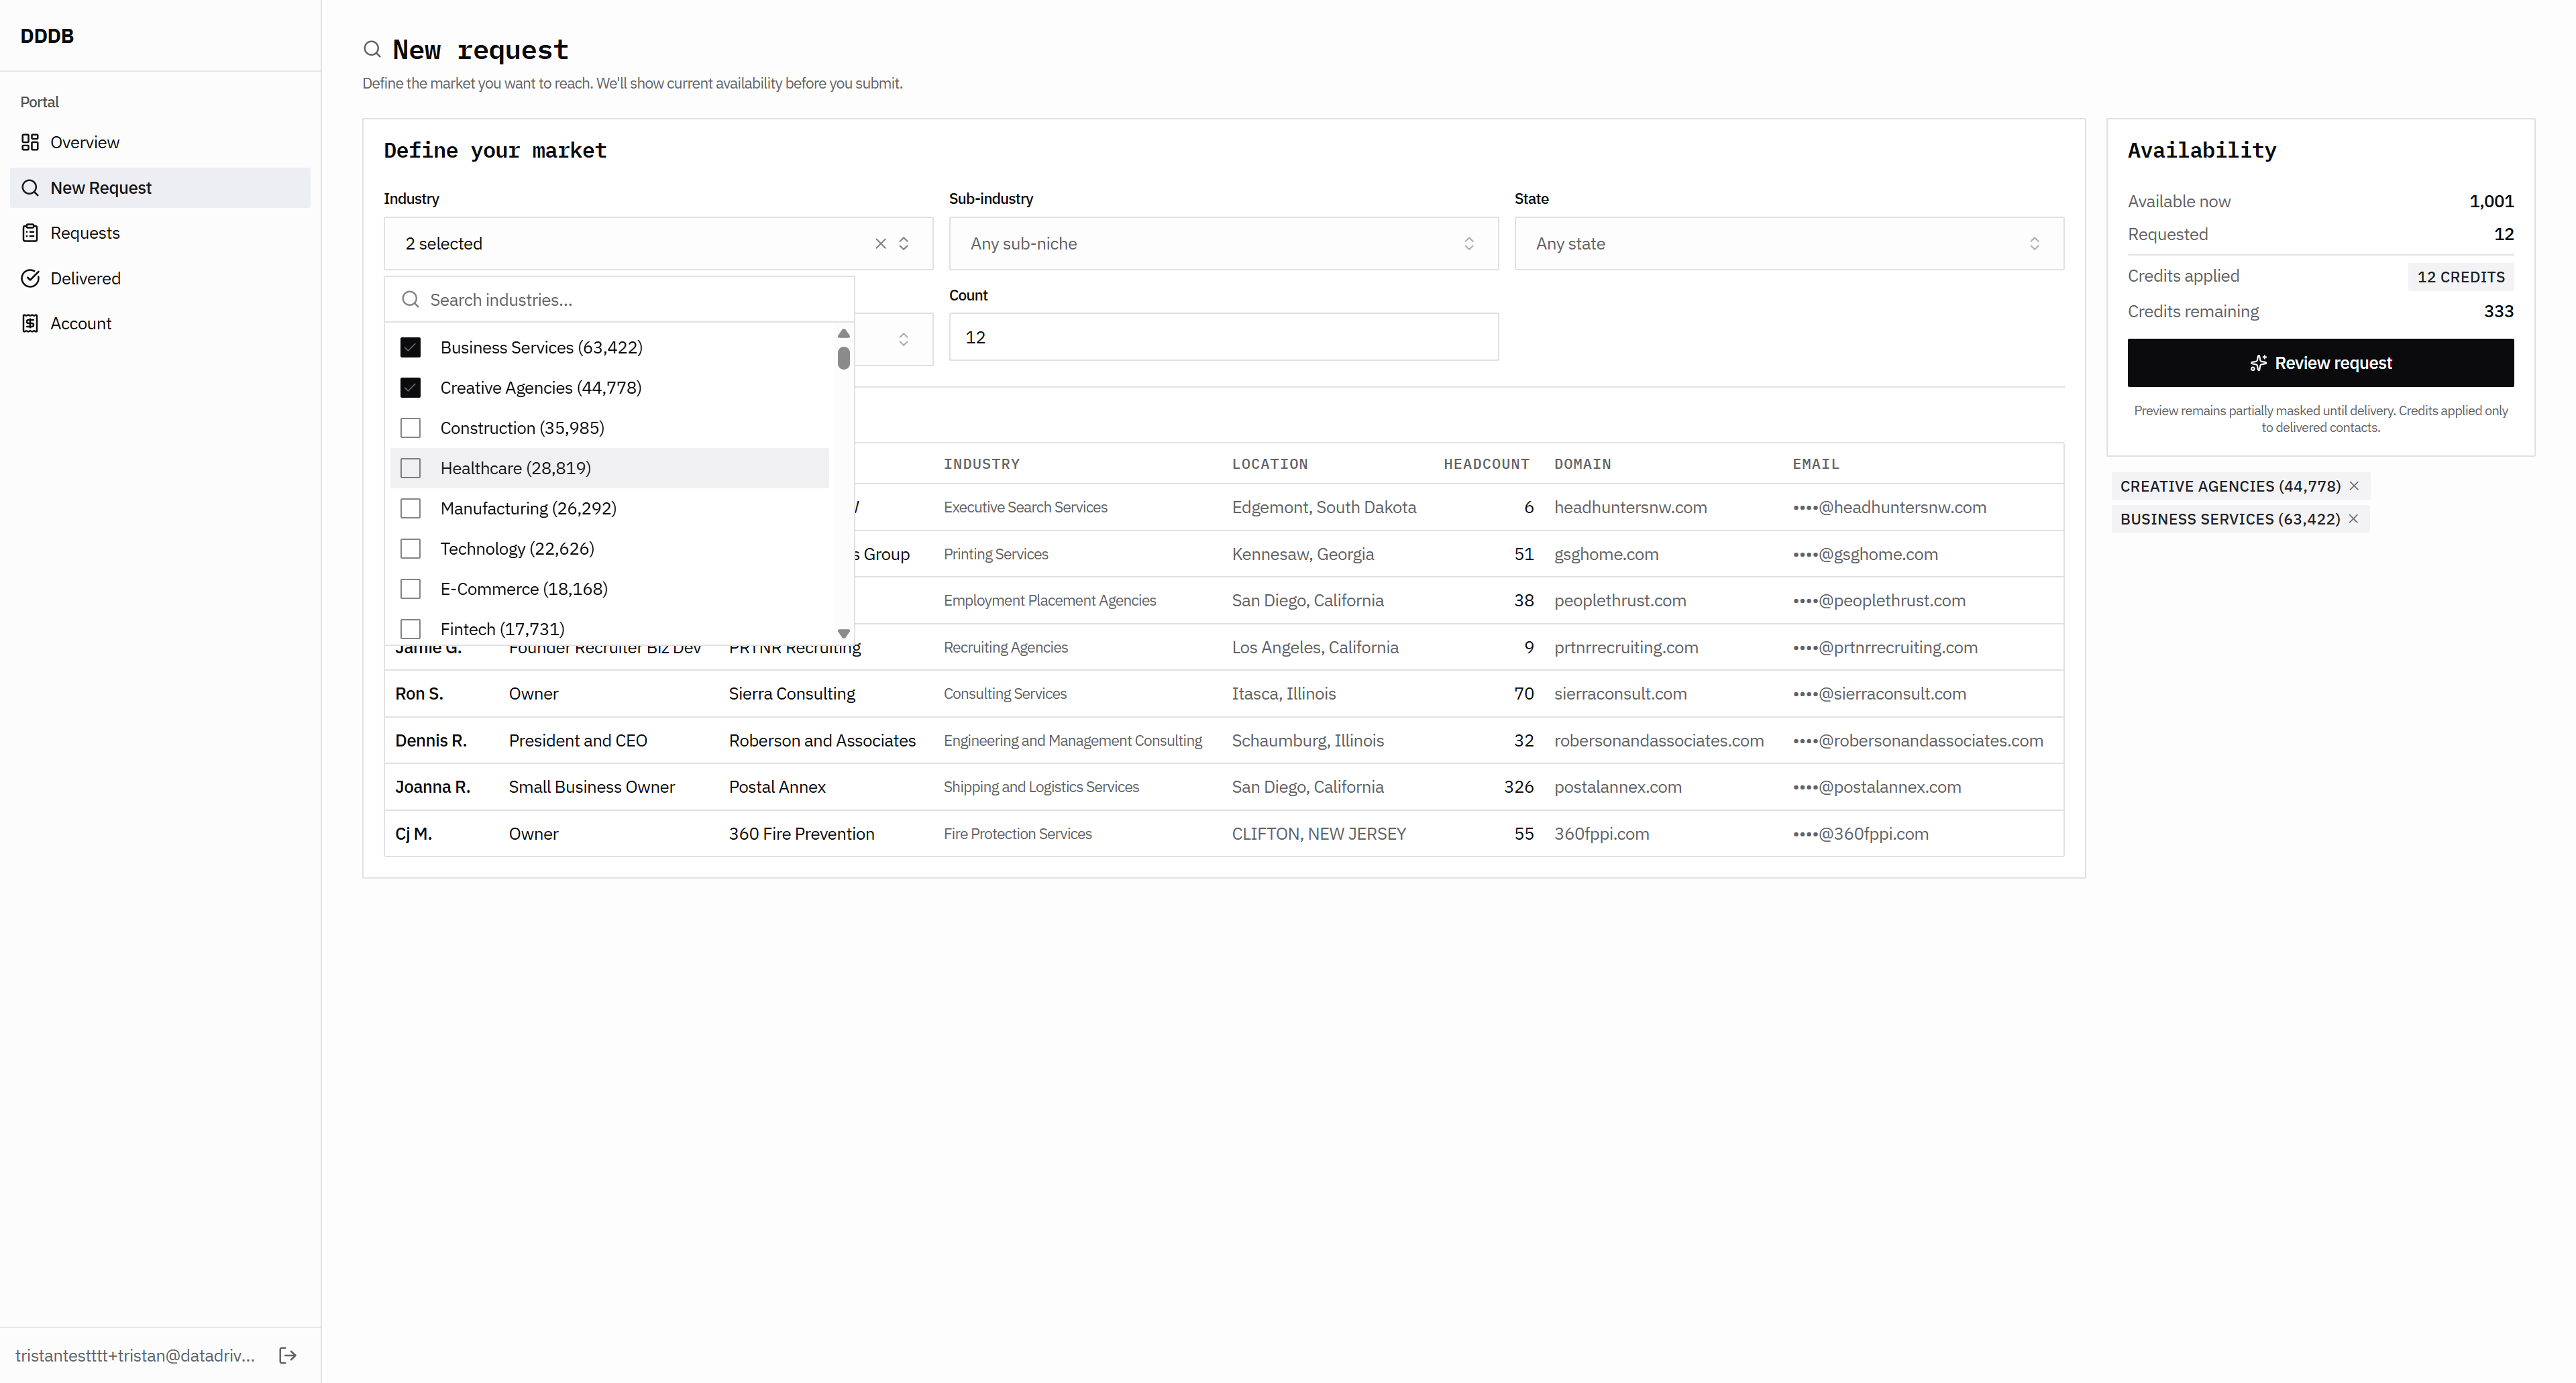
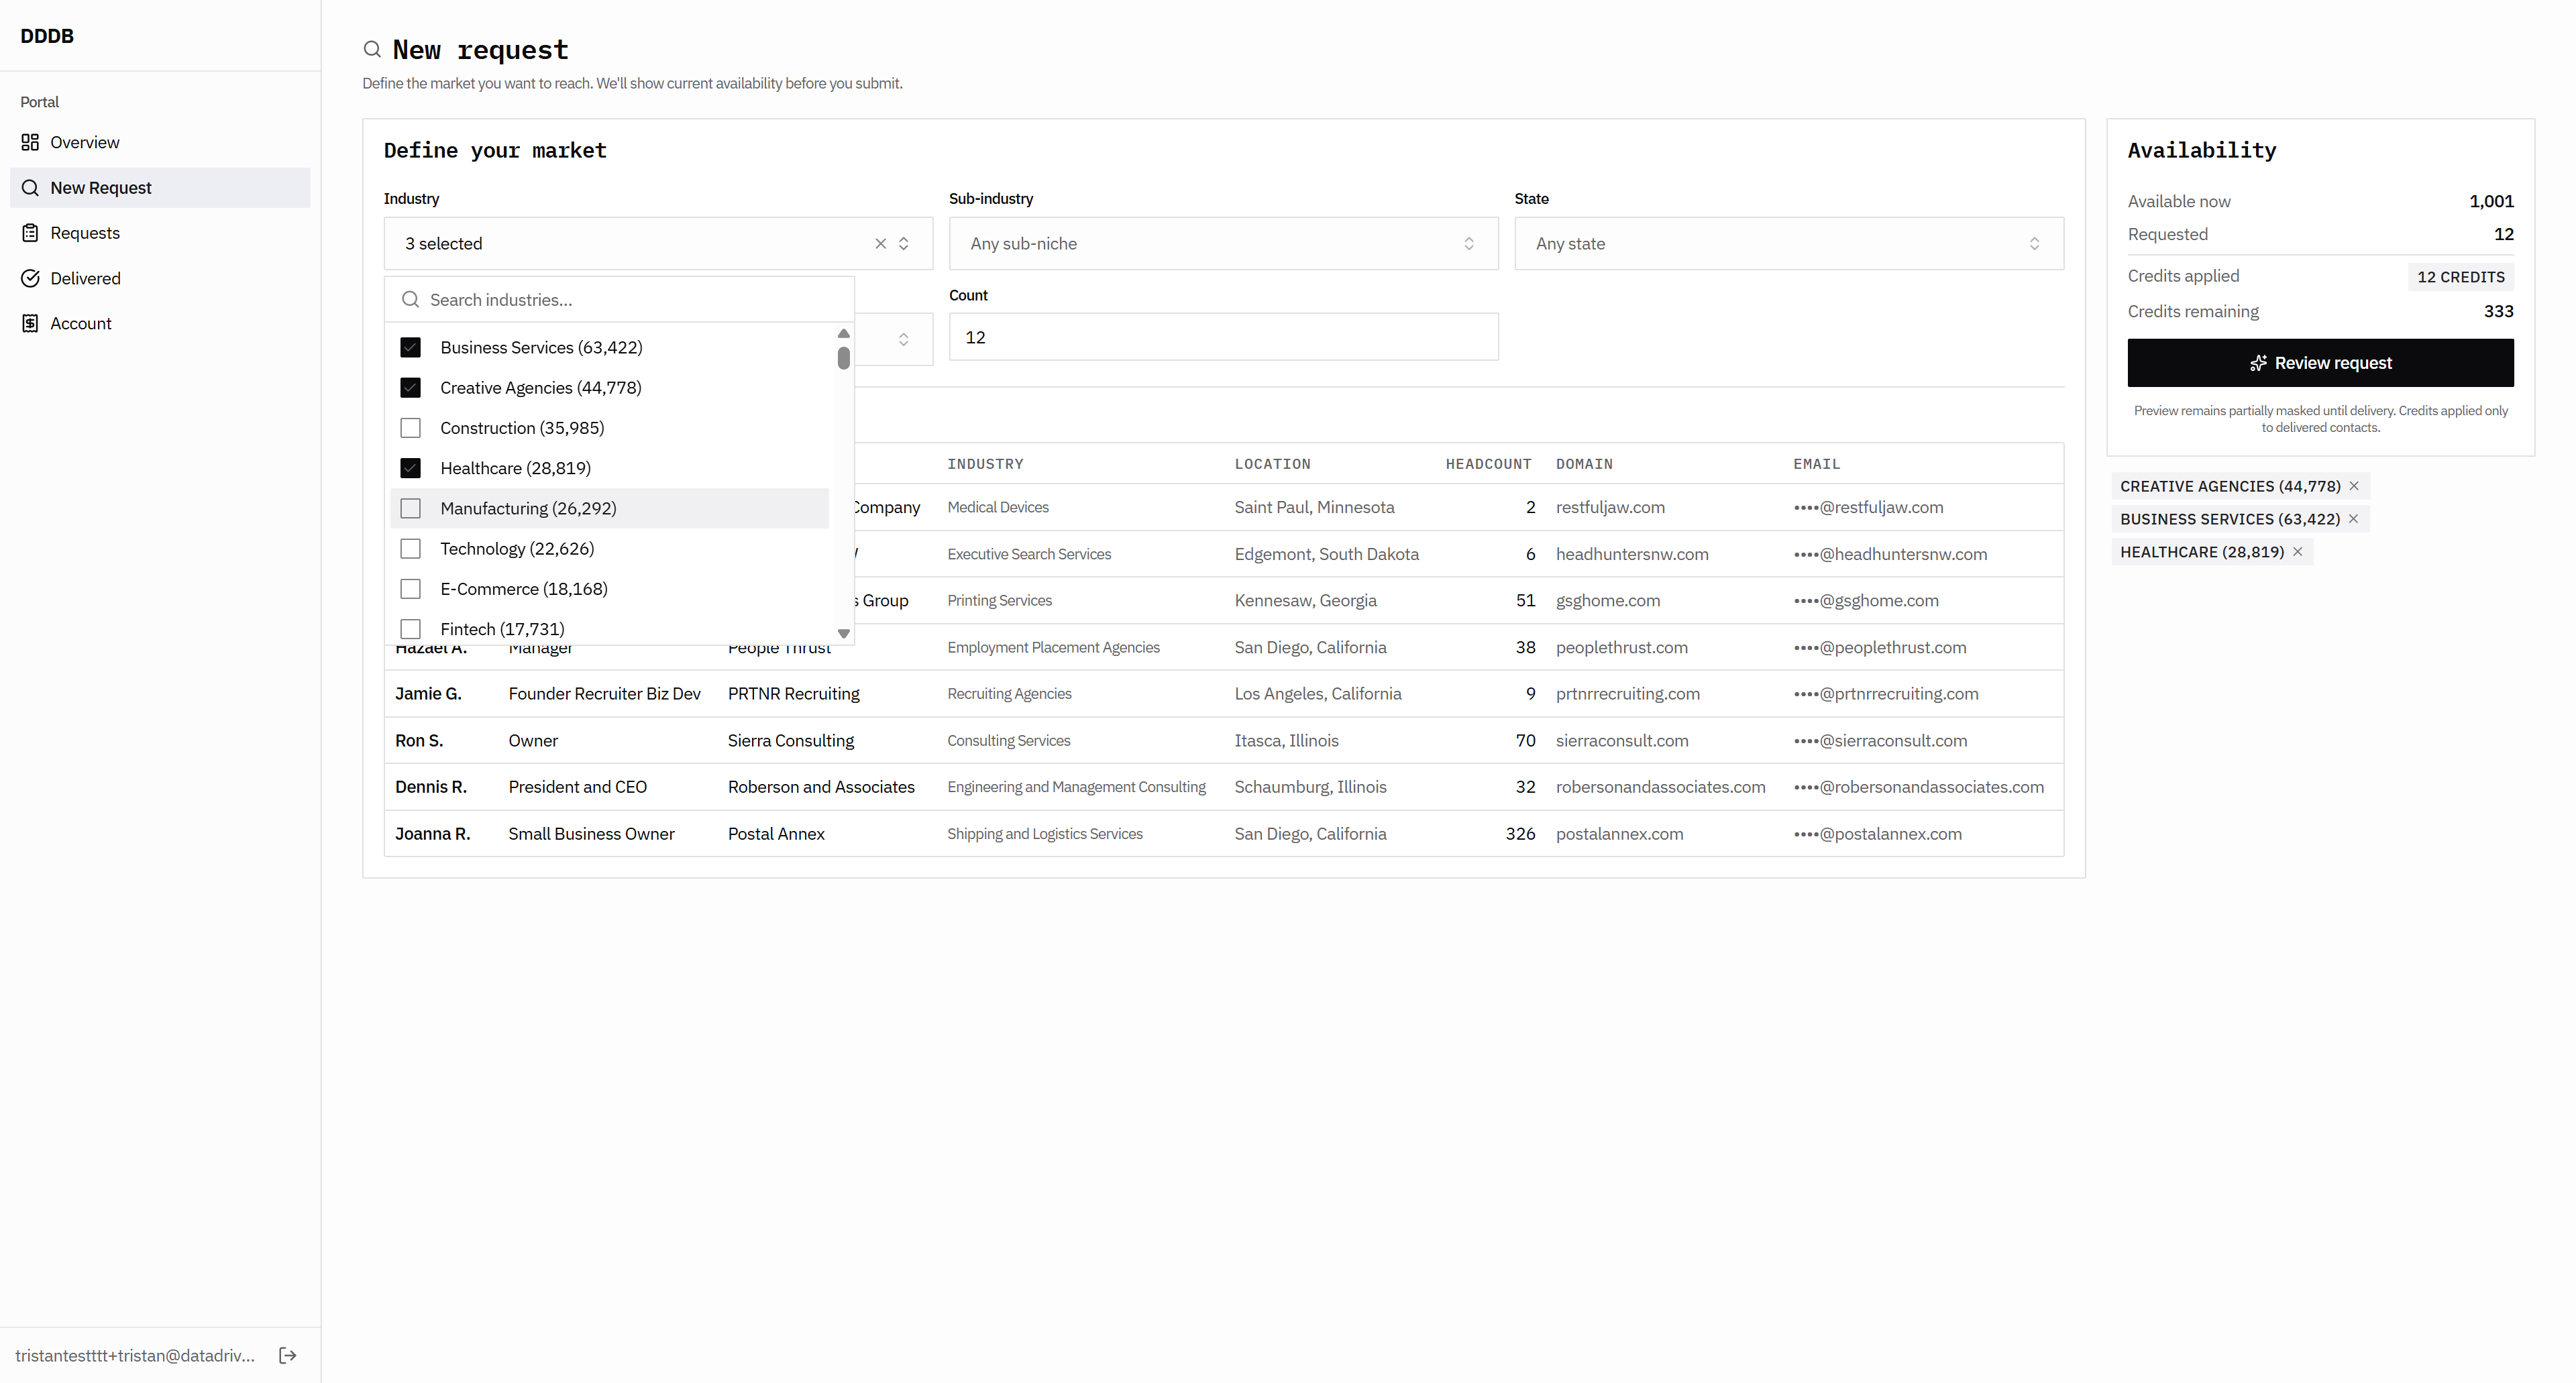
It should show much more available now.

98
Click here
Step #98: Click here
99
Click here
Step #99: Click here
100
Click here
Step #100: Click here

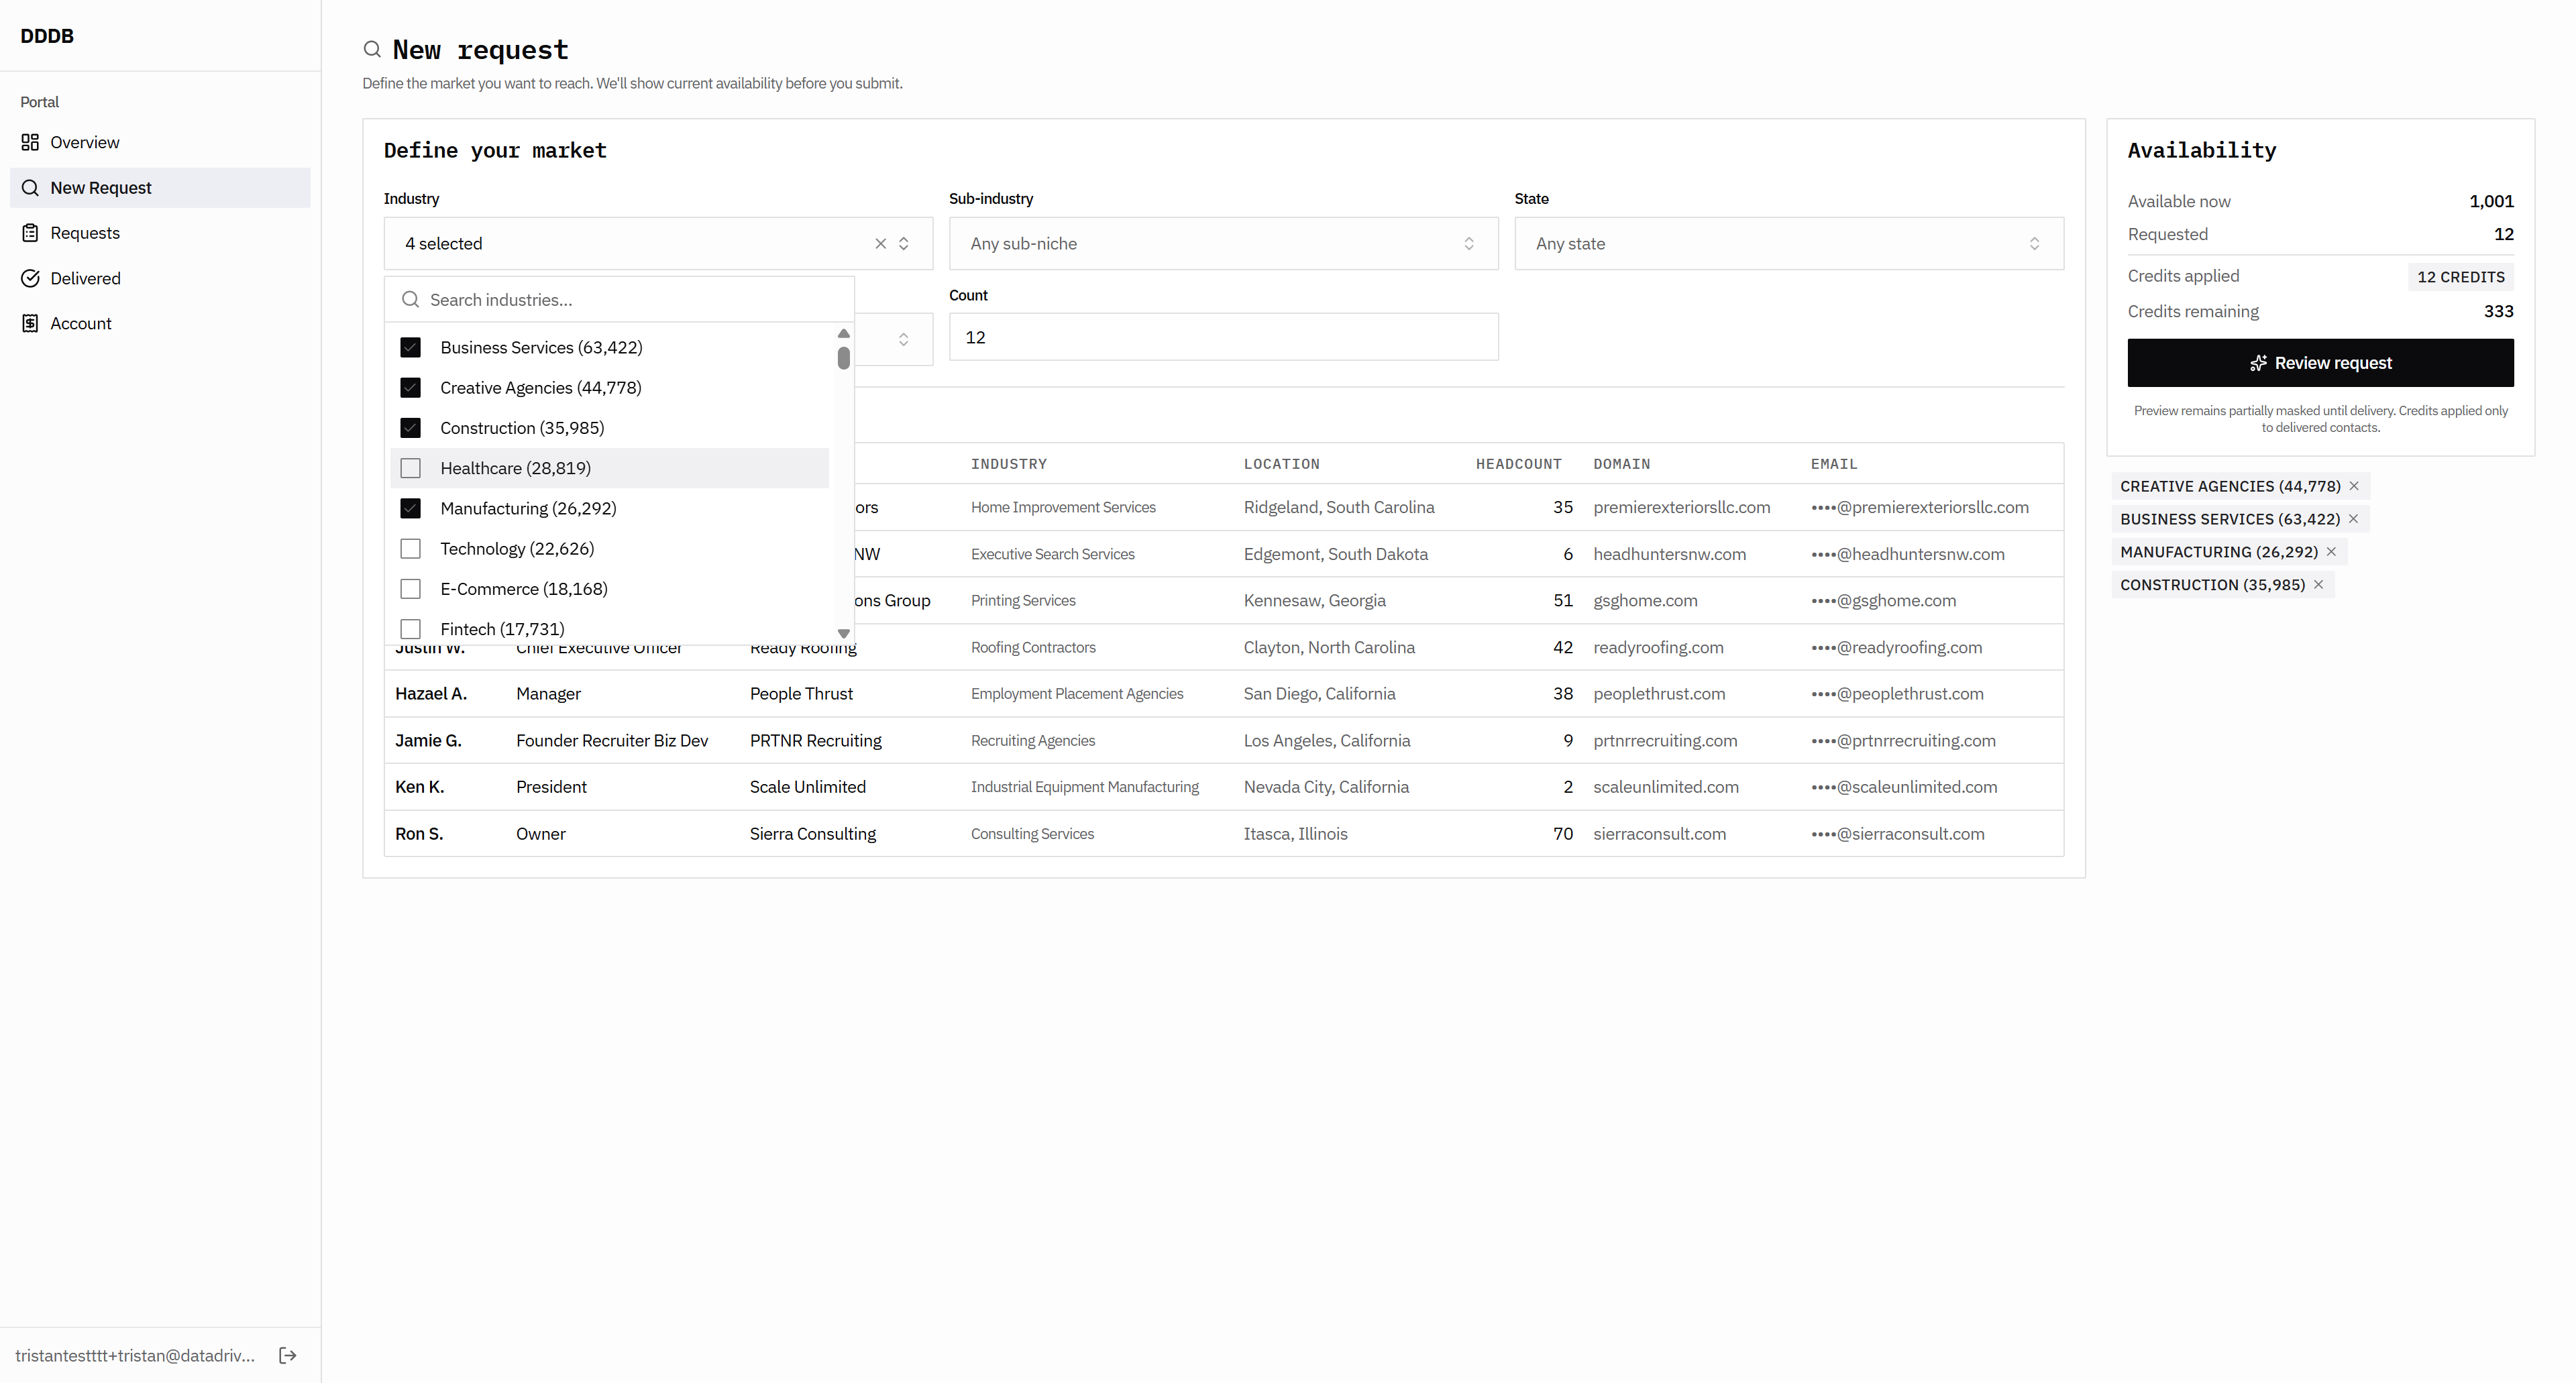
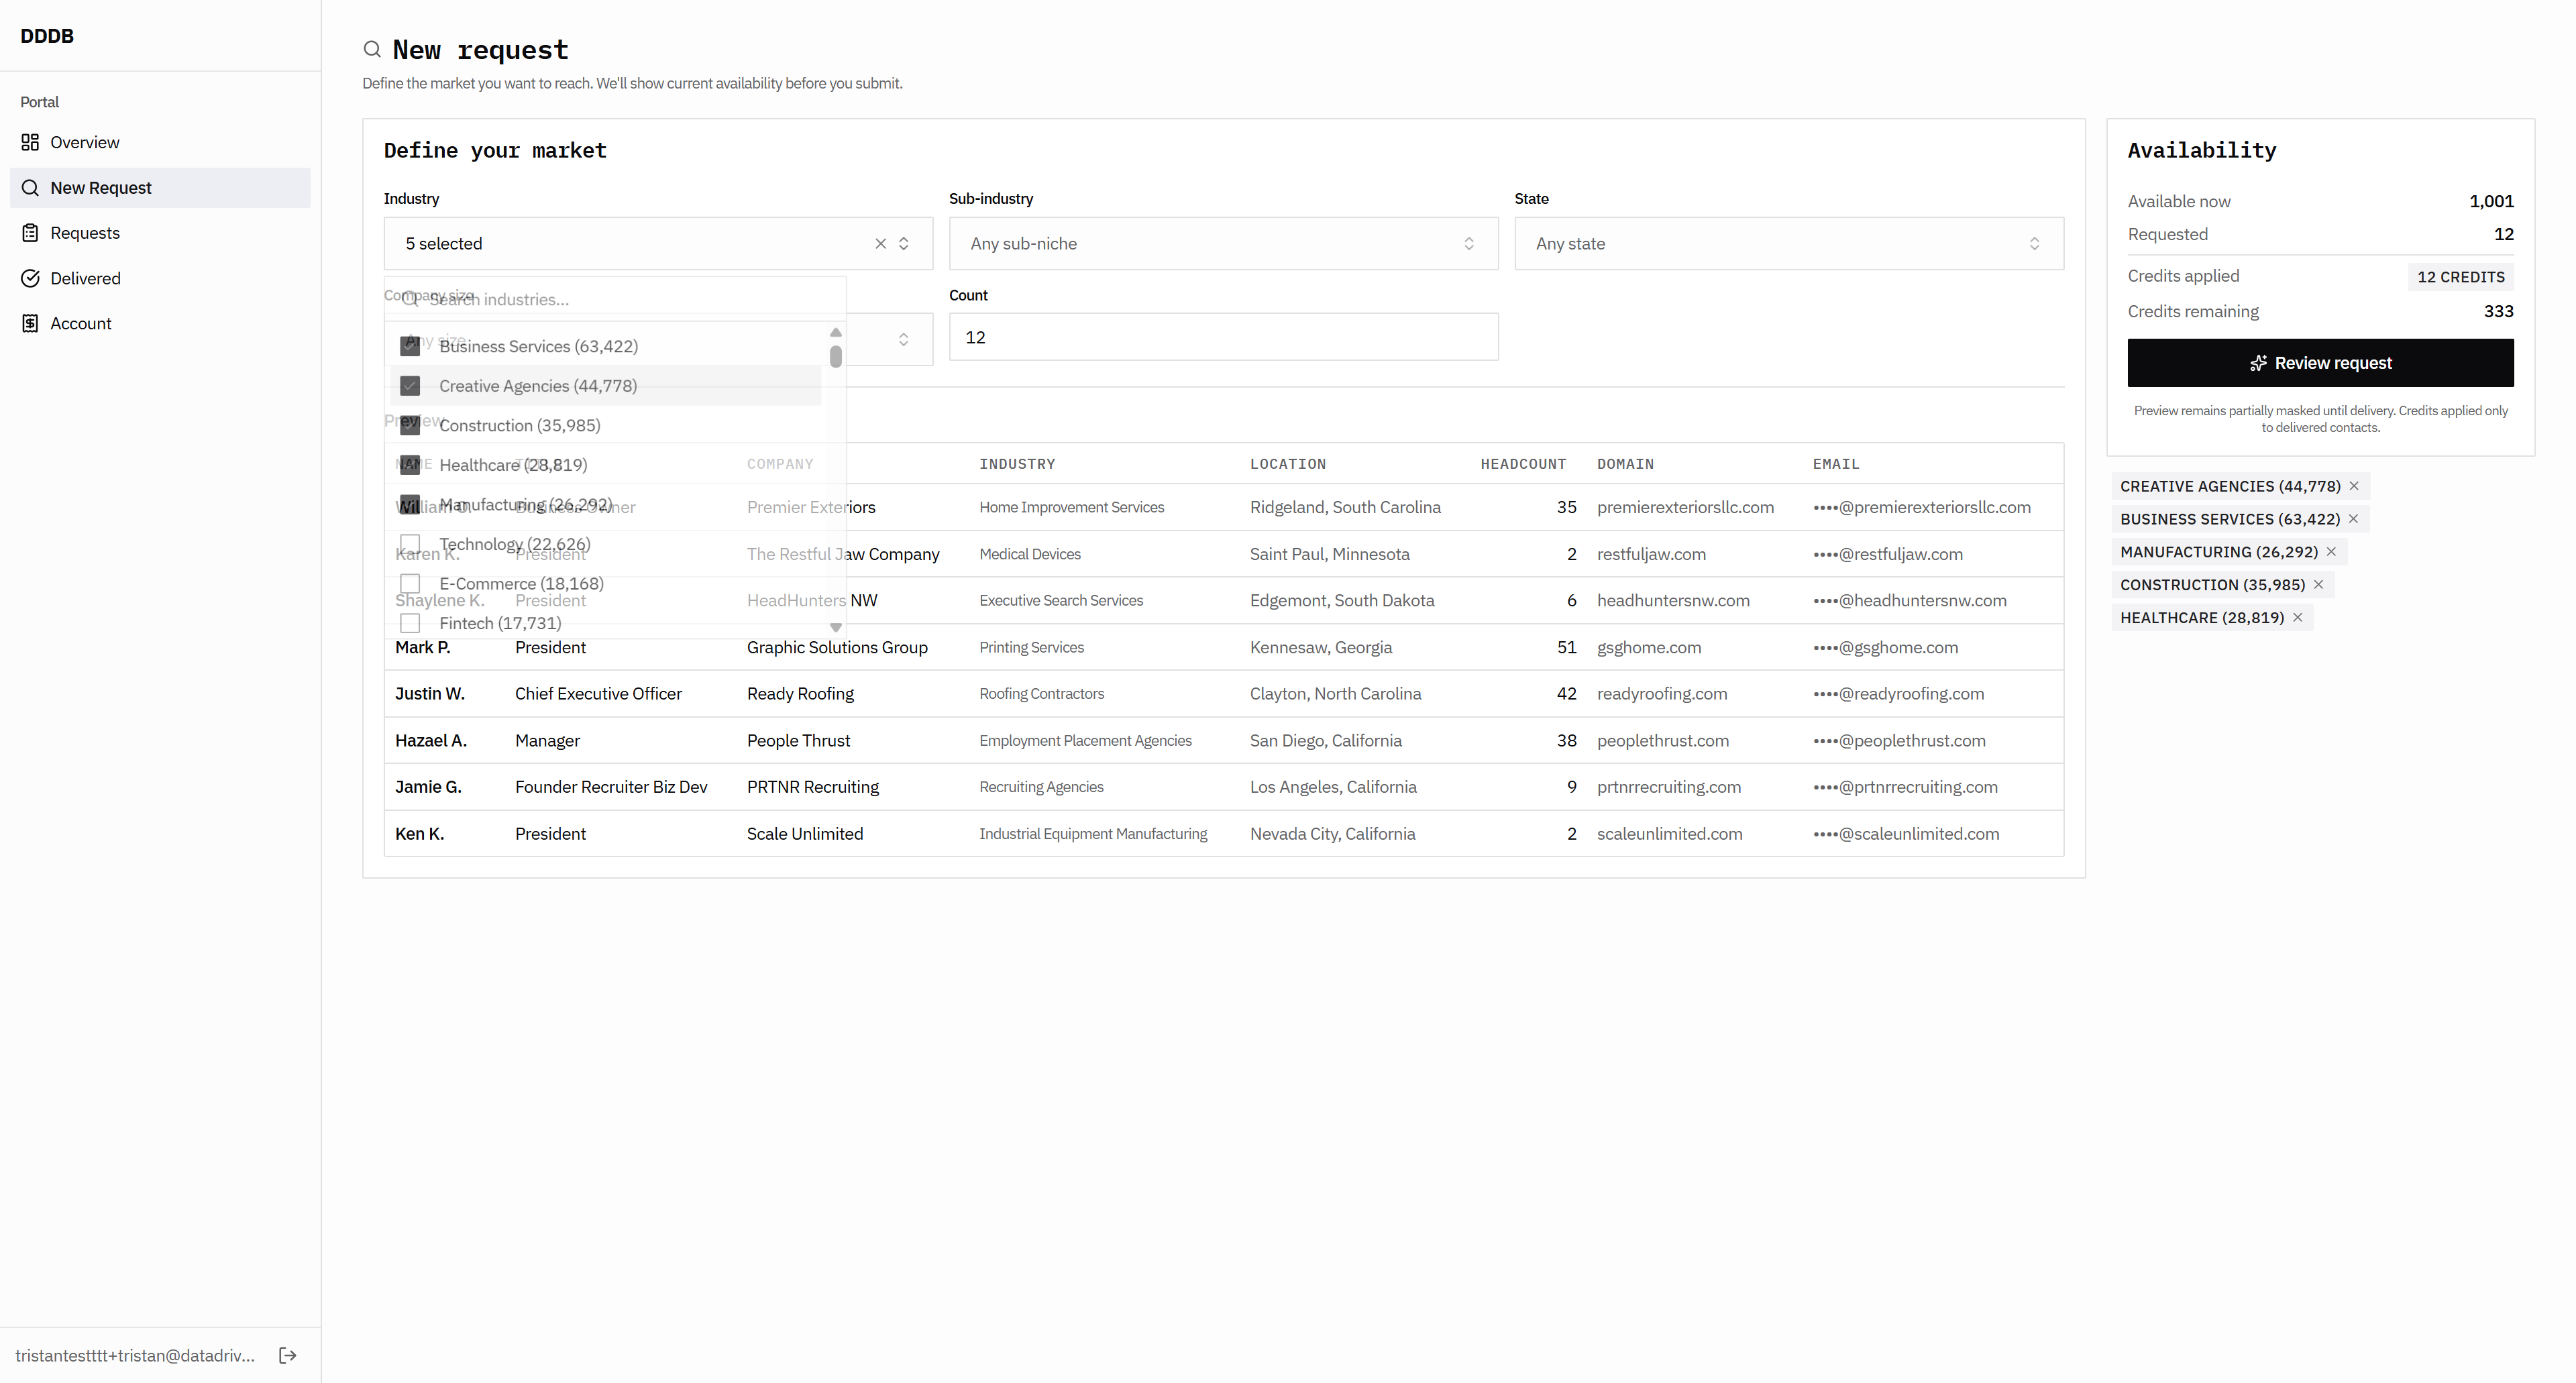
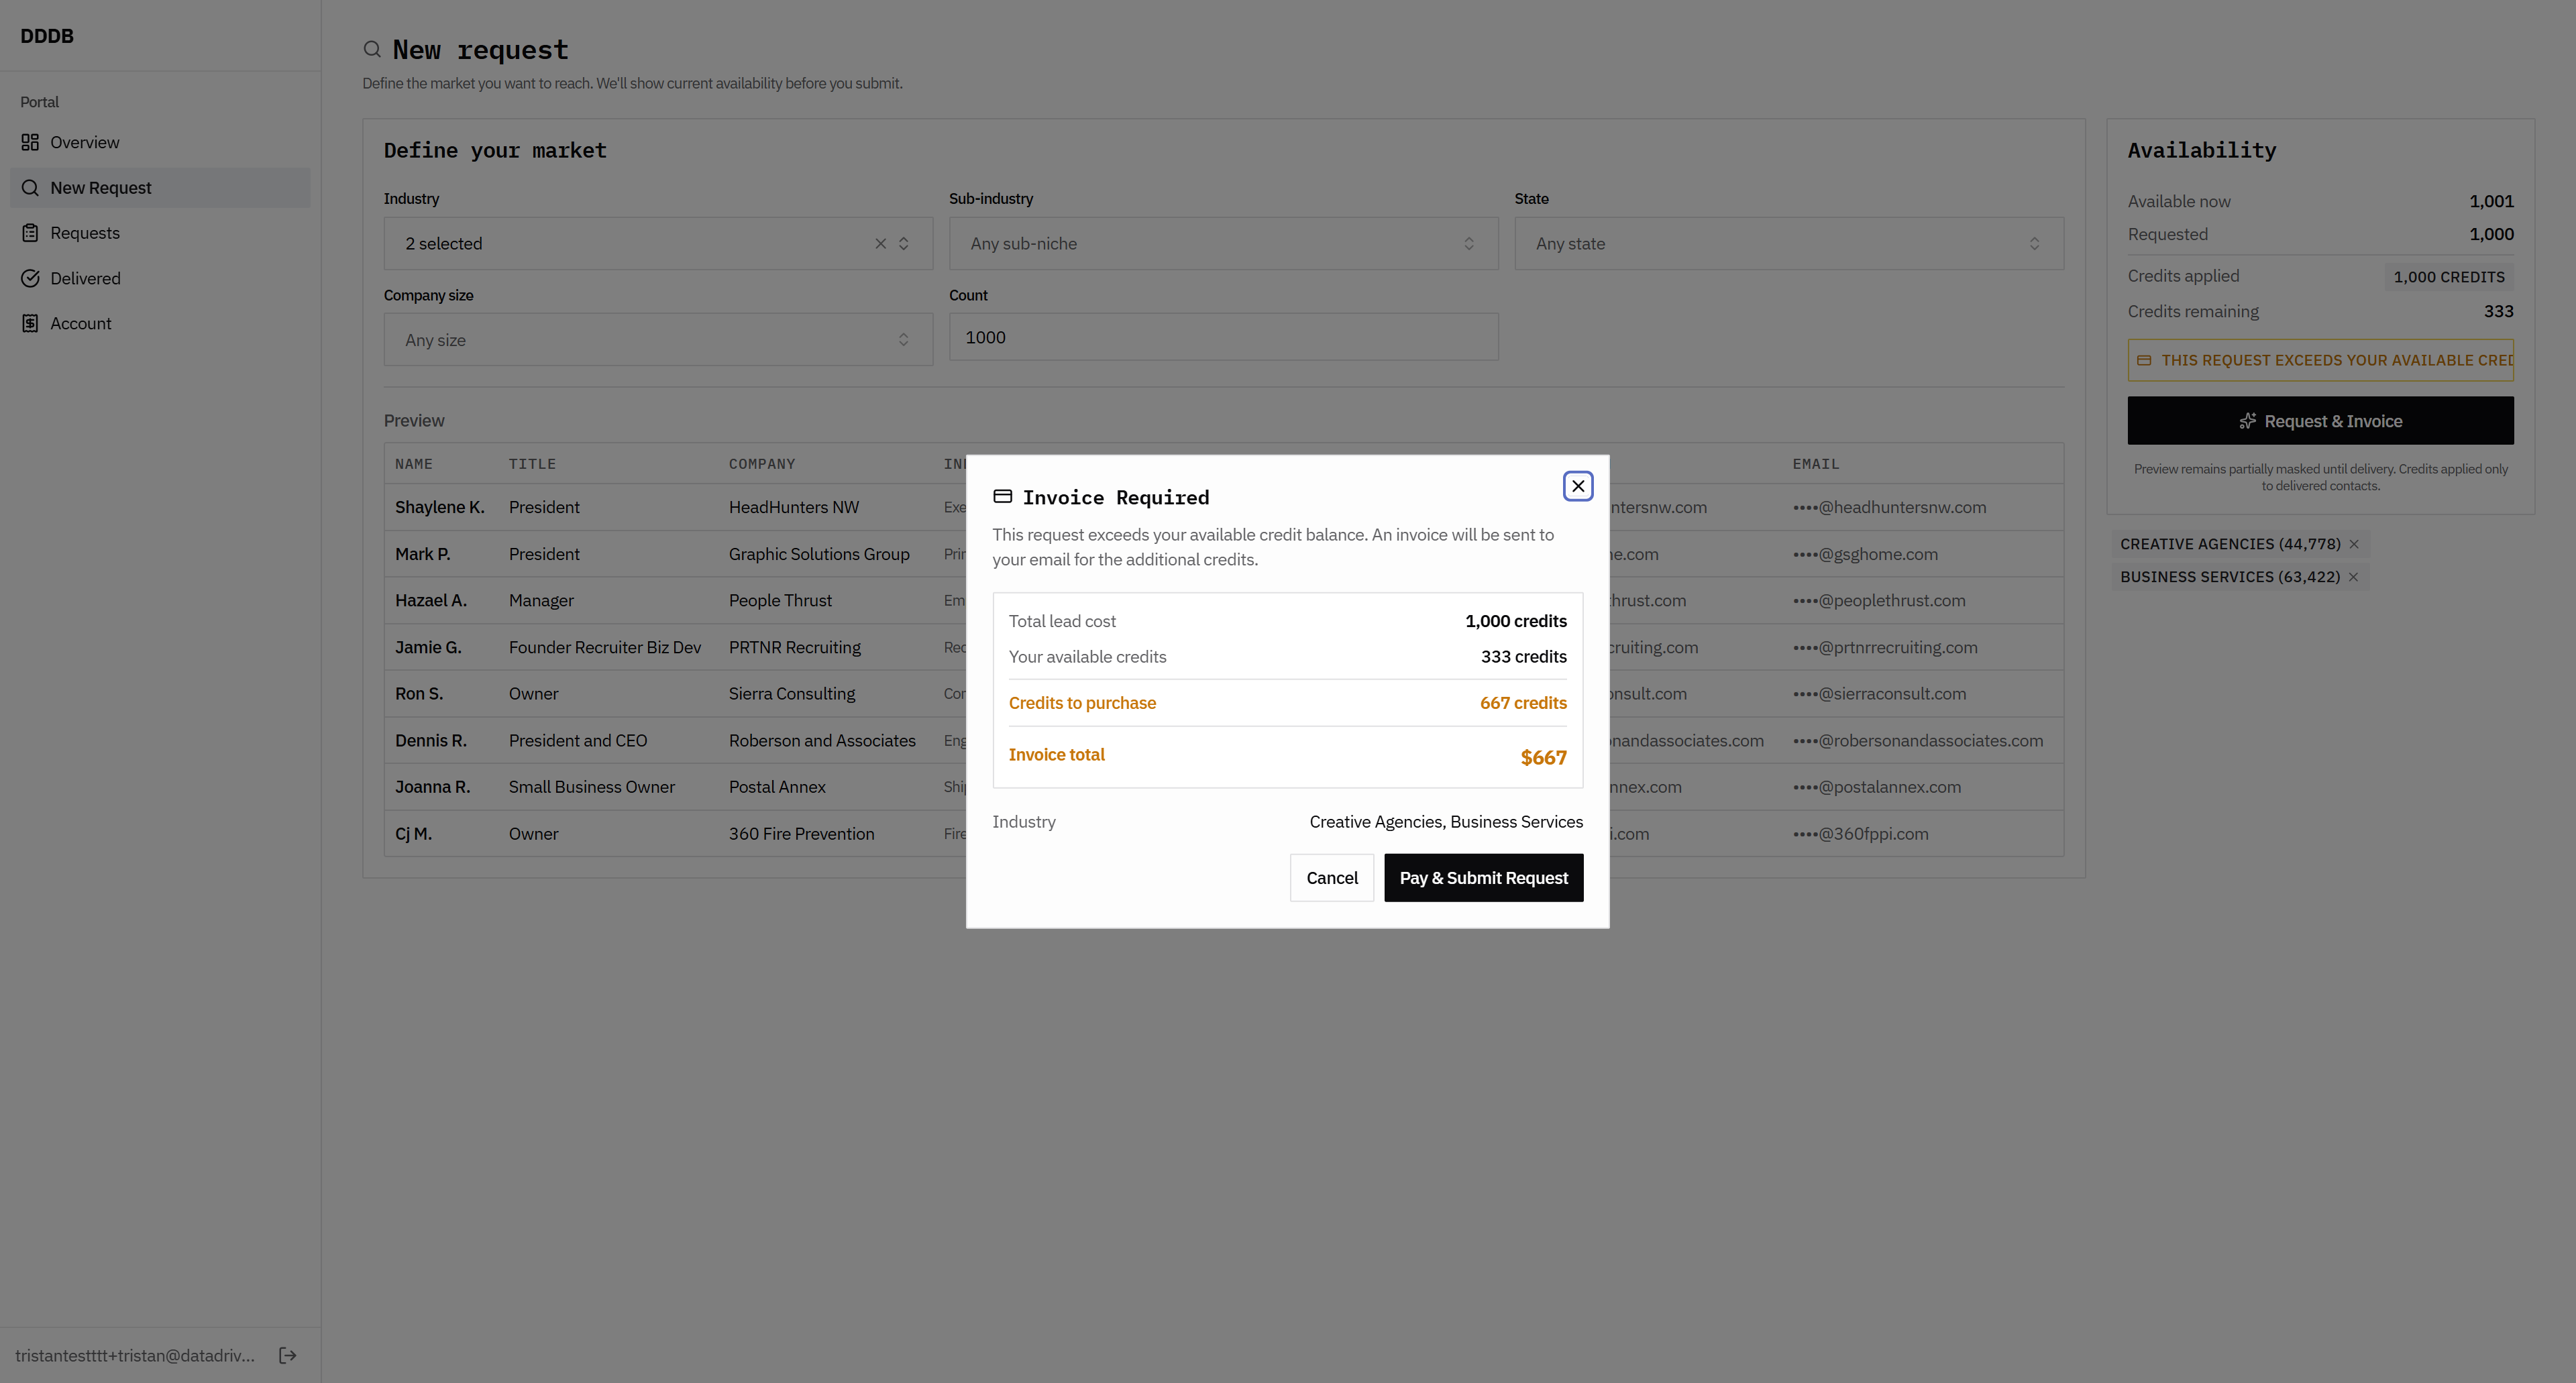
If you try to go over something, you should be able to pay this over your monthly allotment of 1,000. This should probably be split, right?

101
Click here
Step #101: Click here

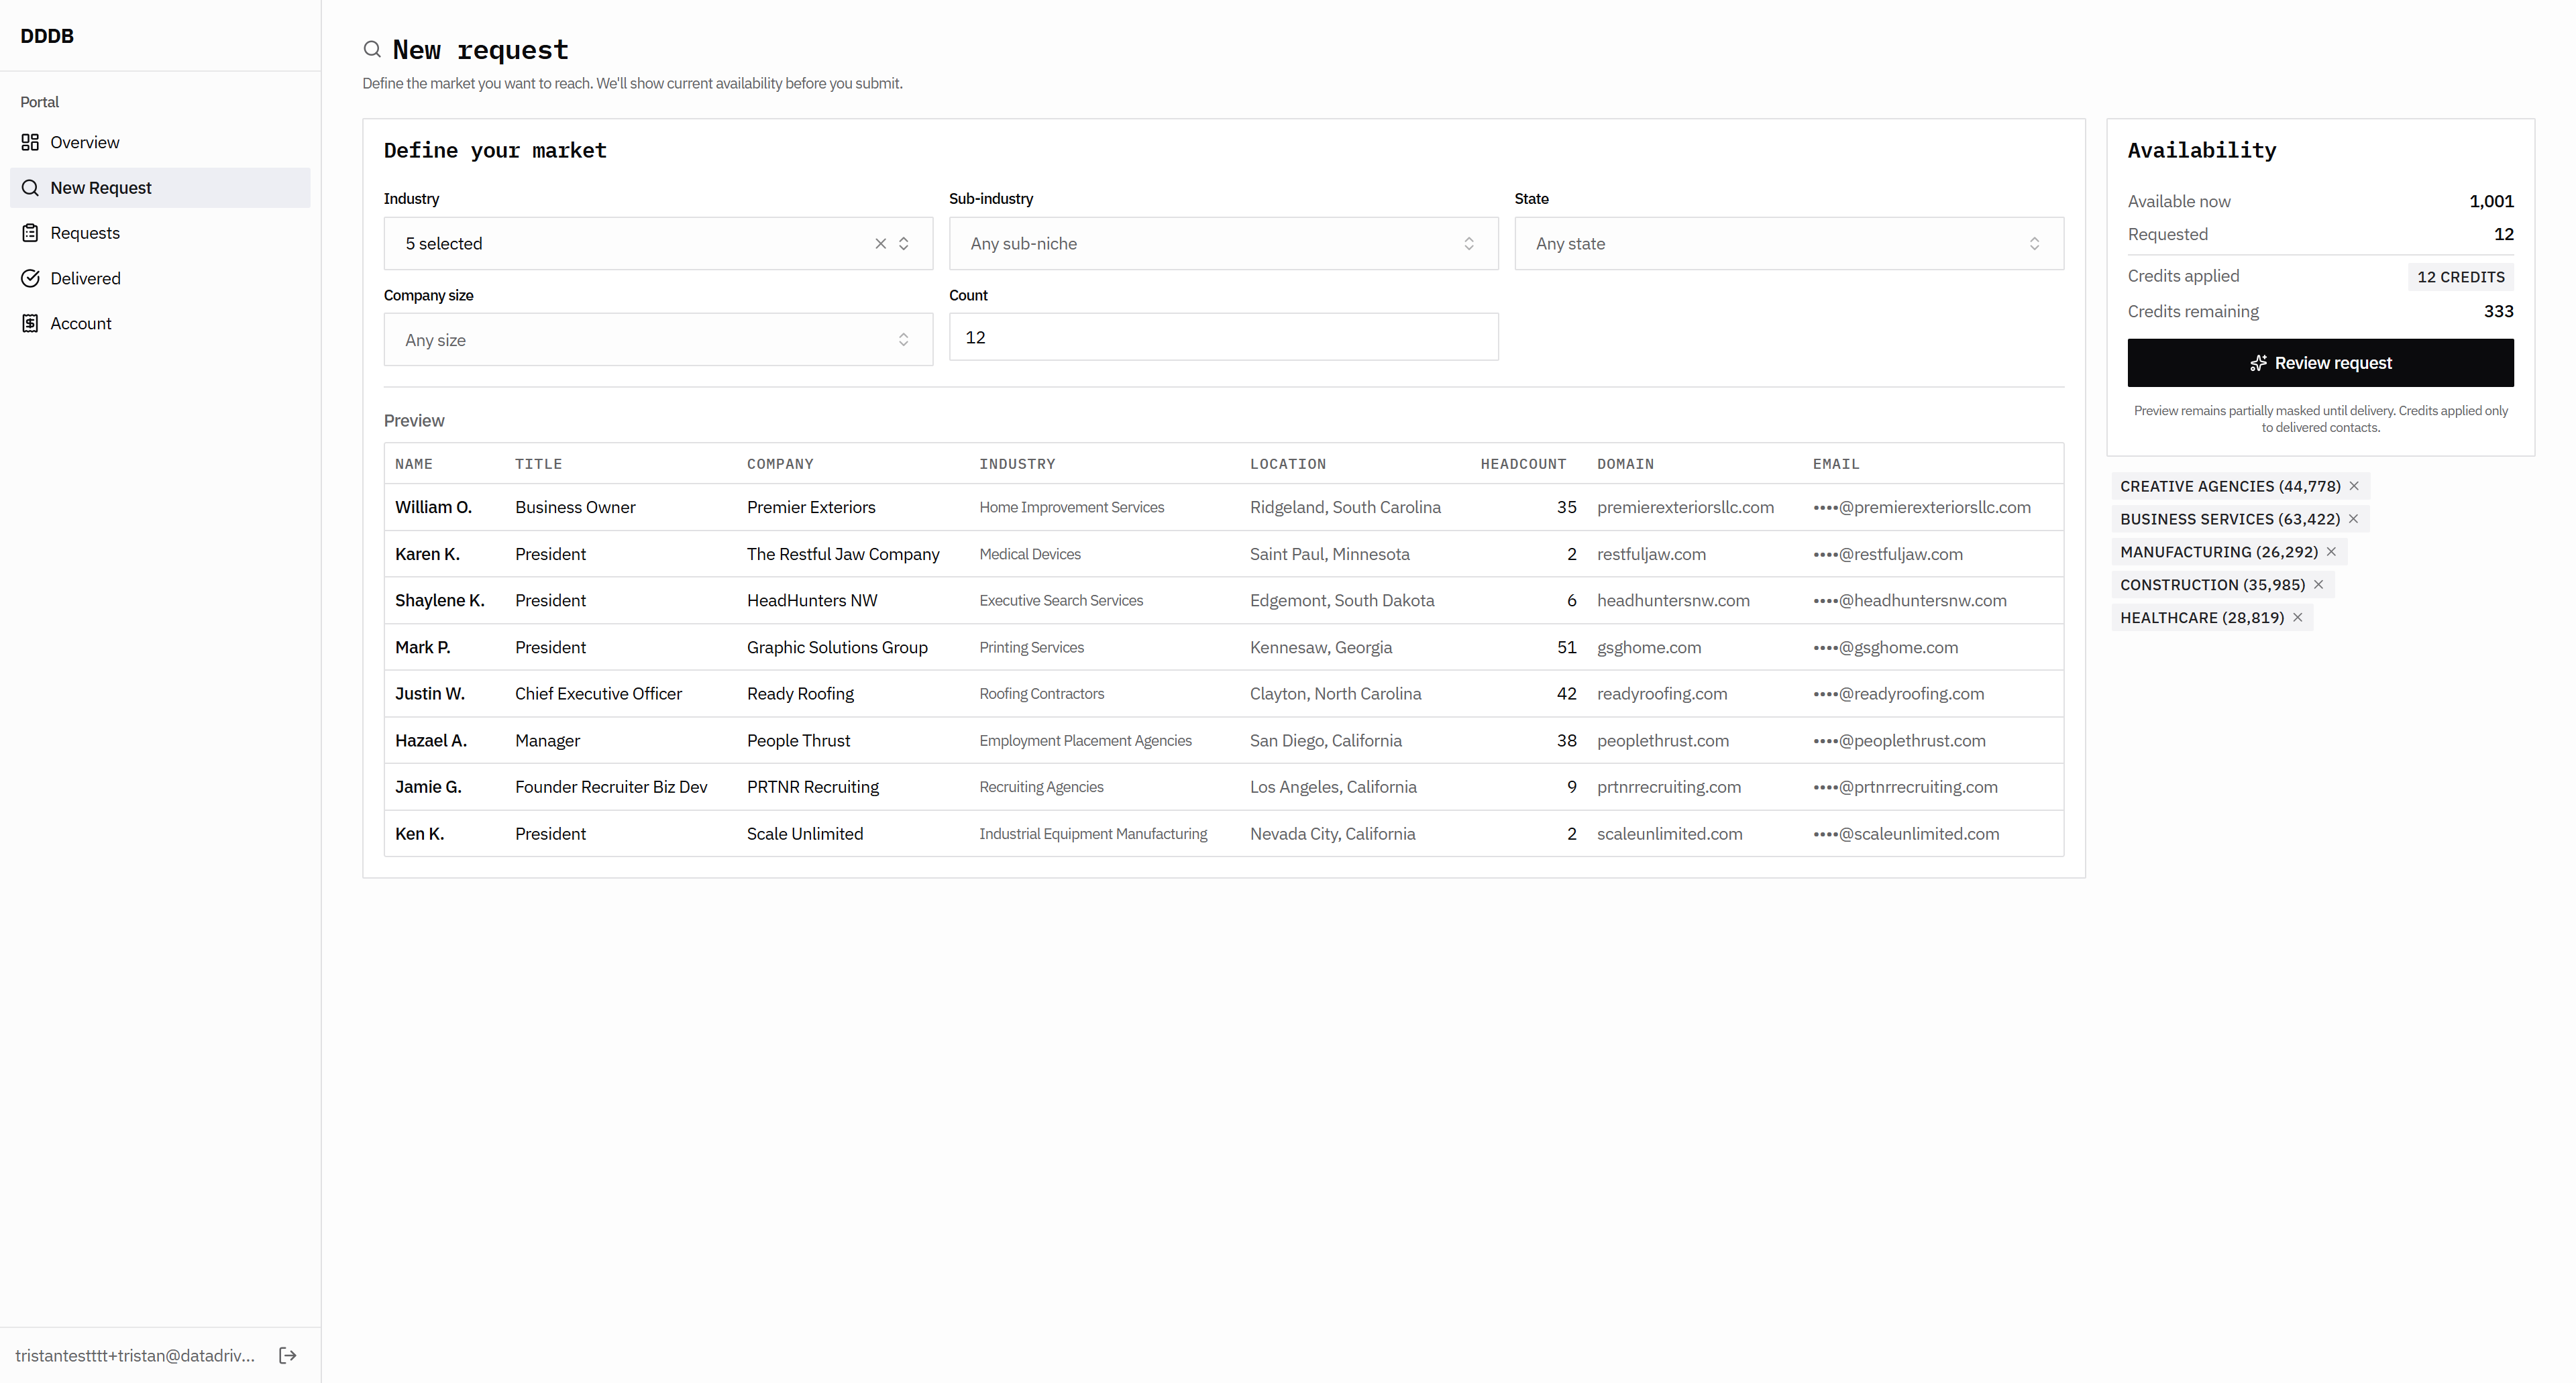
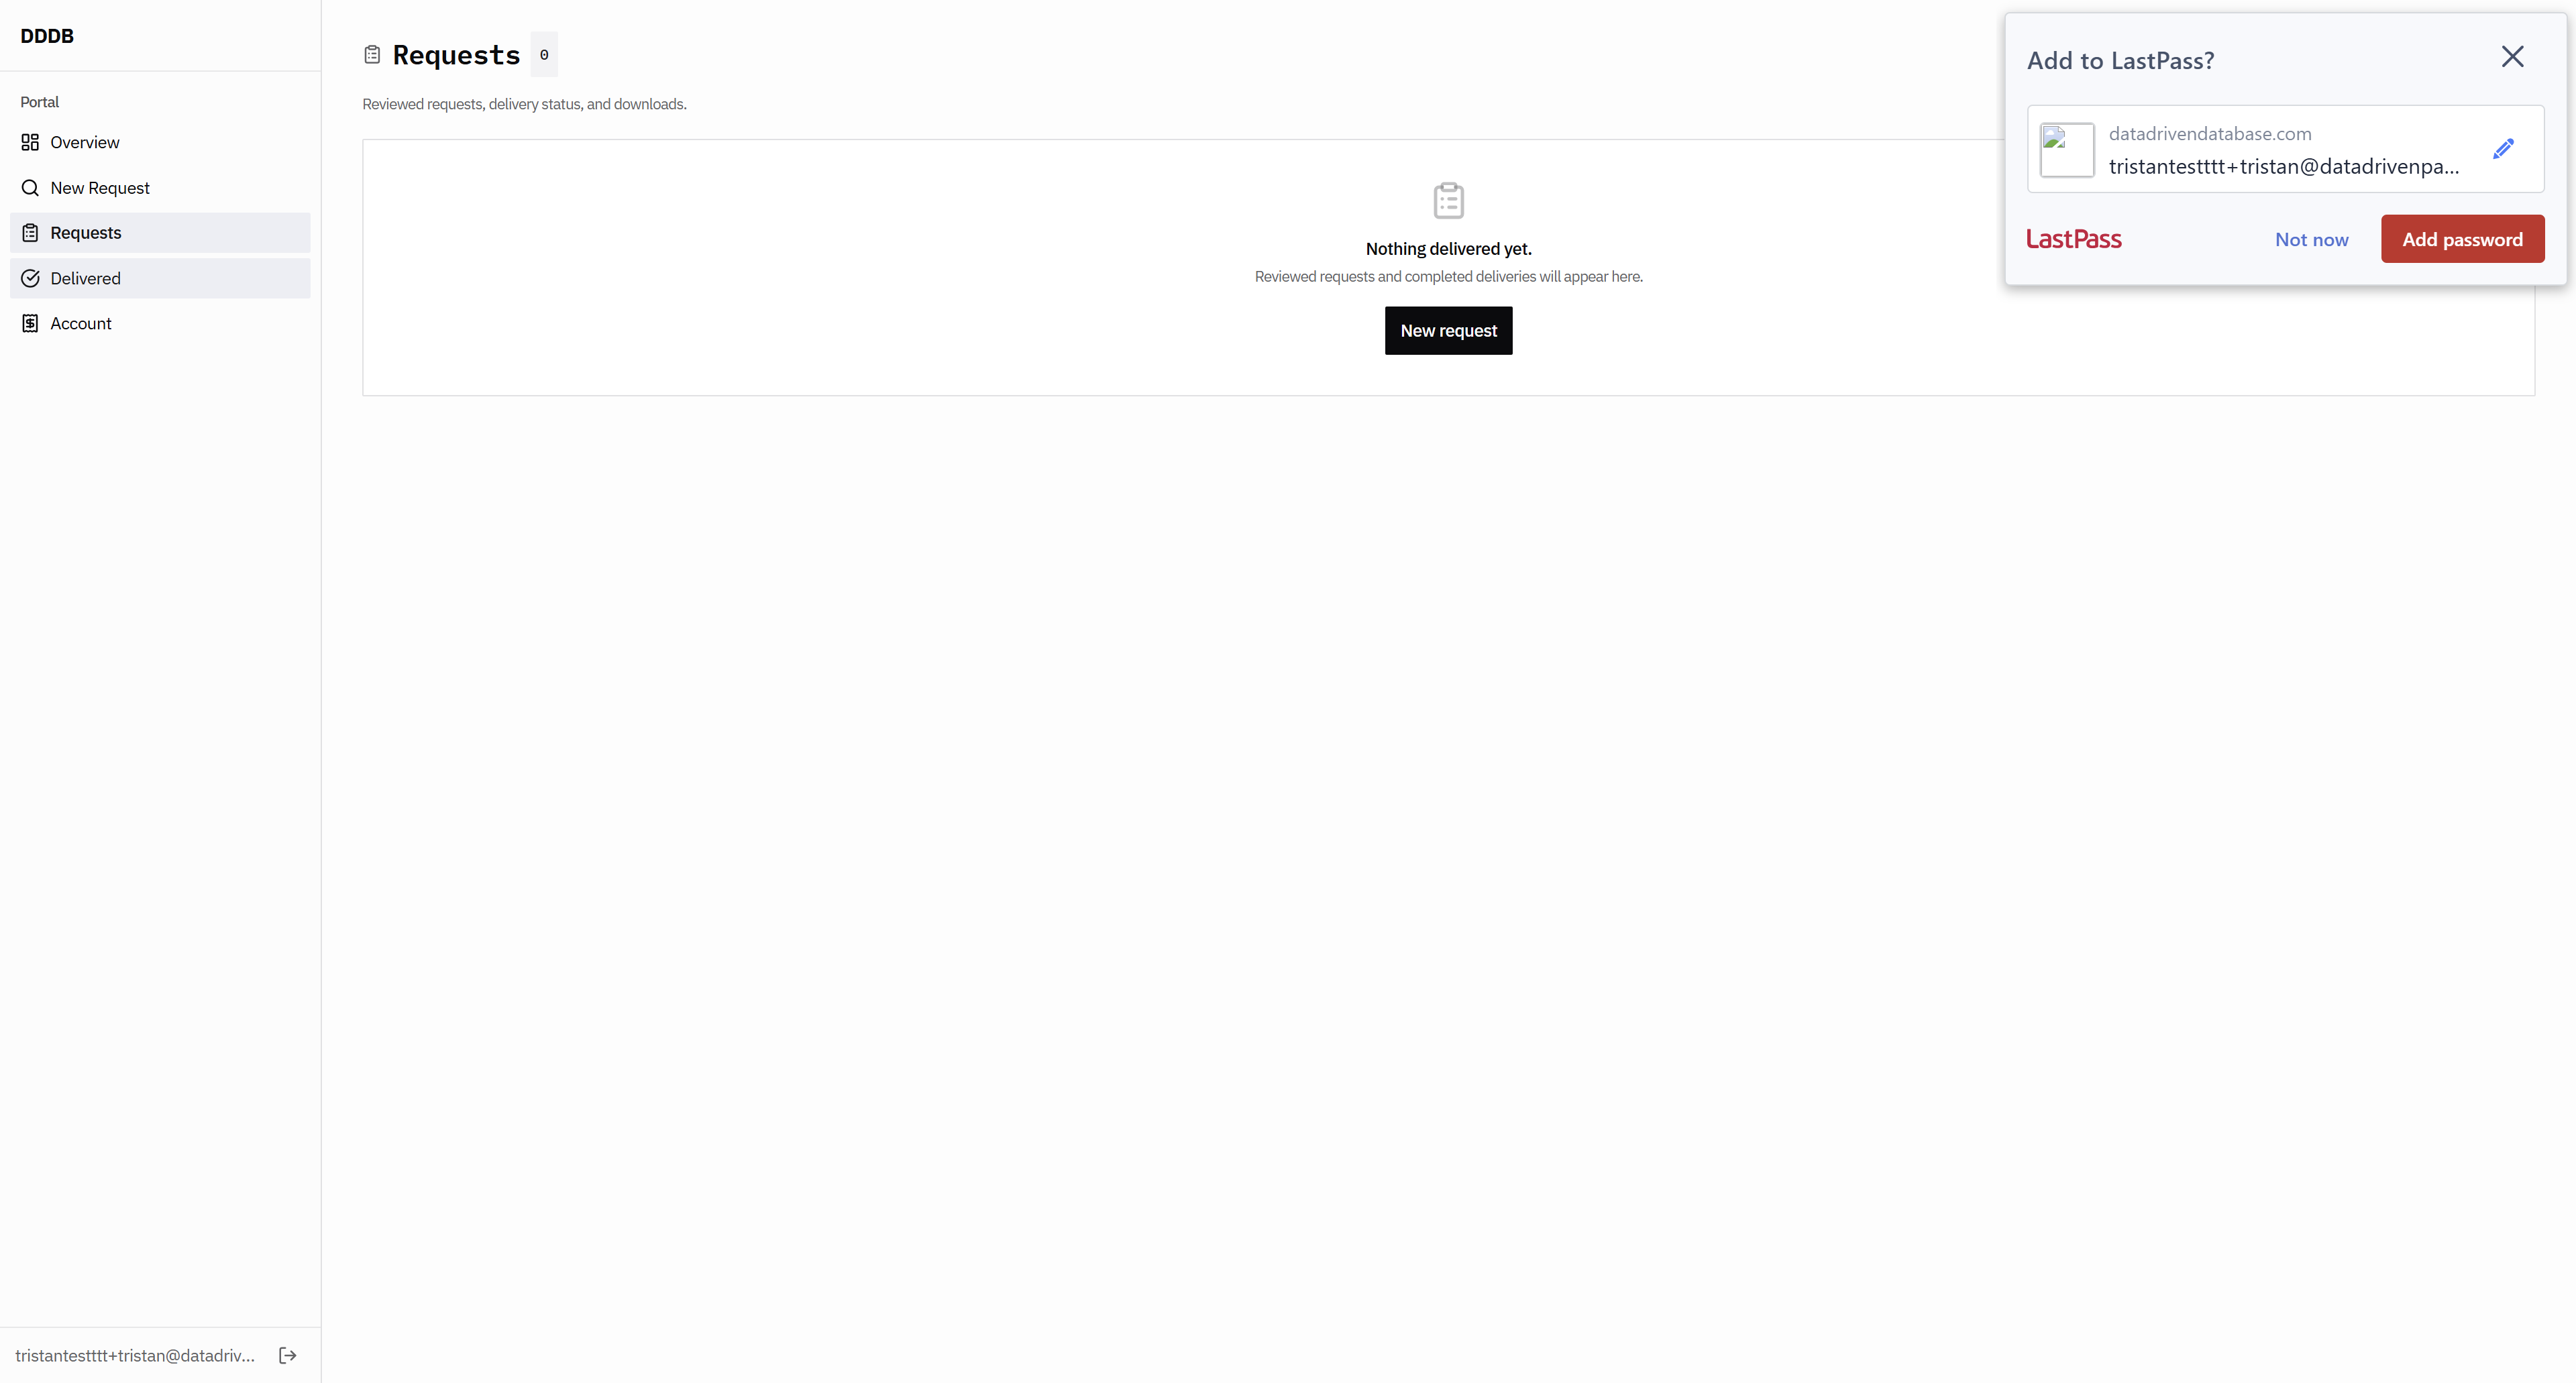
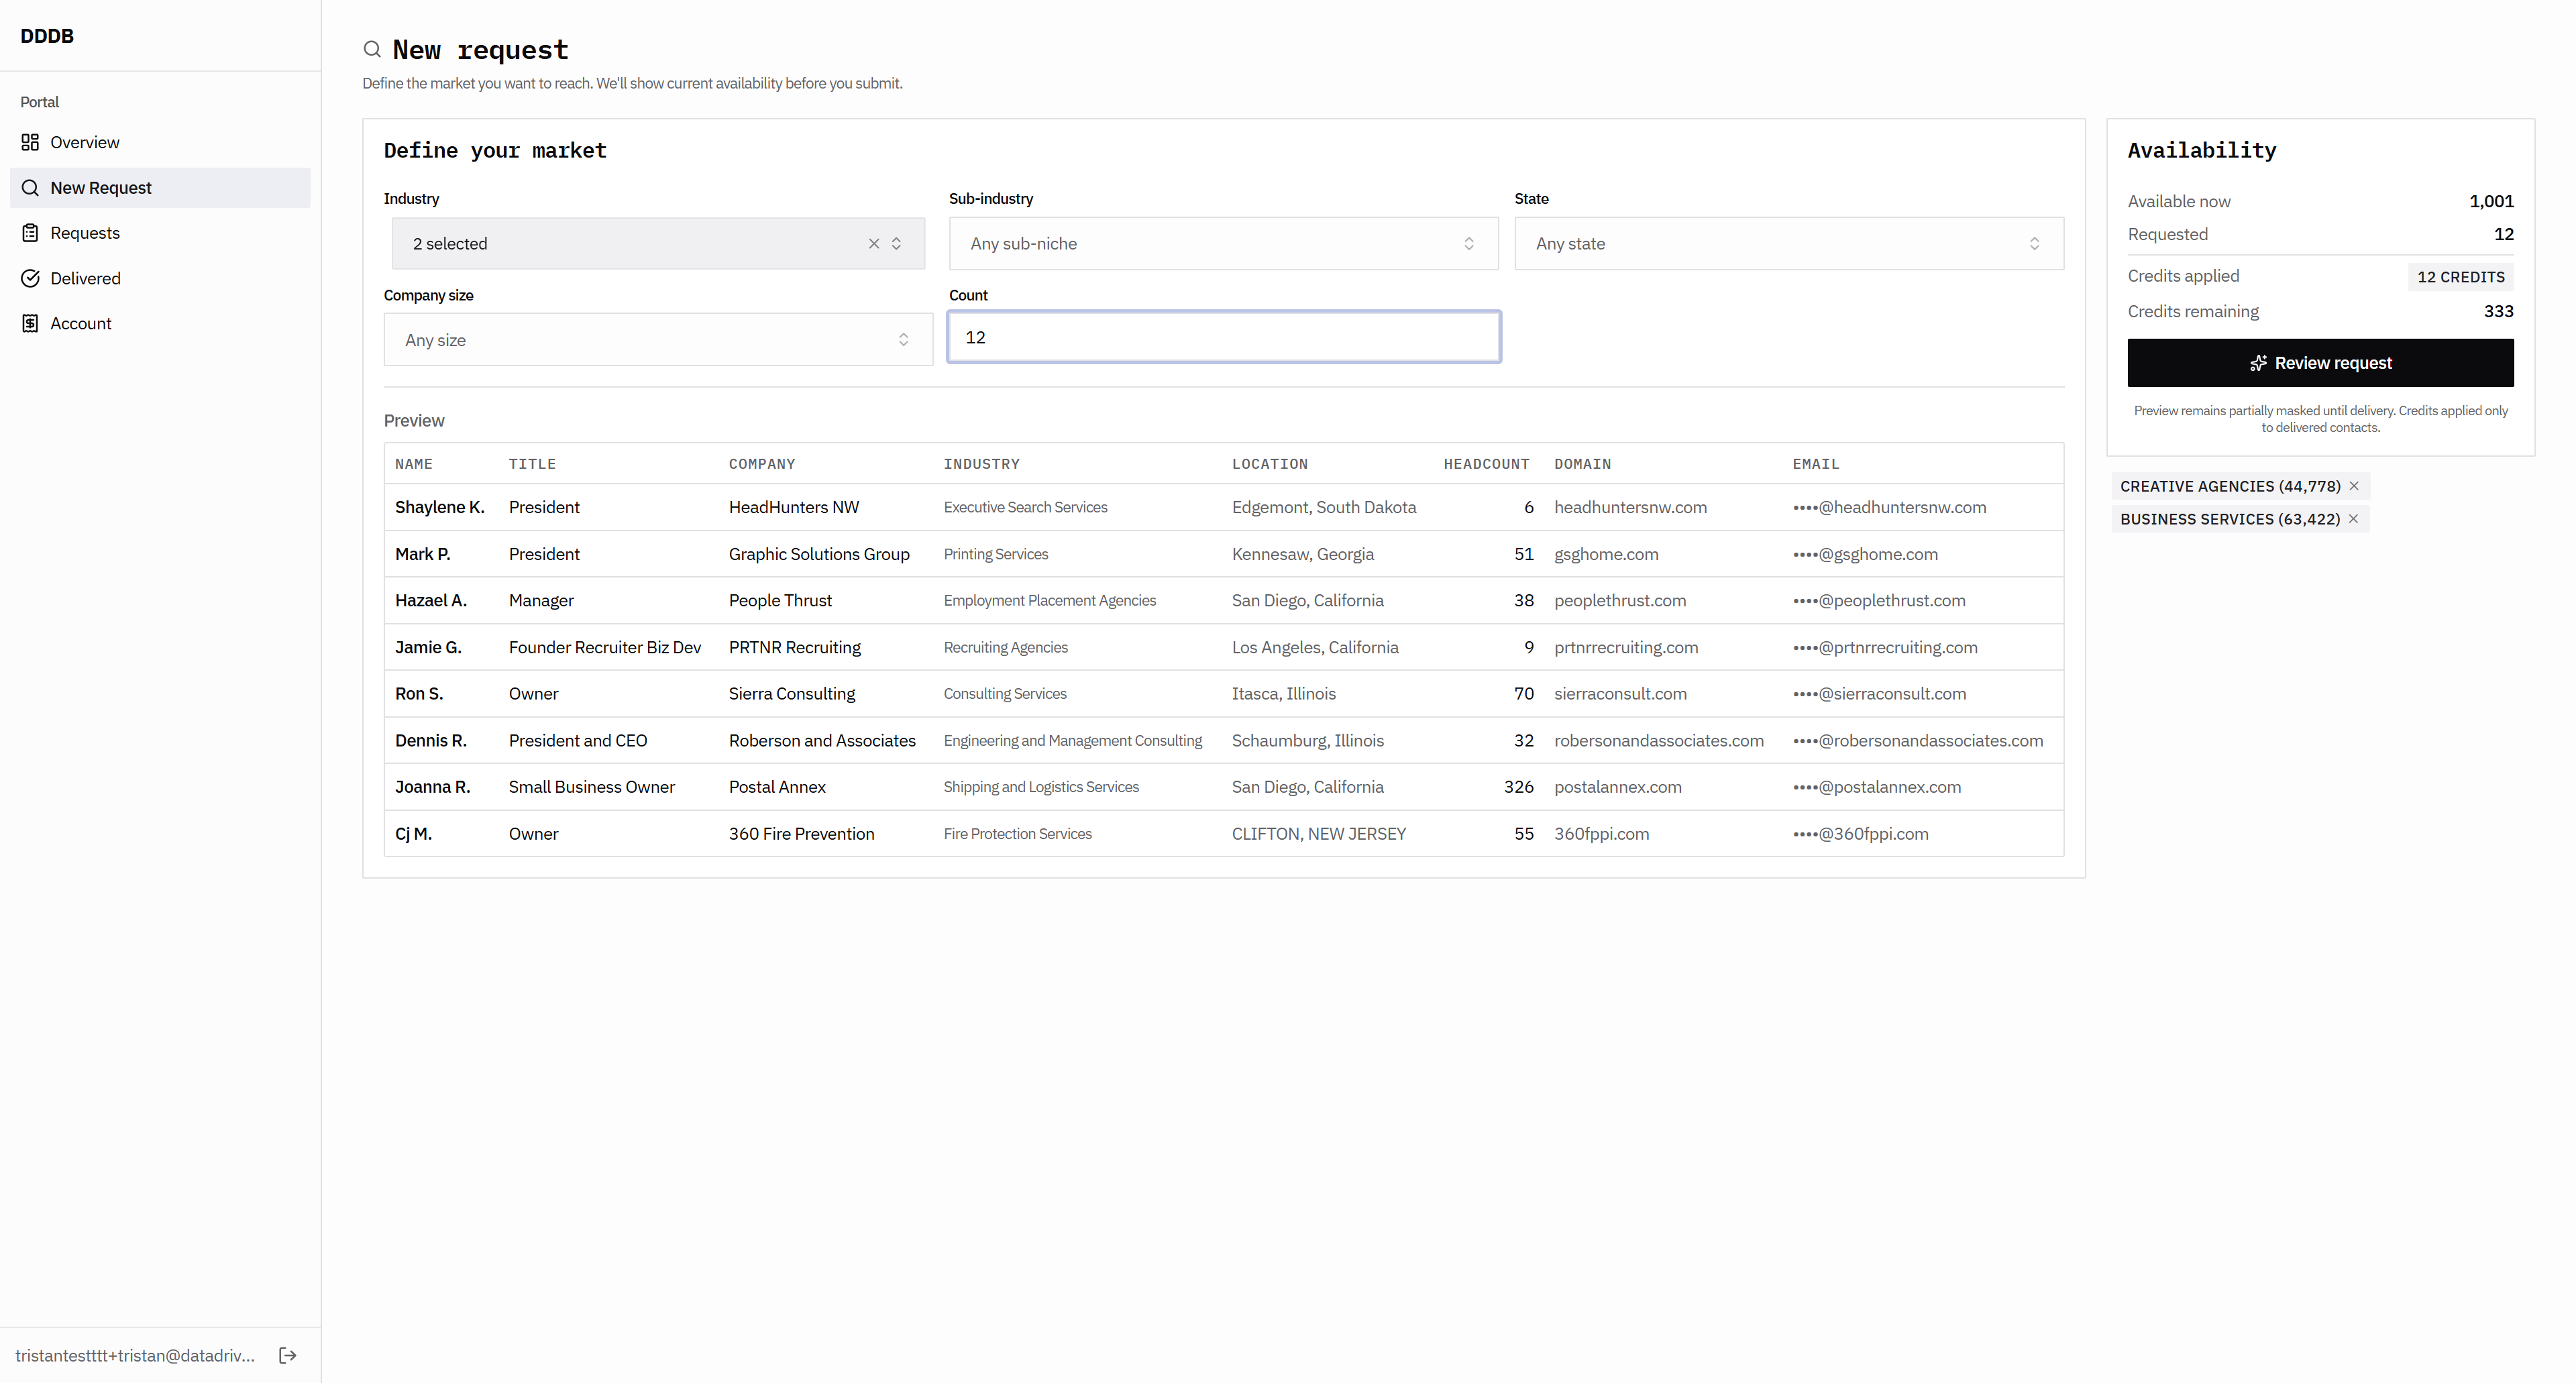
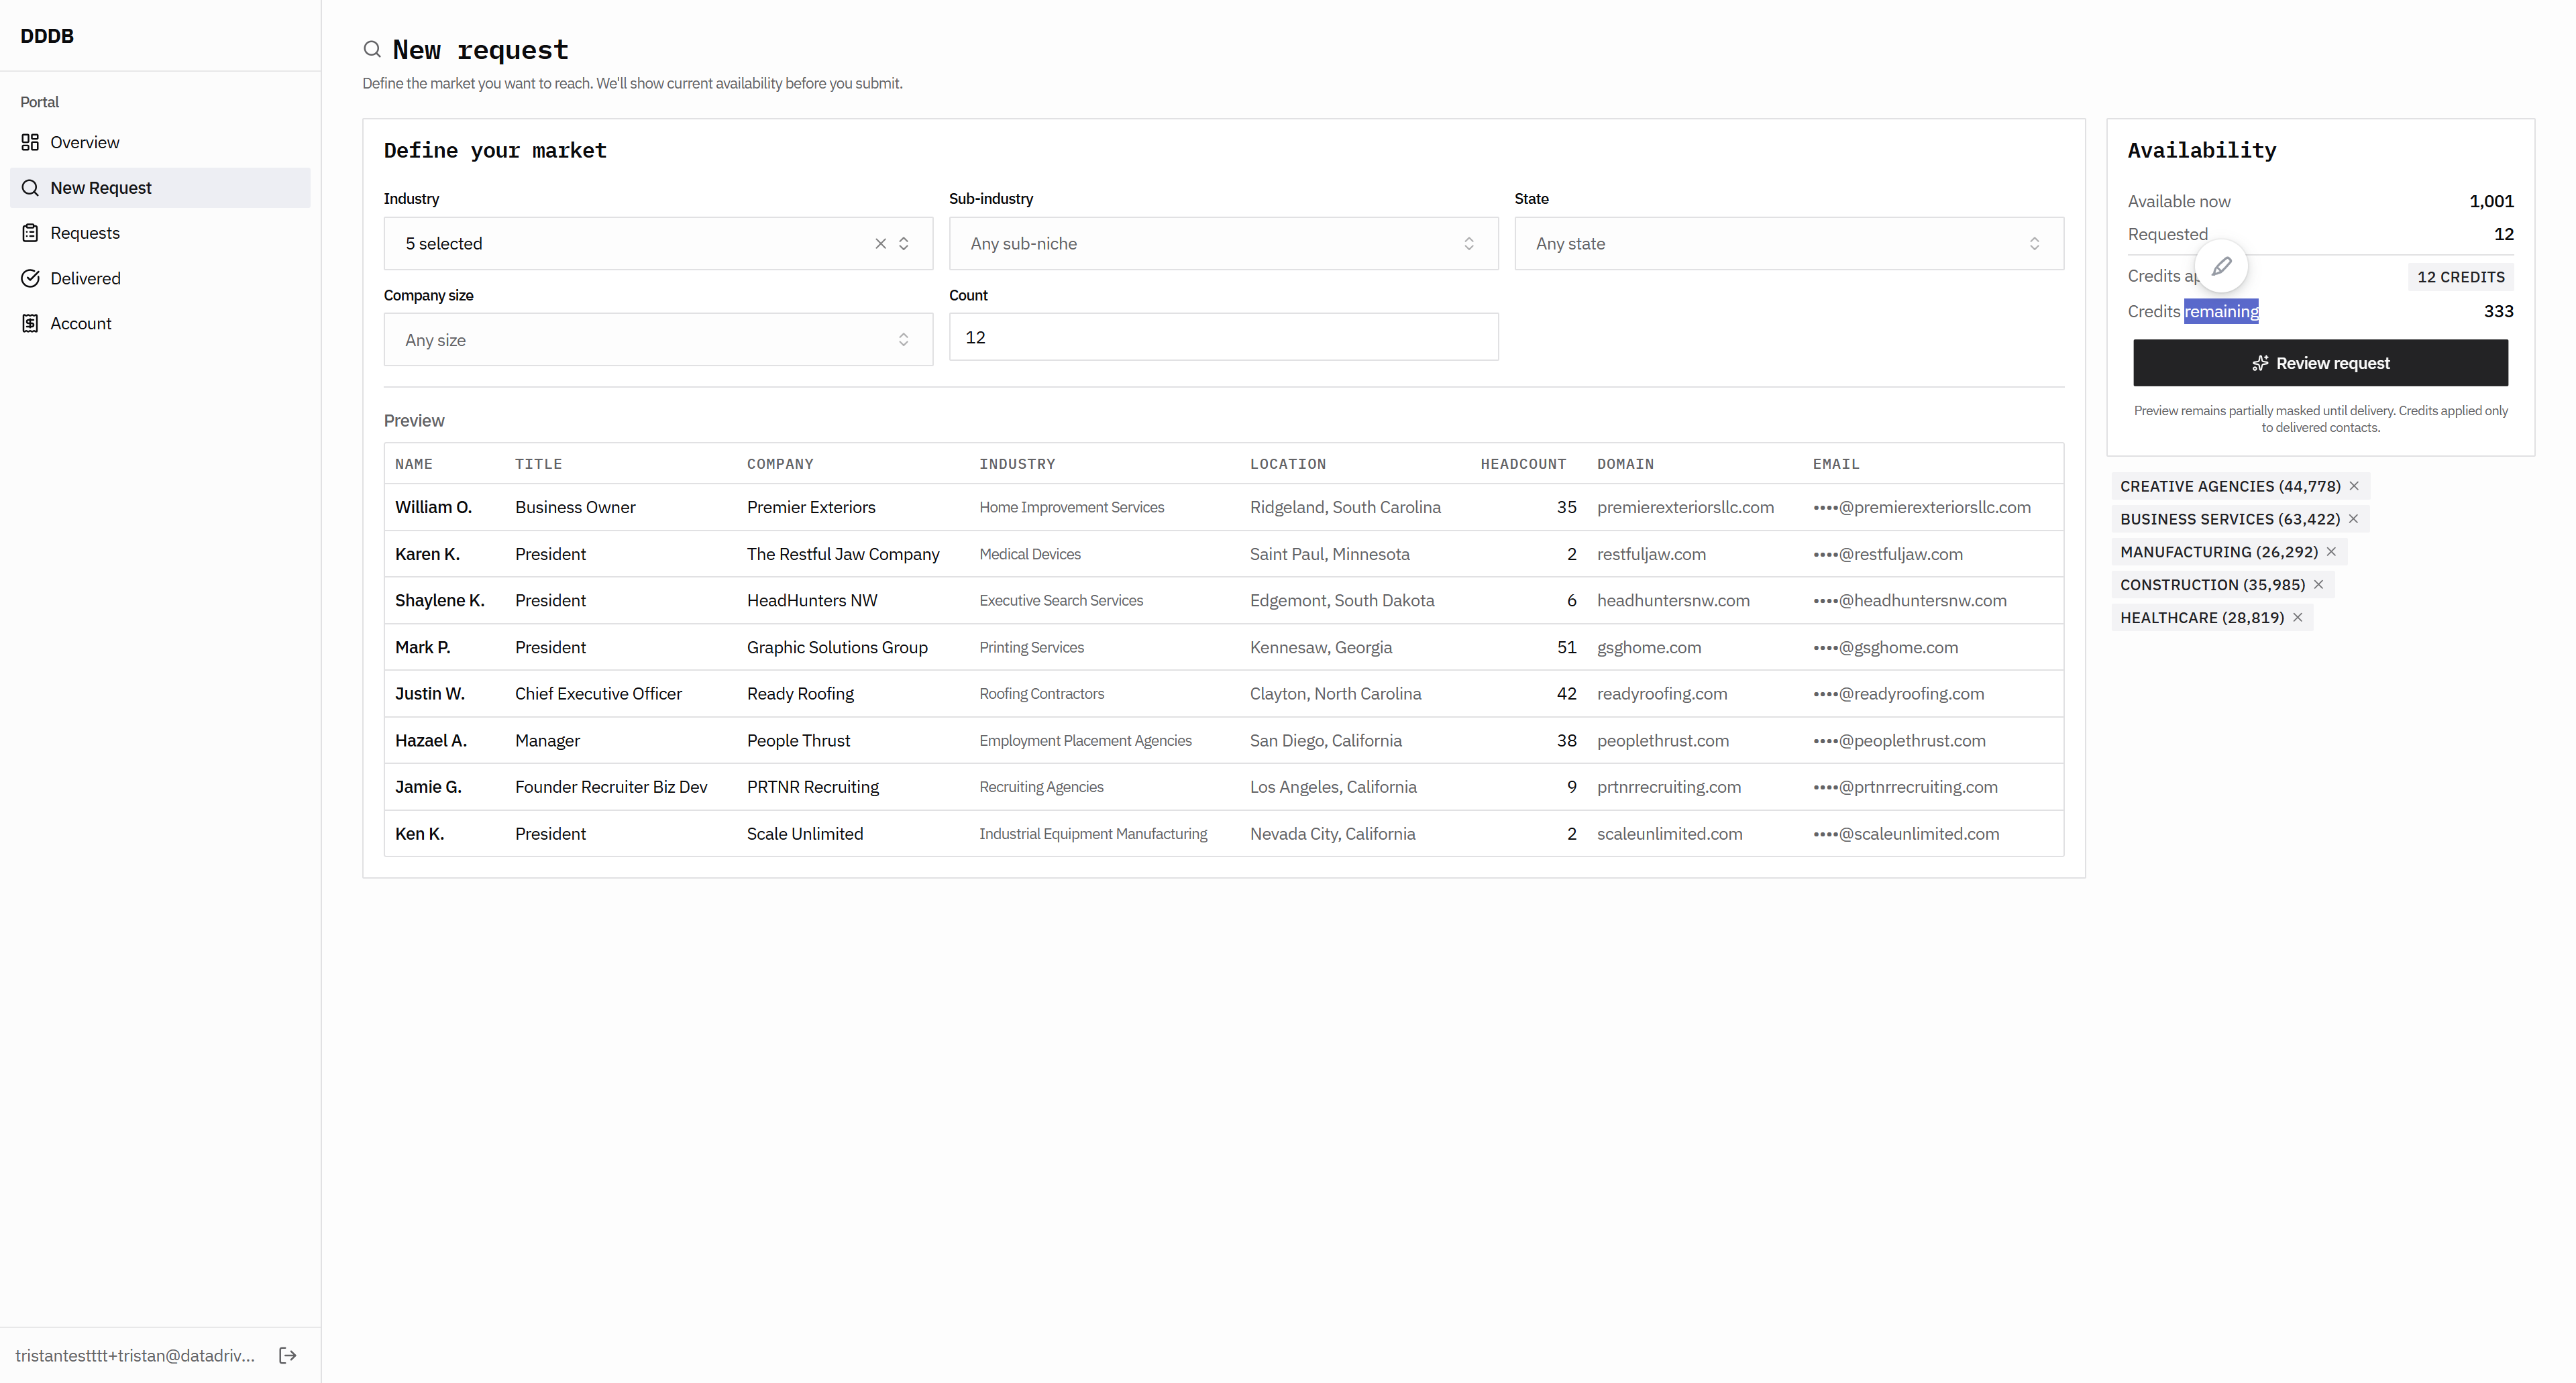
Credits remain as requested and are now available. Then, 12 credits are requested, leaving 333 credits remaining. The credits applied should be 12. The order should be clear, because this is unclear. This spacing is incorrect.

102
Click here
Step #102: Click here
103
Click here
Step #103: Click here
104
Click here
Step #104: Click here
105
Click here
Step #105: Click here
106
Click here
Step #106: Click here
107
Click here
Step #107: Click here

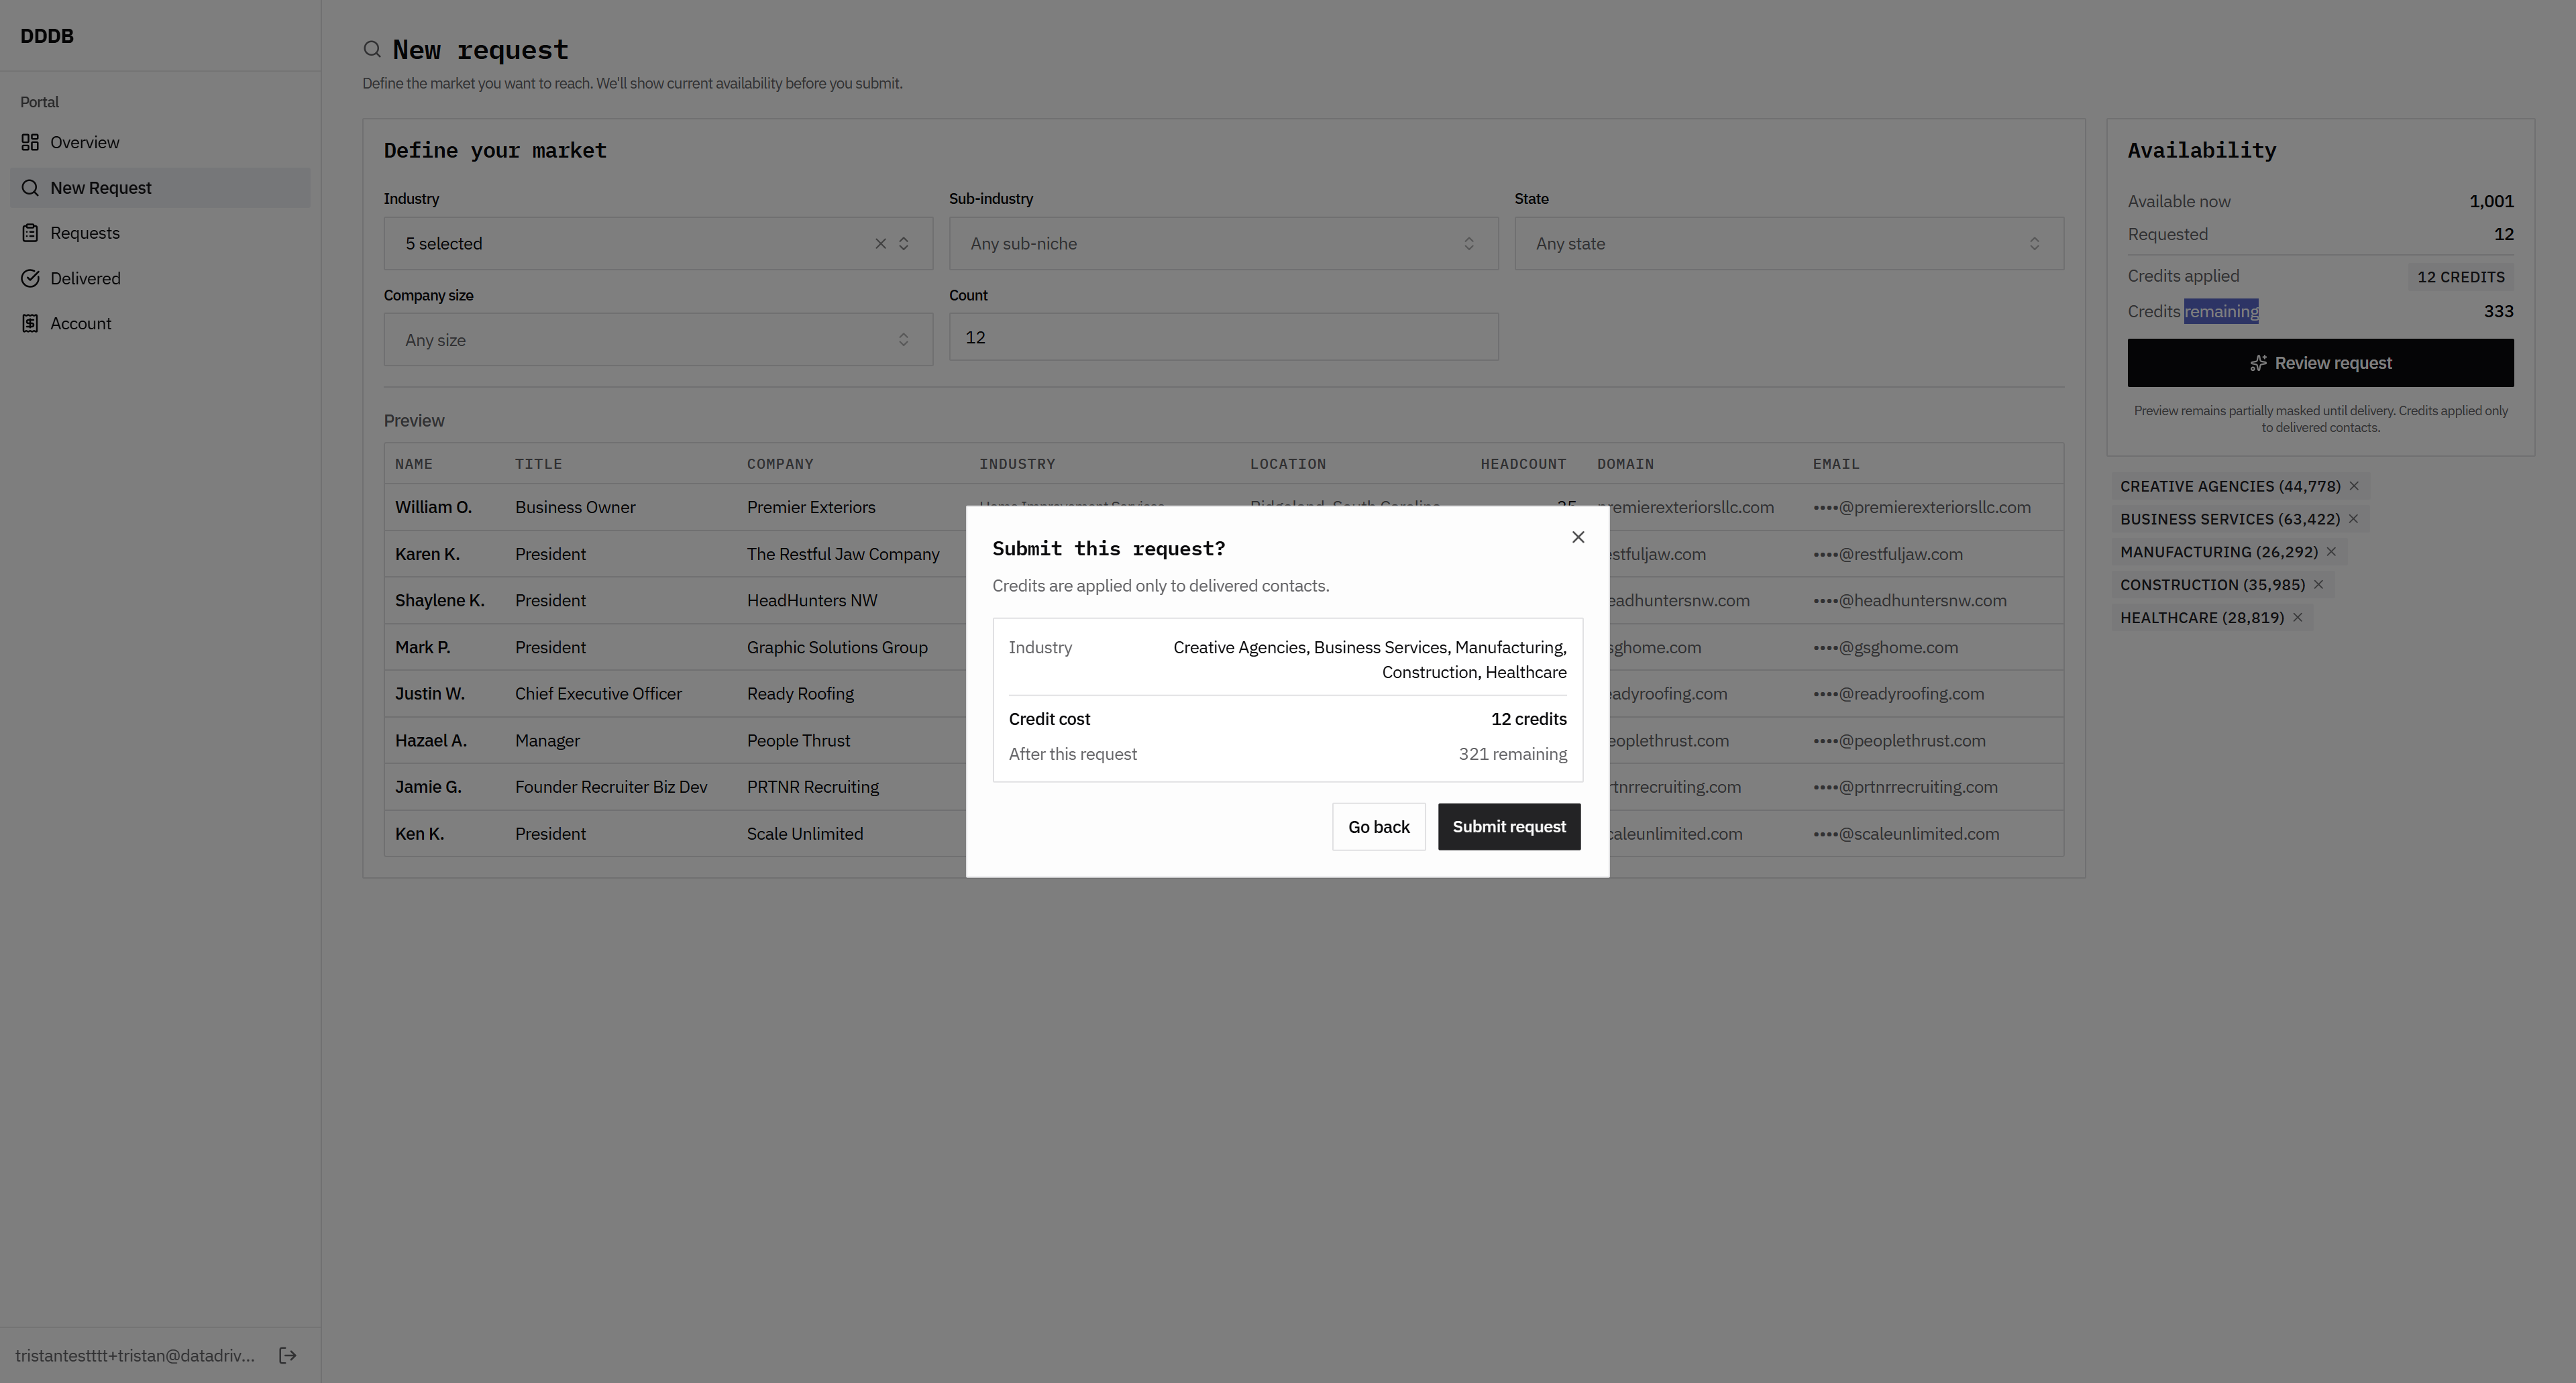
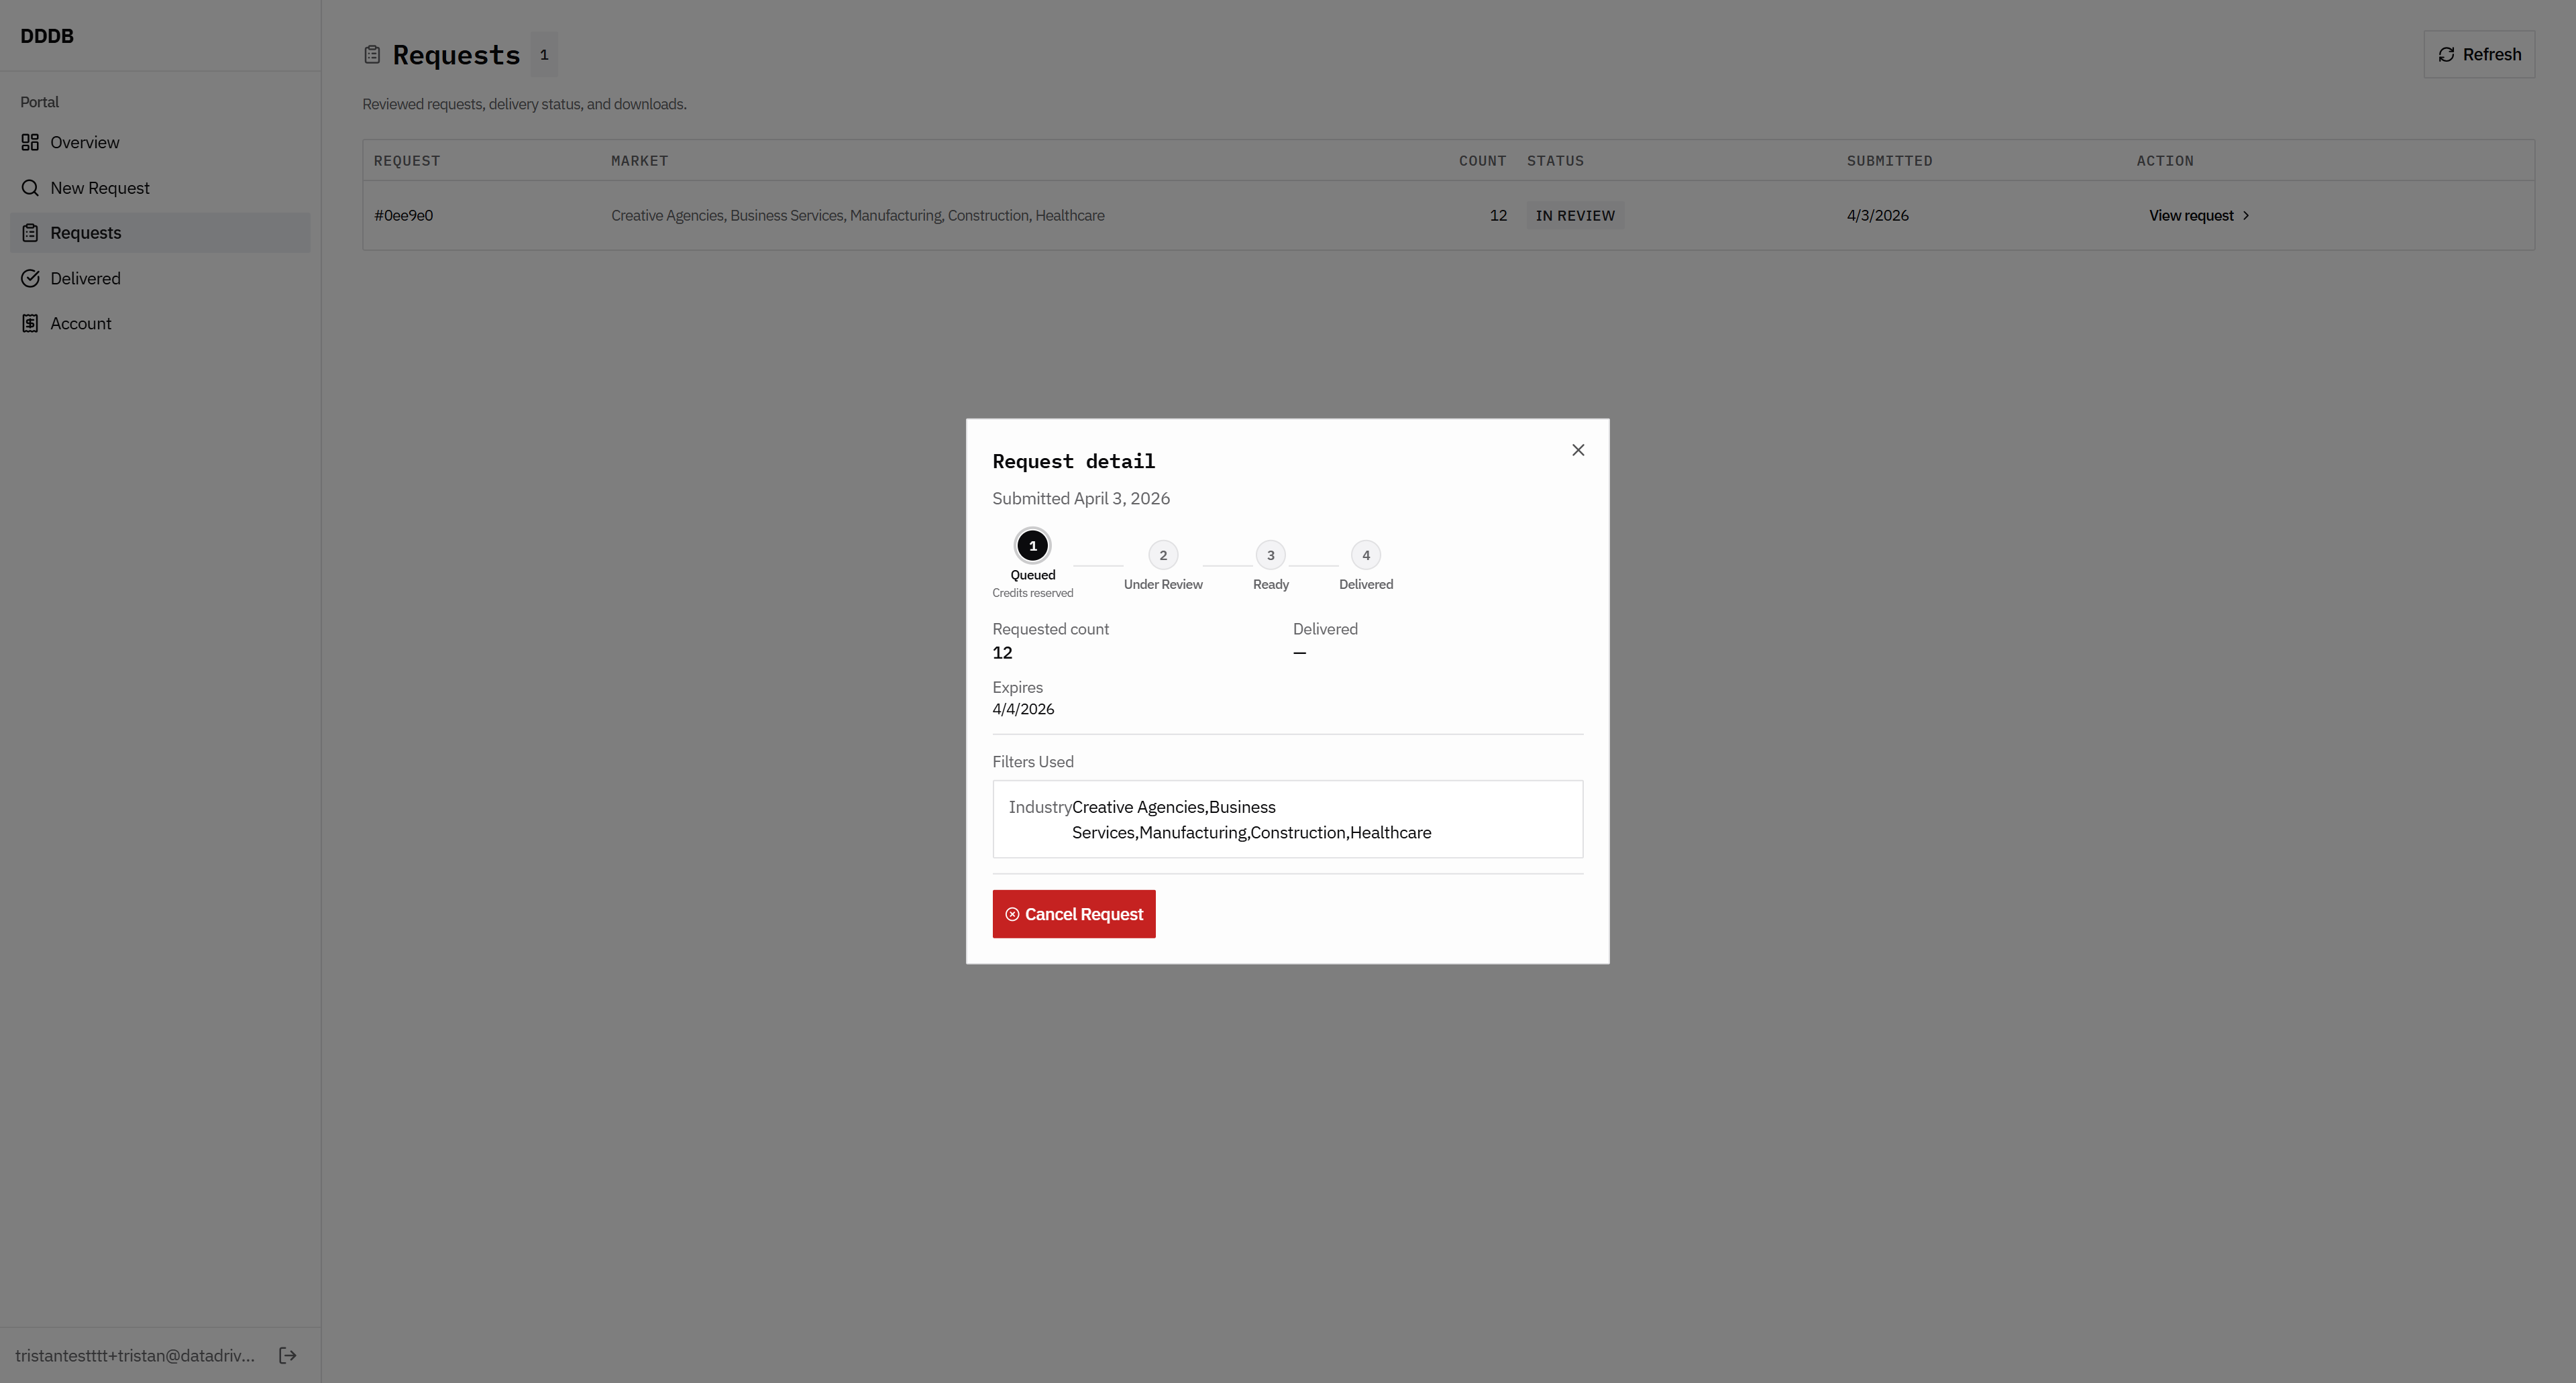
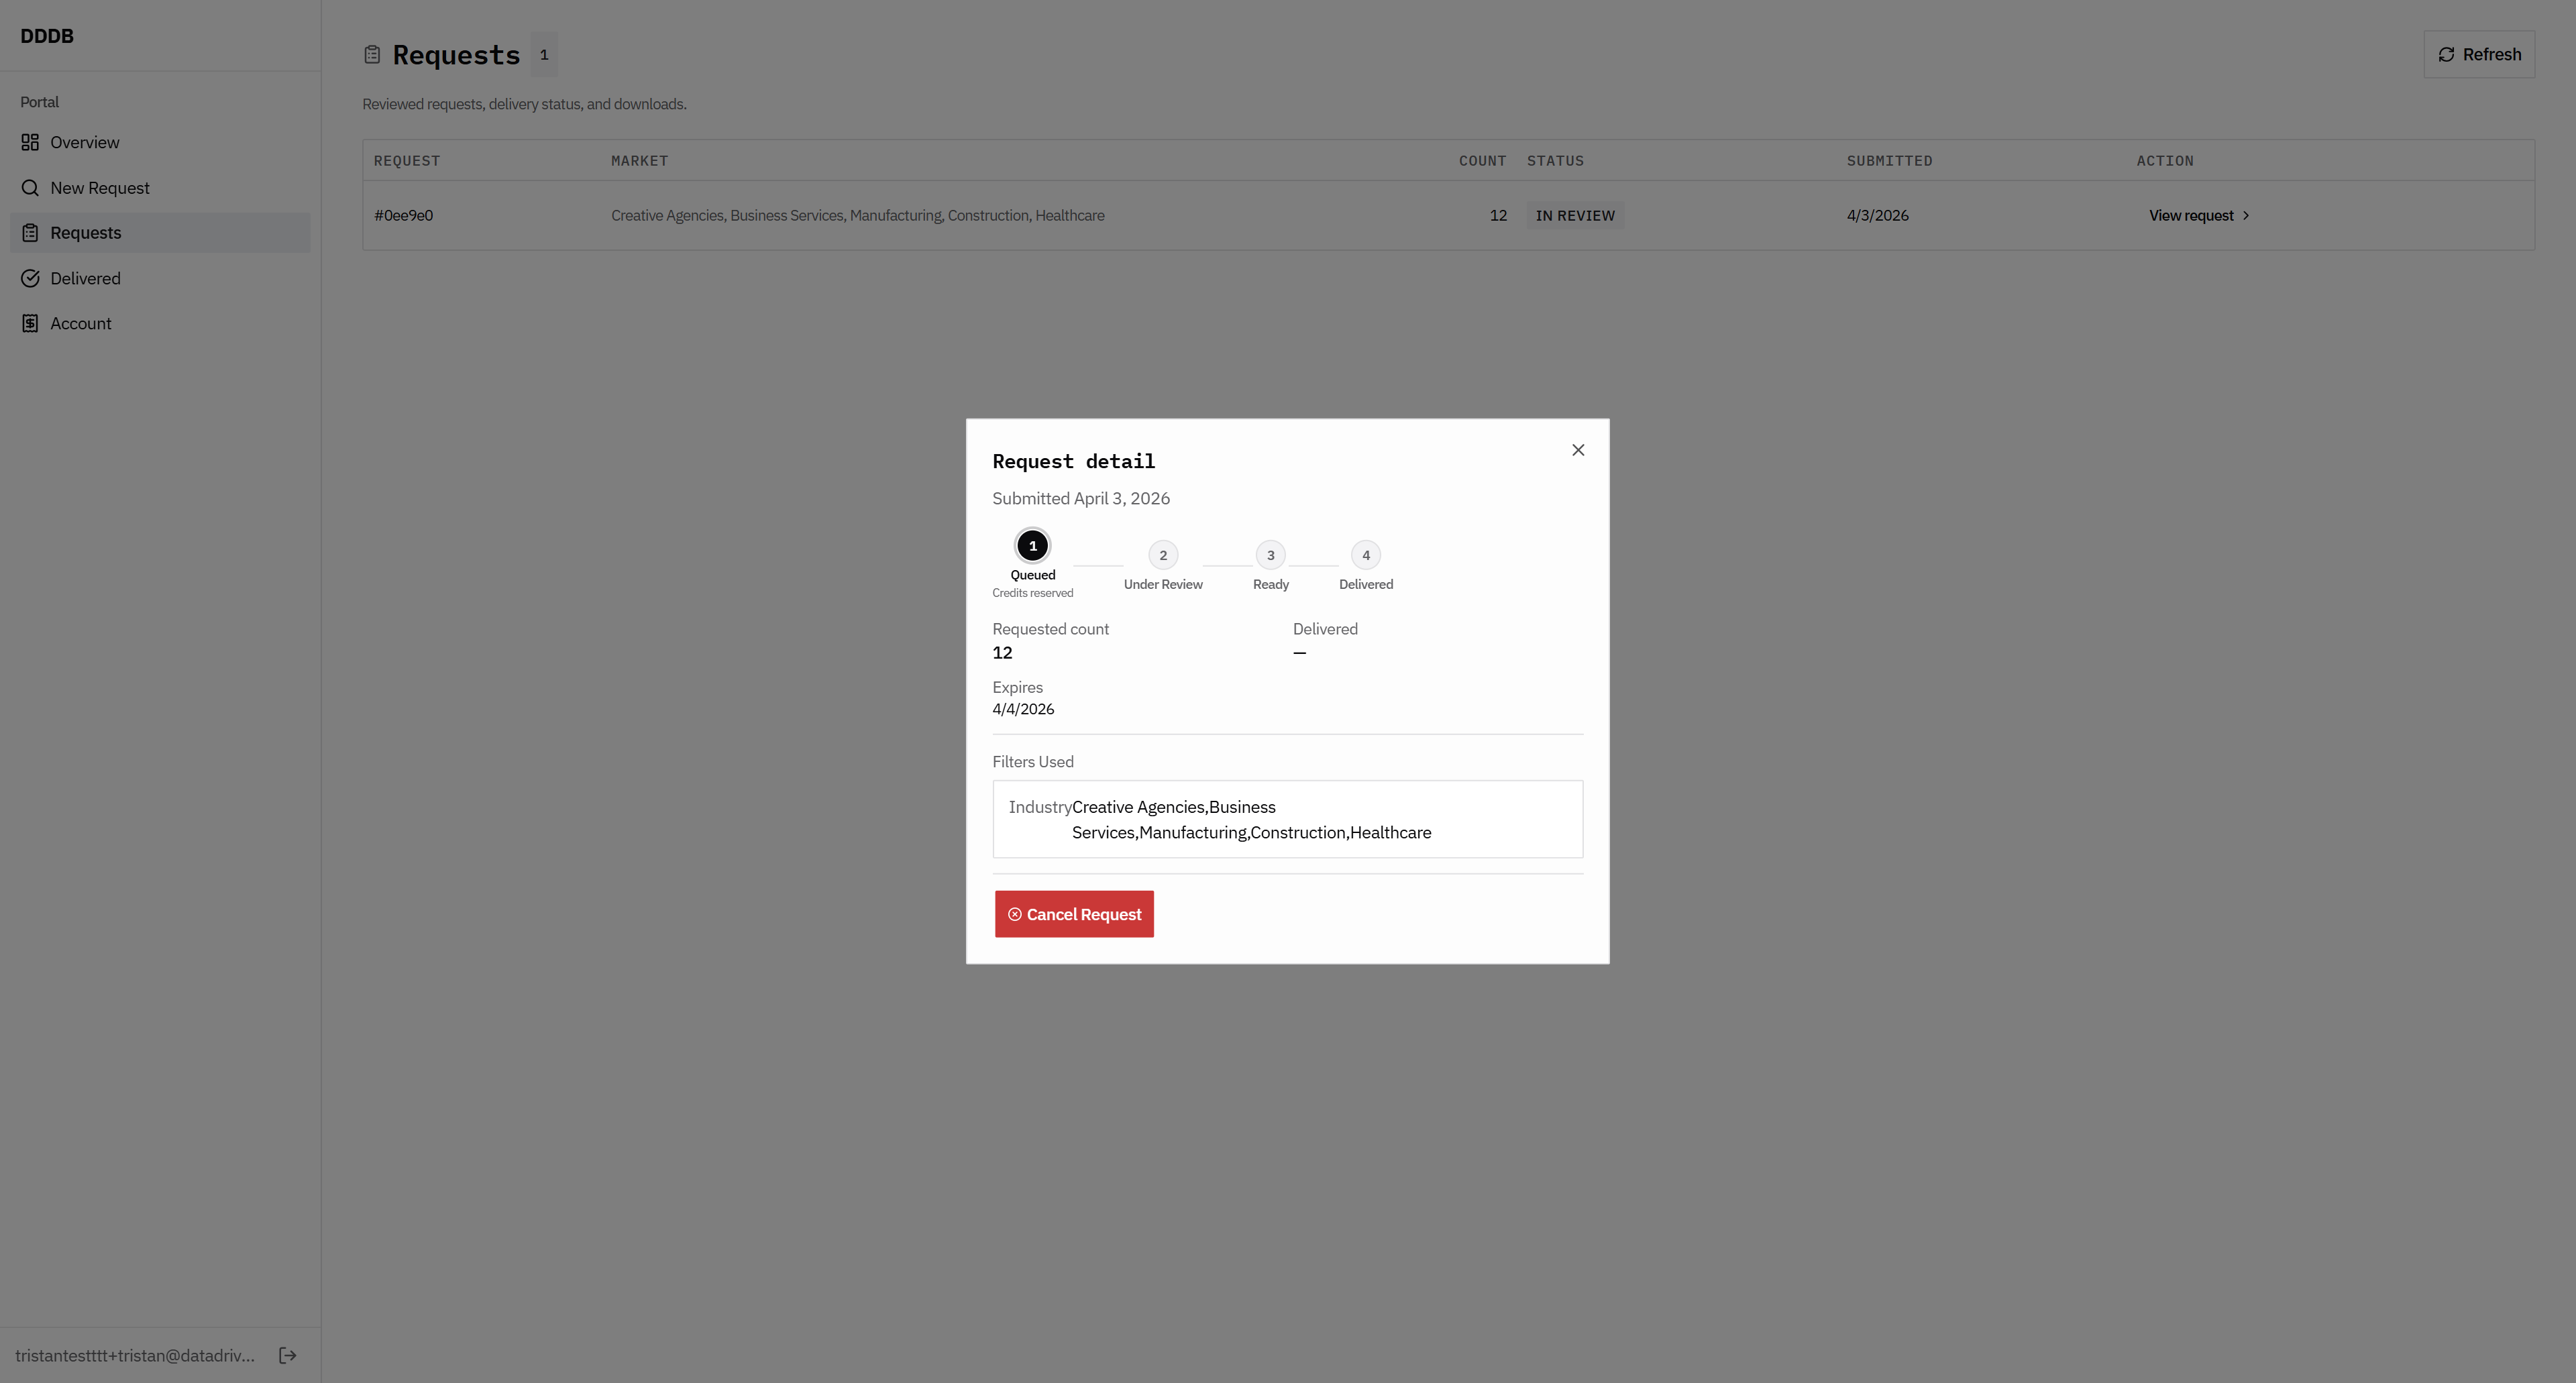
If you cancel those 12 credits, they should return to your credit balance. I canceled the order, but the credits were not put back.

108
Click here
Step #108: Click here

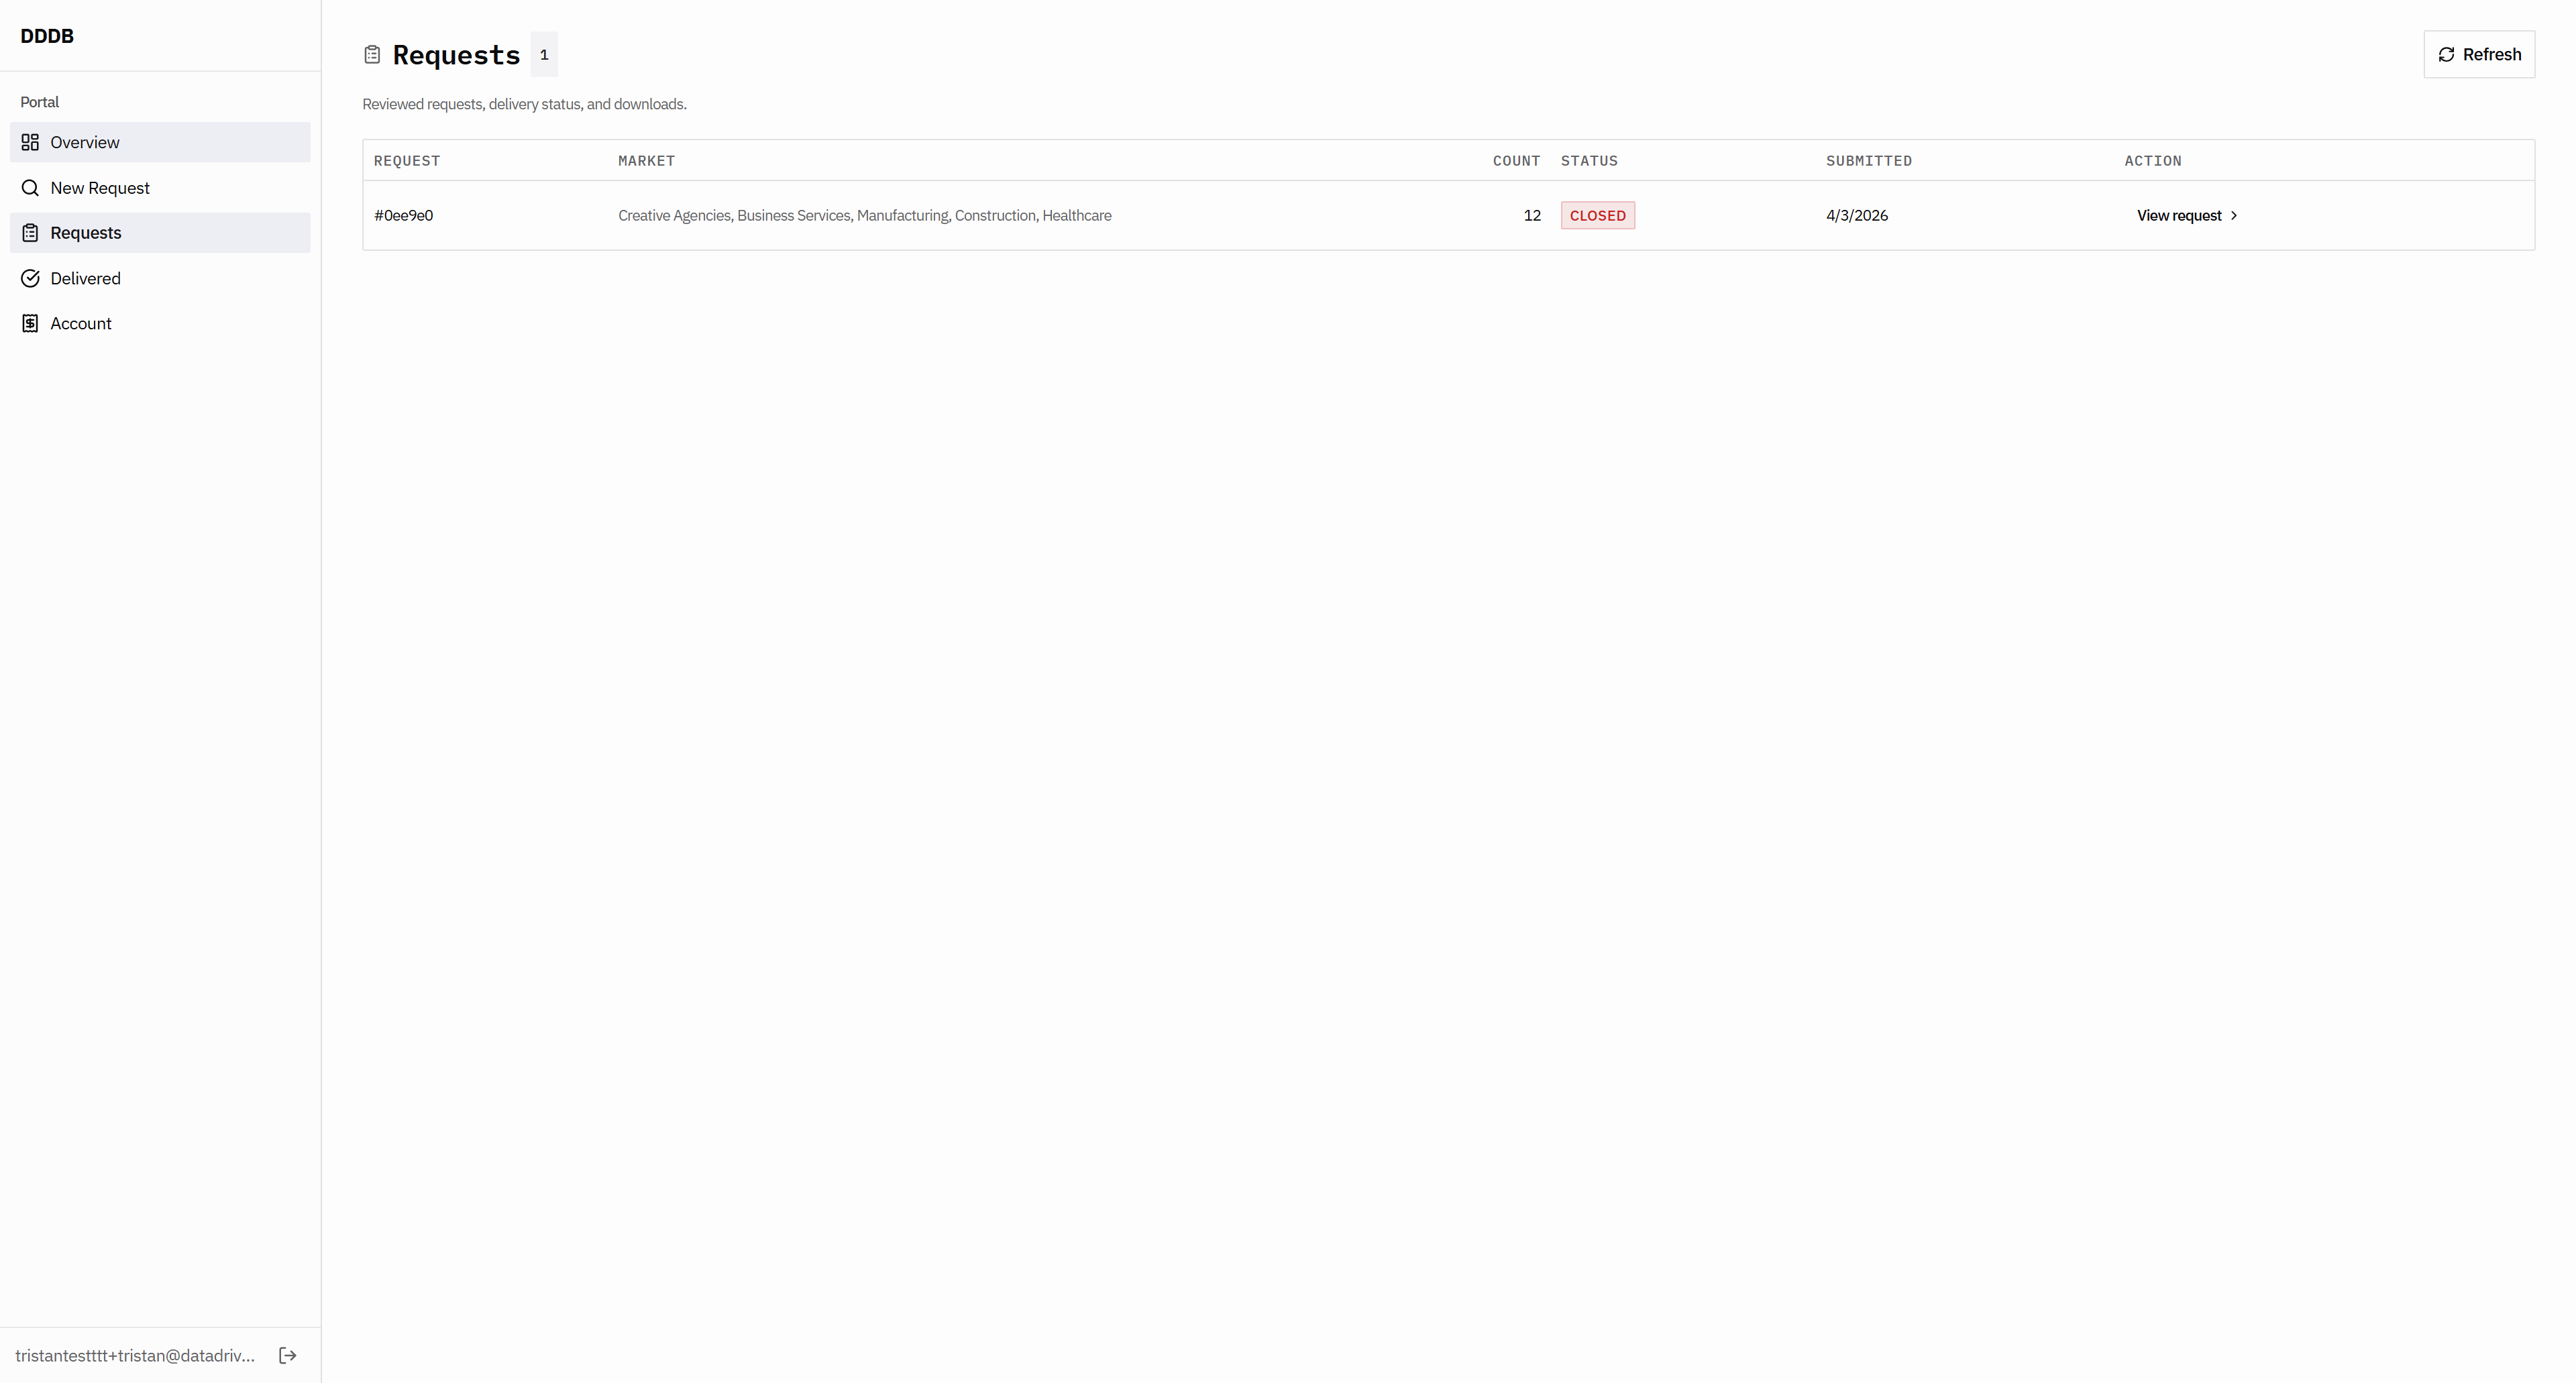
This should update correctly.

109
Click here
Step #109: Click here
110
Click on "Overview"
Step #110: Click on "Overview"
111
Click on "Overview"
Step #111: Click on "Overview"