DNS Filter Overview and How-To Guide for MSPs and Clients
Learn how to navigate DNS Filter, manage clients, set up filtering policies, and troubleshoot common issues. This comprehensive guide covers the DNS Filter layout, menu options, reporting, and step-by-step instructions for allow/block lists.
In this guide, we'll learn how to navigate and use DNS Filter for managing web filtering and security across multiple clients. We will cover how to sign in, understand the main menus, and use features like global policies, deployments, roaming clients, and reporting. You will also learn how to adjust filtering policies, add URLs to allow or block lists, and troubleshoot common issues.
Let's get started
This is the DNS Filter overview, along with some how-to instructions at the end. We will cover the overall layout of DNS Filter, how to navigate it, and how to sign in. The common menus you will use, what they do, and how to use them. To access DNS Filter, go directly to the DNS Filter URL or use the DNS Filter tile in Duo SSO.
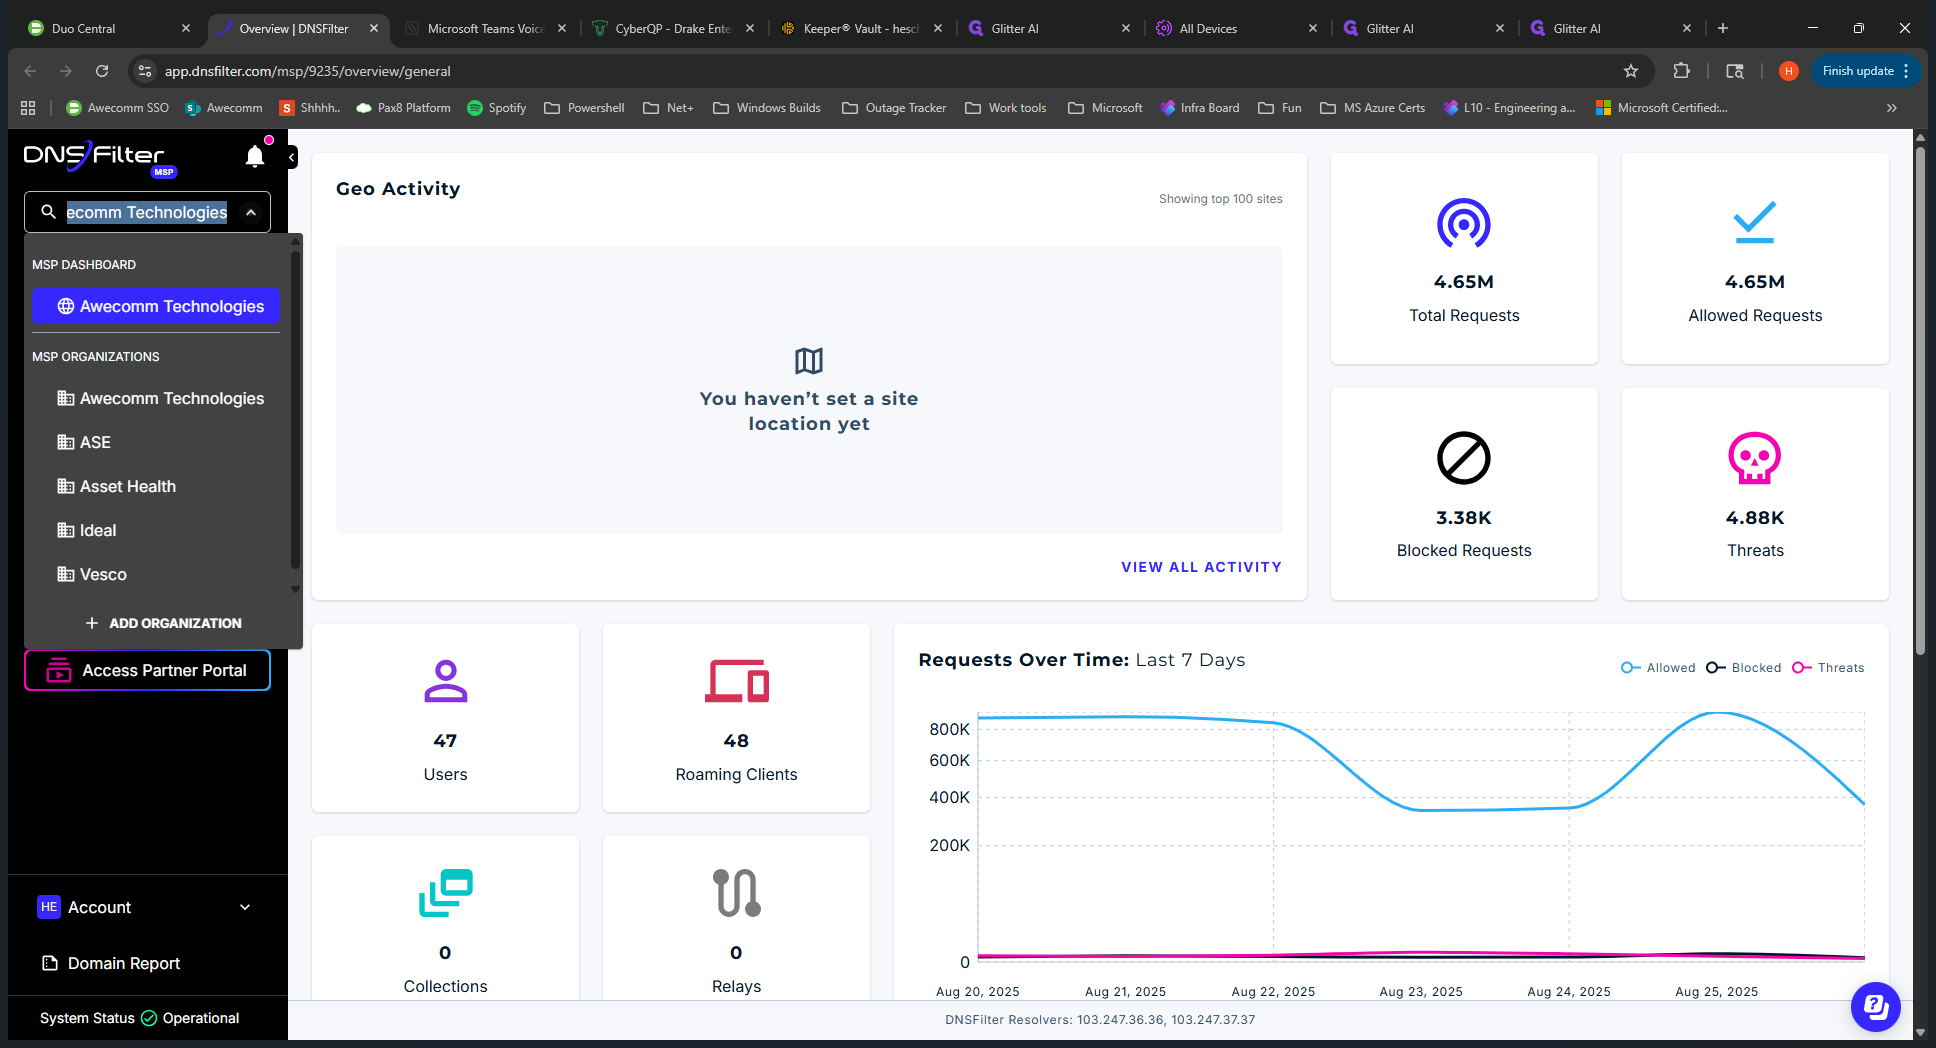
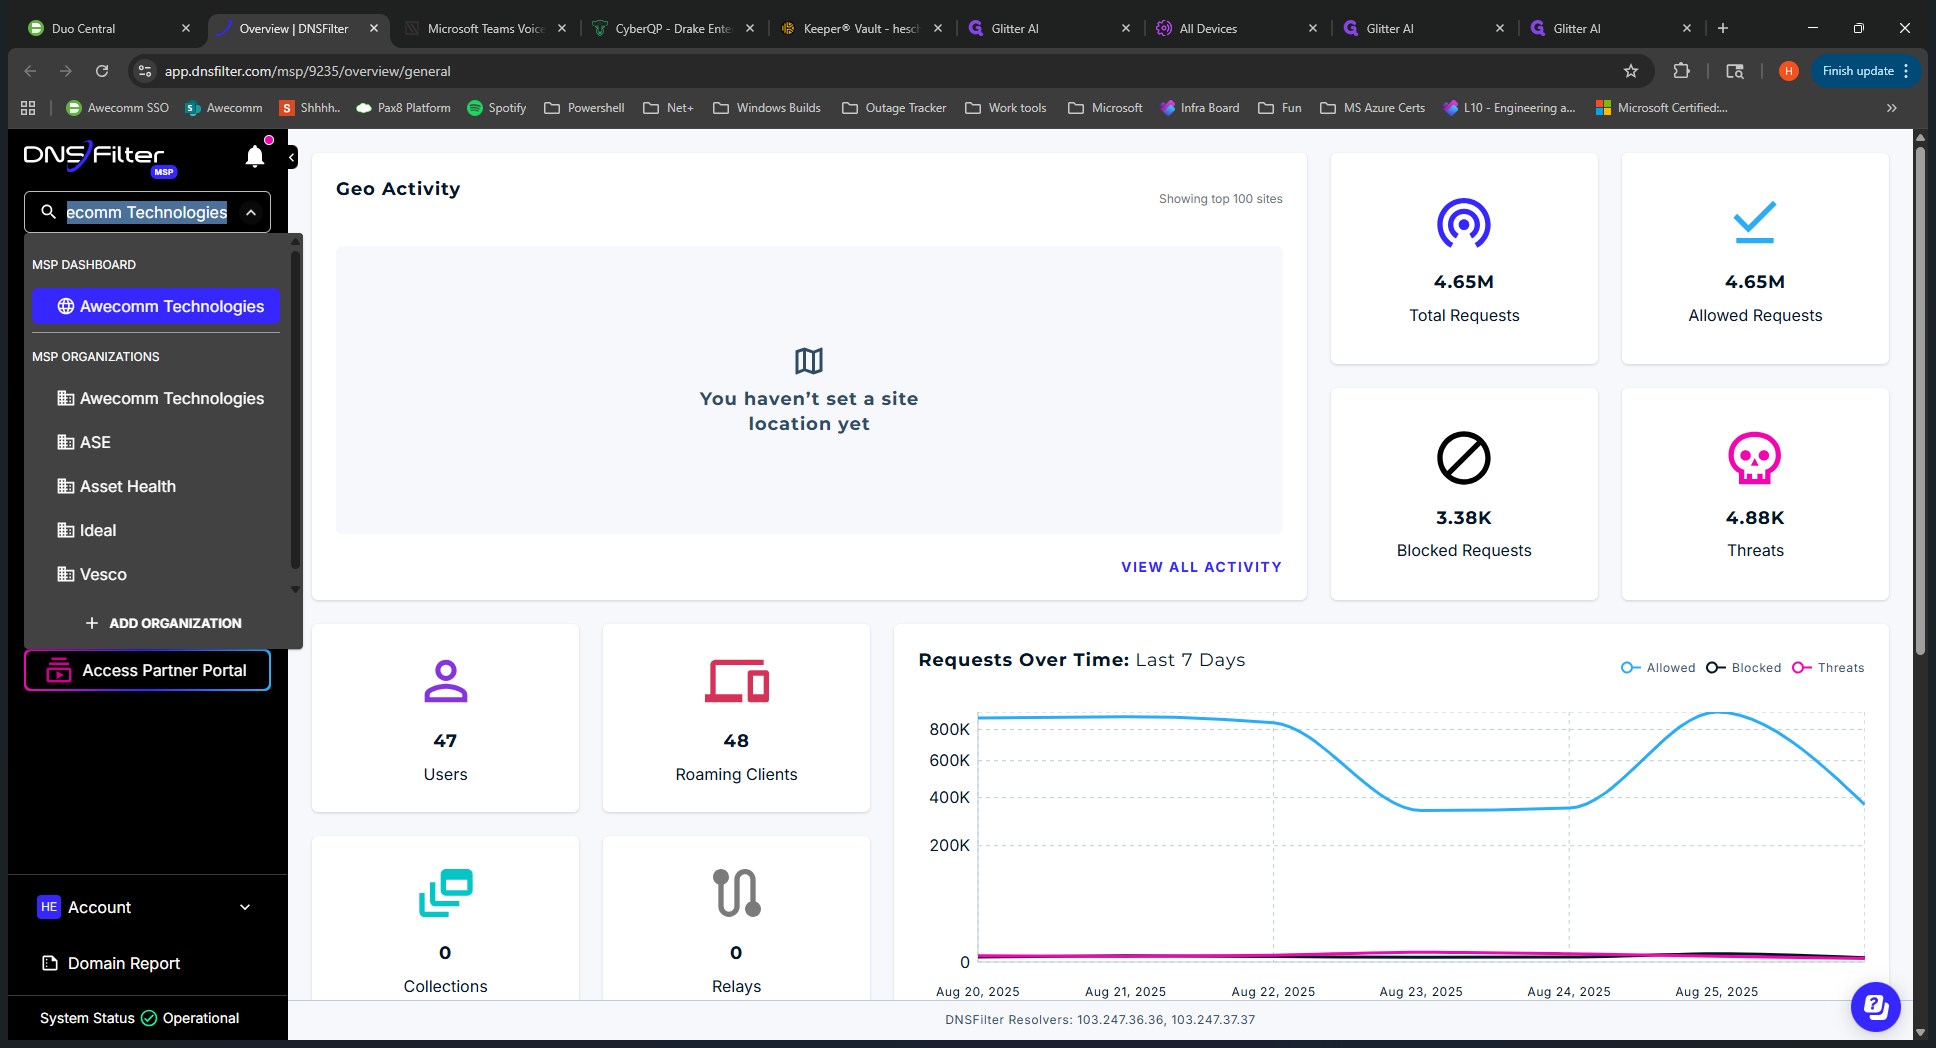
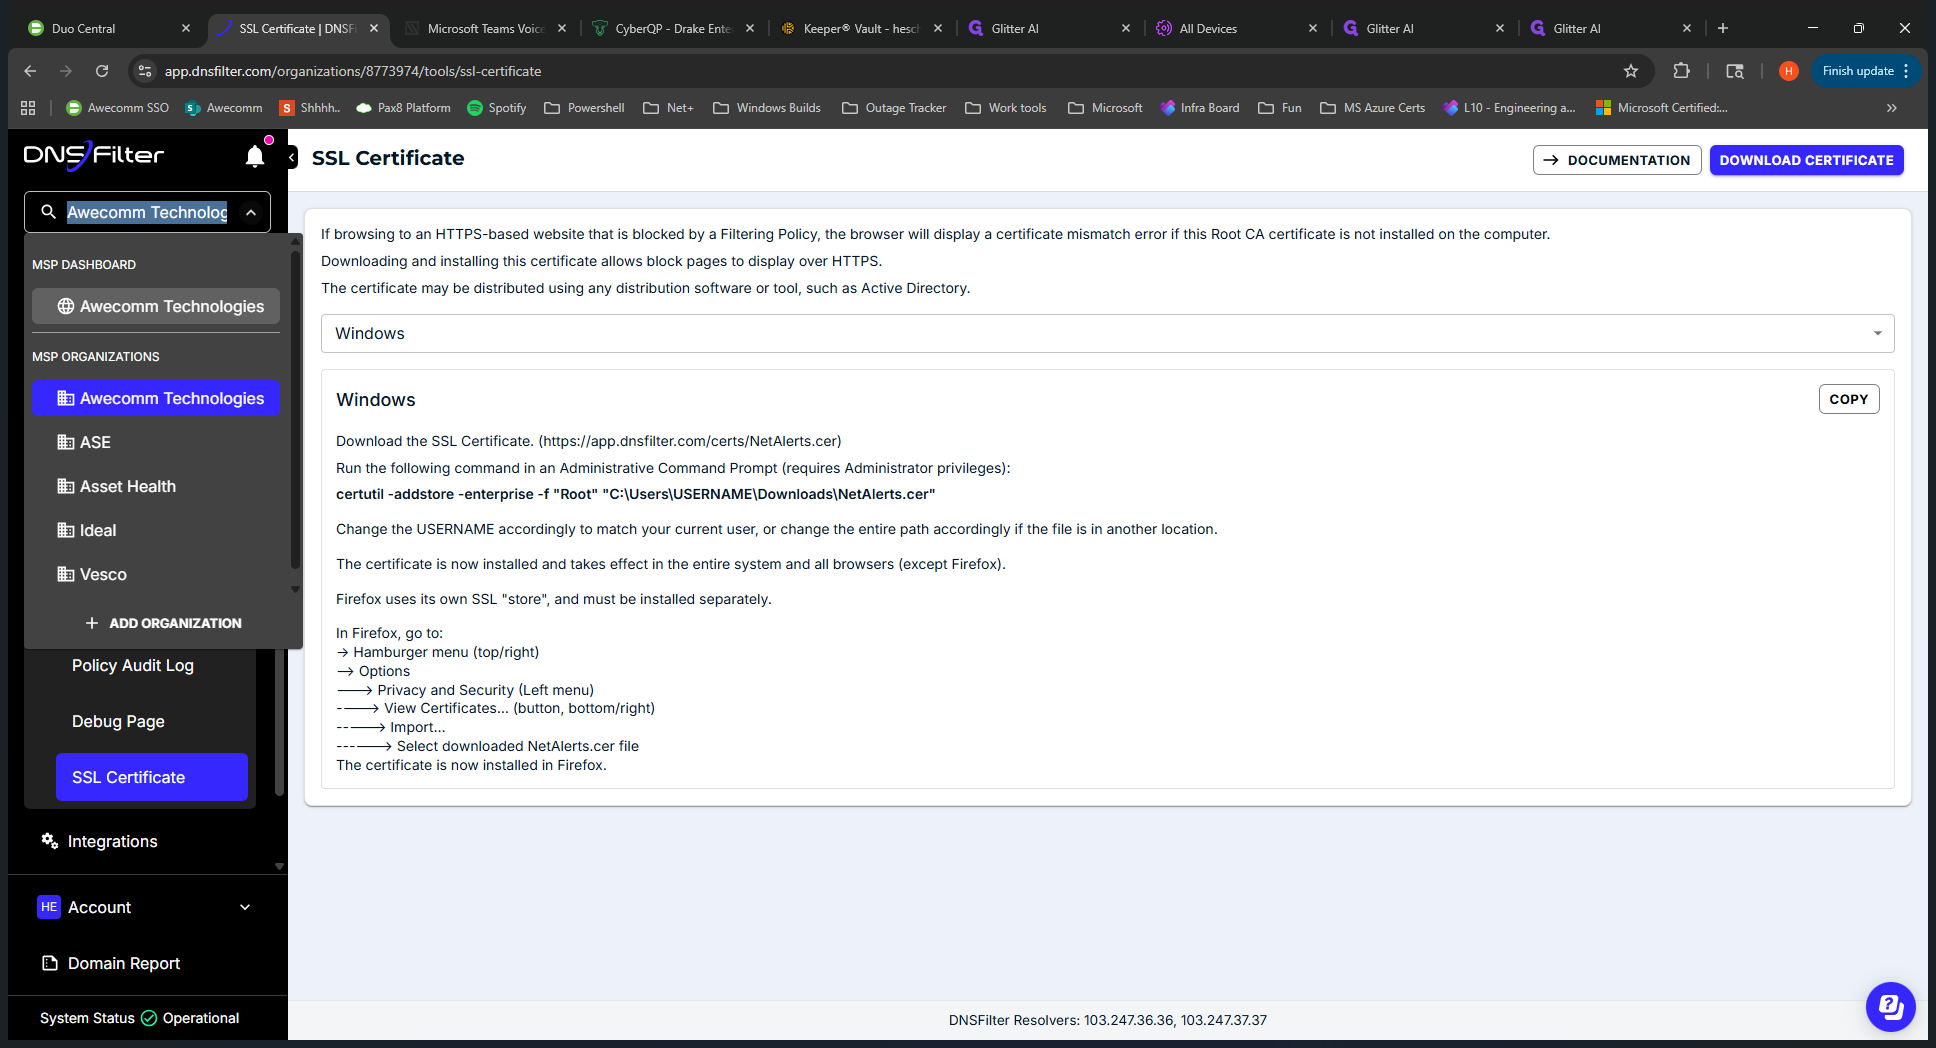
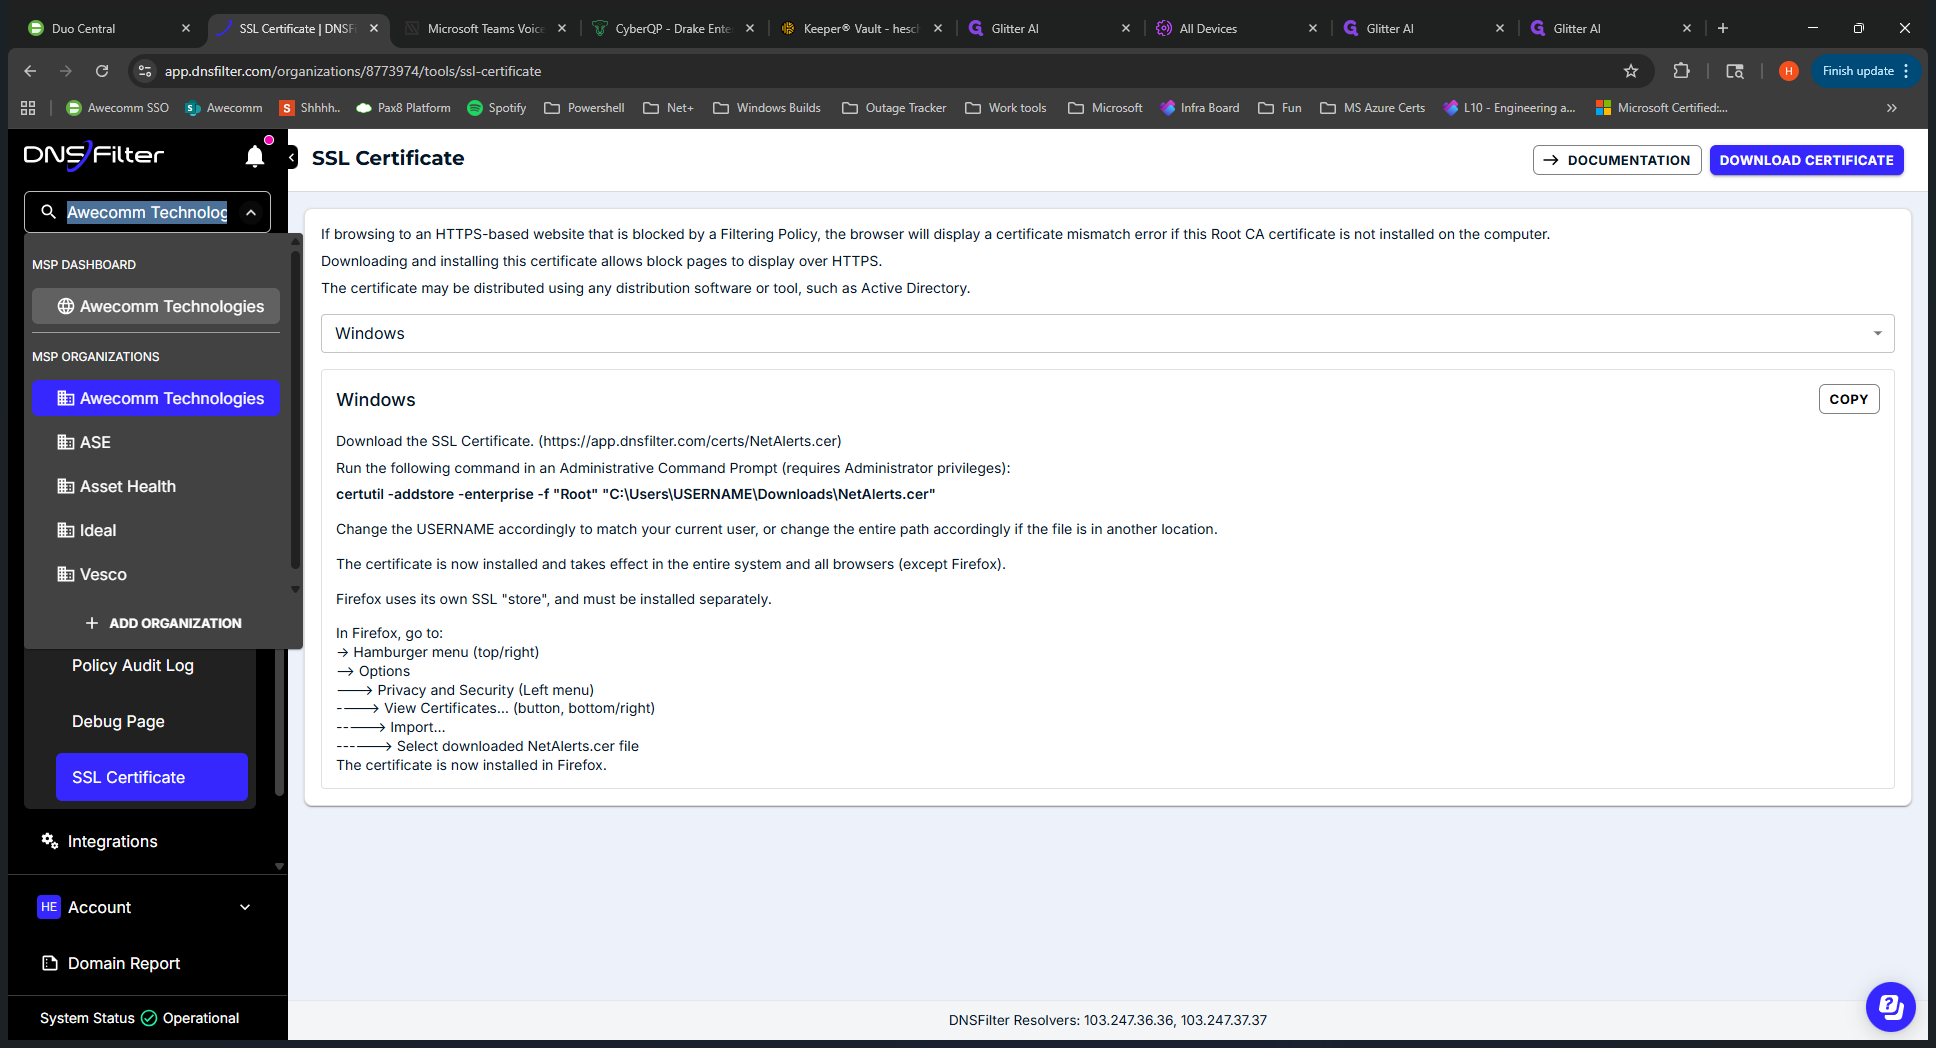
If you click on it, you will be prompted to log in with your DNS Filter credentials. I'm already logged in, so it takes me straight in. When you log in for the first time, you are placed at the MSP level. You can see this on the dropdown menu on the left side.
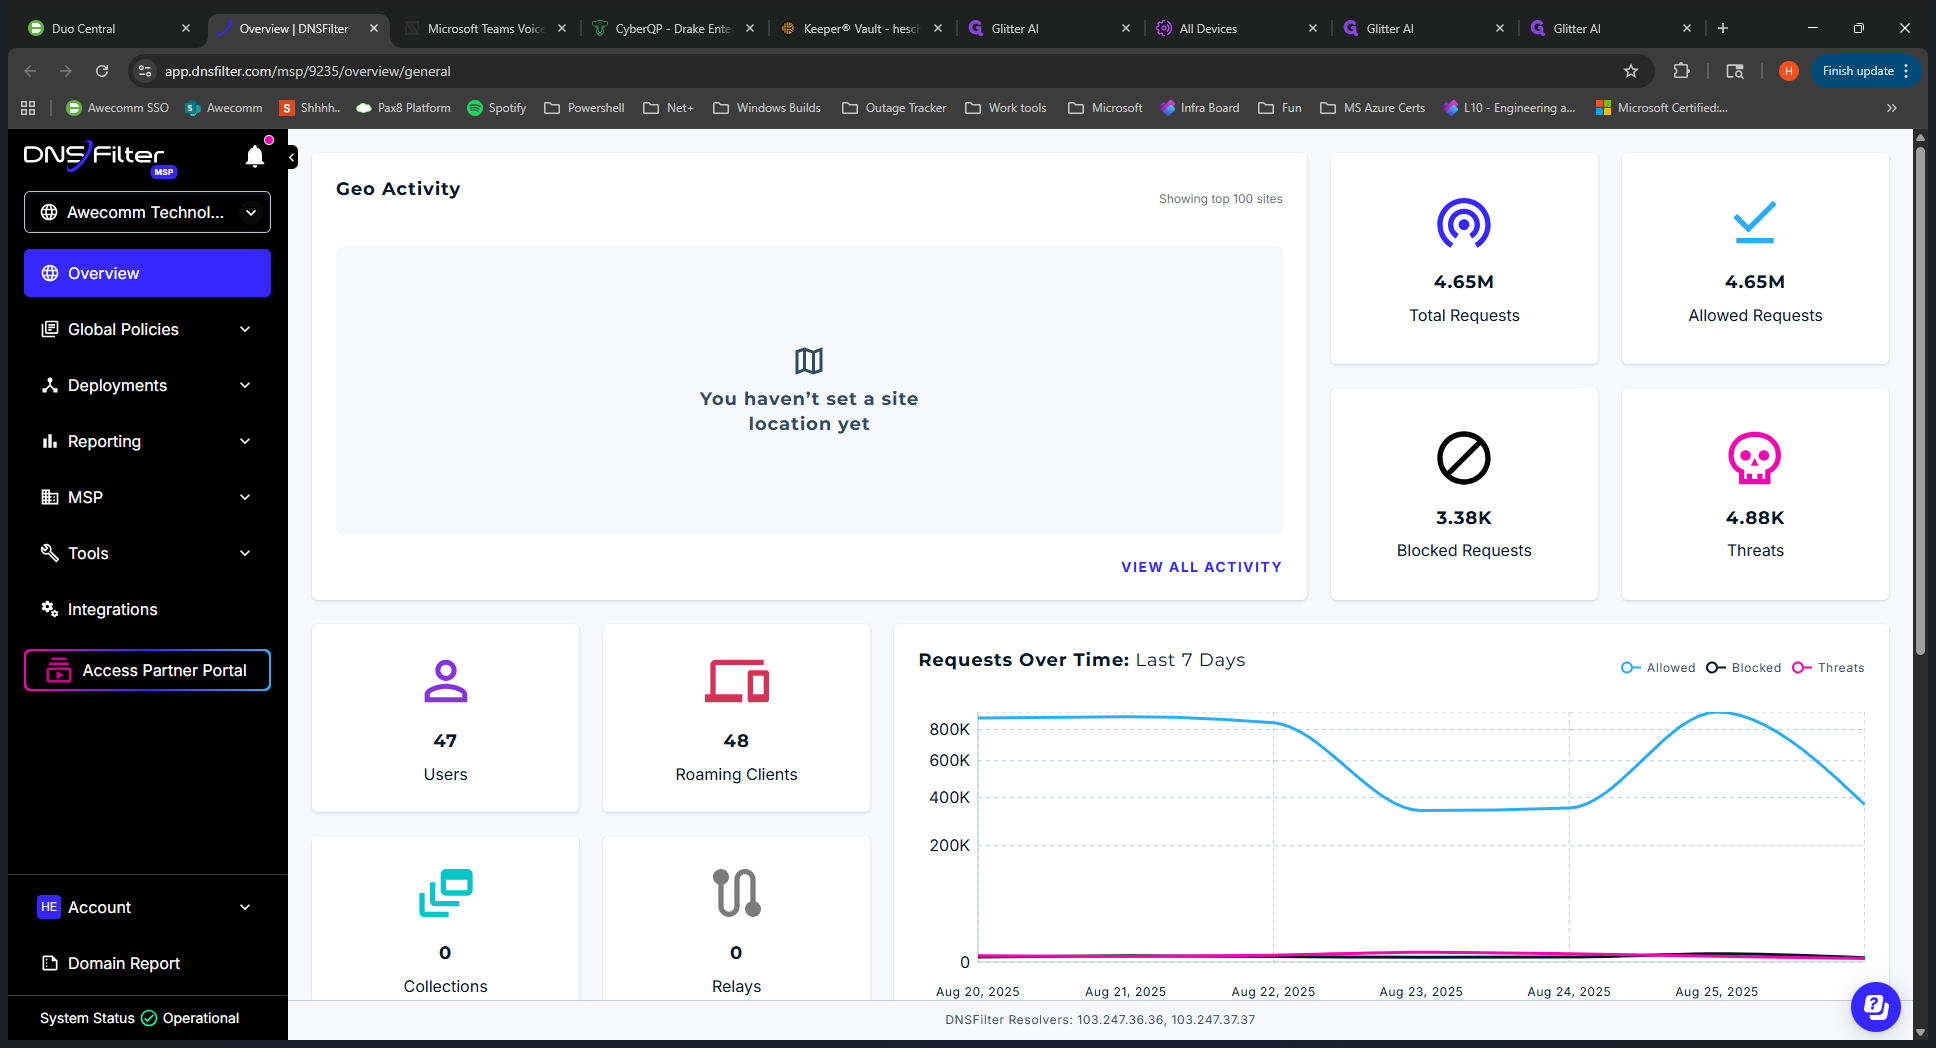
We are in the root directory of Occom Technologies. Below that, you'll see all the clients we have set up in our tenant. Key points to note: Occom Technologies, the root MSP, is mainly used for templates when deploying to clients.
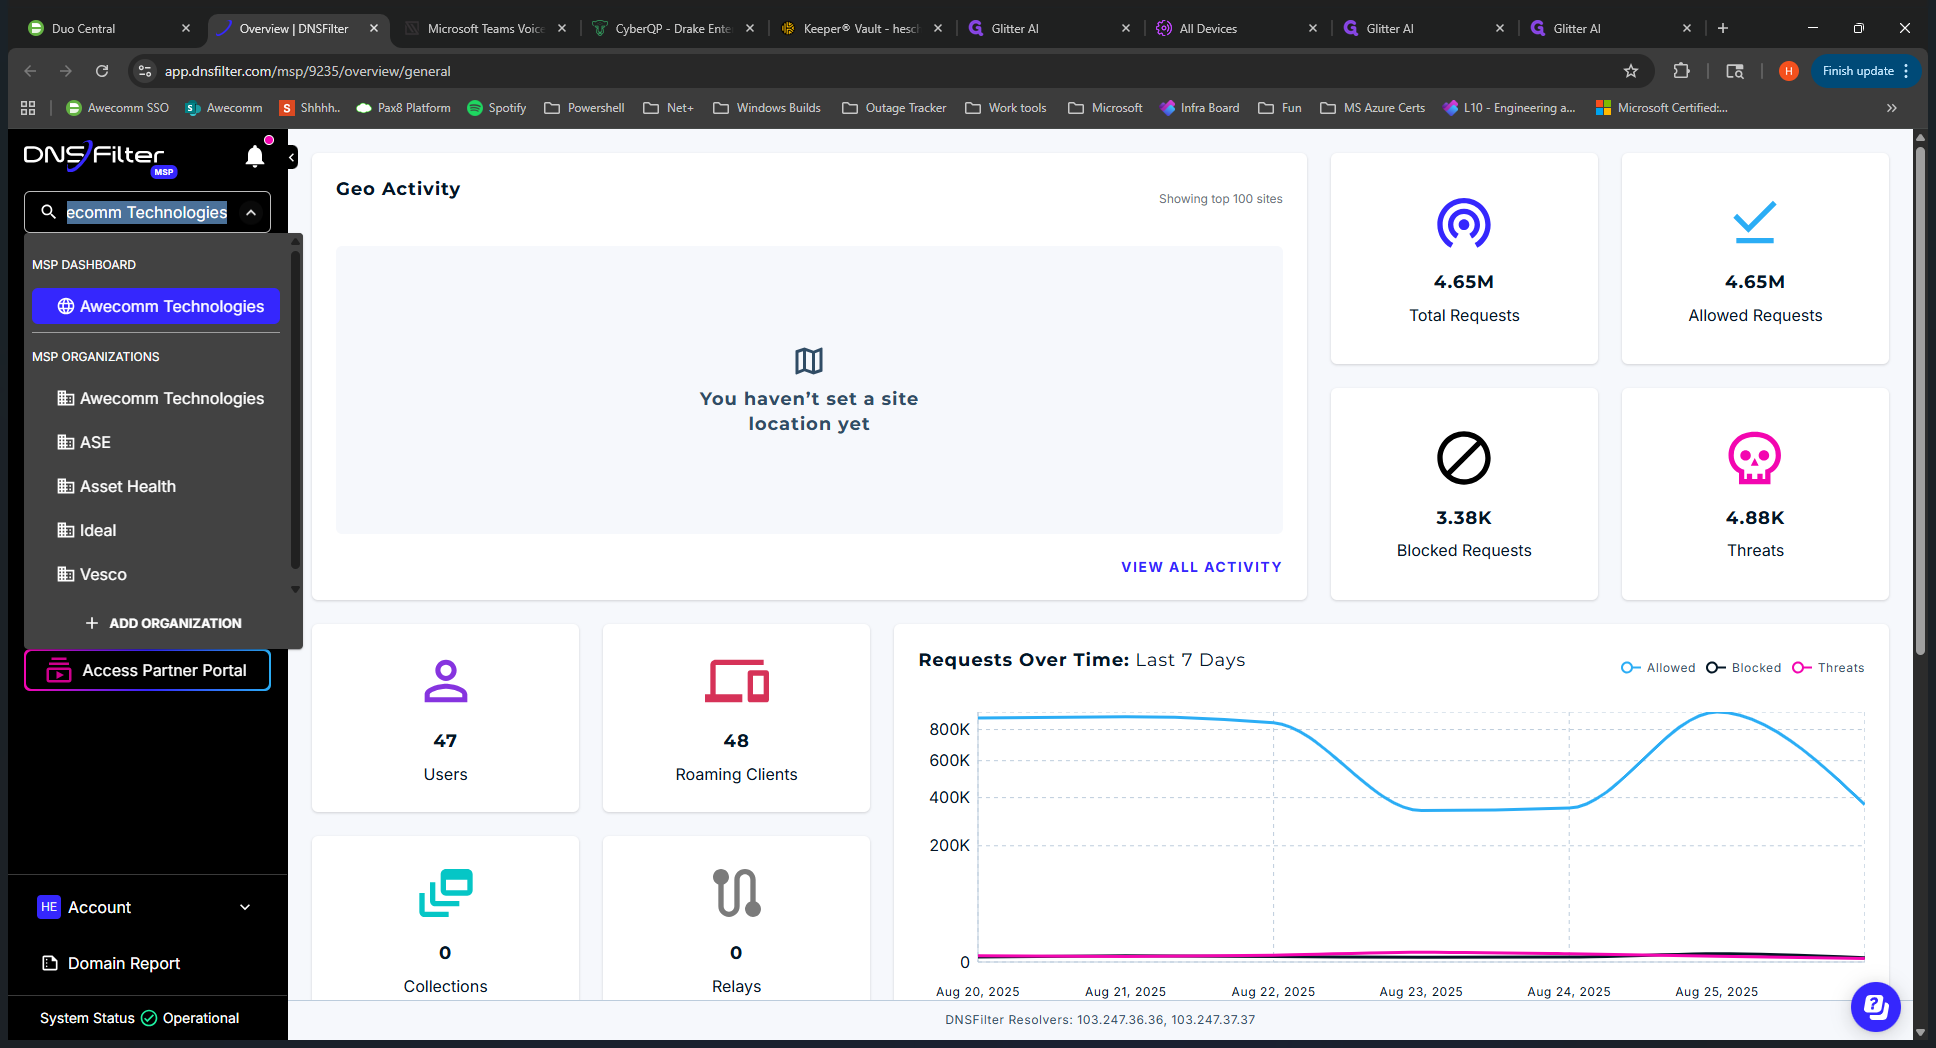
Now you have this submenu below it. This is the same submenu you see when you drill down into clients. Right now, all the options here apply to all clients. It's like having a global view. There are also specific details when you look into the clients, as well as different views you will encounter. We can discuss that later.
We can start with the overview. It shows statistics that apply to all clients, including allowed and blocked organizations, as well as users. These are end users signed into computers, known as roaming clients. These are the computers with the DNS Filter application installed. We'll start with global policies on the left-hand menu.
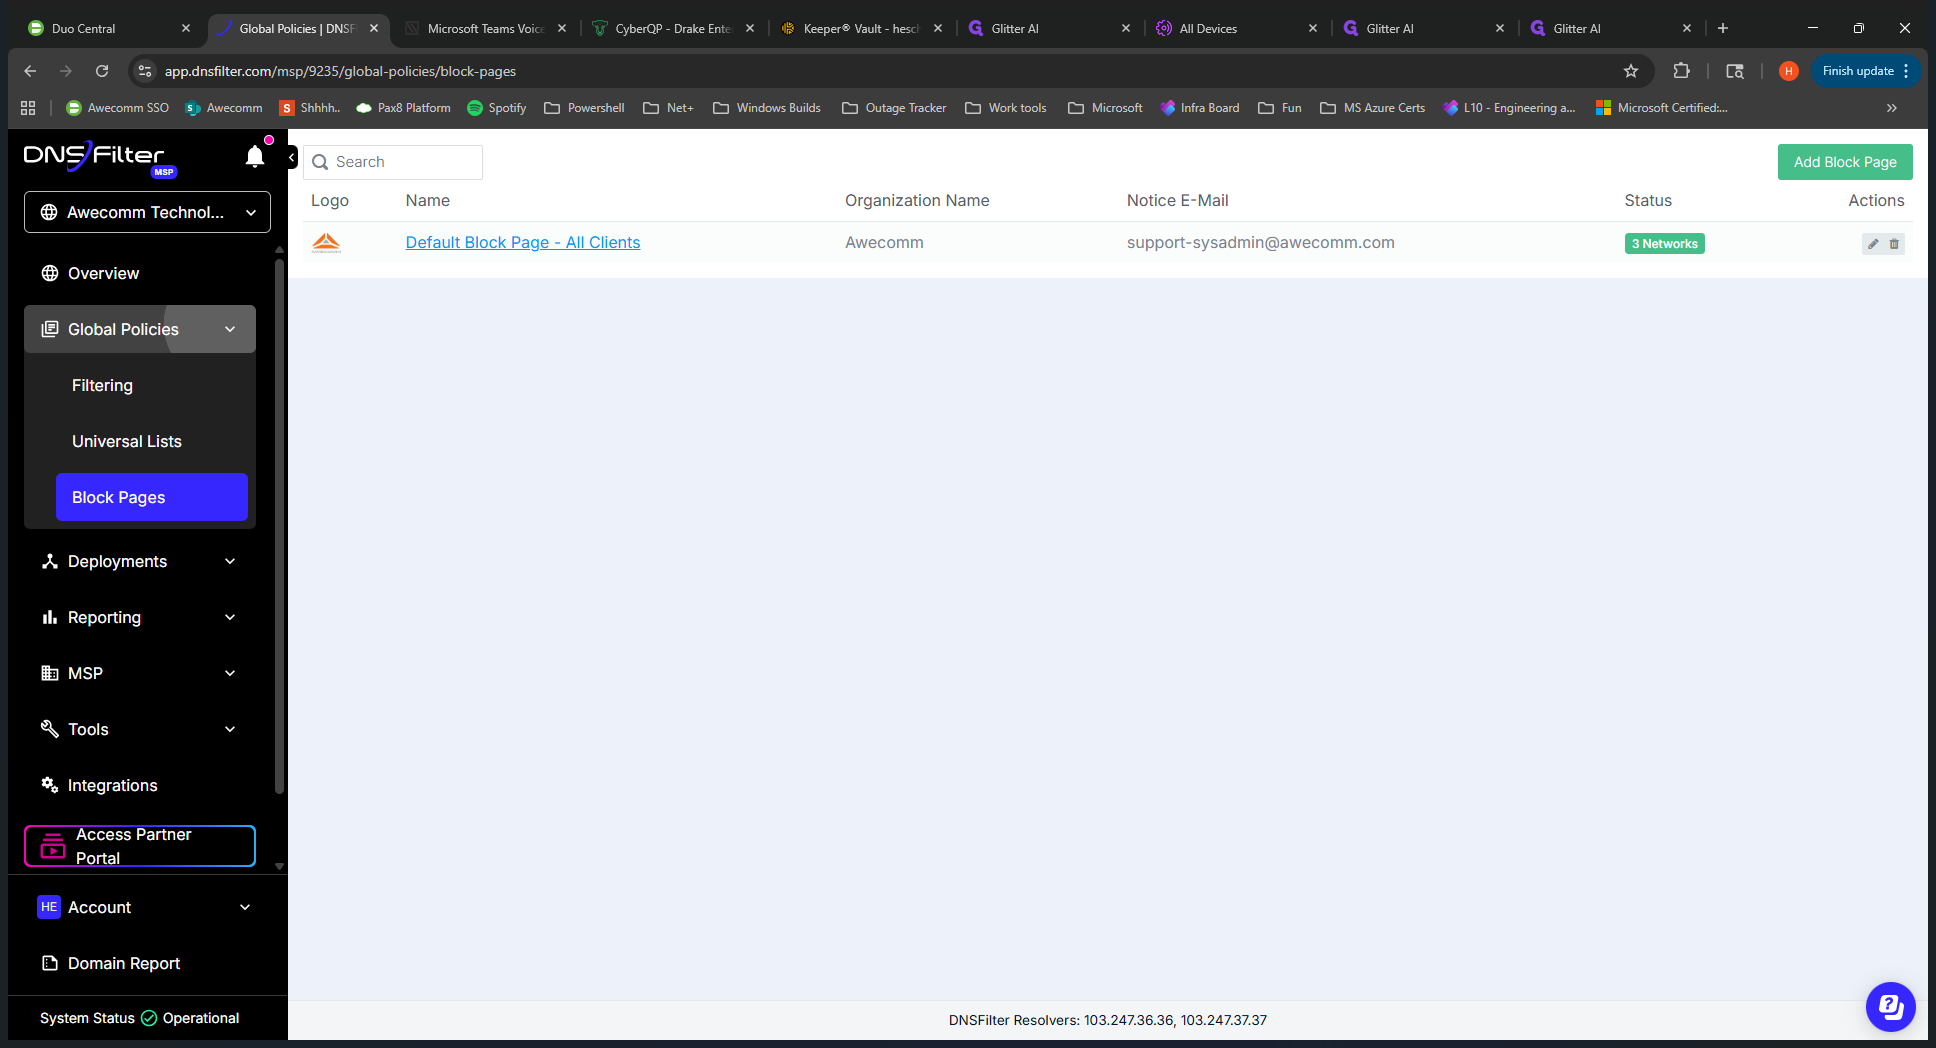
If we open this up, filtering is essentially the filtering policy that we have. This is the template we use. We copy this when setting up a new client. We'll copy this global default and use it to tailor and fine-tune for each client. I'm not going to click on this now.
Next, we can skip universal lists. We don't use that. The block page is what clients see when a website is blocked. This is the default for all clients; it's a template. If you need something specific, you can copy from this and apply it to the client.
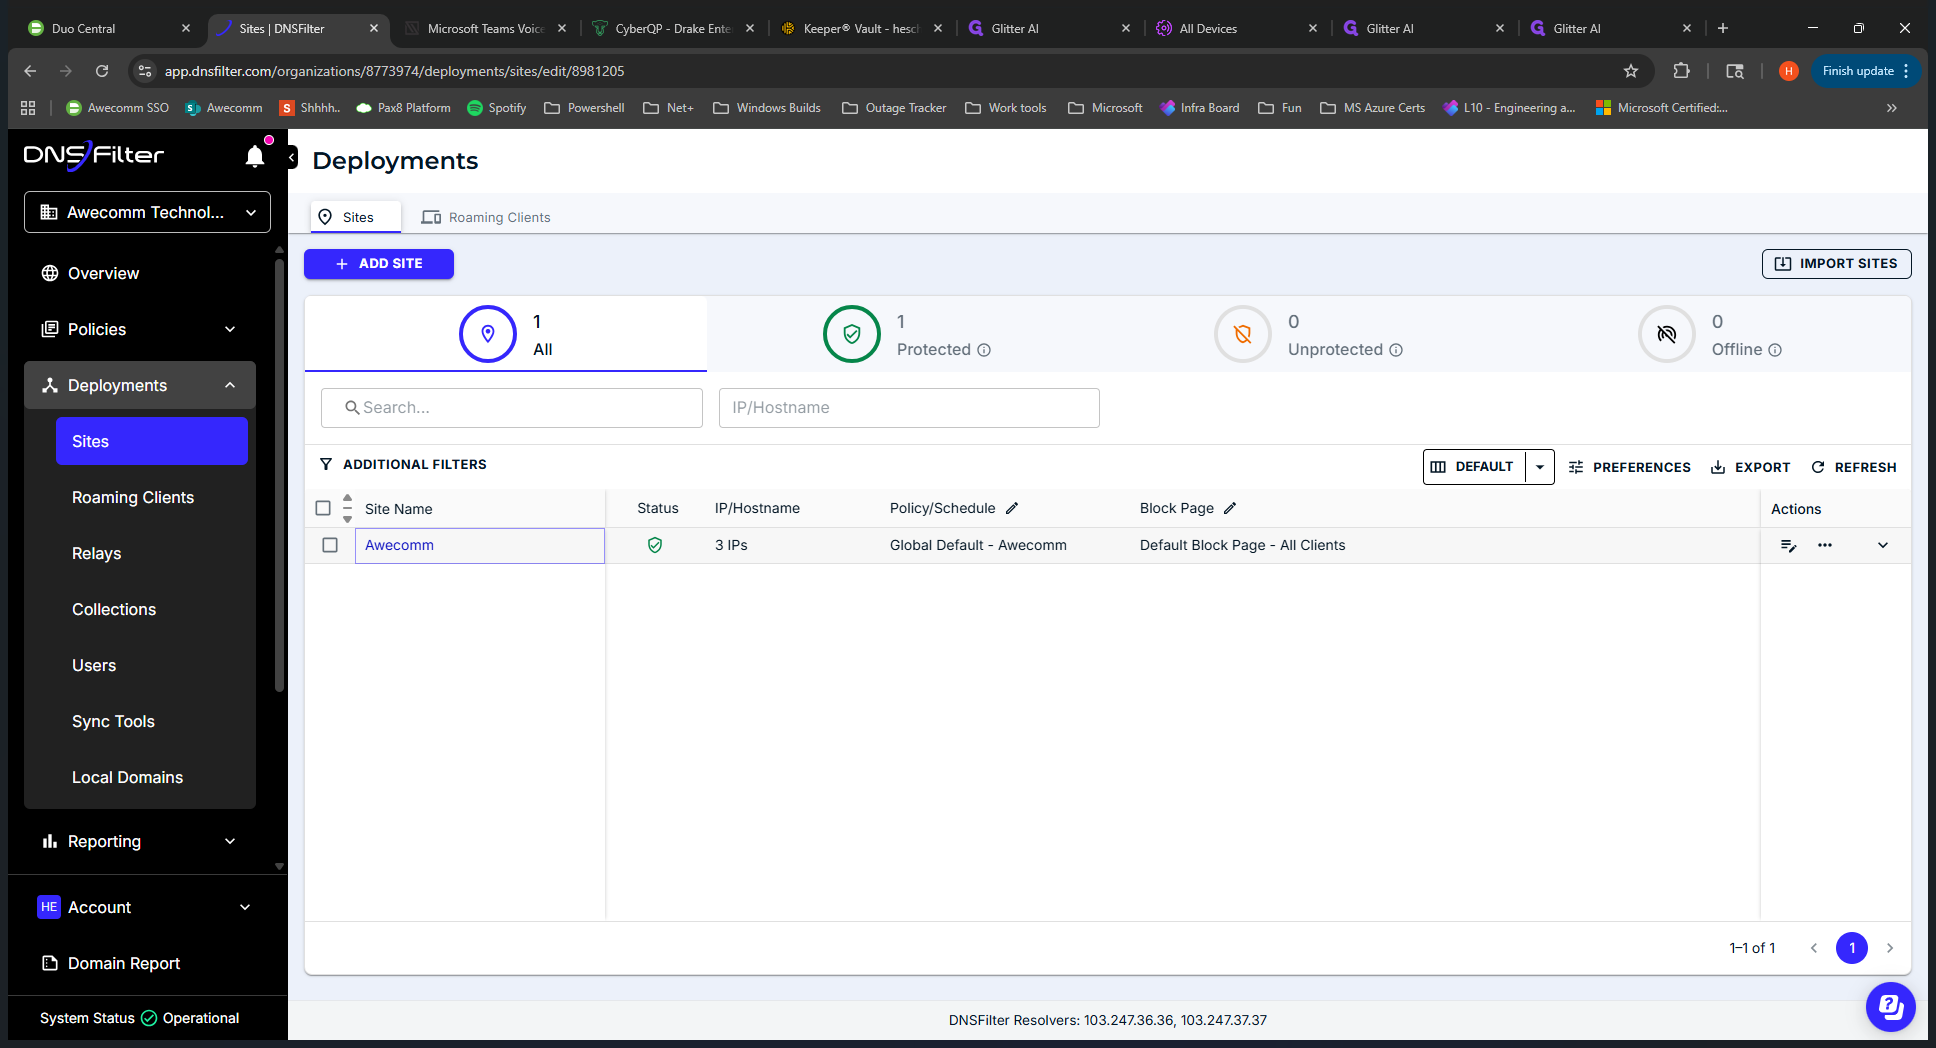
In the Deployments tab, you can see all the sites set up for each client. Some sites have IP addresses associated with them.
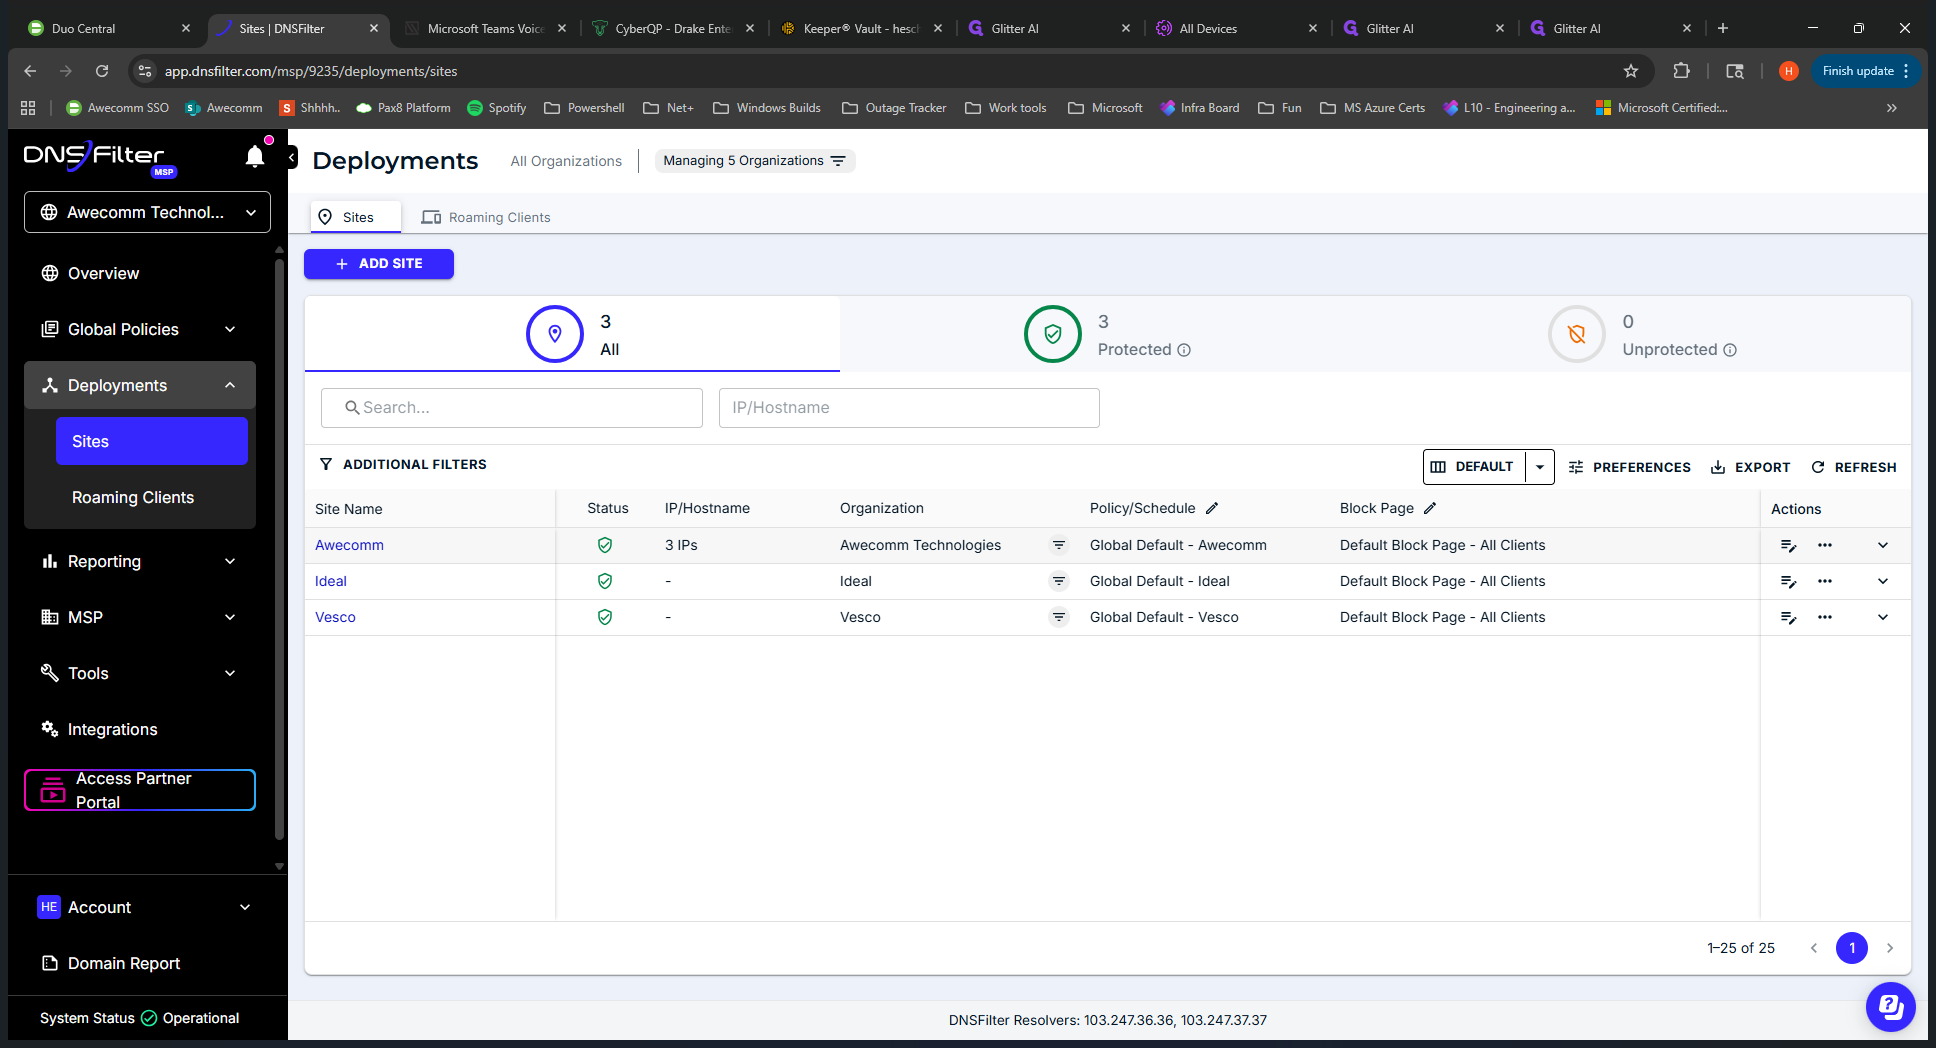
This shows whether a network is locked down. Others, such as Ideal, are not having their IPs or networks locked down at this time.
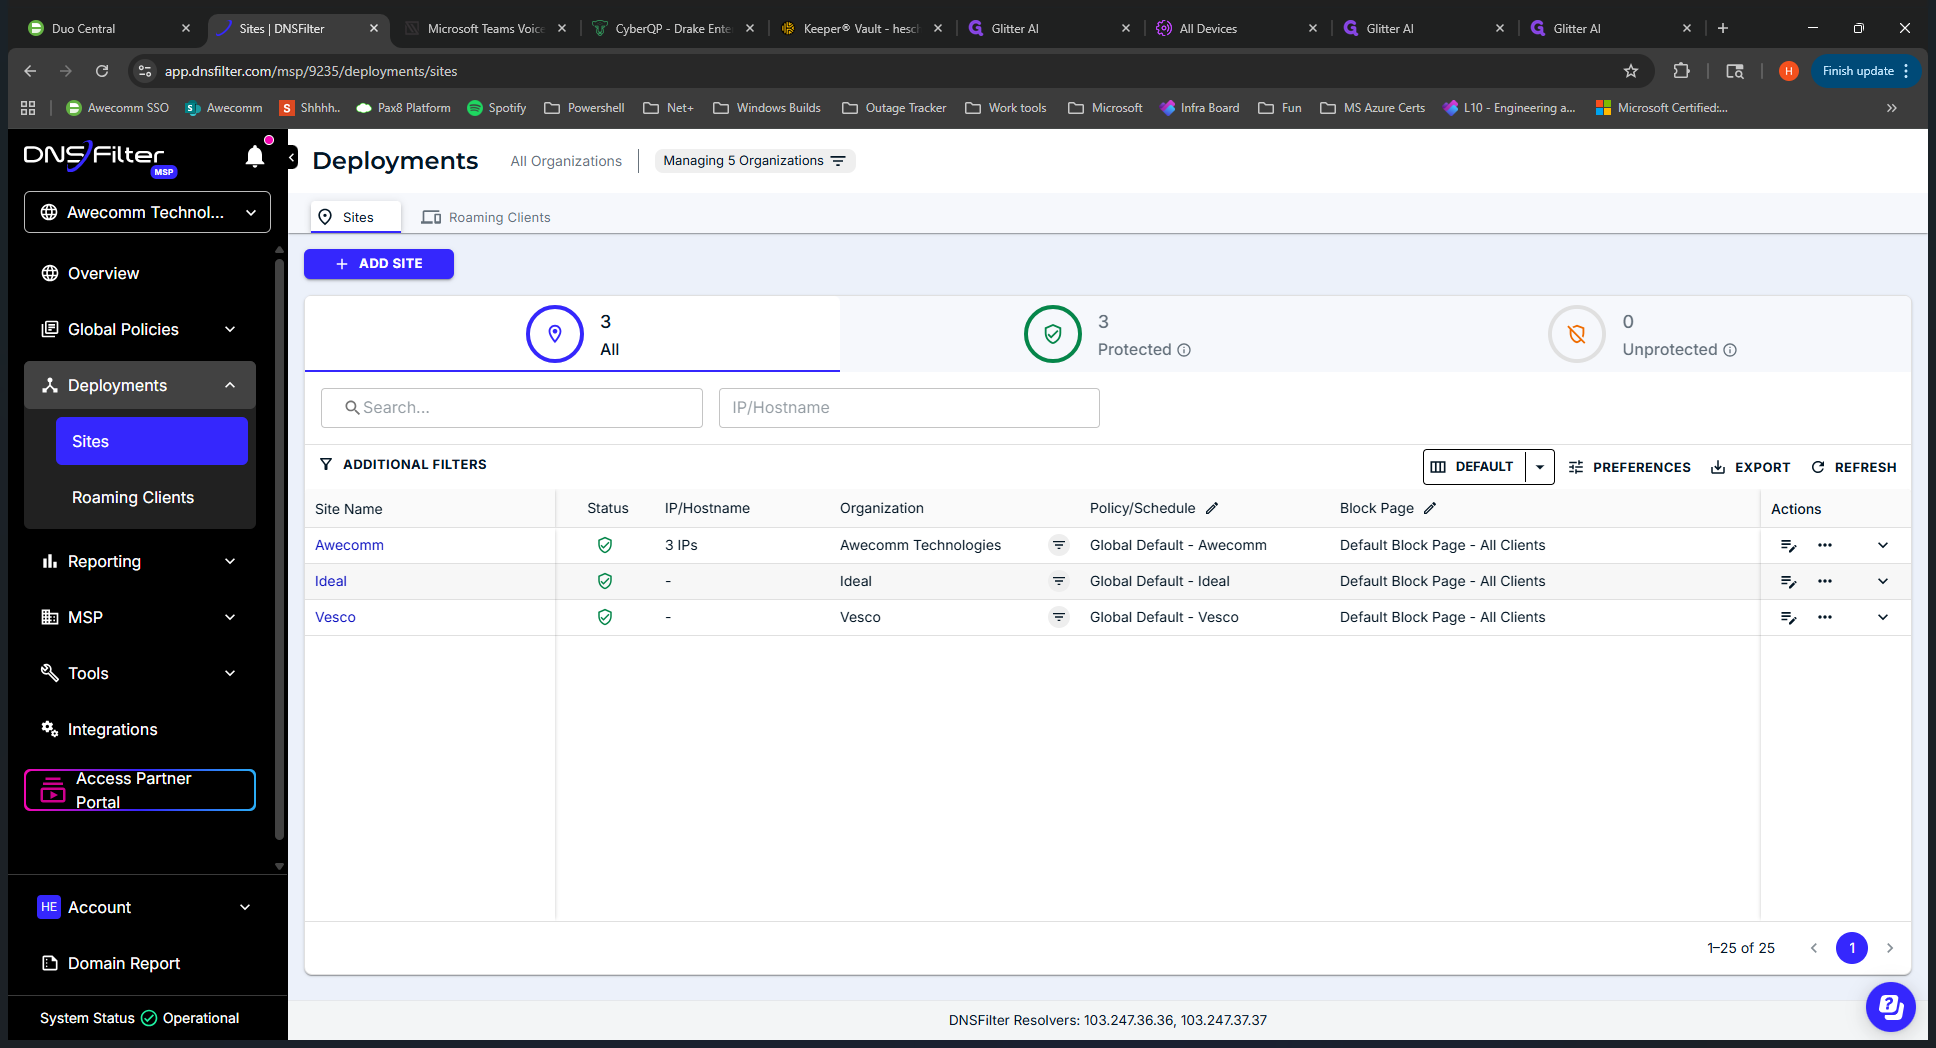
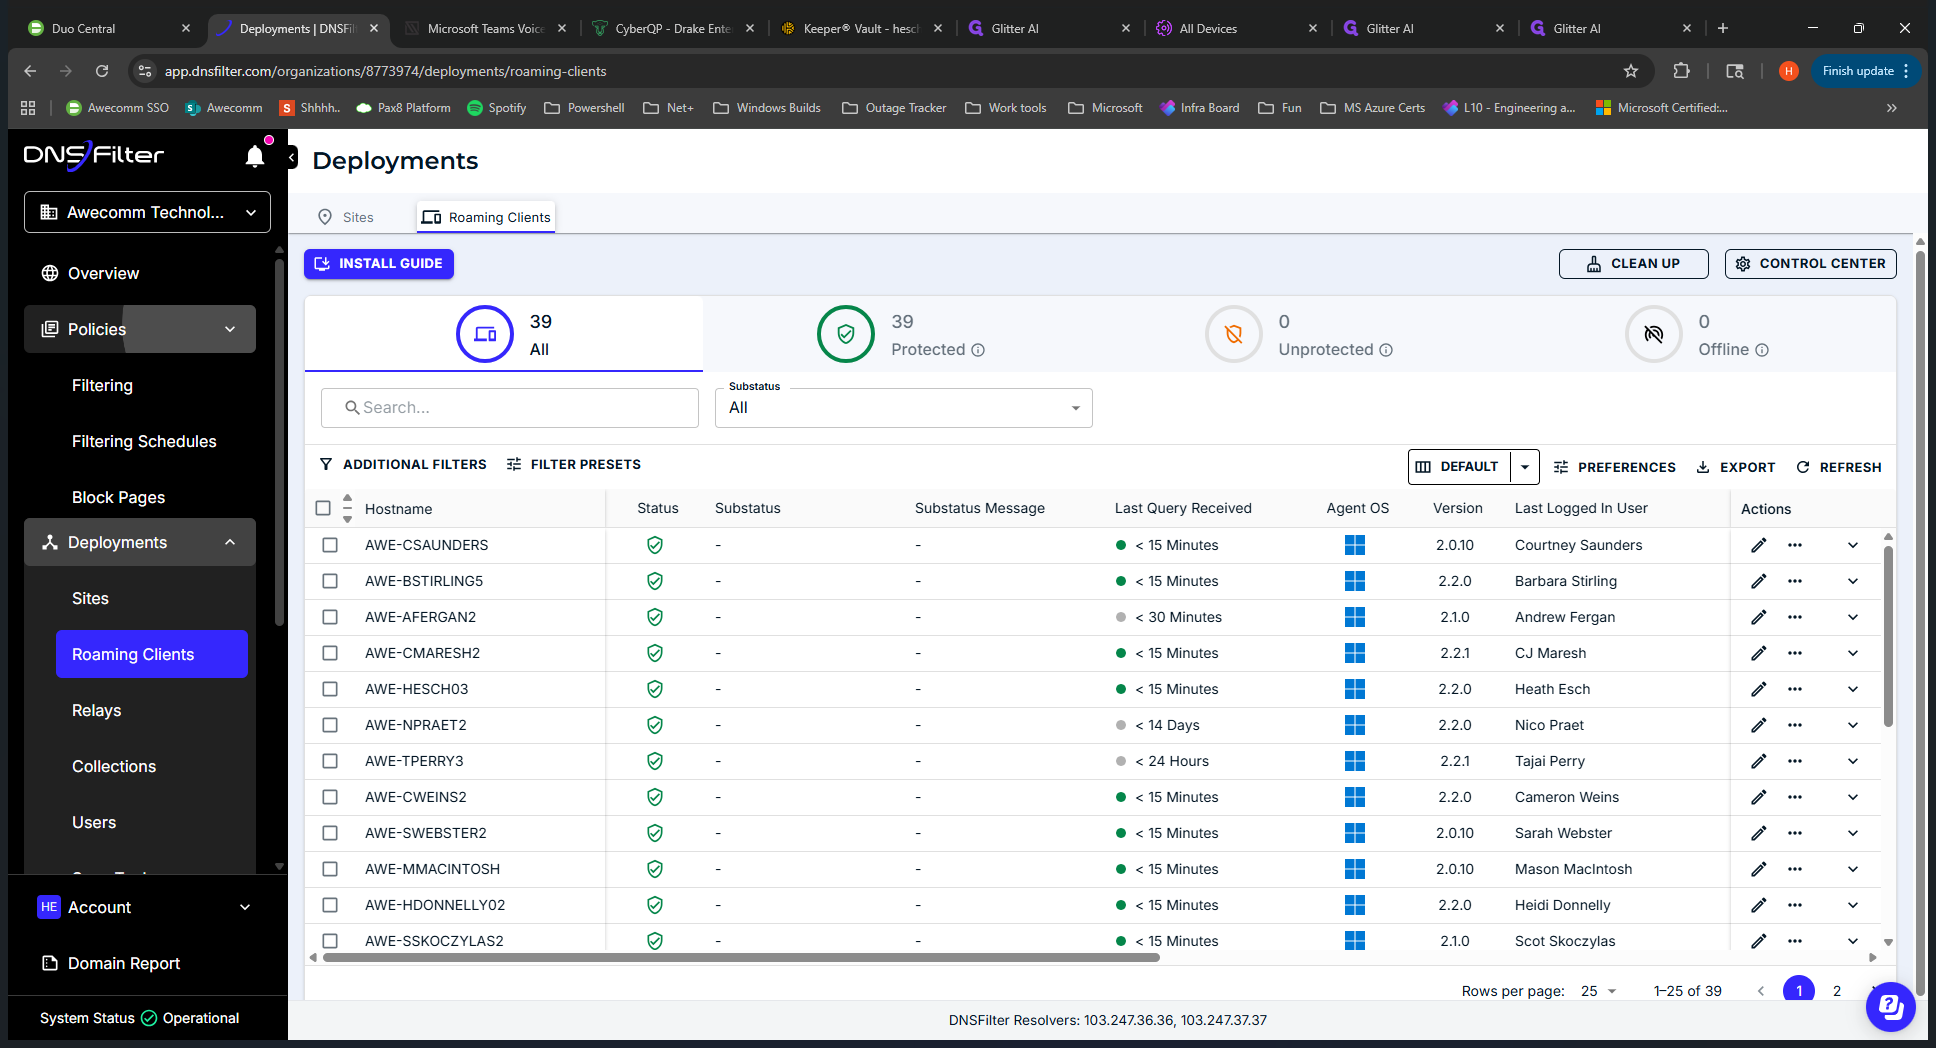
DNS Filter is applied only to roaming clients. You can also view a high-level overview of their policy name and the block page they are using. The roaming clients section displays all roaming clients installed across all users. This is the D-DNS Filter application on end-user devices. "" This is at the MSP level, so it reports for all clients.
Use this when a client or team member has a block that isn't obvious. It helps you gather more details and better understand the issue. It would be more beneficial to first visit the client site to review their reporting. We’ll discuss that further when we look at a specific client. We'll skip reporting for now.
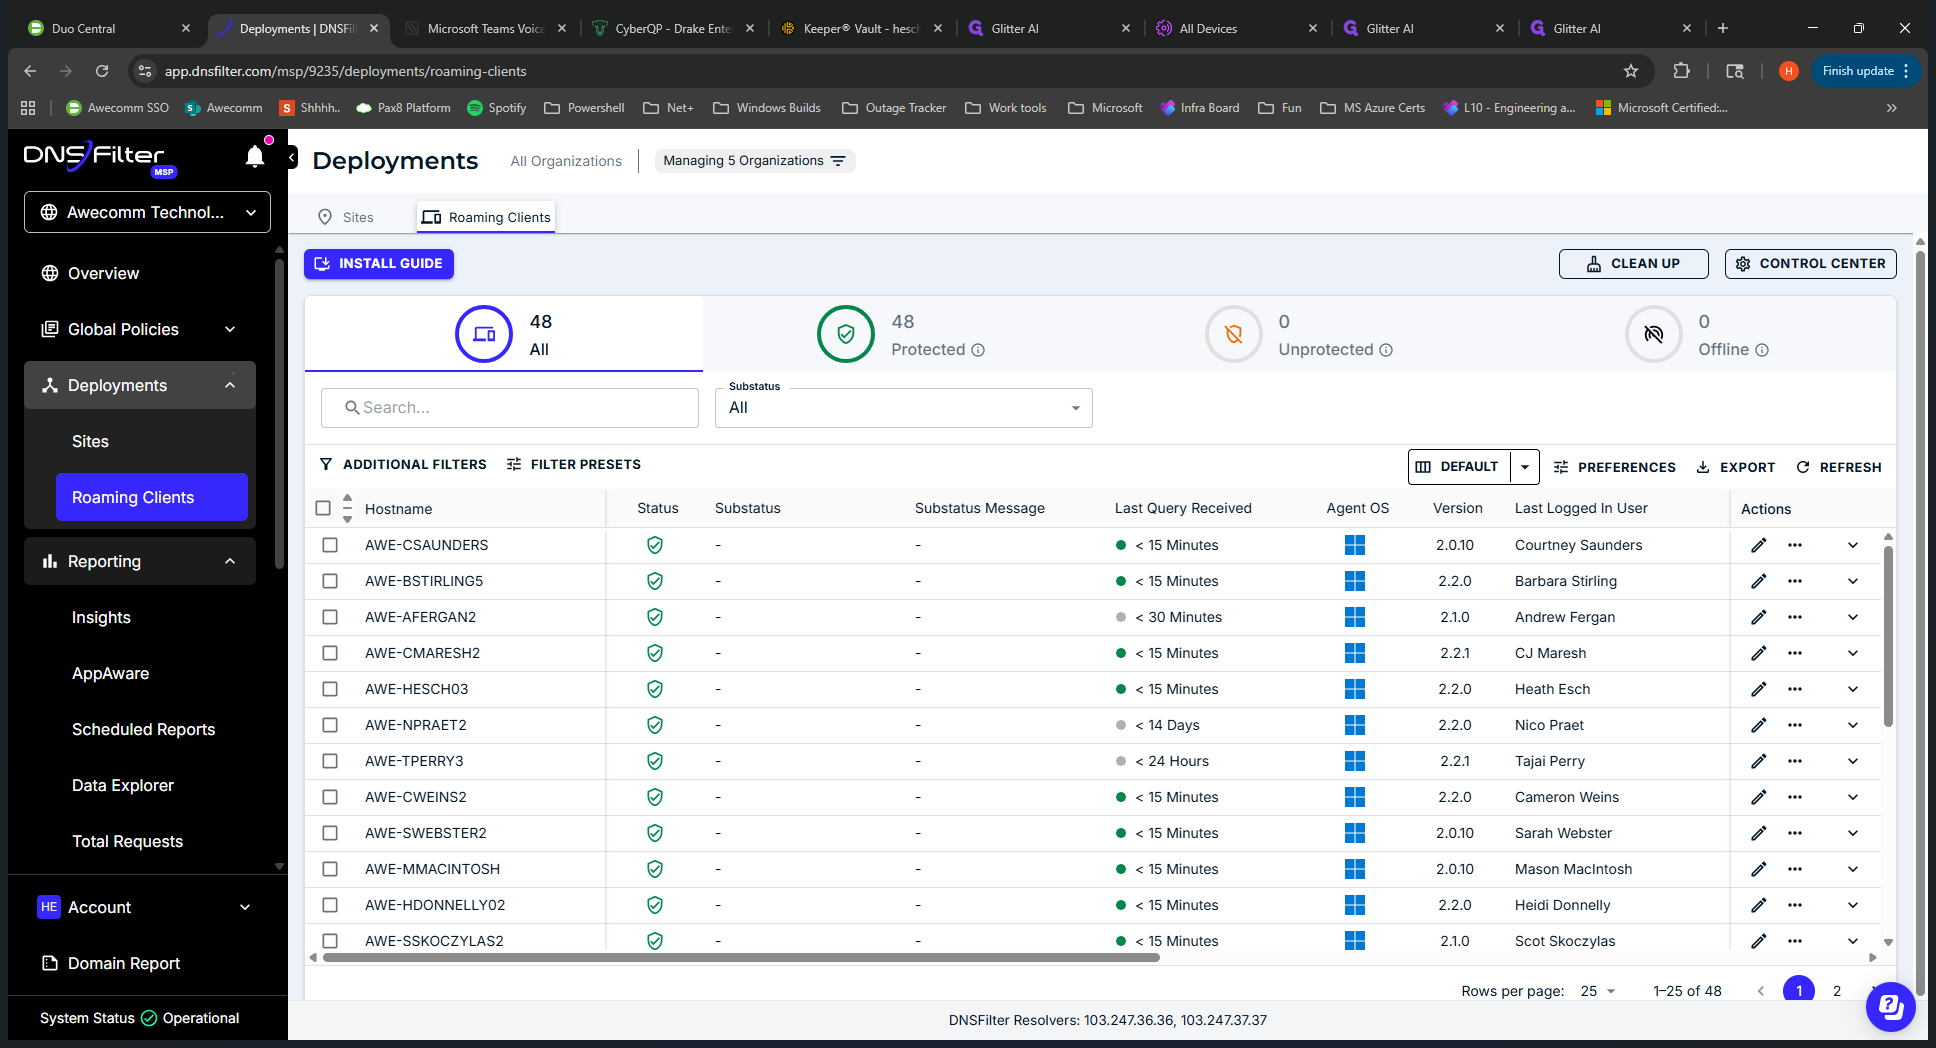
I will minimize this.
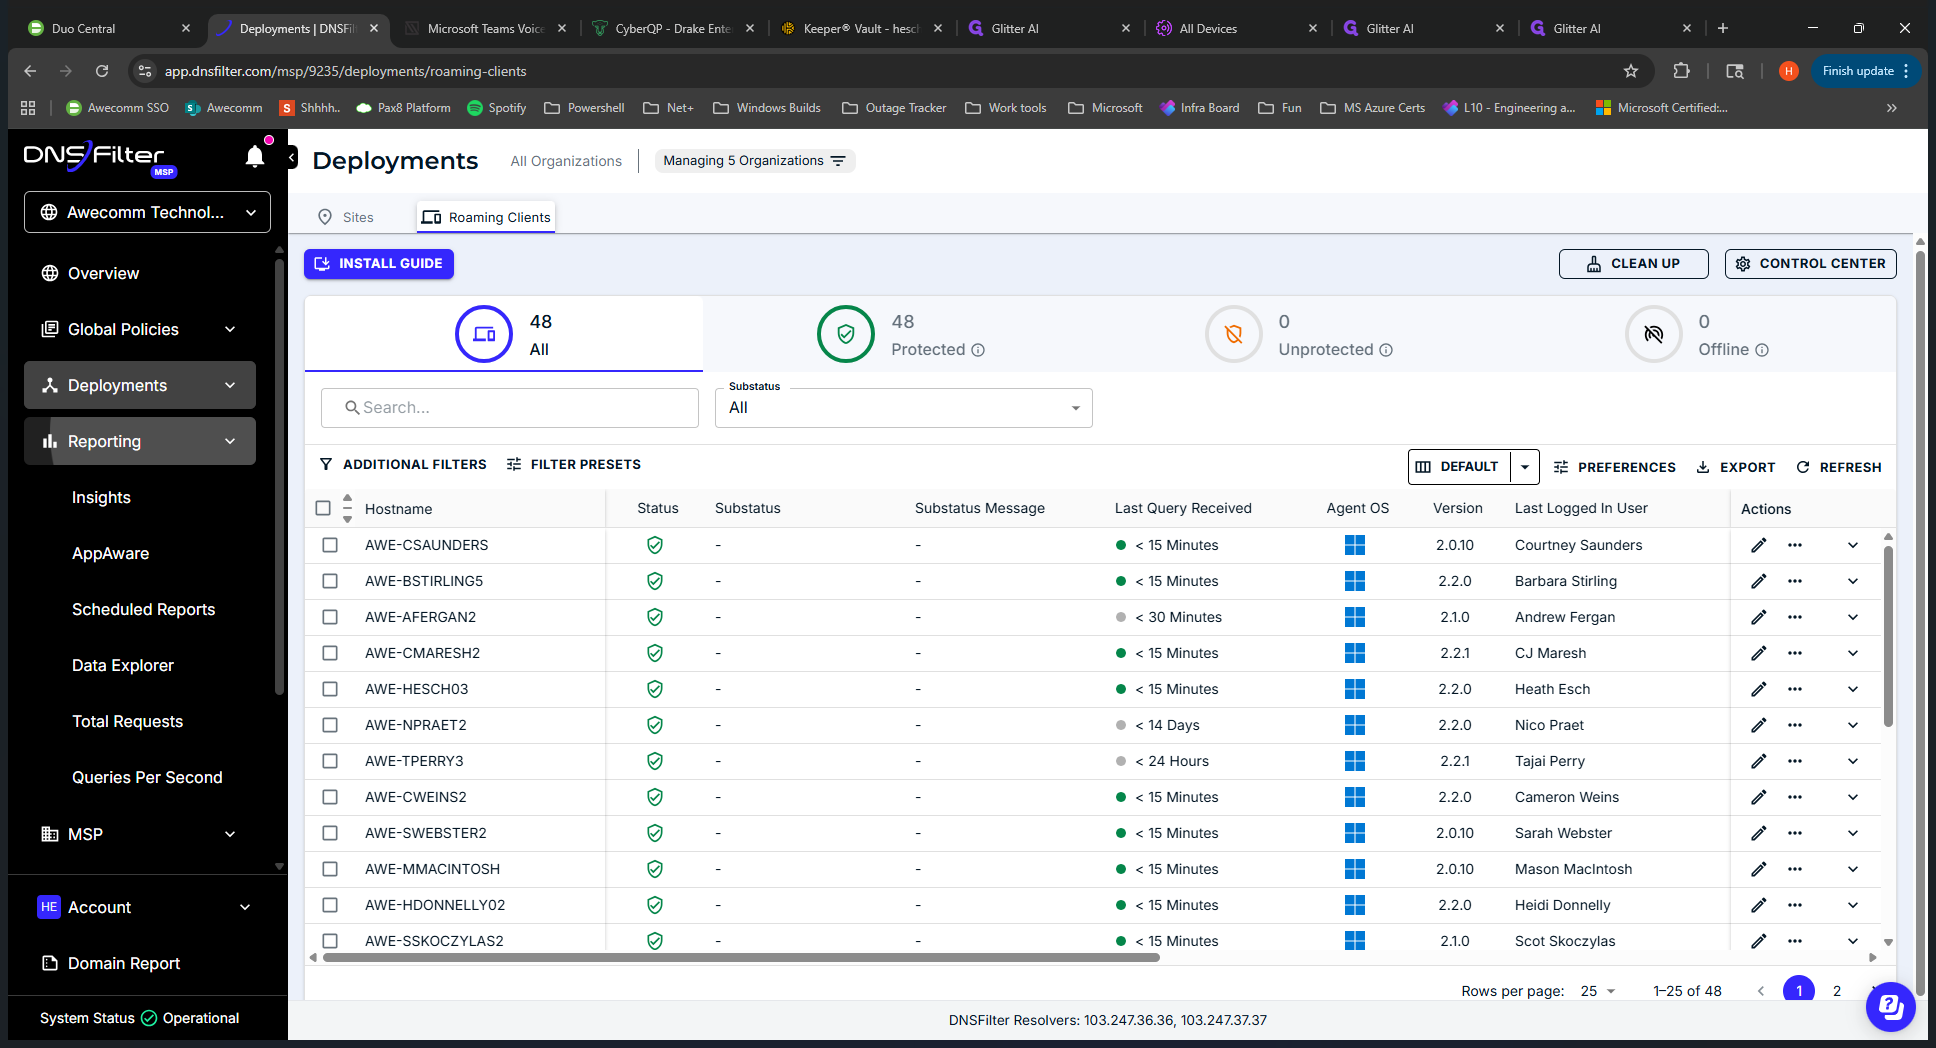
The MSP uses this only to set up new users in DNS Filter. That's the main reason we come here. Some Occom team members might not see this MSP. We will skip that as well.
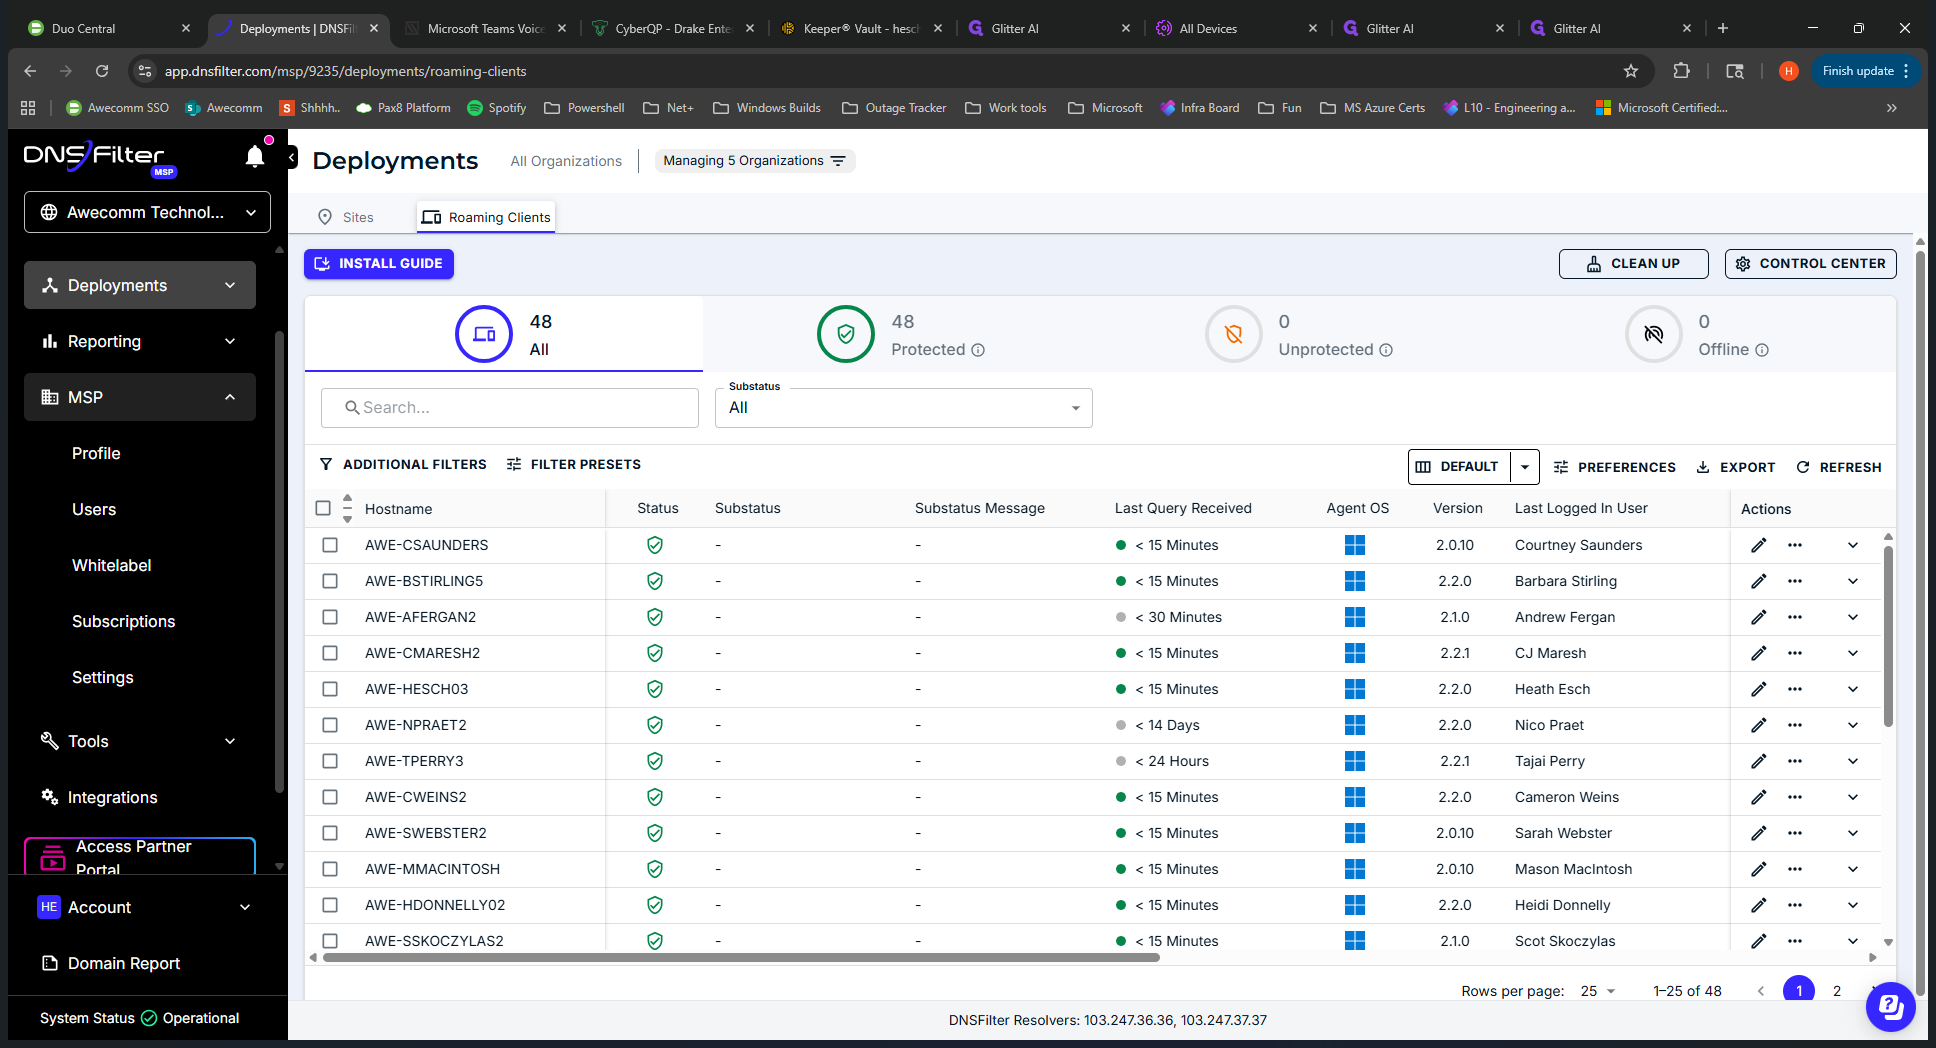
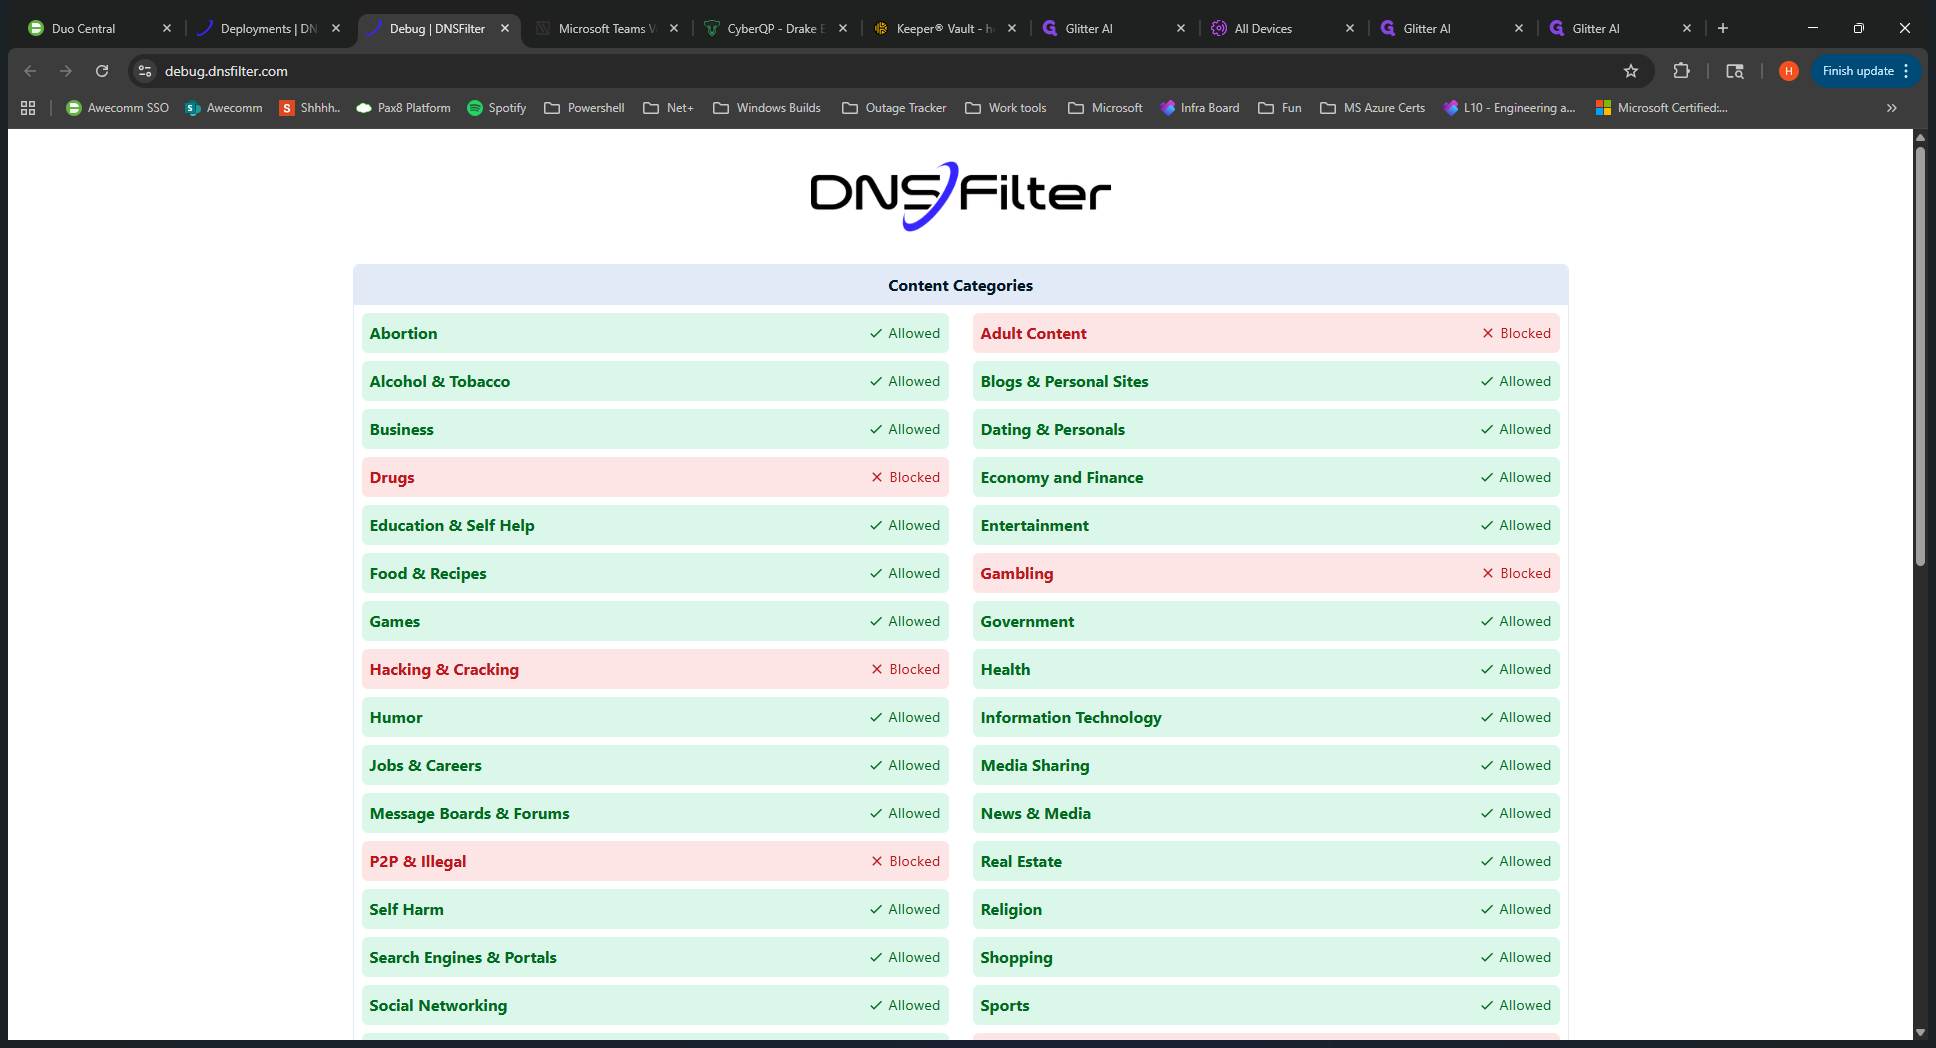
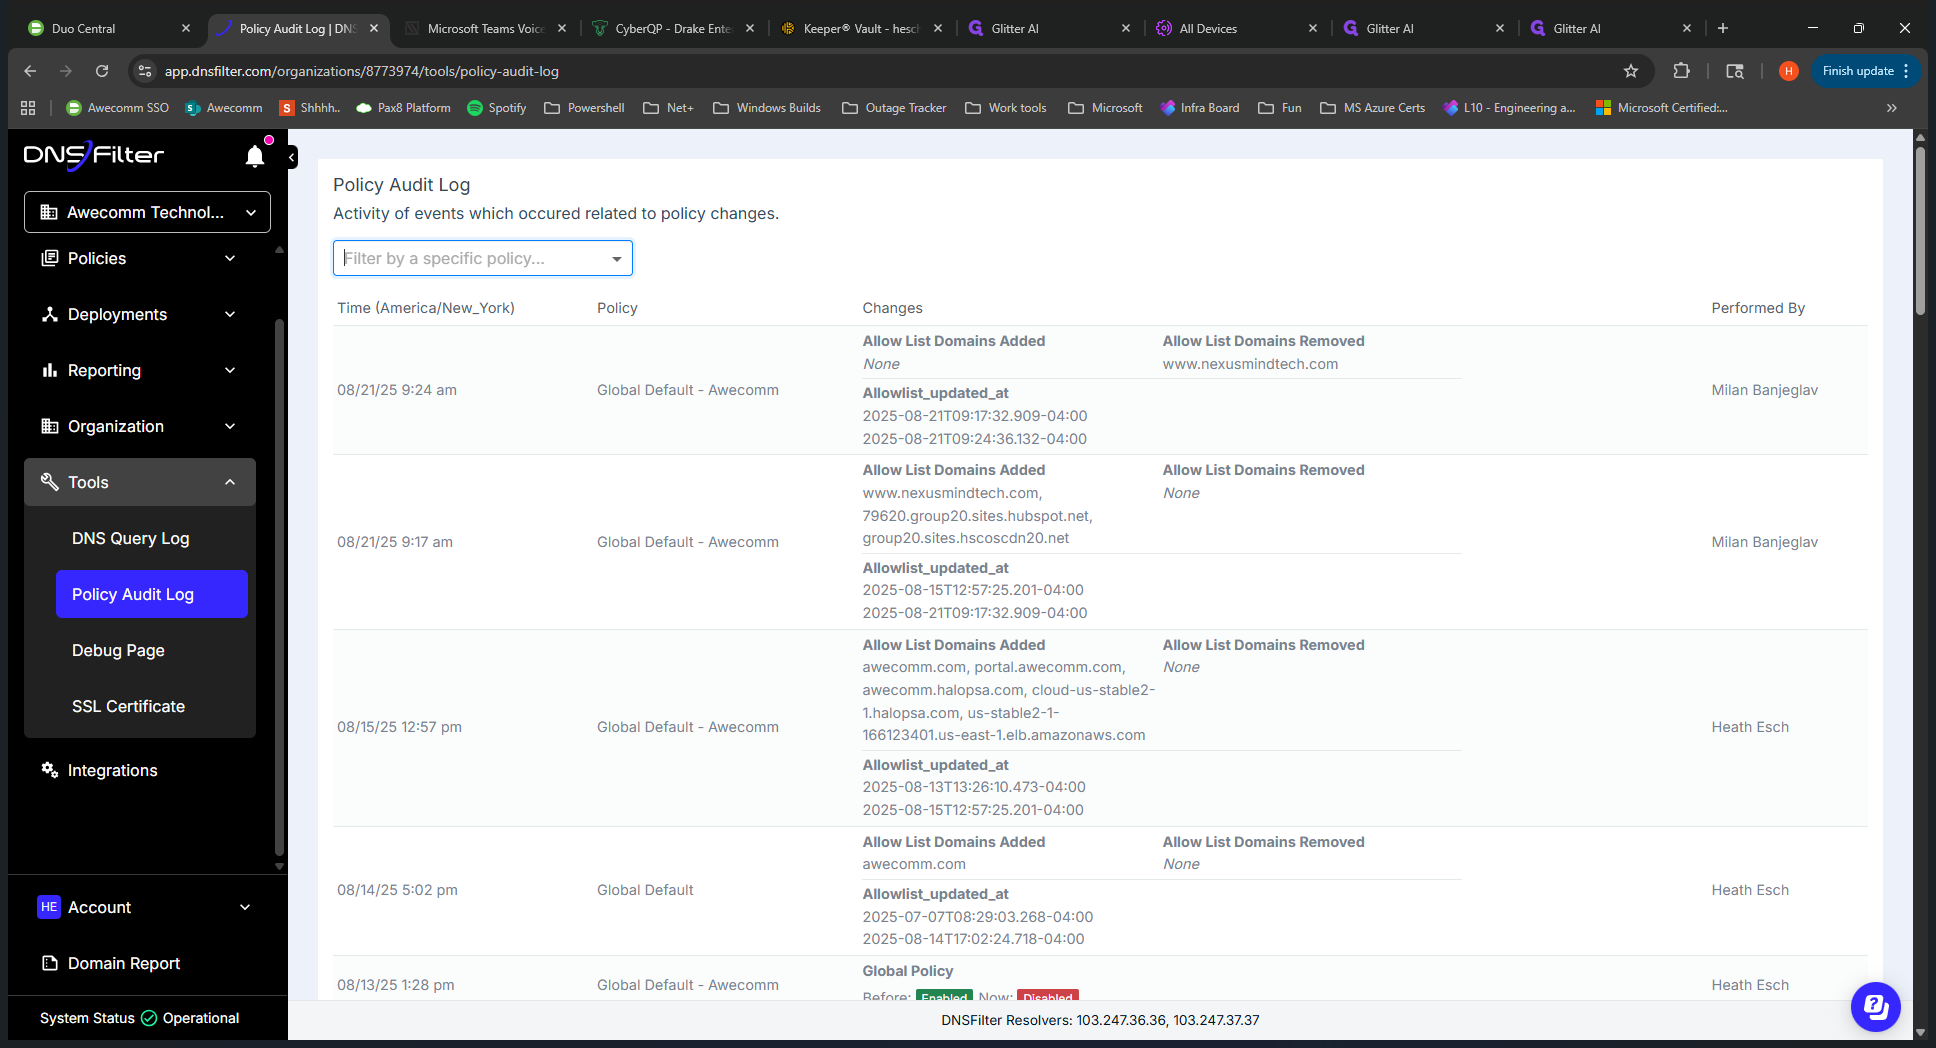
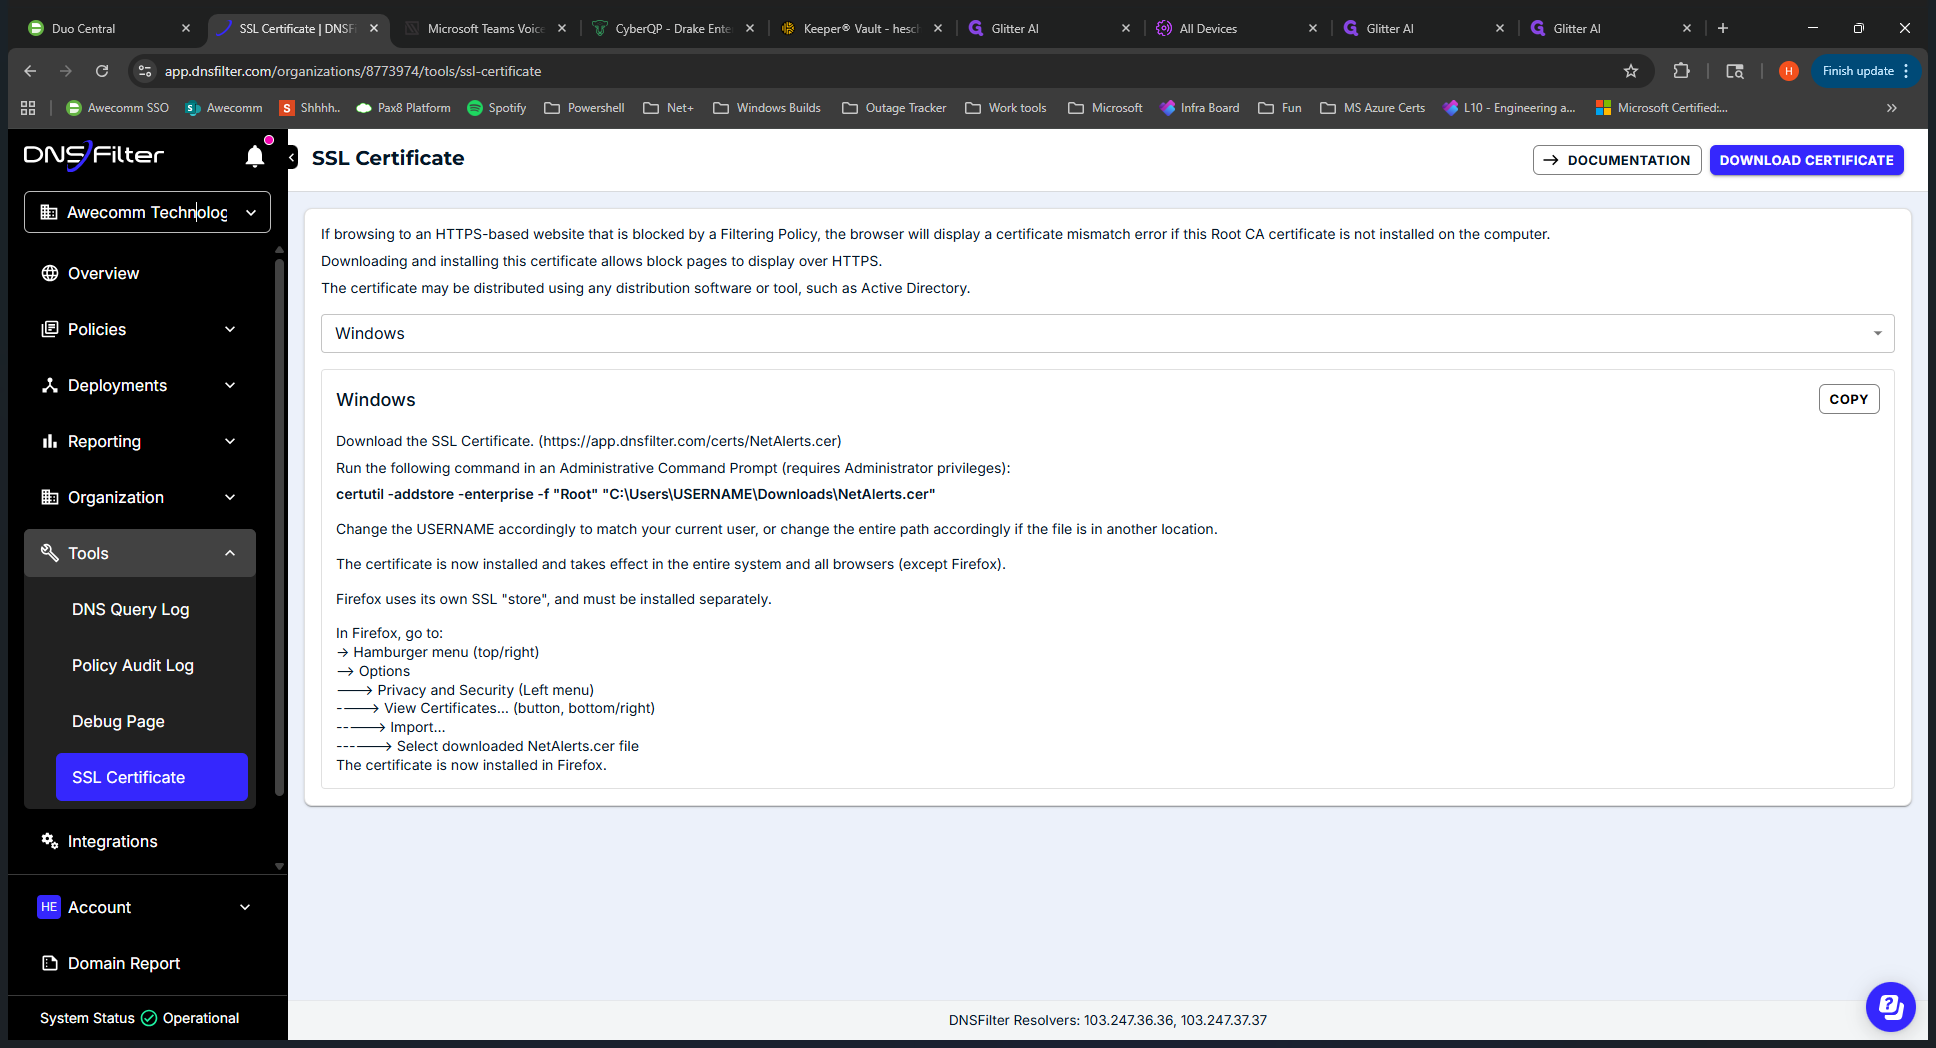
Tools are useful when troubleshooting what is being applied for DNS Filter. You might use this more when deploying to a new client. You can use the debug page to see which blocks are enabled for your tenant or site.
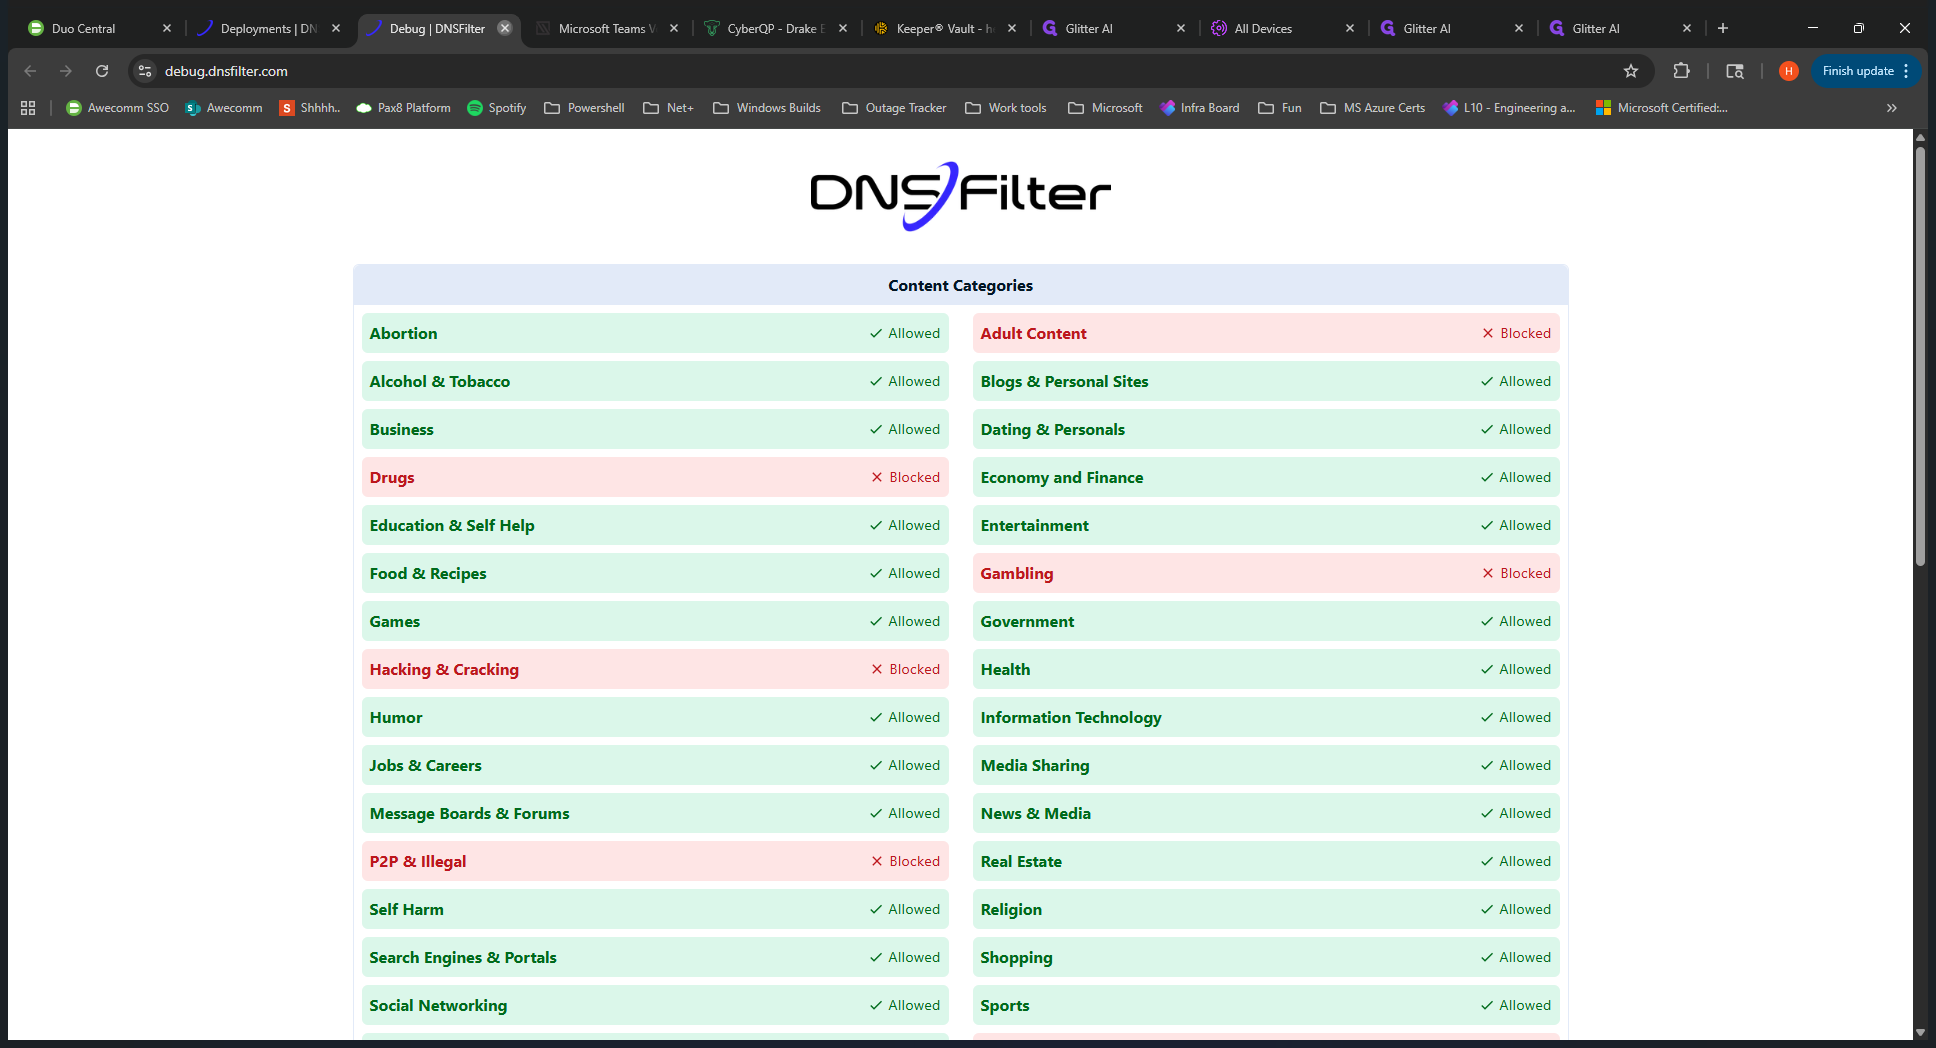
Okay, that's a high-level overview of the menu.
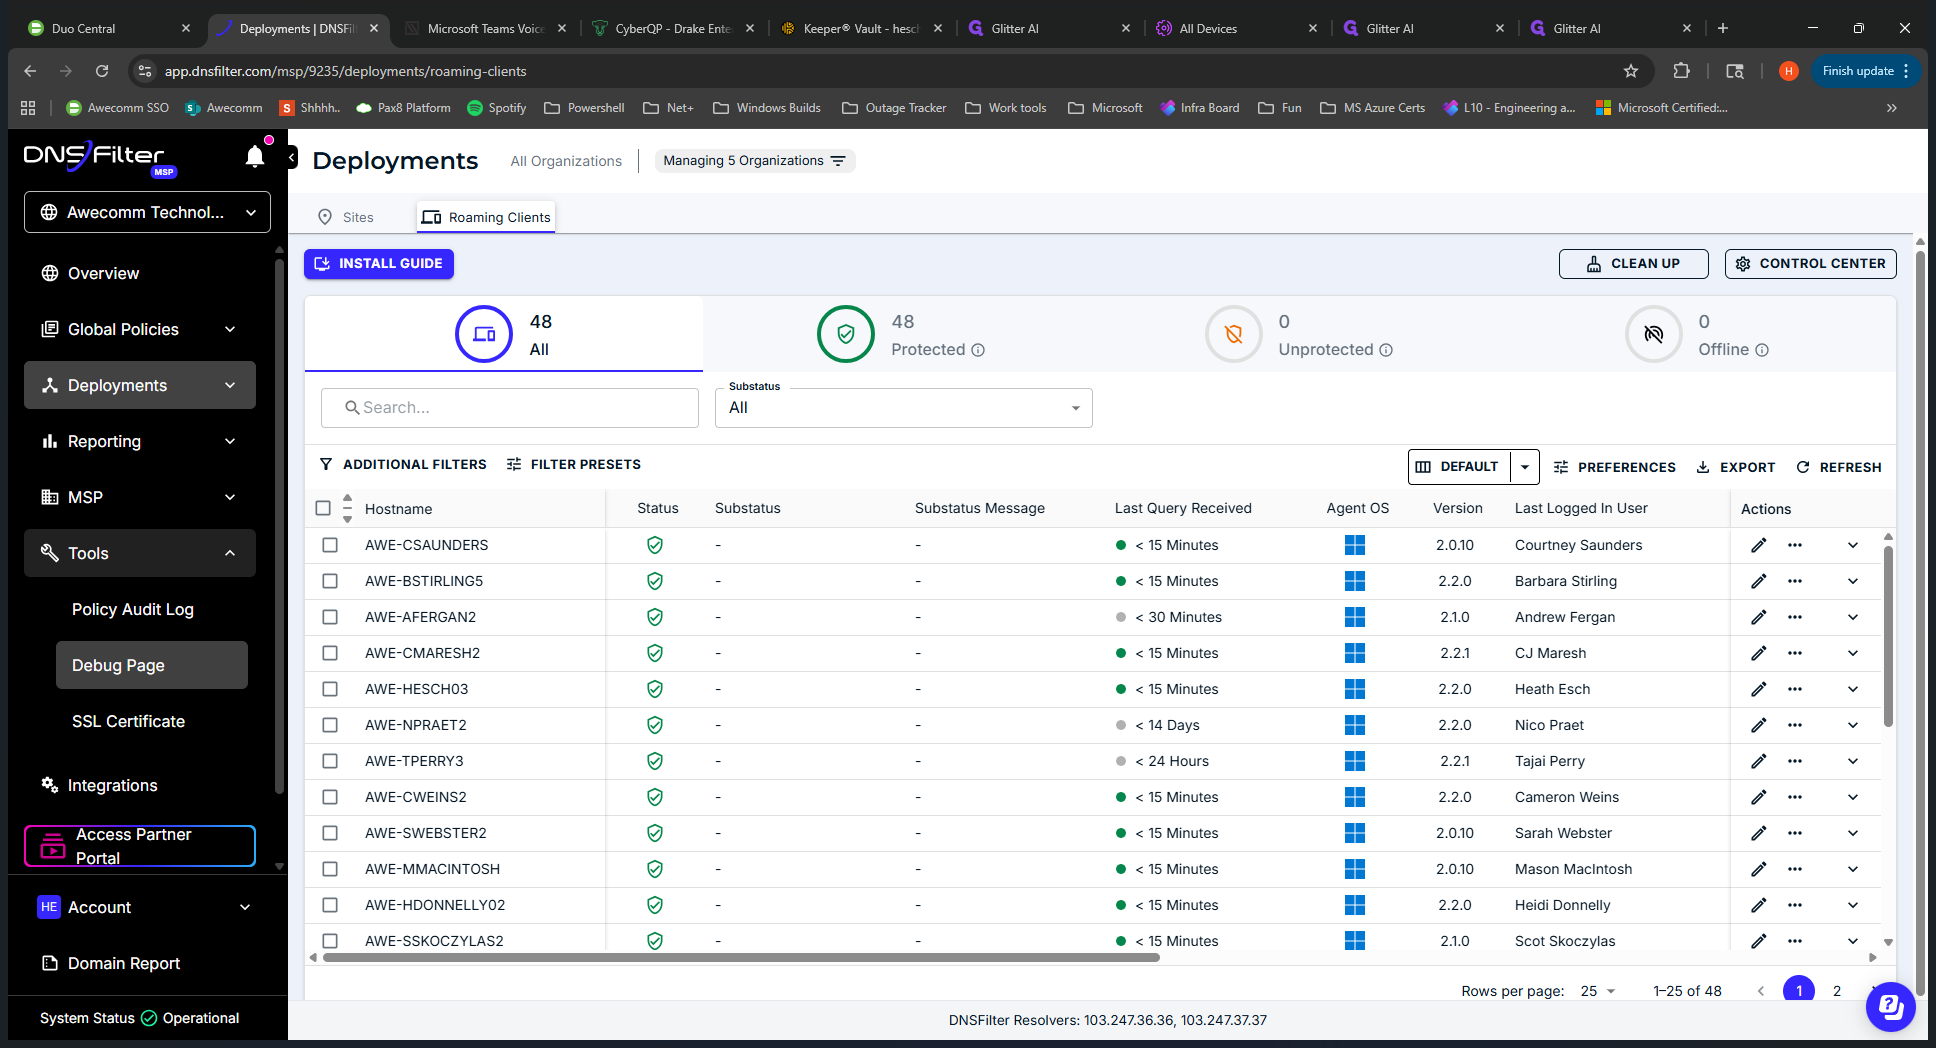
Let's take a closer look at a specific client.
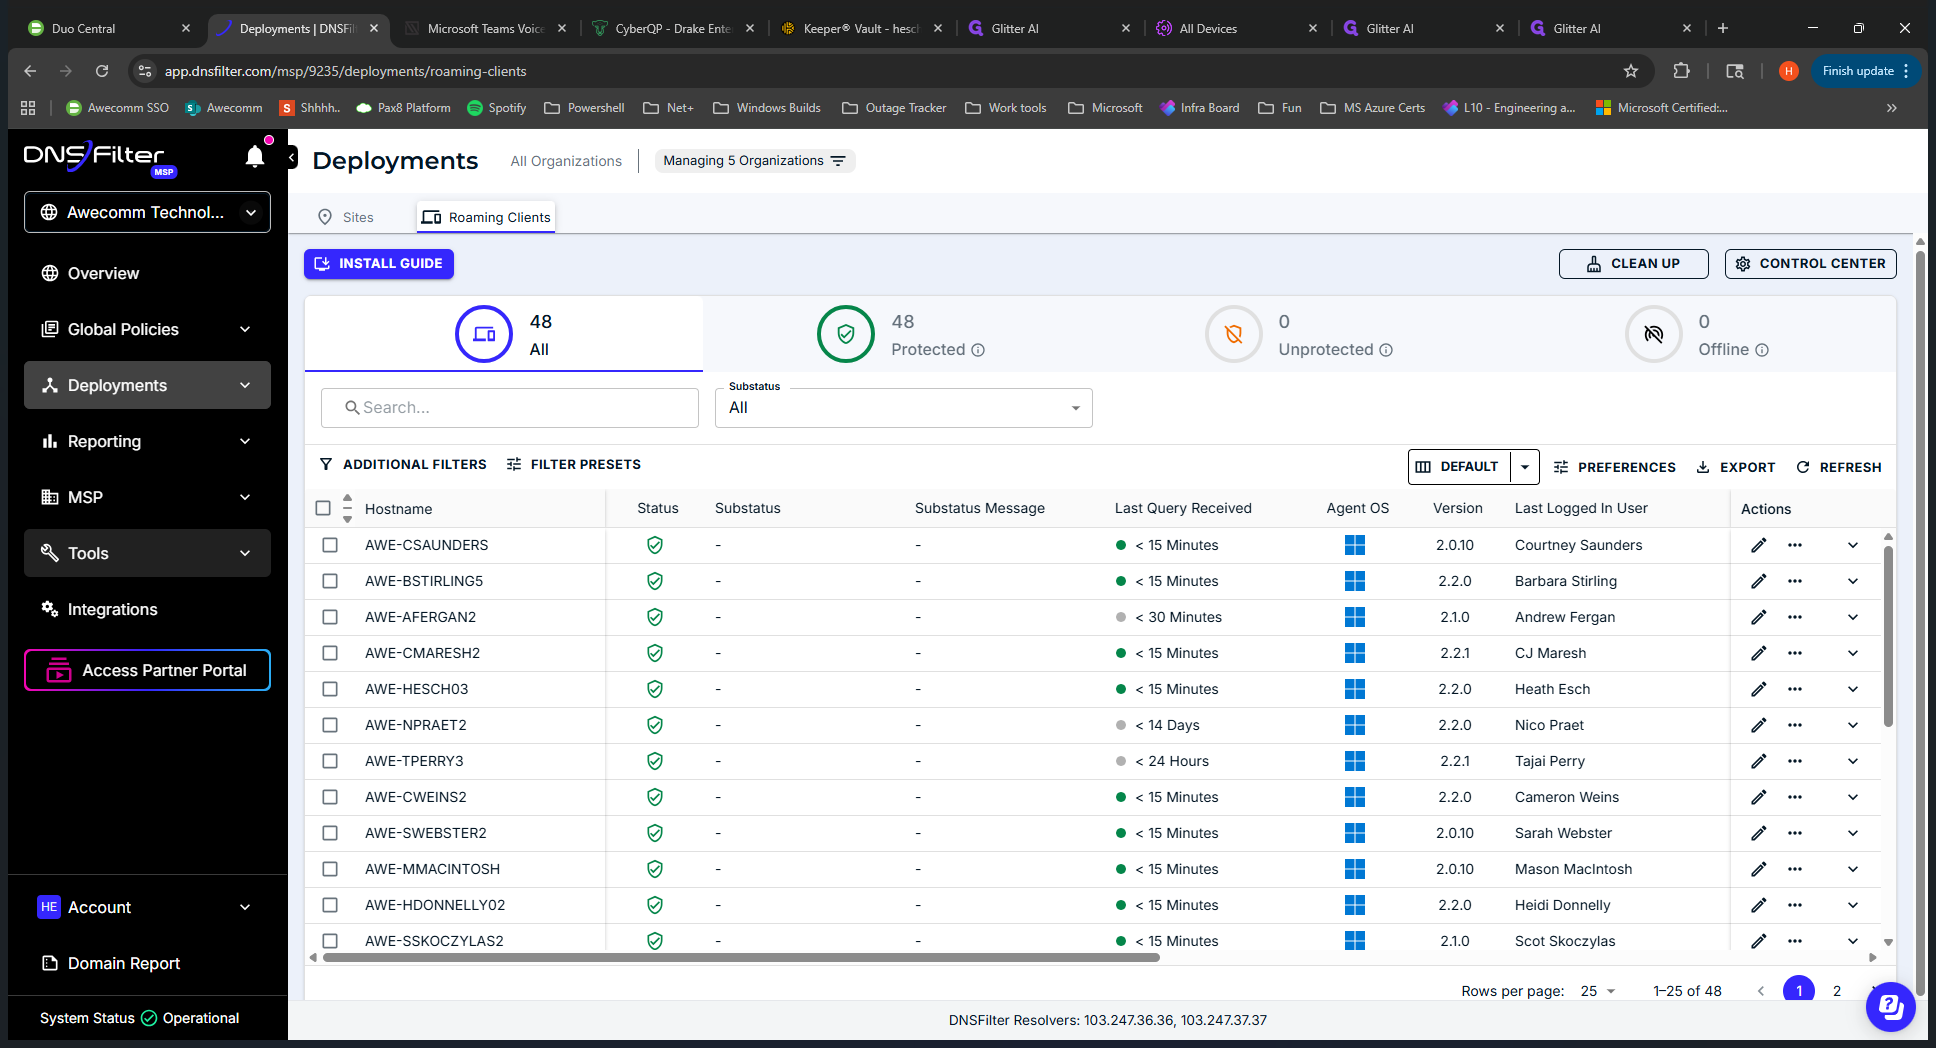
We'll go into Occom Technologies.
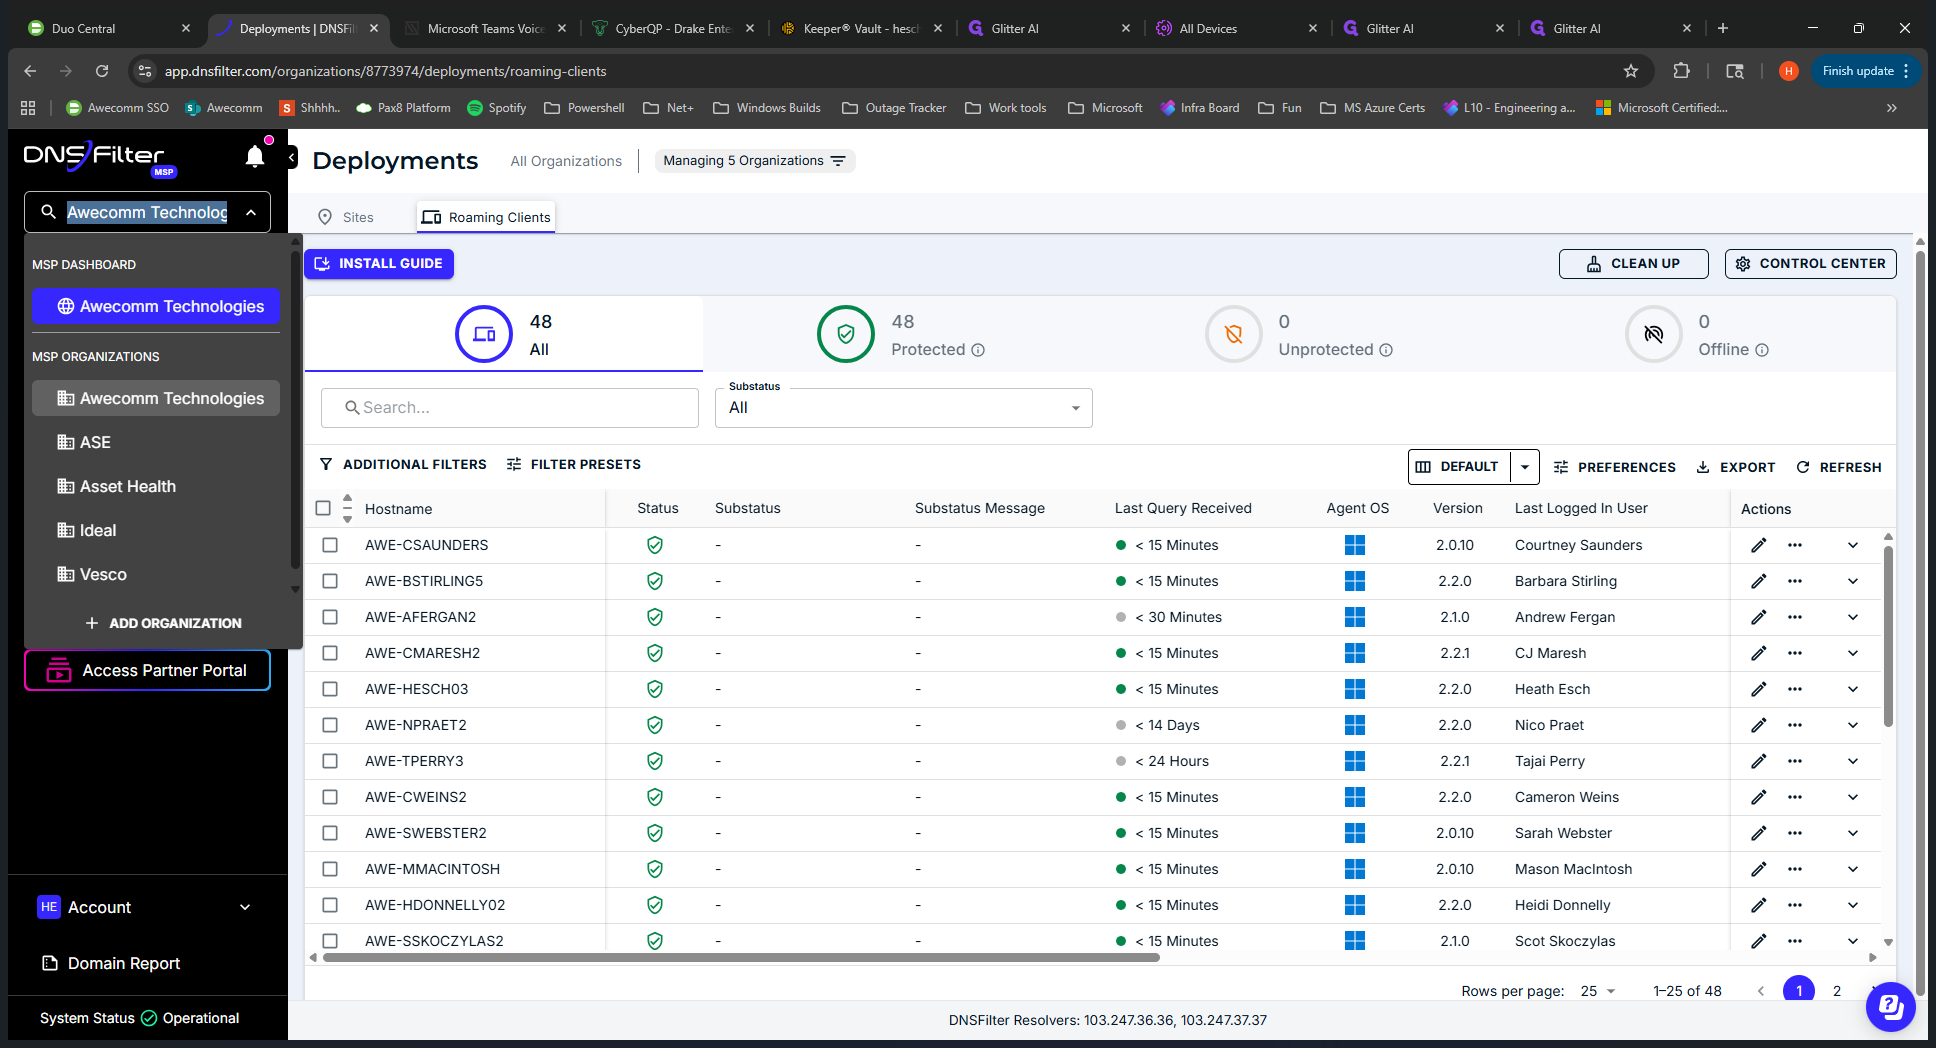
At Occom Technologies, we will review the deployments.
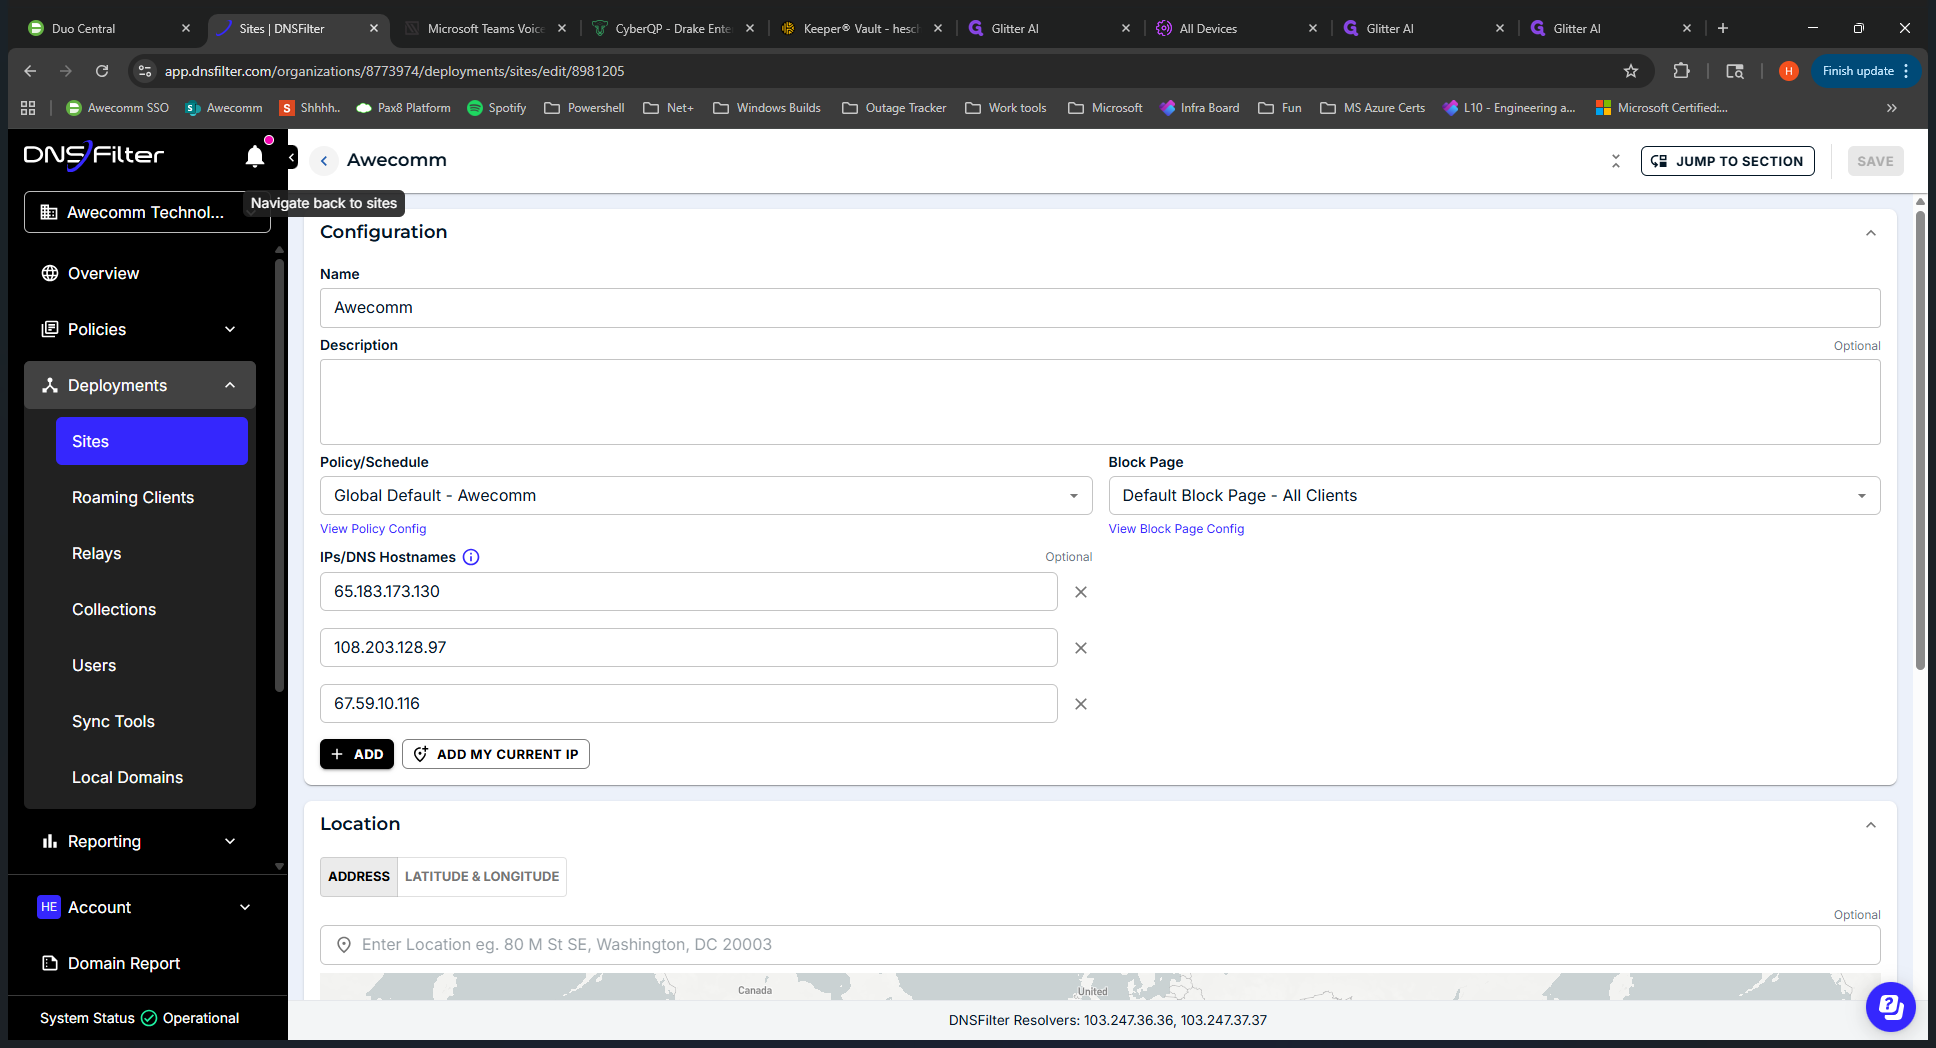
We can see the site we set up. Again, it's called Occom. Click the site to view the IPs being protected.
If we go back, we can see what their filtering policy is called and view the block page.
Clicking on the roaming clients shows all end devices with the DNS Filter installed. Users are the individuals signed into those devices. That's what you would have here. Reporting. Suppose a client or end user is experiencing a block on their computer.
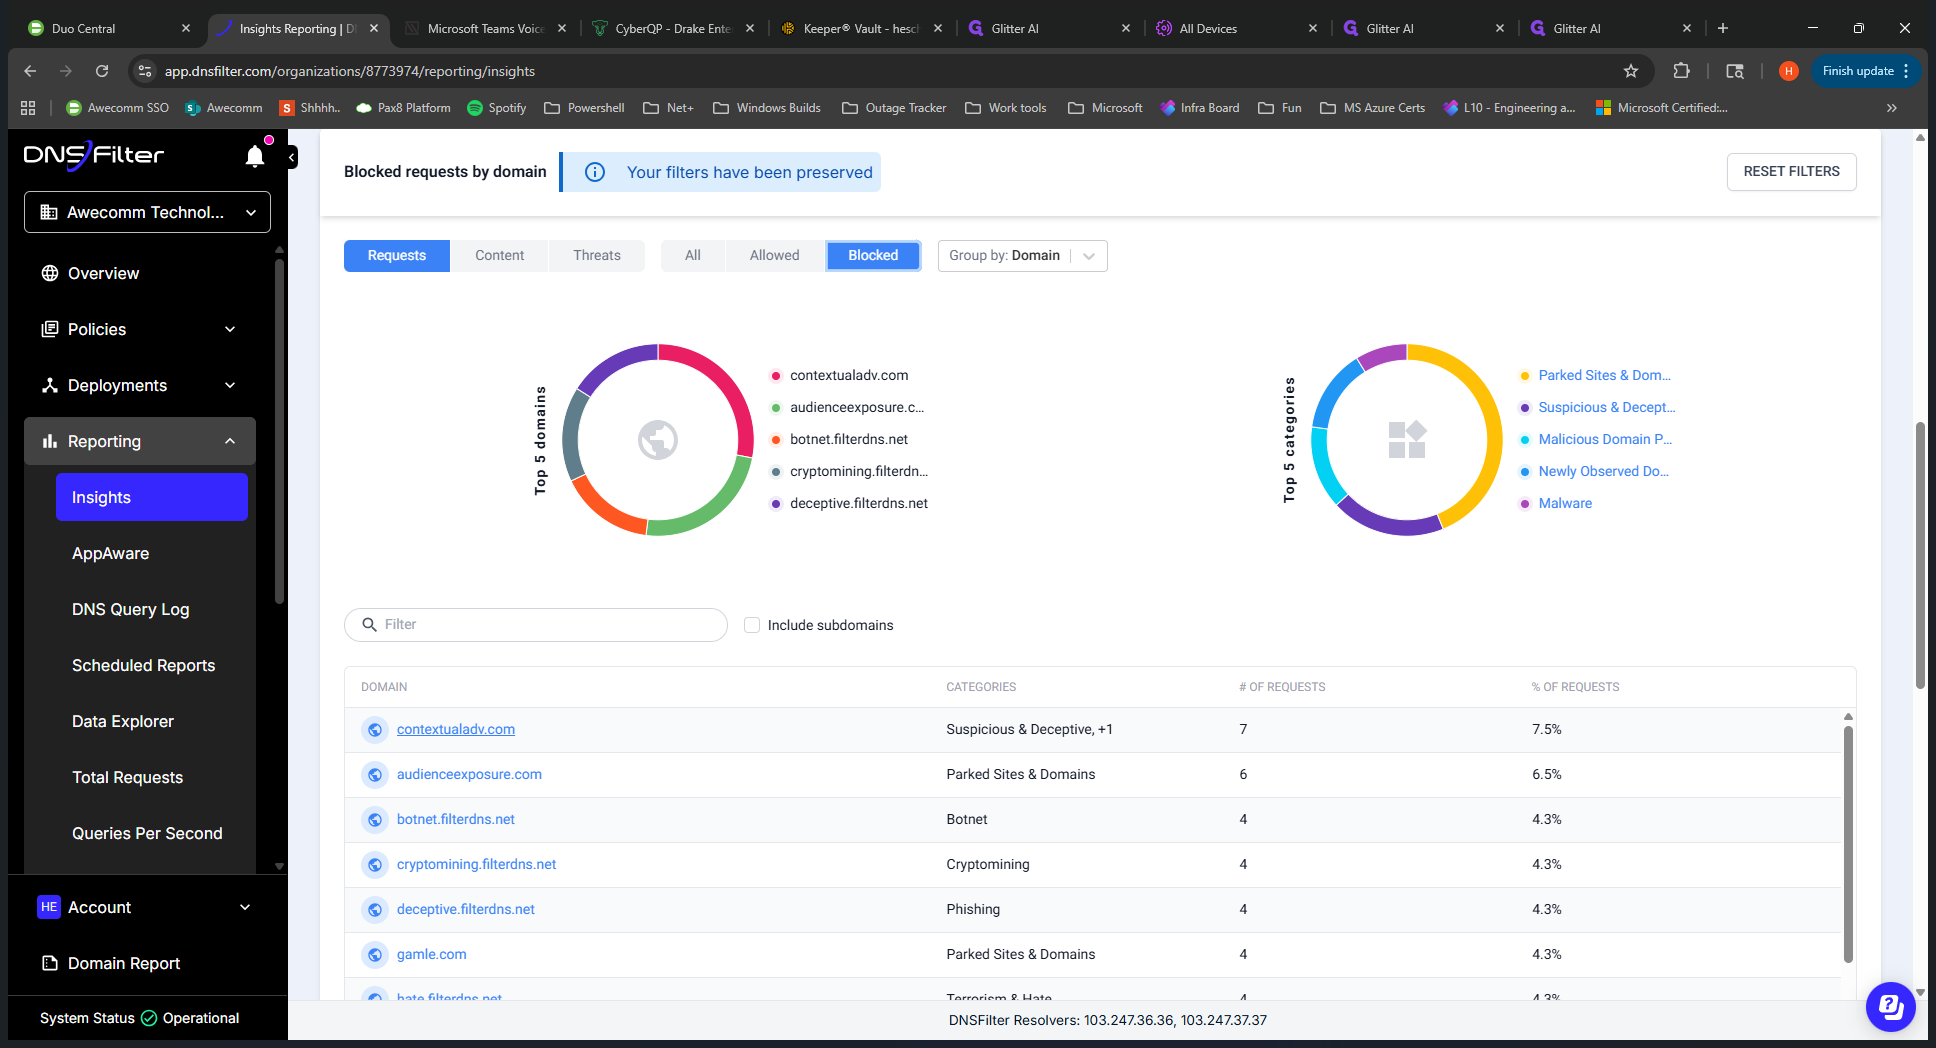
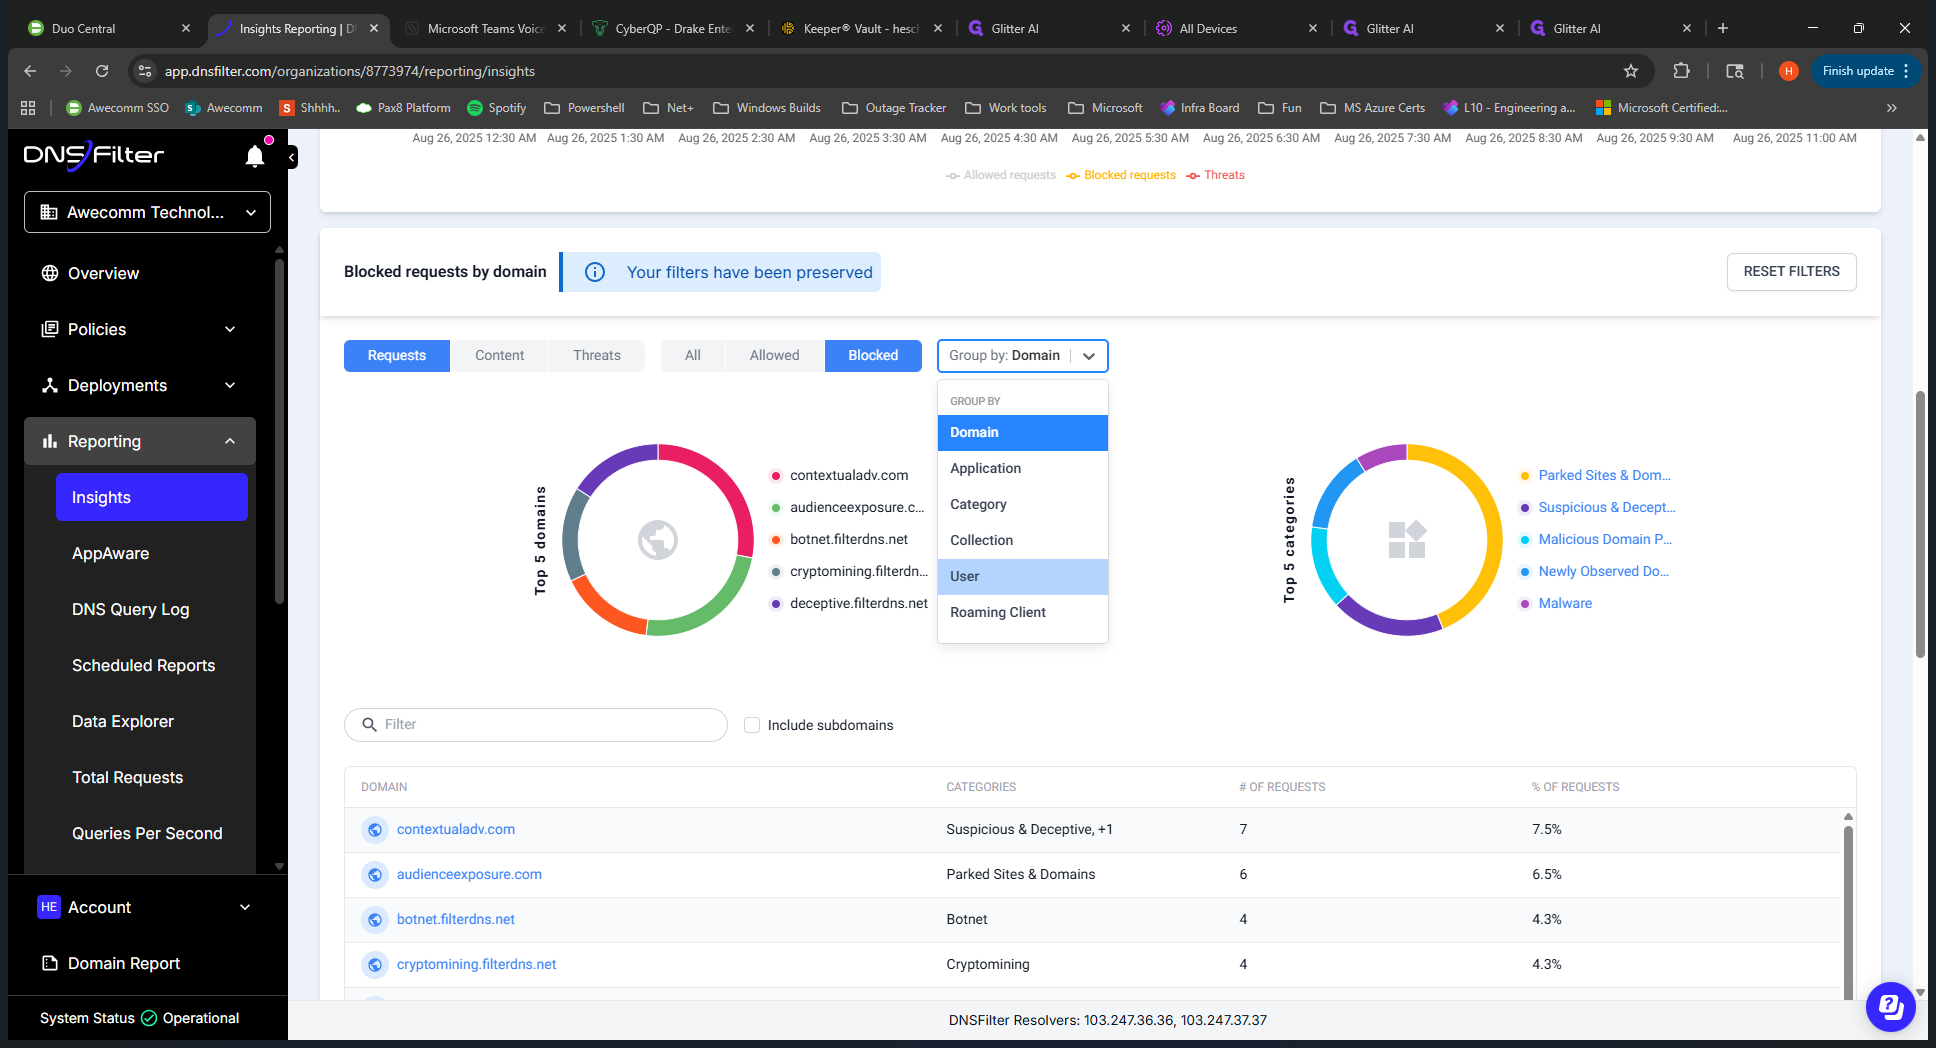
You may need to run an audit if it is unclear what is being blocked. If we go into Insights, this is the main area you would use. You can see all the... You can see all the traffic and data with DNS Filter, including allowed and blocked requests, top domains, and top categories. If we switch to "blocked," which you'll likely use most often, you can see what is being blocked. You can then click on the URL to view more detailed information.
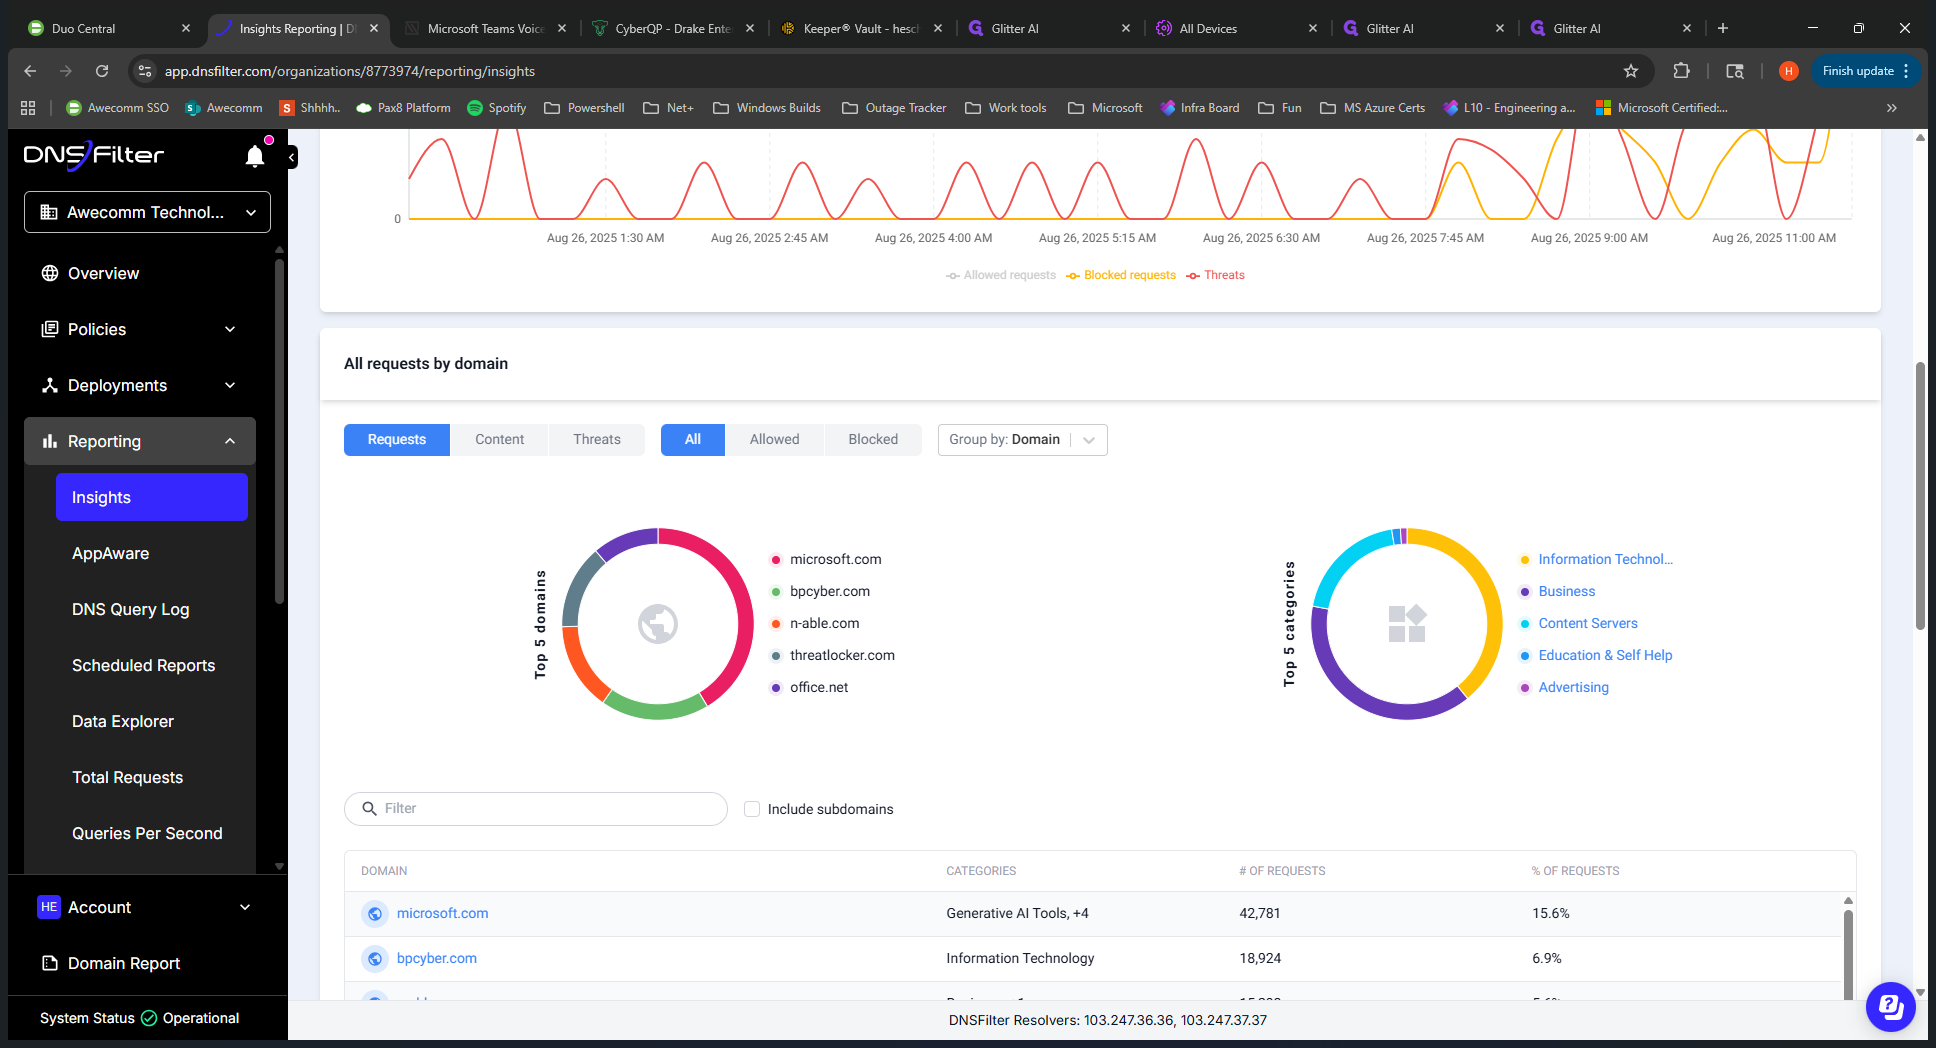
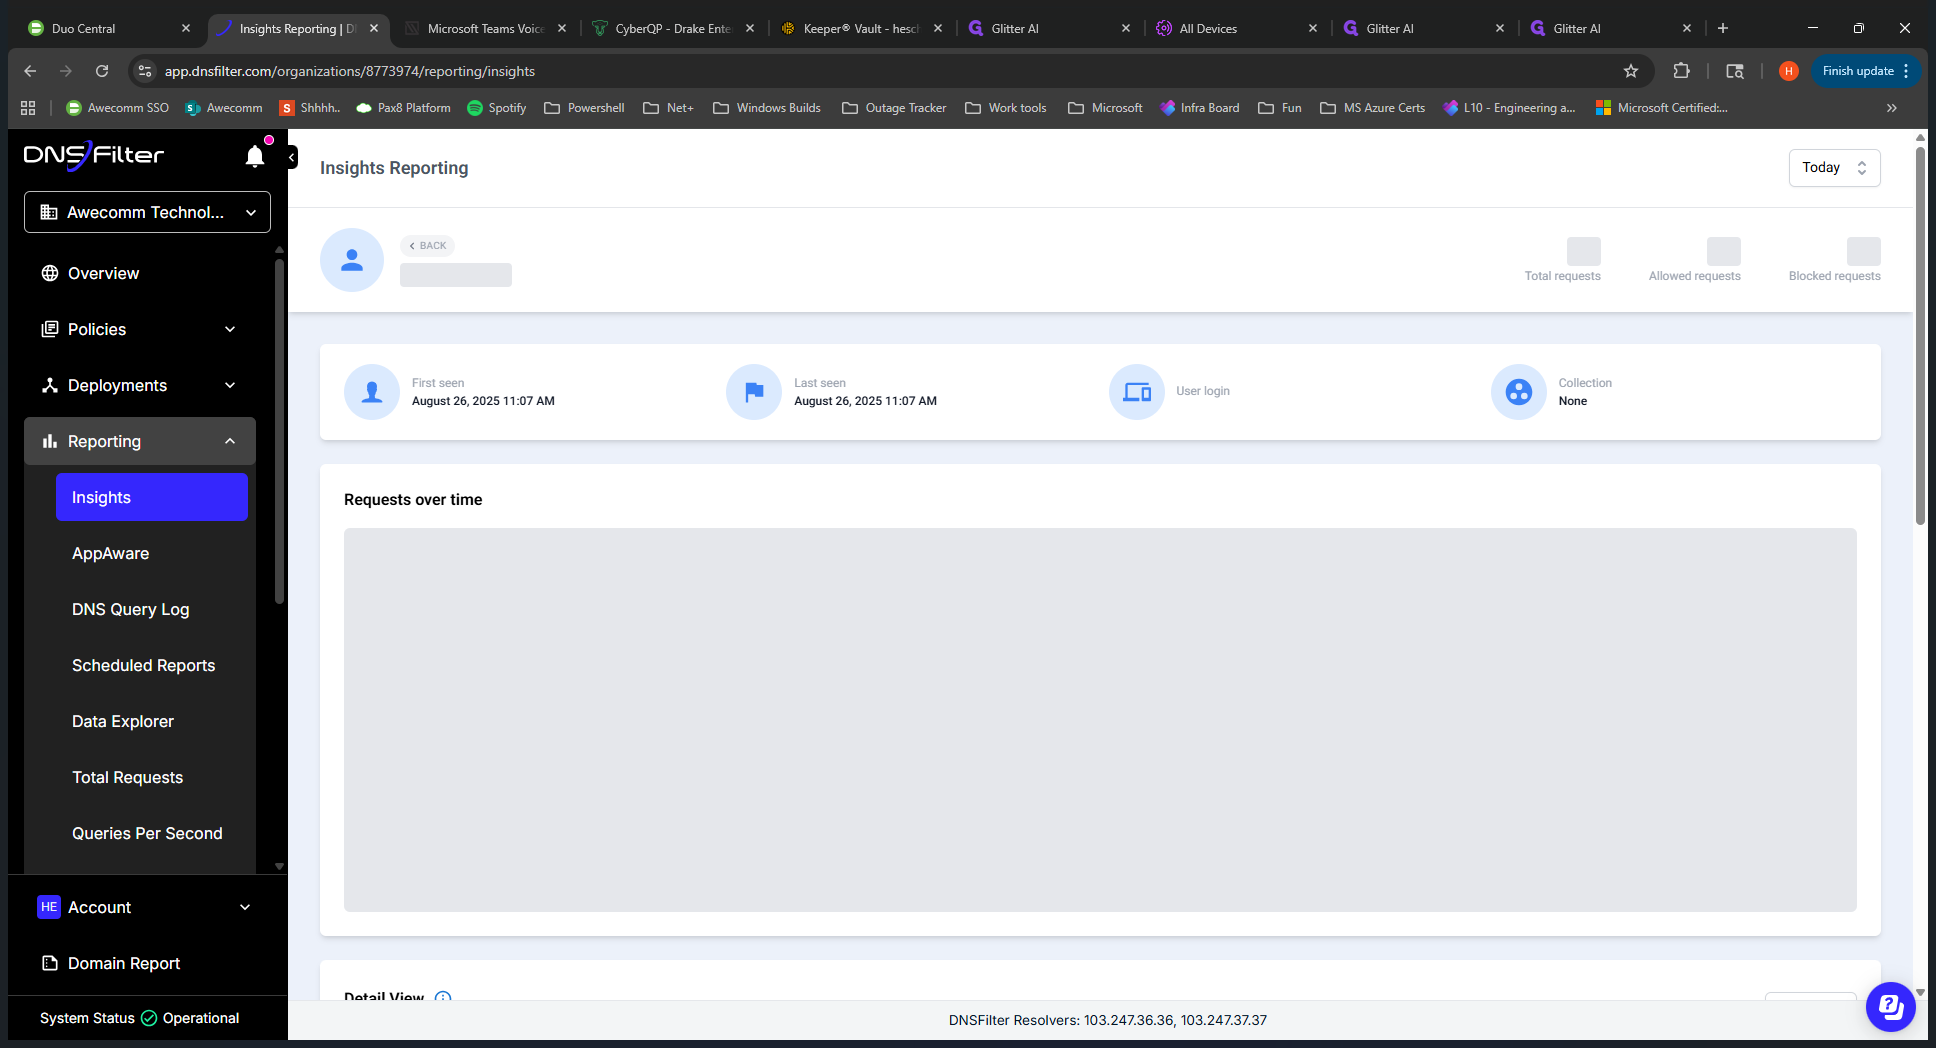
We can see the dates. This is all in real time. We can see the dates. If we scroll down, we can view the specific URL. Expanding this shows who accessed it.
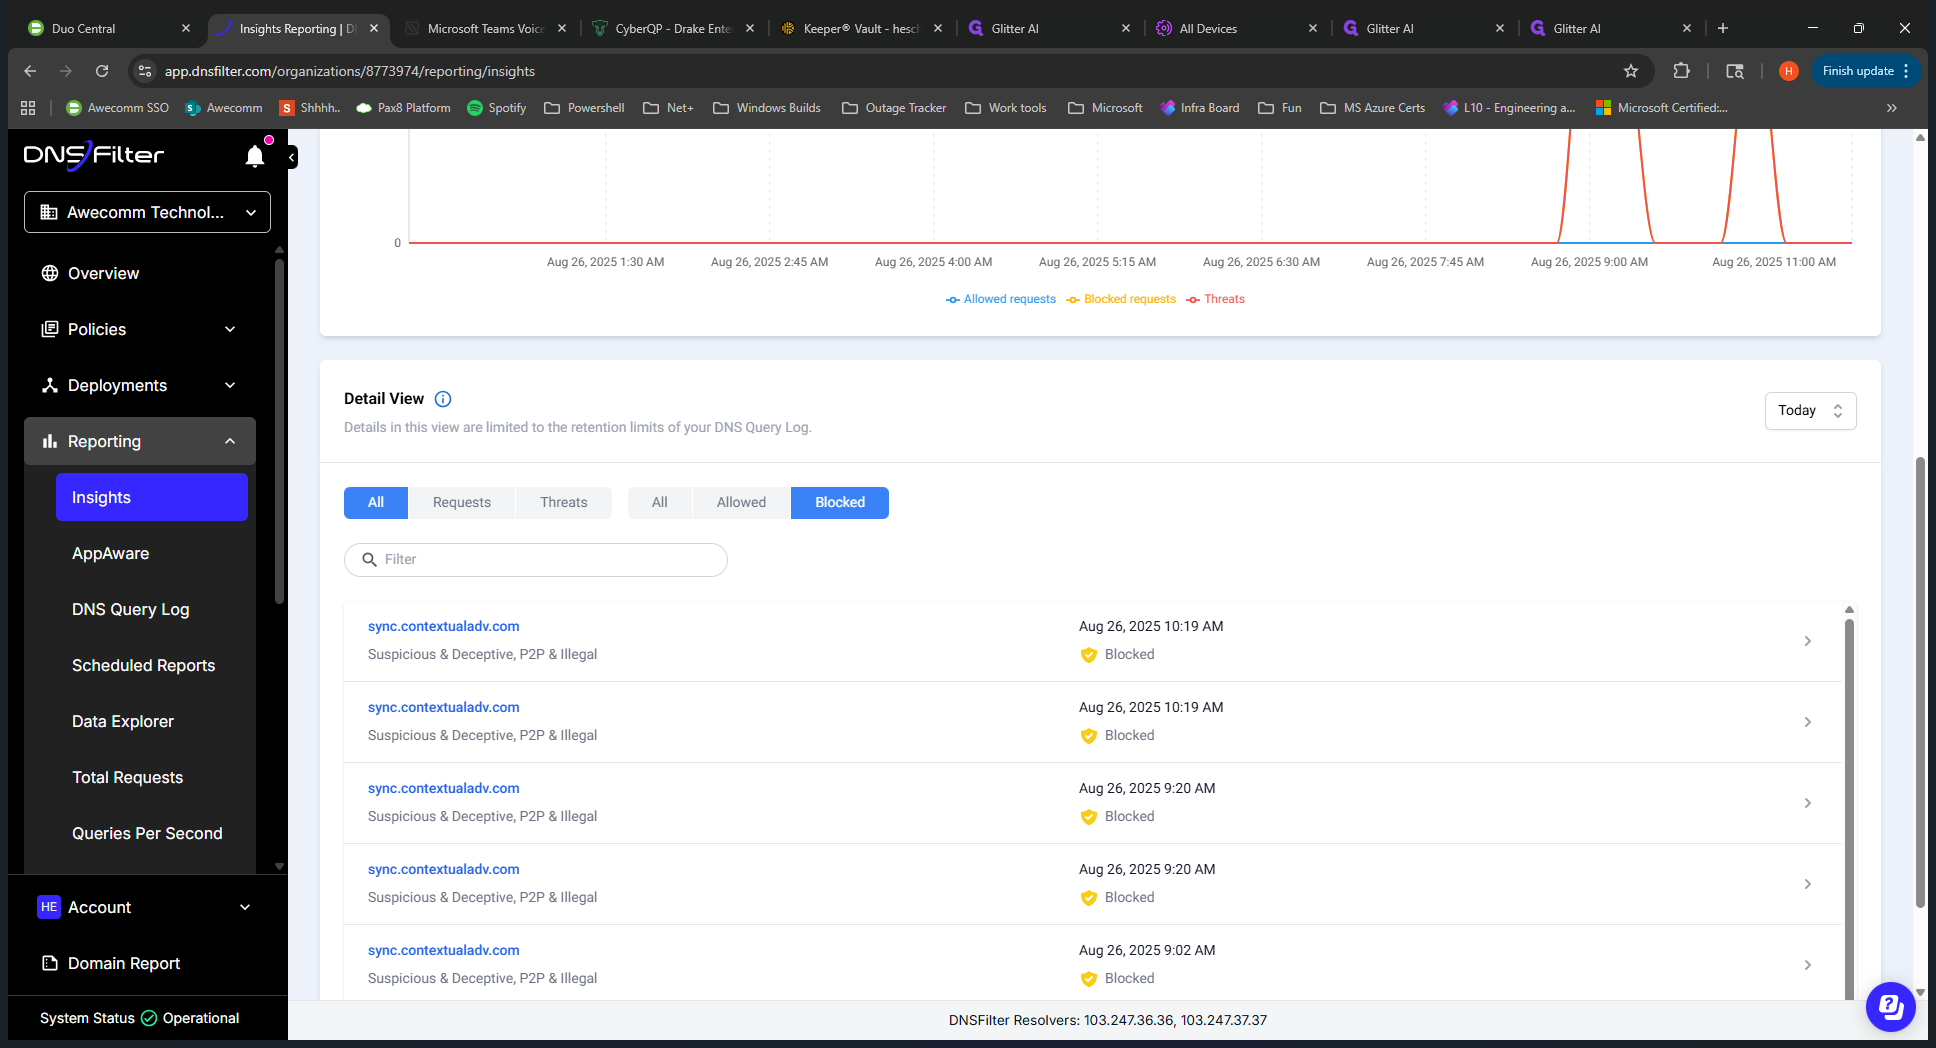
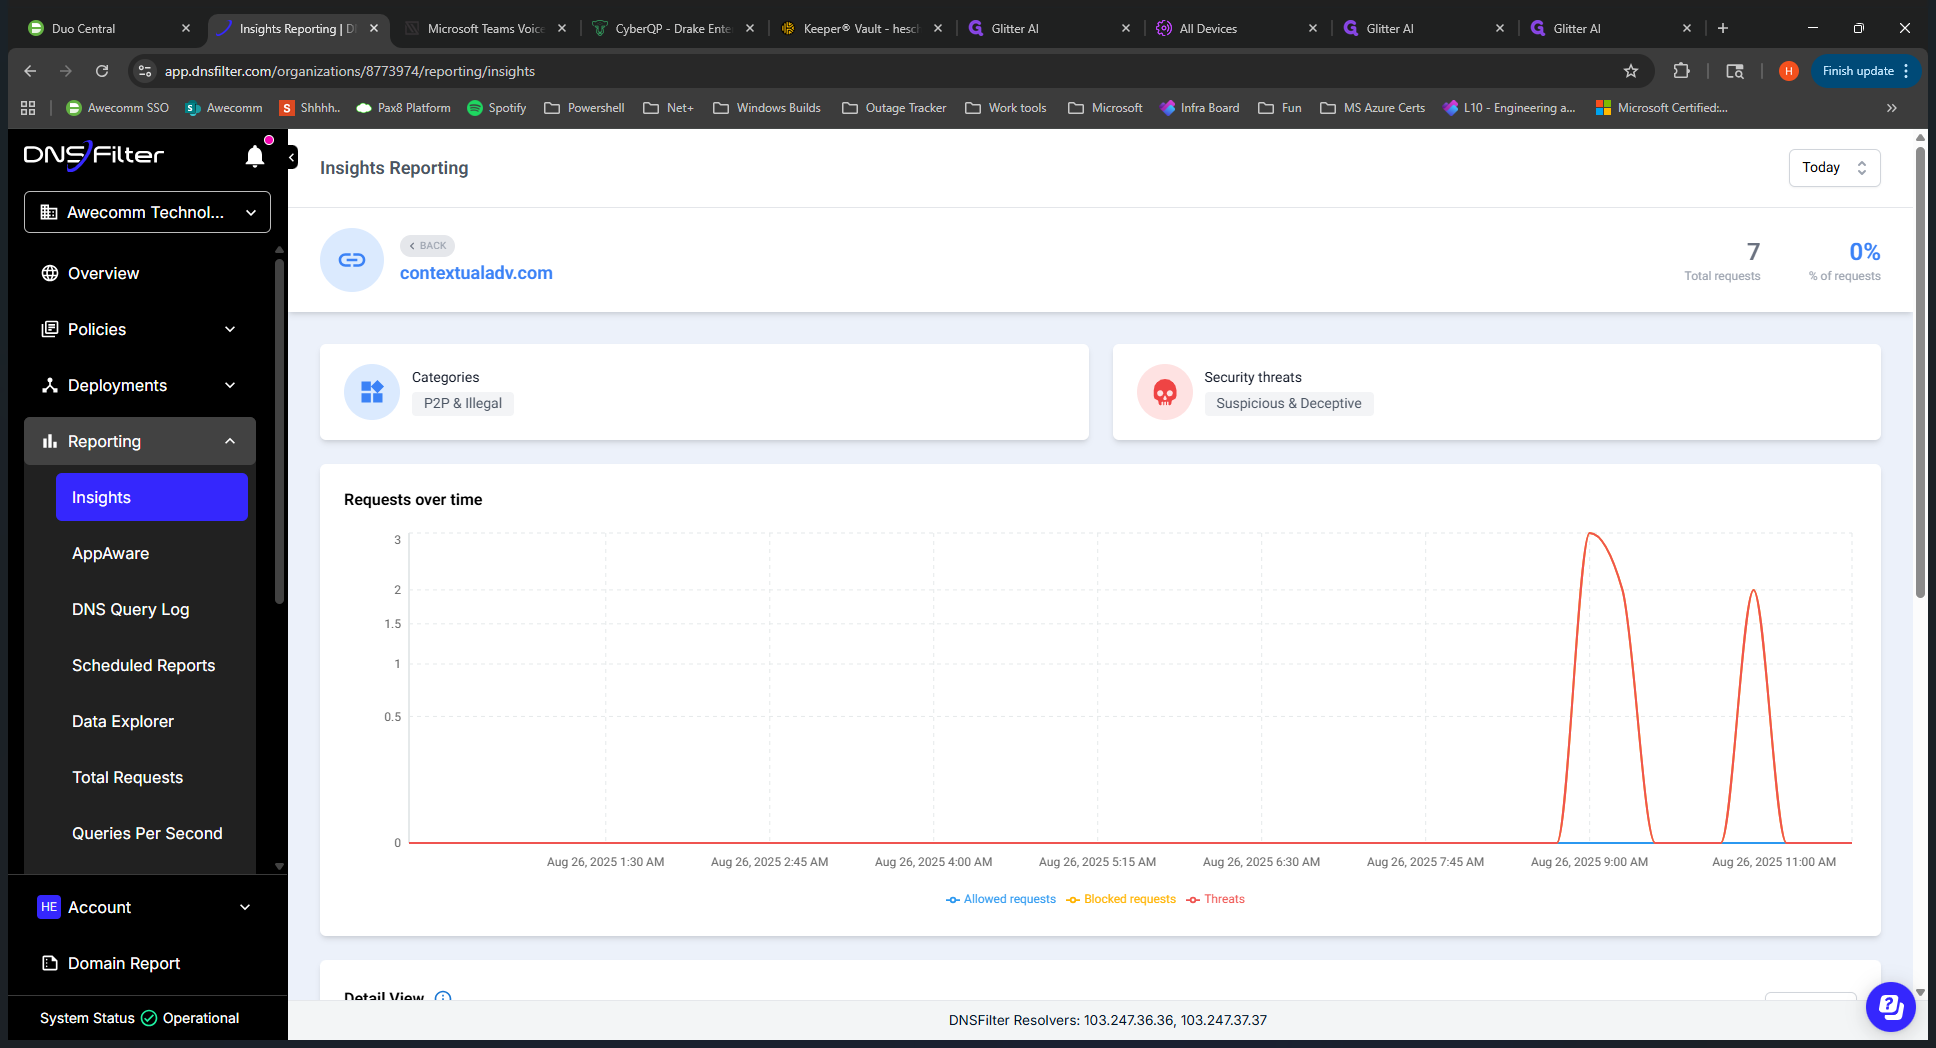
Wes was likely testing something here. We have more details on what was blocking and how it was blocking. You can view a specific client or look back at previous records as needed.
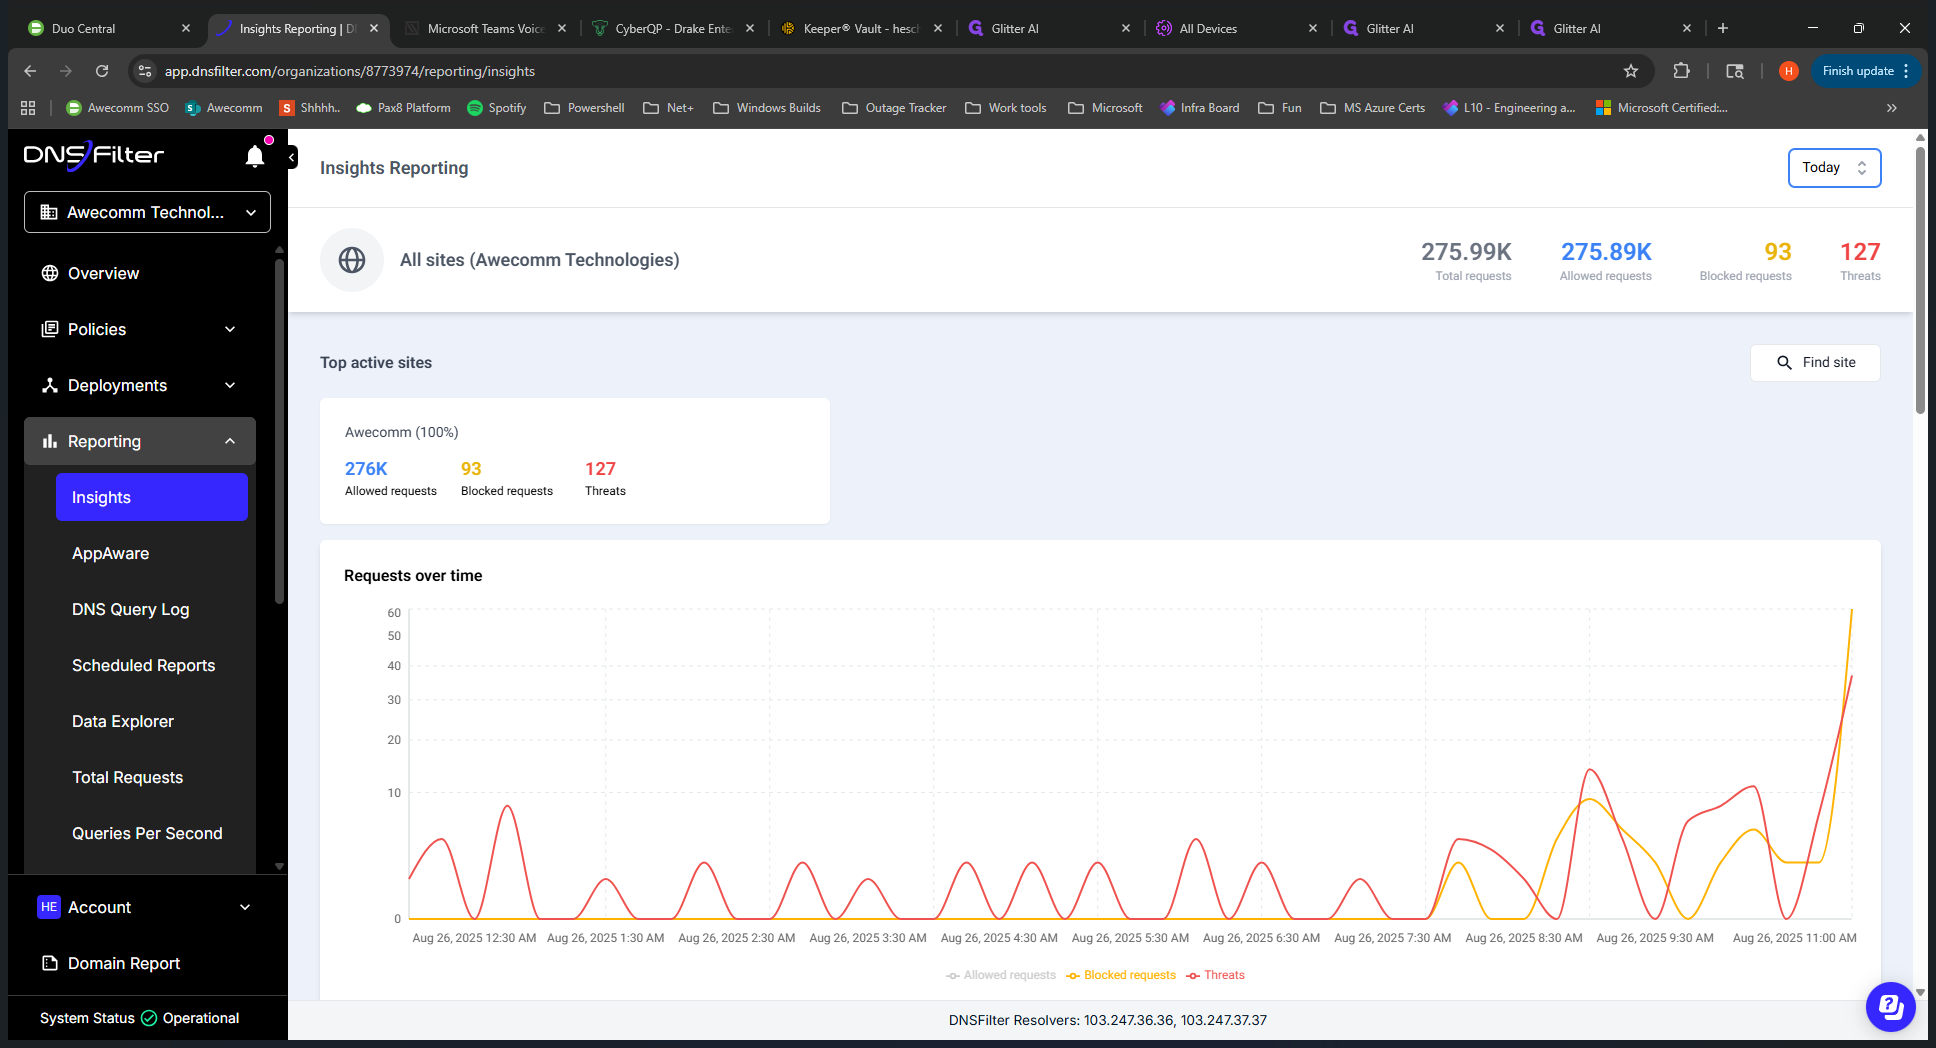
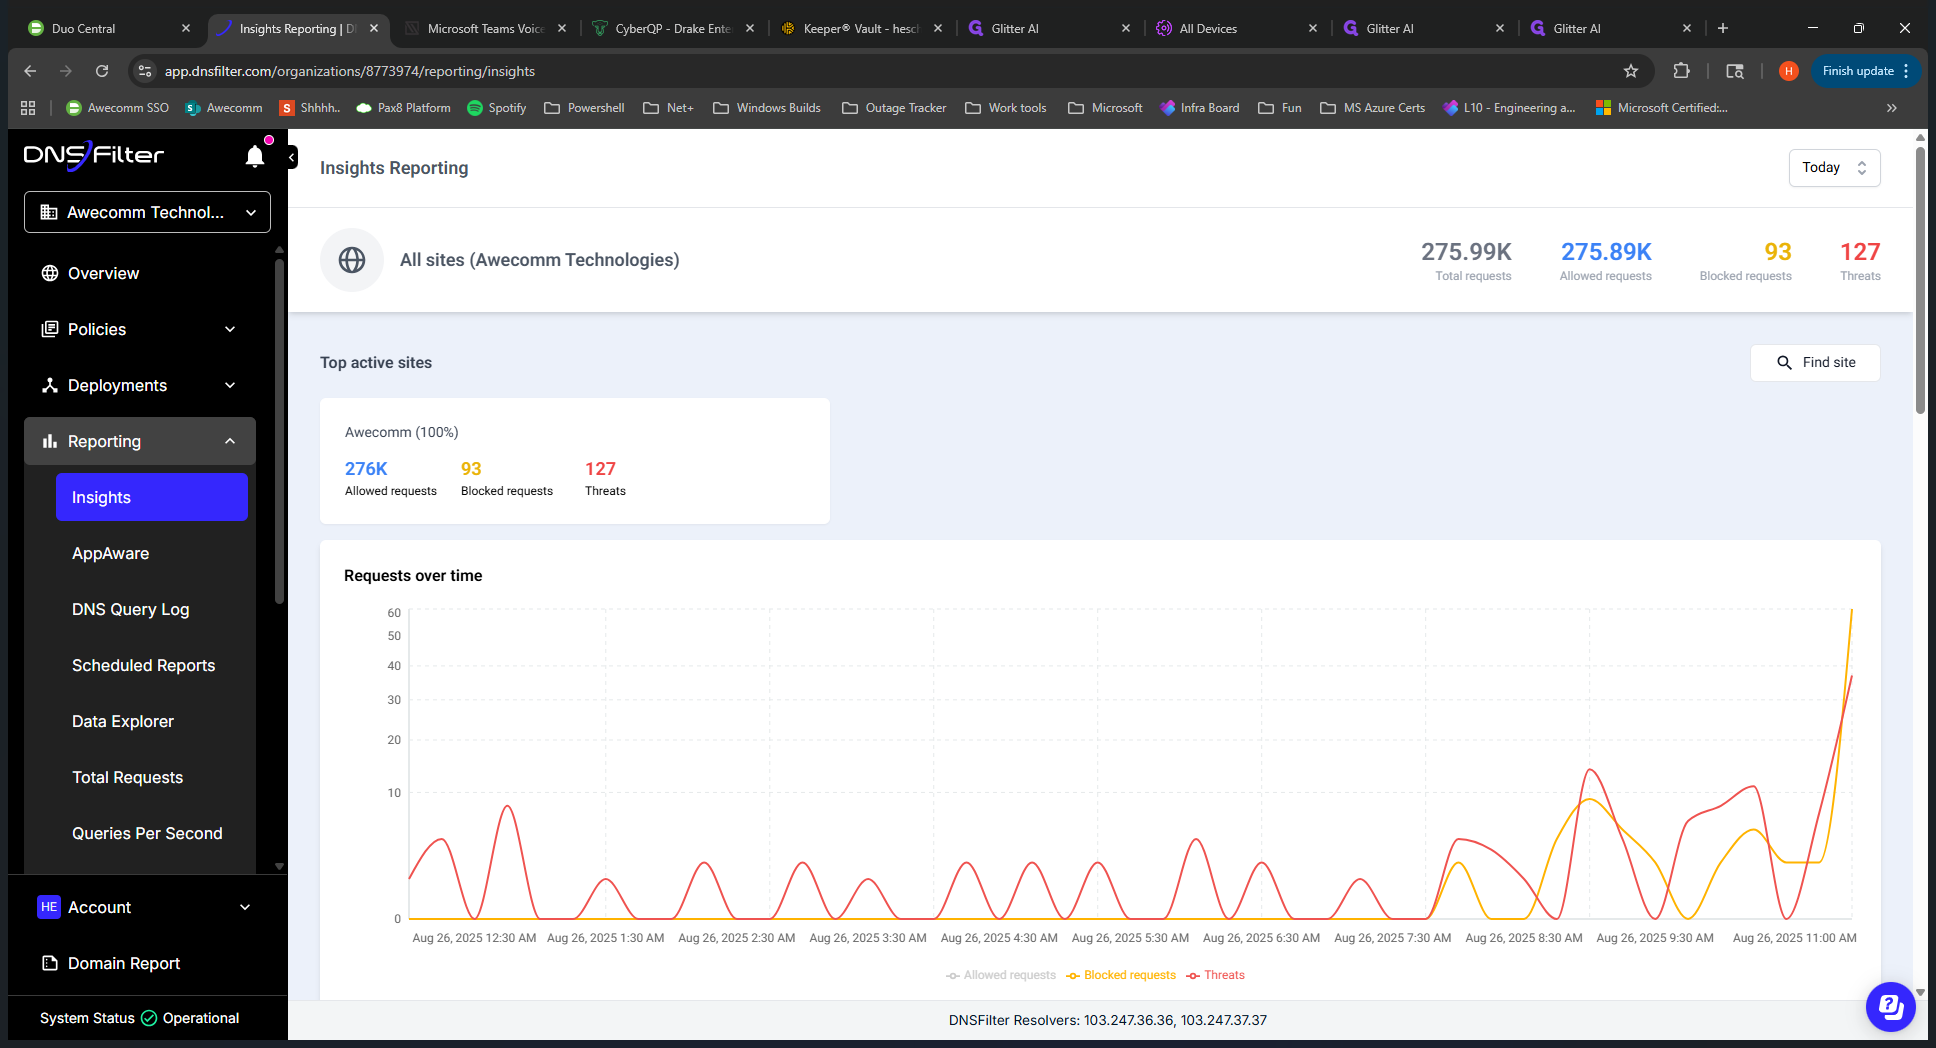
If you need to view a block on a specific user, go back to Roo Insights.
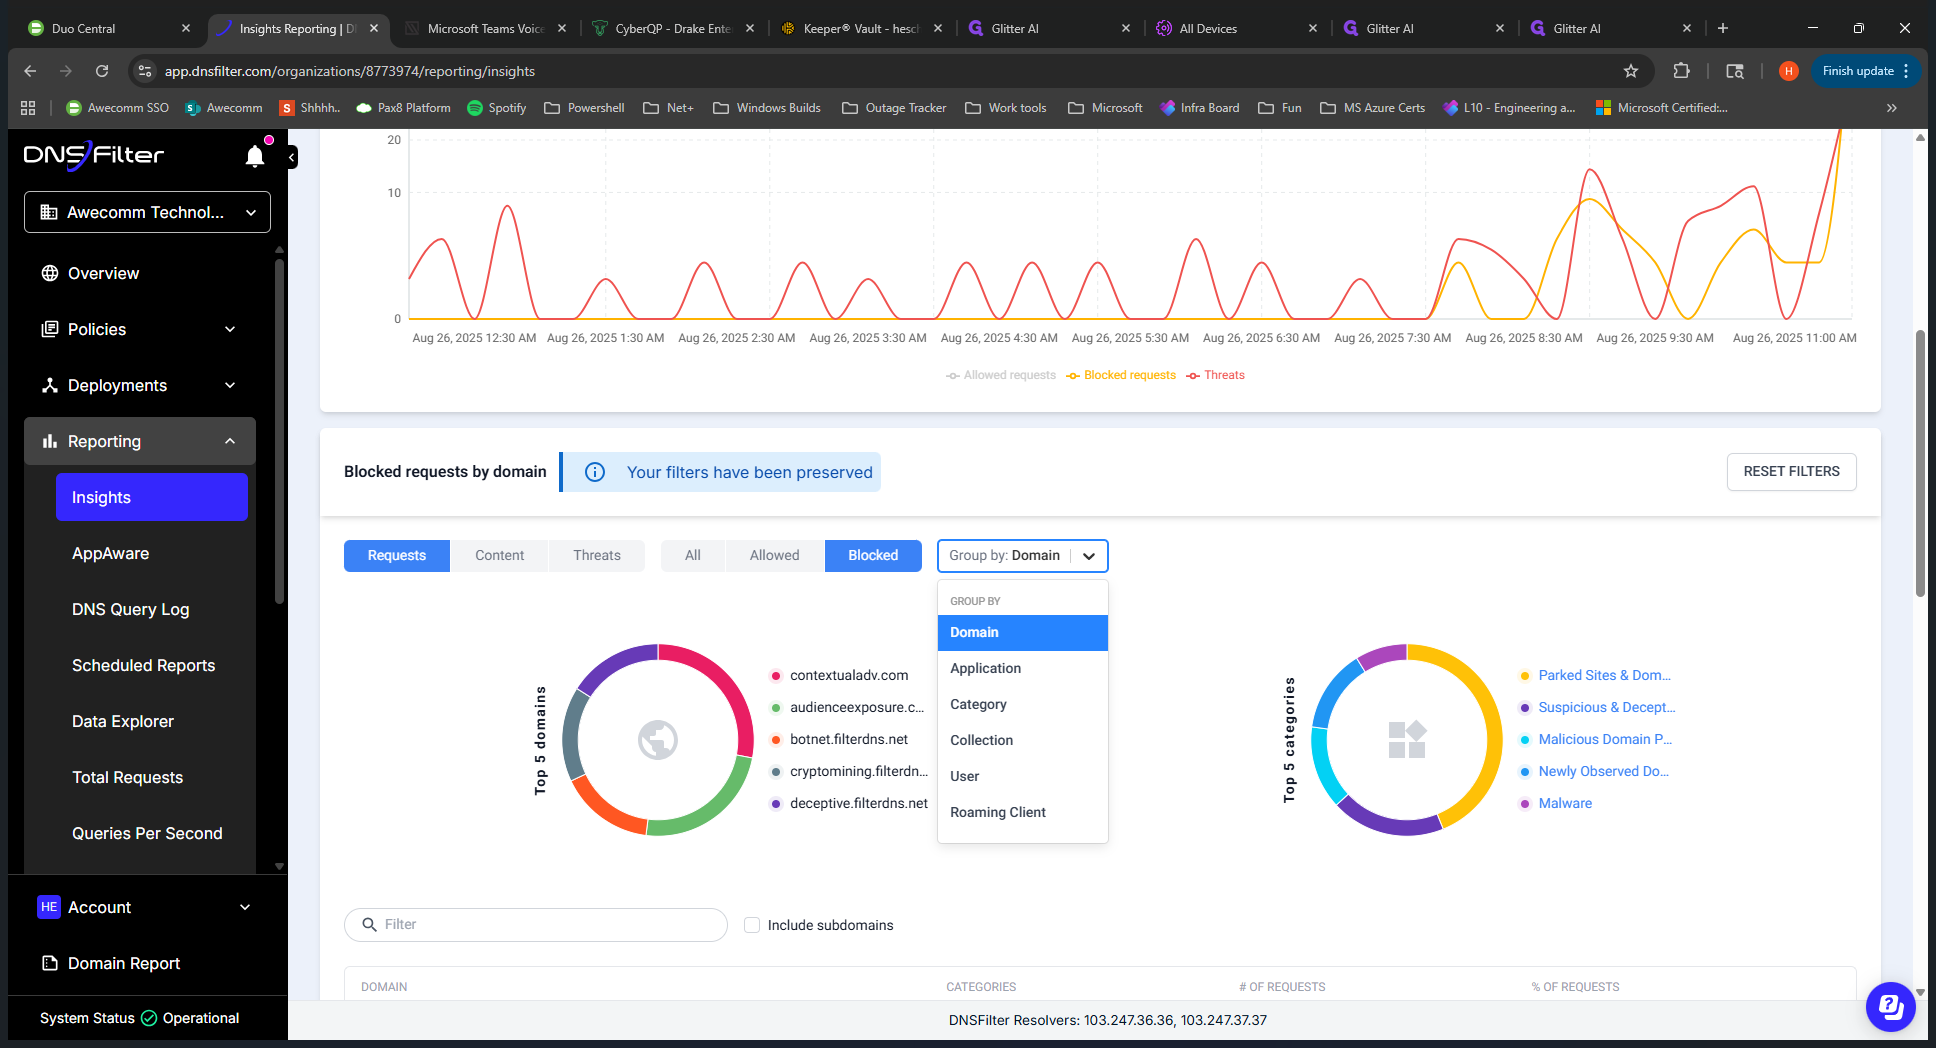
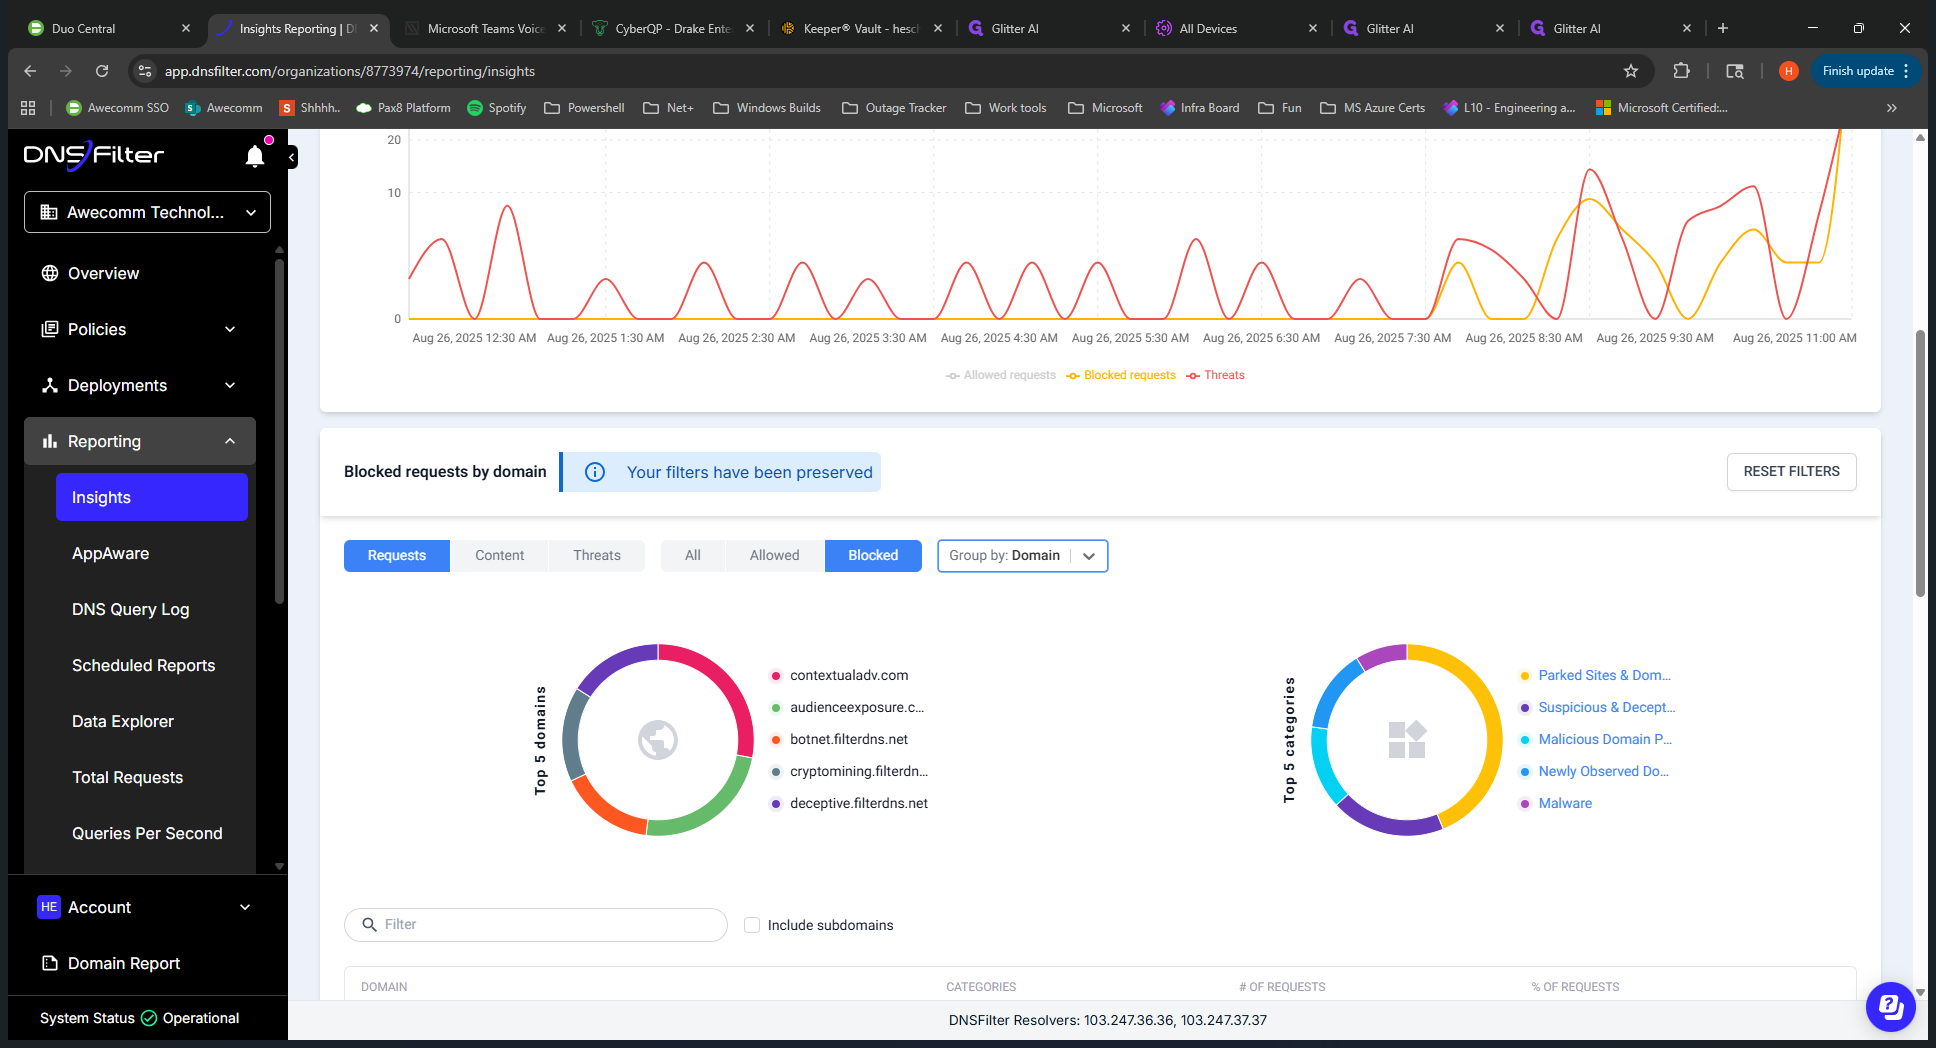
Use this dropdown to switch to "User." Find the user who is having issues, click on them, and view everything that has been blocked for that team member.
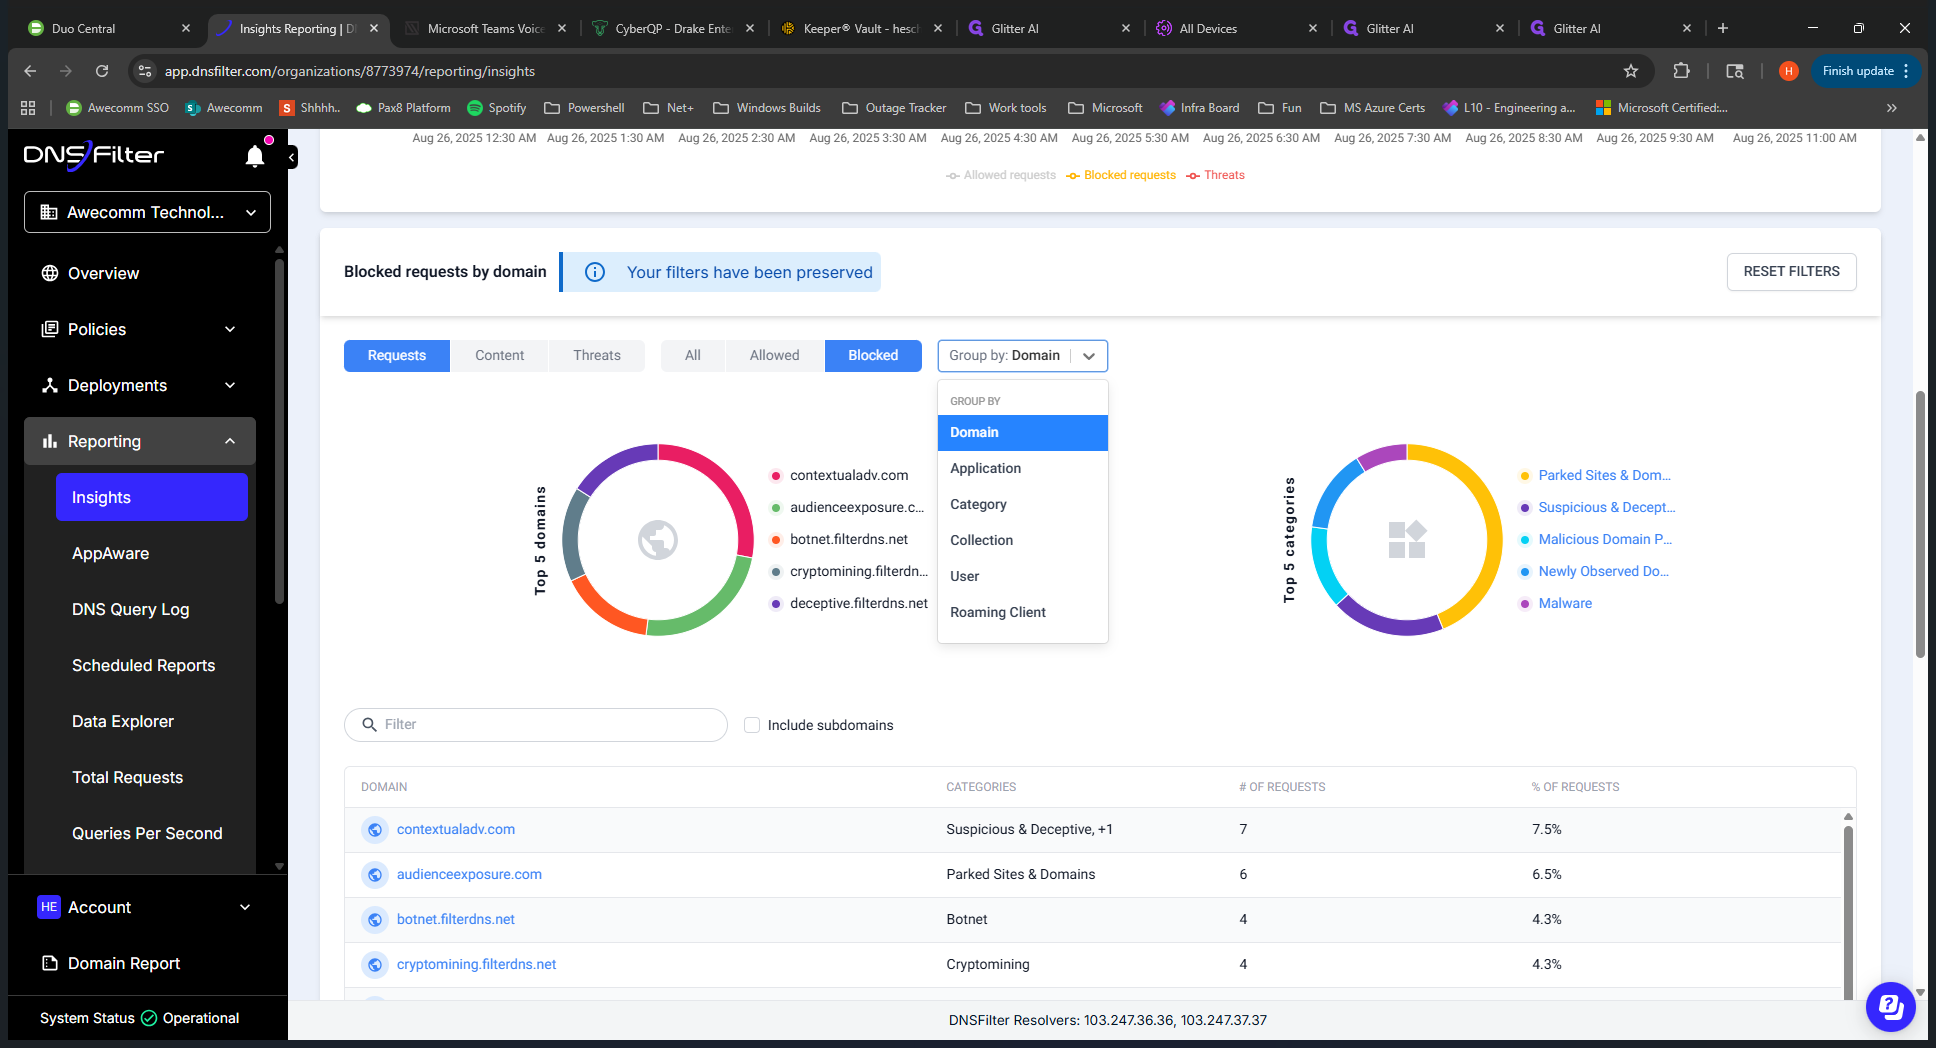
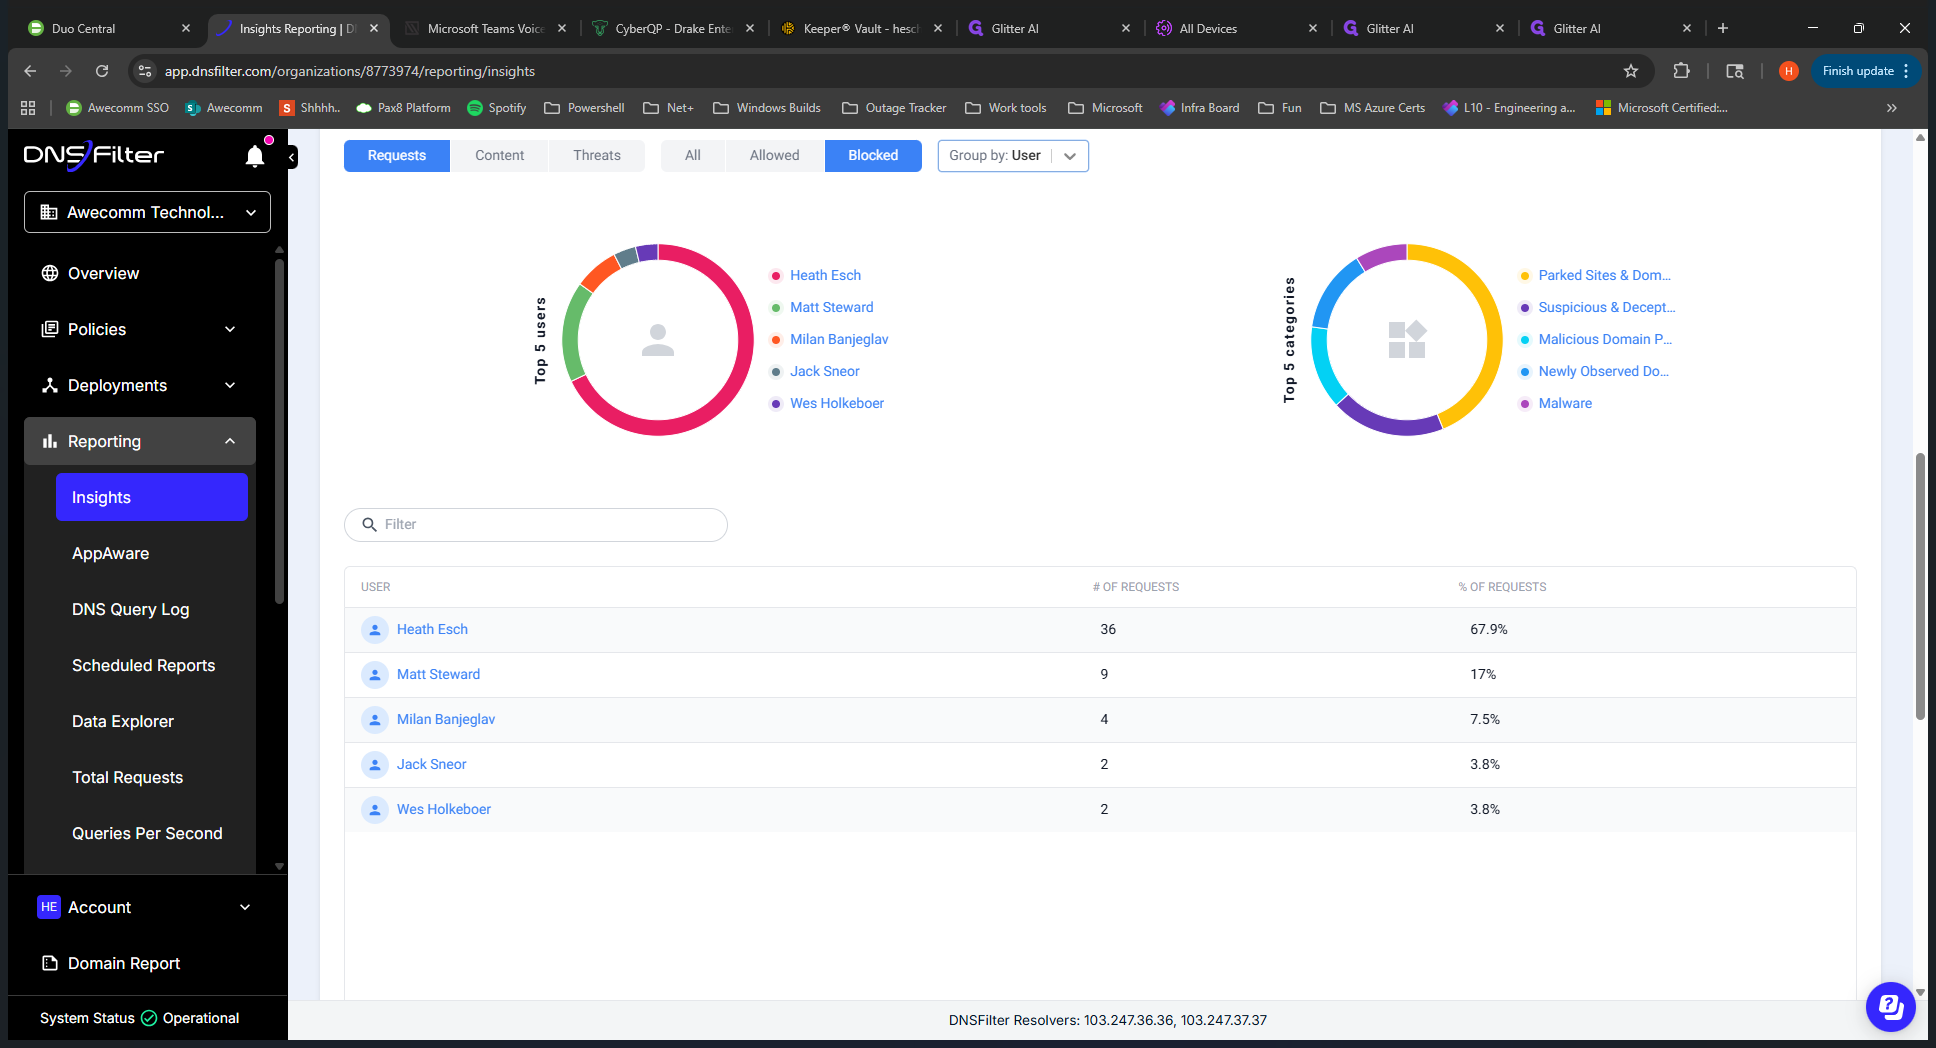
This park.filterdns.com and .net are the block pages that appeared during my testing. That's why it's there. Um, right. So that... Lastly, the filtering policy.
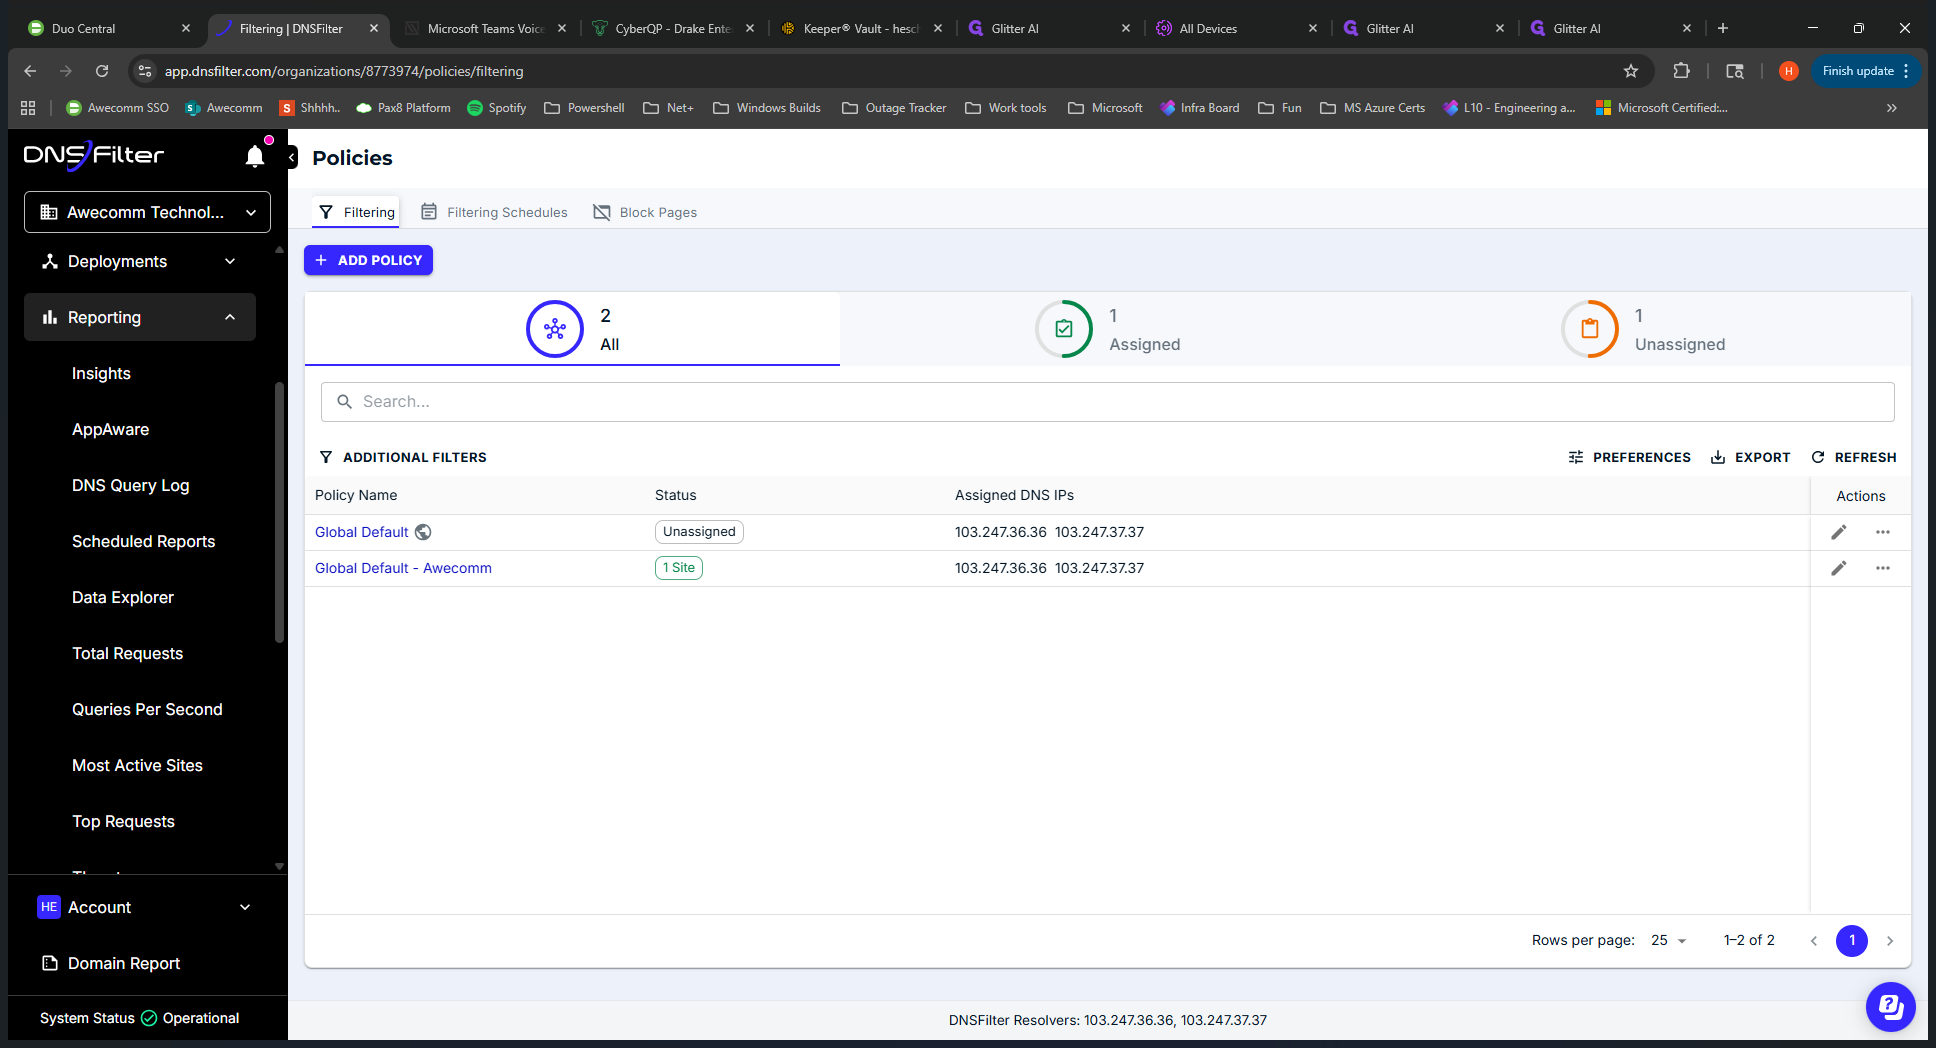
We can get started now. If you need to add a URL to the allow list or block a URL, follow these steps. The two main use cases for this tool are editing the policy to add a URL to the allow list or to the block list. Go to the applied policy. Once inside, you'll see several categories or tabs at the top that define how blocking is set up.
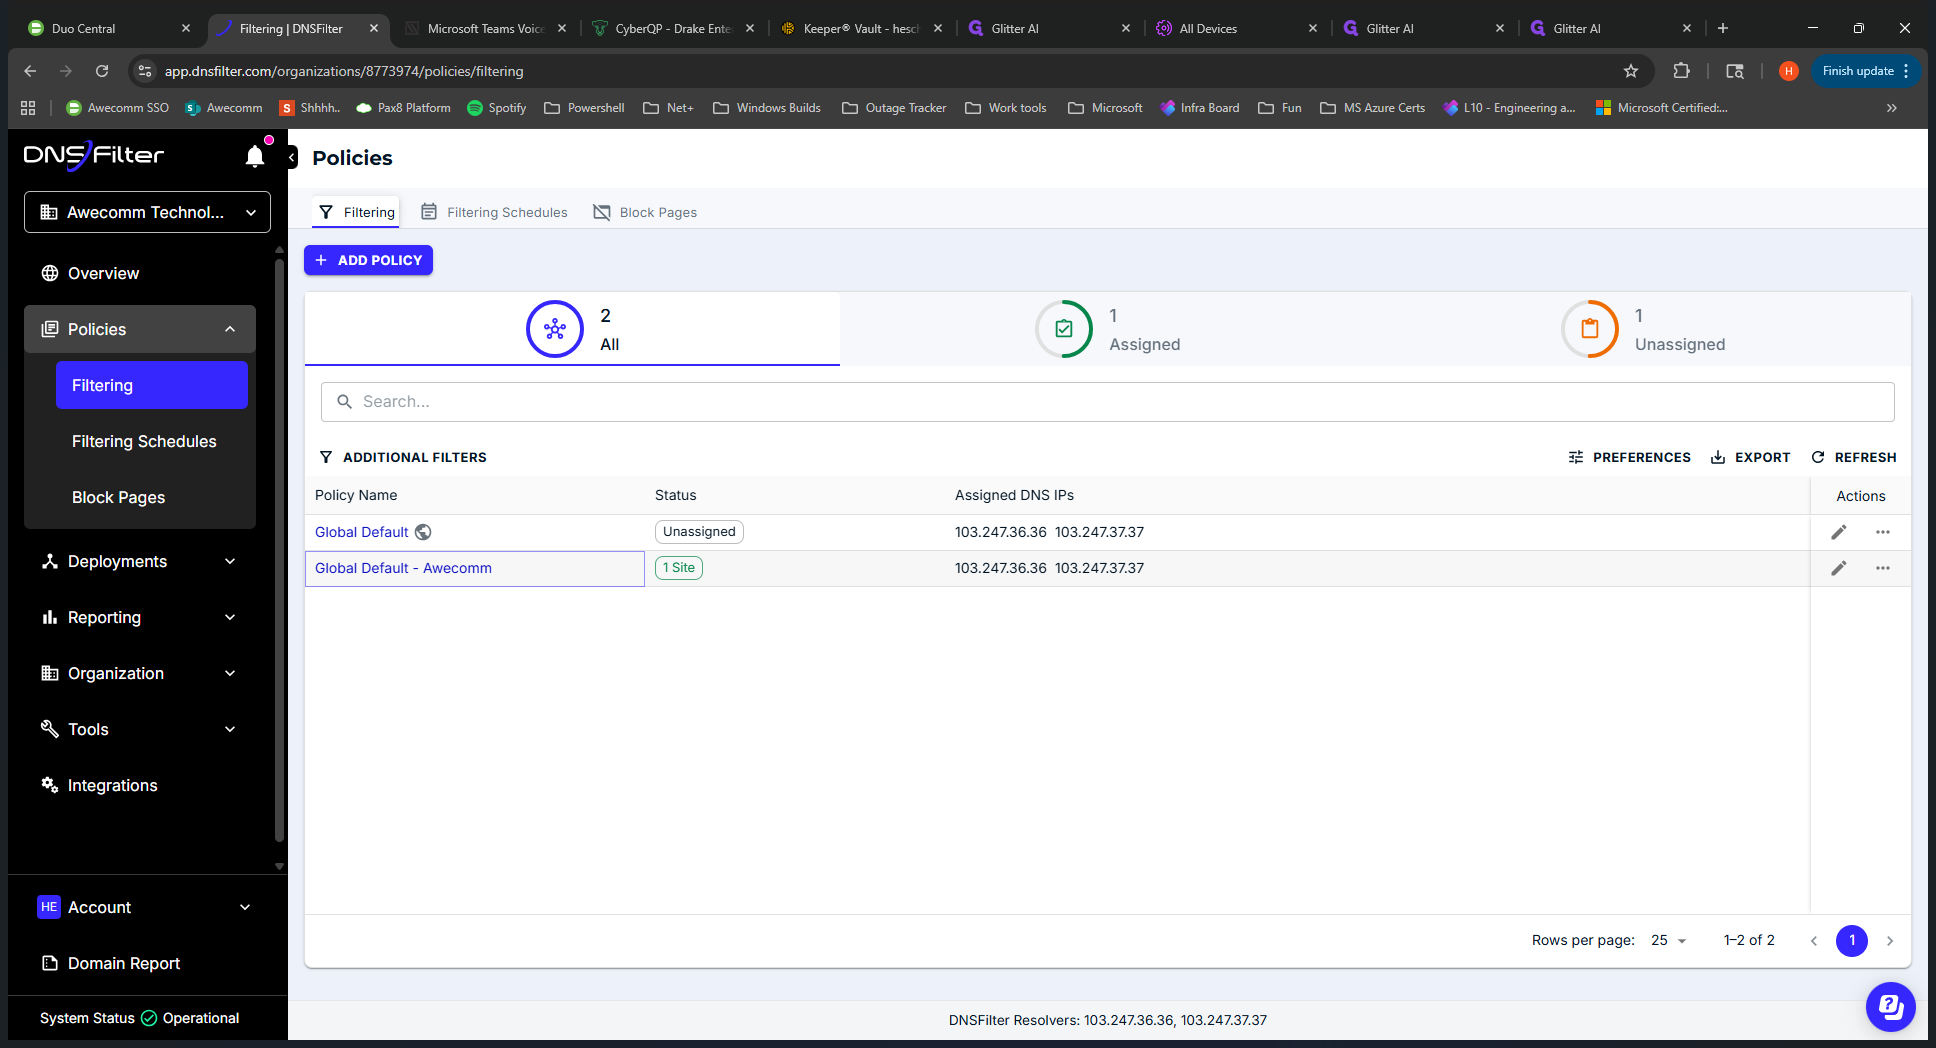
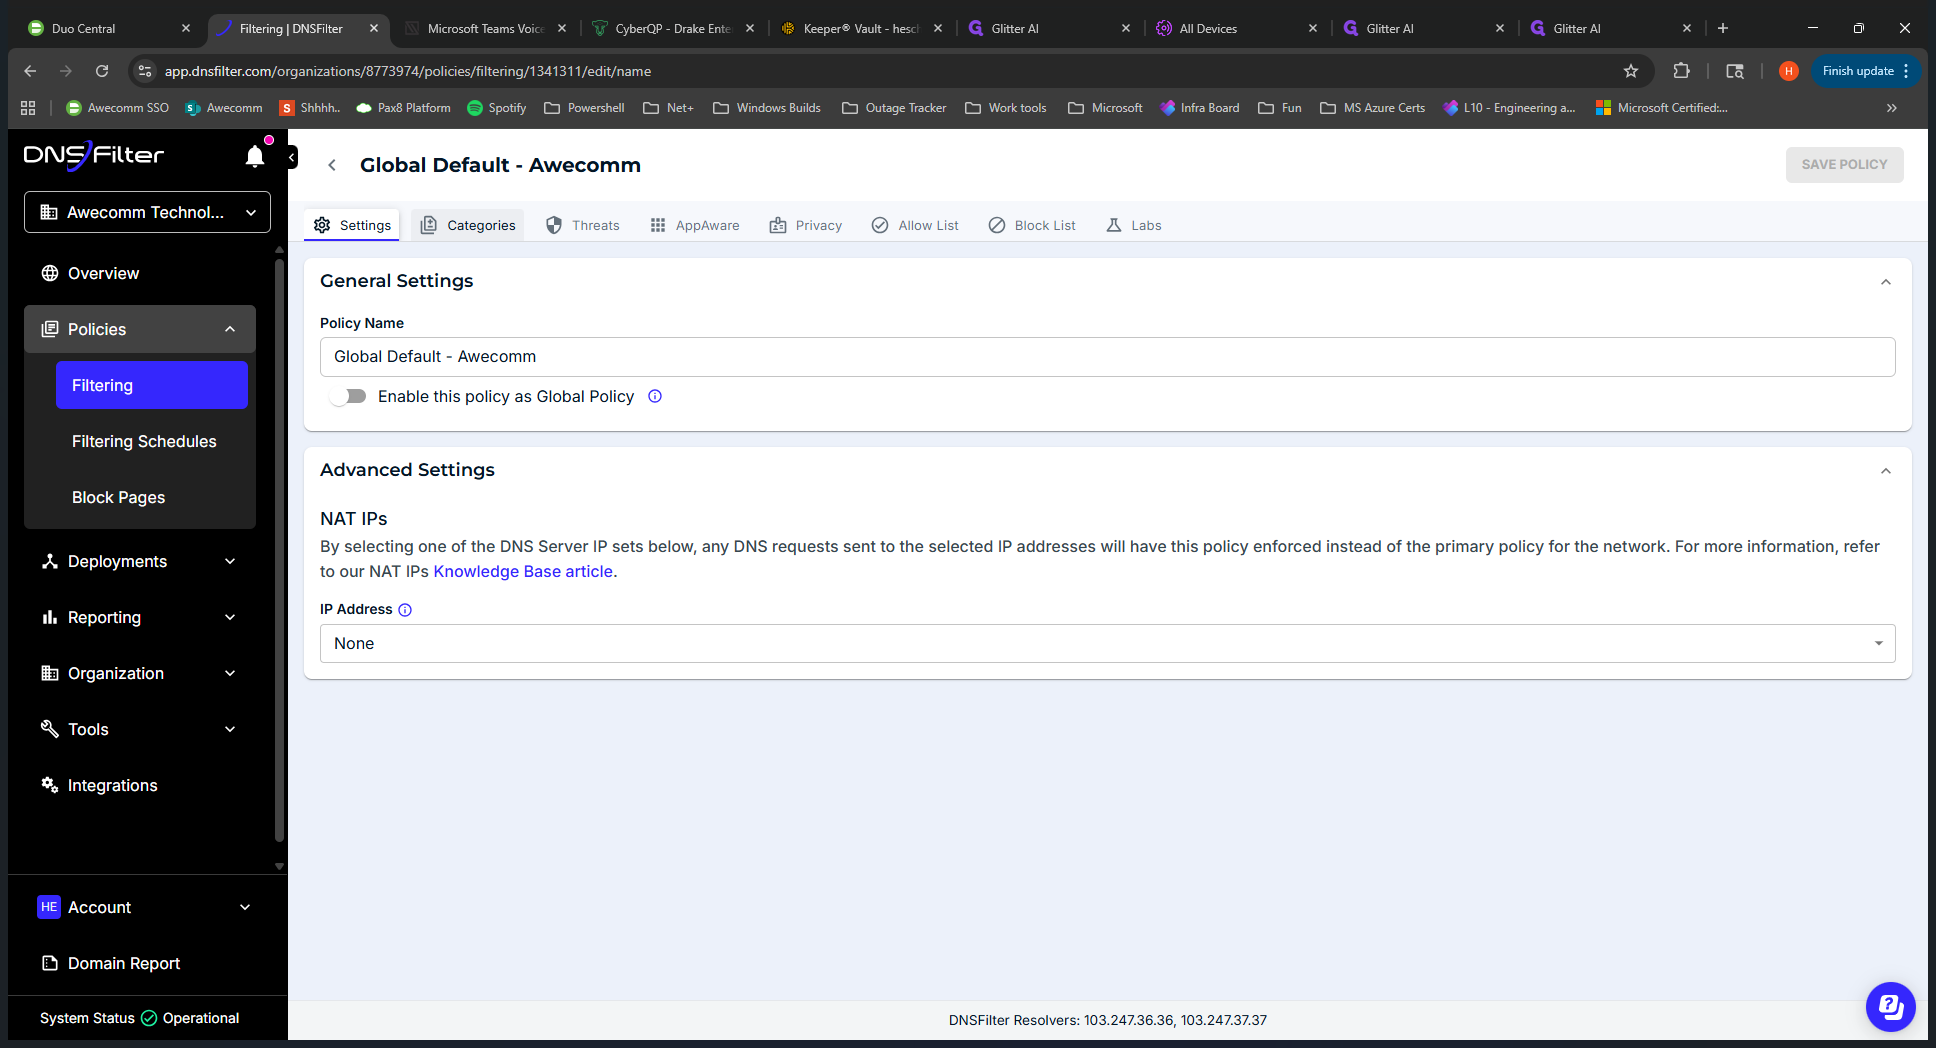
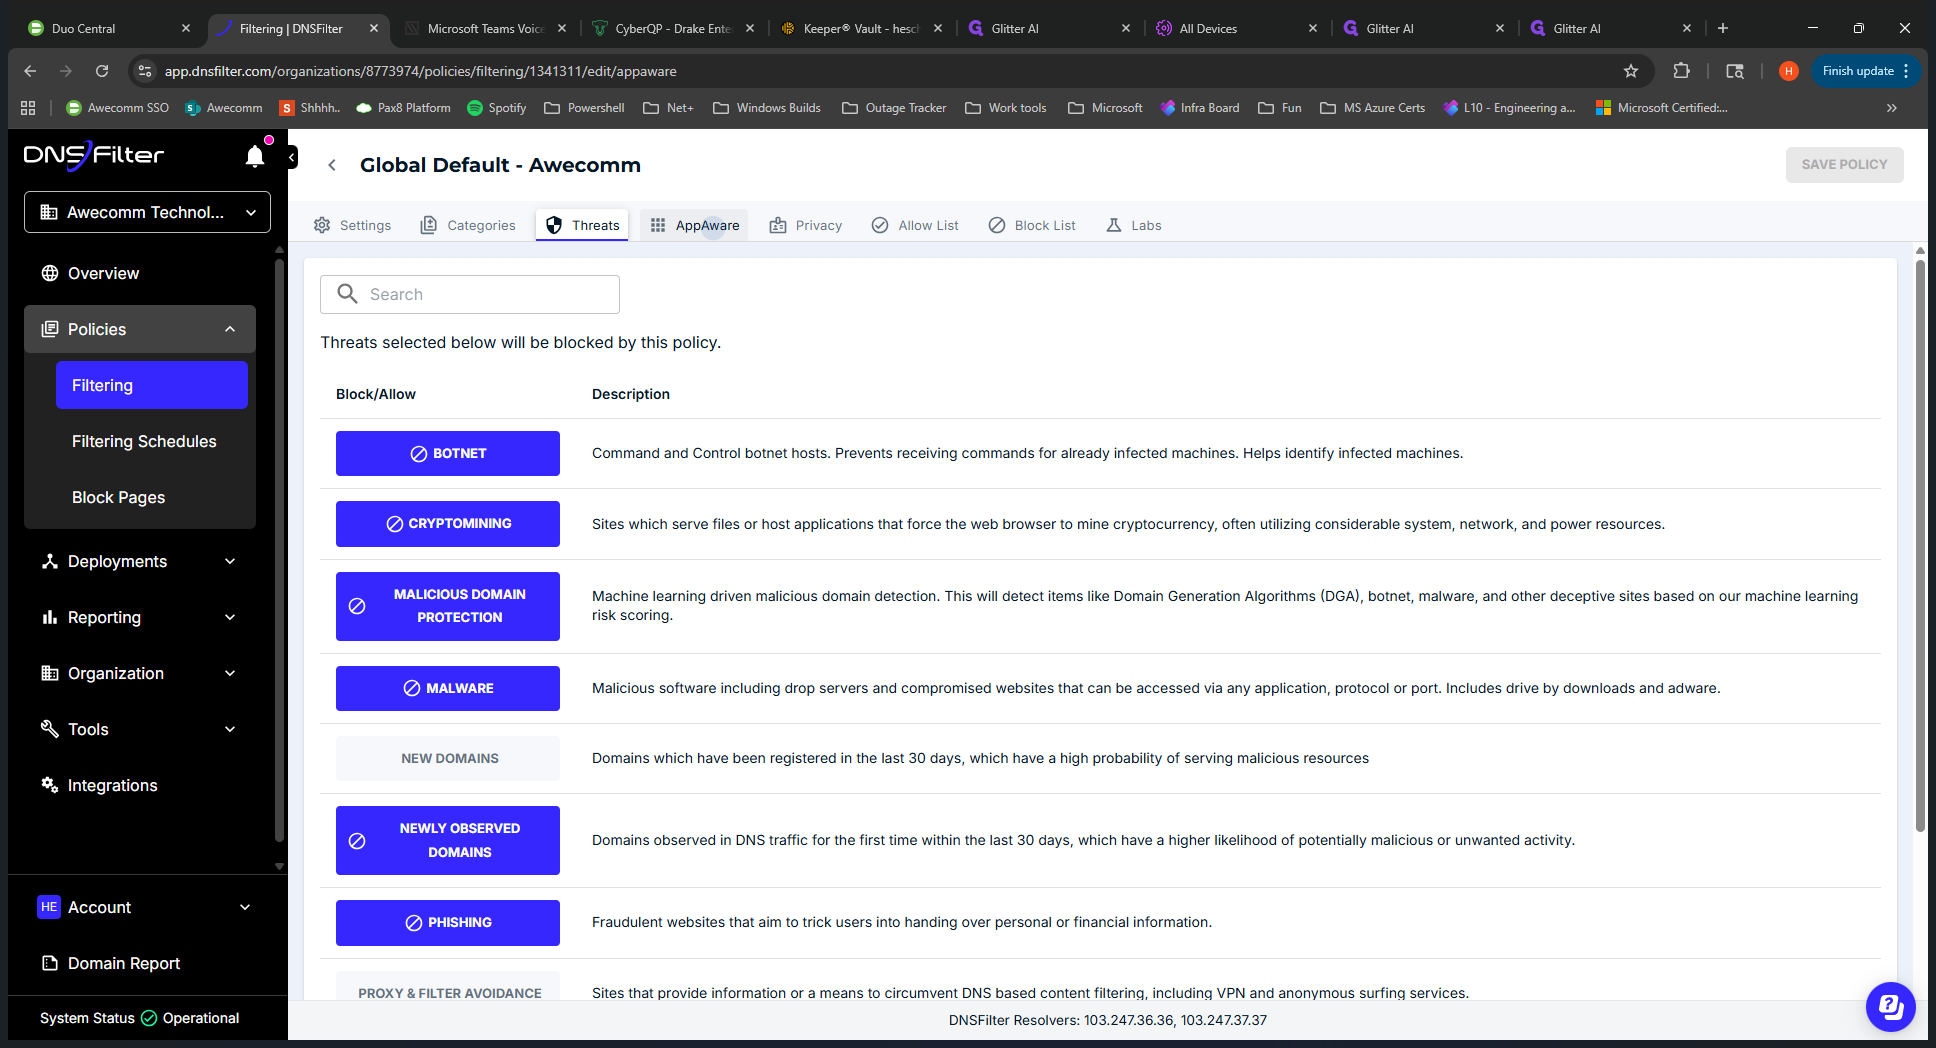
Awecom has many features enabled that we are currently testing. Other clients will most likely have categories enabled by default. We might need to strengthen security later, but DNS Filter can already block additional threats.
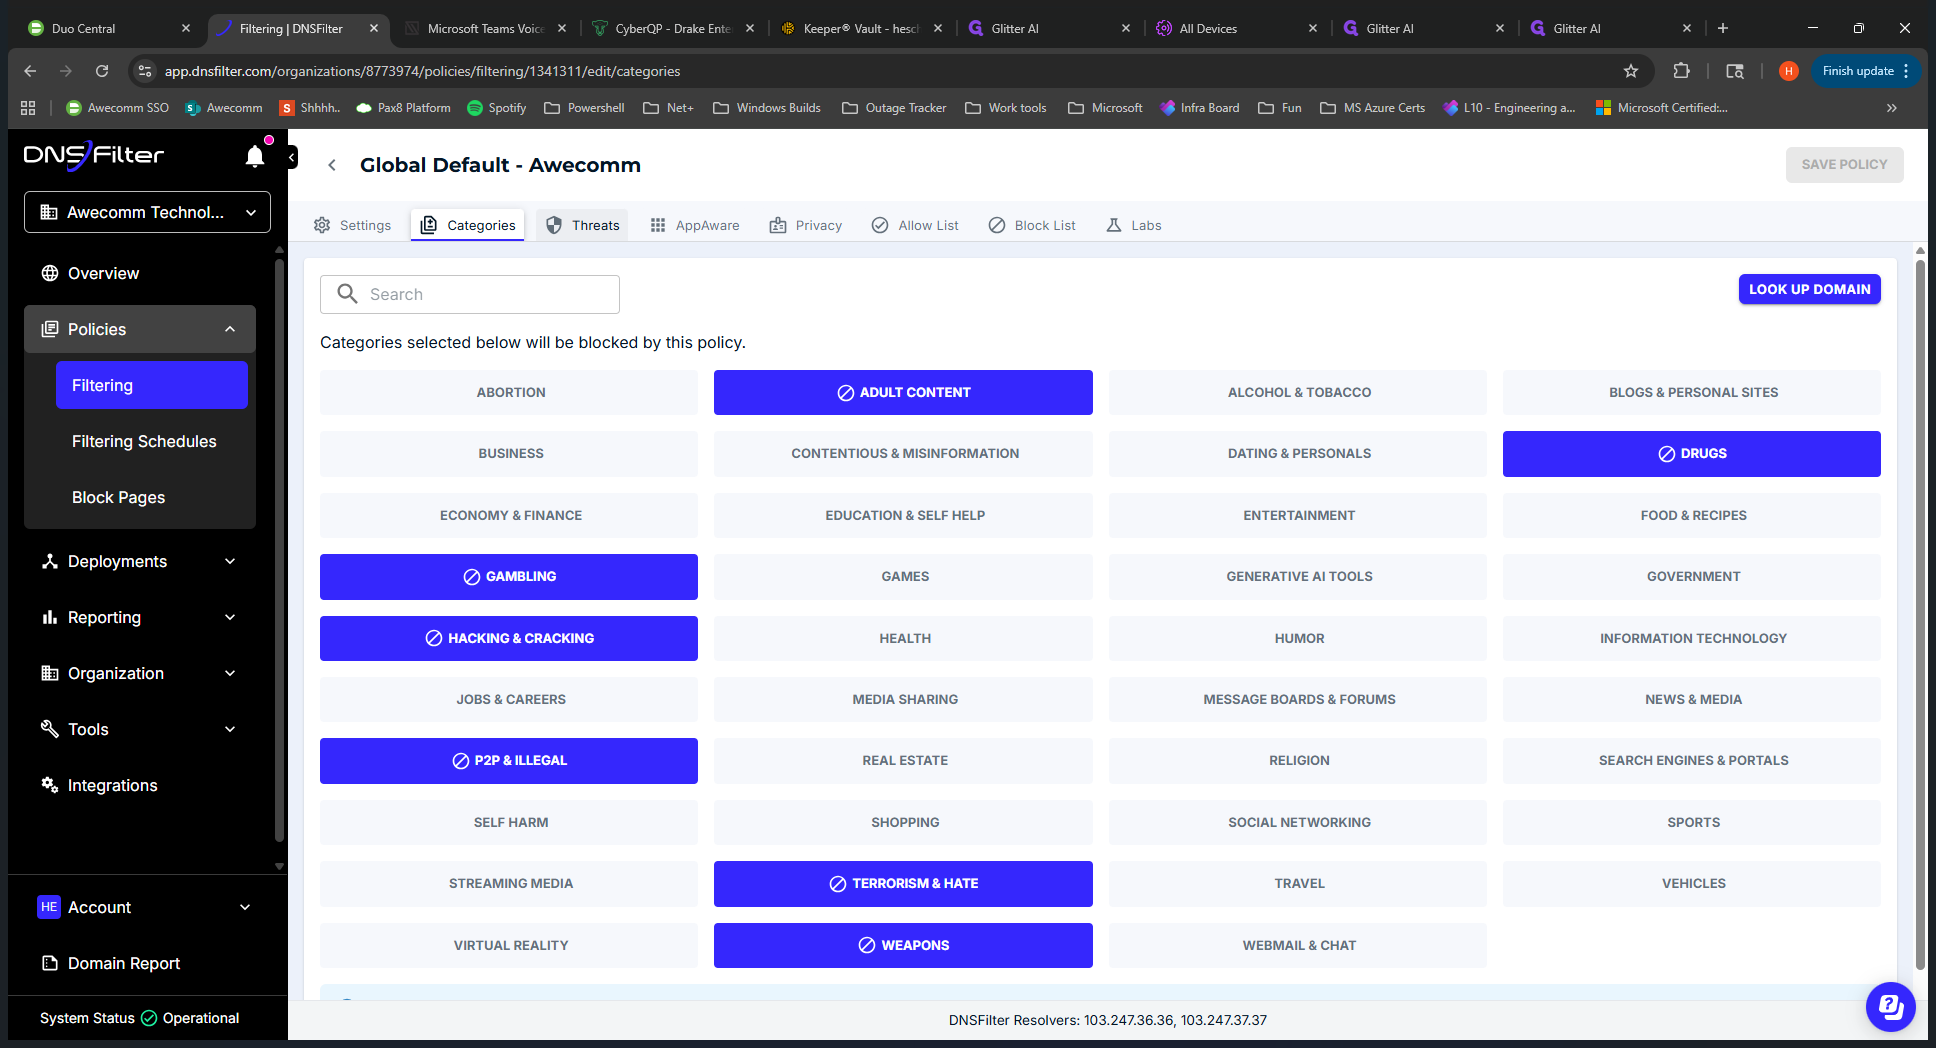
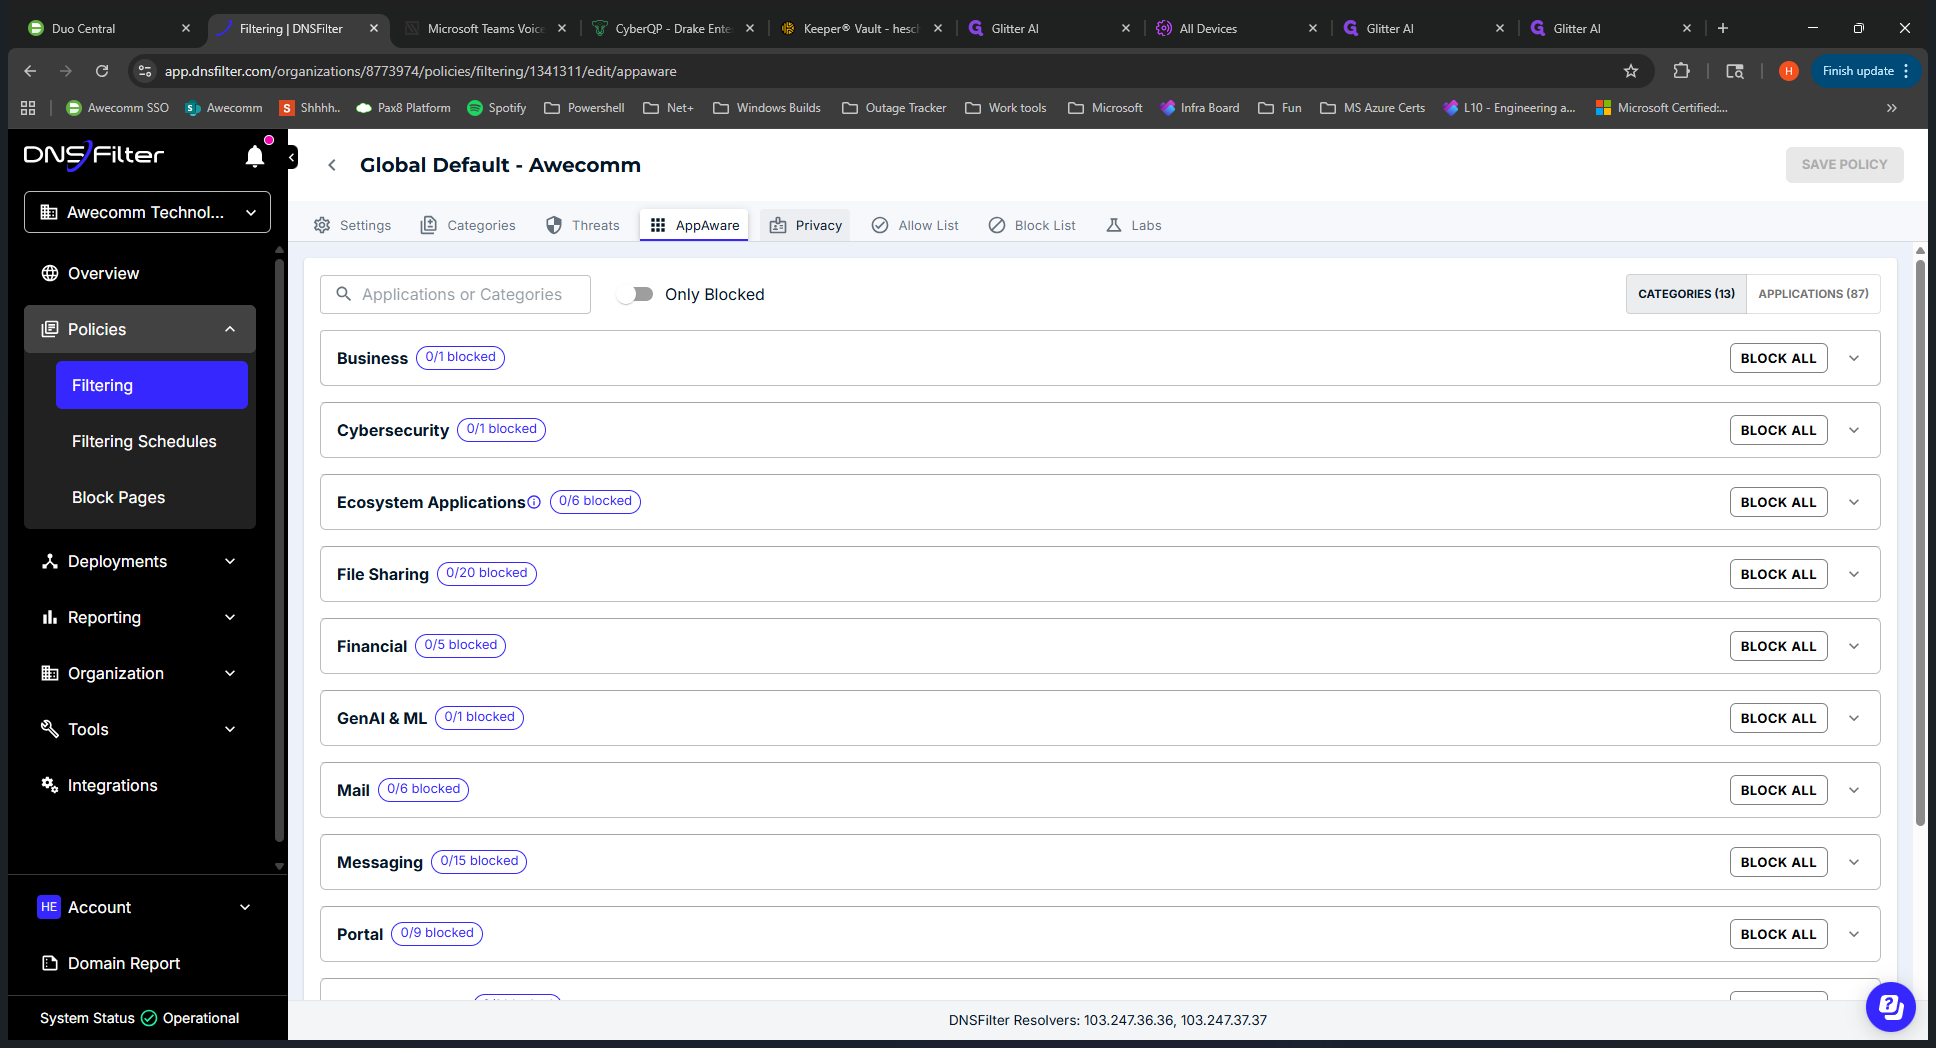
We have these enabled. I don't think we have any appware enabled.
Right now, everything is off. Privacy: Safe search is enabled.
You will see the allow list and the block list here.
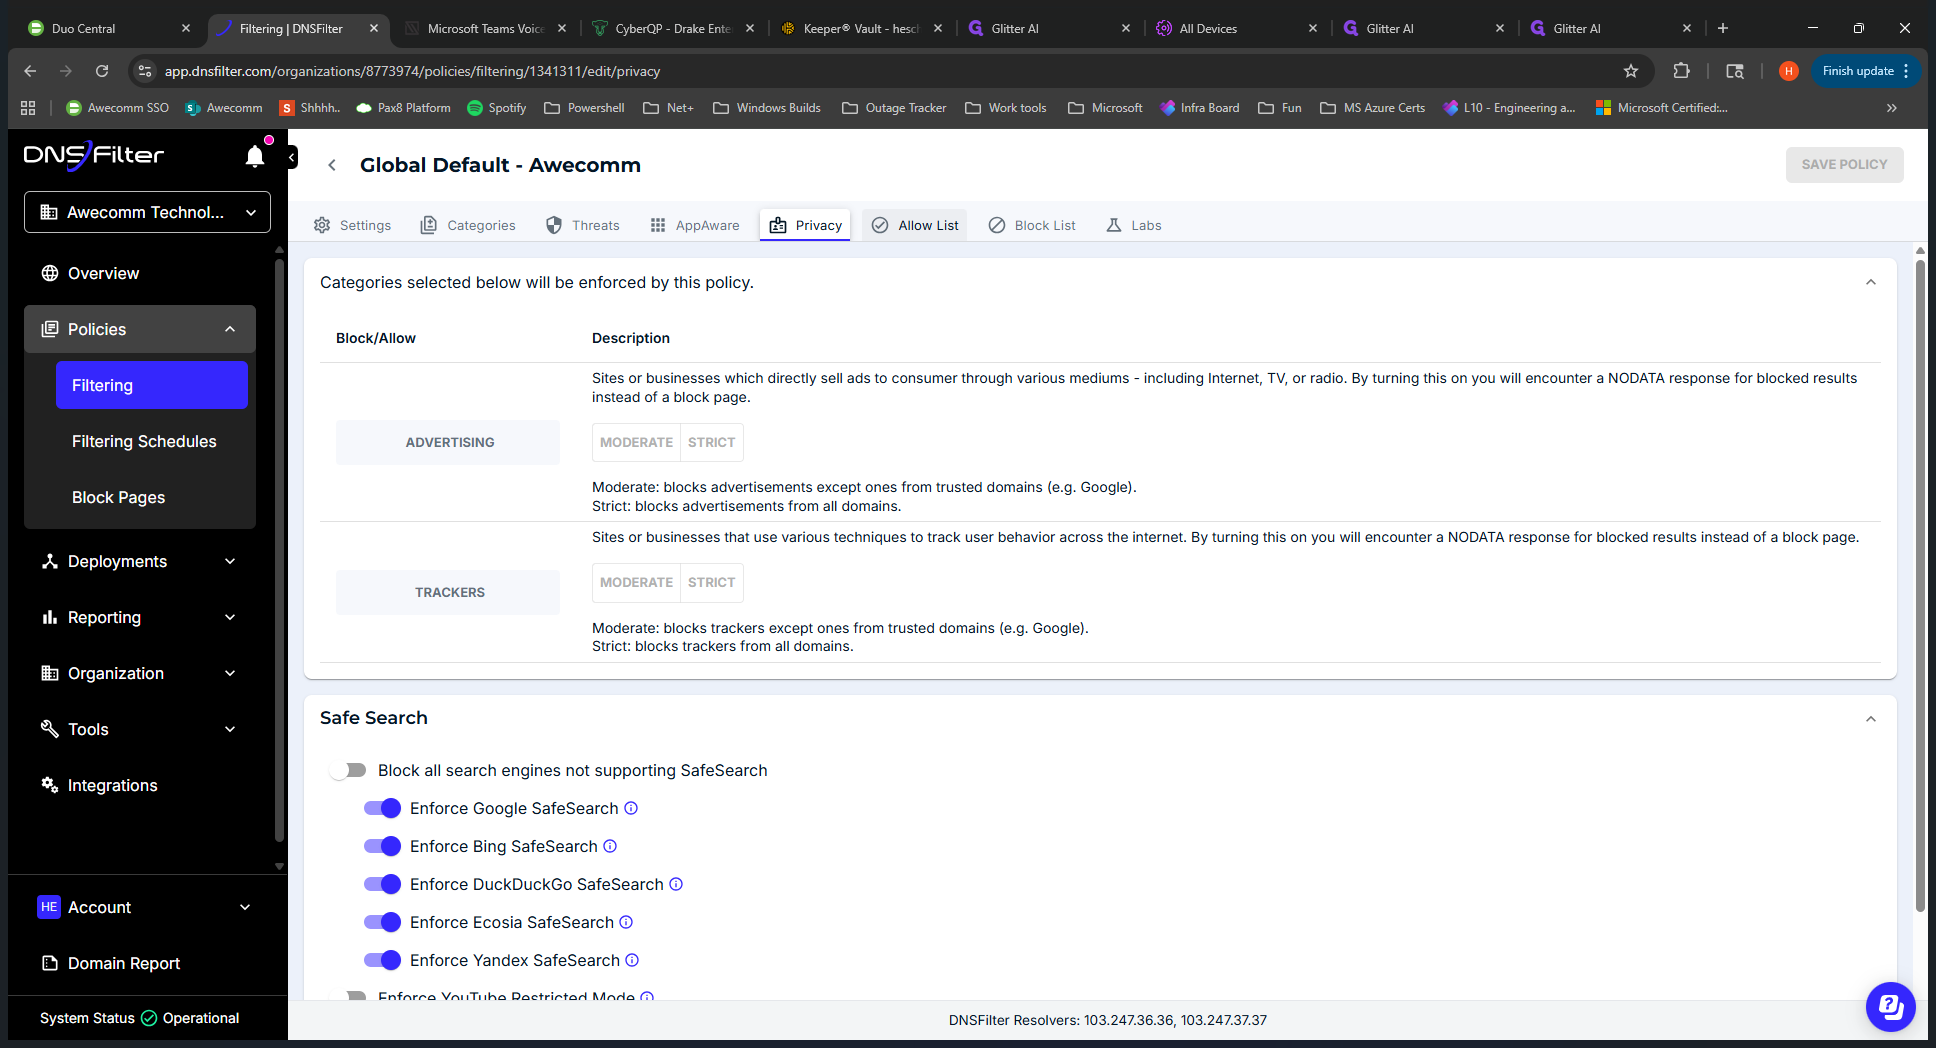
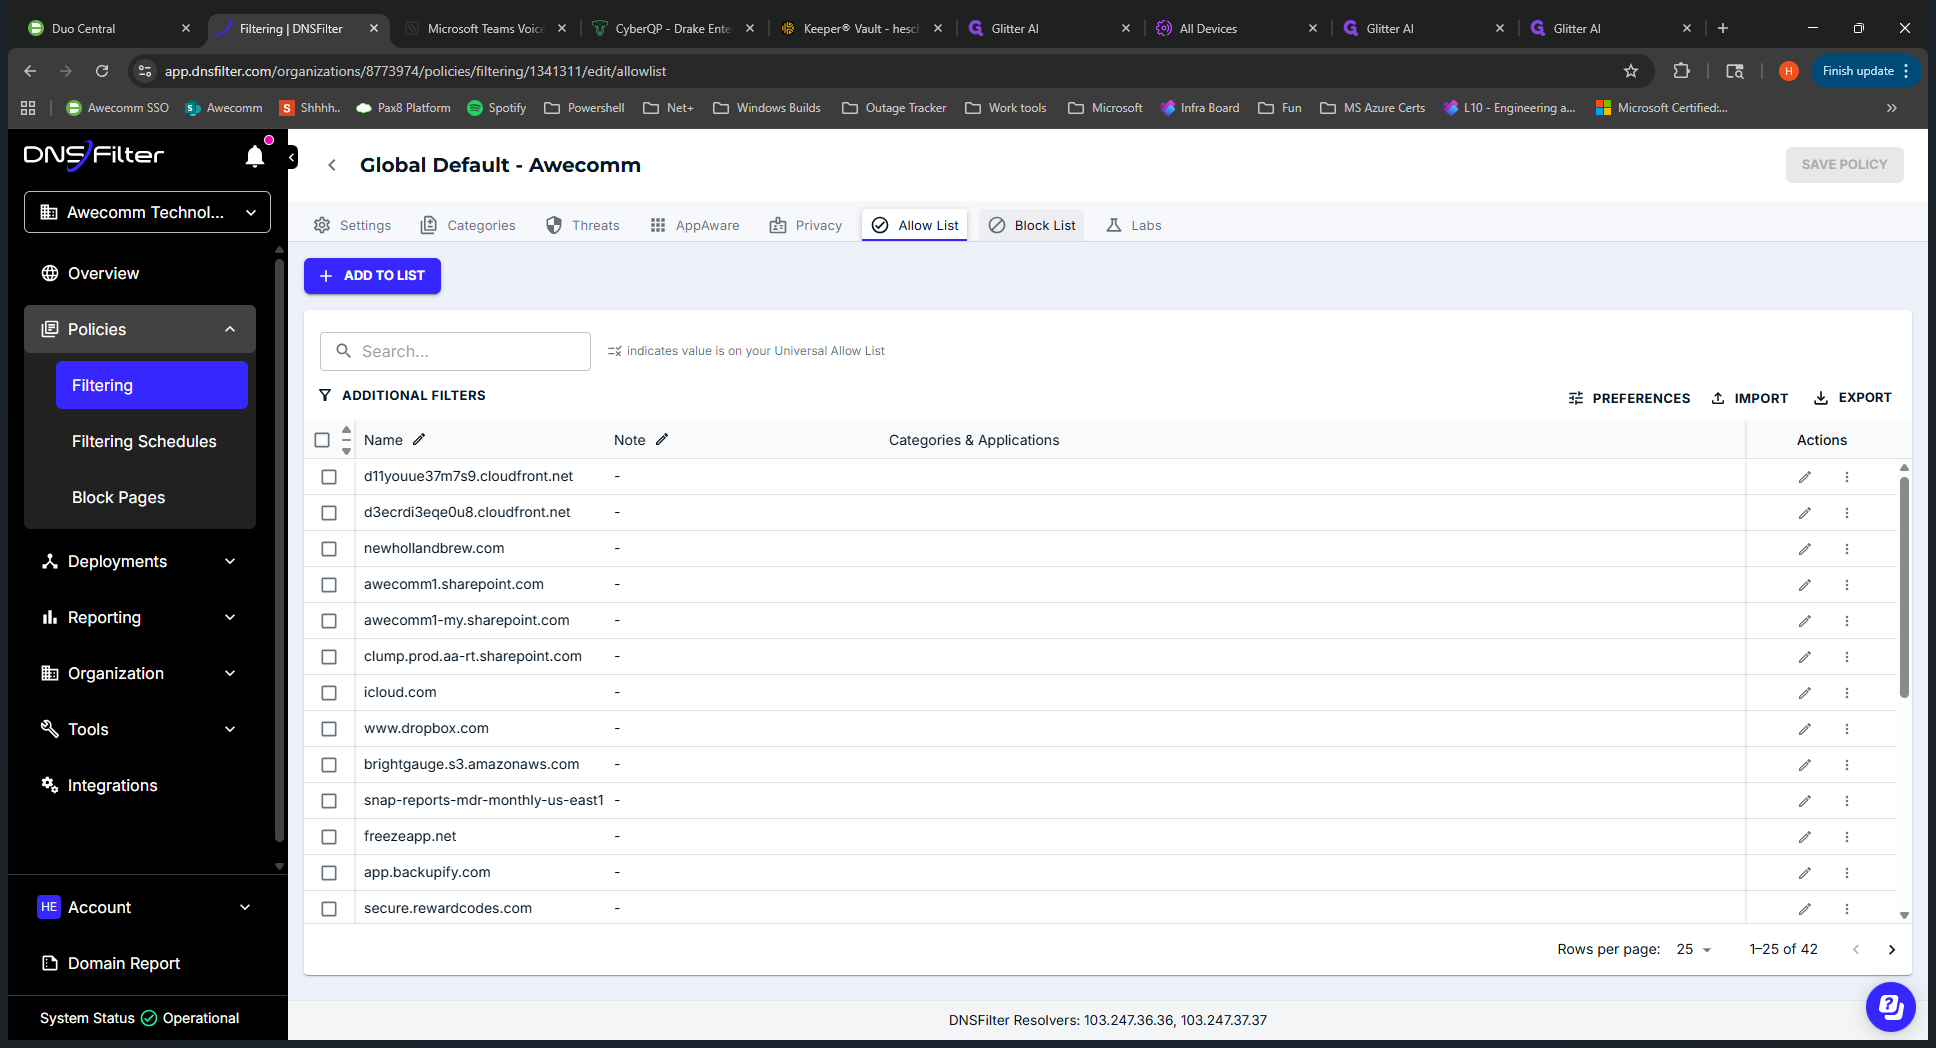
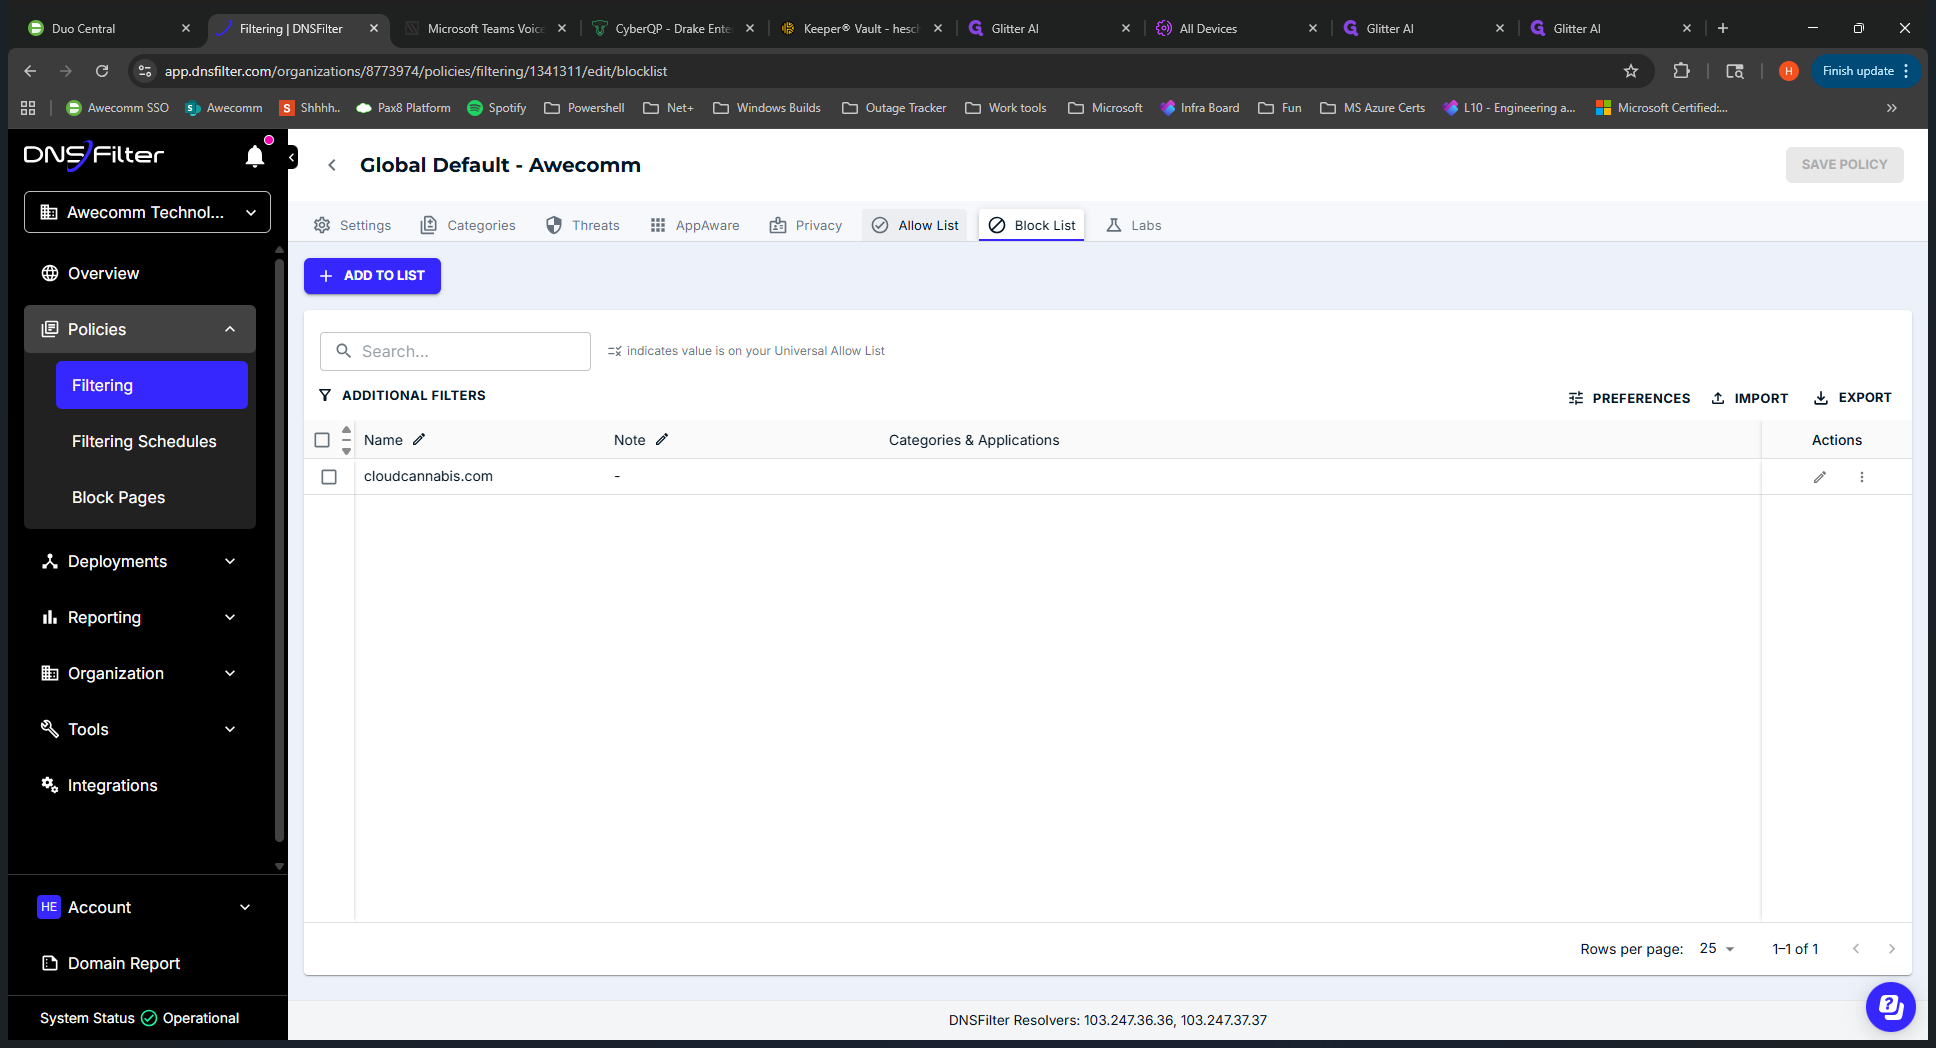
To add to the allow list, click Add to List, enter the URL, click Add, and then click Save to apply the policy.
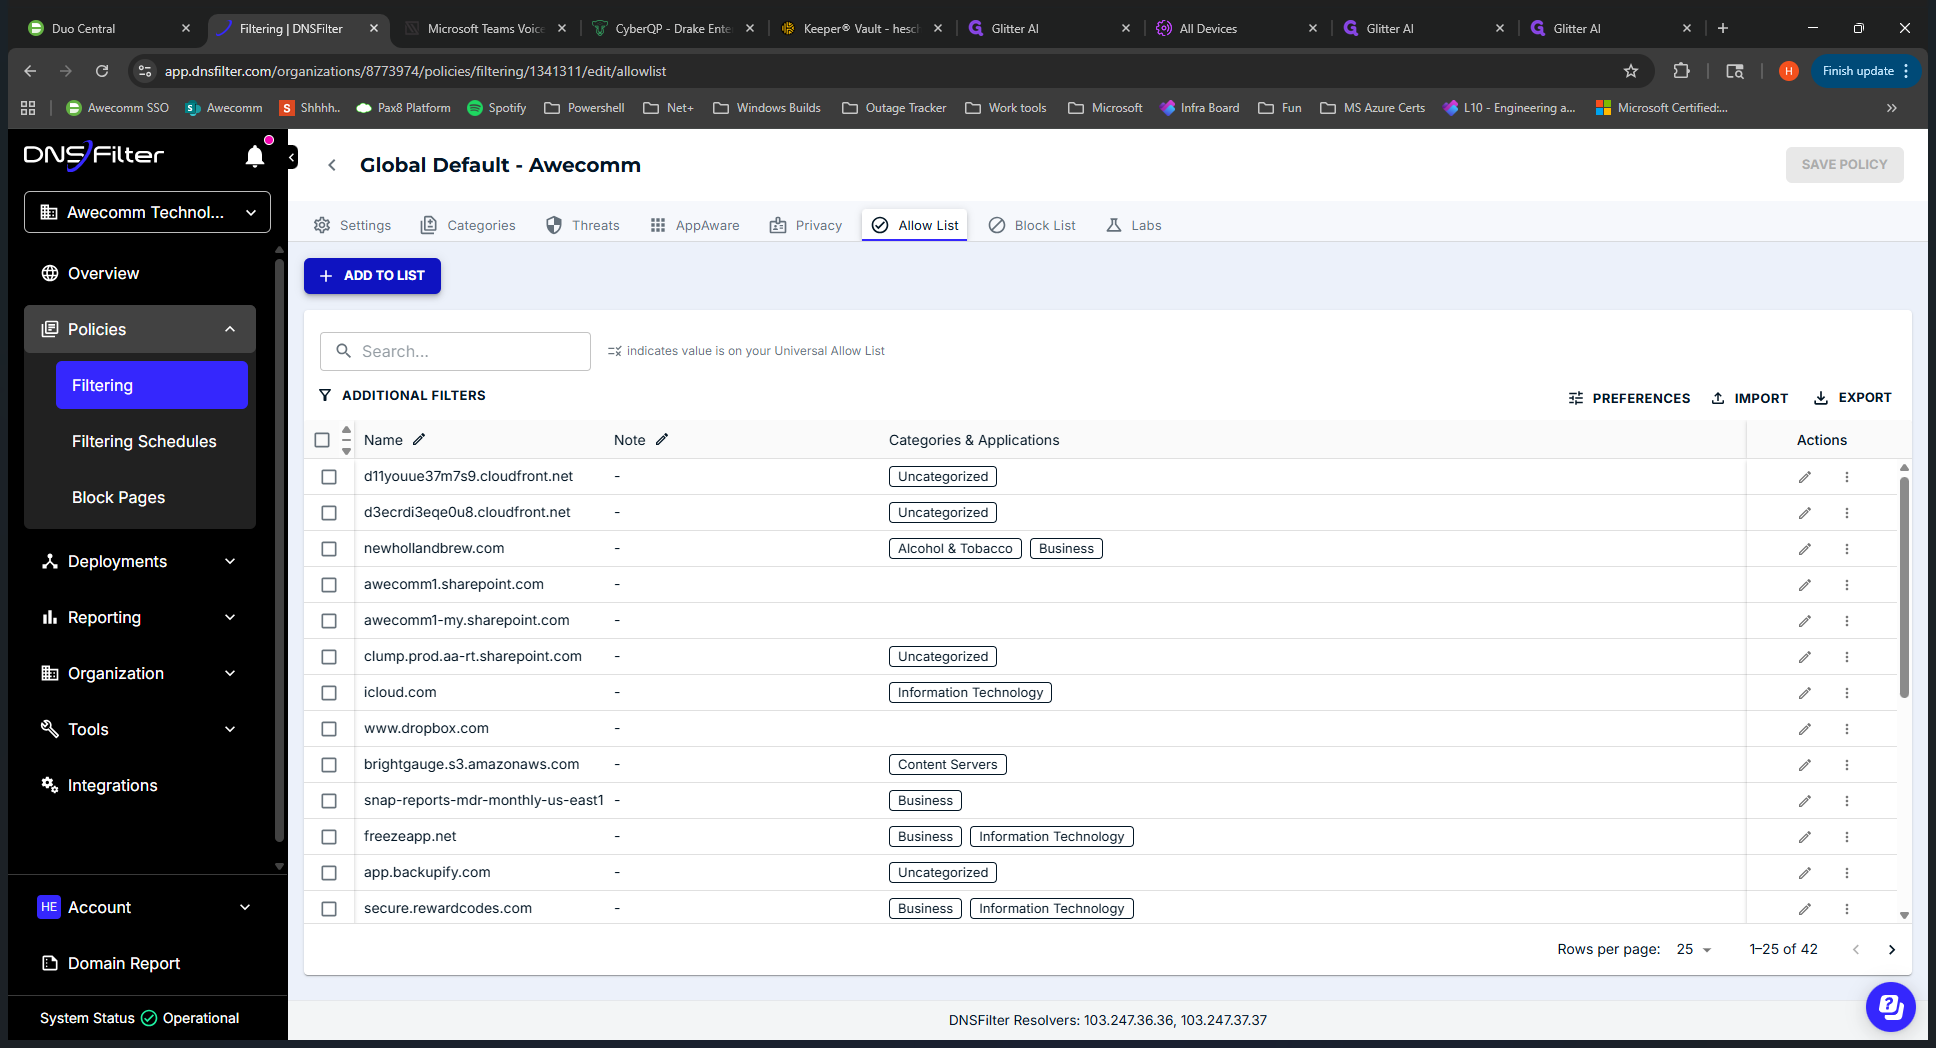
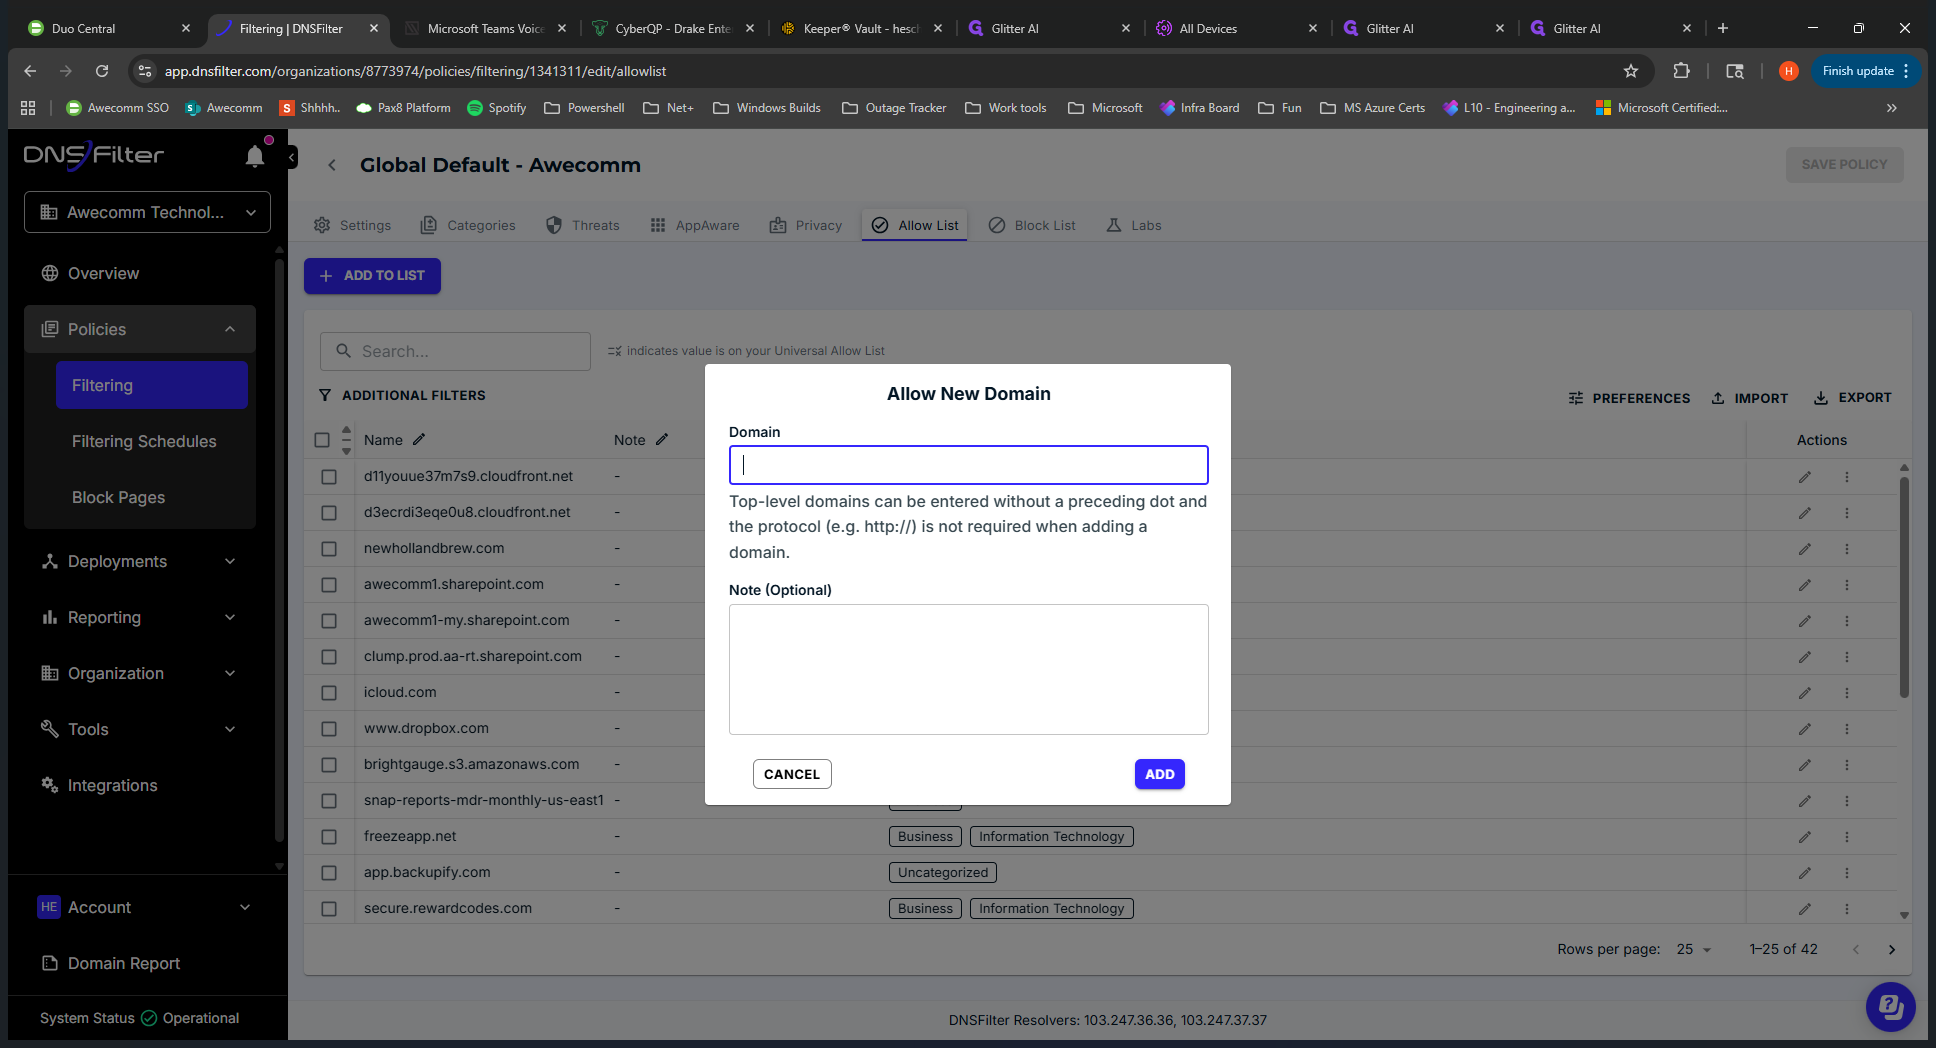
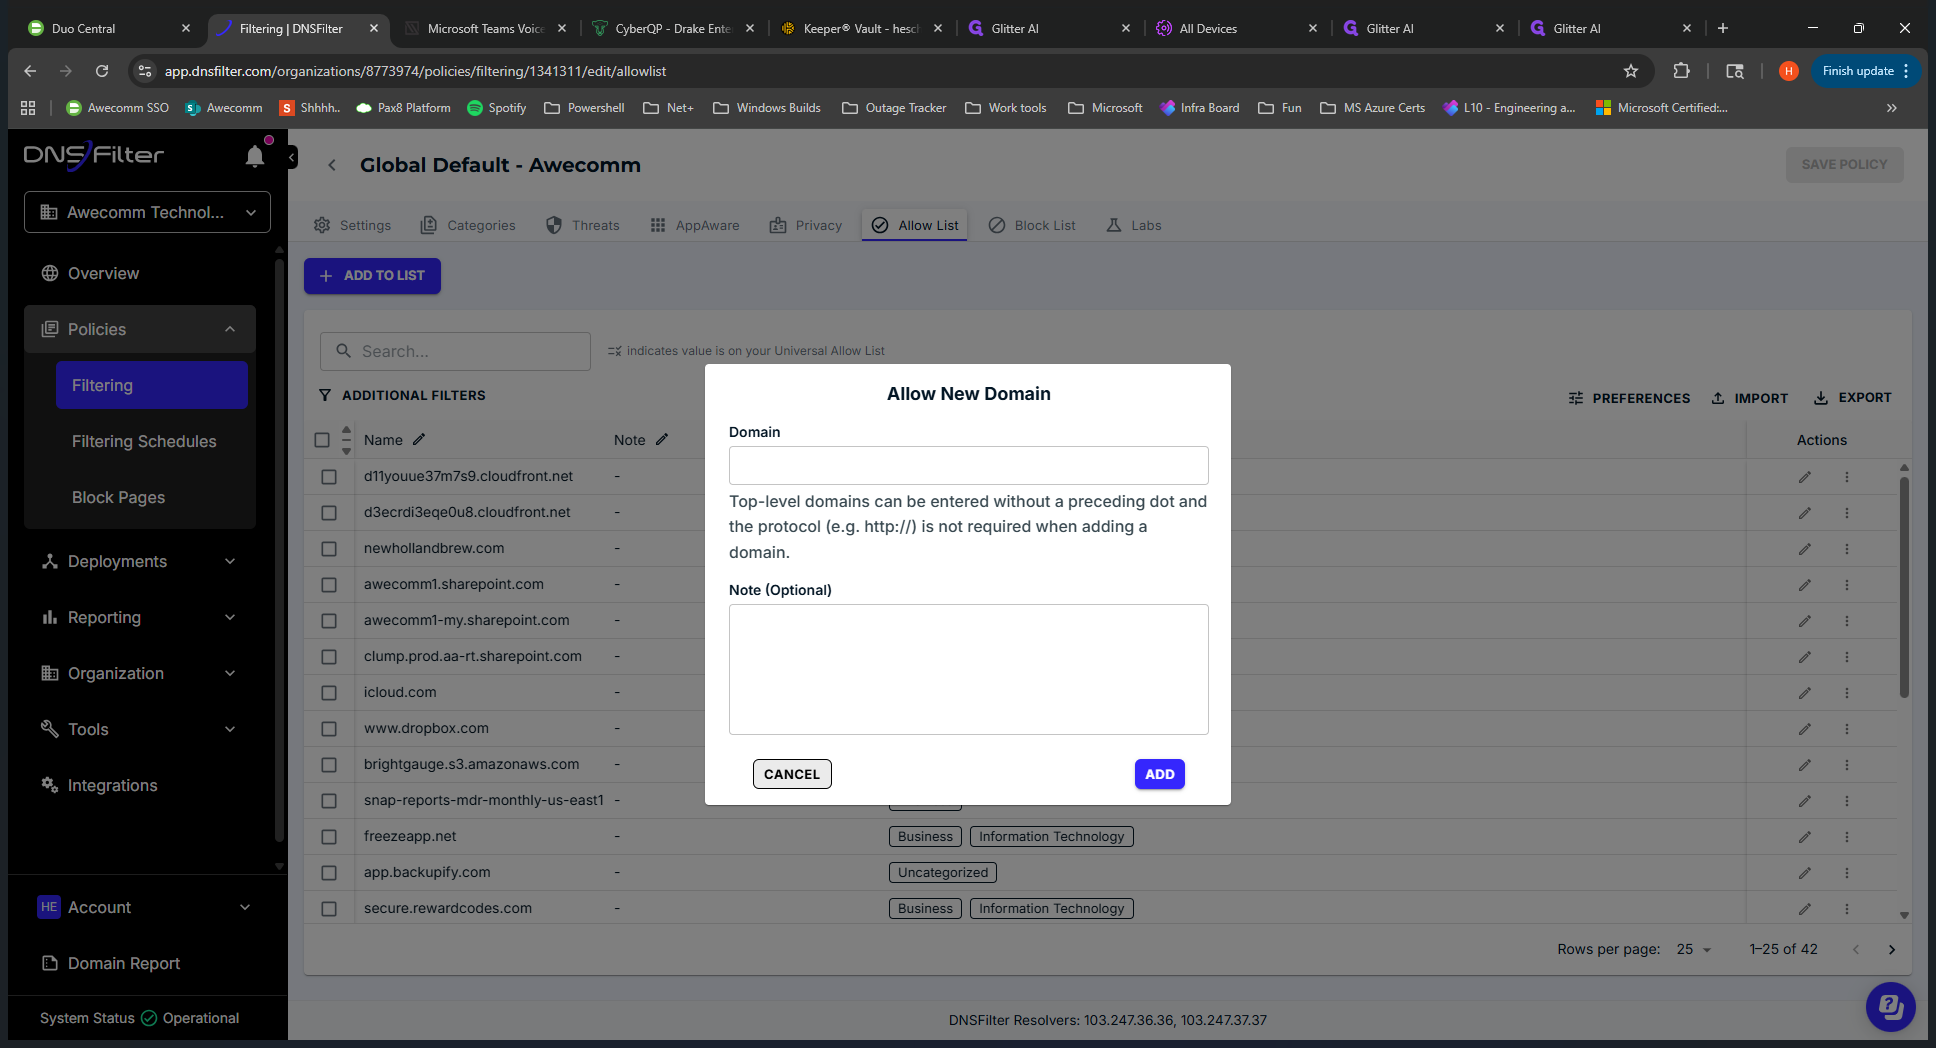
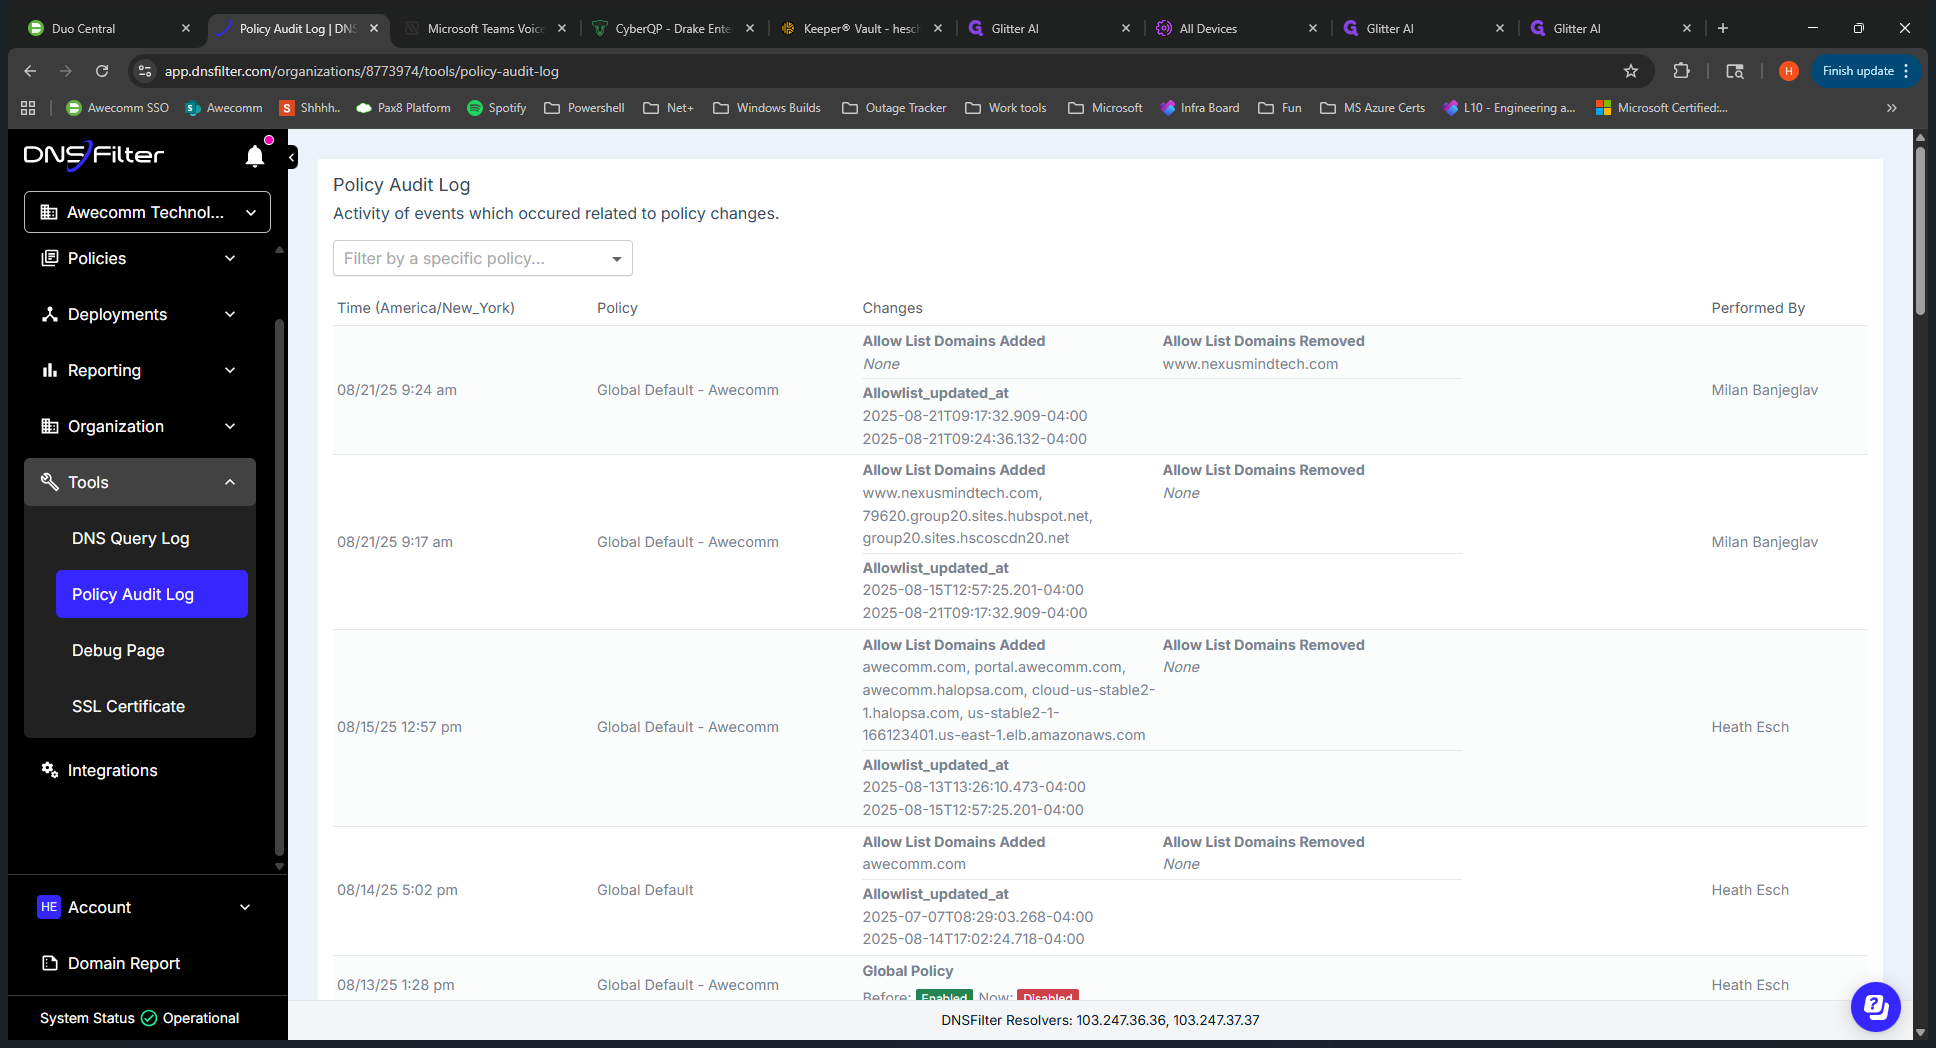
It applies almost instantly. You should follow up with the end user to confirm the issue is resolved after your actions. You can use a... Is it a DNS query? You can check which category is applied to specific URLs.
Um... Let's see. Where is that? We'll skip that for now.
Remove that from the video.
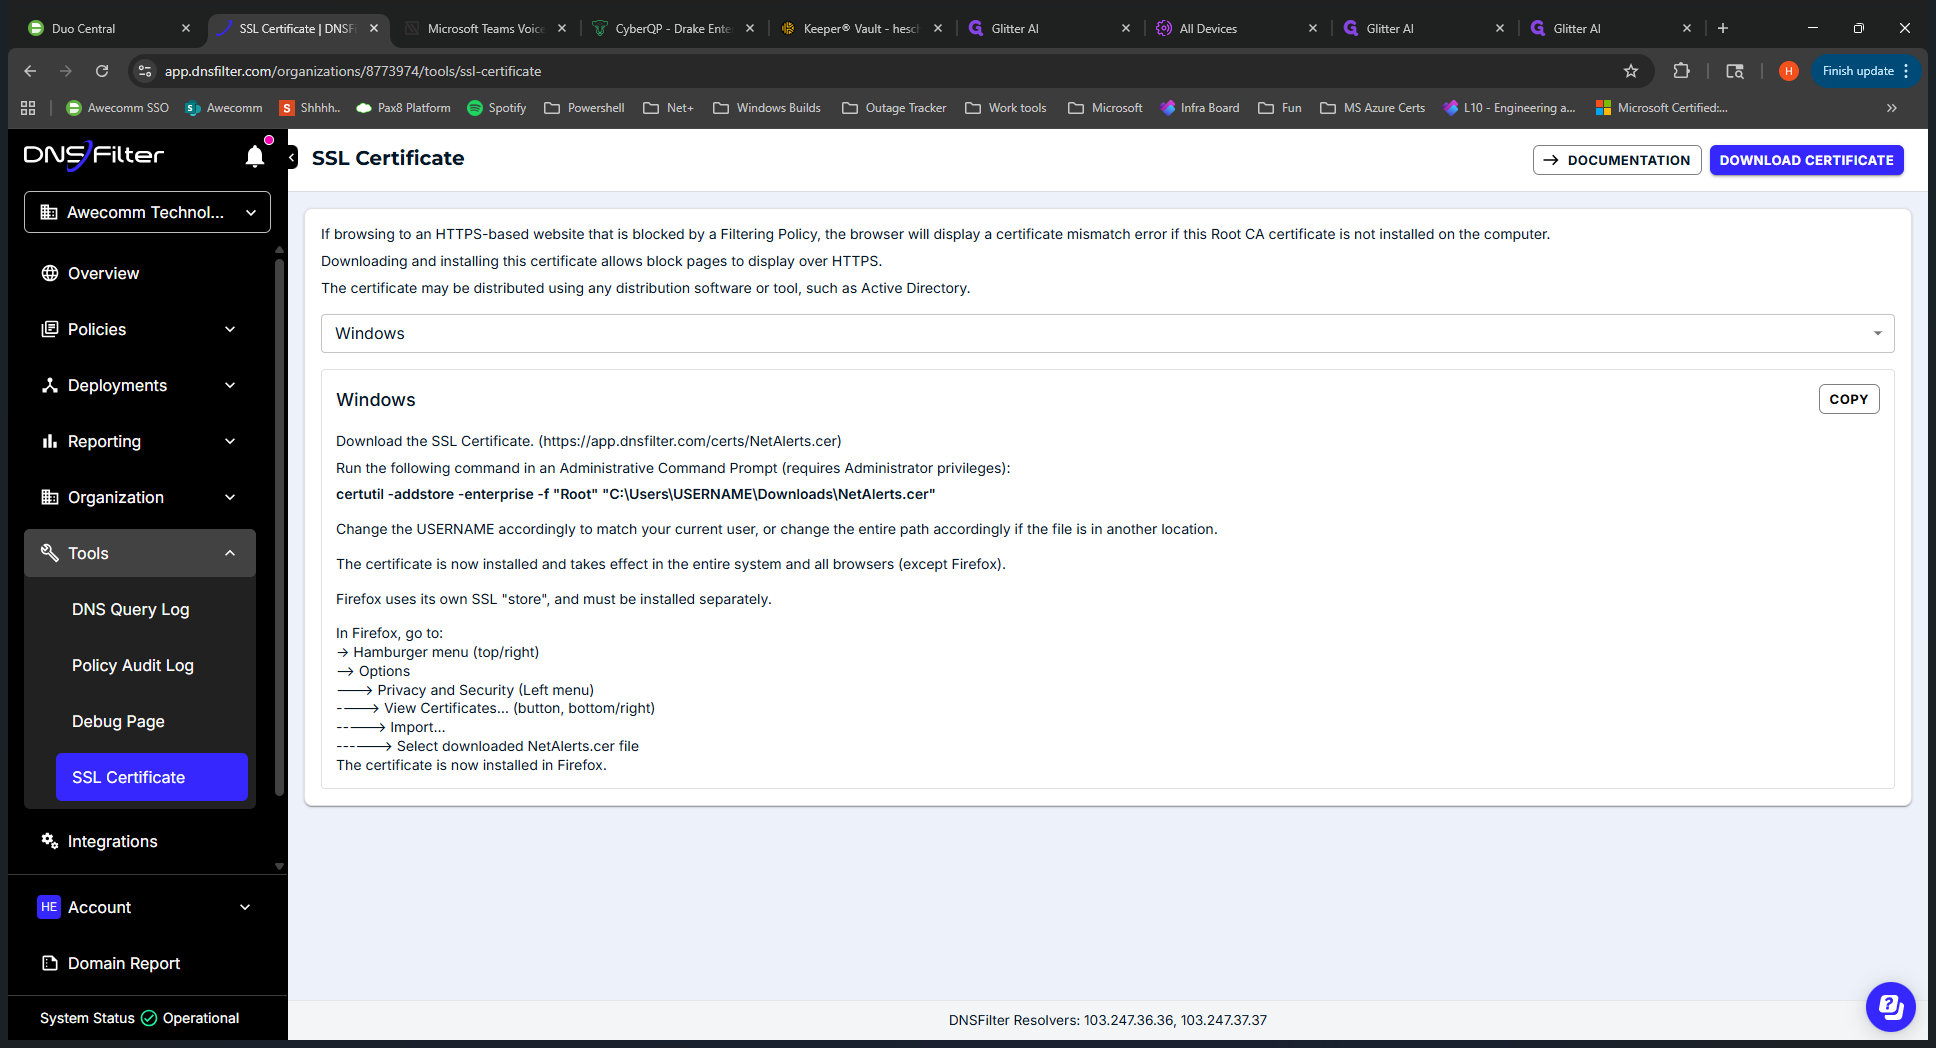
Cut the glitter. That's an overview of DNS Filter. There is a supplemental Teams guide.
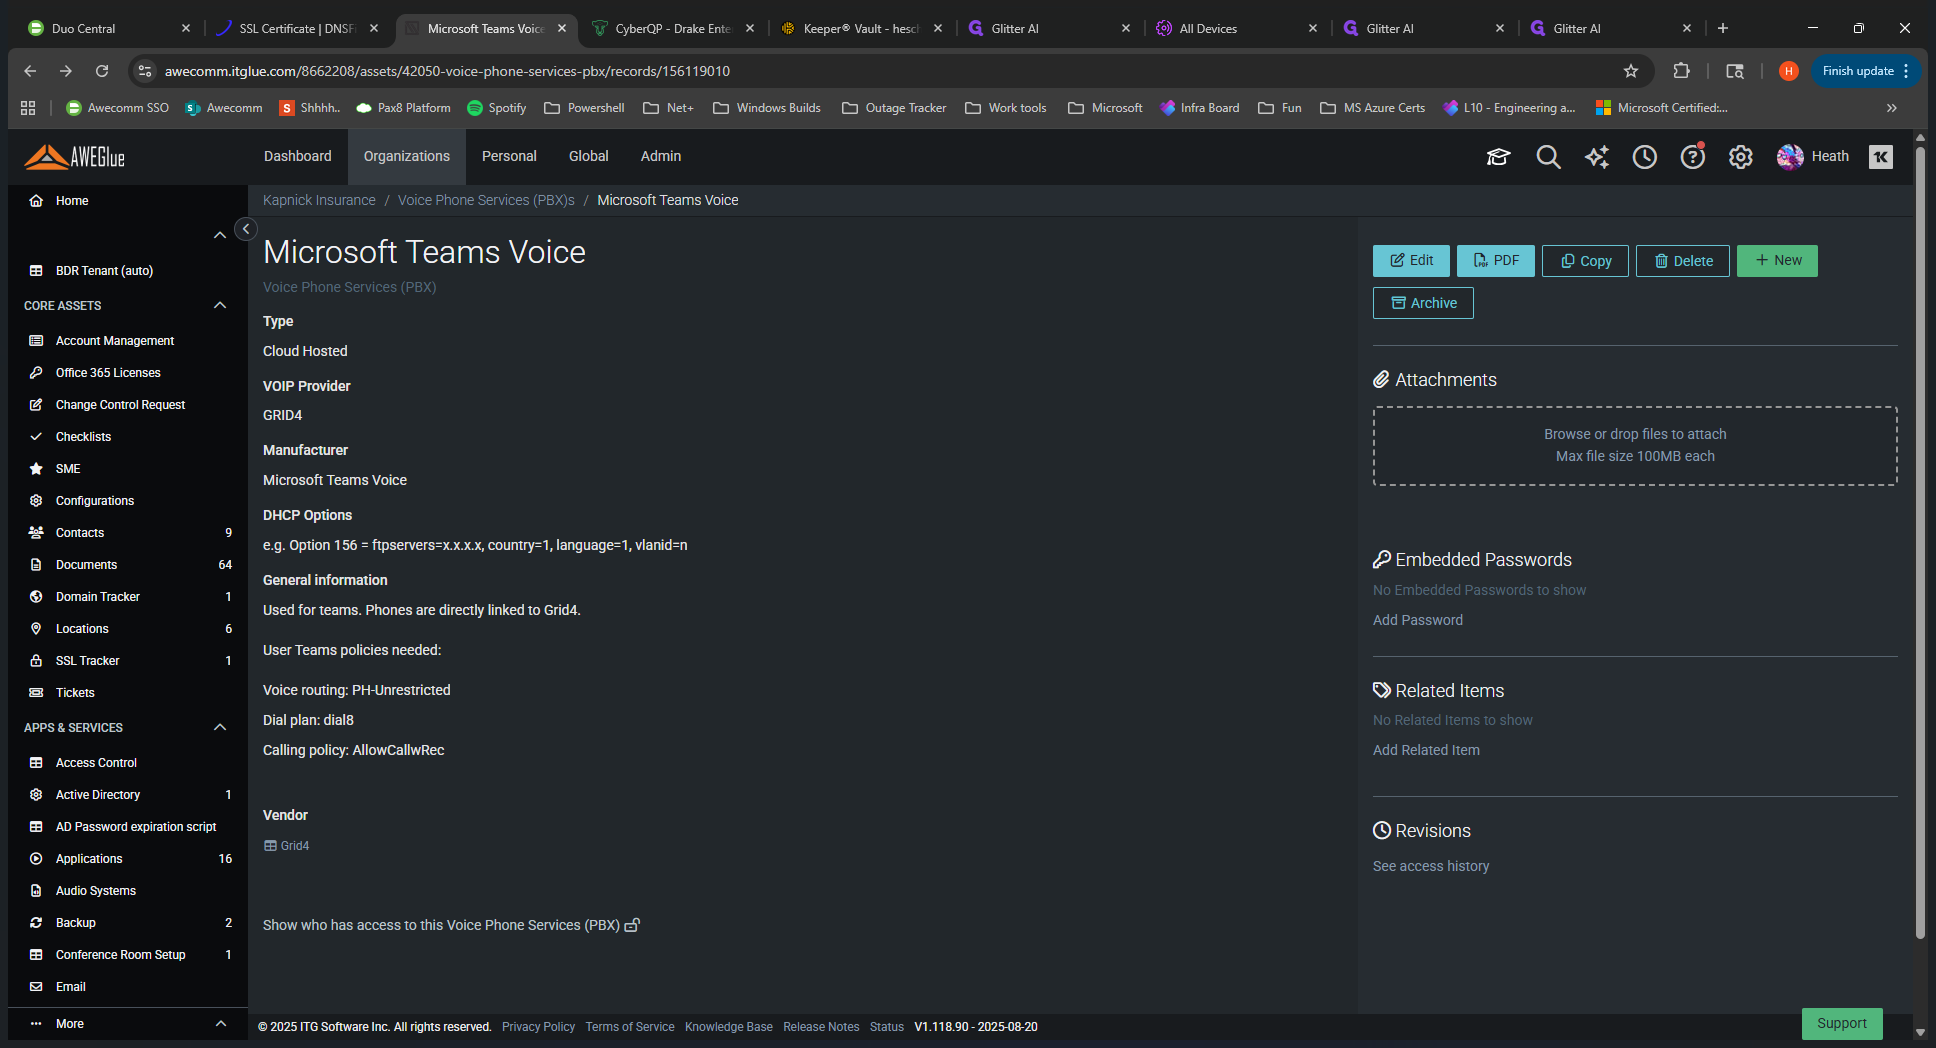
You can find that in the Awecom toolbox.
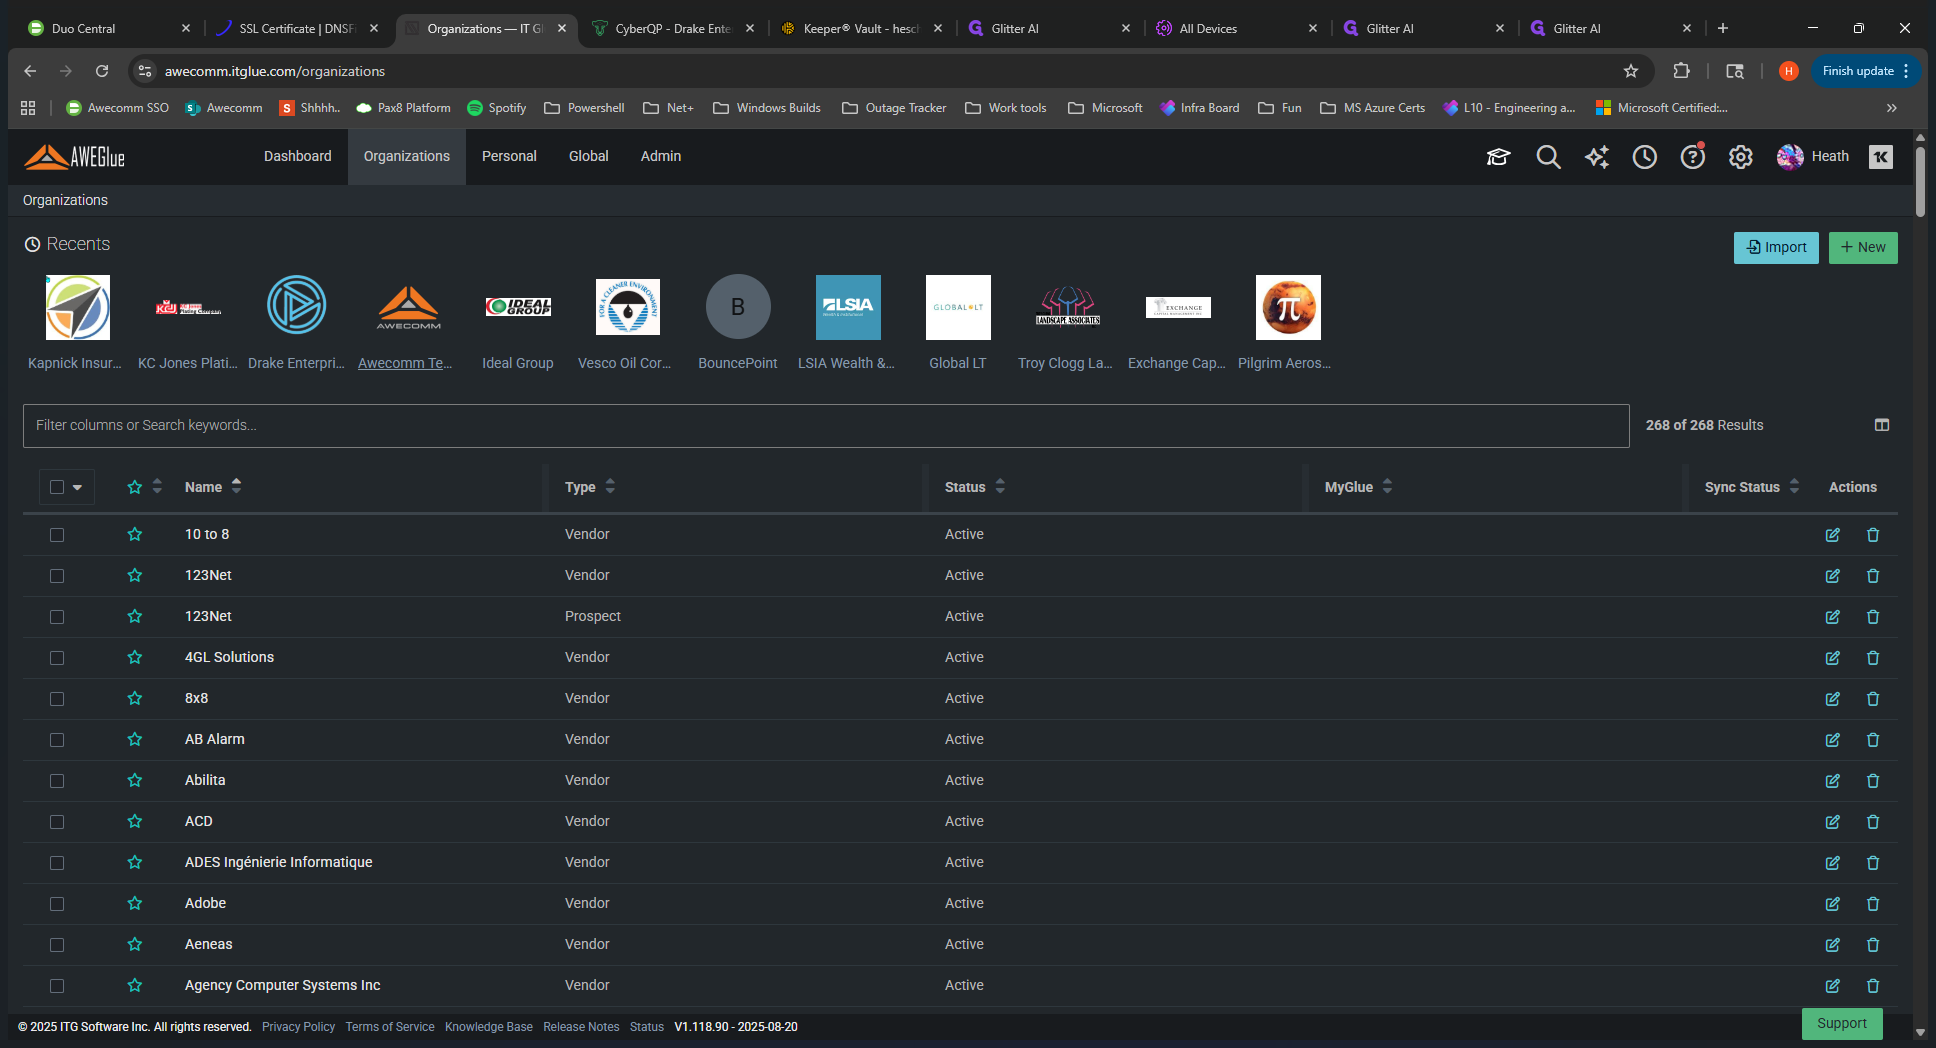
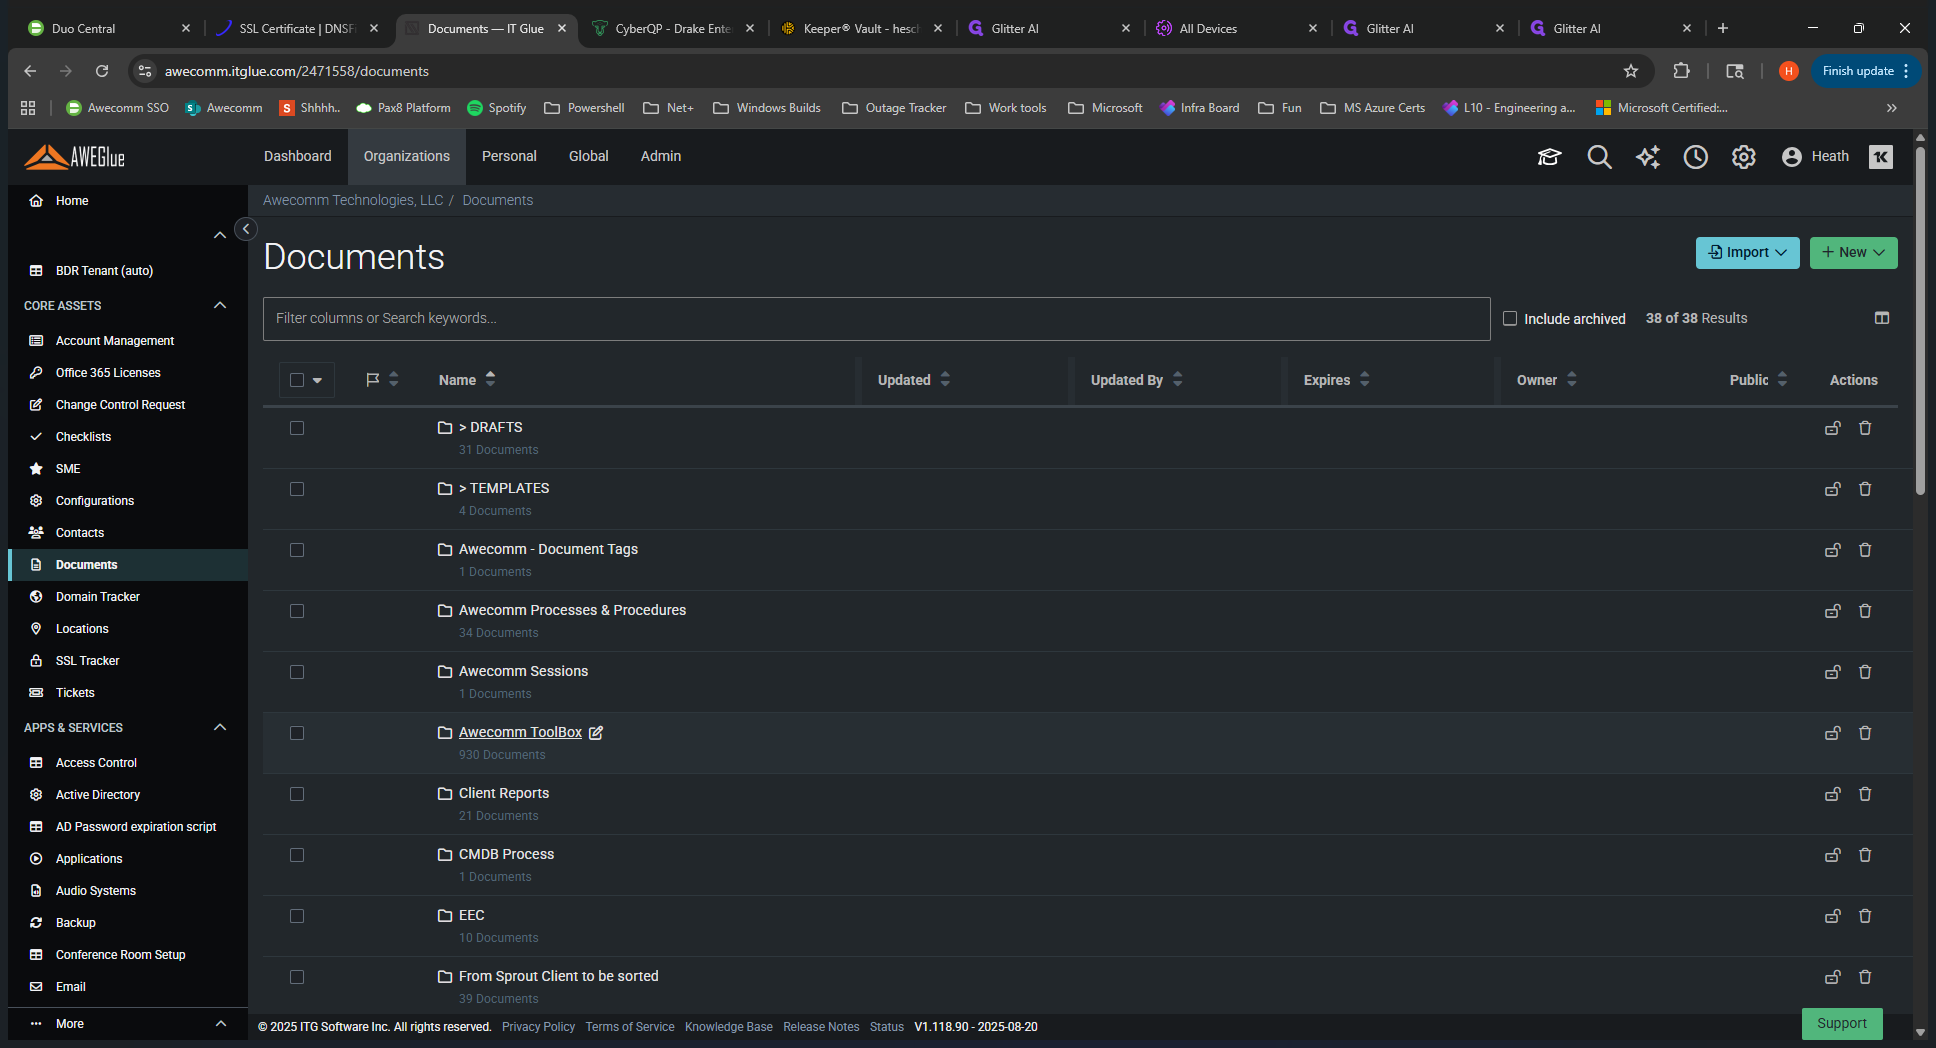
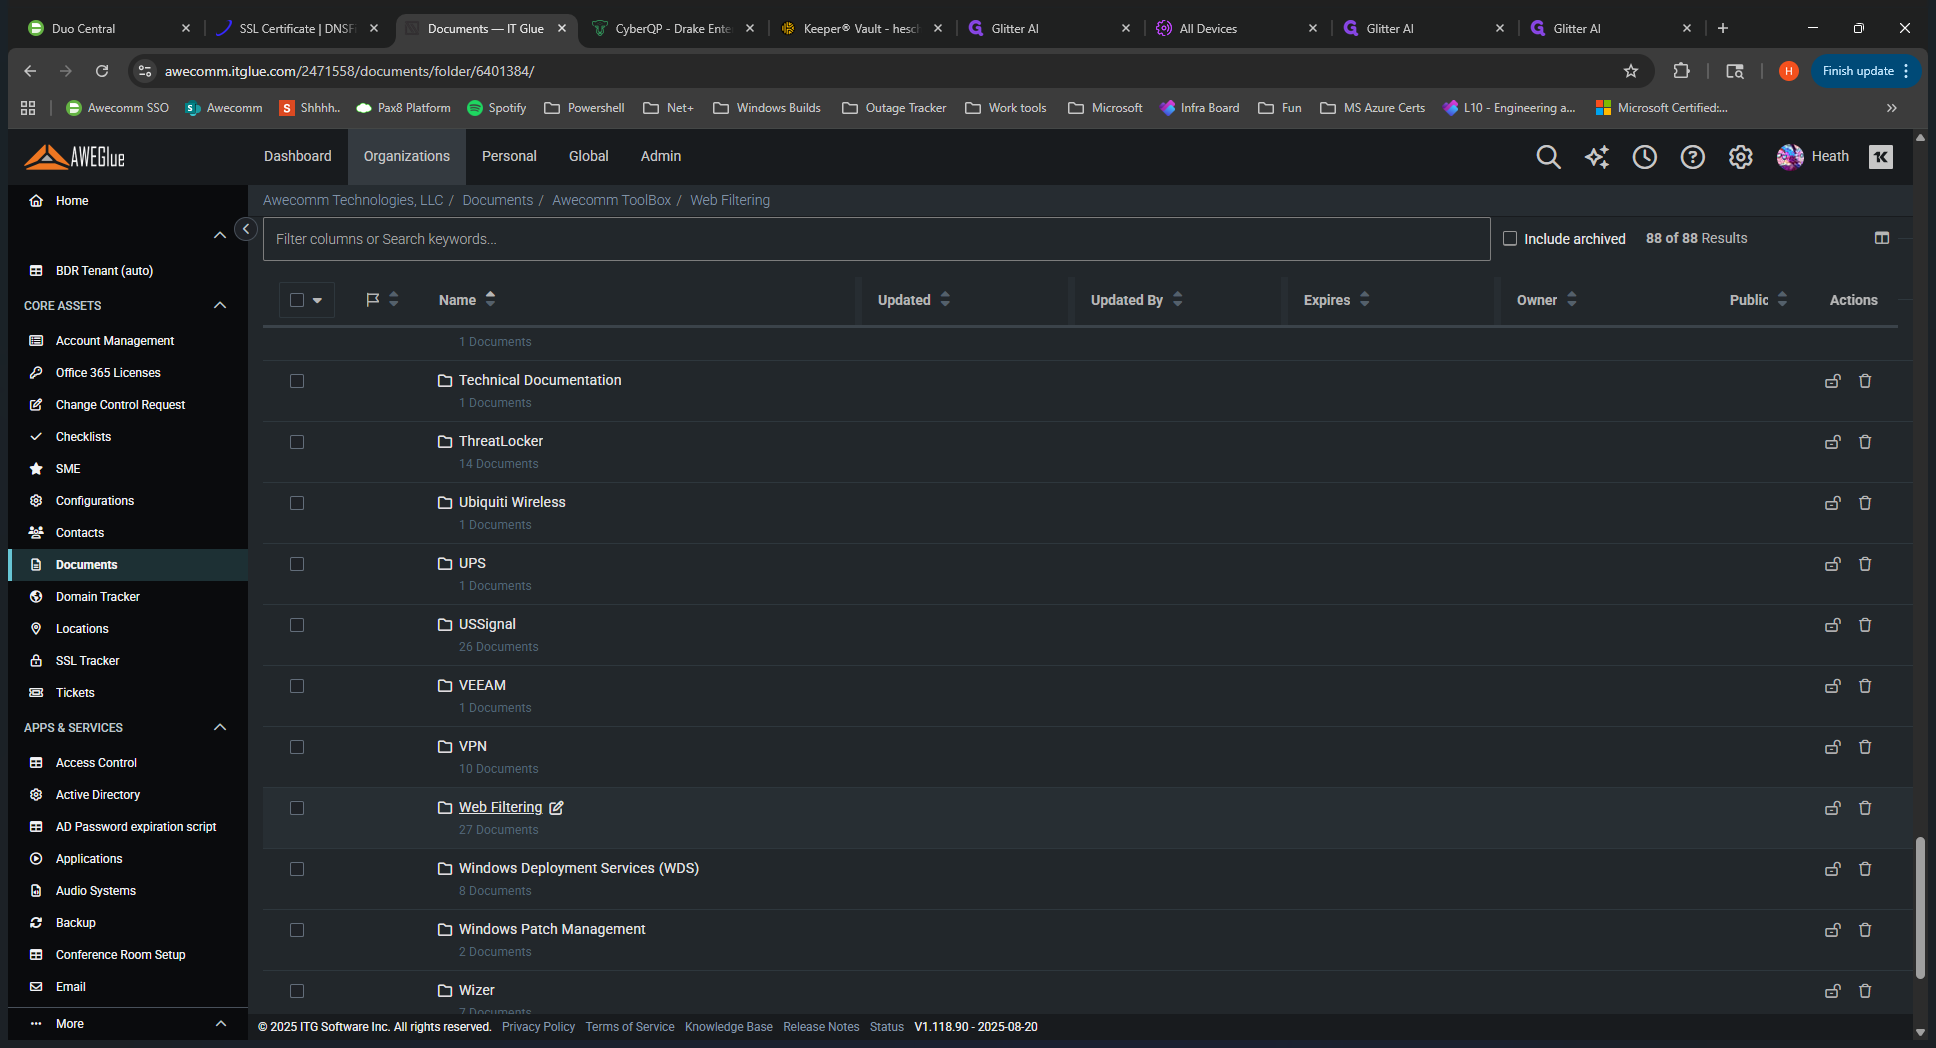
Go to Documents, then open the Awecom Toolbox. Navigate to Web Filtering and select DNS Filter.
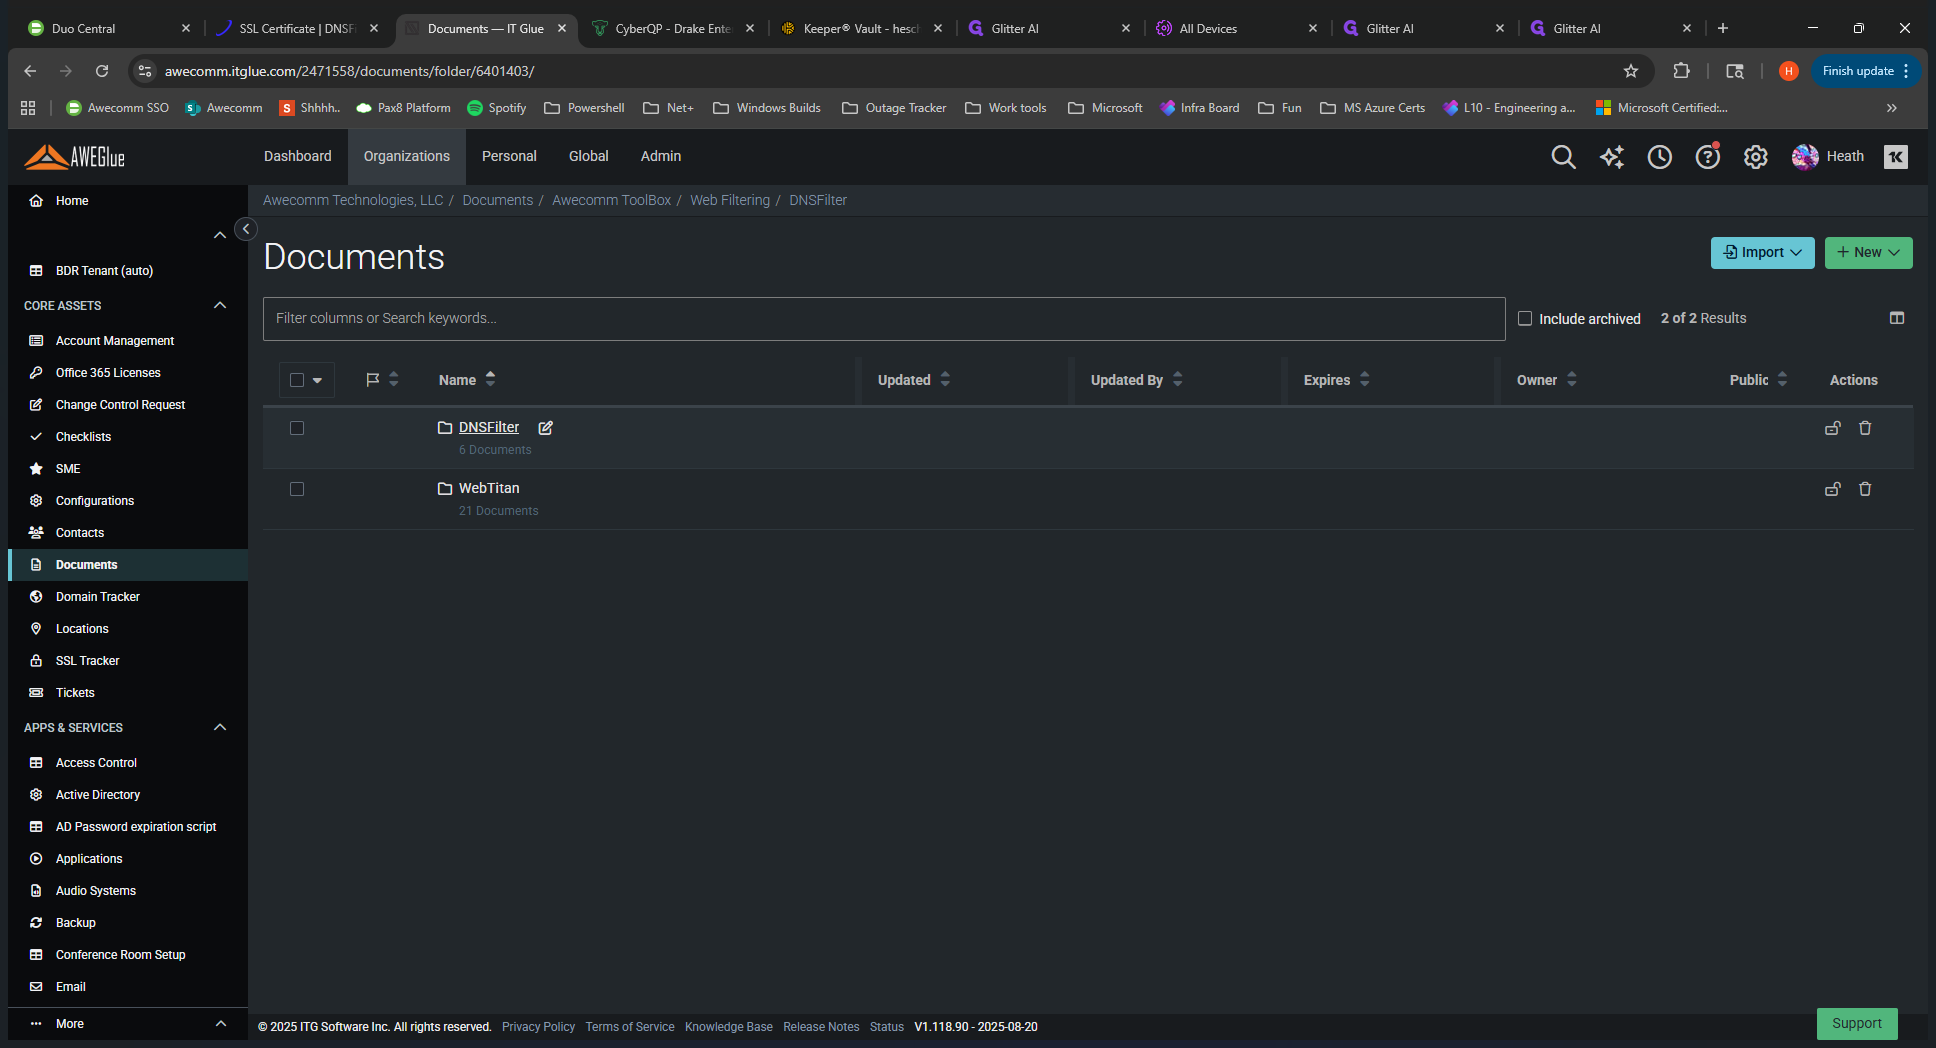
Let's move on to Troubleshooting and How-To guides.
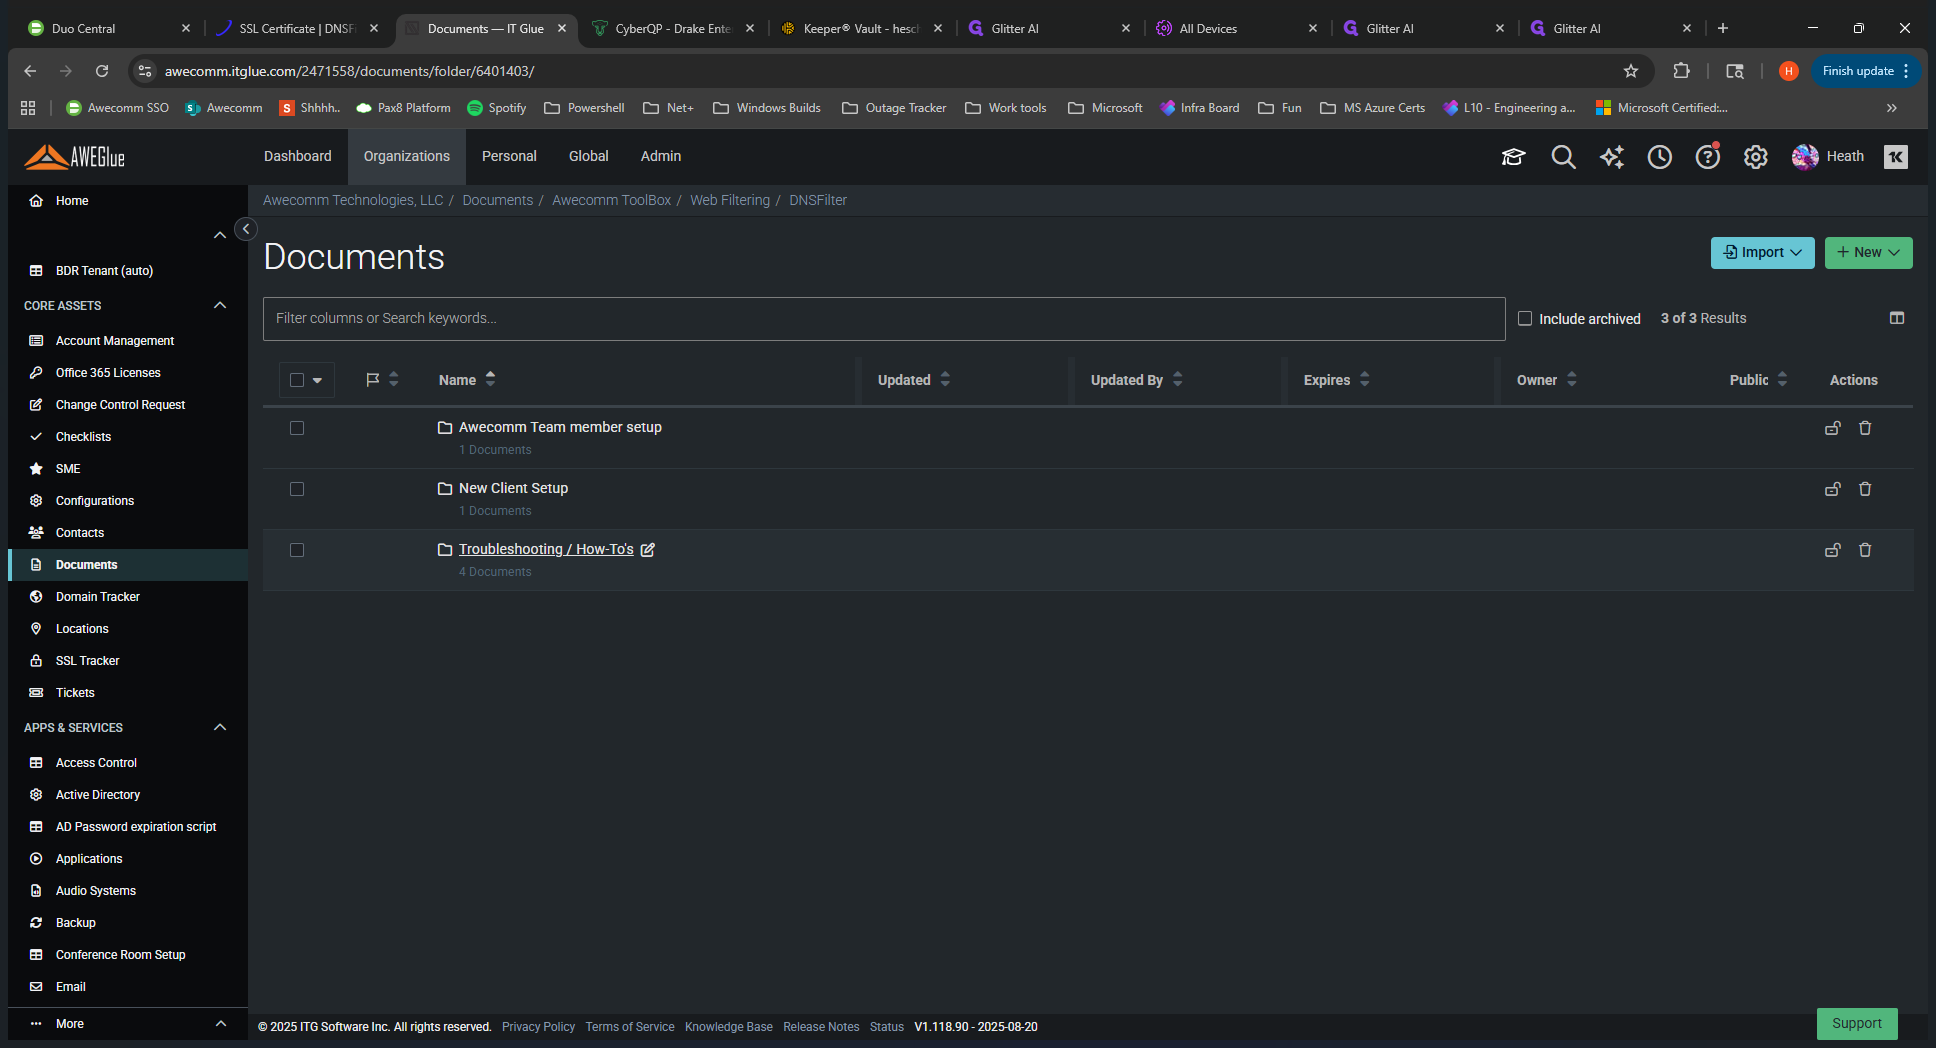
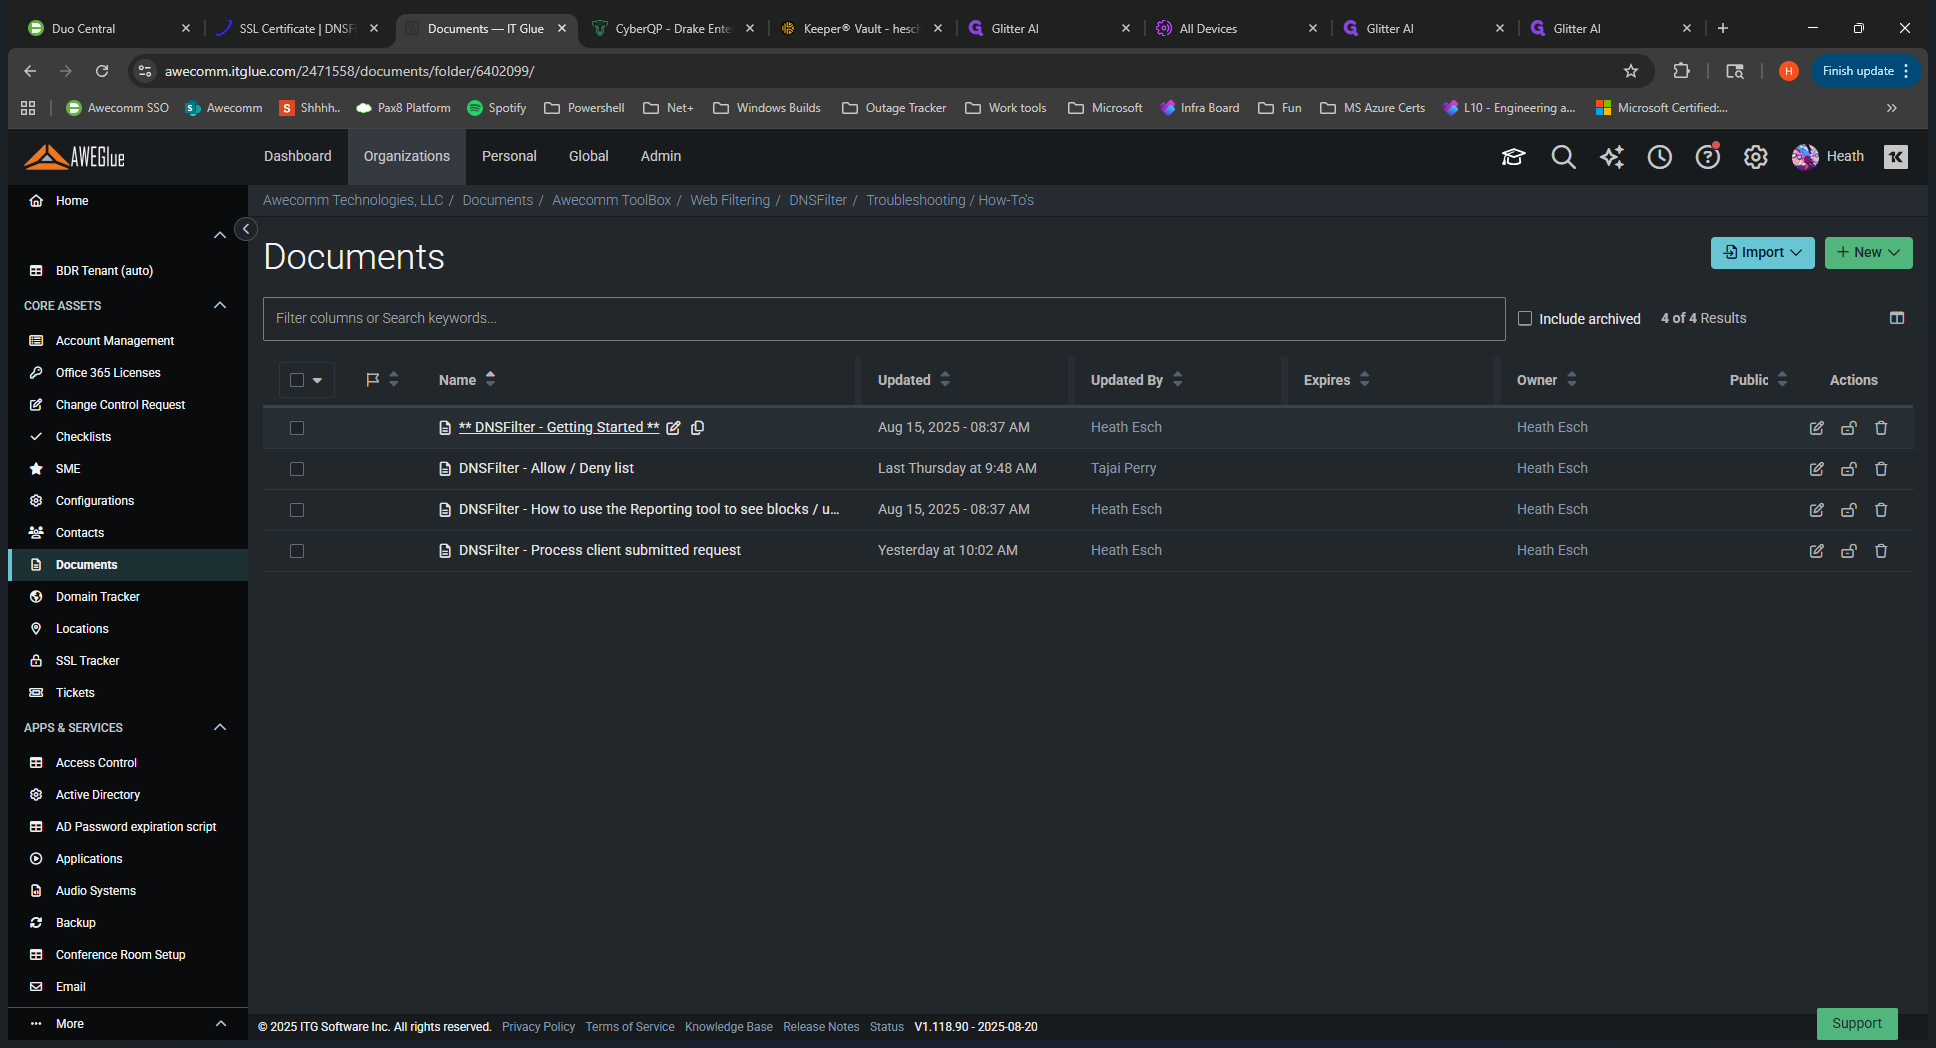
You can see how to add items to the allow and deny lists, use the reporting tool, and get started.
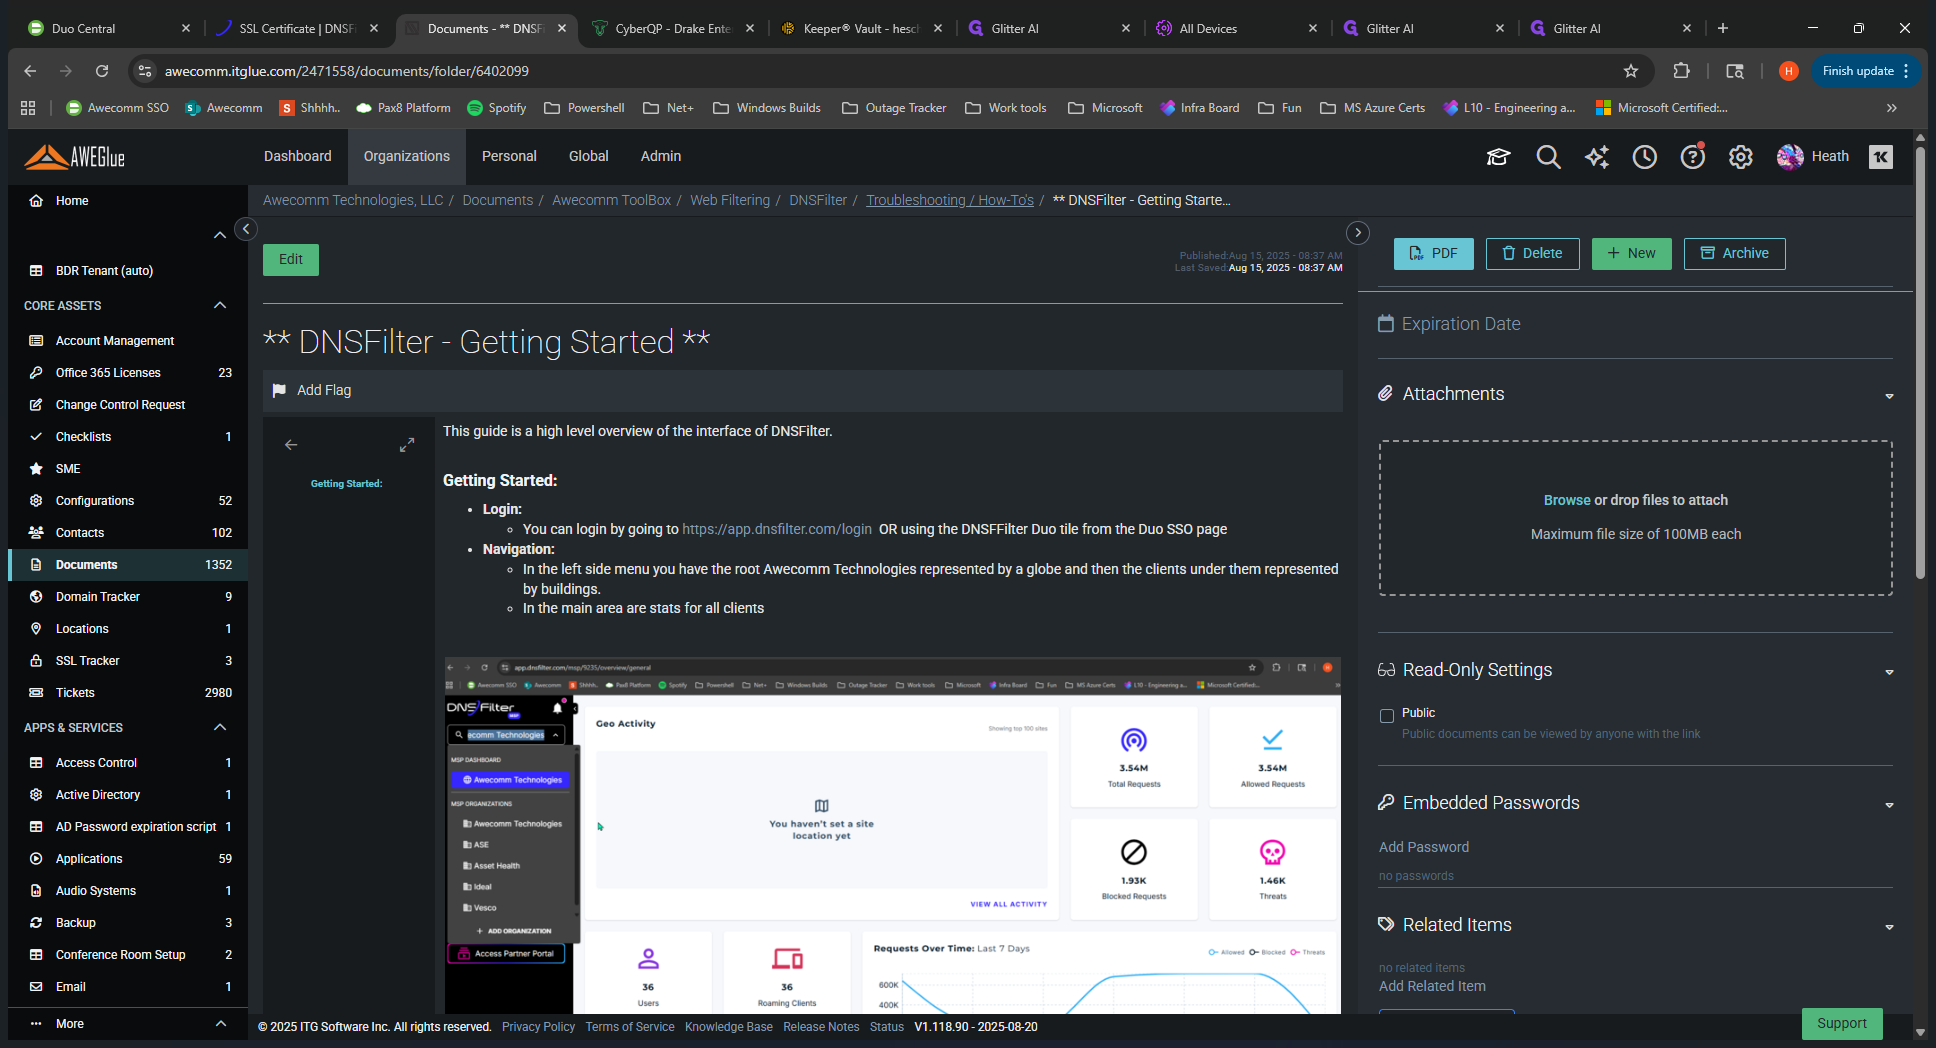
It explains how to navigate the menu and which tab is used for each function, providing more specific details. This is an overview of the video.
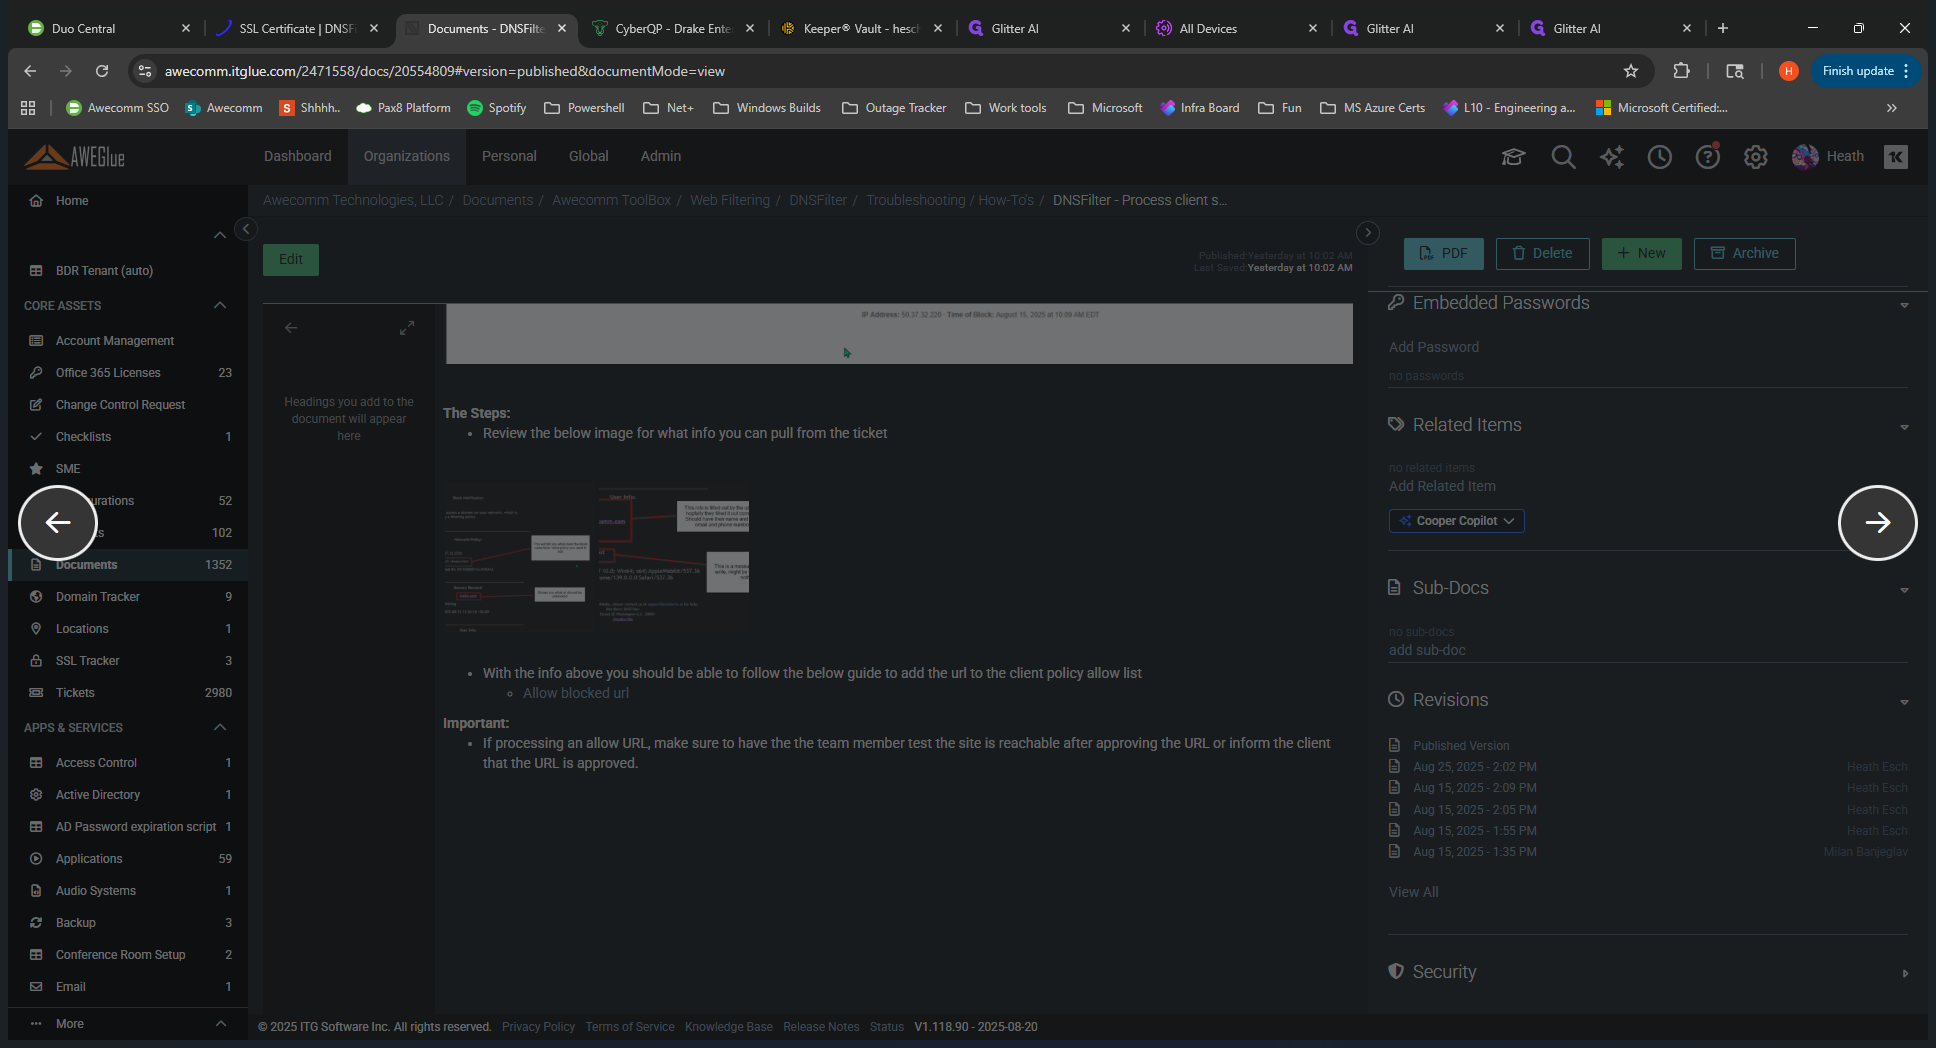
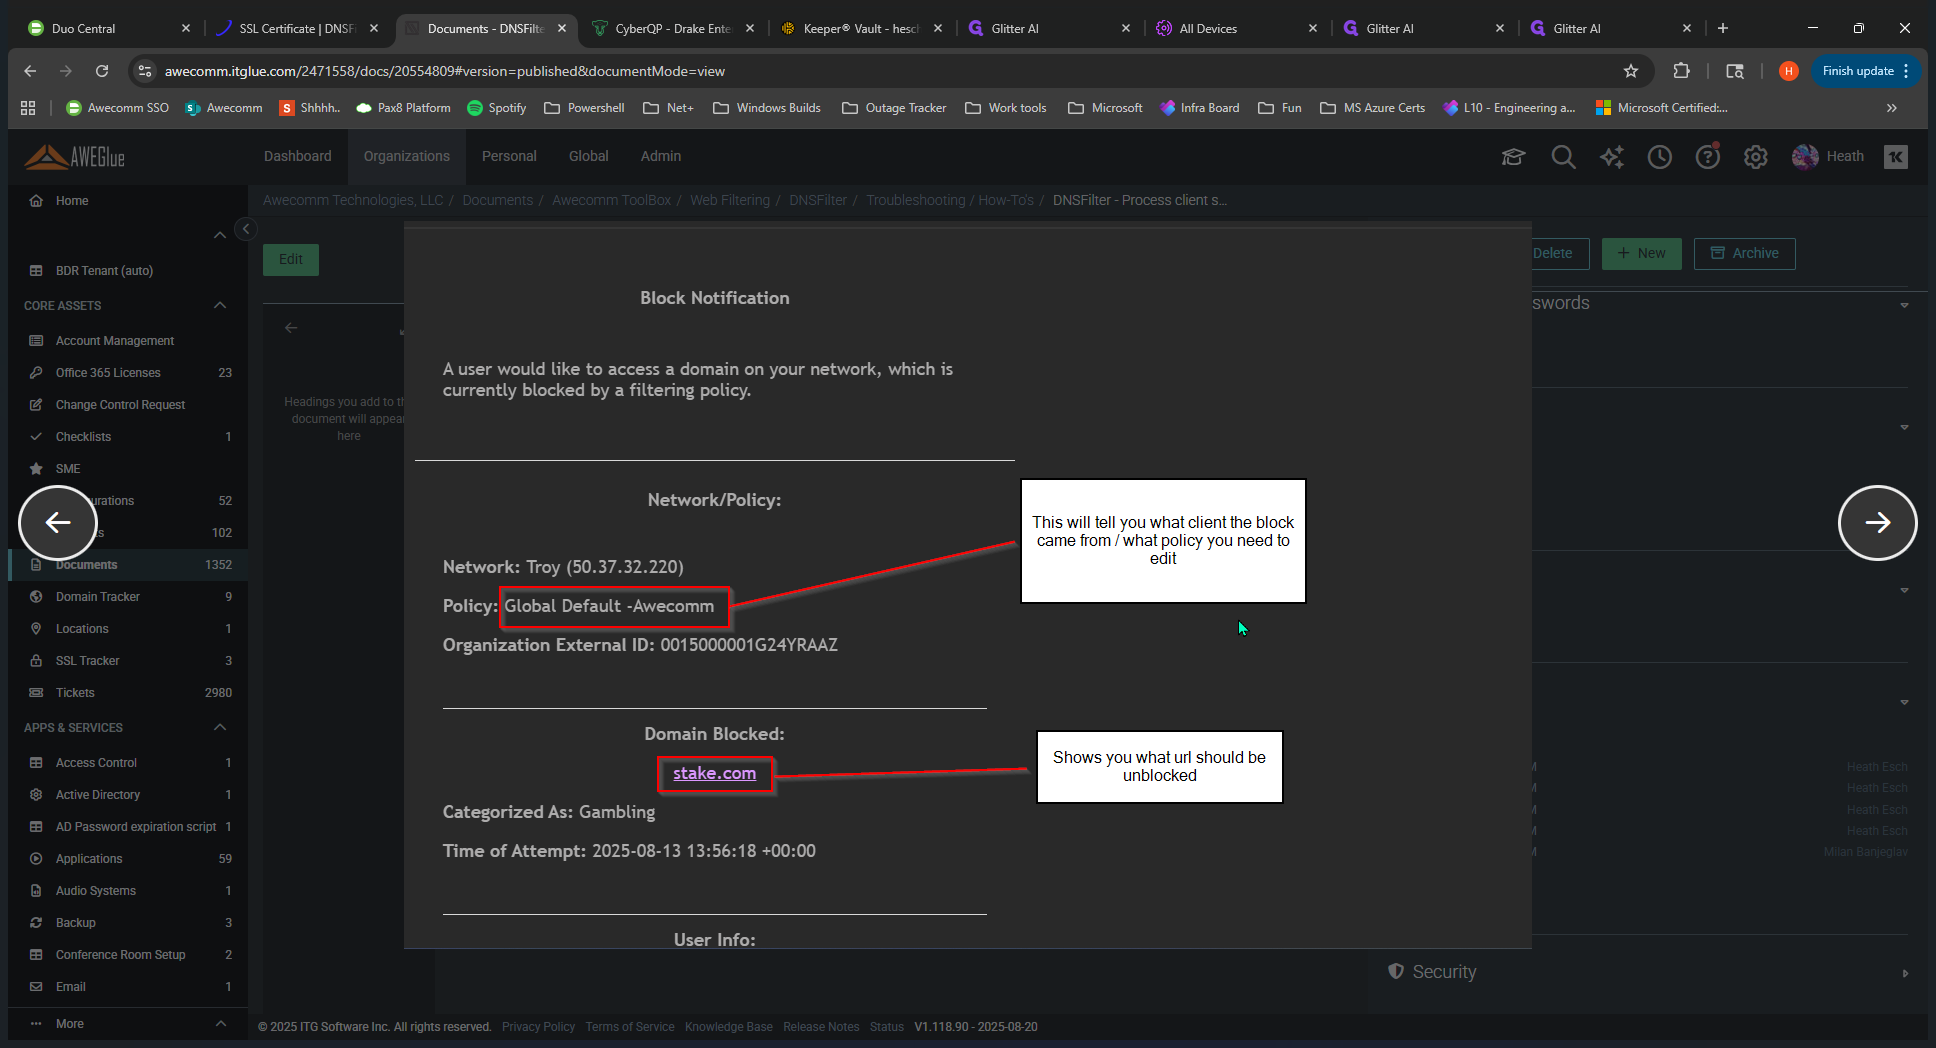
This guide is linked to the tickets submitted by clients. This is the block page you see when you visit a blocked site. This is the information they would submit as a ticket.
You can find useful information, such as which policy is blocking access and which website the user is trying to reach. This is very helpful for understanding what to do with the ticket.
Otherwise, that is the training video. I hope you enjoyed it.