How to Manage Discord Server for students
This is a step-by-step guide for support team (Roxanne) on inviting a new student into the Discord server, and creating a private channel for them.
In this guide, we'll learn what to do when a new student joins the course and joins the Discord server, and how to manage the support section.
Content:
Inviting students to join the server
Verifying student elibility
Creating a private channel for students
Notifying students of their private channel
How to kick members if they should not be in the server
Checking Support Section daily
Inviting students to join the server
We now have a Discord server for all students. This platform allows communication with course mates and private chats with their coach.
They should have already gotten an invite link in the onboarding email and in the course (work in progress)
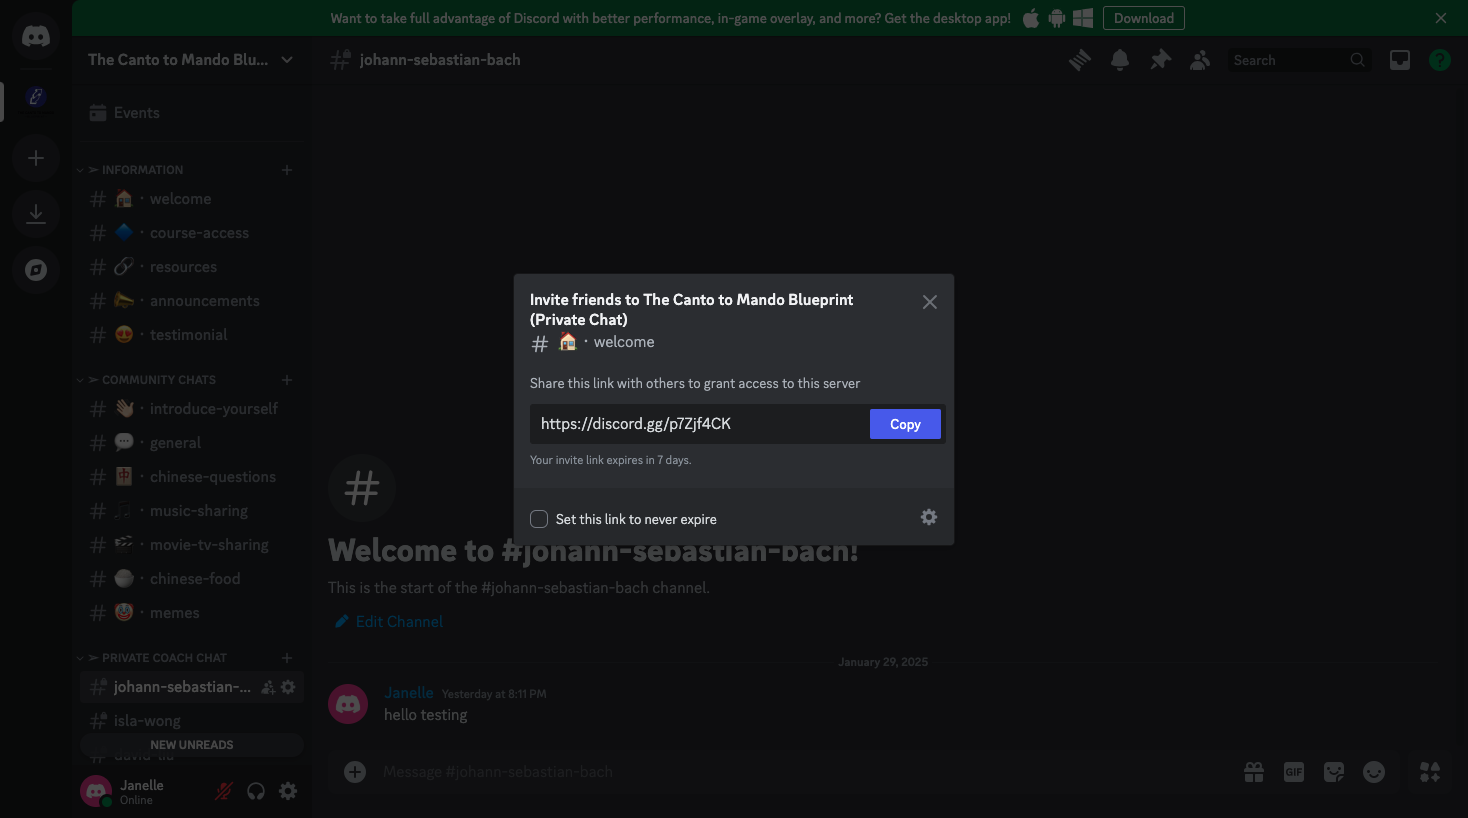
But if they still need assistance joining, below is how you create an invite link.

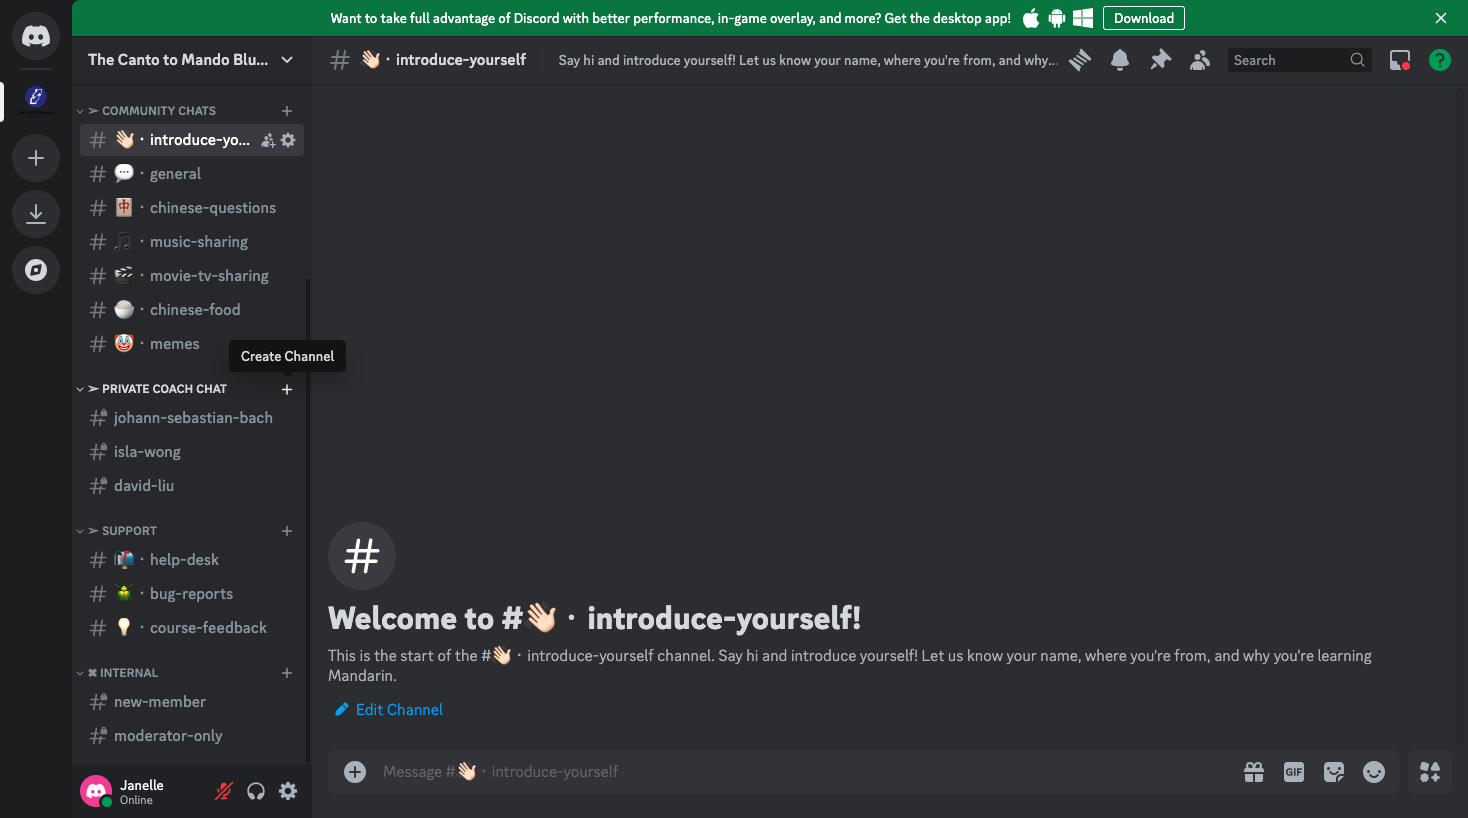
Please remind them to introduce themselves in the #introduce-yourself channel with their name, where they're from, and why they want to learn Mandarin. This is important because they might not use their real name on their Discord account, and we need to be able to identify the account owners' real names in order to verify they are students from the course.
Verifying student elibility
There is an internal section at the bottom, which students cannot see. Only our team members have access to this. After students join the server, there will be a notification sent to the #new-member channel. Support team, please turn on notifications for this channel, as you need to take action EVERY TIME a student joins the server.
Whenever a new notification is sent to this channel, it means there is a new joiner.

You need to verify their identity by first finding out their real name (which hopefully they will have sent in the #introduce-yourself channel). If they didn't, please @ them in the #introduce-yourself channel to remind them to inroduce themselves, and email them to verify their discord account name.
Verify if they are eligible for the Discord server by cross checking on GHL if they are a course member. If they are, the next step is to add a private channel for them.
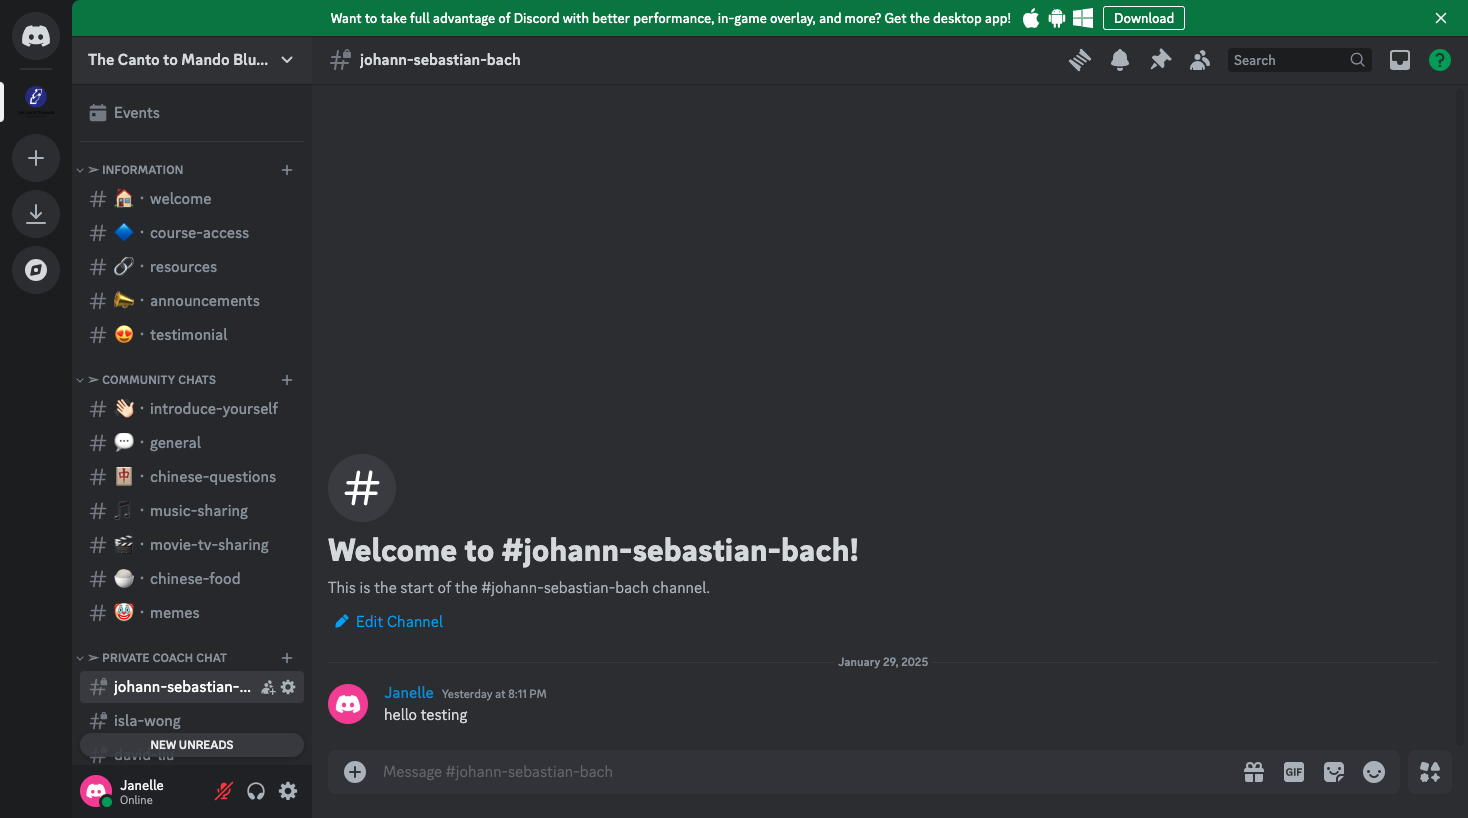
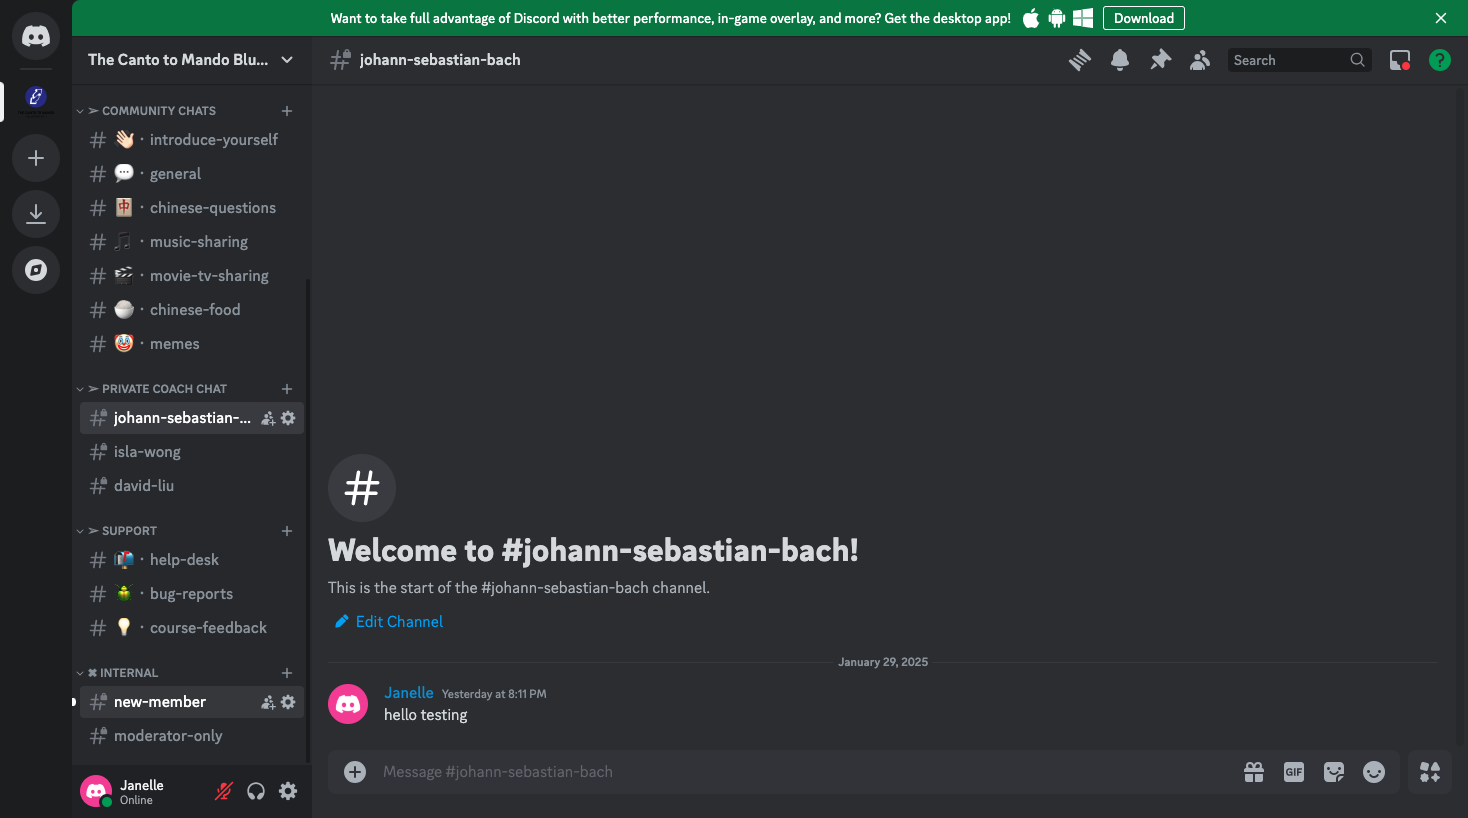
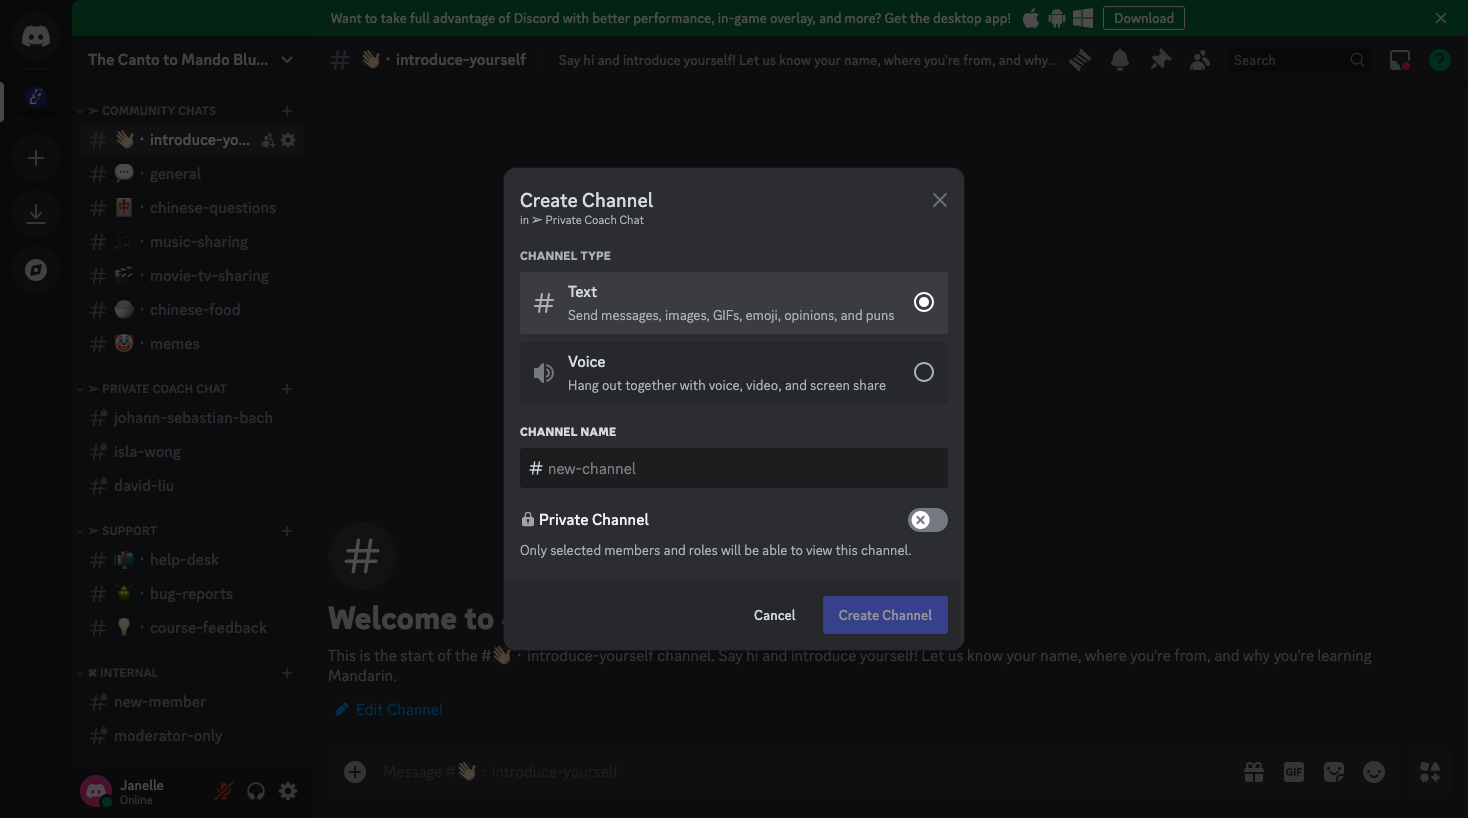
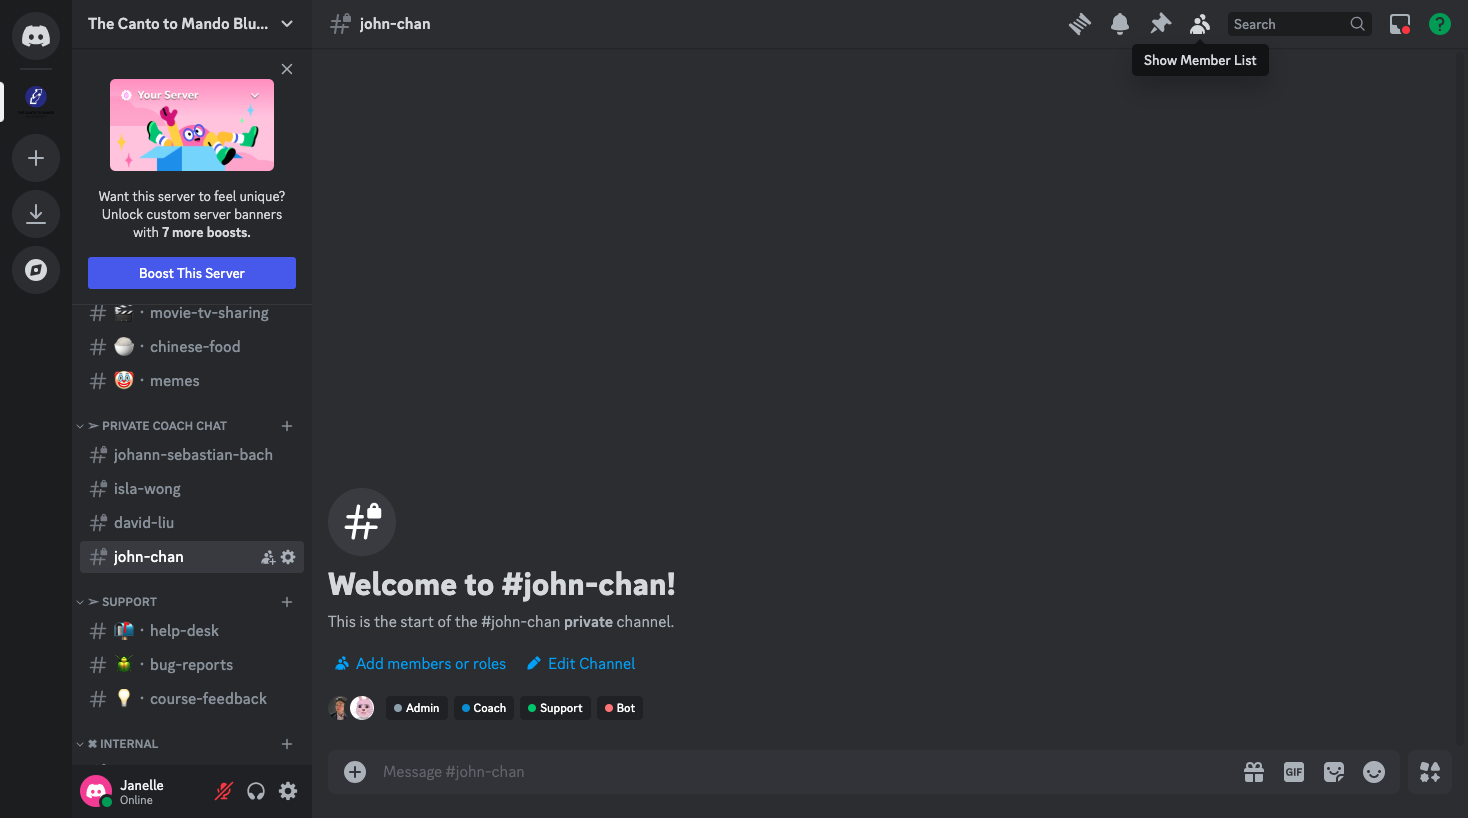
Creating a private channel for students
Each student will get one separate private chat, and they can only view their own chat under the "private coach chat" section, whereas all Canto to Mando Blueprint team member can view every chat here.
As an example, I've put "John Chan".

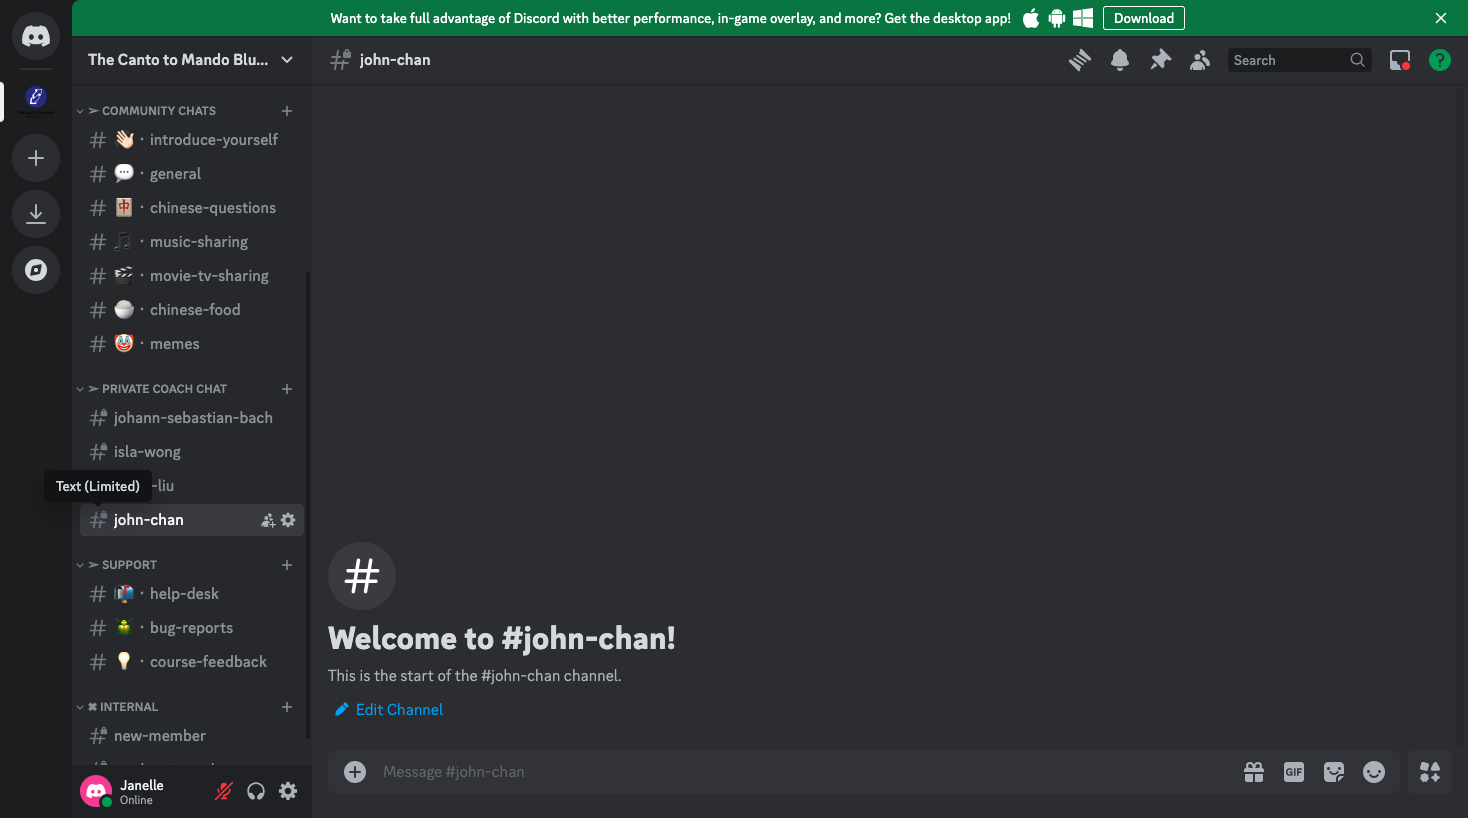
Then, assign this private chat to the student.
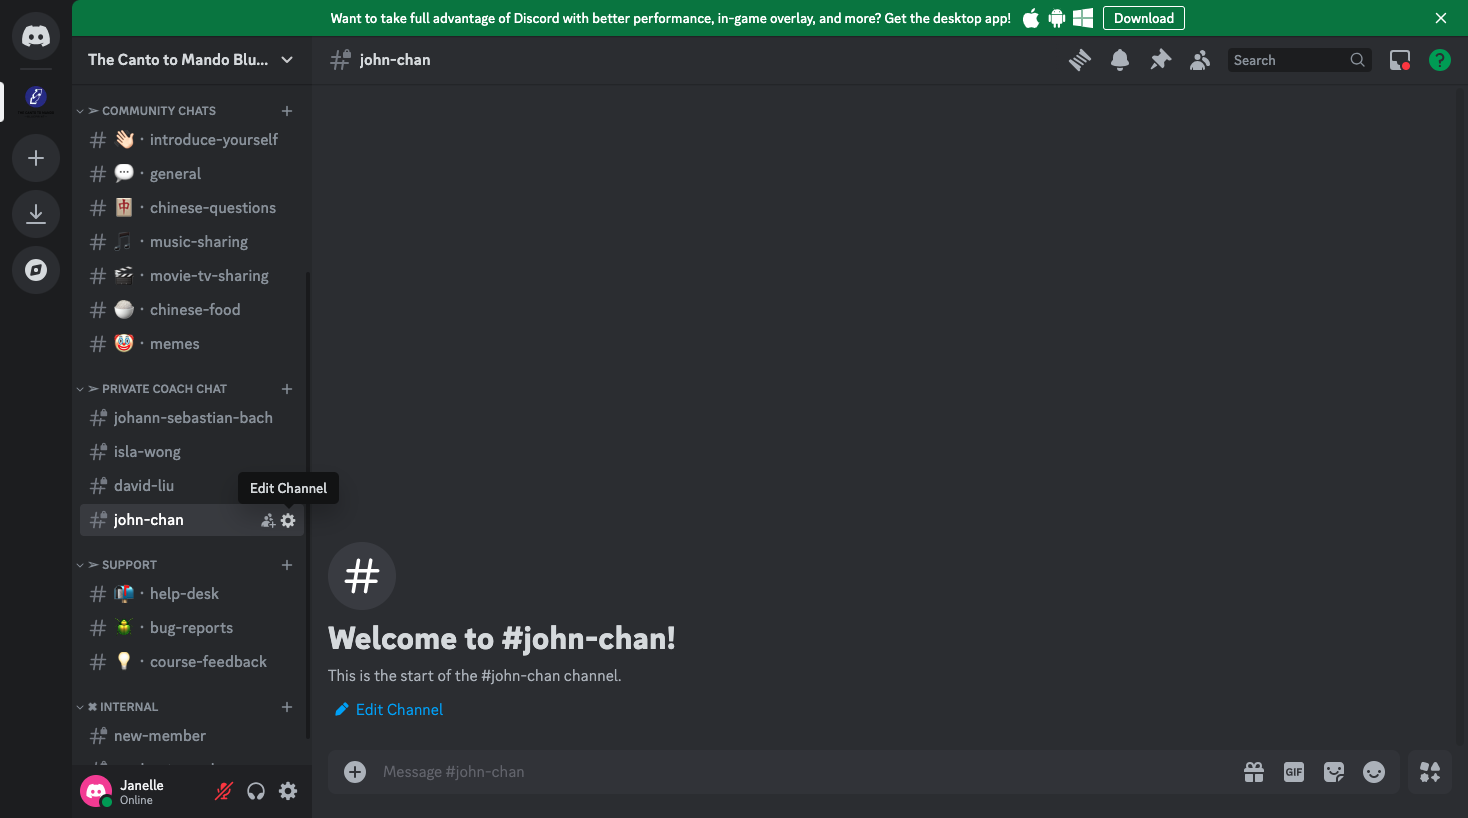
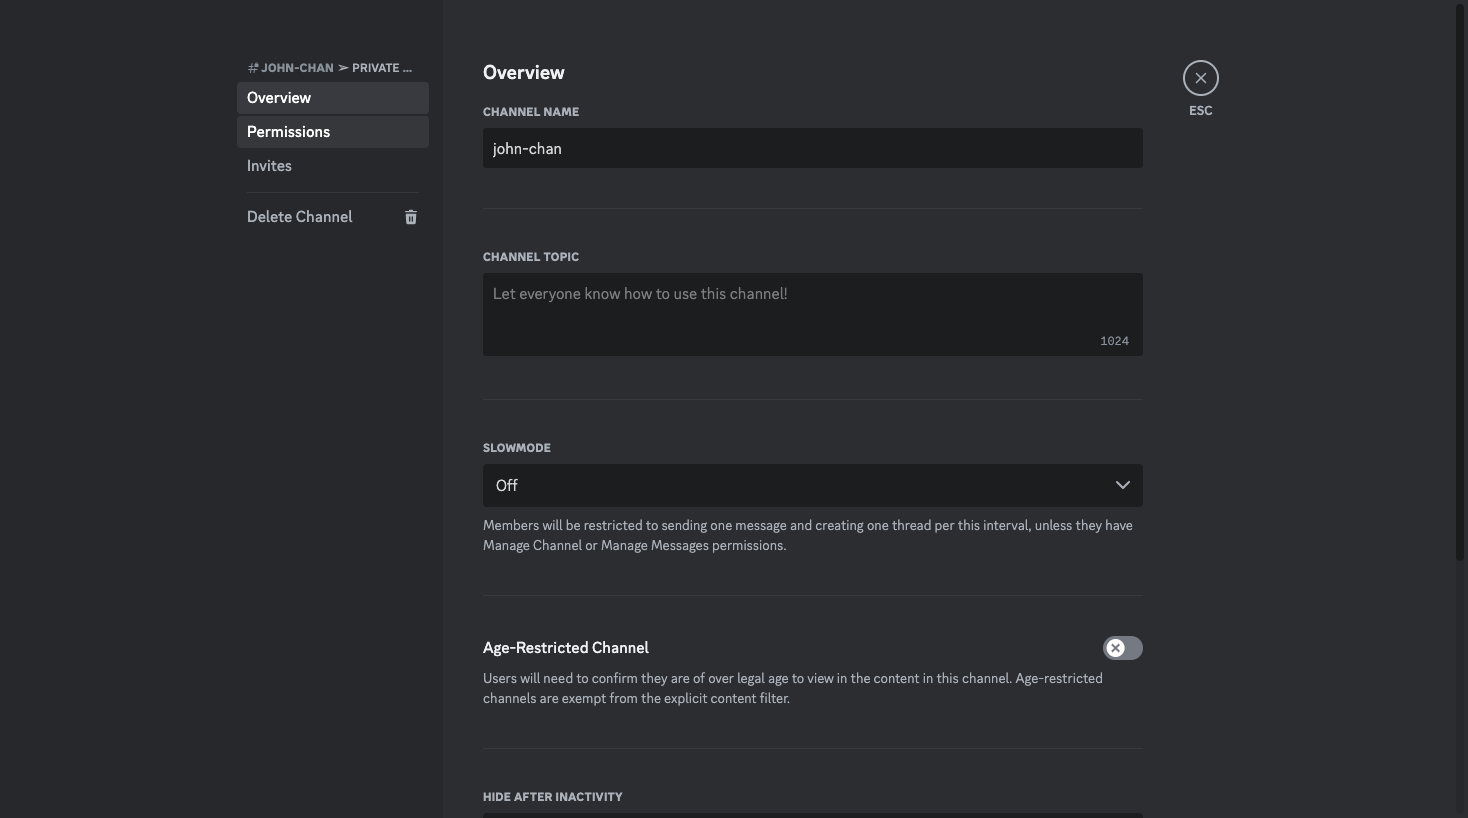
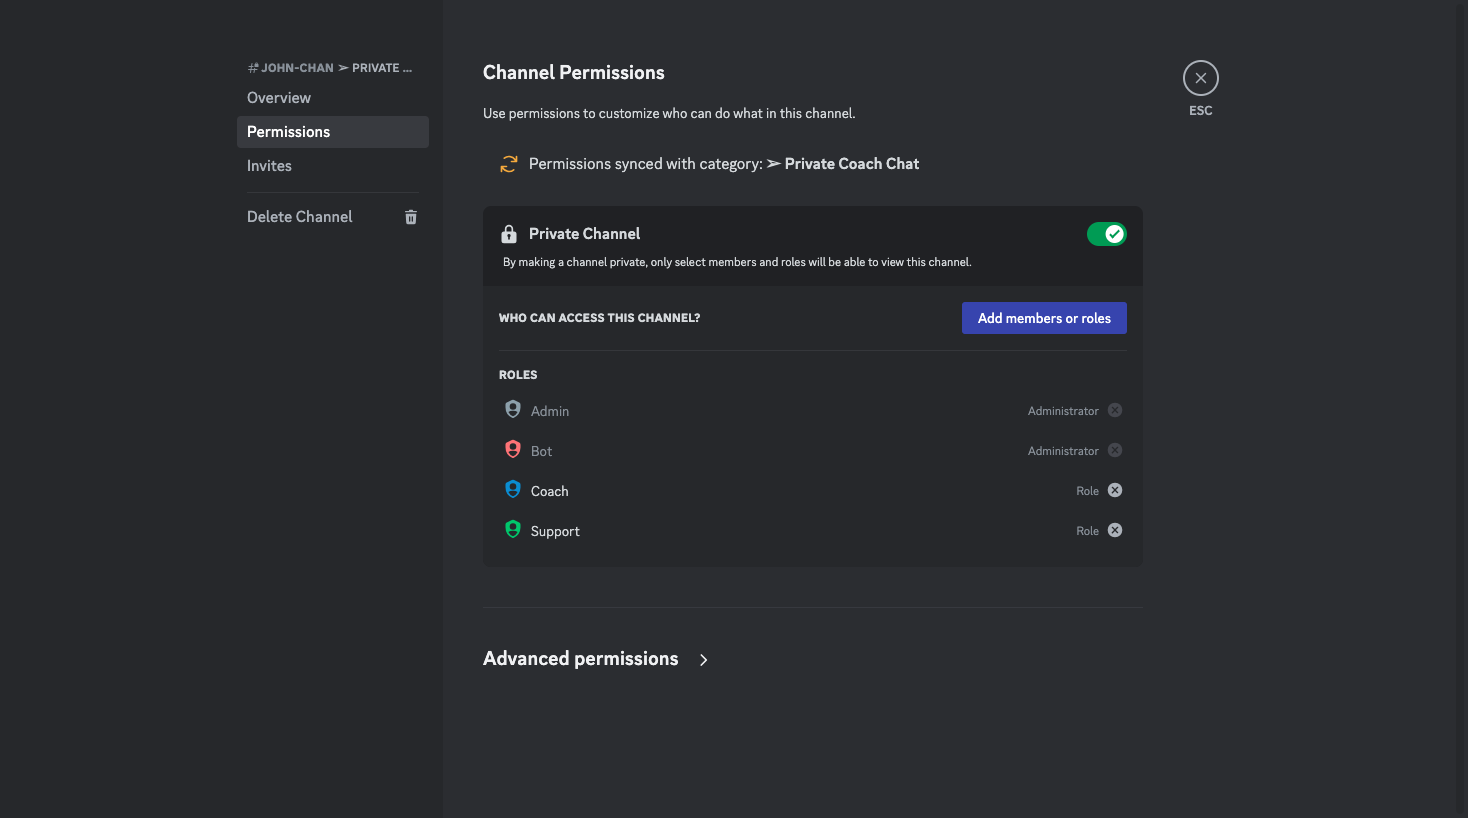
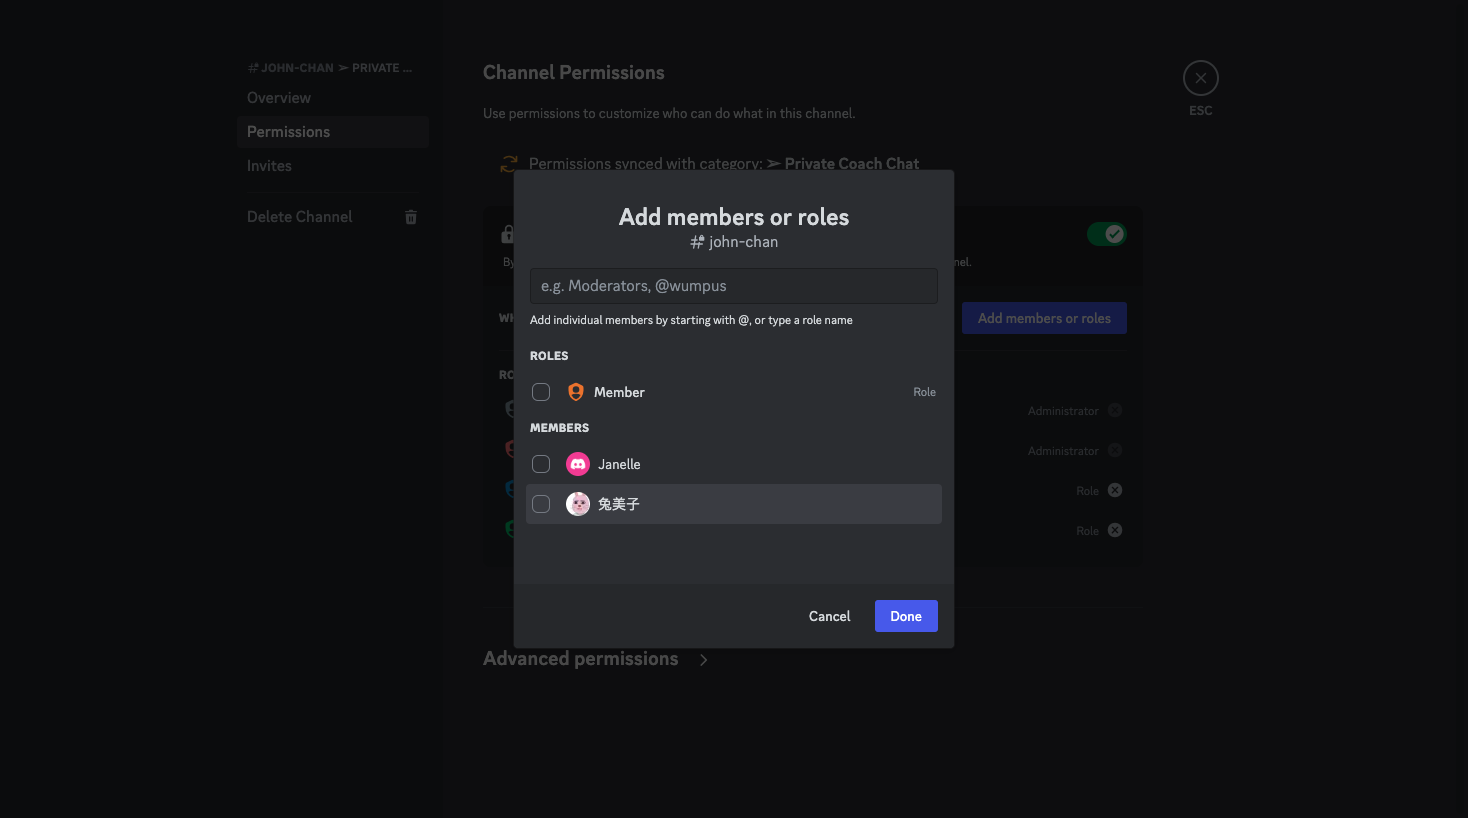
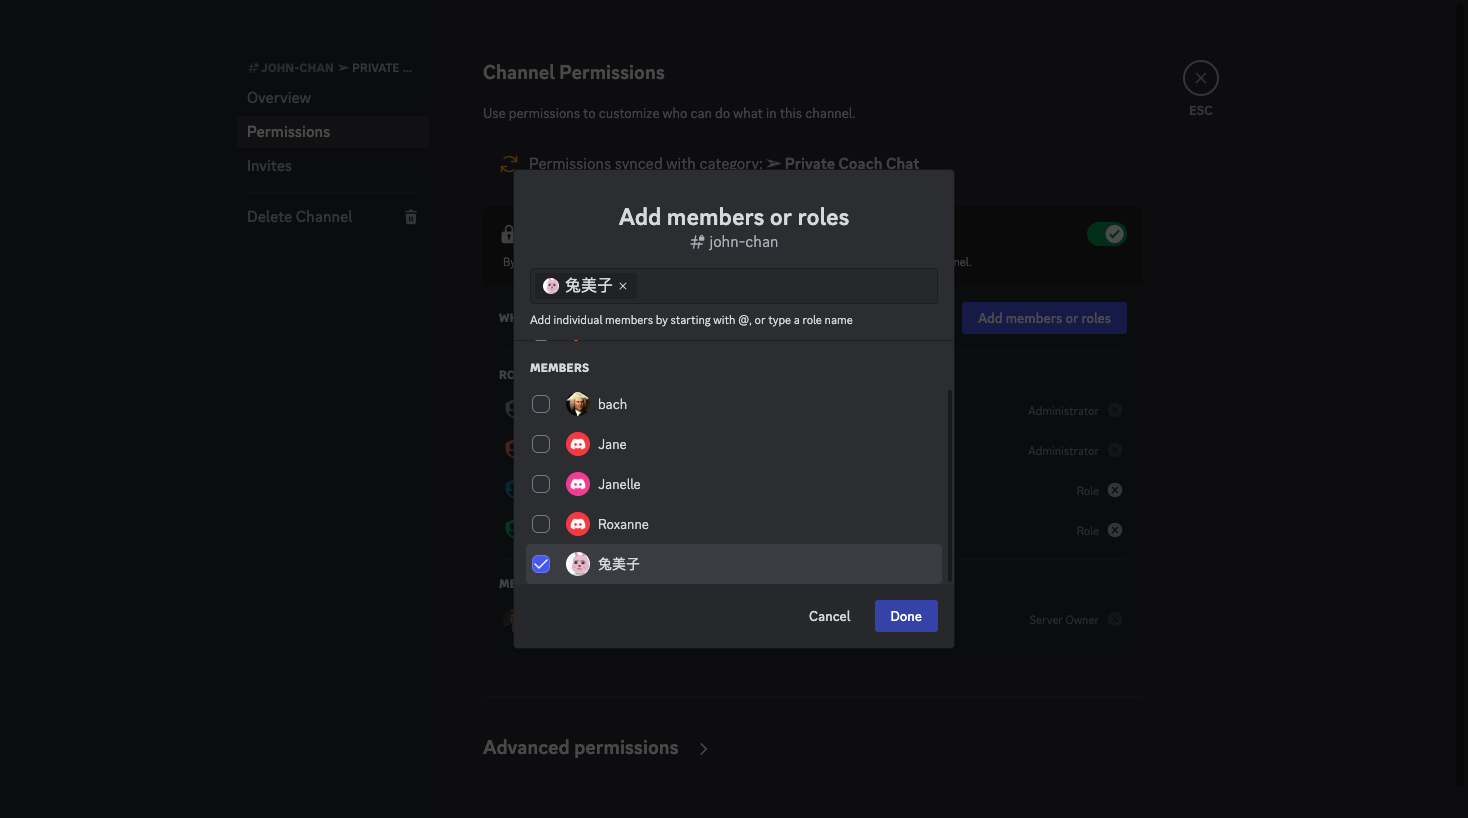
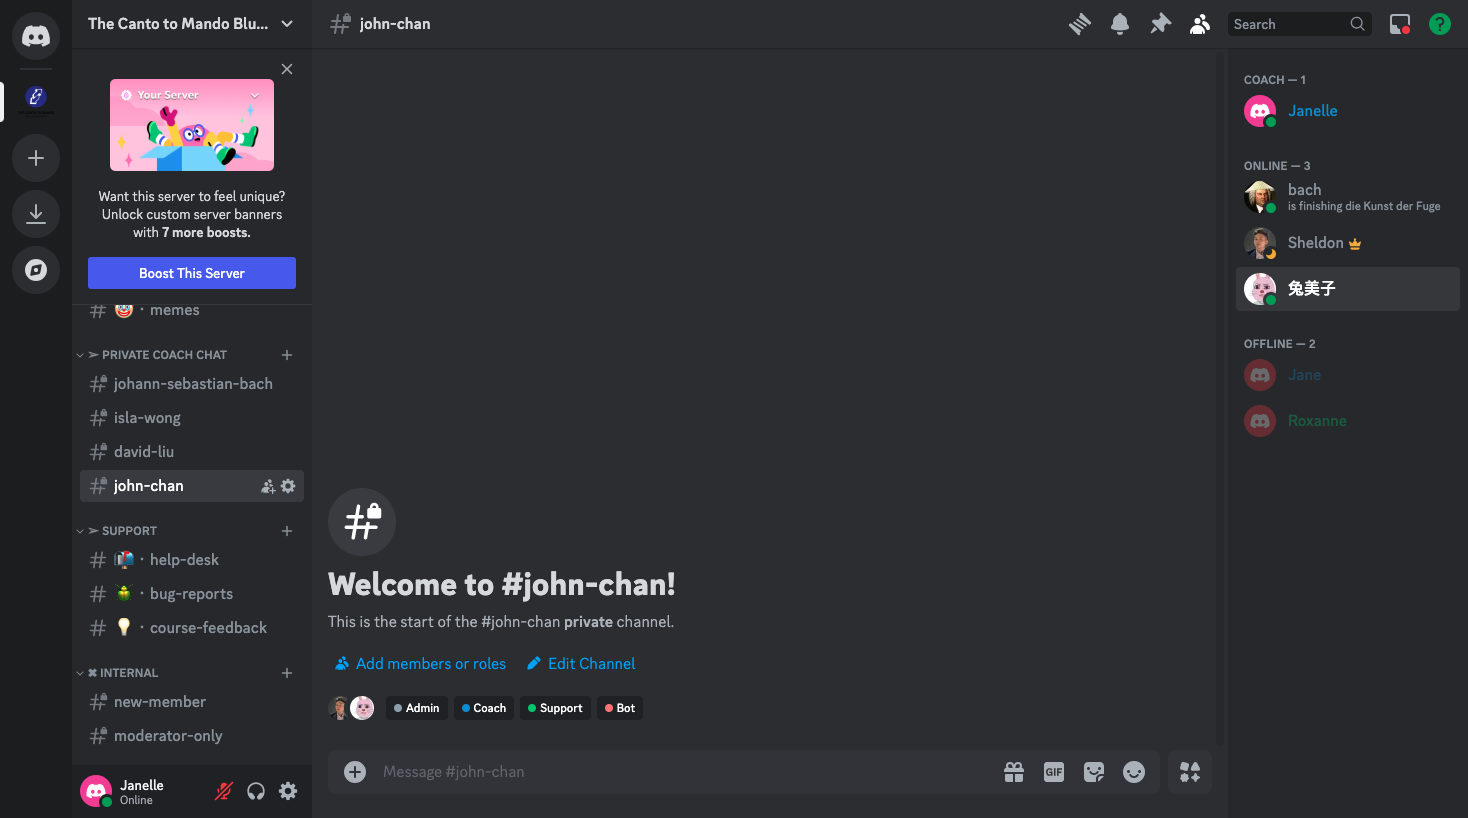
Now, check who can see this private channel. Apart from all the team members, the only other member should be the new student.

Notifying students of their private channel
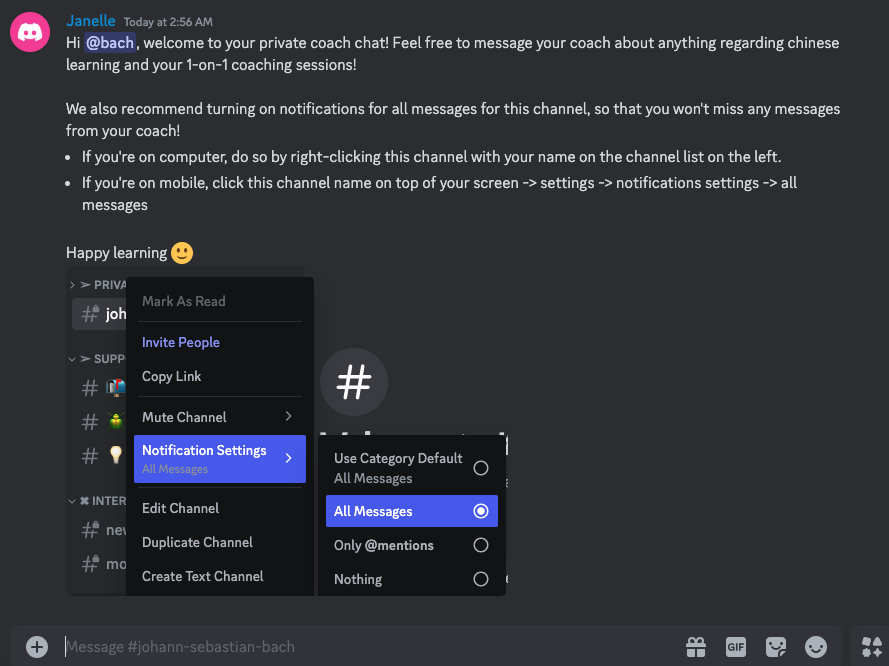
After you've set the channel up, send the following message in the channel:
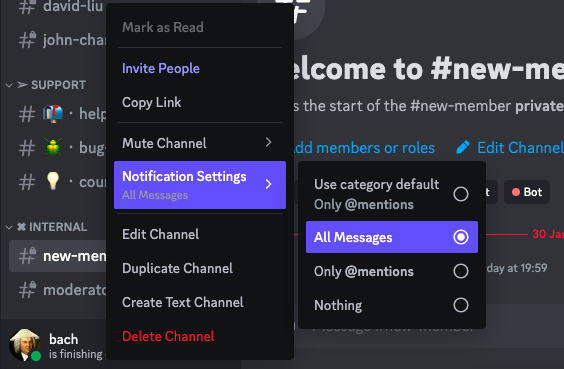
Hi [@ their account], welcome to your private coach chat! Feel free to message your coach about anything regarding chinese learning and your 1-on-1 coaching sessions! We also recommend turning on notifications for all messages for this channel, so that you won't miss any messages from your coach!
If you're on computer, do so by right-clicking this channel with your name on the channel list on the left
If you're on mobile, click this channel name on top of your screen -> settings -> notifications settings -> all messages
Happy learning :)
[attach screenshot of the notification setting]
(You can always find and copy the message and the image from this testing channel. or better, save them somewhere on your computer so you can always copy and paste)
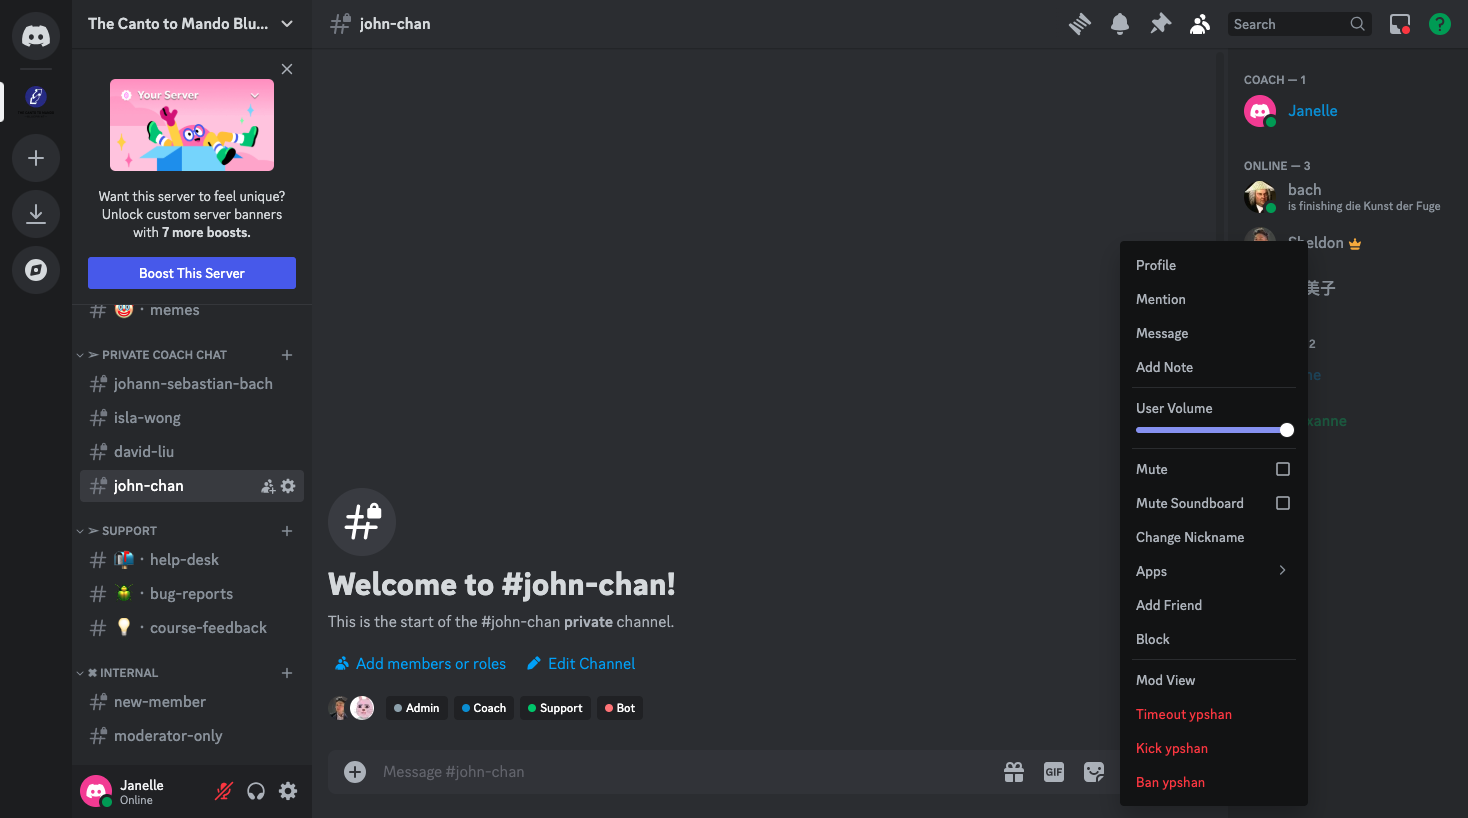
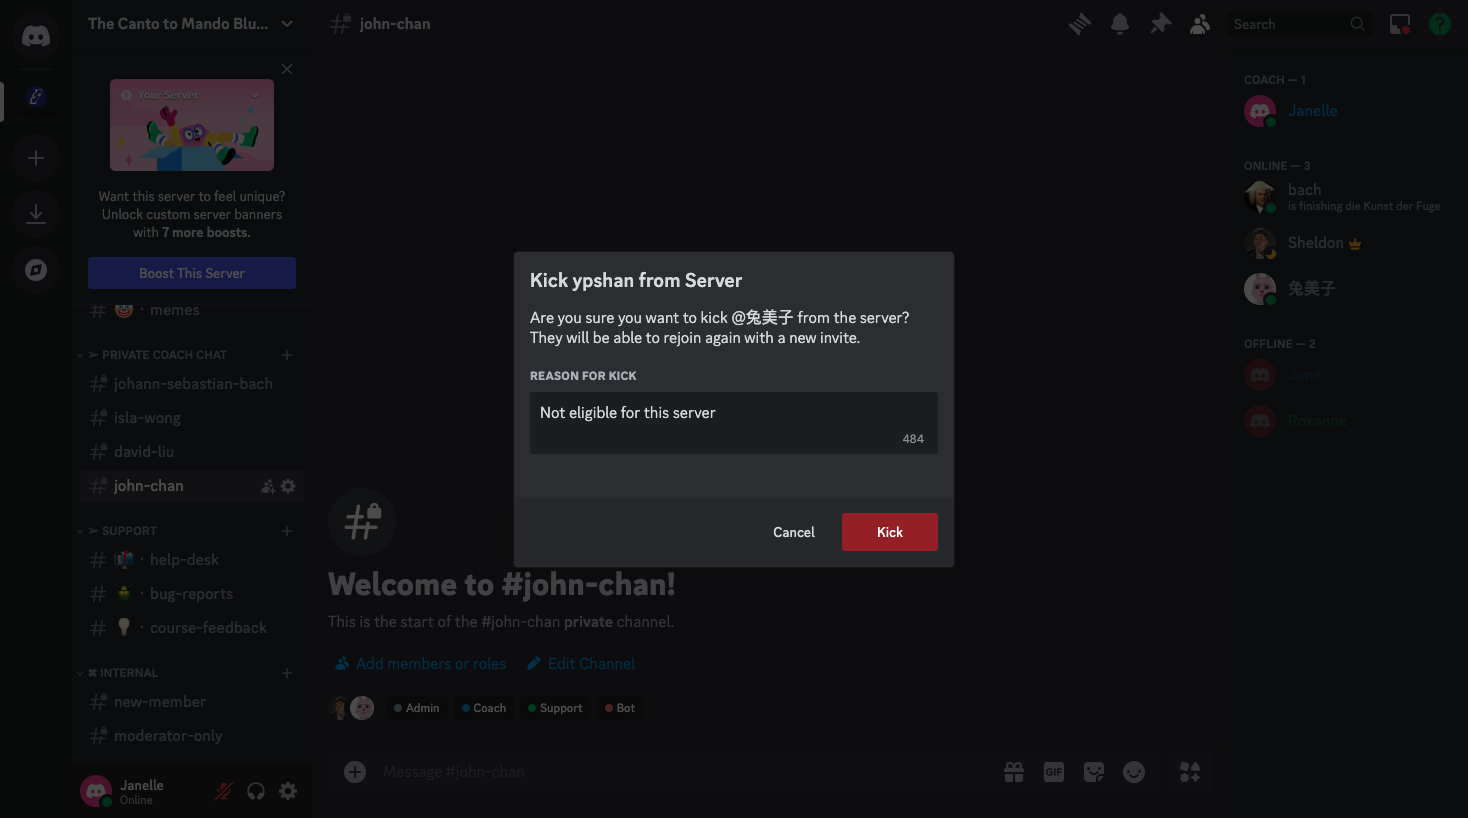
How to kick members if they should not be in the server
If they are not eligible for the server (either because they are not a student in the course, or their membership has expired), you need to remove them.
![Step #23: Click on "Kick [account name]"](https://di8mn0rali2ic.cloudfront.net/uploads/e3a345a7-7b97-4b18-a2ab-32c471528c68/5a17ed59-7df5-40cb-8fc0-bd9b5bece87e.png)
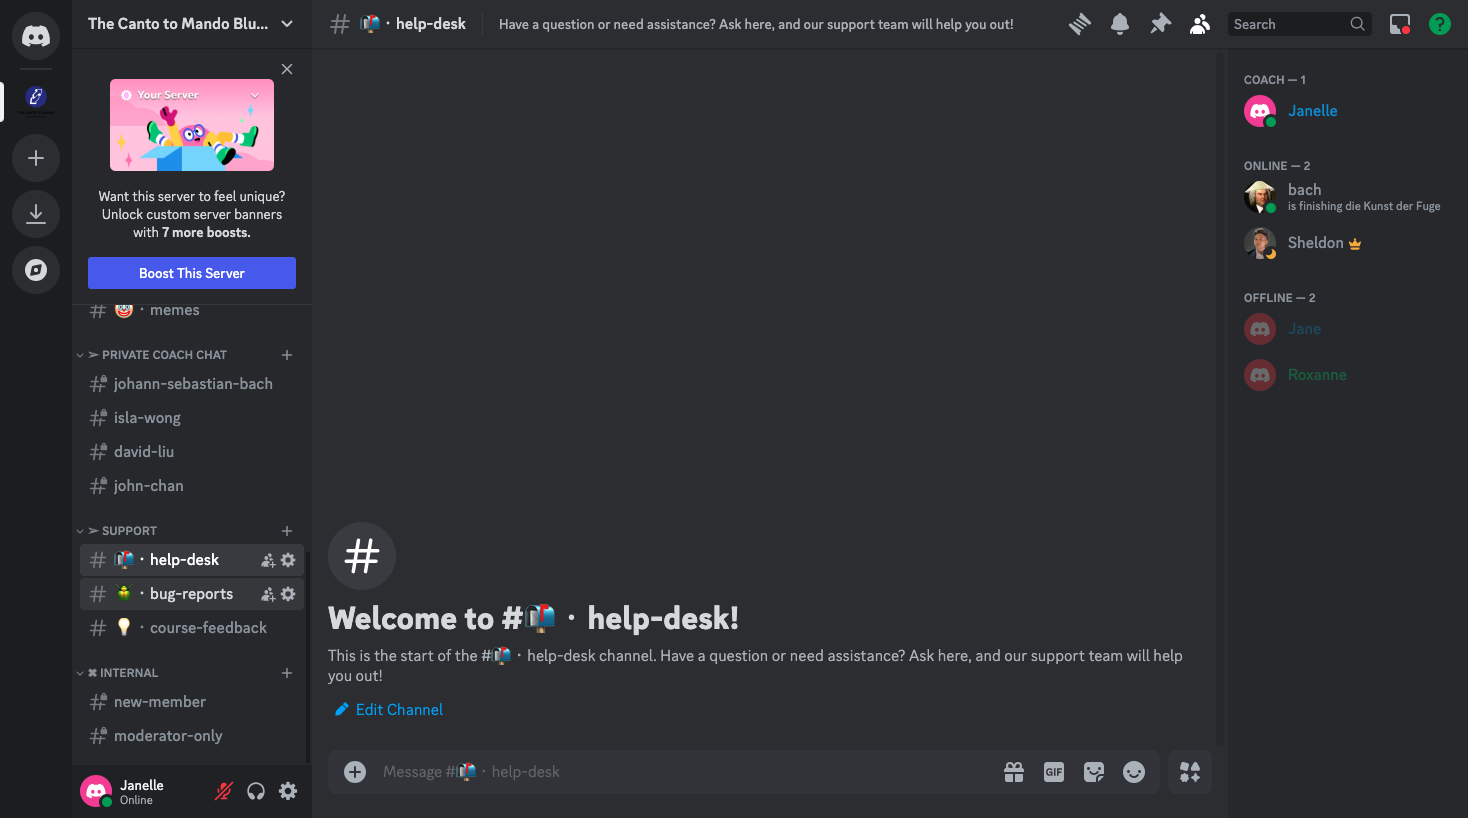
Checking Support Section daily
As a support team member (Roxanne), you need to check the #help-desk and #bug-reports channels daily. If you can assist with these issues, please go ahead and resolve them, and respond directly to the students (reply to their message or @ them to make sure they get notified).
If you can't resolve the issues, or if they involve Sheldon, the coaches, or Jackey, discuss it in our internal server.